Blog by Steve Laug
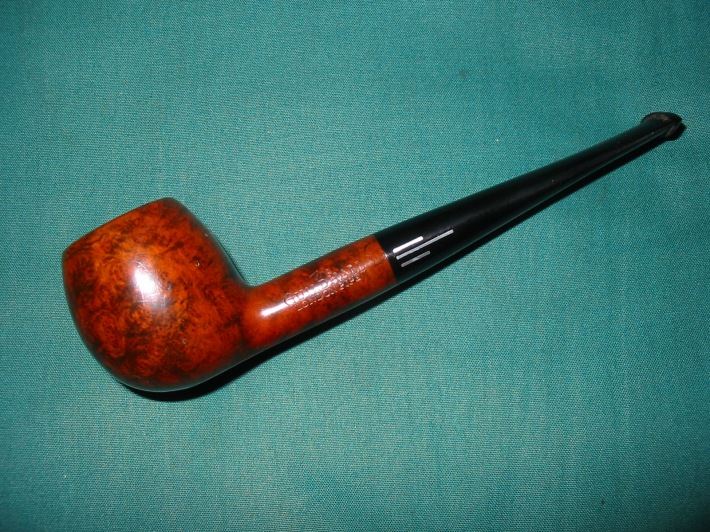
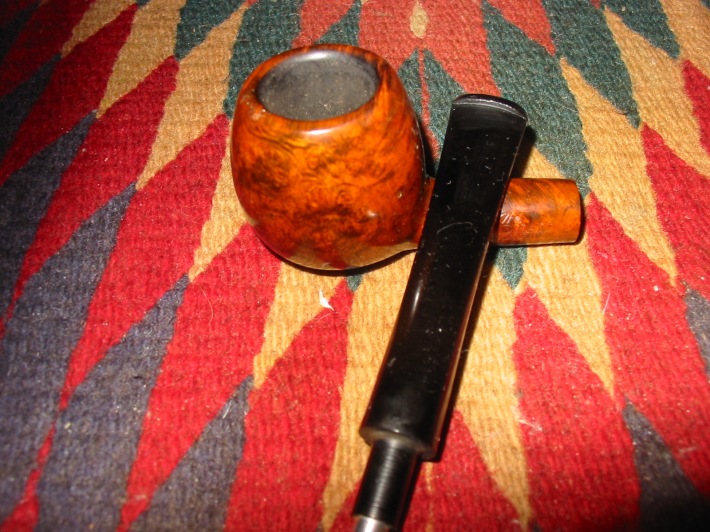
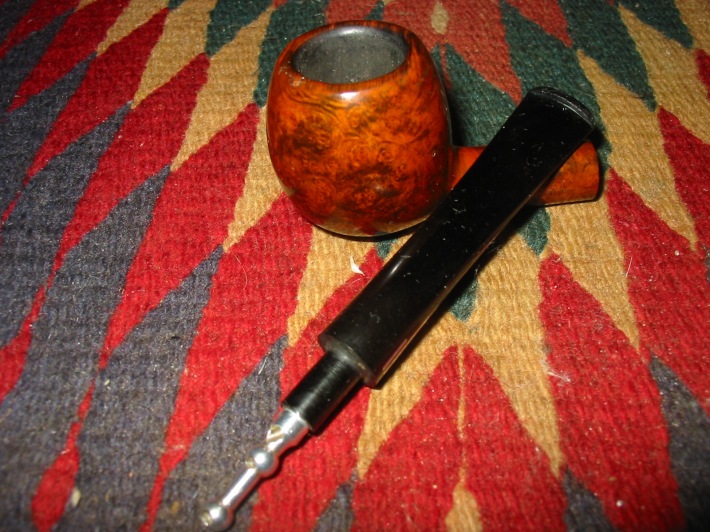
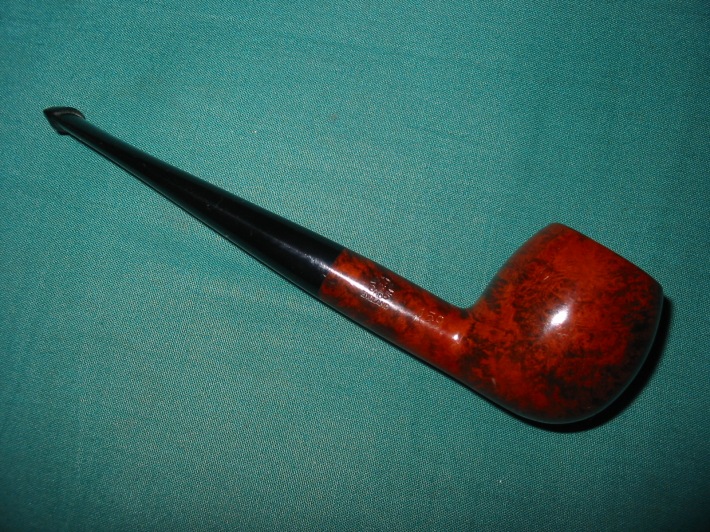
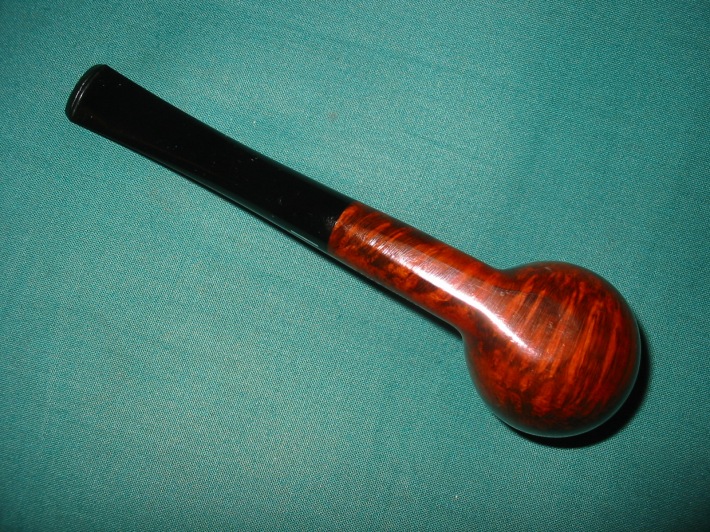
I really like the grain and look of this bulldog. It is made by Comoy’s London and bears the stamping is The Guildhall over London Pipe on the left side of the shank. On the right side is the circular Com stamp Made In London in a circle with the In centered in the circle. Underneath the circle it reads England and to the right of that is the shape stamp 409. The grain on this pipe is a mixed bag but is nonetheless beautiful. There is cross grain, swirls and birdseye that pops on the right side of the bowl. I was listening to the live show when Beau and Jon David talked about this pipe. They showed the condition of it and made some comment about needing to give it some attention as it was looking rough (my recollection). I tweeted them that I would gladly take it on as a project if he sent it my way. Beau packed it up and sent it my way. It arrived early this week after the New Year weekend. When I took it out of the packing envelopes and unwrapped it this is what I found. The stem was badly oxidized but did not have any deep bite marks. There was the normal tooth chatter around the button on the top and bottom sides of the stem. There was a distinct line from the button up ½ inch toward the shank that looked like the stem at one time in its life had sported a rubber softie bit over the vulcanite. The finish was worn and spotty and there were some serious issues with dents and marks in the briar.
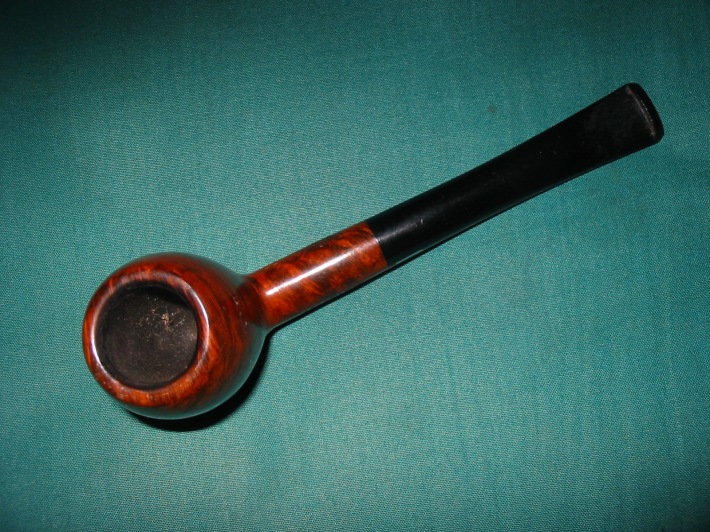
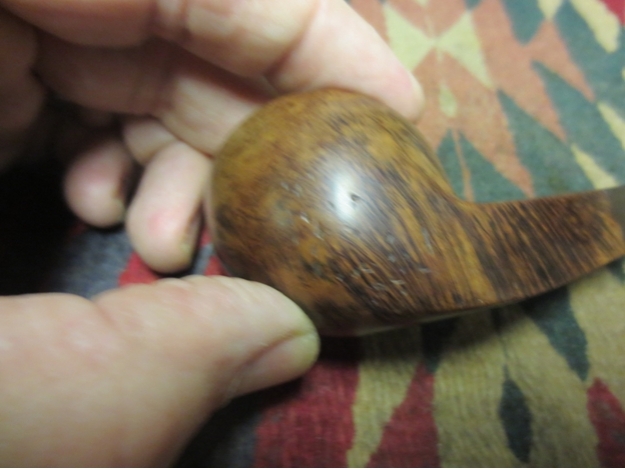
 The rim was very rough with a lot of dings and damage to the top surface. Some of the damage went down the cap on the left side of the bowl. The top of the bowl looked as if it had been dropped on asphalt or concrete. There were parallel marks and dings on the left side low on the bowl and on the point at the bottom of the bowl.
 I took the next three close-up photos of the dings on the bowl and rim to show the extent of the damage. Both the inner and outer edge of the rim had damage that made this rim a prime candidate for topping.
 Andrew, Anthony and others use a piece of glass for their flat smooth surface for topping a bowl. I use a hard piece of finished oak that is part of my work top. I put a piece of 220 grit sandpaper on the board and anchor it in place. Then I turn the bowl clockwise in a circle across the sandpaper to remove the damaged portions. I check frequently to make sure that I remove just the damage and not too much briar. I also make sure that the rim is flat against the board so that I do not change the angles and profile of the rim top and cap.
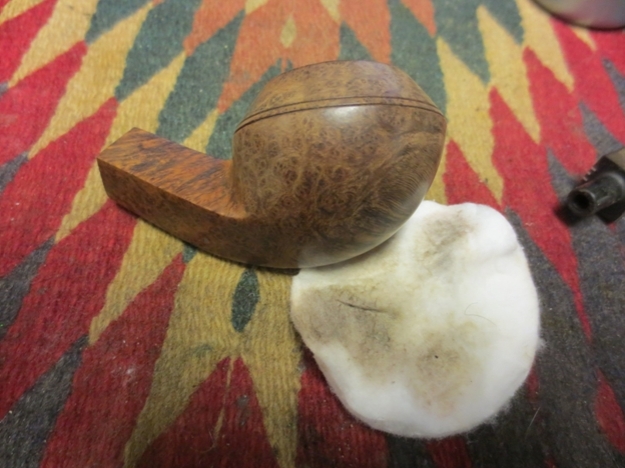
 Once I had the top flattened with the 220 grit sandpaper I worked it over with a medium and a fine grit sanding block to remove any of the scratches left behind in the topping of the bowl. I wiped the bowl down with acetone on a cotton pad to remove the spotty finish.
 I steamed the dents and marks on the bowl using a wet cloth and the blade of a butter knife that I heated on the flame of our gas range. I put the wet cloth over the dents and touched it with the hot knife blade. The stem generated lifts the dents from the briar. Doing this I was able to remove many of the dents on the sides of the bowl and on the back edge of the cap and rim.
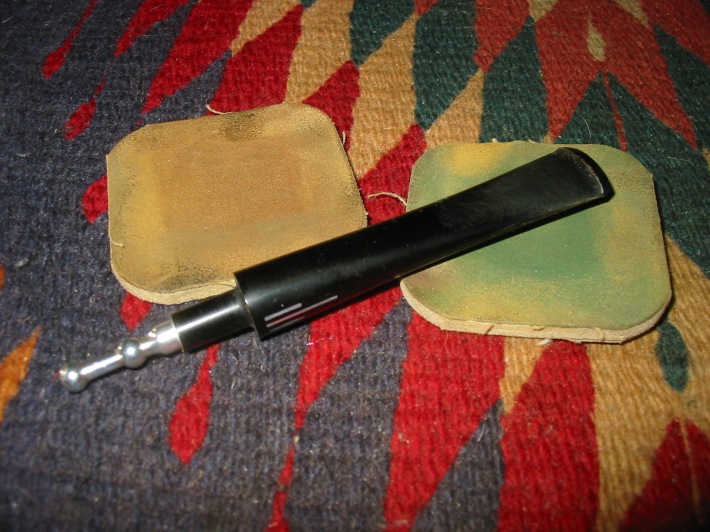
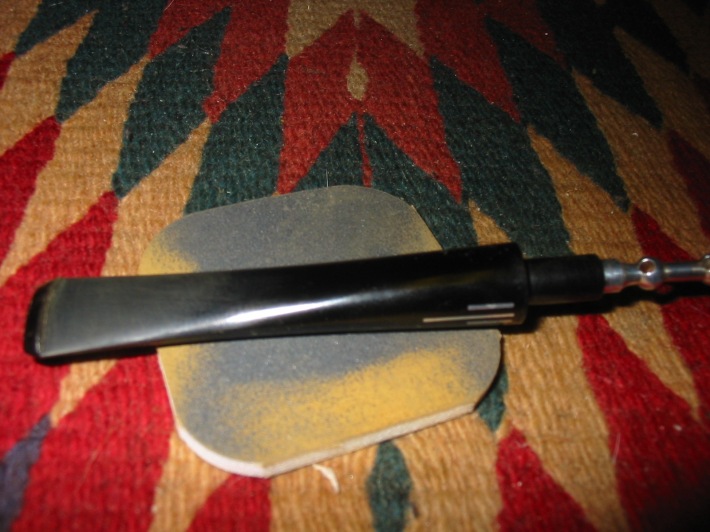
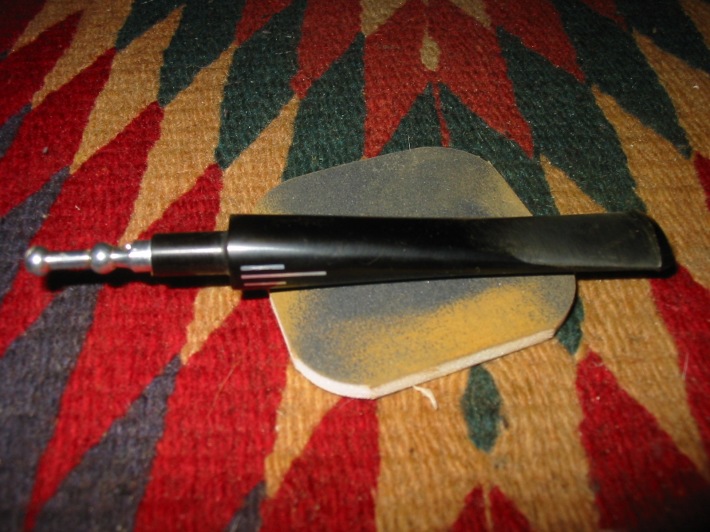
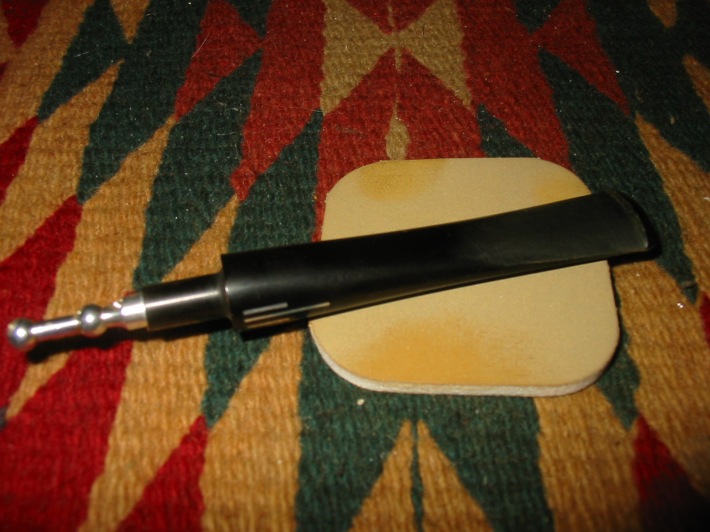
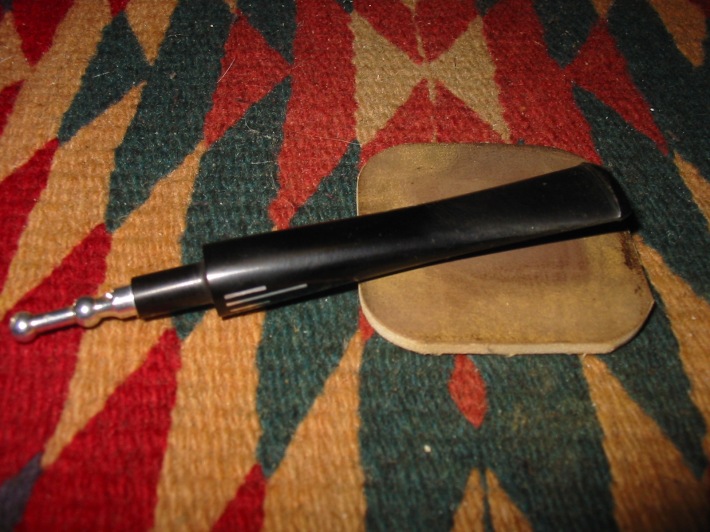
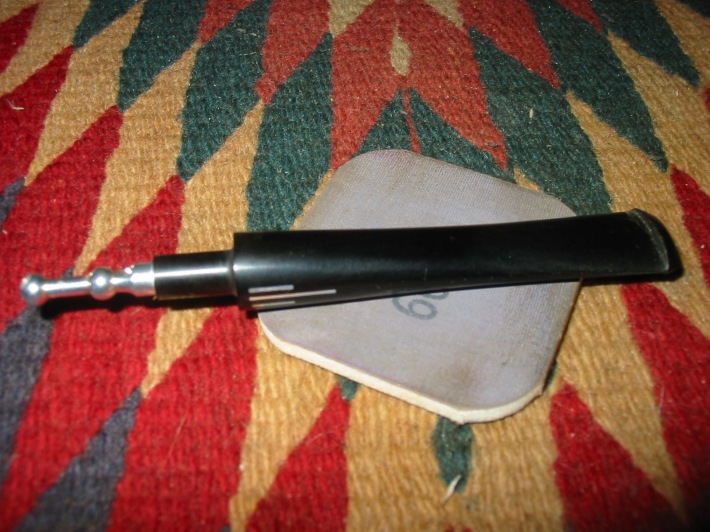
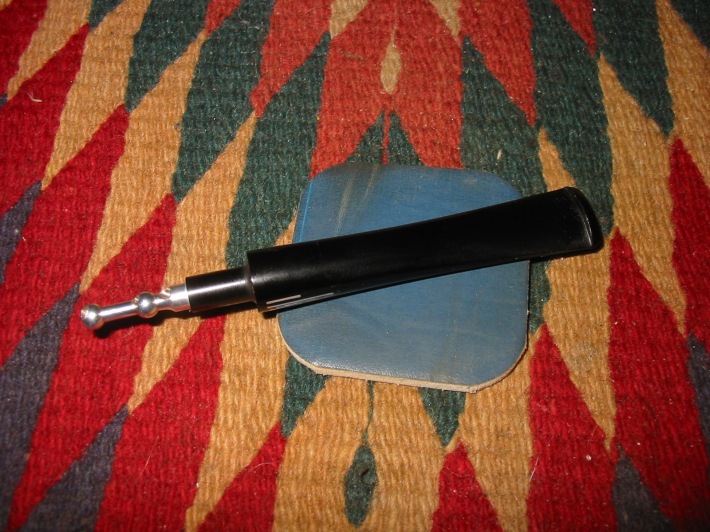
 Some of the dents were going to take more drastic measures to try to raise and some of them would need to be filled with a mix of briar and clear superglue to smooth out the surface of the briar. I decided to work on the stem for a break in the process. I sanded the stem with 220 grit sandpaper to break up the oxidation and remove what appeared to be ripples in the vulcanite stem. The more oxidation I removed the more these ripples became apparent. I sanded it with a medium and a fine grit sanding sponge made by 3M. I pick it up in 8×10 sheets and cut it into working squares to sand stems and bowls. I used a plastic washer that I made to sit between the shank and stem to protect the shoulders of the stem from being rounded in the sanding process.
 The next photo shows the remaining dents in the bottom of the bowl. It was almost like a road rash left behind by a drop on concrete. Many of the lighter more shallow dents were raised with the steam but these were more stubborn. I decided to soak the dented portion of the bowl in water. I was careful to not get water in the shank or the bowl. I used a small shallow dish filled with about an inch of water and angled the dented bottom and side of the bowl in to the water. I have found in other refinishing work that water will swell dents in the wood and lift them to the surface. While I knew that some of these dents would not move much, I was certain I could raise them all significantly using this method.
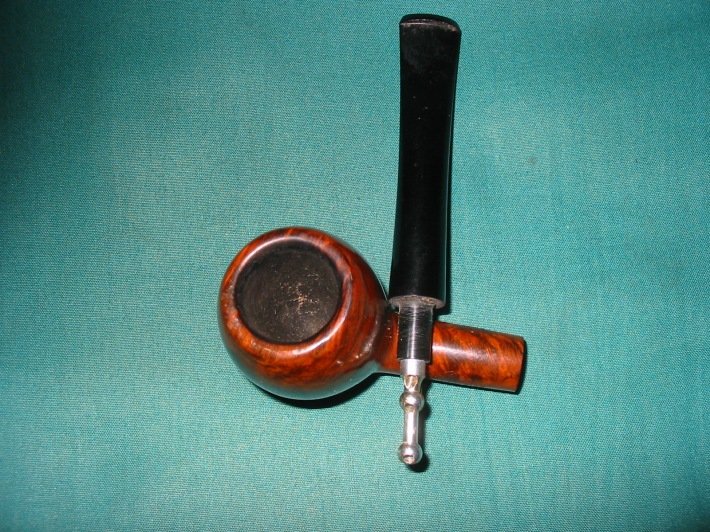
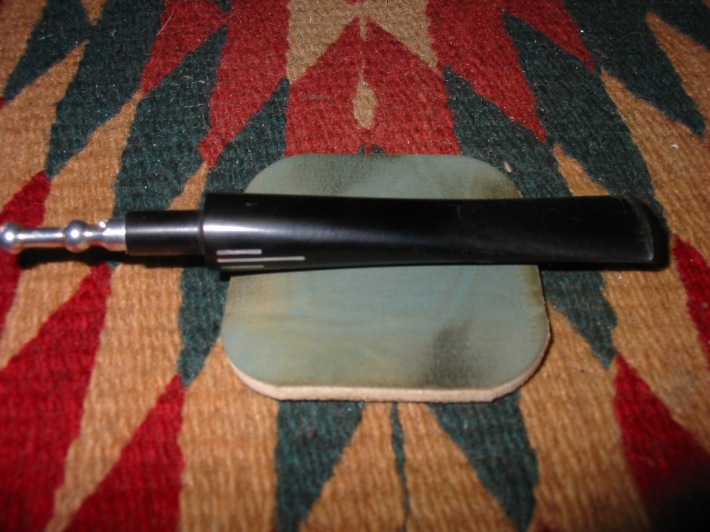
 While the bowl soaked in the water I turned my attention to the stem. I find these old Comoy’s stems with the three silver bars inset in them a pain to deal with. Sanding or polishing around them causes the metal to ghost on the surface of the vulcanite. It has to be quickly wiped down with a soft towel to remove it before it penetrates the vulcanite surface. I sanded the stem with micromesh sanding pads – wet sanding with 1500-2400 grit pads and rubbing it down with Obsidian Oil. I dry sanded with 3200-12,000 grit pads again rubbing down the stem with the oil between each group of three pads. I have found that sanding a freshly oiled stem gives teeth to the micromesh and it gives a deeper shine in the process.
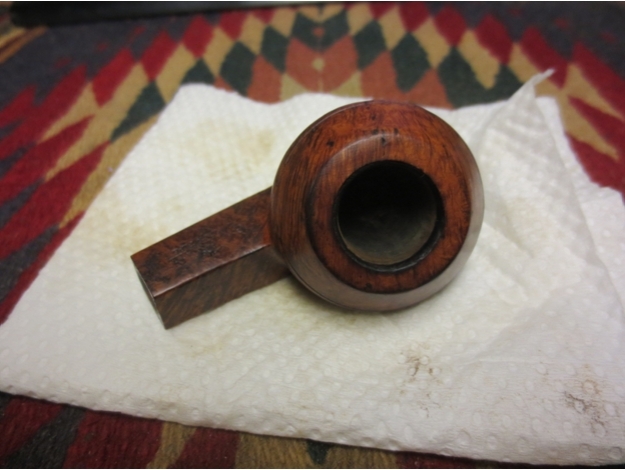
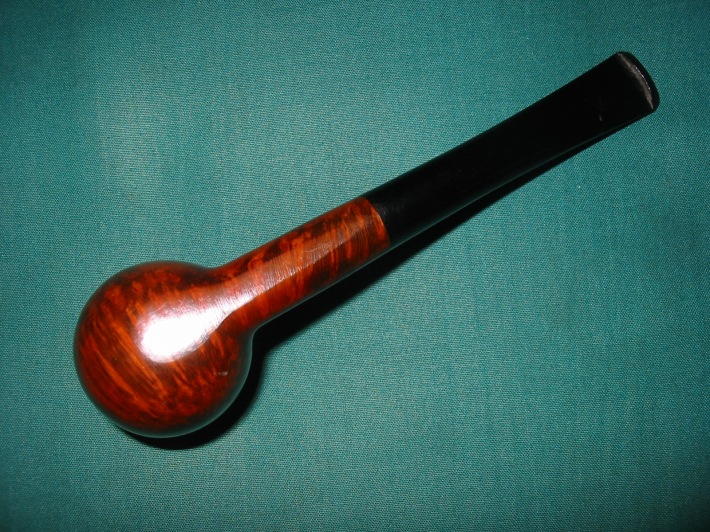
 The bowl sat in the water for the entire time I worked on the stem (probably 1 ½ hours). Once I finished the stem with the micromesh I heated the knife and used it and the wet cloth to once again steam the dents. I was able to significantly lift the majority of them this way. The photos below show the pipe after the steaming. The rim dents are all gone. The majority of the ones on the side and bottom are either gone or significantly shallower. The steam on the briar brought out some nice reds in the grain of the briar. I used a soft cloth with a few drops of olive oil to wipe down the bowl and shank after the steaming.
 I decided to address the remaining dents with briar dust and clear super glue fills. I sanded the surface of the bowl around the dents. I wiped it down with alcohol on a cotton pad to clean the surface of dust. I packed briar dust into the dents and put a drop of super glue on each repaired area.
 I sanded the patches with 220 grit sandpaper, medium and fine grit sanding sponges to blend the repairs into the briar and to remove the excess glue and briar dust. The next two photos show the bowl after I had sanded the repairs smooth. They appear as dark spots on the bowl but they are smooth to touch. The dents are all gone at this point in the process.
 I sanded the bowl with 2400-3600 grit micromesh sanding pads to remove the scratches and prepare the bowl for staining. I wiped it down a final time with alcohol on a cotton pad. I decided to stain it with an aniline based walnut stain. Before staining it I used a dark brown stain pen to go over the areas that were repaired. Once they were covered I applied a coat of the aniline stain and flamed it. Once it was dry to touch I buffed the bowl with White Diamond to polish and even out the stain. The next series of four photos show the bowl before polishing. It is smooth in the hand. All dents have been removed or repaired.
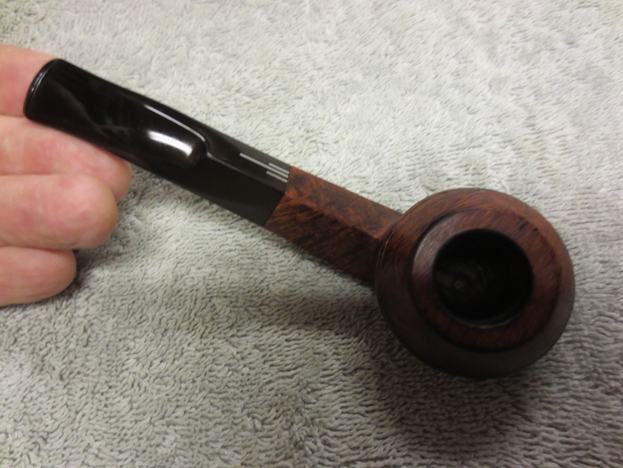
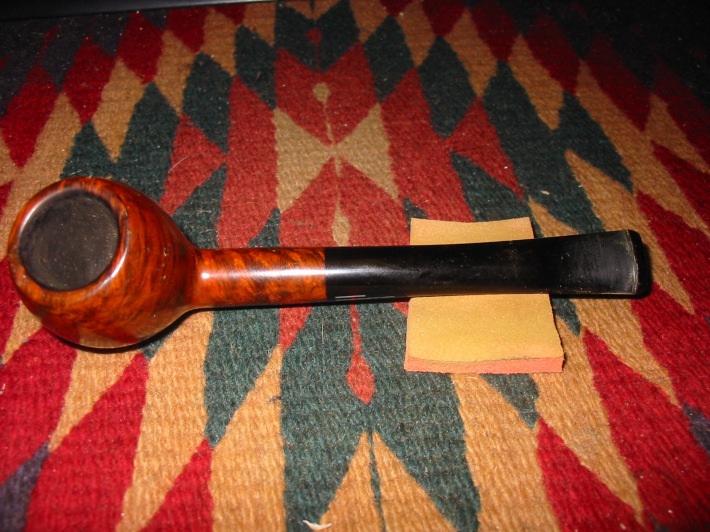
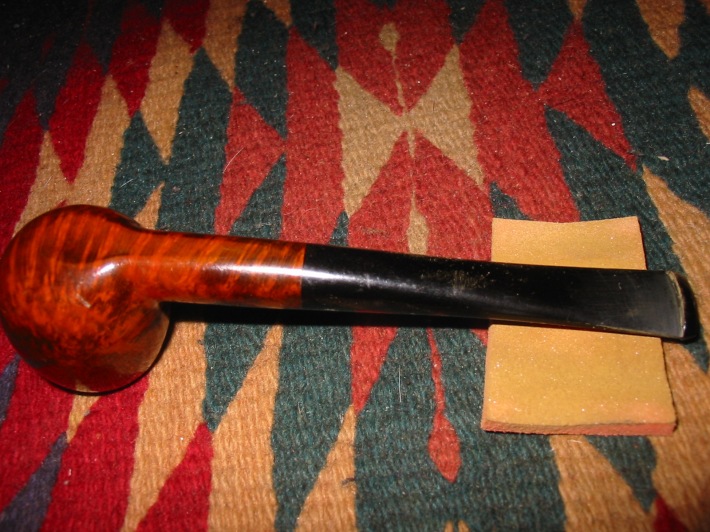
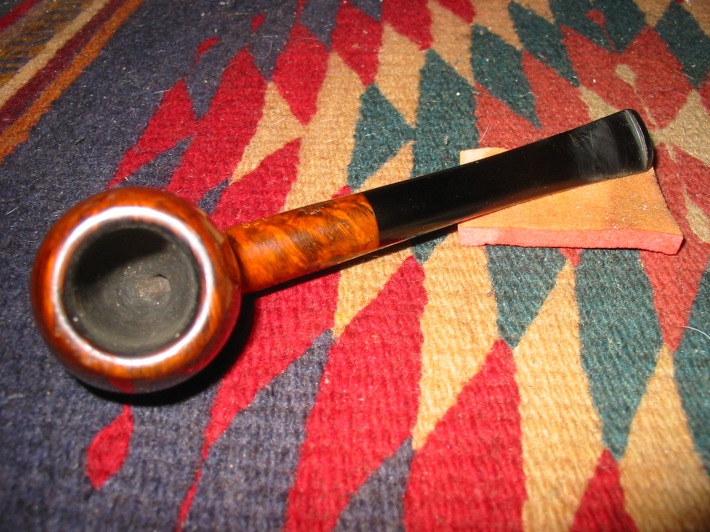
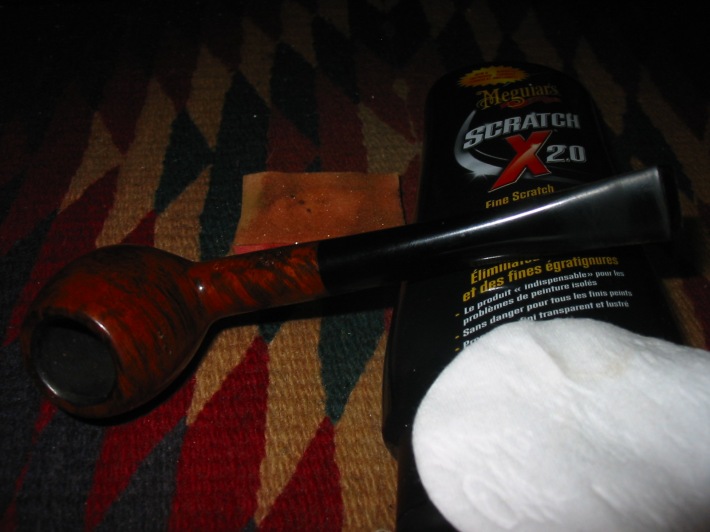
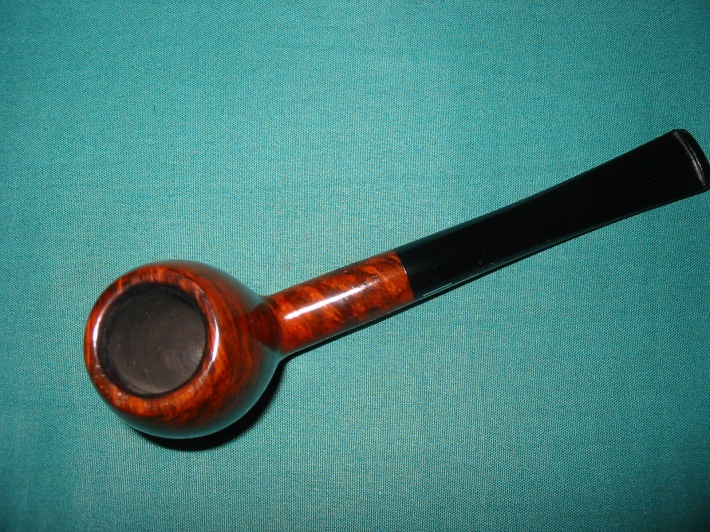
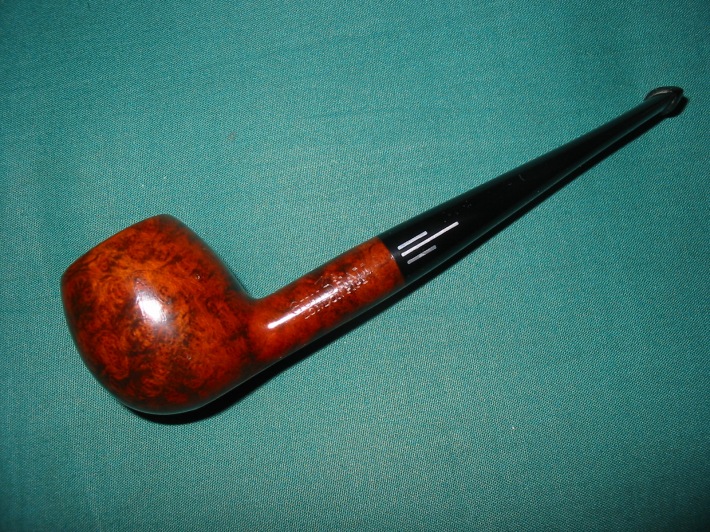
 I put the stem back on the bowl and buffed it with White Diamond to raise the shine. I then gave it multiple coats of carnauba wax to protect it. I buffed it with a soft flannel buffing pad as the final touch. The finished pipe is shown below. There is still some remaining oxidation around the three bars on the left side of the stem but it has been minimized.


