Blog by Steve Laug
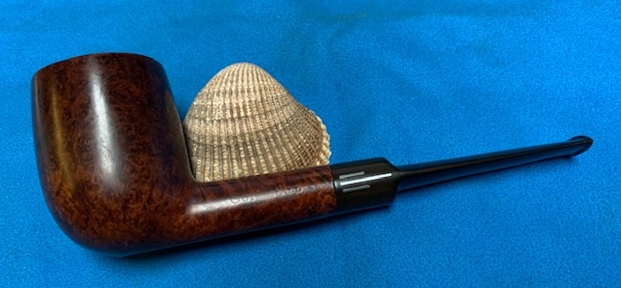
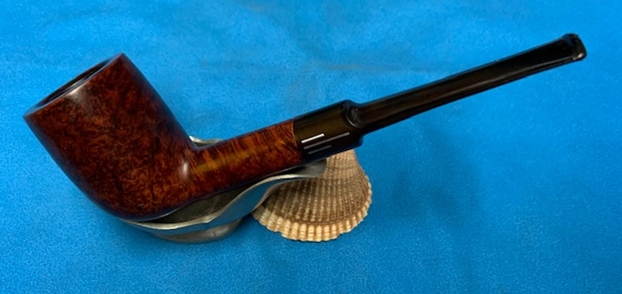
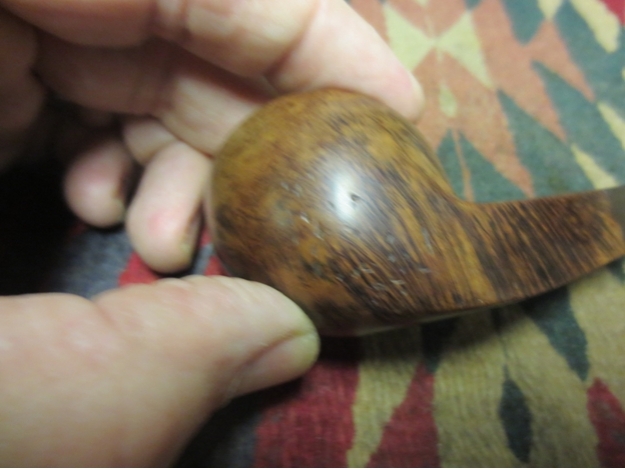
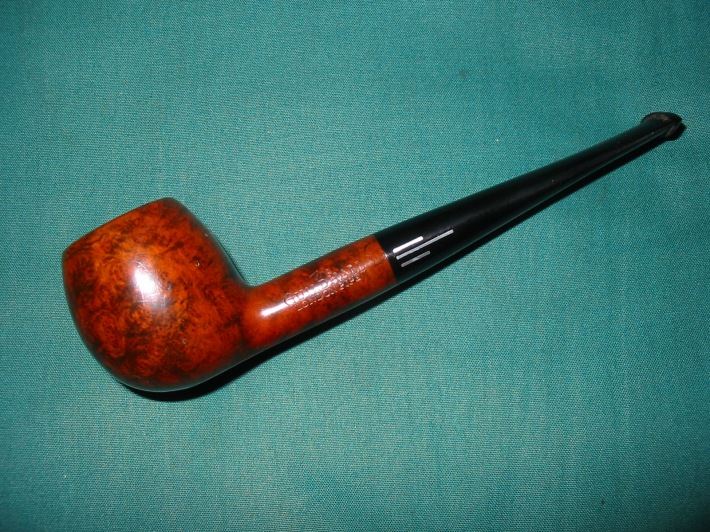
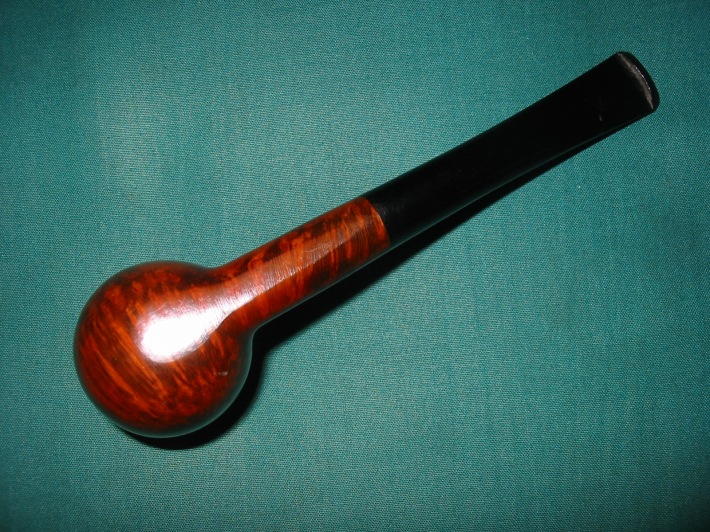
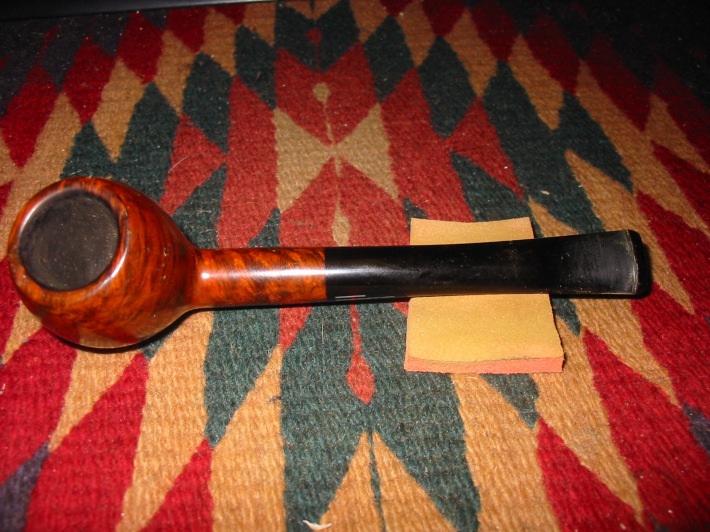
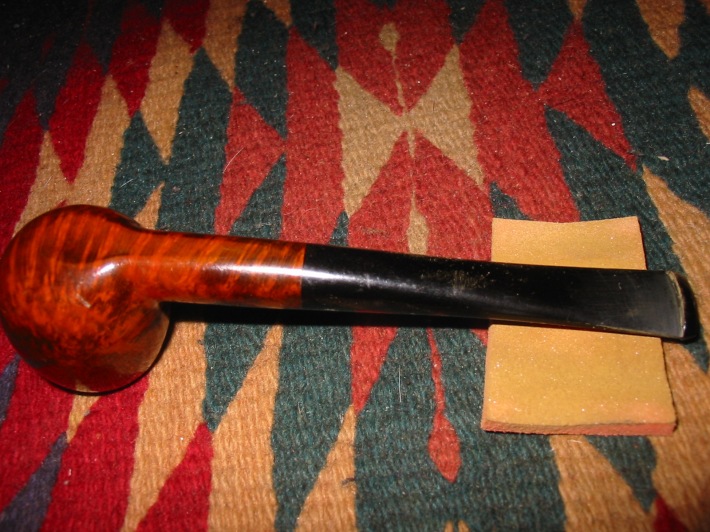
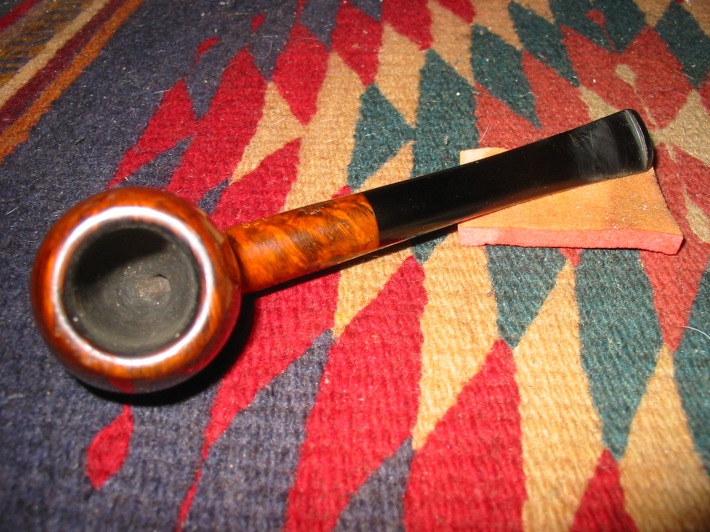
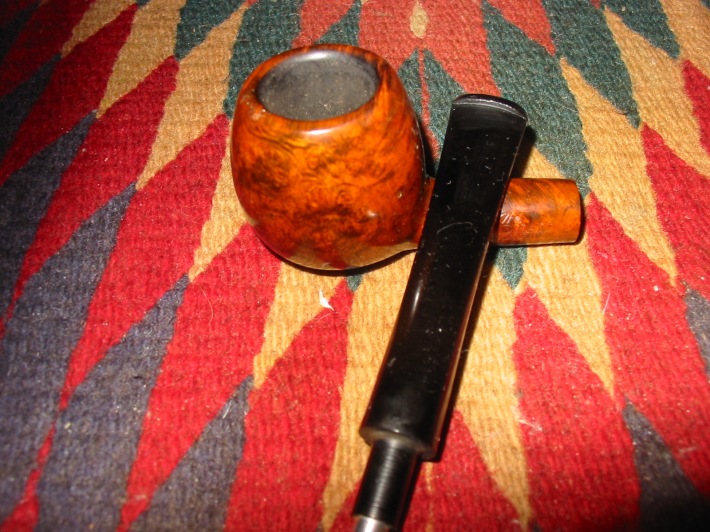
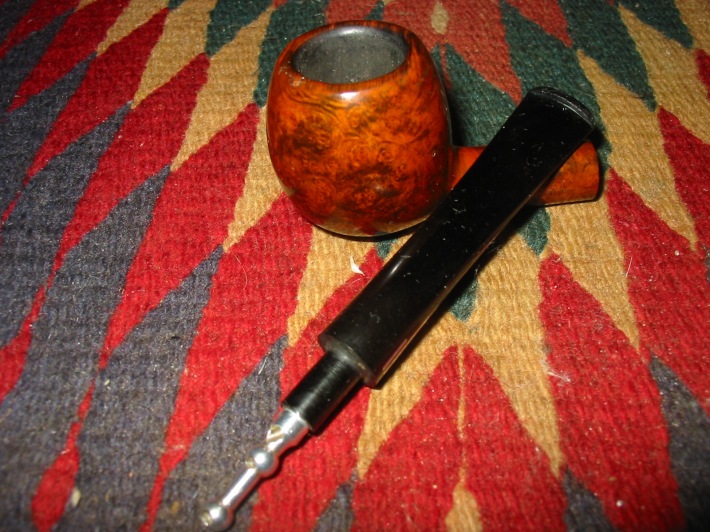
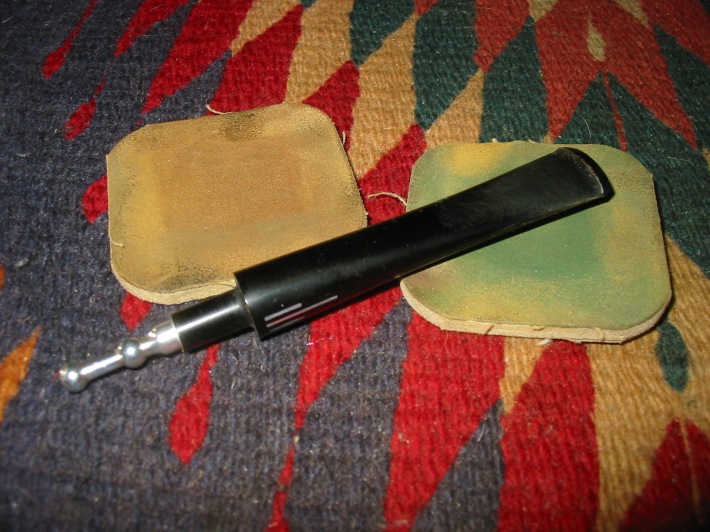
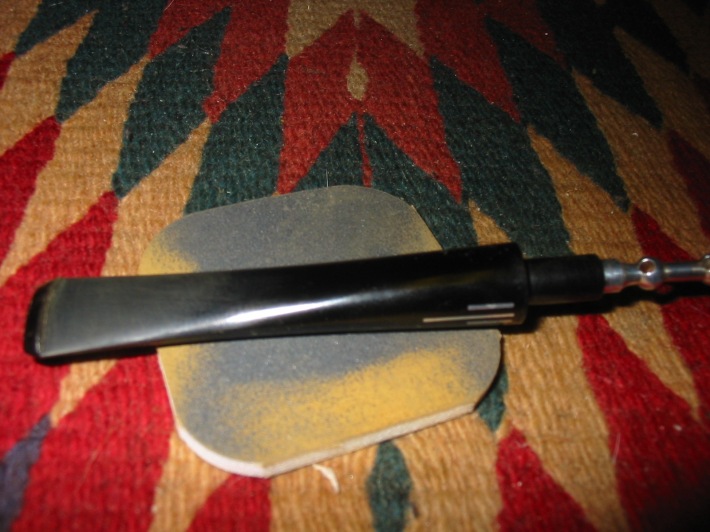
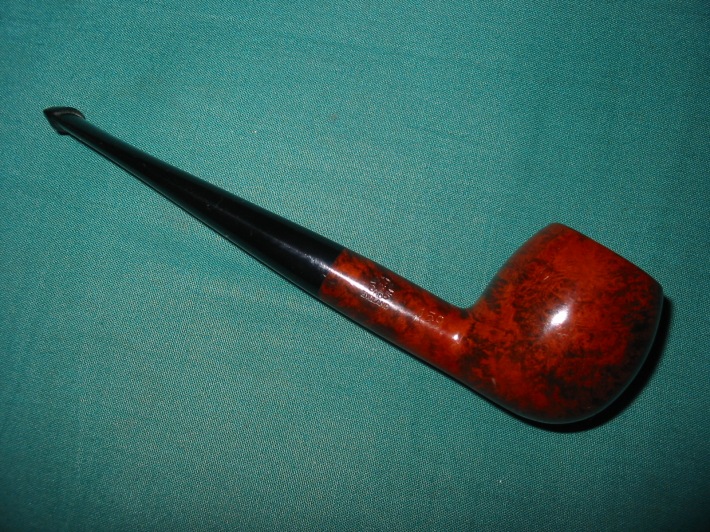
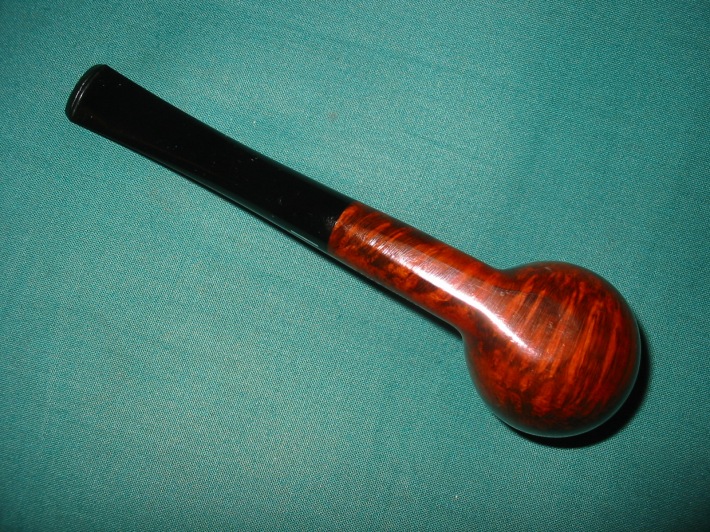
The next pipe on the table came to us from one of our pipe hunts or a trade I just cannot remember. It is a very nice looking Billiard with great grain around the bowl. The finish is quite nice with a classic English smooth finish. The bowl had a thick cake lining the walls though the rim top was clean and undamaged. There as a little darkening on the beveled inner edge of the bowl. The exterior of the pipe was pretty clean. The pipe is stamped on the sides of the shank and reads The Guildhall [over] London Pipe on the left side of the shank. On the right side the shape number 182 is next to the bowl/shank junction. Next to that is the circular COM stamp that is normal on Comoy’s Made pipes. The stamping is clear and readable on the pipe. The stem was dirty, calcified and lightly oxidized. There were light tooth marks and chatter on the stem near the button on both sides and some on the surface of the button as well. There was also a bite through on the underside next to the button. There was the three metal bars logo on the left side of the saddle stem. I took photos of the pipe before I worked on it. 
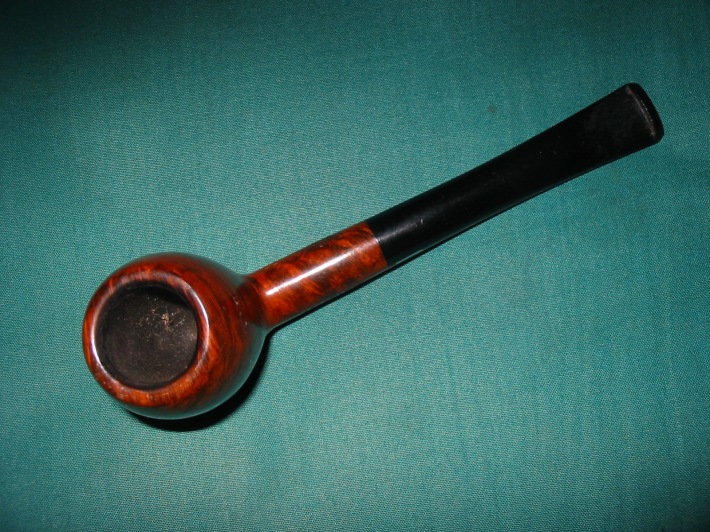
 I took photos of the rim top to show the cake in the bowl and the relatively clean rim top and damaged inner edge. The stem was in rough condition with tooth chatter and marks along with a bite through on the underside. The button surface is worn.
 The stamping on the sides of the shank read as noted above. The photo shows that they are faint but readable. The 3 Bar Logo on the left side of the stem is in good condition.
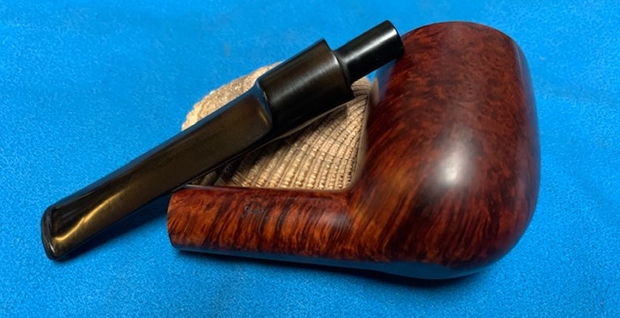
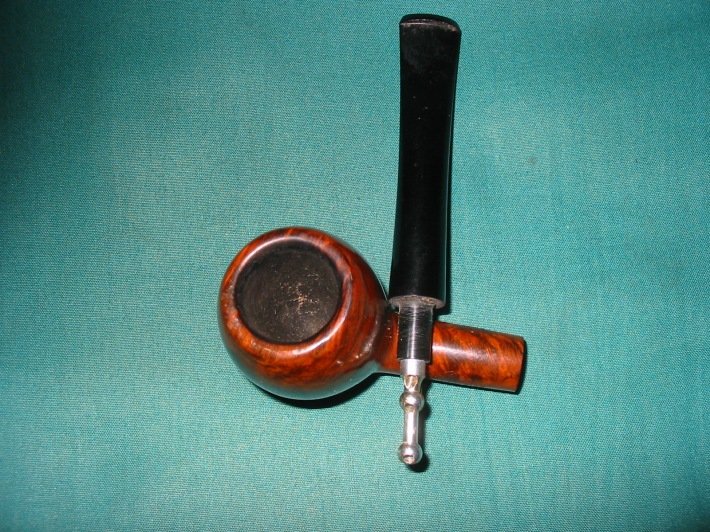
 I took a photo of the pipe with the stem removed to show the overall look of stem, tenon and profile of the pipe. It is a great looking pipe.
 The pipe is a Comoy’s Made The Guildhall London Pipe. I turned first to Pipephil’s site as it is always a quick source of information on any brand (http://www.pipephil.eu/logos/en/logo-g6.html). I have included a screen capture of the section on the brand below.
 I then turned to Pipedia’s article on Comoy’s pipes and looked specifically at the list of seconds made by Comoys (https://pipedia.org/wiki/Comoy%27s). I have highlighted the line in red in the list below.
Seconds made by Comoy’s
Ace of spades, Ancestor, Astor, Ayres, Britannia, Carlyle, Charles Cross, Claridge, Coronet?, Cromwell, Dorchester, Dunbar, Drury Lane, Emerson, Everyman, Festival of Britain, Golden Arrow, Grand Master, Gresham, Guildhall, Hamilton (according to Who Made That Pipe), Kingsway, Lion’s Head, Lord Clive, Lumberman, Hyde Park, Lloyds, Mc Gahey, Moorgate, Newcastle, Oxford, O’Gorman, Rosebery Extra, Royal Falcon, Royal Guard, Royal Lane, Scotland Yard, St James, Sunrise, Super Sports, Sussex, The Academy Award, The Golden Arrow, The Mansion House, The Exmoor Pipe, Throgmorton, Tinder Box Royal Coachman, Townhall, Trident, Trocadero, Westminster, Wilshire
Now it was time to work on the pipe. I started my work on it by reaming the bowl. I reamed it with a PipNet pipe reamer using three of the four cutting heads to take back the cake so I could examine the bowl walls. I cleaned up the reaming with a Savinelli Fitsall Pipe Knife and then sanded the inside of the bowl with 220 grit sandpaper wrapped around a piece of dowel. 
 I cleaned the shank out with alcohol, cotton swabs and pipe cleaners. There was some thick tars on the walls on the walls of the shank. I scraped it with a pen knife before cleaning it with alcohol.
 I polished the briar with micromesh sanding pads – wet sanding with 1500-12000 grit pads and wiping the briar down with a damp cloth after each pad. The briar began to take on a rich glow.


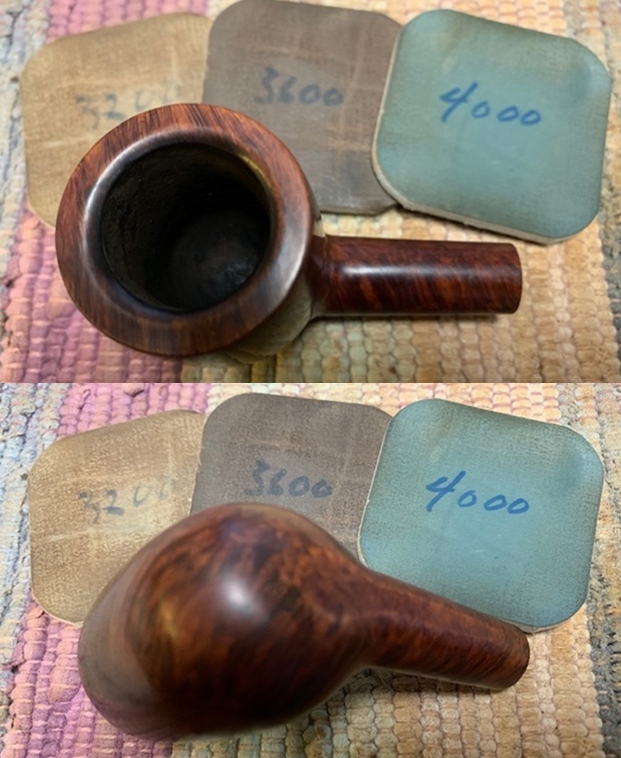

 I rubbed the briar down with Before & After Restoration Balm. I worked it into the briar with my fingertips. The product works to clean, enliven and preserve the briar. I let it sit for 10 minutes while I worked on the stem. After the time passed I buffed it with a cotton cloth to deepen the shine. The grain came alive with the balm.

 While I was working on the bowl the stem was soaking in a new product I received from Briarville Pipe Repair – Pipe Stem Oxidation Remover. It is a liquid of about the same consistency as apple juice. The stem sat in the mixture for 2 ½ -3 hours. I wanted it clean so that I could repair the bite through on the underside of the stem.
 I removed the stem from the bath, scrubbed lightly with a tooth brush and dried if off with a paper towel. I was surprised that it was quite clean. Just some light oxidation on the top of the saddle remaining. The bath was dark with the removed oxidation of the seven stems. I cleaned out the inside of the stem with alcohol and pipe cleaners.
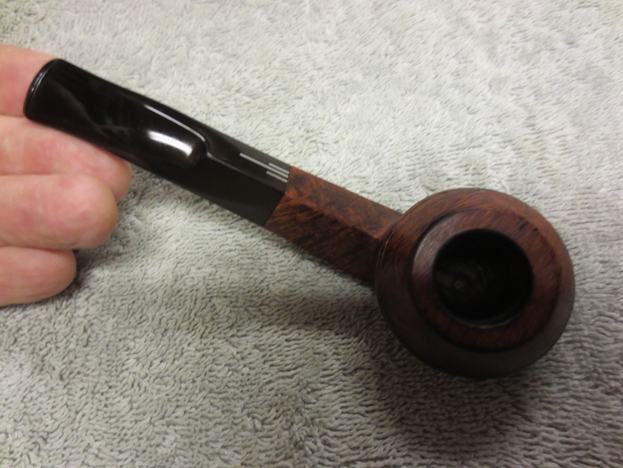
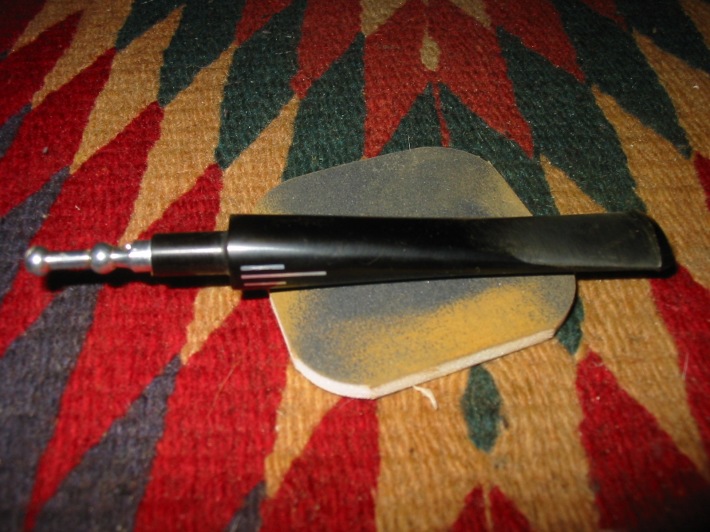
  The stem was clean and ready for the repair to the bite through. I wiped down the area with alcohol on a cotton pad to prepare it. I greased a pipe cleaner and inserted it in the airway. I generally use a mix of charcoal powder and CA glue to repair these however when I reached for the charcoal I was out. The Loctite 380 I am experimenting with is billed as a toughened product that is suitable for repairs of this nature so I thought I would try it alone on this repair. I filled in the bite through with the glue, sprayed it with an accelerator and refilled it. I removed the pipe cleaner and checked to see if the airway was clear – it was! I filled in a few deep tooth marks on the topside at the same time. I set the stem aside for the repair to cure over night.
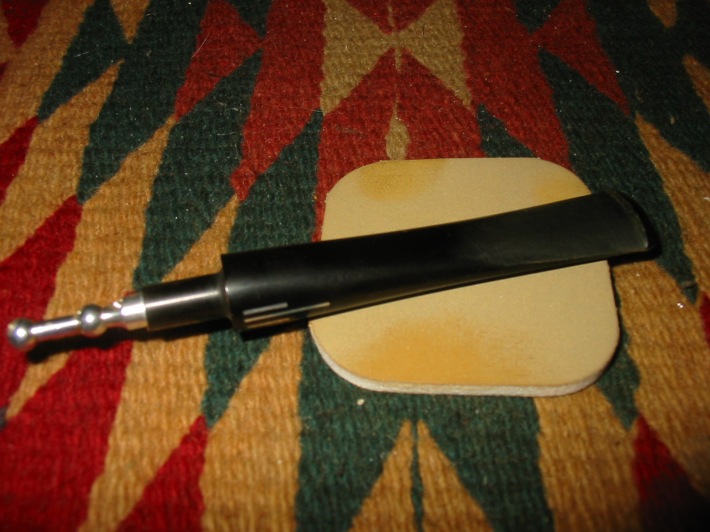
 Once the repairs cured I recut the button edge and flattened out the repaired areas with a needle file to begin to blend them into the surface.
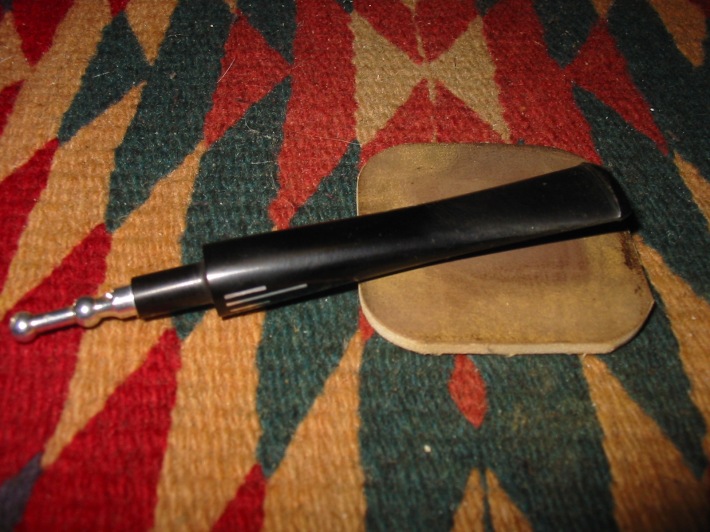
  I sanded the stem with 220 grit sandpaper to further blend the repaired areas in and started polishing the stem with 400 grit wet dry sandpaper.
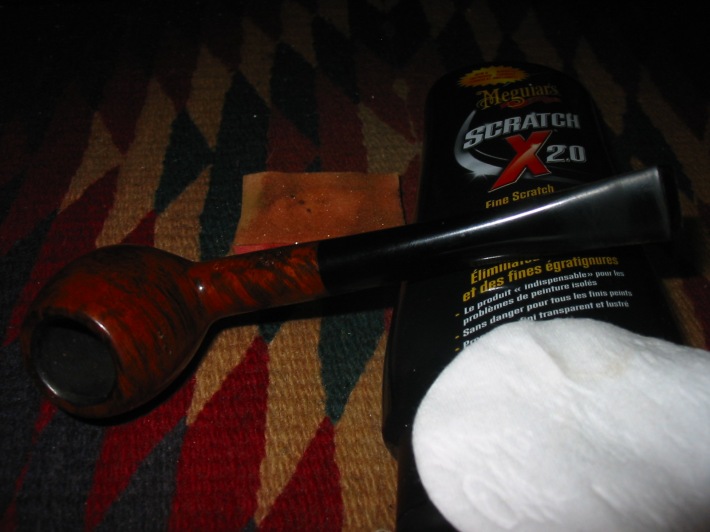
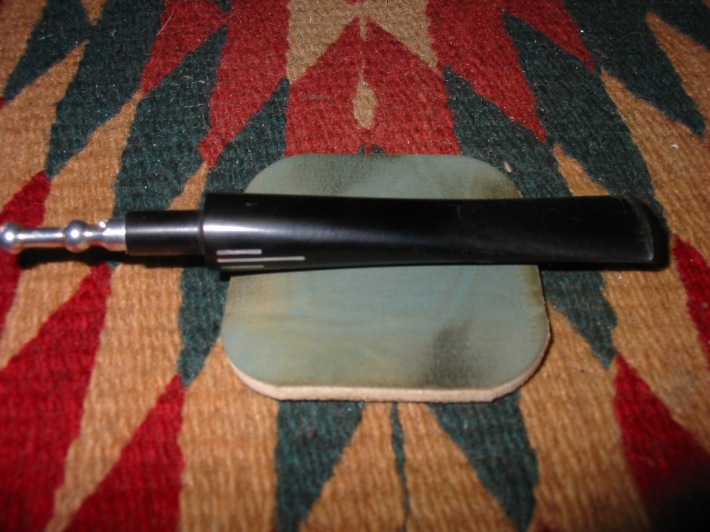
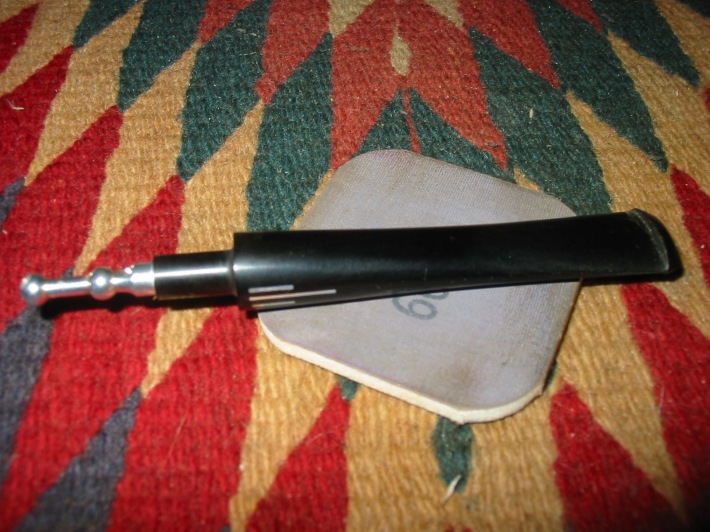
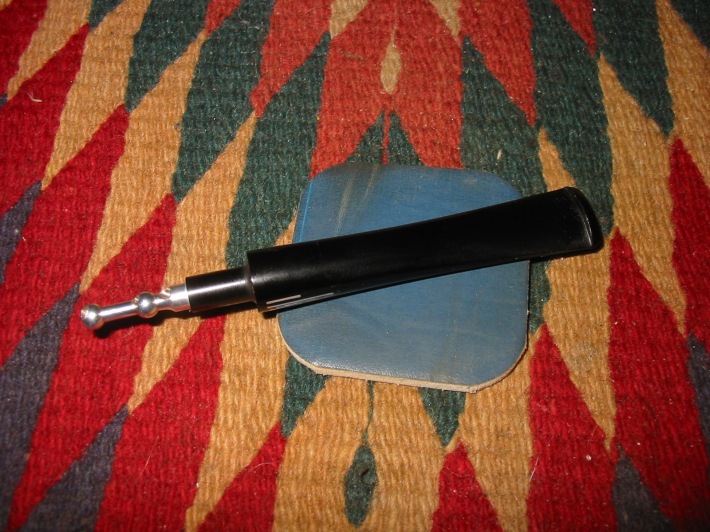
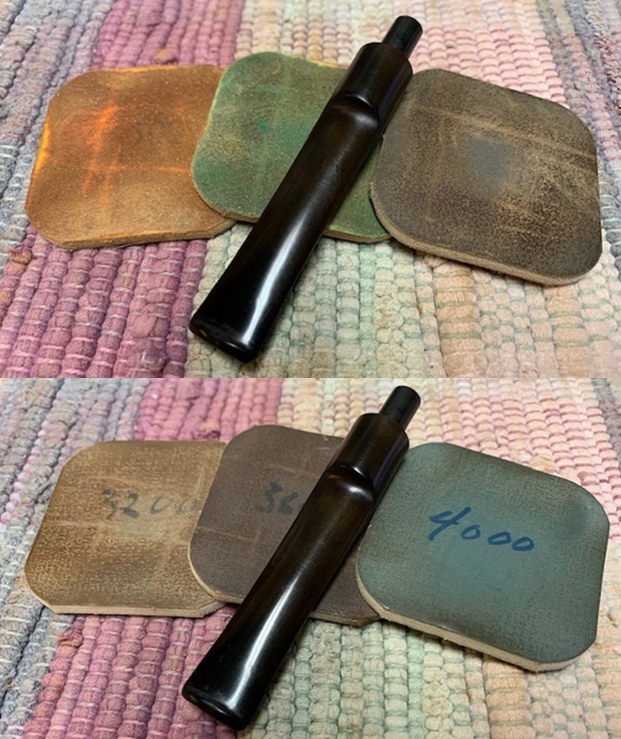
  I polished the stem with micromesh sanding pads – 1500-12000 grit pads. I wiped it down with Obsidian Oil after each sanding pad. I used Before & After Pipe Polish – both Fine and Extra Fine to further polish the stem.
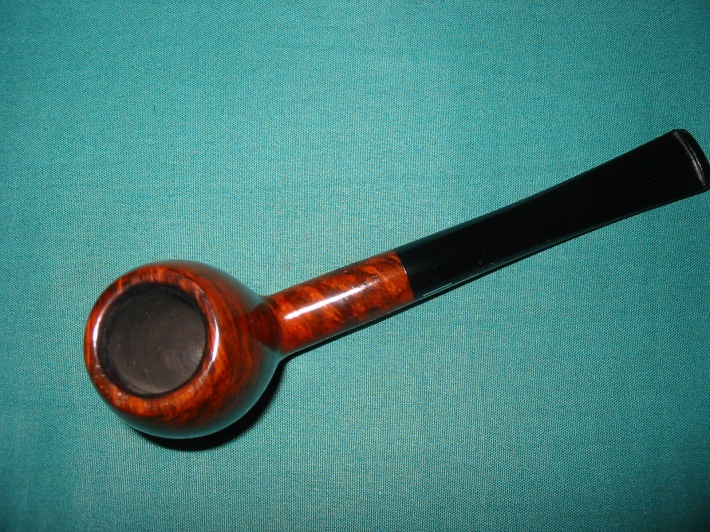
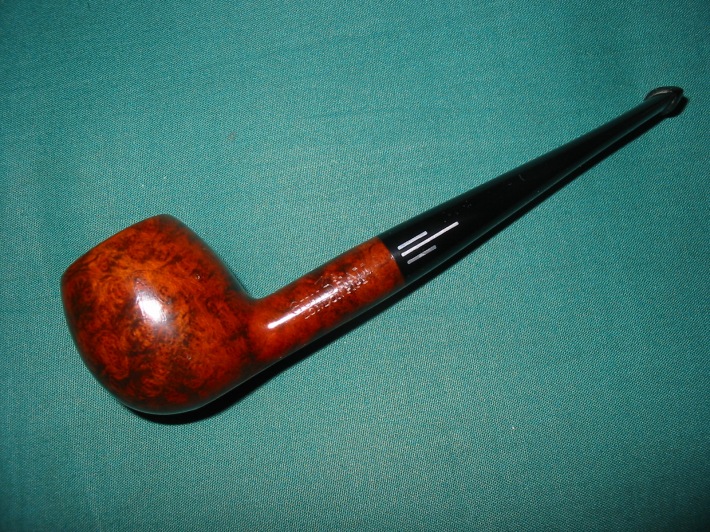
 This The Guildhall London Pipe 182 Billiard is a great looking pipe. The smooth finish and contrasting brown stains around the bowl sides and shank make the grain just pop. The finish on the pipe is in excellent condition and the contrasting stains work well to give some contrast to the polished black vulcanite saddle stem. The stem repair worked very well on the bite through on the underside and it is solid and virtually invisible. The pipe is really quite eye-catching. I put the stem back on the bowl and buffed the pipe with Blue Diamond on the buffing wheel, carefully avoiding the stamping on the shank. I gave the bowl and the stem multiple coats of carnauba wax on the buffing wheel and followed that by buffing it with a clean buffing pad. I hand buffed the pipe with a microfiber cloth to deepen the shine. The finished Guildhall Billiard is quite nice and feels great in the hand. Give the finished pipe a look in the photos below. I can only tell you that like the other pipes I am working that it is much prettier in person than the photos capture. The dimensions of the pipe are Length: 5 ½ inches, Height: 2 inches, Outside diameter of the bowl: 1 ½ inches, Chamber diameter: 7/8 of an inch. Thanks for walking through the restoration with me as I worked over another interesting pipe. This Guidhall London Pipe made by Comoy’s will be added to the British Pipe Makers section of the rebornpipes store soon. If you want to add it to your collection send me an email or a message! Thanks for your time.