Blog by Steve Laug
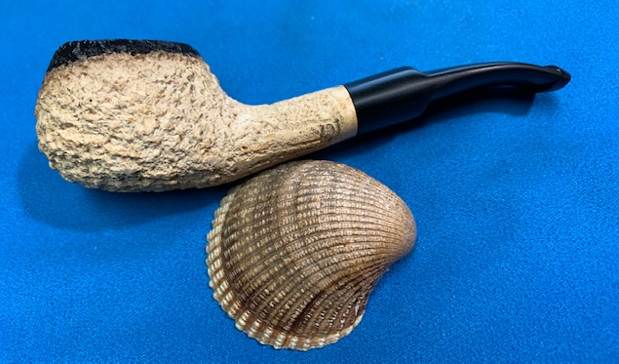
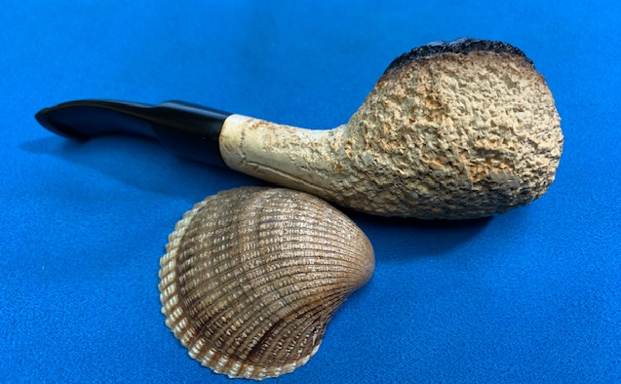
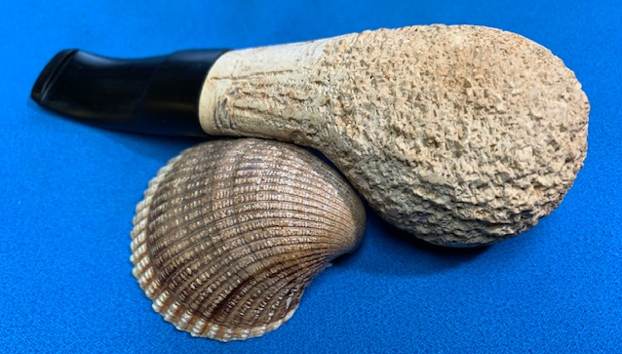
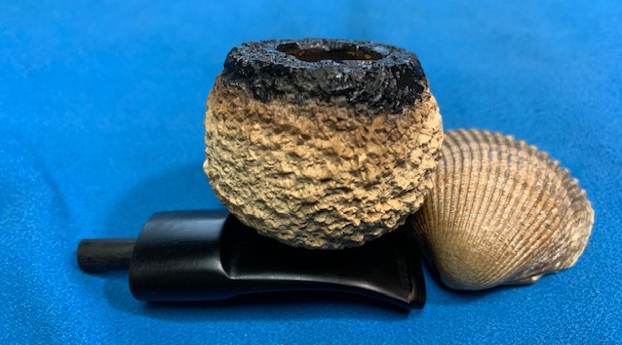
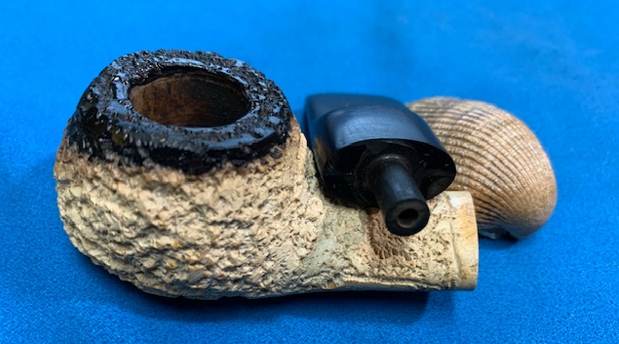
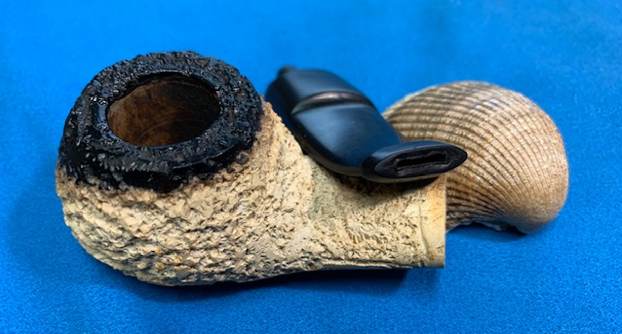
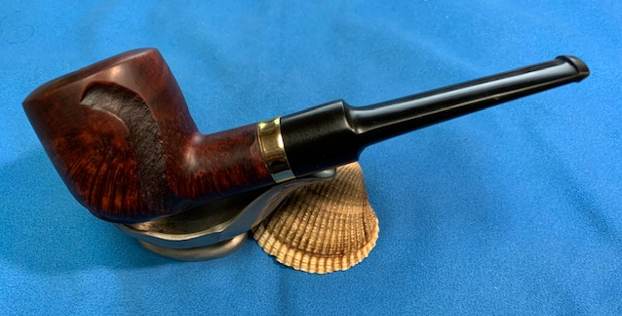
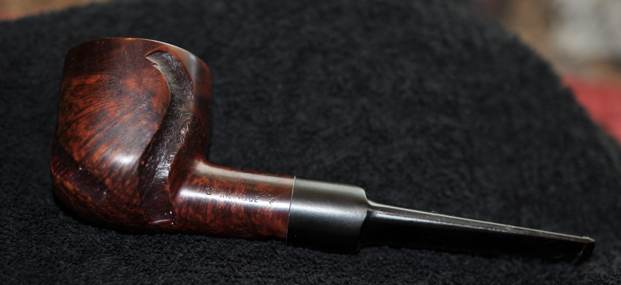
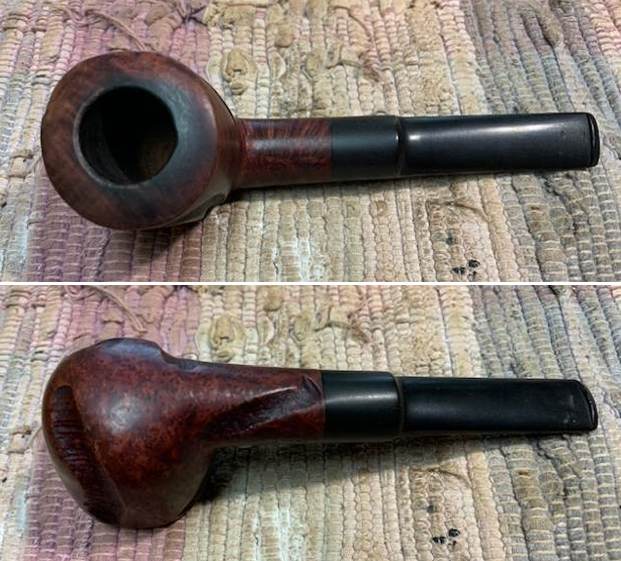
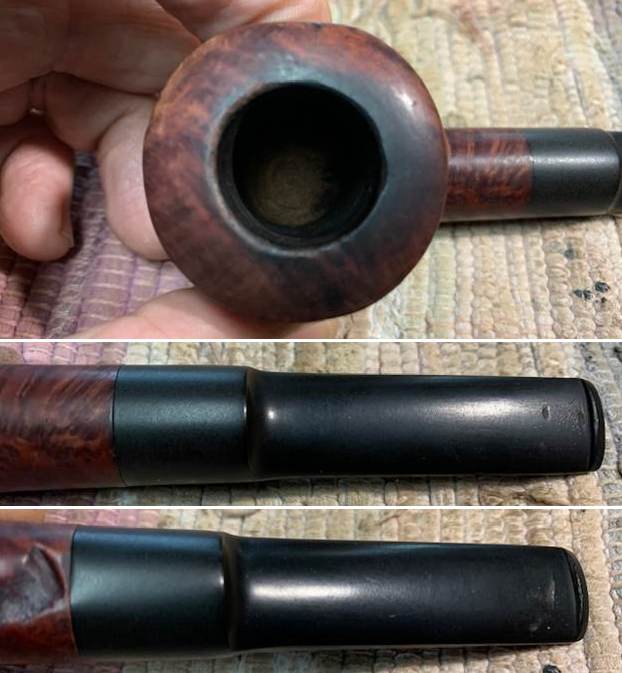
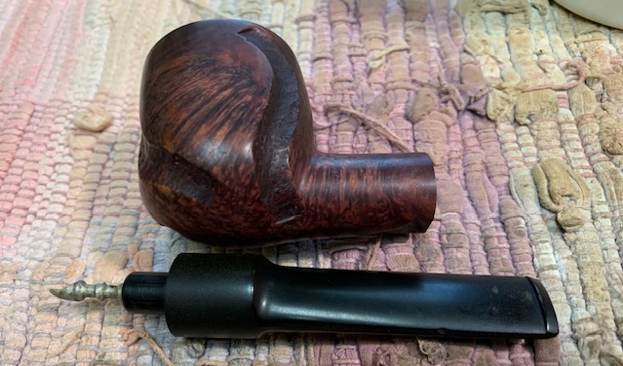
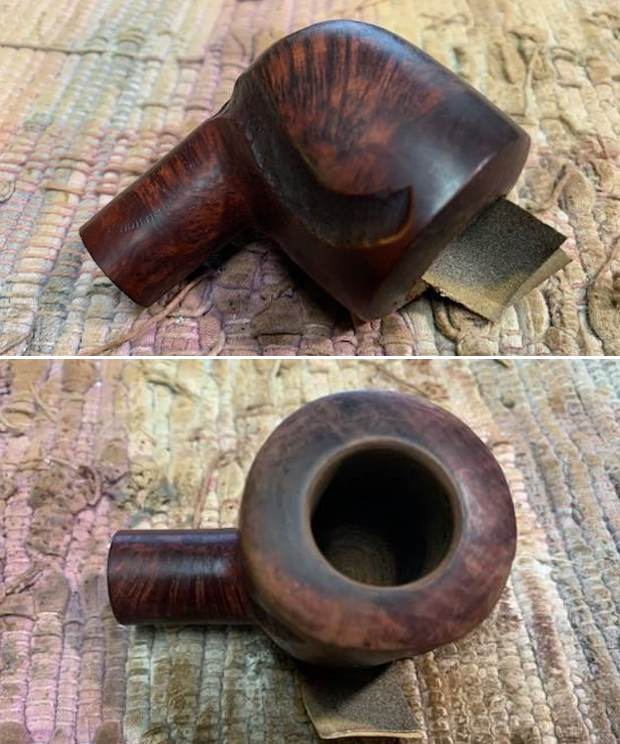
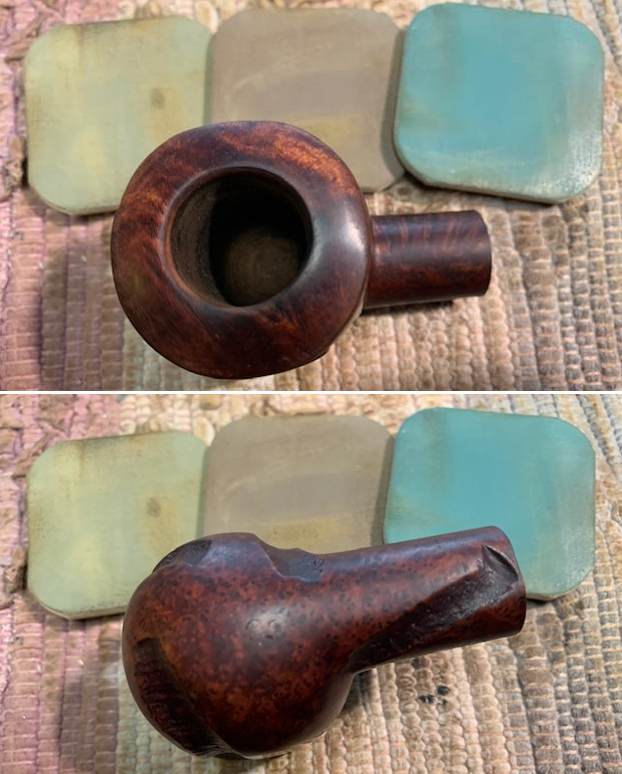
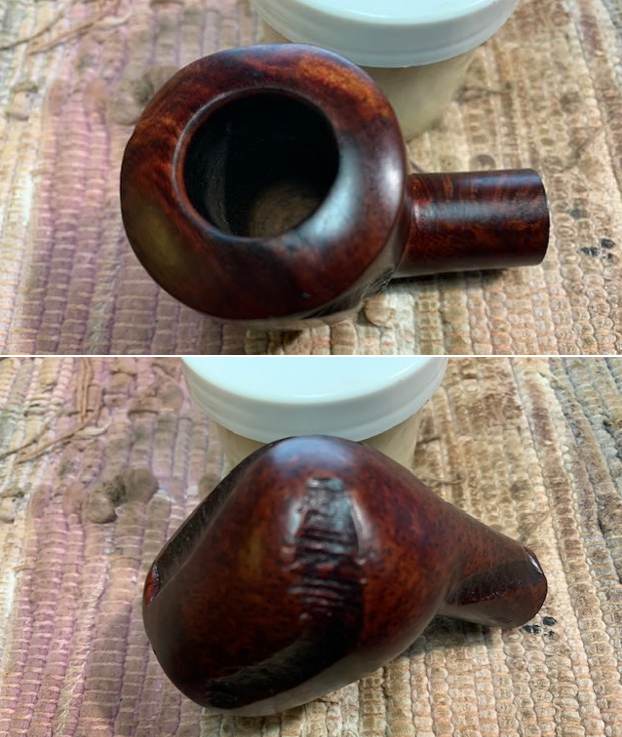
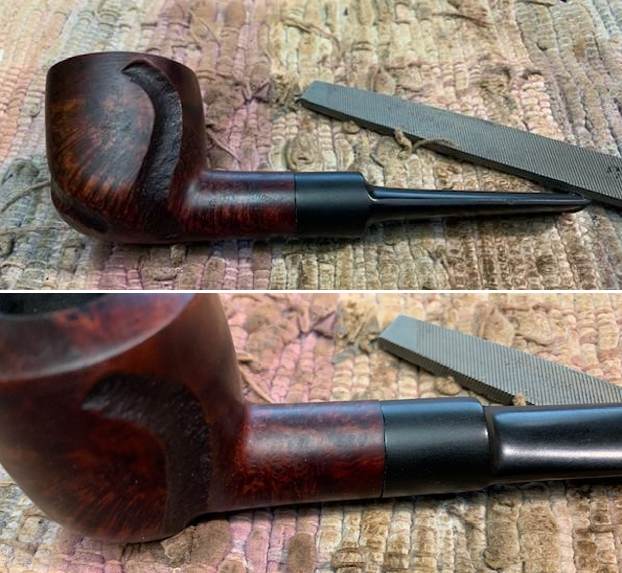
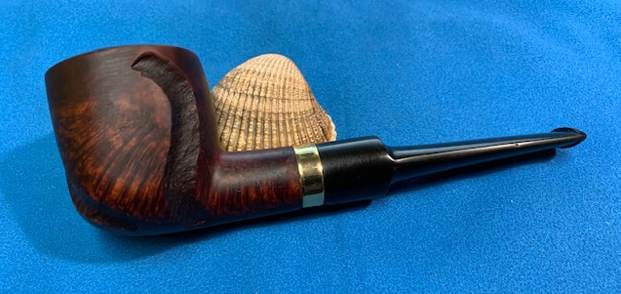
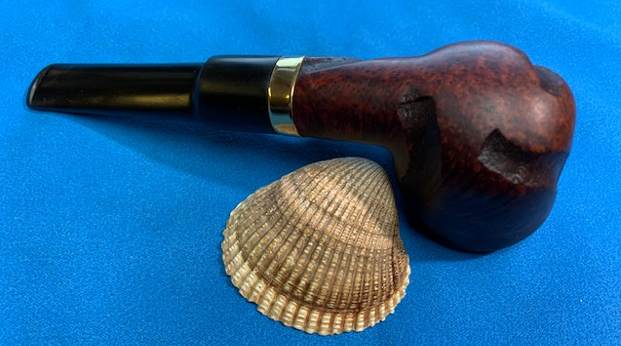
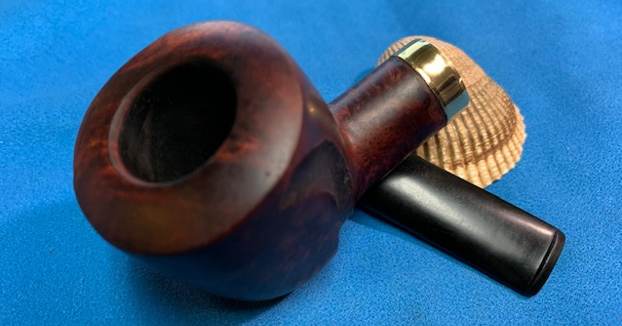
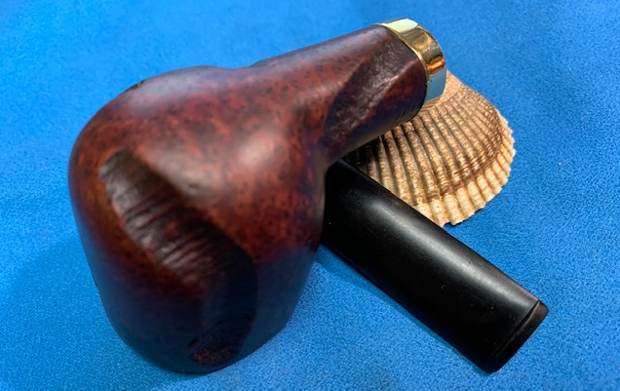
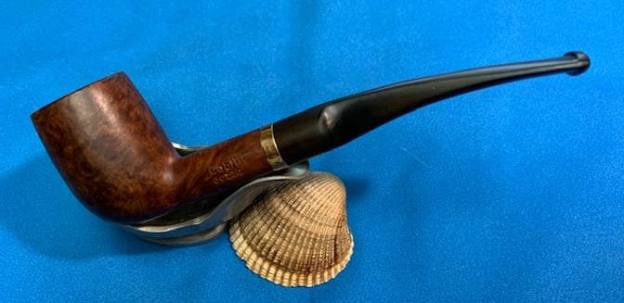
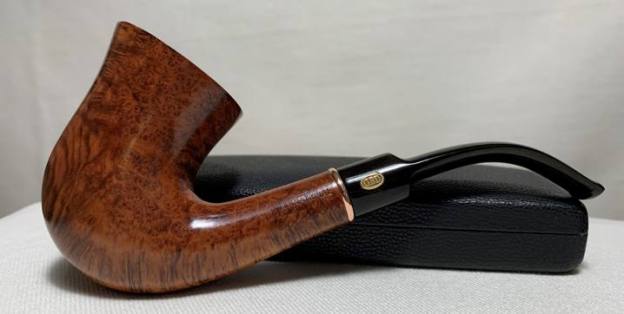
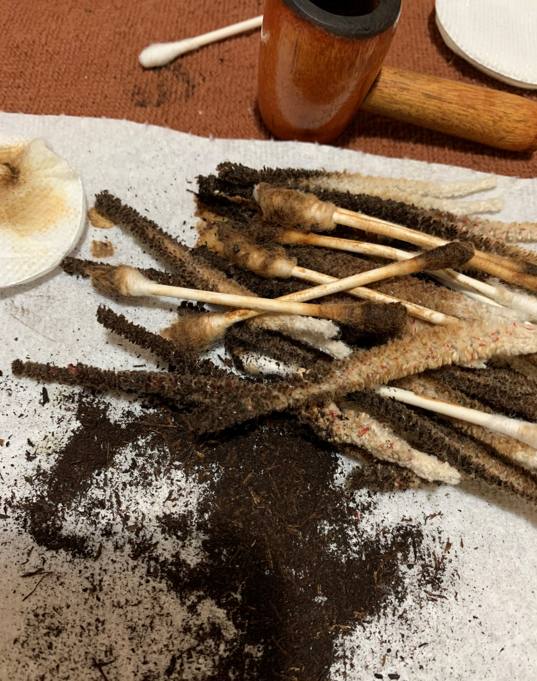
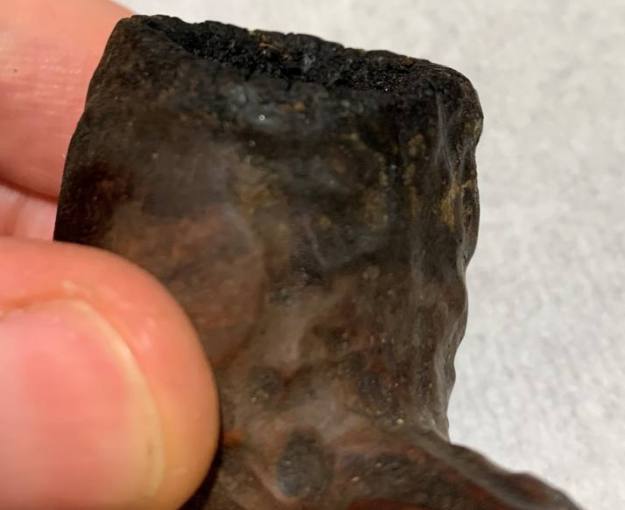
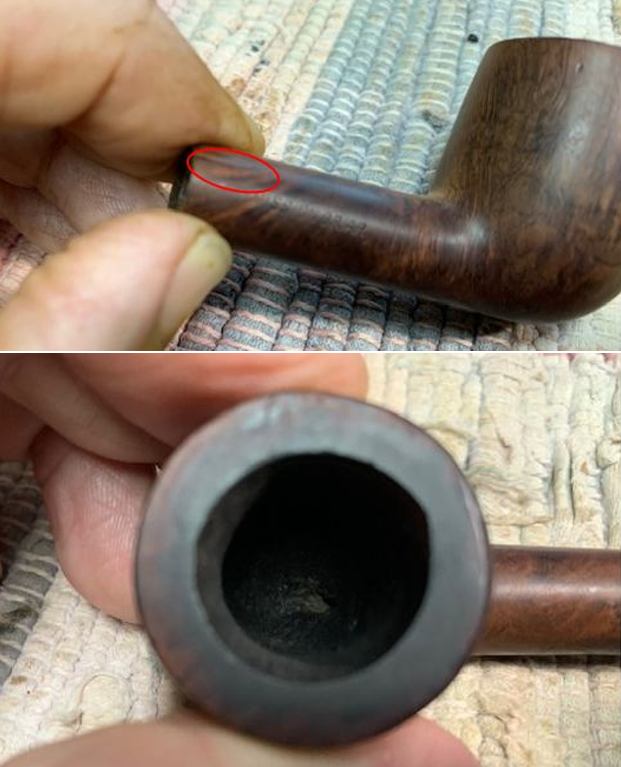
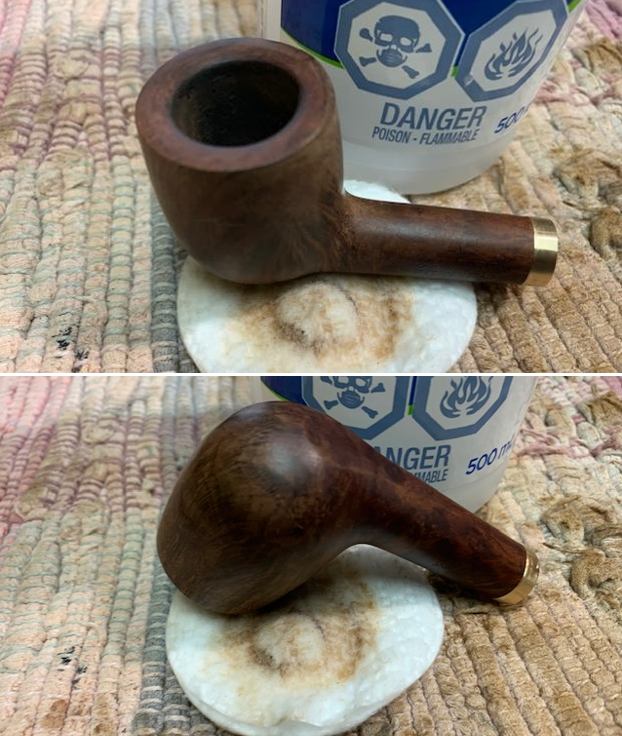
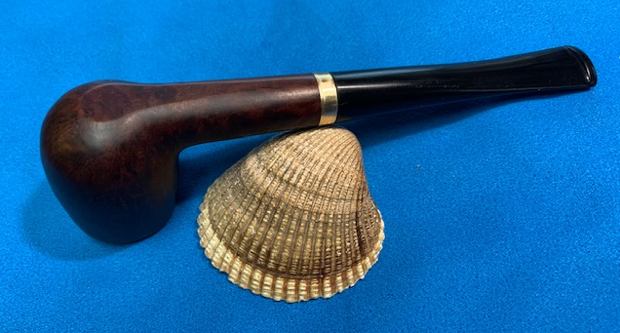
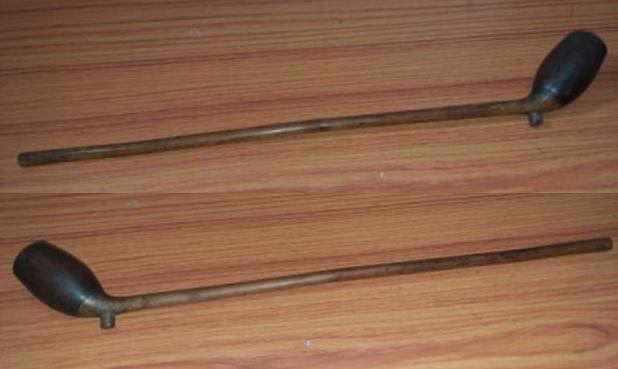
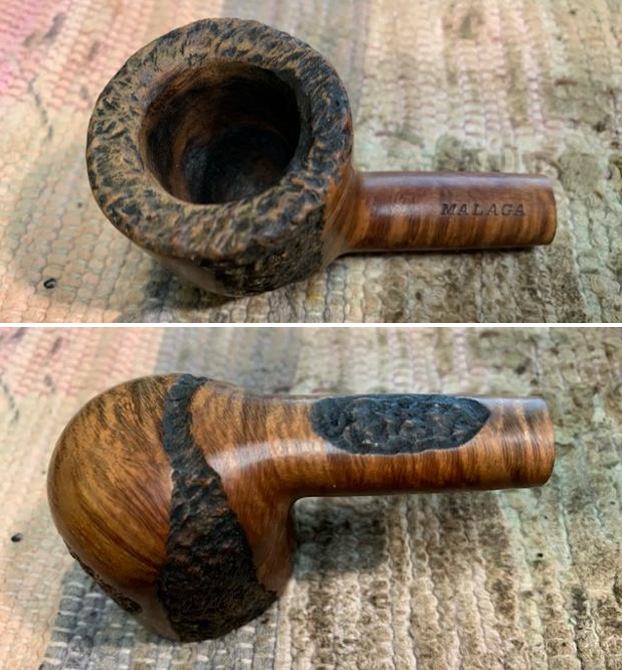
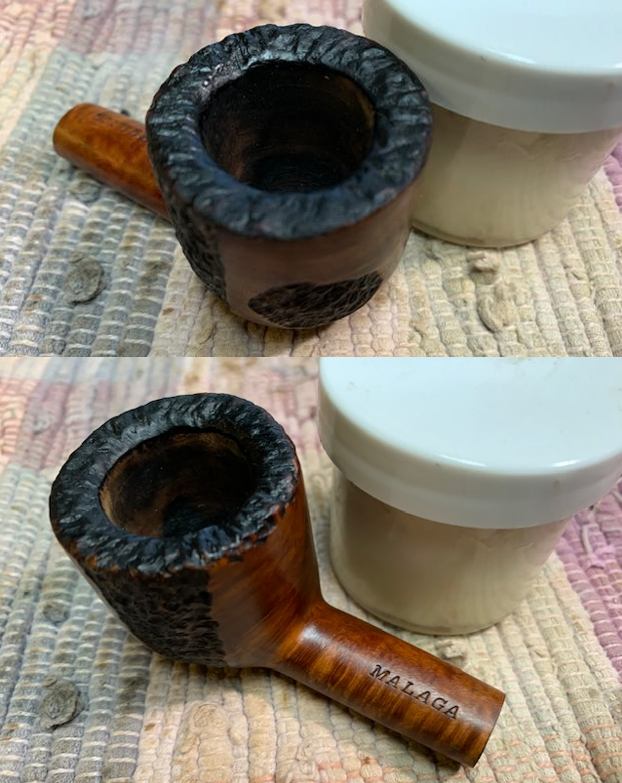
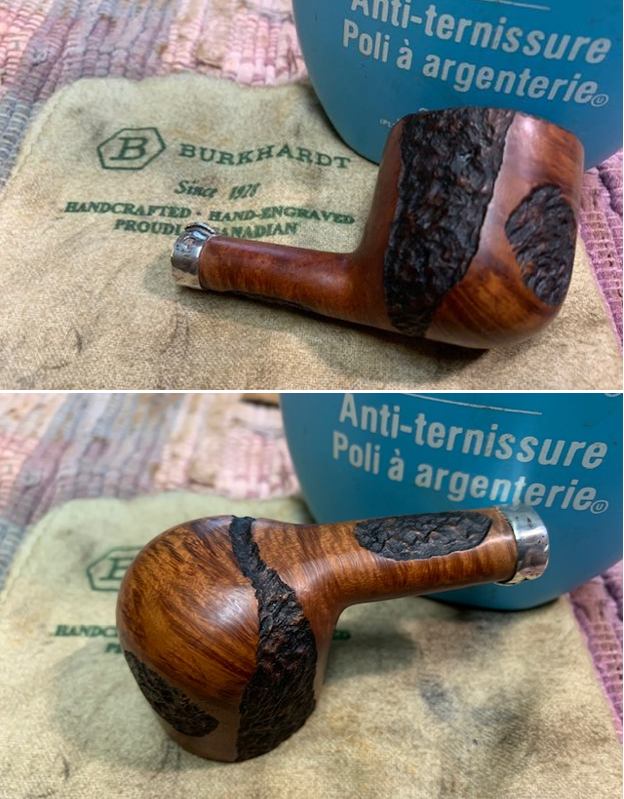
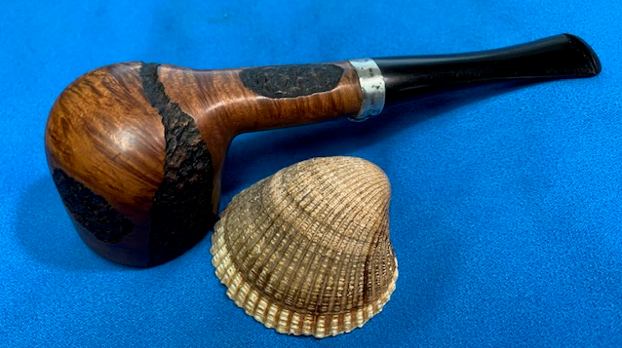
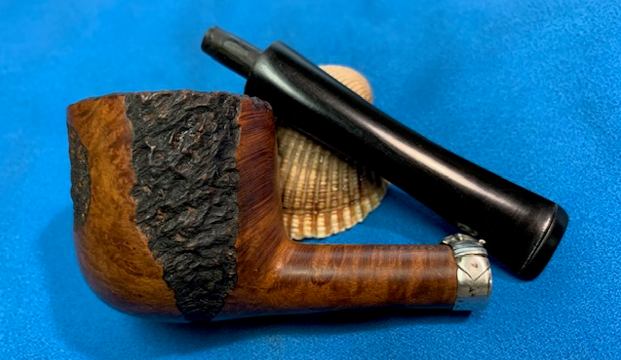
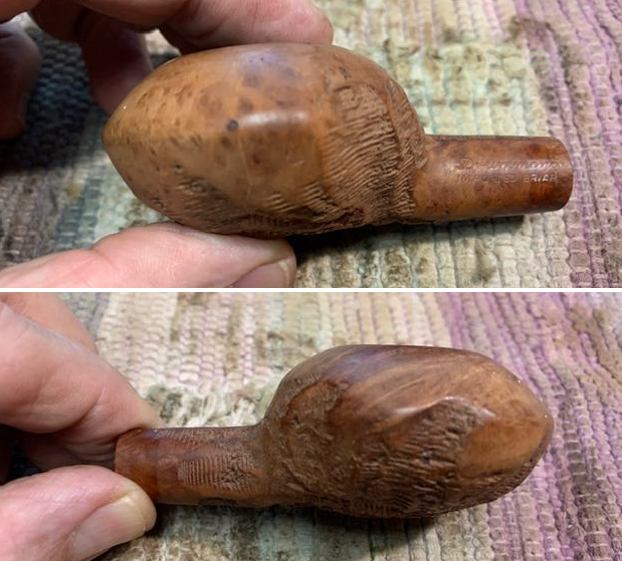
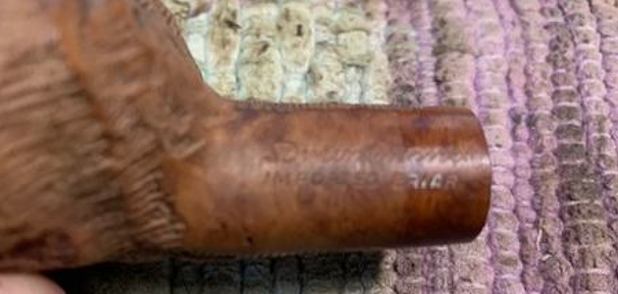
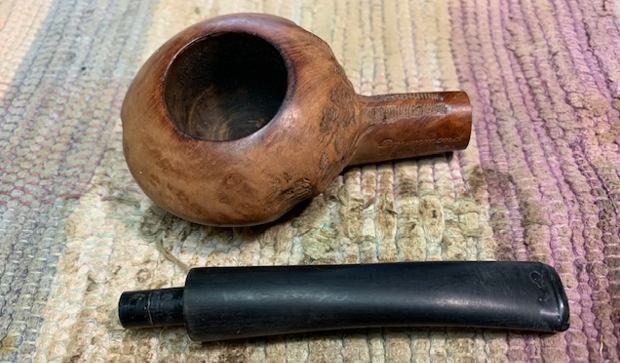
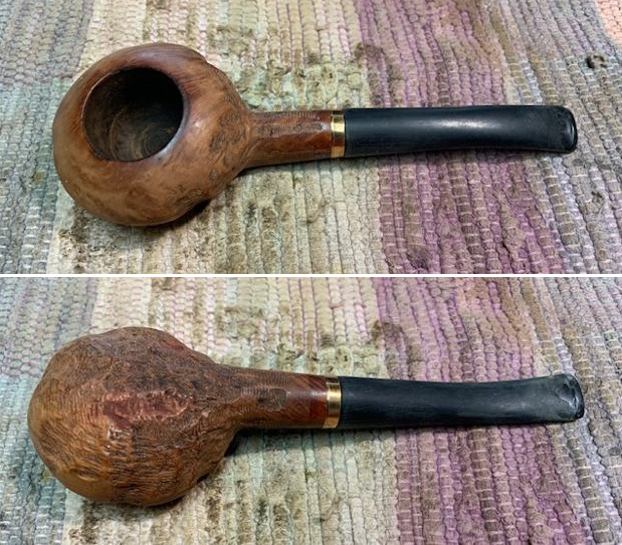
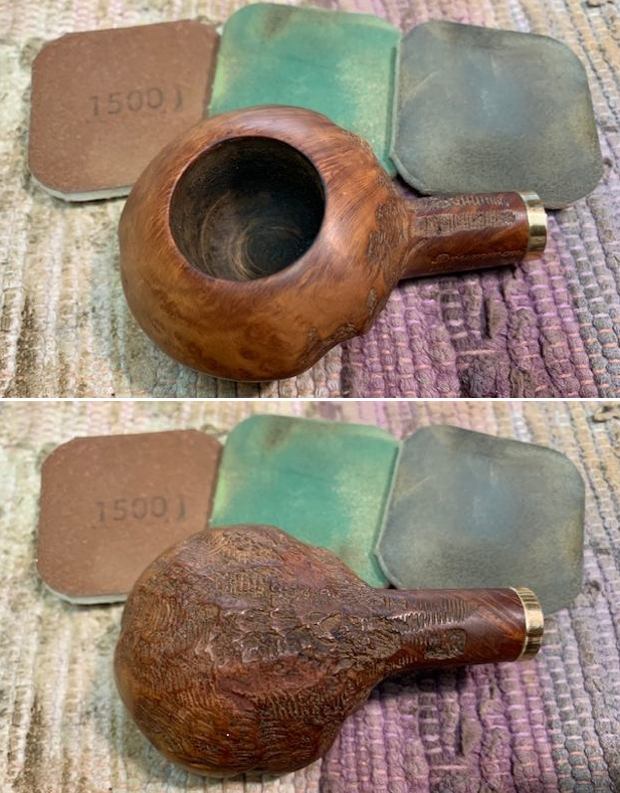
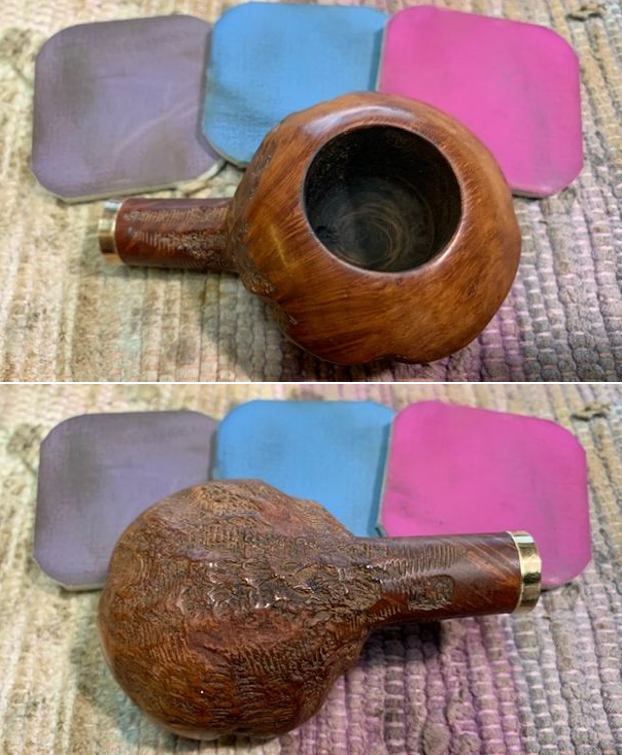
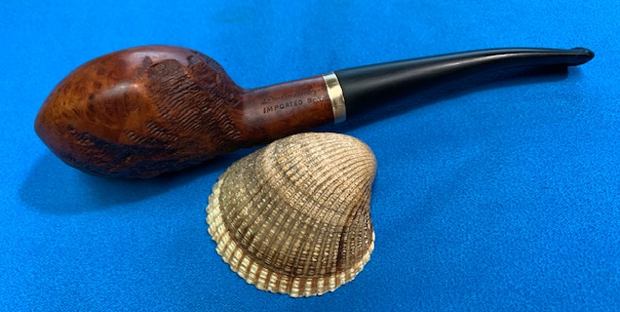
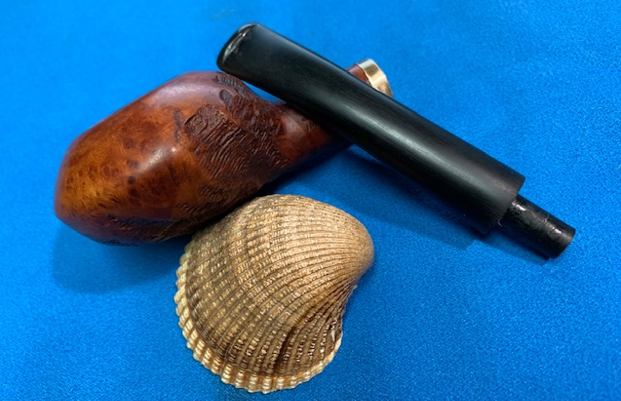
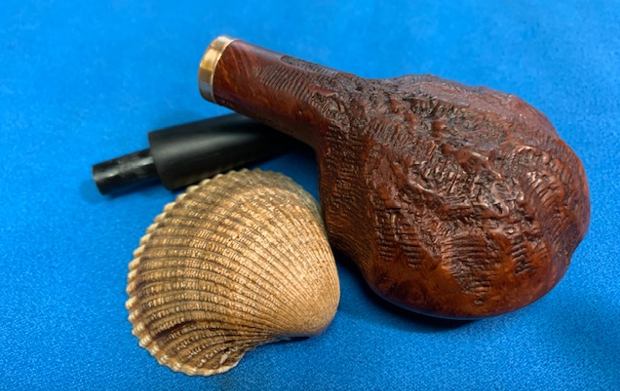
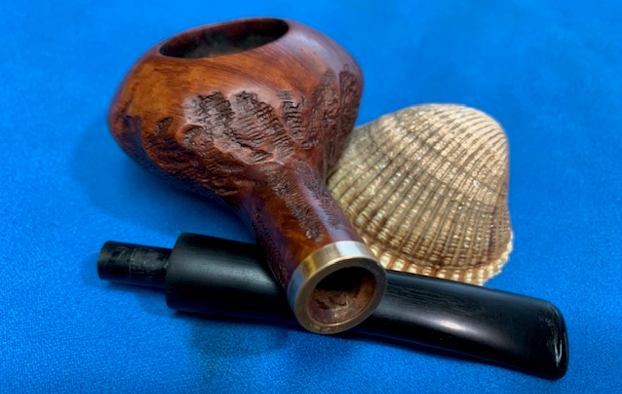
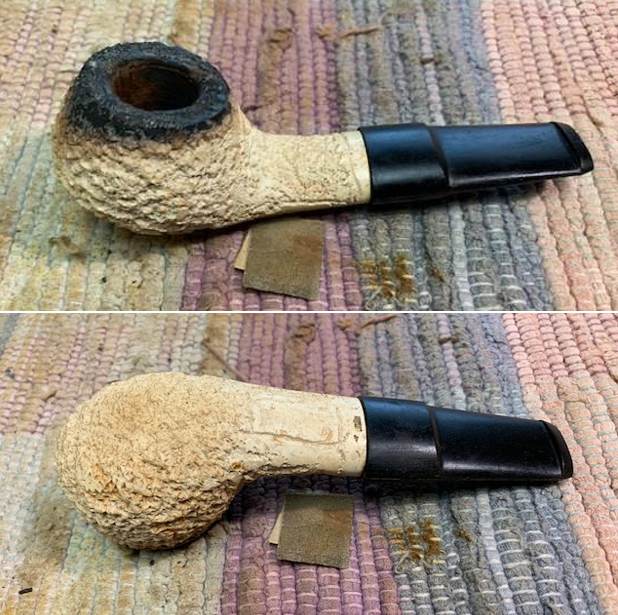
The next pipe I chose to work on was another bowl from my box to restem. This one is an interesting looking meerschaum with a rugged rustication on the bowl and shank. It has a flumed black rim top with the colour going down a short distance on the bowl sides. It is stamped on the underside of the shank and reads Genuine Block [over] Meerschaum. Arched around the end at the shank stem it is stamped GT. Britain. The stamping was faint but readable and to me it looks like an African Meerschaum pipe made by Manx pipes on the Isle of Man. It had been cleaned and reamed somewhere along the way by either Jeff or me. I honestly don’t remember when or where we got this bowl. It was tired looking but showed a lot of promise. The stem was long gone so this would be a restemming job. I took some photos of the bowl to give a since of the condition of this nice little Author. I took some photos of the stamping on the sides of the shank. The stamping is clear and readable as noted above.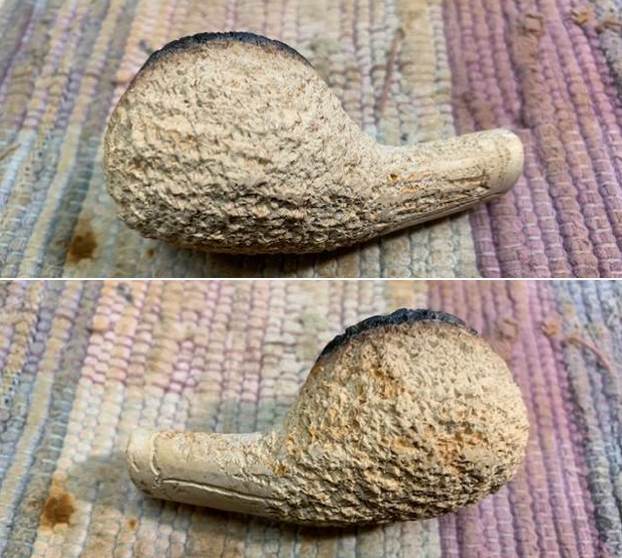
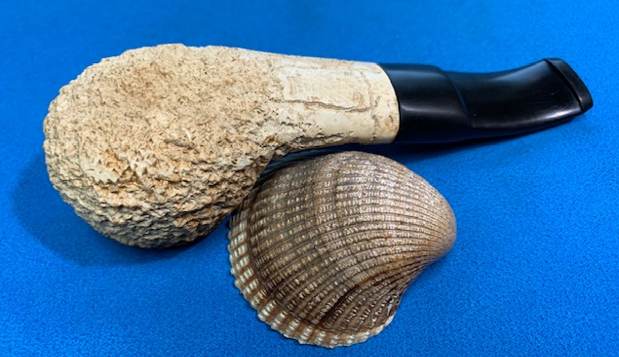
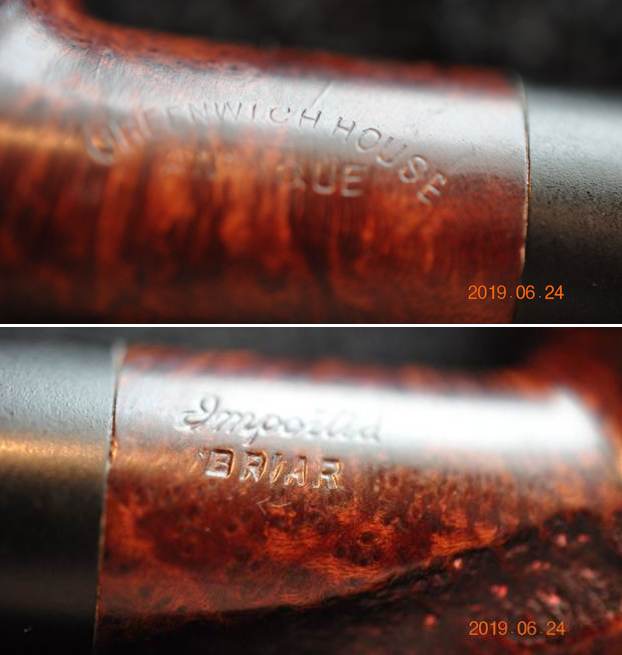
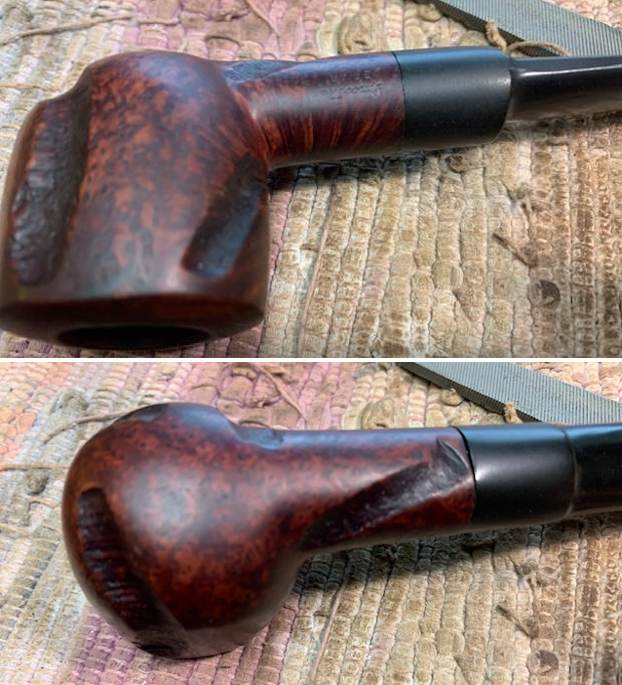
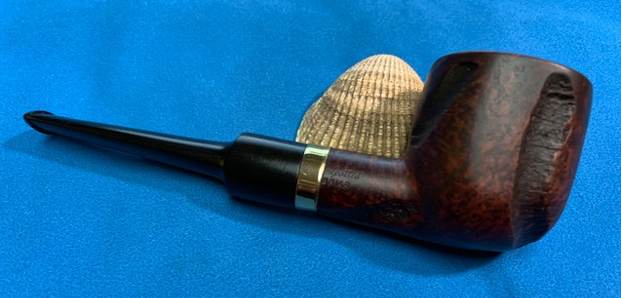
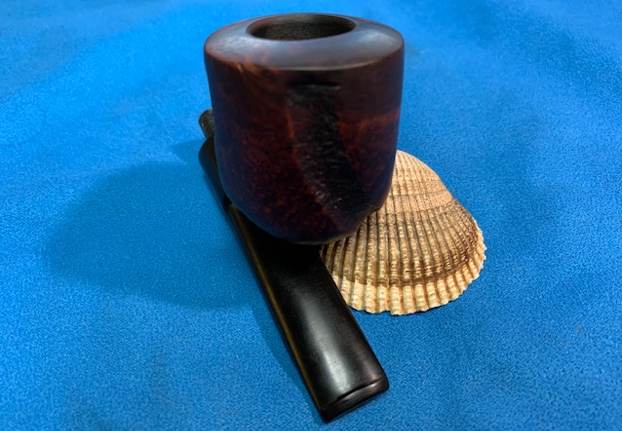
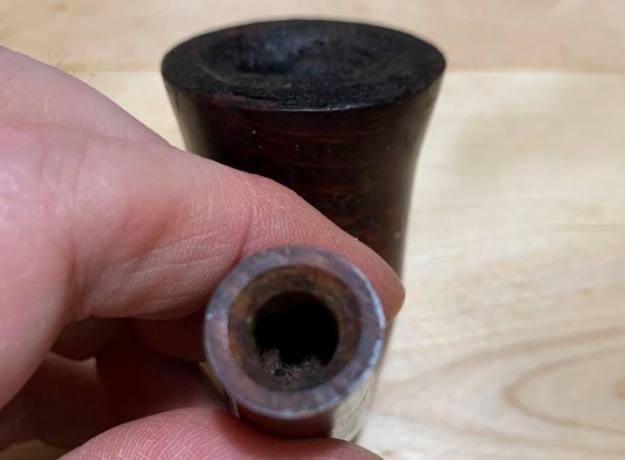
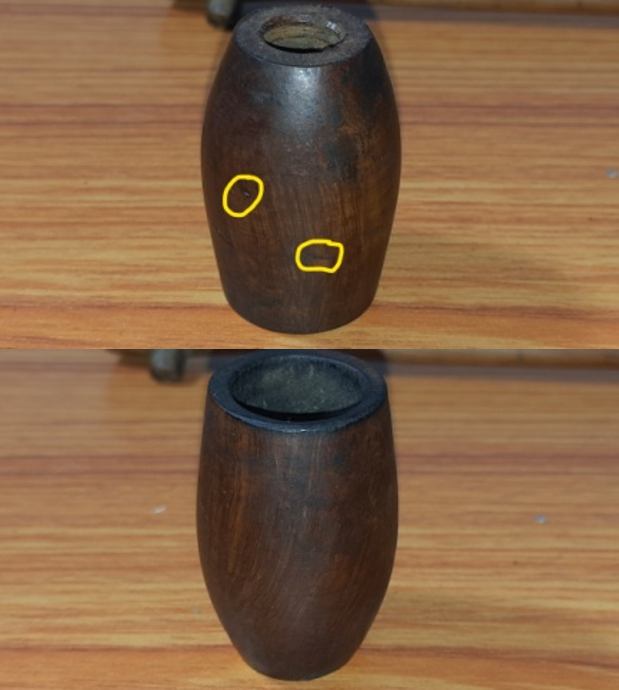
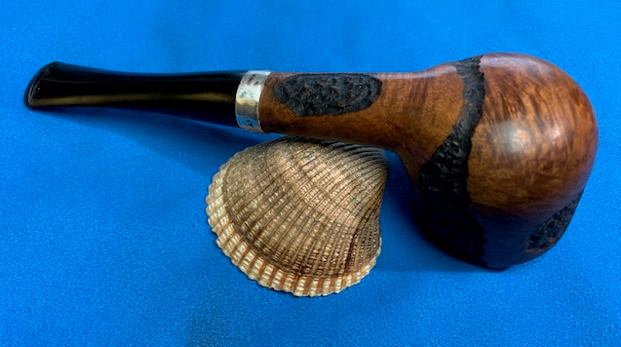
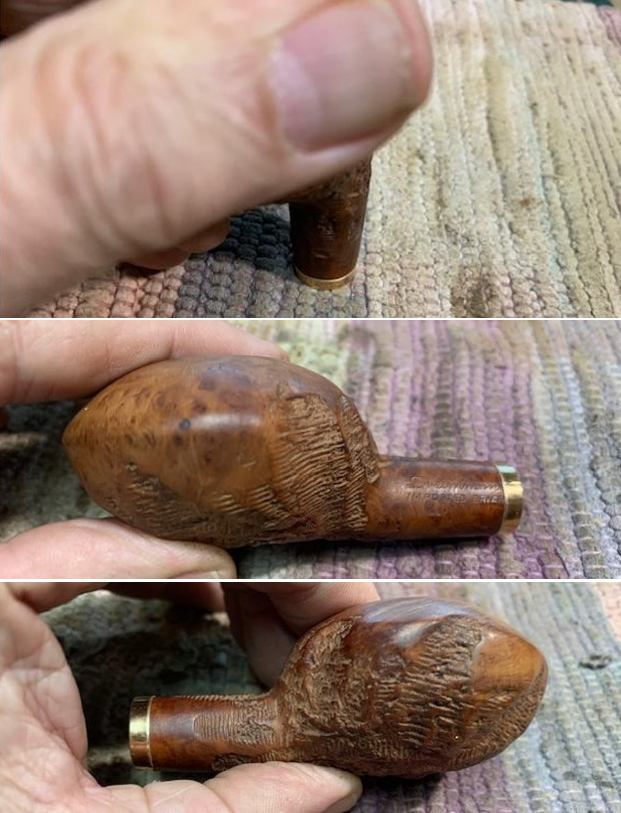
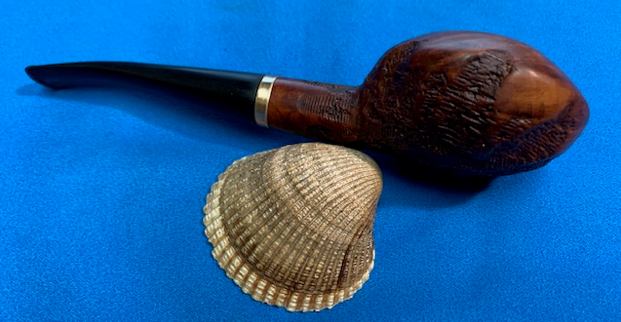
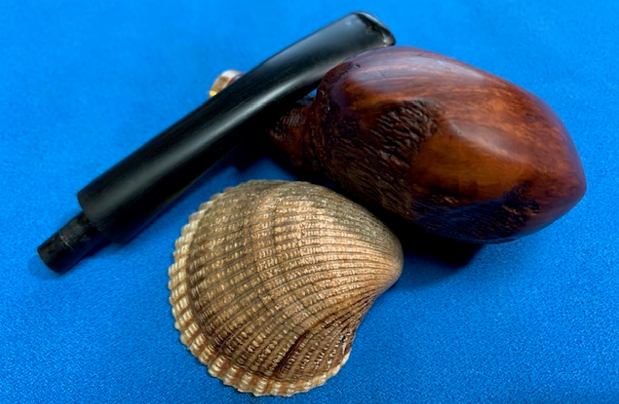
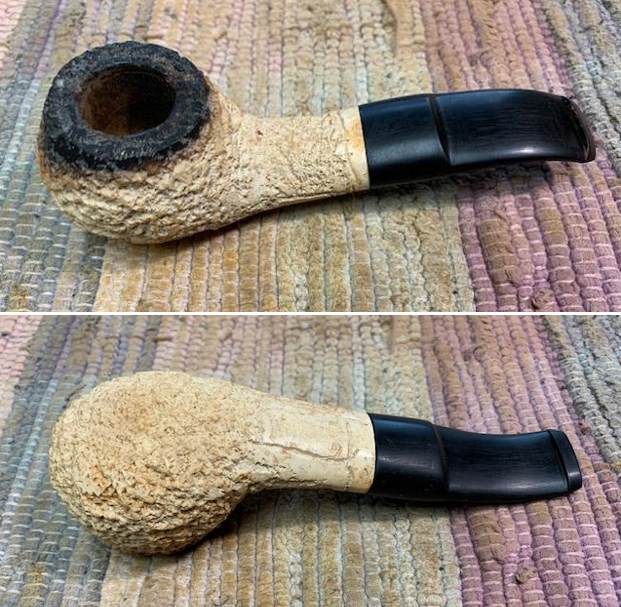
 There was a smooth panel on the underside of the shank. It is stamped/carved Genuine Block Meerschaum. It is faint but still readable.
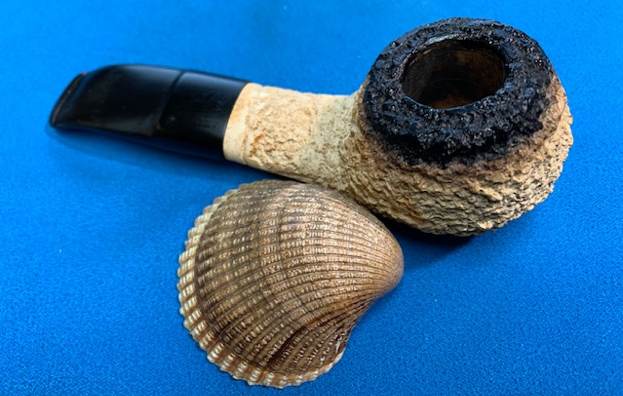
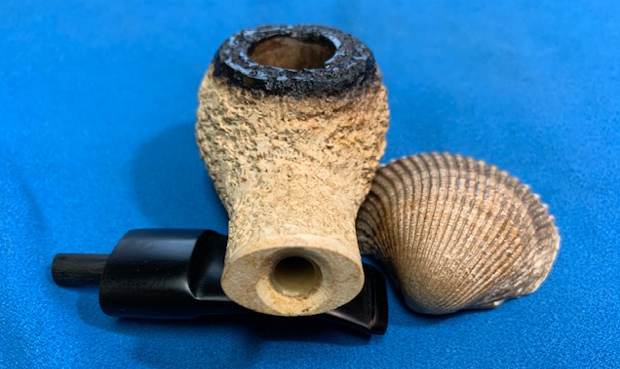
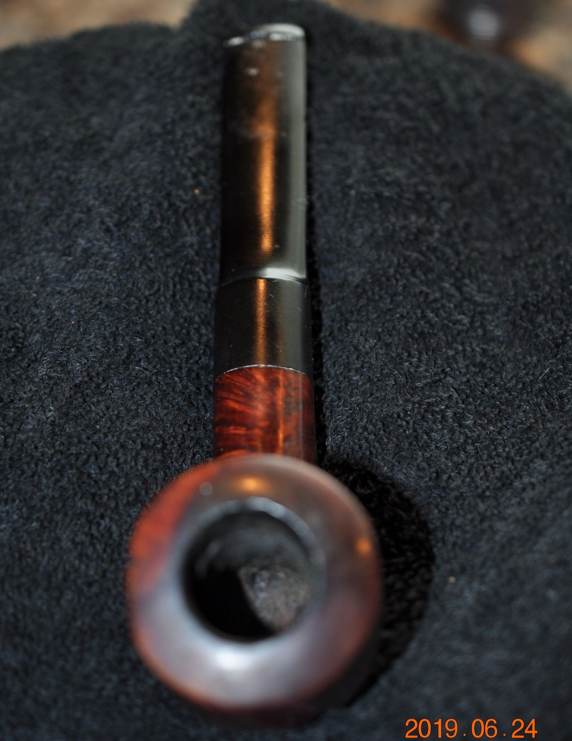
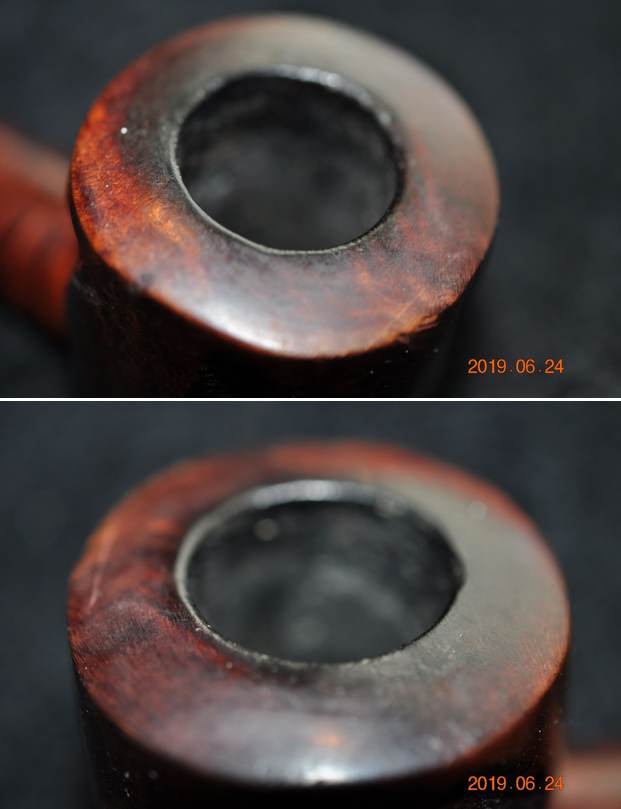
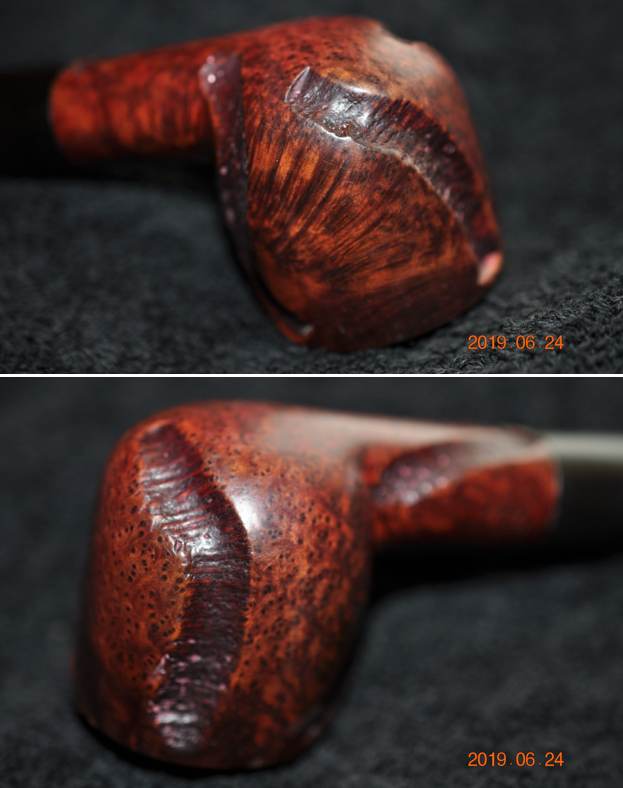
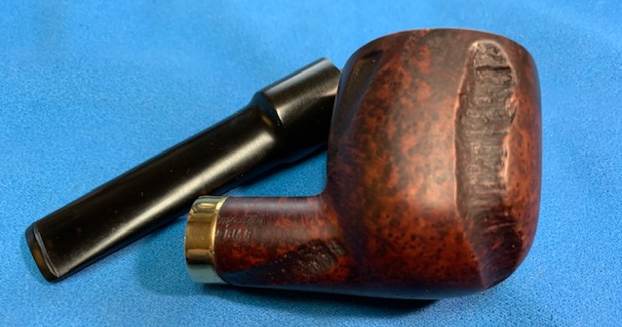
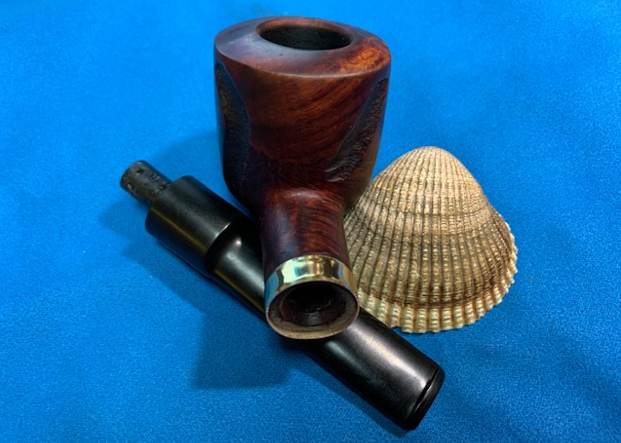
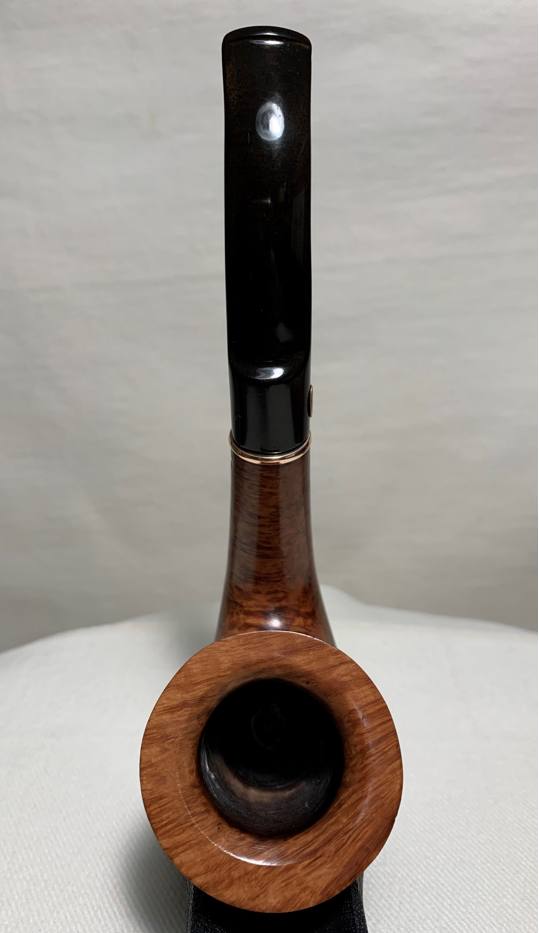
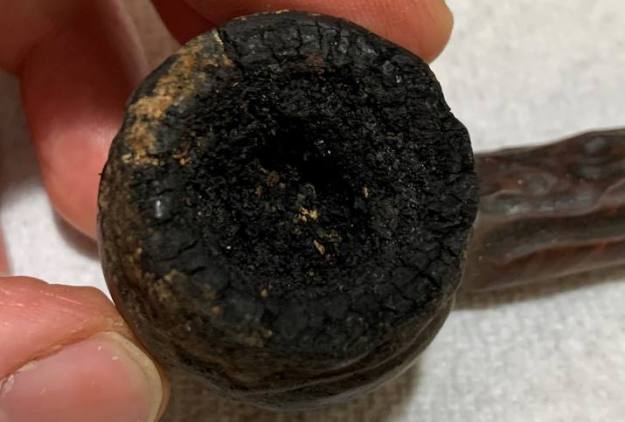
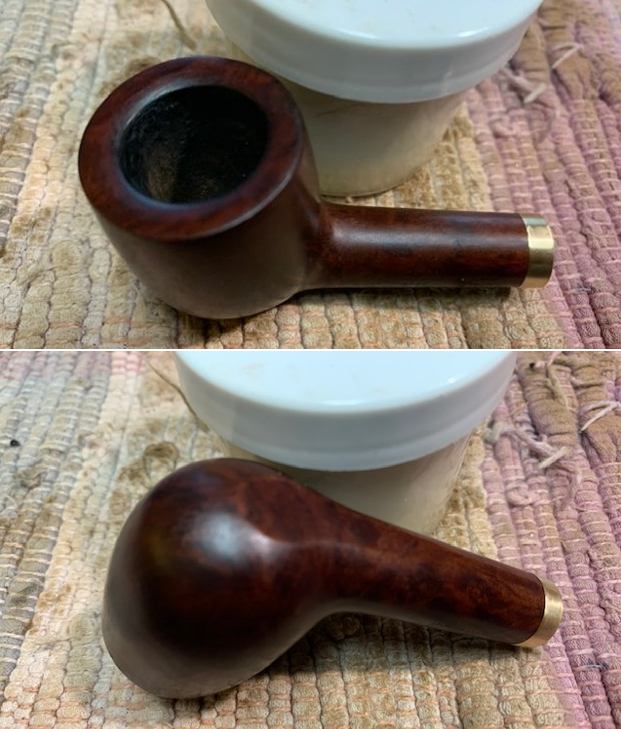
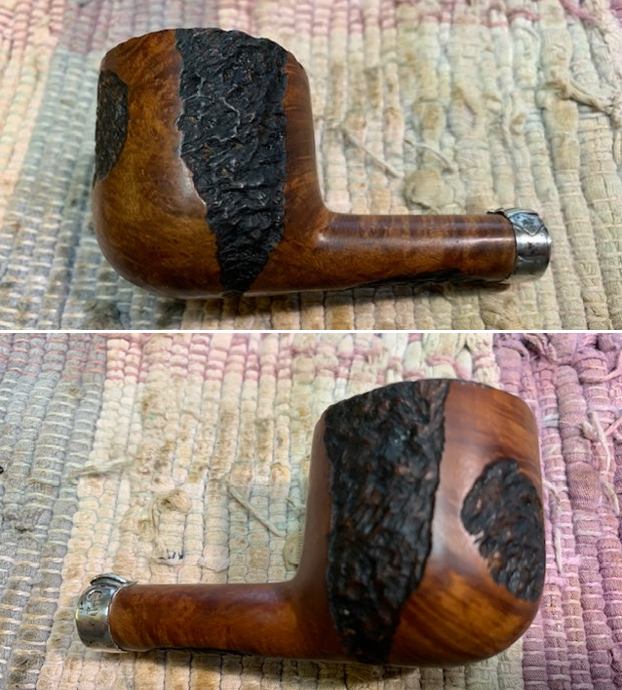
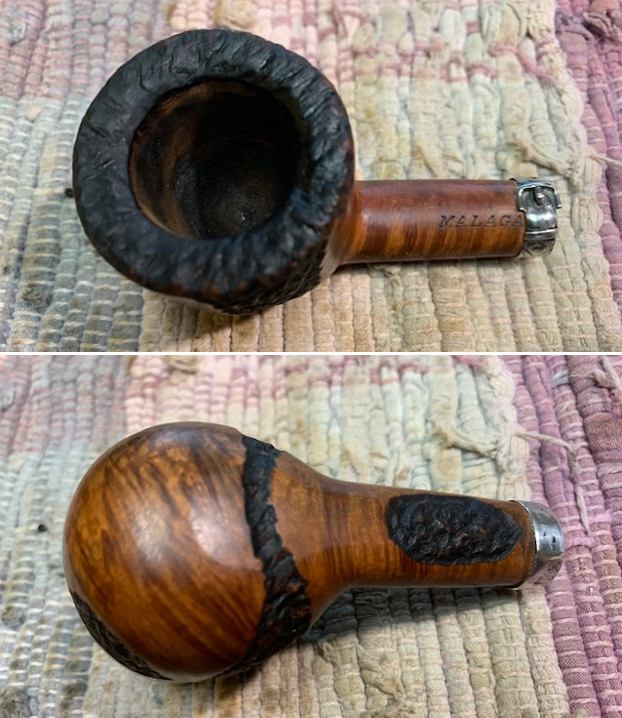
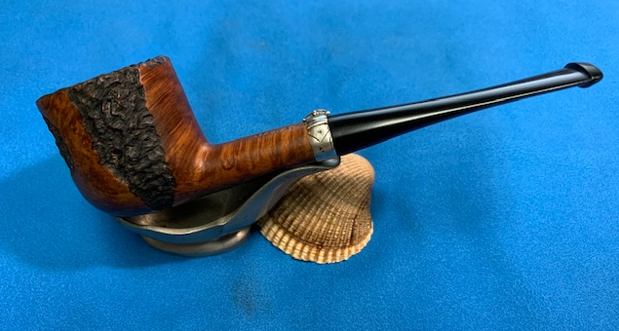
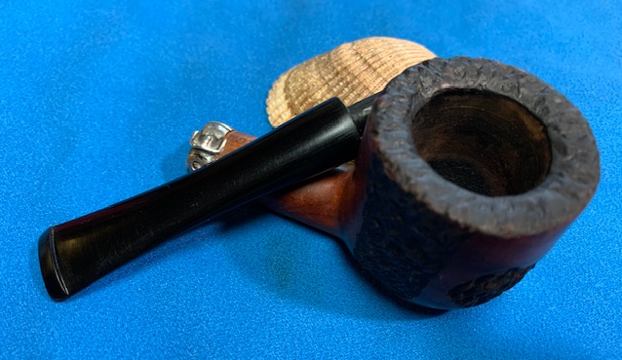
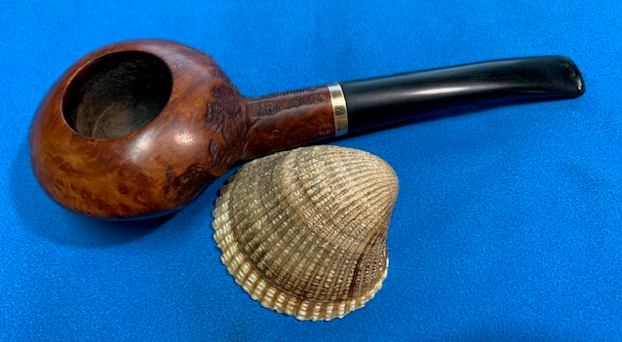
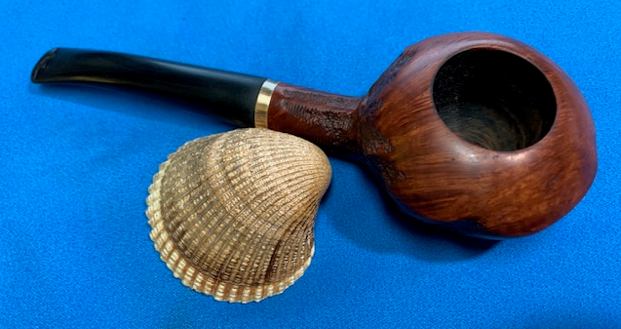
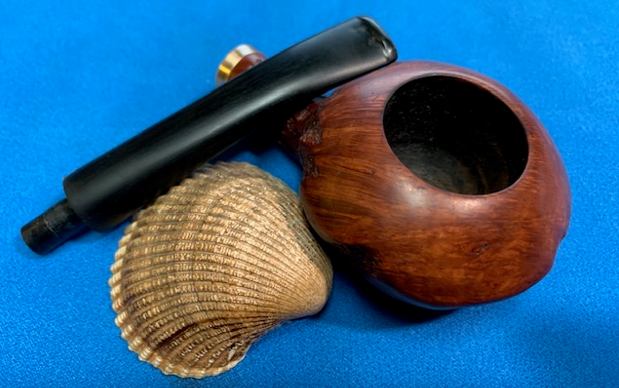
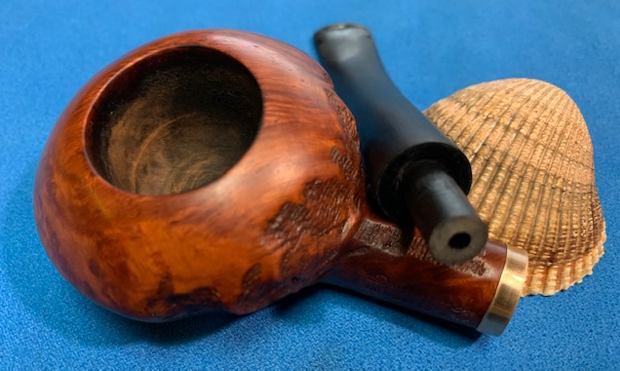
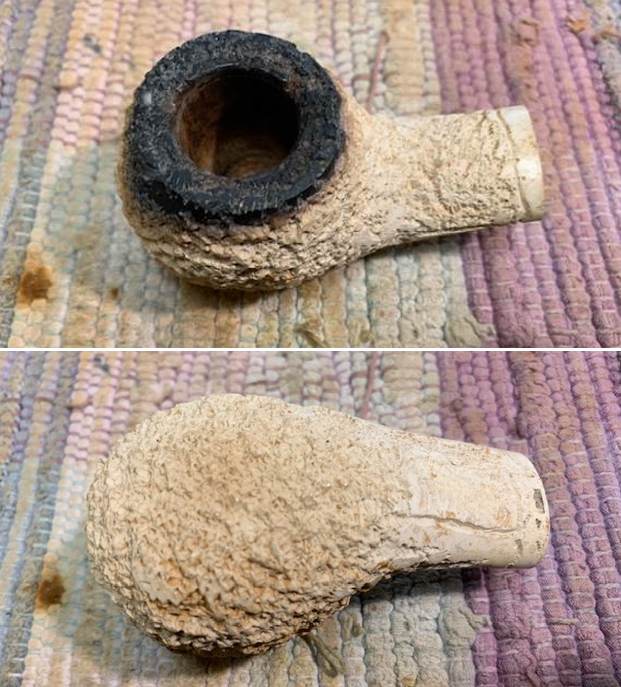
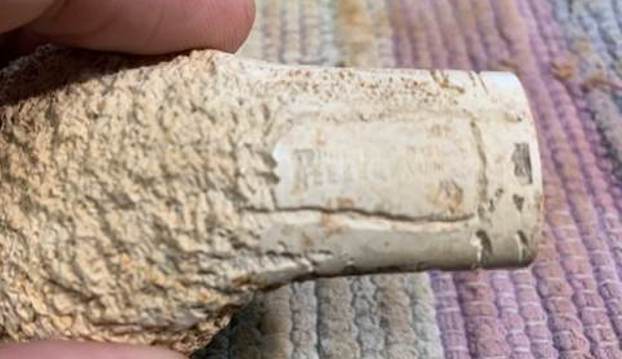 The next photo shows the flumed rim top and edges. It also shows the condition of the bowl and rim top/edges. It is clean but there is still a bit of lava on the rim top that will need to be addressed.
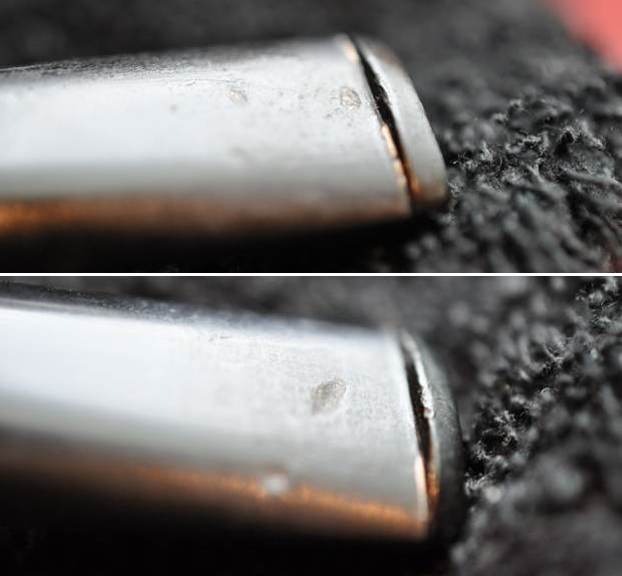
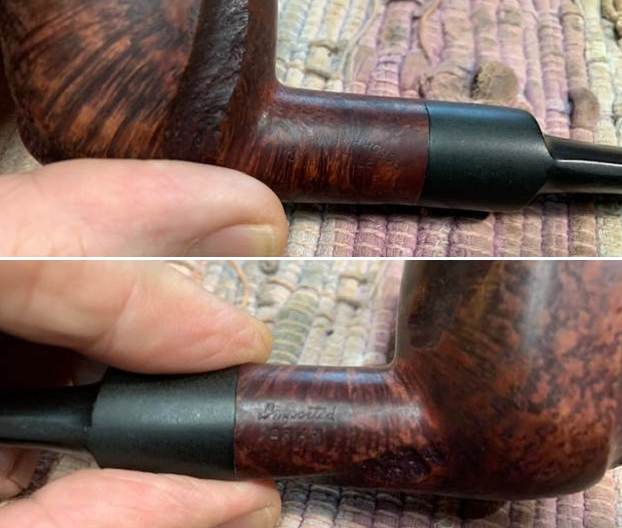
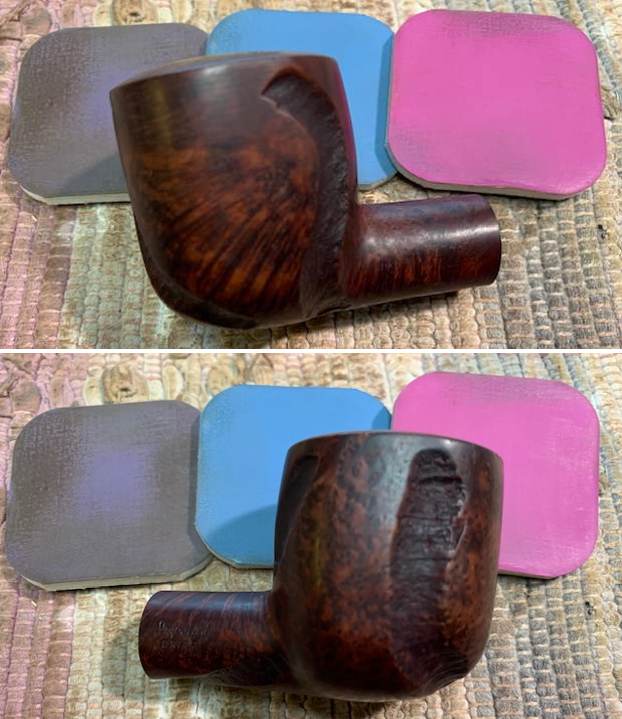
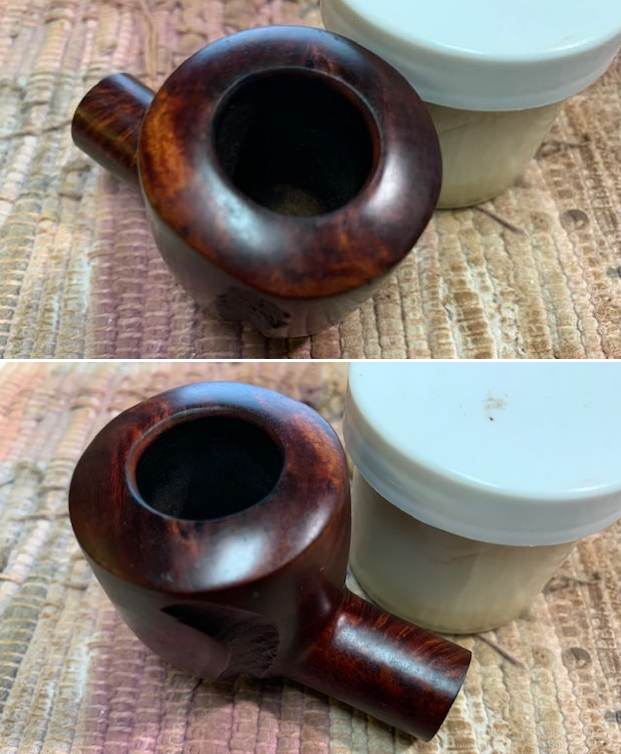
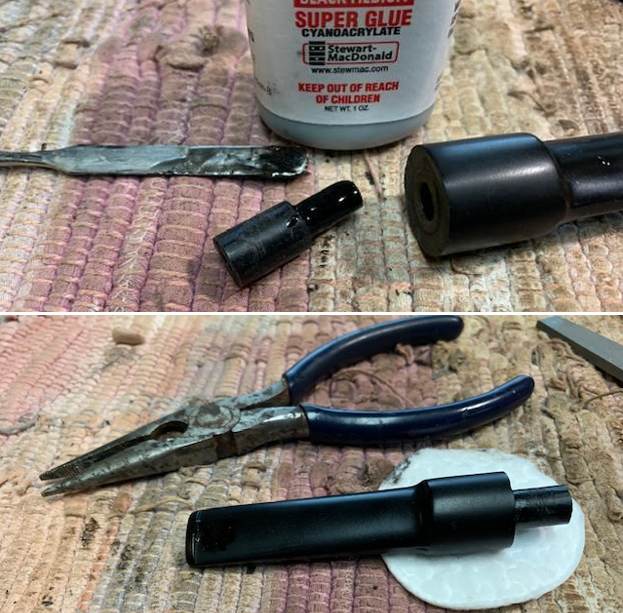
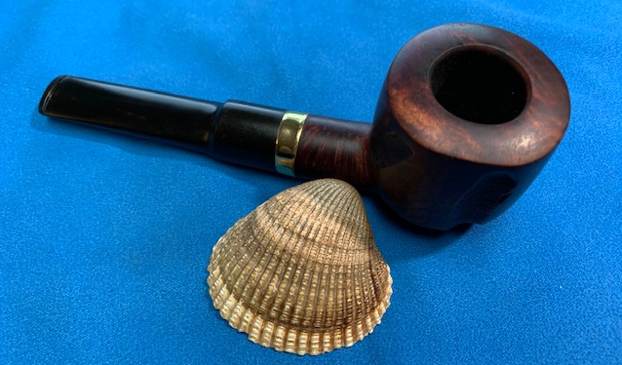
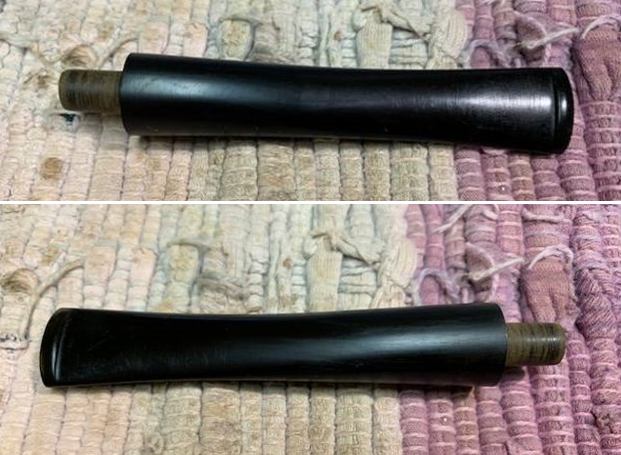
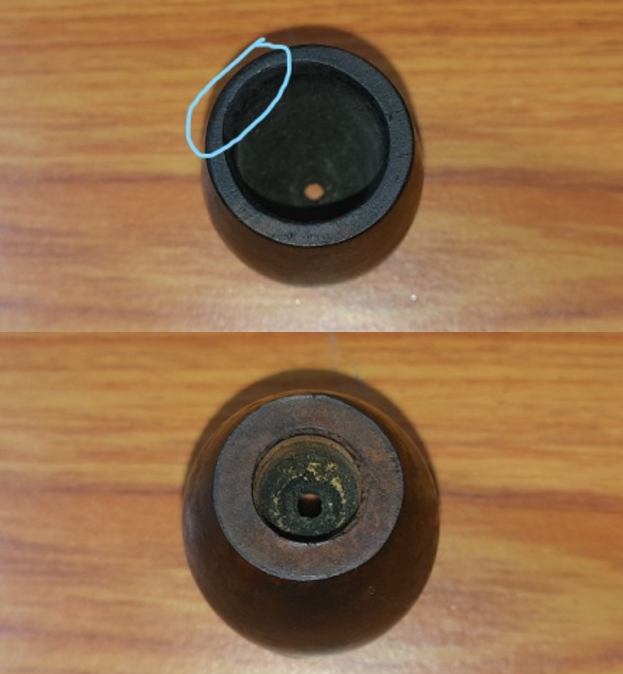
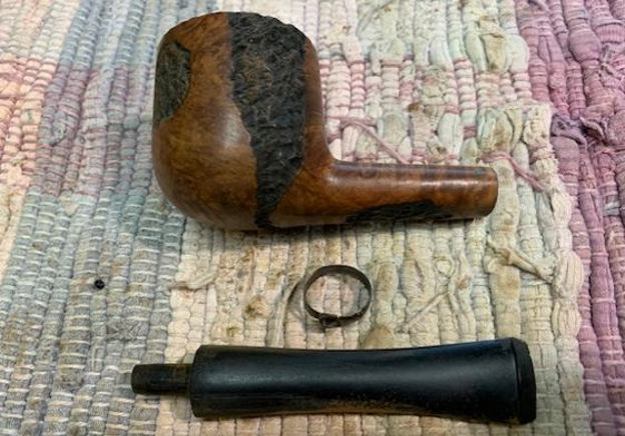
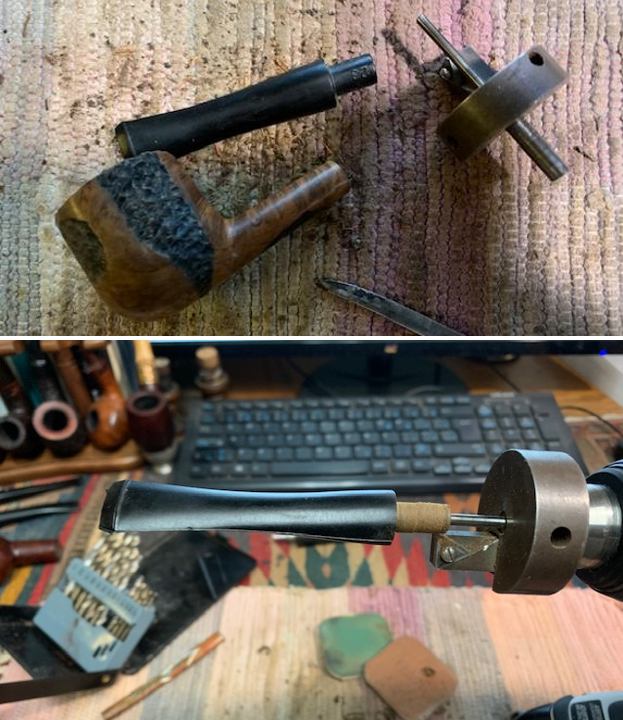
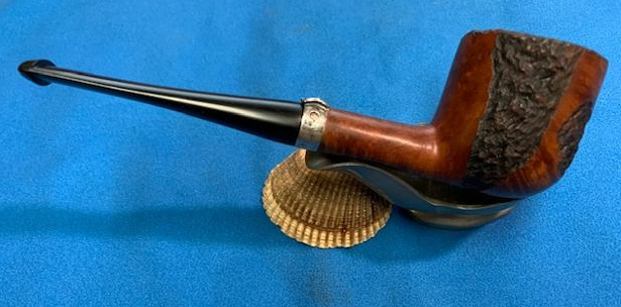
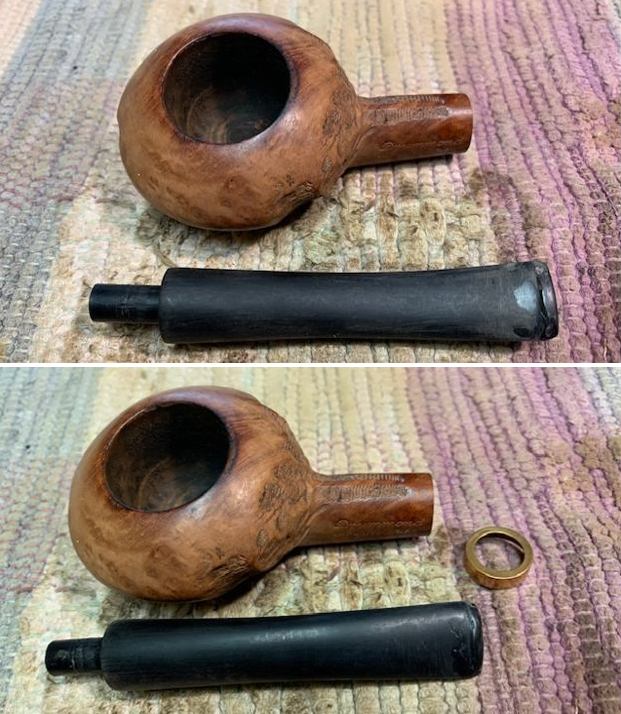
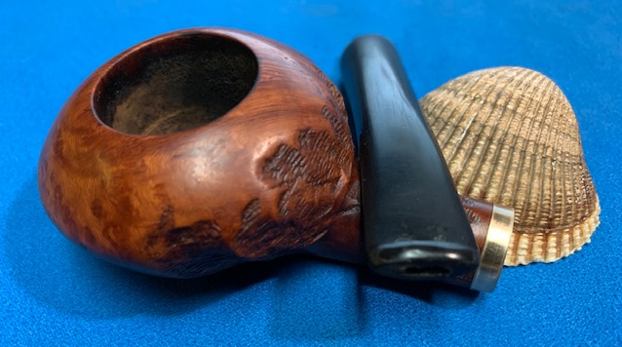
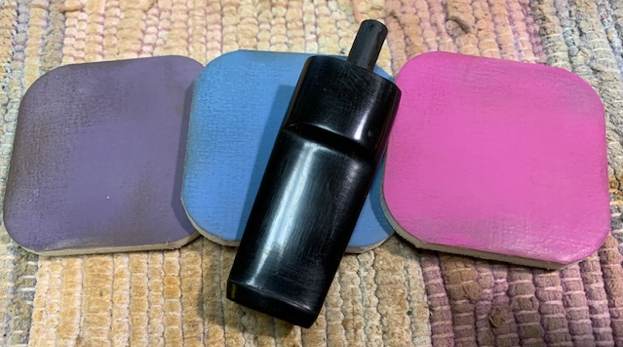
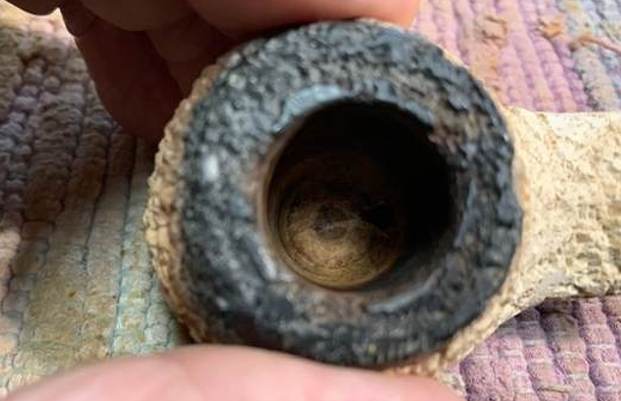 Jeff had picked up some great unused stems of all sorts and sizes. In the bag I received from him yesterday was the kind of stem I had been looking for for this pipe. It is an oval saddle stem whose thickness is correct but the width will need to be adjusted. The tenon will need to be turned to fit the shank and will also need to be shortened for a proper depth.
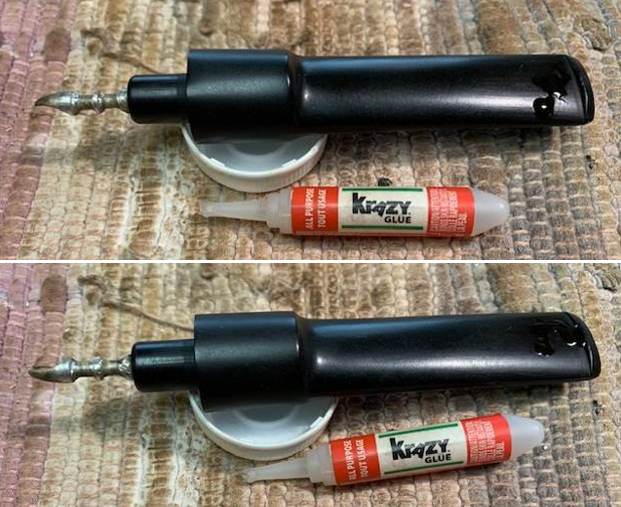
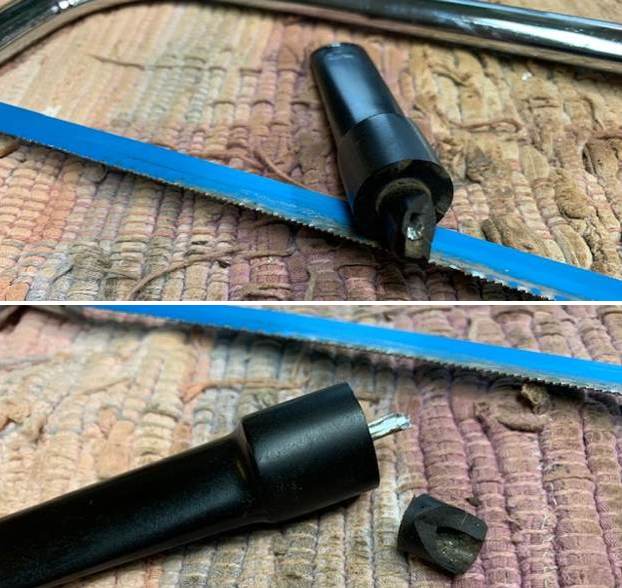
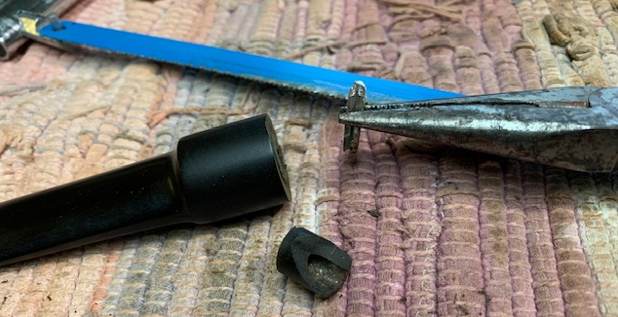
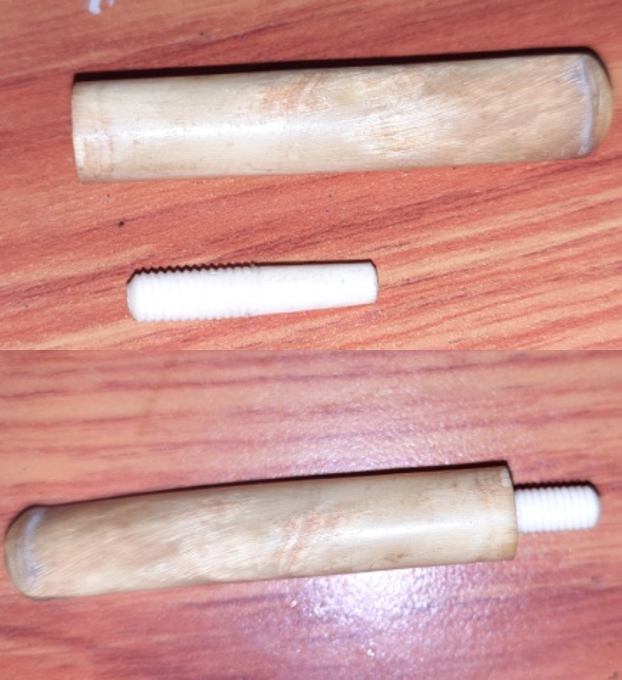
 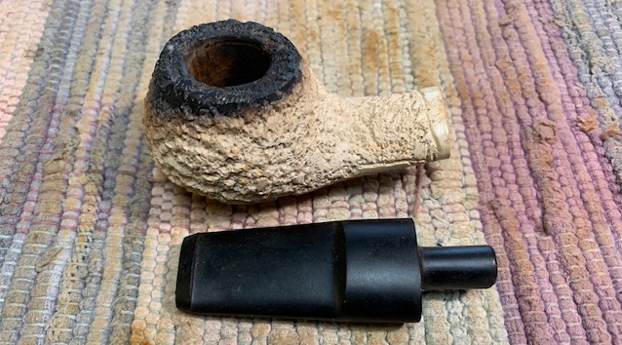 Now it was time to work on the pipe itself. I started with fitting the stem to the shank. I used the PIMO Tenon Turning Tool to reduce the diameter of the tenon and smooth out the face of the stem. I drilled the airway to hold the guiding pin and adjusted the cutting head for the first and then the second turn that removed the excess diameter of the tenon. I always love the swirls of vulcanite that peel off while the turner does its work. I cleaned up the casting remnants on the face of the stem with a file for a proper fit against the shank.
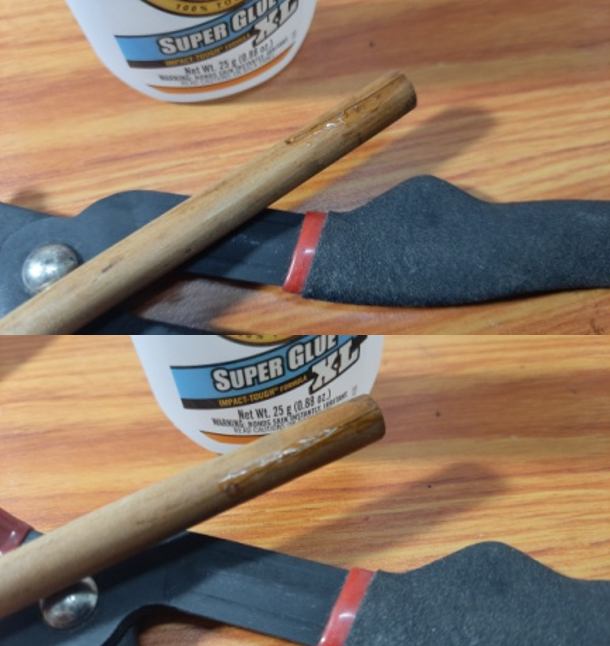
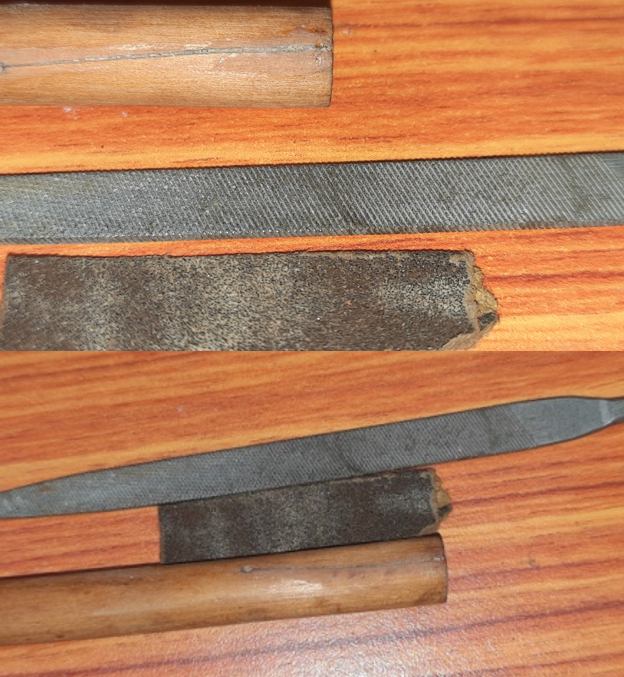
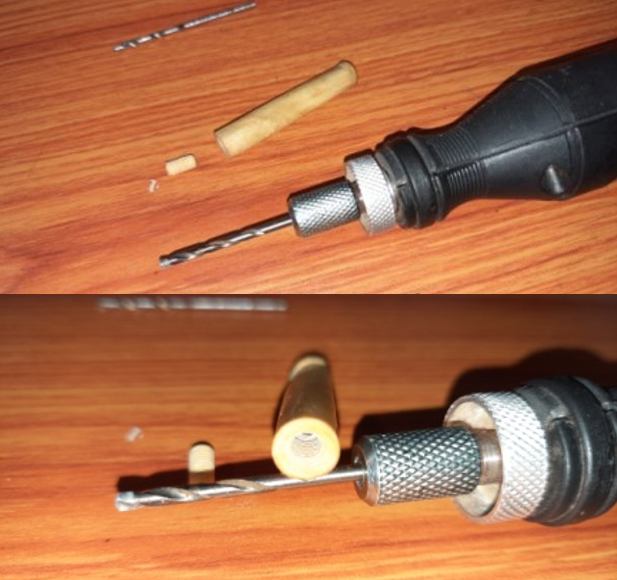
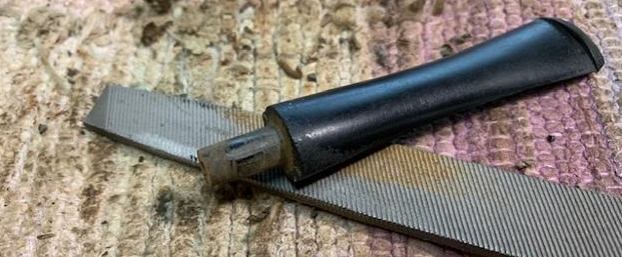
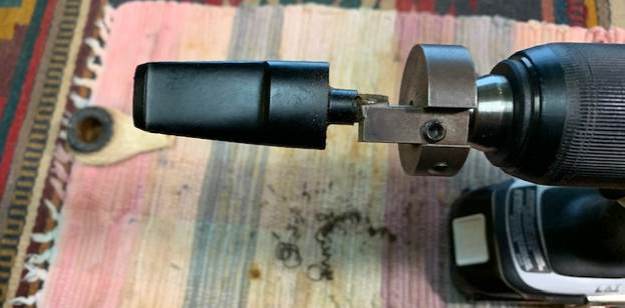
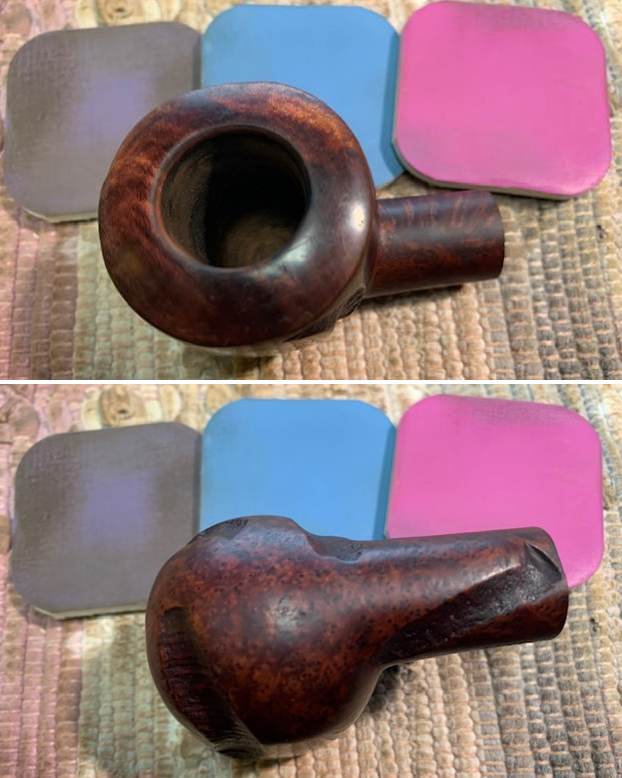
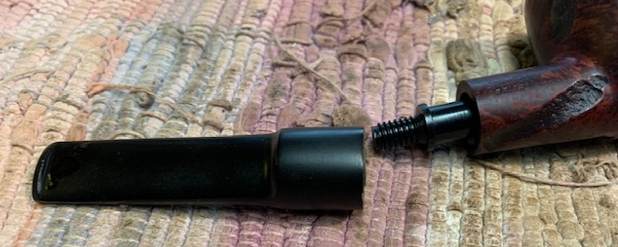
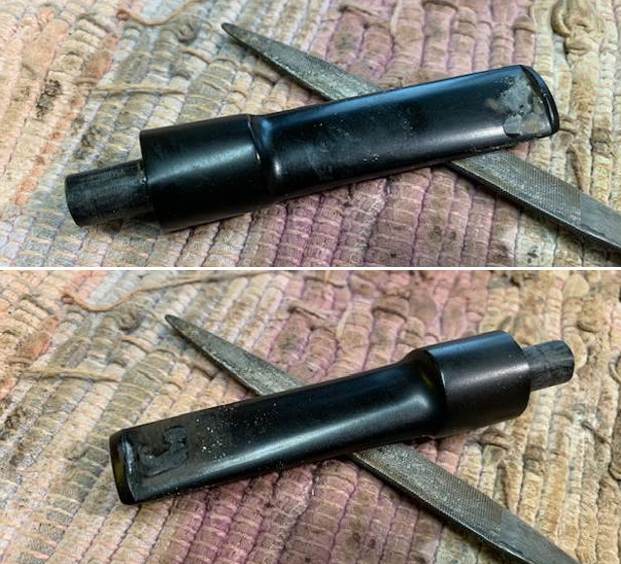
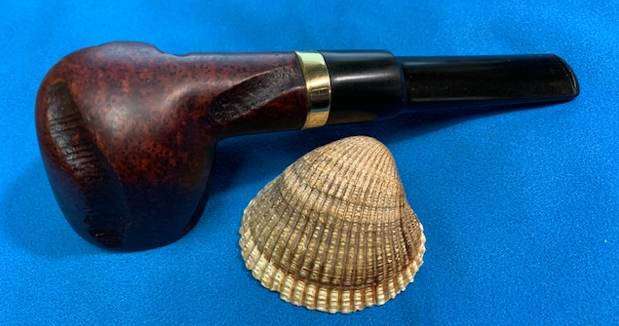
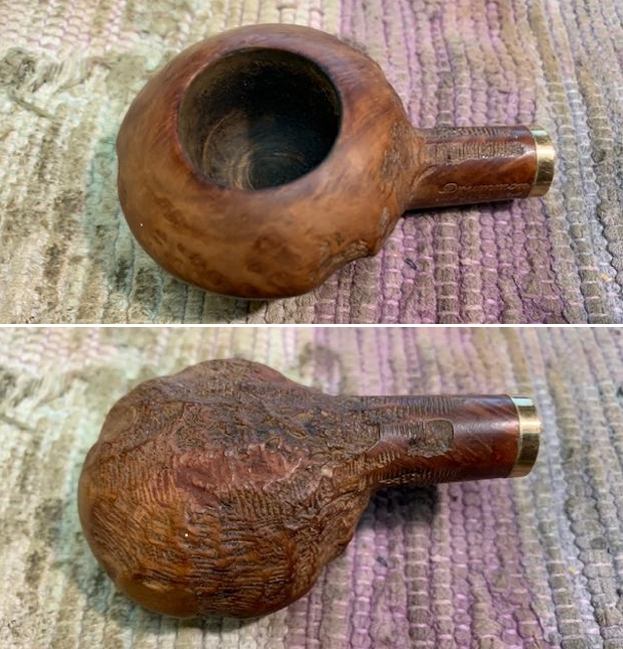
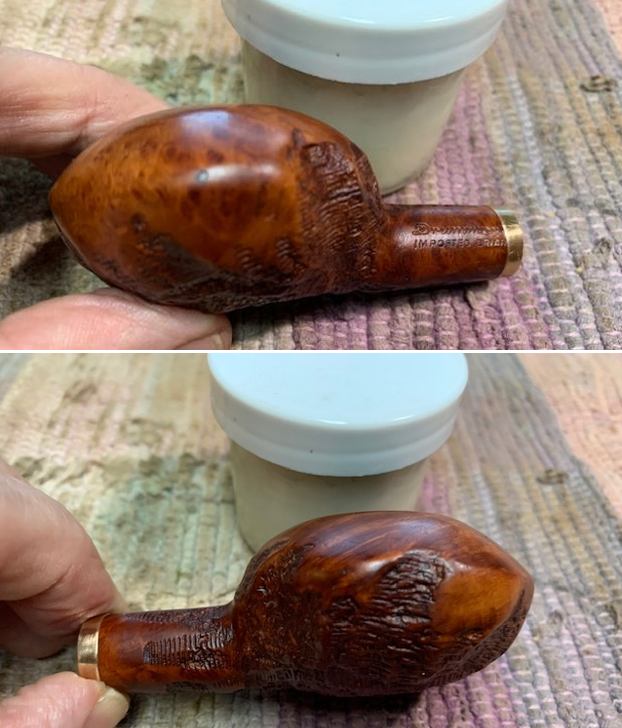
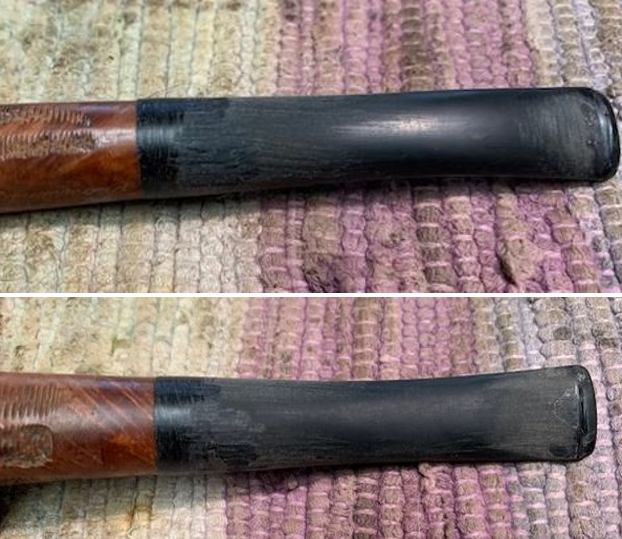
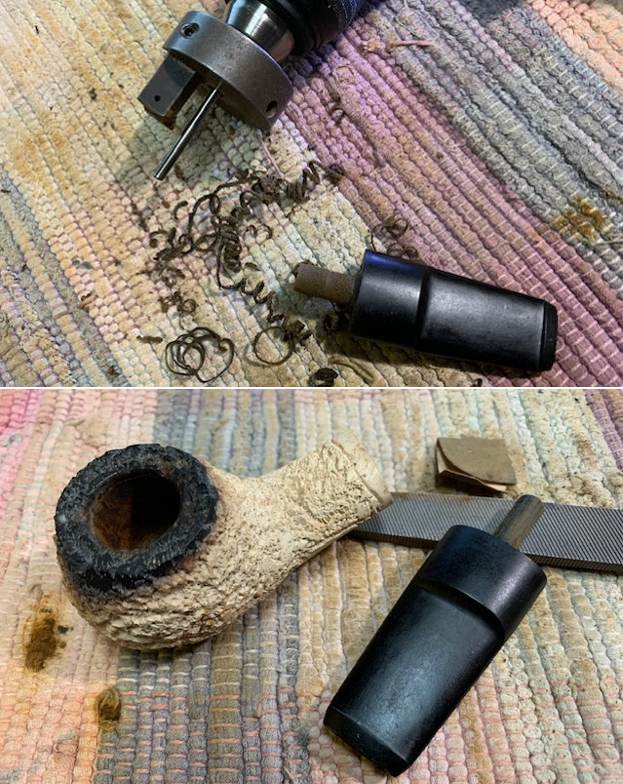 I constantly checked the fit in the shank while I worked on it. I shortened the length of the tenon a topping board with 220 grit sandpaper. When it was finished I fit it in the shank and took photos of the pipe and its new stem. I still had a lot of work to do but there was progress.
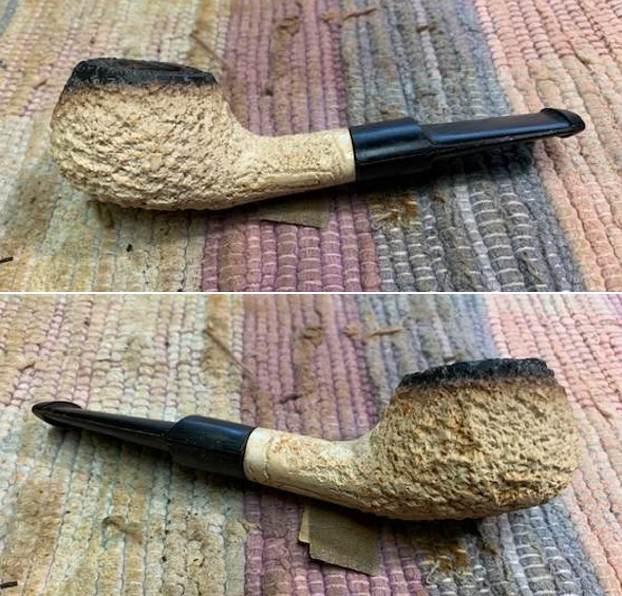
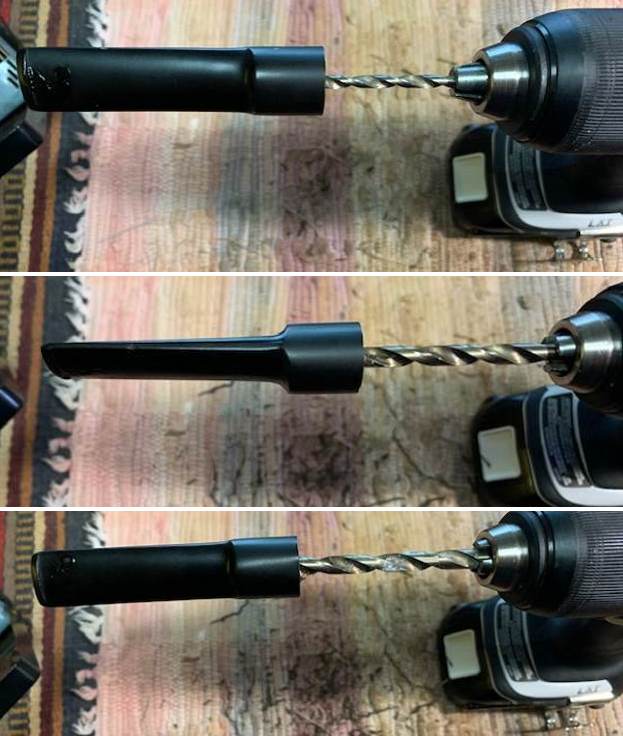
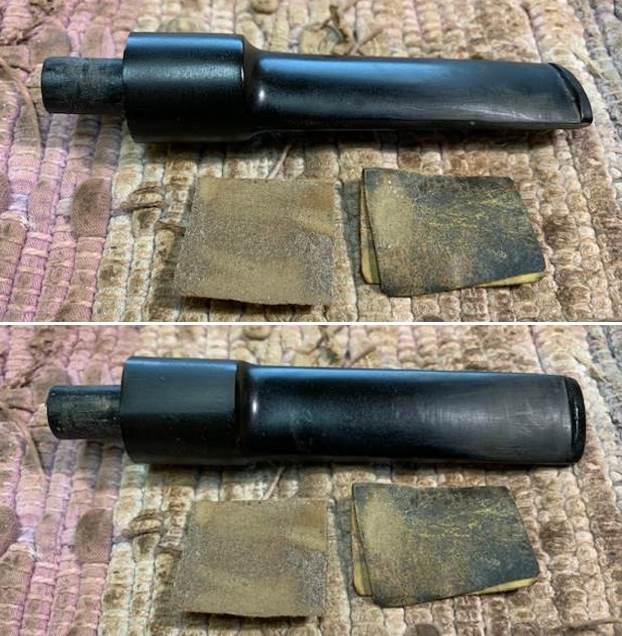
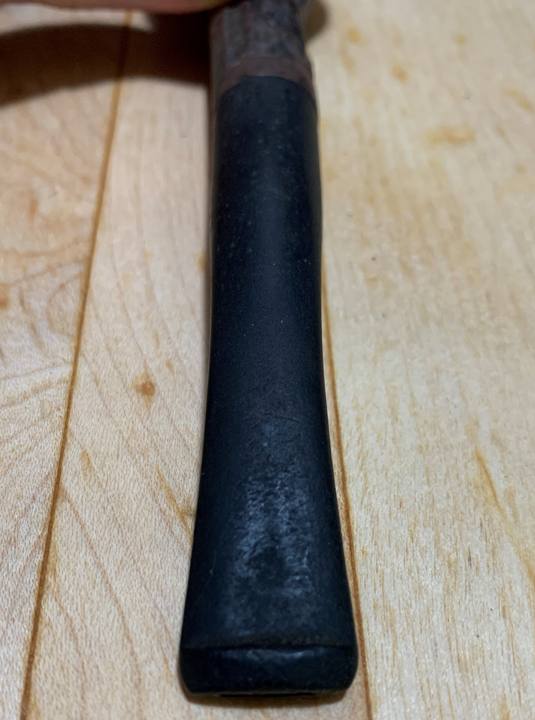
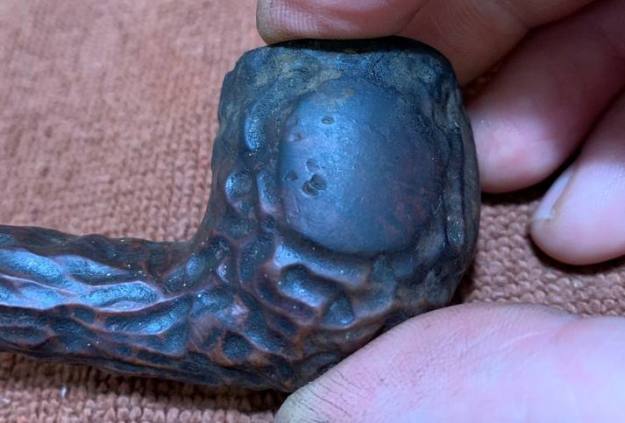
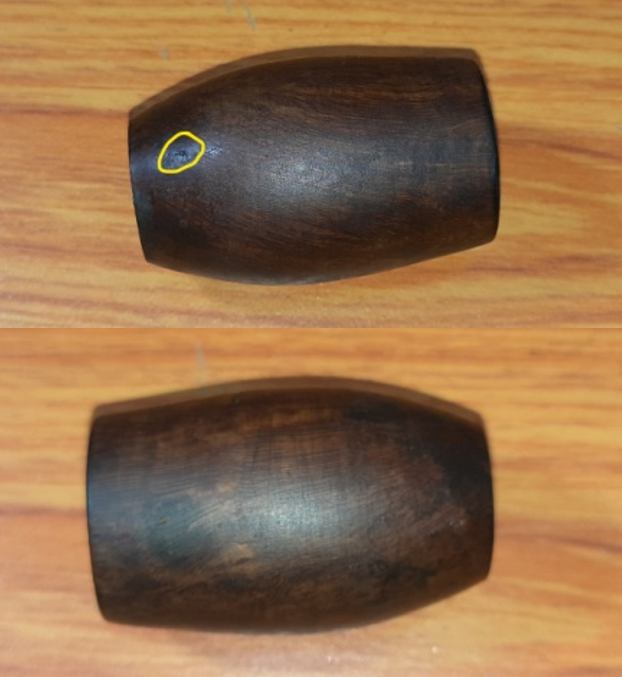
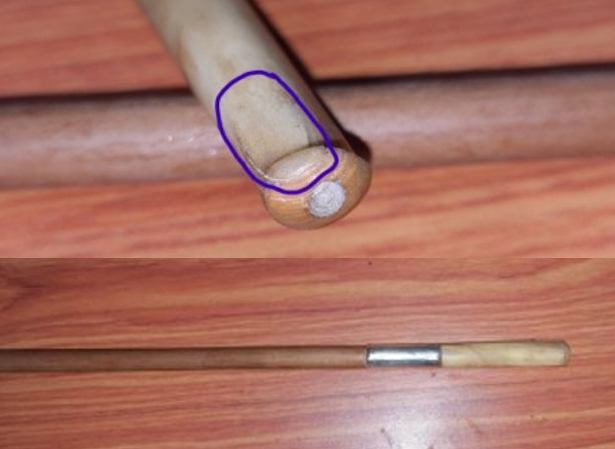
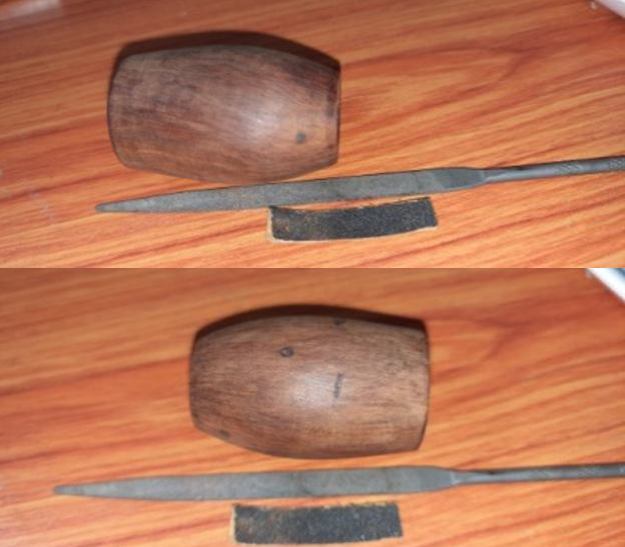
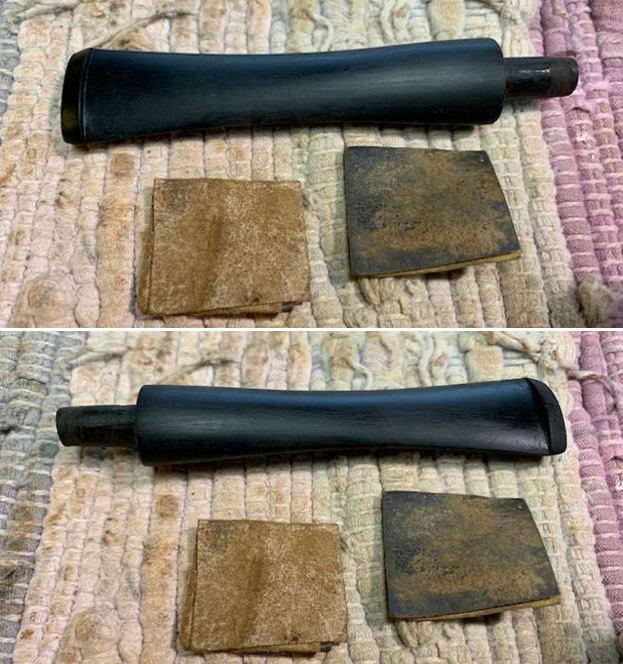
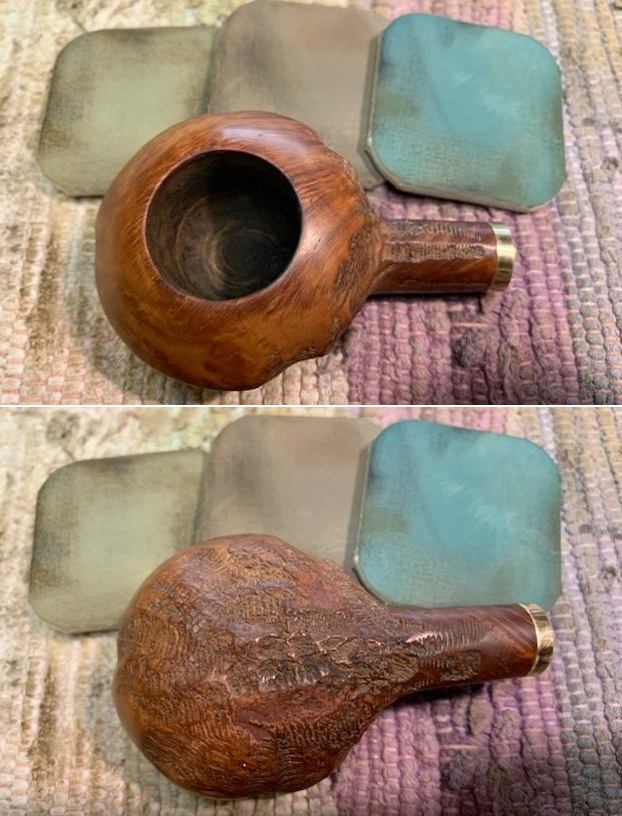
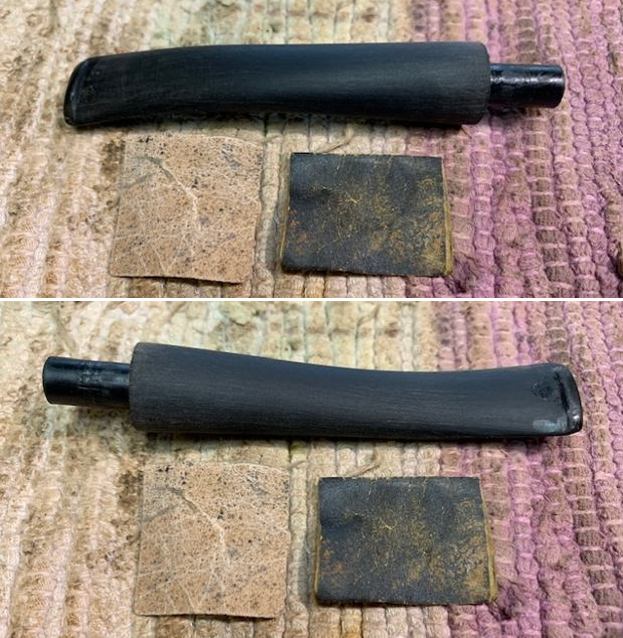
 Now it was time to adjust the width by reshaping the sides of the new stem. I would also need to do some adjustments to the fit against the shank face. I took some photos of the top and underside to show the excess material on the stem that would need to be removed.
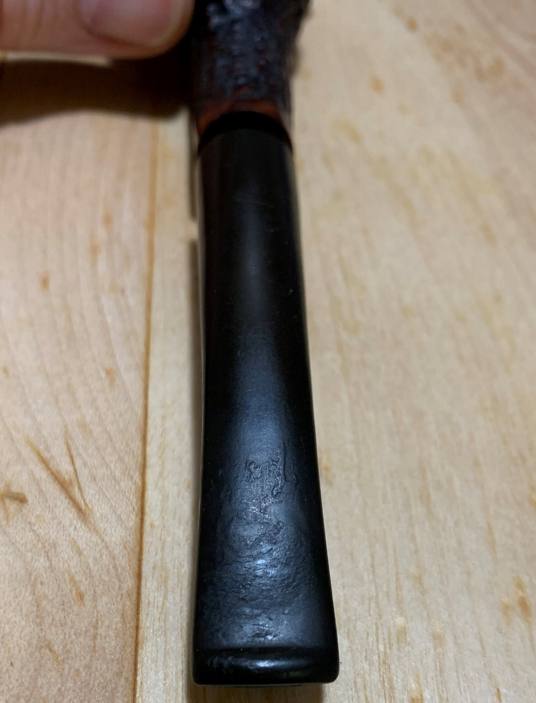
 I used my Dremel and a sanding drum to do the rough work on the stem. I worked on it carefully to remove as much excess as I could from the sides and reshape the look of the stem to match the stem. The only way I know how to do this is with the new stem in place in the shank and then carefully move the sanding drum up and around the stem surface to get a close/rough fit. It was getting much closer but there was a lot more work to do hand shaping it with sandpaper and files.
 I decided to enjoy a bowl of Friedman & Pease Fool’s Cap in a Nachwalter I cleaned and restored a while ago. I find that slowly puffing a bowl relieves some of the tedium of shaping and sanding a newly fit stem to get all the angles just right.
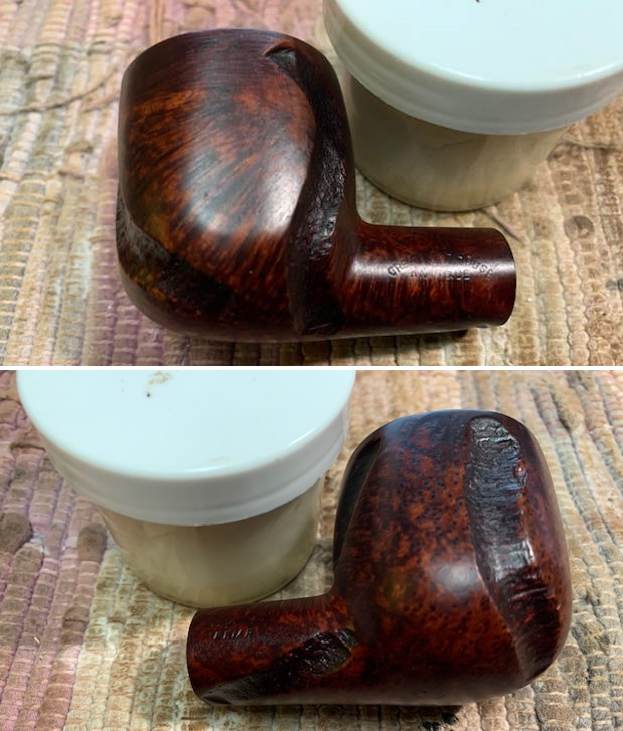
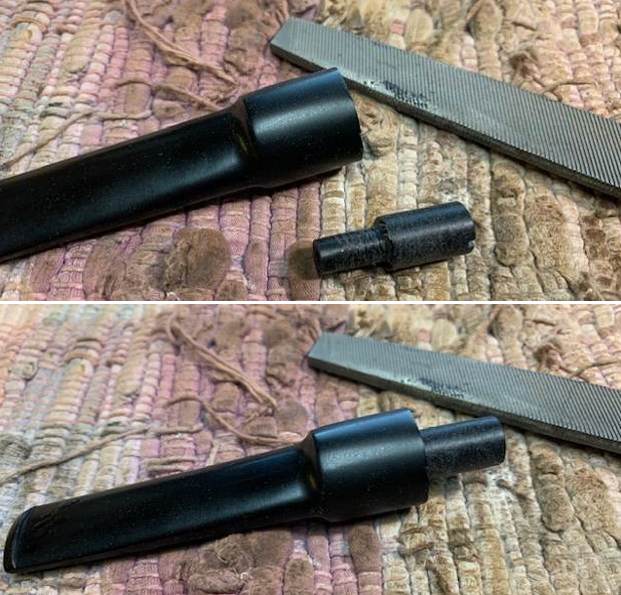
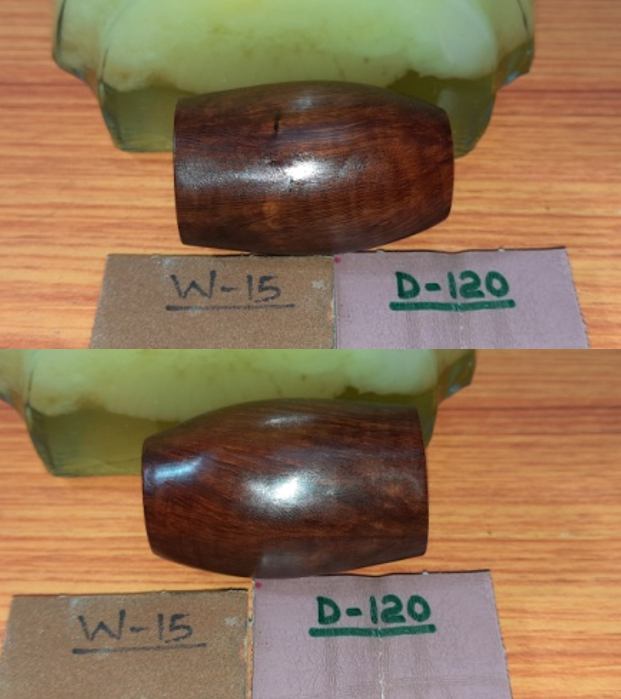
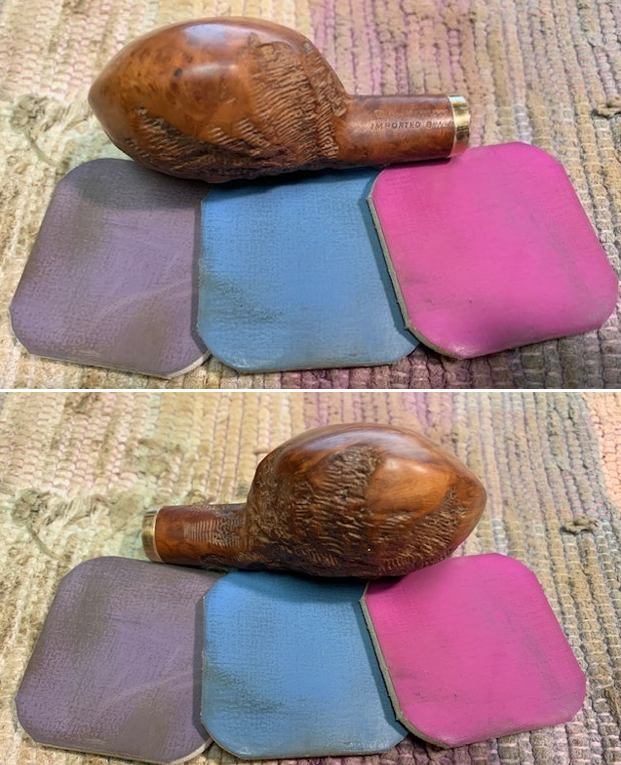
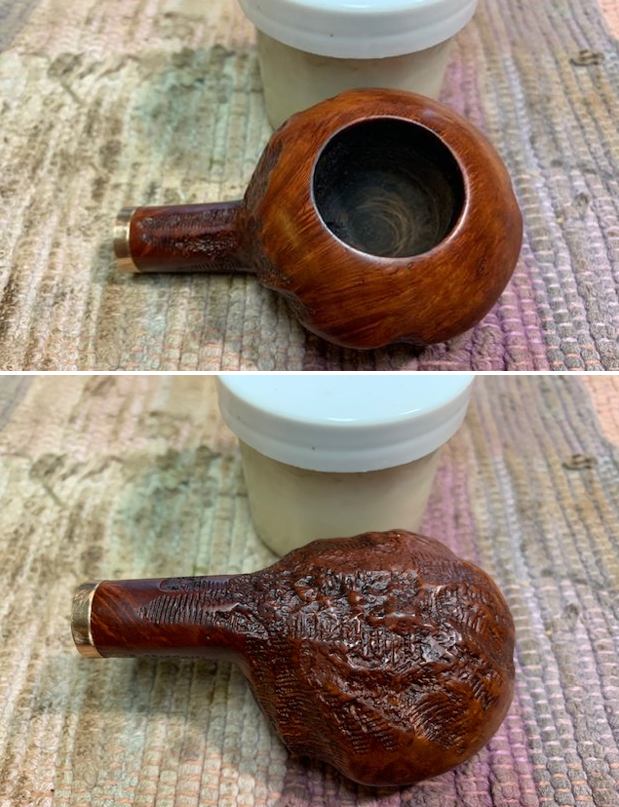
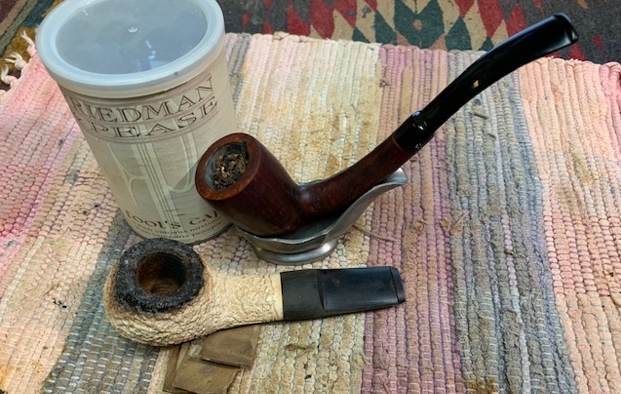 I took photos of the pipe after I had fit the stem to the shank. The look and fit of the stem looked like it was original. I was pleased with the look and read to move on to polishing it.
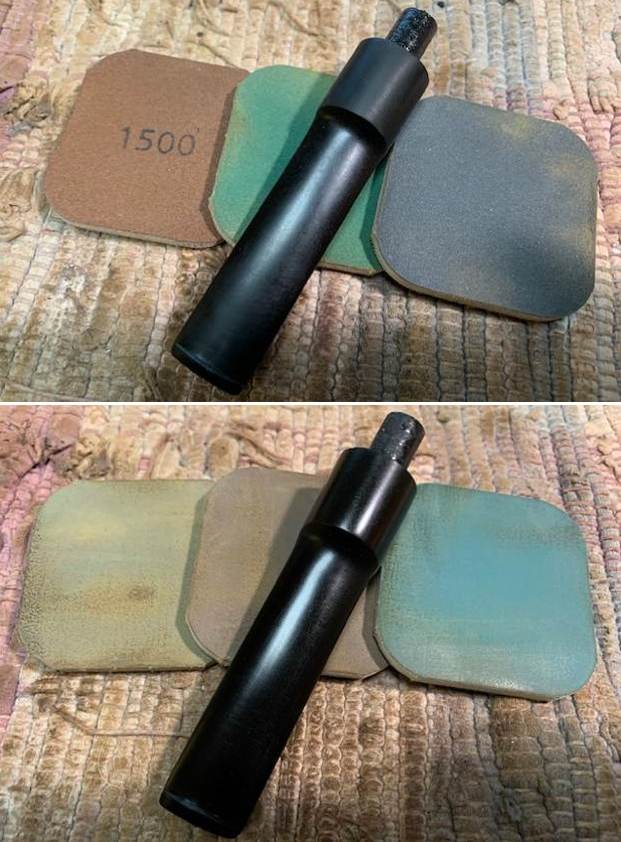
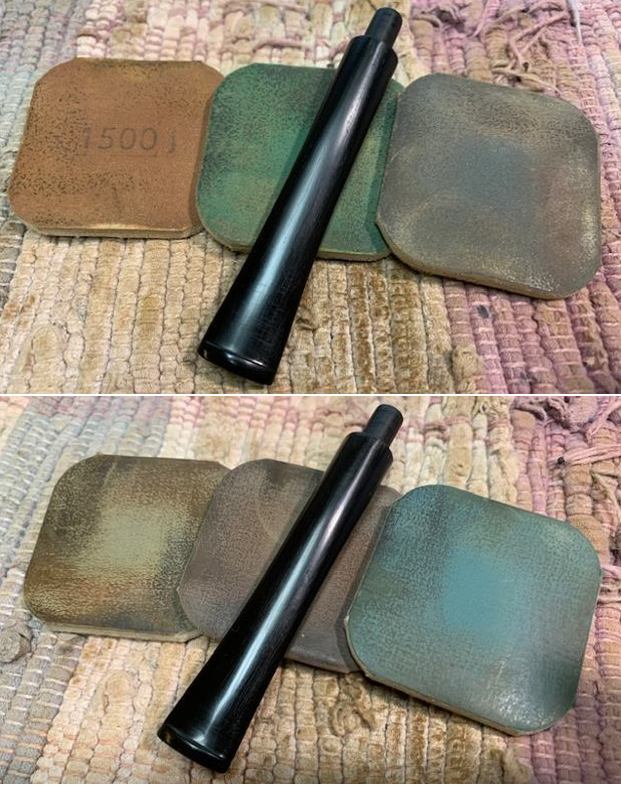
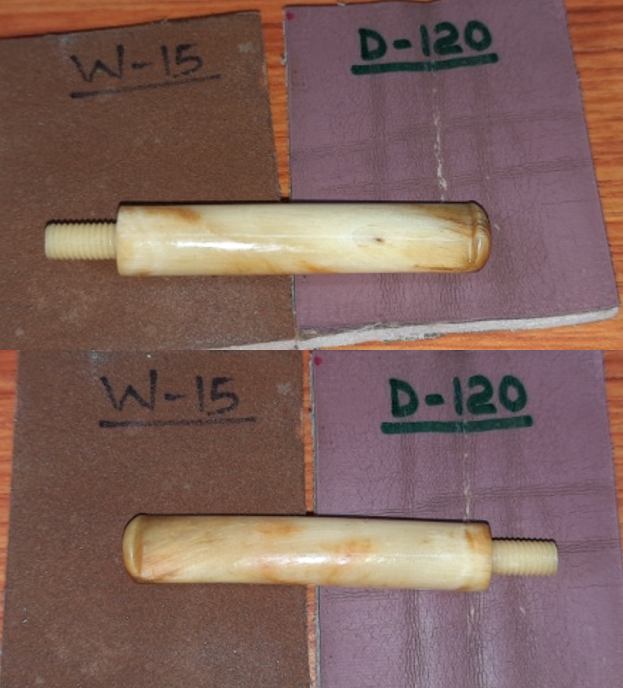
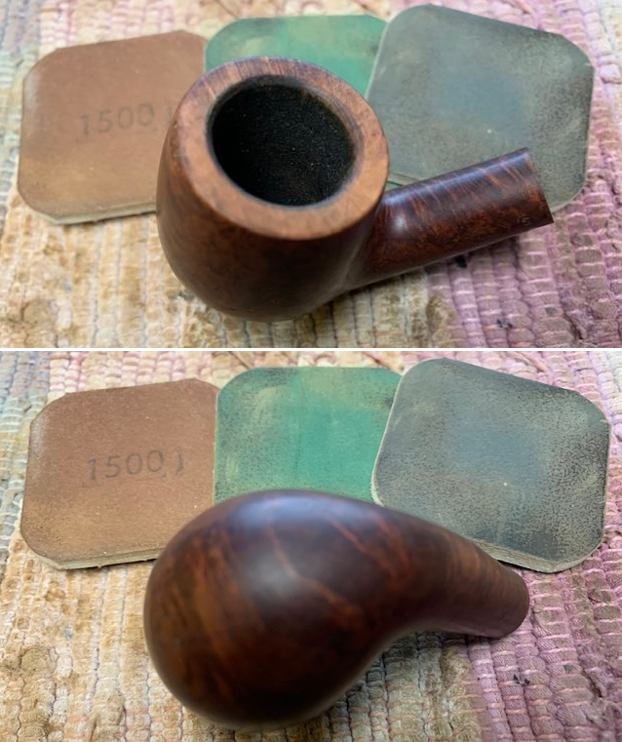
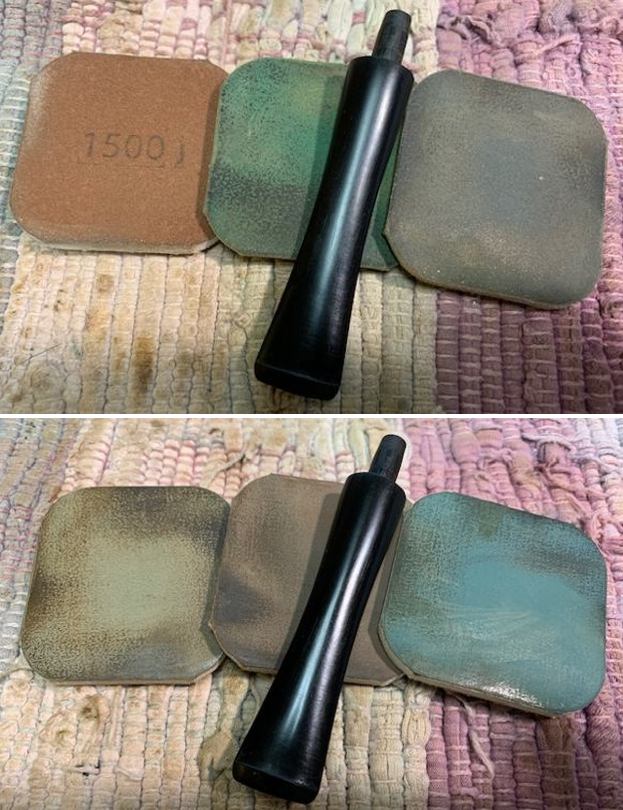
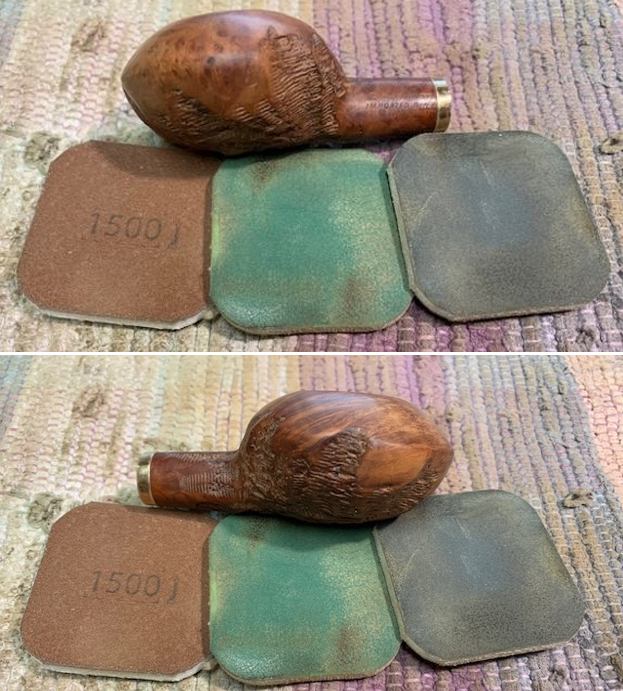
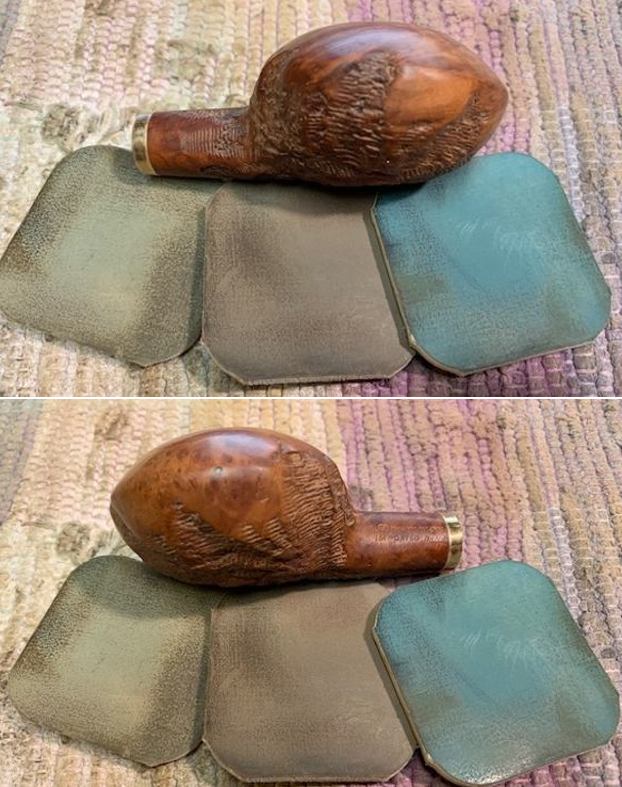
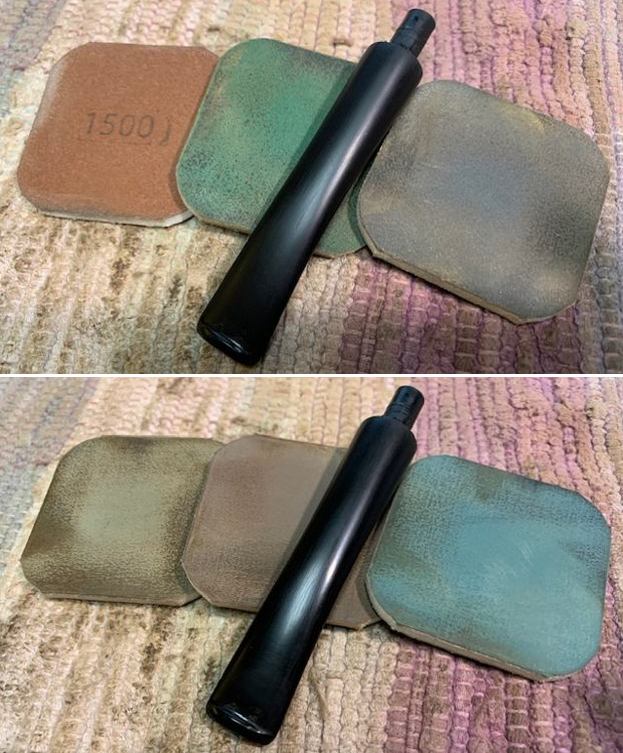
 I polished the stem with micromesh sanding pads – dry sanding with 1500-12000 grit pads. I wiped the stem down after each sanding pad with Obsidian Oil.
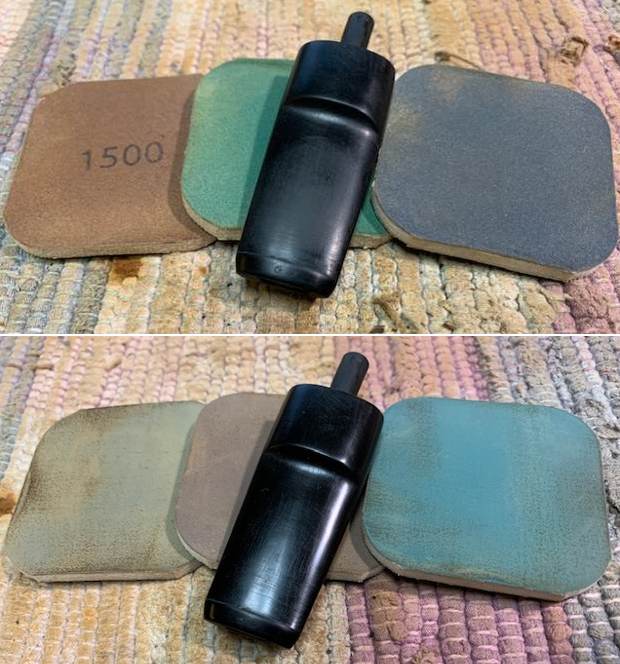
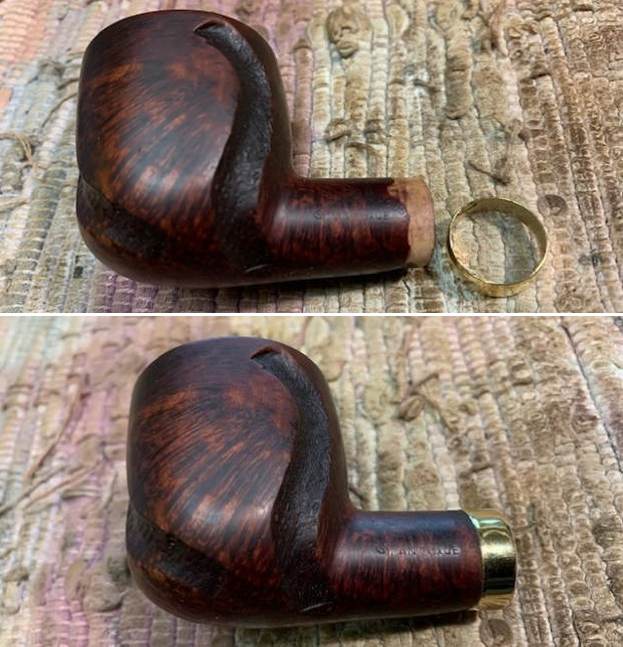
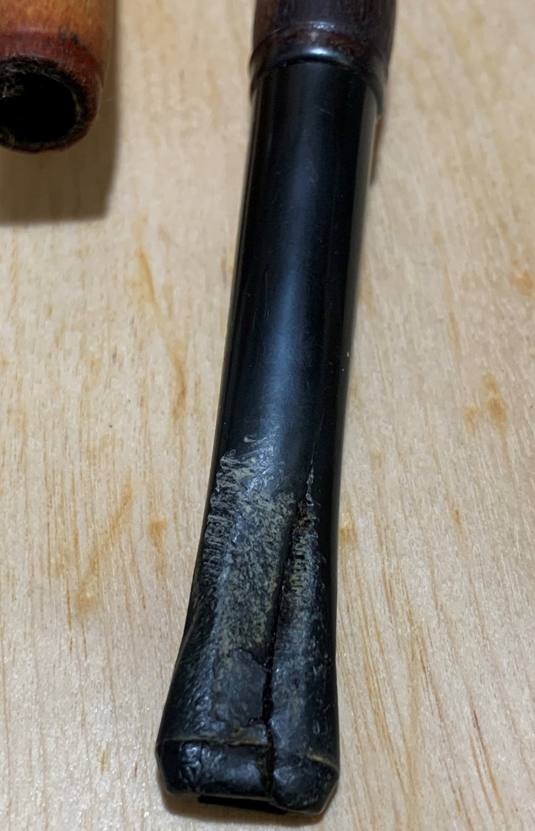
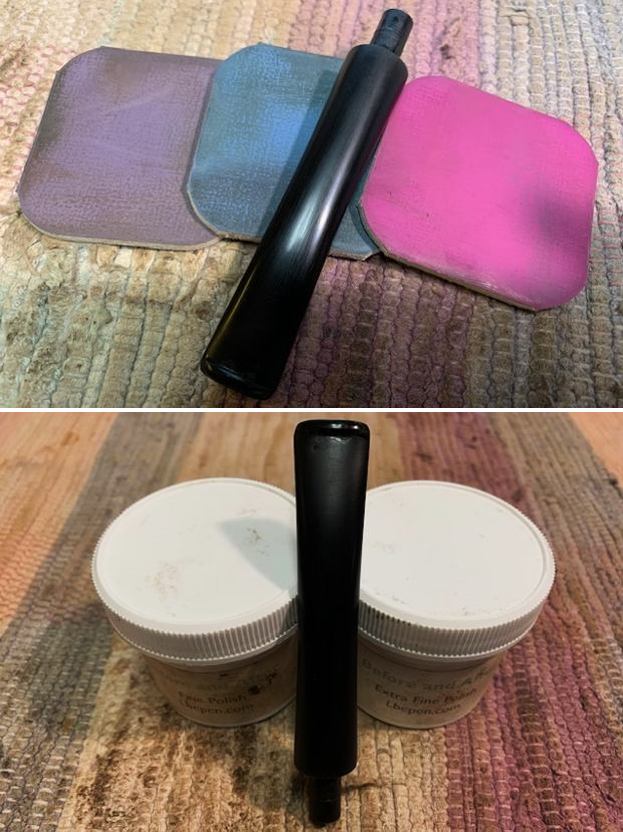
 With the shaping and polishing finished on the straight stem it was time to bend the stem to match the angles of the shank. I used a heat gun to soften the vulcanite and then gave it a slight downward bend.
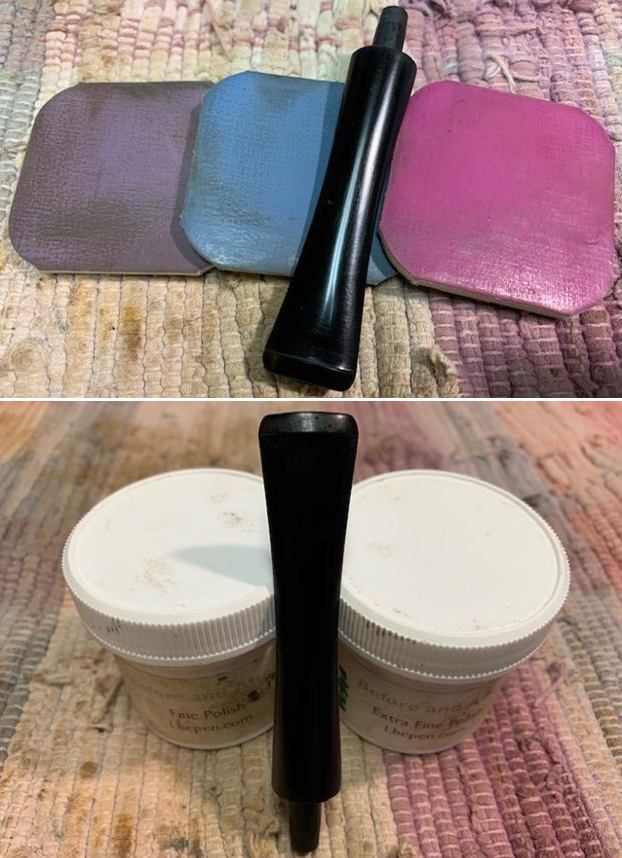
 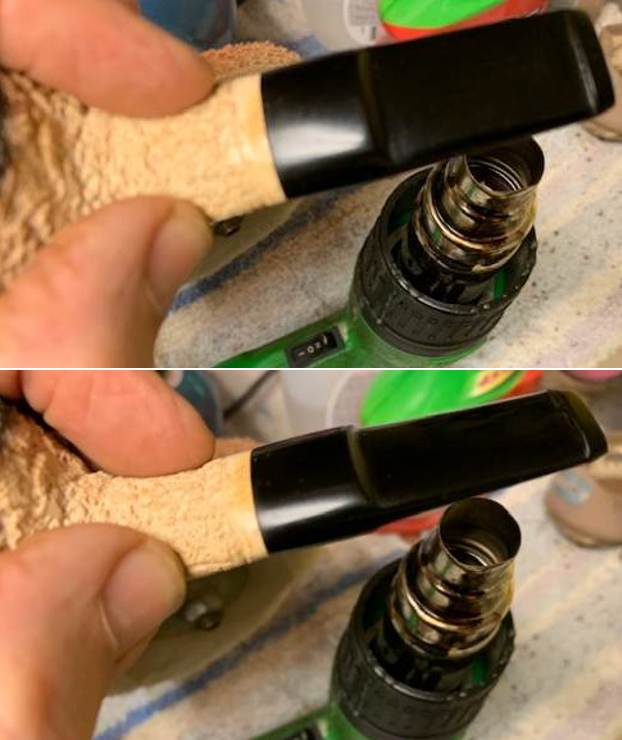 I left the stem in the shank and touched up the polishing of the stem with Before & After Pipe Stem Polish – both Fine and Extra Fine and buffed it with a cotton cloth. Once I had finished the polishing I gave it final coat of Obsidian Oil and set it aside to dry.
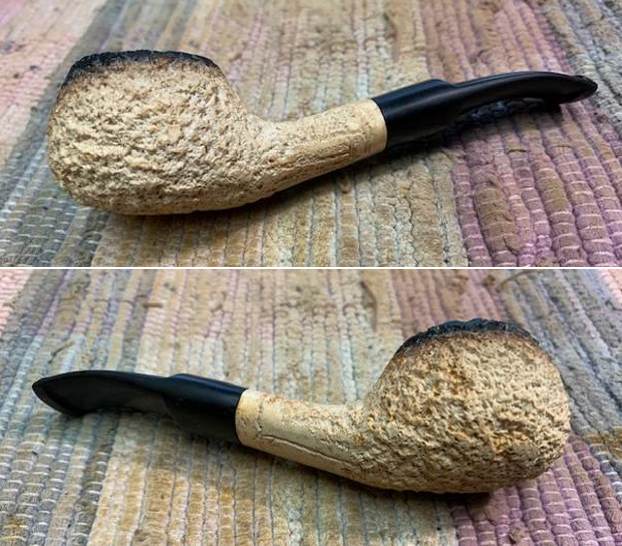
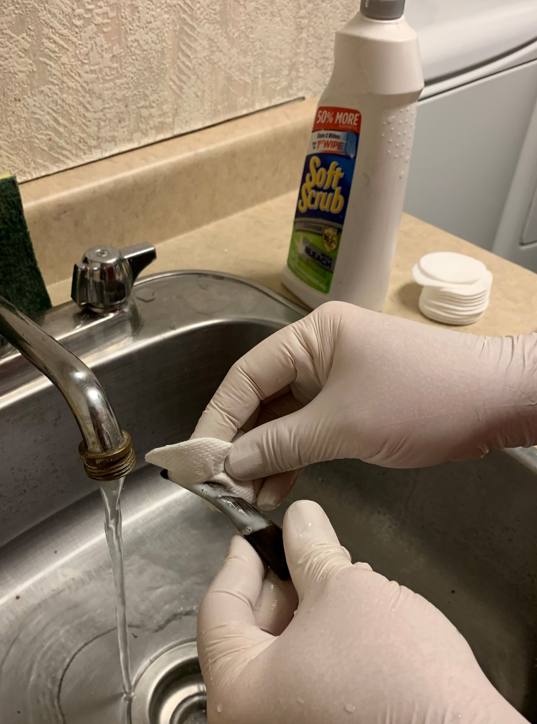
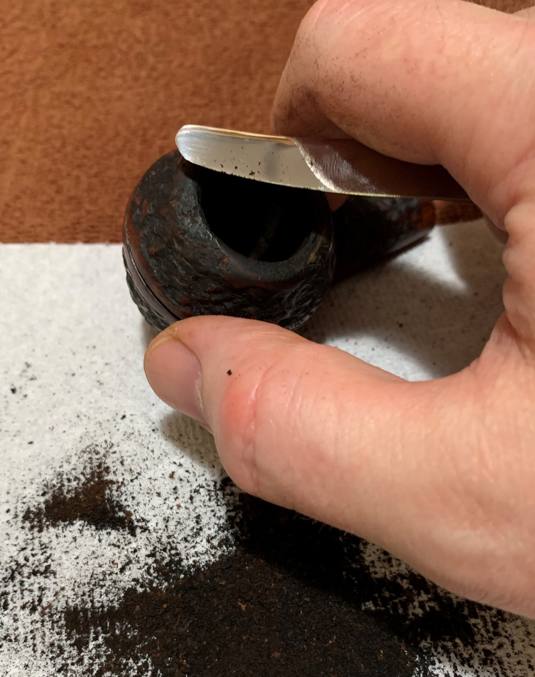
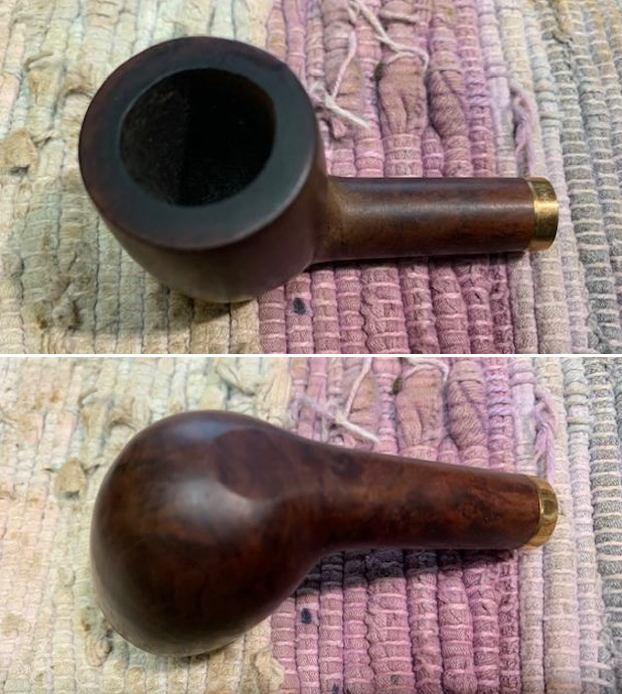
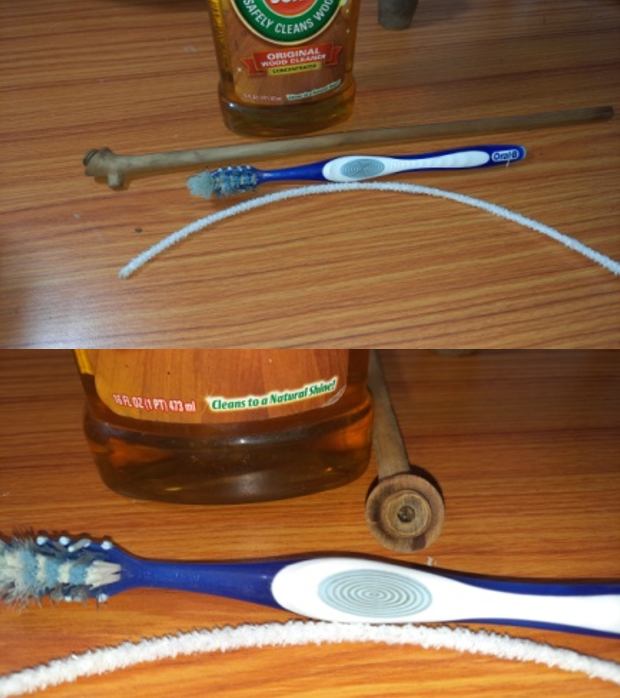
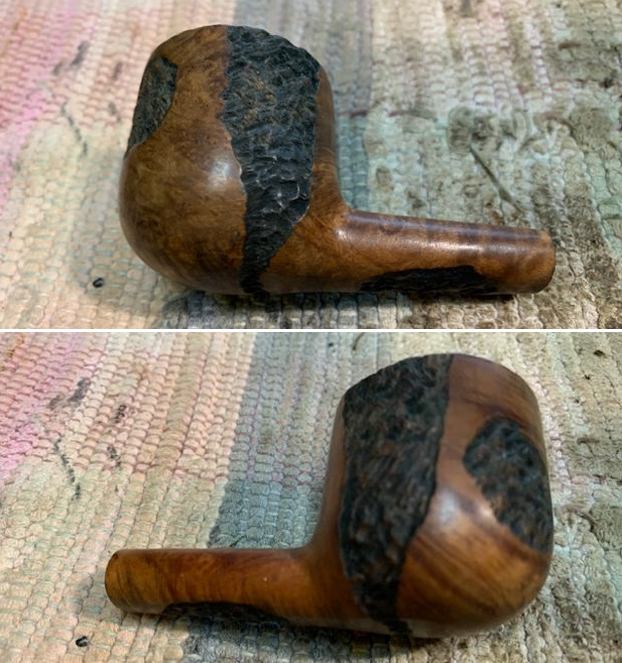
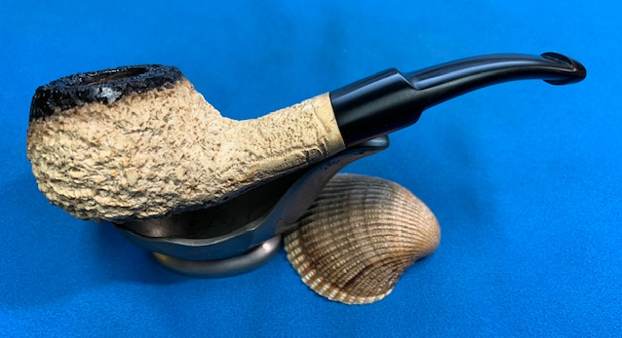
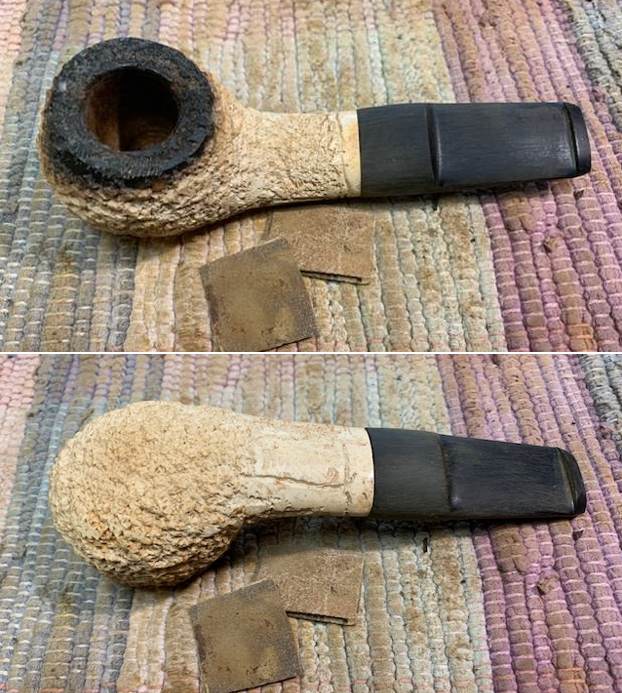
 With the stem finished (all but the final buff) I turned my attention to the bowl. I used a brass bristle wire brush to clean up the debris still in the rusticated, flumed rim top of the bowl. It looked better when I finished.
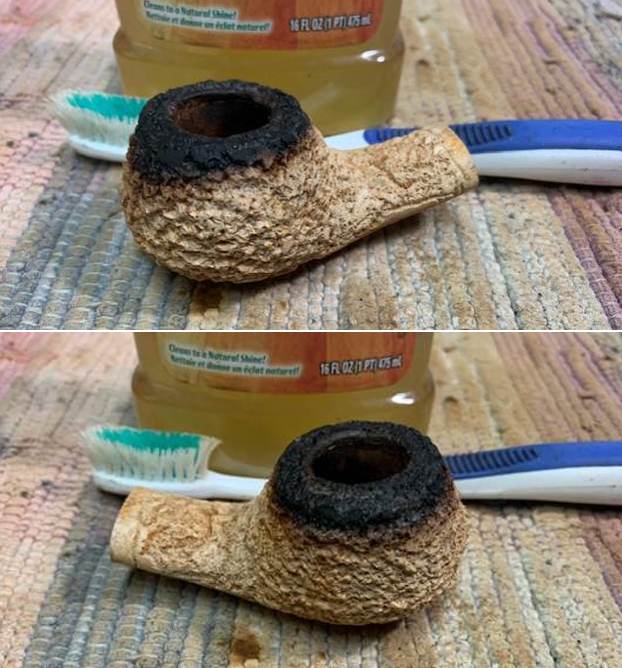
 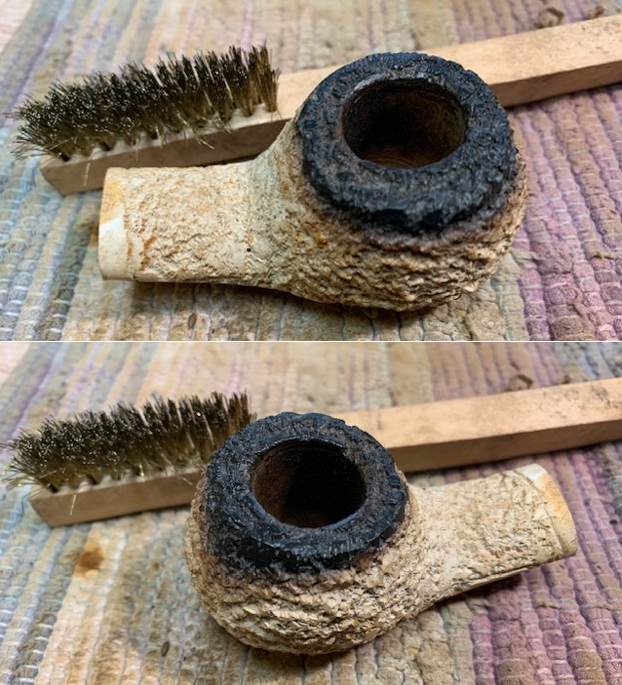 I scrubbed the rusticated surface of the bowl and rim with a tooth brush and undiluted Murphy’s Oil Soap. I rinsed the bowl off with warm water to remove the debris and clean the brush. The finish looked much better.
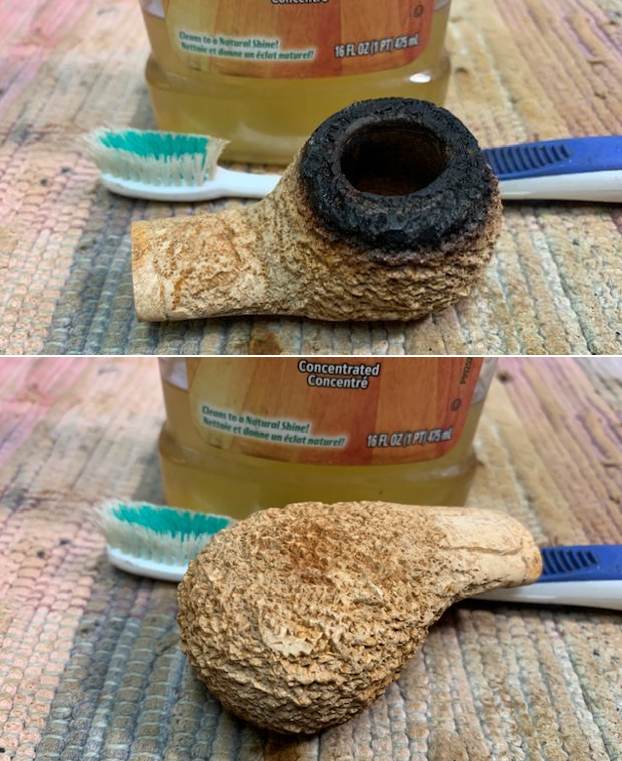
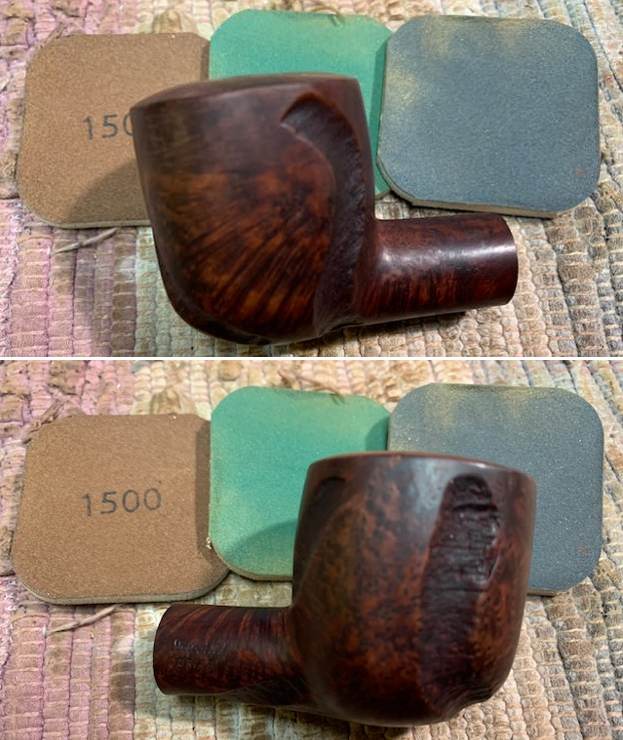
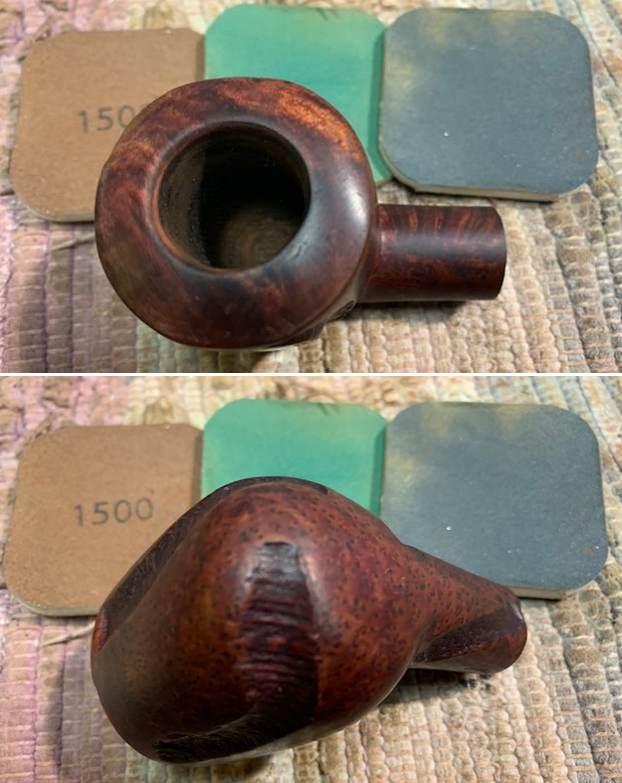
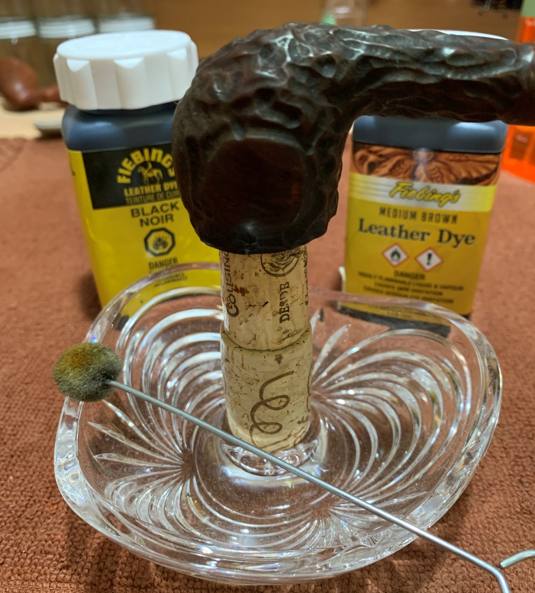
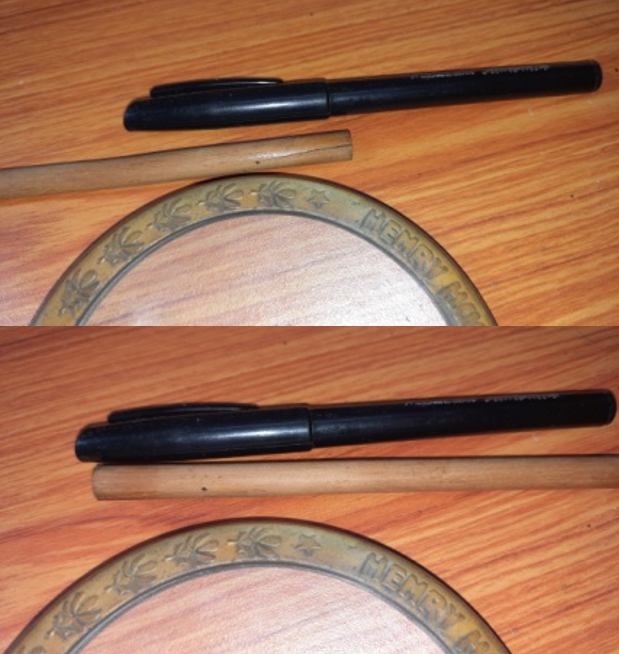
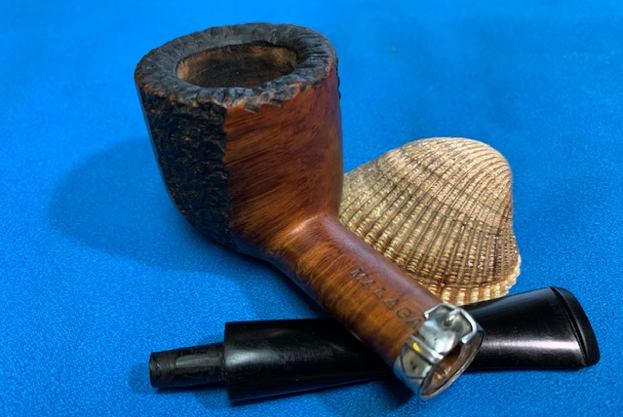
 I used a black stain pen to touch up the flumed rim top and edges. I applied it carefully around outer edge of the bowl as well following the pattern of the previous flume.
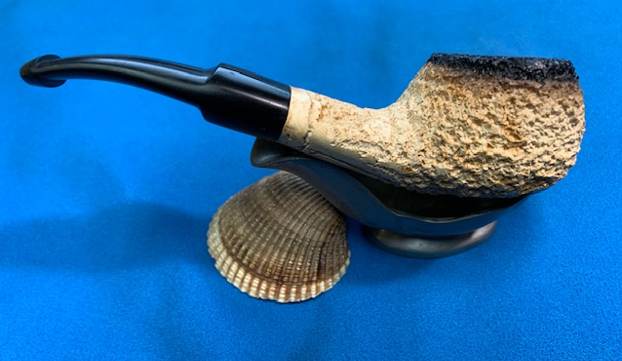
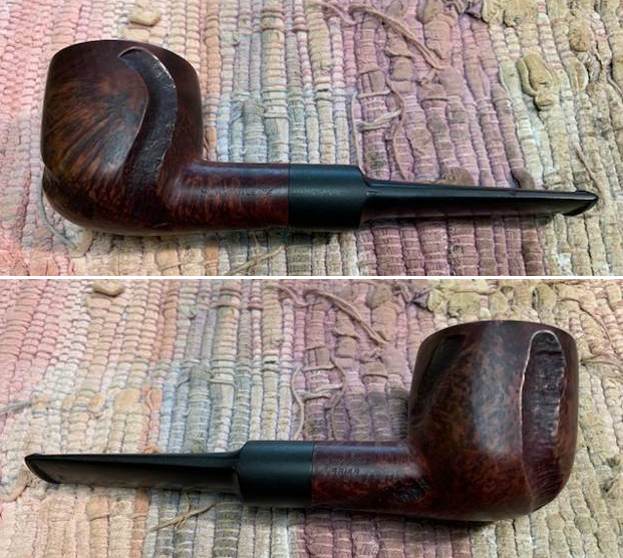
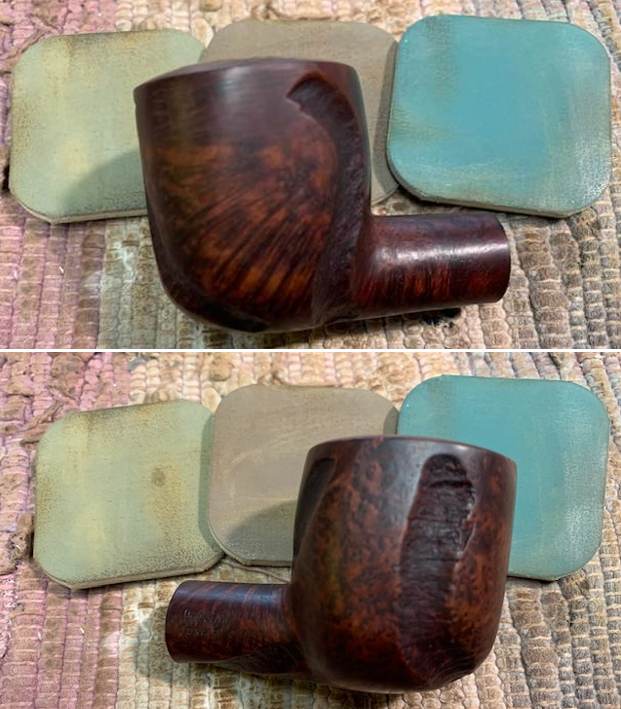
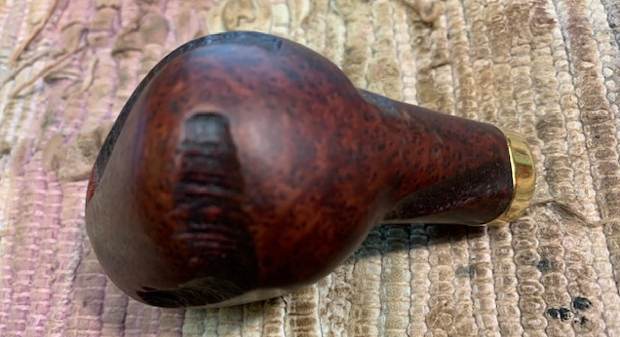
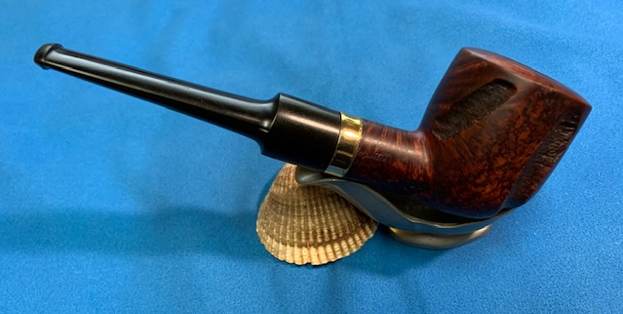
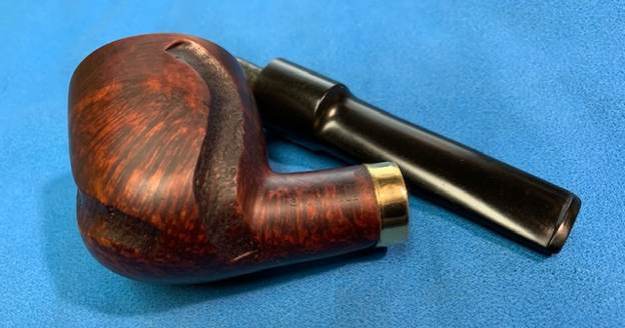
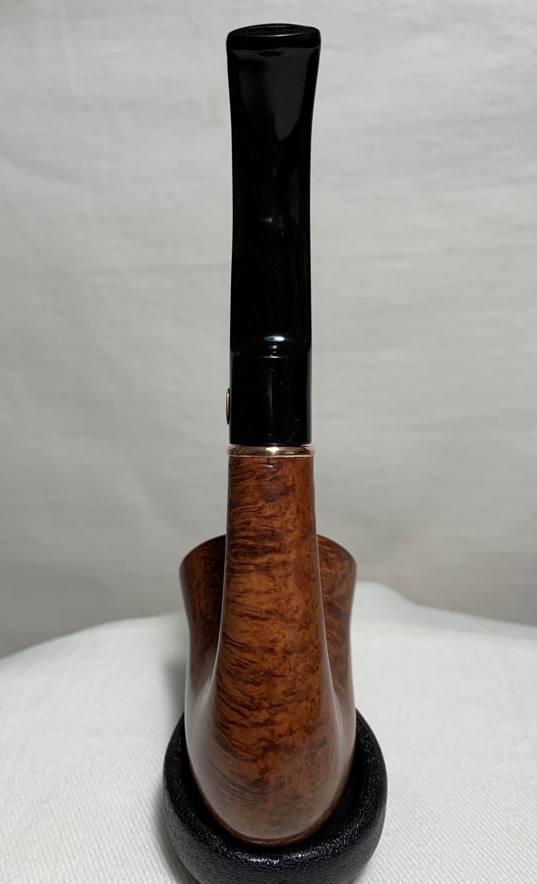
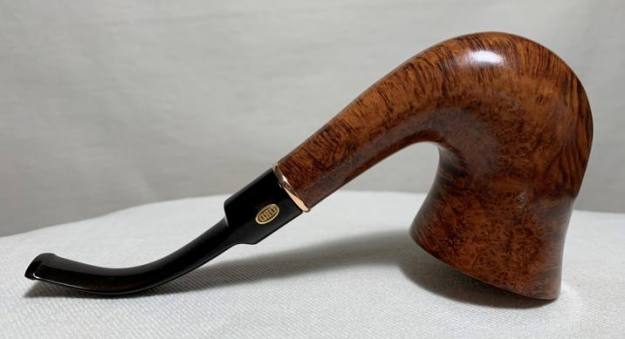
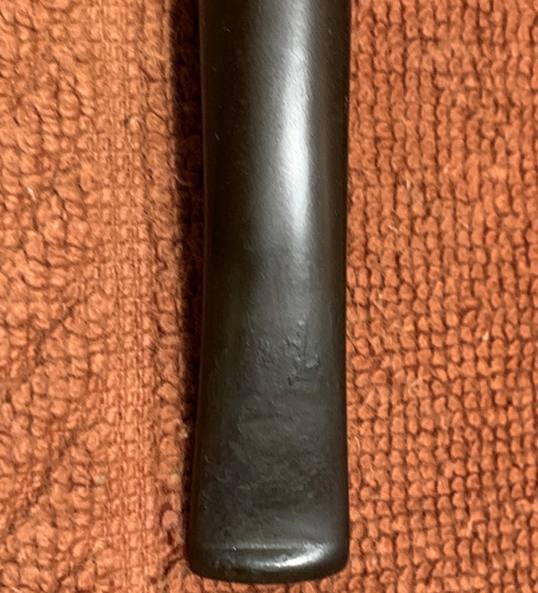
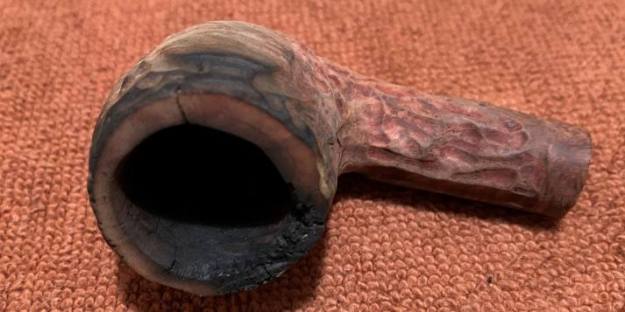
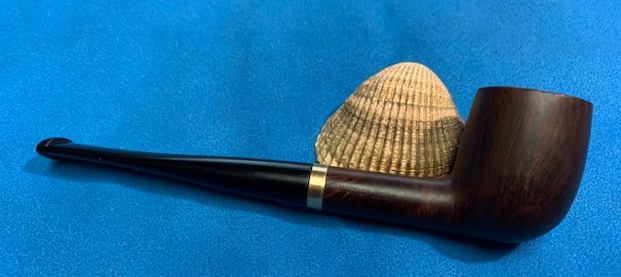
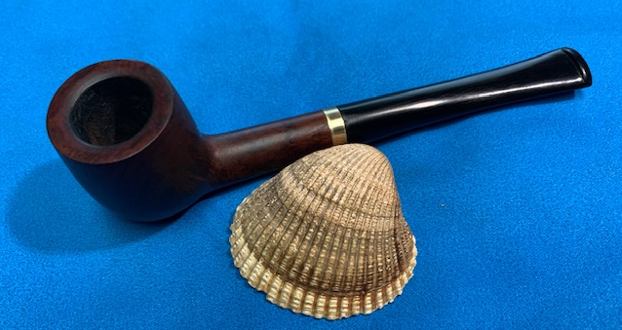
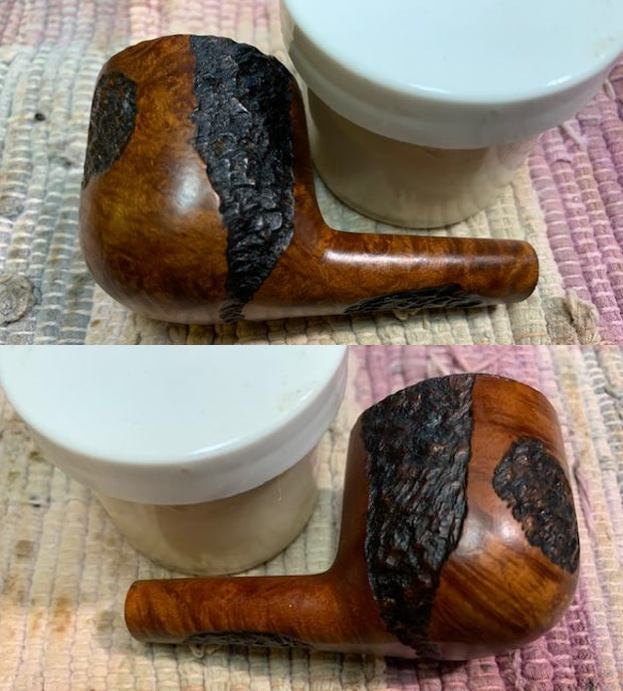
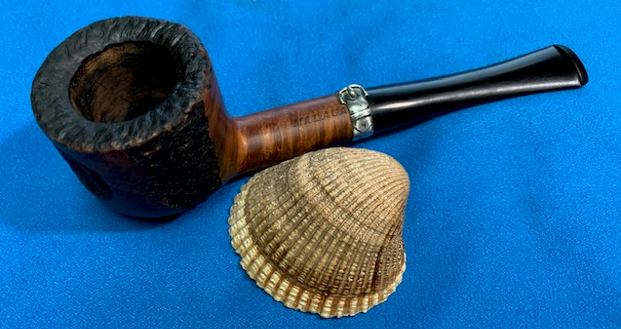
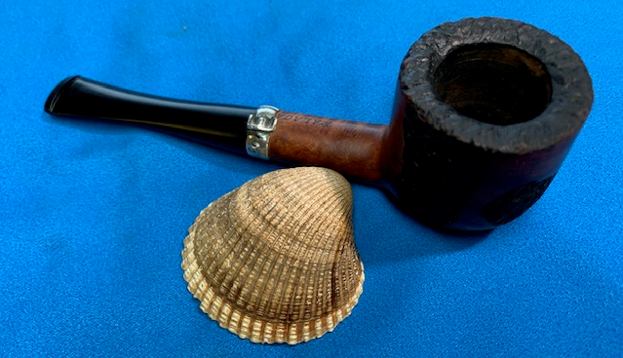
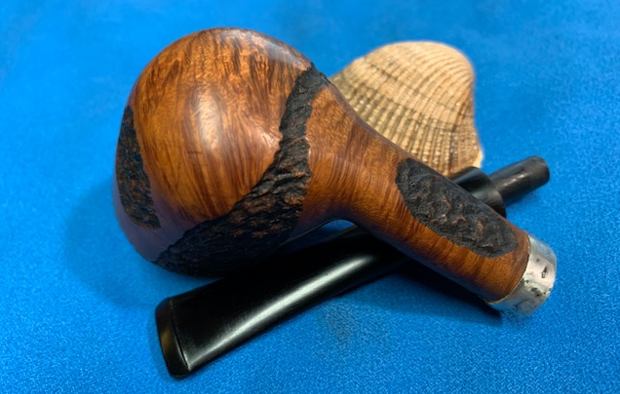
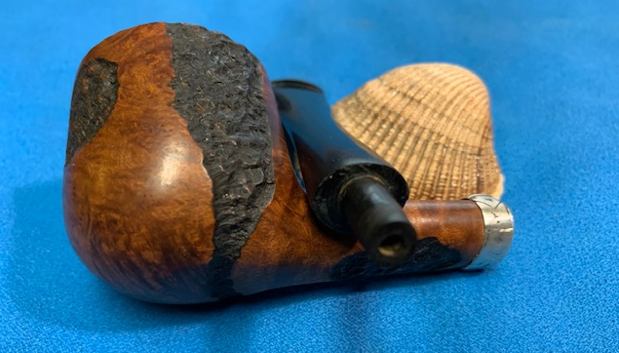
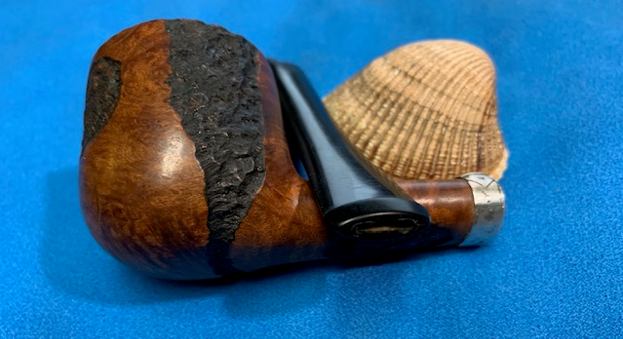
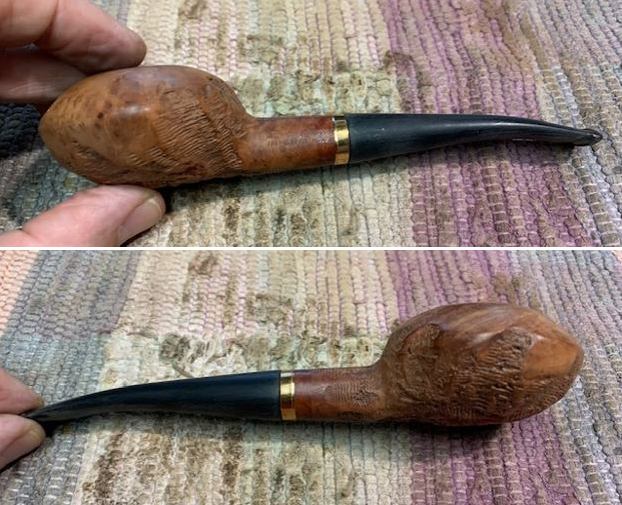
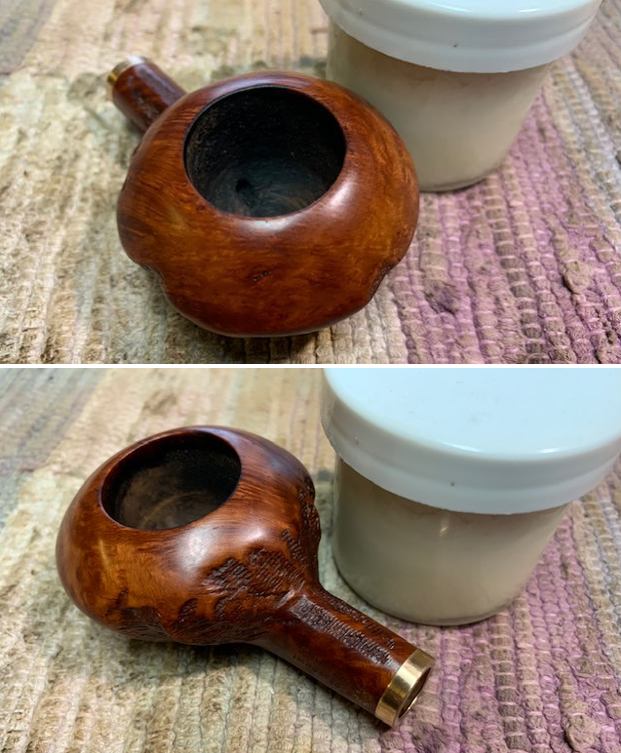
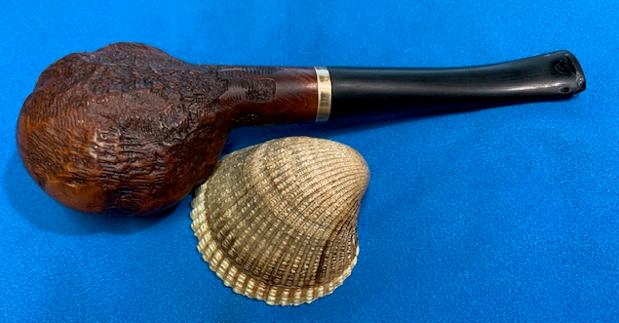
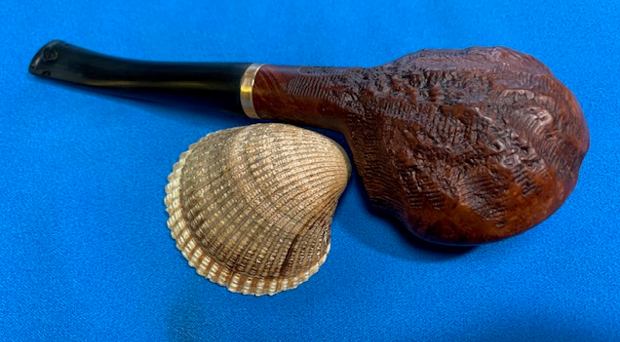
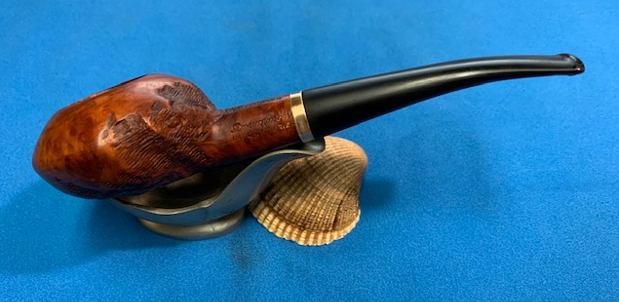
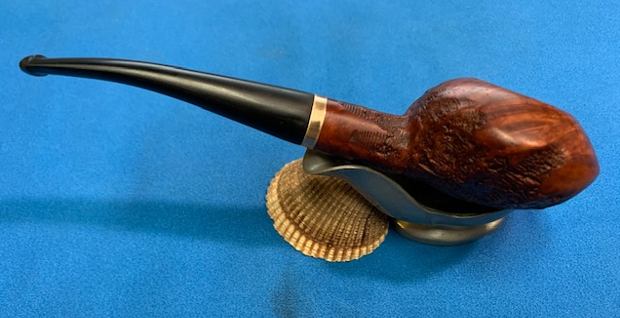
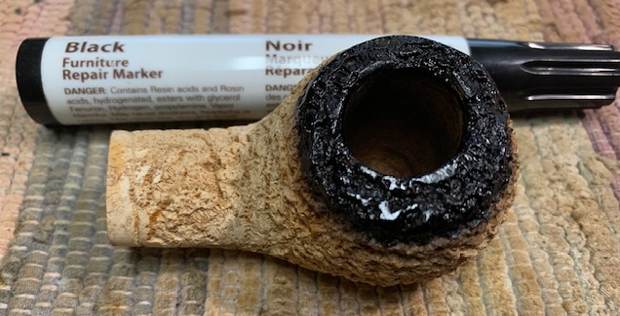 I am excited to be on the homestretch with interesting British Made Flumed Rusticated Meerschaum Author. This is the part I look forward to when it all comes back together, polished and waxed. I put the bowl and the new stem together and polished the stem and bowl with Blue Diamond to polish out the scratches in the vulcanite and give a light shine to the bowl. I gave the stem multiple coats of carnauba wax. I buffed the pipe with a clean buffing pad to raise the shine. I hand buffed it with a microfiber cloth to deepen the shine. The pipe polished up pretty nicely. The rugged rusticated finish looks really good with the deep nooks and crannied of the rustication and the porous spots showing the “grain” in the meerschaum. The restored bowl goes really well with the new polished black saddle vulcanite stem. This Rusticated Flumed Author was another fun pipe to work on and came out looking great. It is a comfortable sized pipe to hold in the hand. The finished pipe is shown in the photos below. The dimensions of the pipe are Length: 5 inches, Height: 1 ¼ inches, Outside diameter of the bowl: 1 ¼ inches, Chamber diameter: ¾ of an inch. The weight of the pipe is 51 grams/1.80 ounces. If you are interested in adding this pipe to your rack it will be on the rebornpipes store in the Ceramic and Meerschaum Pipe Section soon. Thanks for reading this blog and my reflections on the pipe while I worked on it.