by Steve Laug
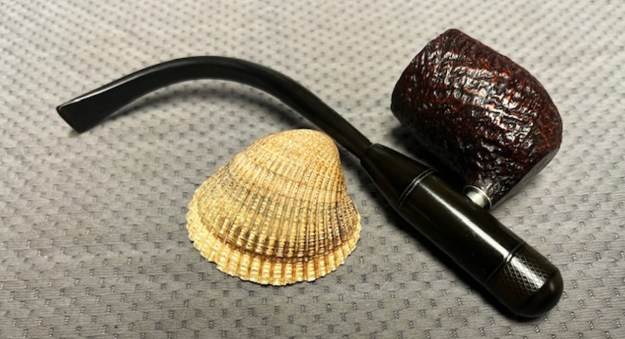
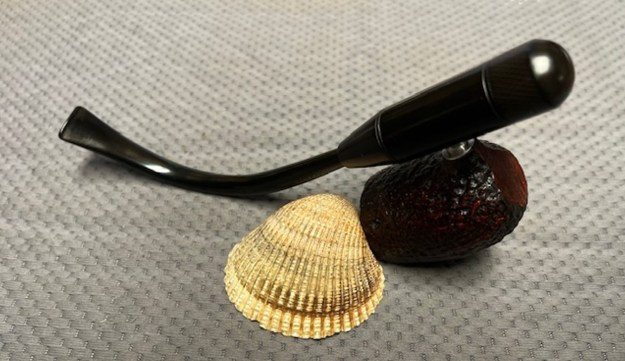
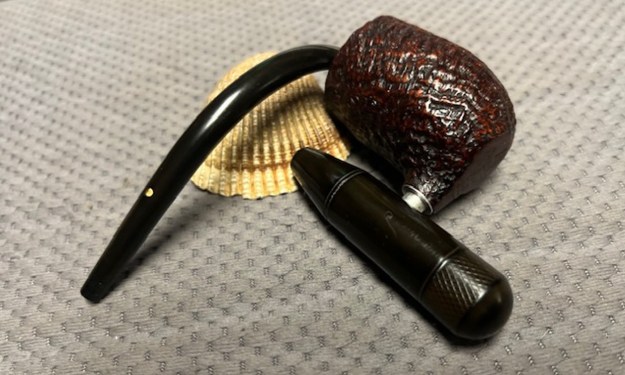
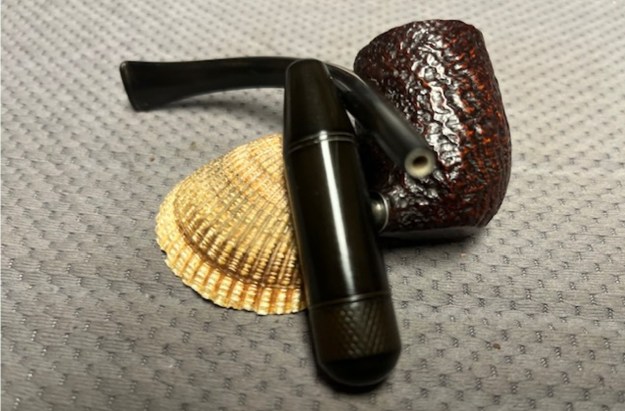
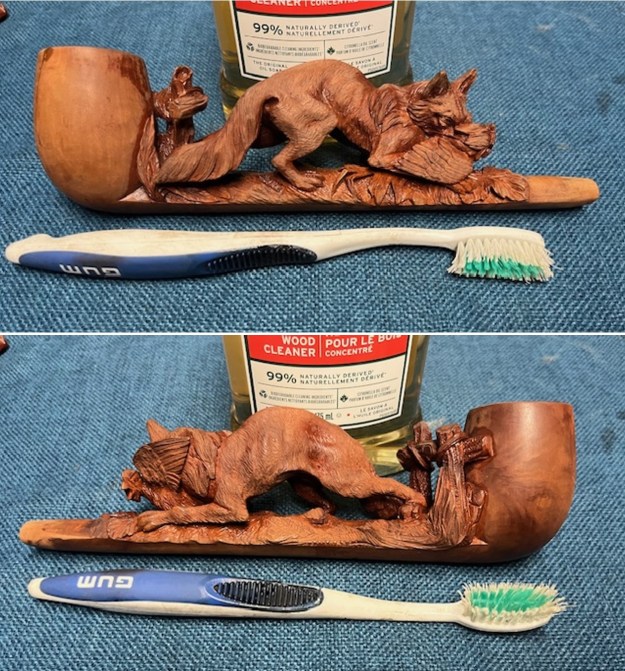
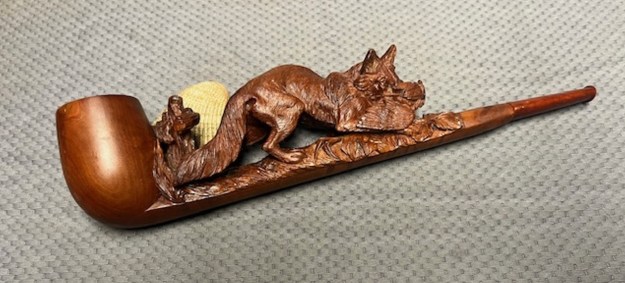
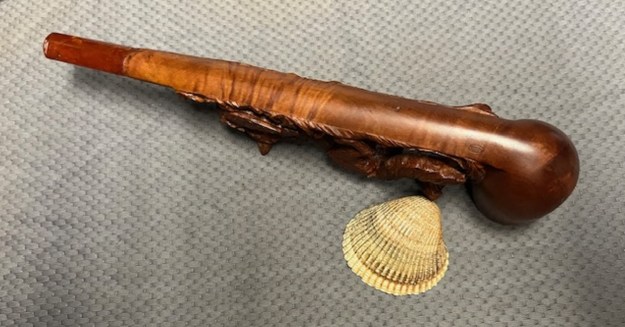
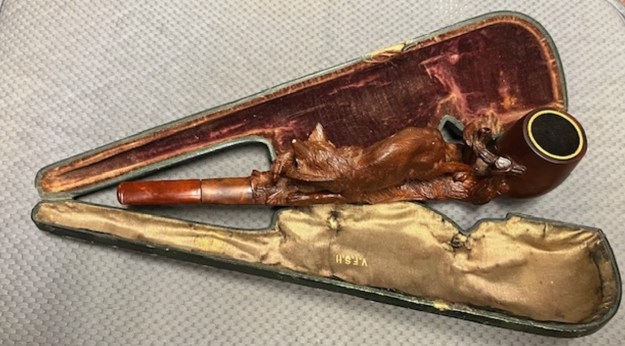
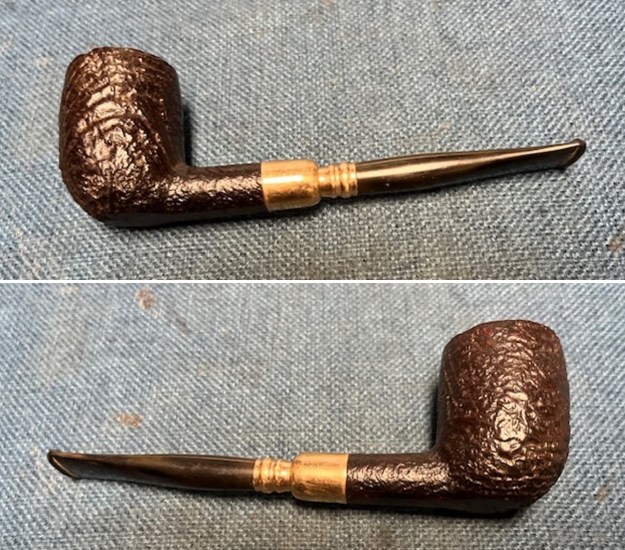
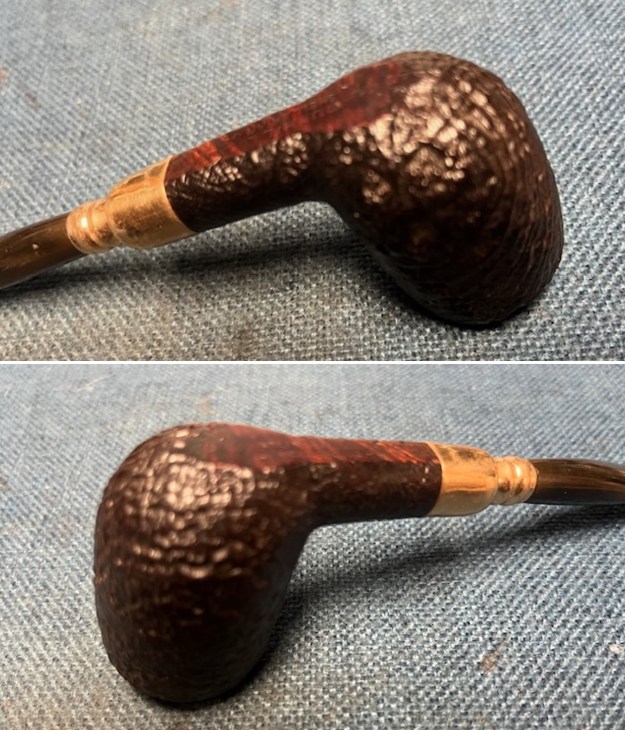
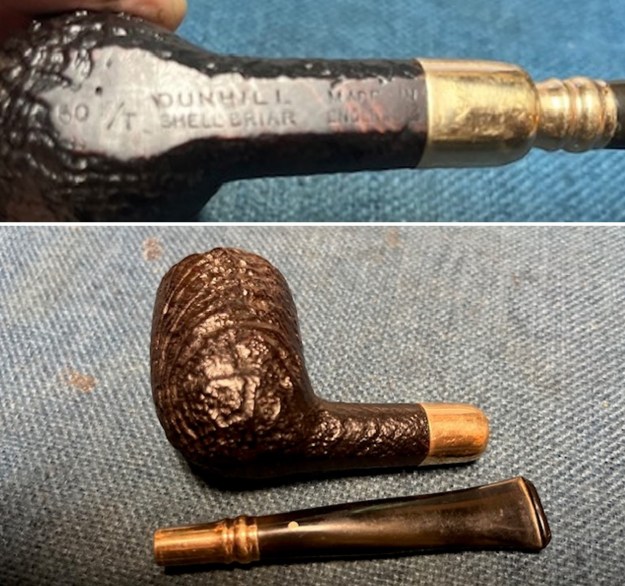
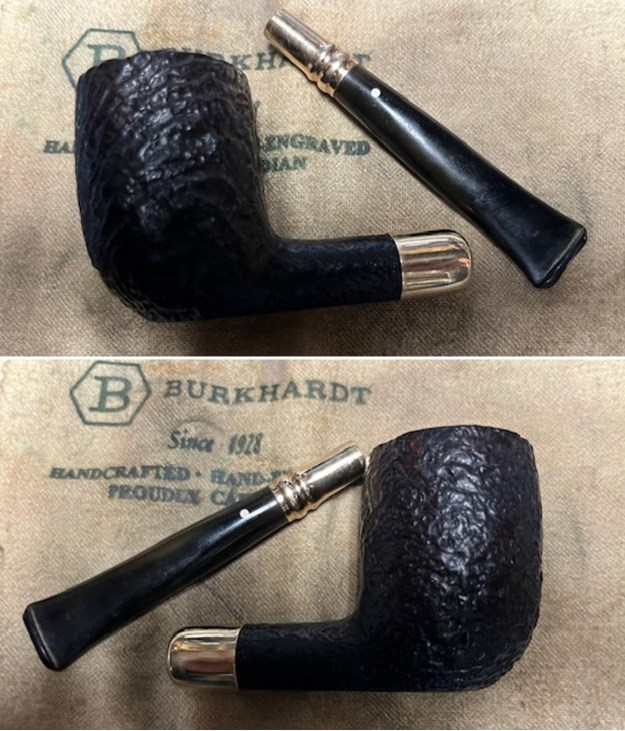
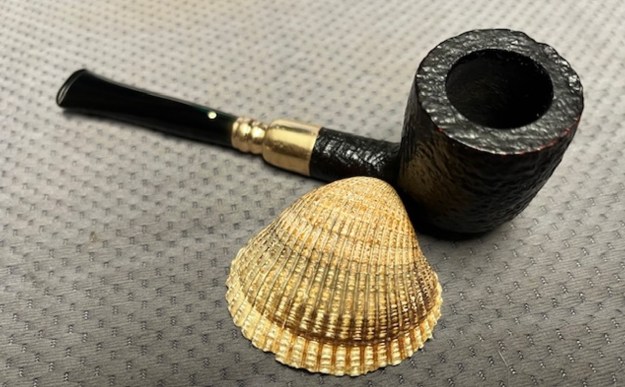
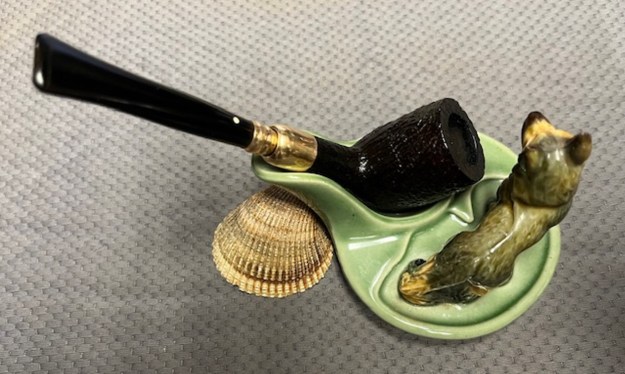
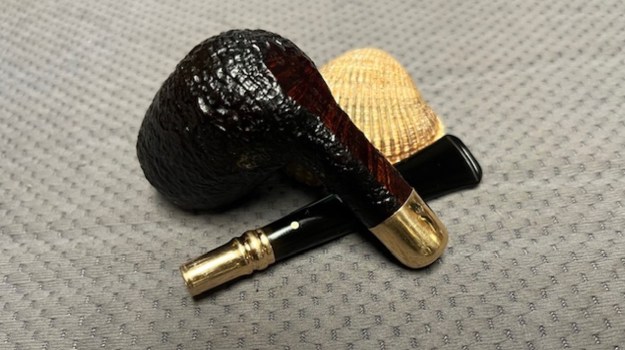
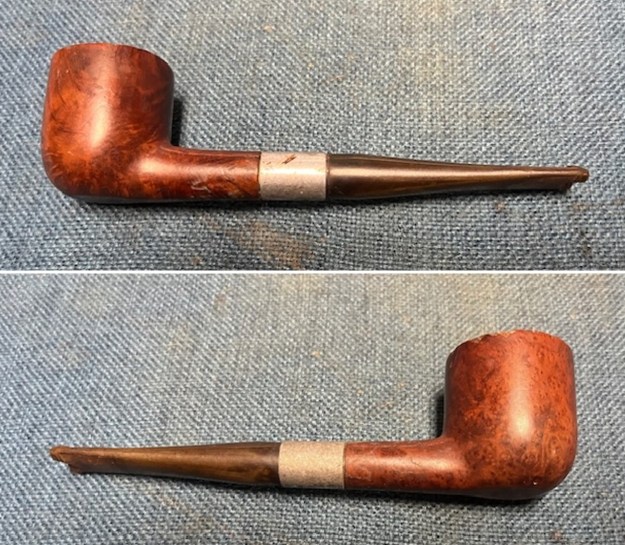
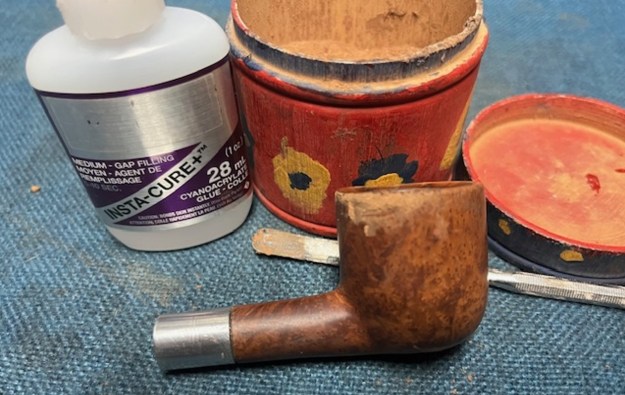
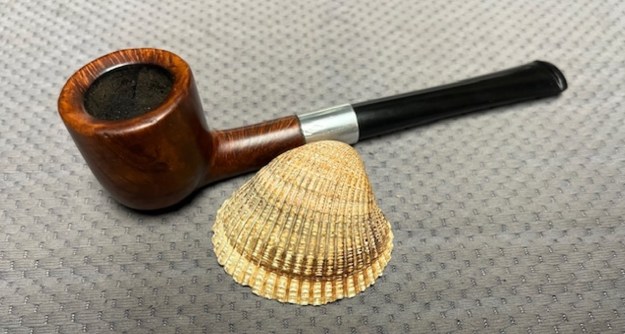
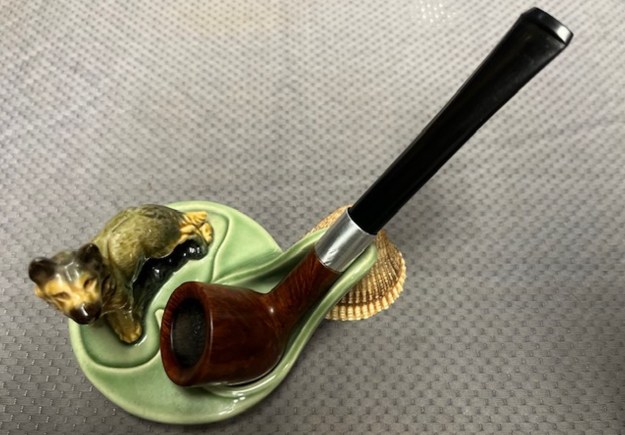
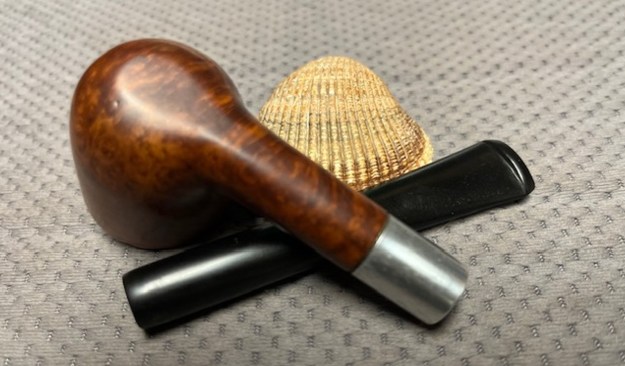
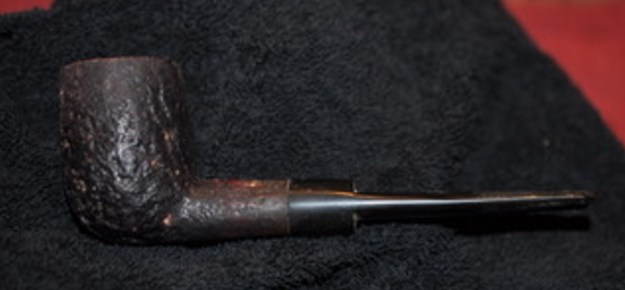
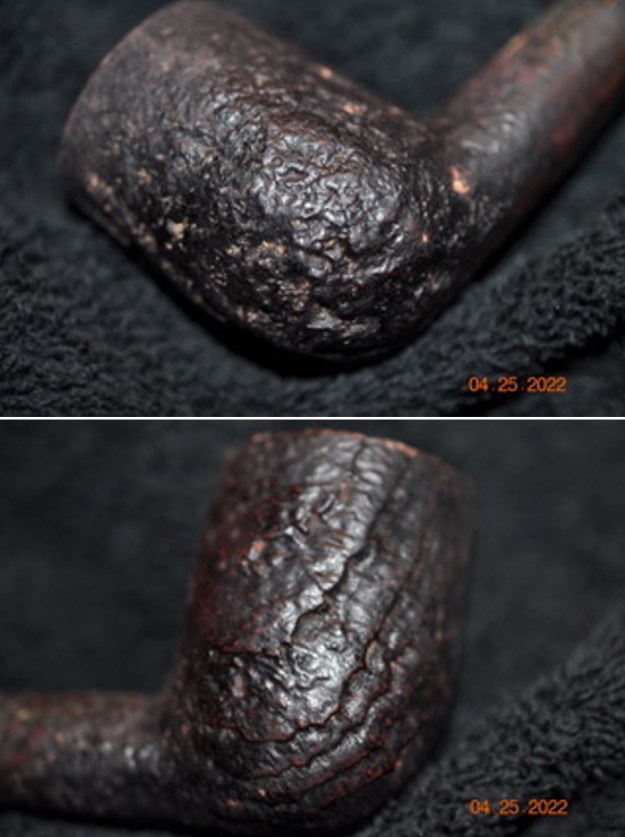
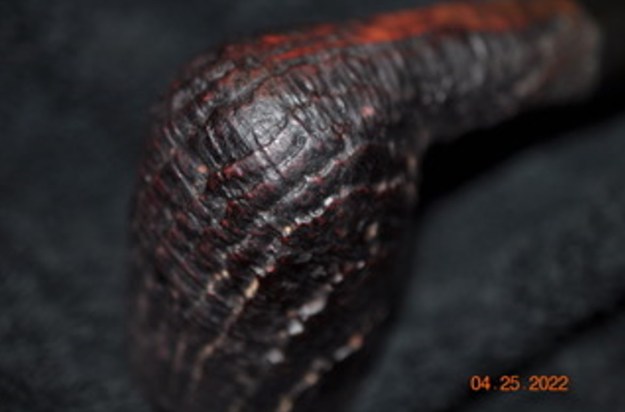
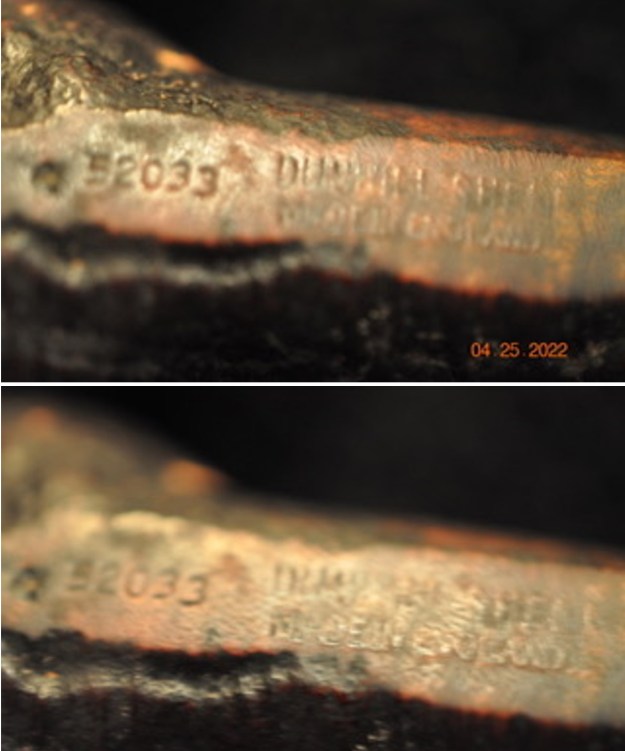
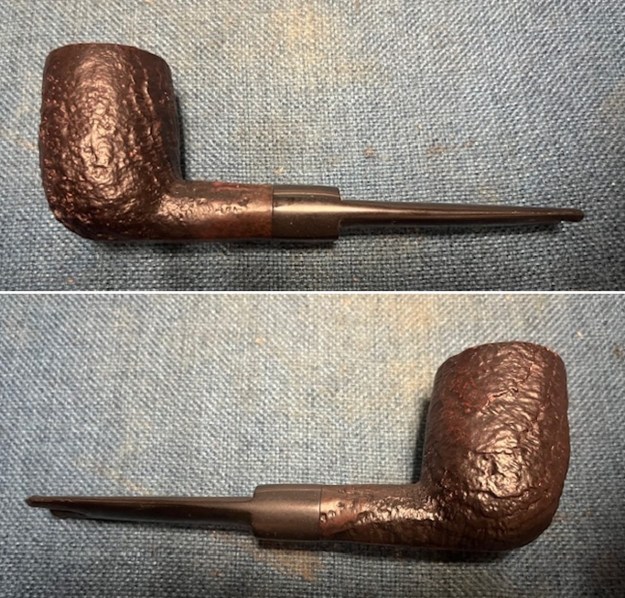
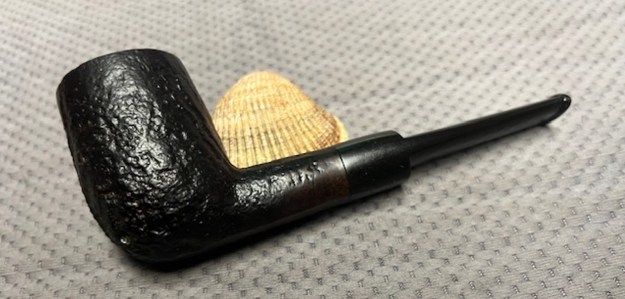
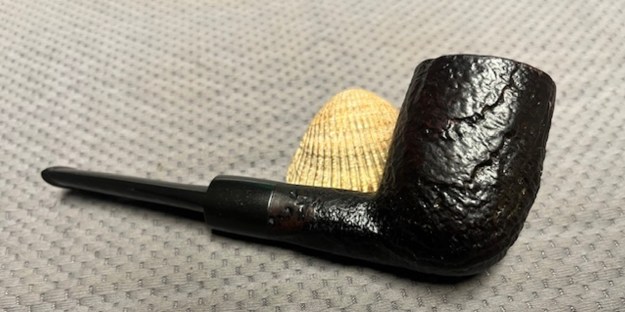
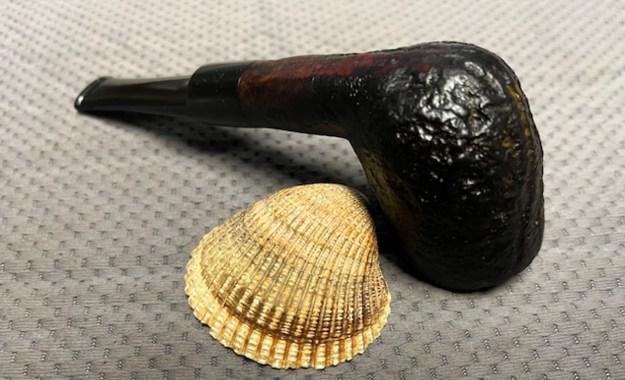
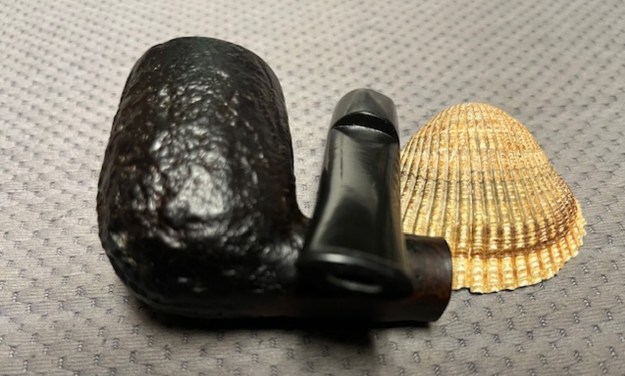
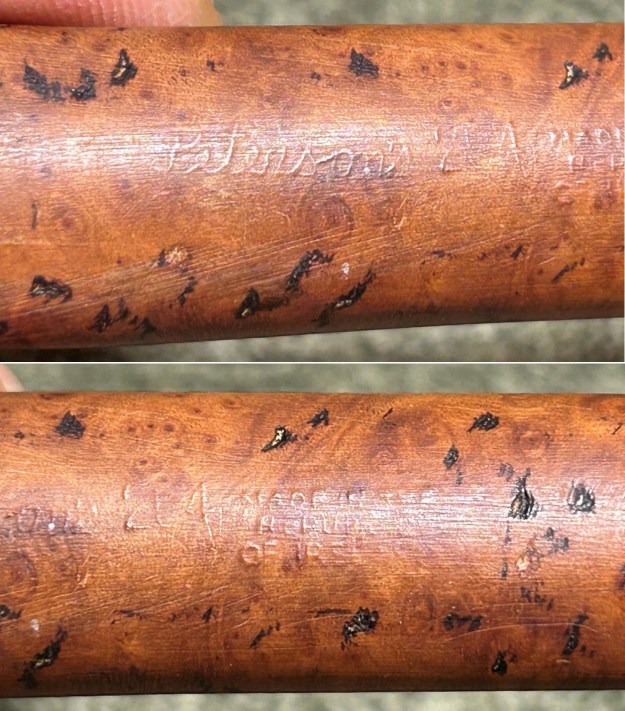
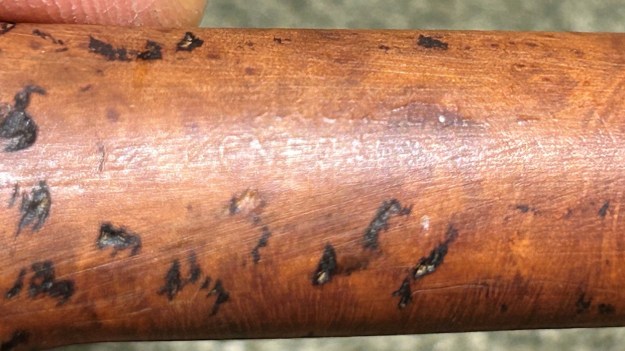
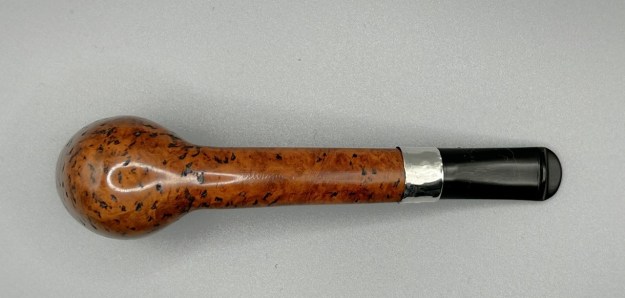
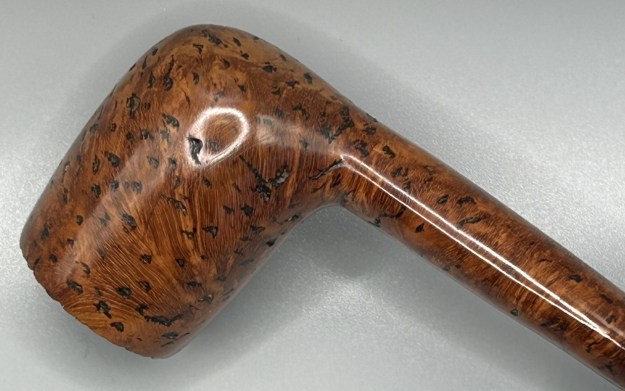
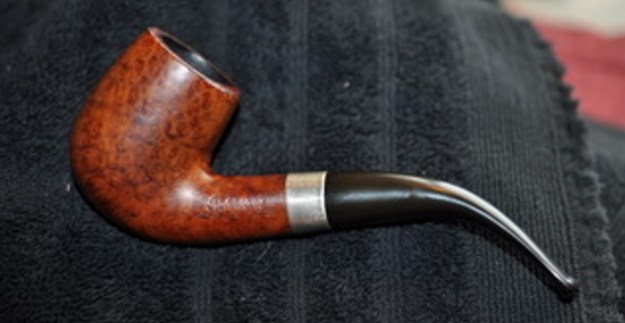
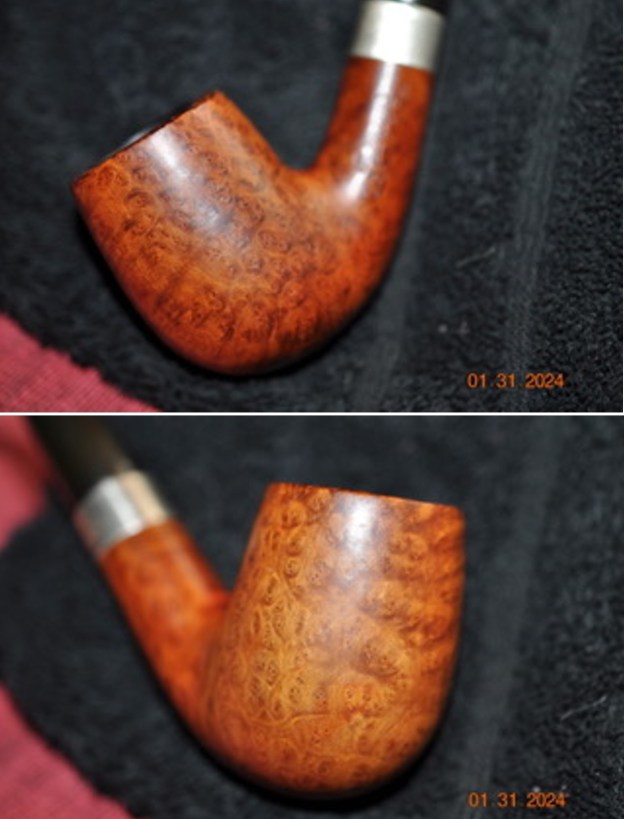
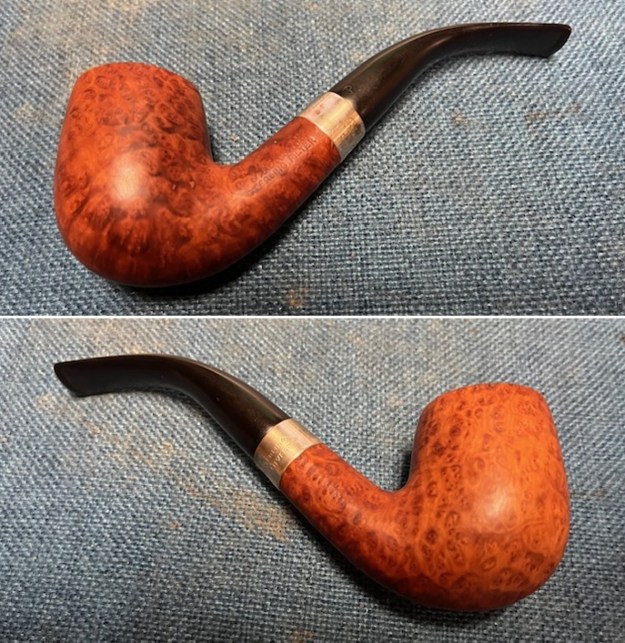
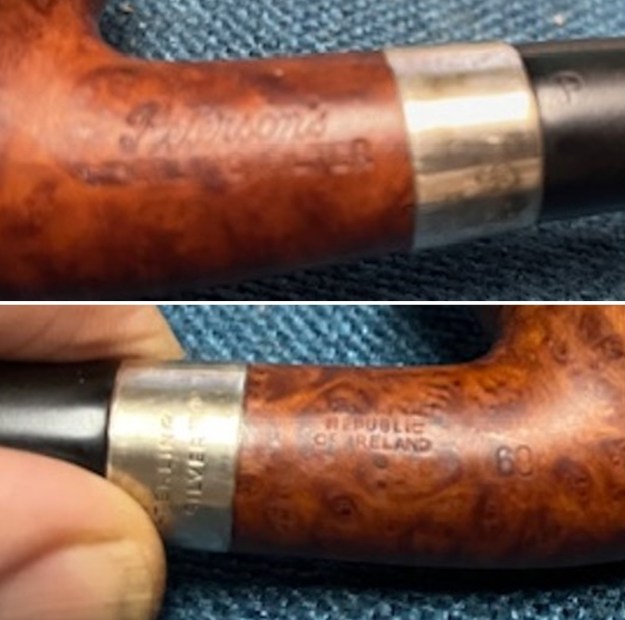
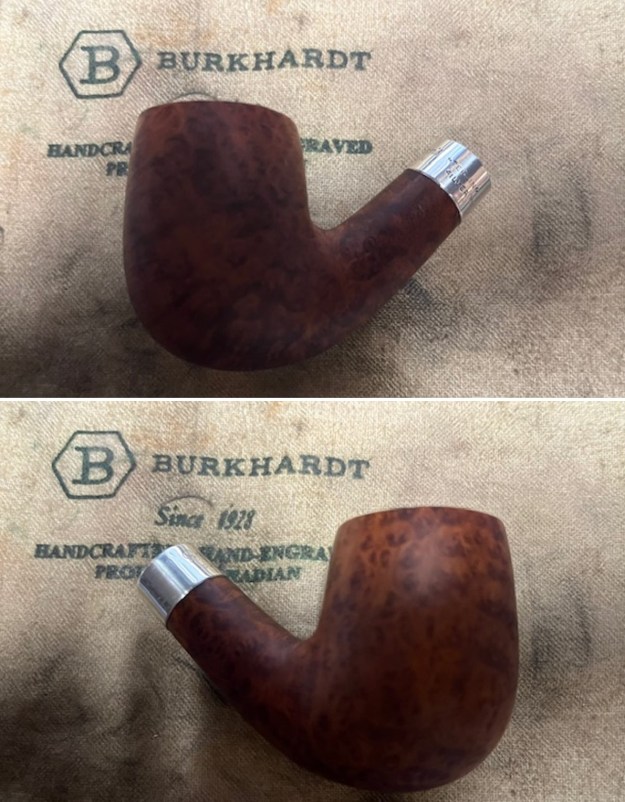
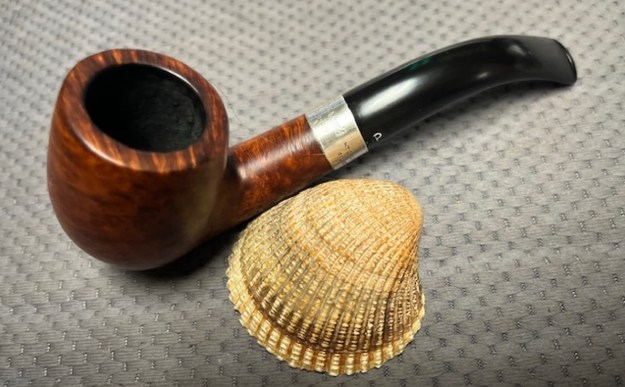
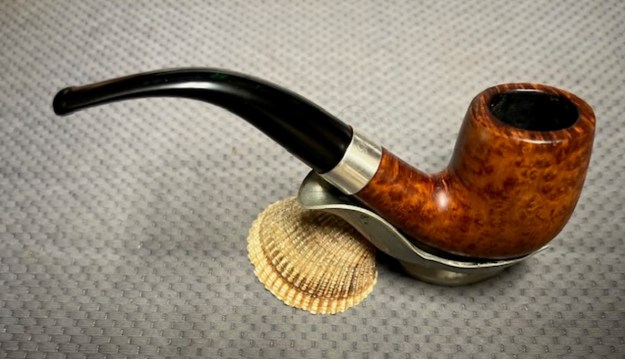
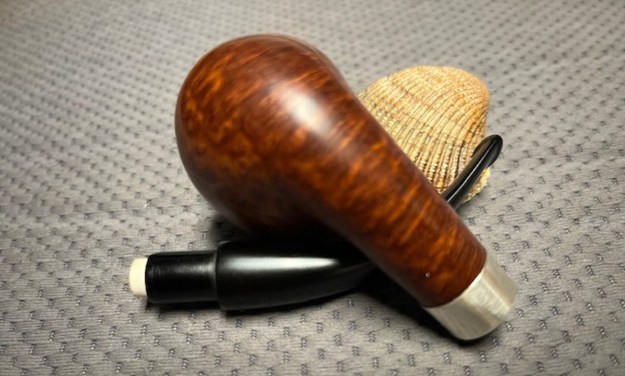
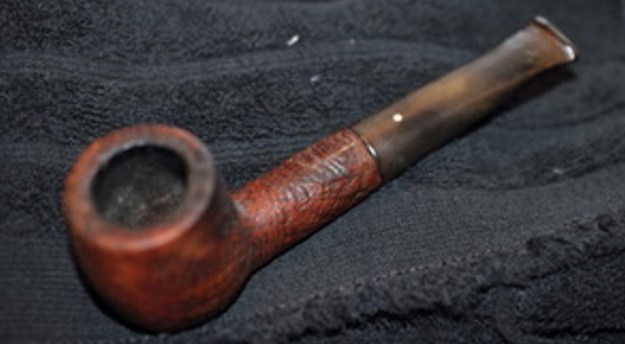
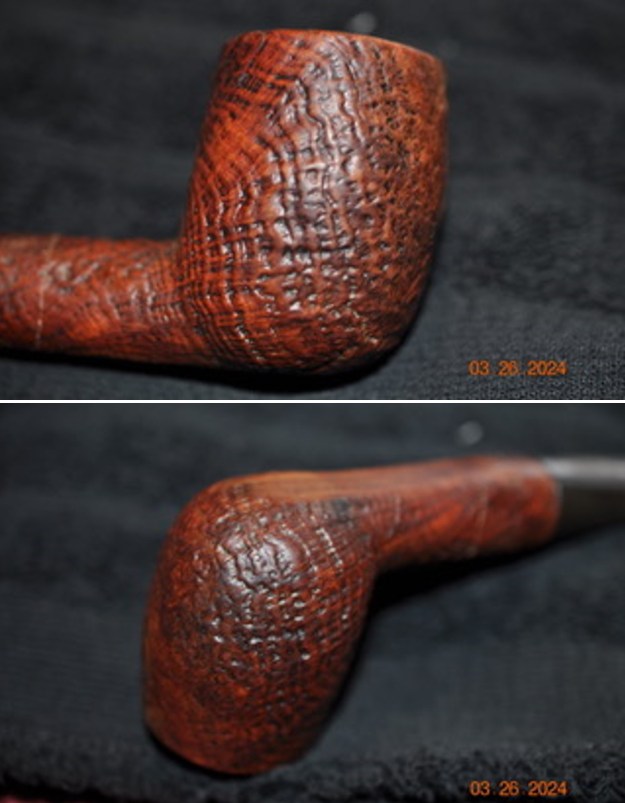
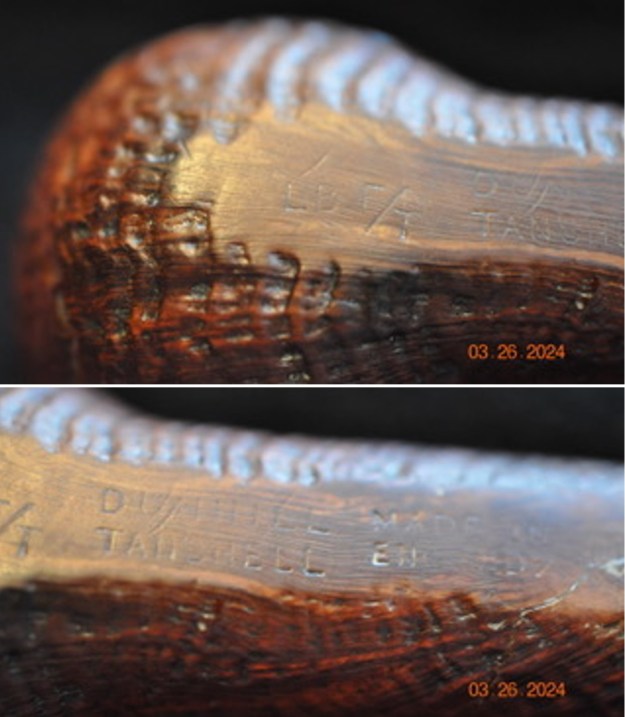
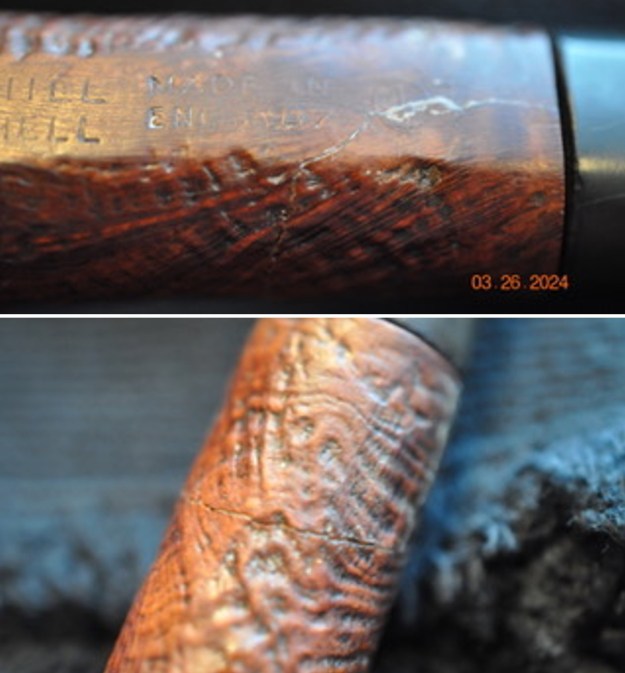
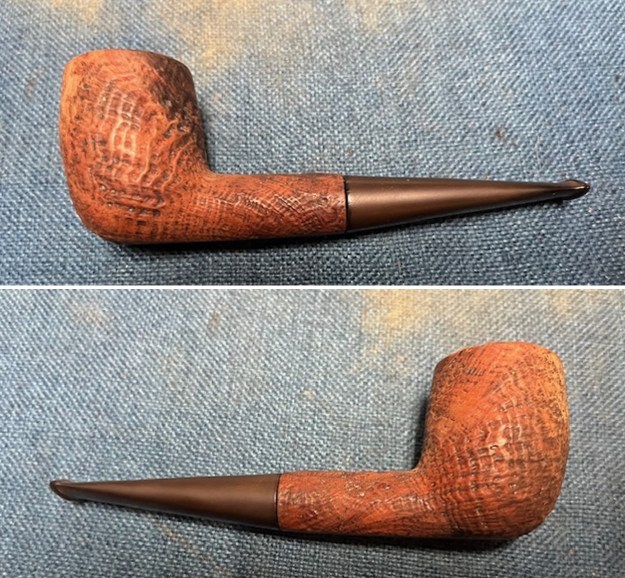
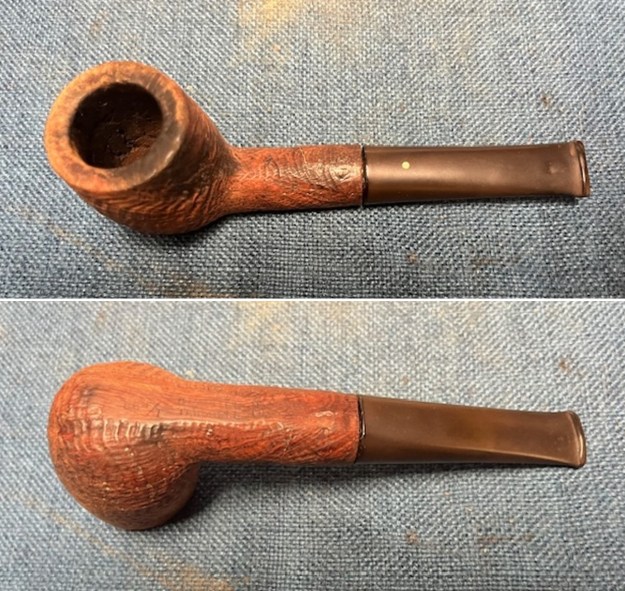
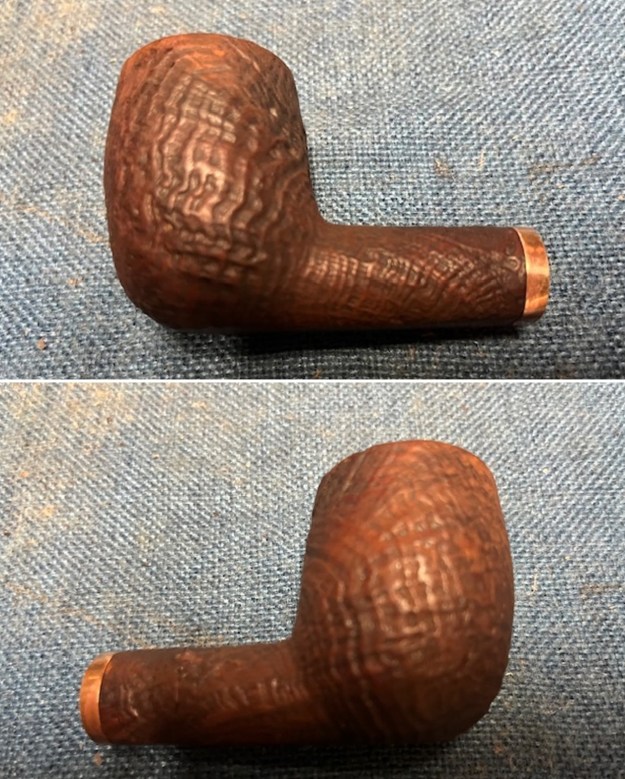
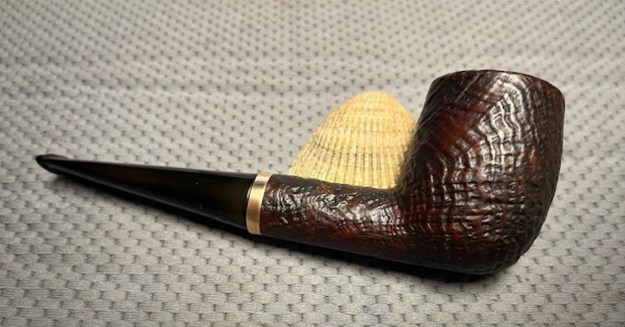
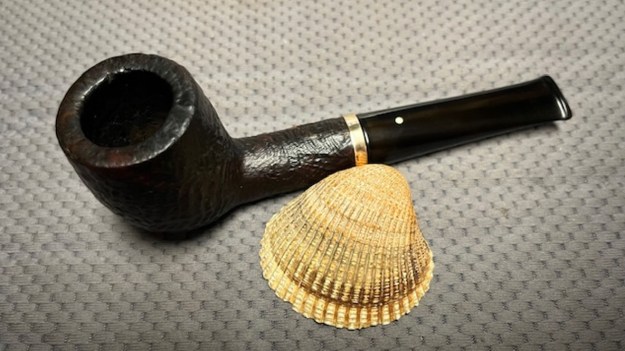
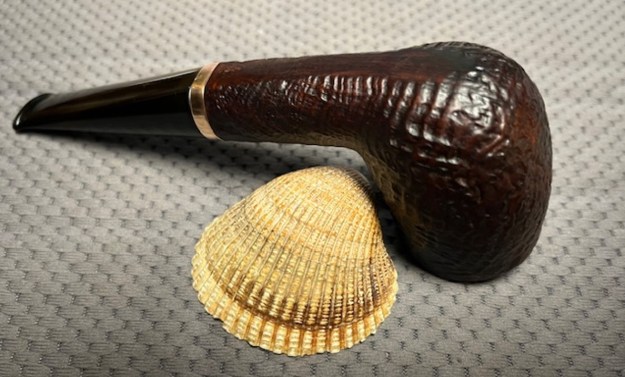
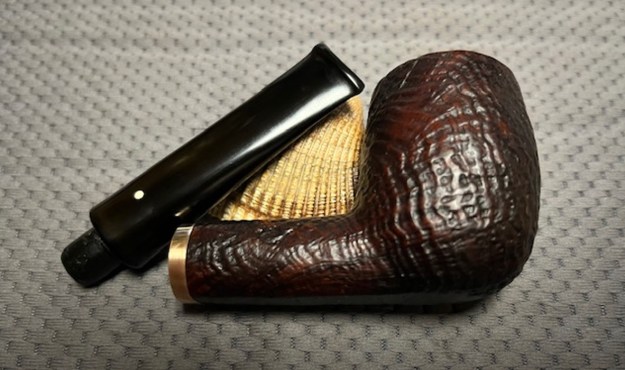
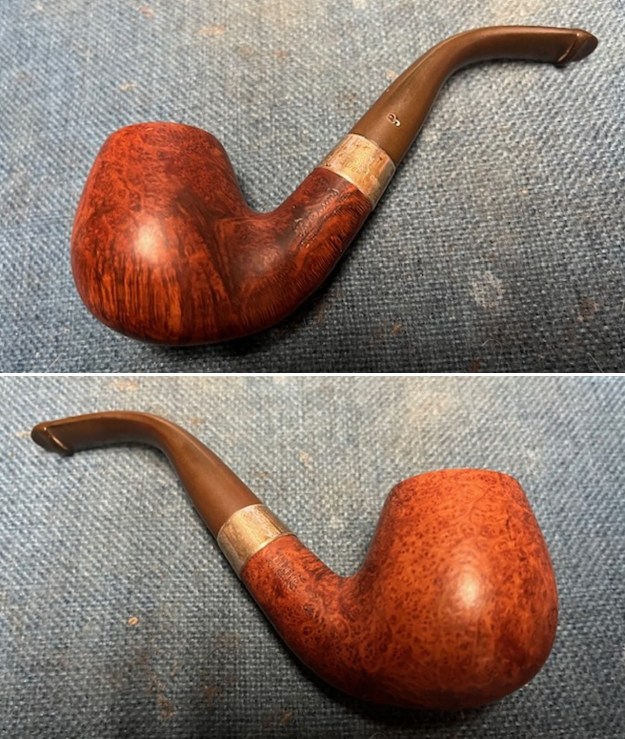
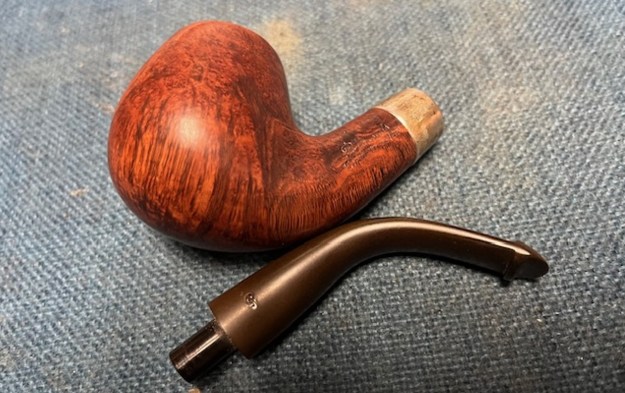
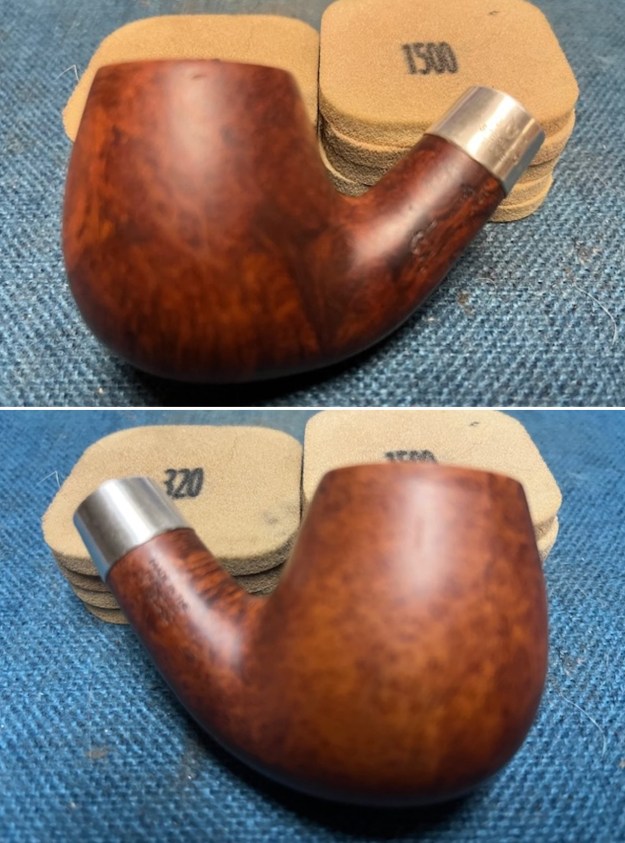
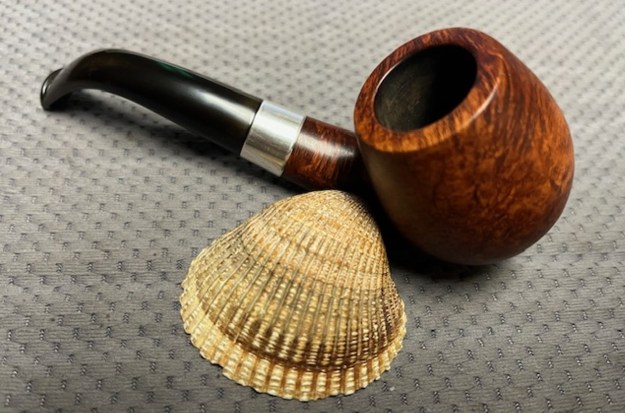
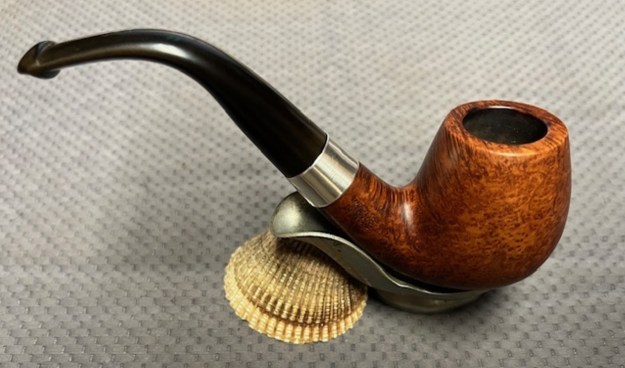
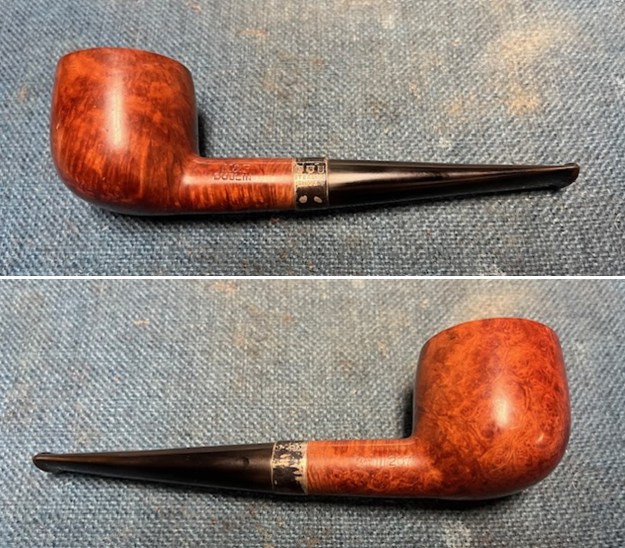
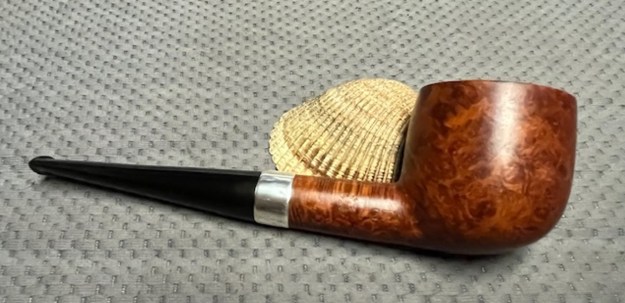
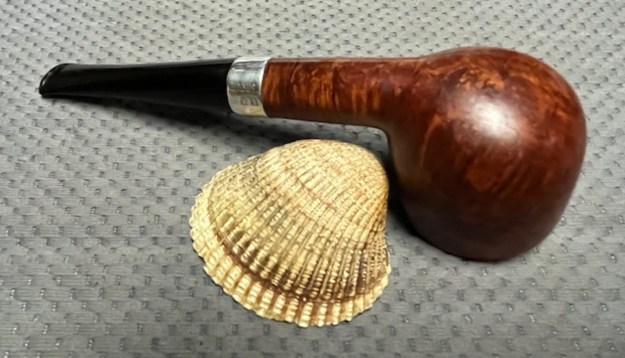
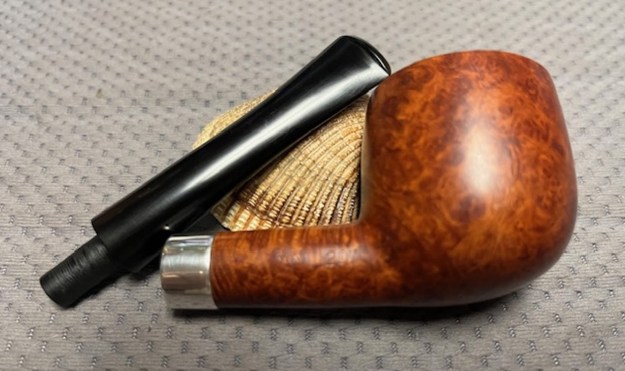
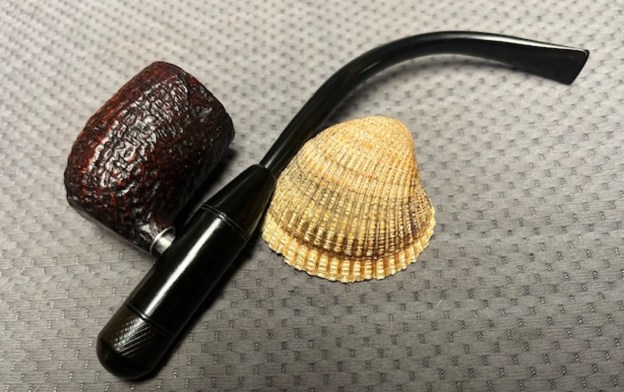
The next pipe on the table is another one that came to us from the seller in Caldwell, Idaho, USA on 07/12/2025. It is a Dunhill Shell Briar Cavalier with a briar bowl, a stainless tube that fit snugly in the bowl, a vulcanite bullet that fit on the tube and a knurled cap that fit on the bottom of the bullet with a wool filter pad inserted in it. The thin bent vulcanite stem fit in the top of the bullet and then bullet fit on the tube. It is in good condition as can be seen in the photos below. It is stamped on a smooth heel of the bowl. On the heel of the bowl it is stamped with the shape F/T [over] Dunhill Shell [over] Made in England2 [over] circle 4S. The stamping is clear and readable. The pipe has a mix of black, cordovan and brown stains on a Shell sandblast finish and some amazing grain that the shape follows well. The finish was dusty and lightly dirty with grime in the nooks and crannies of the sandblast. The bowl had a moderate cake and there was lava and dust in the sandblasted rim top and edges. The vulcanite bullet piece was oxidized but otherwise looks good. The original white spot stem is on the pipe and is dirty and oxidized. I took photos of the pipe to show what it looked like before I started working on it.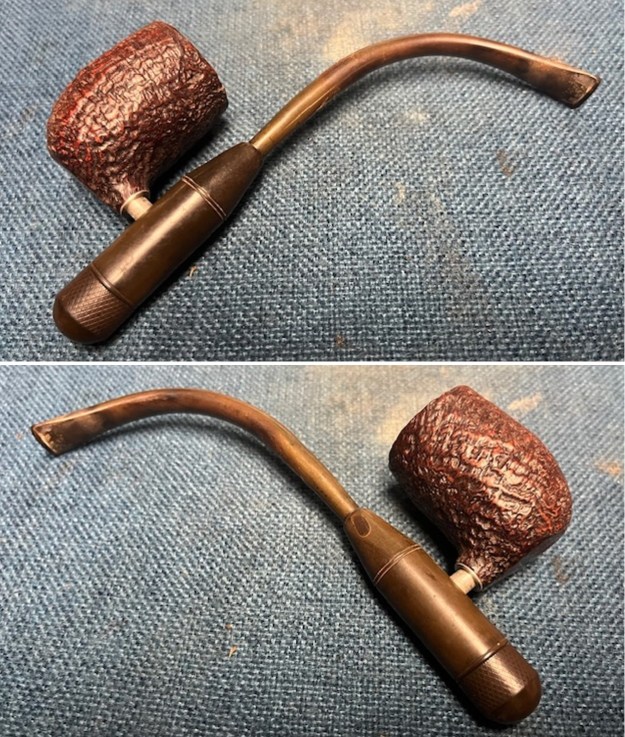
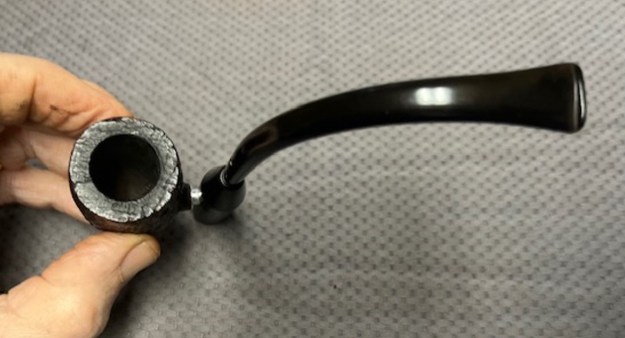
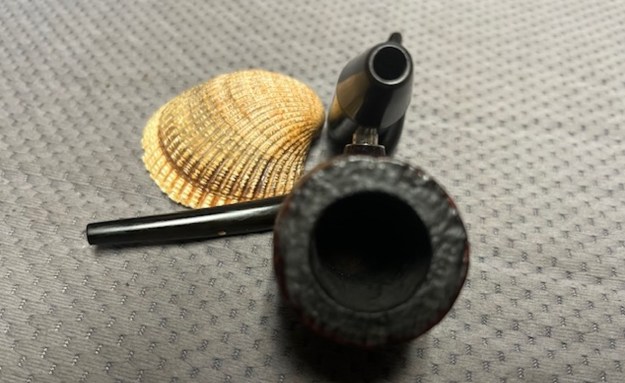
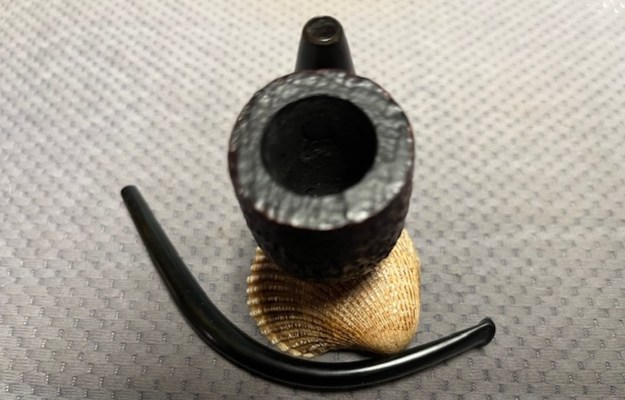
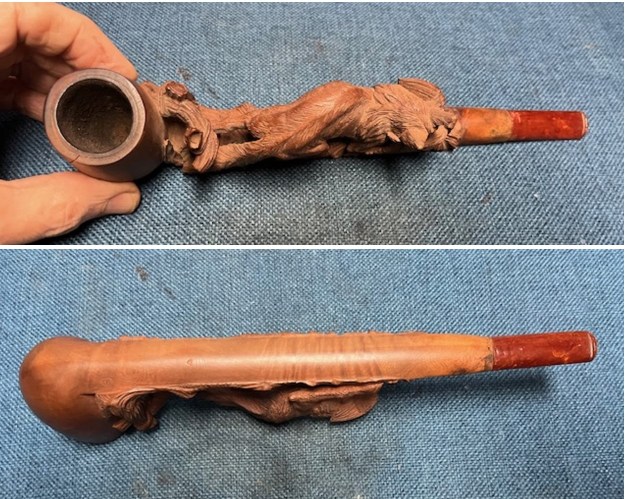
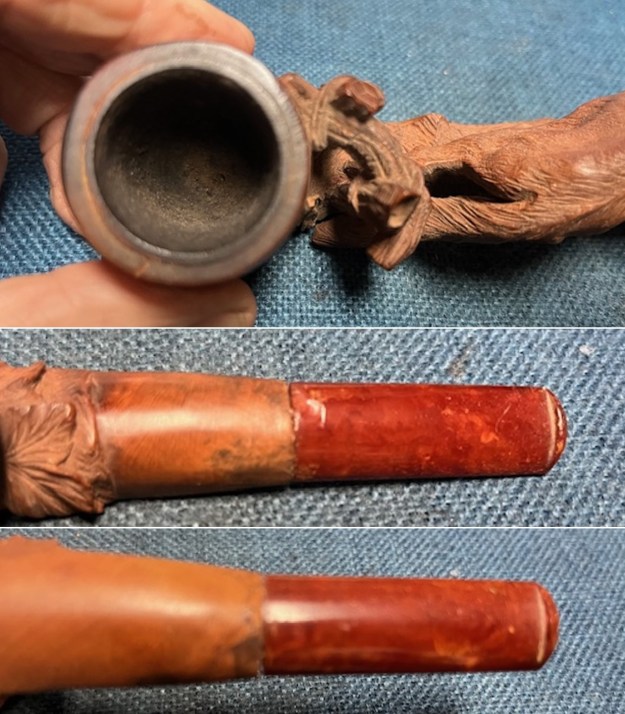
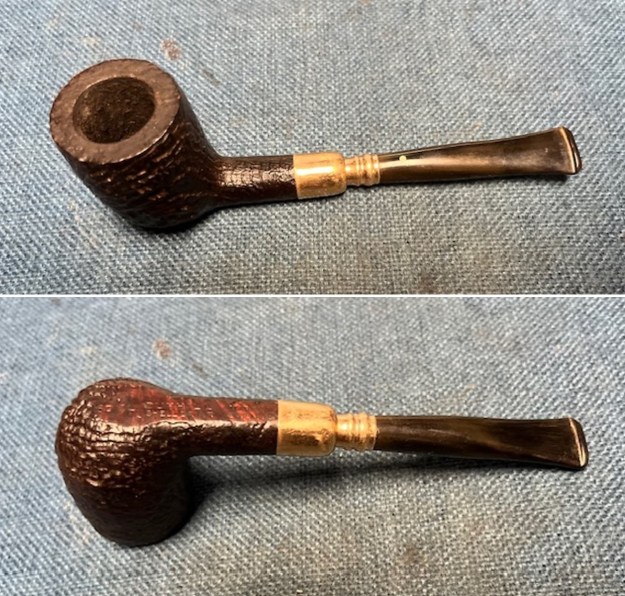
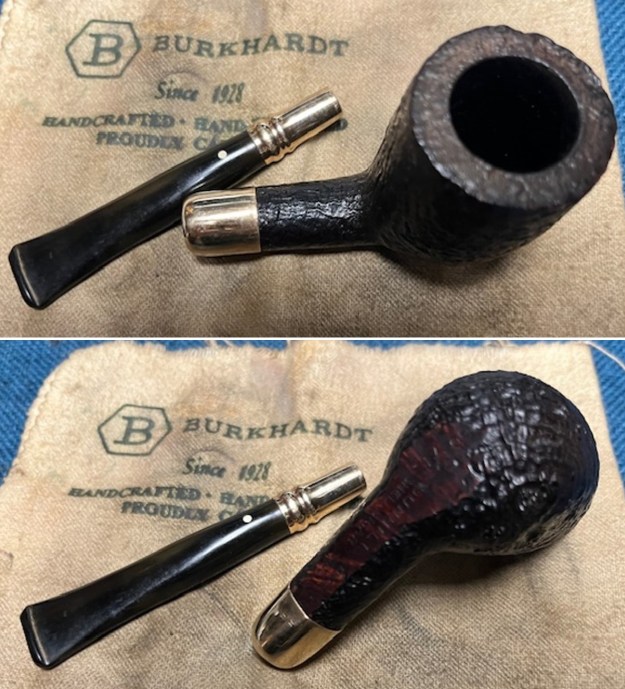
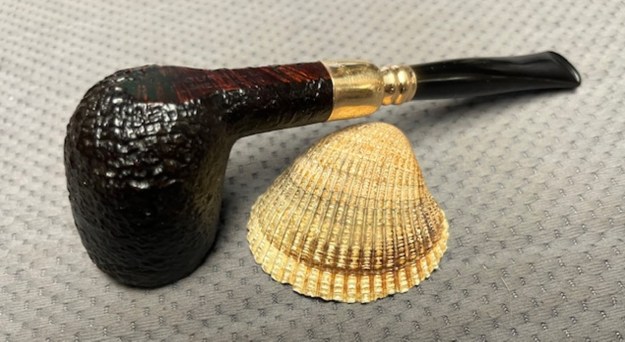
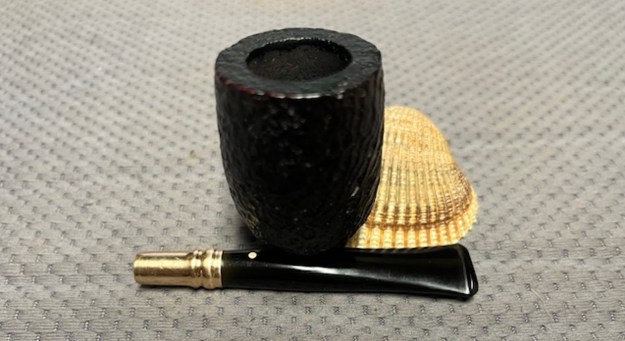
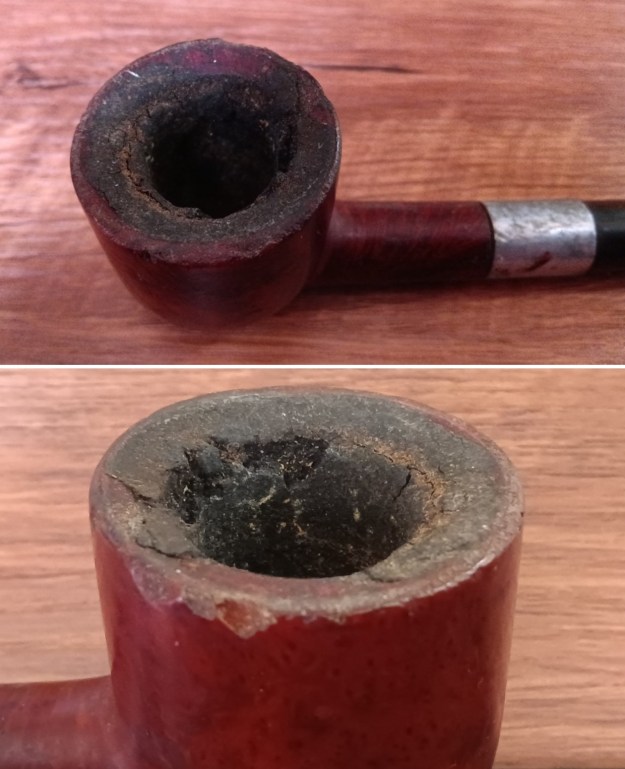
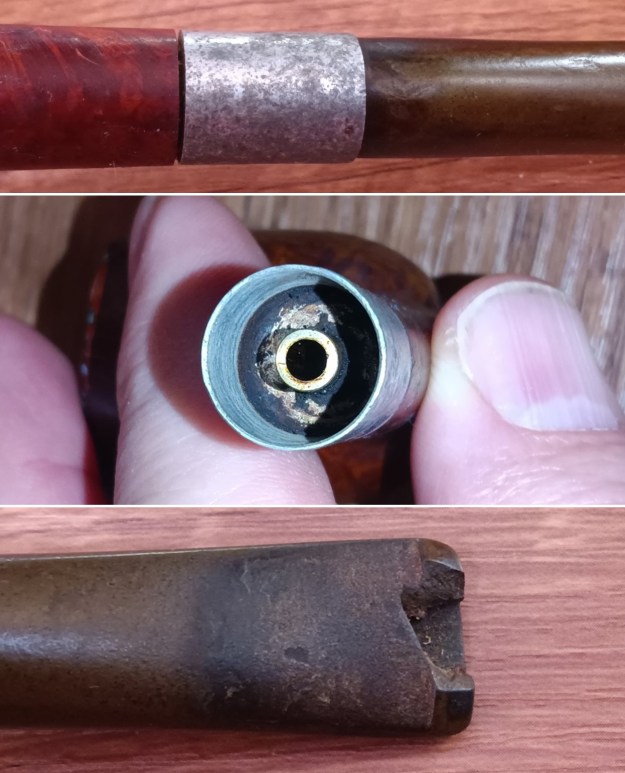
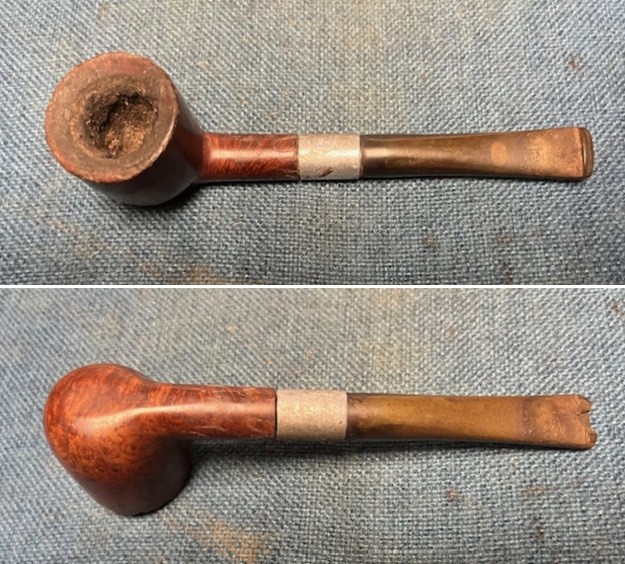
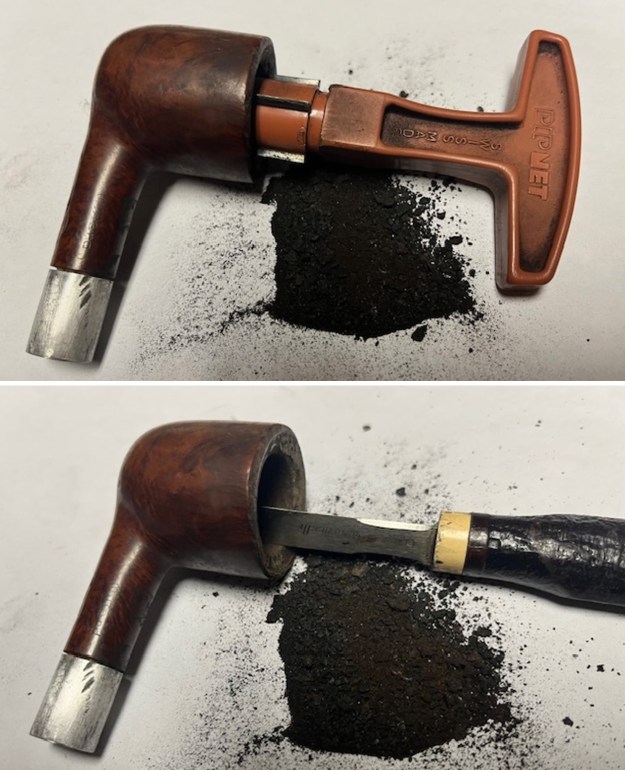
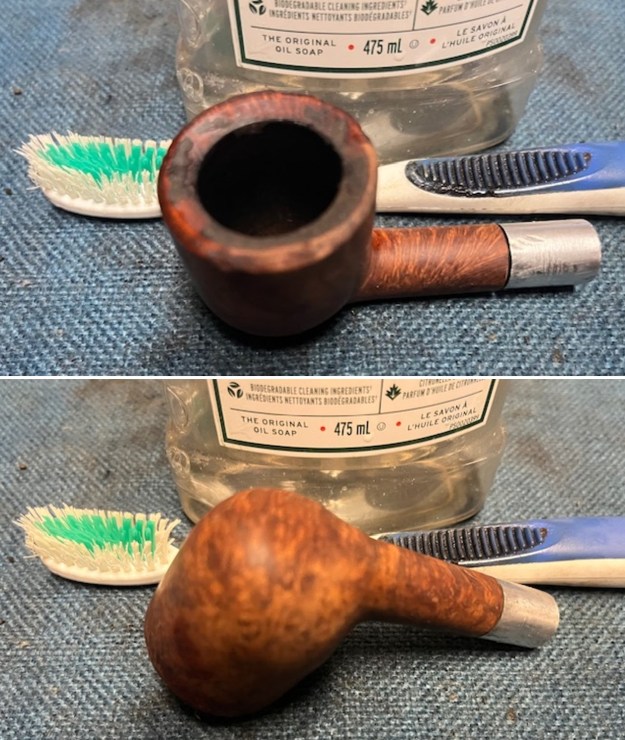
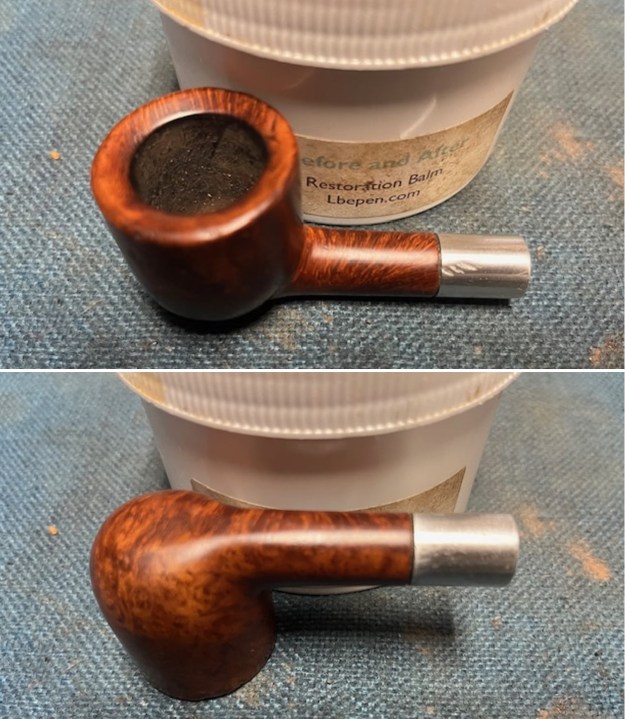
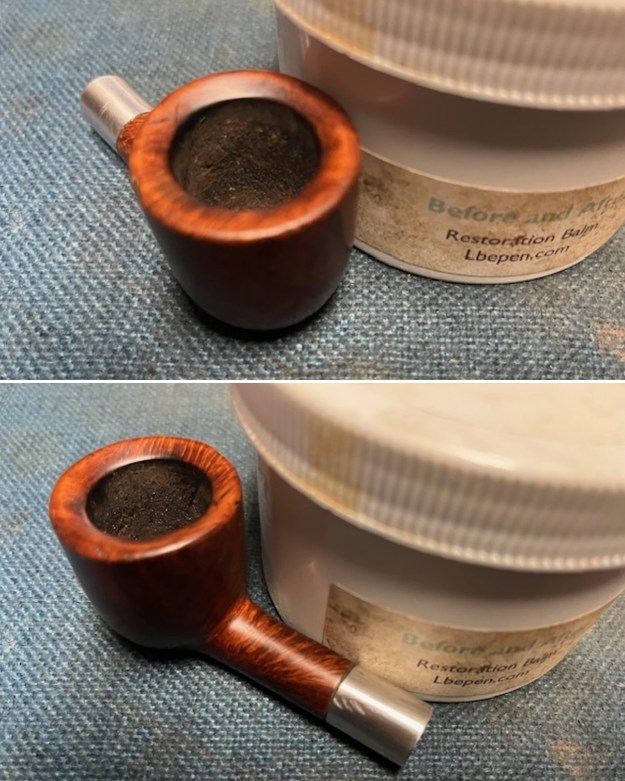
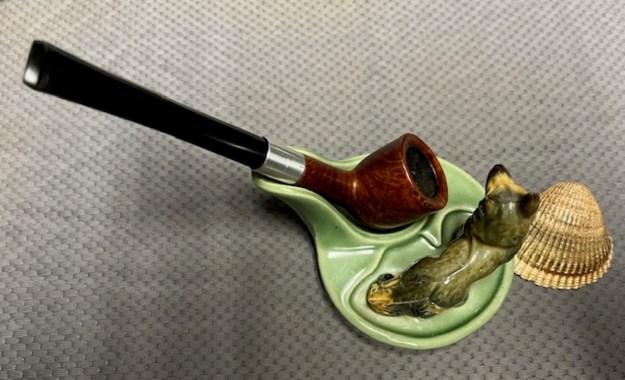
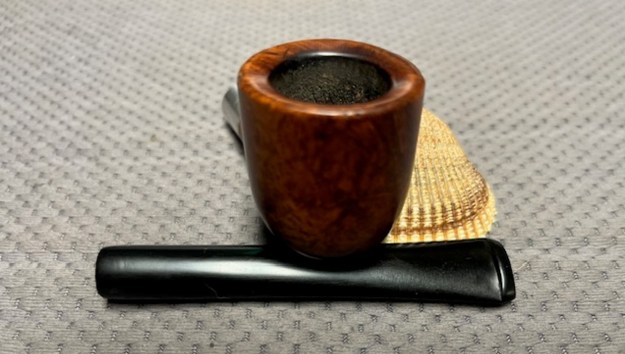
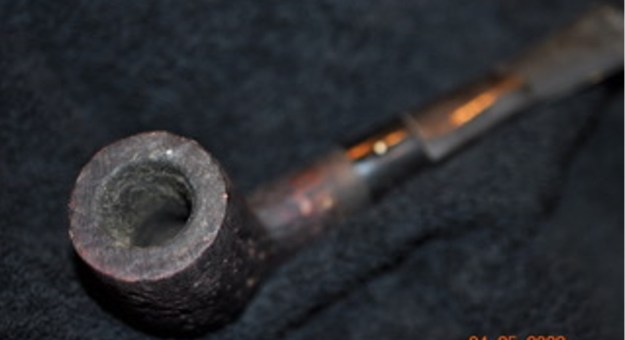
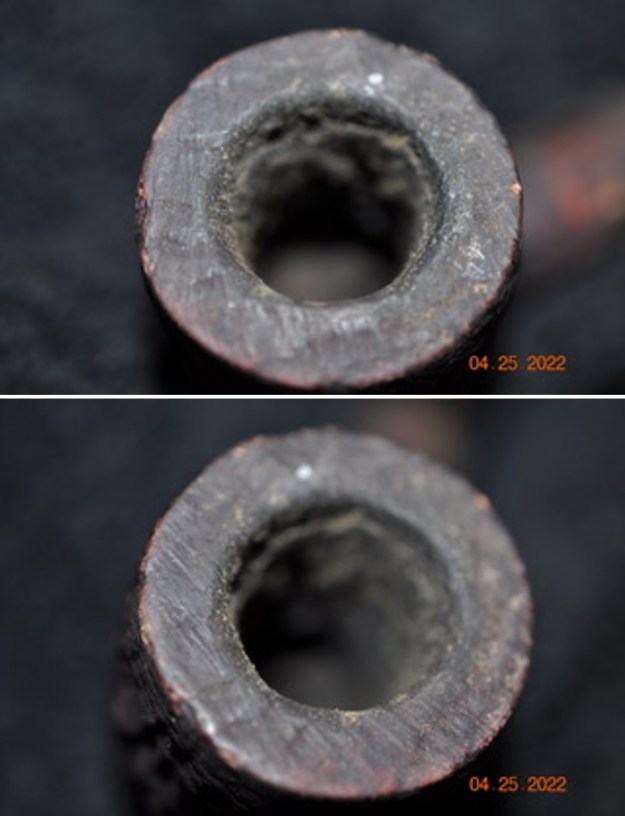
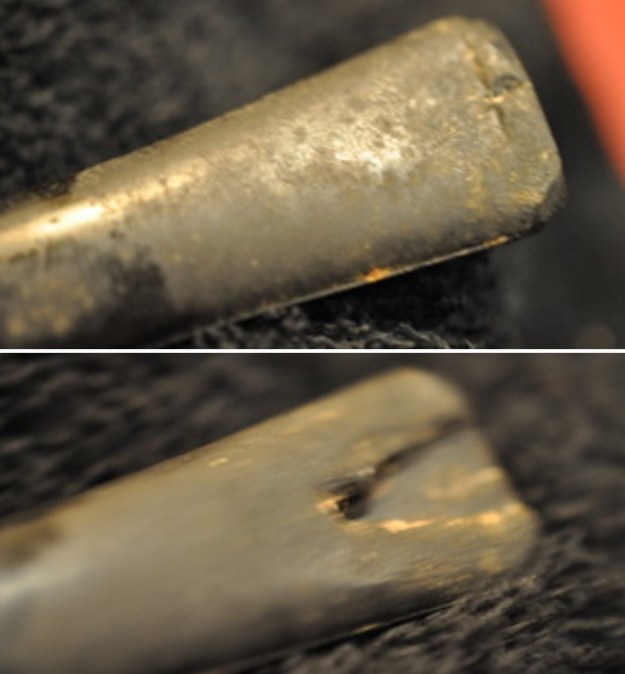
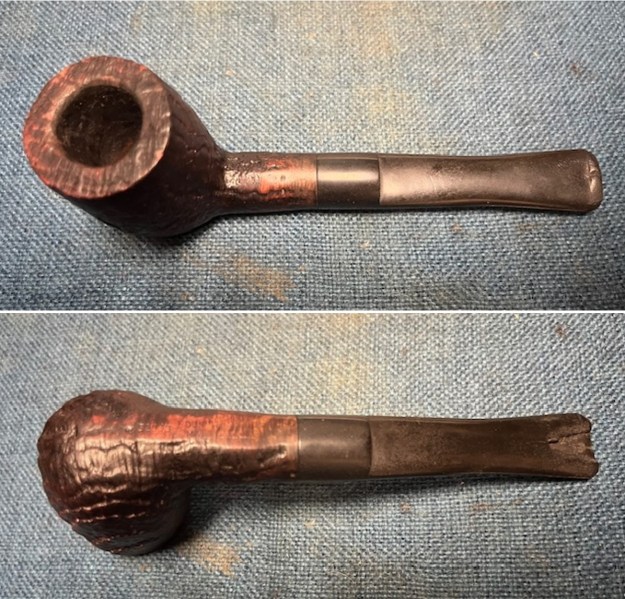
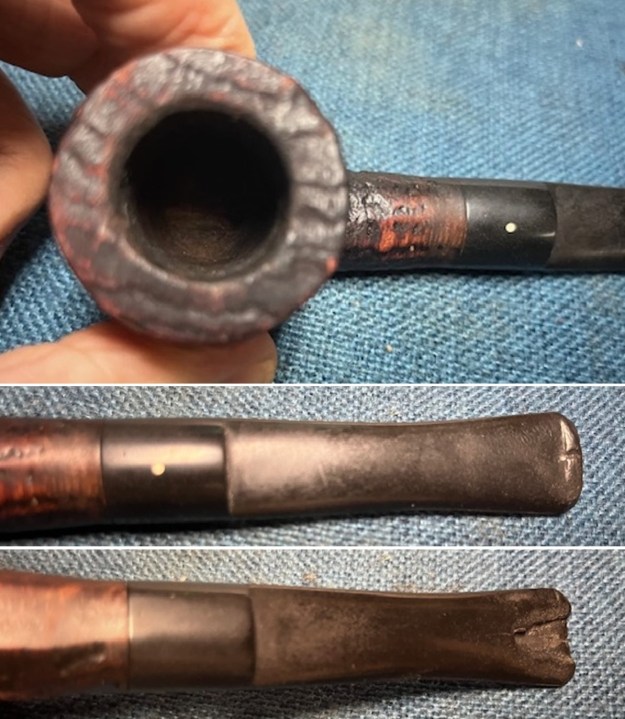
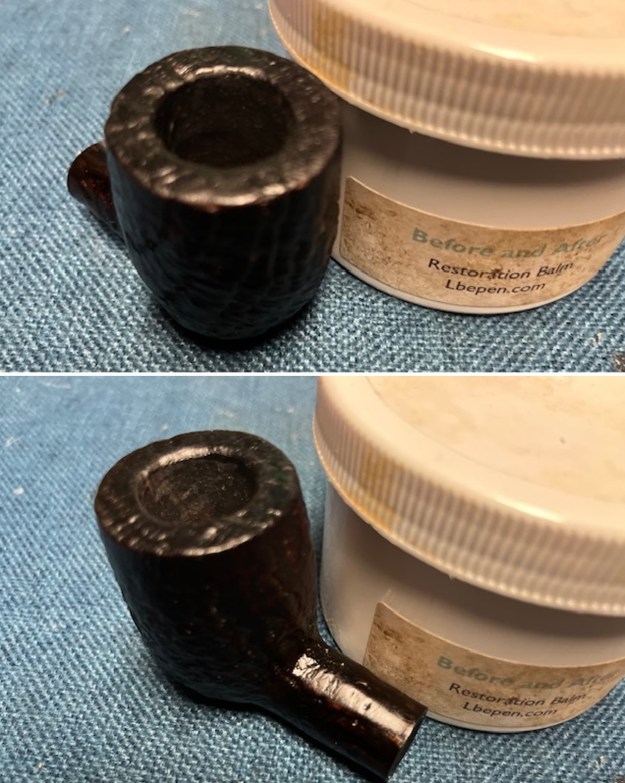
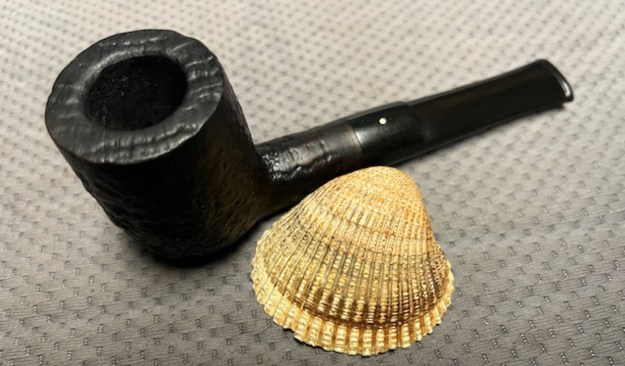
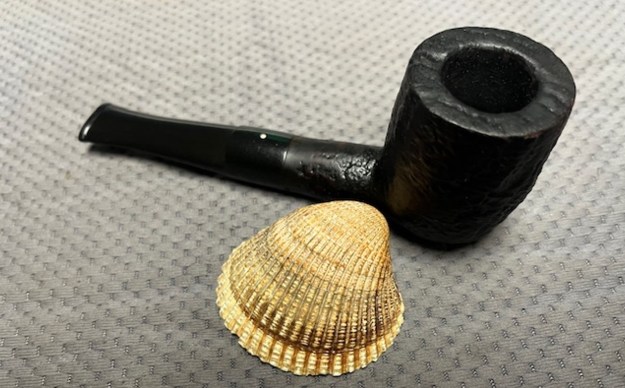
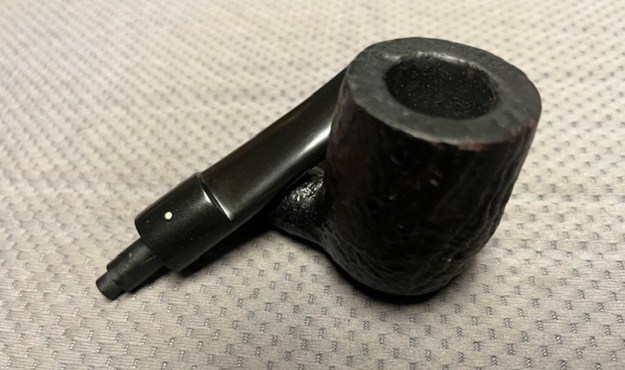
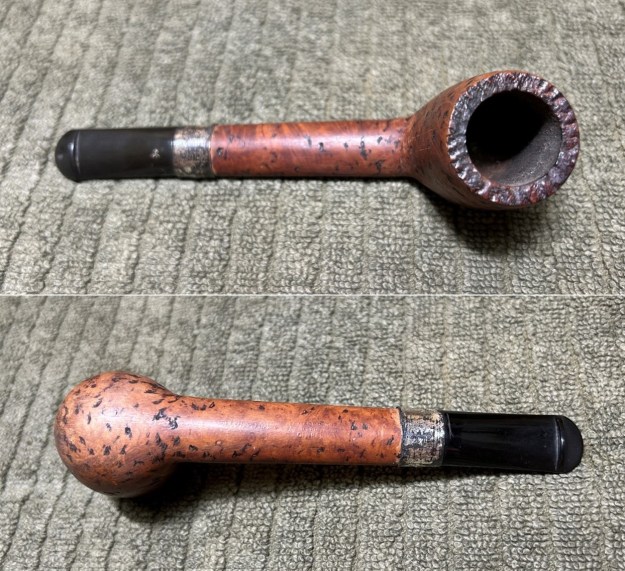
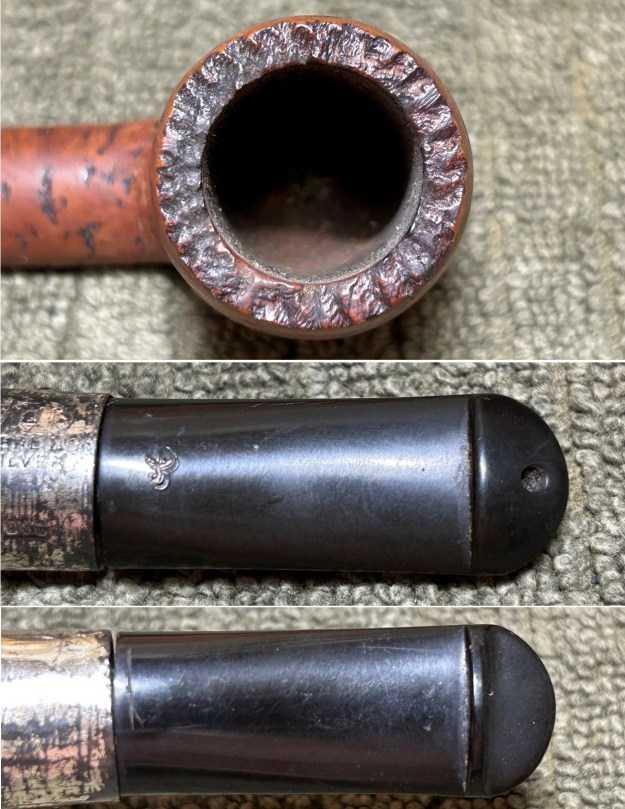
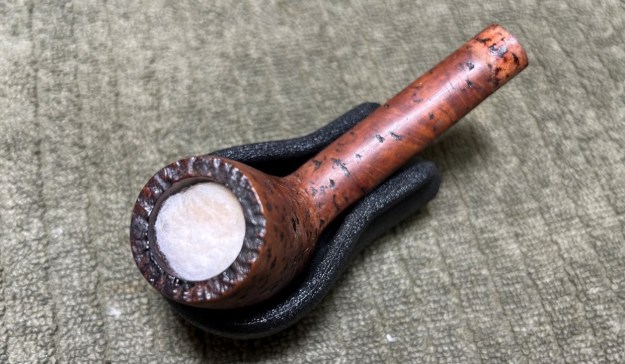
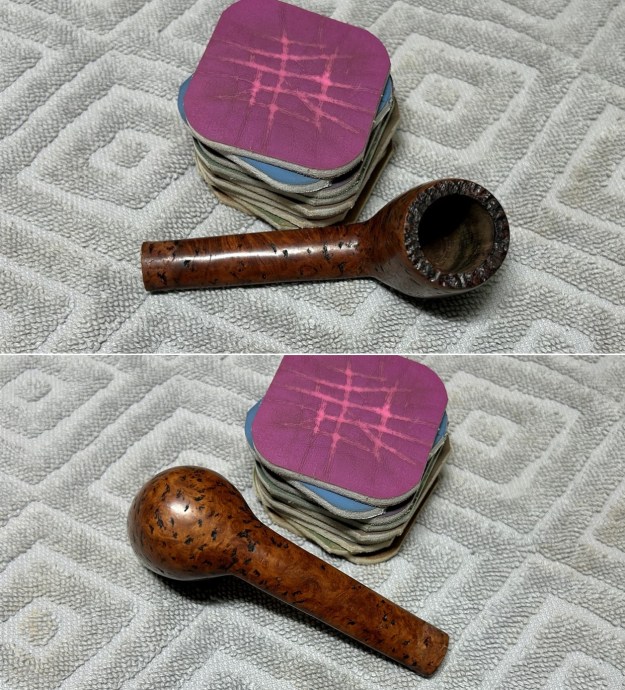
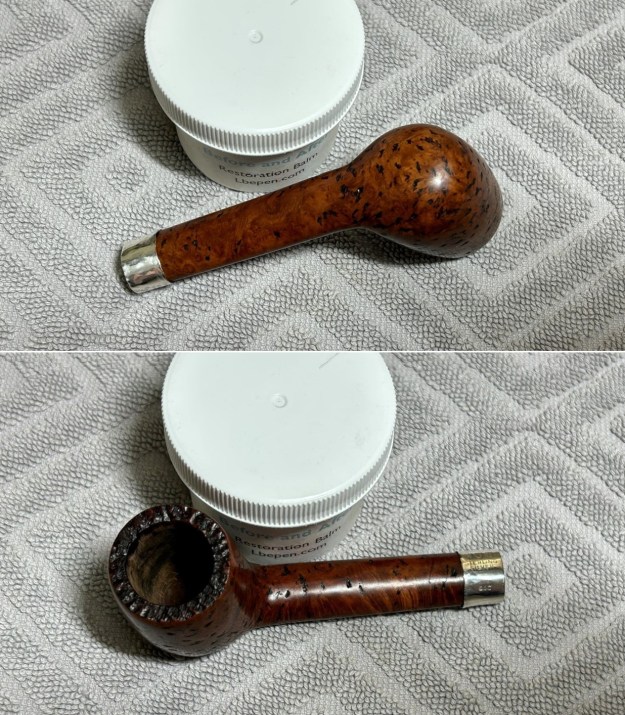
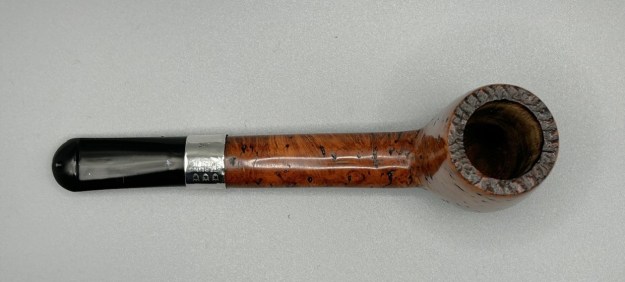
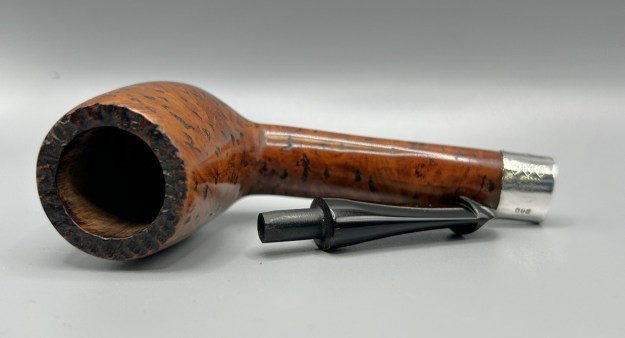
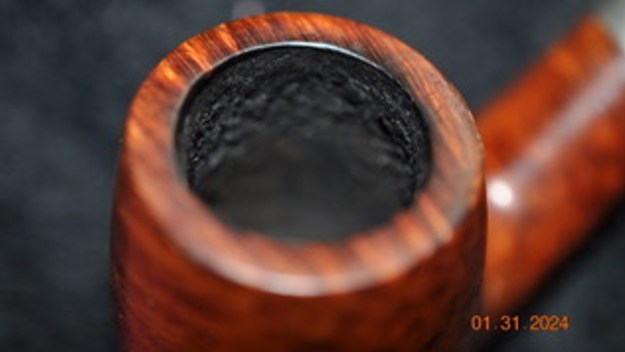
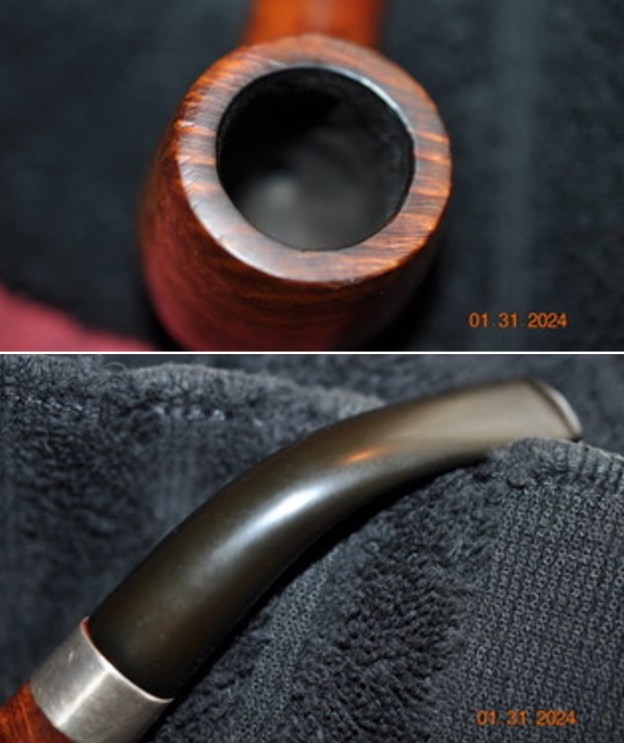
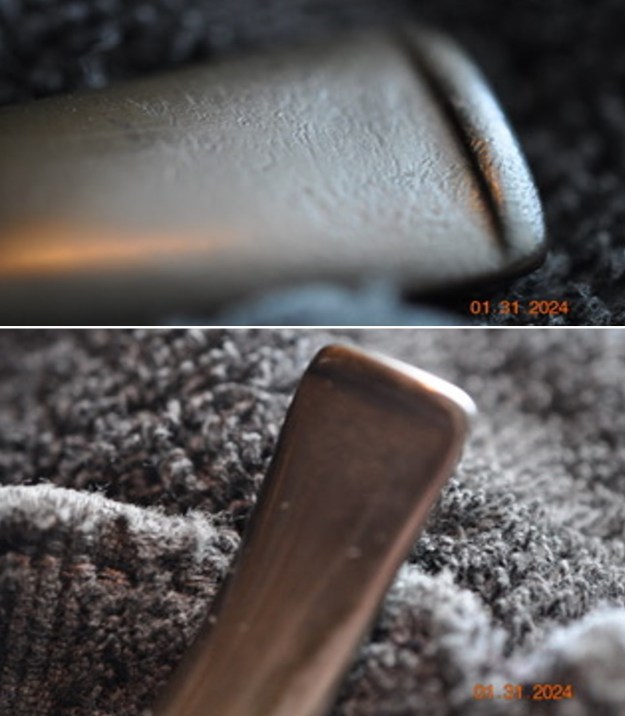
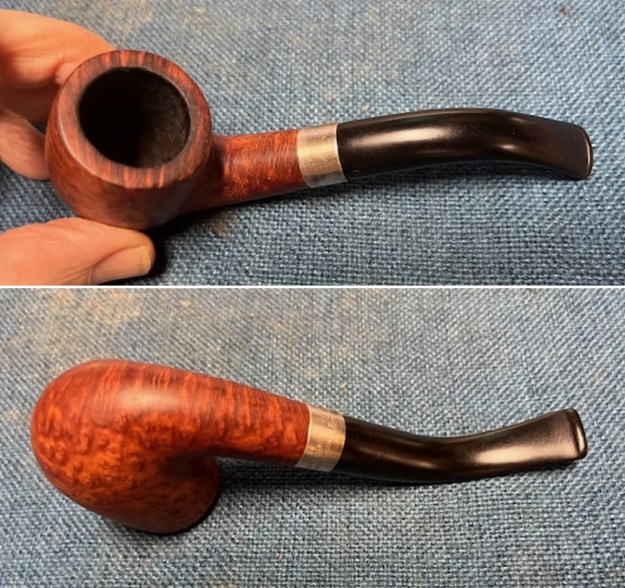
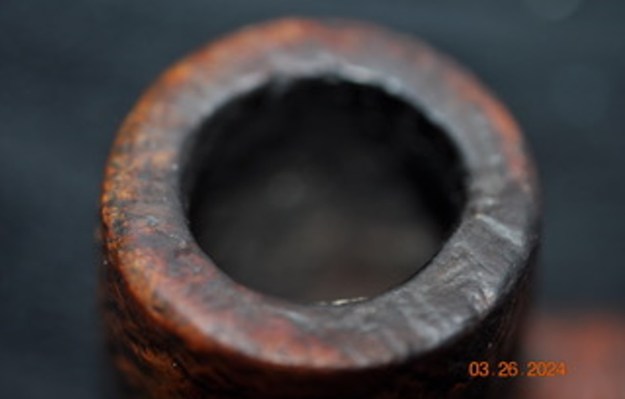
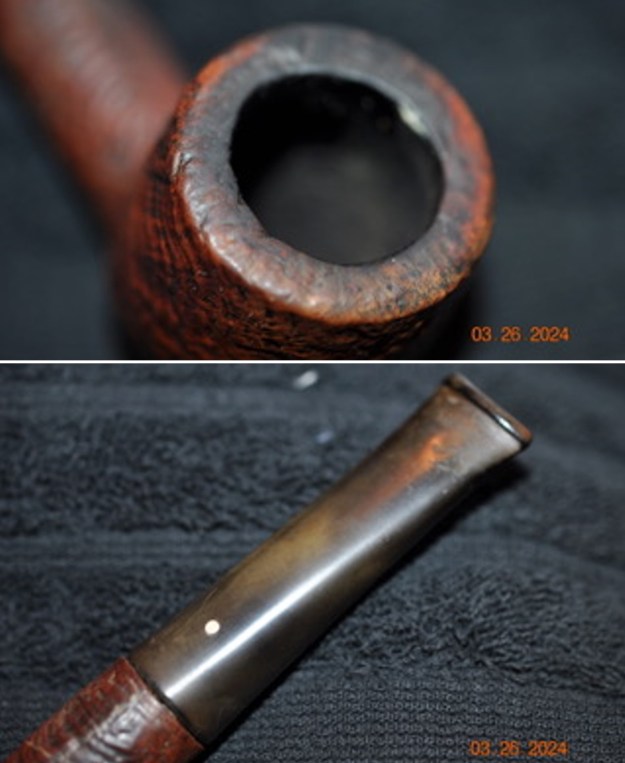
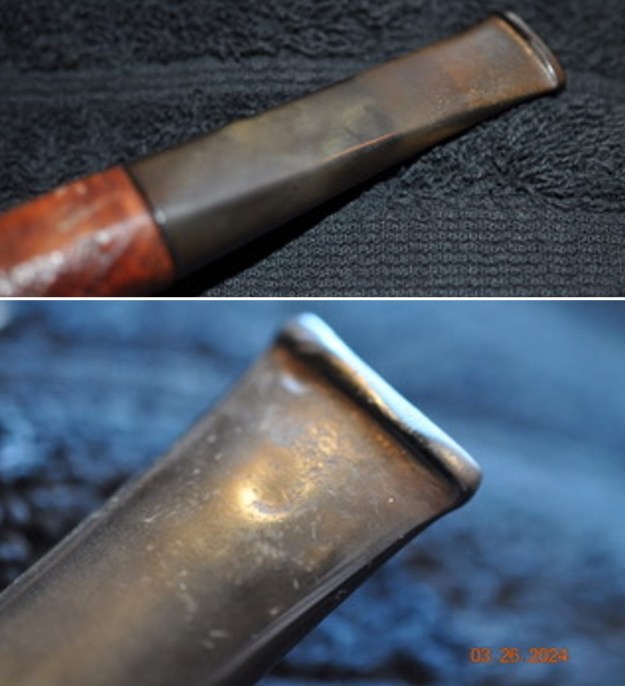
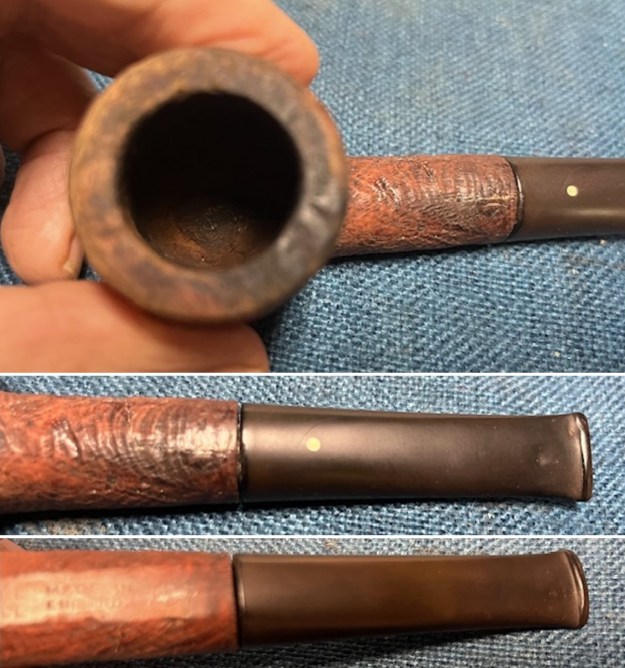
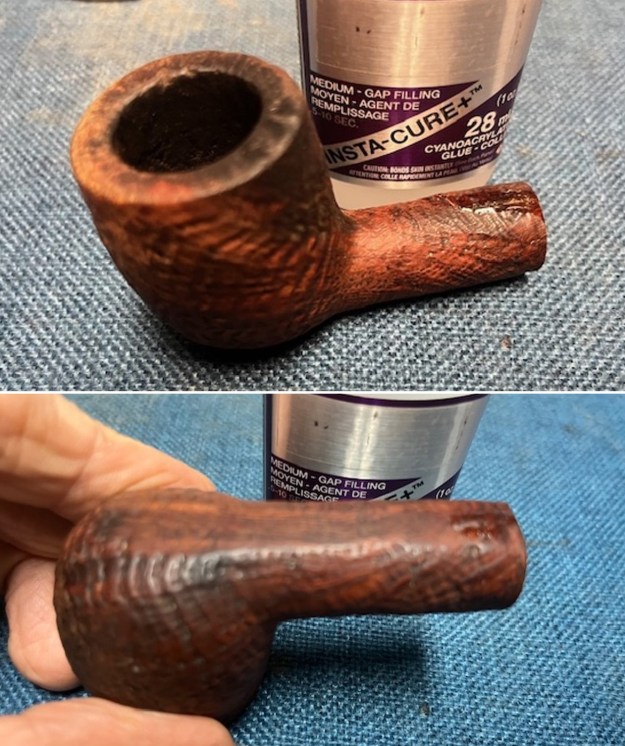
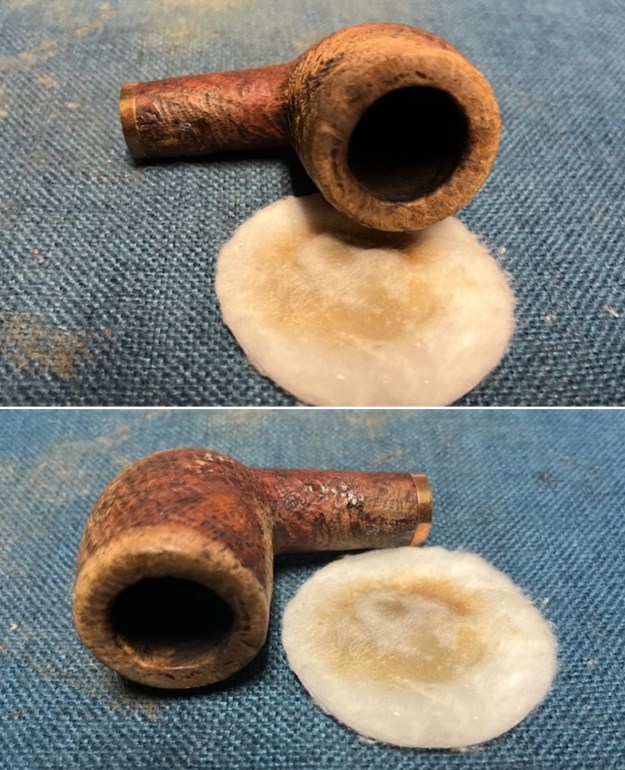
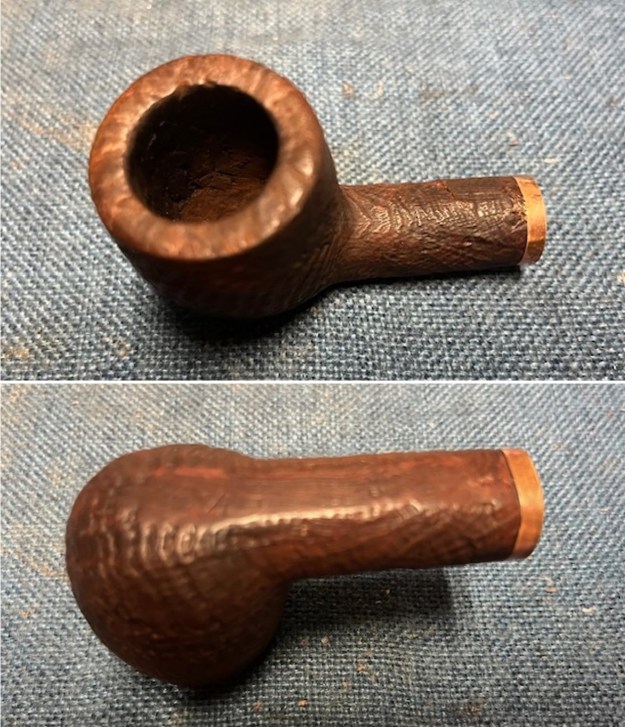
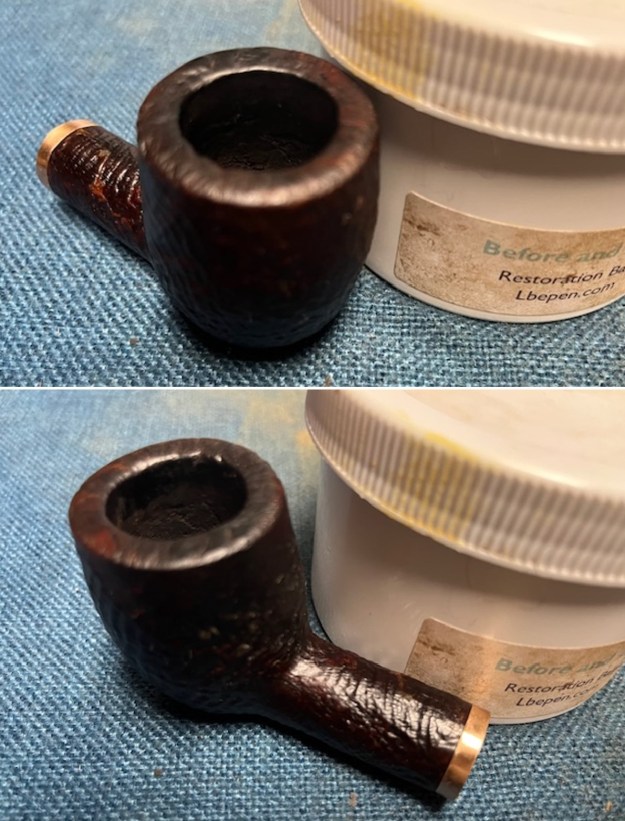
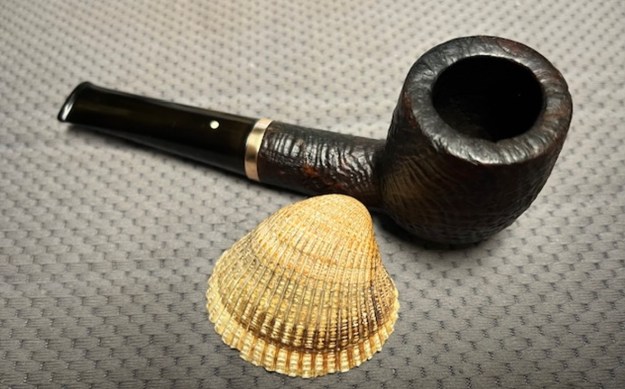
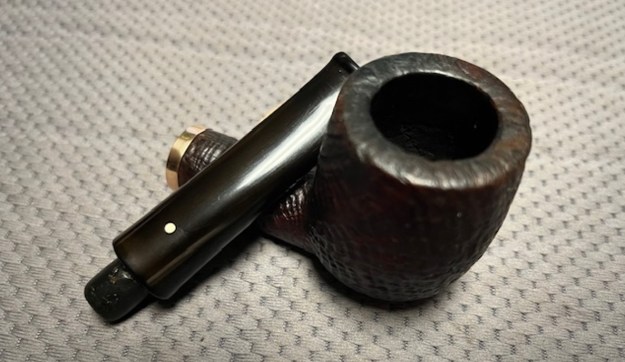
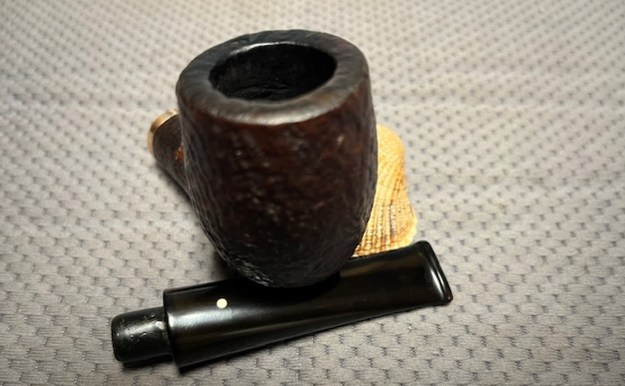
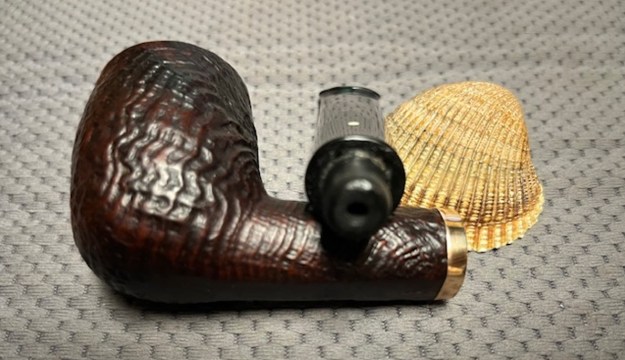
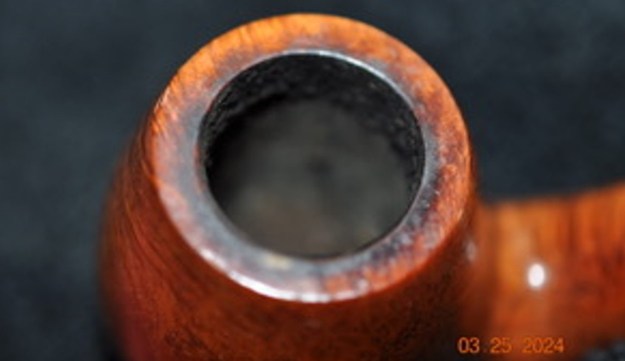
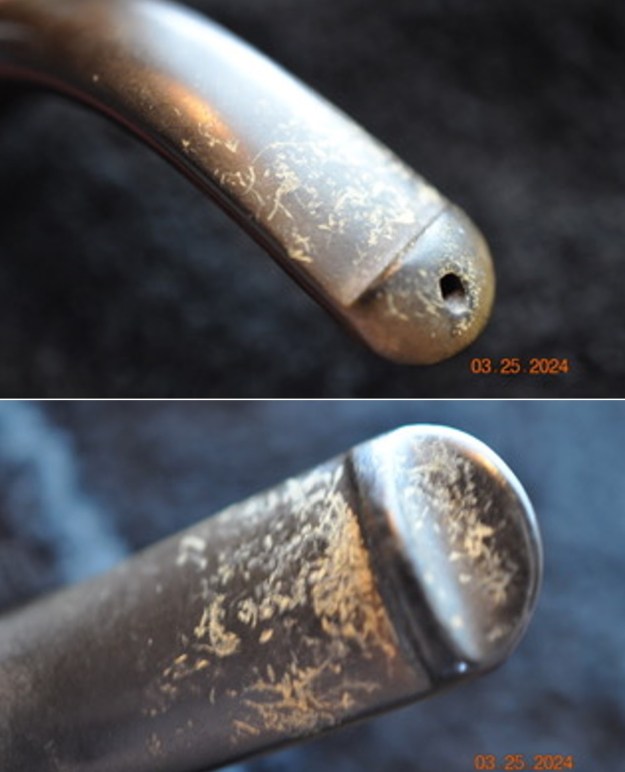
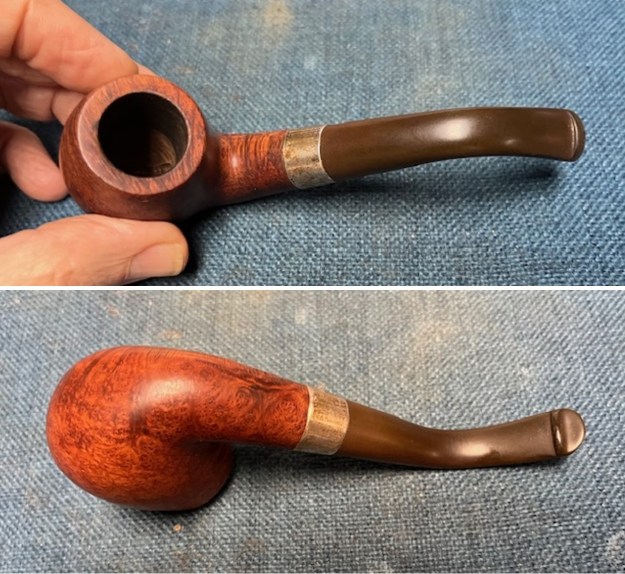
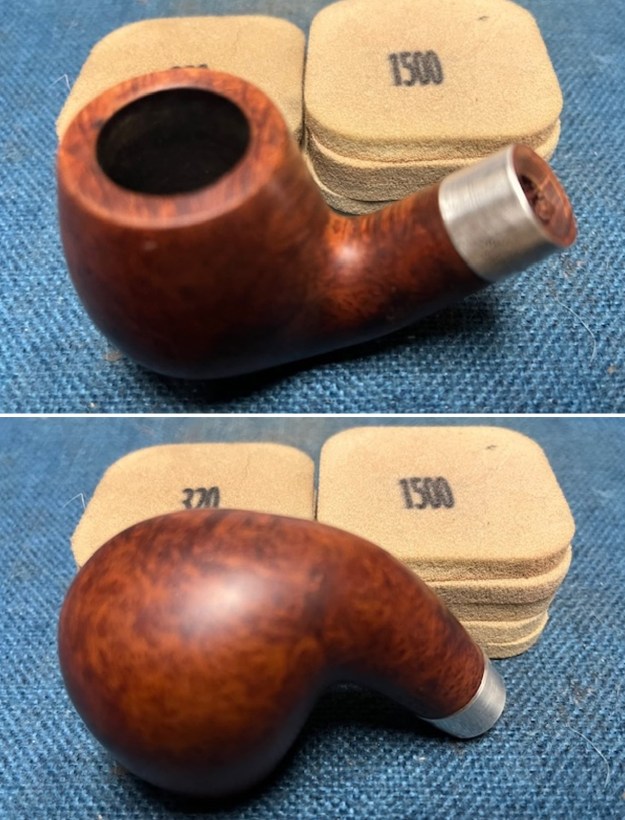
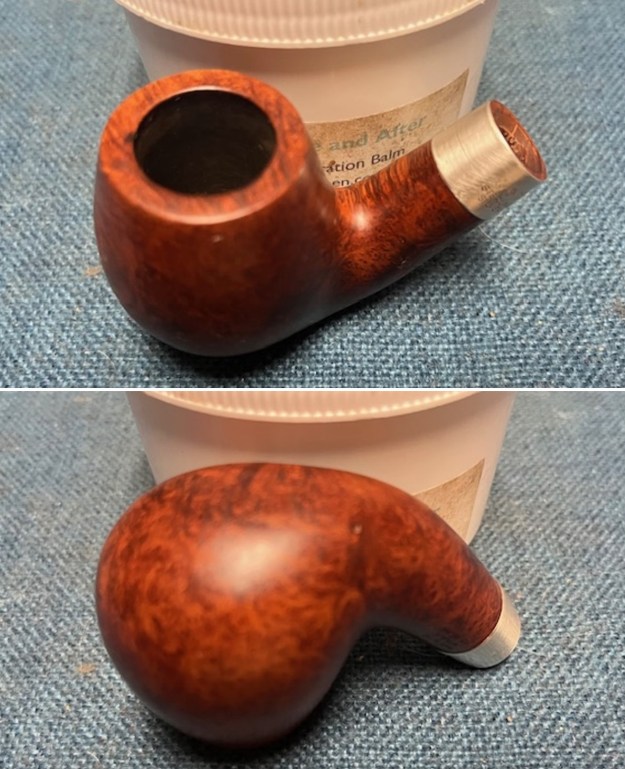
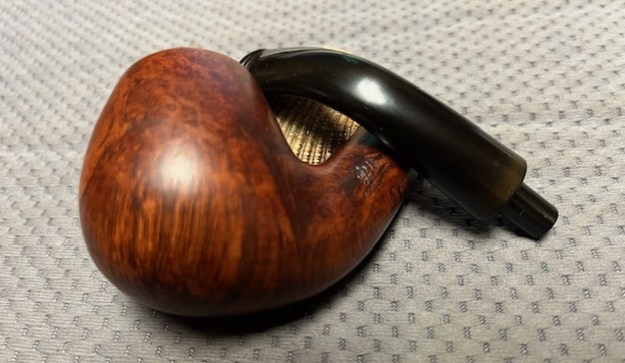
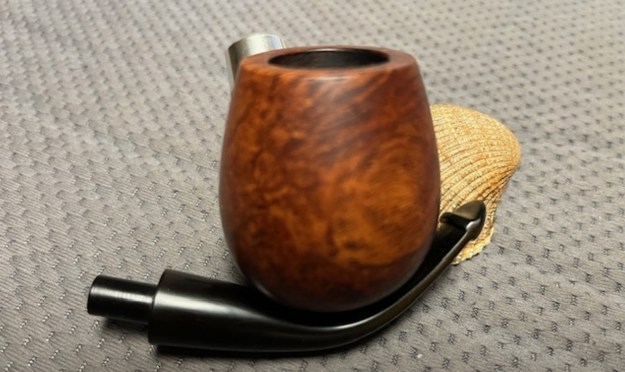
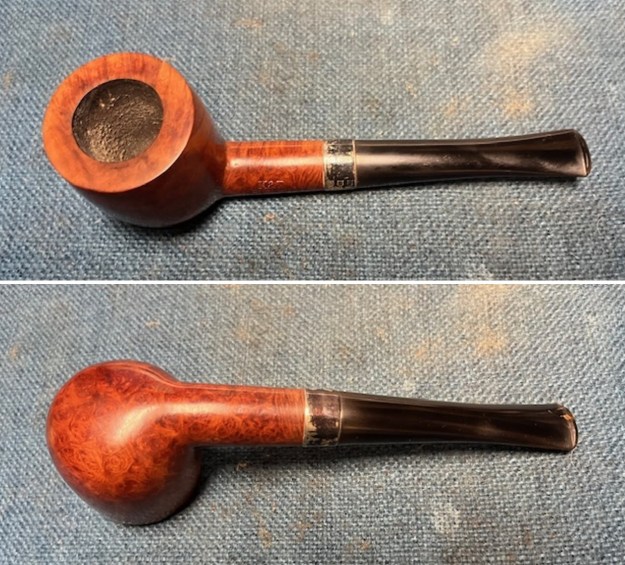
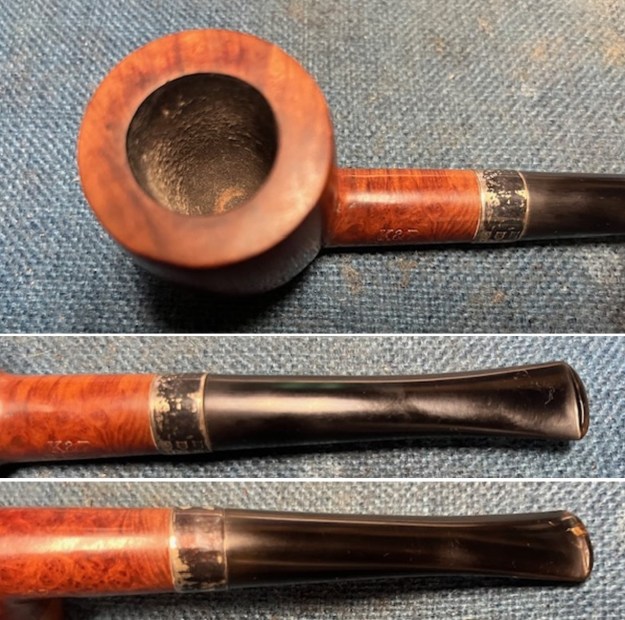
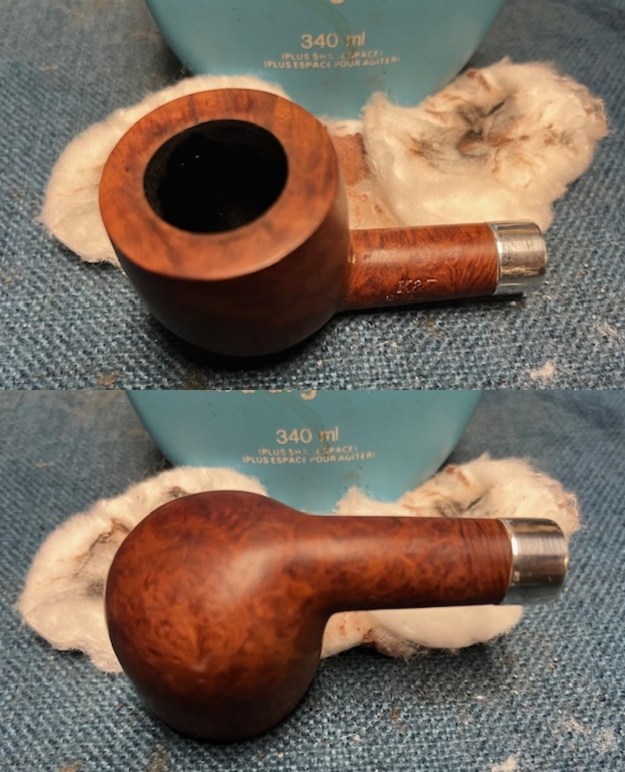
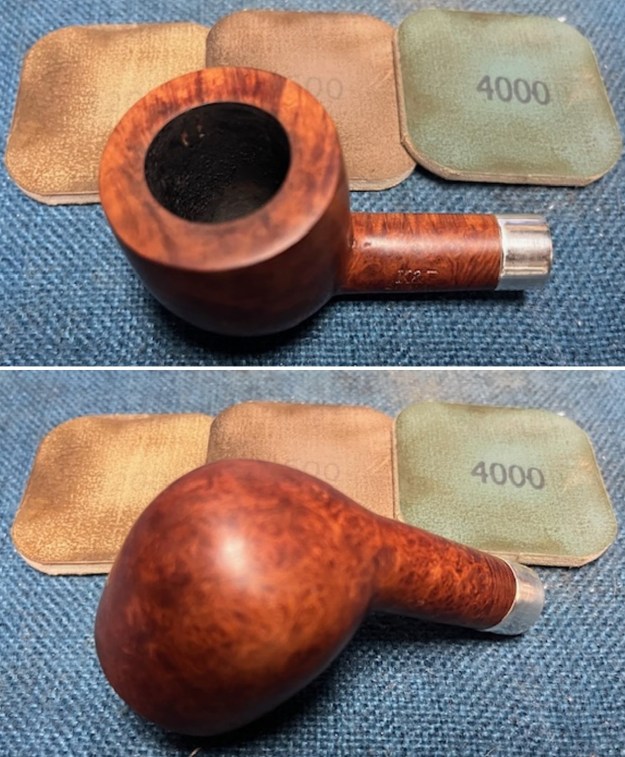
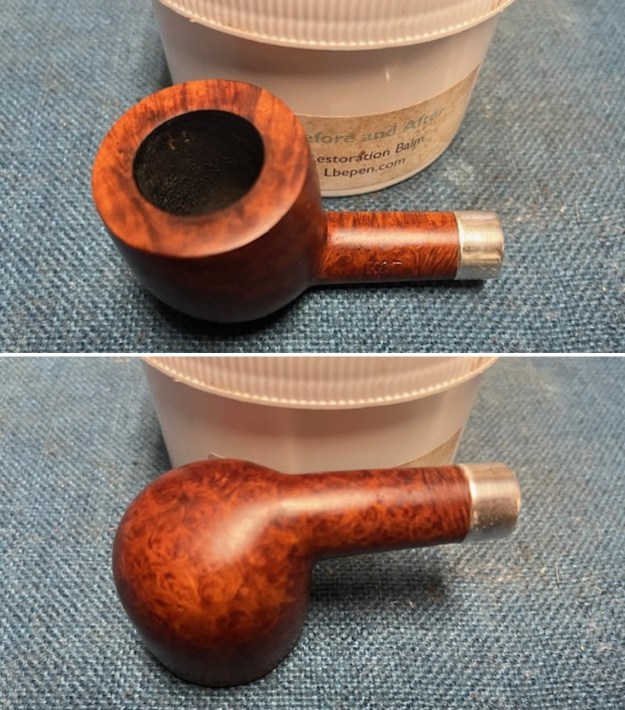
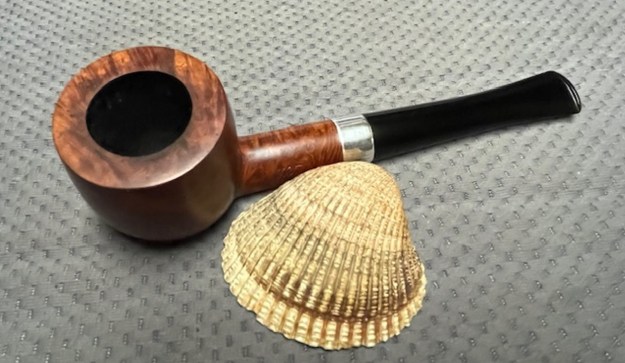
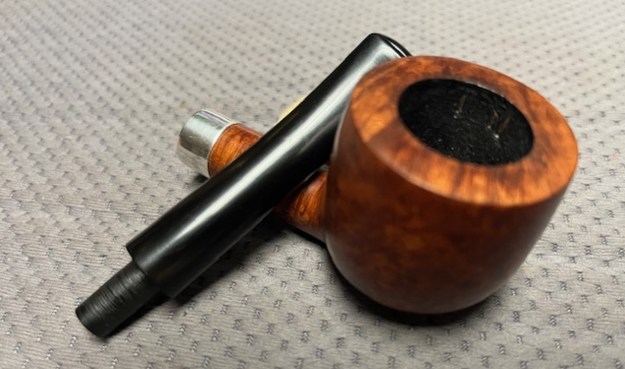
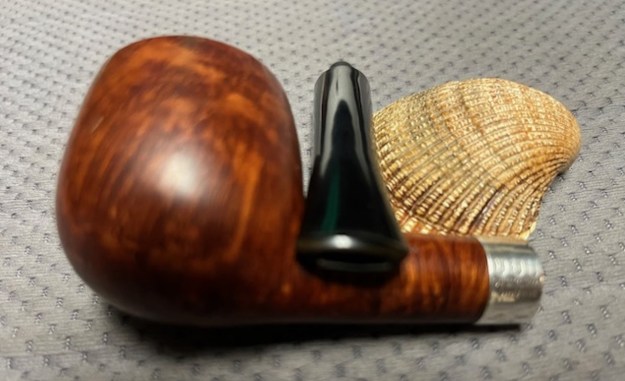
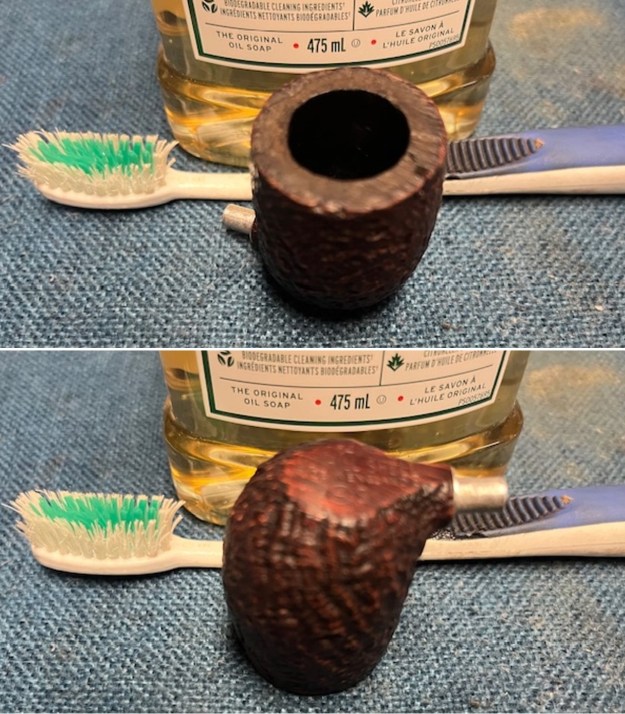
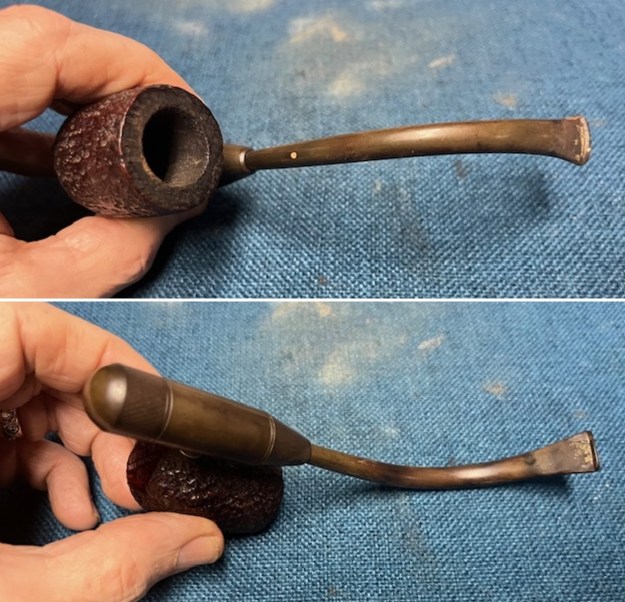 I took photos of the bowl and rim top to show the thickness of the cake and the lava coat on the rim top. There was some tobacco debris in the bottom of the bowl. The oxidized bullet shaped vulcanite filter shank is visible in the photos. The stem photos show the condition of the stem ahead of the button.
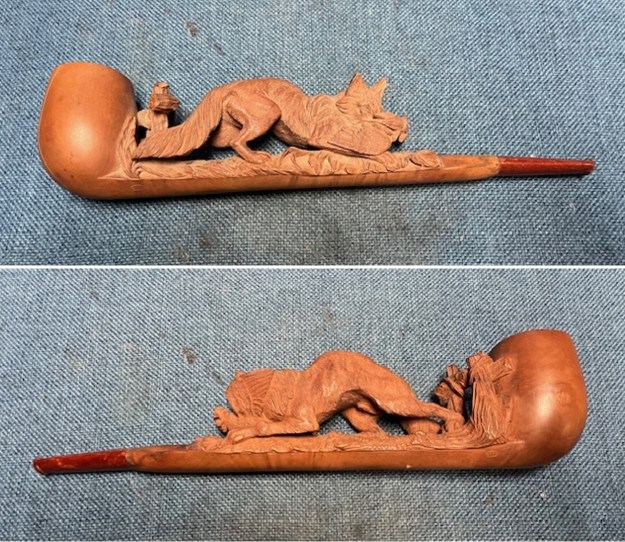
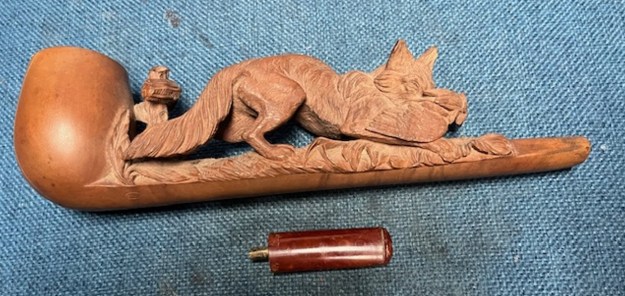
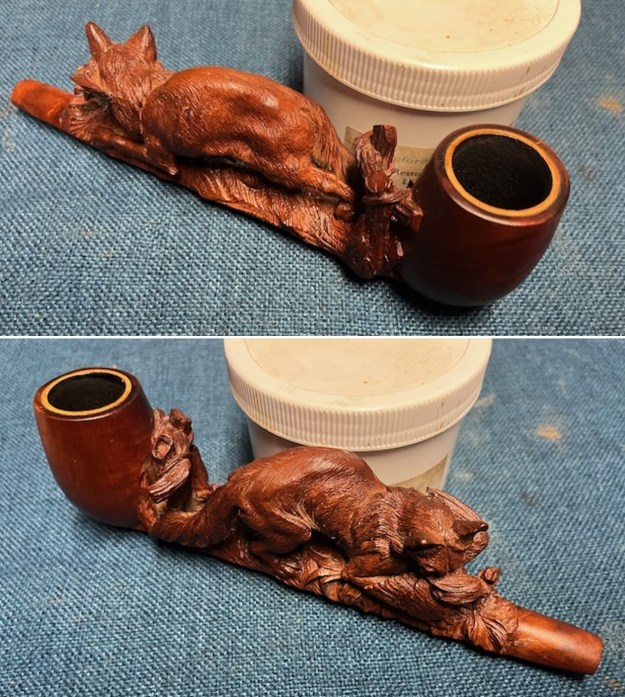
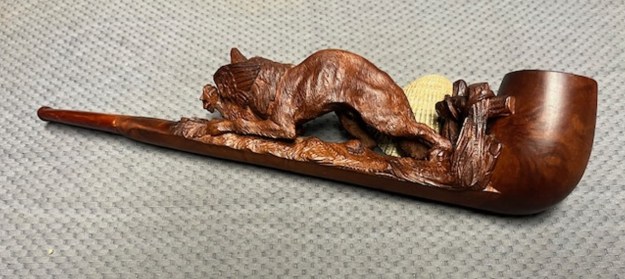
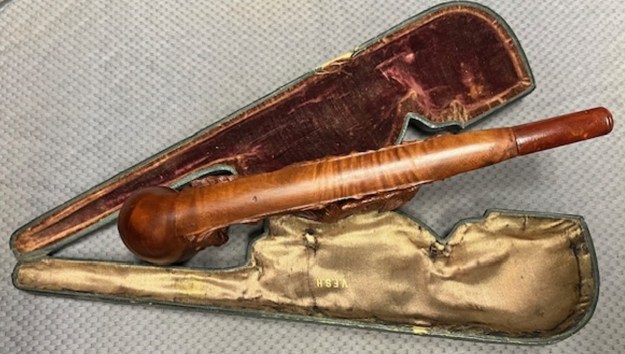
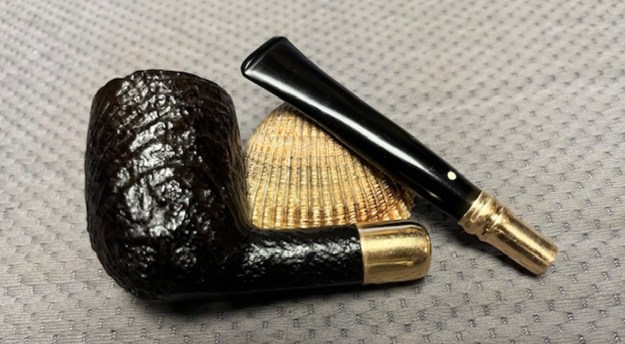
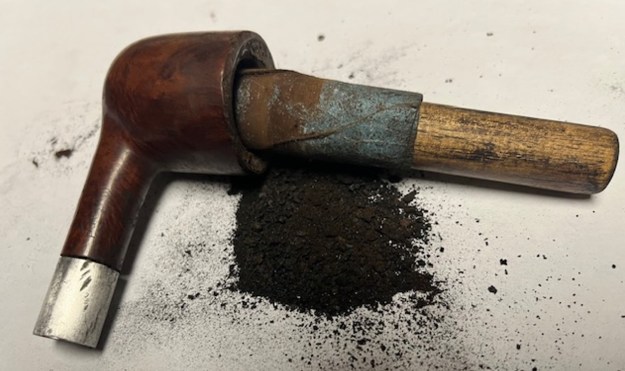
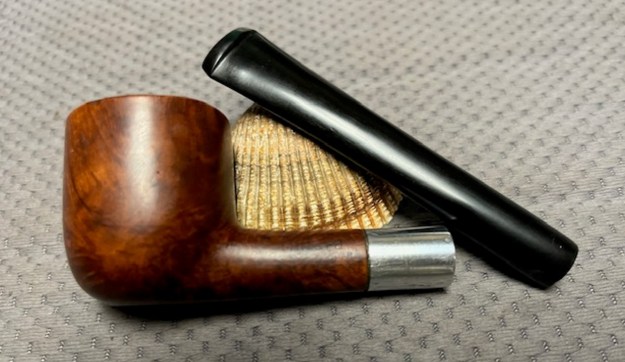
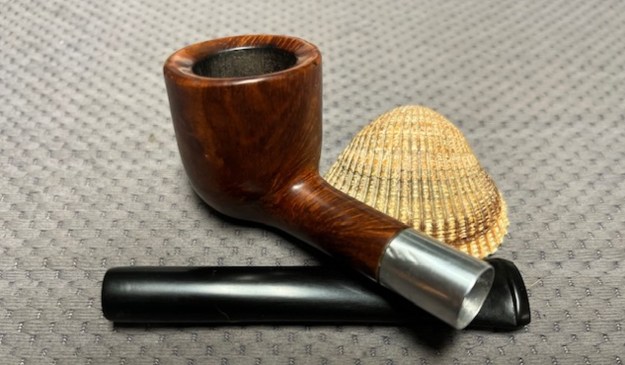
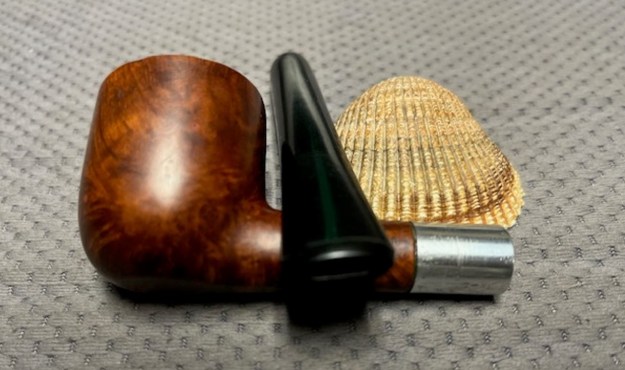
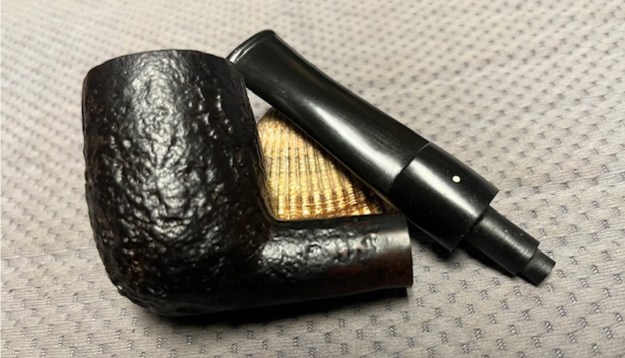
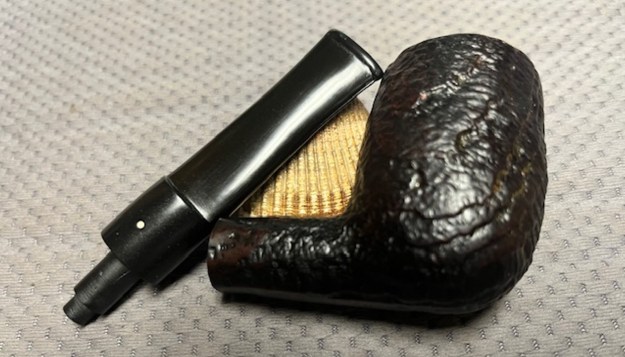
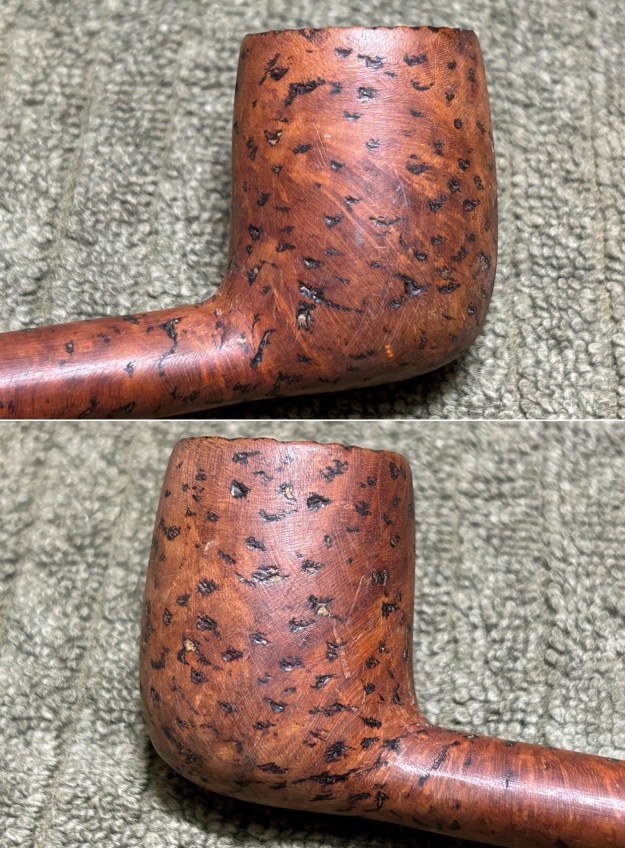
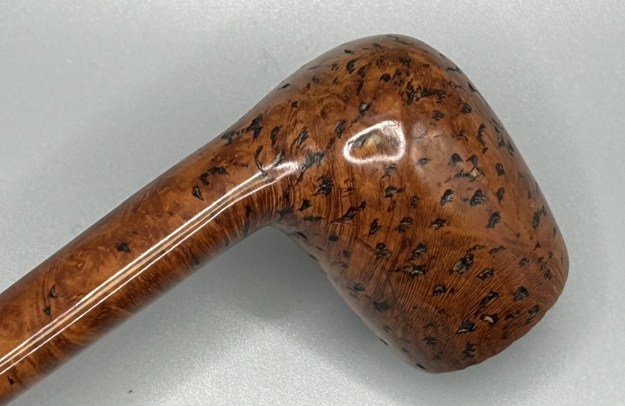
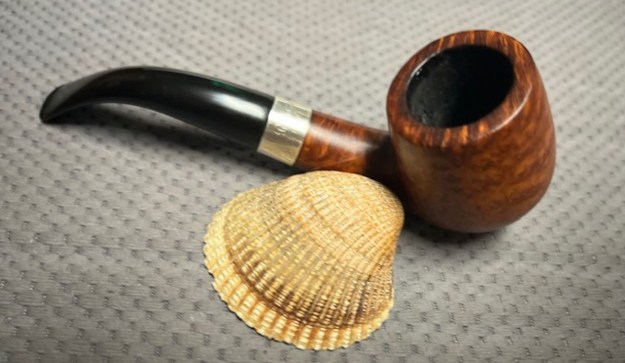
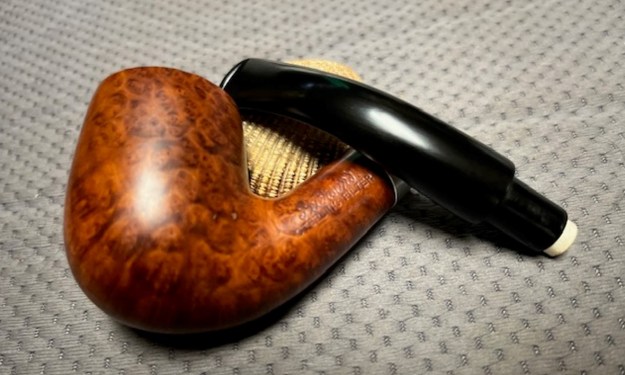
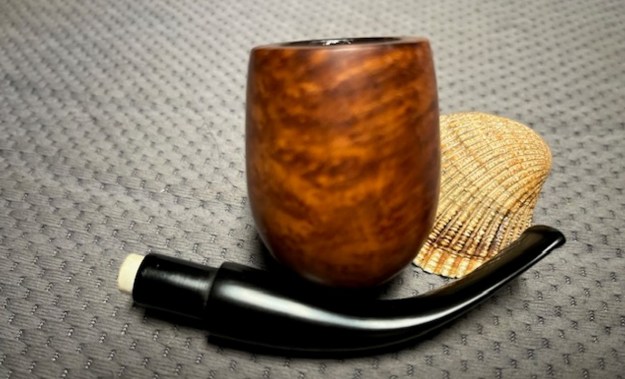
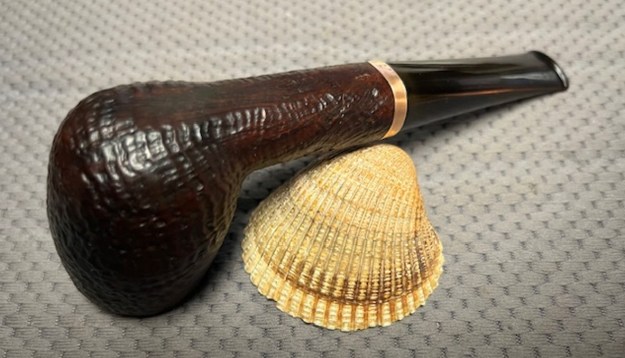
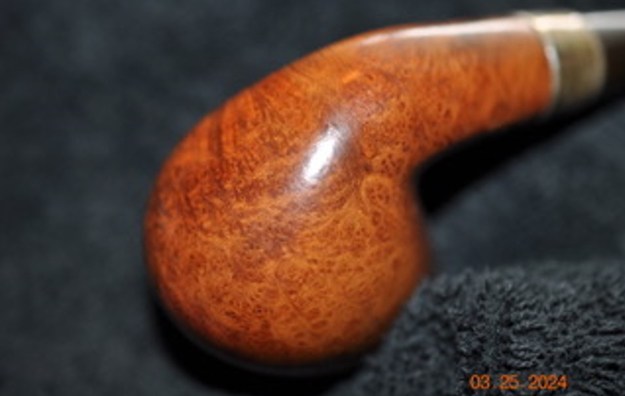
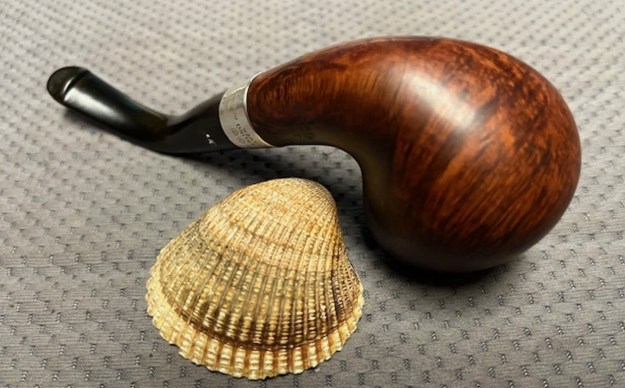
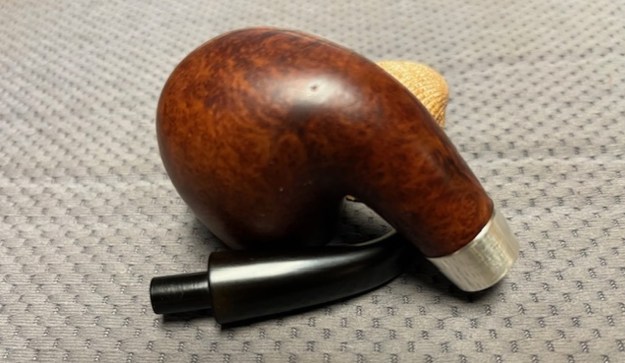
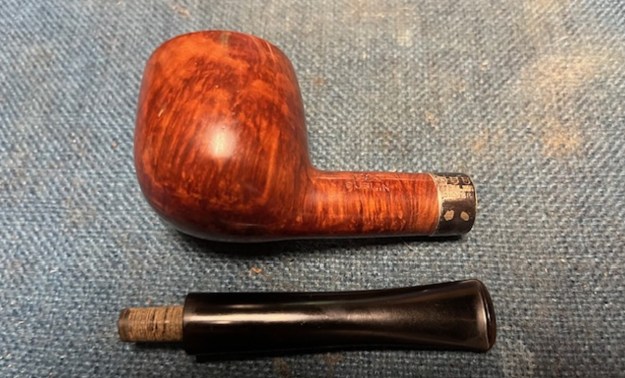
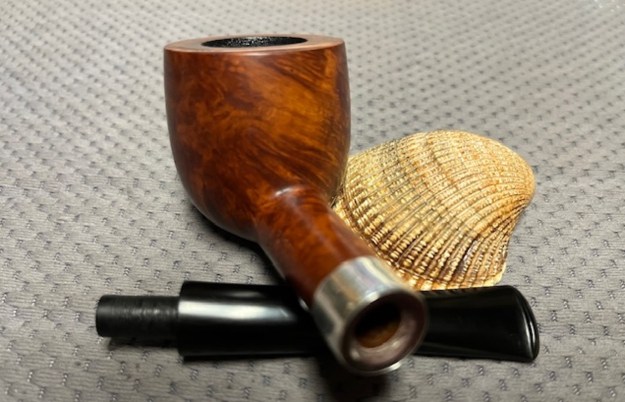
 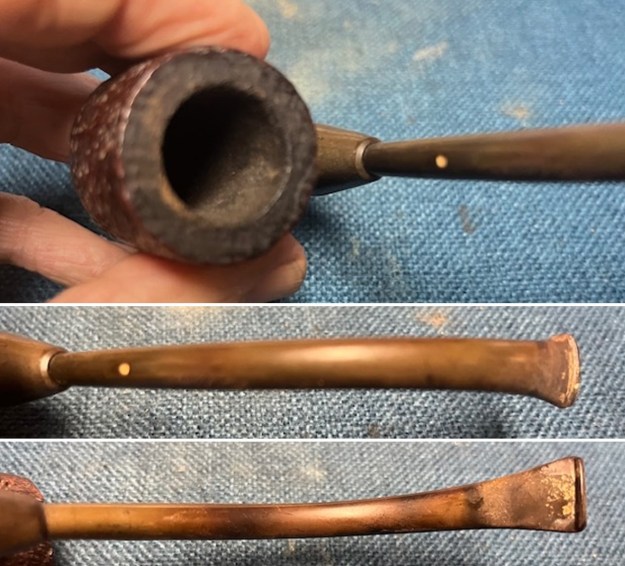 I took the stem off the bowl and bullet and took photos of the pipe parts. It is an interesting pipe to look at. The deep sandblast really makes the grain stand out on the bowl sides.
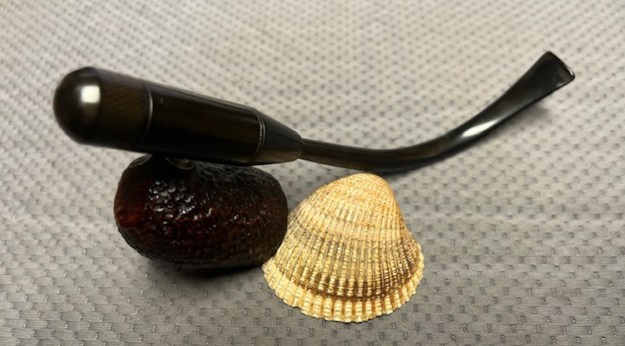
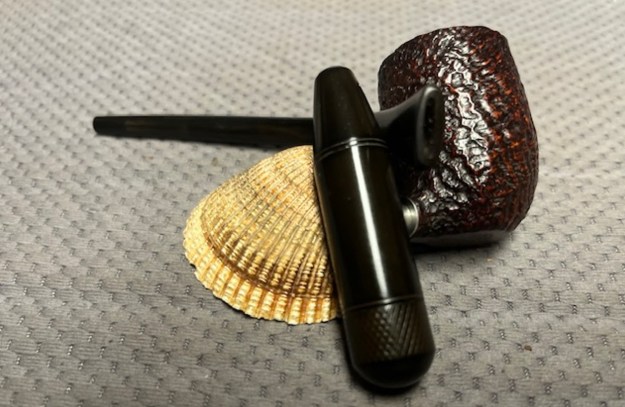
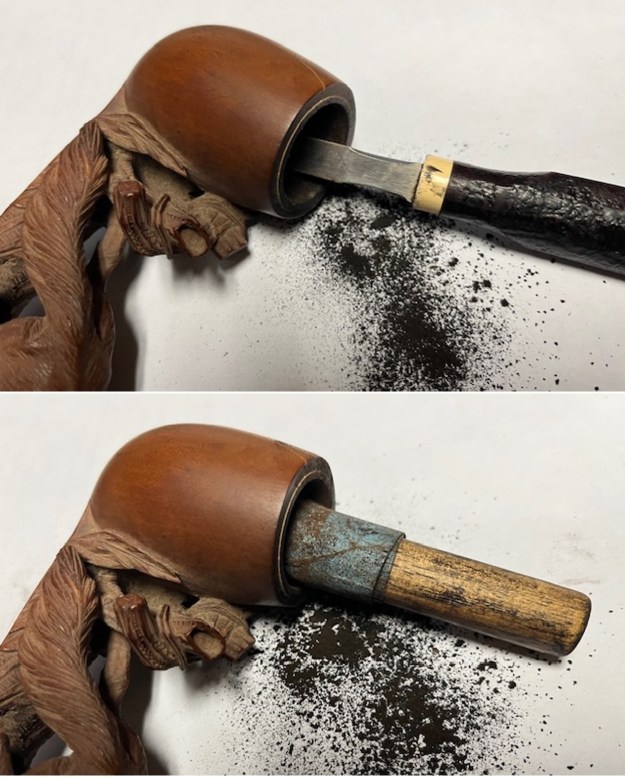
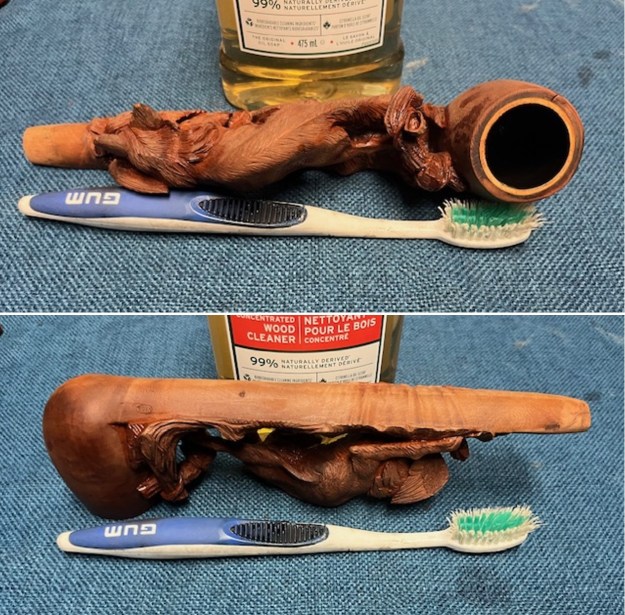
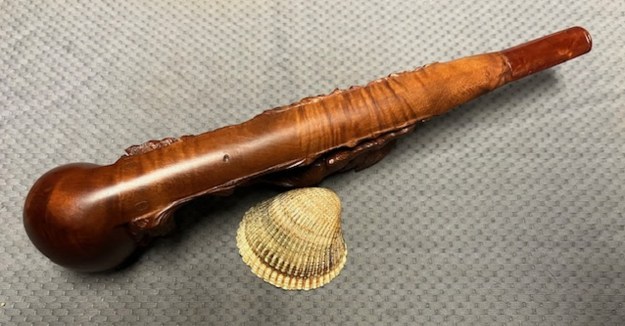
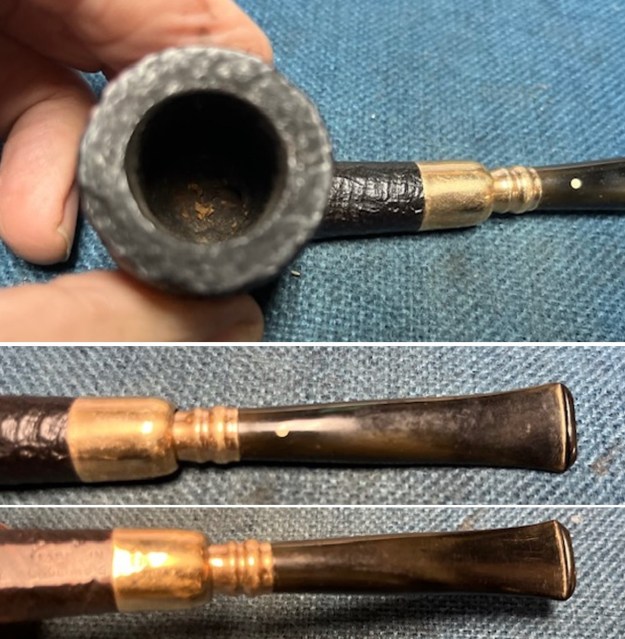
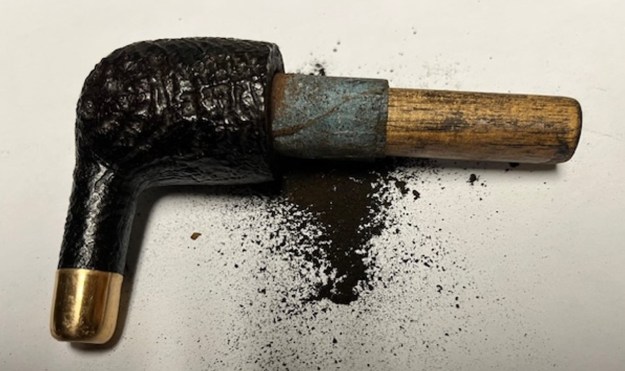
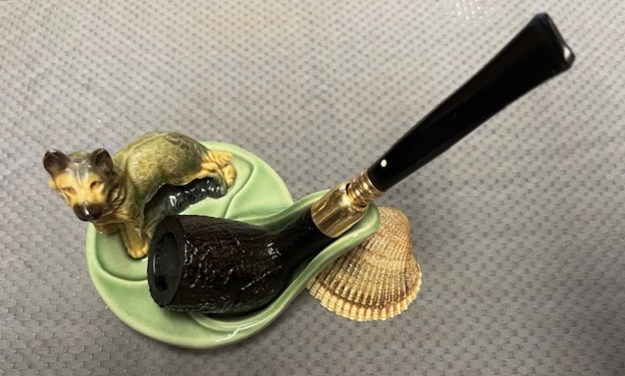
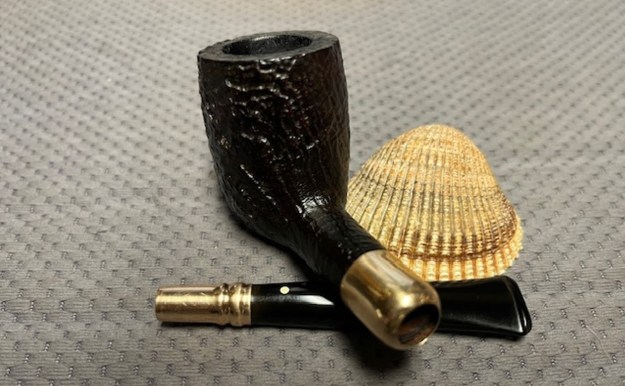
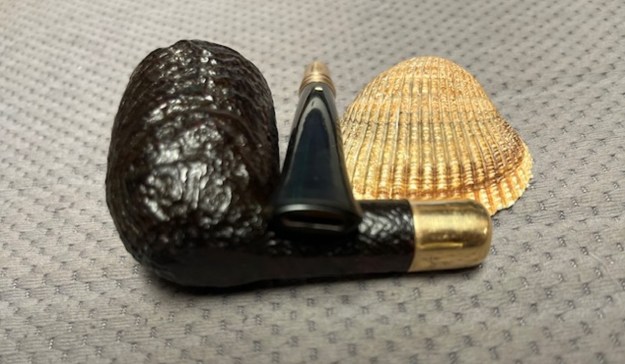
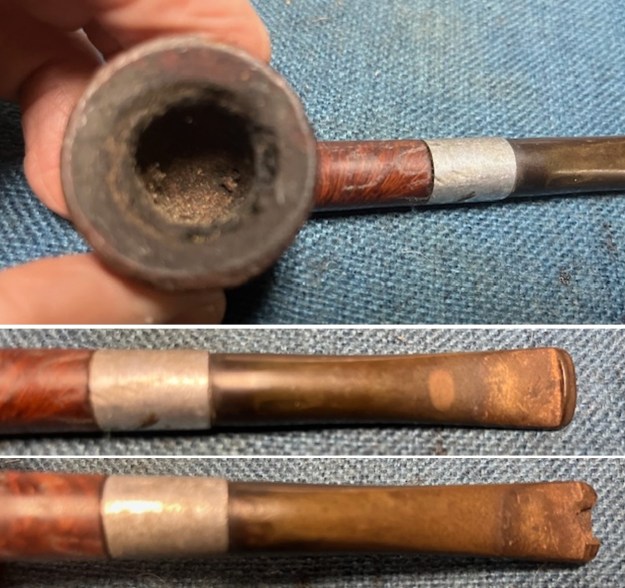
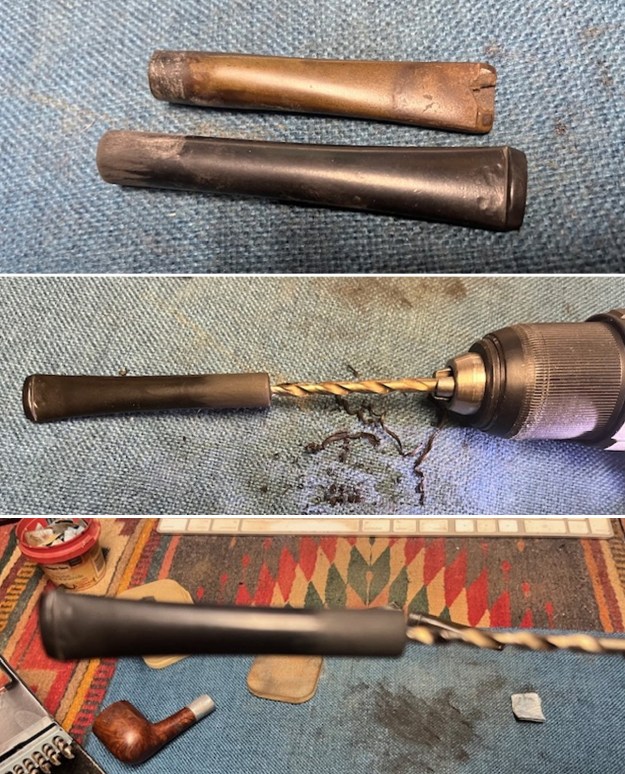
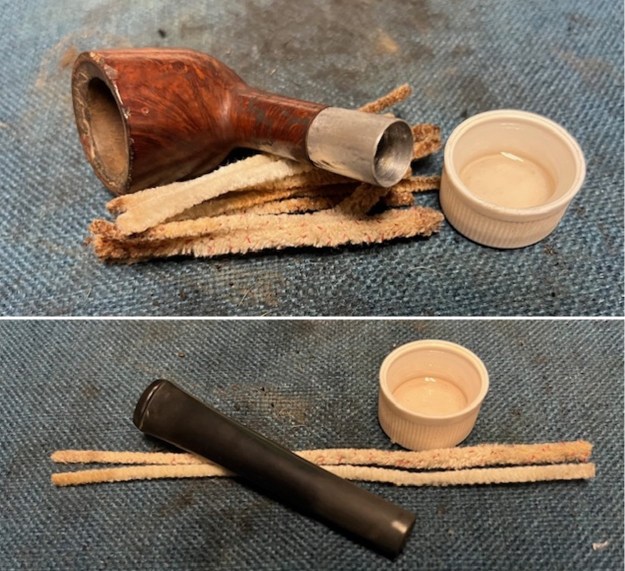
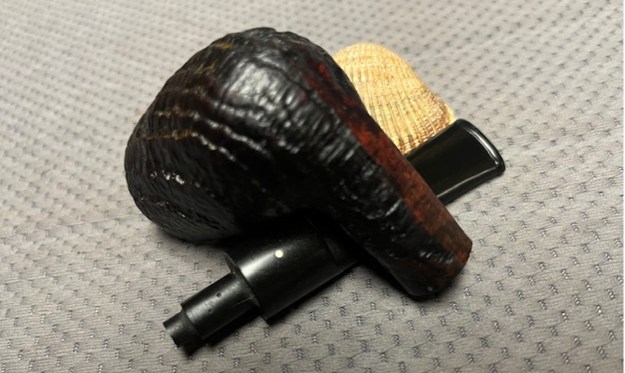
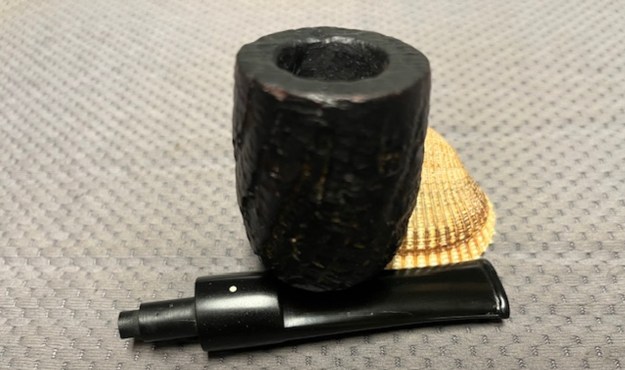
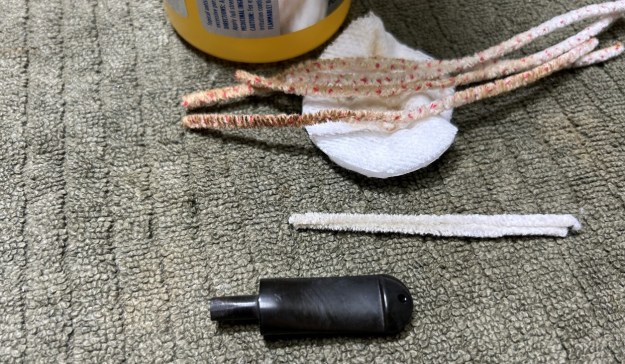
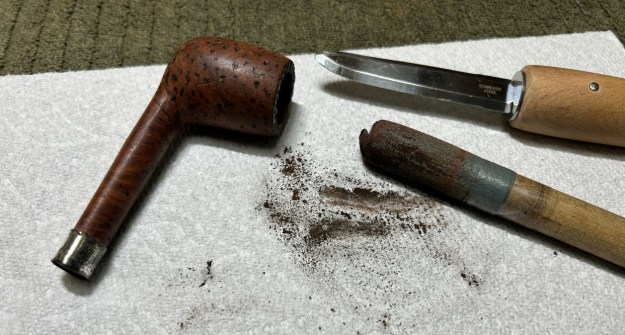
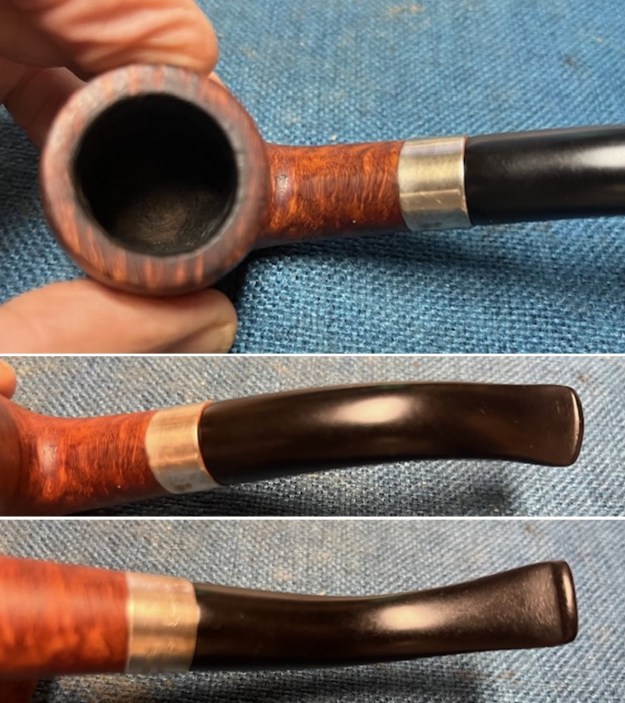
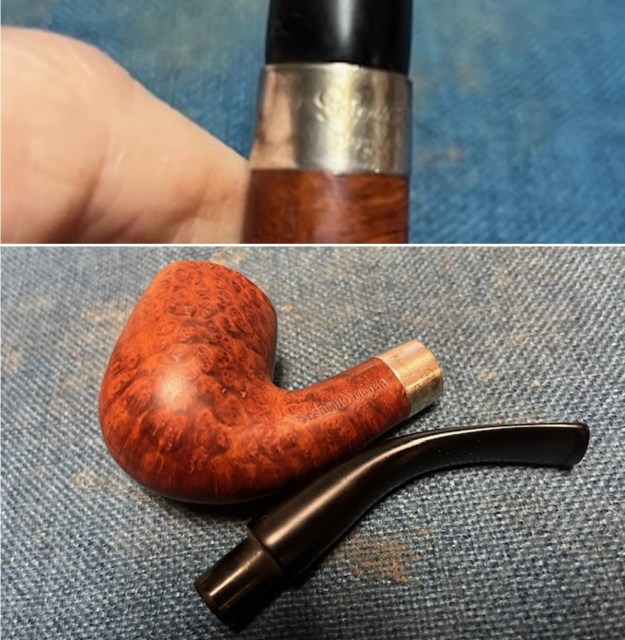
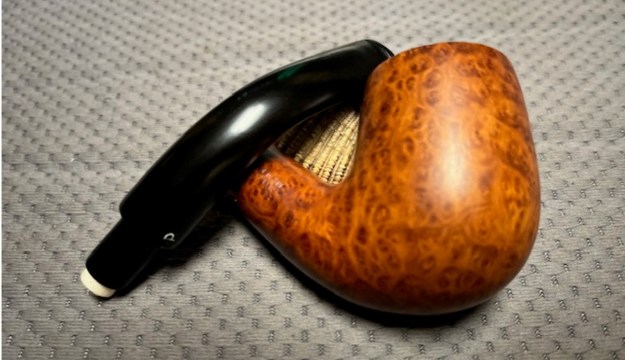
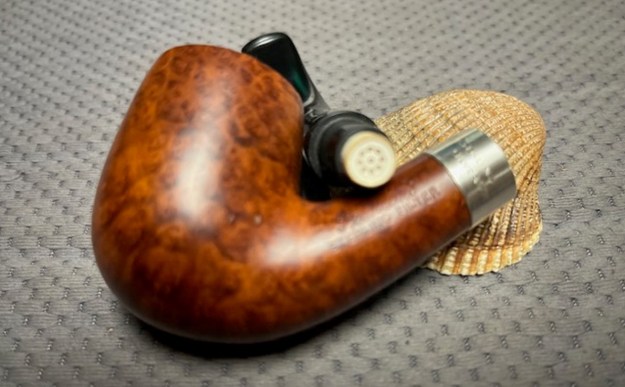
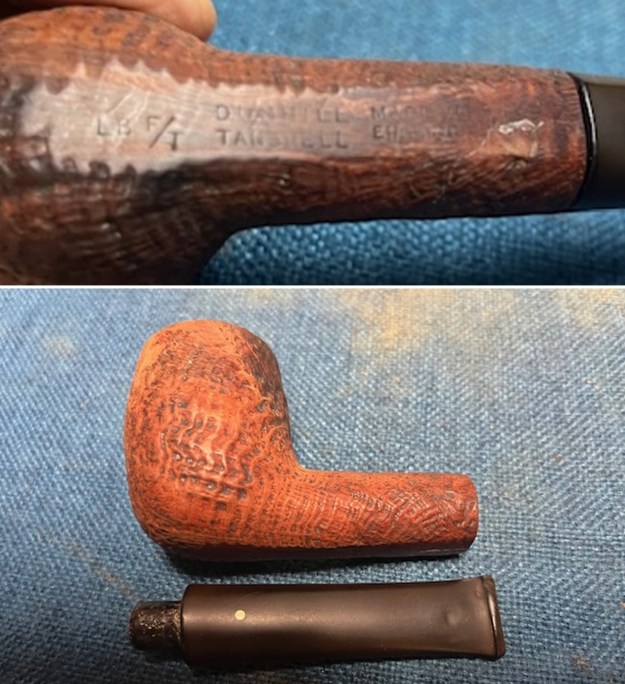
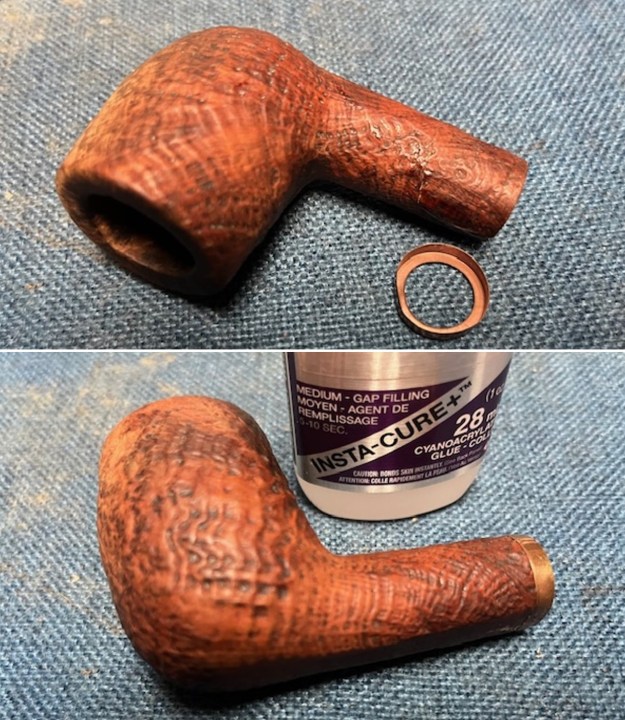
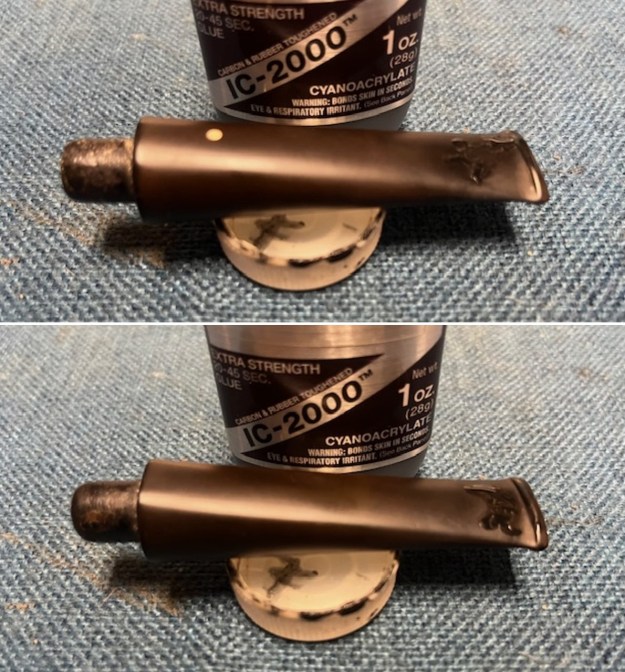
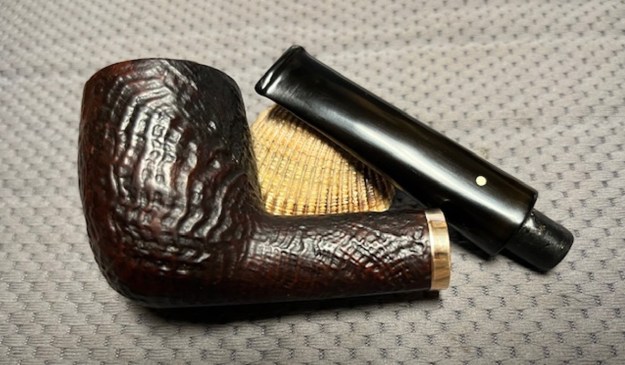
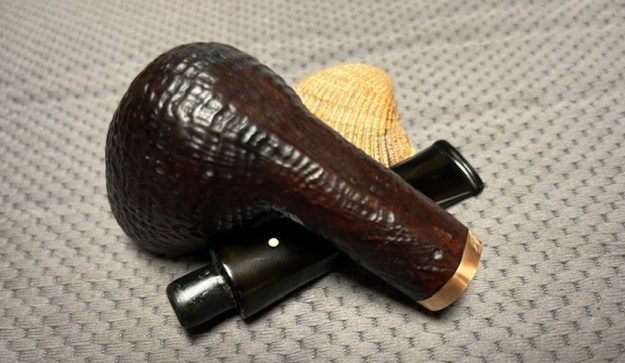
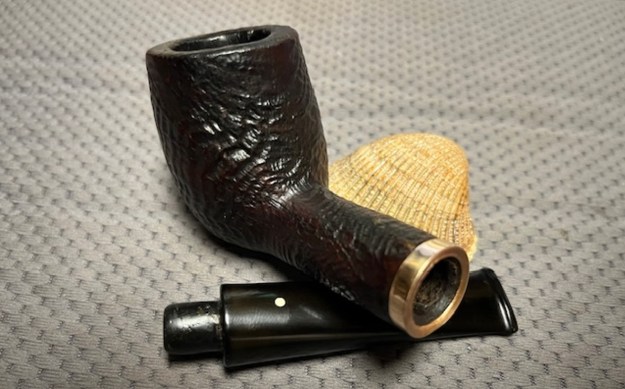
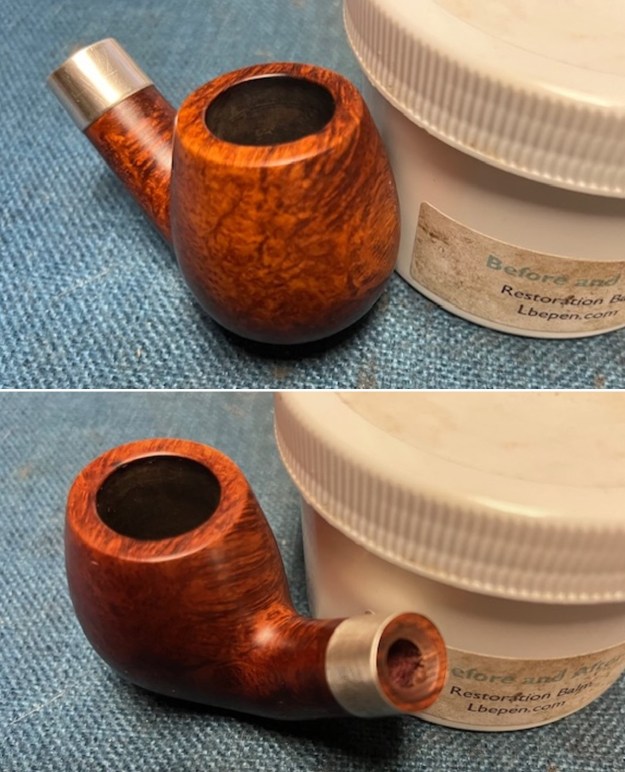
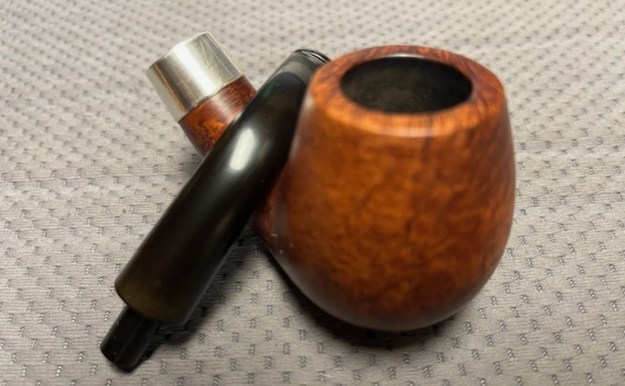
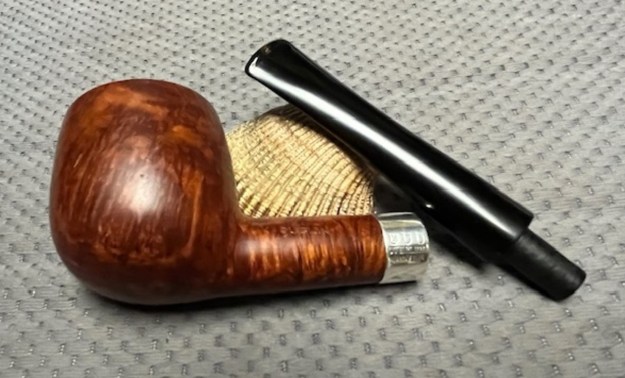
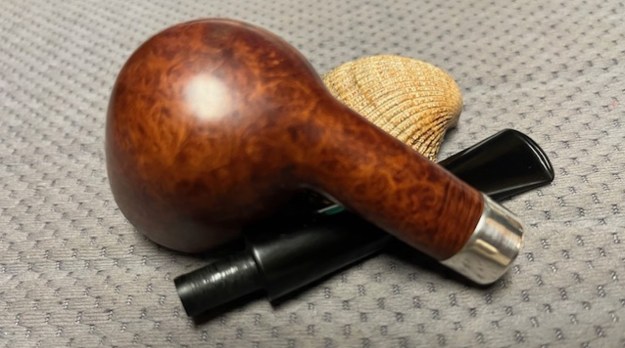
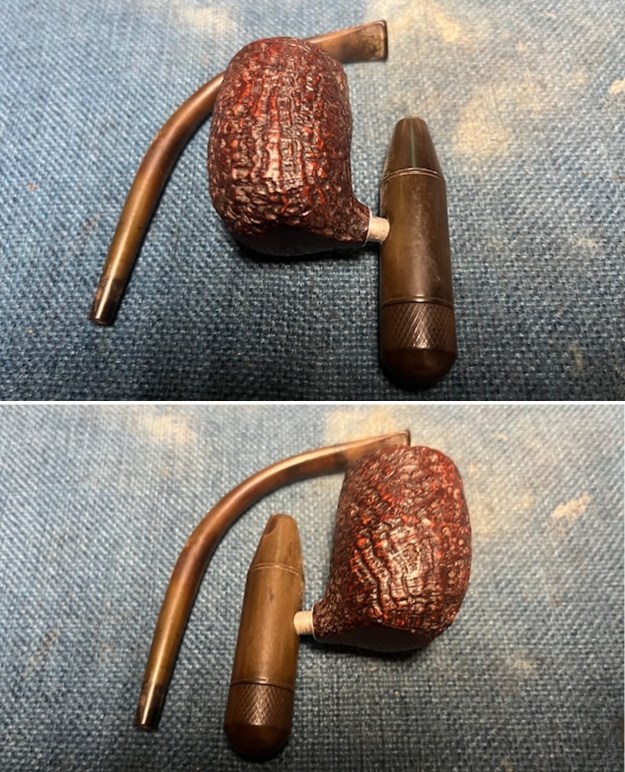 I took apart the bullet shank and showed the parts below. The knurled base cap on the bullet unscrewed from the bullet itself. It had a round wool filter pellet that filled the base. The stem and bullet itself are heavily oxidized.
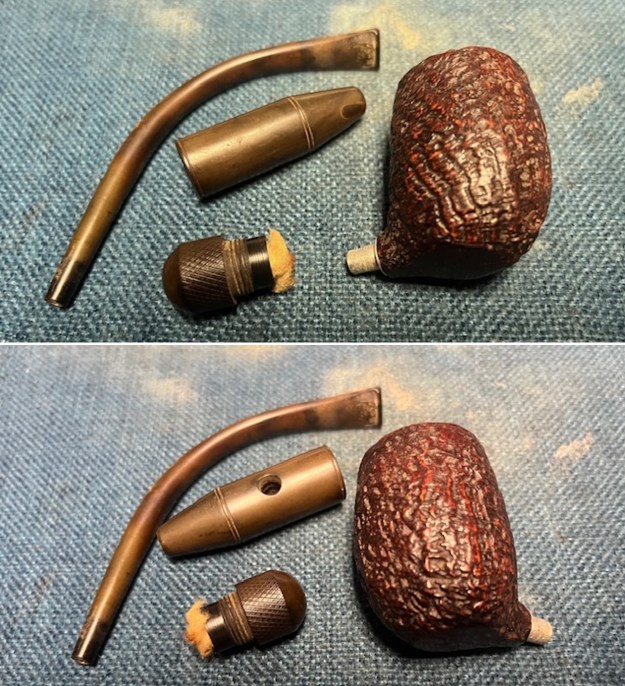
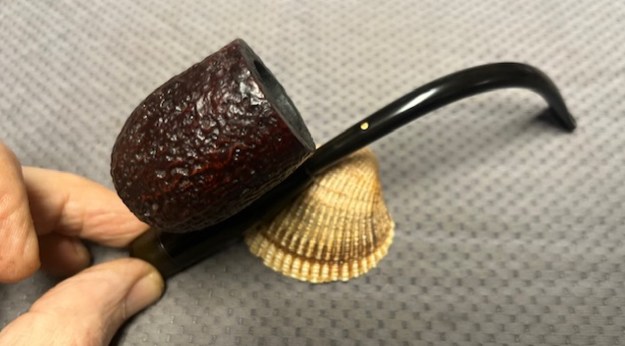
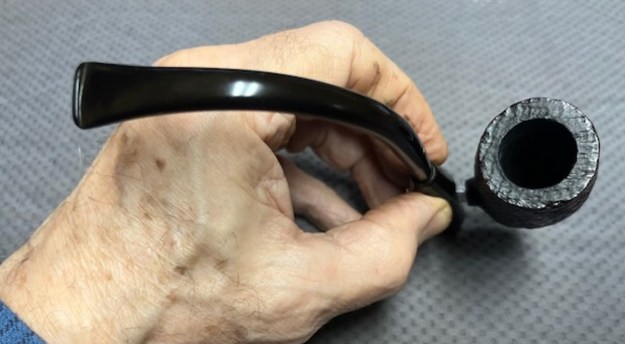
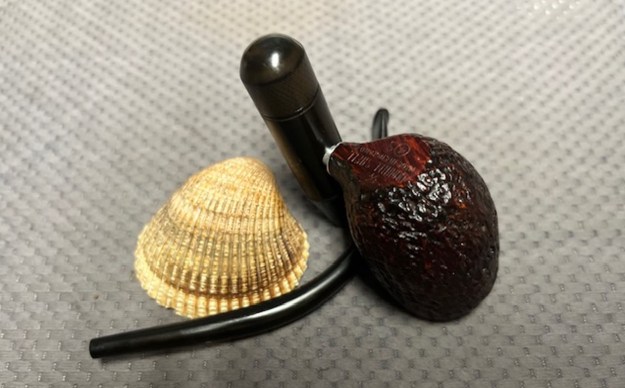
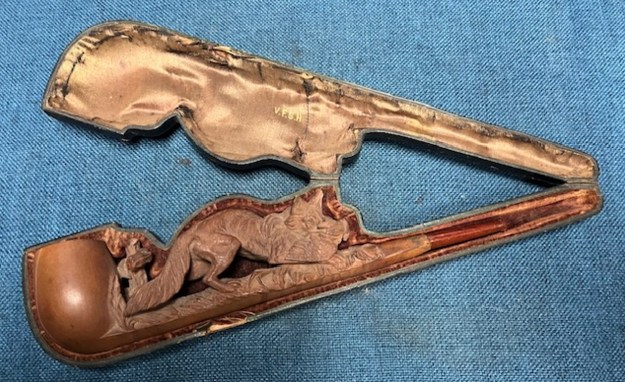
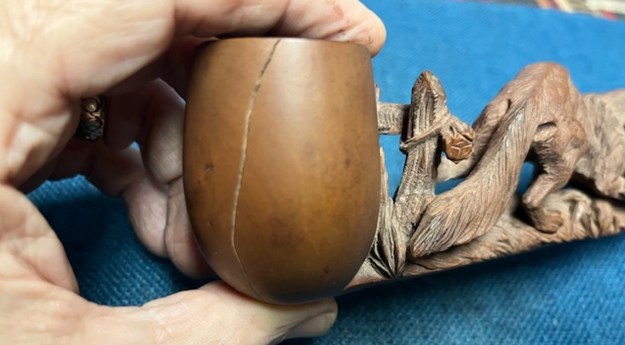
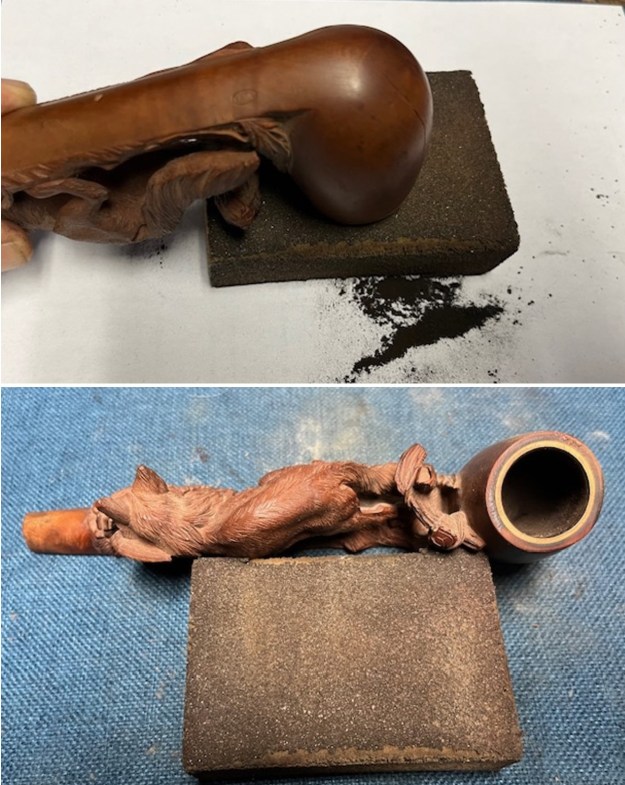
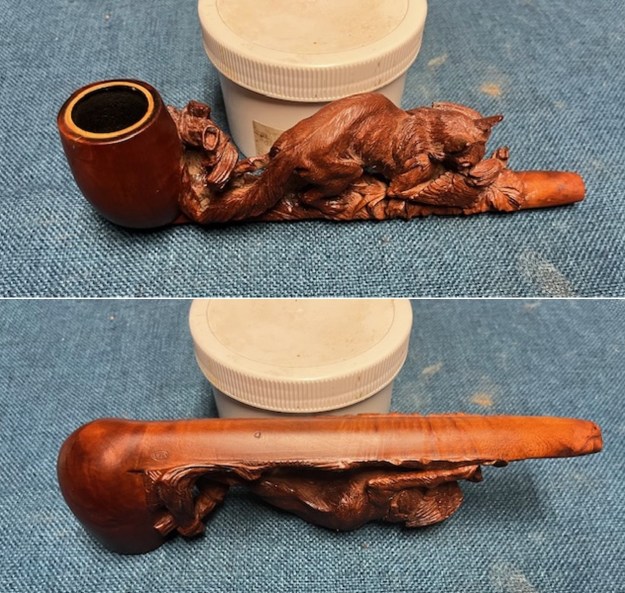
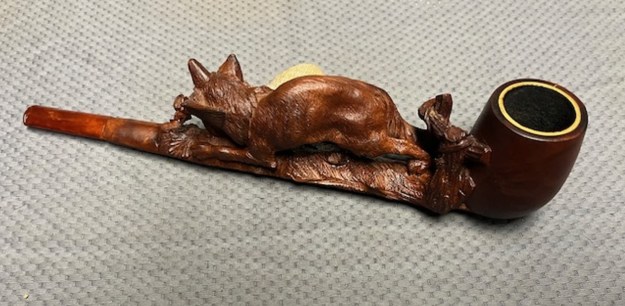
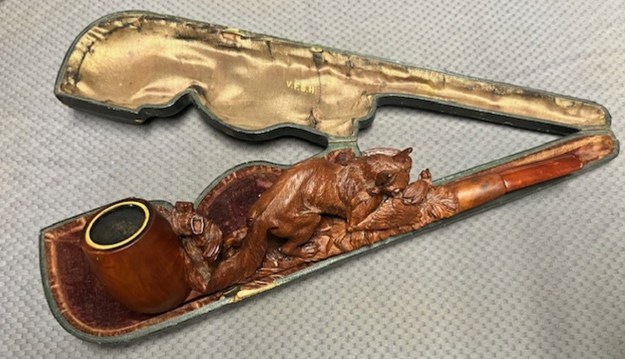
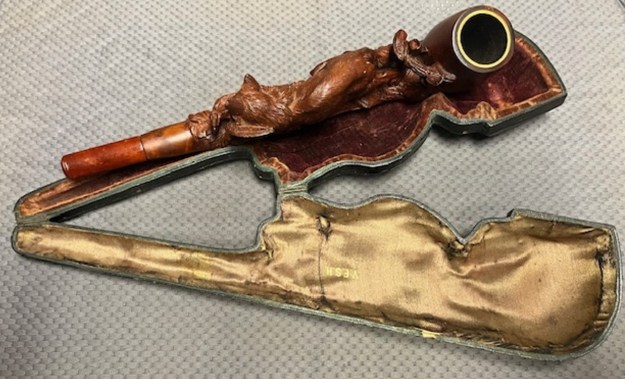
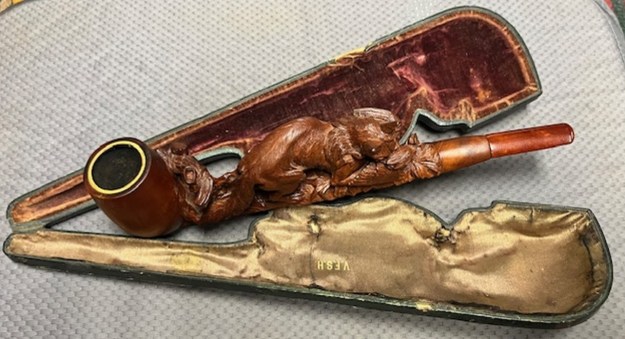
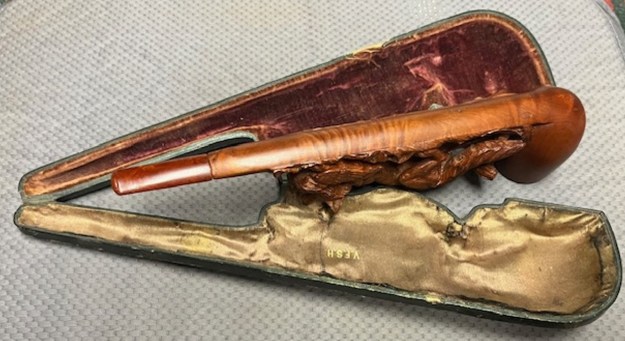
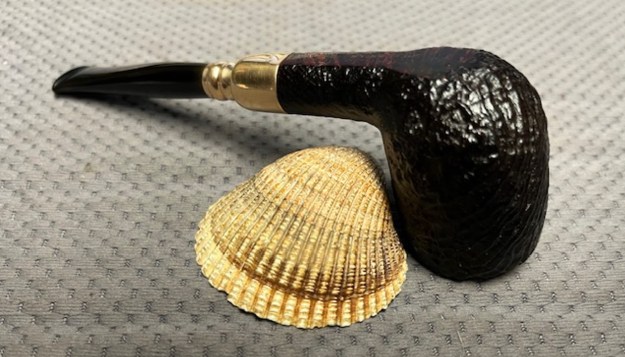
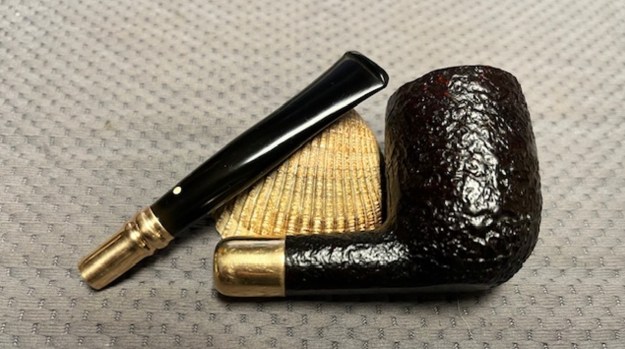
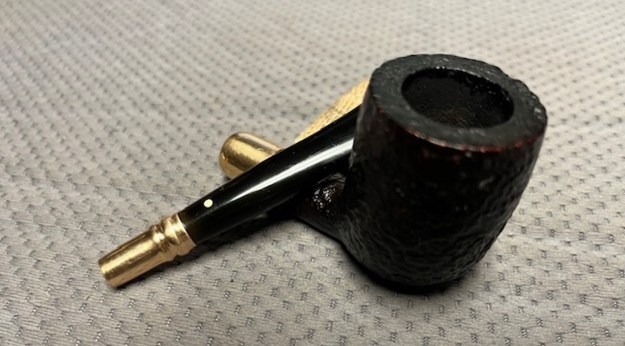
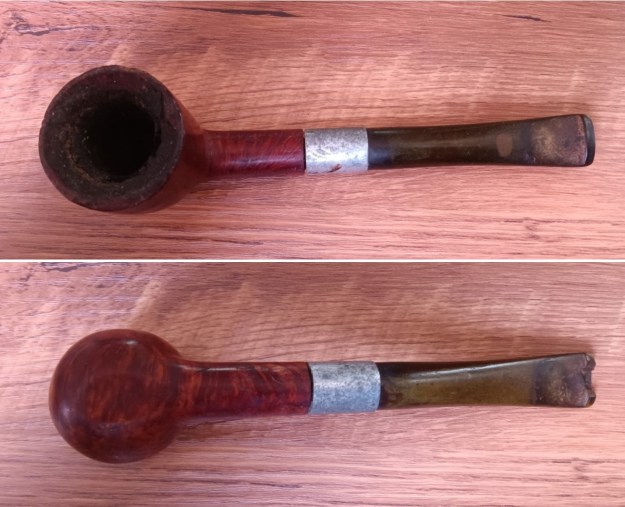
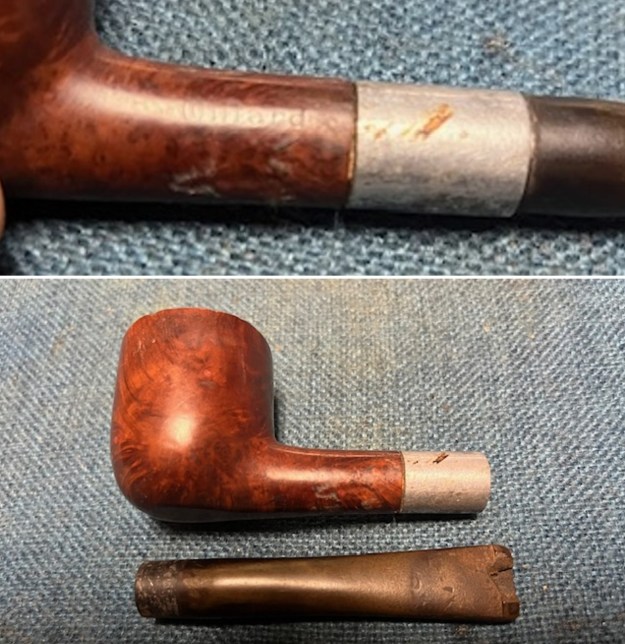
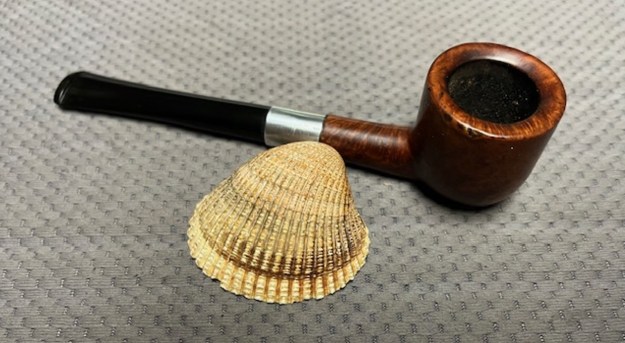
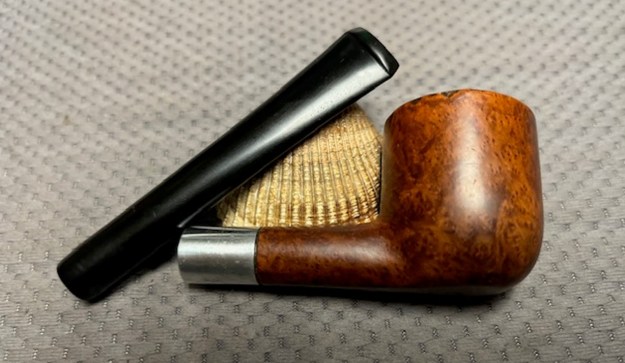
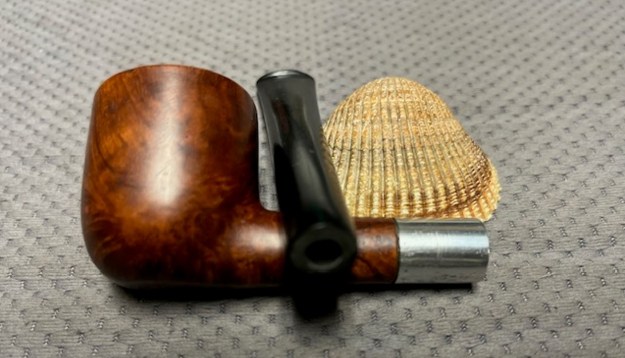
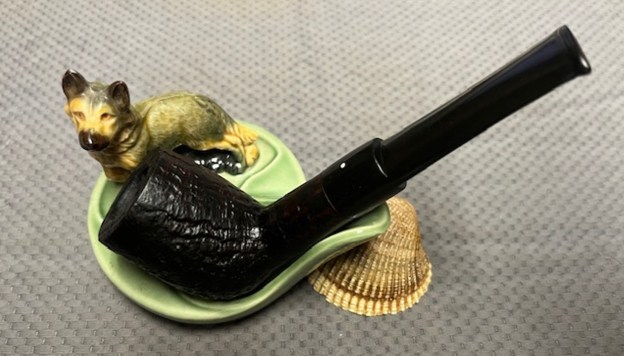
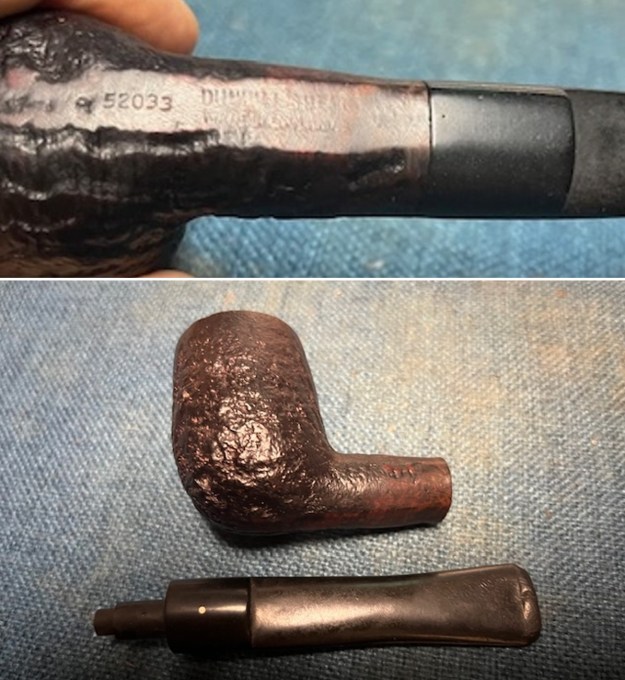
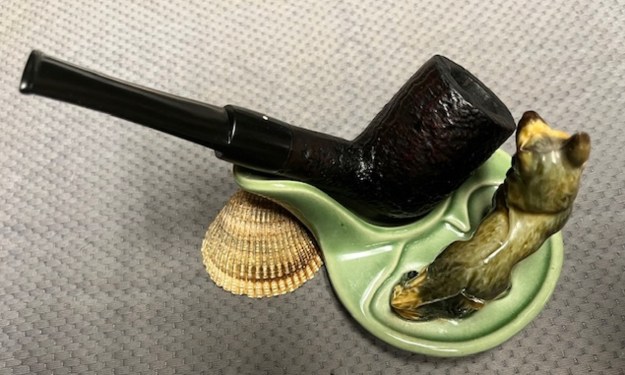
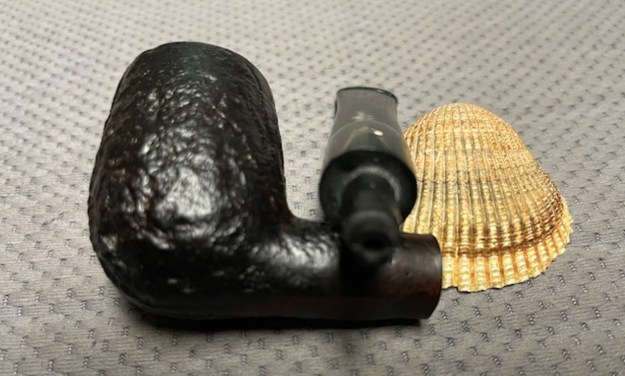
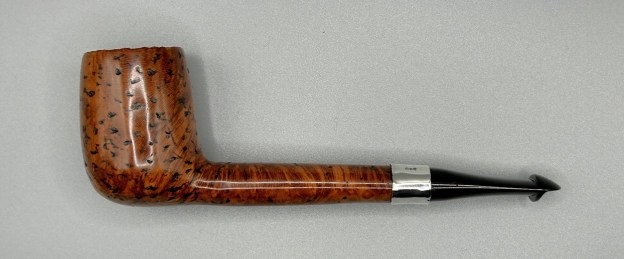
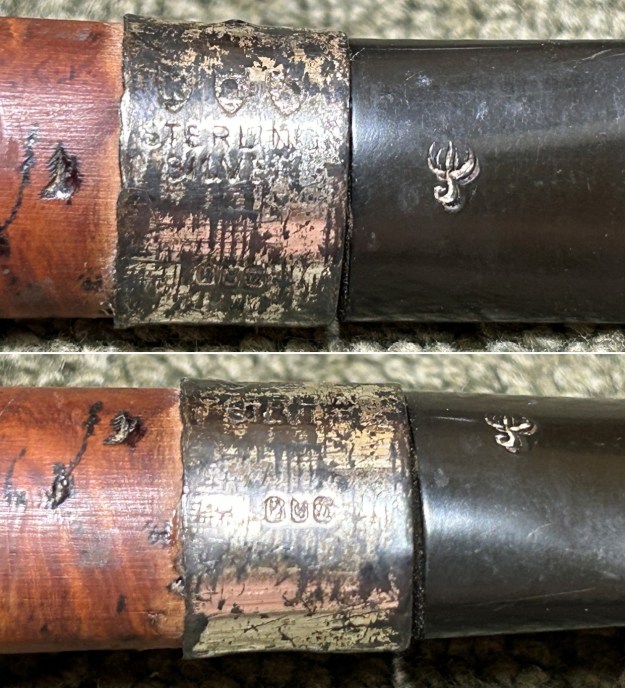
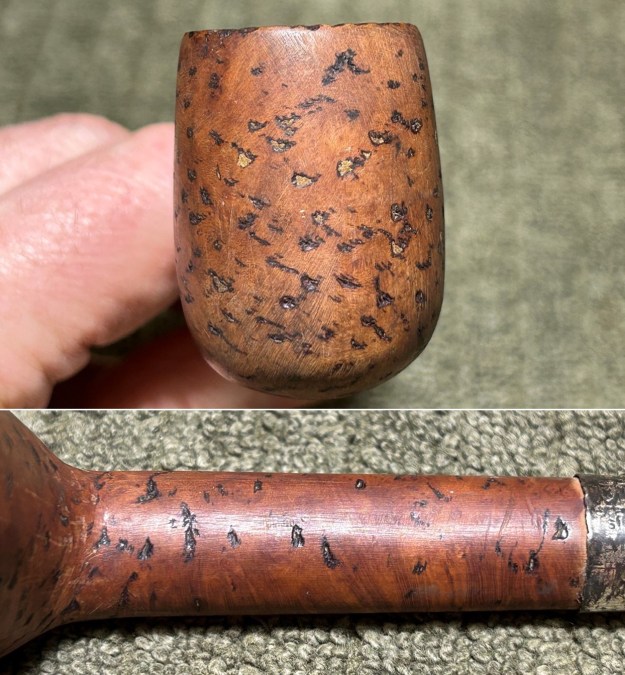
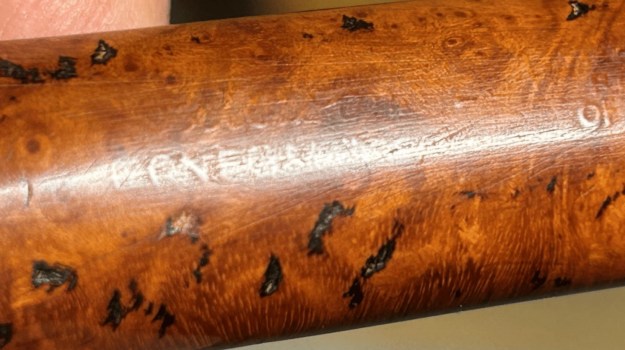
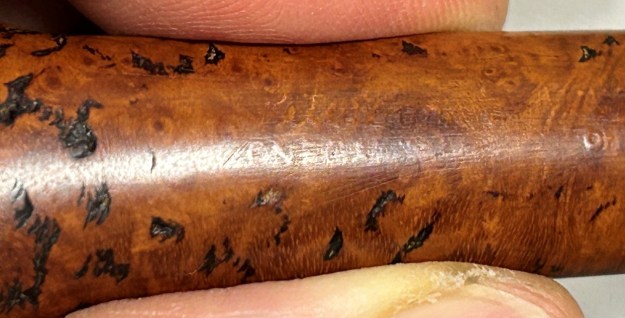
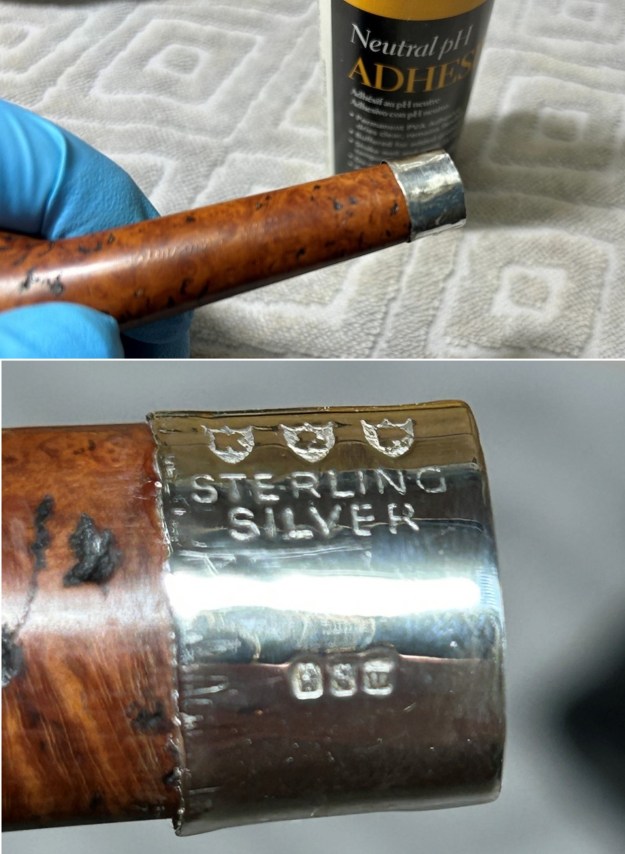
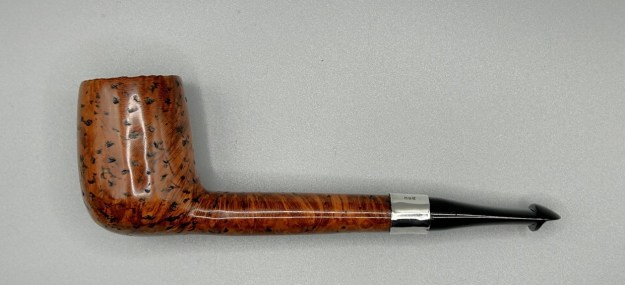
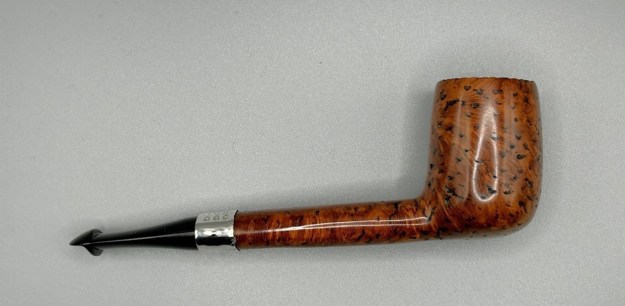
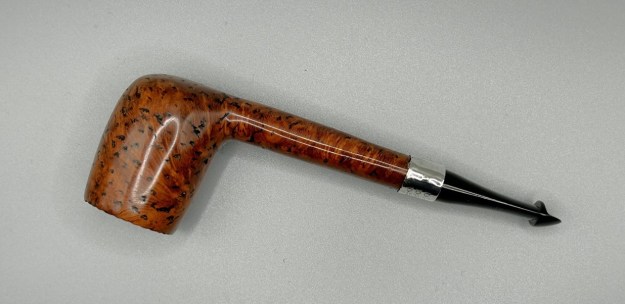
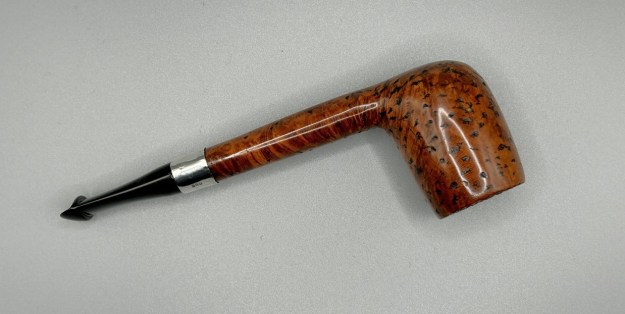
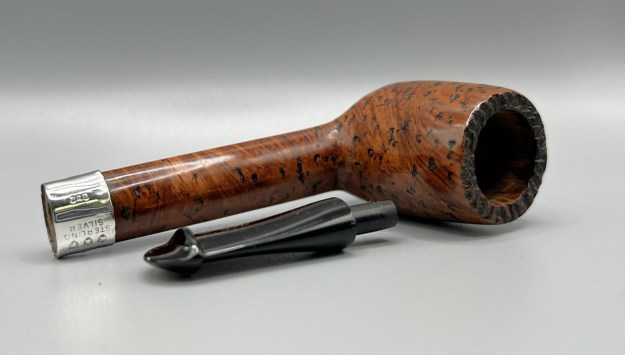
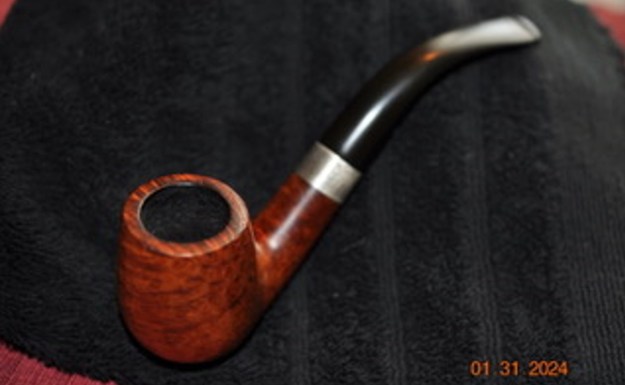
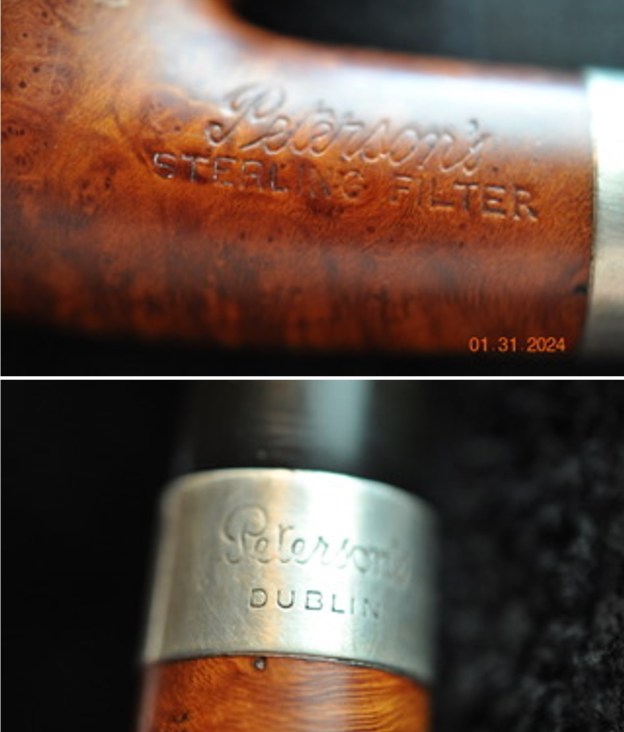
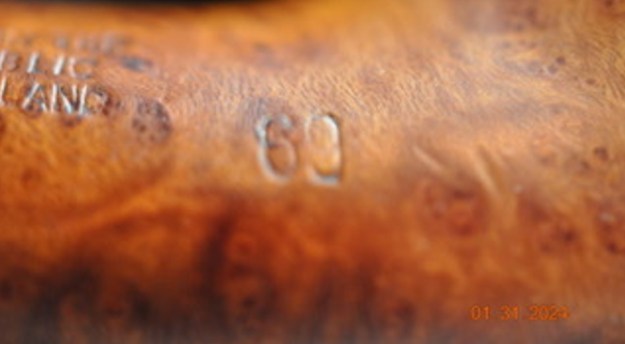
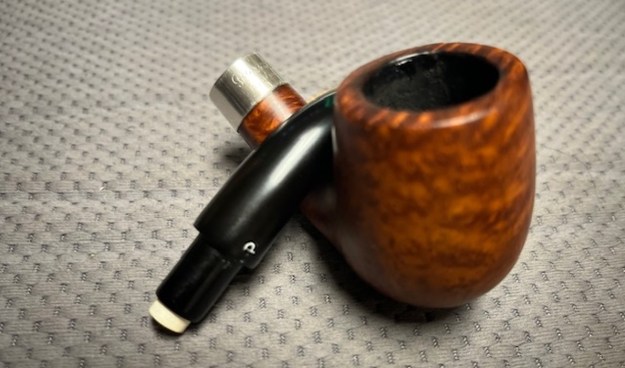
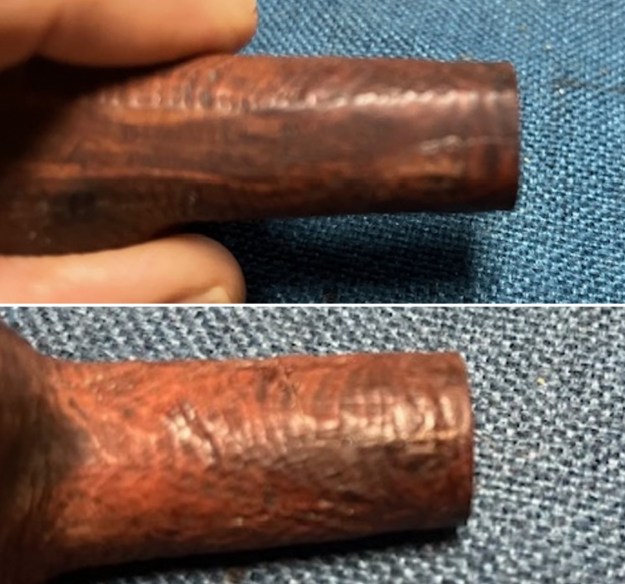
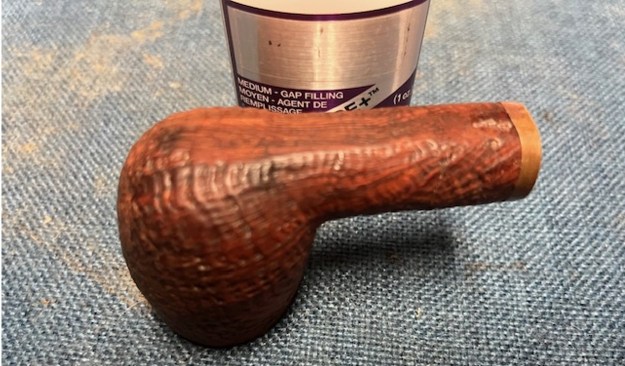
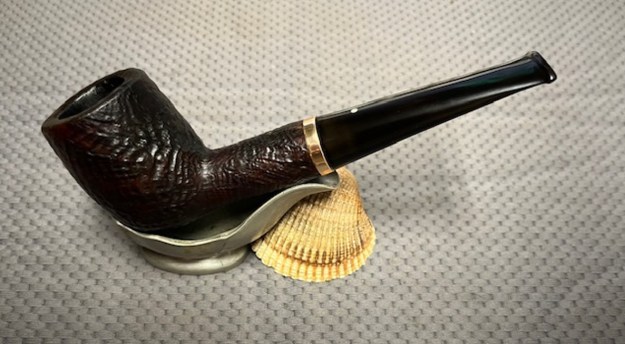
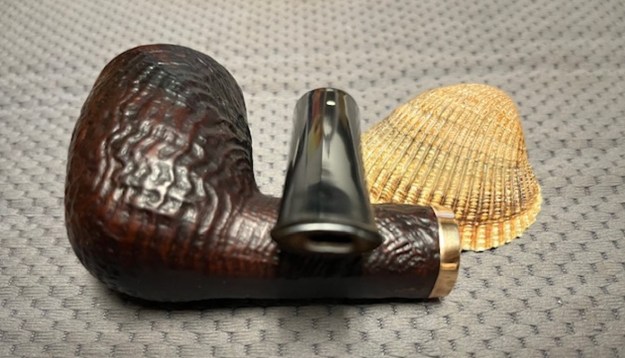
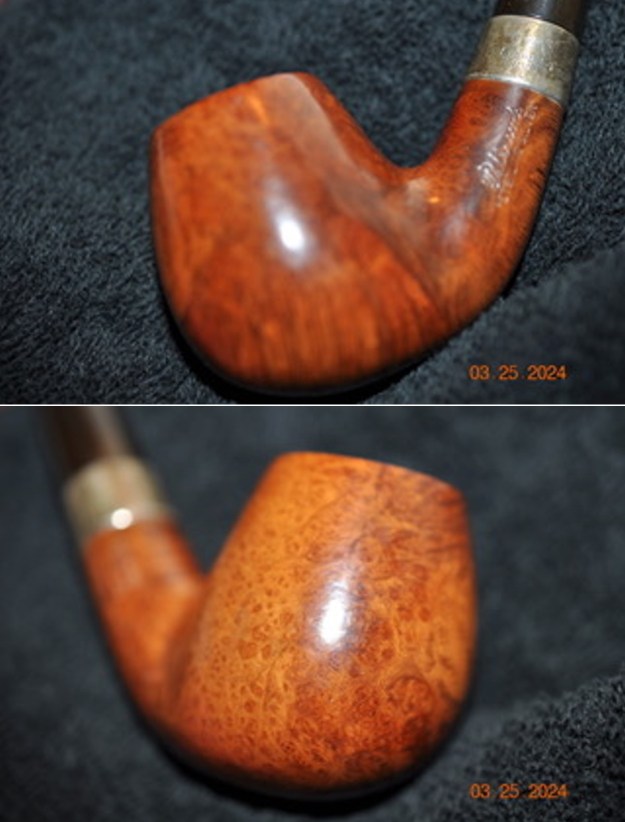
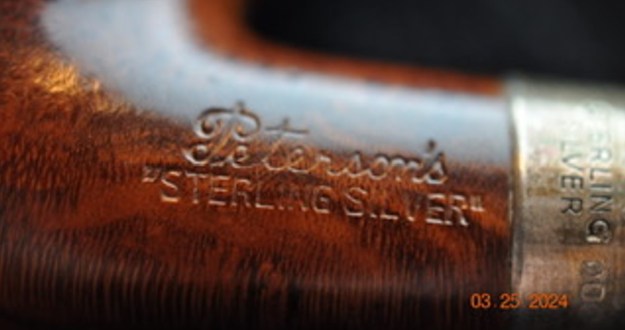
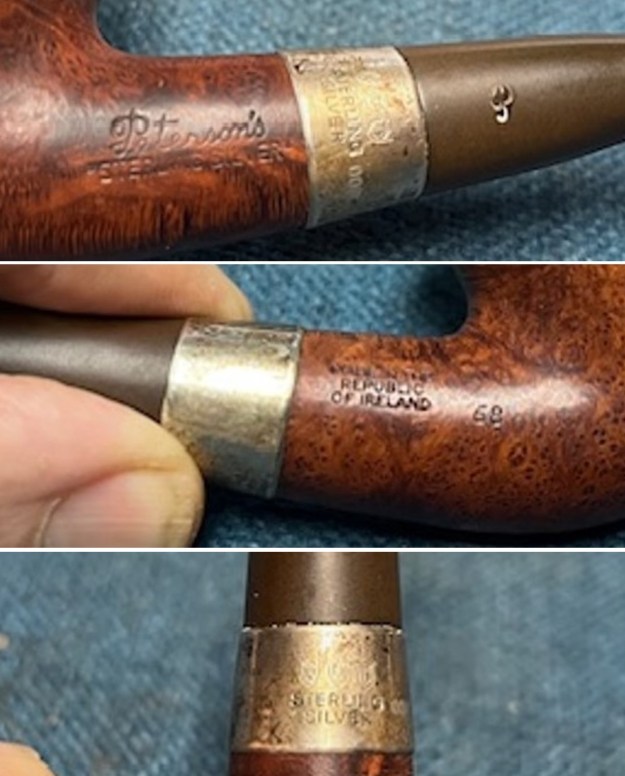
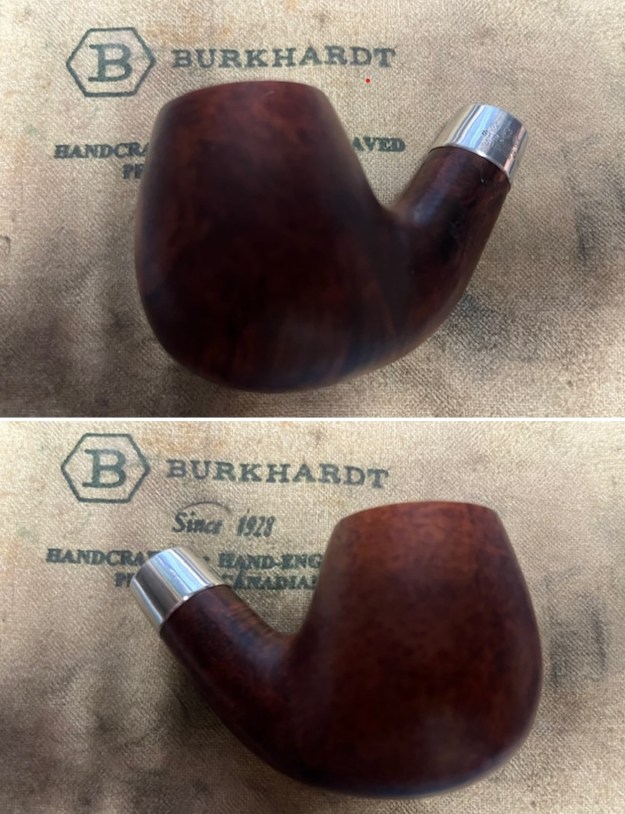
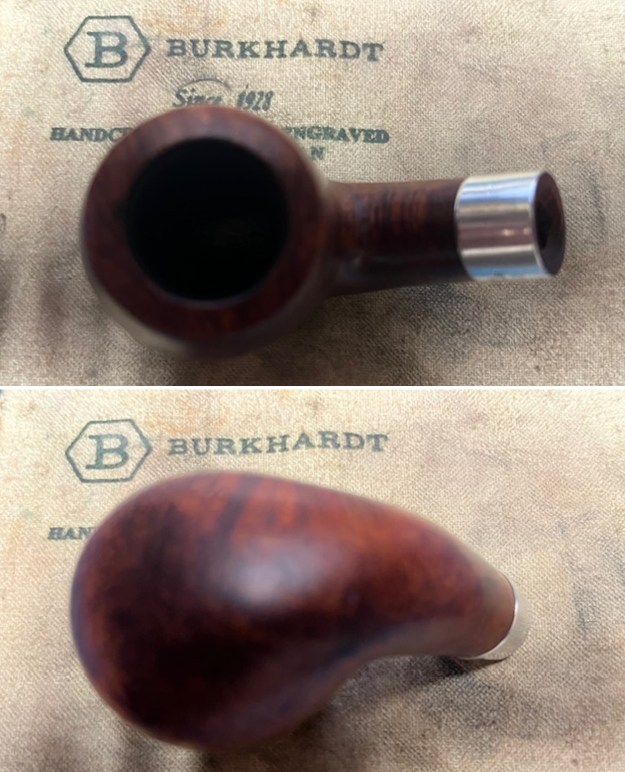
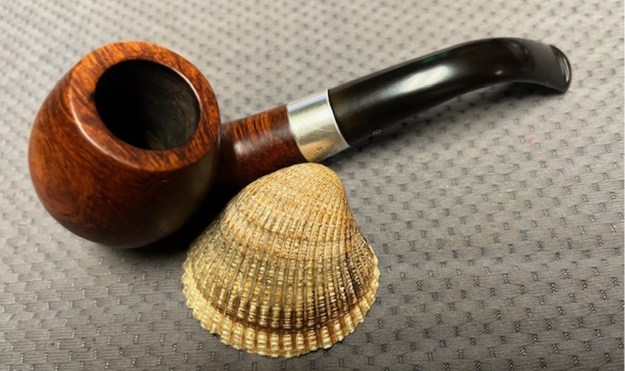
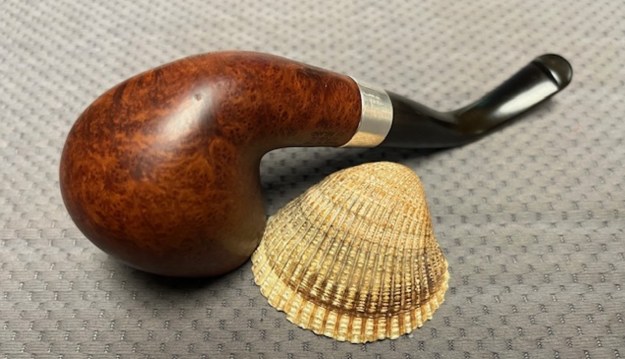
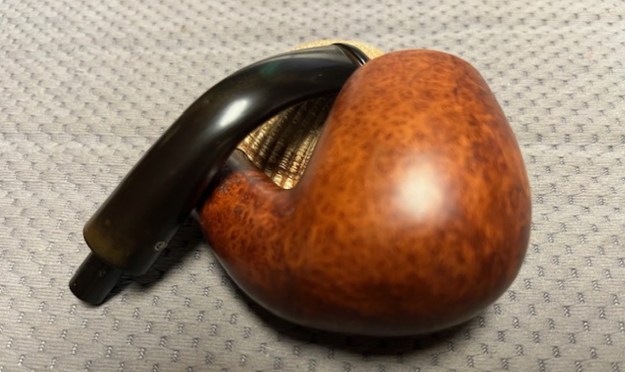
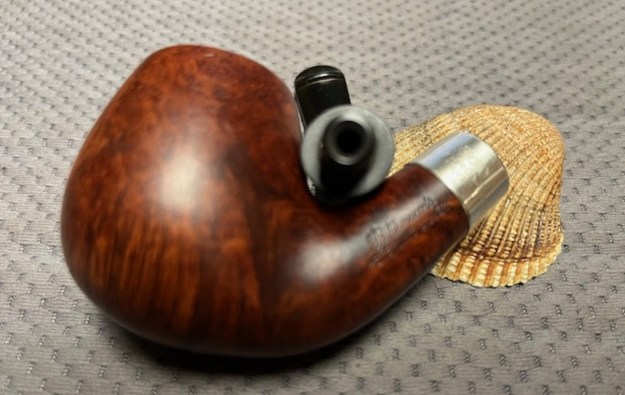
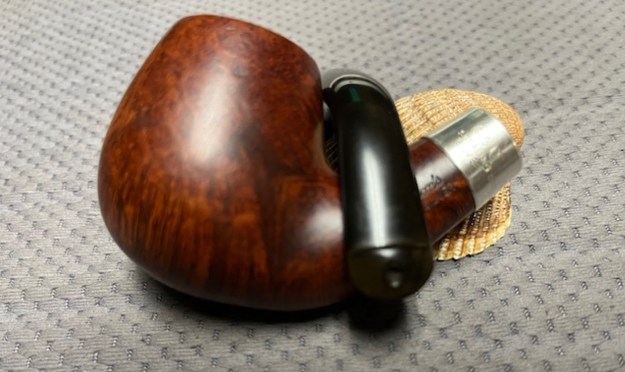
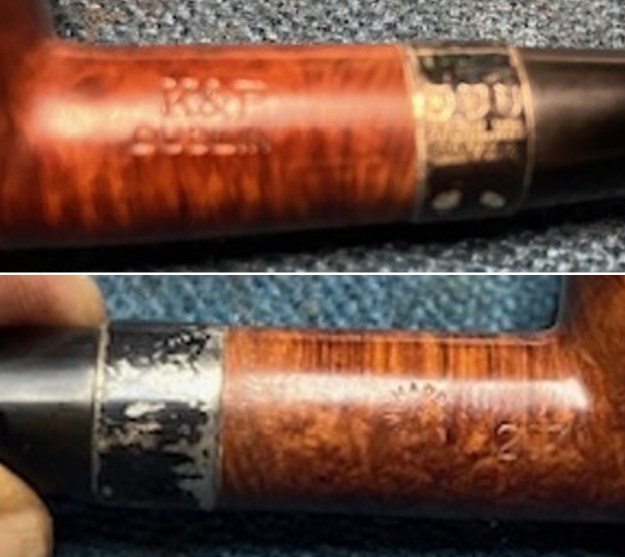
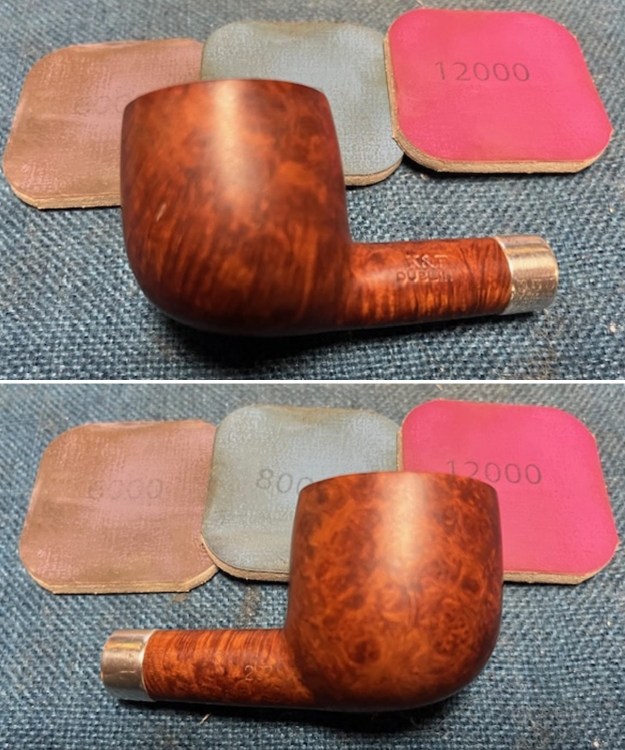
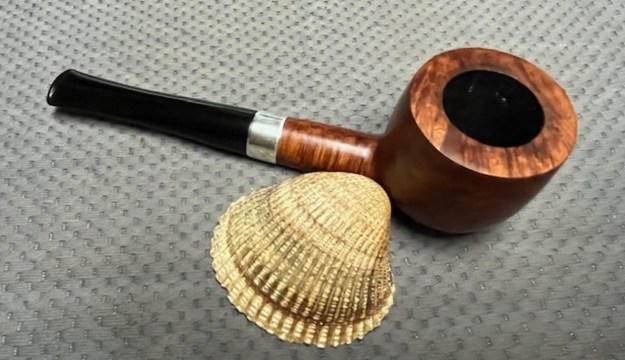
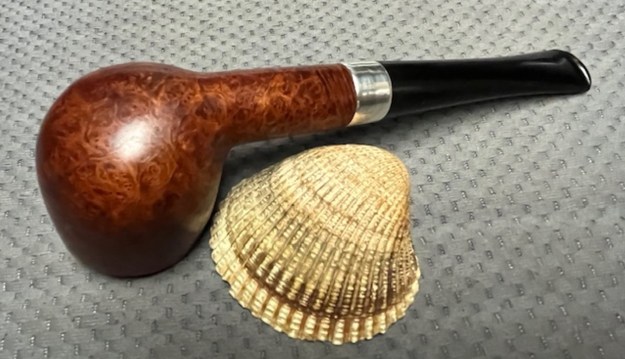
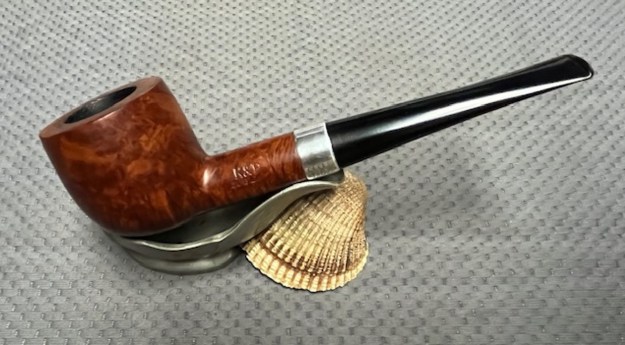
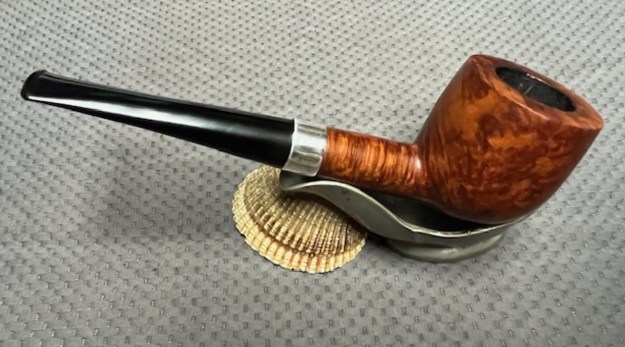
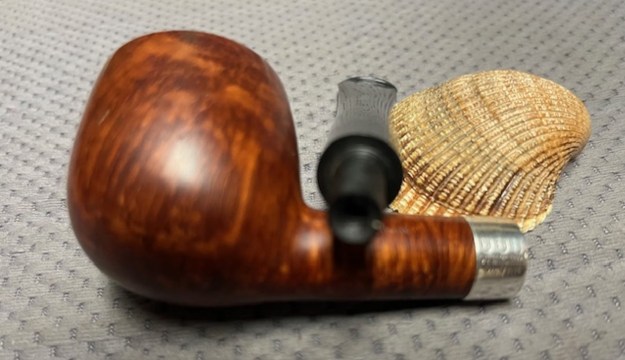
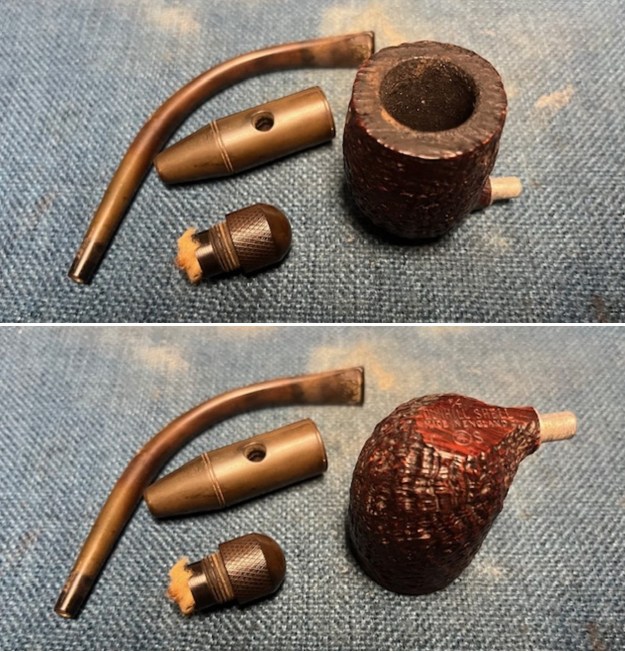 The stamping on the heel of the bowl is clear and readable as noted above. The gold ferrule on the shank and cap on the stem looks good. I took a photo of the pipe with the stem removed to give a sense of the proportions of the pipe. It is a real beauty.
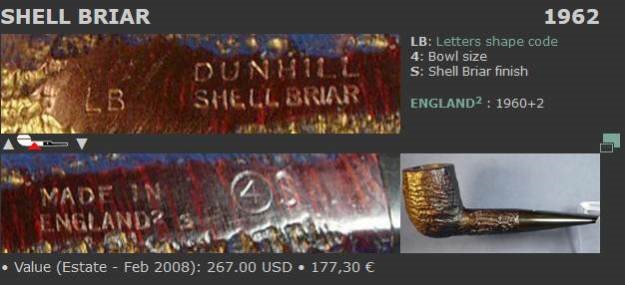
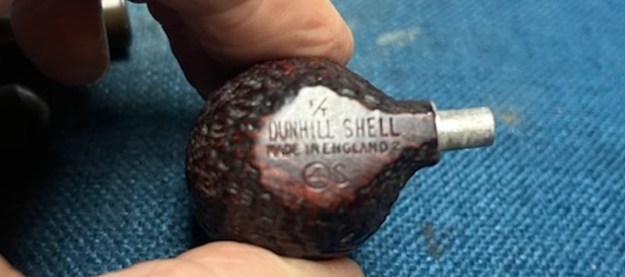 One of the first things I like to do is to unpack the stamping and understand each element in it. I turned to Pipephill helpful site (http://pipephil.eu/logos/en/dunhill/shell-briar1.html). The stamping is interpreted as follows: The F/T is the stamp for a fishtail type stem. The Dunhill Shell is the finish. Following the Made In England2 gives the year that the pipe was made.
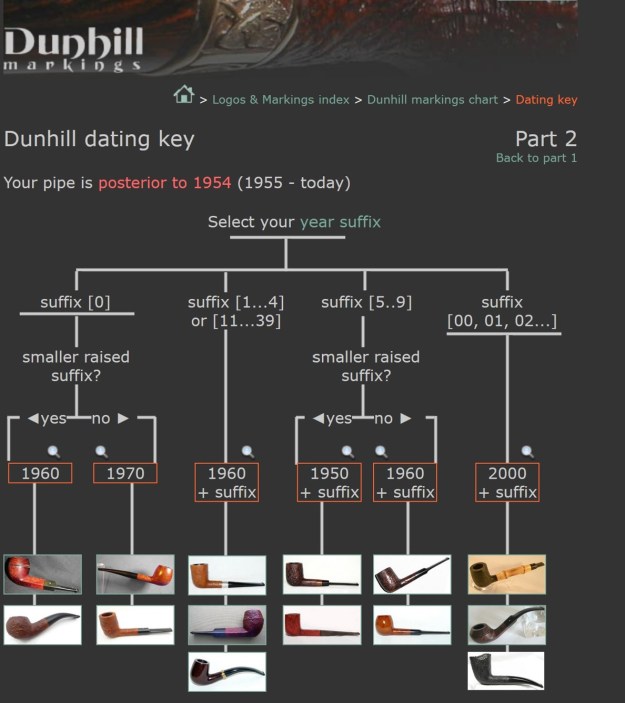
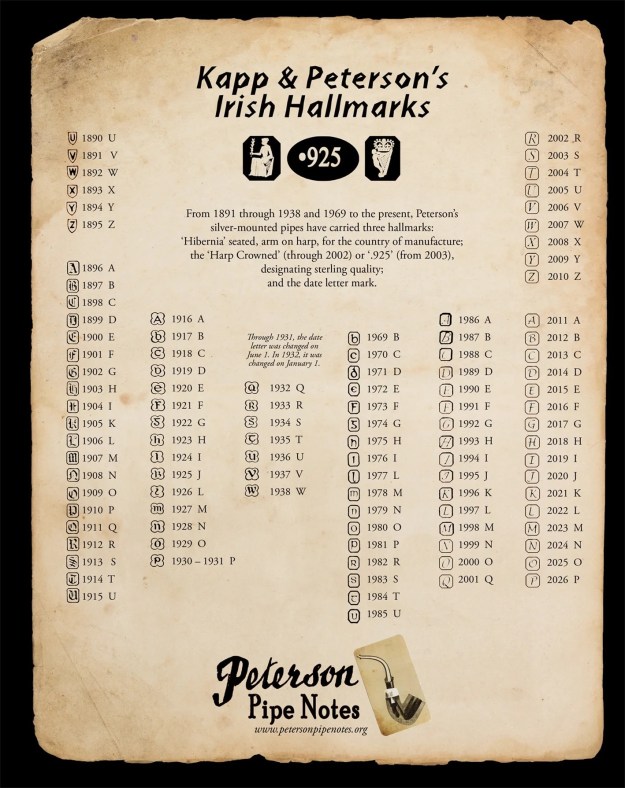
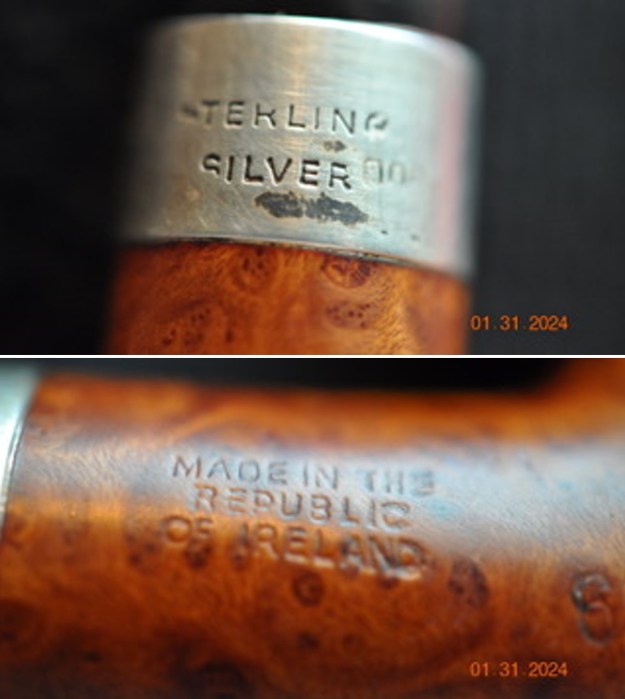
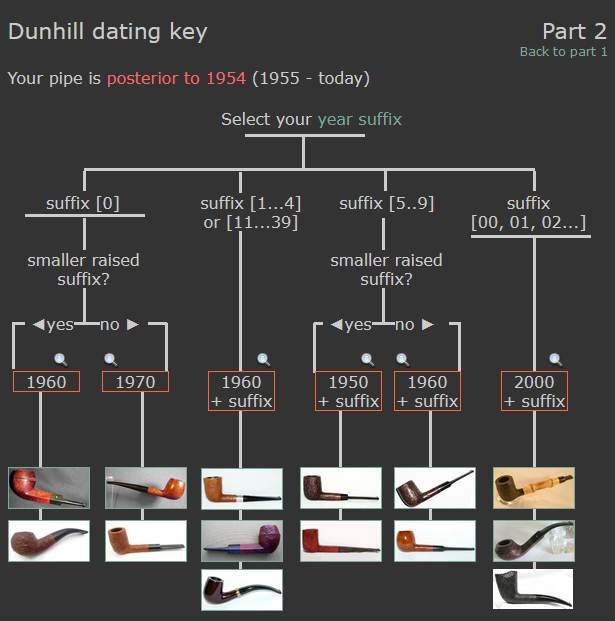
The dating chart helped me understand the date stamp 2. I have included the chart below for you to follow (http://www.pipephil.eu/logos/en/dunhill/cledat-en1a.html). The second column is where the 2-year suffix fits. To arrive at the date the suffix is added to 1960 making the pipe a 1962 Shell Cavalier.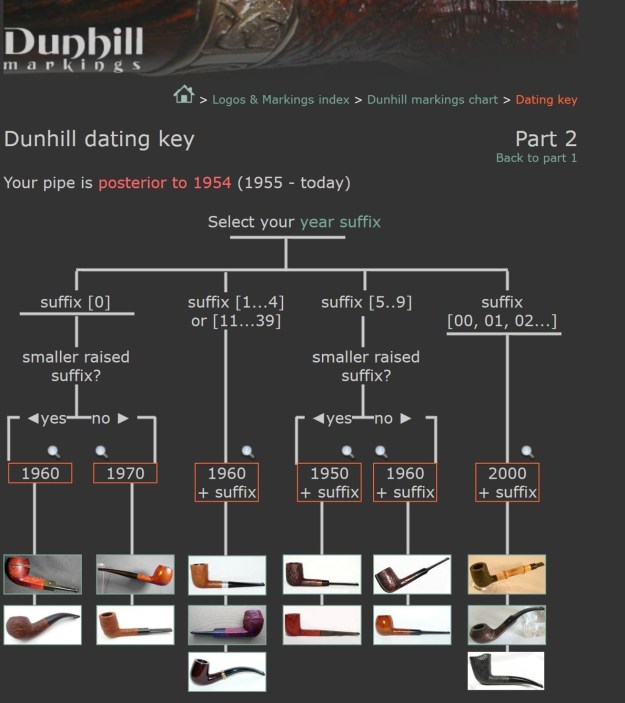 I googled Dunhill Shell Cavalier and found some great information on the line on the site below (https://www.falkum.de/en/dunhill-cavalier-pfeife.html). I quote below:
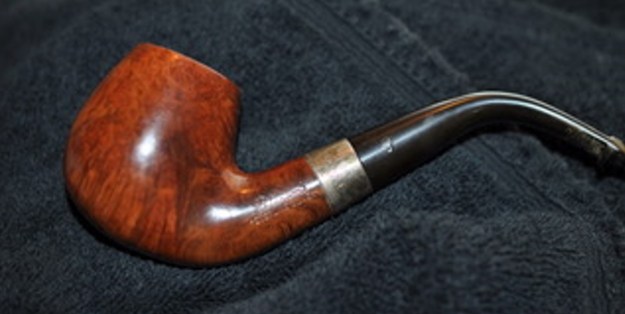
Dunhill Cavalier pipe, size 4, in full bent shape with Shell Briar finishing.
The Cavalier pipe was especially designed by Dunhill for British officers of the West-Indian and African-corps. The pipe could be taken apart in its pieces quickly (removable bowl, middle part and mouthpiece) so they would fit easily into the breast pocket of a field jacket. In the hot and humid tropics the removable, so called ”watersack“ at the bottom of the basic part proved as a simple, but brilliant solution against the built-up of humidity and condensate.
For many years this special model has been the most much sought-after pipe by Dunhill collectors. Only within the last years Dunhill increased slightly the production of this unusual pipe which is still hard to find.
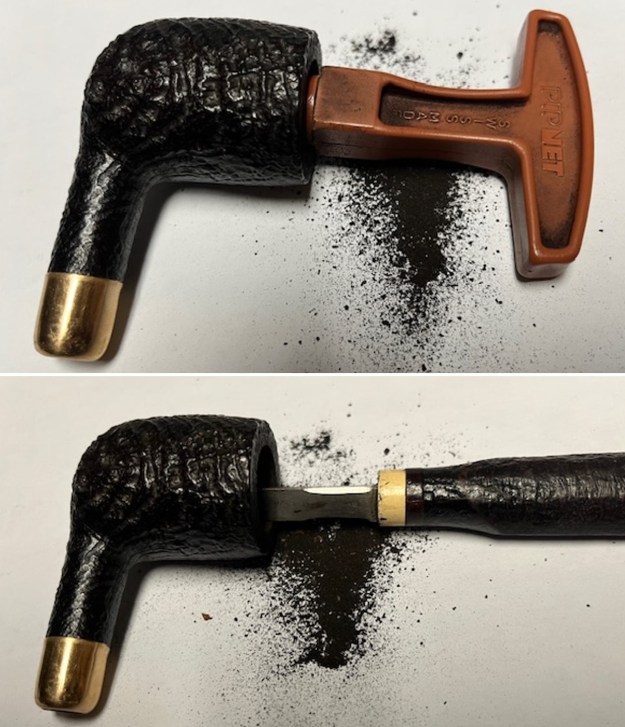
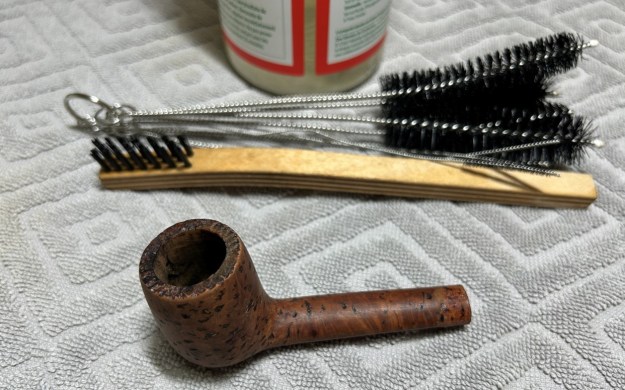
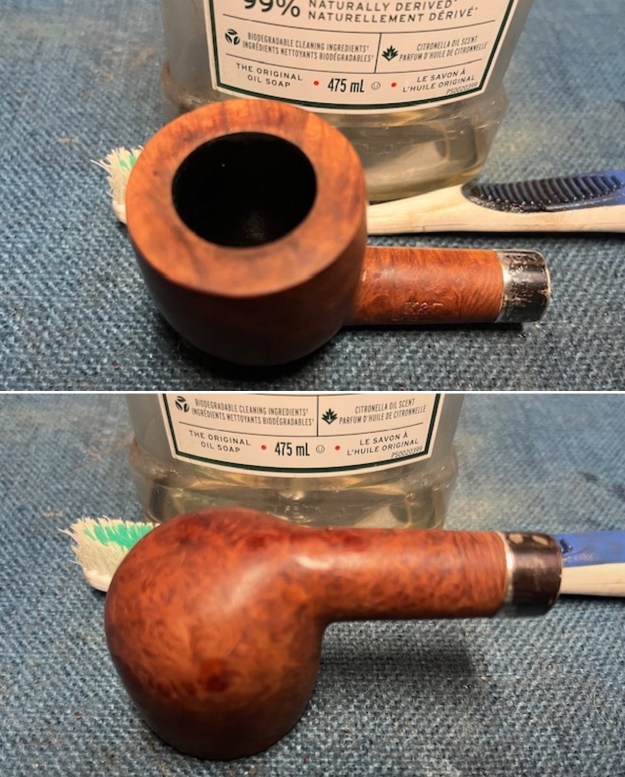
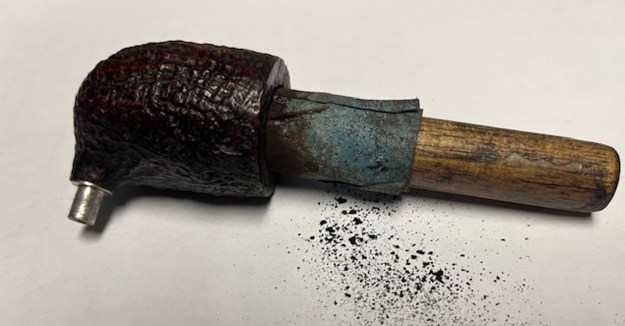
I turned to work on the pipe itself. I reamed the bowl with a PipNet pipe reamer using the cutting heads 2 and 3. I finished the reaming with a Savinelli Fitsall Pipe Knife. I sanded the walls of the bowl with 220 grit sandpaper wrapped around a piece of dowel.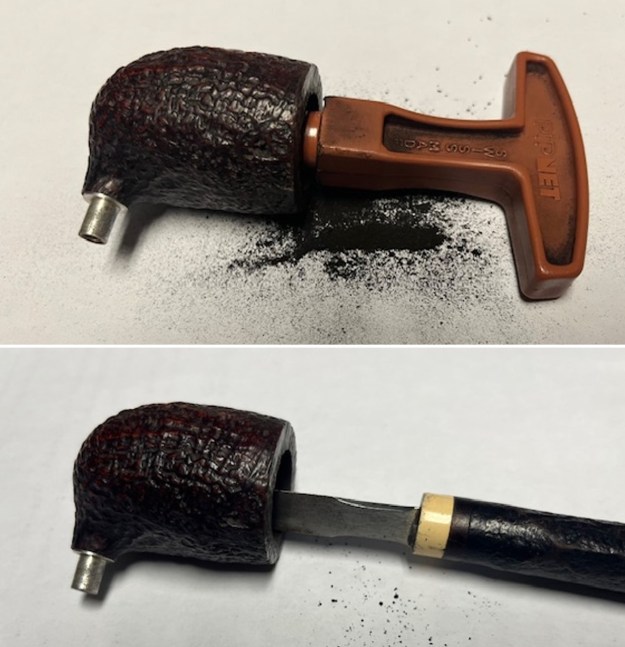
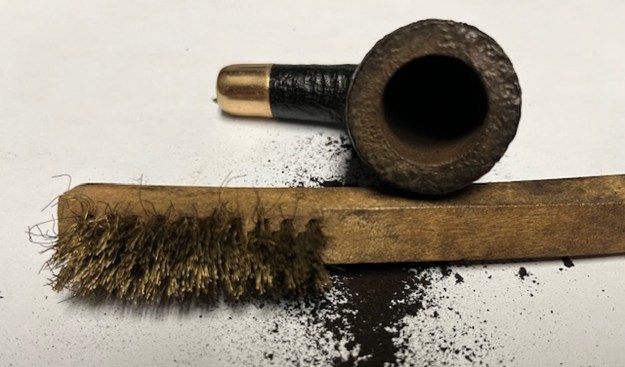
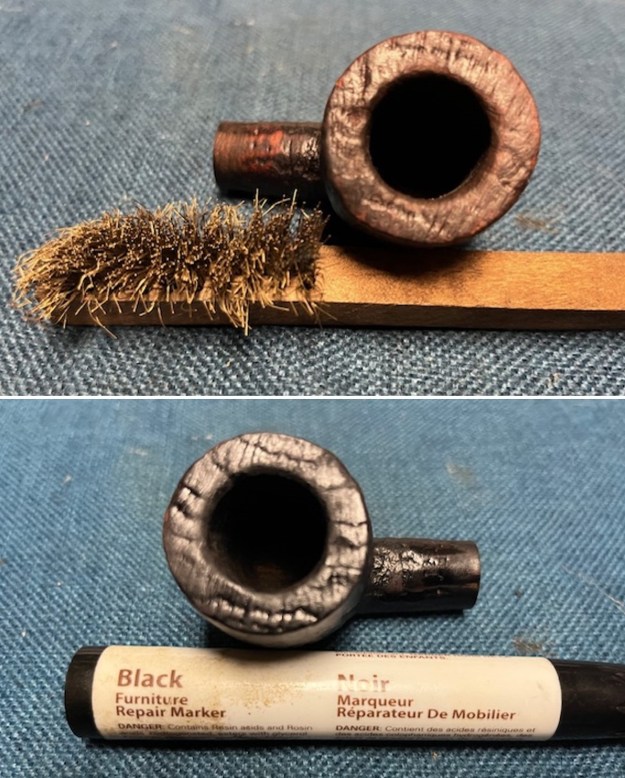
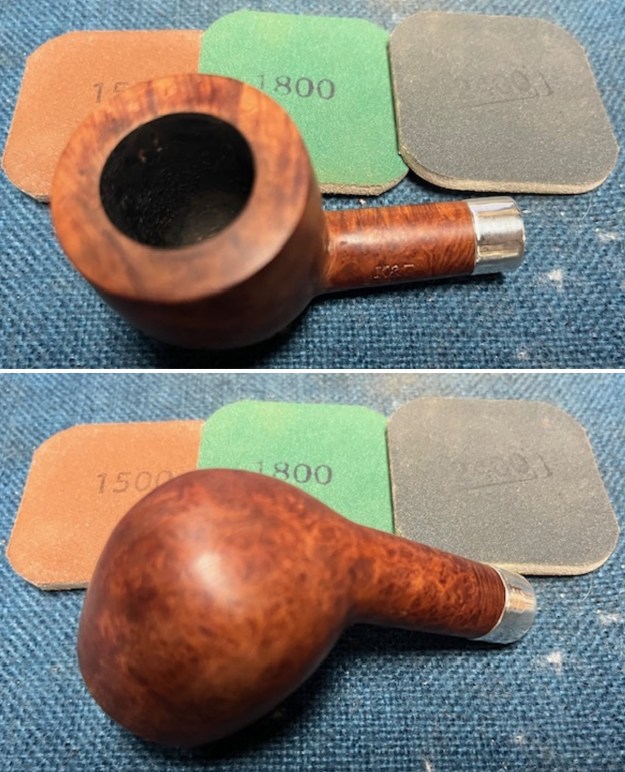
 I used a brass bristle wire brush to clean off the debris in the sandblast on the rim top. The sandblast was clean and dry with no debris in the valleys of the sandblast.
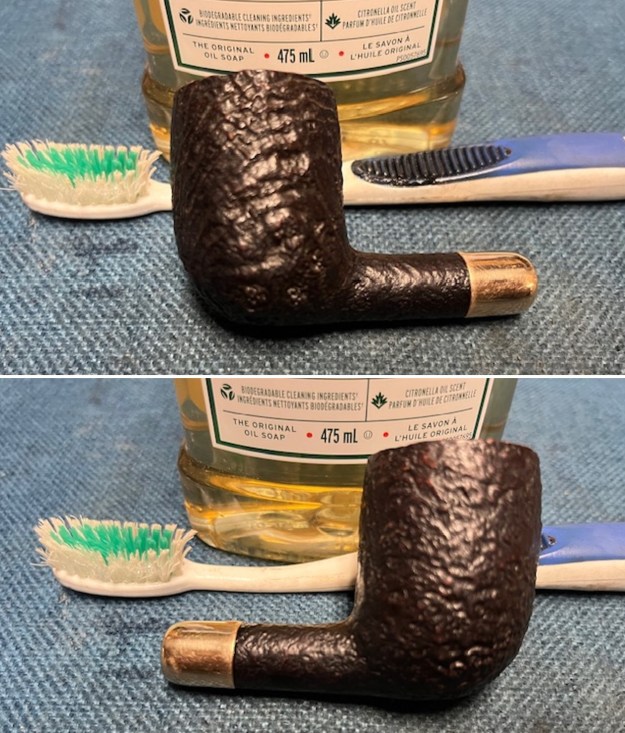
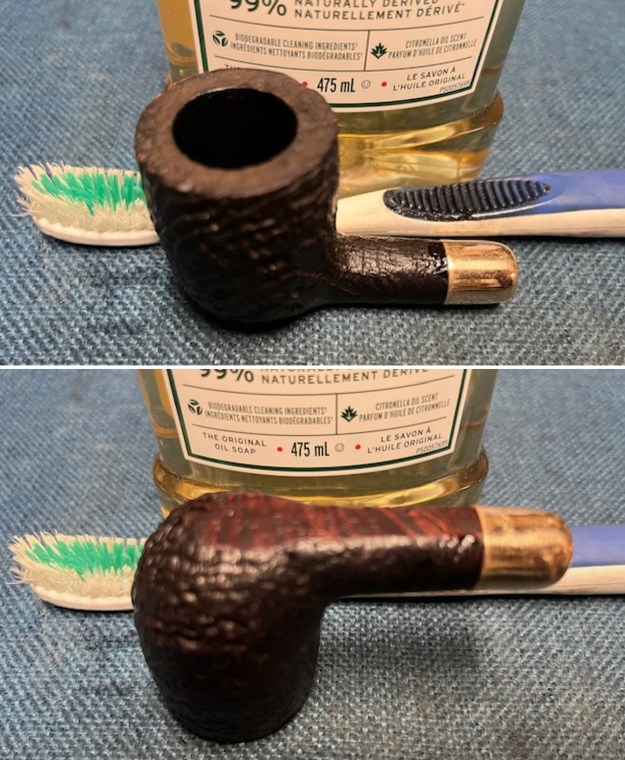
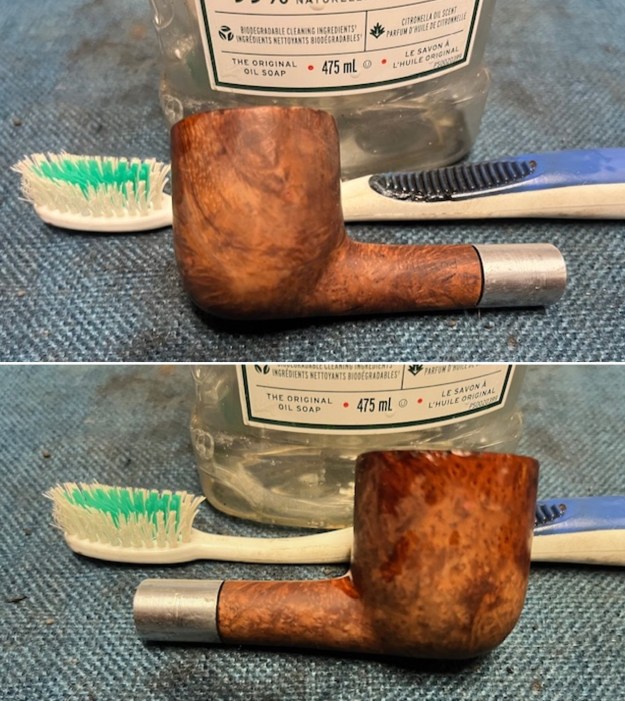
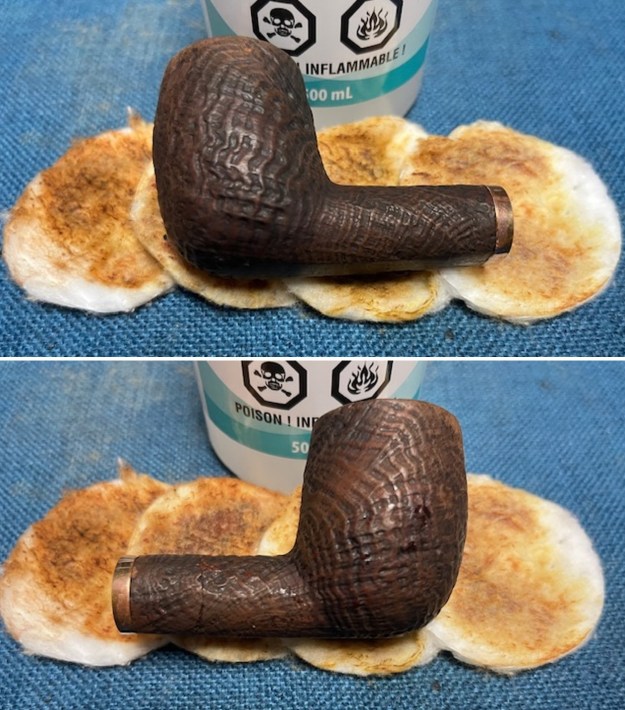
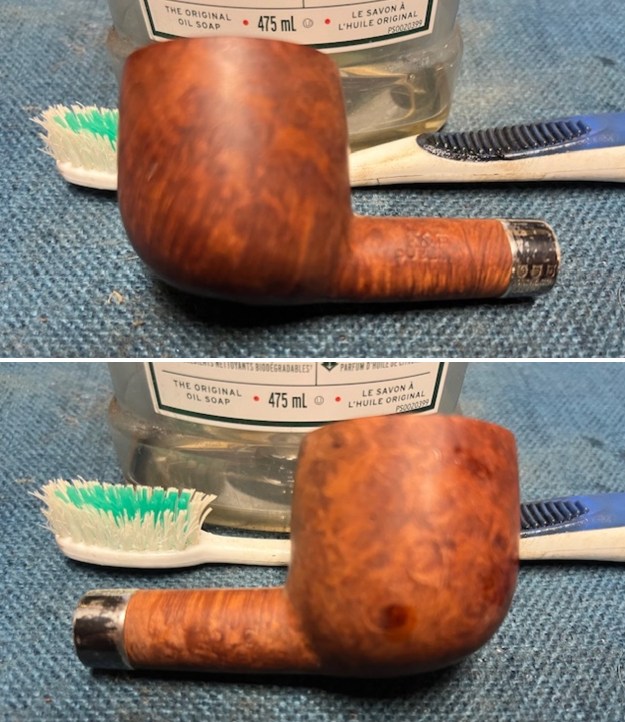
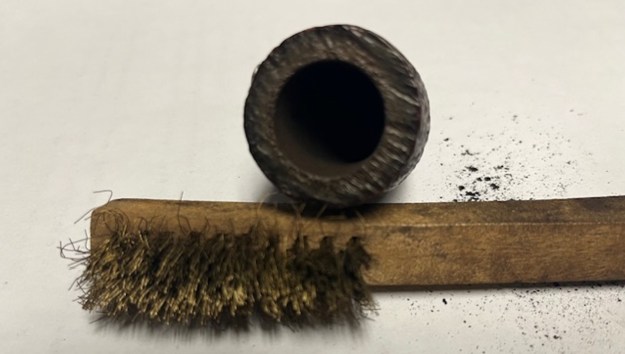 I scrubbed the bowl and shank with a tooth brush and some undiluted Murphy’s Oil Soap. I rinsed it off with warm water to remove the dust and soap from the finish. I dried it off with a soft cloth and it looked much better.
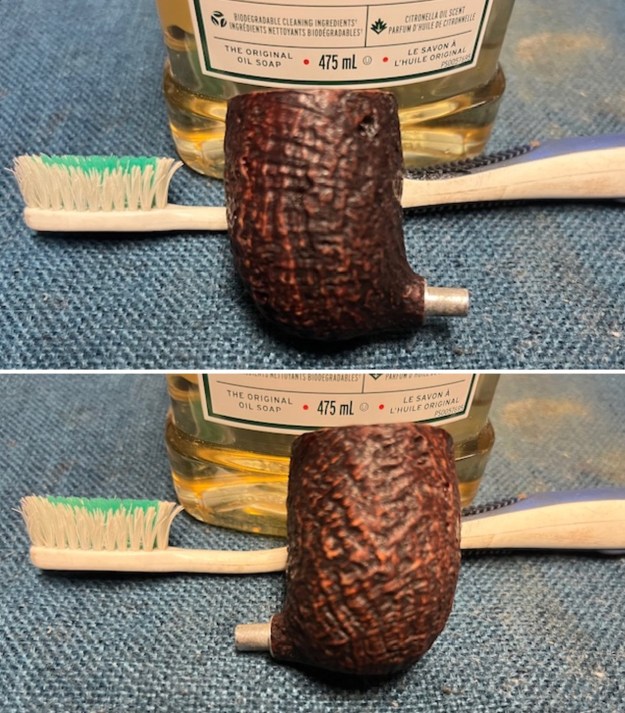
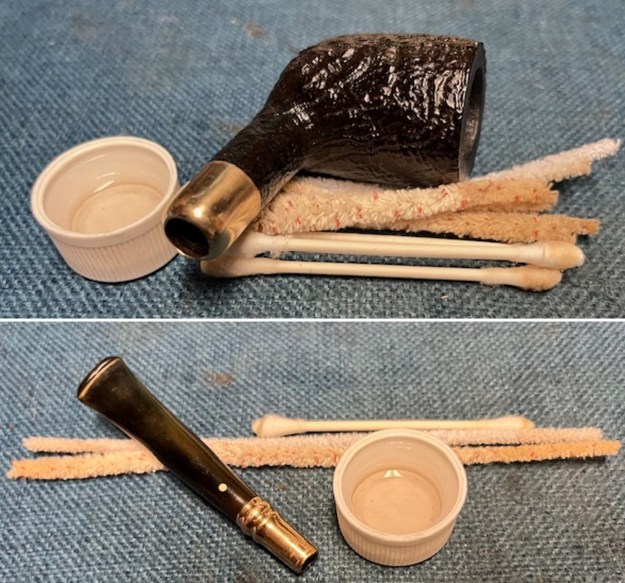
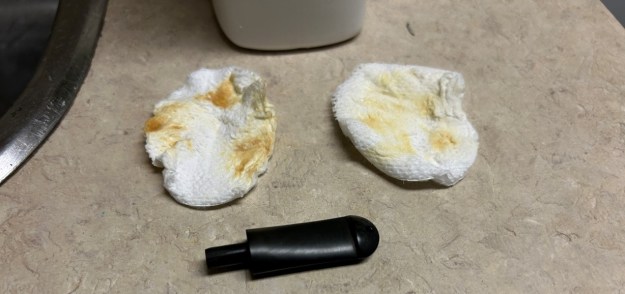
 I cleaned out the inside of the shank, the bullet with the catchment base and the stem with alcohol, cotton swabs and both bristle and regular pipe cleaners.
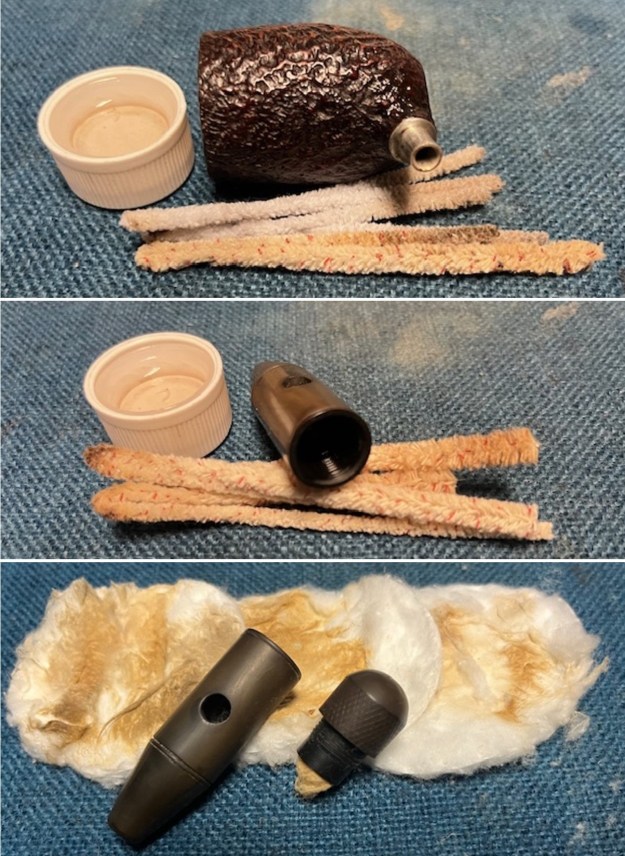
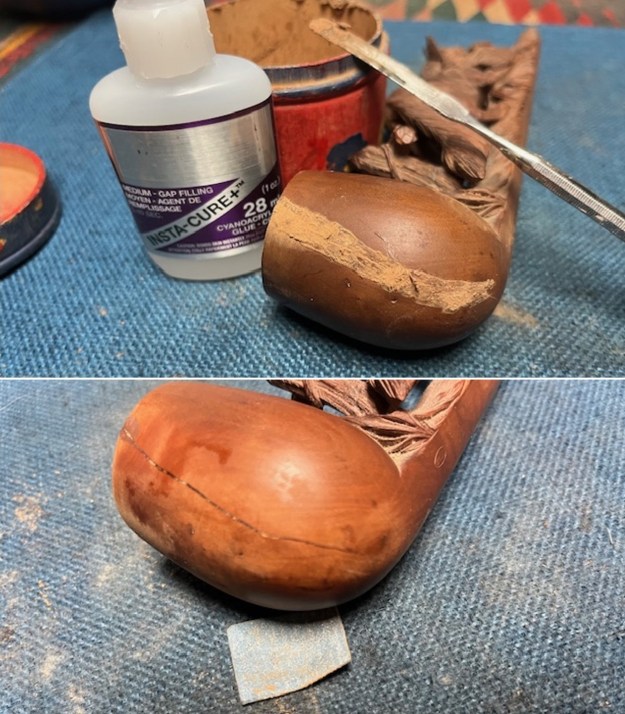
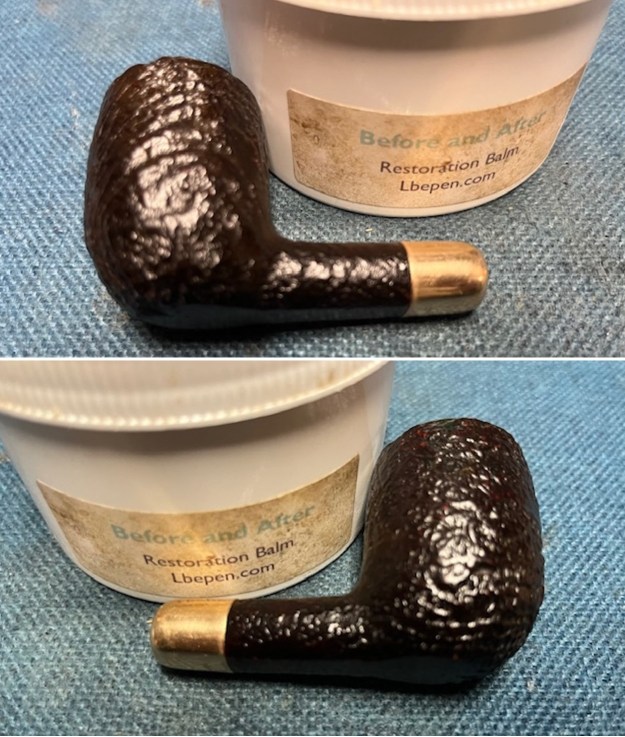
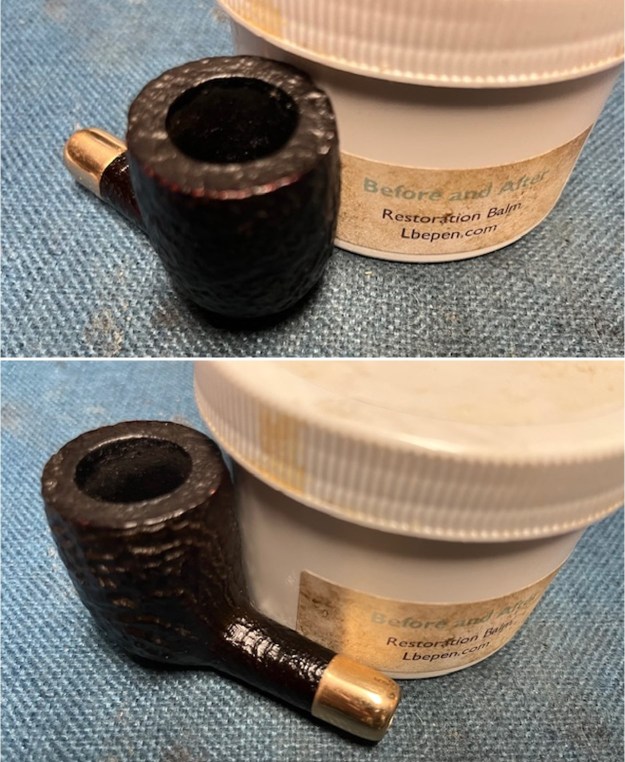
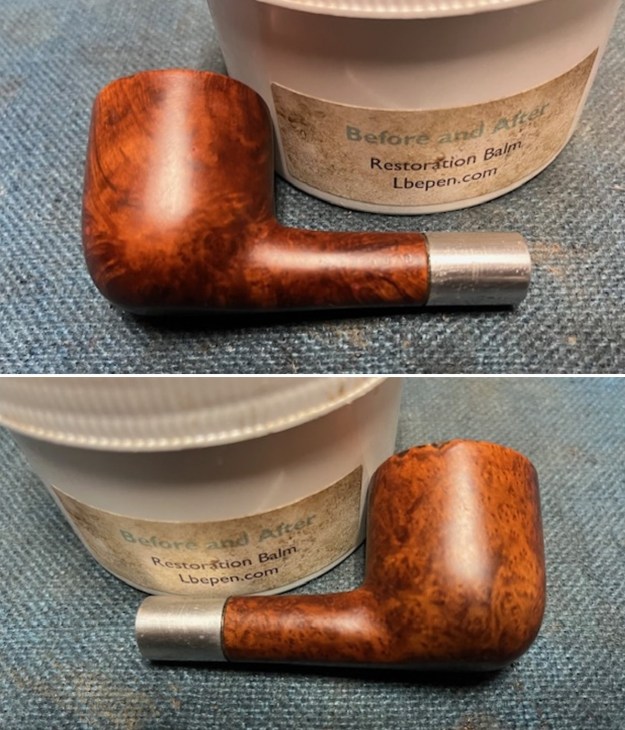
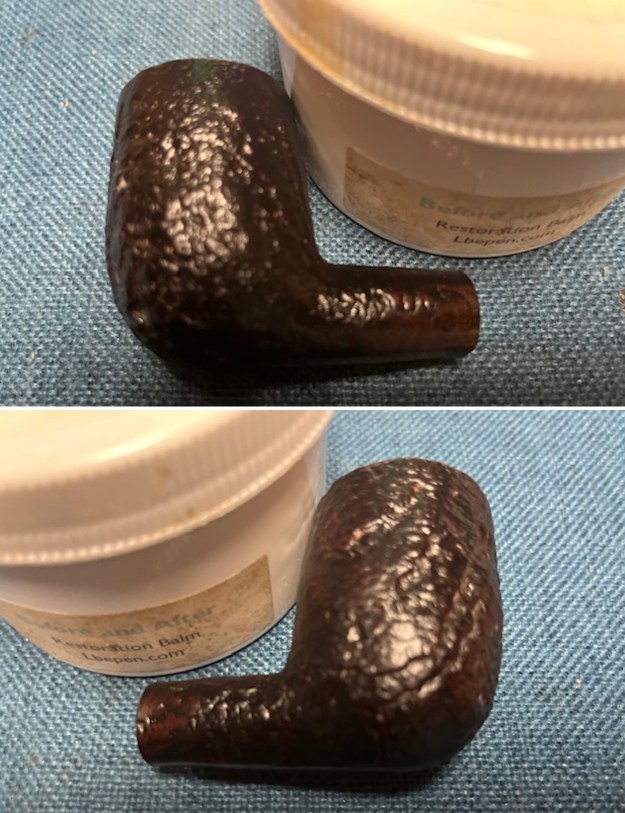
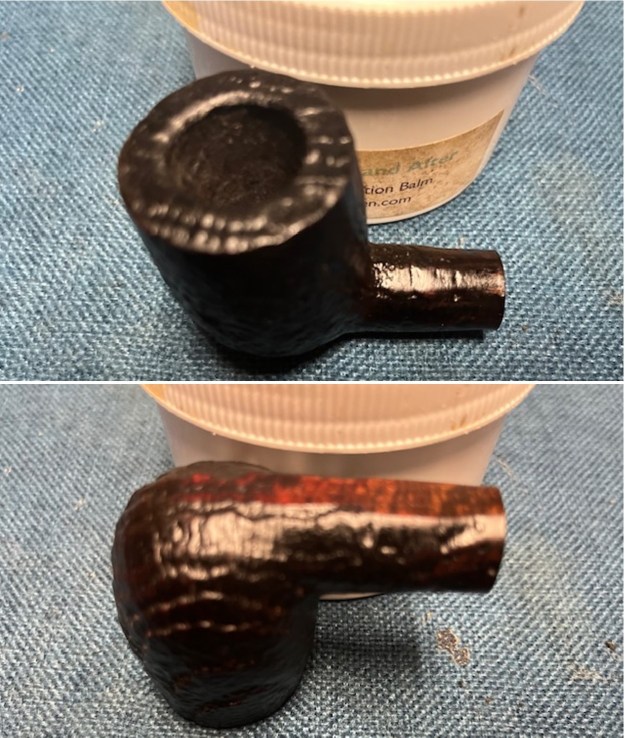
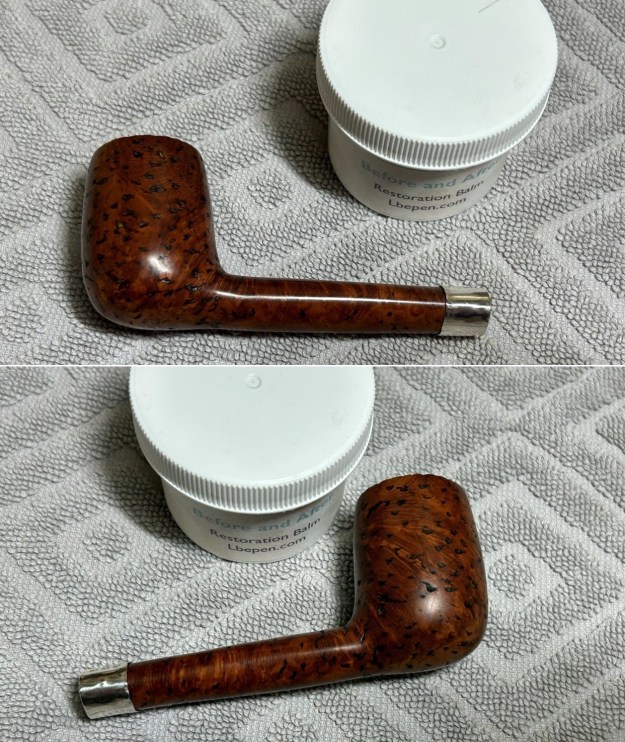
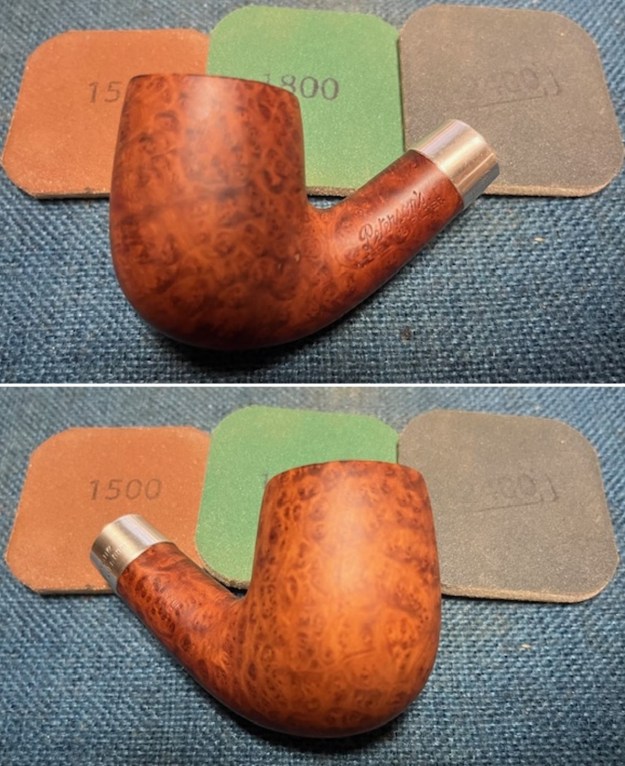
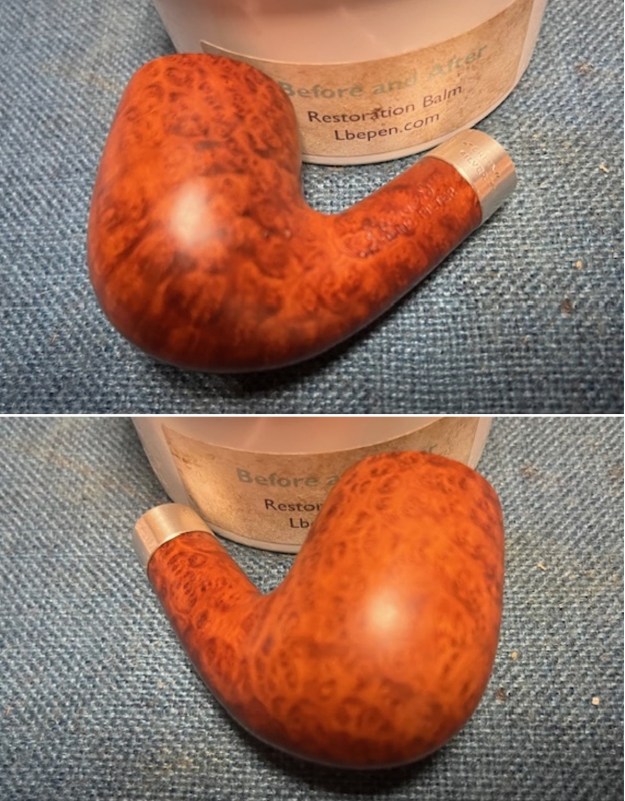
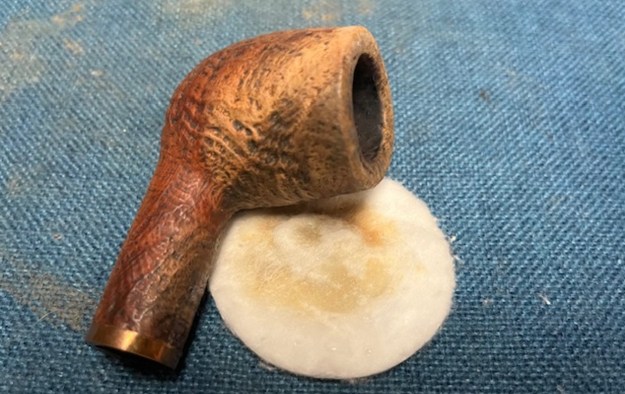
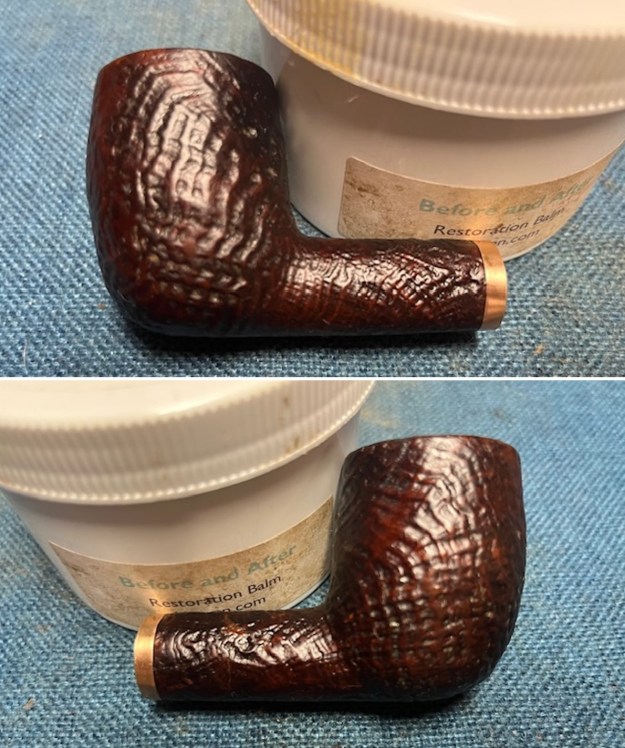
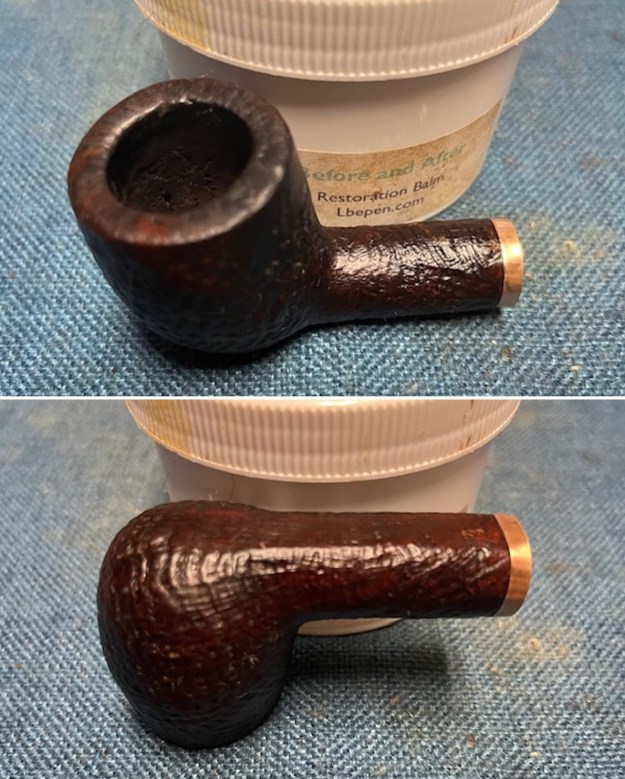
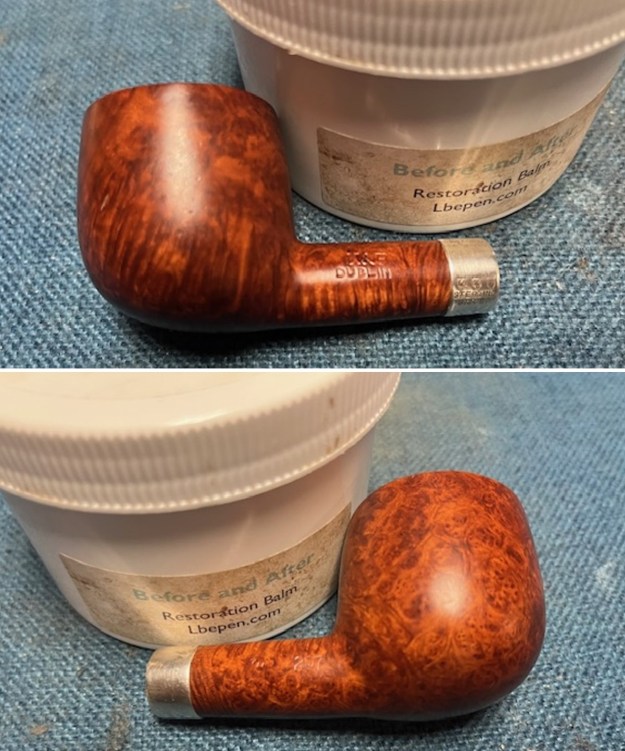
 I rubbed the briar down with Before & After Restoration Balm. I worked it into the briar with my fingertips and a horsehair shoe brush to work it into the nooks and crannies of the sandblast finish. The product works to clean, enliven and preserve the briar. I let it sit for 10 minutes then I buffed it with a cotton cloth to deepen the shine. The briar really comes alive with the balm.
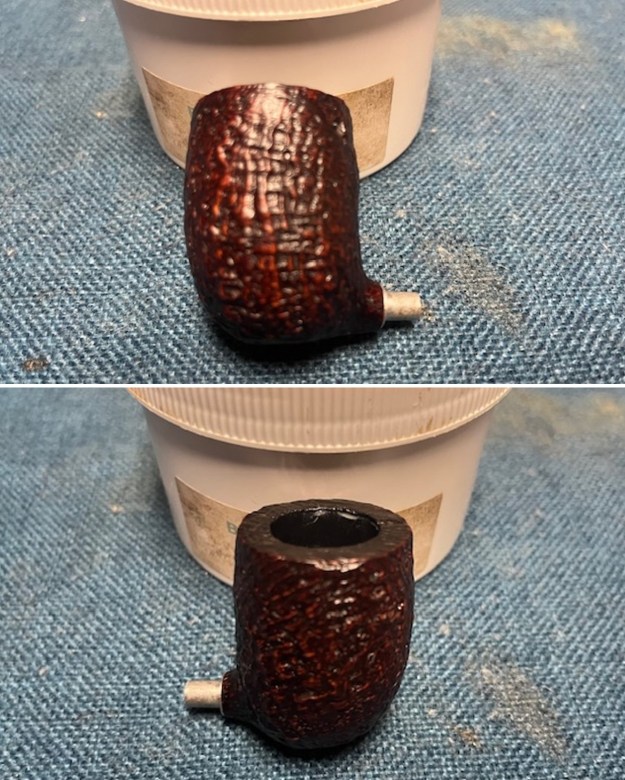
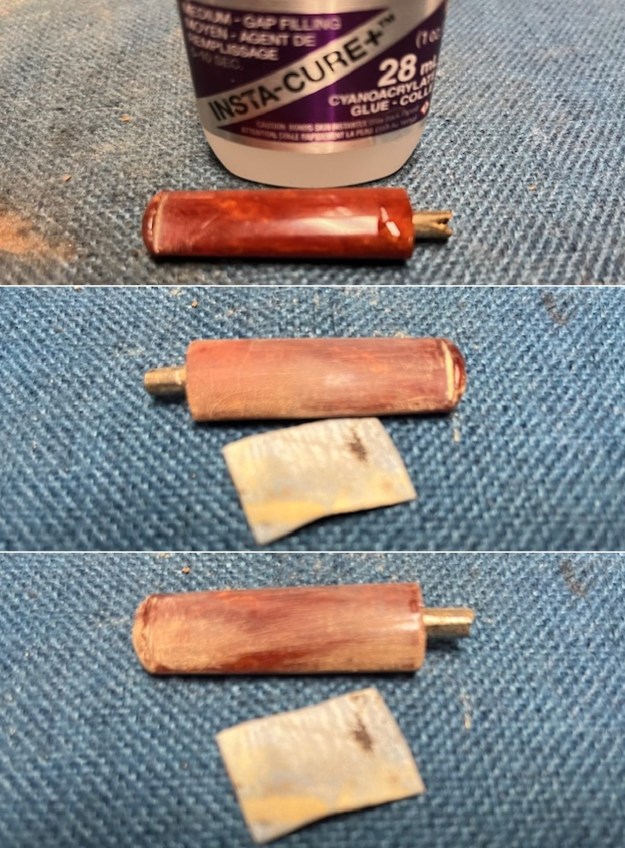
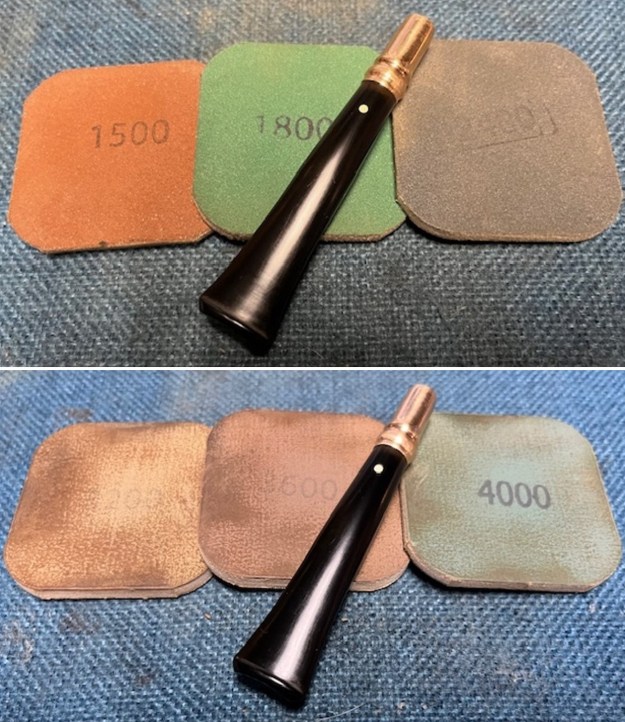
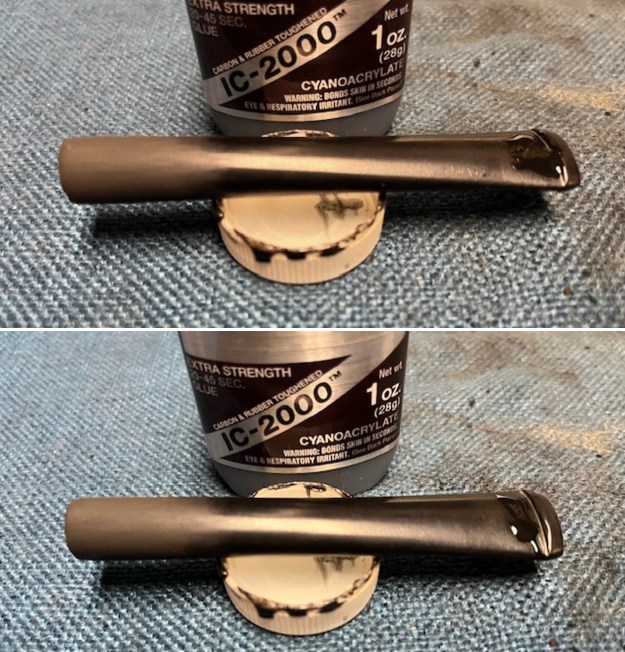
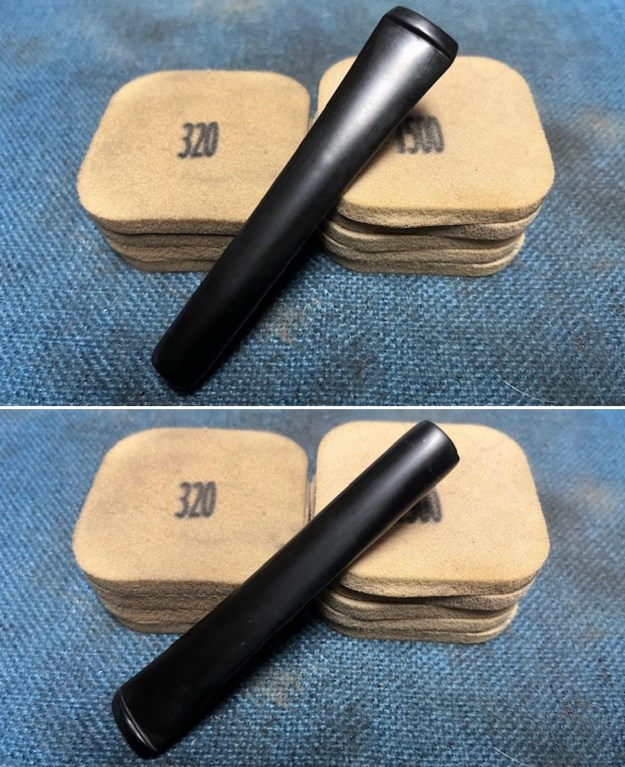
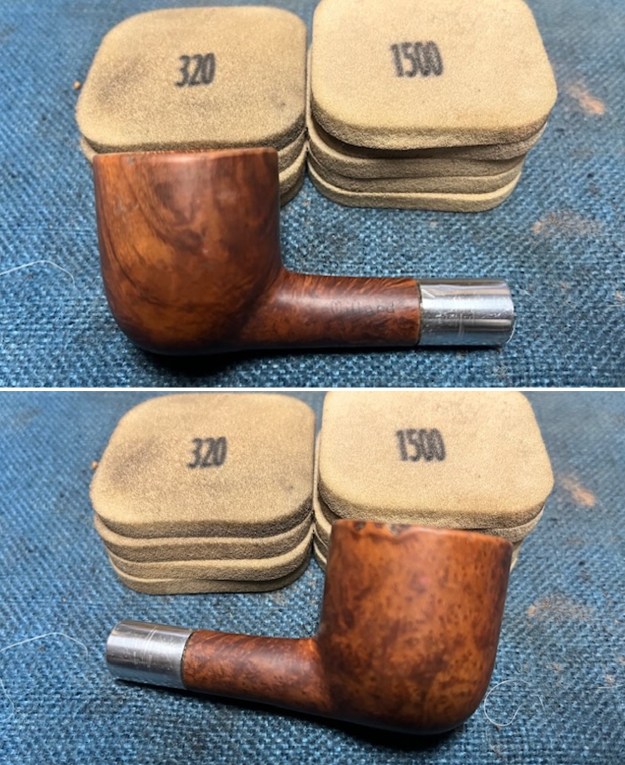
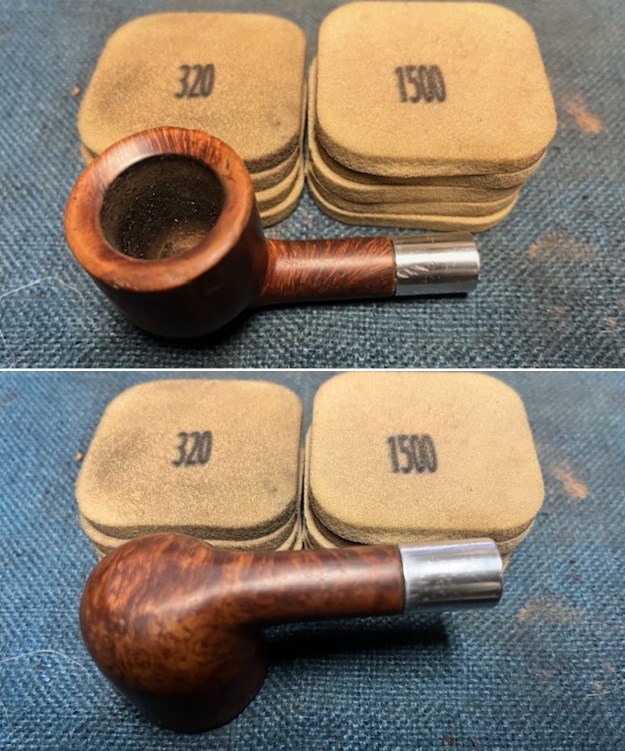
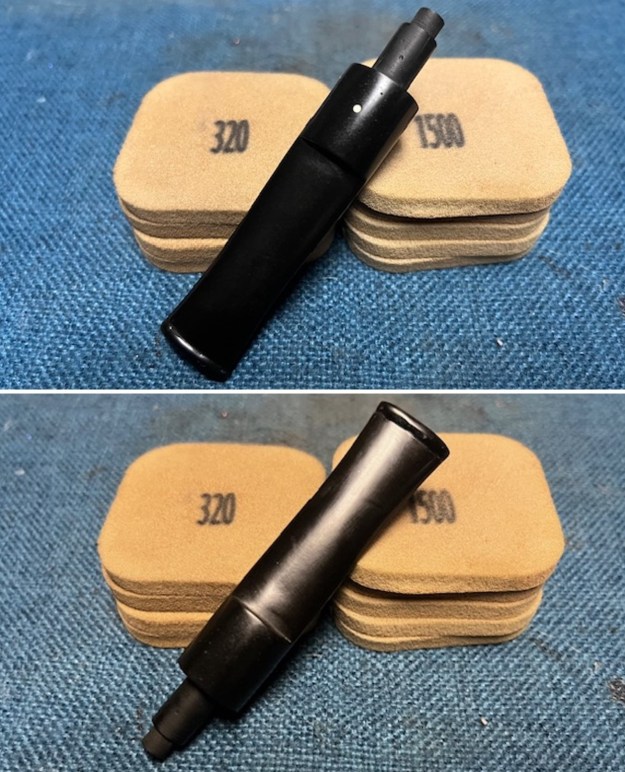
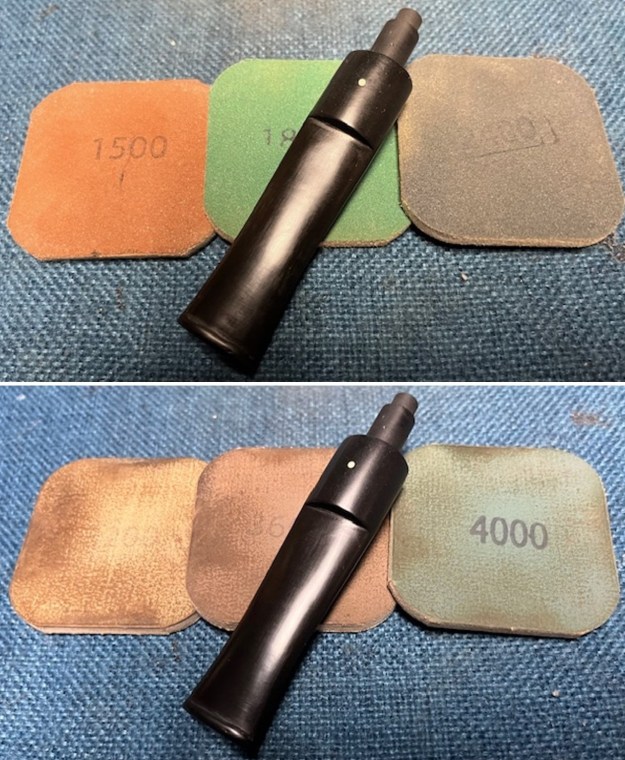
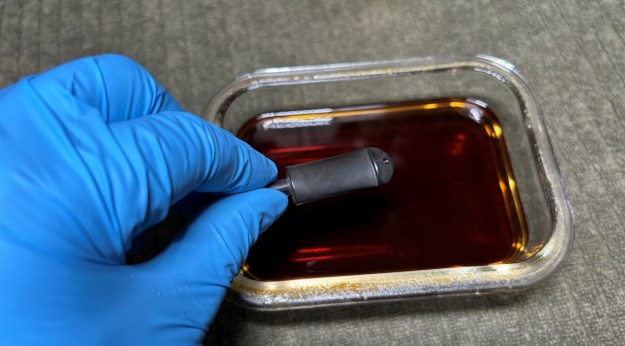
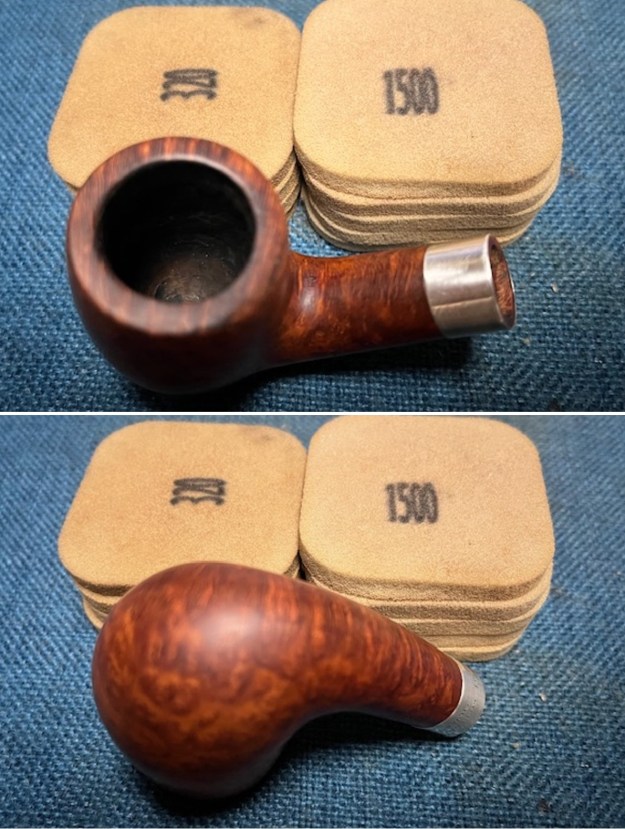
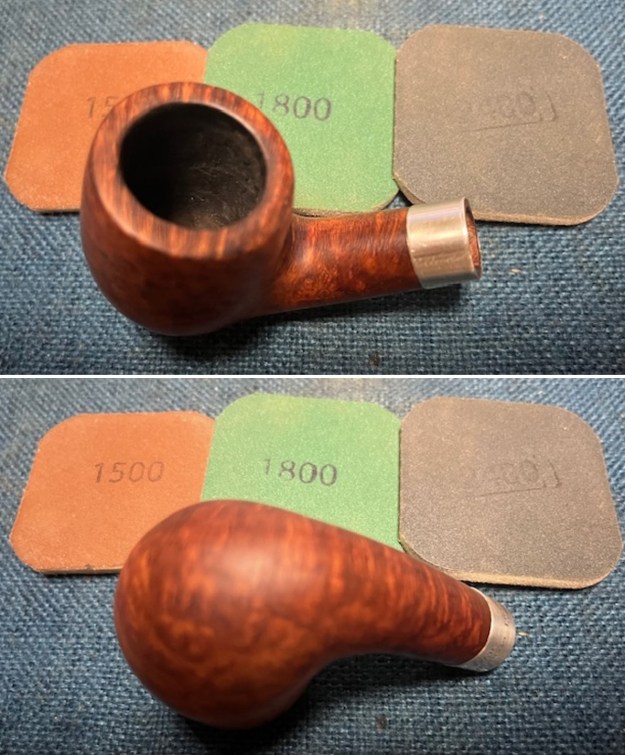
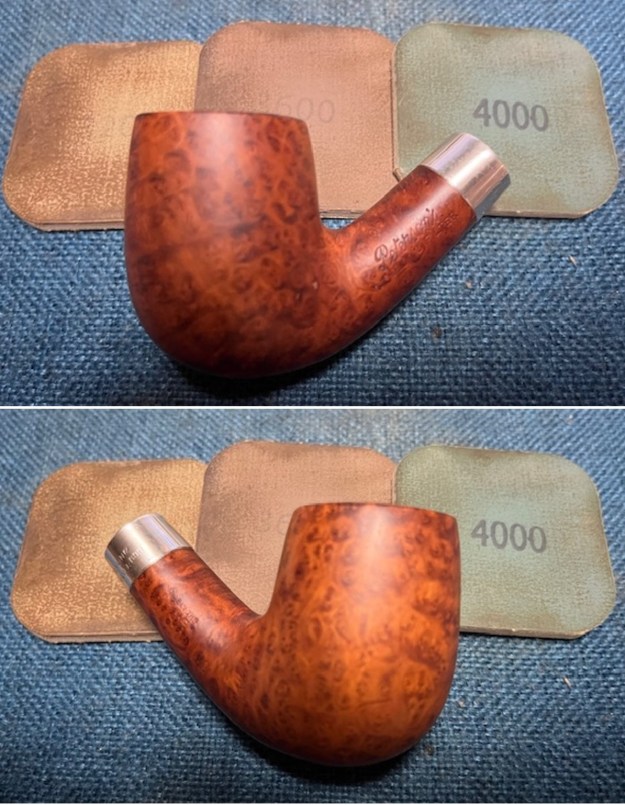
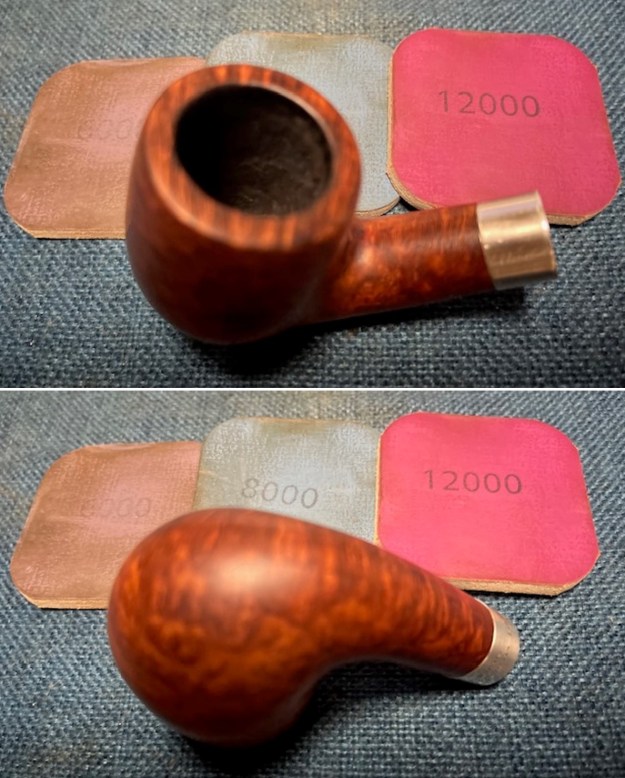
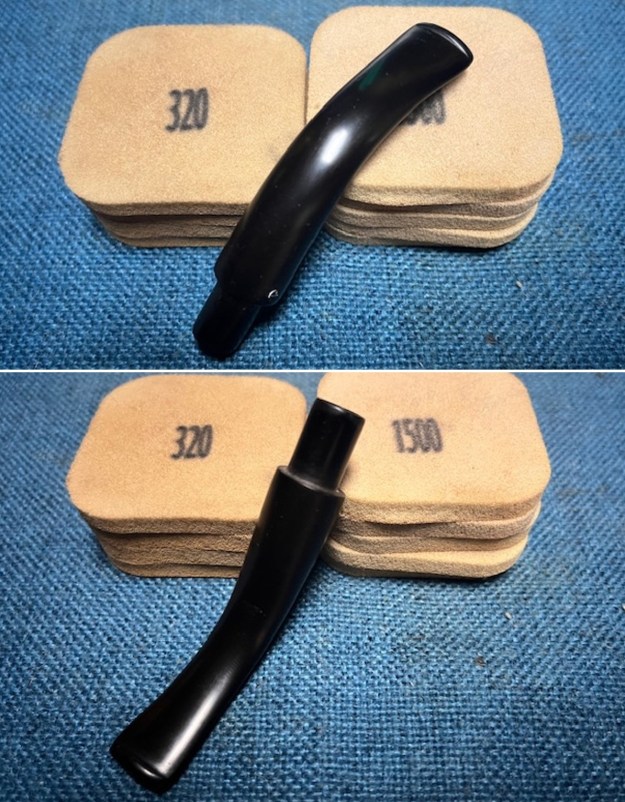
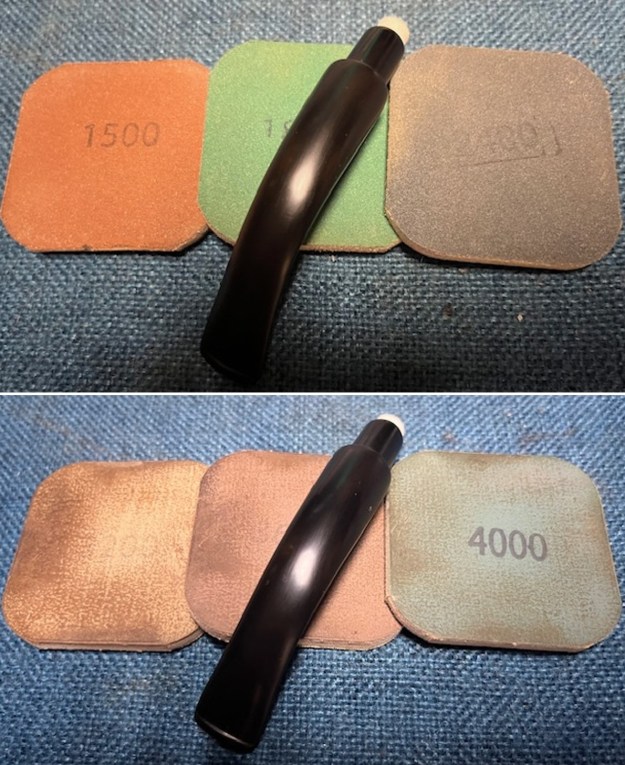
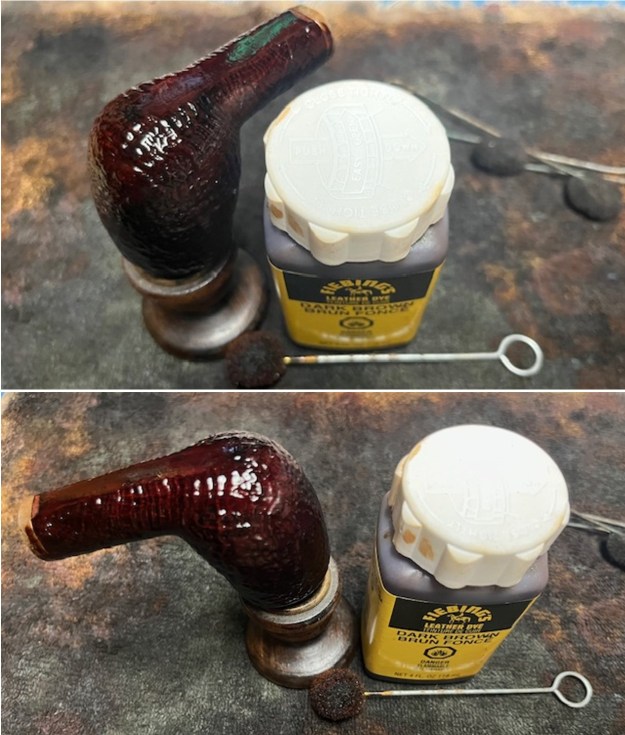
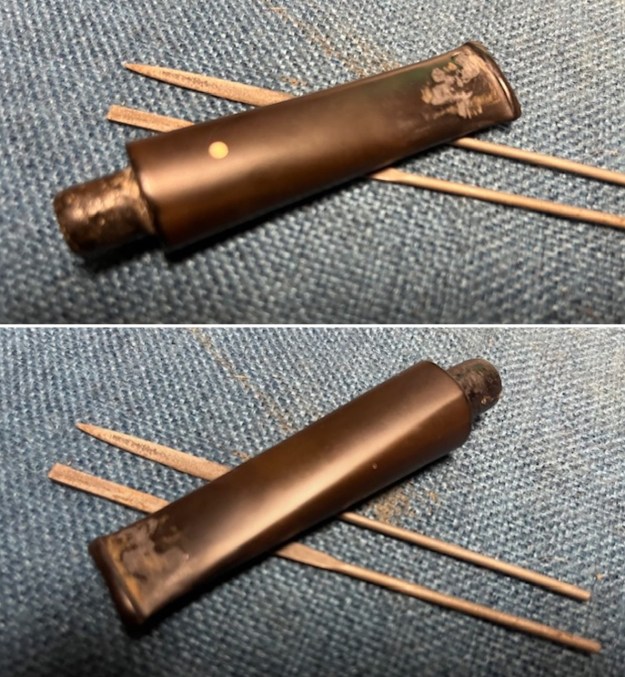
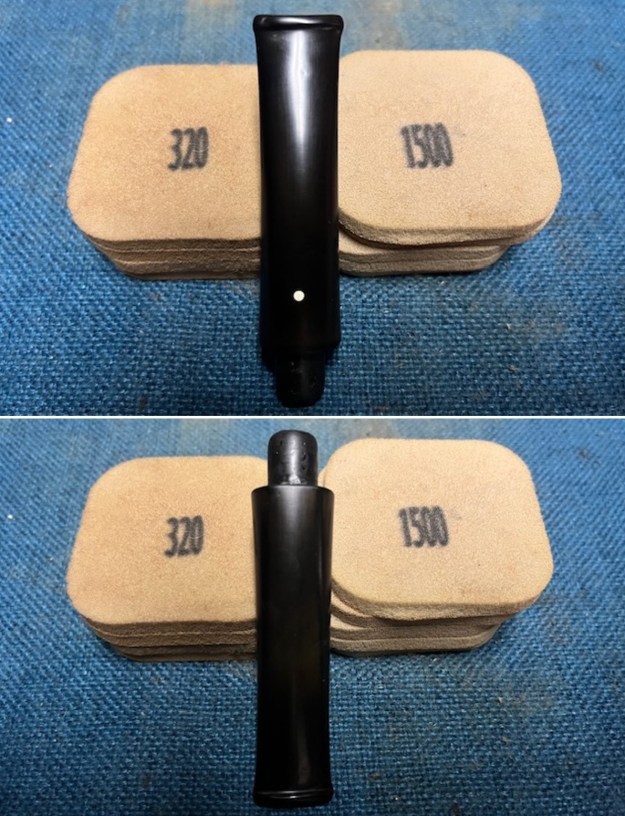
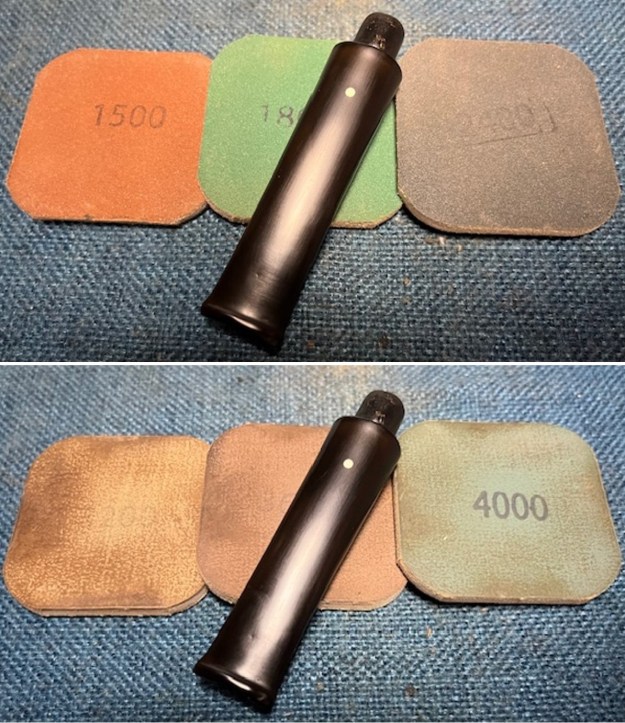
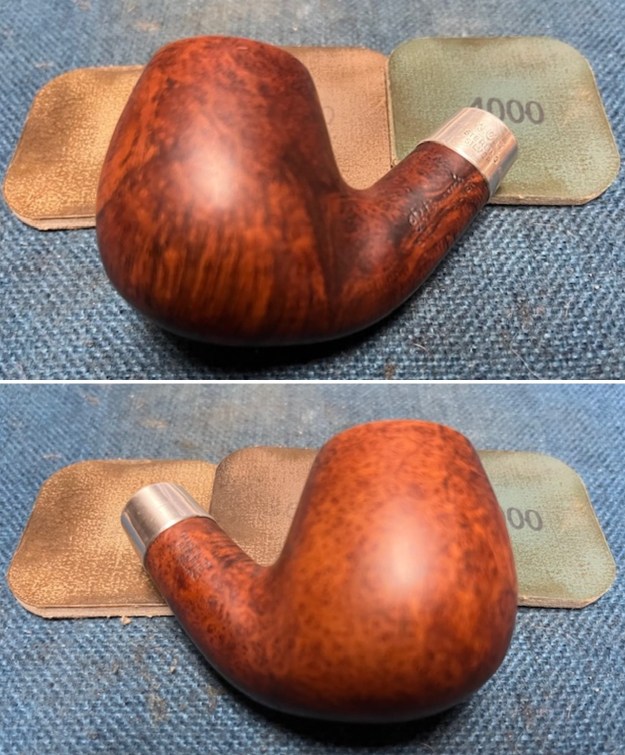
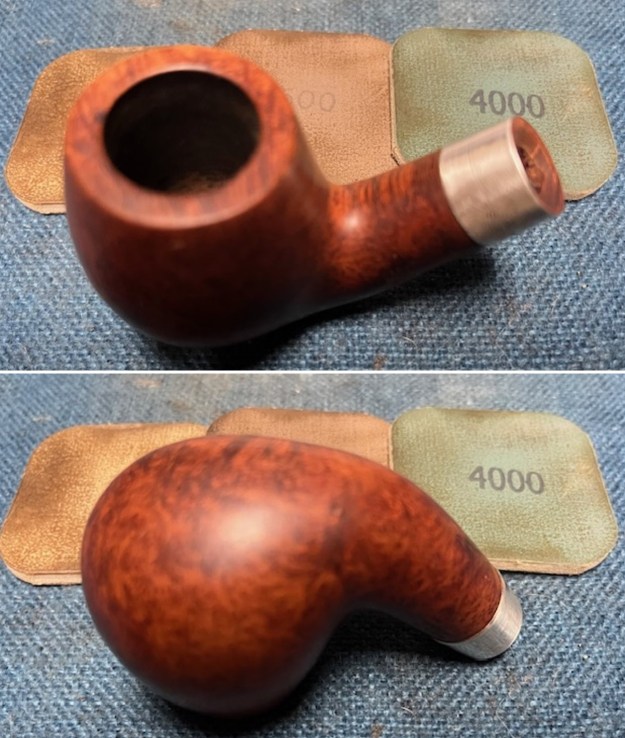
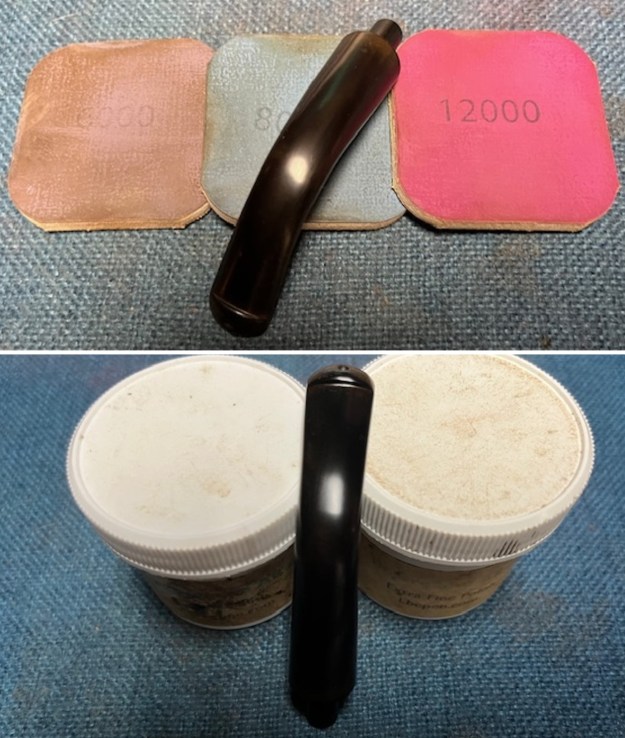
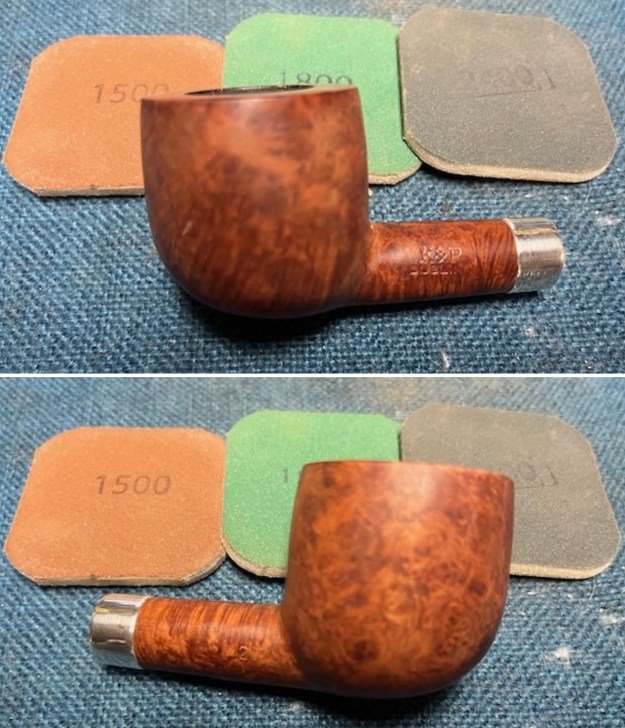
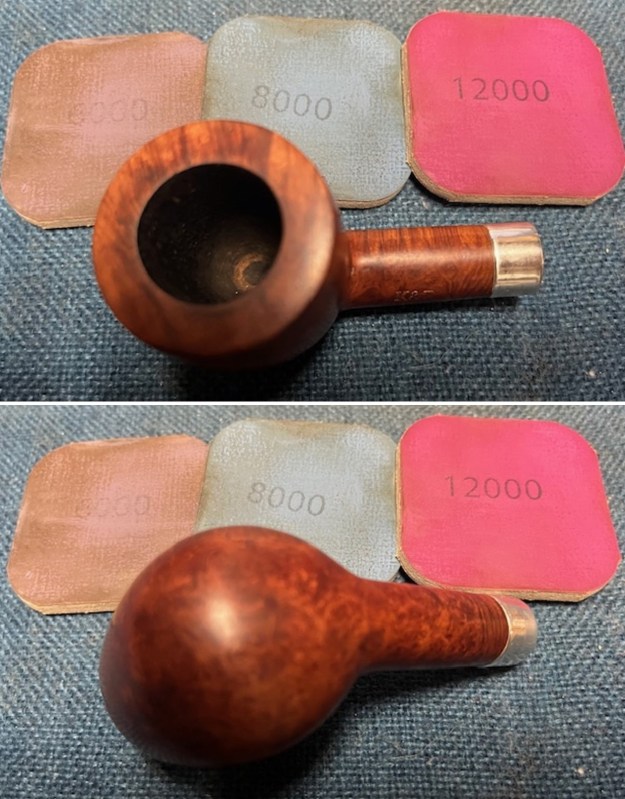
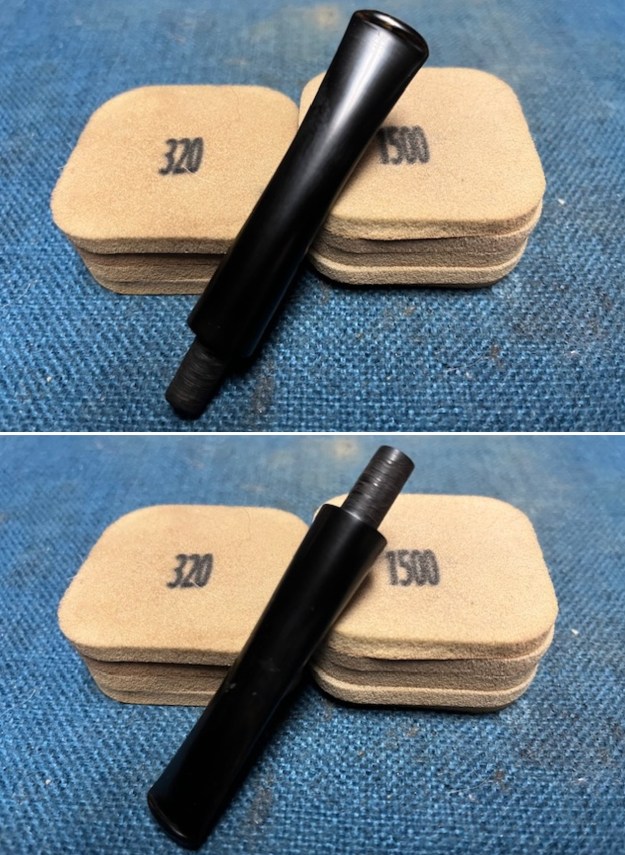
 I set the bowl aside and turned my attention to the Bullet shank on the pipe. I sanded the bullet with 320-3500 grit 2×2 inch sanding pads. I wiped the bullet down each time with a cloth impregnated with Obsidian Oil. It is looking much better at this point.
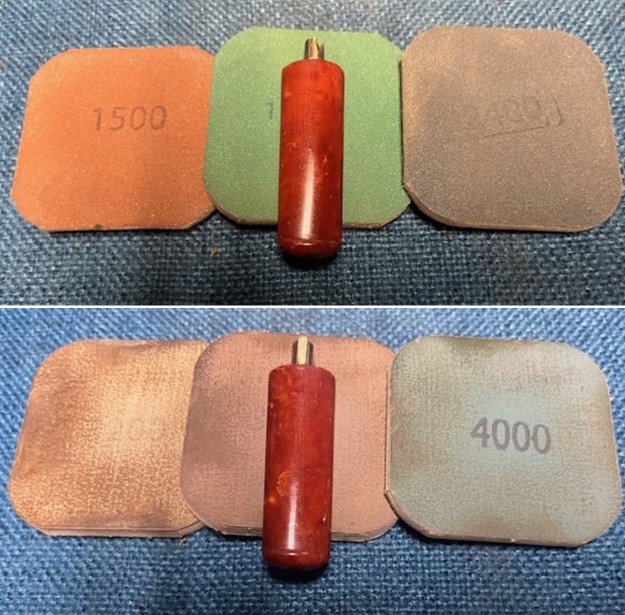
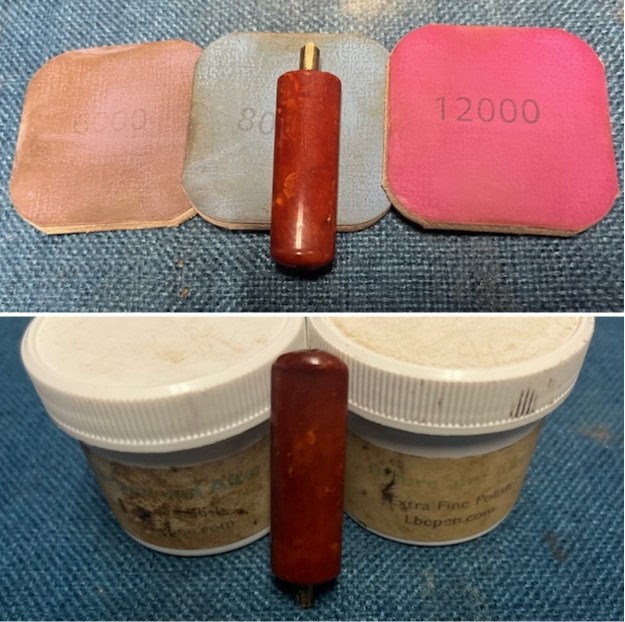
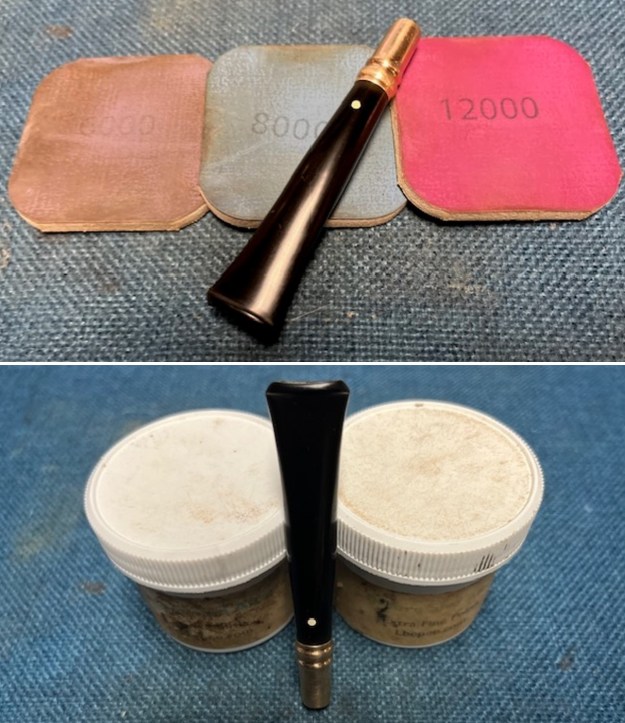
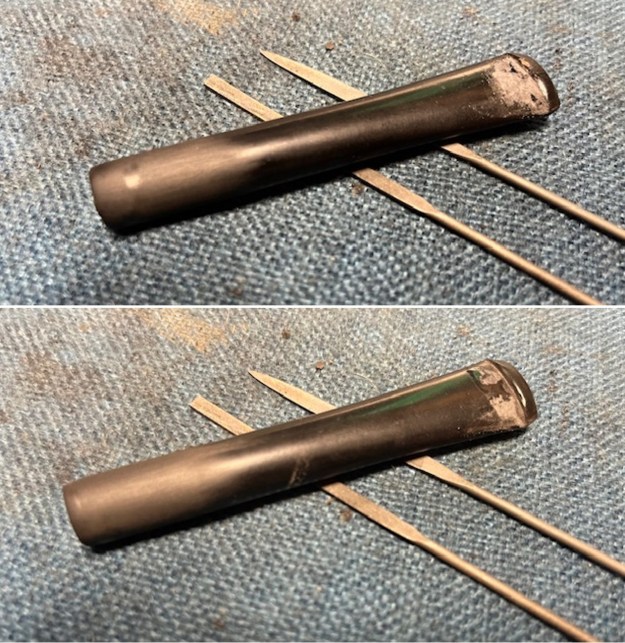
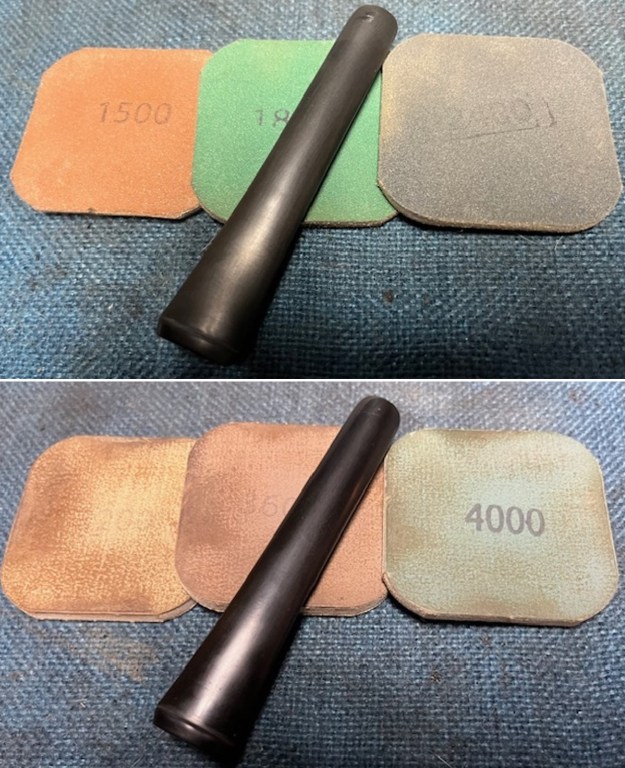
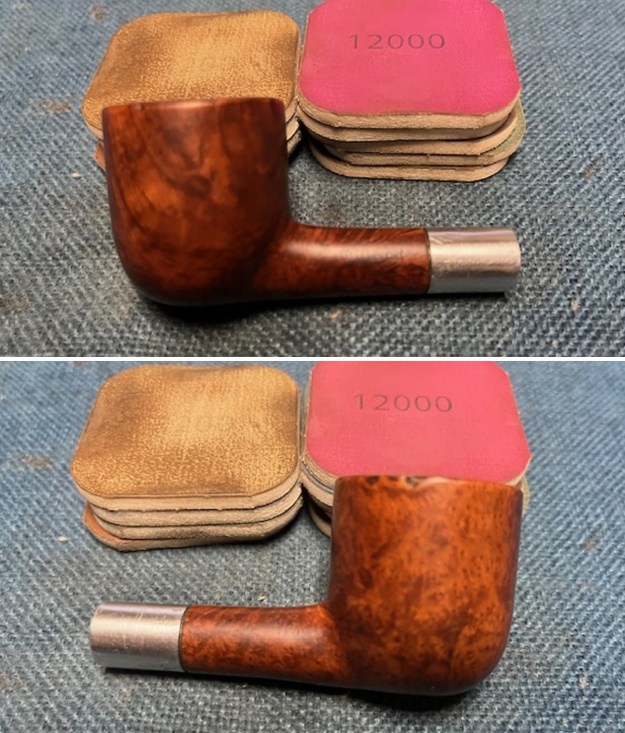
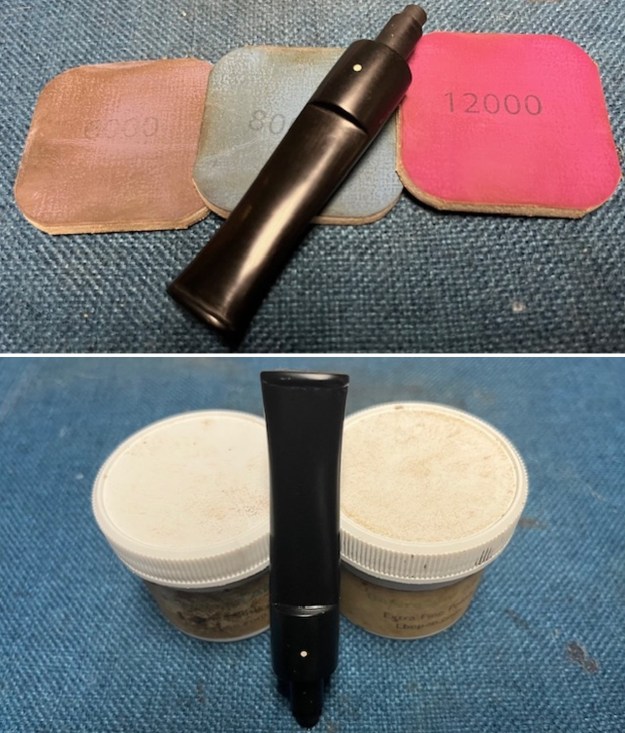
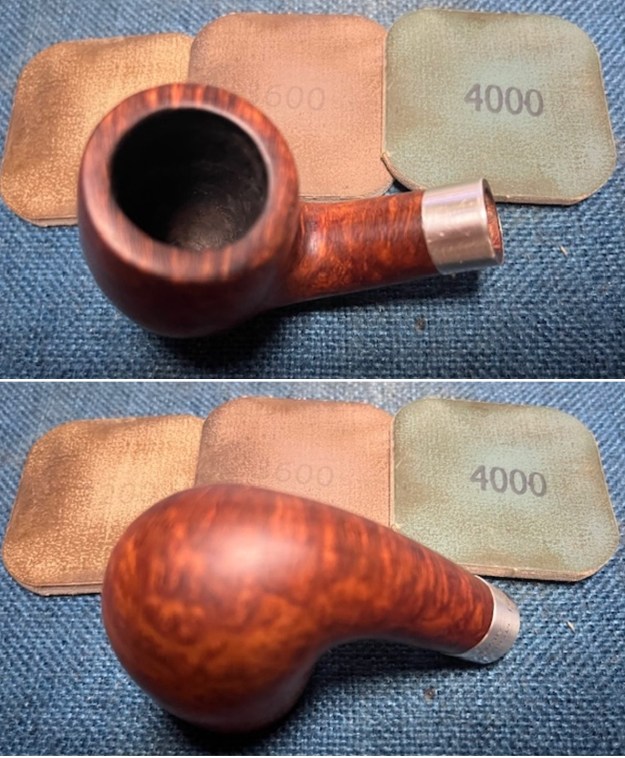
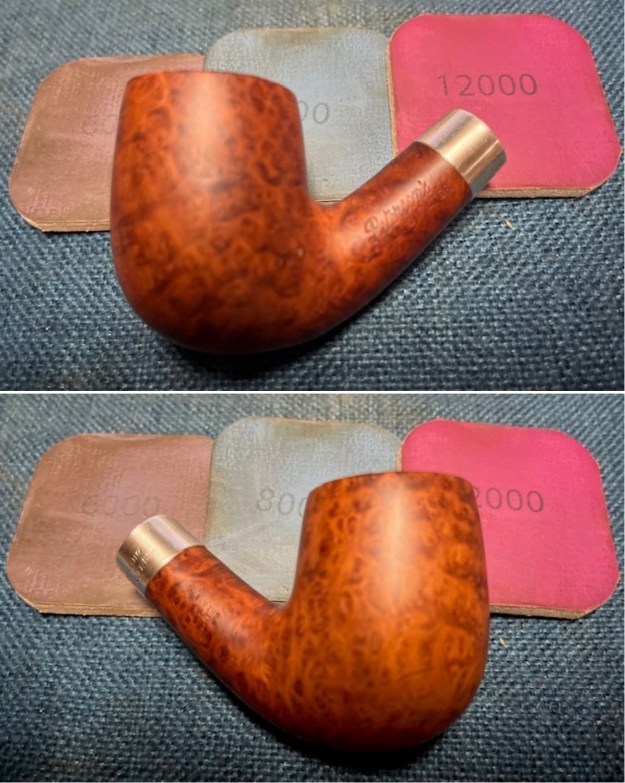
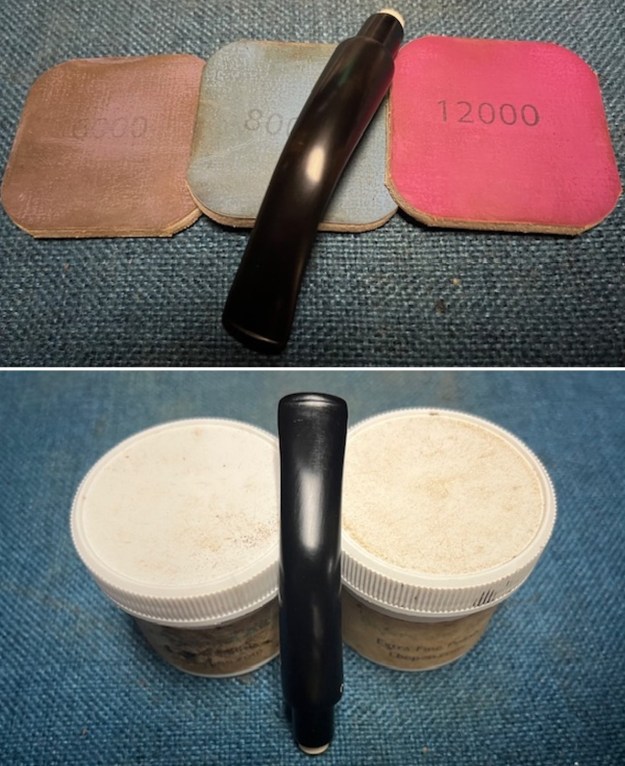
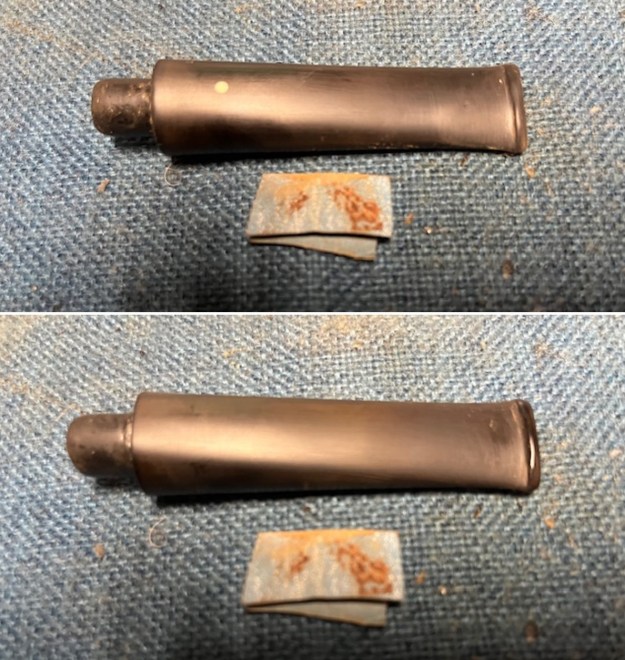
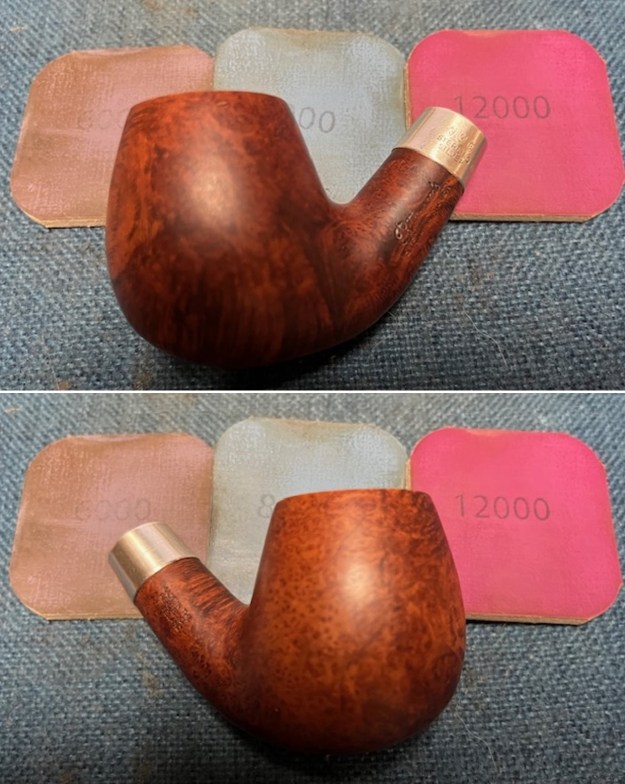
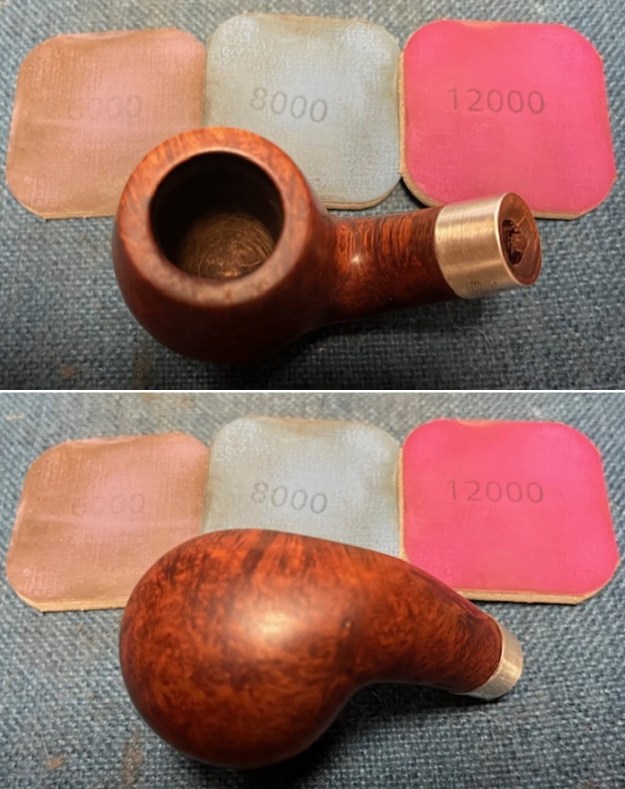
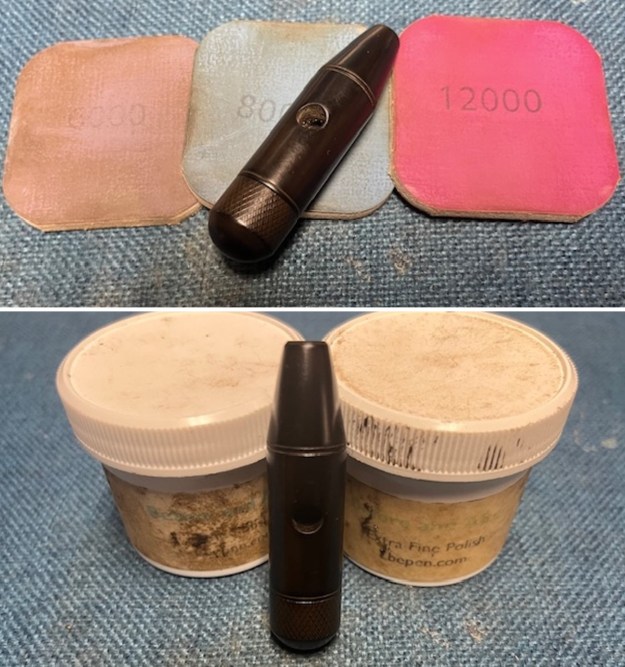
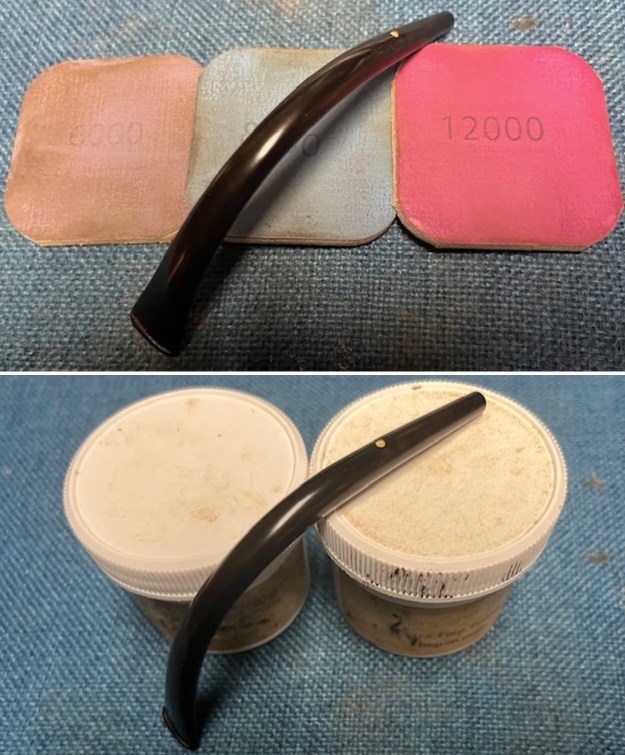
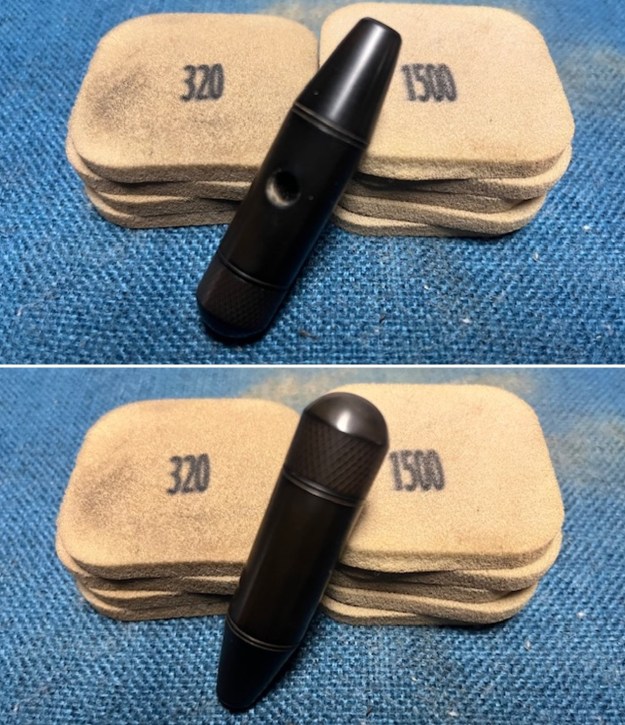 I polished the bullet with 1500-12000 grit sanding pads. I wiped it down after each sanding pad with a cloth impregnated with Obsidian Oil. It really began to take on a shine.
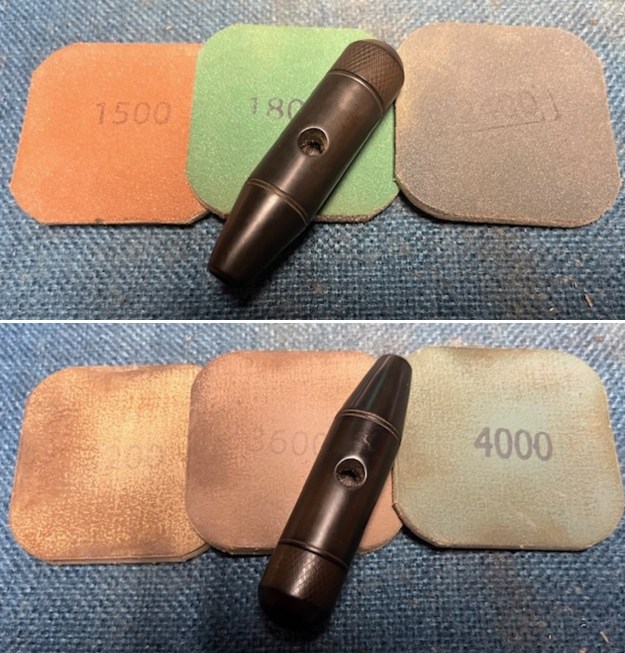
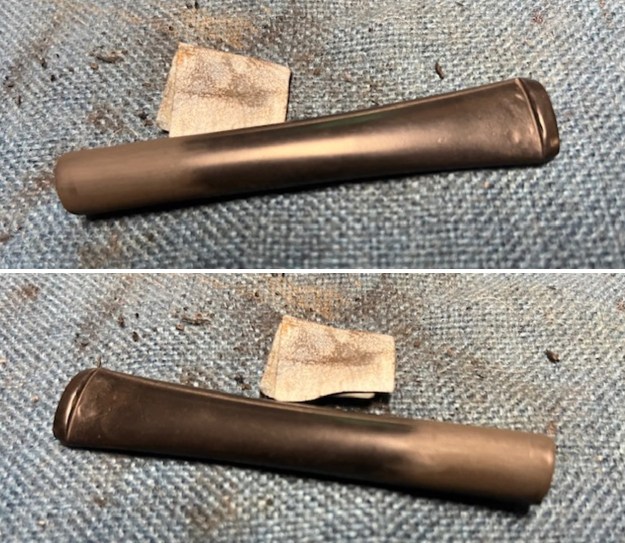
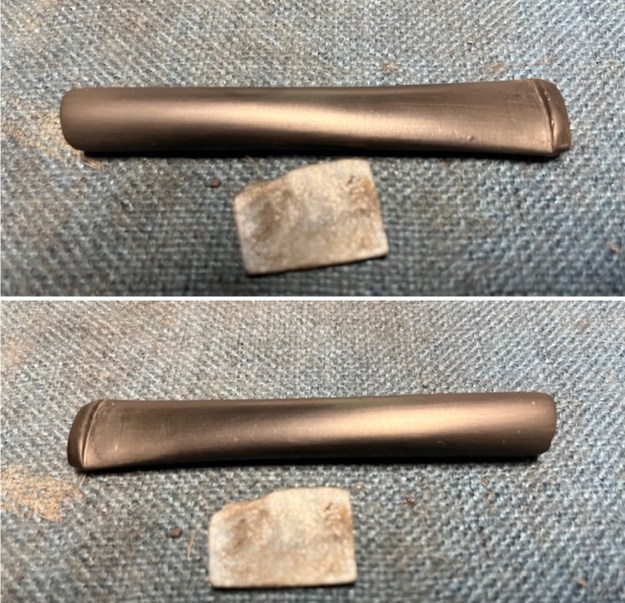
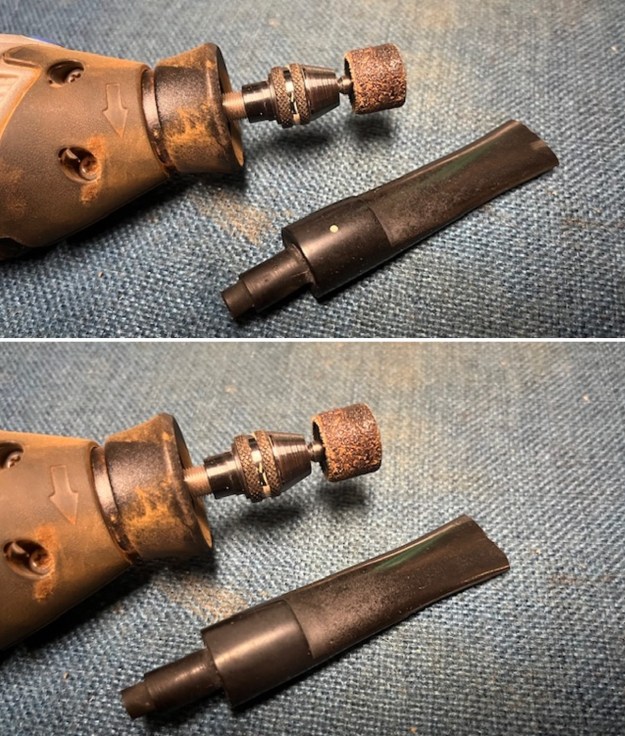
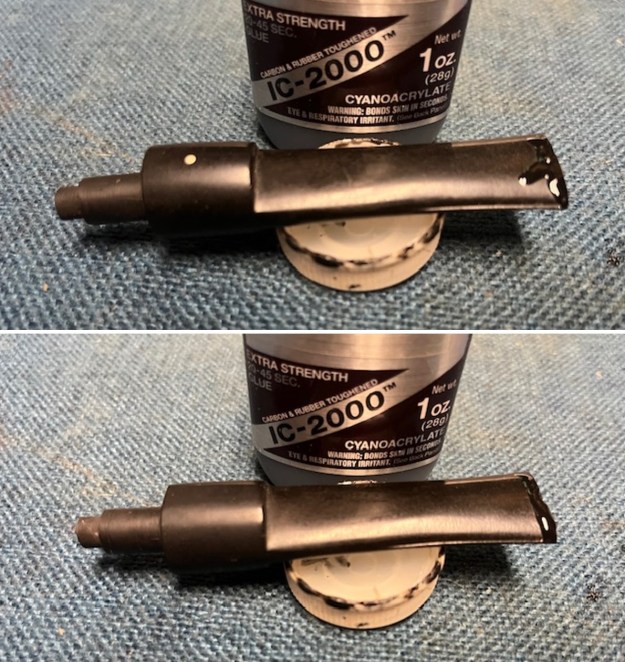
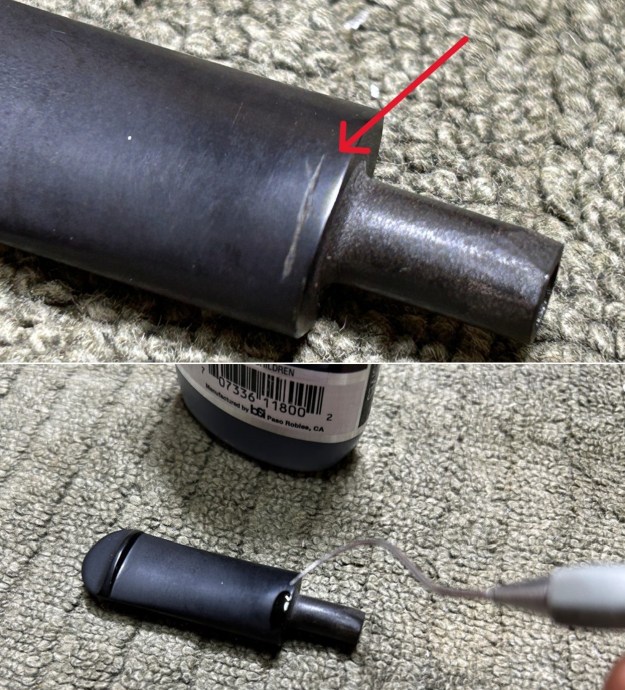
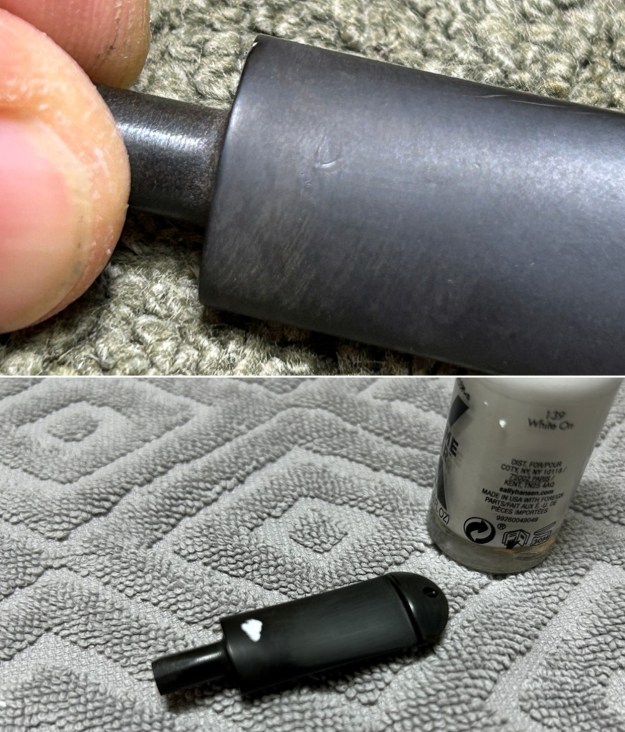
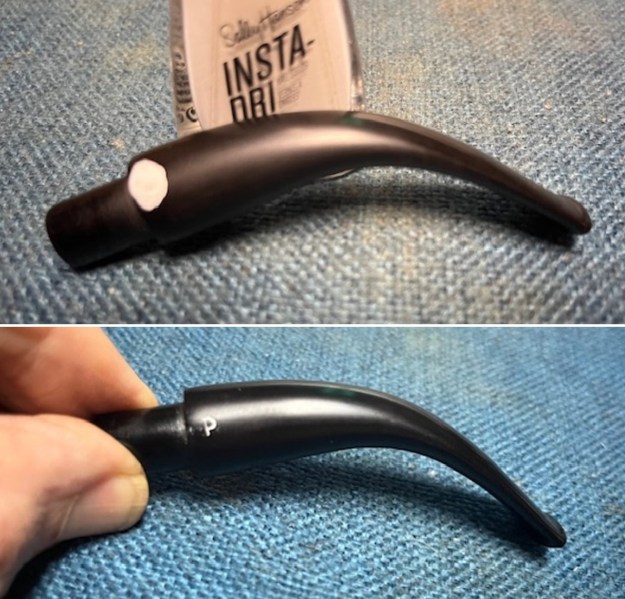
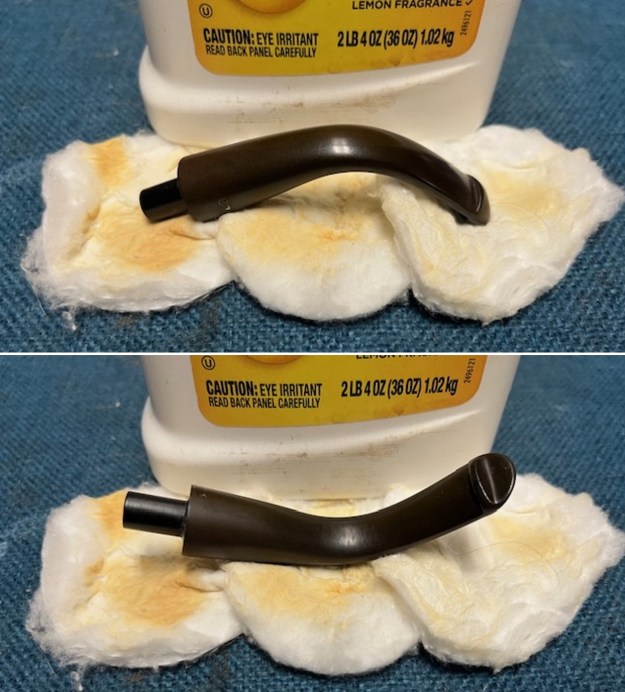
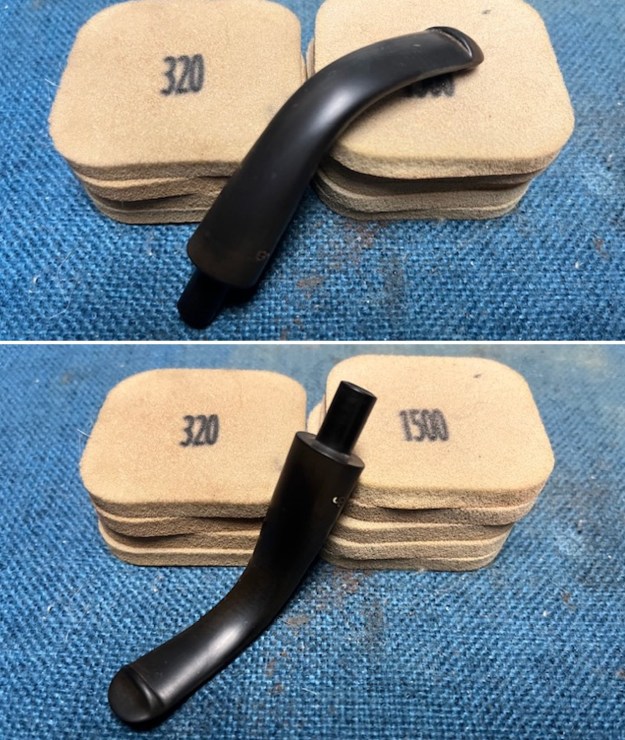
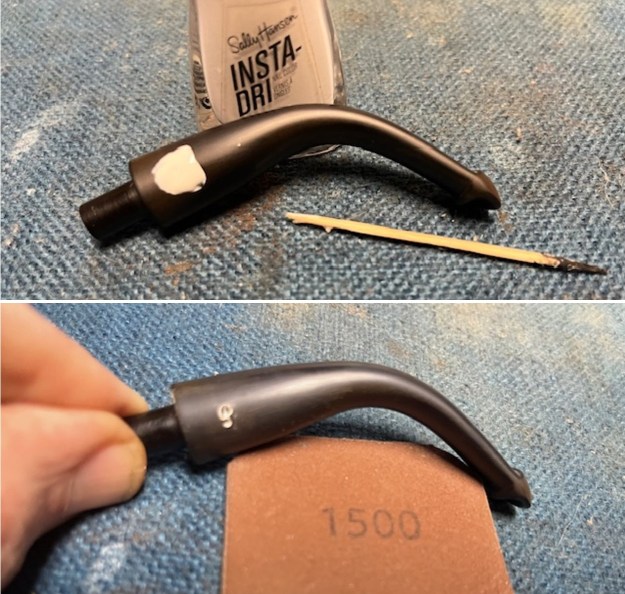
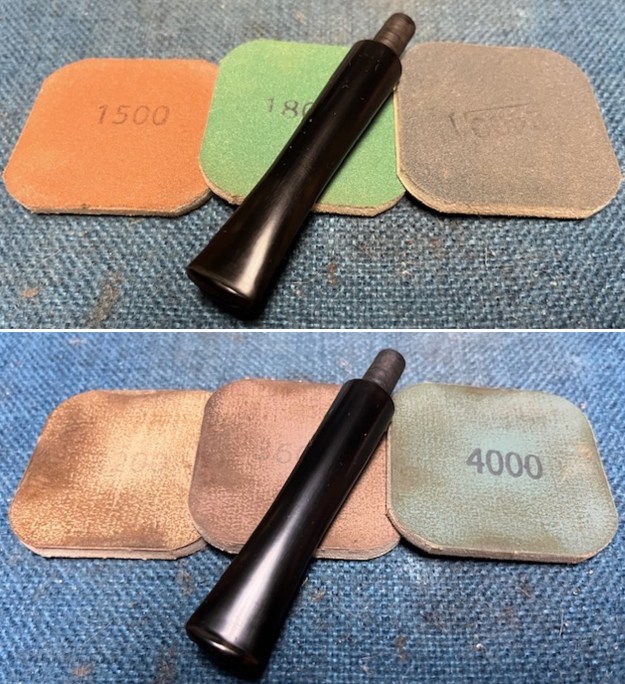
 I set the bullet aside and turned to address the stem. I sanded the stem surface with 320-3500 grit 2×2 inch pads. I wiped the stem down with an Obsidian Oil cloth after each sanding pad.
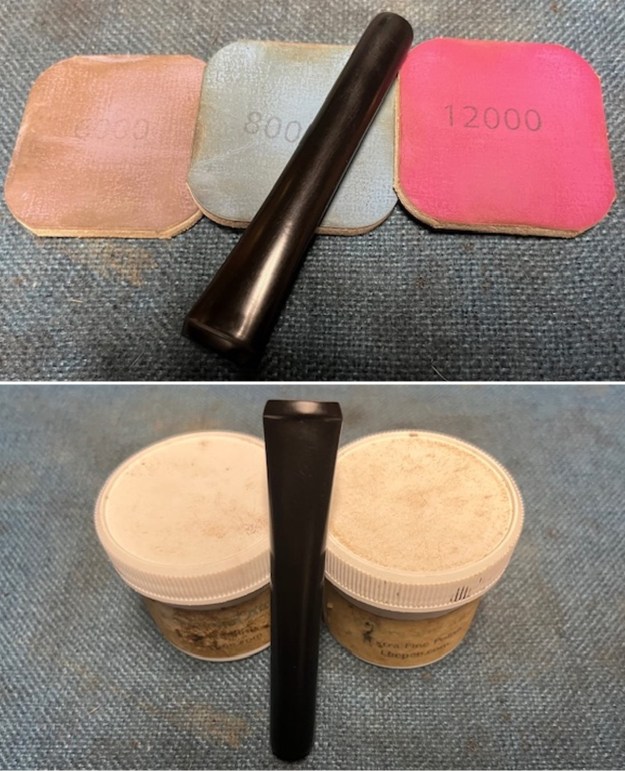
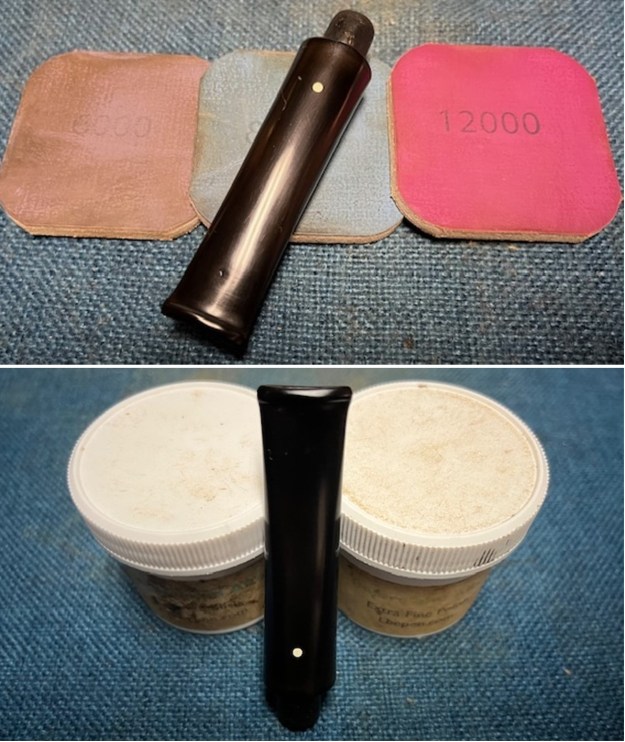
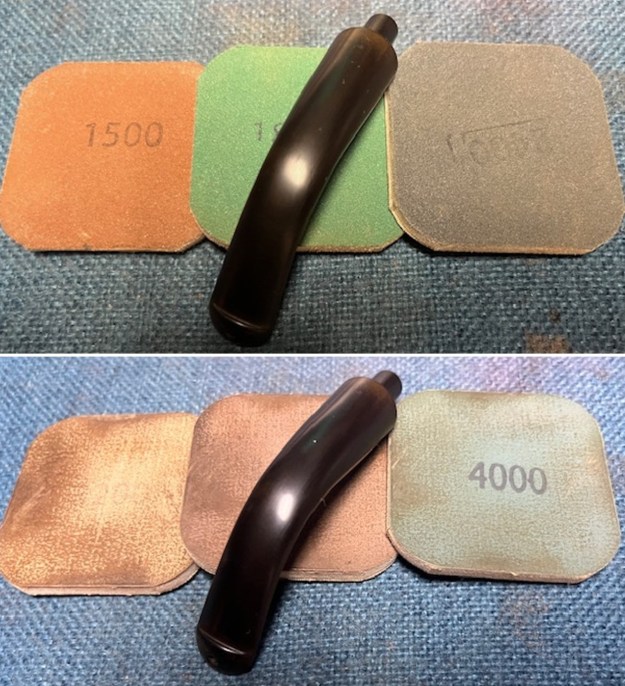
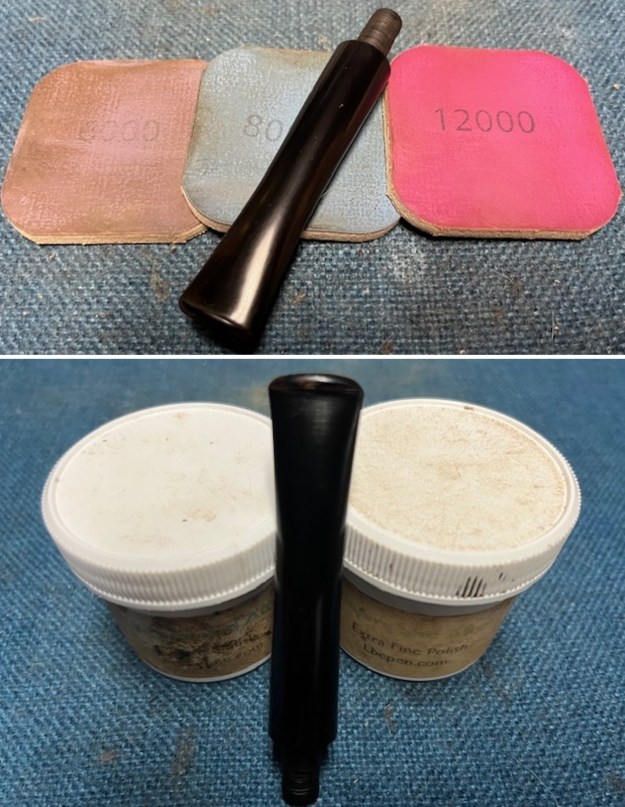
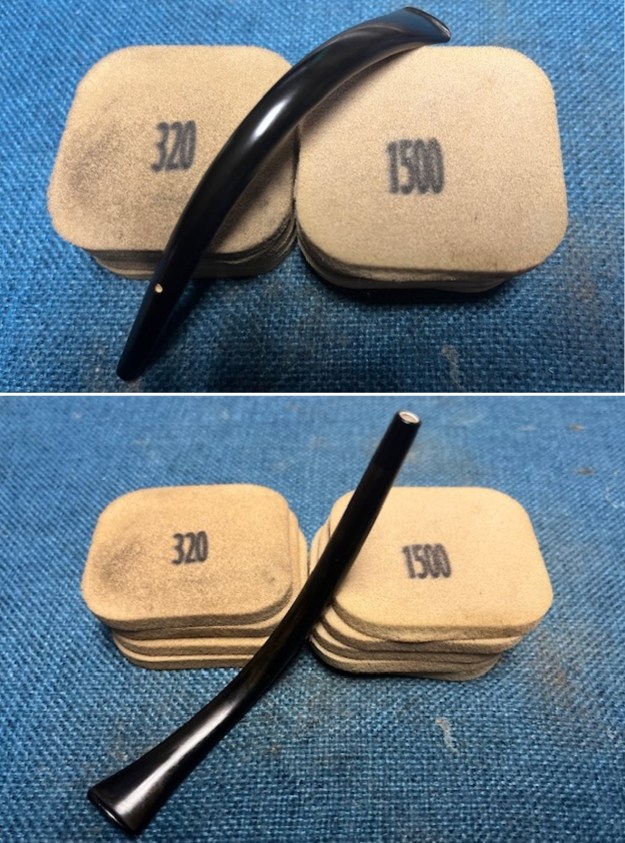 I polished the vulcanite with micromesh sanding pads – 1500-12000 grit pads. I wiped it down with Obsidian Oil after each sanding pad. I used Before & After Pipe Polish – both Fine and Extra Fine to further polish the stem.
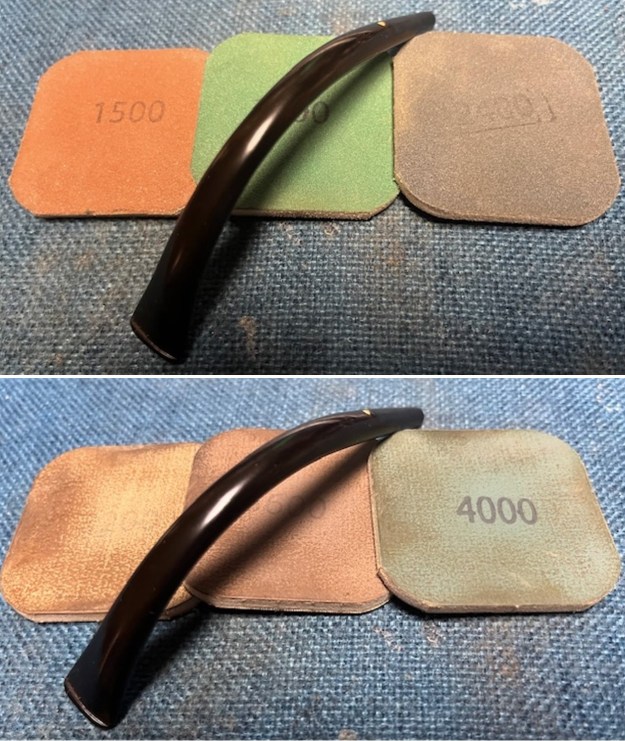
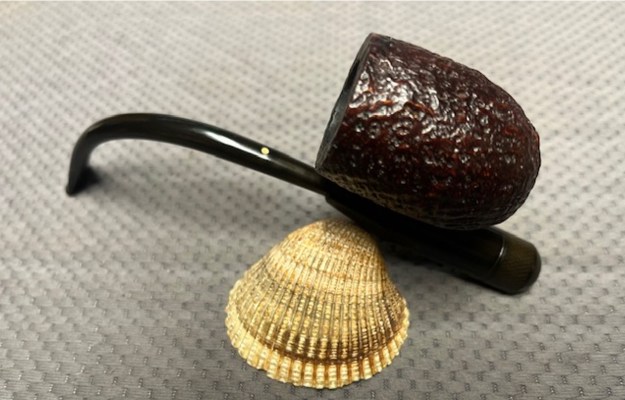
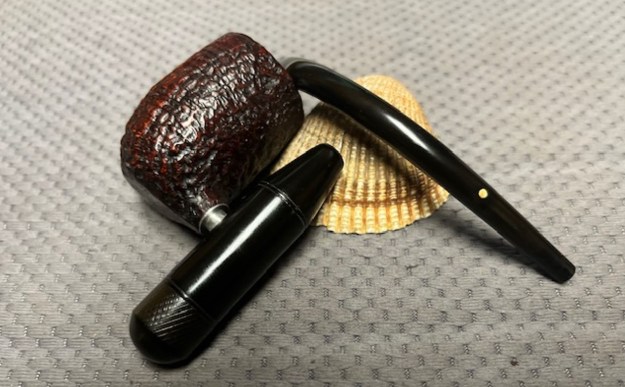
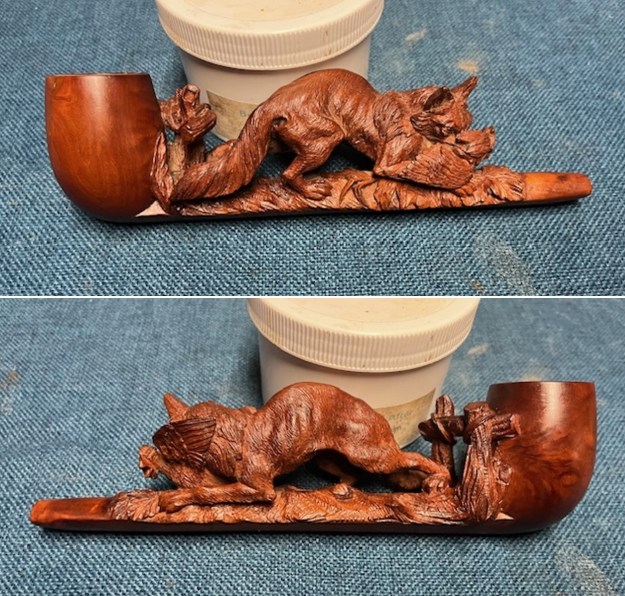
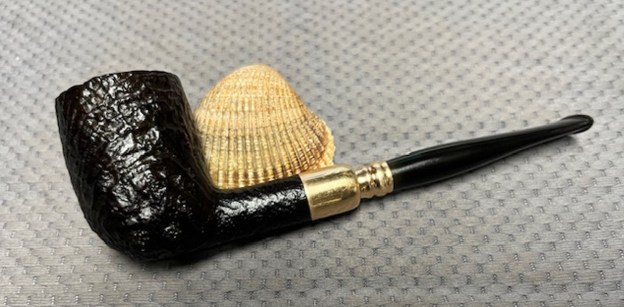
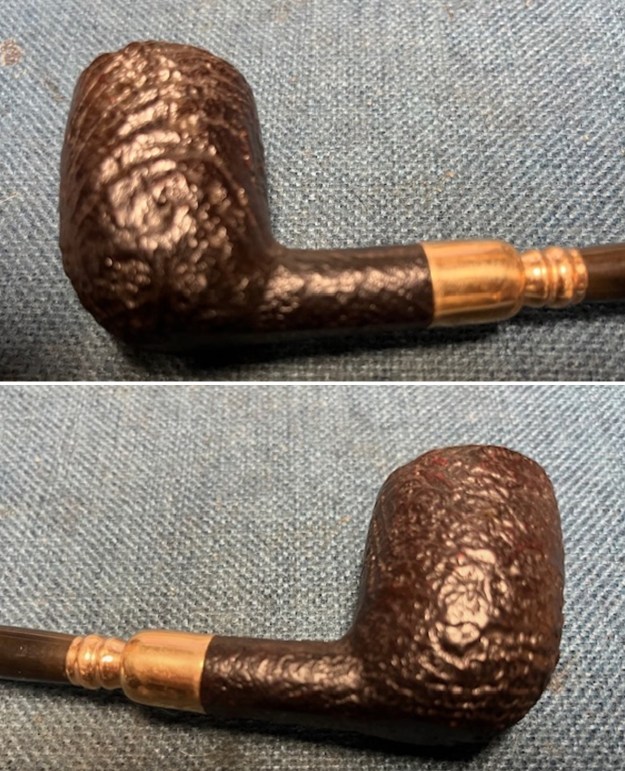
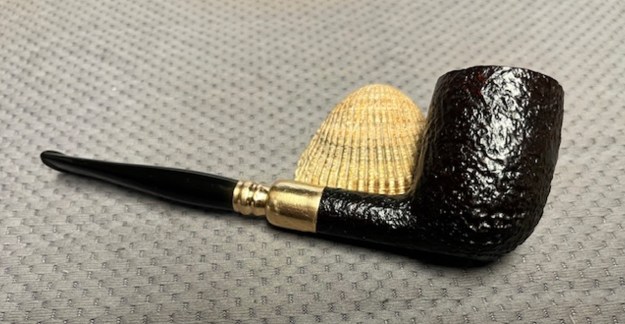
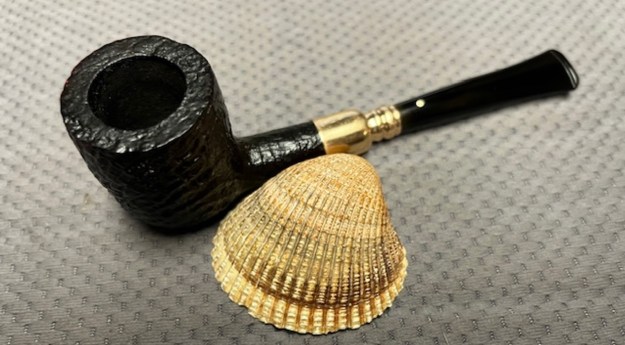
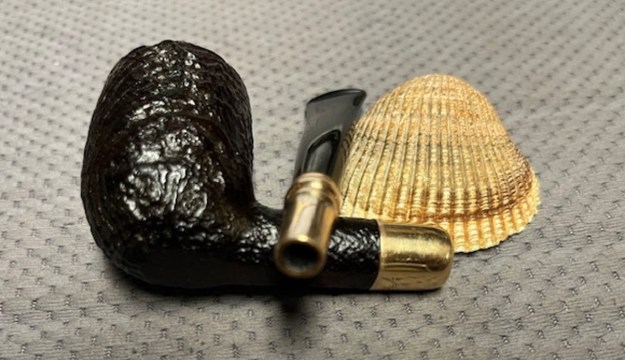
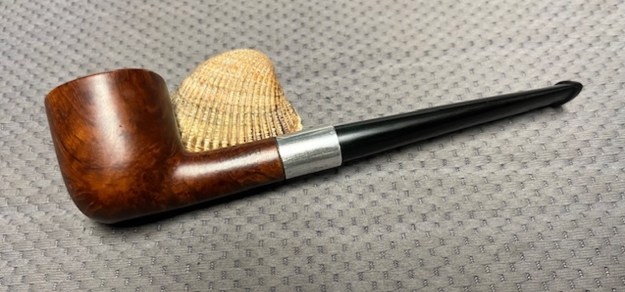
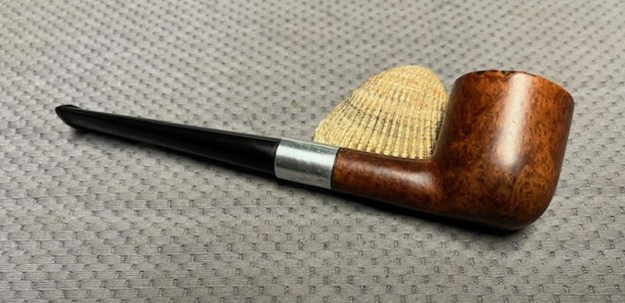
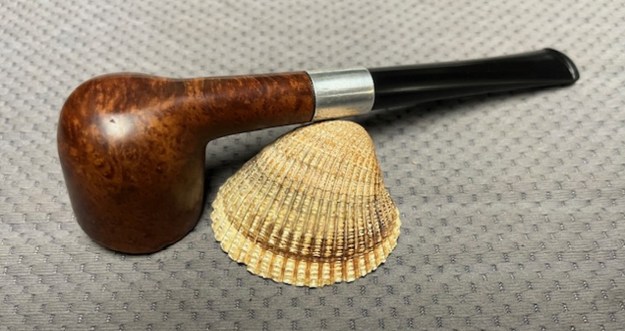
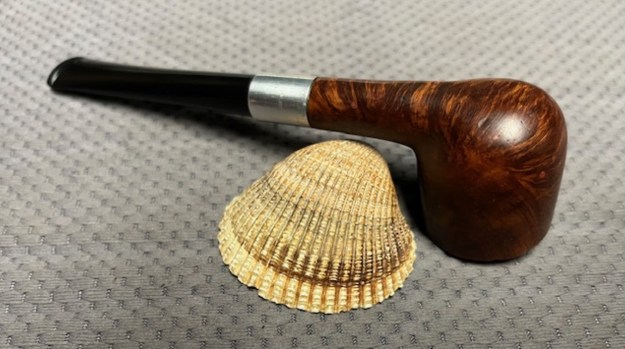
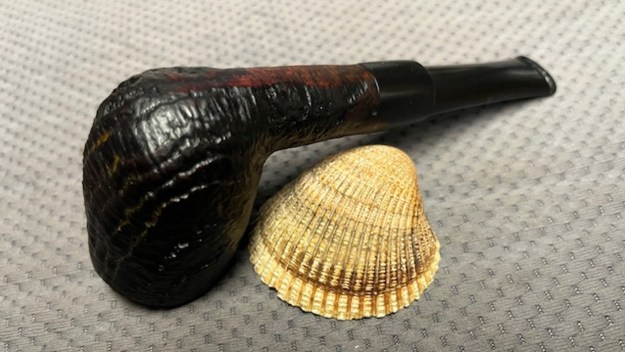
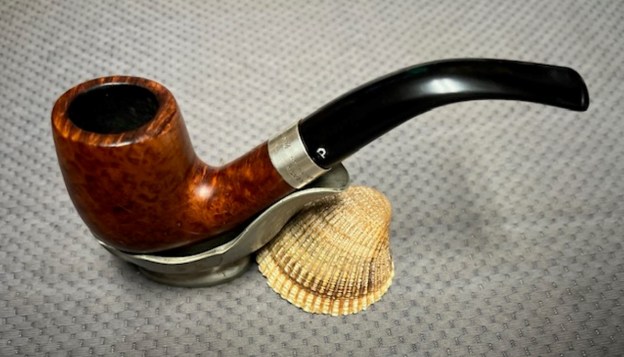
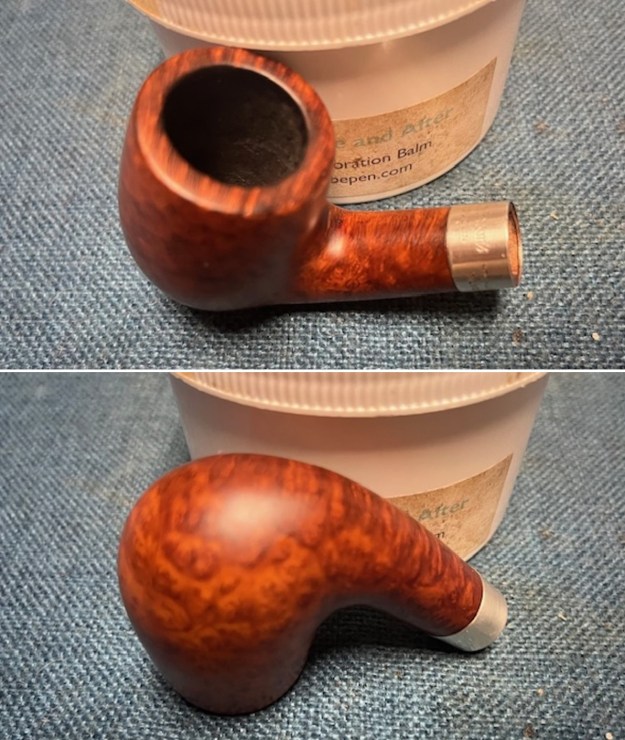
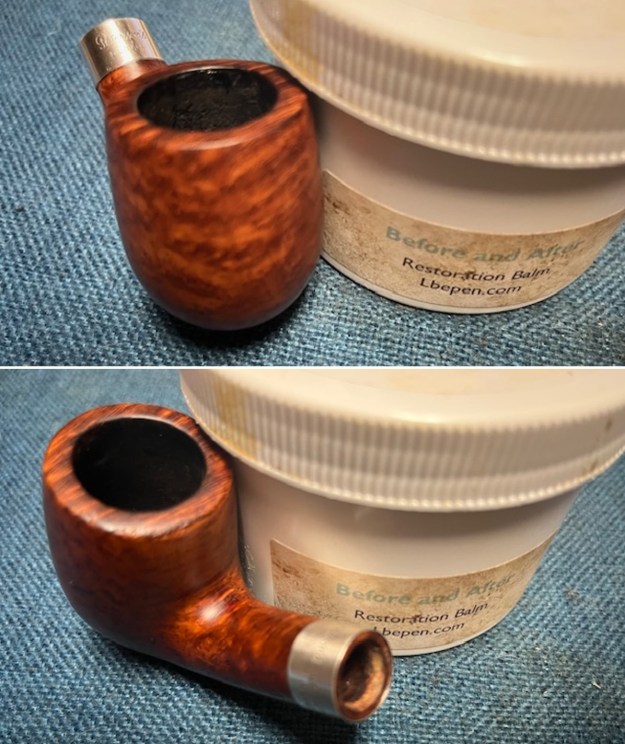
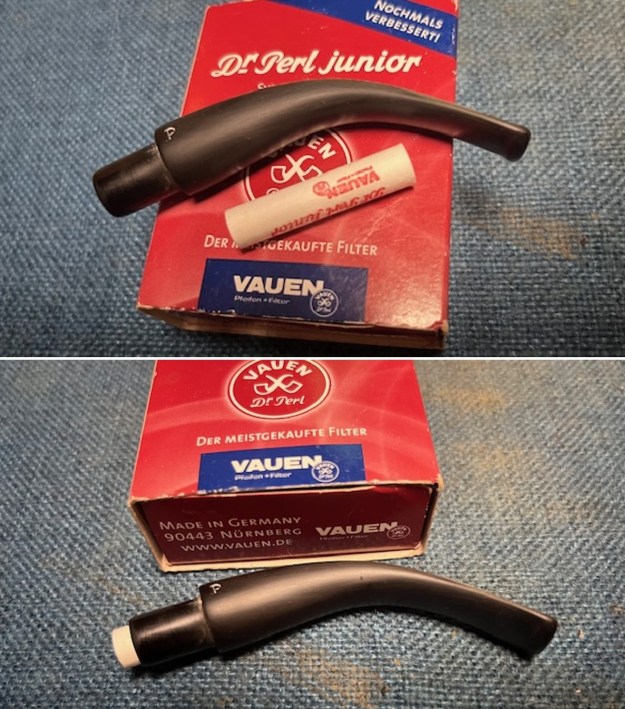
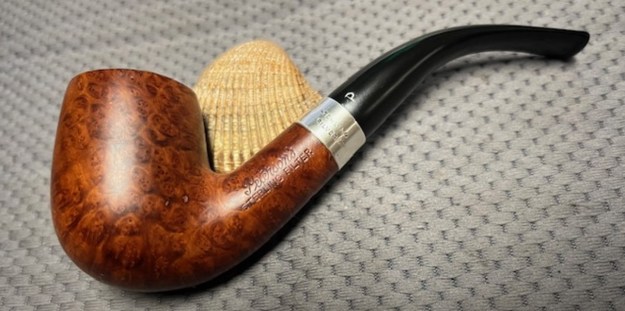
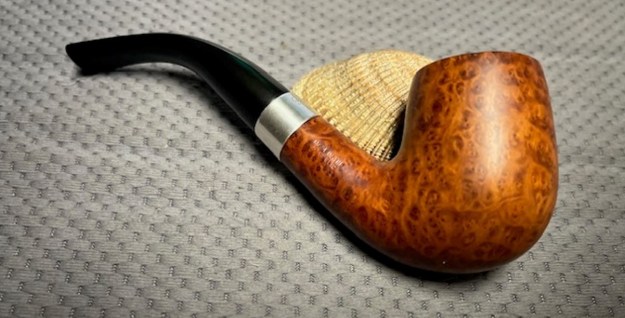
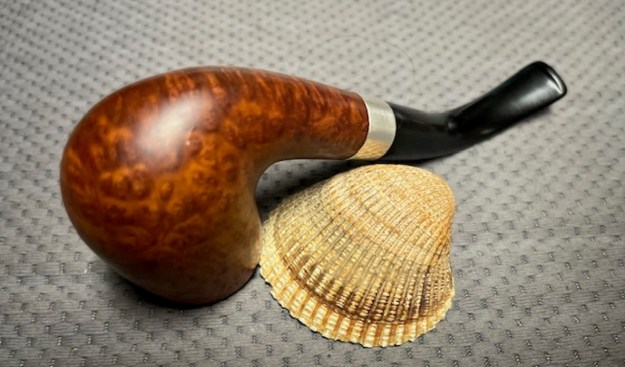
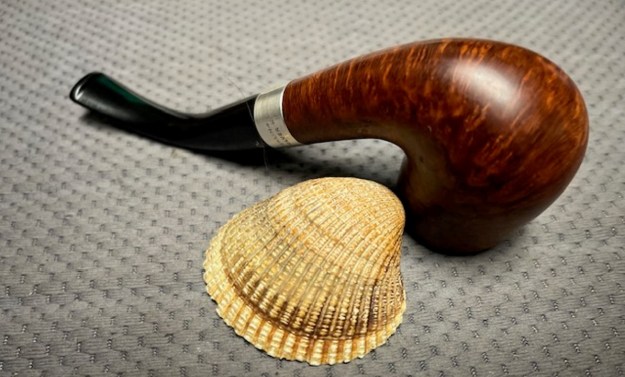
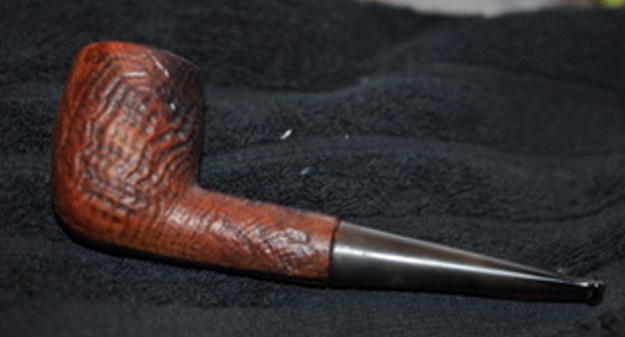
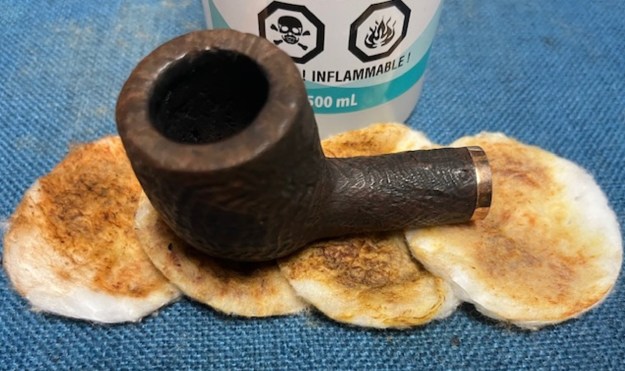
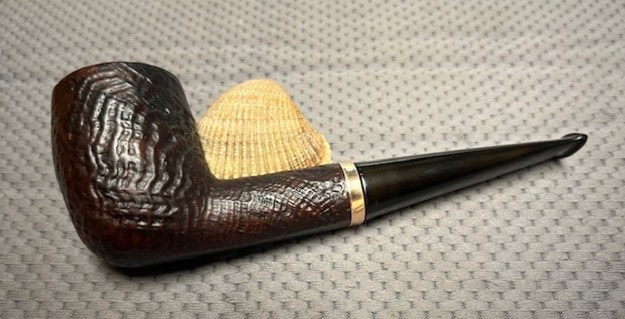
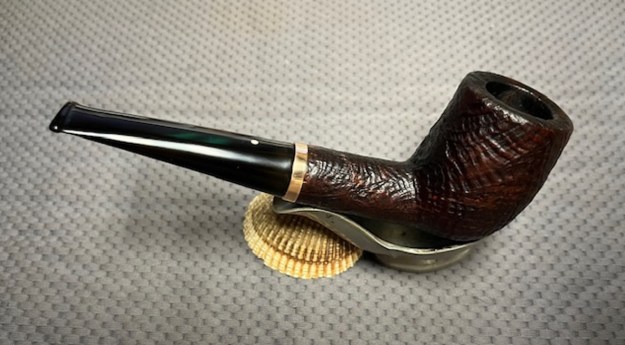
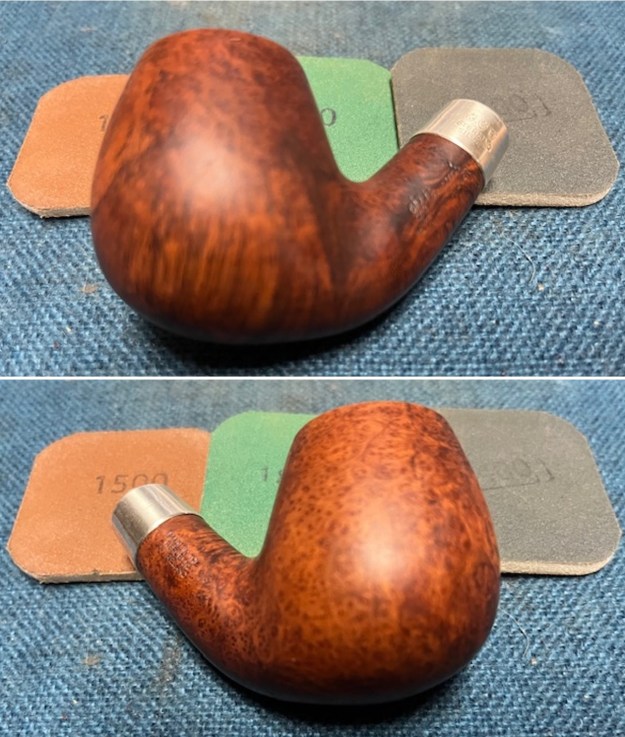
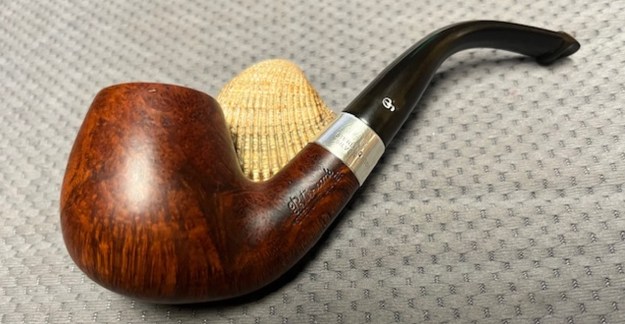
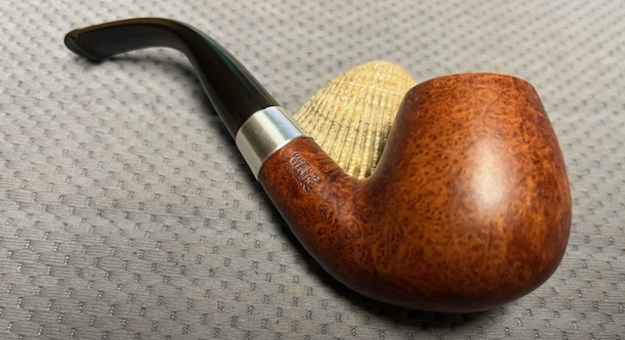
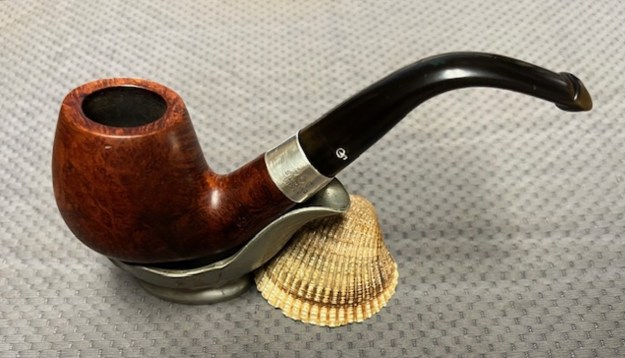
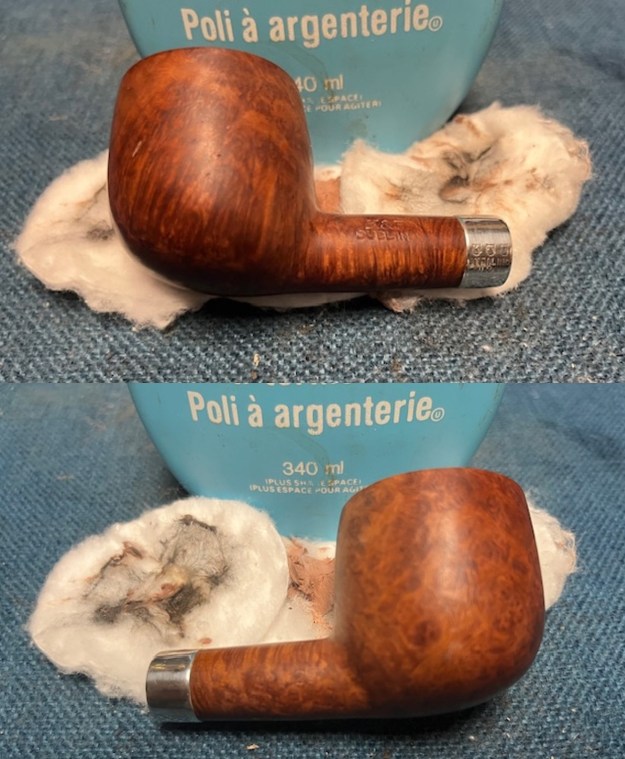
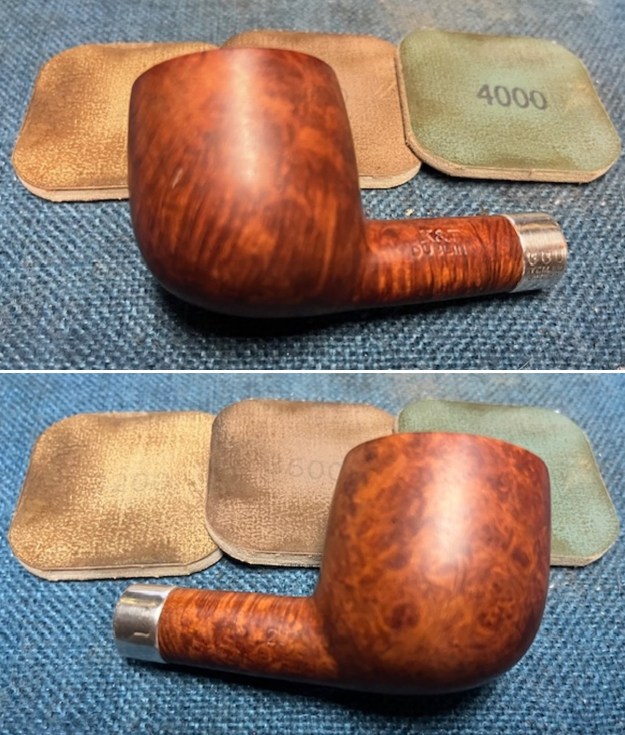
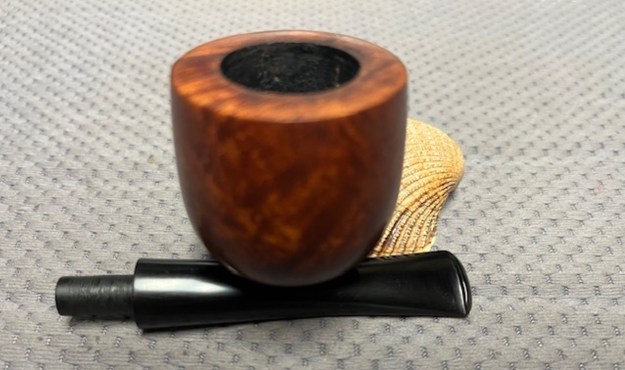
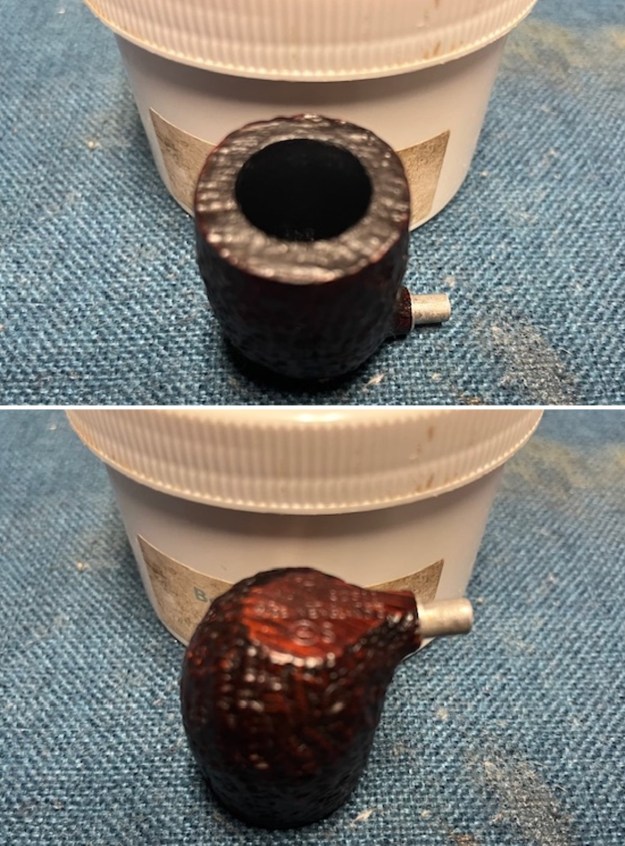
 This 1962 Dunhill Shell F/T Cavalier has a beautiful, unique Dunhill Sandblast finish. The rich Shell finish that is identified with some great grain around the bowl and shank. It has some great rugged sandblast that Dunhill specialized in making. The polished vulcanite bullet and moisture trap look very good. The polished black vulcanite bent taper stem adds to the mix. I put the stem back on the bowl and buffed the pipe with Blue Diamond on the buffing wheel being careful to not buff the stamping. I gave the bowl and the stem multiple coats of carnauba wax on the buffing wheel and followed that by buffing it with a clean buffing pad. I hand buffed the pipe with a microfiber cloth to deepen the shine. The finished Dunhill Shell F/T Cavalier is quite nice and feels great in the hand. Give the finished pipe a look in the photos below. The dimensions of the pipe are Length: 6 inches, Height: 1 ¾ inches, Outside diameter of the bowl: 1 ¼ inches, Chamber diameter: ¾ of an inch. The weight of the pipe is 35 grams/1.20 ounces. This one will be going into my own personal collection. Thanks for walking through the restoration with me as I worked over another beautiful pipe Thanks for your time.