Blog by Steve Laug
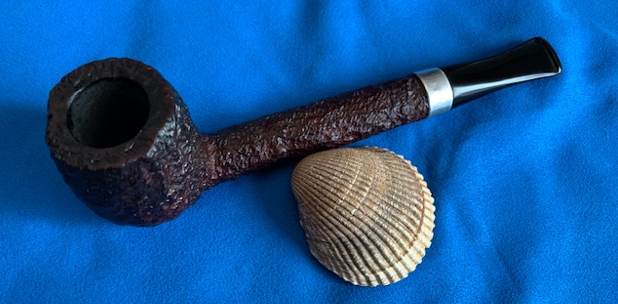
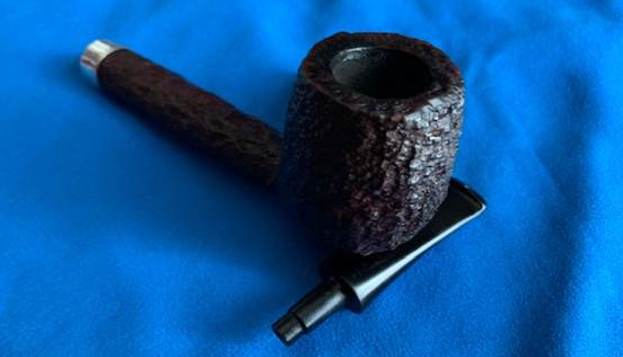
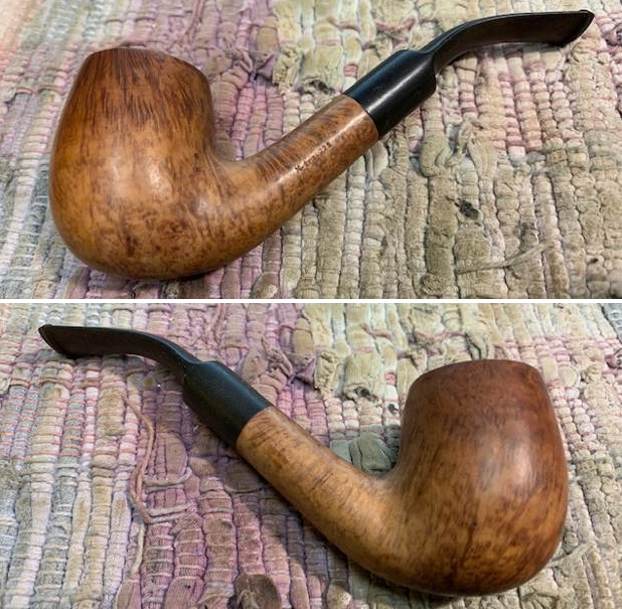
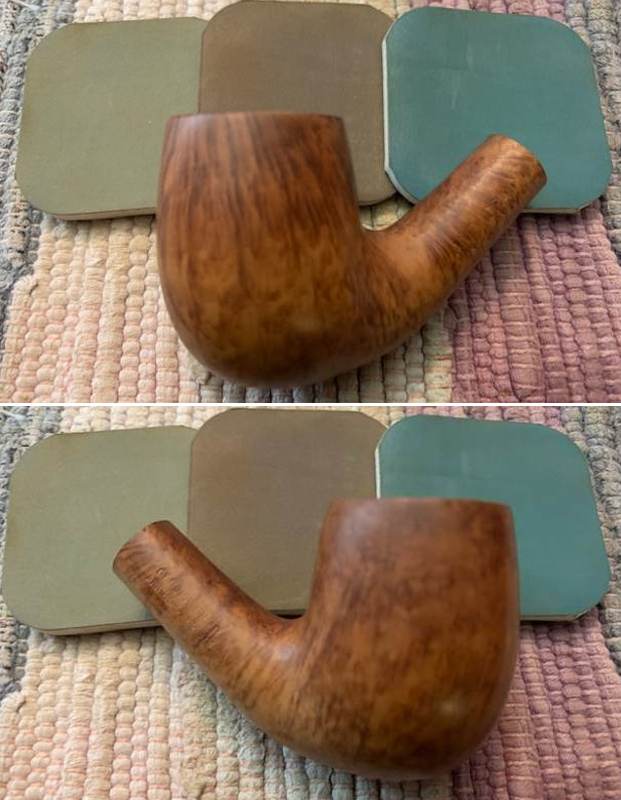
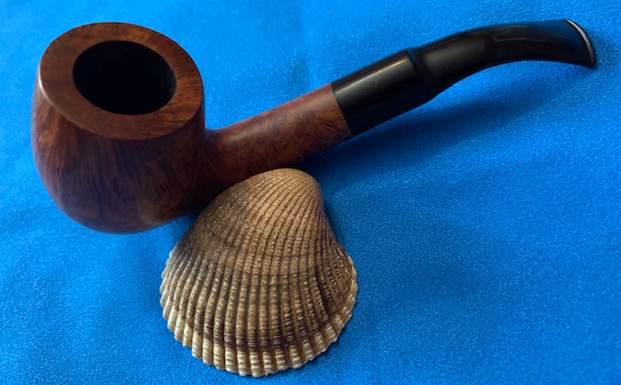
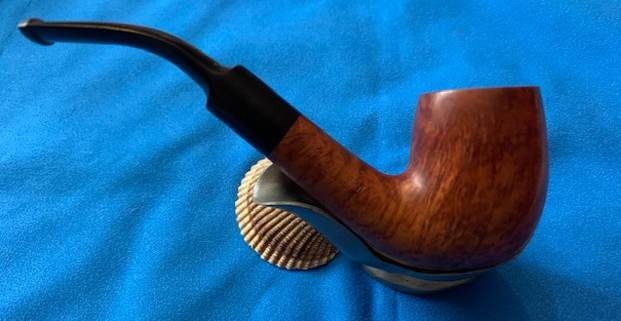
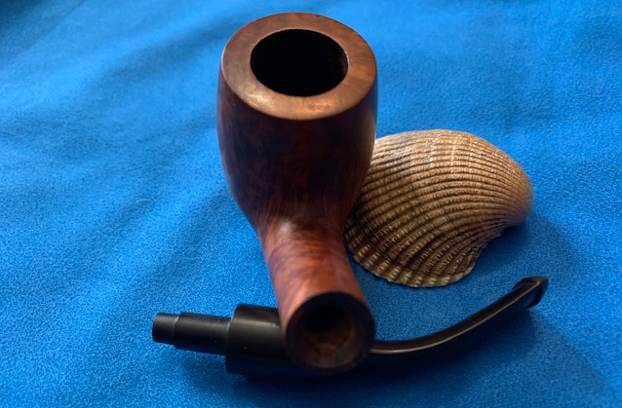
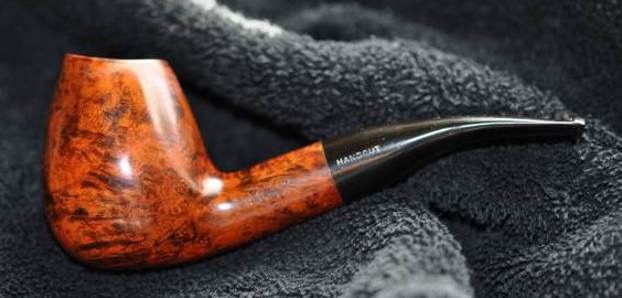
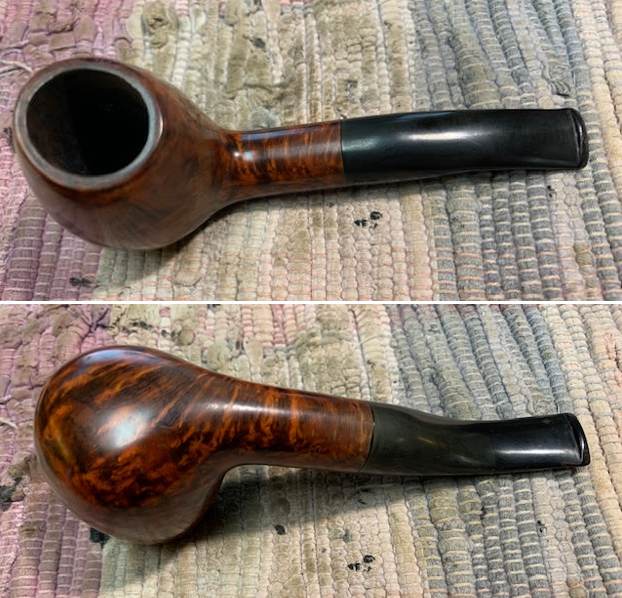
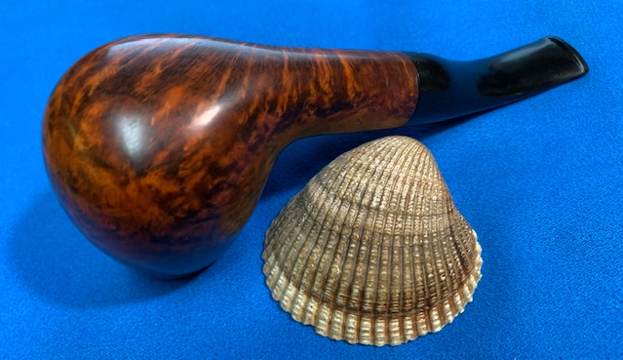
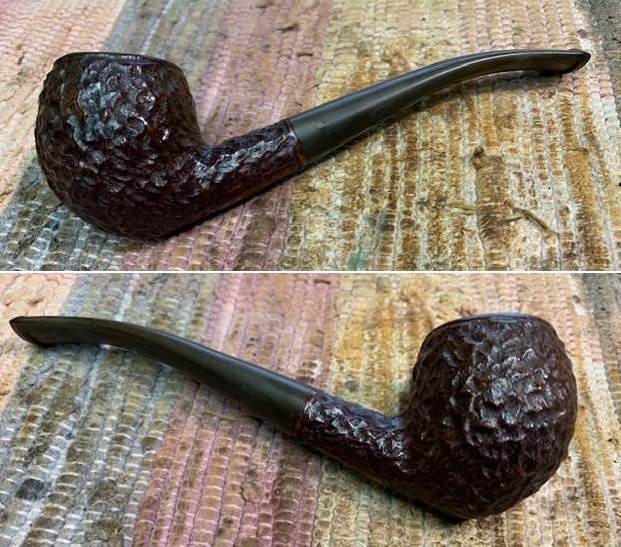
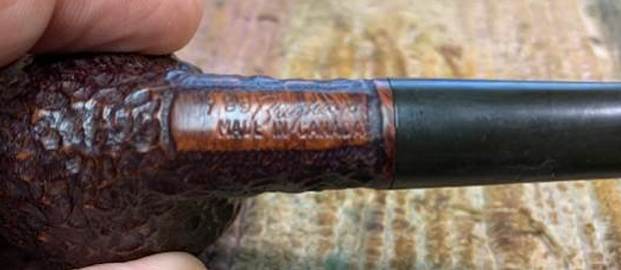
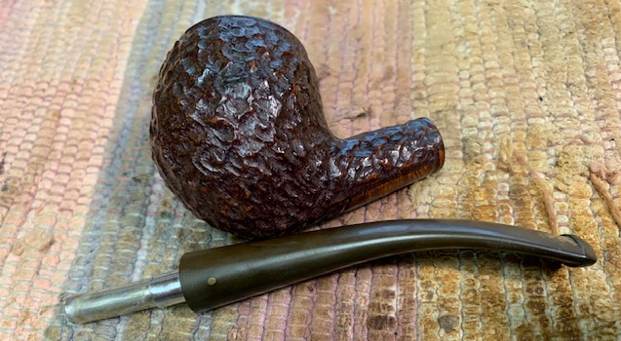
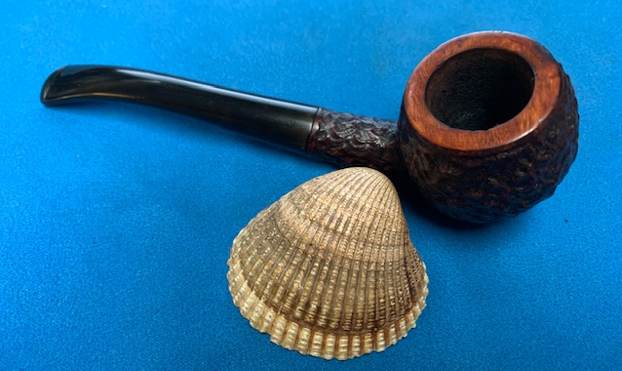
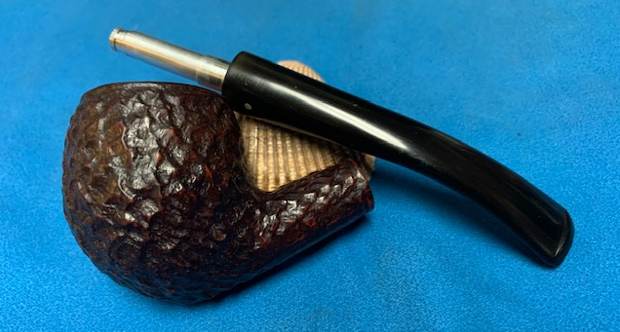
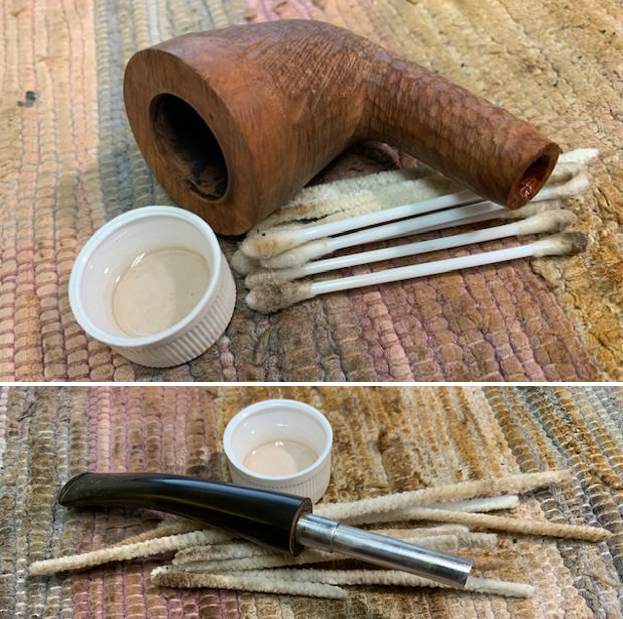
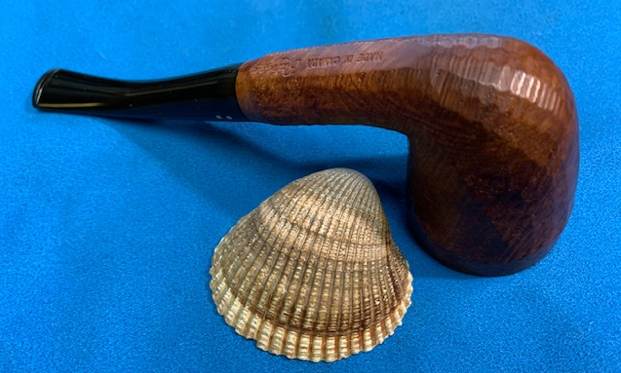
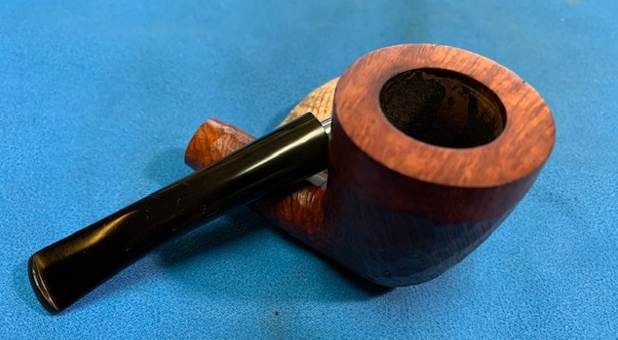
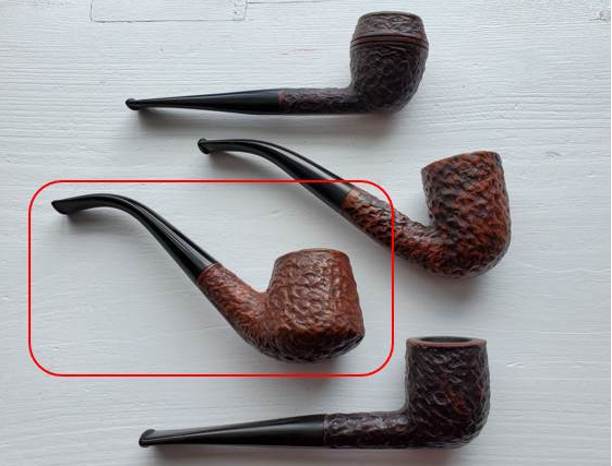
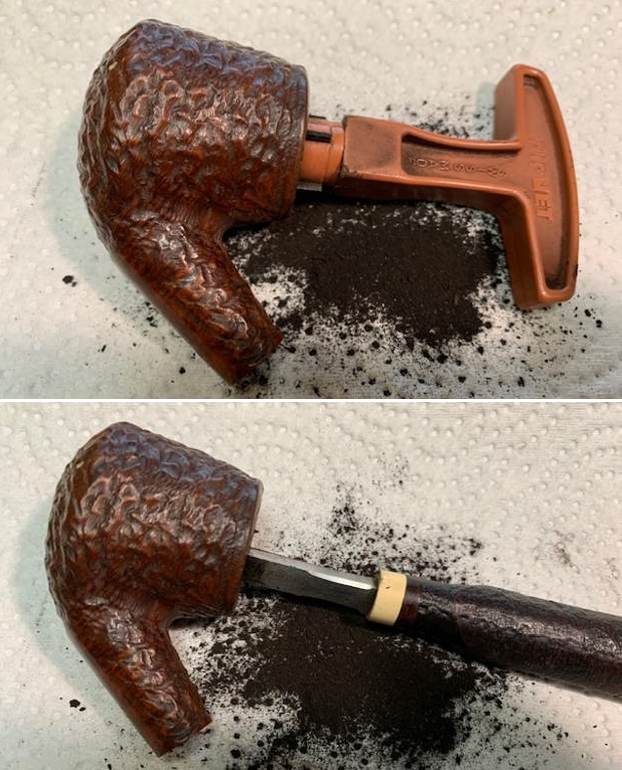
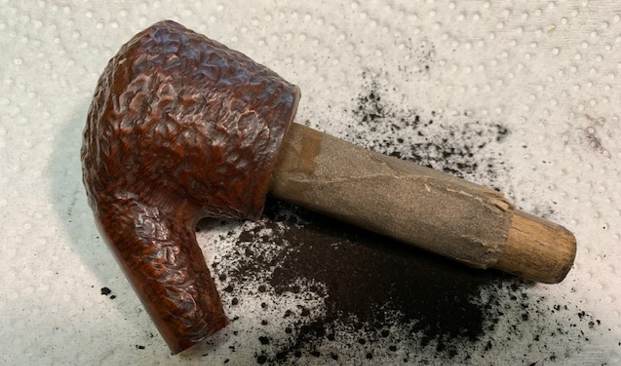
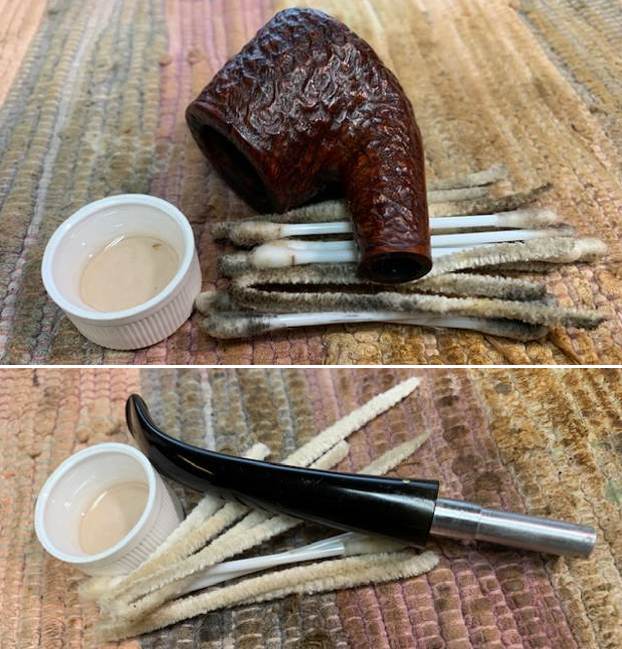
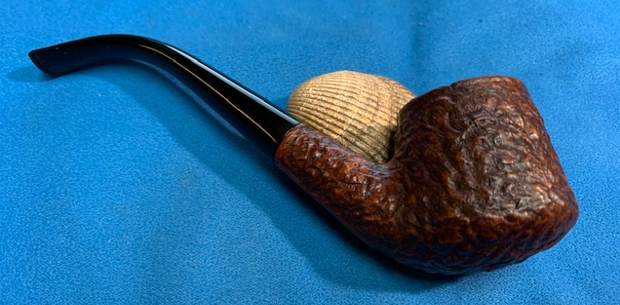
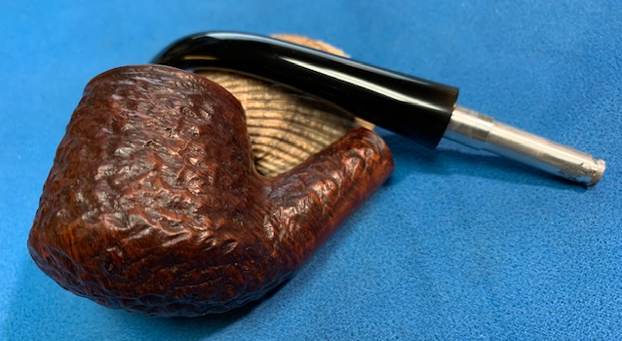
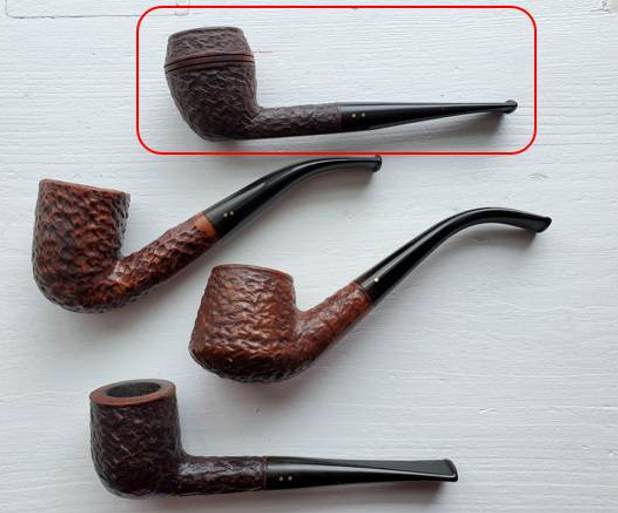
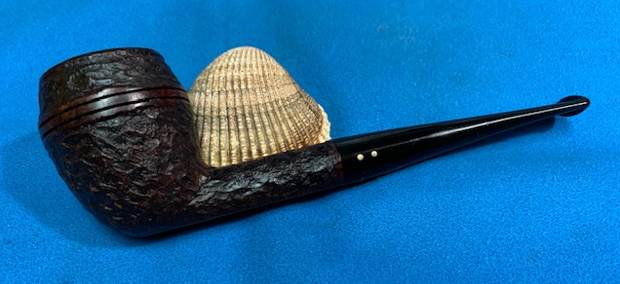
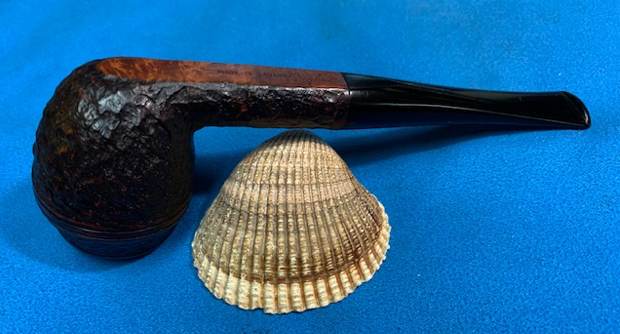
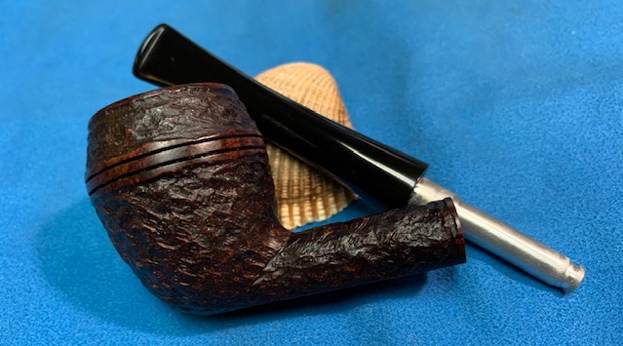
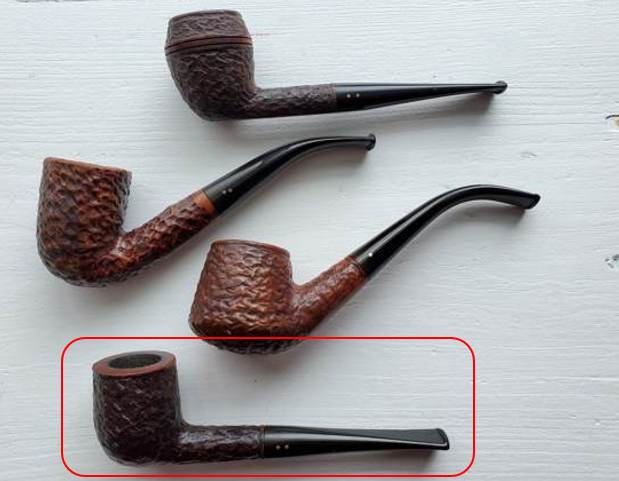
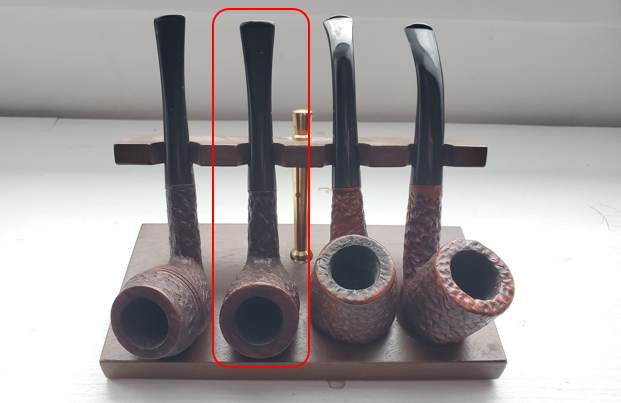
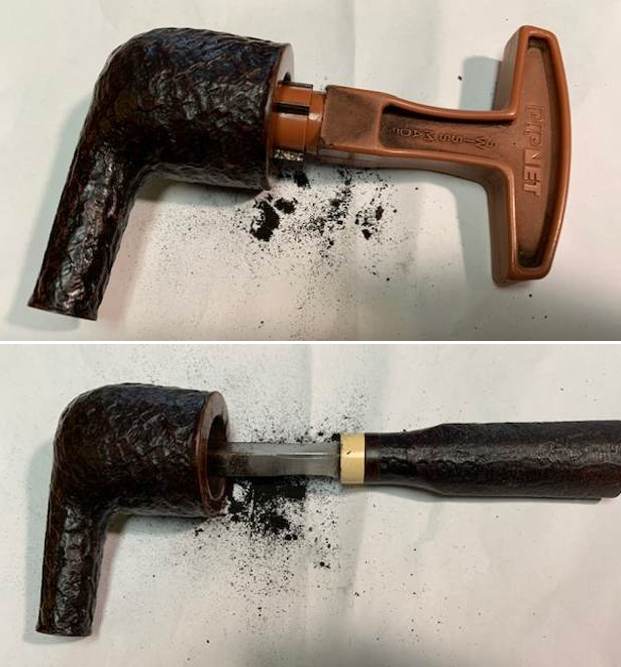
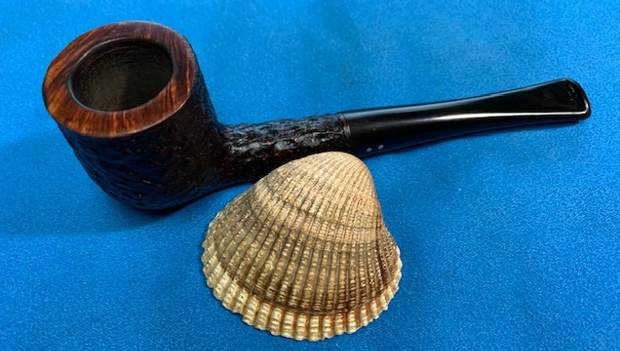
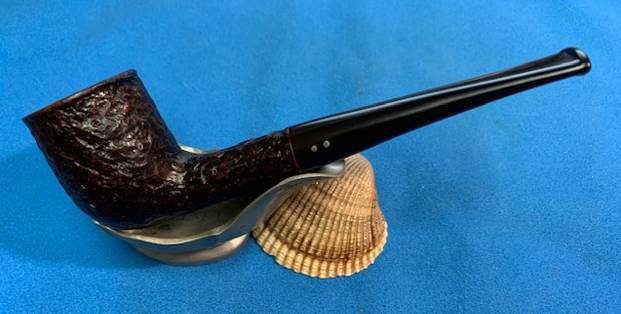
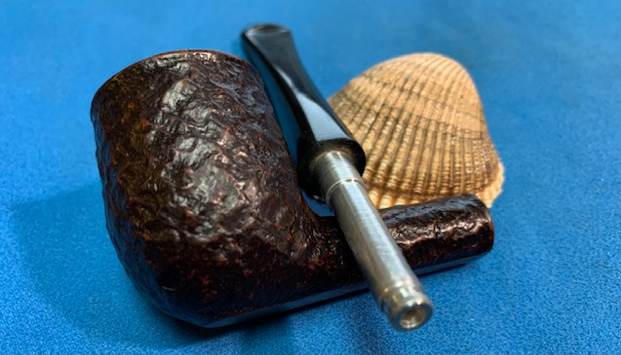
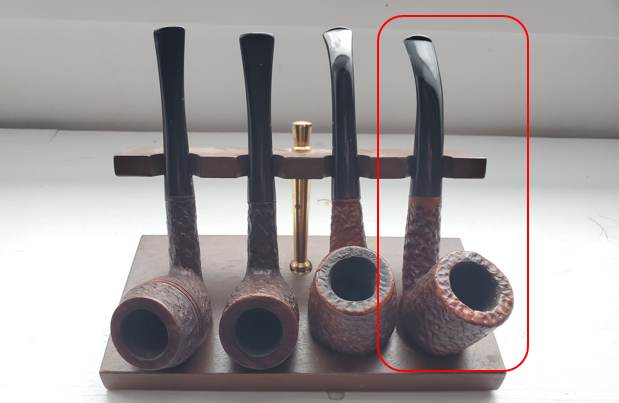
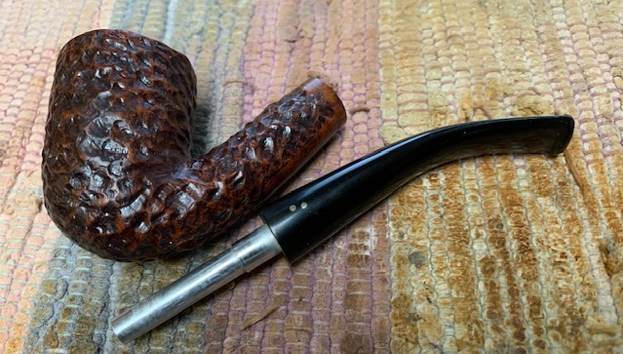
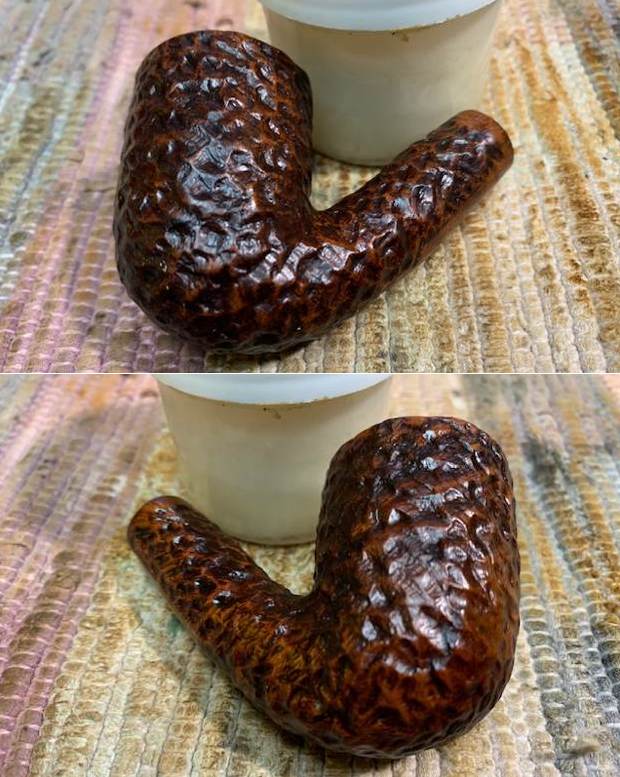
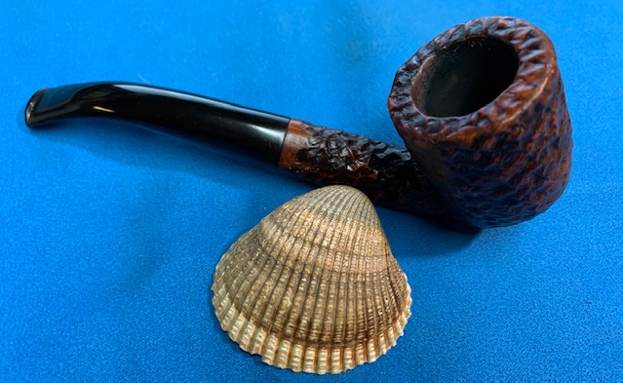
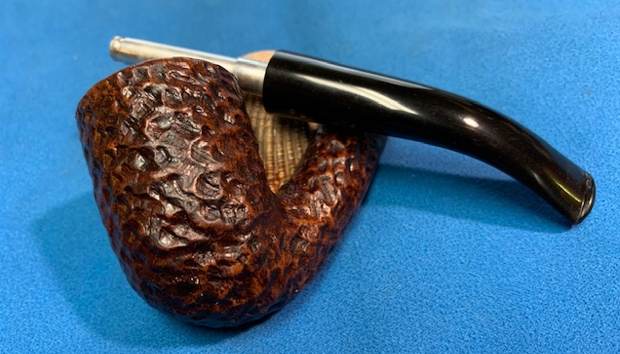
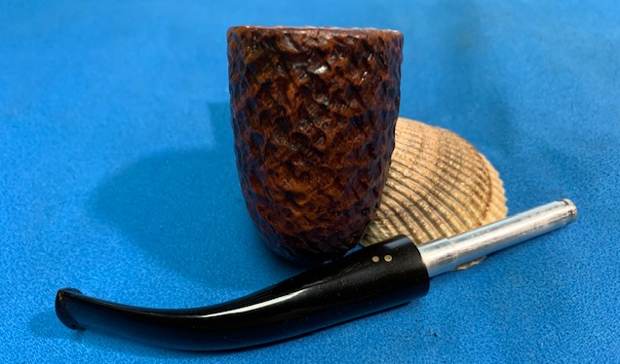
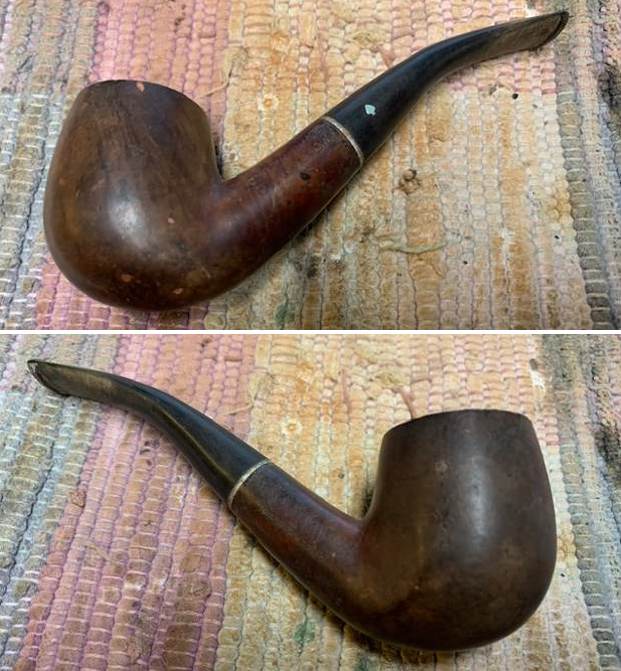
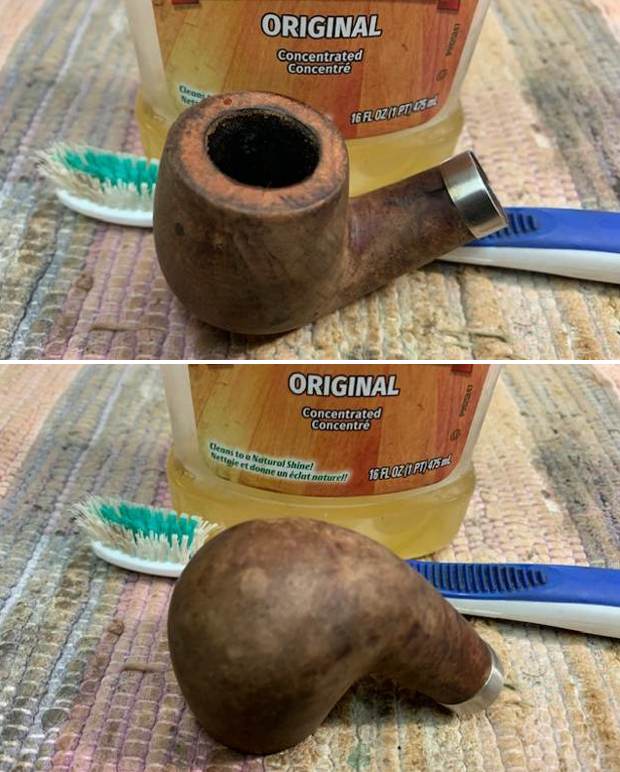
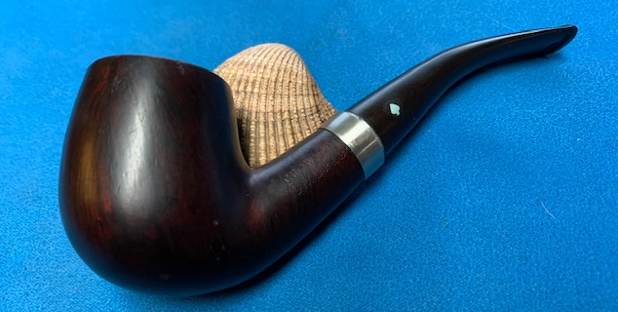
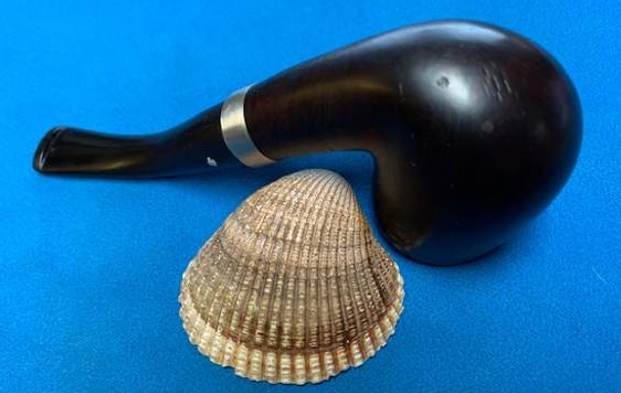
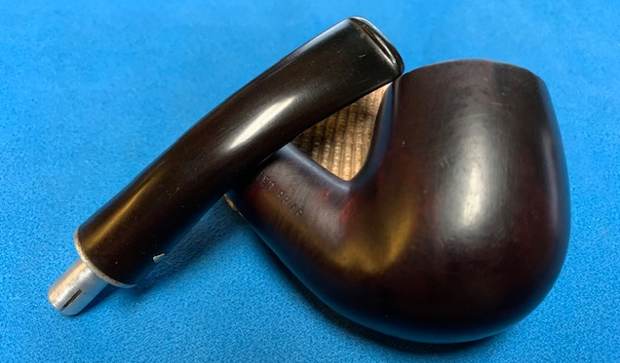
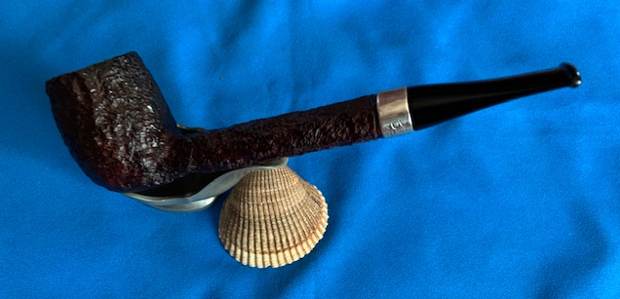
With the flood in our office/basement/workshop we moved my pipe work upstairs with my day job work to occupy the dining room table. I went through the boxes of pipes I have to work on sorting things to work on from those I will likely put in grab bags and came across this rusticated long shank Canadian with a Sterling Silver Band. It turns out that it is stamped on the underside of the bowl and reads Peterson’s [arched over] Dublin [over] Made in the Republic of Ireland in the standard three line. The silver band was stamped with K& P in cartouches [over] Sterling Silver. The vulcanite stem lightly oxidized and dirty with tooth chatter on both sides ahead of the button. The bowl had been reamed and cleaned as obviously Jeff had done his magic on it before I got it. He had scrubbed the exterior with Murphy’s Oil Soap and a tooth brush. He had rinsed it with warm water. The silver band was still oxidized (probably from sitting here). He cleaned out the inside of the shank and stem with alcohol, cotton swabs and pipe cleaners. He scrubbed the exterior of the stem with Soft Scrub and left the stem looking quite good. I took photos of the pipe before I started my work on it. 
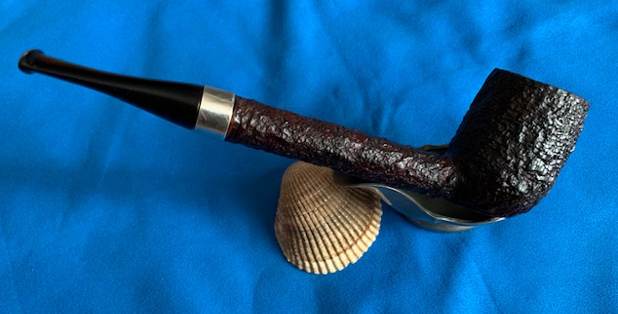
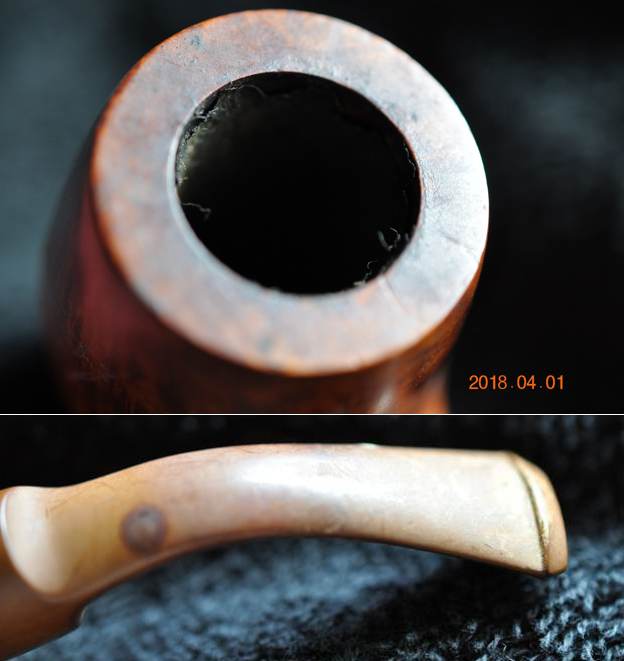
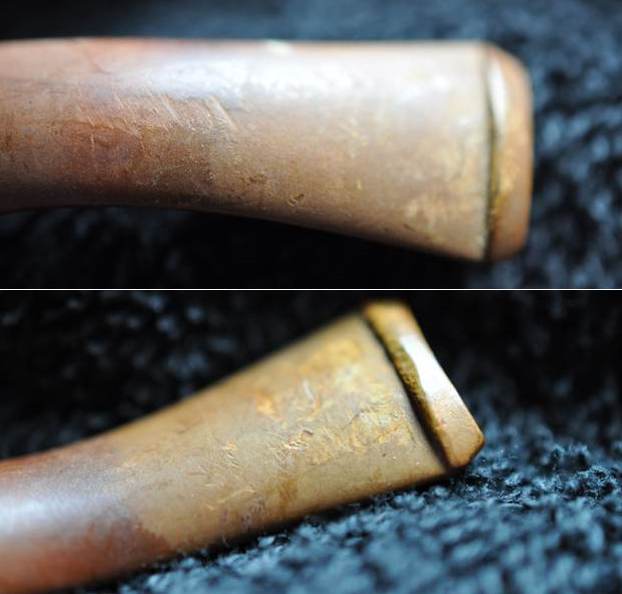
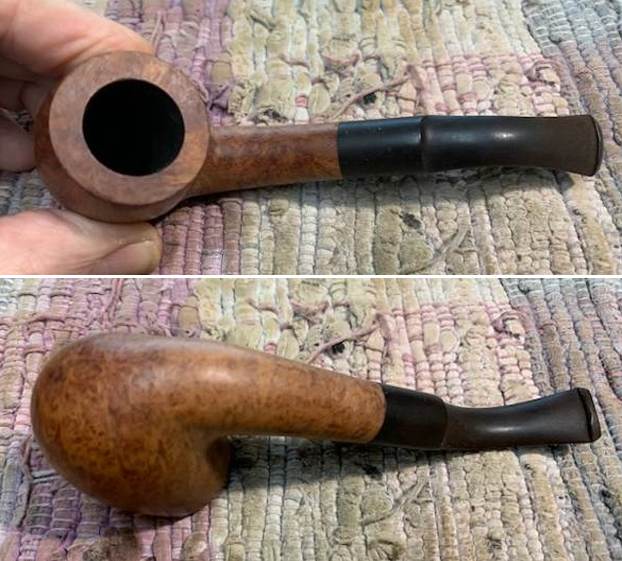
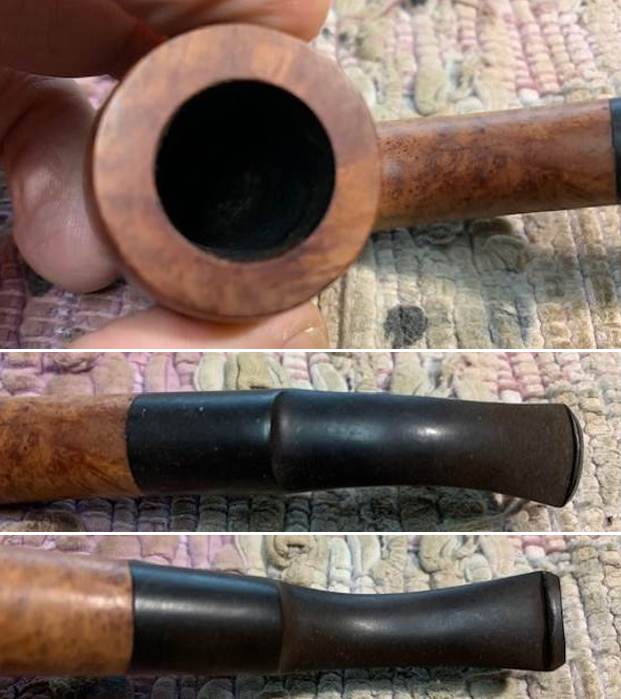
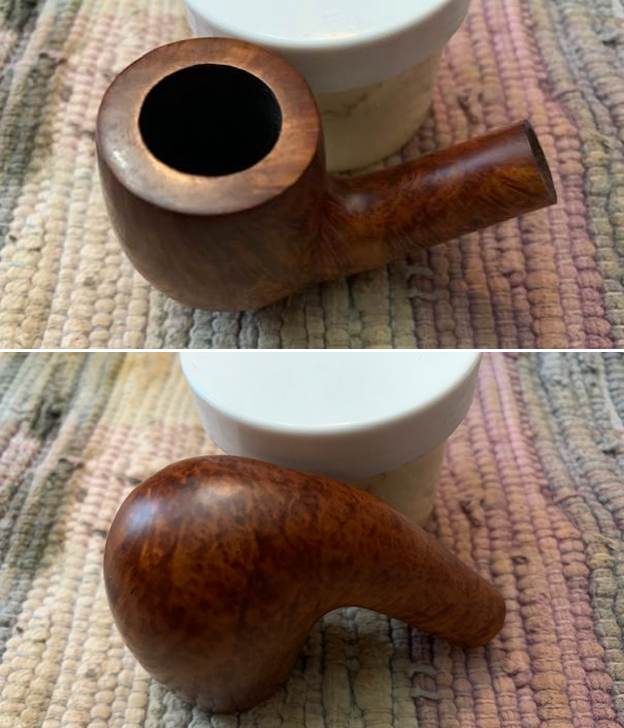
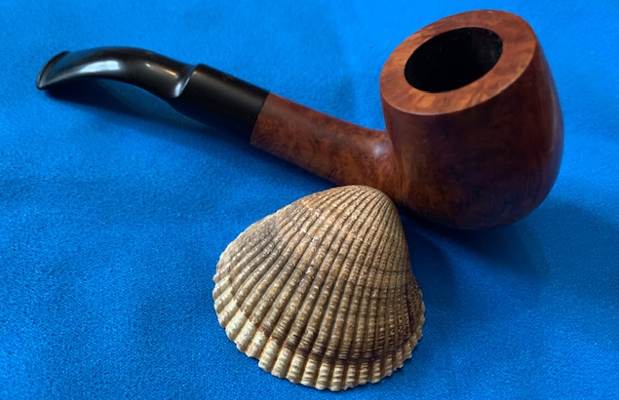
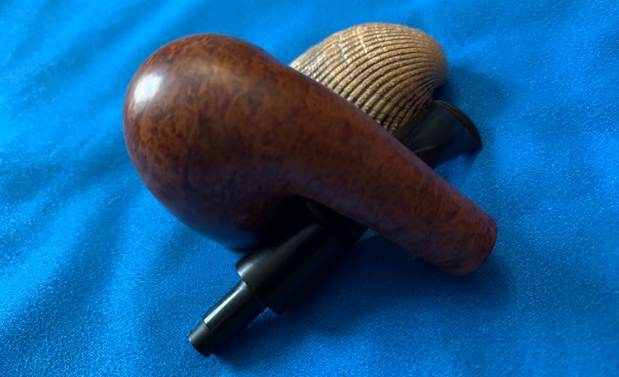
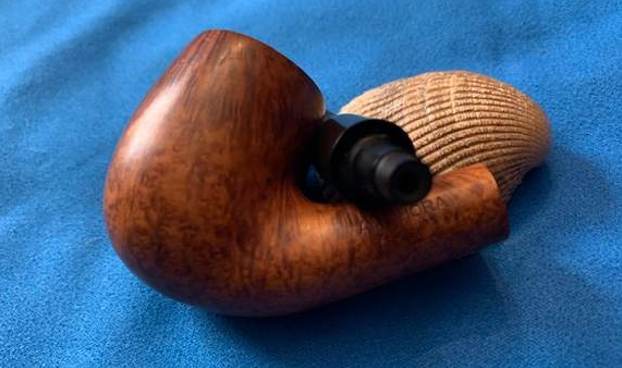
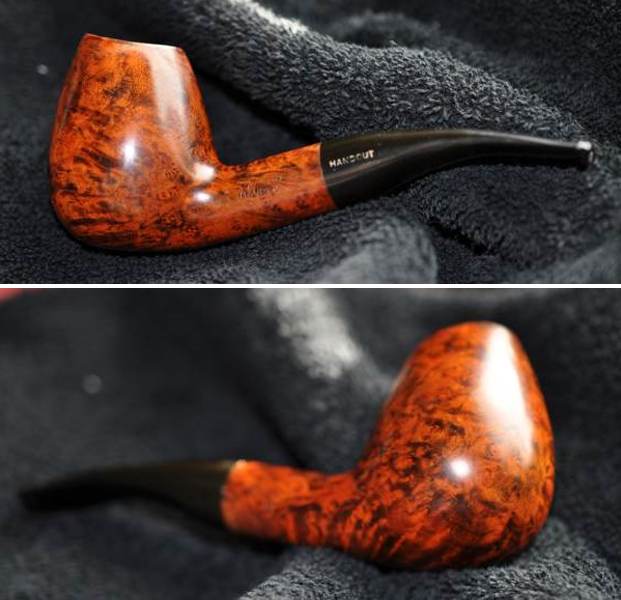
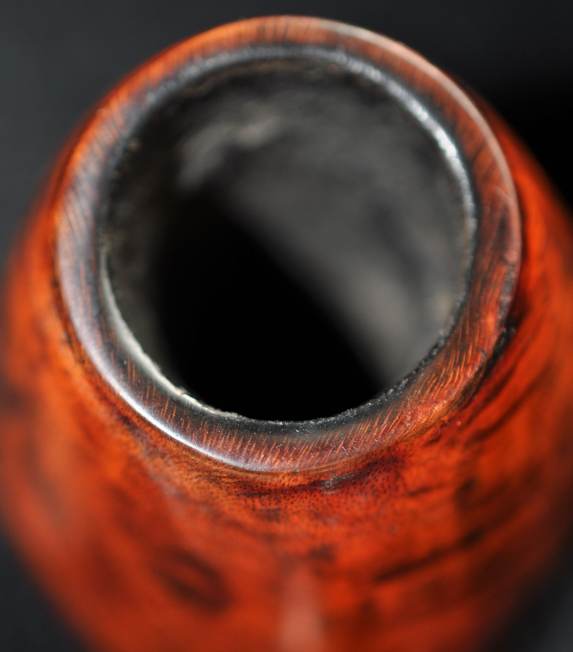
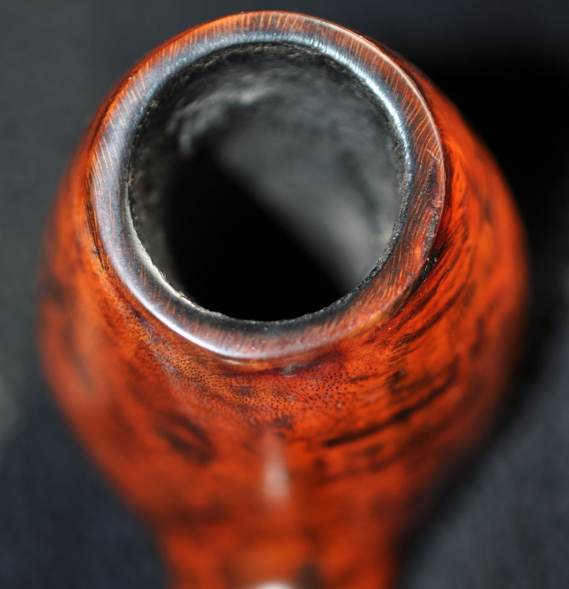
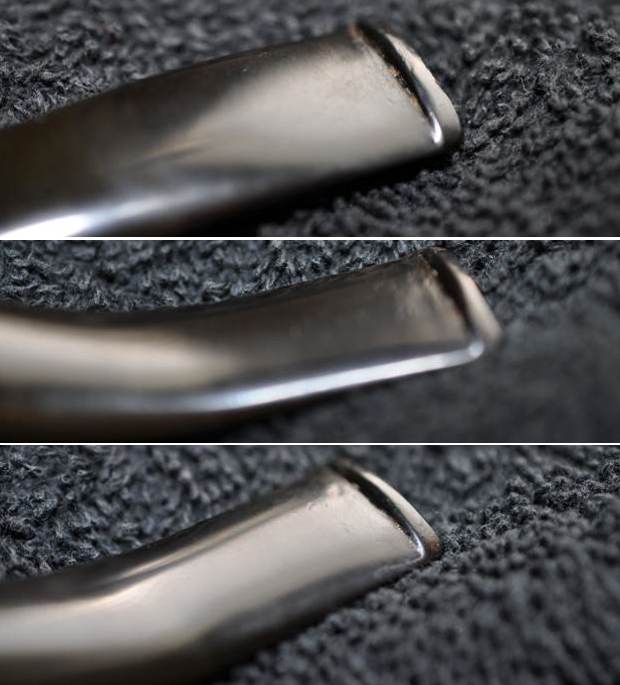
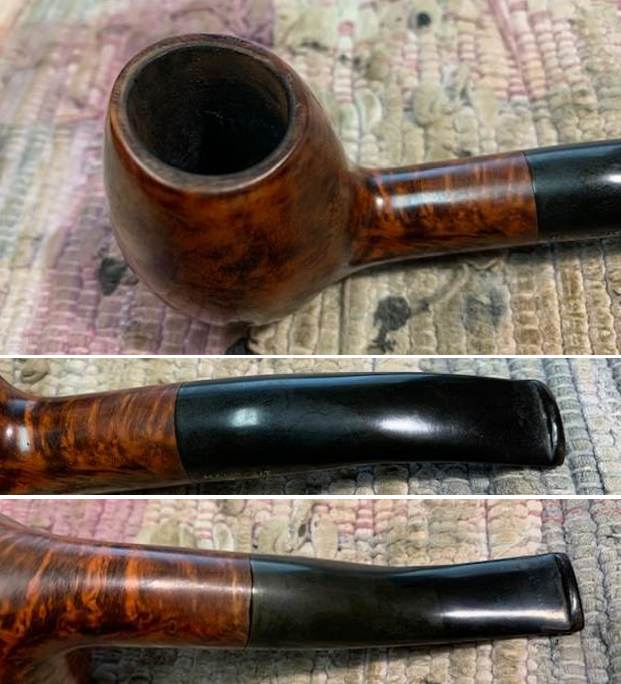
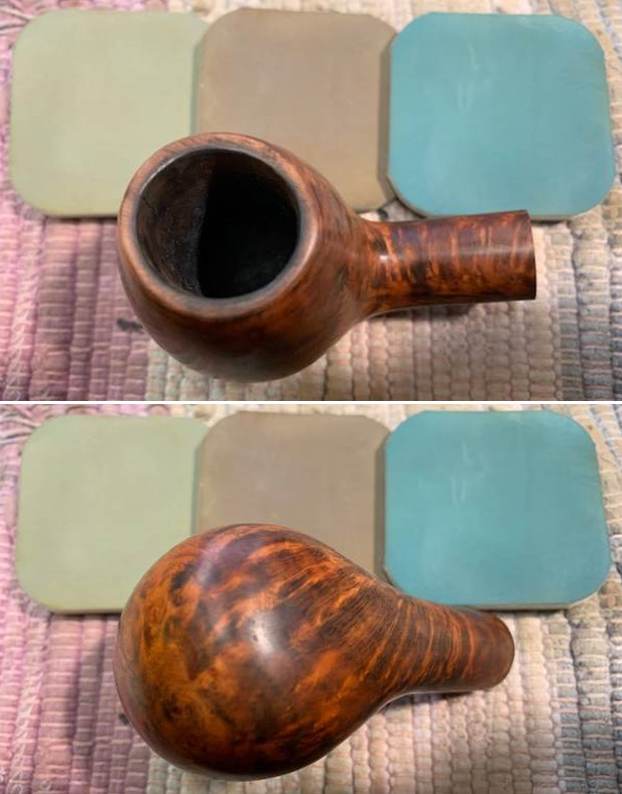
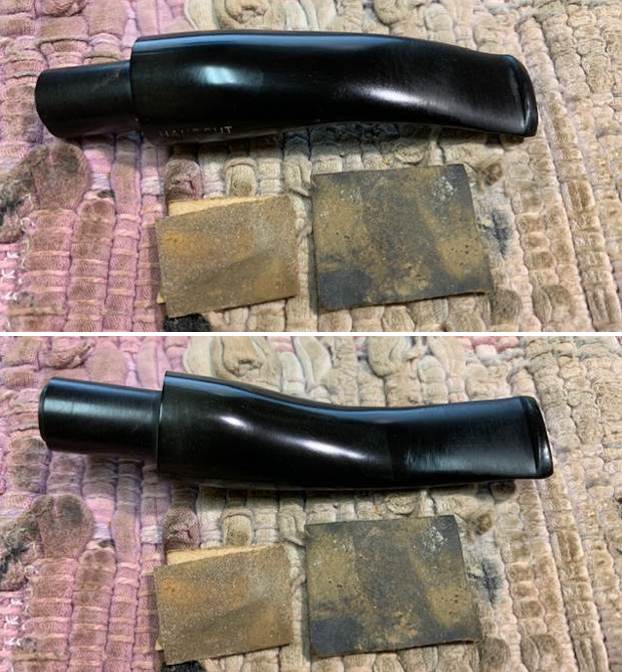
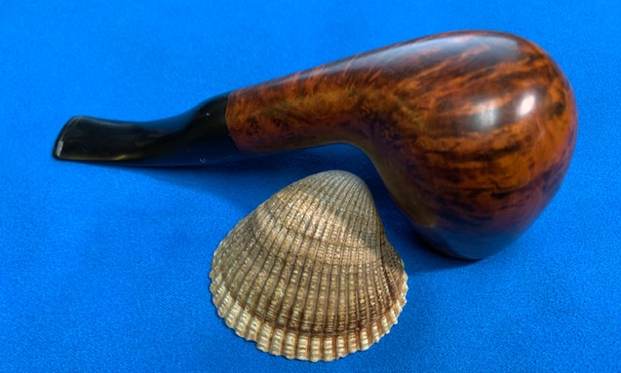
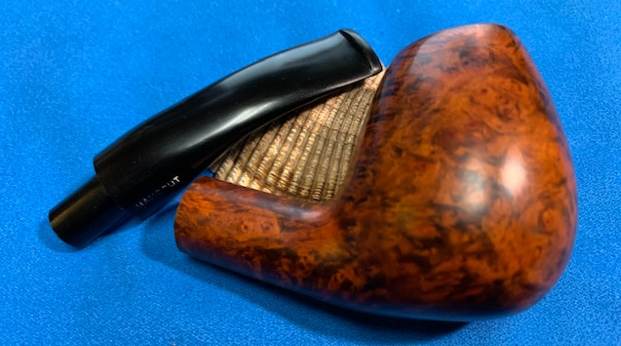
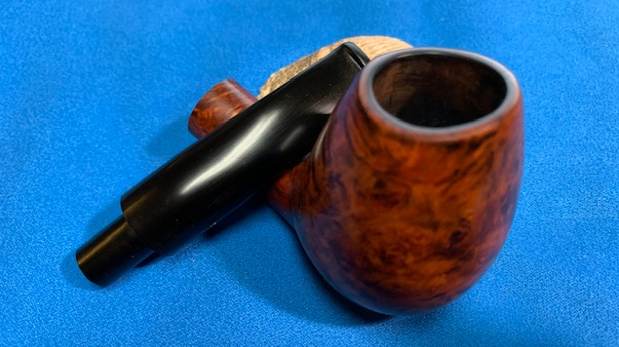
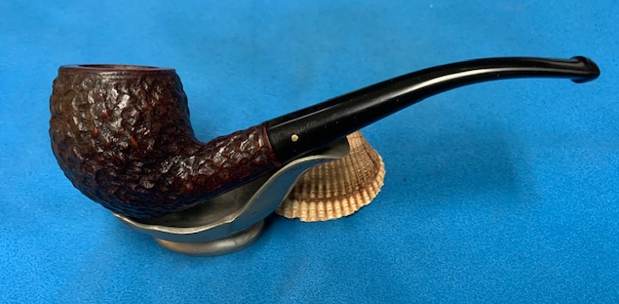
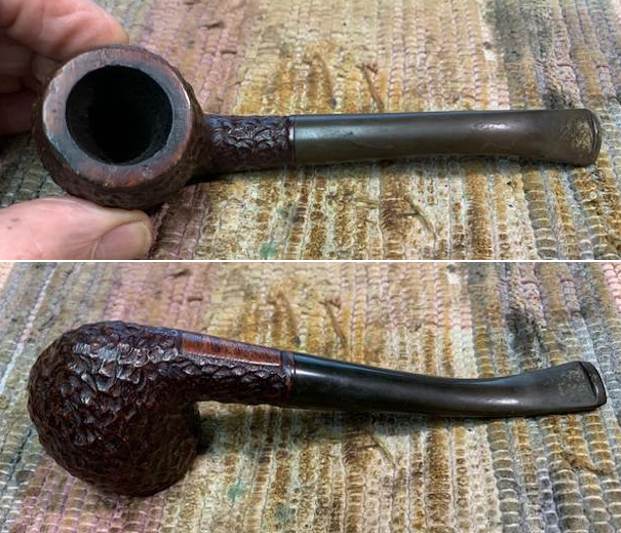
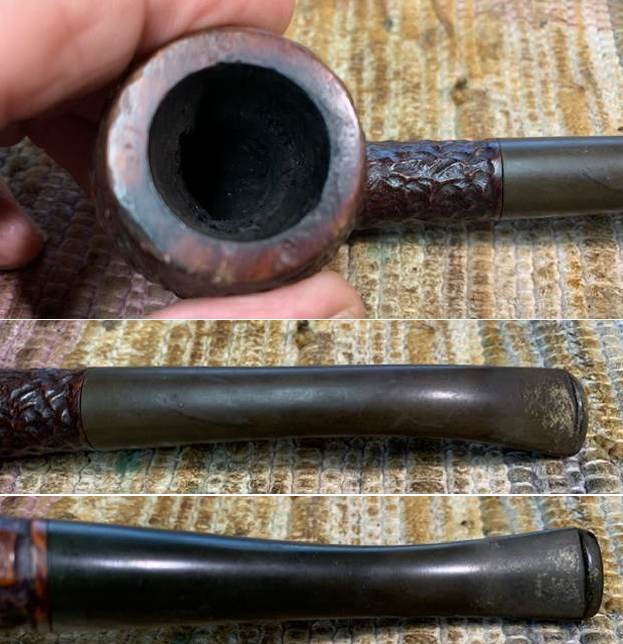
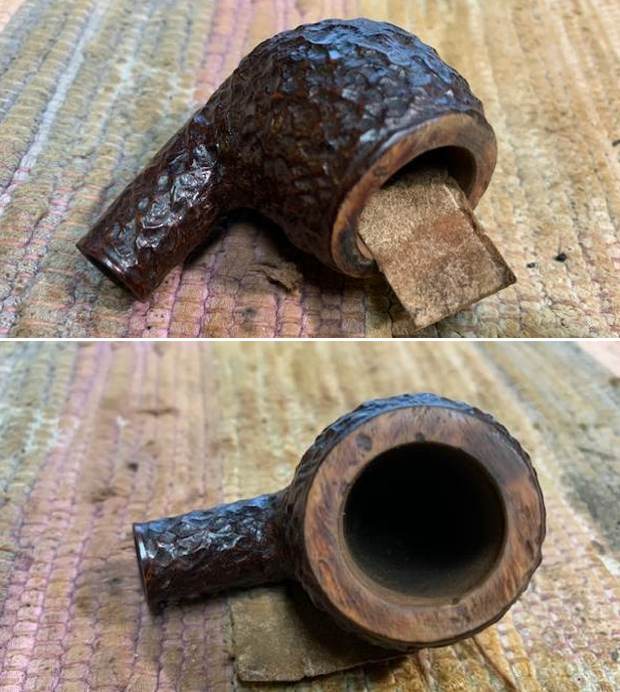
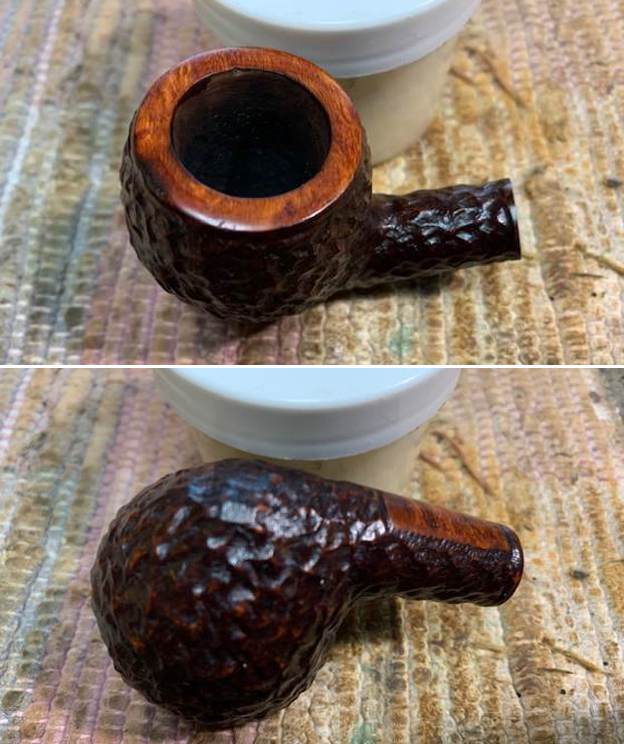
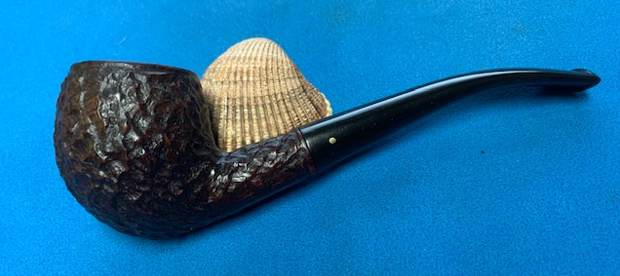
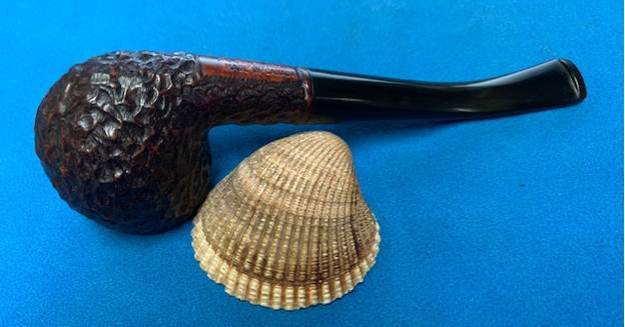
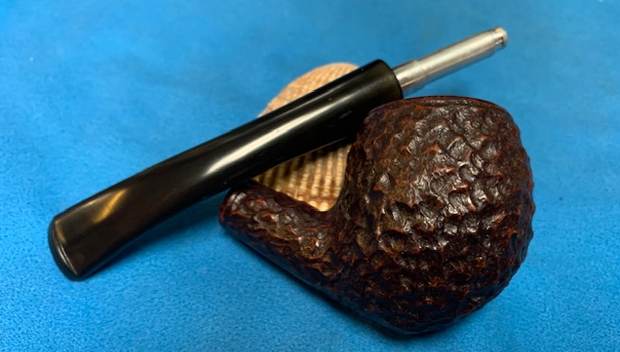
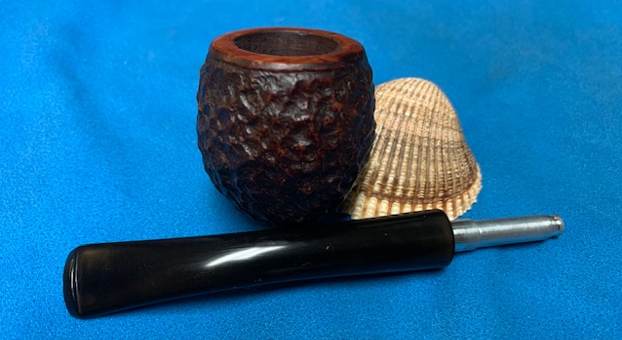
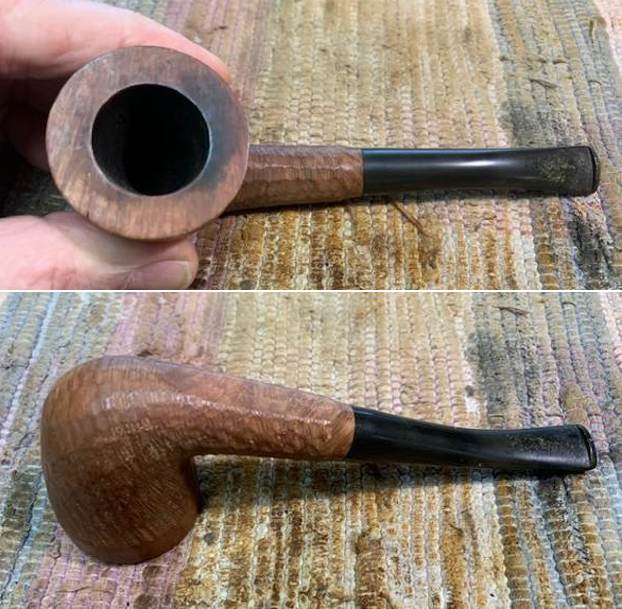
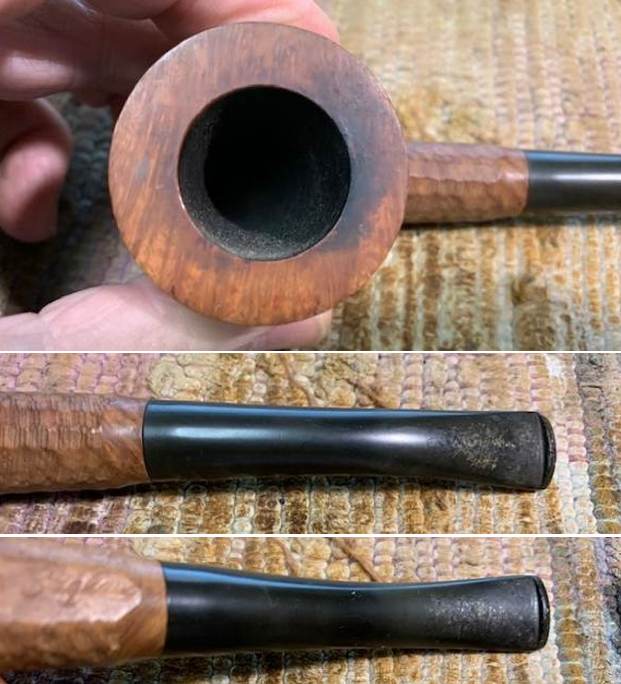
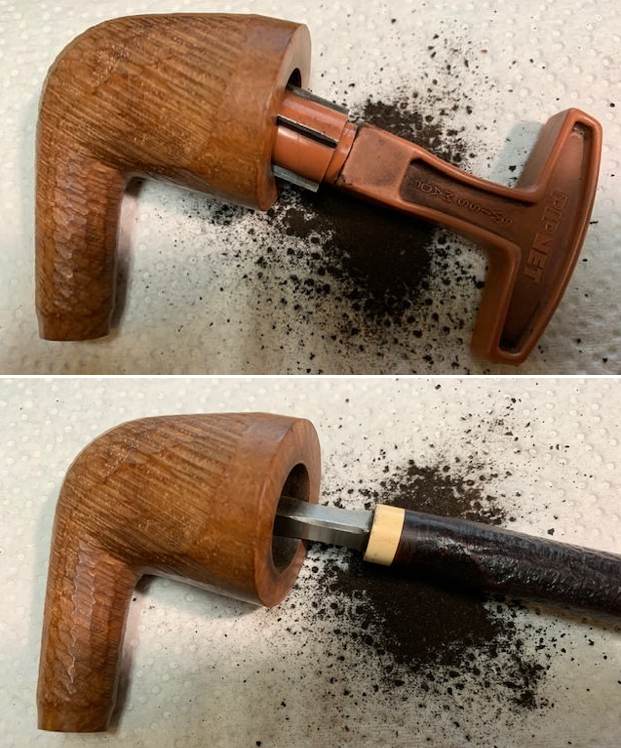
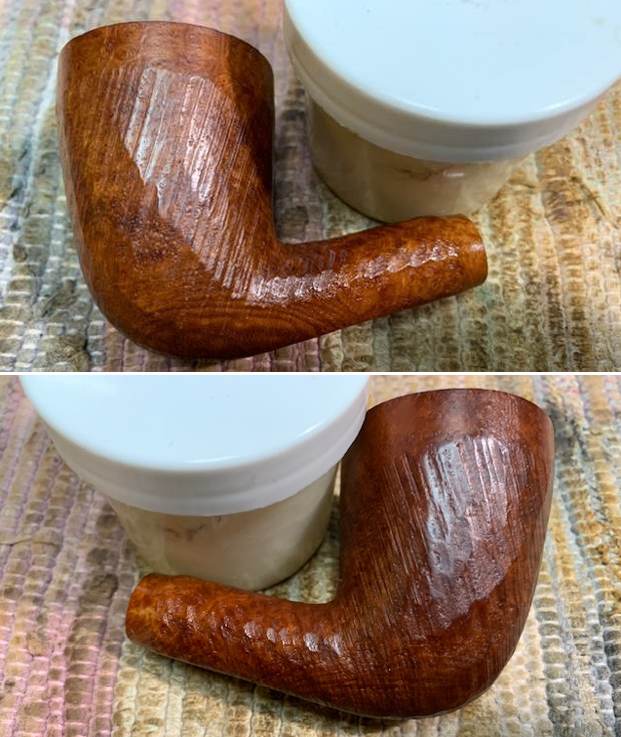
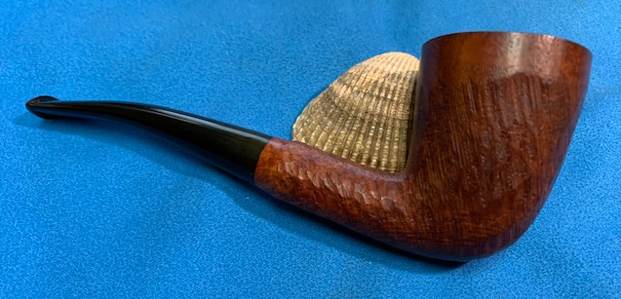
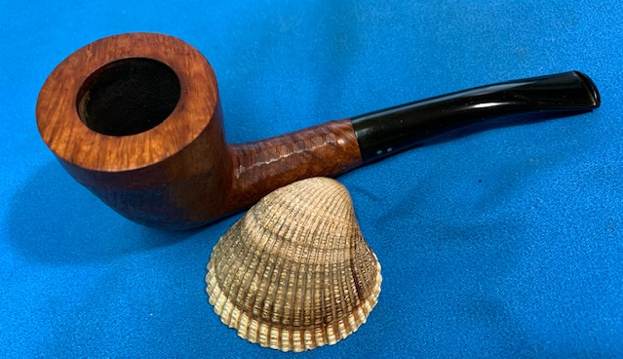
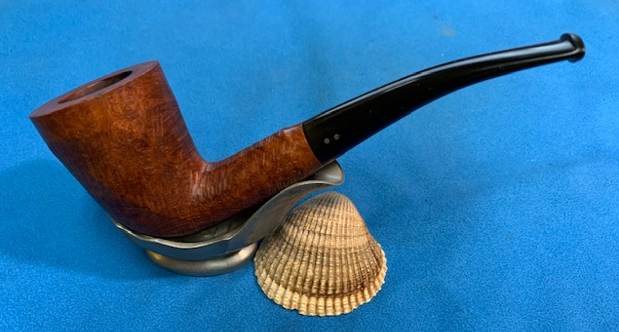
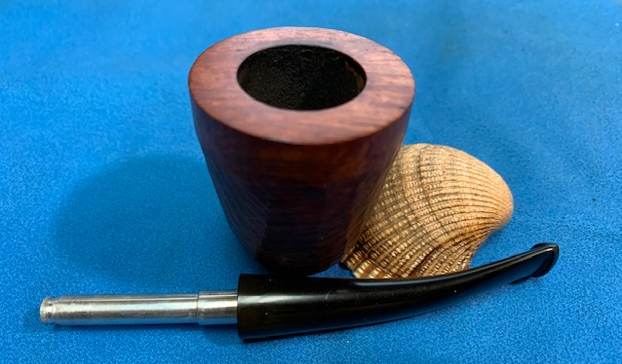
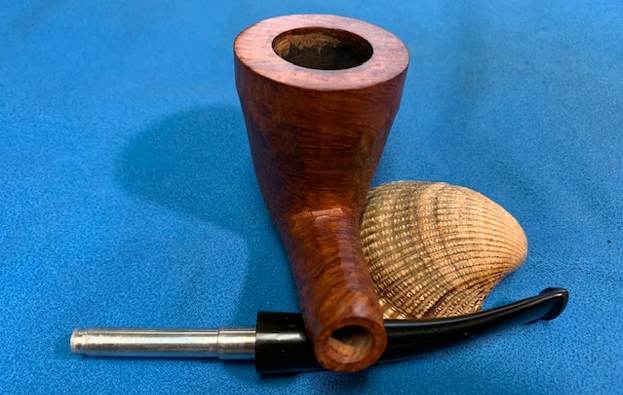
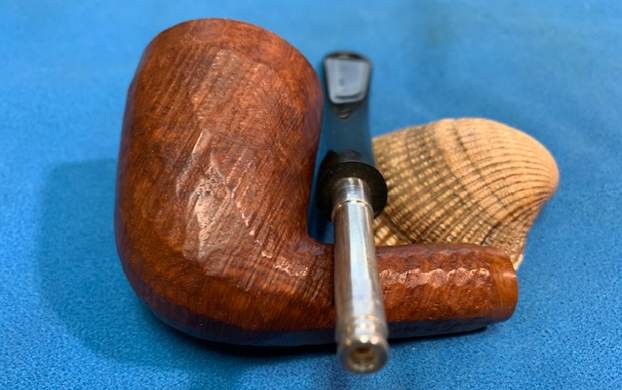
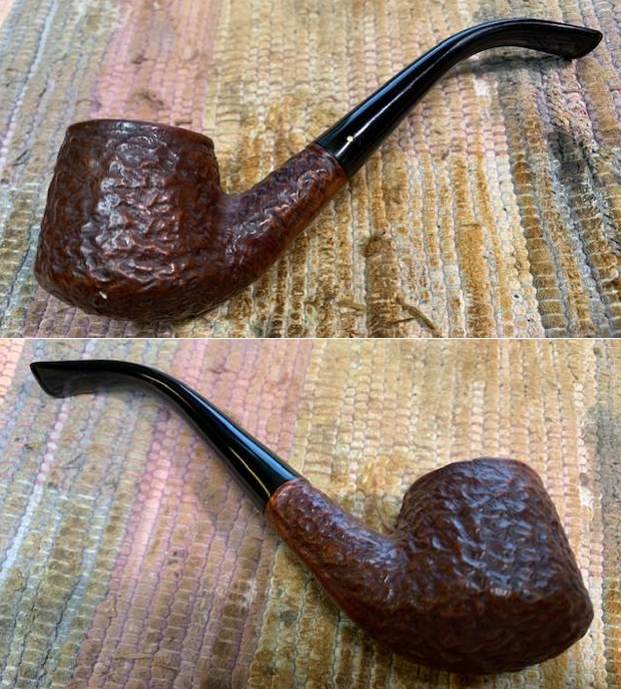
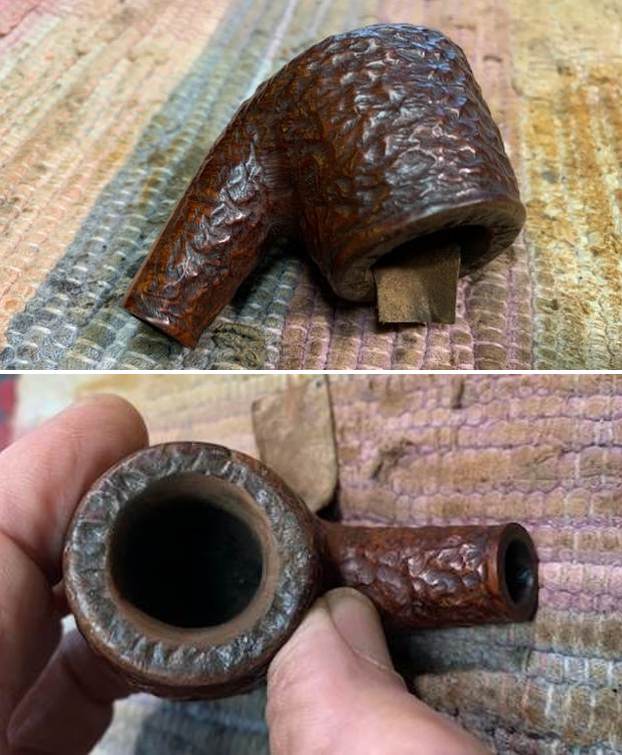
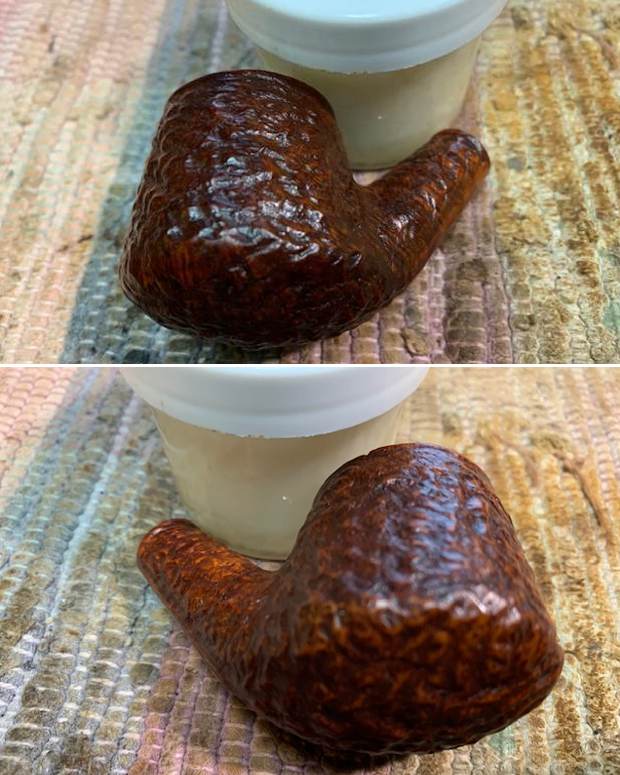
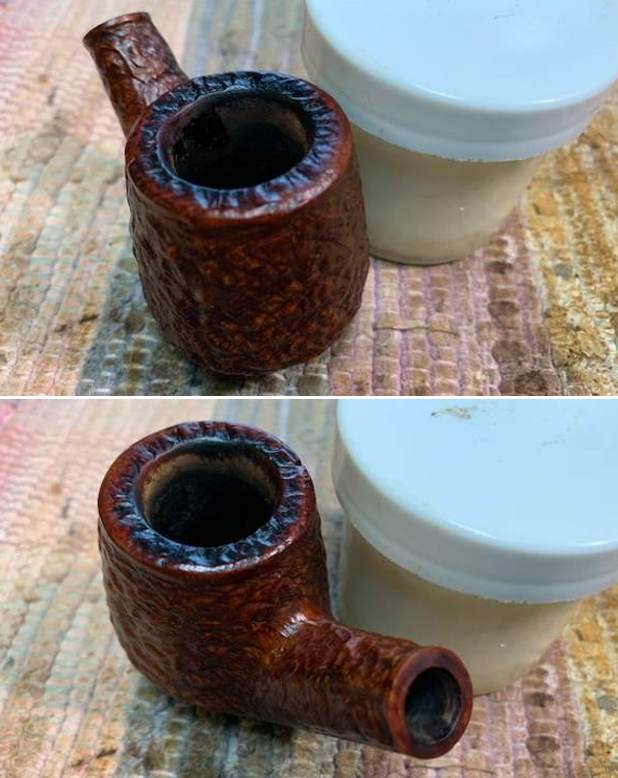
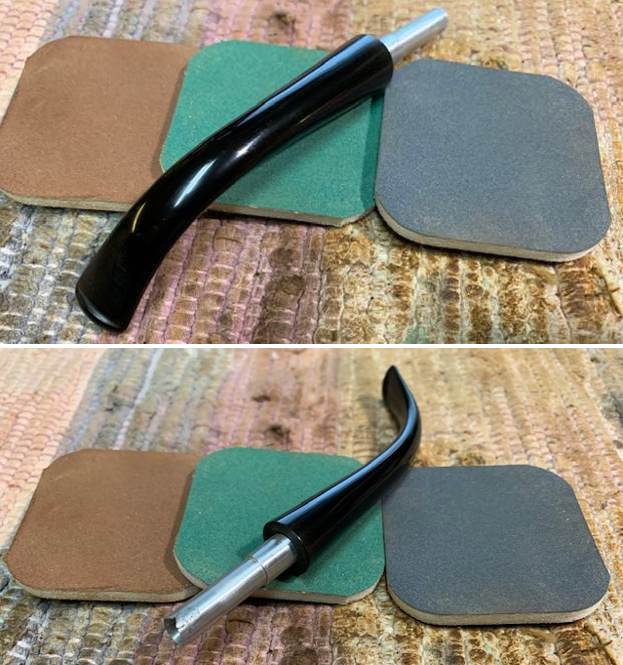
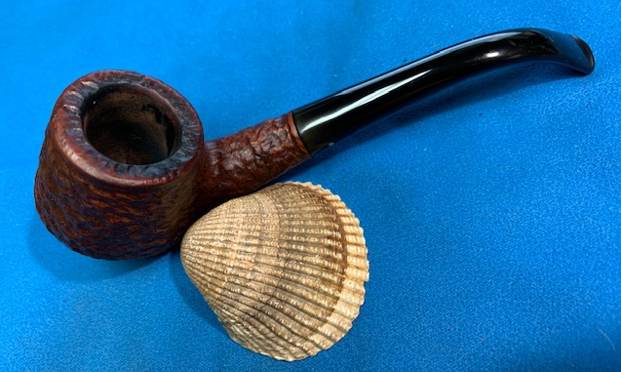
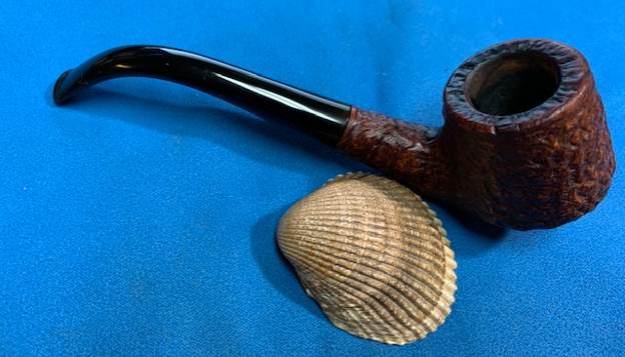
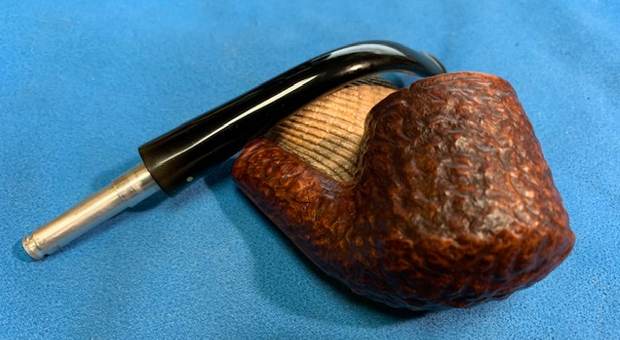
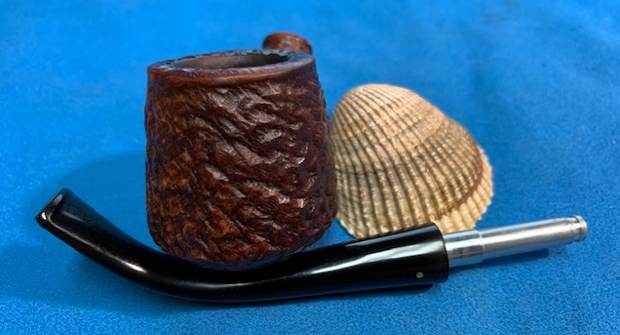
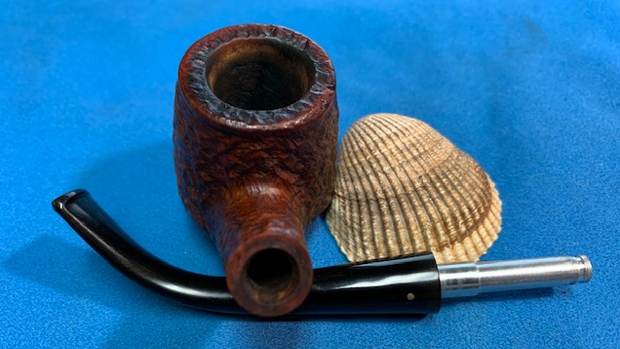
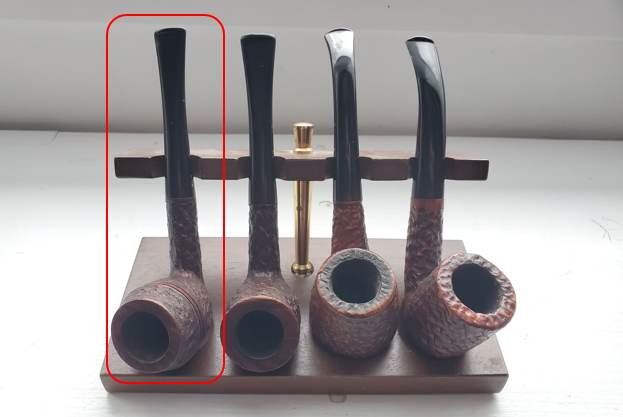
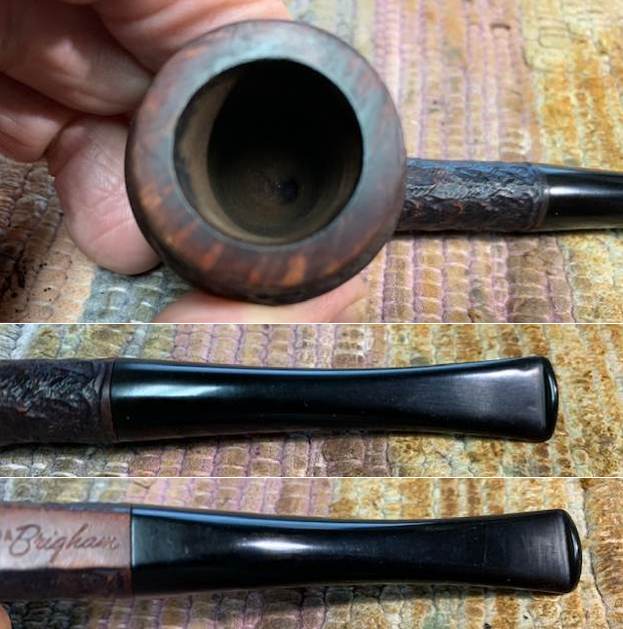
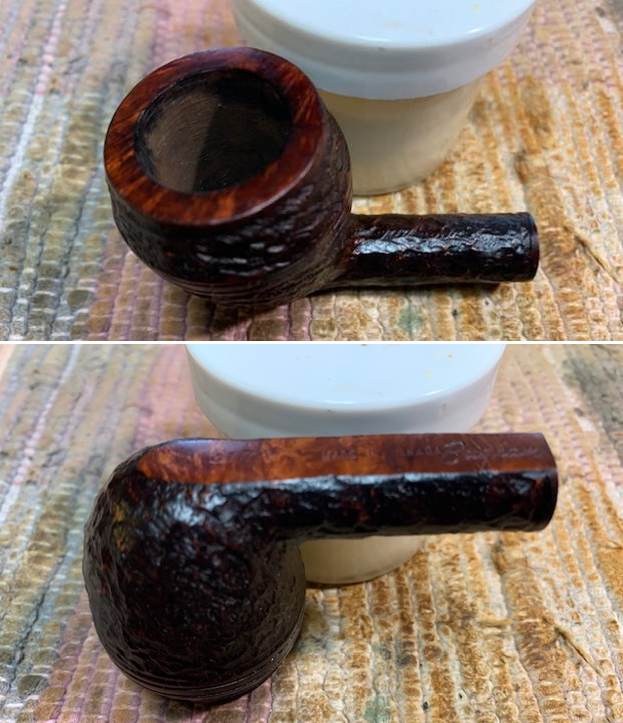
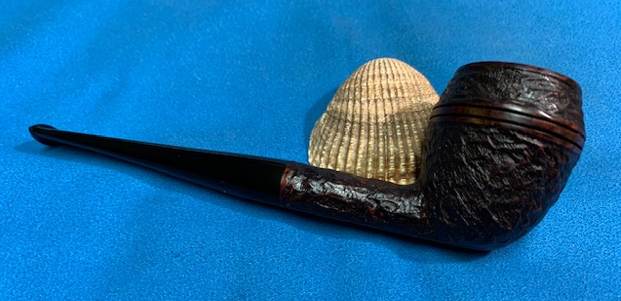
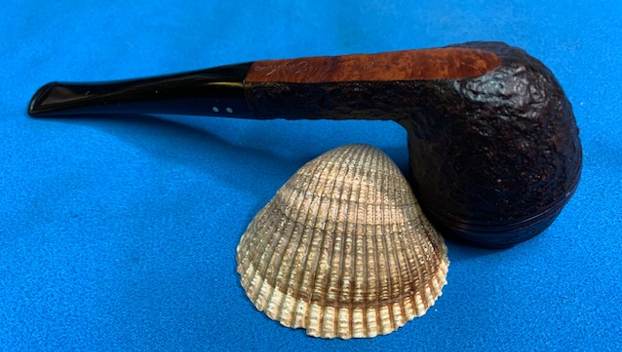
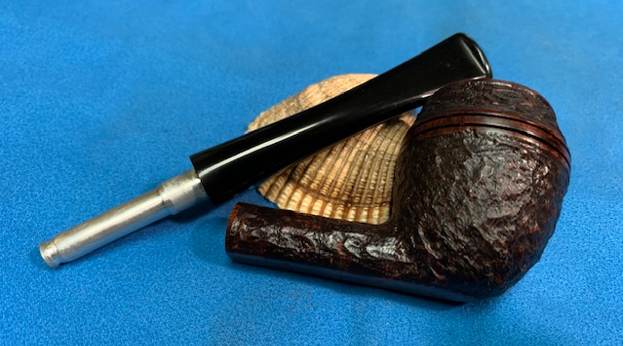
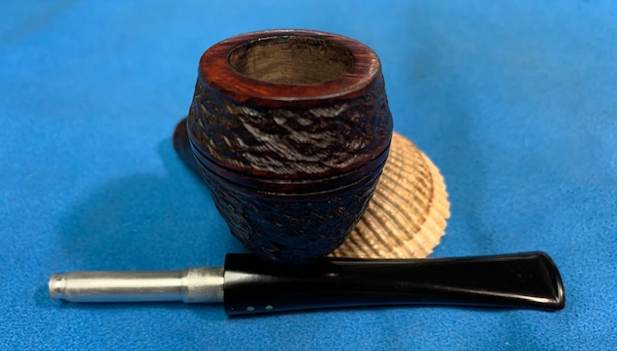
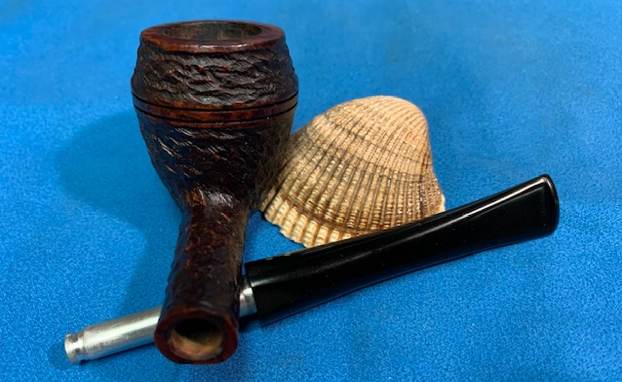
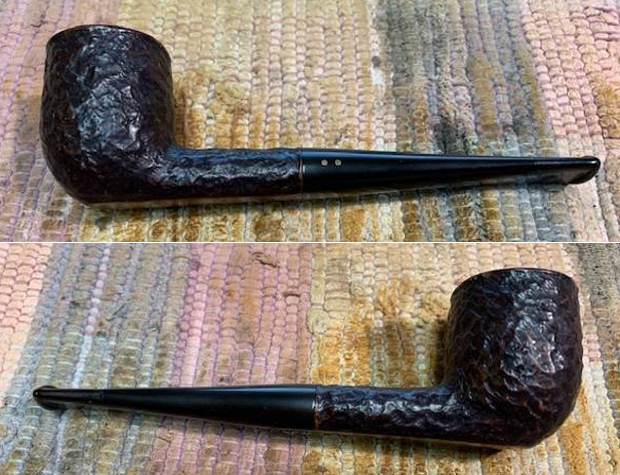
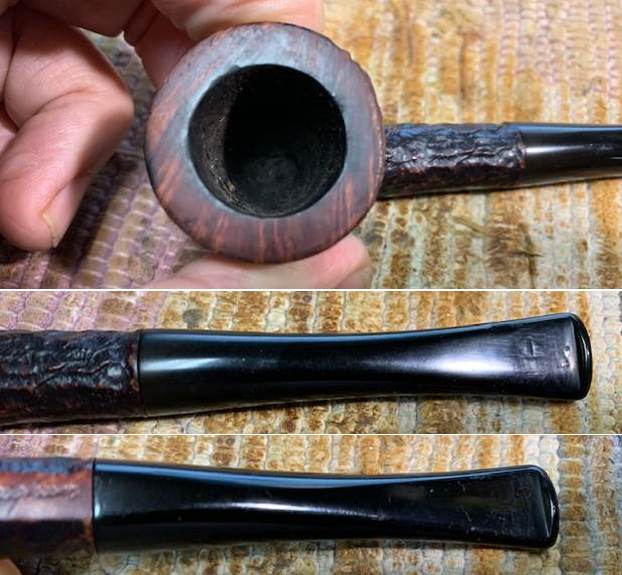
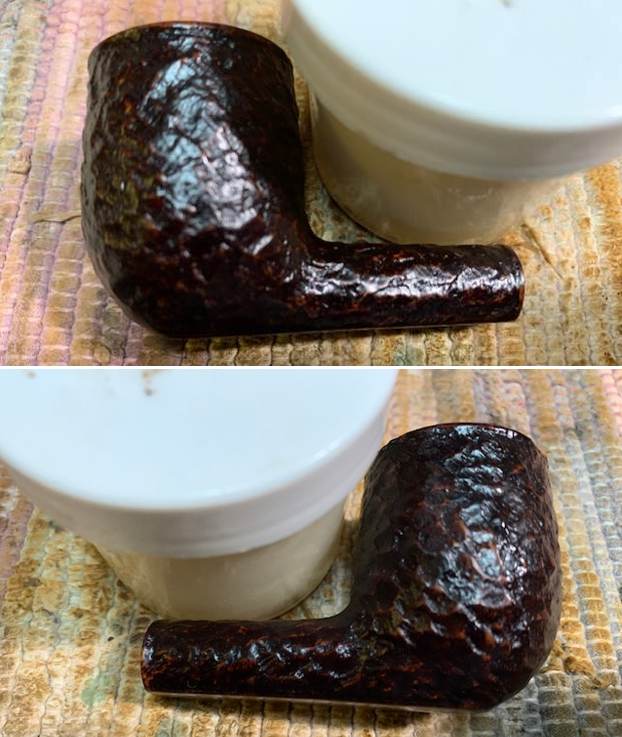
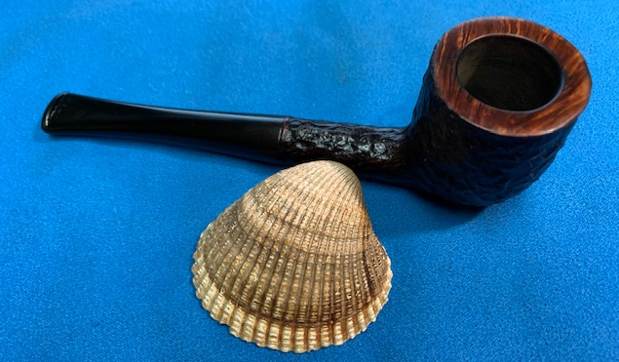
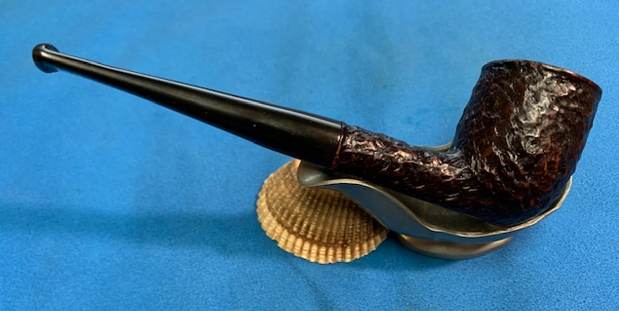
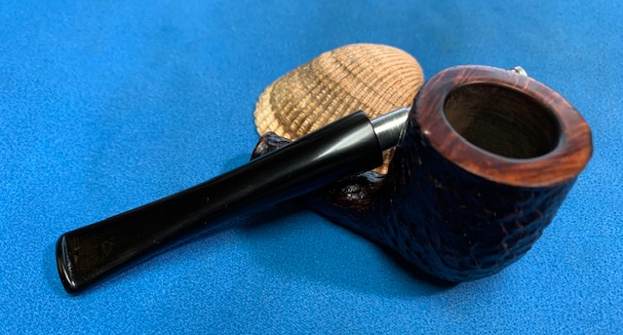
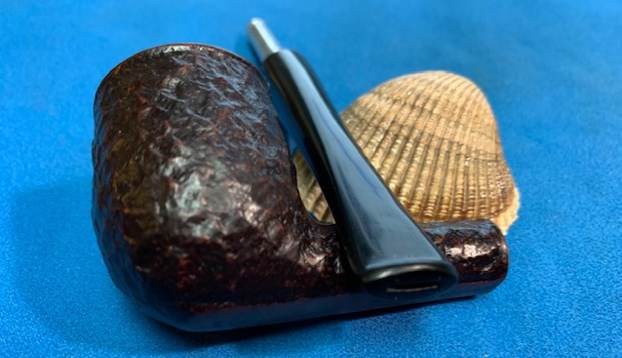
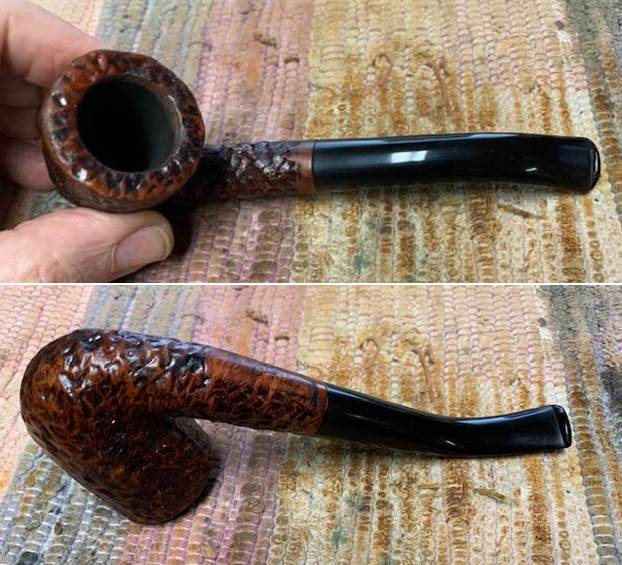
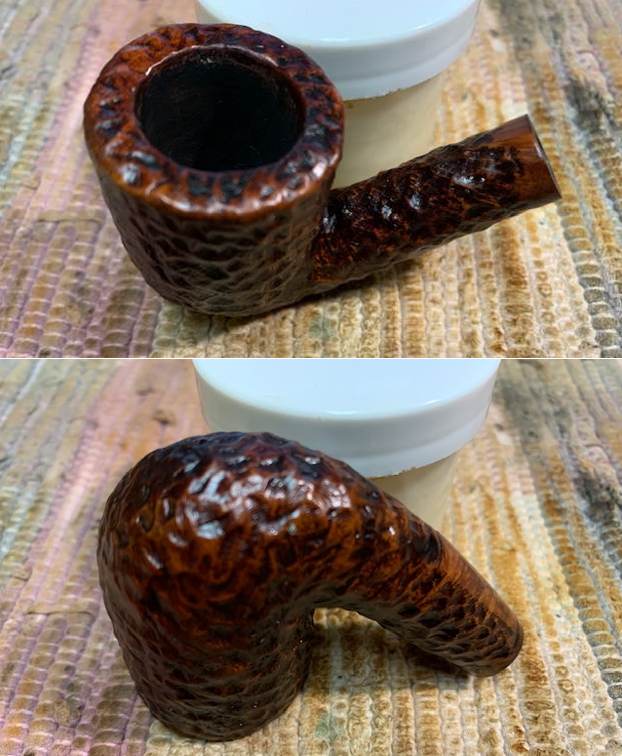
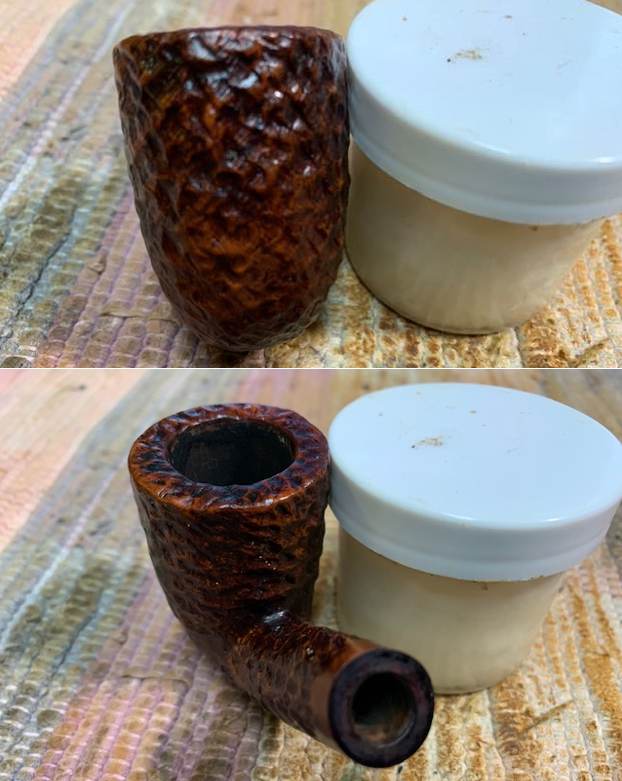
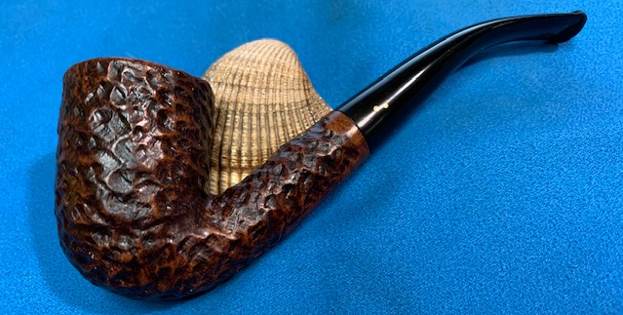
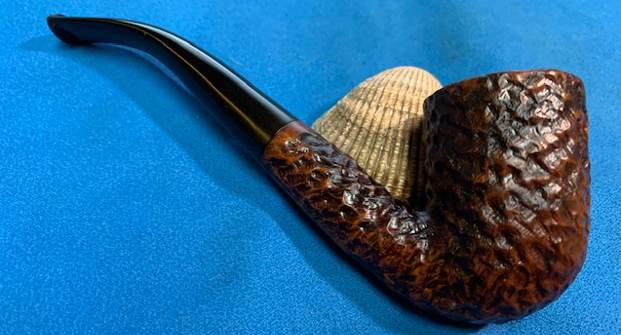
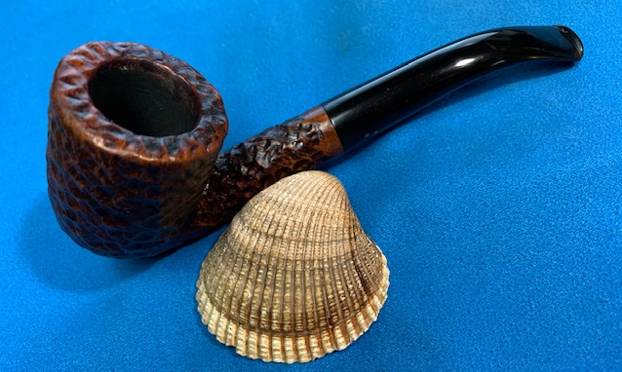
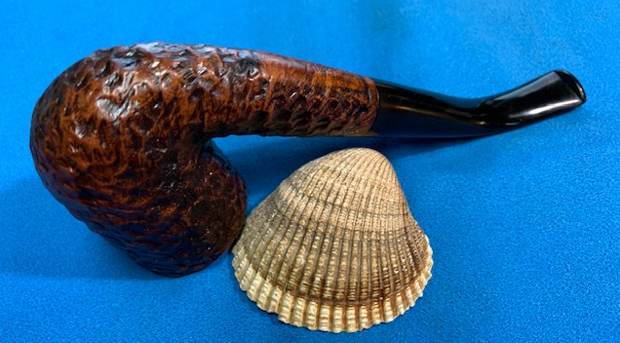
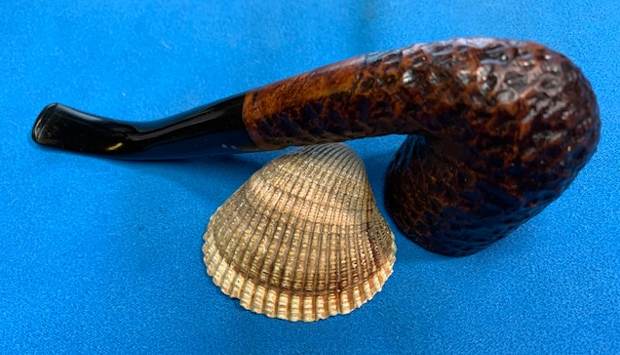
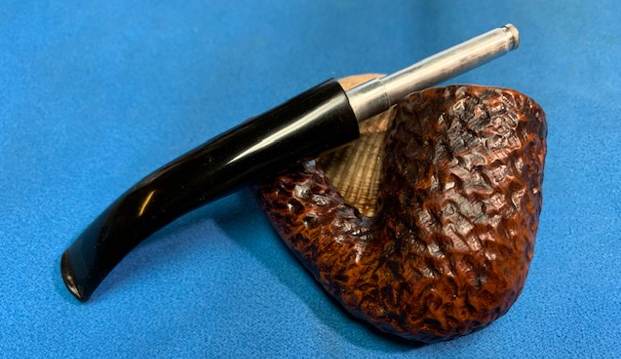
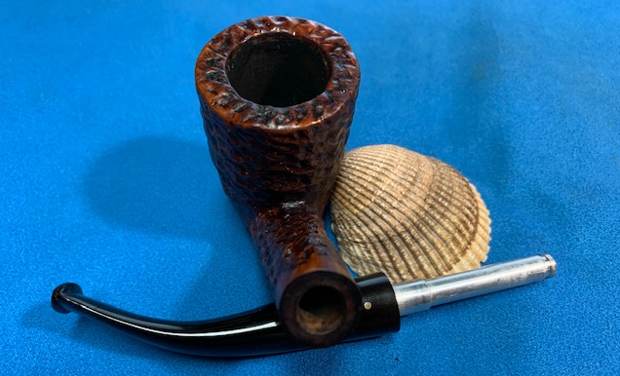
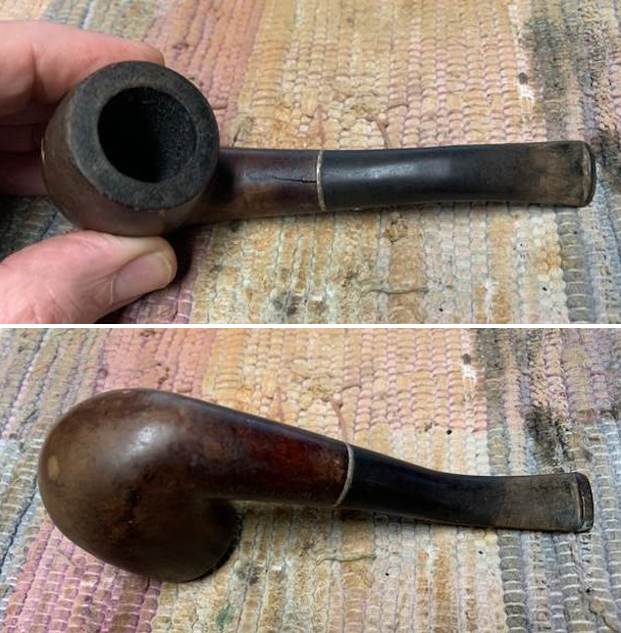
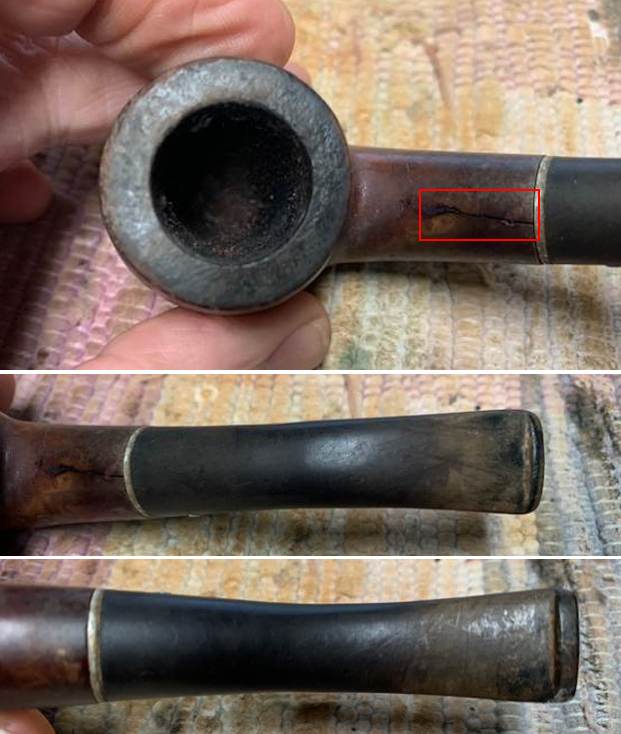
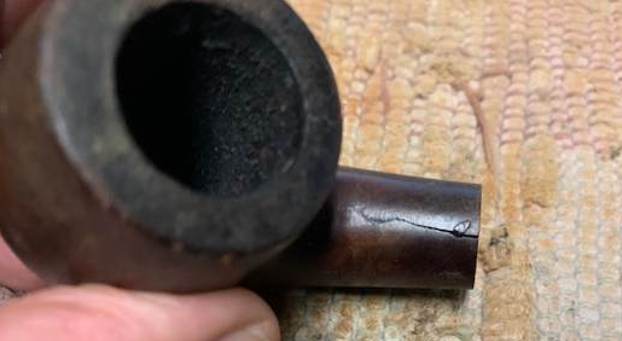
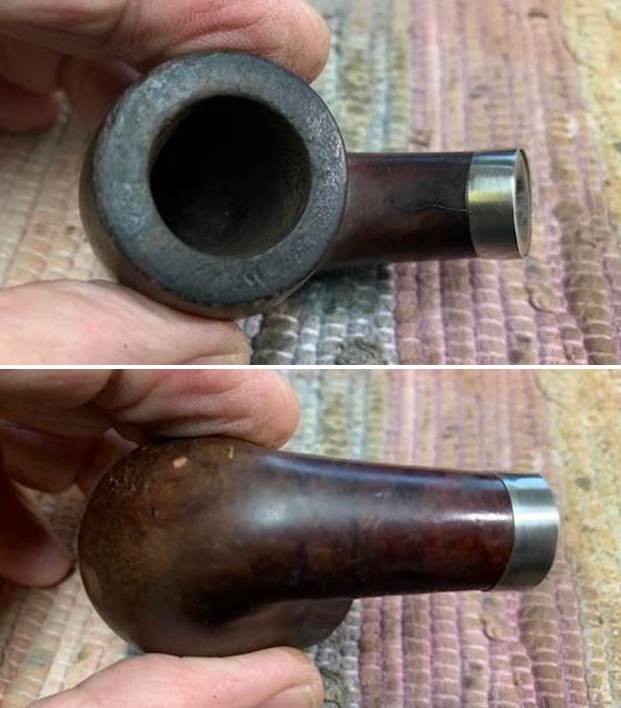
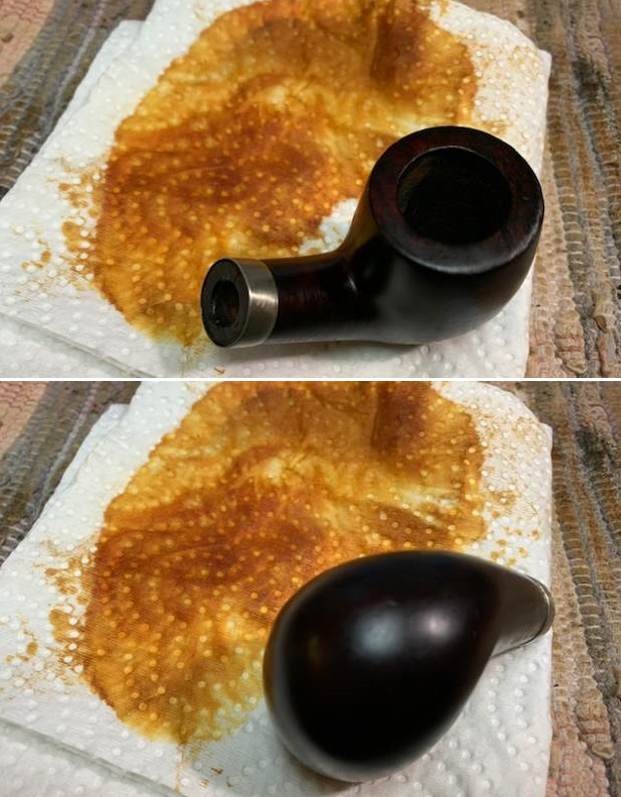
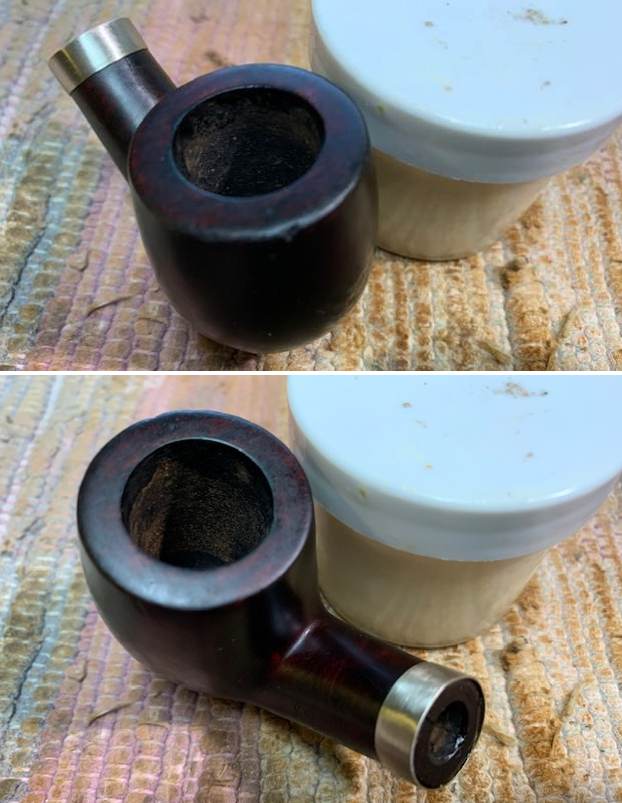
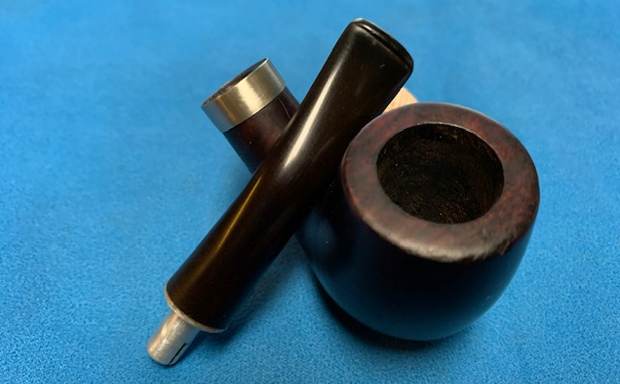
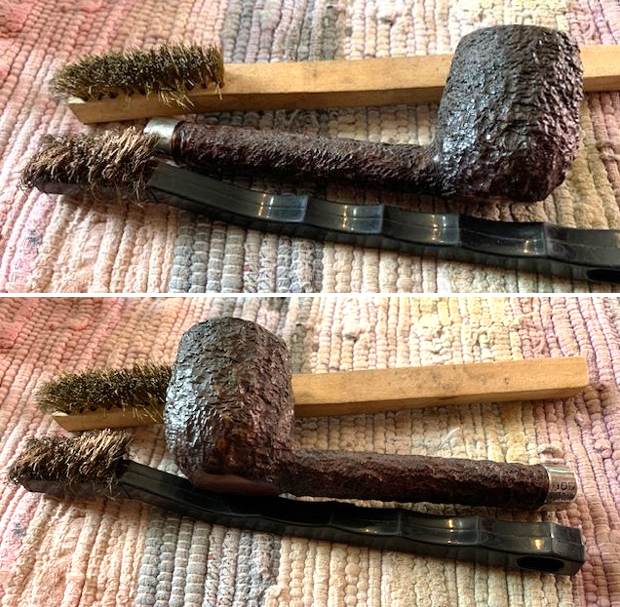
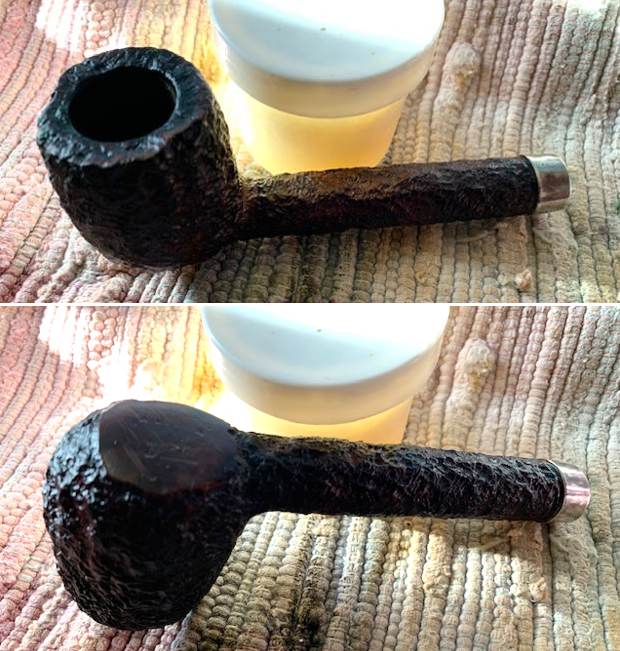
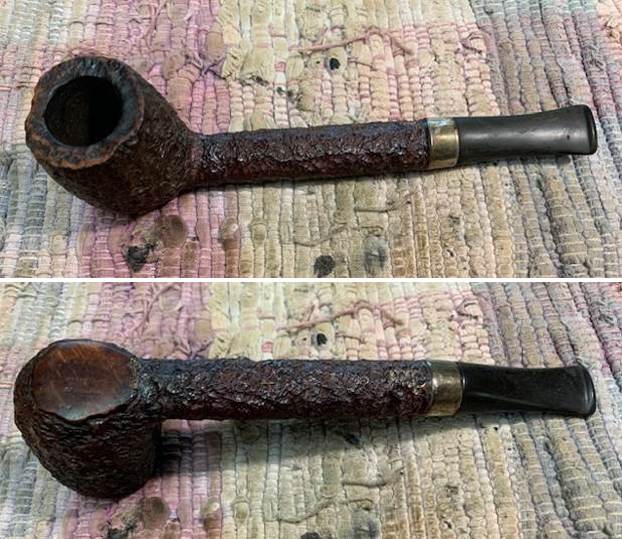 I took photos of the rim top and the bowl to show the condition. The rim top was rusticated and uneven looking. There was some grime and debris in the rustication on back of the rim top. The inner edge was in decent condition. I also took photos of both sides of the stem to show the light oxidation and tooth chatter. Over all the pipe was in good condition.
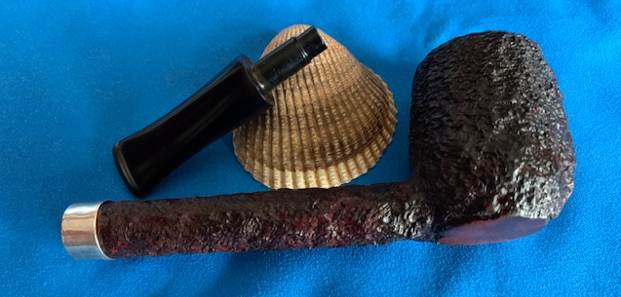
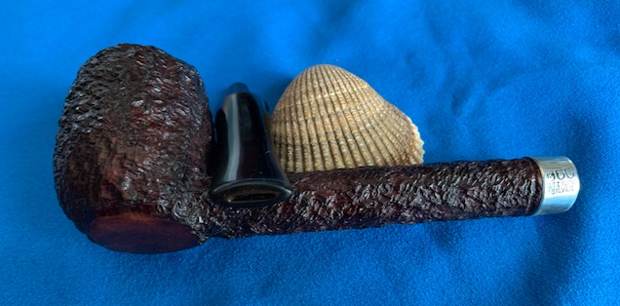
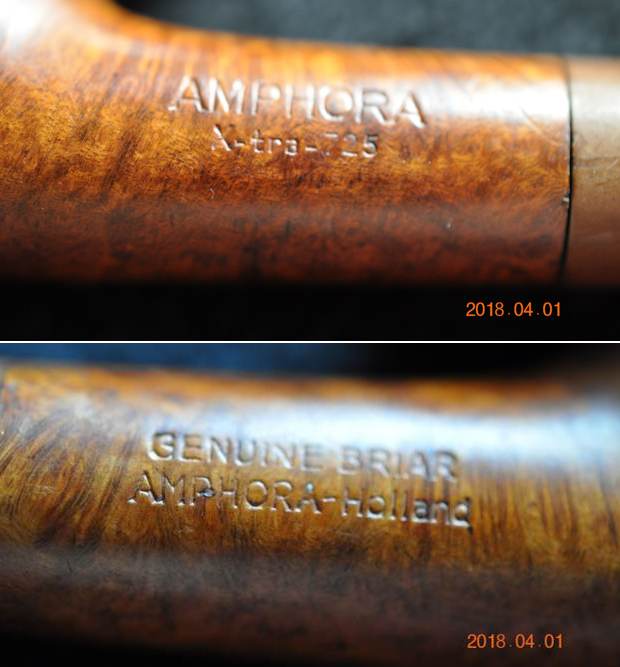
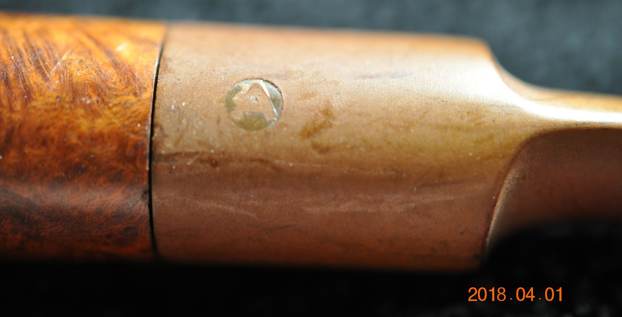
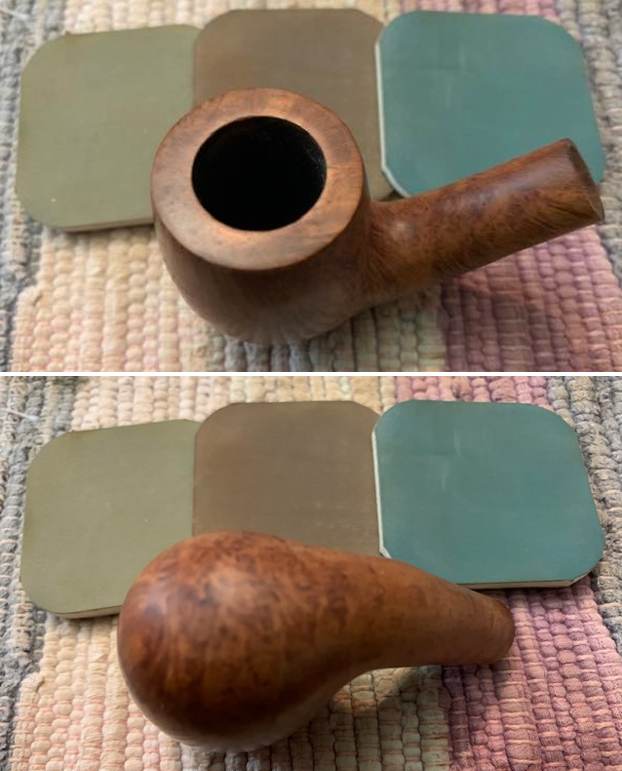
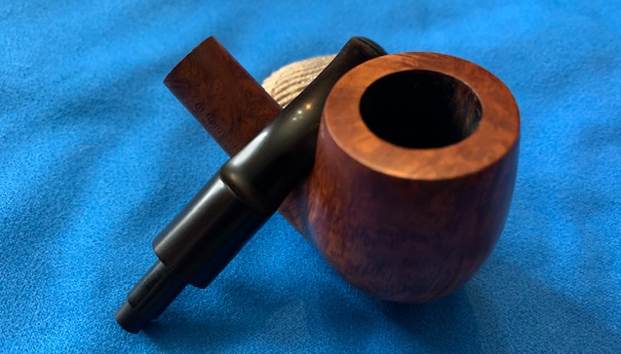
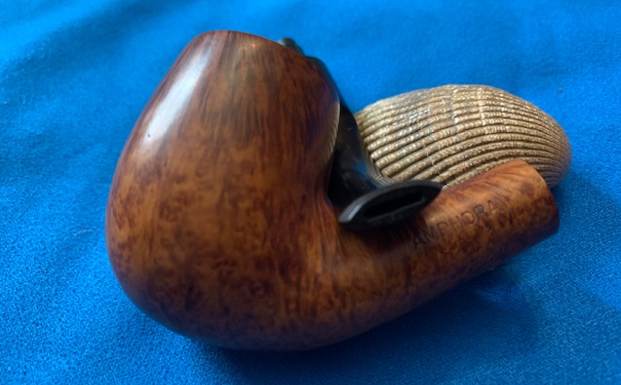
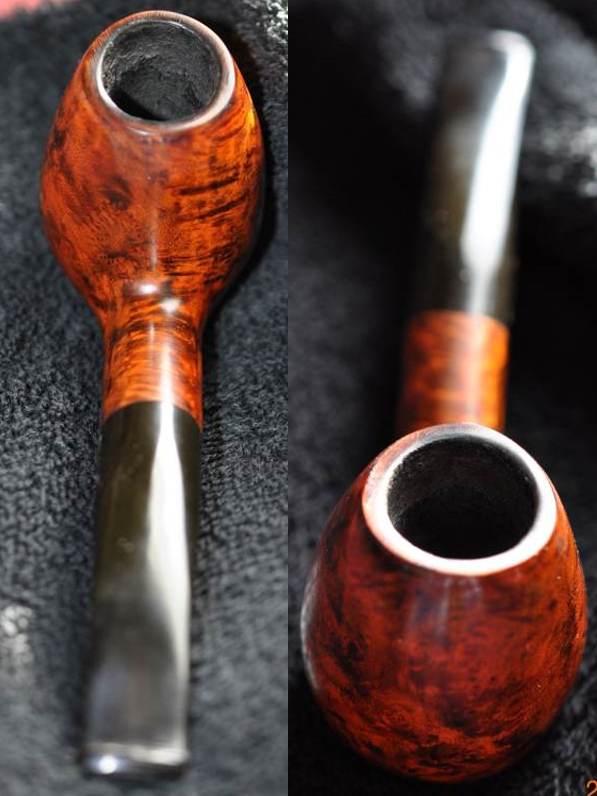
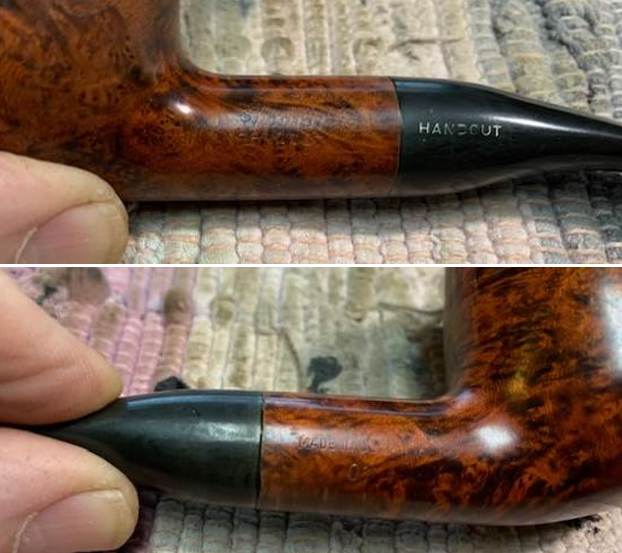
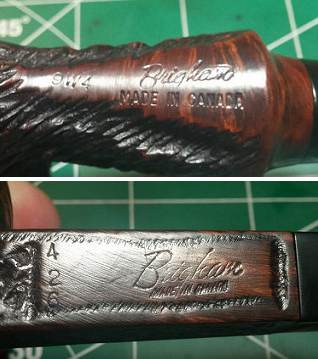
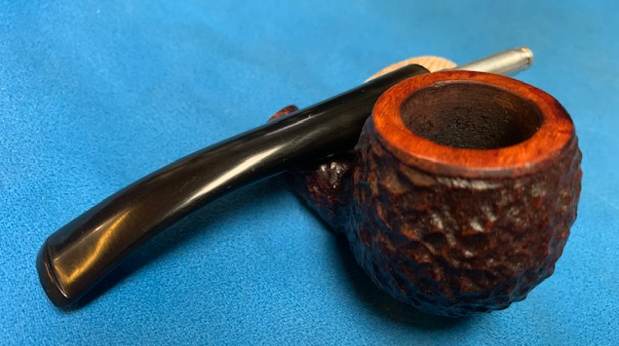
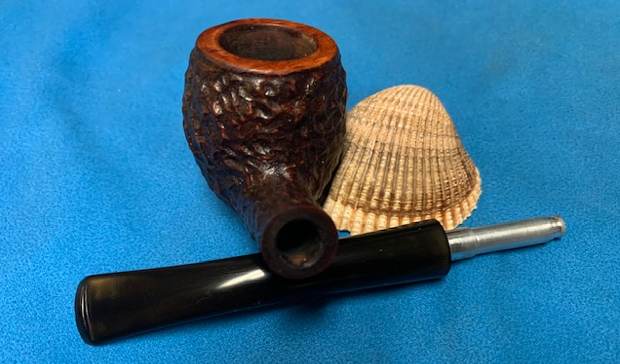
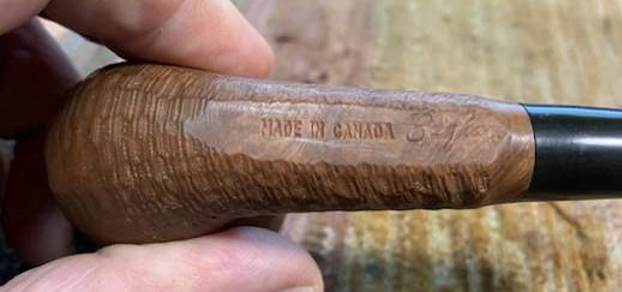
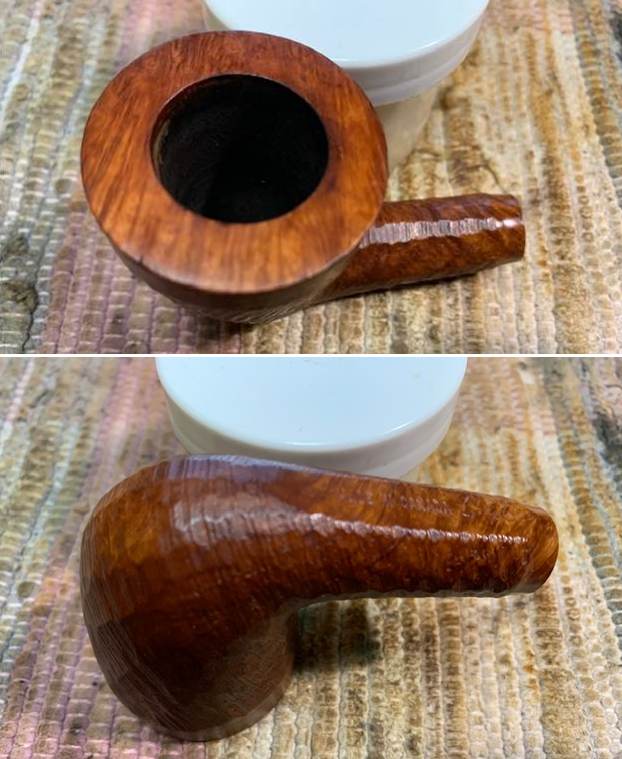
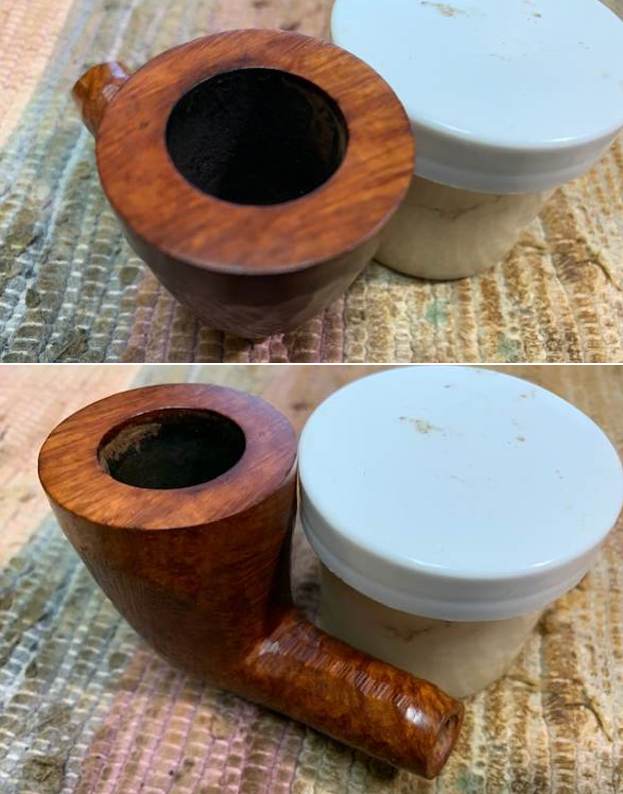
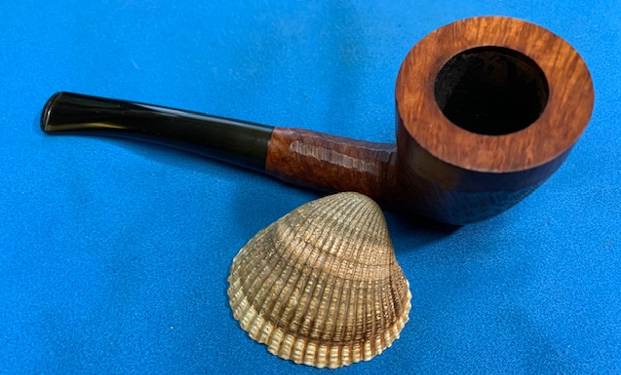
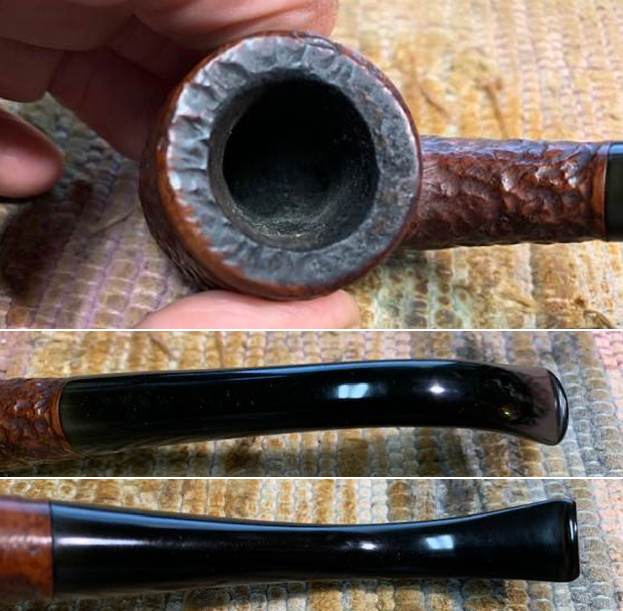
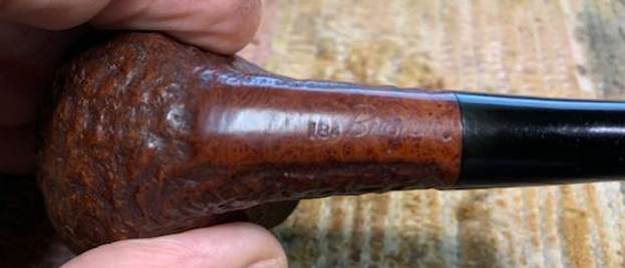
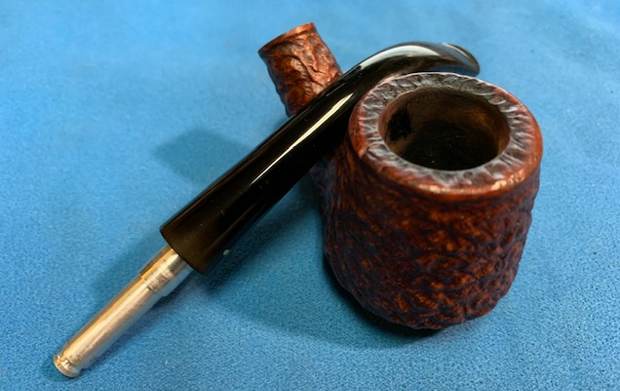
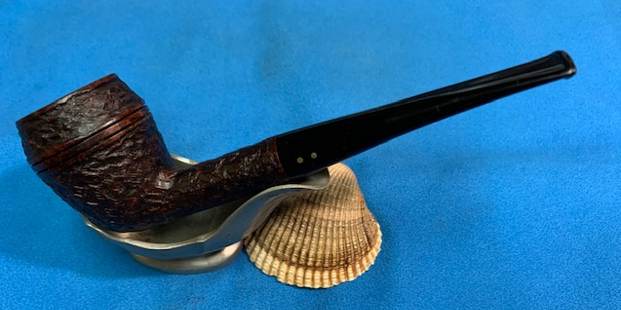
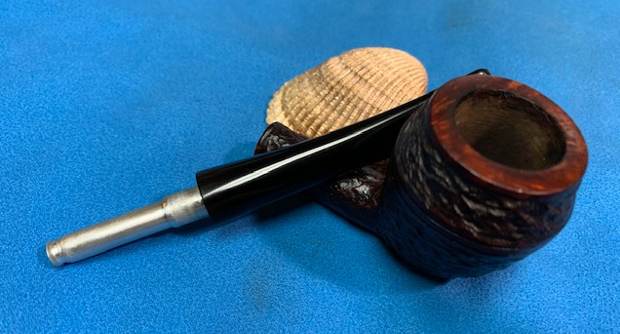
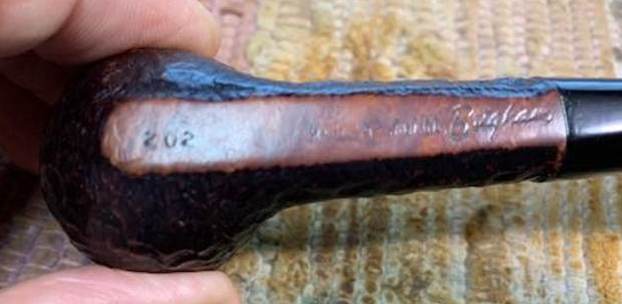
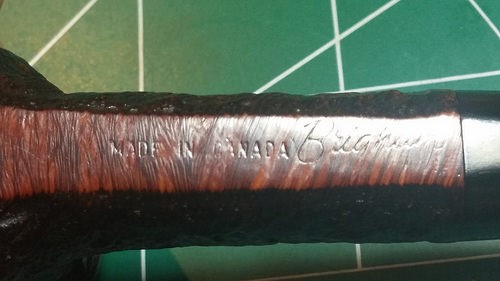
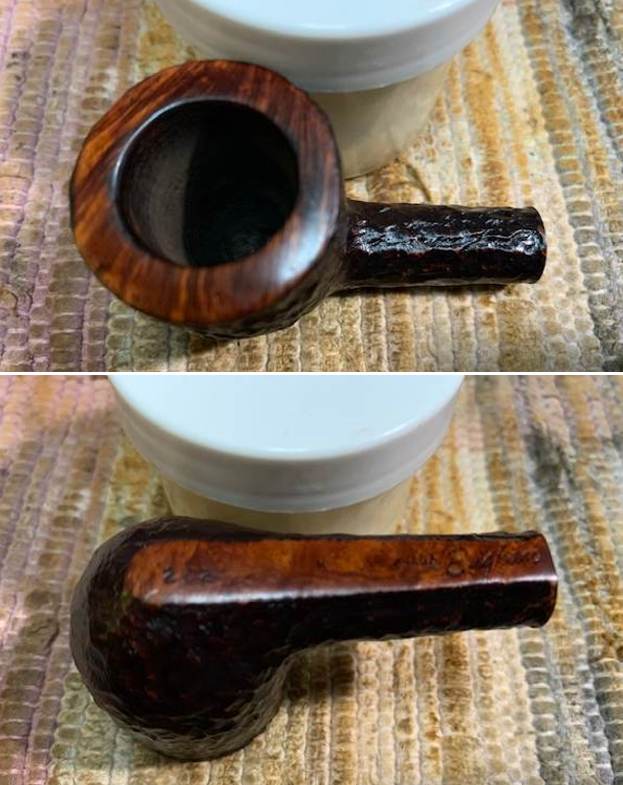
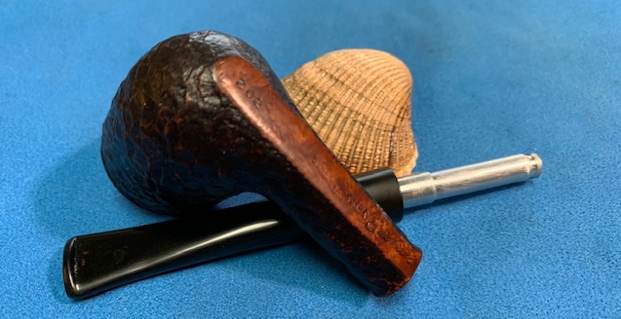
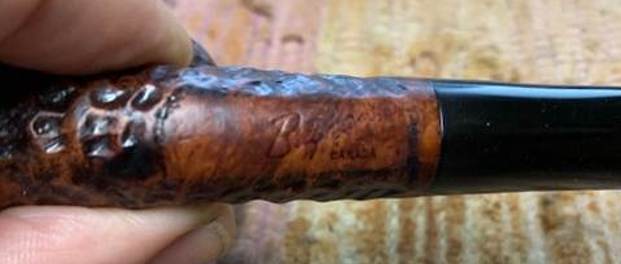
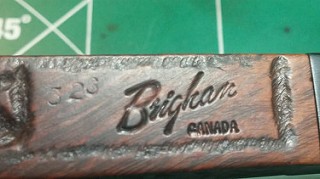
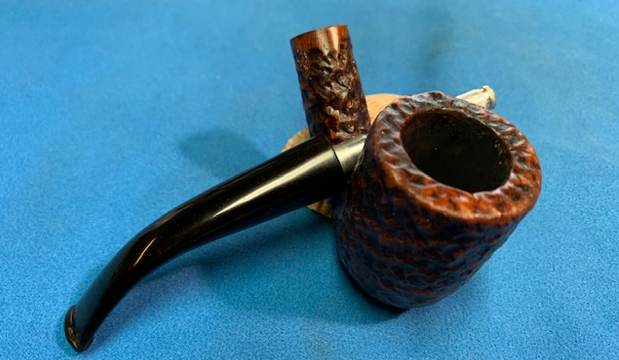
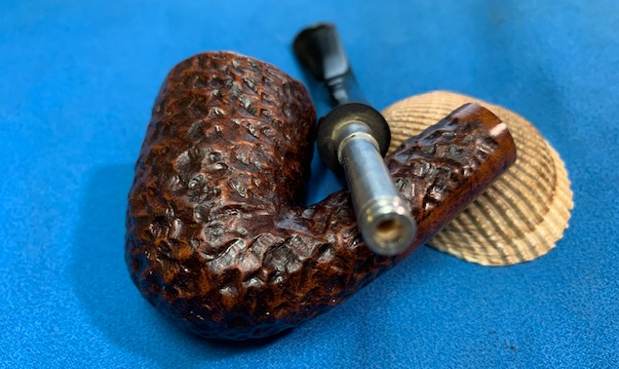
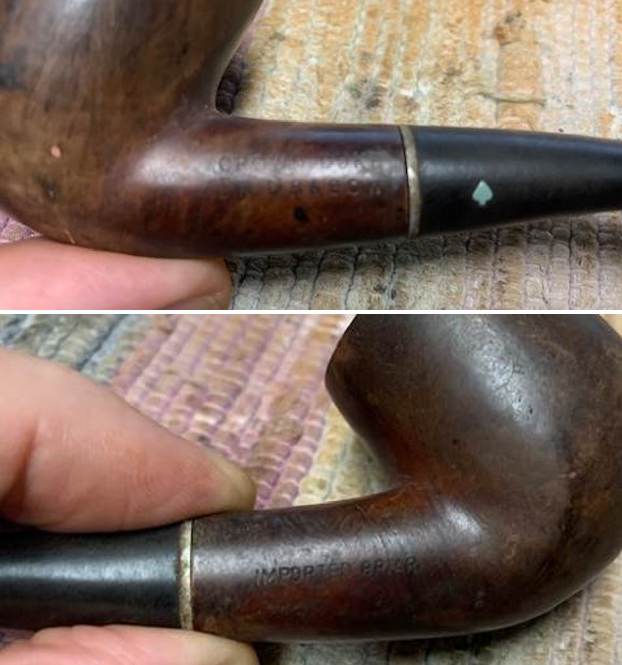
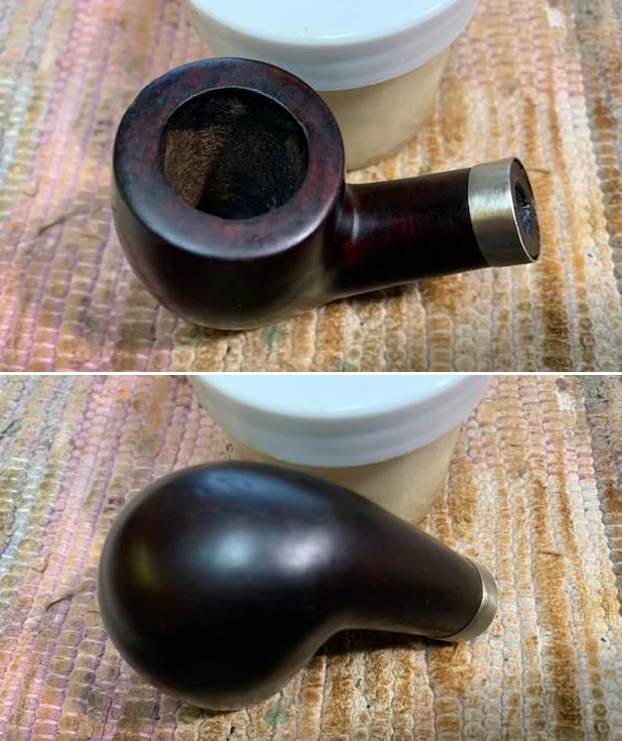
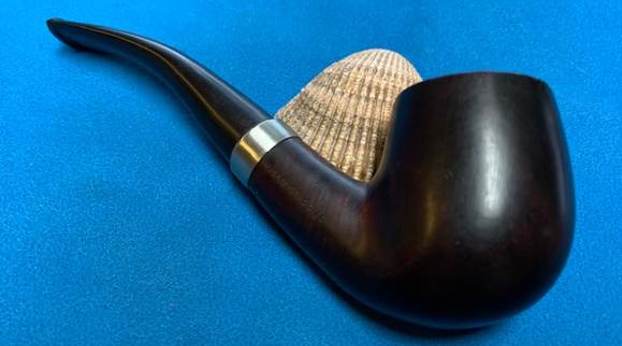
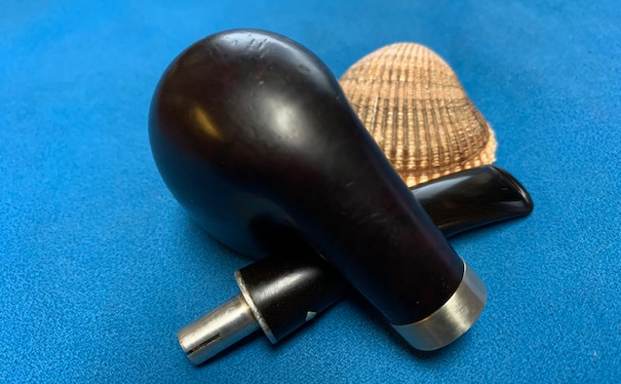
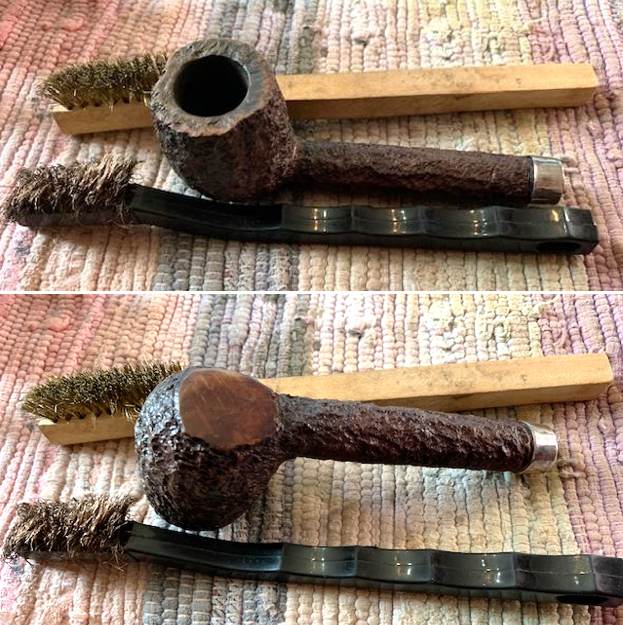
  I took a photo of the stamping on the heel of the bowl and on the silver band on the shank. It is clear and it reads as noted above.
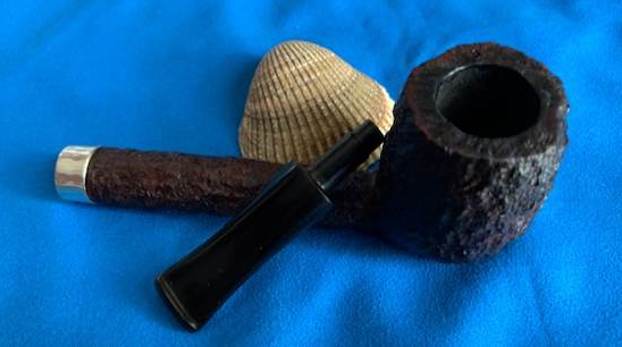
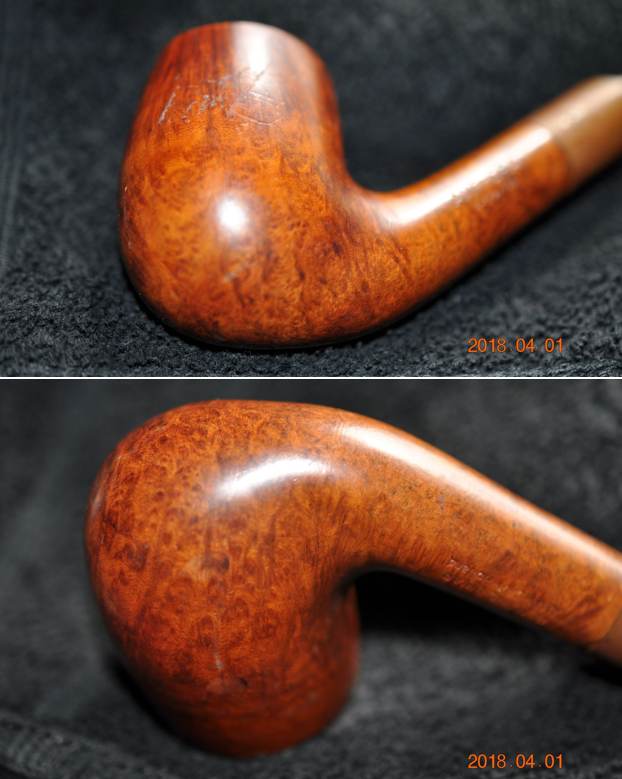
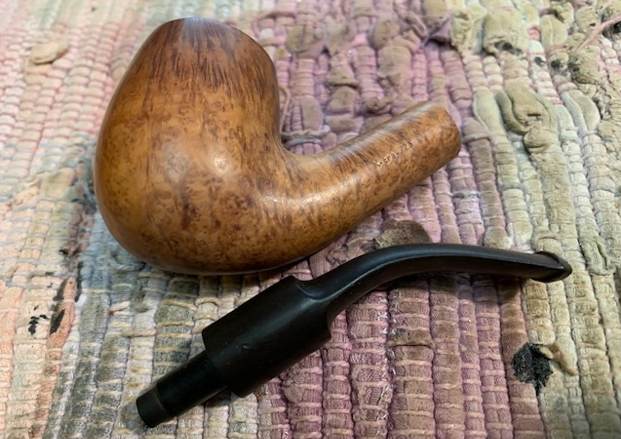
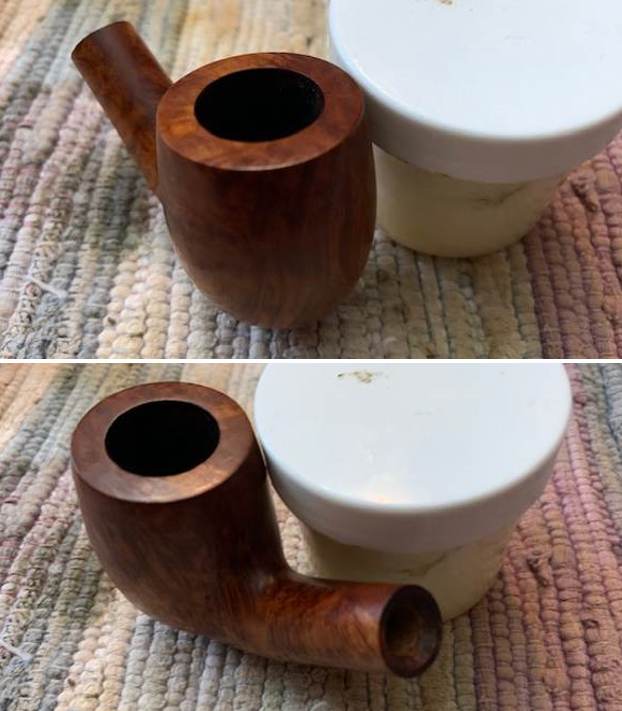
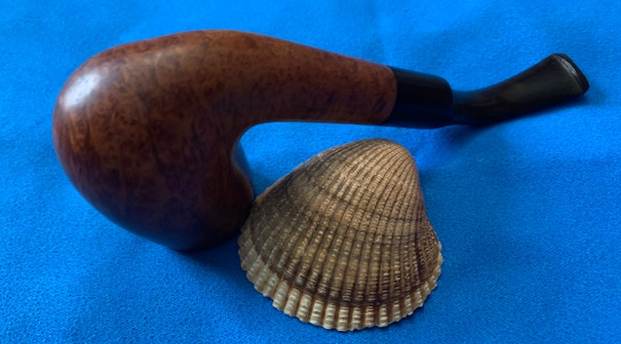
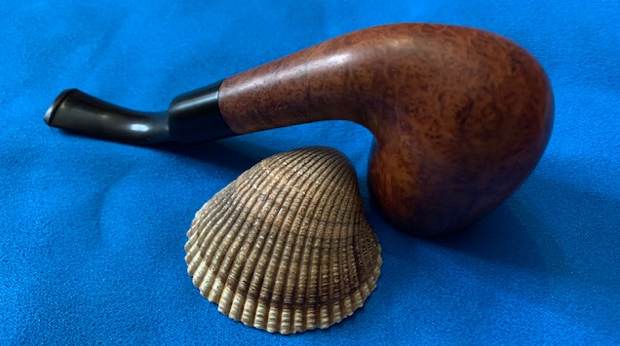
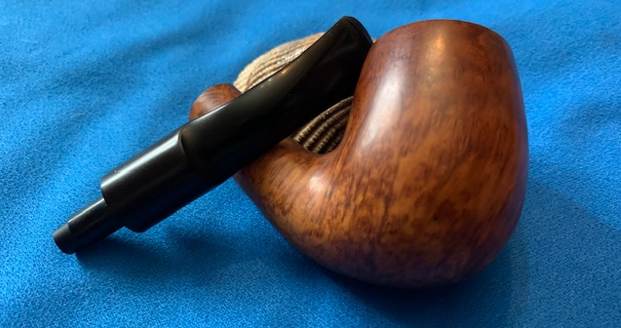
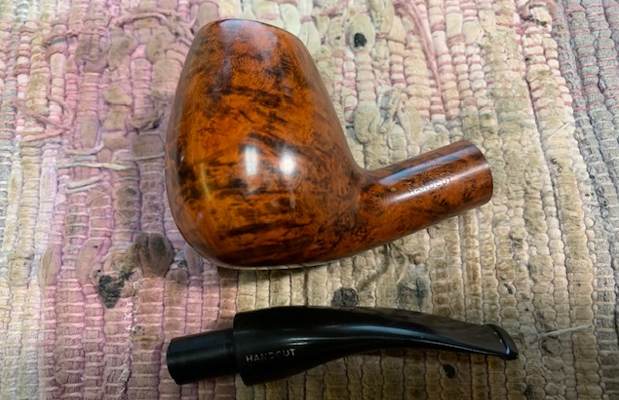
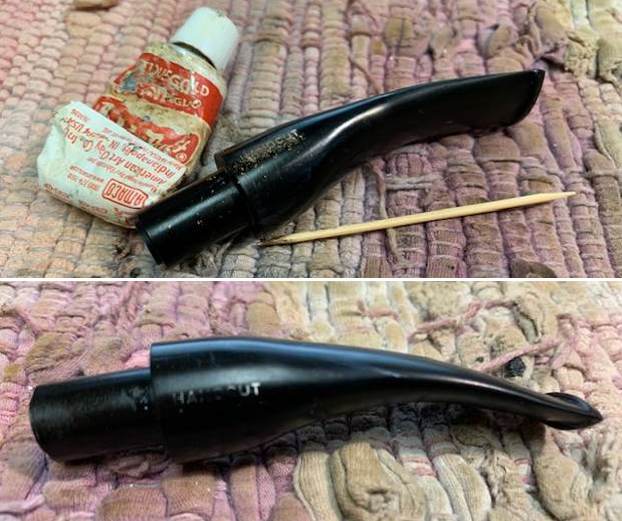
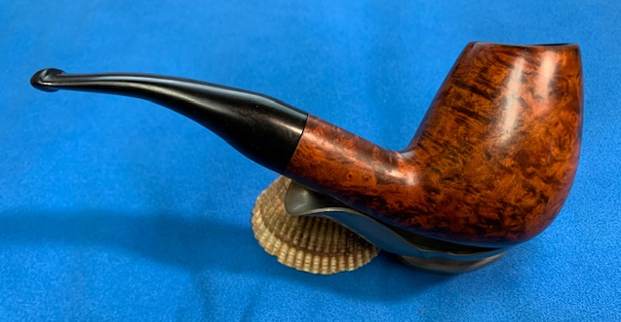
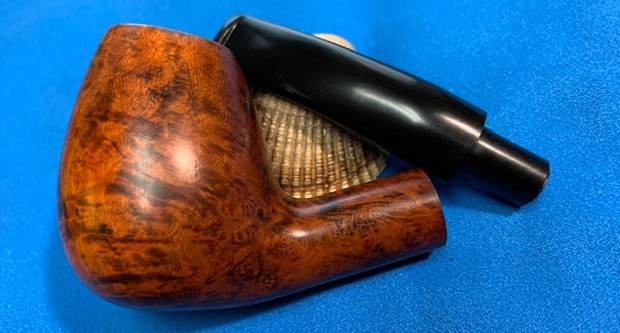
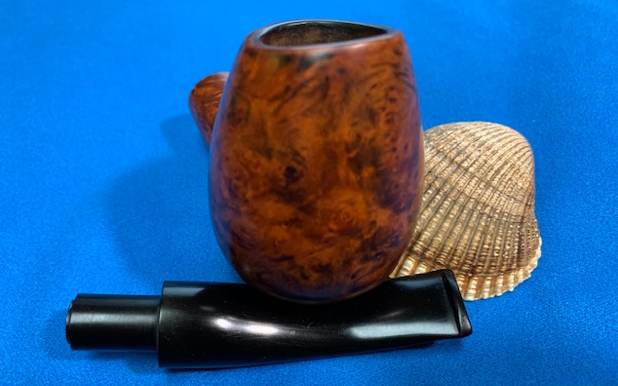
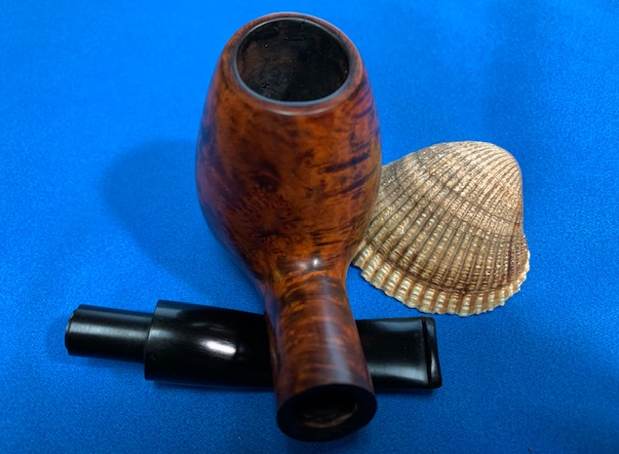
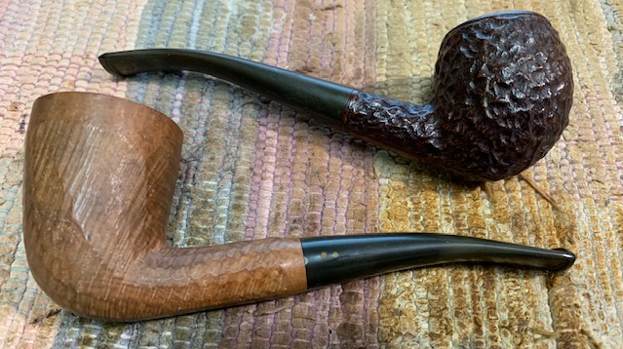
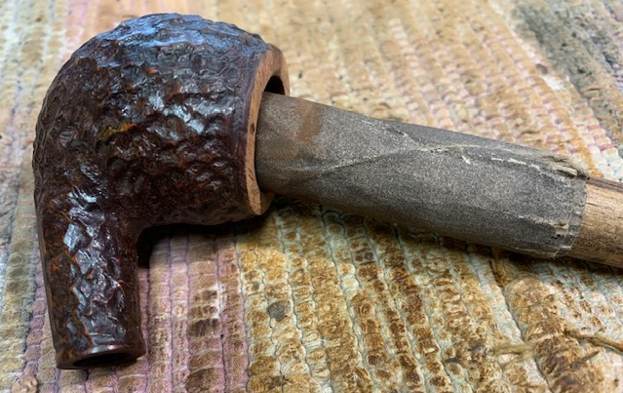
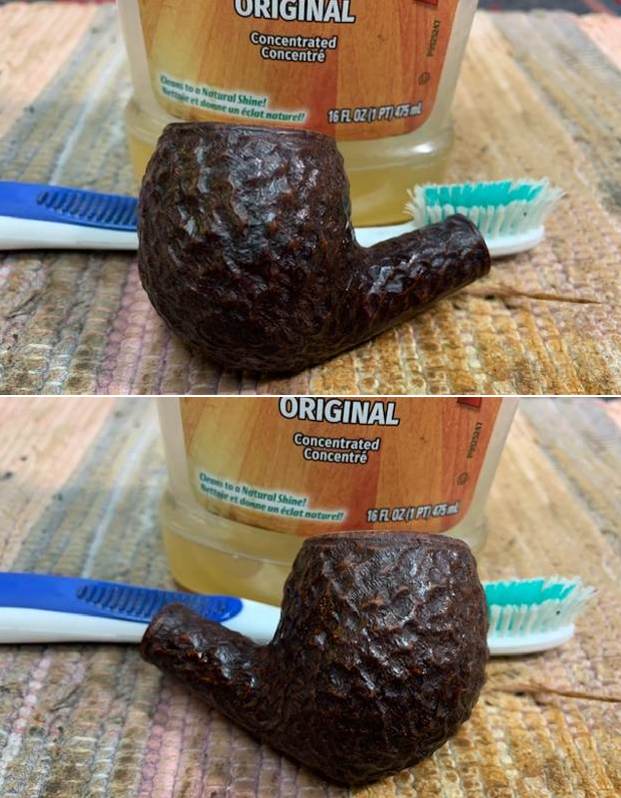
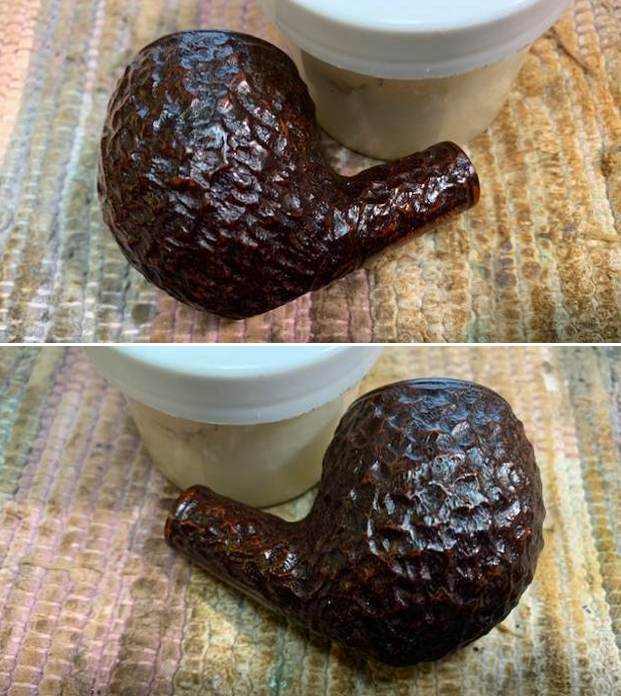
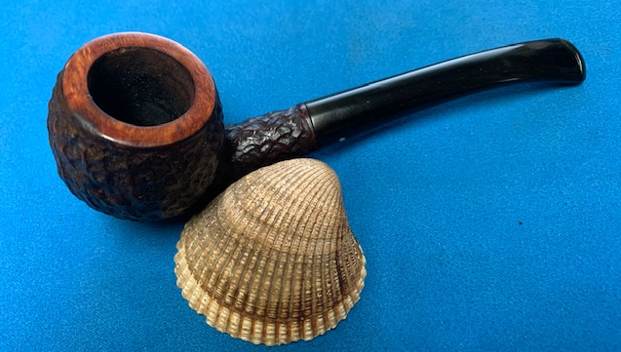
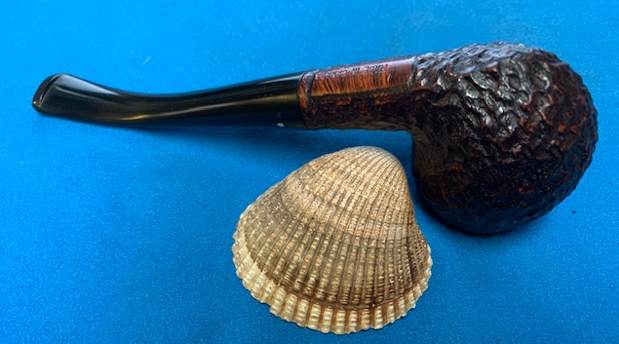
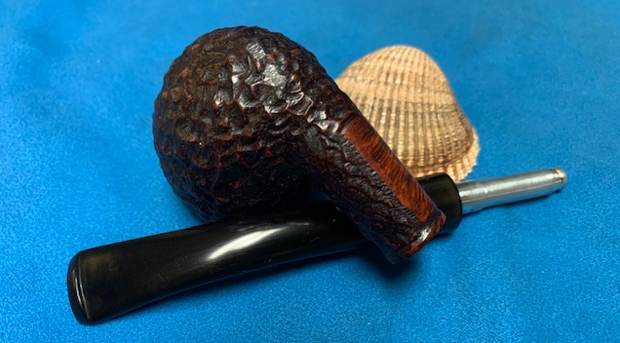
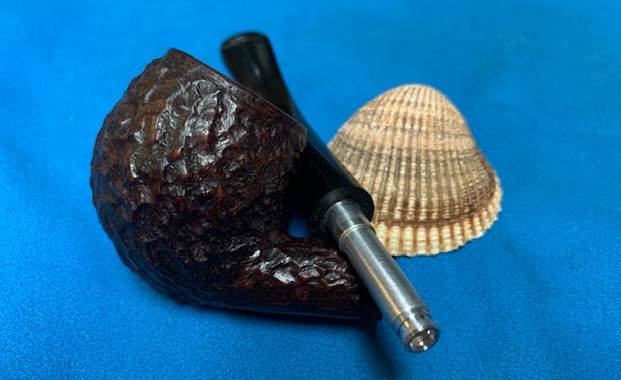
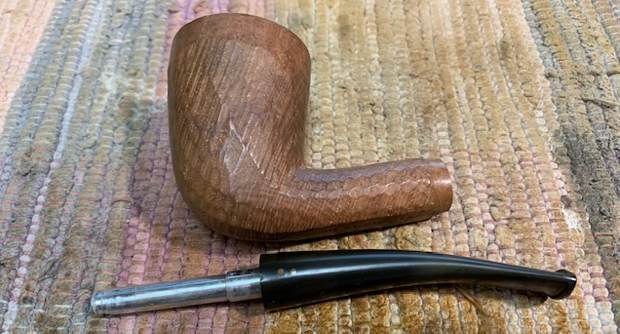
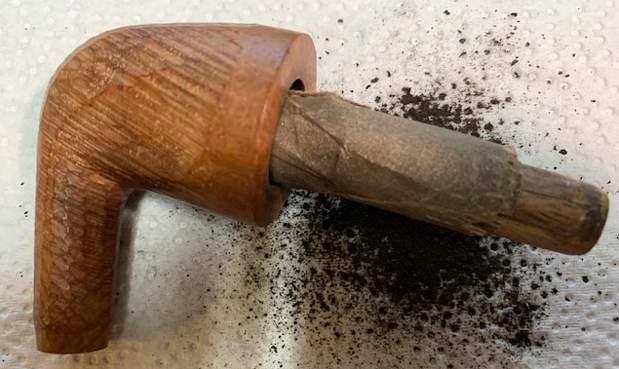
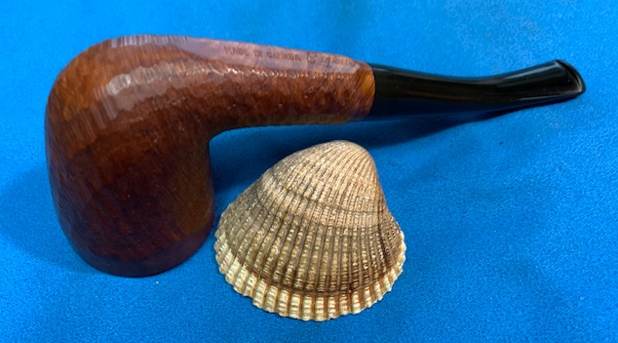
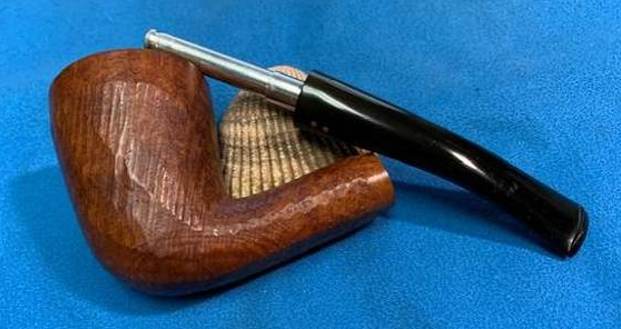
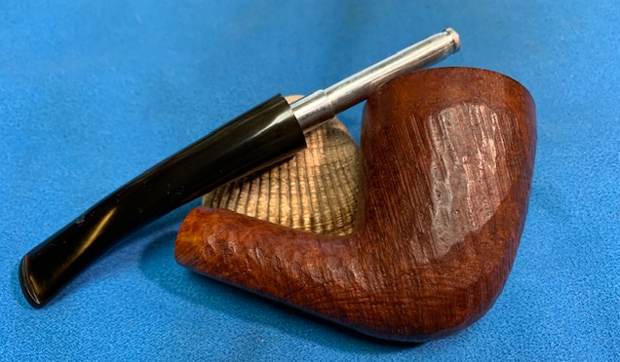
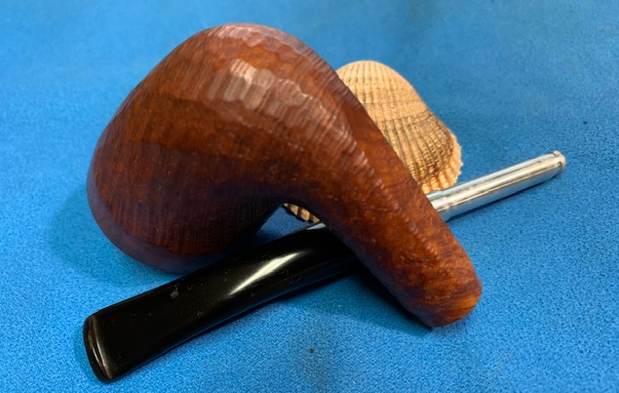
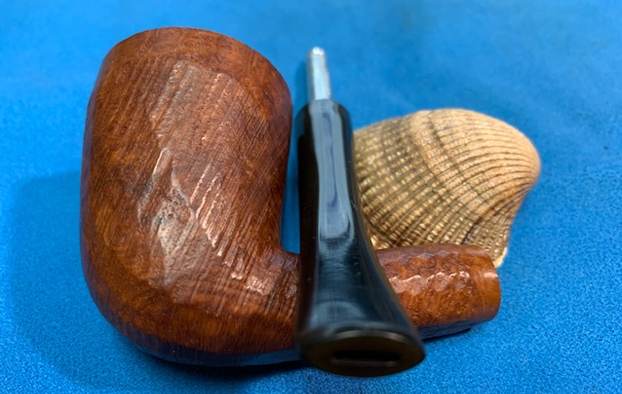
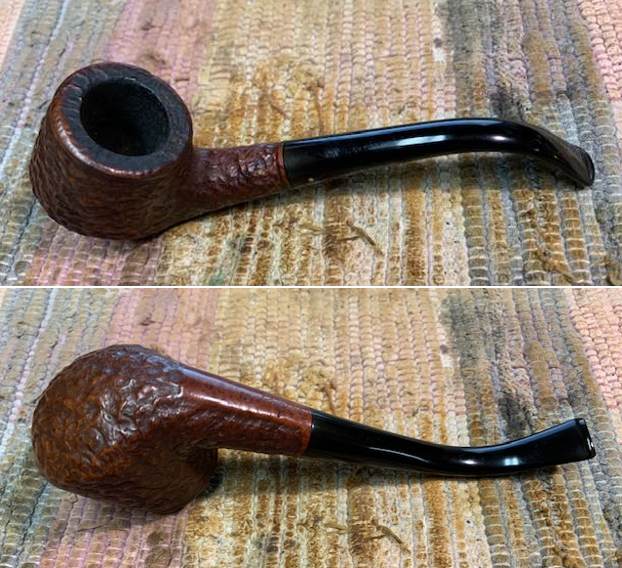
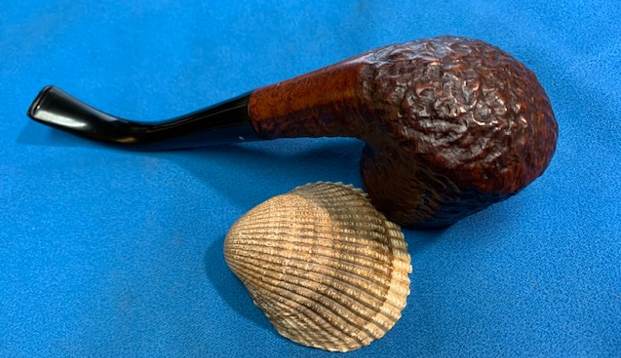
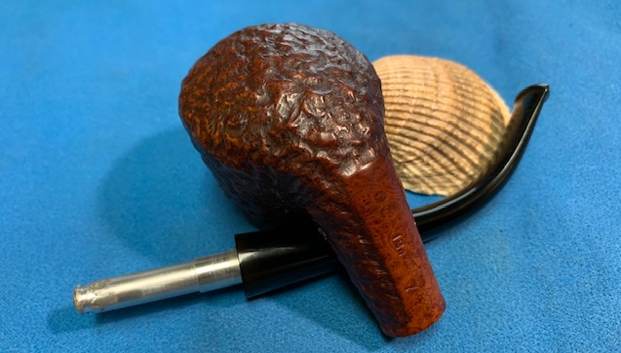
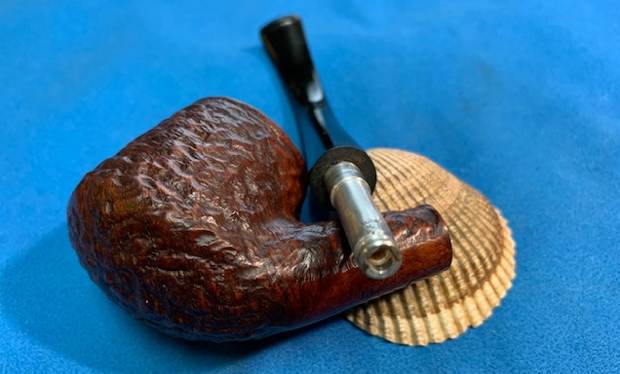
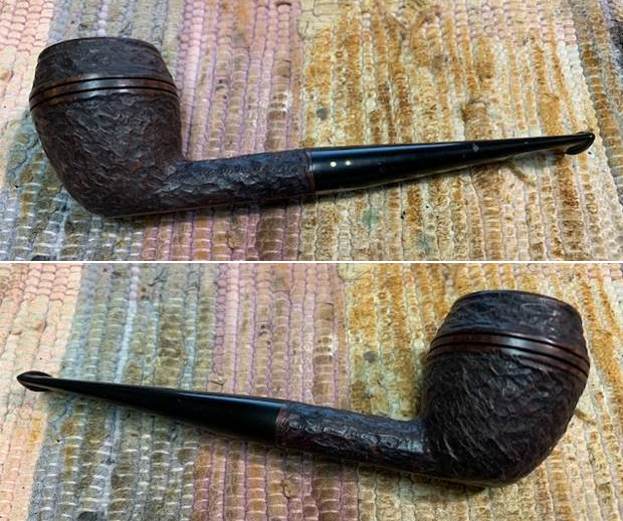
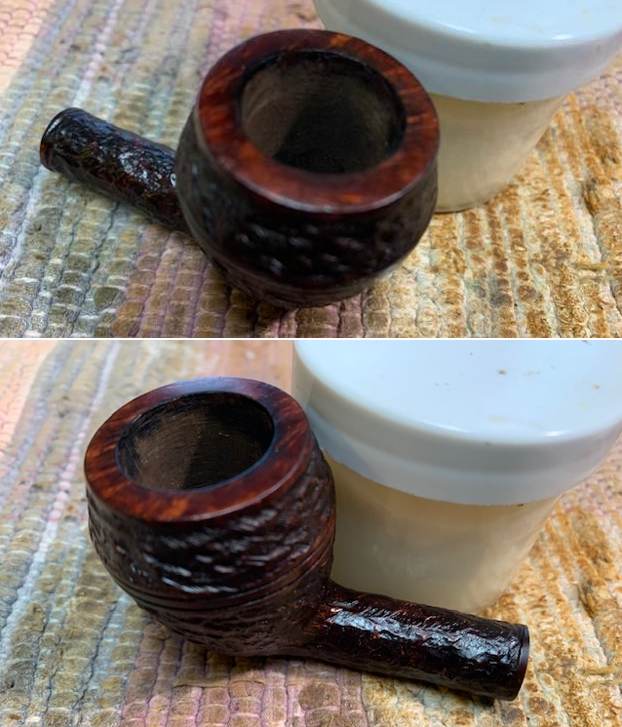
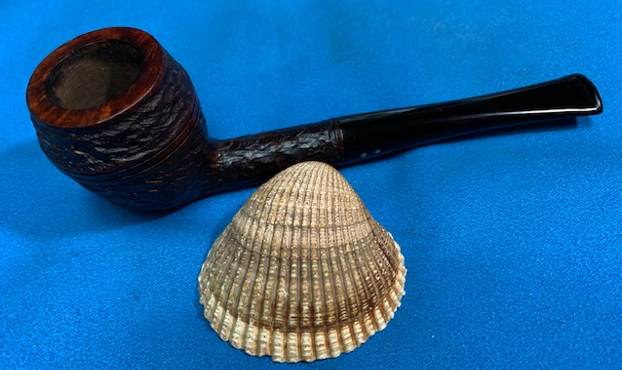
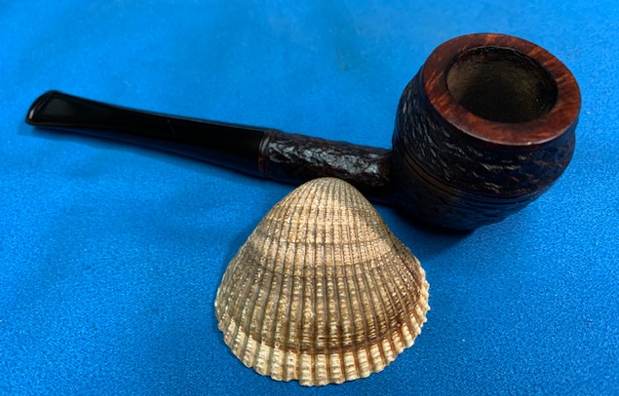
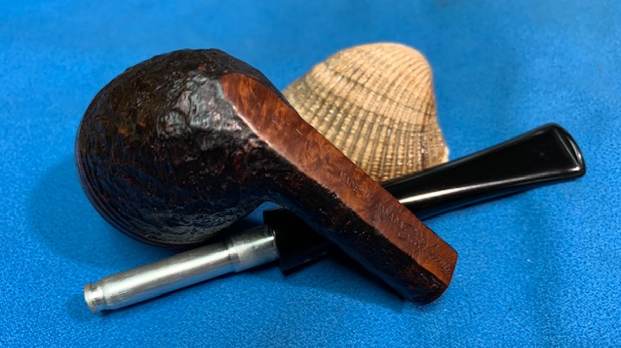
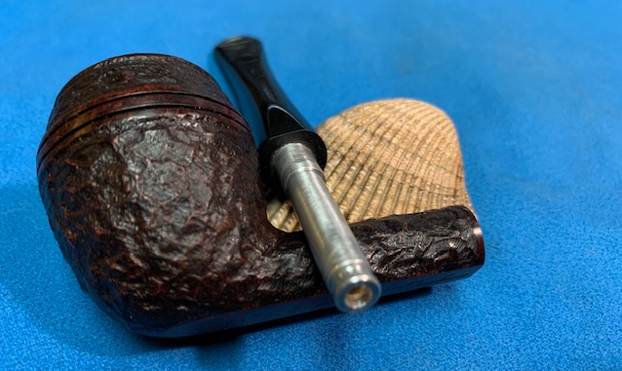
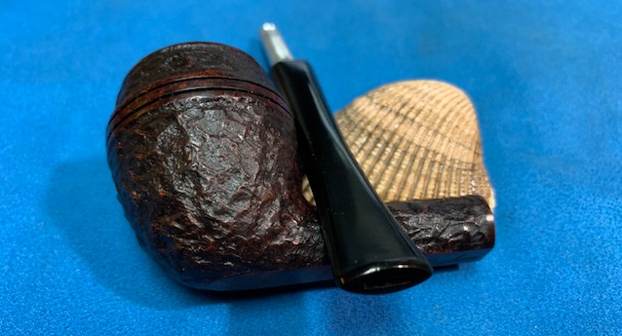
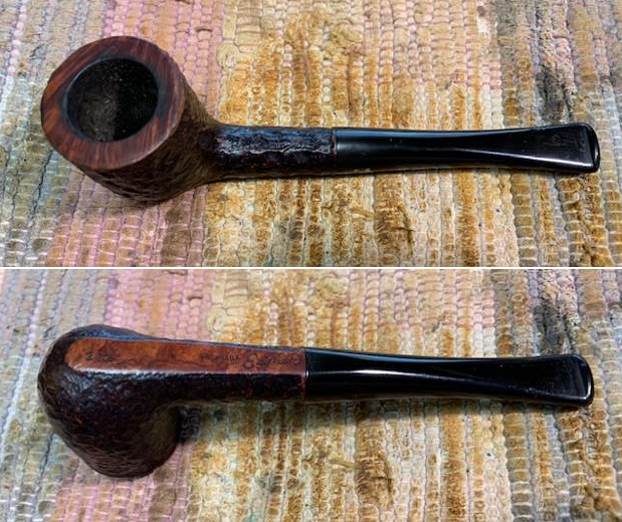
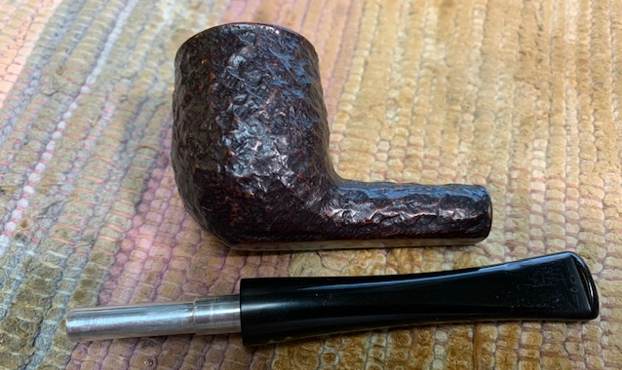
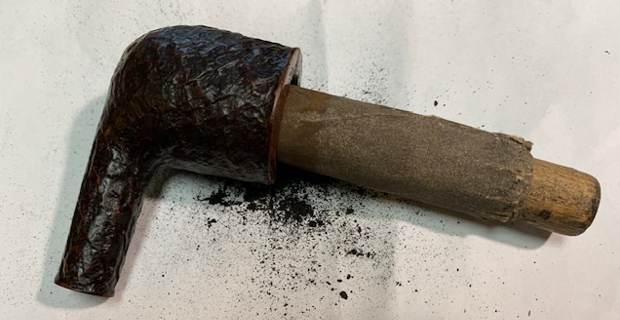
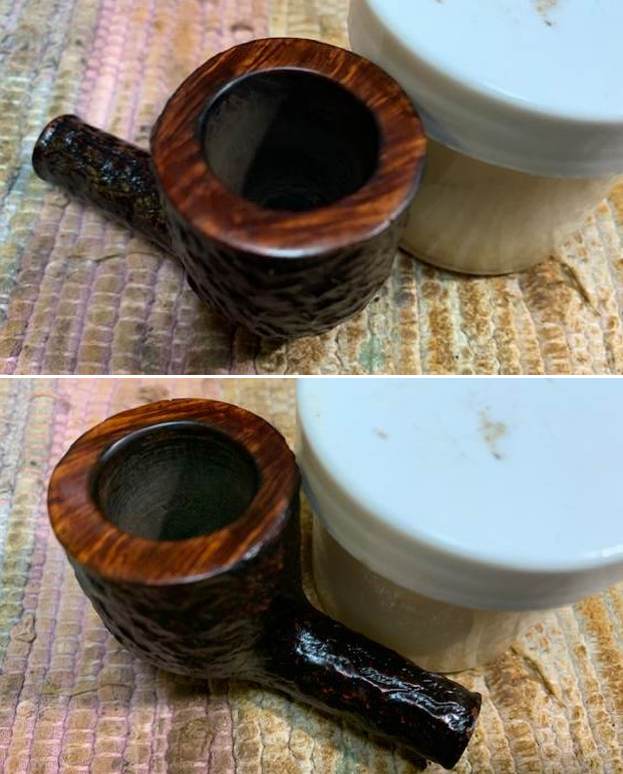
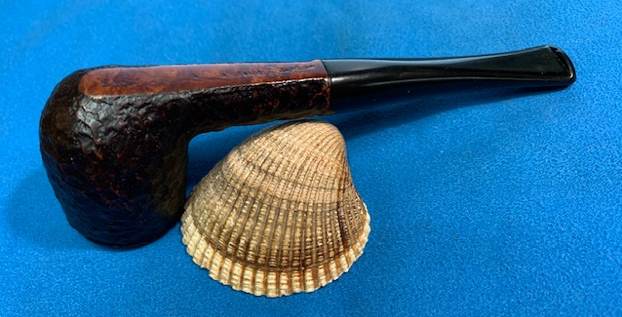
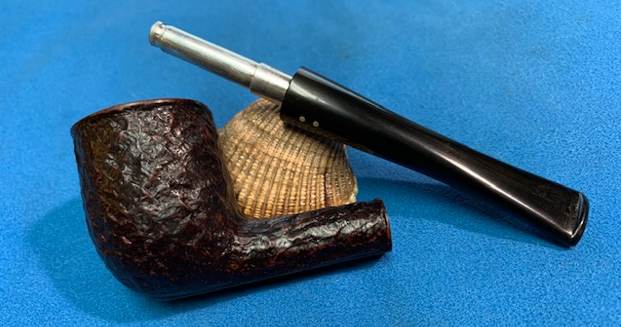
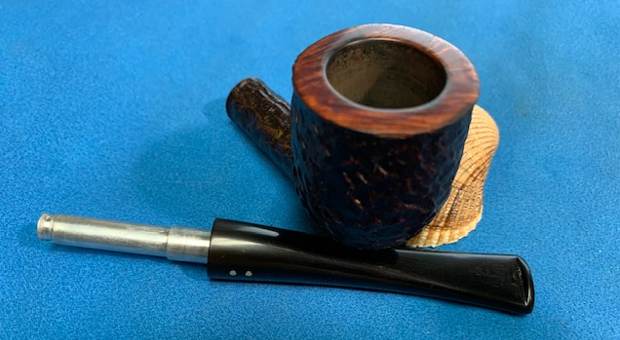
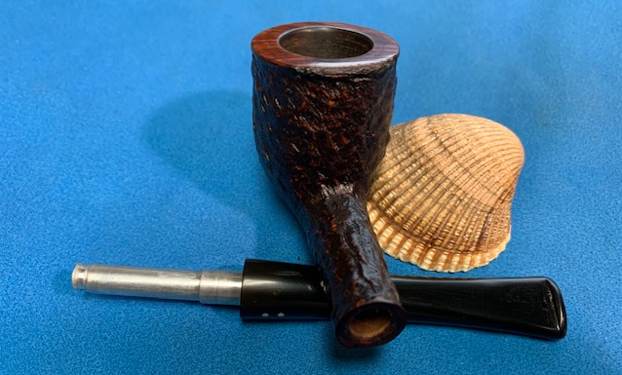
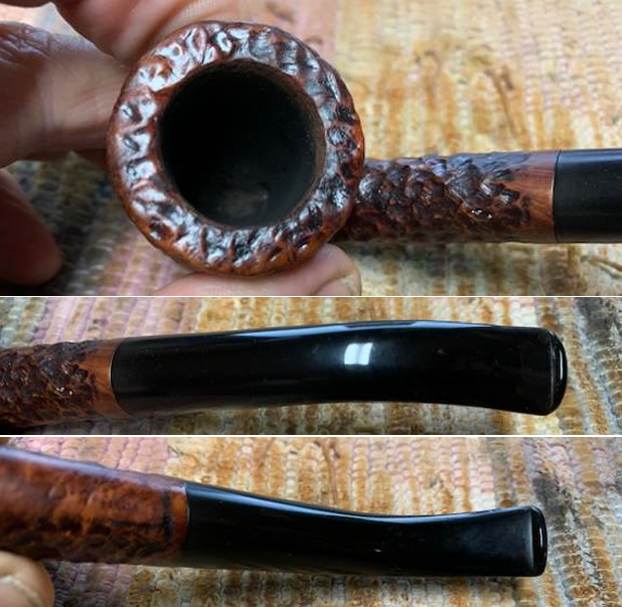
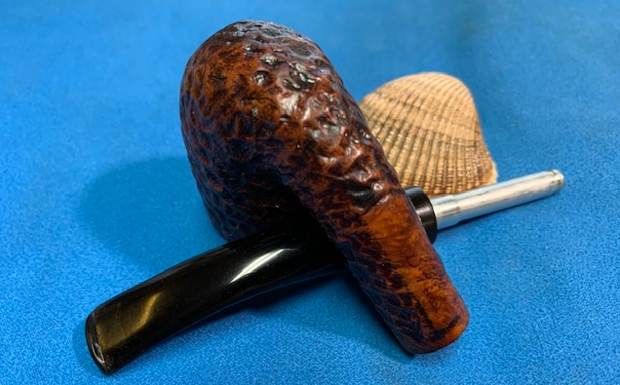
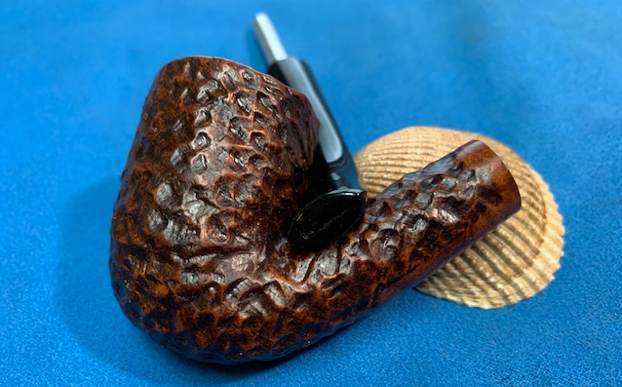
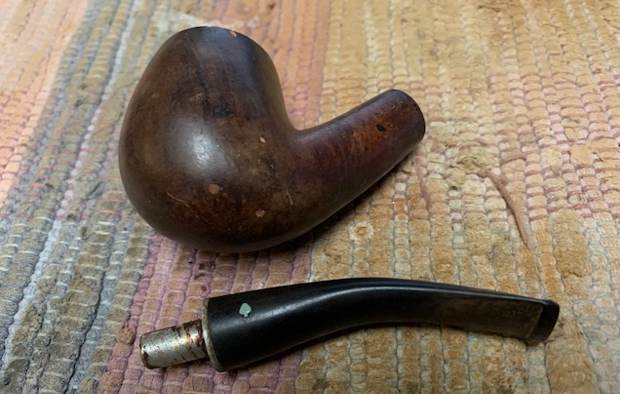
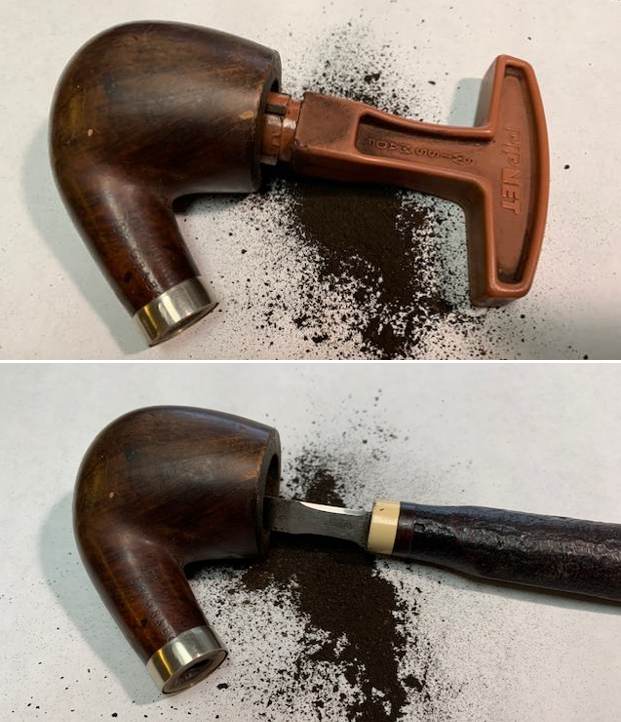
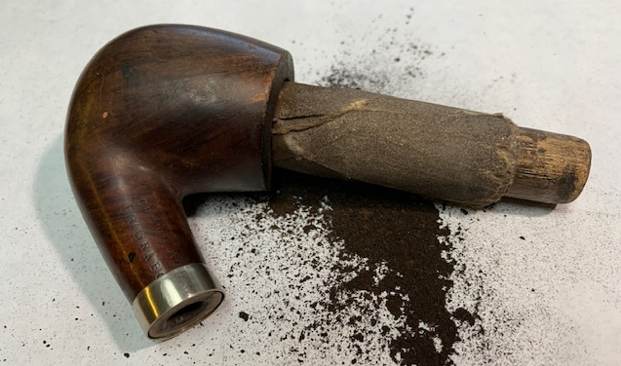
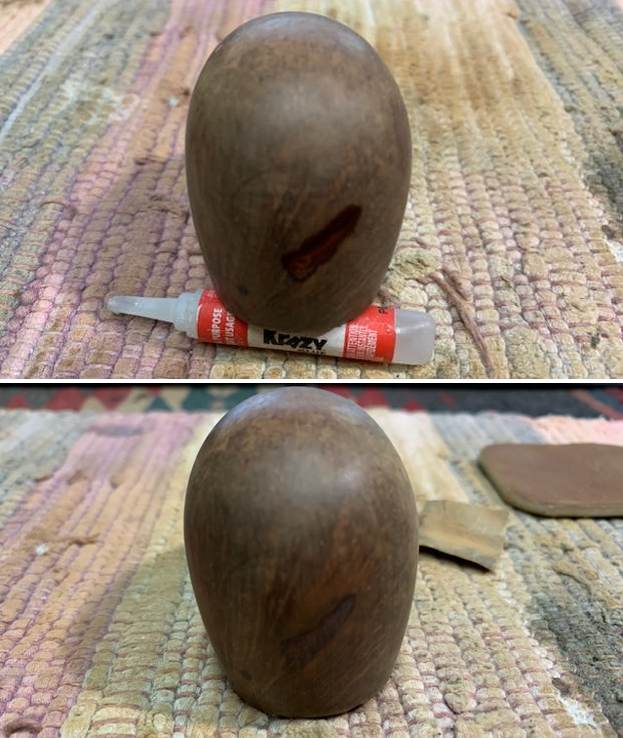
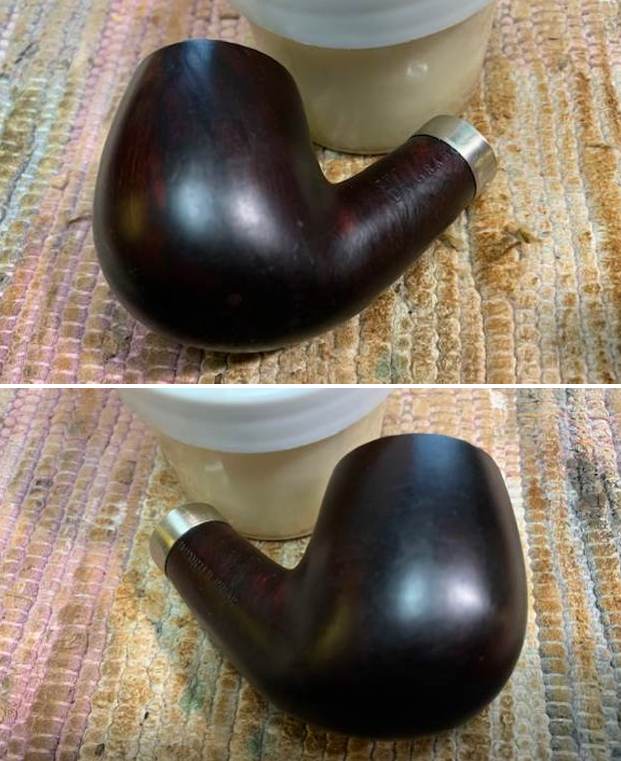
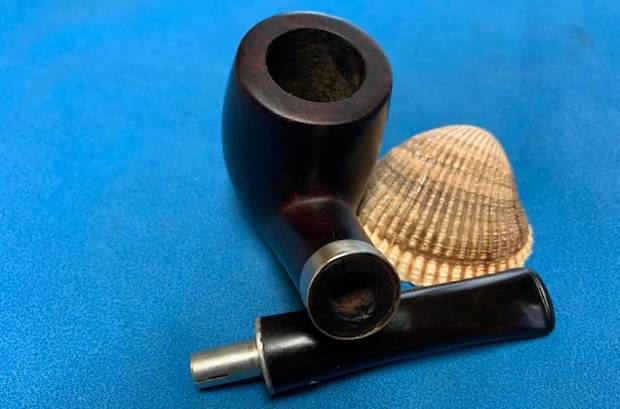
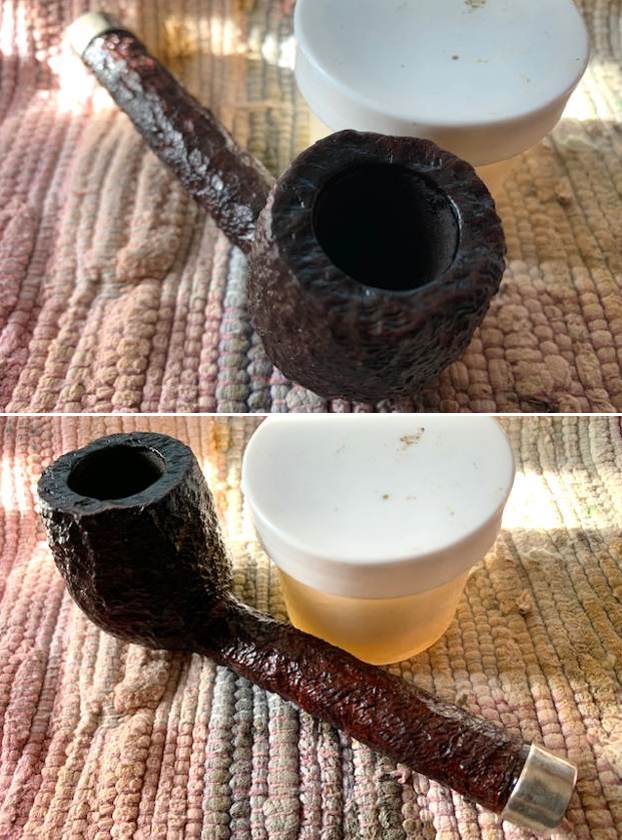
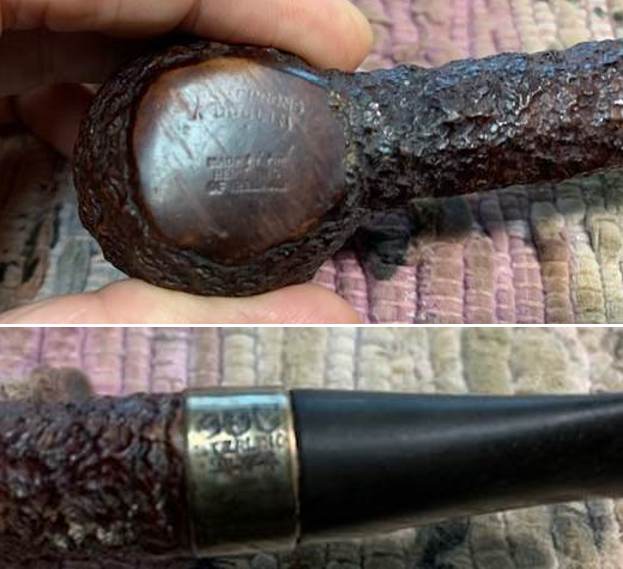 I took a photo of the pipe with the stem removed to give an overall picture of the pipe. The rugged rustication is quite beautiful. There also appears to be a shiny coat of varnish on the surface of the briar that needs to go!
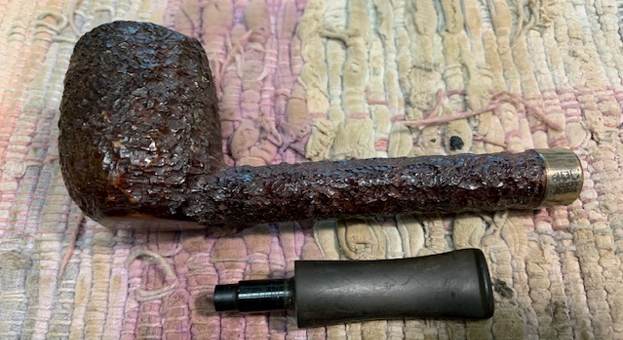 I turned to the Peterson’s Pipe by Mark Irwin and Gary Malmberg to ferret out information on the stamping of this pipe to try to pin down a date. Under the section, Dublin on Page 298 I found information on the stamping on this pipe. I quote:
Dublin (1906-2003) Although DUBLIN appears under PETERSON’S on many pipes over the decades, it has served mostly as part of the brand name. The word first appeared on pipes hallmarked 1906-11, stamped PETERSON’S over PATENT over DUBLIN. The simpler PETERSON’S over DUBLIN appeared on pipes hallmarked 1912 after the expiration of the patent… Specimens of the former will bear either an Irish COM or LONDON MADE over ENGLAND COM and almost certainly date from 1945-62. It was first mentioned in print as part of a model name in the ’68 price list, as K&P Dublin…
I looked also at the information on page 304 about the K&P stamping on the silver band. I quote below.
K&P Another set of three marks, each in a shield-shaped frame are frequently mistaken as hallmarks and are seen on sterling bands. See Maker’s Mark…
On page 305
K&P on Mount …A second style of maker’s mark, K&P in three shields, was registered on June 26,1908 and has been in continuous use since.
On page 307
Maker’s Mark … Collectors frequently mistake this row of three shields for hallmarks, especially on pipes made between 1938-68 when Peterson sterling mounts had no proper hallmarks. Collectors tend to label these faux hallmarks. The three shields are not hallmarks at all but their presence on the mount does confirm the mounting is sterling.
Now at least I had a time frame for the pipe. It had the three maker’s marks in three separate shields (K&P). The sterling silver band did no have any proper hallmarks so it came from the time period between 1938-1968. The K&P stamp on the silver and the Dublin stamp on the heel of the bowl seem to point to the 1968 time period as well. The pipe was also a Republic Era Pipe which dated it from 1950-1989. Armed with that history and having a sense of the brand it was now time to do a bit of spiffing with the pipe itself.
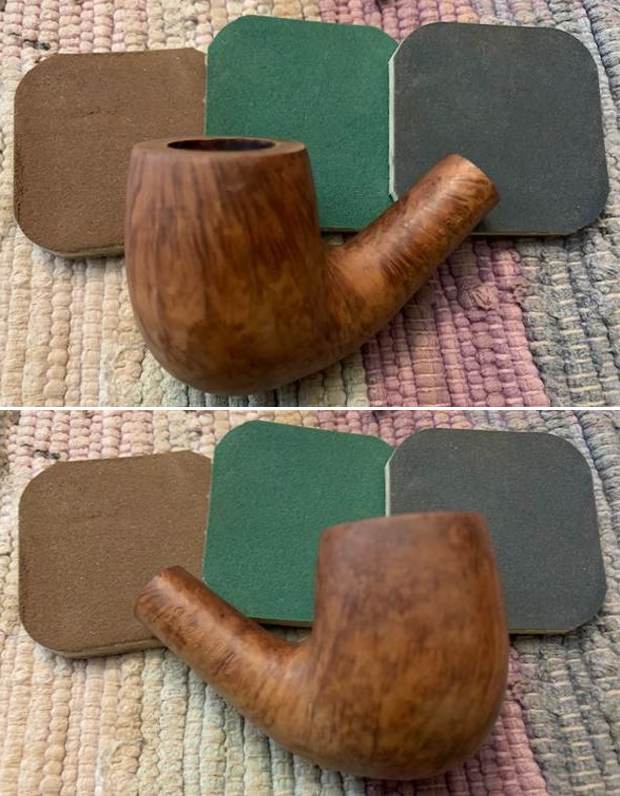
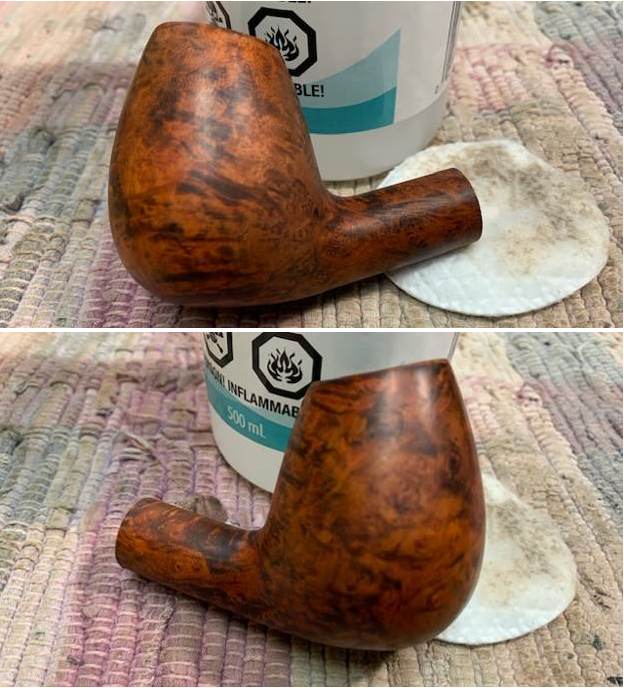
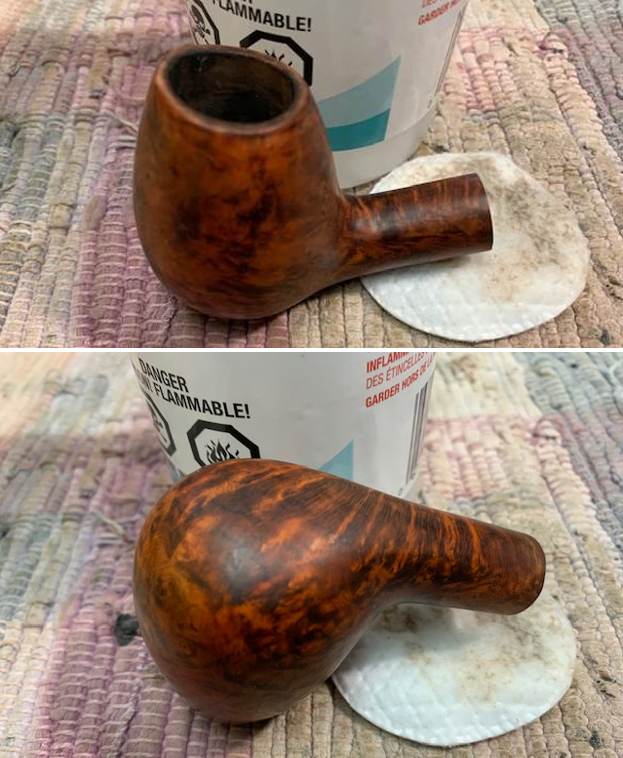
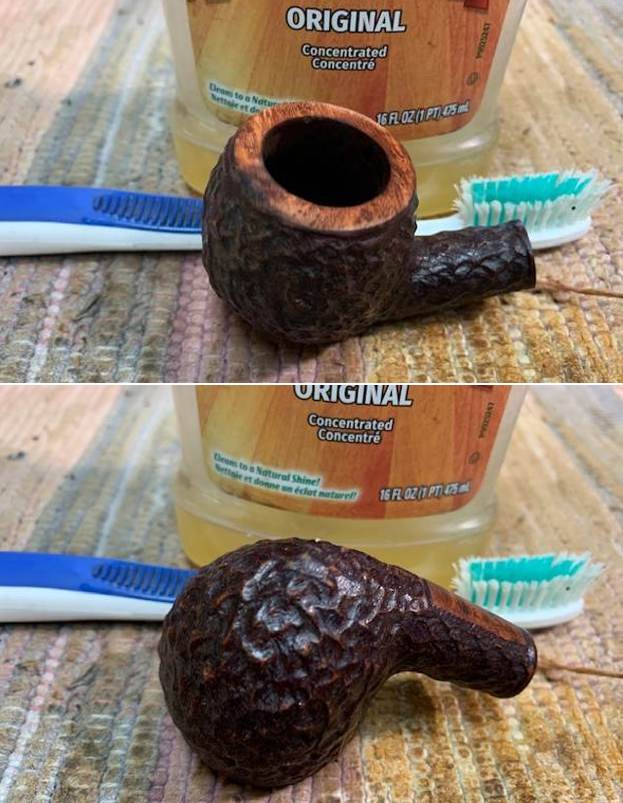
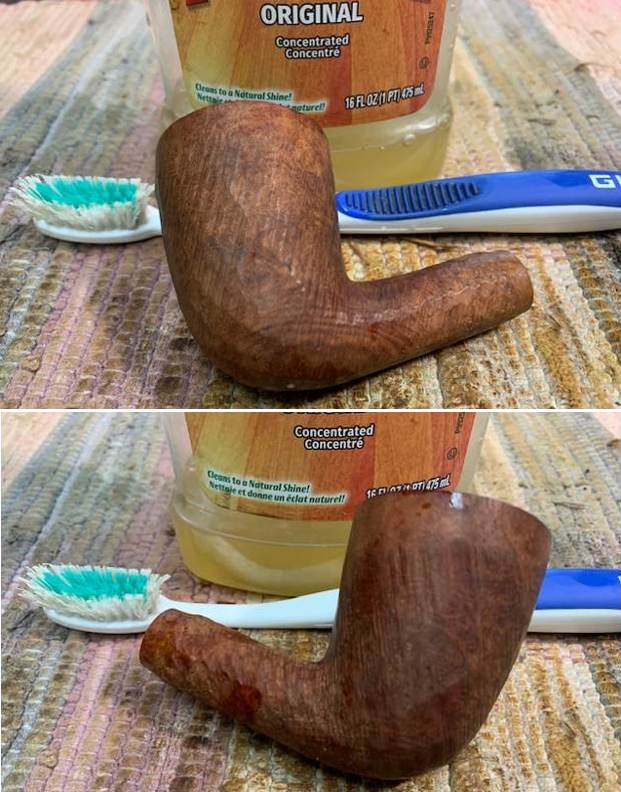
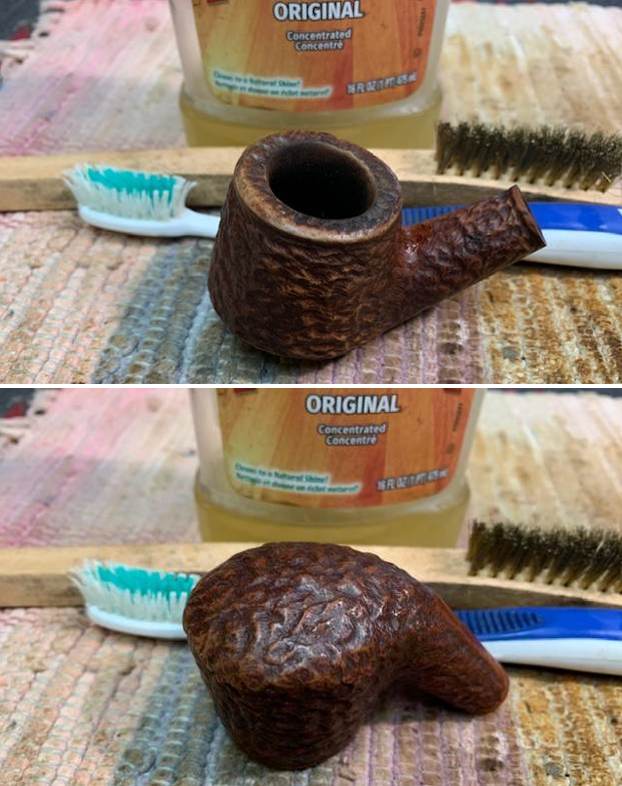
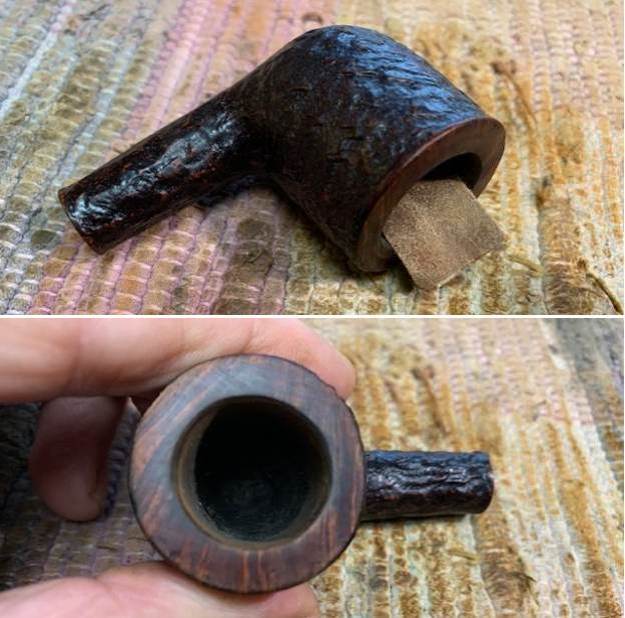
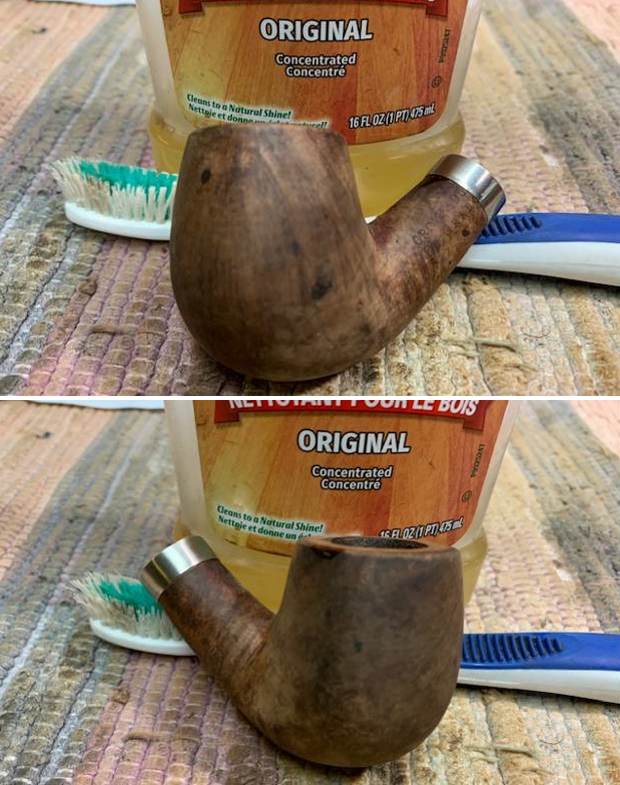
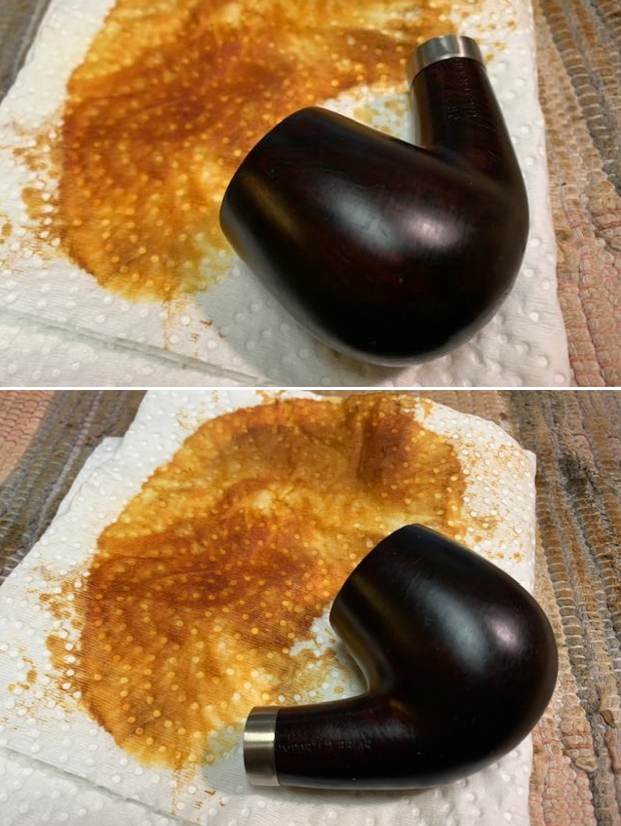
I wiped the bowl down with acetone to break through the varnish coat and worked the surface or the pipe over with a brass bristle wire brush to further remove it. It took several repetitions of the process to remove the finish coat but when I did it was better.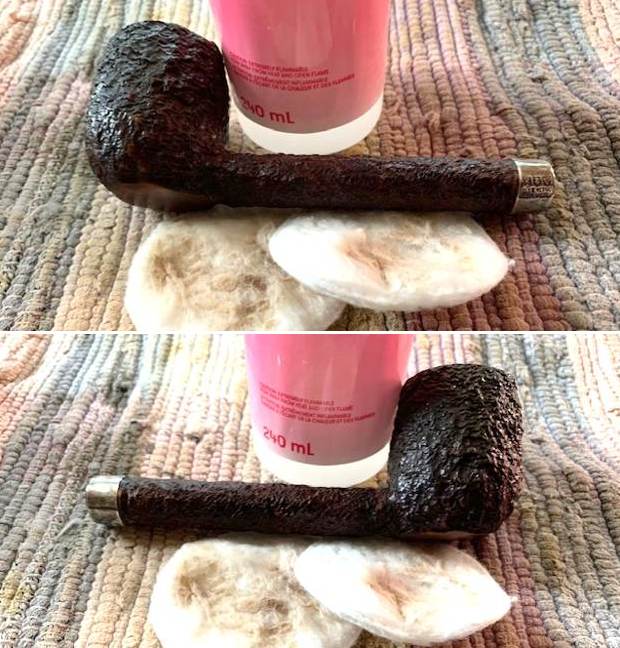

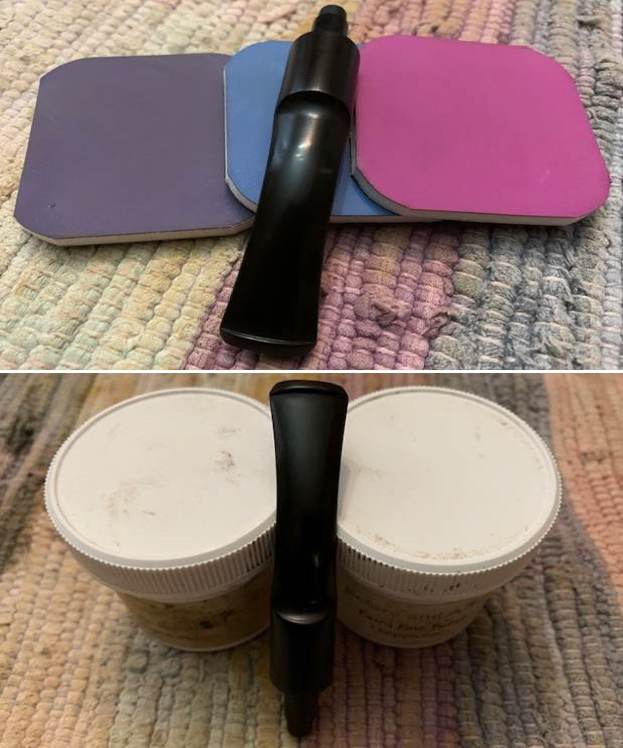
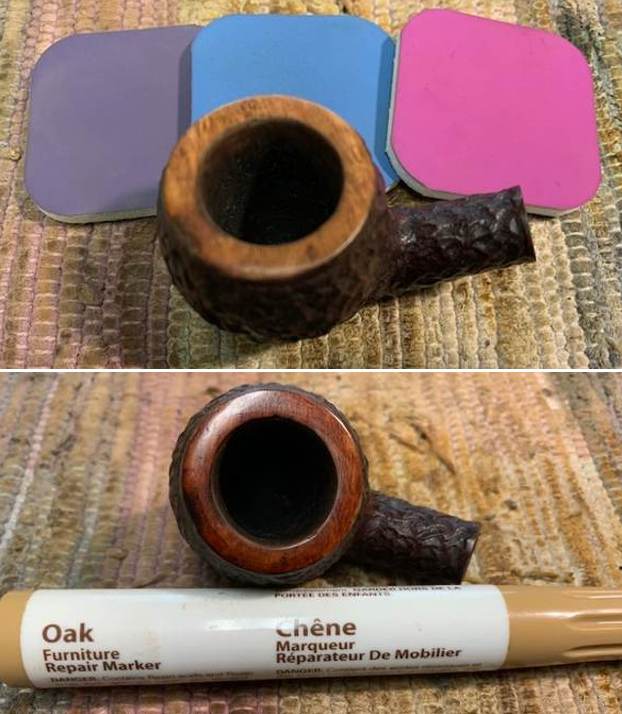
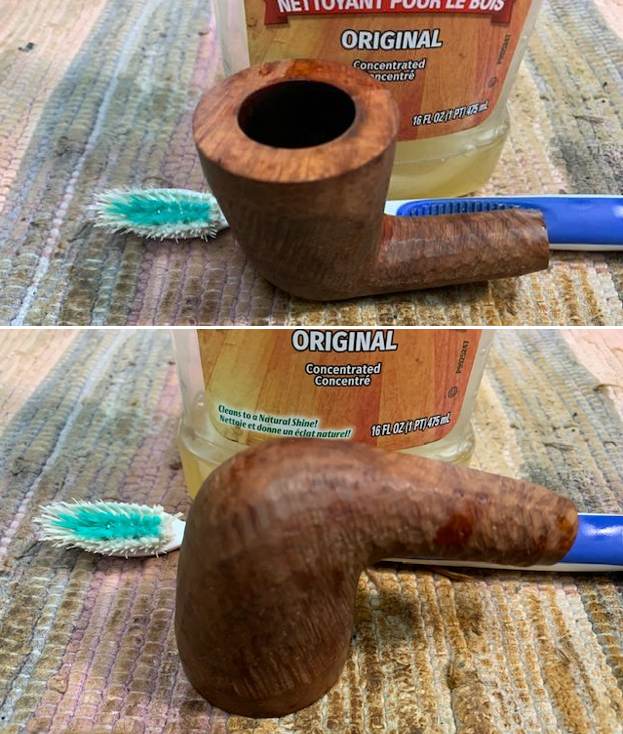
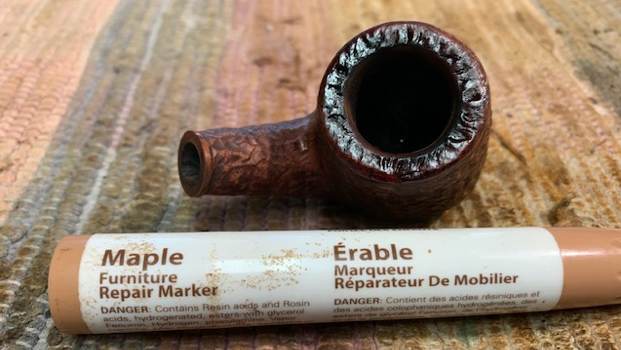
 I stained the faded rim top with a Walnut Stain Pen to match the colour around the bowl and shank. It looked good and once it was polished would match very well.
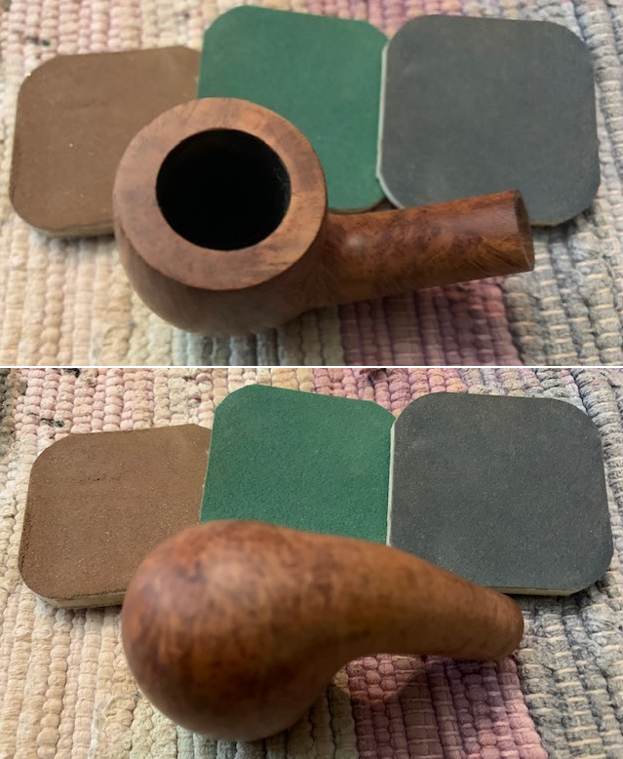
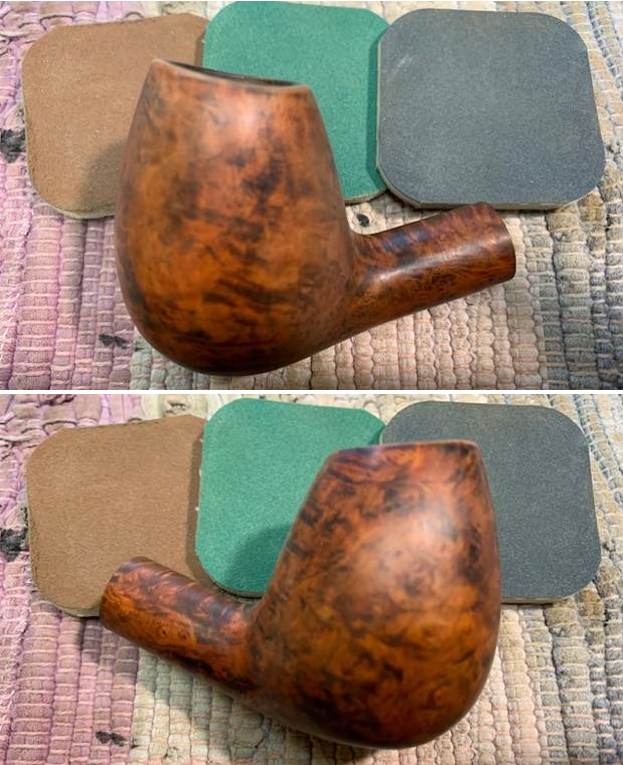
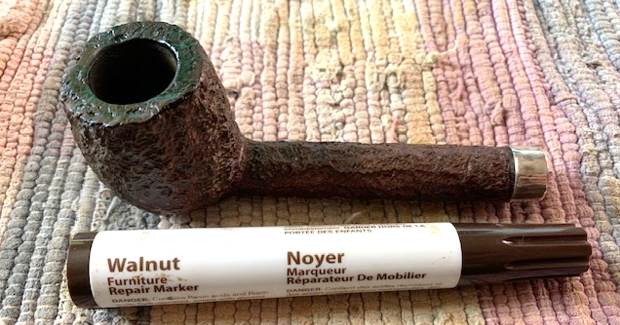 I rubbed the bowl down with some Before & After Restoration Balm. I worked it into the briar with my fingertips and a horse hair shoe brush. The product works to clean, renew and protect briar. I let it do its work for 15 minutes then buffed it off with a soft cloth. The pipe is really quite a beauty.
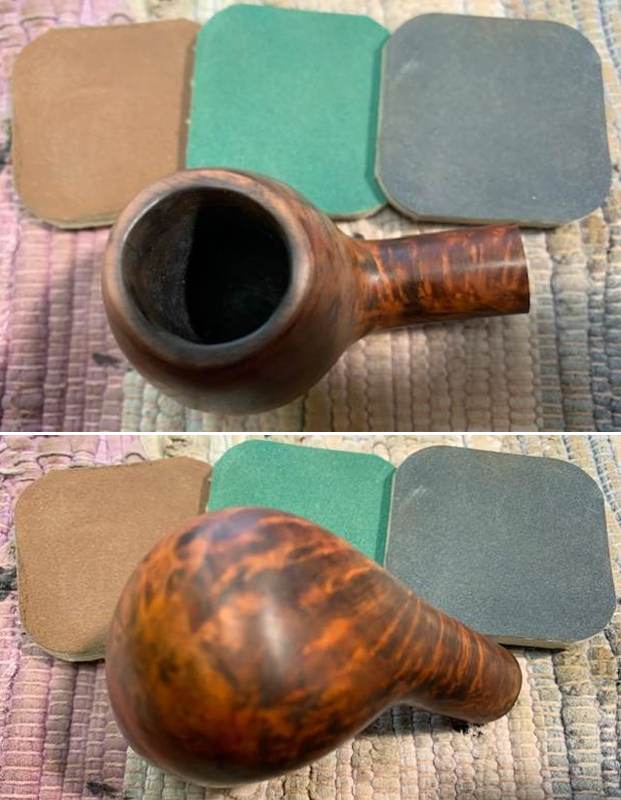
 I polished the silver with Silver polish and tarnish remover. It really came out looking shiny.
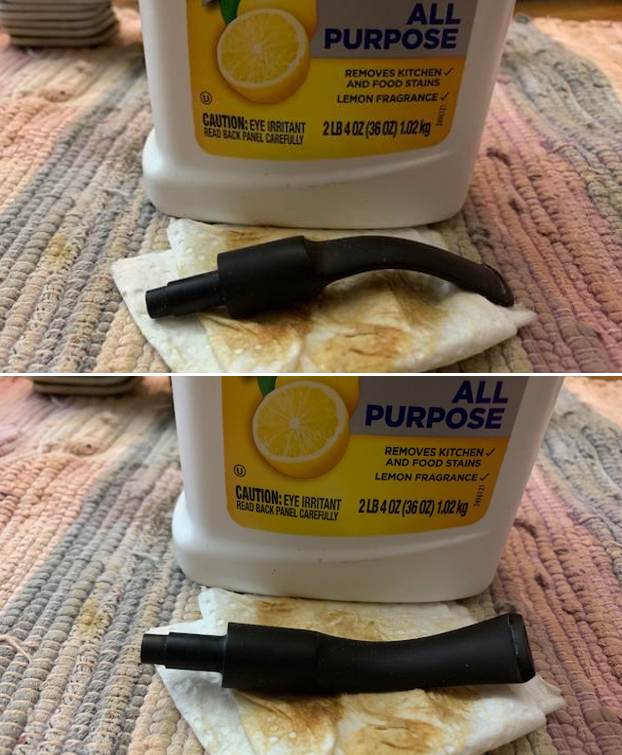
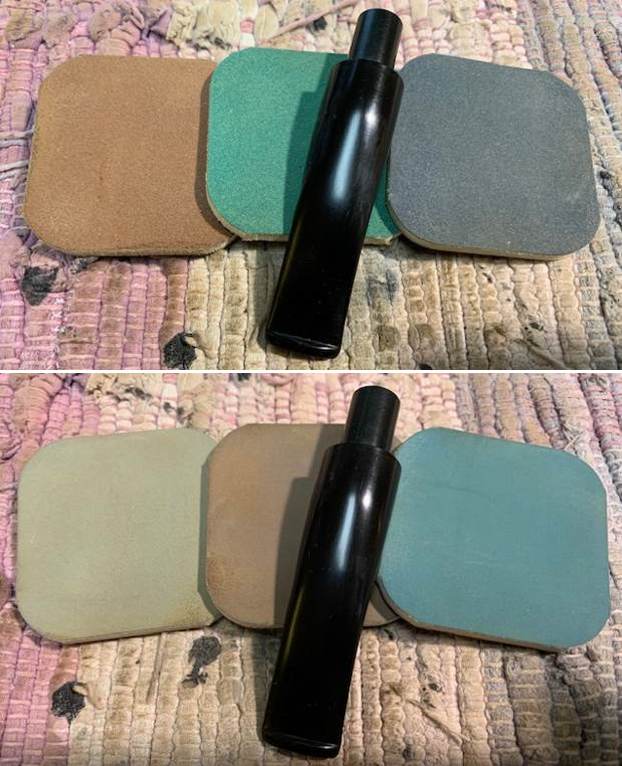
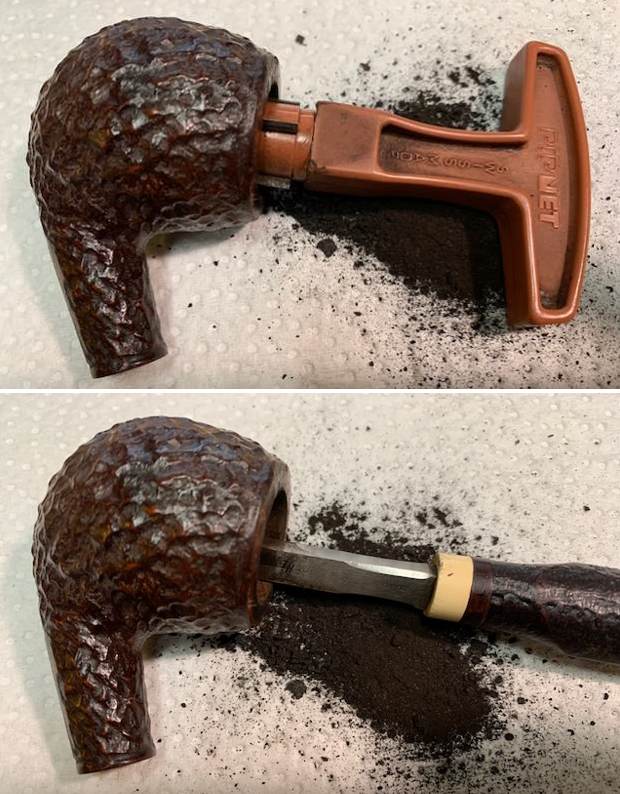
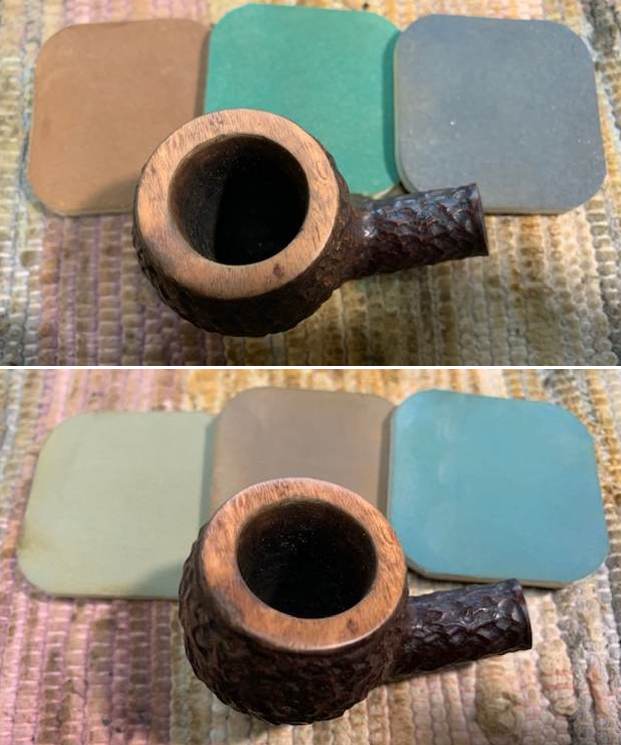
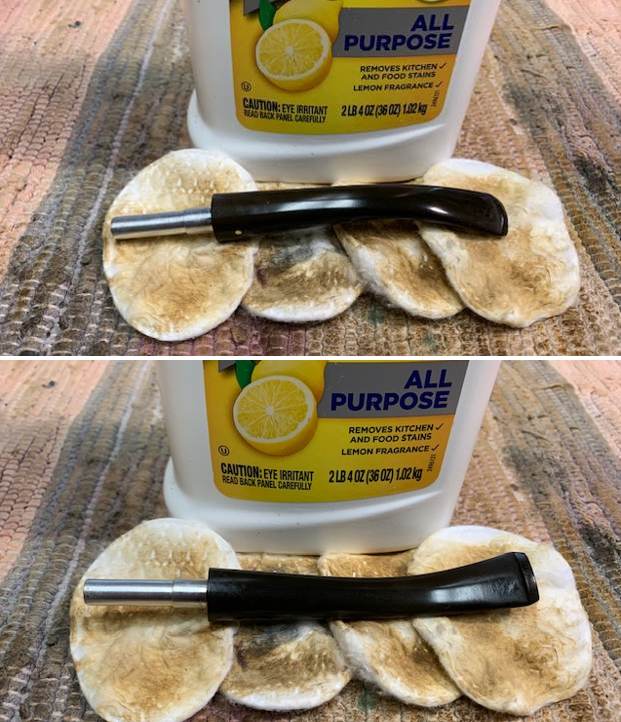
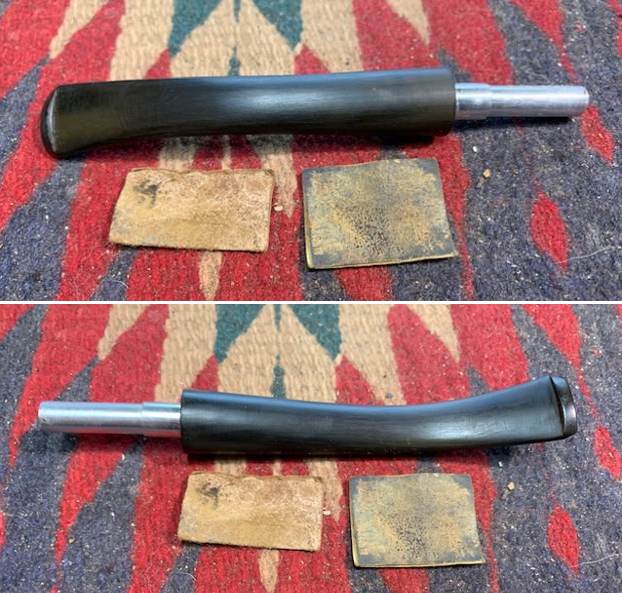
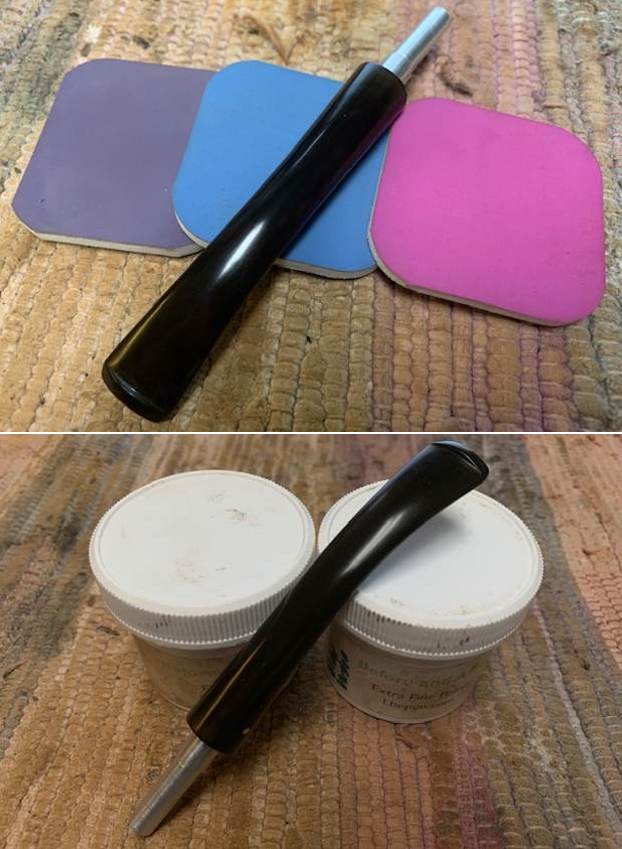
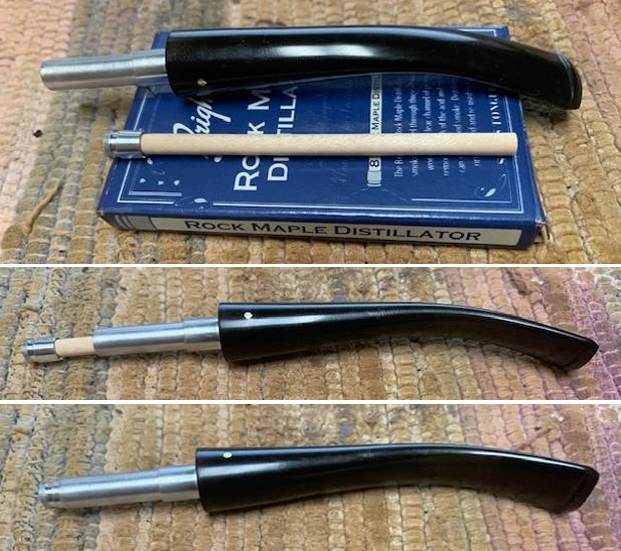
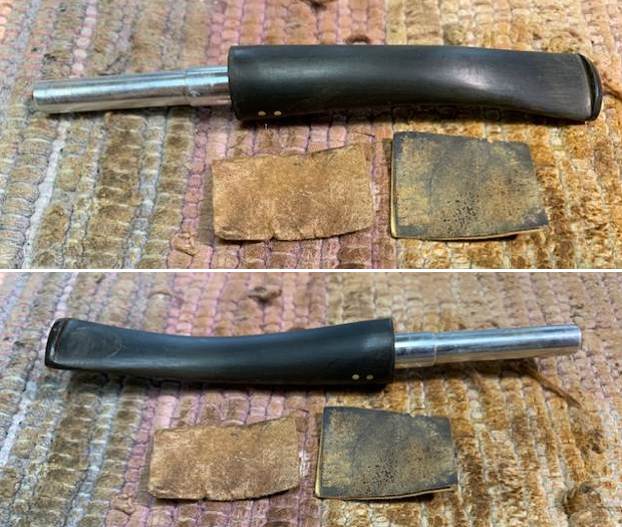
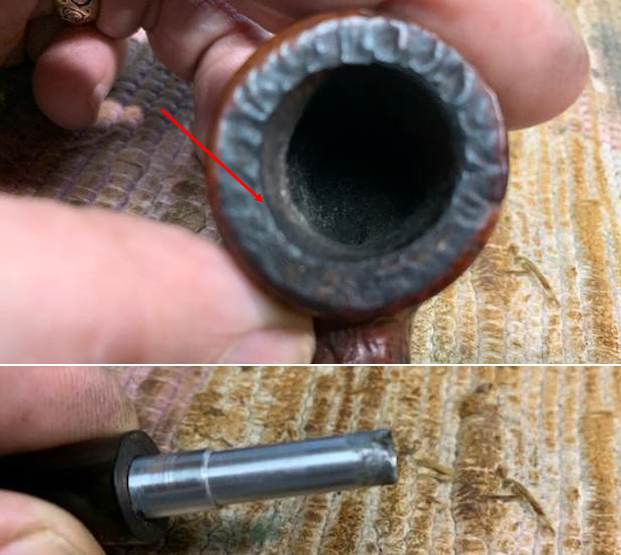
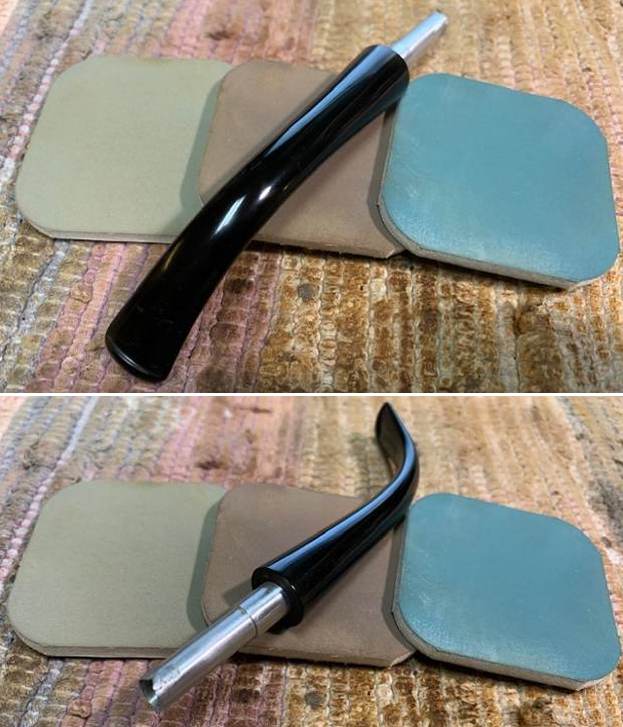
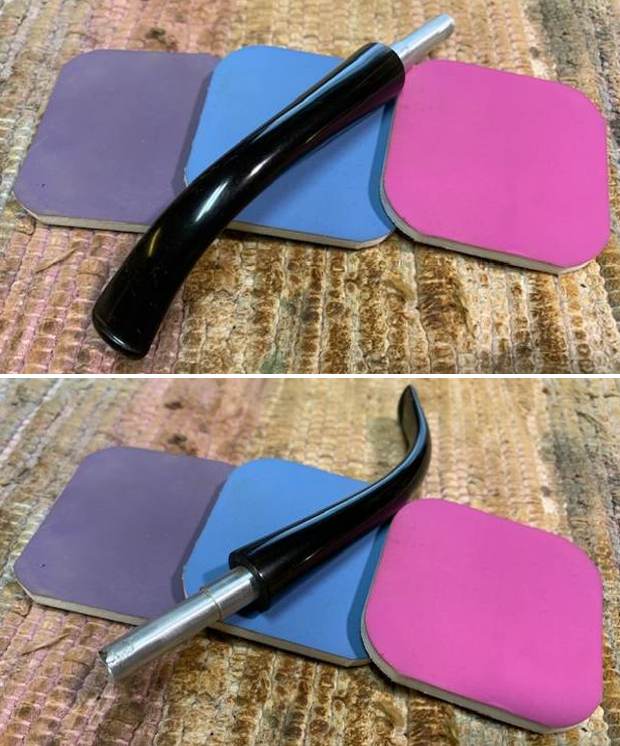
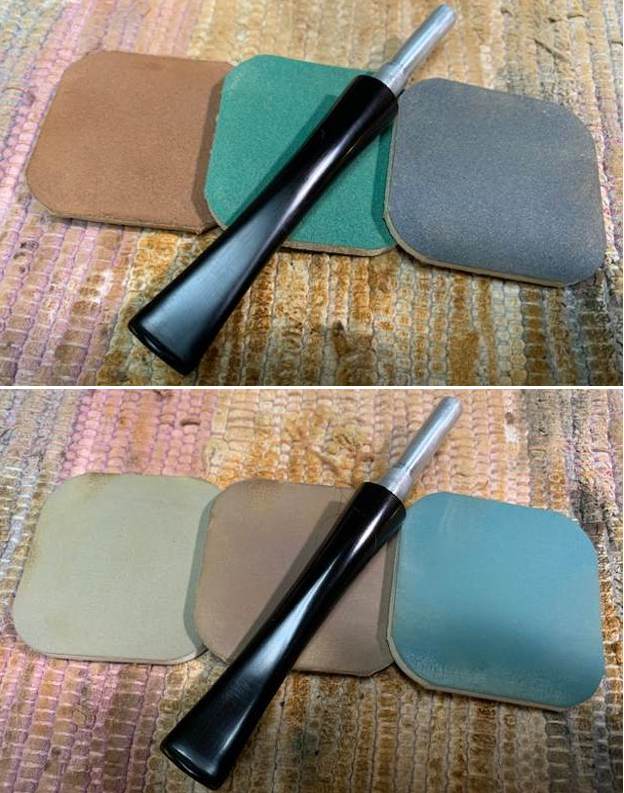
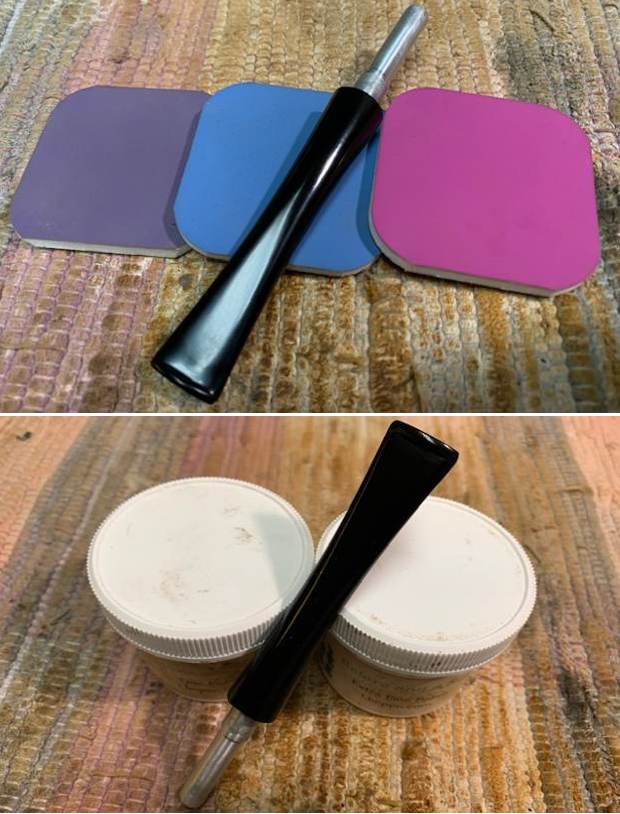
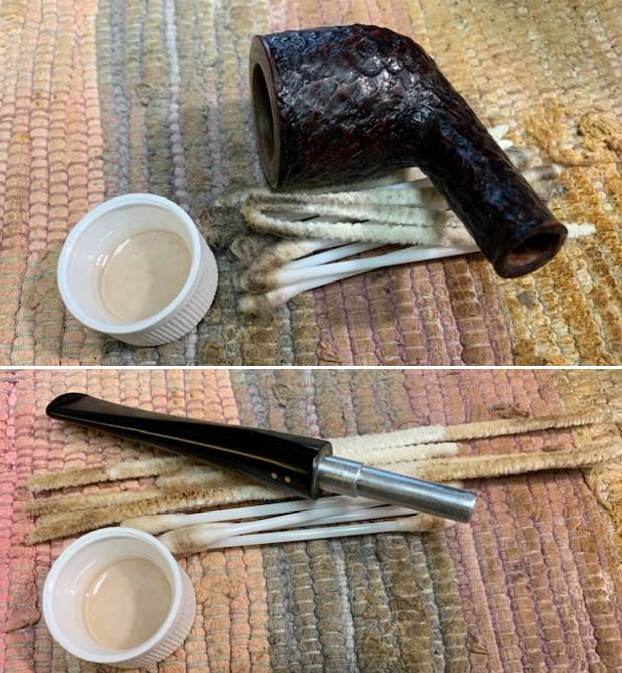
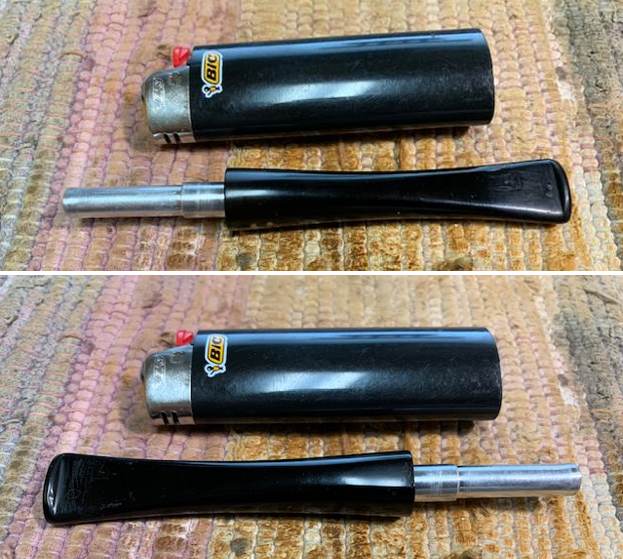
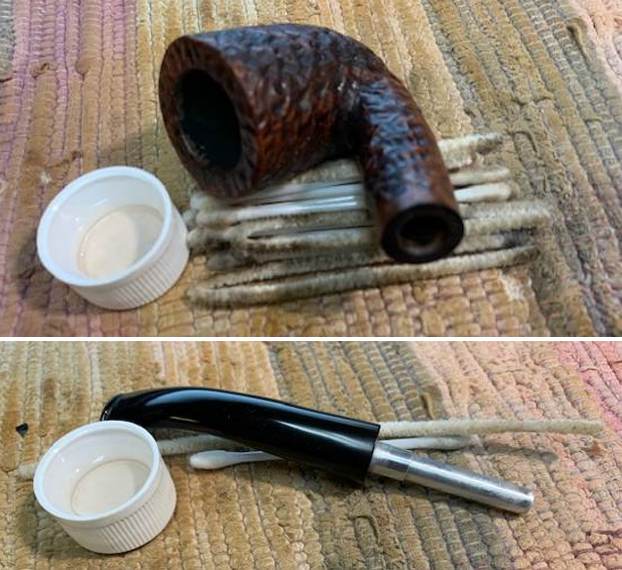
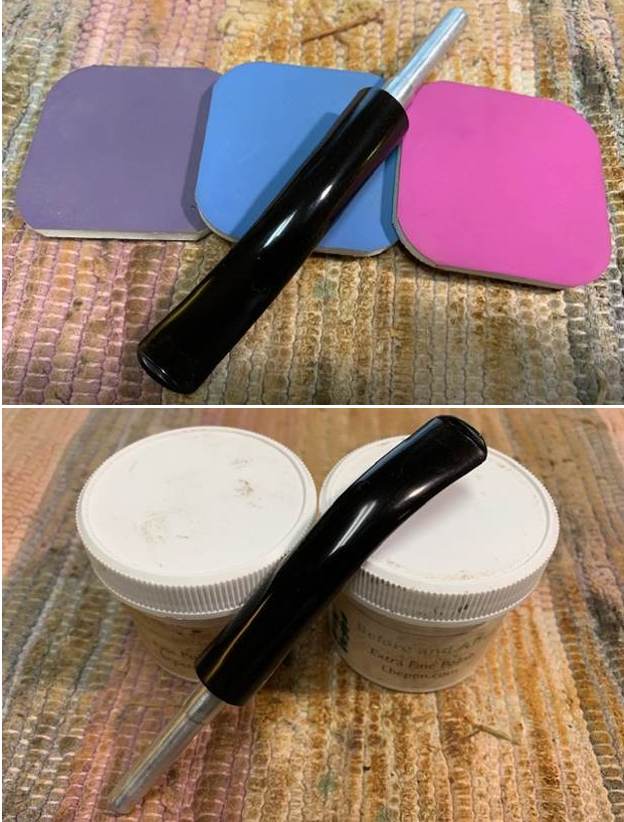
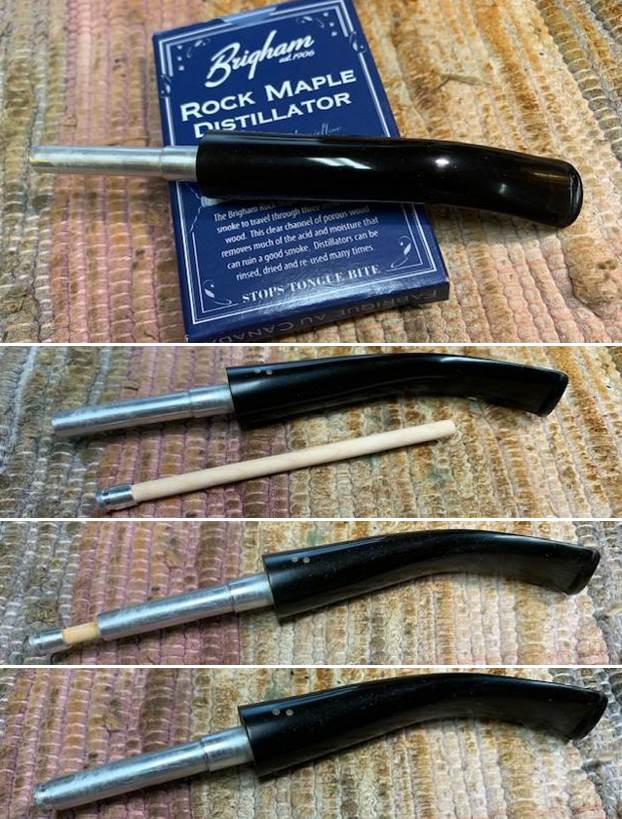
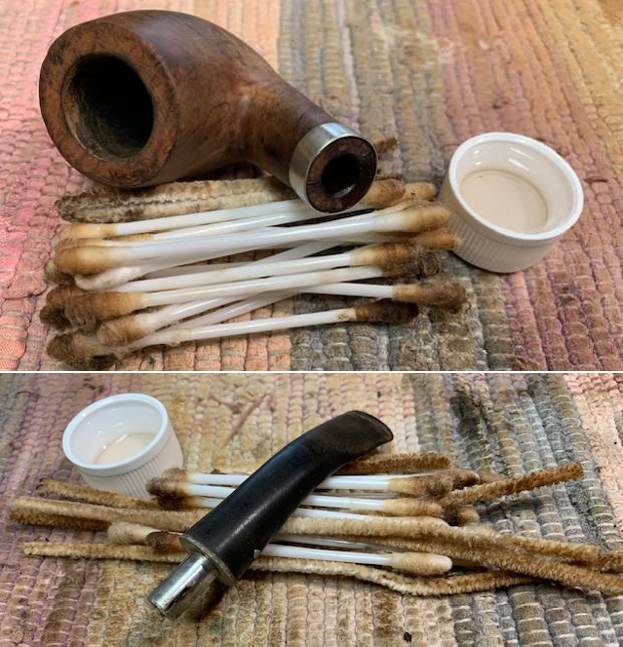
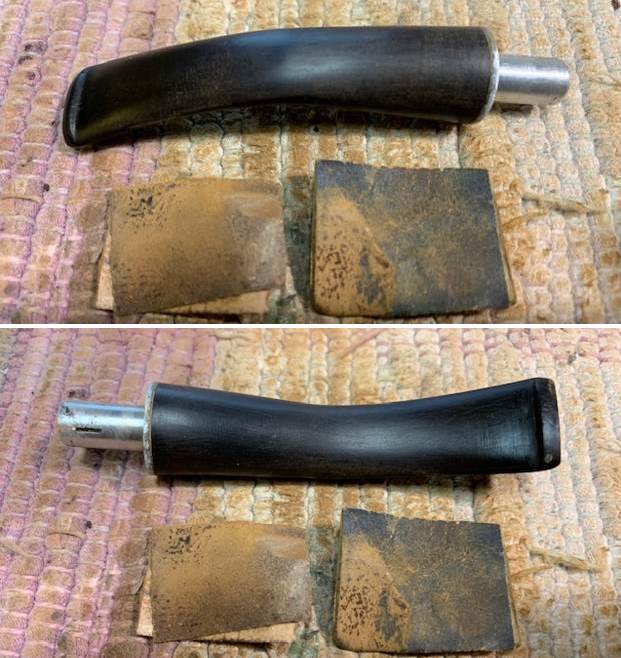
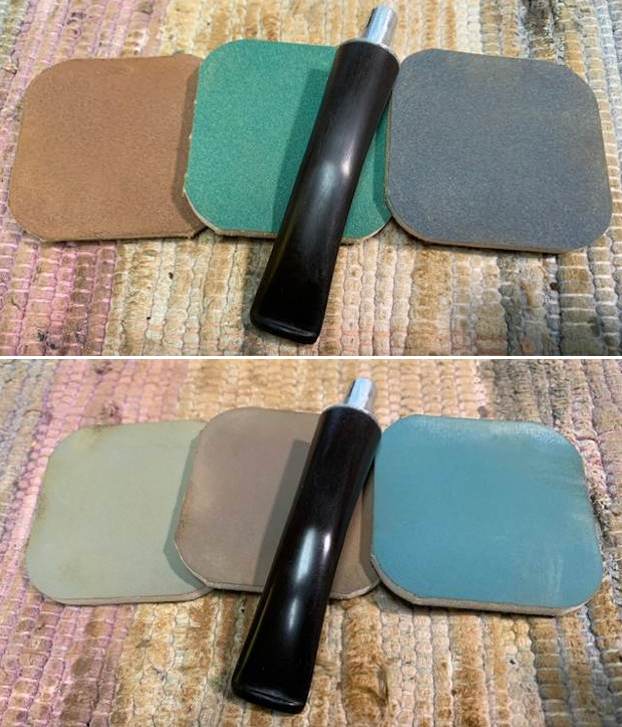
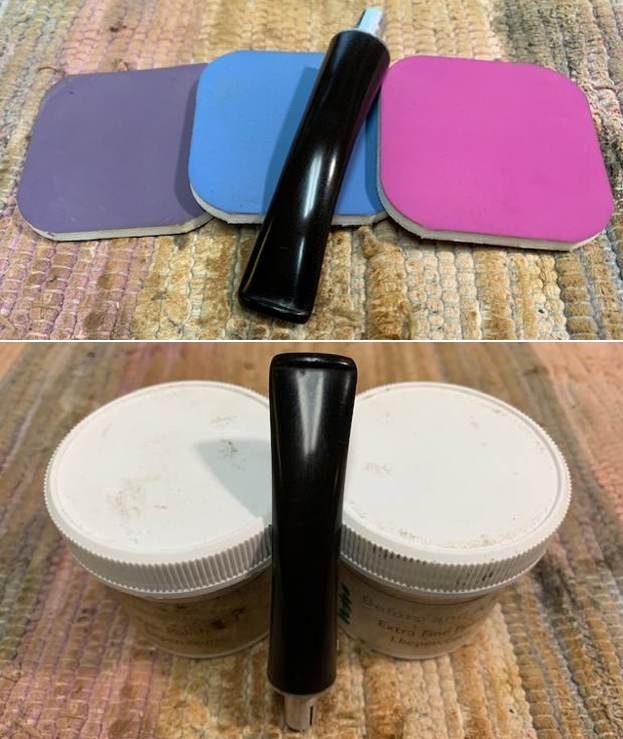
 I set the bowl aside and turned my attention to the stem. I scrubbed off the residual oxidation on the stem surface with Soft Scrub cleanser and was able to remove the majority of it. What remains should come of easily with the micromesh sanding pads.
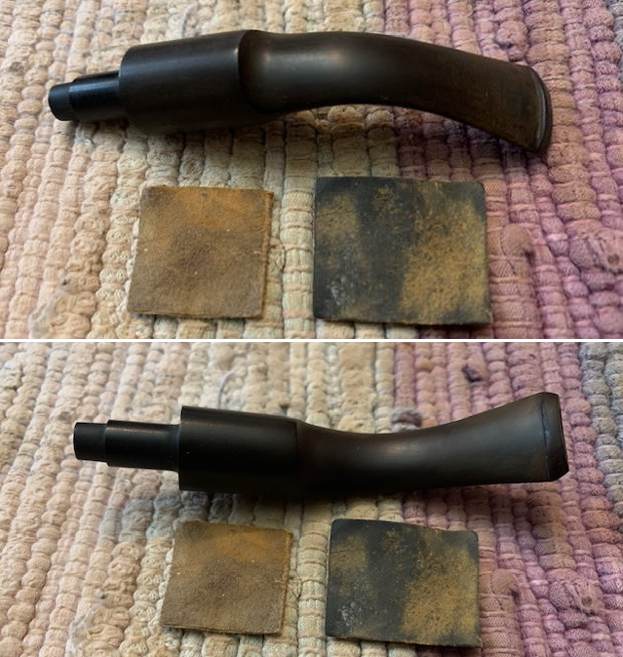
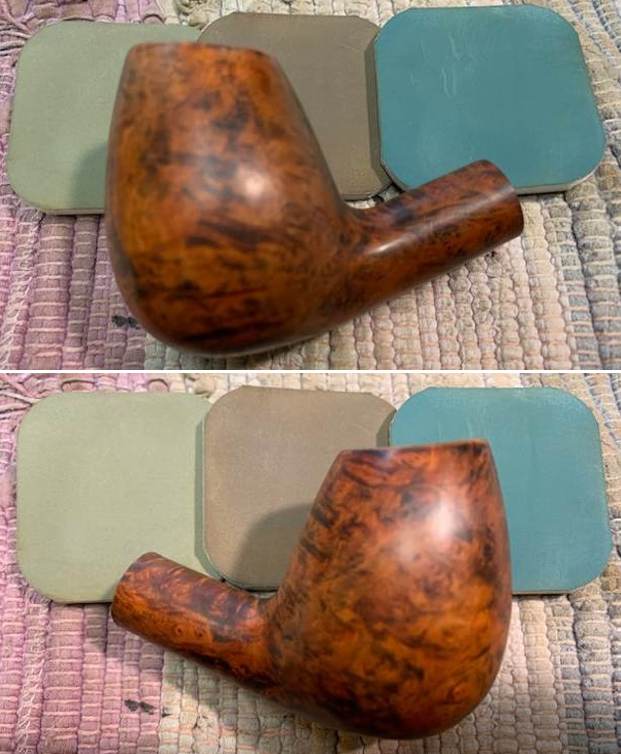
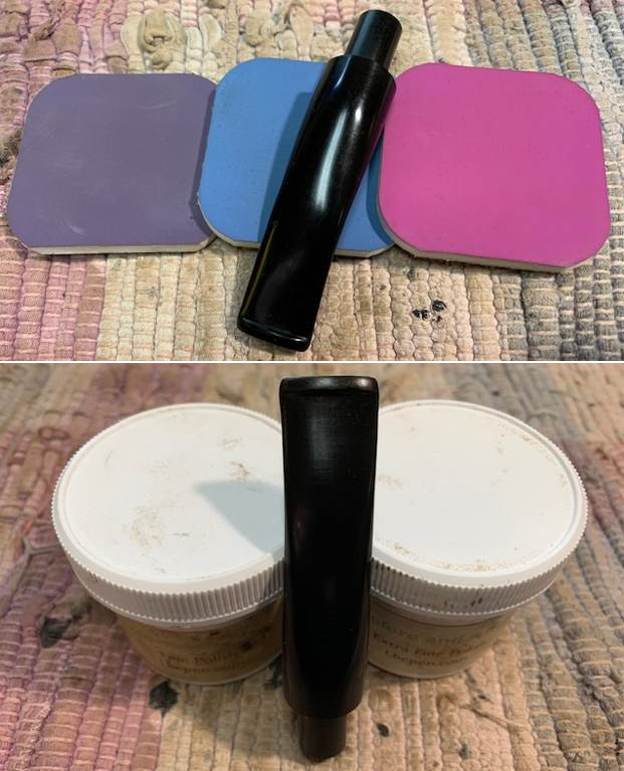
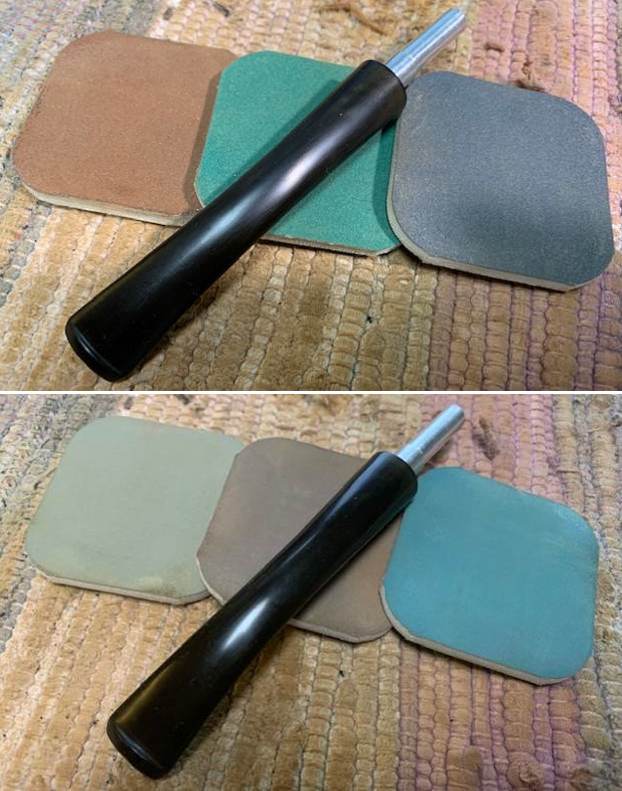
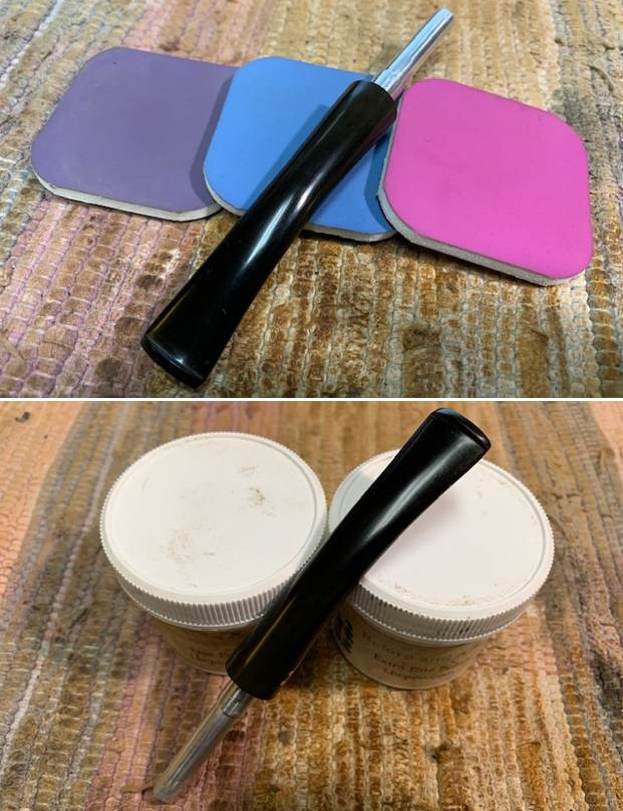
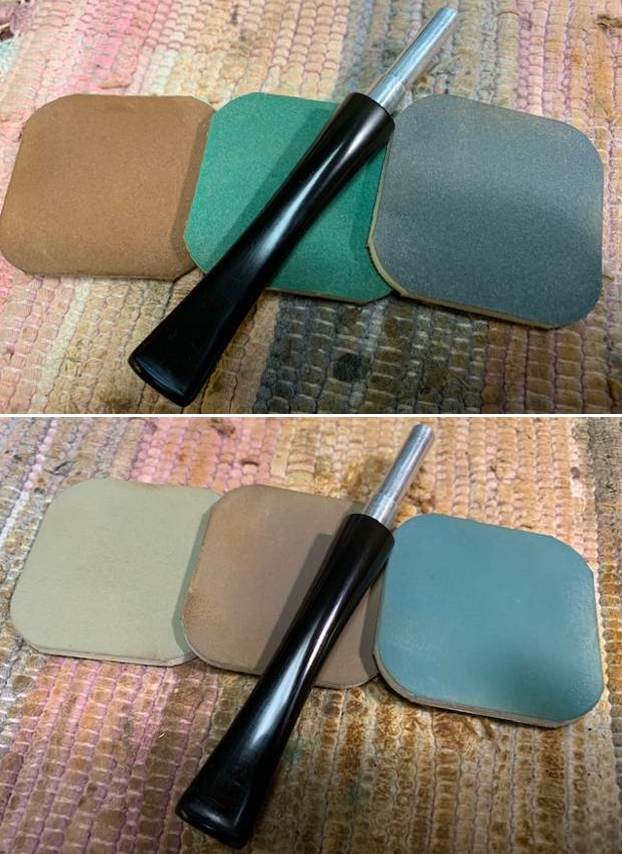
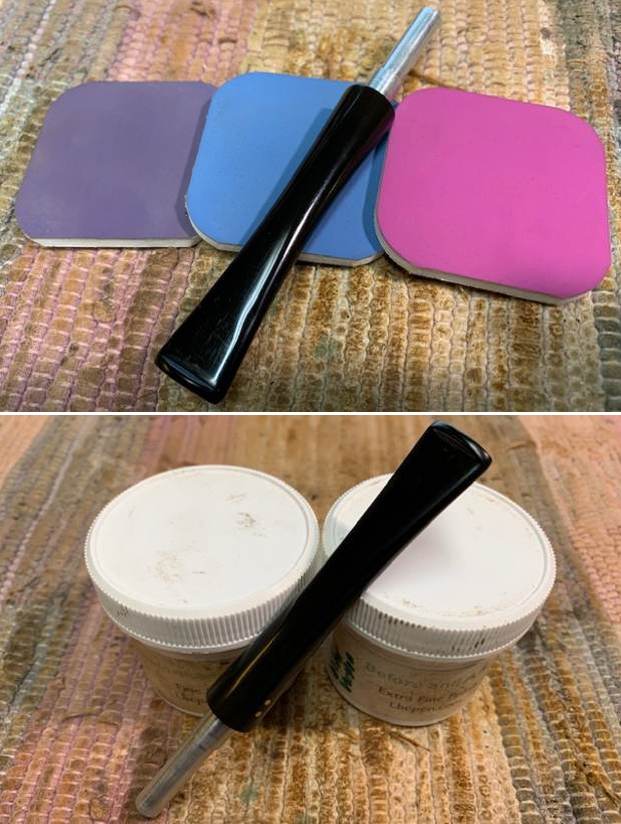
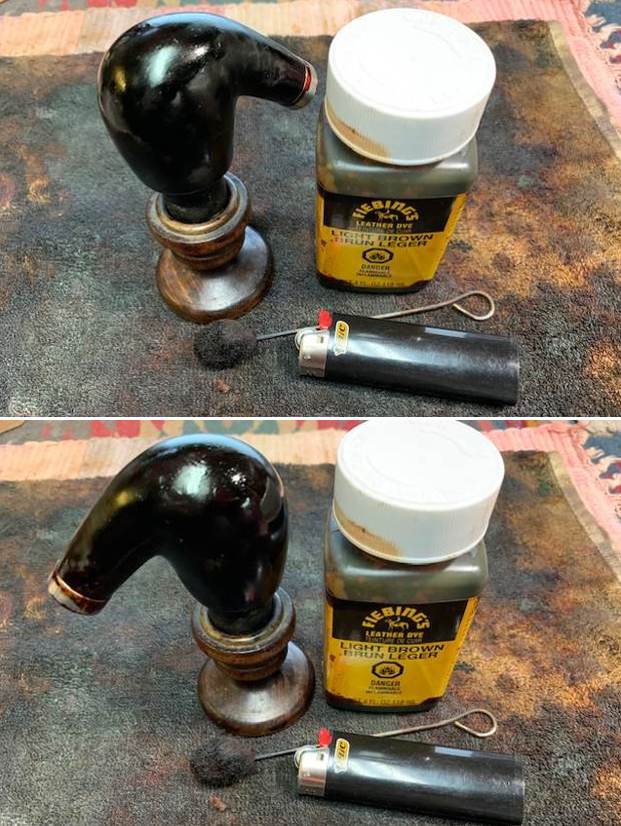
 I polished the surface of the acrylic stem on both sides using micromesh sanding pads. I dry sanded the stem with the 1500-12000 grit pads, then wiped it down with a cloth impregnated with Obsidian Oil. I finished polishing it with Before & After stem polish – both Fine and Extra Fine. I gave it a final coat of Obsidian Oil and set it aside to dry.
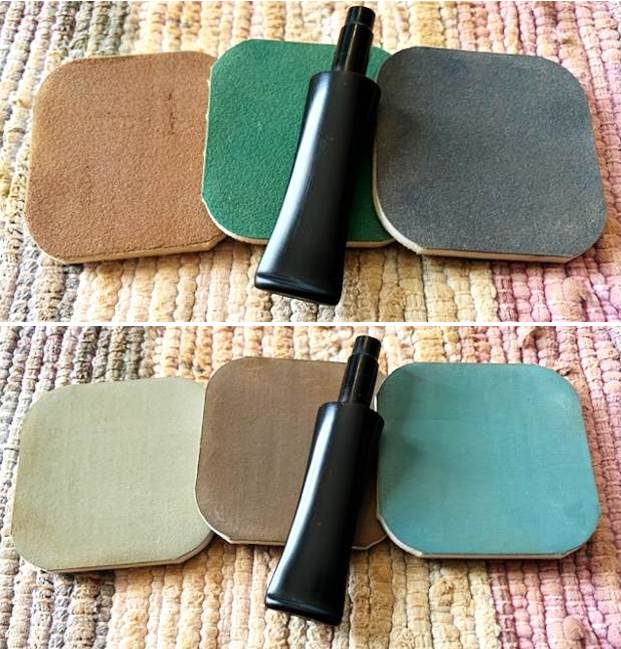
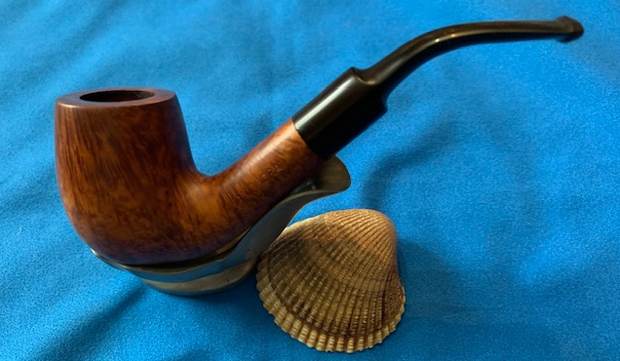
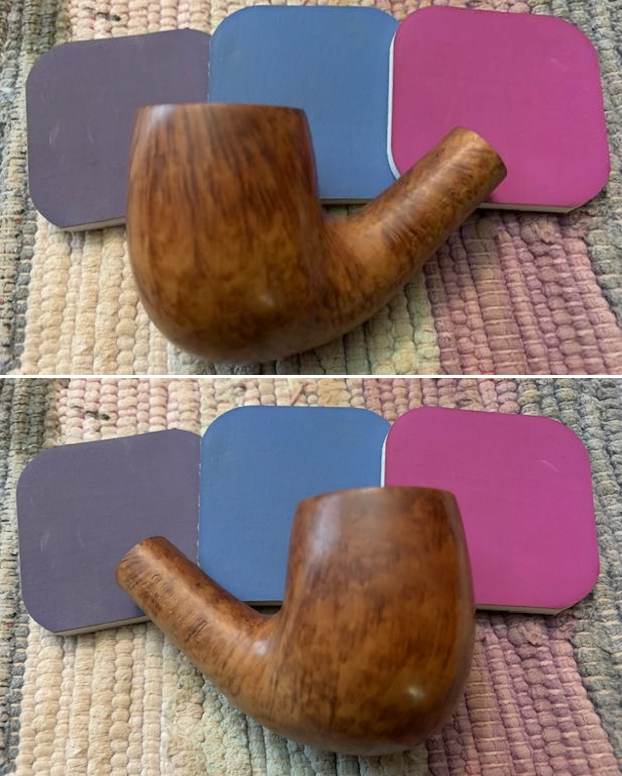
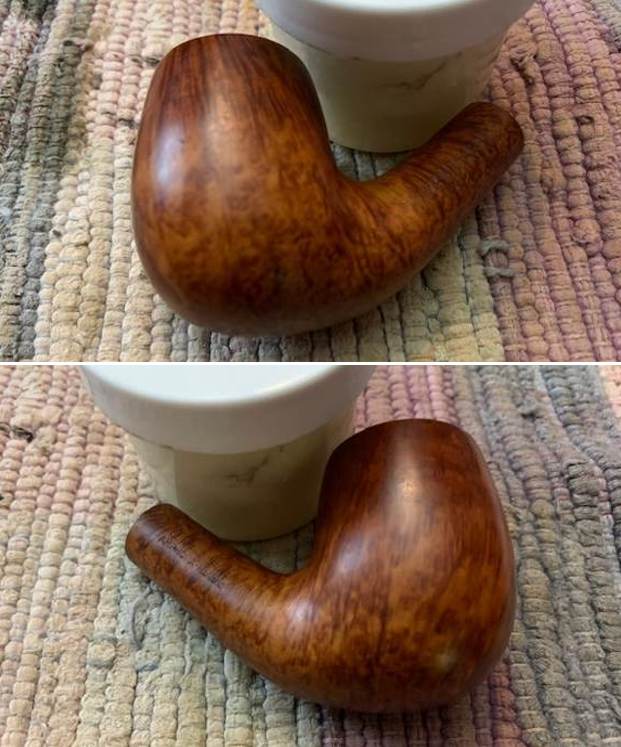
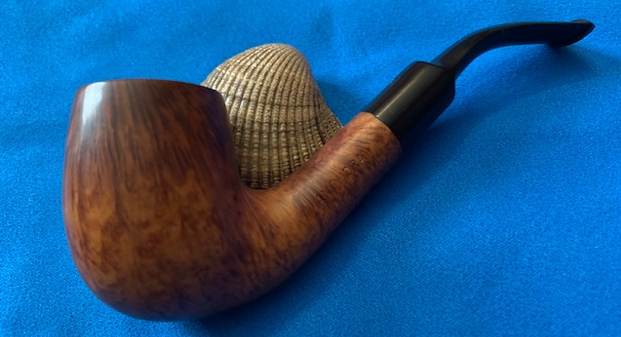
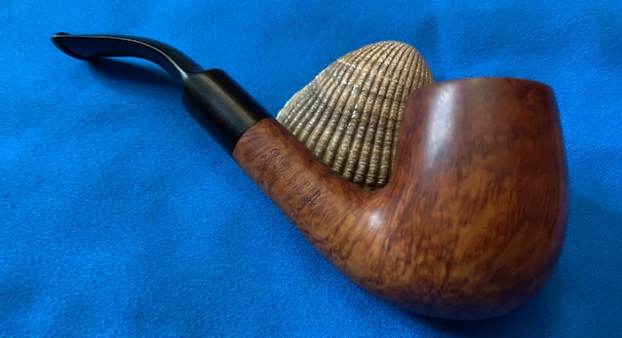
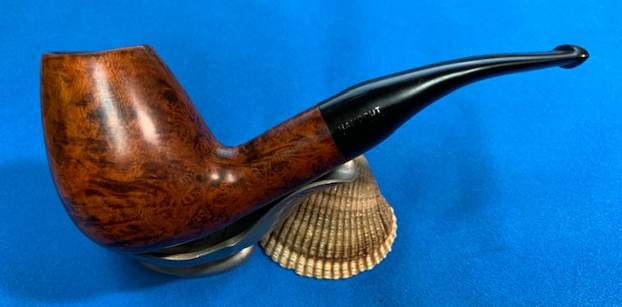
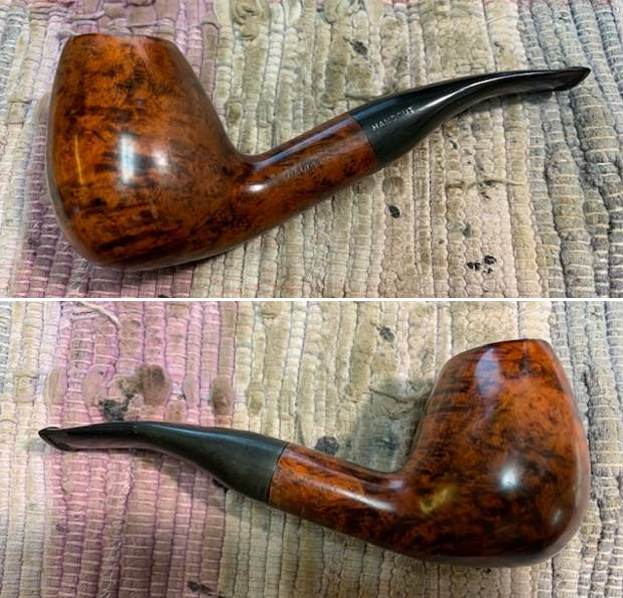
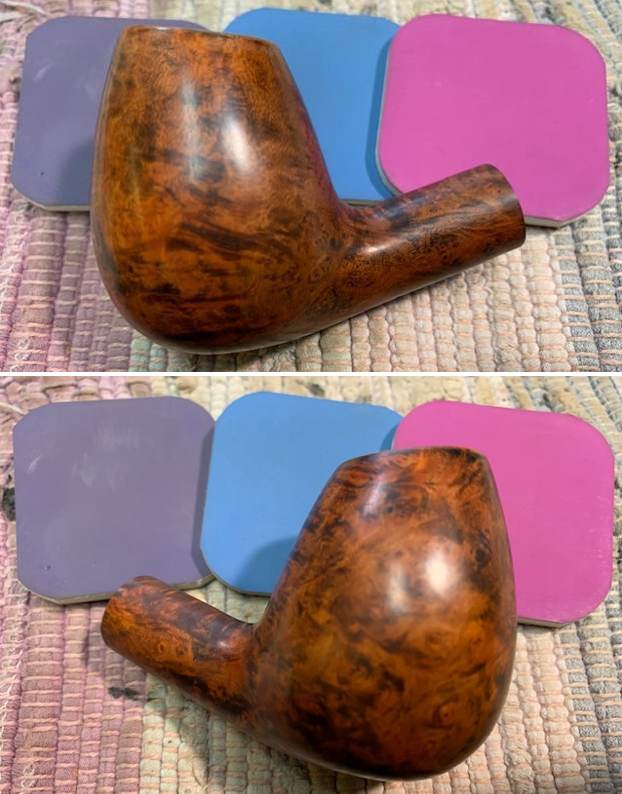
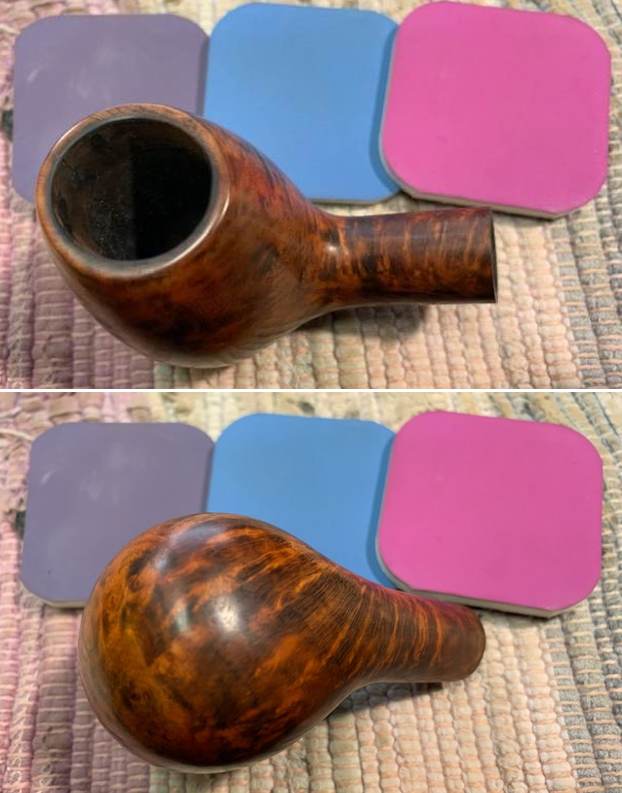
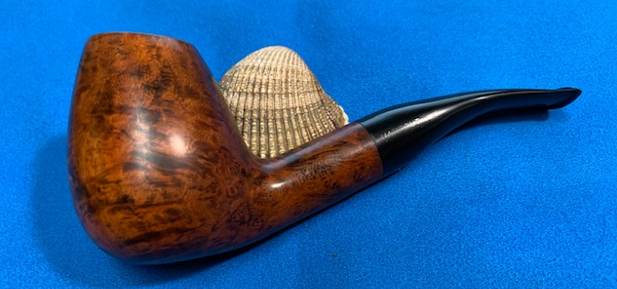
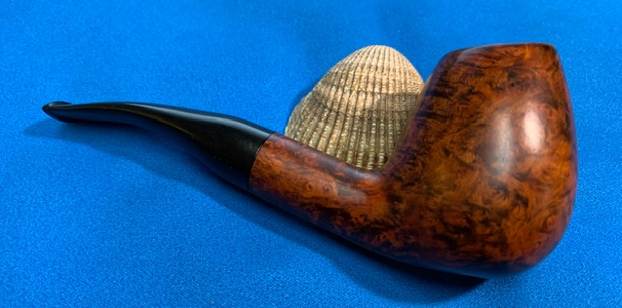
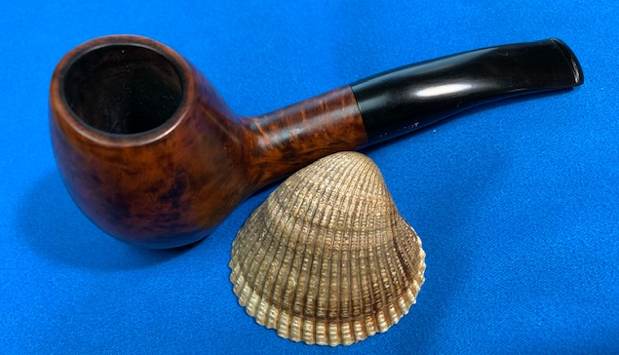
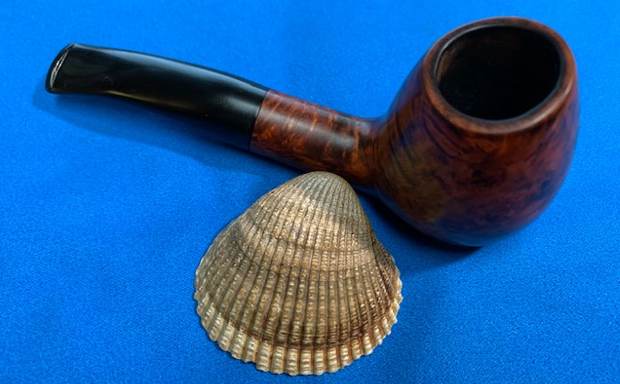
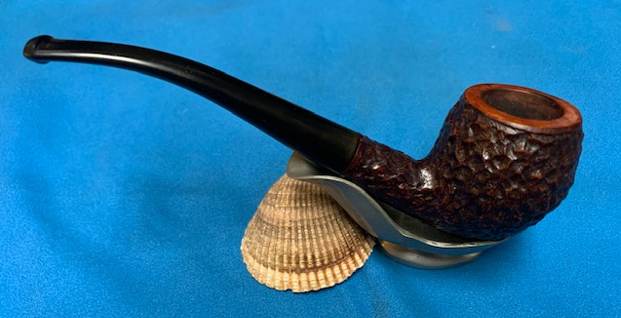
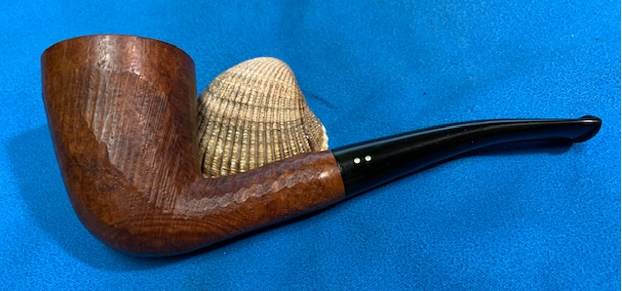
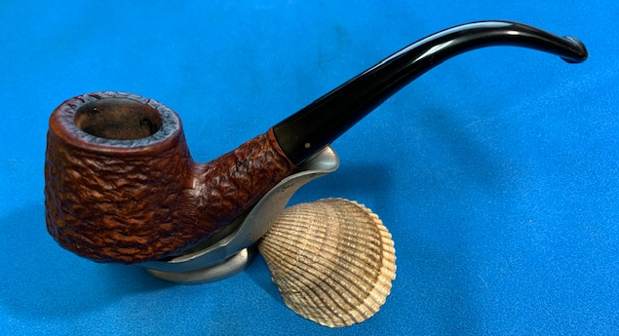
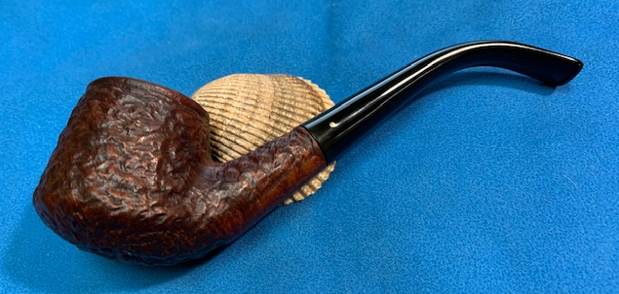
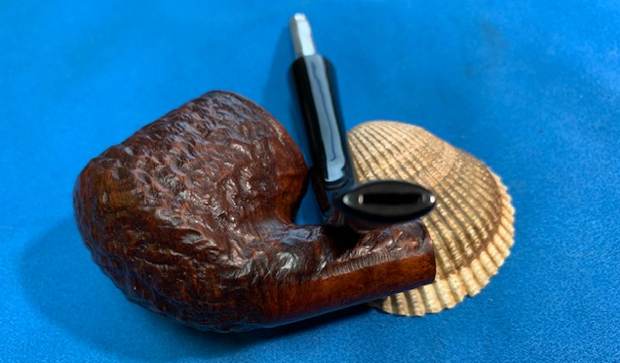
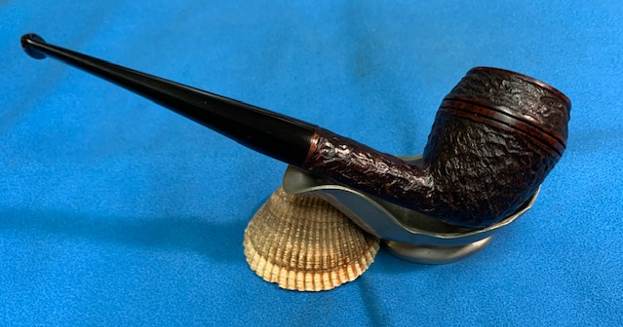
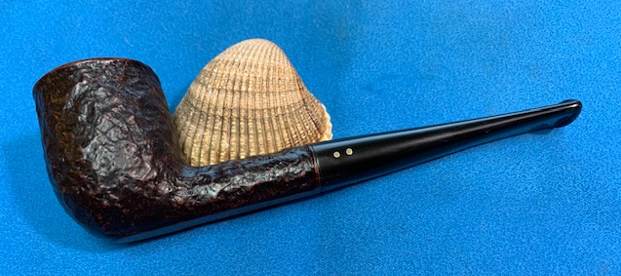
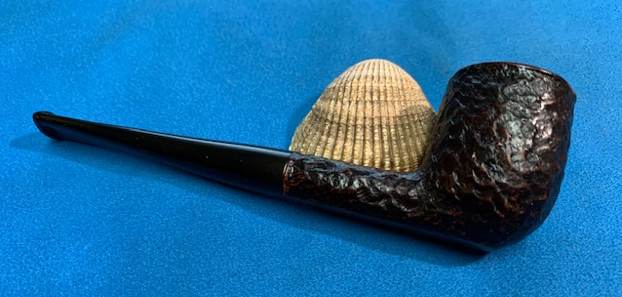
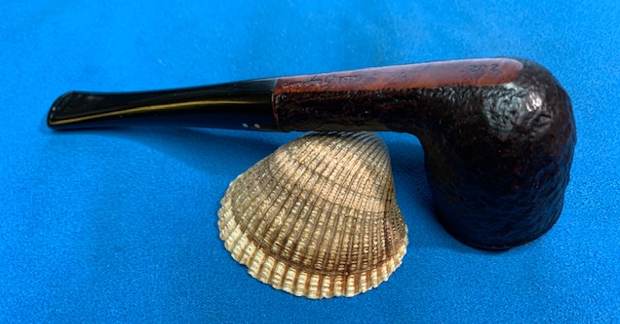
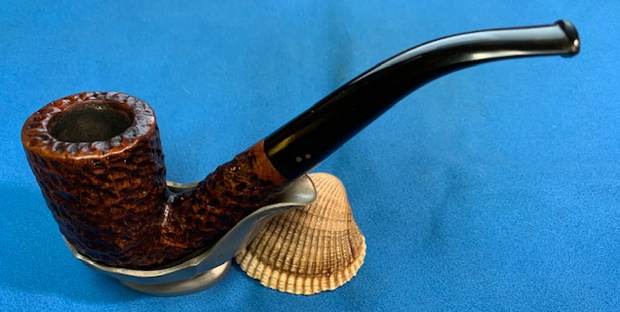
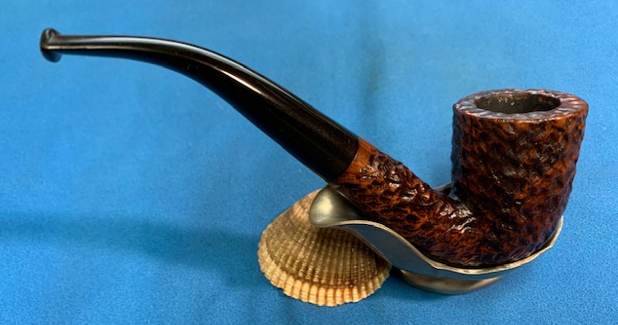
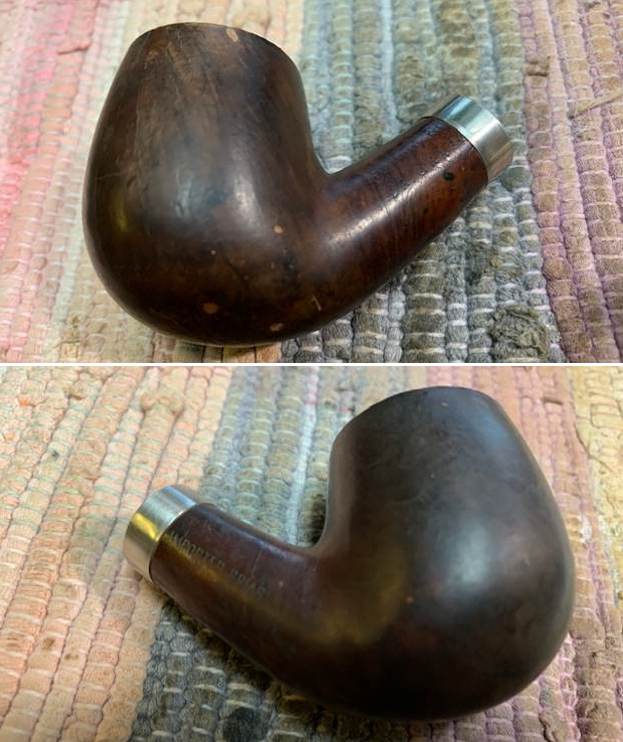
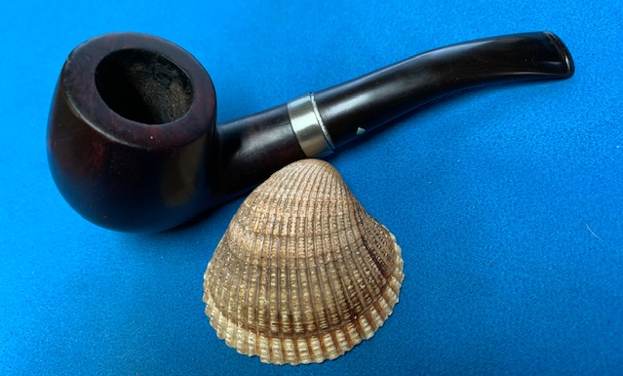
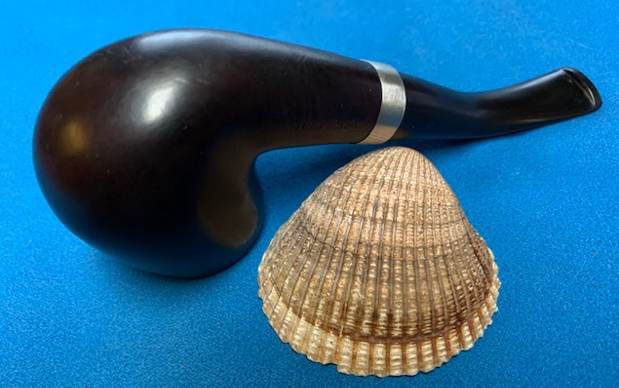
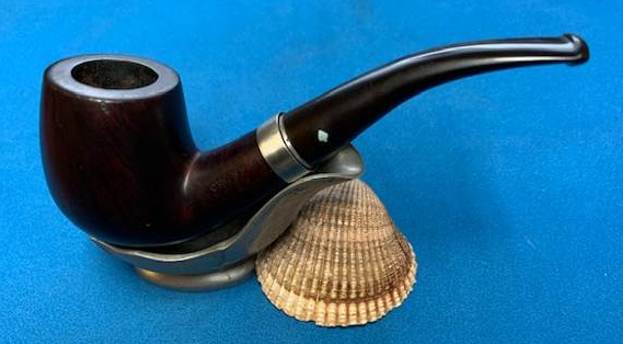
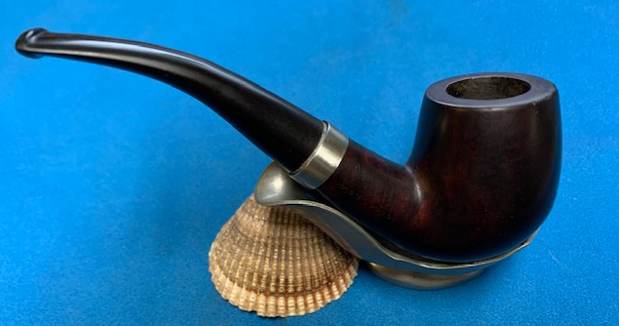
 I am excited to finish this Republic Era Peterson’s Dublin Rusticated Canadian. I put the pipe back together and buffed it lightly with Blue Diamond on the buffing wheel. I gave the bowl multiple coats of Conservator’s Wax and the stem multiple coats of carnauba wax. I buffed the pipe with a clean buffing pad to raise the shine and hand buffed it with microfiber cloth to deepen the shine. It is fun to see what the polished bowl looks like with the polished black acrylic stem with the silver band. It really was a beautiful pipe. The grain shining through the rich red stain on this Peterson’s Dublin Rustic Canadian is nice looking and the pipe feels great in my hand. It is light and well balanced. Have a look at it with the photos below. The dimensions are Length: 7 inches, Height: 1 ¾ inches, Outside diameter of the bowl: 1 ¼ inches, Chamber diameter: ¾ of an inch. The weight of the pipe is 1.73 ounces/50 grams. It is a beautiful pipe and one that will be on the rebornpipes store in the Irish Pipe Makers Section soon. If you are interested in adding it to your collection let me know. Thanks for walking through the cleanup with me as I worked over this pipe. Thanks to each of you who are reading this blog. Remember we are not pipe owners; we are pipemen and women who hold our pipes in trust until they pass on into the trust of those who follow us.