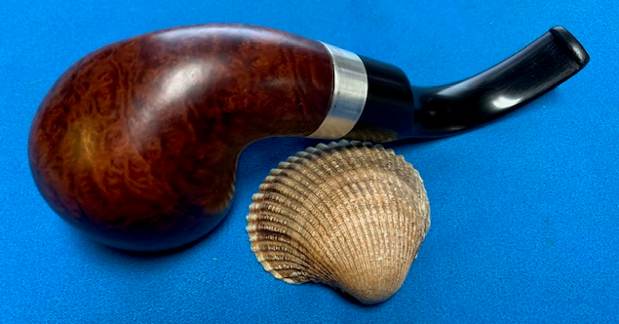
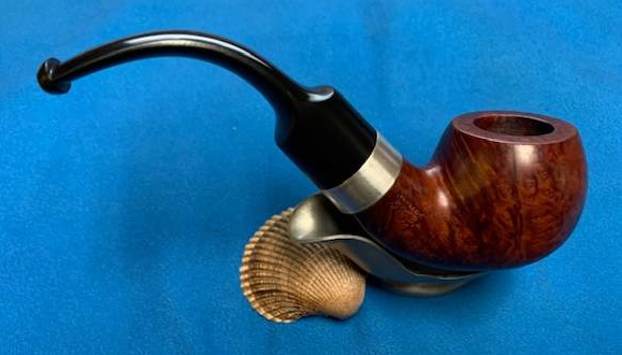
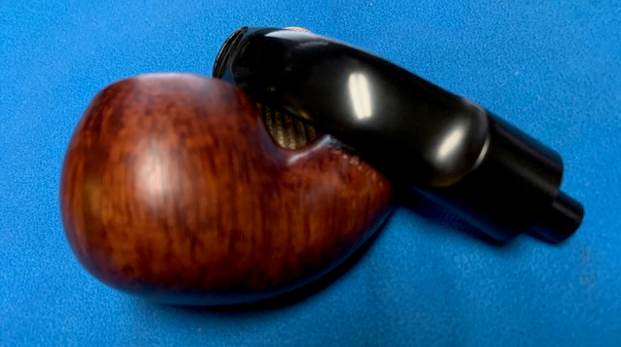
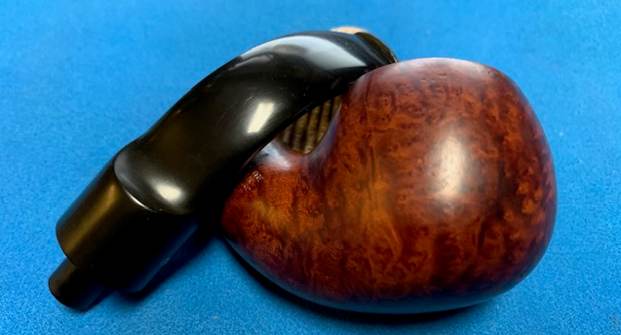
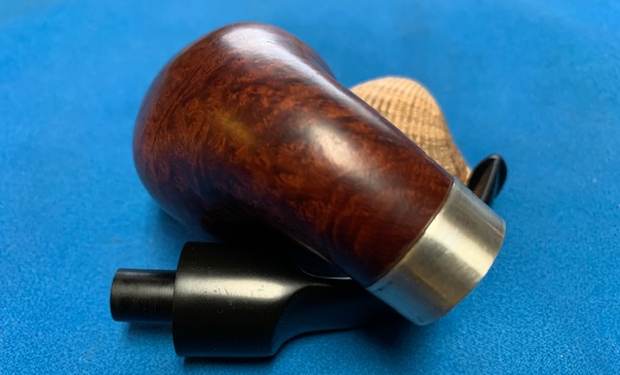
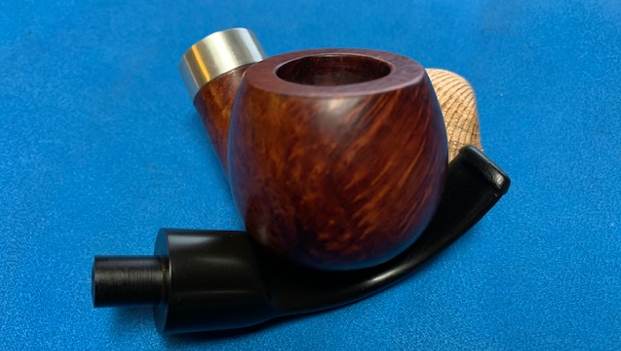
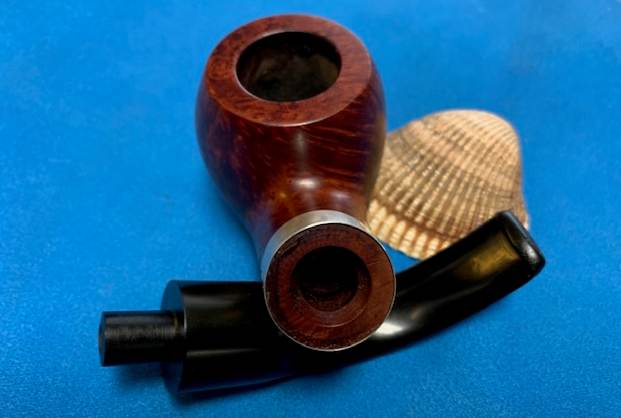
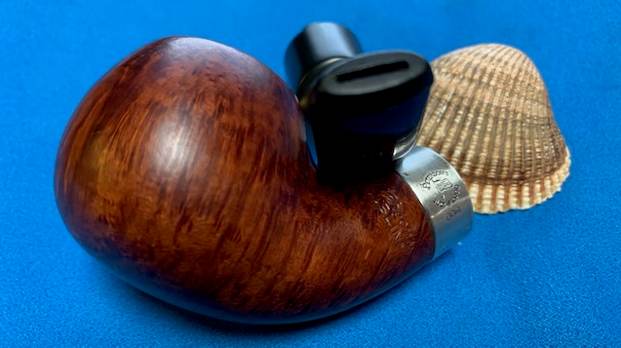
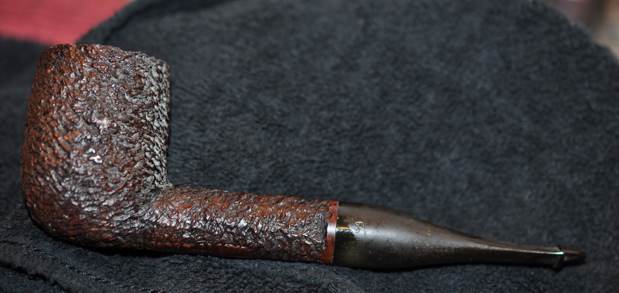
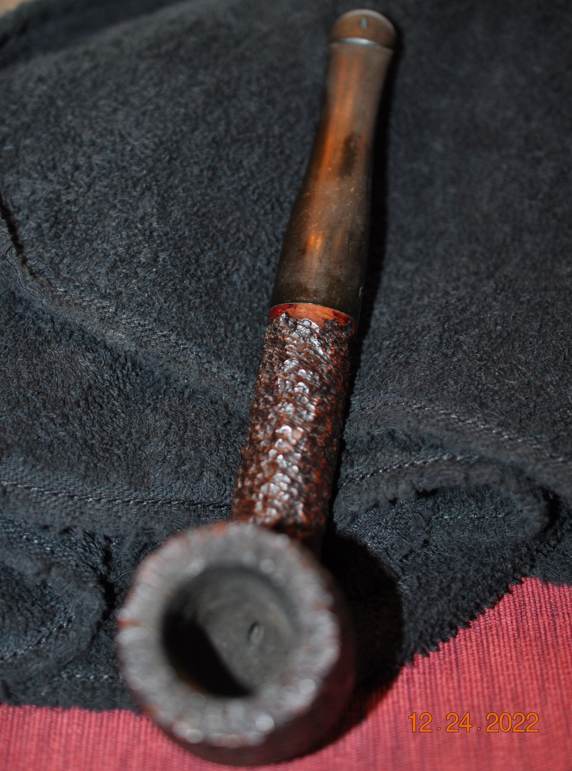
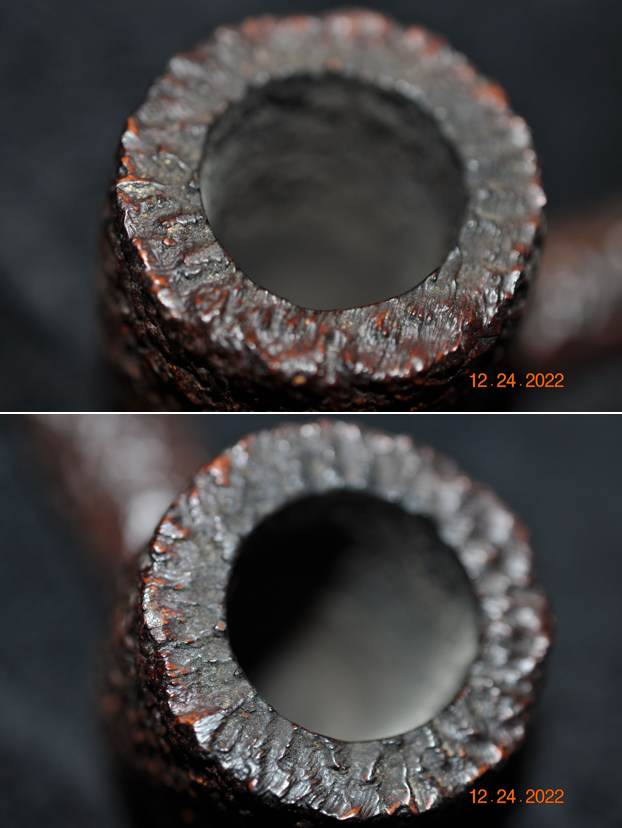
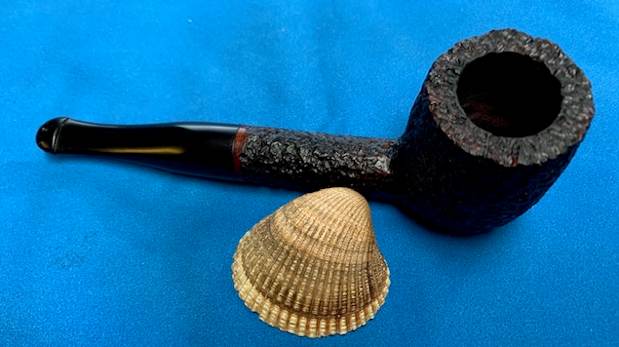
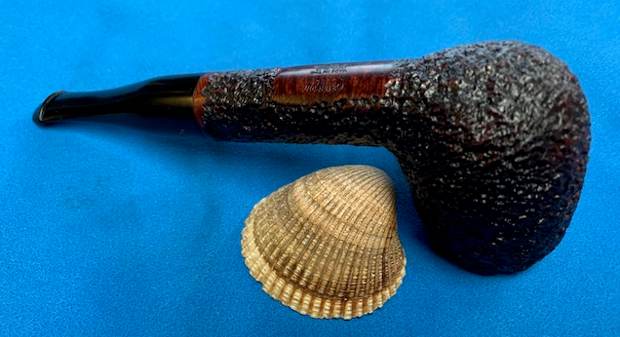
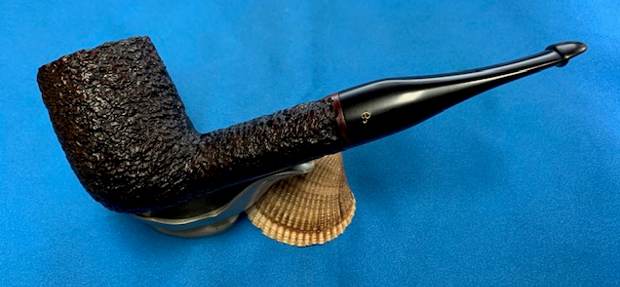
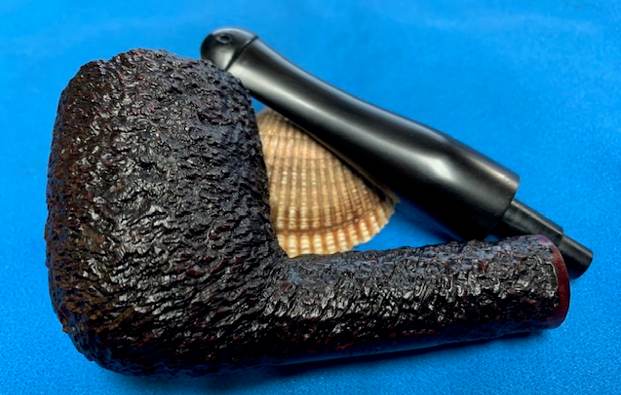
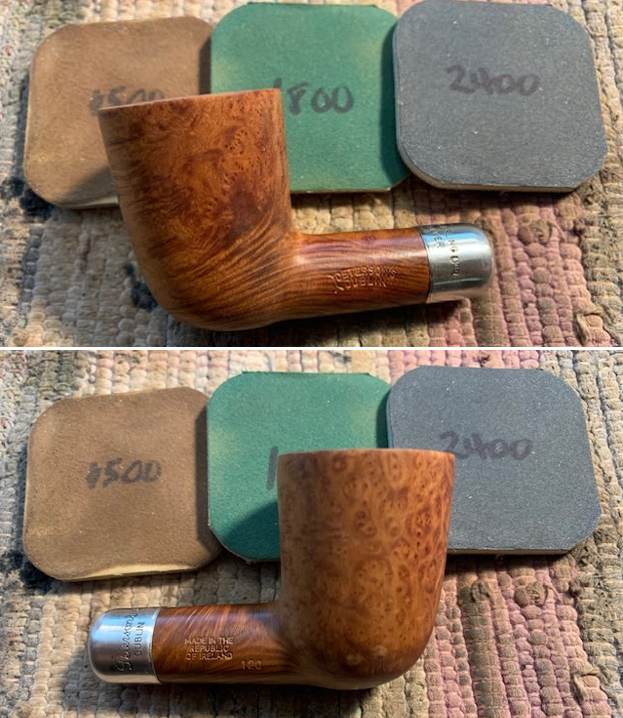
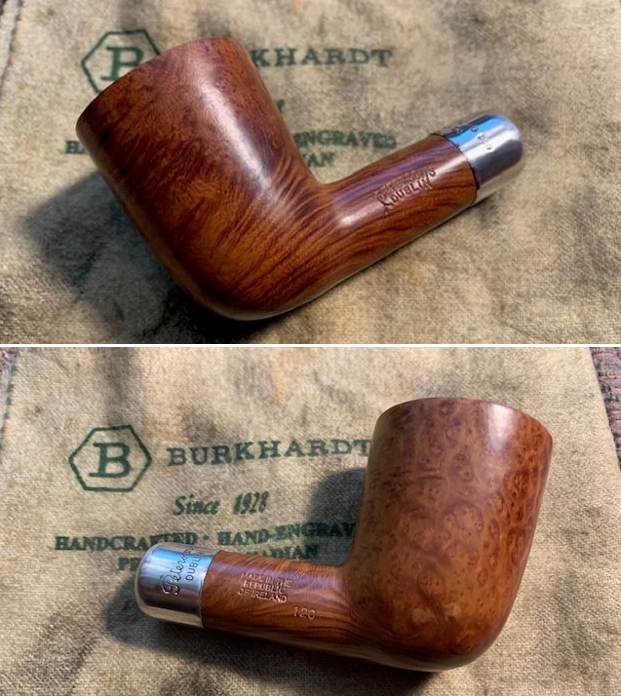
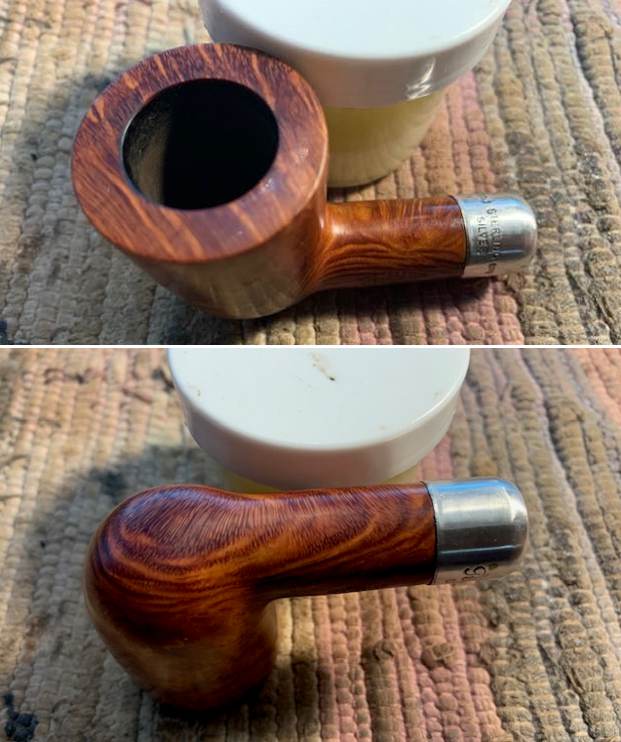
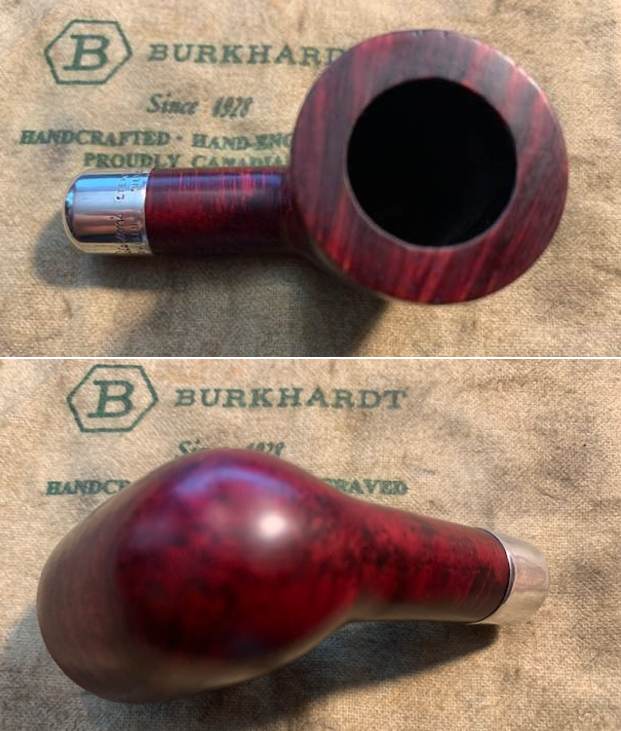
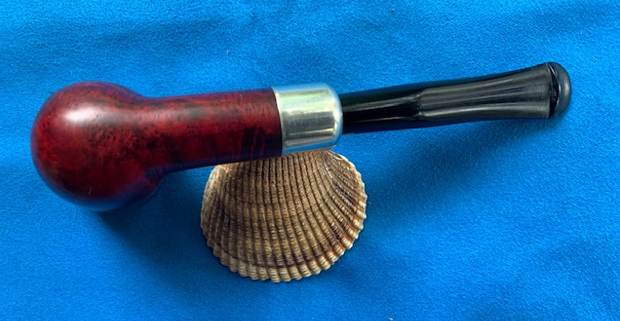
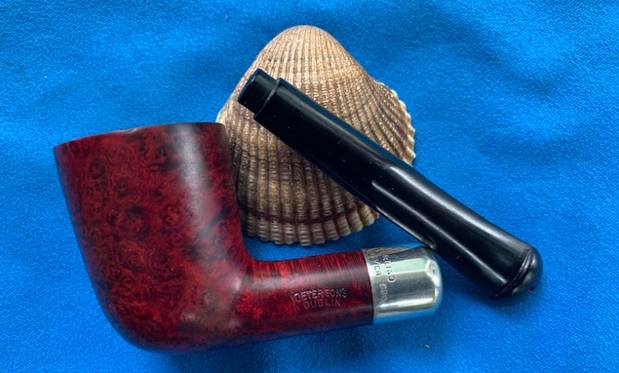
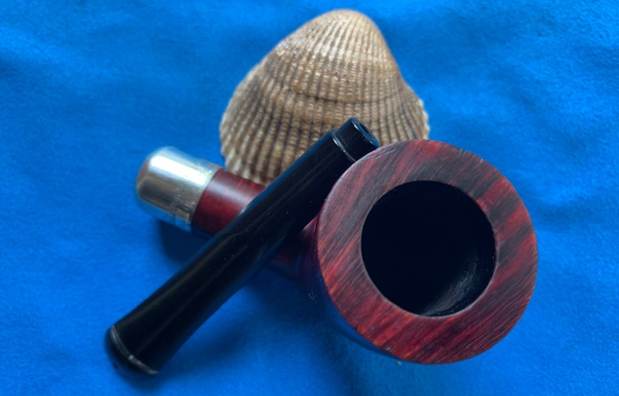
Tag Archives: Peterson’s Dublin pipes

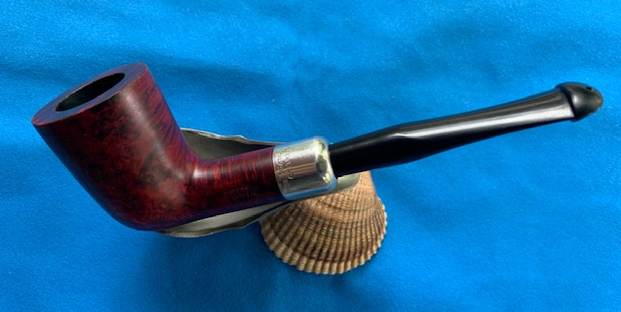
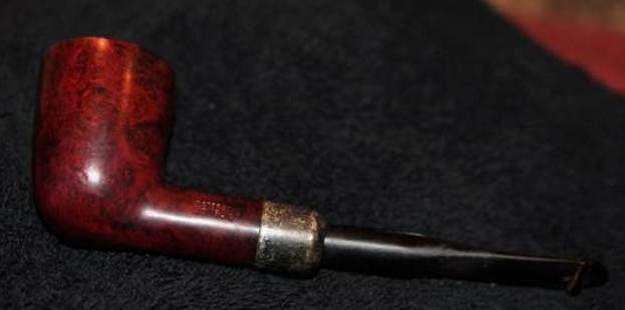
Restoring a Deeply Loved Peterson’s Diamond Shank Bent Billiard with a P-lip Stem


Blog by Steve Laug

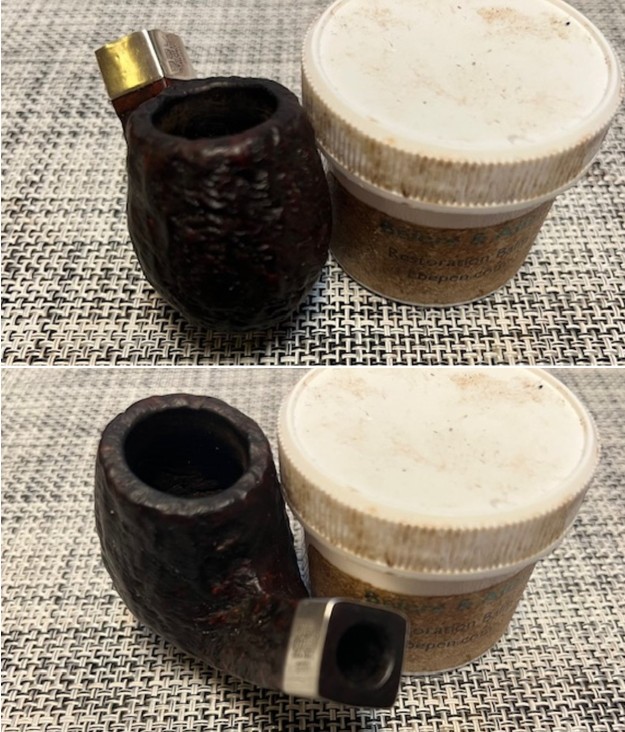
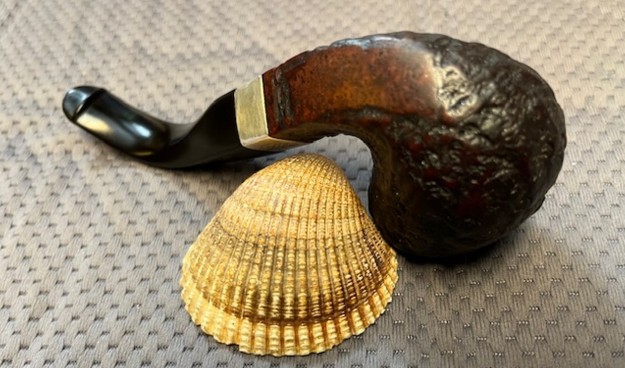
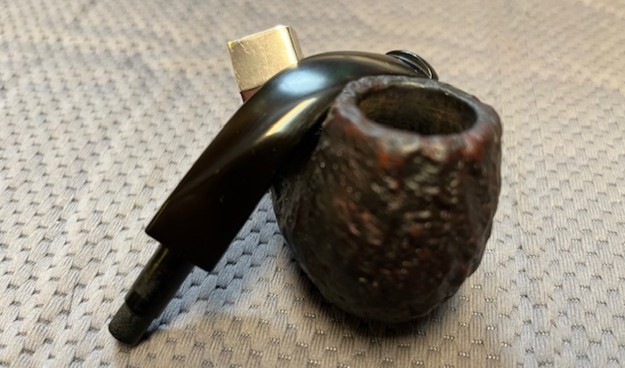
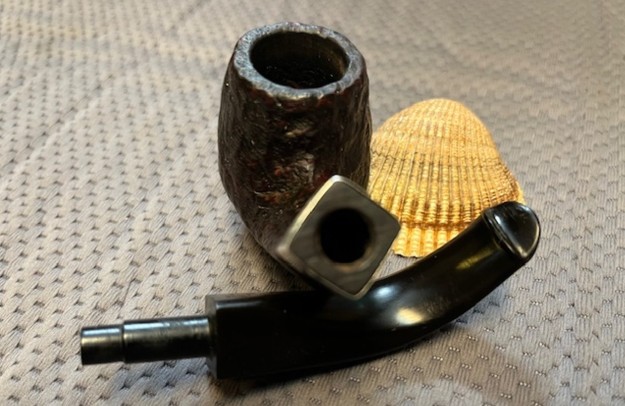
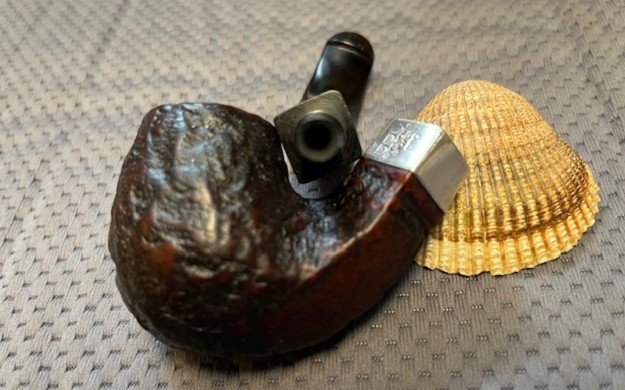
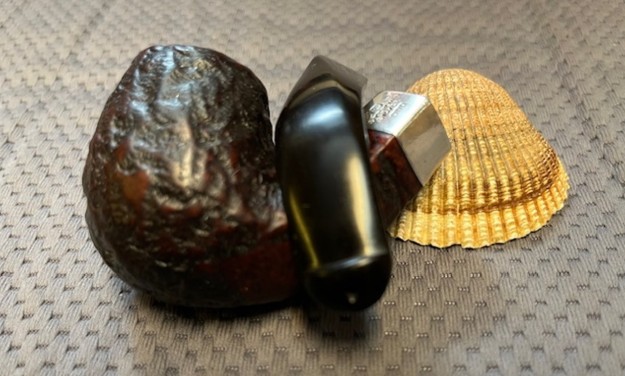
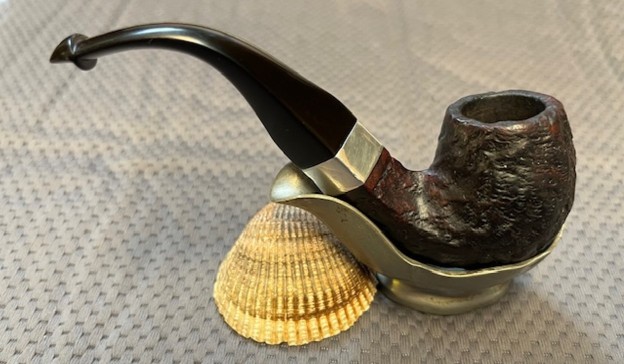
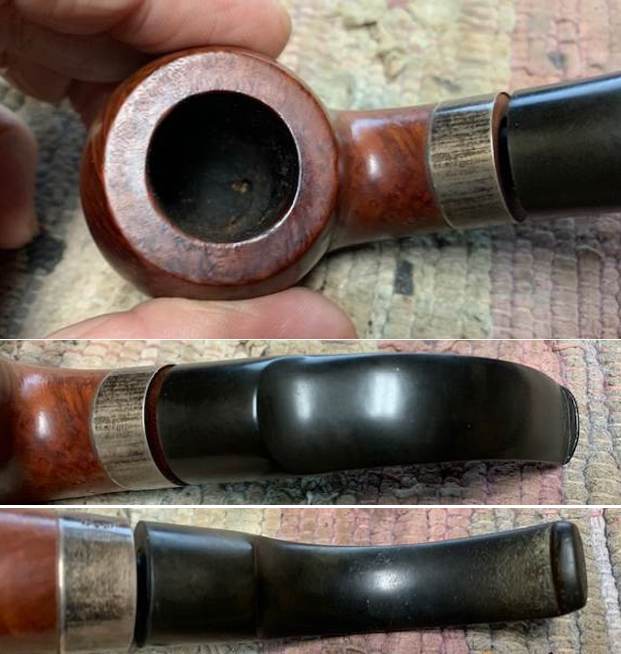
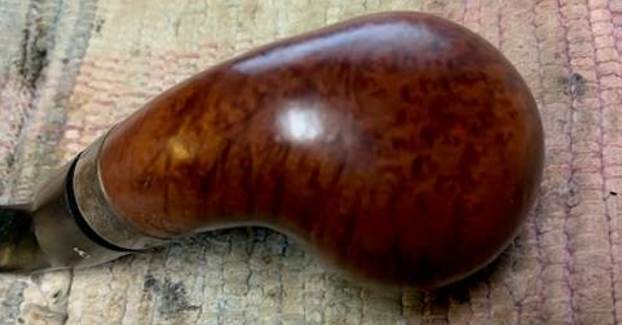
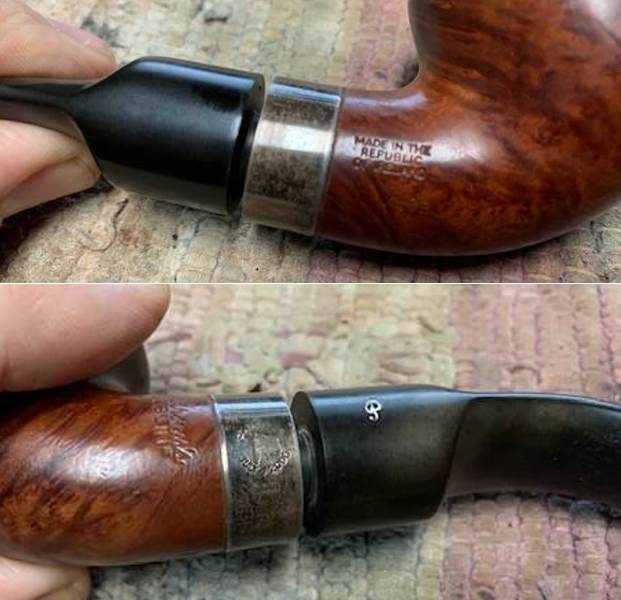
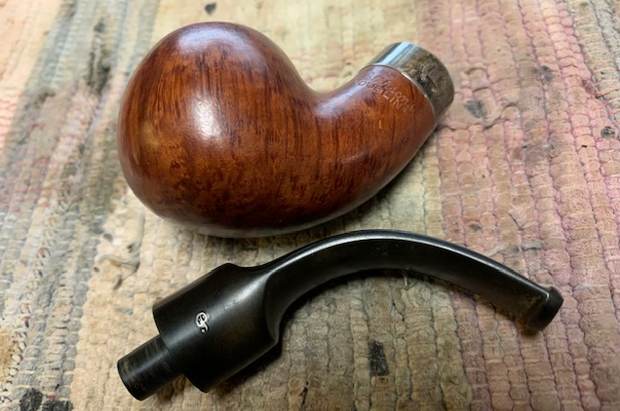
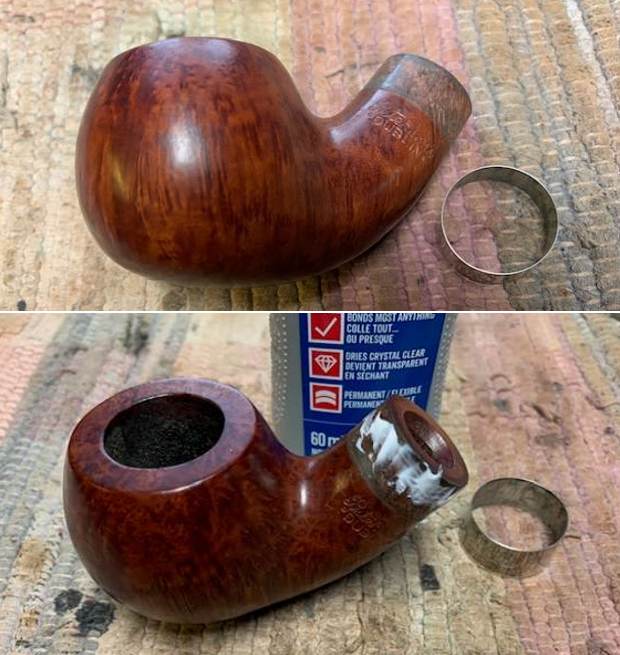
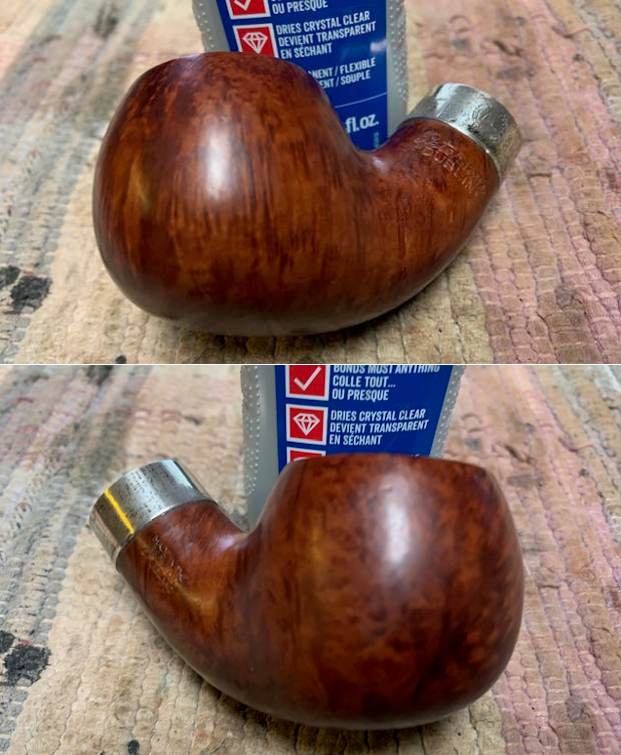
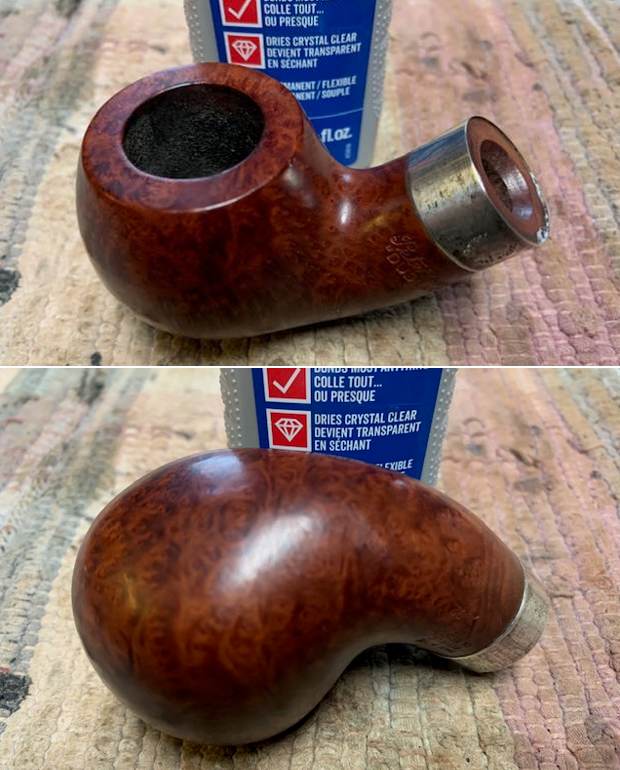
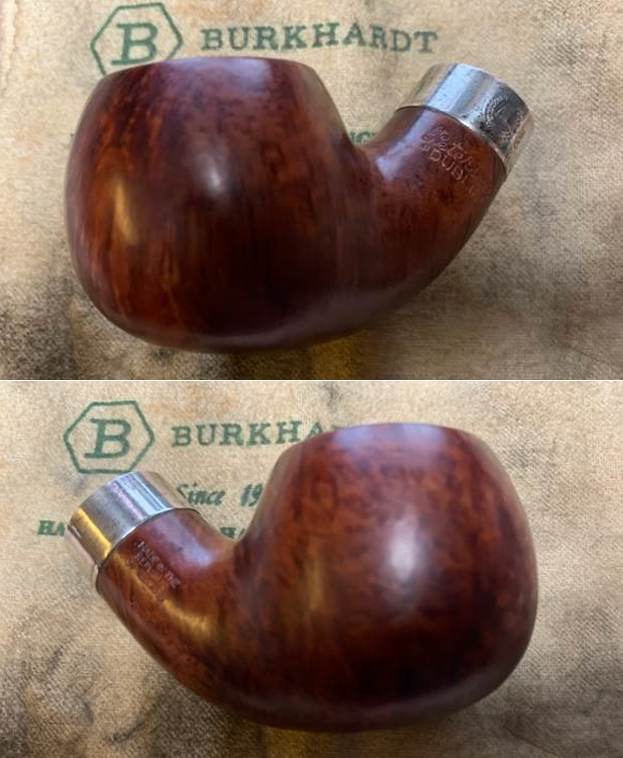
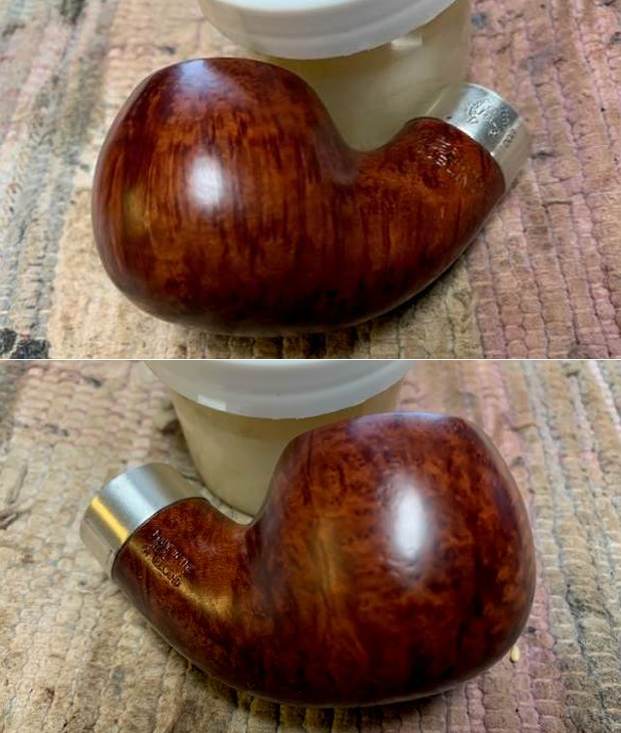
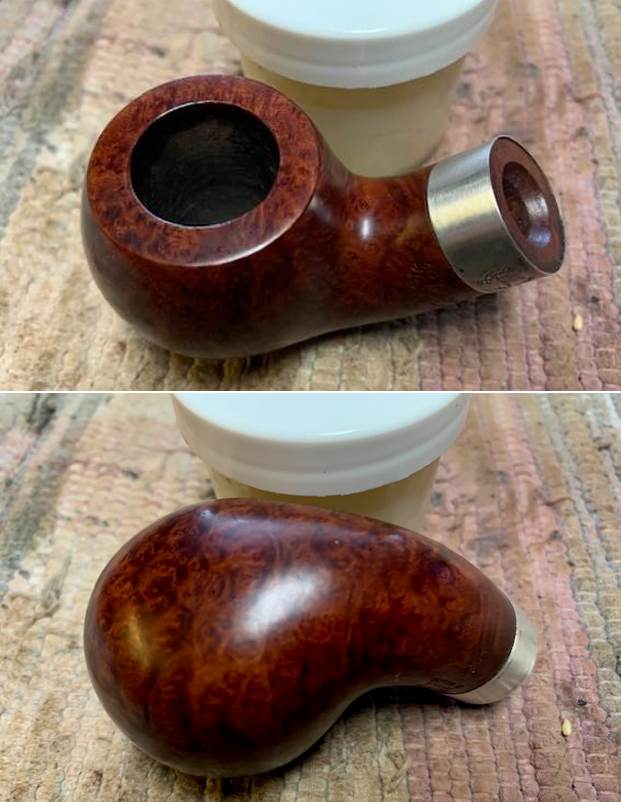
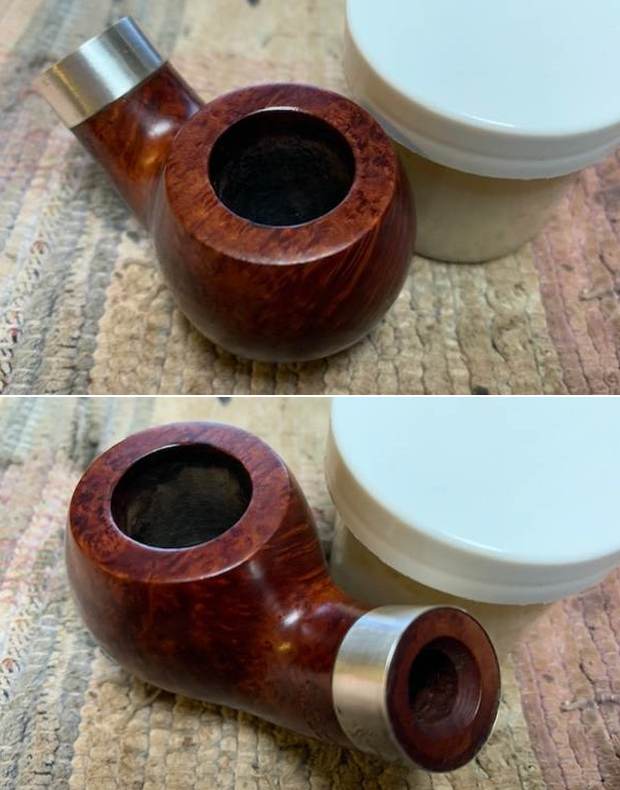
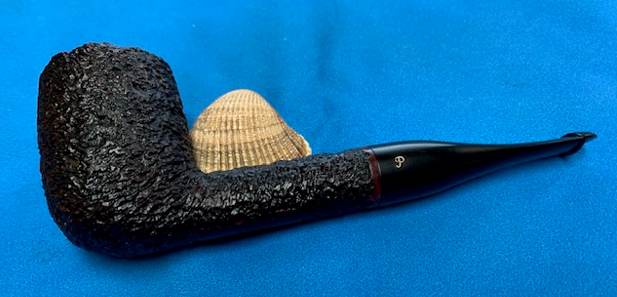
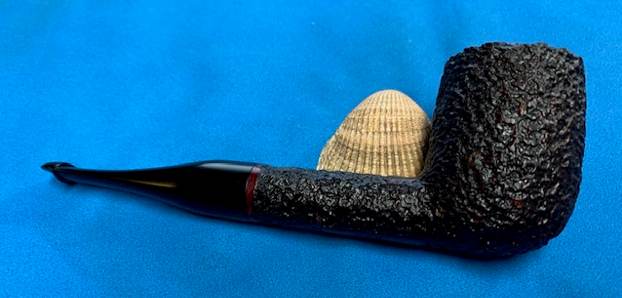
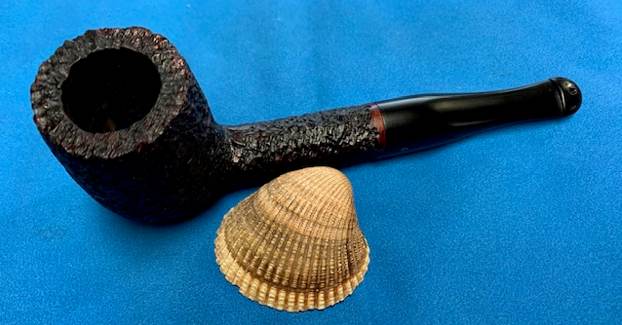
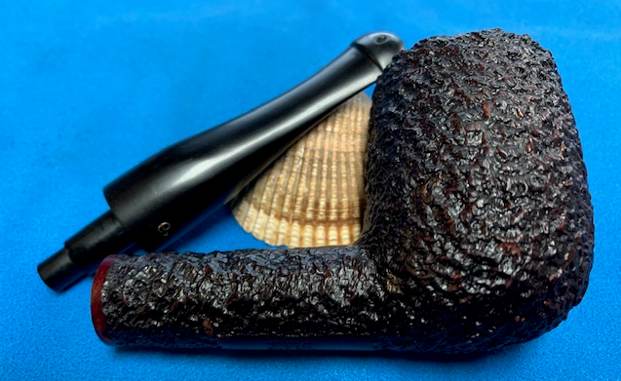
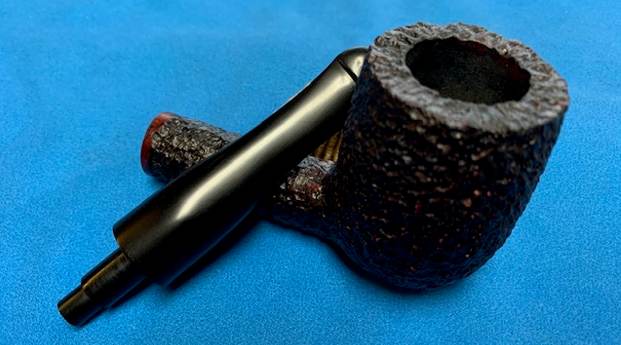
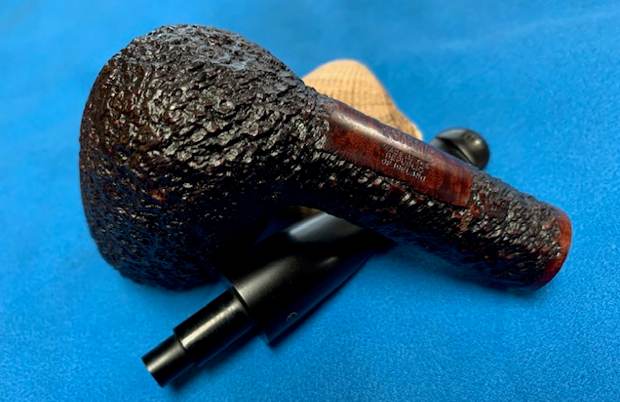
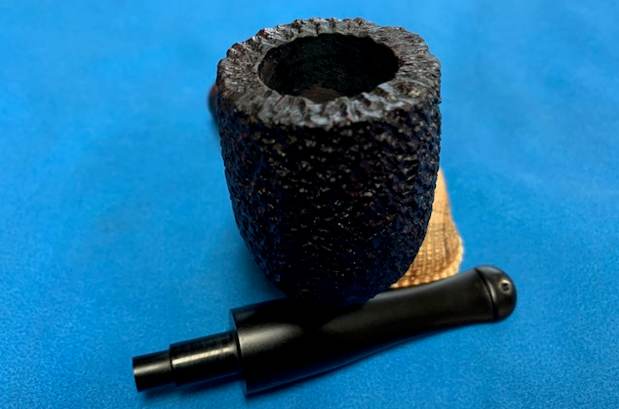
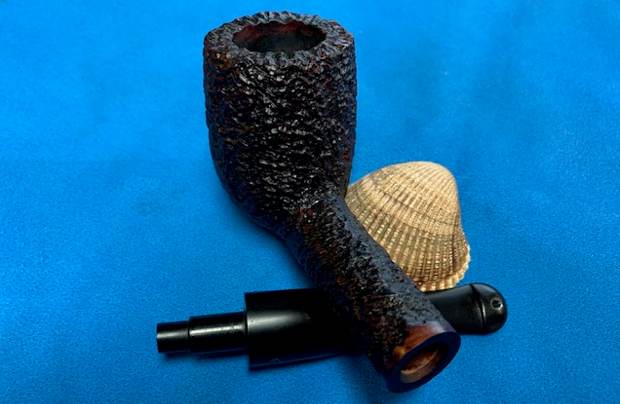
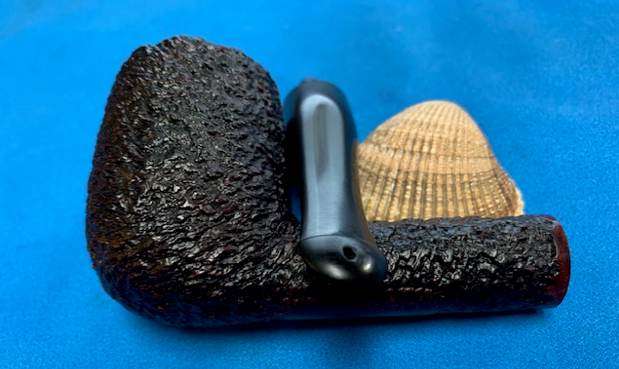
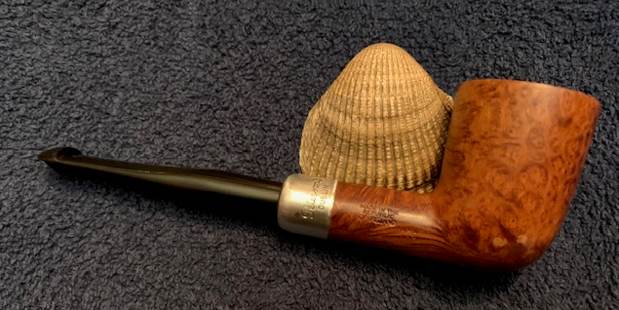
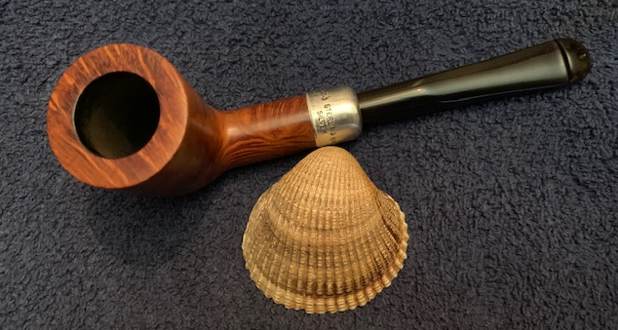
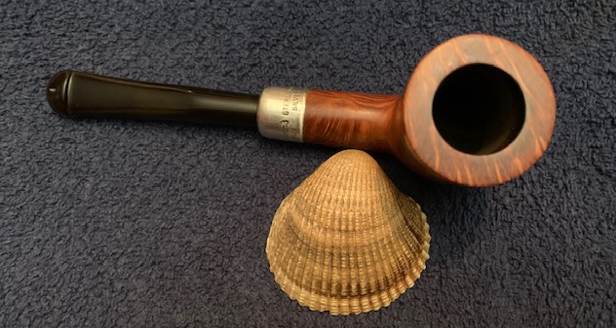
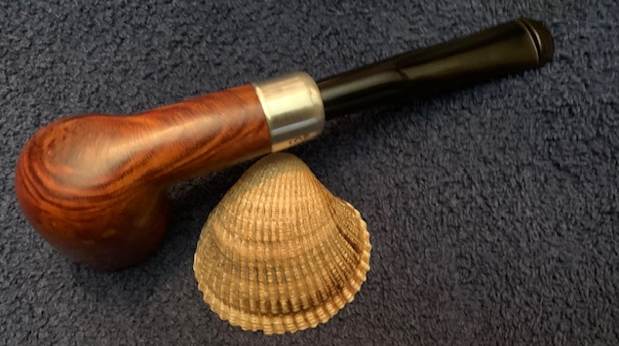
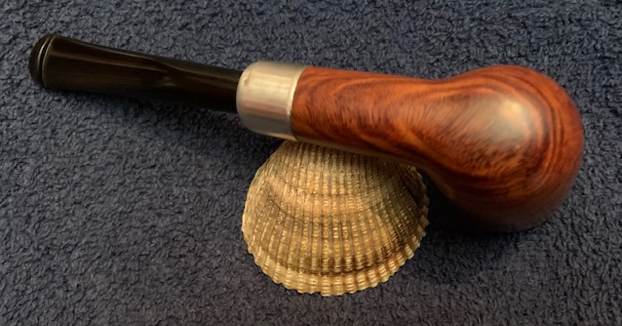
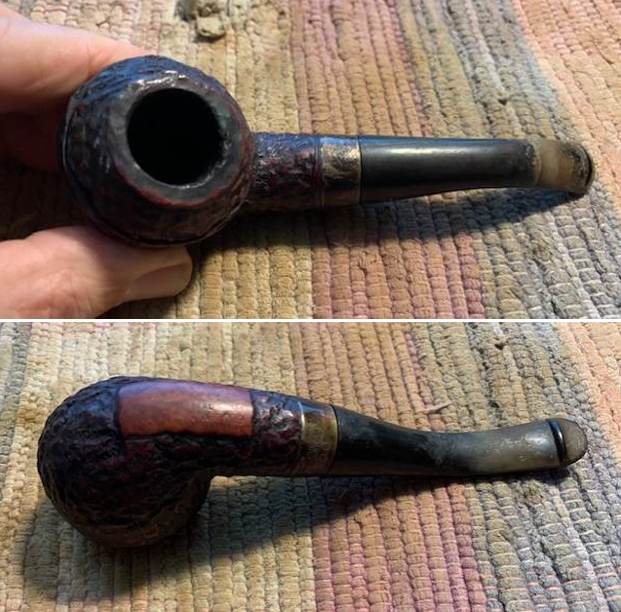
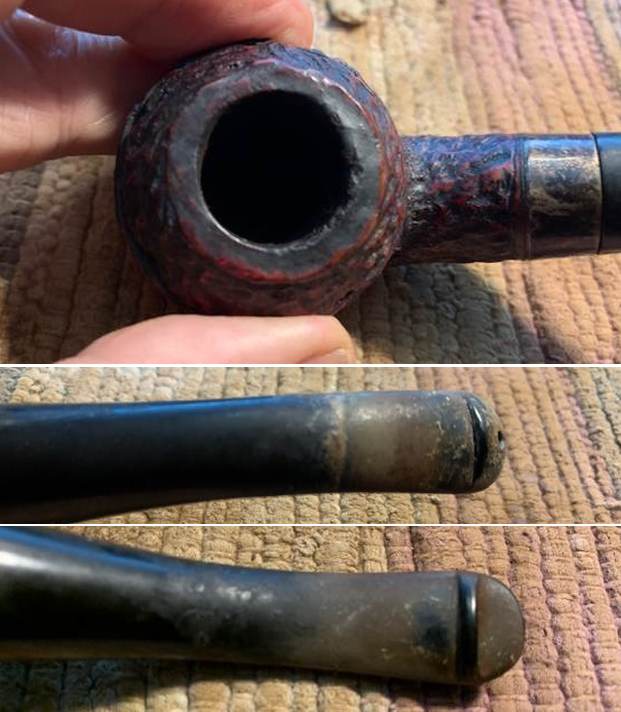
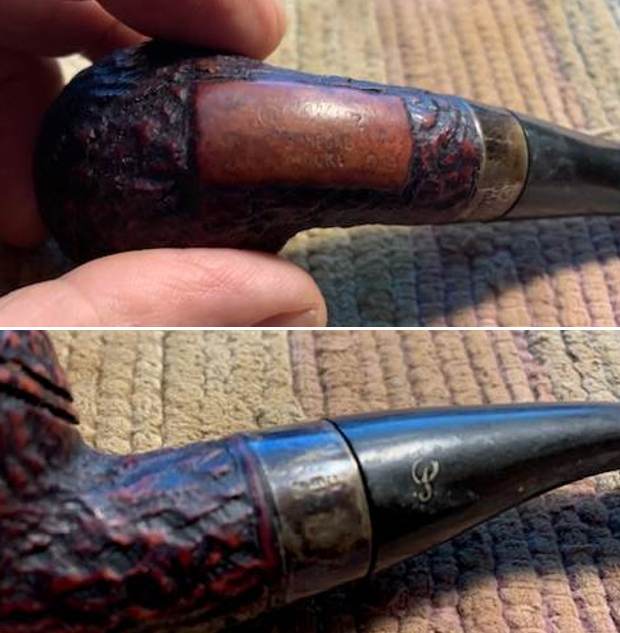
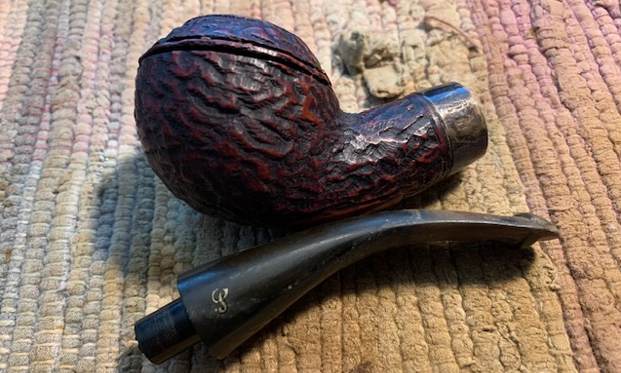
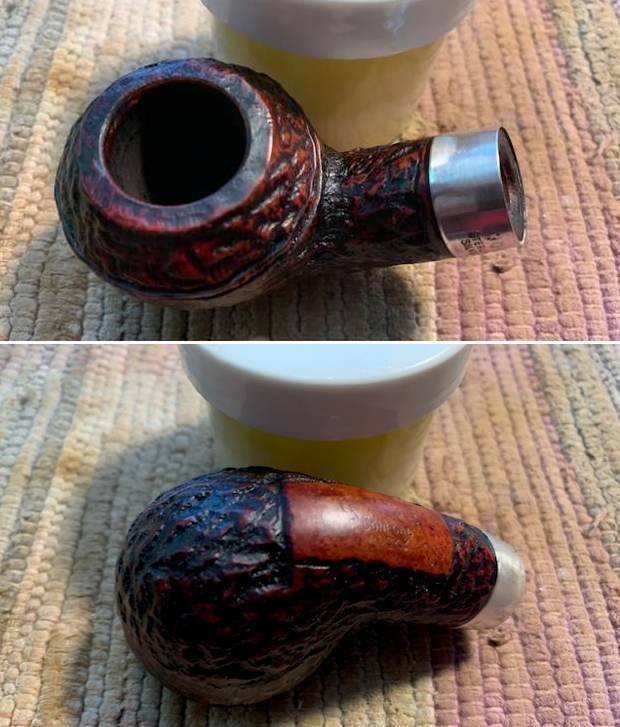
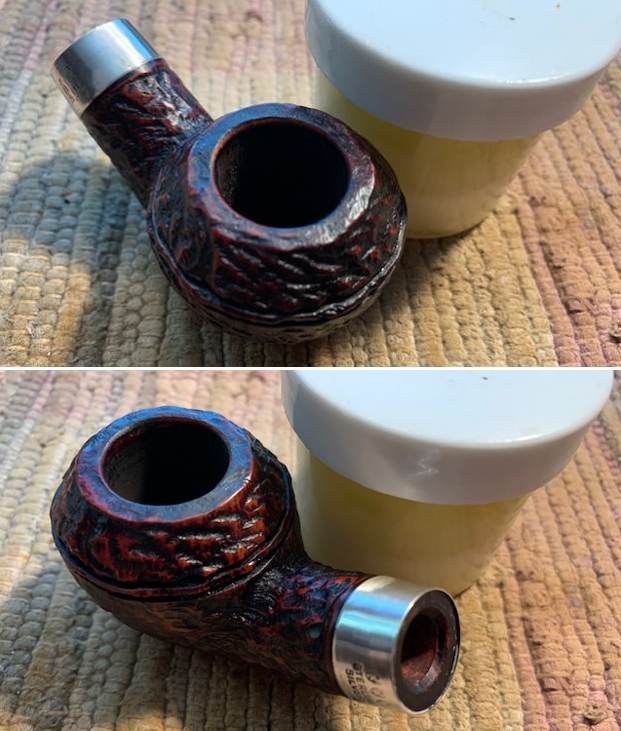
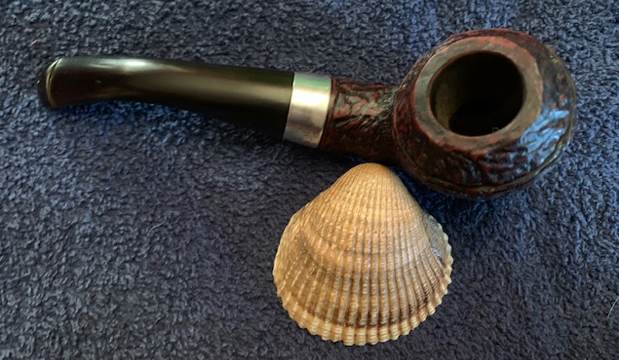
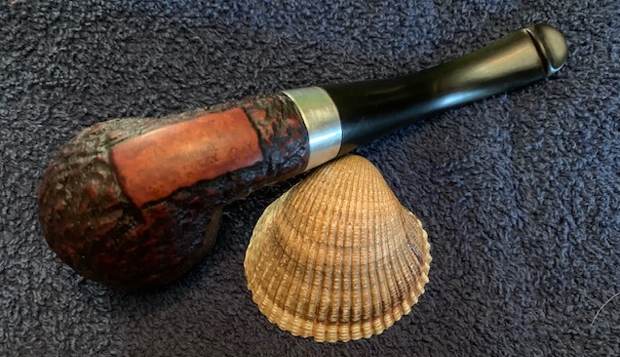
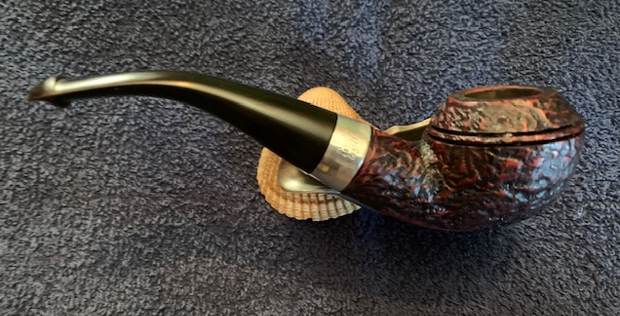
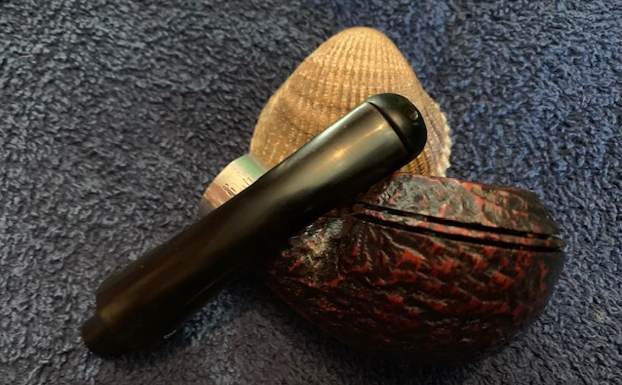
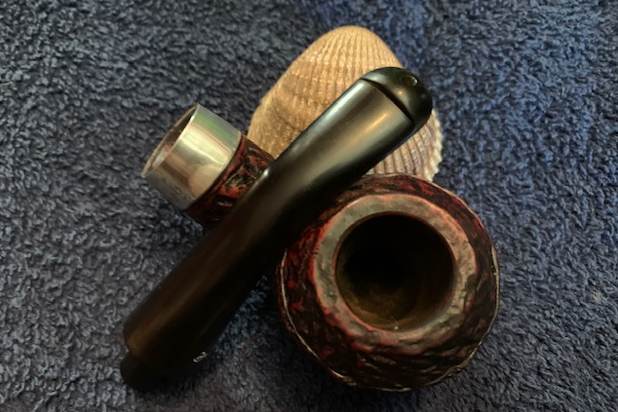
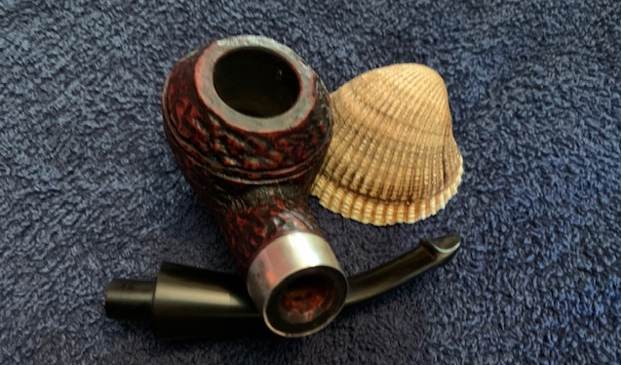
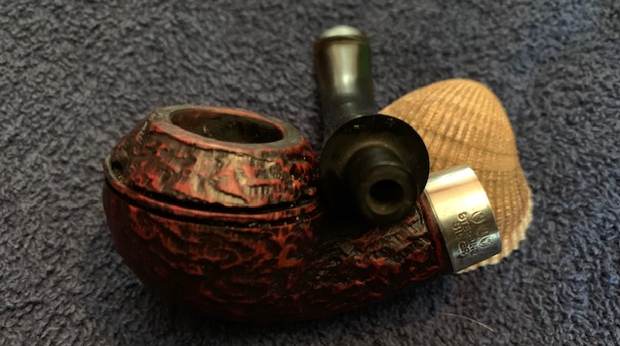
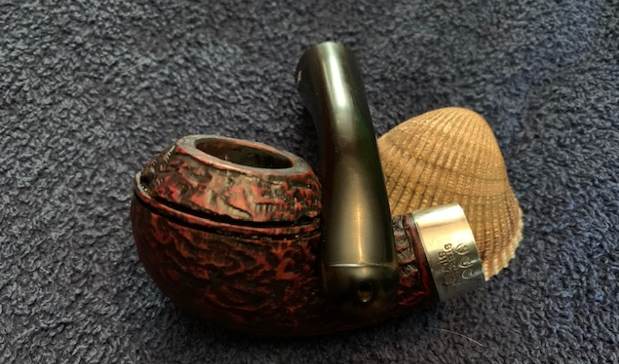
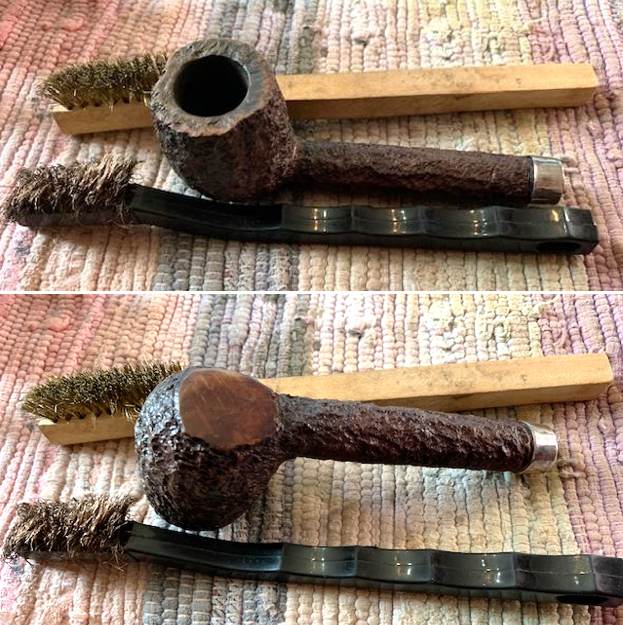
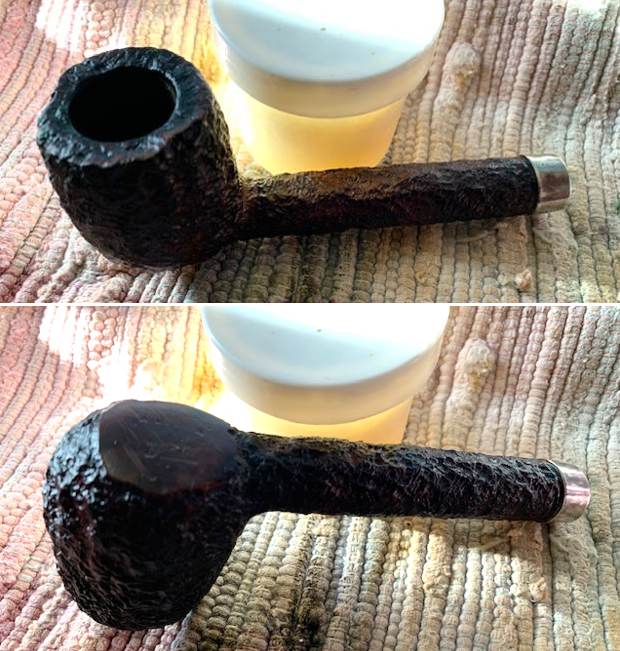
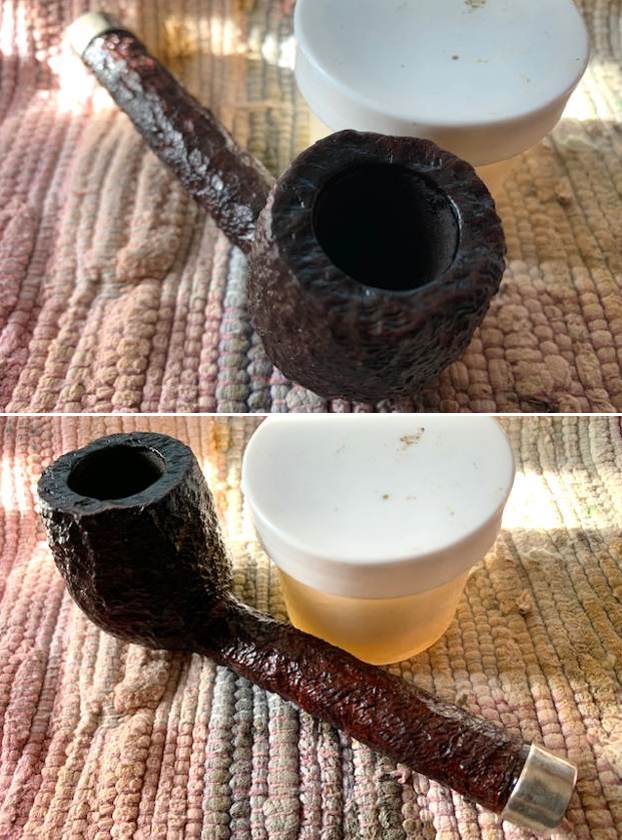
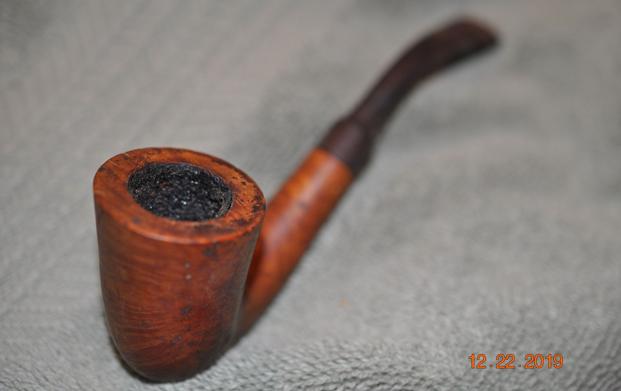
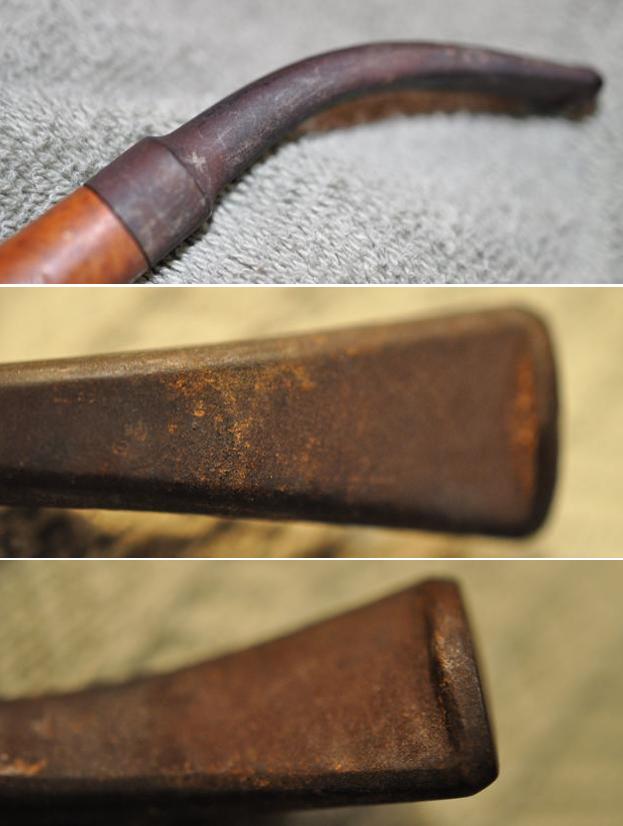
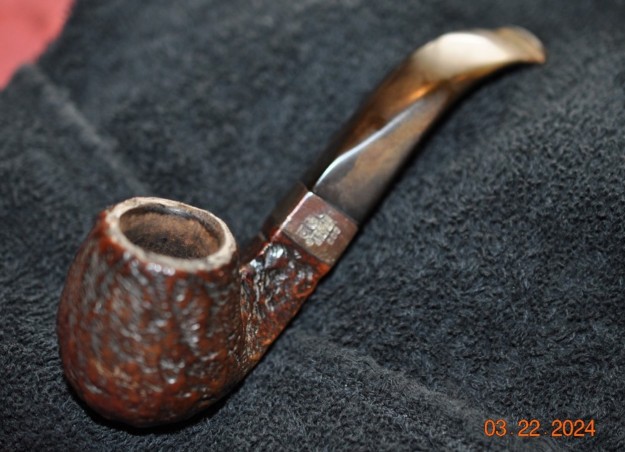
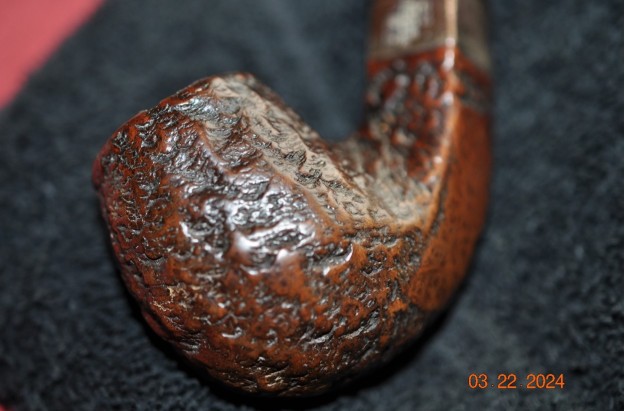
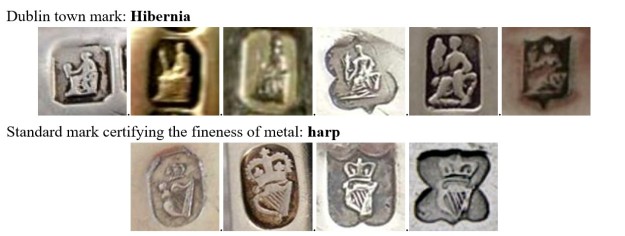
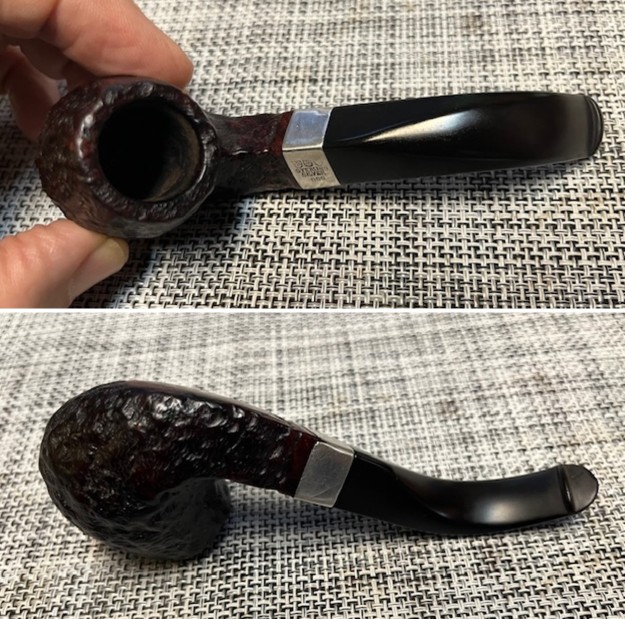
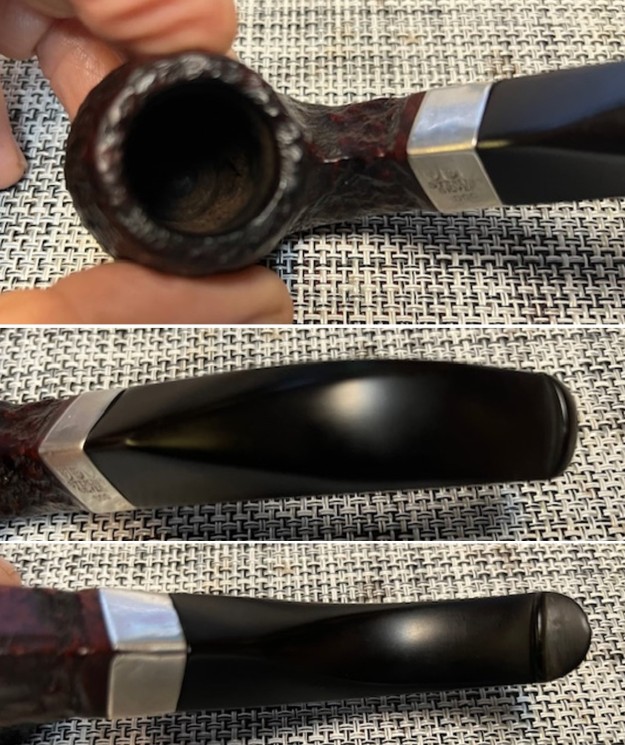
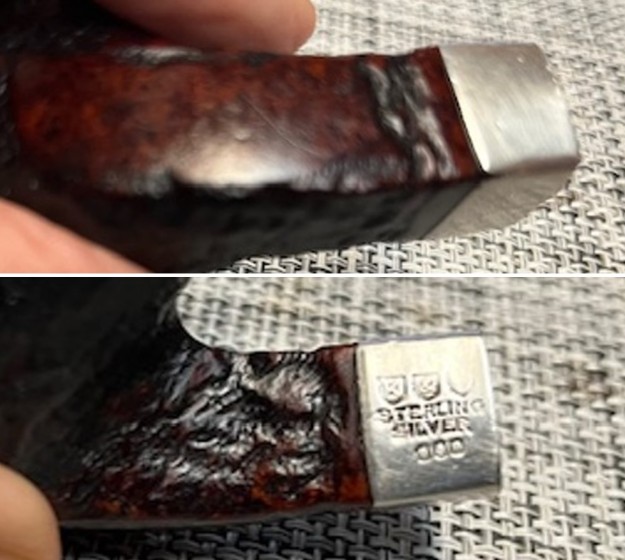
The next pipe on the work table is a lovely Peterson’s style briar pipe. We purchased it from a seller in Spring Branch, Texas, USA on 02/29/2024. It is a classic Peterson’s diamond shank, bent billiard shaped bowl. It has a worn rusticated finish with a rich brown stained bowl that really highlights the remnants of the blast. The bowl is dirty with grime in the finish. There is a light cake in the bowl and a lava overflow on the rim top and edges filling in the blast finish. The stamping on the pipe is on the underside of the shank and is illegible. It looks like it could read Peterson’s and something below that is not clear and the shape number cannot be read. The Sterling Silver band on the shank is oxidized and stamped. It reads K&P [over] Sterling [over] Silver. Underneath that are three hallmarks – a seated Hibernia with her arm on a harp, a crowned harp and a date stamp with an italic “P”. The stem has no stamping or logo on the diamond sides. It is oxidized, calcified and has very light tooth chatter and marks on both sides ahead of the P-lip button. It was obviously someone’s favourite and must have always been in his hand or mouth. Jeff took photos of the pipe before he started his cleanup. Jeff took photos of the bowl and stem to show the condition of the pipe. The rim top was very dirty with lava in the blast on the surface. The edges were hard to see their condition under the lava coat. The bowl had been reamed recently so there was just minimal cake on the walls in the lower portion. Only clean up would tell the full story. Jeff took photos of the top and underside of the p-lip stem showing the light tooth chattering, calcification and oxidation on the stem surface. Jeff took photos of the sides and heel of the bowl to show the condition of the finish. You can see the grime in the sandblast and the generally worn finish around the sides of the bowl and shank. Even under the wear, dirt and debris of the years it looked very good. Jeff took a photo of the stamping on the left underside of the diamond shank. The stamping was unreadable as can be seen in the photo. There are also some deep scratches in the smooth area of the stamp. The Sterling Silver Band is stamped as noted above and is very readable under the oxidation.  As is my habit before I start working on a particular pipe I want to know more about the pipe and the line. This one is a mystery because of the loss of the stamping. I do know that it is probably a Donegal Rocky as the rustication and the silver band fit that line of pipes. I turned to Pipephil (http://pipephil.eu/logos/en/logo-peterson-ser.html) to see if I could learn anything about it from the photos that are included. There was nothing even close. However, I followed a link on the silver hallmarks connected to the Mark Twain pipe I just completed. That was the most promising information I have found so far. I have included a screen capture of the pertinent section below.
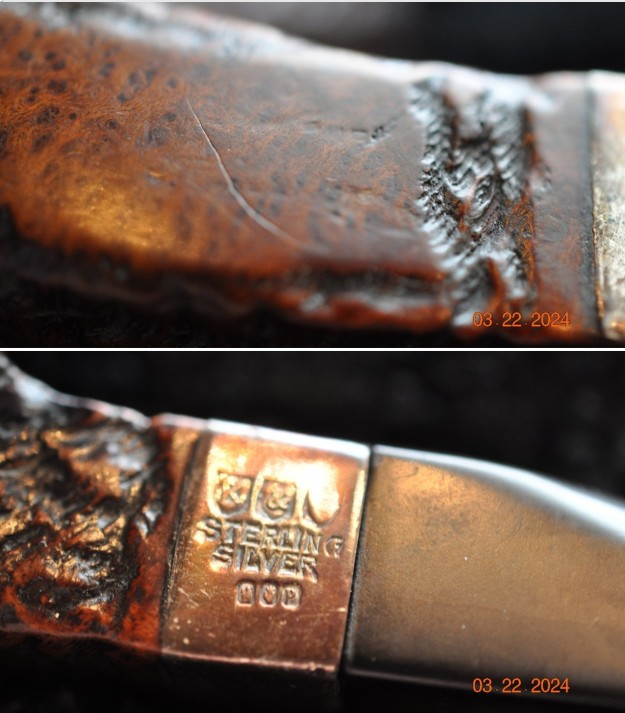
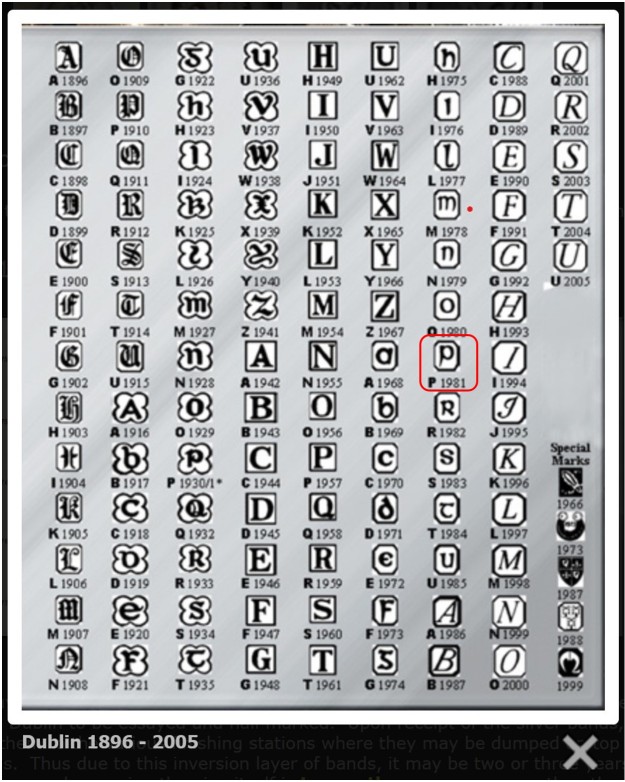
I wanted to understand the date mark and dig further. The band on the pipe I am working on has the three hallmarks noted in the photo above. They are as follows. The first is Hibernia seated, arm on a harp (for the country of manufacture – Ireland). Next to that is a Crowned Harp designating the sterling quality. Finally, it is followed by the date stamp which in this case is Celtic style, italic upper-case P. I have included information on the hallmarks below:Date letters of Assay Office Dublin
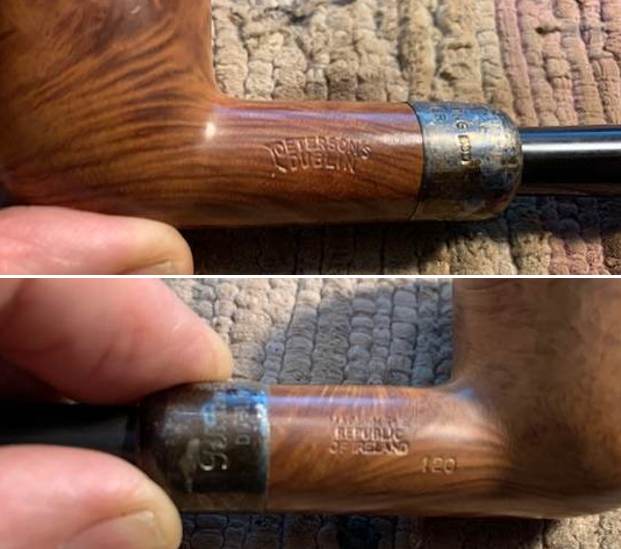
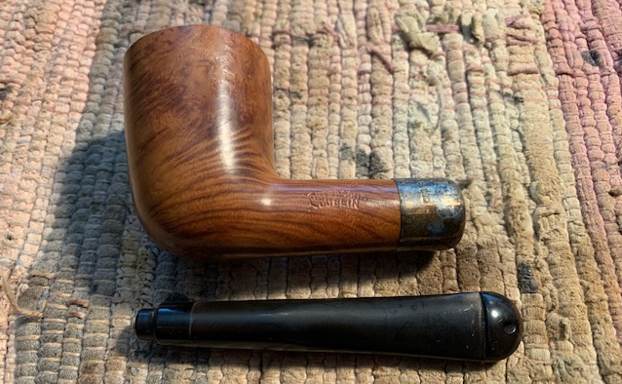
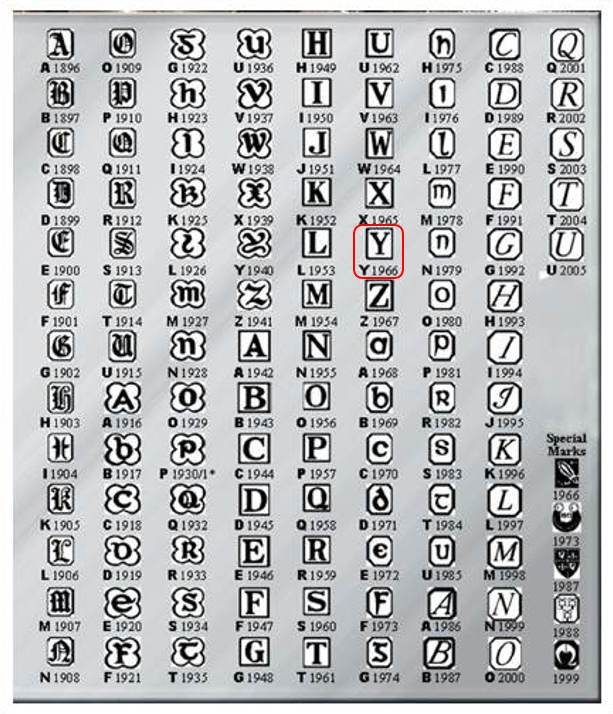
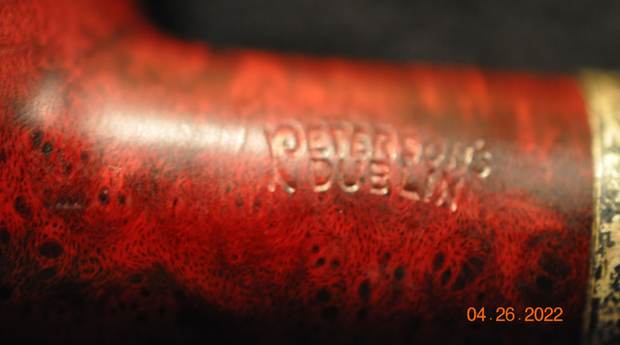
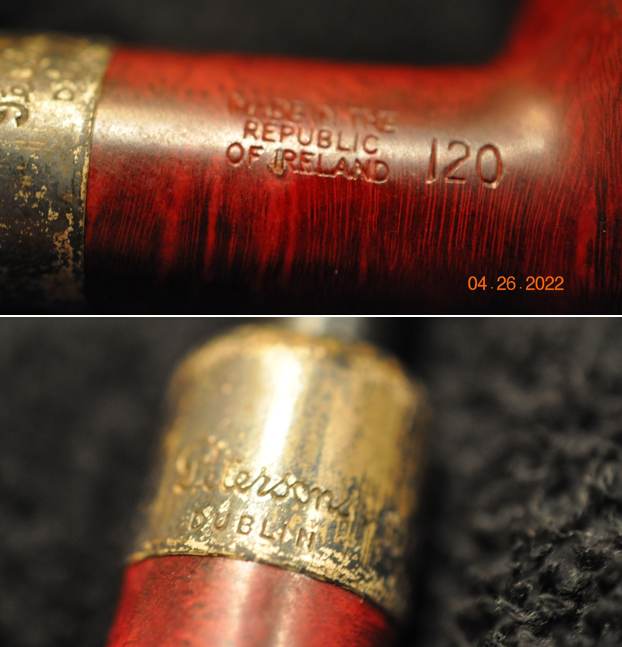
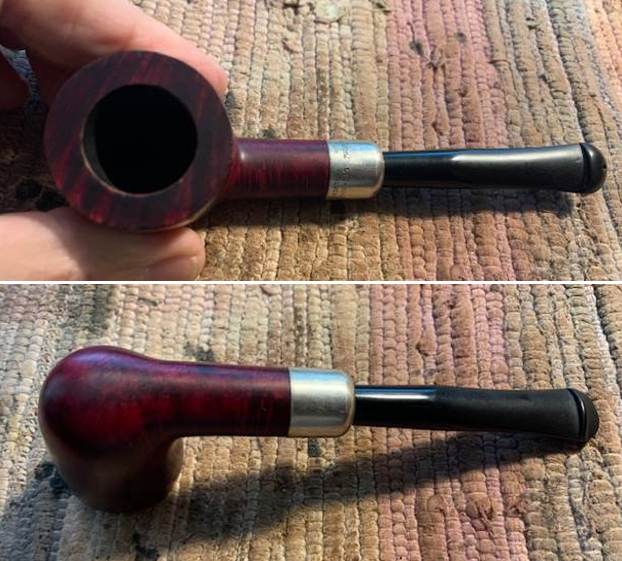
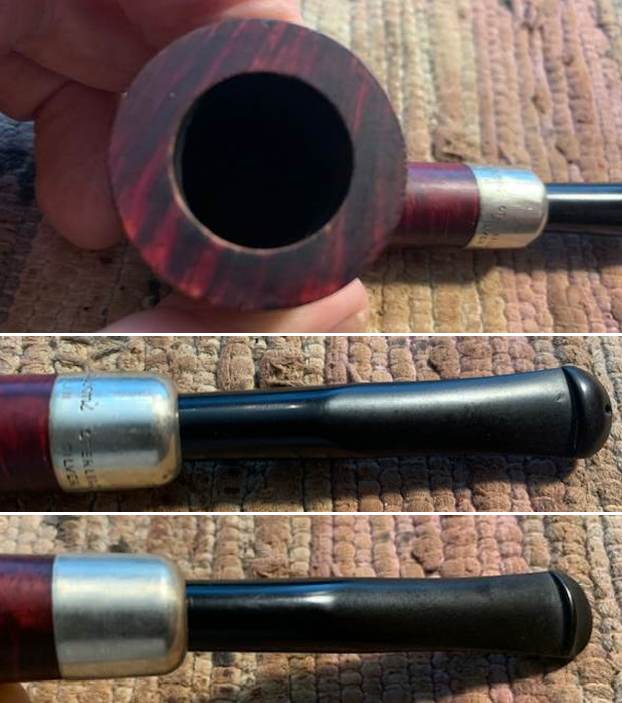
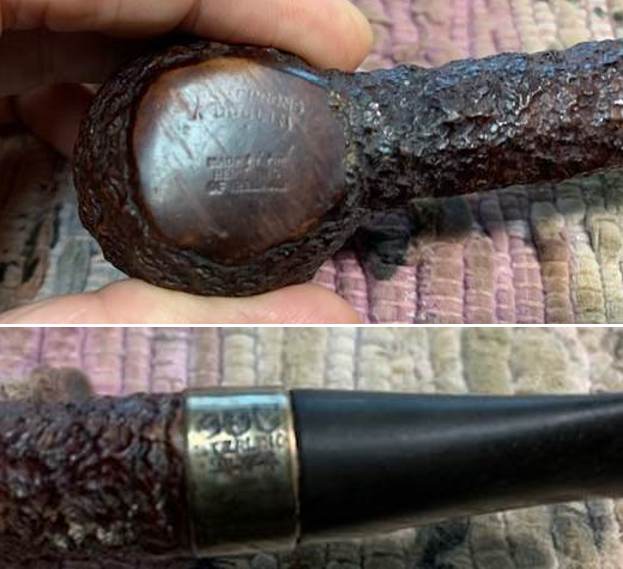
Twenty letters of the alphabet of different fonts together with the shape of the escutcheon identify the year in which the piece was verified by the assay office. I have drawn a rectangle around the matching letter P in the chart below which dates the pipe as a 1980.Now I knew that the pipe was a Republic Era Rusticated pipe that was made in 1980. I could not find a shape like the one I had here on the table. I did find a pipe with a similar style rustication and band that was on my rebornpipes site. It is simply stamped Peterson’s Dublin. There is a similarity to the worn on that I am working on now. The pattern is similar on this one. Here is the link: (https://rebornpipes.com/2022/04/14/restoring-an-interesting-long-shank-rusticated-petersons-of-dublin-canadian/). I have included some photos of the pipe rustication and the stamping on the heel and the Sterling Silver shank band to show the possibility of similar stamping on my mystery pipe. I am also including a portion of that blog where I dug out the stamping on the pipe and the band. I quote from that blog below as there are some very pertinent clues to the possible stamping that is missing on this pipe.
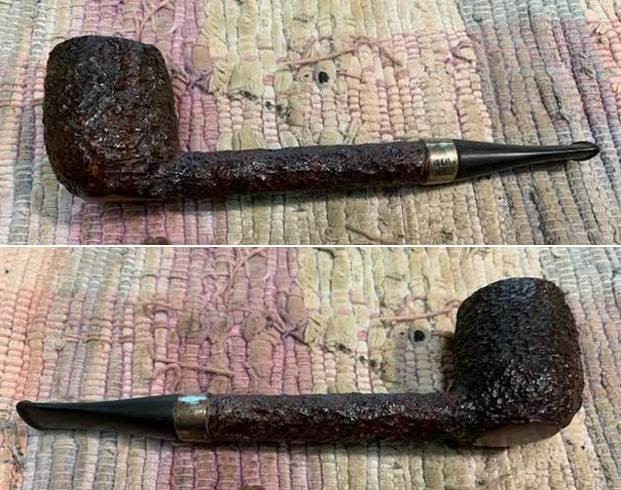
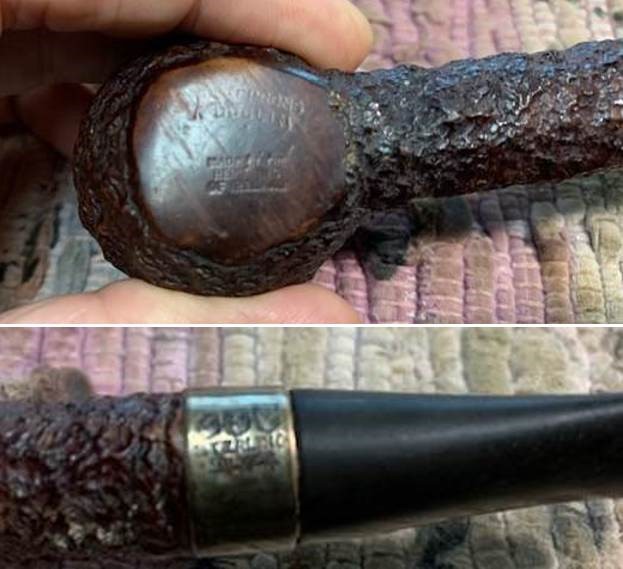
I turned to the Peterson’s Pipe by Mark Irwin and Gary Malmberg to ferret out information on the stamping of this pipe to try to pin down a date. Under the section, Dublin on Page 298 I found information on the stamping on this pipe. I quote:

Dublin (1906-2003) Although DUBLIN appears under PETERSON’S on many pipes  over the decades, it has served  mostly as part of the brand name. The word first appeared on pipes hallmarked 1906-11, stamped PETERSON’S over PATENT over DUBLIN. The simpler PETERSON’S over DUBLIN appeared on pipes hallmarked 1912 after the expiration of the patent… Specimens of the former will bear either an Irish COM or LONDON MADE over ENGLAND  COM and almost certainly date from 1945-62.  It was first mentioned in print as part of a model name in the ’68 price list, as K&P Dublin…

I looked also at the information on page 304 about the K&P stamping on the silver band. I quote below.

K&P Another set of three marks, each in a shield-shaped frame are frequently mistaken as hallmarks and are seen on sterling bands. See Maker’s Mark…

On page 305

 K&P on Mount …A second style of maker’s mark, K&P in three shields, was registered on June 26,1908 and has been in continuous use since.

On page 307

Maker’s Mark Collectors frequently mistake this row of three shields for hallmarks, especially on pipes made between 1938-68 when Peterson sterling mounts had no proper hallmarks. Collectors tend to label these faux hallmarks. The three shields are not hallmarks at all but their presence on the mount does confirm the mounting is sterling.

Now at least I had a time frame for the pipe. It had the three maker’s marks in three separate shields (K&P). The sterling silver band on my pipe had three Silver Hallmarks so I knew that it was made after 1938-1968 when no such marks were used. The K&P stamp on the silver and the Dublin stamp on the shank of the above Canadian match what I am surmising must have been stamped on this pipe. I am guessing of course but think that the pipe may well have been stamped Peterson’s [arched over] Dublin followed by Made in the Republic of Ireland stamp (in three lines). That and the silver hallmark date of 1980 place the pipe as a Republic Era Pipe which dated it from 1950-1989. Armed with that history and having a sense of the possible brand it was now time to do a bit of spiffing with the pipe itself.

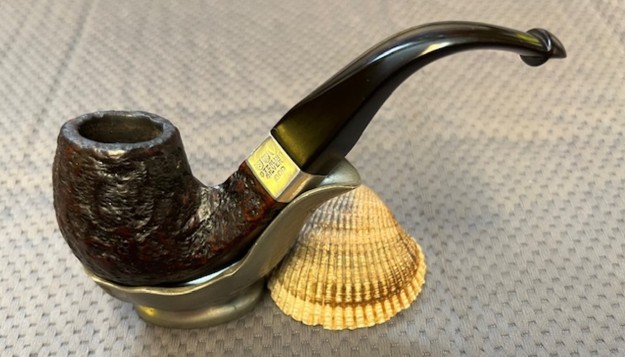
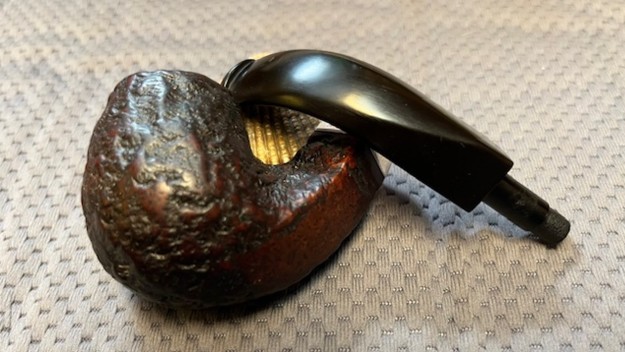
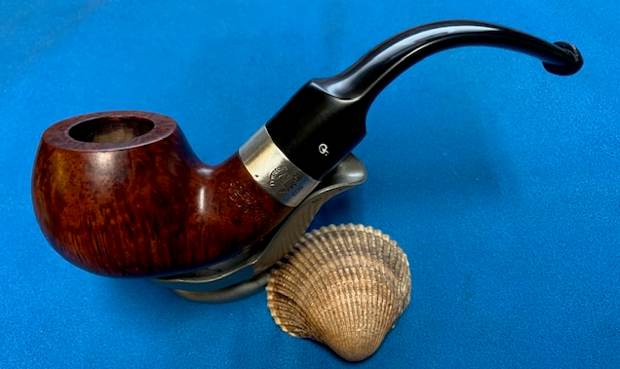
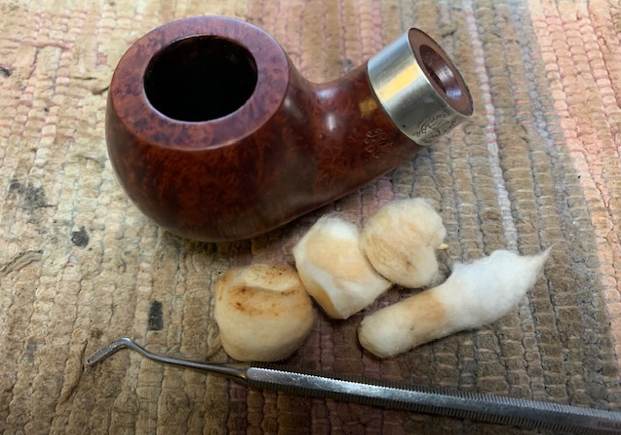
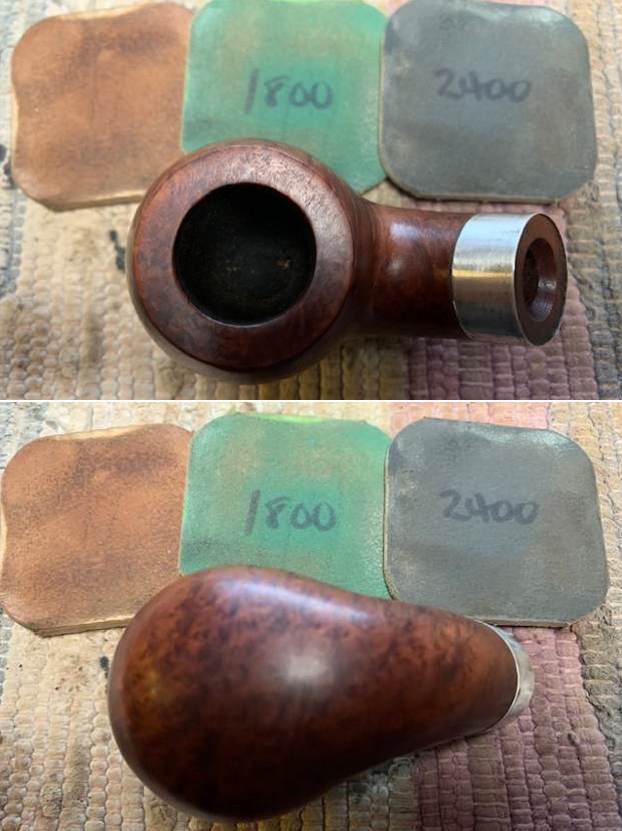
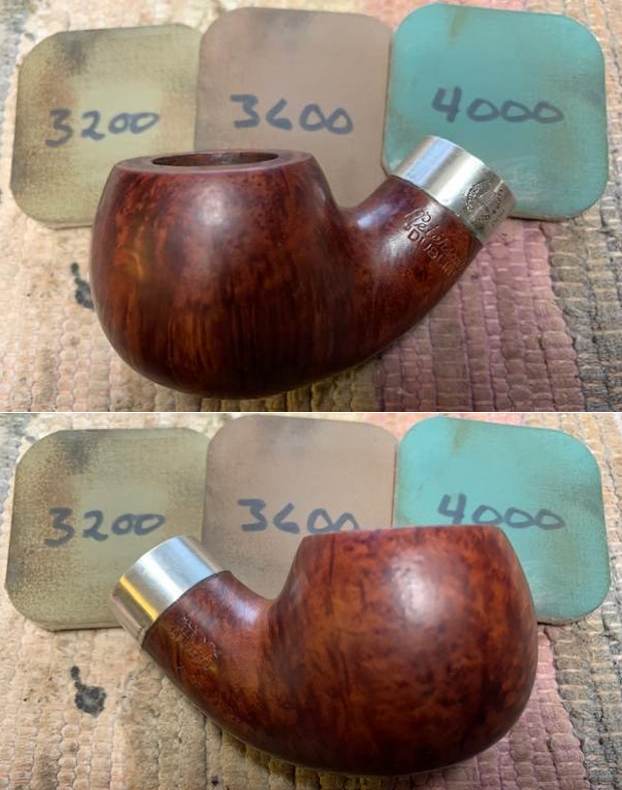
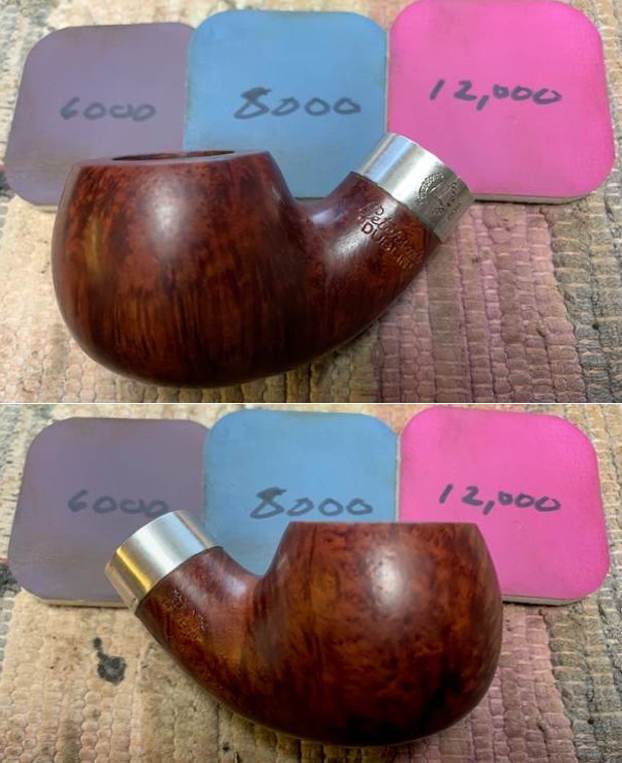
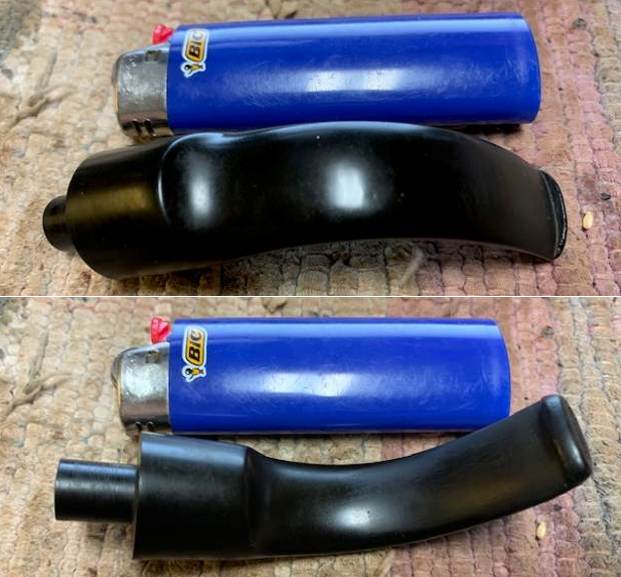
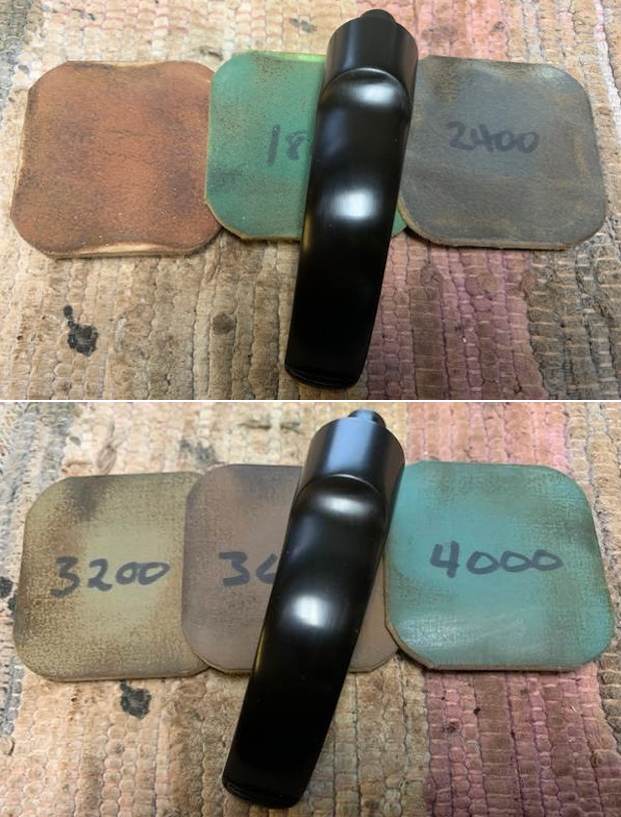
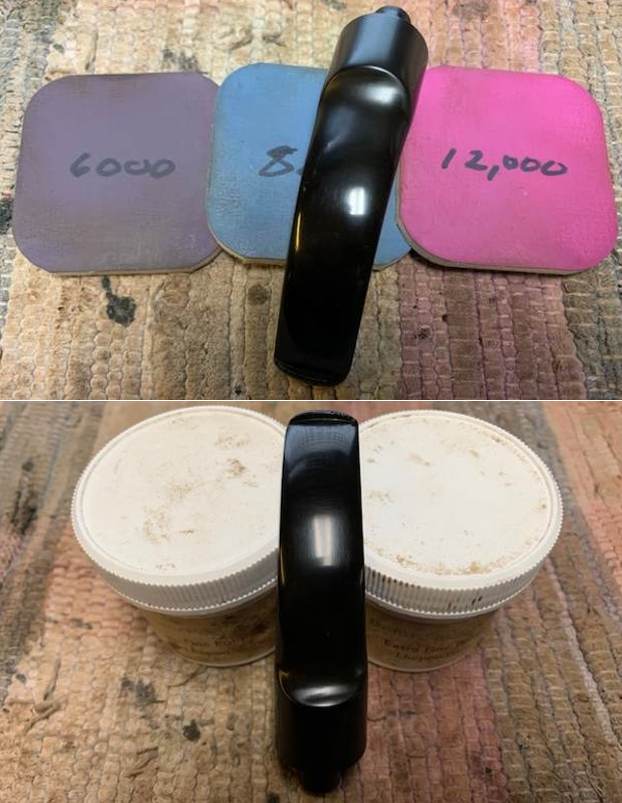
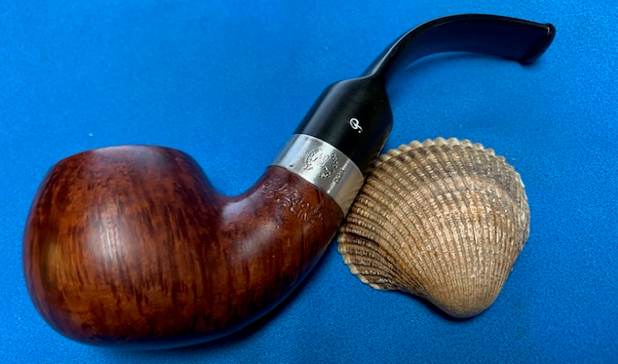
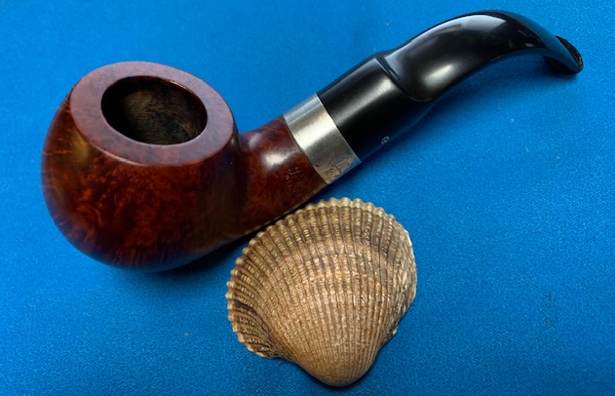
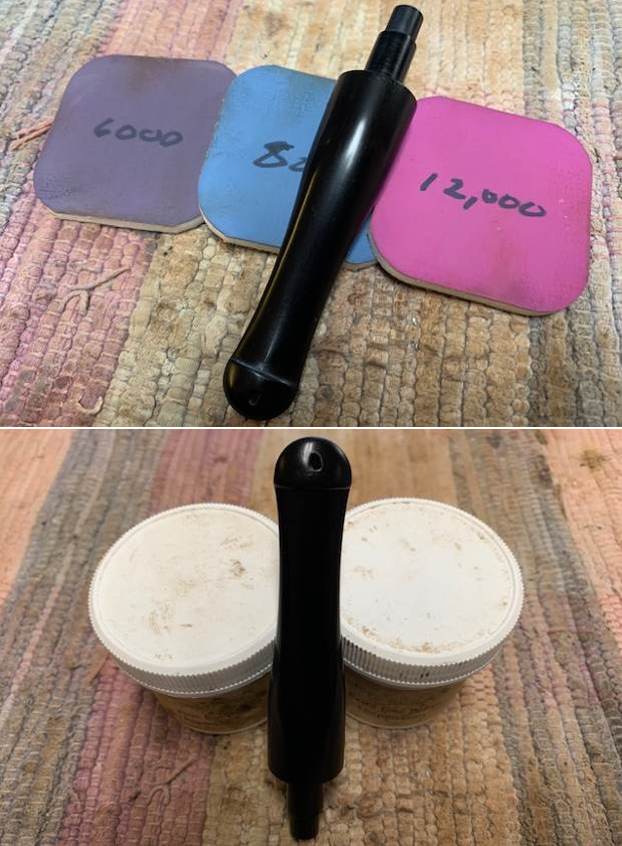
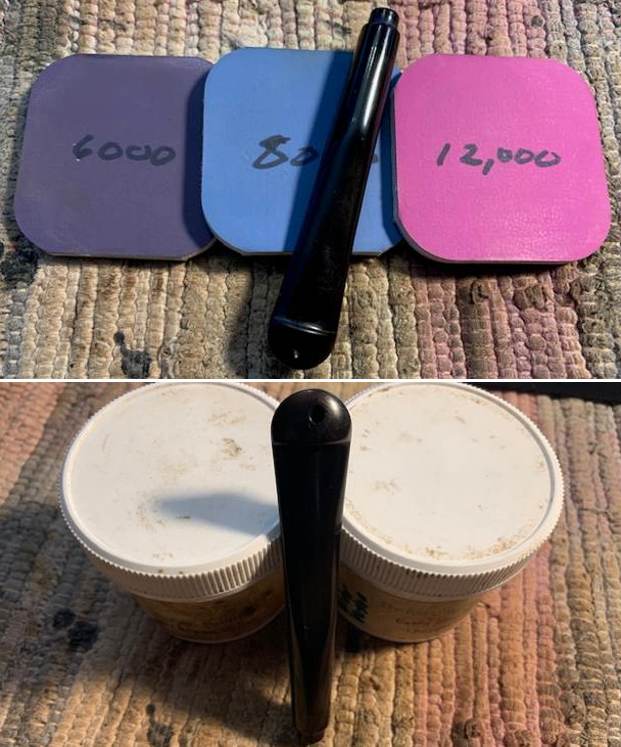
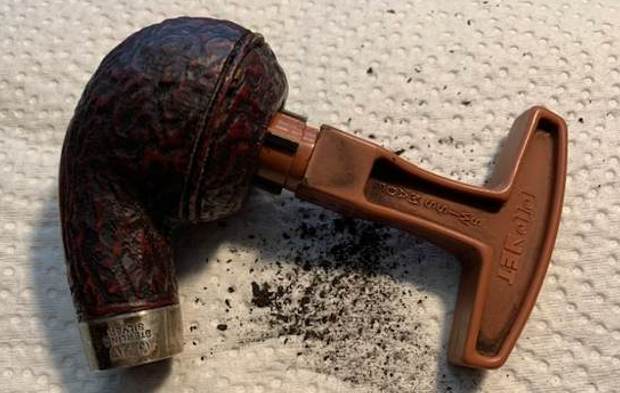
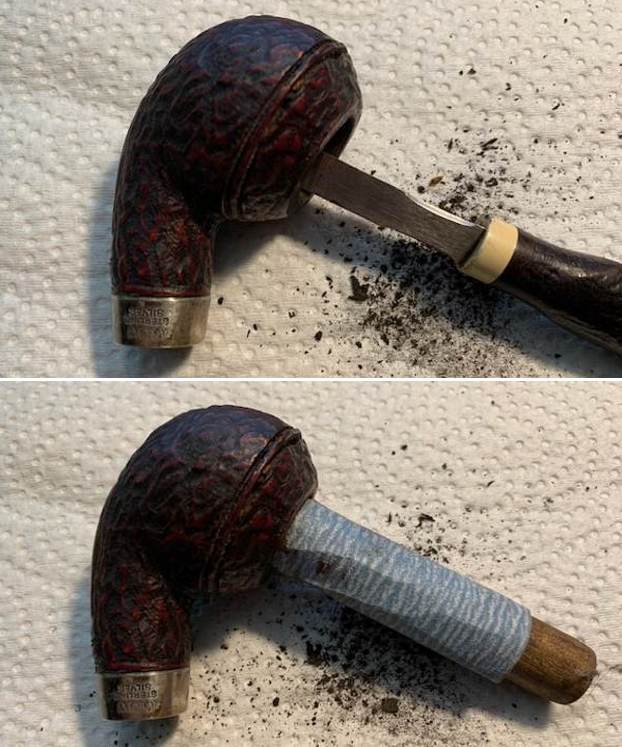
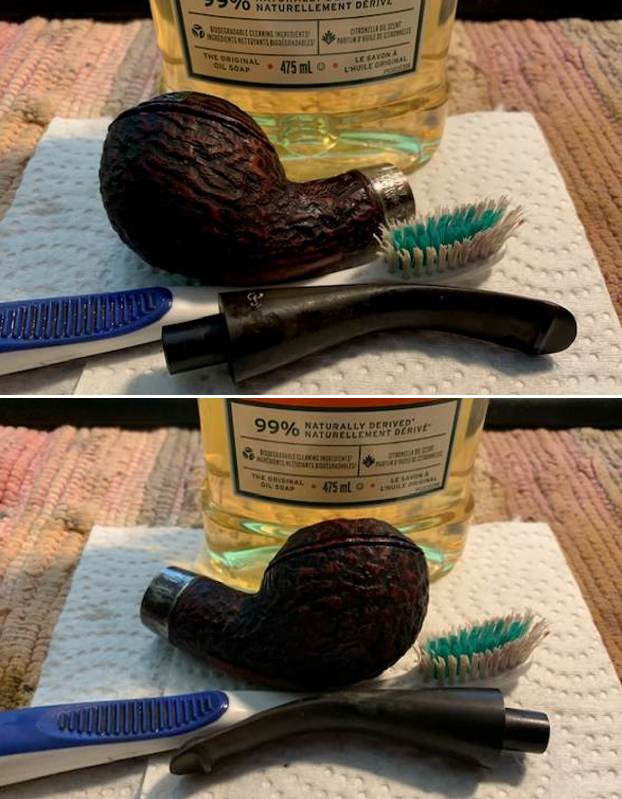
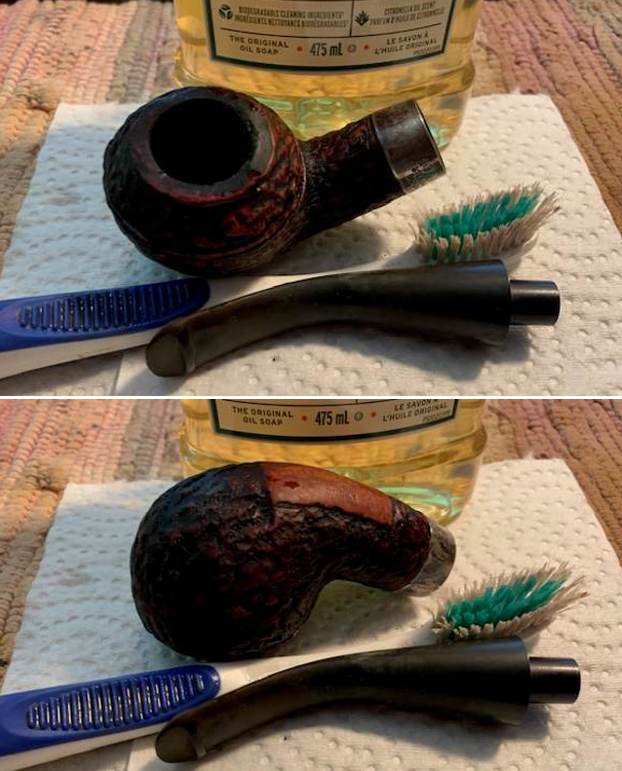
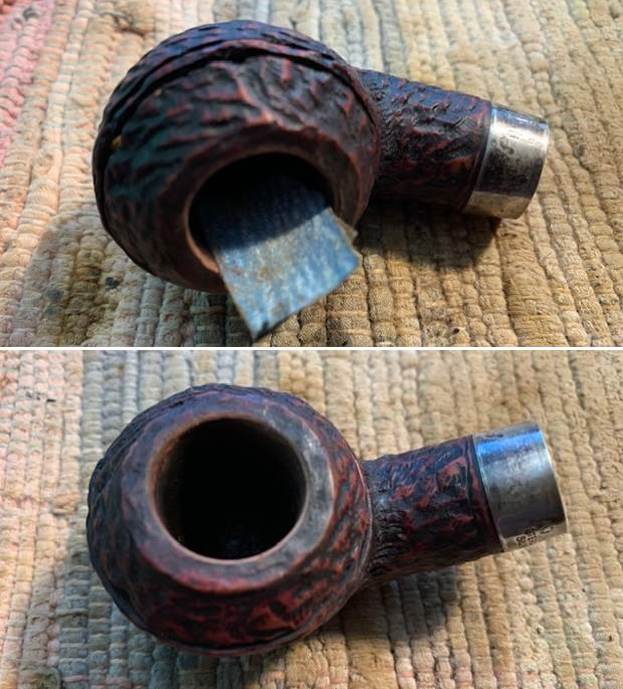
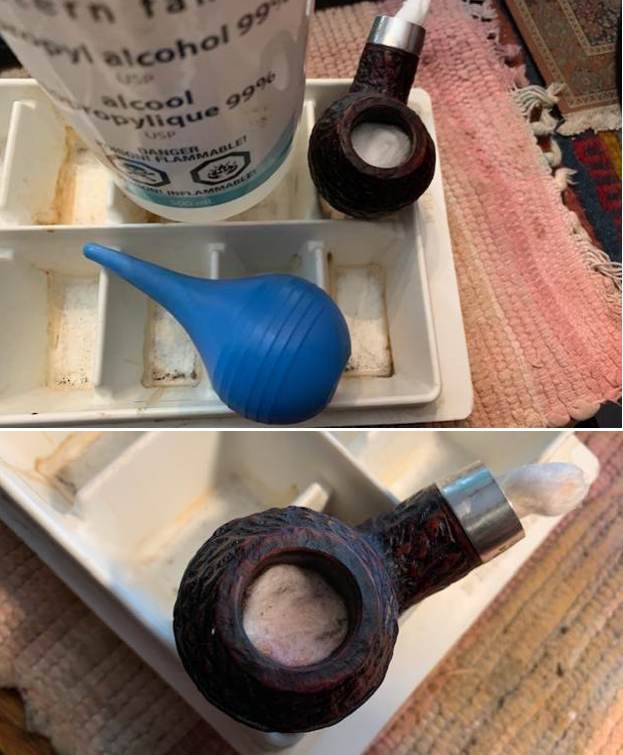
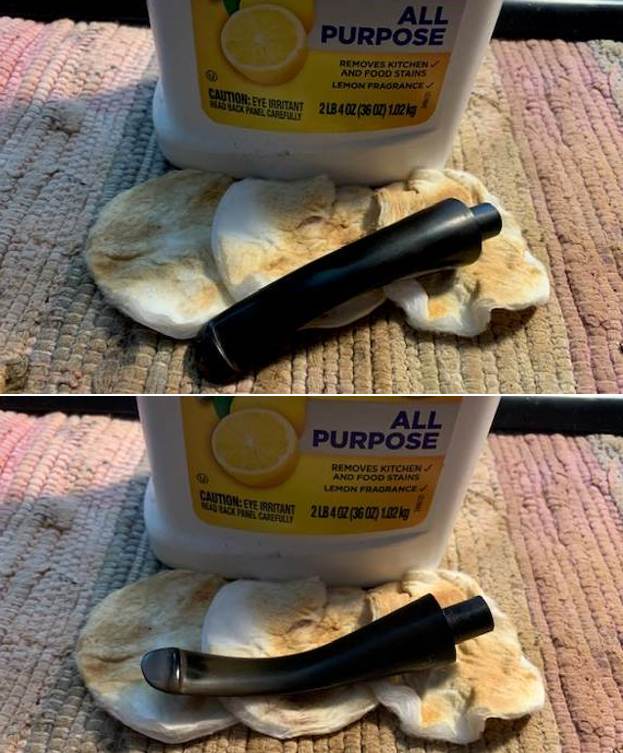
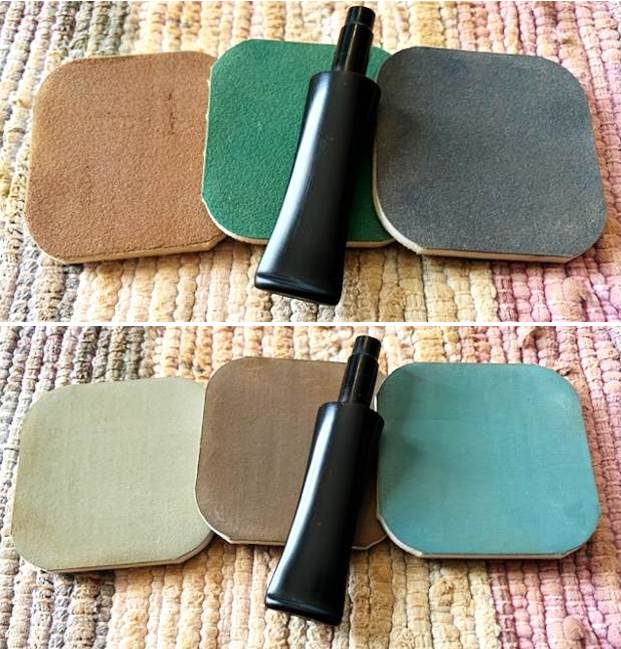
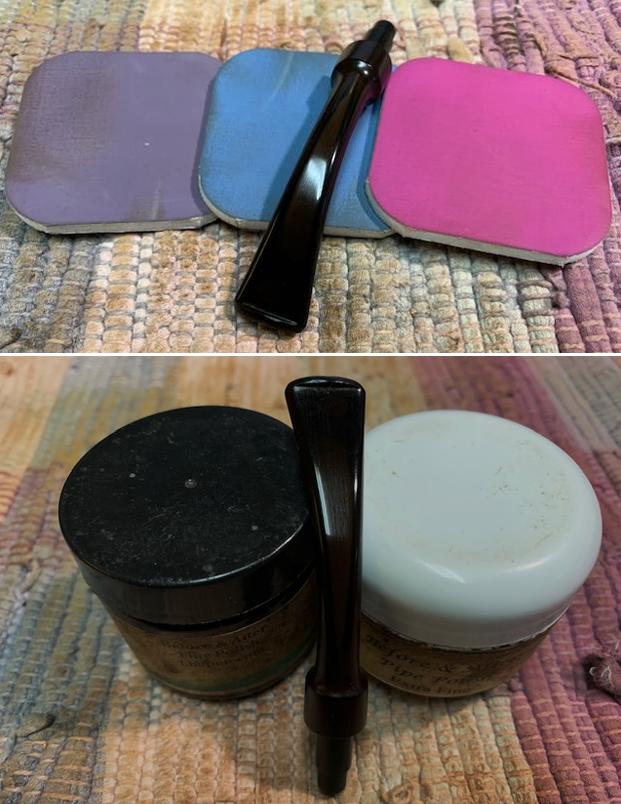
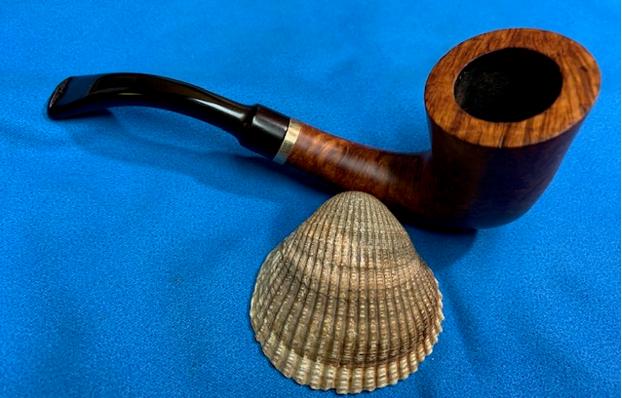
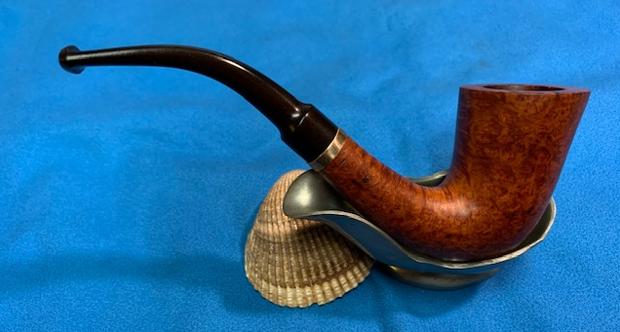
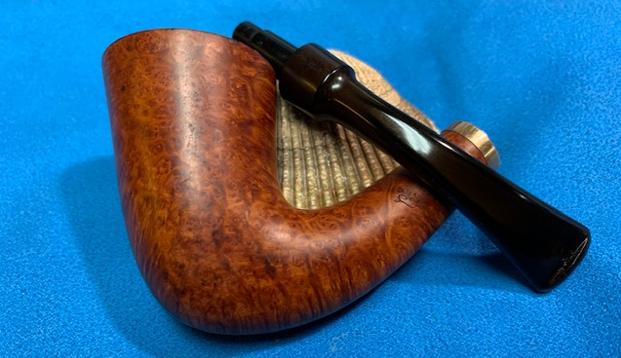
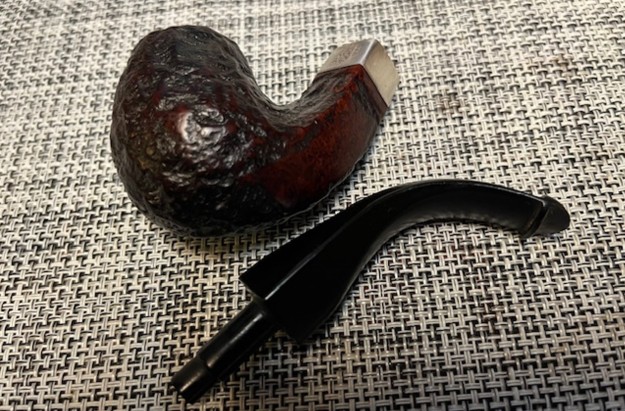
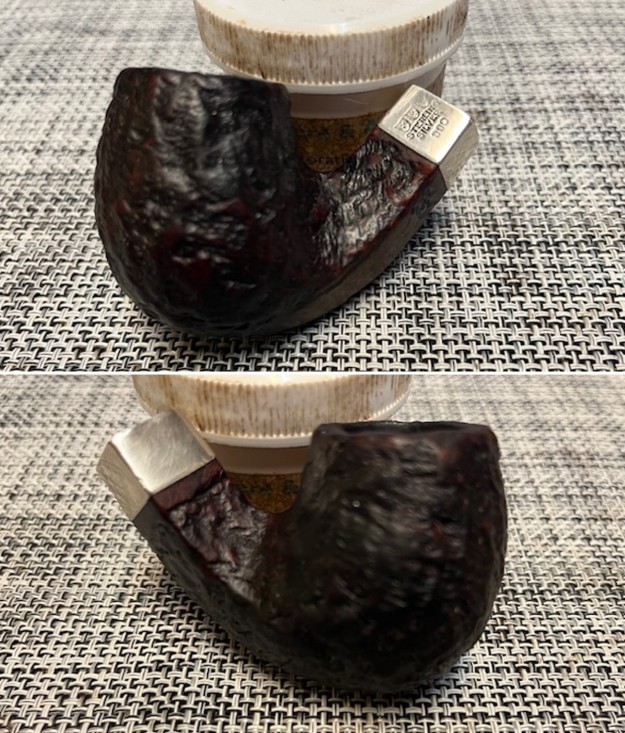
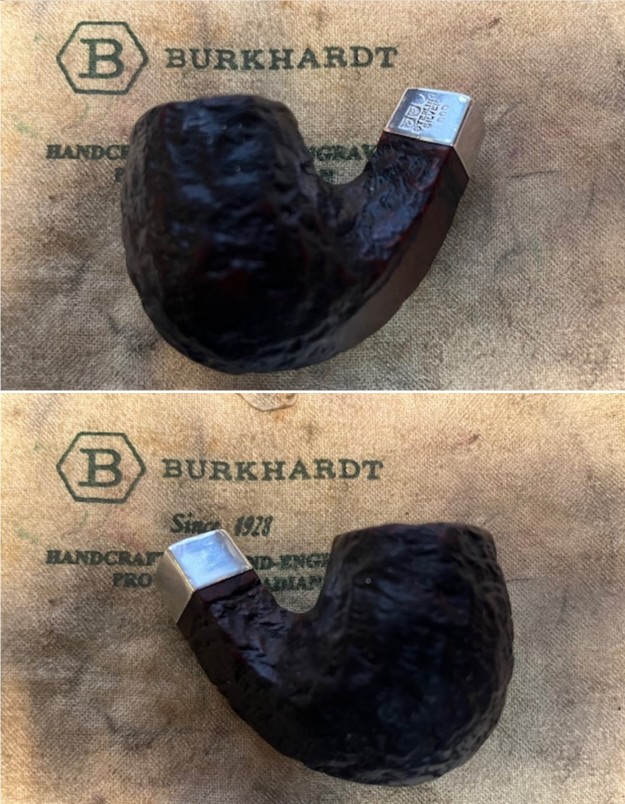
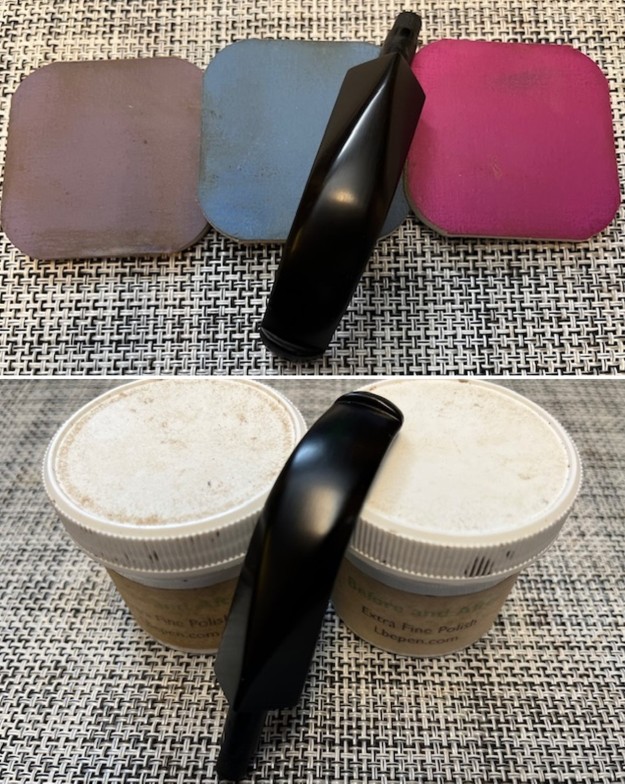
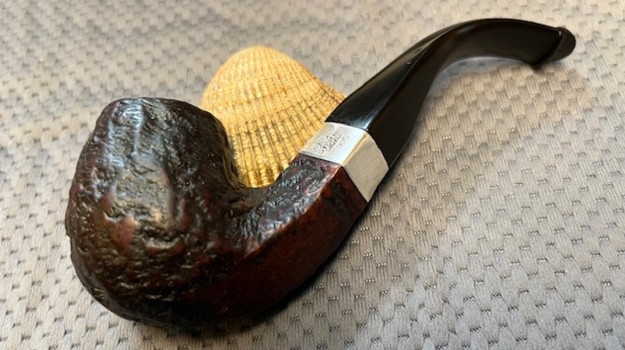
Now it was time to work on the pipe. Jeff had done a great job cleaning up the pipe as usual. He reamed the pipe with a PipNet reamer and cut back the cake back to the bare briar. He cleaned up the walls with a Savinelli Fitsall Pipe Knife. He scrubbed the interior of the bowl and shank with pipe cleaners, cotton swabs, shank brushes and alcohol to remove the tars and oils. He scrubbed the exterior of the pipe with Murphy’s Oil Soap and a tooth brush to remove the grime from the finish. He worked on the rim top lava and darkening with the soap and tooth brush. It looked much better. The silver ferrule looked better and the tarnish was reduced. He soaked the stem in Briarville’s Pipe Stem Deoxidizer and rinsed it off with warm water. When I brought it to the work table I wanted to see if I could resurrect the stamping so I rubbed in a coat of Before & After Restoration Balm. I forgot to take pictures before but trust me it was a very clean pipe all the way around. Here are some photos after sitting with the Balm and being hand buffed with a cloth. It is a beautiful pipe. I took some close up photos of the rim top and also of the stem surface. I wanted to show how well it had cleaned up. The rim top and edges looked very good. It should polish up really well. I also took photos of the stem to show the condition. The tooth marks and chatter are present but hard to see in the photos which is good. It means that none of them are too deep. The stem was clear of oxidation.I took photos of the stamping on the sides of the shank. You can see that the stamping is virtually invisible and not readable. I removed the stem and took a photo of the pipe to have a look at the parts and overall look. The new stem looked really good with the bowl. As you read above I had jumped the gun and rubbed some Before & After Restoration Balm into the surface of the briar with my fingertips to clean, enliven and protect the briar. I let the balm sit for 15 minutes and then buffed with a cotton cloth to raise the shine. The photos show the bowl at this point in the restoration process. My hope was that the balm might raise some of the stamp to be readable. Sadly, it did not do so and the mystery remains. I used a knife, a wet cloth and my gas stove top to try to steam out the deep scratches on the smooth panel on the shank. It works quite well and the knife allows me to specifically put the blade on the scratch. The scratch is still present but not as deep.I polished the silver ferrule with a jeweller’s cloth to remove the tarnish and further protect the silver from the intrusion of more tarnish. I polished the stem with micromesh sanding pads – wet sanding with 1500-12000 grit sanding pads. I wiped it down after each sanding pad with Obsidian Oil. I polished it with Before & After Pipe Stem Polish – both Fine and Extra Fine. I am excited to finish this Republic Era 1980 Peterson’s Rusticated Diamond Shank Bent Billiard. I put the pipe back together and buffed it lightly with Blue Diamond on the buffing wheel. I gave the bowl multiple coats of Conservator’s Wax and the stem multiple coats of carnauba wax. I buffed the pipe with a clean buffing pad to raise the shine and hand buffed it with microfiber cloth to deepen the shine. It is fun to see what the polished bowl looks like with the polished black acrylic stem with the silver band. It really was a beautiful pipe. The grain shining through the rich red stain on this Peterson’s Rusticated Bent Billiard is nice looking and the pipe feels great in my hand. It is light and well balanced. Have a look at it with the photos below. The dimensions are Length: 5 inches, Height: 1 ¾ inches, Outside diameter of the bowl: 1 inch, Chamber diameter: ¾ of an inch. The weight of the pipe is 1.66 ounces/47 grams. It is a beautiful pipe and one that will be on the rebornpipes store in the Irish Pipe Makers Section soon. If you are interested in adding it to your collection let me know. Thanks for walking through the cleanup with me as I worked over this pipe. Thanks to each of you who are reading this blog. Remember we are not pipe owners; we are pipemen and women who hold our pipes in trust until they pass on into the trust of those who follow us.
Cleaning up a Republic Era Peterson’s 120 & reworking a chopped off P-lip Stem


Blog by Steve Laug

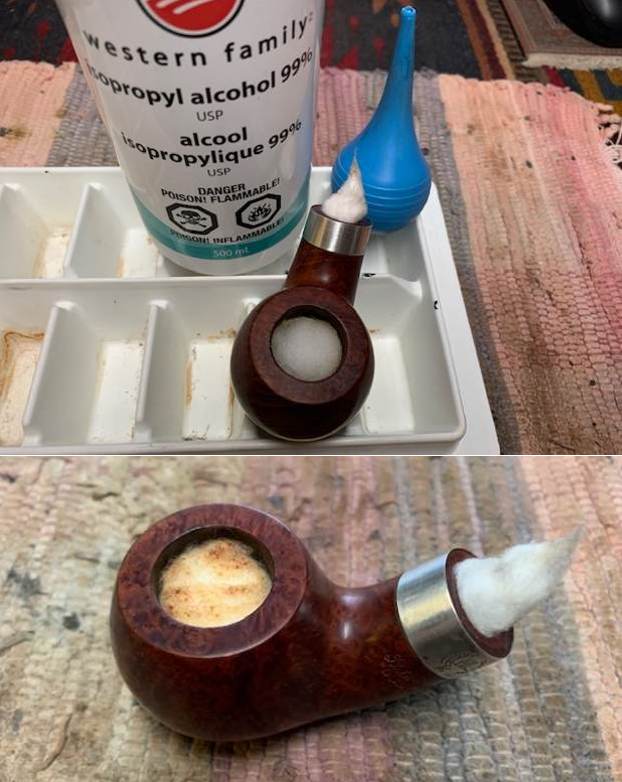
I purchased two Peterson’s pipes from a fellow in Eastern Canada. They are shown in the photo below. The top one is a Republic Era K&P Irish Made 53 Billiard. The second one is a 120 Dublin. You will note in the photo below that there is an extra stem included. It is an acrylic fishtail stem that was made for the 120. It is significantly longer (1 inch) than the original and the angles of the curve are more pronounced so the flow of the stem does not look at all the same. The acrylic stem is thicker and does not have the delicacy of the original.Today I decided to work on the shape 120 Dublin. It is stamped on the left side and reads Peterson’s [arched over] Dublin. On the right side of the shank it reads Made in the Republic of Ireland (three lines) [over] 120. The grain is quite nice on the pipe. There is a silver ferrule on the shank that is stamped Peterson’s [over] Dublin followed by Sterling [over] Silver followed by three hallmarks – 1. Hibernia seated with a harp designating the country of origin, 2. A crowned harp designating the quality of the silver used, 3. A date letter which in this case is the italic letter Q which dates the pipe to 2001. The briar was dirty with grime ground into the finish. There was a thick cake in the bowl with darkening and lava overflow onto the inner edge and the rim top. The pipe had a strong smell of the tobacco that had been smoked in it. There is a hint of aromatic to it. The shank was dirty with tars. The stem had originally been a P-lip but someone had cut off the end of the stem removing the P-lip and leaving behind a single hole high in the button. There was some light oxidation and light tooth marks on both sides of the stem. I took photos of the pipe when I brought it to the table to show its condition. I took photos of the rim top and bowl to show the condition of both. You can see the cake and tobacco debris in the bowl and the lava overflowing onto the back edge and rim top. The grain shows through and I think it will clean up very well. You can see the chatter on both sides of the stem ahead of the button and the oxidation and light calcification as well. The cut off P-lip looks good showing the button edges.I took photos of the stamping on the sides of the shank. The stamping is clear and readable. I also took a photo of the pipe with the stem removed to show the look of the pipe and show its balance. It is a beauty. I started my work on the pipe by addressing the shape of the button and slot. It was a single round hole and was high in the button. I would need to reshape it. I used a slot saw to open up the slot. It took some work but it came out looking better. You can see from the photo below that the airway hole is below the slot. It is a round divot at the bottom edge of the slot. The slot looks better but will still need to be shaped more. I filled in the round divot in the first photo with black CA glue. I pressed it into the round divot with a tooth pick and layered it until the flow of the slot was even. Once the repair cured I used 220 grit sandpaper to shape the button edges and give the slot an oval look.I set the stem aside and turned my attention to the bowl. I reamed it with a PipNet pipe reamer and took the cake back to bare briar. I cleaned up the remaining cake with a Savinelli Fitsall Pipe Knife. I sanded the bowl walls smooth with a piece of 220 grit sandpaper wrapped around a piece of dowel. The pipe walls were clean and undamaged with no checking or cracking. I scrubbed the externals of the bowl and shank with undiluted Murphy’s Oil Soap and a tooth brush. I rinsed the soap and debris off the bowl with running water. I repeated the process until the rim top and the externals were very clean. It looked very good at this point. I cleaned out the internals of the shank, mortise and the airway in the stem with alcohol, pipe cleaners and cotton swabs. It took a bit of time but it came out clean. There was still a residual smell, a ghost that I would need to work on. I polished the outside of the briar with micromesh sanding pads – dry sanding with 1500-12000 grit pads. I wiped the bowl down with a damp cloth after each sanding pad to remove the sanding debris. Now it was time to deghost the pipe. I stuffed the bowl with cotton bolls and twisted another boll into the shank. I filled the bowl with 99% isopropyl alcohol using and ear syringe. I set it aside to let the mix do its work wicking the oils and tars out of the bowl. It would sit for while I worked on the stem. After four hours I took photos of the bowl and the cotton. It had taken out a lot of tars and oils. I cleaned out the shank and let the bowl dry. I rubbed it down with Before & After Restoration Balm. I worked it into the finish with my fingertips. The product works to clean, preserve and protect the briar. I let it sit and absorb for 10 minutes. I buffed it off with a soft cloth and then gave it a rigorous buff to raise the shine. It looks good at this point. I set the bowl aside and turned my attention to the stem. I polished out the chatter and marks on the stem surface with micromesh sanding pads – dry sanding with 1500-12000 grit sanding pads. I wiped it down with Obsidian Oil on a cloth after the sanding pads. I finished the hand polishing of the stem with Before & After Pipe Polish – both the Fine and Extra Fine polishes. I gave it a final coat of Obsidian oil and set it aside to dry.   I am really happy with the way that this Republic Era Peterson’s 120 Dublin with a Sterling Silver Ferrule turned out. It really is a beautiful looking pipe with a great shape and smooth finished bowl. The modified stem is really nice. The polished black of the stem works well with the briar and the silver ferrule. The briar really came alive with the buffing. The rich brown stains of the finish gave the pipe a sense of depth with the polishing and waxing. I put the stem back on the bowl and carefully buffed the pipe with Blue Diamond on the buffing wheel using a light touch on the briar. I gave the bowl and the stem multiple coats of carnauba wax on the buffing wheel. I buffed the pipe with a clean buffing pad to raise the shine. I hand buffed the pipe with a microfiber cloth to deepen the shine. The finished Republic Era Peterson’s 120 really is a beauty and feels great in the hand and looks very good. The reworked P-lip to Fishtail vulcanite stem conversion cleaned up very well. It looks very good. Give the finished pipe a look in the photos below. The dimensions of the pipe are Length: 5 ½ inches, Height: 2 inches, Outside diameter of the bowl: 1 ¼ inches, Chamber diameter: ¾ of an inch. The weight of the pipe is 47 grams/ 1.66 ounces The pipe will be going on the rebornpipes store soon. It will be in the section on Irish Pipe Makers Section if you would like to add it to your collection. Thanks for reading this blog and my reflections on the pipe while I worked on it. It was a fun one to work on!

As always, I encourage your questions and comments as you read the blog. Thanks to each of you who are reading this blog. Remember we are not pipe owners; we are pipe men and women who hold our pipes in trust until they pass on into the trust of those who follow us.
Cleaning up a unique Peterson’s Dublin XL02 July 4, 2000 Commemorative Pipe


Blog by Steve Laug

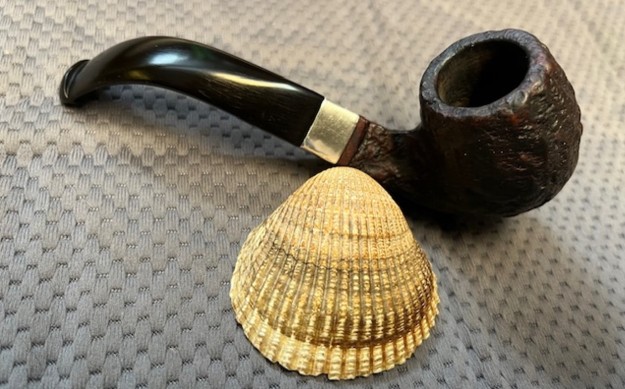
The next pipe on the table is one that was sent to my by a friend who had just purchased it. The shape reminded me of a large version of a Peterson’s 02 shape. He sent me the following photos of the pipe before he mailed it to me and I was interested. I am including those photos for you to see what I saw when he sent it to me. It is dirty for sure but it has some amazing grain around the bowl and shank and a Sterling Silver Band on the shank. The stem is a P stamped fishtail and looks great on the bowl. The pipe arrived on Monday and I opened the box to find this pipe. It is stamped on the left side of the shank and reads Peterson’s [over] Dublin. On the right side it is stamped Made in the Republic of Ireland in 3 lines [over] the shape number XL02. The silver band is stamped with a US Flag in the center of a circle with Peterson’s arced over the top of the circle and July 4, 2000 arced below the circle. Below that there are hallmarks – Hibernia (Ireland), Harp (quality of silver) and the date stamp of an italic O which is the date stamp for the year 2000. The fishtail saddle stem is vulcanite and has the Peterson’s P stamp on the left side of the saddle. The stem was lightly oxidized with some tooth marks and chatter on both the top and underside ahead of the button. It was tight in the shank and would definitely fit better once cleaned. The bowl had a light cake in it and smelled strongly of Latakia/English blends. The finish was in good condition but there was some dust and grime ground into it. I took some photos of the pipe when I unpacked it. I have included them below. I took photos of the bowl and rim top to show what they looked like before my clean up. I also took some of the stem to show the condition of both sides.  The photos of the sides and heel of the bowl show the grain around the bowl and shank. The mixture of brown stains adds depth to finish on the pipe. Even under the grime it is a real beauty. The stamping on the sides of the shank are shown in the photos below. They are clear and readable as noted above. The “P” stamp on the left side of the saddle is also in good condition.  I removed the stem and took a photo of the parts to give a sense of the proportions of the pipe and its overall look. It is a real beauty.The band on the shank of the pipe was loose and the glue had dried out. It slid off the shank with little effort. I cleaned up the shank end with alcohol on a cotton pad. I spread some all purpose white glue around the area with a dental spatula and pressed the band in place. I wiped off the excess glue with a damp cotton pad and took photos of the newly glued band. Once the glue hardened I polished the silver band with a jewelers cloth. It removed most of the oxidation but a little more work on it would leave it shining bright. I reamed out the light cake in the bowl with a PipNet pipe reamer. I cleaned up the reaming with a Savinelli Pipe Knife and finished by sanding the bowl walls with a piece of dowel wrapped with 220 grit sandpaper. I cleaned out the shank and the airway into the bowl and the shank with pipe cleaners, cotton swabs and 99% isopropyl alcohol.  To deghost the pipe of the heavy Latakia smells I stuffed bowl with cotton bolls and used a twisted cotton boll in the shank. I filled the bowl with alcohol using an ear syringe to place the alcohol directly in the bowl. I set it aside to let it do its work drawing out the tars and oils from the walls of the bowl and the shank. I let it sit overnight and then removed the dirty and oily cotton and debris that had accumulated. I ran a pipe cleaner through the shank and removed any remnants of debris. The  pipe smelled significantly better. I polished the bowl with micromesh sanding pads – dry sanding with 1500-12000 grit pads. I wiped the bowl down with a damp cloth after each sanding pad. It really began to take on a shine. It is a beautiful piece of briar. I rubbed the bowl down with Before & After Restoration Balm. I worked it into the briar with my finger tips. I let it sit for 10 minutes and the Balm did its magic. It enlivens, cleans and preserves the briar. It certainly brought this bowl back to life. I buffed it off with a clean cloth and took the following photos. I set the bowl aside and turned my attention to the stem. I “painted” the stem with the flame of a Bic lighter to lift the tooth marks. The majority of them were lifted. I sanded out what remained with 220 grit sandpaper and then started the polishing with 600 grit wet dry sandpaper. I polished the vulcanite with micromesh sanding pads – 1500-12000 grit pads. I wiped it down with a damp cloth after each sanding pad. I used Before & After Pipe Polish – both Fine and Extra Fine to further polish the stem. This Peterson’s 4th of July 2000 XL02 Bent Apple with a vulcanite saddle stem is a great looking pipe now that it has been restored. The beautiful finish really highlights the grain and the polished finish is stunning. I polished the silver band with a jewelers cloth to protect and shine the silver. I put the stem back on the bowl and carefully buffed the pipe with Blue Diamond on the buffing wheel. I gave the bowl and the stem multiple coats of carnauba wax on the buffing wheel and followed that by buffing the entire pipe with a clean buffing pad. I hand buffed the pipe with a microfiber cloth to deepen the shine. The finished Peterson’s Dublin 4th of July 2000 XL02 fits nicely in the hand and feels great. Give the finished pipe a look in the photos below. The dimensions of the pipe are Length: 5 ½ inches, Height: 1 ½ inches, Outside diameter of the bowl: 1 ¼ inch, Chamber diameter: ¾ of an inch. The weight of the pipe is 69 grams / 2.43 ounces. I will be sending it back to the pipeman so that he can enjoy his “new” pipe. Thanks for reading this blog and my reflections on the pipe while I worked on it.

Restoring a Beautiful Rusticated Peterson Republic Era War Club


Blog by Steve Laug

This afternoon I decided to work on the first of a few Peterson’s Pipes that I have still to work on from a variety of places. This rather large rusticated pipe was purchased from an antique store on 10/20/2022 in Vancouver, Washington, USA. It is a large pipe that is stamped on a smooth panel on the underside of the shank. It read Peterson’s [arched over] Dublin. Underneath that it is stamped Made in the Republic of Ireland (three lines). The pipe was quite dirty when Jeff found it with dust and debris in the rustication. The mixture of brown stains give depth and texture to the rustication. The bowl was moderately caked and there was dust and lava in the rustication on the rim top. The edges were quite clean and undamaged. The vulcanite stem was oxidized and dirty with tooth marks and chatter on both sides ahead of the button. The “P” stamped on the left side of the taper P-lip stem and appeared to have remnants of gold stamped in the letter. Jeff took photos of the pipe before he started his clean up work on it. He took photos of the bowl and rim top to show their condition and of the stem to show the condition of both sides. The photos of the sides and heel of the bowl show the rugged rustication on the bowl and shank. The mixture of brown stains adds depth finish on the pipe. Even under the grime it is a real beauty. The stamping on the underside of the shank are shown in the photos below. The are clear and readable as noted above. Jeff captured the detail in the photo below. I am including the information from Pipedia’s article on Peterson pipes. It is a great read in terms of the history of the brand (https://pipedia.org/wiki/Peterson). I have included a bit of the pertinent history here.

1950 – 1989 The Republic Era – From 1950 to the present time, the stamp for this era is “Made in the Republic of Ireland” in a block format generally in three lines but two lines have been used with or without Republic being abbreviated.

During the 1950’s and 60’s the Kapp & Peterson company was still in the ownership of the Kapp family. However 1964 saw the retiral of the company Managing Director Frederick Henry(Harry) Kapp.

With that information in hand I knew what I was dealing with in terms of the stamping and the age of this pipe. I knew from the information that the pipe was made during the Republic Era between 1950 and the present day. Personally I think this is probably a 60s-70s pipe. Now it was time to work on the pipe.

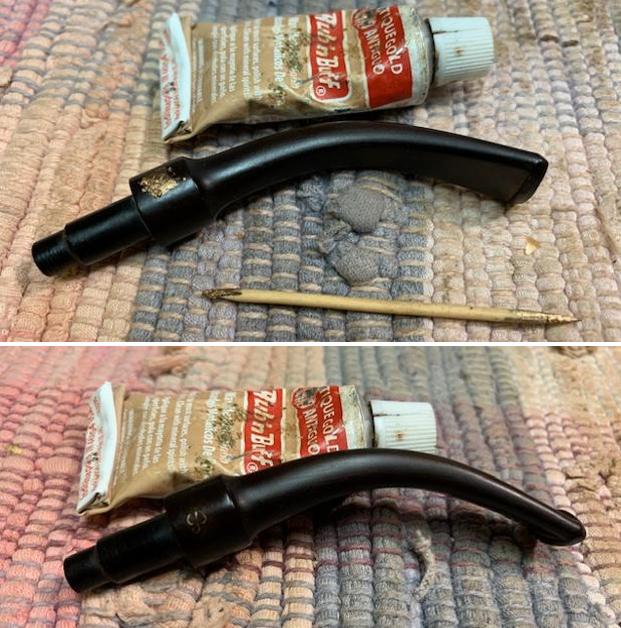
Jeff had thoroughly cleaned up the pipe. He reamed the pipe with a PipNet Pipe Reamer and cleaned up the remnants with a Savinelli Fitsall Pipe Knife.  He scrubbed the bowl with undiluted Murphy’s Oil Soap with a tooth brush. He rinsed it under running warm water to remove the soap and grime. He cleaned out the inside of the sump in the shank and the airway in the stem with alcohol, cotton swabs and pipe cleaners. He scrubbed the exterior of the stem with Soft Scrub to remove as much of the oxidation and calcification as possible. He soaked the stem in Before & After Deoxidizer and rinsed it off with warm water. I took close up photos of the bowl, rim and the stem. You can see how clean the bowl and rim top and edges are. It is almost like new in the overall appearance. The stem is in good condition with just a few tooth marks and some chatter.I took a photo of the stamping on the underside of the shank. All are clear and readable as noted above. I also took a photo of the P stamp on the left side of the stem.I removed the stem from the shank and took a photo to give a sense of the proportions of the pipe. It is really quite nice looking.The finish was in such great condition that I only needed to polish it. I rubbed the bowl down with Before & After Restoration Balm. I worked it into the briar with my finger tips and a horse hair shoe brush. I let it sit for 10 minutes and the Balm did its magic. It enlivens, cleans and preserves the briar. It certainly brought this bowl back to life. I buffed it off with a clean cloth and took the following photos. I touched up the “P” stamp on the left side of the stem with some Rub’n Buff Antique Gold. I rubbed it into the stamp with a tooth pick. I buffed it off with a cotton pad and it looked very good.I polished the vulcanite stem with micromesh sanding pads – 1500-12000 grit pads. I wiped it down with a damp cloth after each sanding pad. I used Before & After Pipe Polish – both Fine and Extra Fine to further polish the stem. This Republic Era Ireland Peterson’s Dublin Large Rusticated Billiard and a vulcanite P-lip stem is a great looking pipe now that it has been restored. The beautiful rustication really highlights briar and the polished finish is stunning. I put the stem back on the bowl and carefully buffed the pipe with Blue Diamond on the buffing wheel. I gave the bowl multiple coats of Conservator’s Wax and the stem multiple coats of carnauba wax on the buffing wheel and followed that by buffing the entire pipe with a clean buffing pad. I hand buffed the pipe with a microfiber cloth to deepen the shine. The finished Peterson’s Rusticated Billiard fits nicely in the hand and feels great. Give the finished pipe a look in the photos below. The dimensions of the pipe are Length: 7 inches, Height: 2 ¼ inches, Outside diameter of the bowl: 1 ½ inches, Chamber diameter: 1 inch. The weight of the pipe is 80 grams/2.82 ounces. I will be adding the pipe to the Irish Pipe Makers Section of the rebornpipes store. If you are interested in purchasing this pipe send me a message or an email. Thanks for reading this blog and my reflections on the pipe while I worked on it.

Restoring a Republic Era Peterson’s System 120 Dublin


Blog by Steve Laug

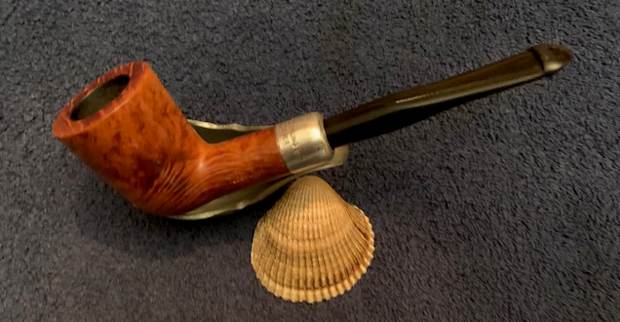
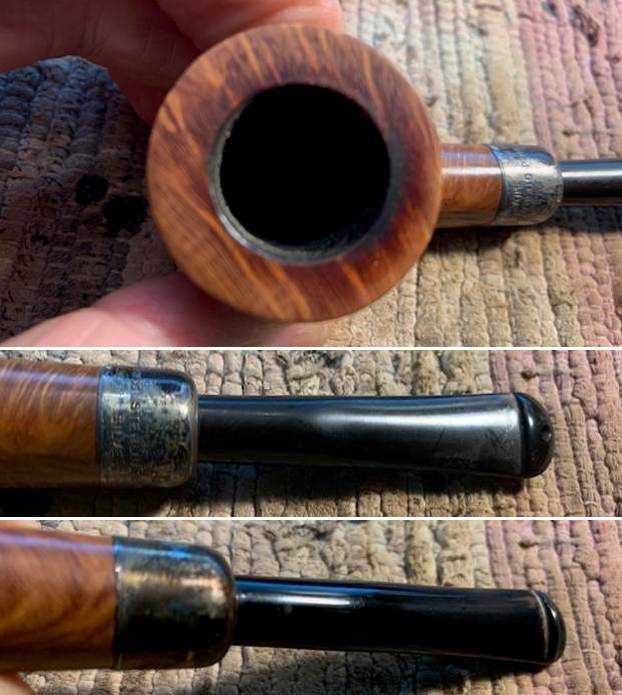
This is a pipe that I have taken out of my personal collection as I just do not use it too much. It is a nice looking Dublin shaped pipe with some nice grain around the bowl and a Sterling Silver ferrule. I smoked solely Virginia tobaccos in it so it is very clean. The inside of the shank, the system sump and the shank was quite clean. The smooth rim top had some darkening on the back top and inner edge. The smooth finish was very clean but dull and quite lifeless. The grain runs horizontal on the left side of the bowl and shank. The stamping on the shank is clear and readable. The left side is stamped Peterson’s [arched over] Dublin. On the right side it was stamped Made in the Republic of Ireland (3 lines). To the right of that stamp is the shape number 120. The Sterling Silver ferrule is oxidized and dull but it has the Peterson’s [over] Dublin. Next to that it was stamped Sterling [over] Silver followed by three hallmarks – a Seated Woman (Hibernia), Harp and the cursive letter J. The stem was quite clean, with minimal oxidation near the button. It is free of tooth marks and chatter on both sides. I took some photos of the pipe before I started my work on it. I took close up photos of the bowl and the stem. You can see the reamed bowl and the darkening and damage on the rim top. The stem surface was clean and free of tooth marks or chatter on both sides. I took a photo of the stamping on the sides of the bowl and shank. It is clear and readable as noted above. I removed the stem from the shank and took a photo to give a sense of the proportions of the pipe. It is really quite nice looking.I am including the information from Pipedia’s article on Peterson pipes. It is a great read in terms of the history of the brand (https://pipedia.org/wiki/Peterson). I have included a bit of the pertinent history here.

1950 – 1989 The Republic Era  – From 1950 to the present time, the stamp for this era is “Made in the Republic of Ireland” in a block format generally in three lines but two lines have been used with or without Republic being abbreviated.

During the 1950’s and 60’s the Kapp & Peterson Company was still in the ownership of the Kapp family. However 1964 saw the retiral of the company Managing Director Frederick Henry(Harry) Kapp.

I turned to Mark Irwin’s Peterson Pipenotes site for information on the shape 120 Dublin. I quote the information below (https://petersonpipenotes.org/tag/peterson-120/).

Shape 120 Patent Lip Straight Dublin.

Years of production: 1906 – present.
Average Measurements:
Length: 6.16 in./156.46 mm.
Weight: 1.40 oz./39.69 g.
Bowl Height: 1.94 in./49.28 mm.
Chamber Depth: 1.63 in./41.40 mm.
Chamber Diameter: 0.83 in./21.08 mm.
Outside Diameter: 1.38 in./35.05 mm.
P-Lip: Yes

There was also this great cutaway of the 120 System pipe to show the system details.

A late 1950s 120 Demonstrator – This demonstrator from the 1950s shows how the pipes were drilled. What it doesn’t show, since it is missing the stem, is the extended bone tenon that would have screwed into the vulcanite P-Lip and extended to just below the airway into the chamber.The IFS-Era added two new straight Dublins to the 120, 121, and 122: the 120F (“Flat” or oval shank) and slender 417. The System straights seem to have disappeared by this time. The 120 “Flat” is a natural thought in Peterson’s design language, which always comes back to comfort and practicality, and I can imagine someone in bowl-turning or even a customer thinking how great it would be to set his straight Dublin down in order to emphasize a point over a pint or a cuppa.

I always like to date the year a pipe was made while I am working on it. In the process of working on a pipe if I can pin down a date that it was made that it adds another dimension to the restoration process. Once I have identified the hallmarks on the pipe then I use a Hallmark chart to pin the date down. In the case of Peterson’s pipe with a silver band I use a hallmarking chart that Peterson included in their catalogs and on their website

I have a copy of the hallmark charts in one of the Peterson catalogs that I have uploaded to the blog on rebornpipes. I turned to that chart to lock down the date letter for the Sterling Silver System Dublin that I am working on. Here is the link to the blog on the silver ferrule (https://rebornpipes.com/tag/identifying-hallmarks-on-a-sterling-silver-ferrule/).

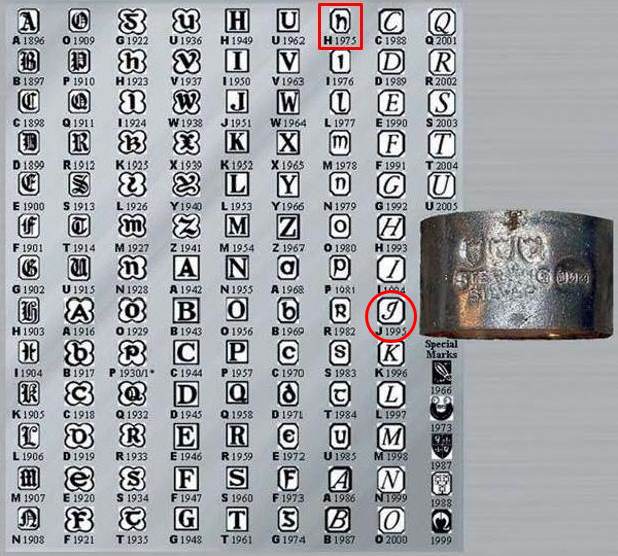
To the left there is a great description of the stamping on the silver ferrule. The one I am working on has the same three stamps as those to the left. It has the seated woman (Hibernia) representing the country of manufacture – Ireland. The Harp crowned is a stamp of the purity of the silver. The third mark is a cursive J that identifies the age of the pipe.

I am including a chart below that helps to identify the date with the J stamp. That stamp dates the pipe as being made in 1995.I have drawn a circle around the date letter below. It identifies the date of this Peterson’s pipe to 1995. I turned to “The Peterson Pipe” by Mark Irwin and Gary Malmberg to get some background on the Peterson’s Dublin. On page 298 it had the following information.

Dublin (1906-2003) Although DUBLIN appears under PETERSON’S  on many pipe over the decades, it has served mostly as part of the brand name. The word first appeared on pipes hallmarked 1906-11, stamped PETERSON’S over PATENT over DUBLIN. The simpler PETERSON’S over DUBLIN first appeared on pipes hallmarked 1912 after the expiration of the patent. Illustrations of pipes in the ’37 catalog show a random dispersion of the stamp PETERSON’S over OF DUBLIN together with the ordinary PETERSON’S over DUBLIN on every model offered. Specimens of the former will bear either and Irish COM or LONDON MADE over ENGLAND COM and almost certainly date from 1945-62. It was first mentioned as part of a model name in the ’68 price list, as K&P DUBLIN, in ’92 for a Danish market line and in 2017 (see below).

“Dublin” (1992-2003) An orange-brown smooth line with a brass-nickel-brass sandwich band, vulcanite fishtail mouthpiece, consisting mostly of D shapes released for the Danish market. Stamped PETERSON’S in script over “DUBLIN”. A tenth anniversary pipe for the line was produced with a sterling band stamped 2001. Market demand fell shortly thereafter and several pipes stamped “DUBLIN” were released in ’03 for the Fourth of July commemorative for the US market.

Now I knew that I was dealing with a Republic Era pipe made between 1950 and the present. The Peterson’s Sterling Silver ferrule has three hallmarks with a J date stamp that identifies it as being made in 1995.  It was a smooth Straight Dublin with a unique shape and chamber beneath the bottom of the bowl. The finish was stained with a combination of rich lighter brown stains. Now it was time to work on the pipe.

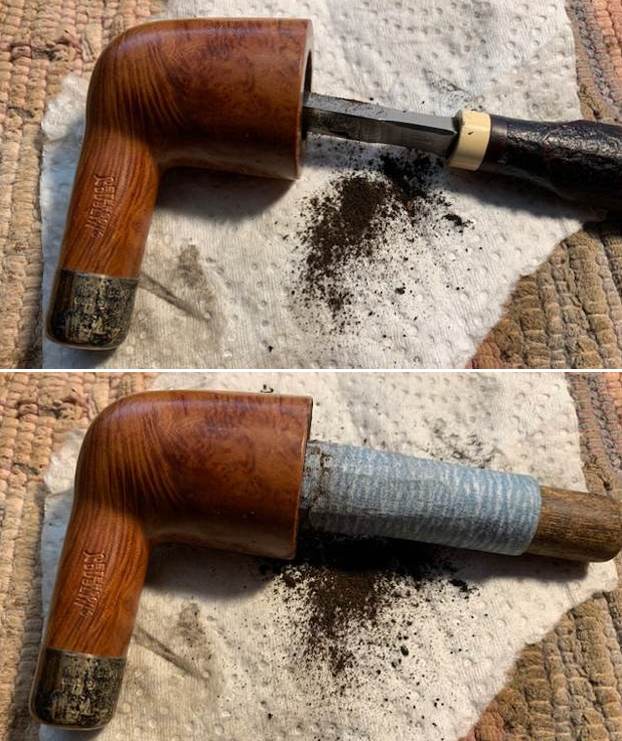
I reamed the bowl with a Savinelli Fitsall Pipe Knife. I sanded the walls on the bowl with a piece of 220 grit sandpaper wrapped around a piece of dowel to take the walls back to smooth once again. I worked on the pipe with a folded piece of 220 grit sandpaper to remove the damage on the rim top and edges of the bowl. It looked better but would need a bit more work.I polished the rim top and edges with micromesh sanding pads – dry sanding with 1500-12000 grit pads to raise a shine. I wiped it down with a damp cotton pad to wipe off the debris after each sanding pad.   I polished the silver ferrule with a  jeweler’s cloth. The cloth is impregnated with polish that not only raises a shine but protects the metal. I cleaned out the shank and sump below the bowl and the airway in the shank and stem with pipe cleaners, cotton swabs and isopropyl. It was clean and smelled better.I worked some Before & After Restoration Balm into the surface of the briar with my fingertips. It works to clean, enliven and protect the briar. I let it sit for 15 minutes then buffed it off with a soft cloth and raised the shine. The bowl looks great at this point.   I set the bowl aside and turned my attention to the stem. I sanded out the oxidation and tooth marks next to the button with 220 grit sandpaper. Once the surface was smooth I started polishing it with 400 grit wet dry sandpaper.I polished the stem with micromesh sanding pads – dry sanding it with 1500-12000 grit pads. I wiped the stem down with Obsidian Oil after each pad. I polished it with Before & After Pipe Polish – both Fine and Extra Fine and gave it a final coat and set it aside to dry.  I put the stem back on the Peterson’s System 120 Straight Dublin and buffed the pipe with Blue Diamond on the buffing wheel. I polished the briar and the vulcanite of the stem until there was a rich shine. This classic Peterson’s shape and finish really highlights a proportionally well carved pipe. Once I buffed the pipe the briar came alive and popped with polishing. The black vulcanite stem has a rich glow. This Peterson’s System Straight Dublin fits well in the hand and sits right in the mouth. Have a look at it with the photos below. The dimensions are Length: 5 ½ inches, Height: 1 ¾ inches, Outside diameter of the bowl: 1 ¼ inches, Chamber diameter: ¾ of and inch. The weight of the pipe is 1.20 ounces/34 grams. It was one I chose for my own collection and enjoyed, but I am happy to pass it on to the next pipe man or woman. This beauty will be going on the rebornpipes online store in the Irish Pipemakers Section. If you are interested let me know. Thanks for walking through the restoration with me as it was a pleasure to work on.

Restoring a Peterson’s of Dublin Donegal Rocky 999 Rhodesian


Blog by Steve Laug

The next pipe on the table came to us from one of our pipe hunts or a trade I just cannot remember. It is a rusticated Peterson’s Donegal Rocky 999 Bent Rhodesian. The finish is quite nice with at that classic Peterson’s rustication pattern. The pipe was filthy with the rusticated exterior filled in in spots with grime and debris. The bowl had a light cake and some roughening on the inner edge of the rim. There was darkening on the rim top but otherwise it looked good. The pipe is stamped on a smooth panel on the underside of the shank and reads Peterson’s [arched over] of Dublin [over] Donegal [over] Rocky with the shape number 999 to the right of that. On the oxidized Sterling Silver band it is stamped K&P in shields over Sterling Silver on the left side. On the right side there are three hallmarks: 1. a seated woman (Hibernia) – the city stamp for Dublin, 2. .926 for the quality of the silver, 3. An upper case “Y” – the date identification of the pipe. The stamping is clear and readable on the pipe and band. The stem was dirty, calcified and oxidized. There were light tooth marks and chatter on the stem near the button on both sides and some on the surface of the button as well. There was the Peterson’s “P” on the left side of the taper stem. I took photos of the pipe before I worked on it.  I took photos of the rim top to show the cake in the bowl, the lava rim top and the damage to the inner edge. The stem was dirty, oxidized, calcified and had chatter and marks on both sides. The stamping on the underside of the shank read as noted above. The photo shows that they are faint but clear and readable. The stamping on the silver is also readable. The P on the left side of the stem is faint but in good condition. I took a photo of the pipe with the stem removed to show the overall look of stem, tenon and profile of the pipe. It is a great looking pipe.I am including the information from Pipedia’s article on Peterson pipes. It is a great read in terms of the history of the brand (https://pipedia.org/wiki/Peterson). I have included a bit of the pertinent history here.

During the 1950’s and 60’s the Kapp & Peterson Company was still in the ownership of the Kapp family. However 1964 saw the retiral of the company Managing Director Frederick Henry(Harry) Kapp.

In 1966 a “Jubilee ” fourth hallmark was introduced, only for that year, to commemorate the fiftieth anniversary of the Easter Rising of 1916. Designed as a hand holding a flaming sword in Irish “an cláiomh solais” or “sword of light” the mark bears the date 1916 to the right above and 1966 to the left below. An Claidheamh Soluis (Old Irish spelling), this was hallmarked with the letter Y. This very unusual and special date mark has in recent years become very scarce, mainly because it was only used for that year. Pipes that were marked thus, are much sought after by Peterson pipe collectors.

The stamping on the band was different than what I had seen before it is three marks as noted above. I do not see the “Sword of Light” stamp though perhaps that is what is in the left stamp in the threesome before the .926 stamp.

I turned then to deal with the Hallmarks. I turned to Pipephil’s site for his quick reference charts on the Peterson’s Hallmarks (http://www.pipephil.eu/logos/en/infos/hallmark-dublin.html). I have included the pertinent charts below. The first chart defines the first two hallmarks on the Sterling Silver Band. The Hibernia/Lady is the Dublin Town Mark. The Harp identifies the fineness of the metal.The second chart pins down the date that this particular pipe was made. The upper case “Y” mark identifies the pipe as being made in 1966. I have drawn a red box around the “Y” on the chart below. With that information in hand I knew what I was dealing with in terms of the stamping and the age of this pipe. I knew from the information that the pipe was made during the Republic Era between 1950 and 1989. Pipedia then qualifies the dating as follows: From 1950 to the present time, the stamp for this era is “Made in the Republic of Ireland”. The “Y” hallmark sets the date at 1966 in the center of the time period. Now it was time to work on the pipe.

The Sterling Silver Band was upside down and would need to be corrected. I used some acetone on a folded pipe cleaner to soak the glue between the band and the briar. I repeated the process until it suddenly came free. I cleaned off the shank with acetone and reset the band on the shank with the stamping on the correct sides of the shank. I reamed the pipe with a PipNet reamer and cut back the cake back to the bare briar. I cleaned up the walls with a Savinelli Fitsall Pipe Knife. I finished it by sanding the walls smooth with 220 grit sandpaper wrapped around a piece of briar. I cleaned up the debris and lava on the rim top rustication with a brass bristle wire brush. It looked better than before.I scrubbed the exterior of the pipe with Murphy’s Oil Soap and a tooth brush to remove the grime from the finish. I rinsed it off with warm running water to remove the soap and the grime from the finish of the bowl.  I worked over the inner edge of the rim top with a folded piece of 220 grit sandpaper. I gave it a slight bevel and was able to blend in the damaged areas. It looked much better.  I scraped the inside of the shank with a dental spatula and was able to take out a large amount of this build up in the shank. It was a real mess. I then scrubbed the interior of the bowl and shank with pipe cleaners, cotton swabs and alcohol to further remove the tars and oils. I polished the Sterling Silver band on the shank with a jeweler’s cloth to remove the tarnish and protect it.   I worked some Before & After Restoration Balm into the surface of the briar with my fingertips and a horsehair shoe brush to clean, enliven and protect the briar. I let the balm sit for 15 minutes and then buffed with a cotton cloth to raise the shine. The photos show the bowl at this point in the restoration process. I decided to deghost the pipe while I worked on the stem. I filled the bowl with cotton boles and twisted one into the shank. I filled the bowl with 99% isopropyl alcohol using an ear syringe. I set the bowl aside for 5-6 hours while I worked on the stem. After 6 hours the cotton was stained with oils and with some purple stain from the inside of the bowl. The pipe smells clean and fresh. I set the bowl aside and turned my attention to the stem. I scrubbed it with Soft Scrub to remove the oxidation on the stem surface. I worked it over the surface of the stem with cotton pads and removed the deep oxidation on the top side of the stem. I sanded the tooth marks and the remaining oxidation with 220 grit sandpaper and started the polishing with 400 grit wet dry sandpaper. I used white acrylic nail polish to touch up the “P” stamp on the left side of the stem. It came out looking very good.  I polished the stem with micromesh sanding pads – wet sanding with 1500-12000 grit sanding pads. I wiped it down after each sanding pad with Obsidian Oil. I polished it with Before & After Pipe Stem Polish – both Fine and Extra Fine. I am excited to finish this Republic Era Peterson’s “Donegal” Rocky 999 Rhodesian. I put the pipe back together and buffed it with Blue Diamond on the buffing wheel. I gave the bowl multiple coats of Conservator’s Wax and the stem multiple coats of carnauba wax. I hand buffed the pipe with a clean buffing pad to raise the shine. It is fun to see what the polished bowl looks like with the rugged rustication all around it. Added to that the polished Sterling Silver band and the black vulcanite stem was beautiful. This rusticated Classic Peterson’s 999 shape is nice looking and the pipe feels great in my hand. It is light and well balanced. Have a look at it with the photos below. The dimensions are Length: 6 inches, Height: 1 ½ inches, Outside diameter of the bowl: 1 ½ inches, Chamber diameter: ¾ of an inch. The weight of the pipe is 51 grams/ 1.80 ounces. It is a beautiful pipe and one that will be on the Irish Pipe Makers section of the rebornpipes store soon. If you are interested in adding it to your collection let me know. Thanks for walking through the restoration with me as I worked over this pipe. Thanks to each of you who are reading this blog.

Restoring a Republic Era Peterson’s Dublin 120 Military Mount Dublin


Blog by Steve Laug

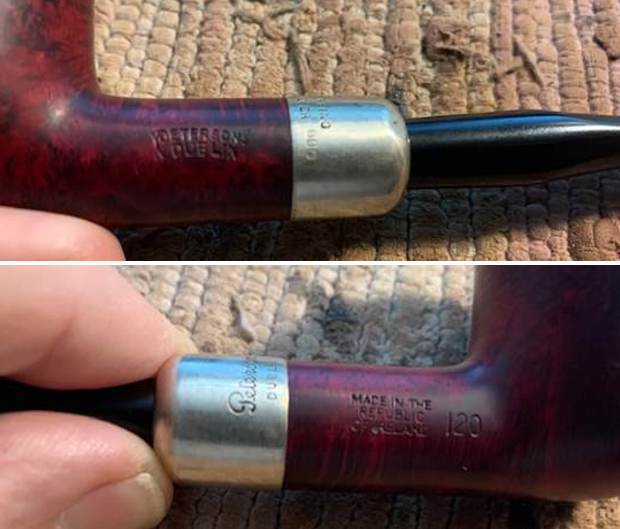
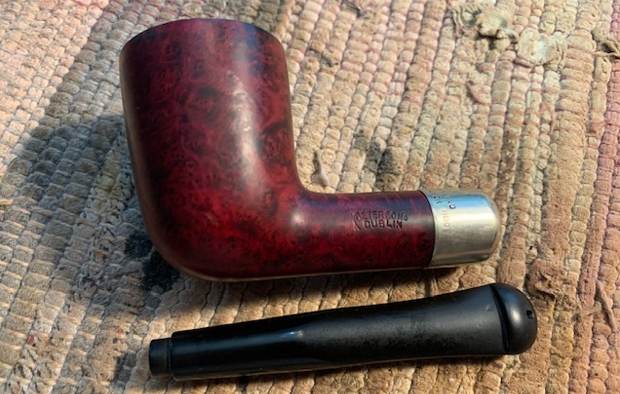
The next pipe I have chosen is another smooth finished Peterson’s Straight Dublin. This one is a smooth straight Dublin shape that has a rich coloured red finish around the bowl sides and shank. This pipe was purchased on 11/17/21 from a seller in San Marcos, Texas, USA. The finish is dark and dirty but there is some great grain around the bowl sides and shank. The briar has a few small nicks and flaws in the surface but is otherwise very nice. It was stamped on the  left side of the shank and read Peterson’s [arched over] Dublin. It was stamped to the right of the shank and read MADE IN THE REPUBLIC OF IRELAND (three lines) with the shape number 120 next to the bowl. It was filthy when Jeff brought it to the table. There was a thick cake in the bowl and a thick overflow of lava on the rim top that was heavier on the back side. It was hard to know what the condition of the rim top and edge would be under that thick lava coat. The Sterling Silver ferrule is tarnished but was stamped Peterson’s [over] Dublin. That is followed by Sterling over Silver. Following the R in Silver were three hallmarks. The first was the seated woman (Hibernia), the second was a harp (the symbol for the grade of silver, the third is the letter B (the year stamp). The unstamped stem was lightly oxidized and had tooth marks and chatter on the top and underside on and near the button. Jeff took photos of the pipe before his cleanup work. Jeff took photos of the rim top and stem to show the general condition of the pipe. The bowl is heavily caked and the rim top and edges have some lava overflow. The stem is lightly oxidized and has tooth marks on the top and underside near the button. Jeff took photos of the bowl sides and heel to show the grain that was around this bowl. It is a nice looking pipe with great grain around the bowl. He took photos of the sides of the shank to show the stamping. The stamping is readable in the photos below and is as noted above. I am including the link to the Pipedia’s article on Peterson pipes. It is a great read in terms of the history of the brand (https://pipedia.org/wiki/Peterson).

I decided to narrow down the date first before working on the pipe. I turned to a blog I had on rebornpipes on a silver ferrule that I had worked on previously (https://rebornpipes.com/tag/identifying-hallmarks-on-a-sterling-silver-ferrule/). I quote from that blog and include the graphics.

I always like to date the year a pipe was made while I am working on it. In the process of working on a pipe if I can pin down a date that it was made that it adds another dimension to the restoration process. Once I have identified the hallmarks on the pipe then I use a Hallmark chart to pin the date down. In the case of Peterson’s pipe with a silver band I use a hallmarking chart that Peterson included in their catalogs and on their website

I have a copy of the hallmark charts in one of the Peterson catalogs that I have uploaded to the blog on rebornpipes. I turned to that chart to lock down the date letter for the Sterling Silver Dublin that I am working on. Here is the link to the site (https://rebornpipes.com/wp-content/uploads/2015/05/peterson-cataloguecomp_page_27.jpg)

The chart defines the meaning of each hallmark on the silver band. The first one is of a seated woman with a harp is known as the Hibernia stamp and identifies the pipe as made in Ireland. The second stamp is a crowned harp which is a fineness mark denoting the high quality of silver that was used. The third stamp is the upper case italic letter “B”. I have included a larger screen capture of the section in the second photo below.

I blew up the photo of the above chart so that I could read the dates. I have drawn a square around the proper date letter below. It identifies the date of manufacture this Peterson’s pipe to 1987.From the hallmarks it appeared that I was dealing with a pipe that the hallmarks date to 1987.

I turned them to “The Peterson Pipe” by Mark Irwin and Gary Malmberg to get some background on the Peterson’s Dublin 3. On page 298 it had the following information.

Dublin (1906-2003) Although DUBLIN appears under PETERSON’S  on many pipe over the decades, it has served mostly as part of the brand name. The word first appeared on pipes hallmarked 1906-11, stamped PETERSON’S over PATENT over DUBLIN. The simpler PETERSON’S over DUBLIN first appeared on pipes hallmarked 1912 after the expiration of the patent. Illustrations of pipes in the ’37 catalog show a random dispersion of the stamp PETERSON’S over OF DUBLIN together with the ordinary PETERSON’S over DUBLIN on every model offered. Specimens of the former will bear either and Irish COM or LONDON MADE over ENGLAND COM and almost certainly date from 1945-62. It was first mentioned as part of a model name in the ’68 price list, as K&P DUBLIN, in ’92 for a Danish market line and in 2017 (see below).

I knew I was dealing with a pipe that had a long history of the stamping that I found on its shank. It is amazing to think that in a company that had a lot of anomalies in their stamping that the DUBLIN stamp continued from 1906-2003 and in other forms even longer. This 1987 made DUBLIN fits nicely within that time frame. Now it was time to work on the pipe.

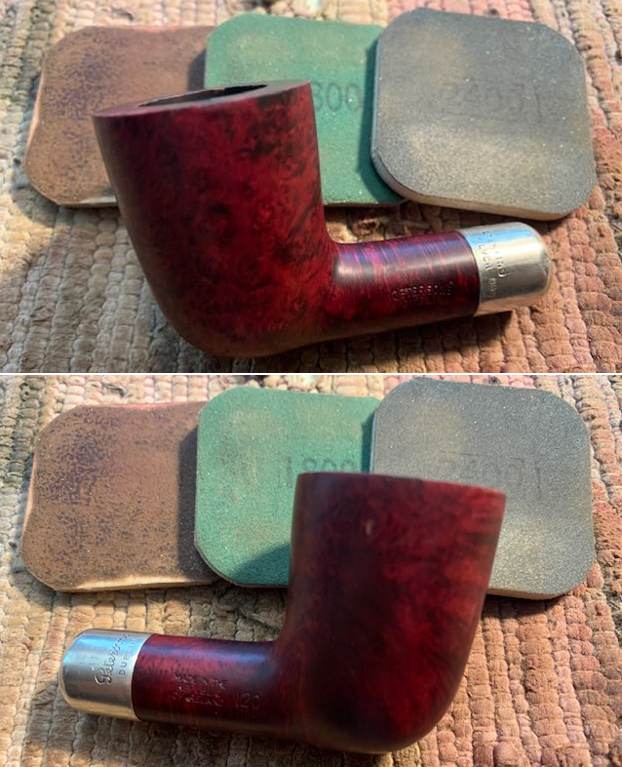
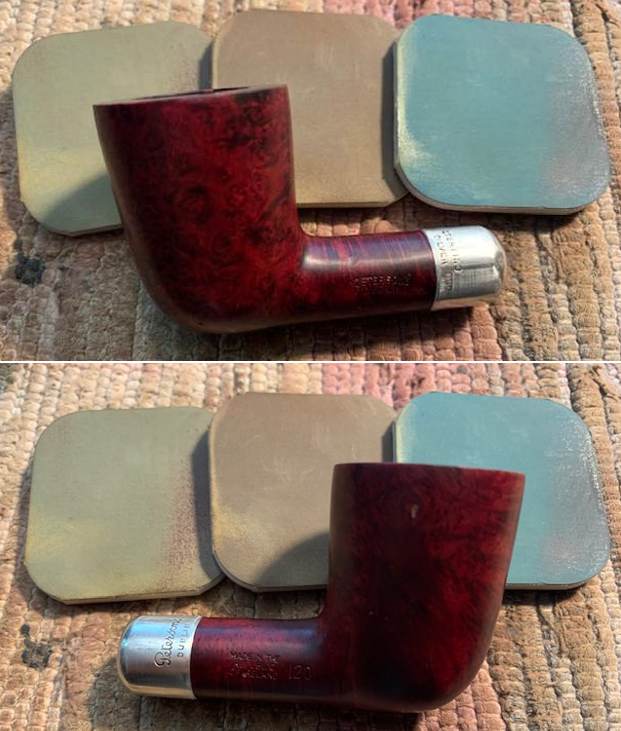
Jeff had done a great job cleaning up the pipe as usual. He reamed the pipe with a PipNet reamer and cut back the cake back to the bare briar. He cleaned up the walls with a Savinelli Fitsall Pipe Knife. He scrubbed the interior of the bowl and shank with pipe cleaners, cotton swabs and alcohol to remove the tars and oils. He scrubbed the exterior of the pipe with Murphy’s Oil Soap and a tooth brush to remove the grime from the finish. He worked on the rim top lava and darkening with the soap and tooth brush. He scrubbed the inside of the stem with alcohol and pipe cleaners. He scrubbed the exterior with Soft Scrub and then soaked it in Briarville’s Pipe Stem Deoxidizer. He washed it off with warm water to remove the Deoxidizer. The pipe looked far better when it arrived. I took a close up photo of the rim top because I wanted to show how well it had cleaned up. The rim top looked amazingly good on the top and the inner and outer edges of the bowl. I also took close up photos of the stem to show the tooth marks on the surface near the button. I took photos of the stamping on the sides of the shank. It reads as noted above.I removed the stem and took a photo of the pipe to have a look at the parts and overall look.I sanded the bowl with micromesh sanding pads – dry sanding with 1500-12000 grit sanding pads to further make the stain more transparent and make the grain stand out. I wiped the bowl down with a damp cloth after each sanding pad. I worked some Before & After Restoration Balm into the surface of the briar with my fingertips to clean, enliven and protect the briar. I let the balm sit for 15 minutes and then buffed with a cotton cloth to raise the shine. The photos show the bowl at this point in the restoration process. I polished the Sterling Silver Ferrule with a jeweler’s cloth to protect and give it a shine. It is a pretty looking pipe.I “painted” the tooth marks in the stem with a lighter flame to lift the marks. Most lifted but I filled in the ones that remained on the top and underside of the stem next to the button edge with clear CA glue. Once the repairs cured I sanded them smooth with 220 grit sandpaper and started polishing it with 400 grit wet dry sandpaper. It was starting to look good. I polished the stem with micromesh sanding pads – wet sanding with 1500-12000 grit sanding pads. I wiped it down after each sanding pad with Obsidian Oil. I polished it with Before & After Pipe Stem Polish – both Fine and Extra Fine. I am excited to finish this Peterson’s Dublin 120 Straight Dublin. I put the pipe back together and buffed it with Blue Diamond on the buffing wheel. I gave the bowl and the stem multiple coats of carnauba wax. I hand buffed the pipe with a clean buffing pad to raise the shine. It is fun to see what the polished bowl looks like with beautiful straight and flame grain all around it. Added to that the polished black vulcanite stem was beautiful. This smooth Classic Peterson’s 120 Dublin is great looking and the pipe feels great in my hand. It is light and well balanced. Have a look at it with the photos below. The dimensions are Length: 5 ¾ inches, Height: 1 ¾ inches, Outside diameter of the bowl: 1 ¼ inches, Chamber diameter: ¾ of an inch. The weight of the pipe is 35 grams/1.23 ounces. It is a beautiful pipe and one that will soon be on the rebornpipes store in the Irish Pipe Makers Section of the store. If you want to add it to your collection let me know. Thanks for walking through the restoration with me as I worked over this pipe. Thanks to each of you who are reading this blog.

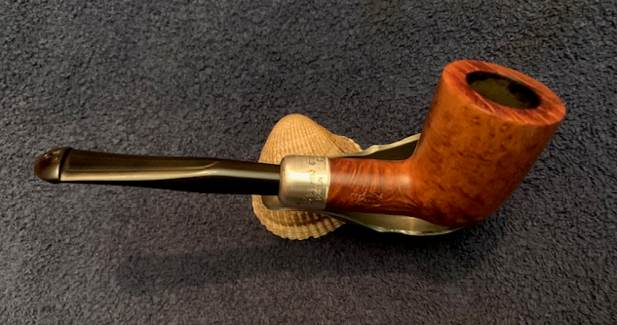
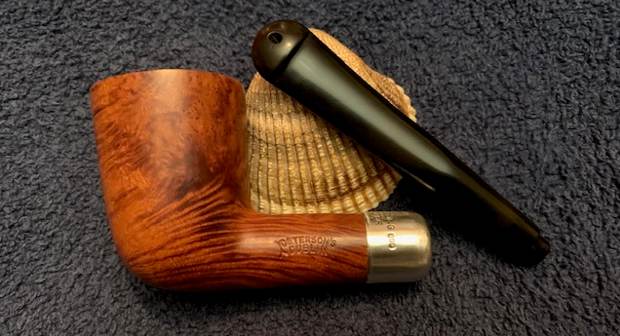
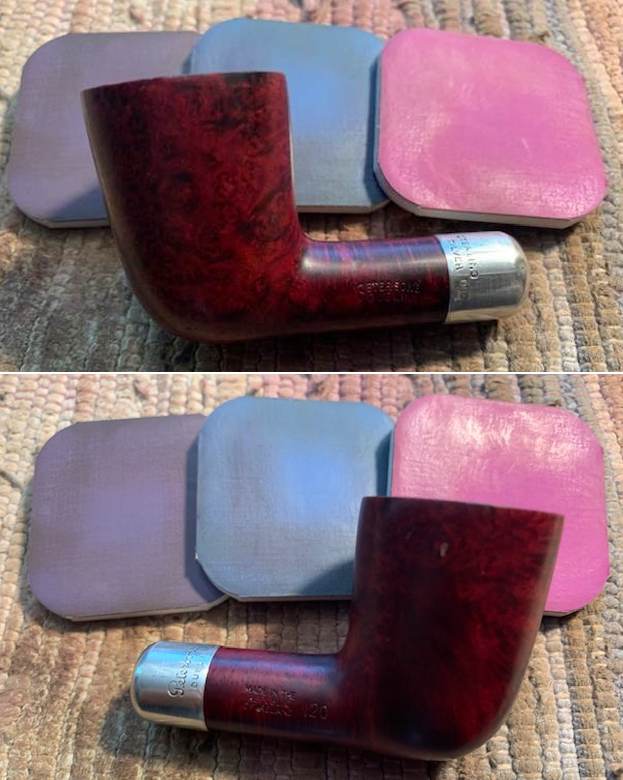
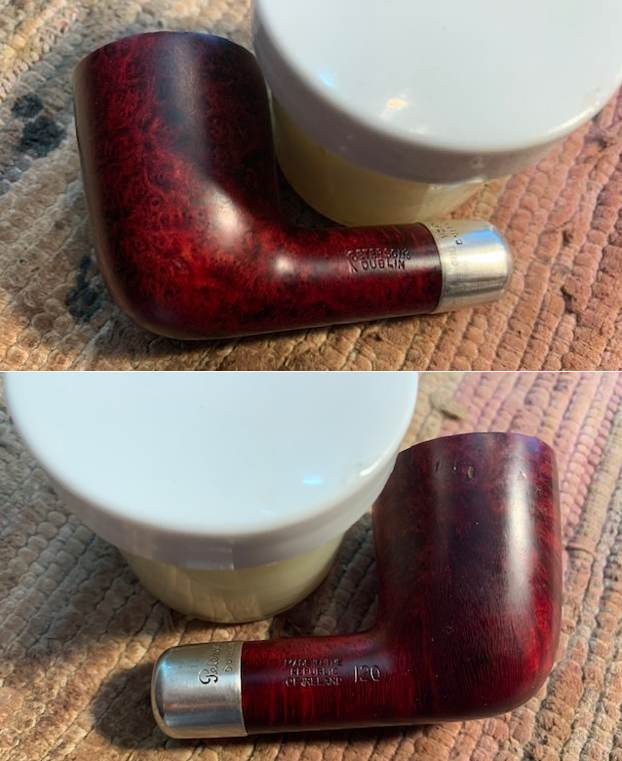
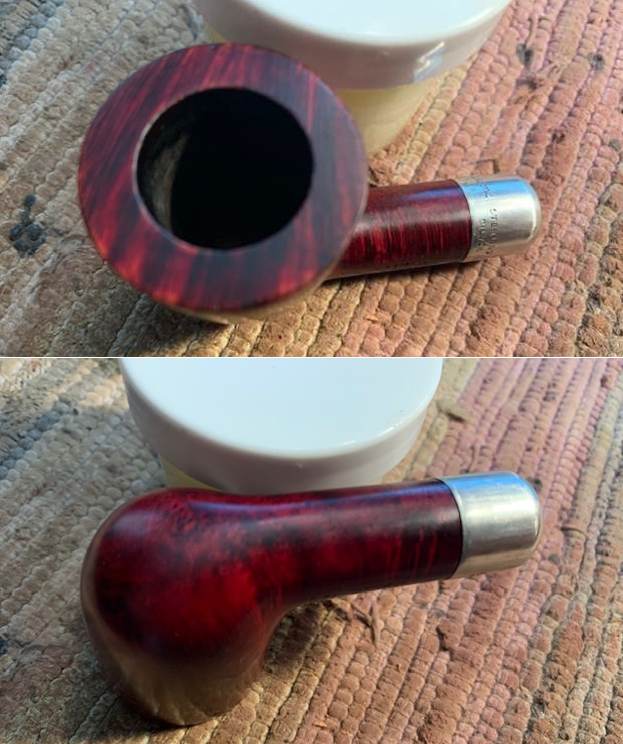
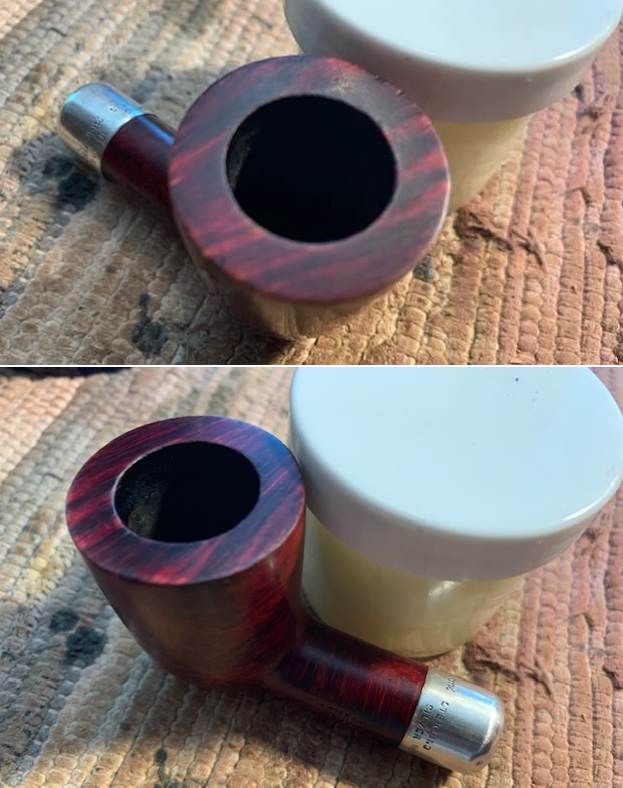
Restoring an interesting Long Shank Rusticated Peterson’s of Dublin Canadian


Blog by Steve Laug

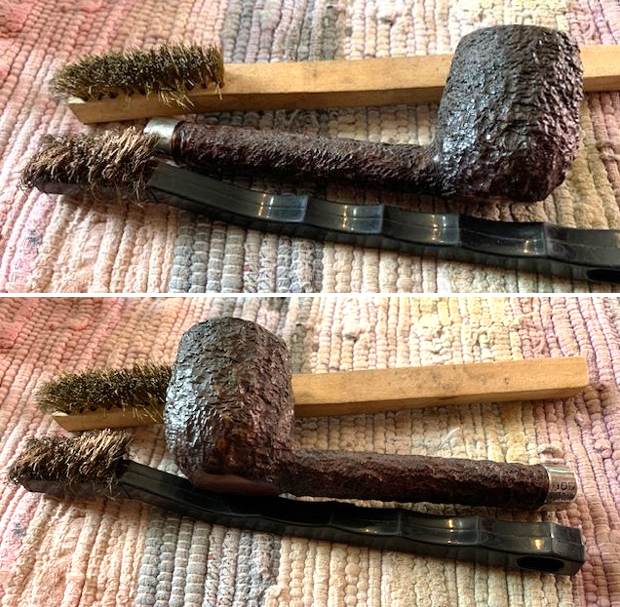
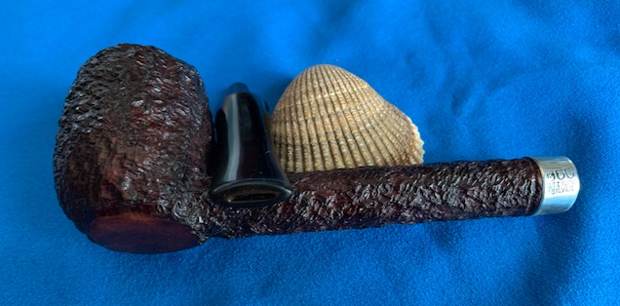
With the flood in our office/basement/workshop we moved my pipe work upstairs with my day job work to occupy the dining room table. I went through the boxes of pipes I have to work on sorting things to work on from those I will likely put in grab bags and came across this rusticated long shank Canadian with a Sterling Silver Band. It turns out that it is stamped on the underside of the bowl and reads Peterson’s [arched over] Dublin [over] Made in the Republic of Ireland in the standard three line. The silver band was stamped with K& P in cartouches [over] Sterling Silver. The vulcanite stem lightly oxidized and dirty with tooth chatter on both sides ahead of the button. The bowl had been reamed and cleaned as obviously Jeff had done his magic on it before I got it. He had scrubbed the exterior with Murphy’s Oil Soap and a tooth brush. He had rinsed it with warm water. The silver band was still oxidized (probably from sitting here). He cleaned out the inside of the shank and stem with alcohol, cotton swabs and pipe cleaners. He scrubbed the exterior of the stem with Soft Scrub and left the stem looking quite good. I took photos of the pipe before I started my work on it. I took photos of the rim top and the bowl to show the condition. The rim top was rusticated and uneven looking. There was some grime and debris in the rustication on back of the rim top. The inner edge was in decent condition. I also took photos of both sides of the stem to show the light oxidation and tooth chatter. Over all the pipe was in good condition. I took a photo of the stamping on the heel of the bowl and on the silver band on the shank. It is clear and it reads as noted above.I took a photo of the pipe with the stem removed to give an overall picture of the pipe. The rugged rustication is quite beautiful. There also appears to be a shiny coat of varnish on the surface of the briar that needs to go!I turned to the Peterson’s Pipe by Mark Irwin and Gary Malmberg to ferret out information on the stamping of this pipe to try to pin down a date. Under the section, Dublin on Page 298 I found information on the stamping on this pipe. I quote:

Dublin (1906-2003) Although DUBLIN appears under PETERSON’S on many pipes  over the decades, it has served  mostly as part of the brand name. The word first appeared on pipes hallmarked 1906-11, stamped PETERSON’S over PATENT over DUBLIN. The simpler PETERSON’S over DUBLIN appeared on pipes hallmarked 1912 after the expiration of the patent… Specimens of the former will bear either an Irish COM or LONDON MADE over ENGLAND  COM and almost certainly date from 1945-62.  It was first mentioned in print as part of a model name in the ’68 price list, as K&P Dublin…

I looked also at the information on page 304 about the K&P stamping on the silver band. I quote below.

K&P Another set of three marks, each in a shield-shaped frame are frequently mistaken as hallmarks and are seen on sterling bands. See Maker’s Mark…

On page 305

 K&P on Mount …A second style of maker’s mark, K&P in three shields, was registered on June 26,1908 and has been in continuous use since.

On page 307

Maker’s Mark Collectors frequently mistake this row of three shields for hallmarks, especially on pipes made between 1938-68 when Peterson sterling mounts had no proper hallmarks. Collectors tend to label these faux hallmarks. The three shields are not hallmarks at all but their presence on the mount does confirm the mounting is sterling.

Now at least I had a time frame for the pipe. It had the three maker’s marks in three separate shields (K&P). The sterling silver band did no have any proper hallmarks so it came from the time period between 1938-1968. The K&P stamp on the silver and the Dublin stamp on the heel of the bowl seem to point to the 1968 time period as well. The pipe was also a Republic Era Pipe which dated it from 1950-1989. Armed with that history and having a sense of the brand it was now time to do a bit of spiffing with the pipe itself.

I wiped the bowl down with acetone to break through the varnish coat and worked the surface or the pipe over with a brass bristle wire brush to further remove it. It took several repetitions of the process to remove the finish coat but when I did it was better. I stained the faded rim top with a Walnut Stain Pen to match the colour around the bowl and shank. It looked good and once it was polished would match very well.I rubbed the bowl down with some Before & After Restoration Balm. I worked it into the briar with my fingertips and a horse hair shoe brush. The product works to clean, renew and protect briar. I let it do its work for 15 minutes then buffed it off with a soft cloth. The pipe is really quite a beauty. I polished the silver with Silver polish and tarnish remover. It really came out looking shiny. I set the bowl aside and turned my attention to the stem. I scrubbed off the residual oxidation on the stem surface with Soft Scrub cleanser and was able to remove the majority of it. What remains should come of easily with the micromesh sanding pads.I polished the surface of the acrylic stem on both sides using micromesh sanding pads. I dry sanded the stem with the 1500-12000 grit pads, then wiped it down with a cloth impregnated with Obsidian Oil. I finished polishing it with Before & After stem polish – both Fine and Extra Fine. I gave it a final coat of Obsidian Oil and set it aside to dry. I am excited to finish this Republic Era Peterson’s Dublin Rusticated Canadian. I put the pipe back together and buffed it lightly with Blue Diamond on the buffing wheel. I gave the bowl multiple coats of Conservator’s Wax and the stem multiple coats of carnauba wax. I buffed the pipe with a clean buffing pad to raise the shine and hand buffed it with microfiber cloth to deepen the shine. It is fun to see what the polished bowl looks like with the polished black acrylic stem with the silver band. It really was a beautiful pipe. The grain shining through the rich red stain on this Peterson’s Dublin Rustic Canadian is nice looking and the pipe feels great in my hand. It is light and well balanced. Have a look at it with the photos below. The dimensions are Length: 7 inches, Height: 1 ¾ inches, Outside diameter of the bowl: 1 ¼ inches, Chamber diameter: ¾ of an inch. The weight of the pipe is 1.73 ounces/50 grams. It is a beautiful pipe and one that will be on the rebornpipes store in the Irish Pipe Makers Section soon. If you are interested in adding it to your collection let me know. Thanks for walking through the cleanup with me as I worked over this pipe. Thanks to each of you who are reading this blog. Remember we are not pipe owners; we are pipemen and women who hold our pipes in trust until they pass on into the trust of those who follow us.
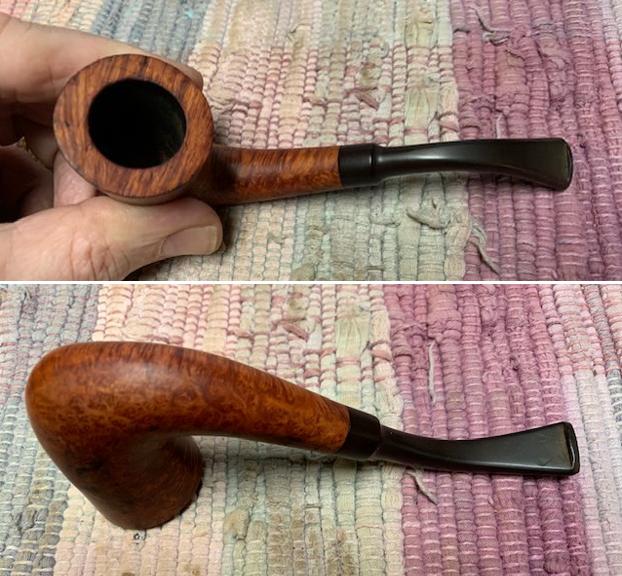
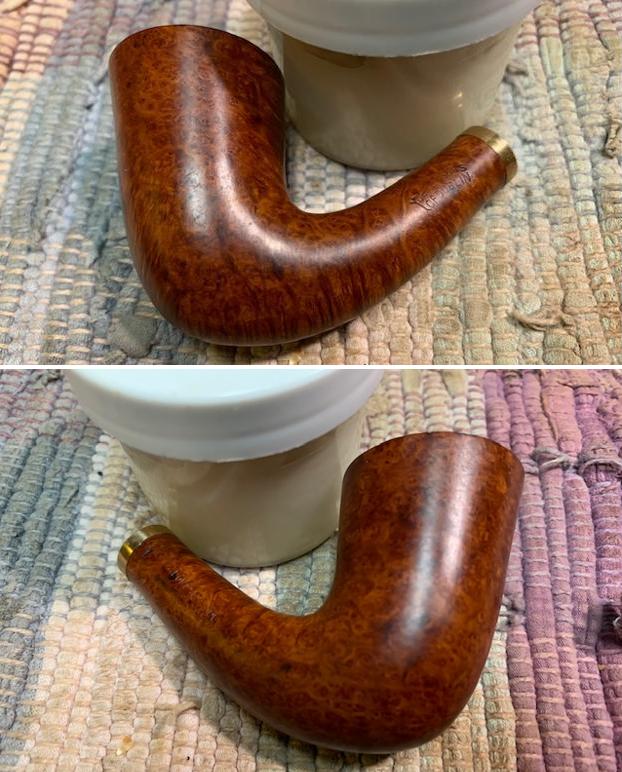
Restoring a Peterson’s Dublin (London Made England) 21 Calabash


Blog by Steve Laug

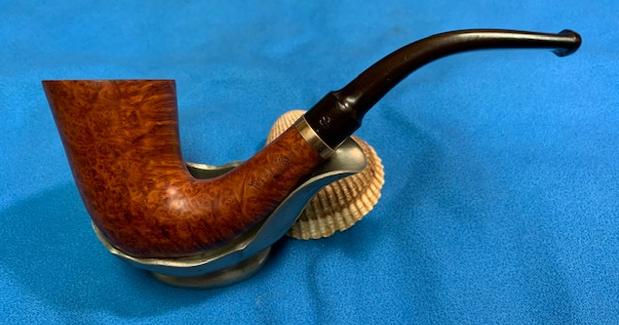
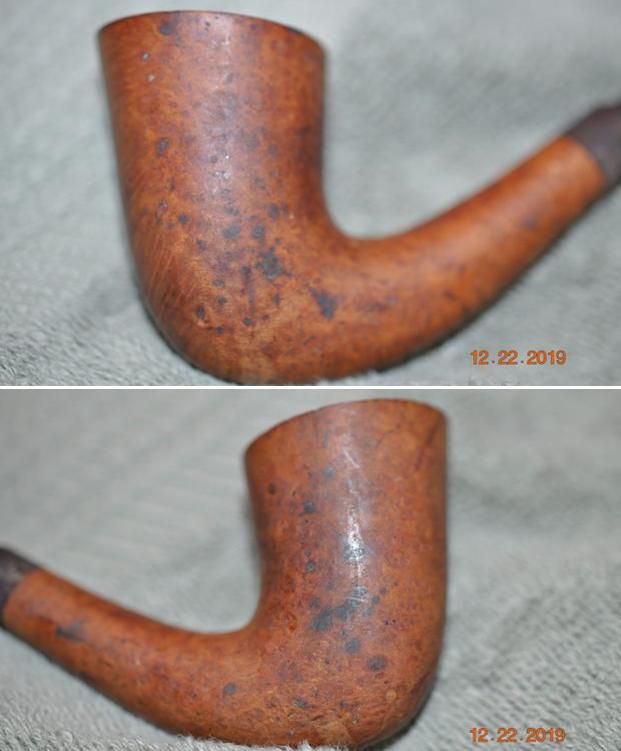
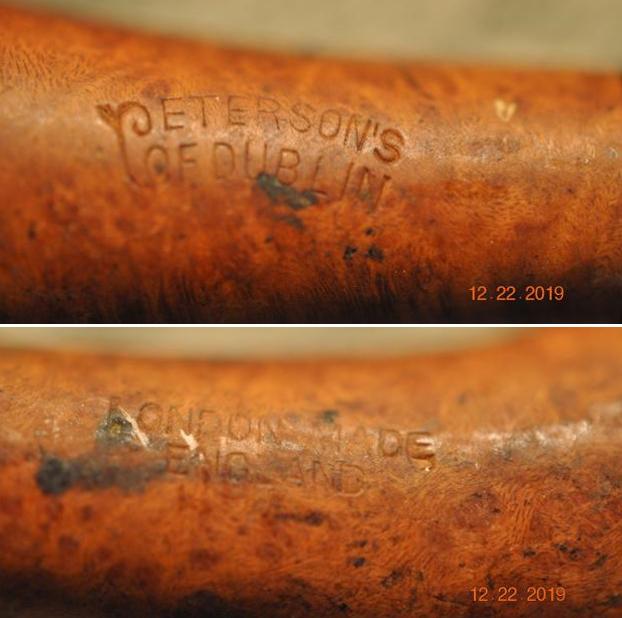
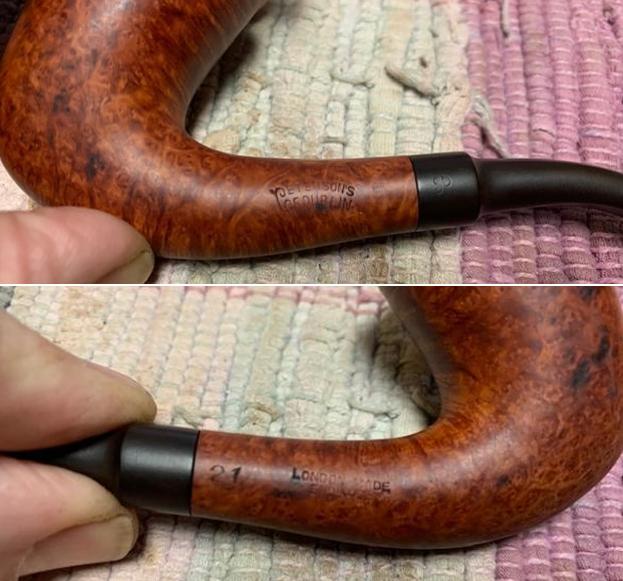
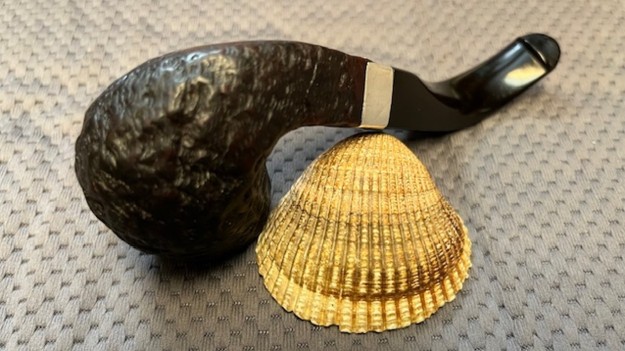
The next pipe I have chosen is smooth finished Peterson’s Dublin Calabash pipe that had a bit of a bland looking finish but had some good looking grain around the bowl sides and shank. It came to us in a group of pipes we bought from a fellow in Los Angeles, California, USA. This Calabash was stamped on the left side of the shank and read Peterson’s [arched over] Dublin. It was stamped on the right side and read London Made [over] England. On the left of that next to the stem it is stamped 21. The pipe was in filthy condition when he brought it to the table. The finish was dirty with grime ground into the briar sides and rim. There were black spots on the briar around the bowl and shank. There was a thick cake in the bowl and a light coat of lava on the rim top but the edges of the bowl and top actually looked to be in good condition. The stem was oxidized, calcified and had tooth marks and chatter on the top and underside on and near the button. It had a stamped P on the left side of the saddle. Jeff took photos of the pipe before his cleanup work. They tell the story and give a glimpse of the promise that we see in this pipe. Jeff took photos of the rim top and stem to show the general condition of the pipe. The bowl is thickly caked and the rim top and edges look pretty good under the light lava coat. The photos of the stem show some oxidation and light tooth marks on both sides near the button. Jeff took some photos of the bowl sides and heel to show the amazing grain that was around this bowl. It is a nice looking pipe.     He took photos of the sides of the shank to show the stamping. The stamping is readable in the photos below and is as noted above.    I am including the link to the Pipedia’s article on Peterson pipes. It is a great read in terms of the history of the brand (https://pipedia.org/wiki/Peterson).

I turned to “The Peterson Pipe” by Mark Irwin and Gary Malmberg to get some background on the Peterson’s London Made England line. On page 296-297 it had the following information.

MADE IN over ENGLAND and variations shown below (1936-62) Peterson maintained a factory in England for about a quarter of a century, from the late 1930s to ’62. Corporate transcripts and London business periodicals suggest the London operation on White Lion Street was about to get underway in ’37. Only a handful of London hallmarked Petersons are documented, stamped with date marks of 1936 and 1939, and these have no COM stamp. Their output would be limited by the onset of the Battle of Britain in July 1940, but it seems reasonable to suppose pipes were made in the London factory during WWII, inasmuch as the K&P Staff Register lists twelve employees earning wages there in January ’44. London hallmarked Petersons have been identified with dates of 1949-54. Most London made Petersons in a collector’s inventory were made in these postwar years, from 1949 until the closing of the factory in ’62. This narrow range  of dates is probably the most reliable indicator of years when the stamp and the variations listed below were employed. The presence of one variation or another on a pipe is not by itself a reliable indicator of age.

Made In over England

Made In England forming a circle

Made In England forming an ellipse

Made in England in a line

A “Peterson’s Product” over Made In England

A Peterson’s Product over Made In England

A Peterson Product over Made in England

Made In over Great Britain

Great Britain

London Made over England

London Made

Now I knew a date range for the pipe I was working on – 1949-1962. I have underlined and made the text bold in the above list to show the stamping on the pipe I am working on. Now it was time to work on the pipe.

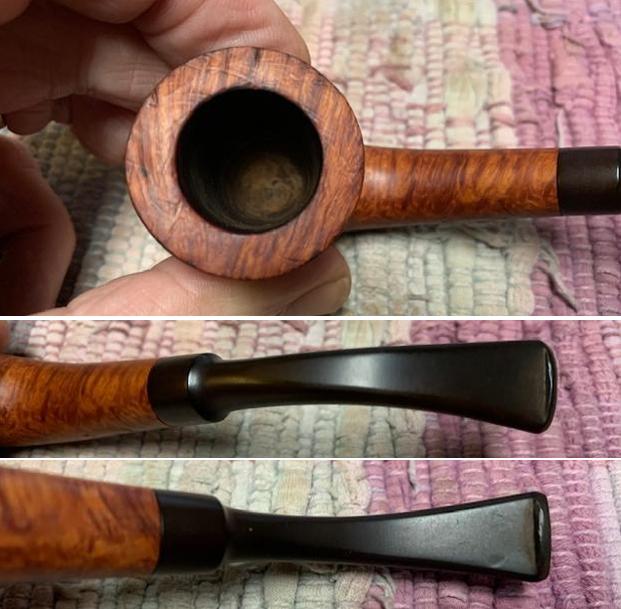
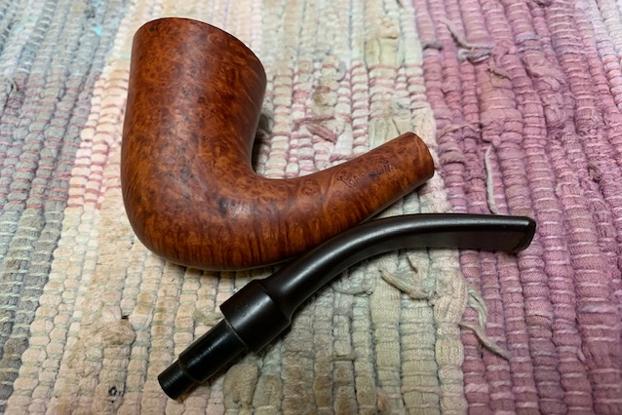
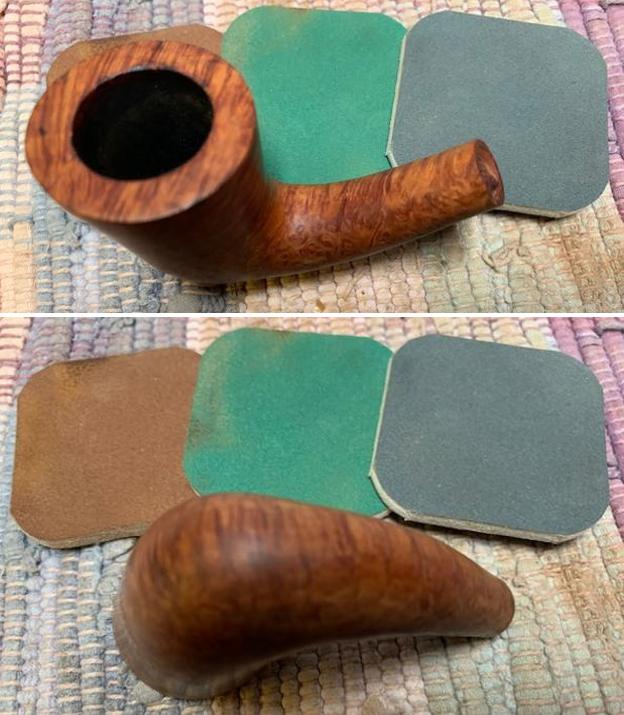
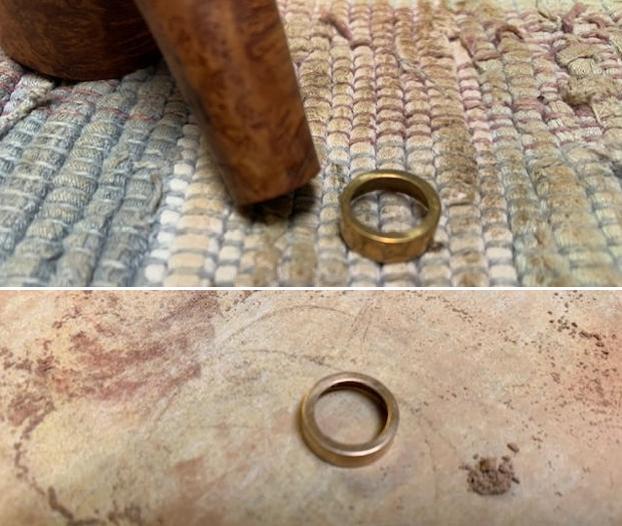
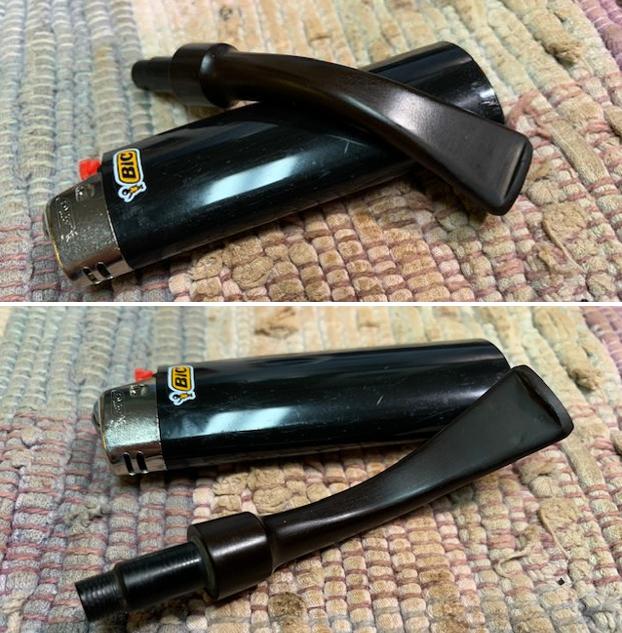
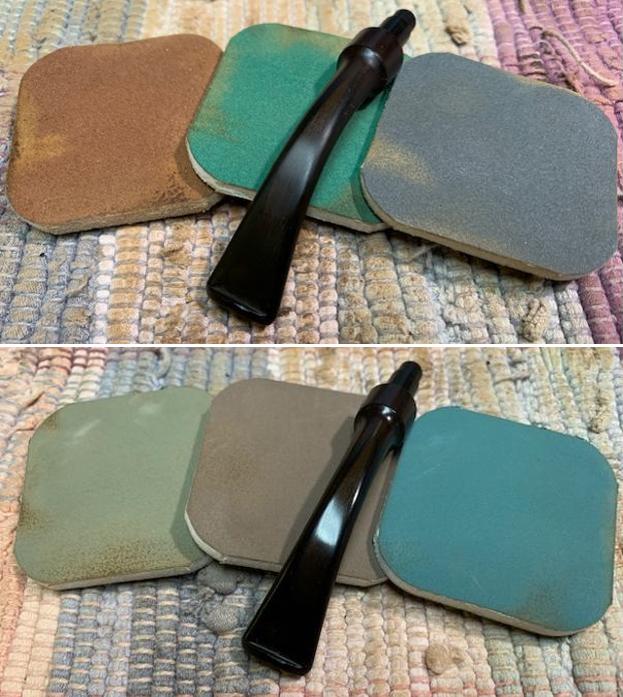
Jeff had done a great job cleaning up the pipe as usual. He reamed the pipe with a PipNet reamer and cut back the cake back to the bare briar. He cleaned up the walls with a Savinelli Fitsall Pipe Knife. He scrubbed the interior of the bowl and shank with pipe cleaners, cotton swabs and alcohol to remove the tars and oils. He scrubbed the exterior of the pipe with Murphy’s Oil Soap and a tooth brush to remove the grime from the finish. He worked on the rim top lava and the darkened spots with the soap and tooth brush. He scrubbed the inside of the stem with alcohol and pipe cleaners. He scrubbed the exterior with Soft Scrub and then soaked it in Before & After Deoxidizer. He washed it off with warm water to remove the Deoxidizer. The pipe looked far better when it arrived. I took some close up photos of the rim top and also of the stem surface. I wanted to show how well it had cleaned up. The rim top had some looked quite good and the inner edge had some darkening and damage. It should clean up really well. I also took close up photos of the stem to show the tooth marks on the surface near the button.     I took photos of the stamping on the sides of the shank. You can see that it is stamped as noted above. It is clear and readable.     I removed the stem and took a photo of the pipe to have a look at the parts and overall look. I decided to address the spots around the bowl sides first. I was pretty sure I could remove them with micromesh sanding pads. I sanded it with 1500-2400 grit pads and was able to remove and minimize those that remained with the micromesh.    In the process of sanding the shank I found a small hairline crack in the underside of the shank that extended straight up the shank for about ½ inch. I checked out the stability of the crack and it was still quite tight. I decided the best course for this kind of crack was to bind it together with a thin brass band. I topped the band edge off and removed some of it so that it did not interfere with the number stamp on the right side and would still do the job it was intended to do. I drew a red rectangle around the crack in the shank and took two pictures to capture it. There is some darkening around the crack and that was what caught my eye.  I went through my bands and found one that was the proper fit for the shank diameter. It was a bit too deep and covered some of the shape number stamp on the right shank so I used a topping board and 220 grit sandpaper to reduce the depth so that it did not cover the number. Once I had the depth correct I put some all purpose glue on the shank end and pressed the band in place on the shank. I wiped off the excess glue with a damp pad. I finished polishing the briar with the remaining micromesh sanding pads – dry sanding with 3200-12000 grit sanding pads. I wiped the bowl down with a damp cloth after each sanding pad. I worked some Before & After Restoration Balm into the surface of the bowl and shank with my fingertips to clean, enliven and protect the briar. I let the balm sit for 15 minutes and then buffed with a cotton cloth to raise the shine. The photos show the bowl at this point in the restoration process.    I set the bowl aside and “painted” the stem surface with the flame of a “Bic” lighter to lift the tooth marks. I was able to raise most of them I filled in the remaining tooth marks with clear super glue. Once the glue cured I sanded the repairs smooth to blend them into the surface of the surrounding vulcanite.  I touched up the P stamp on the left side of the saddle stem with Rub’n Buff  Antique Gold. I rubbed it on with a tooth pick and worked it into the stamp. I buffed it off with a soft cloth. While the stamping is faint it is still readable.     I polished the stem with micromesh sanding pads – wet sanding with 1500-12000 grit sanding pads. I wiped it down after each sanding pad with Obsidian Oil. I polished it with Before & After Pipe Stem Polish – both Fine and Extra Fine.    I am excited to finish this London Made English Peterson’s Dublin, Calabash 21. I put the pipe back together and buffed it with Blue Diamond on the buffing wheel. I gave the bowl and the stem multiple coats of carnauba wax. I hand buffed the pipe with a clean buffing pad to raise the shine. It is fun to see what the polished bowl looks like with beautiful mixed grain all around it. Added to that the polished black vulcanite stem combined with the bowl and brass band on the shank and made a stunning pipe. This smooth Classic Older Peterson’s Dublin English Made Calabash is great looking and the pipe feels great in my hand. It is light and well balanced. Have a look at it with the photos below. The dimensions are Length: 5 ½ inches, Height: 2 inches, Outside diameter of the bowl: 1 ¼ inches, Chamber diameter: ¾ of an inch. The weight of the pipe is 34grams/1.20oz. It is a beautiful pipe that I will soon be putting on the rebornpipes store in the Irish Pipe Makers section. If you are interested in adding it to your collection send me an email or a message. Thanks for walking through the restoration with me as I worked over this pipe. Thanks to each of you who are reading this blog.