Blog by Steve Laug
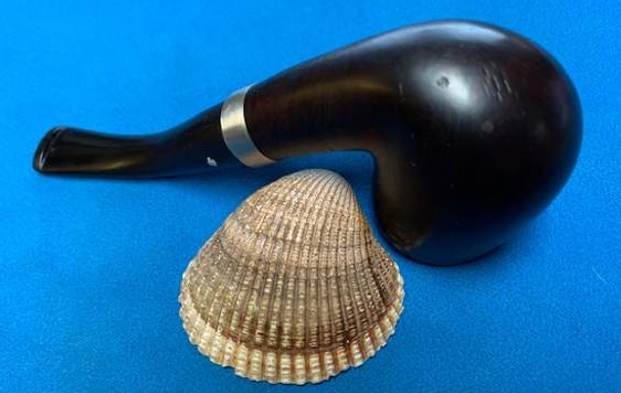
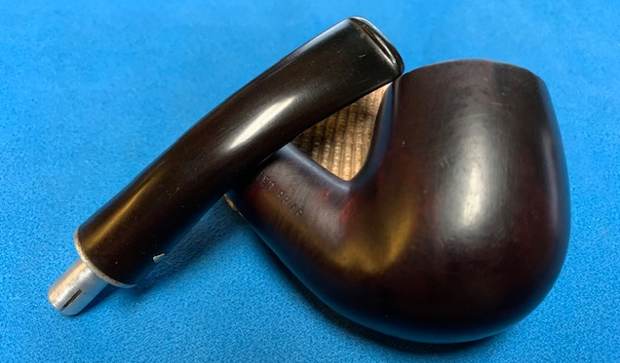
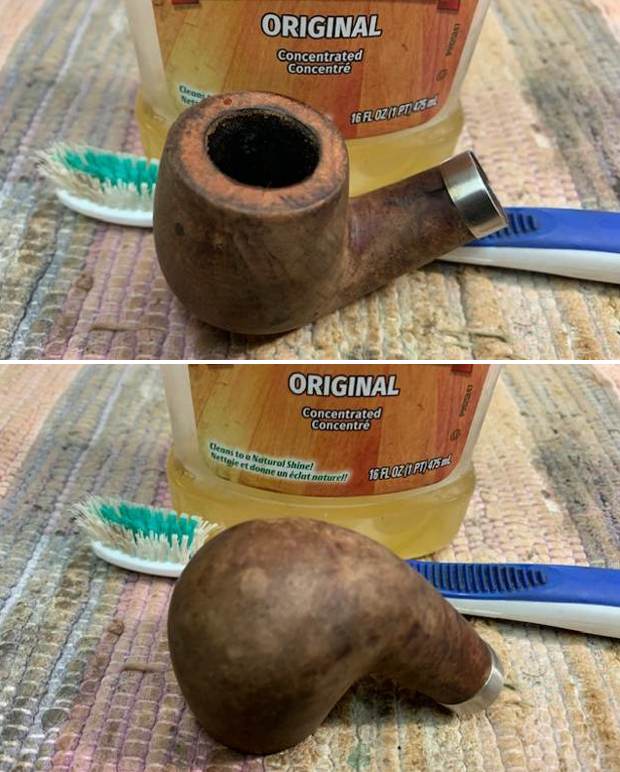
I received an email a while ago from a lady who wanted to have one of her Dad’s pipe cleaned and restored. As we emailed back and forth it was clear that it was one of those pieces that was filled with memories. I pressed to see if she was sure that she wanted it cleaned as it would remove the remnants of debris and tobacco from her Dad’s use of the pipe. She was clear that she wanted it cleaned up to look as good as possible because she was going to make a shadow box to hold the pipe and a photo and other memorabilia of her late Dad. When it finally arrived here in Vancouver I could see why she wanted it clean. The pipe was very dirty and there was a crack in the shank. The pipe had not been smoked for a long time and there was no tobacco smell in it at all. There was a hard thin cake in the bowl and lava on the rim top. The stem was oxidized and had calcification on the button end. It was a filter pipe that had been smoked without a filter so the insides were dirty. The pipe was stamped on the left side and read Crown Duke [over] Dr. Grabow. On the right side it read Imported Briar. There was a blue Grabow Spade on the left side of the taper stem. It was dirty and worn looking with some obvious fills around the bowl. I took some photos of the pipe before I started to work on it. 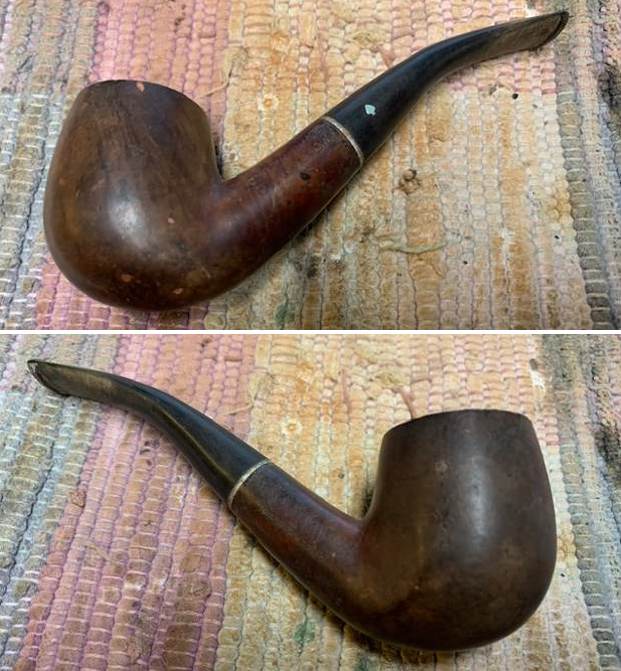
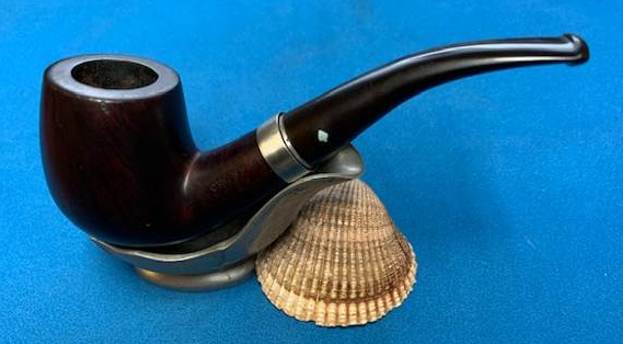
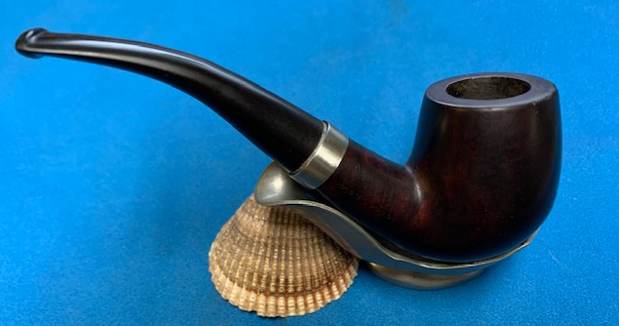
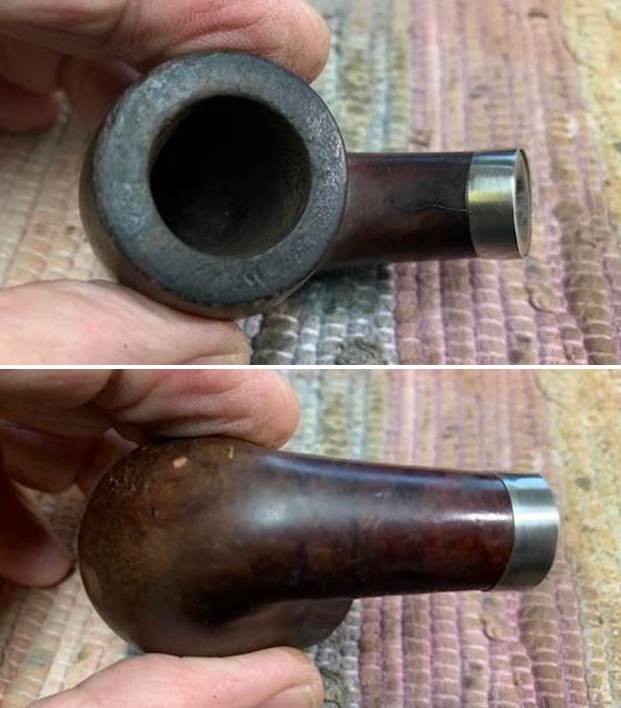
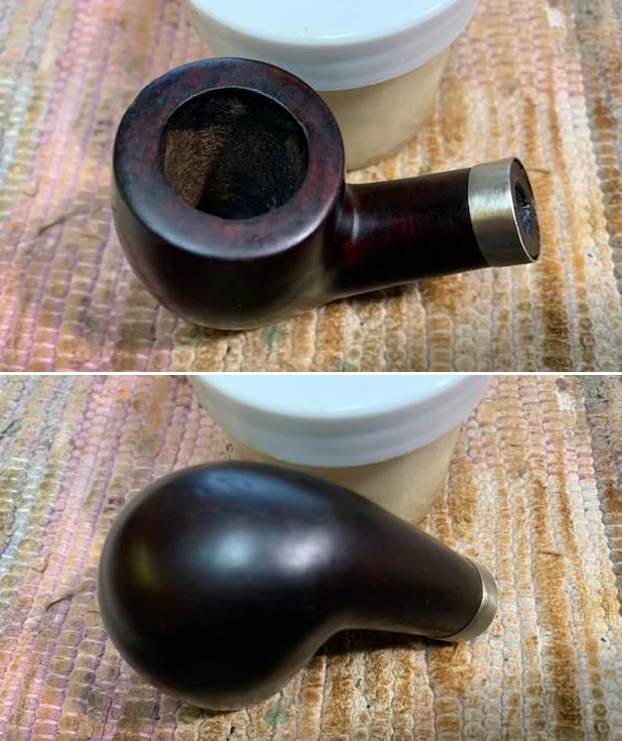
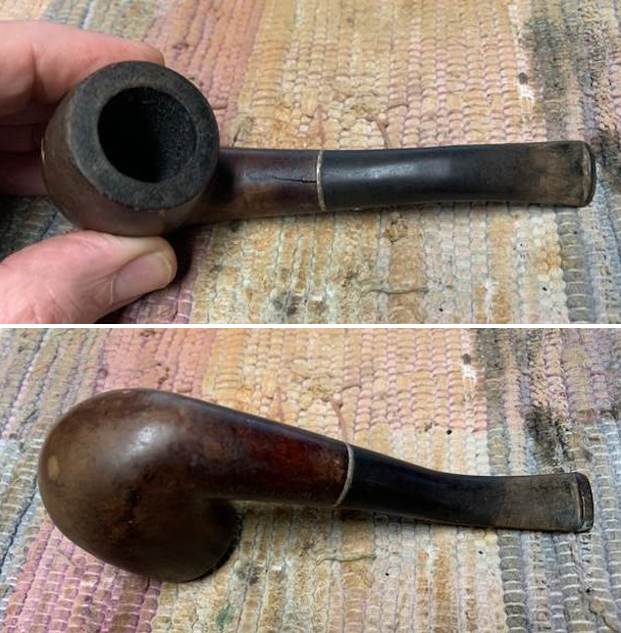 I took a photo of the rim top and bowl to give a clear picture of what I was dealing with. I also captured the crack in the top of the shank in the photo (I have outlined it in a red box). Other than being incredibly dirty the stem was in decent condition with light tooth chatter and light marks near the button edge.
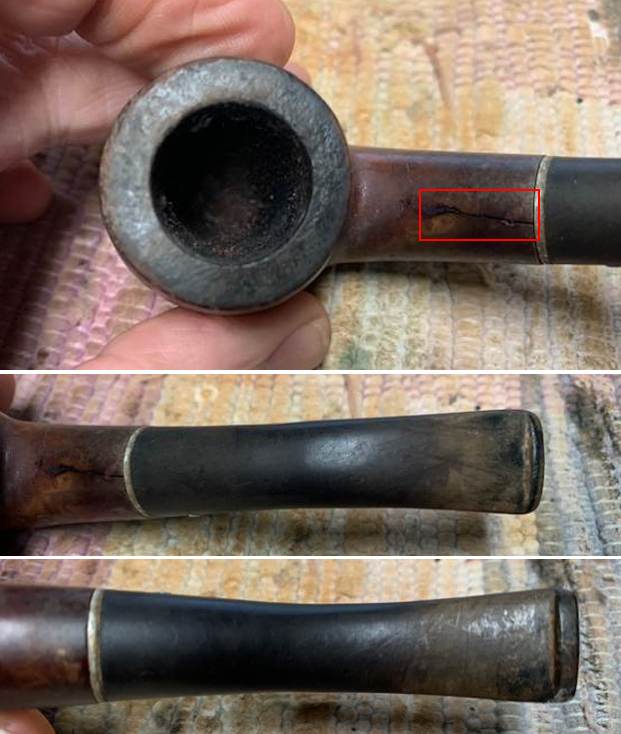 The stamping on the shank sides was faint but readable and reads as noted above.
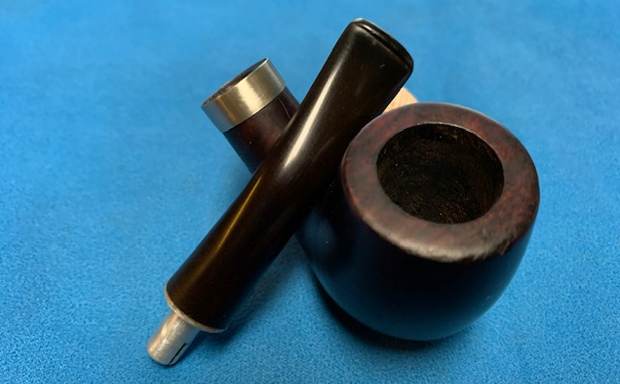
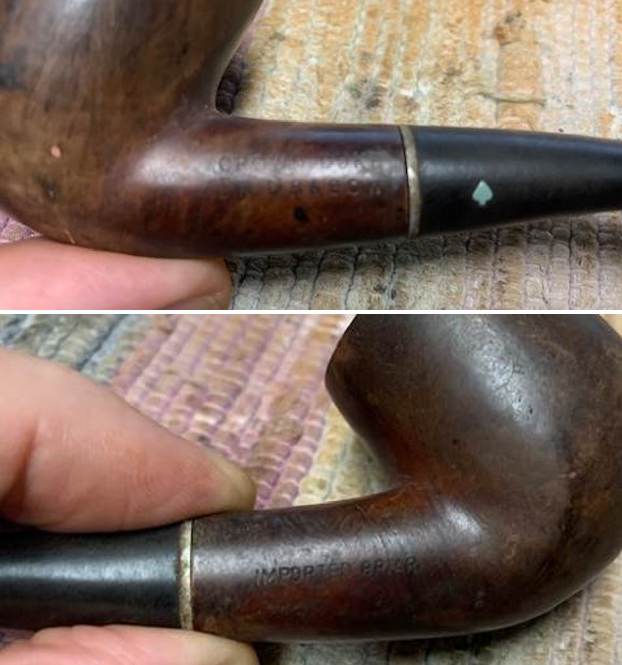 I took a better photo of the crack in the top of the shank and have included it below. It was quite wide open but came to an end in the squiggle at the end toward the bowl. I would need to glue and band it to make it solid again.
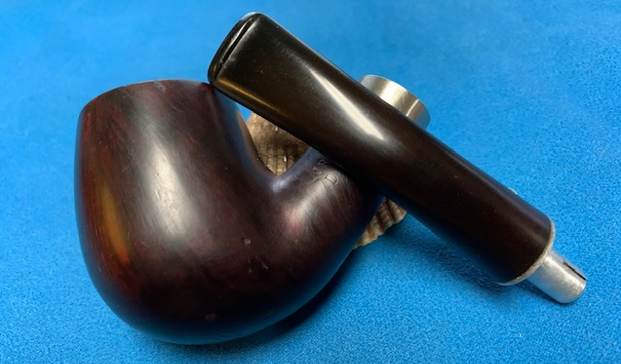
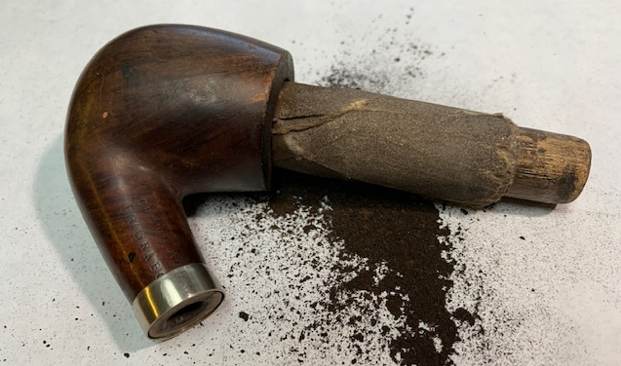
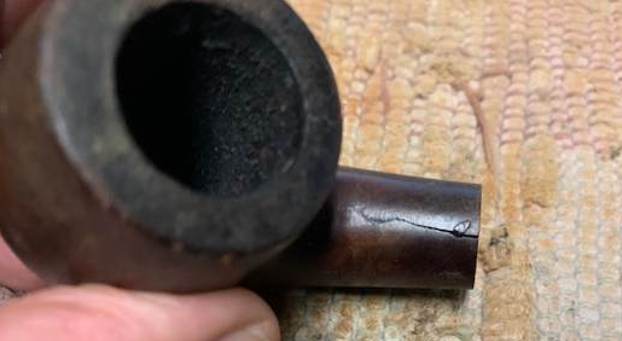 I took a photo of the pipe with the stem removed to get a sense of the look of the Bent Billiard.
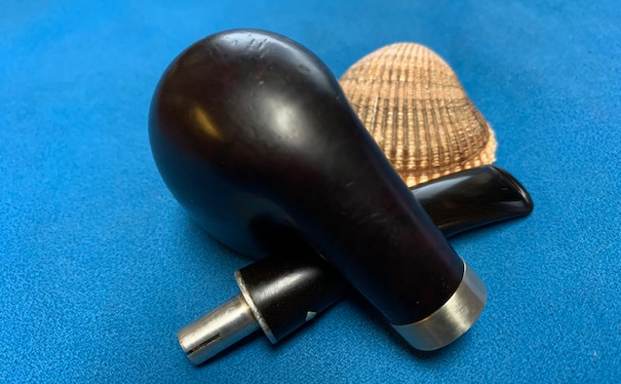
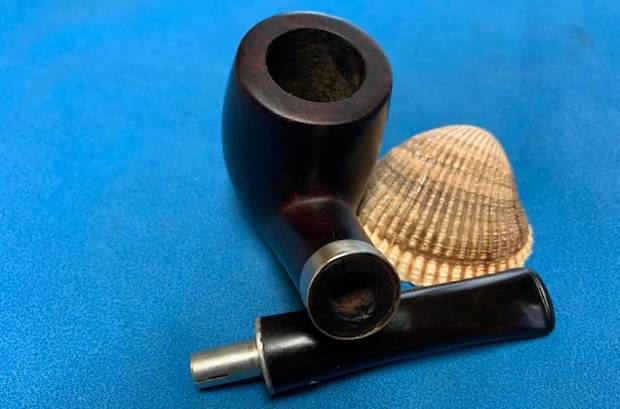
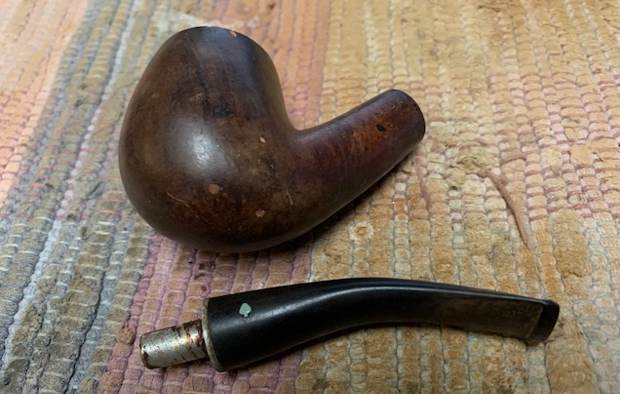 I picked a band out of my box of bands. It is far too deep so I will need to take it down for a proper fit on the shank. I started the process by using a topping board. I then used my Dremel and sanding drum to remove the full amount I wanted gone. I finished the shaping of the band on the topping board.
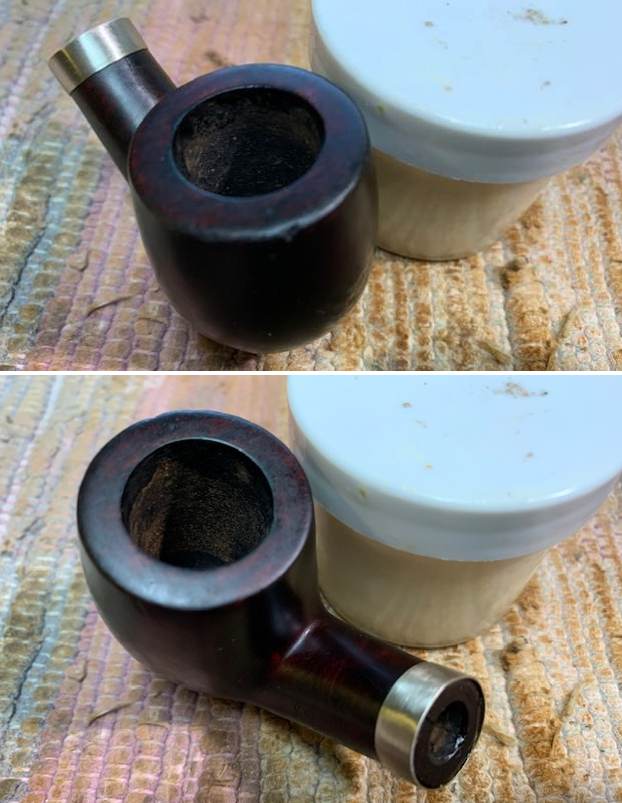
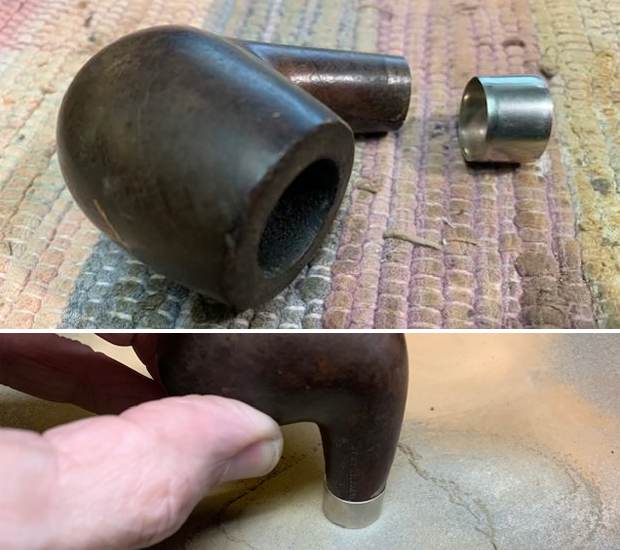 Once I had the fit correct, I removed it from the shank and cleaned up the area around the crack with alcohol and cotton swabs. I filled in the crack with clear super glue and clamped the crack shut. Once the glue cured I heated the band and pressed it onto the shank. I took some photos of the repaired shank and band.
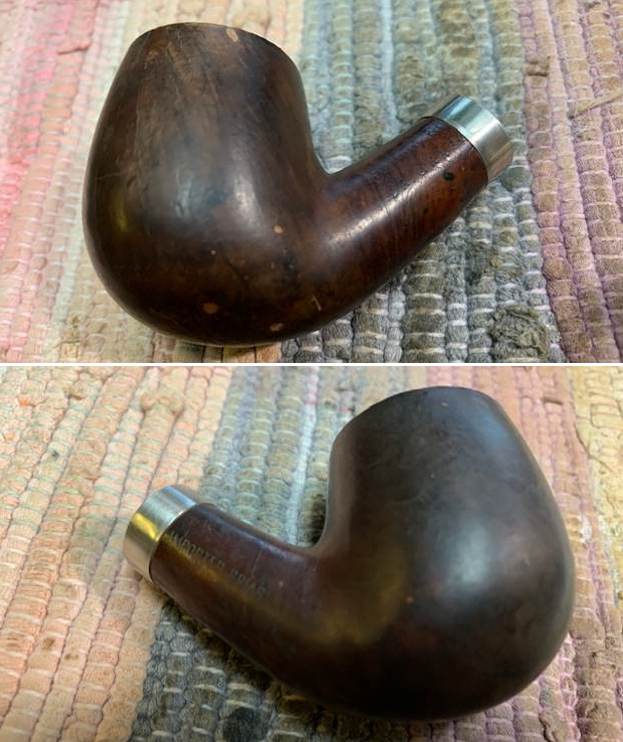
 Now it was time to clean the bowl. I have often done the process in reverse but I really wanted to stabilize the crack before I worked on cleaning the exterior and interior of the bowl and shank. I did not want to chance making the crack worse. I reamed the cake out of the bowl with a Pipnet pipe reamer and took the cake back to bare briar. I cleaned up the reaming with a Savinelli Fitsall pipe knife and sanded the bowl walls smooth with a piece of dowel wrapped with 220 grit sandpaper. I wanted the bowl to be smooth for the display.
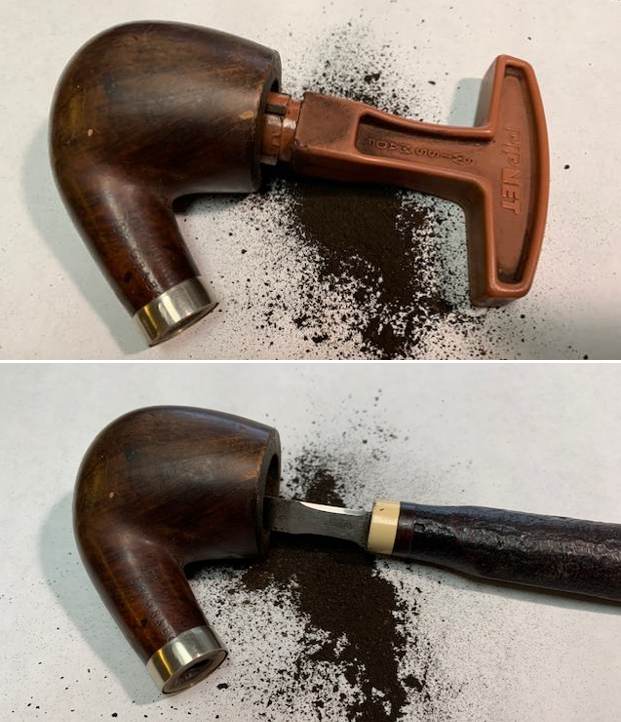
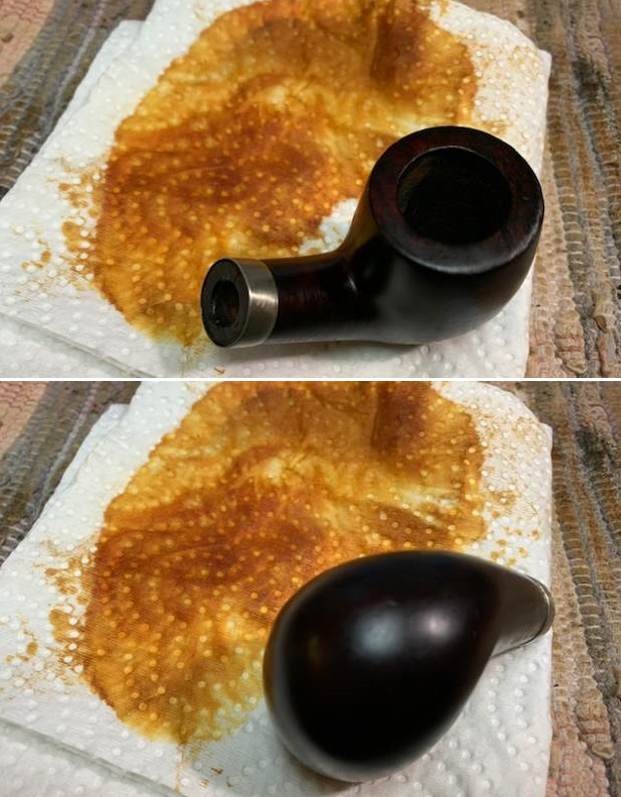
 I scrubbed the exterior of the bowl with undiluted Murphy’s Oil Soap and a tooth brush. I was able to remove the debris and grime around the bowl and clear off the lava on the rim top. I dried the bowl off with a cloth and took these photos. You can see the dark fills and spots around the bowl sides. The largest was a rough fill on the front of the bowl that was pink putty.
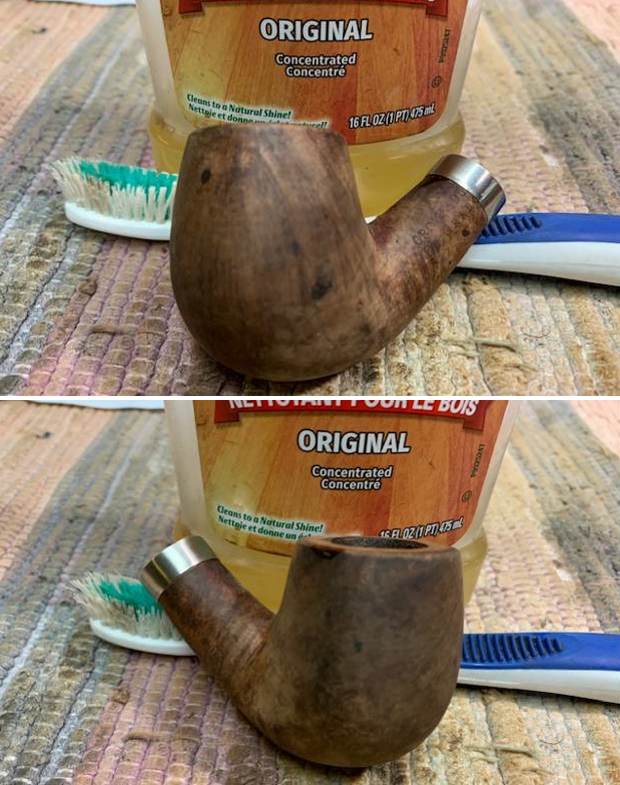
 I repaired the pink, rough fill on the front of the bowl with clear super glue. Once the repair cured I sanded it smooth with 220 grit sandpaper. It was now smooth to the touch. It would be interesting to try to blend it into the surrounding briar once I was staining it. I sanded the entire bowl with 1500 grit micromesh at the same time.
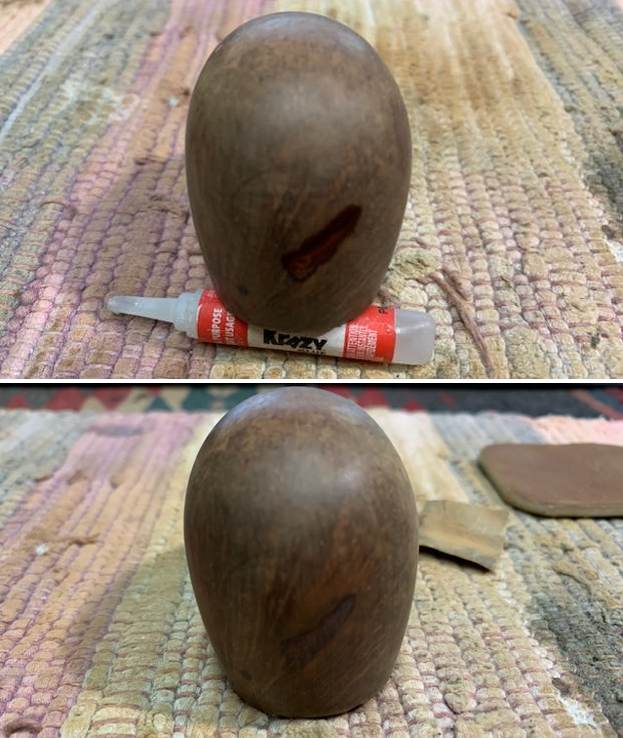 I cleaned out the airway in the shank and the stem with cotton swabs, pipe cleaners and isopropyl alcohol. It took quite a few to get the tars and oils out of the airways.
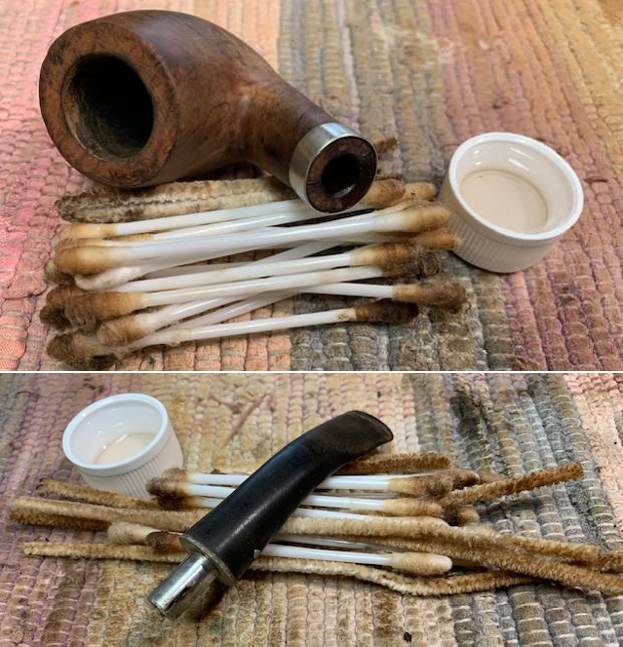 I buffed the pipe on the buffer with Blue Diamond and then stained it with a light brown stain. I applied the stain and then flamed it to set it. I used a black and brown Sharpie pen to stain the pinkish fill on the front of the bowl.
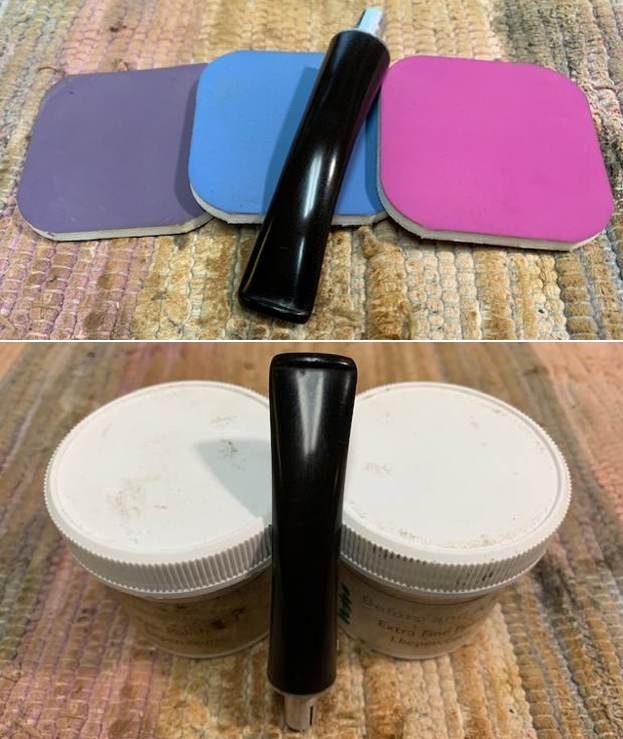
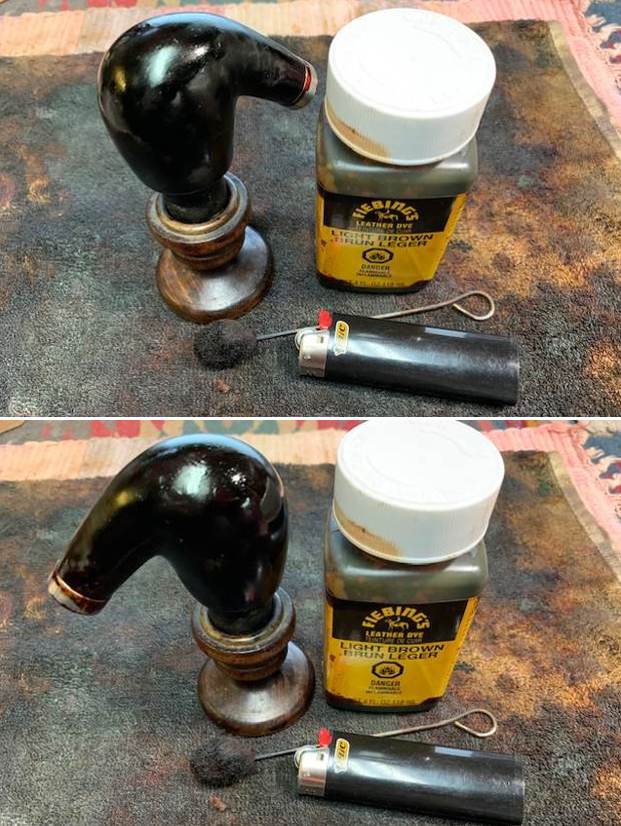 I set the bowl aside for the stain to cure and turned my attention to the stem. I sanded out the tooth chatter and marks on the stem with 220 grit sandpaper and started the polishing with 400 grit wet dry sandpaper. It is actually beginning to look much better.
 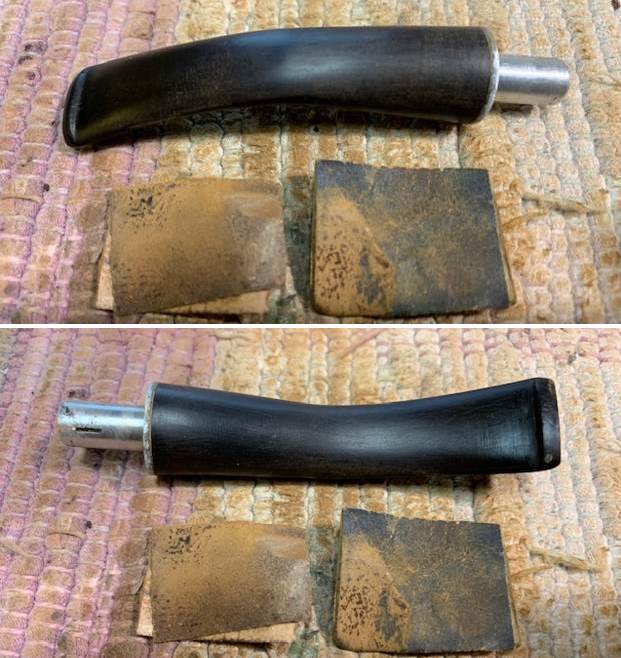 I polished the stem with micromesh sanding pads – dry sanding with 1500-12000 grit pads. I wiped the stem down after each pad with an Obsidian Oil impregnated cloth to give the pads a little more bite. I polished it with Before & After Stem Polish both Fine and Extra Fine and gave it a final rub down with Obsidian Oil. I set the stem aside to dry and worked on the bowl again.
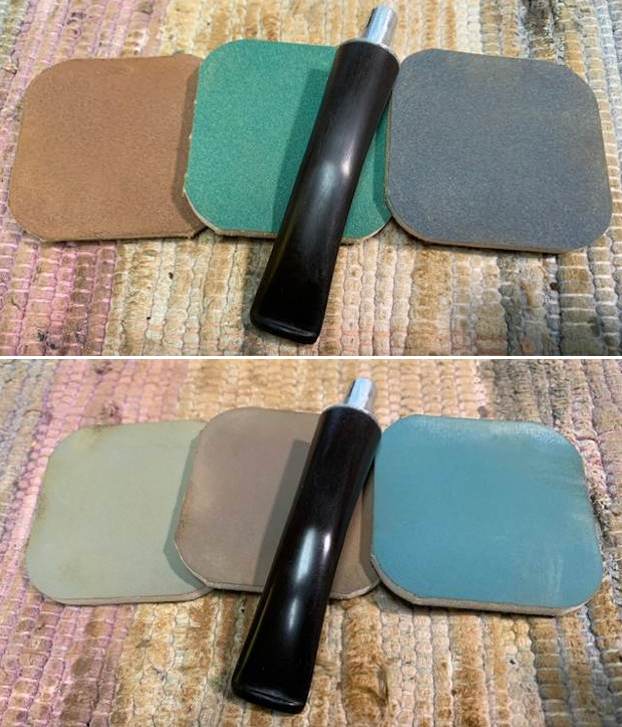
 By this time the stain was dry and I was able to tackle the bowl again. I wiped it down with alcohol on paper towels to make the stain more transparent. Because of the fills in the bowl I decided to leave it dark as it did a good job masking them.
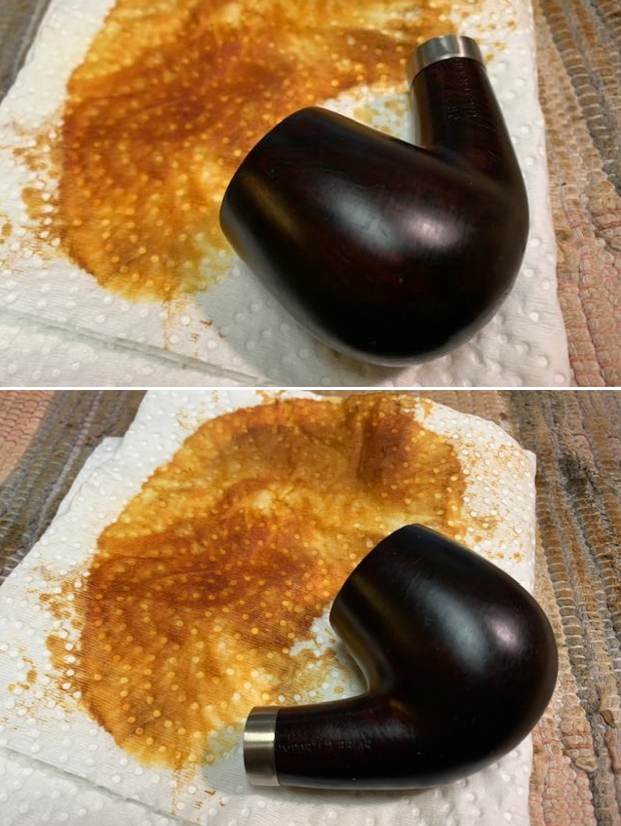
 I buffed the bowl on the wheel with Blue Diamond to further aid the transparency. It is hard to see in the photos but in person the grain is there and not terribly hidden. The fills are hidden and other than the large one on the front of the bowl they look good.
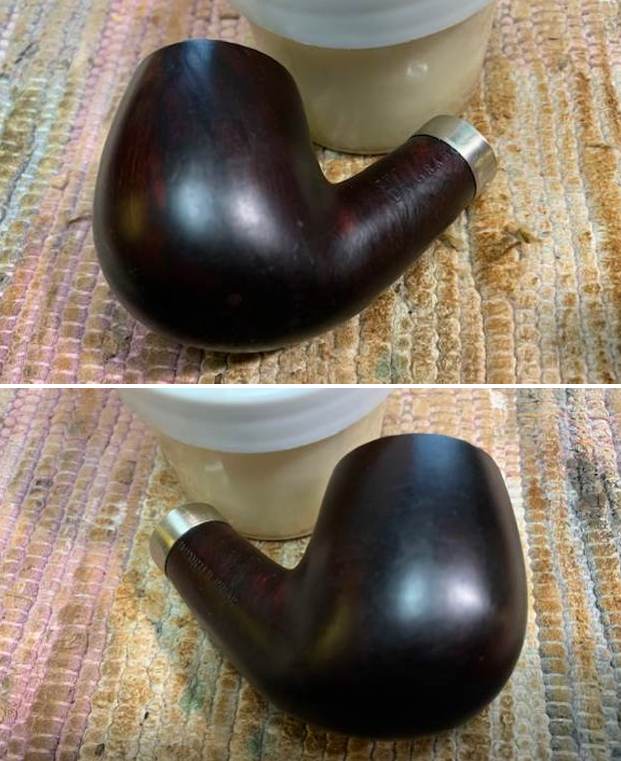
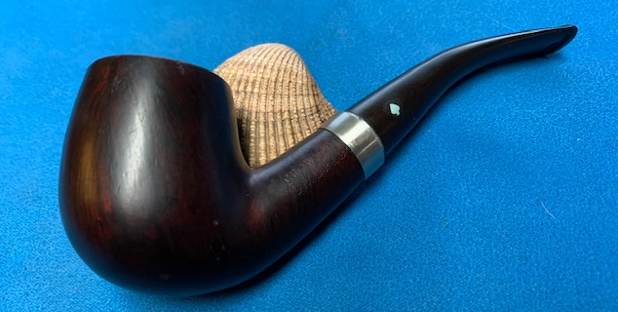
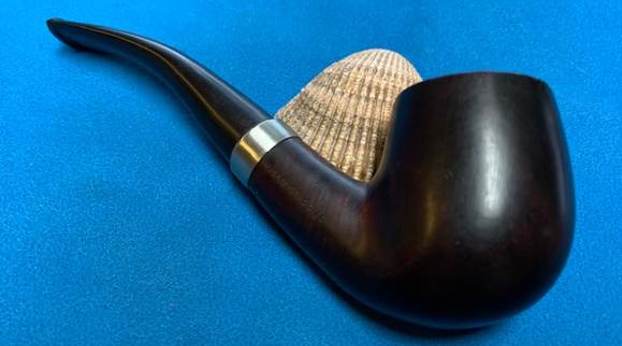
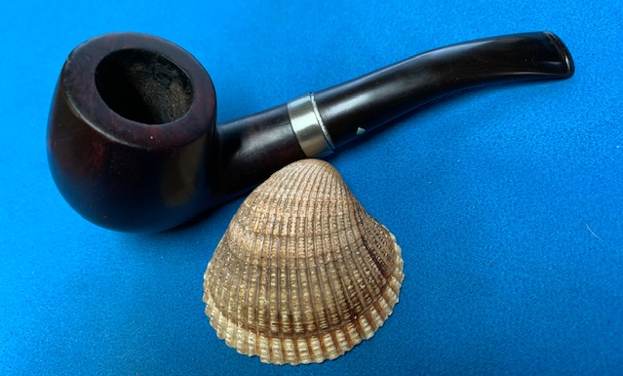
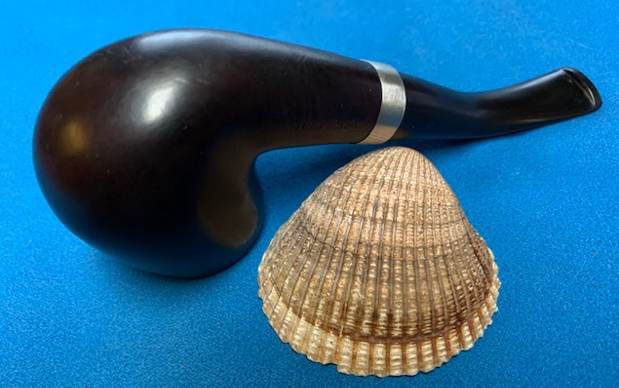
 I put the stem on the bowl and buffed the pipe with Blue Diamond on the buffing wheel. I was careful when buffing around the stamping and the logo on the stem. I had decided to leave some of the nicks and marks in the briar as they were a part of the story of the pipe and its owner. I wanted it to still bear his definitive marks so that when it was in the shadow box those who knew him would remember the story of the pipe. I did not want the pipe to look brand new as that would remove the story from it. The nickel band worked well to bind together the crack in the shank. The aluminum spacer on the stem sits up against it and looks quite nice as a joint with the band. It almost gives the band the look of a ferrule. The pipe came out quite well. The darker stain is very similar to what was originally on the pipe when it was new. It also did a good job of masking the fills around the bowl. I will soon be packing it up and sending it back to the pipeman’s daughter so she can build her tribute to her Dad. Thanks for reading the blog.