Tag Archives: polishing

A Kaywoodie Reworked, with a Little Mystery!


Blog by Greg Wolford

This year has not been a banner one, so far, for me personally. The harsh weather, an accident, and a failure of one of my orthotics has had me mostly sidelined since the first of the year. My workshop is downstairs, in the garage, and it isn’t exactly the warmest, most comfortable place to work in the temperatures we’ve had, not to mention the difficulty of actually getting myself up and down the stairs … but I digress … so I’ve been able to do very little work on either of my hobbies so far in 2014.

Last week my wife had a little pity on me and allowed me to bring a few necessary tools and supplies up to the kitchen so I could work on a few old pipes; leather work is out of the question until the temperature and my body cooperate. I think she knew I was getting a bit restless, not being able to get into any of my projects. When I said she “allowed” it, she corrected me with “I didn’t say you could do that” but she didn’t send it all back down to the shop either, so I take that as permission I told her! LOL

Now, I must admit that my photographs, when I remember to take them (that’s a preview hint that I haven’t remembered as often as I should have), aren’t as good as I would like but I don’t have as good a set-up as I normally do. So, I ask you to bear with me on the quality and quantity of them.

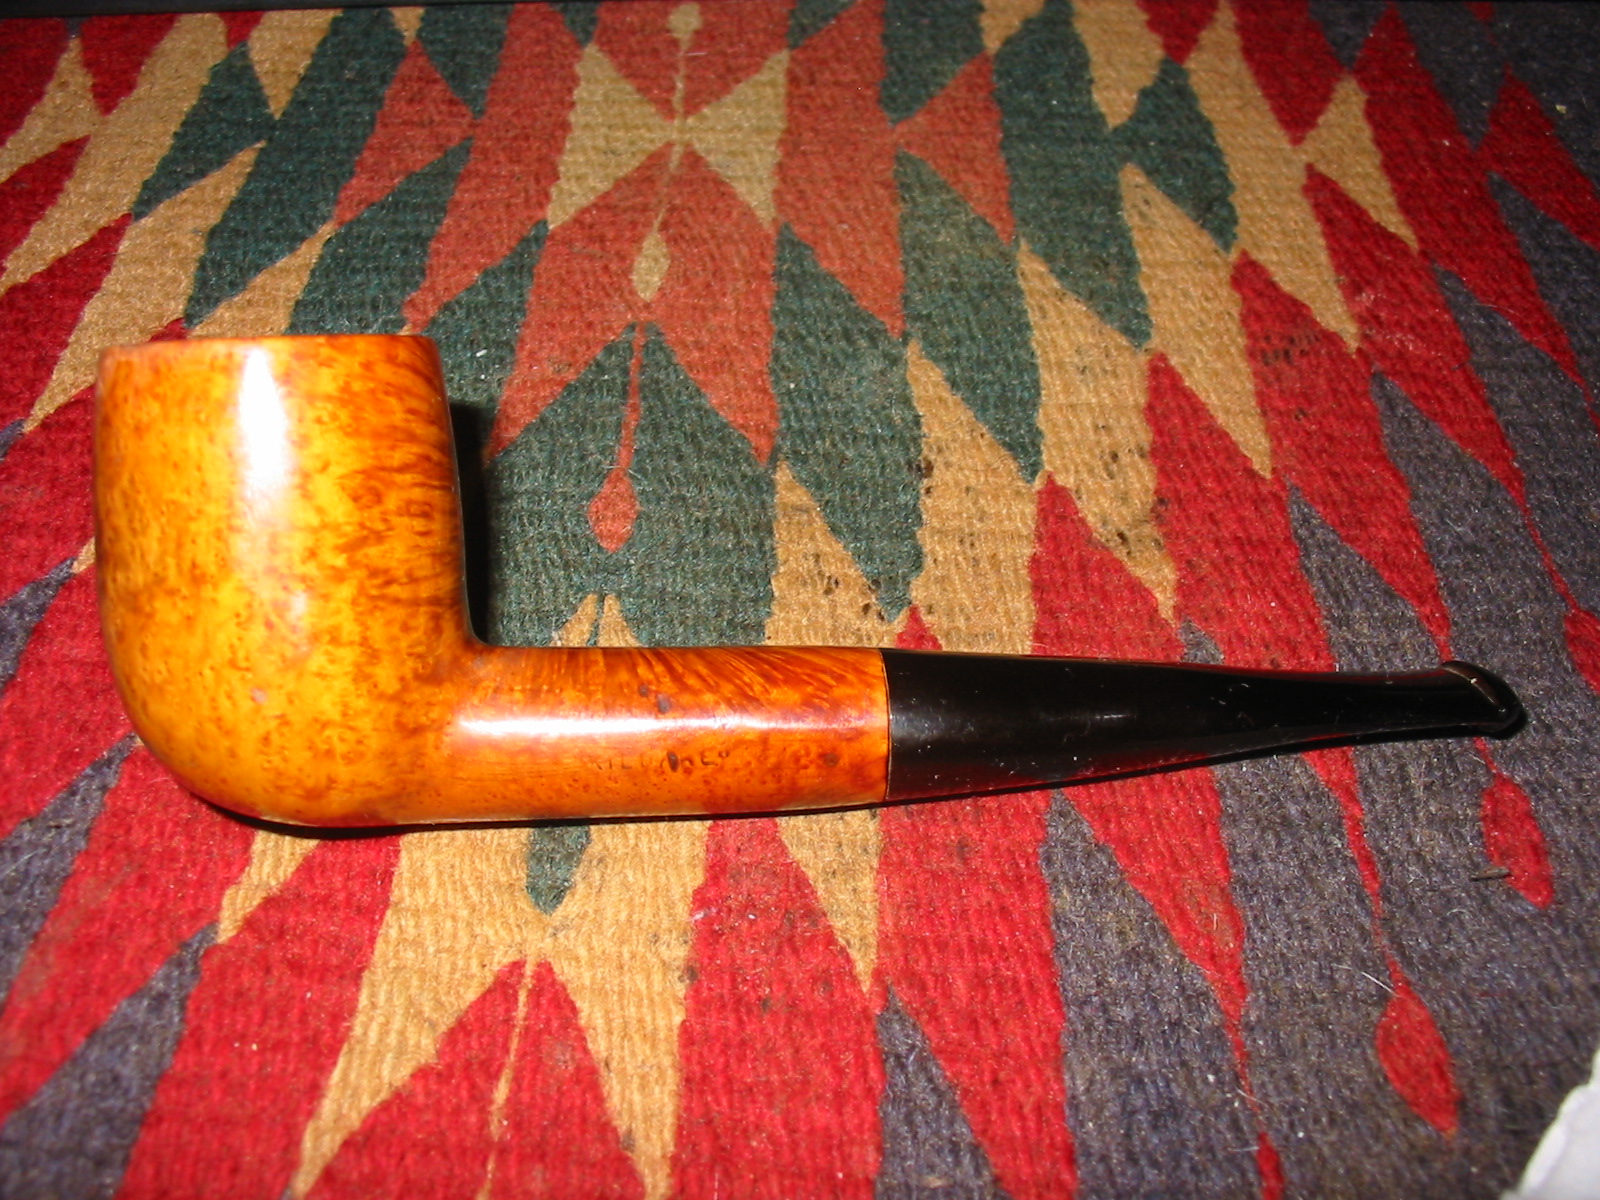
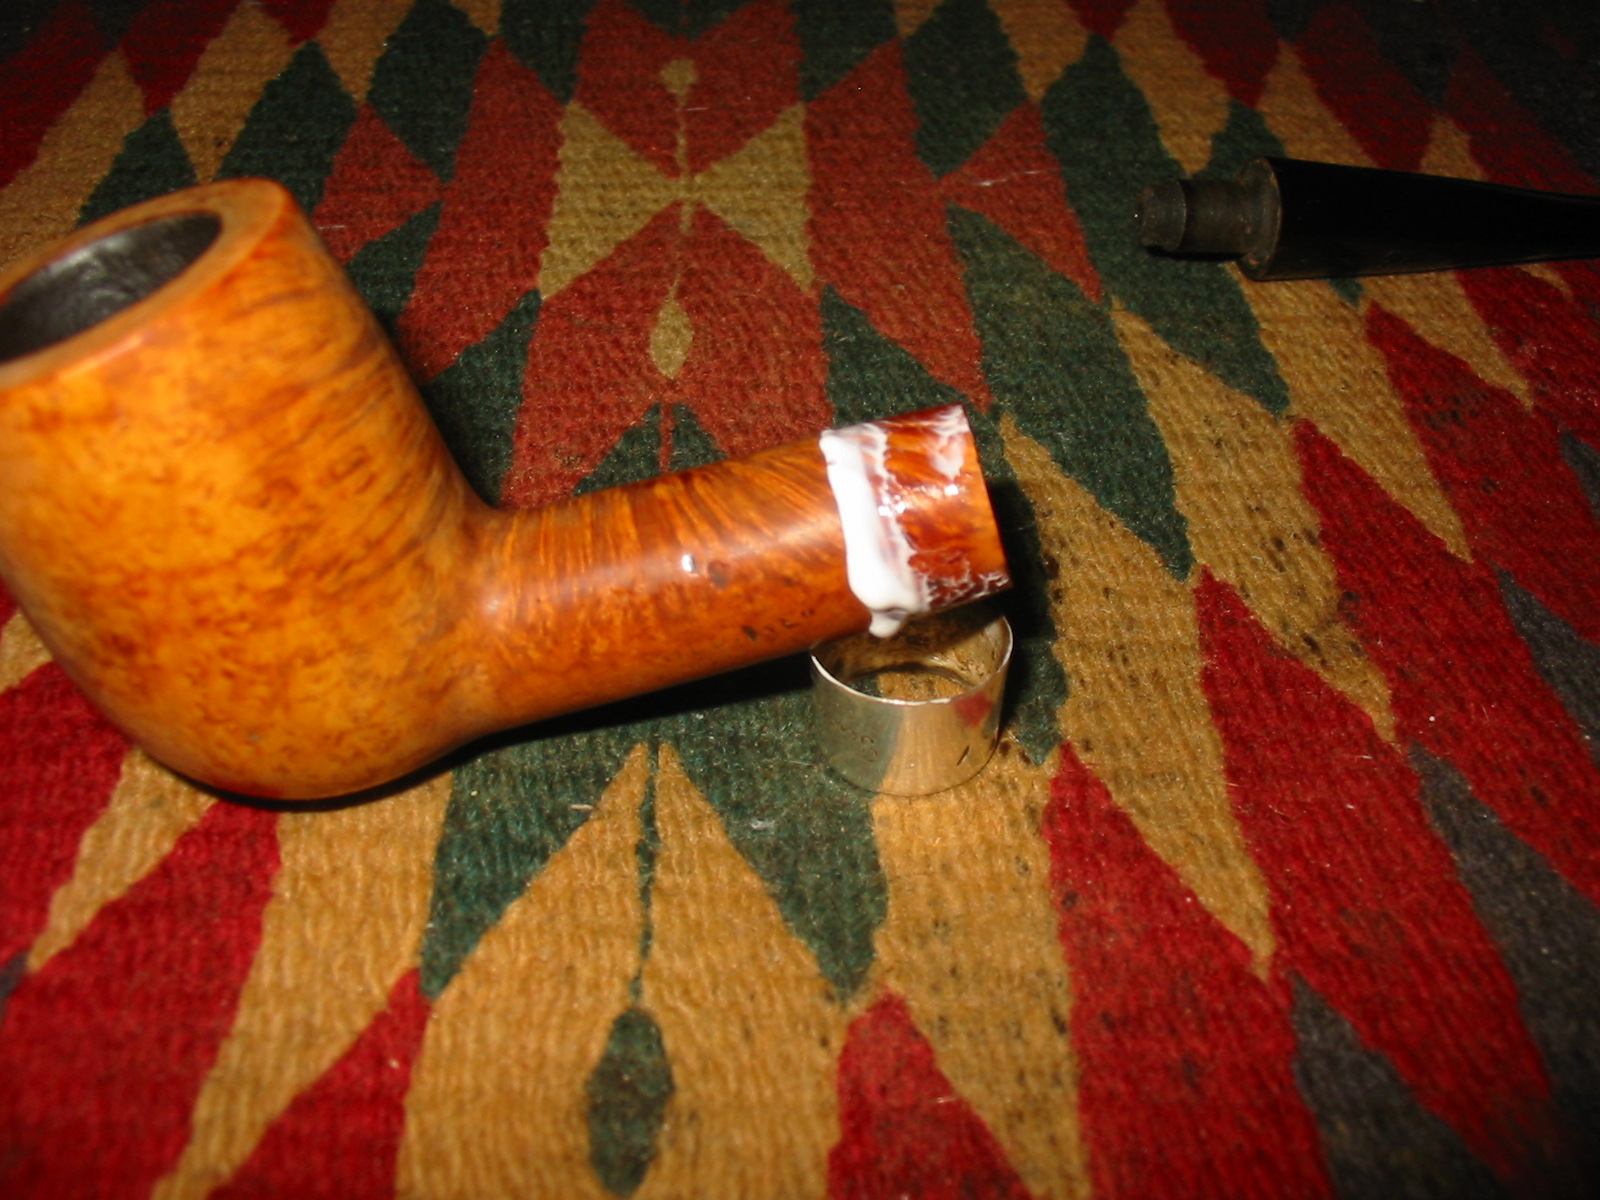
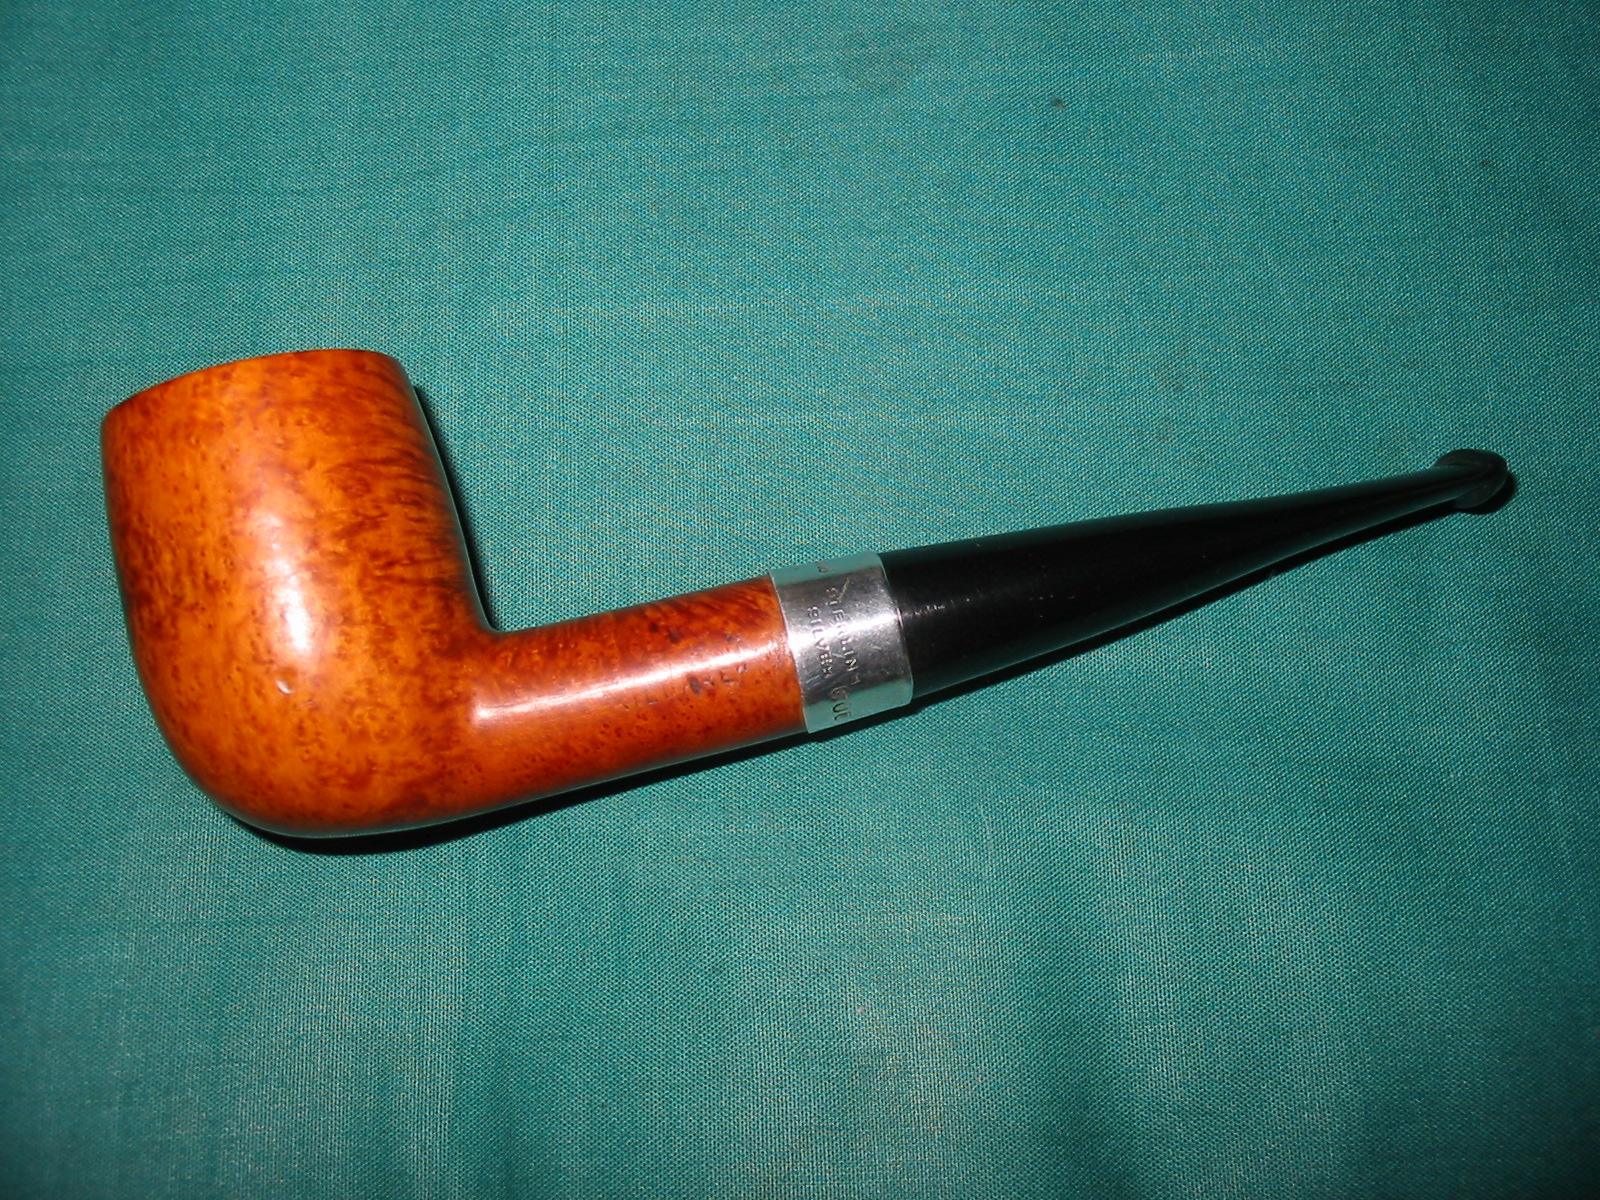
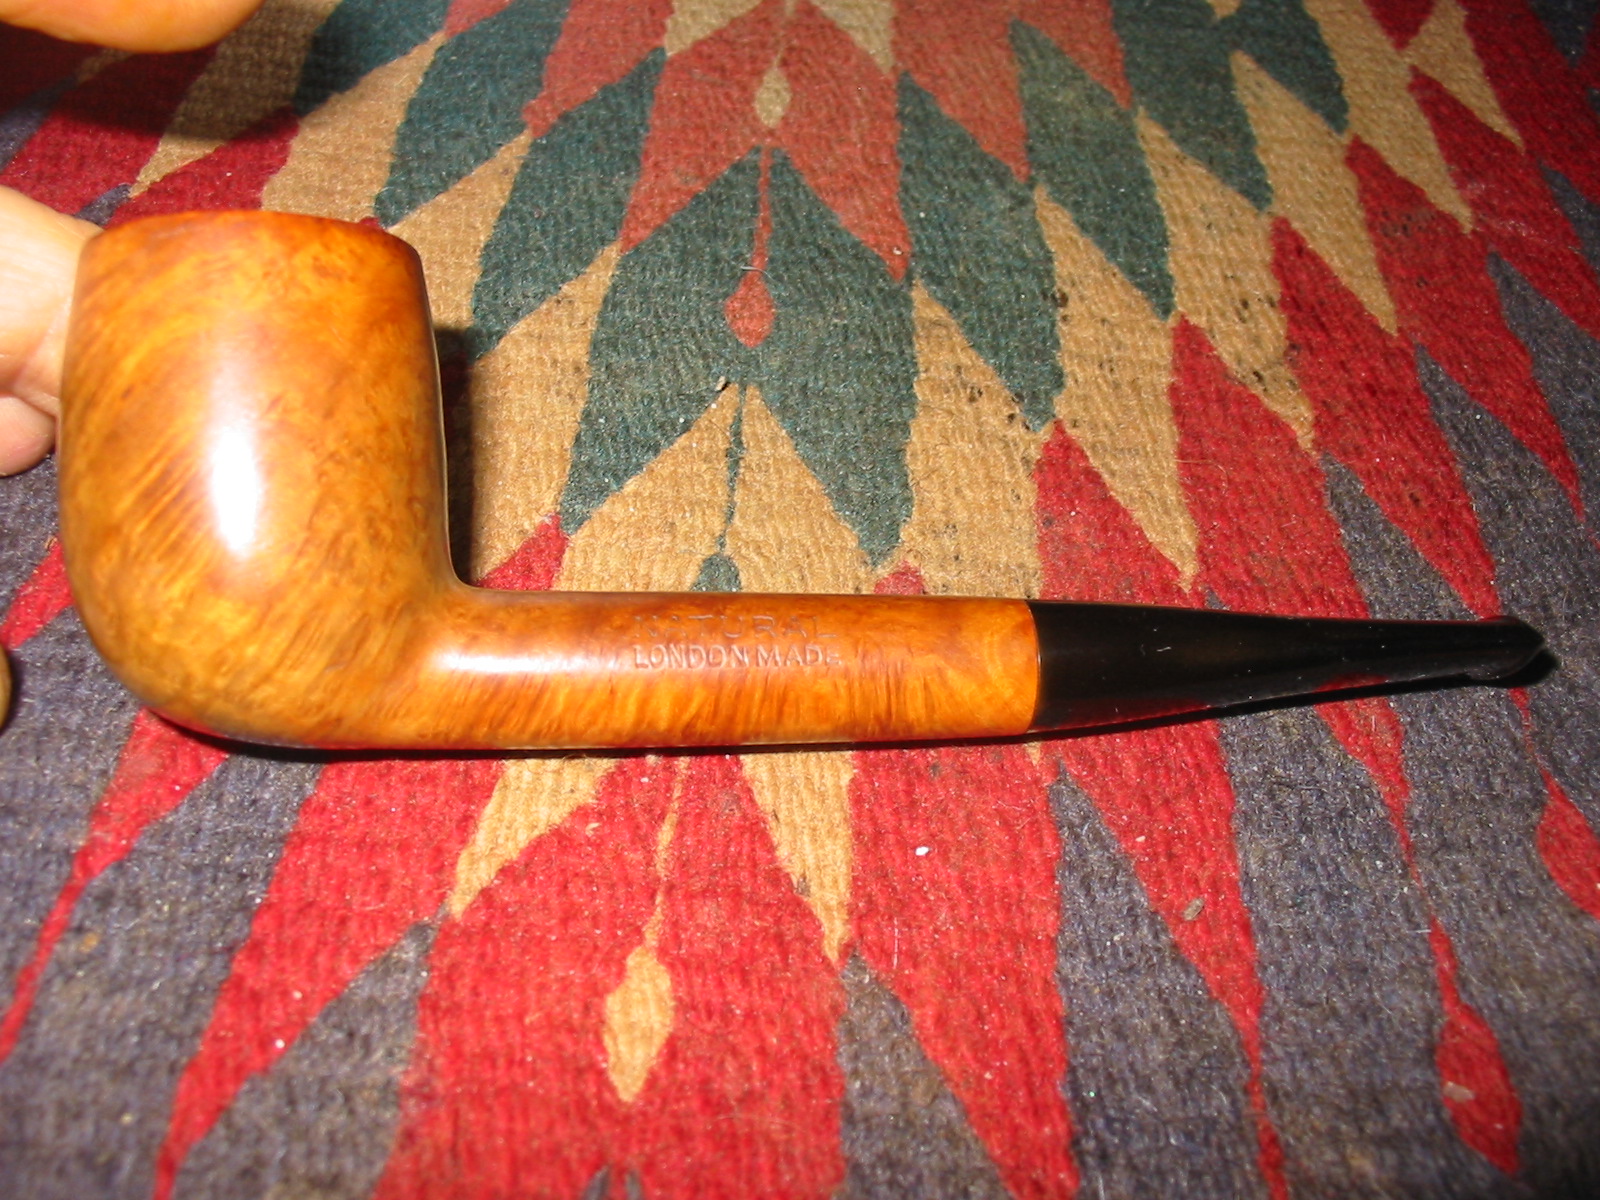
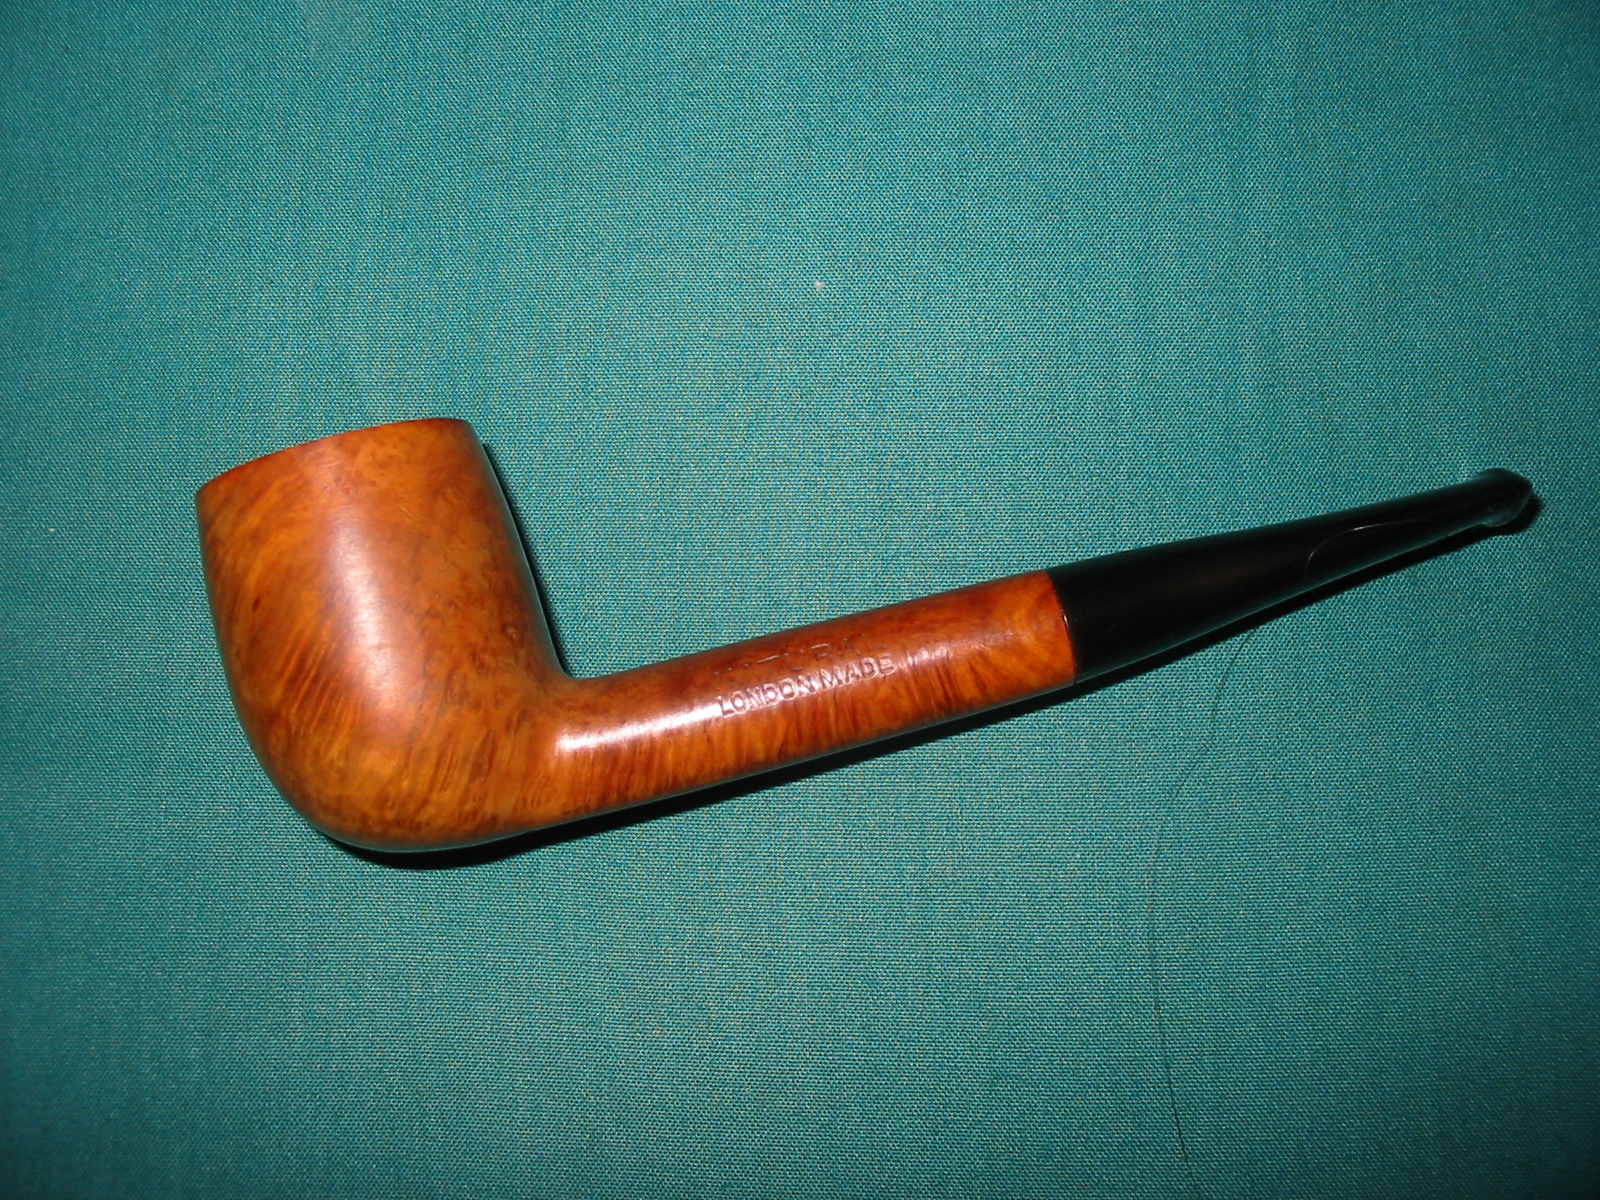
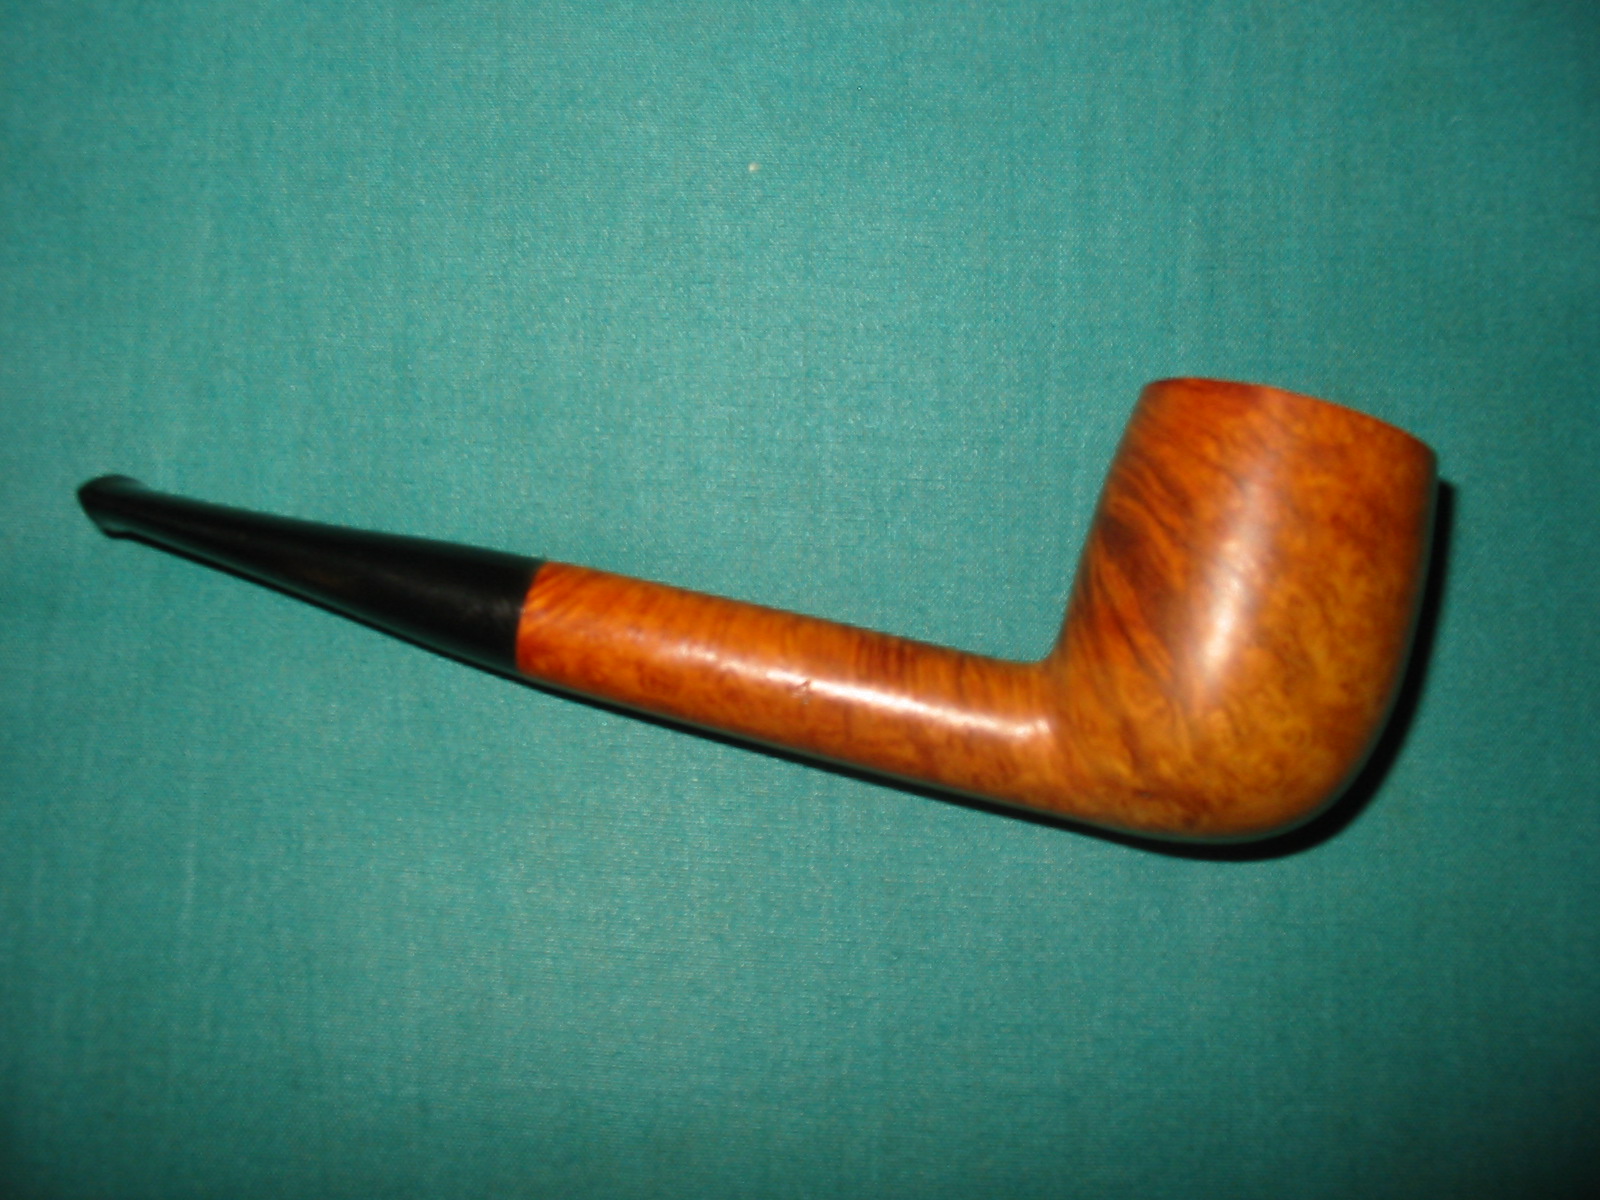
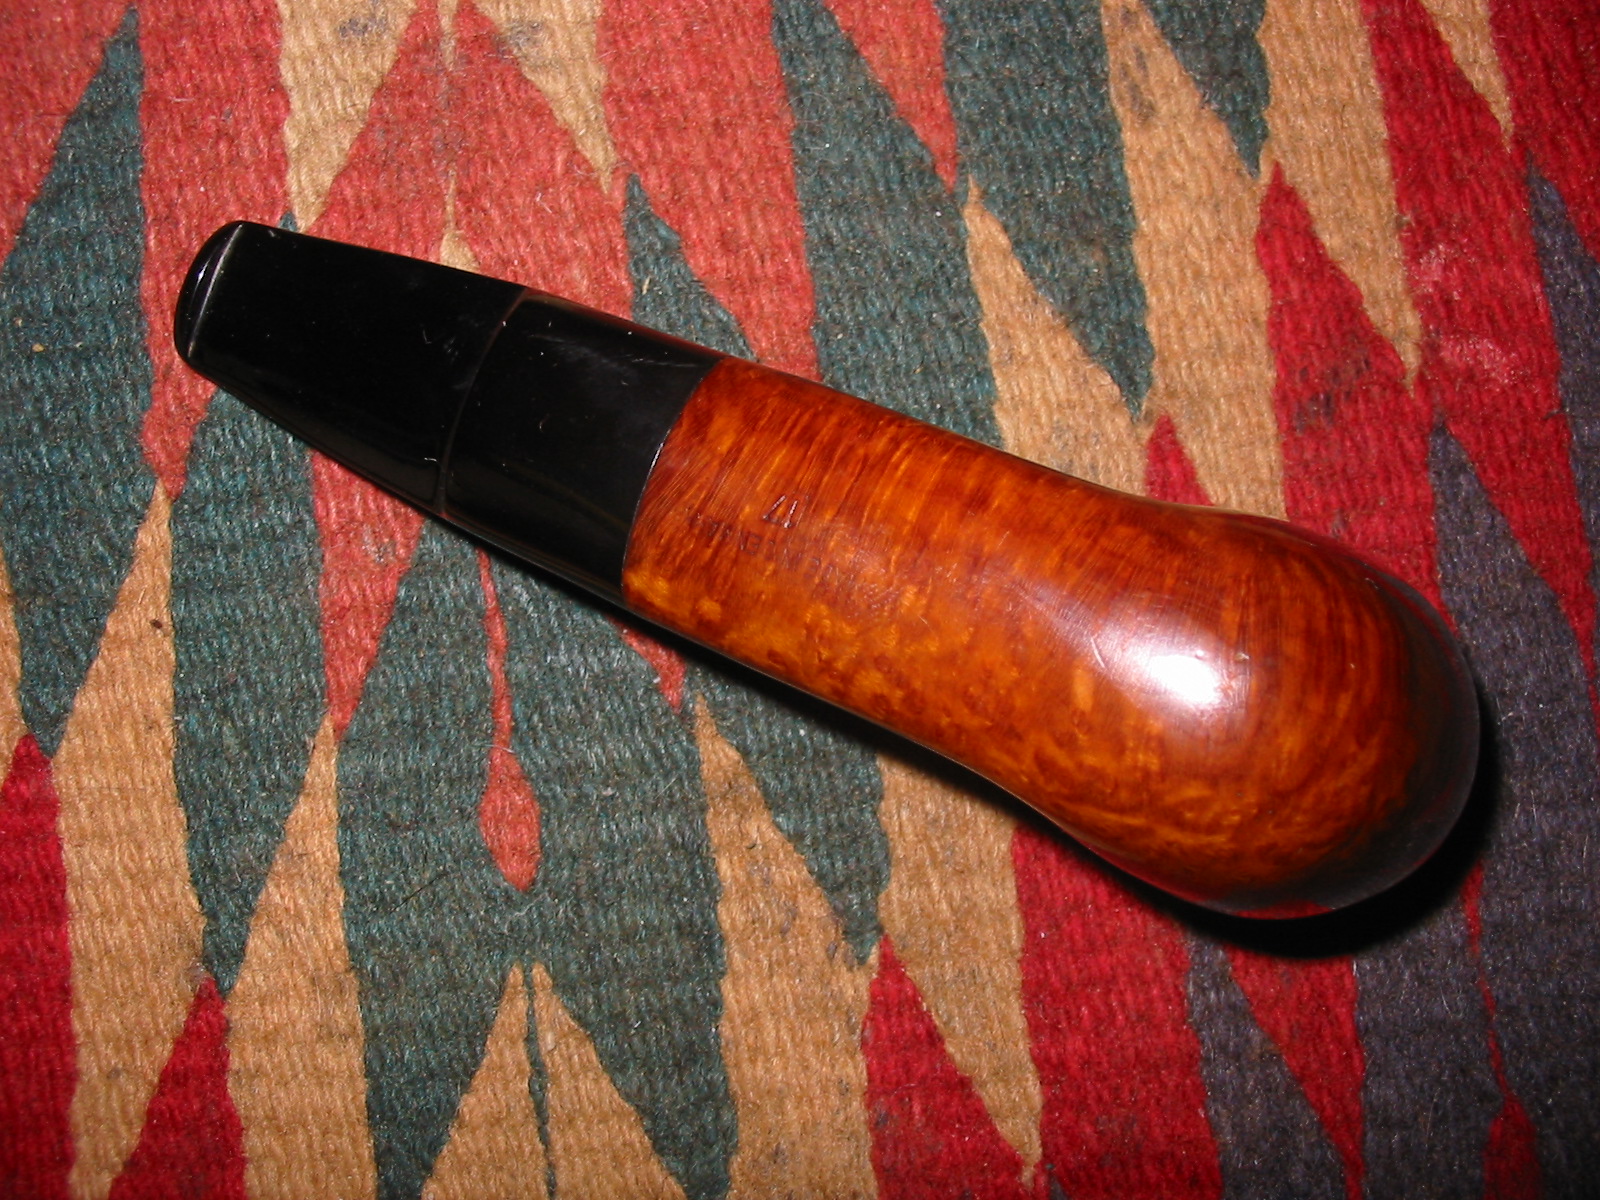
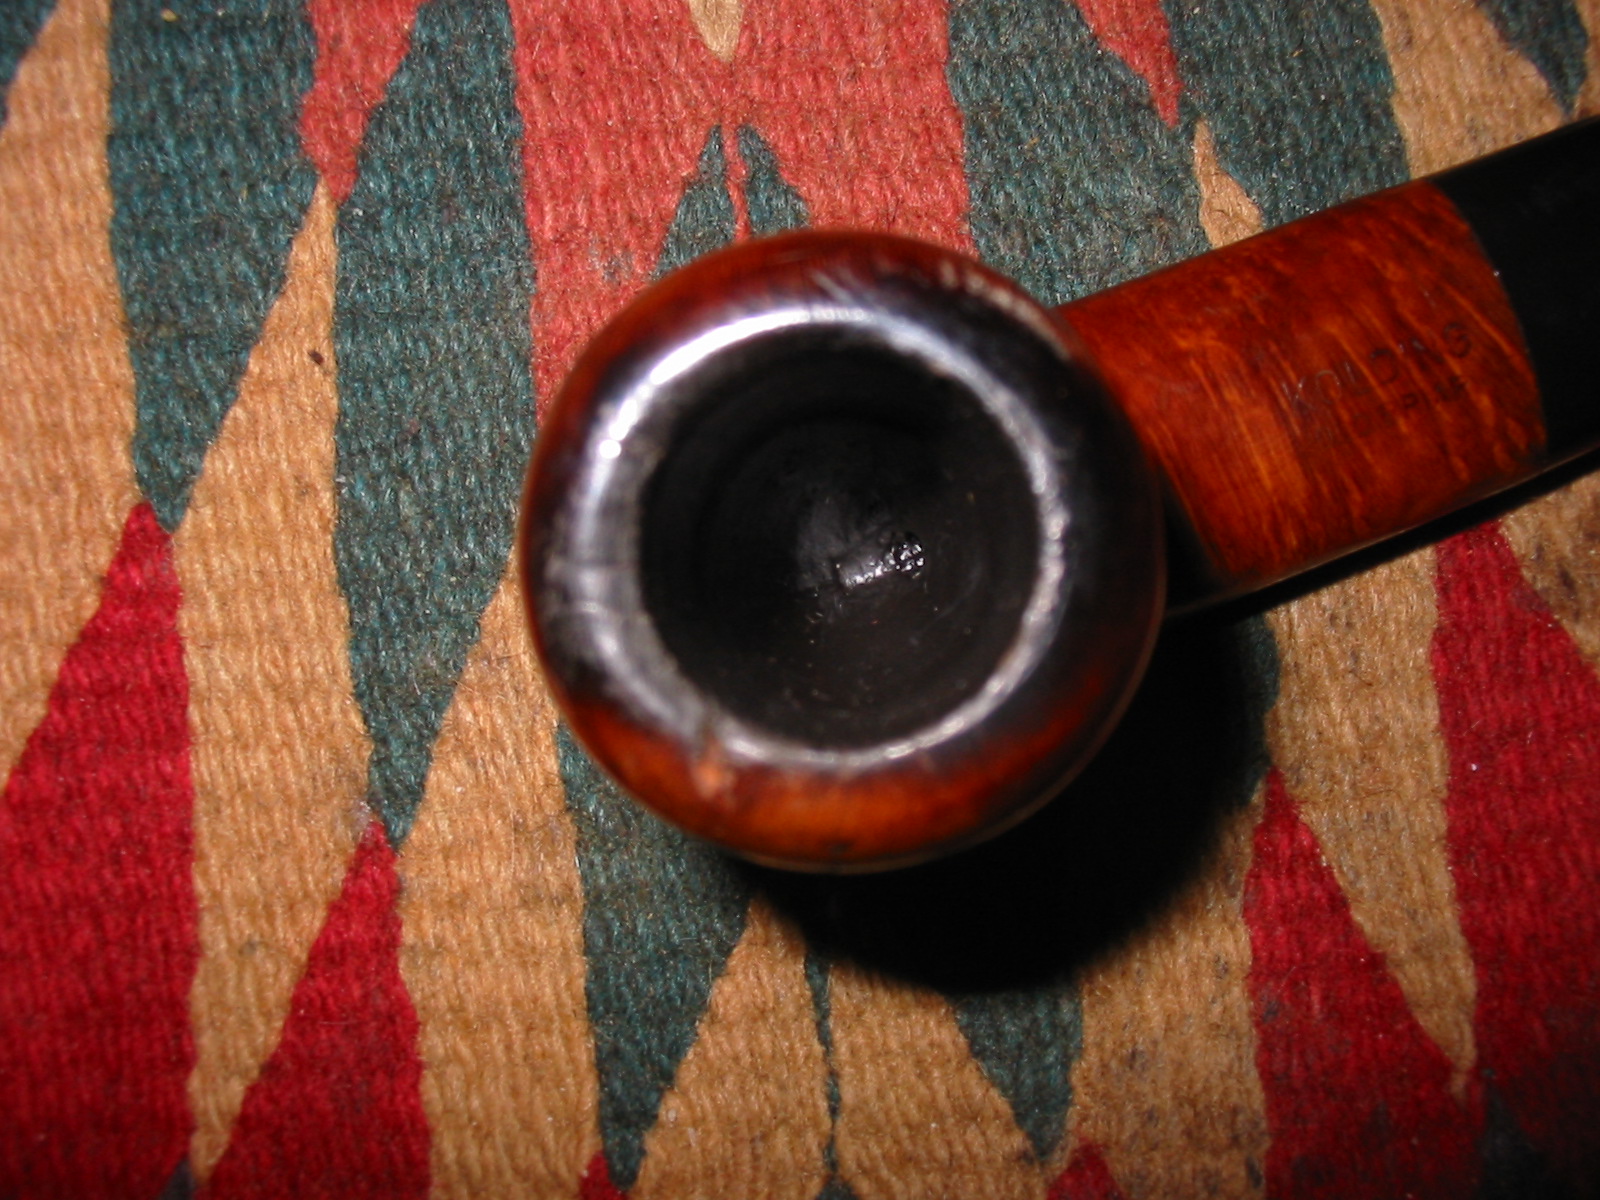
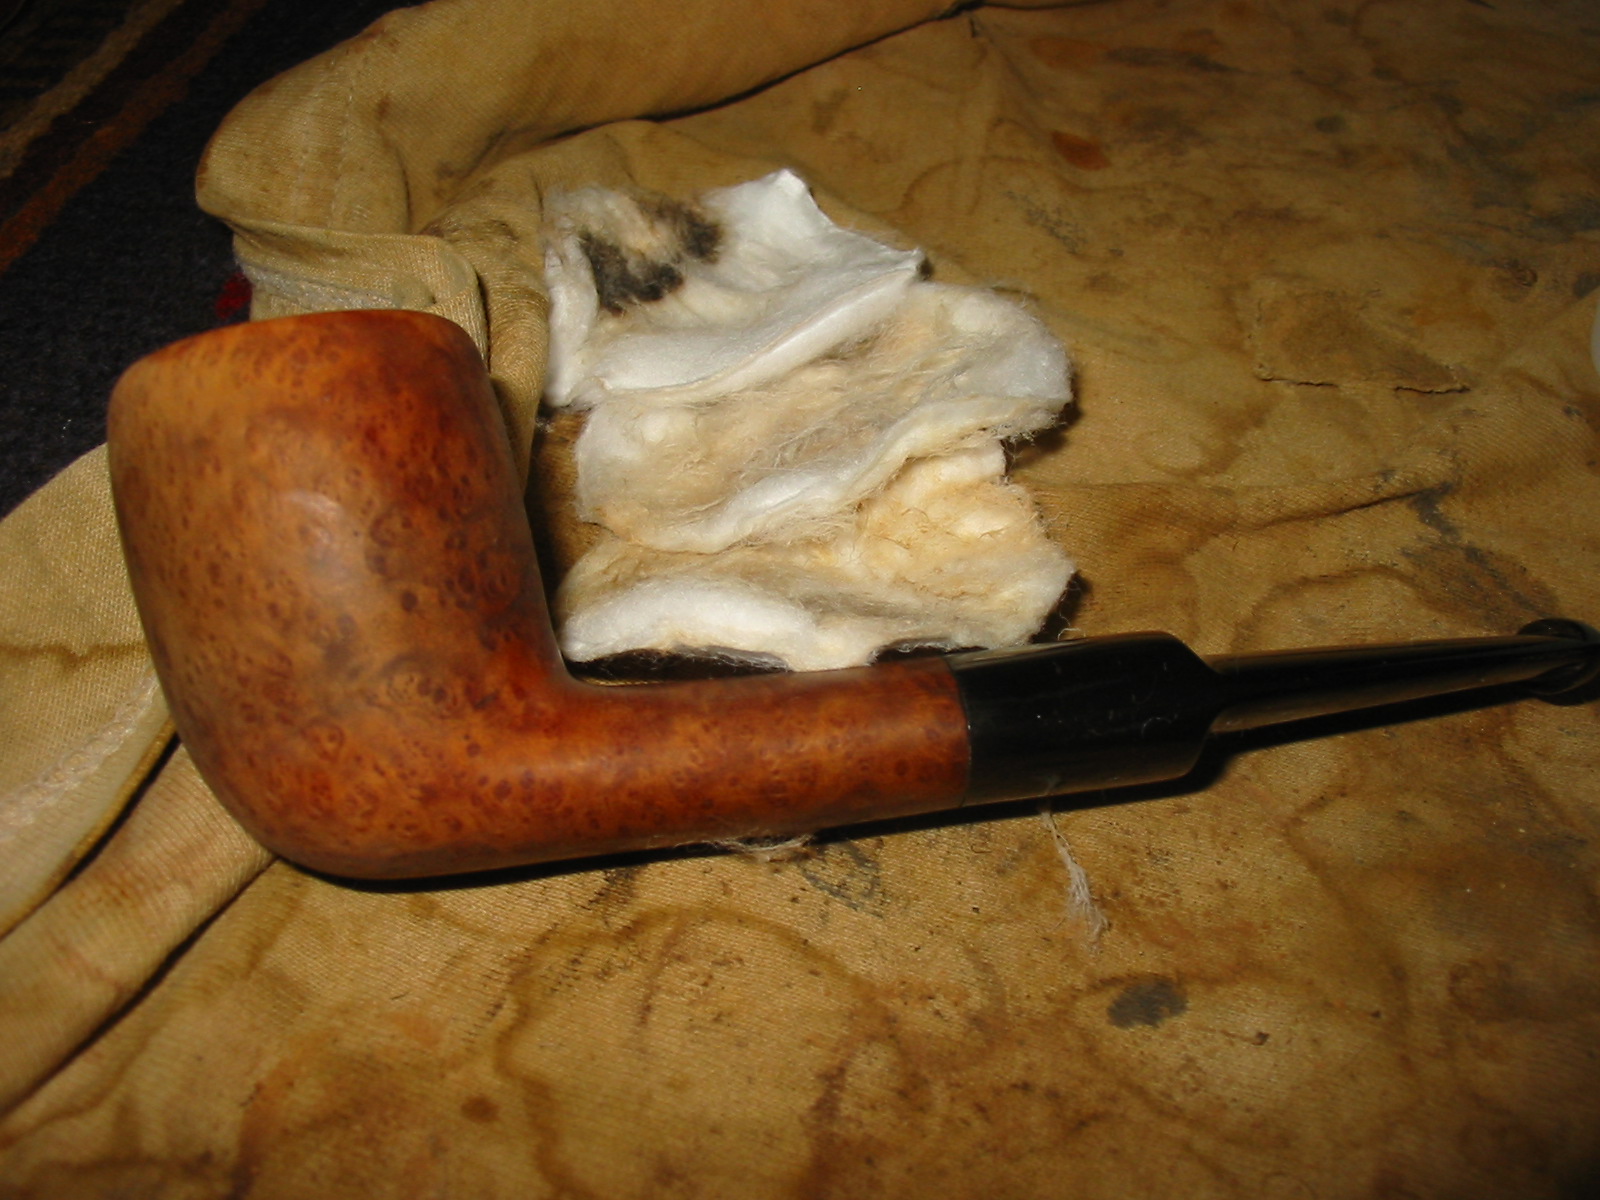
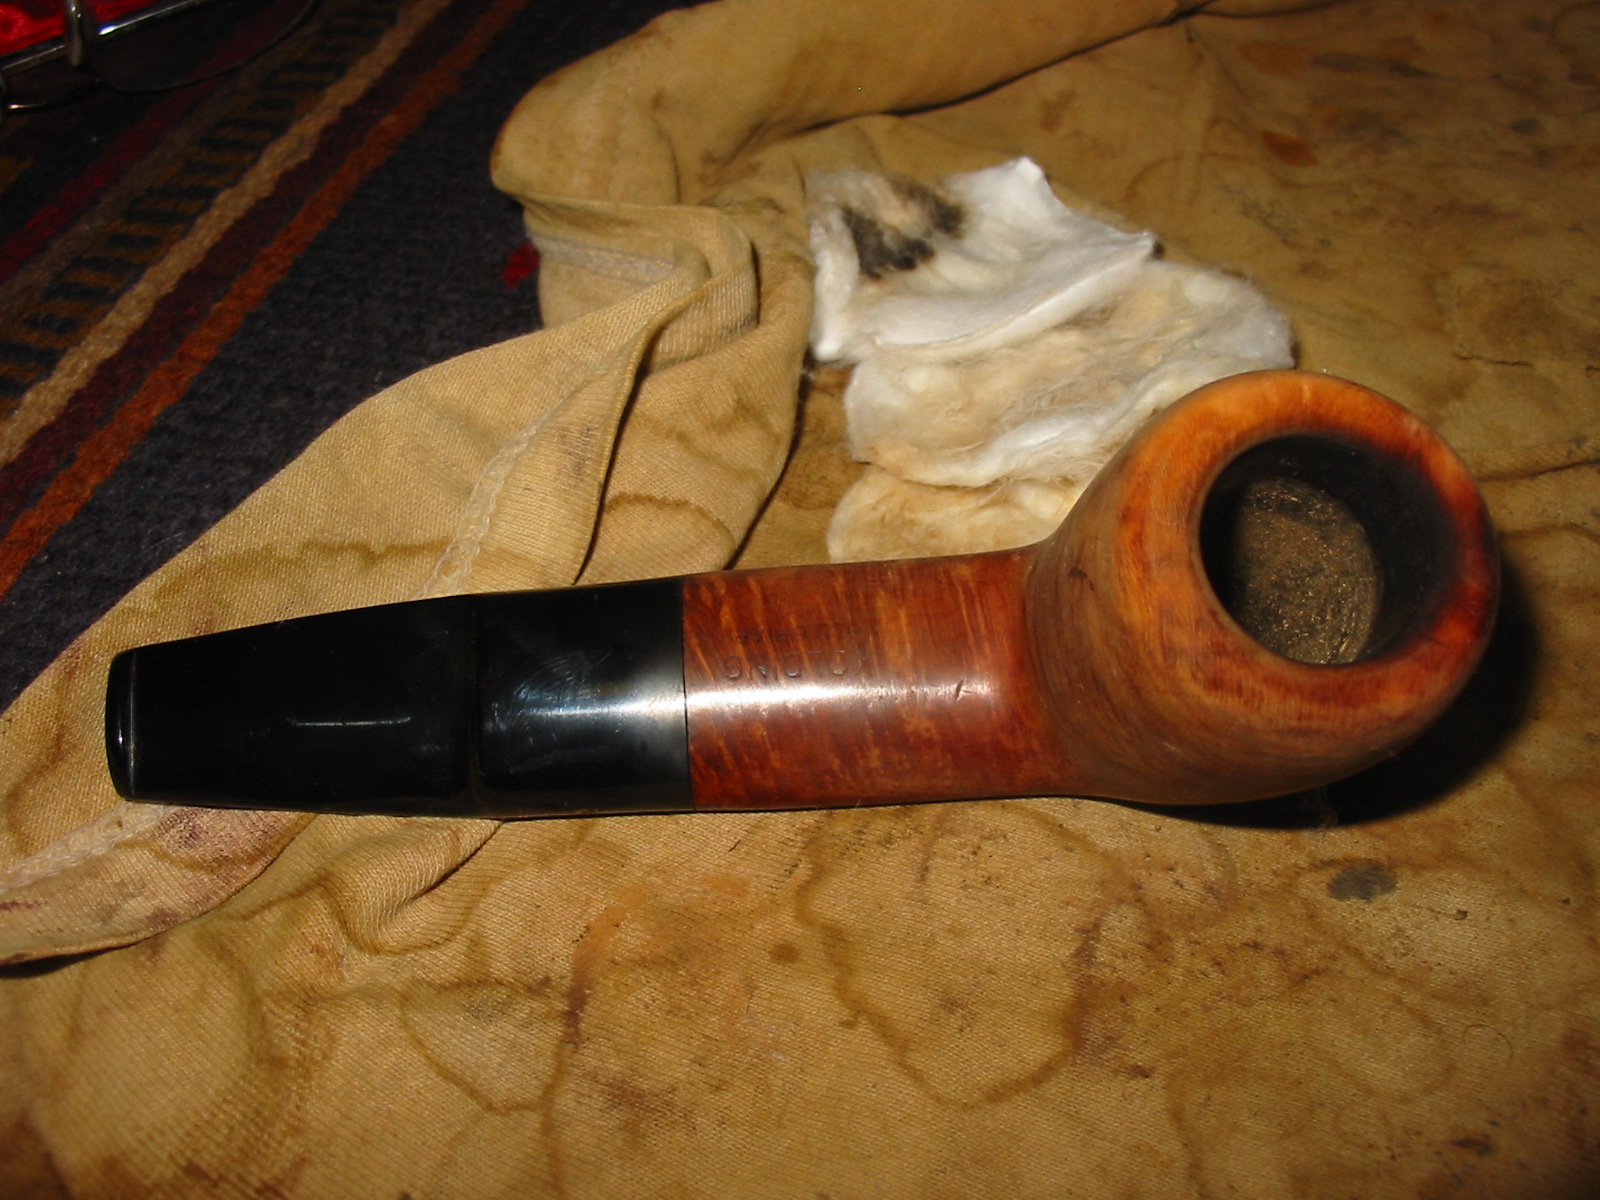
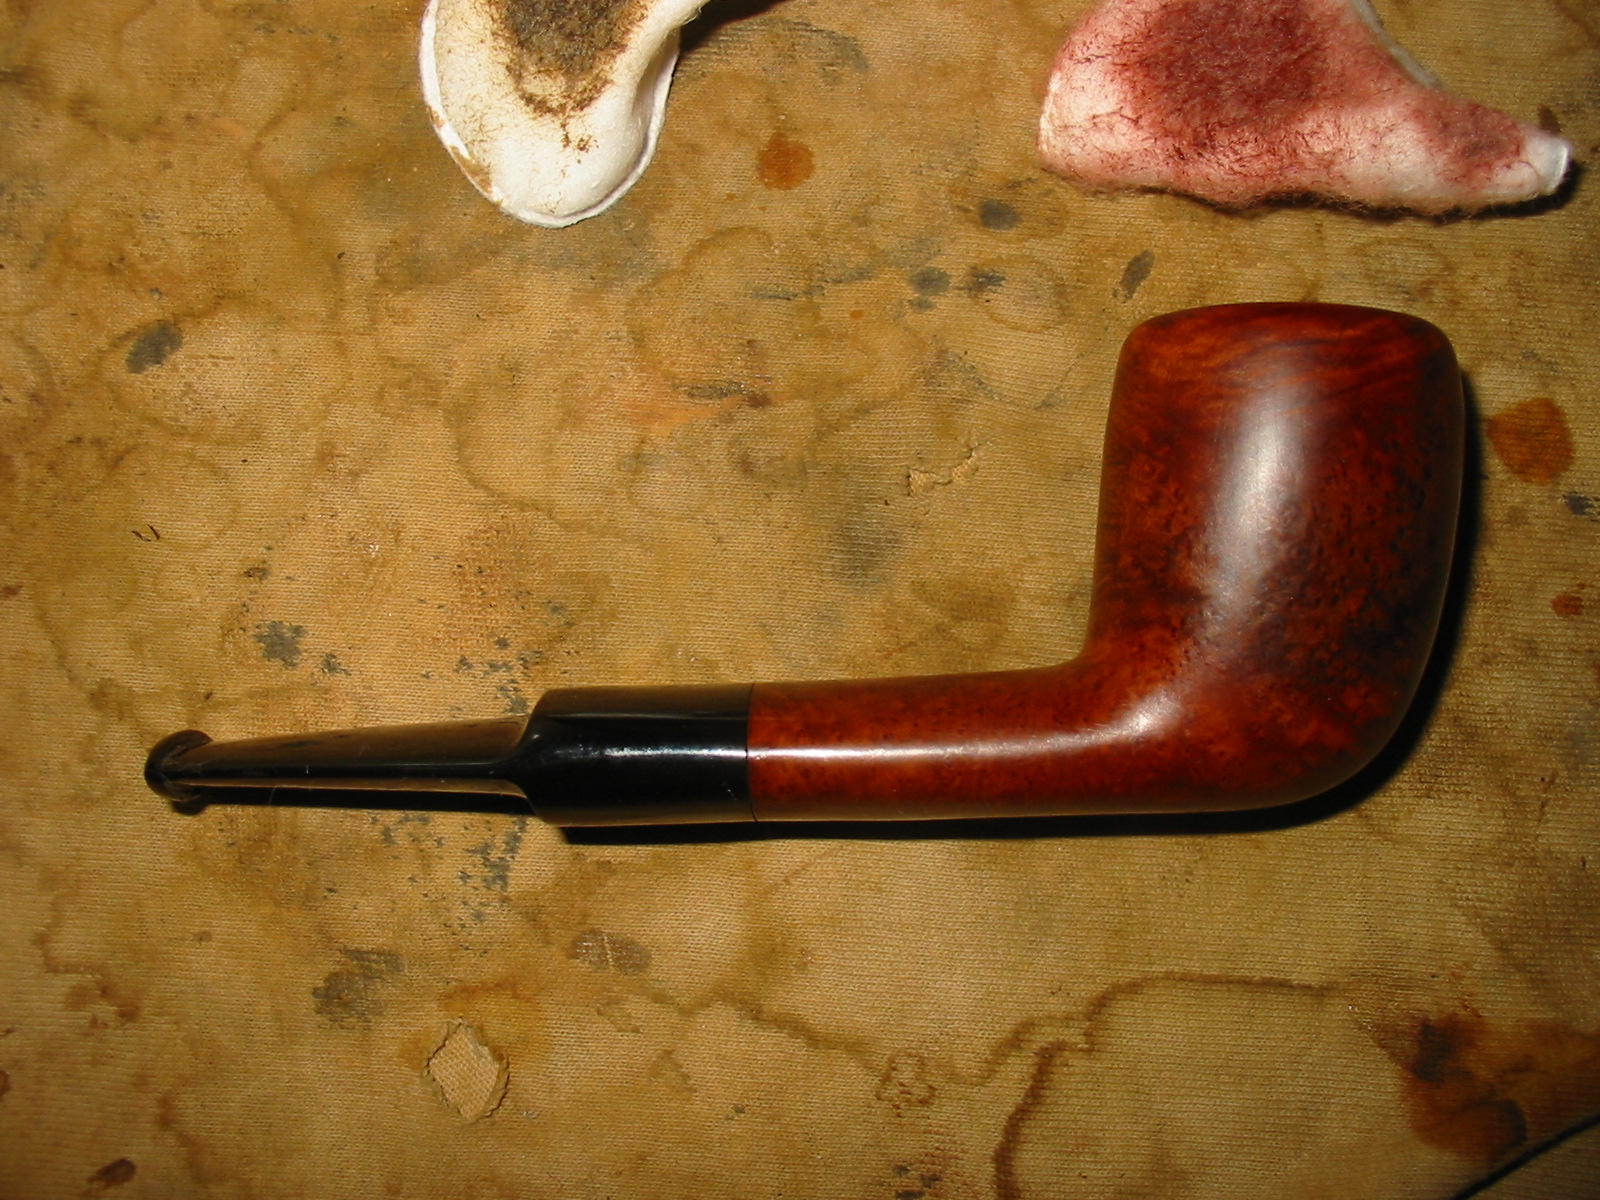
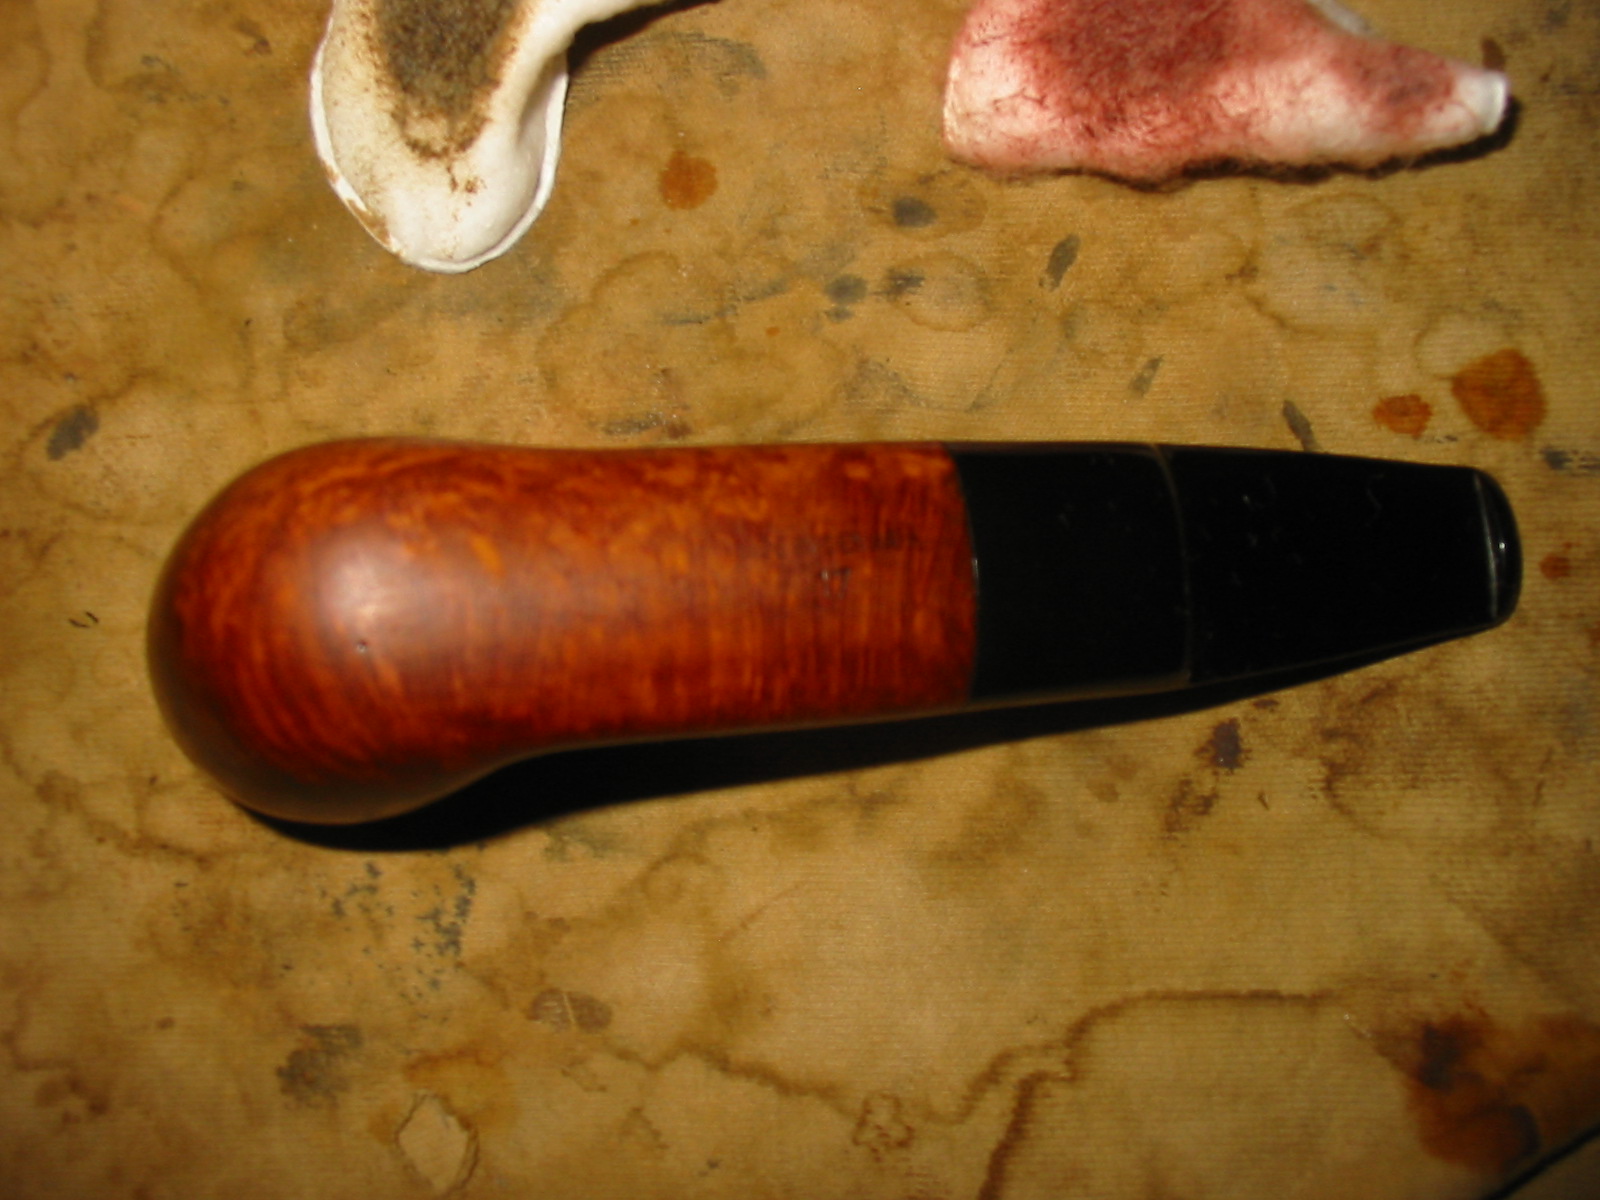
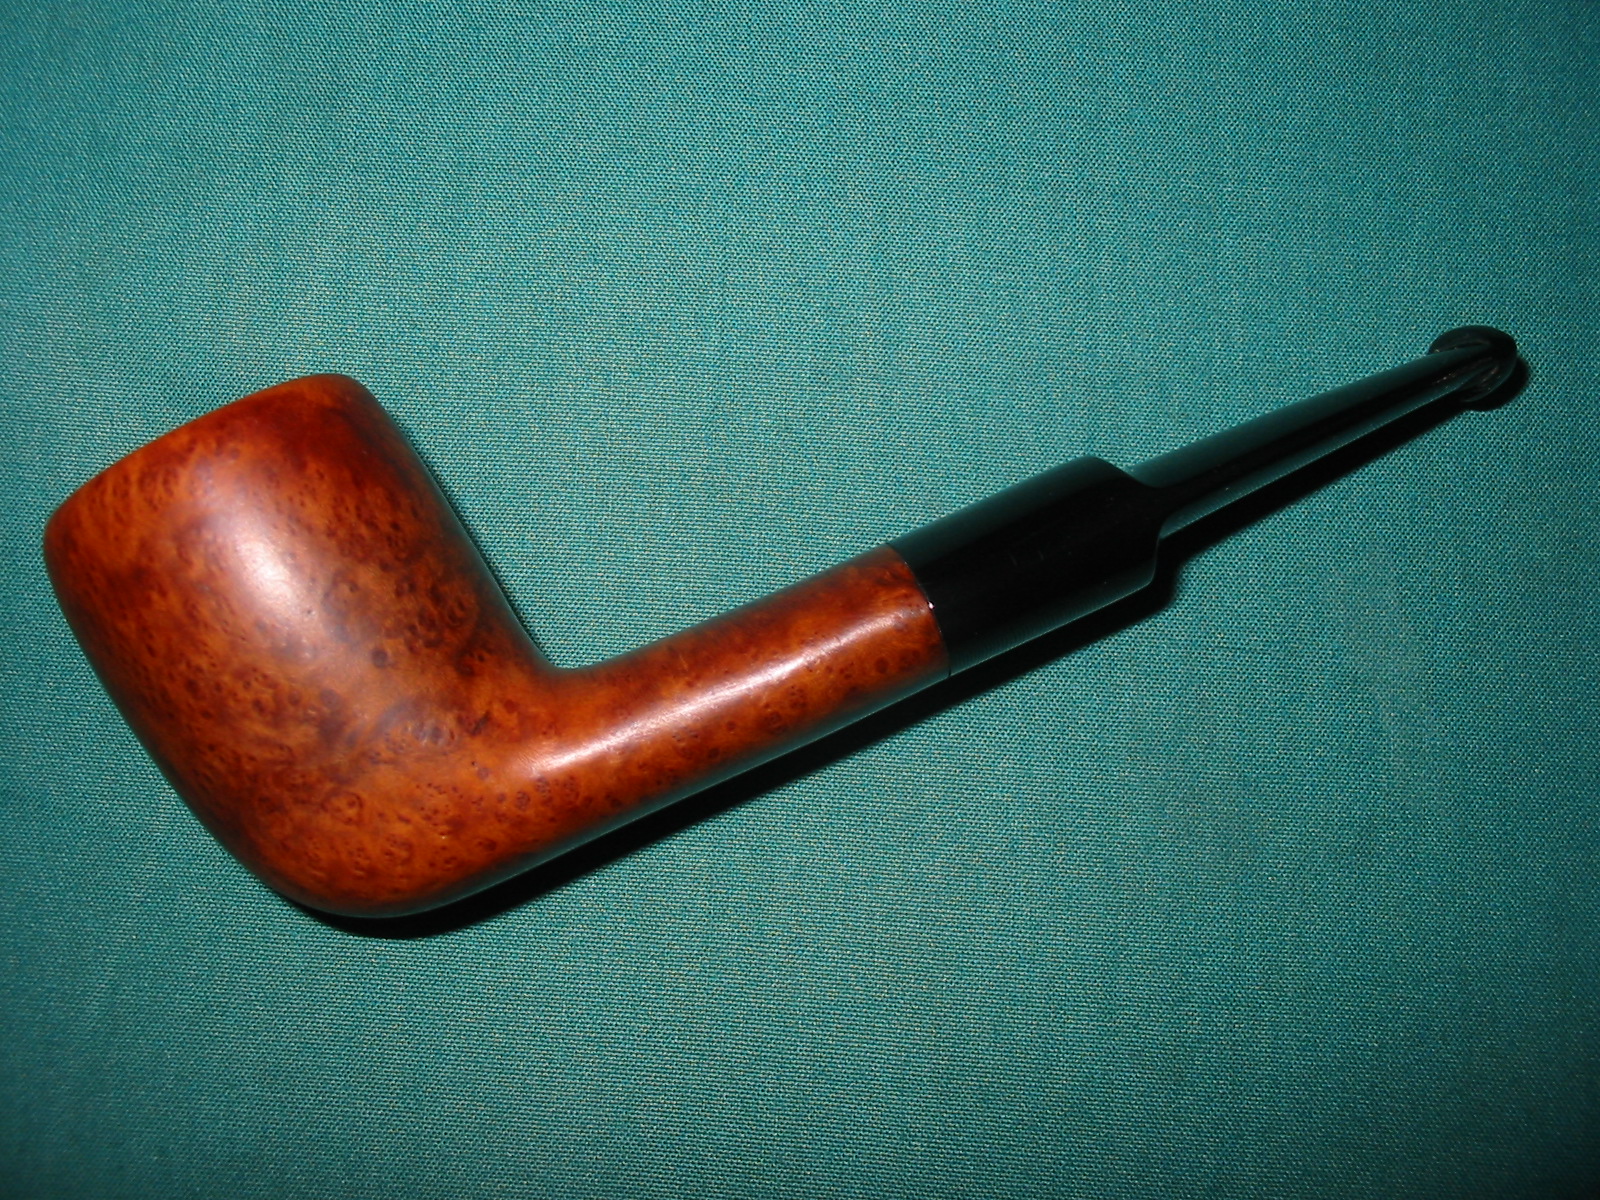
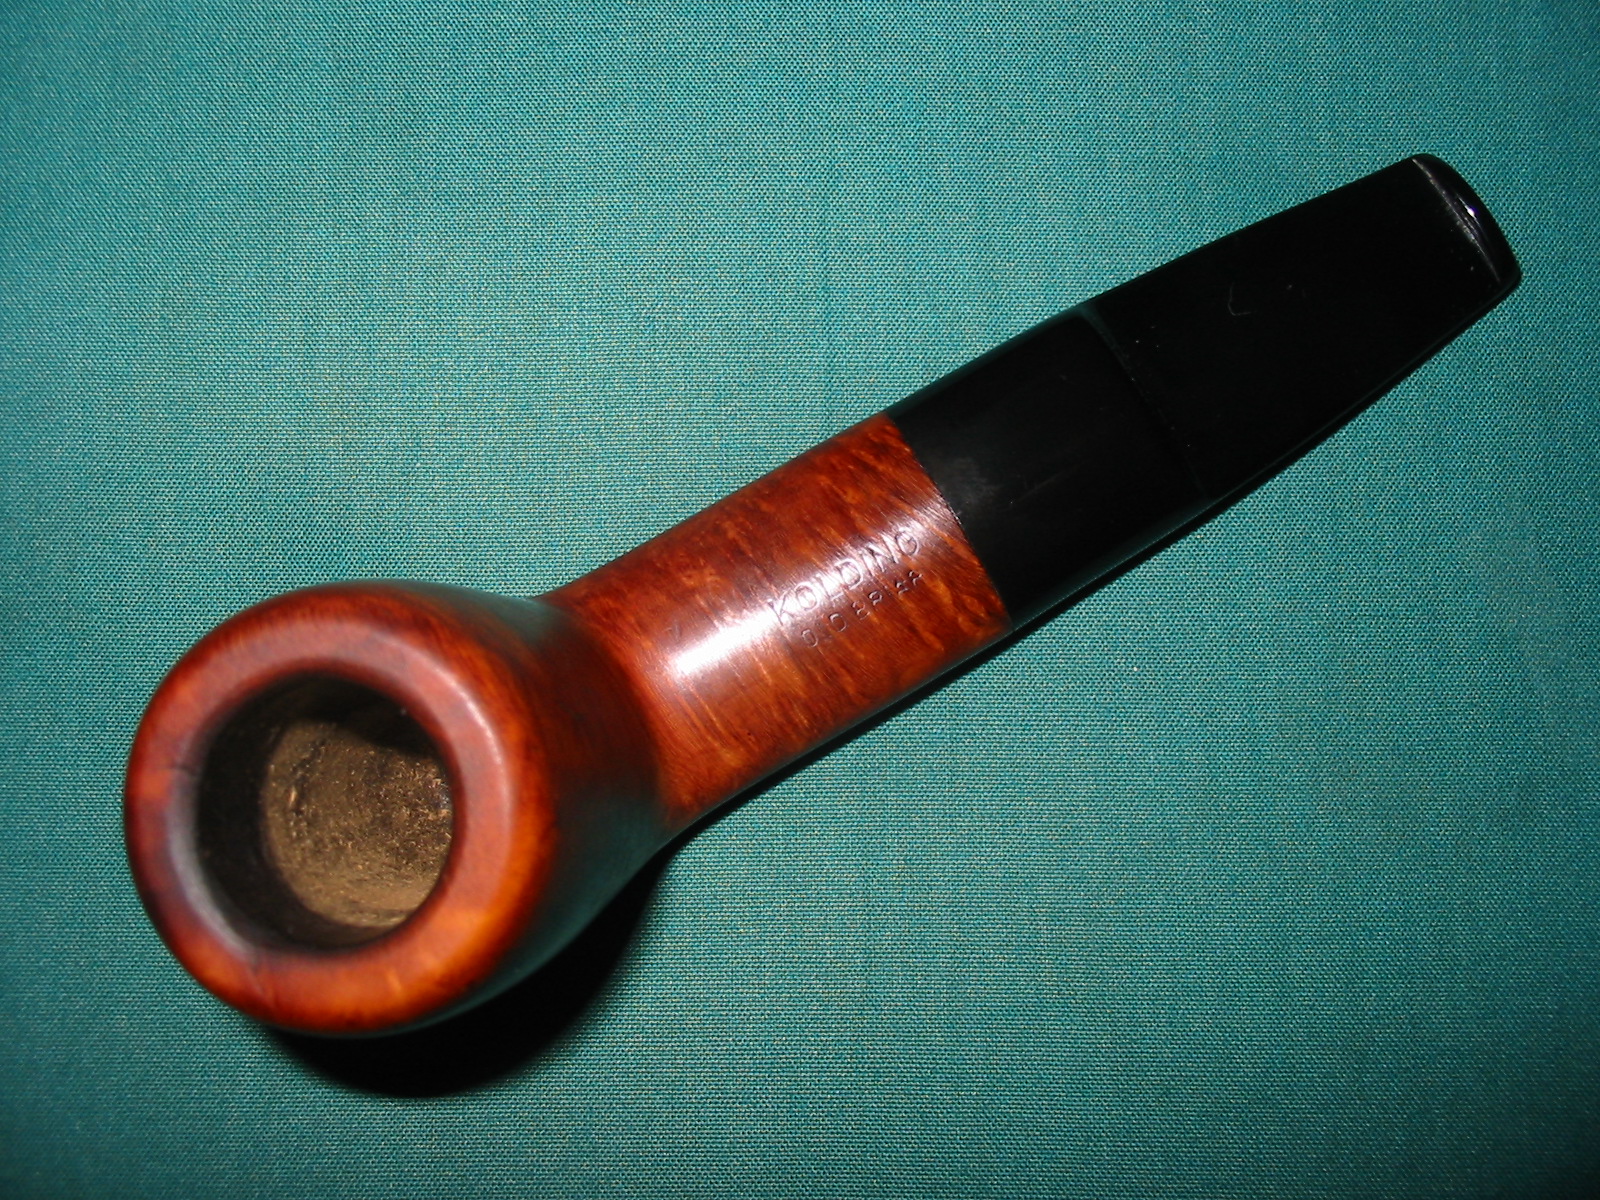
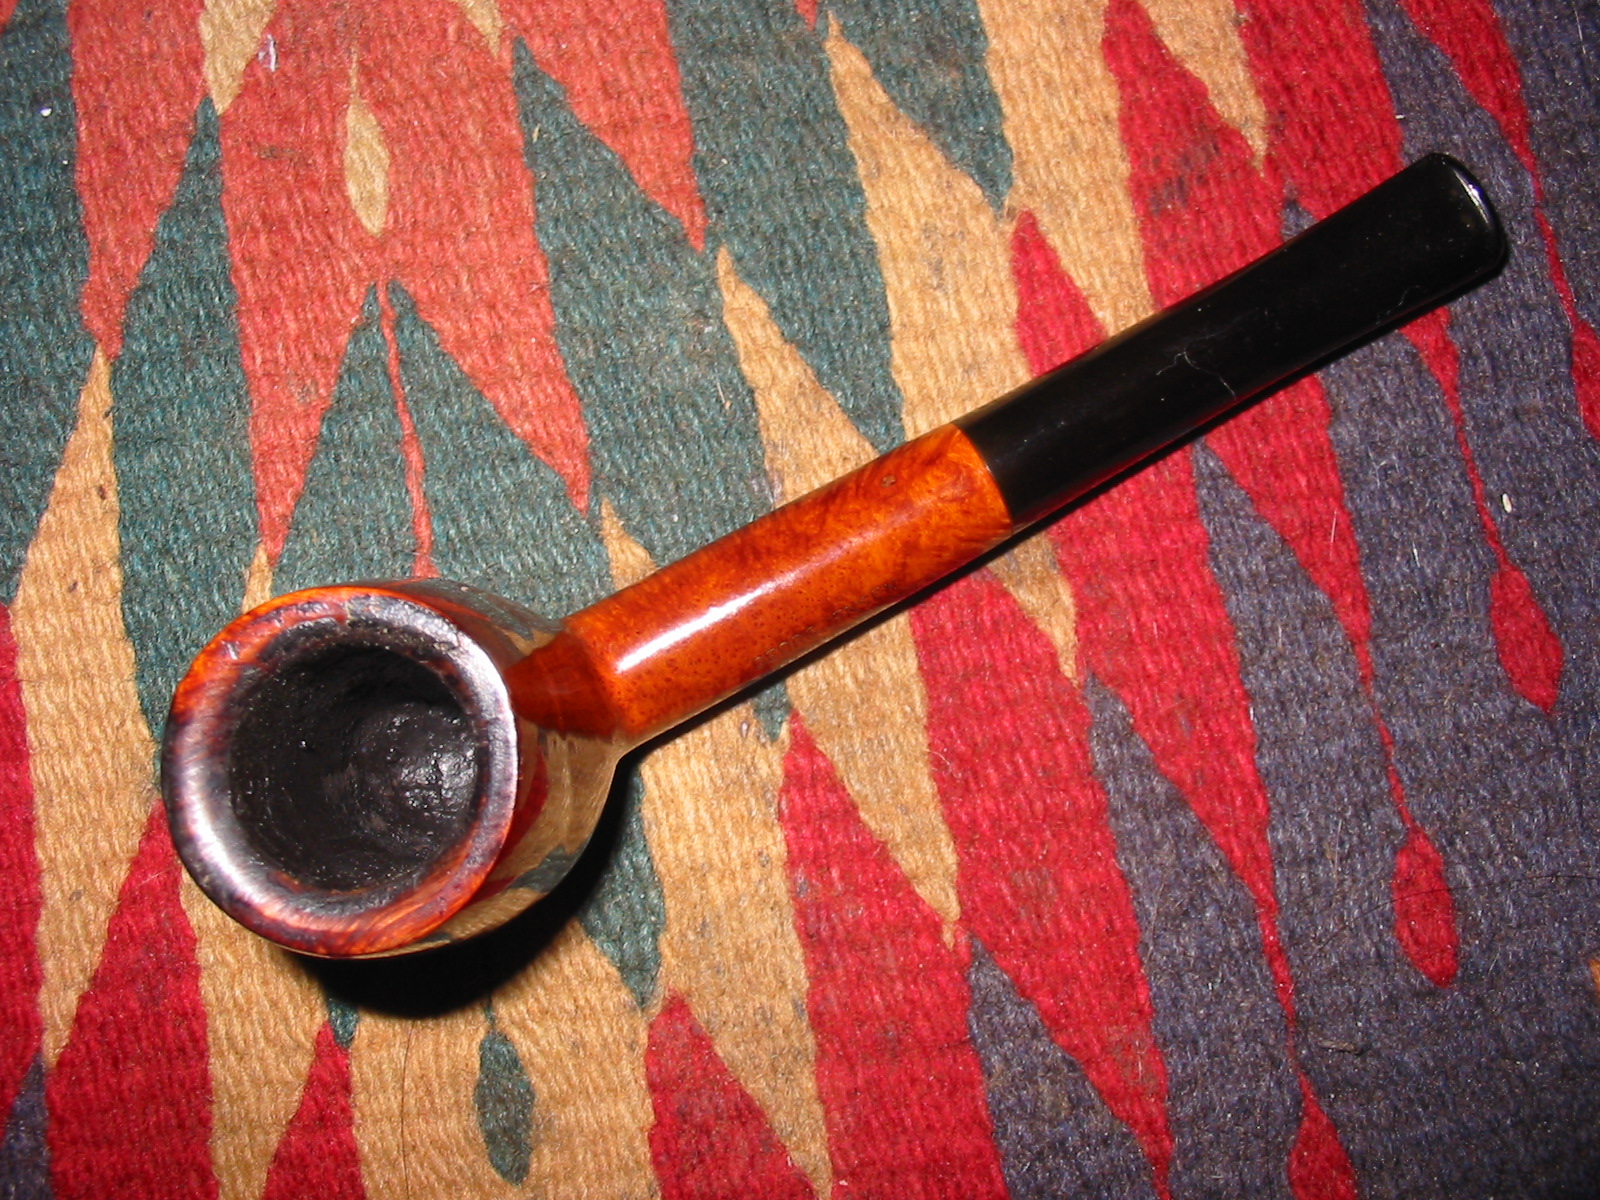
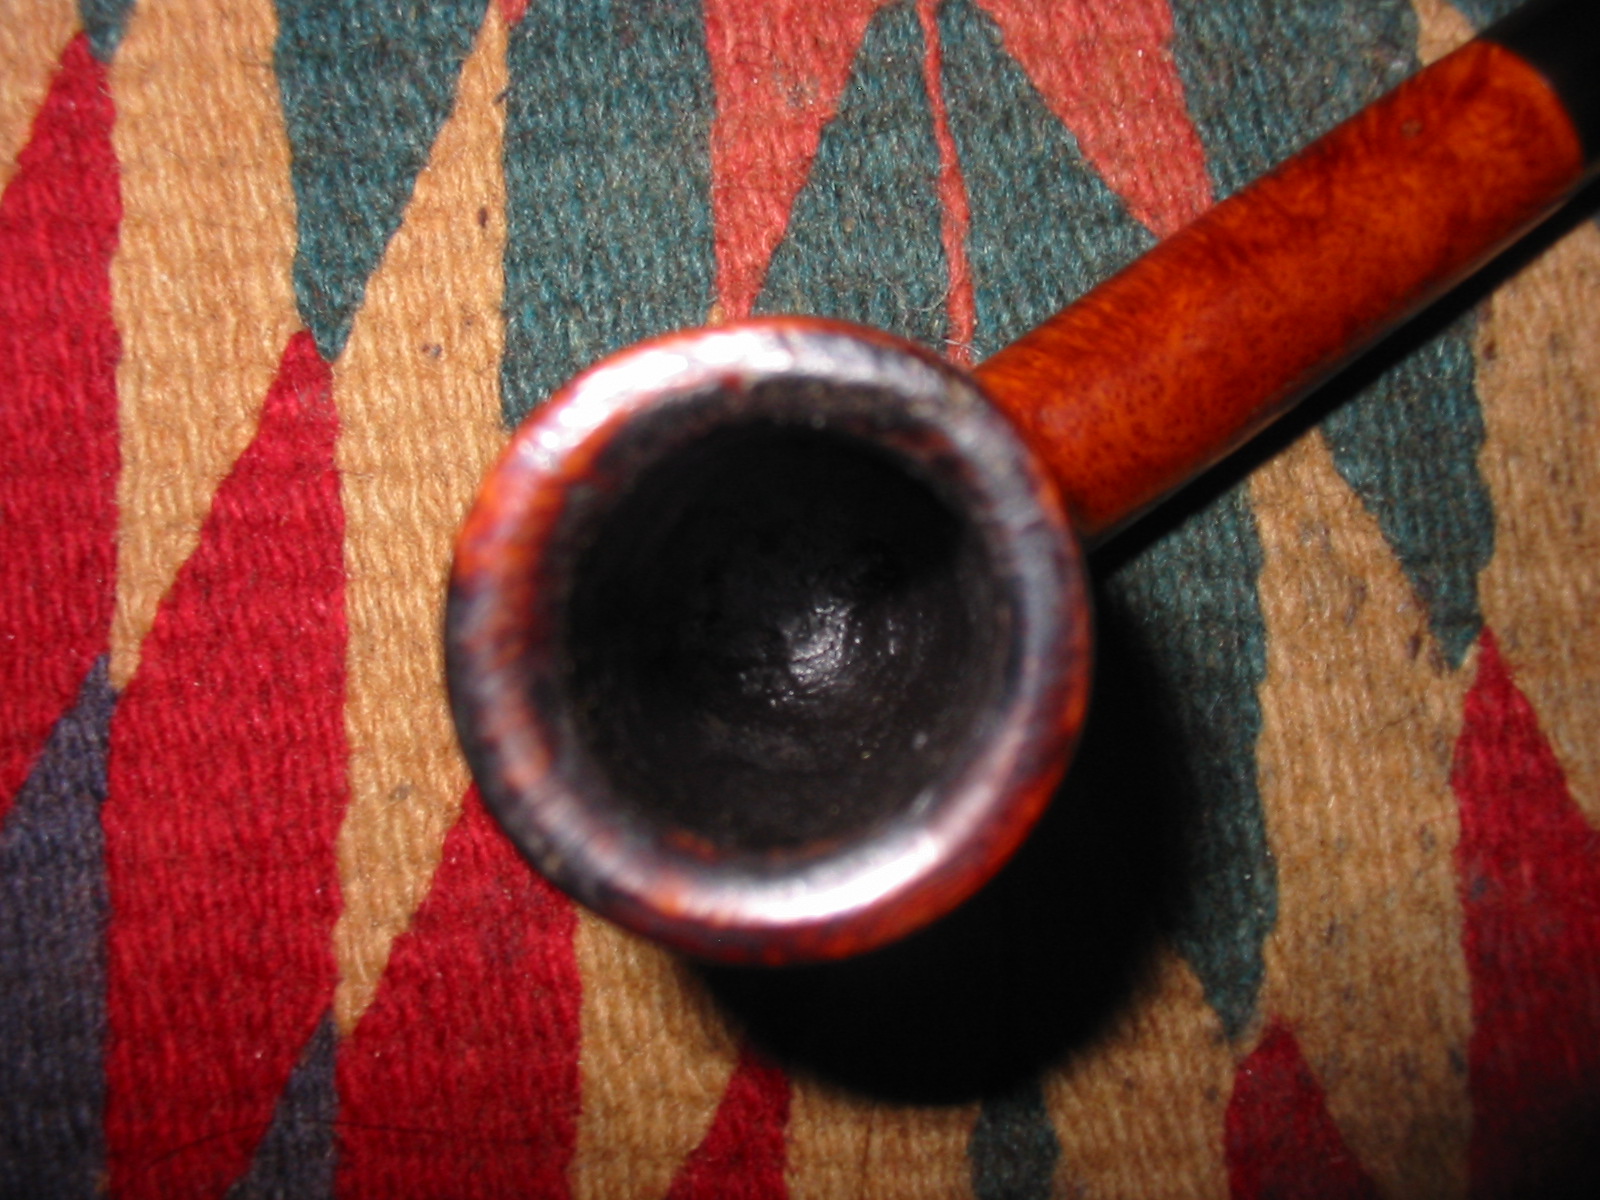
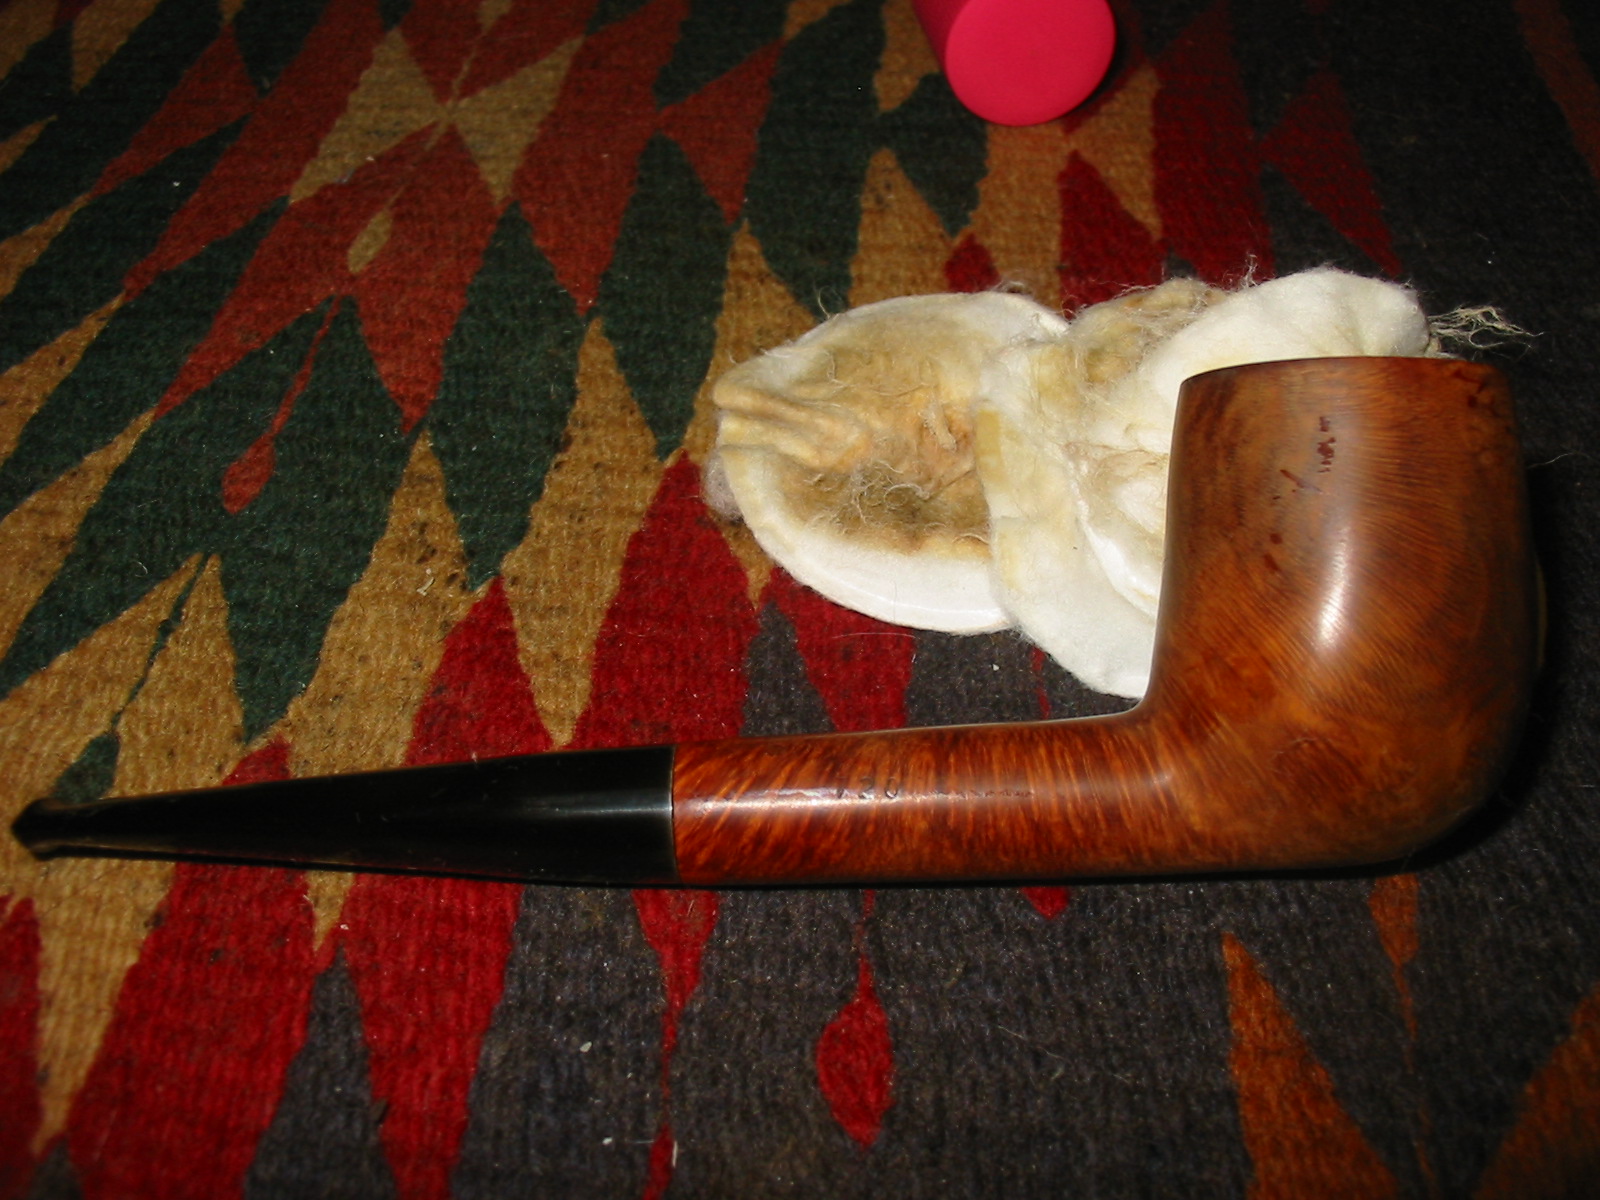
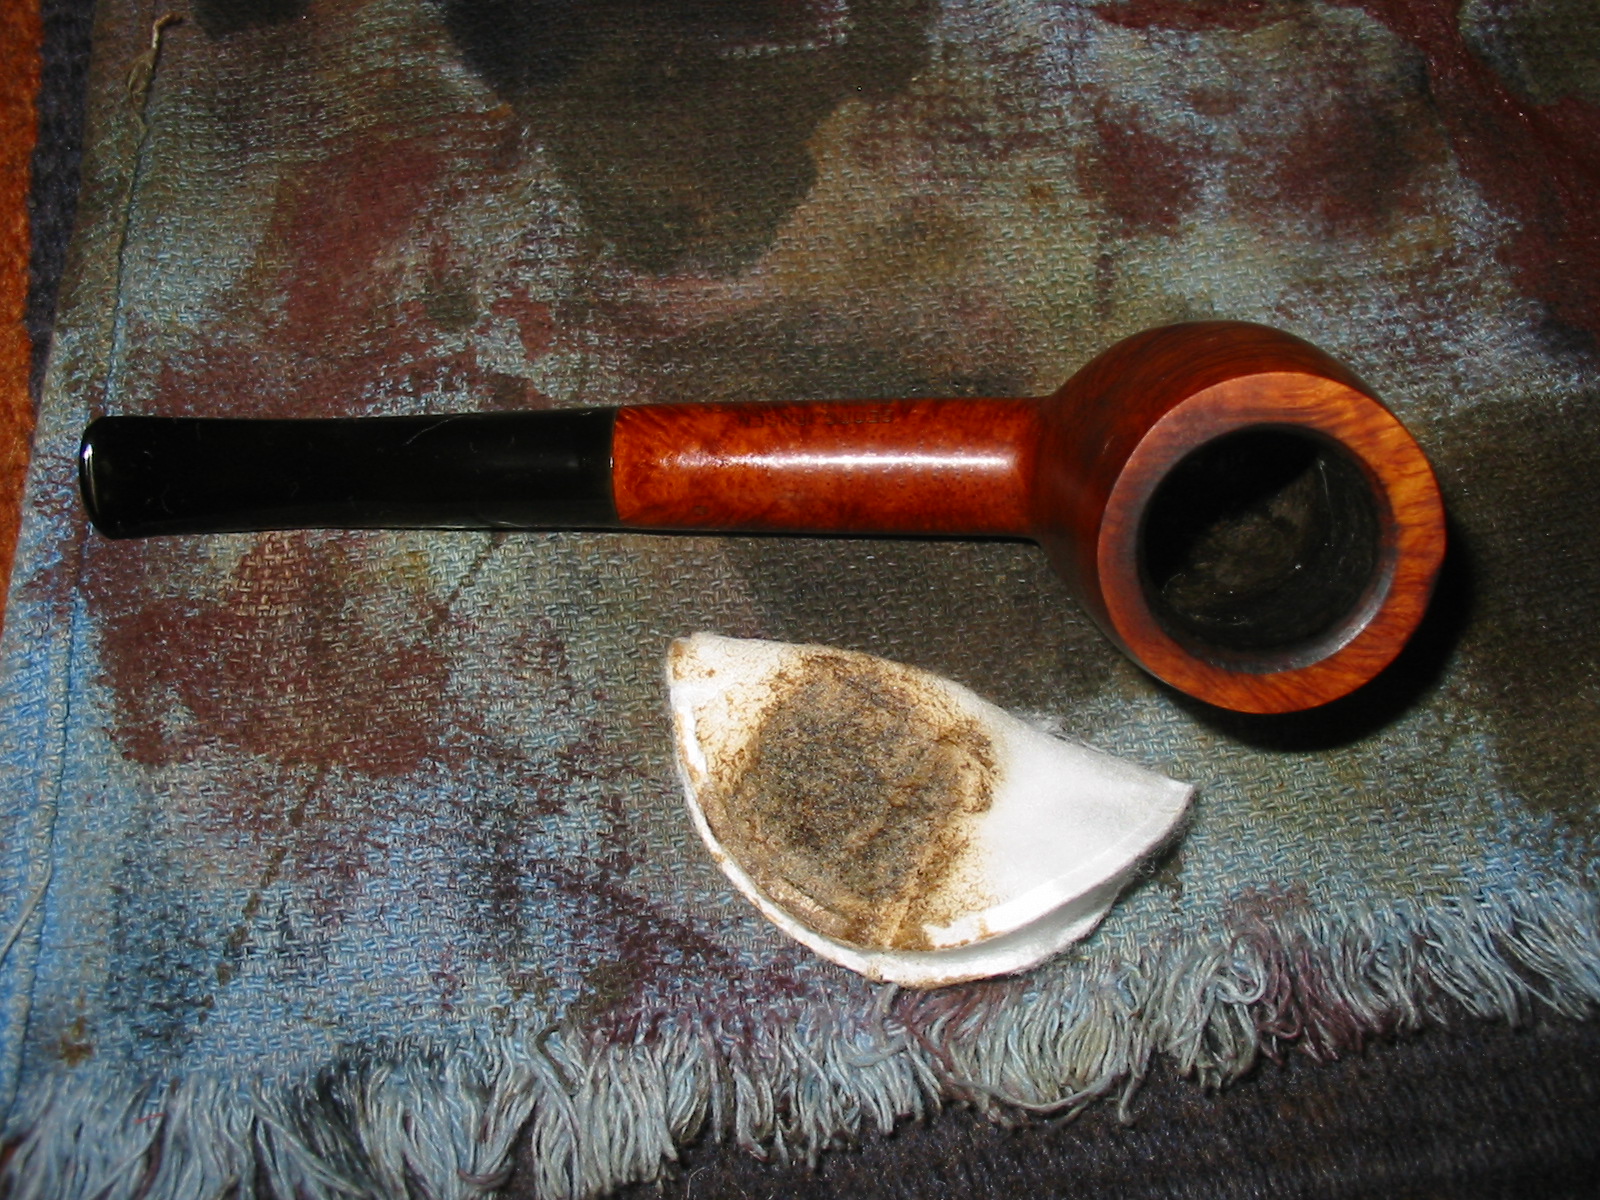
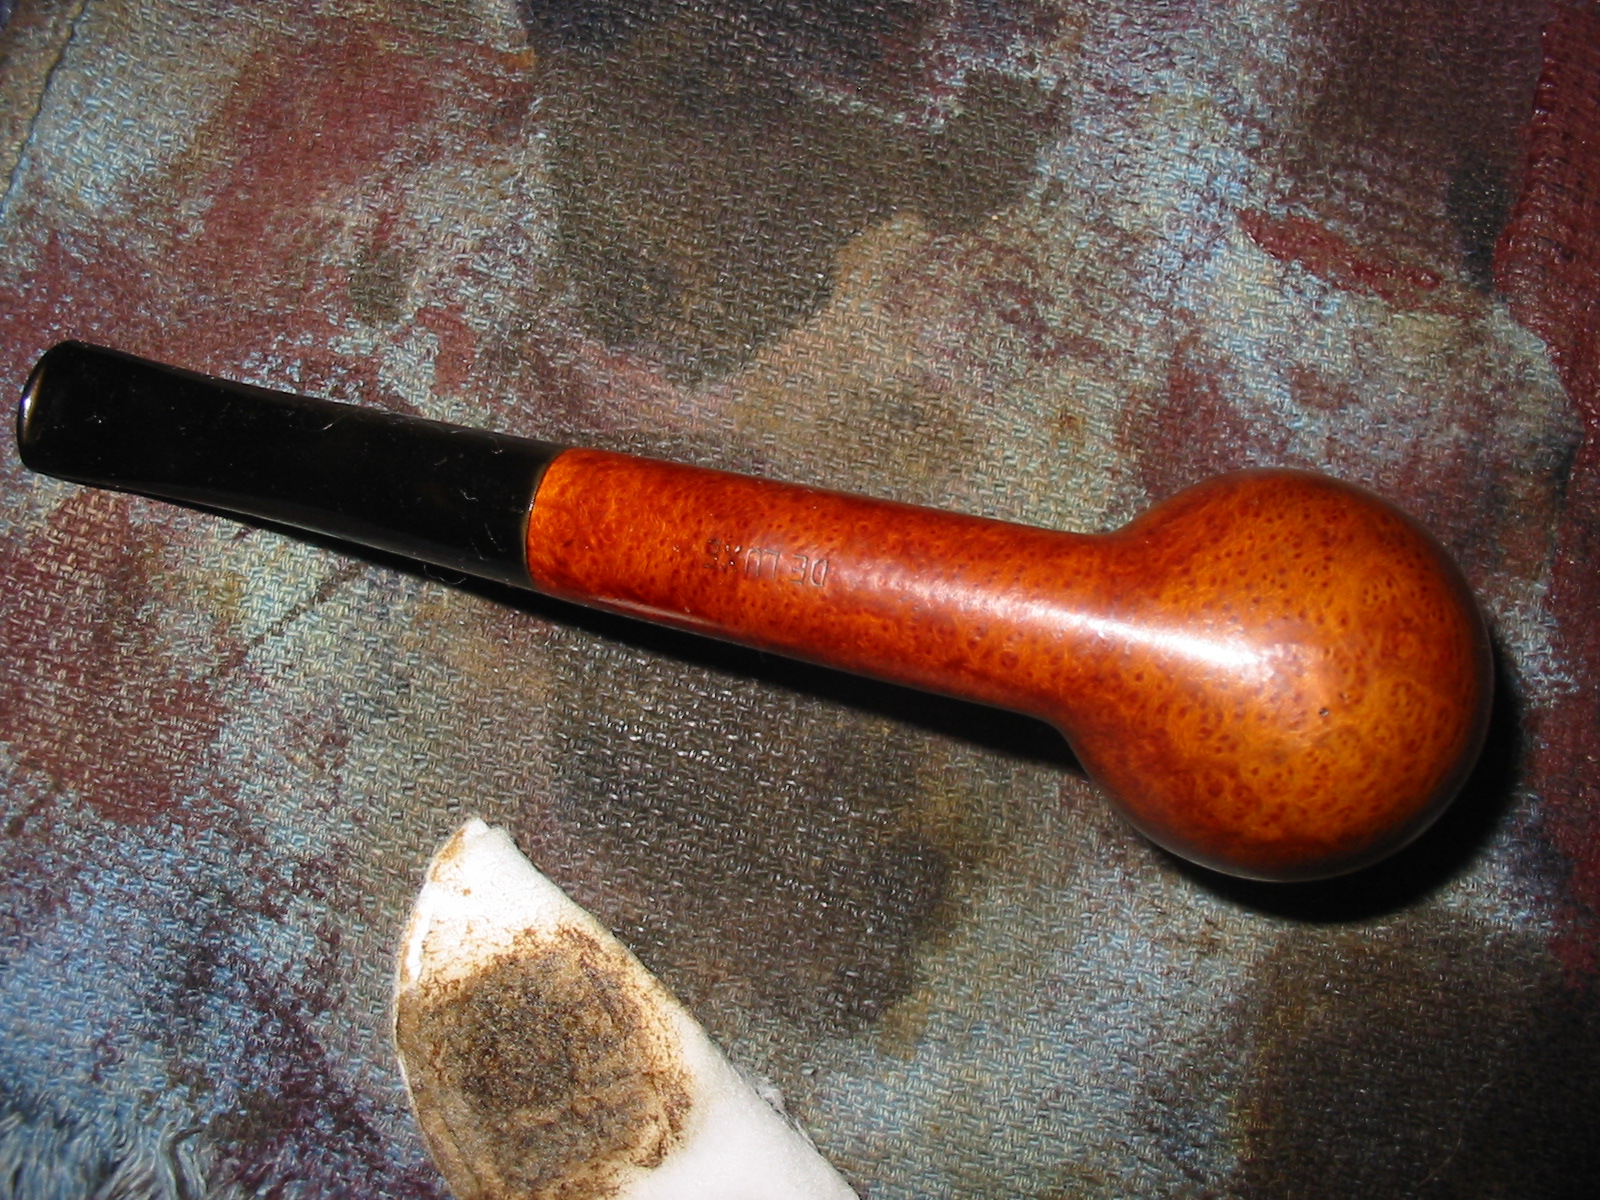
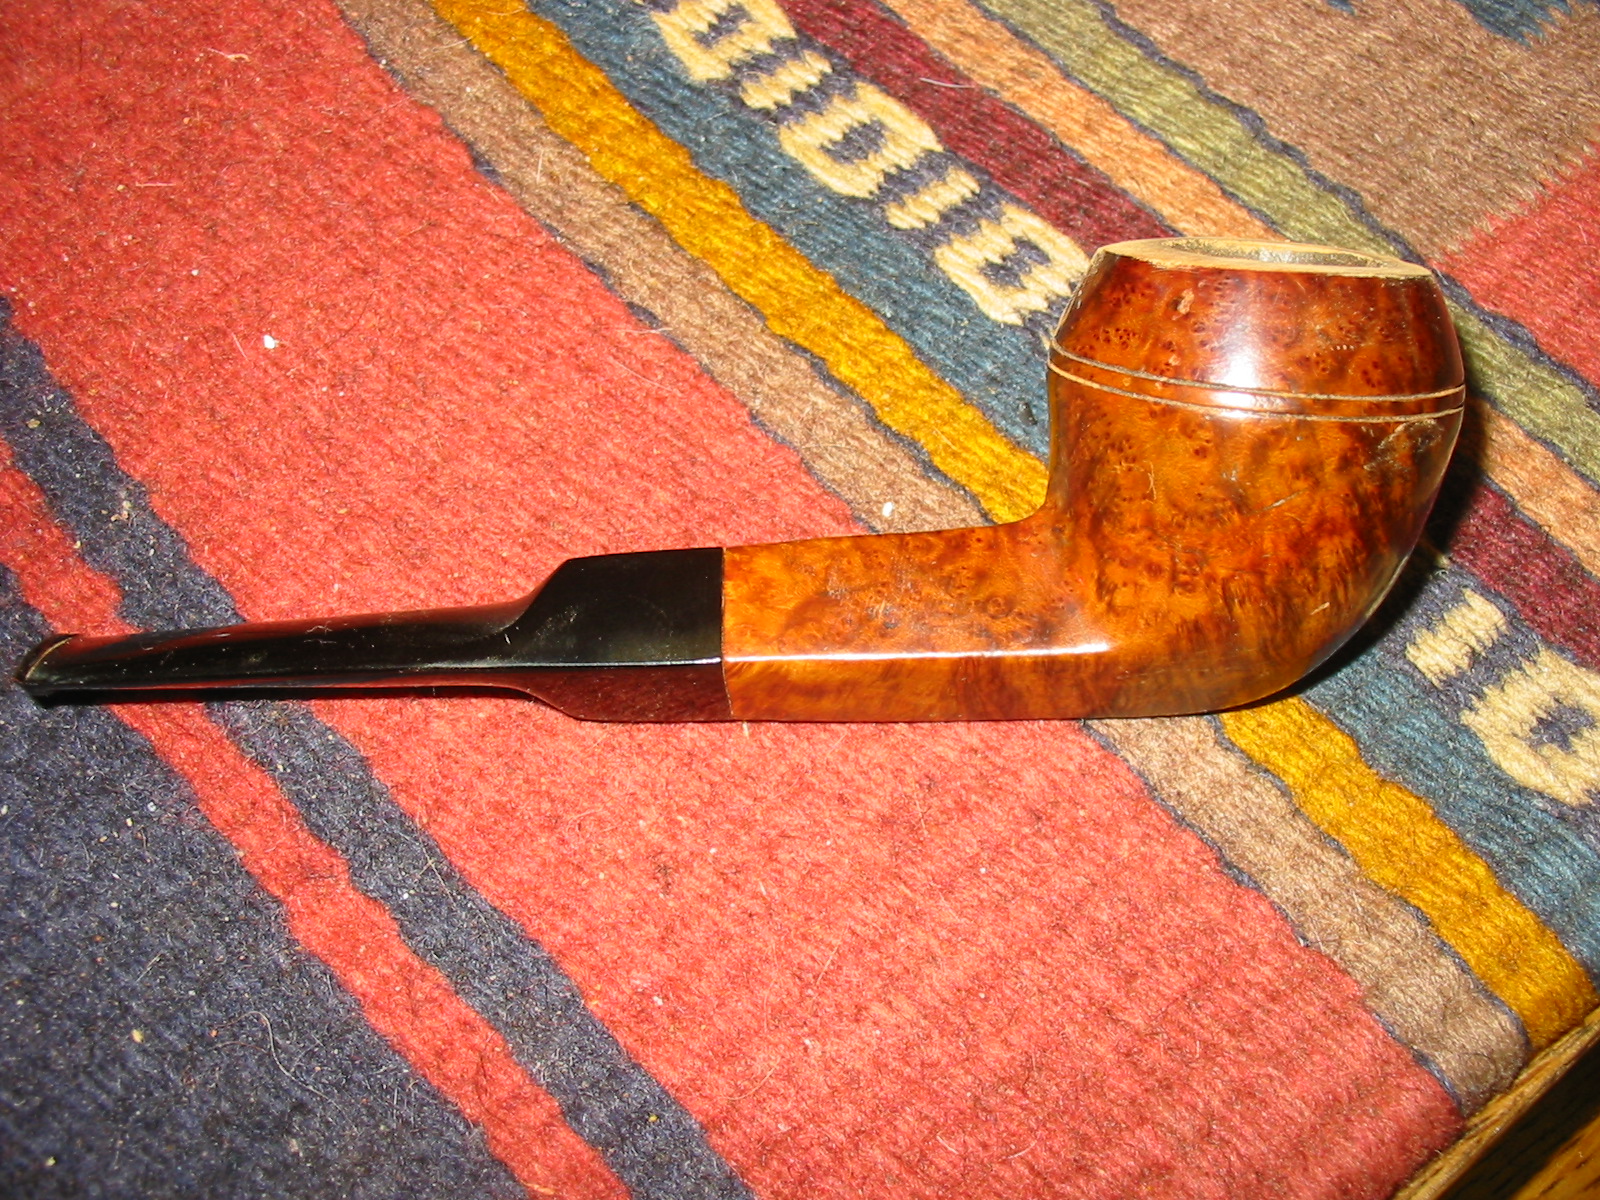
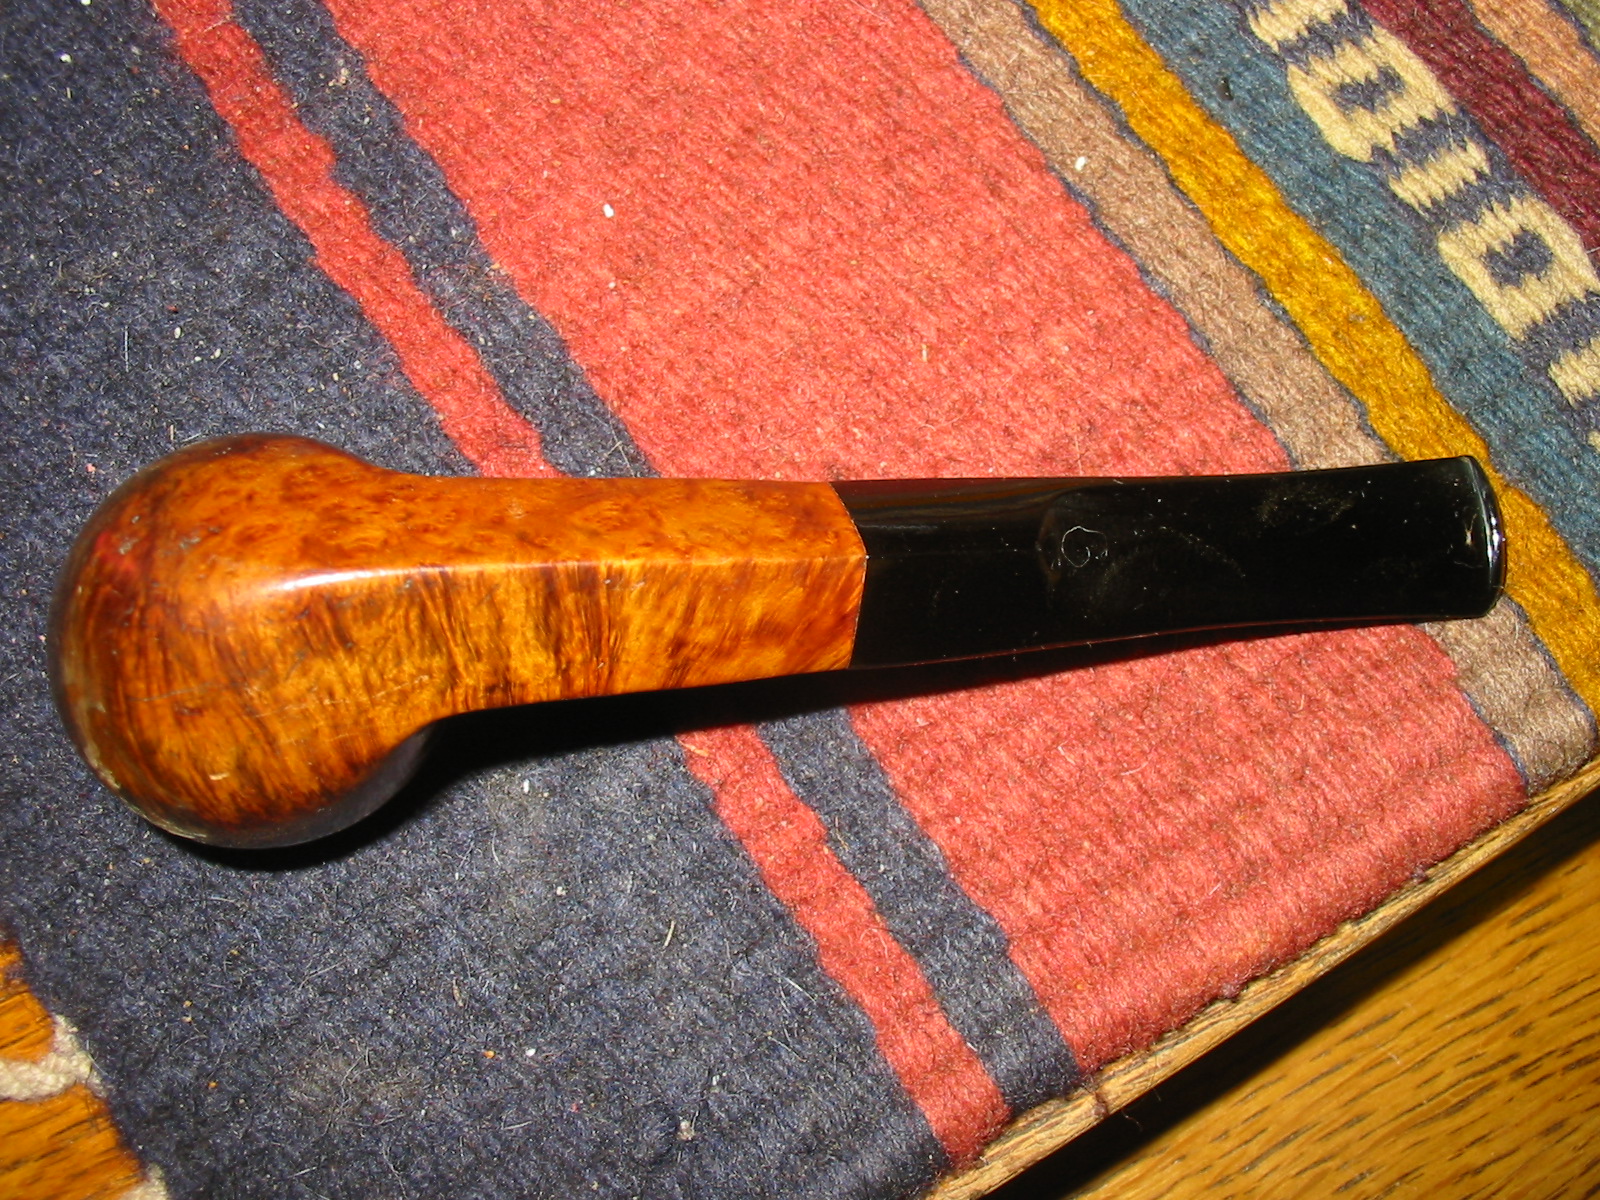
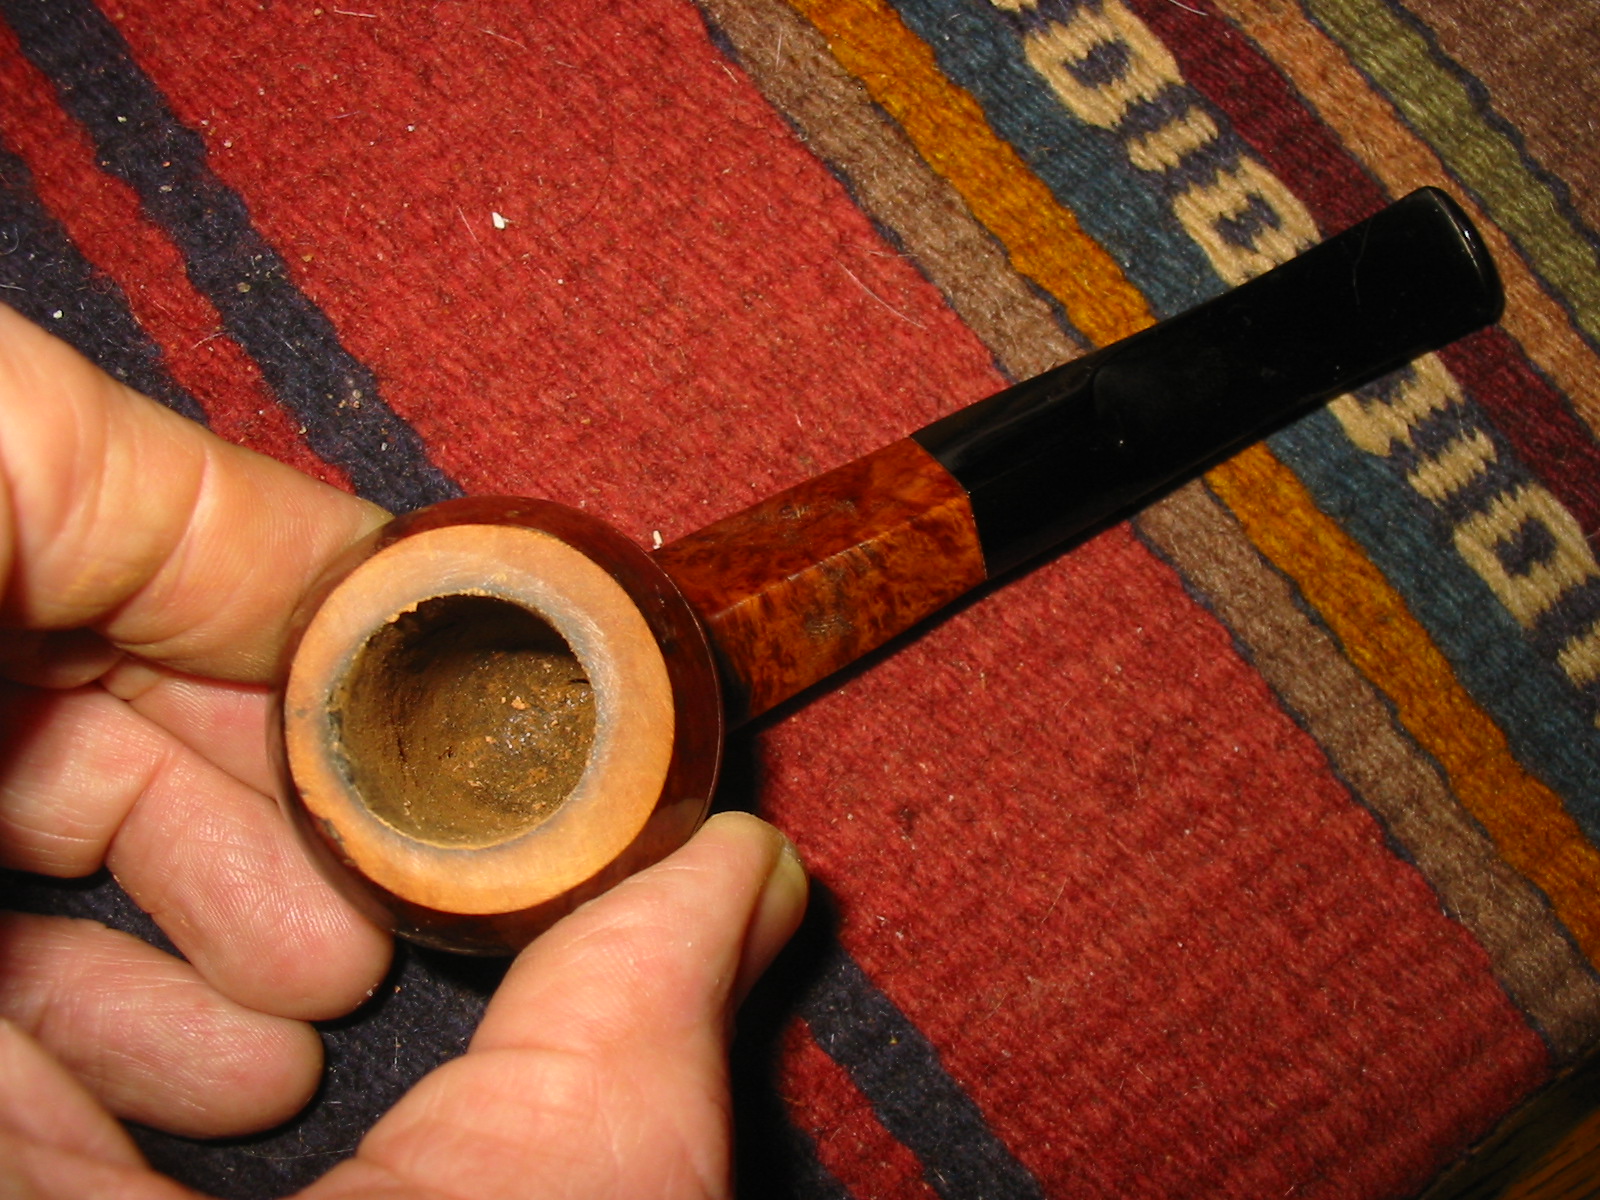
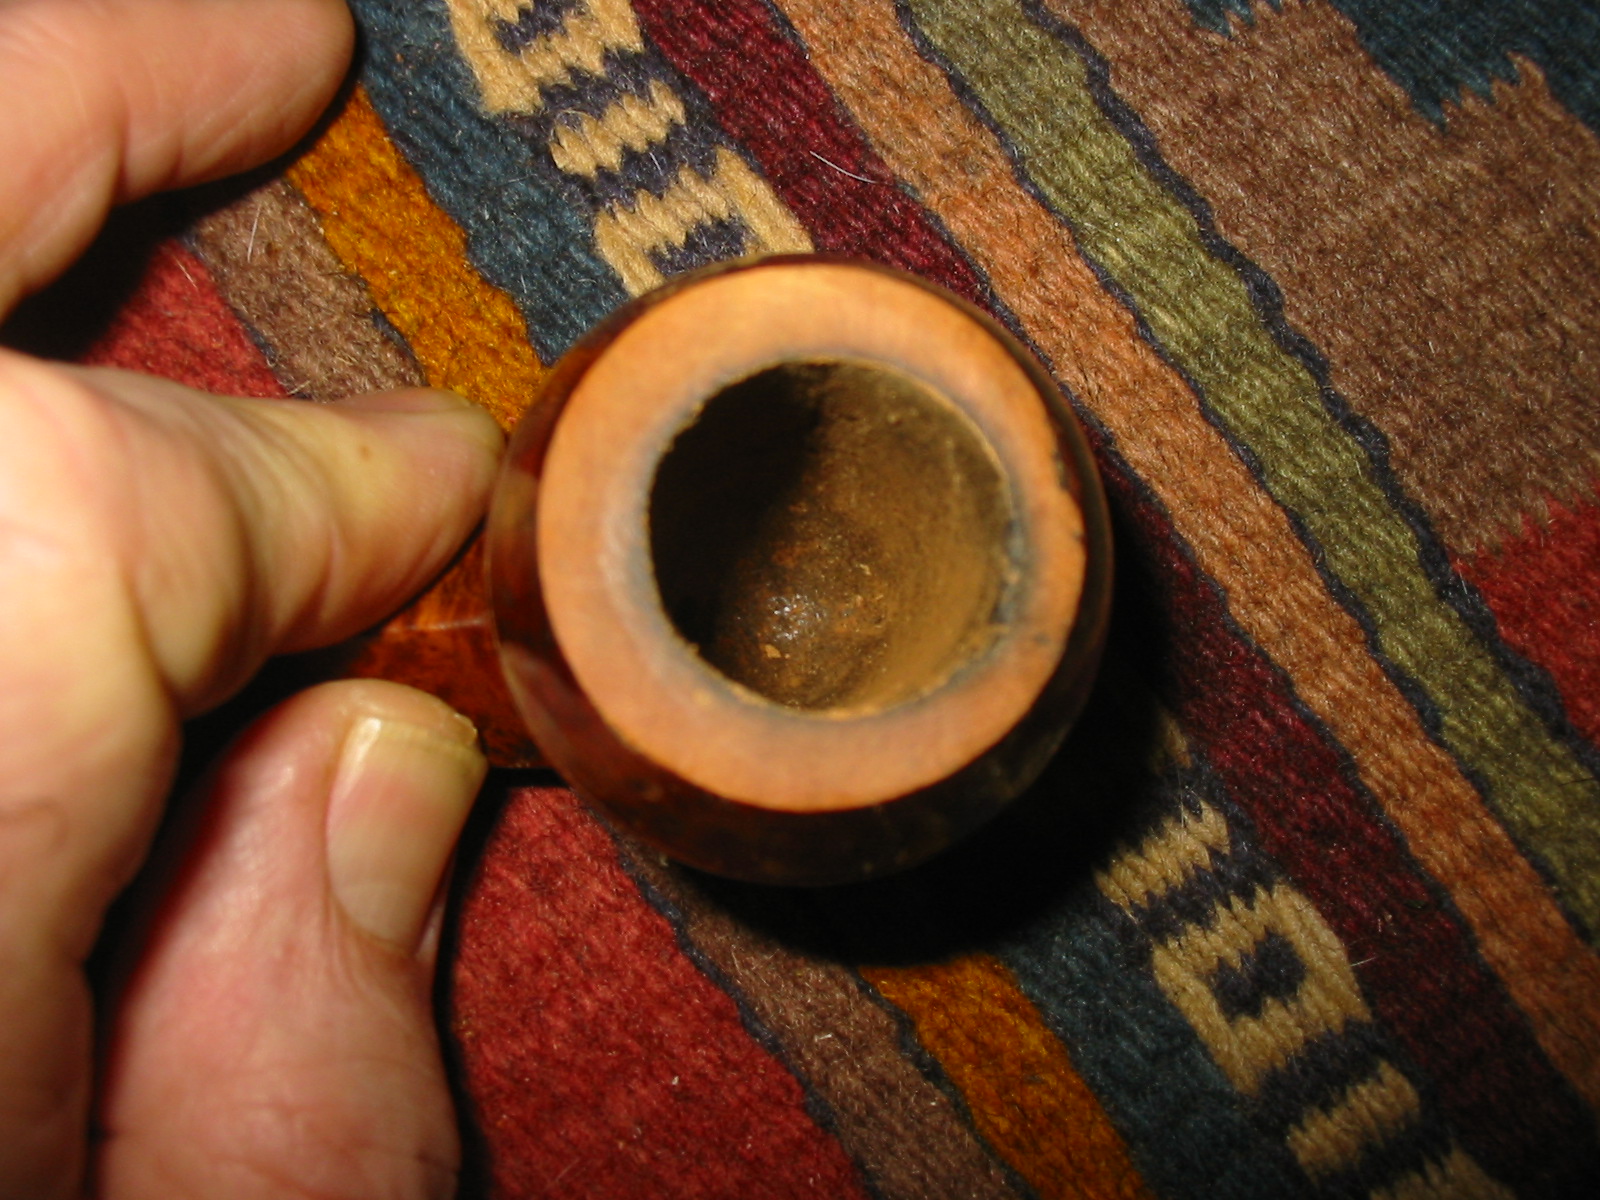
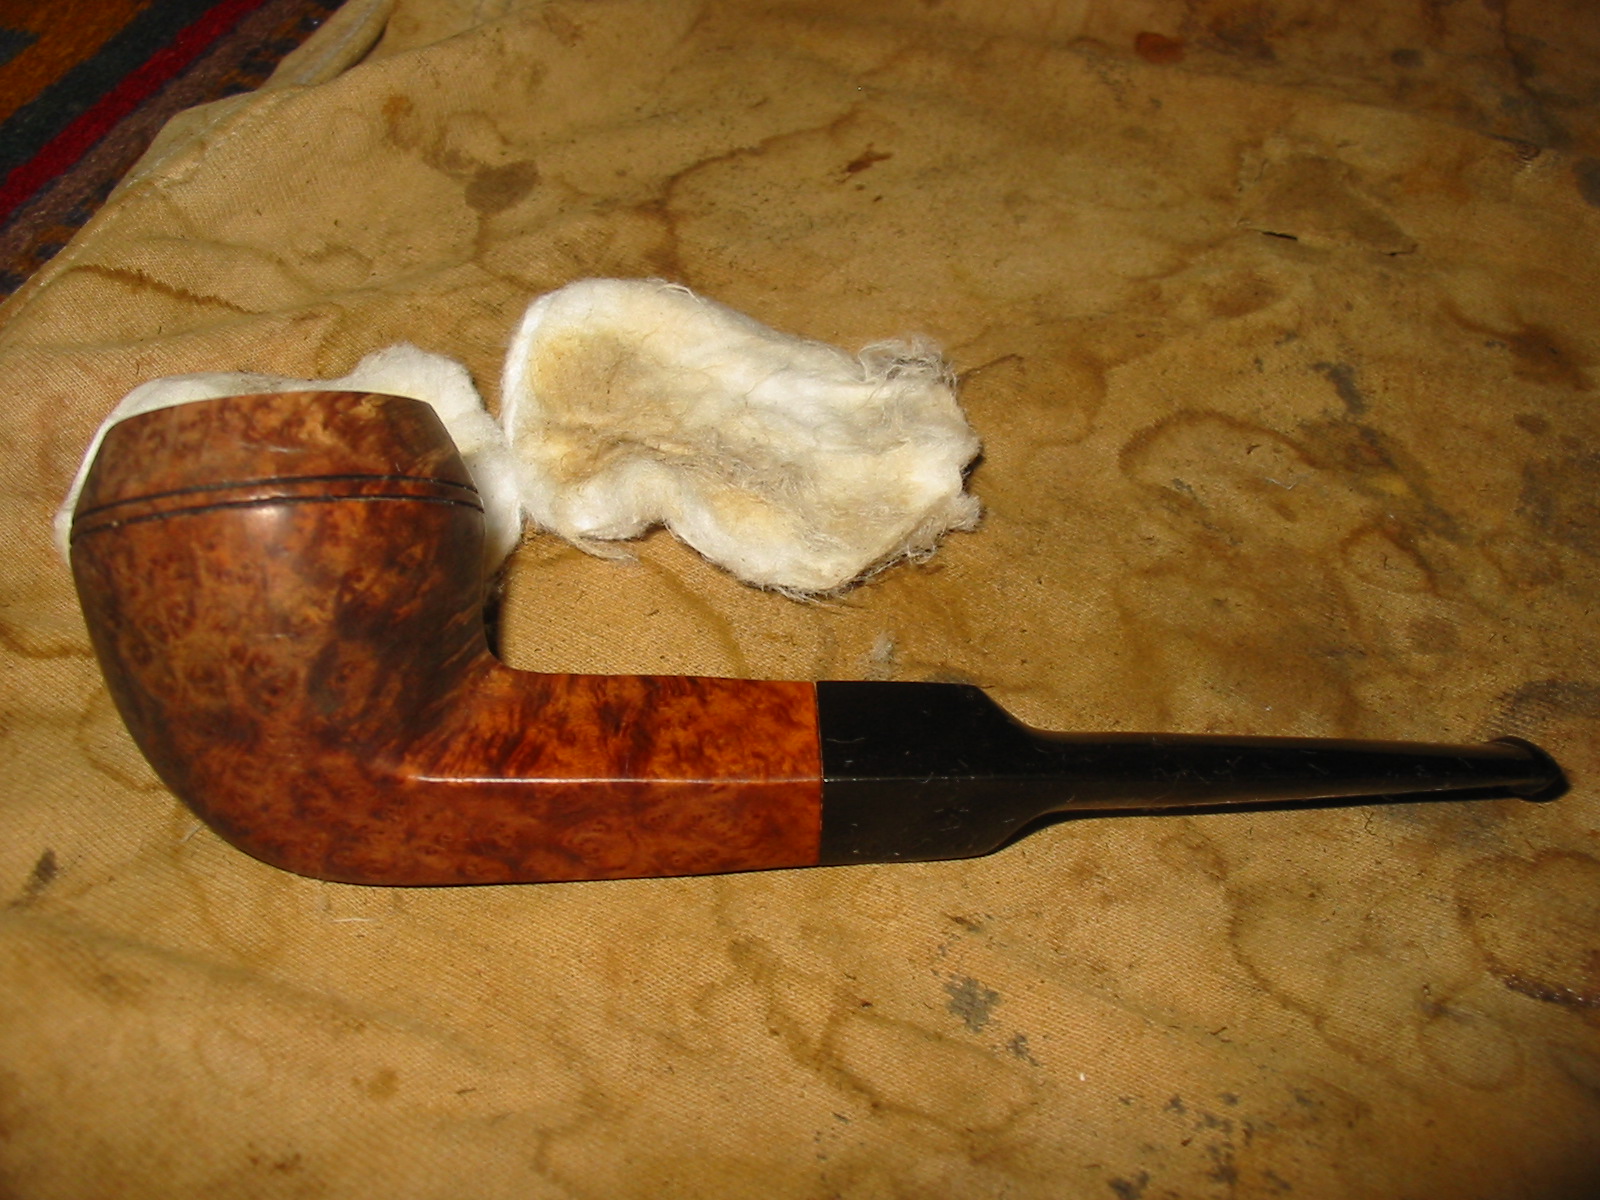
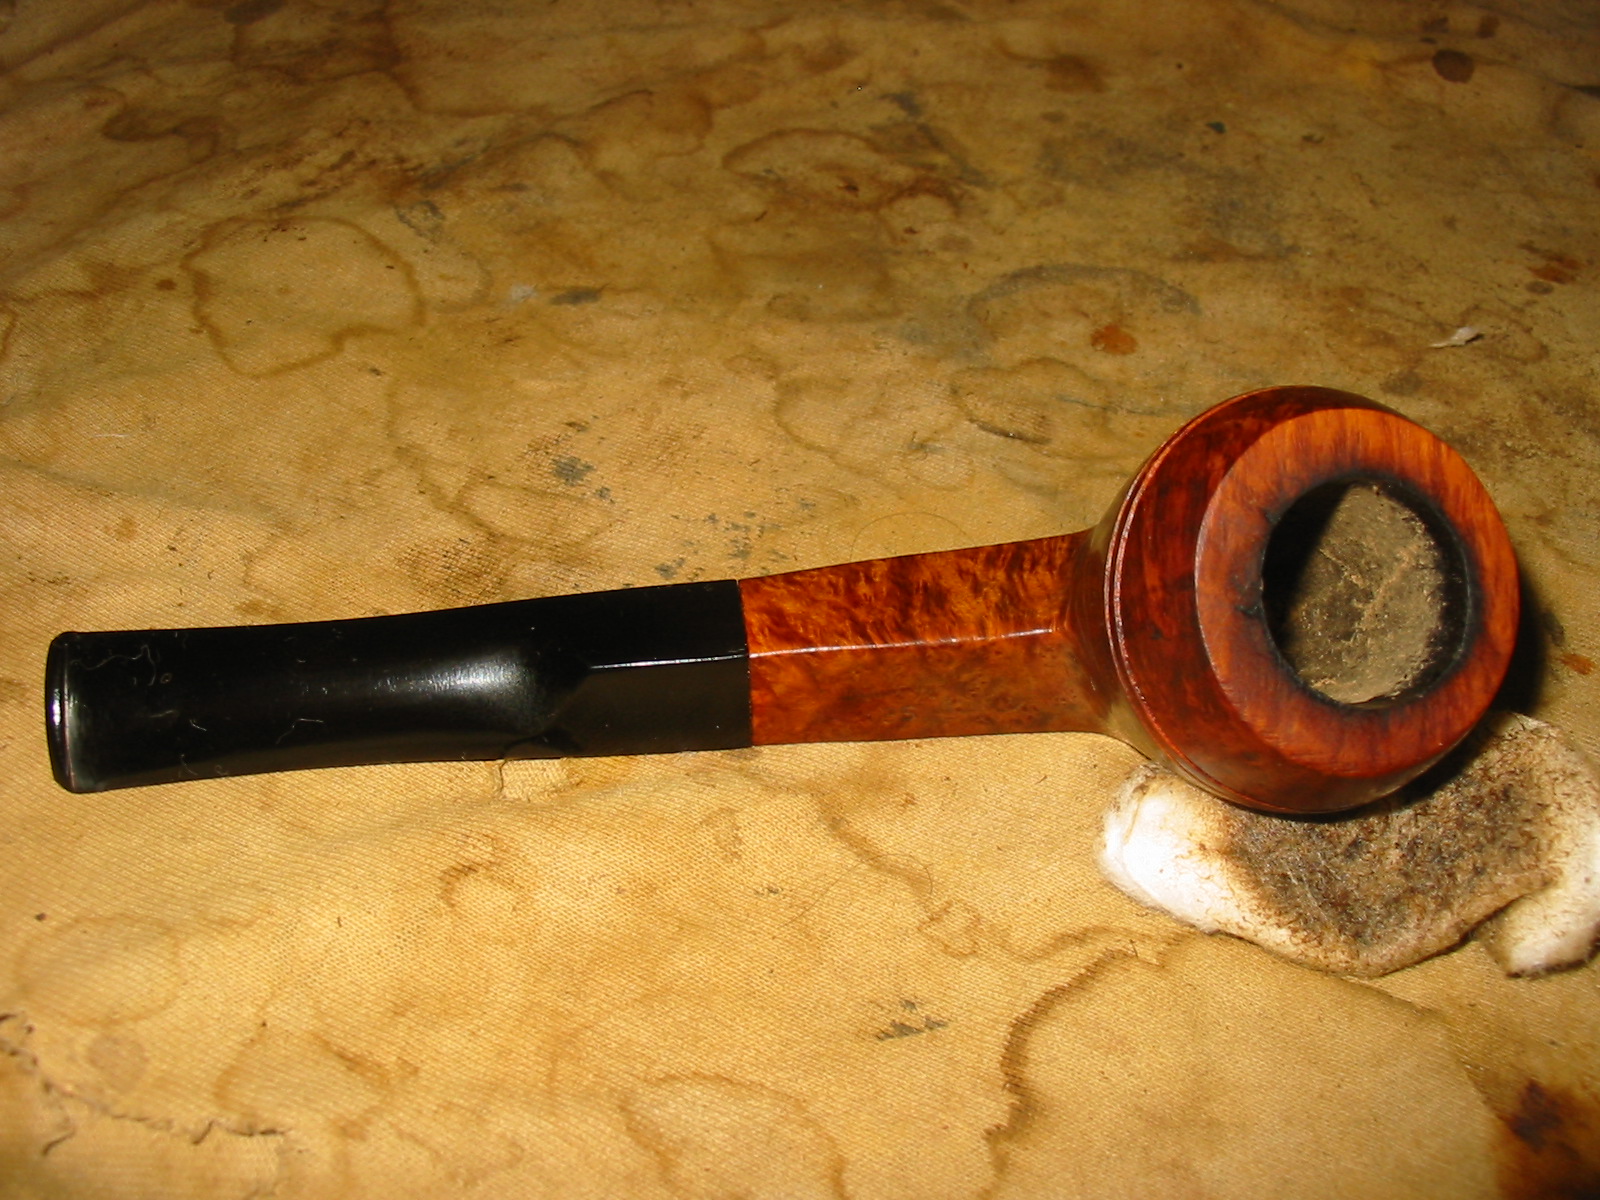
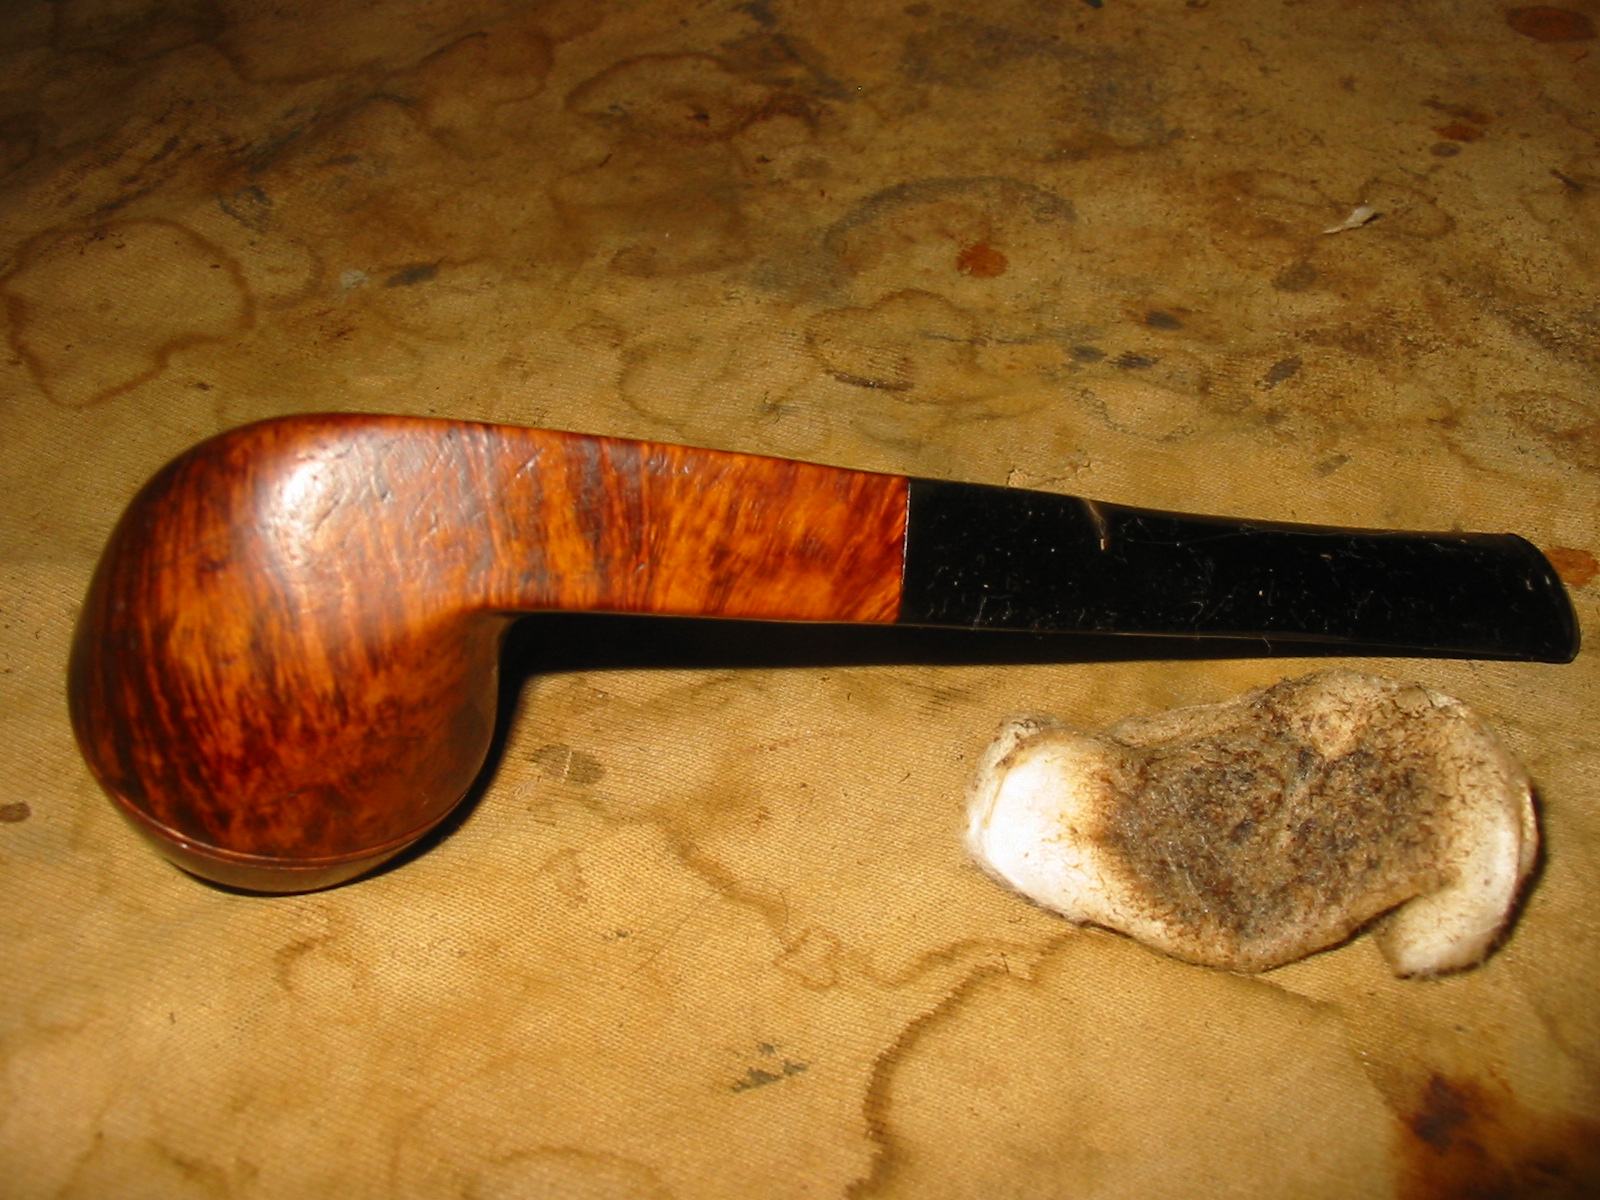
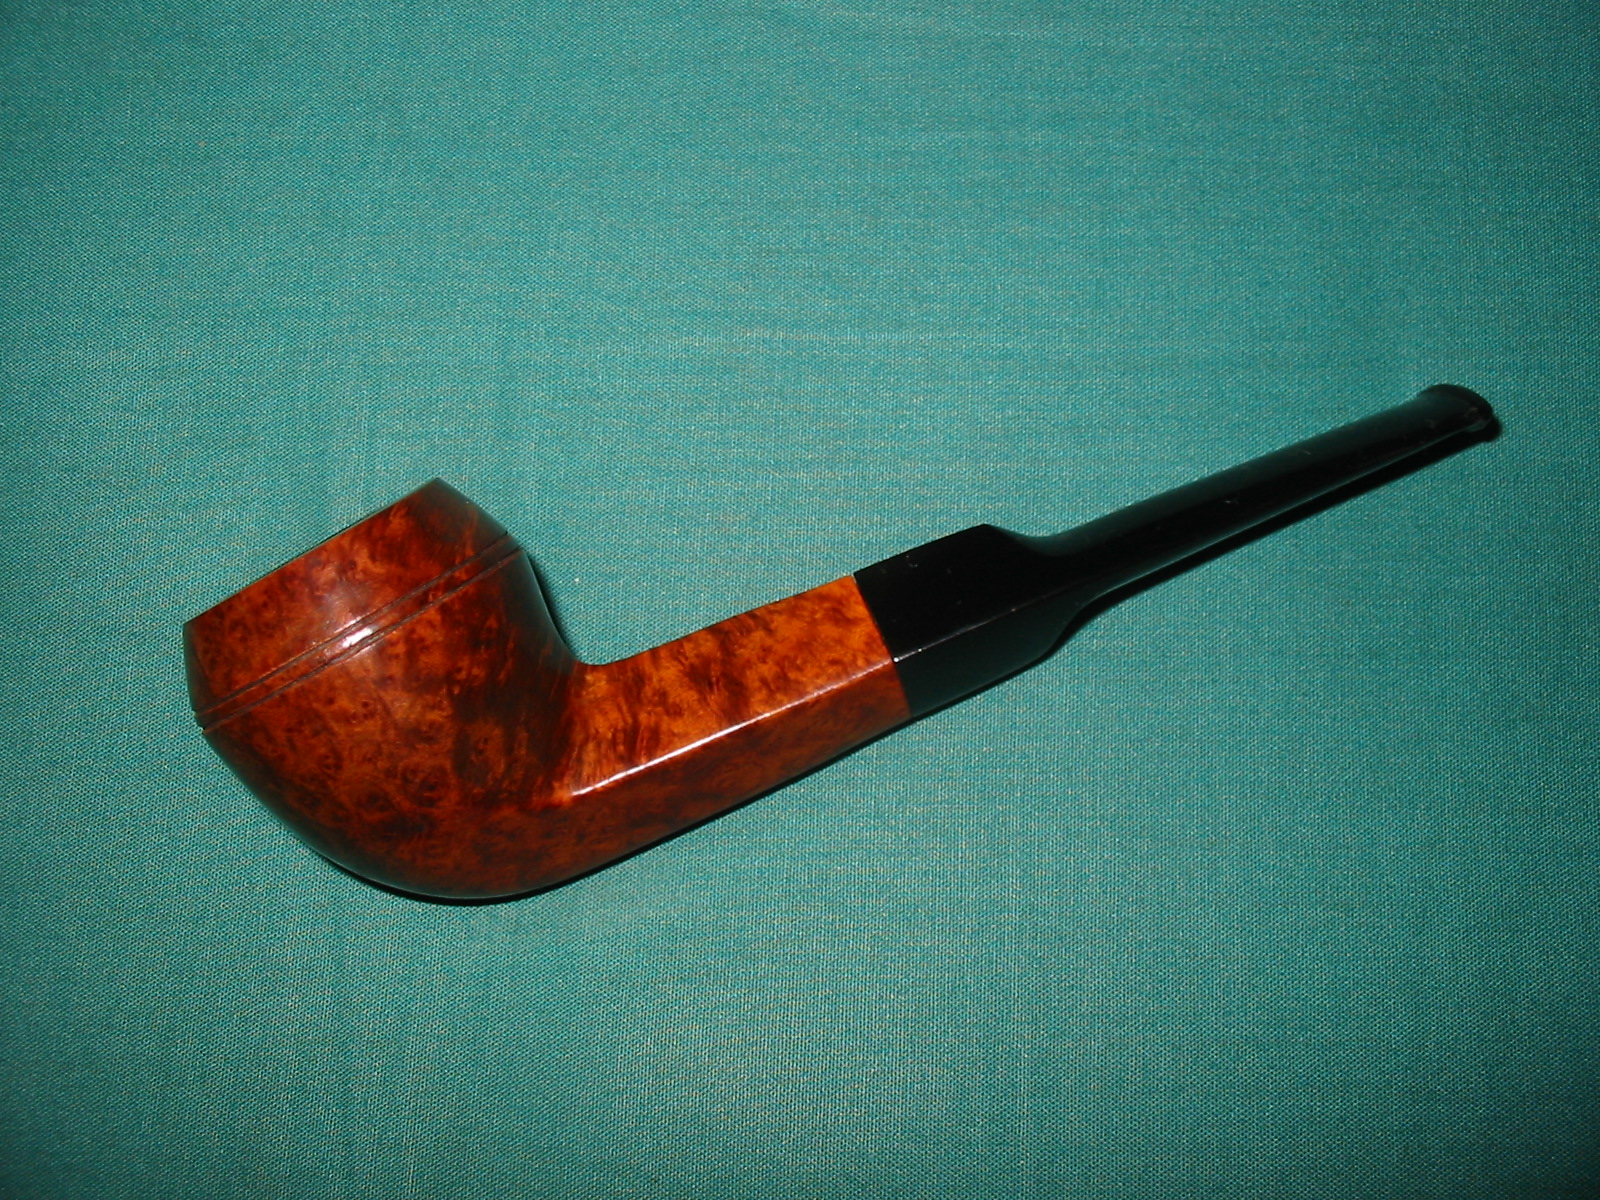
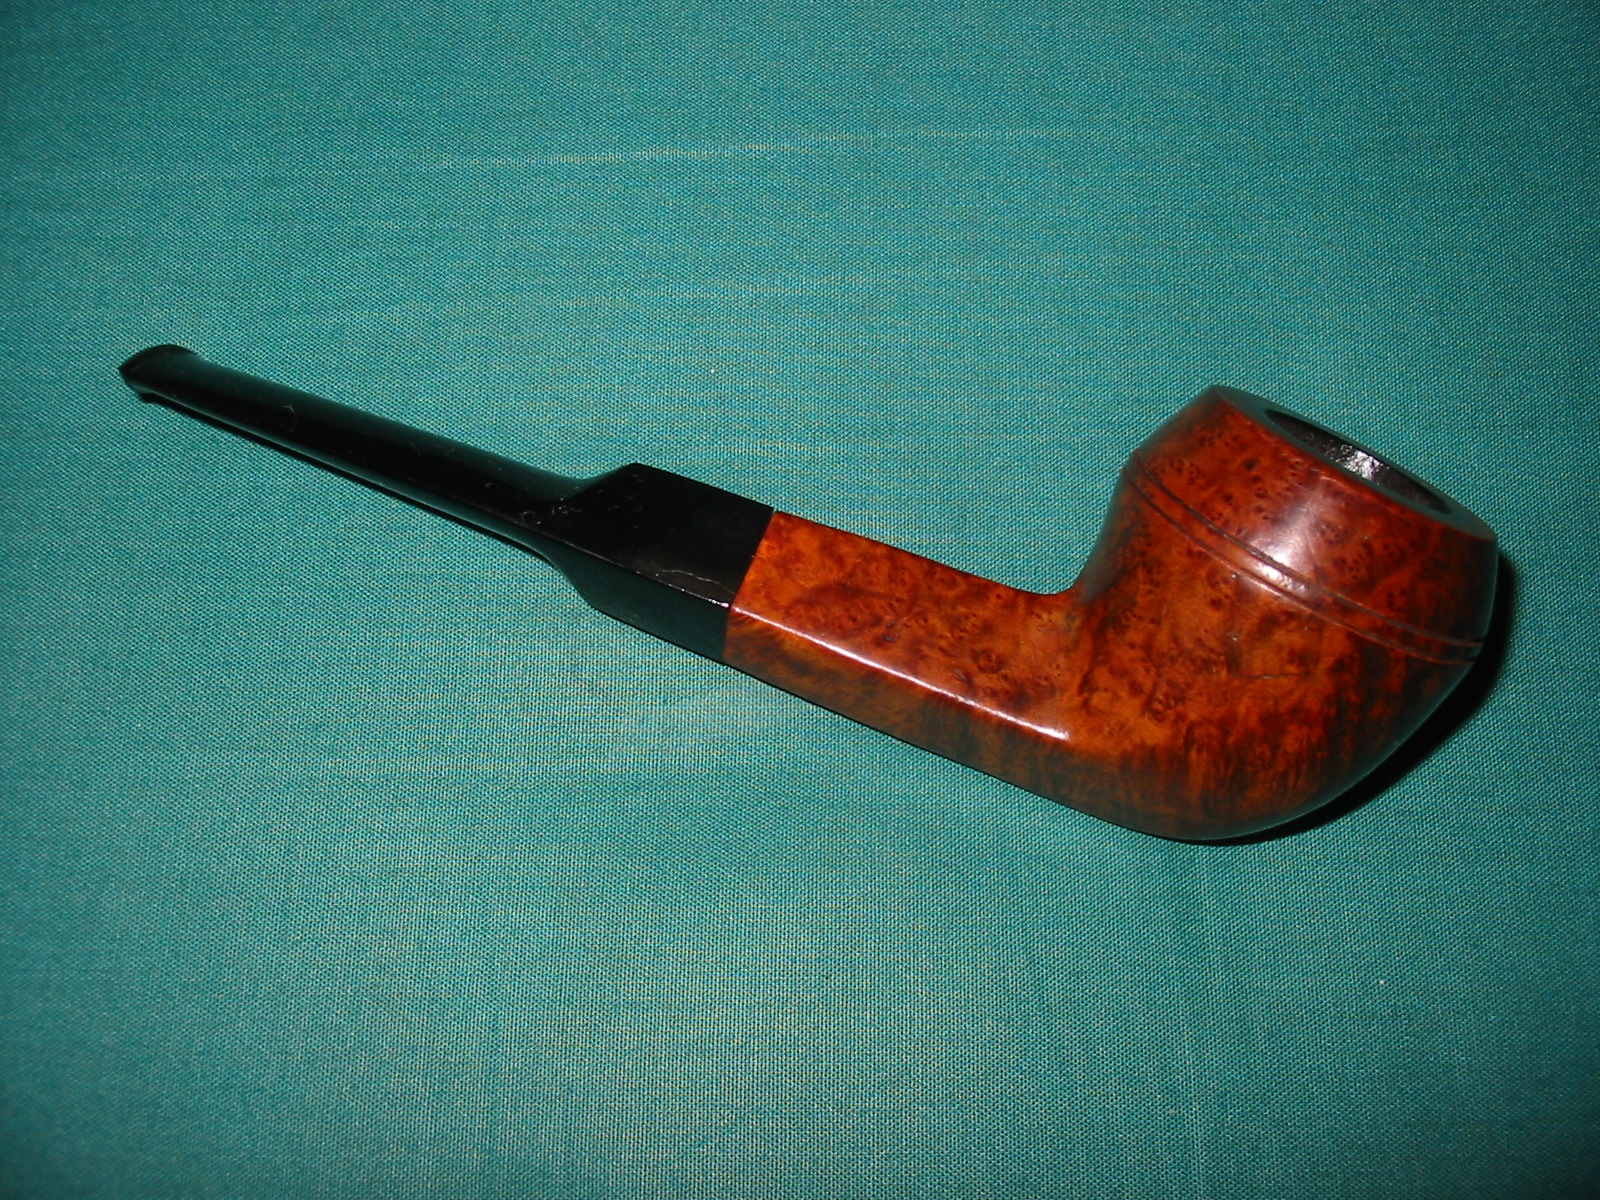
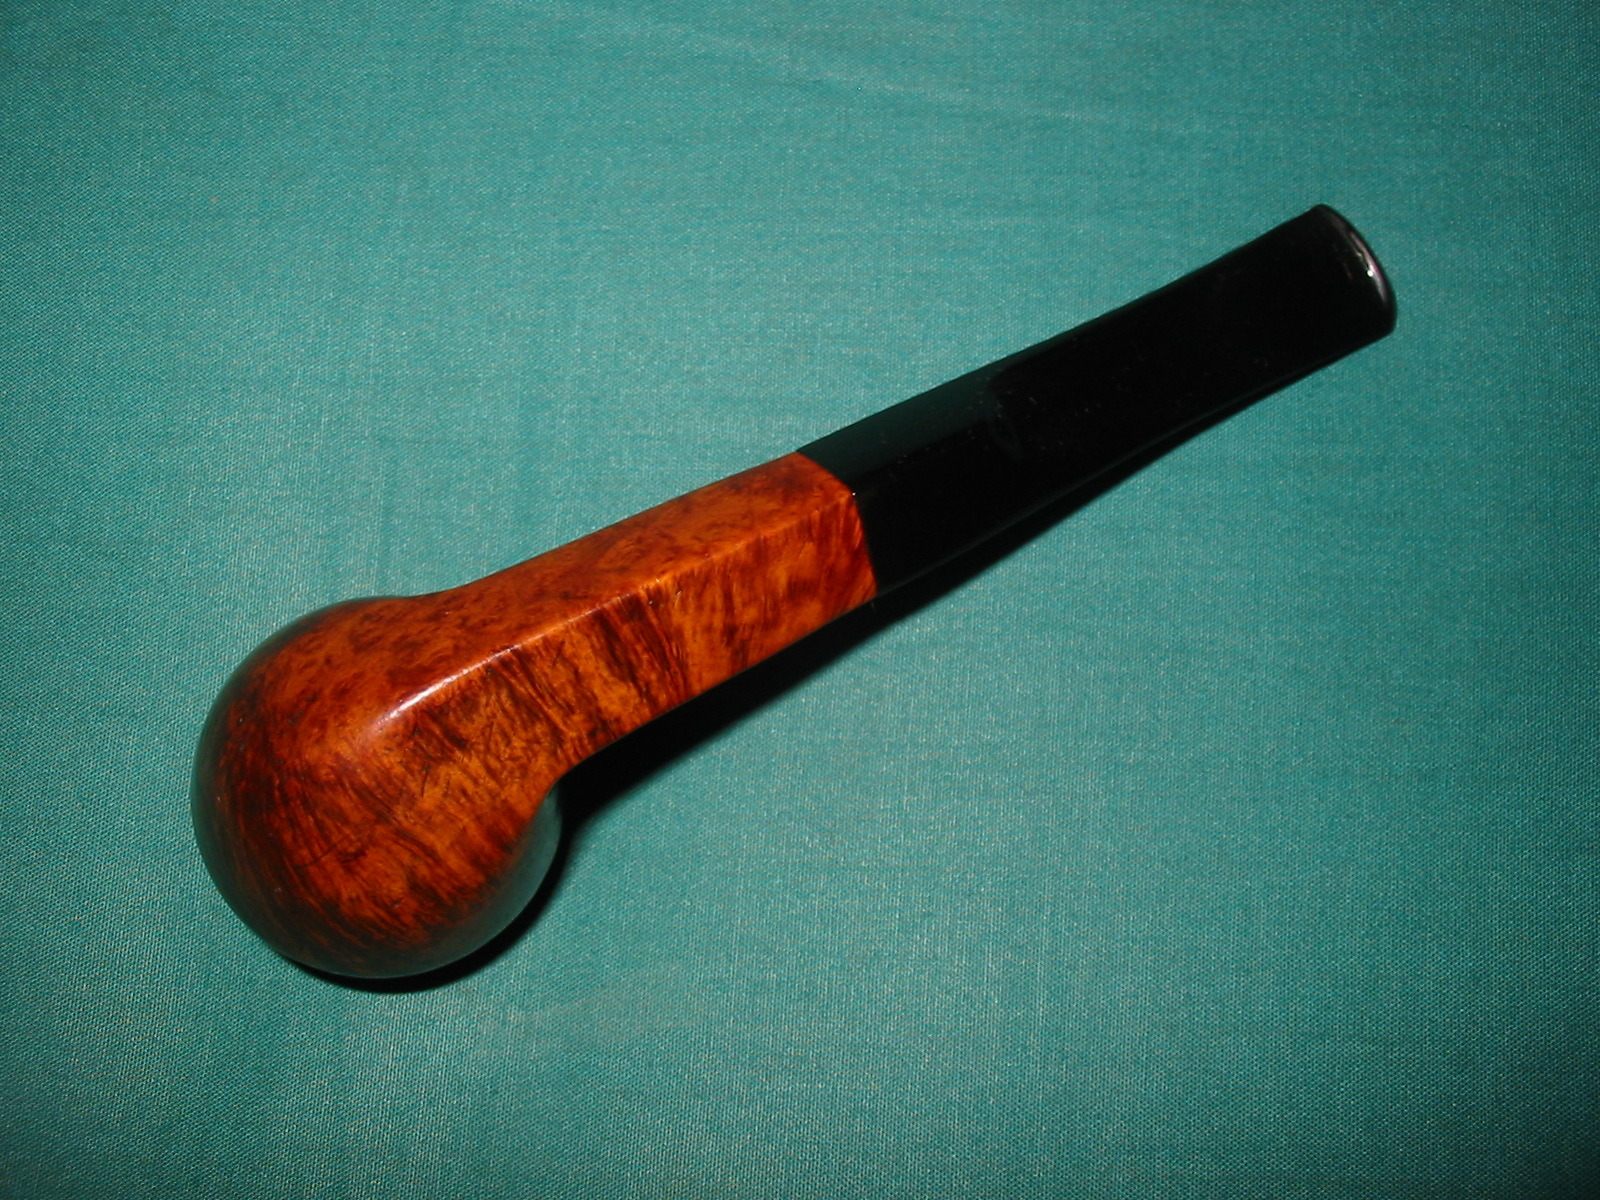
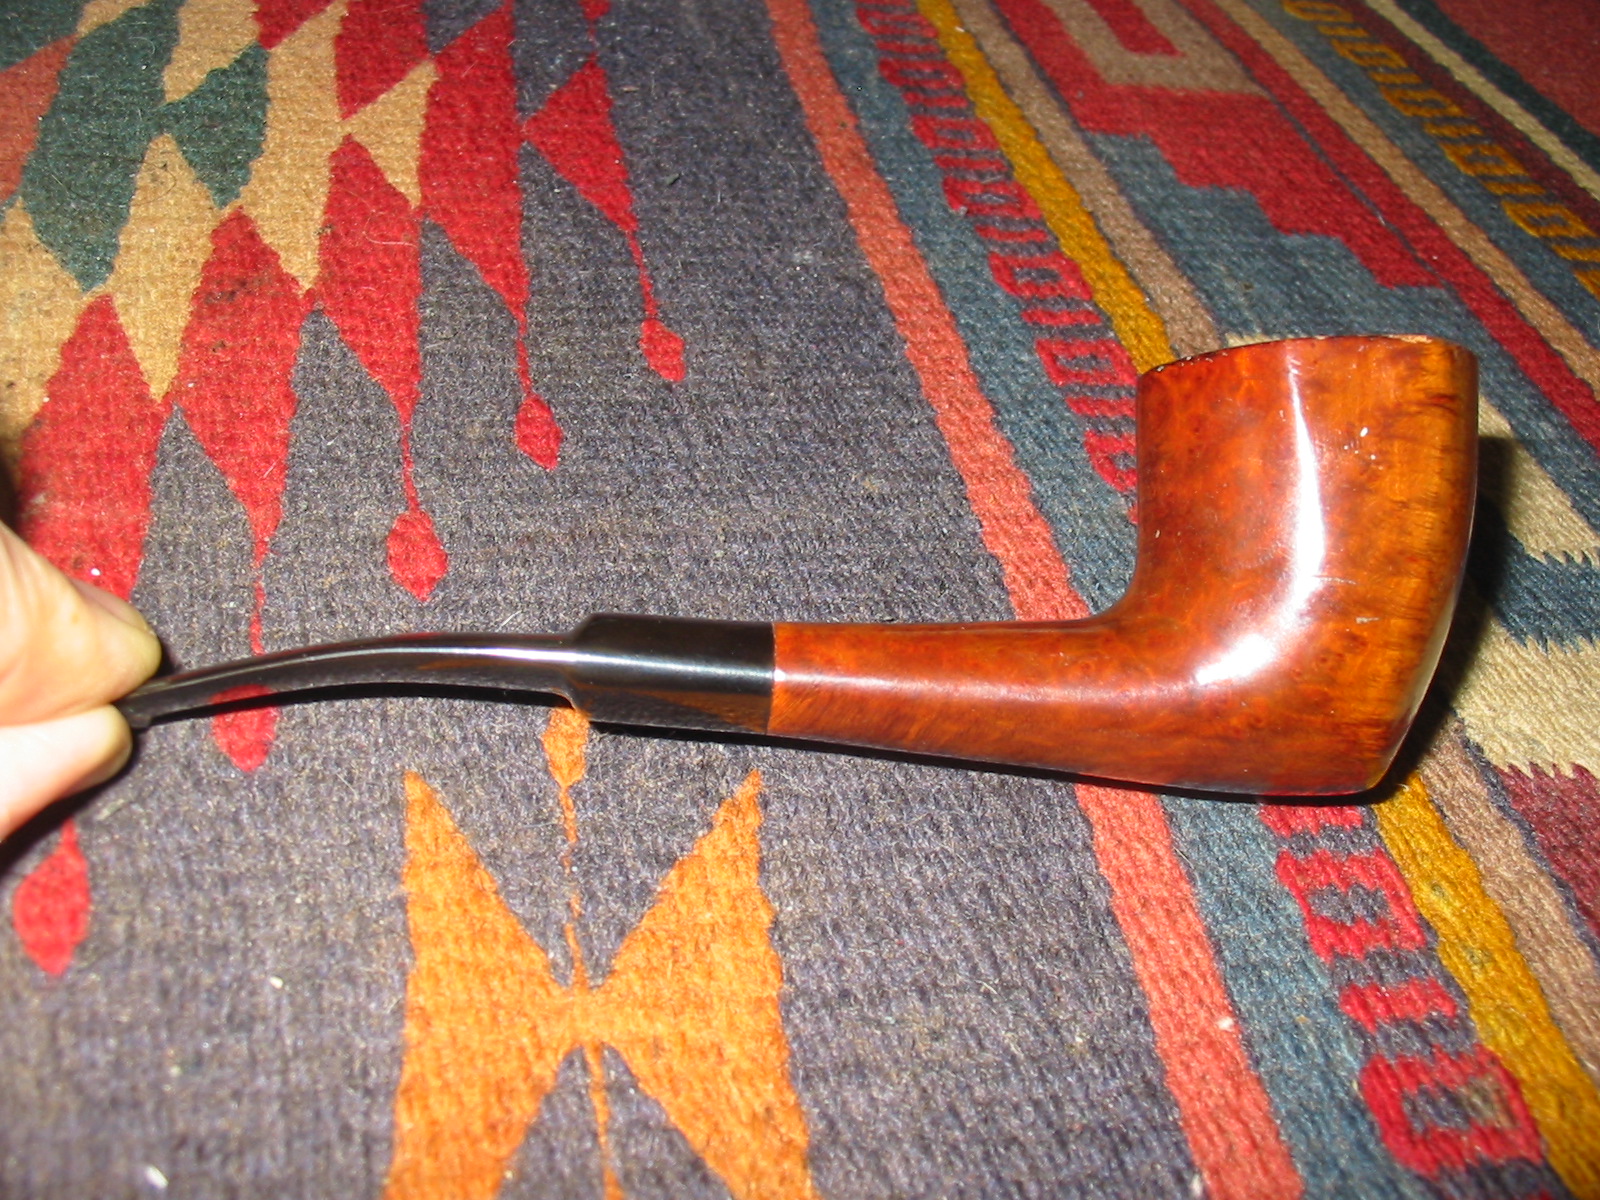
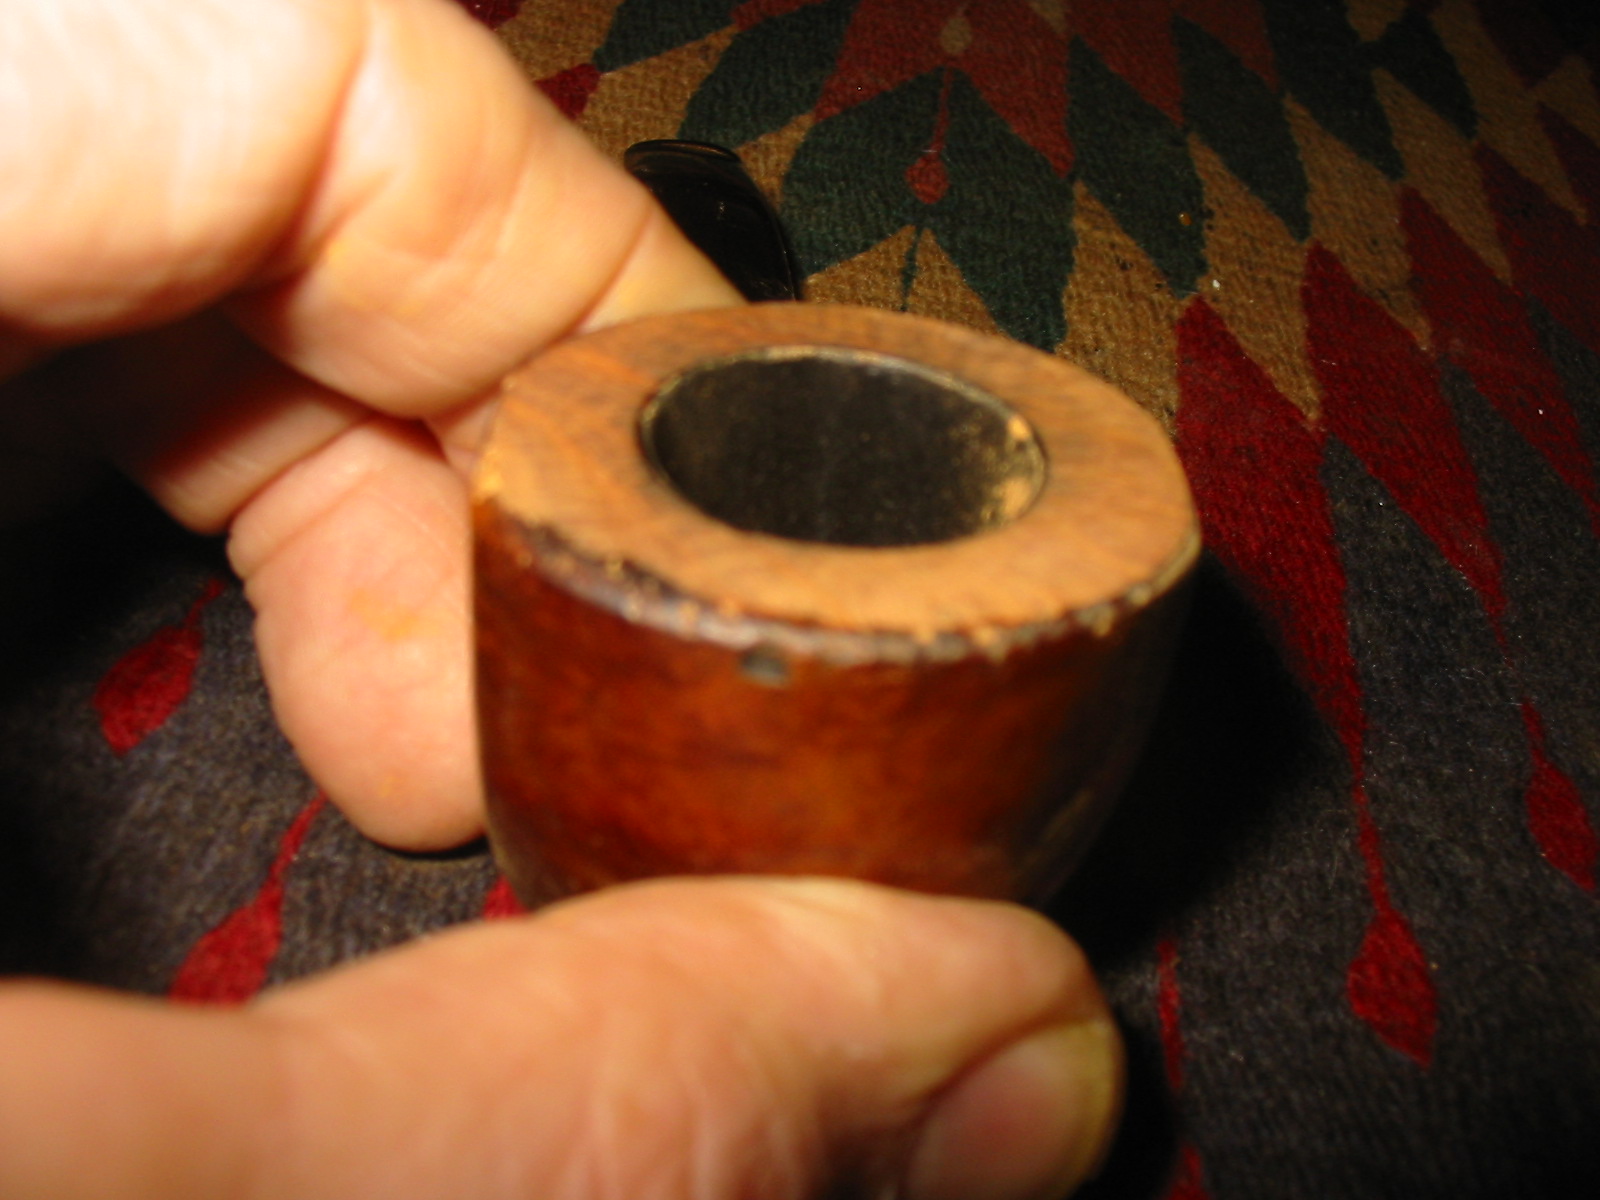
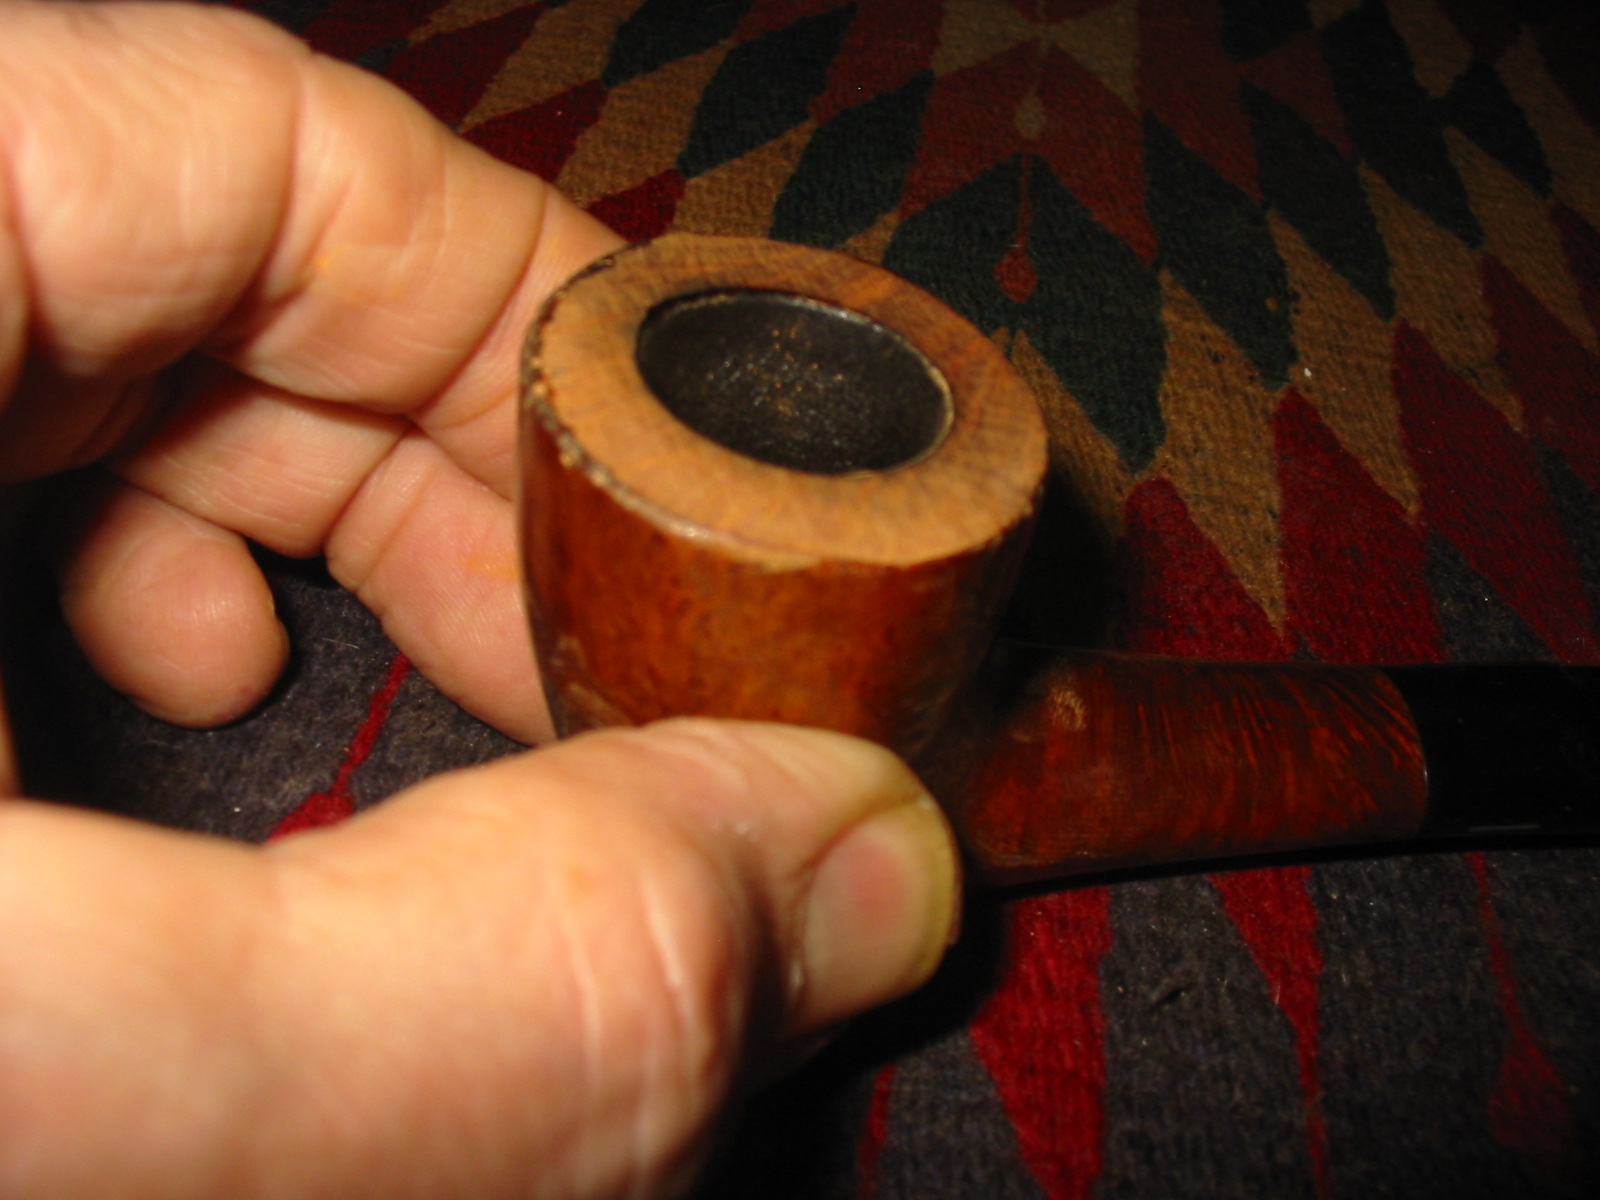
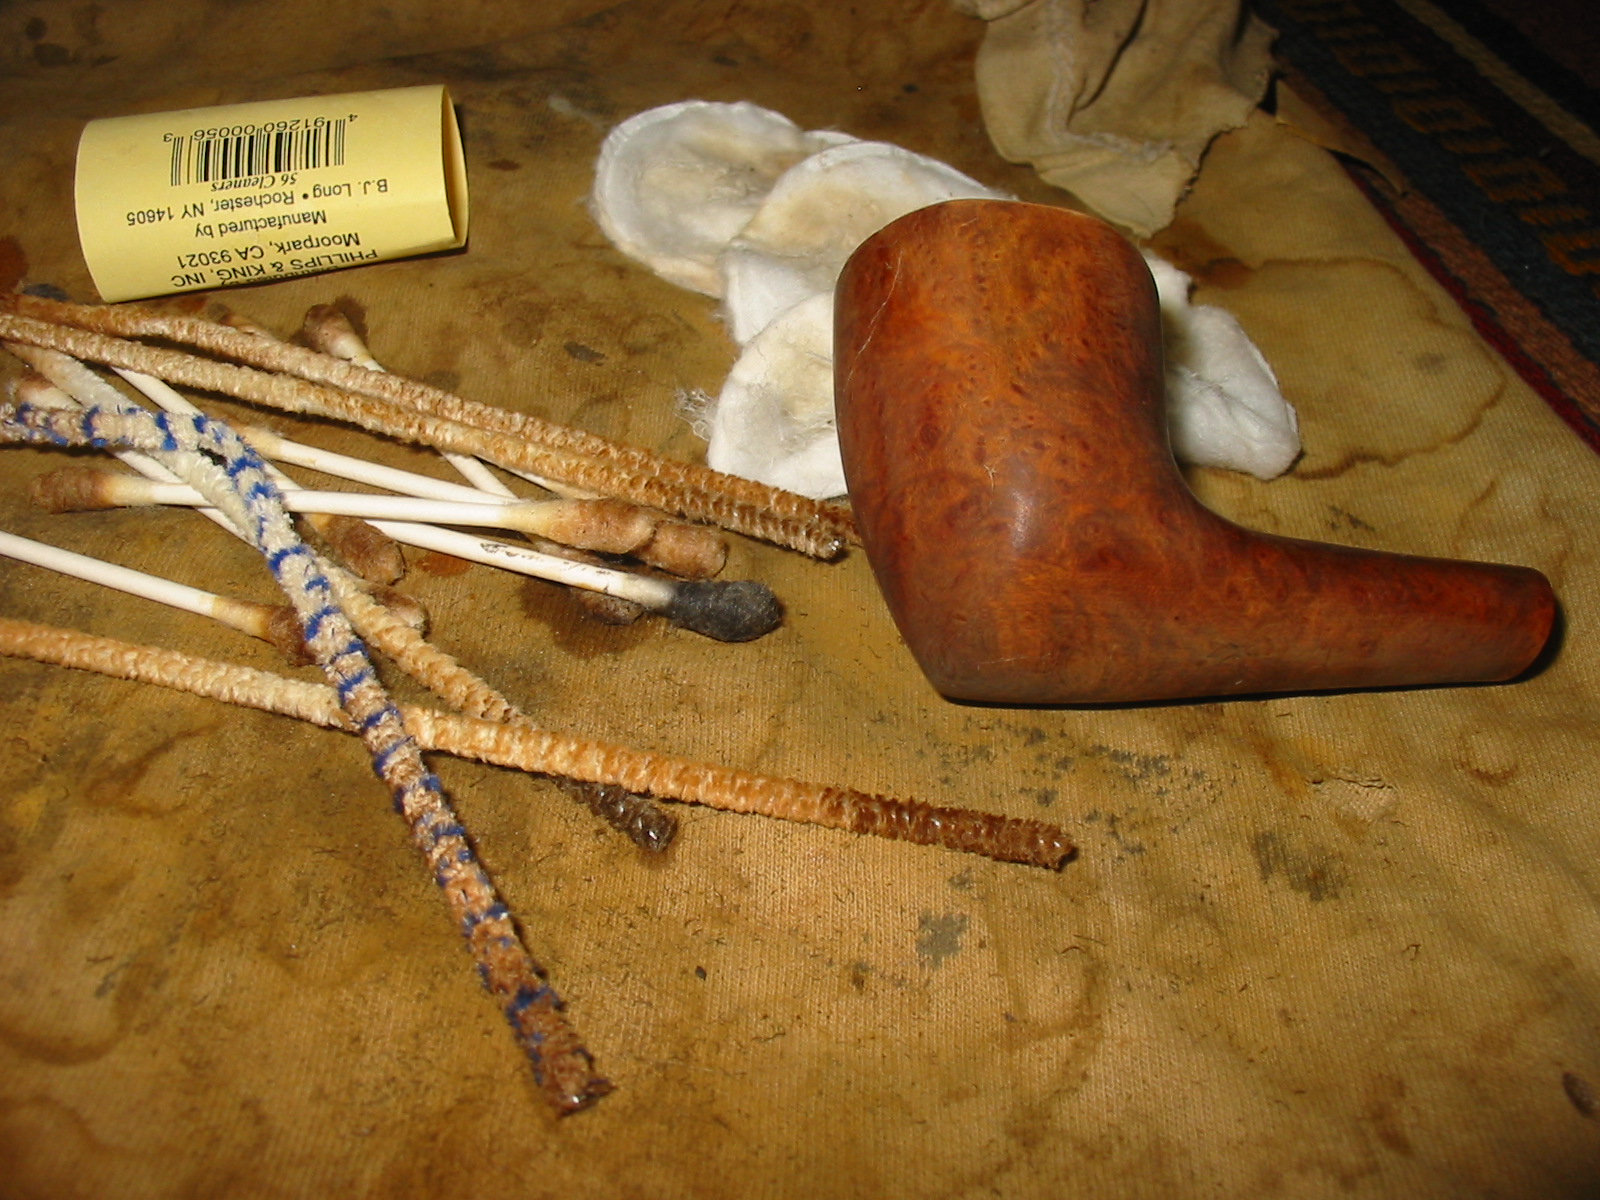
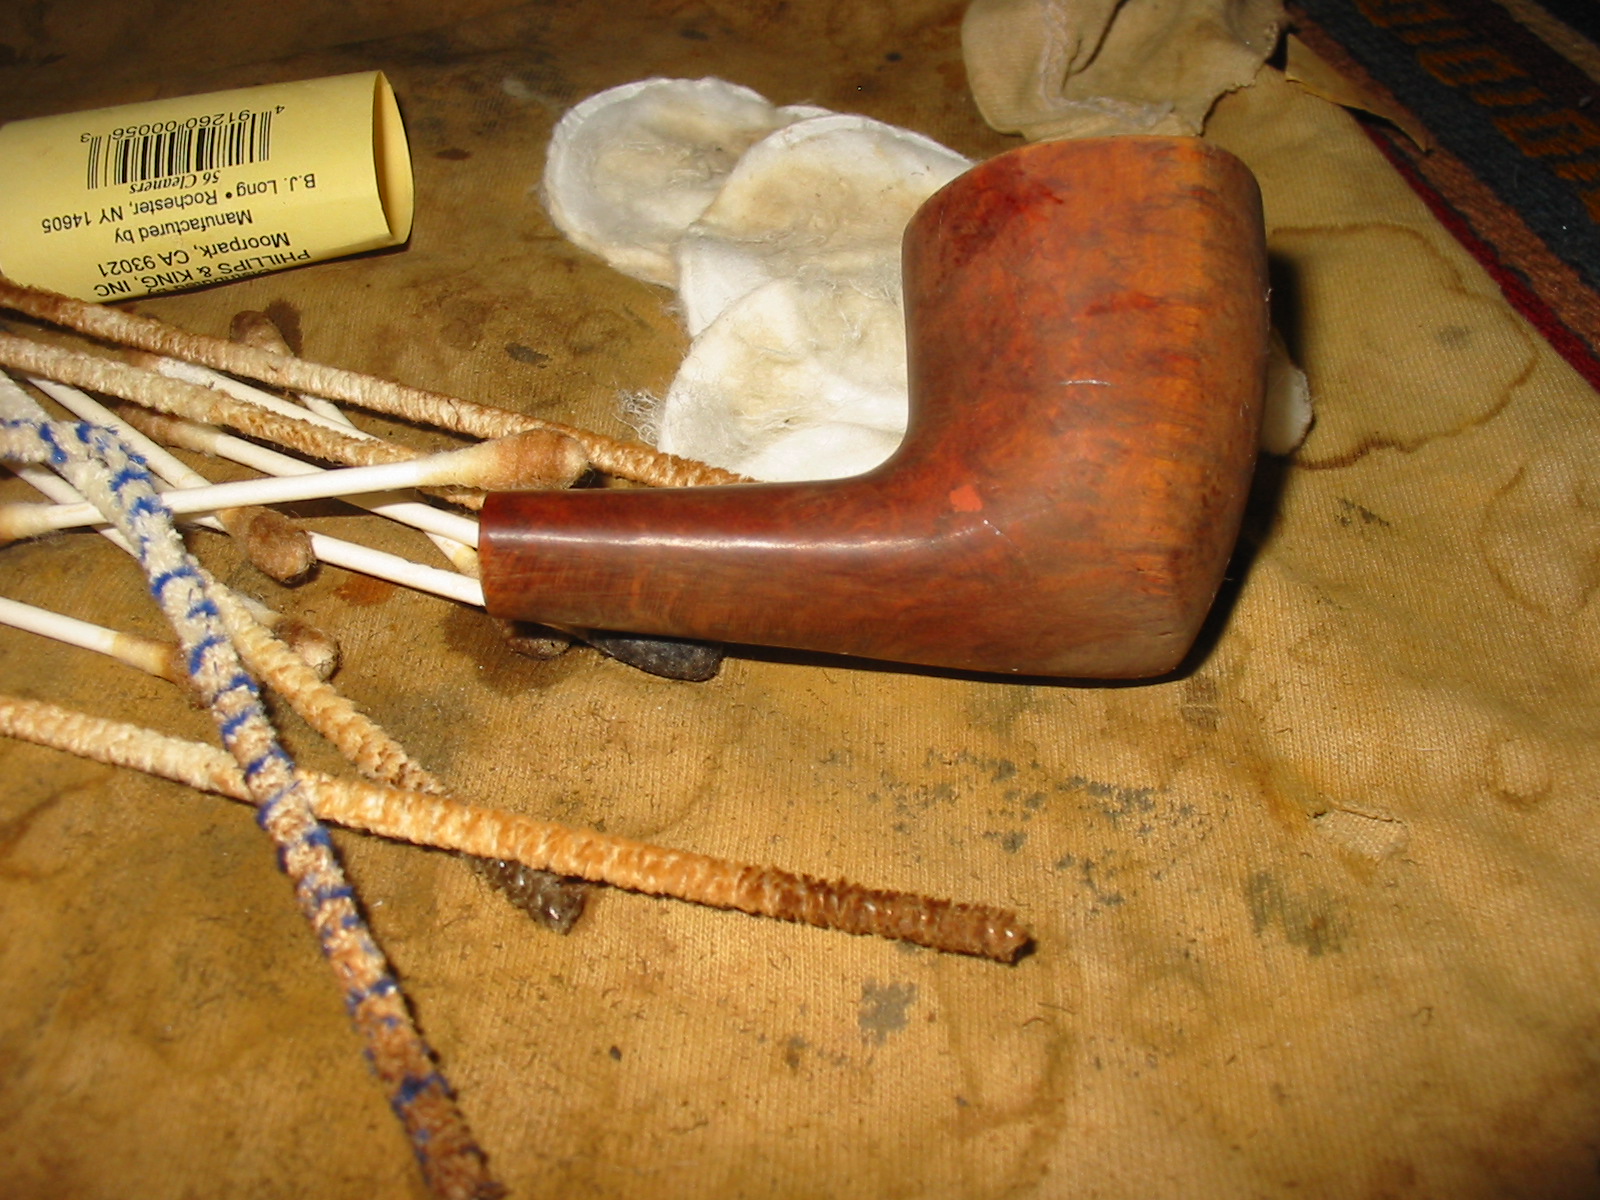
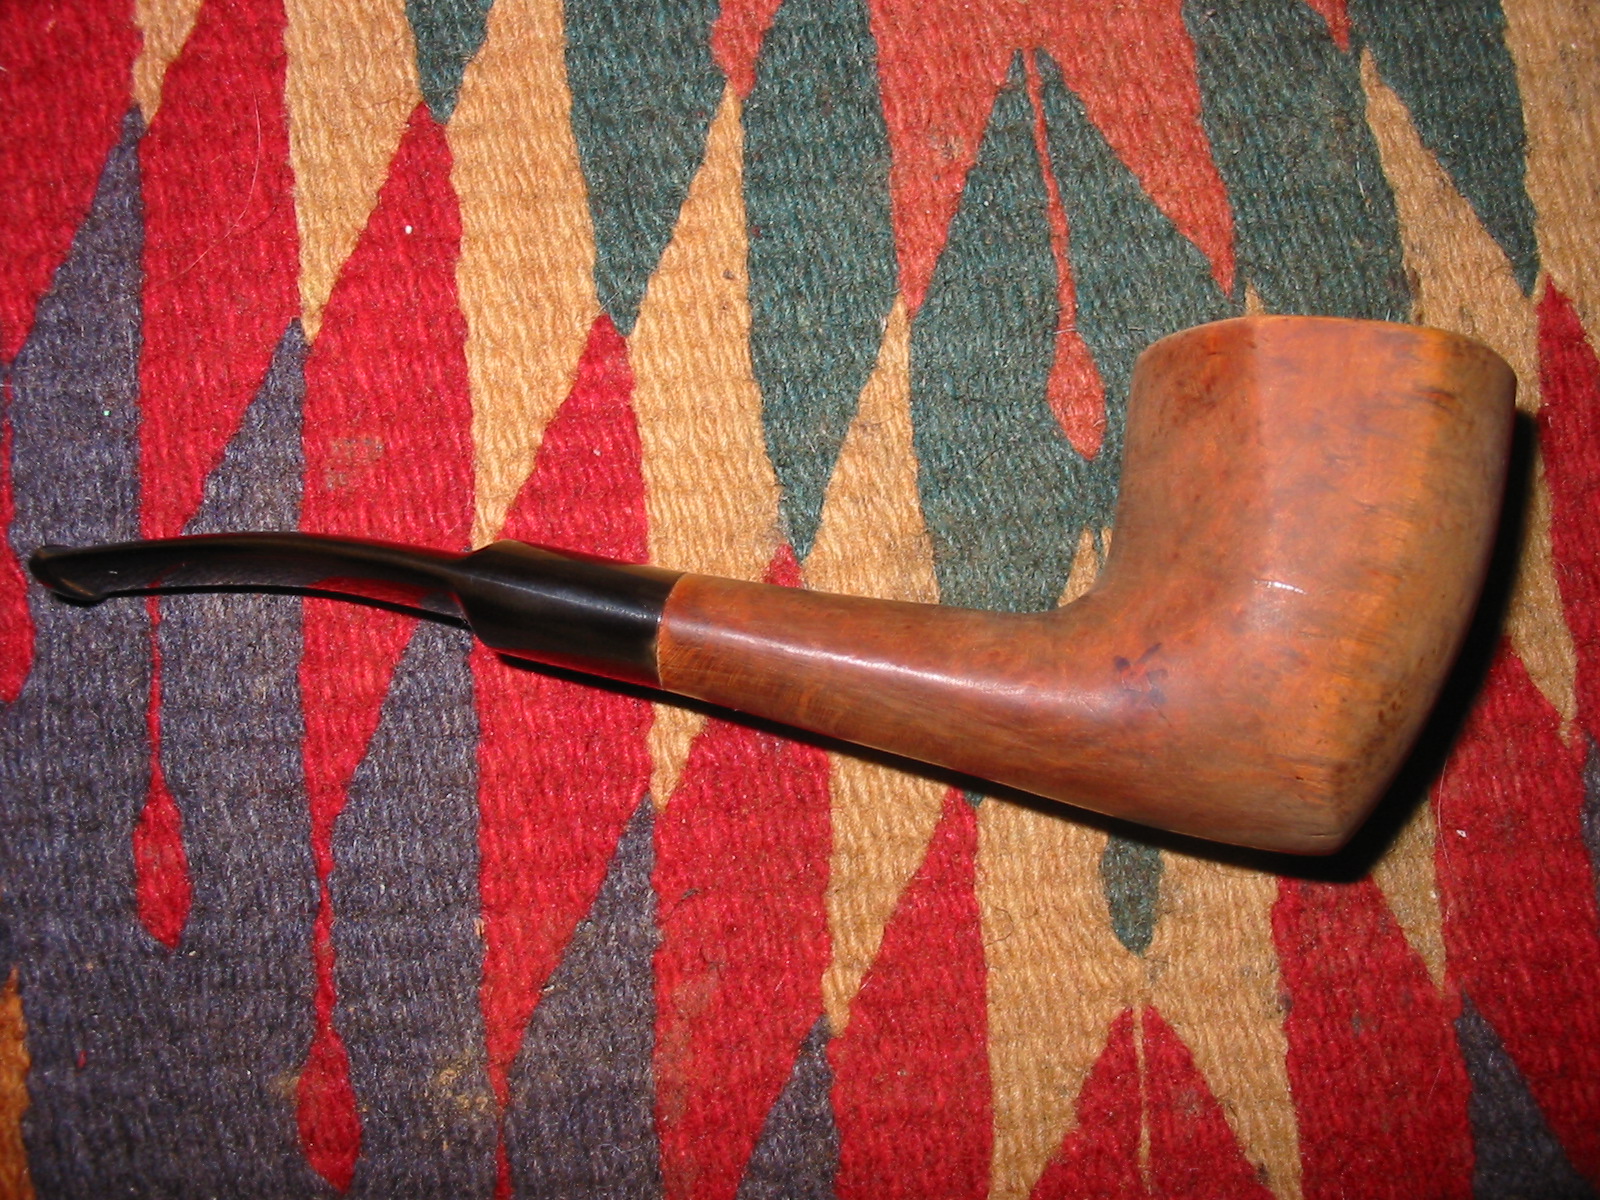
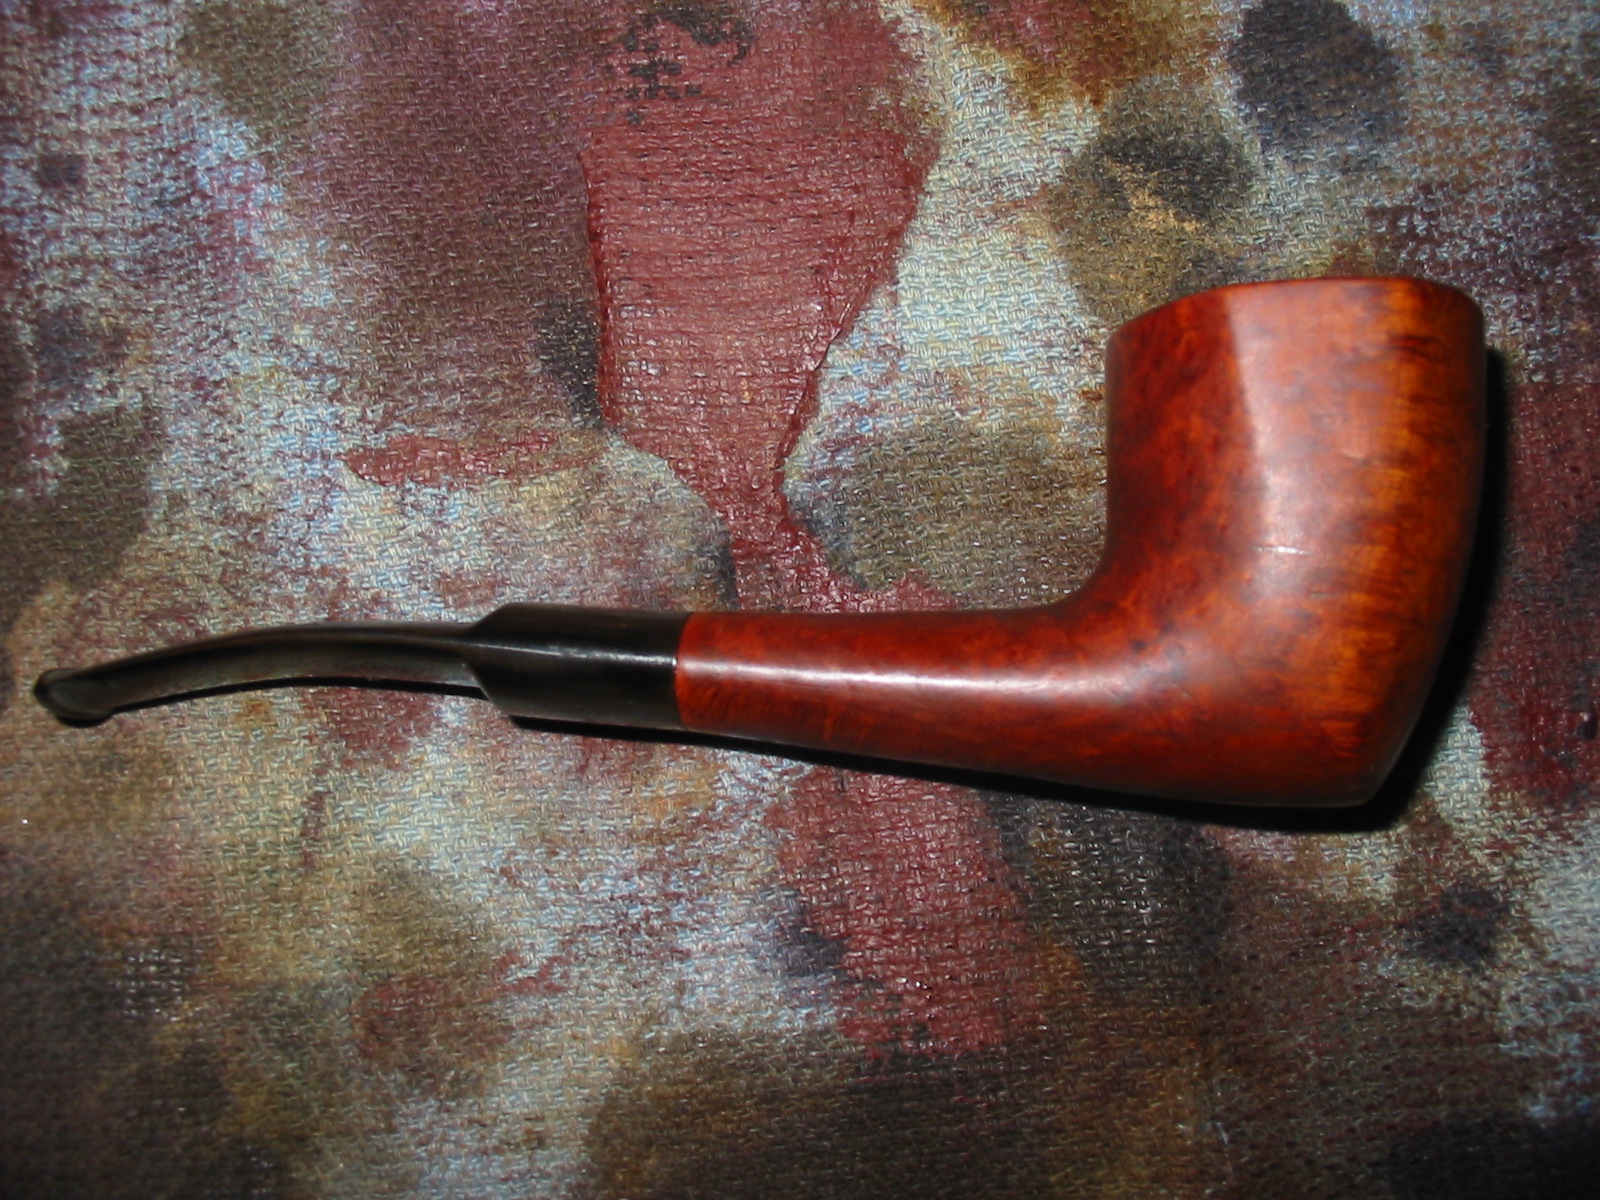
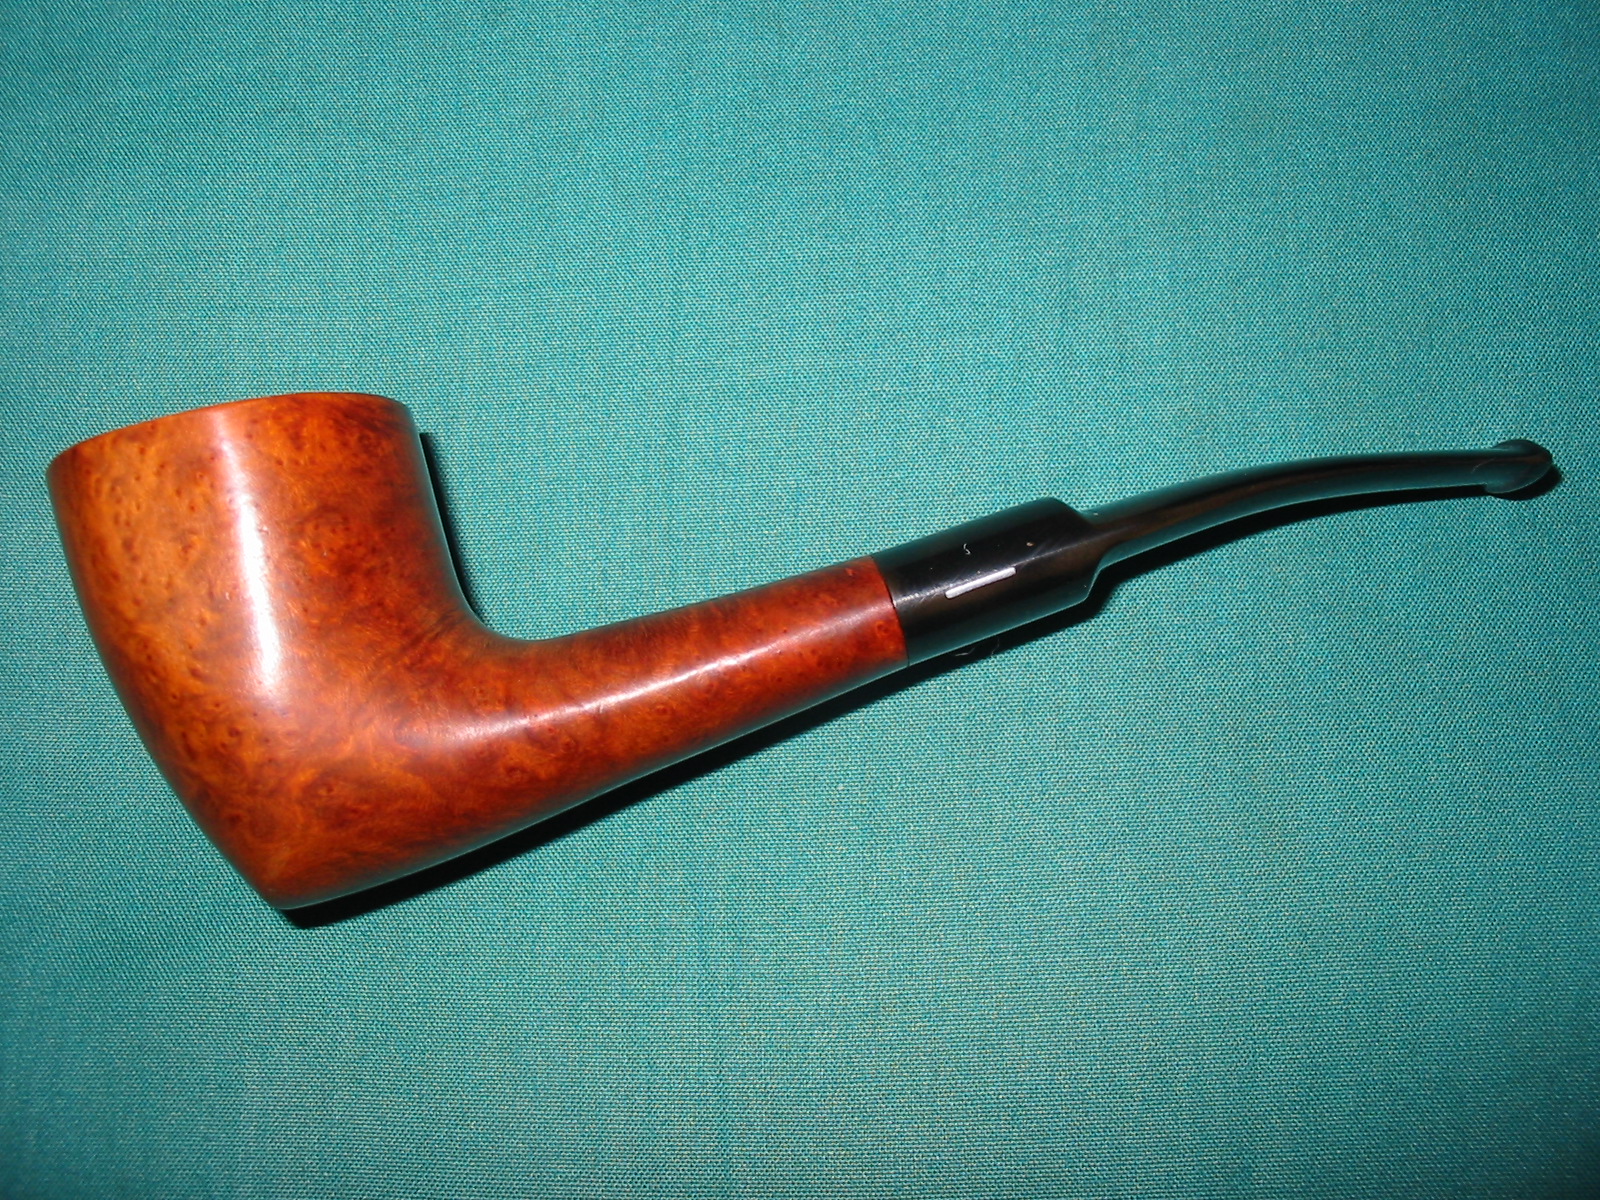
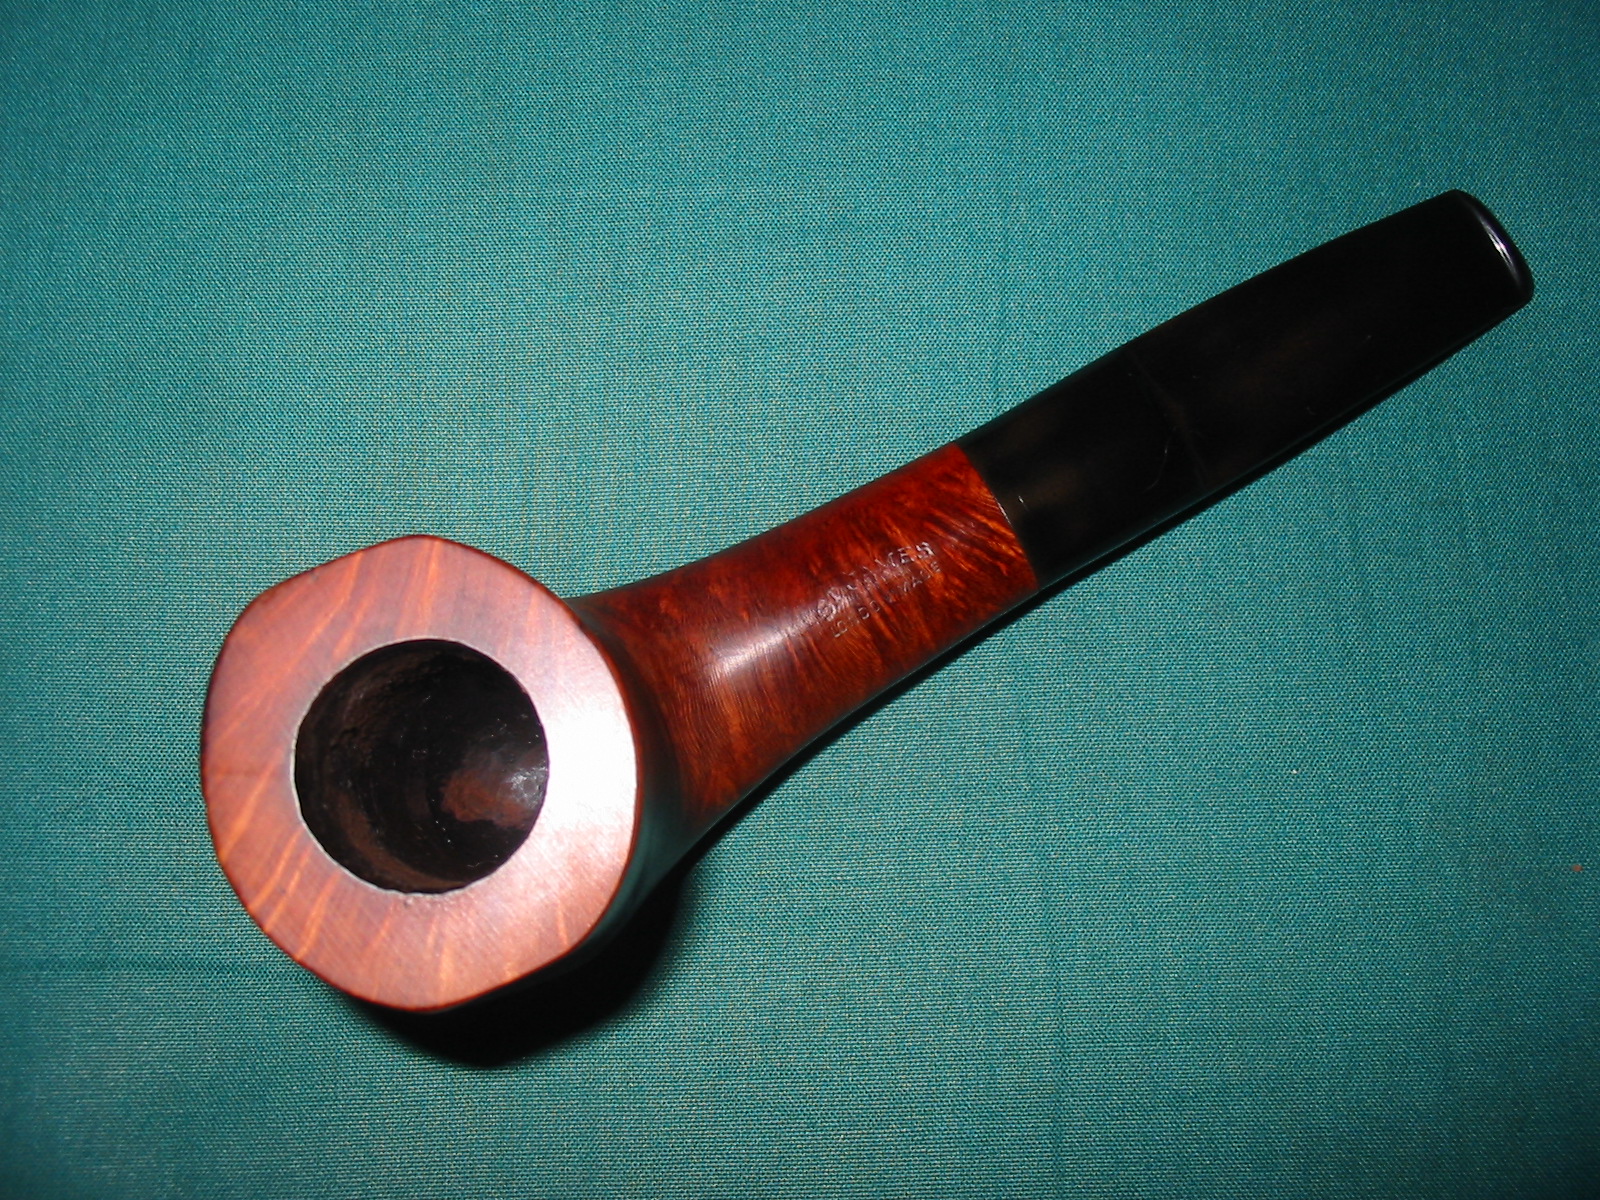
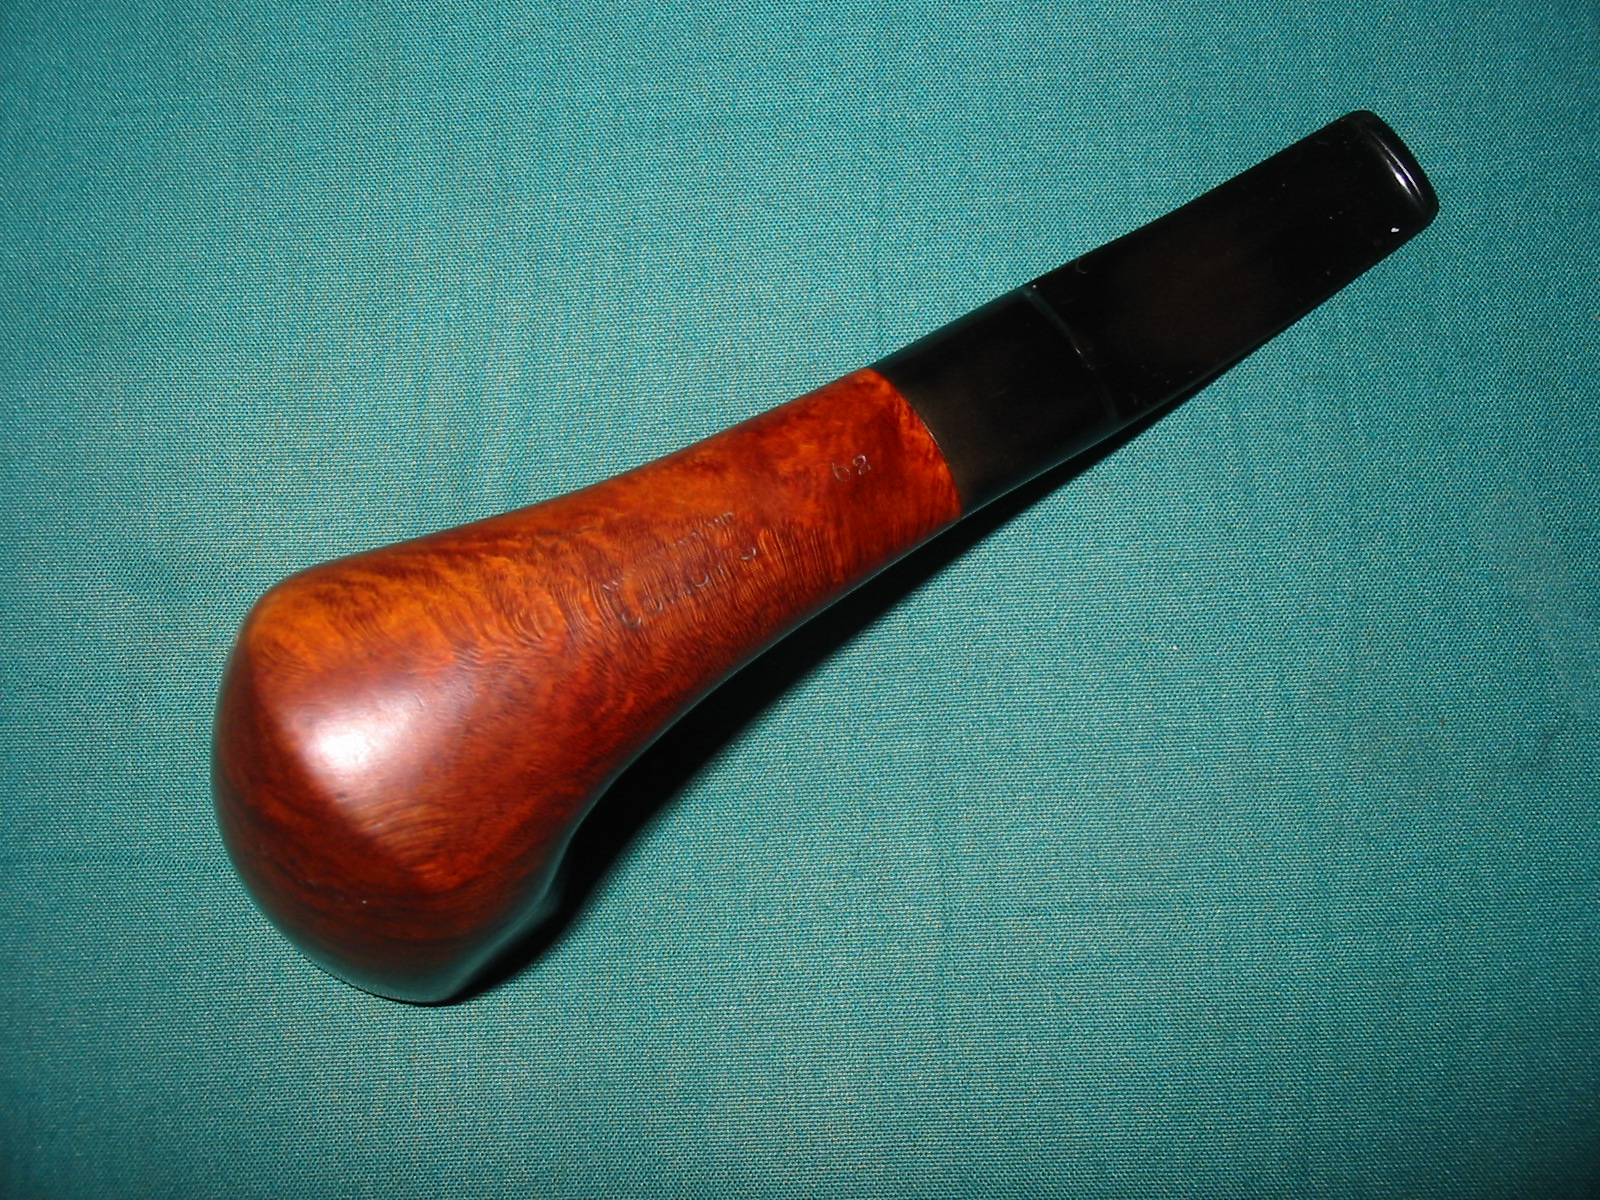
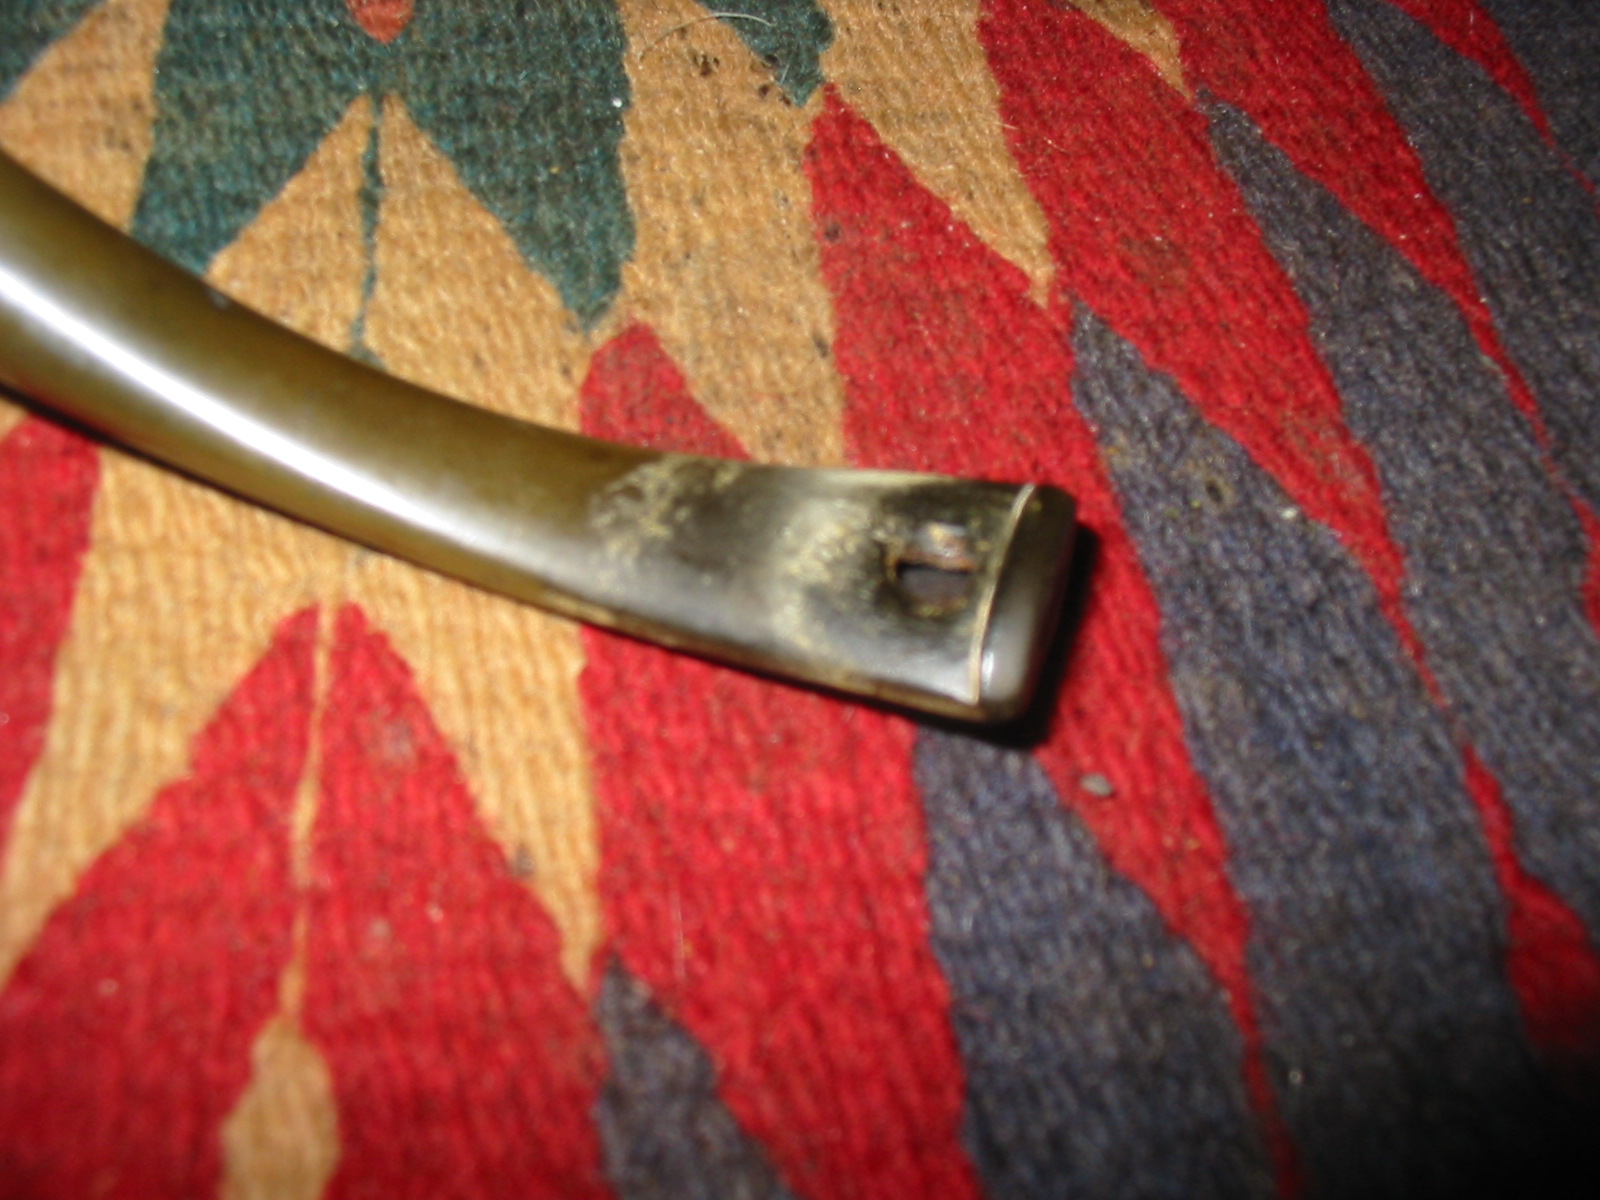
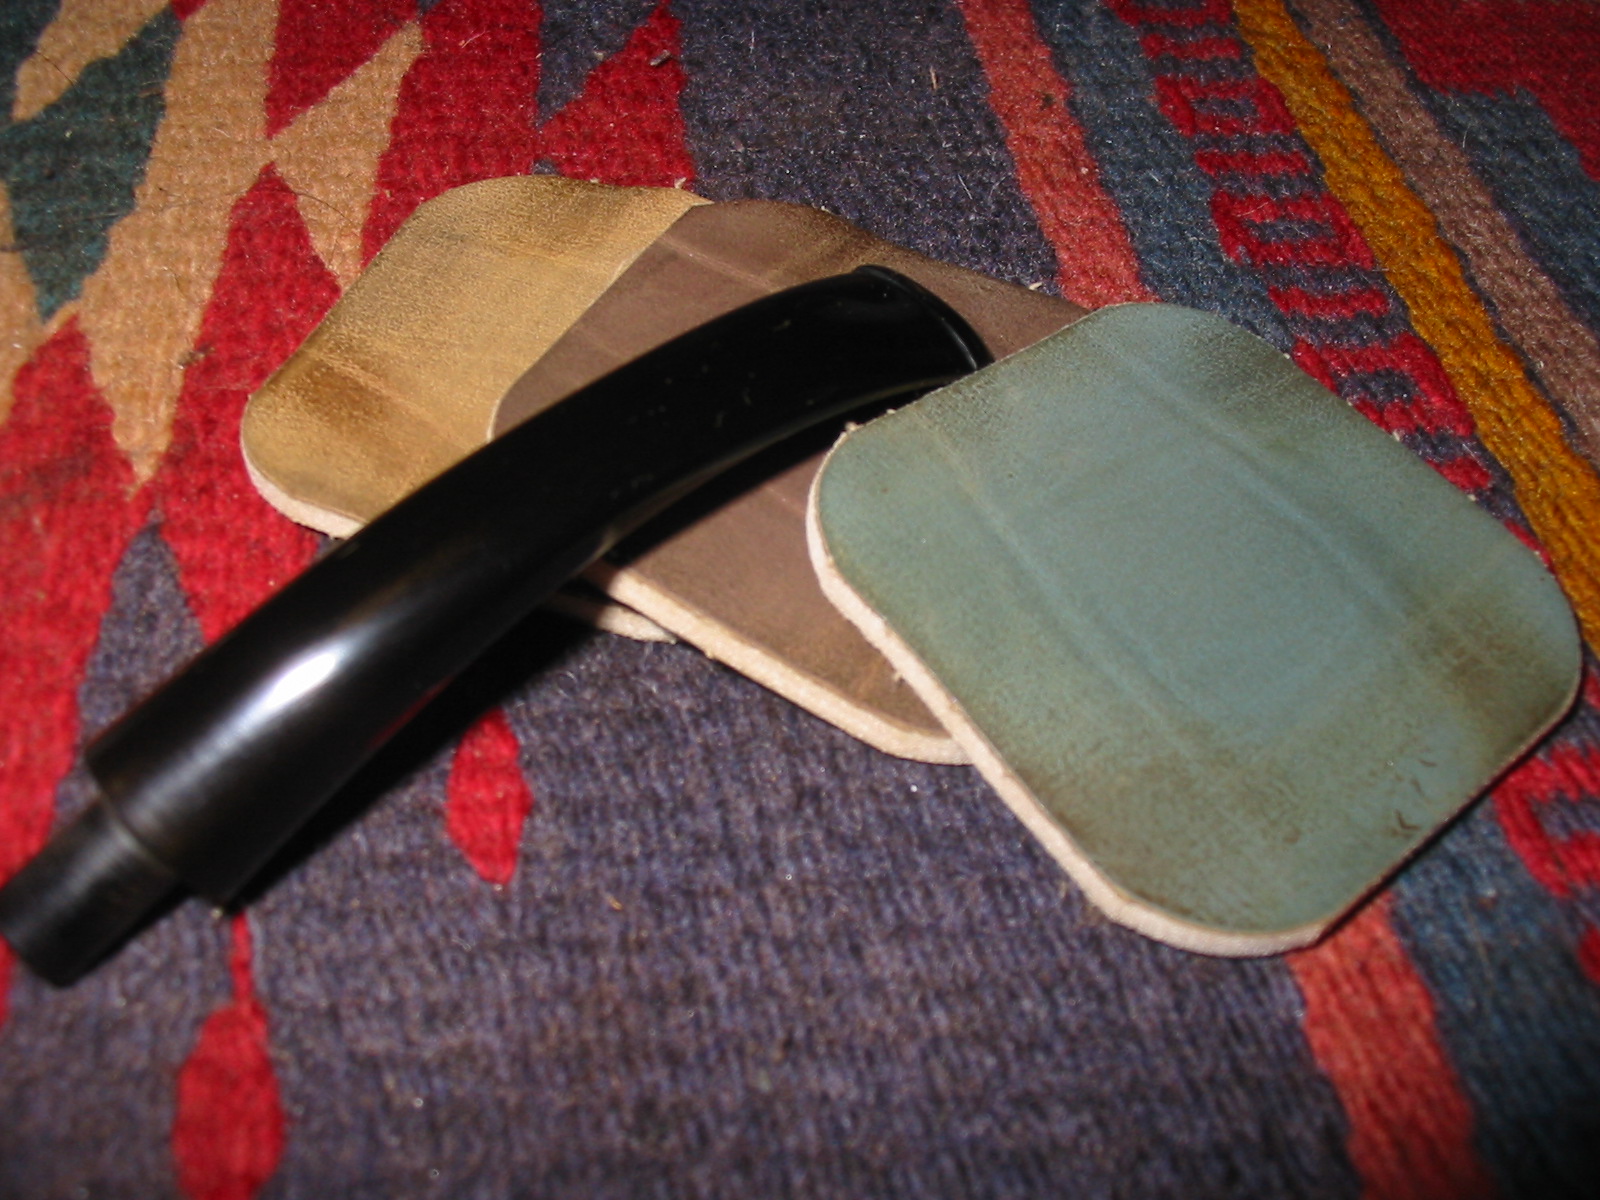
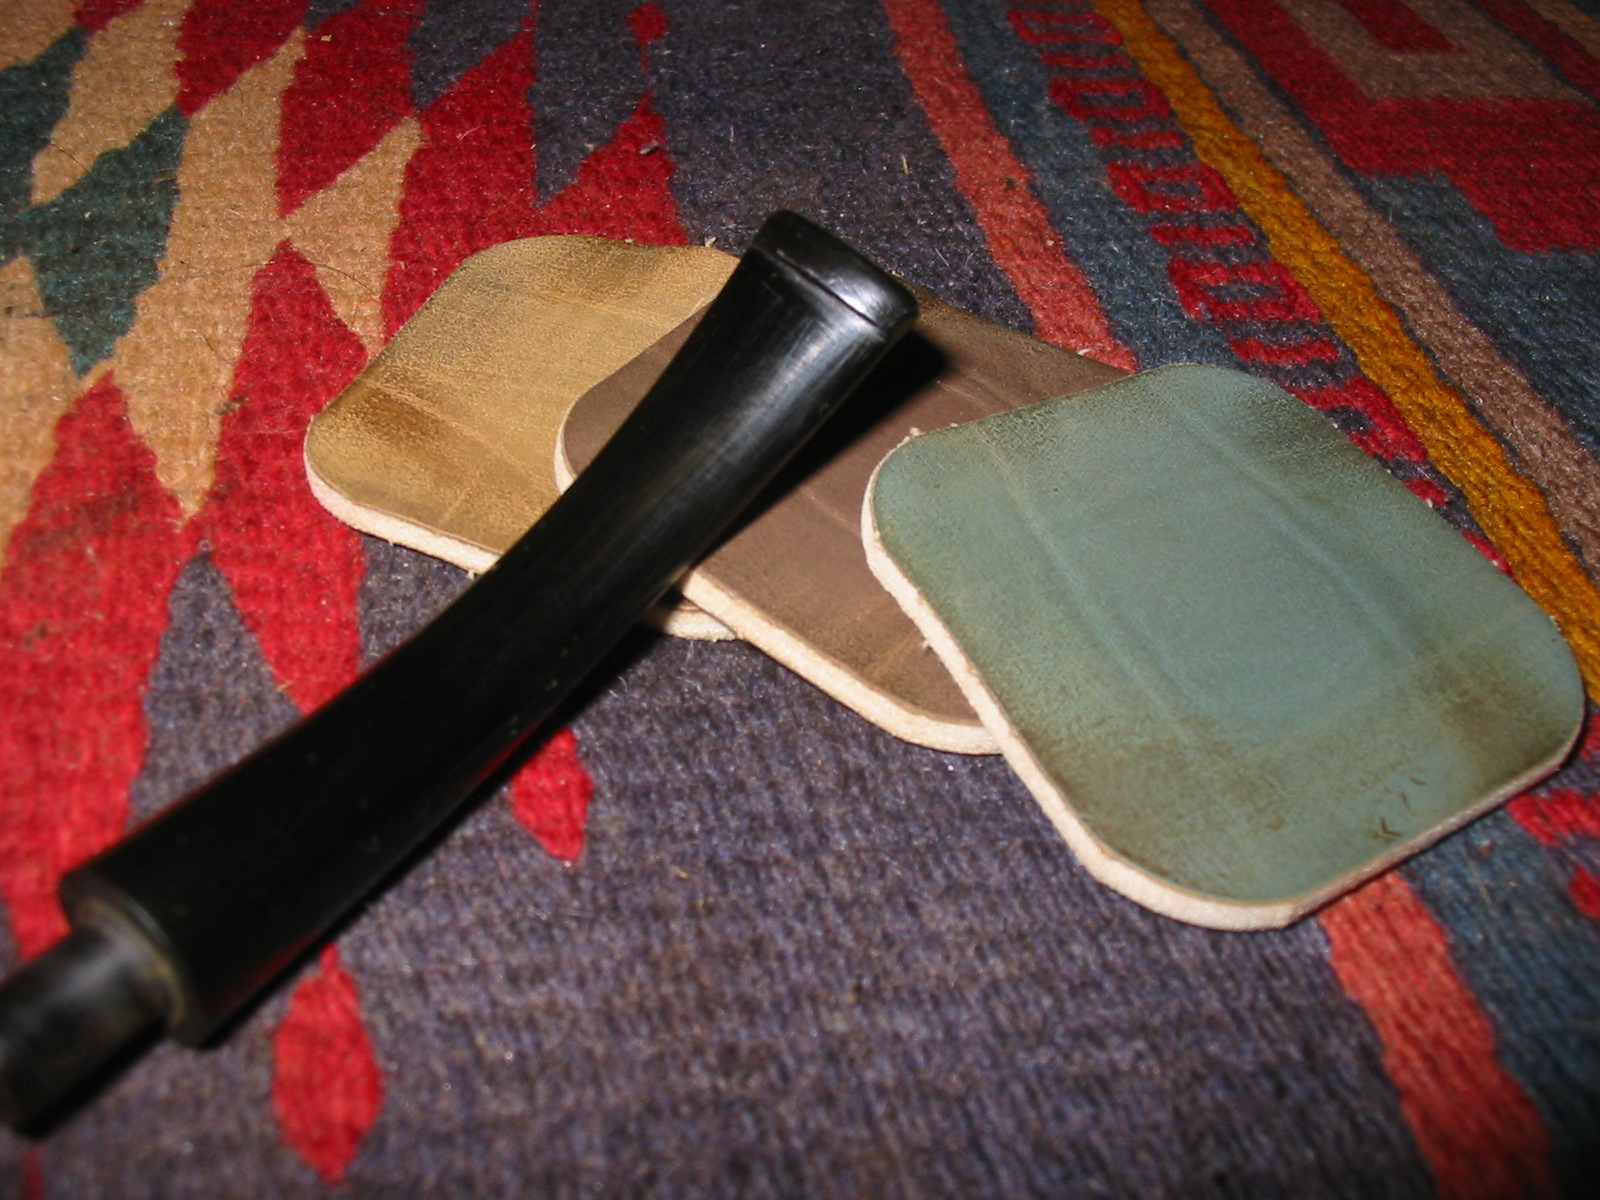
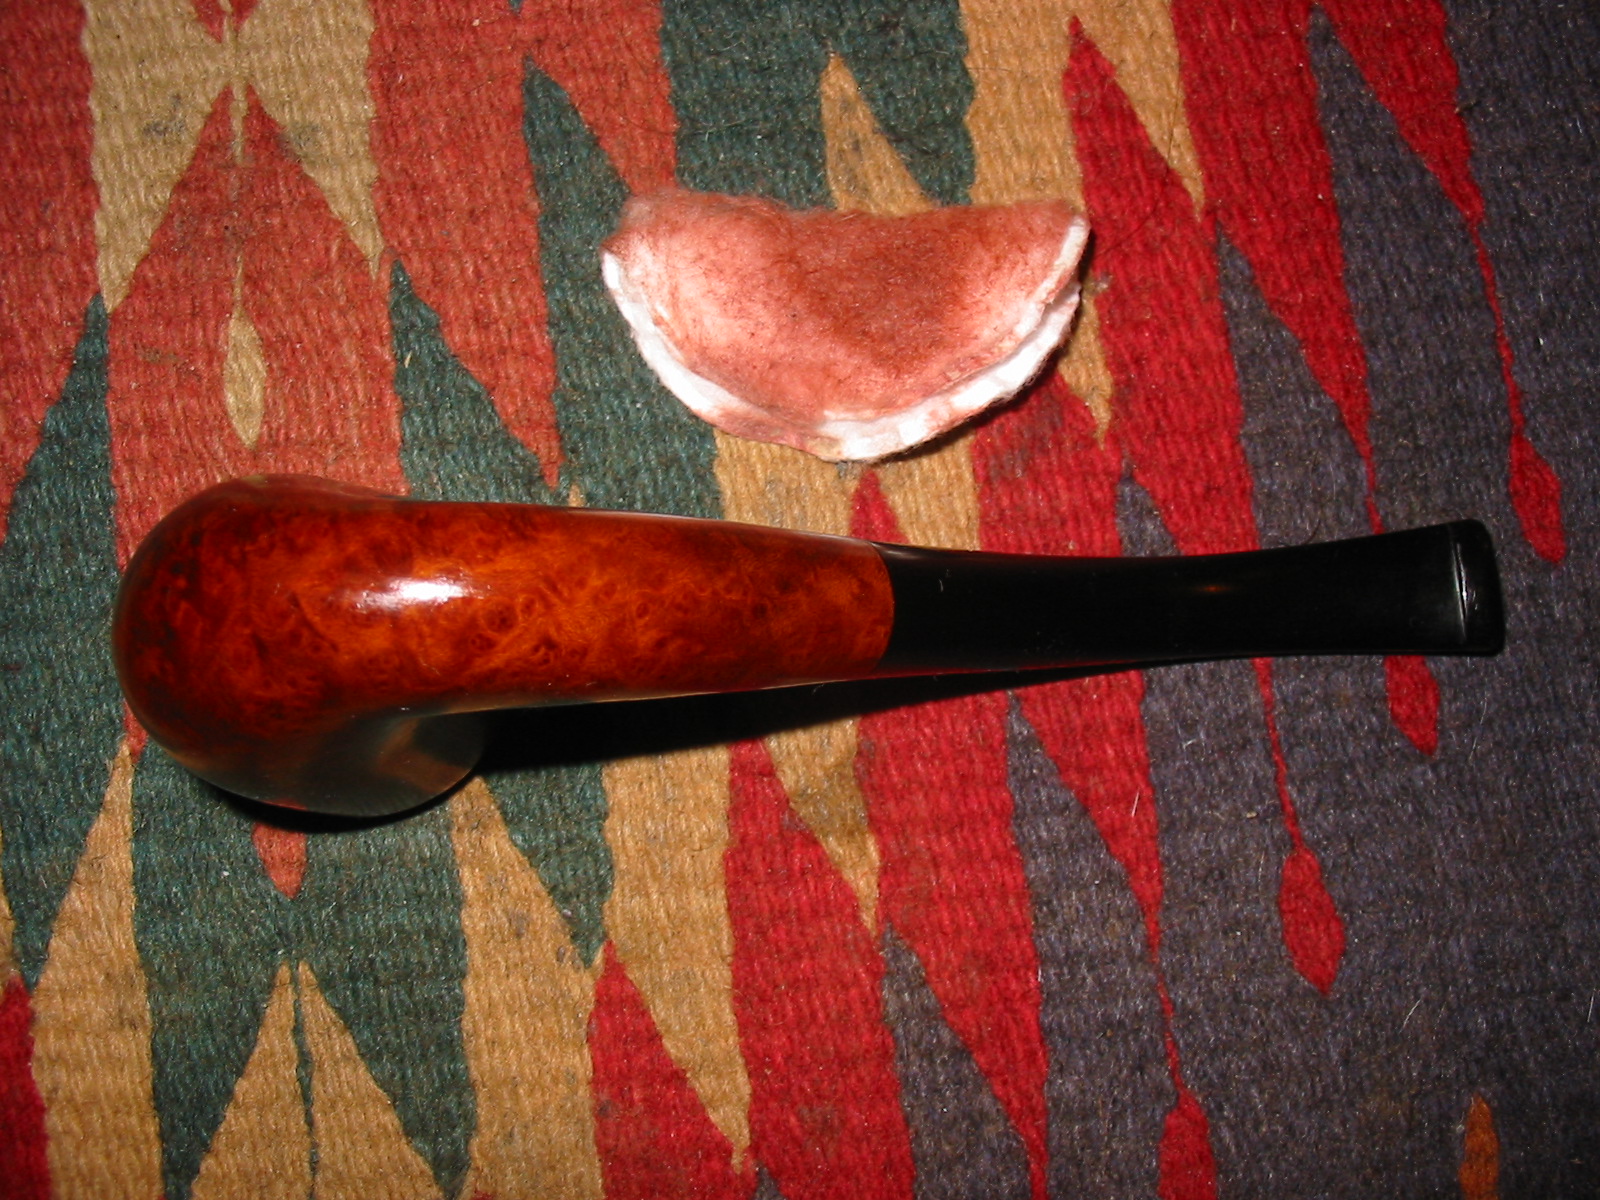
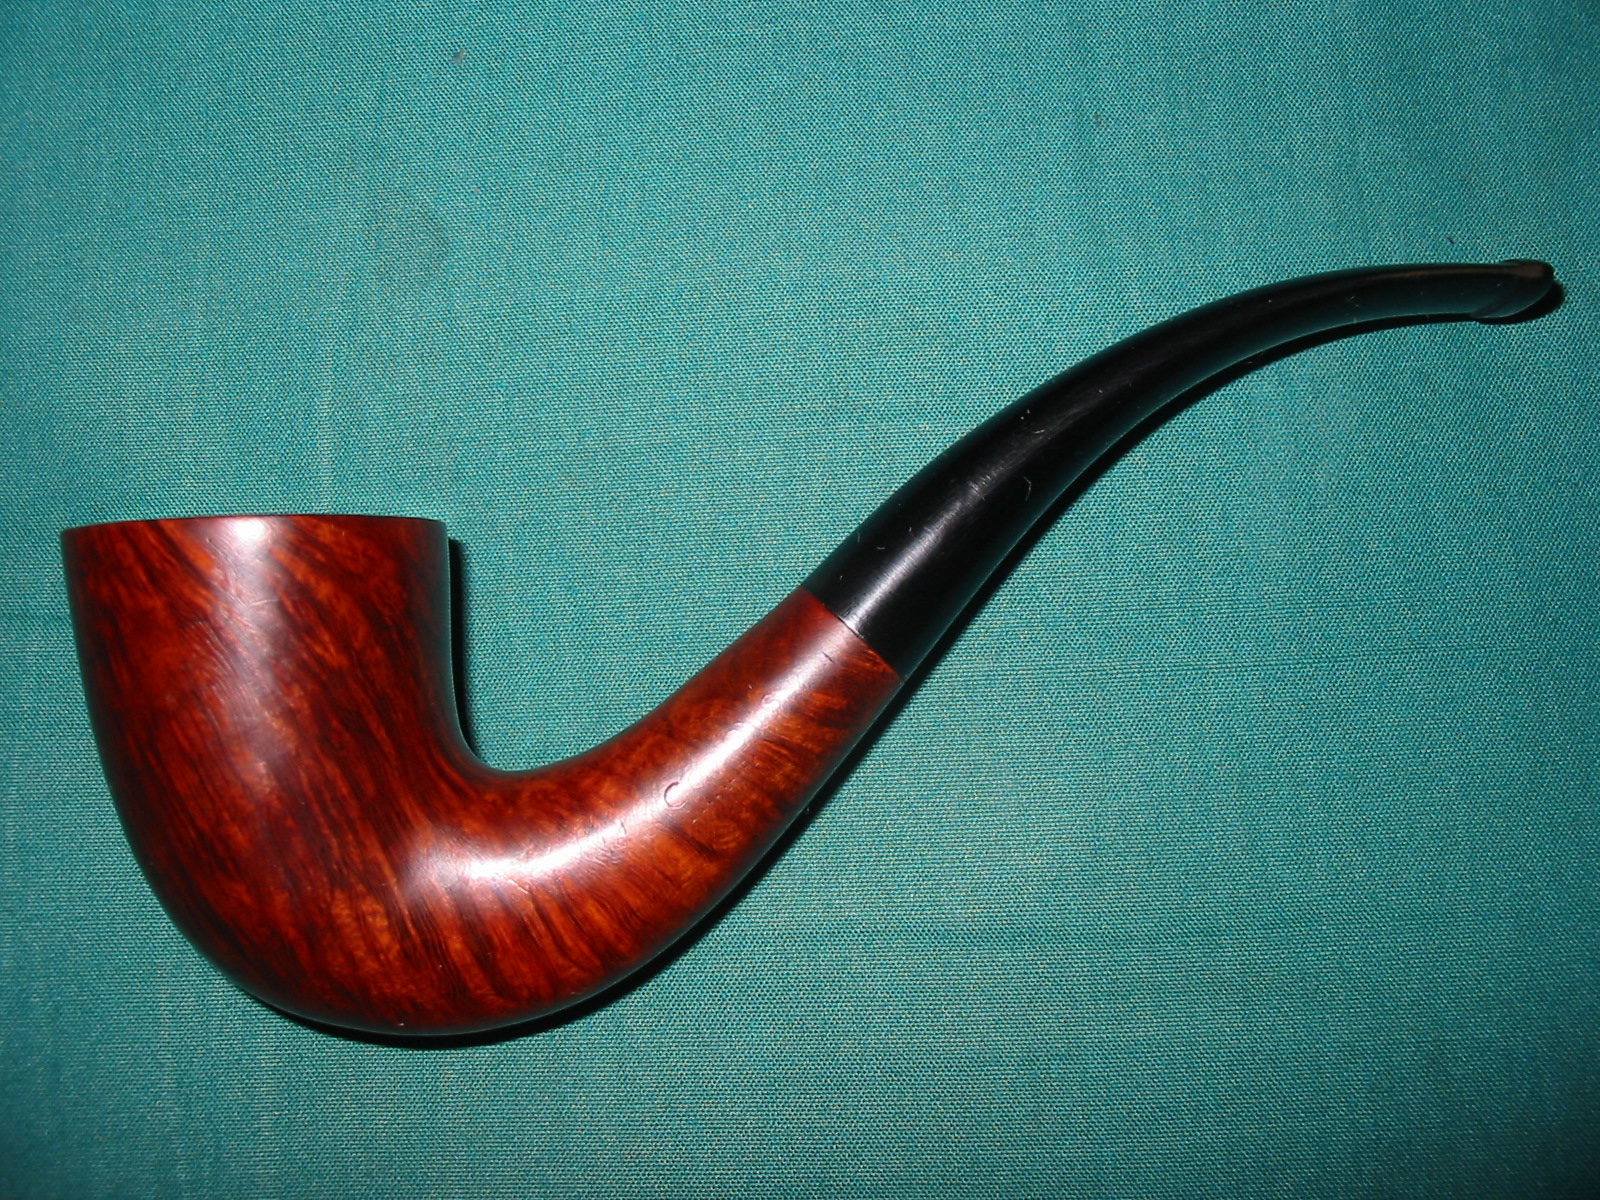
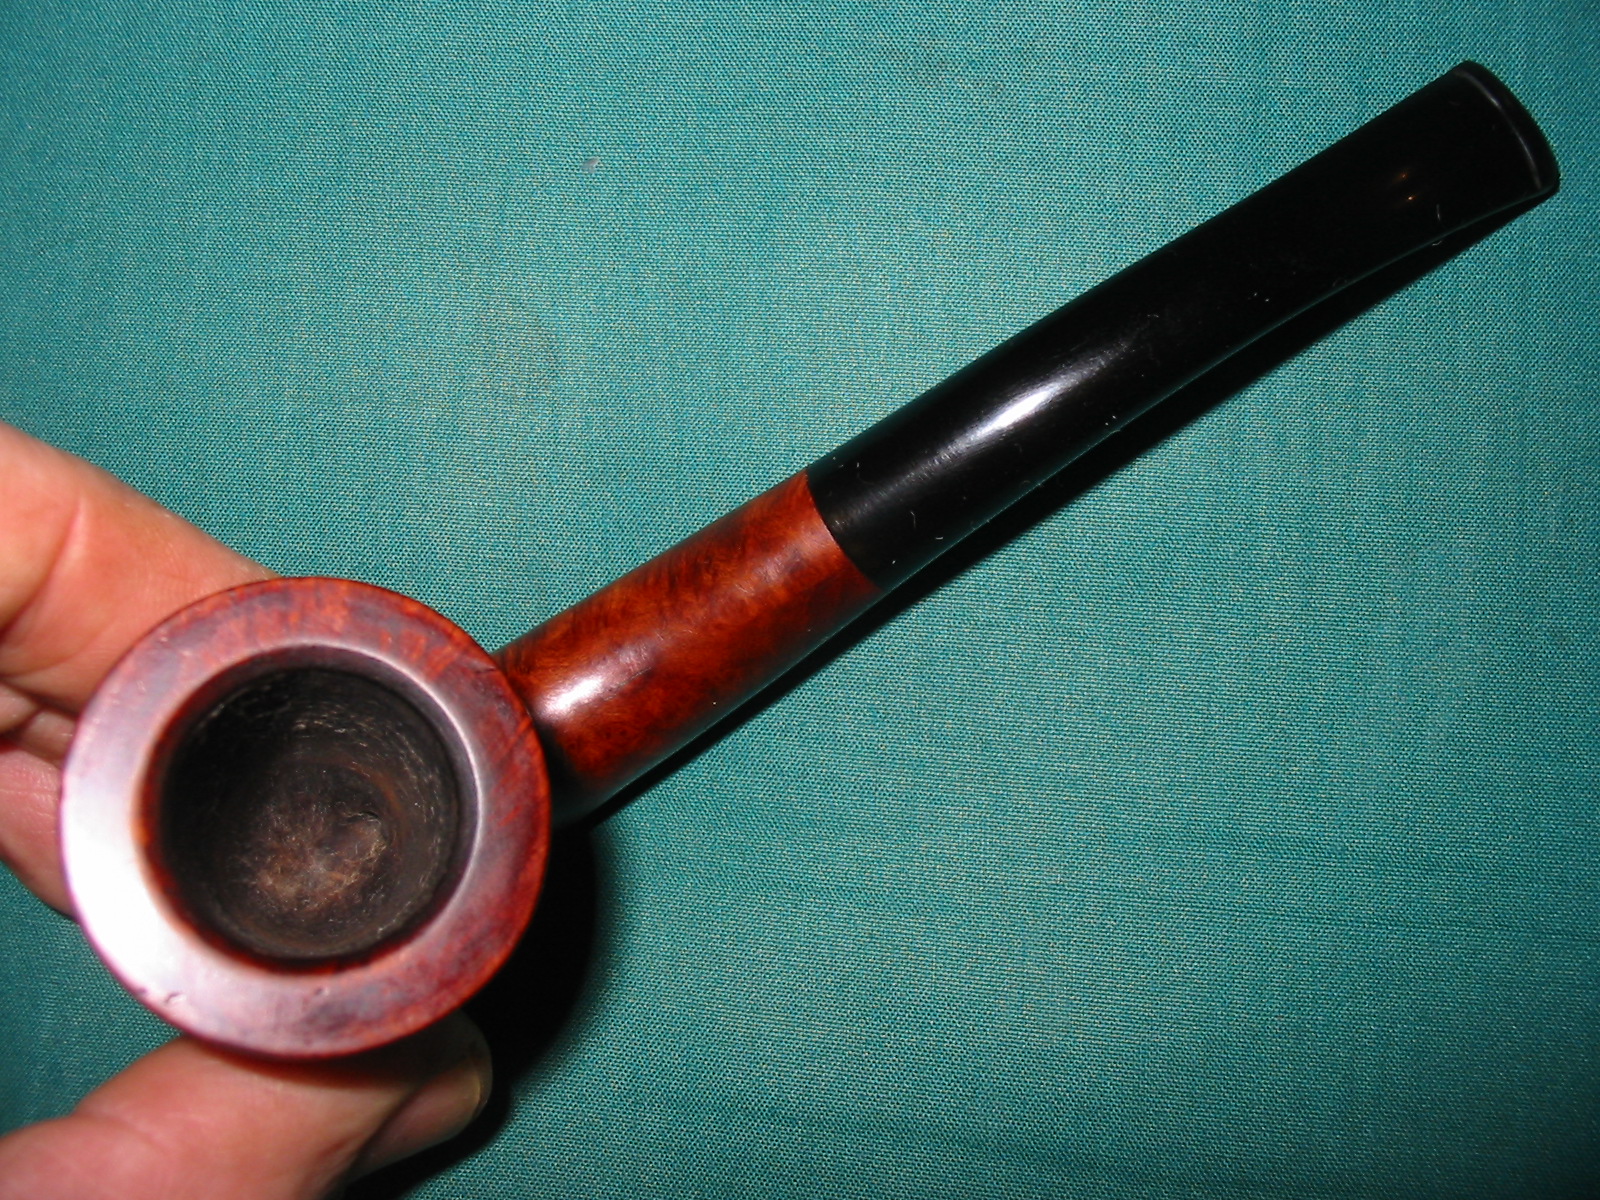
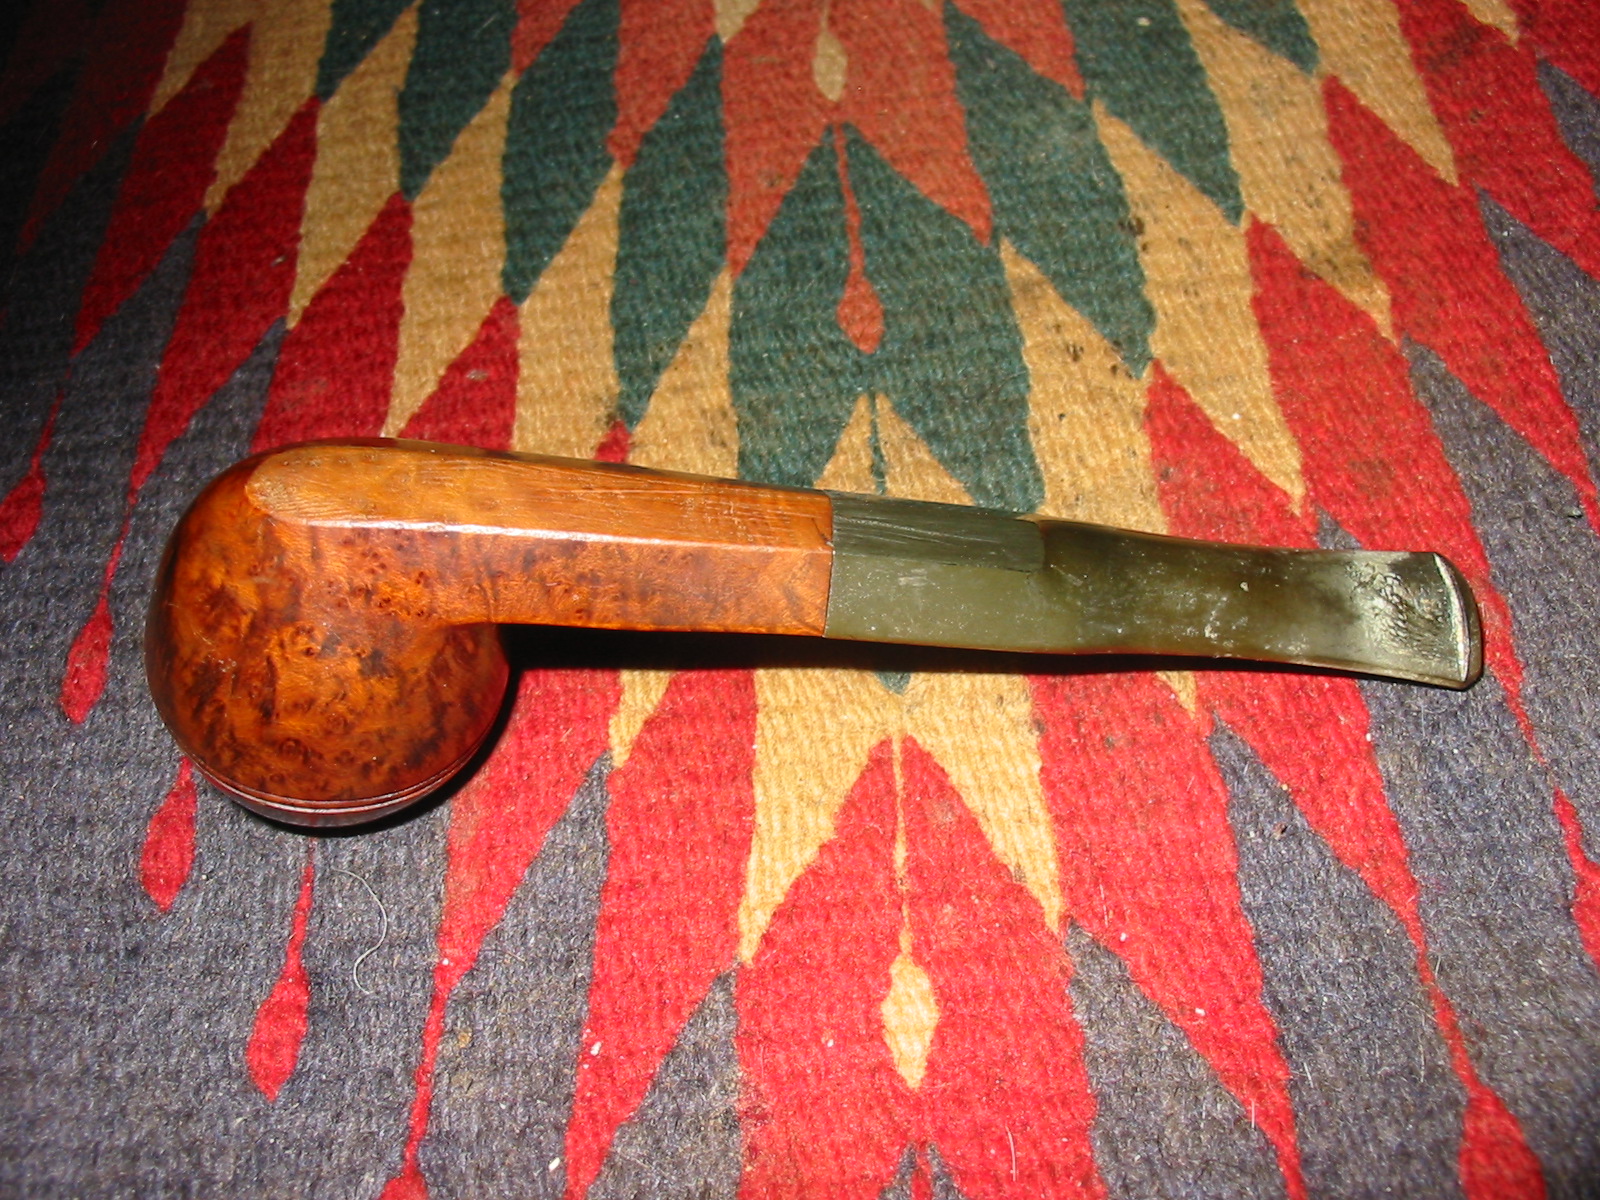
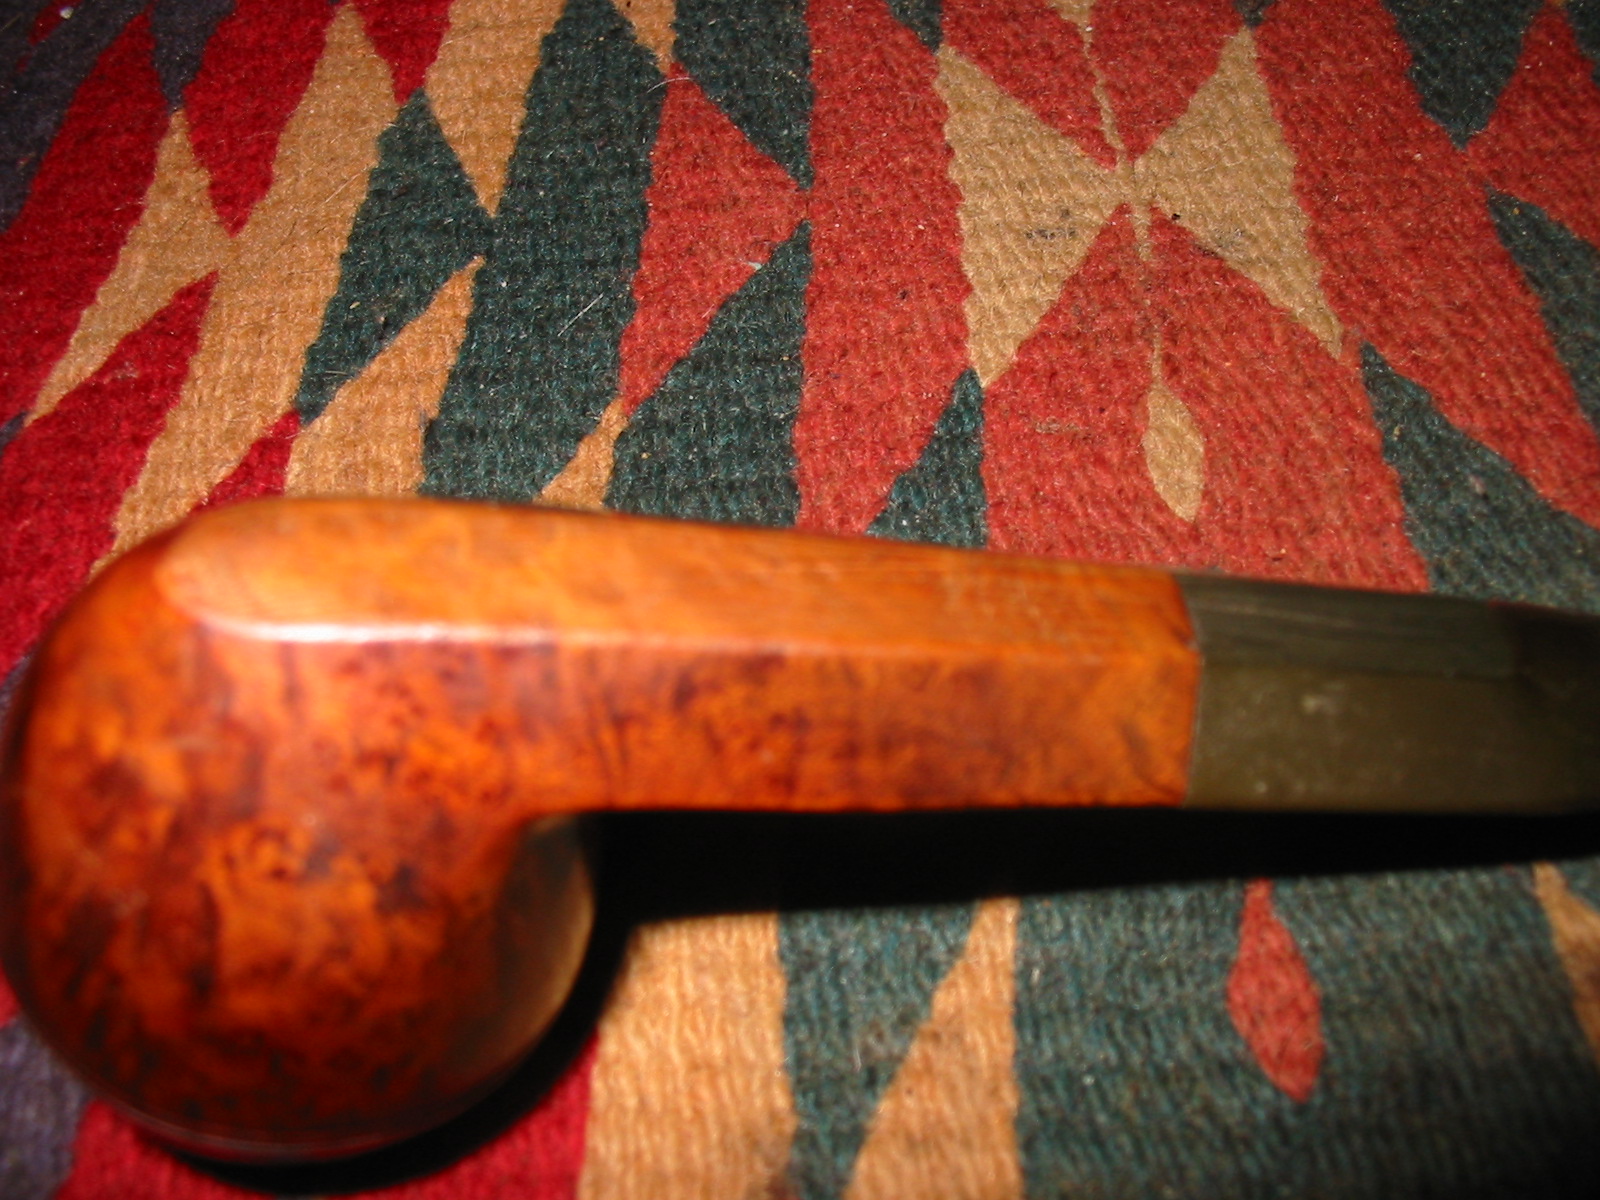
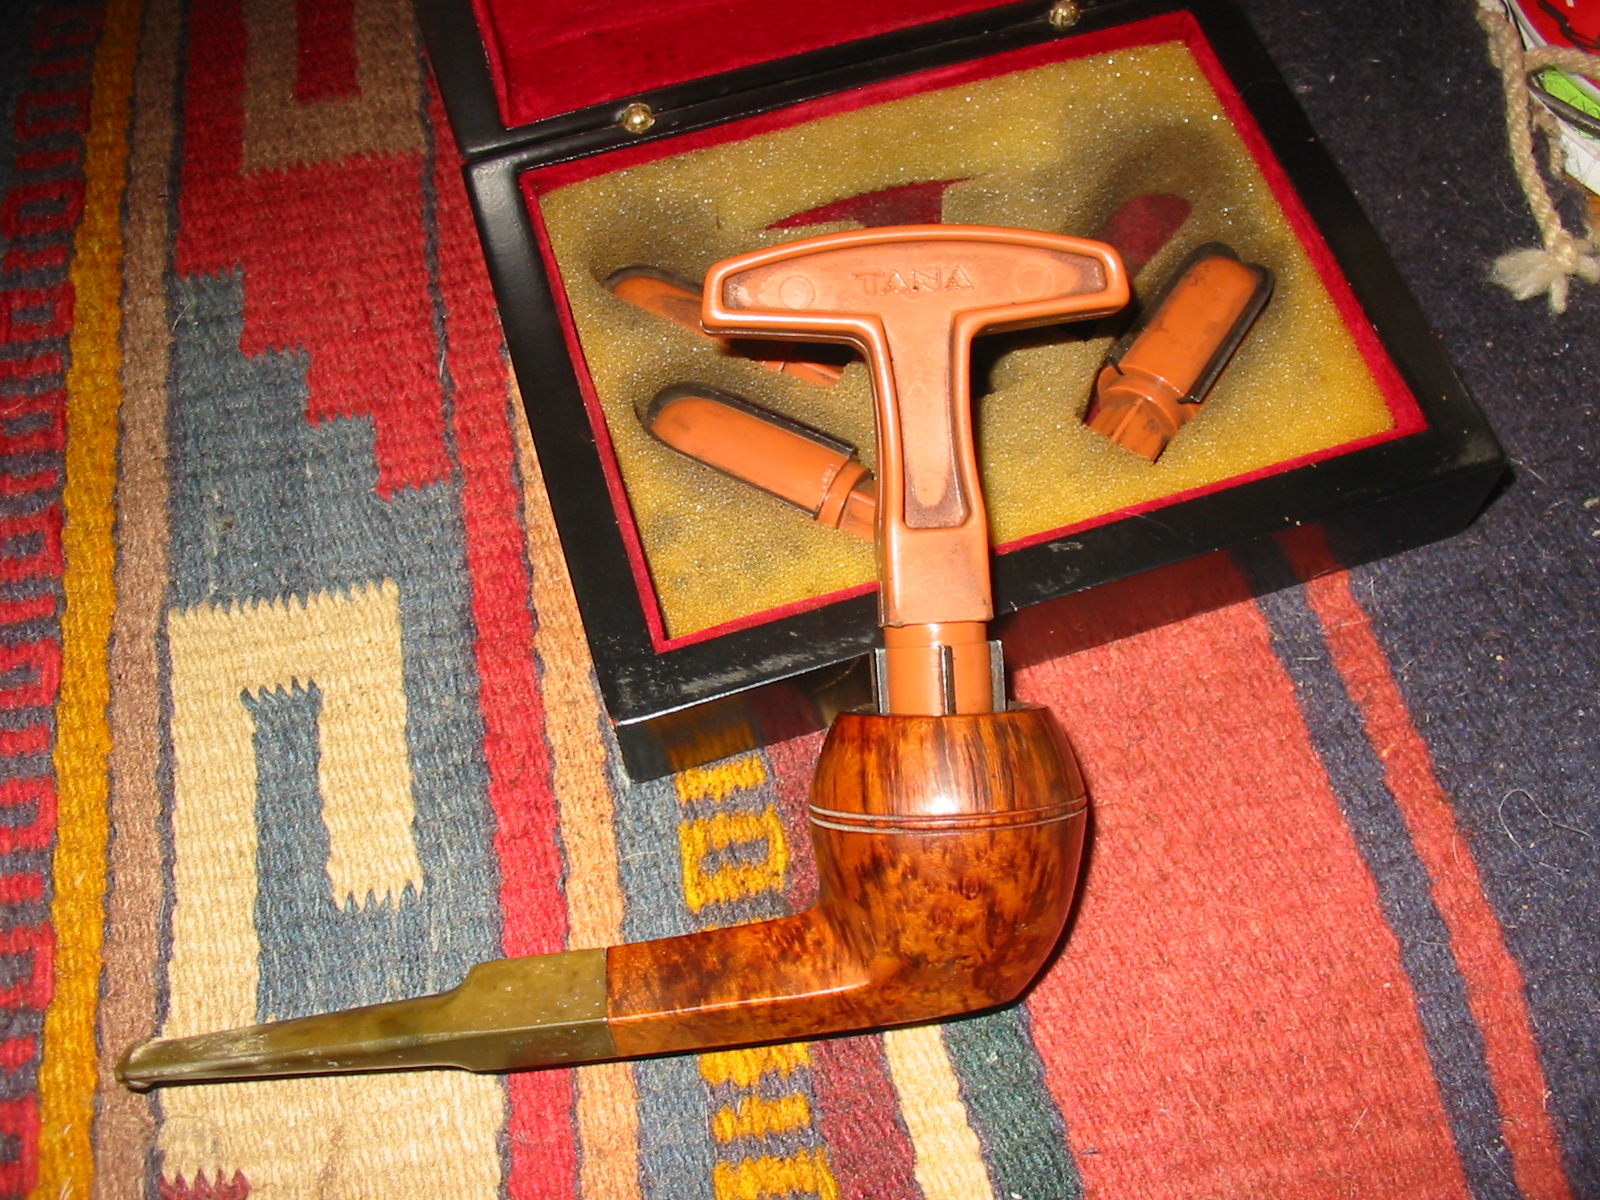
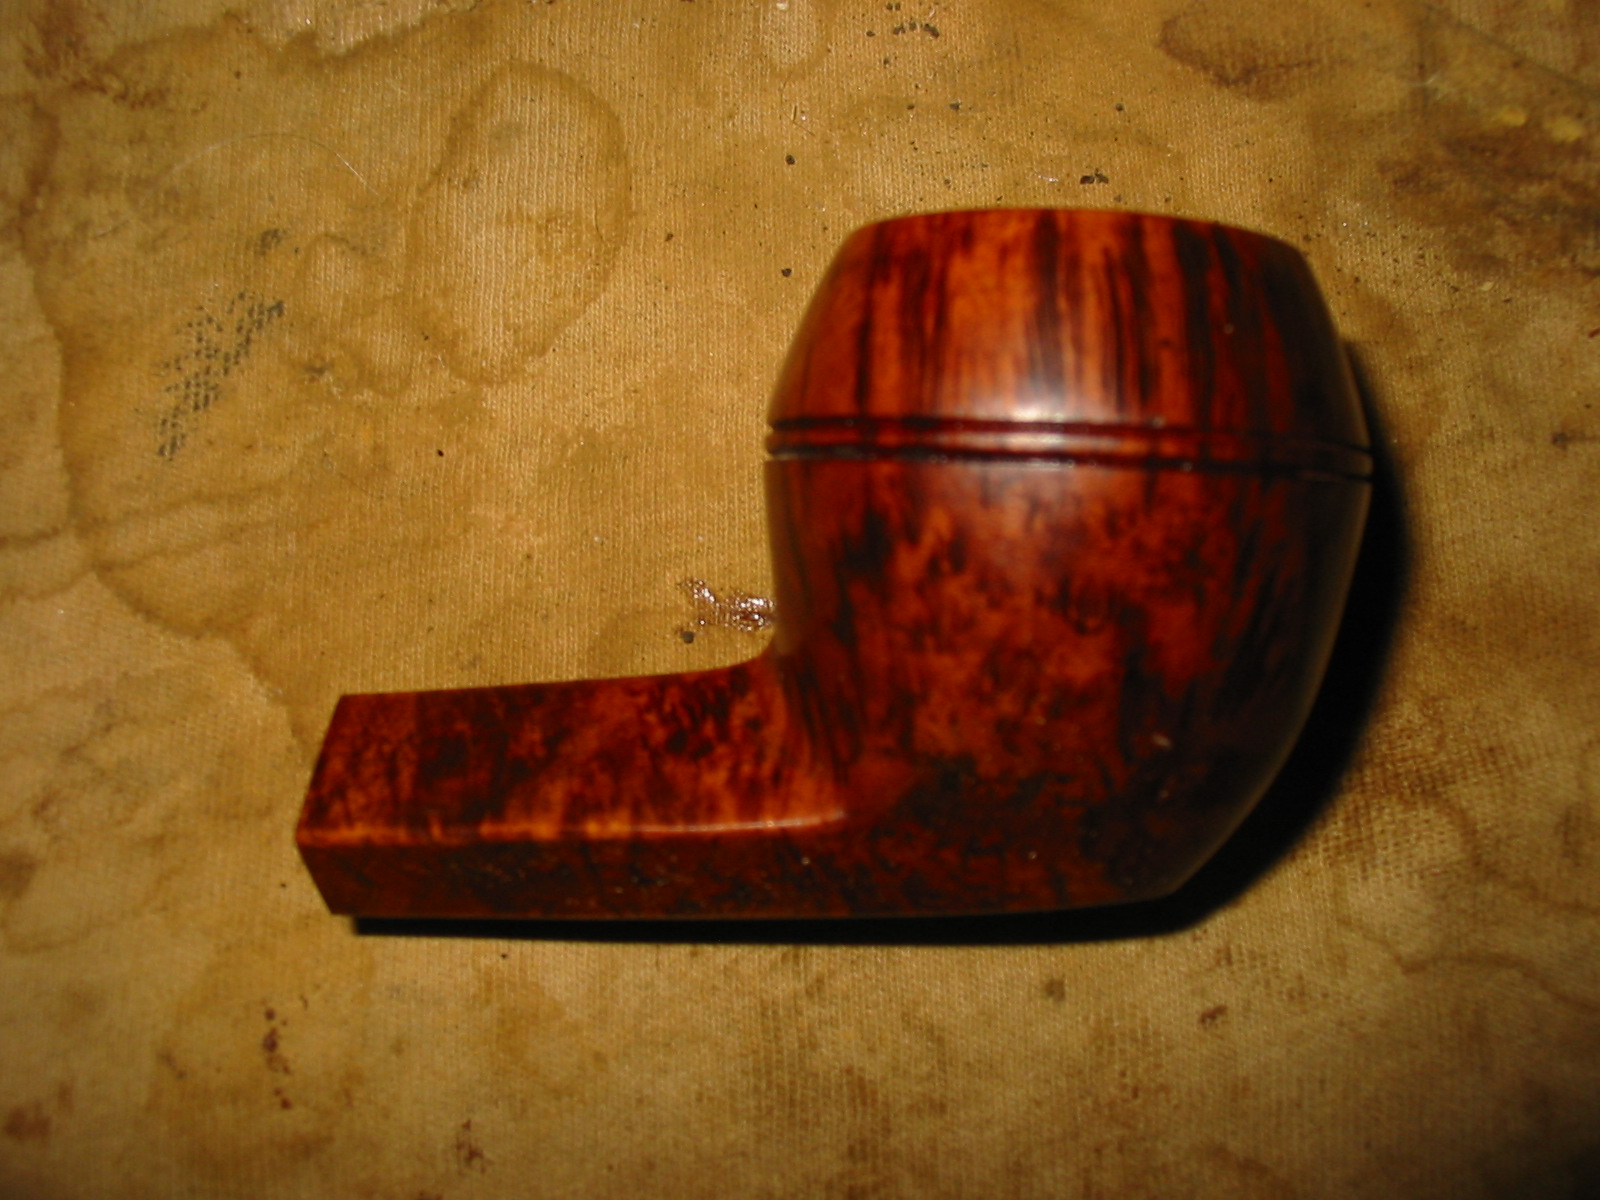
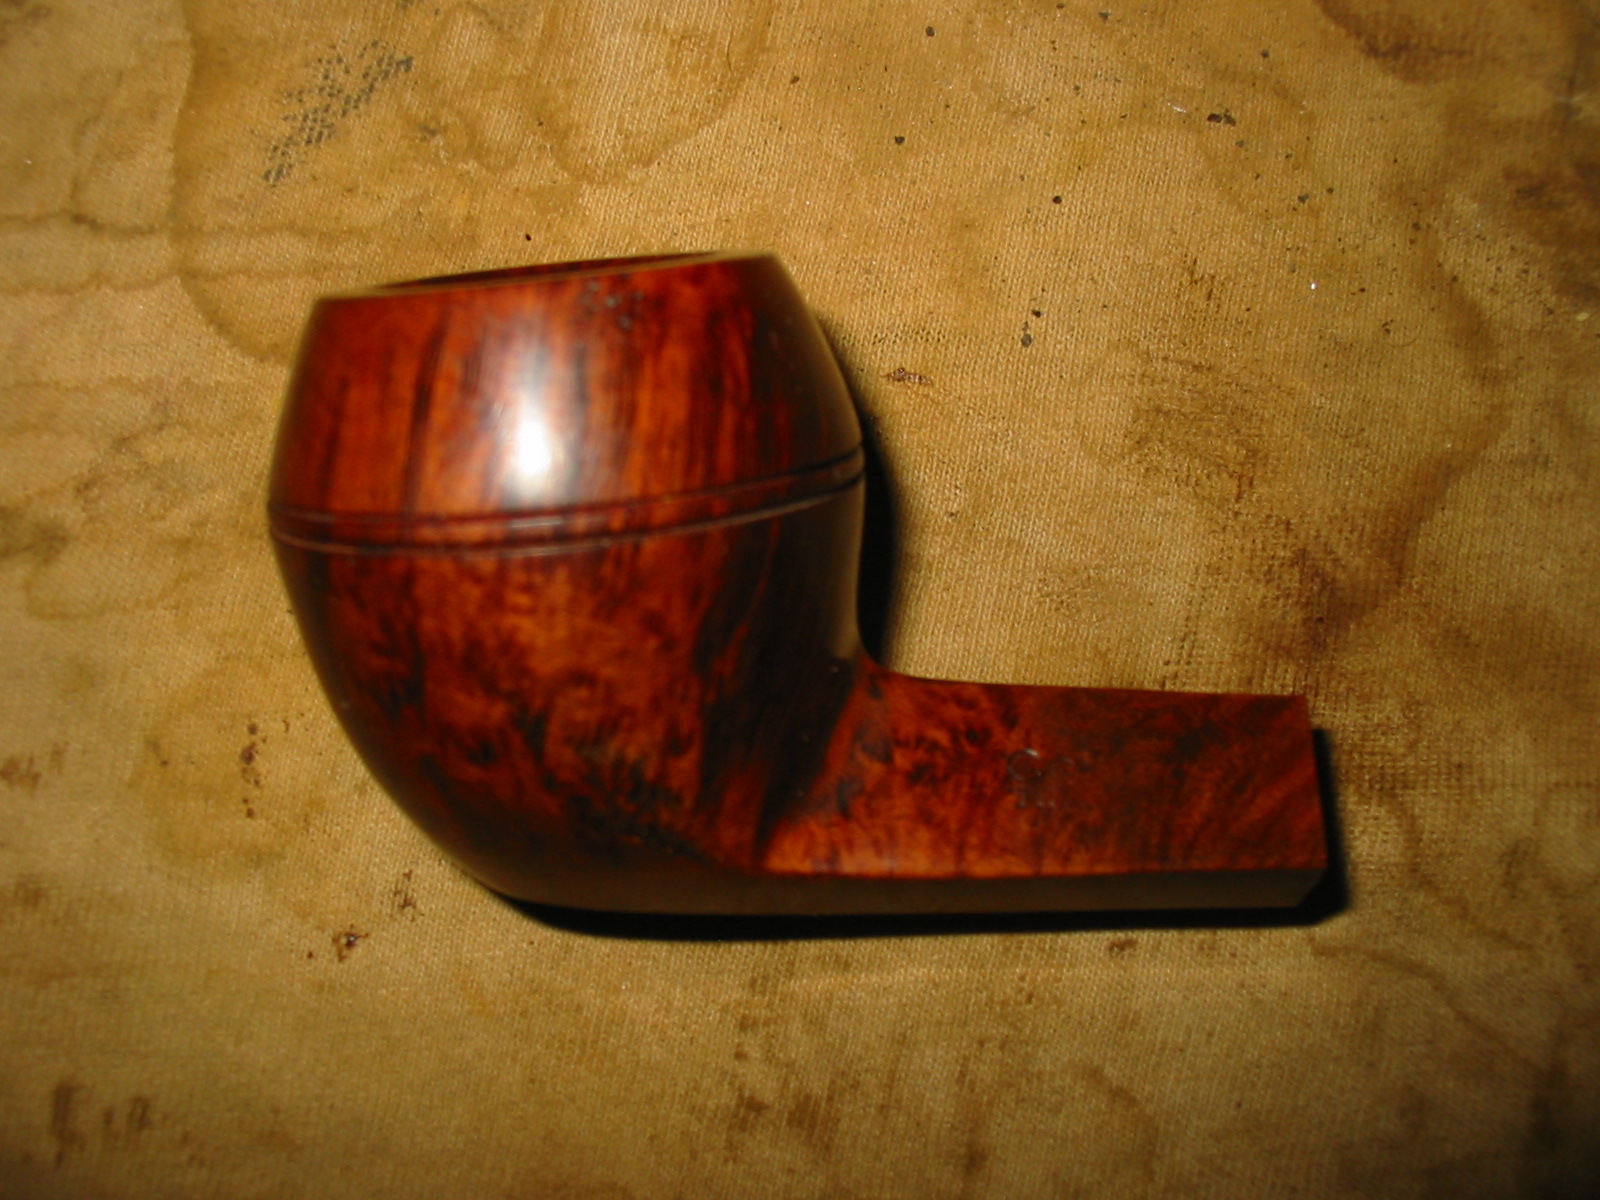
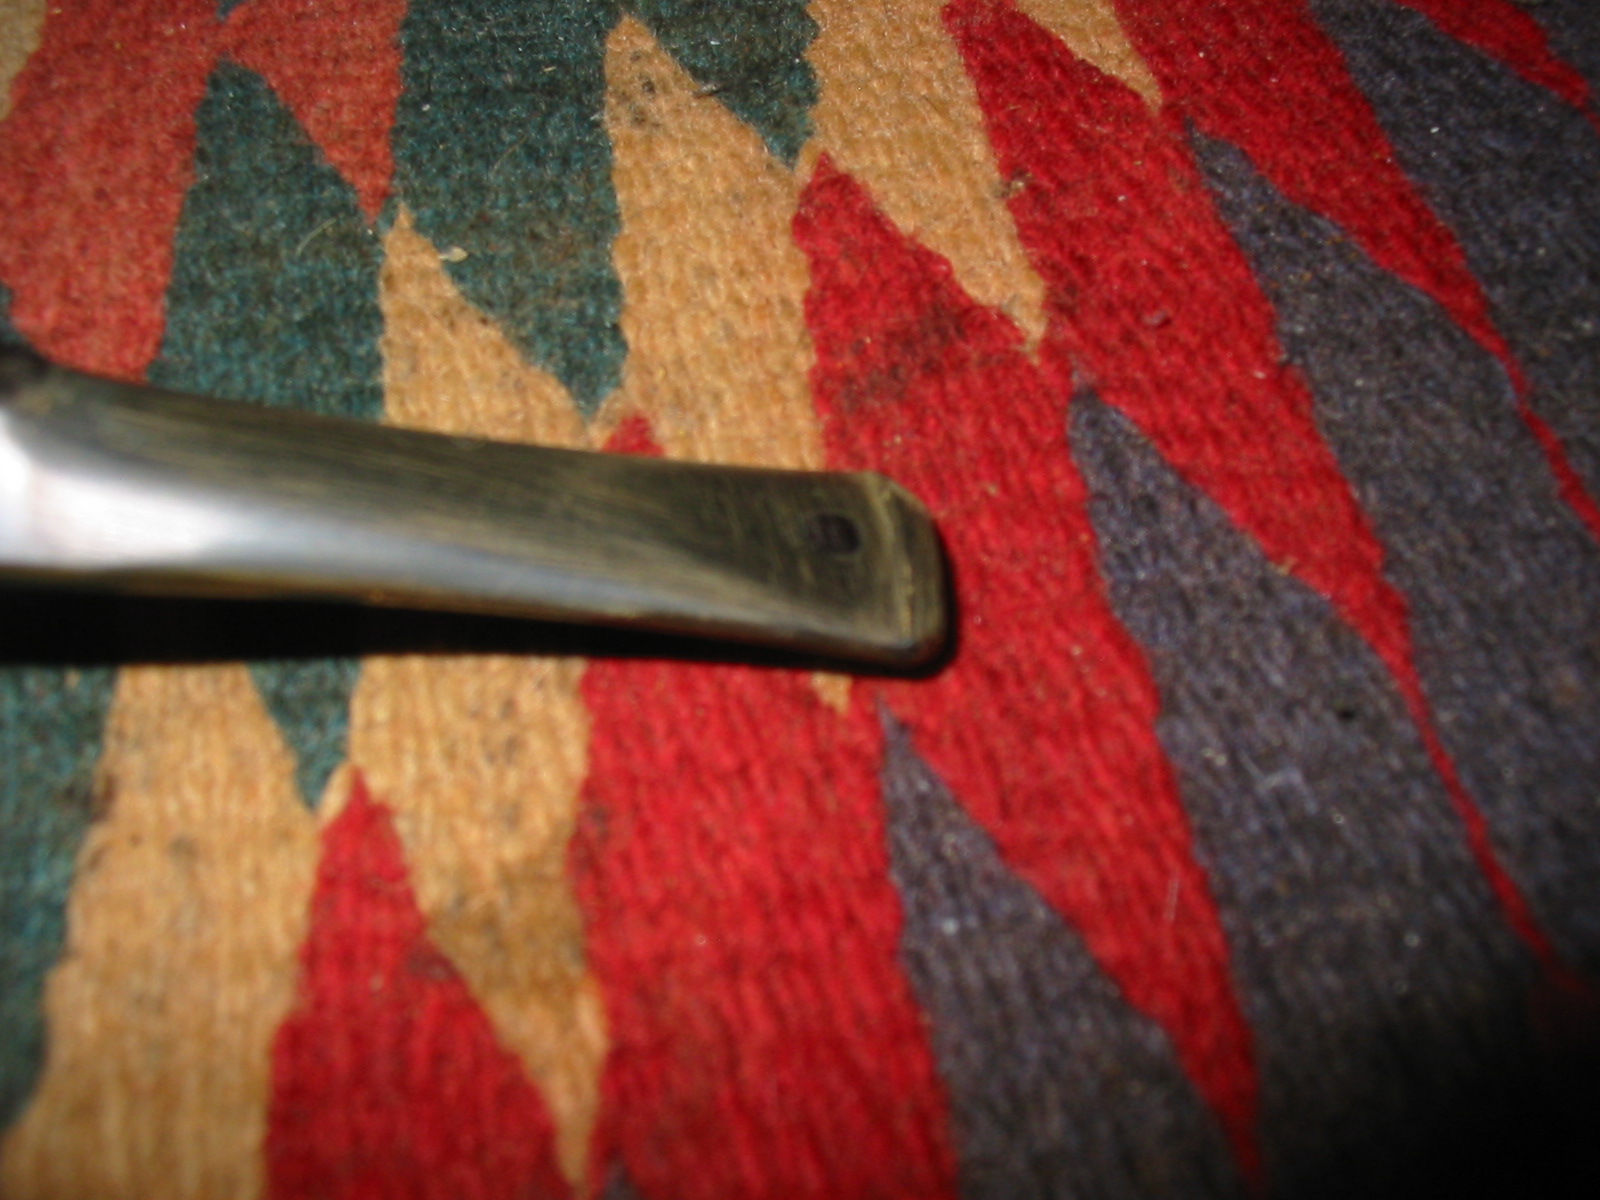
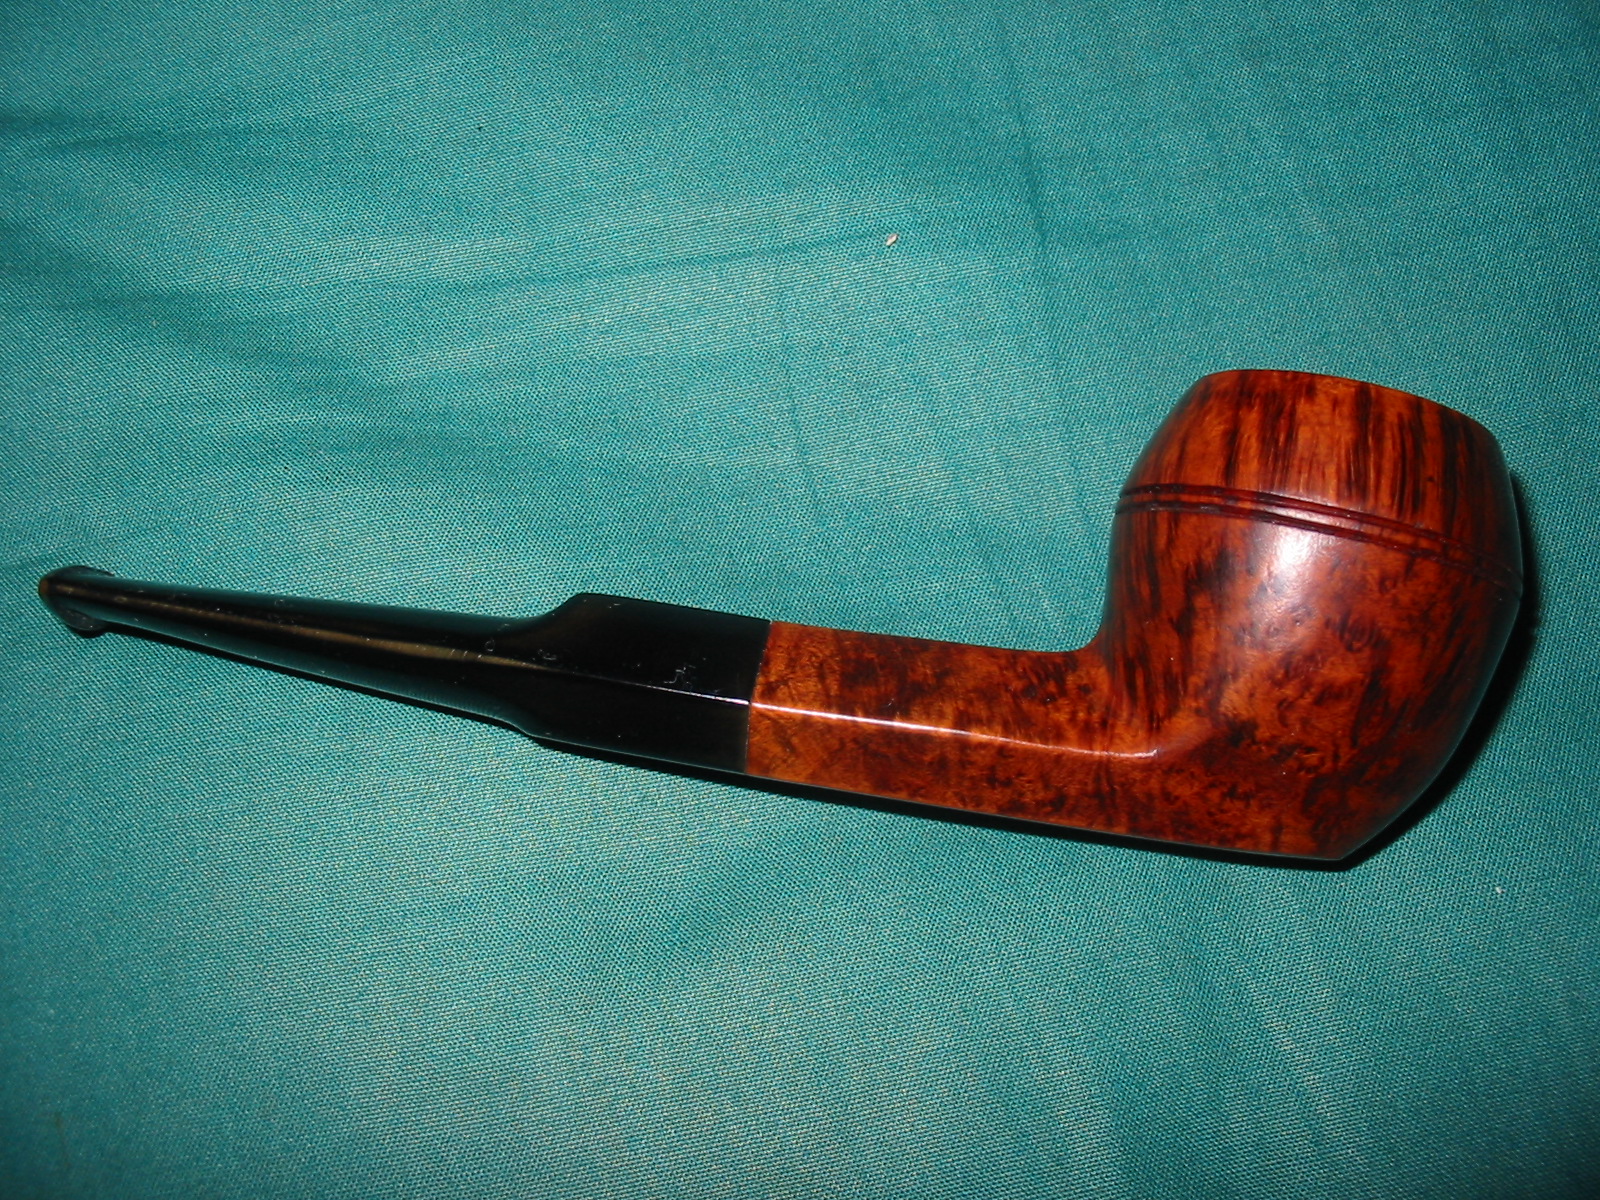
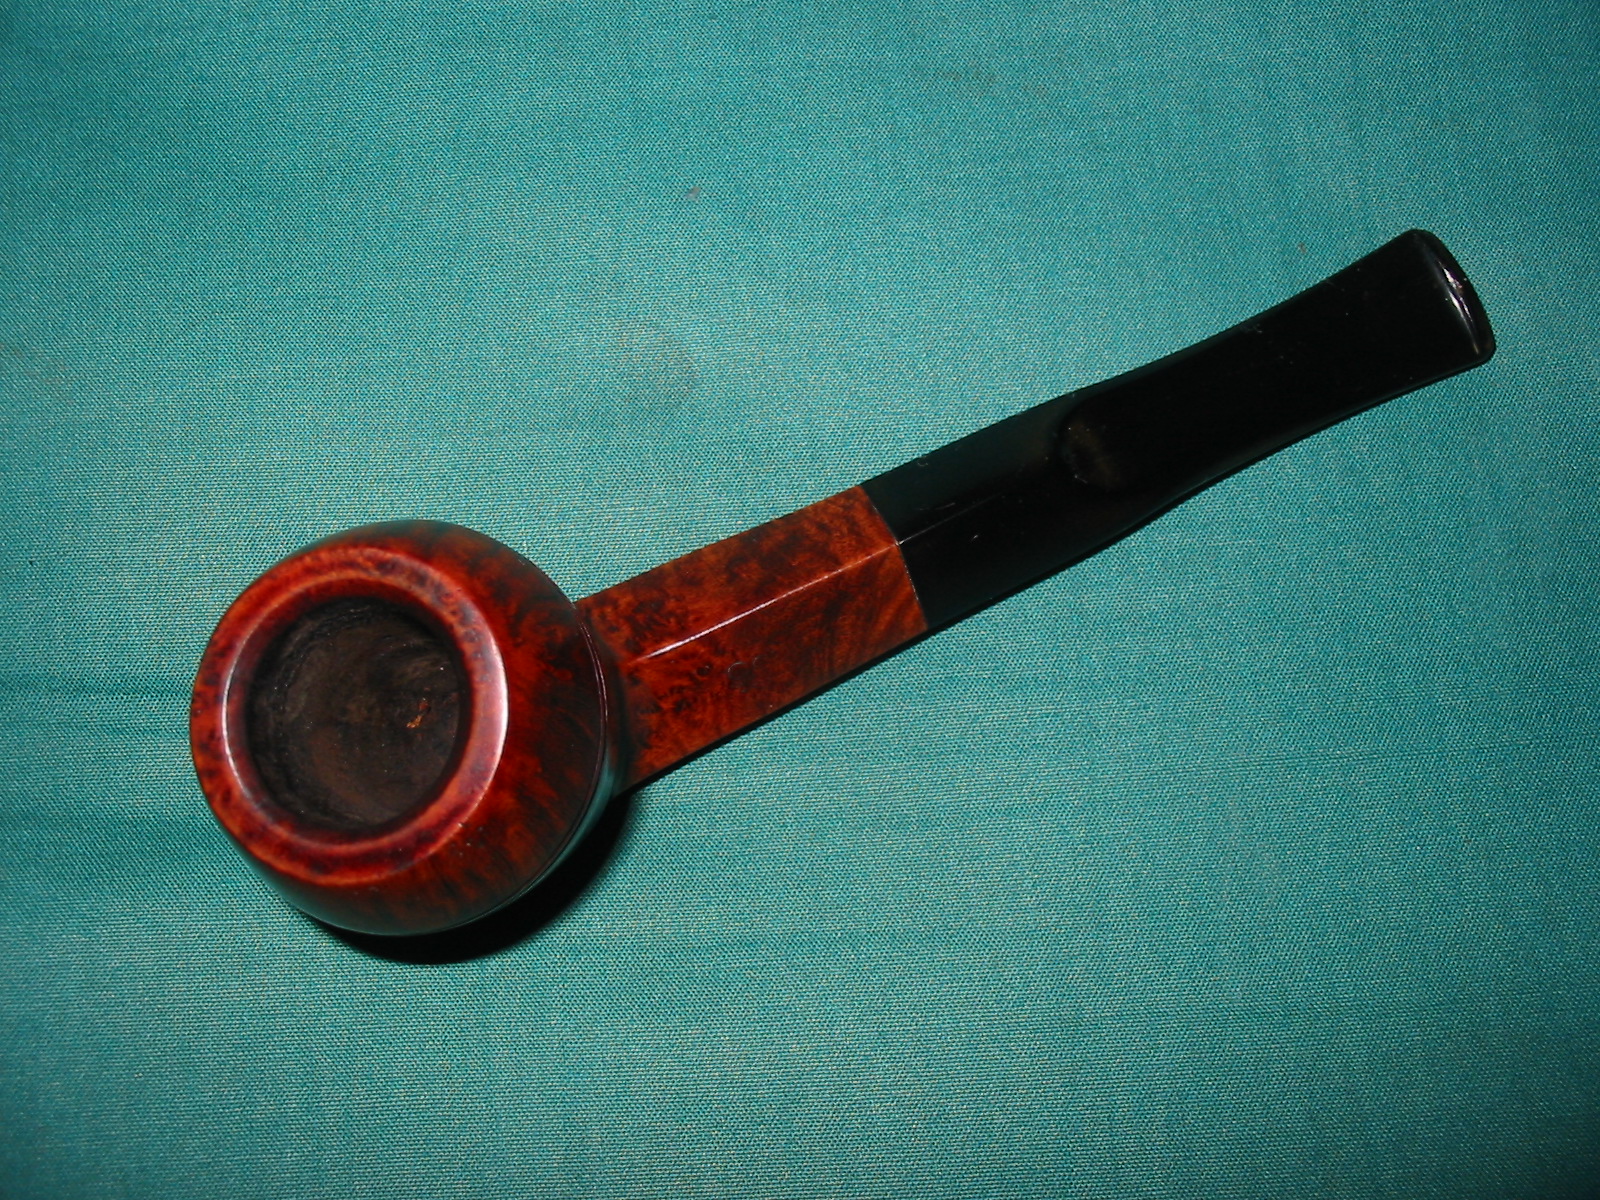
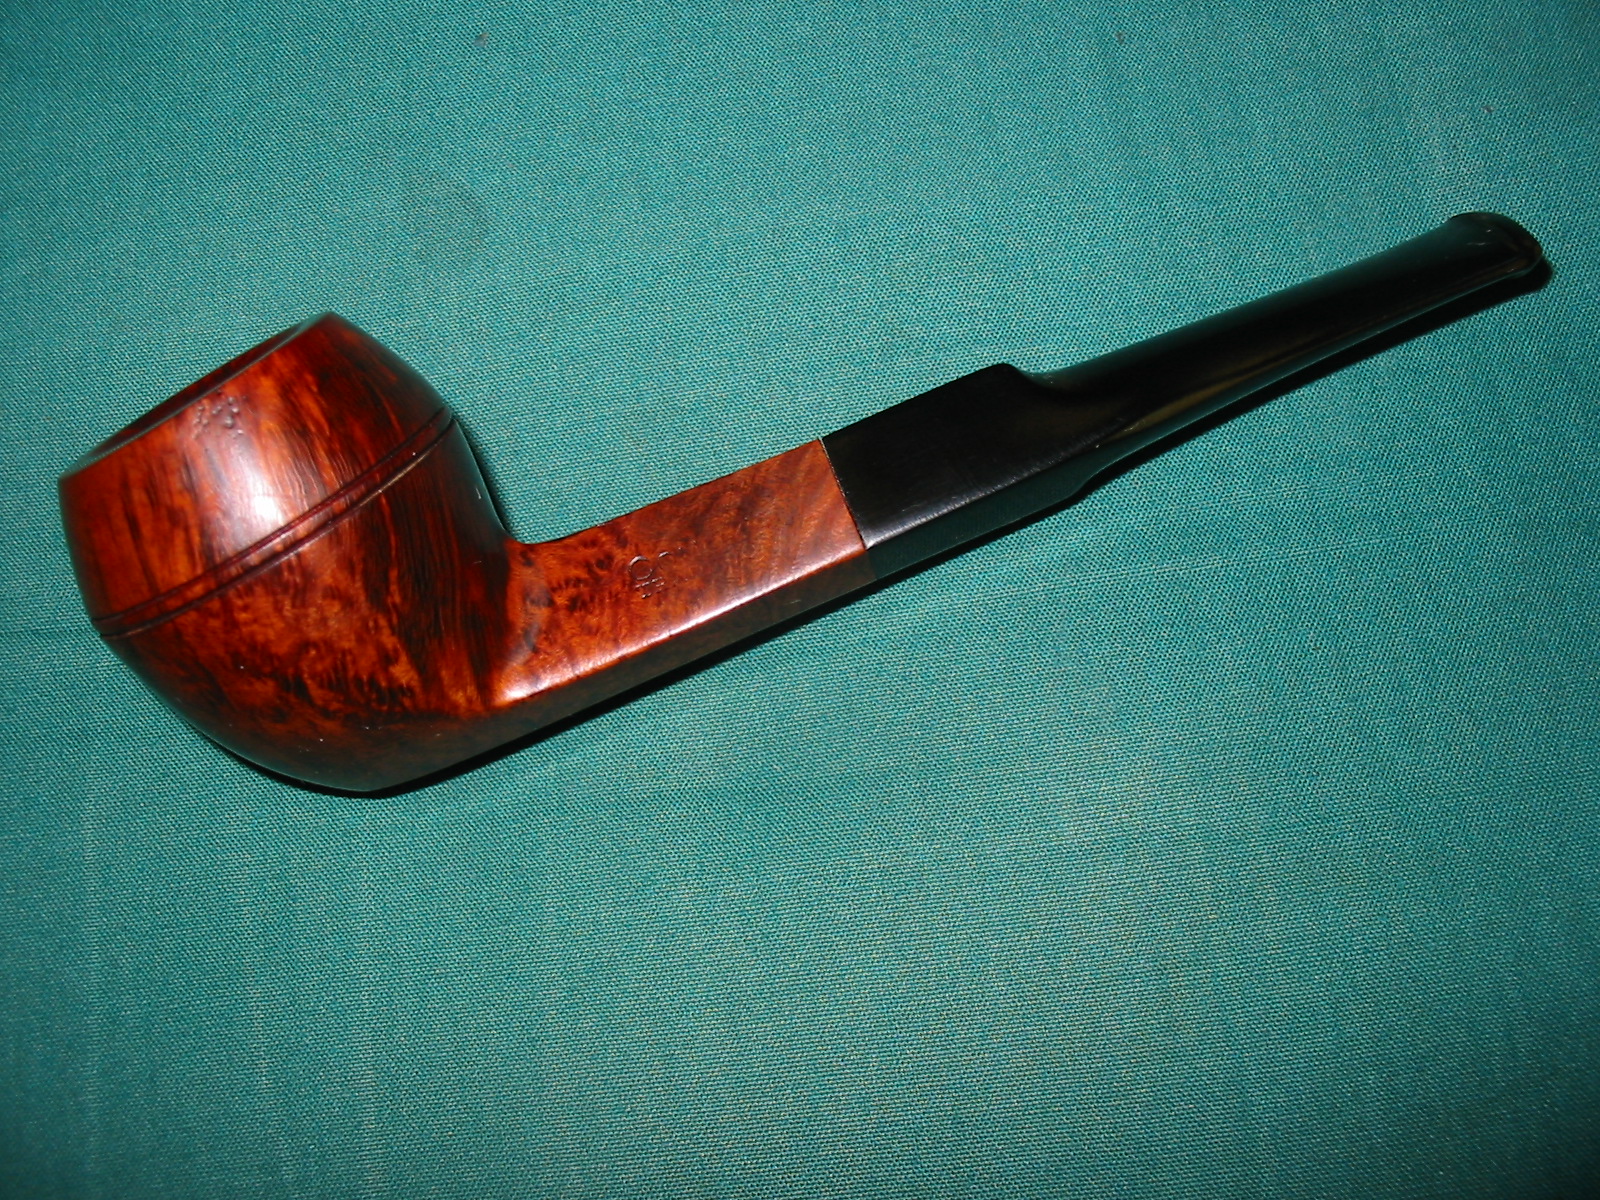
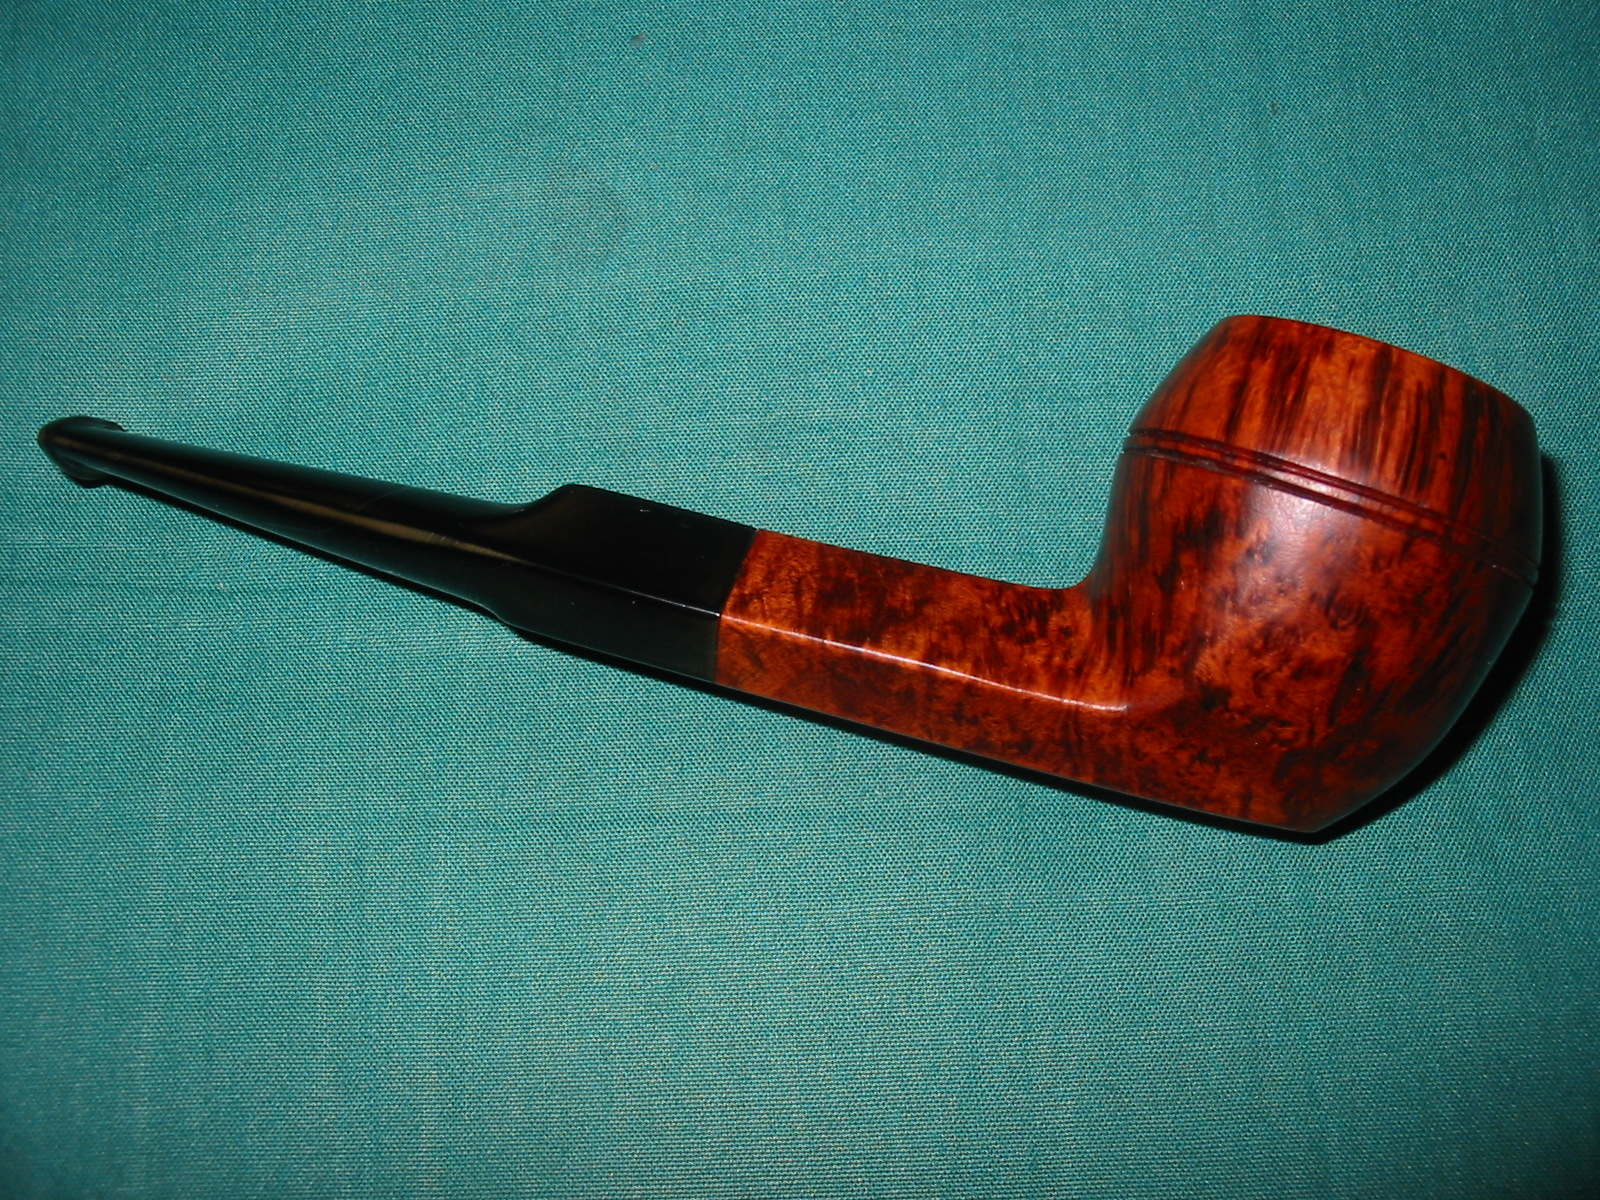
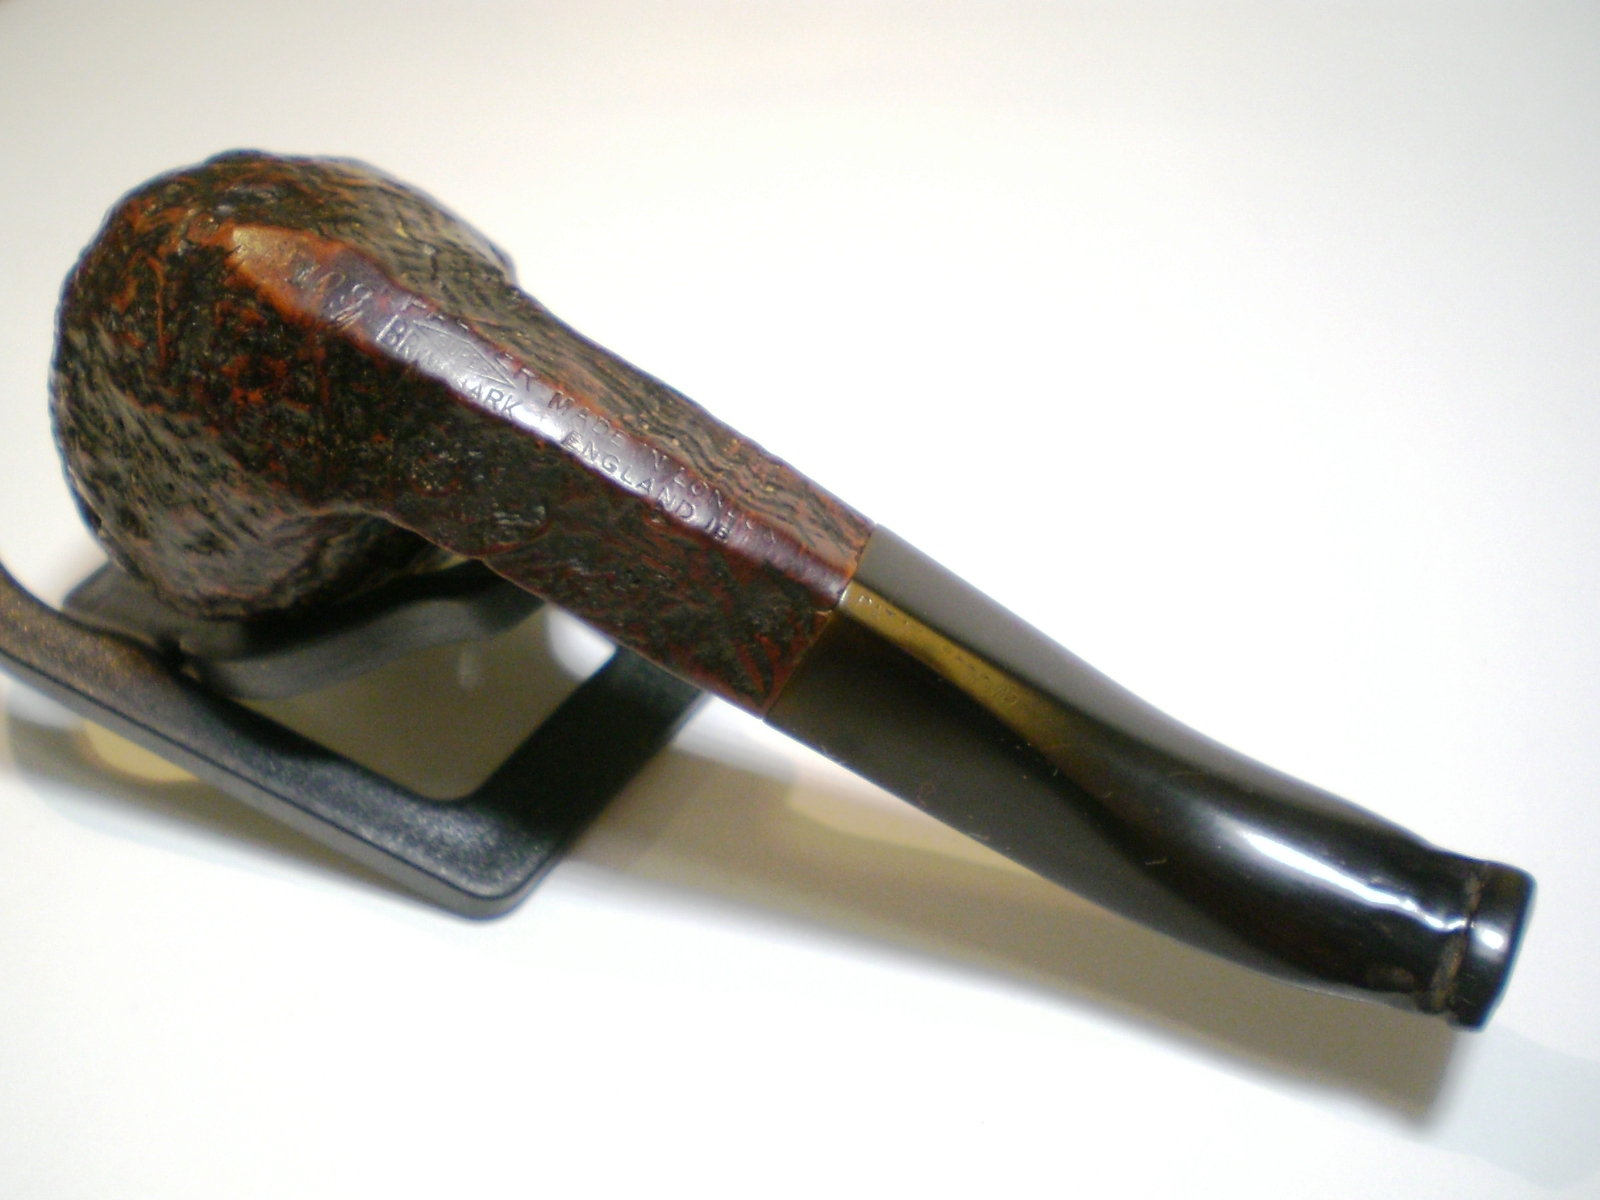
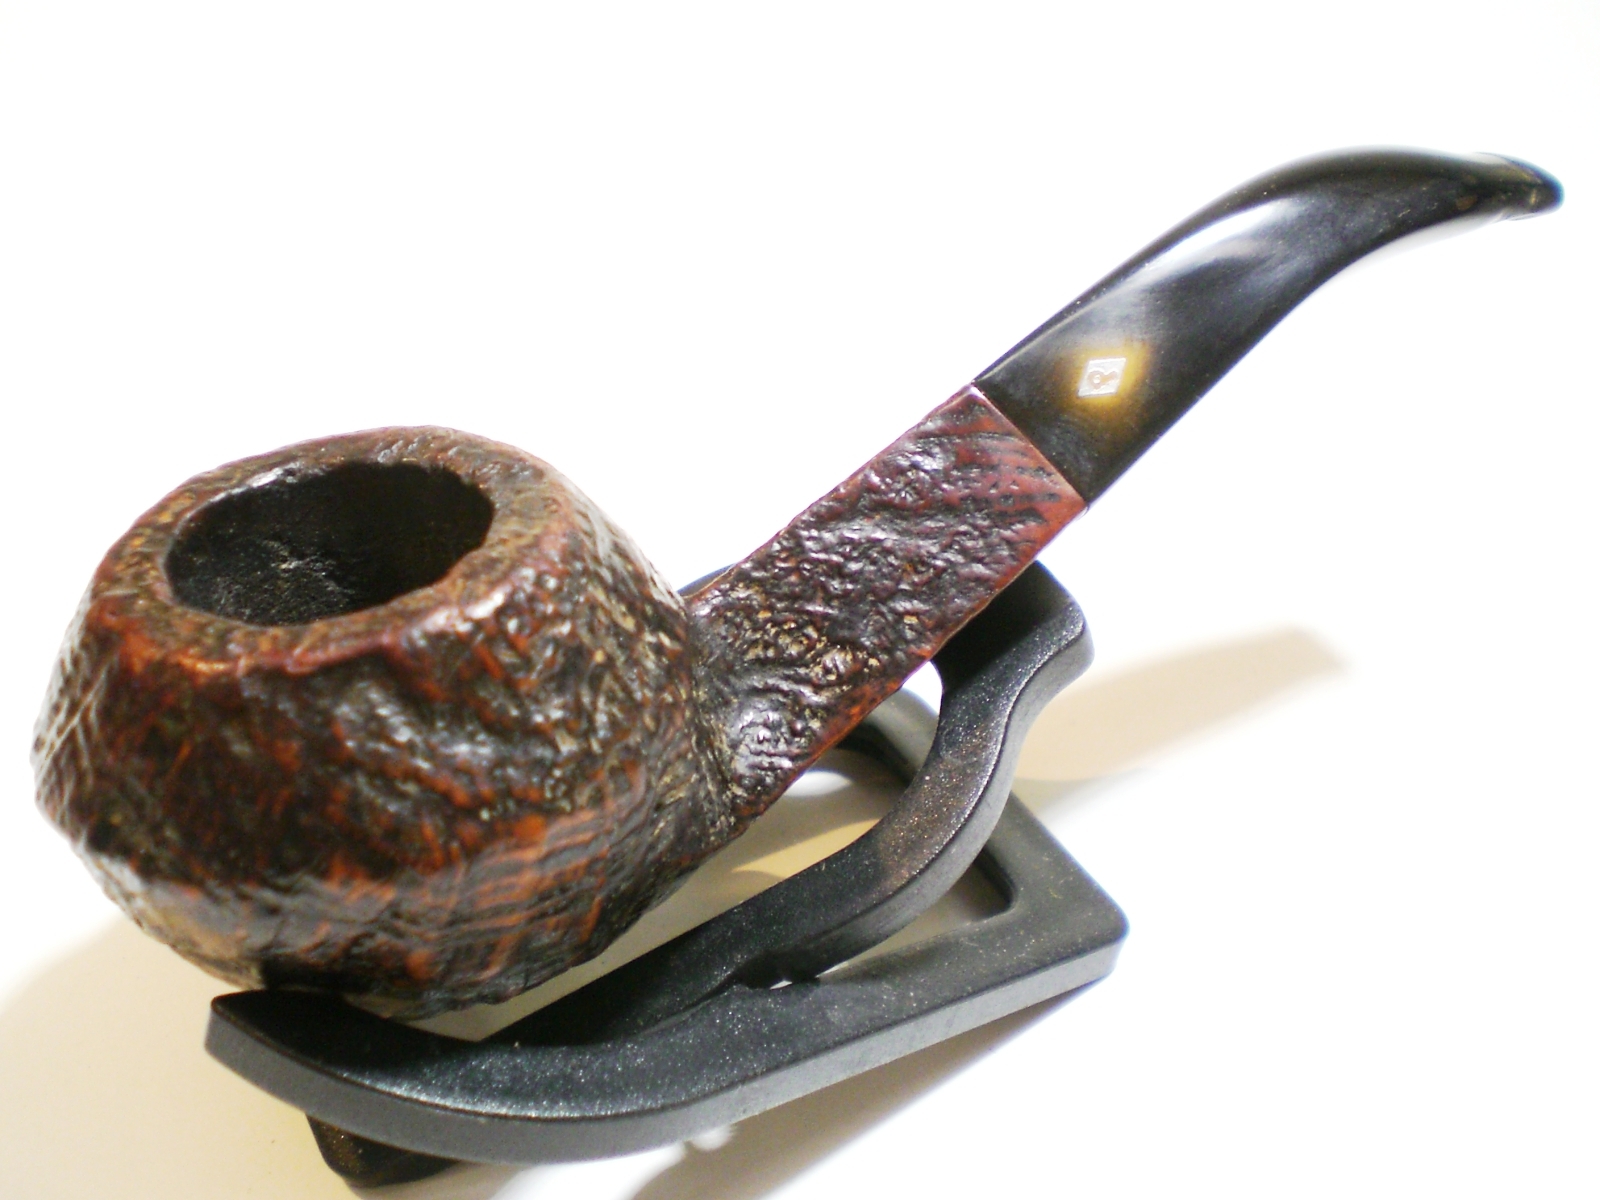
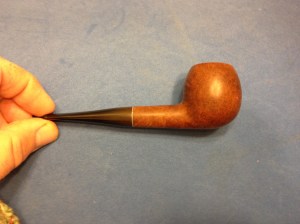
Sometime back I acquired an older Kaywoodie model 33. It is an apple shape with a rounded bowl-top. The pipe was in pretty good condition other than the front edge was damaged from being knocked-out and the bottom of the stem had been bitten off. because of the stem damage I put off working on this pipe for months; I wanted to save the stem but didn’t have the black super glue yet, which I planned on using, to do the job. Here are a couple of photos (all I could find) of it before I started working on it.

Kaywoodie Apple (10) Kaywoodie Apple (11) Kaywoodie Apple (13)

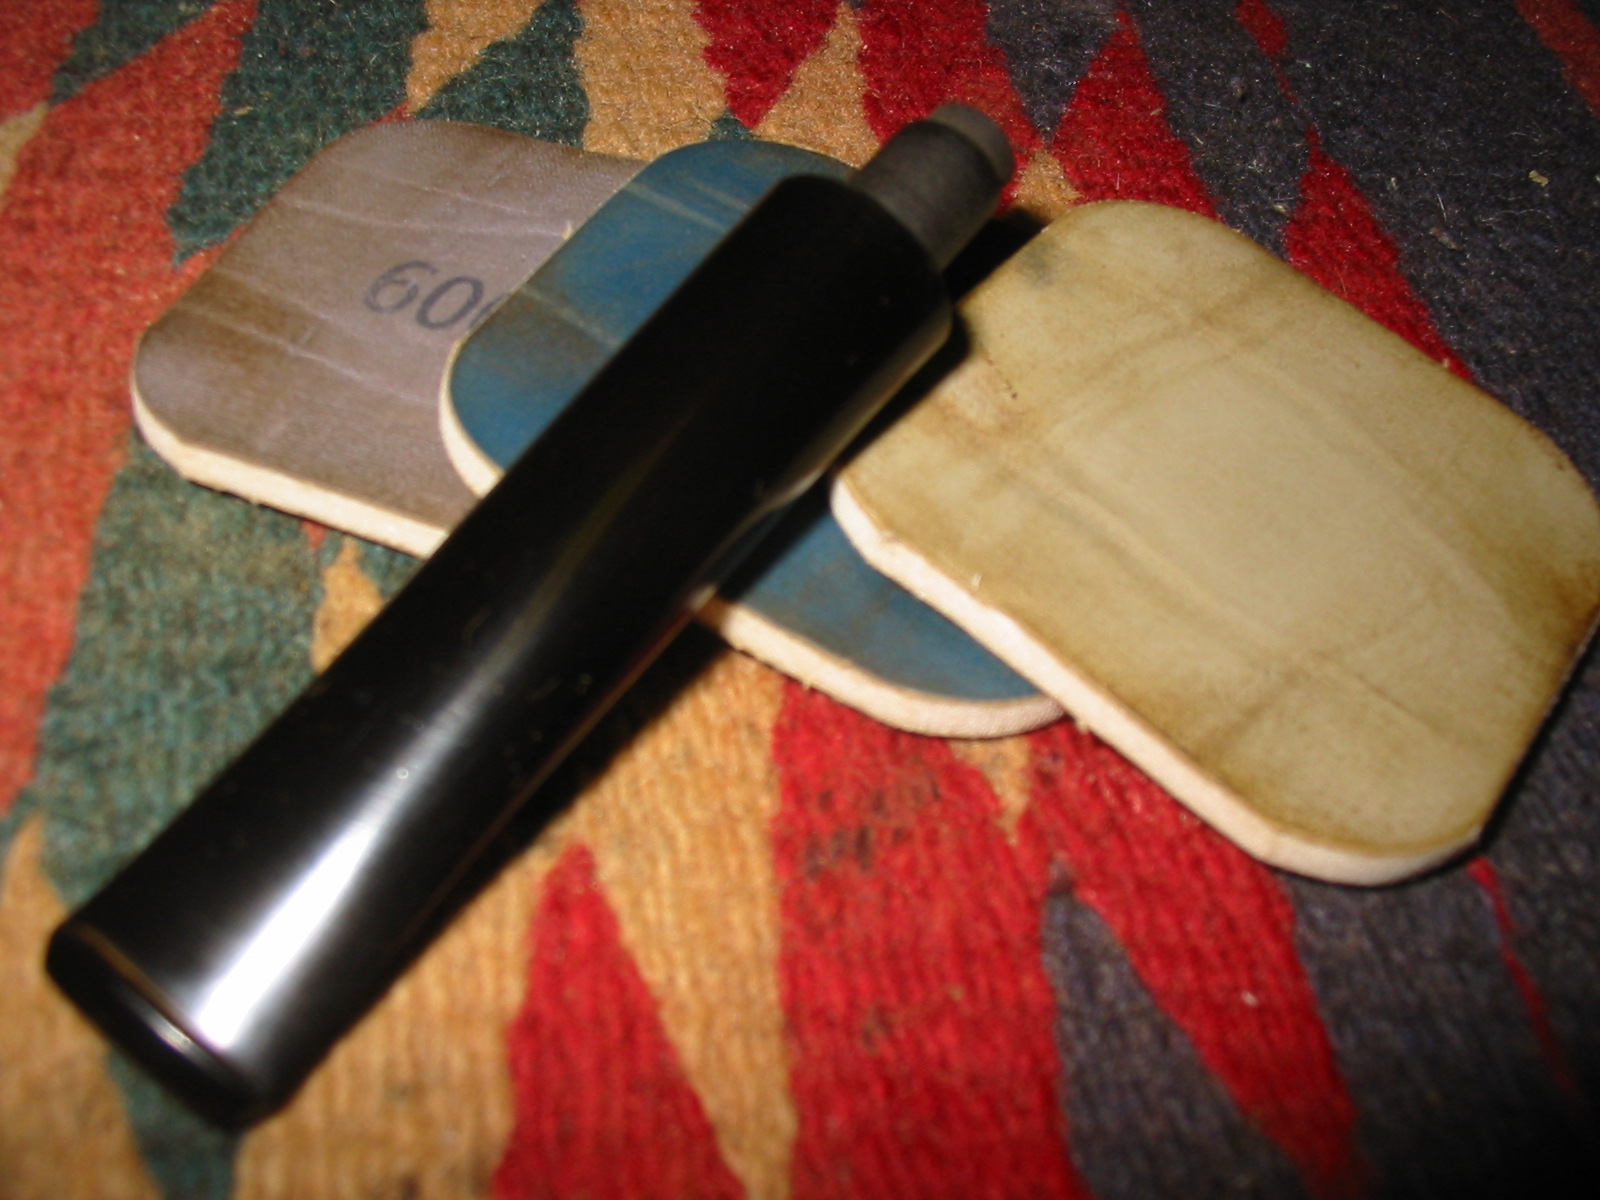
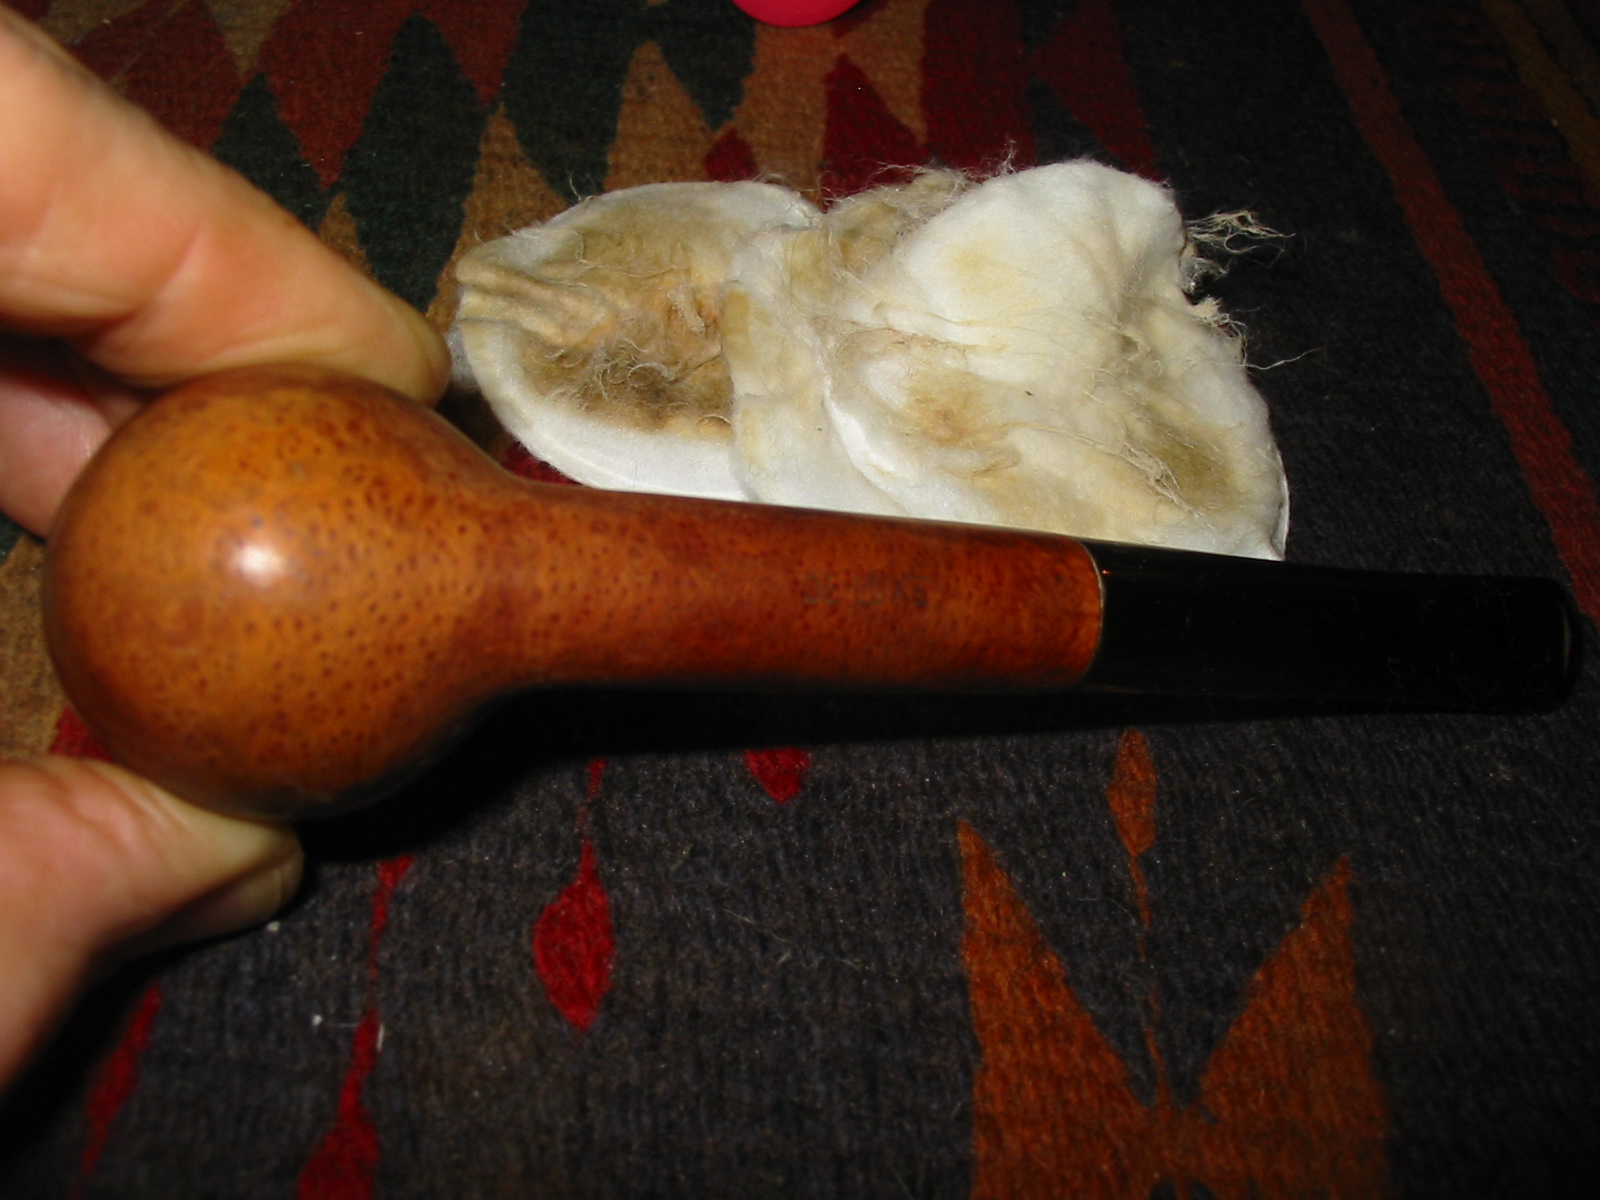
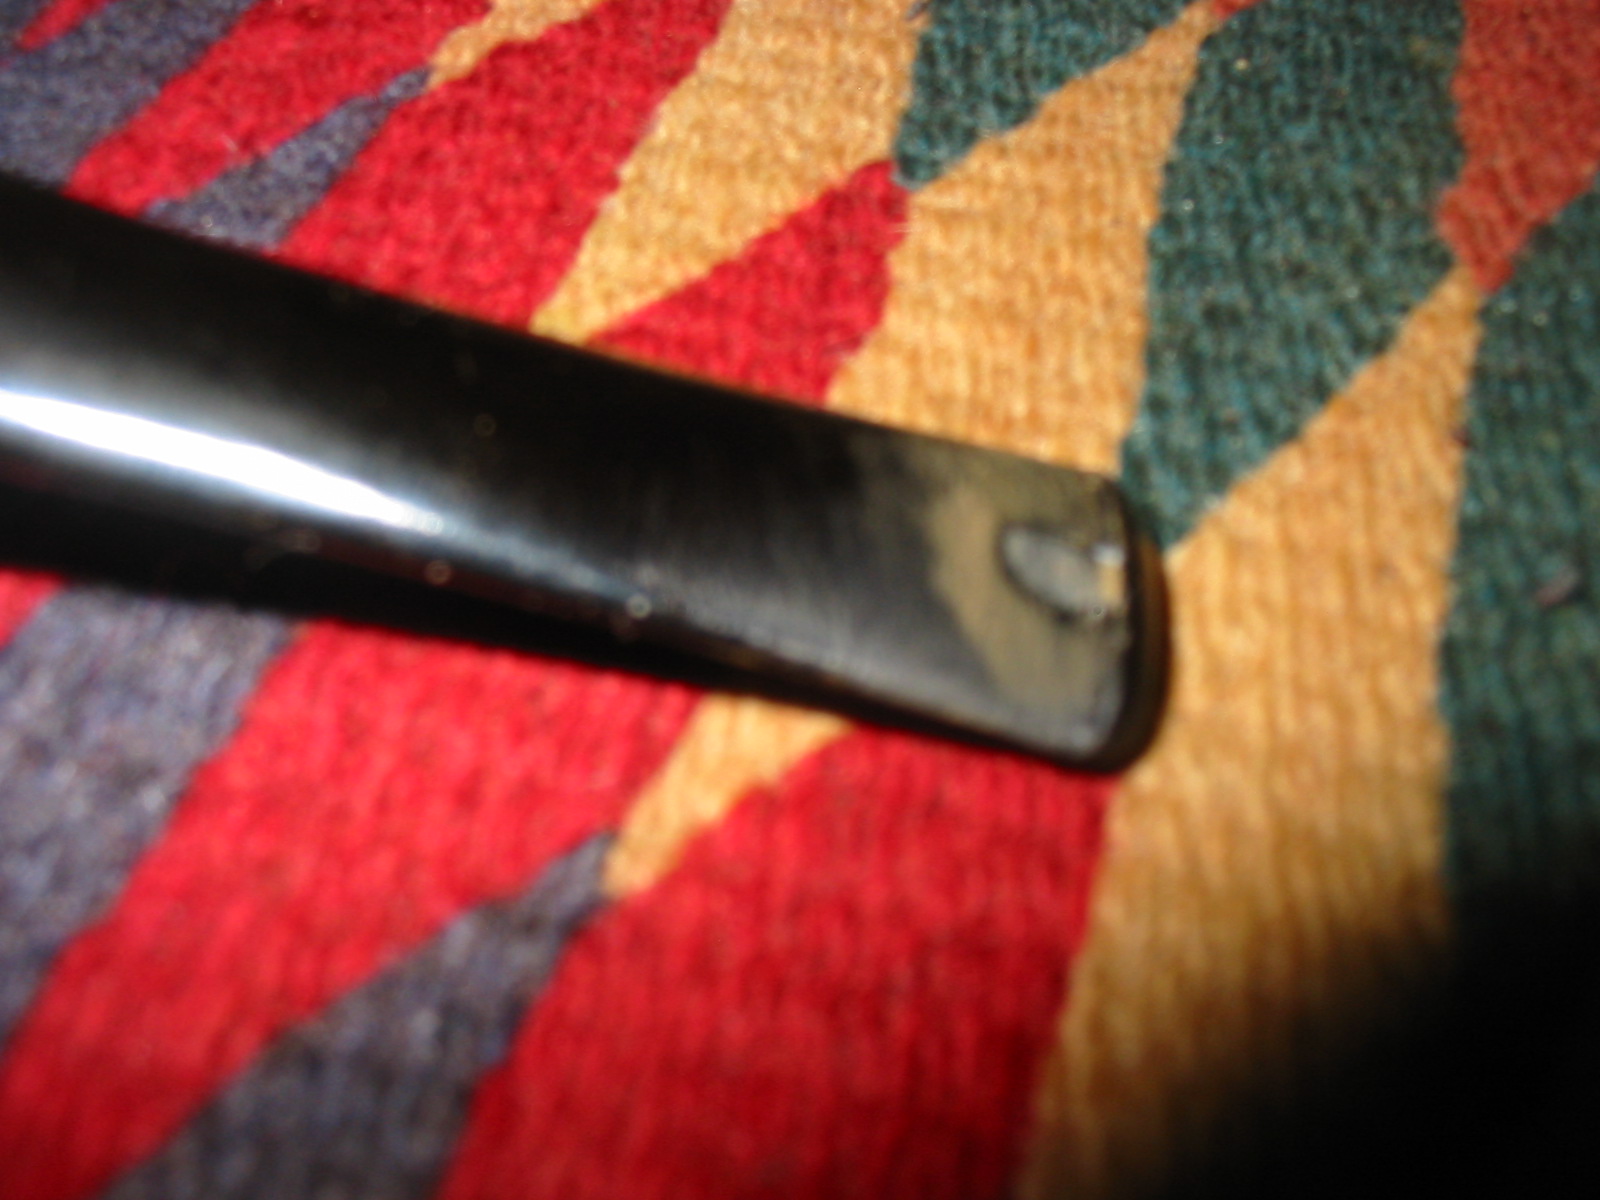
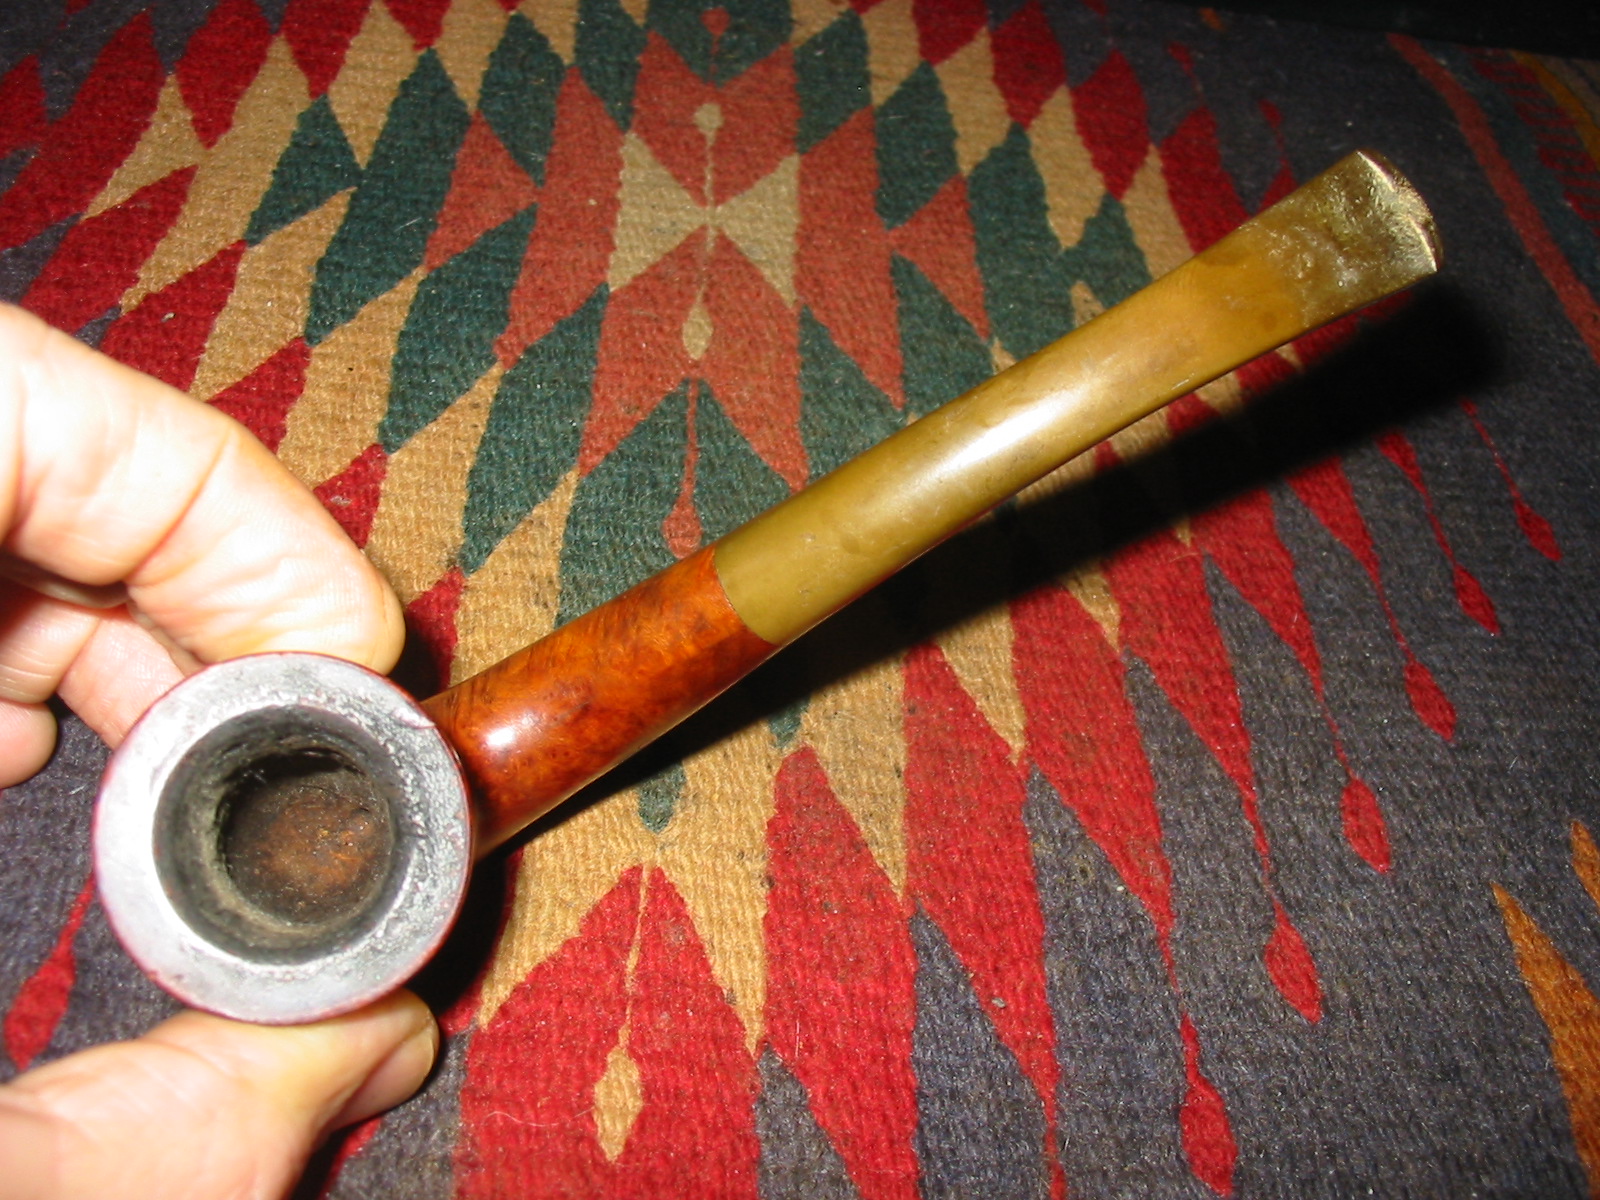
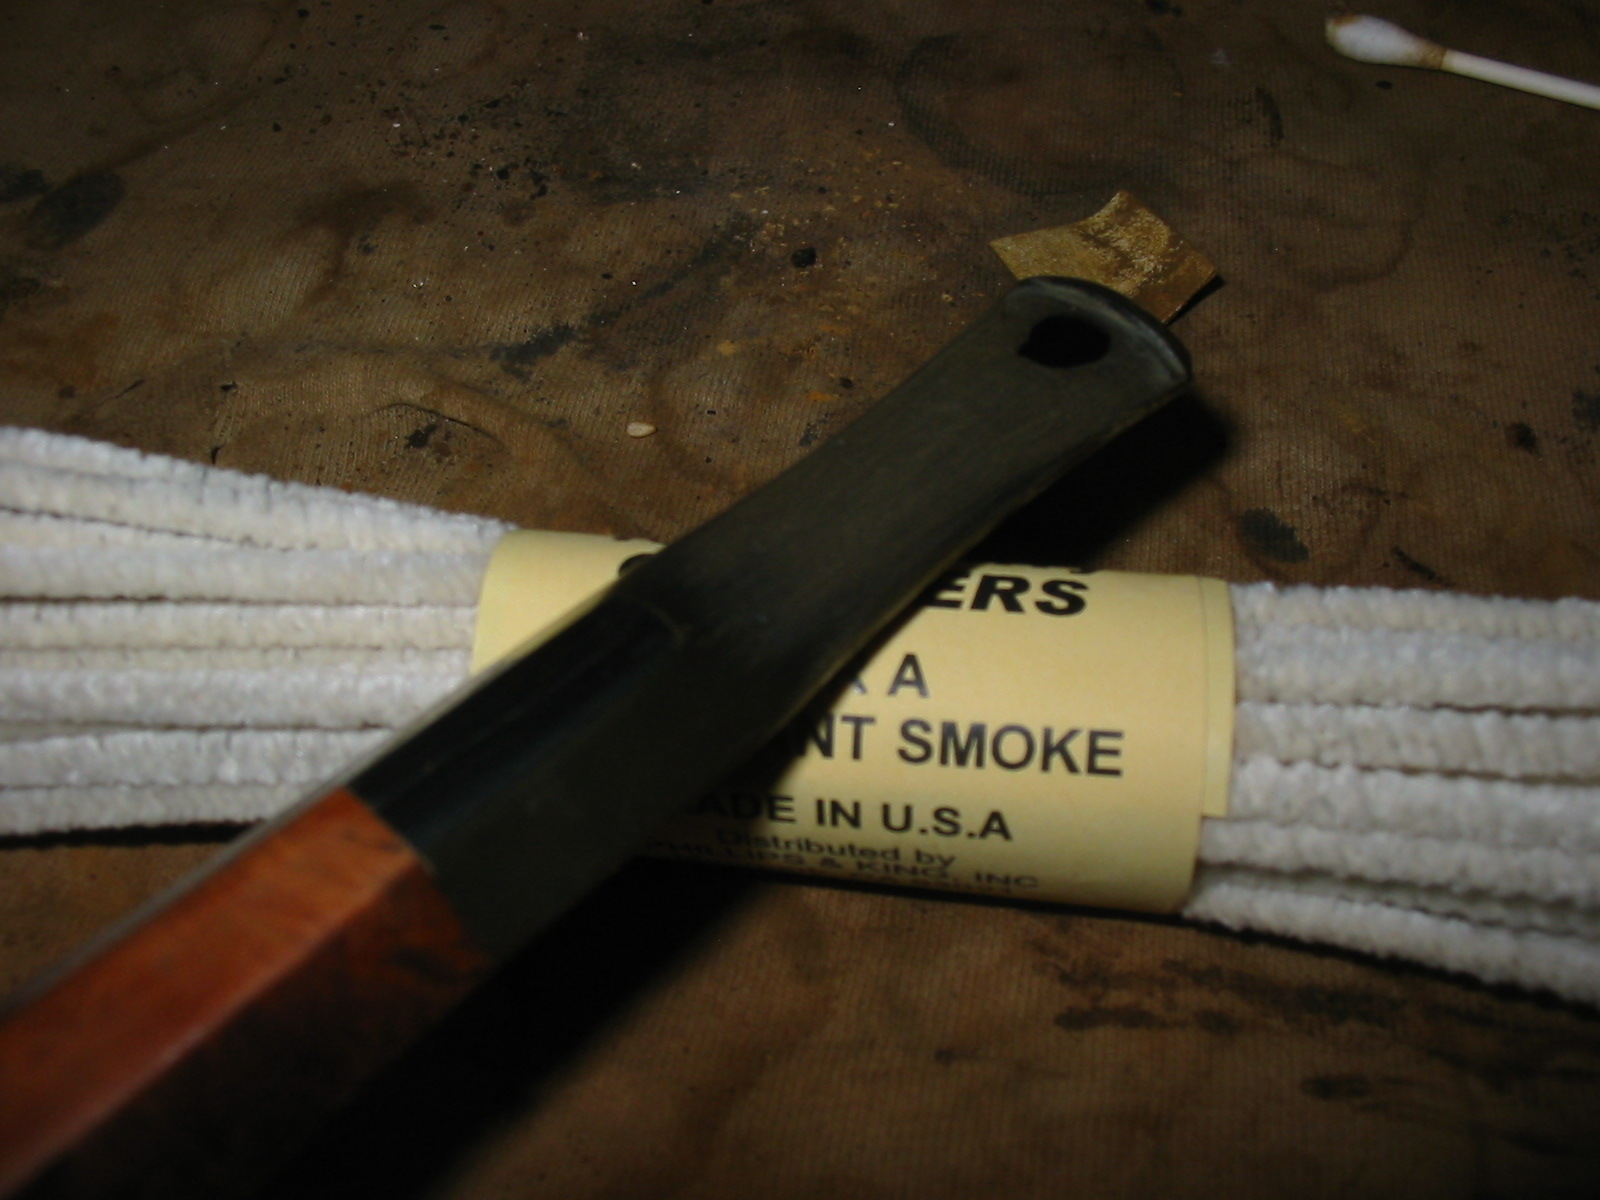
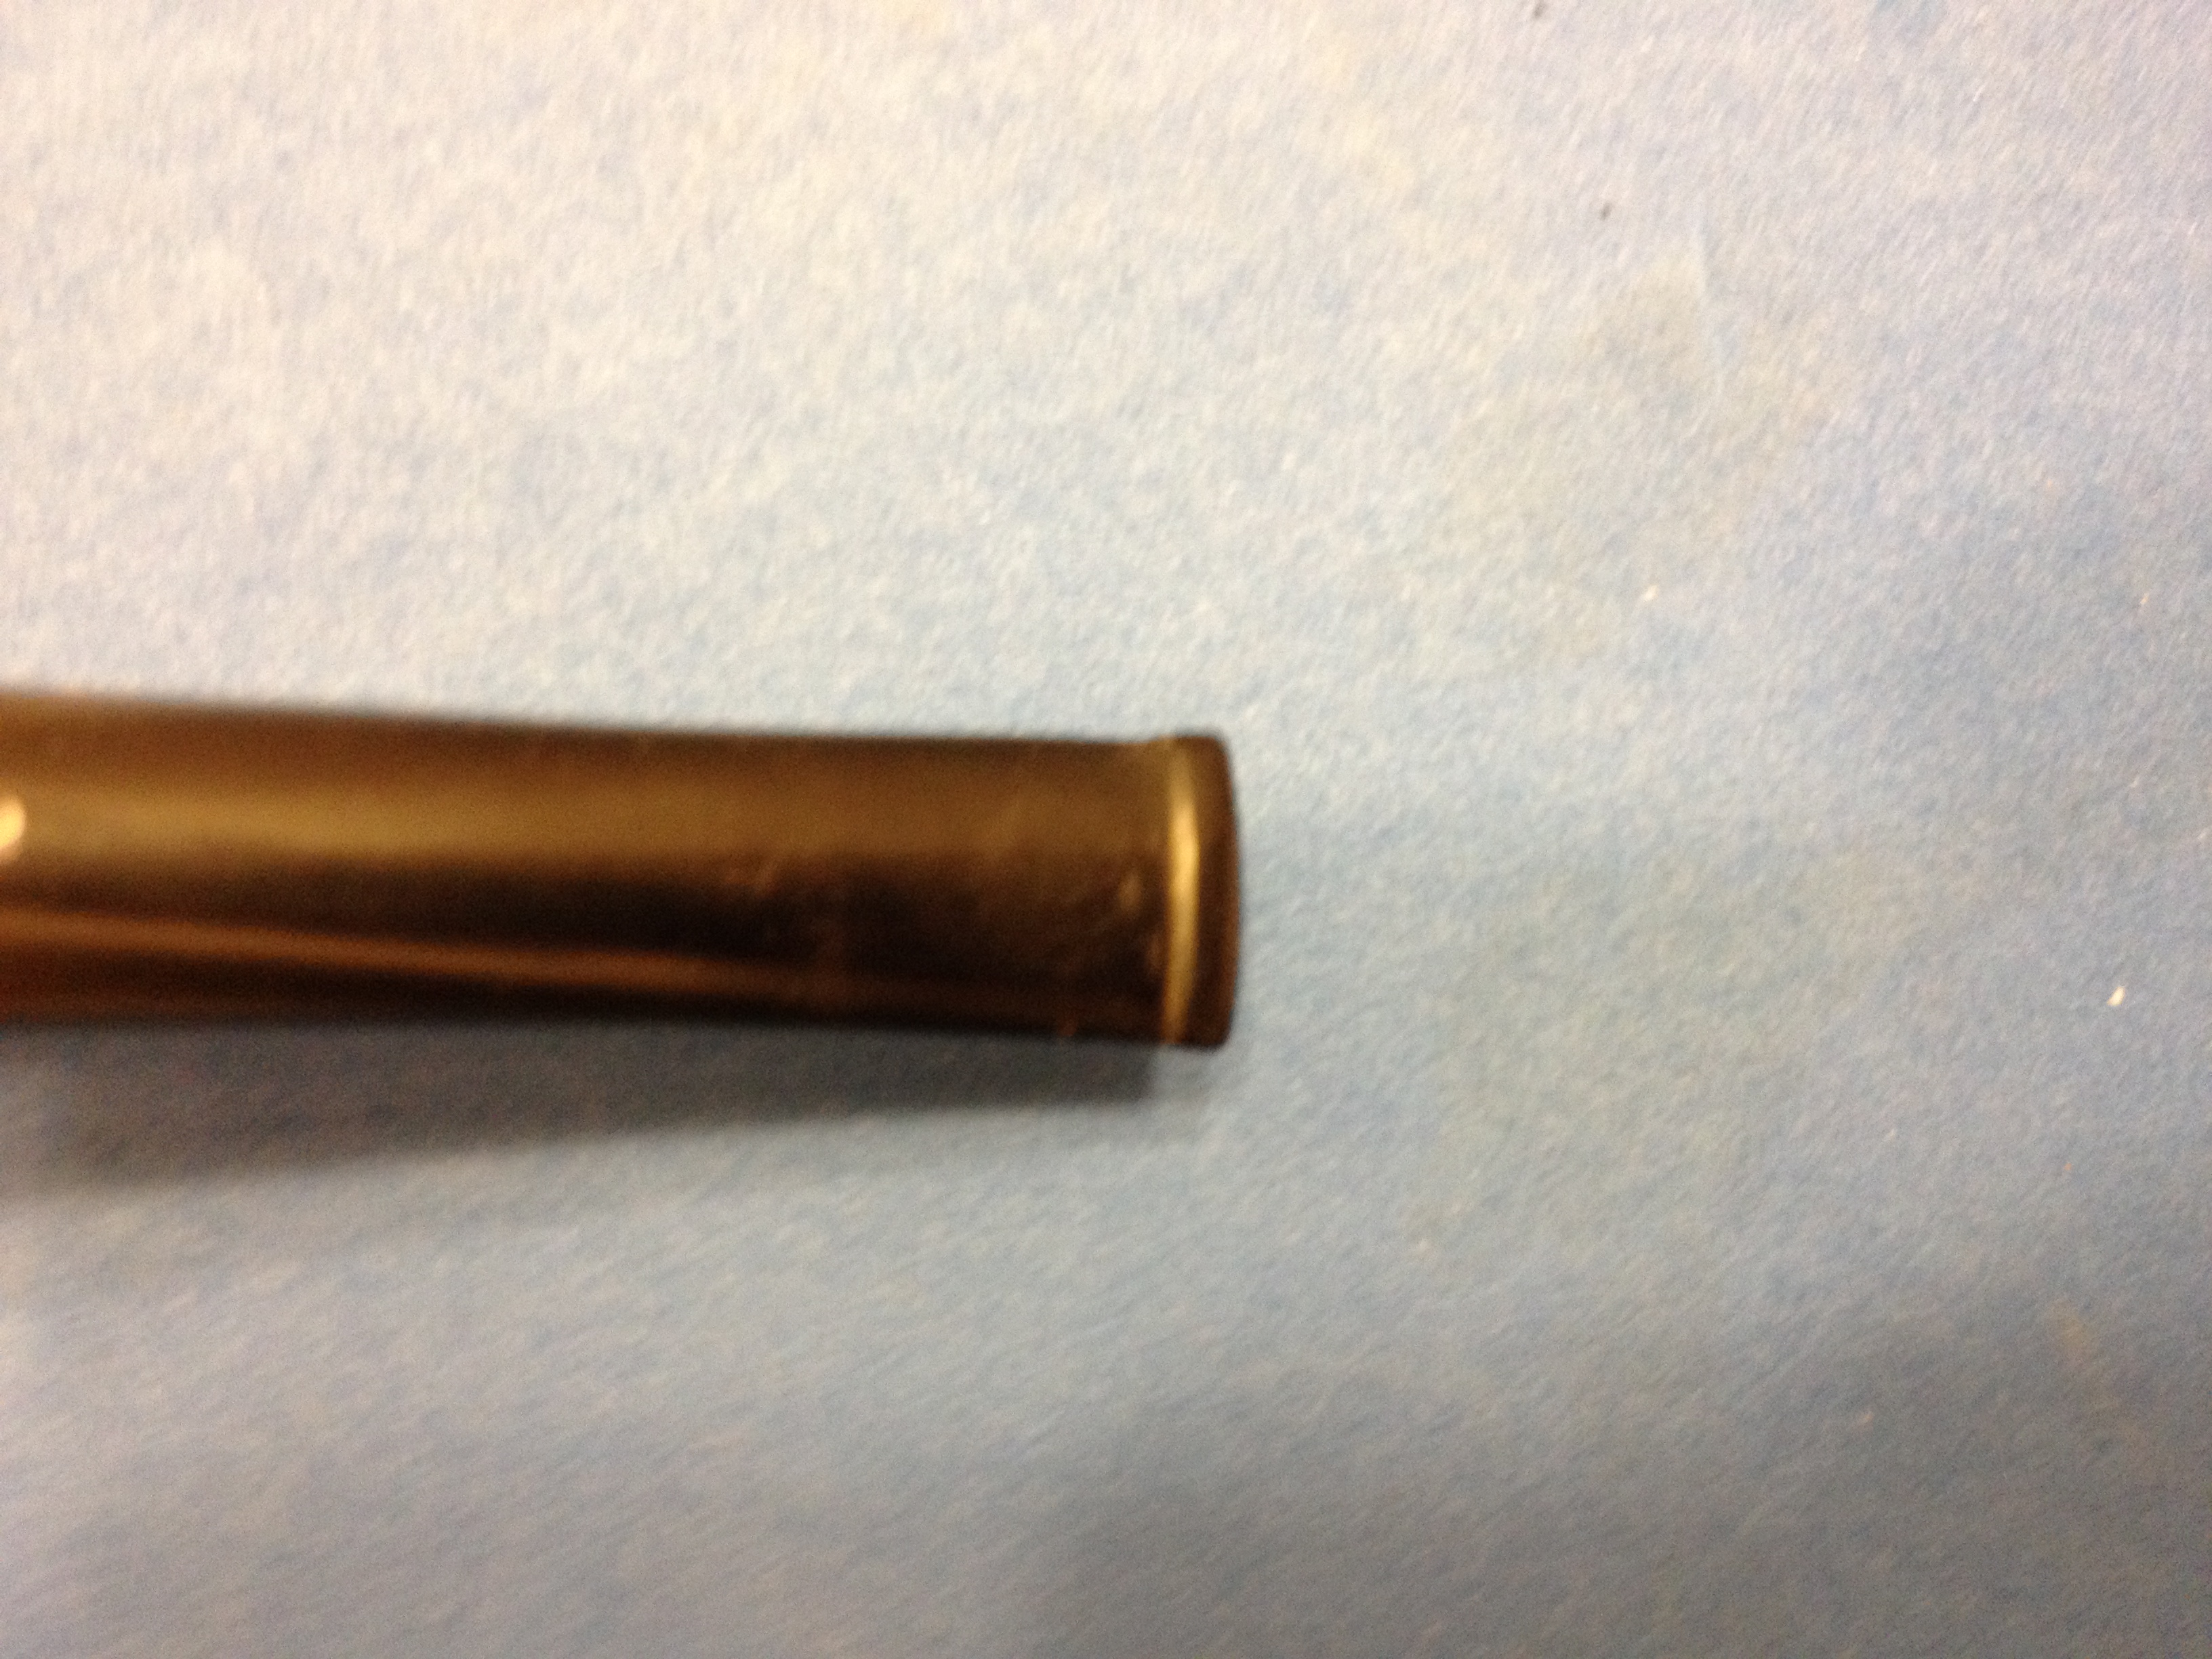
Unfortunately all I can find are some photos that I used it as a “prop” in and one of the underside of the stem. You can see the pipe itself wasn’t too bad but the stem was another story.

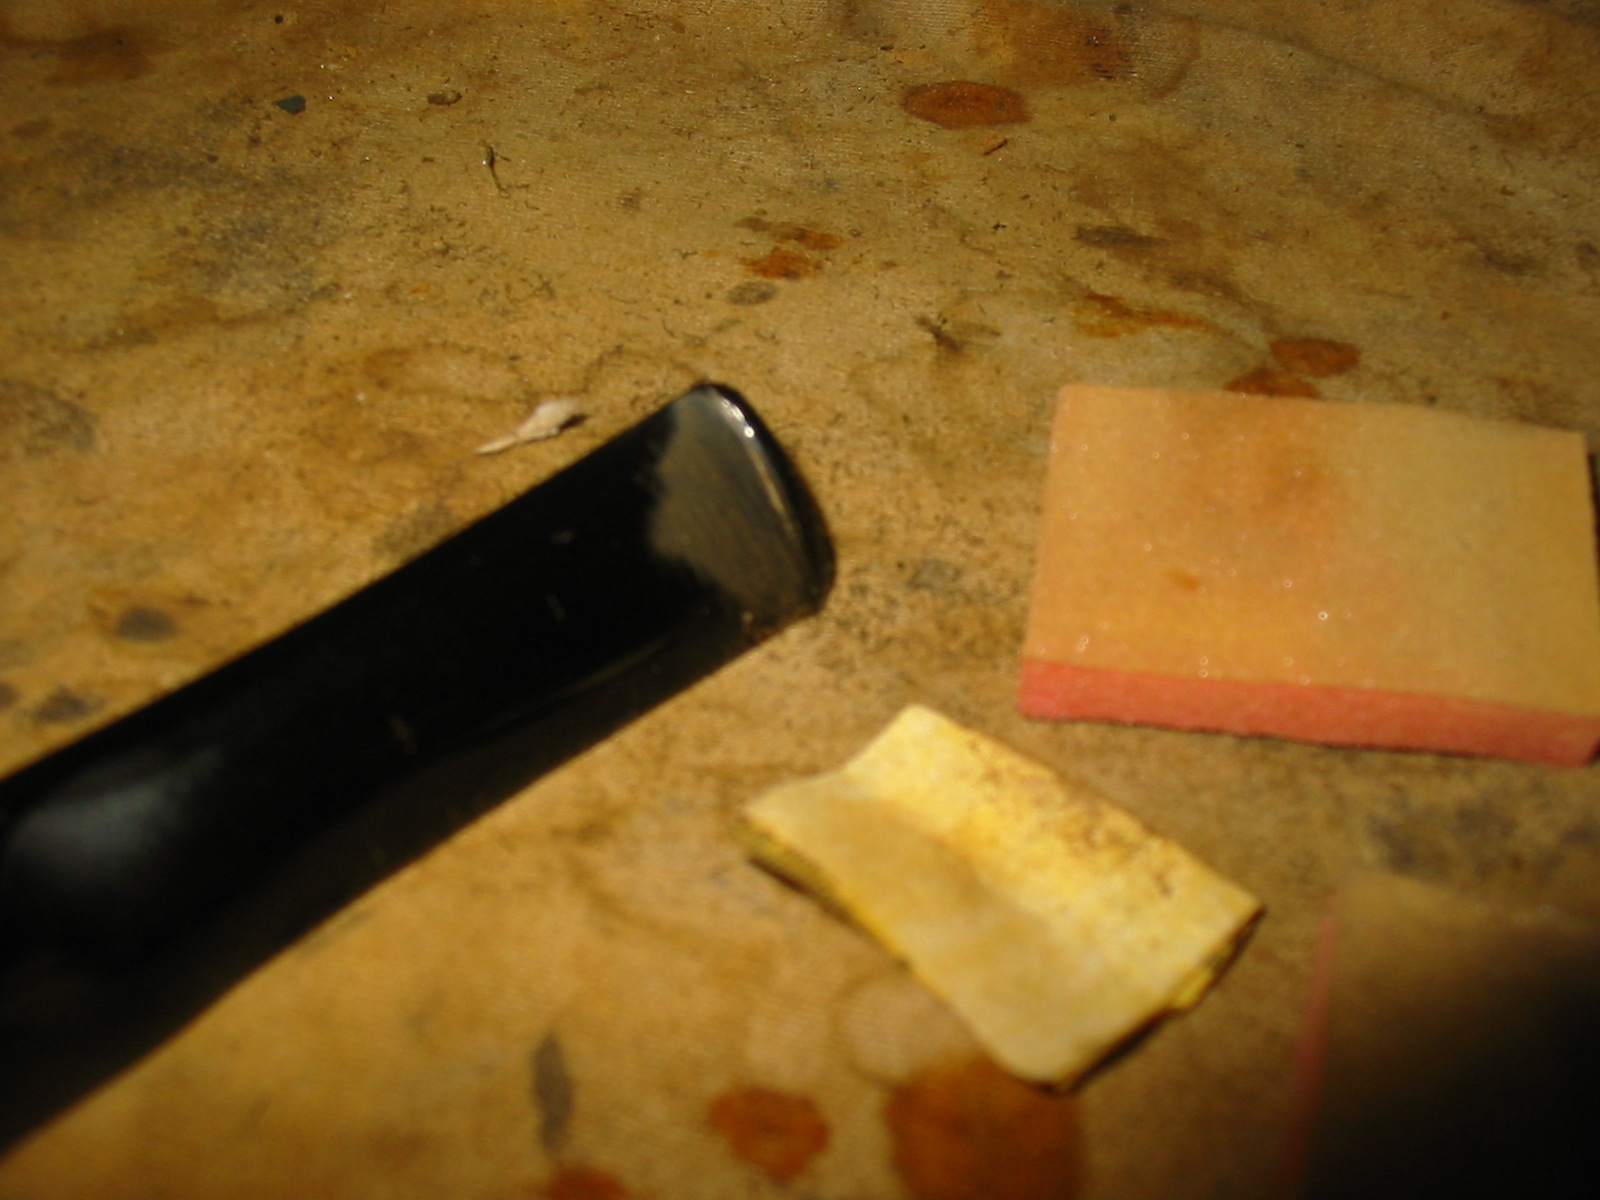
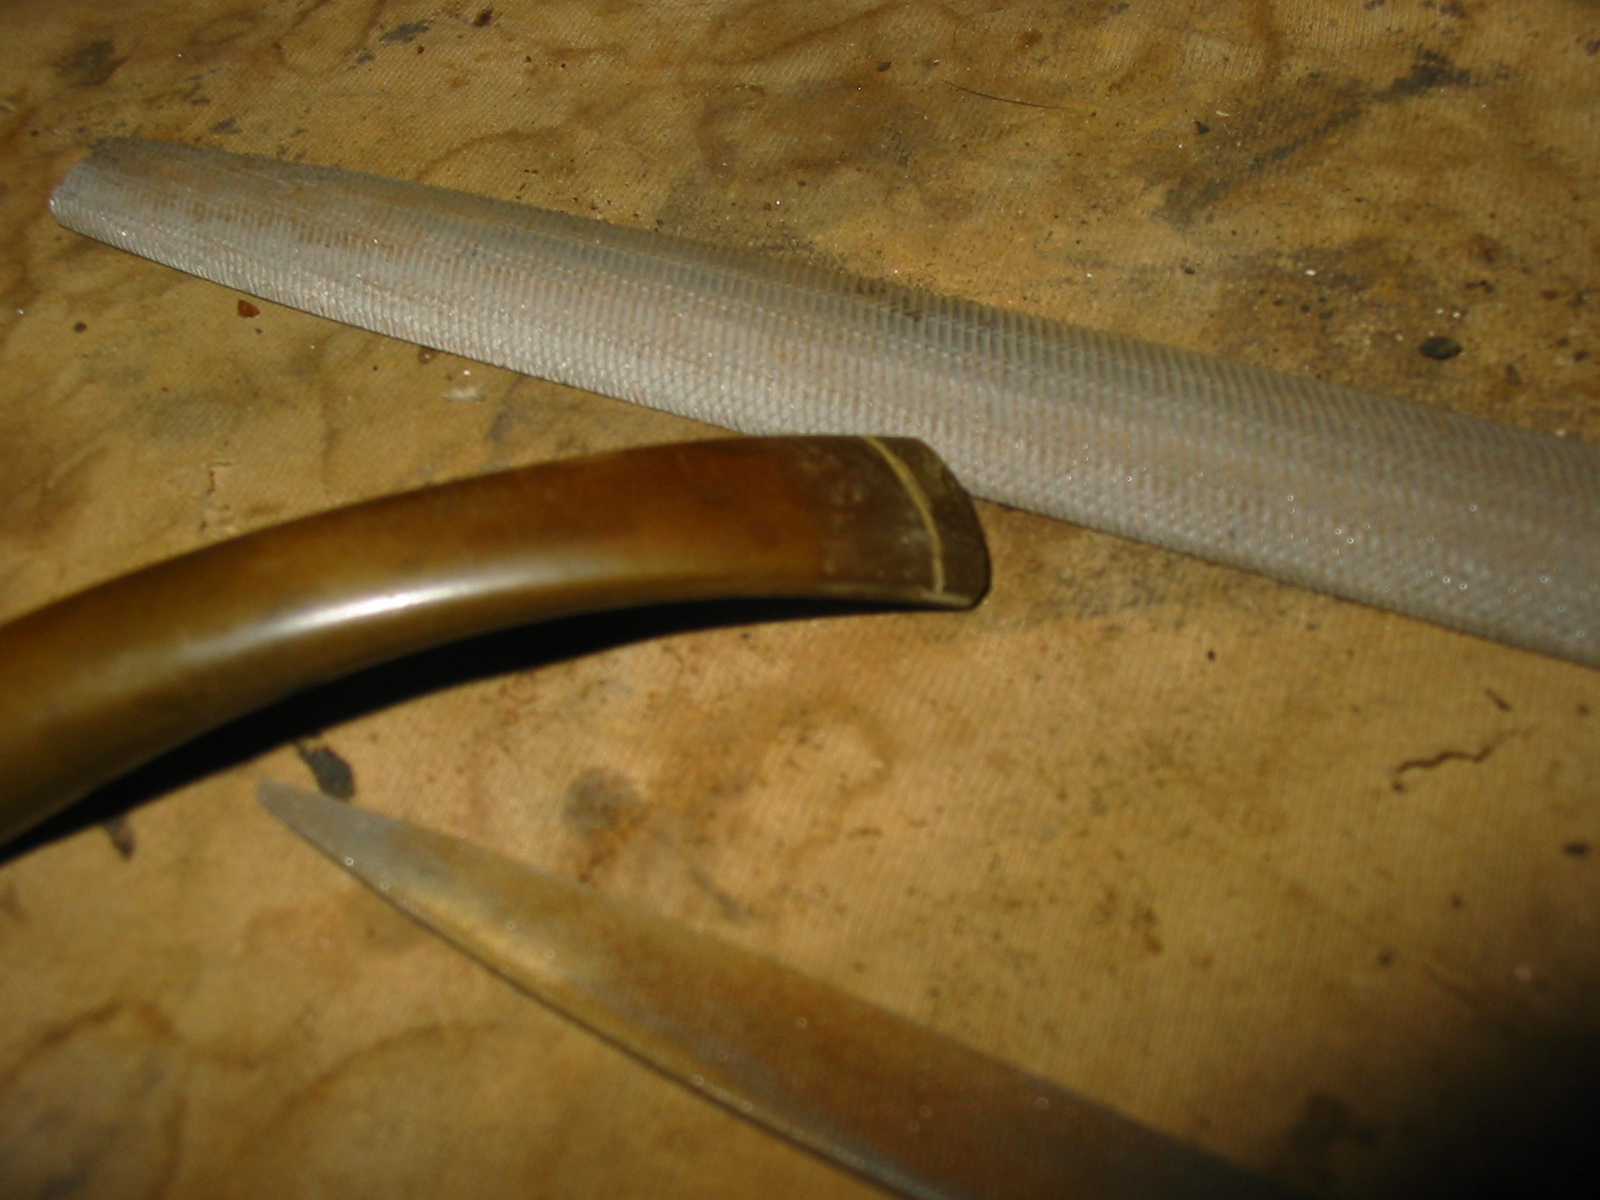
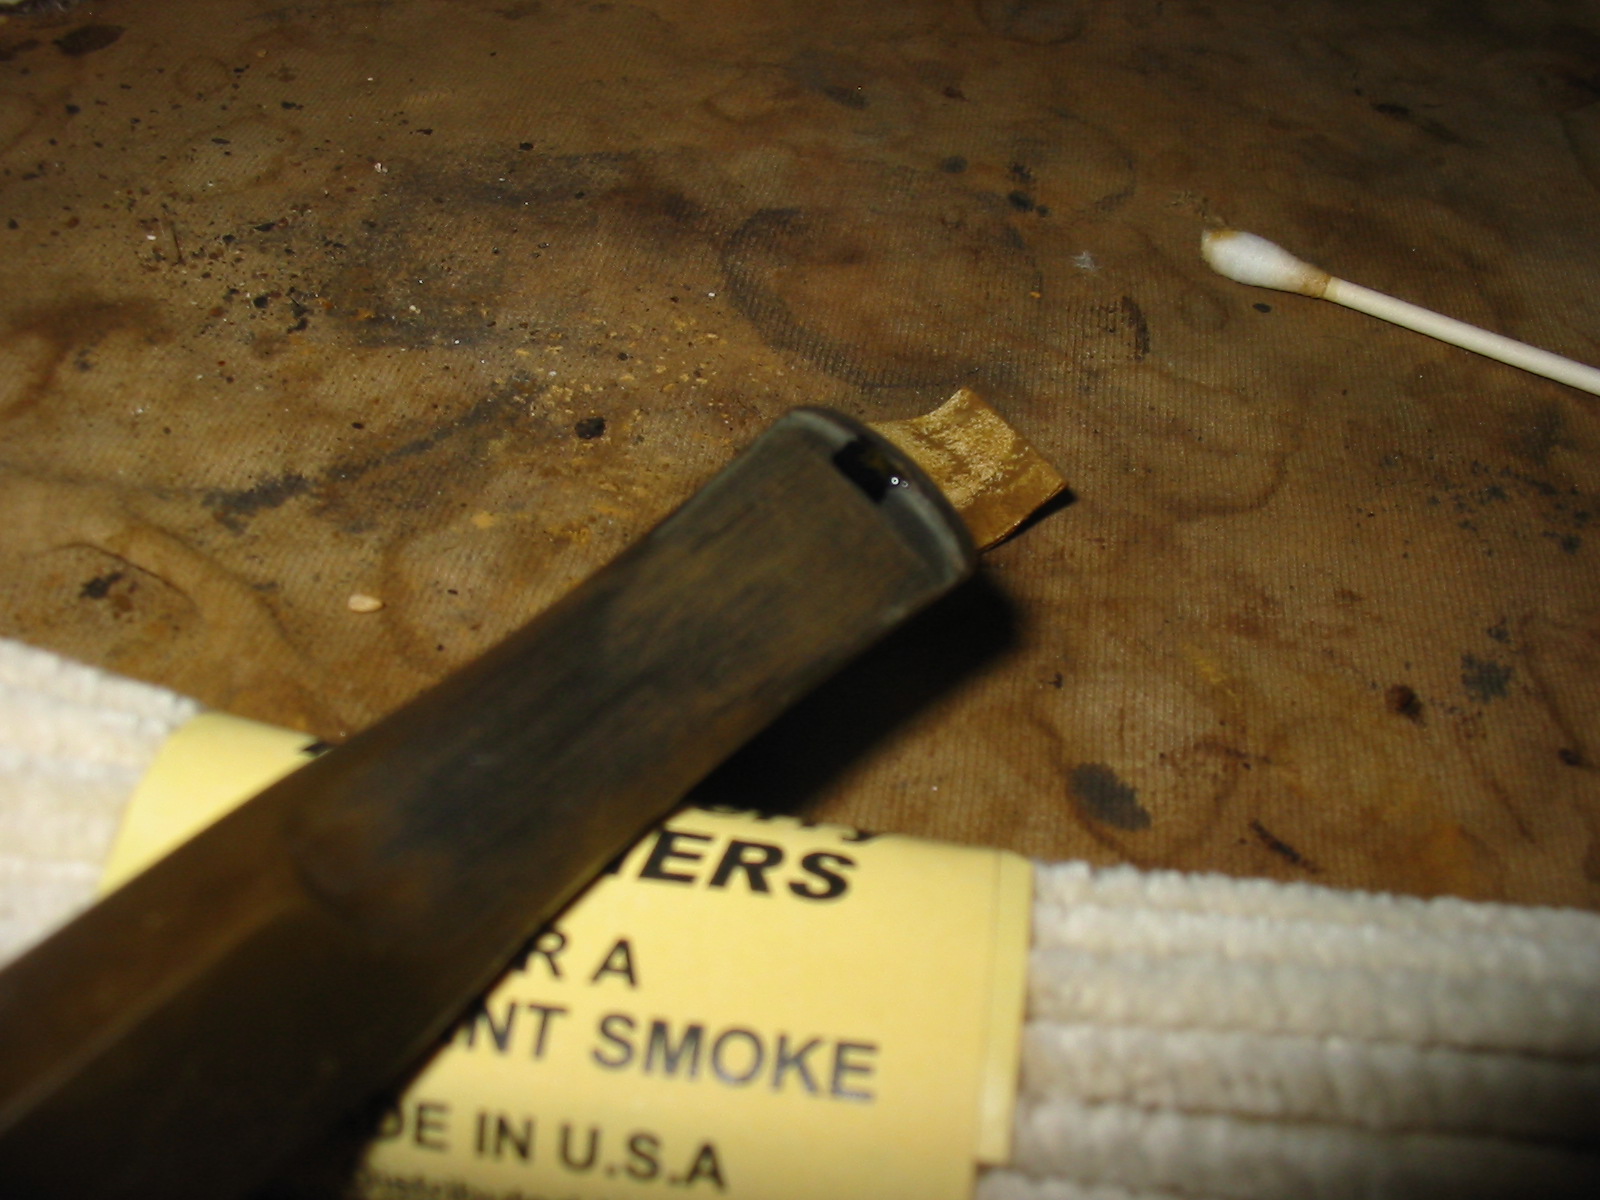
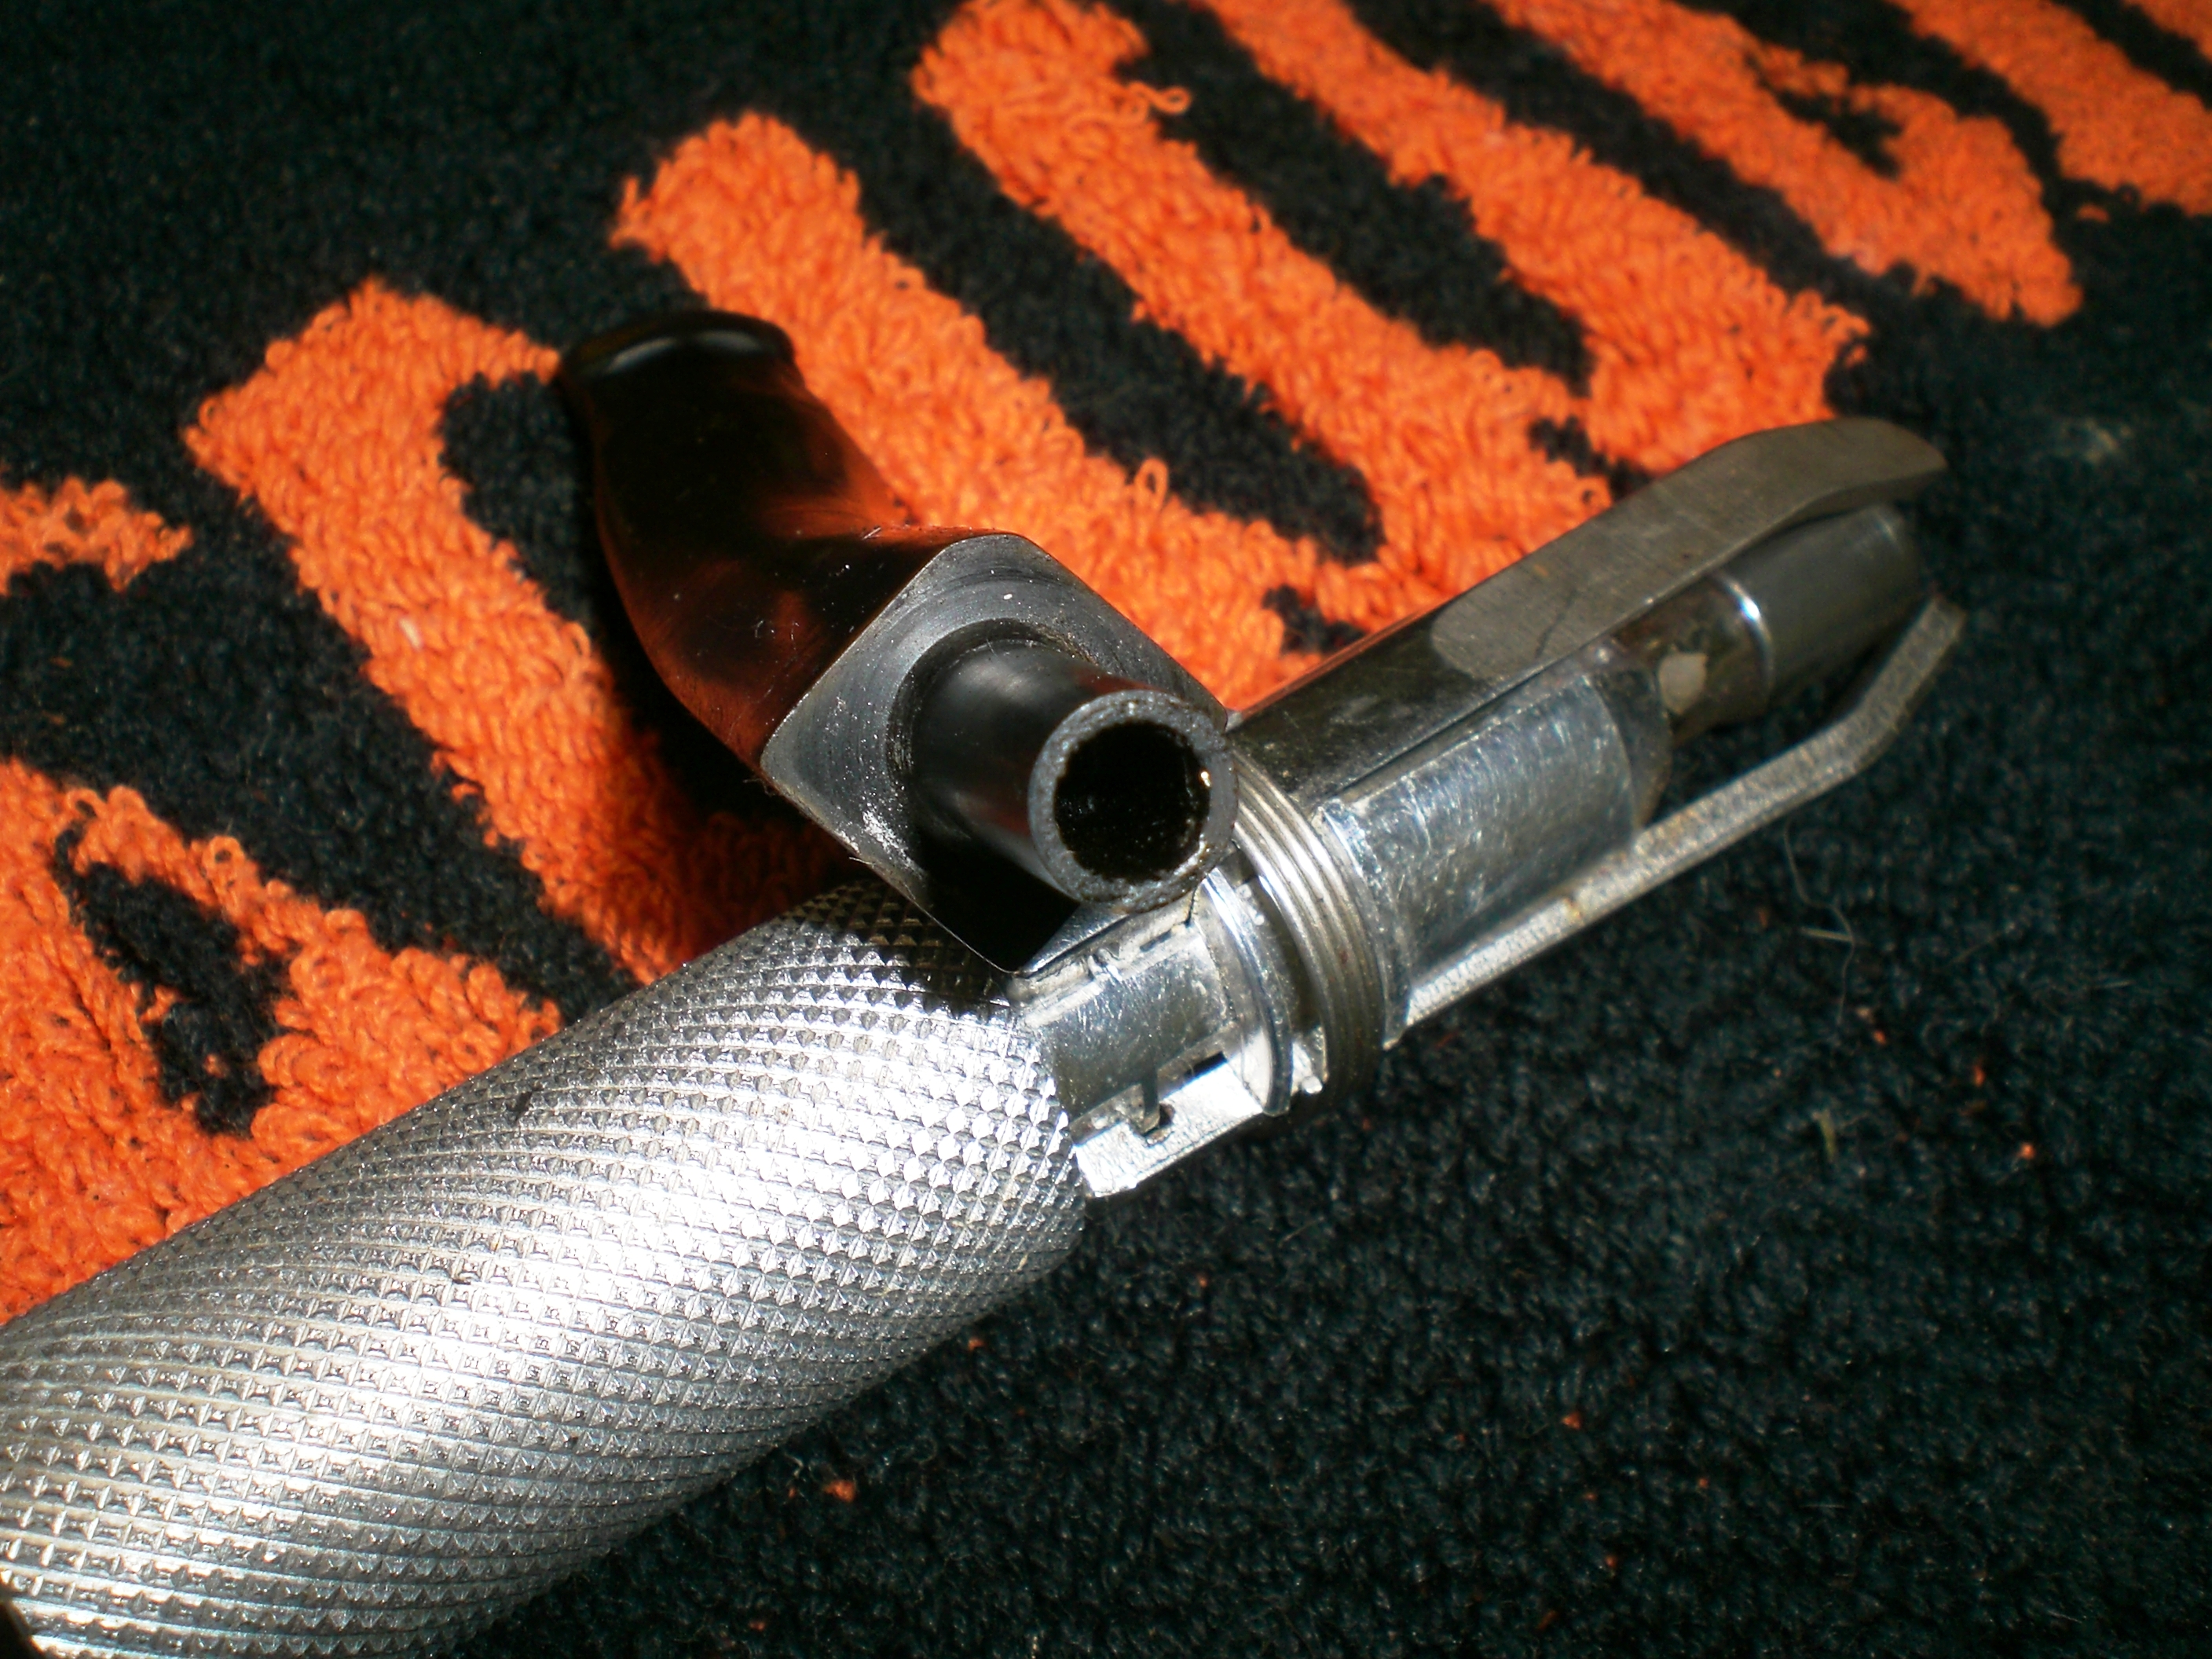
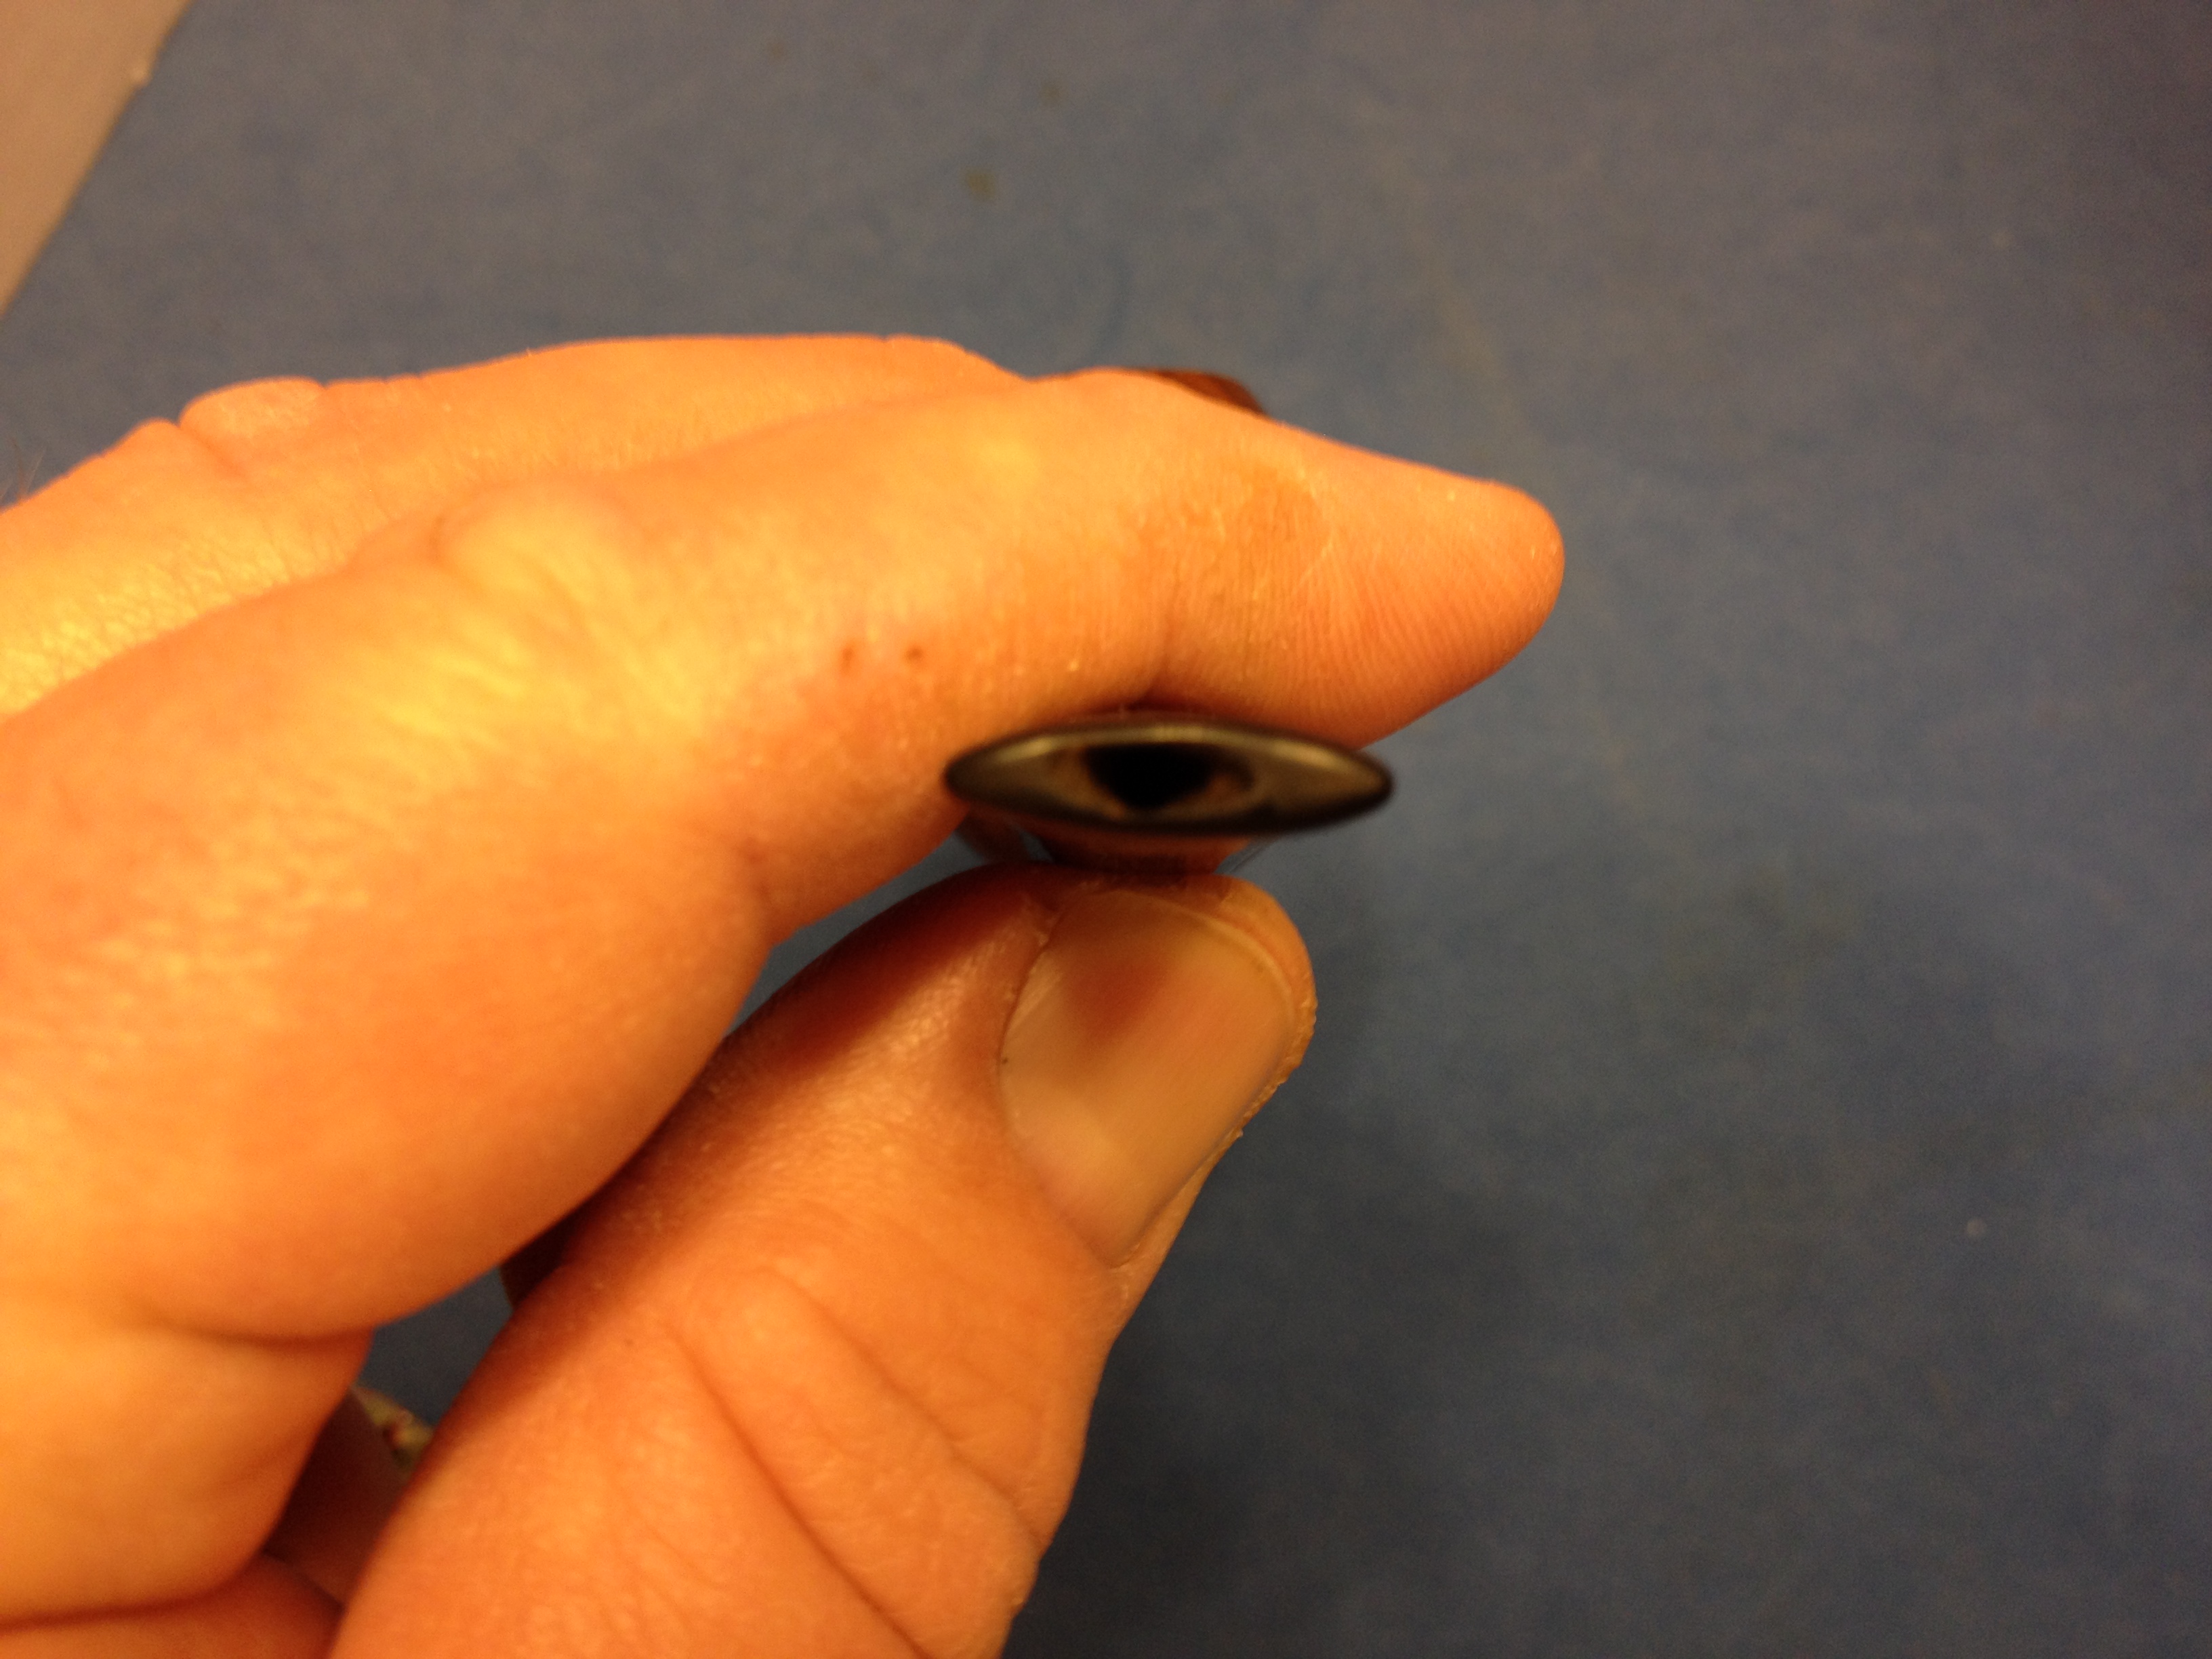
Initially I tried to patch the chip with black super glue; I tried this three times: the first attempt the pipe cleaner I was using as a plug absorbed all the glue and the other two times, using different materials for the plug, the patch failed. It turned out that the chip was just too large for me to patch well so I decided to cut it off and file a new button since there seemed to be plenty of room to work with on this stem.

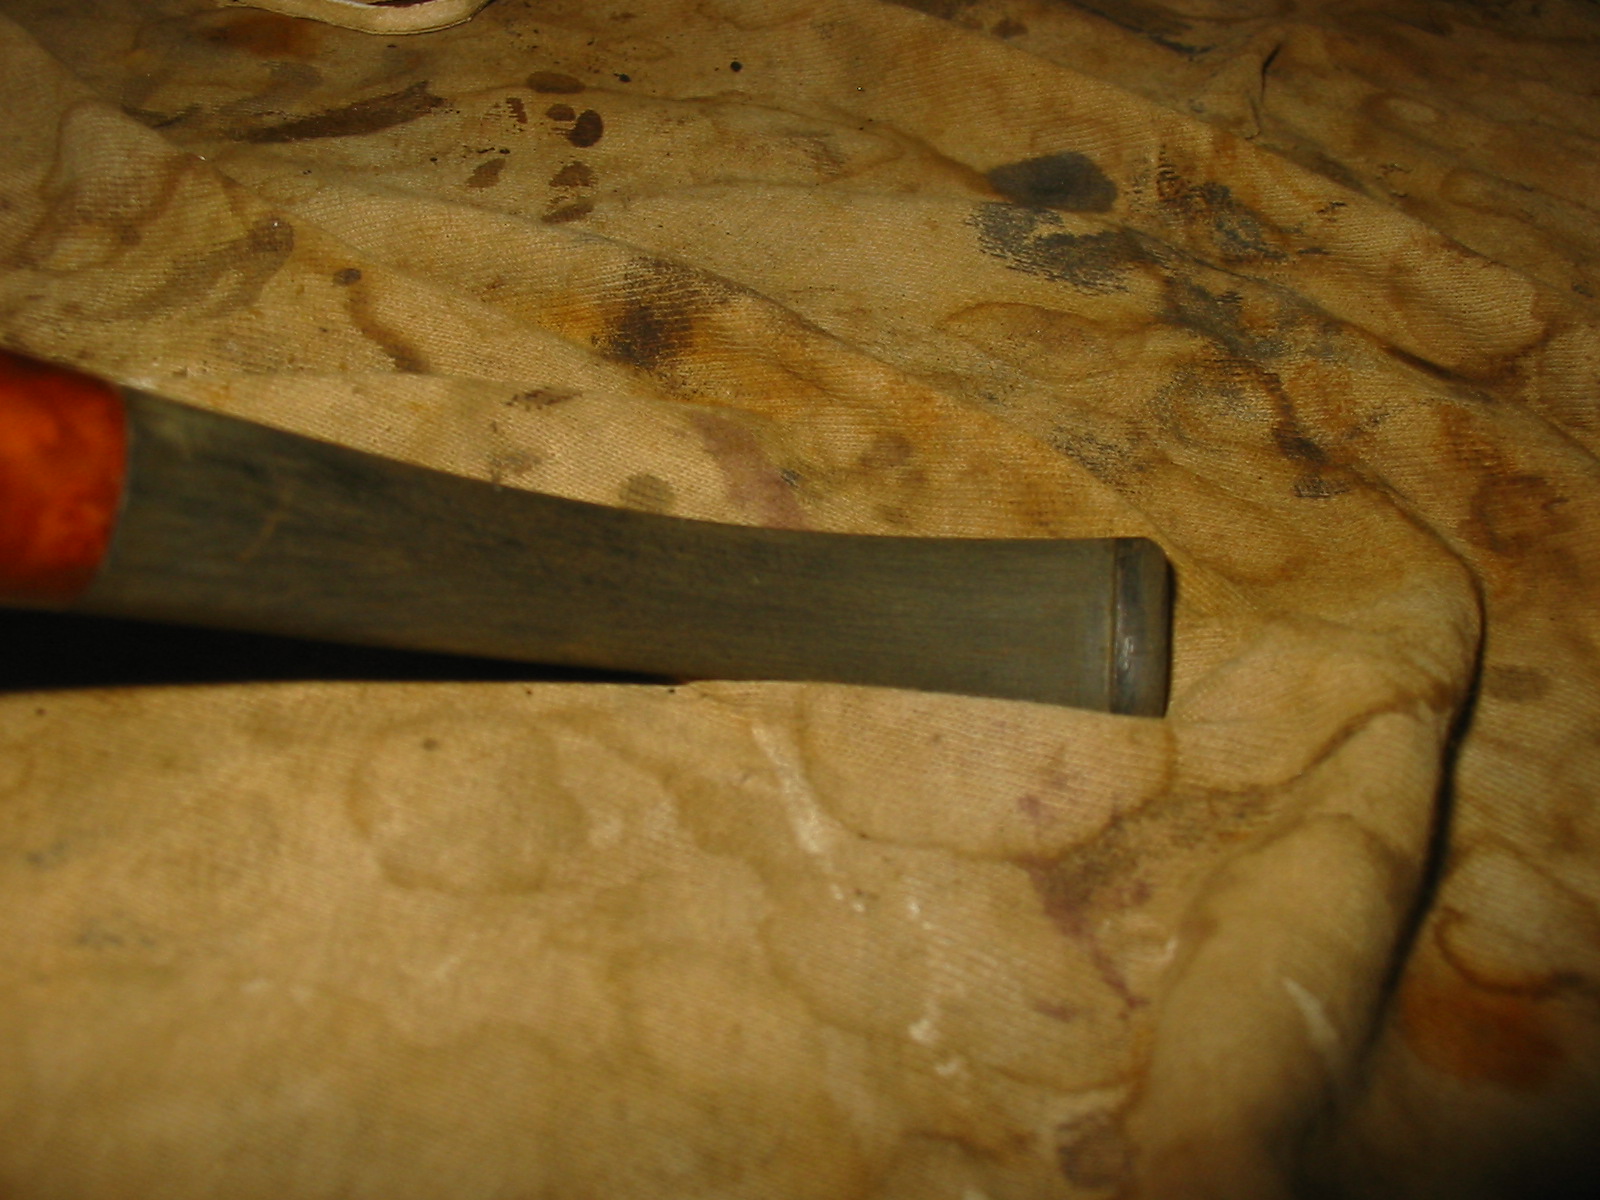
I used a hacksaw on a small frame to remove just behind the bite through. When I looked at the air hole I noticed two things, neither good: first I had closed off the airway accidentally with the glue and second the air hole wasn’t drilled center. I fixed the glue-plug problem quickly by drilling out the hardened glue with a pin vice and then picking out the small fragments that were left. One problem down – now onto forming a new button and slot.

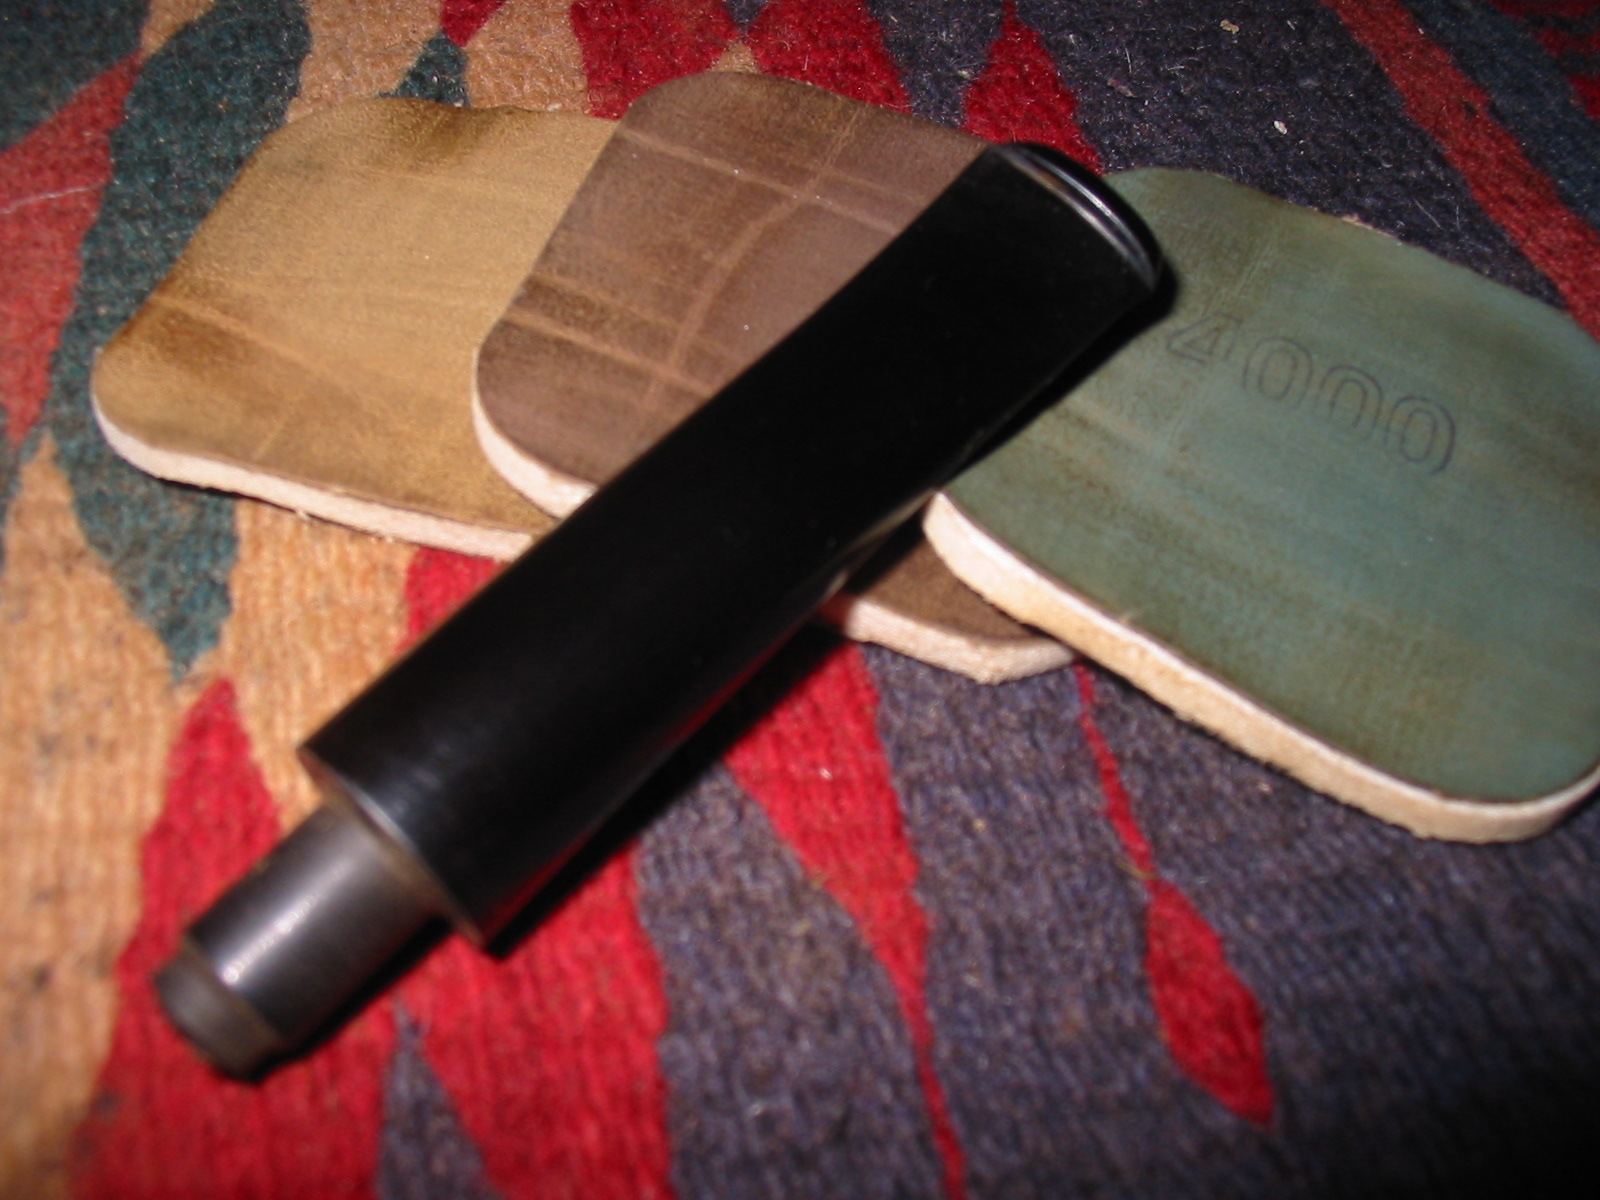
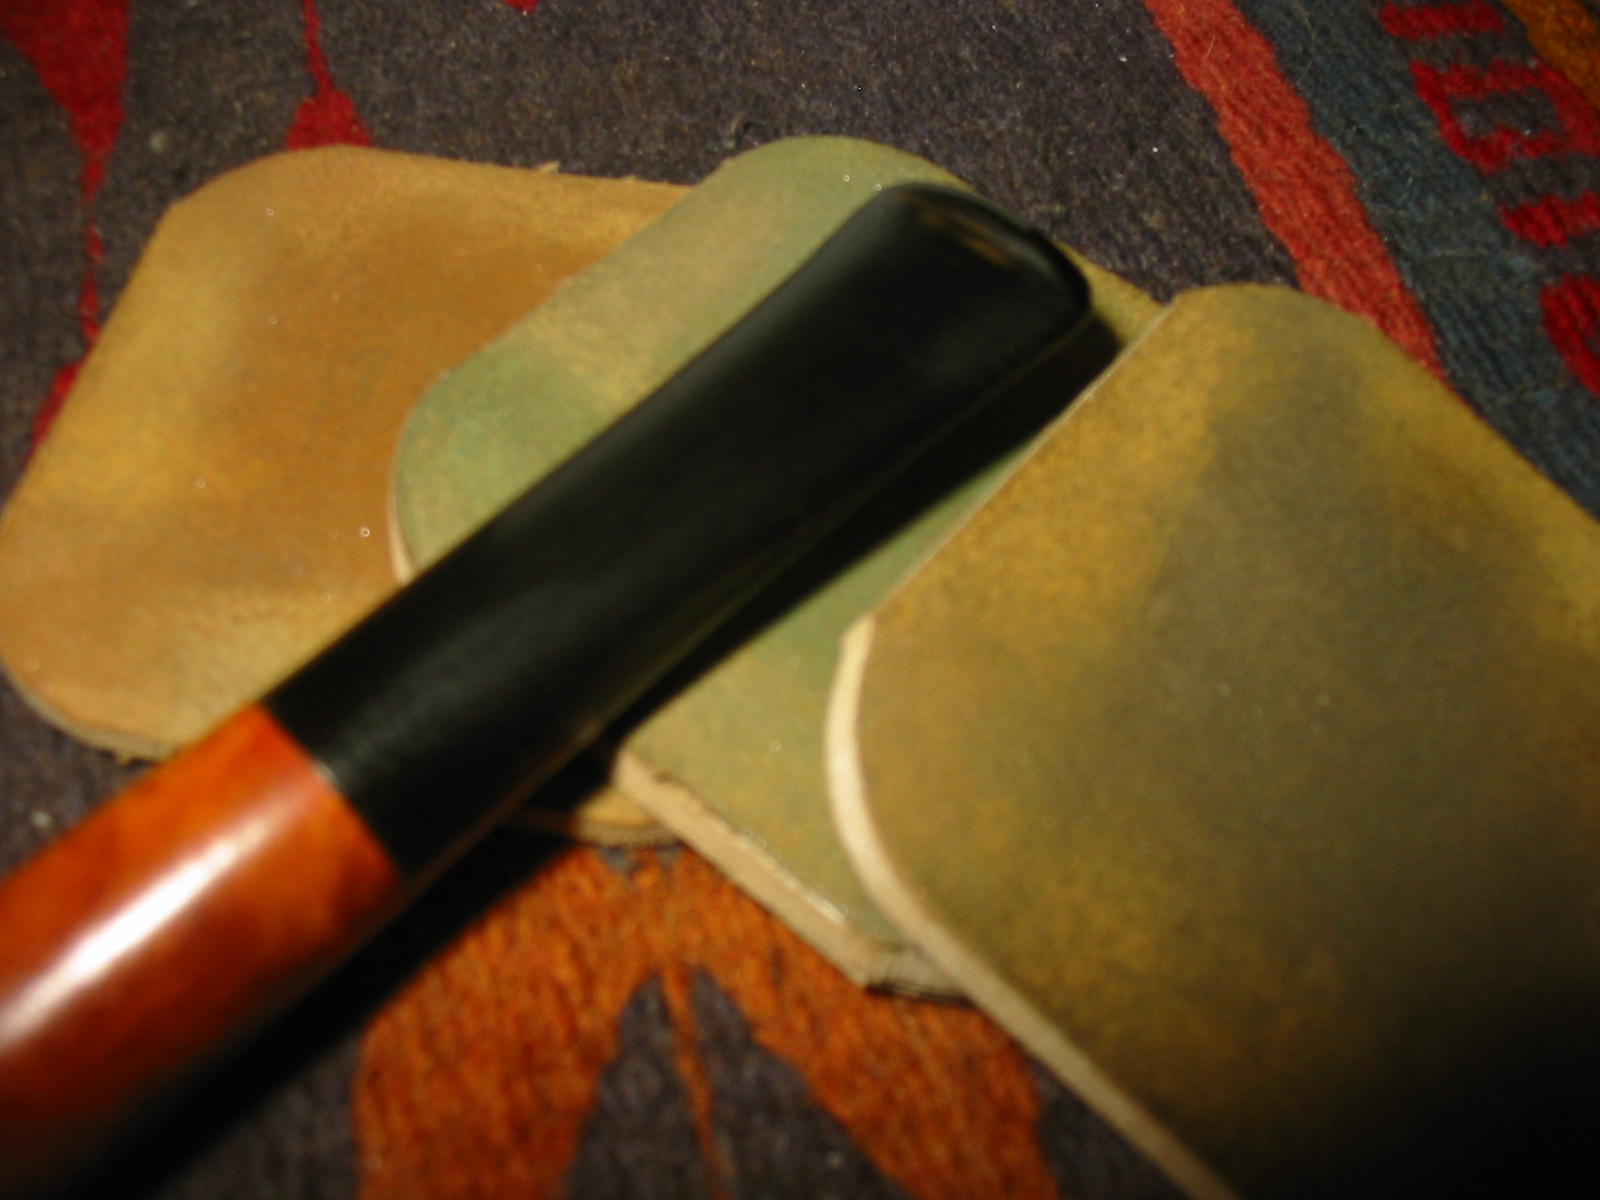
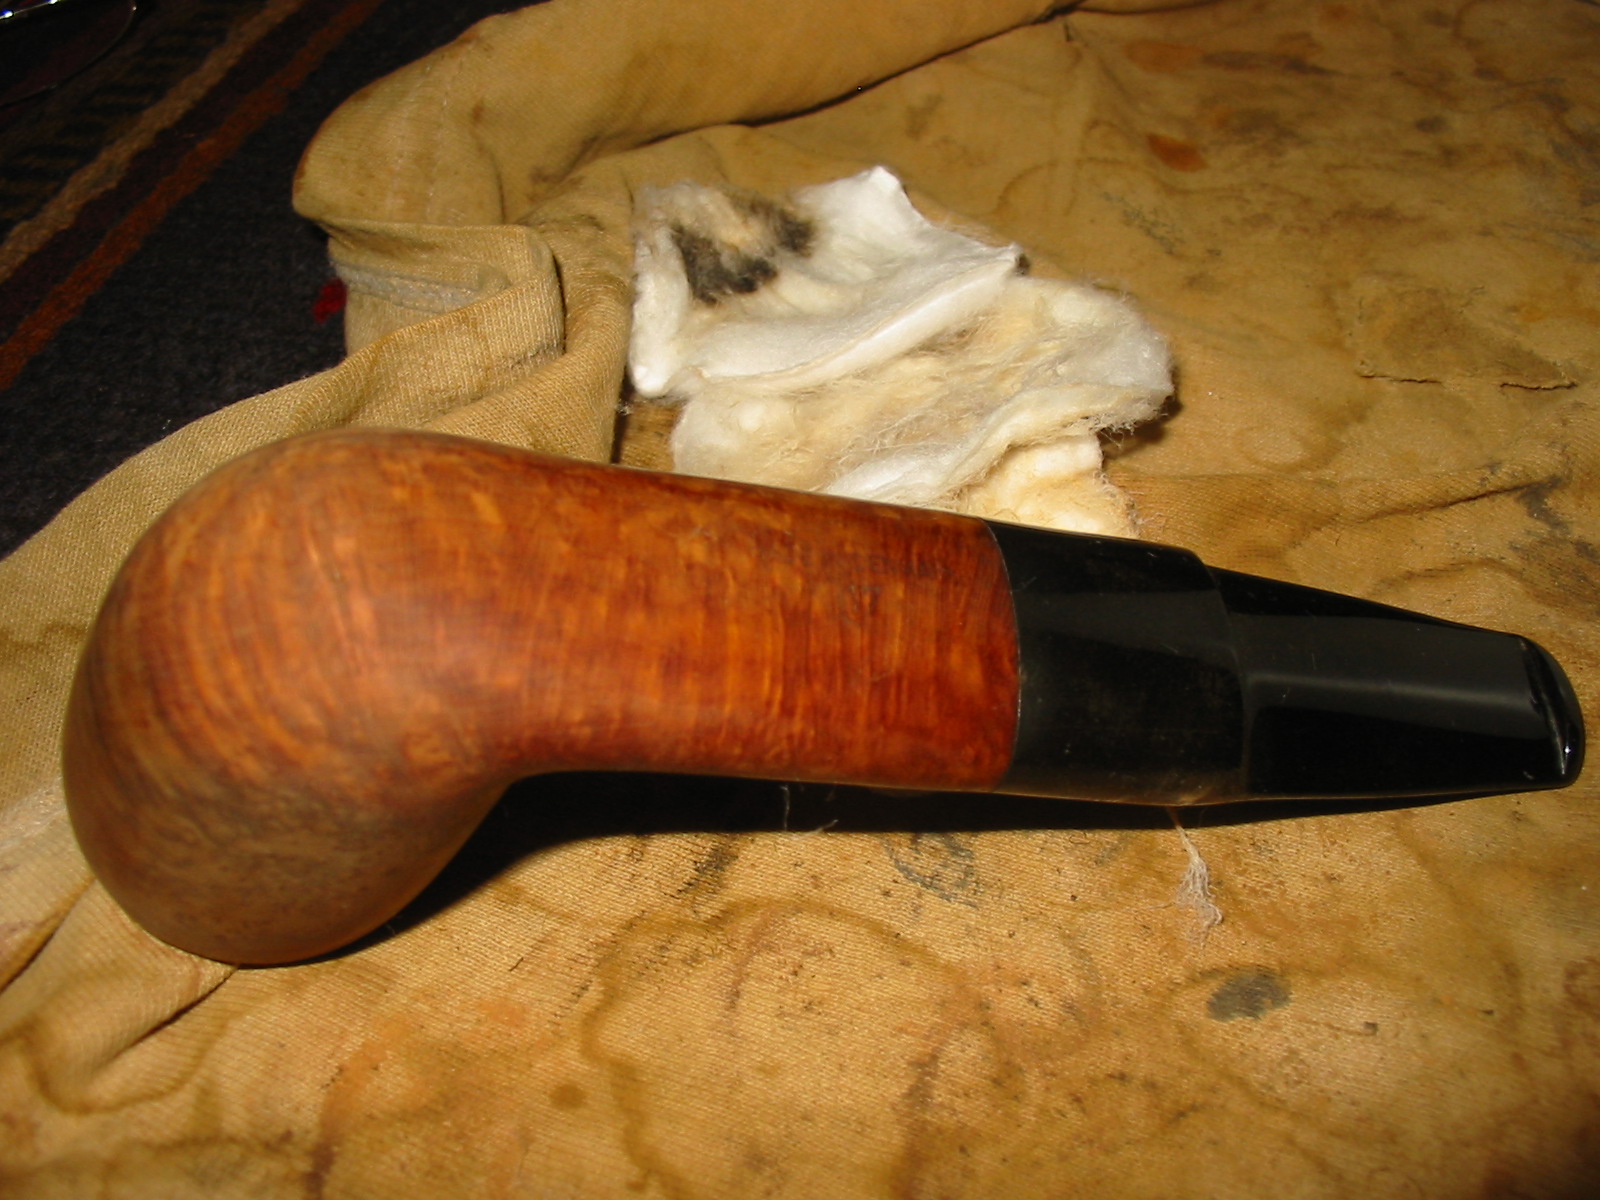
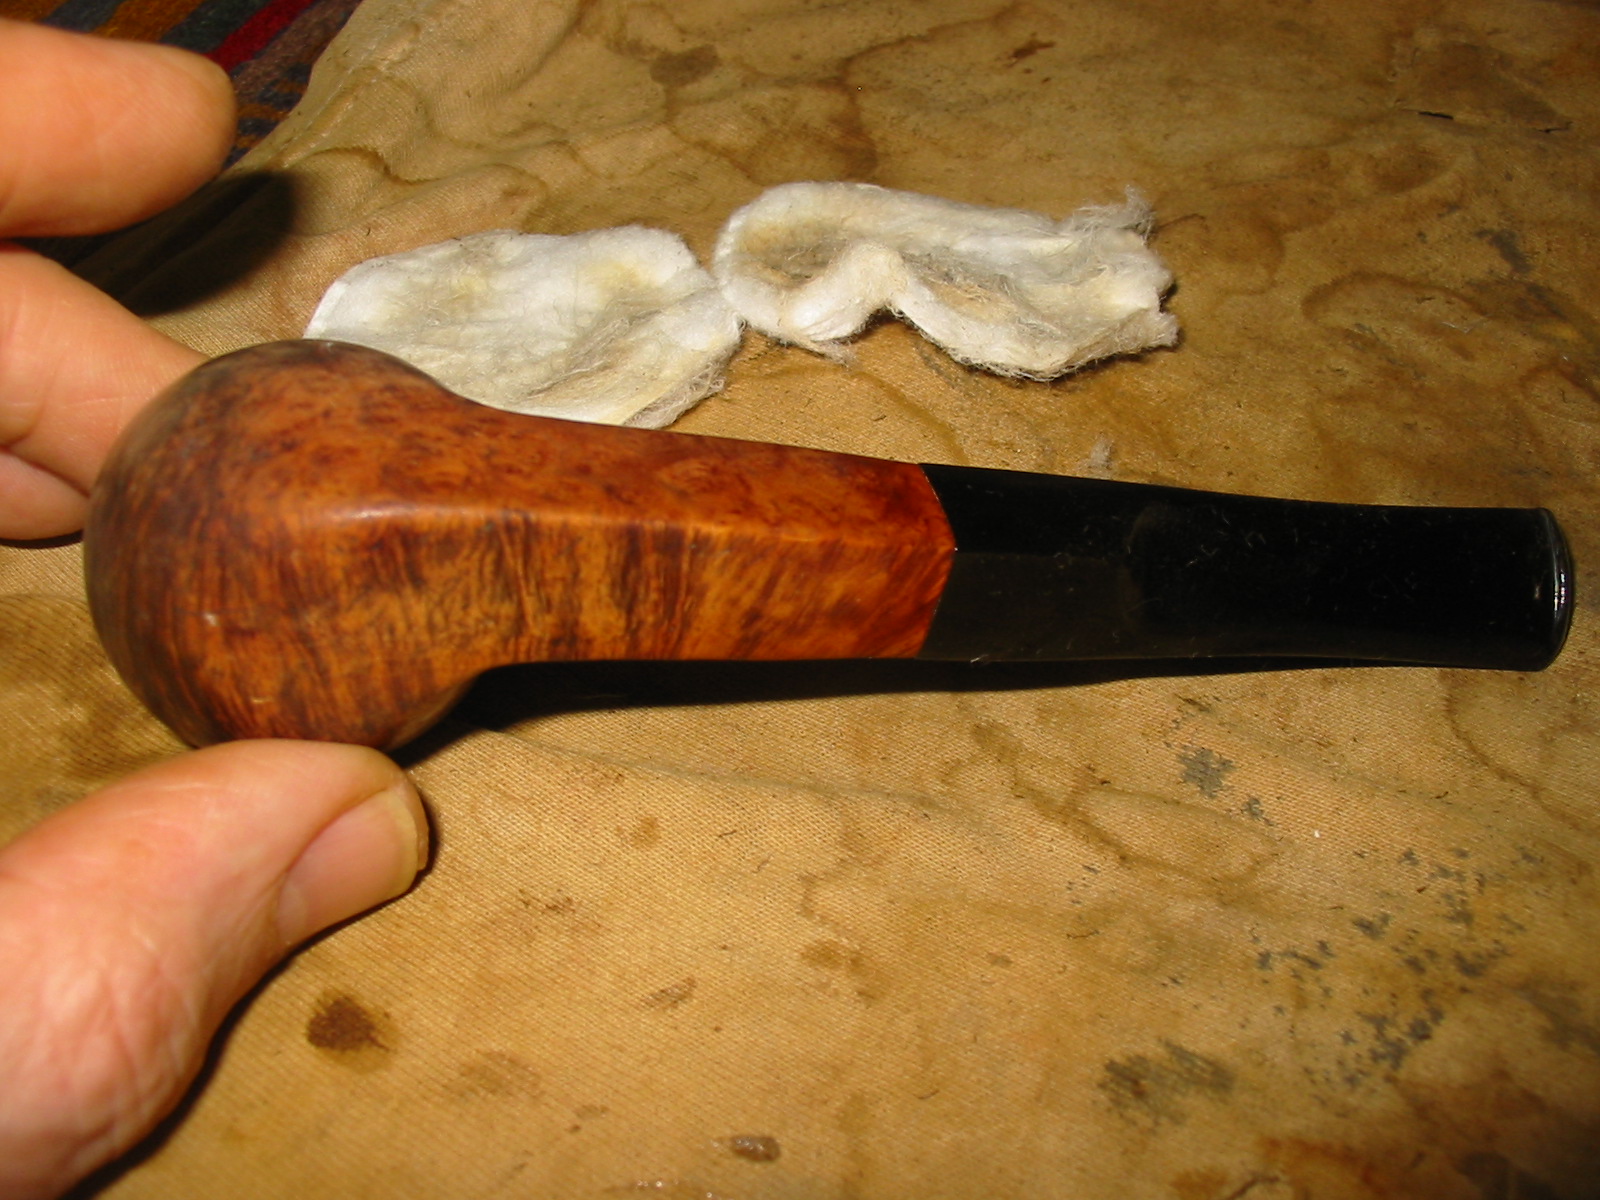
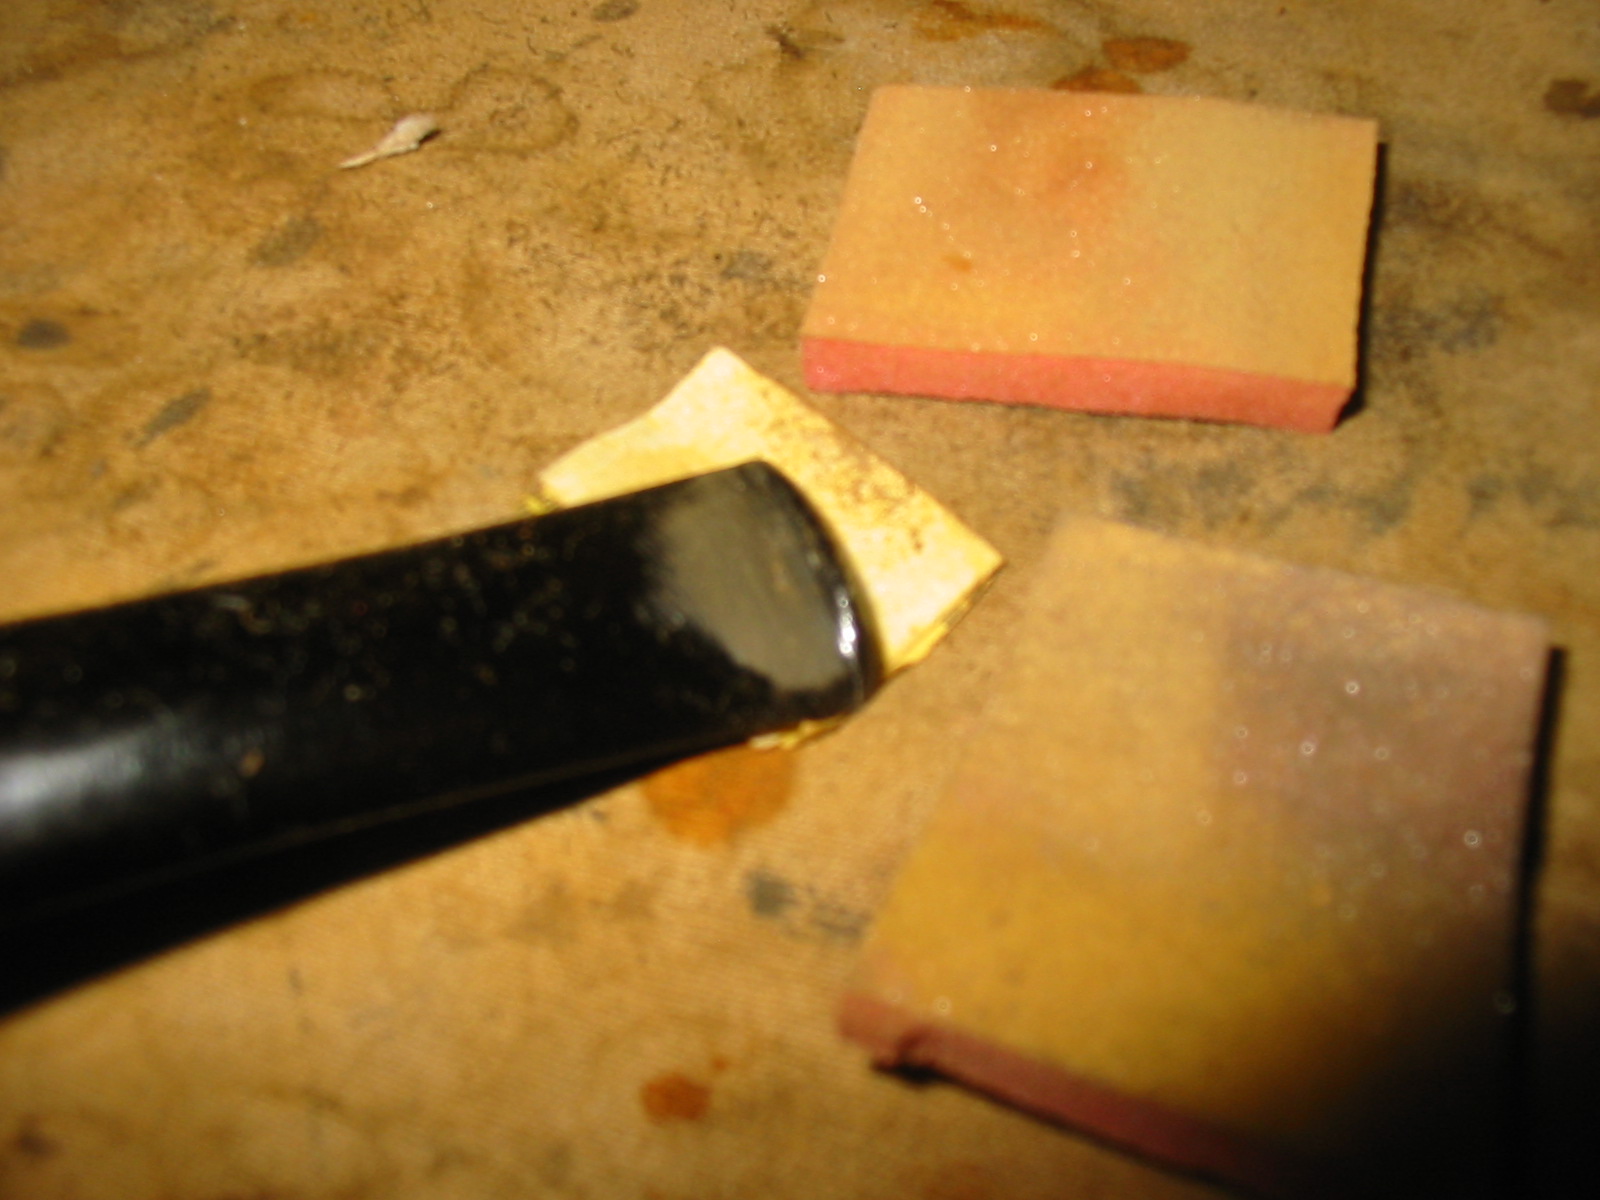
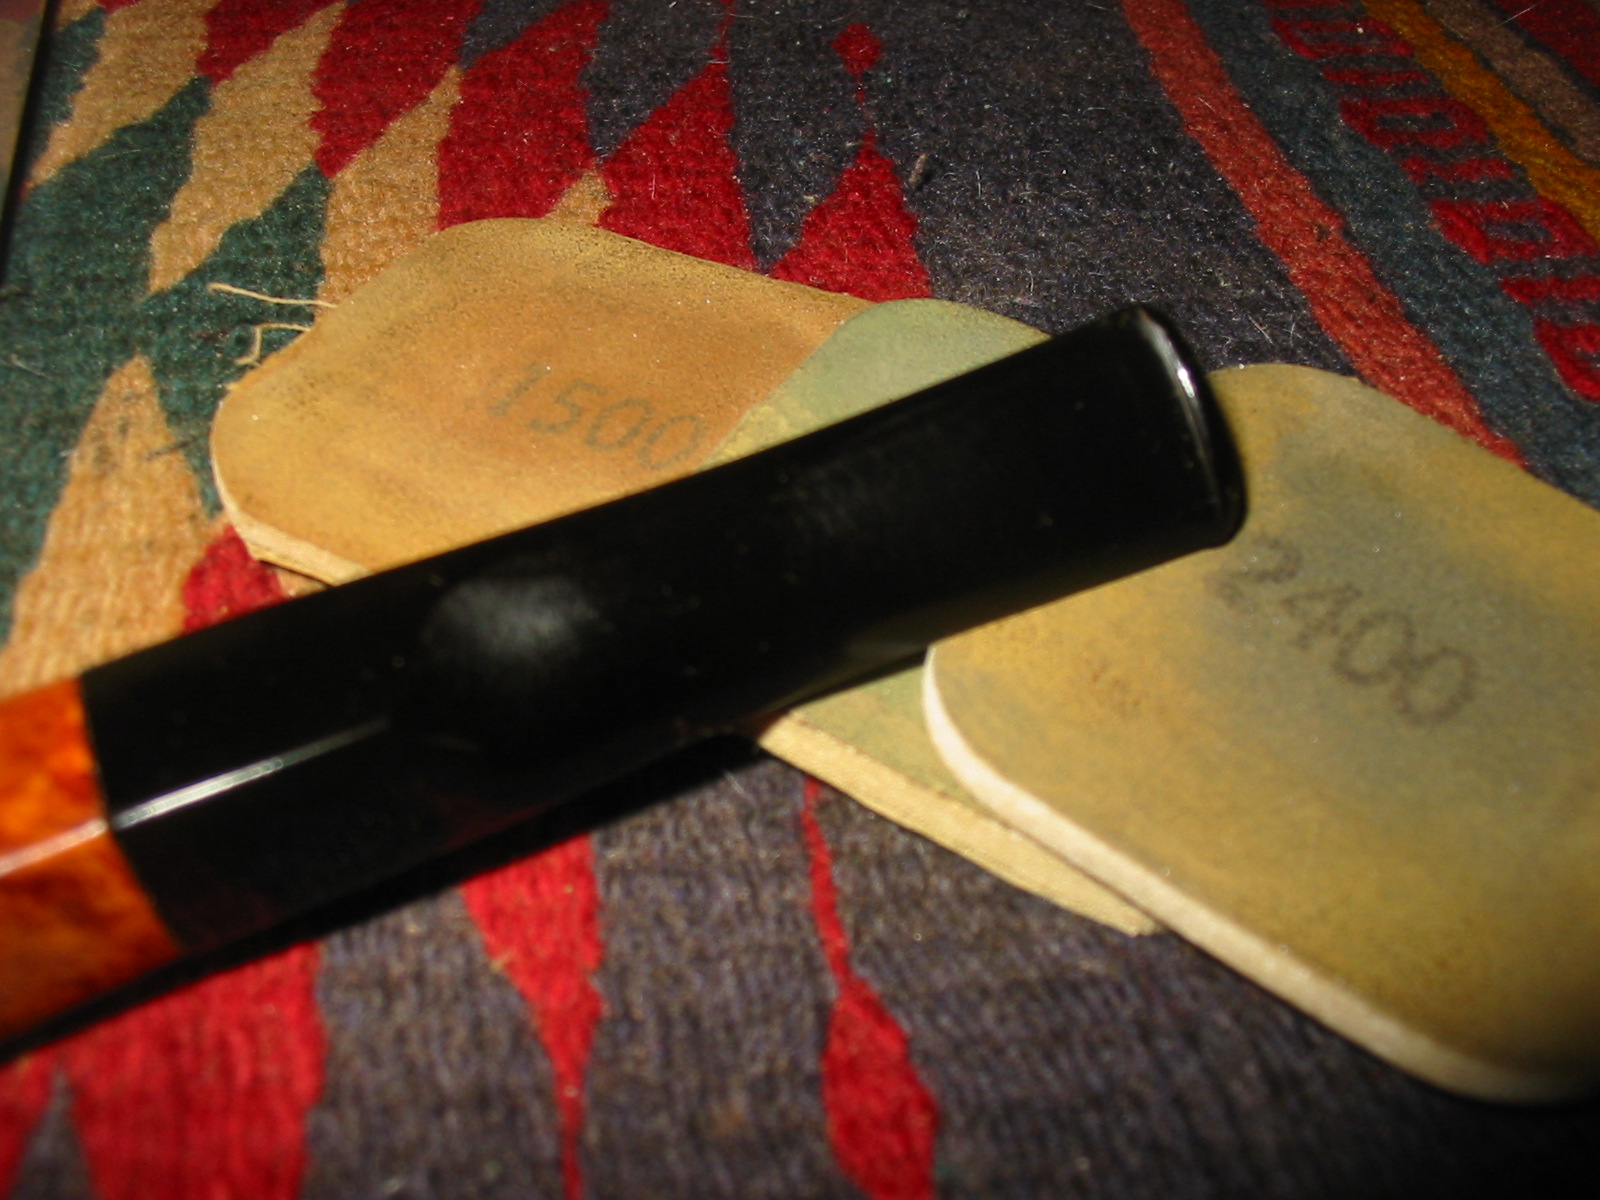
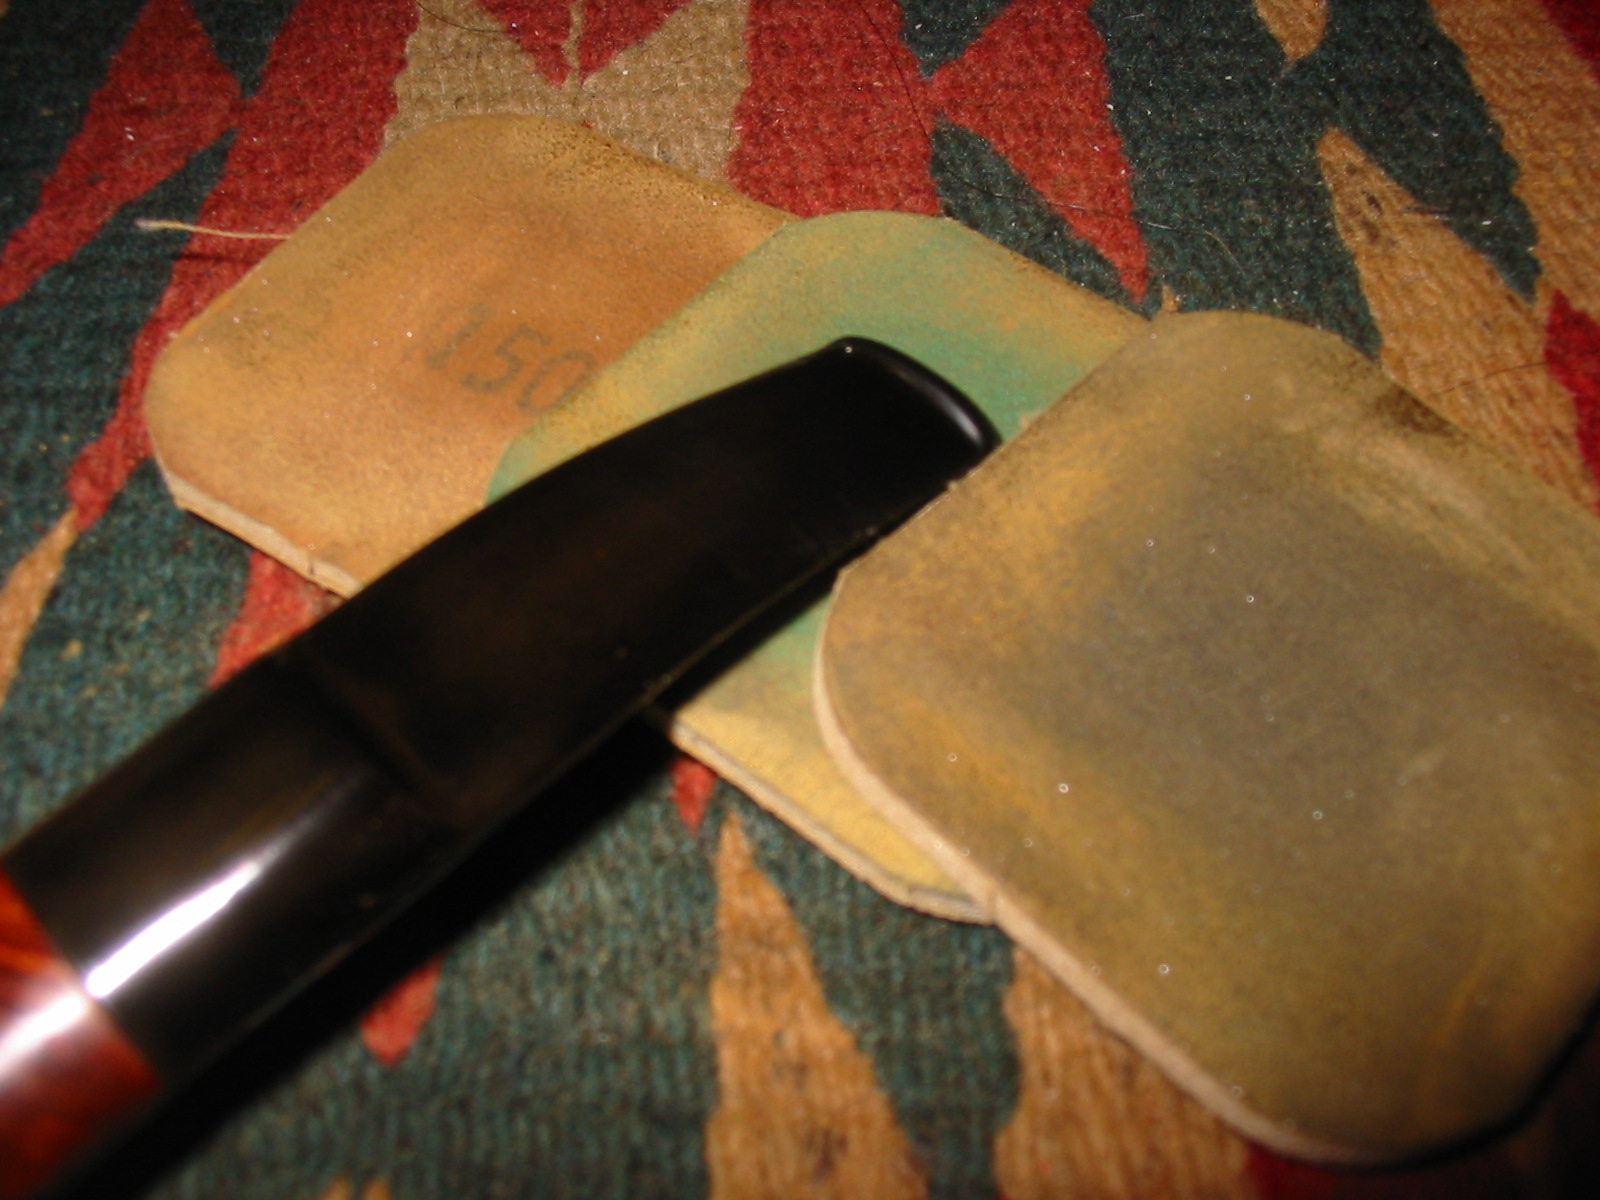
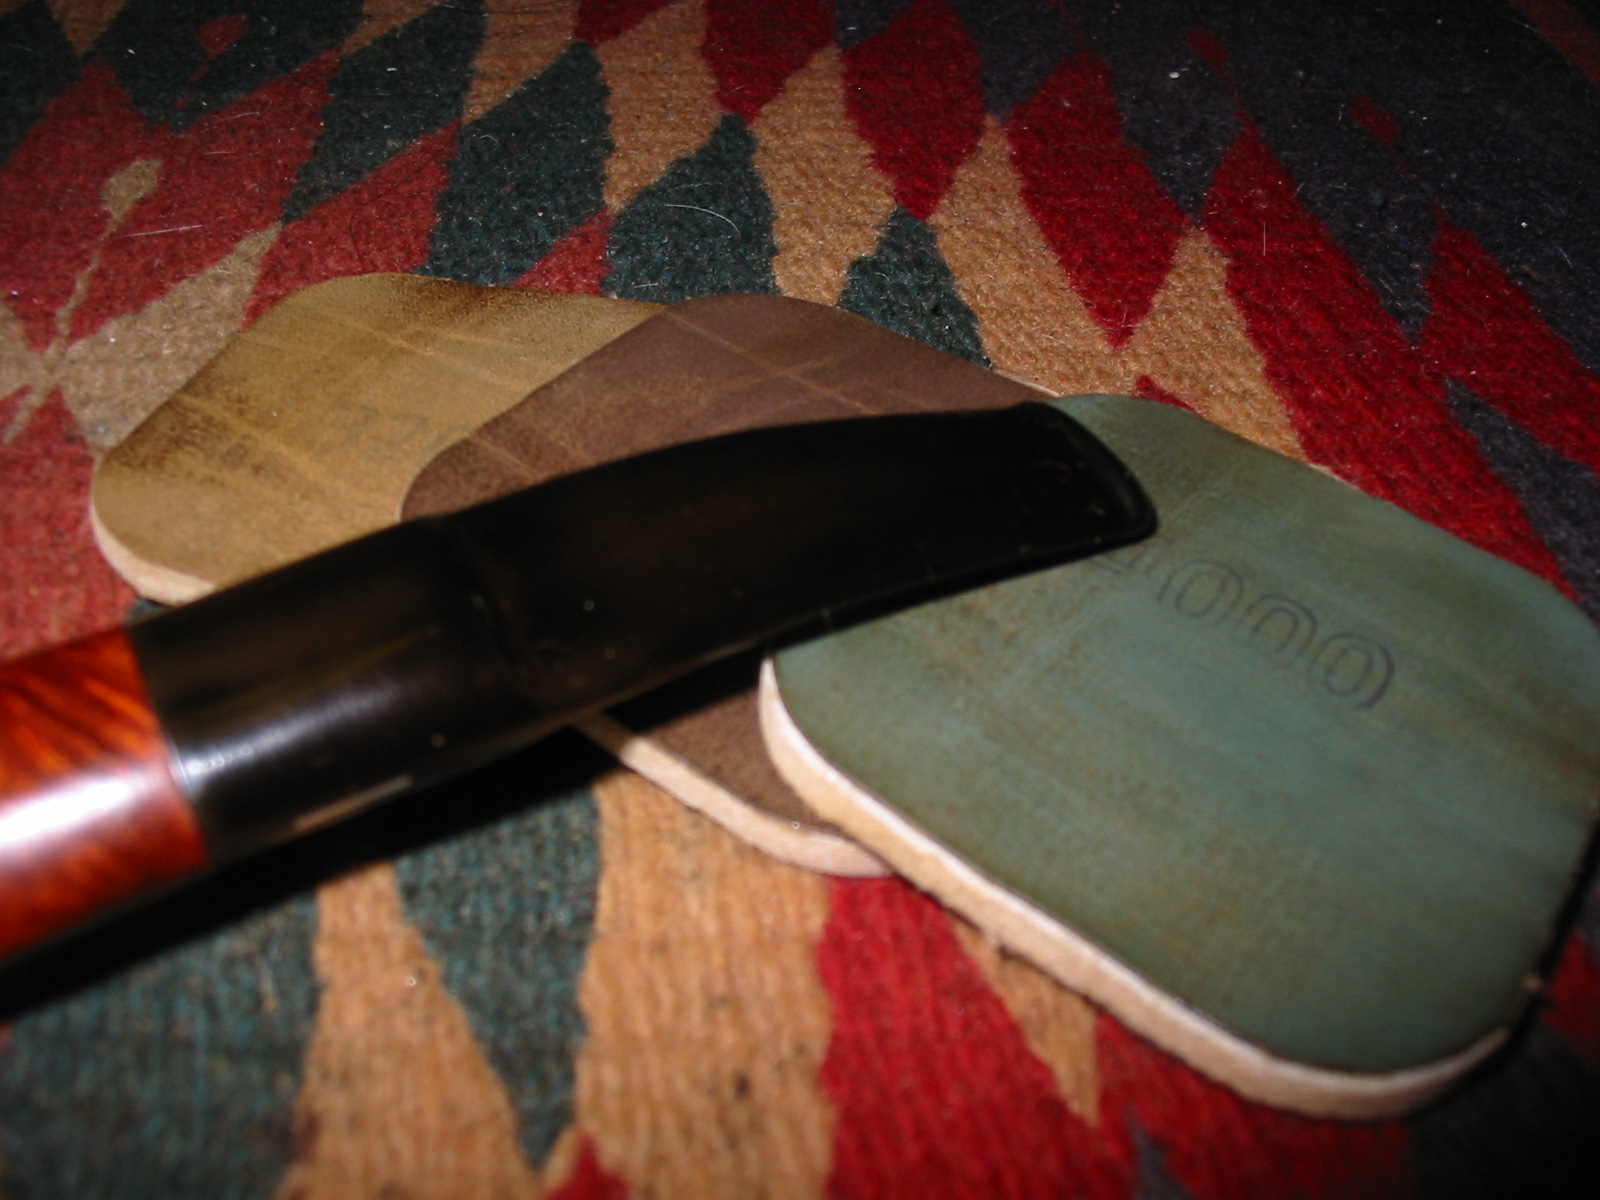
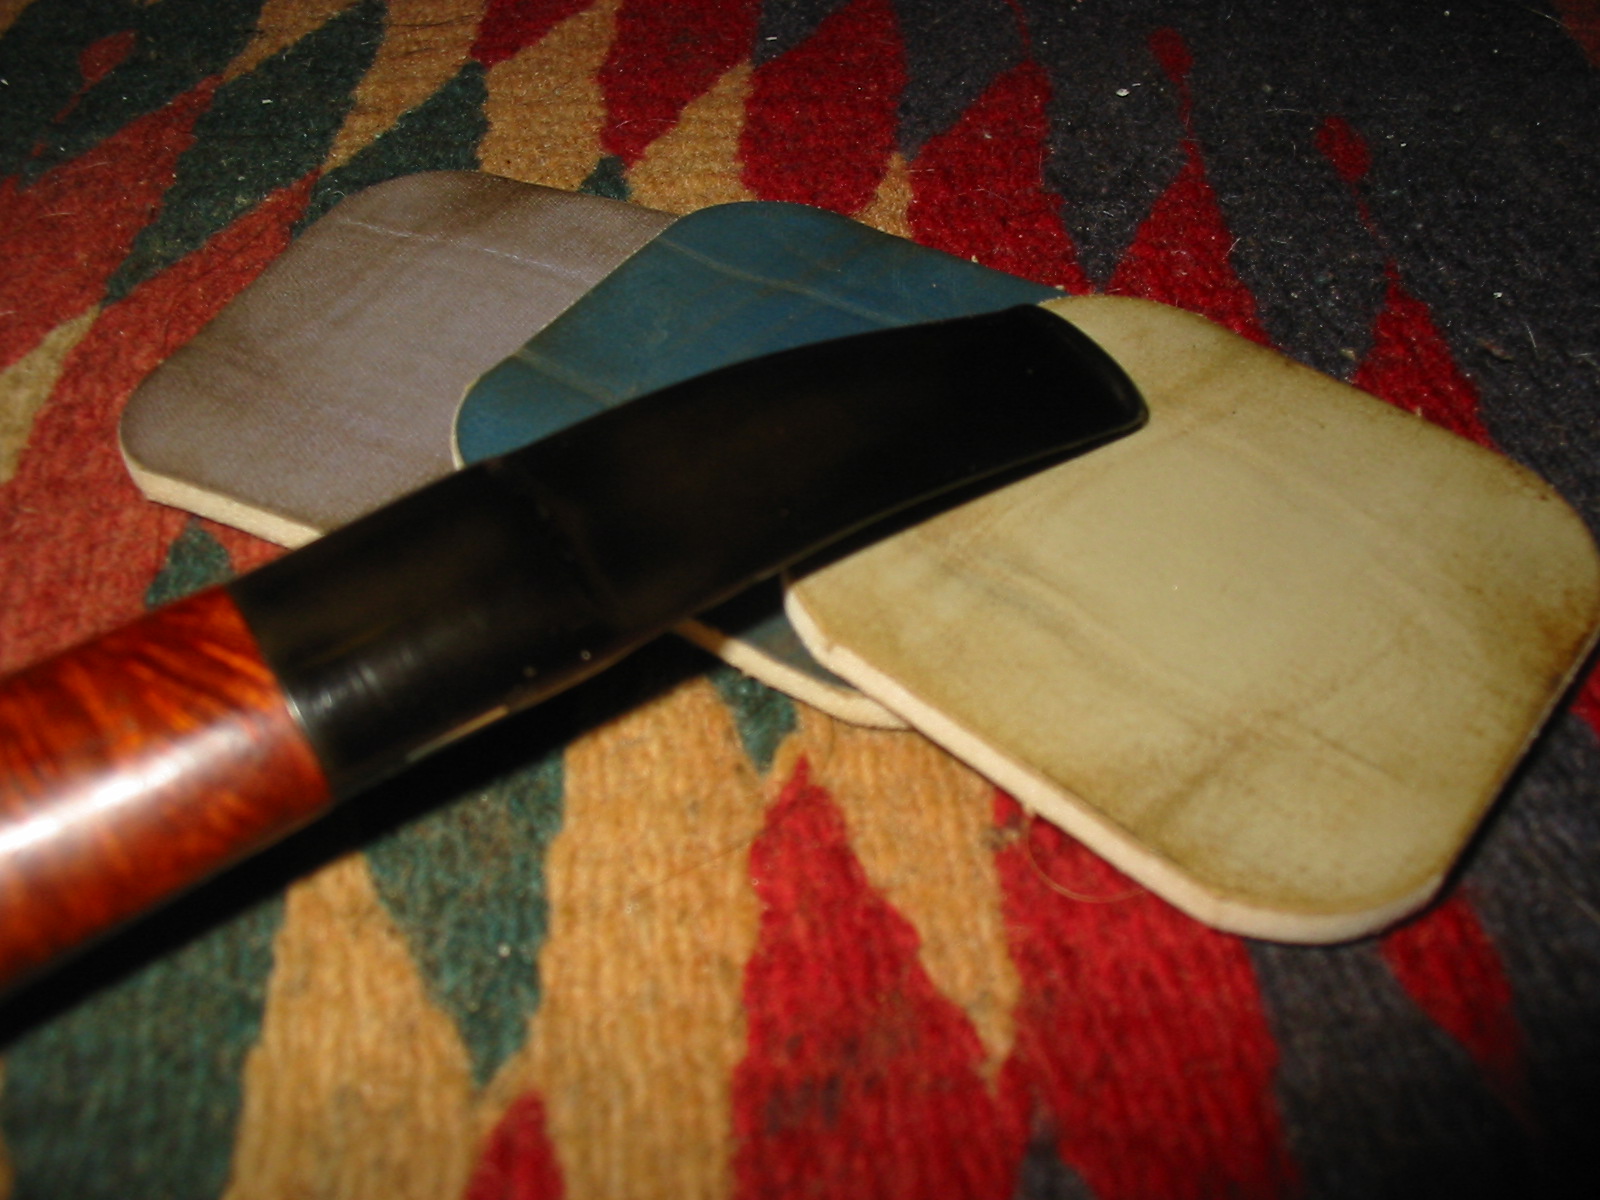
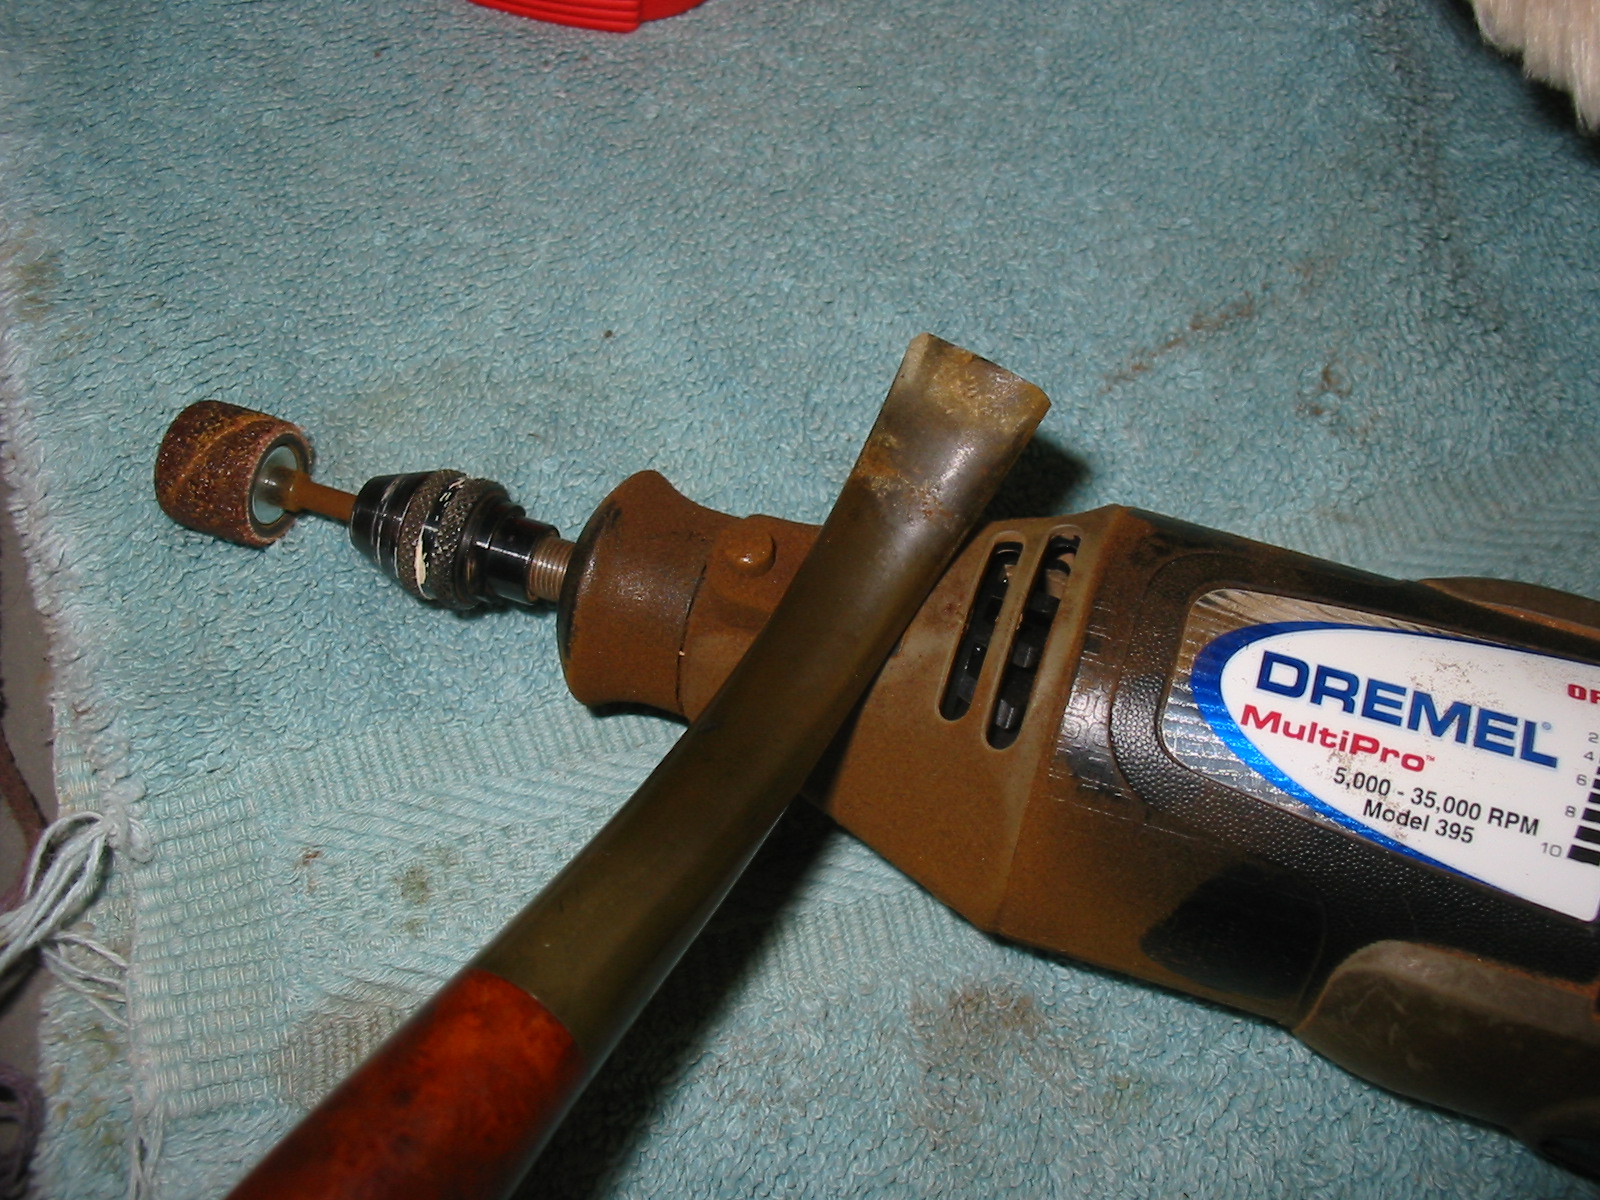
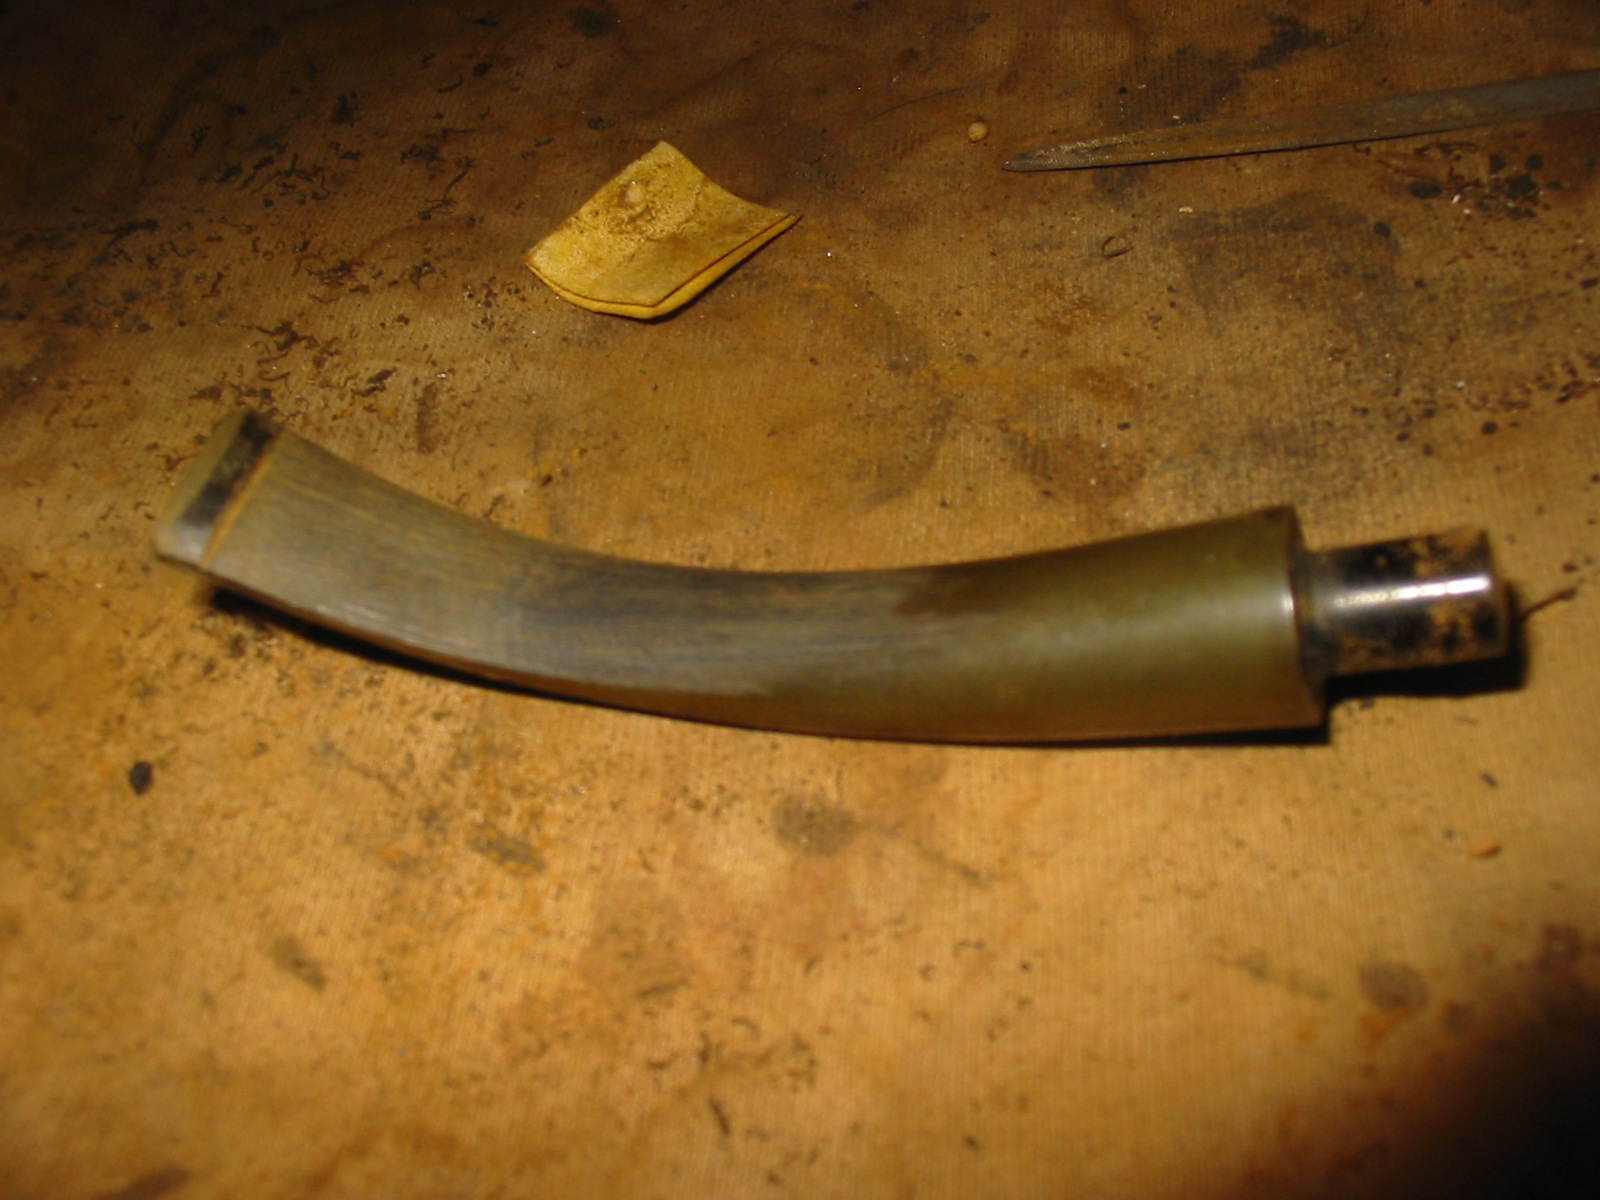
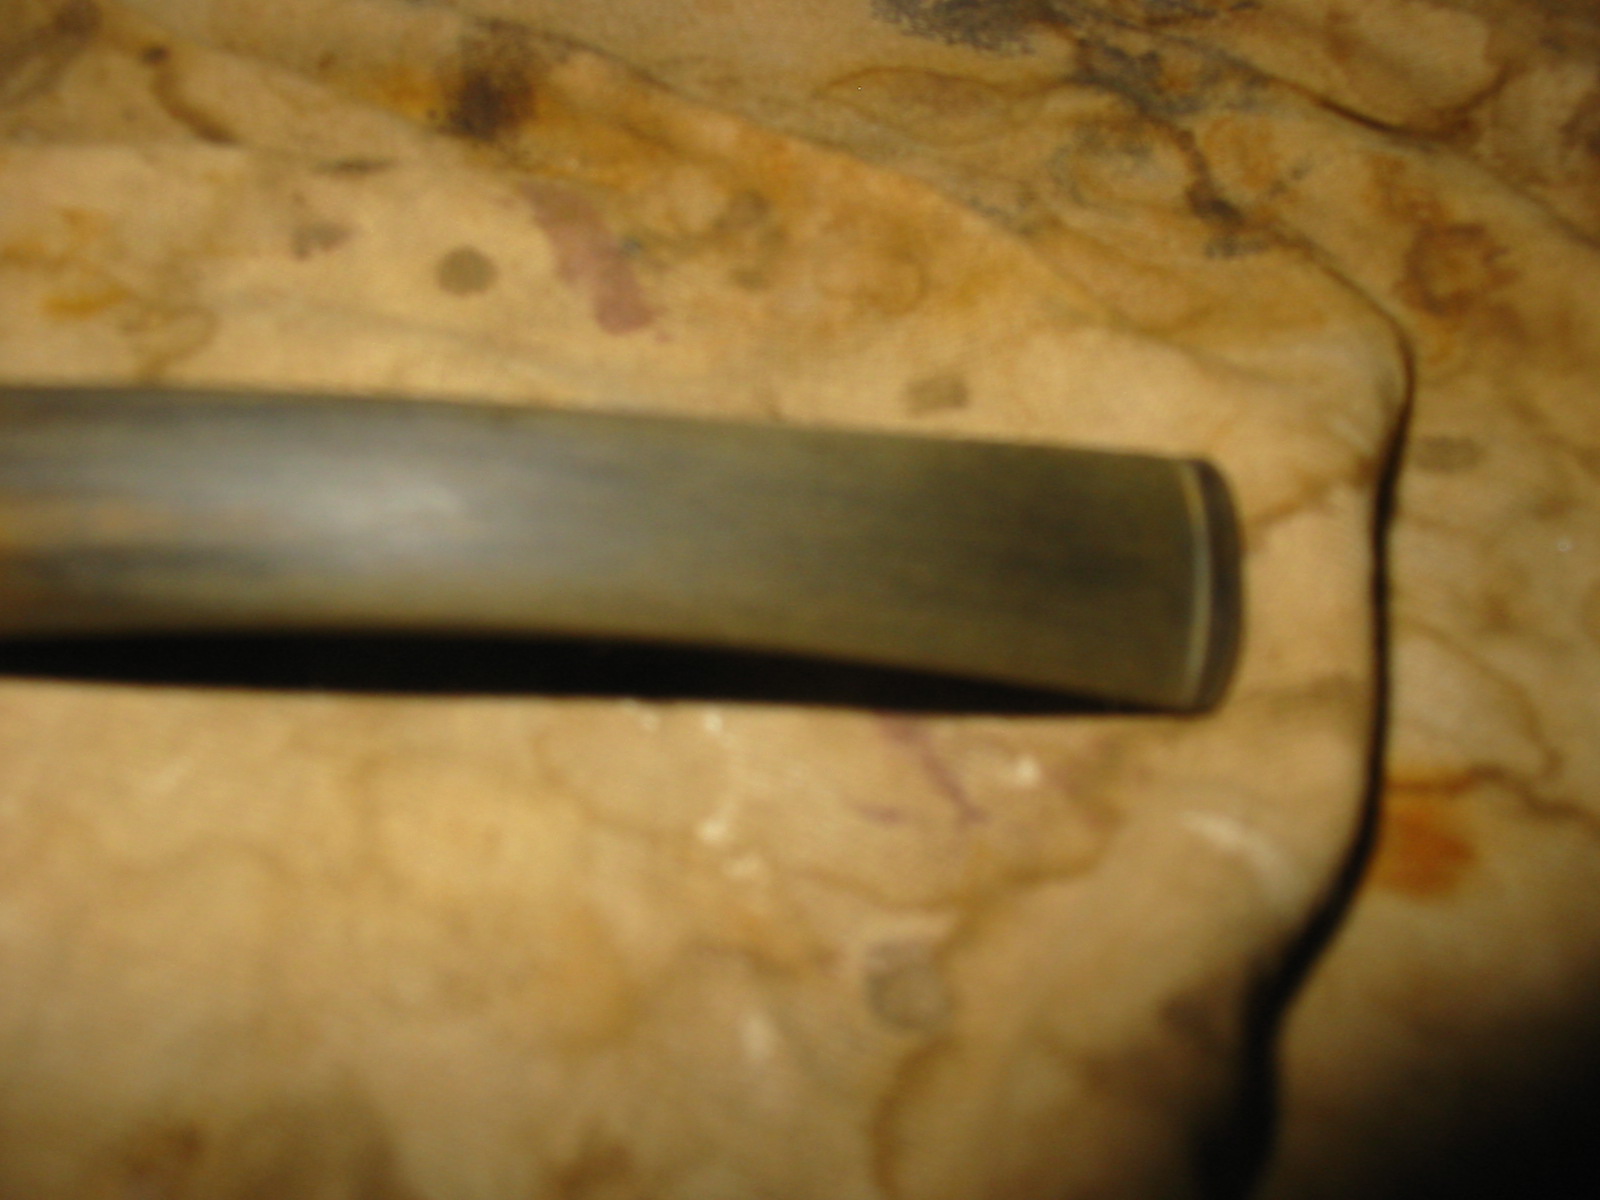
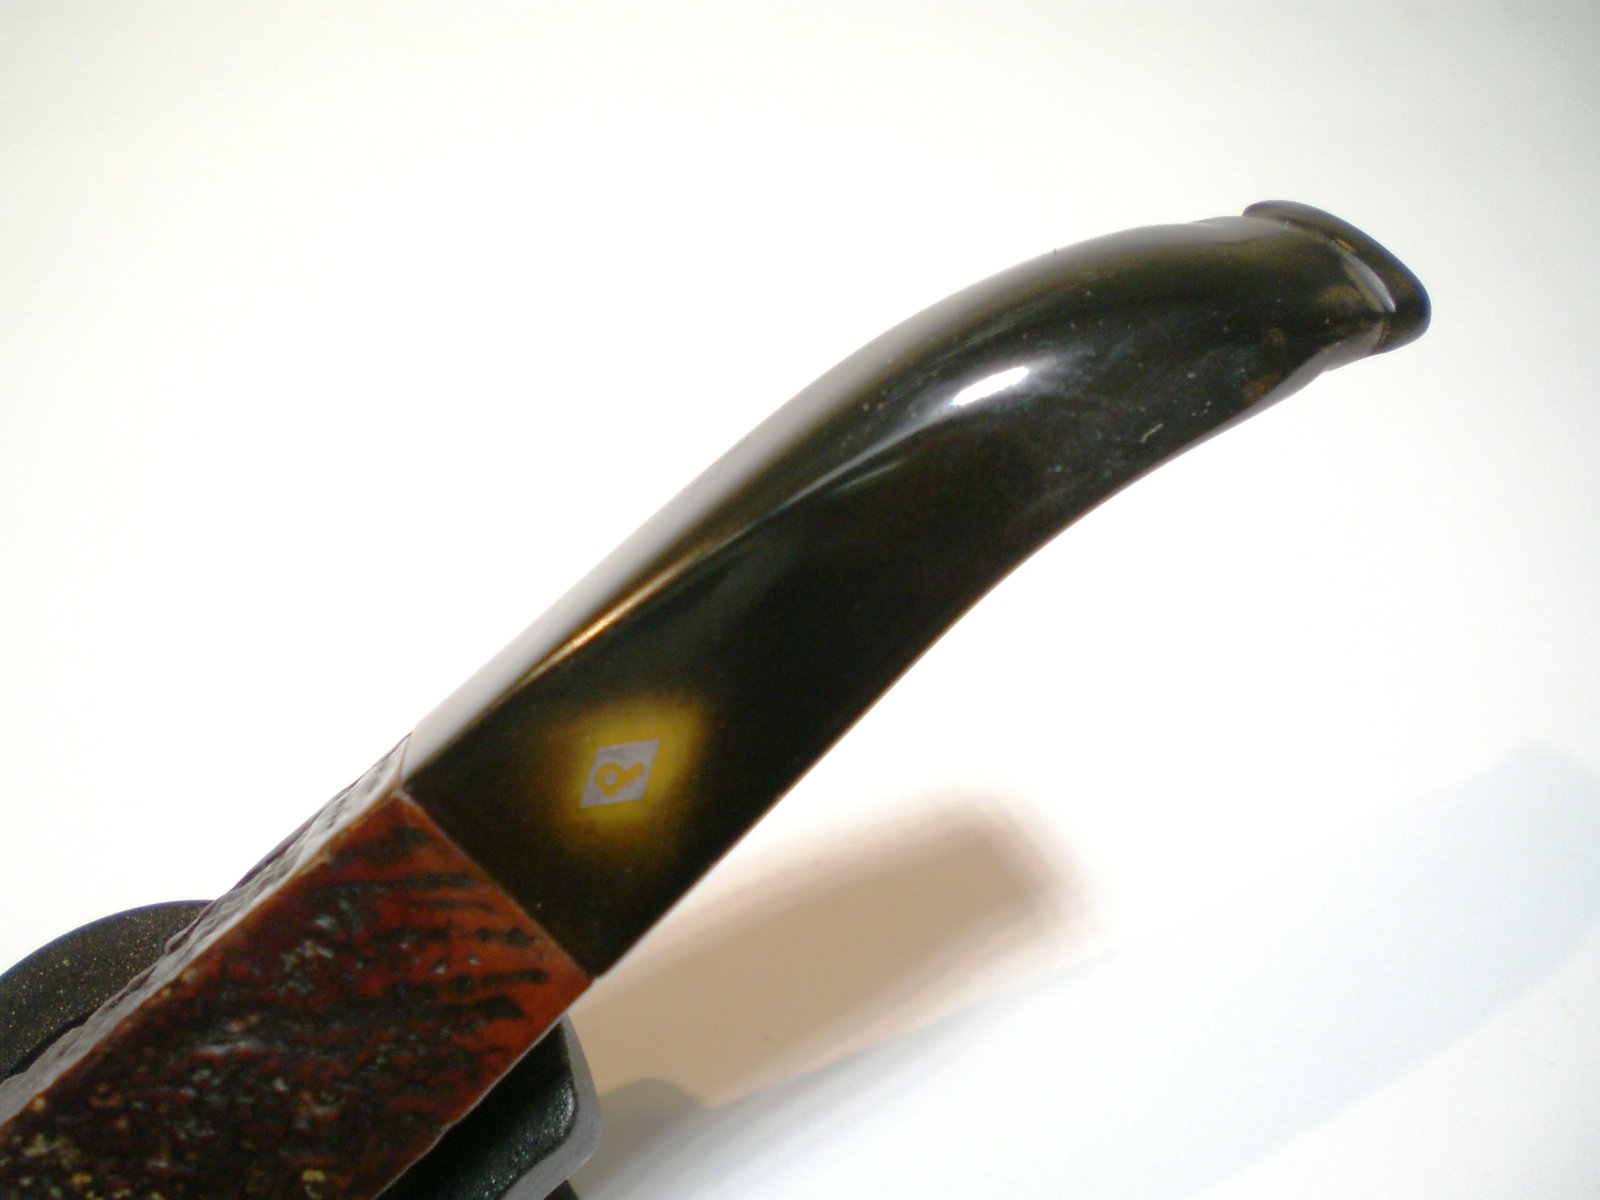
I used various needle files to shape the new button, being timid about not getting it too thin. I recently bought a new set of Kobalt needle files, a big upgrade from my old ones, and found that this (only my second or third time making a whole new button and transition) went much smoother and faster than in the past. I also used the files and a bit of sandpaper to open and funnel the slot, again I was a bit timid in not going too thin; I have done that once and suffered a cracked bit afterward. This is a fair representation of what I ended up with:

Kaywoodie Apple (8)

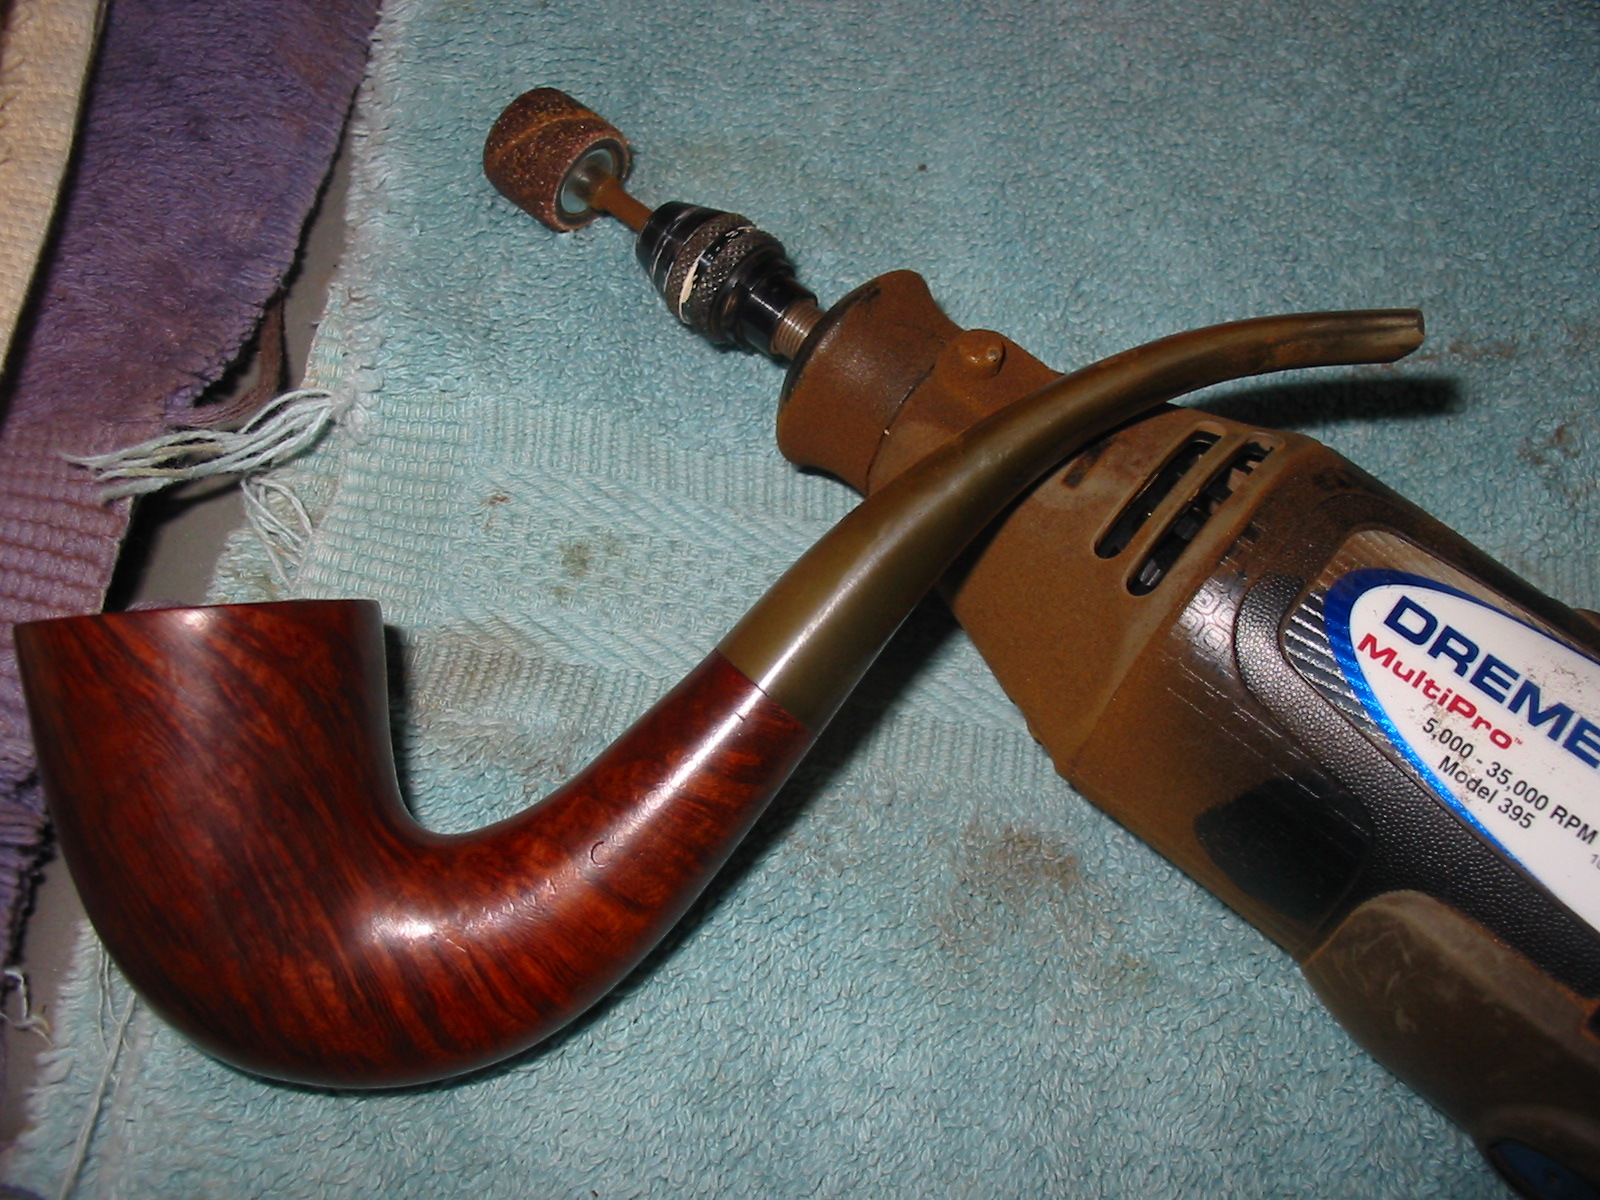
Once I had the stem to my satisfaction I turned to the stummel.

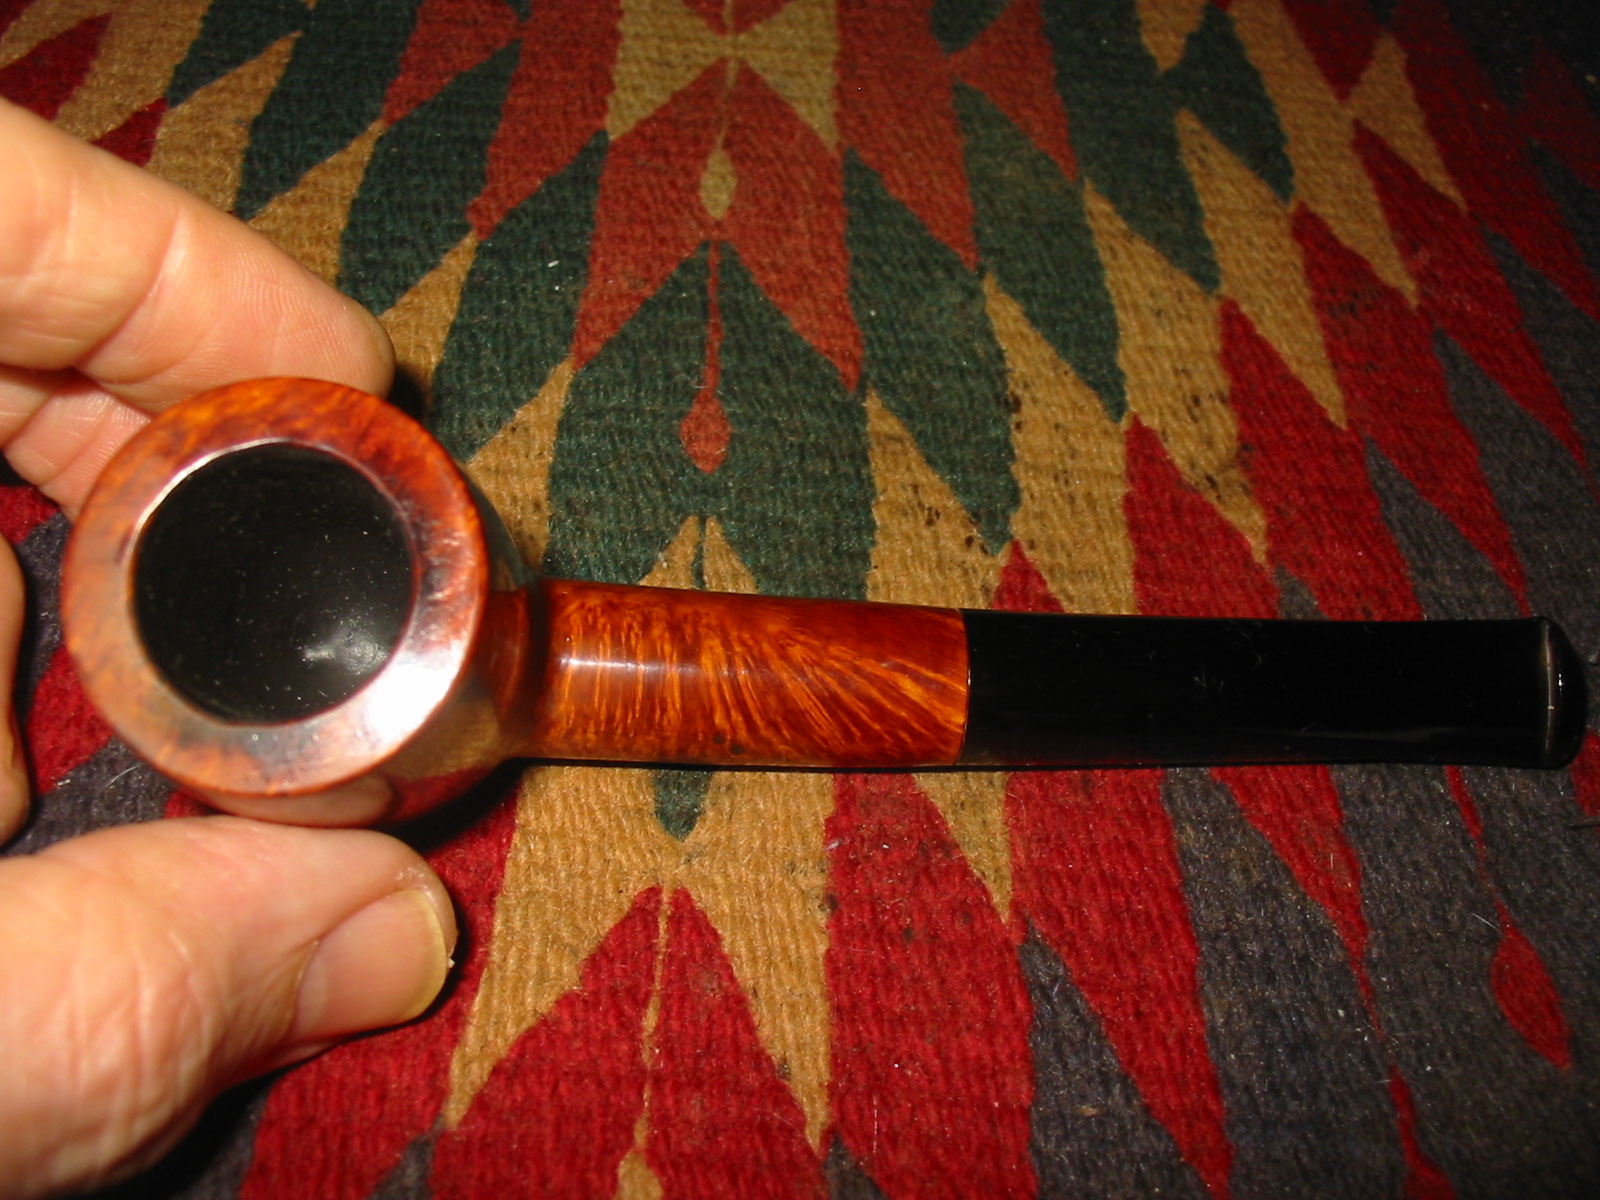
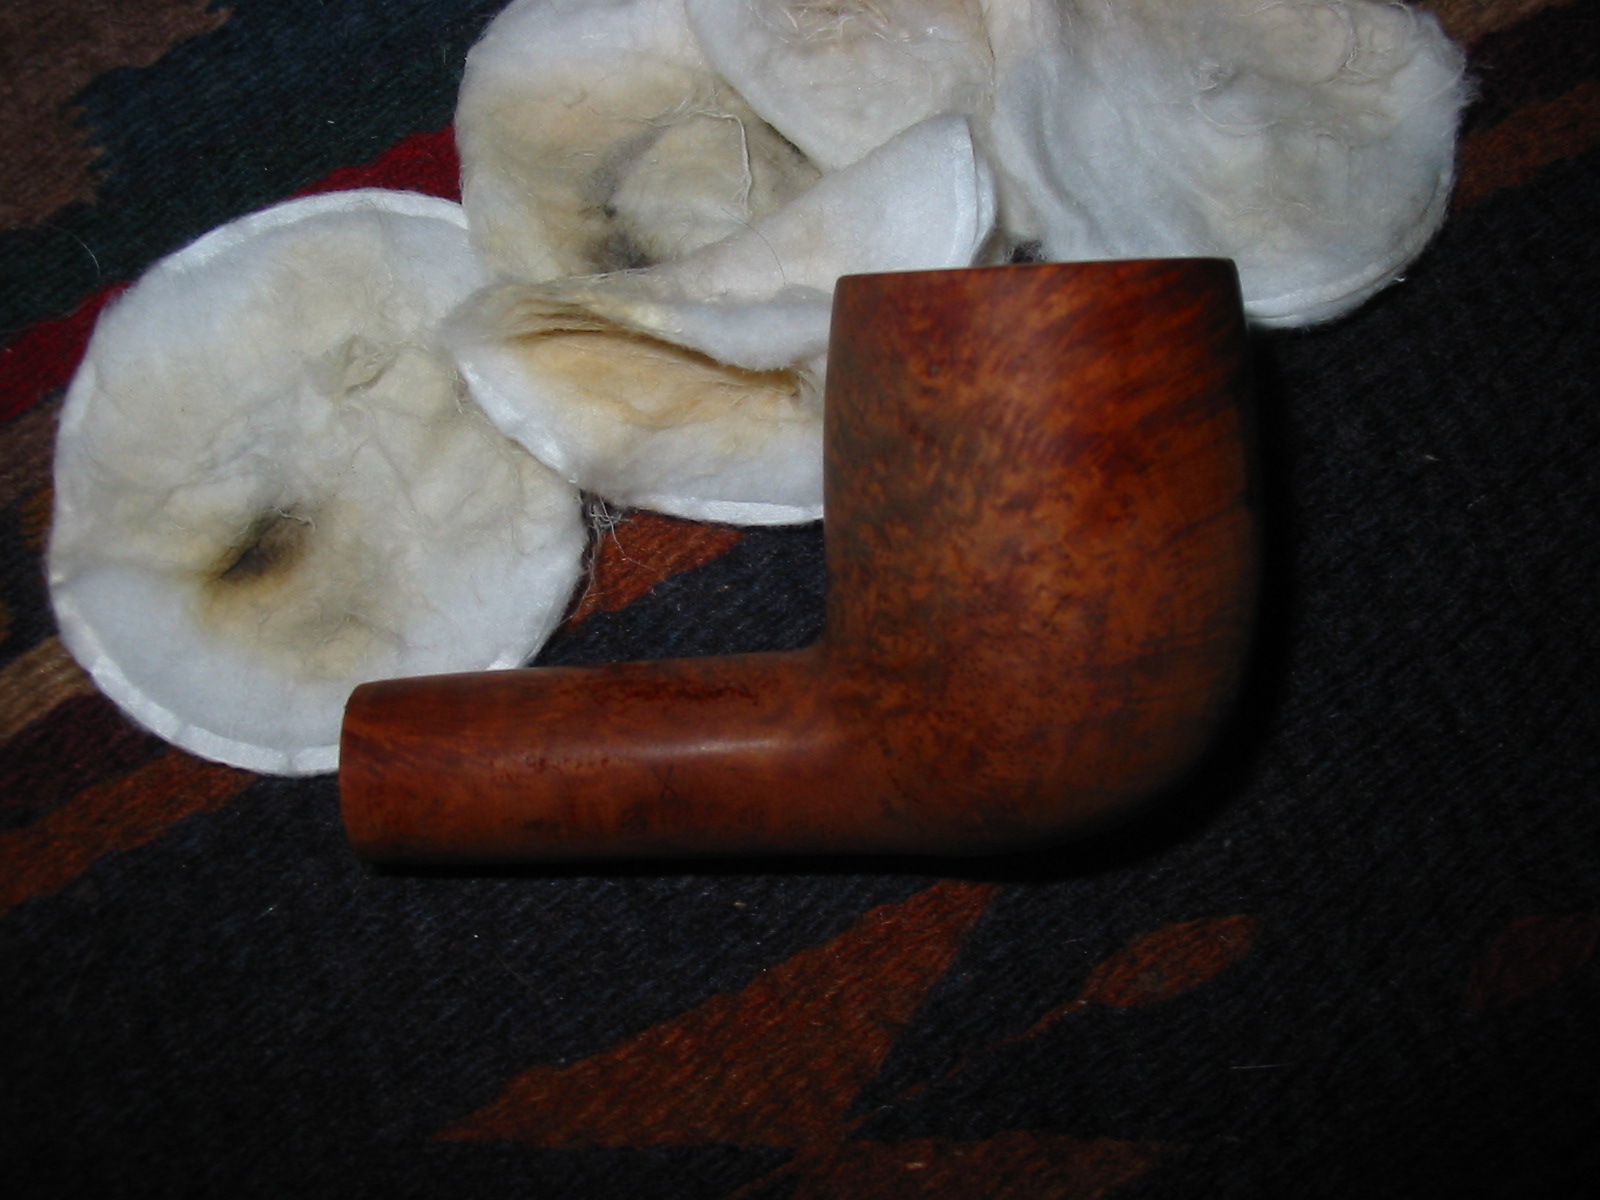
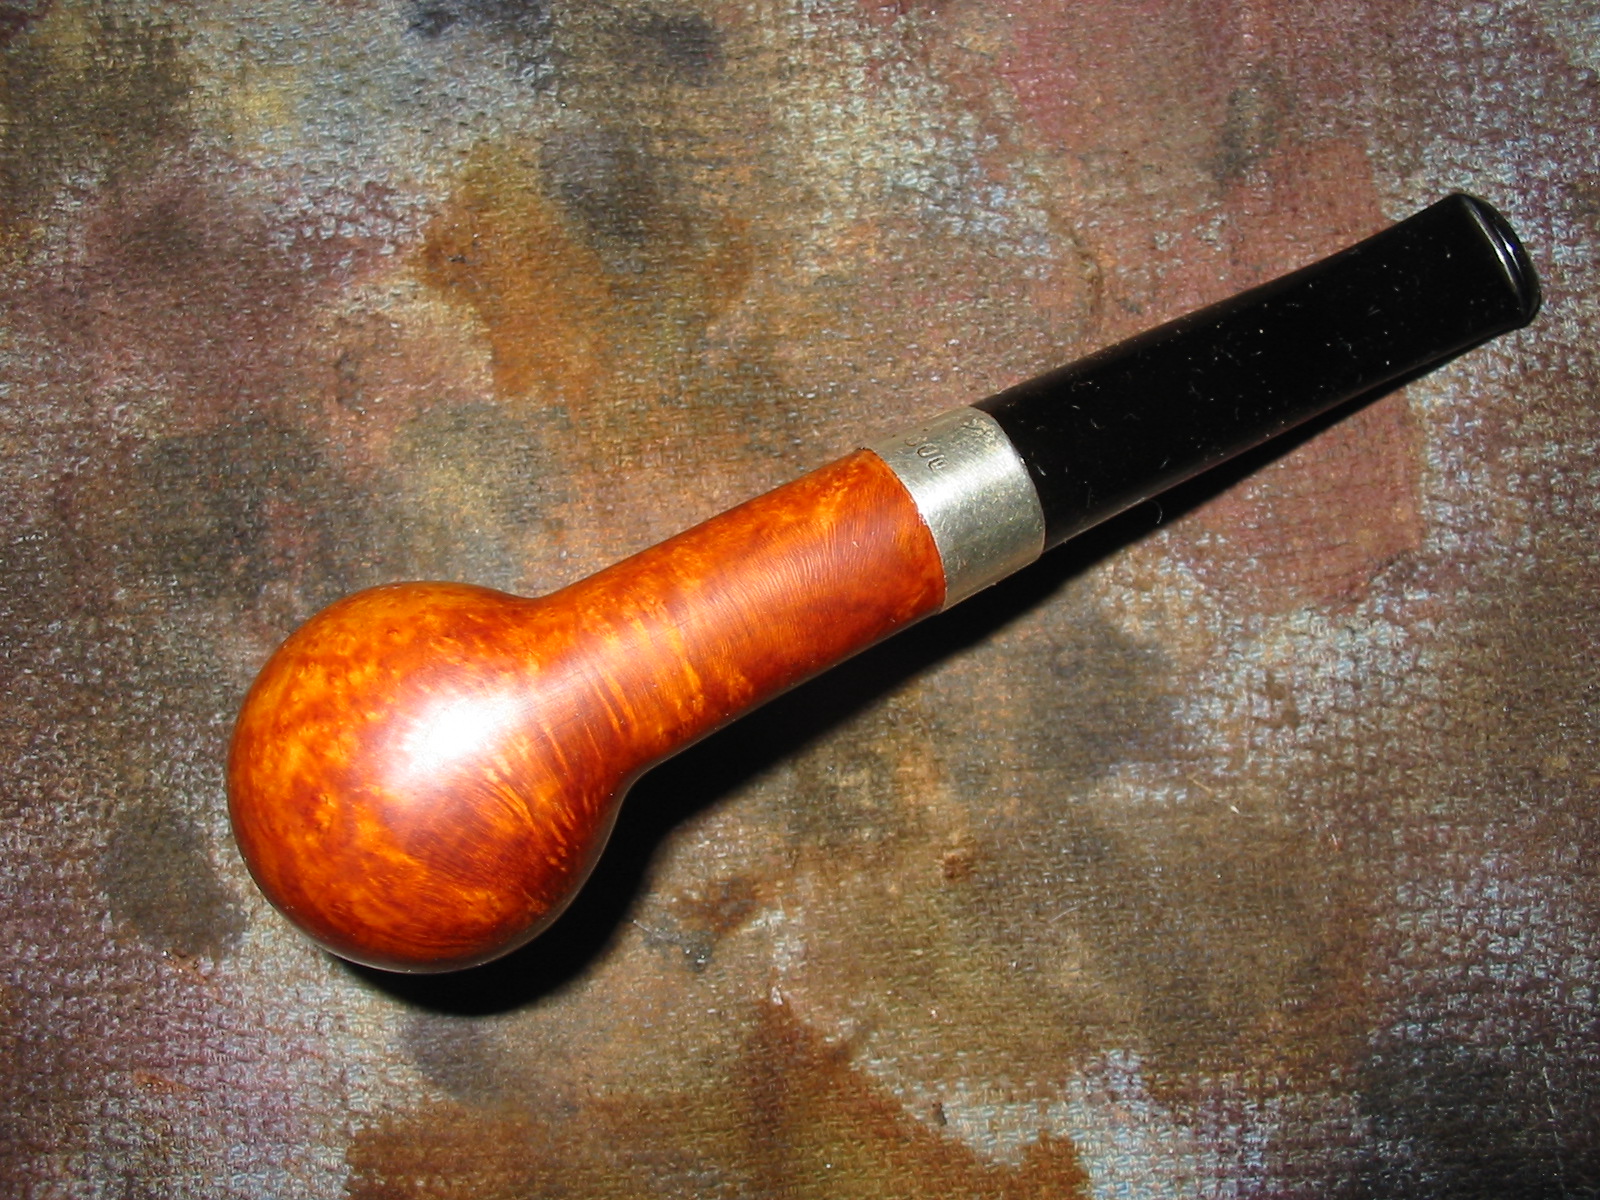
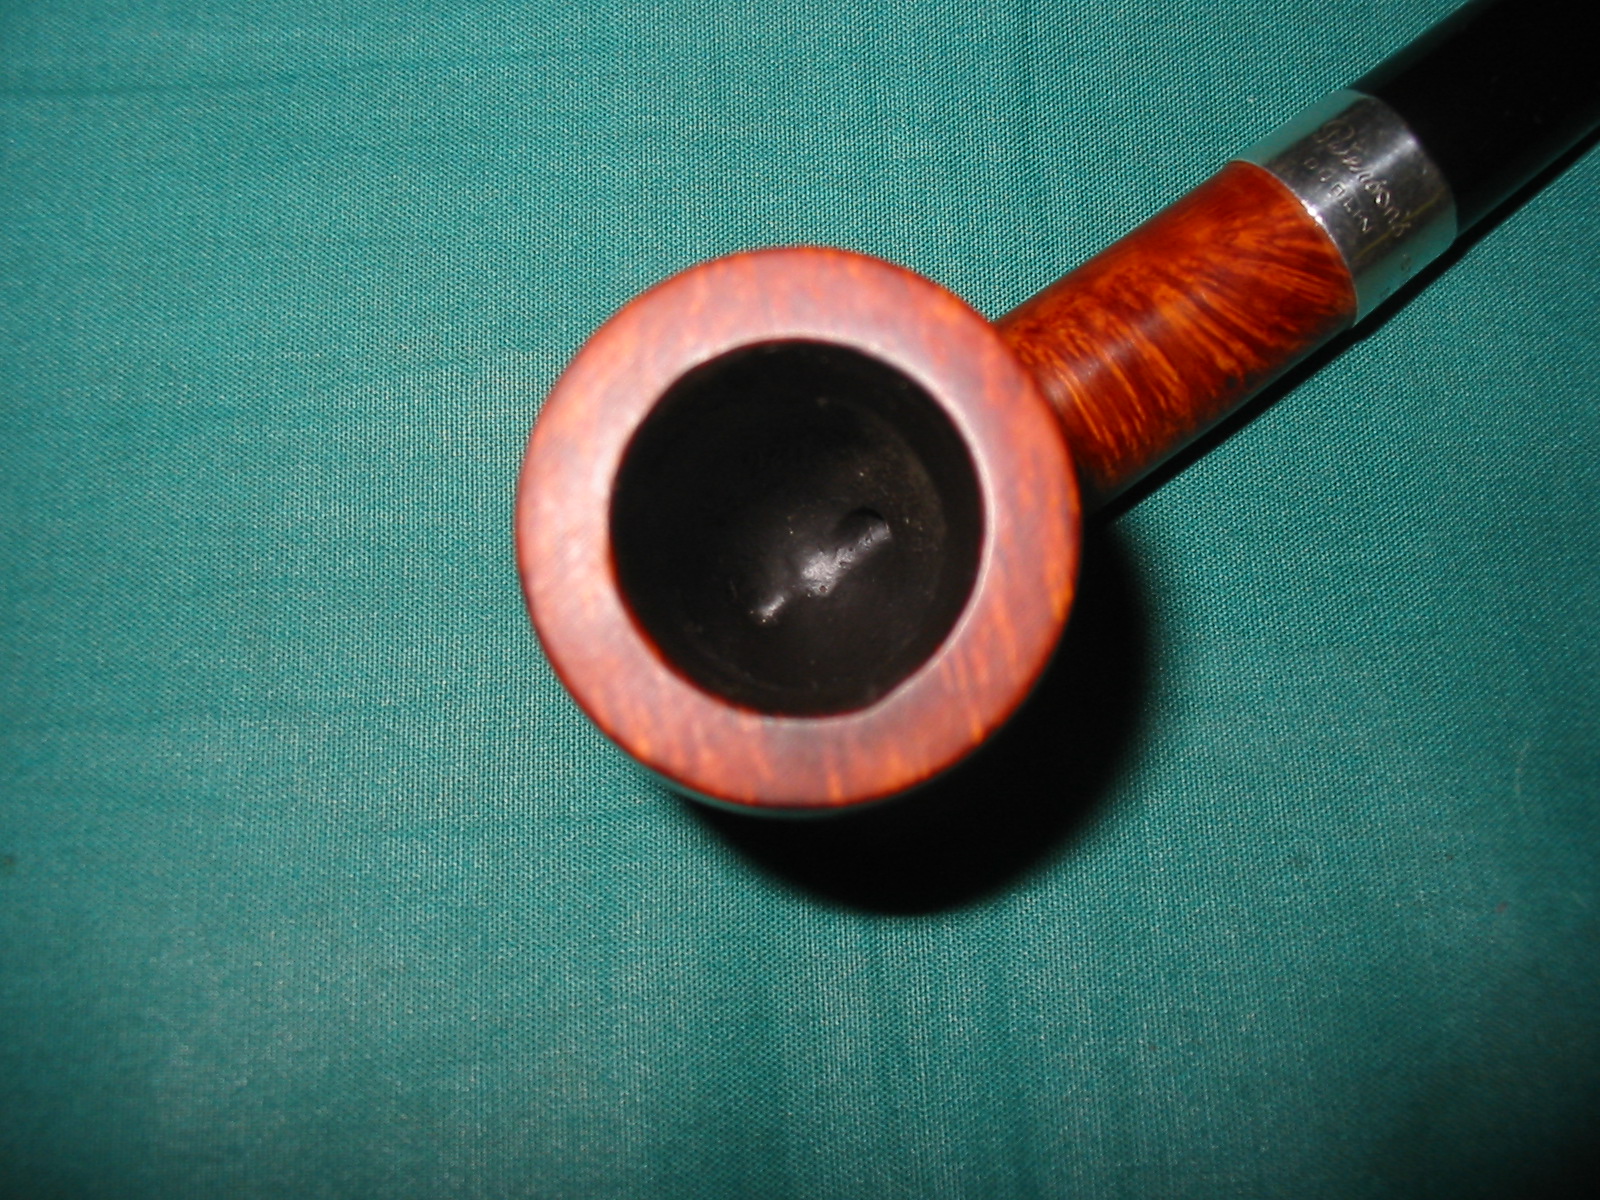
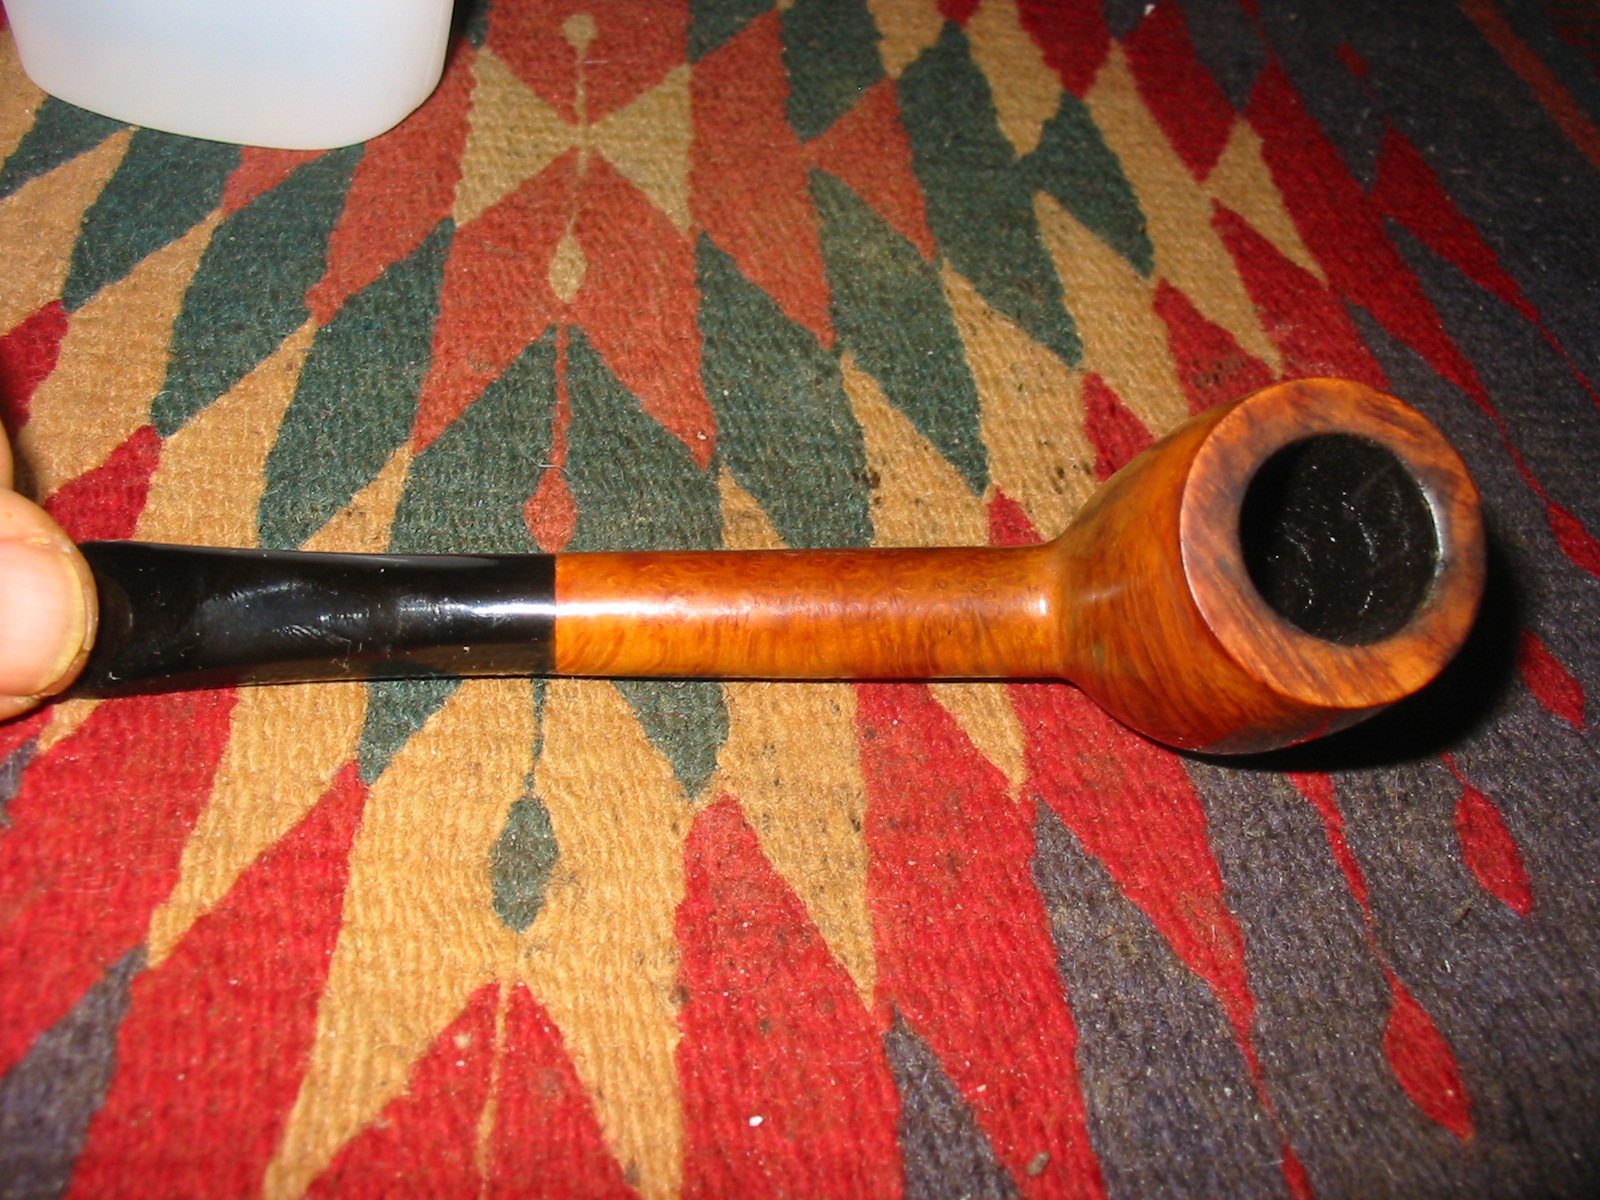
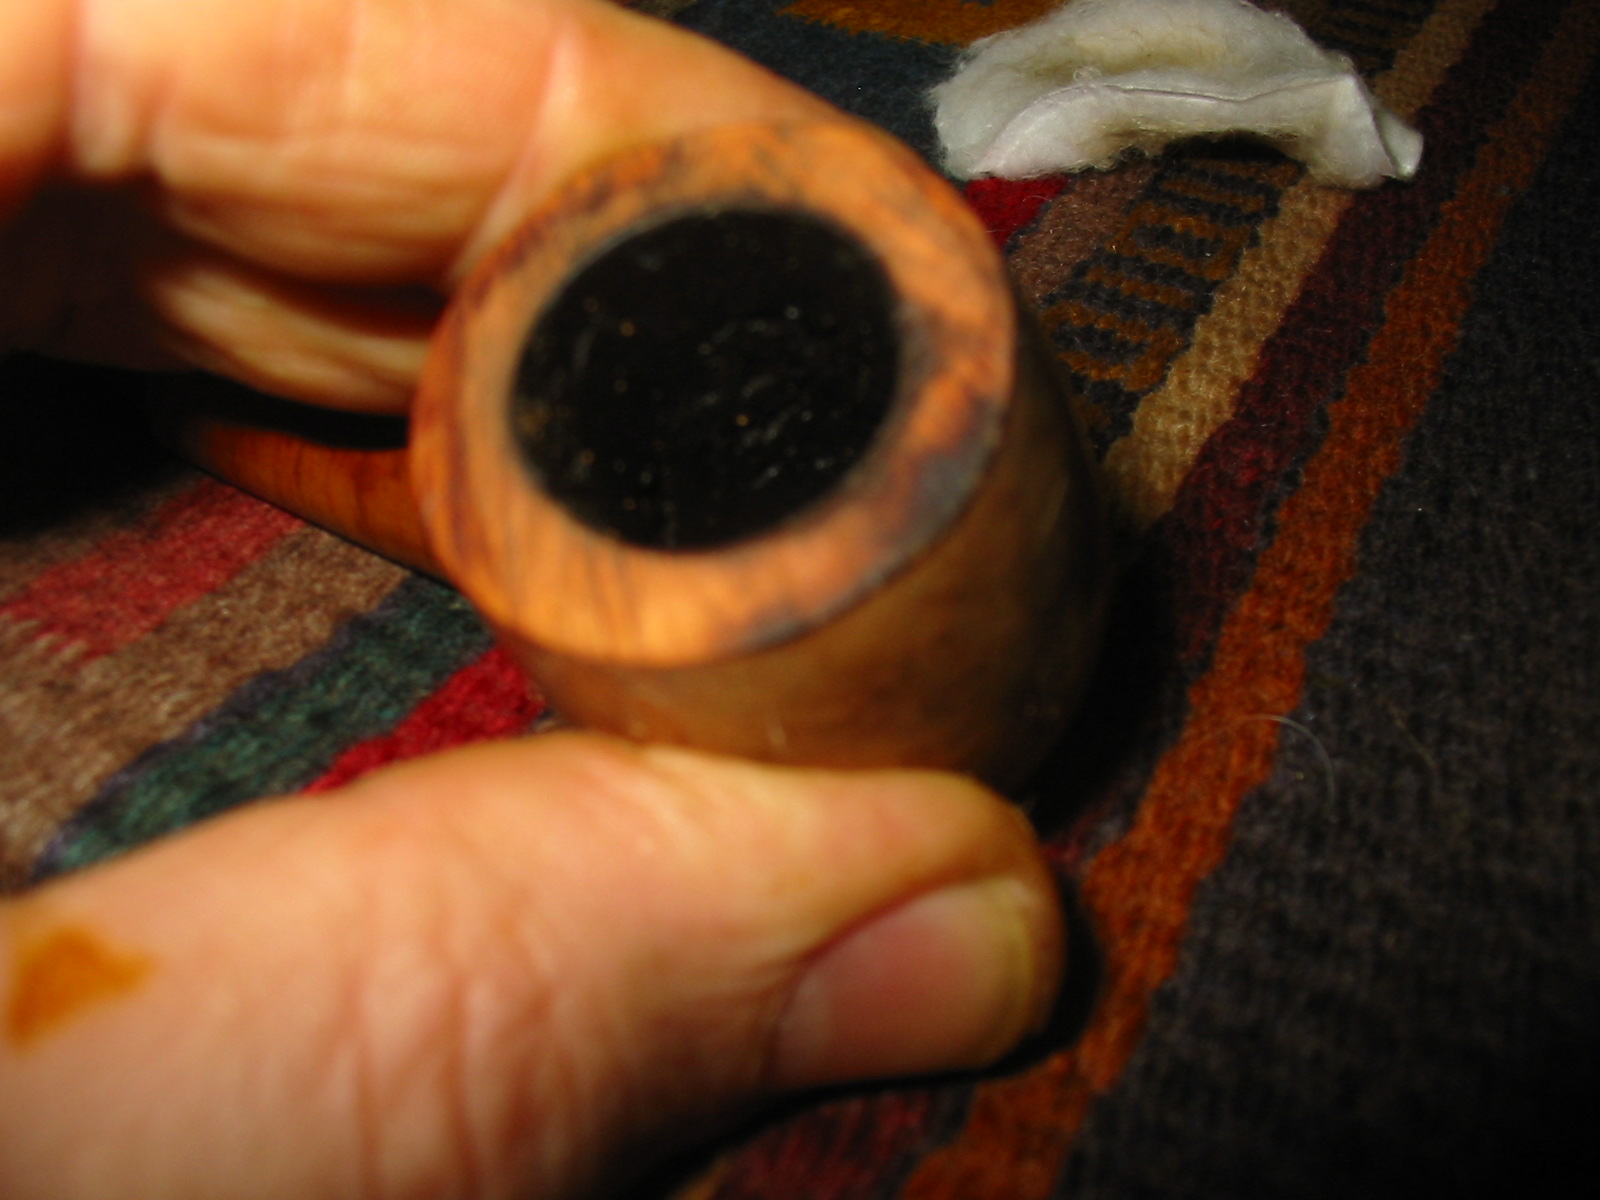
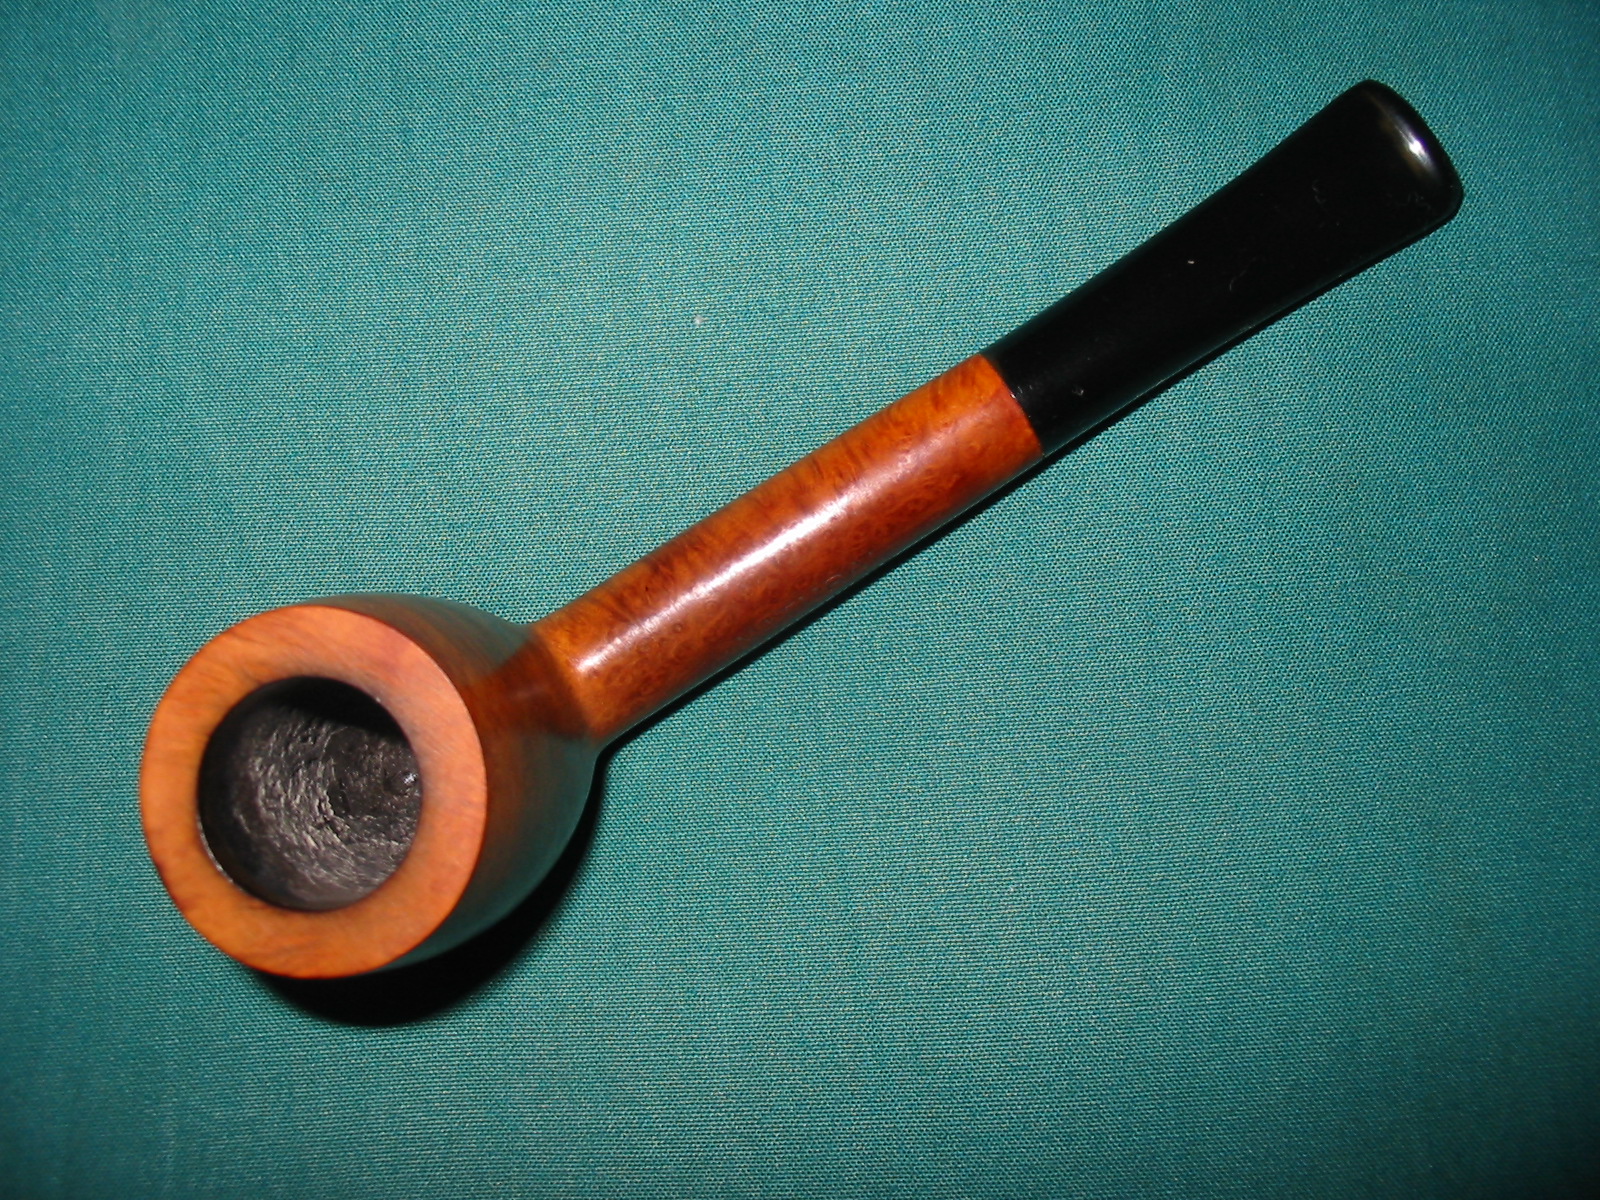
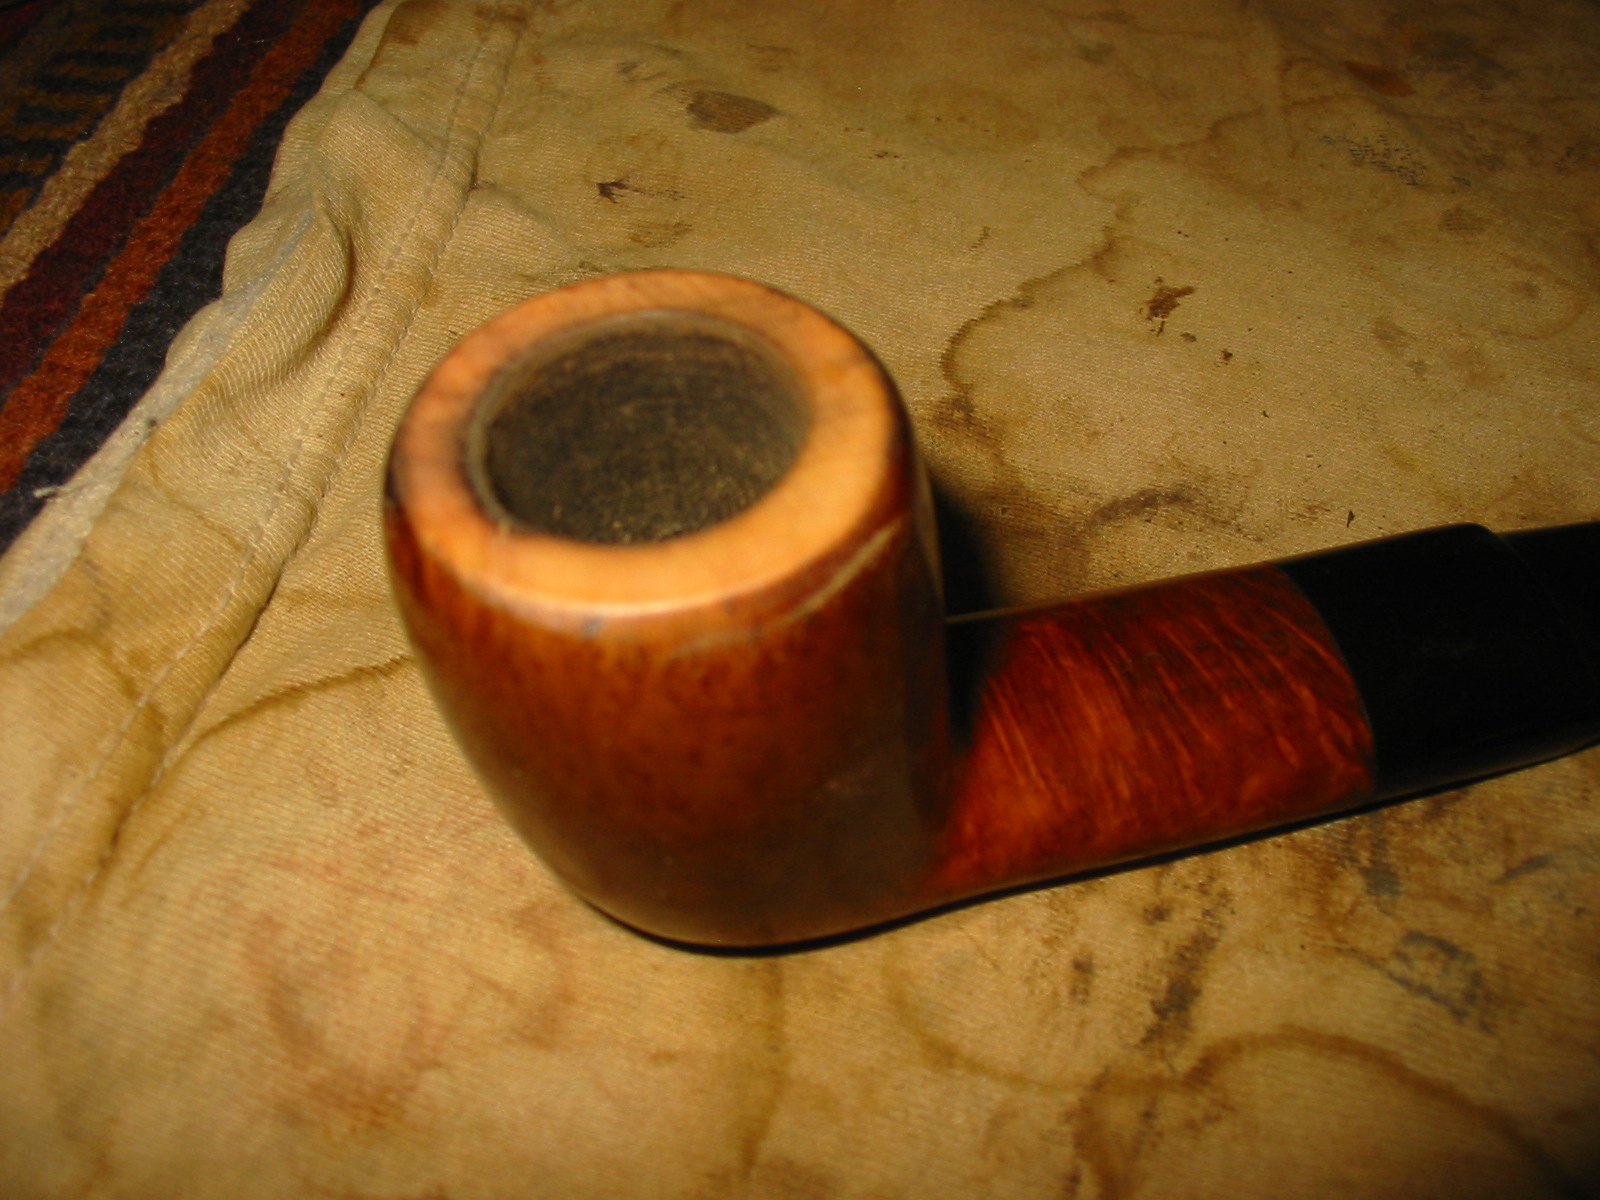
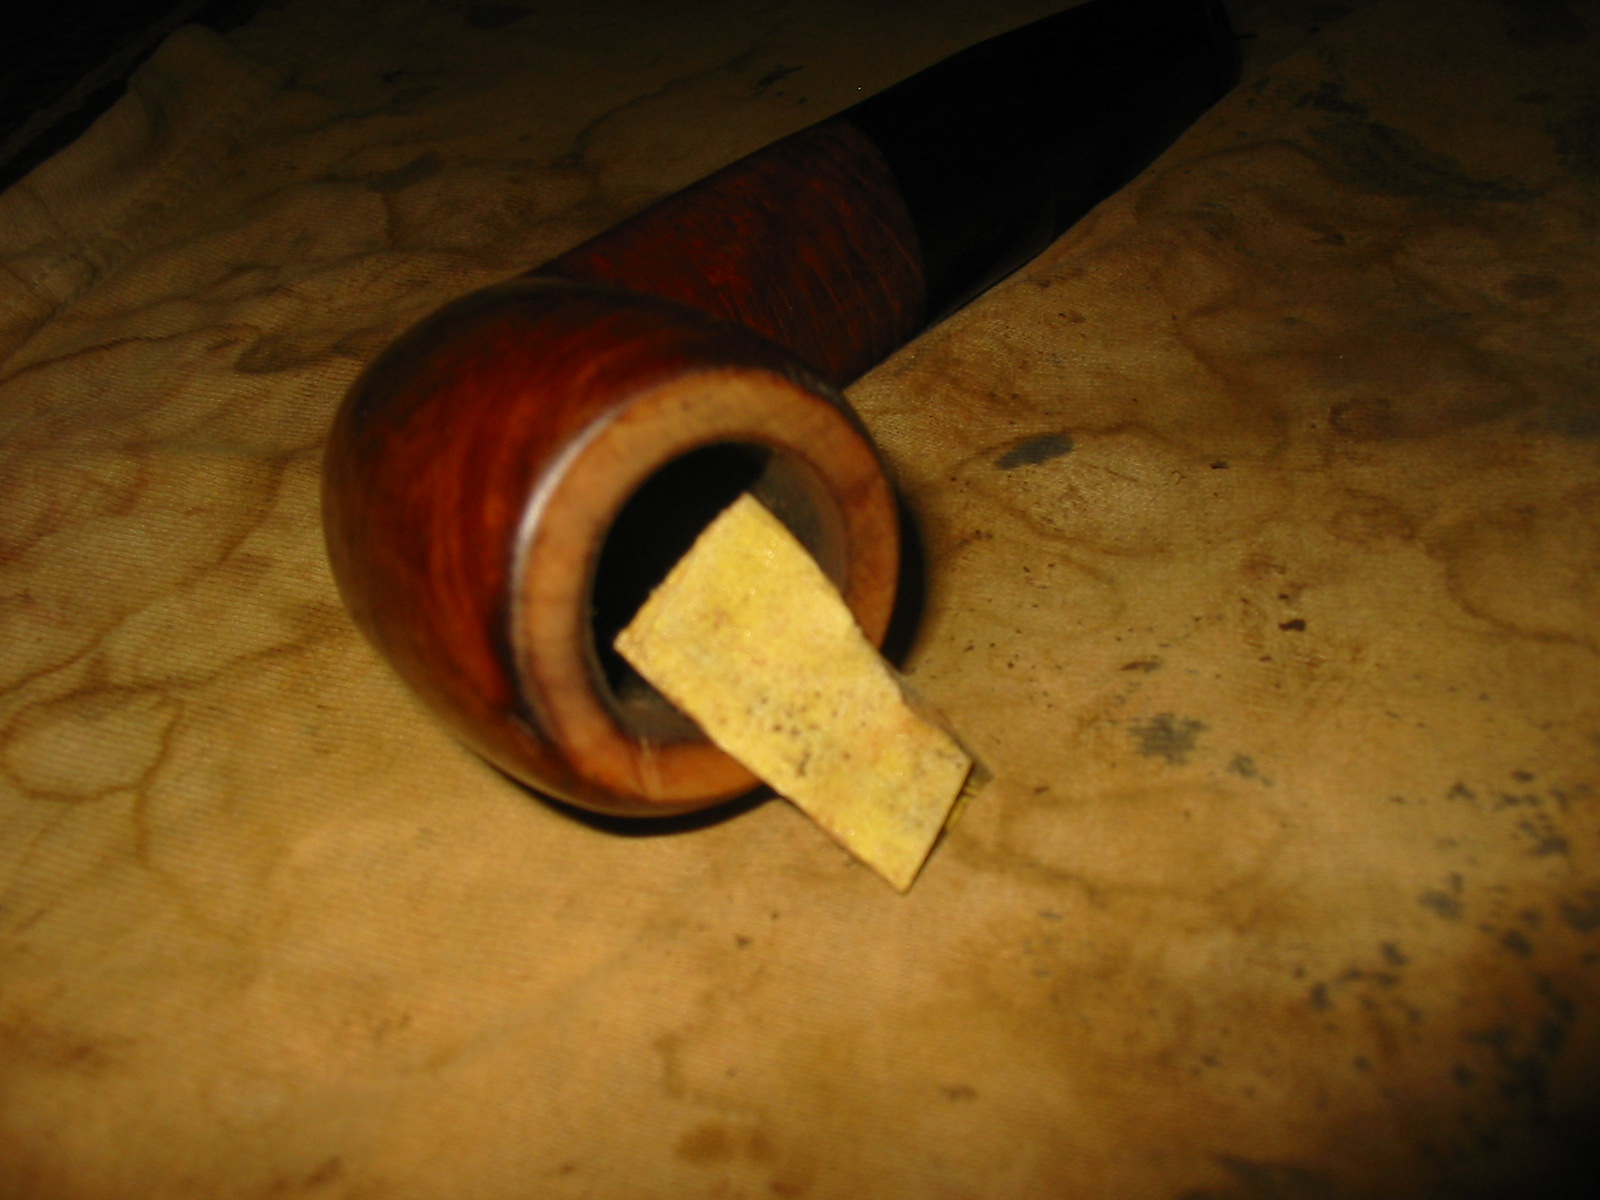
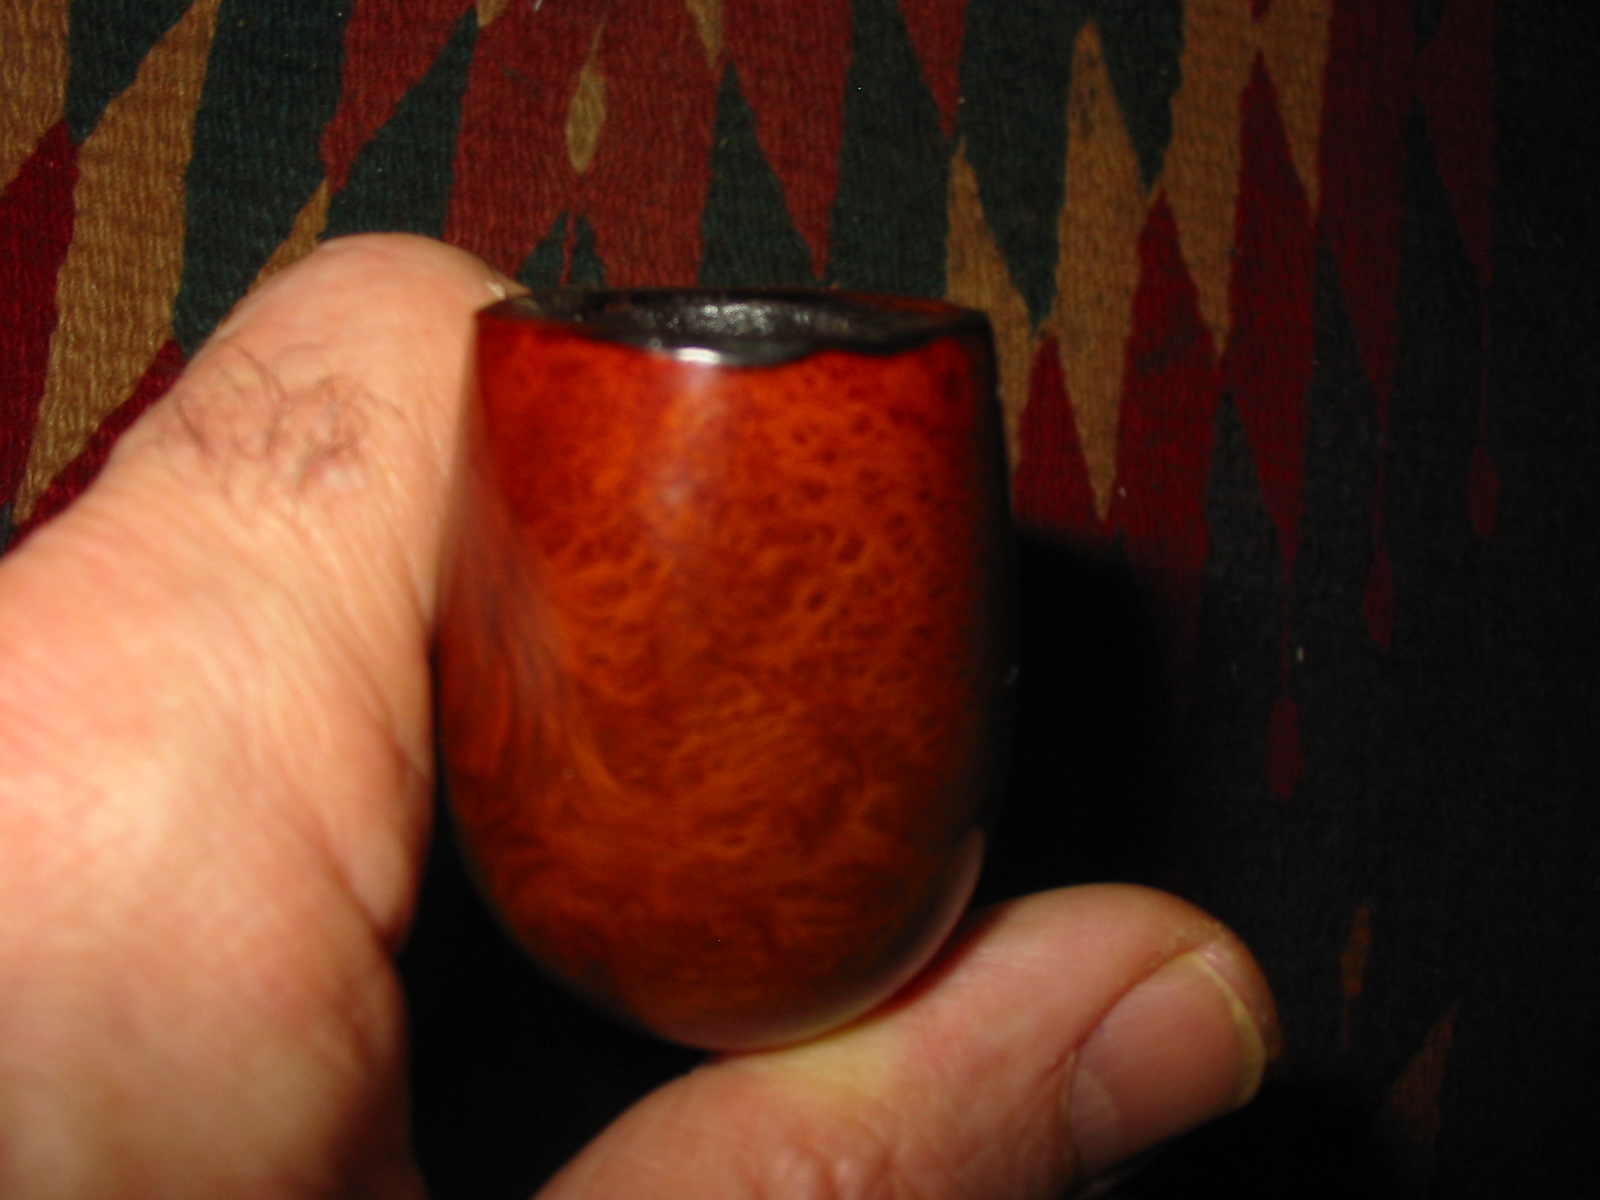
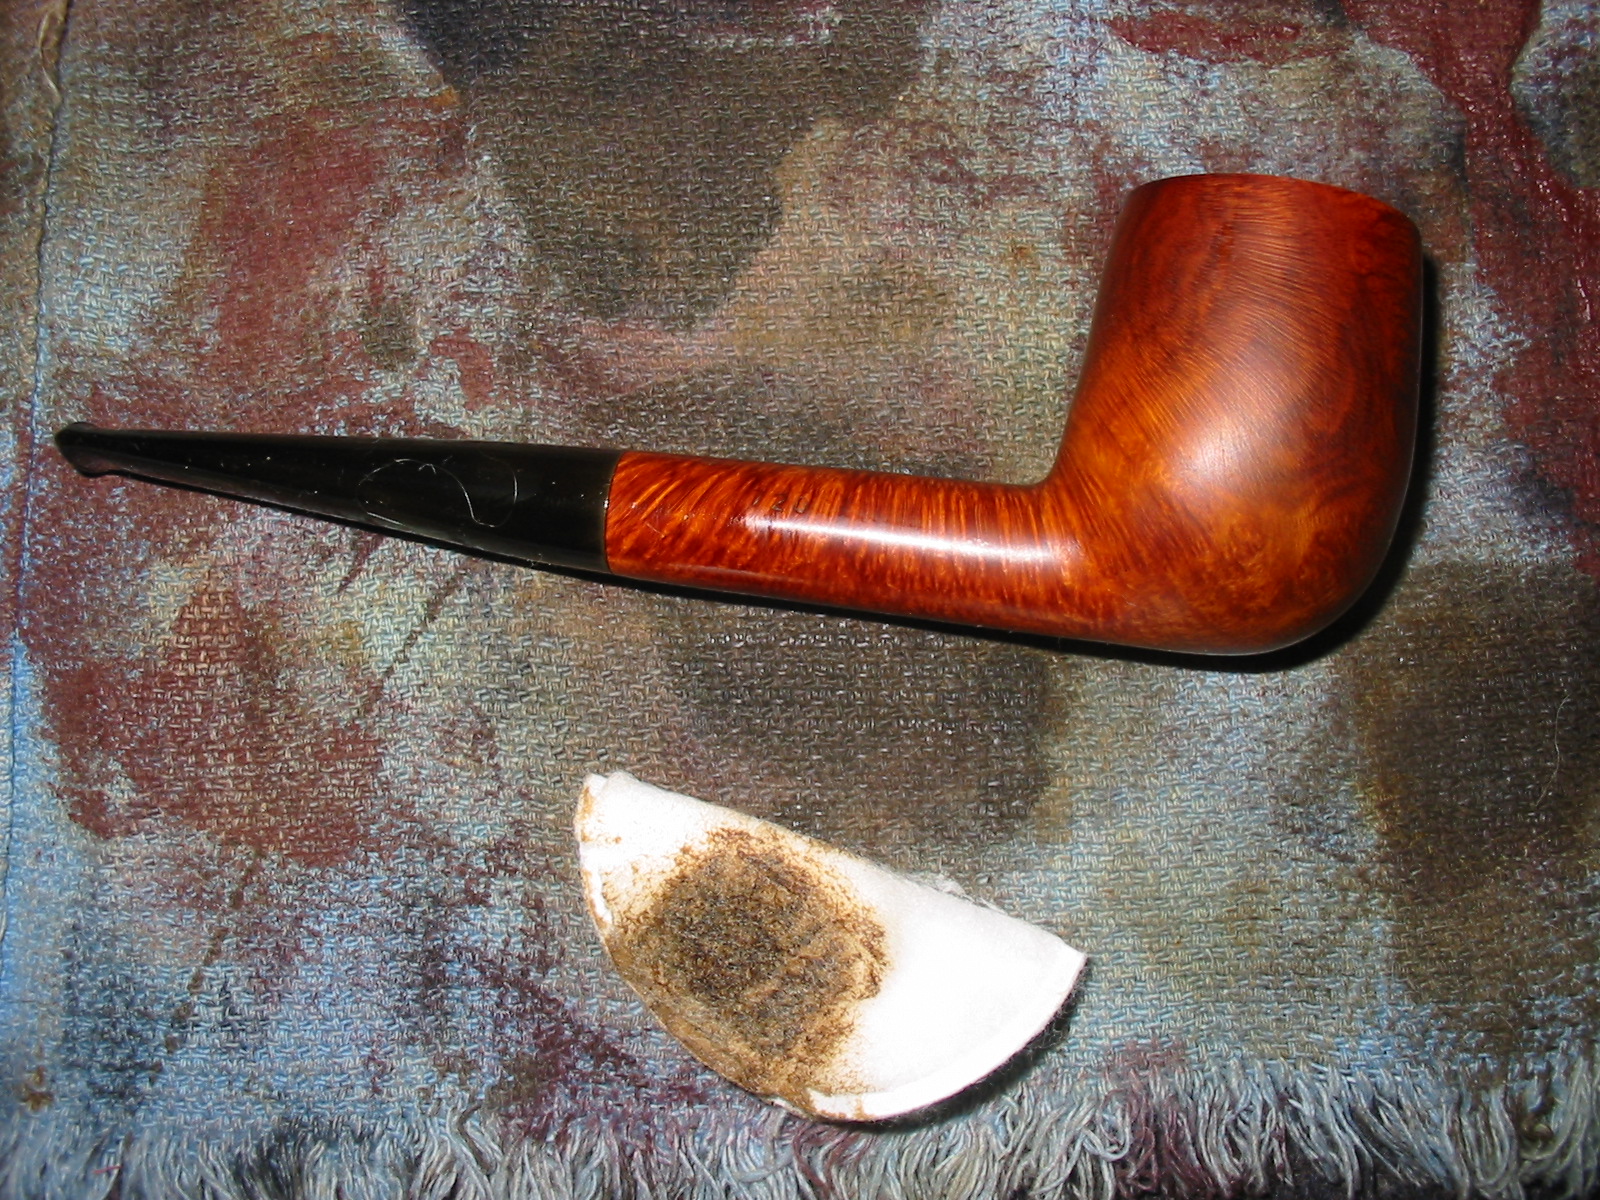
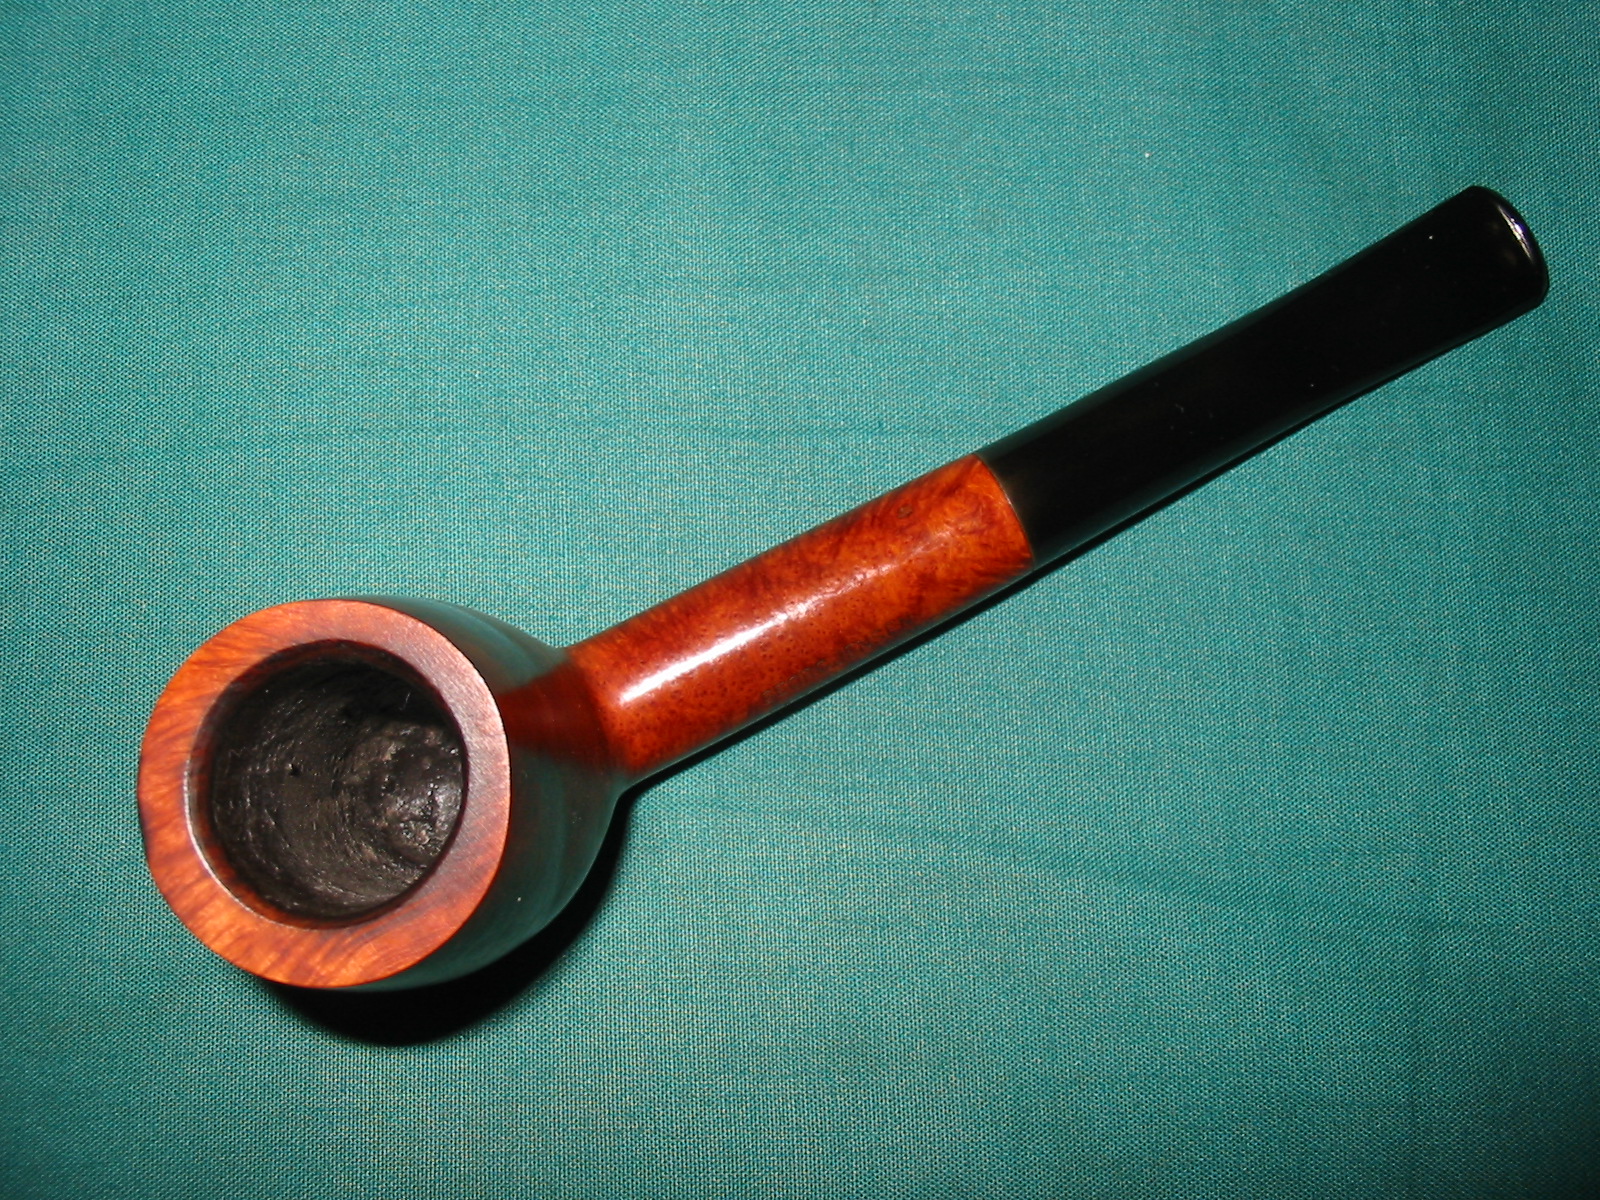
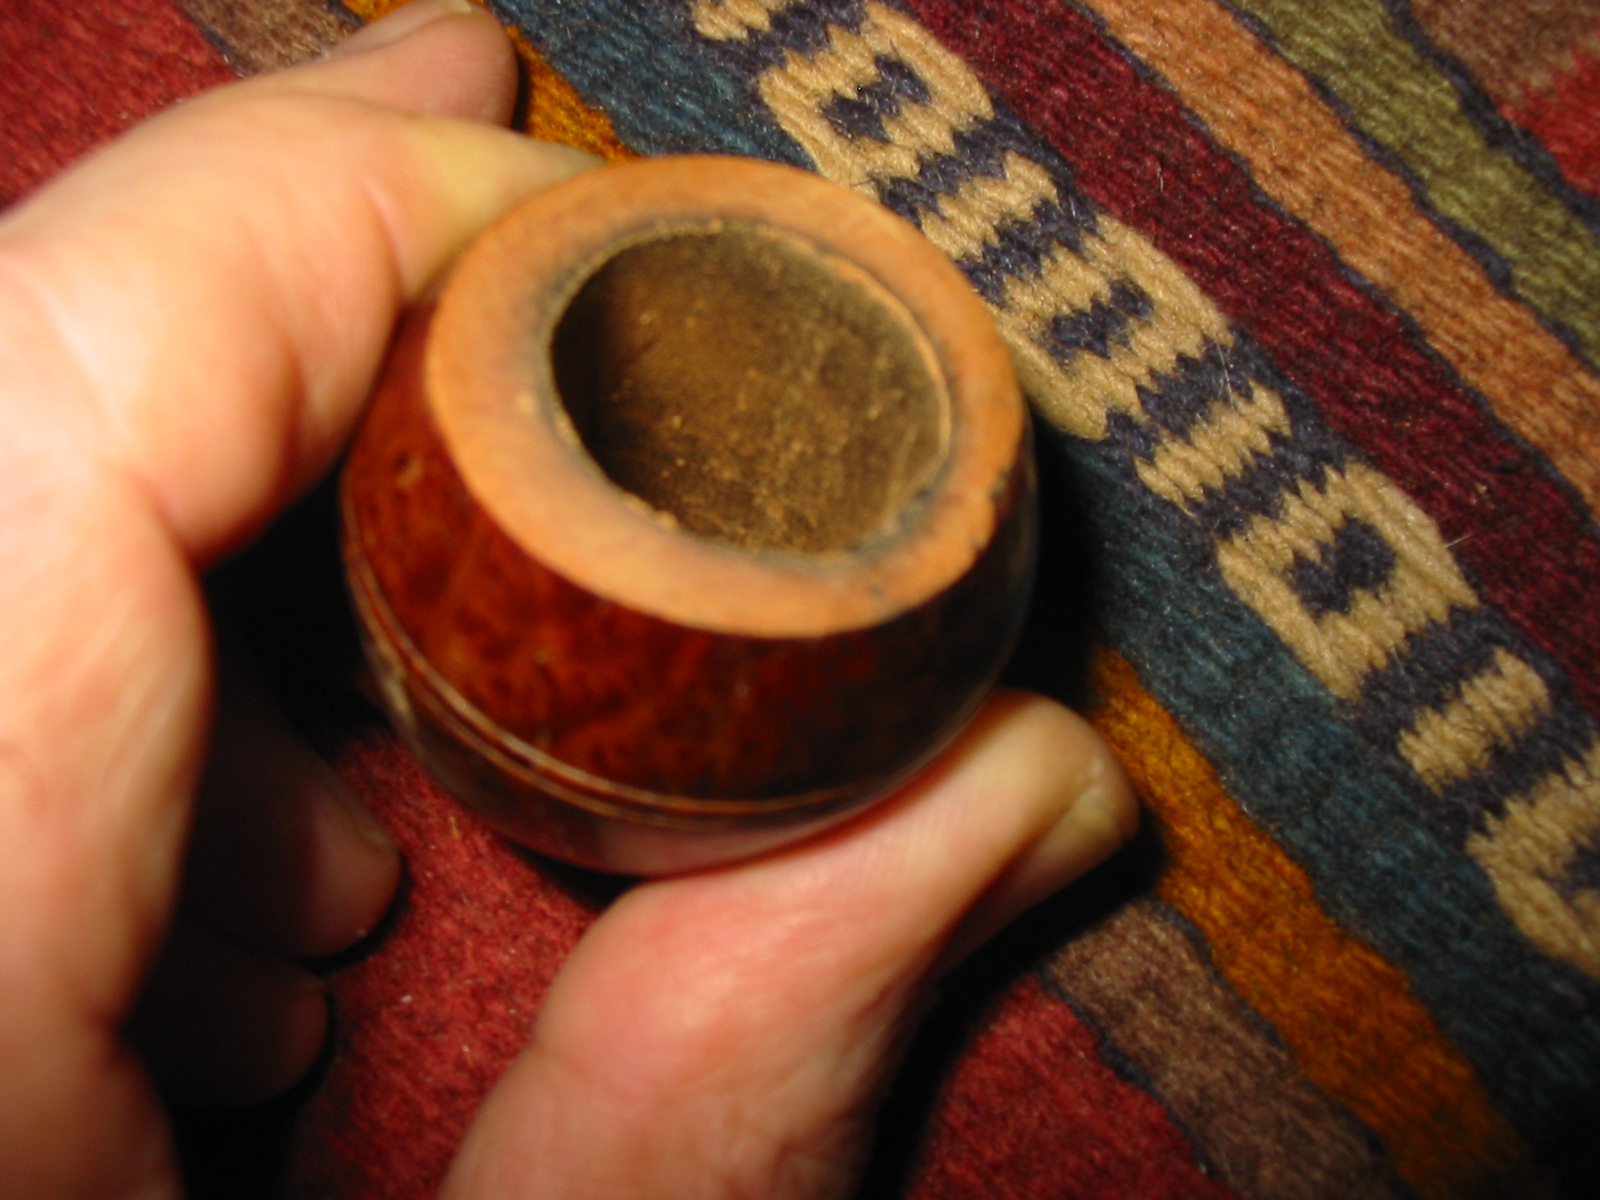
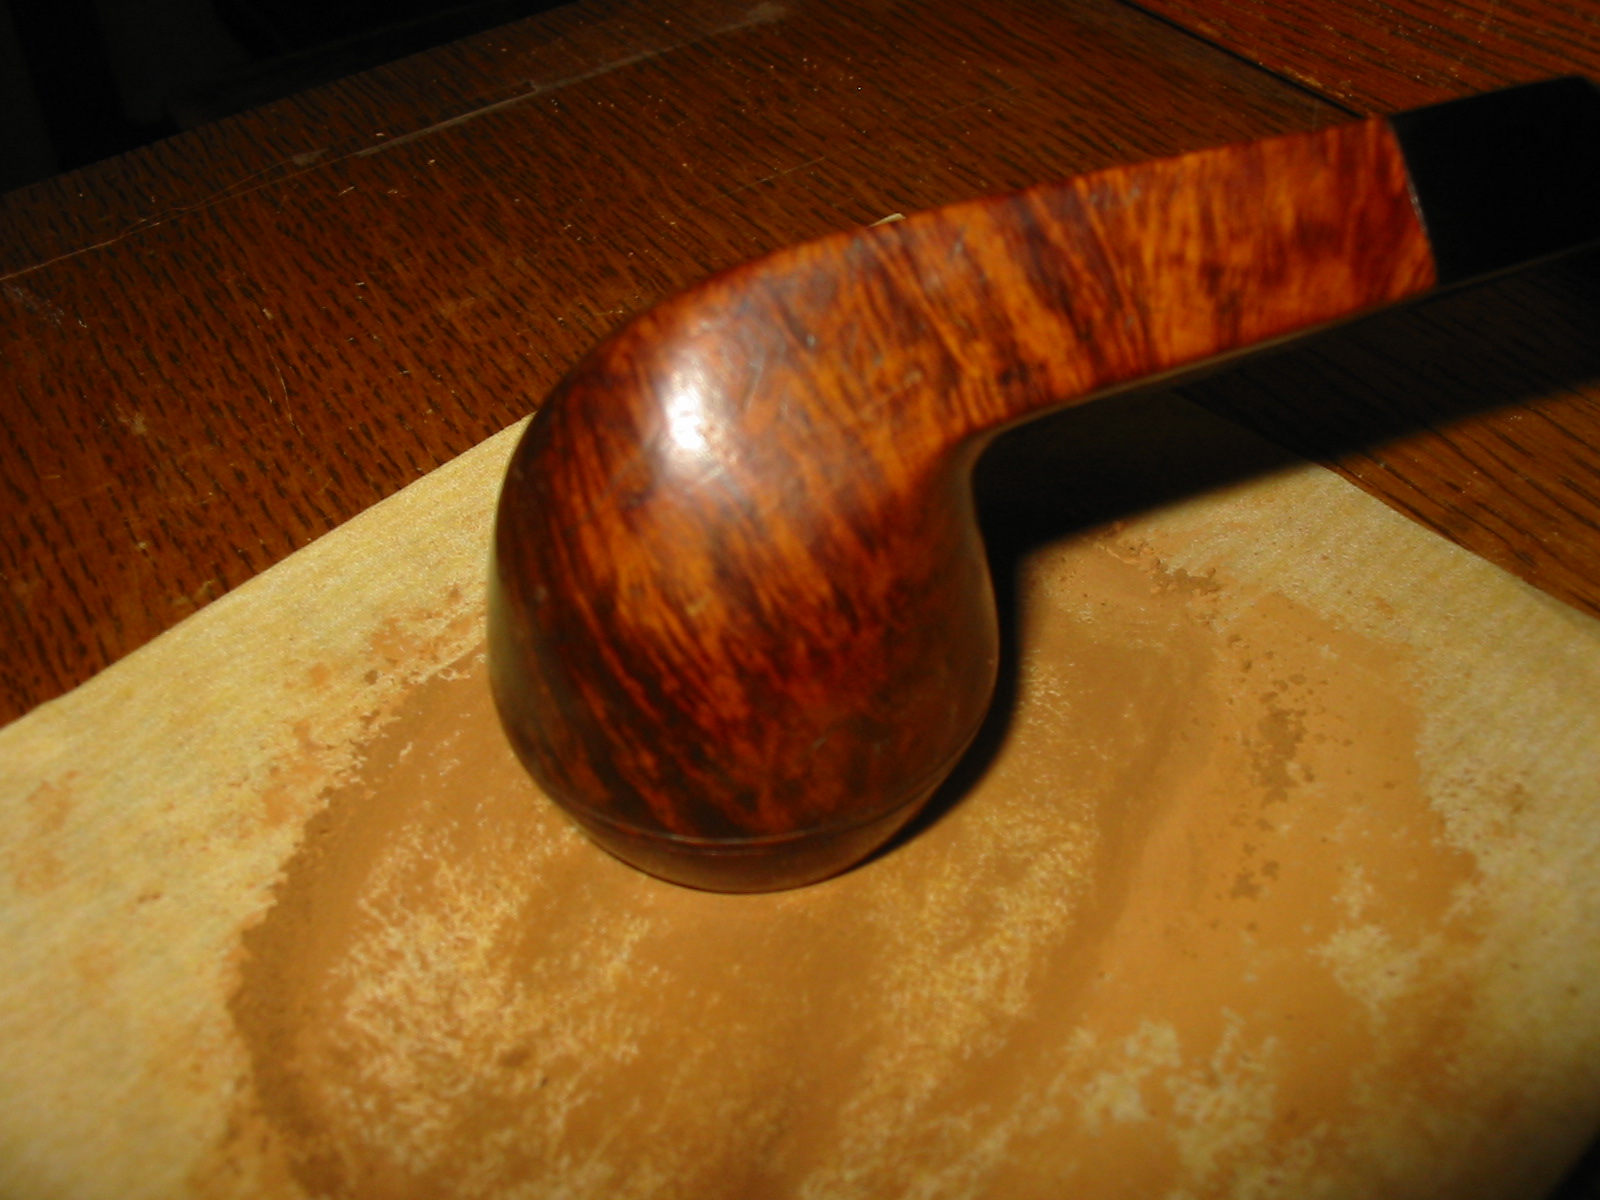
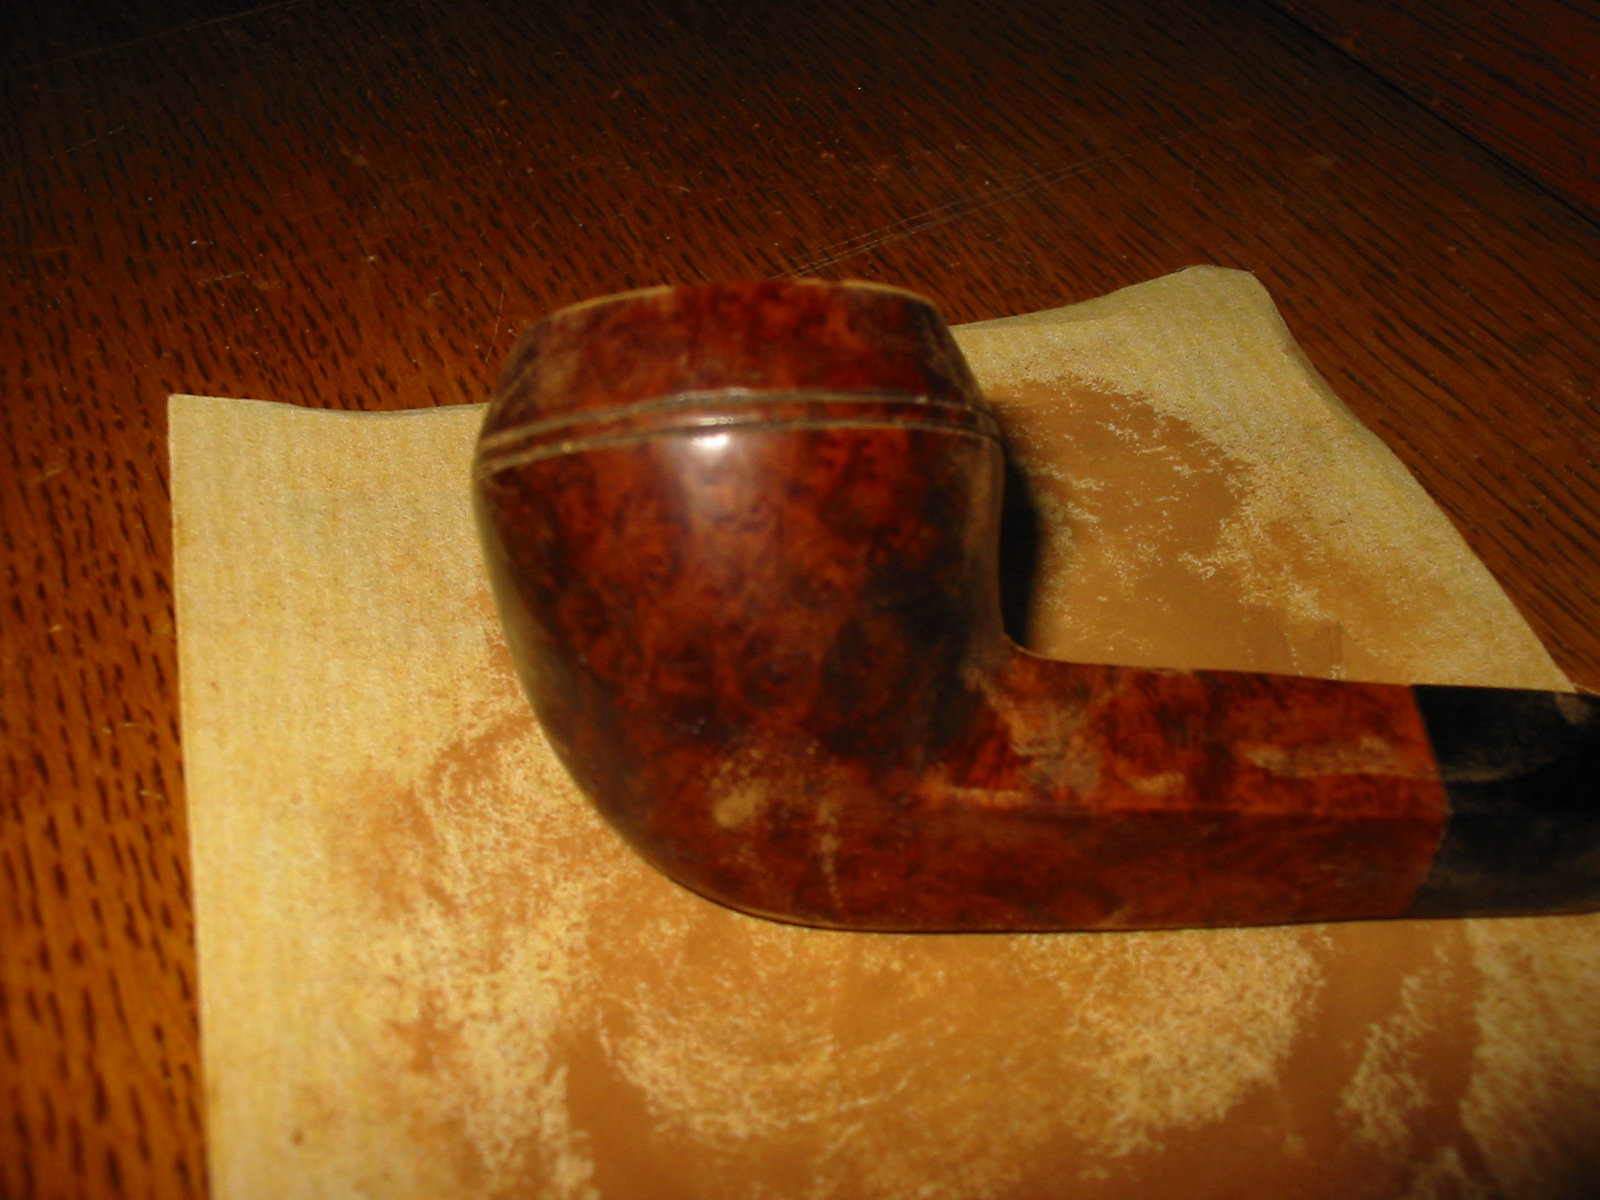
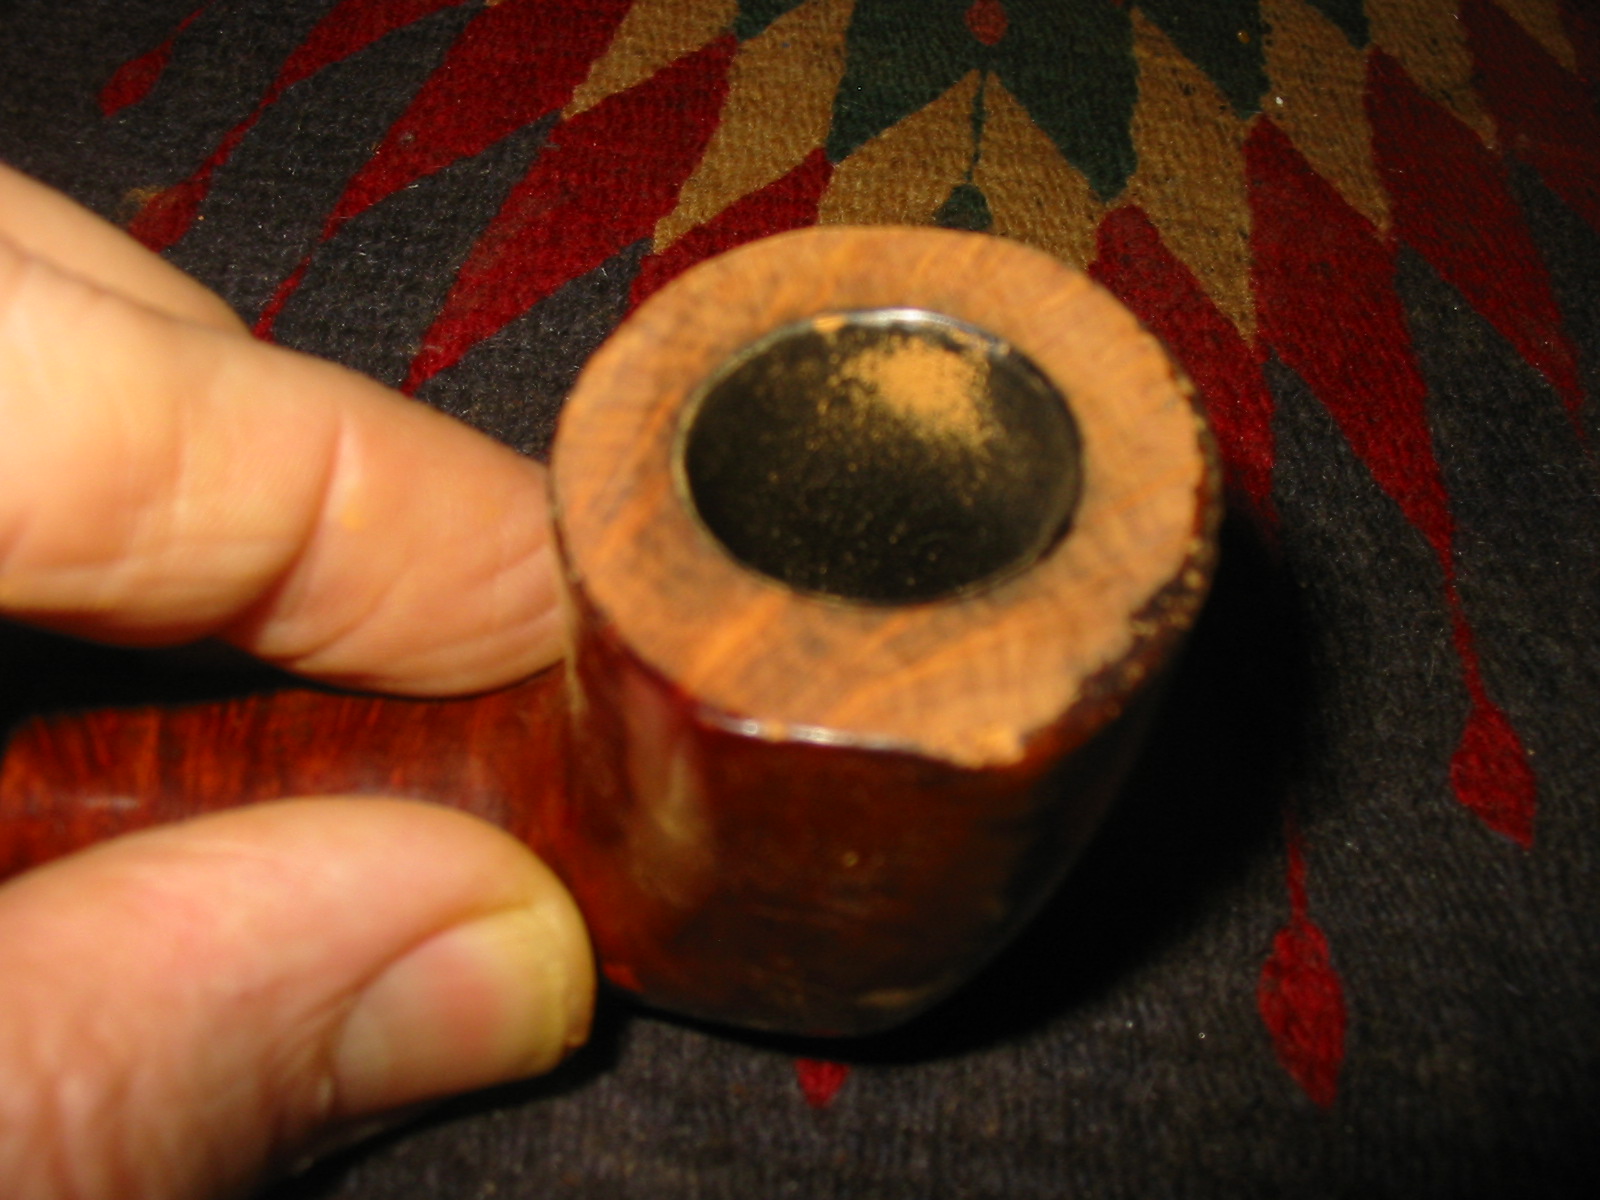
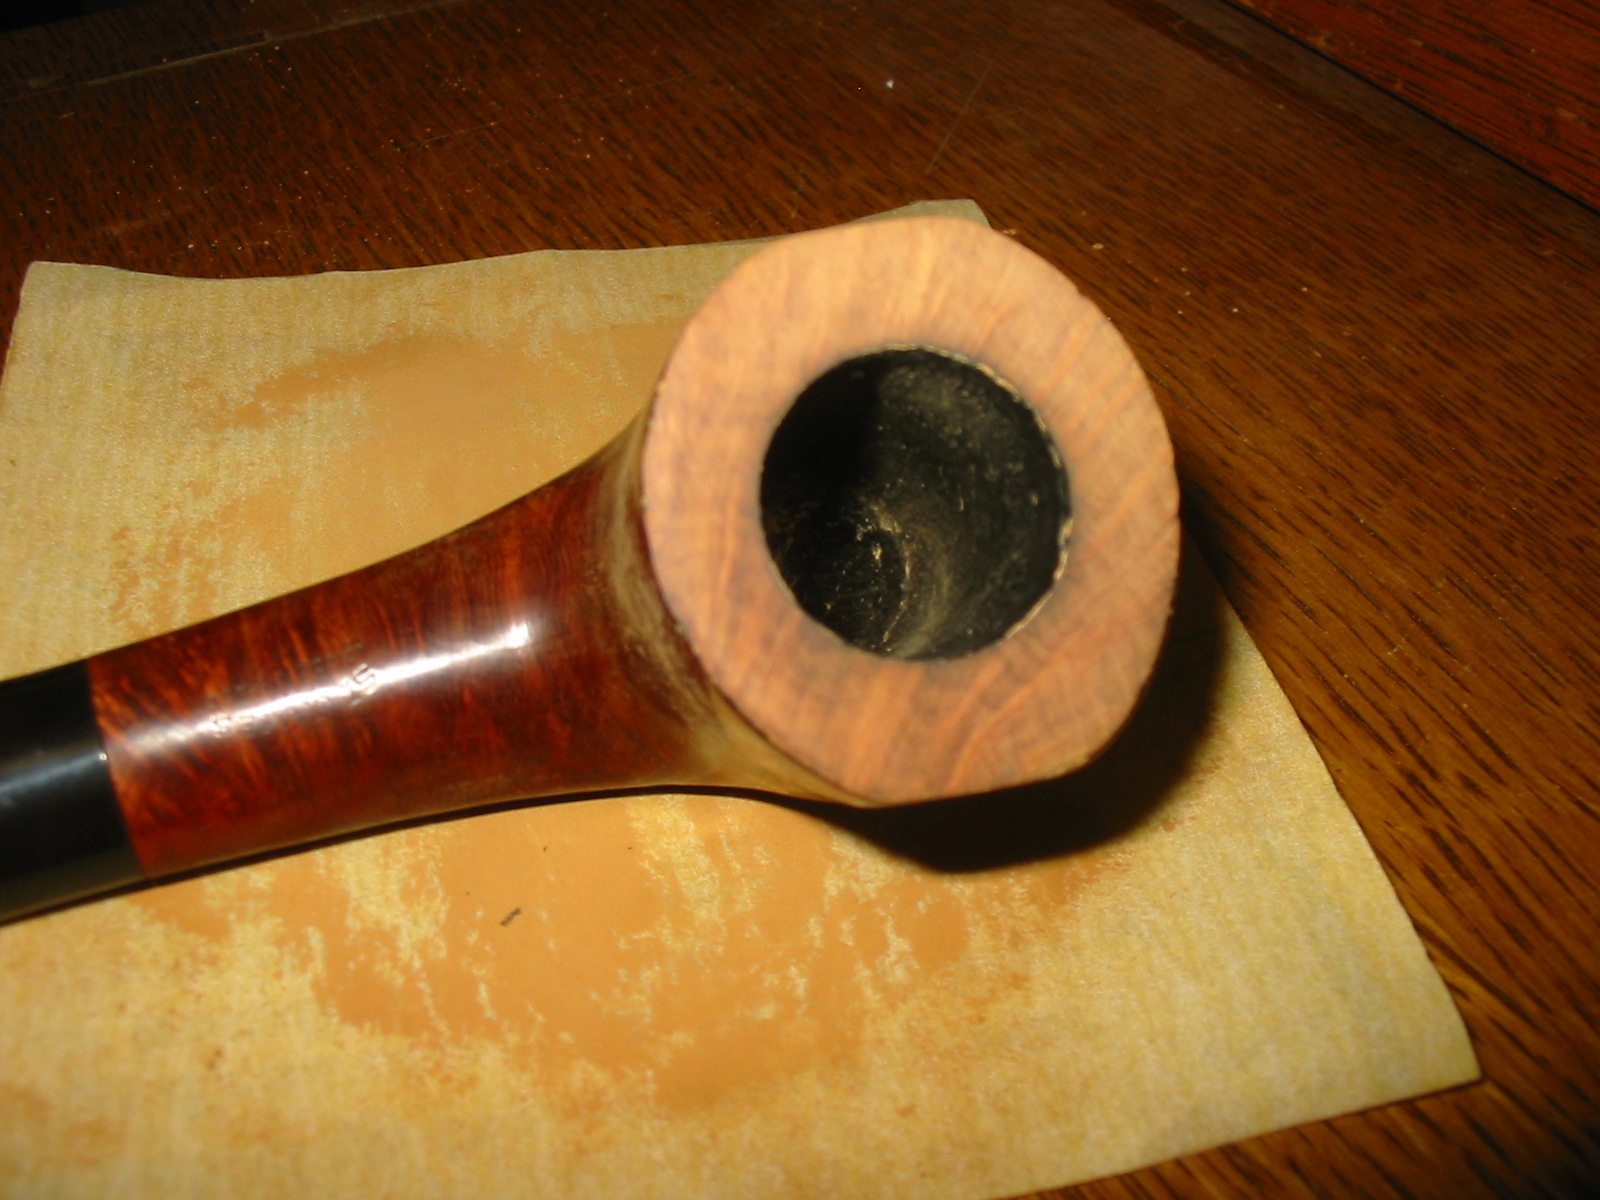
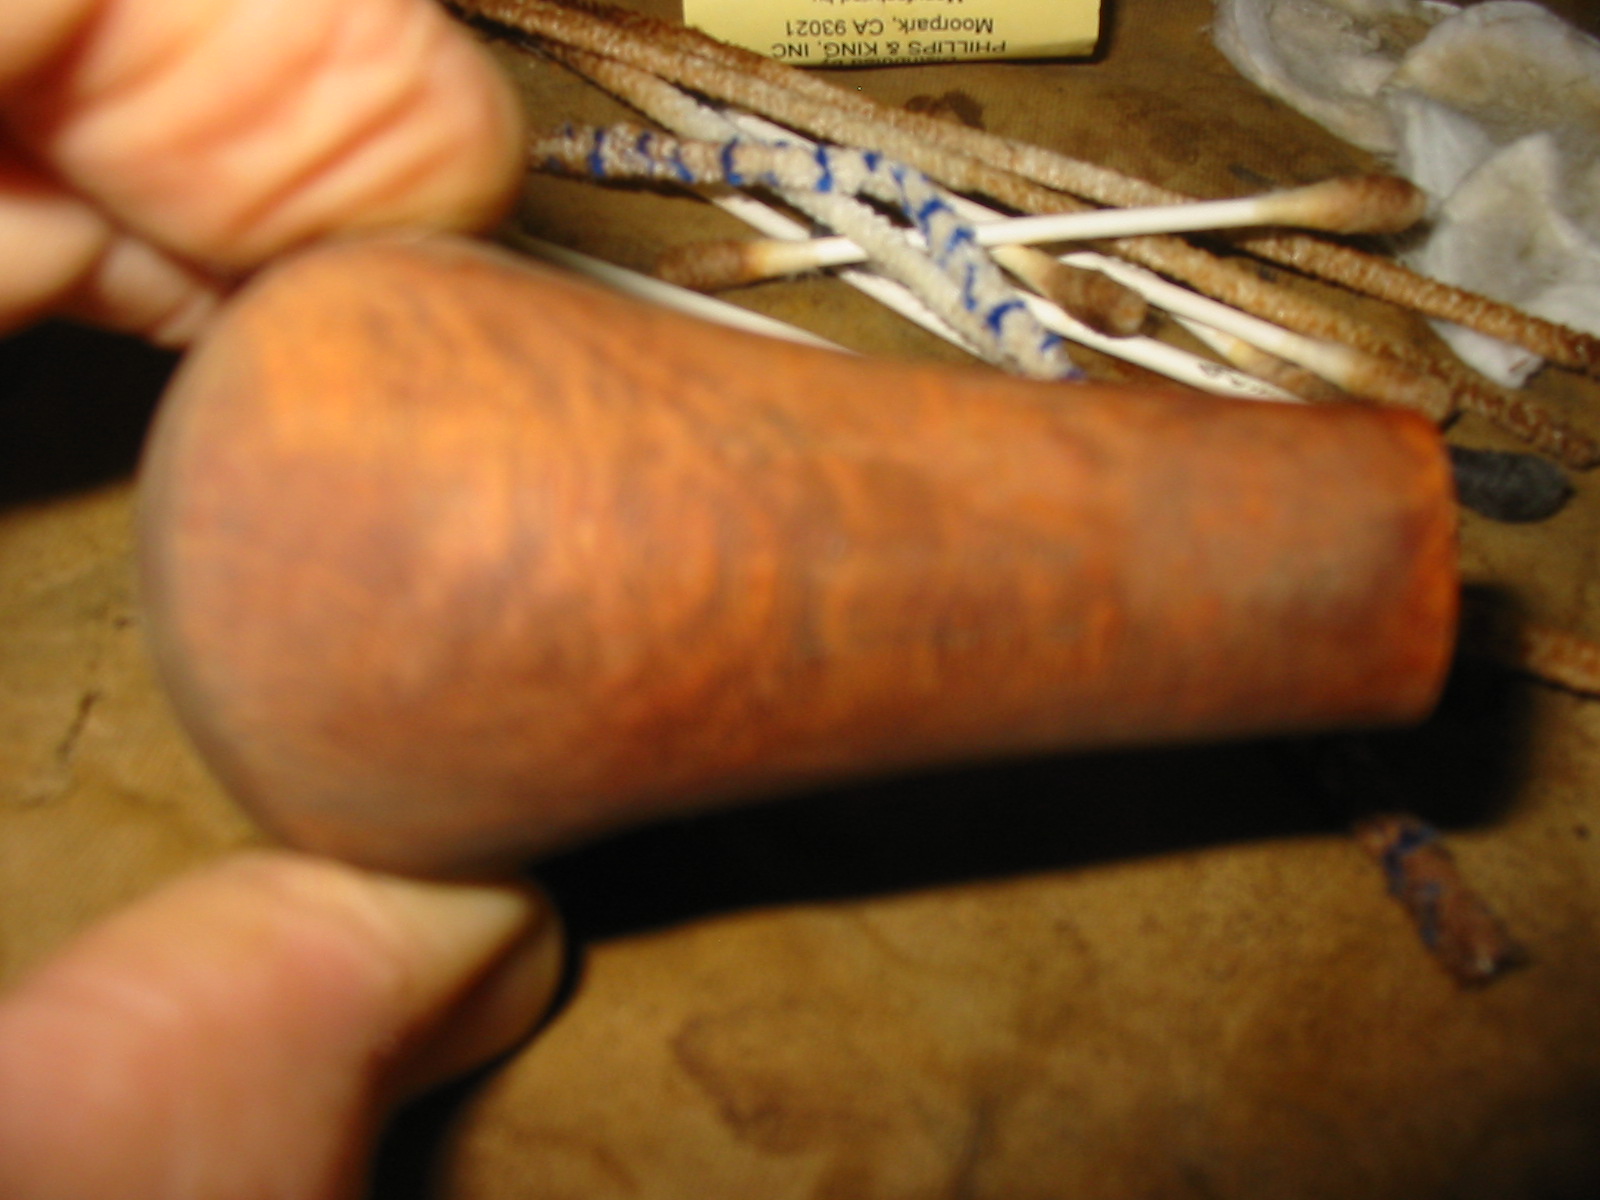
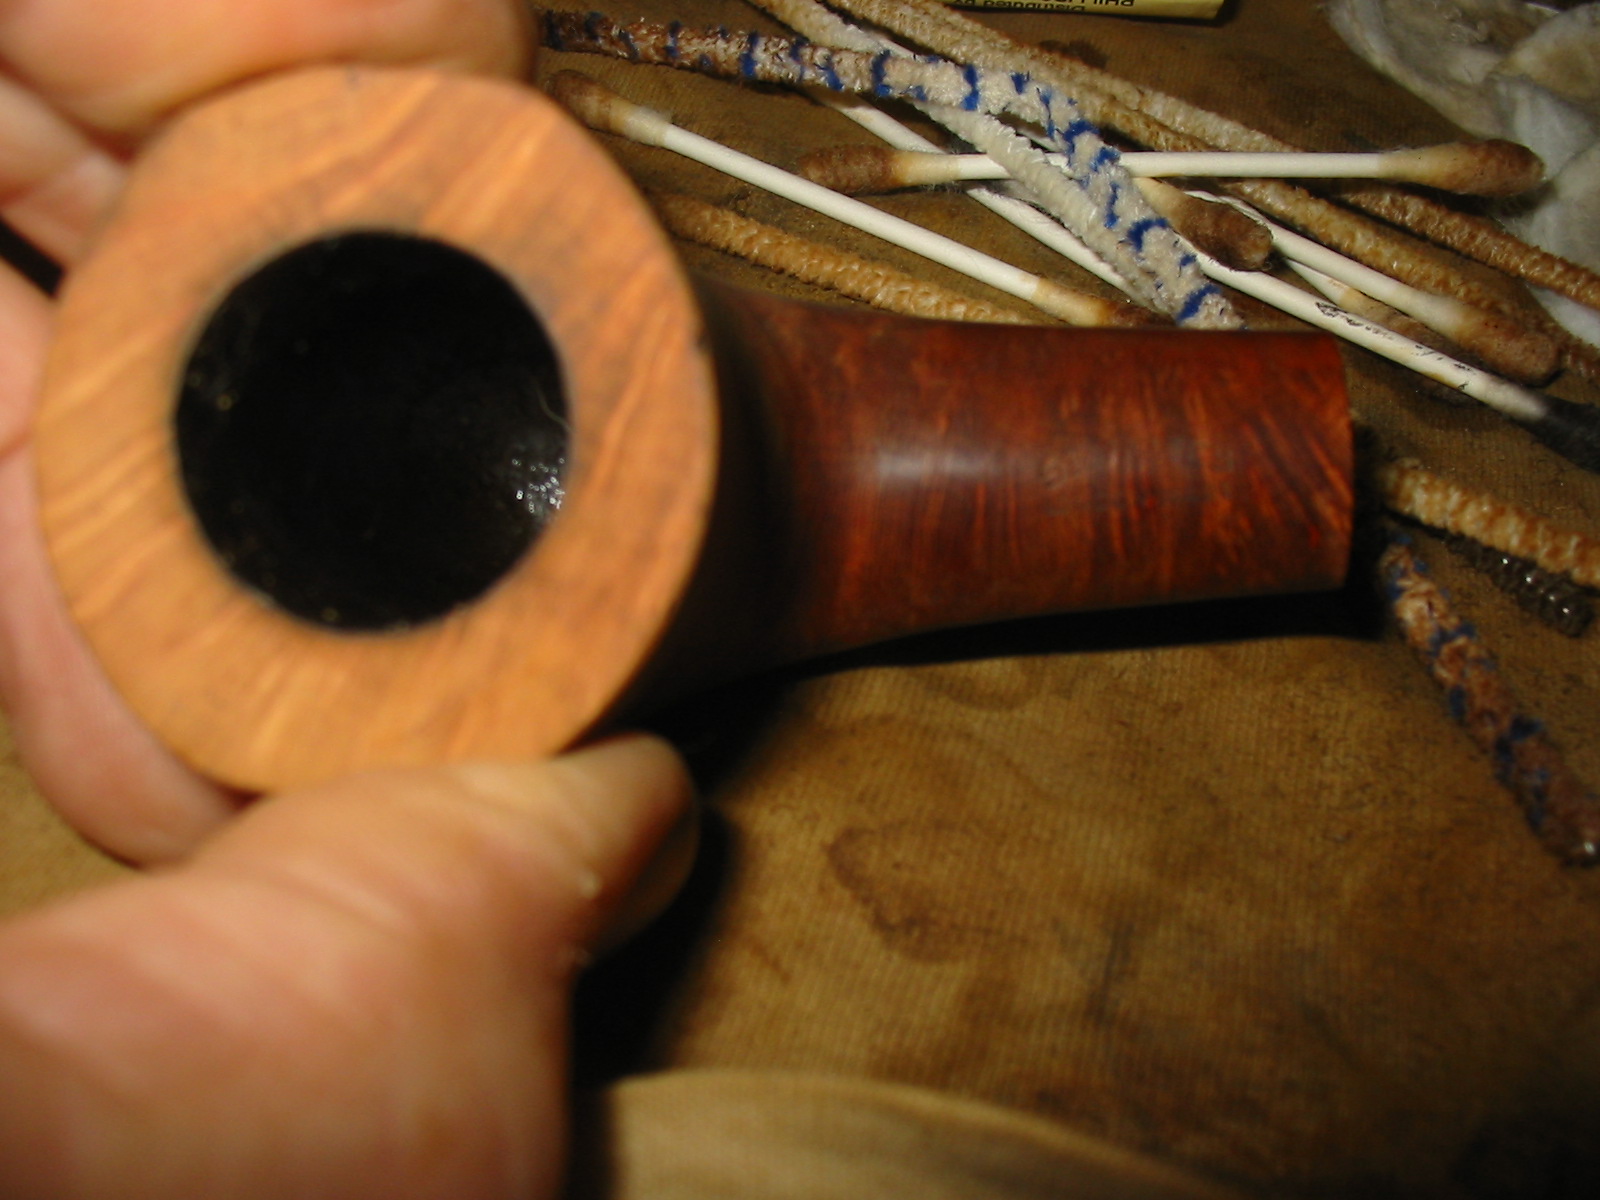
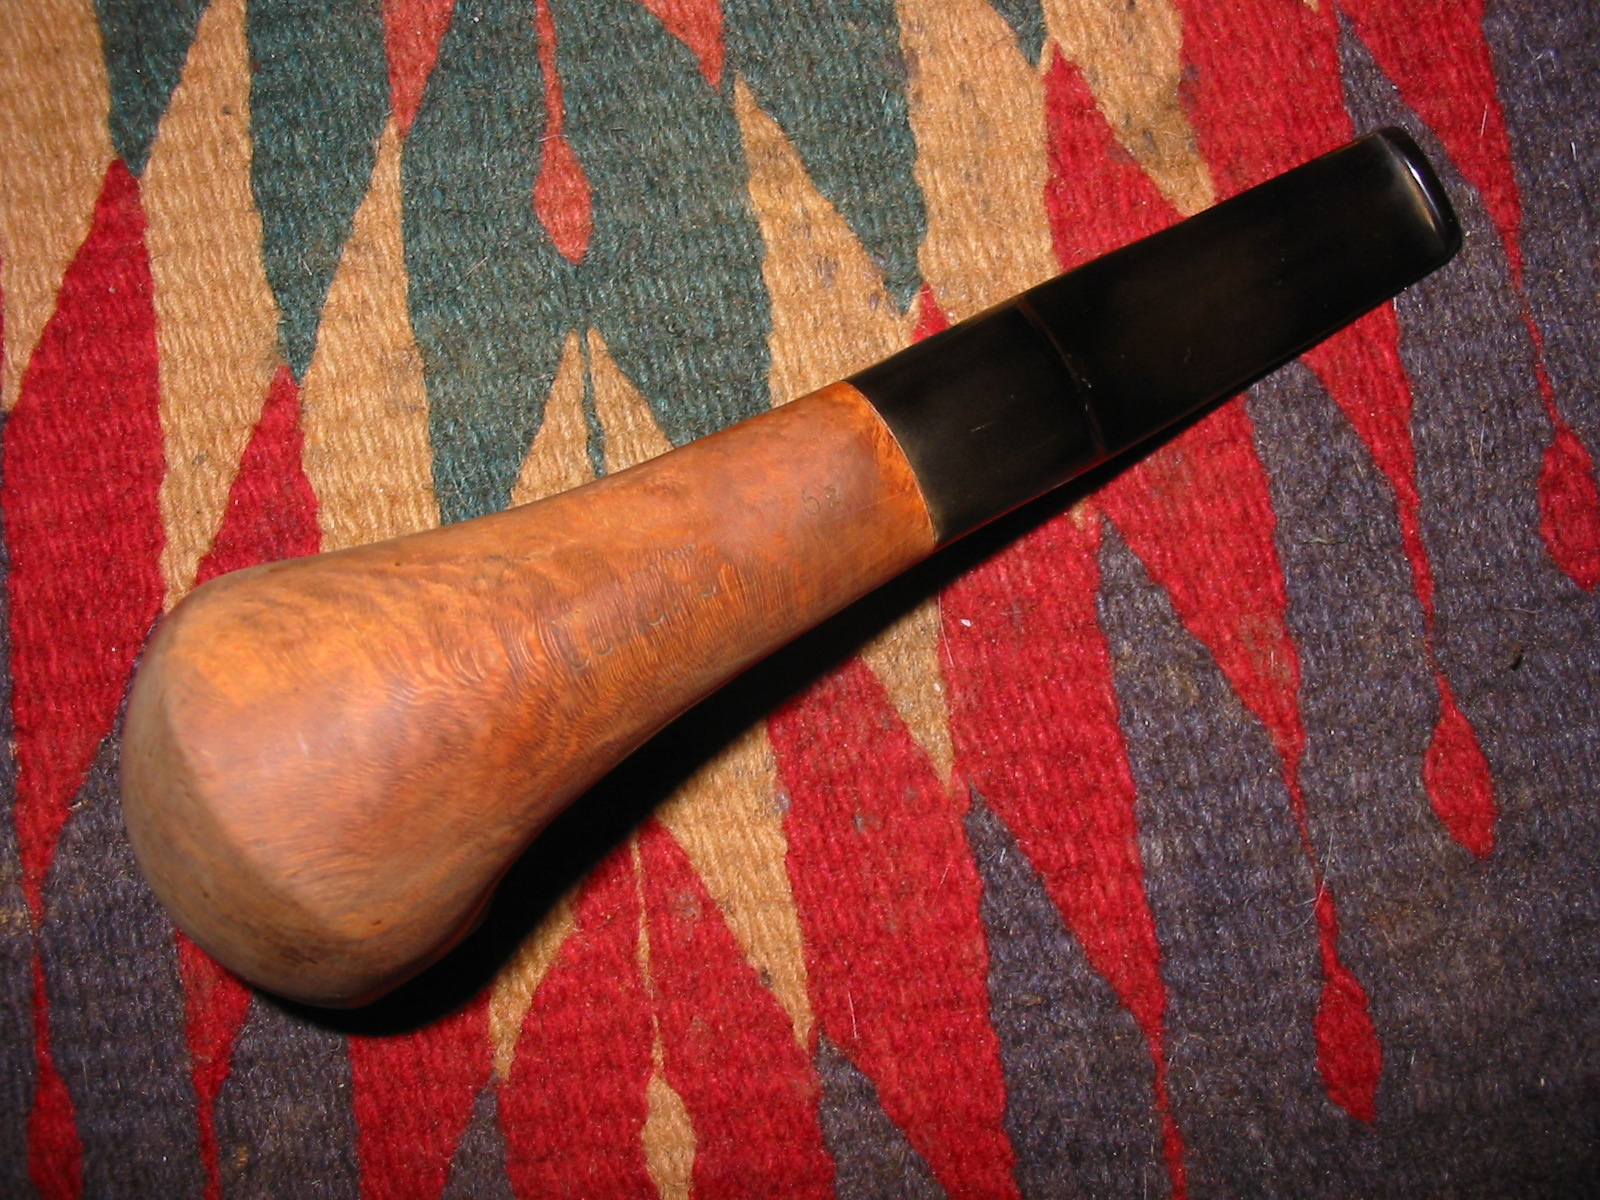
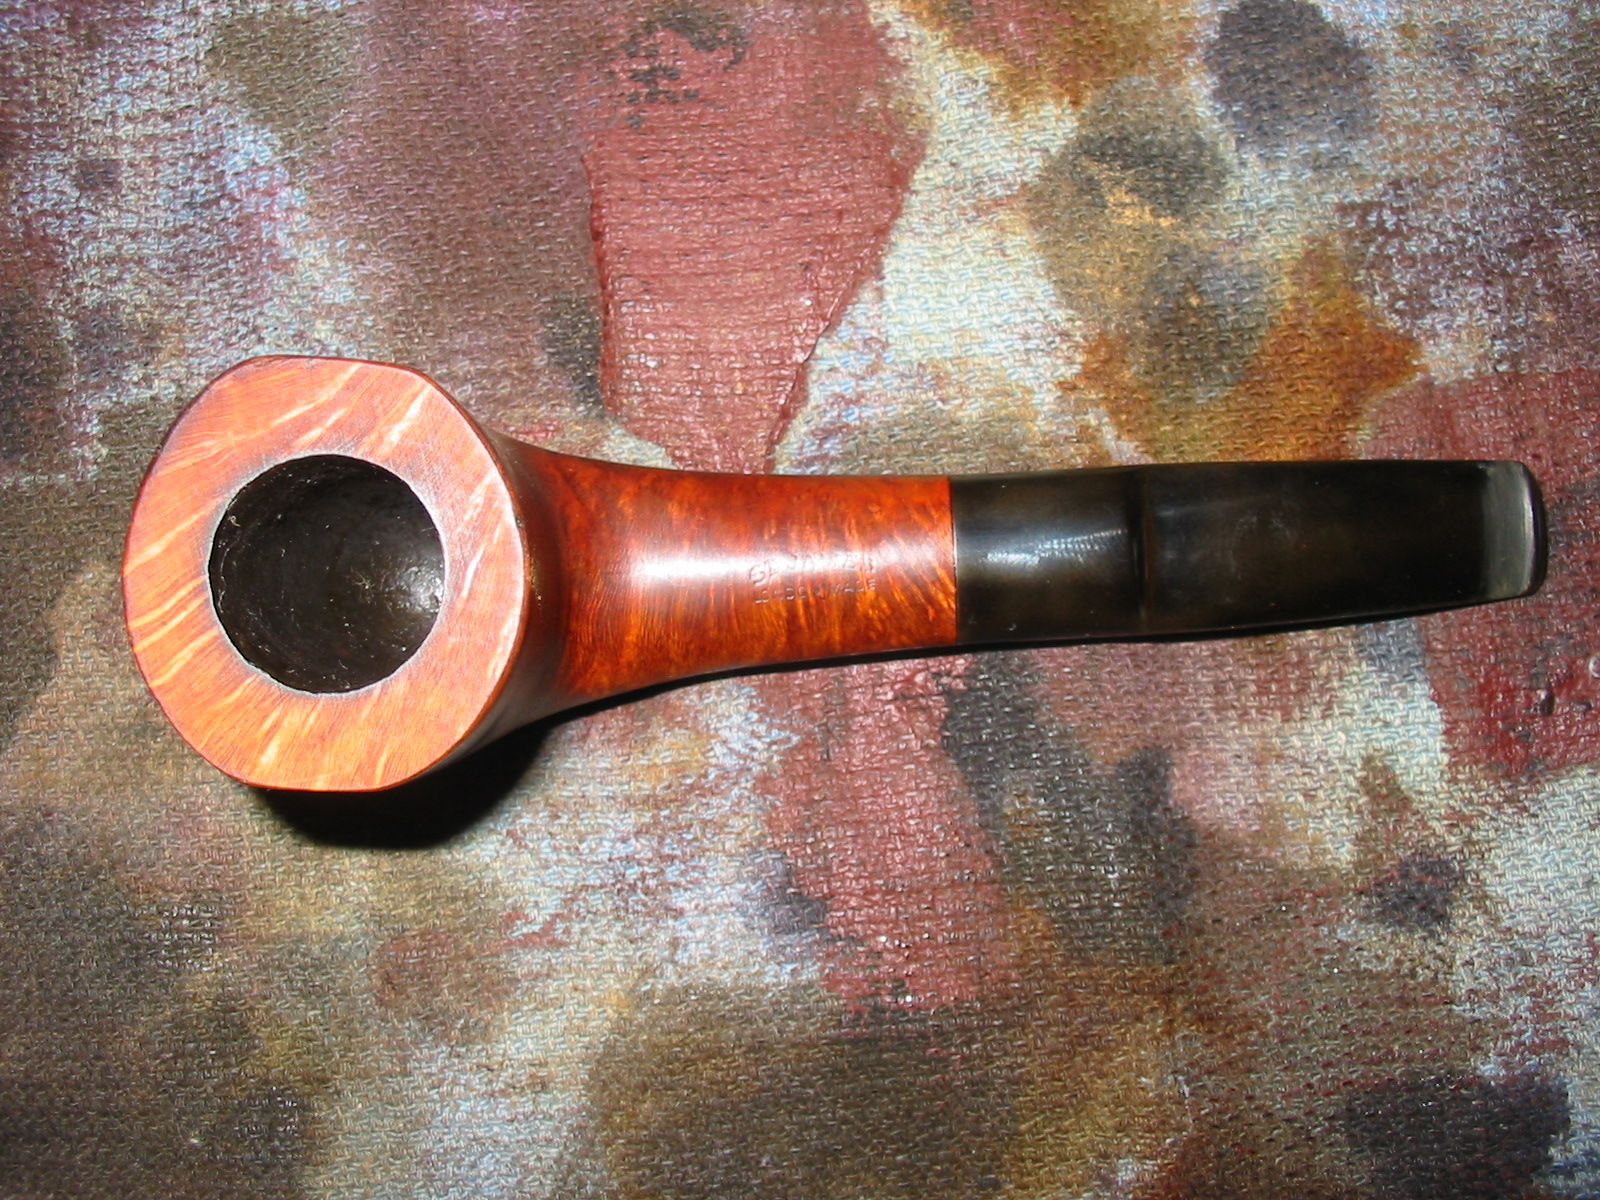
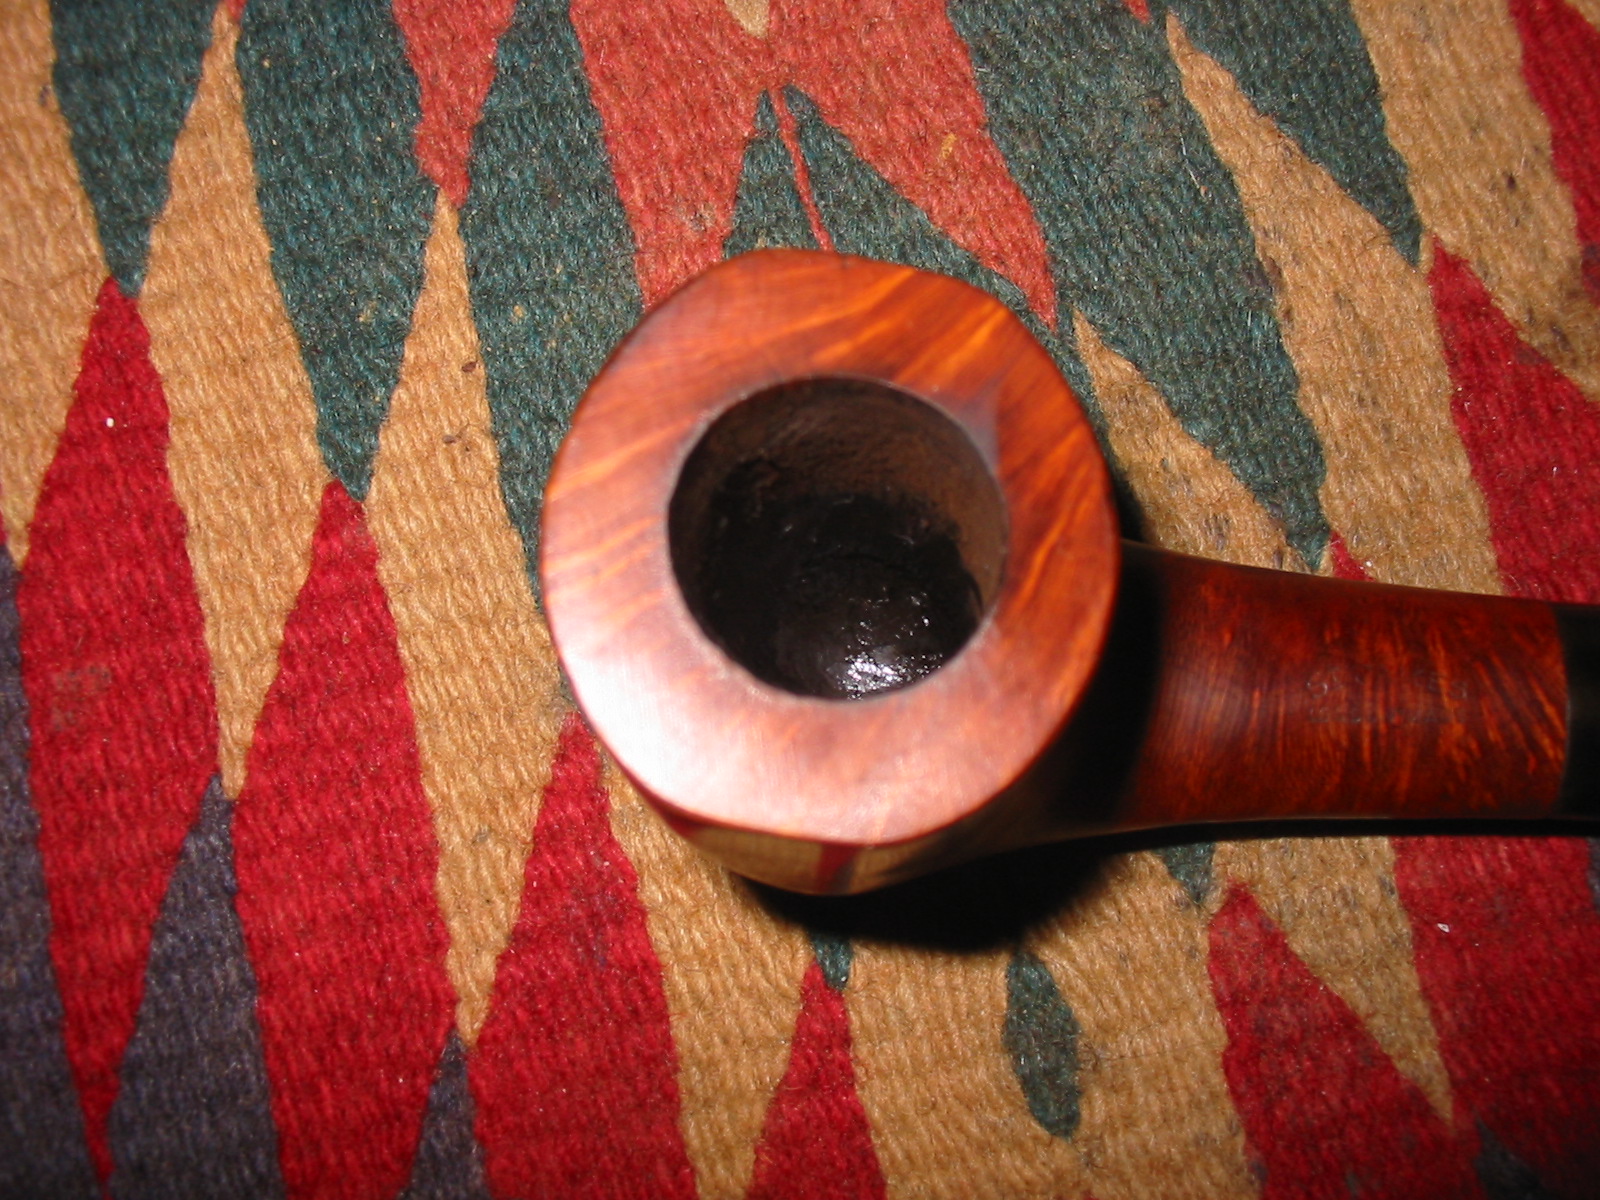
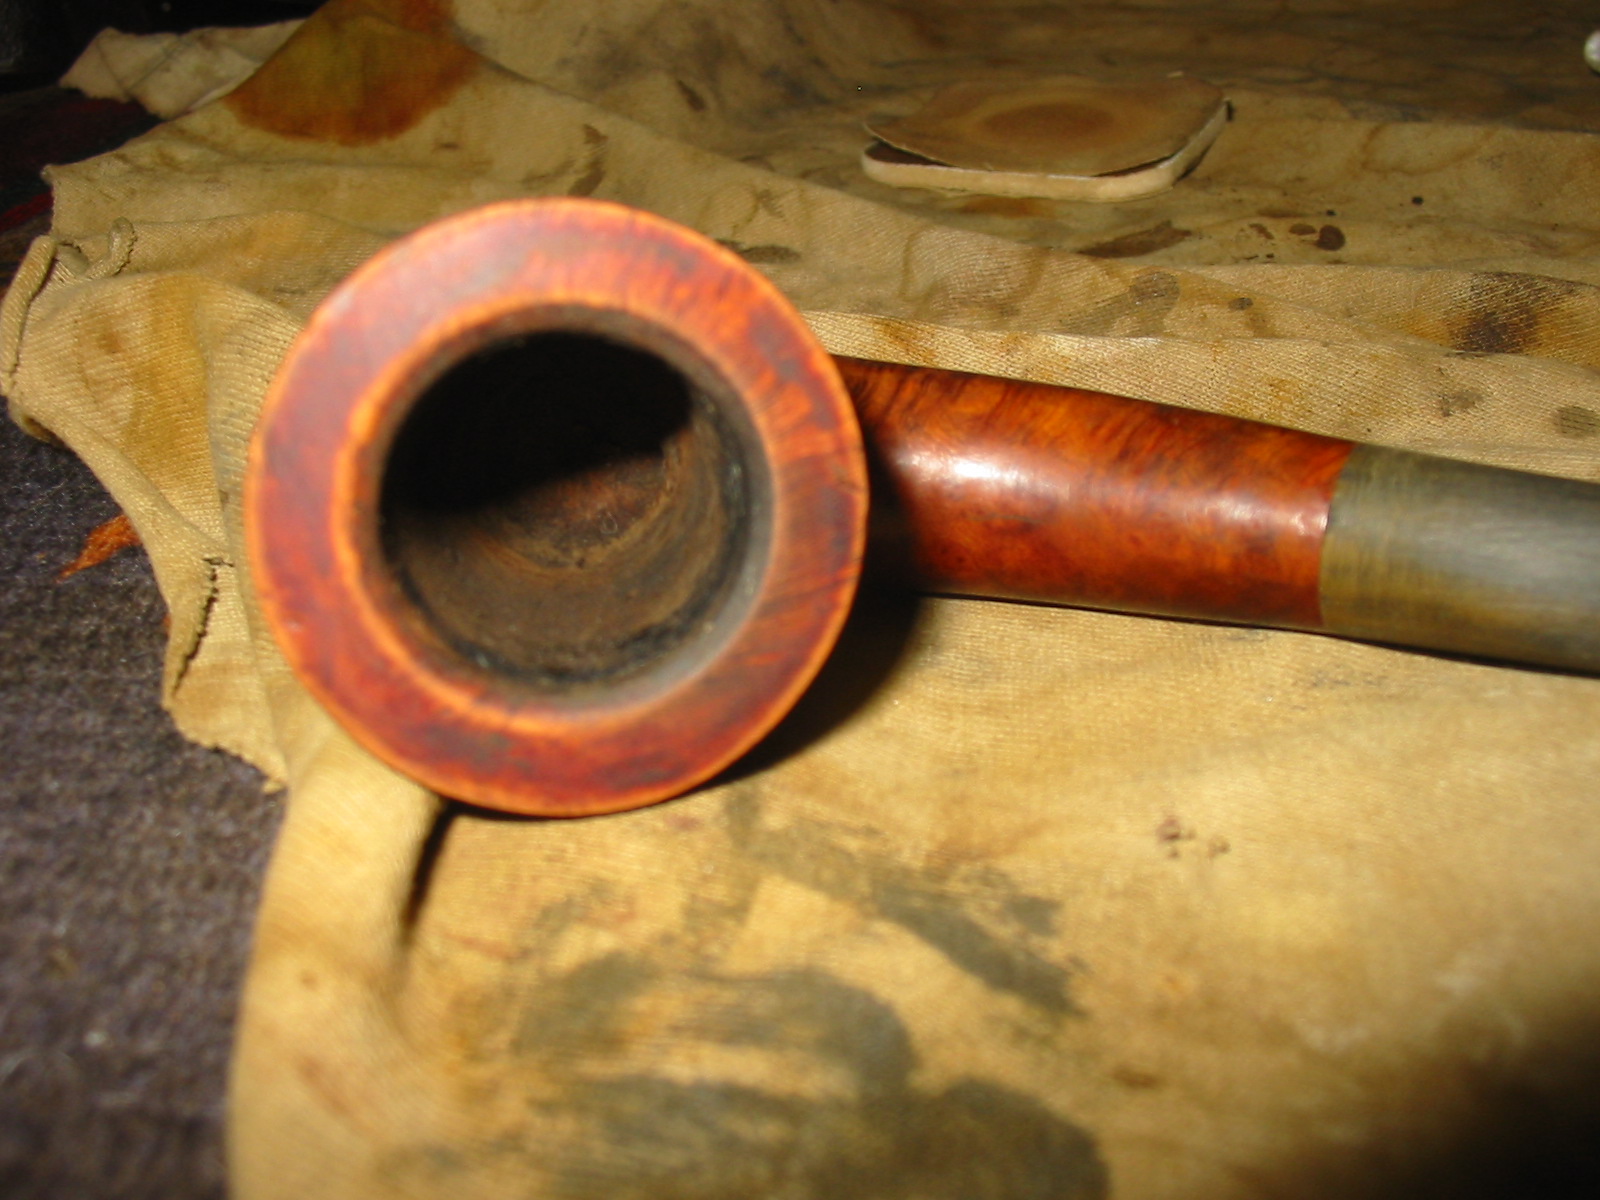
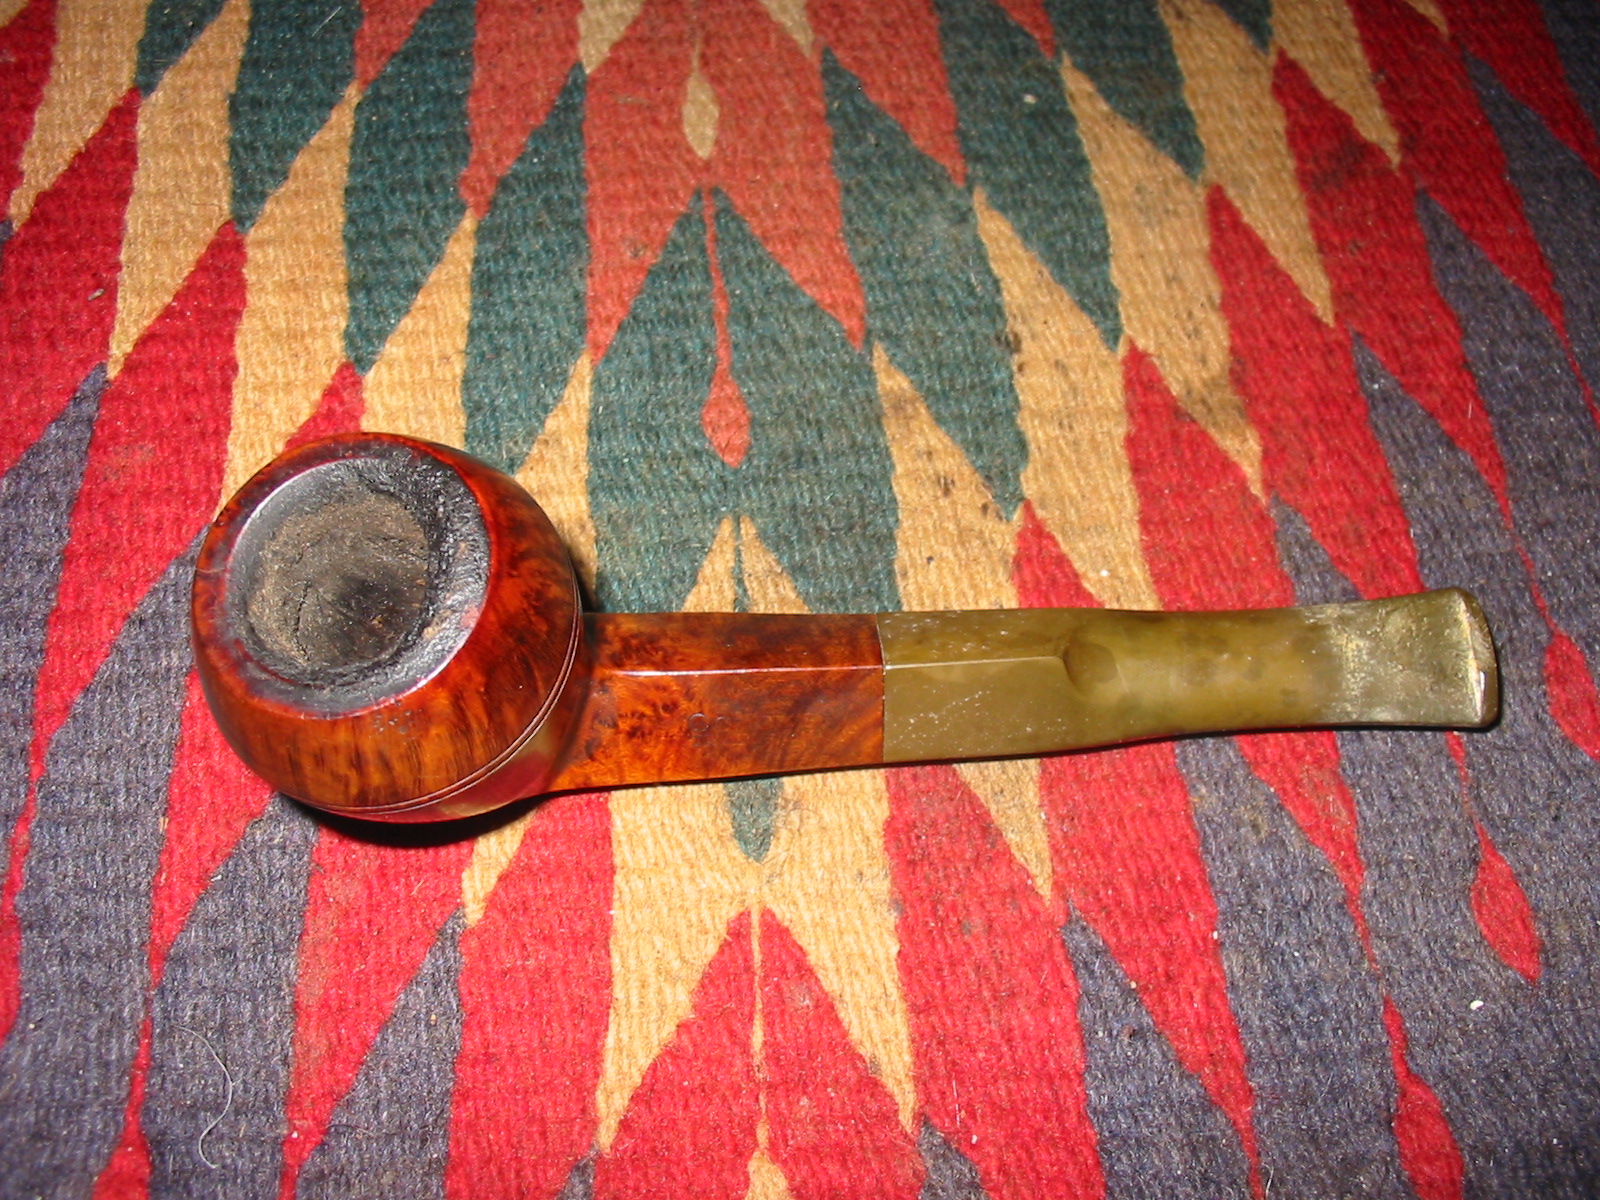
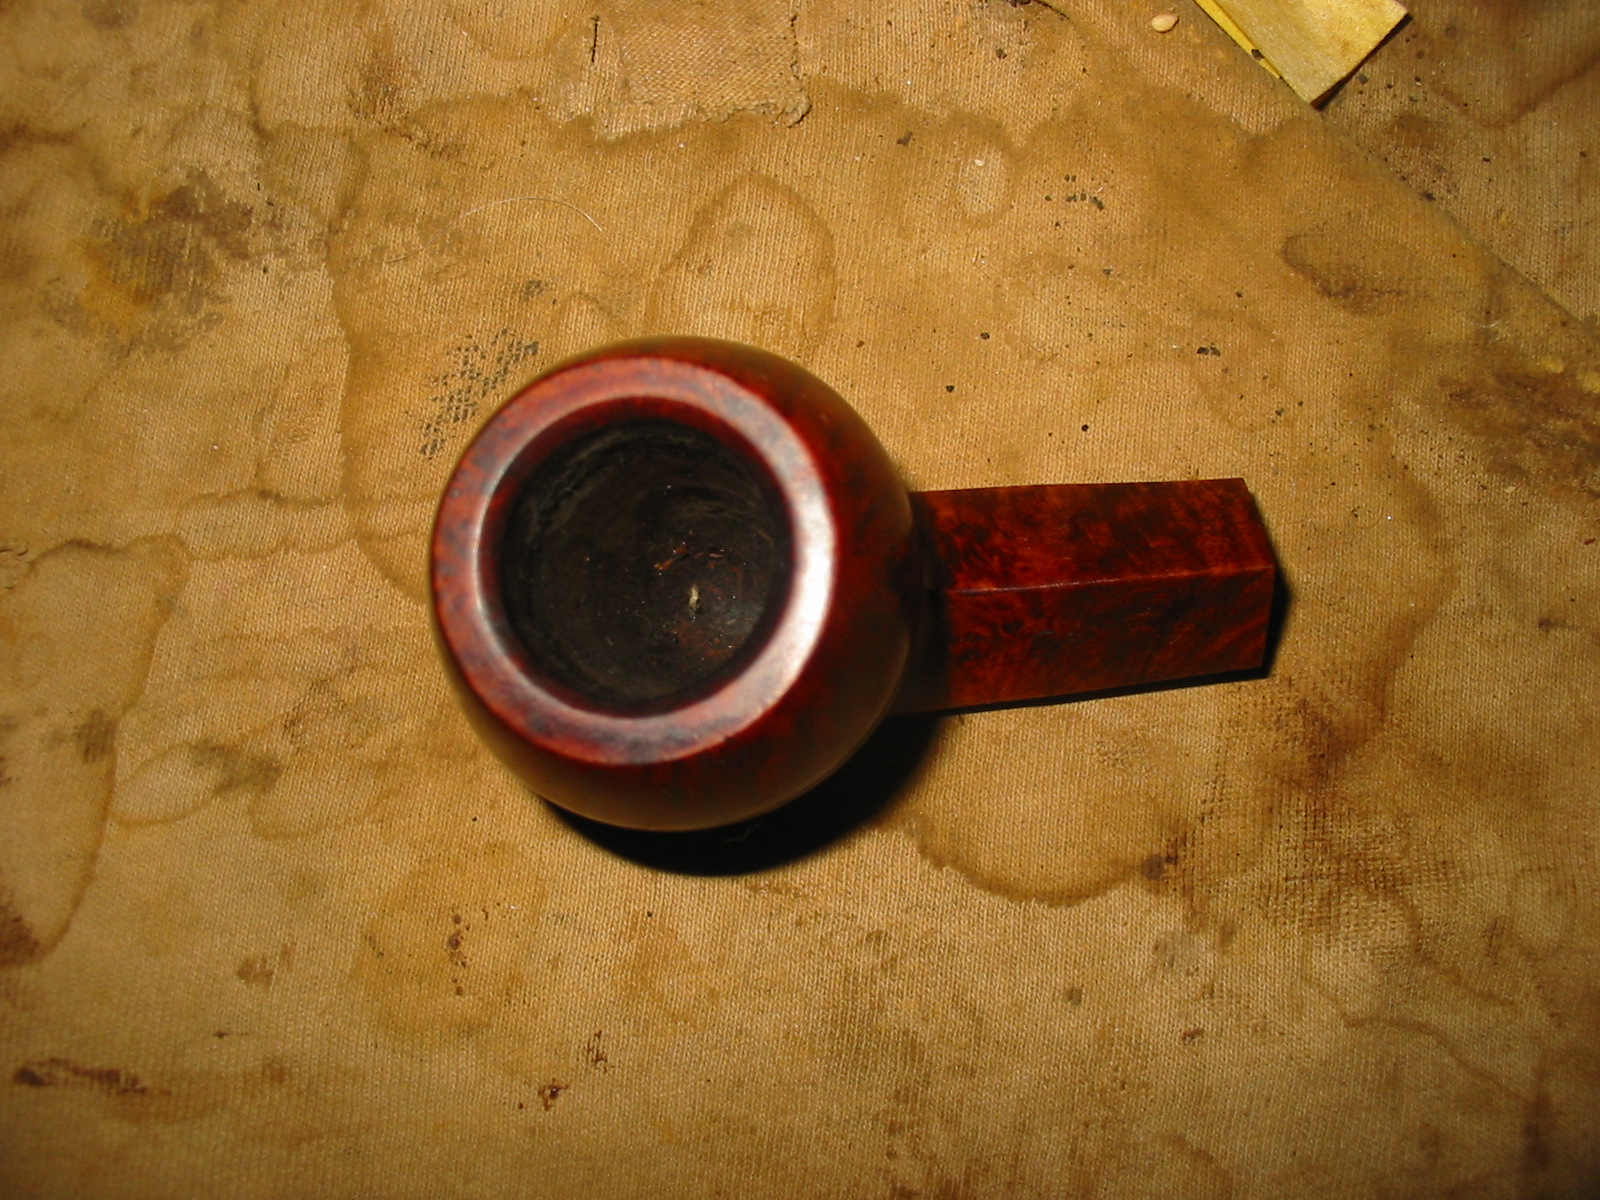
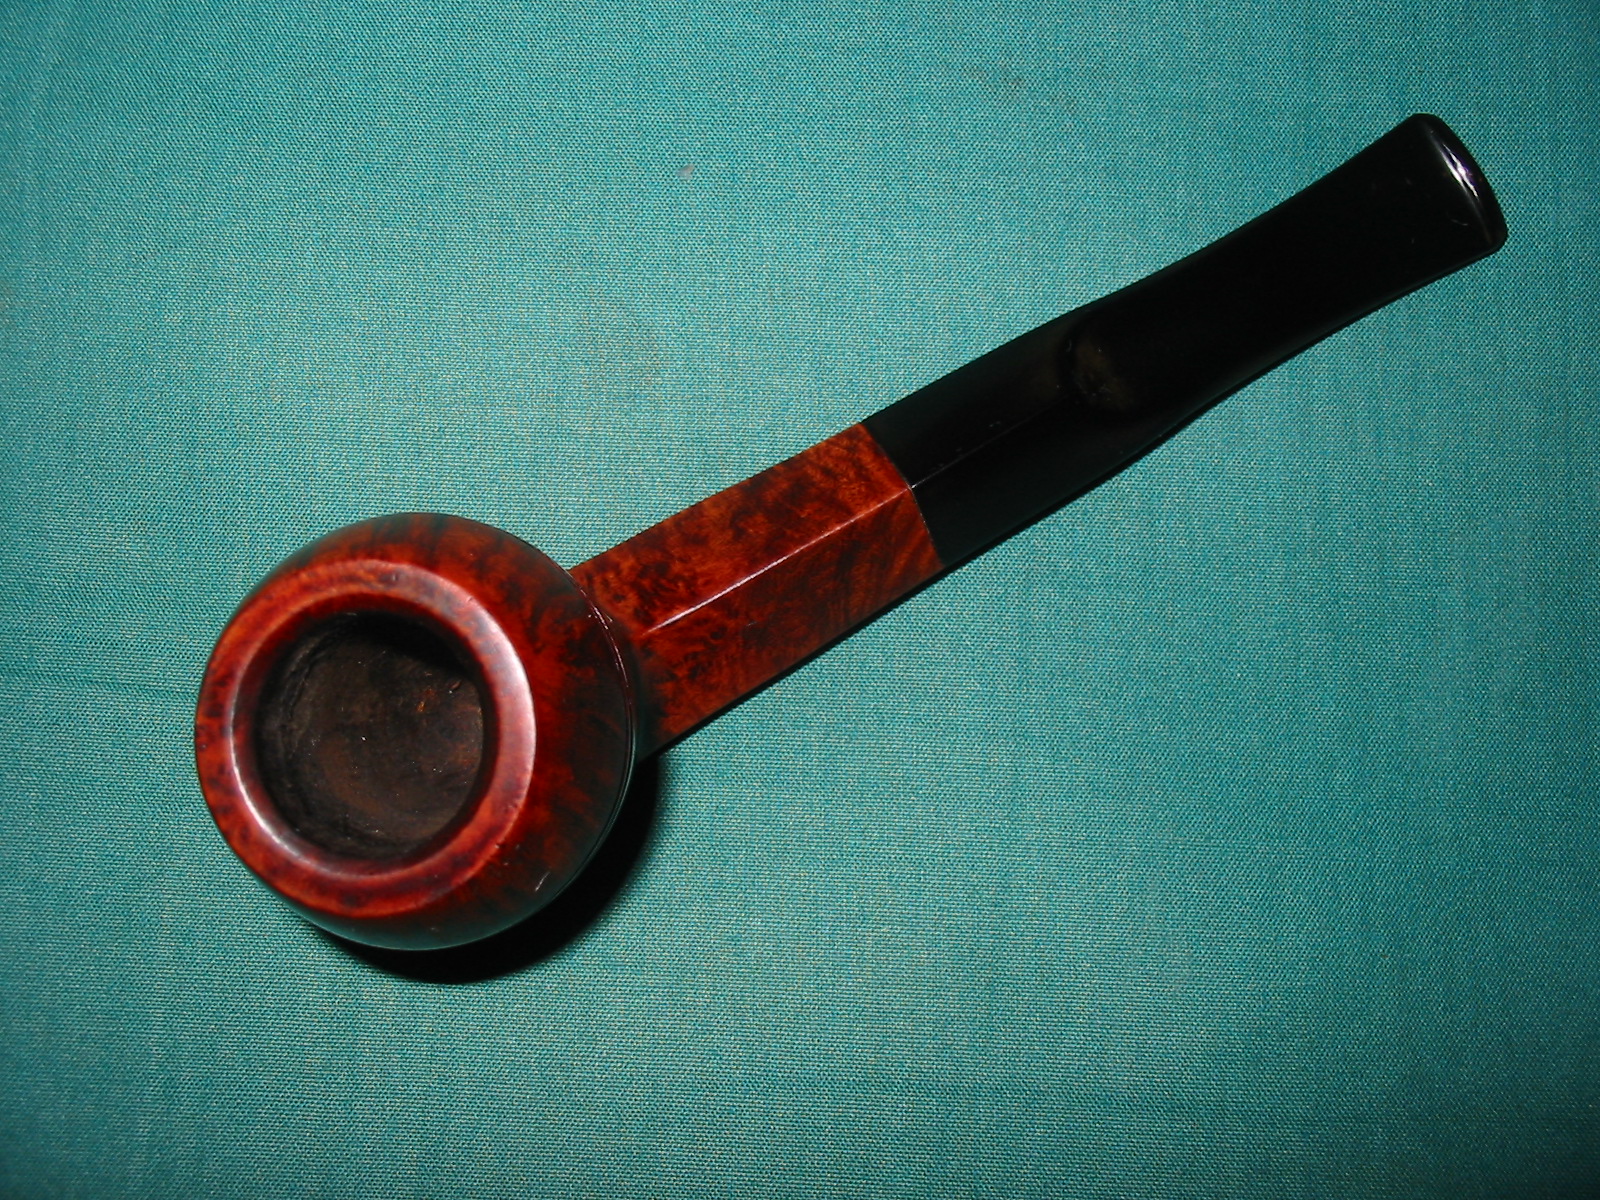
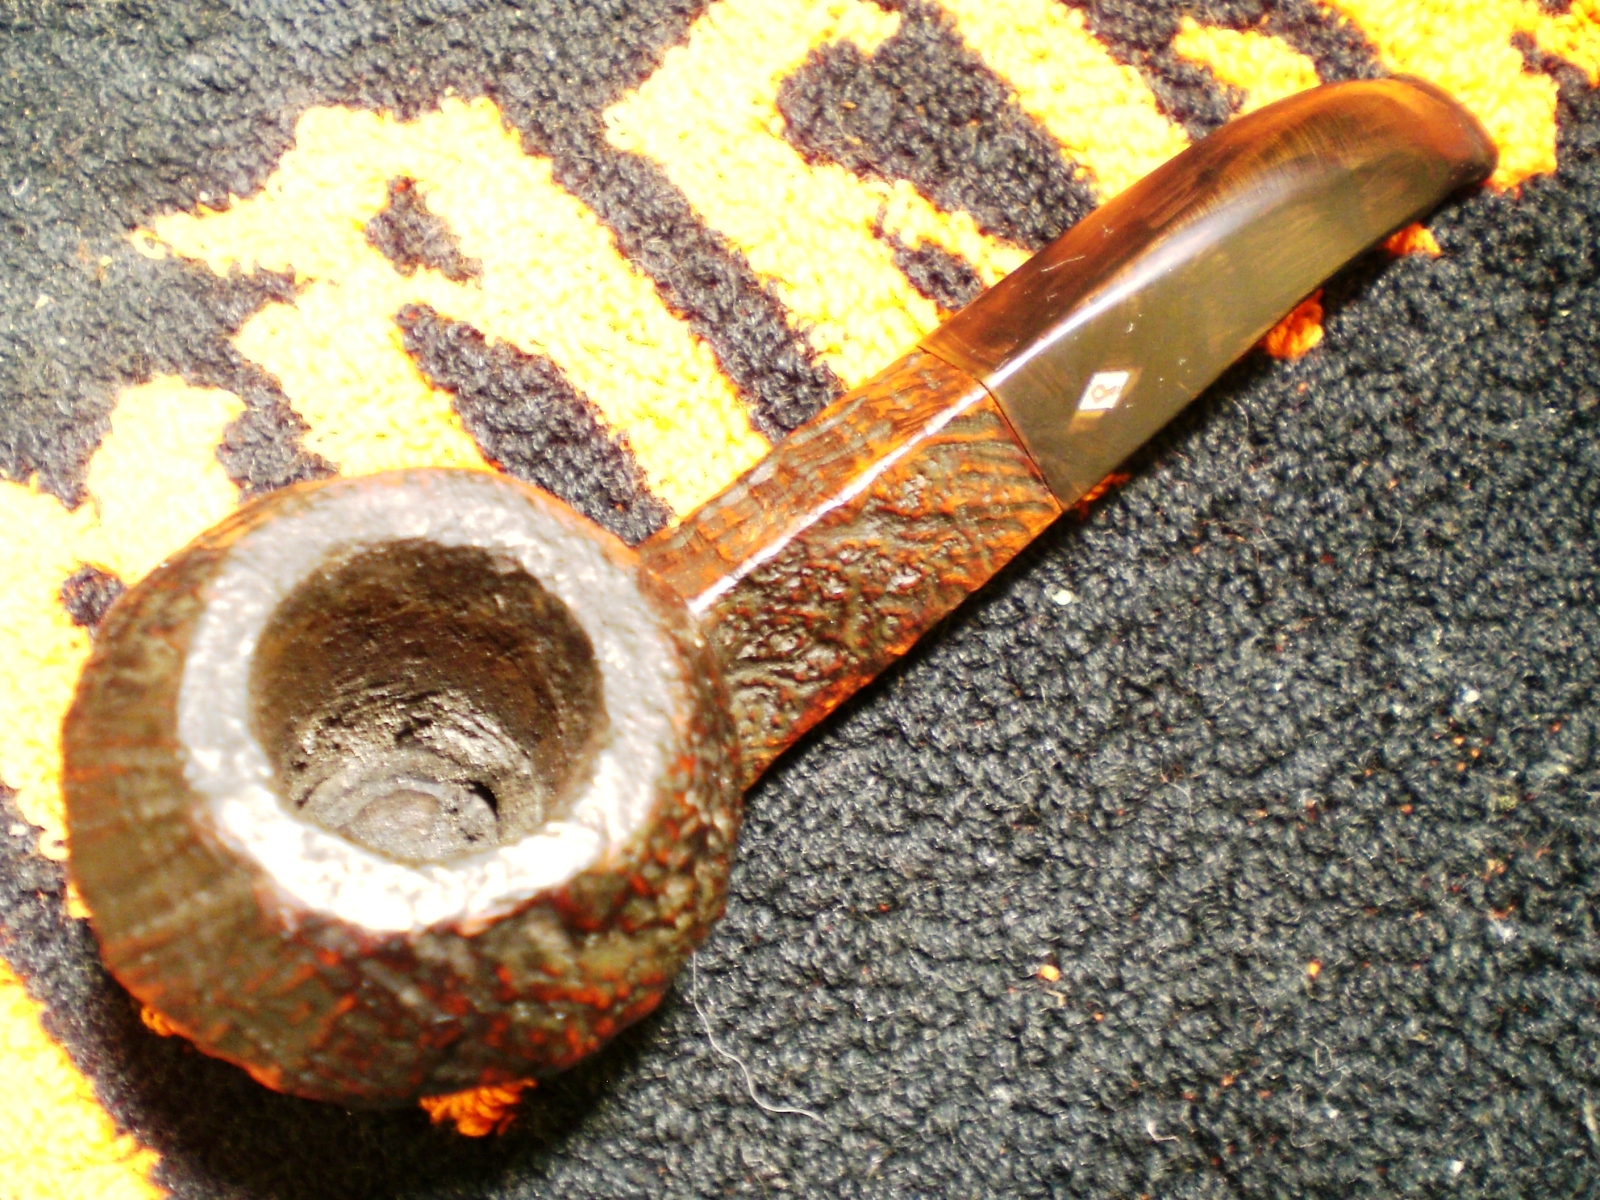
I had at some time past already reamed the bowl lightly, it had very little cake, and cleaned the shank and stem. I now began by cleaning the stummel with acetone wetted cotton pads to remove the old finish and dirt. After the acetone I moved on to some alcohol wetted pads to lighten up the grime on the bowl top. When it was sufficiently clean I decided to use some 400 grit sandpaper to lightly smooth the edge damage. I didn’t know it at the time – because I failed to look first, a fault I have all too often – but the rim was supposed to be rounded. Luckily I liked the general look of the rounded top and thought it might be the way it was supposed to be so I wanted to keep it rather than topping the entire bowl. I personally like, in general, the less sharp lines on a bowl top so this was an easy choice – one that turned out to be a good one as well.

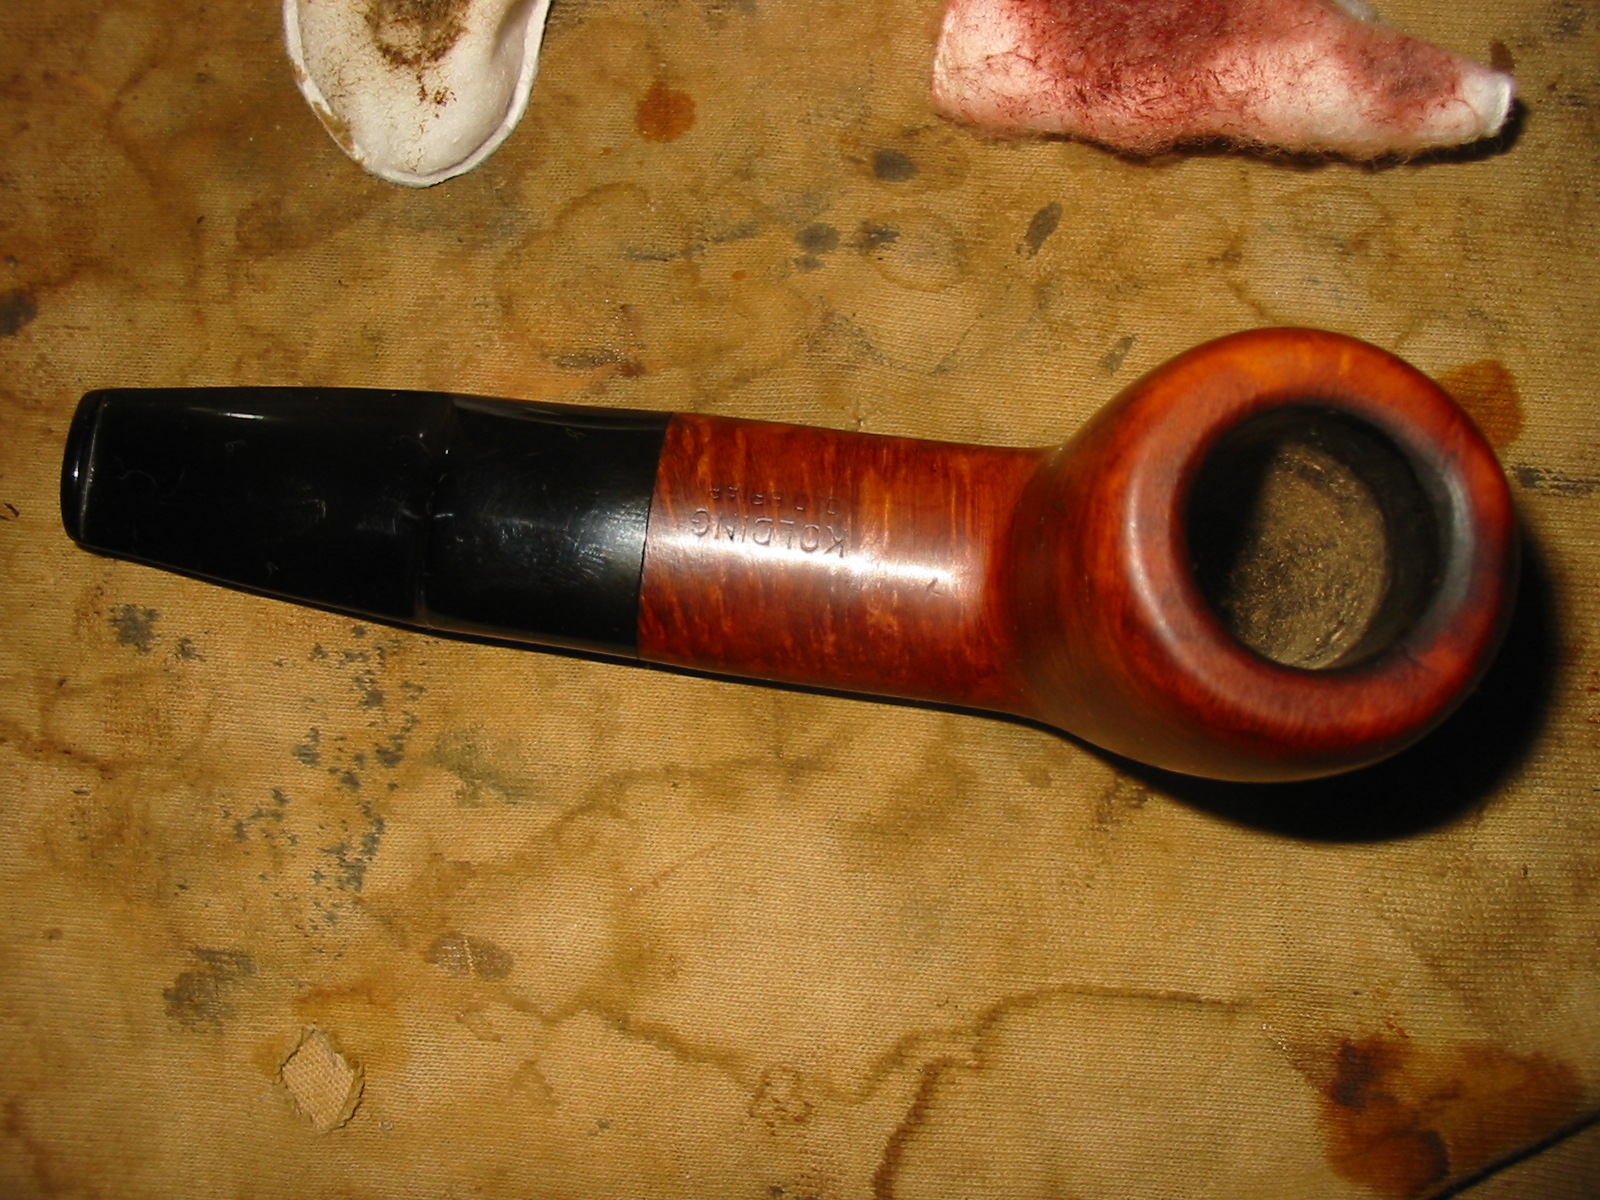
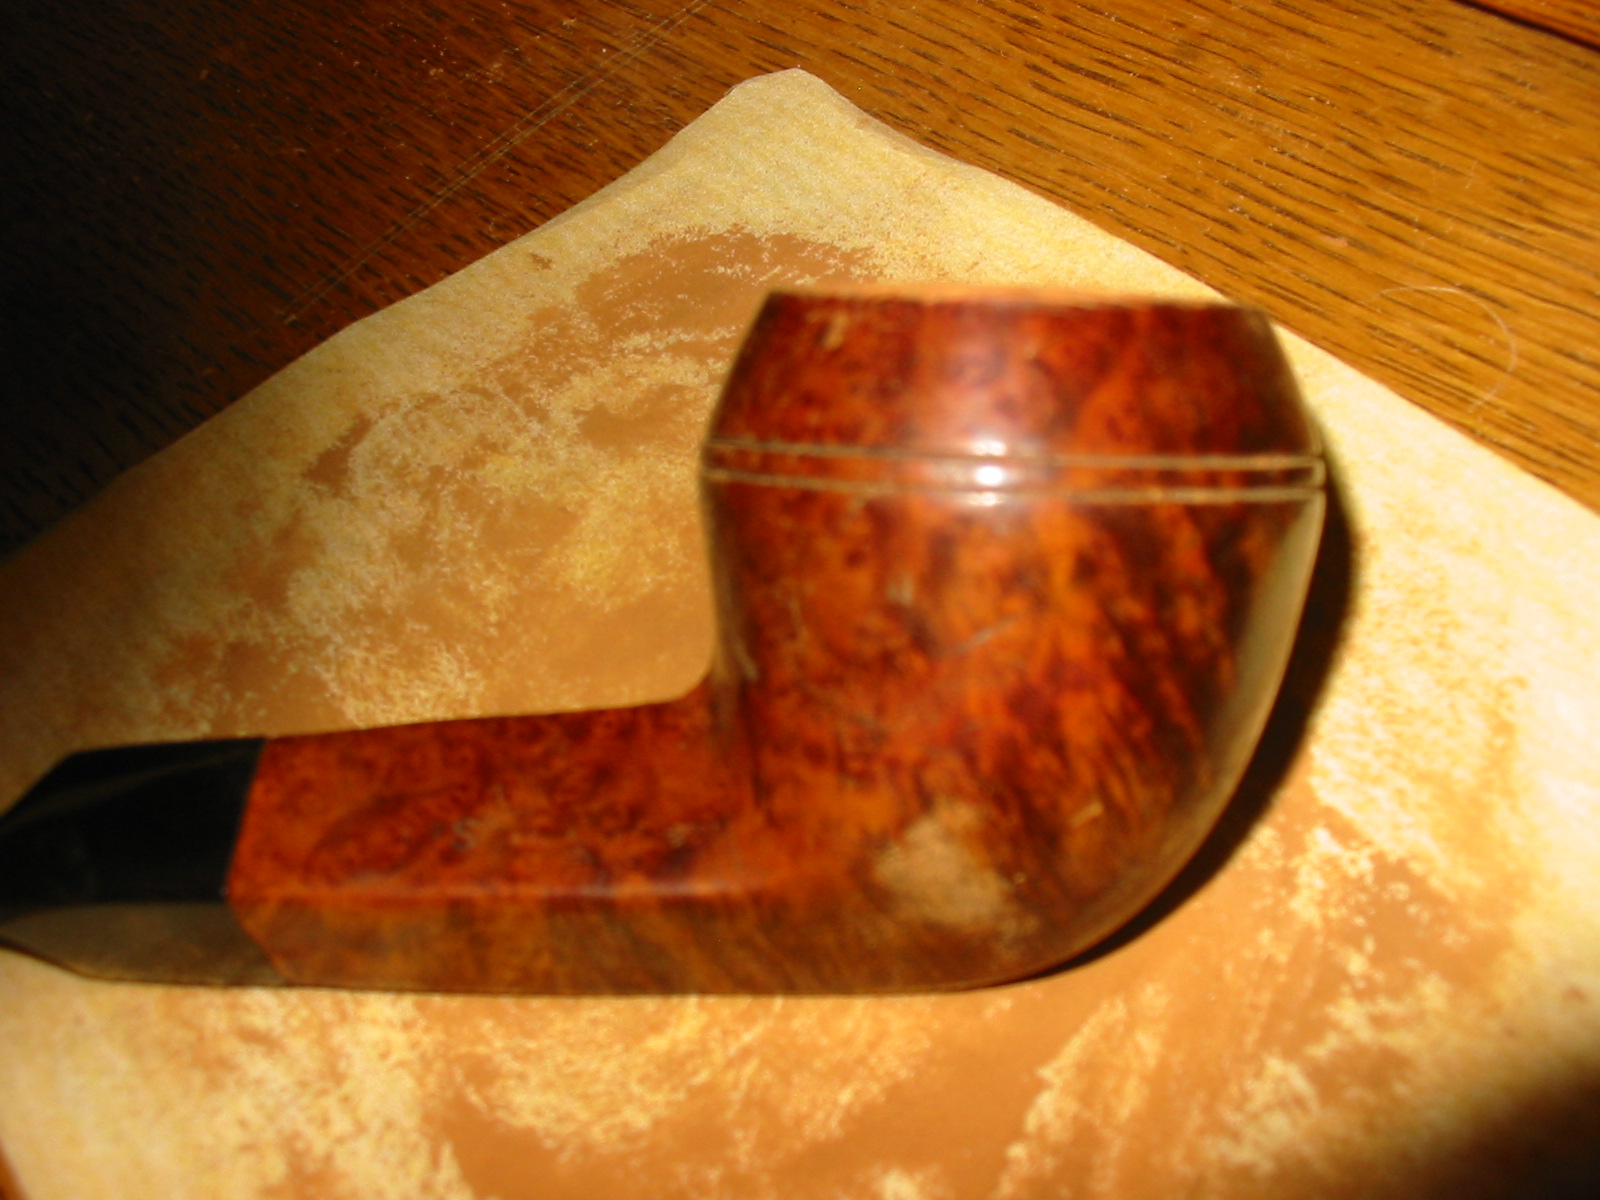
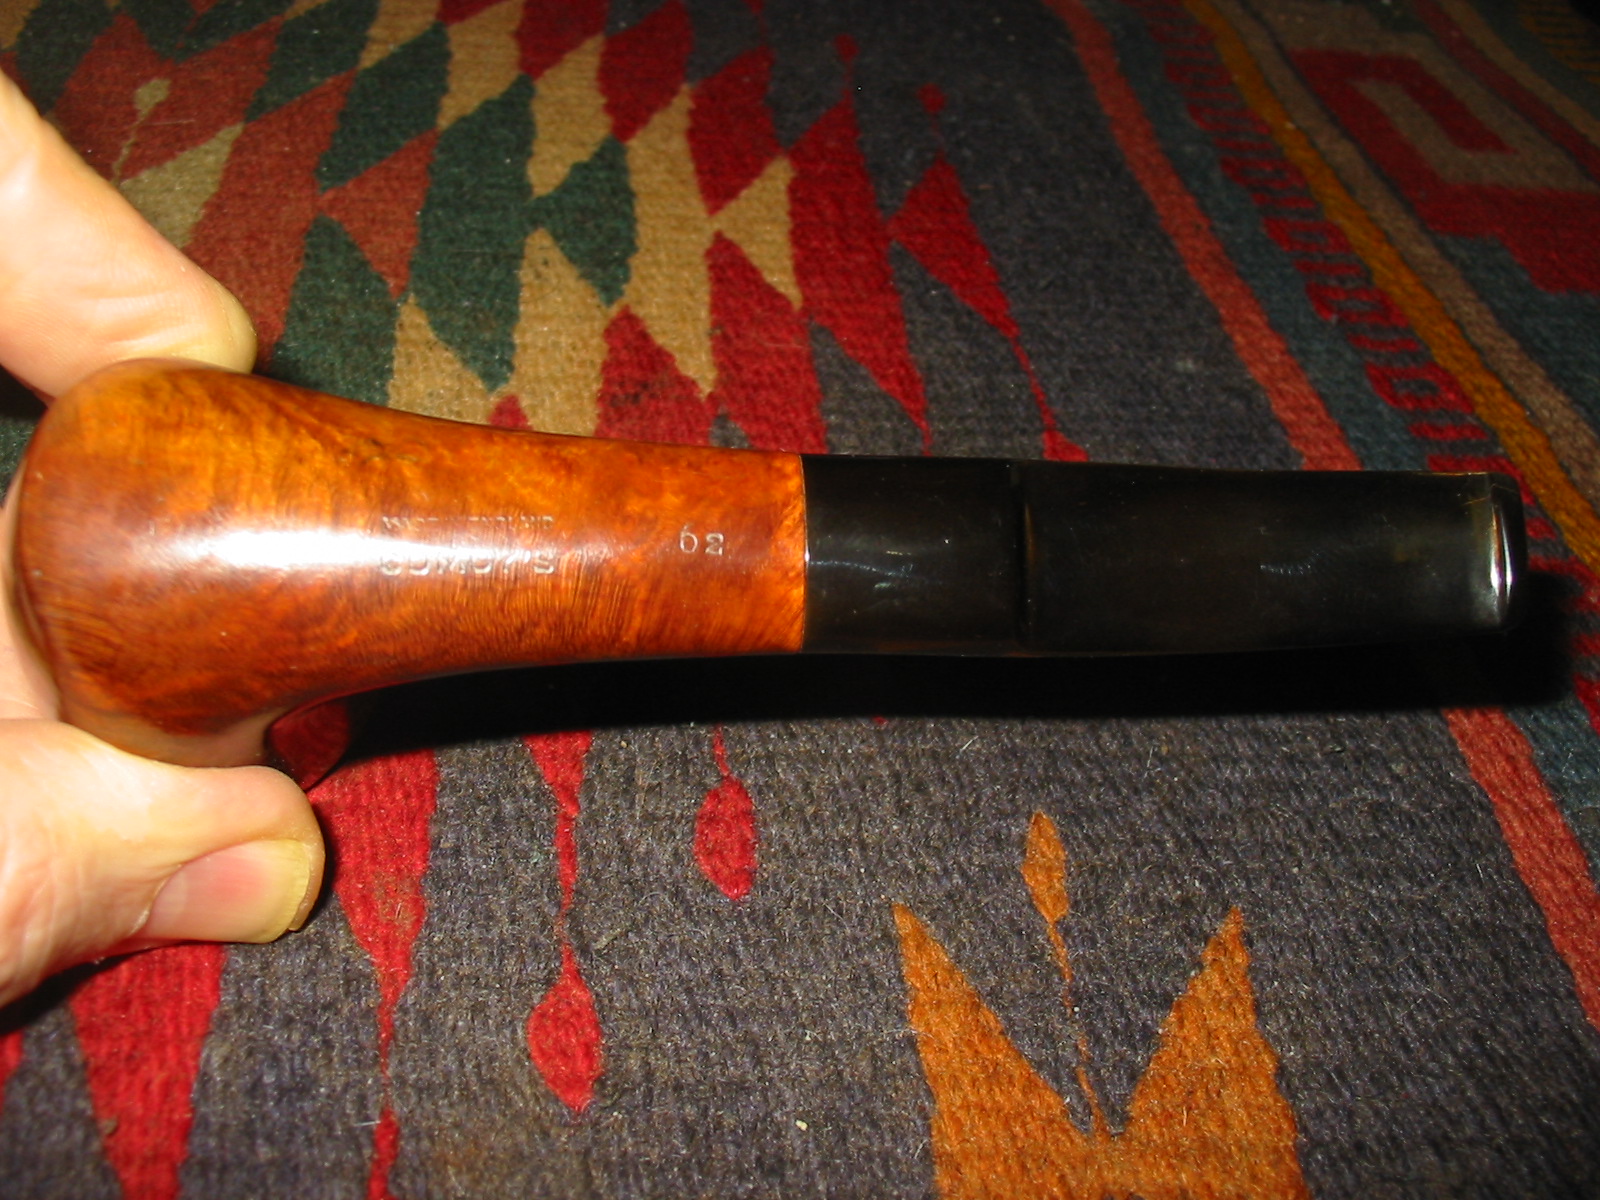
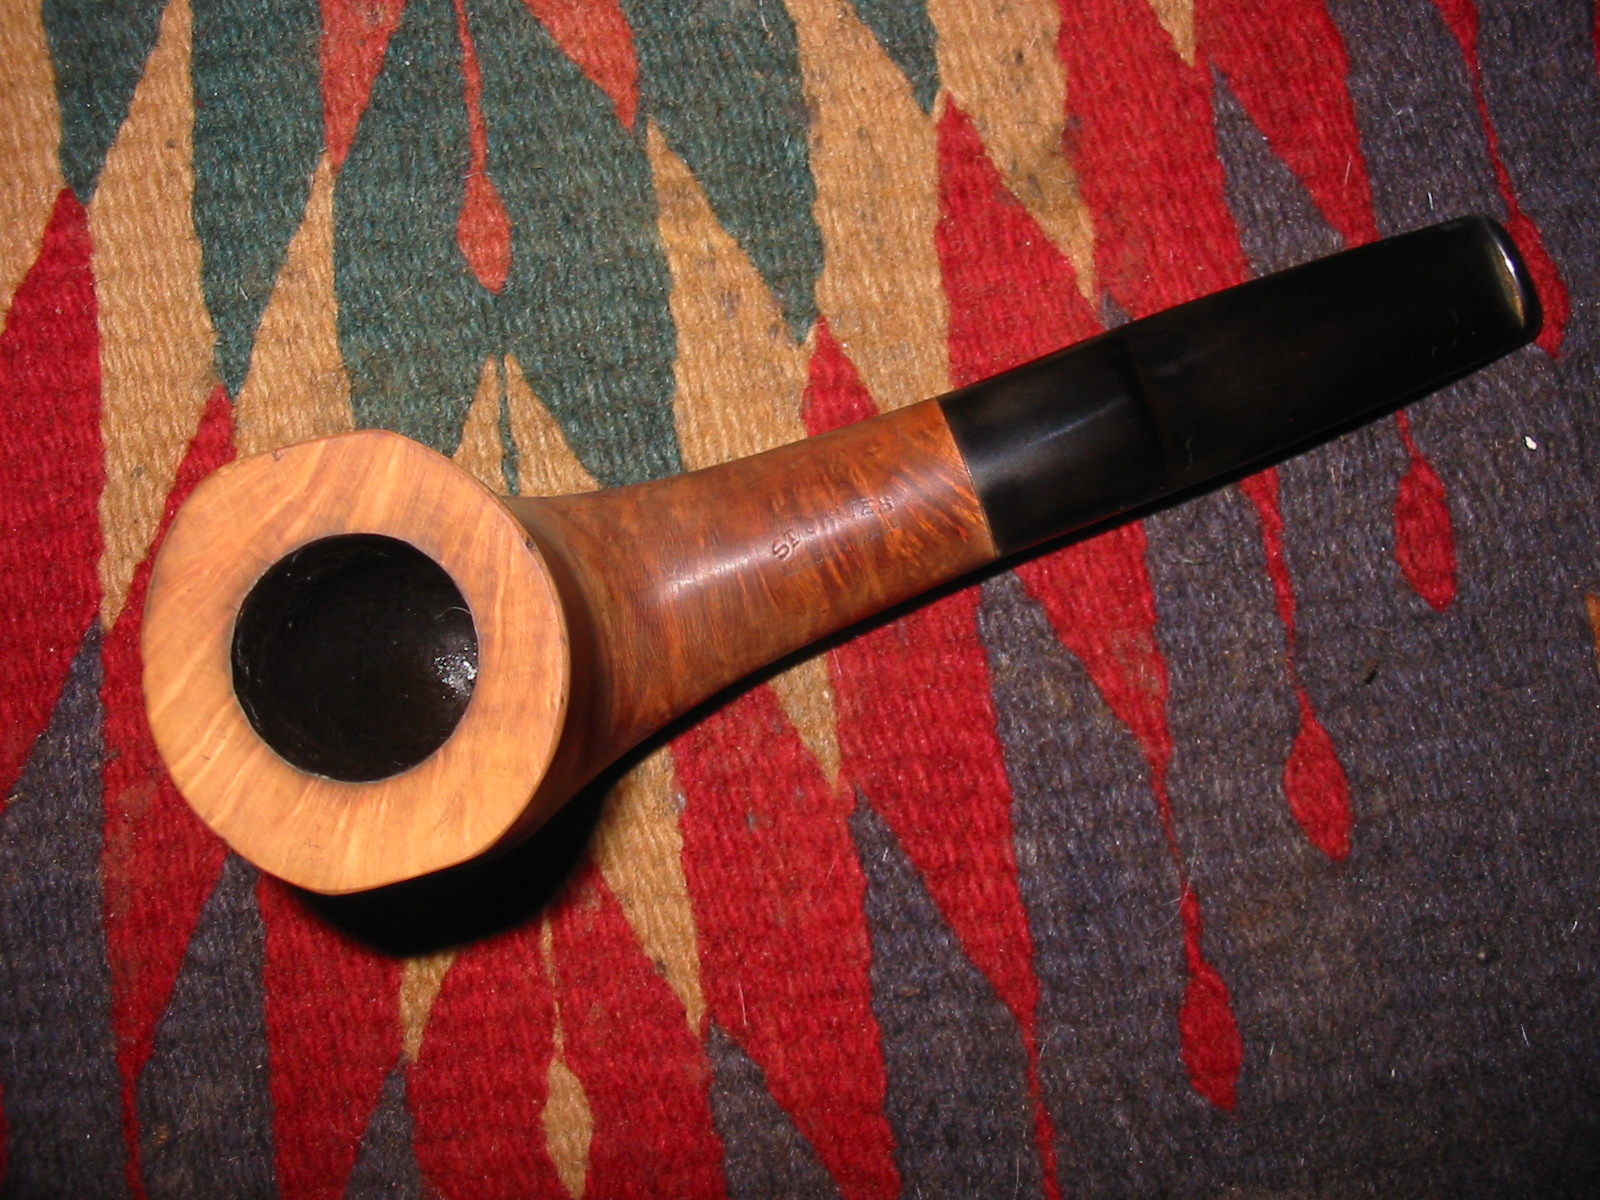
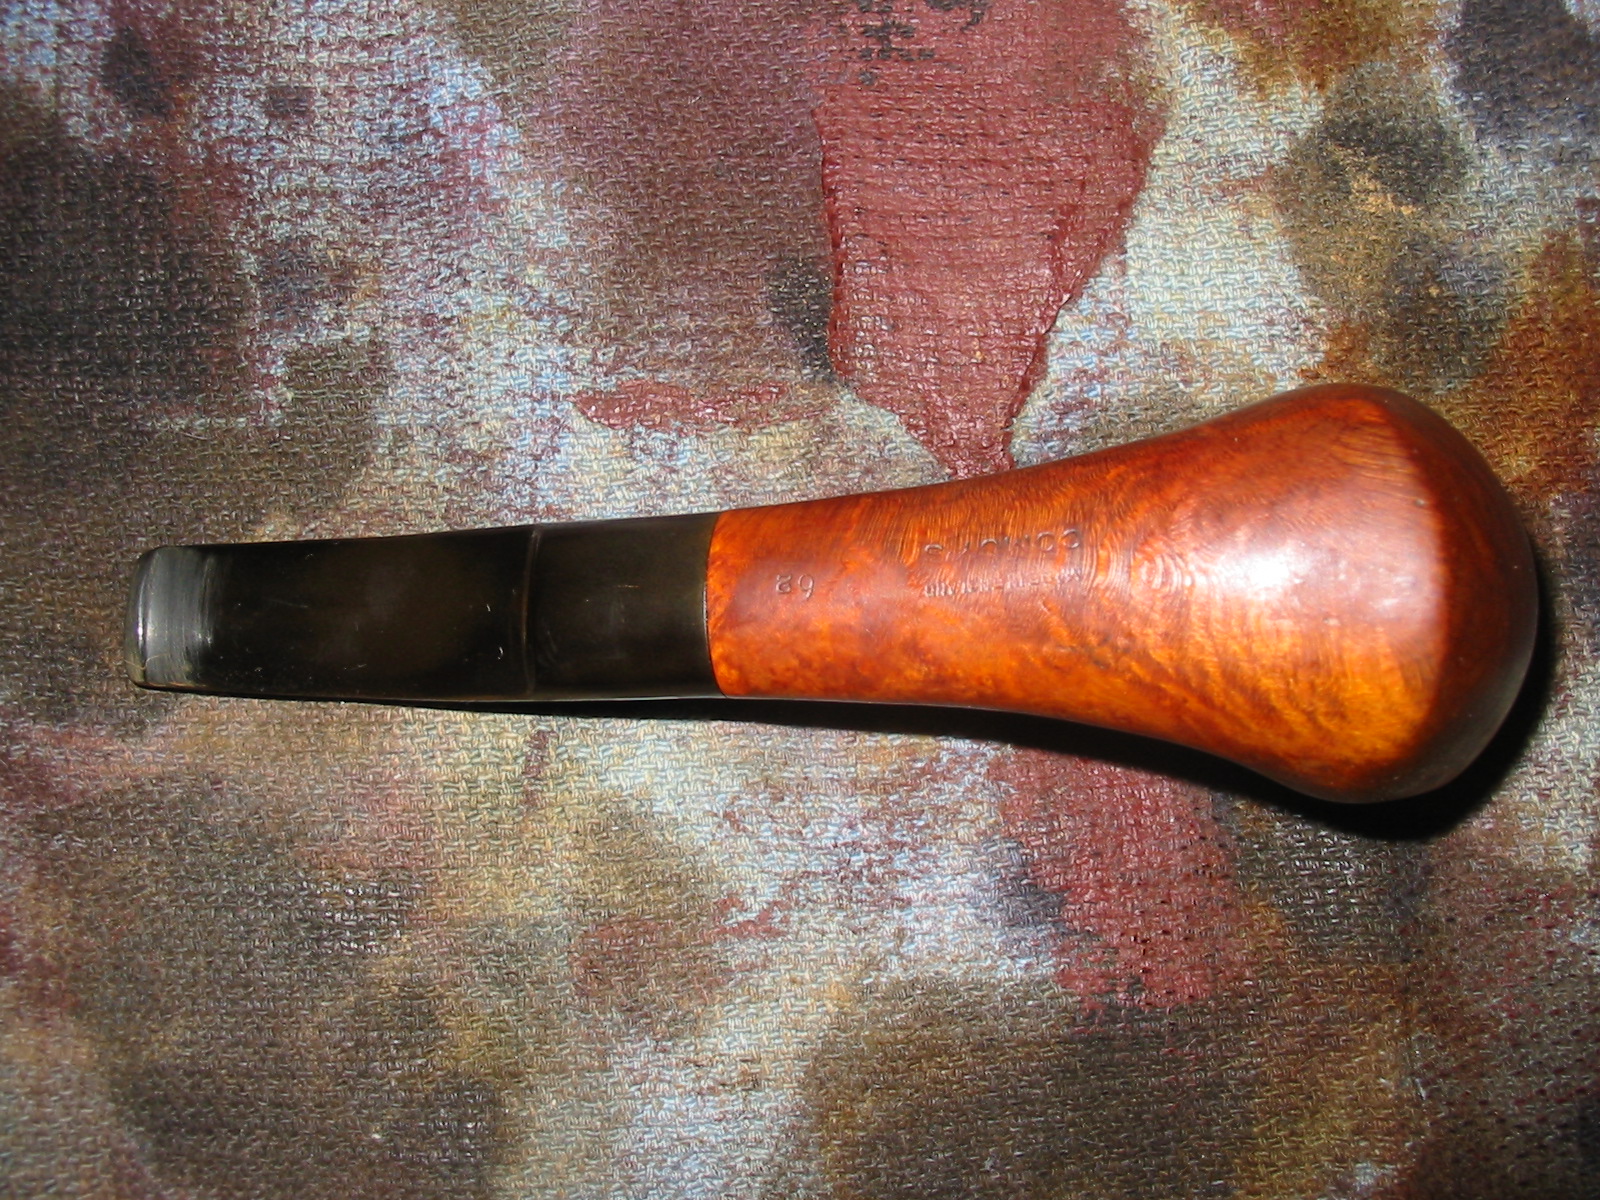
Once I had reduced the damage to the rim and front, keeping the shape as close to original/symmetrical as I could, I moved to micro mesh pads to sand and polish the bowl top. After getting through the first two grades I thought the entire pipe would look nice just polished with the micro mesh. At this point I reassembled the pipe and began to look for nomenclature to avoid during my polishing; this is when I discovered my “mystery”.

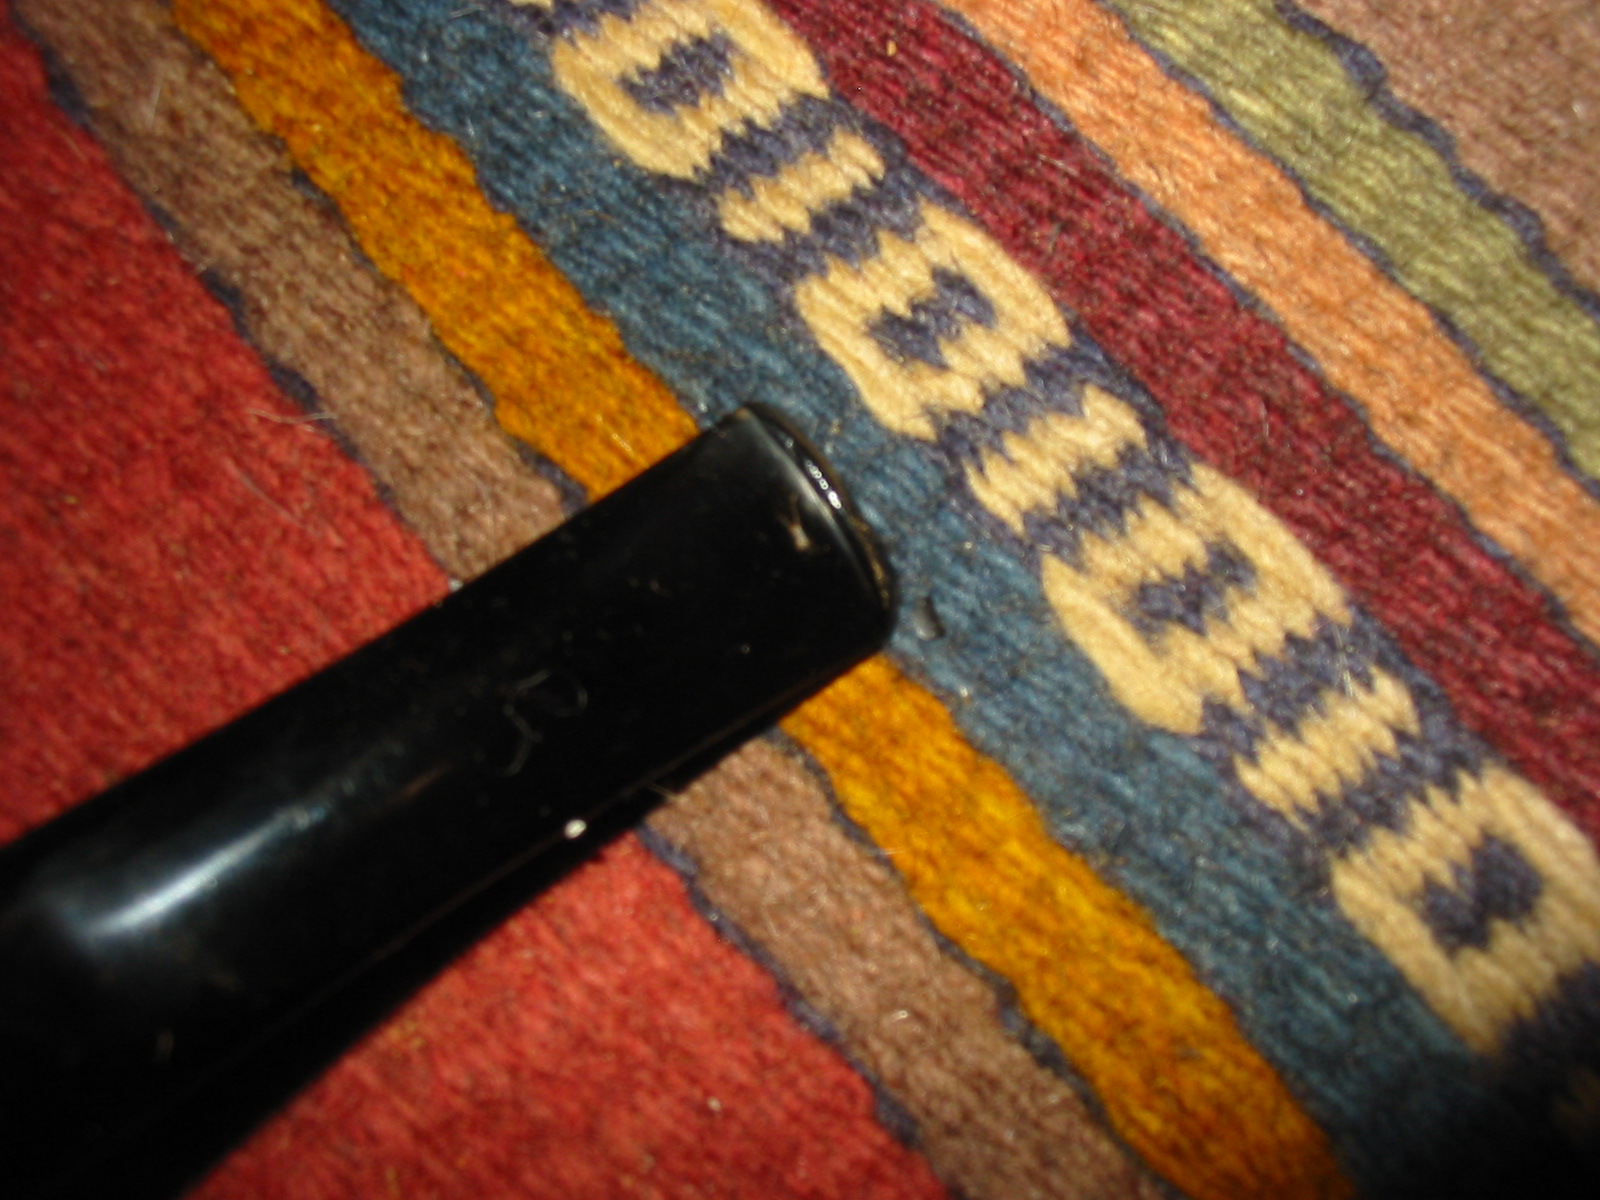
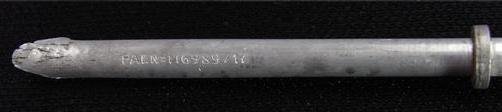
On the bottom of the stem, a origianl Kaywoodie, three-hole stinger with white clover logo, I saw something I had never seen before: there was stamping on the vulcanite “D-2”. This immediately intrigued me; I knew I would have to find out more about that … but lets’ wait a paragraph or two on that.

Kaywoodie Apple (9)

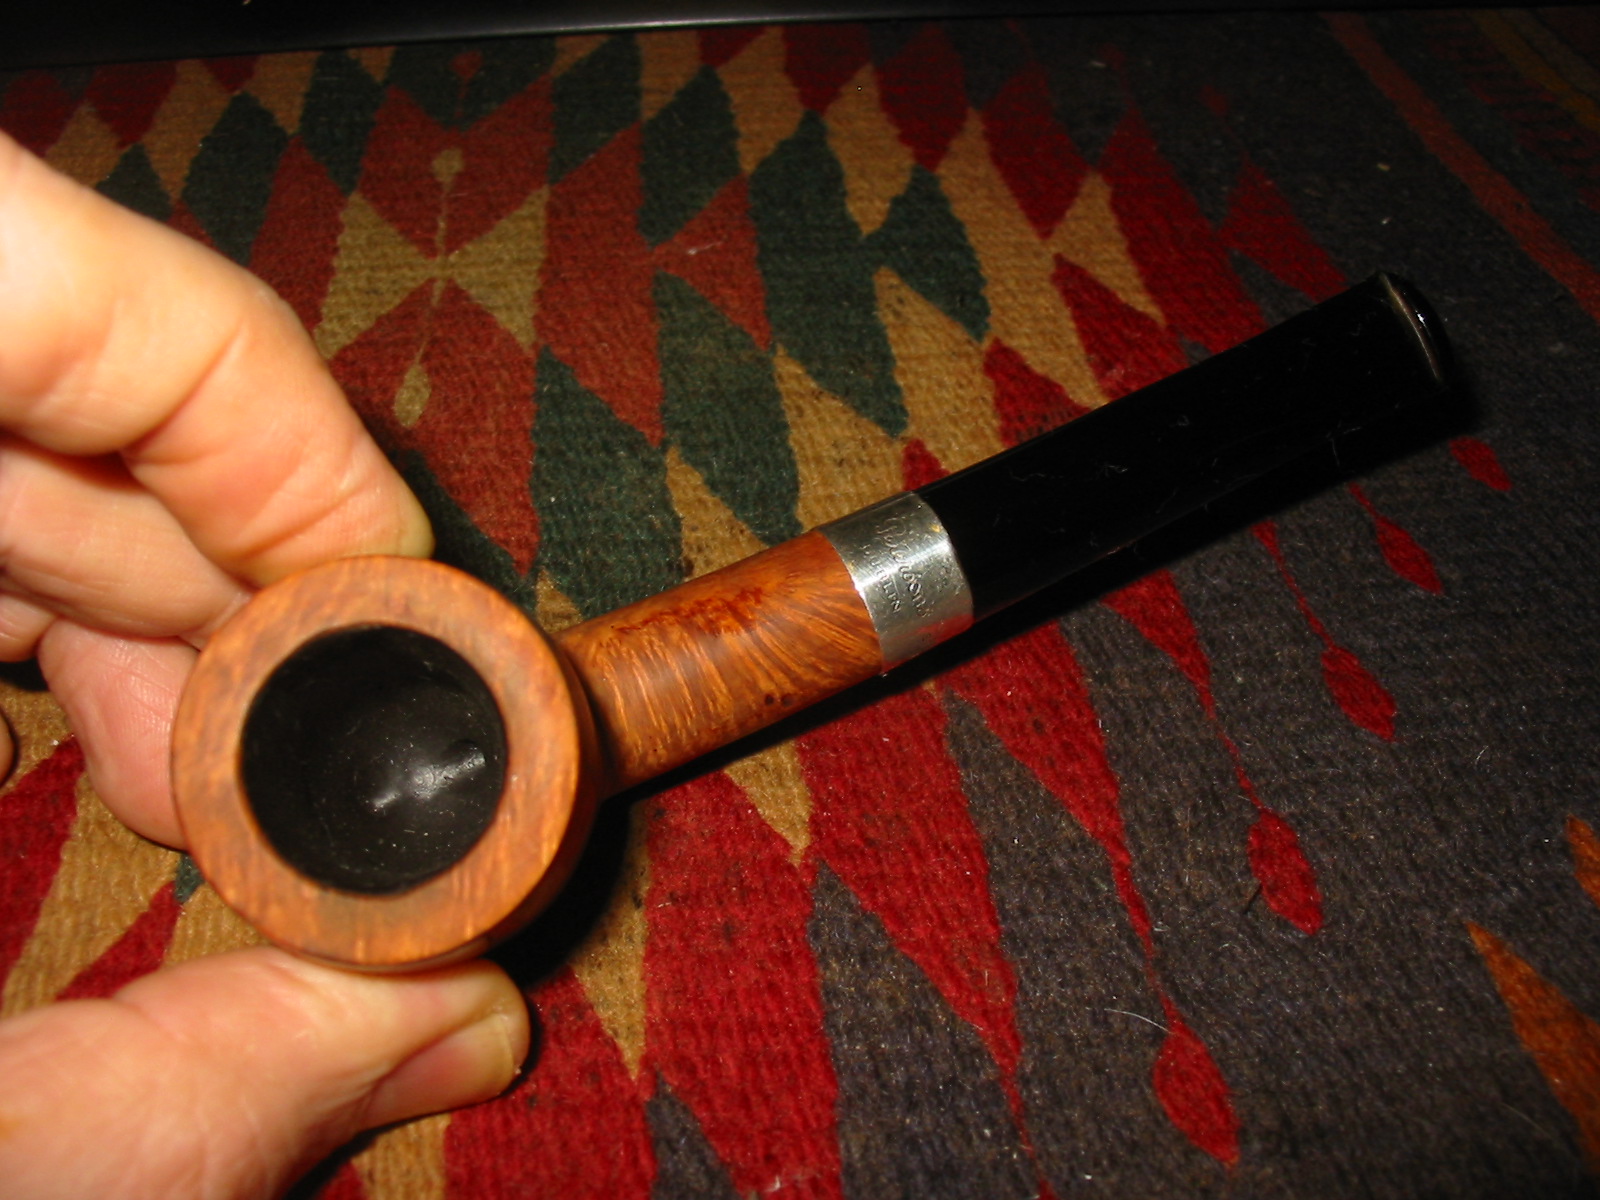
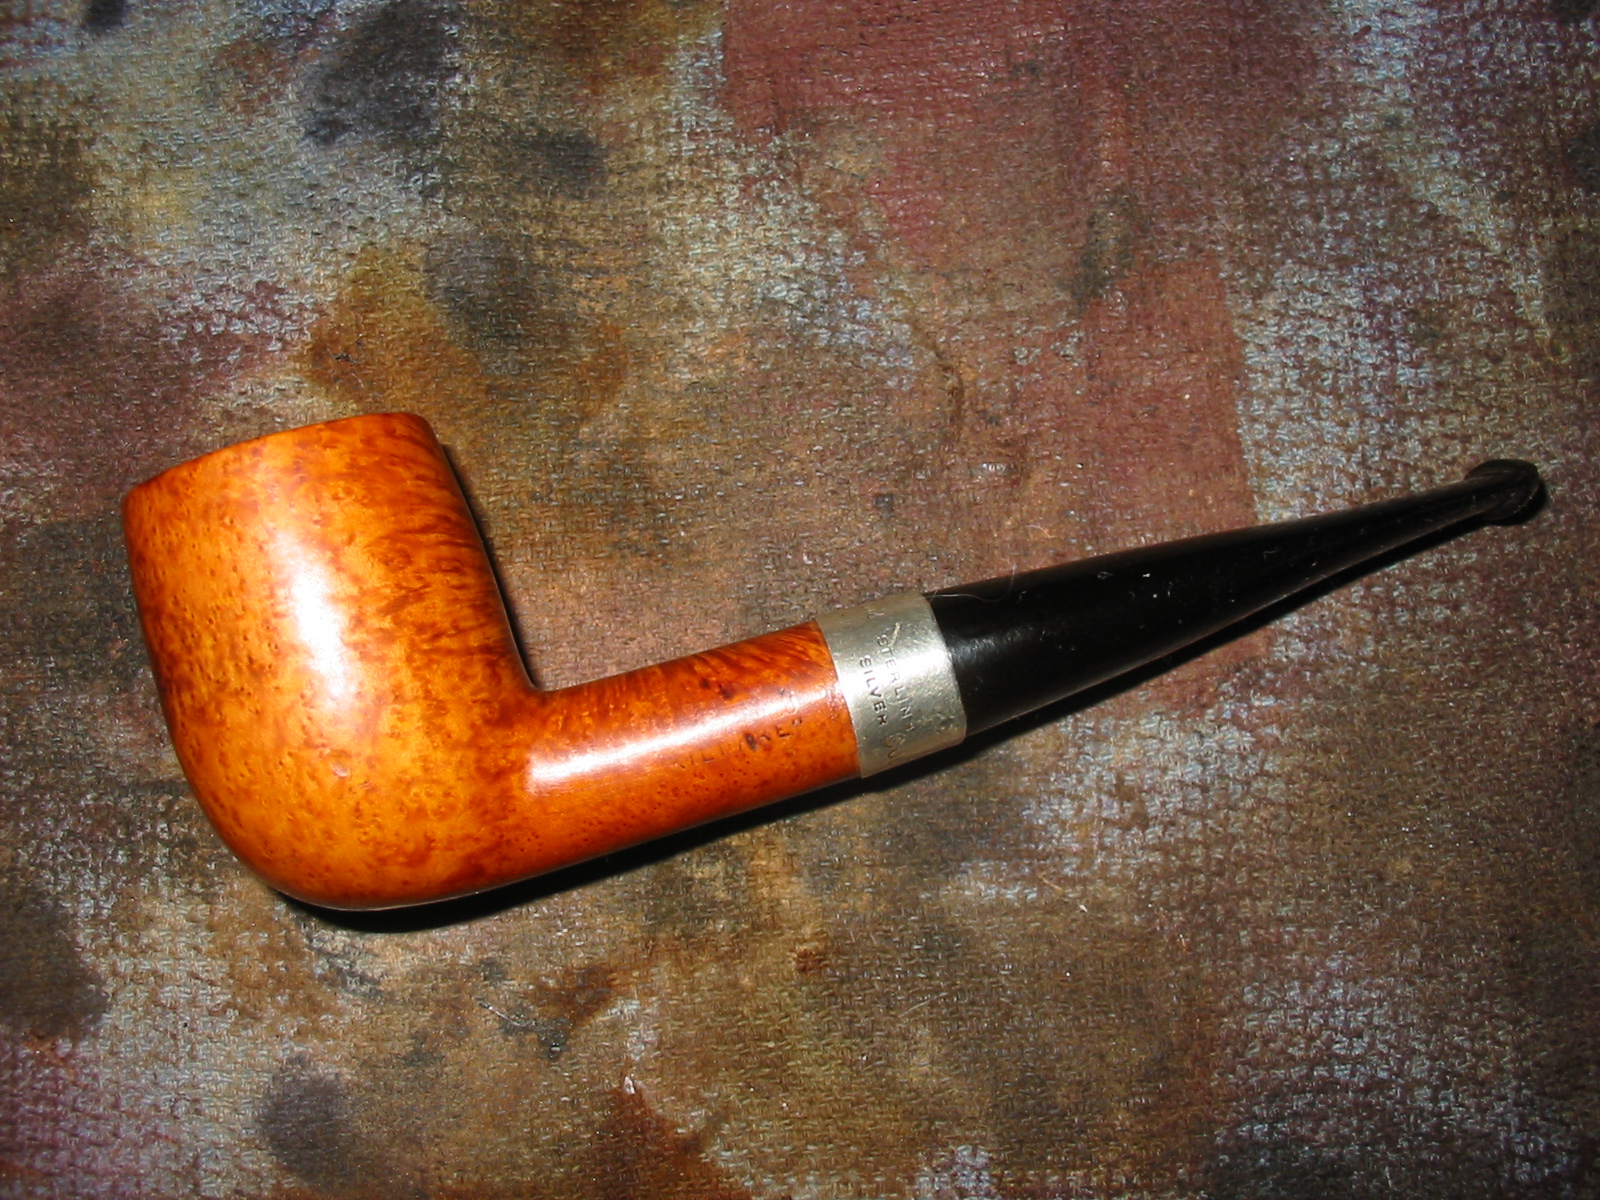
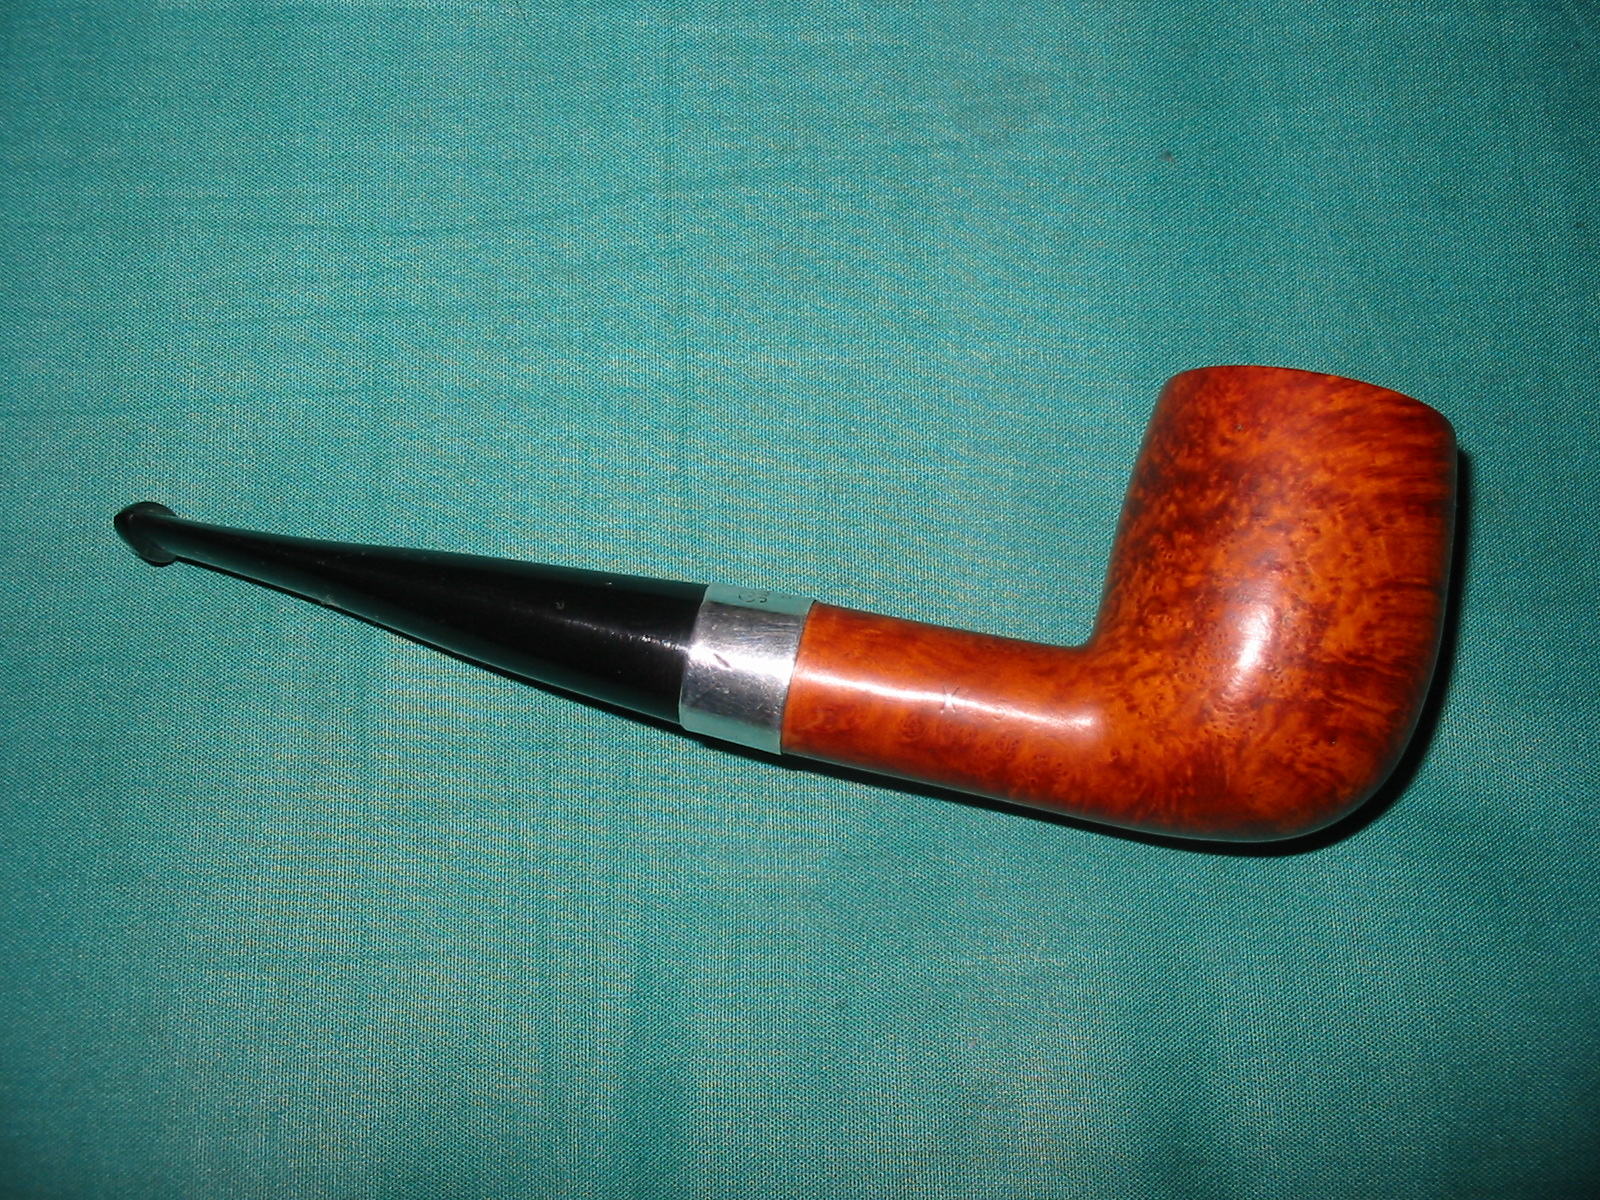
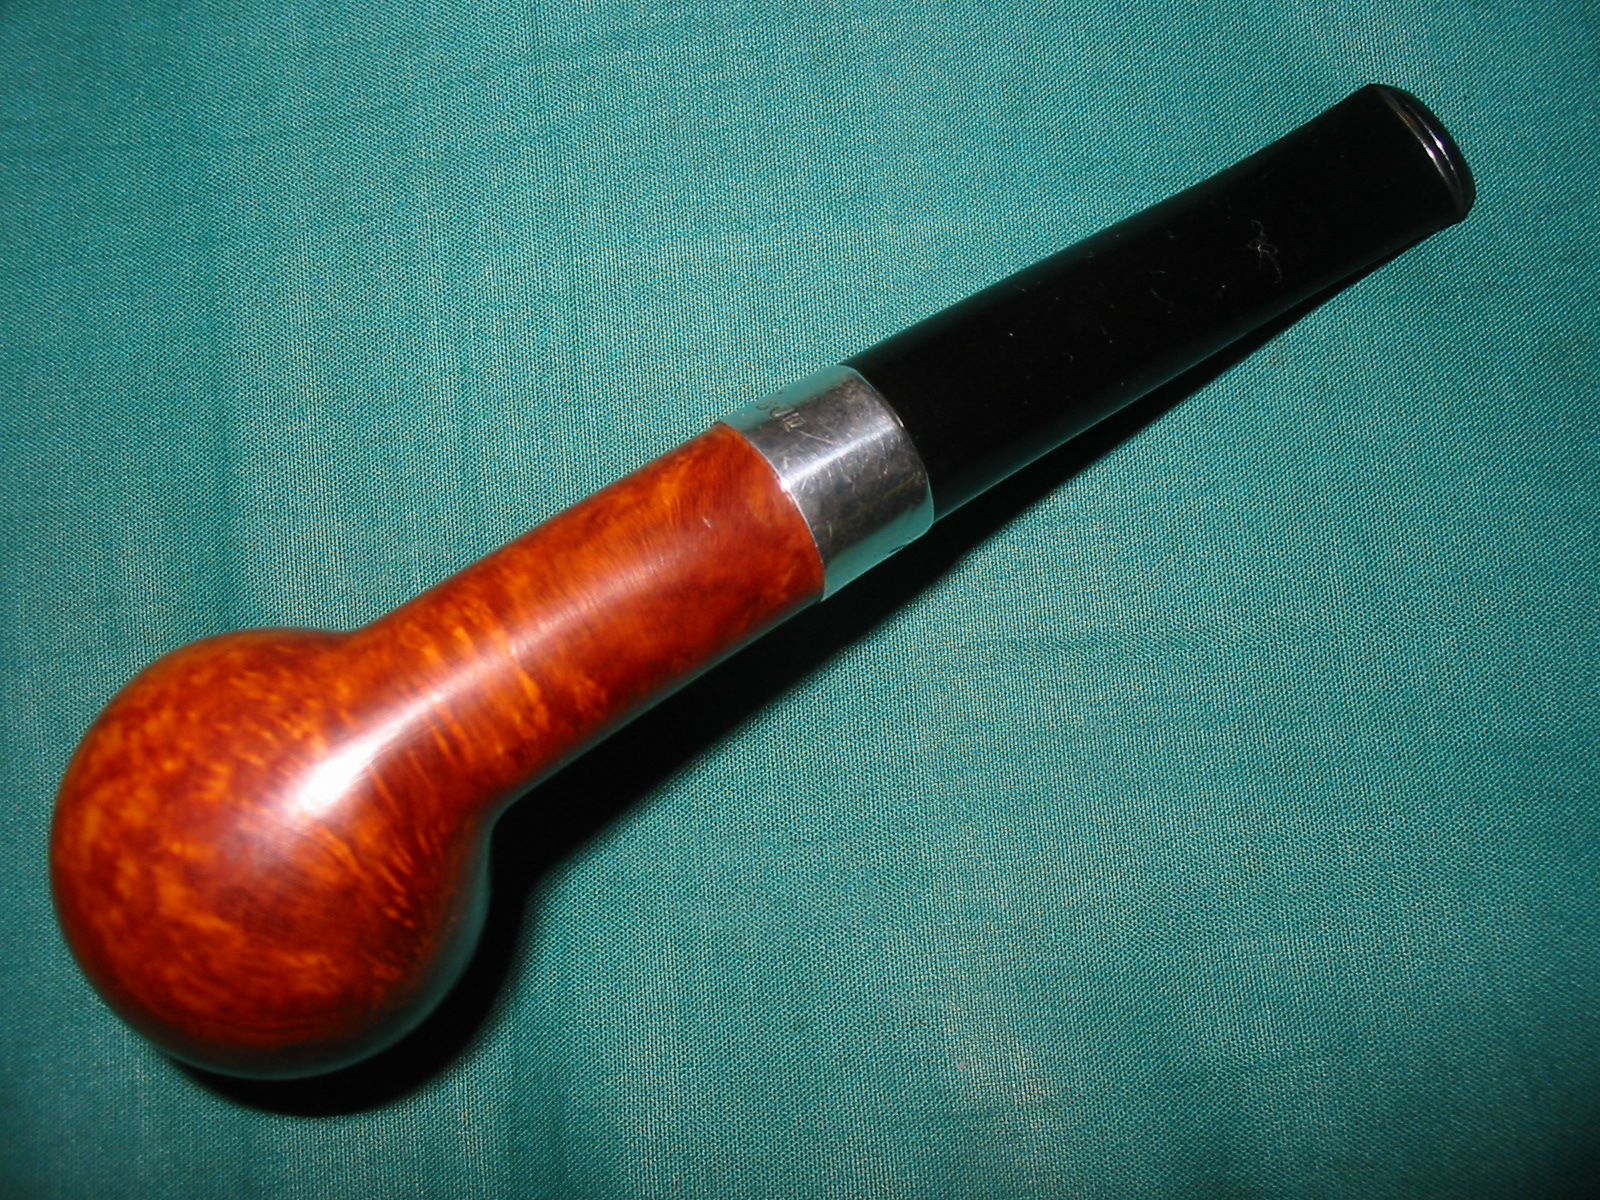
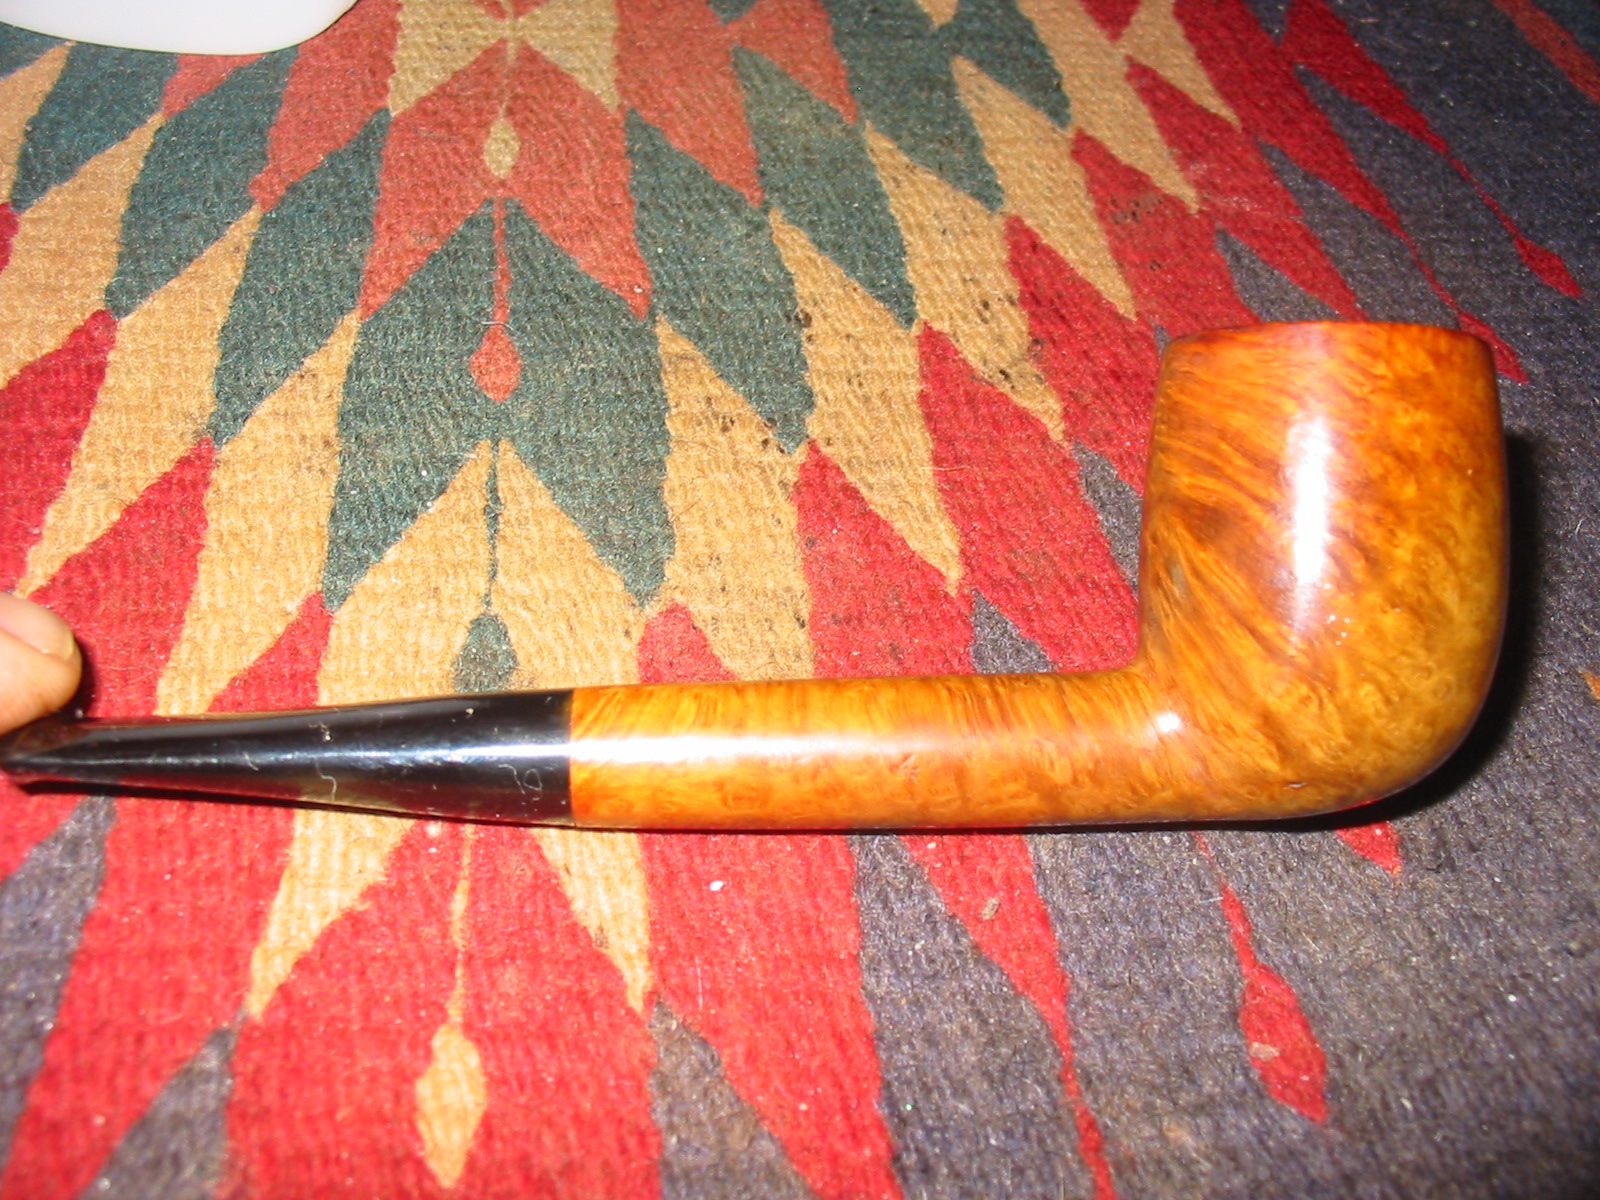
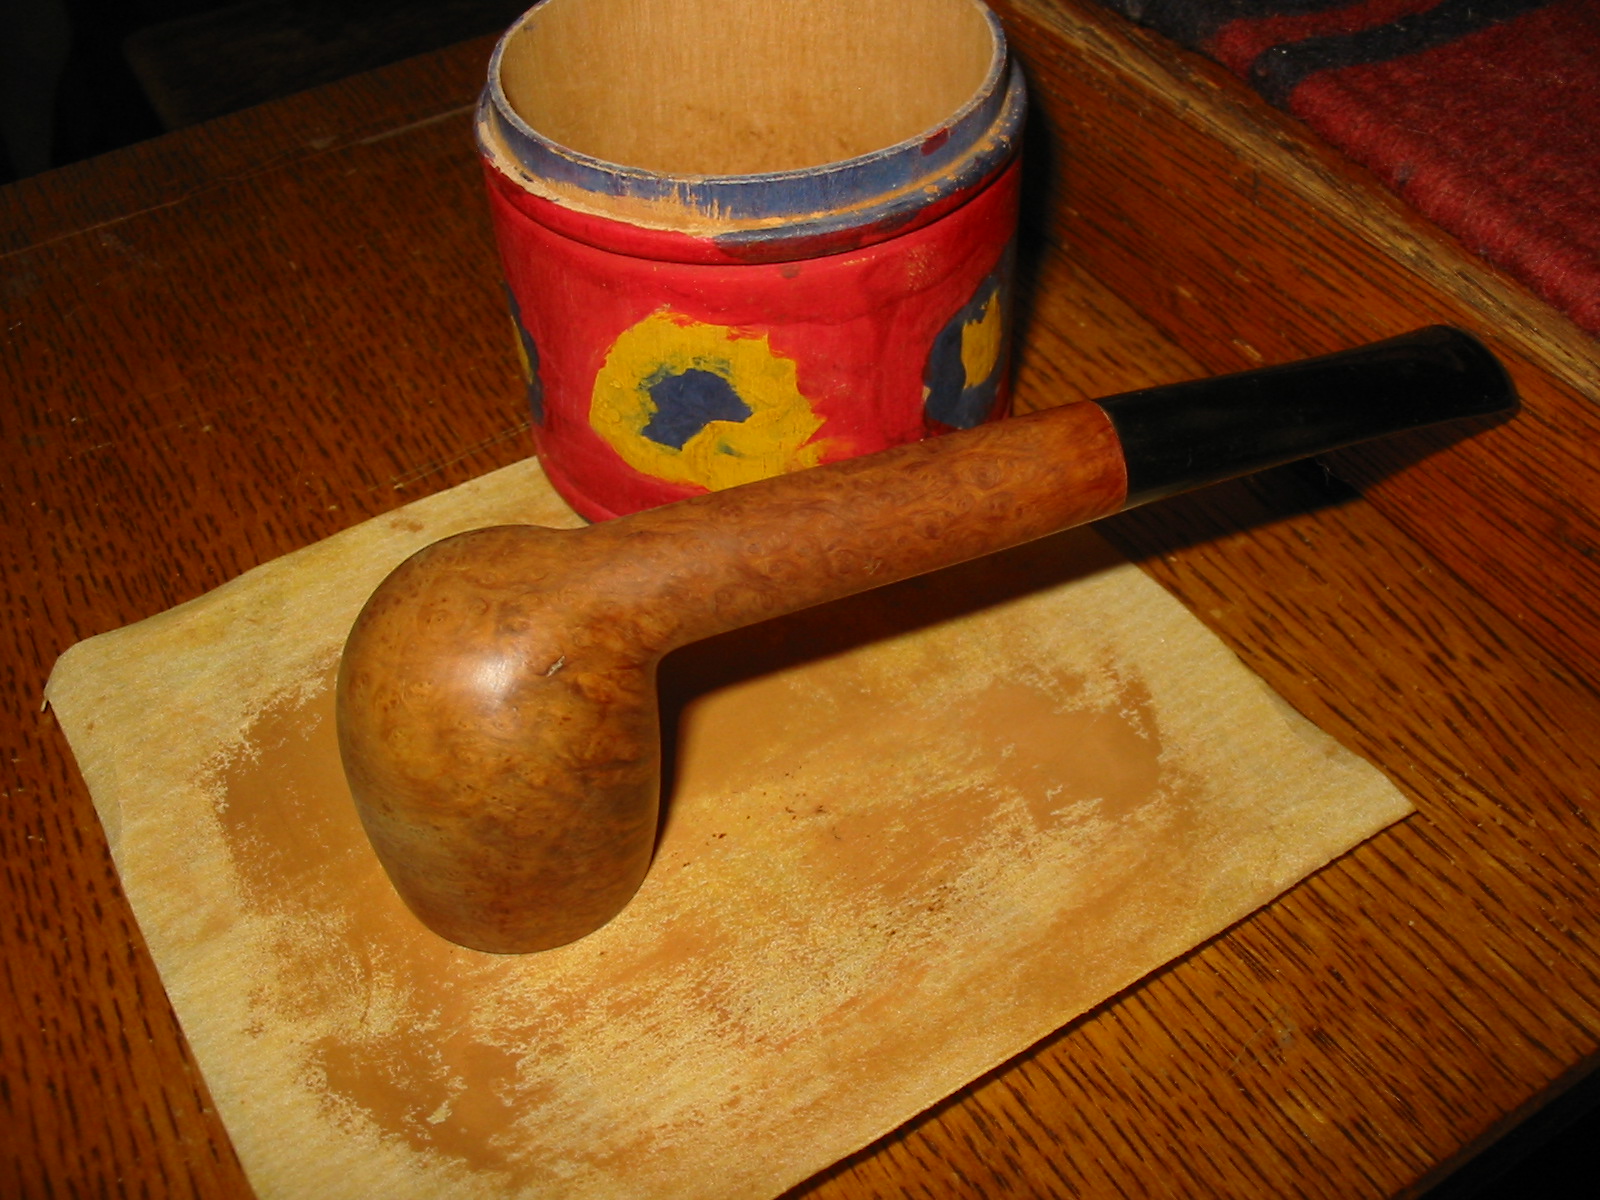
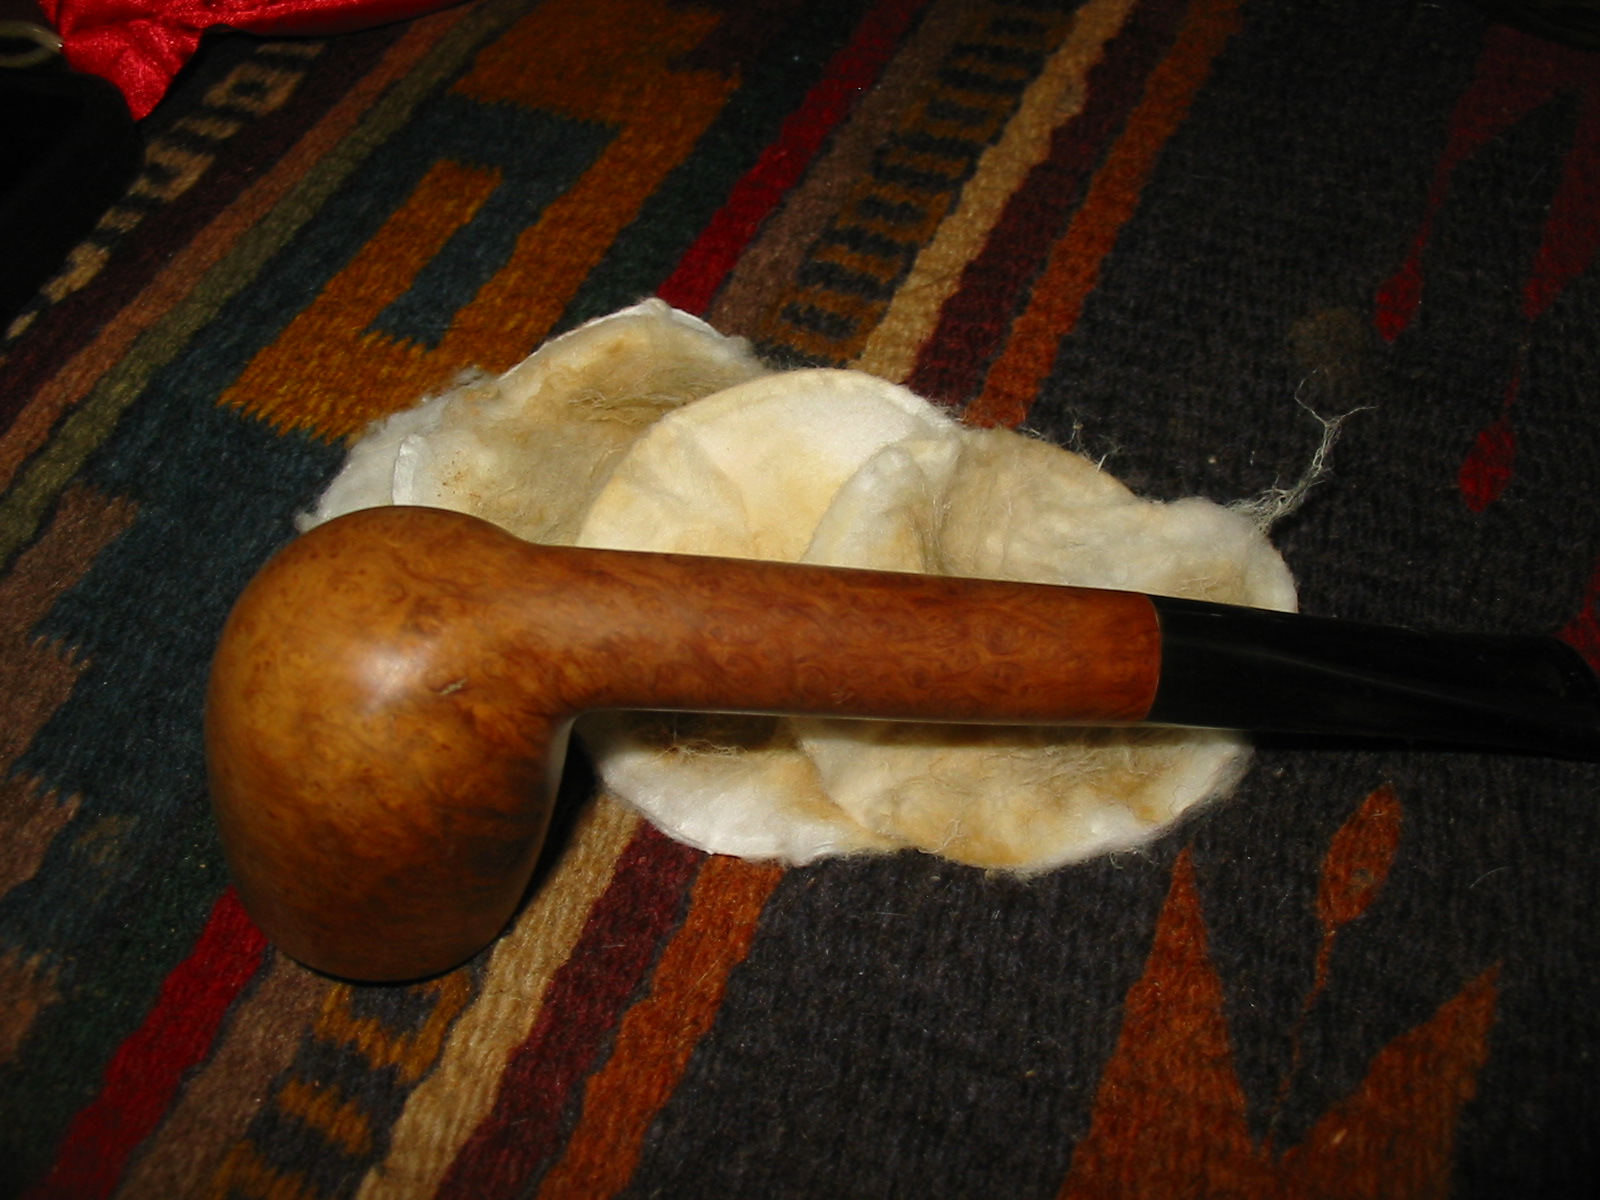
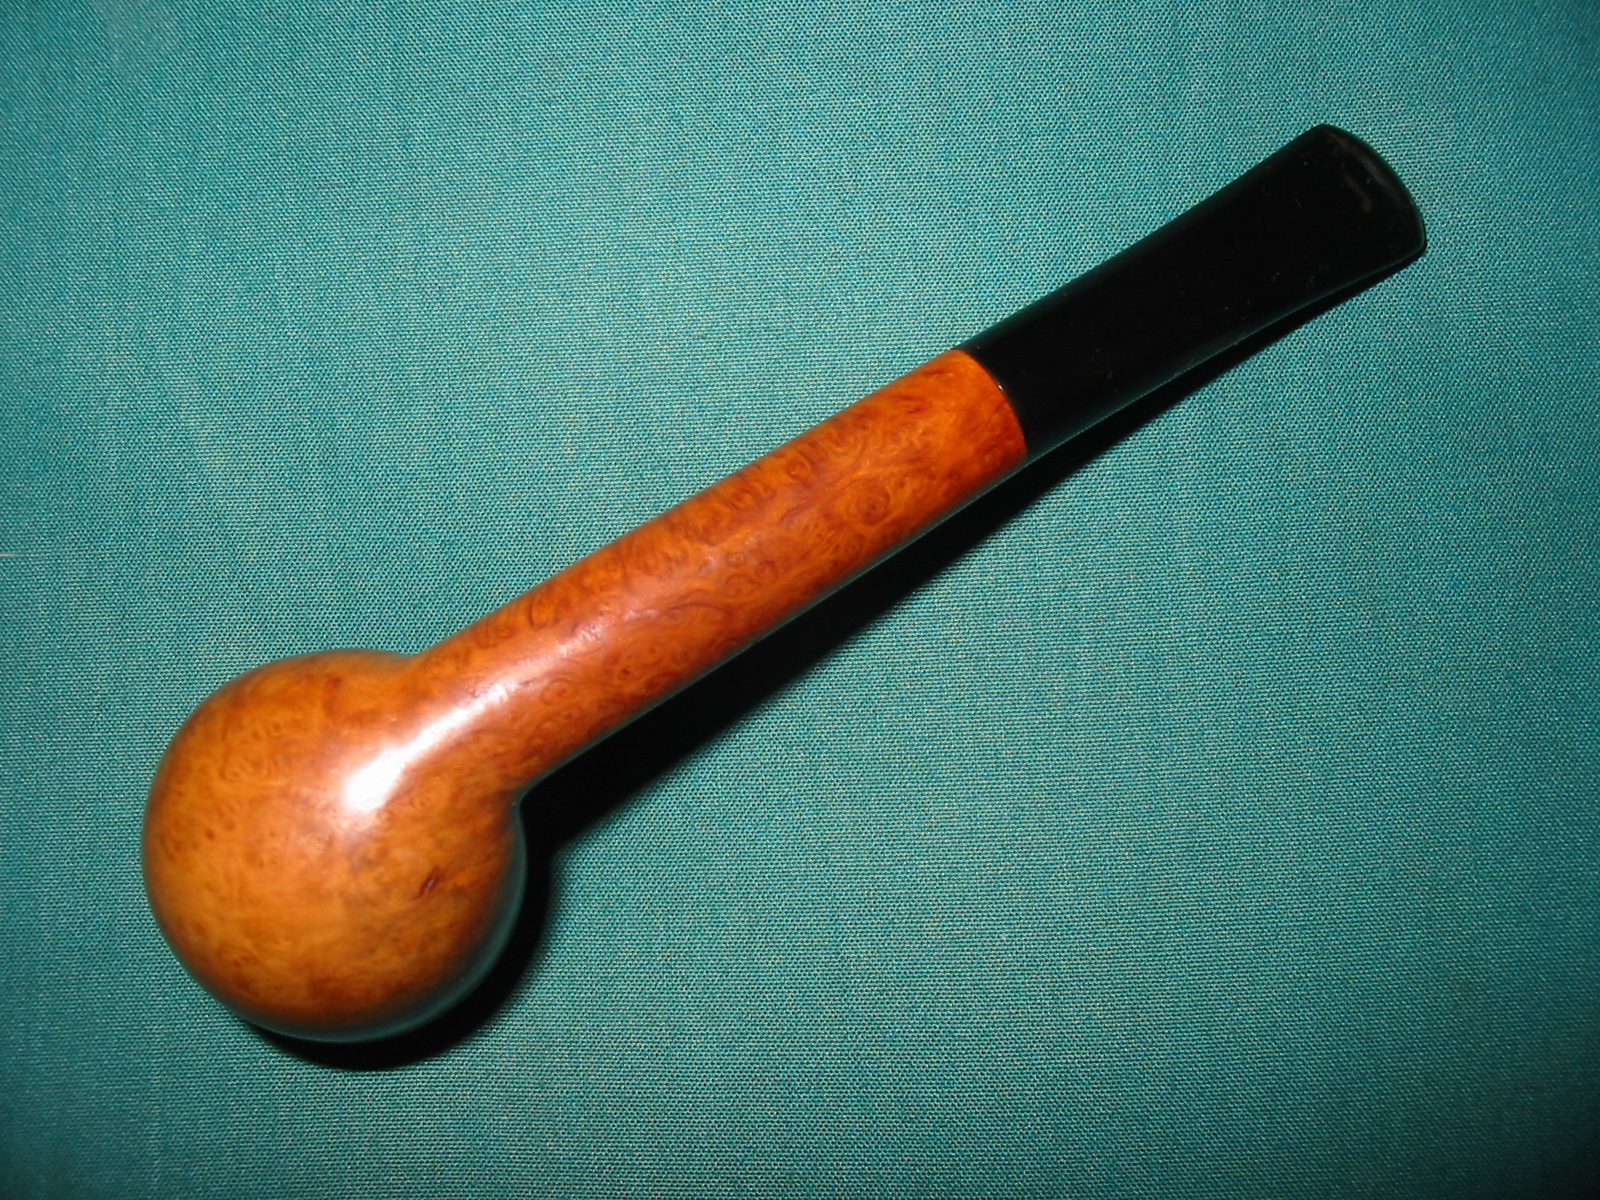
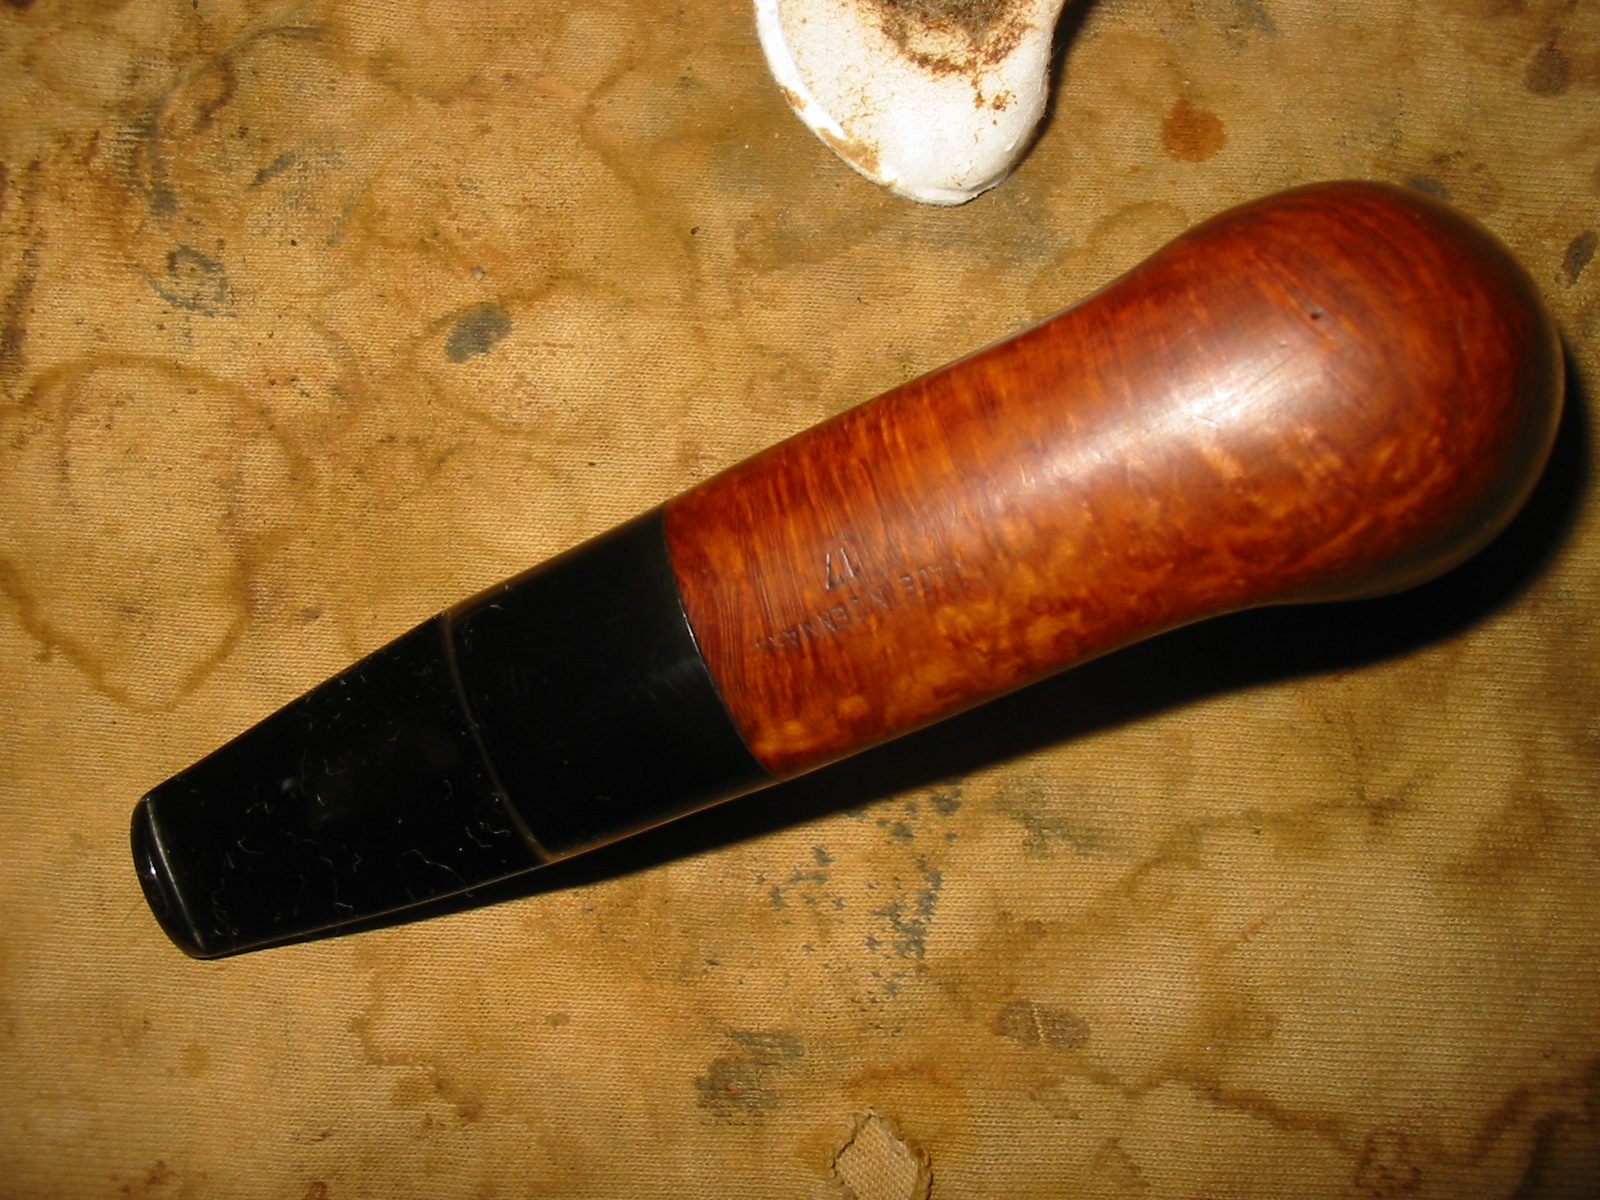
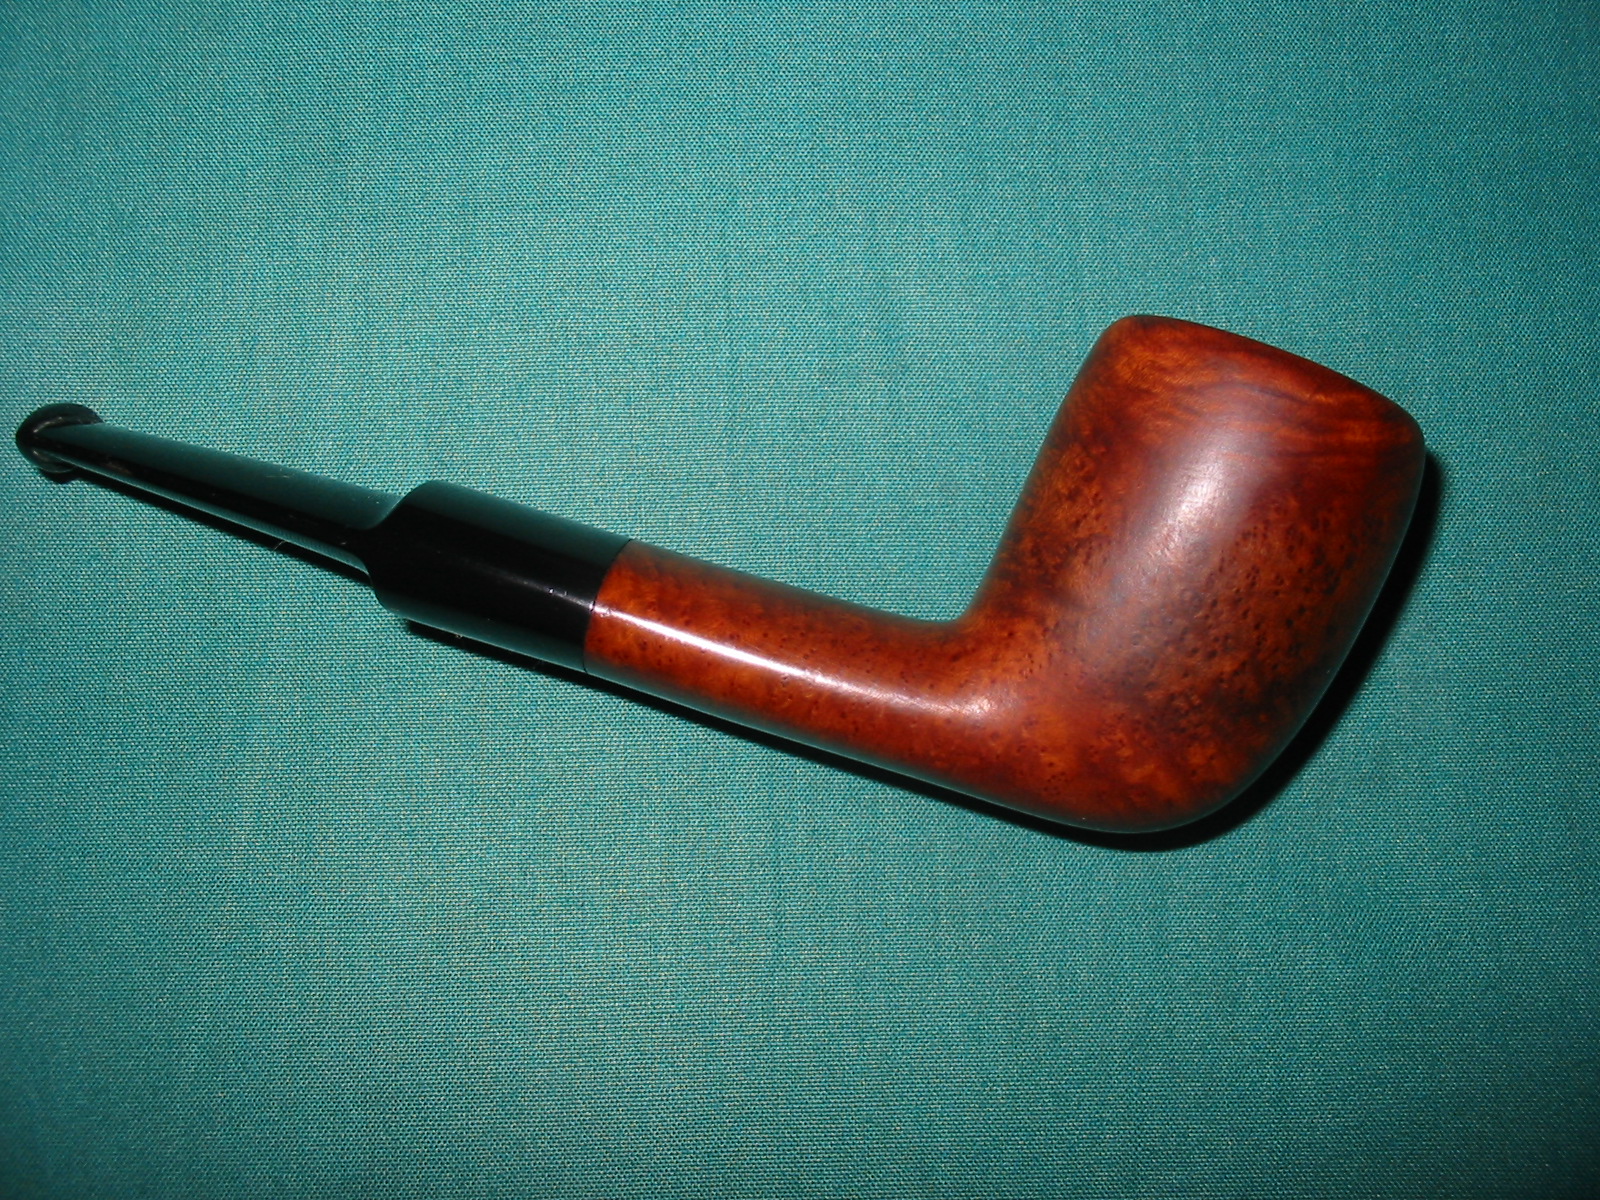
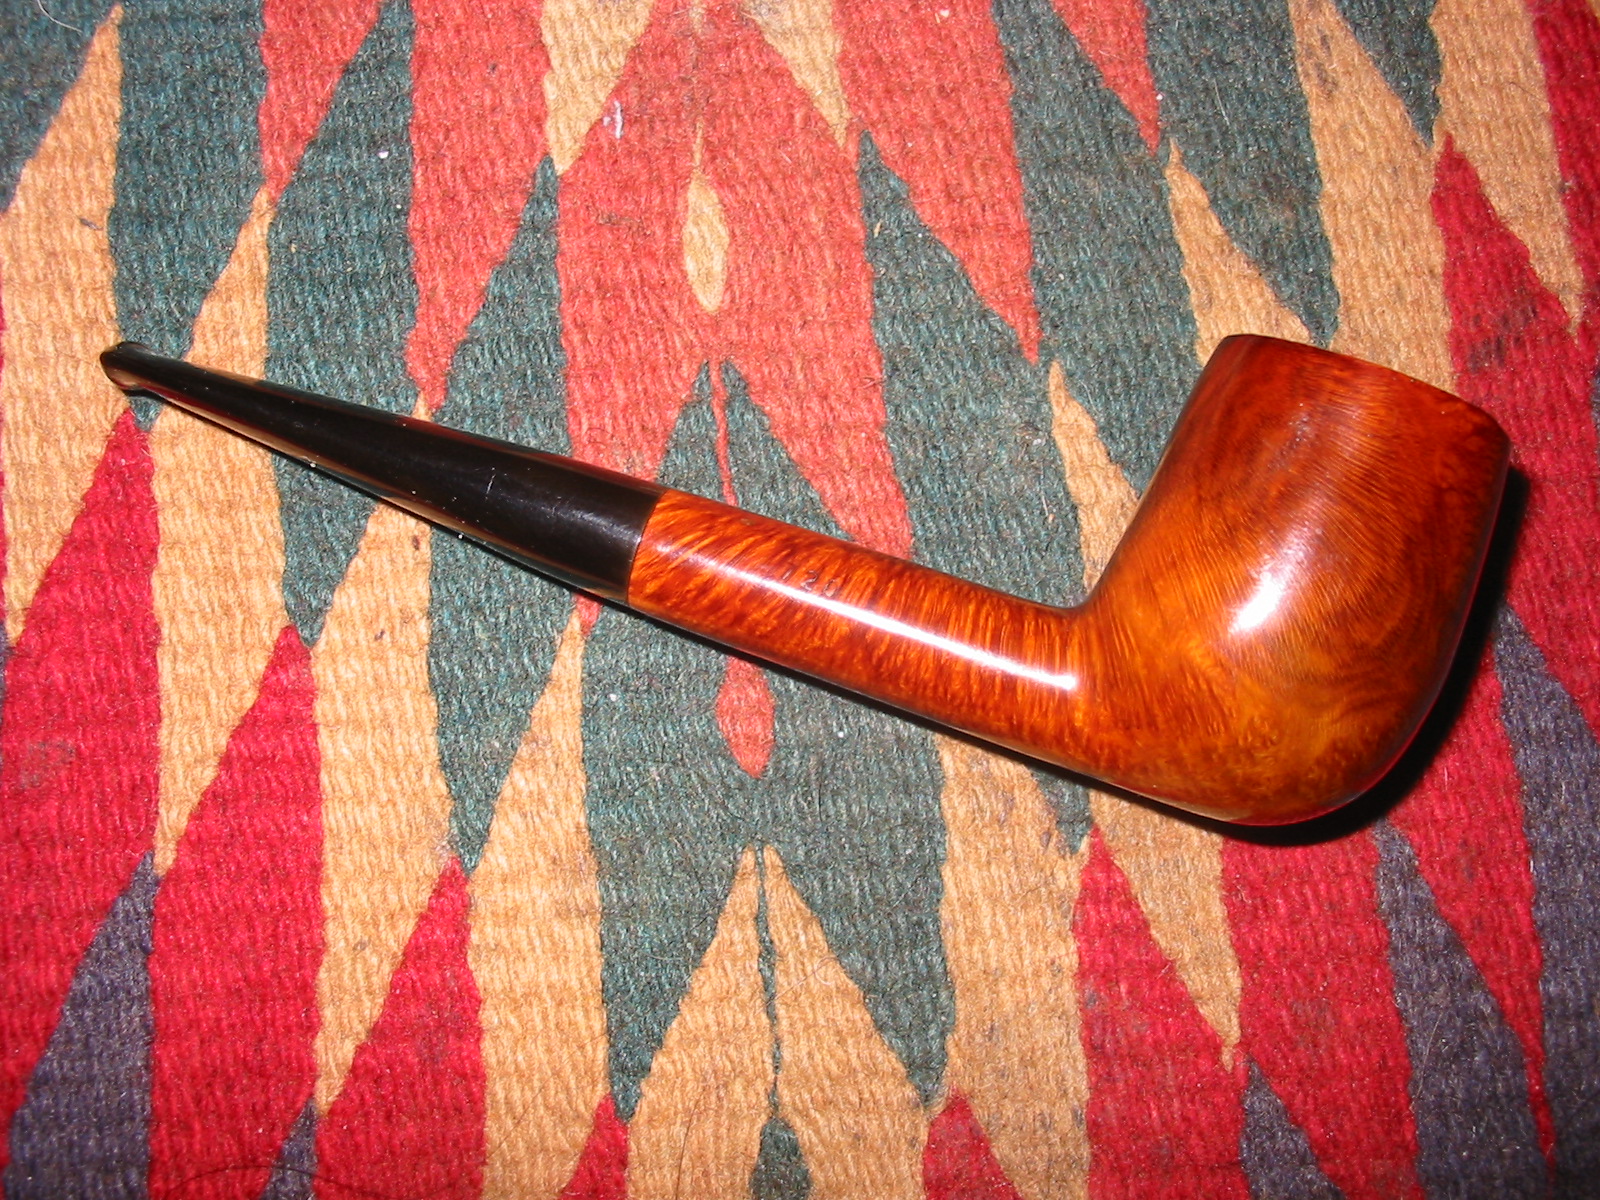
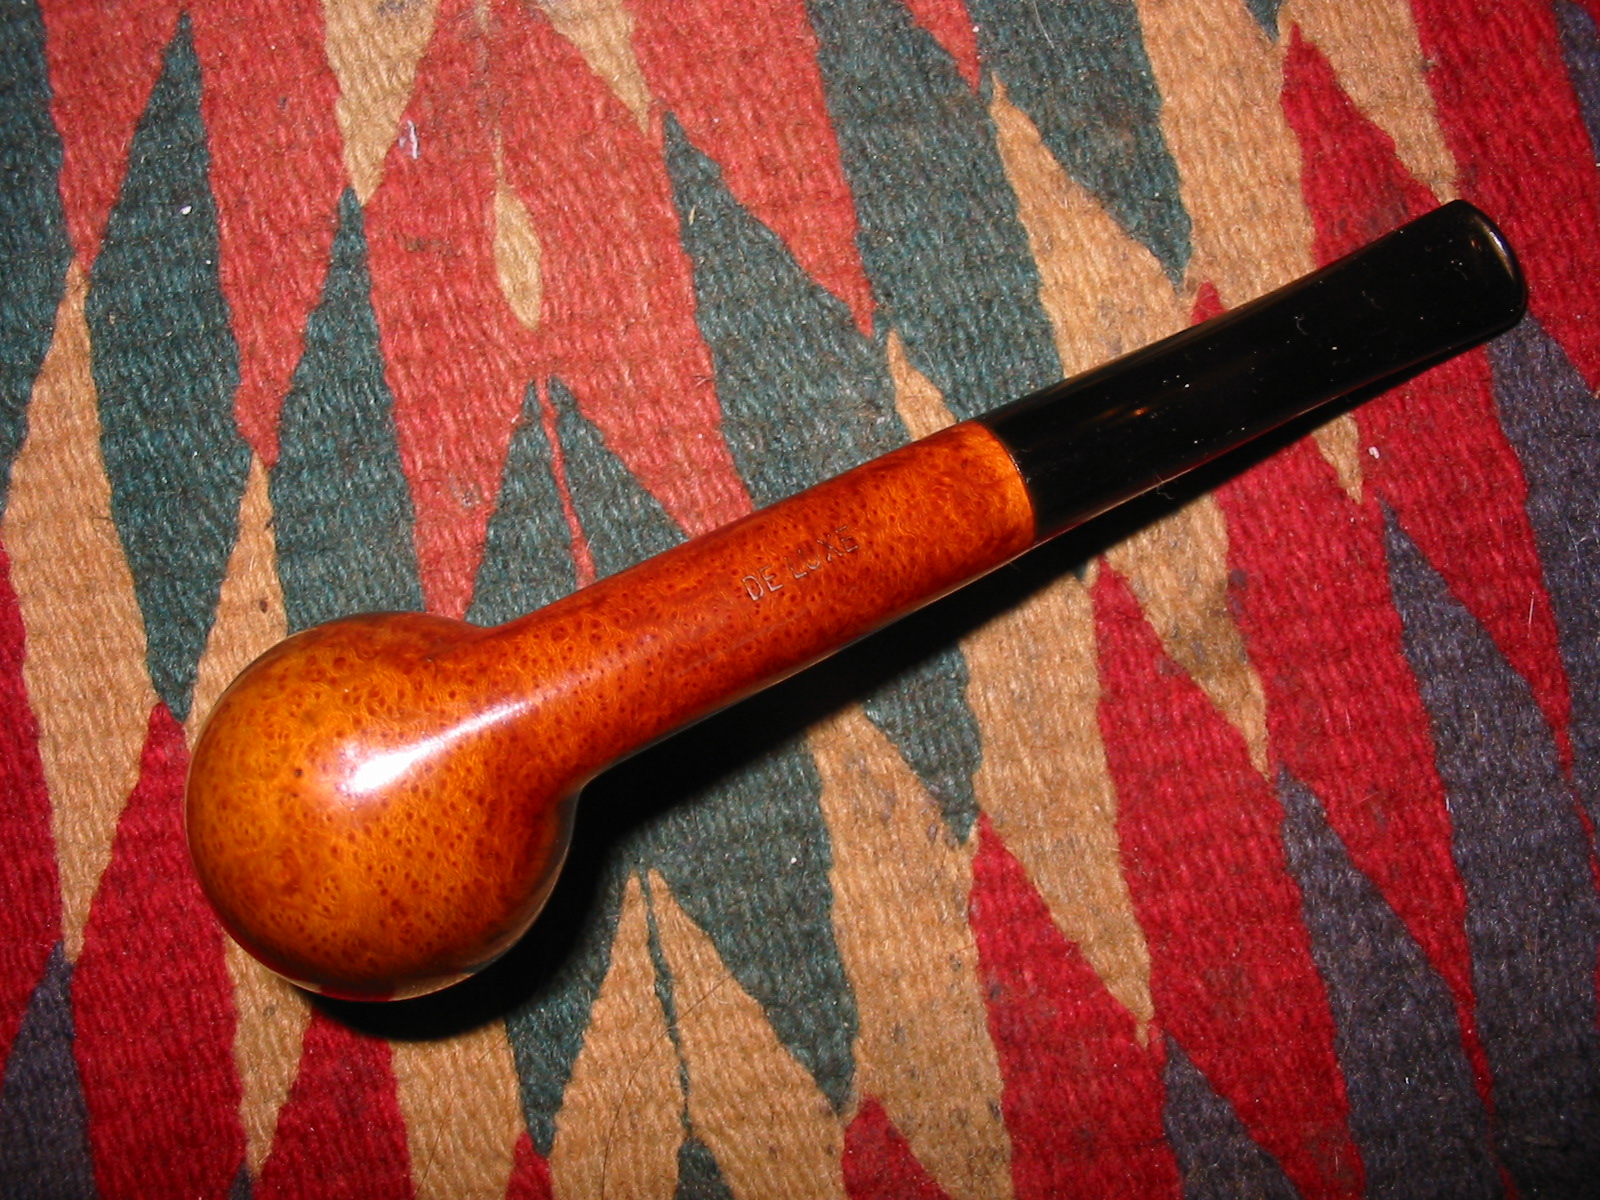
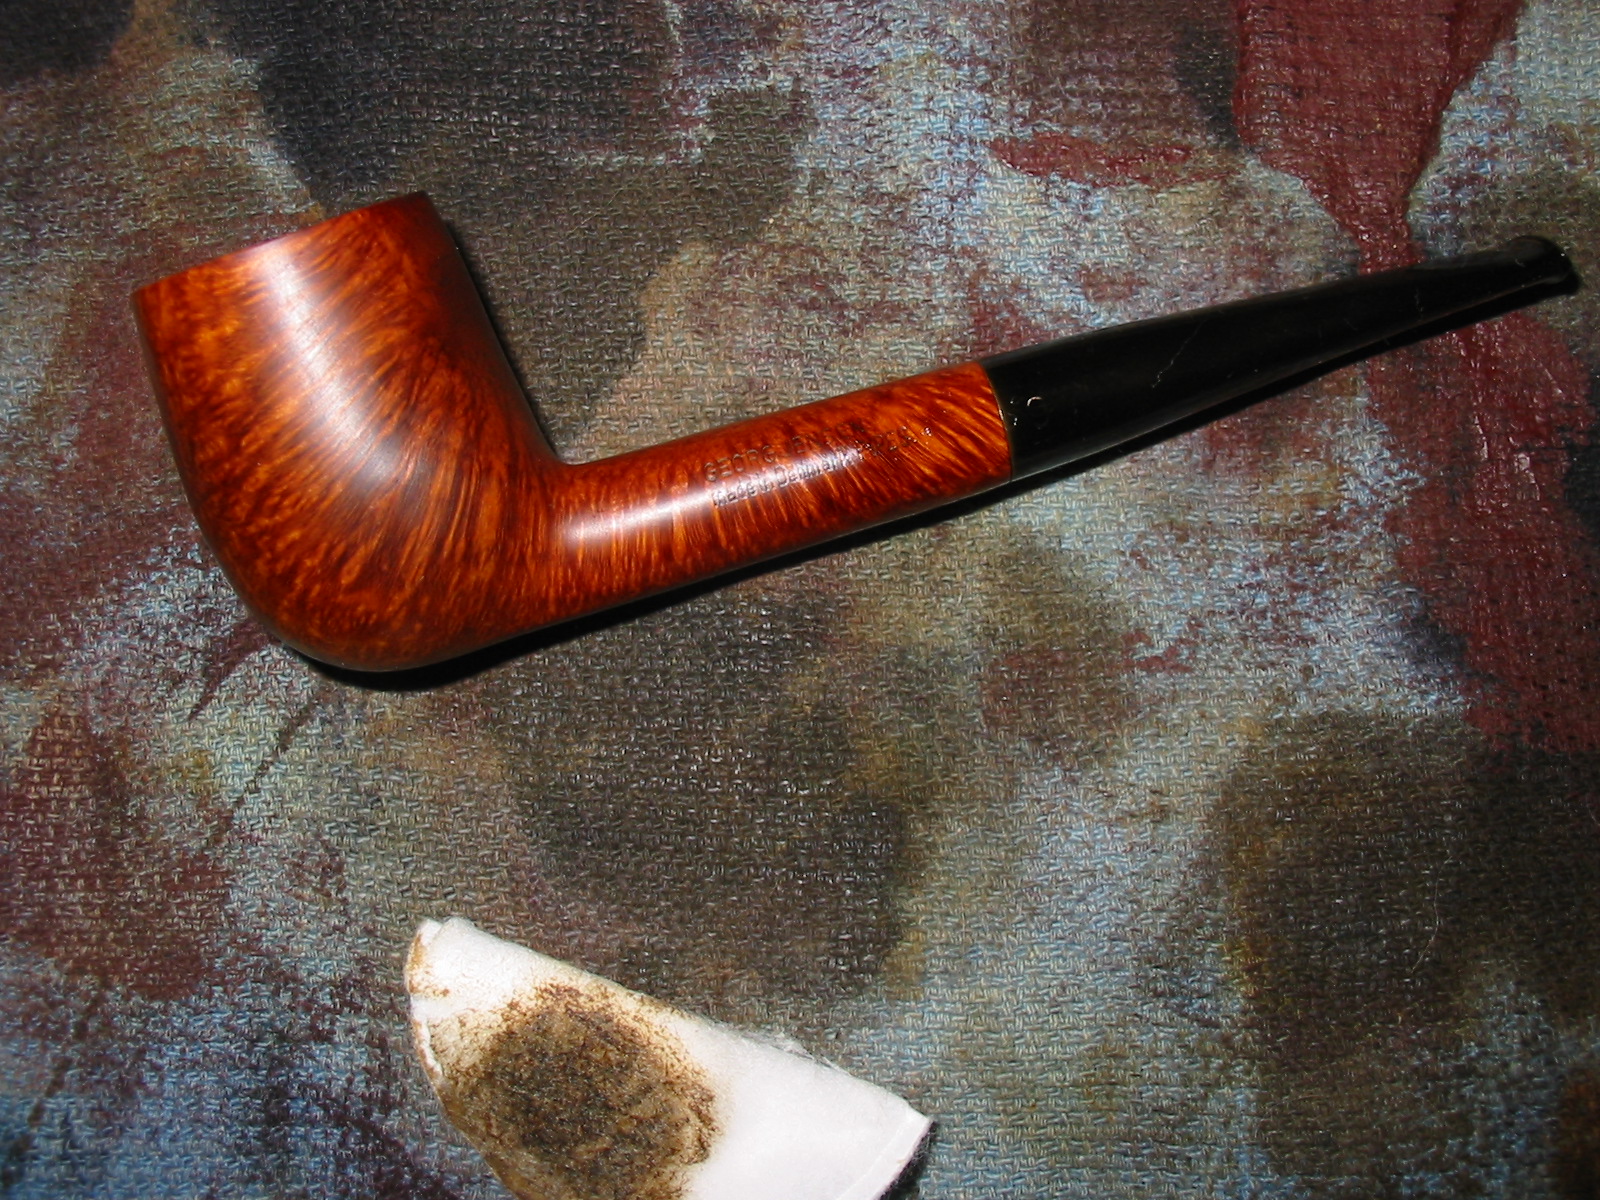
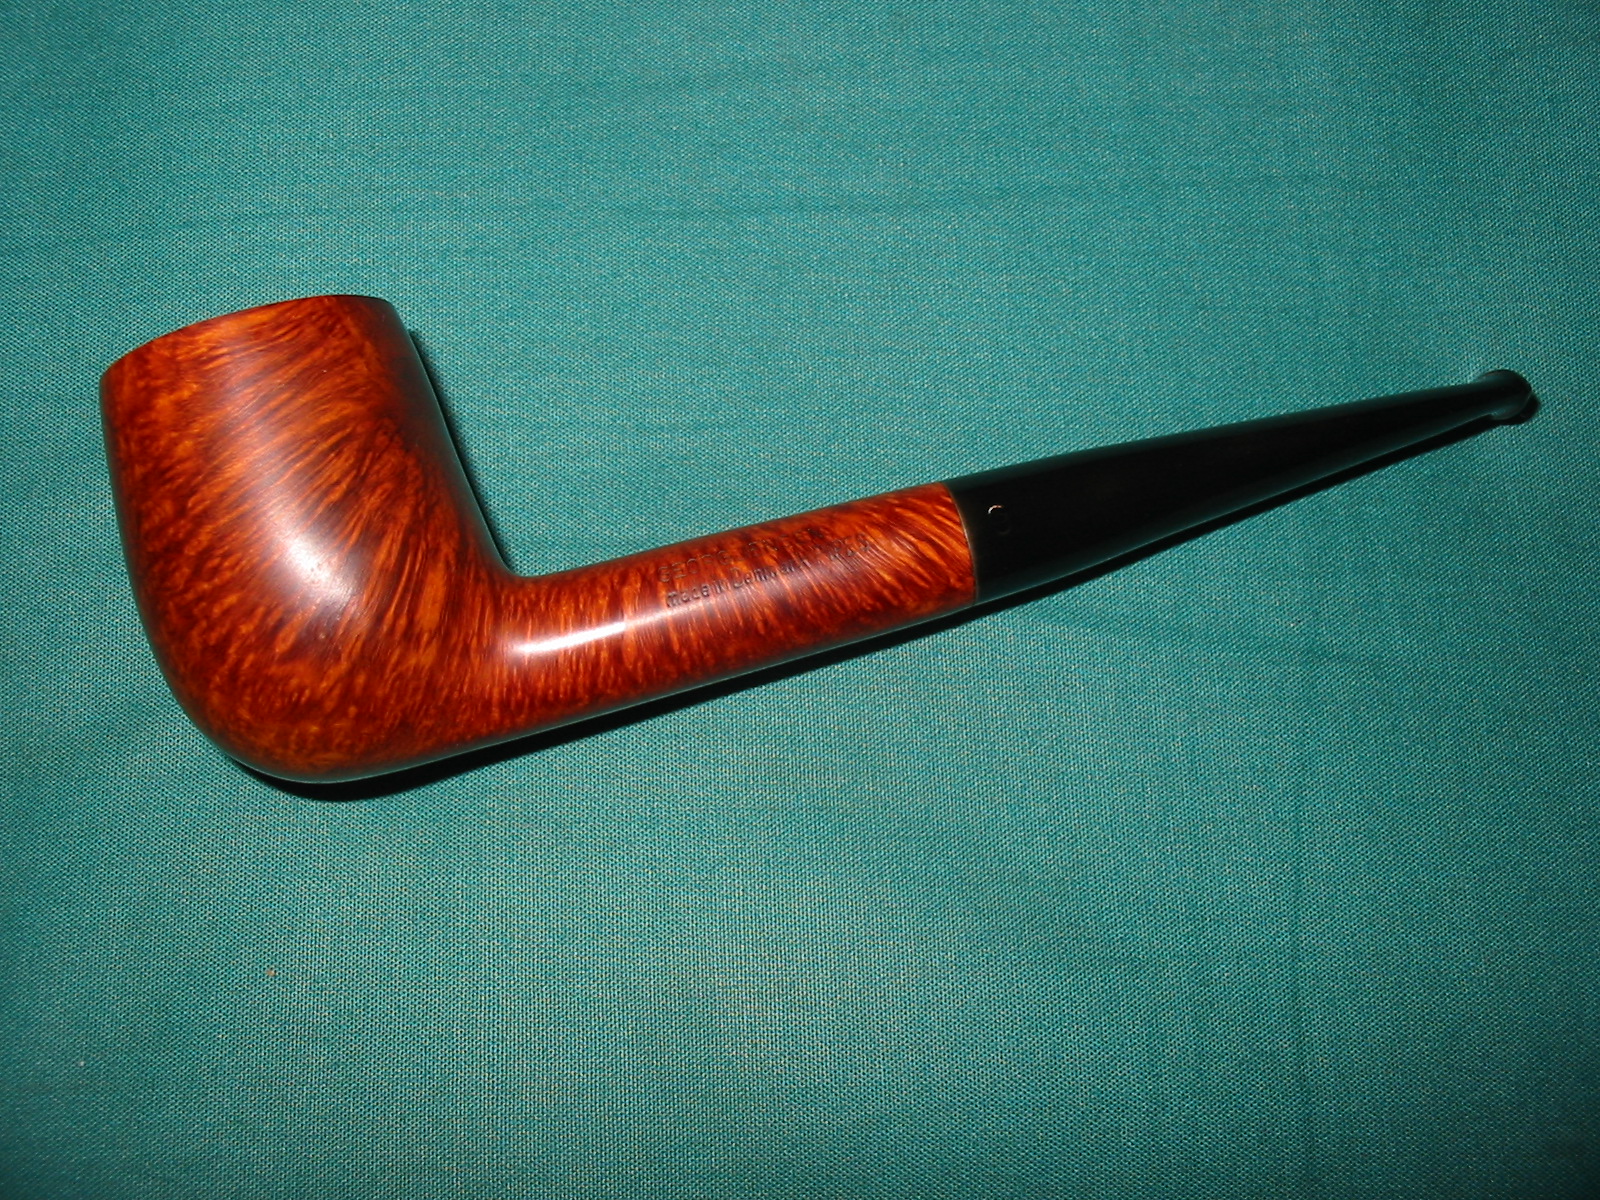
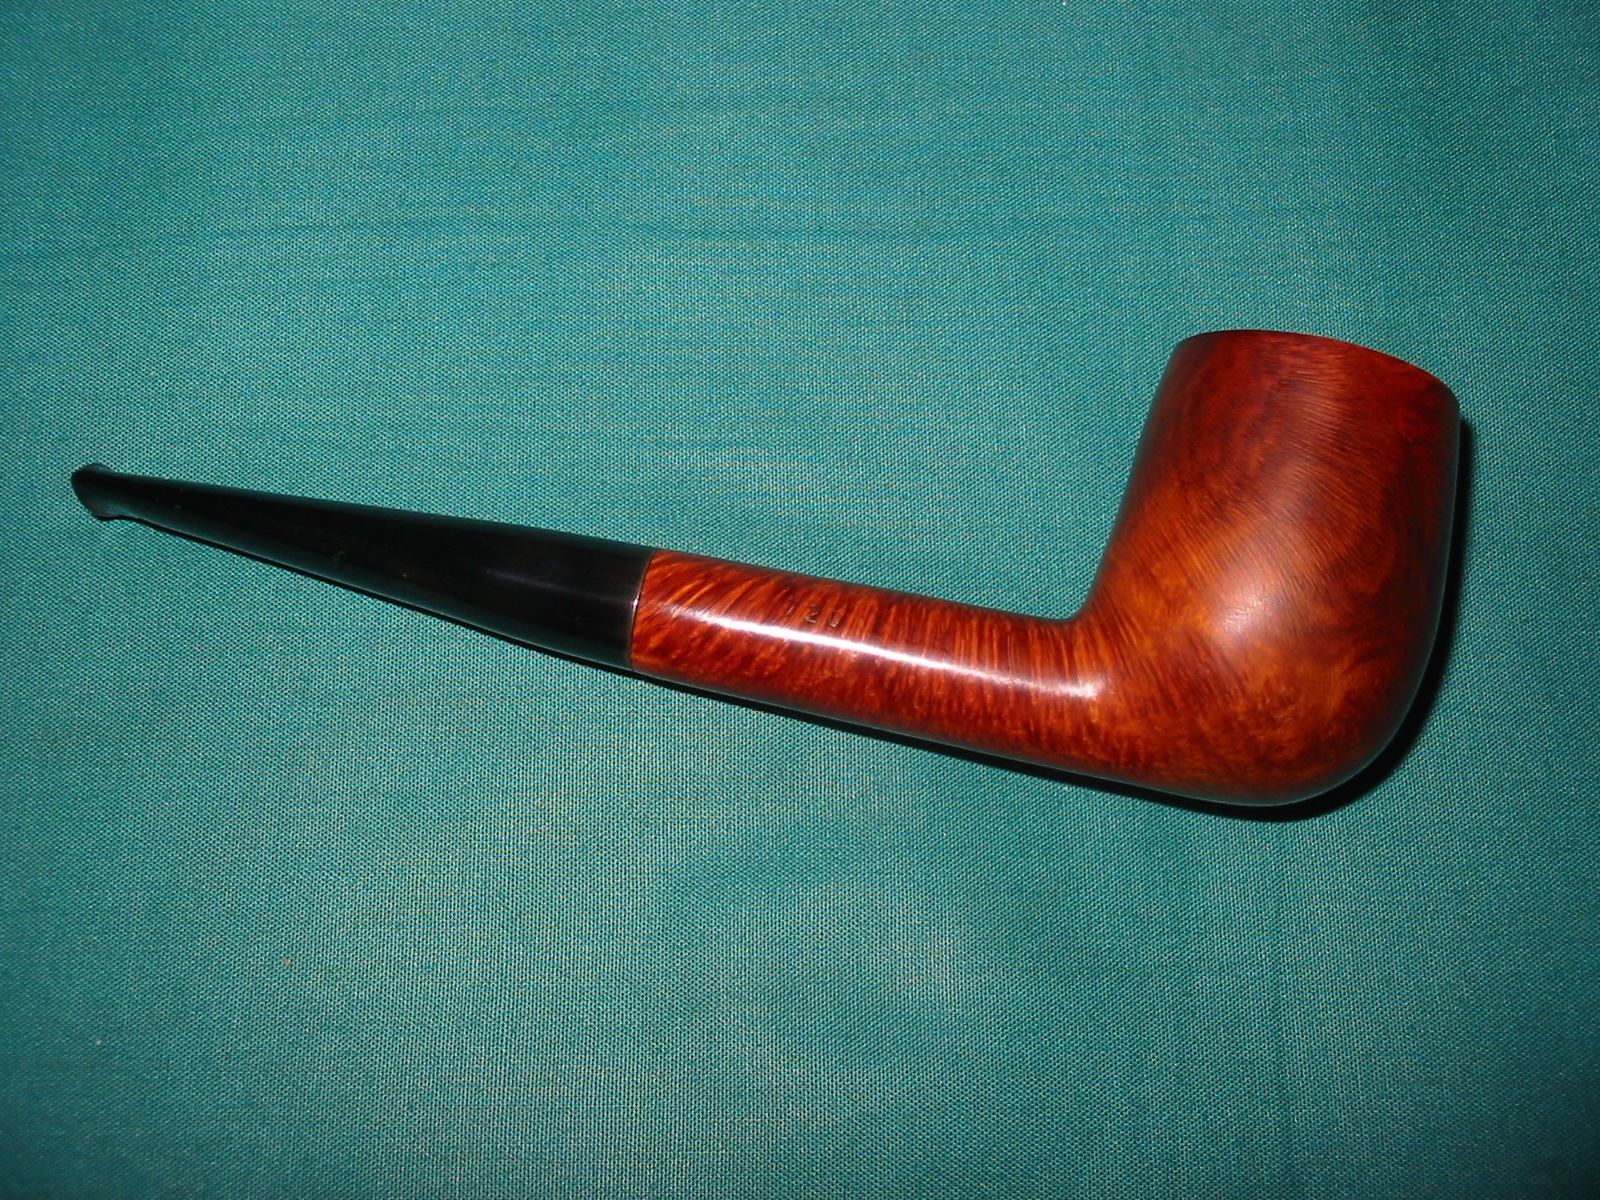
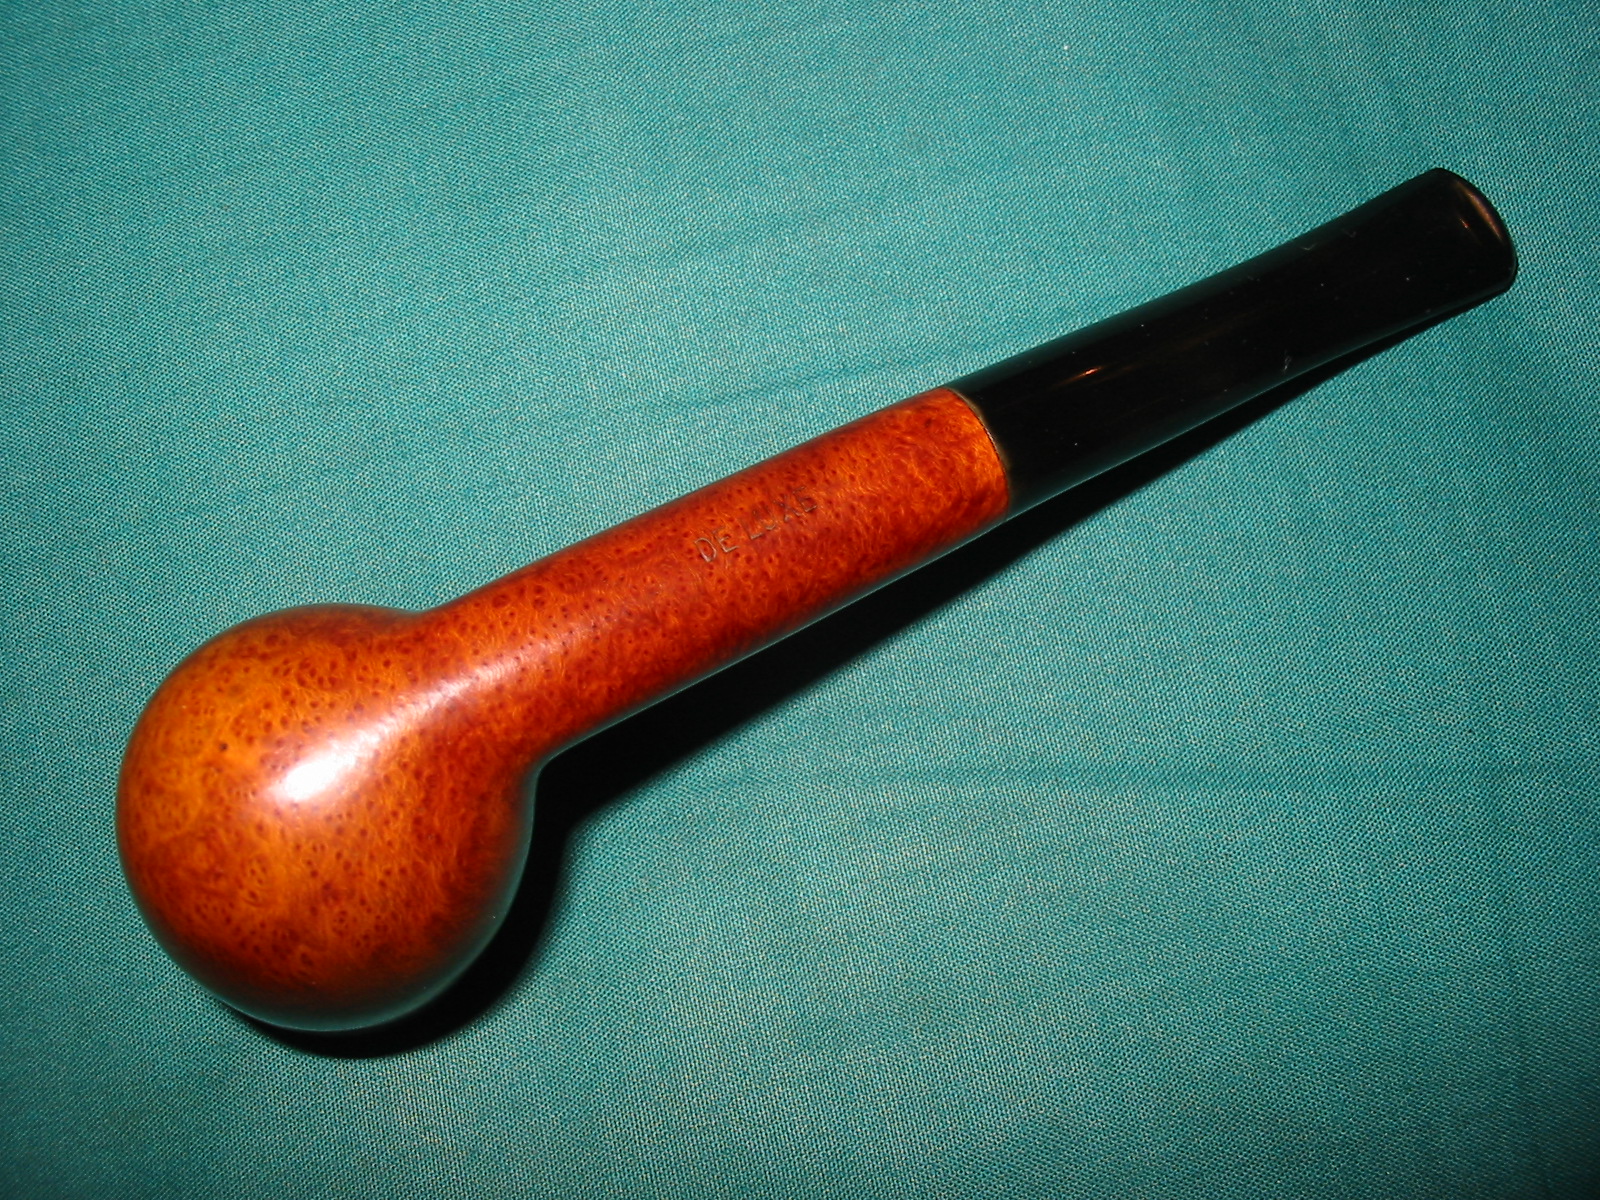
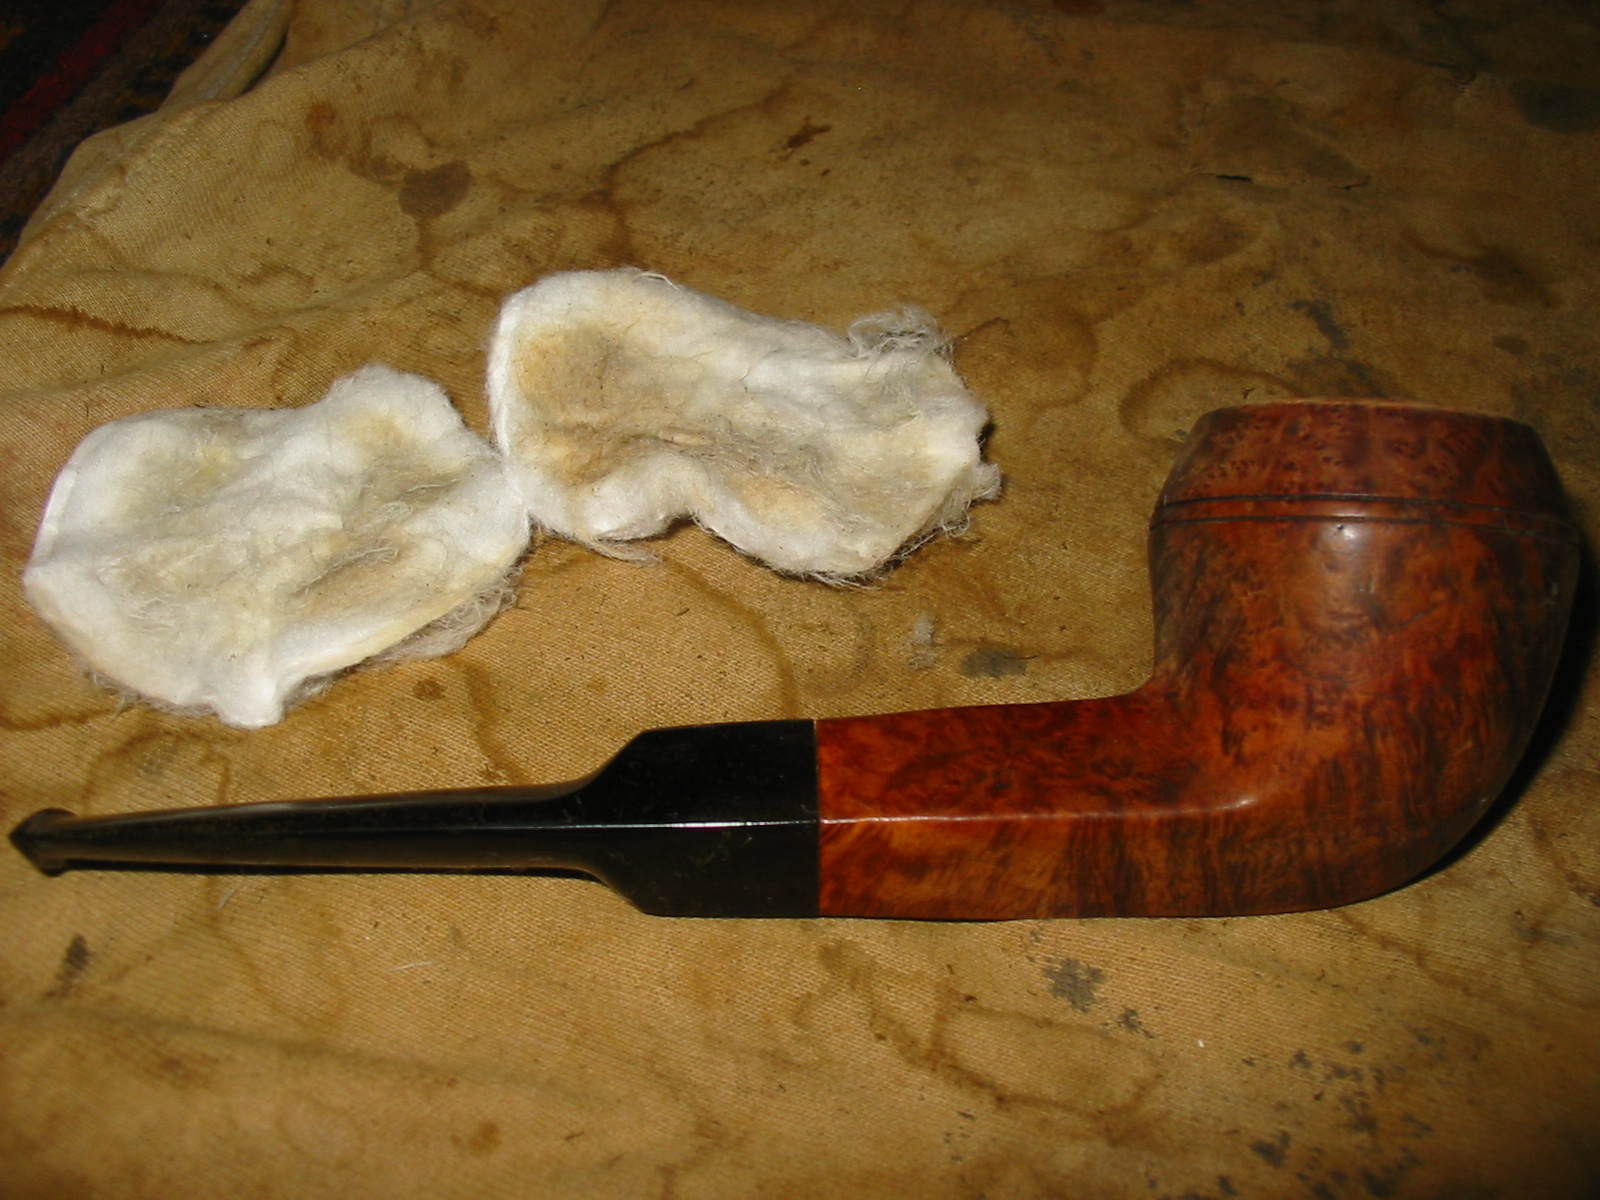
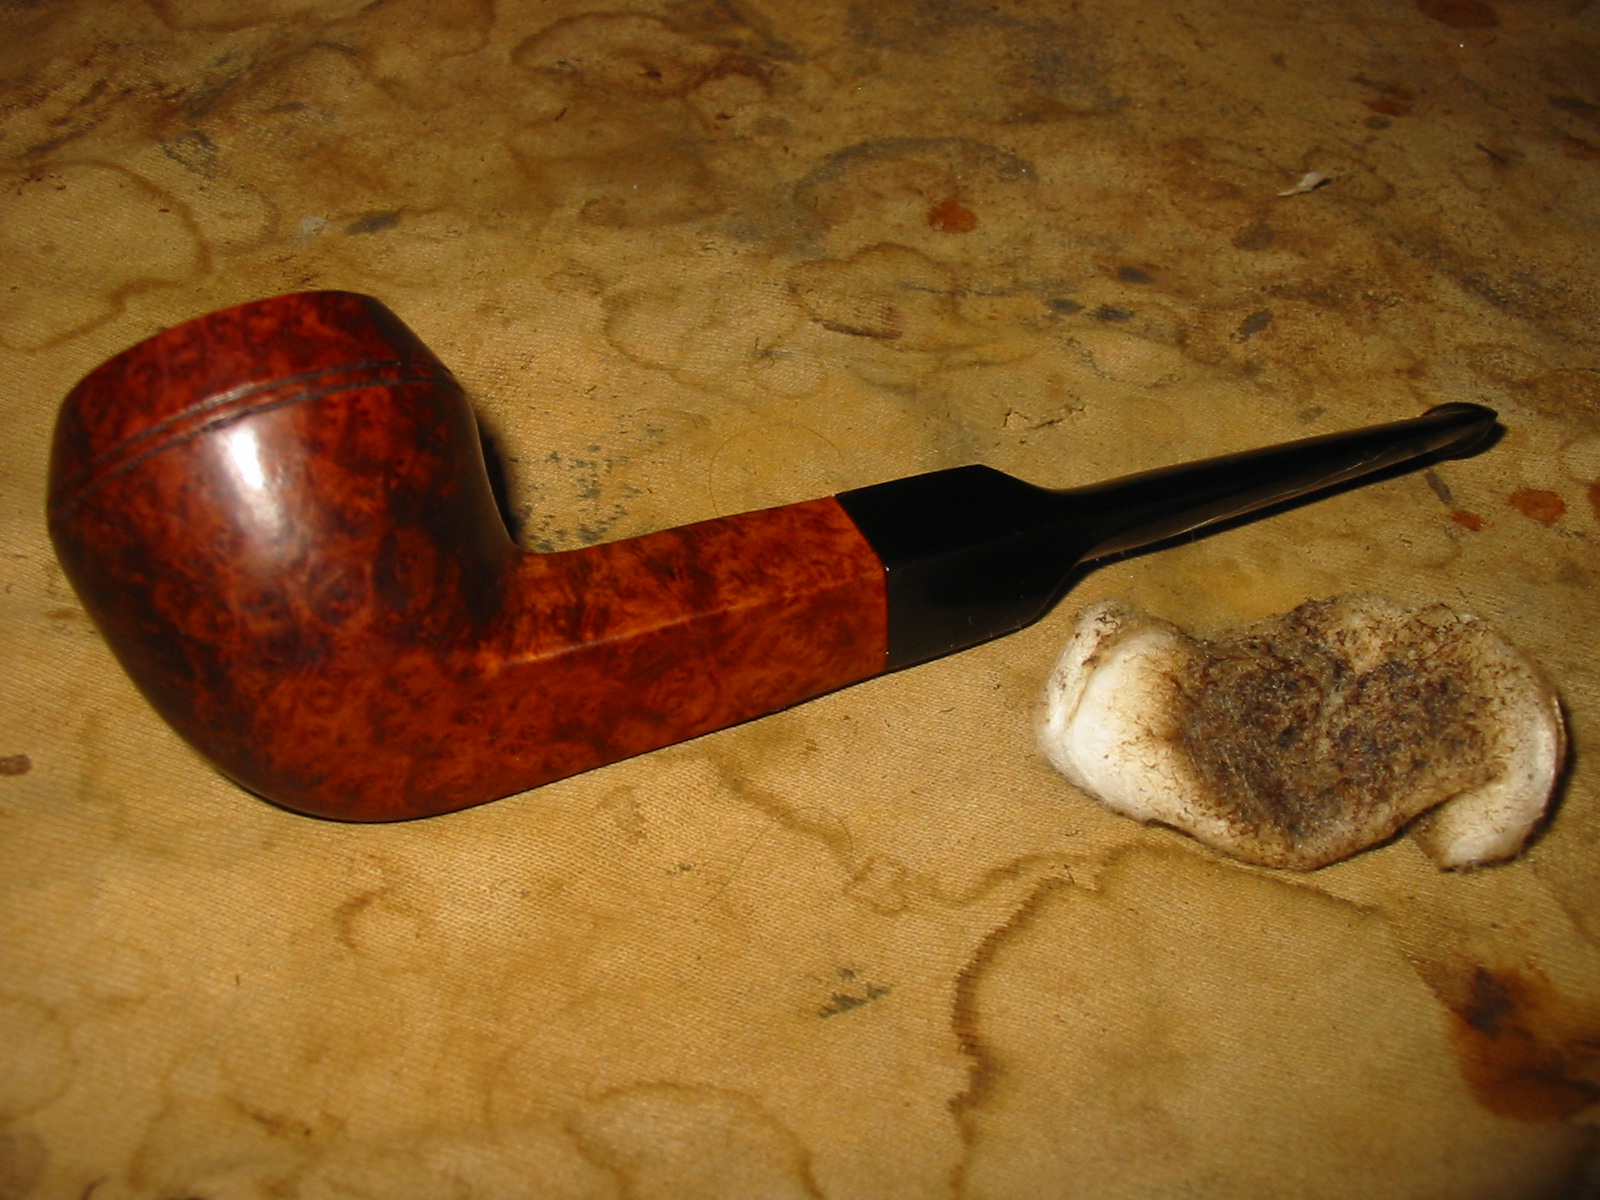
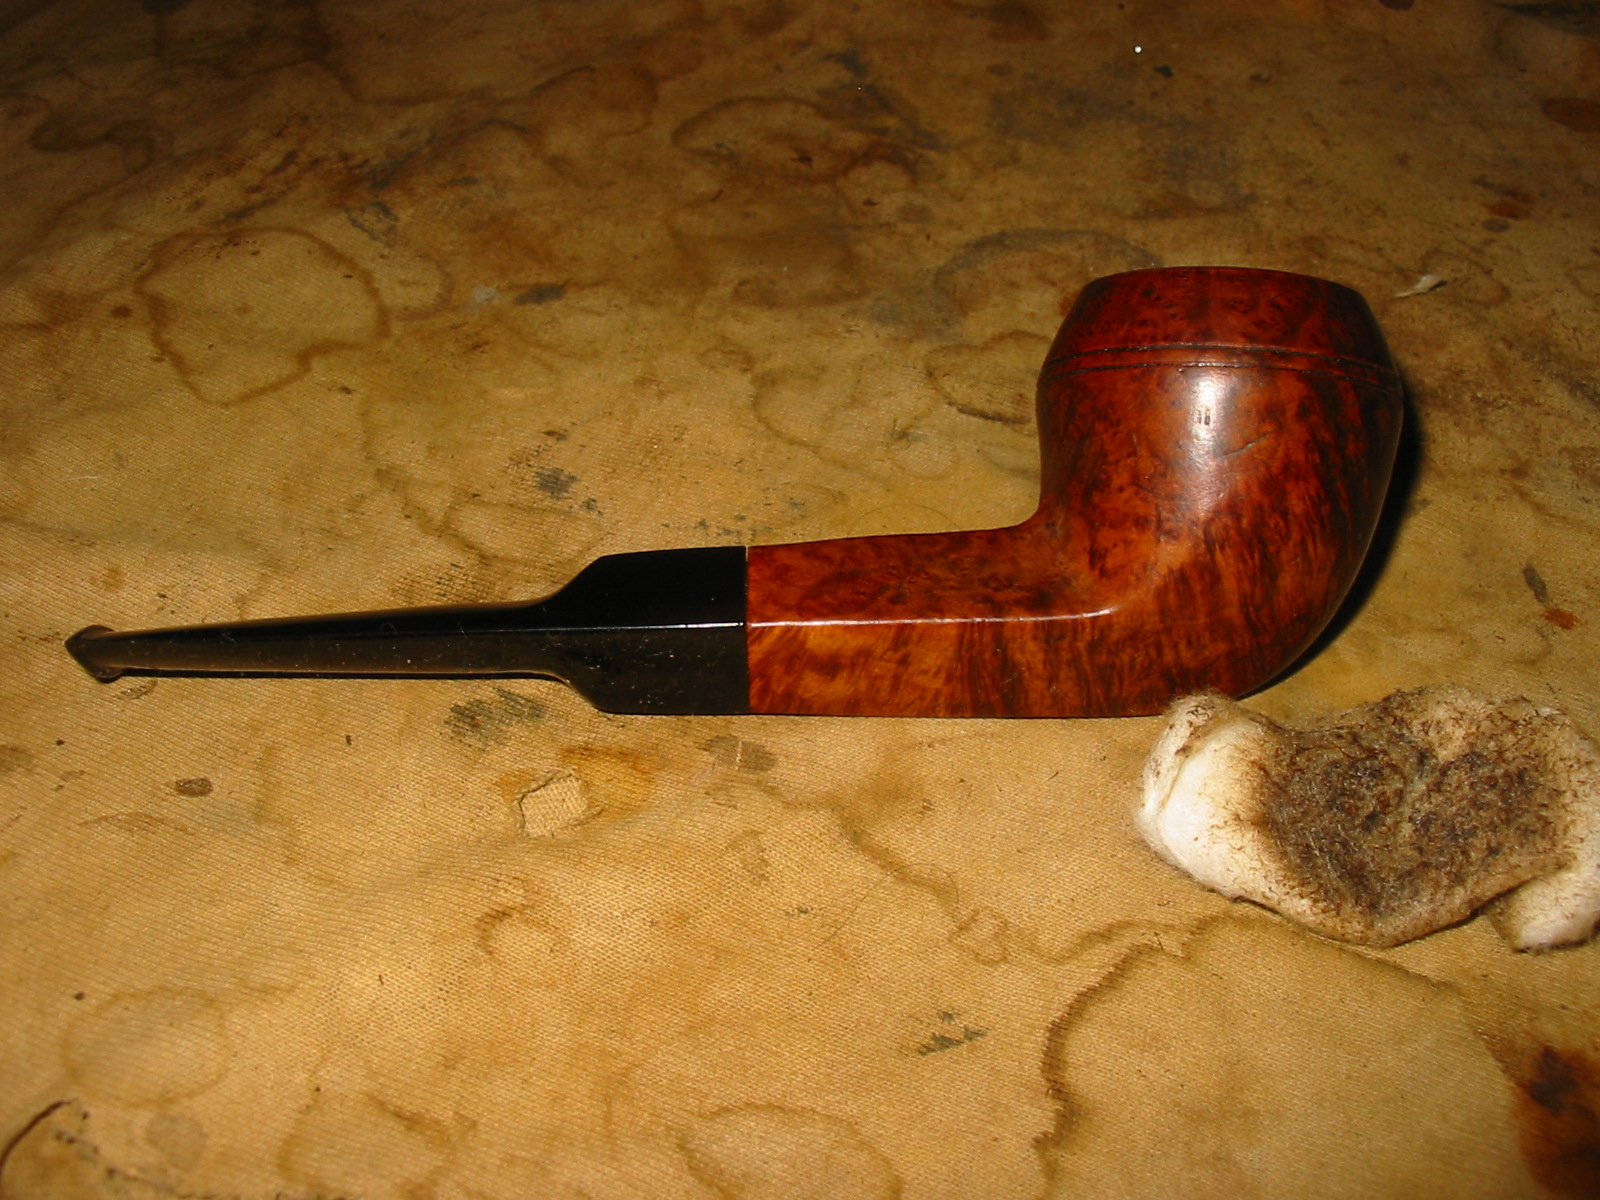
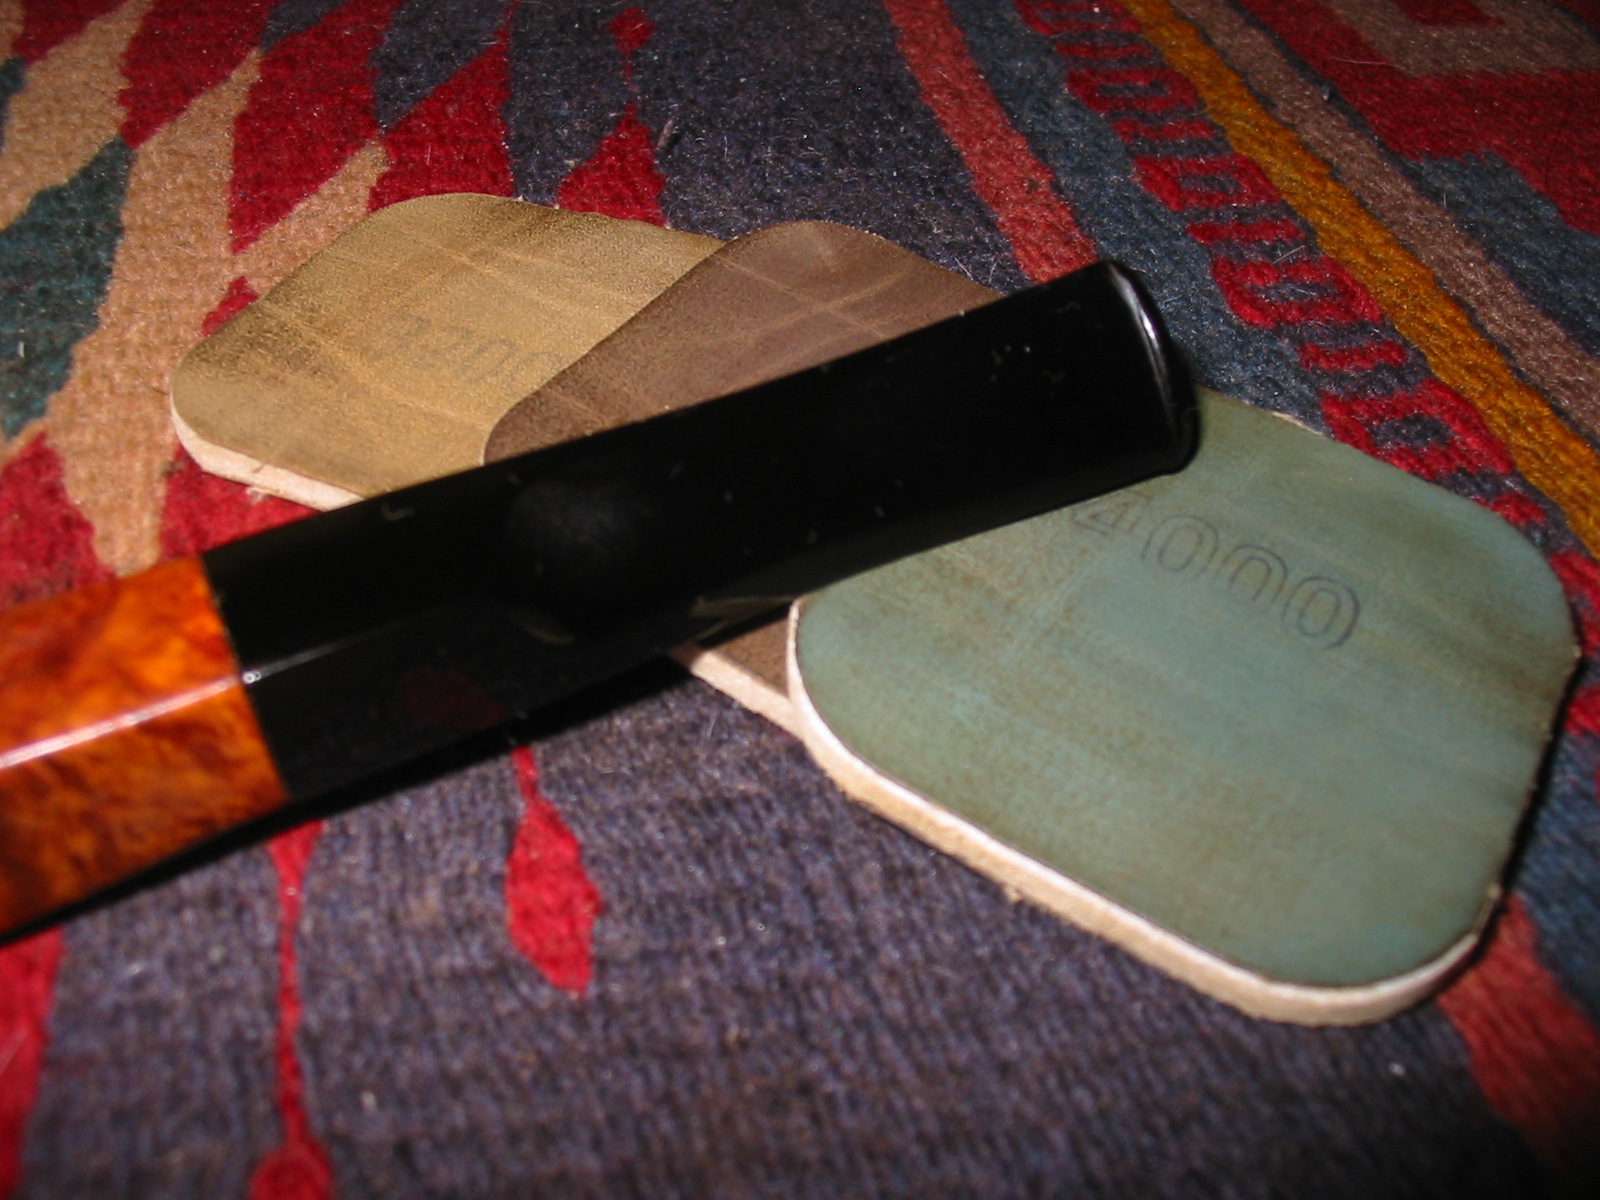
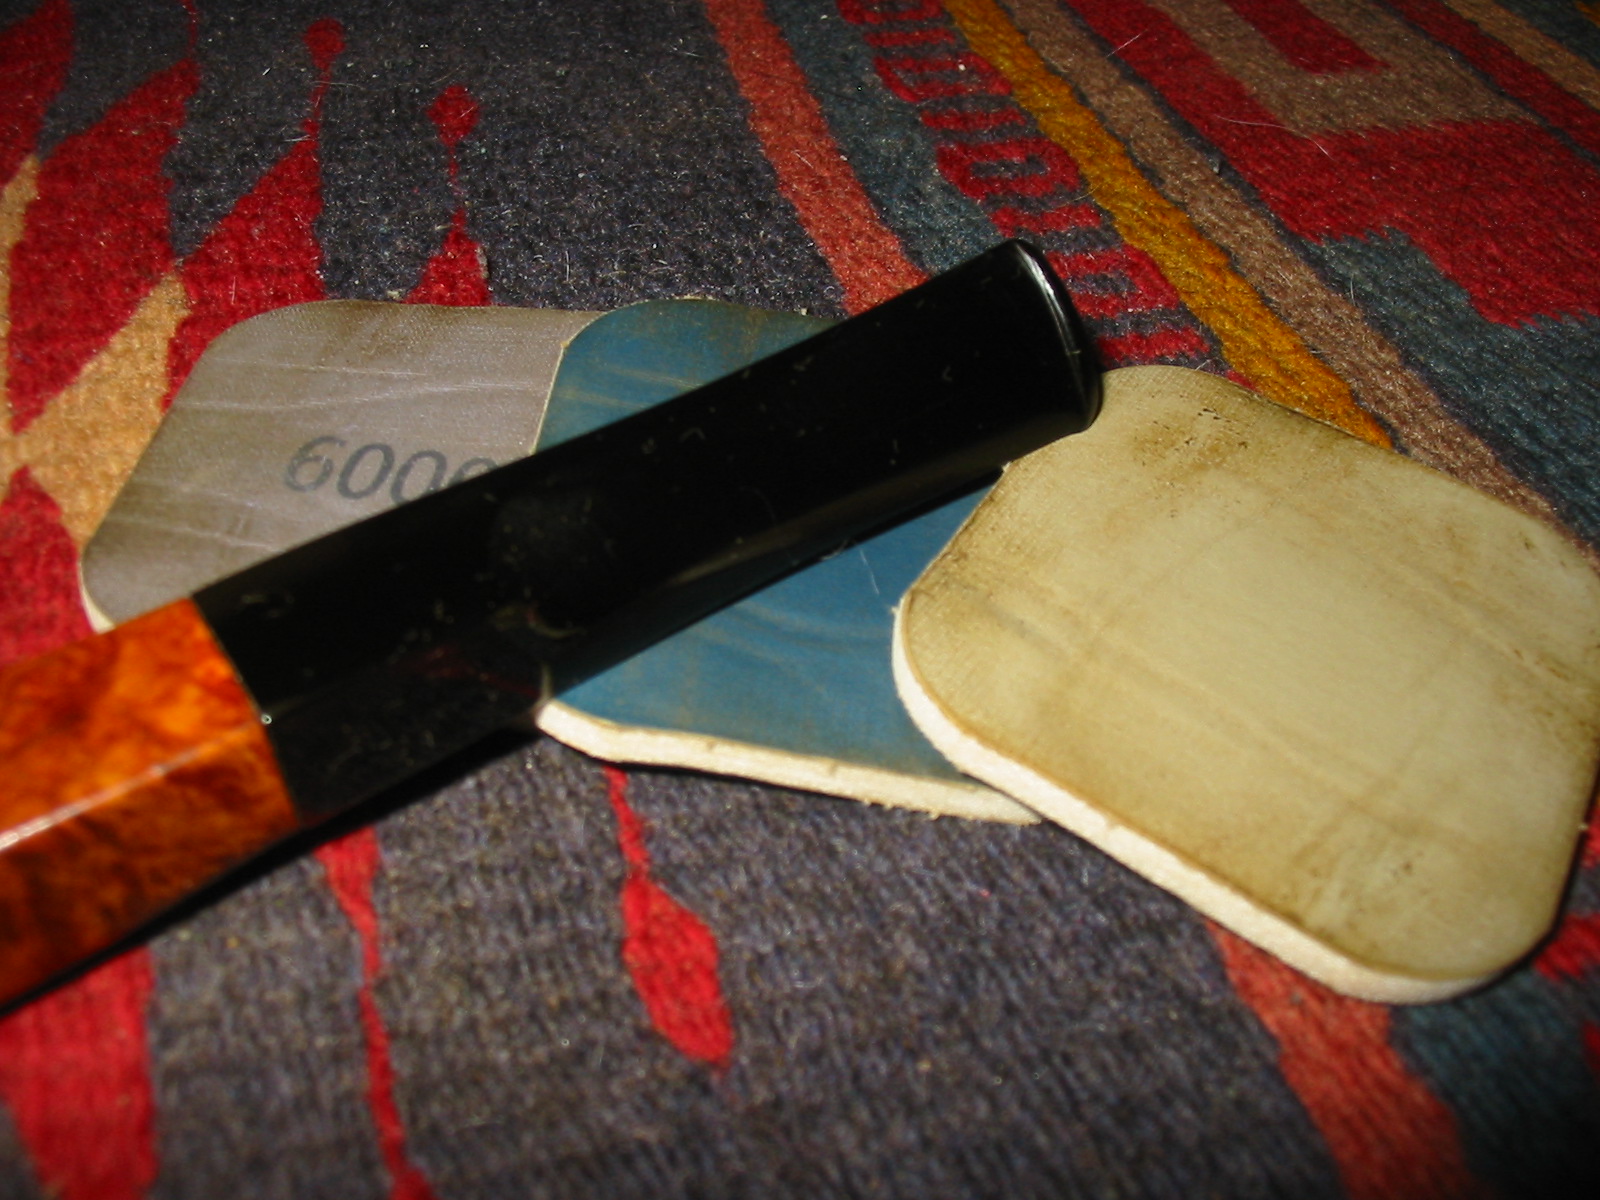
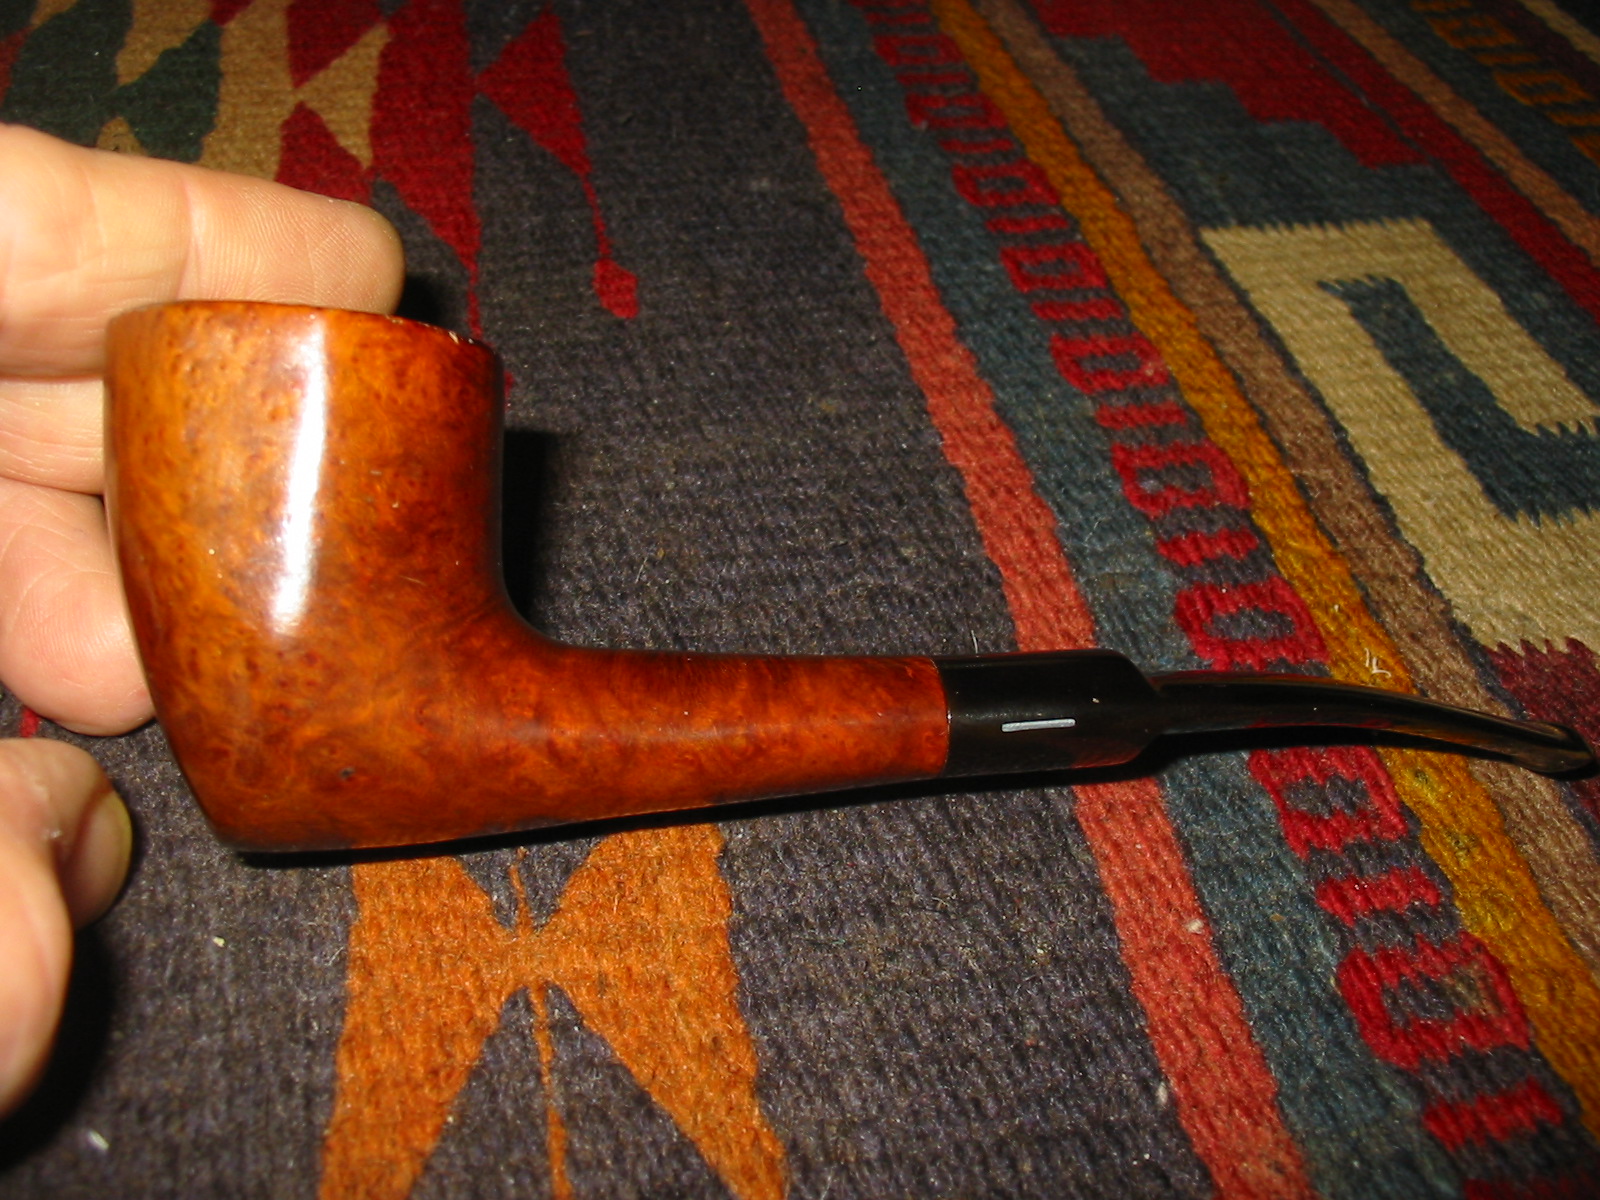
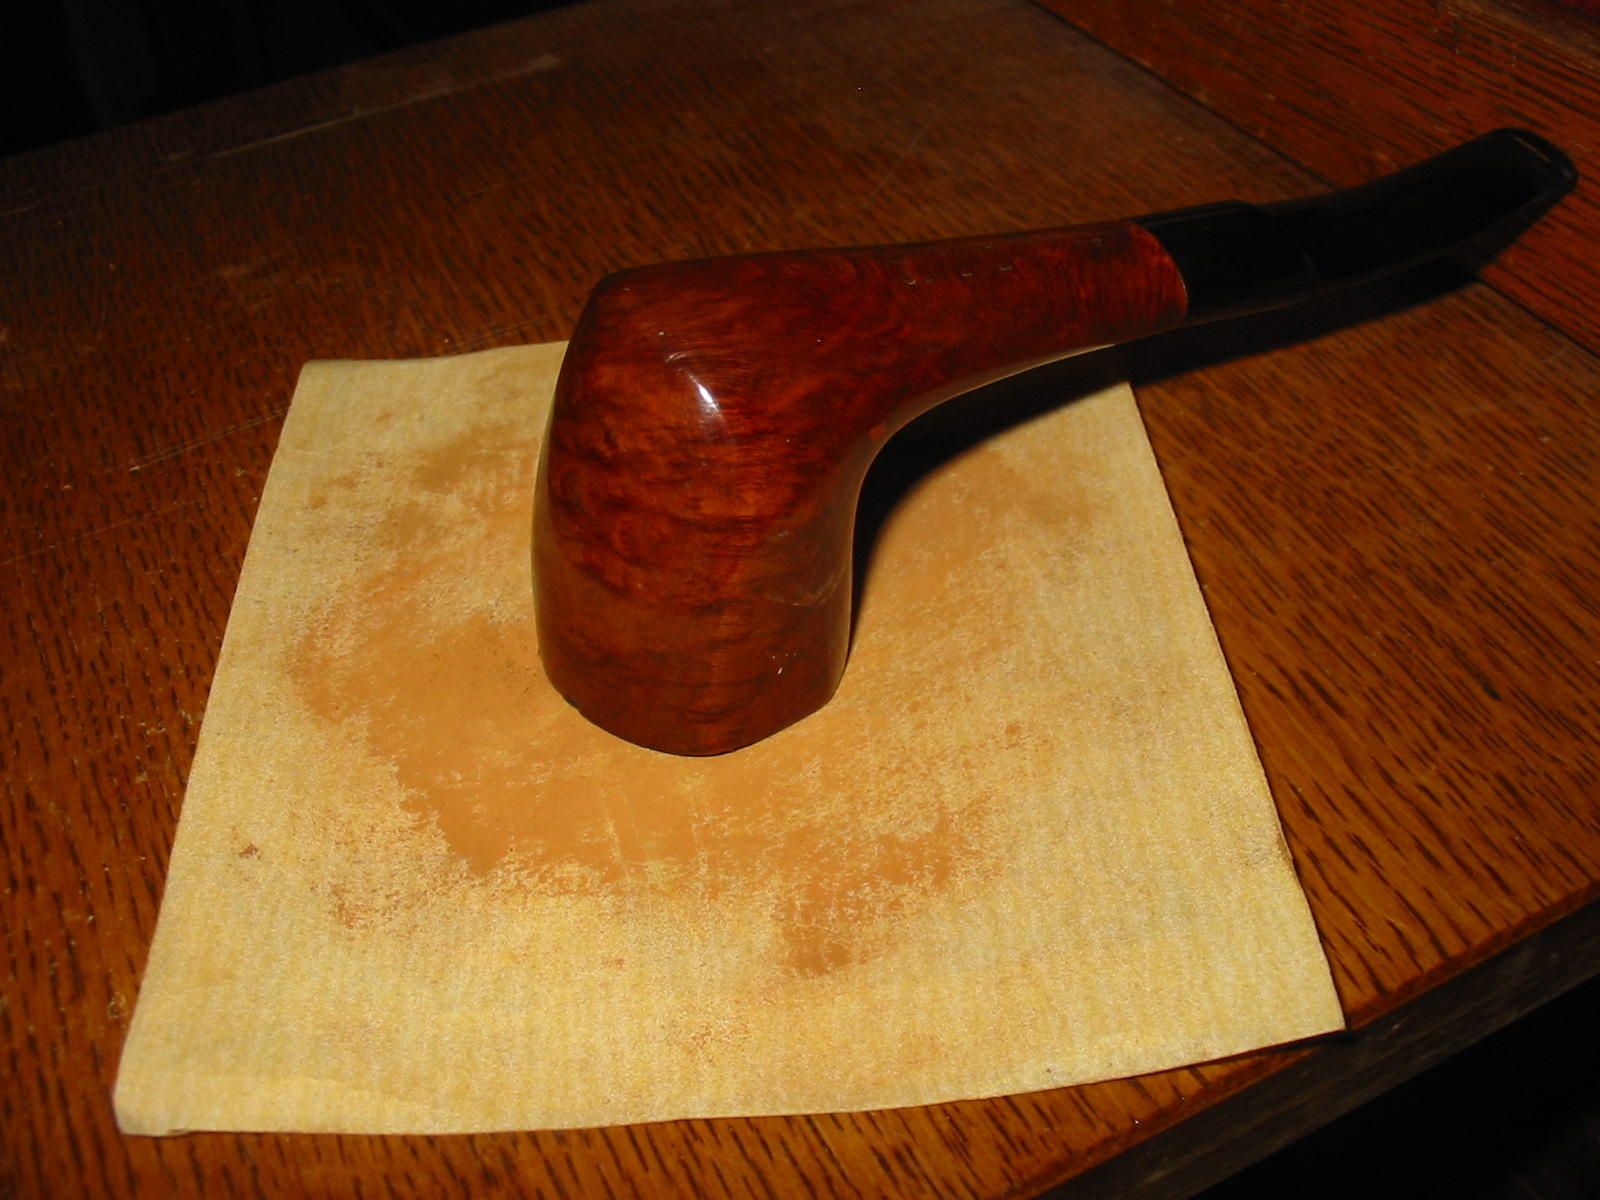
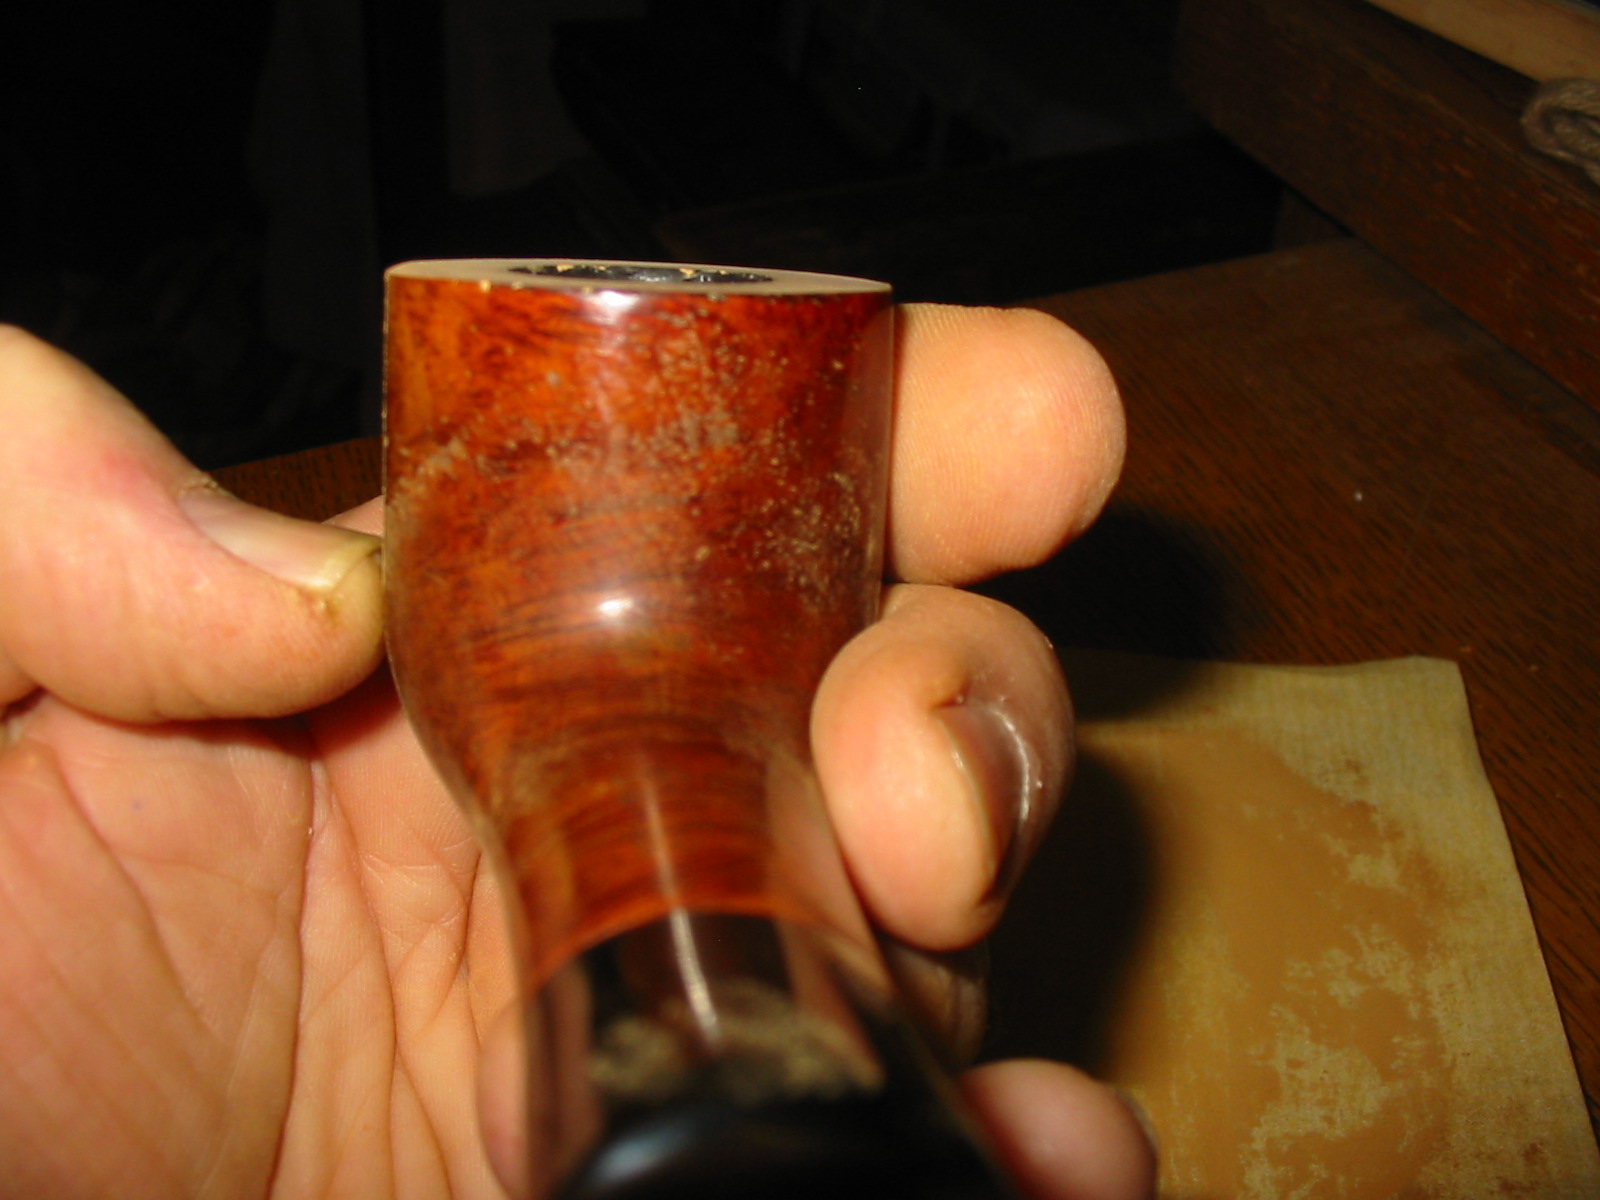
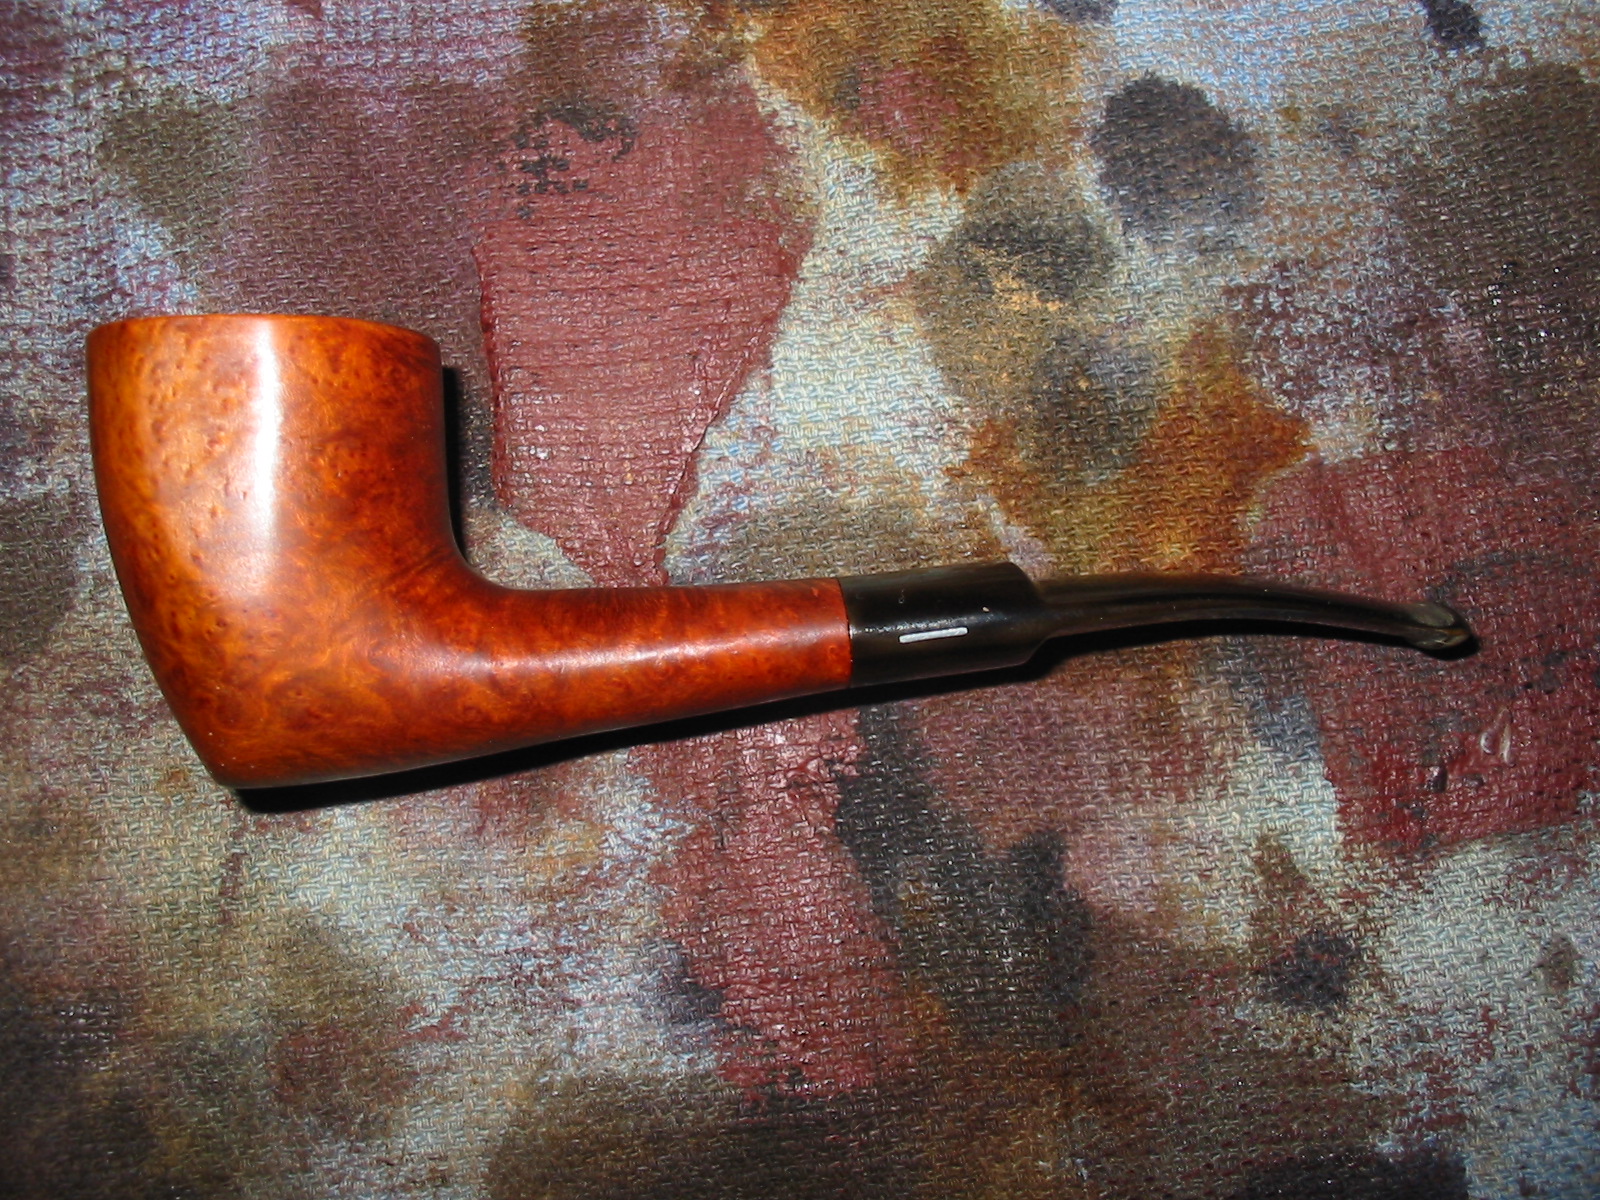
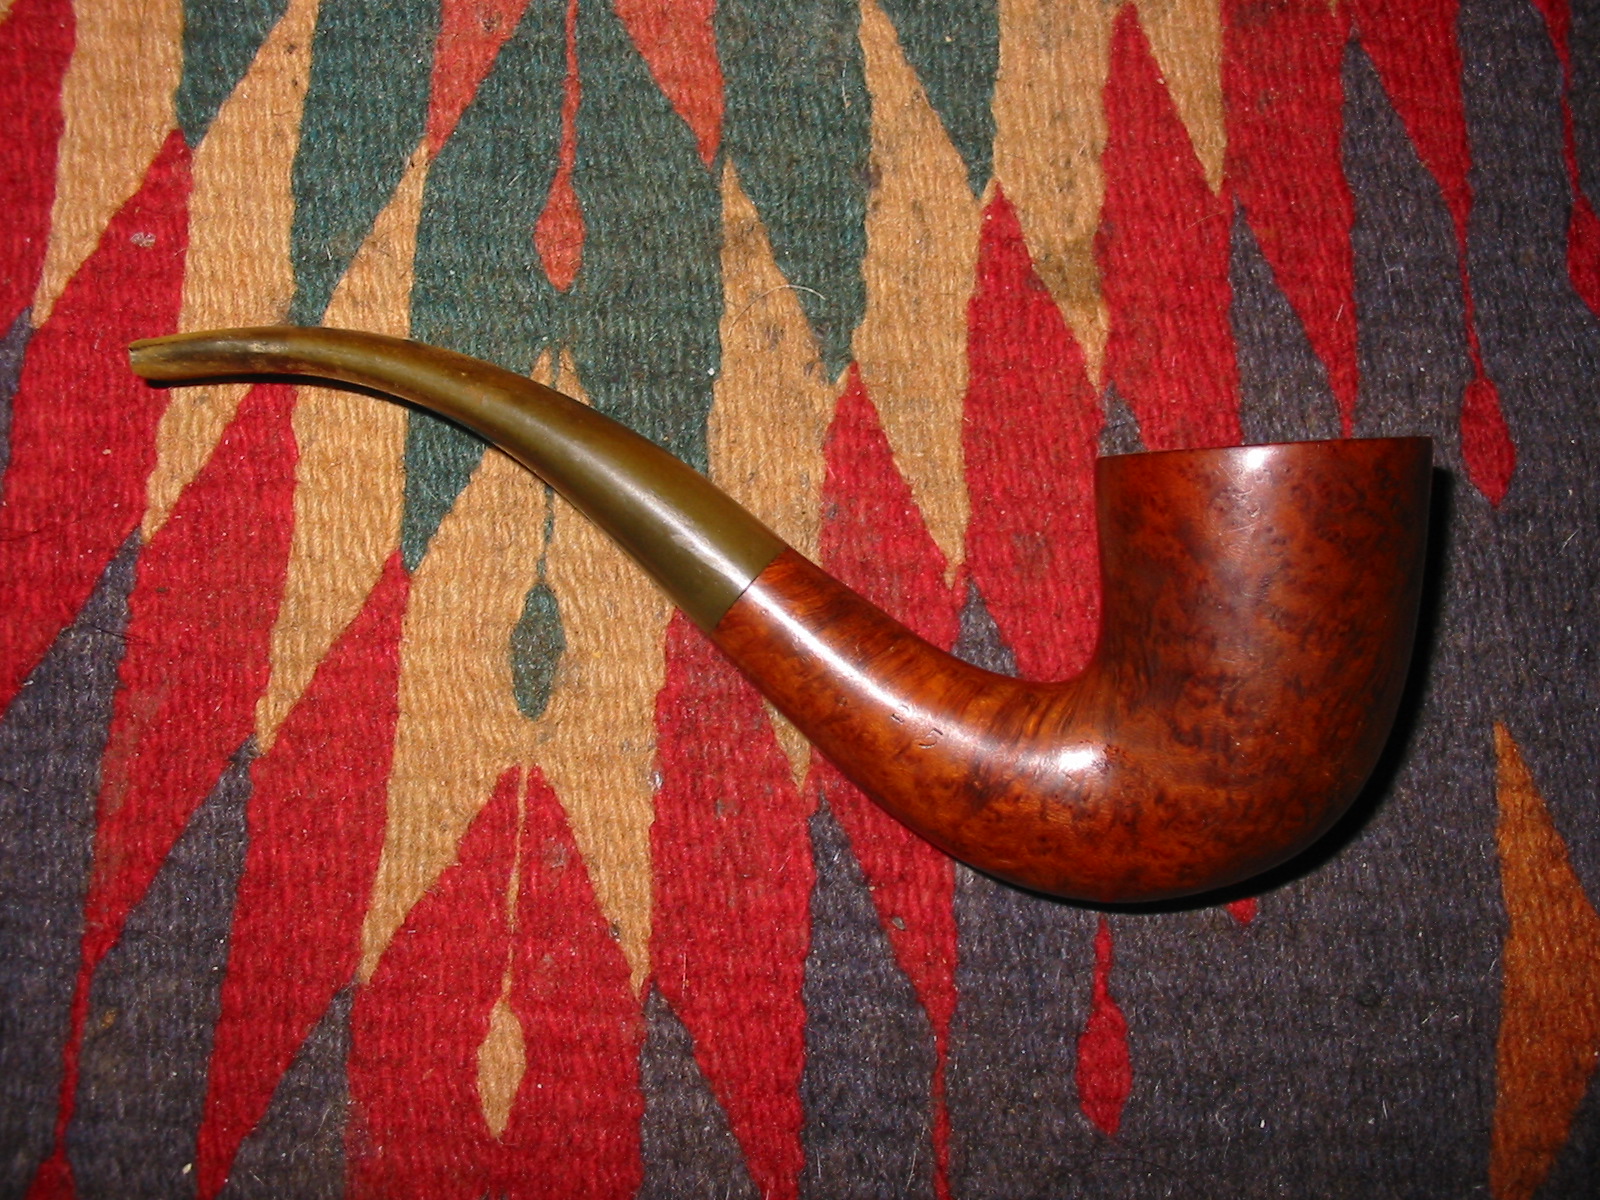
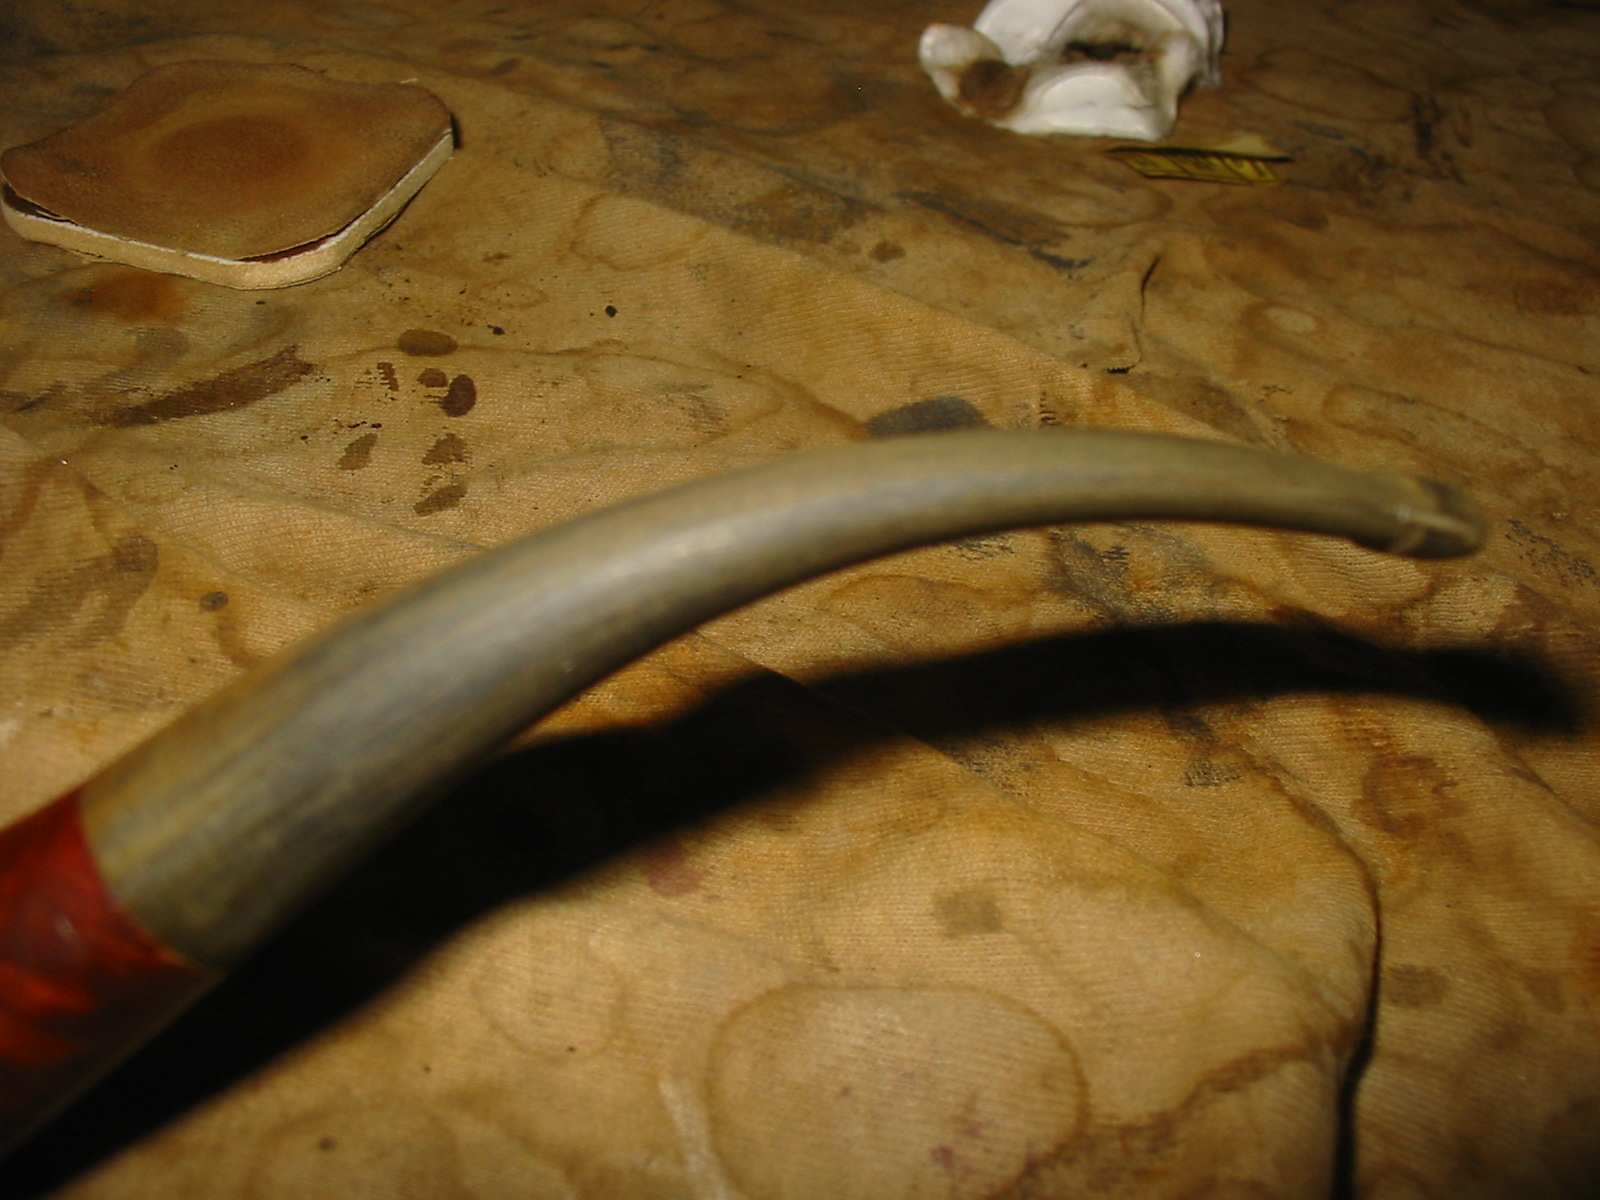
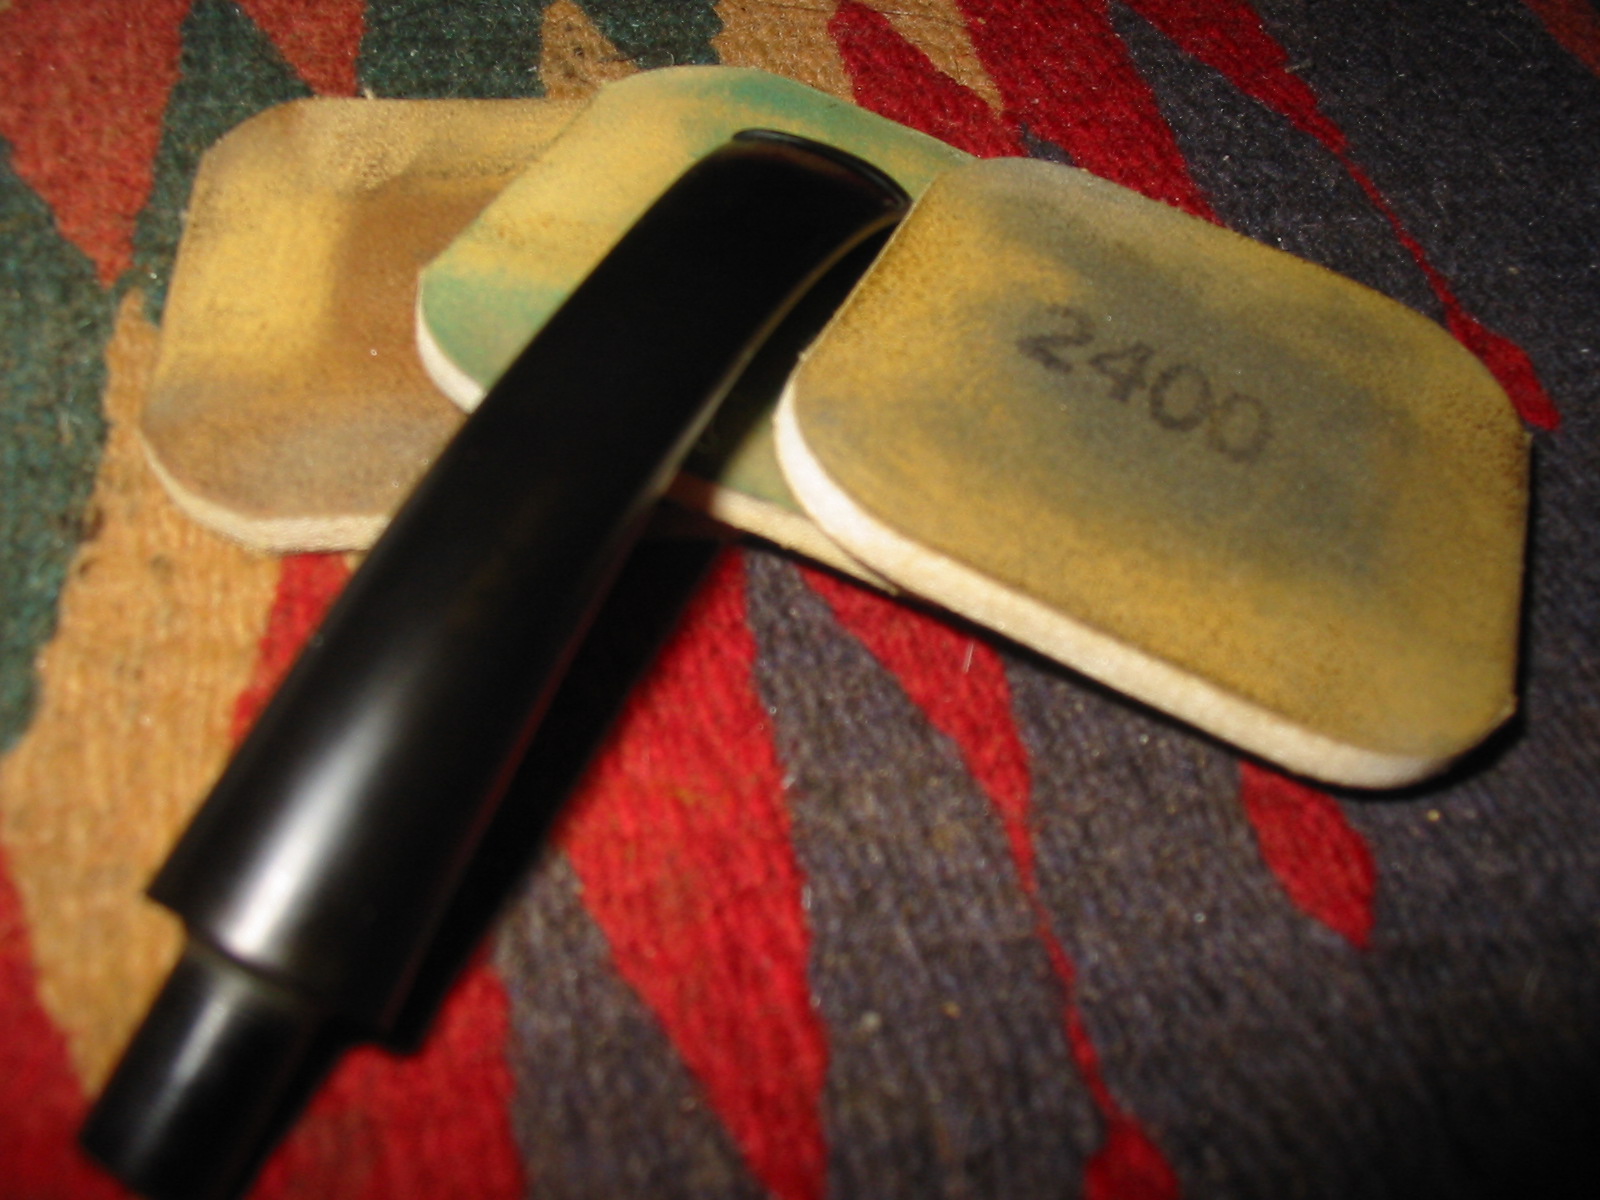
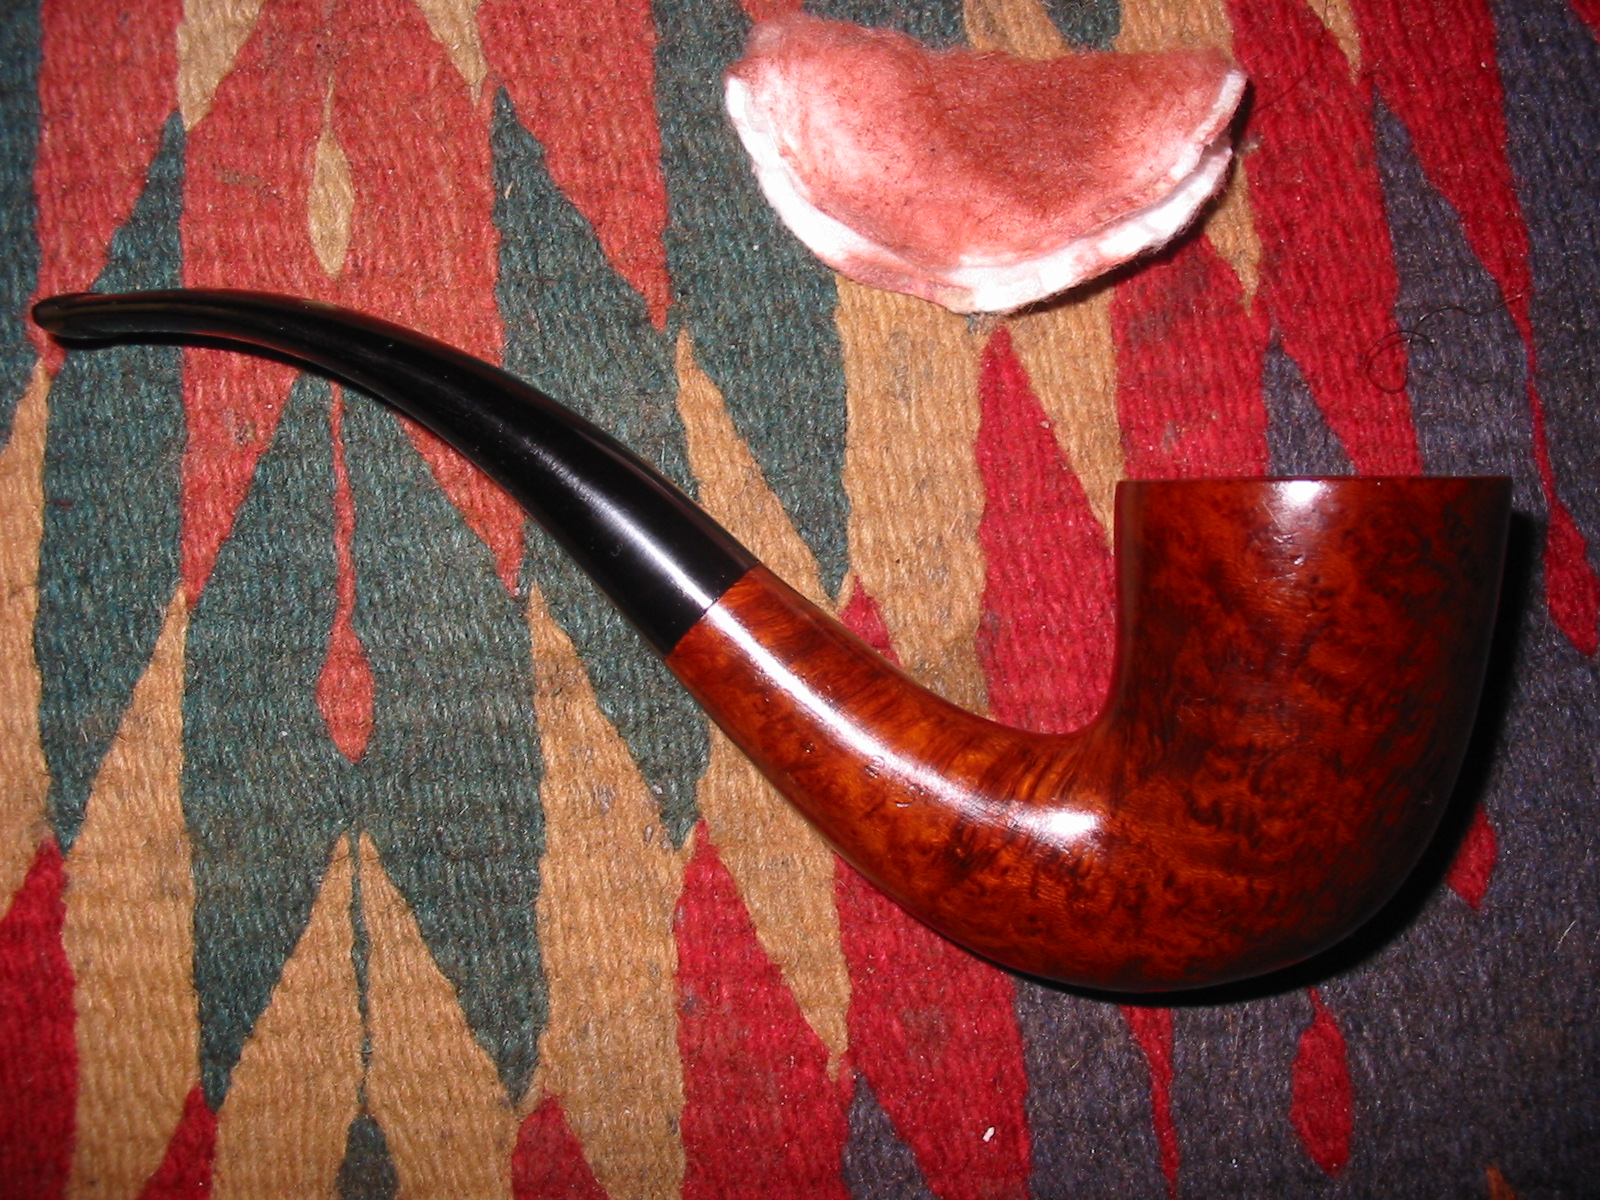
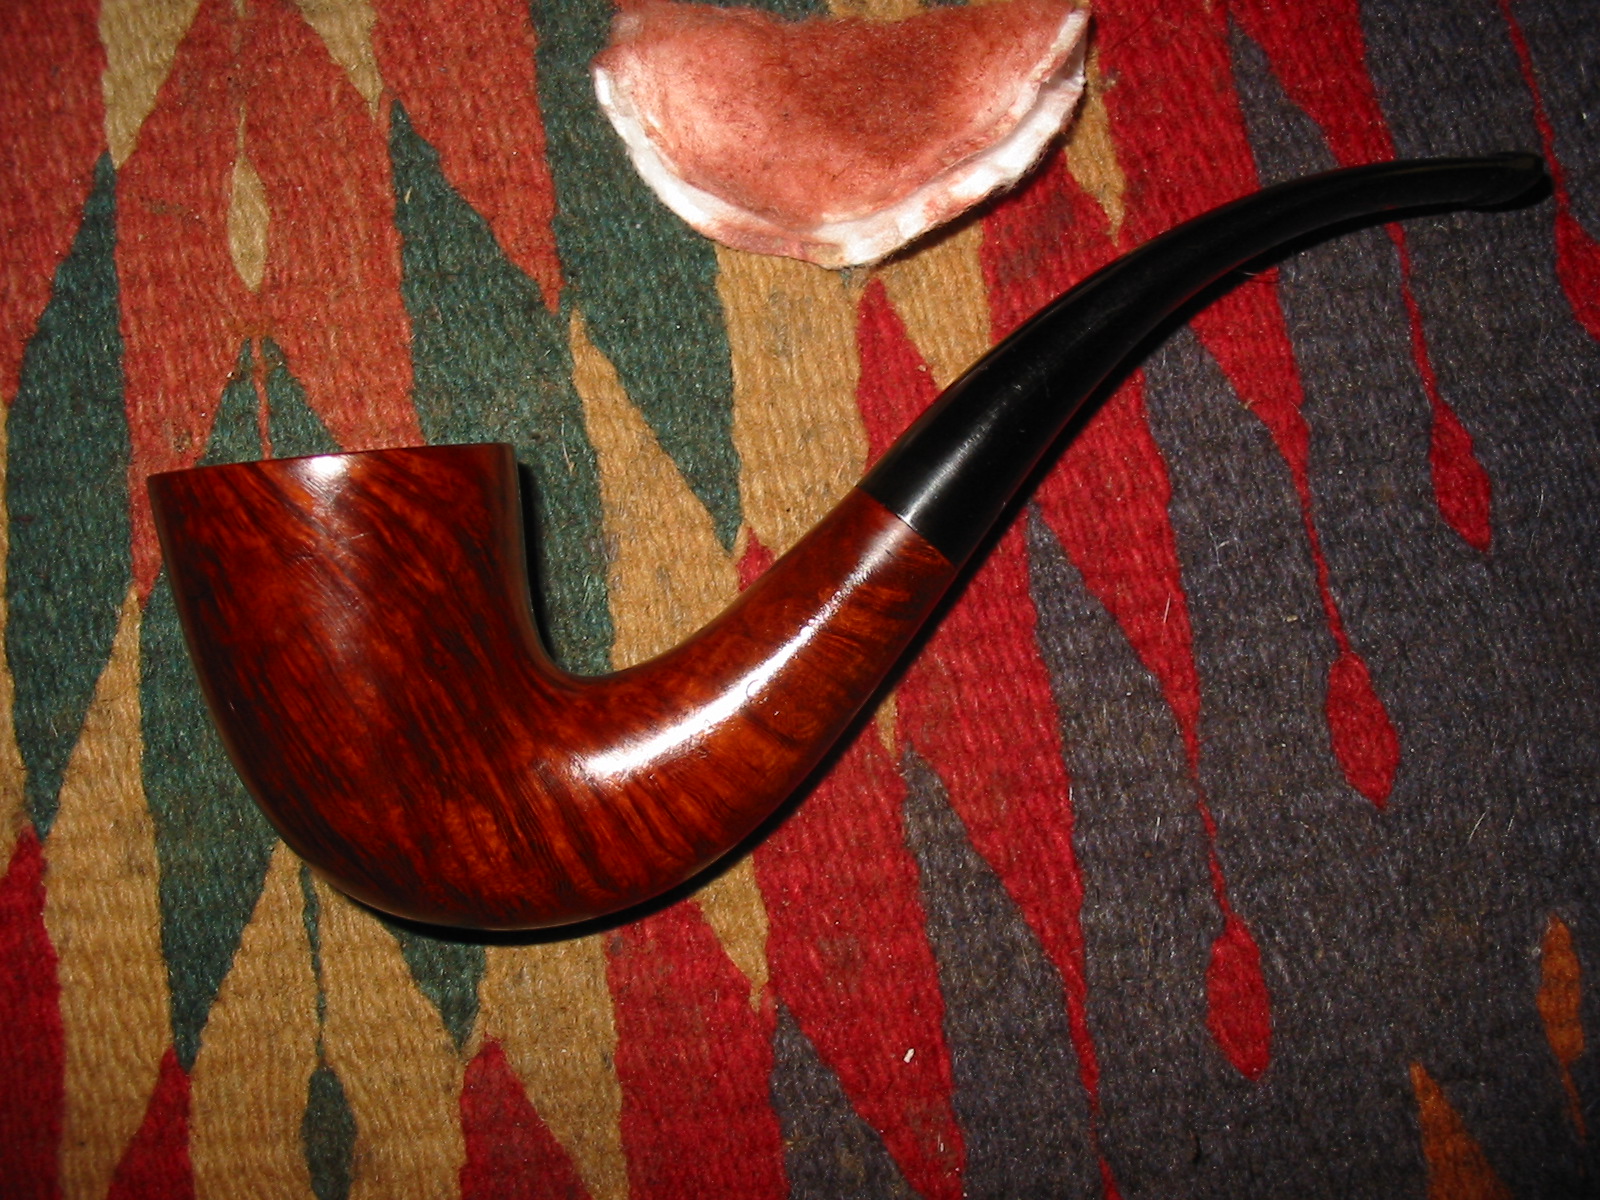
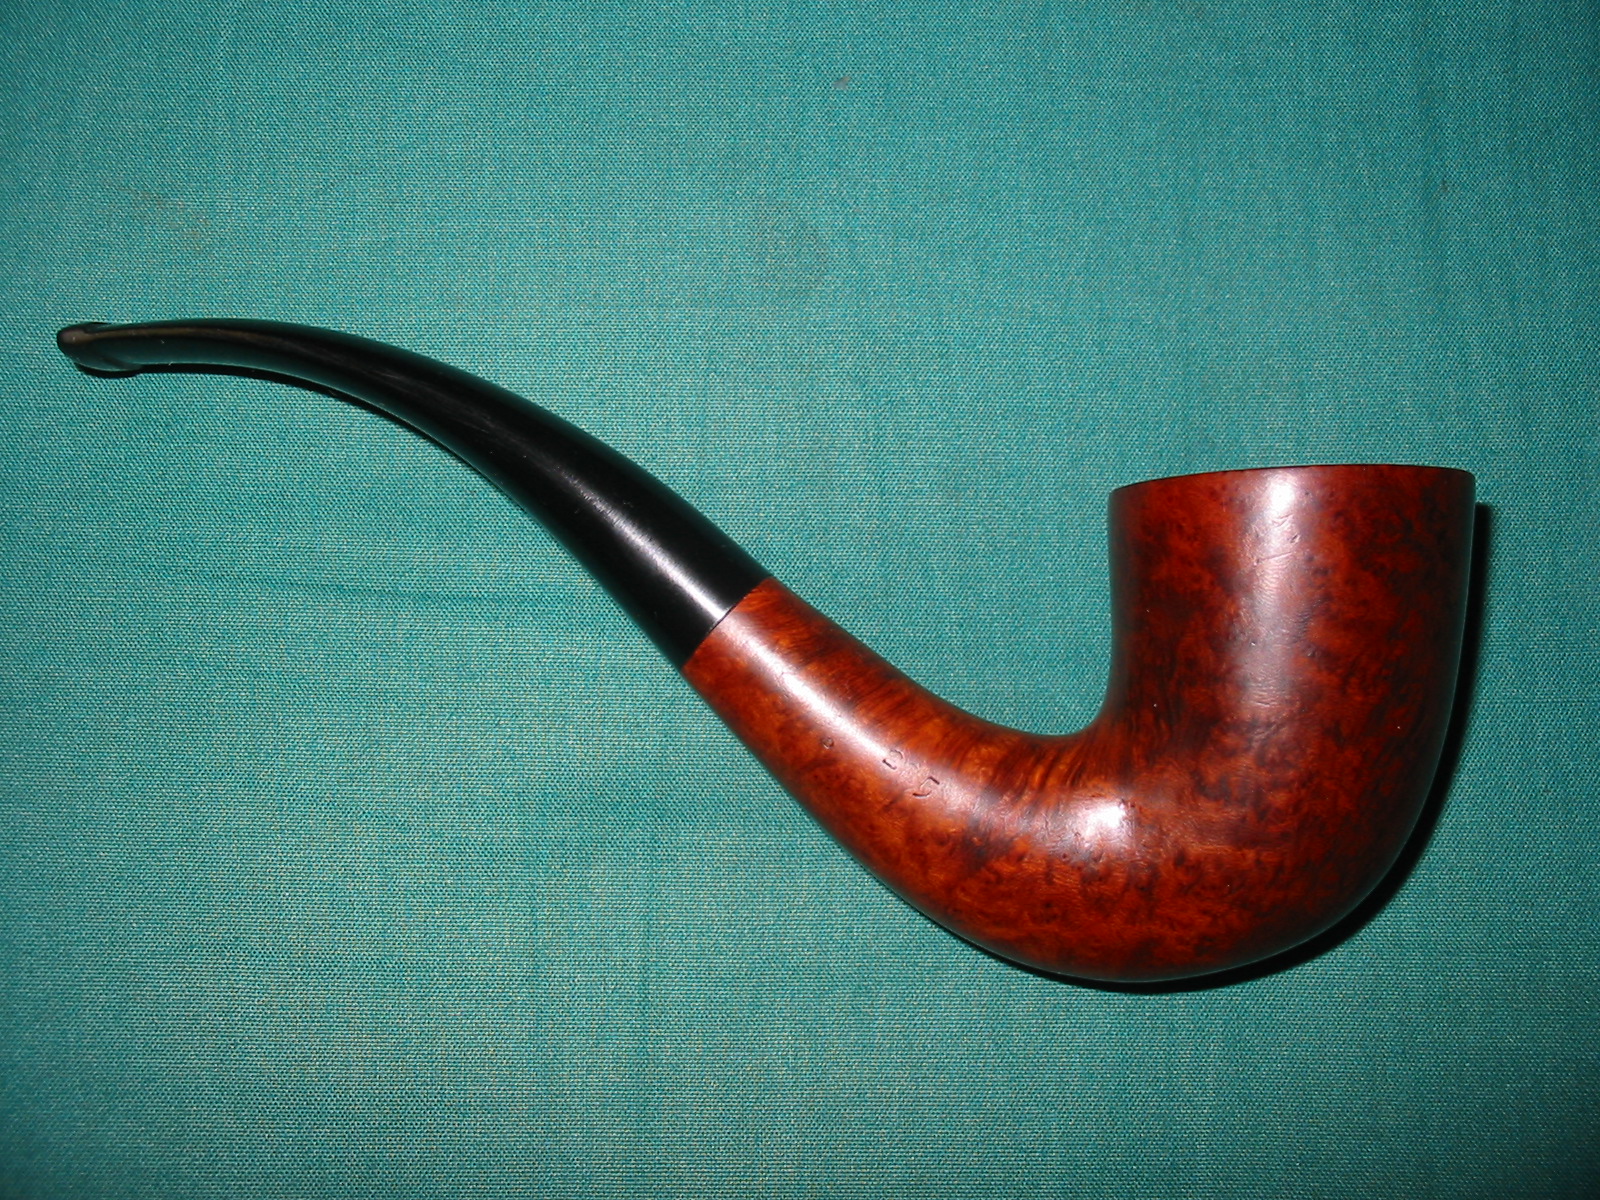
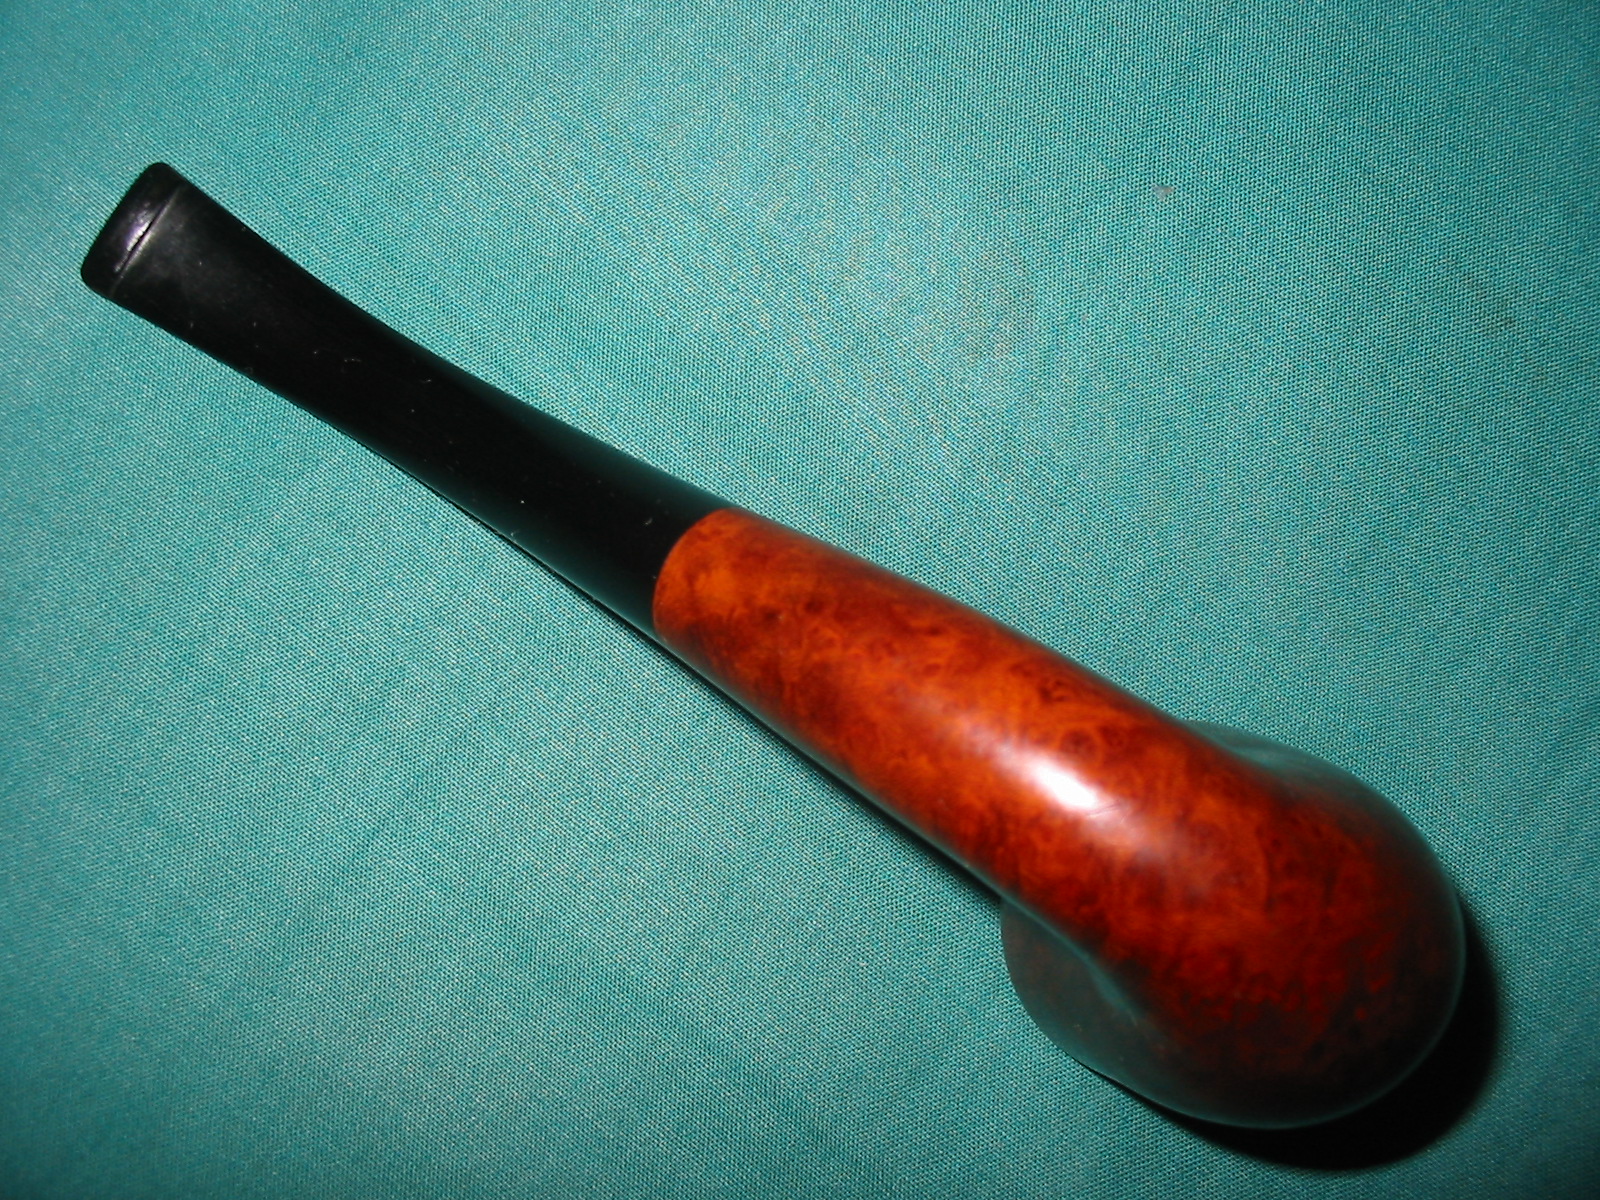
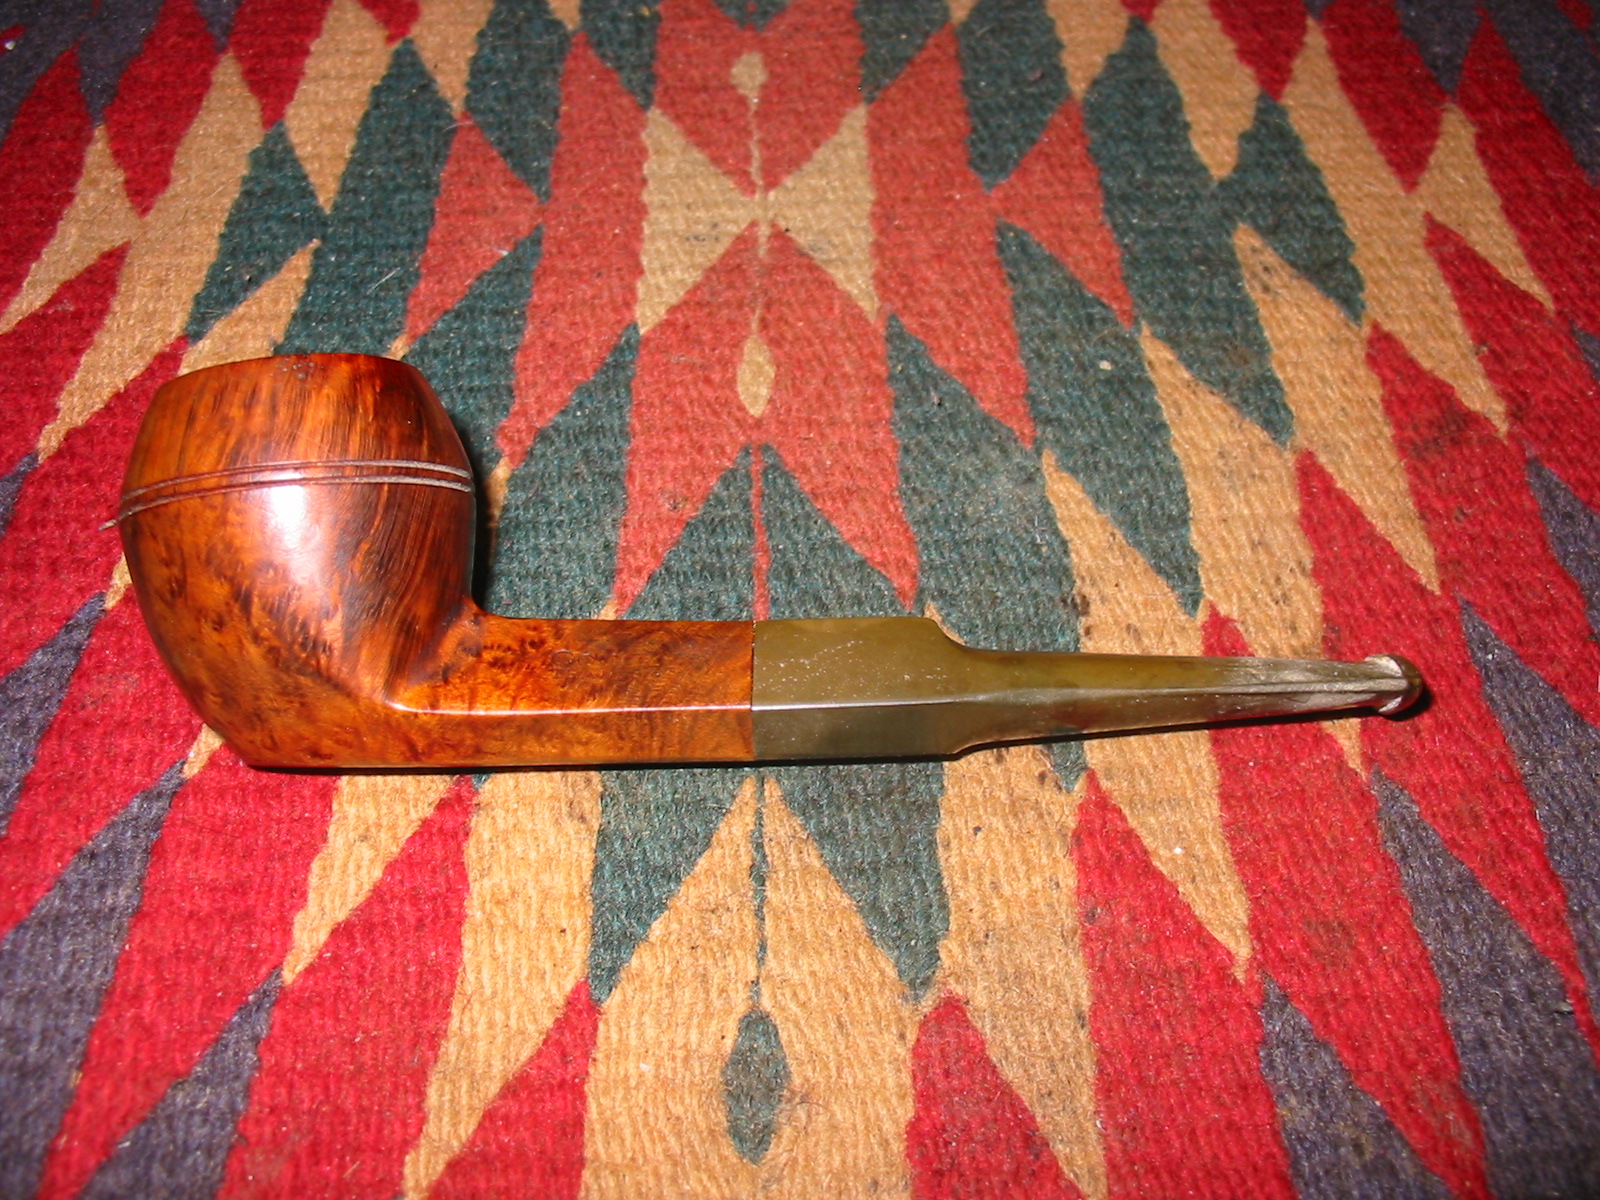
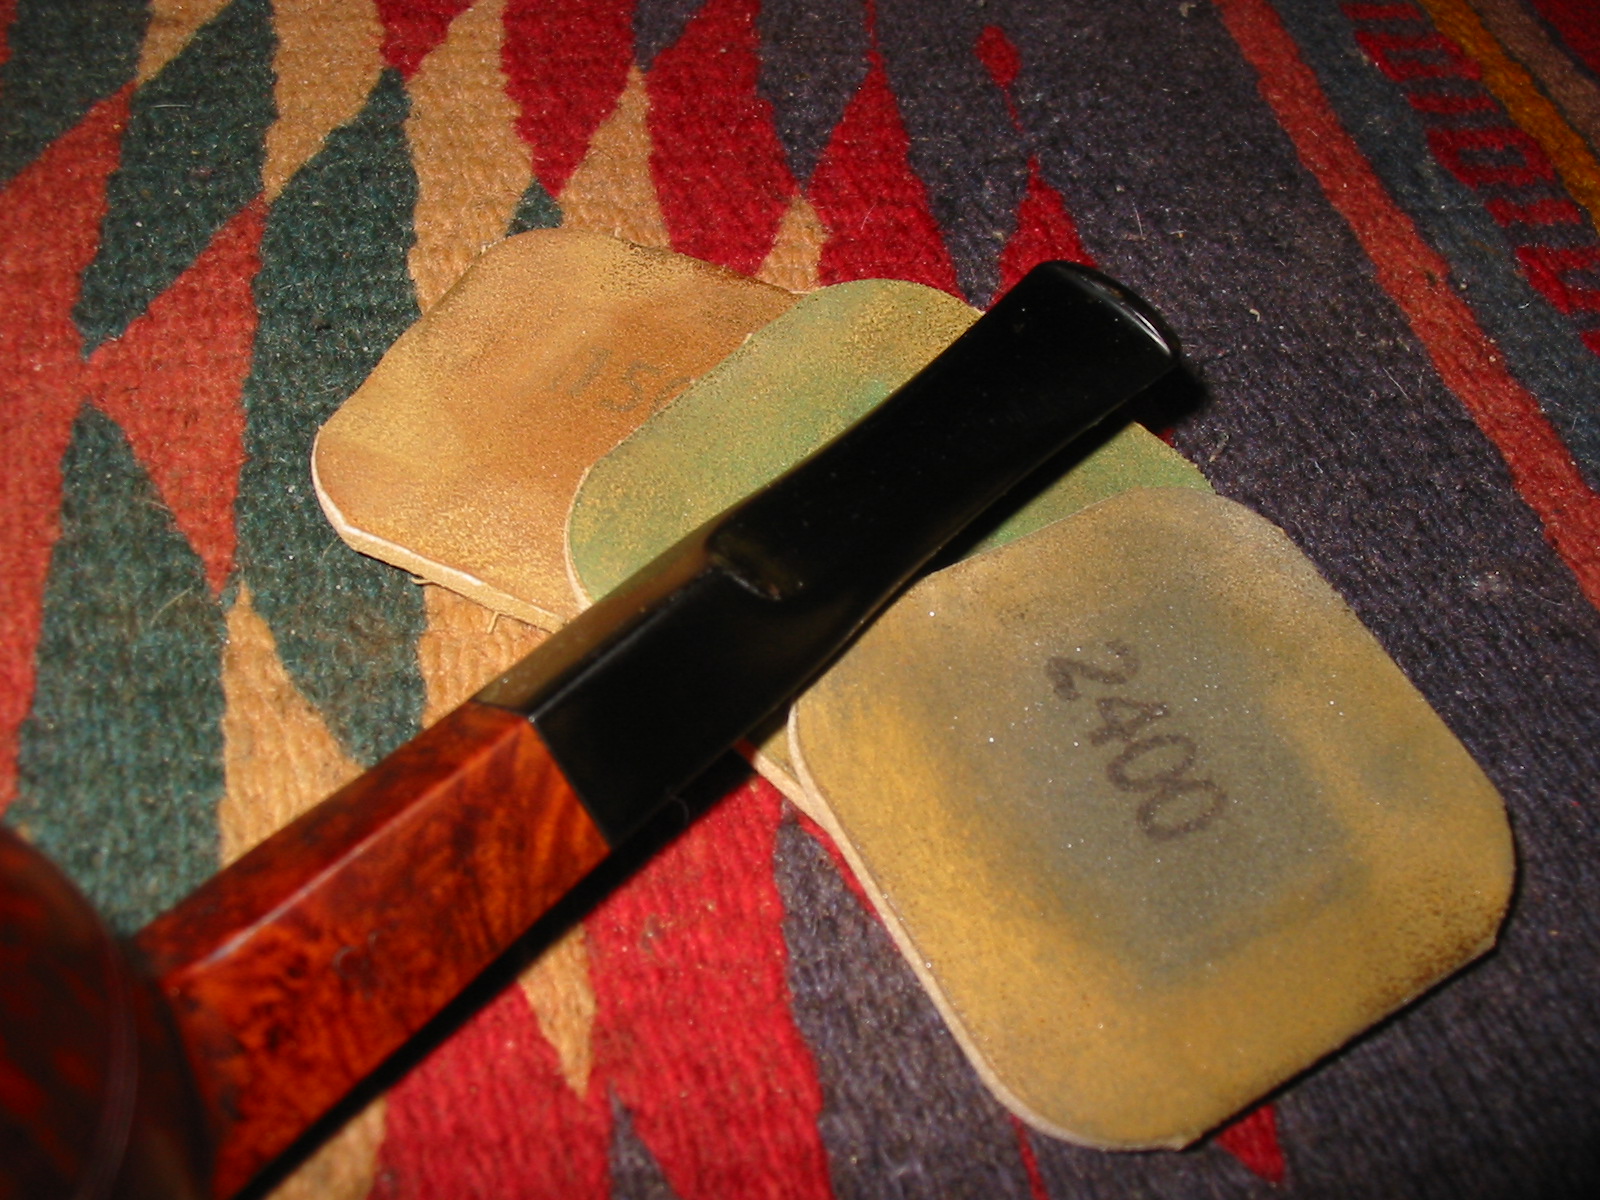
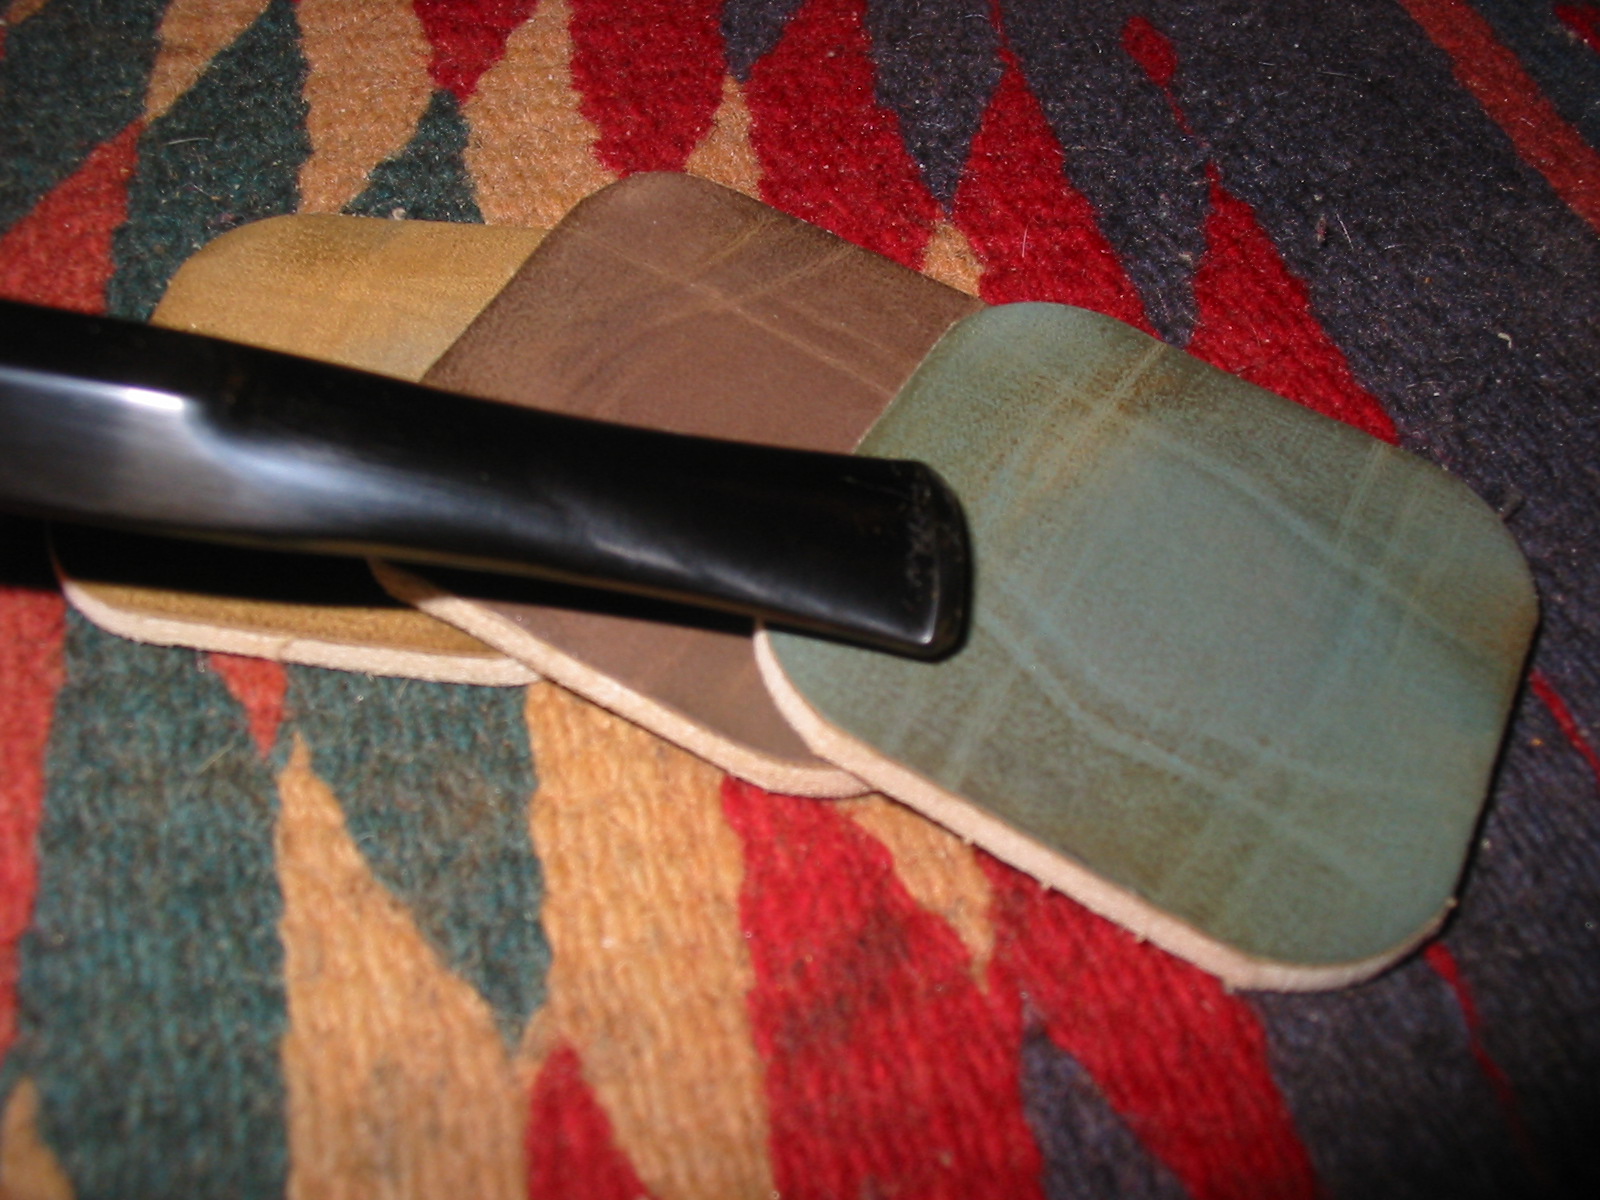
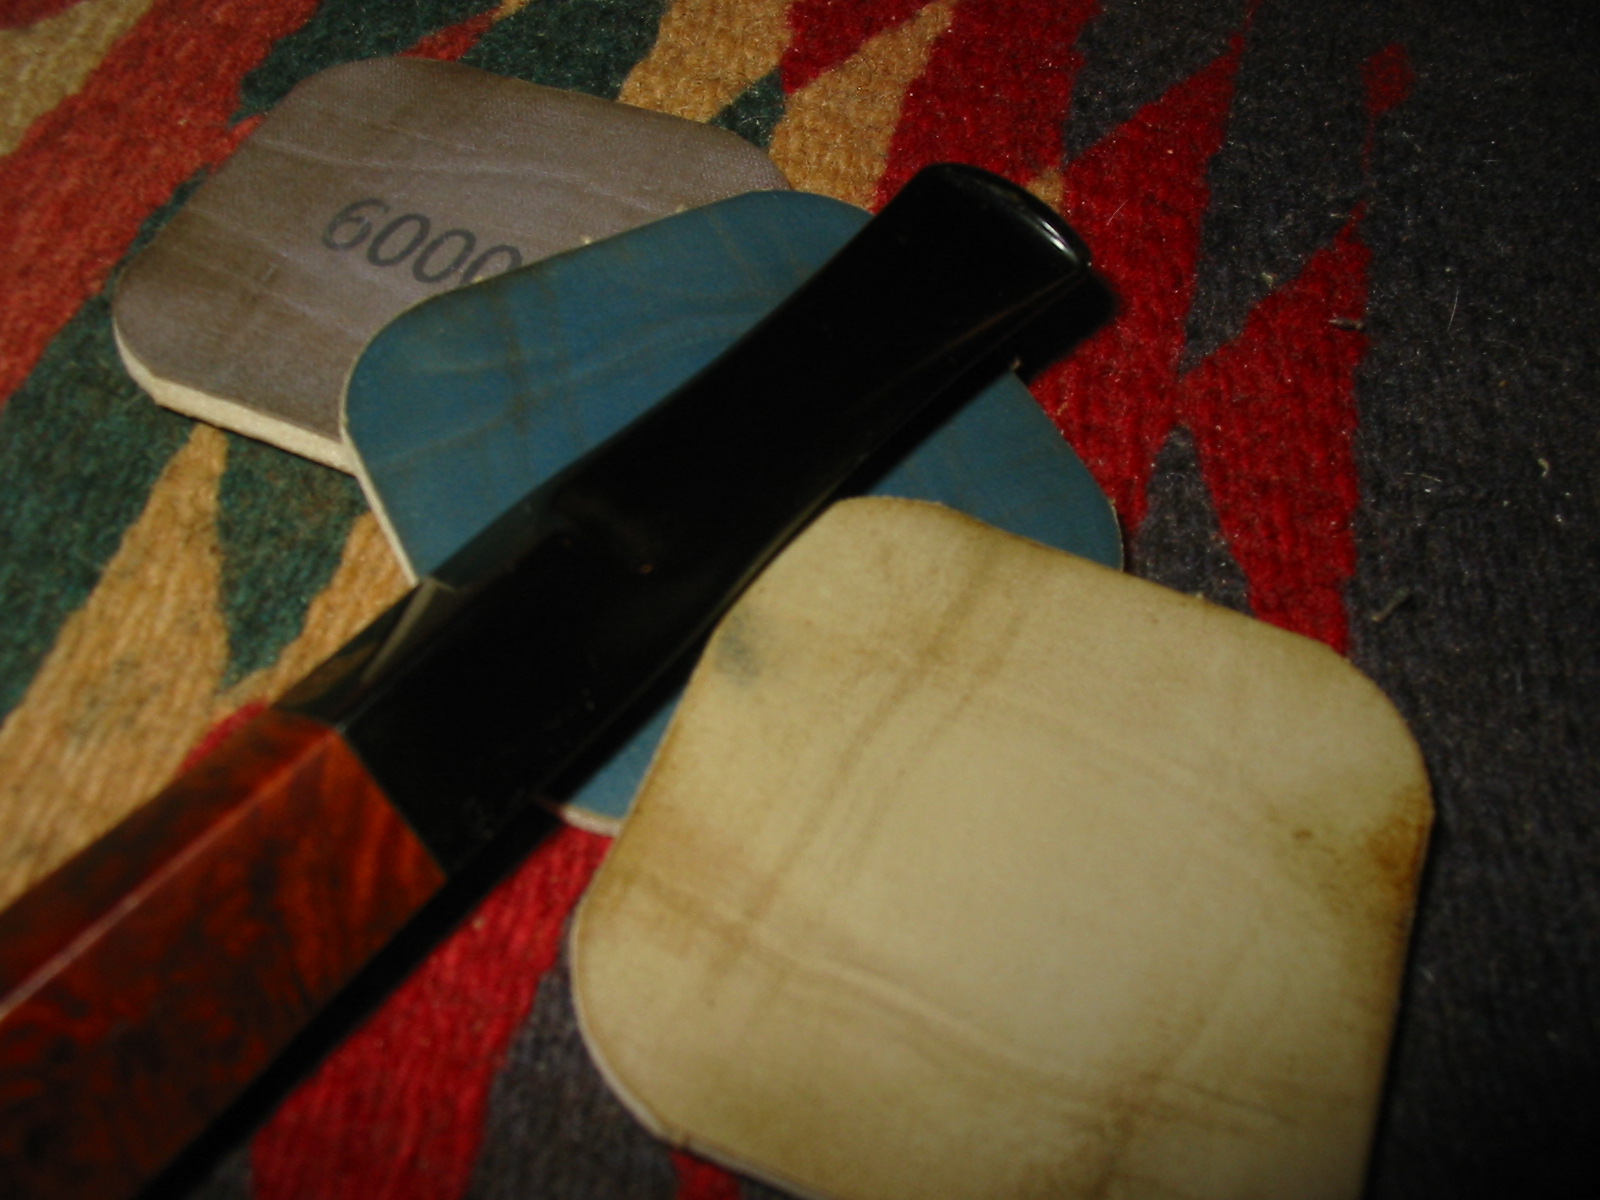
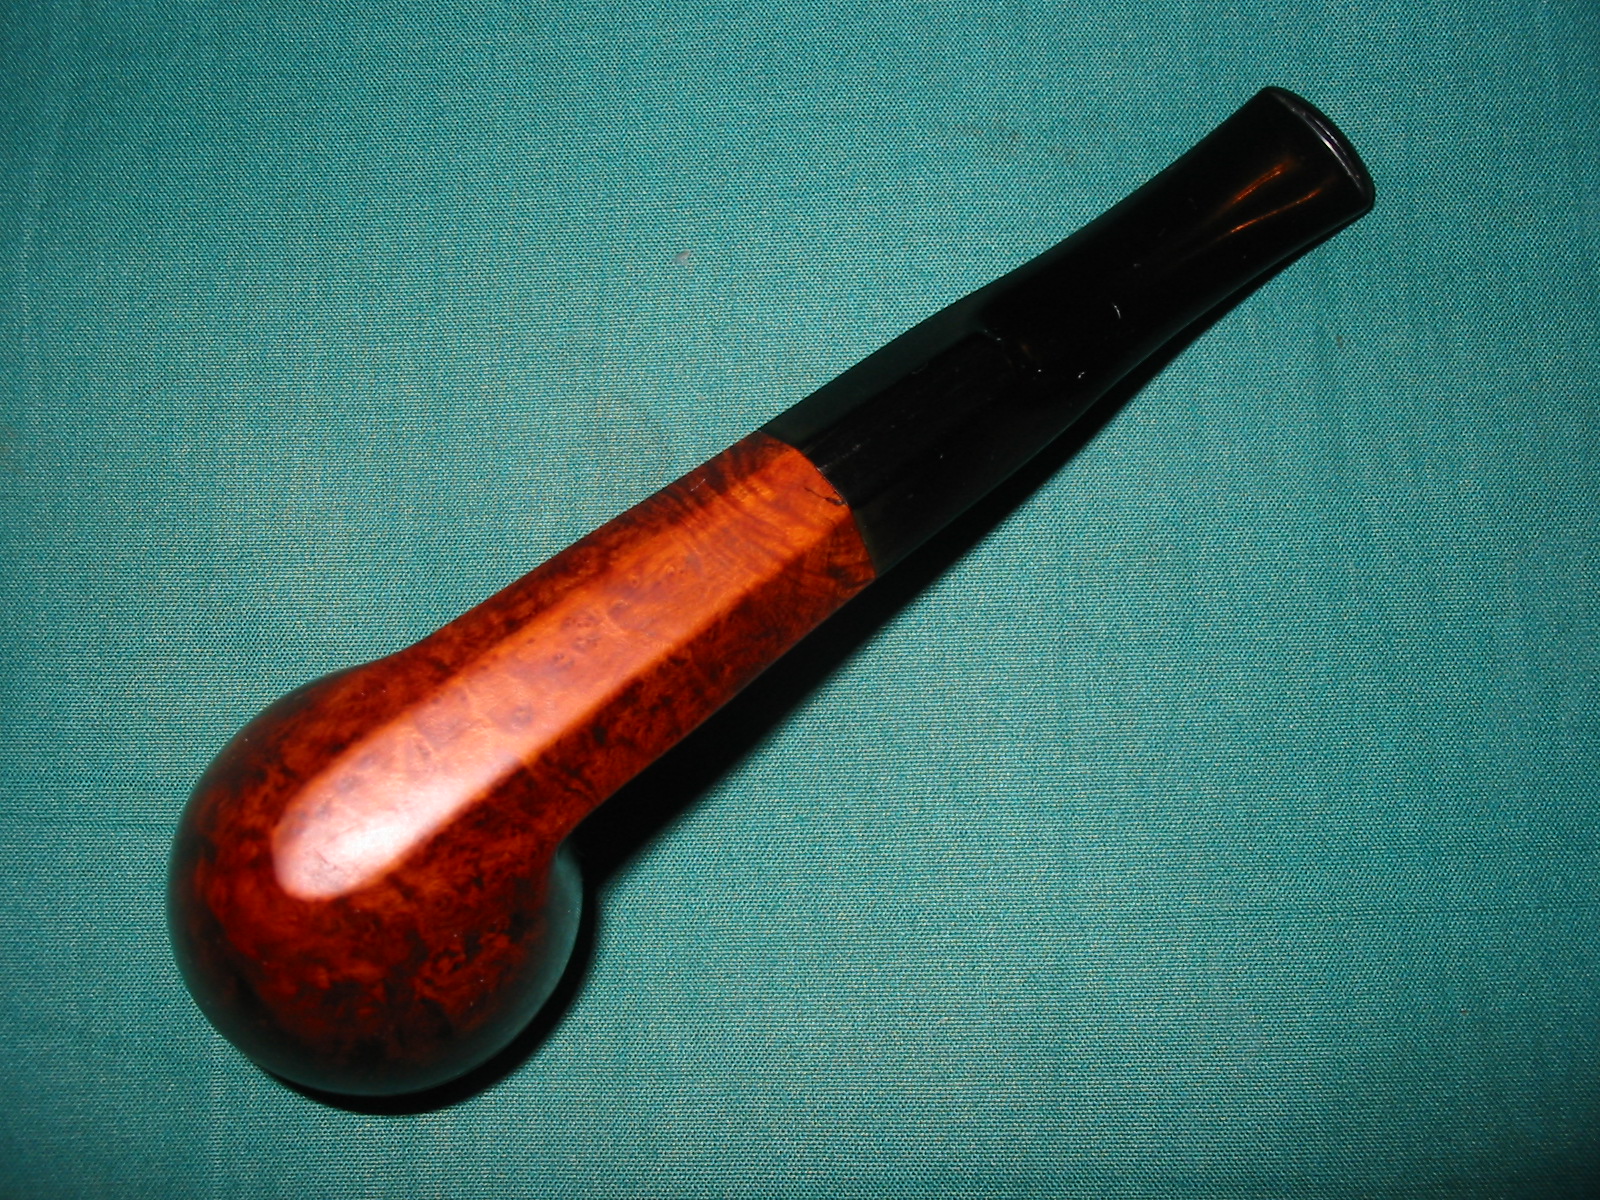
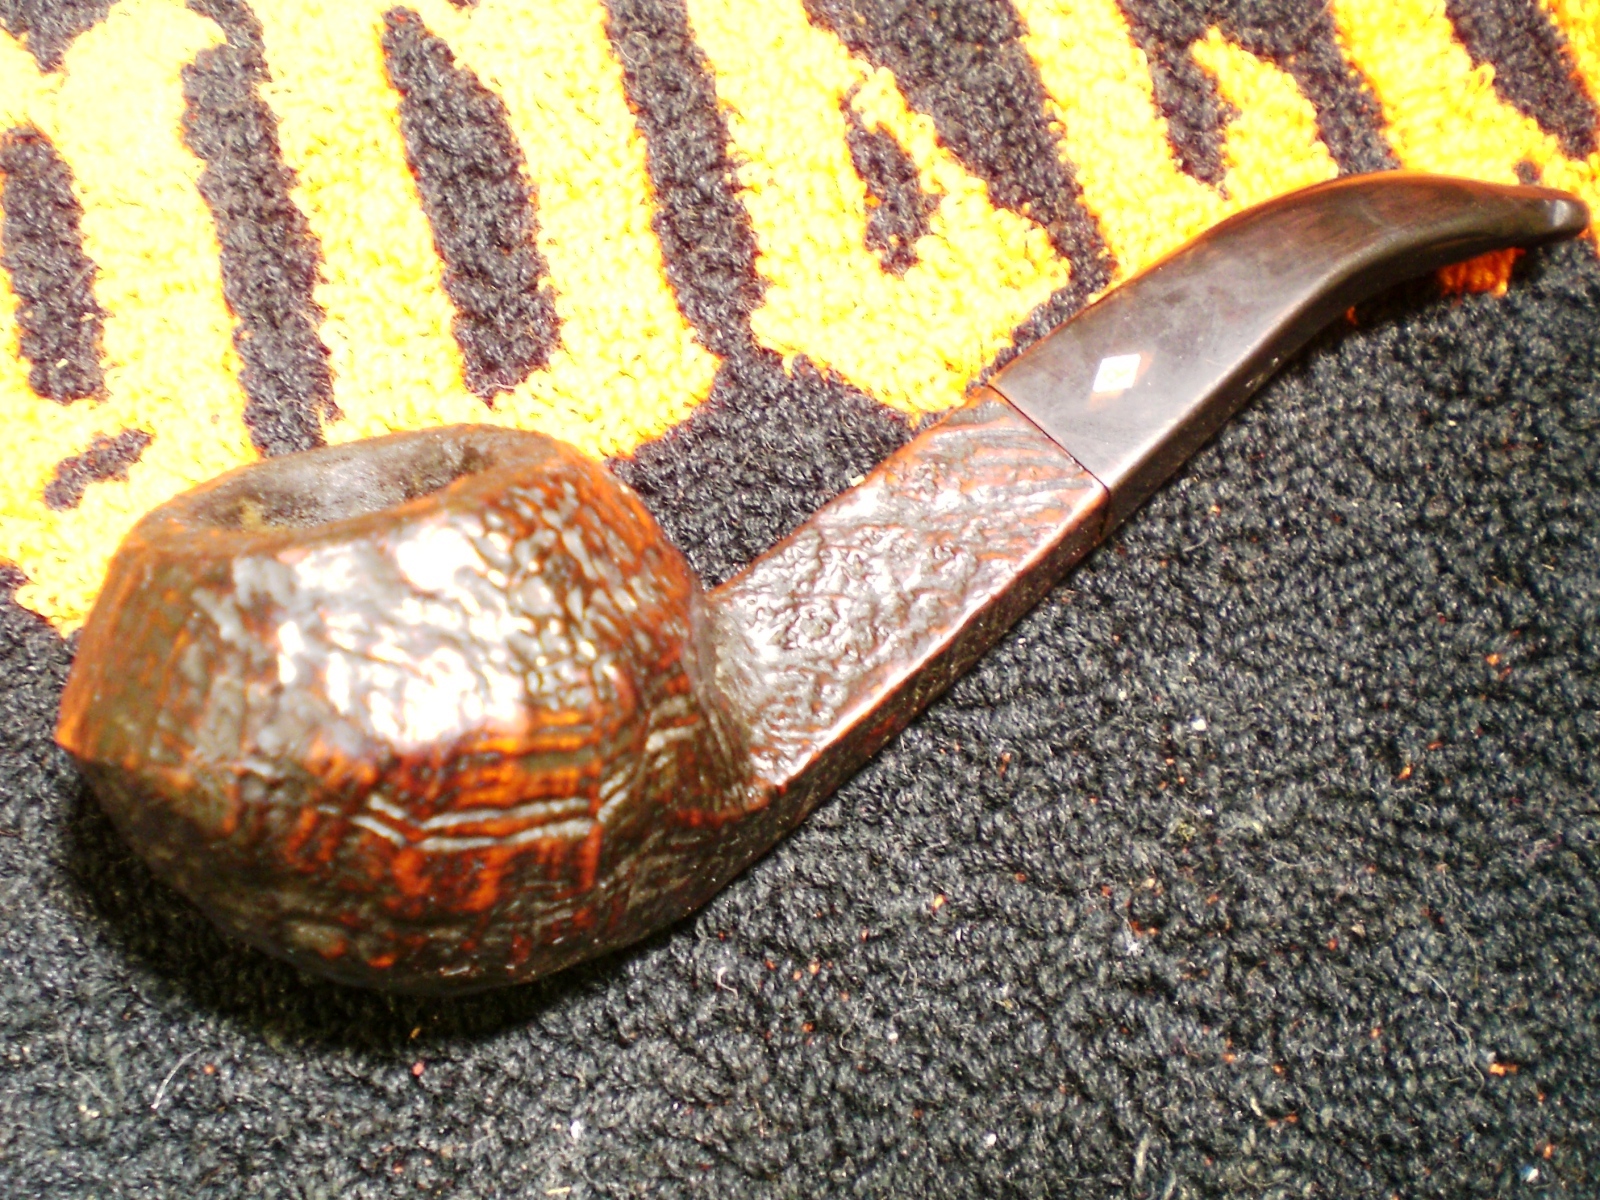
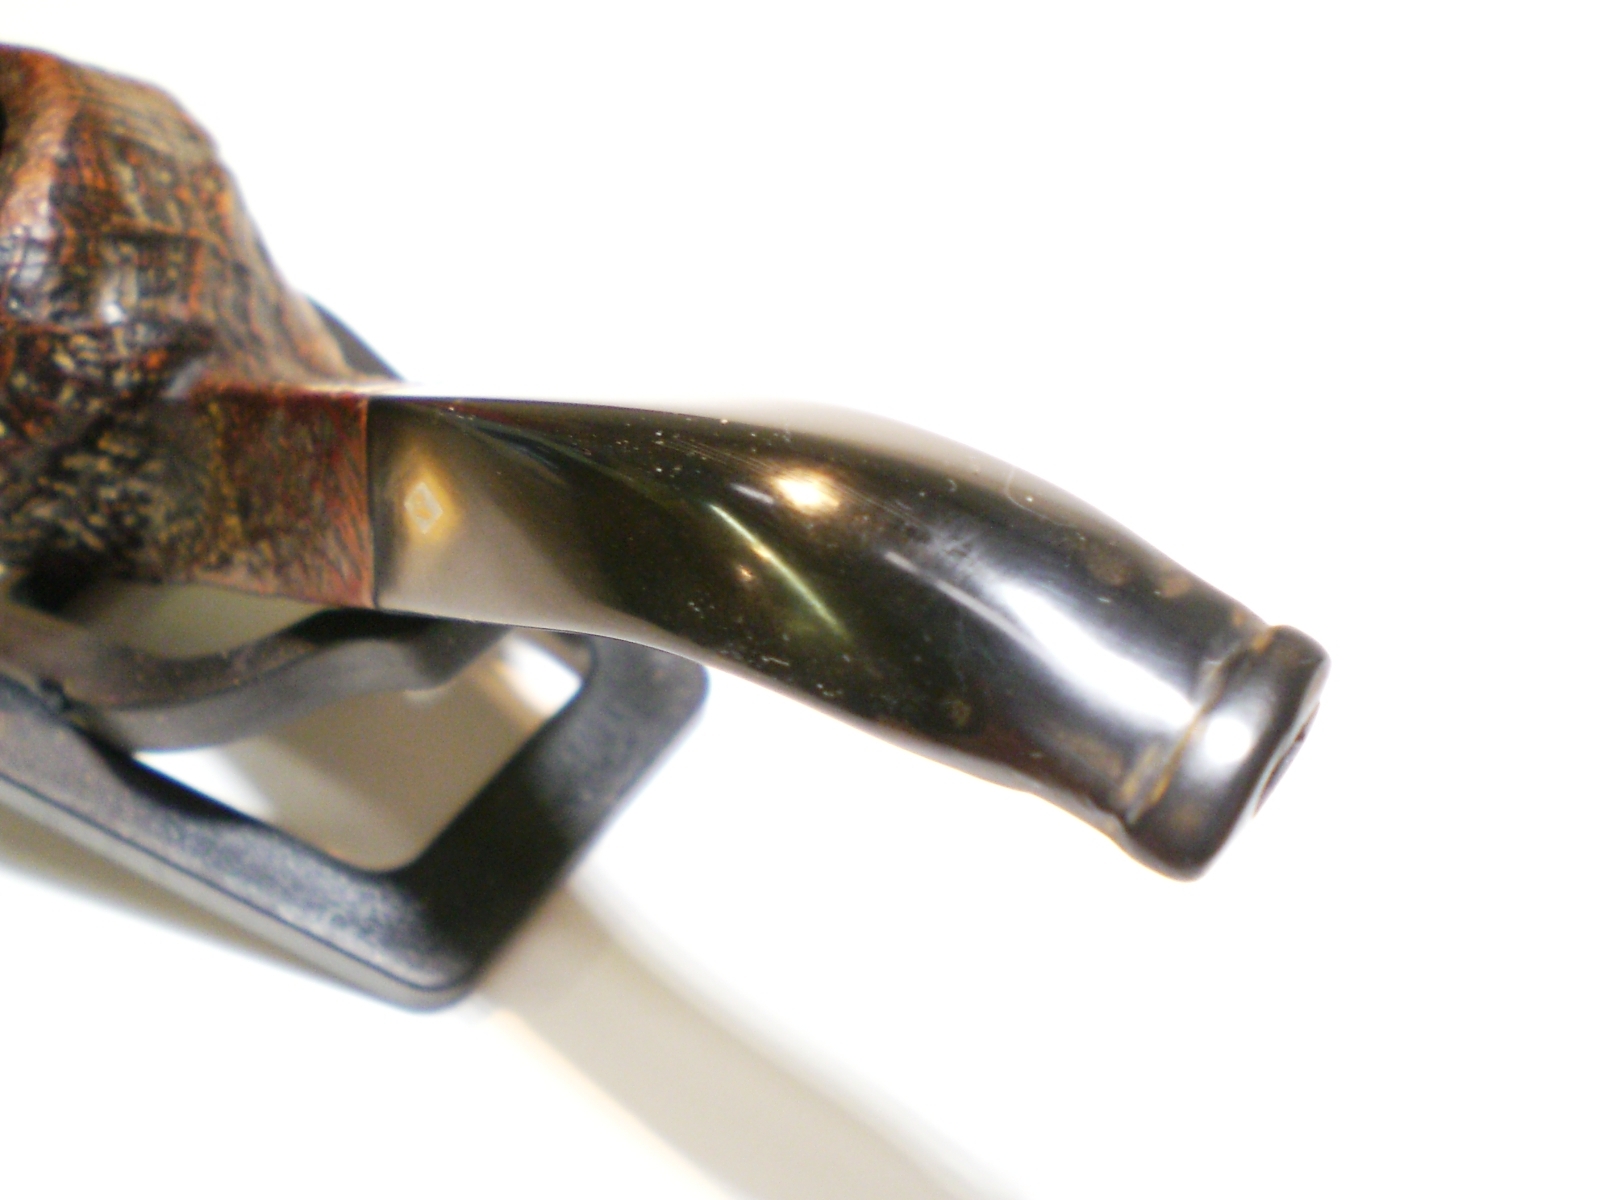
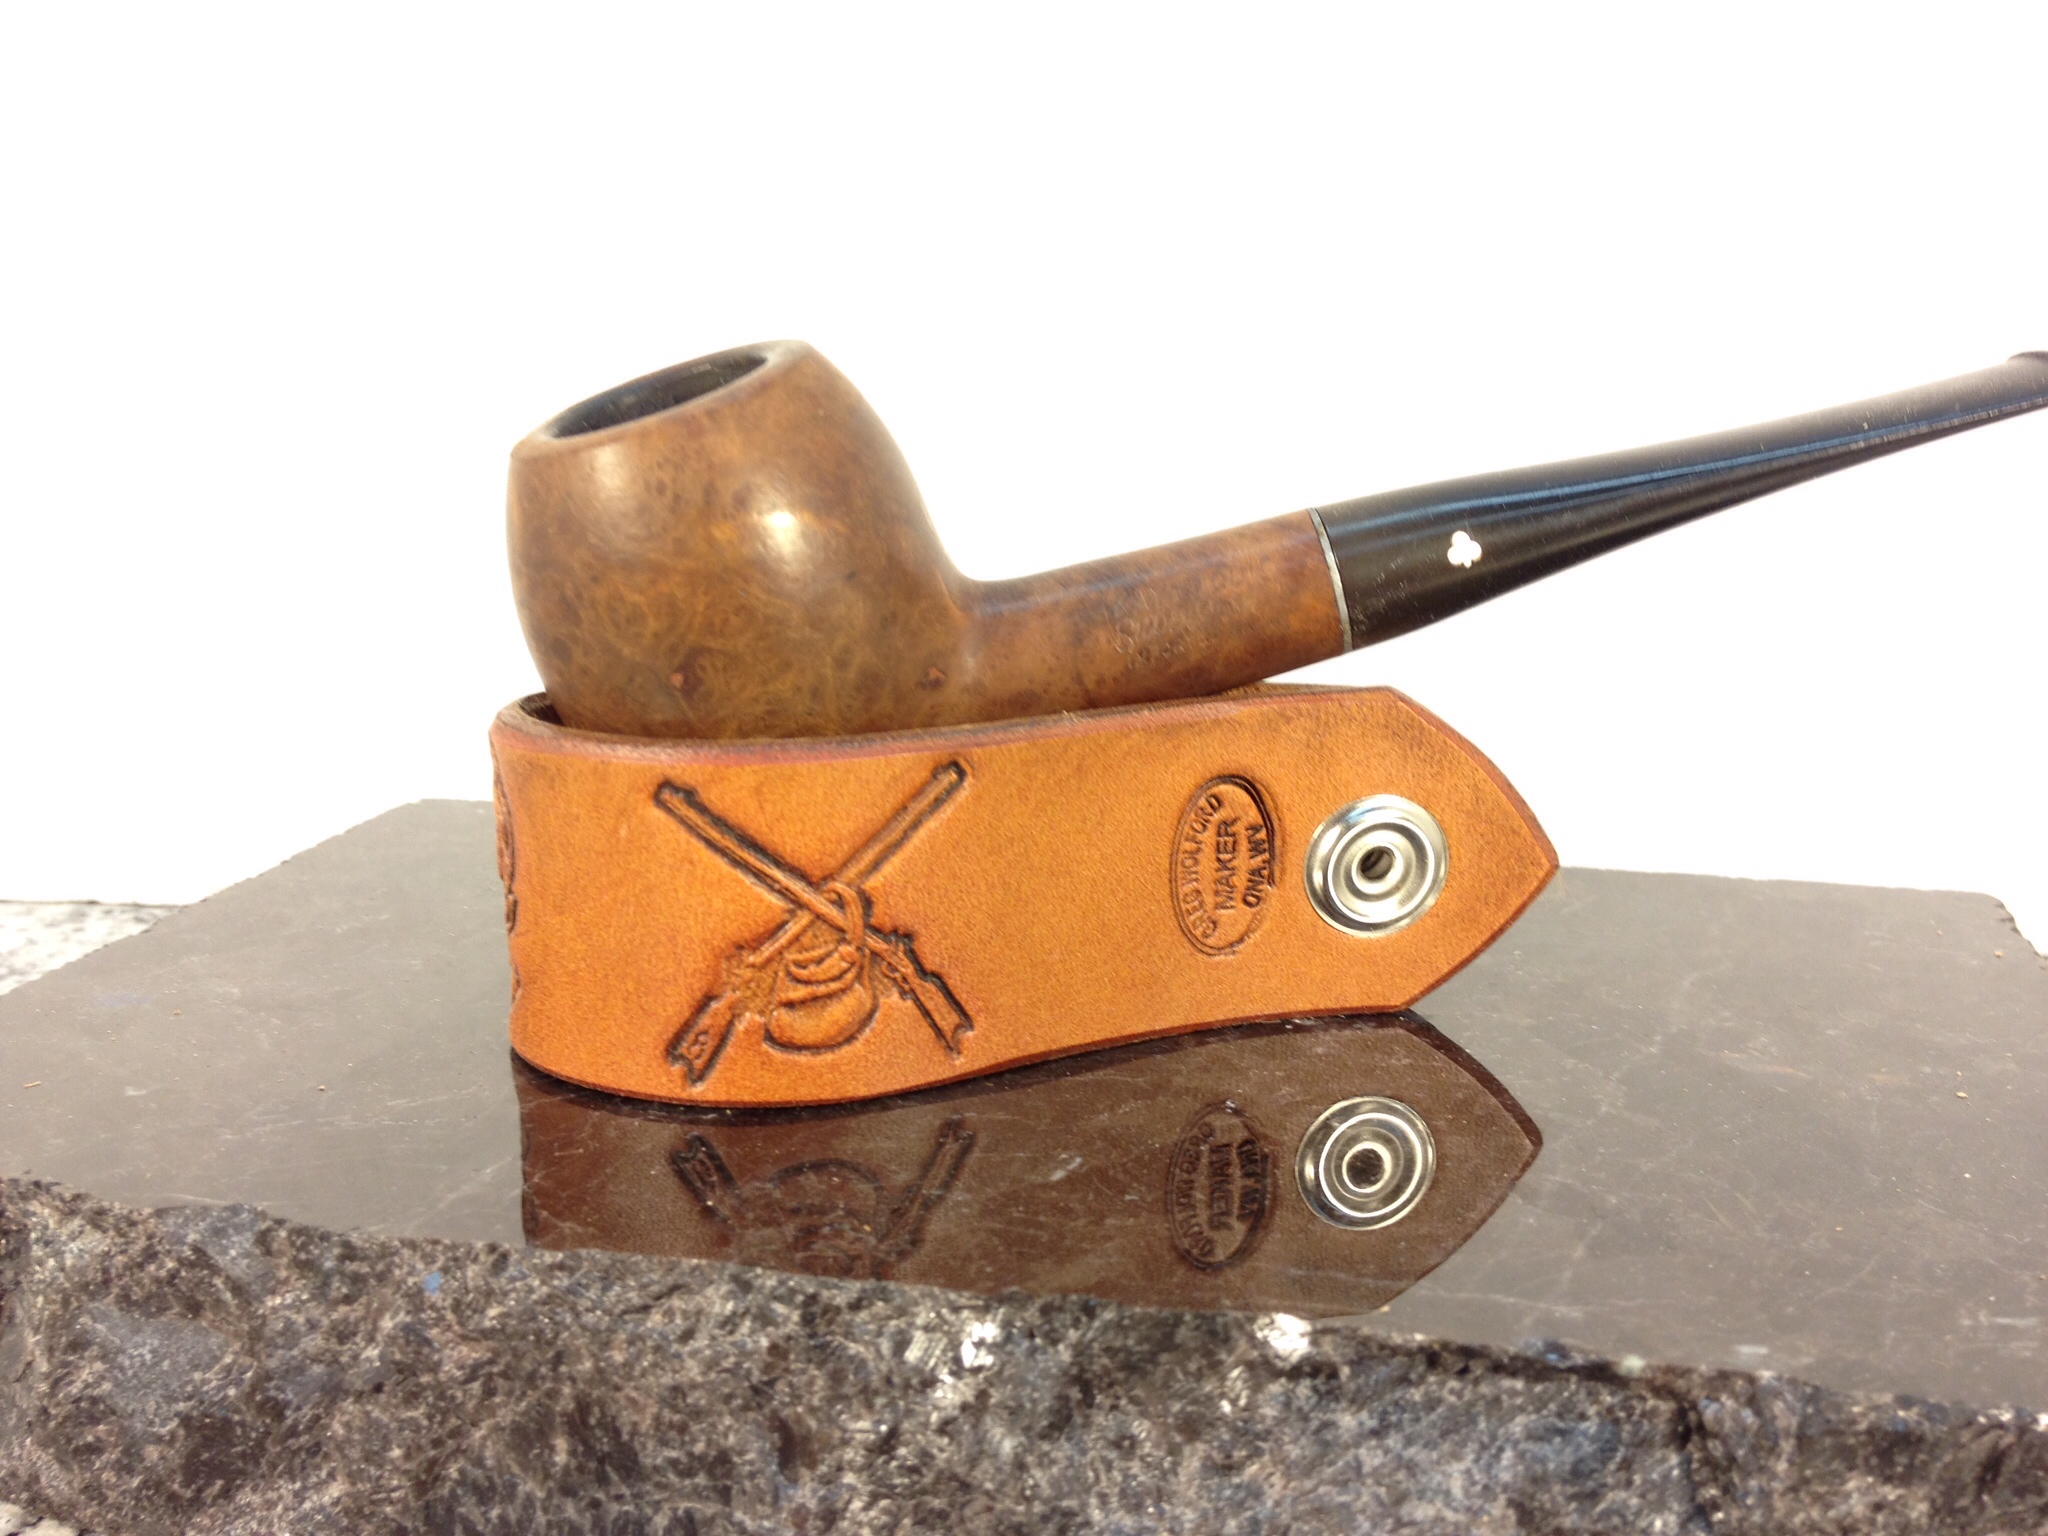
I polished the entire pipe with all of the micro mesh grits in order from 1500 – 12000, avoiding all of the stamping, including on the stem. I wet sanded the stem (only) through 4000, then polished the stem with plastic polish, before finishing the entire pipe through 12000 grit. I then applied Halcyon II wax to the entire pipe and hand buffed it. I was really pretty pleased with the results, considering I didn’t have access to my buffer and this was, more or less, my first experience with the Halcyon wax.

Kaywoodie Apple (2) Kaywoodie Apple (3) Kaywoodie Apple (5)Kaywoodie Apple (4)Kaywoodie Apple (6) Kaywoodie Apple (7) 

I missed some file marks on the stem, and the “bits” near the bit; I figure when I can properly buff the pipe I will get those taken care of, as well as put a better shine on it with some carnauba wax. But until then I am enjoying this old gal just as she is!

The stem still has oxidation near that stamping, which I began to research after I finished the work on the pipe. None of the other Kaywoodies I have, or have ever had, have any stamping on their stems like this one does. I scoured the ‘net and asked as many folks as I could think of to no avail … well, almost none. I am a member of the Kaywoodie Pipes Group on Facebook and one of the members there is Bill Fuerbach is as well. He saw my question that I posted about the stamping in that group and replied as follows:

Hey guys. I’ve seen this also on some older Kaywoodie stems. unfortunately at this time I don’t know what the significance is. :(:(

So unfortunately there is not yet an answer to what the stamping means or its significance is – and the mystery remains …  If by chance anyone what reads this knows the answer I would really appreciate it is you would leave a comment with the answers!

Edit

I received an email from Chris at PipePages about this question. He said in his personal opinion, and that it is only a guess, that it could be a factory replacement stem and the number was a style/guide for the repairman to know which stem to use. Although it is only a shot-in-the-dark type of guess, it seems like a plausible answer to me.

Reworking a Peterson’s Kildare X105


I picked up this old pipe primarily for the shape. It has the chunky look I like in a pipe. The bowl has some nice grain on it and that was attractive as well. The stamping was too faint to read in the shop but when I got home with a bright light and a loupe I was able to see the stamping more clearly – though it is very faint. The left side of the shank says Peterson’s over Kildare and the right side says Made in England and the shape number of X105 (at least that is what the stamping of the number looks like). The pipe was in decent shape and would clean up quite nicely. The finish was not too bad though the previous restorer had given it a coat of varnish or something that was quite heavy. There were finger prints still in the varnish coat. The bowl was reamed and clean and the shank quite clean. The rim had some buildup that had been varnished over which gave it a damaged appearance. The stem seems like a replacement but I cannot be sure as the fit is very well done. It was in great shape with minimal oxidation and slight pitting on the surface of the vulcanite. There were not any tooth marks or chatter.
IMG_4342

IMG_4343

IMG_4344

I decided to remove the varnish coat (it seems like I have had to do that a lot lately with the pipes I am reworking for the pipe club). I wiped down the bowl with acetone and cotton pads until I had removed the varnish and the stain. I scrubbed the rim with the acetone and pads as well to remove the buildup under the varnish. It came of quite easily and turned out to be undamaged. There was a slight darkening of the rim on the left side toward the front but no damage to the area.
IMG_4345

IMG_4346

IMG_4347

IMG_4349

While I was working on it I remembered that I had picked up a Peterson sterling silver band that would probably fit this pipe very well. I dug it out of my box of bands and gave it a try on the shank. It fit perfectly on the shank. I like the look of the bling and the added perk of it being a Peterson stamped sterling silver band was bonus!
IMG_4350

IMG_4351

IMG_4352

I put wood glue on the shank to anchor the band (no repairs were necessary and the band was purely adornment) and pressed the band into place. I rotated it so that the Peterson engraving was on the top of the shank.
IMG_4353

I stained the bowl with MinWax Medium Walnut and Red Mahogany stain to get a reddish brown tint to the briar. I rubbed it on the pipe and then off again. I did the same with both colours. When it was dry I hand buffed it with a soft cotton cloth.
IMG_4357

IMG_4358

IMG_4359

IMG_4360

The stem was lightly oxidized and slightly pitted so I decided to work it over with the micromesh sanding pads. I used the usual method I have developed as a habit over the years and wet sanded with 1500-2400 grit pads and dry sanded with 3200-12,000 grit pads. I buffed the stem with White Diamond and rubbed in some Obsidian Oil to preserve the vulcanite.
IMG_4362

IMG_4363

IMG_4364

When the stem was done I reinserted it into the shank and buffed the entire pipe with White Diamond. I avoided buffing the silver as I find that it darkens the wheels and also the wood and vulcanite on both sides of the band. So once I had finished buffing the pipe I gave it multiple coats of carnauba wax and then buffed it with a clean flannel buff. I took it back to the work table and polished the silver band with a jeweler’s cloth and then applied some wax on the band to slow down the oxidation of the silver. The finished pipe is pictured below. I also have included a picture of the finished rim to show the cleanup results. The pipe is cleaned and ready to be smoked. The addition of the silver band worked well in my opinion and I like the finished look of the old timer quite a bit.
IMG_4365

IMG_4366

IMG_4367

IMG_4368

IMG_4369

Restoring a Natural Liverpool


The pipe was in good shape. The finish was covered with a coat of varnish and under that there were soiled marks on the sides of the bowl. The rim had burn marks on the outer front edge. And there was slight darkening on the surface of the rim. The stem was clean with some slight tooth marks on the top and bottom of the stem that had been sanded previously. The stem also had some scratches and gouges in the surfaces in the middle of the top taper. The pipe is stamped NATURAL over London Made on the left side of the shank and there are no shape stamp numbers on the right side or underneath. I believe that the original finish was unstained, hence the natural stamping.
IMG_4320

IMG_4321

IMG_4322

IMG_4323

I have included the close-up photo of the rim below to show the burn damage on the front edge and the other damage on the surface and inner edge of the bowl.
IMG_4324

I topped the bowl with sandpaper on a flat board to remove the damage and the burn marks. Once that was finished the top looked like new with good sharp edges on the inside and outside of the rim.
IMG_4325

IMG_4326

I reamed the bowl with a PipNet reamer and took the cake back to bare wood. I wiped down the bowl with acetone on cotton pads to remove the varnish and the grime underneath. It took a few pads to clean off the finish, but once it was done the pipe looked good.
IMG_4328

IMG_4329

IMG_4330

I used my usual array of micromesh sanding pads to clean up the stem – wet sanding with 1500-2400 grit pads and dry sanding with 3200-12,000 grit pads.
IMG_4331

IMG_4333

IMG_4335

Once I had finished sanding the stem I rubbed it down with Obsidian Oil and then buffed the whole pipe with White Diamond. I gave it multiple coats of carnauba wax and buffed it with a clean flannel buff. The finished pipe is pictured below. The grain stands out nicely on this old pipe and the natural finish highlights that.
IMG_4336

IMG_4338

IMG_4339

IMG_4340

Topped, Reshaped and Restored a Kolding Old Briar 17


This old Kolding Old Briar is also one of the pipes that belong to the Vancouver Pipe Club lot. It is stamped Kolding over Old Briar on the top of the shank and Made in Denmark over 17 on the underside of the shank. I have a very similar pipe to this one made by Stanwell – same overall shape and oval flat saddle stem. Mine is a great smoking pipe. This one appears to have been much-loved as well. As with the others in this lot it was in dire need of attention. The briar had been given the standard coat of varnish that is on all of them. The varnish is put over the top of some buildup on the rim and some significant rim damage to the top and the edges of the bowl. There was a small piece of briar missing from one spot on the left front side of the bowl’s outer rim. The inner rim also was rough. The bowl had been coated with a black rubbery bowl coating. The stem was in very good shape with no tooth marks or damage and no oxidation.
IMG_4204

IMG_4205

IMG_4206

IMG_4207

The close up photo below shows the rim damage – both burning, buildup and marks that went quite deep and broke the grain of the briar. Steaming would not work to lift the damage on this rim as it was compromised.
IMG_4208

Topping this bowl would be far more involved than the previous bowls I had topped. It needed to be topped to remove the damage to the surface, flattened to take care of the deep cuts in the briar, and then the inner edge beveled and the outer edge rounded. I set up my topping board and sandpaper and began to sand the top of the bowl.
IMG_4209

I took it down far enough to remove the damaged portions of the rim and then worked to bevel the inner edge with a folded piece of sandpaper. I sanded the rim and the inner bevel with a medium and then a fine grit sanding block. I also used the block to reshape the curve of the outer edge of the rim into the flow of the bowl.
IMG_4210

IMG_4211

IMG_4212

IMG_4214

I wiped the pipe down with acetone on cotton pads to remove the varnish and the finish on the remainder of the pipe in preparation for the new coat of stain.
IMG_4215

IMG_4216

IMG_4217

IMG_4218

I decided to use two different colours of stain to restain the pipe. The first stain was a MinWax Medium Walnut stain. I rubbed it on and then rubbed it off. I buffed the pipe with White Diamond to polish the briar before giving it the second colour of stain.
IMG_4219

IMG_4220

IMG_4222

IMG_4223

For the second stain I used MinWax Red Mahogany stain. I rubbed it into the bowl and then rubbed it off. I polished the pipe with a soft cloth. I rubbed down the stem with Obsidian Oil and hand buffed the stem.
IMG_4224

IMG_4225

IMG_4227

IMG_4228

I buffed the bowl and stem with White Diamond again and then gave the bowl and stem multiple coats of carnauba wax. I gave it a final buff with a clean flannel buffing pad. The finished pipe is shown below. It will now join the others in the Pipe Club box until I finish those that remain. I love the rounded look of the bowl top and the bevel on the rim as it adds to the feel of the pipe. I think this one will also bring a good return for the club.
IMG_4231

IMG_4232

IMG_4236

IMG_4238

Cleaned and Topped A Georg Jensen Pipes Deluxe Billiard Shape 720


This particular pipe is another one that will go to the Vancouver Pipe Club. It was a pretty easy clean up in that only the bowl rim was a mess. Everything else was in ok shape. It is a billiard with great grain on the left side and bottom of the bowl and top and bottom of the shank. The grain on the right side and the back were lousy. There were also several fills on the poorly grained sides of the bowl. The finish was not in too bad shape though it too had been given a coat of varnish. The inside of the bowl had a black bowl coating that I think was applied to protect the thin back wall of the bowl. The top rim was in rough shape on the inside edge and had burn marks on the sides and front of the outer edge. The stem was in great shape with no damage at all. It is stamped on the left side of the bowl Georg Jensen over Made in Denmark Pipes. On the right side it is stamped 720 in the middle of the shank. On the underside of the shank it is stamped Deluxe.
IMG_4044

IMG_4045

IMG_4048

The next series of three photos show the damage to the rim. The first one is a top view of the bowls showing the overall damage. The second is a close up photo of the rim. The third photo shows the burn damage to the front outer edge of the bowl.
IMG_4046

IMG_4050

IMG_4052

I topped the bowl in my usual manner, sanded it with a medium grit sanding sponge and wet sanded it with a 1500 grit micromesh sanding pad. I wiped down the bowl and rim with acetone on a cotton pad to remove the varnish and the finish. I sanded the inner bevel of the rim with a folded piece of sandpaper to smooth out the damage to the edge and to rework that bevel to give it a clean and renewed look.
IMG_4054

IMG_4055

IMG_4057

IMG_4059

I restained the bowl with MinWax Medium Walnut stain and rubbed it on and off until I had the blend of colours I wanted to highlight the grain patterns. I buffed the pipe and stem with White Diamond to polish the scratches.
IMG_4061

IMG_4062

IMG_4063

IMG_4064

There were some light spots on the shank and the bowl that took more coats of stain than the rest of the pipe so I retouched them and then polished the pipe and stem with multiple coats of carnauba wax. I finished by buffing it with a clean flannel buff to polish it. The photos of the finished pipe are below. It is ready to send back to the Pipe Club and provide someone with a great looking pipe for their collection.
IMG_4065

IMG_4066

IMG_4067

IMG_4069

Reworking a Poorly Done Topping Job on a Bulldog of Unknown Make


This poor old bulldog came in the pipes that were donated to the Vancouver Pipe Club and I decided to work on it and see if I could repair some of the damage that had been done when someone tried to top it in the past. The rim looked as if whoever topped it tried to do it by hand and not on a flat board. Because of that the surface of the rim was wavy with high and low spots and the outer edge was lower than the inner edge in several places. The top was also at a slight angle as the sanding had not been done on a flat surface.

The first two photos below show the damage to the rim from the side profile. Note the wavy surface of the rim. The third photo shows some damage on the underside of the stem next to the button and the fourth photo shows the rim from the top view. In that photo the bowl appears to be seriously out of round and the front edge seems thinner than the rest of the bowl. This is a bit of an illusion due to the poorly executed sanding on the rim. The way the bowl had been sanded left the front of the bowl lower than the back of the bowl thus creating the appearance of a thin wall. The stamping on it had been buffed out on the left side of the shank and on the right side I could still see very faintly London England over 403S. I am uncertain of the maker. I checked the Comoy’s shape number chart, the GBD and the Orlik shape number charts and there is no such number. Perhaps other may have some idea of the maker.
IMG_3999

IMG_4000

IMG_4001

IMG_4002

I took a two close up photos of the top of the rim to show the damage more clearly. There was also significant burn damage to the front inner edge of the rim. Fortunately this damage was only surface and a retopping would take care of most of it.
IMG_4004

IMG_4005

I also took a close up photo of the end of the stem next to the button to show the tooth marks on the underside next to the button.
IMG_4006

I set up my topping board and sandpaper to work on the rim and repair the damage. It took care to keep the high point of the bowl flat against the surface of the paper and sand until the rim flattened out. This took more time than usual as I had to continually check to see if the rounded spots, low dips and angle sanding of the rim surface were being removed. I also wanted to remove the burn damage as much as possible. The next five photos show the process and the results of the sanding. The profile views show the repair of the outer edge to a flat straight surface with a sharp edge. The top view shows the more even distribution of the thickness of the wall and the removed burned area on the front of the bowl.
IMG_4008

IMG_4010

IMG_4011

IMG_4014

I wiped the bowl down with acetone on cotton pads to remove the varnish and the remaining finish on the bowl so that it would be easier to match the colour of the bowl and the newly topped rim.
IMG_4015

IMG_4016

IMG_4017

IMG_4018

I sanded the rim with a fine grit sandpaper and wet sanded with a 1500 grit micromesh sanding pad to remove scratches and prepare the rim for staining. I stained the bowl and rim with MinWax Medium Walnut Stain and rubbed it on to the pipe and rubbed it off until I had achieved the colour and coverage that I wanted.
IMG_4019

IMG_4020

IMG_4021

IMG_4022

I sanded the damaged areas on the topside and the underside of the stem near the button to remove the tooth marks. I started with 220 grit sandpaper and then a medium grit sanding sponge to repair the tooth damage.
IMG_4023

IMG_4024

The mark on the underside was deep and once I had sanded and cleaned it I put a drop of super glue on it to build up the divot. Once it was dry I sanded it again with 220 grit sandpaper and the sanding sponge to blend it into the surface of the stem.
IMG_4027

IMG_4029

IMG_4030

I used my usual array of micromesh sanding pads to polish the stem repair – wet sanding with 1500-2400 grit sanding pads and then dry sanding with 3200-12,000 grit pads. I buffed the stem with red Tripoli and White Diamond and then rubbed it down with Obsidian Oil. When it was dry I rubbed the stem down and reinserted it in the pipe.
IMG_4031

IMG_4033

IMG_4036

I buffed the pipe and stem with White Diamond and then gave it multiple coats of carnauba wax. I finished the buffing with a clean flannel buff to give it a shine. The finished pipe is pictured below. It is ready to go back to the Pipe Club and will make someone a nice pipe.
IMG_4038

IMG_4039

IMG_4040

IMG_4041

Comoy’s St. James Shape 62 Restored


This oddly shaped Comoy’s came to me in a lot that was donated years ago to the Vancouver Pipe Club. It has been sitting for a long time needing a bit of care to bring it back to life before going to the Club to be sold or given away. It is stamped on the top of the shank, St. James in an arc over London Made in a straight line. On the underside of the shank it is stamped Made in England by Comoy’s followed by 62. The finish was rough on this one; the top of the rim had been beaten against something hard and had damaged the outer edge to the point that it was no longer sharp. The inner edge of the rim was not too bad but the bowl had been coated with a black rubbery bowl coating that was grim. There was one rather large fill on the right side of the bowl near the shank/bowl junction. The stem had some oxidation next to the button and some small tooth chatter there as well. The stem also had one silver bar inset in the vulcanite on the left side. It is not a logo that I have come to associate with Comoy’s but rather with Savinelli. I am not certain the stem is original. Perhaps someone here can shed some light on the stem logo and this particular line of Made in England by Comoy’s Pipes.
IMG_3960

IMG_3961

IMG_3962

I decided to top the bowl and try to repair the outer rim damage. It was truly a mess. In the next photos you will see the set up for topping and also several photos of the bowl rim as I began to sand it out. The sanding dust stuck to the bowl coating.
IMG_3963

IMG_3964

IMG_3966

IMG_3967

IMG_3969

IMG_3971

IMG_3972

When I finally got the topping done to the point where the rim was more smooth and crisp I also sanded the outer edge to minimize some of the deeper chips and rough areas that I left because I did not want to top too much of the bowl. I then cleaned out the bowl and the shank and wiped the bowl down with acetone on cotton pads to remove the varnish coat that had been put on the bowl. I reamed out the bowl coating with a PipNet reamer as I wanted to remove the sticky black substance and wanted to see what the walls of the bowl looked like underneath the ooze.
IMG_3973

IMG_3974

IMG_3976

IMG_3977

I sanded the bowl and rim with a medium grit sanding sponge and then with a 1500 grit micromesh sanding pad to remove the scratching that was present under the finish and that left behind by the sanding sponge. I wiped it down a final time with acetone on a cotton pad to clean and prepare it for restaining.
IMG_3978

IMG_3981

IMG_3982

IMG_3983

I used a black permanent marker to bring grain lines into the fill area and minimize the way it stood out. In the second photo you can see the effect of the marker and stain on the fill near the bowl/shank junction. Previously it had stood out and now it was muted. I restained the bowl with MinWax Medium Walnut stain. I rubbed it on with a cotton pad and wiped it off with a cloth and repeated the process until the stain had given the bowl a good coverage. I sanded the oxidation and tooth marks near the button on the top and the bottom of the stem with the medium grit sanding sponge.
IMG_3985

IMG_3986

IMG_3987

IMG_3988

I took the next photo to show the improvement to the damaged rim and the clean edges that were now present. The stain did a great job in bringing out the grain on the rim. It follows the pattern of the grain on the shank.
IMG_3989

I buffed the stem with red Tripoli and then sanded it with my usual array of micromesh sanding pads – wet sanding with 1200-2400 grit pads and dry sanding with 3200-12,000 grit pads. I buffed the stem with White Diamond and rubbed in a coating of Obsidian Oil to protect against further oxidation.
IMG_3990

IMG_3991

IMG_3992

I buffed the pipe with White Diamond and then gave it multiple coats of carnauba wax. I finished by buffing it with a soft flannel buff. The finished pipe is shown below. Soon it will go the Pipe Club for their benefit.
IMG_3993

IMG_3994

IMG_3997

IMG_3998

Restoring a Comoy’s Tradition Shape 225 Bent Dublin


Blog by Steve Laug

The second Comoy’s I picked up on the recent hunt was a beautifully shaped 225 Tradition. It is a shape that I love for its graceful flow and bend. The stamping on it was weak but visible under a lens. The left side of the shank was stamped Comoy’s over Tradition and the right side was stamped 225. I looked up the shape on Chris Keene’s Pipe Pages and found this page on a 1960’s catalogue http://pipepages.com/64com19s.htm . It is the 225 shape at the bottom of the page.
64com19

When I picked it up the pipe the stain on the briar was slightly faded. The stamping was weak. On the side where Comoy’s Tradition was stamped it is very faint, though still visible with light. On the side of the shank where the shape number was stamped the 2 and the 5 are clear and the middle 2 is very light. The bowl was caked and the rim was caked with tars and carbon build up. The inner bevel was clean and undamaged though dirty with tars and the outer edge was also very clean. The exterior of the pipe had no dents of dings. The stem was a replacement and was missing the usual step down tenon that I have come to expect and the existing tenon was shorter than normal. The stem itself was oxidized and had a large bite through on the underside. Of the six pipes (GBD and Comoy’s) that I picked up all but the little bulldog have the same issue.
IMG_3612

IMG_3613

IMG_3614

IMG_3615

The photo below shows a closer look at the bite through on the underside of the stem. It’s size, the length of the stem and the fact that it was an obvious replacement stem made my decision of whether to try to repair the hole or to cut the stem back quite easy to make.
IMG_3616

I used a Dremel and sanding drum to cut the stem back to solid vulcanite and remove the damaged spot and the button. This would necessitate recutting and shaping a new button on the stem as well as reshaping the slot in the button.
IMG_3617

IMG_3618

After cutting it off I took it back to the worktable to prepare it for the new button. I wiped the stem down to remove the dust from cutting and to clean the surface so that I could get a good clean line on the button.
IMG_3619

IMG_3620

I used files, a wood rasp and various needle files to cut an edge for the new button on both the top and the bottom sides of the stem. I also used the files to cut back the stem on the slope before the new button on both sides of the stem. The stem needed to be thinned down from the button forward to the shank for more comfort in the mouth and to keep the graceful lines of the shape intact. I used the needle files to carve back the stem thickness and smooth out the lines so that the button did not look choked and pinched at the line. Once I had a clean slope on the stem previous to the button I sanded it with 220 grit sandpaper to further highlight the angles of the button.
IMG_3621

IMG_3622

IMG_3623

I sanded the end of the new button to give it a slope toward the slot and to remove the sharp edge look of the new cut. I opened up the button to give it a funnelled shape to the airway and also made it oval. The side profile photos give a clear look at the stem and the angle of the stem previous to the new button.
IMG_3624

IMG_3625

IMG_3626

IMG_3627

IMG_3628

I reamed the bowl with a PipNet reamer to get rid of the cake and to clear away the debris from the inner edge of the bowl. I cleaned the rim with saliva on a cotton pad and scrubbed until I had removed the tars and buildup from both the top and the inner bevel of the rim.
IMG_3630

I sanded the stem to further define the button and shape it using 220 grit sandpaper and a medium grit sanding sponge. When I was happy with the overall shape of the stem, I sanded its entirety to remove the oxidation. I finished sanding it with my usual regimen of micromesh sanding pads. I wet sanded with 1500-2400 grit pads and dry sanded with 3200-12,000 grit pads.
IMG_3632

IMG_3634

IMG_3635

IMG_3636

IMG_3637

IMG_3638

When I had finished sanding with the final grits of pads I put the stem in the shank and buffed it with red Tripoli to remove some of the scratches that still remained on the underside of the stem near the button and then buffed the whole stem with White Diamond. I lightly buffed the pipe as well before taking it back to the worktable to give it a top coat of red mahogany Minwax stain. I rubbed the stain on the bowl to bring back some of the reddish colour that I have found in my other Tradition pipes and used them to match the colour on this pipe.
IMG_3649

IMG_3650

IMG_3651

IMG_3652

I rubbed the stem down with Obsidian Oil to preserve the vulcanite. And when the stain was dry I gave it a light buff with White Diamond. I finished by giving the entire pipe multiple coats of carnauba wax to preserve and give it a shine. The finished pipe is picture below. It is cleaned and ready to continue a life of service.
IMG_3653

IMG_3654

IMG_3655

IMG_3656

Refurbishing a Comoy’s Tradition Shape 4 Bulldog


When hunting for estate pipes I always am on the lookout for certain brands that feel like a win when I find them. I have found a few of them over the years. Some of those brands are Dunhill, Comoy’s, GBD and BBB. Added to that are a few older American brands such as CPF and GFB. On a current hunt I did exceptionally well and found four GBD pipes and two Comoy’s pipes. The first one I have been working on is stamped Comoy’s Tradition and is a shape 4 bulldog. In my mind Comoy’s knew how to make the quintessential bulldog so I was glad to find this one. However, the previous owner had modified the shape dramatically and made it almost unrecognizable due to his changes. I bought it anyway and went back to the books to see what the original shape must have looked like. In the brochure photo below it is the third pipe down labeled Tradition.
f0ae64a8d61b130fc0974354f17_prev

Now for the modifications. The next set of four photos show the pipe’s condition when I bought it. The briar is a beautiful piece with no fills or flaws in it. The grain is very nice with a mix of flame, straight and birdseye. The stain is the typical two stage stain that is present on the Tradition pipes that I have seen – a dark understain with a walnut brown stain over that. The bowl when I received it was slightly caked with a small build up of tars and cake that overflowed on the back edge of the top of the rim. There was a slight series of marks on the bevel above the rings where the pipe must have been dropped on concrete or gravel. I don’t believe the stem is an original as the shape is a bit different from the ones I have seen and it is missing the logo. It is also missing the step down tenon that I have come to associate with these pipes. The stamping is weak on the left side though visible. It is not present at all on the right side of the shank. The bottom of the bowl, shank and stem have been sanded flat to make the pipe a sitter. It appeared that the owner merely laid the pipe on a flat sander and never bothered to smooth out the scratches or refinish the bottom of the pipe. He knew what he was doing because he left just enough briar on the bottom of the shank to not go through into the airway and on the bottom of the bowl to leave it still thick enough to protect it from burning out.
IMG_3586

IMG_3587

IMG_3588

IMG_3589

The photo below shows the flattened underside of the pipe and the scratches that are visible in the briar and the vulcanite stem.
IMG_3590

I reamed out the bowl with a PipNet reaming set beginning with the smallest cutting head and progressing to the one that fit the bowl. I cut back the cake to the bare wood so that I could build it up again evenly. It had tended to be thick around the top of the bowl and about half way down the bowl thinned out. I cleaned out the bowl and shank with pipe cleaners, cotton swabs and Everclear
IMG_3591

I heated the surface of the stem with a lighter to lift the bite marks on the stem surface. The ones on the topside of the stem lifted quite well and a little sanding repaired them. The ones on the underside were deeper and required more work. Several of them lifted but one in particular was very deep and the fibers of the vulcanite were broken. This required a patch with black superglue. There was also a small divot out of the button on the top side that I repaired with the black superglue. I set the stem aside to dry while I worked on the bowl.
IMG_3592

IMG_3593

I wiped down the bowl and rim with a cotton pad and saliva. I scrubbed the tars and carbon on the rim with the cotton pad and saliva until it was gone. It took a bit of scraping and a lot of elbow grease to remove the buildup but once it was clean the stain was still in very good shape. I also scrubbed the bevel of the inner edge of the rim to clean it and polish it as well.
IMG_3595

IMG_3597

IMG_3599

Once the superglue was dry I sanded it with 220 grit sandpaper to remove the excess and smooth out the surface of the patch. I sanded it until it was well blended into the surface of the stem. The next two photos show the patch after sanding with 220 grit sandpaper and then with a medium grit sanding pad.
IMG_3600

IMG_3601

I sanded and stained the flattened bottom of the pipe with a medium walnut stain to blend it in with the rest of the pipe. I sanded the stem with my usual regimen of micromesh sanding pads from 1500-12,000 grit pads. I buffed the entire pipe with White Diamond and then rubbed in a coat of Obsidian Oil into the stem.
IMG_3602

IMG_3603

IMG_3605

IMG_3607

I buffed the pipe and stem with multiple coats of carnauba wax and finished with a clean flannel buff to bring out the shine. The next series of four photos show the finished pipe. Though the previous owner’s modification certainly changed the profile of this old pipe, I think the finished product still looks very good and should continue to provide a good smoke.
IMG_3610

IMG_3611

IMG_3608

IMG_3609

After reading Al’s comment below, I did a bit more comparison work with Tradition colours both on line and in my own collection. They tended to be slightly more red than the walnut colour of this bulldog. Armed with that information I decided to give it a coat of Minwax red mahogany stain to bring out the reds a bit more in the briar. Below are the updated pictures of the pipe. In real time the addition of red brings the colour into the same spectrum as the other Traditions in my collection. Thanks Al for the nudge.
IMG_3657

IMG_3658

IMG_3659

IMG_3660

1938 Parker Bulldog Restored


Blog by Al Jones

One of my pipe buddies, Dave, sent me this 1938 Parker bulldog to restore. I had not yet worked on a Parker yet, but know they have a loyal following of collectors. Dave always seems to chose interesting pipes to send me and this one was no exception.

Dave had determined the pipe was made in 1938 but after looking over the Parker page in Pipepedia, I wasn’t sure. This pipe was stamped “Parker” and not the possesive “Parker’s”. Pipepedia says this about the stamping:

Prior to World War II, the possessive PARKER’S stamp was used. However, at least some pipes were stamped with the non-possessive as early as 1936.

I confirmed with a Parker collector that the singular “Parker” was indeed used before WWII. The pipe is stamped 15, which is added to 1925 (starting with 2), so the date of manufacture is indeed 1938.

The briar was a bit worn but some heavy tar build-up on the bowl top. The stem had some curious striations and the button looked odd.

Parker_109_Restore (3)

Parker_109_Restore

Parker_109_Restore (2)

I reamed the bowl and filled it with isopropyl alcohol and sea salt. After soaking for several hours, I cleaned the build-up off the bowl top, which was quite stubborn. Some of the stain on the bowl edge was lightened in this process, but the bowl top was relative undamaged by use. I used some Medium Brown stain to darken the lightened areas and it blended in quite well. I applied some carnuba wax with a loose cotton wheel, then a coat of Halycon wax by hand.

When working on the stem, I discovered someone had “colored” it black with a permanent marker or similar. Thankfully, they worked around the “P” stem logo. I used 600 and then 800 grit paper to remove the black and some of the rough marks and scrapes on the stem. The button looks very odd and has been carved a little. Perhaps it was damaged and someone cut out the damaged areas? Or, are older Parker buttons shaped this way? Surprisingly, I did not find much Parker information on the web. The pipe also appears to be drilled for a filter or possibly a Dunhill-like innertube? The stem has a Patent Number stamped on it: 116989/17

Parker_109_Restore (5)

A member on the PipesMagazine.com forum, MisterLowerCase, posted this picture of a Parker innertube, which matches the Patent Number.

Parker_Innertube_Cropped2

Parker_Innertube_Cropped

After the wet sandpaper, I used 8,000 and then 12,000 grit paper to bring up the shine. The stem was then buffed lightly with white diamond.

Parker_109_Finished (4)

Parker_109_Finished (5)

Parker_109_Finished (6)

Parker_109_Finished (2)

Parker_109_Finished (3)