Tag Archives: polishing

Refurbishing a Brentwood Supreme 335 Apple – (GBD 2nd)


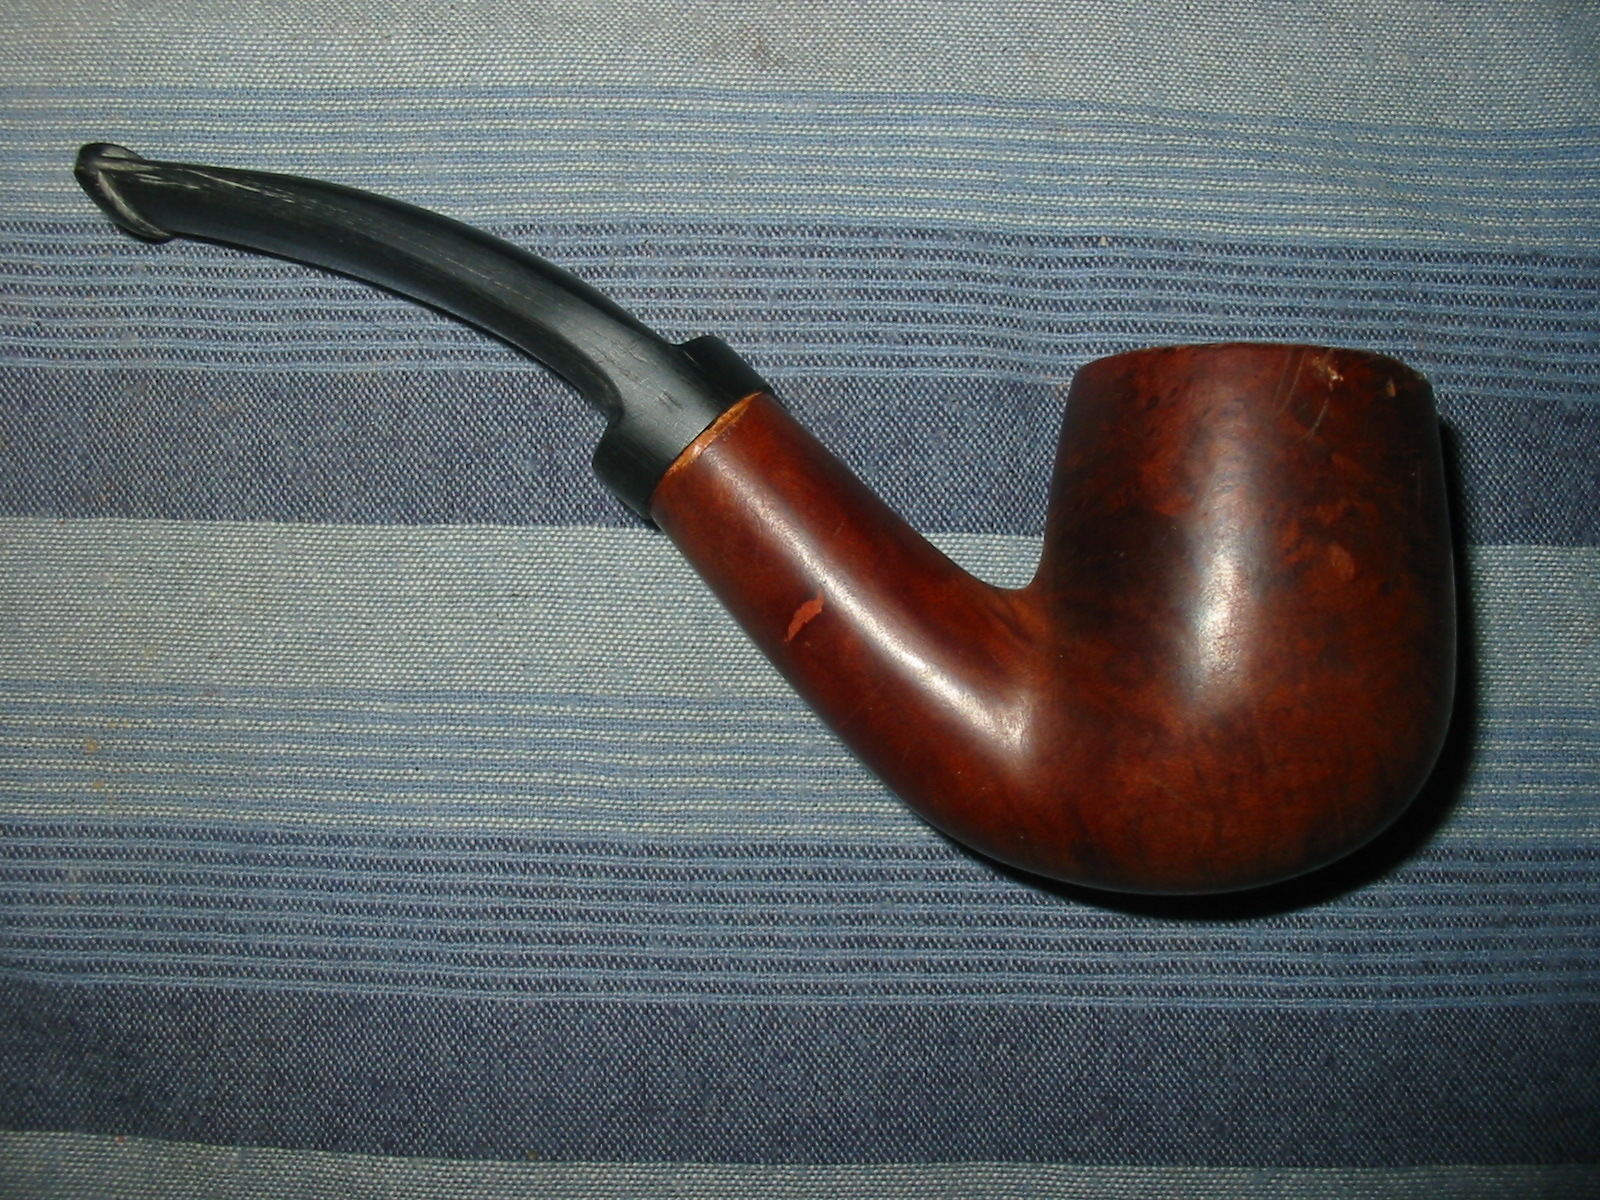
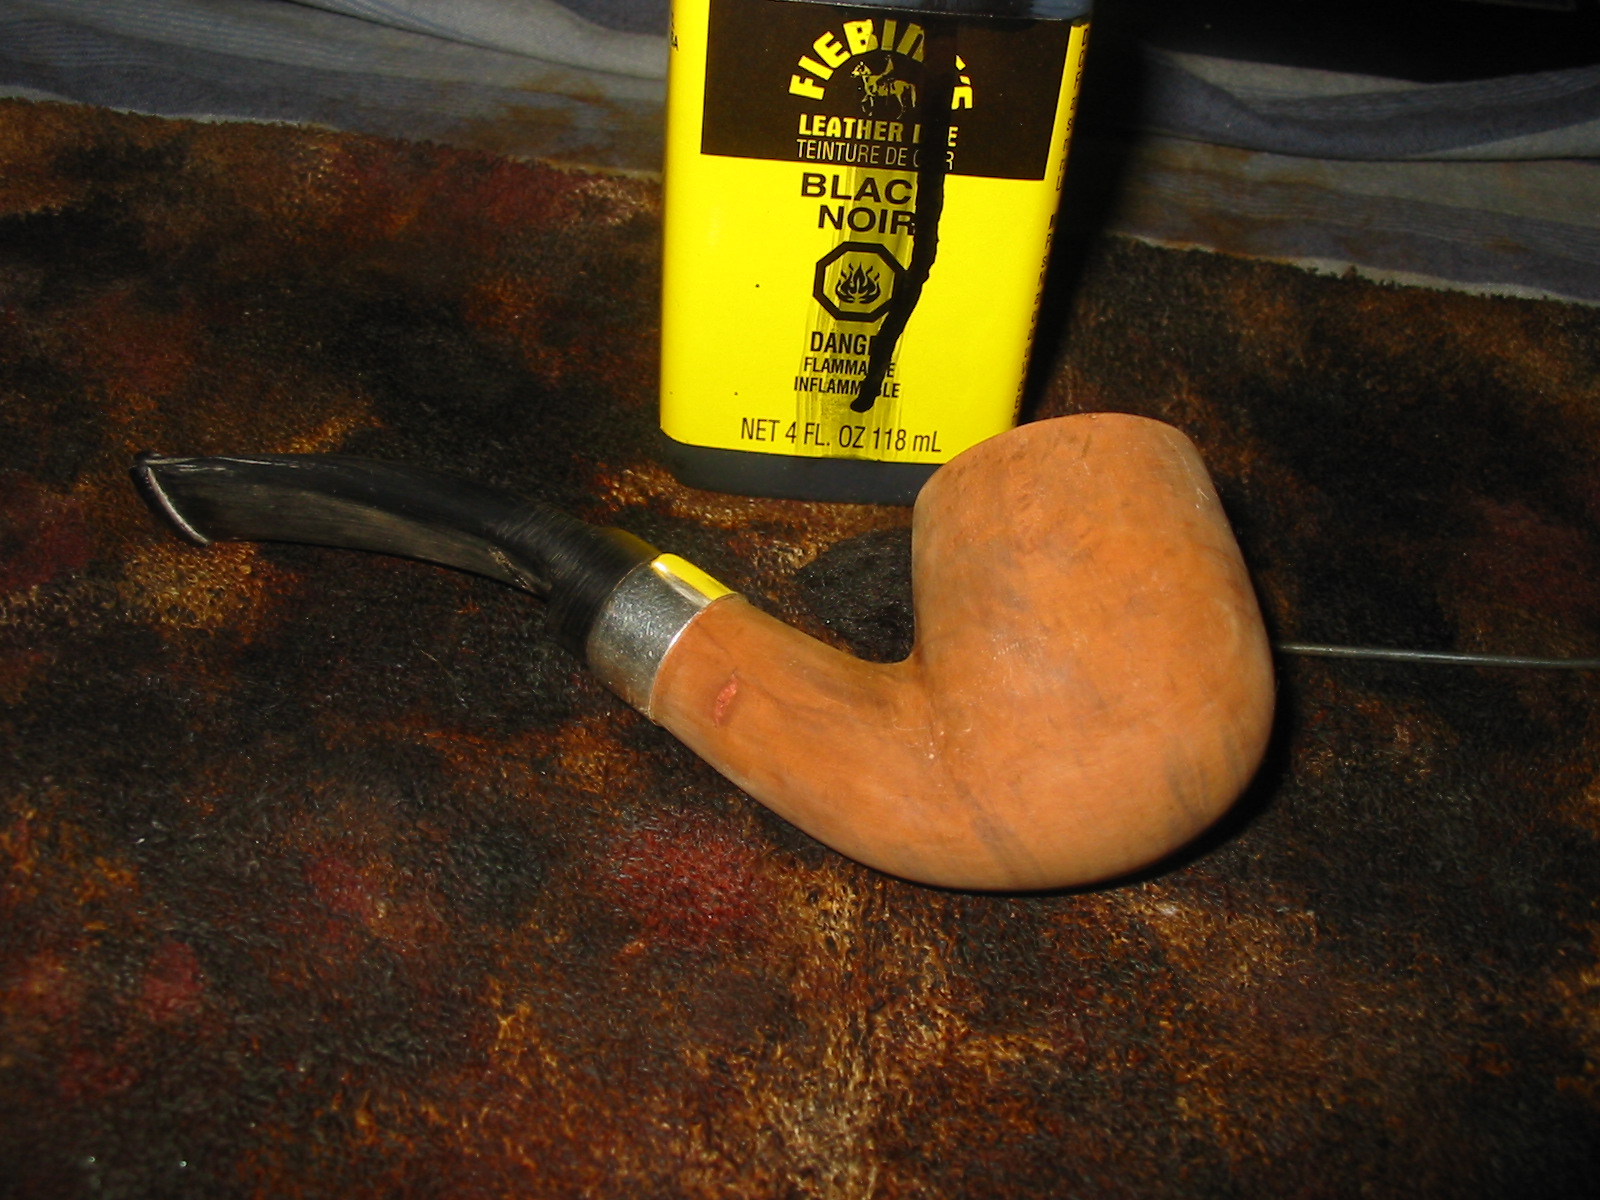
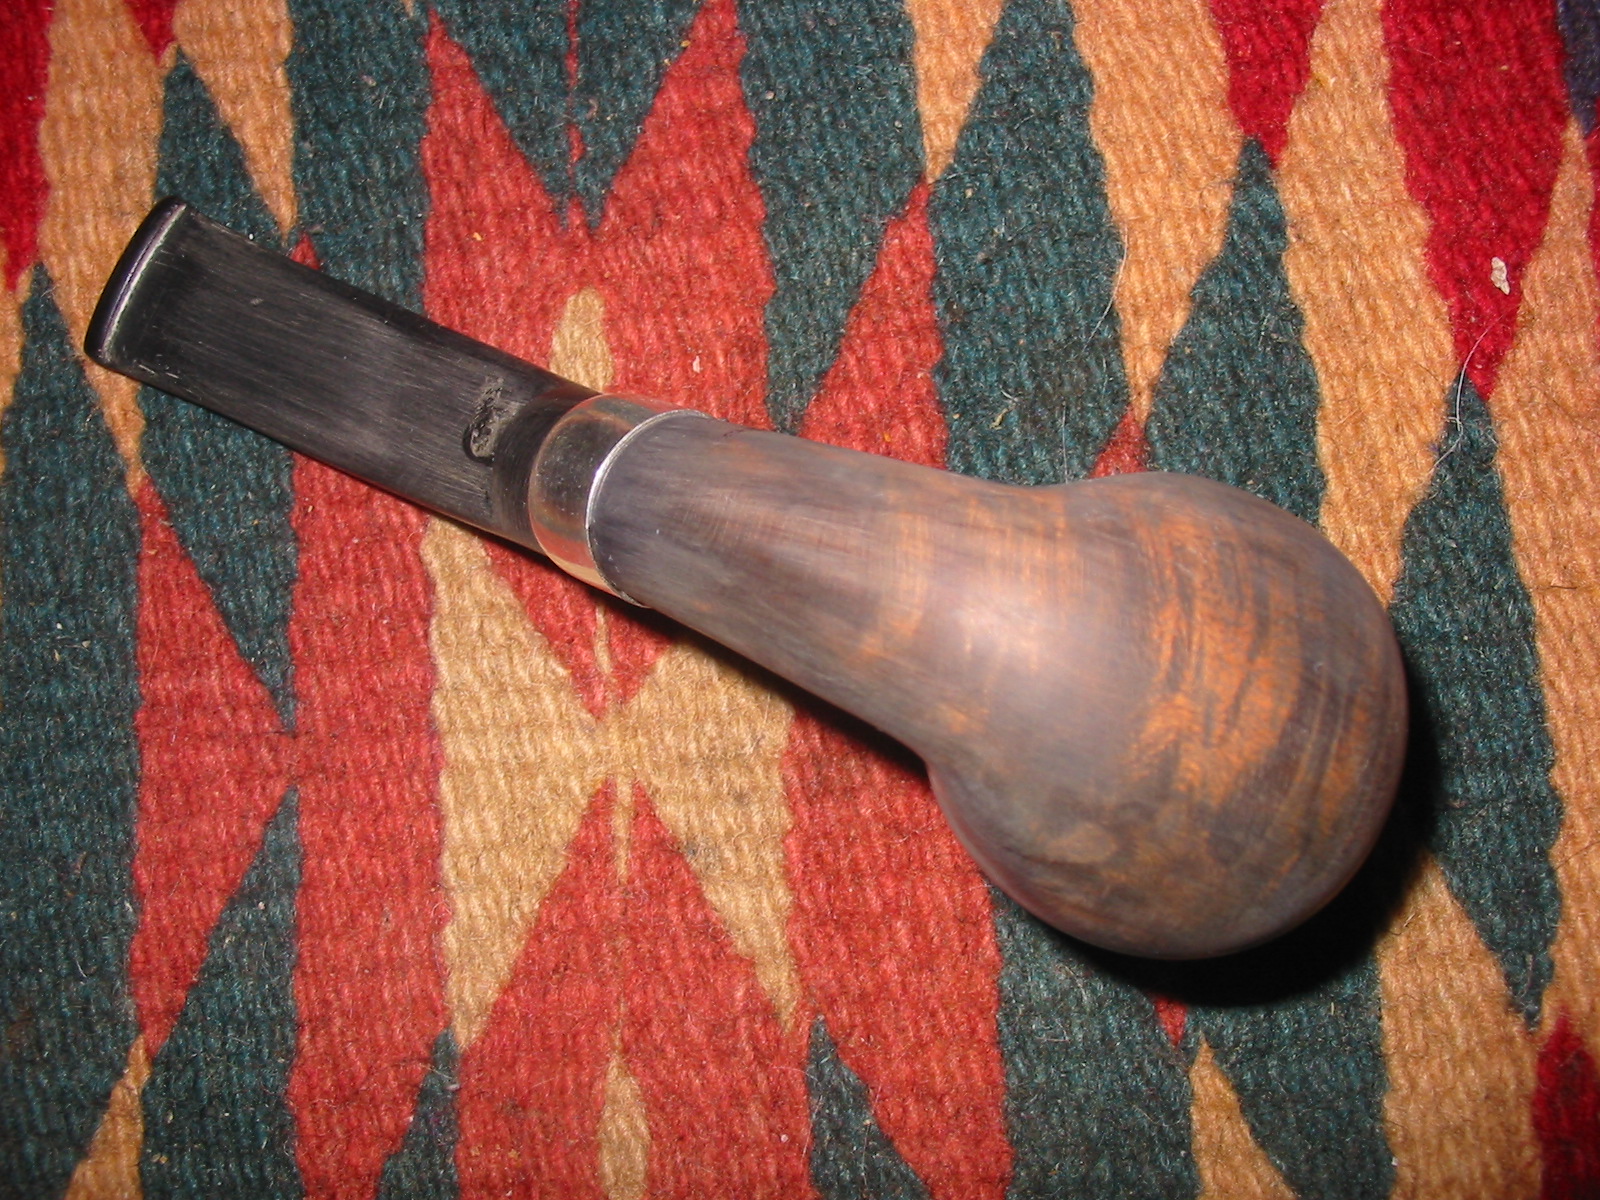
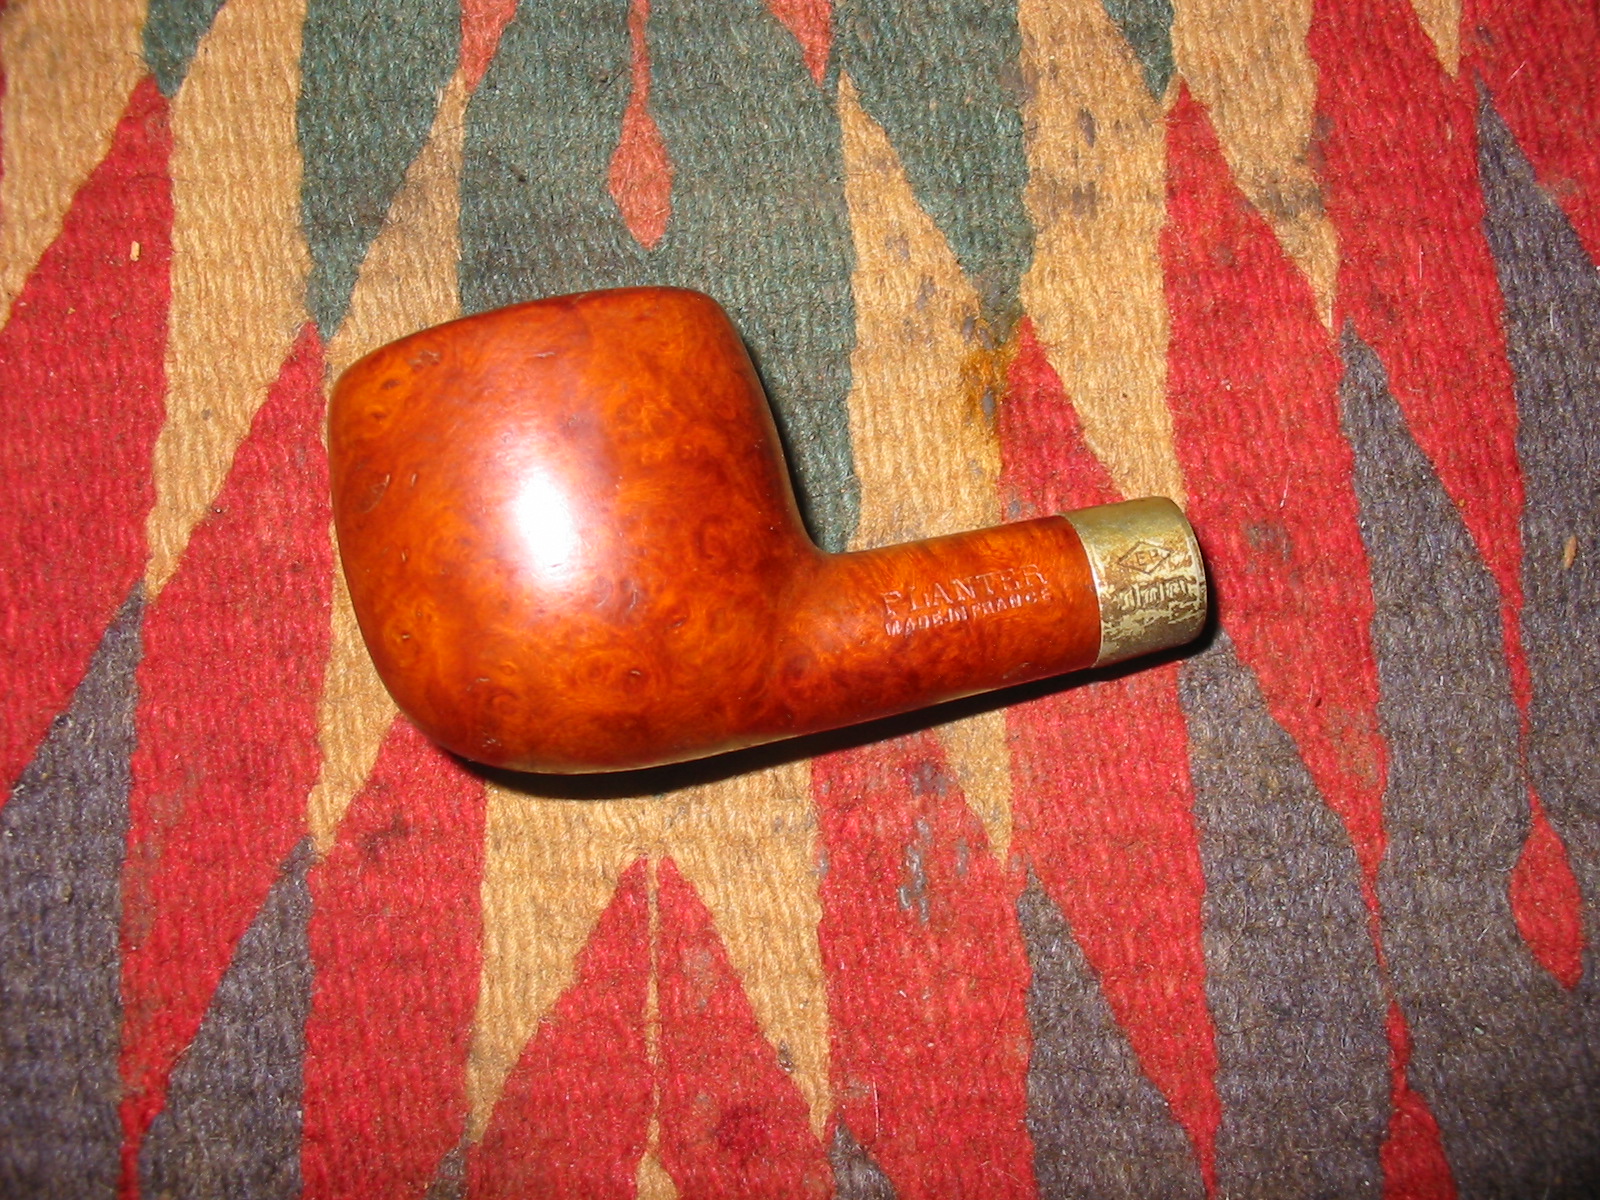
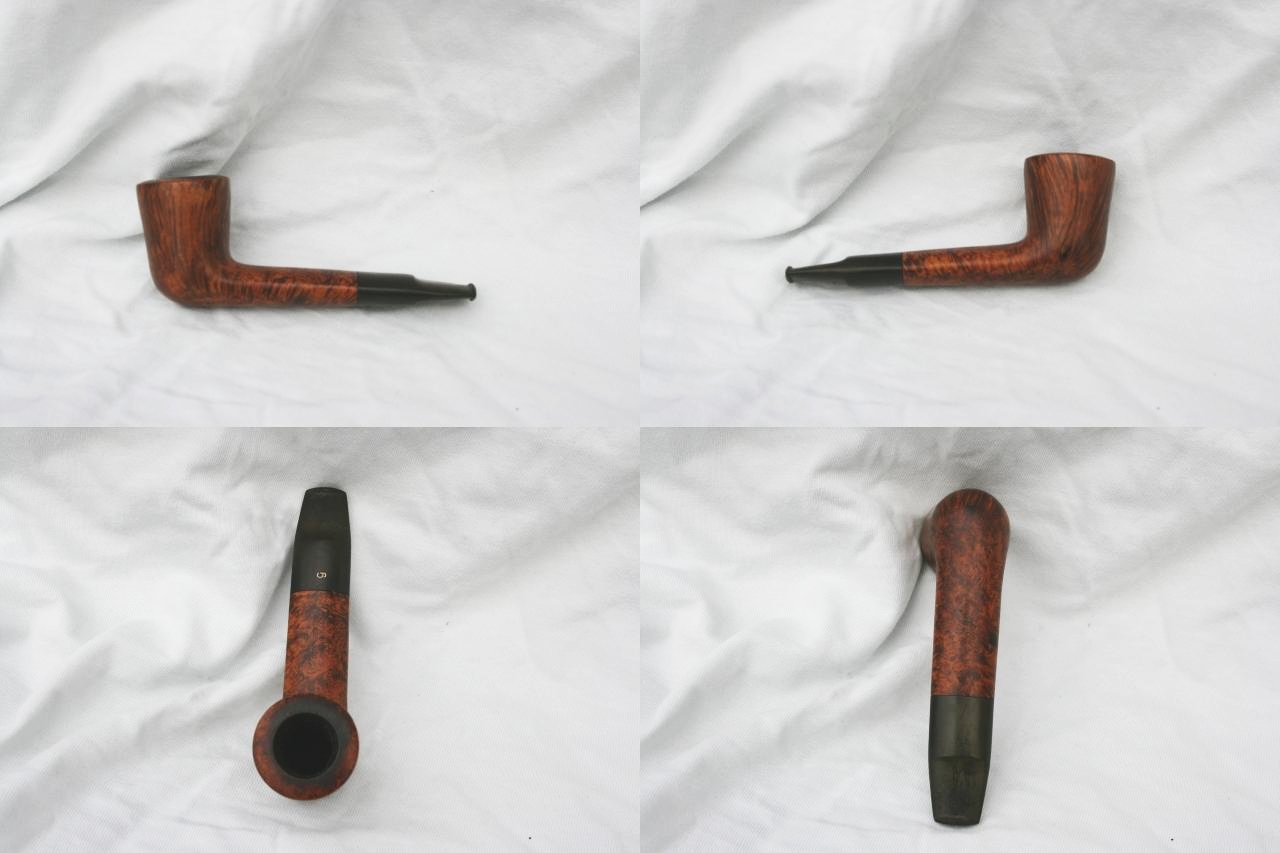
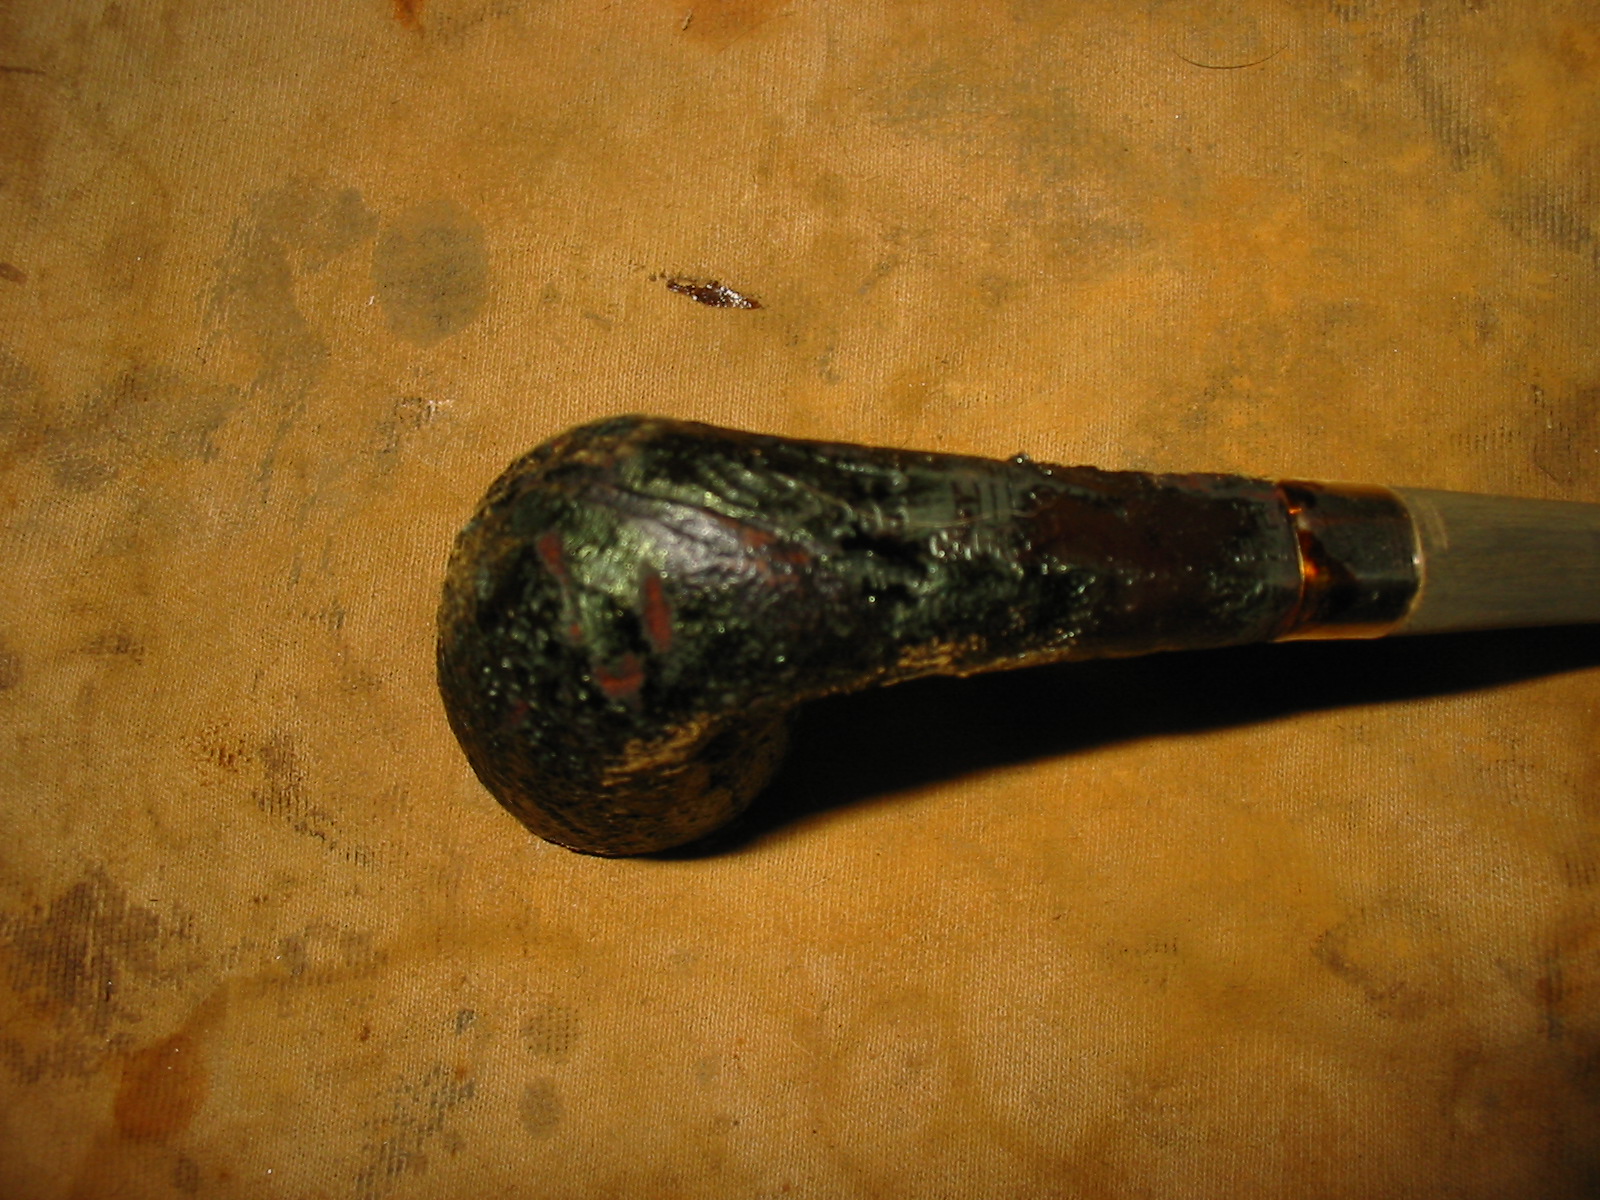
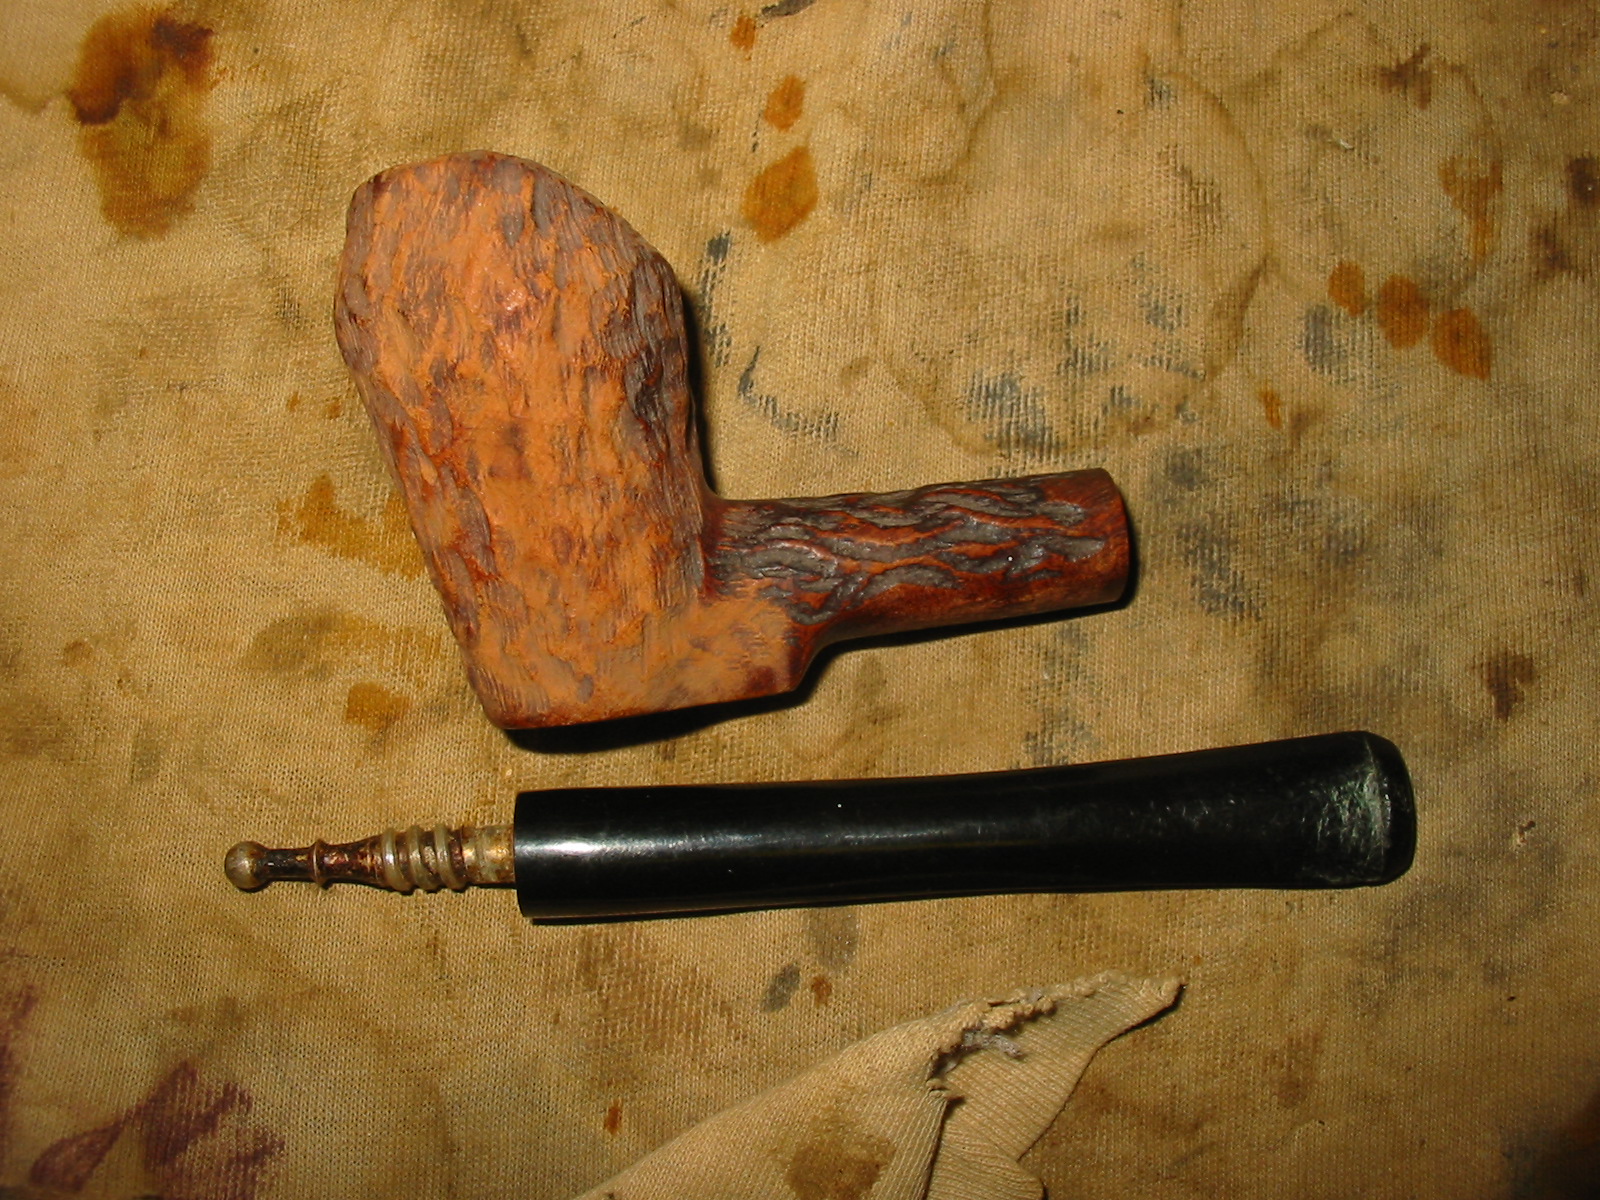
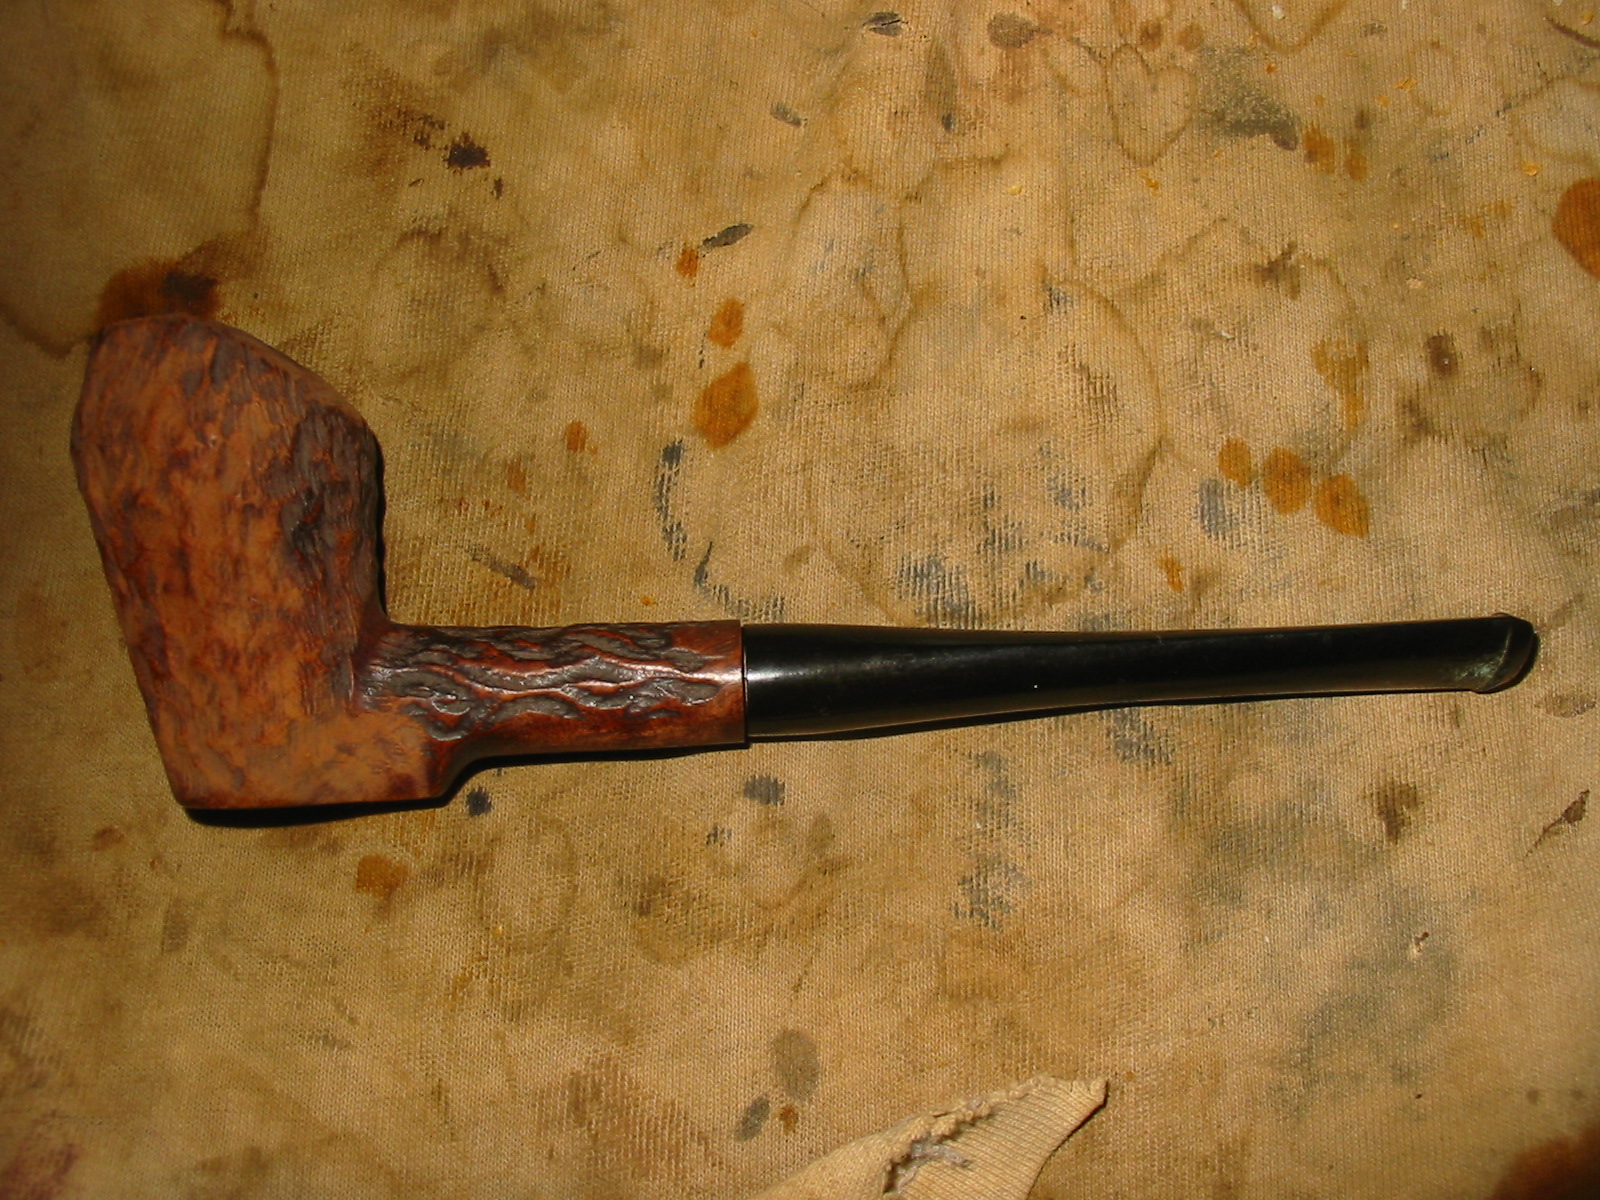
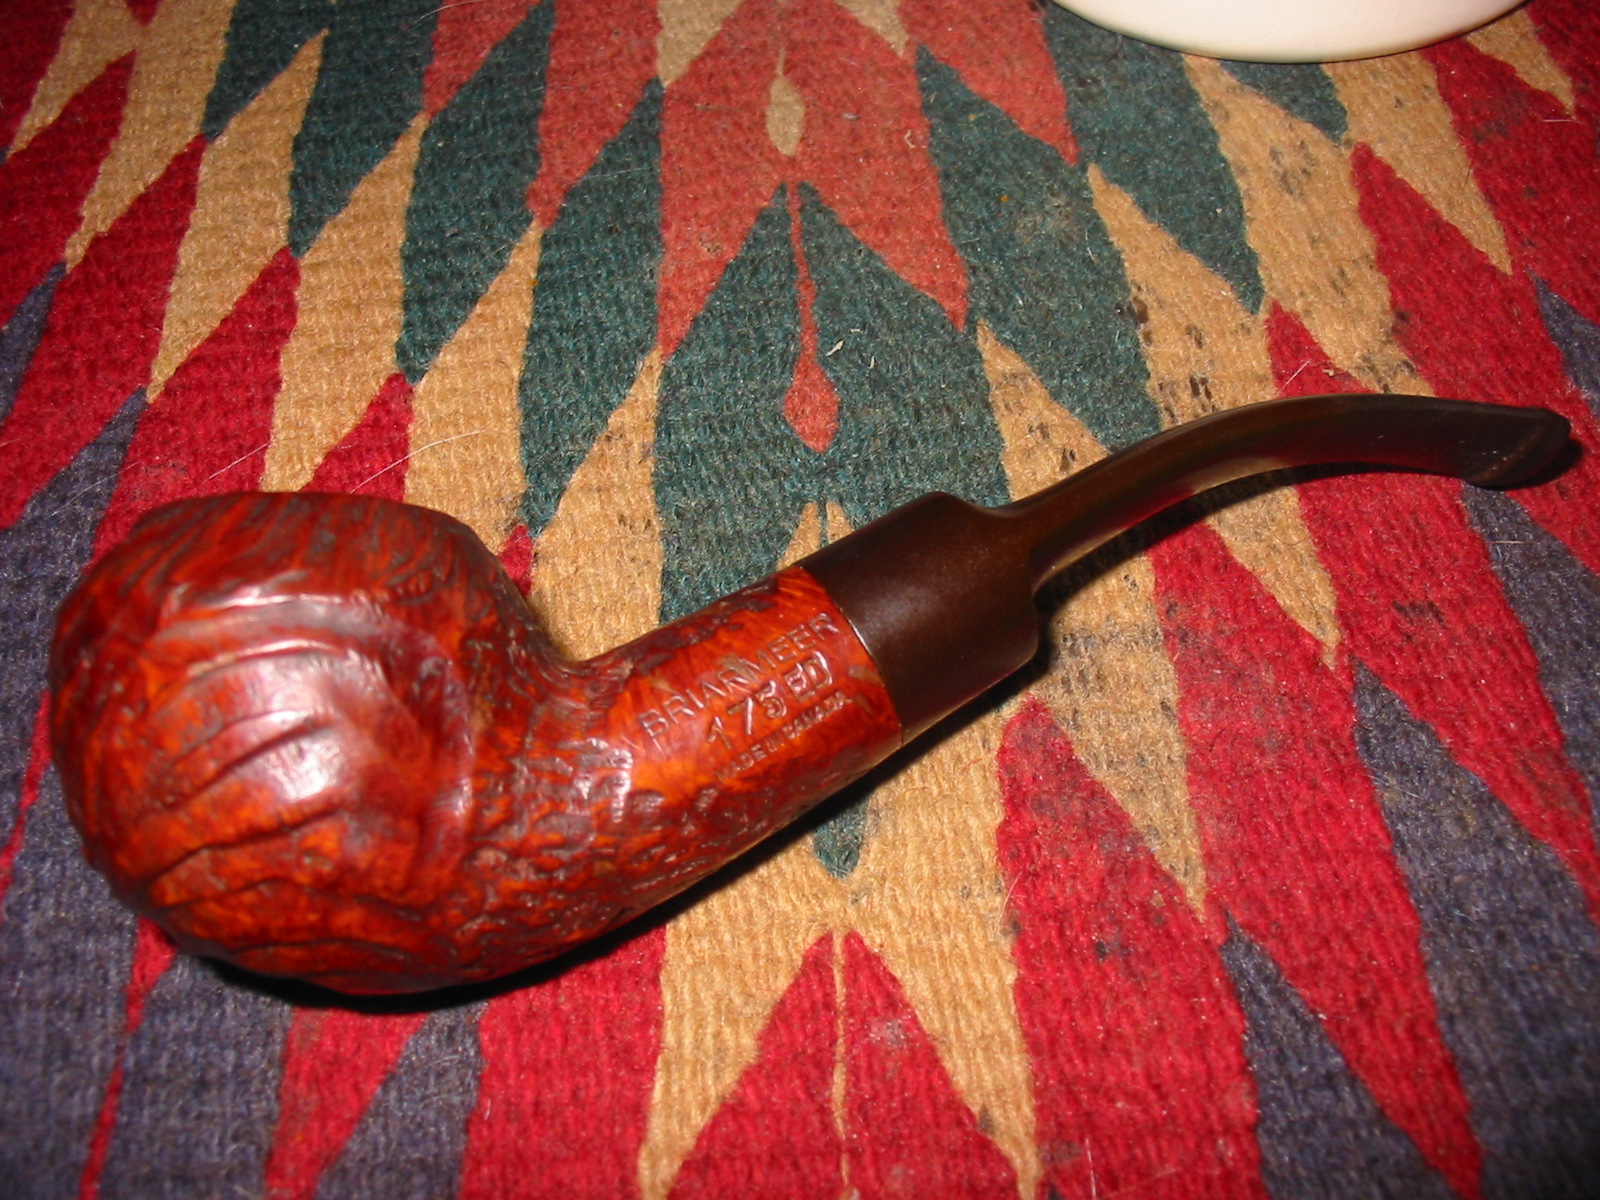
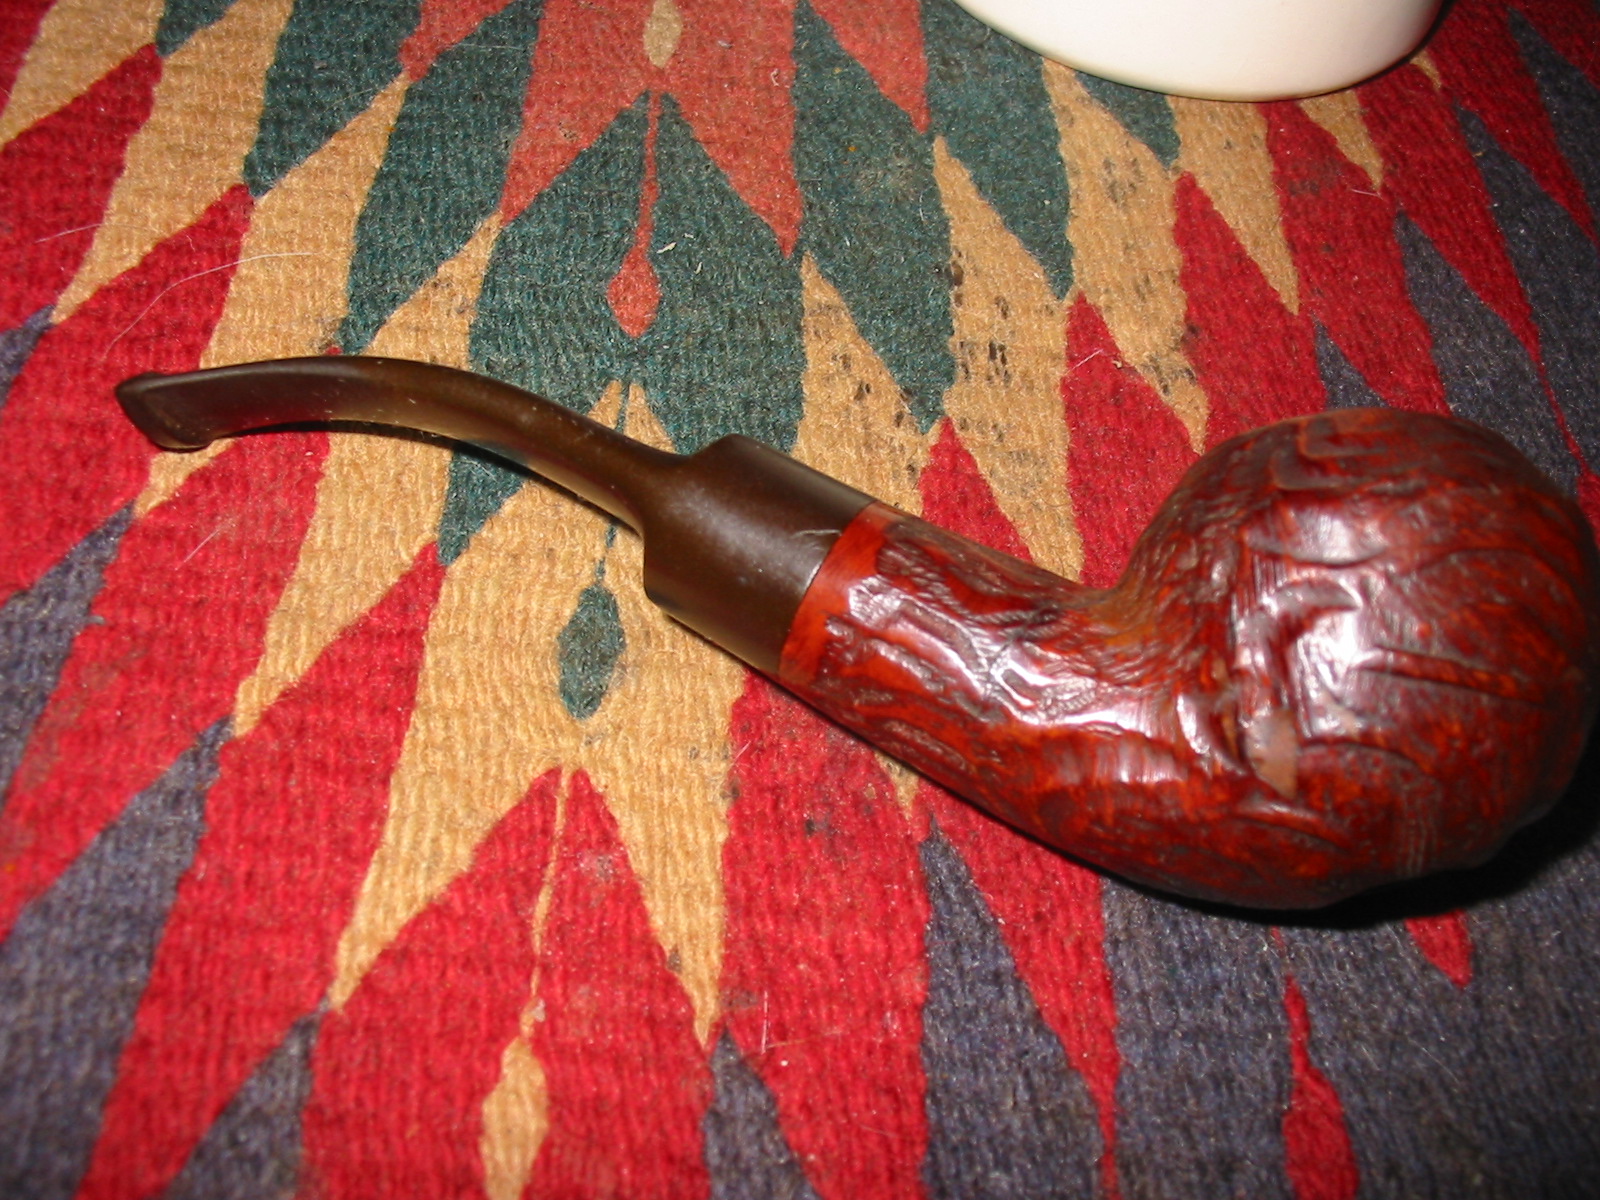
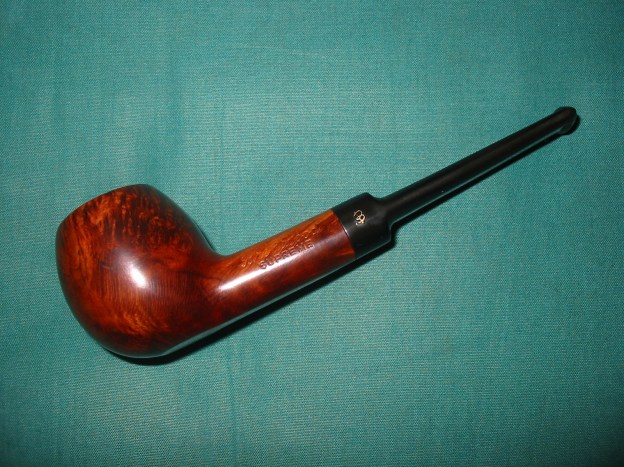
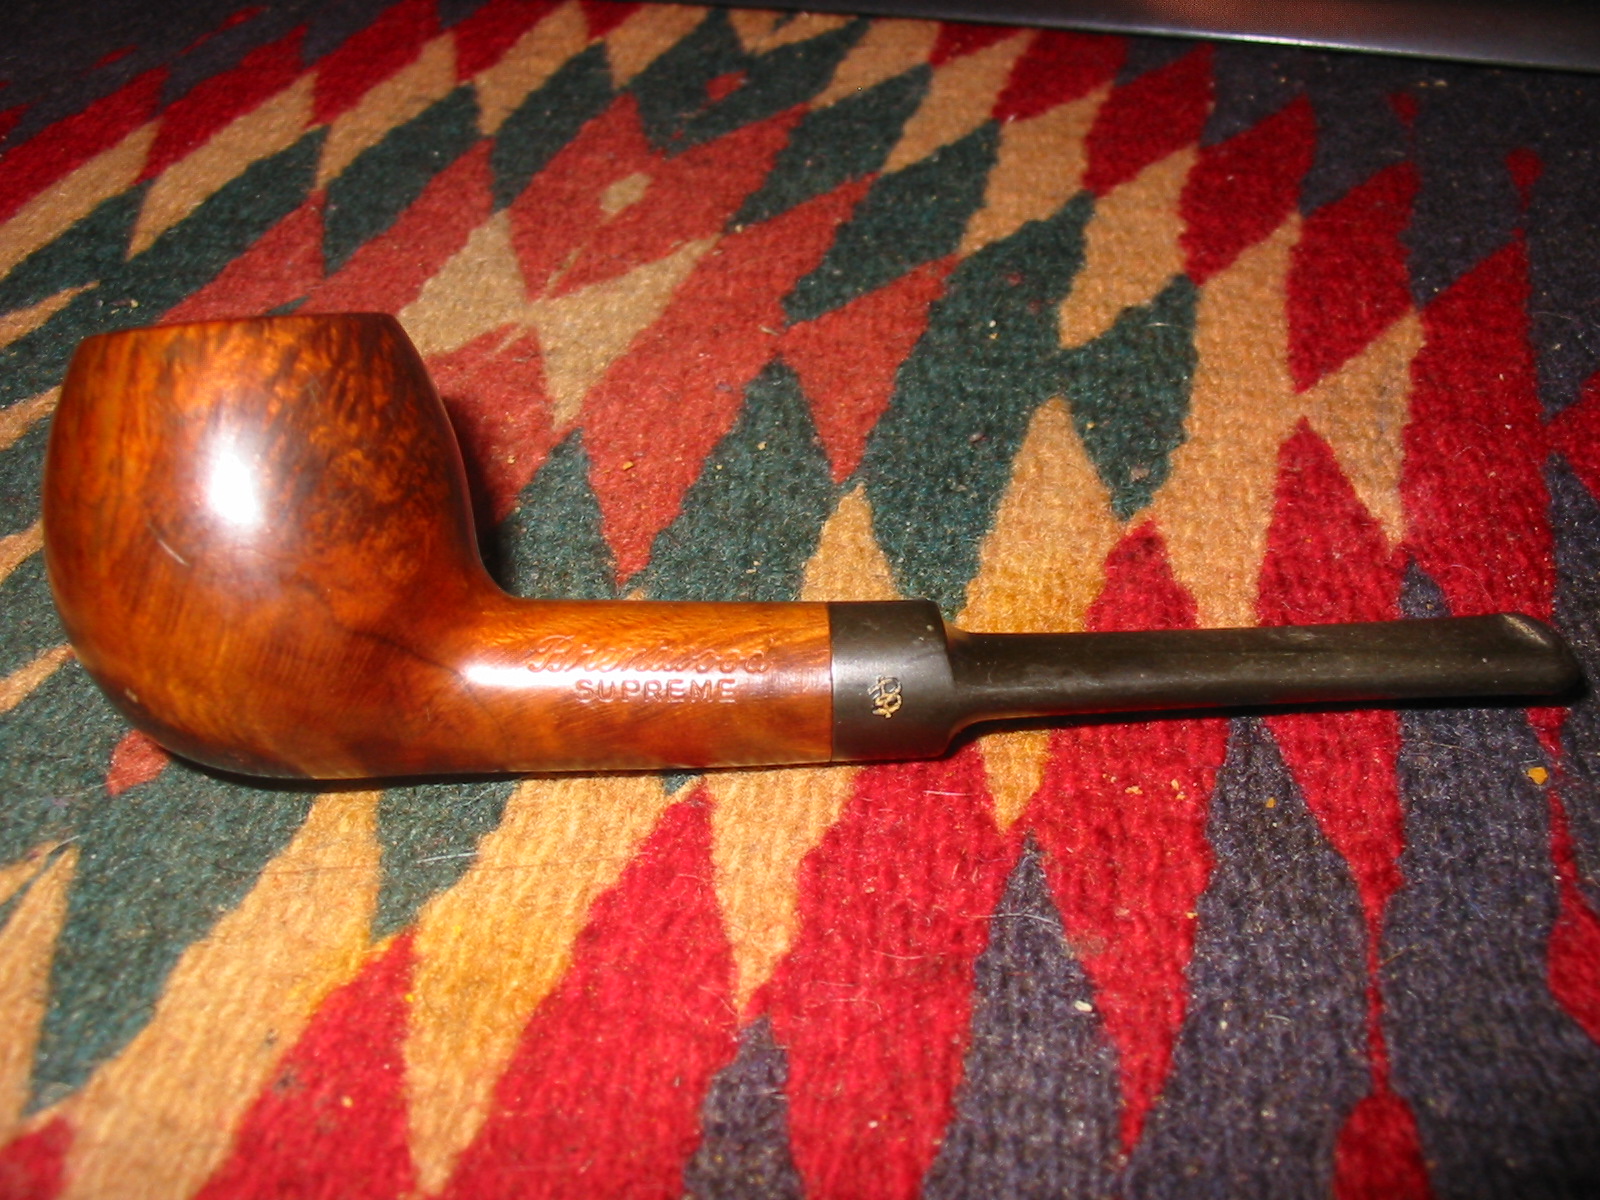
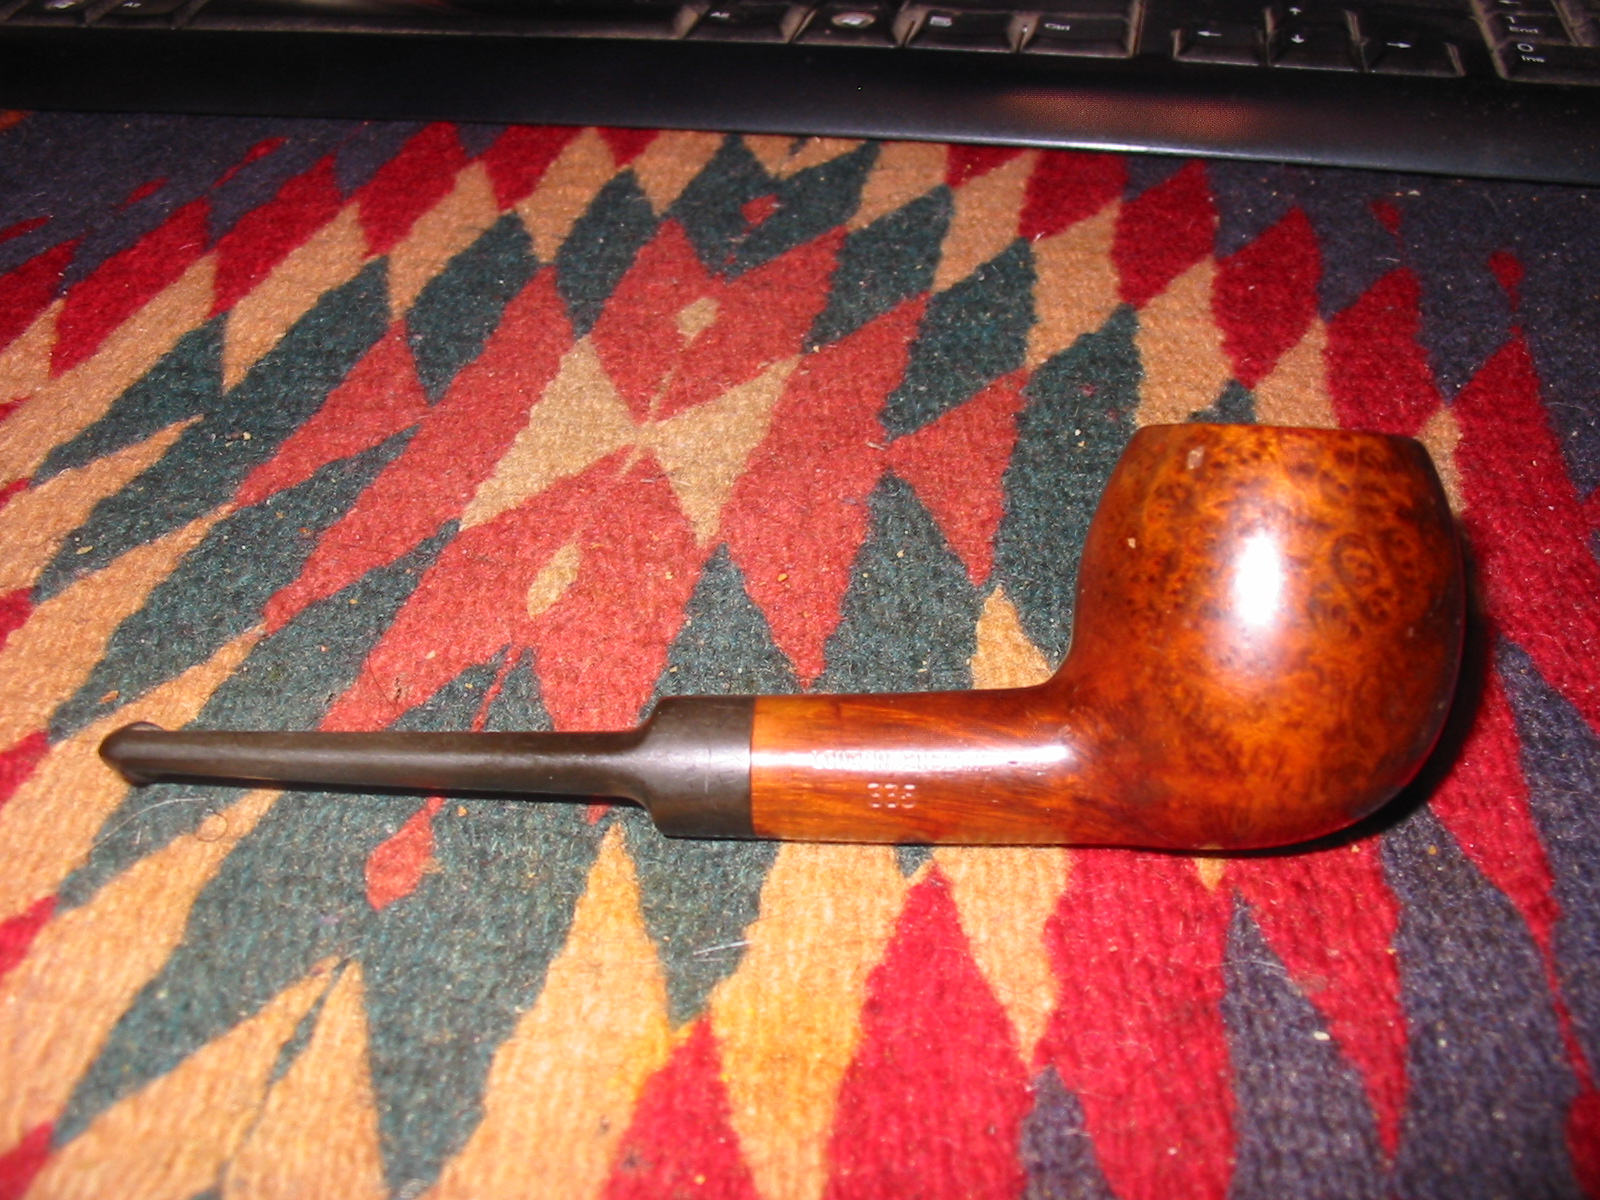
The last of the lot of six pipes I picked up in Washington was an apple shaped pipe. It was stamped Brentwood in script over SUPREME on the left side of the shank and London over England over 335 on the right side of the shank. The stem had a cursive letter ‘B’ on the left side. The finish was in good condition with a few small dings and dents in the briar. It had a thick coat of grime and grease on the briar. The rim was clean with no dents. It had a build up tars but was quite clean underneath. The stem was oxidized but there were no bite marks or dents. The stamping of the ‘B’ on the stem was in great condition and appears to have a gold colour stamped into the vulcanite. The overall look of the pipe looked familiar to me. I was not sure of the maker of the pipe but there was something about it that I remembered. Because of the sense that I had seen it before I decided to take it home, clean it up and see if I could dig up any information on the brand. I paid the $10 that the antique dealer had put on the pipe.
IMG_6925

IMG_6926
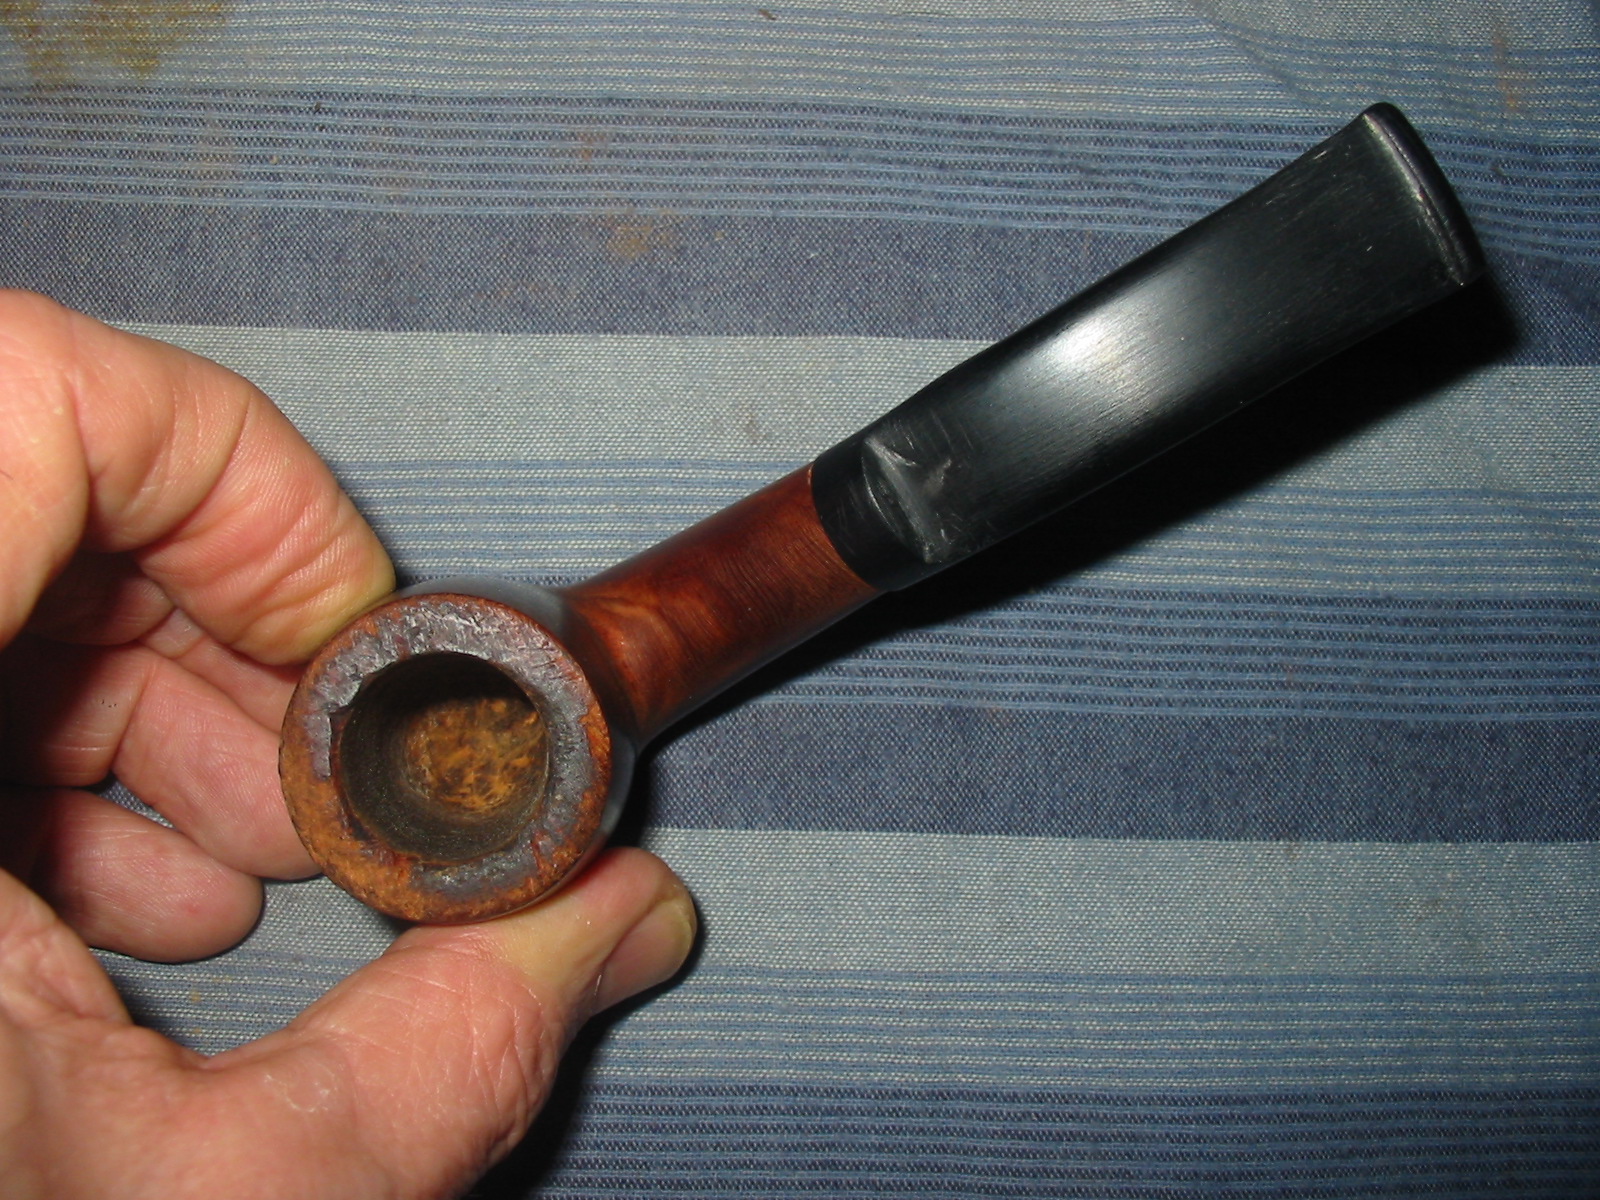
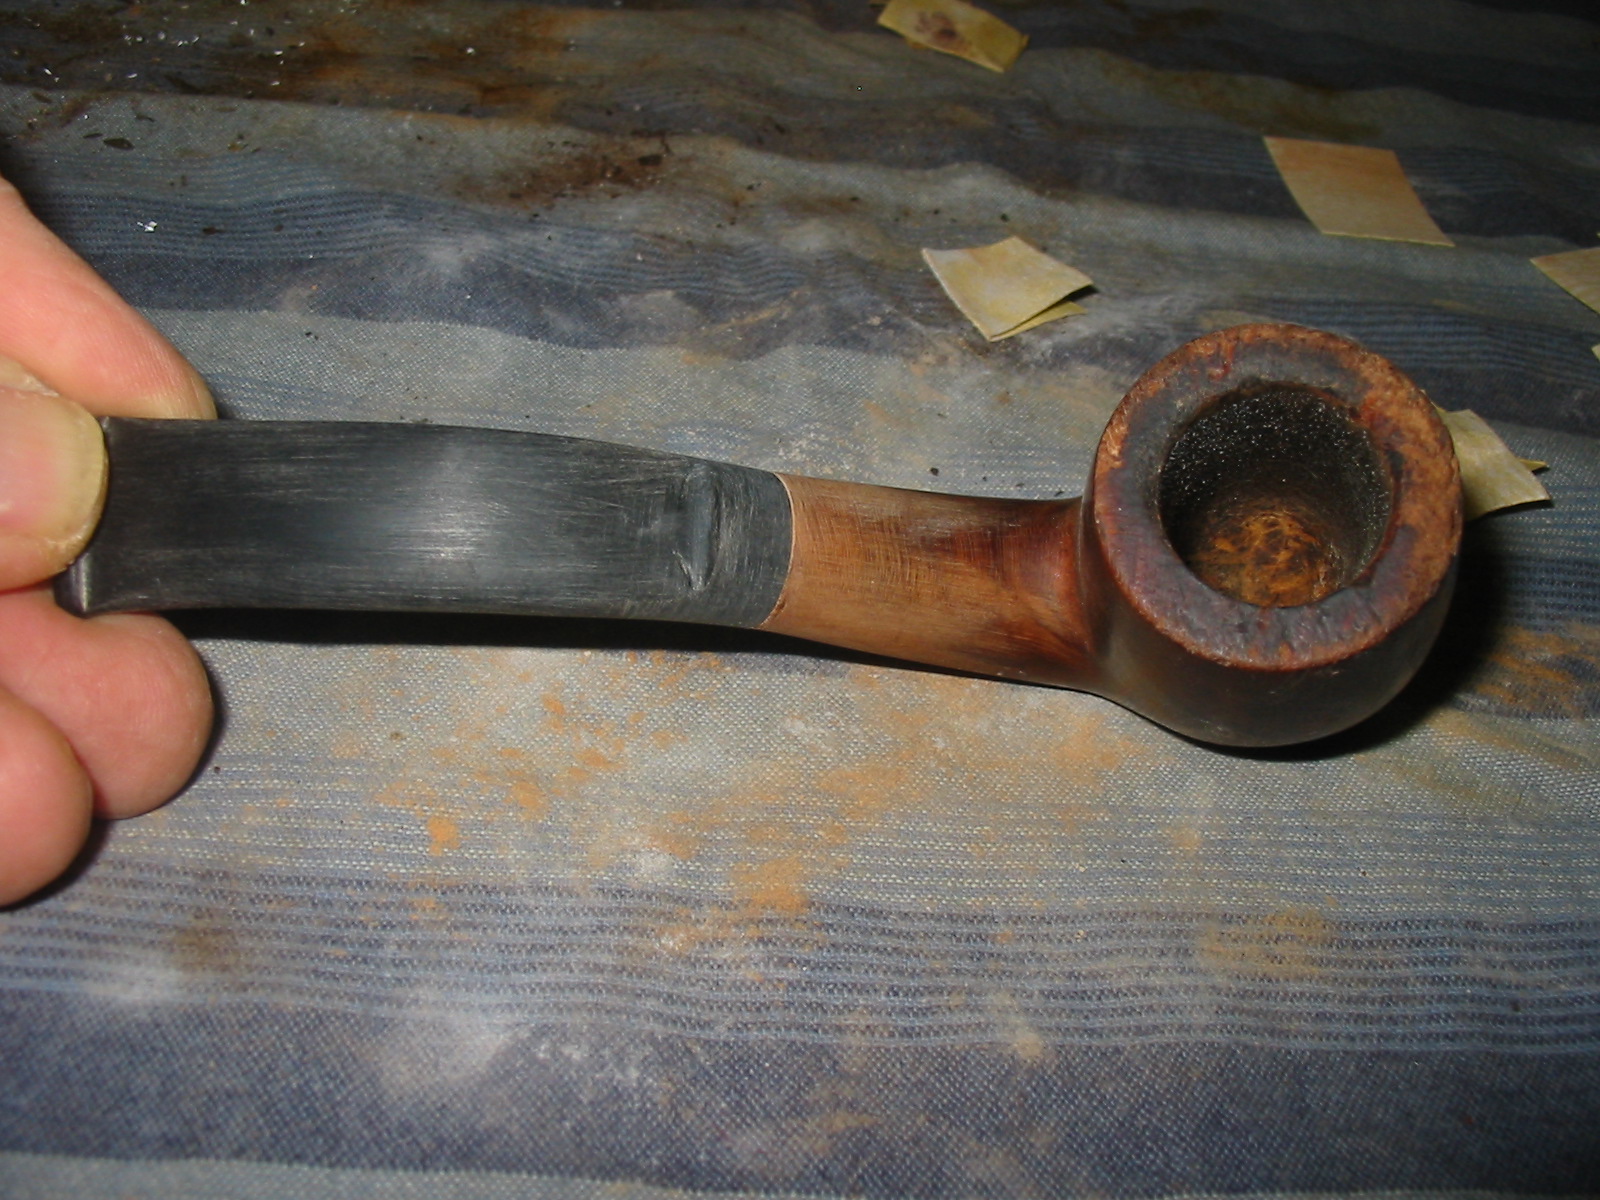
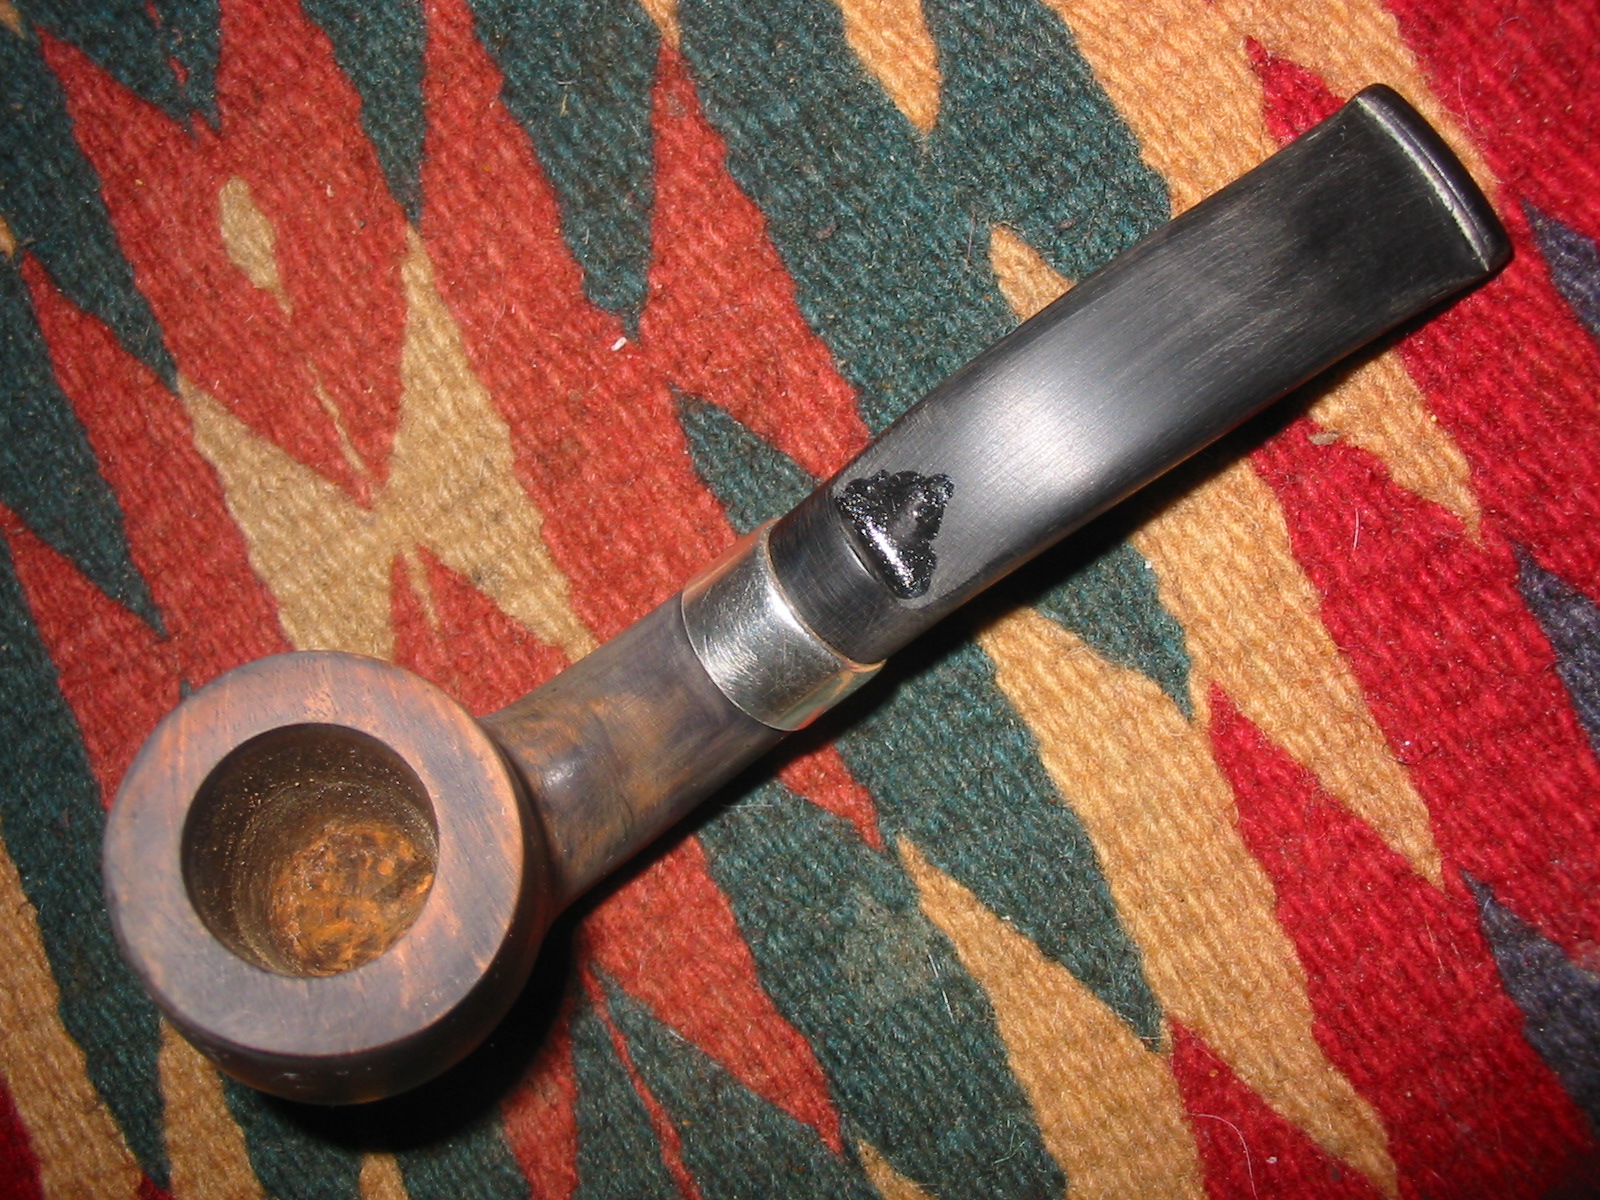
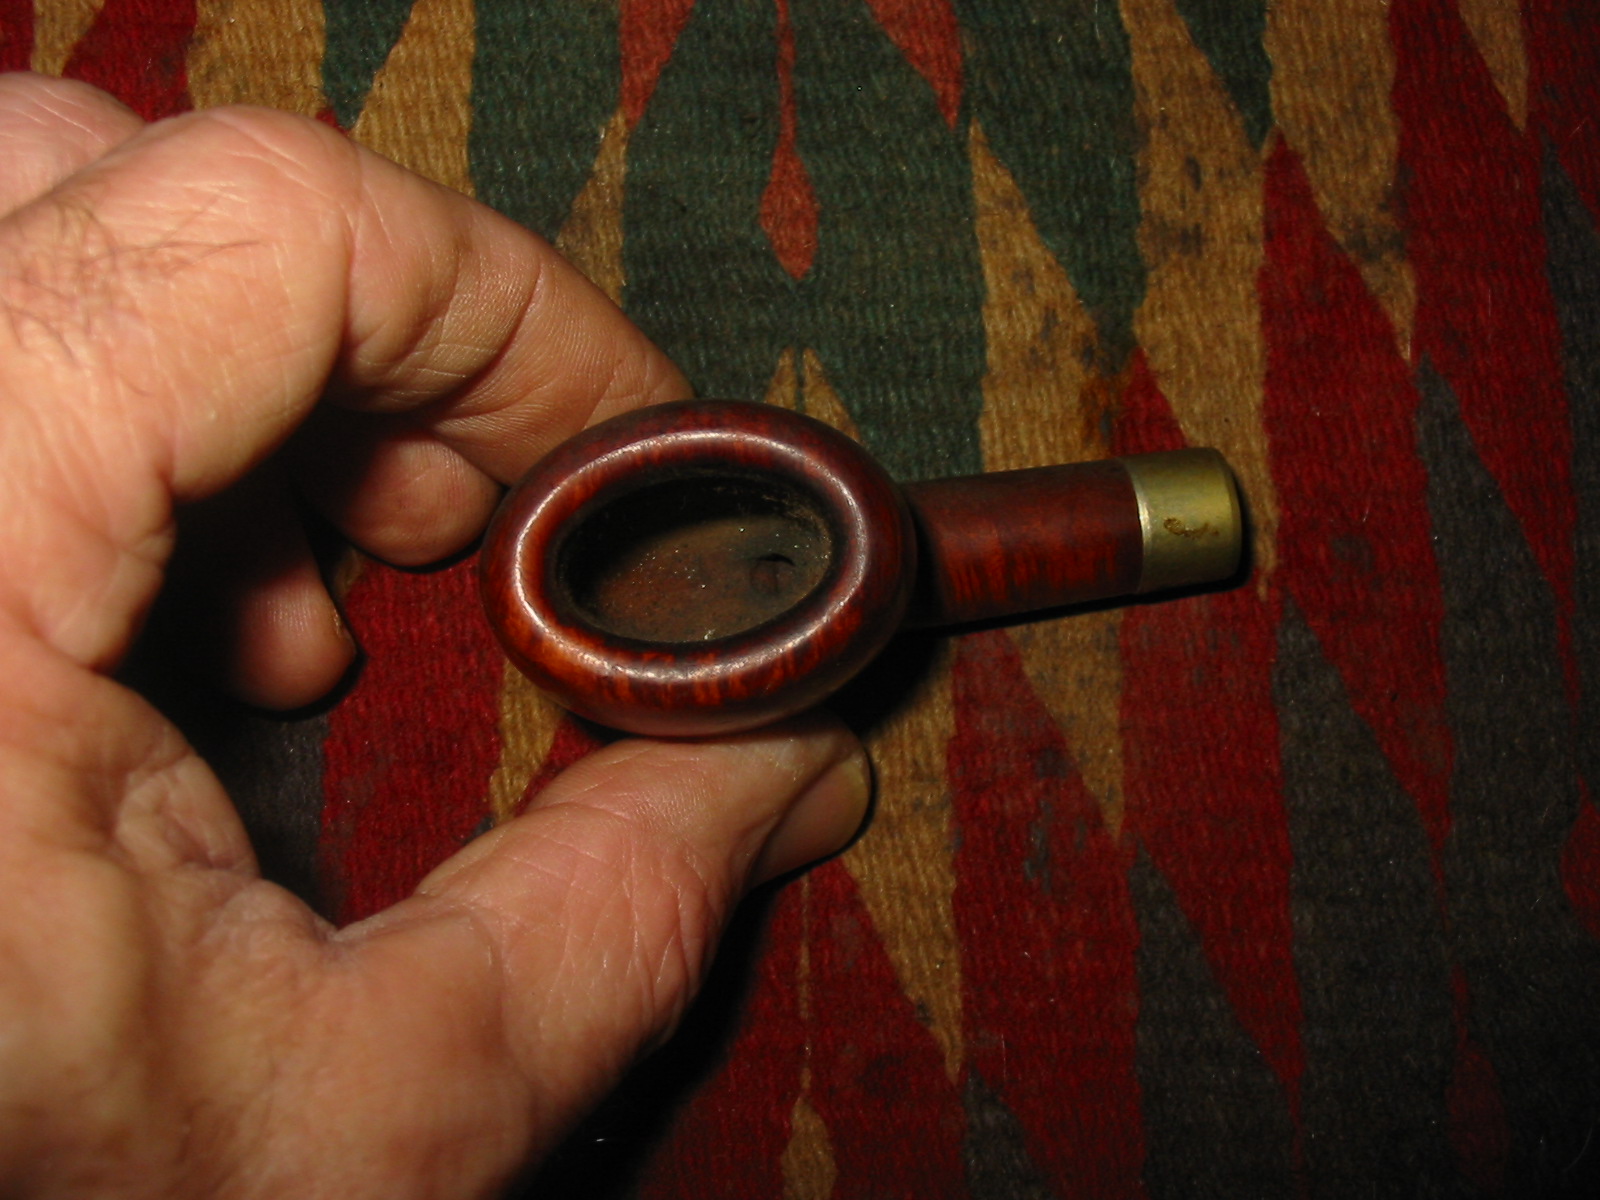
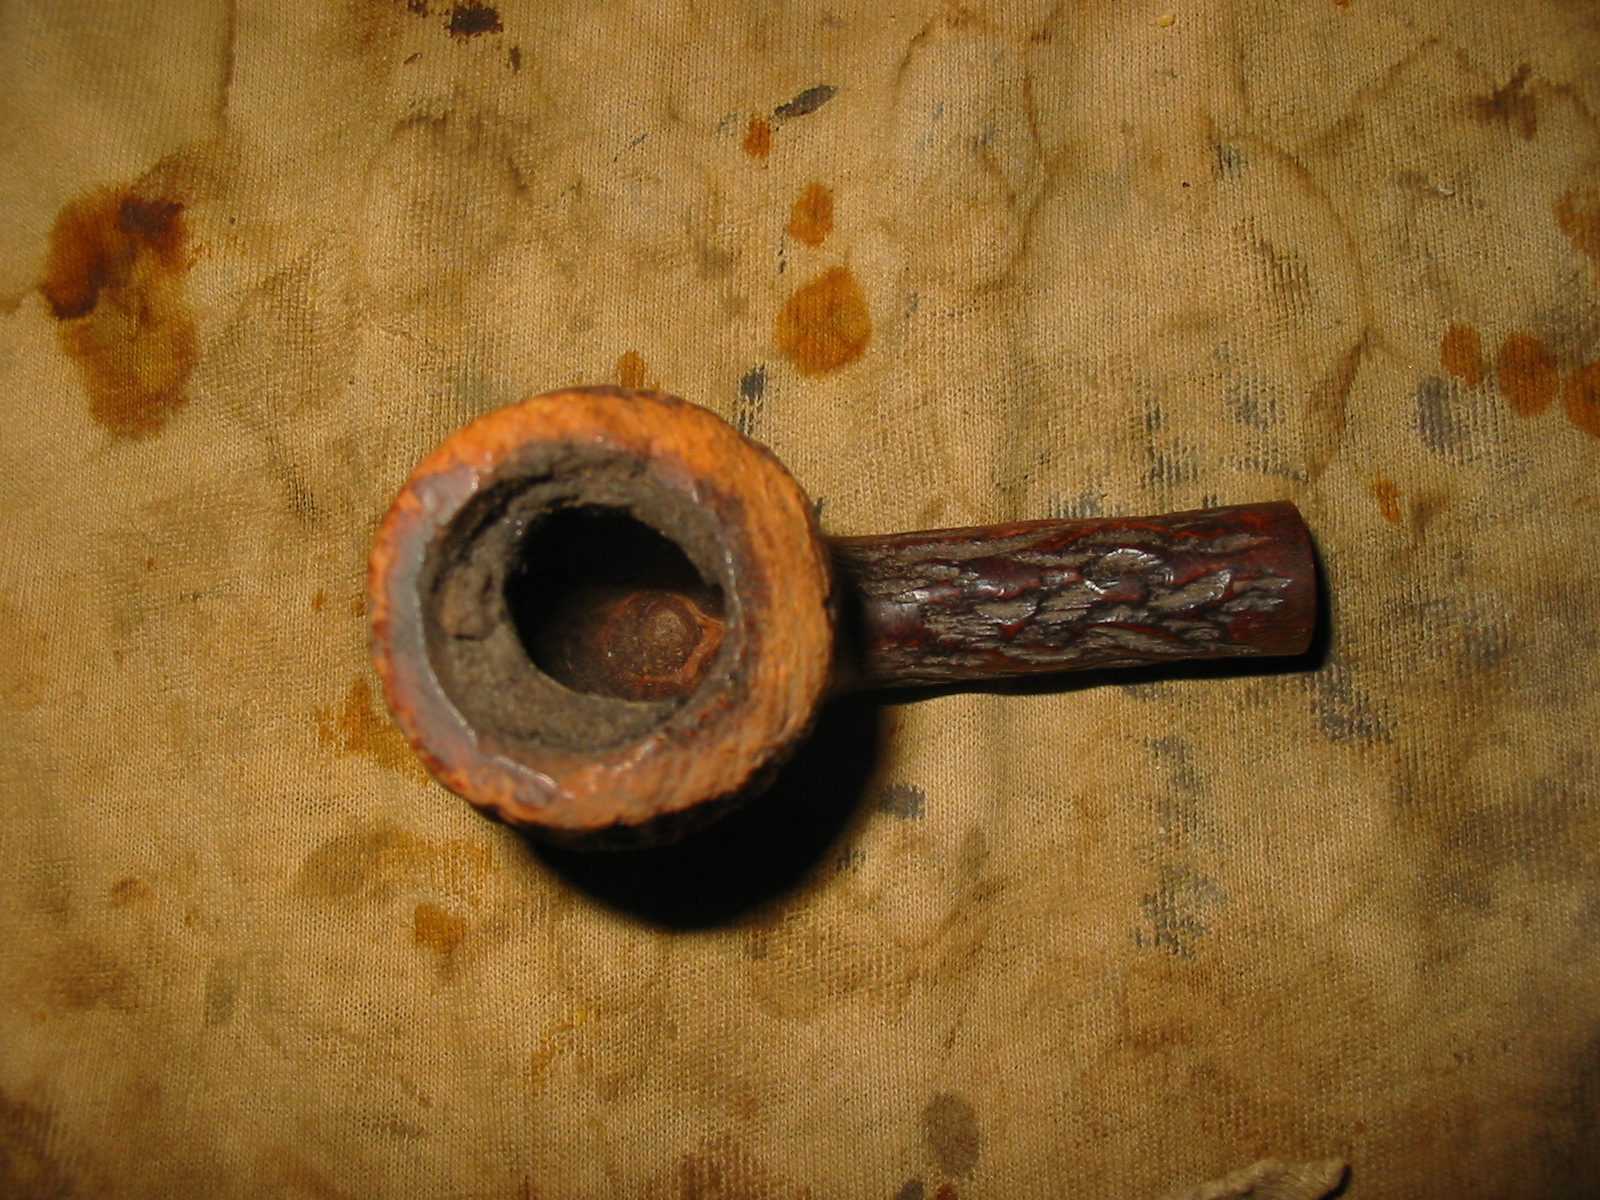
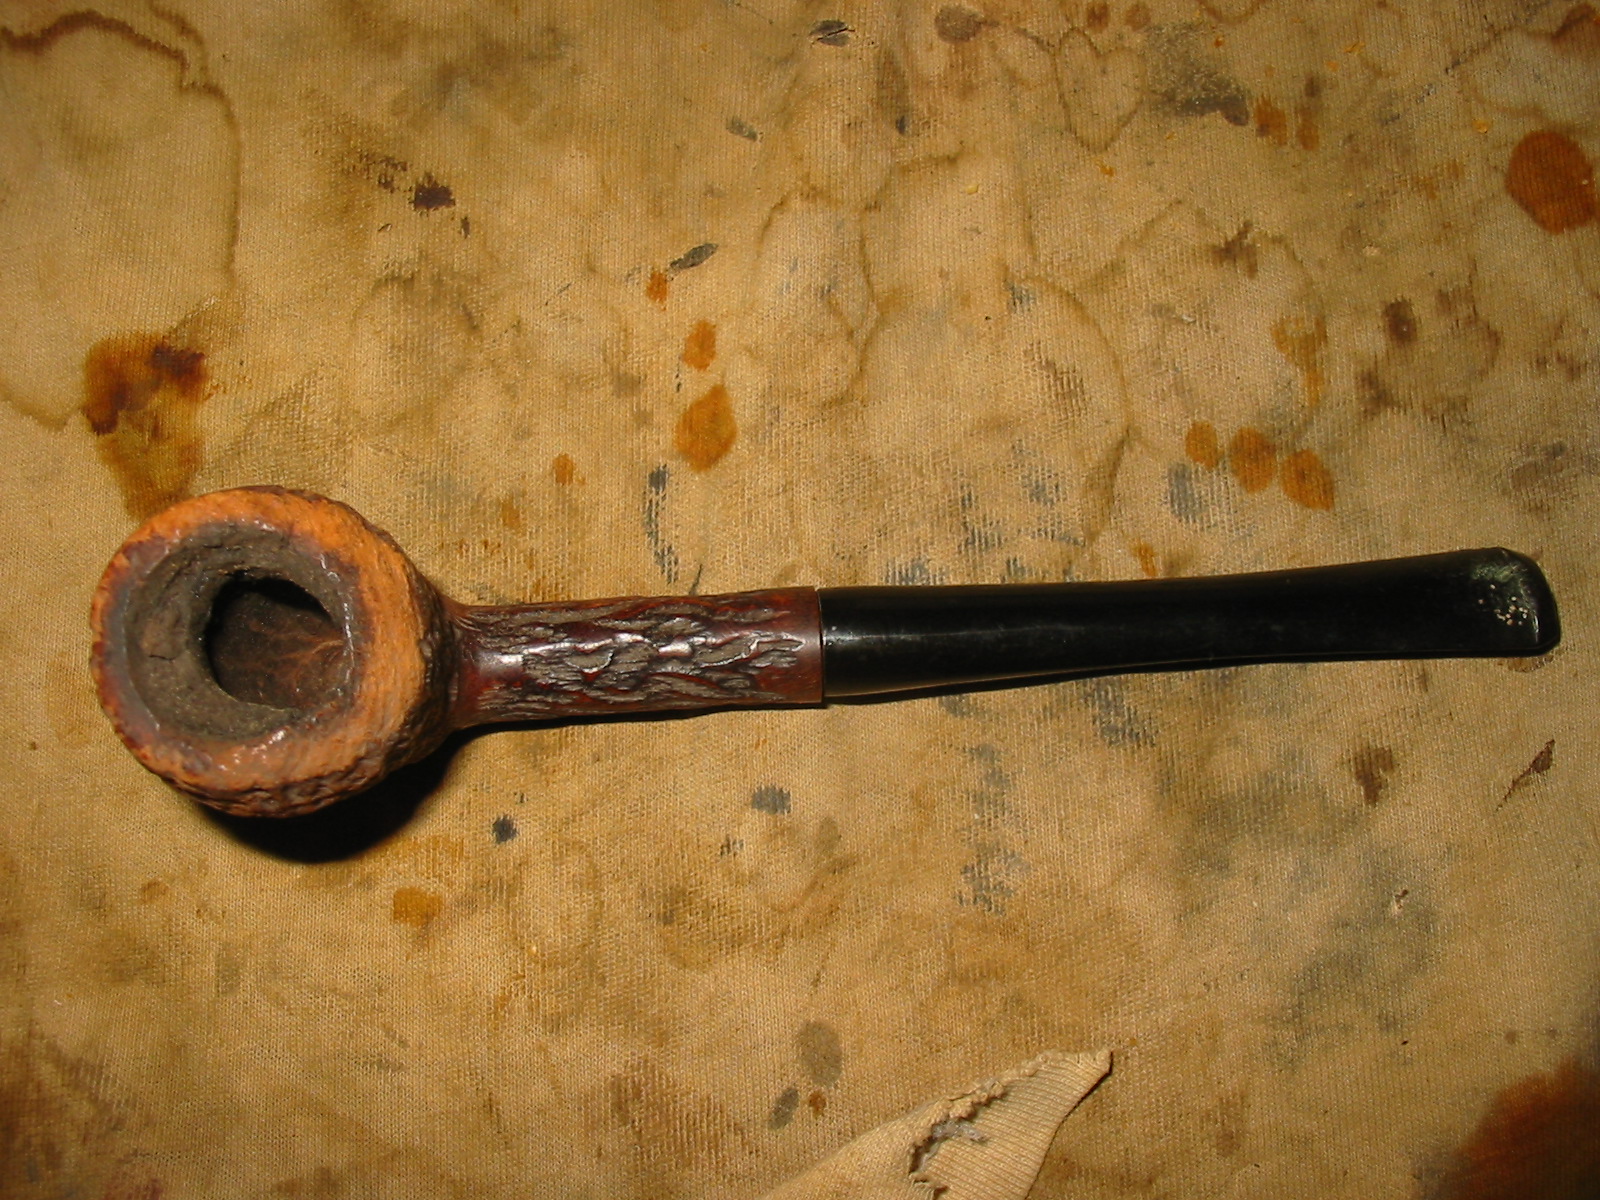
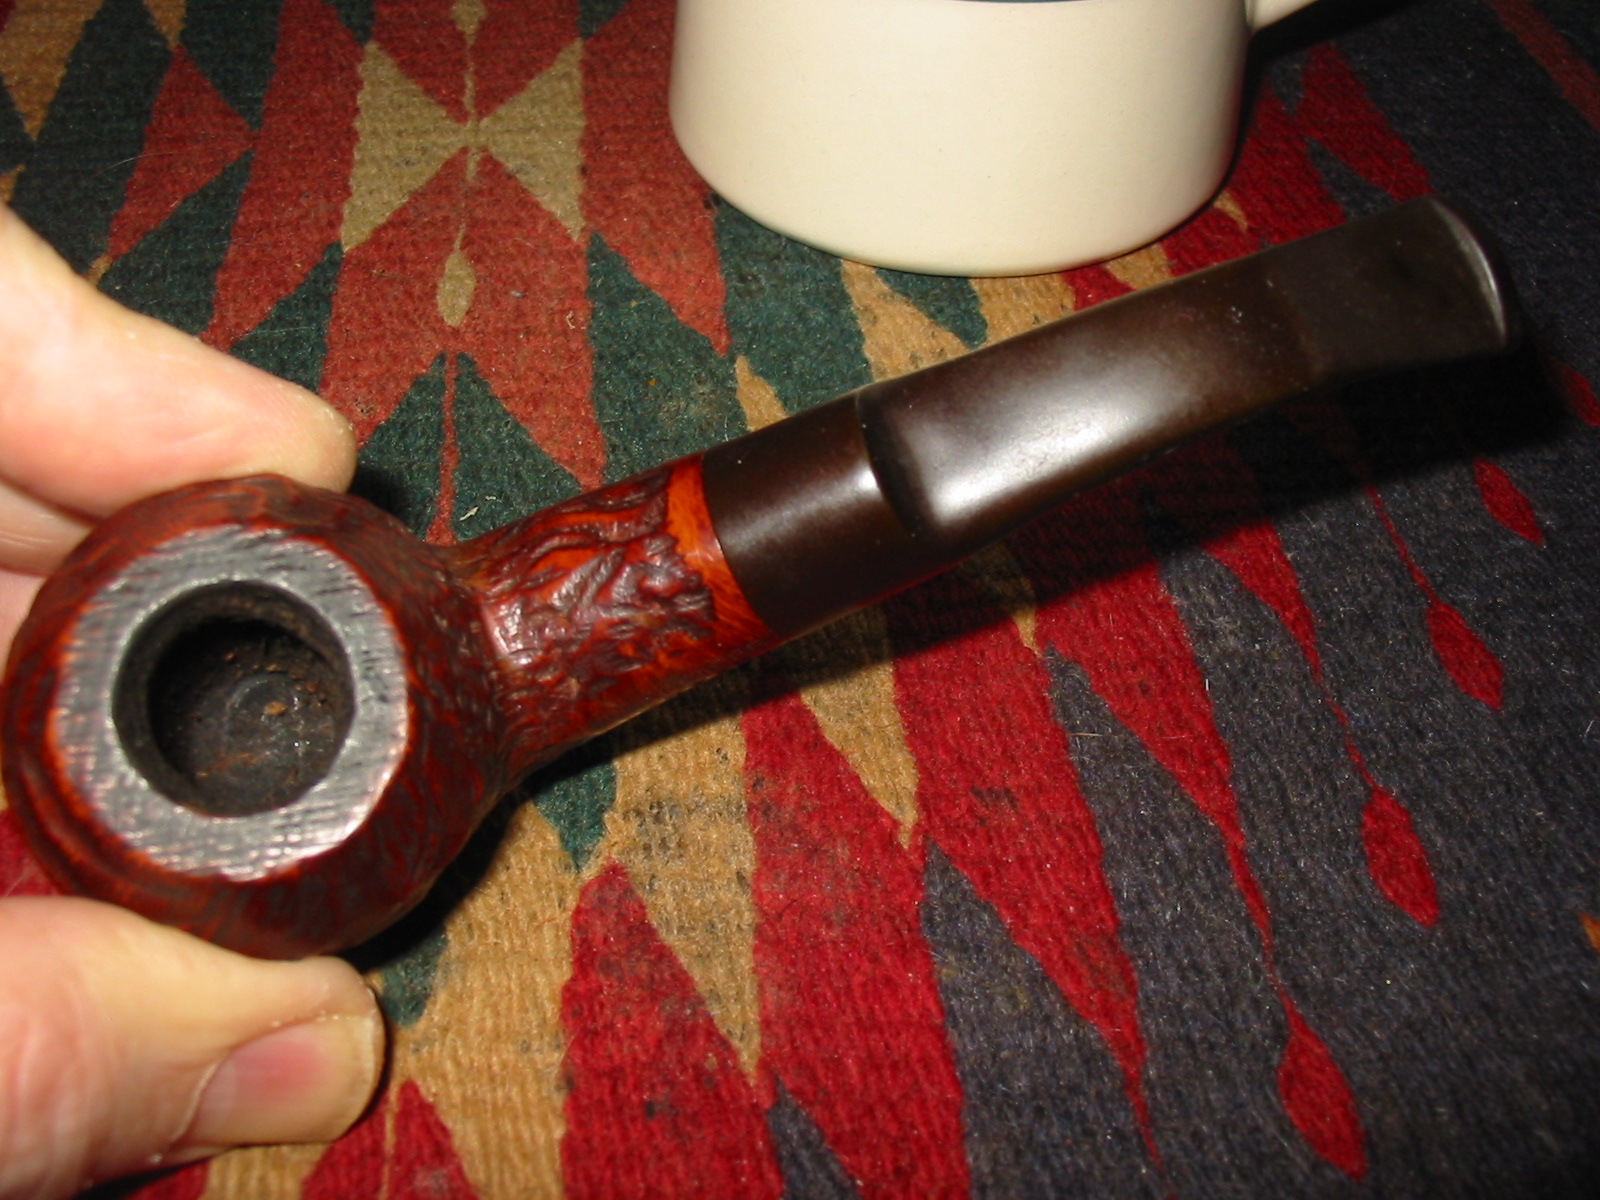
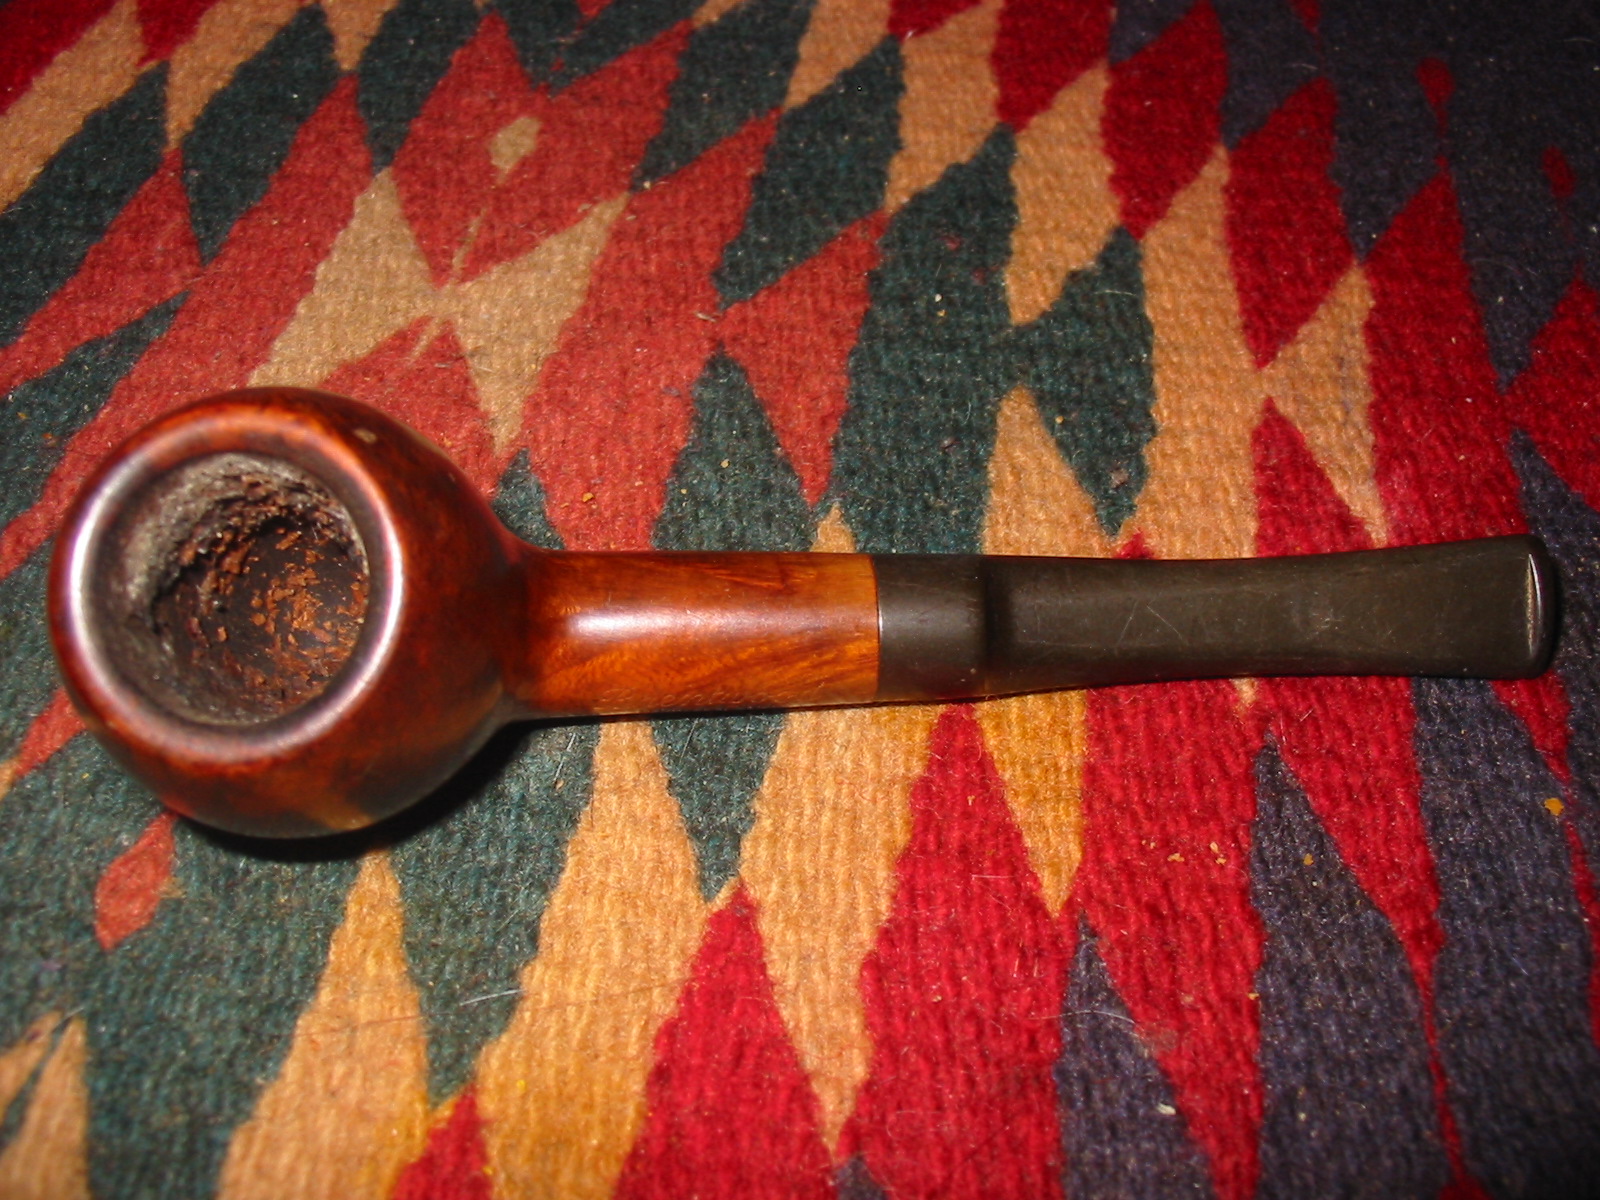
I examined the pipe and catalogued in my head what needed to be done to clean it up. I always do that to get some idea of what lies ahead for me. The bowl inside had an uneven cake on it. There were remnants of tobacco in the bowl. When I removed the stem the inside of the shank/mortise was clean and had some of the reddish brown stain inside from the bowl. There was no tar or build up in the shank. The inside of the stem had some tars and buildup that came out with the pipe cleaners and alcohol. I am not sure how that is possible that the shank was clean with the buildup and tobacco remnants in the bowl and the tars in the stem but that is the way it was. I may never know what the pipe went through.
IMG_6923

IMG_6927
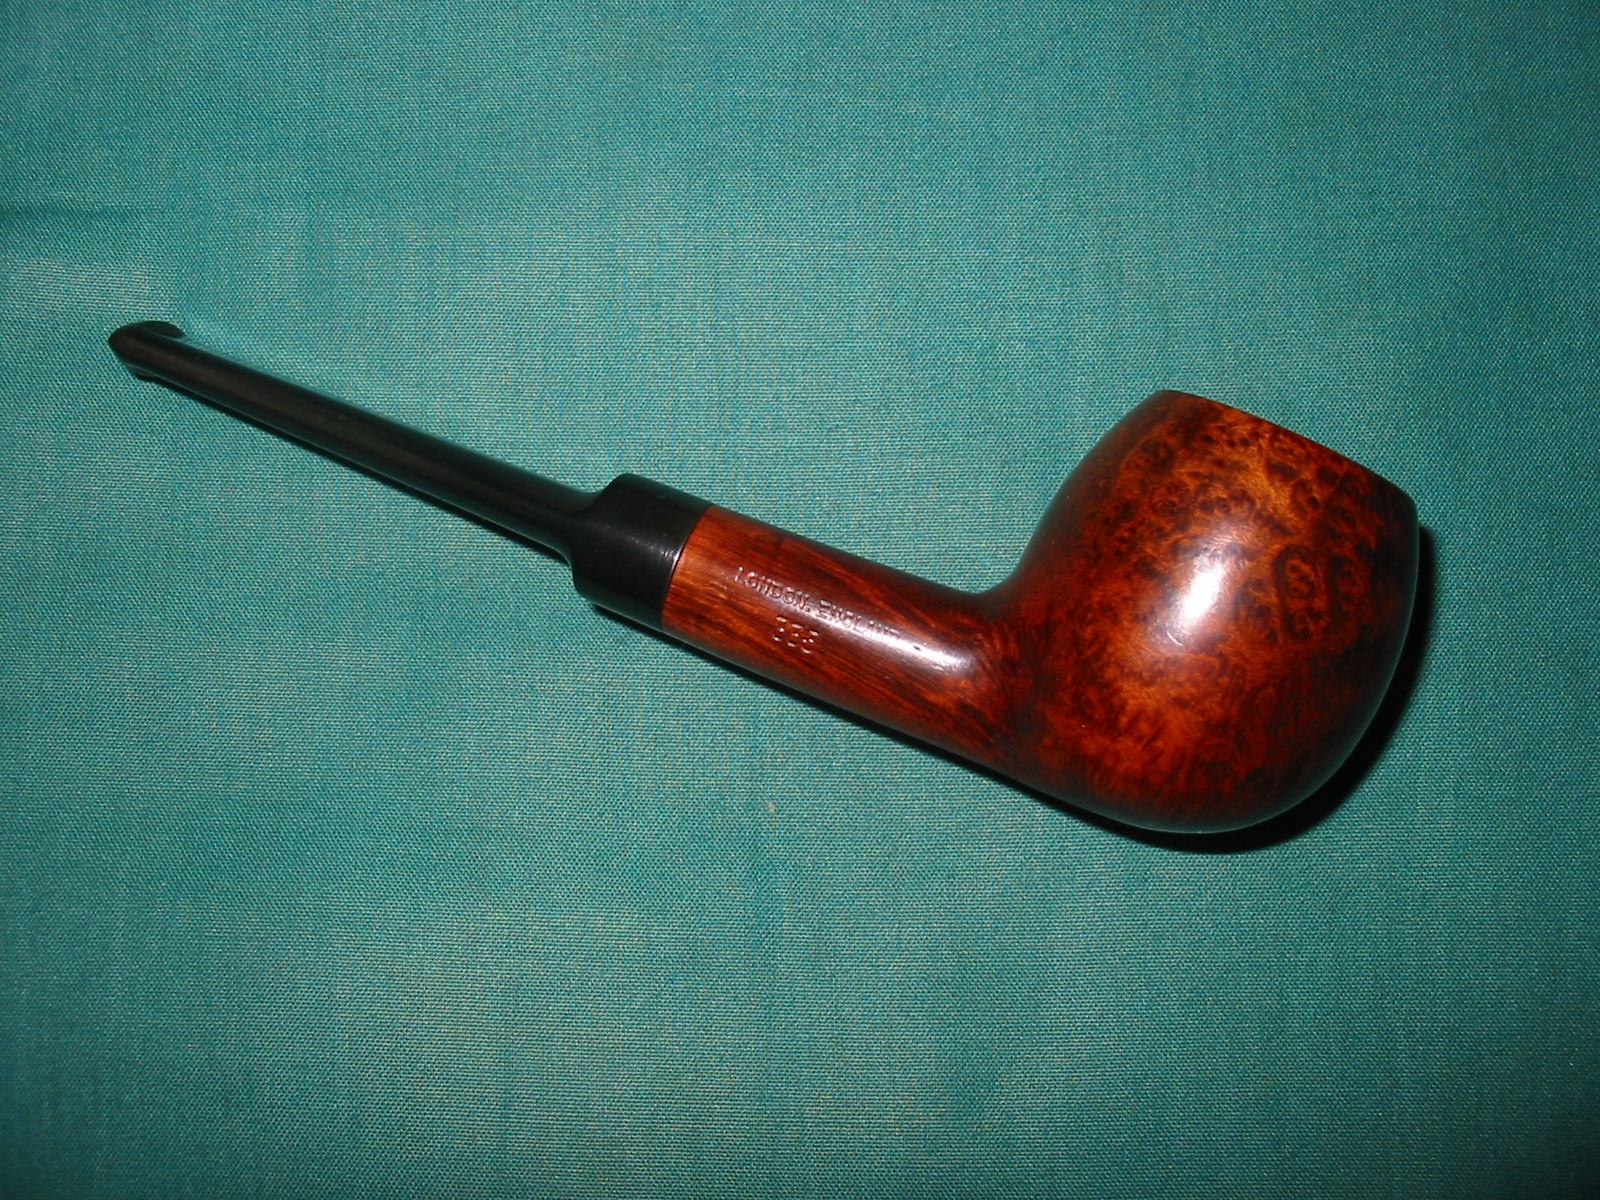
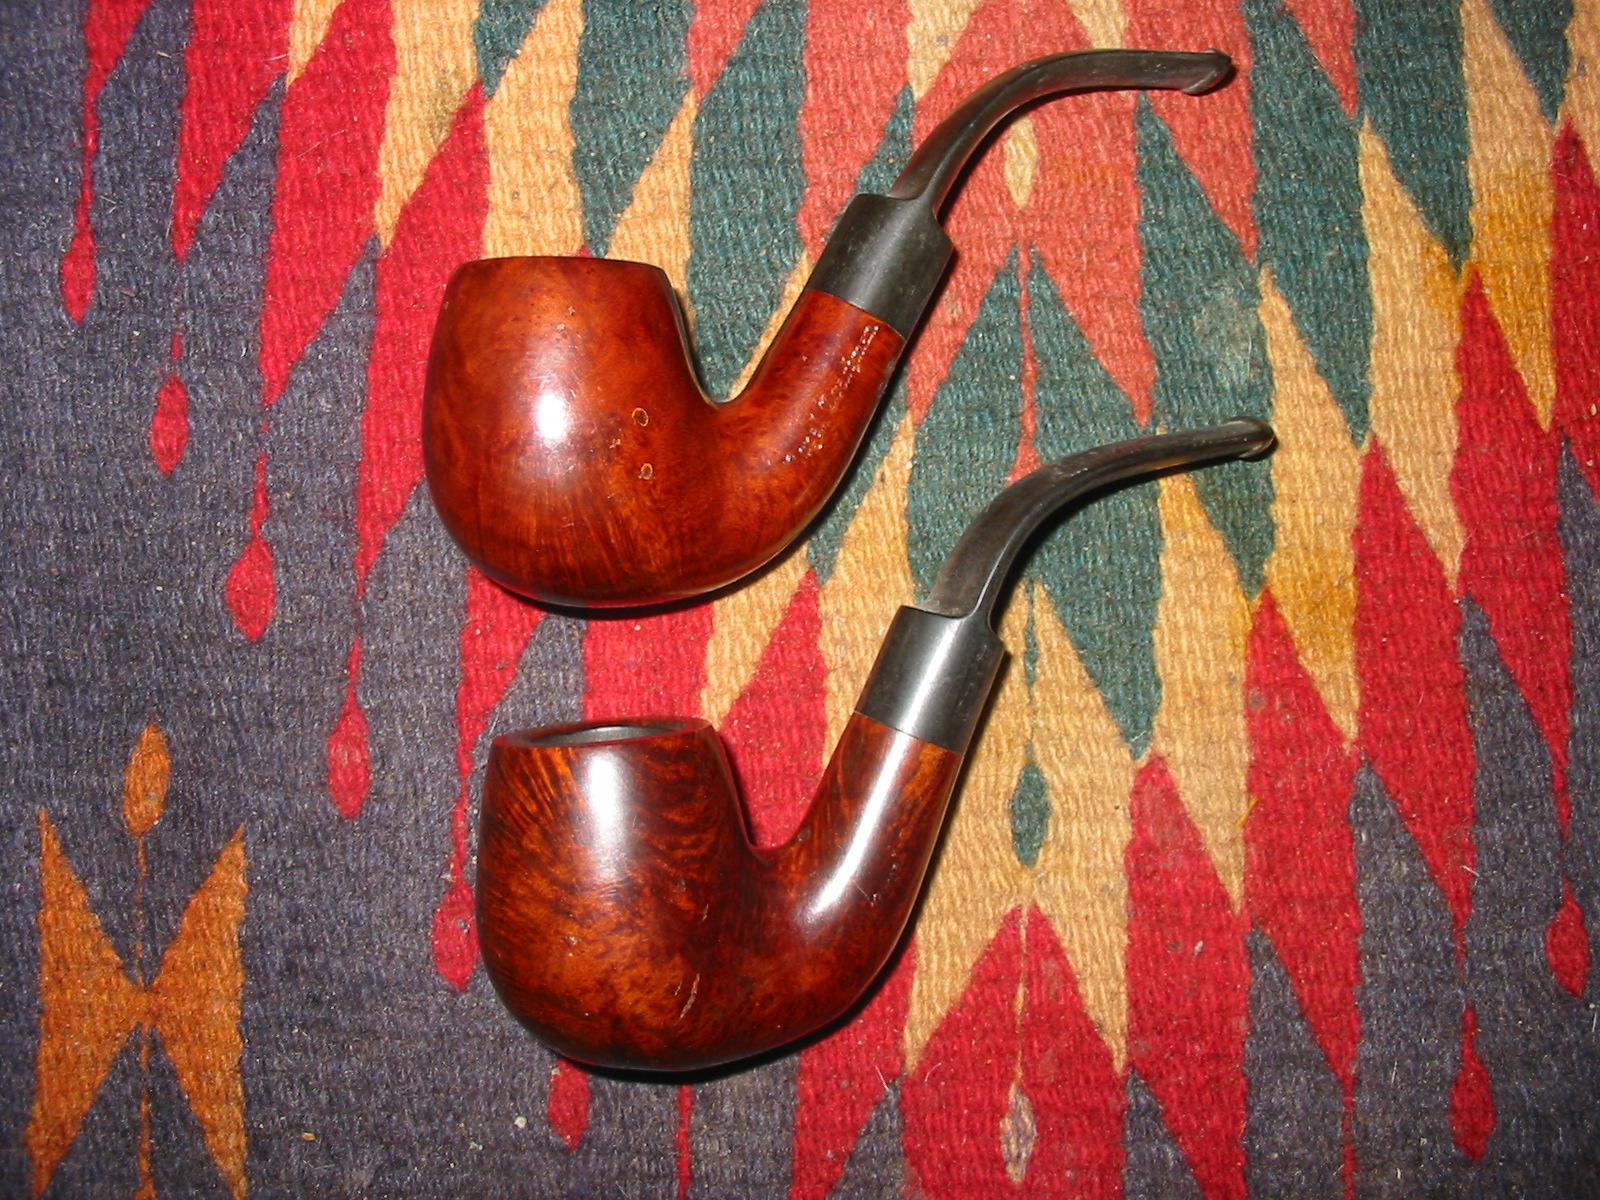
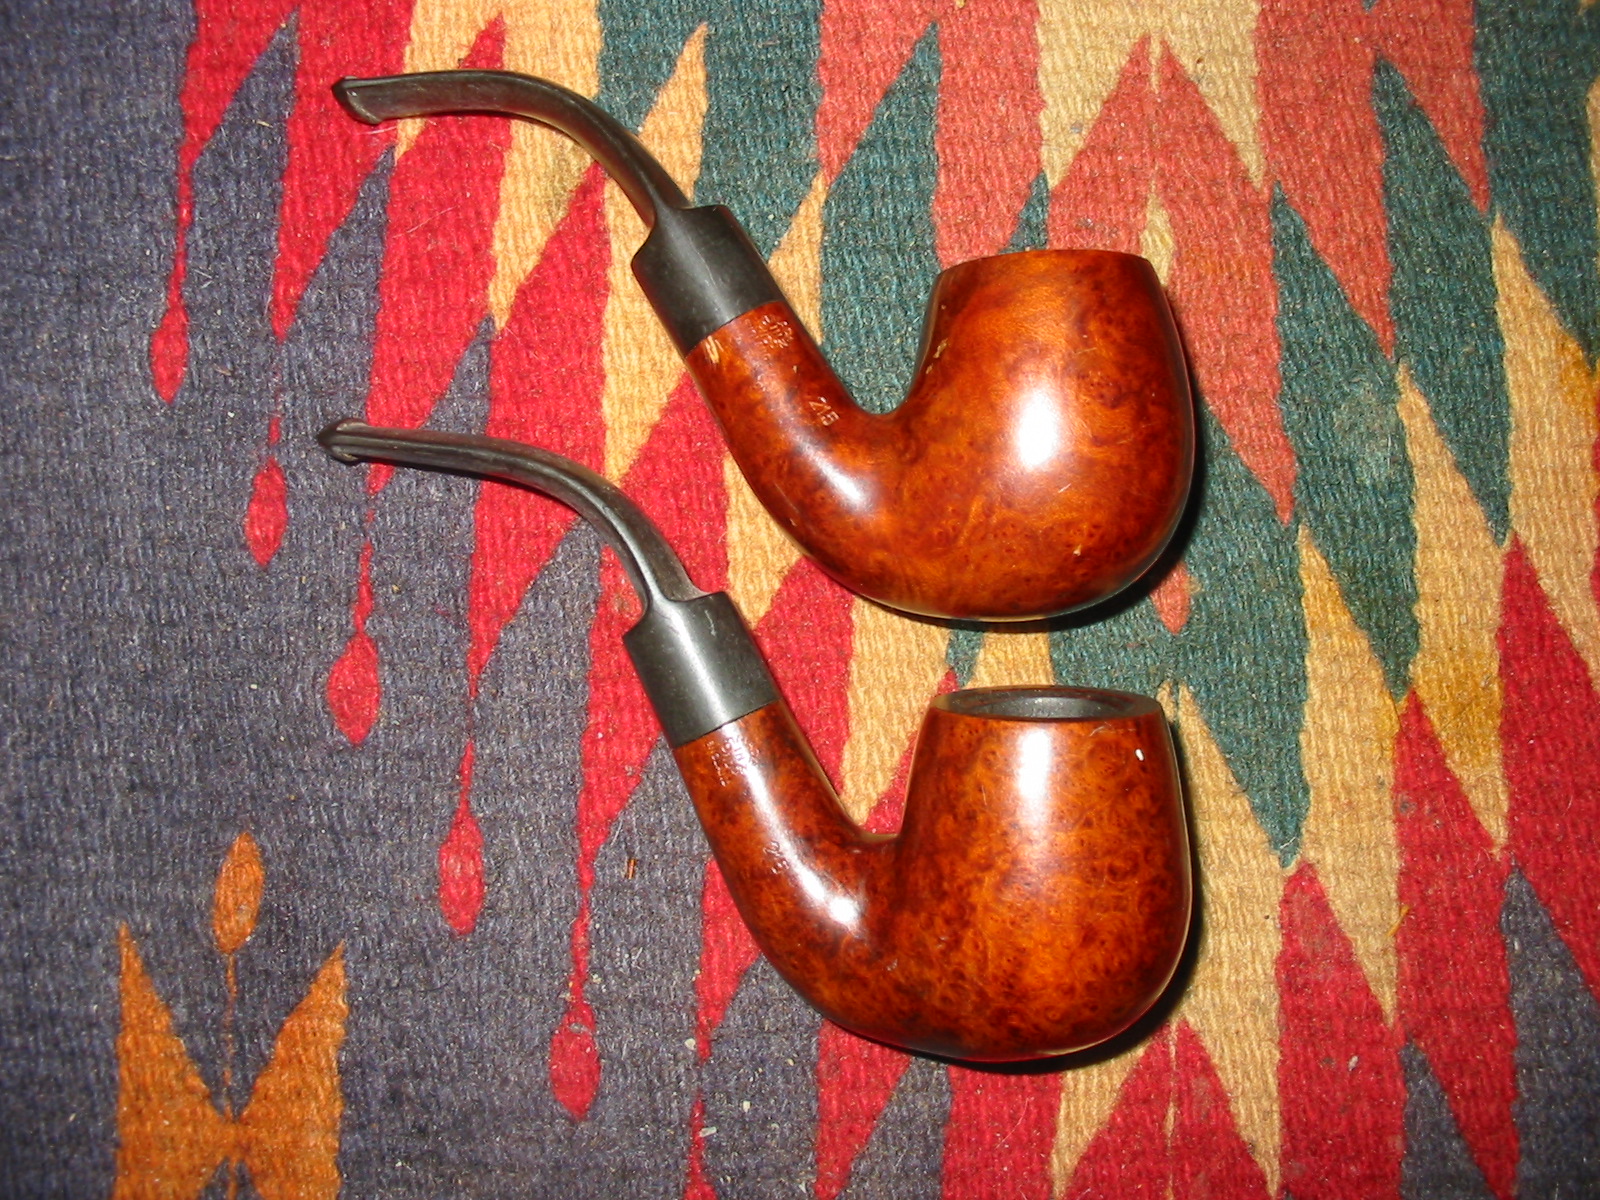
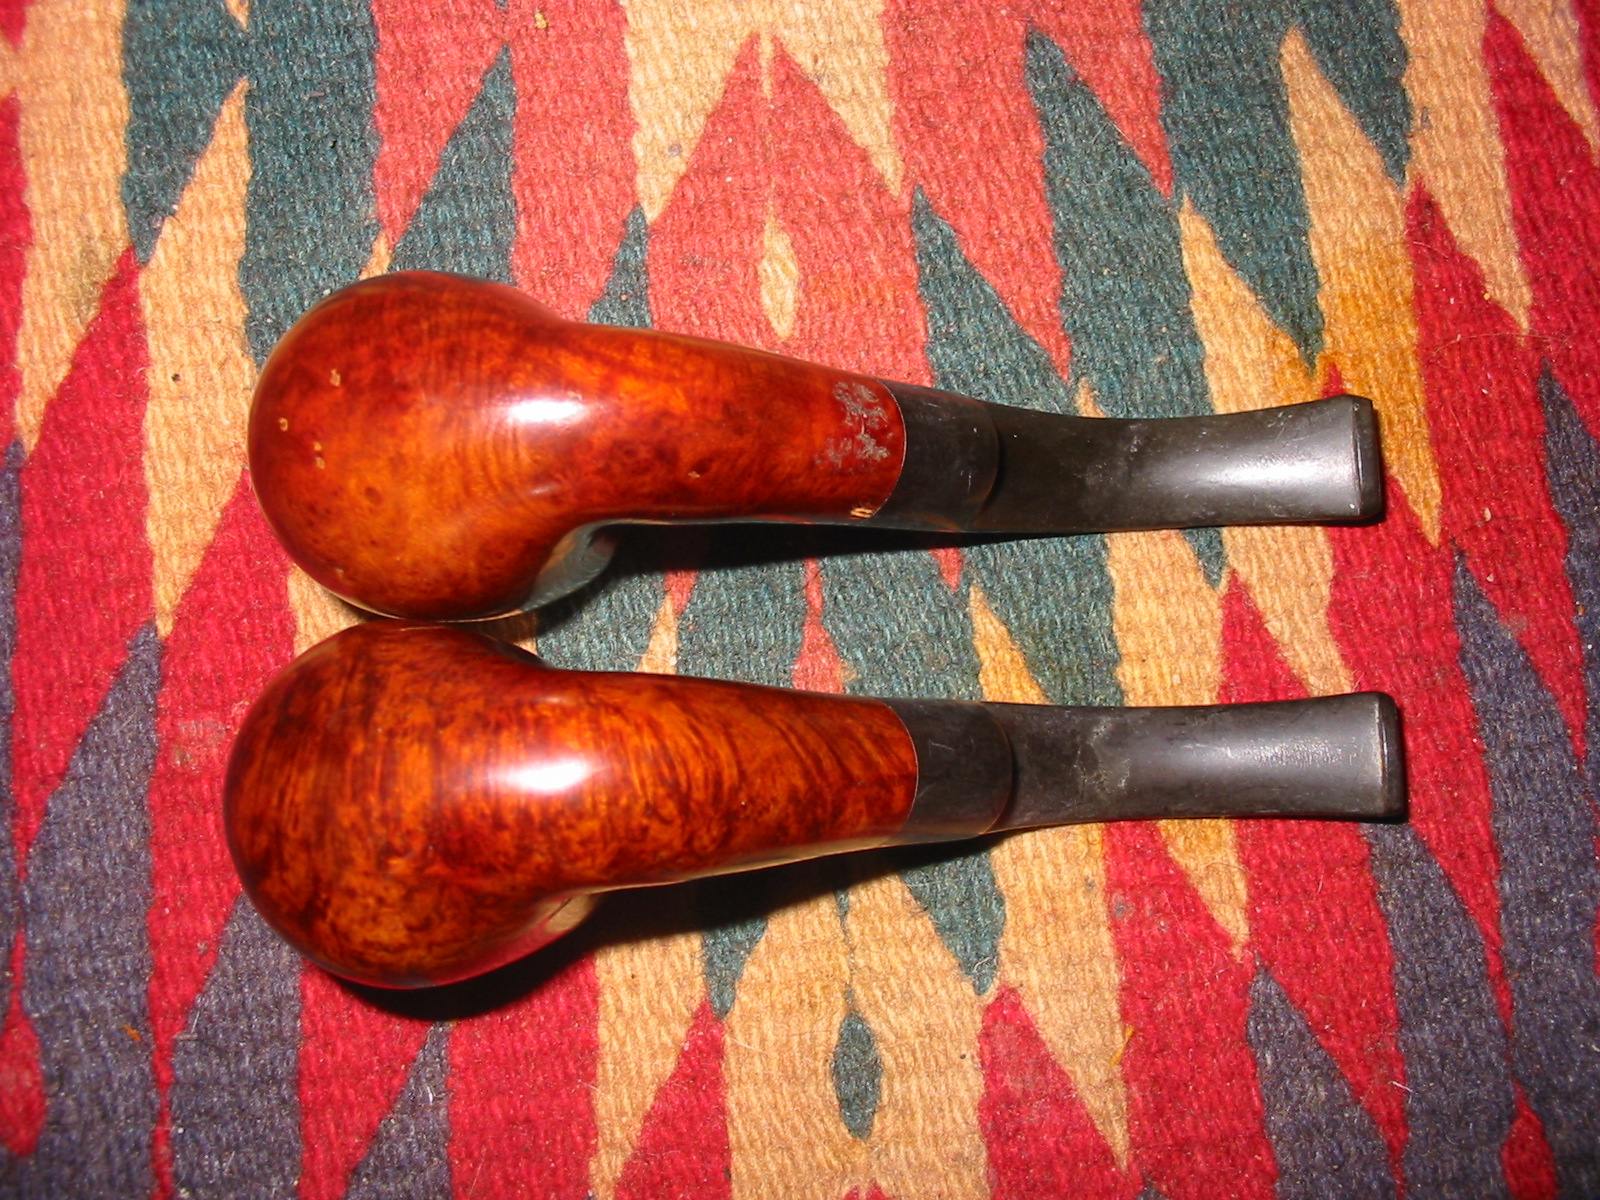
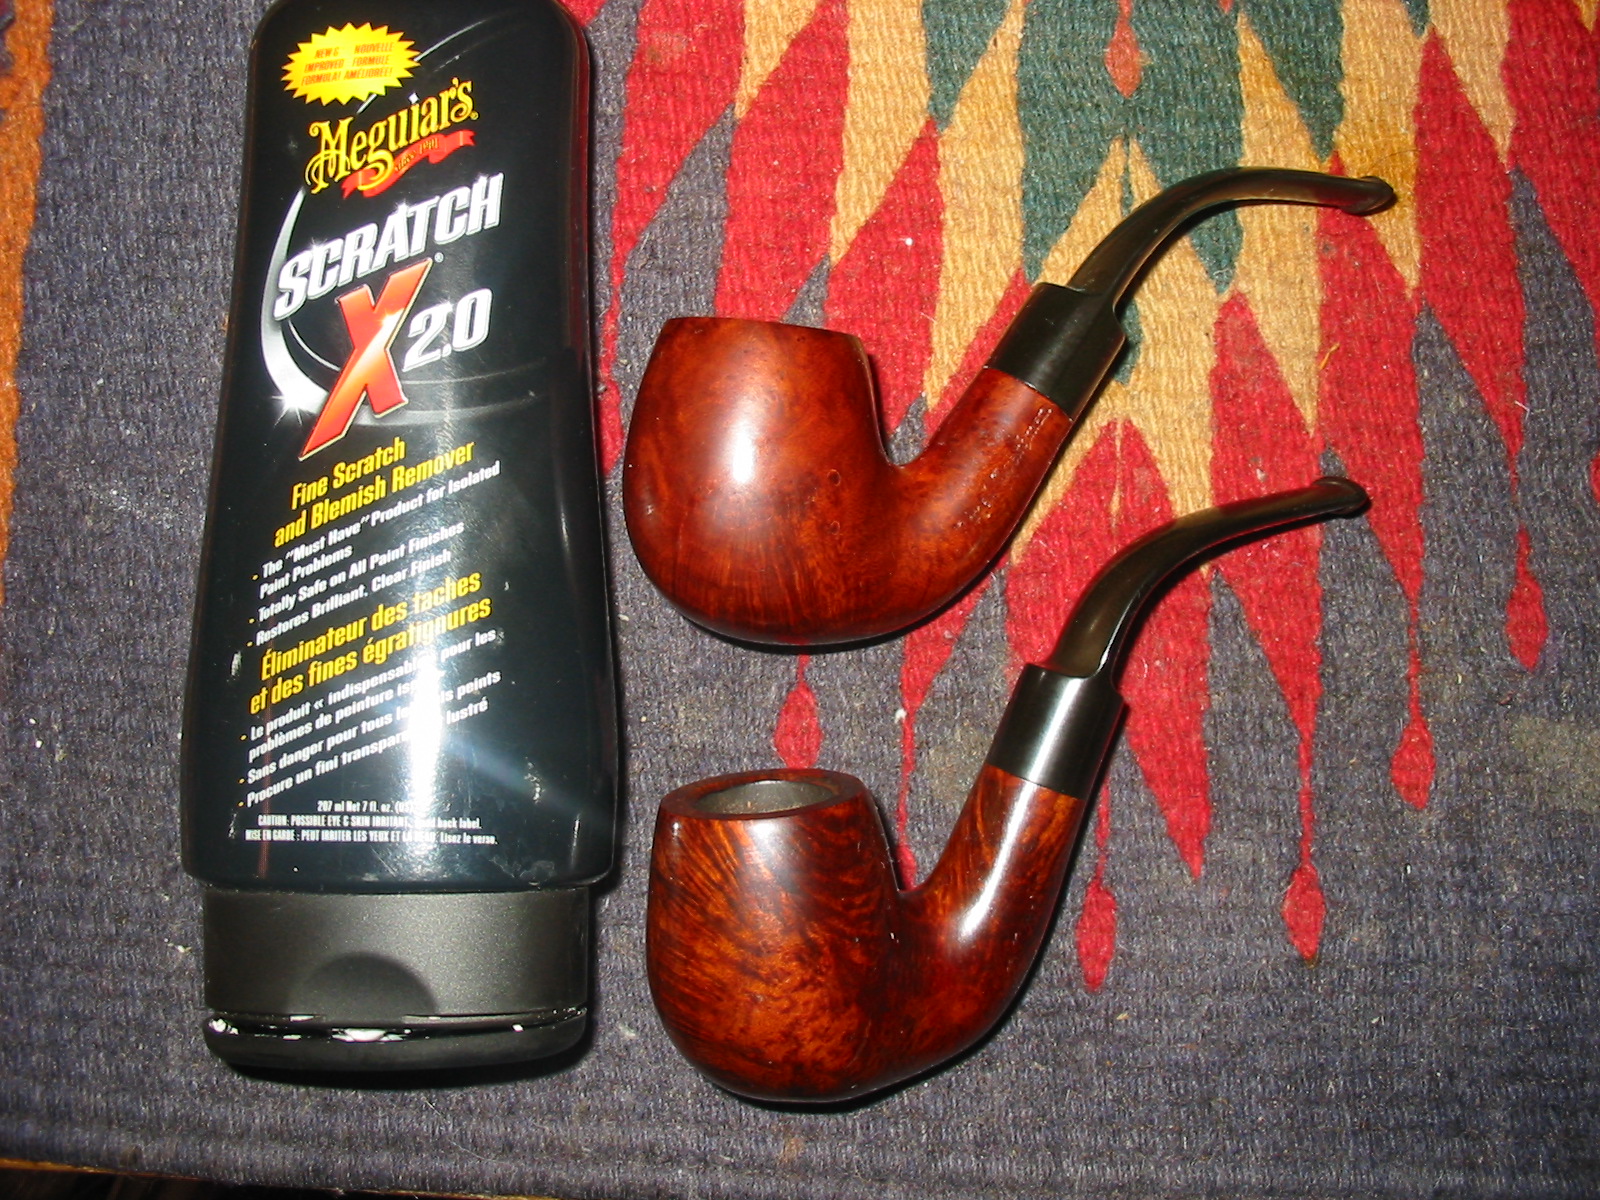
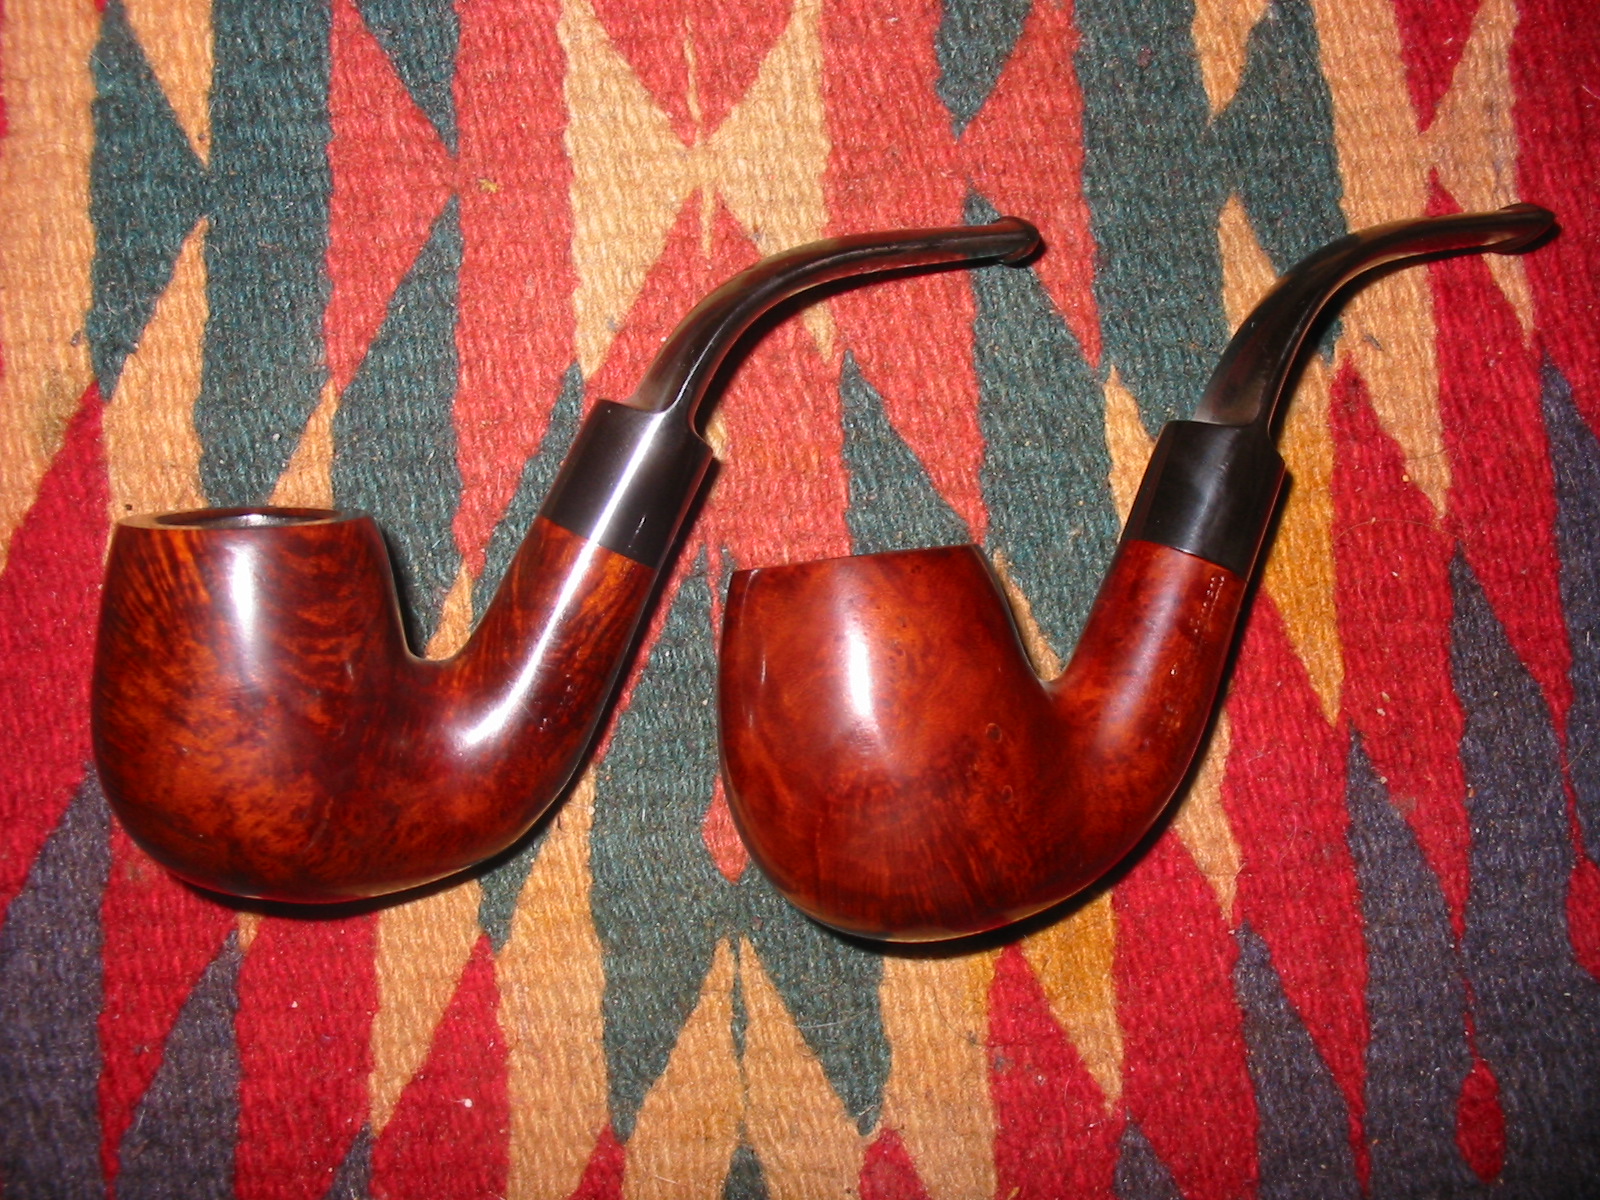
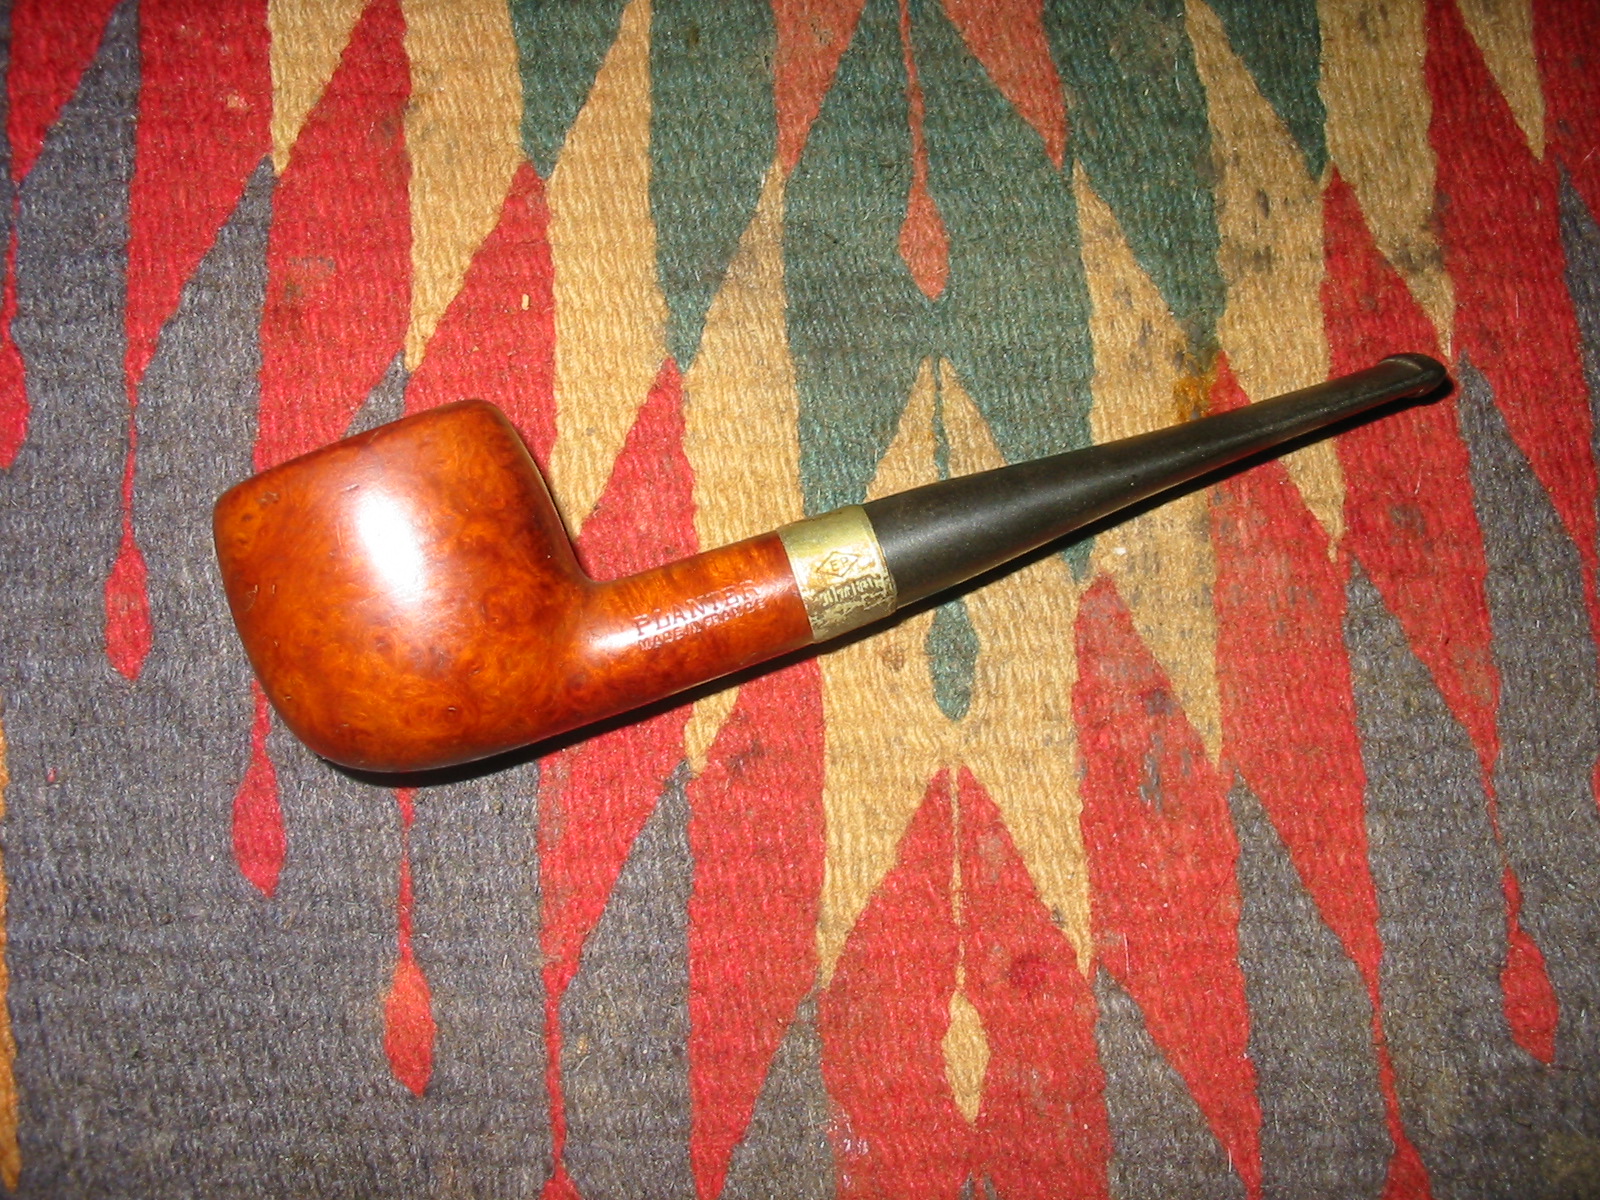
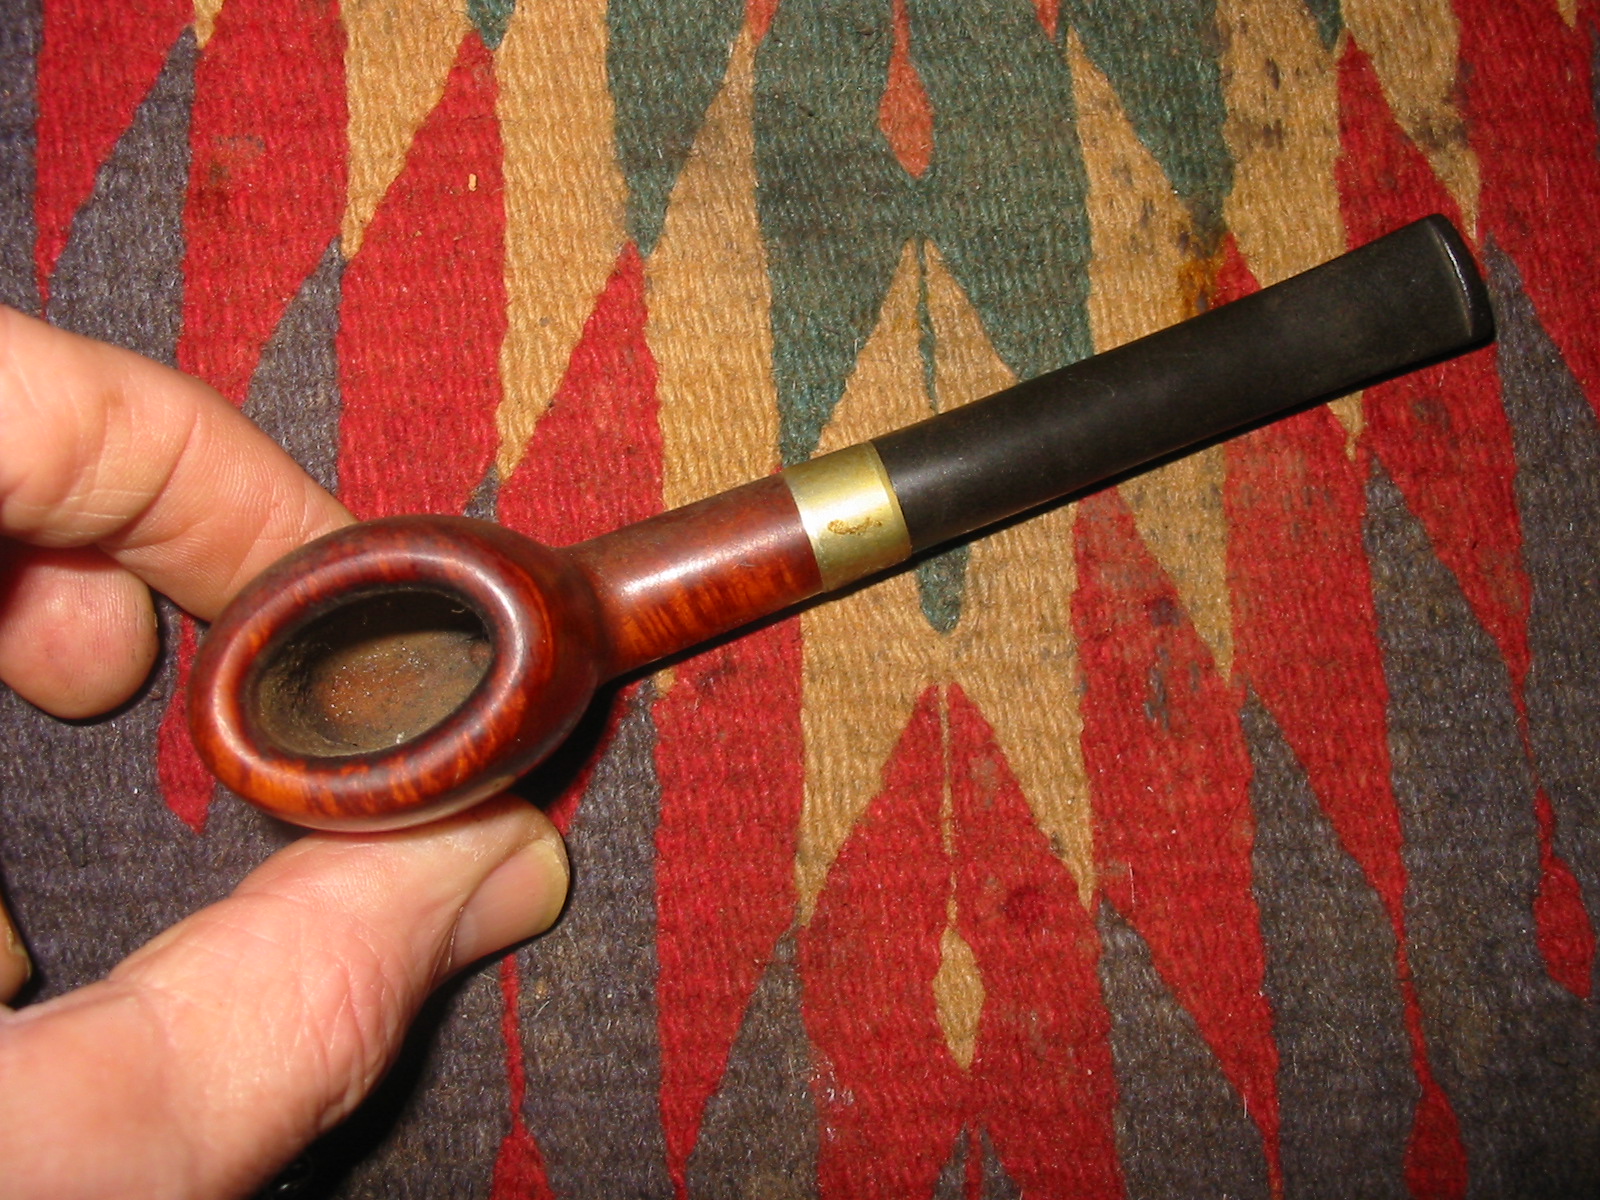
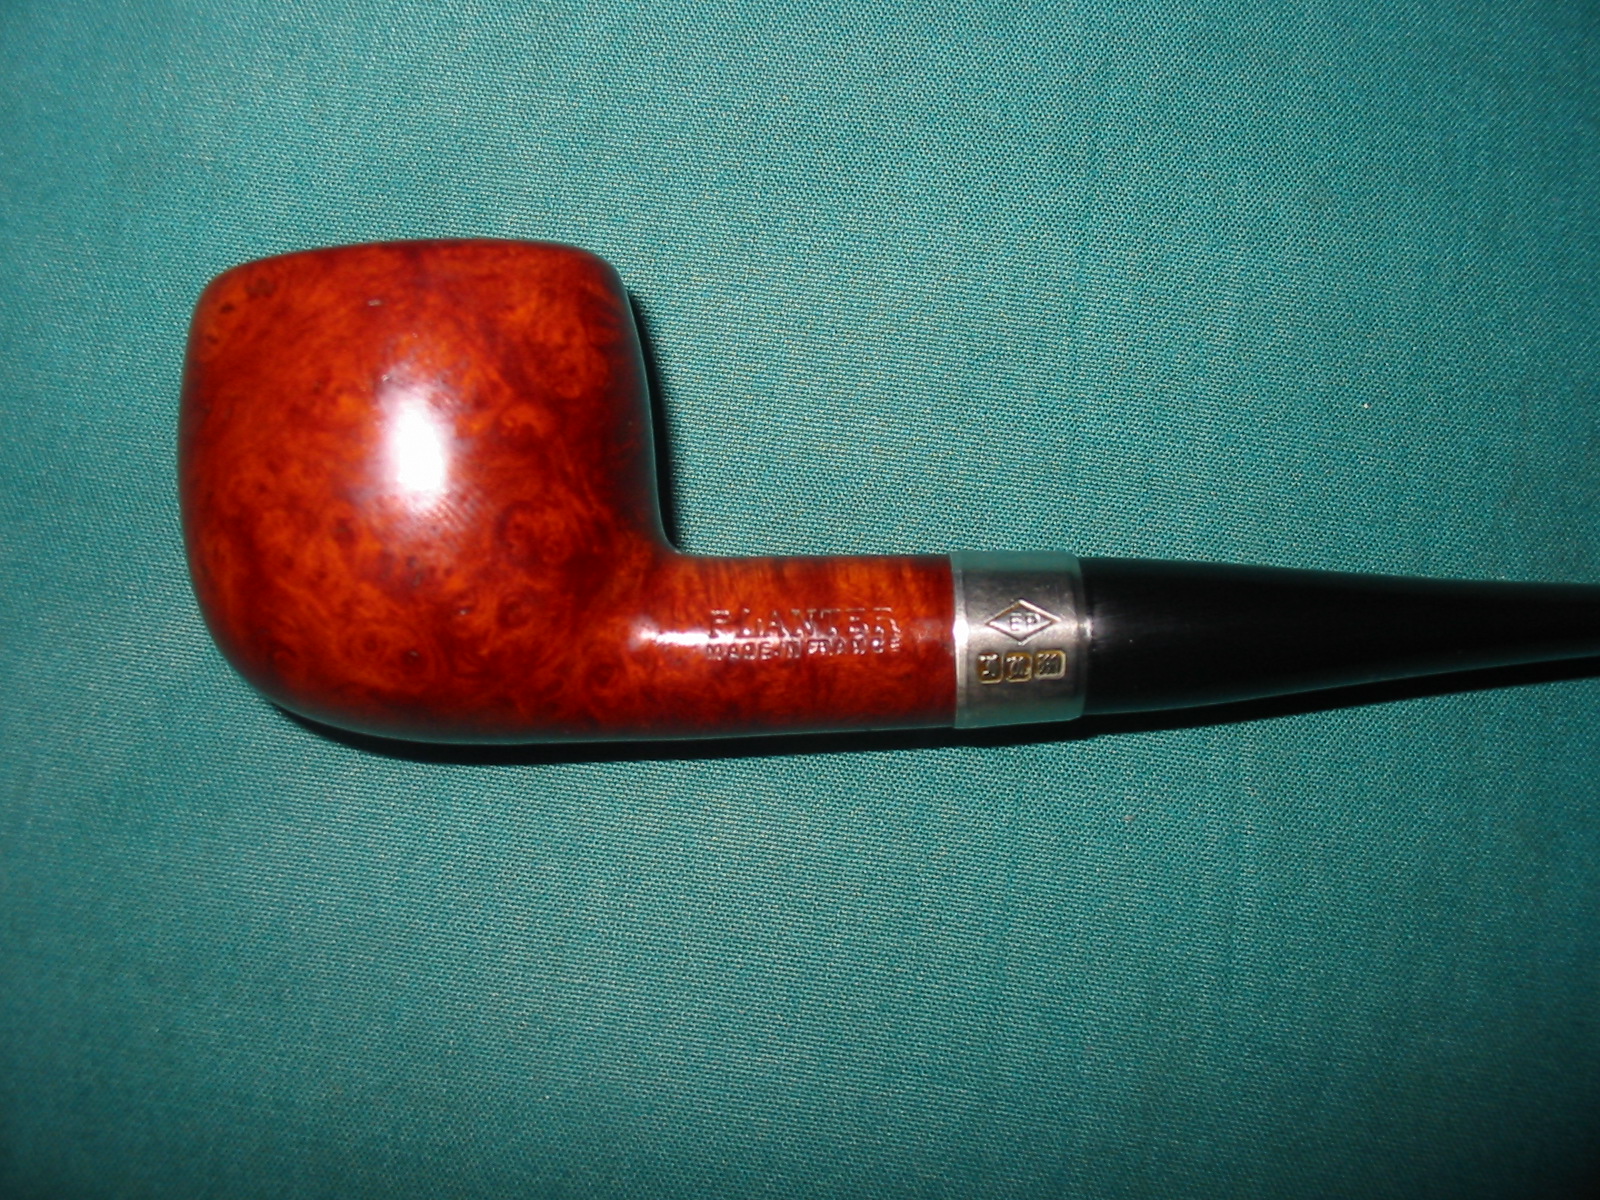
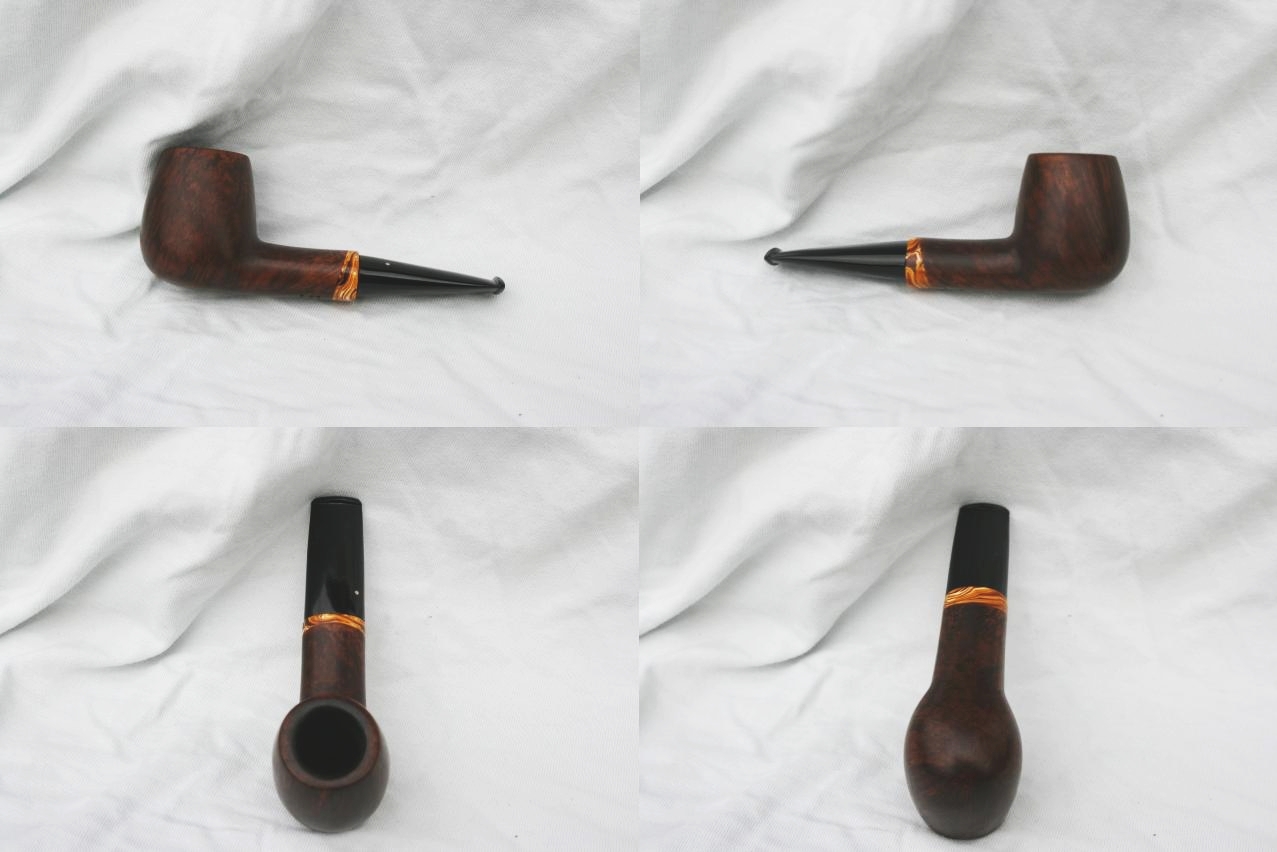
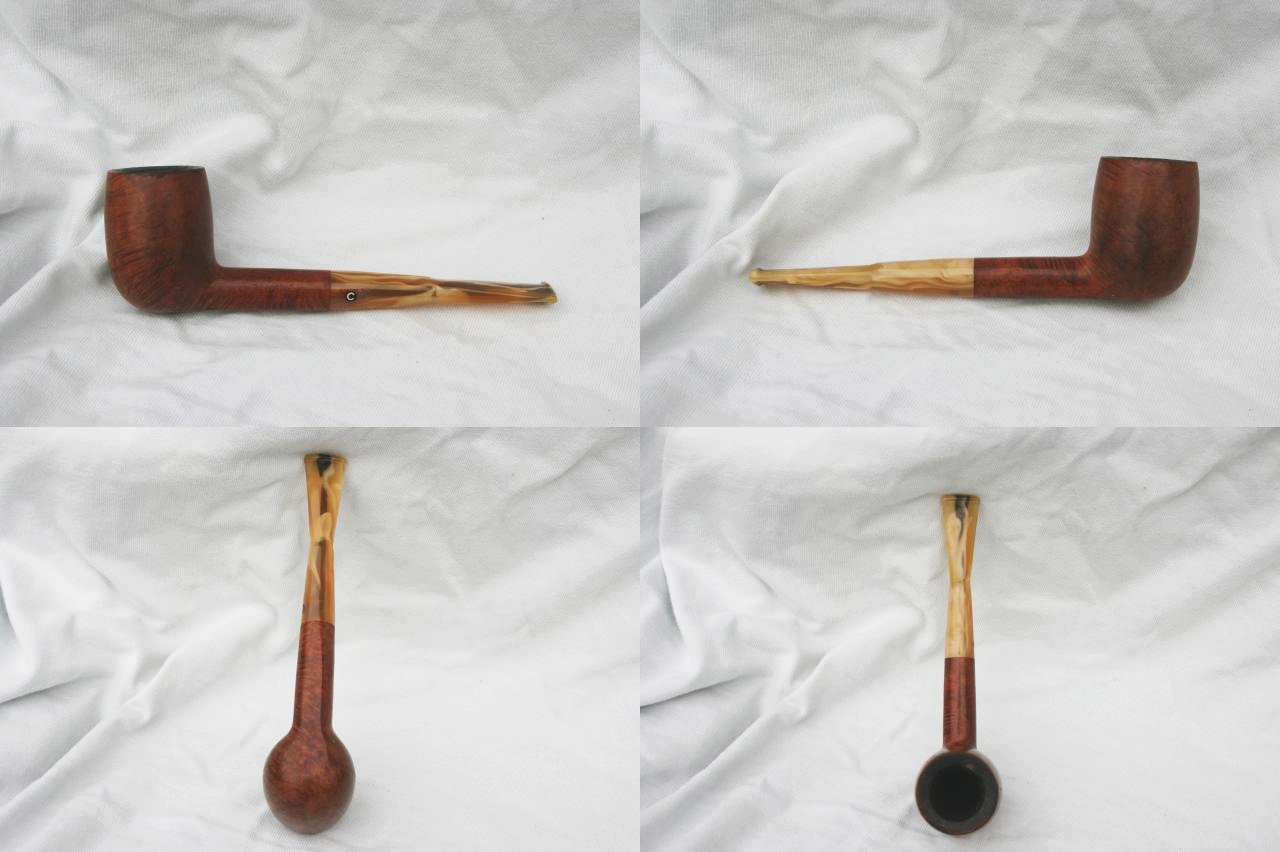
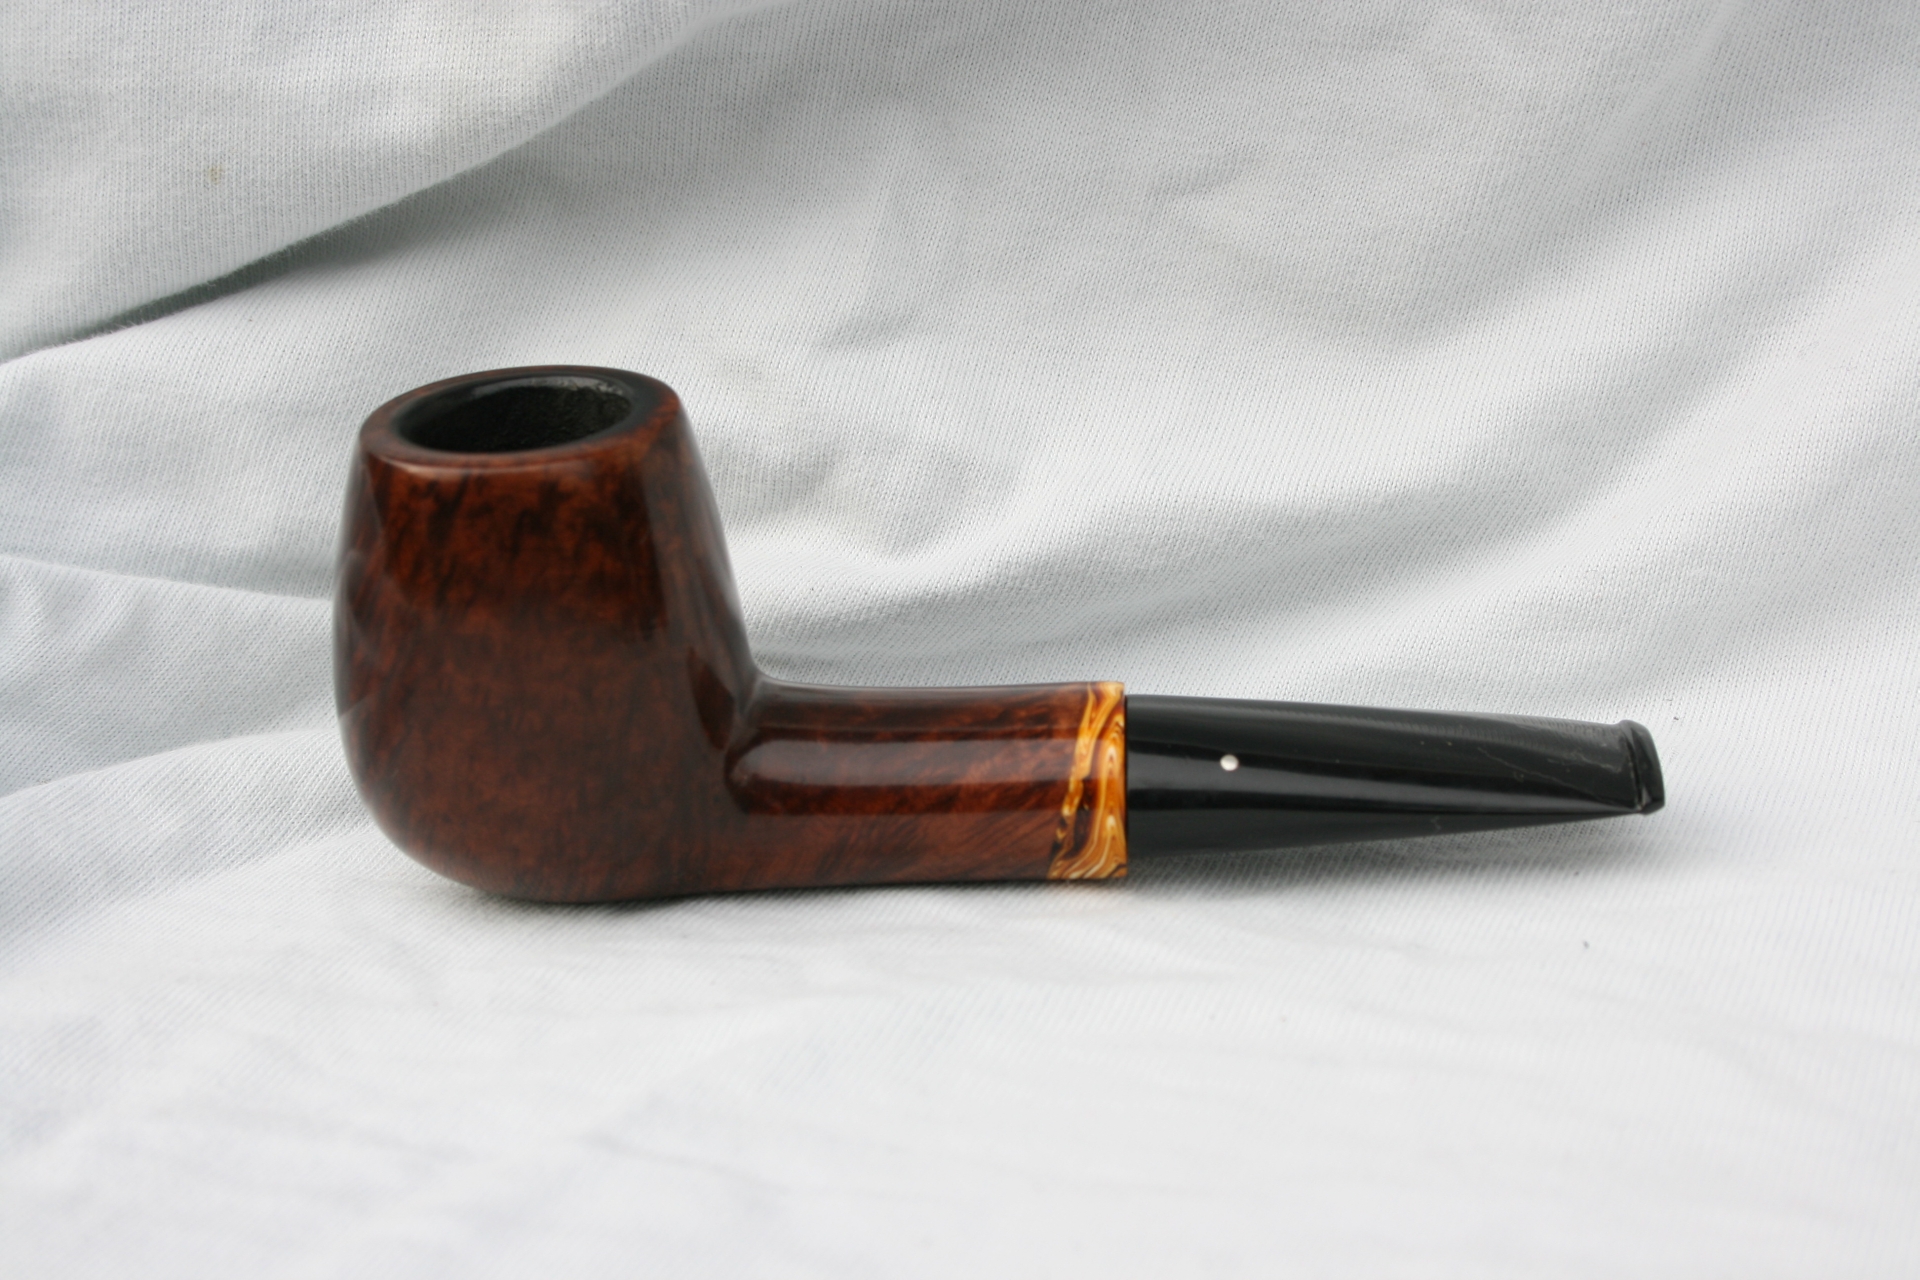
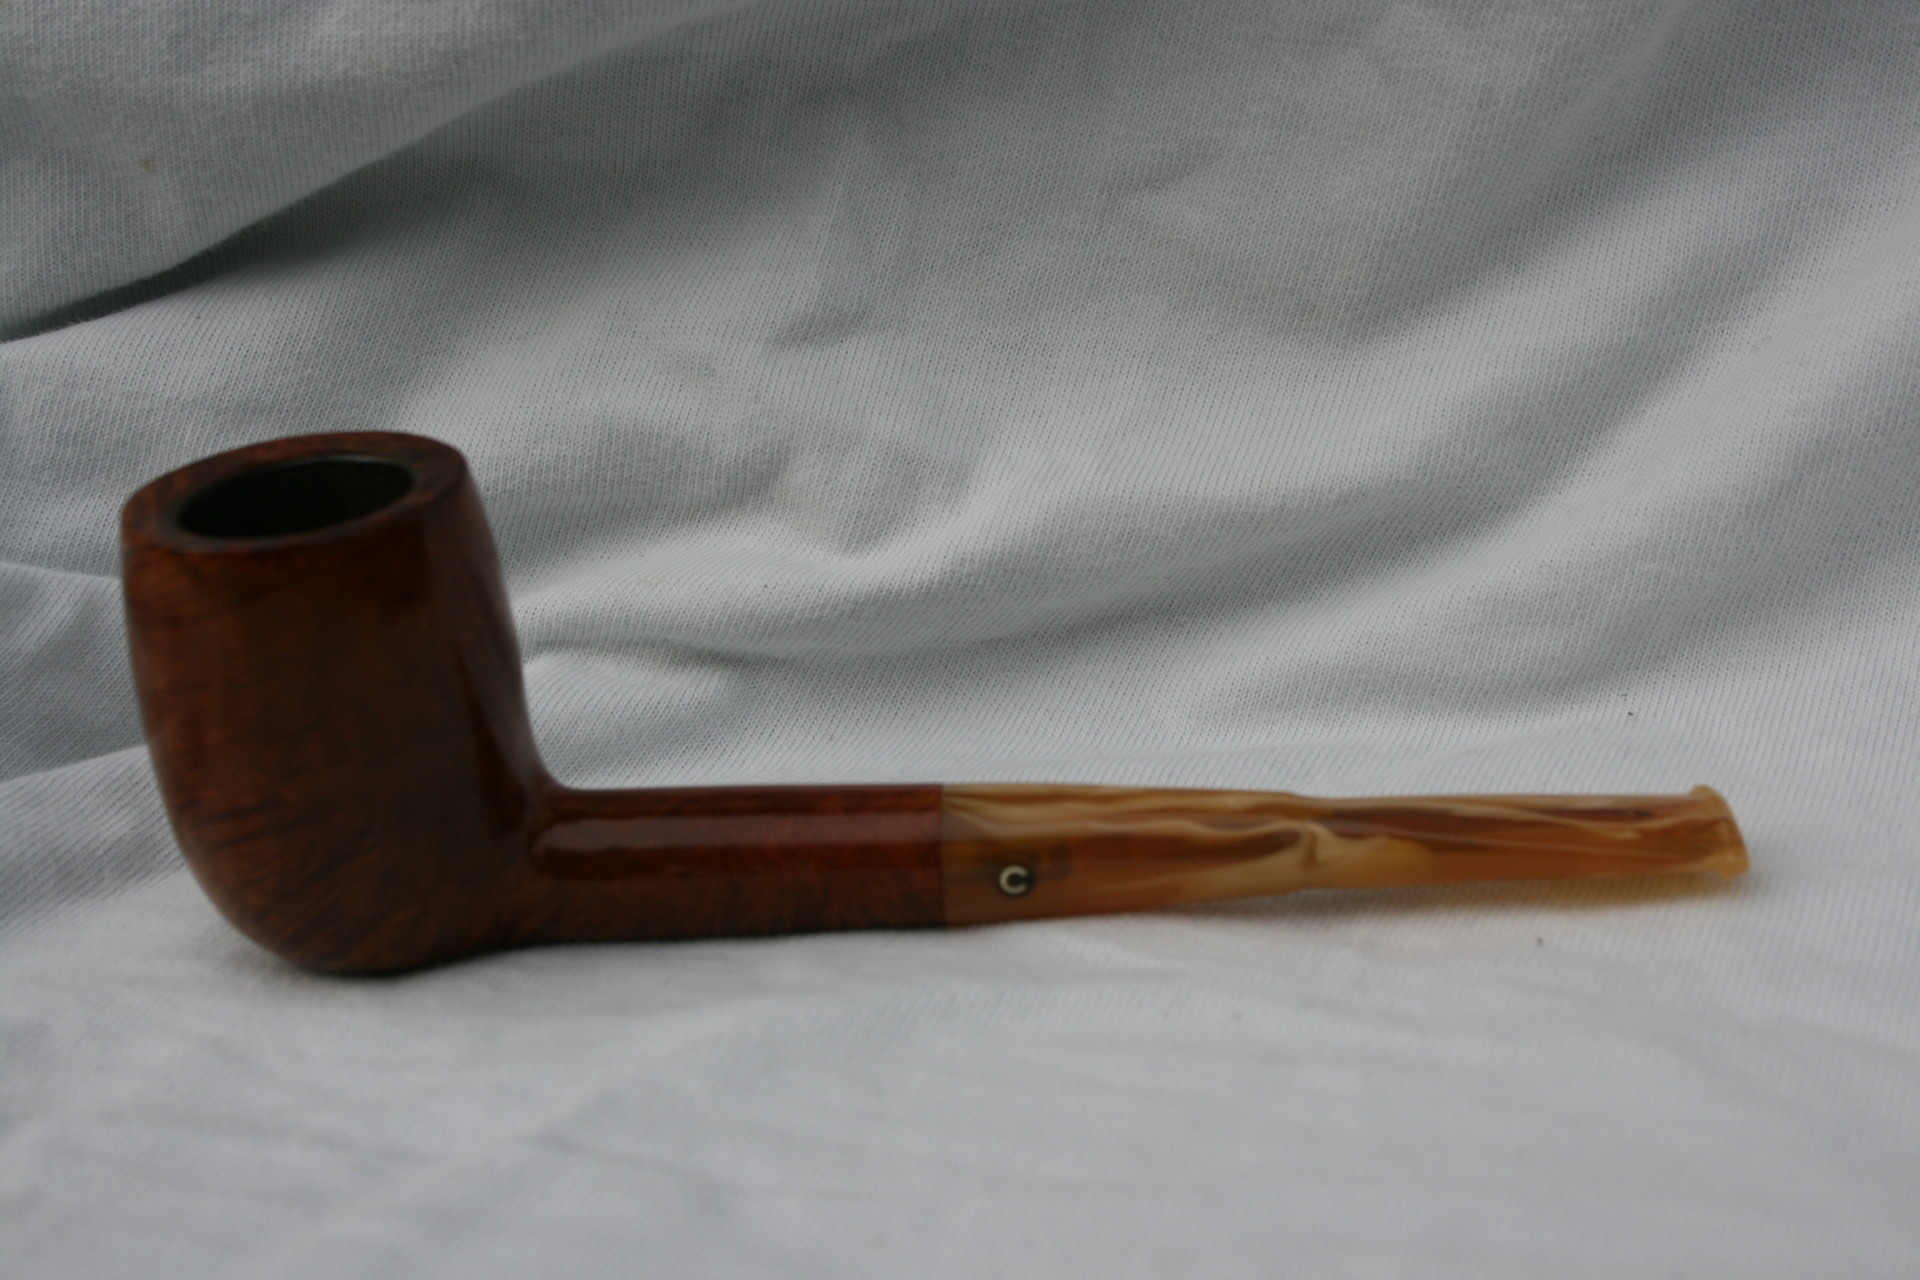
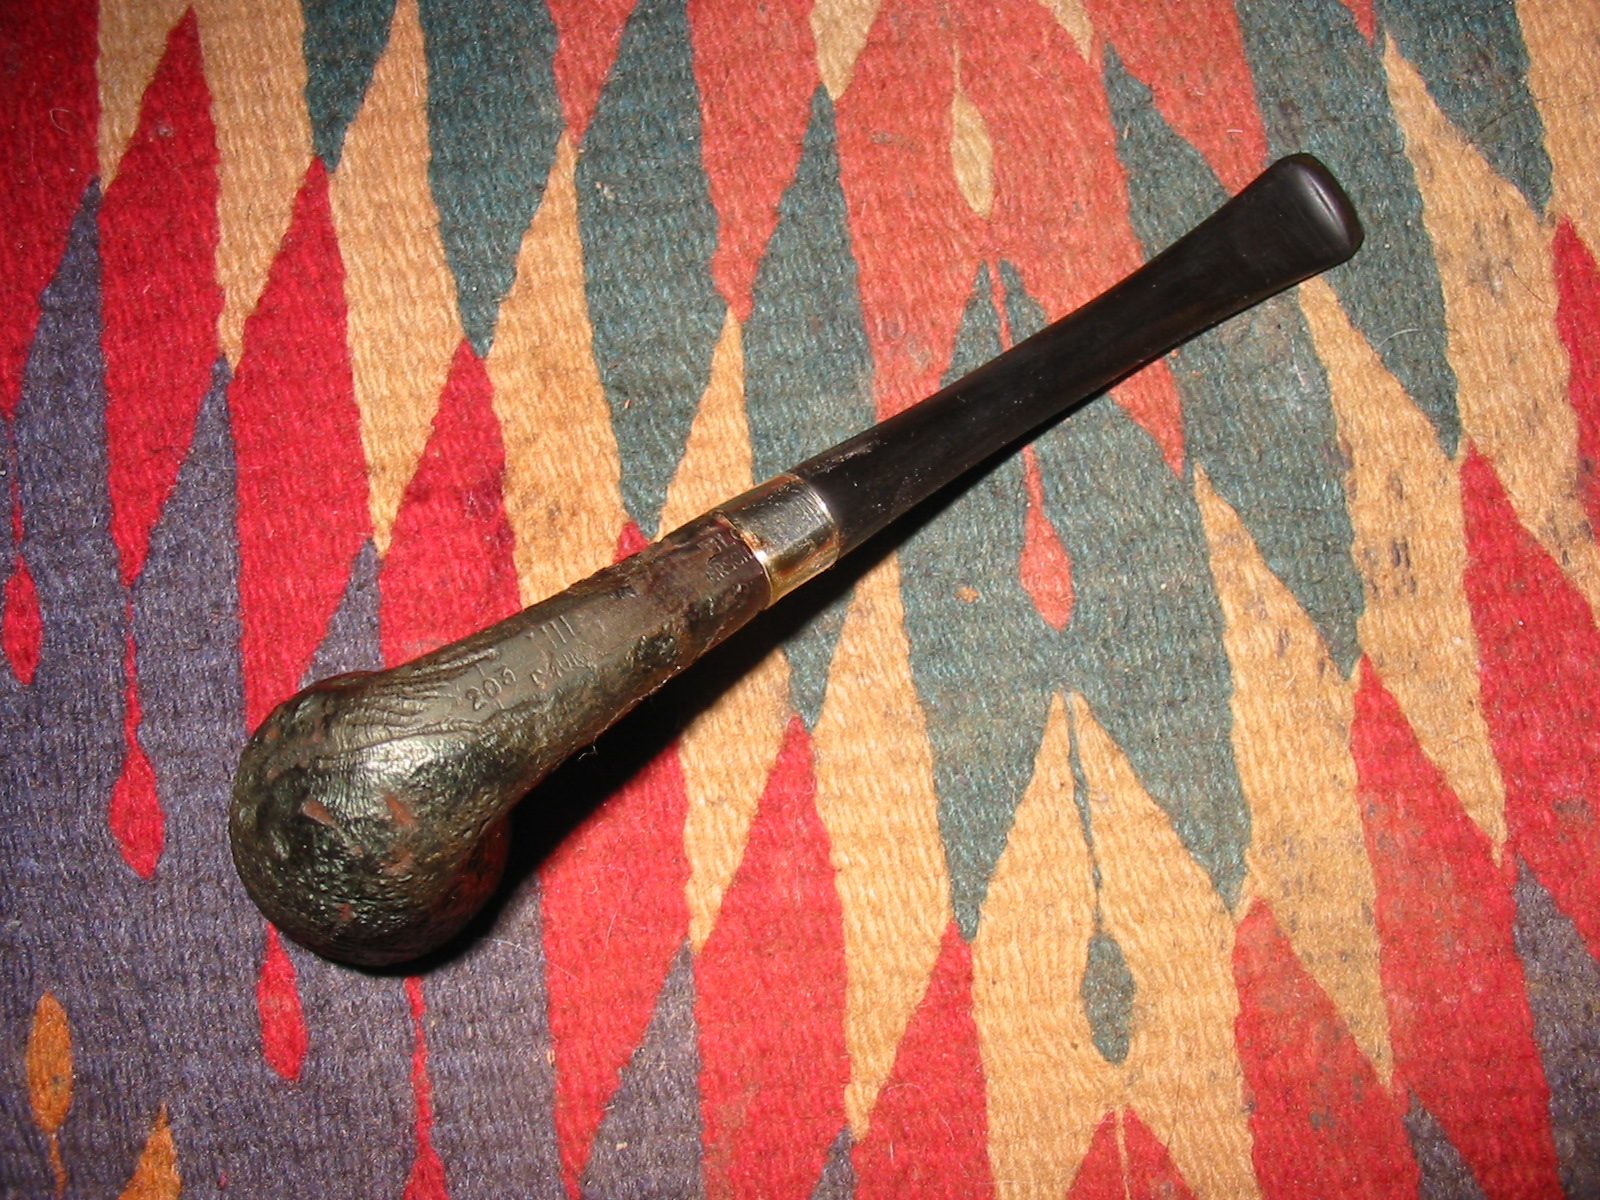
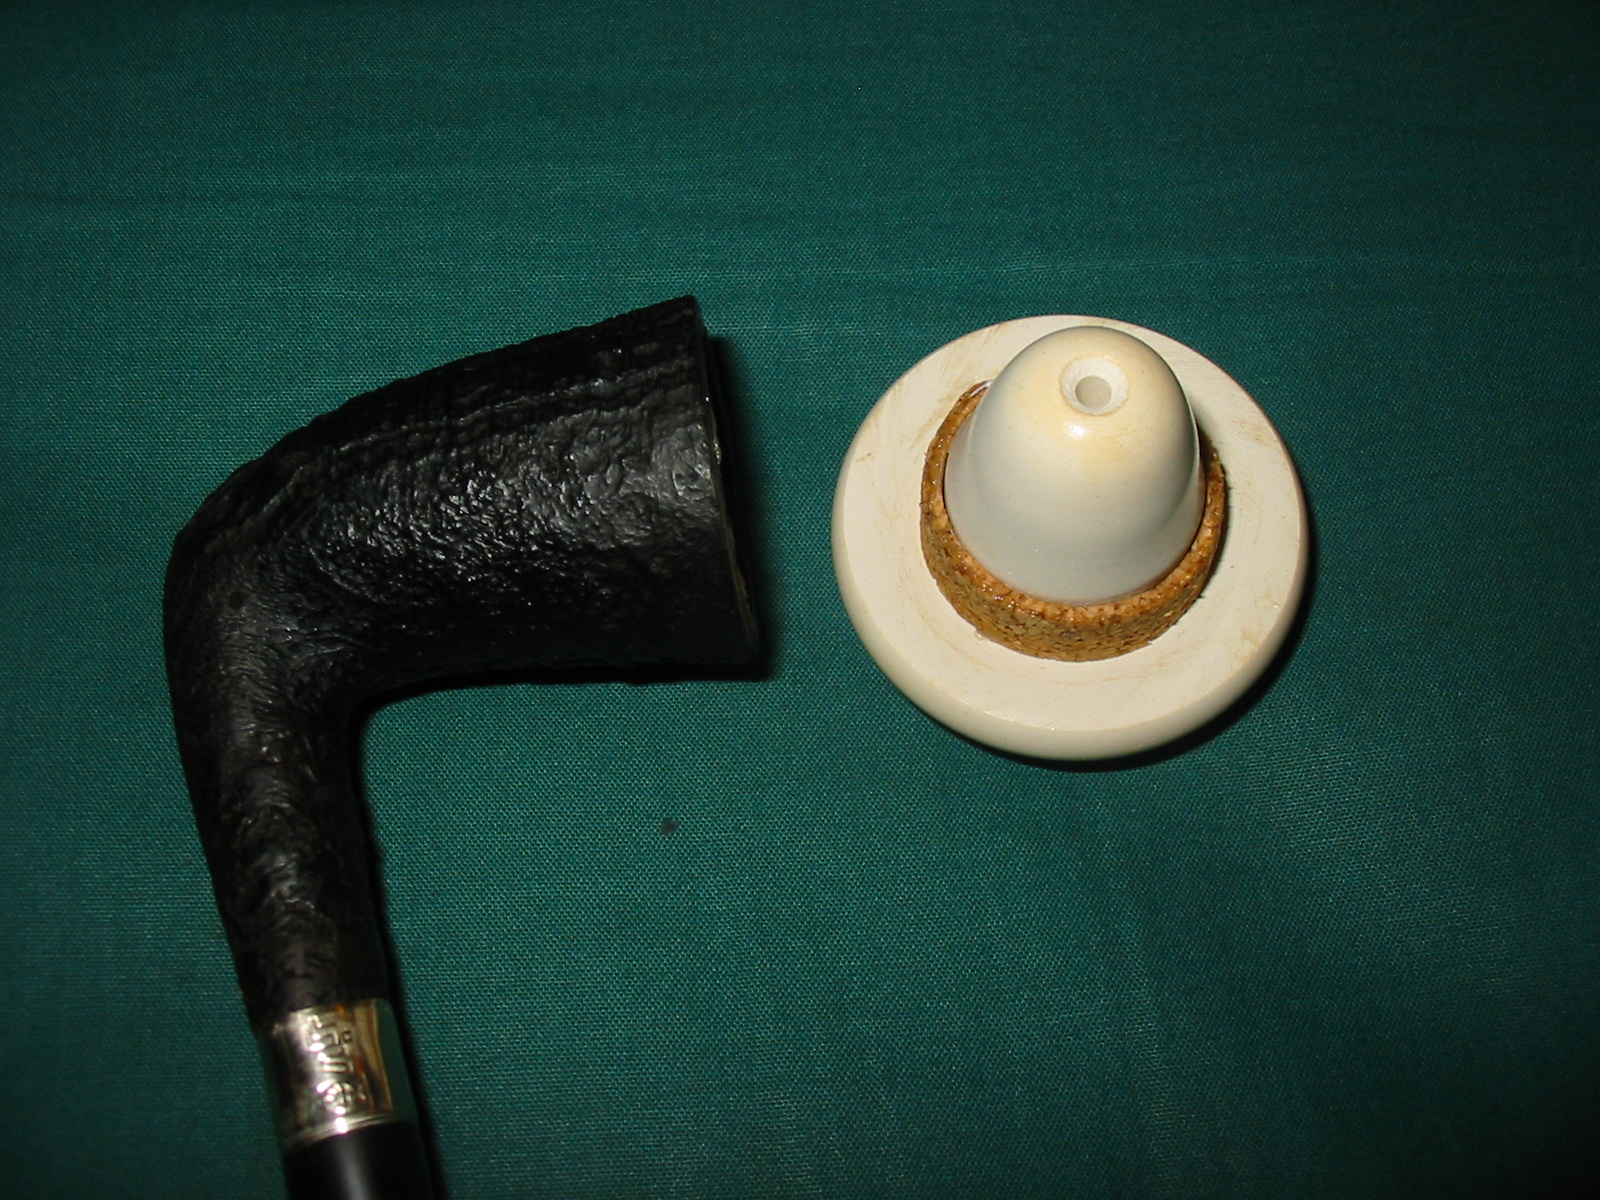
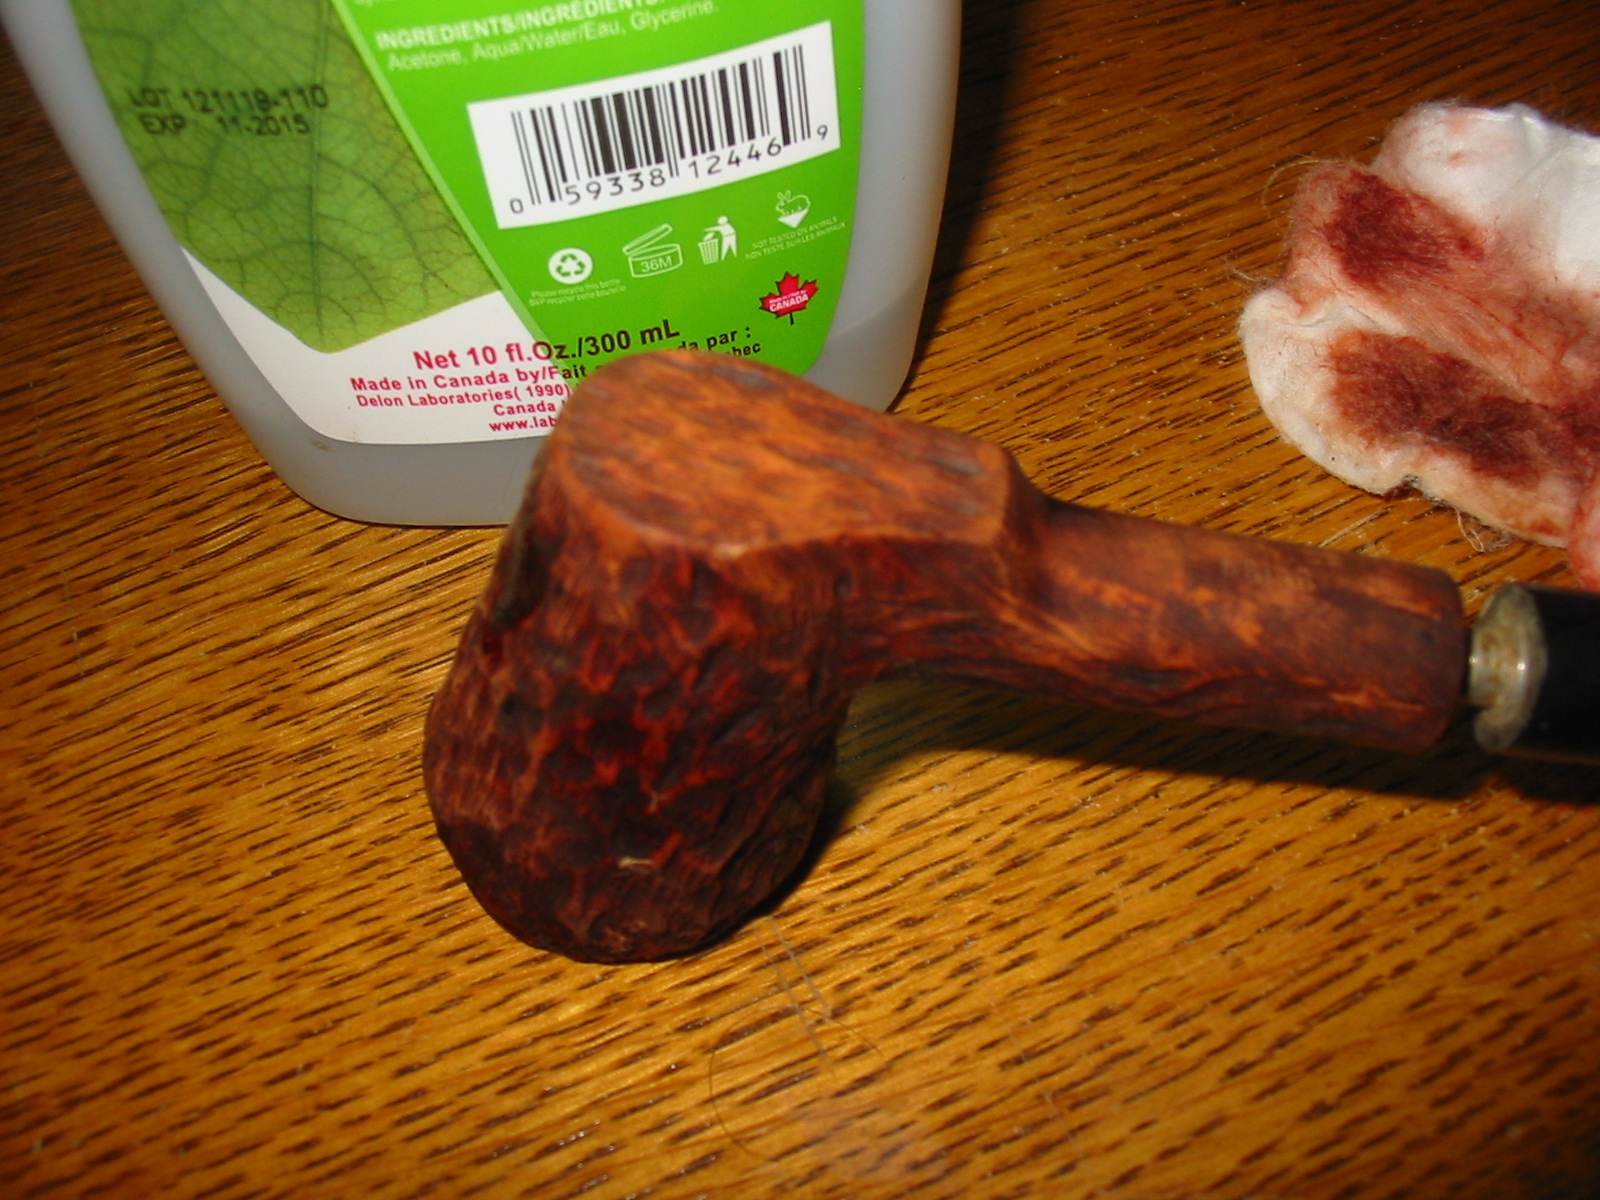
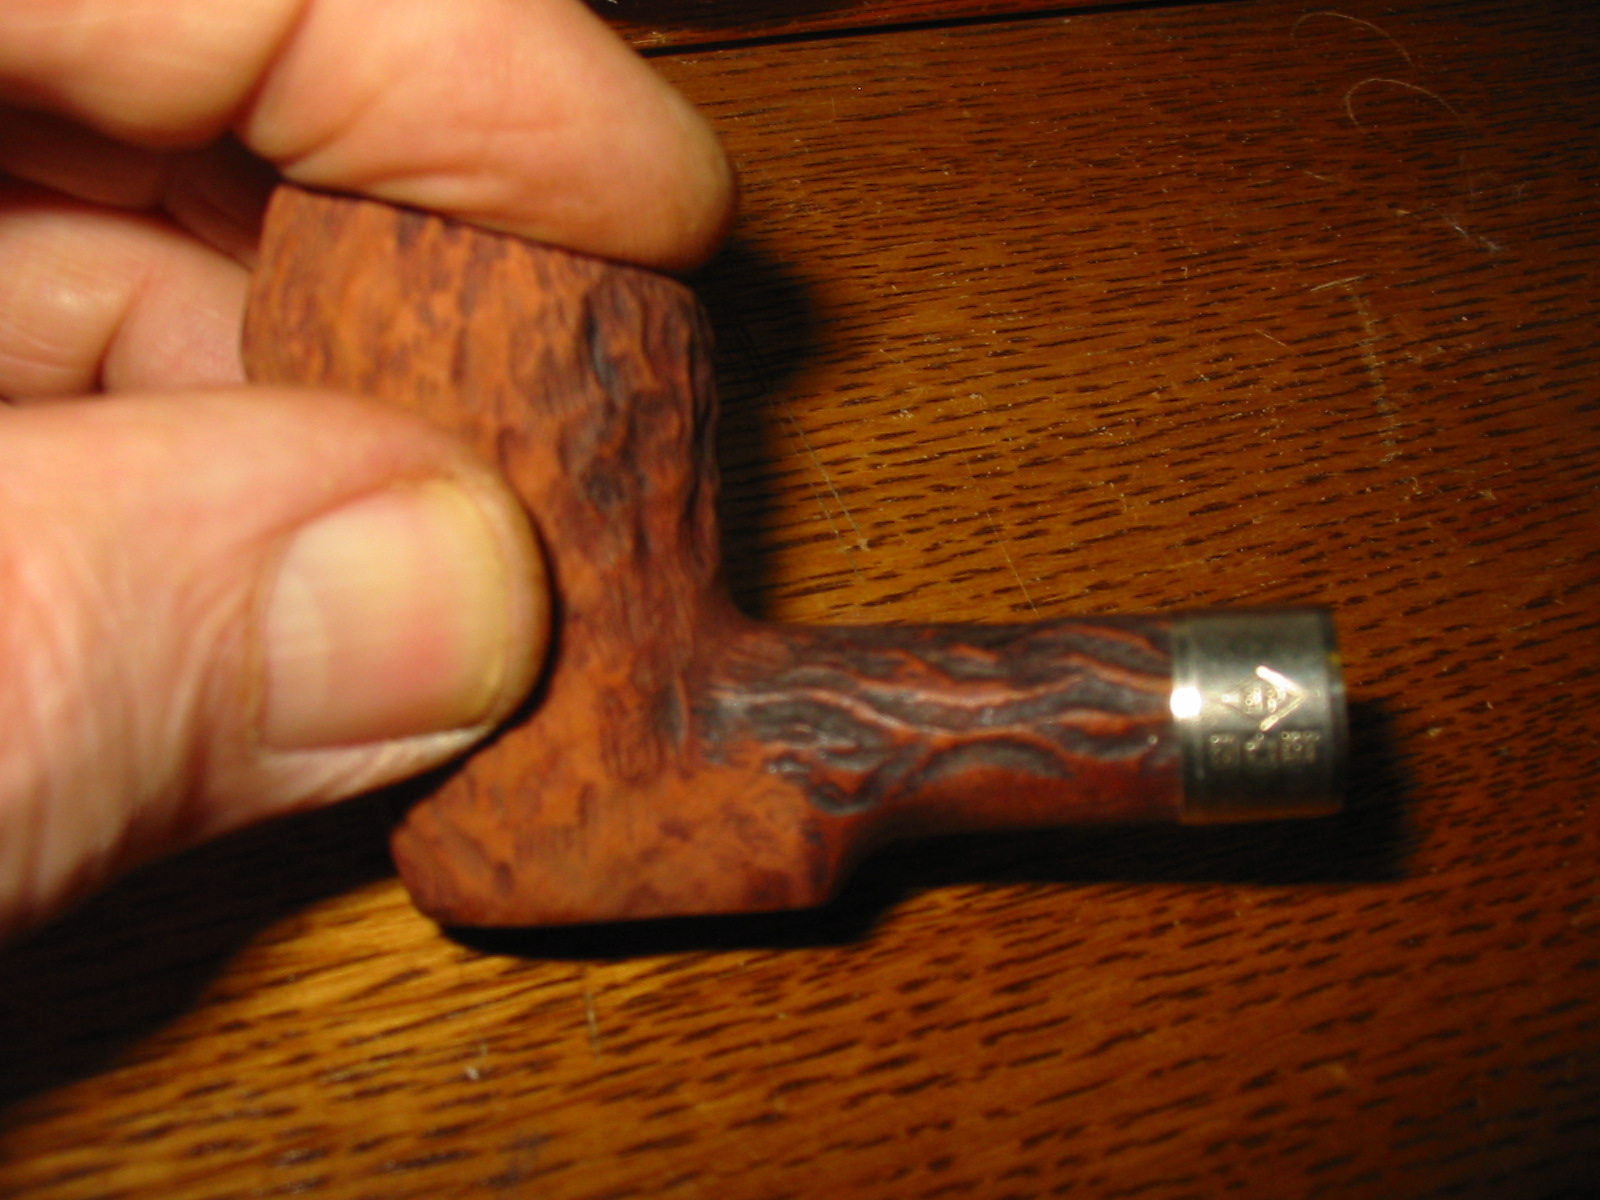
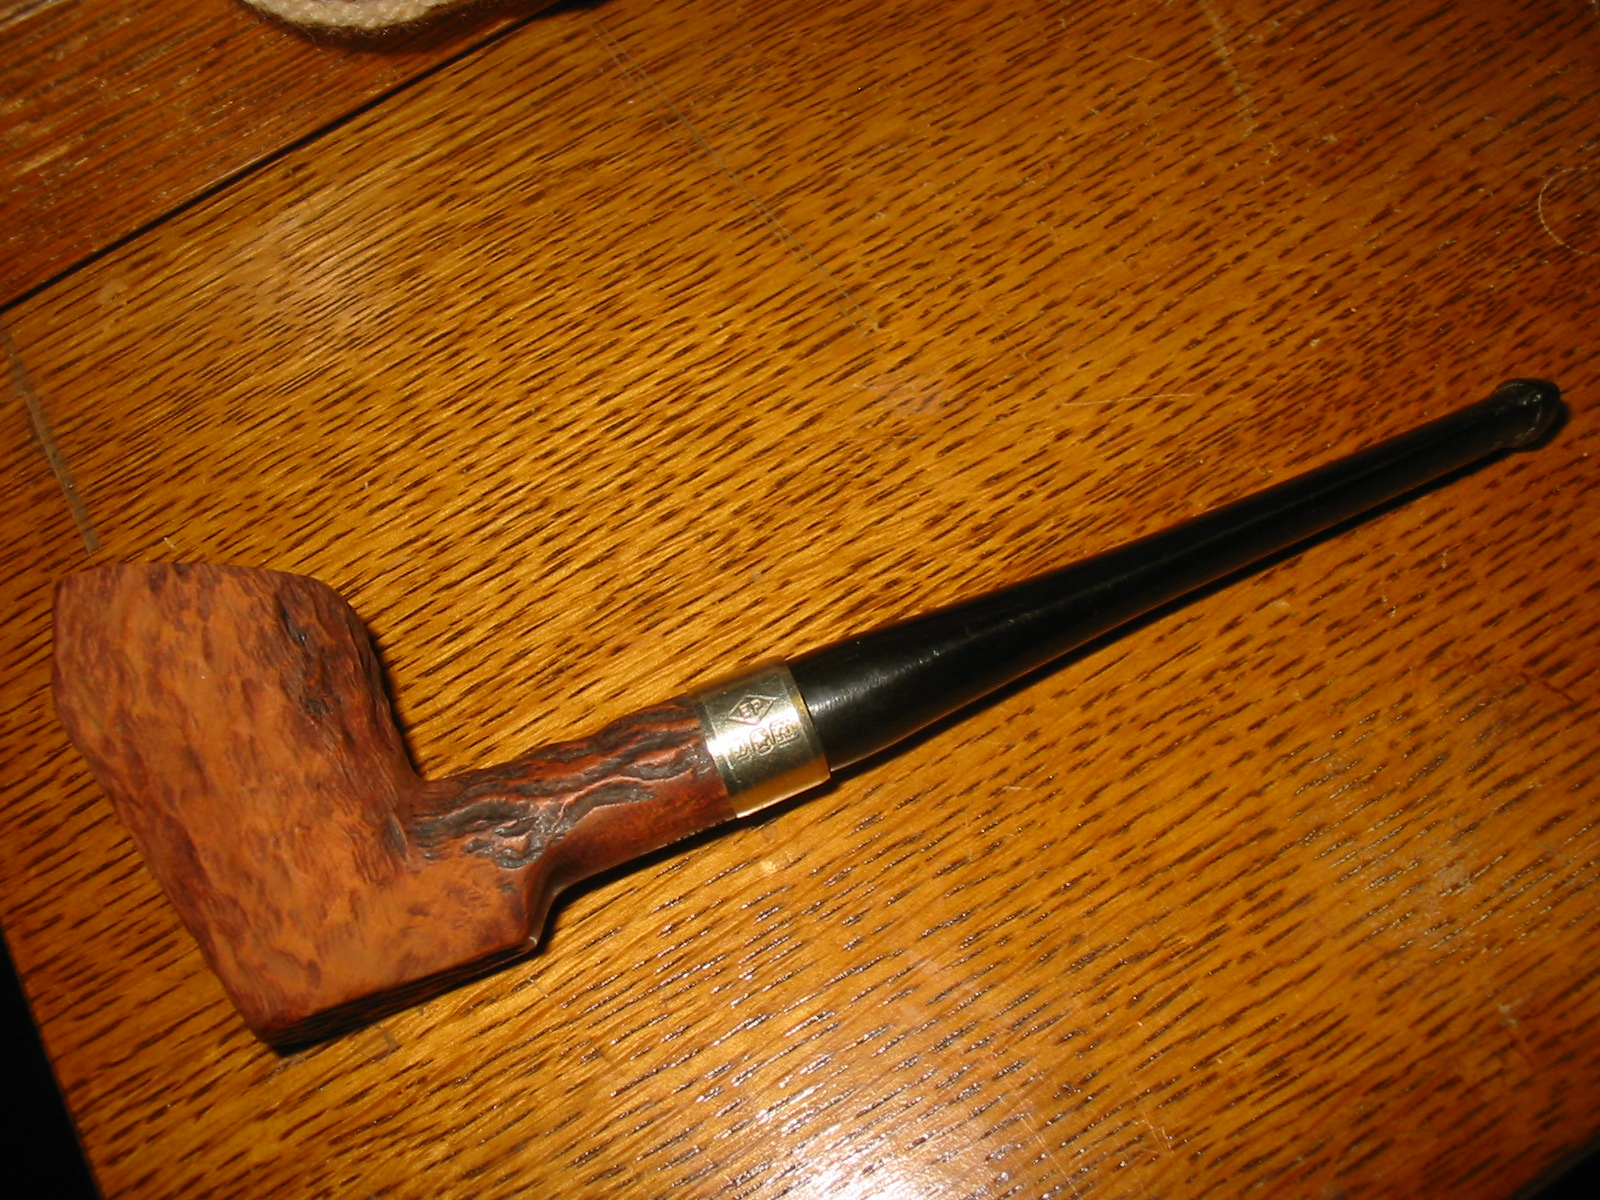
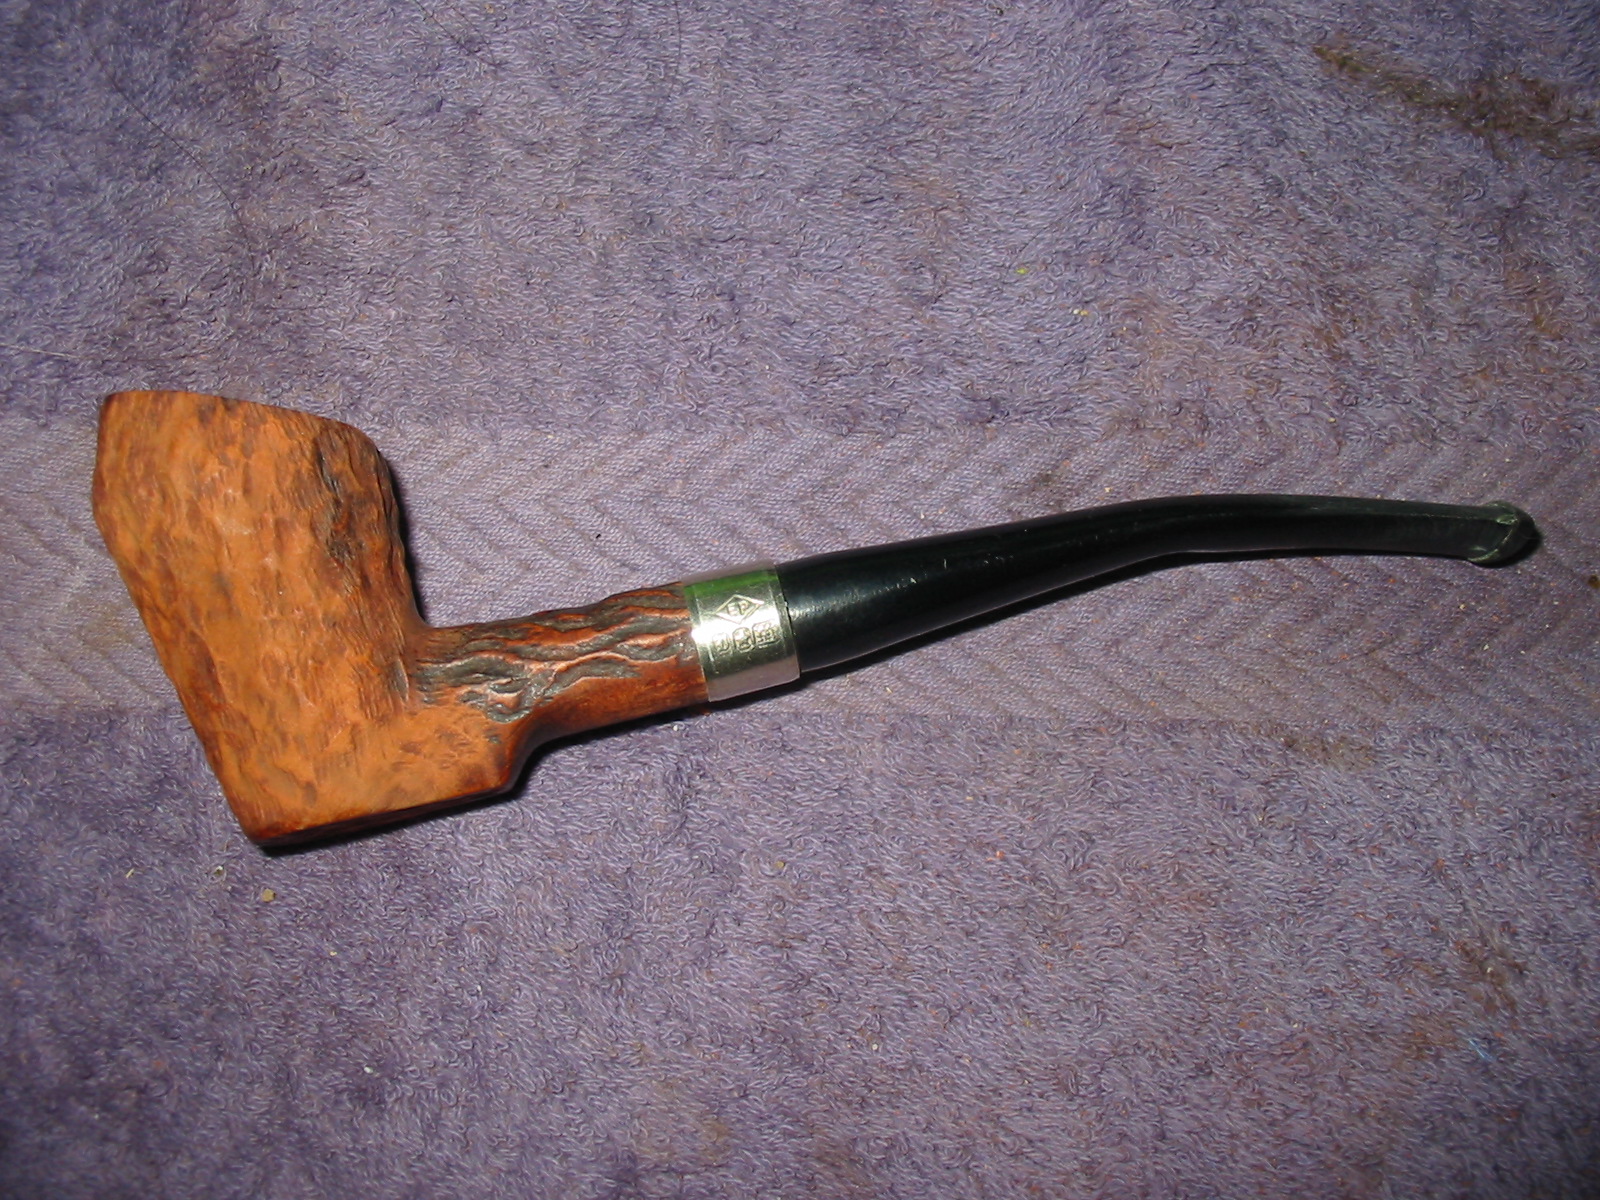
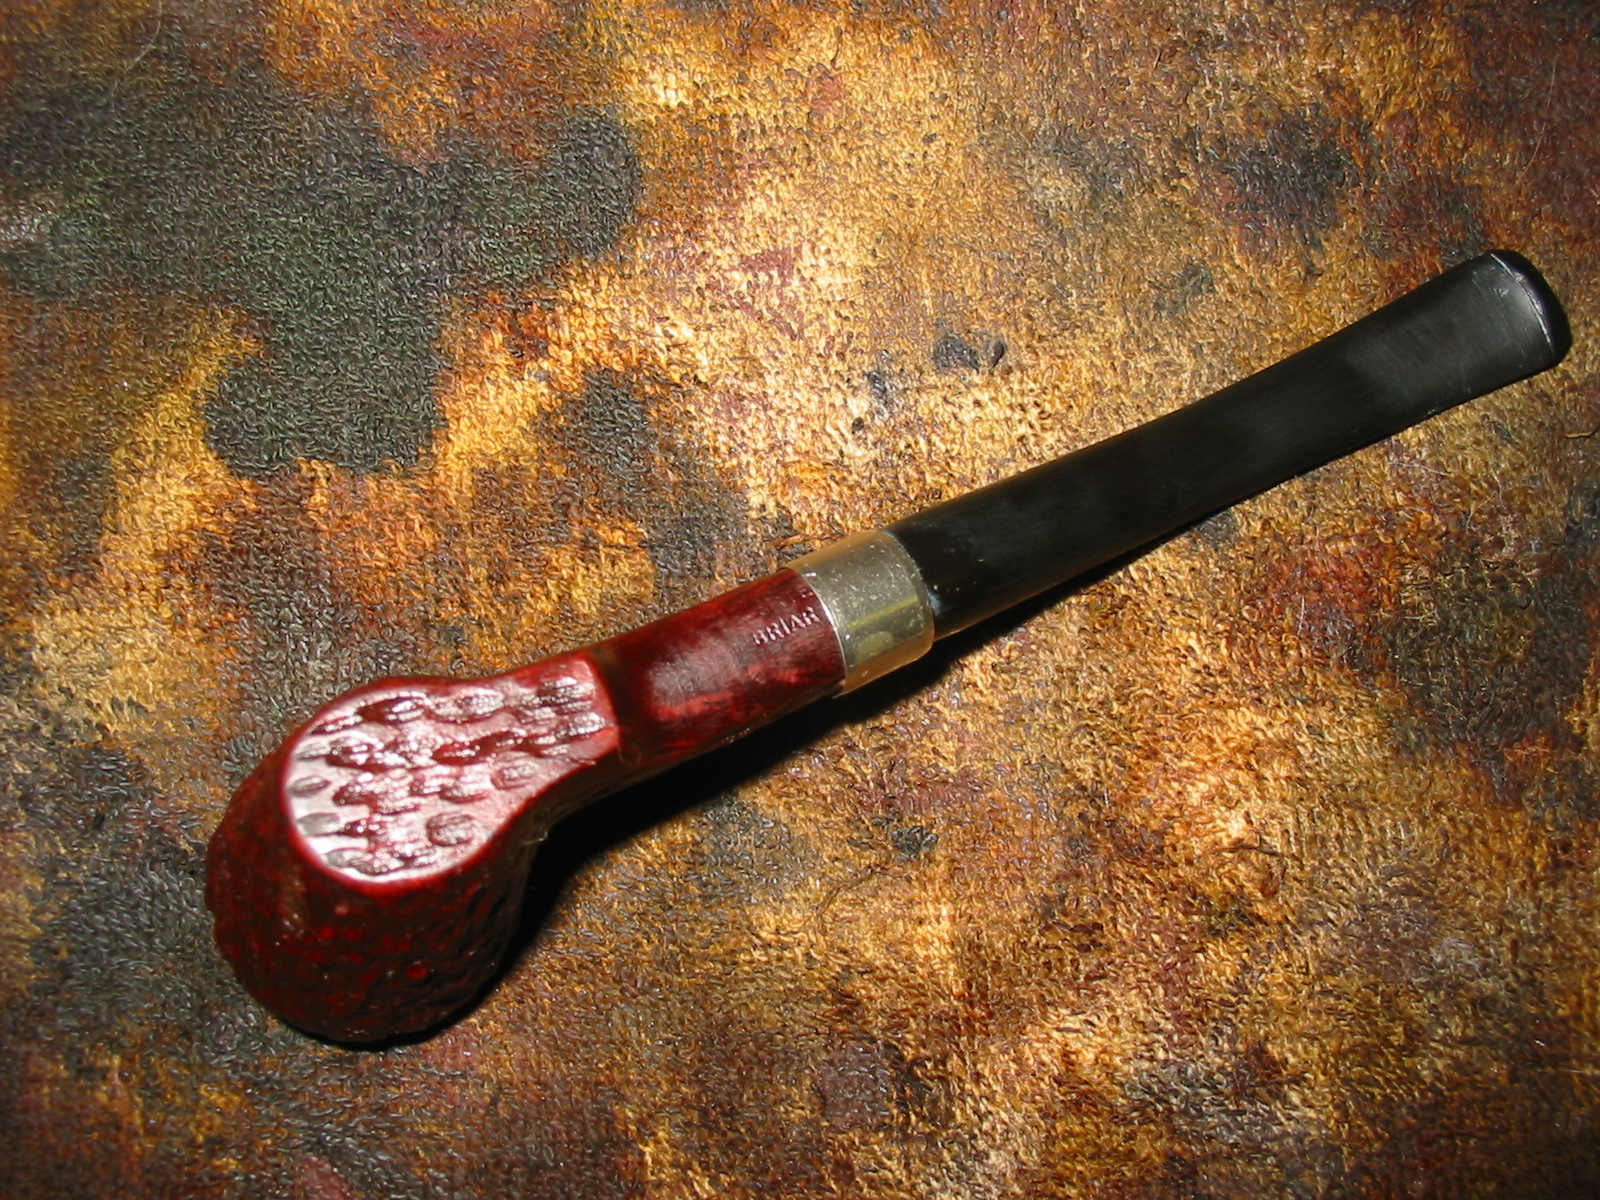
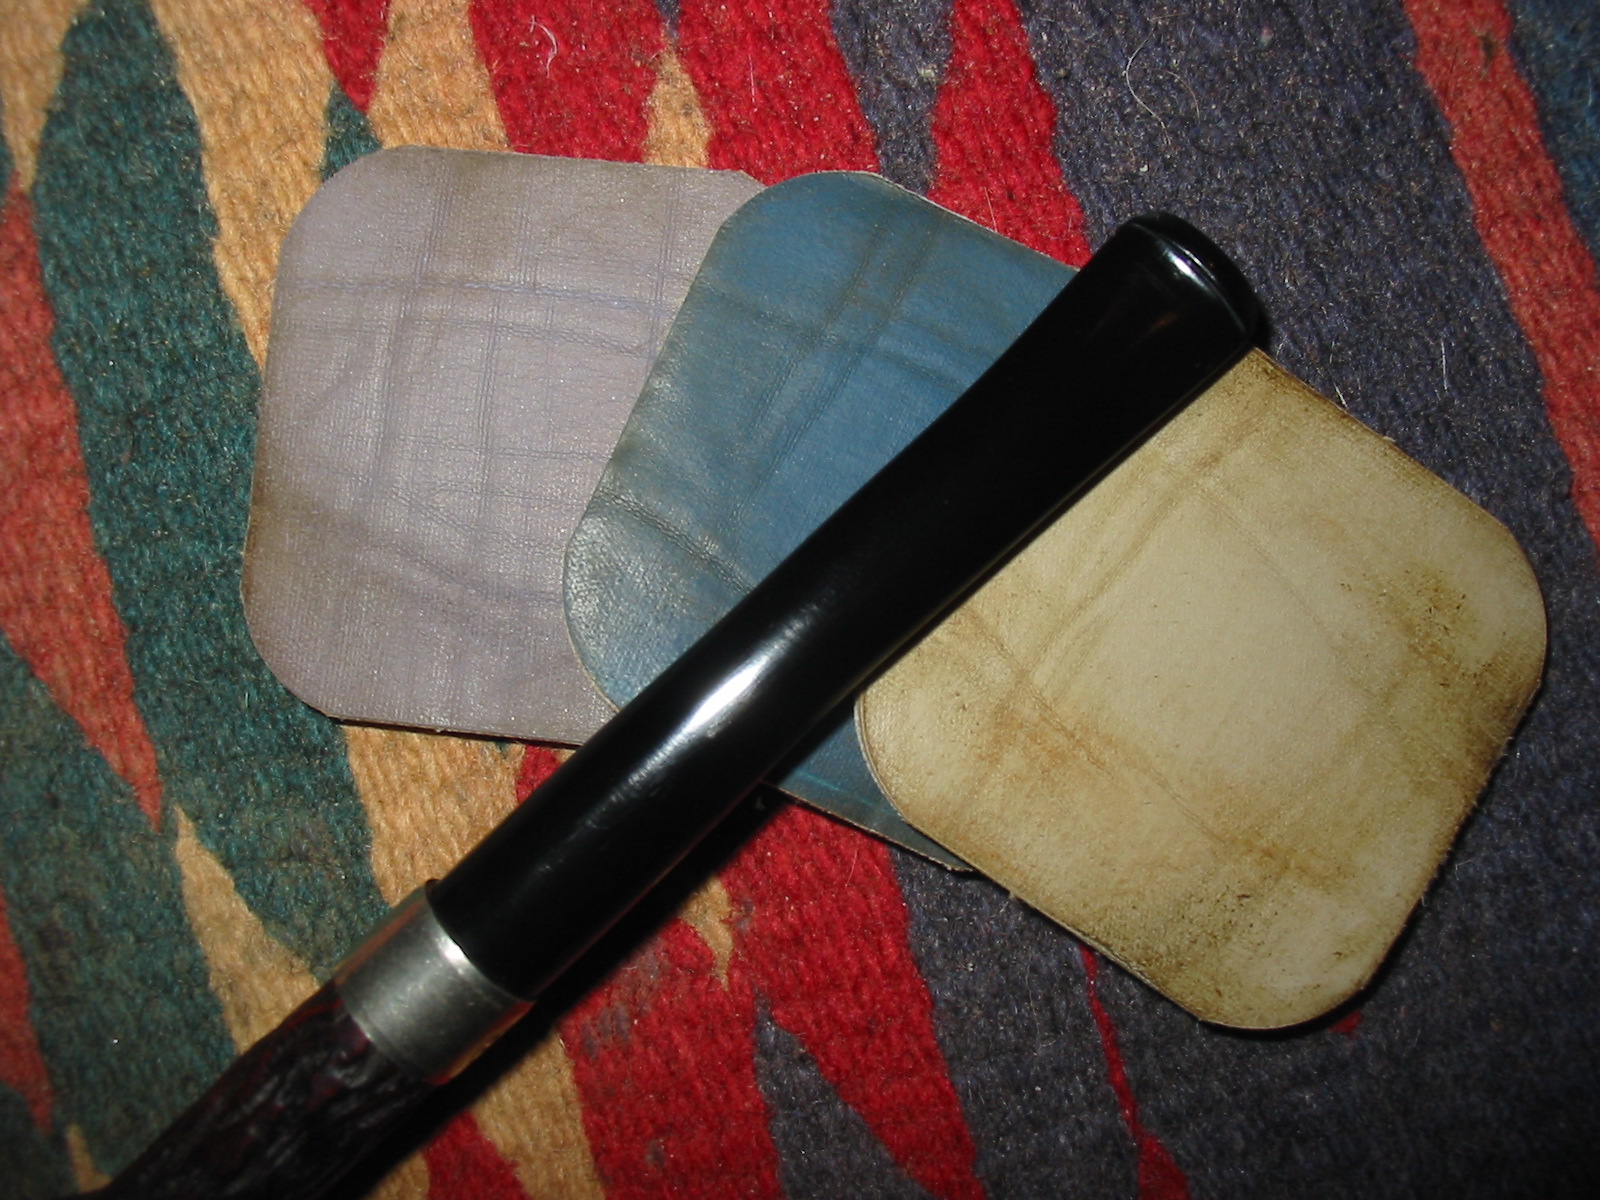
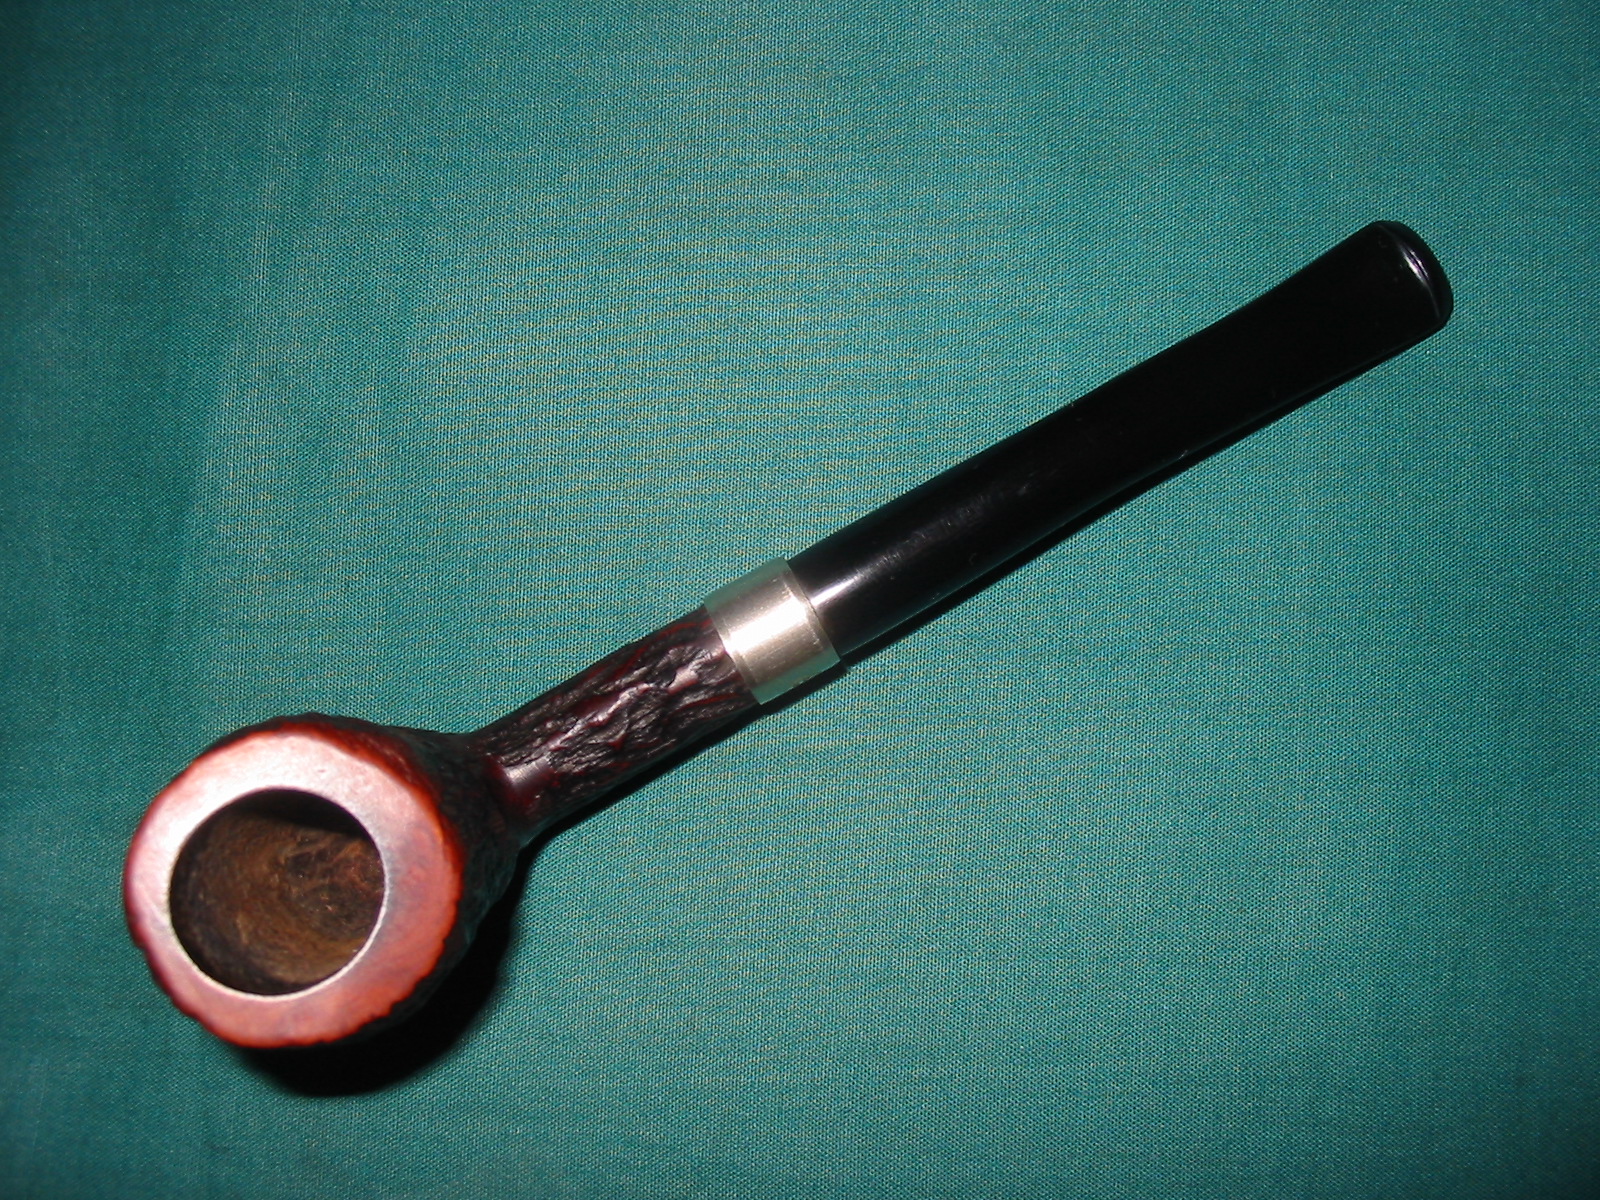
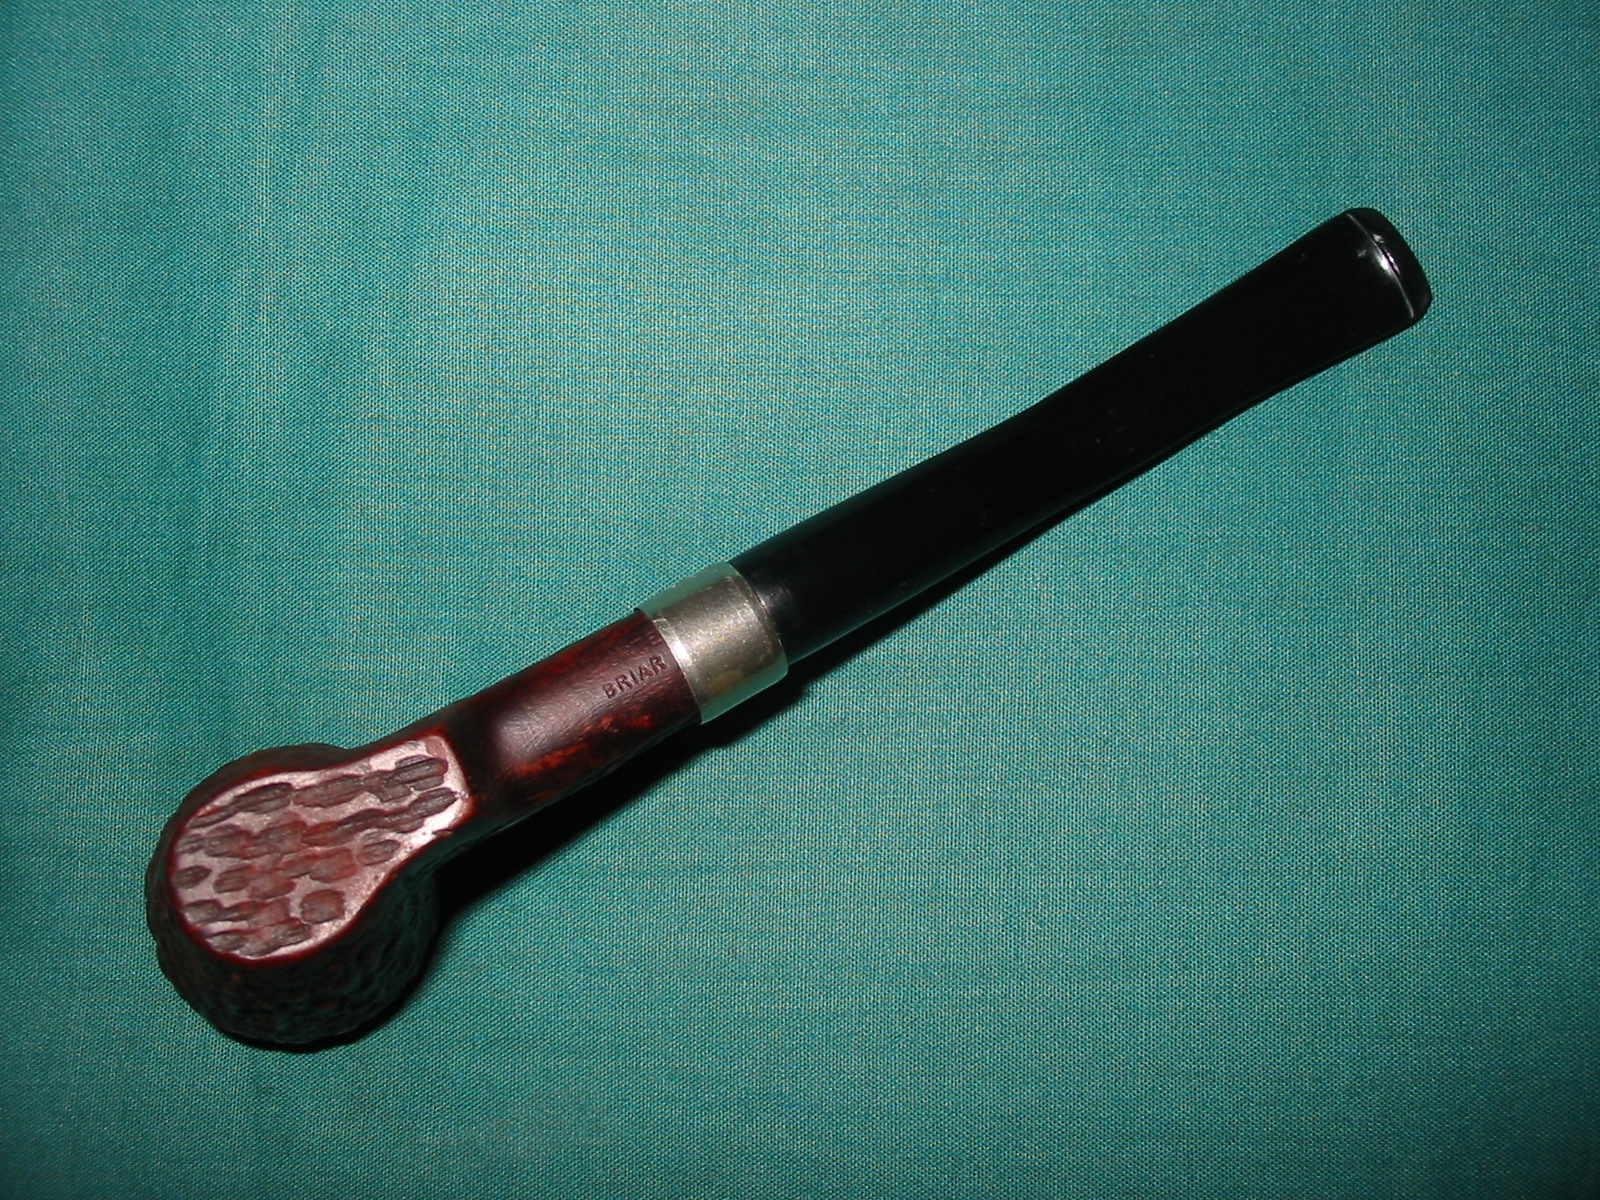
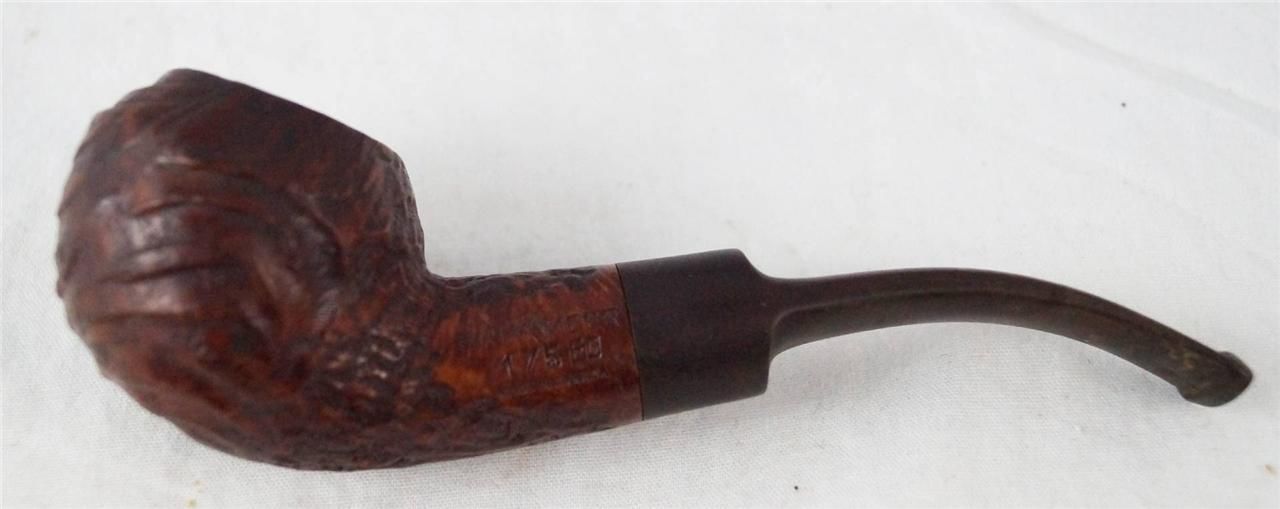
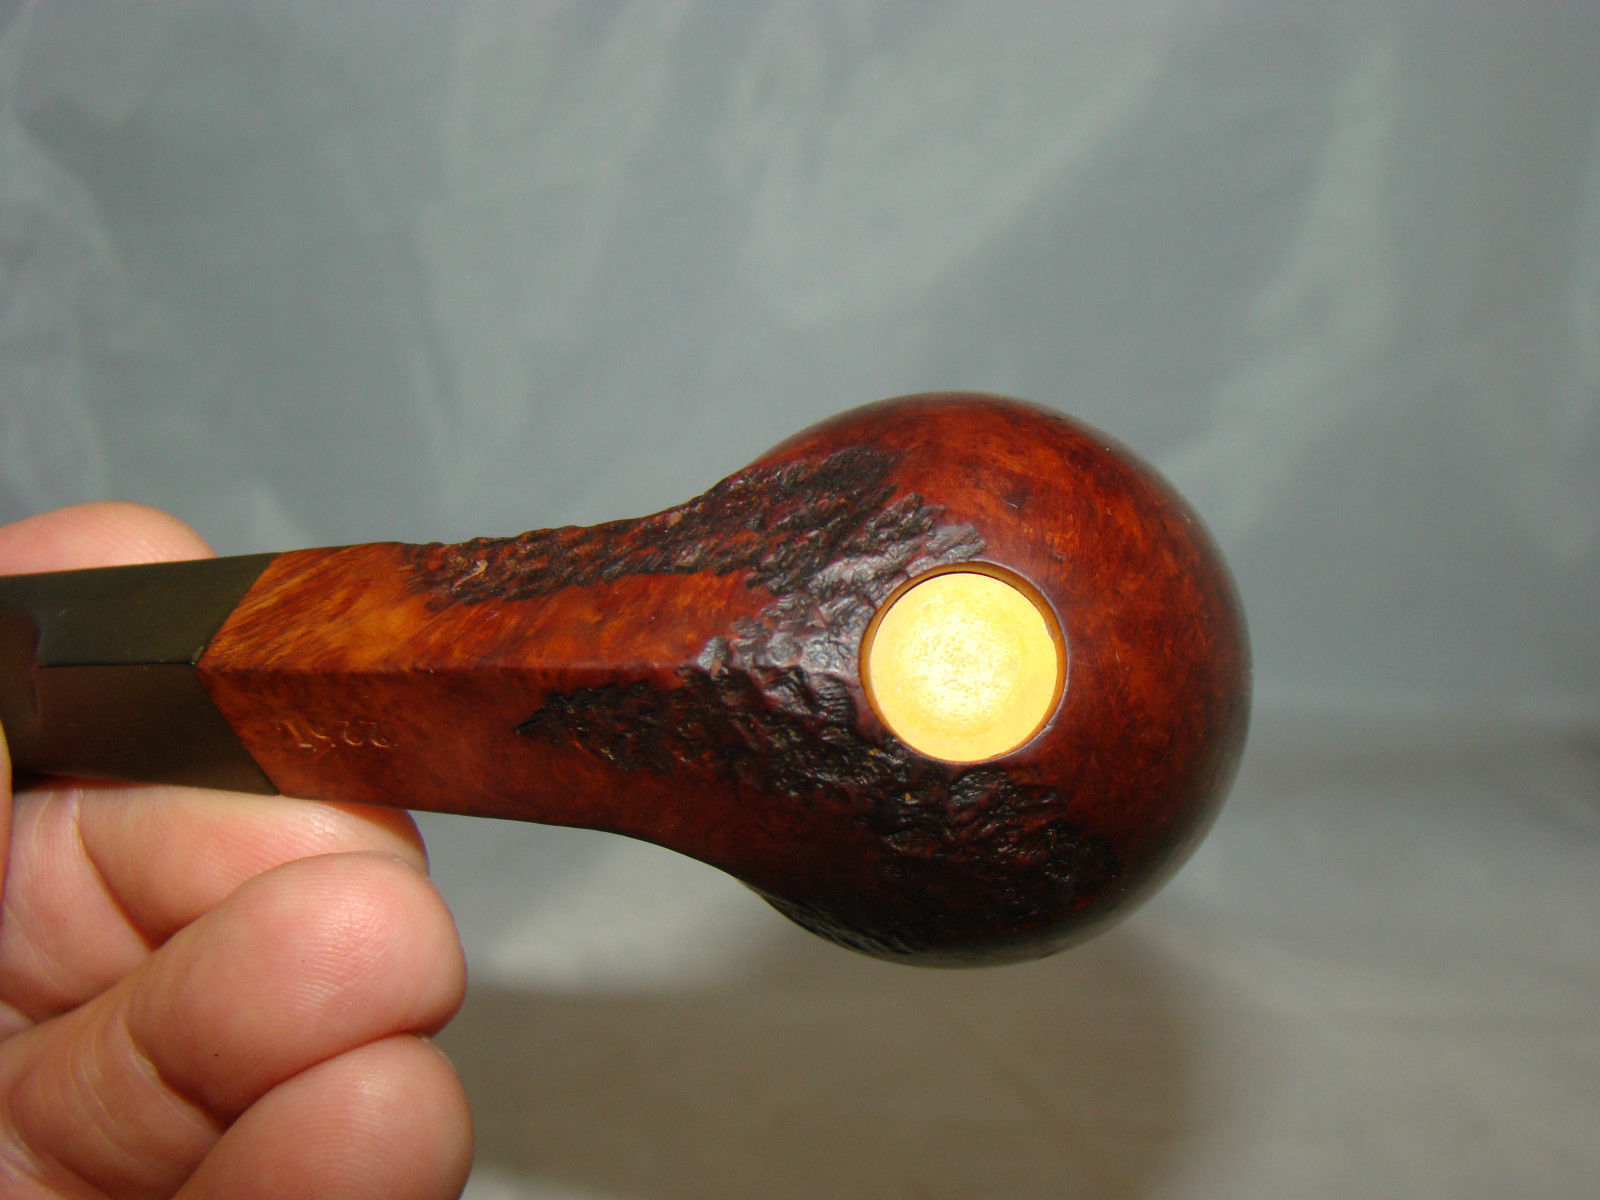
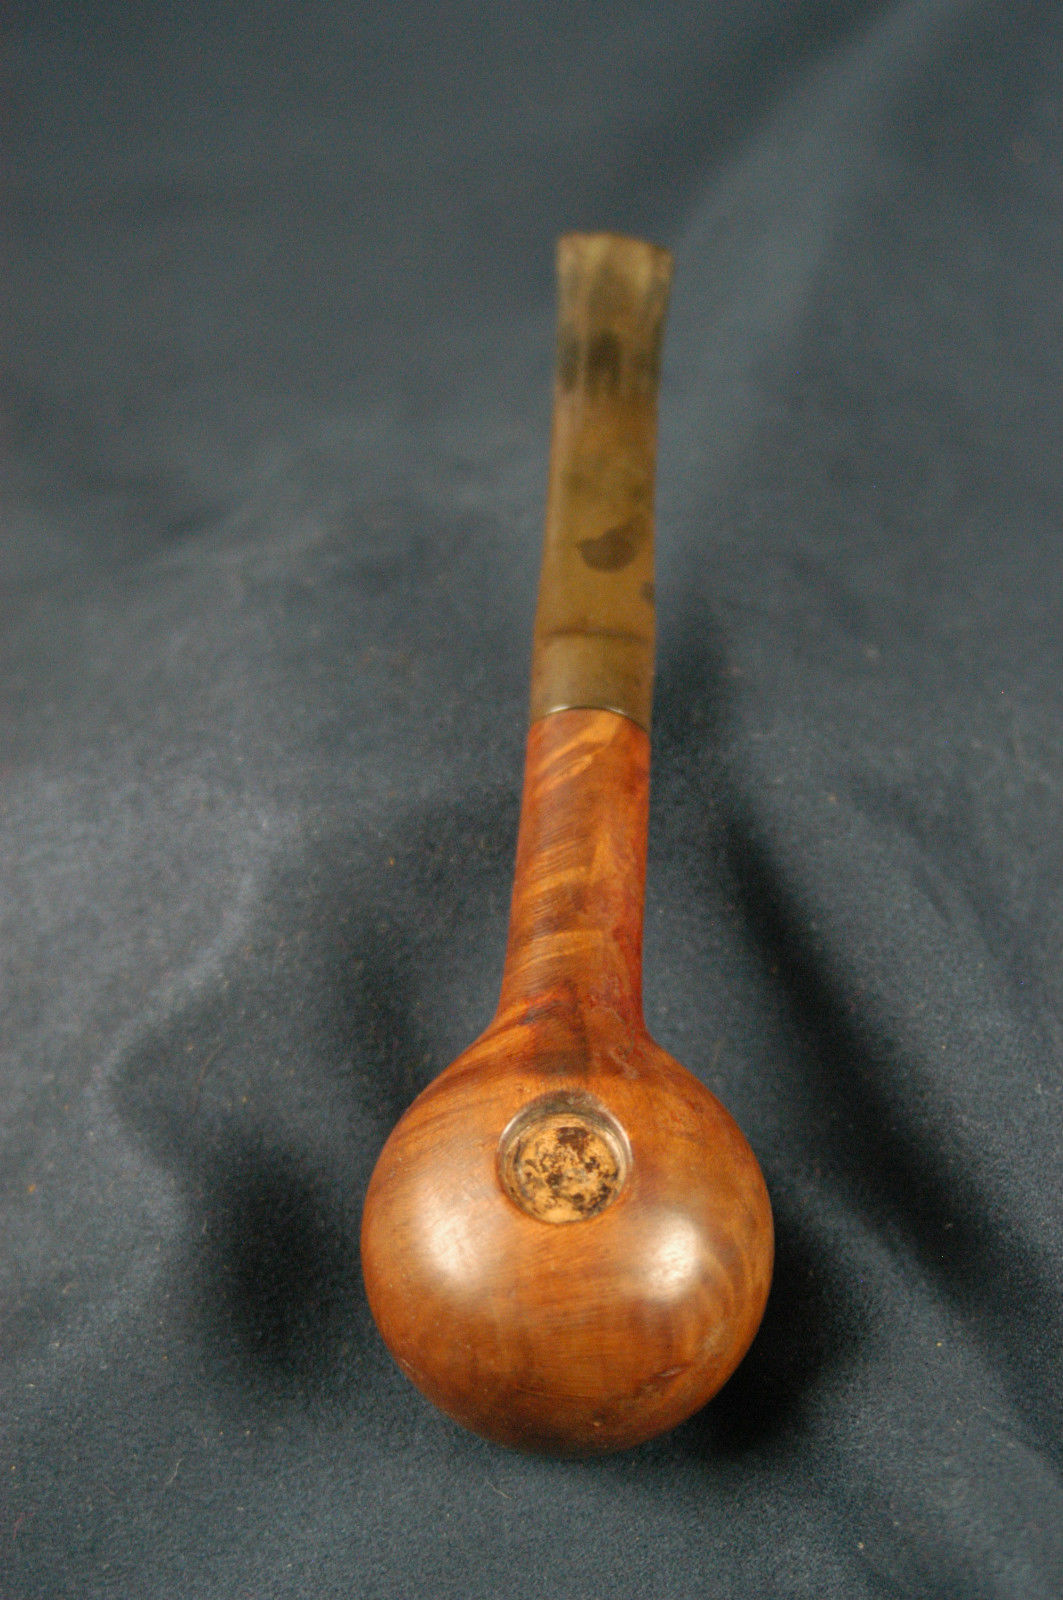
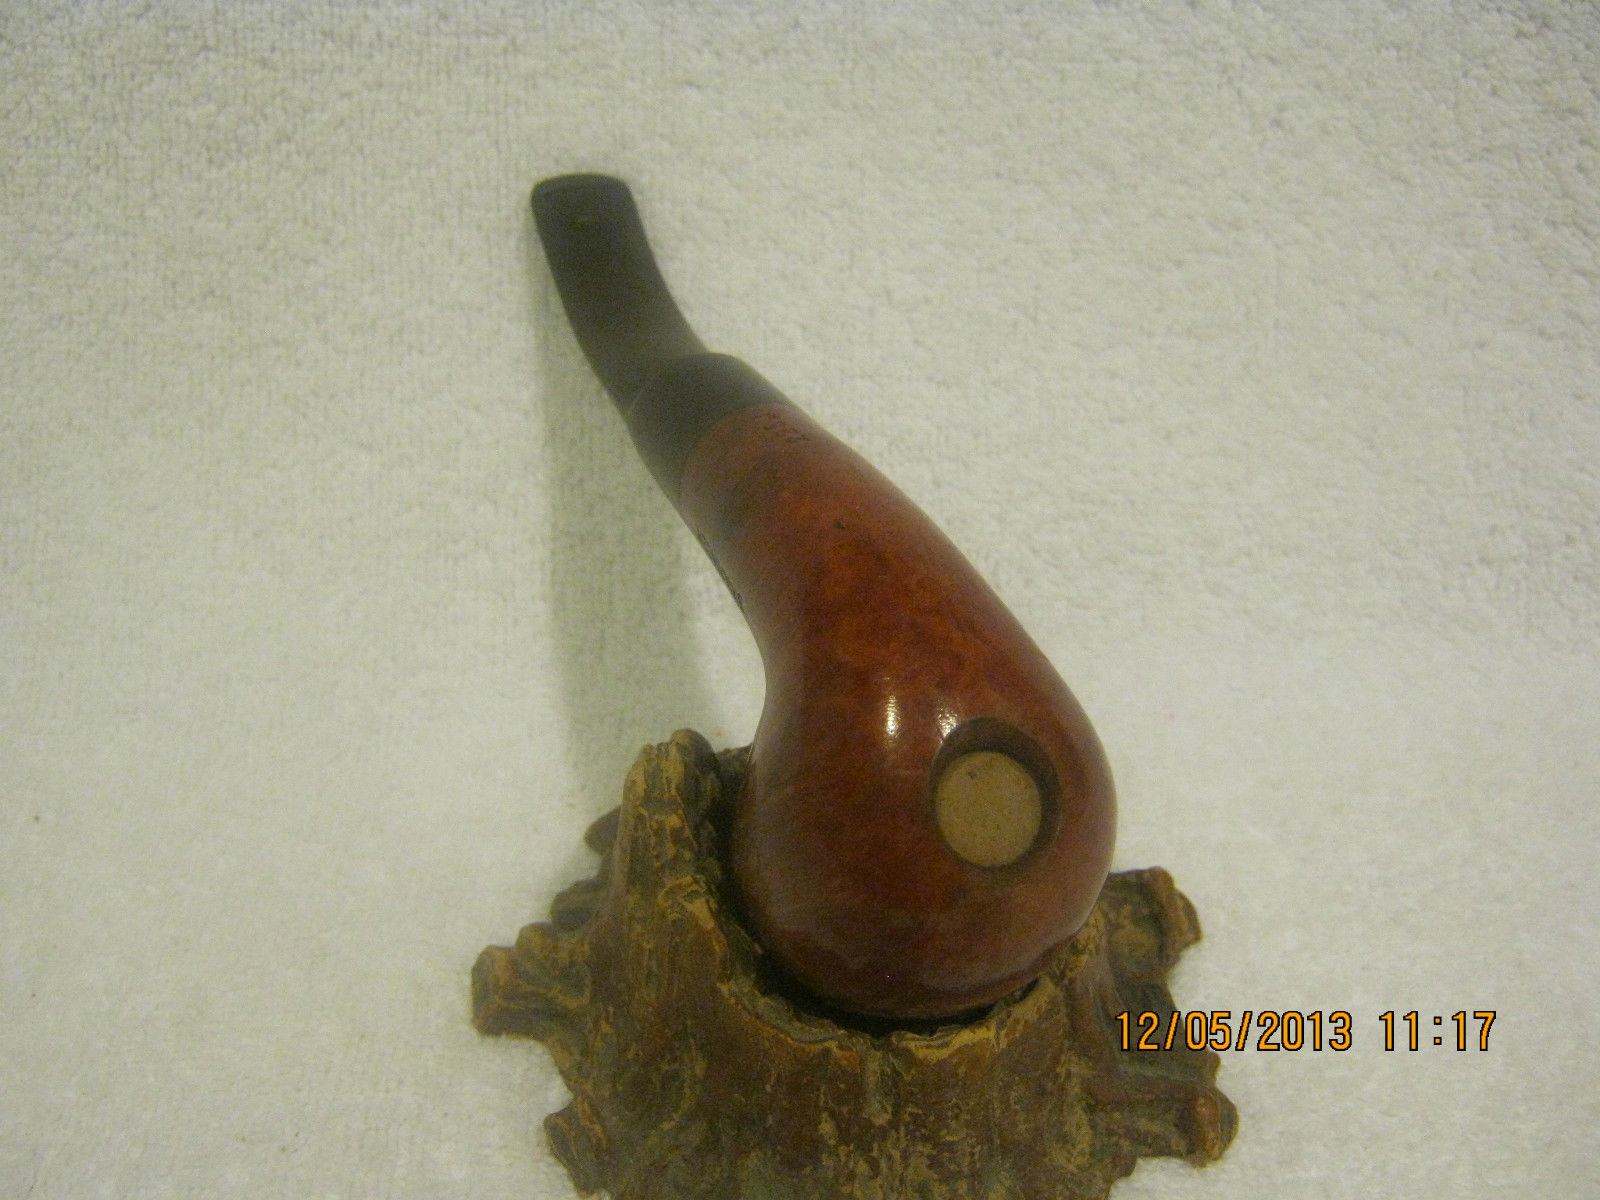
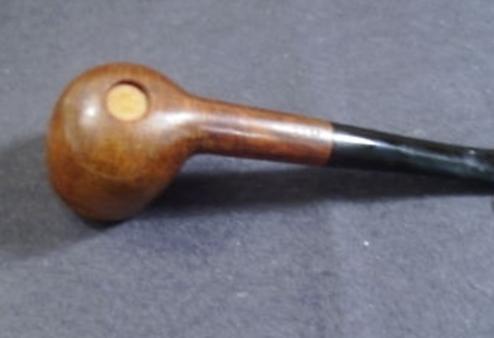
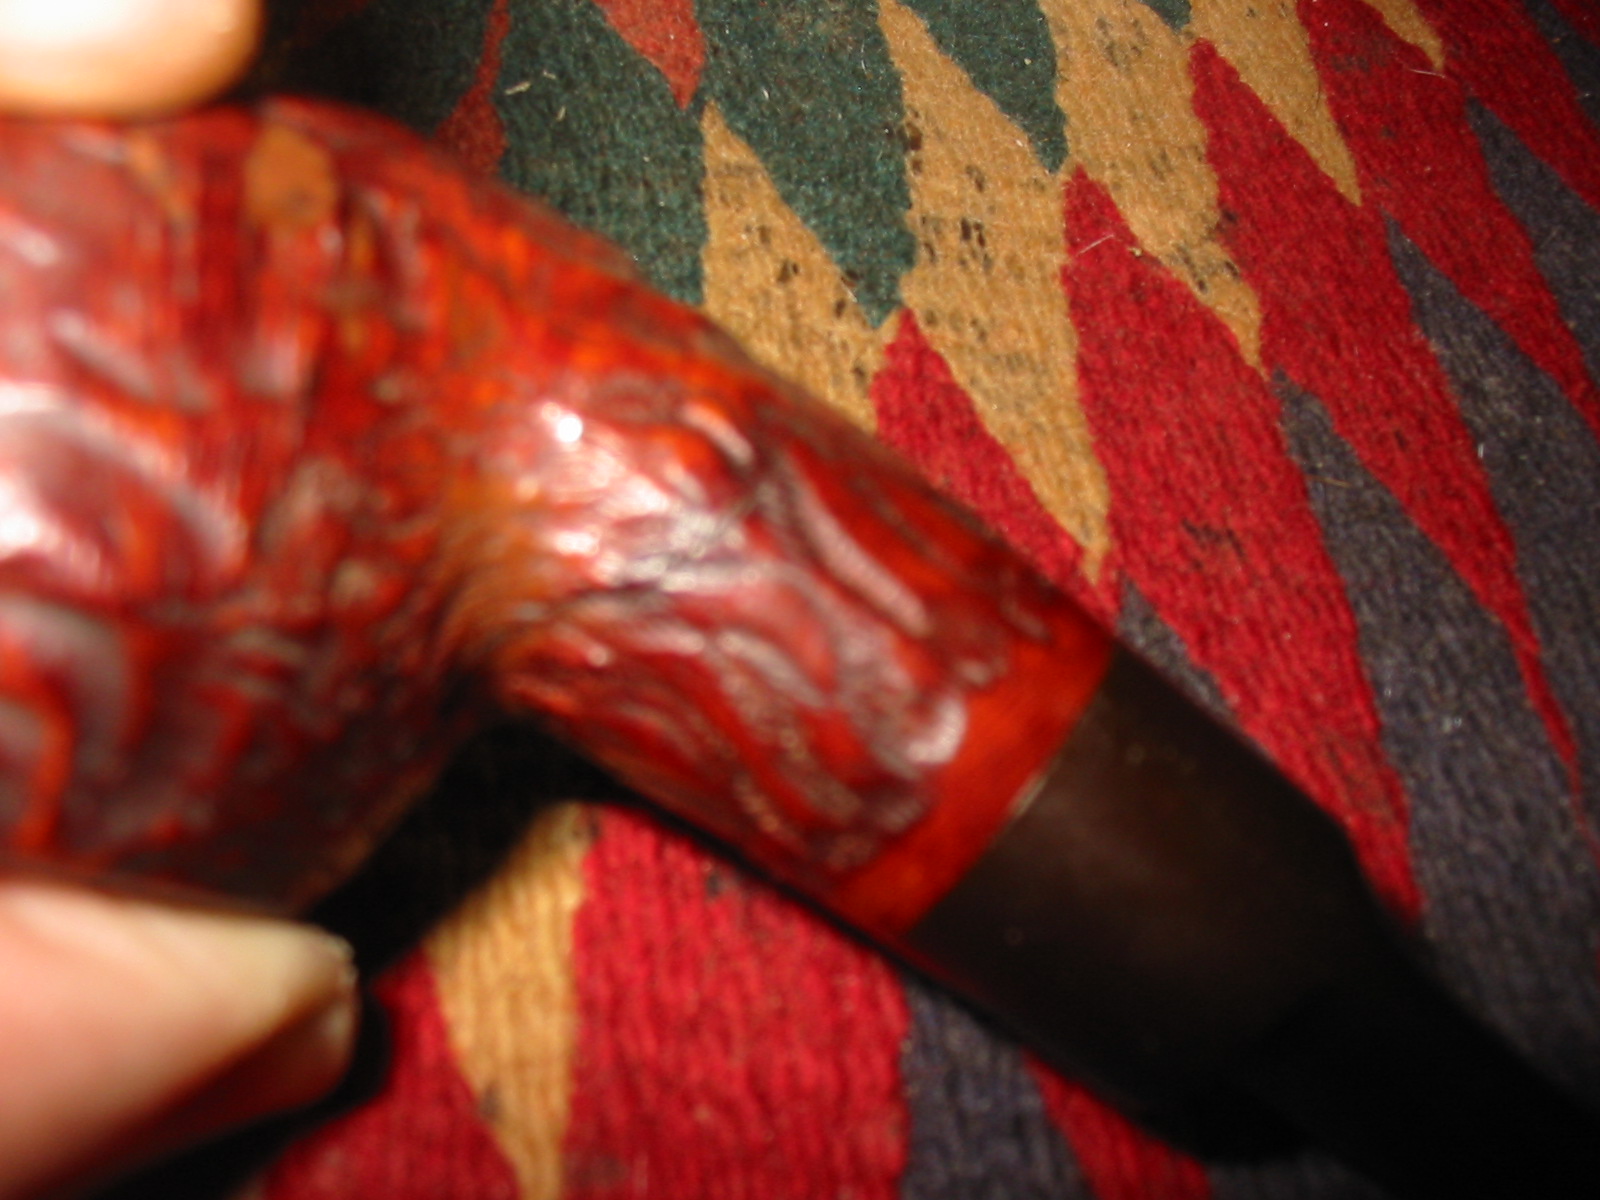
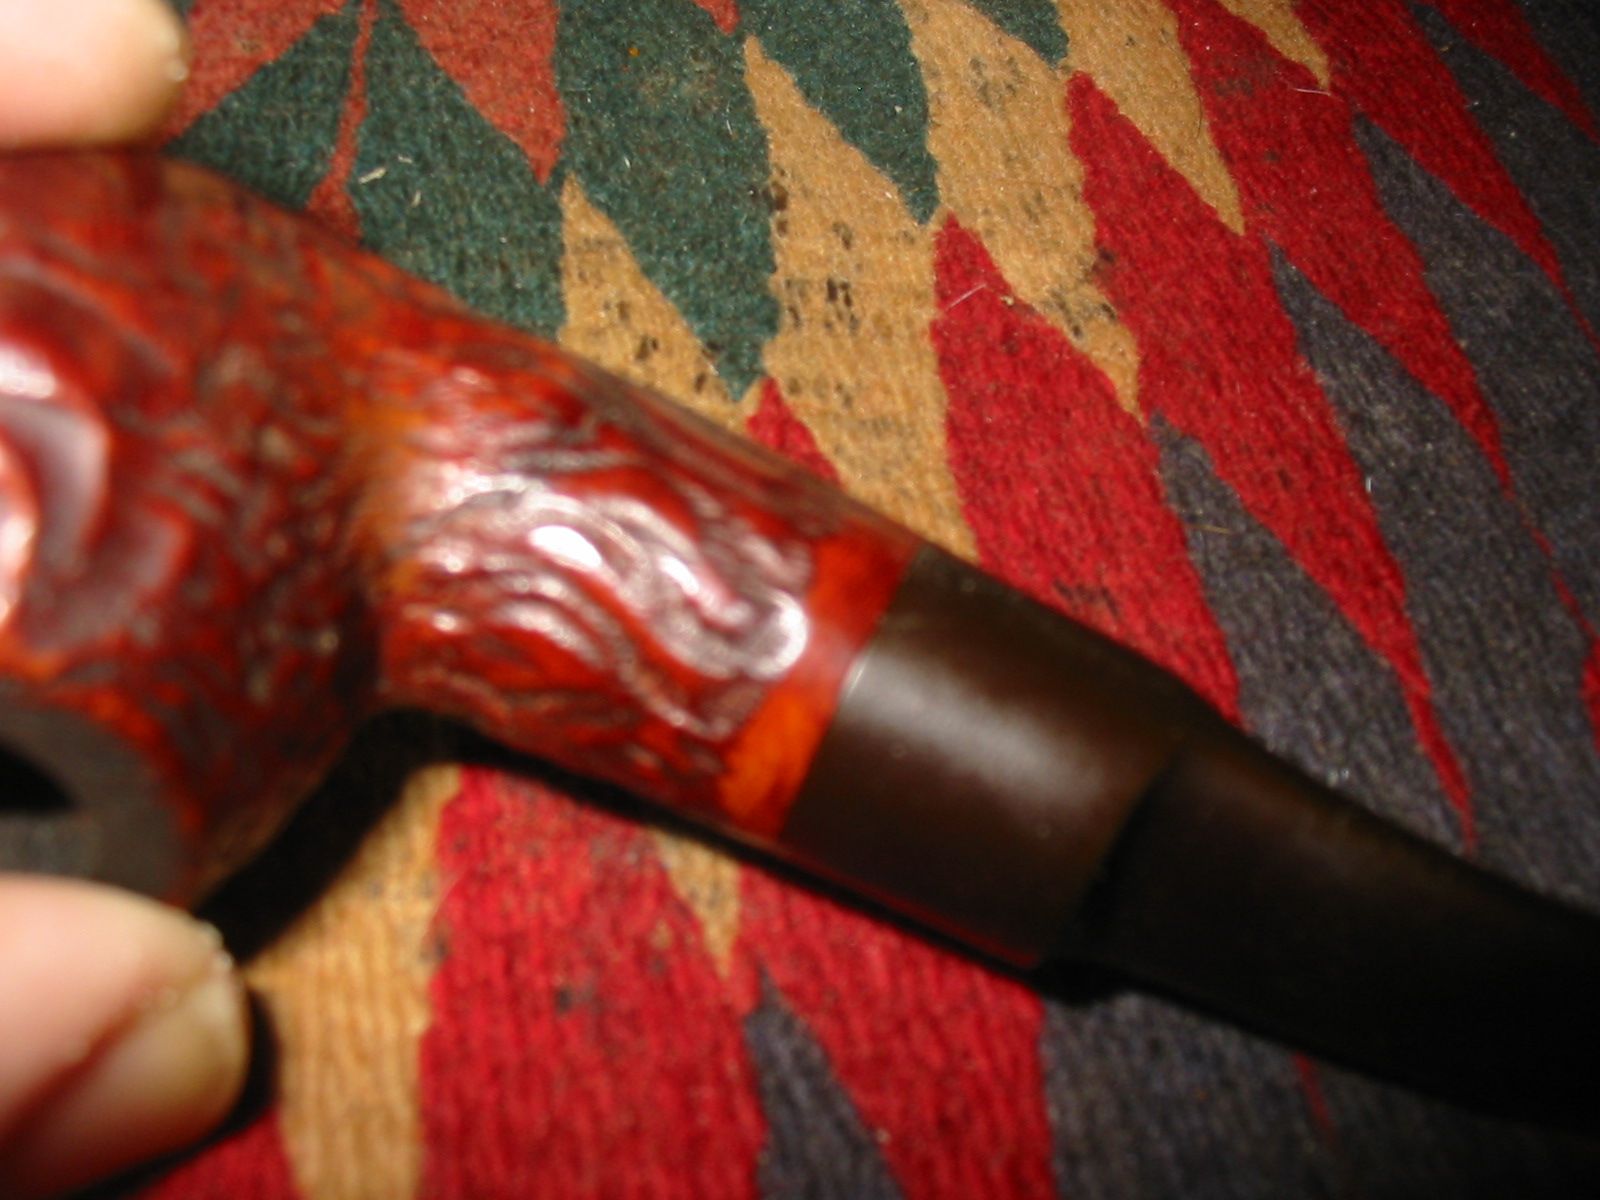
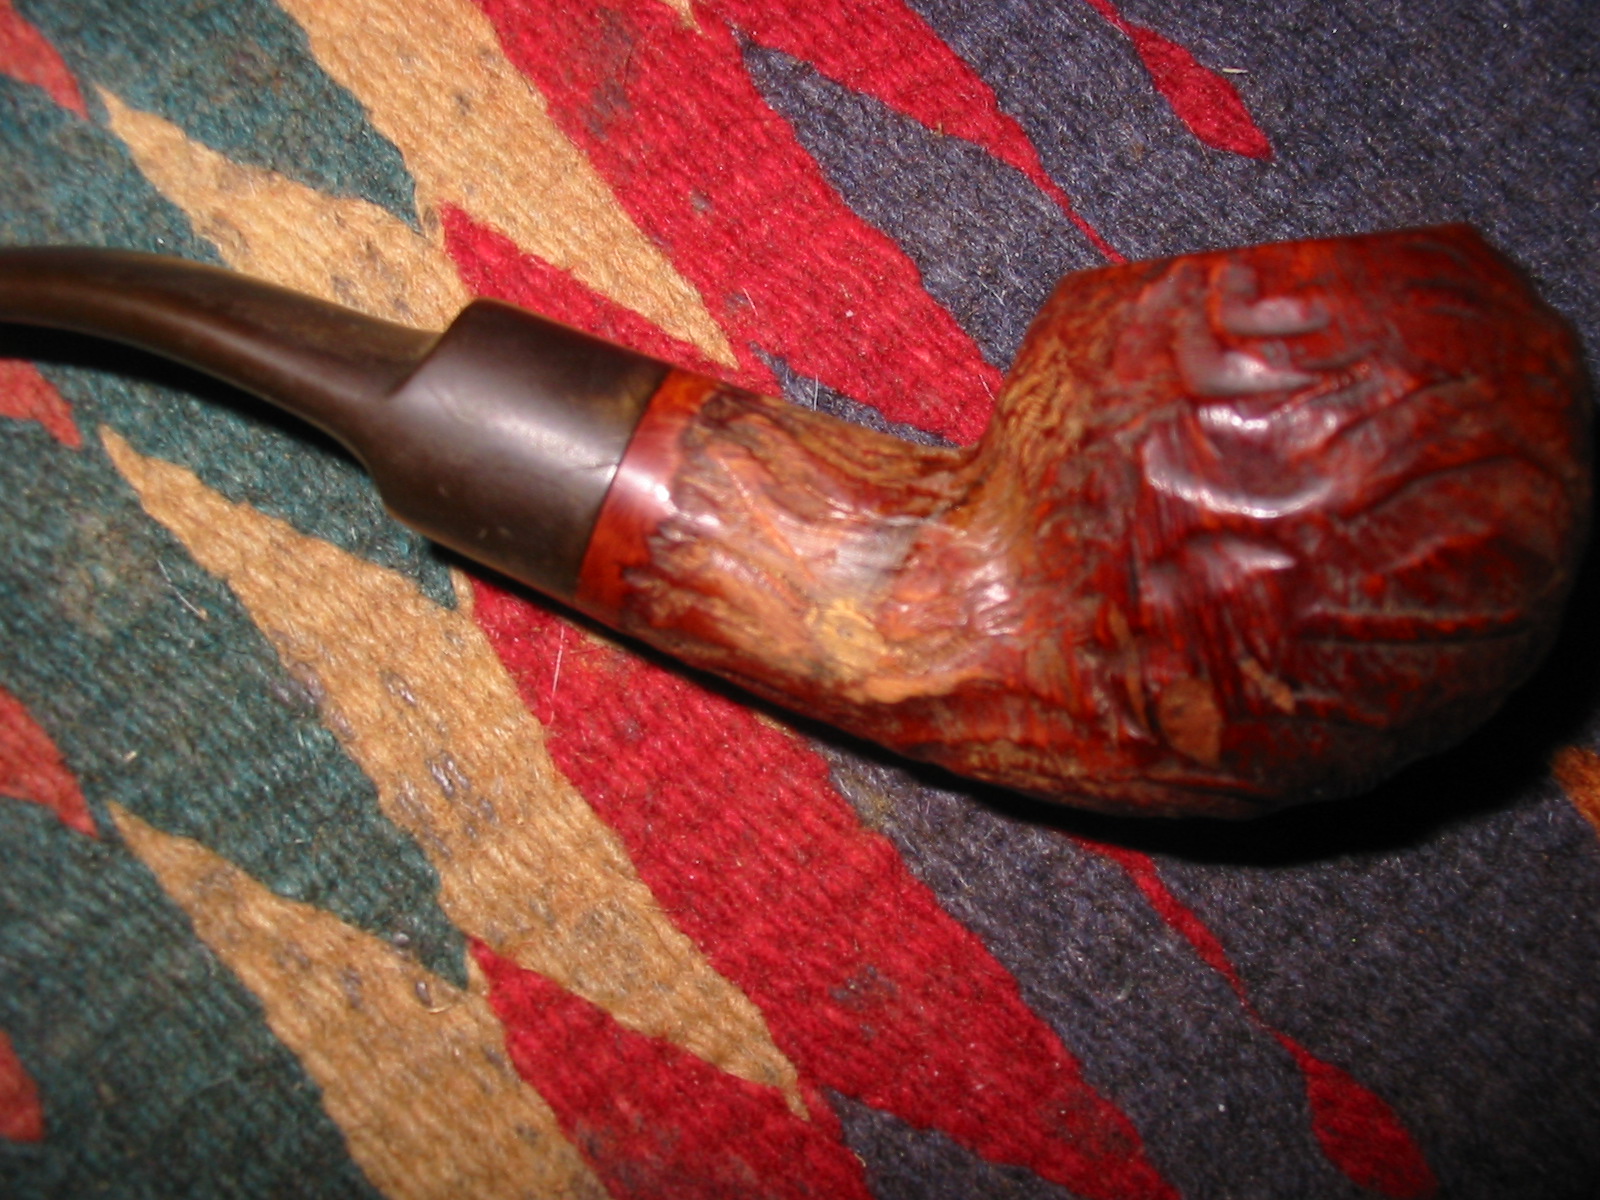
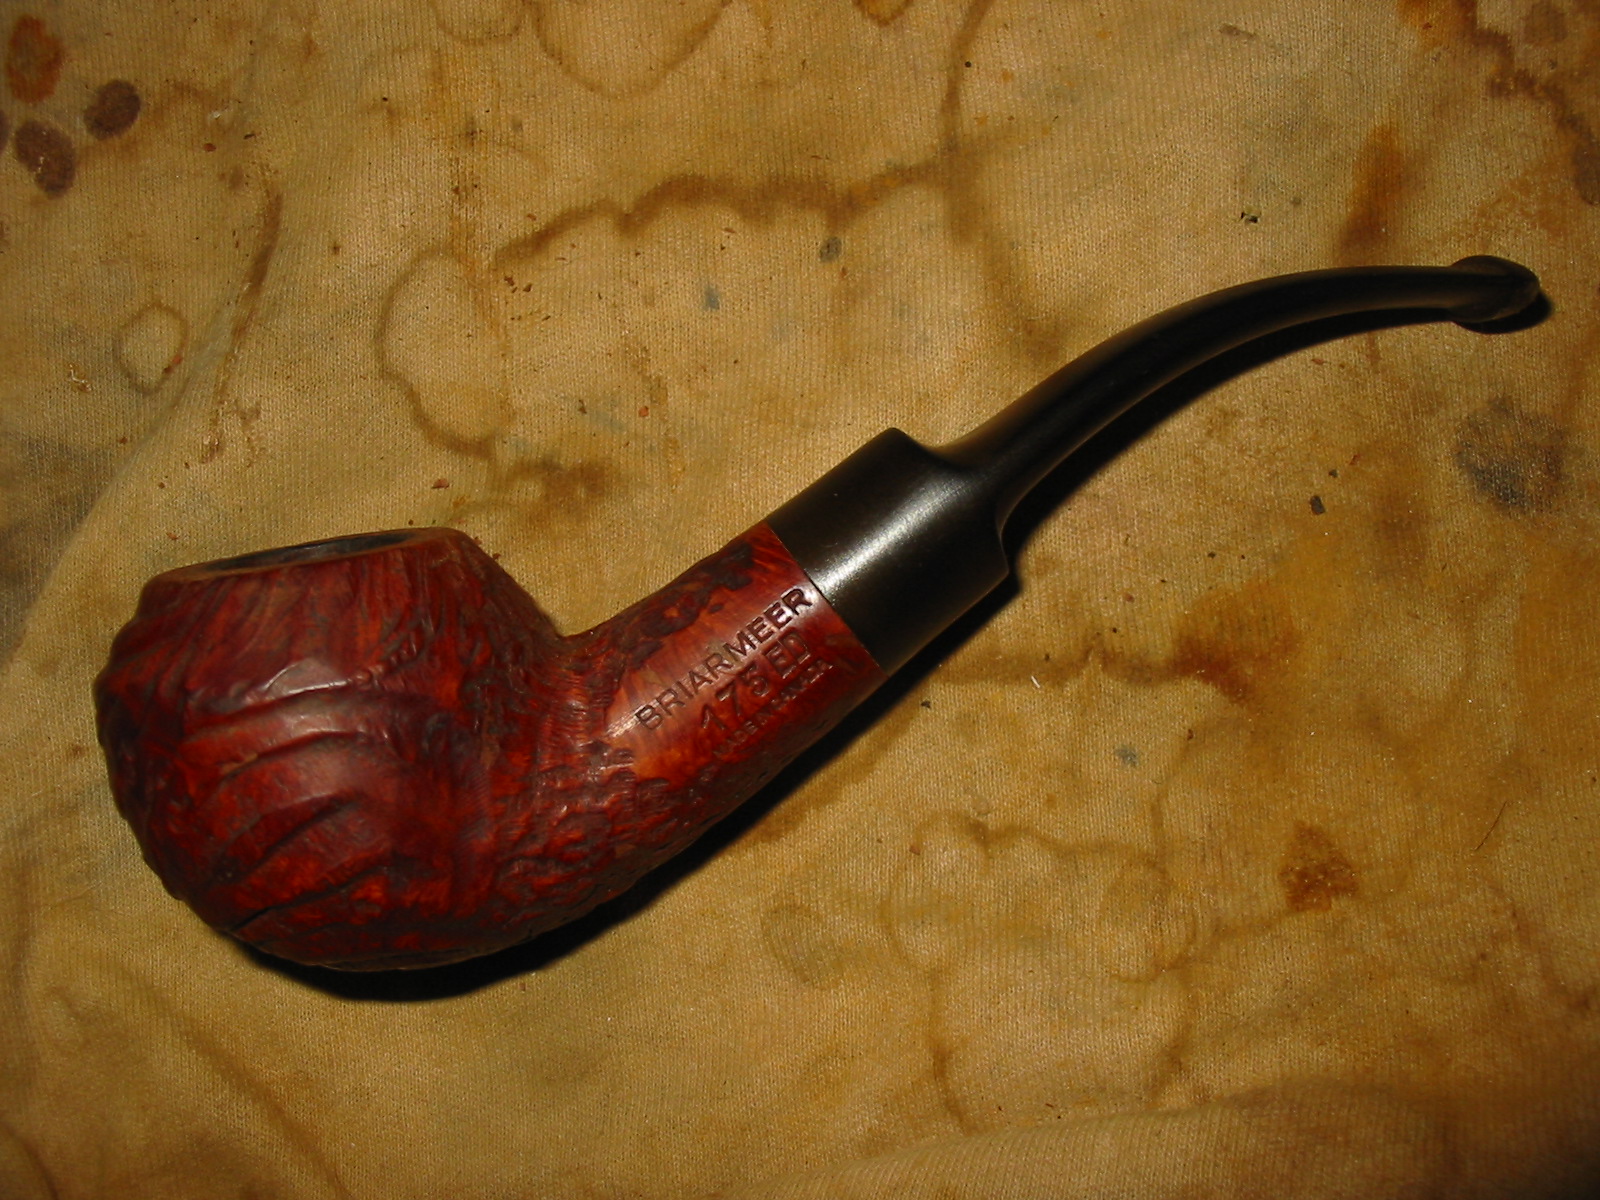
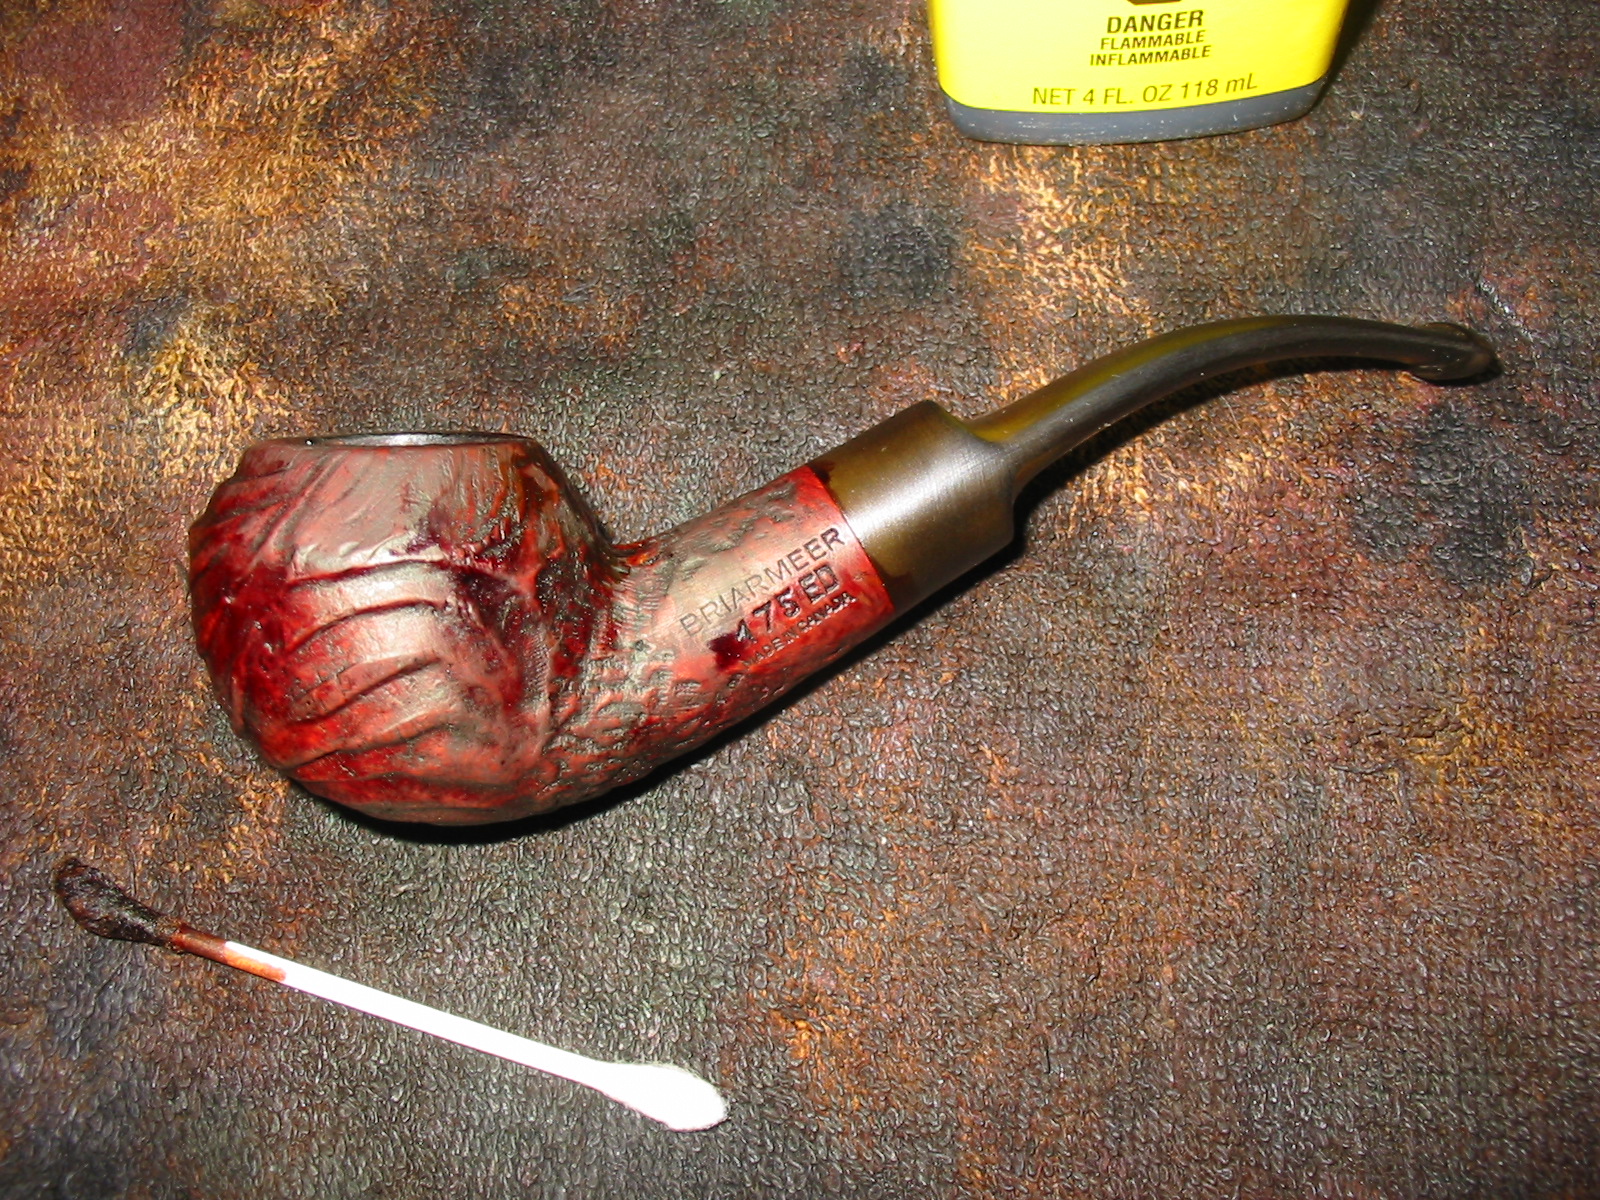
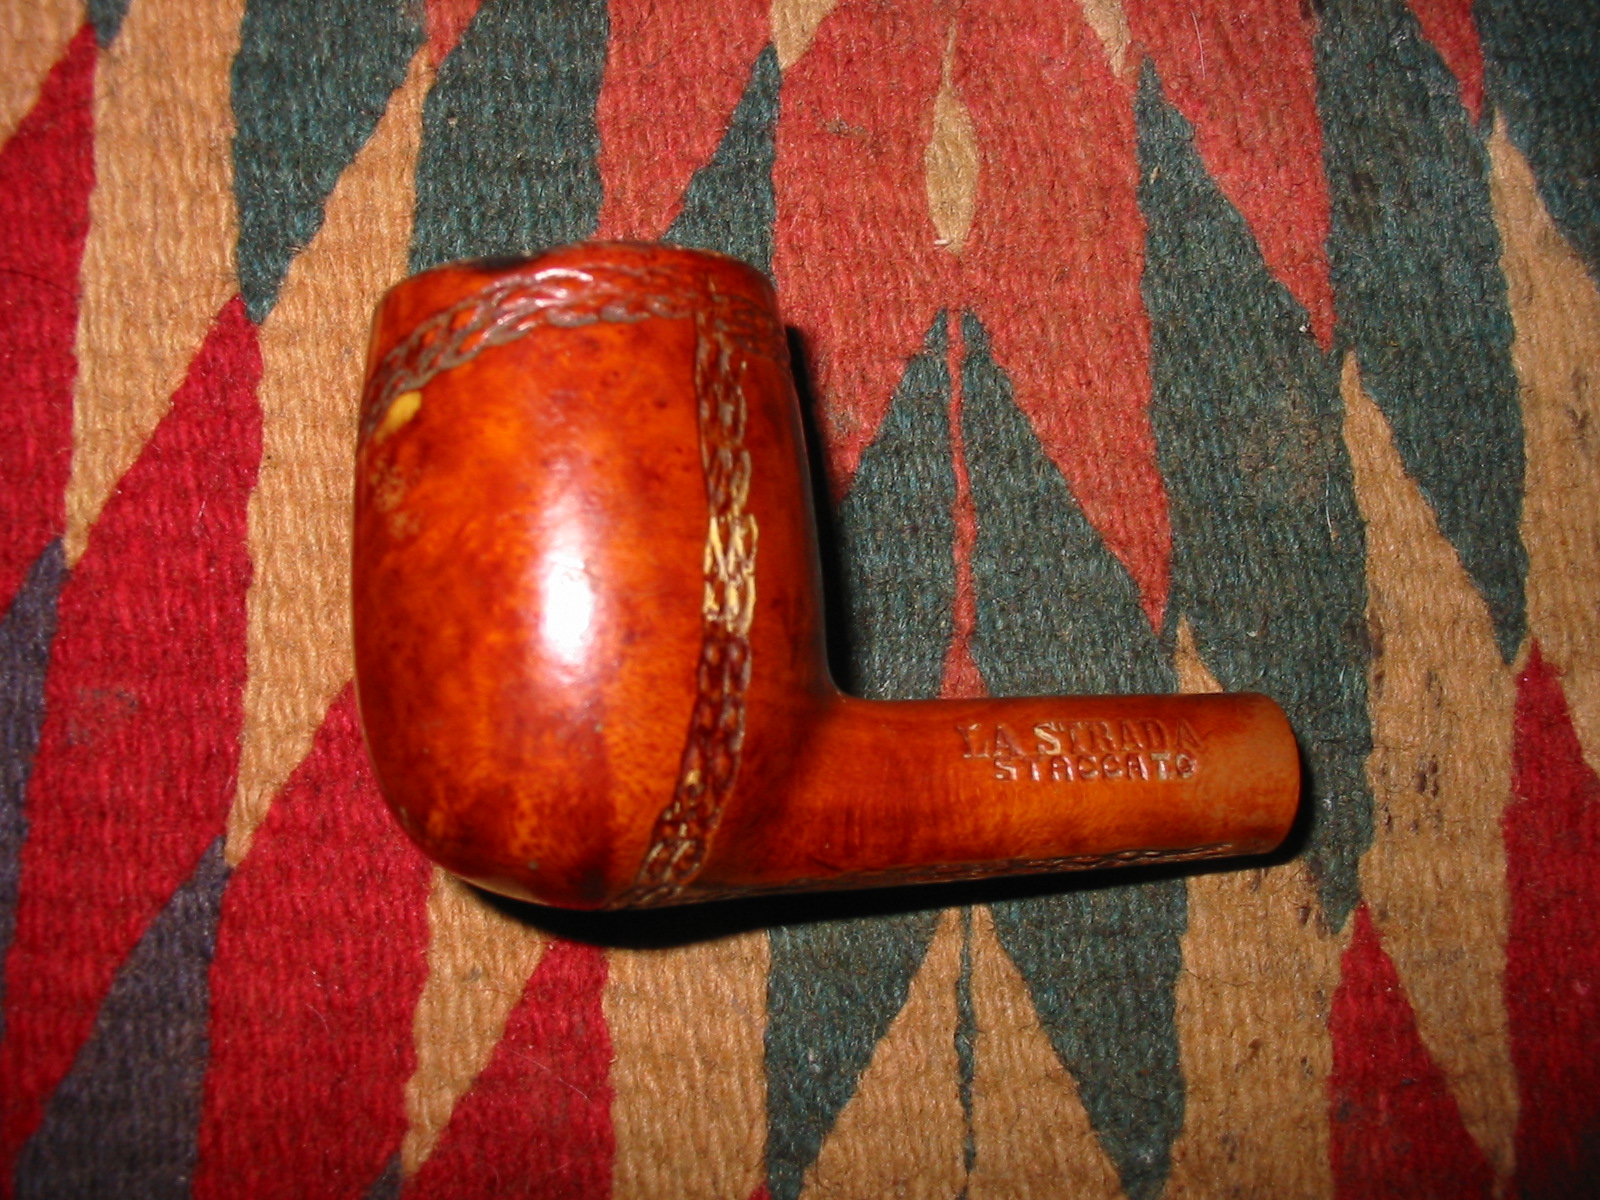
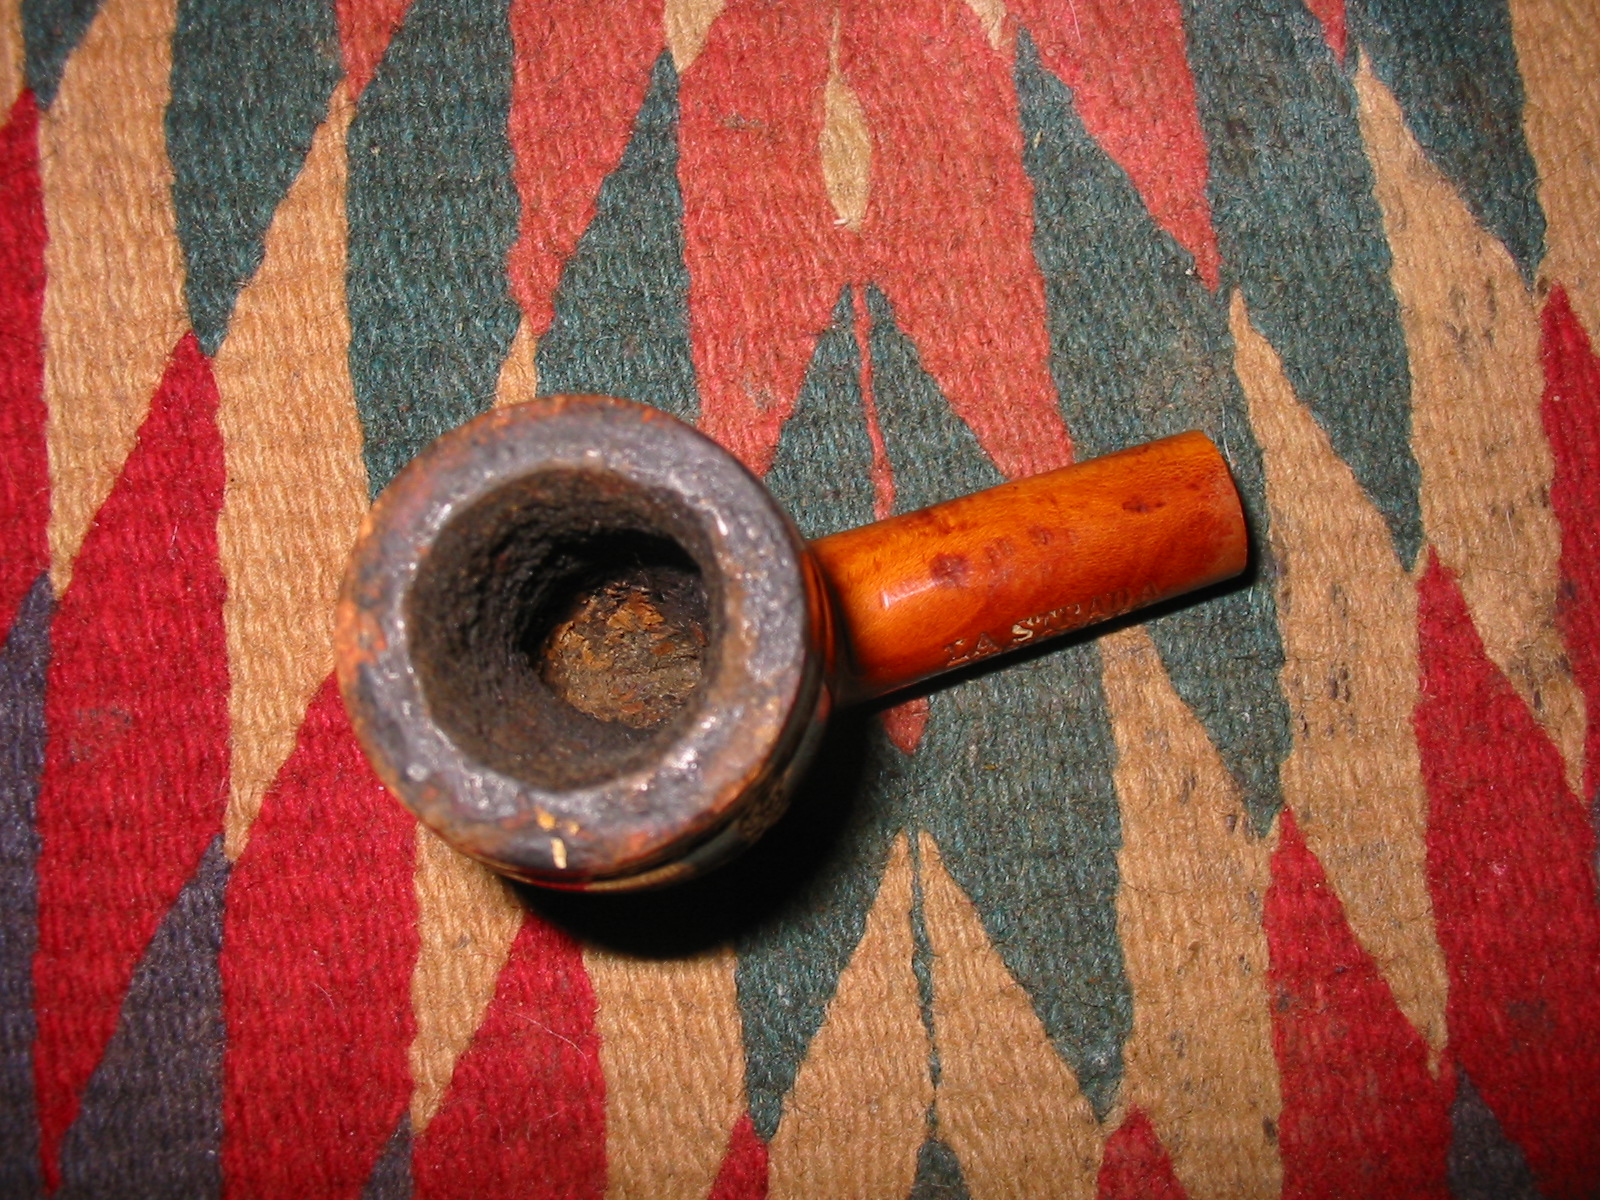
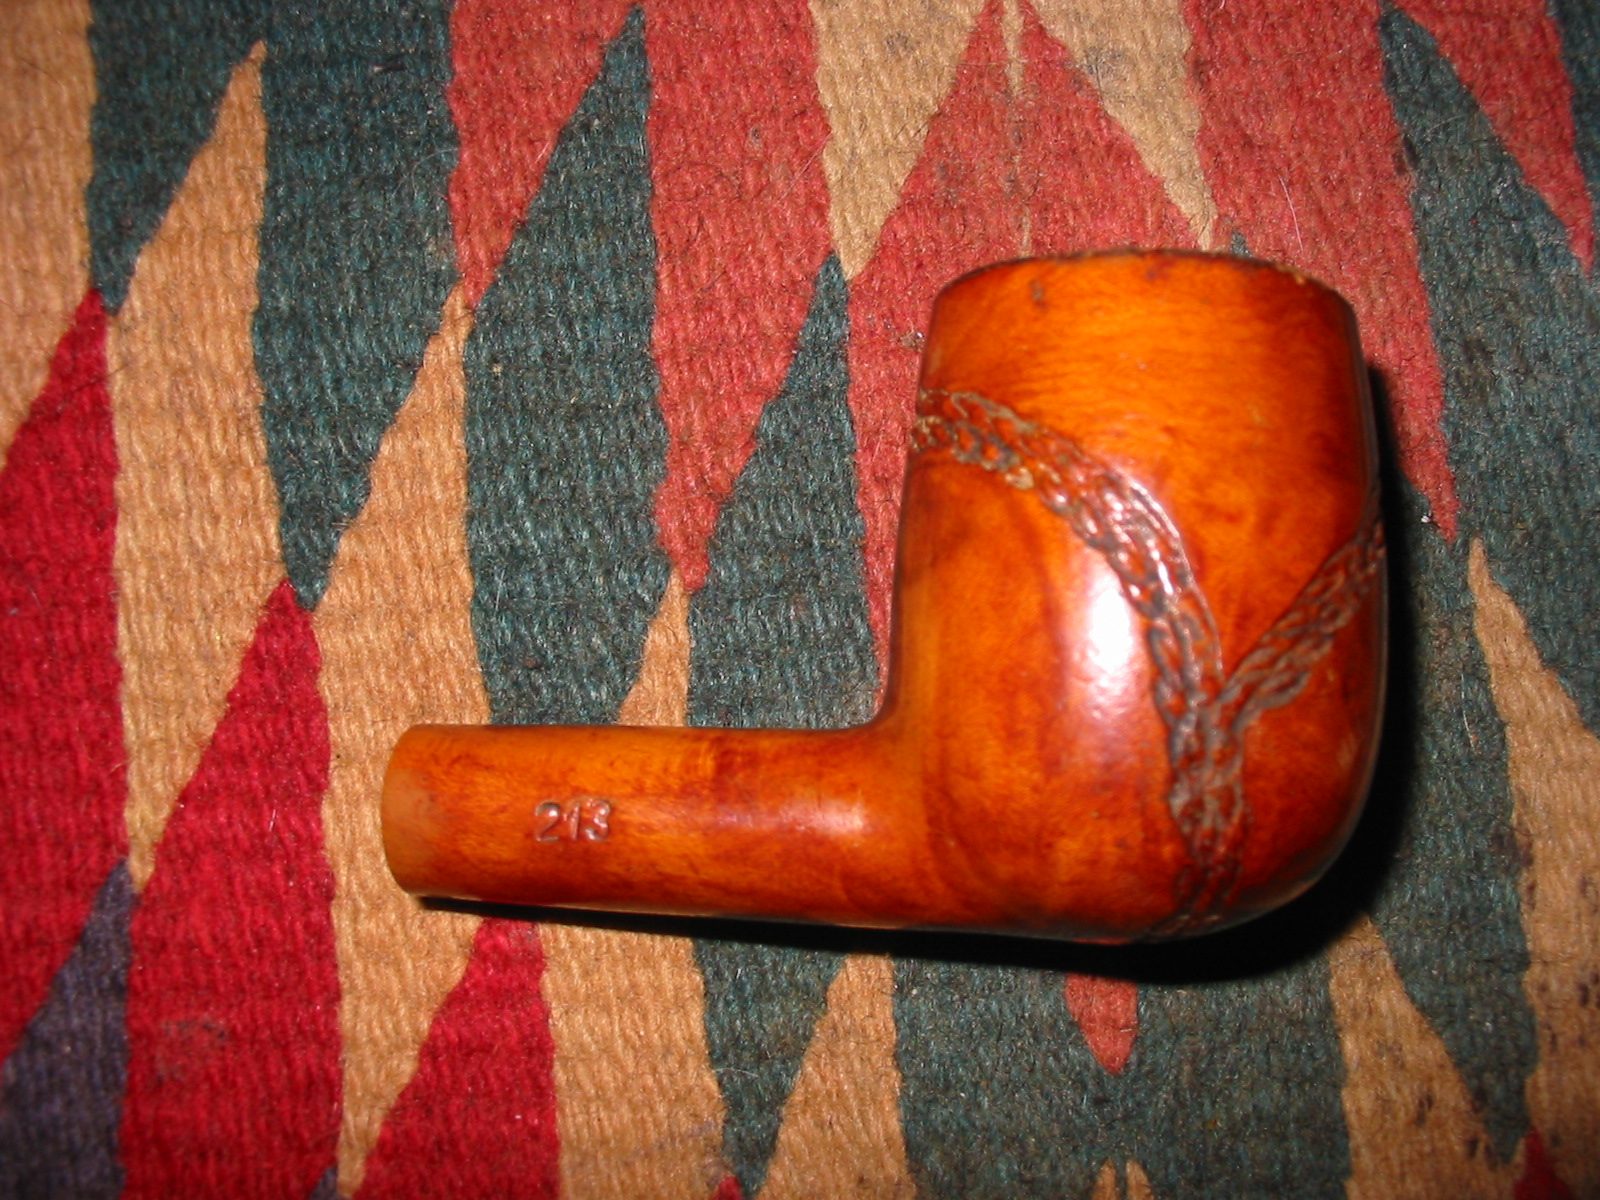
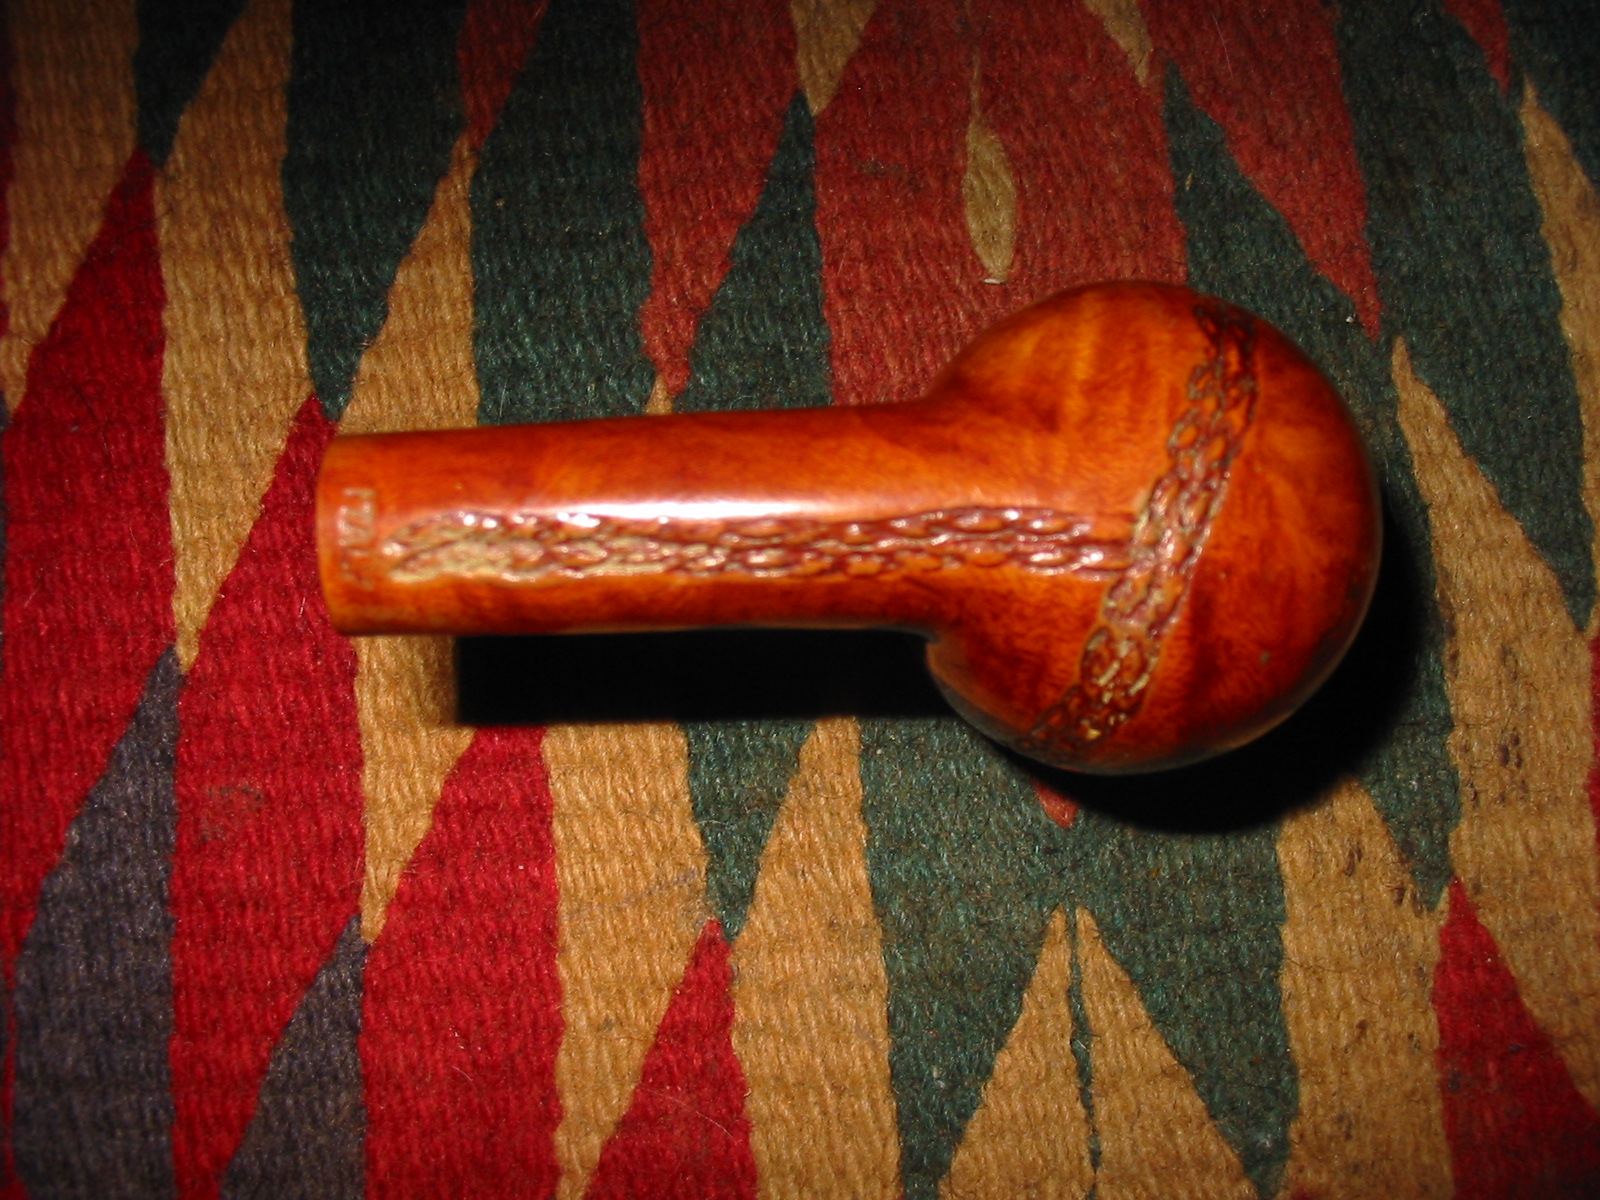
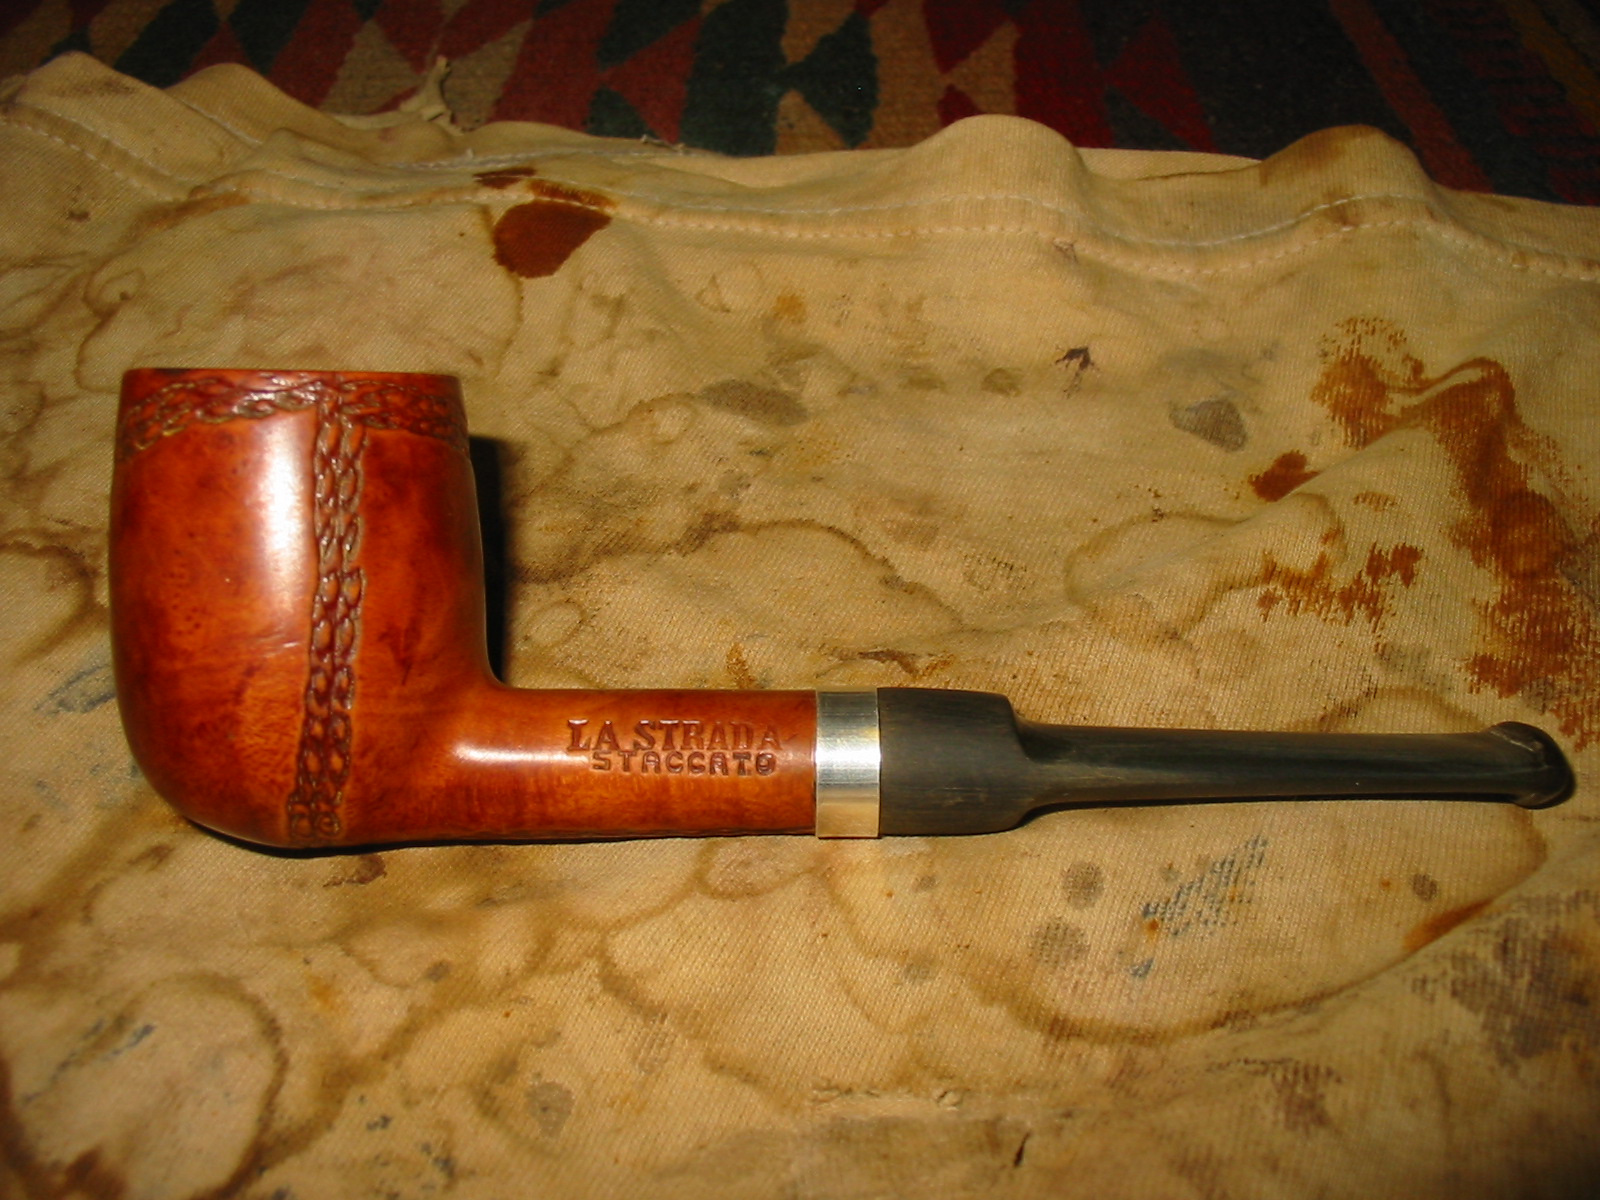
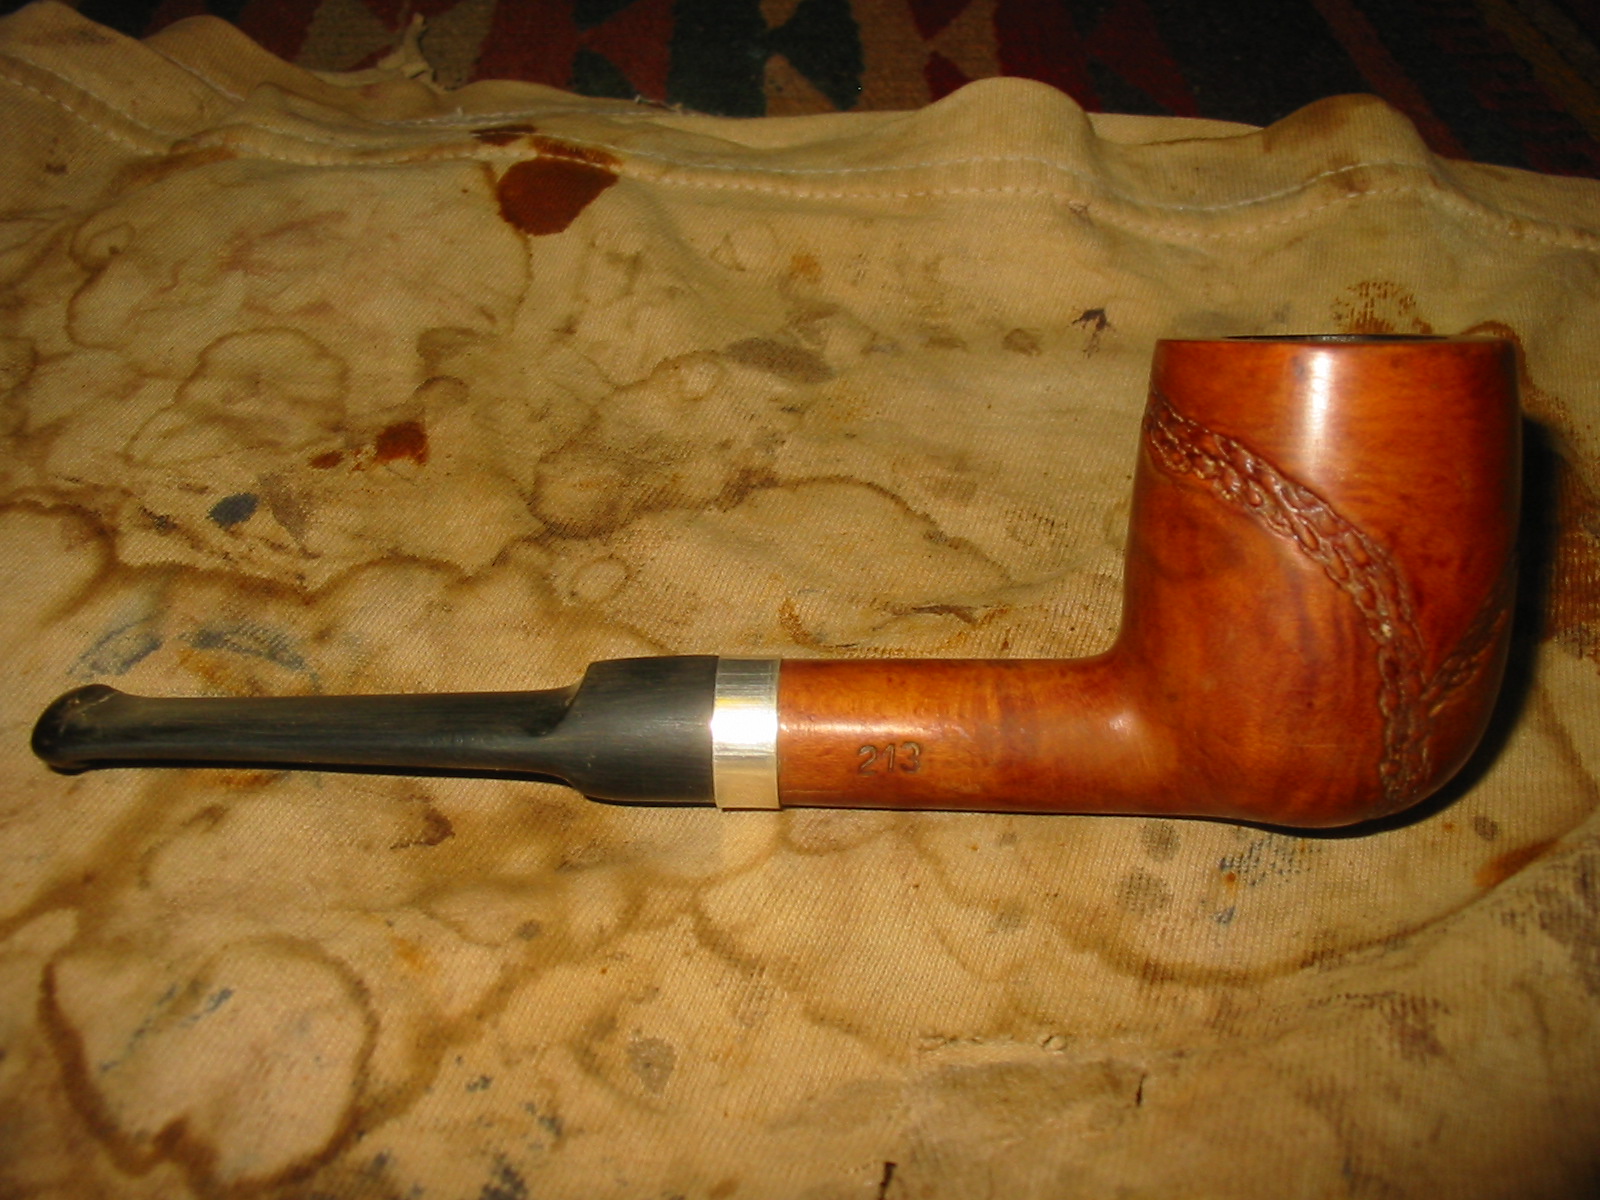
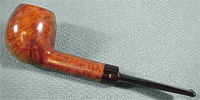
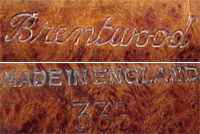
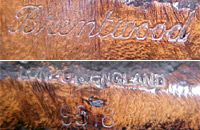
I compared the pipe to an older GBD apple that I have here at home. It had the same shape number stamp on it. Both were stamped 335. Both were apple shaped pipes. Both were stamped on the right side of the shank – LONDON, ENGLAND. The parallels made me go to the internet to see if I could find any information on the brand. I looked at Pipephil’s stamping and logo website (http://www.pipephil.eu/logos/en/logo-b7.html) and found the Brentwood stamping. The second pipe shown in the photo on the site had the same shape number as the one I had found. I have included the photo below as well as three other photos of the stamping on the briar and on the stem. The stamping shown in the second photo is the same on the left side of the pipe – the cursive Brentwood stamping. It is missing the Supreme stamping. The stamping on the other side of the shank – ‘MADE IN ENGLAND’ is different from mine but both the shape number and the position of that stamping is the same. The stamping on the pipe in the third photo shows the same stamping as the pipe I have – ‘LONDON, ENGLAND. The fourth photo shows the cursive ‘B’ on the side of the stem as the pipe I found.
brentwood2ybrentwood2bbrentwood1bbrentwood1a

Underneath the photo of the stamping on the Pipephil site read as follows: “Brentwood seems to be a GBD second for following reasons:
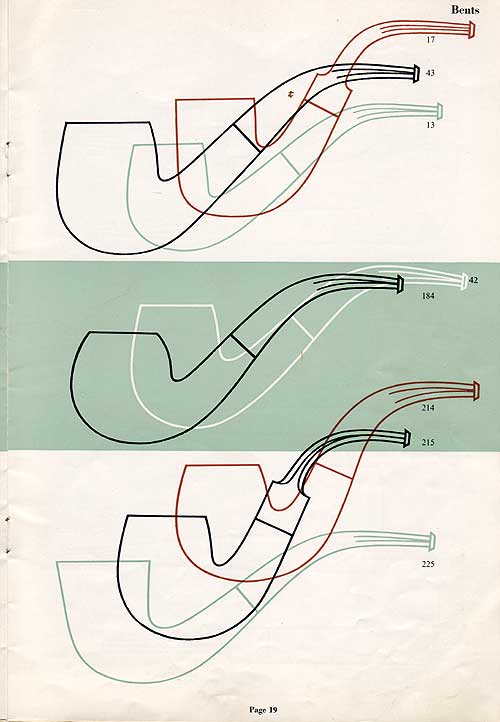
– 335 is a GBD shape number for an apple shape like the pipe above.
– 9518 (first pipe (not shown)) is a four digit shape number as used by GBD (ie: 9534, 9553, 9557, 9567…)”

The pipe I have that is a GBD with the same shape number and overall look, the same style saddle bit, the LONDON, ENGLAND stamping confirm the fact that the Brentwood pipe that I found is indeed a GDB second.

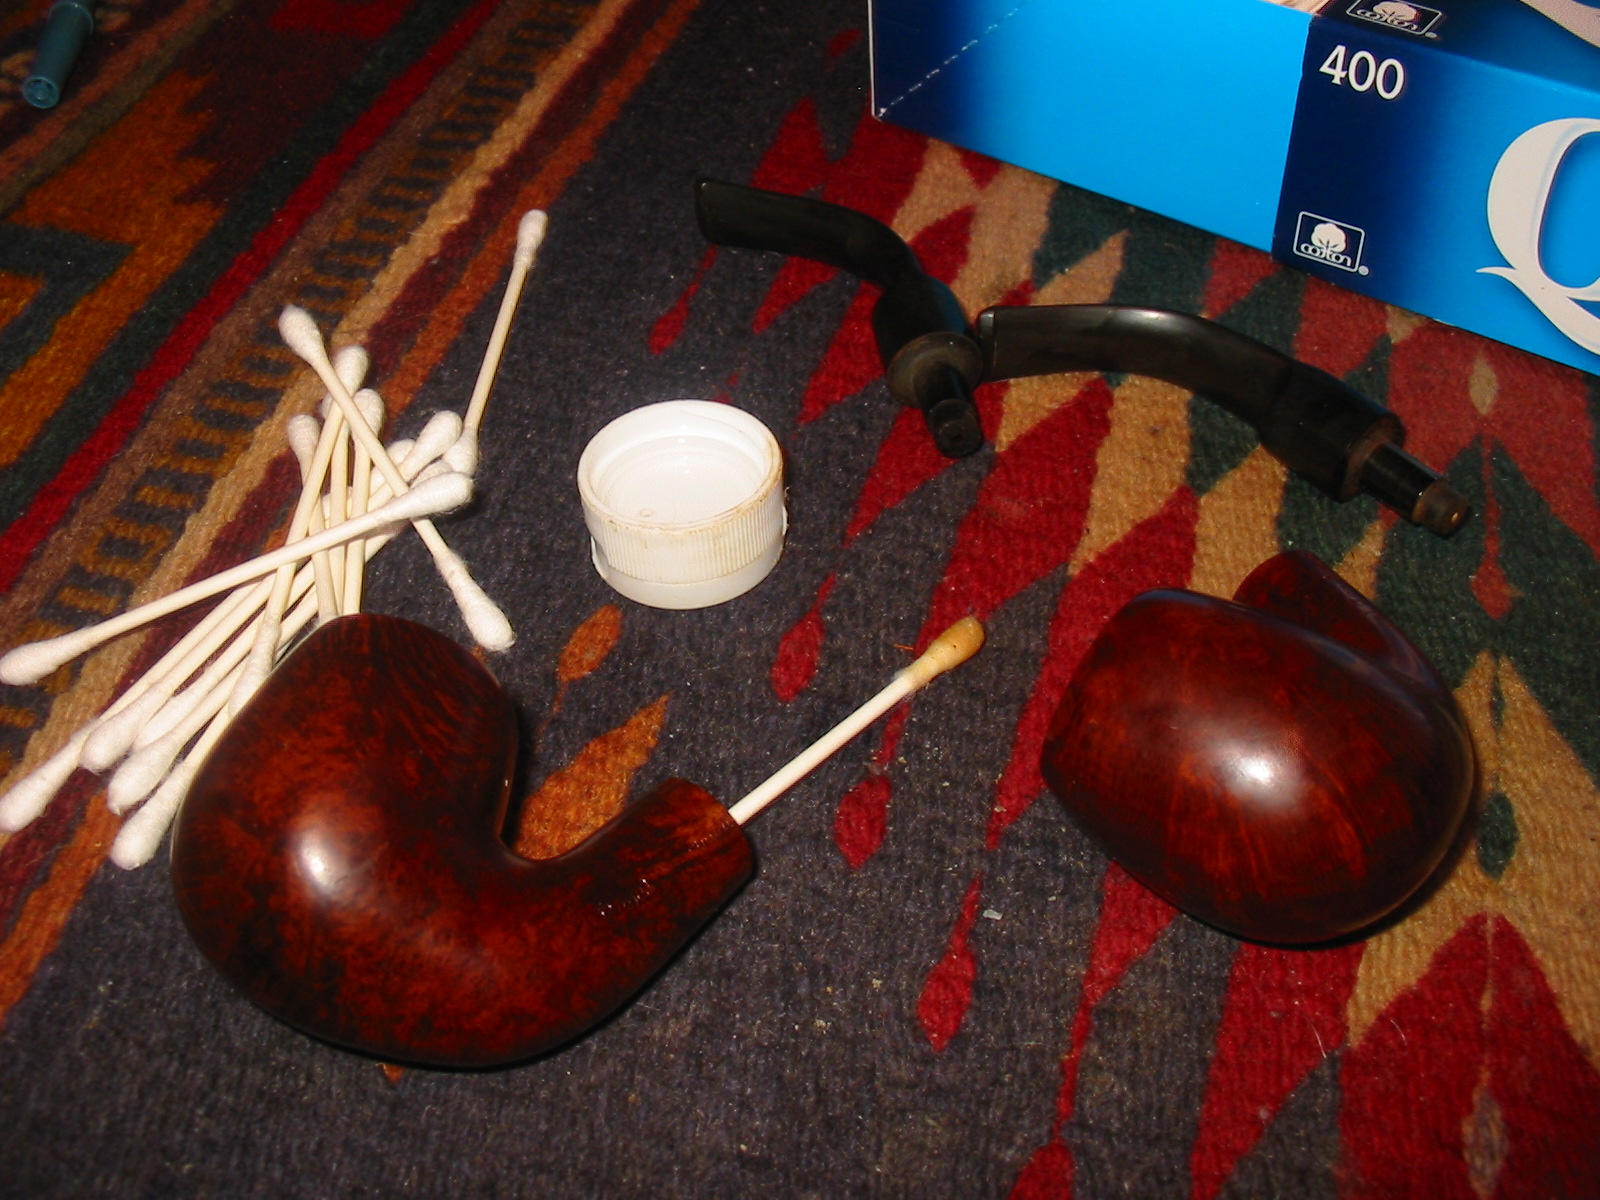
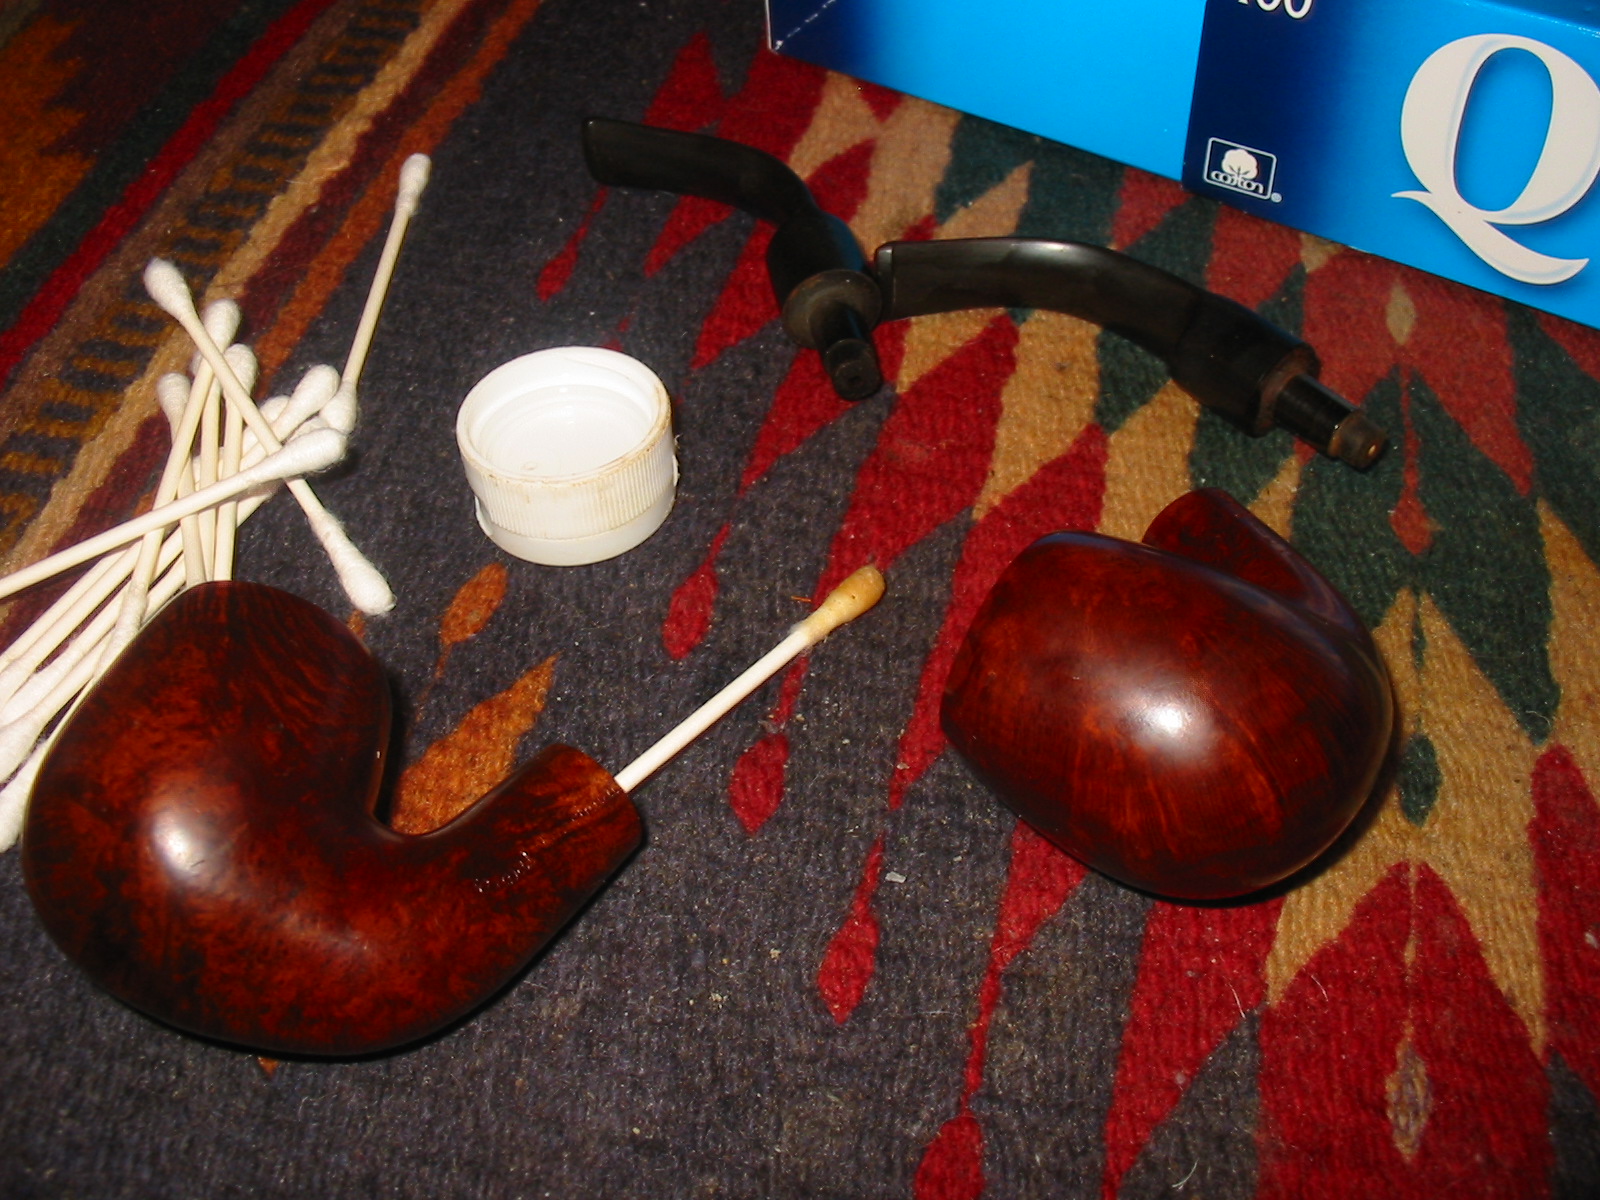
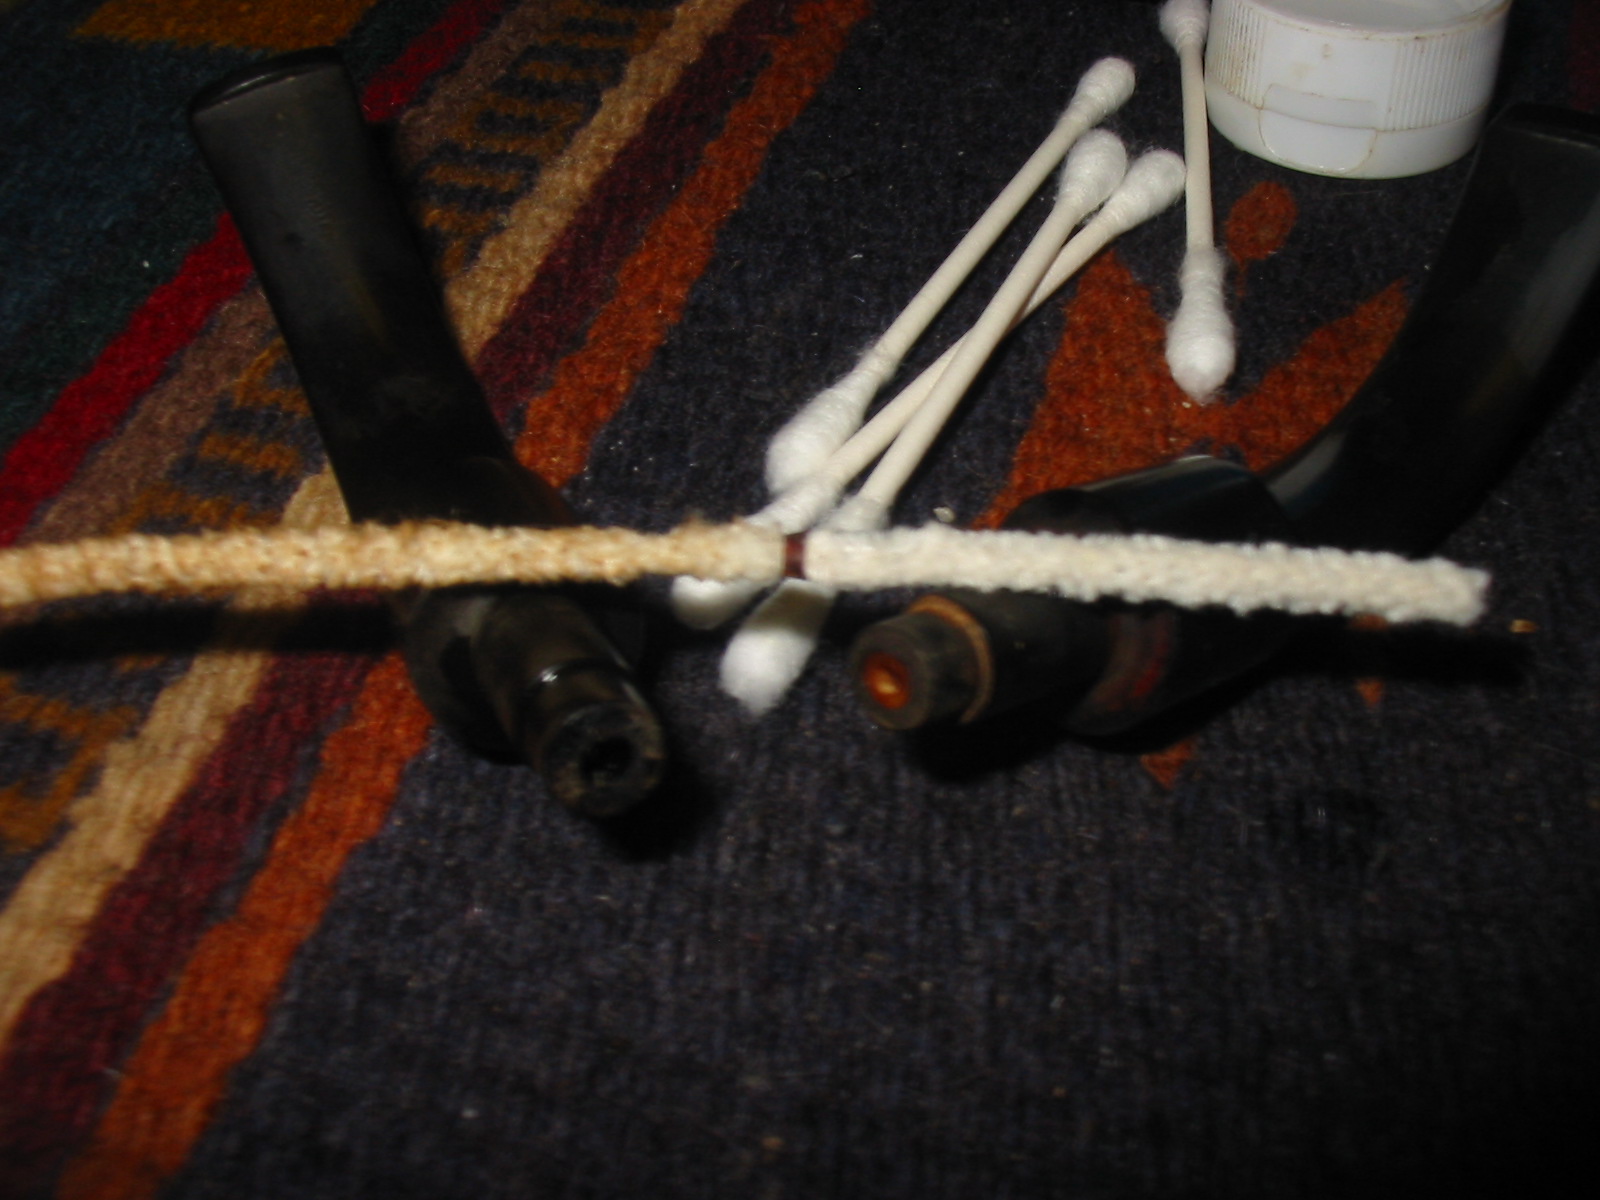
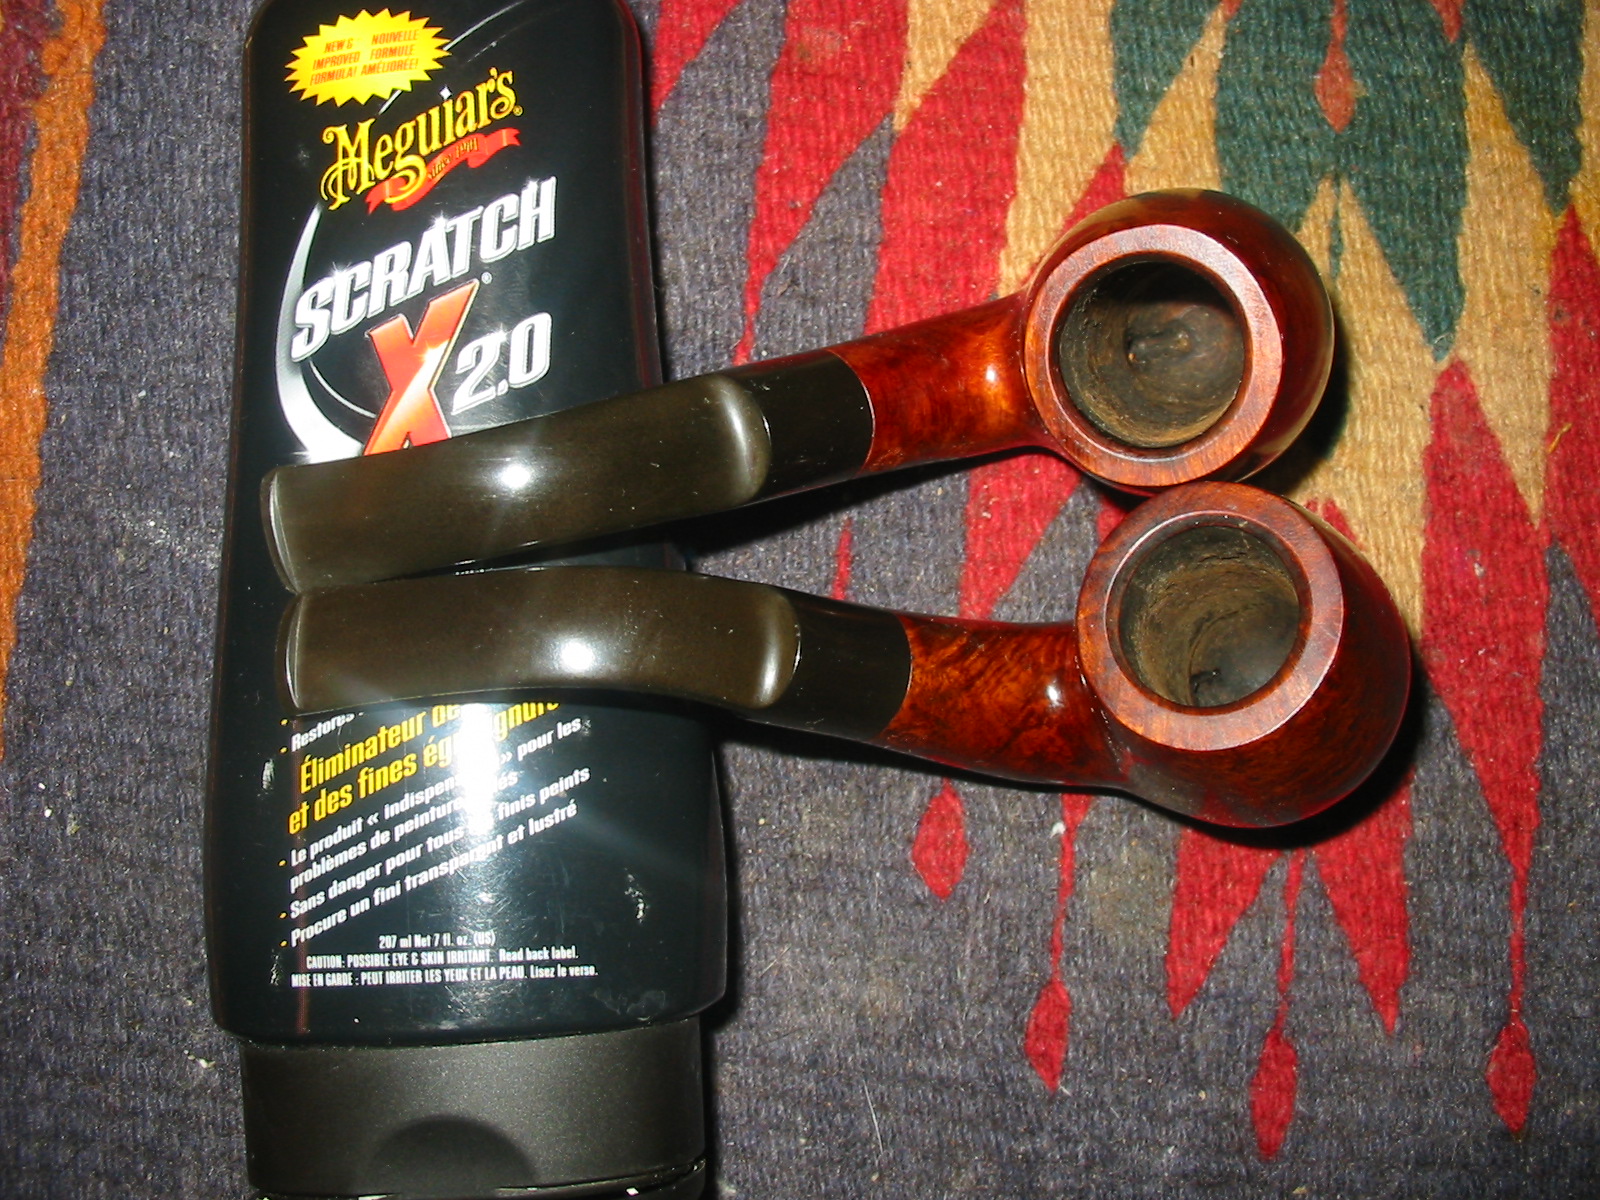
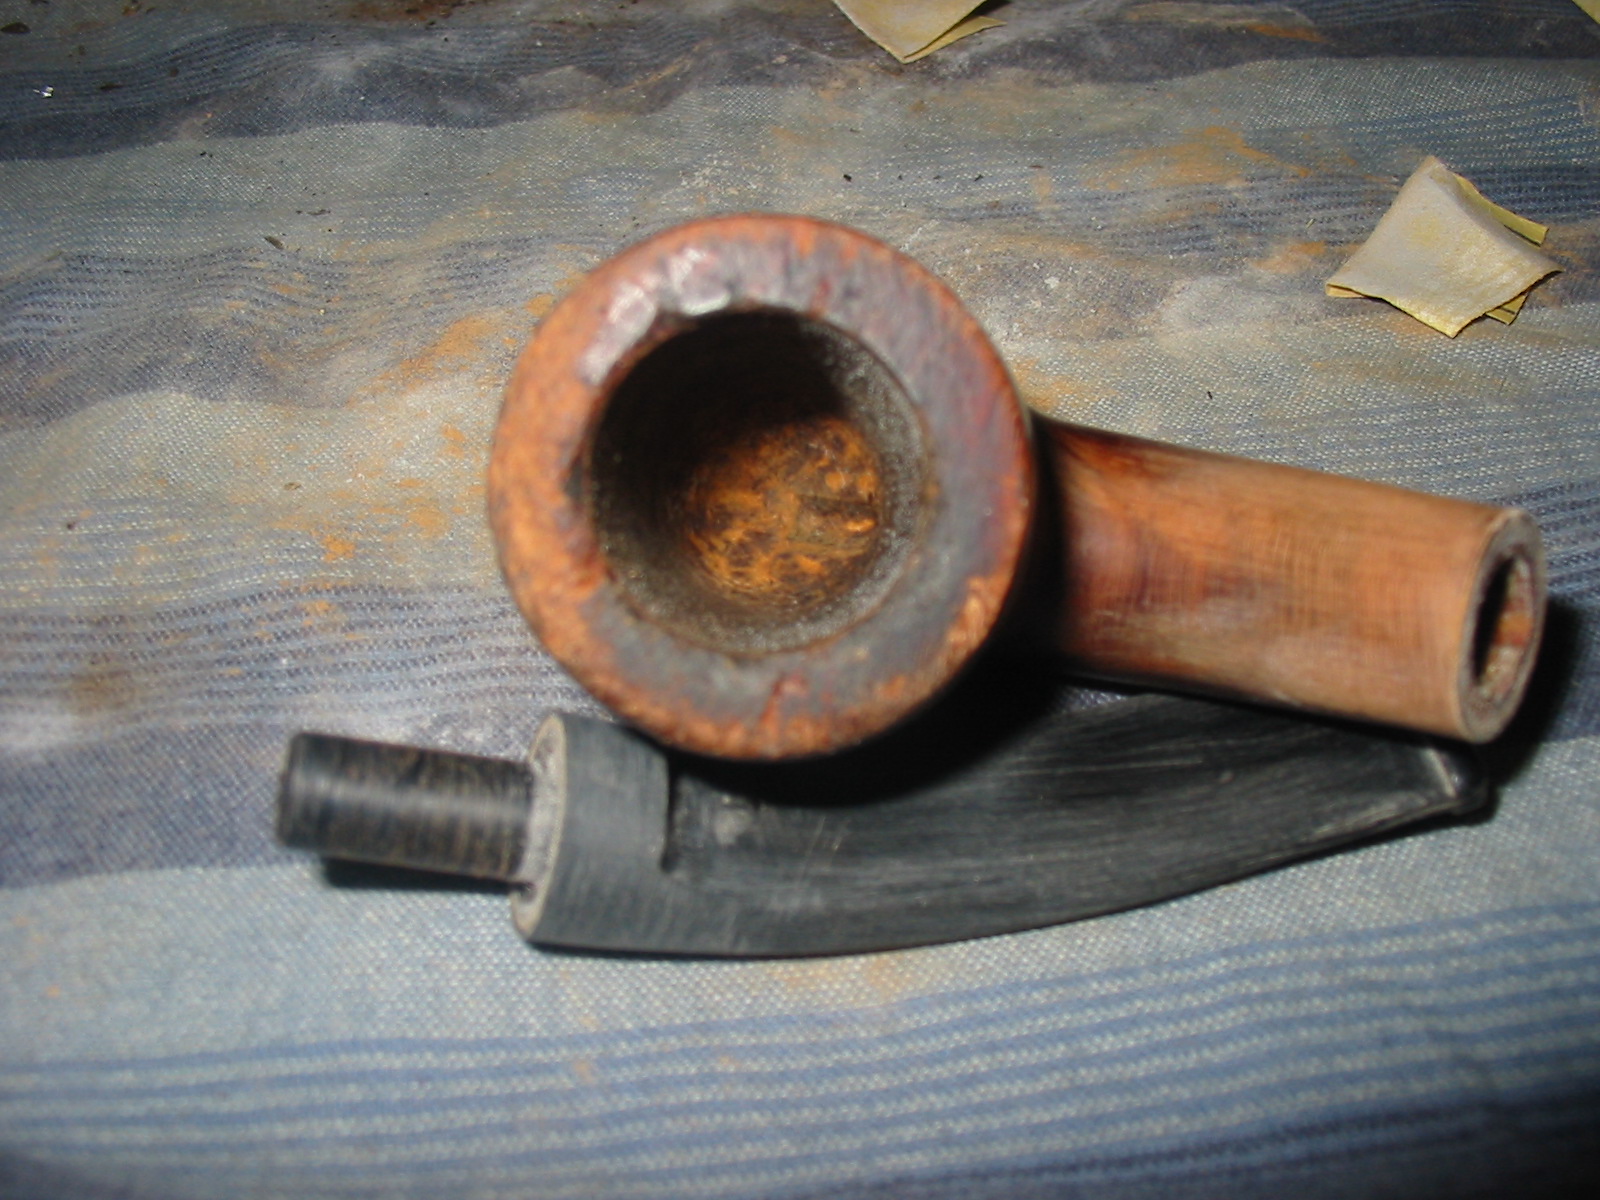
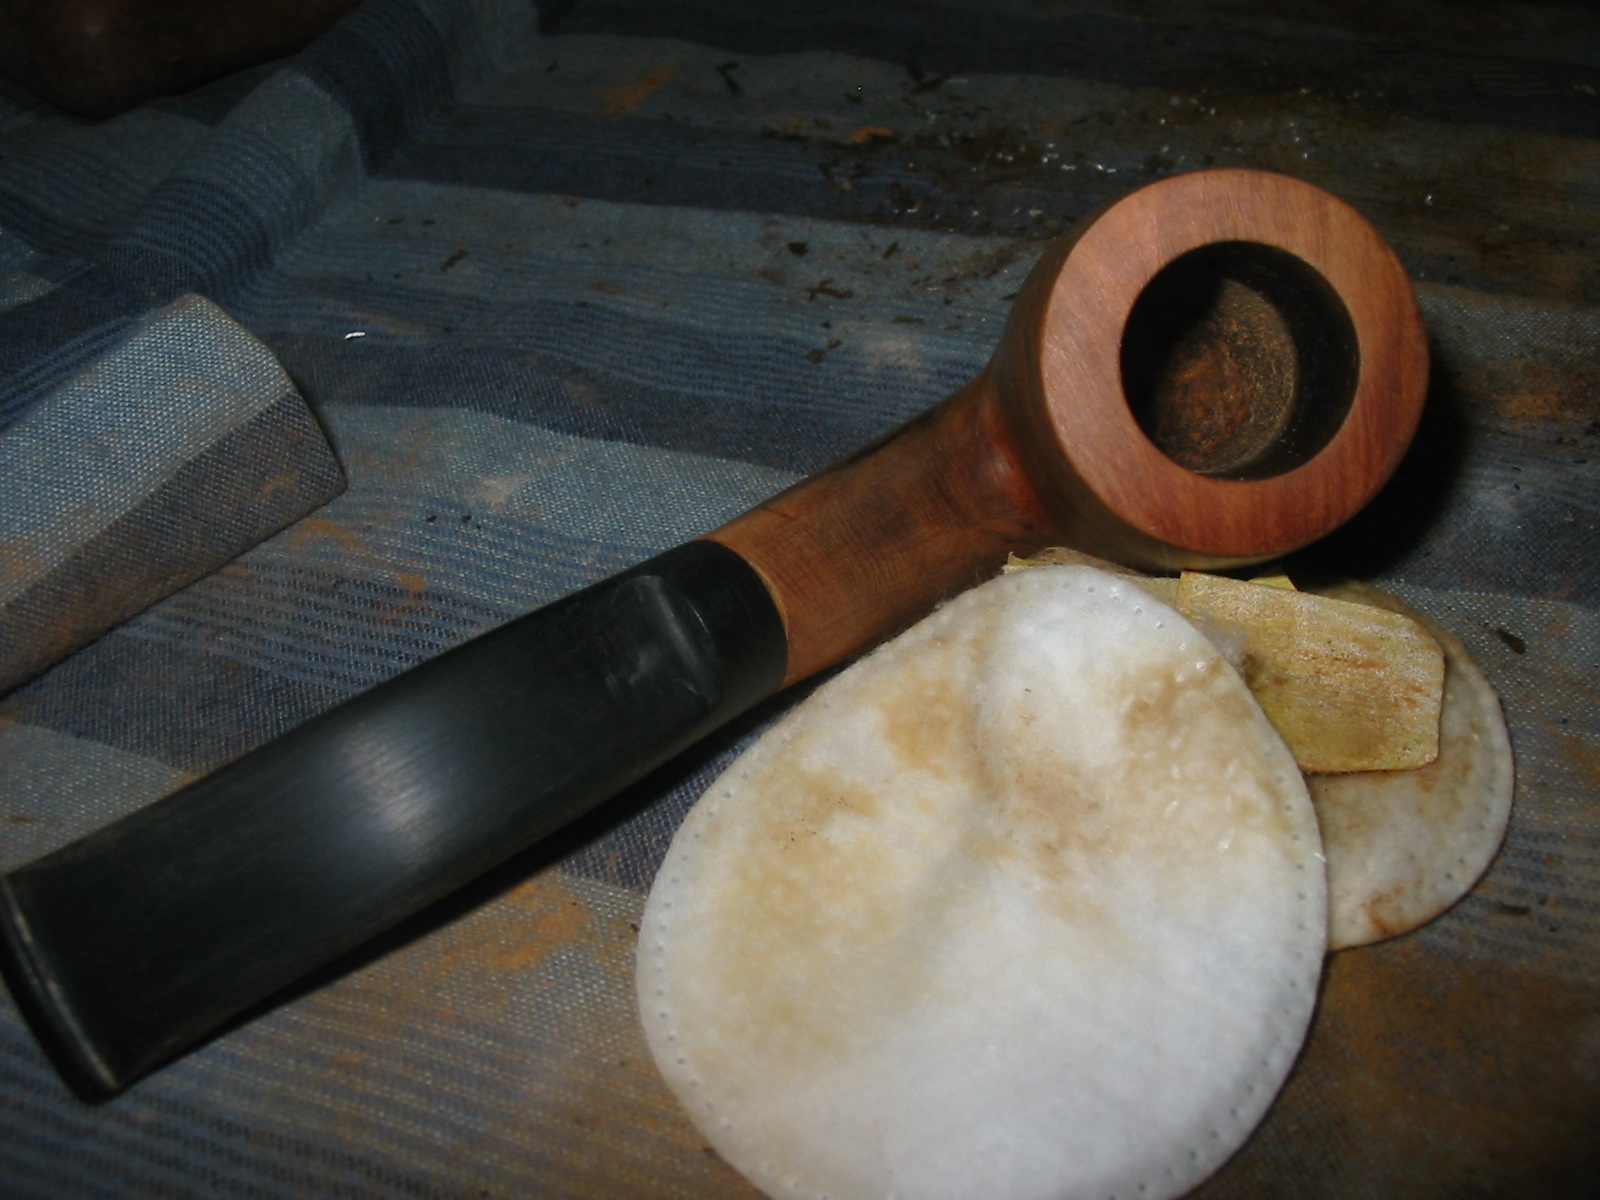
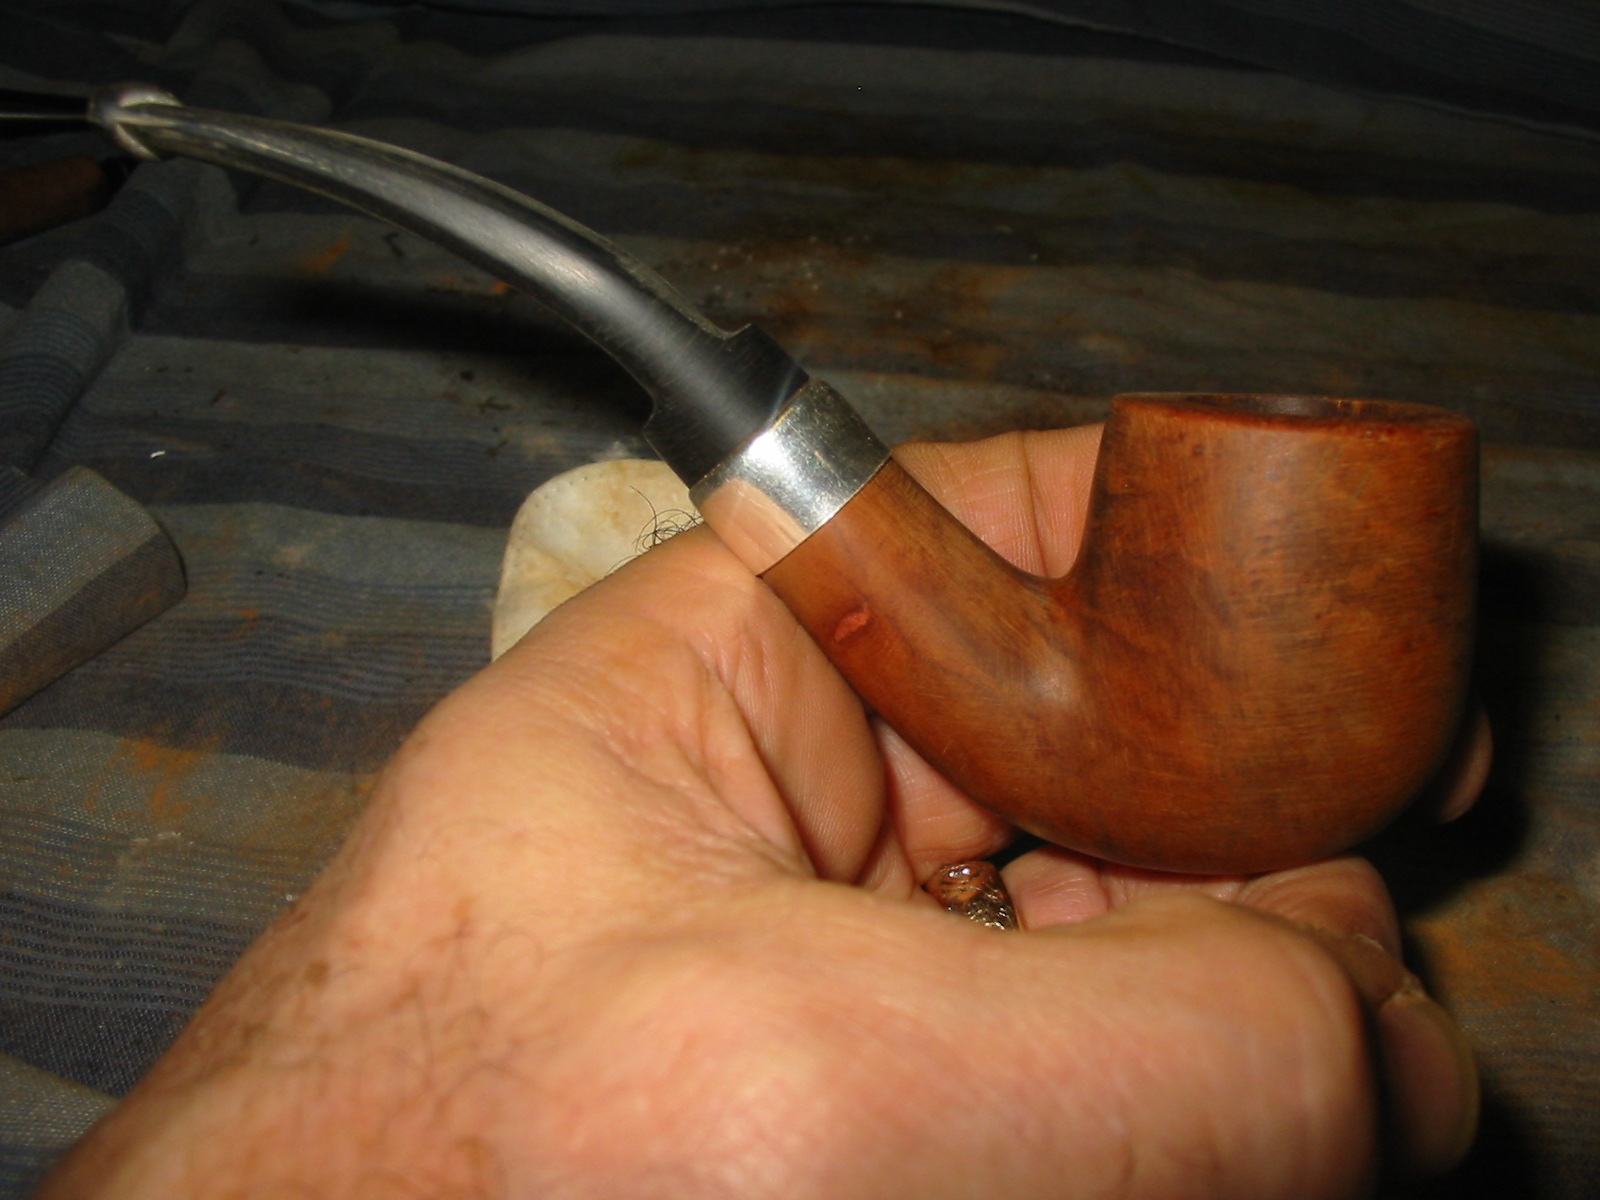
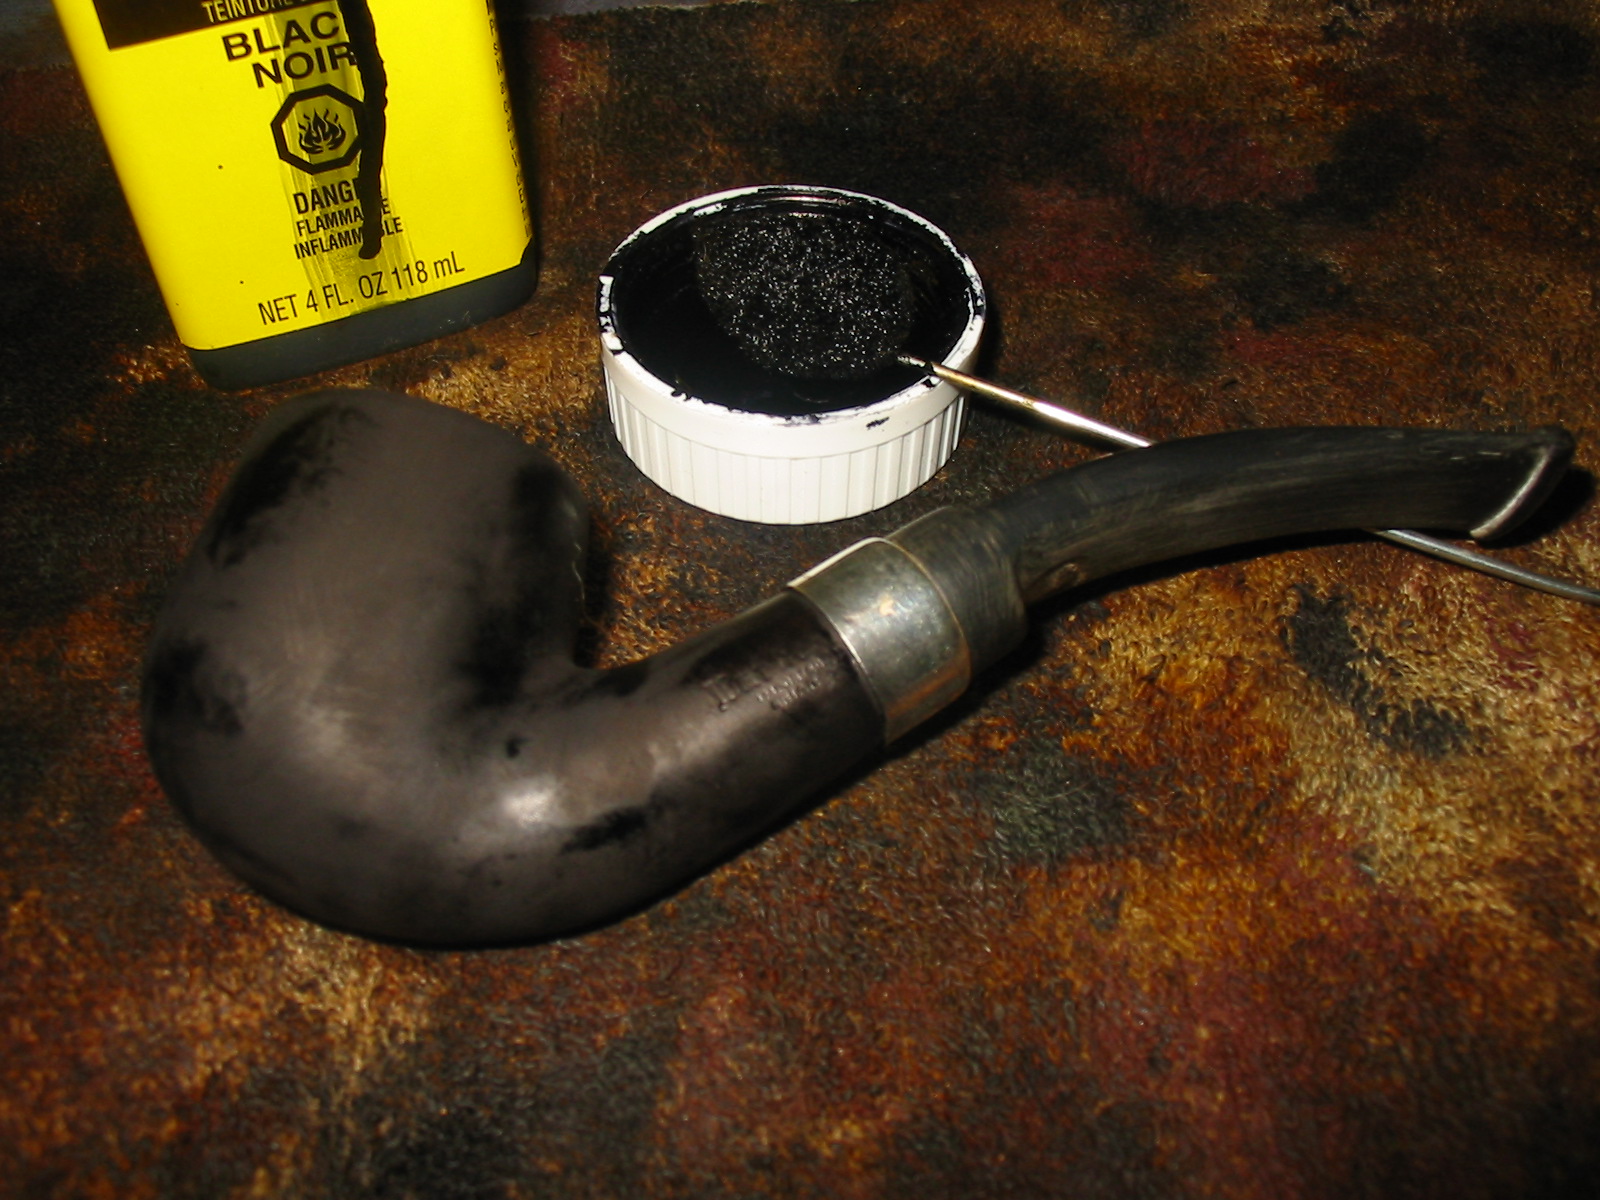
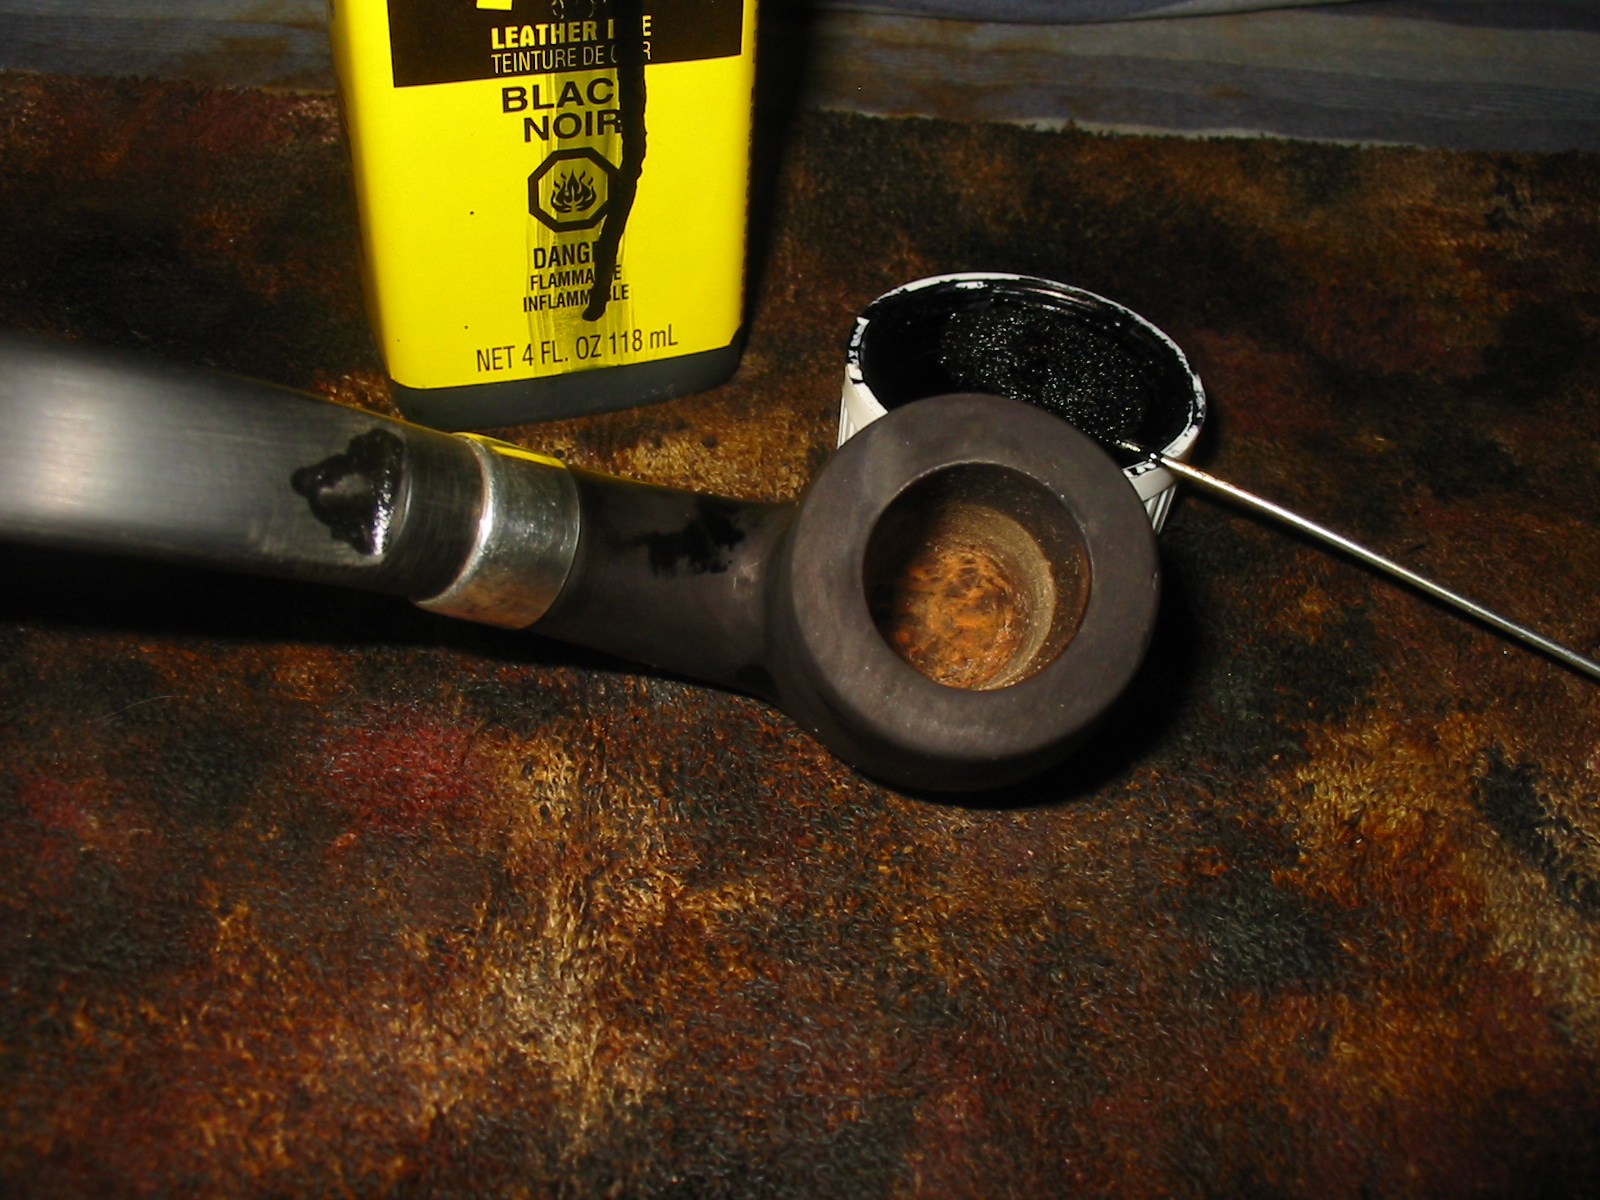
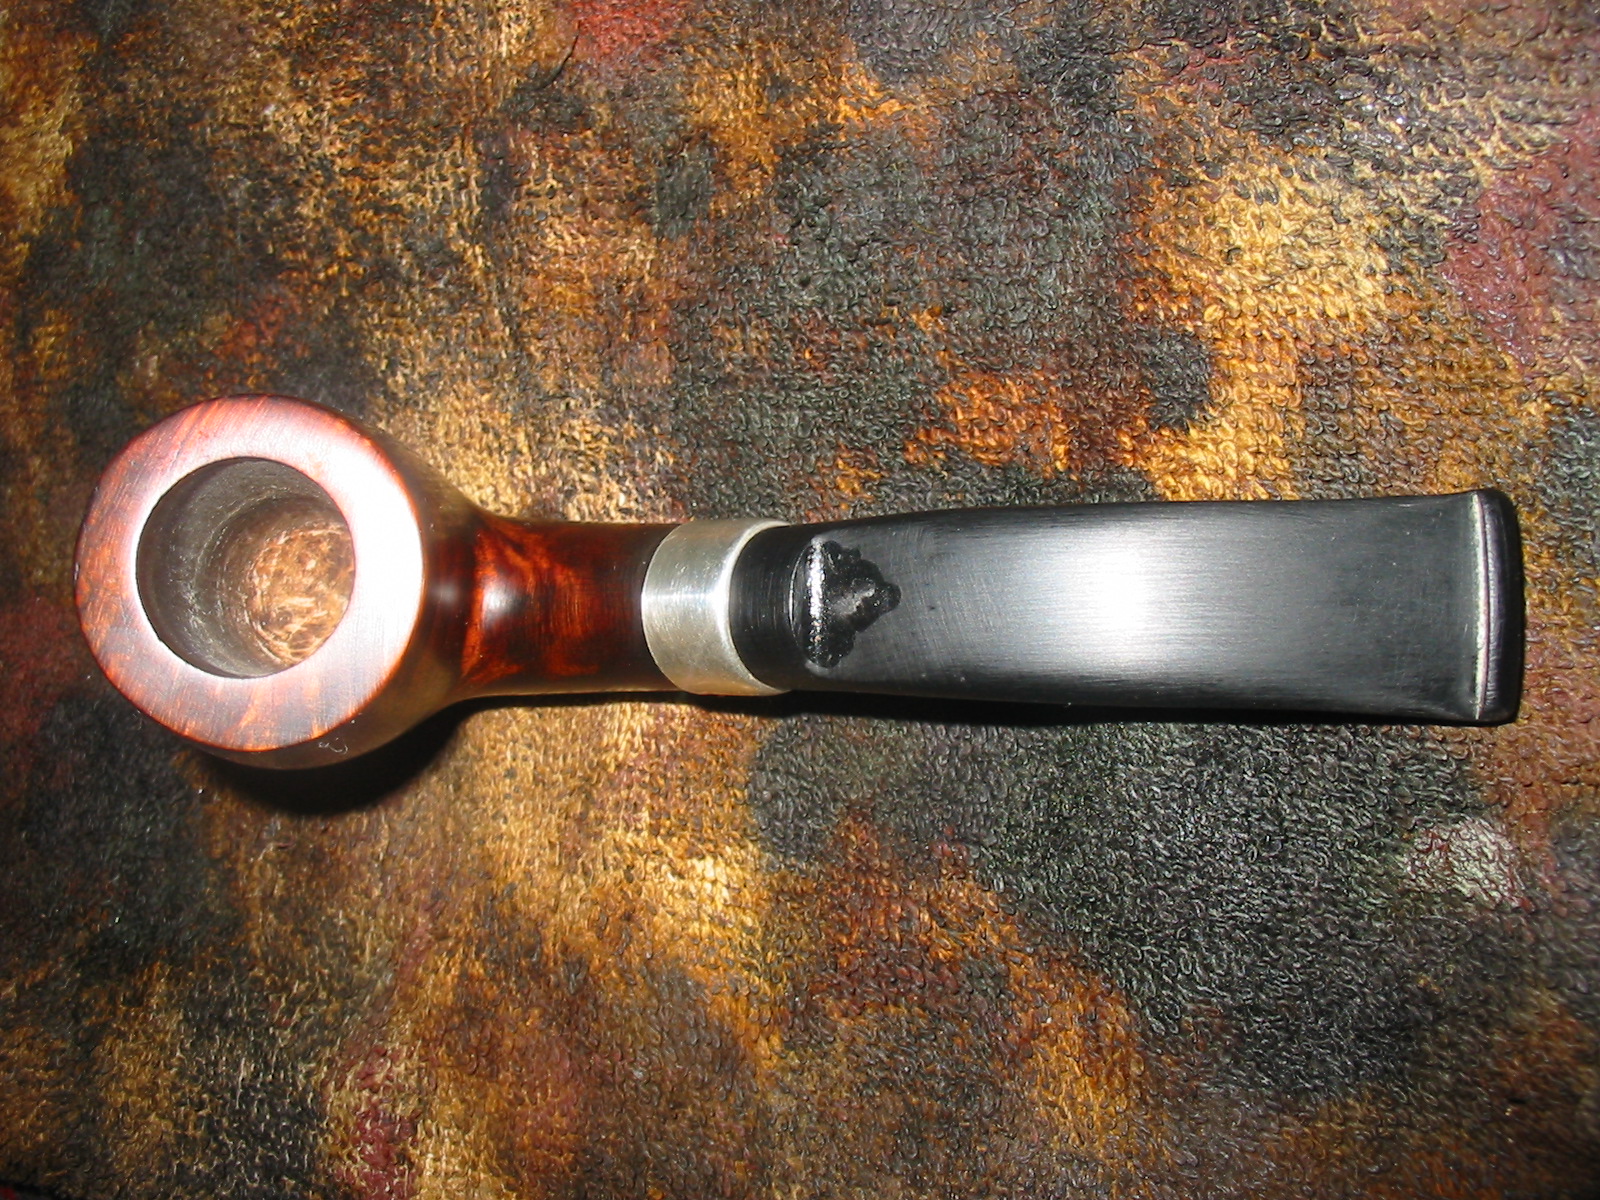
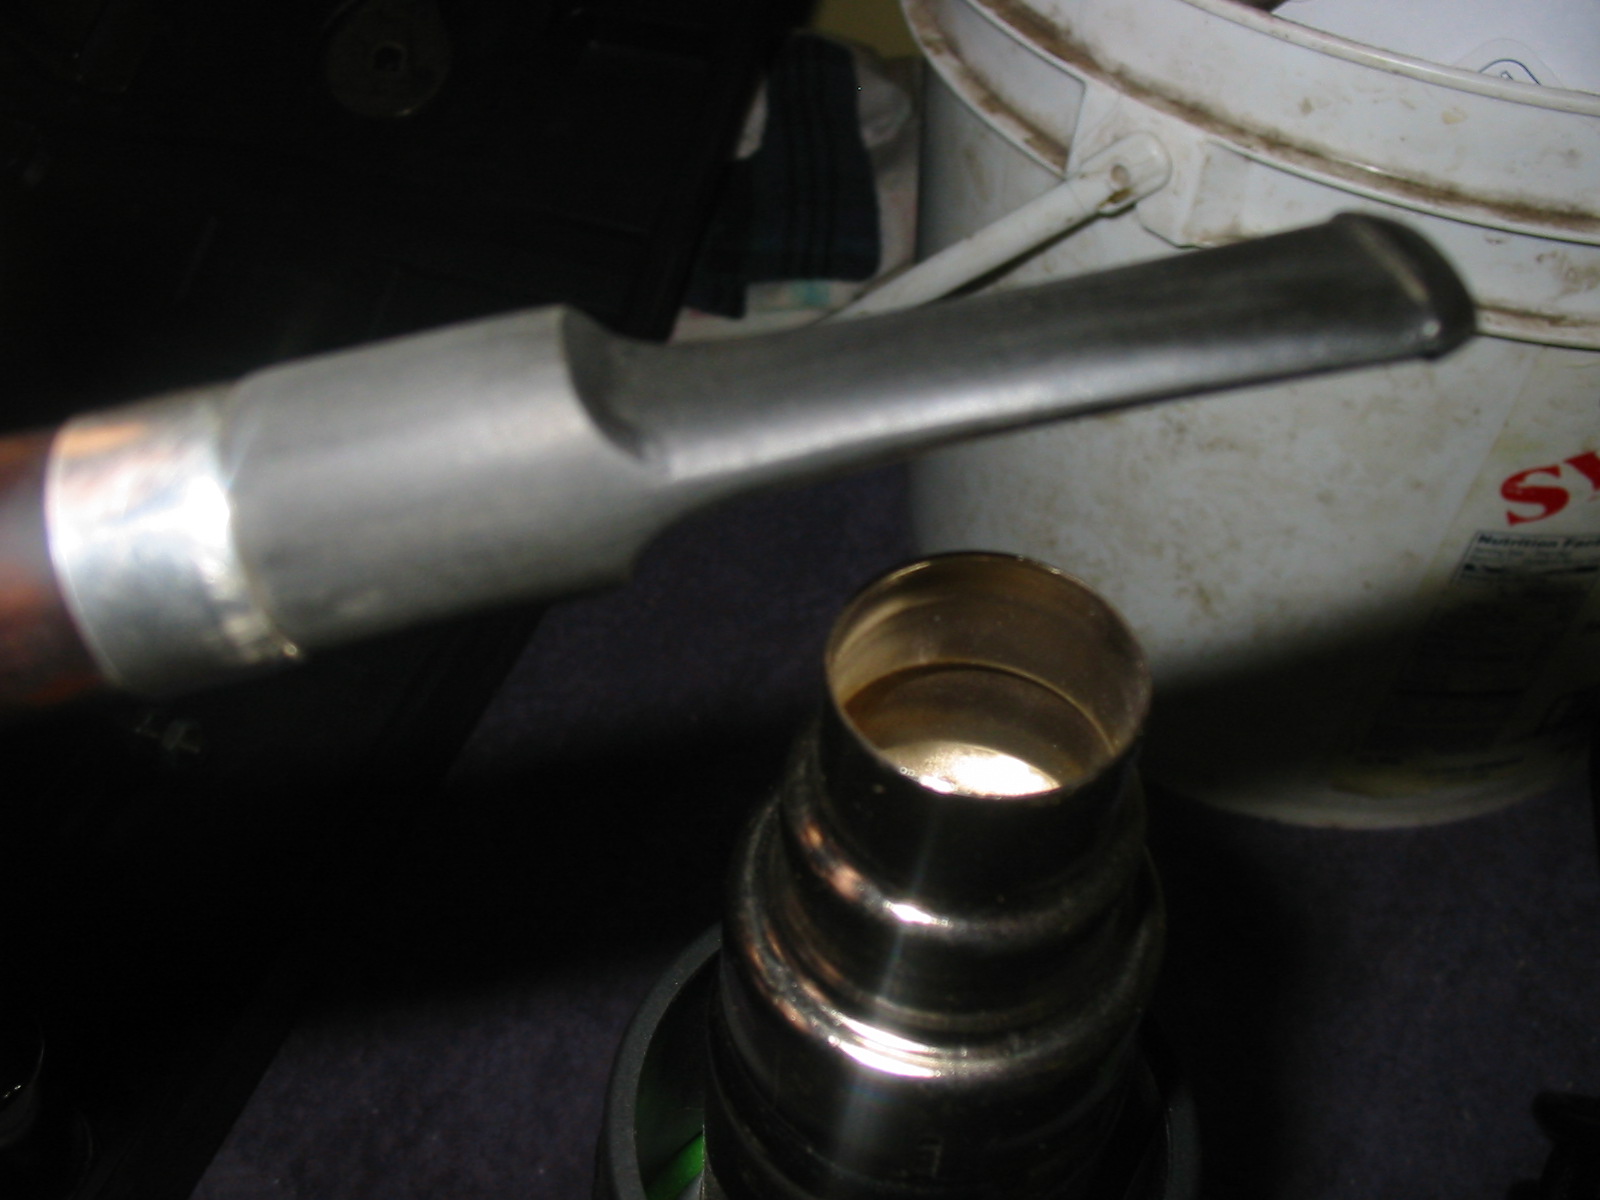
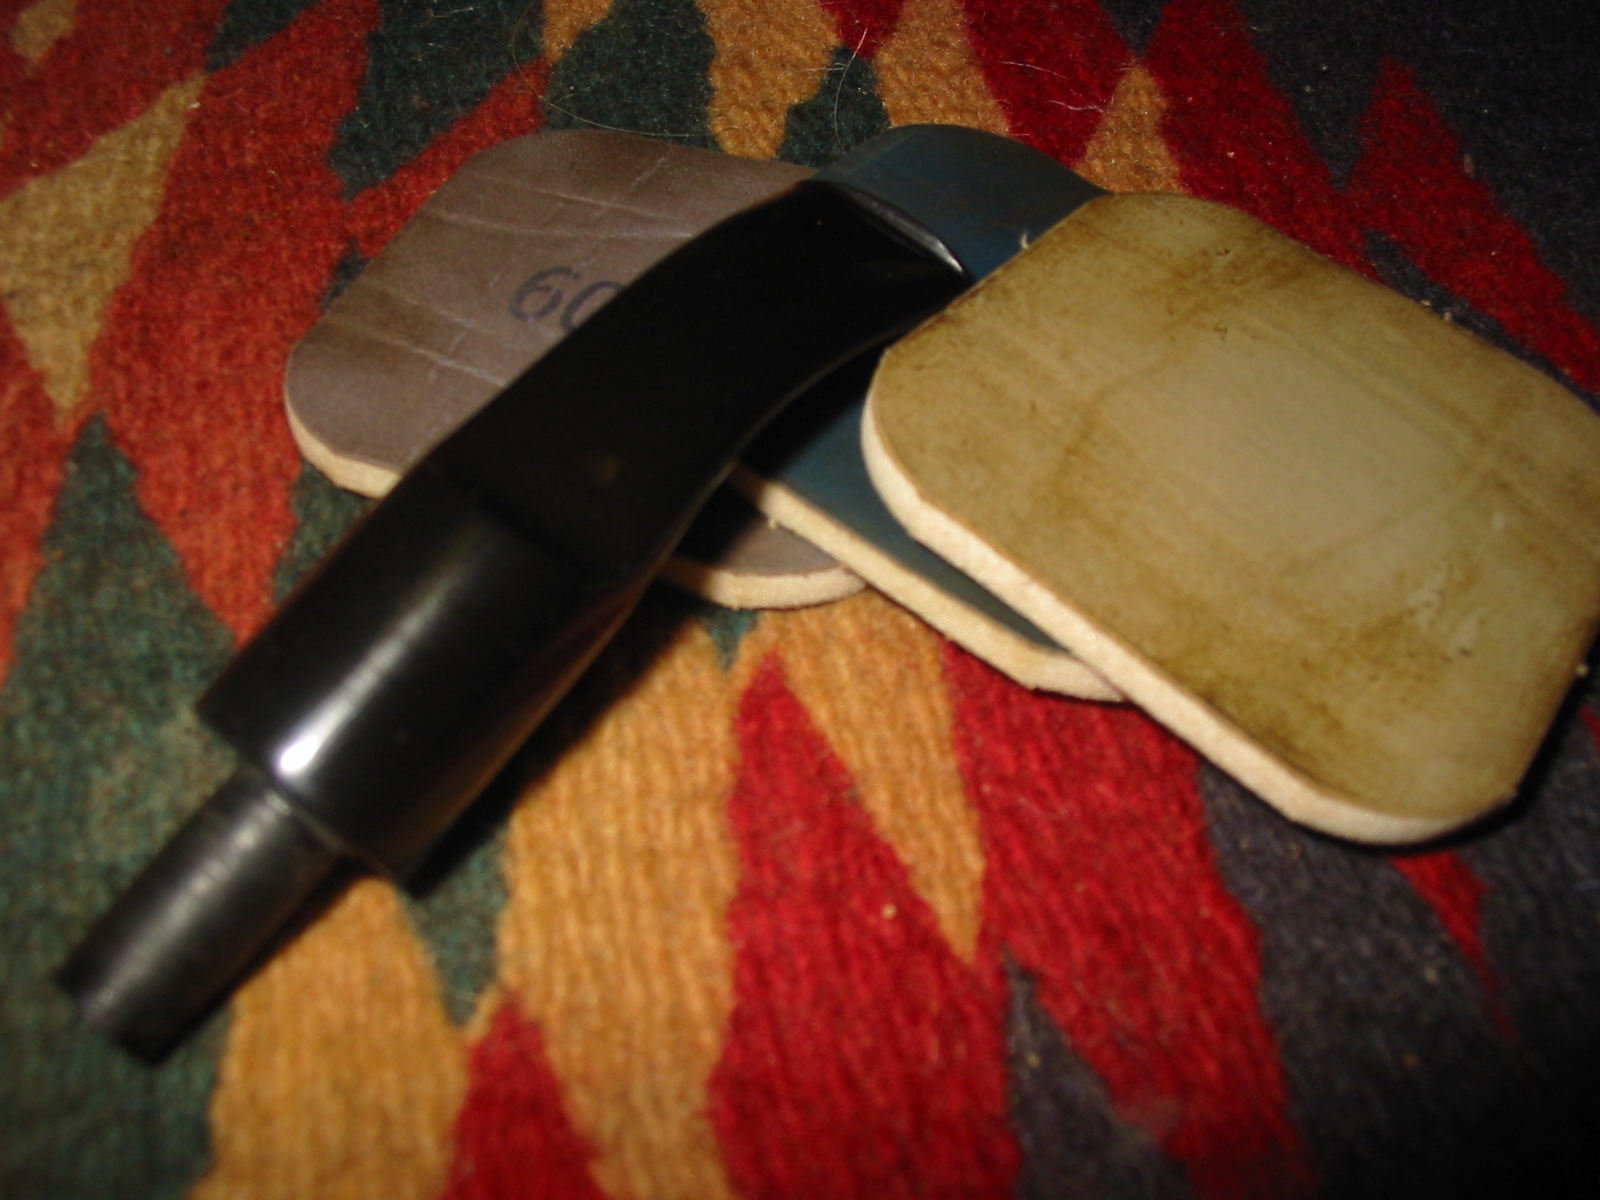
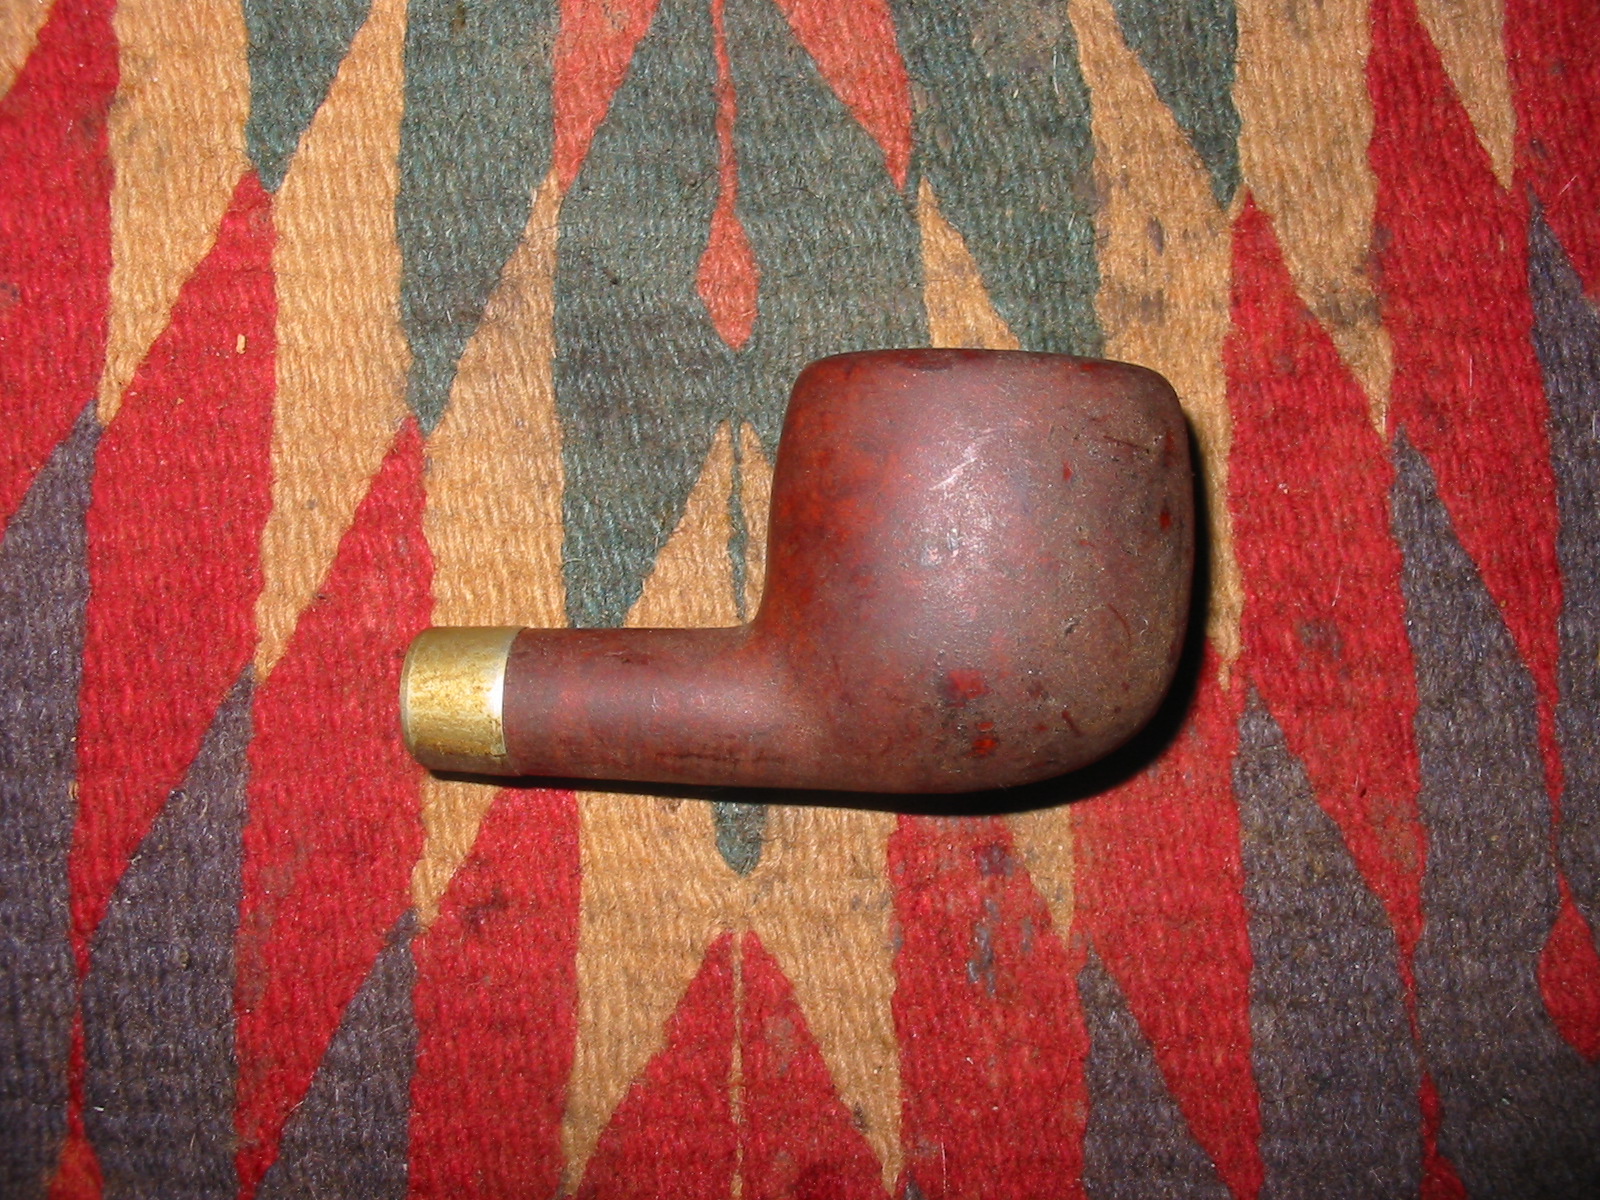
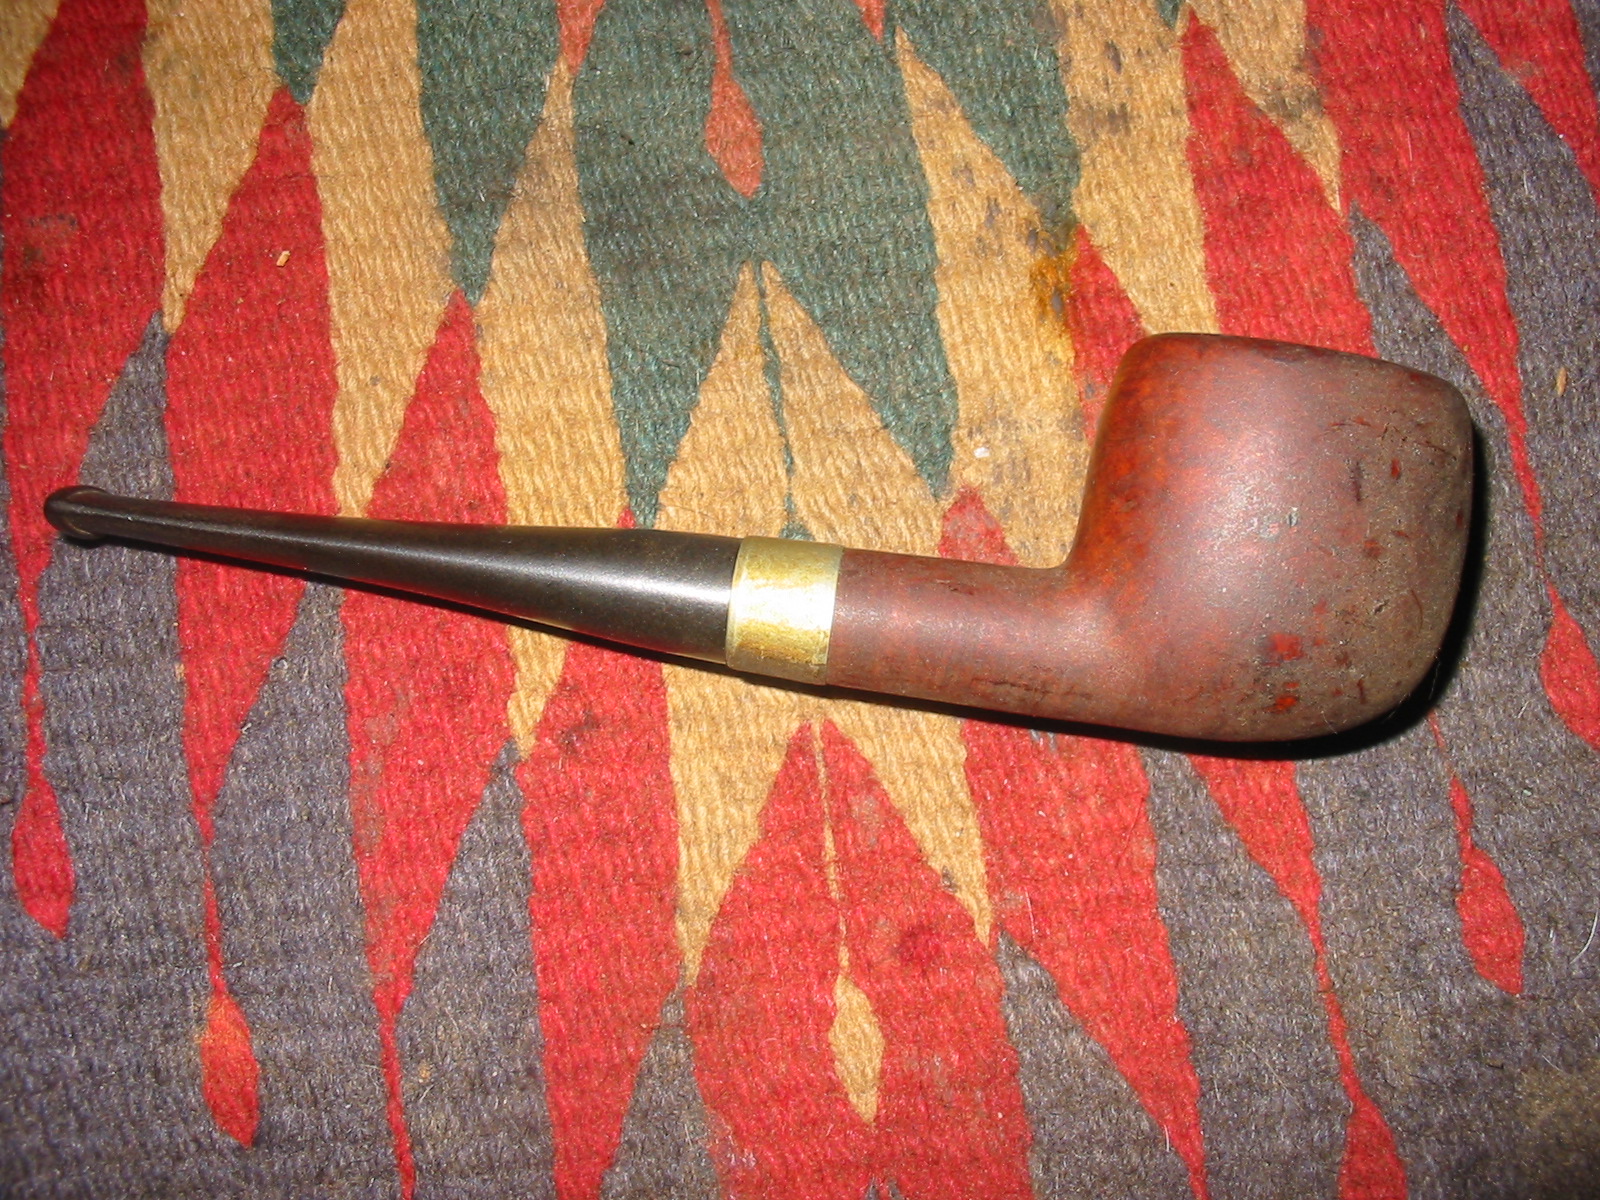
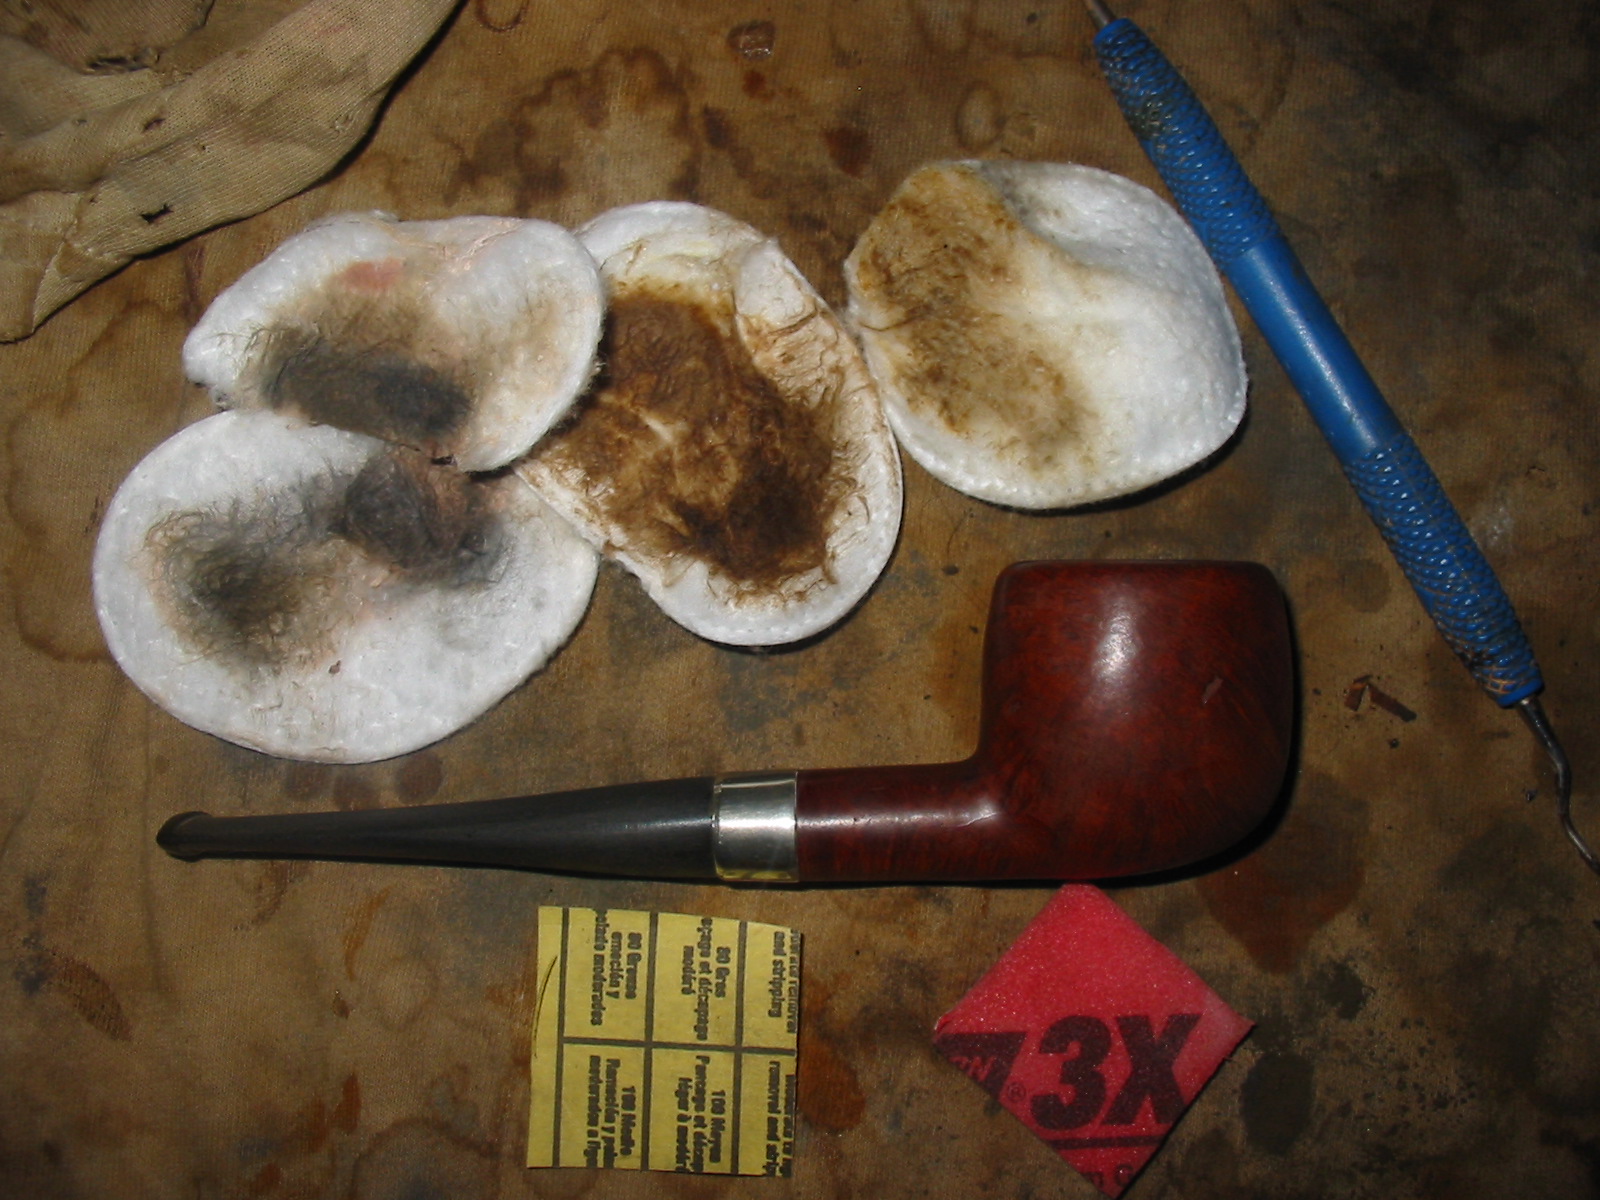
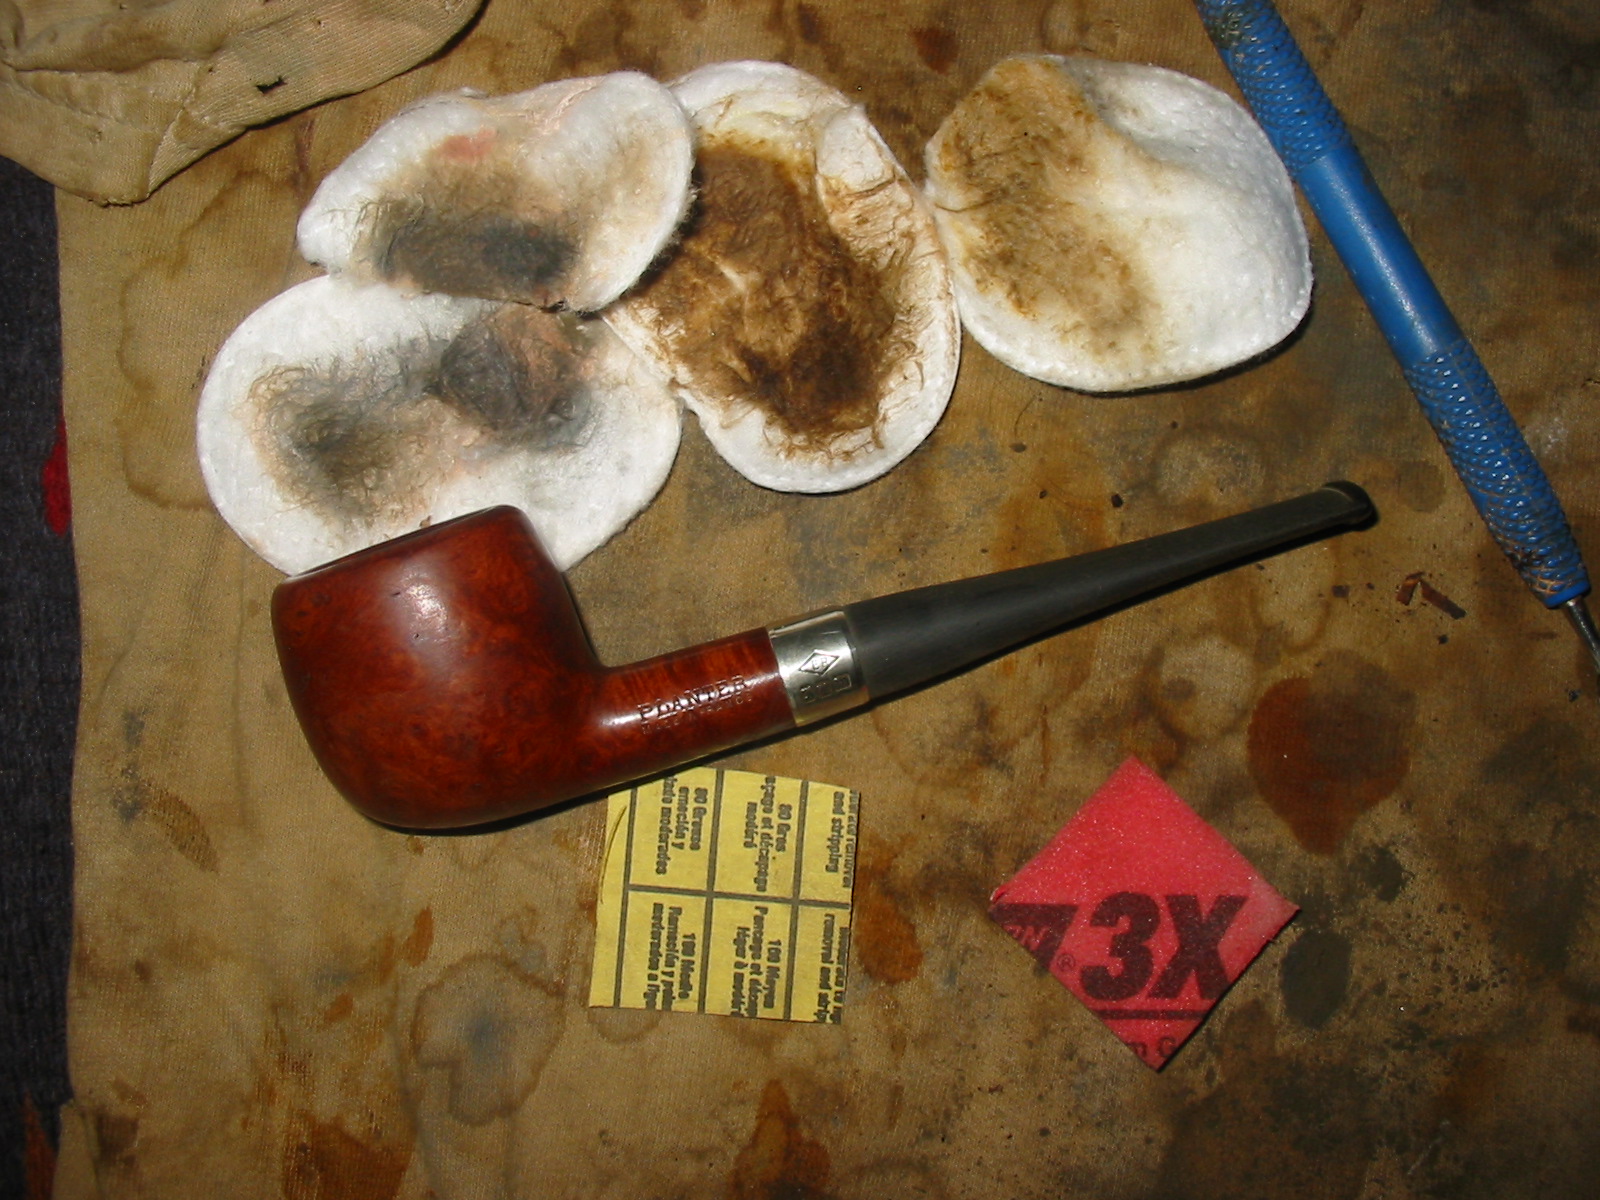
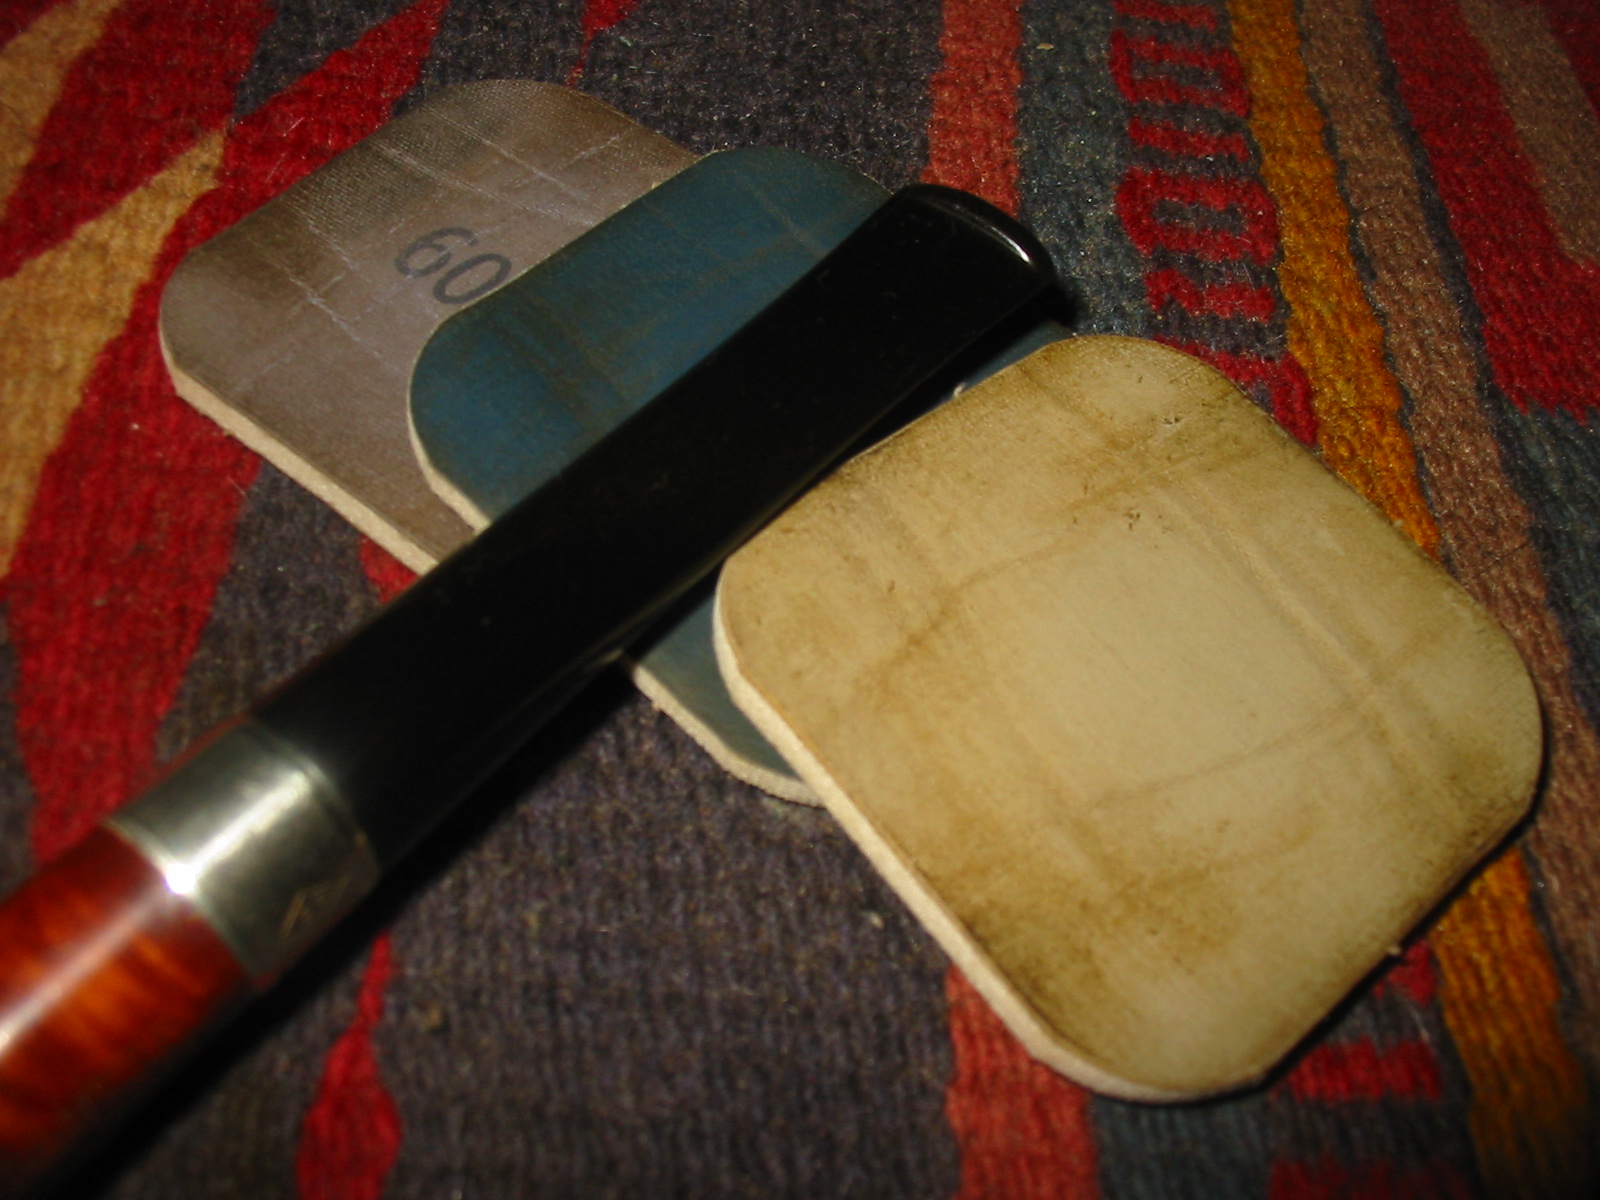
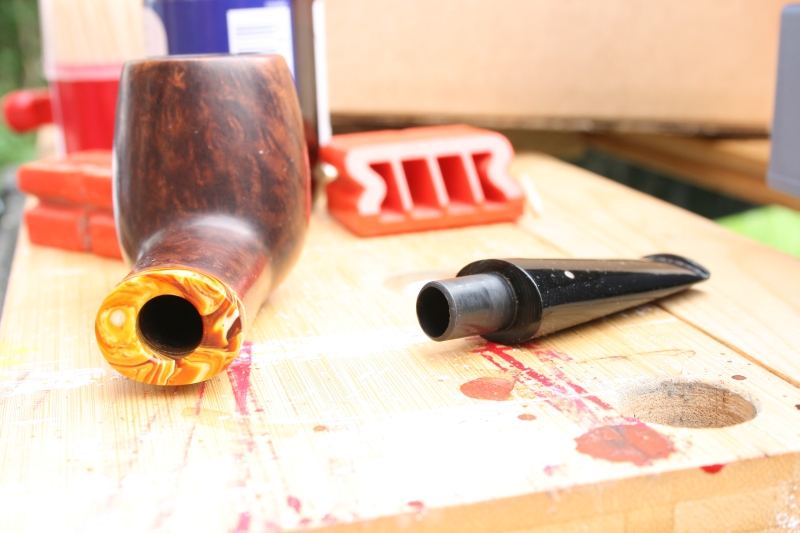
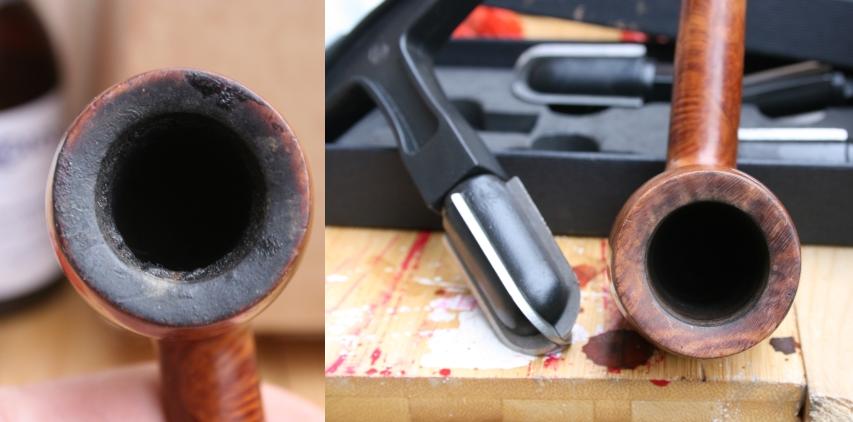
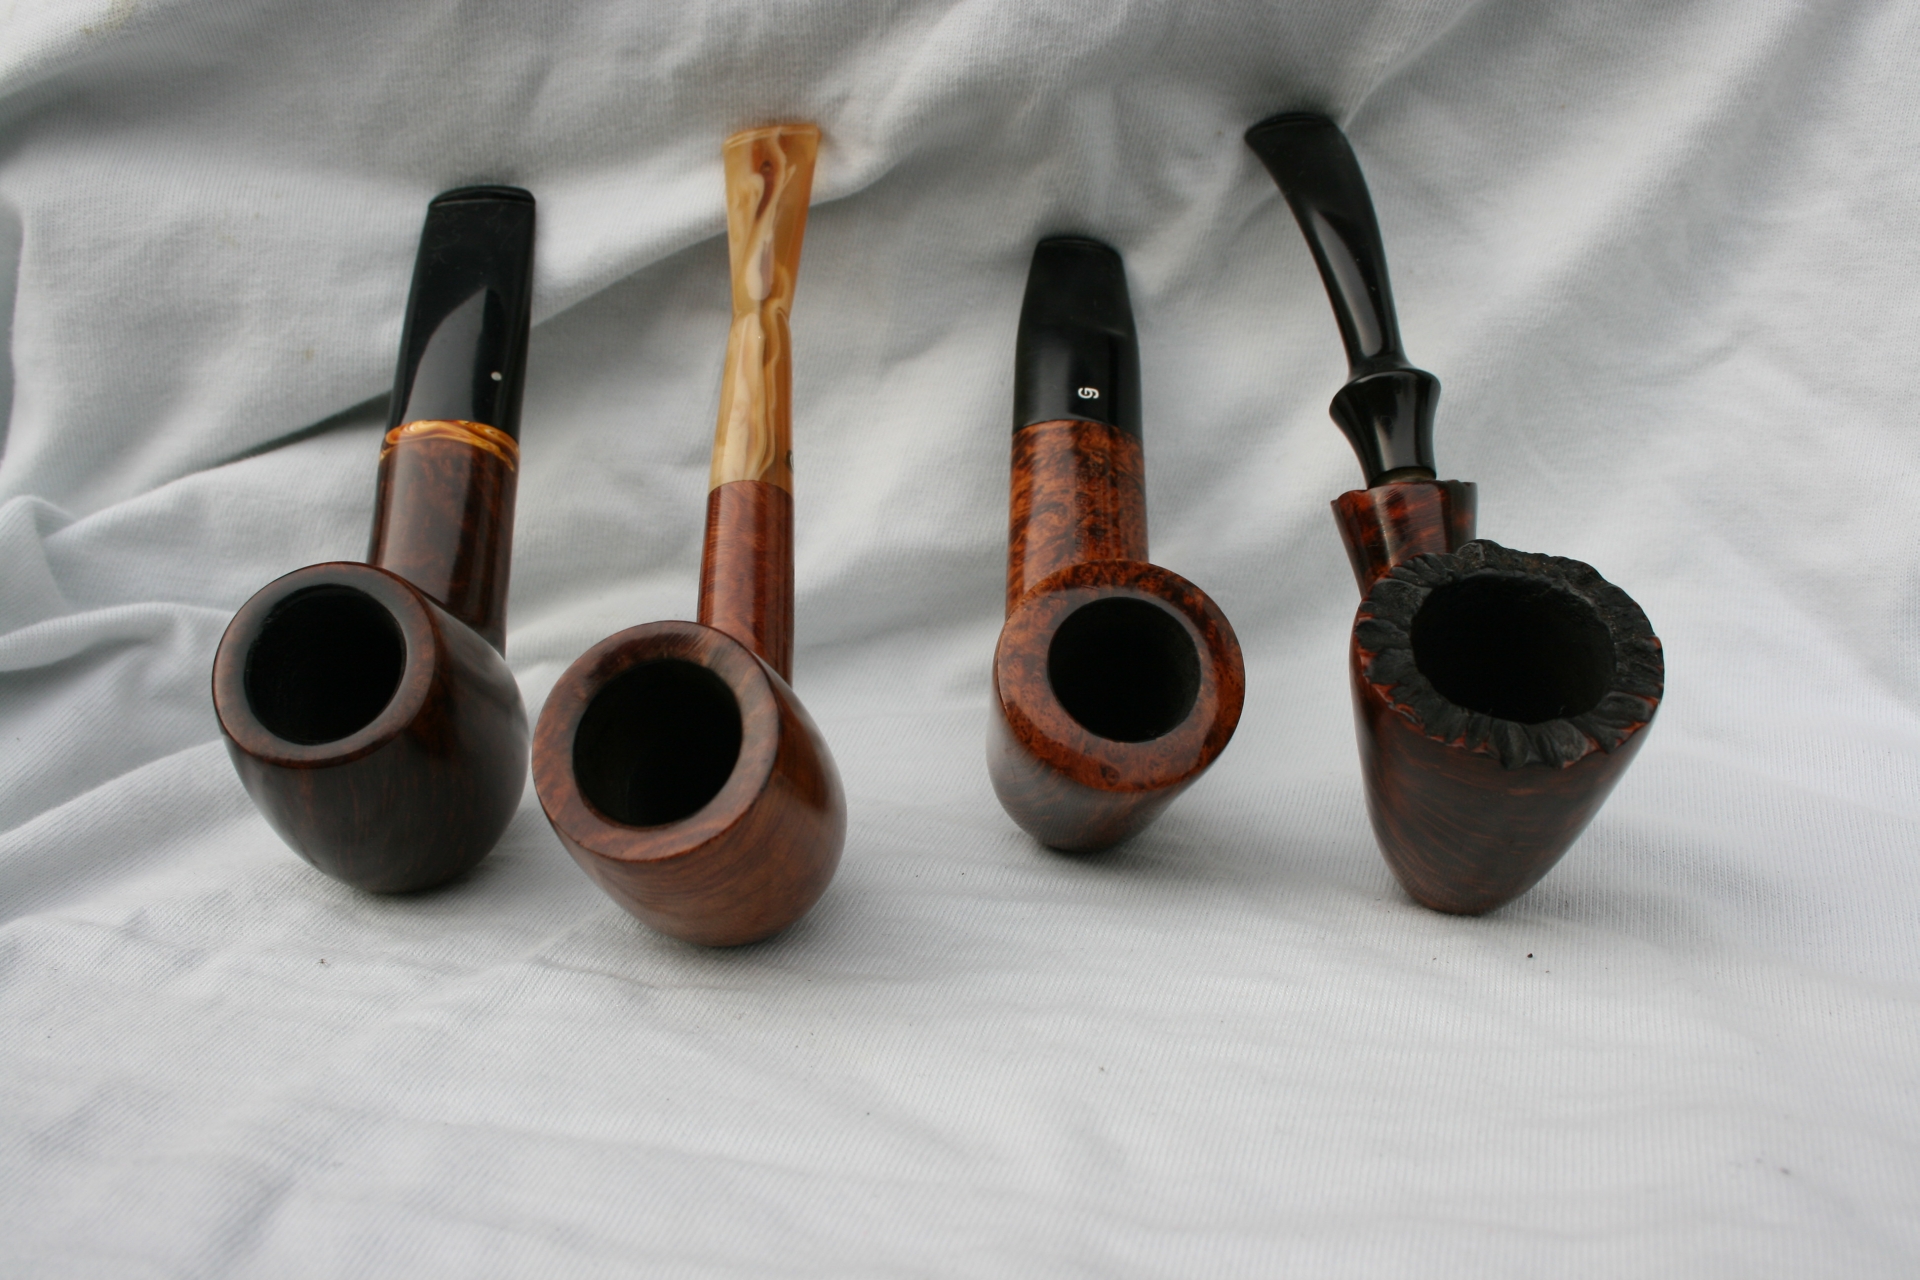
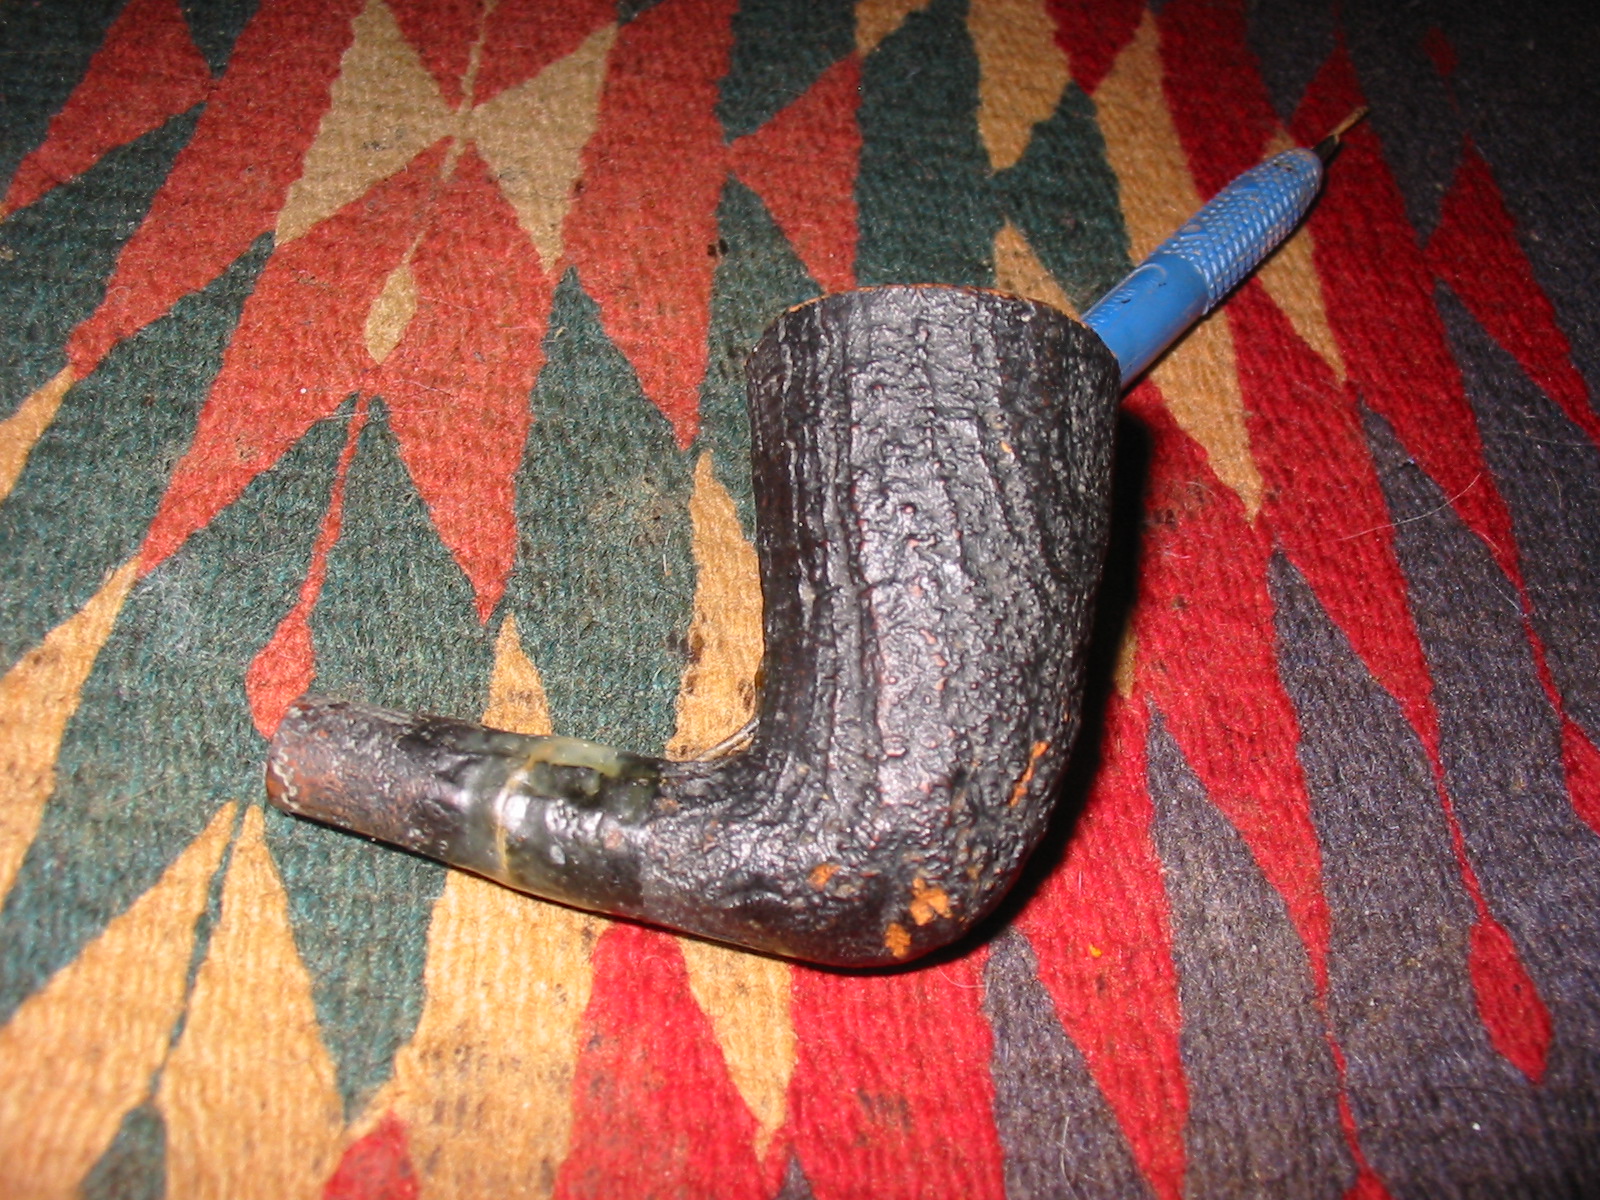
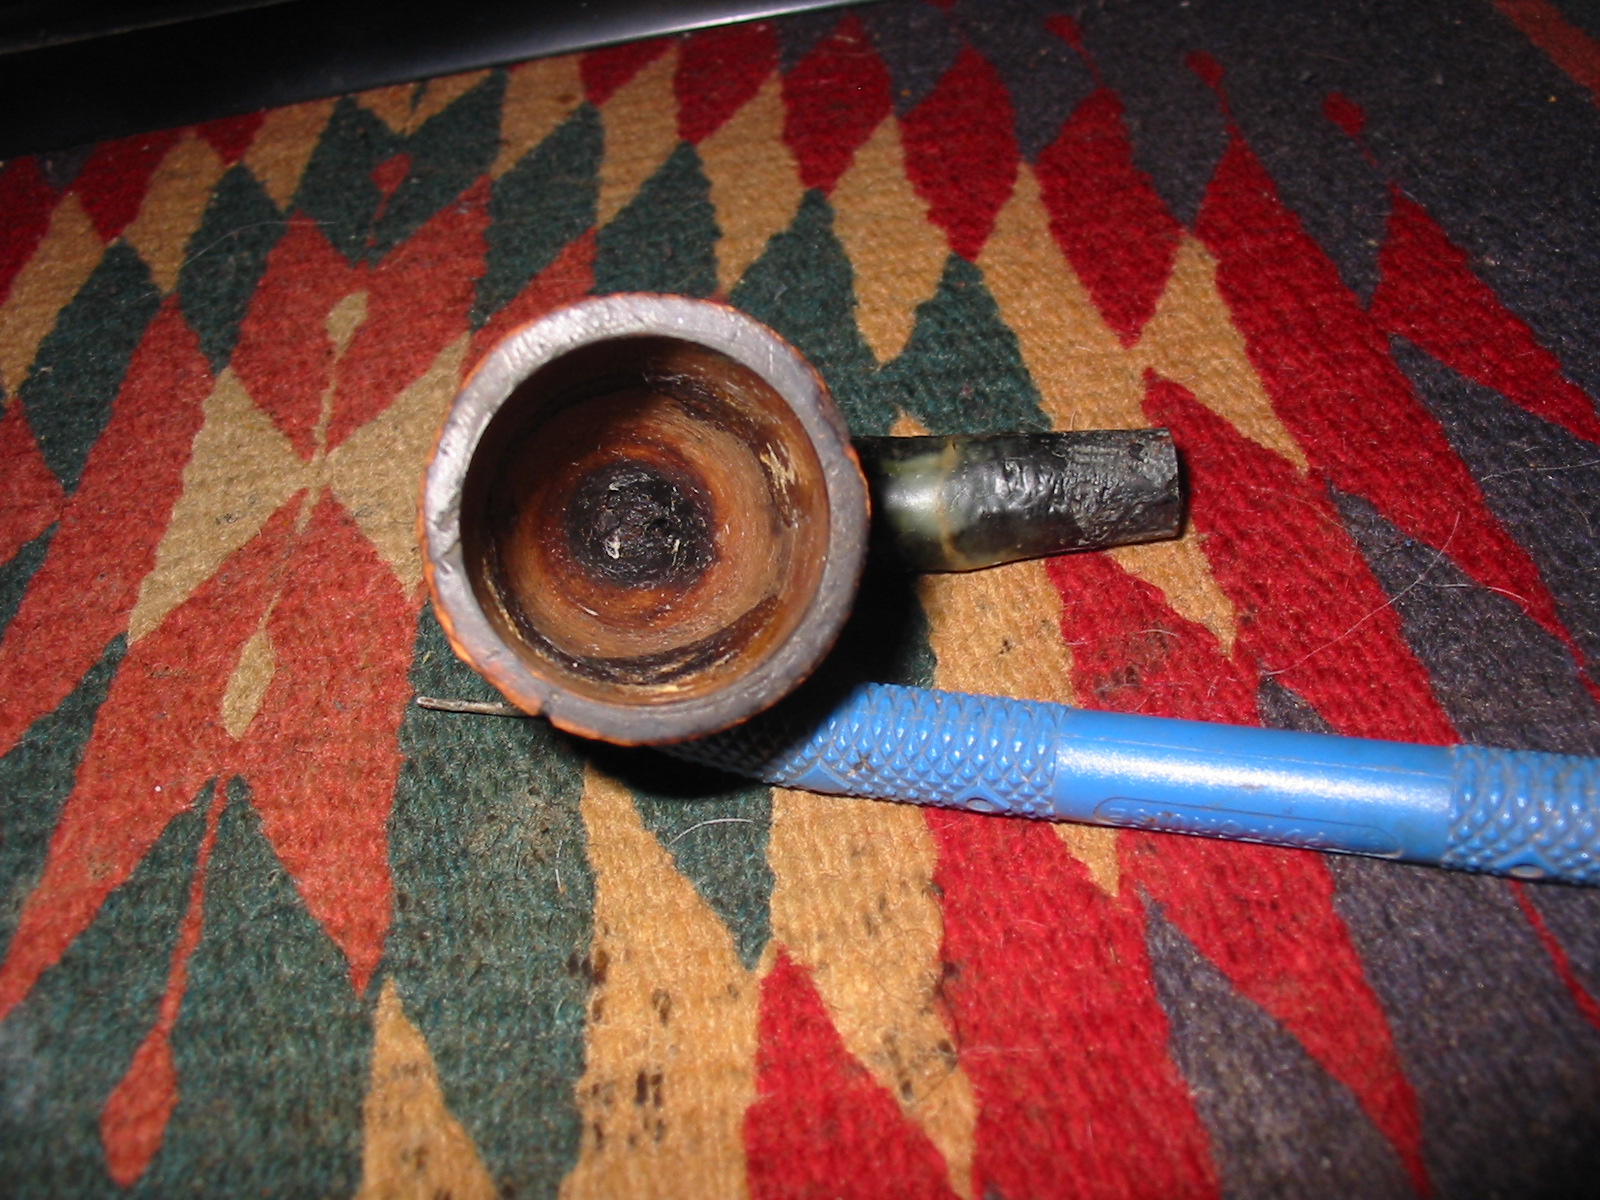
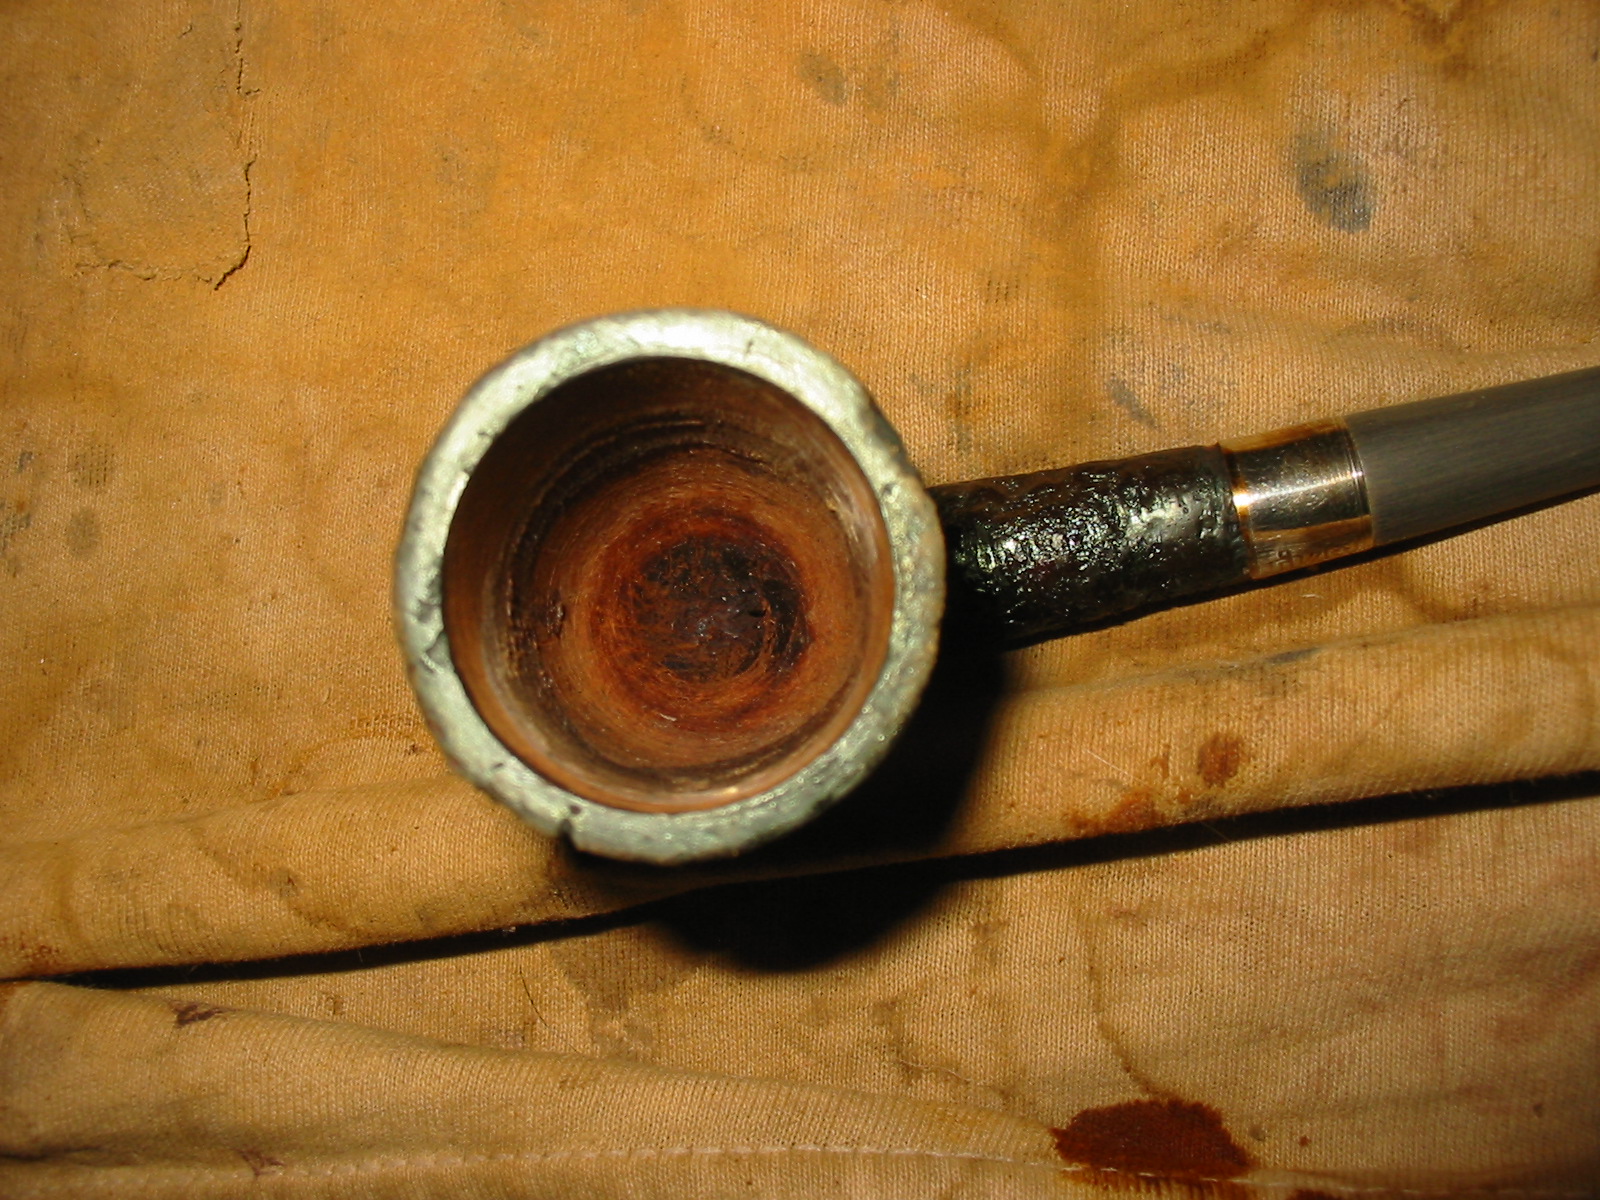
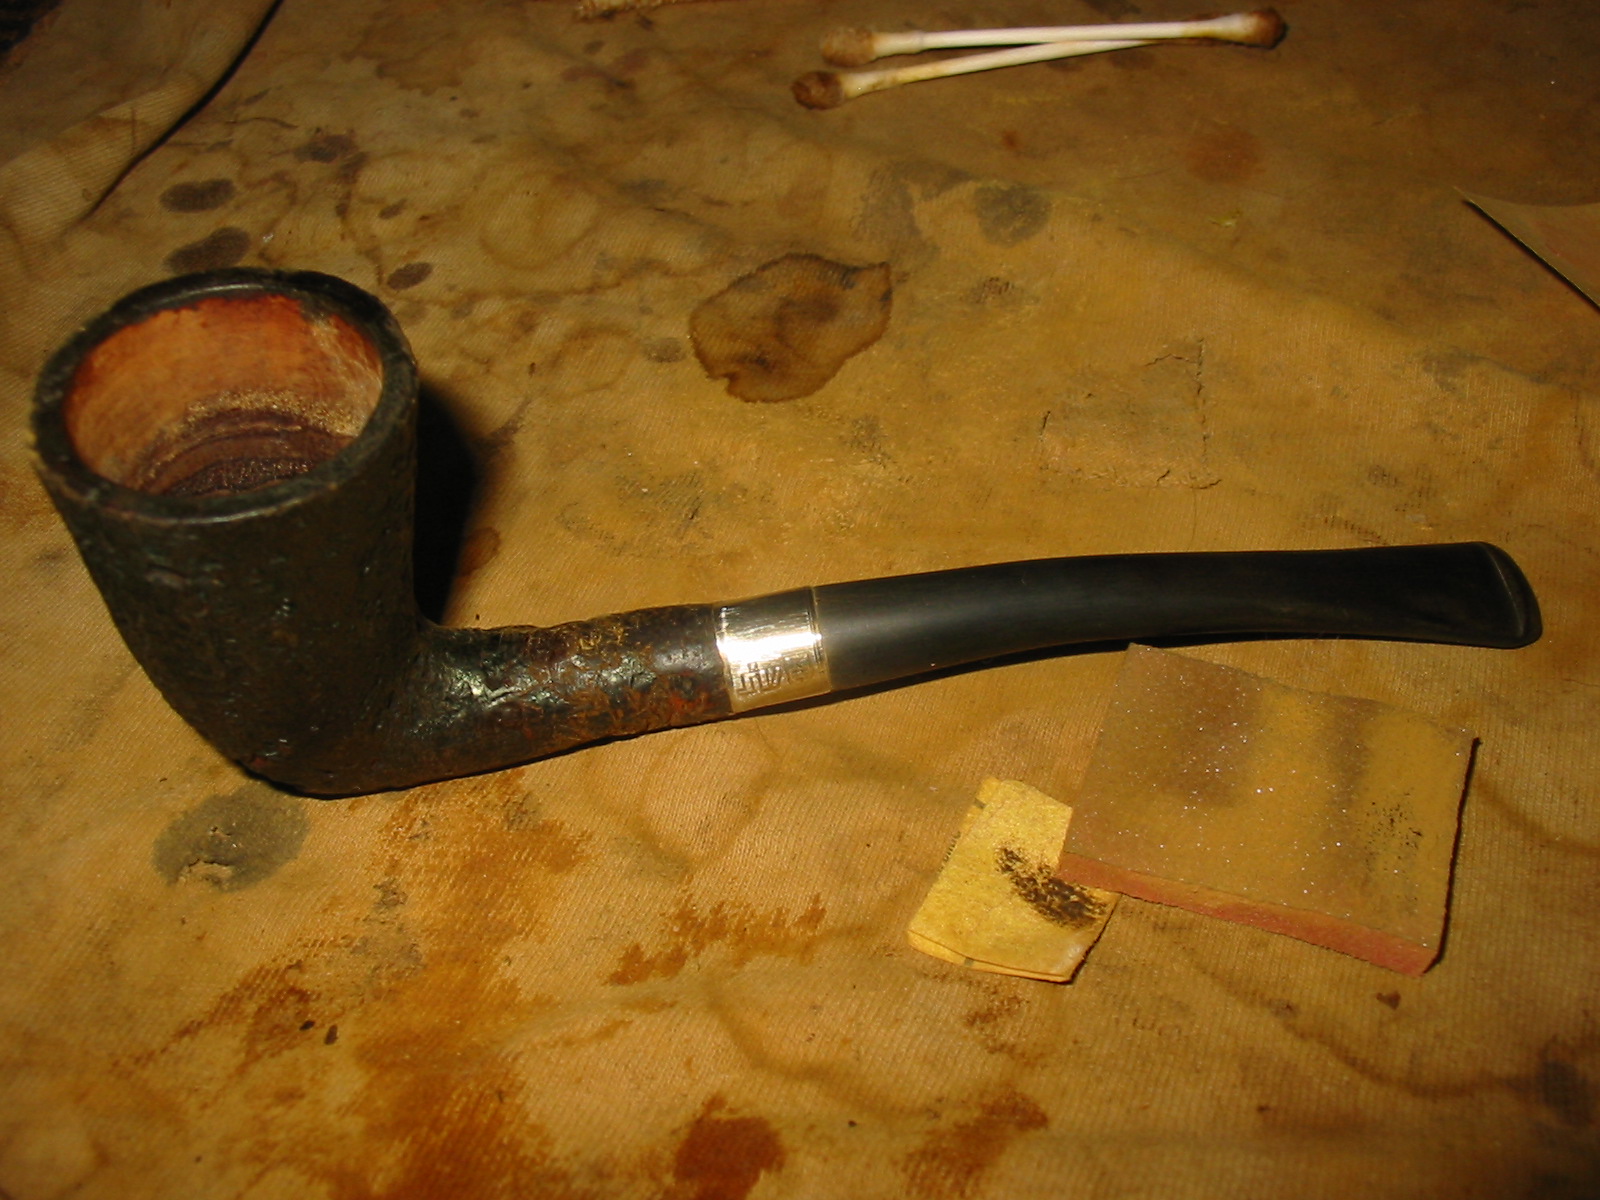
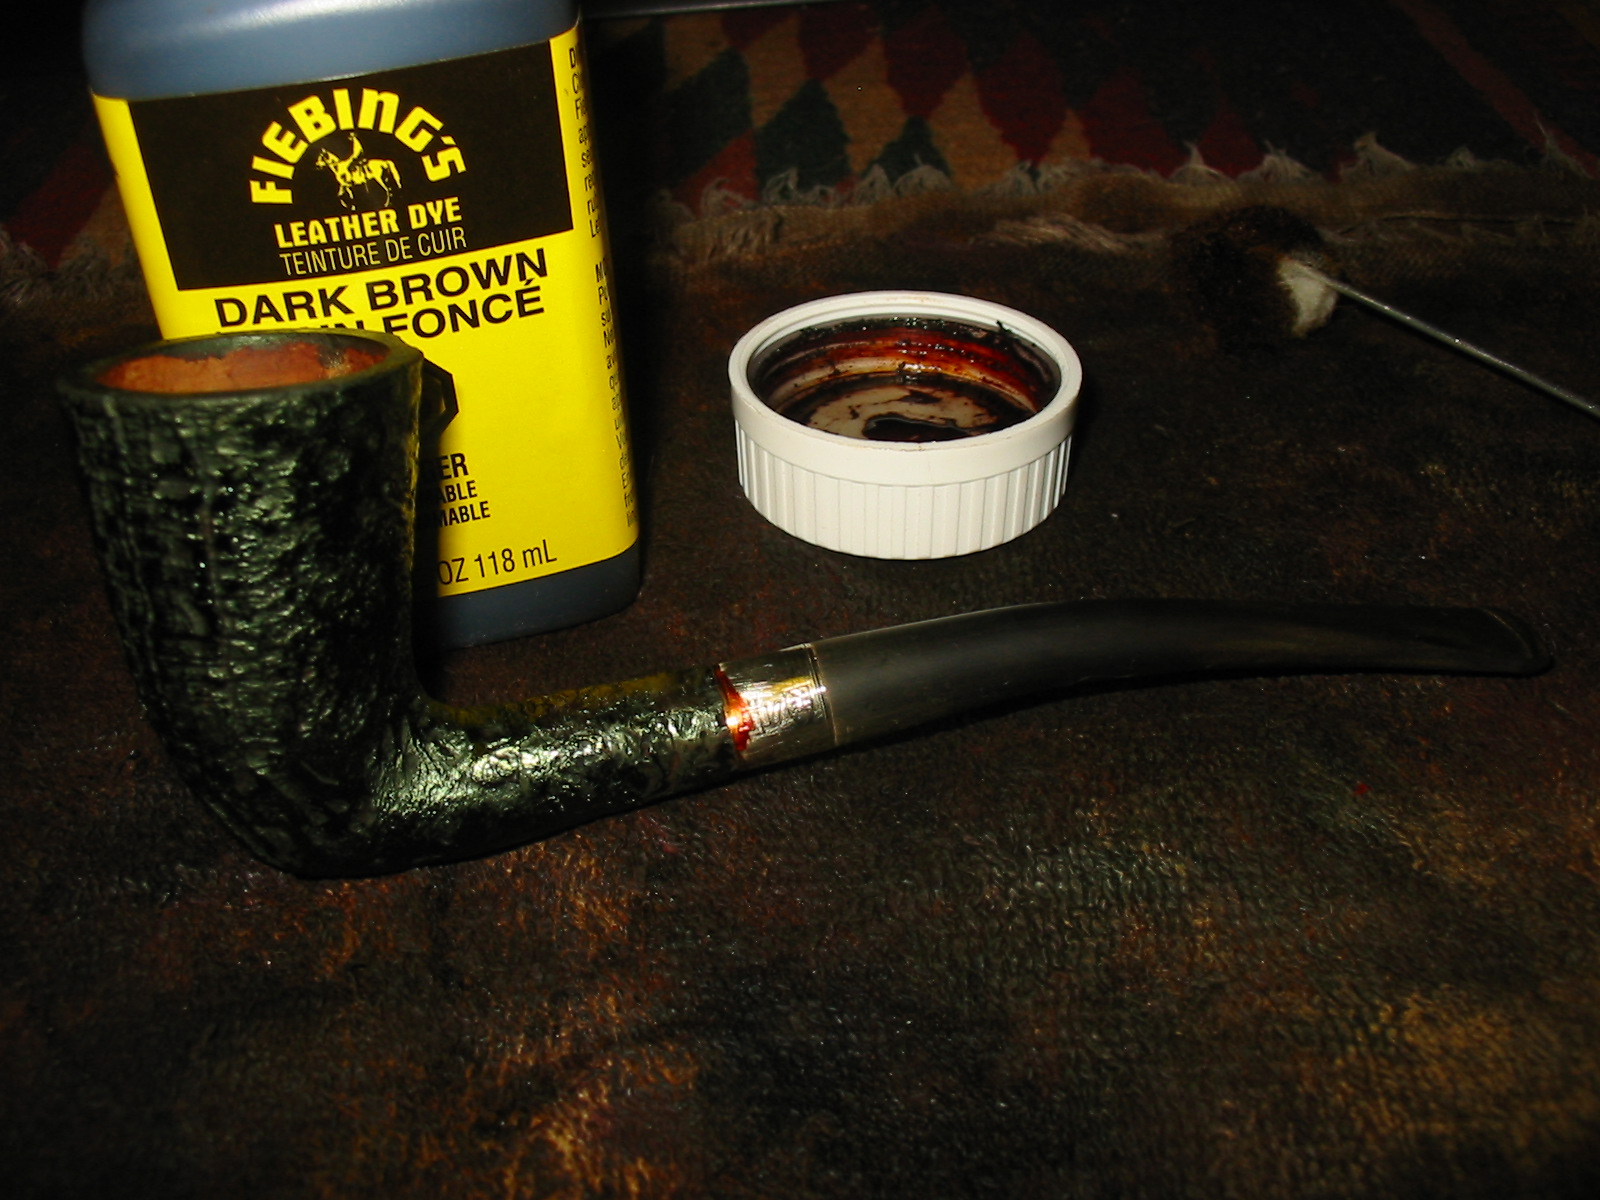
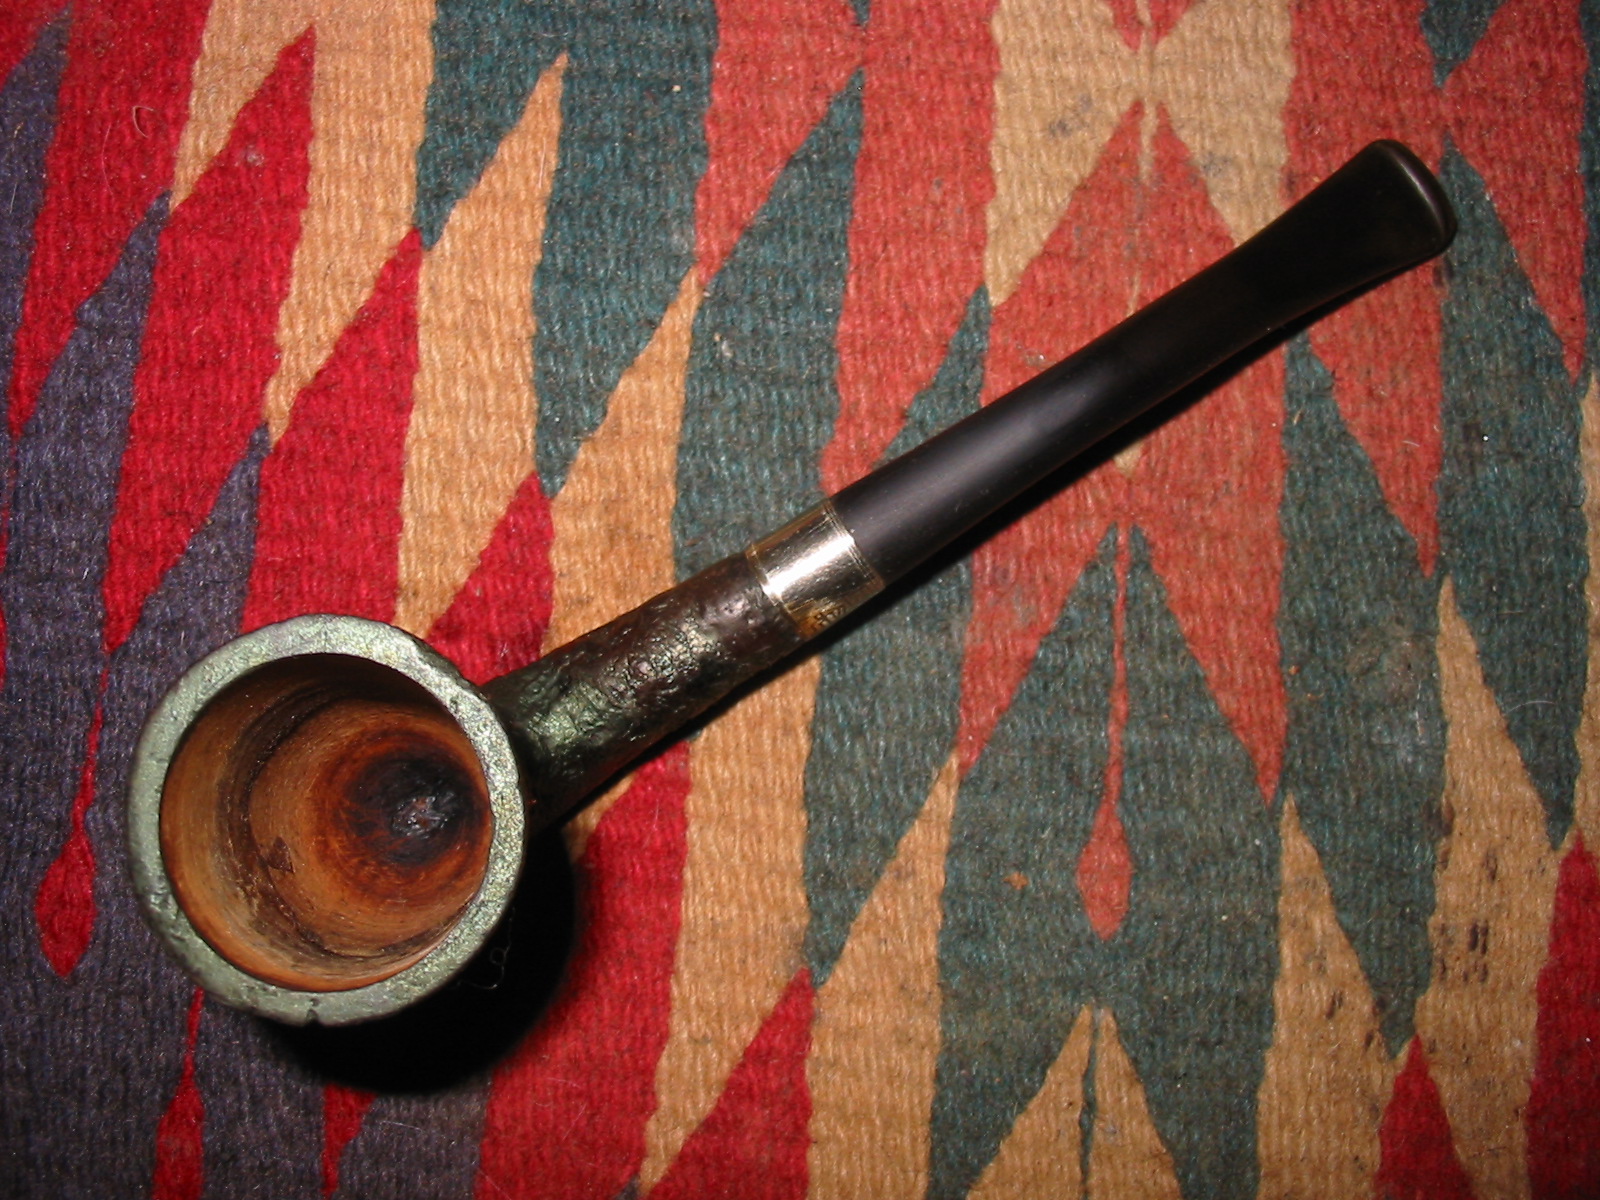
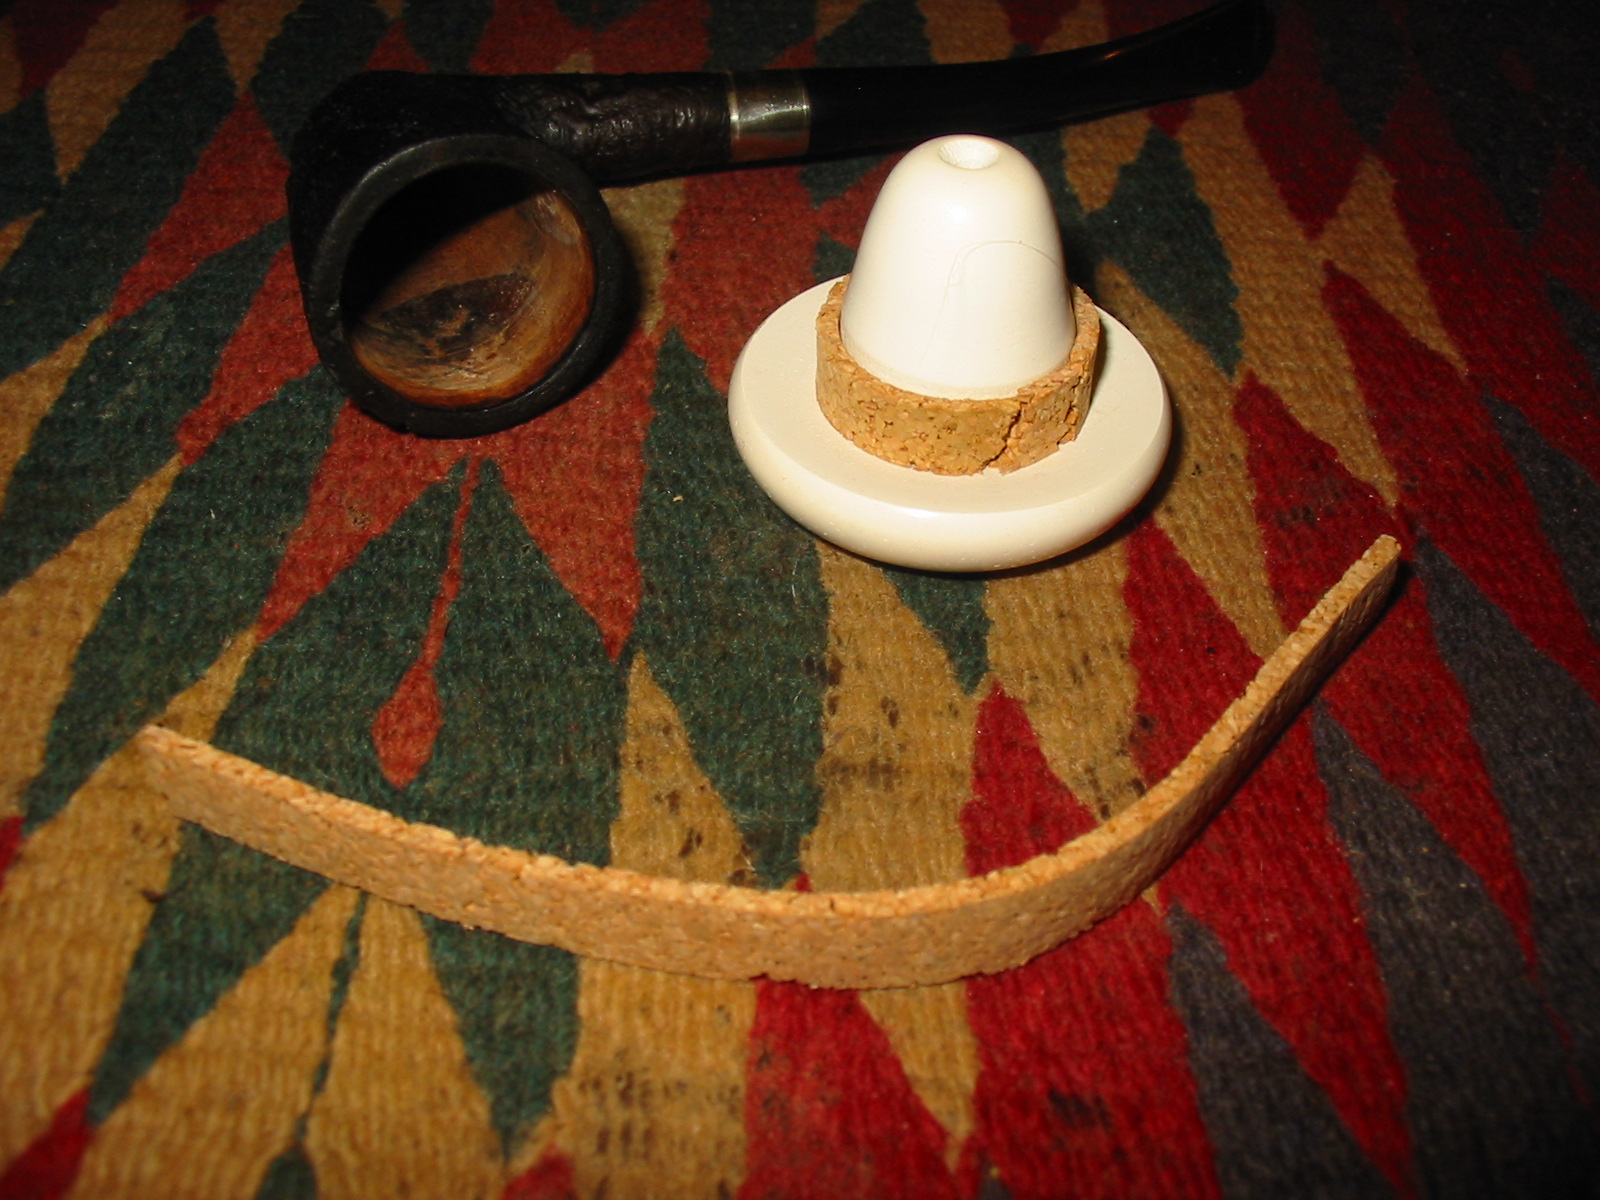
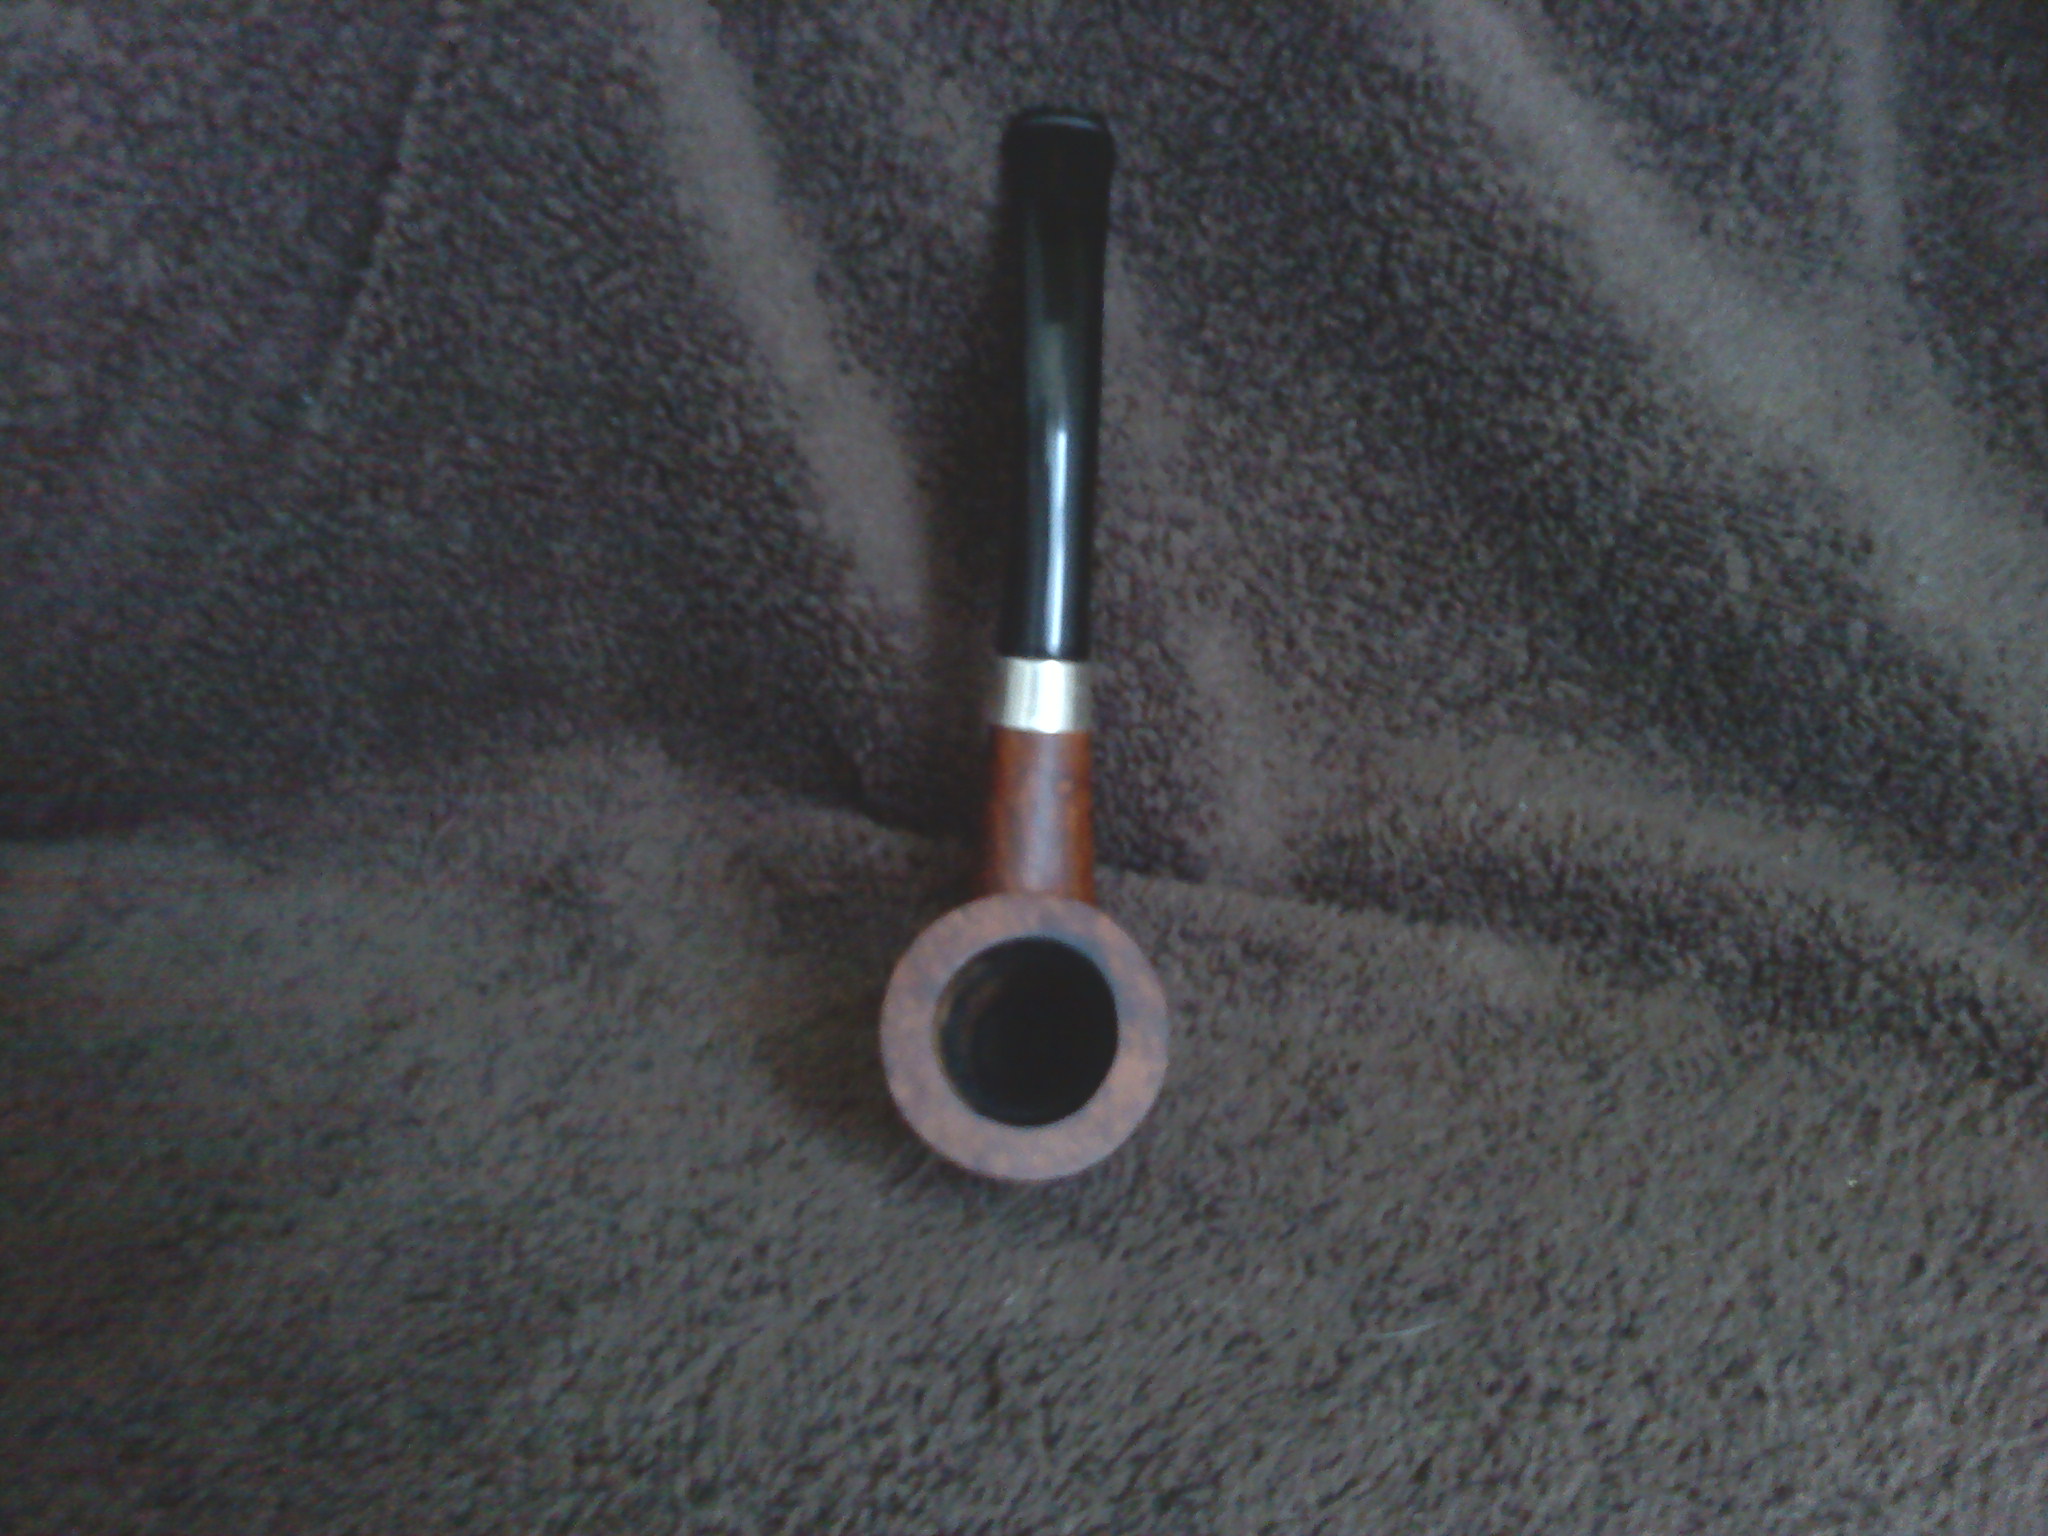
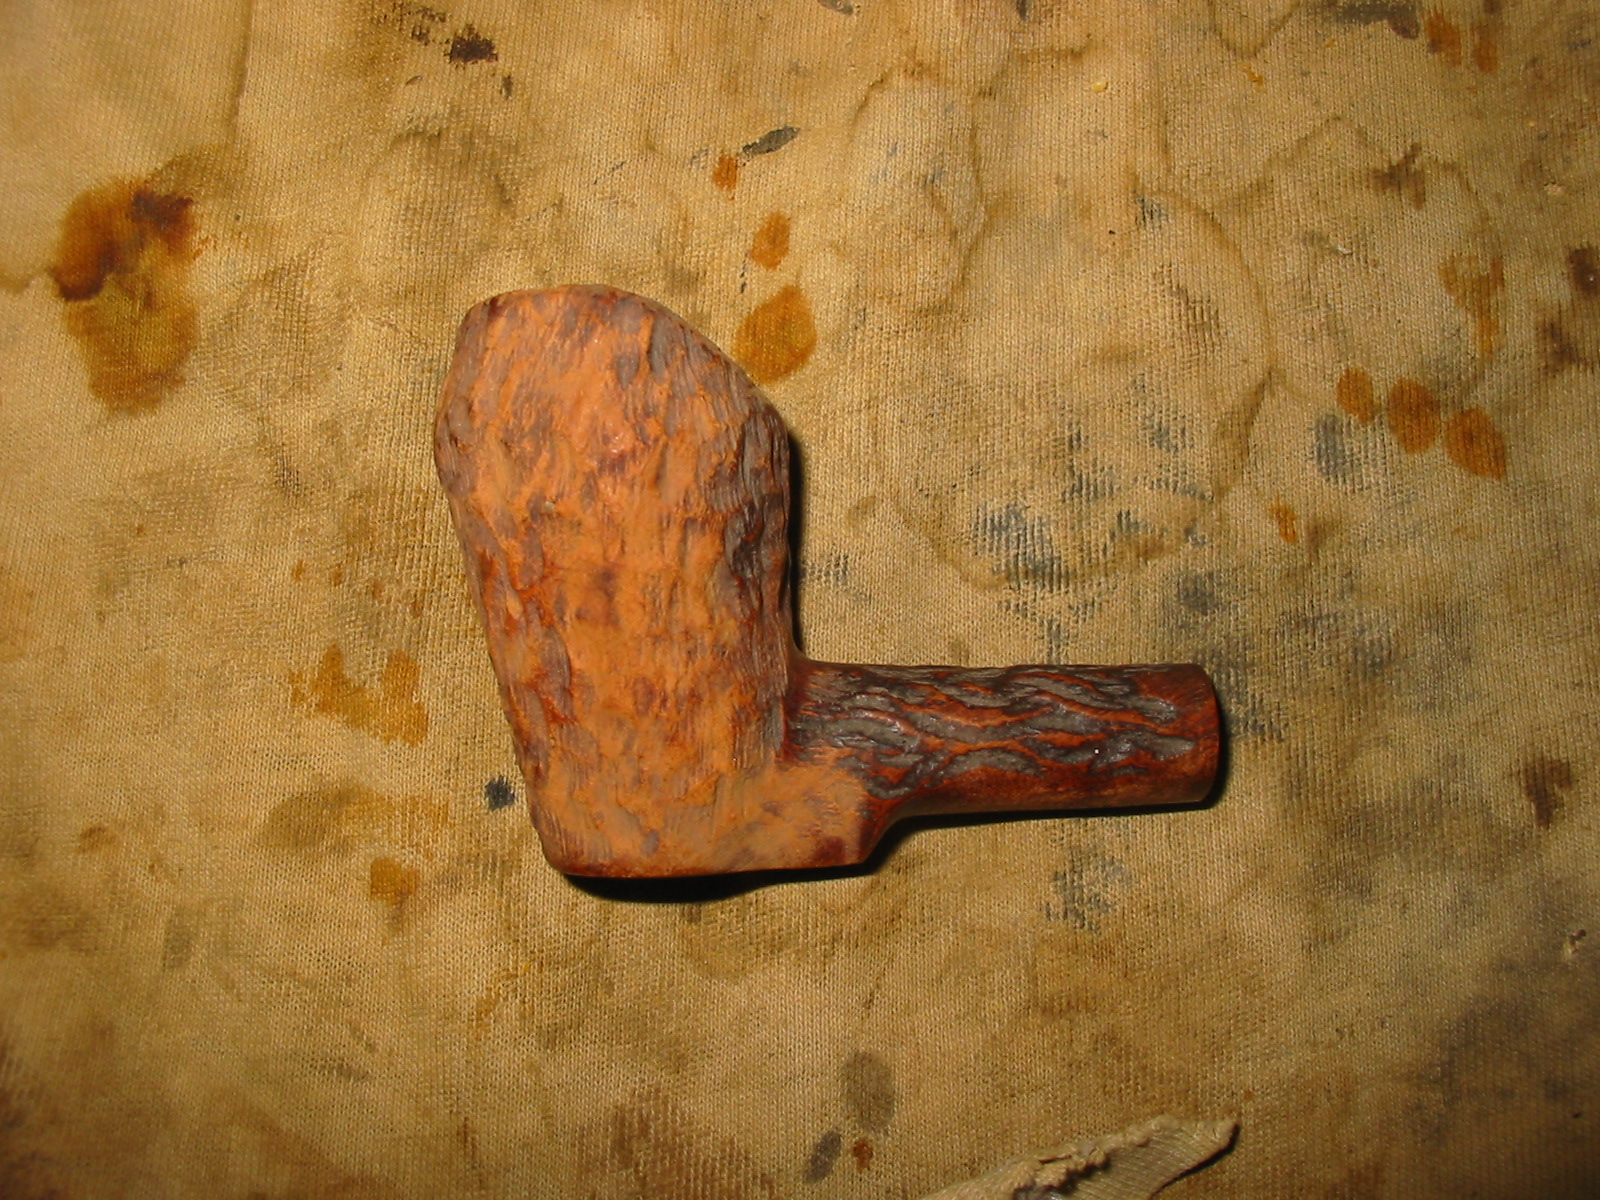
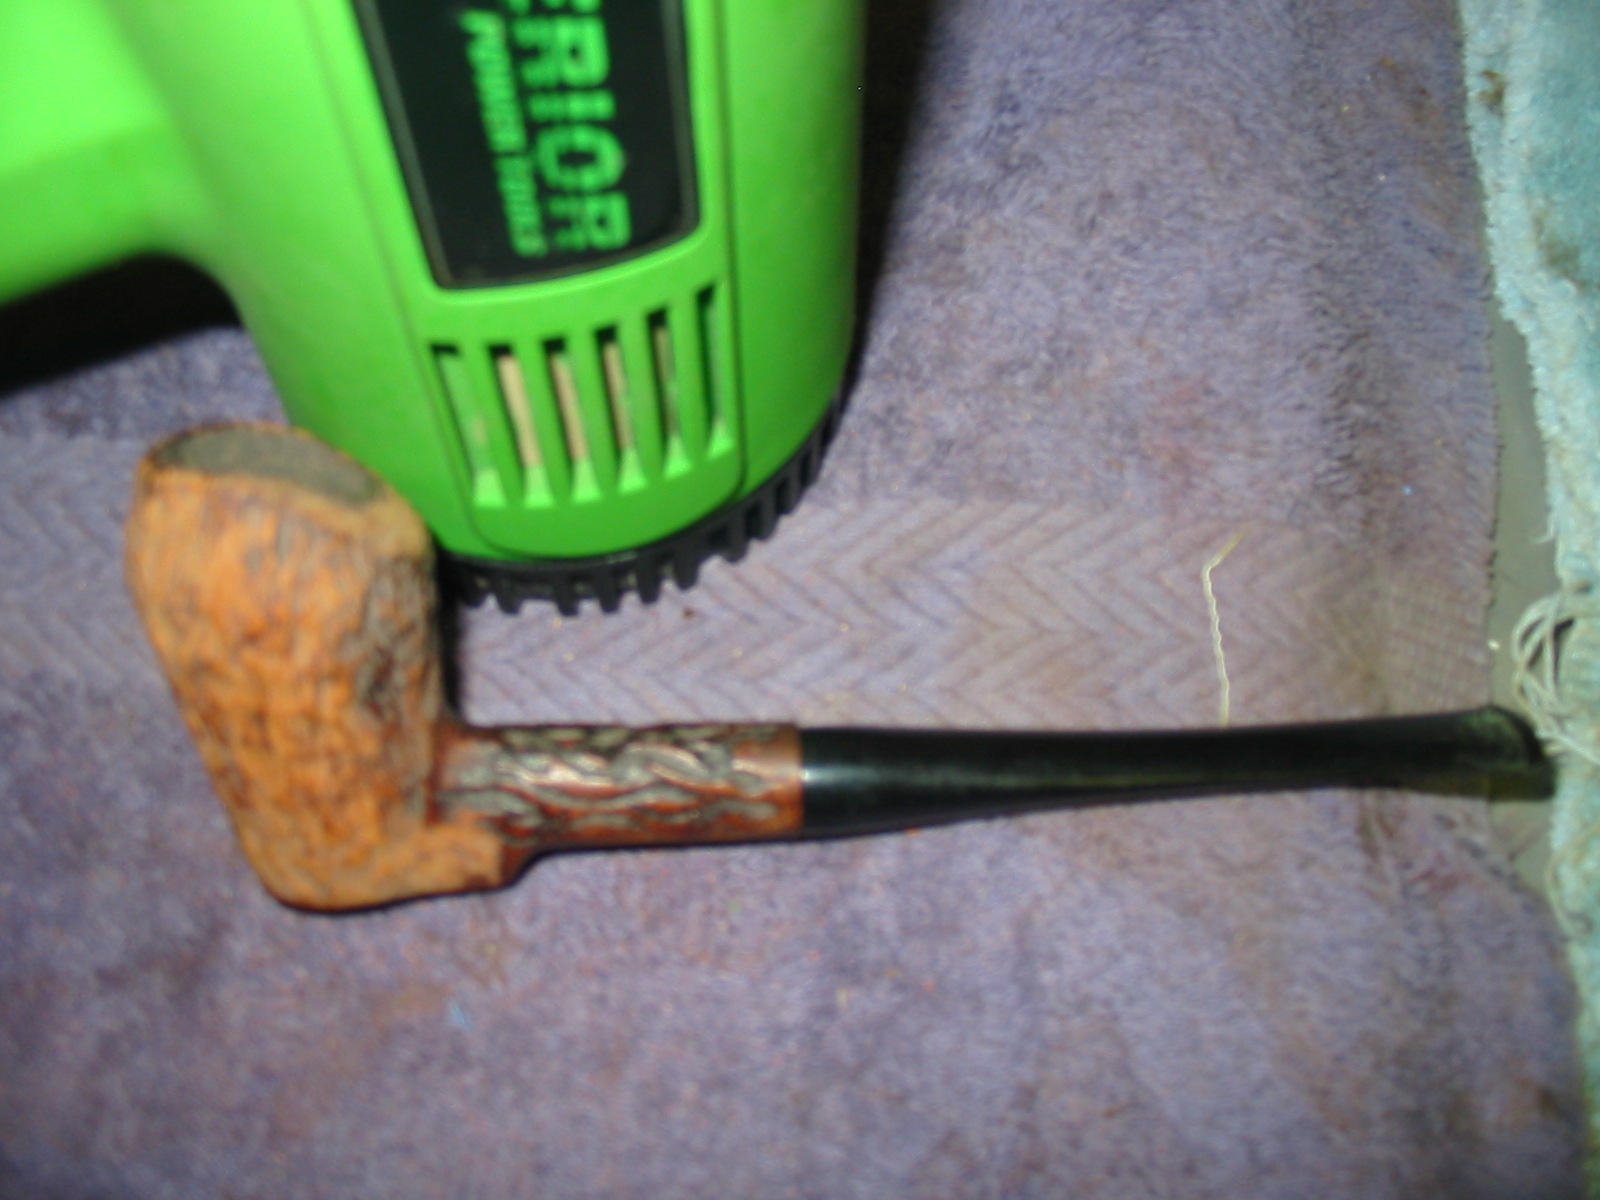
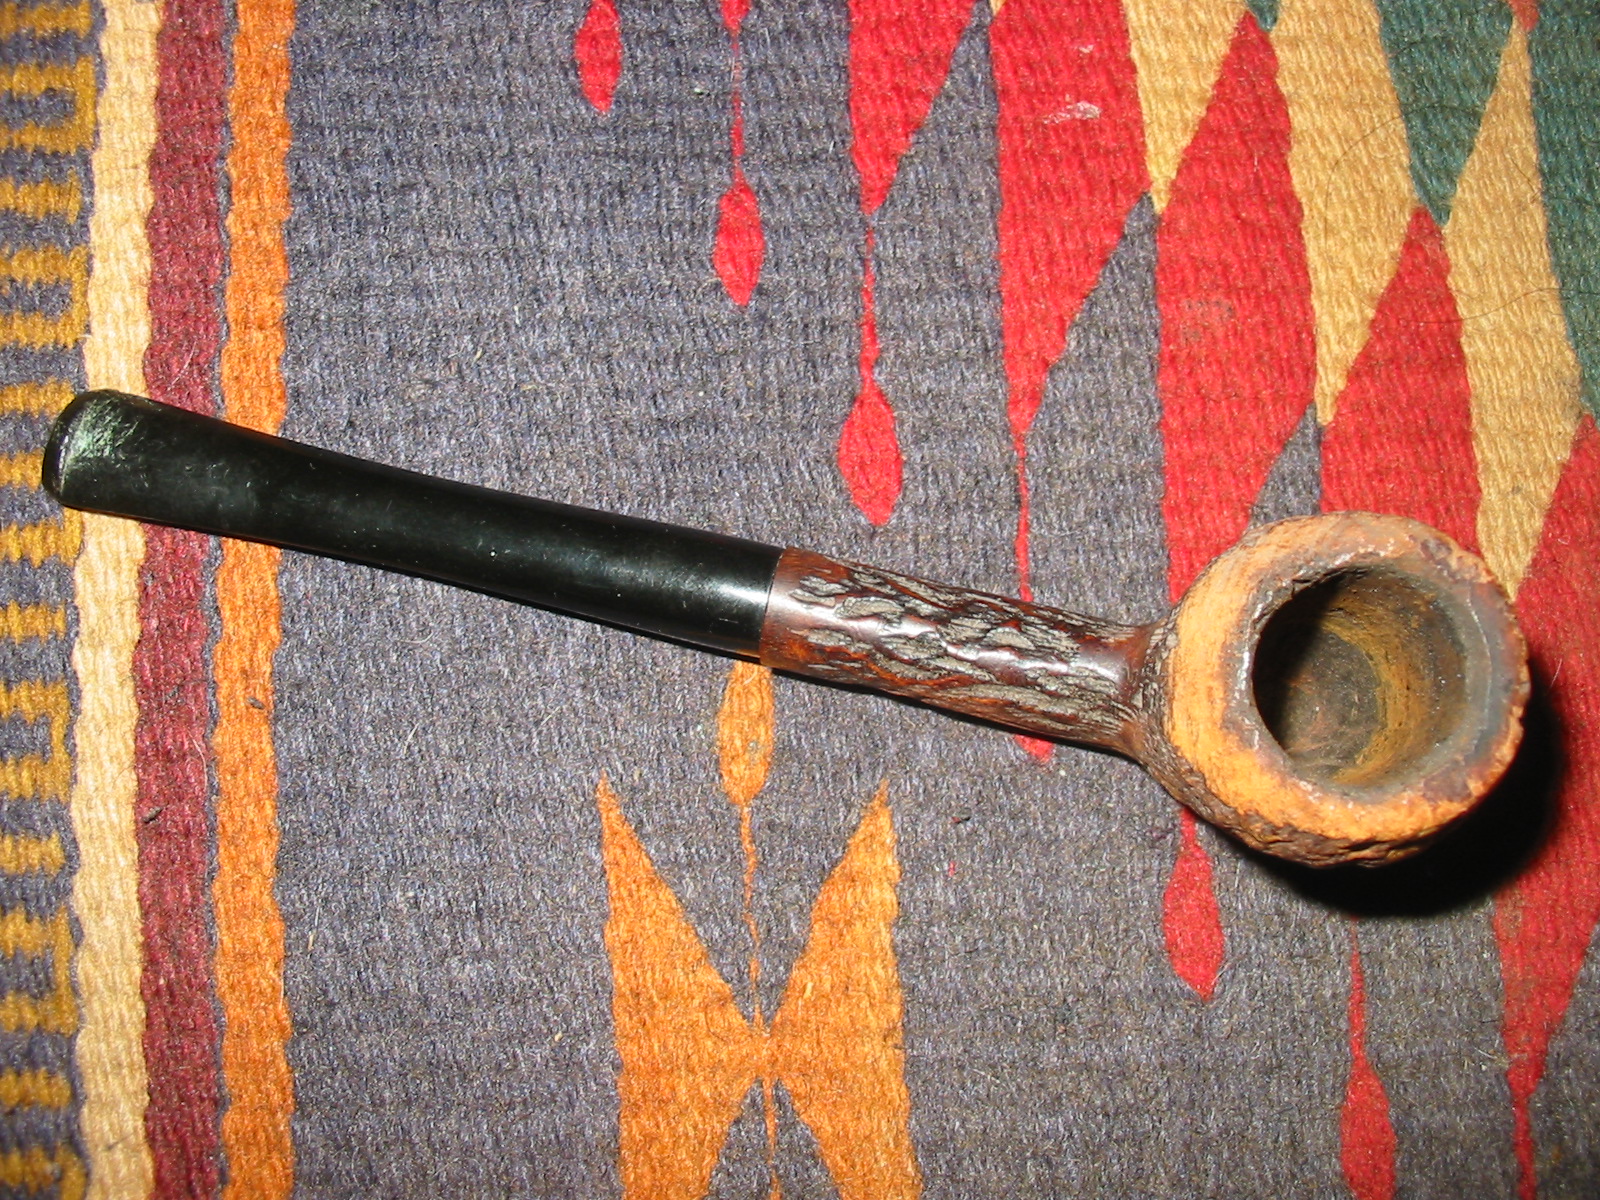
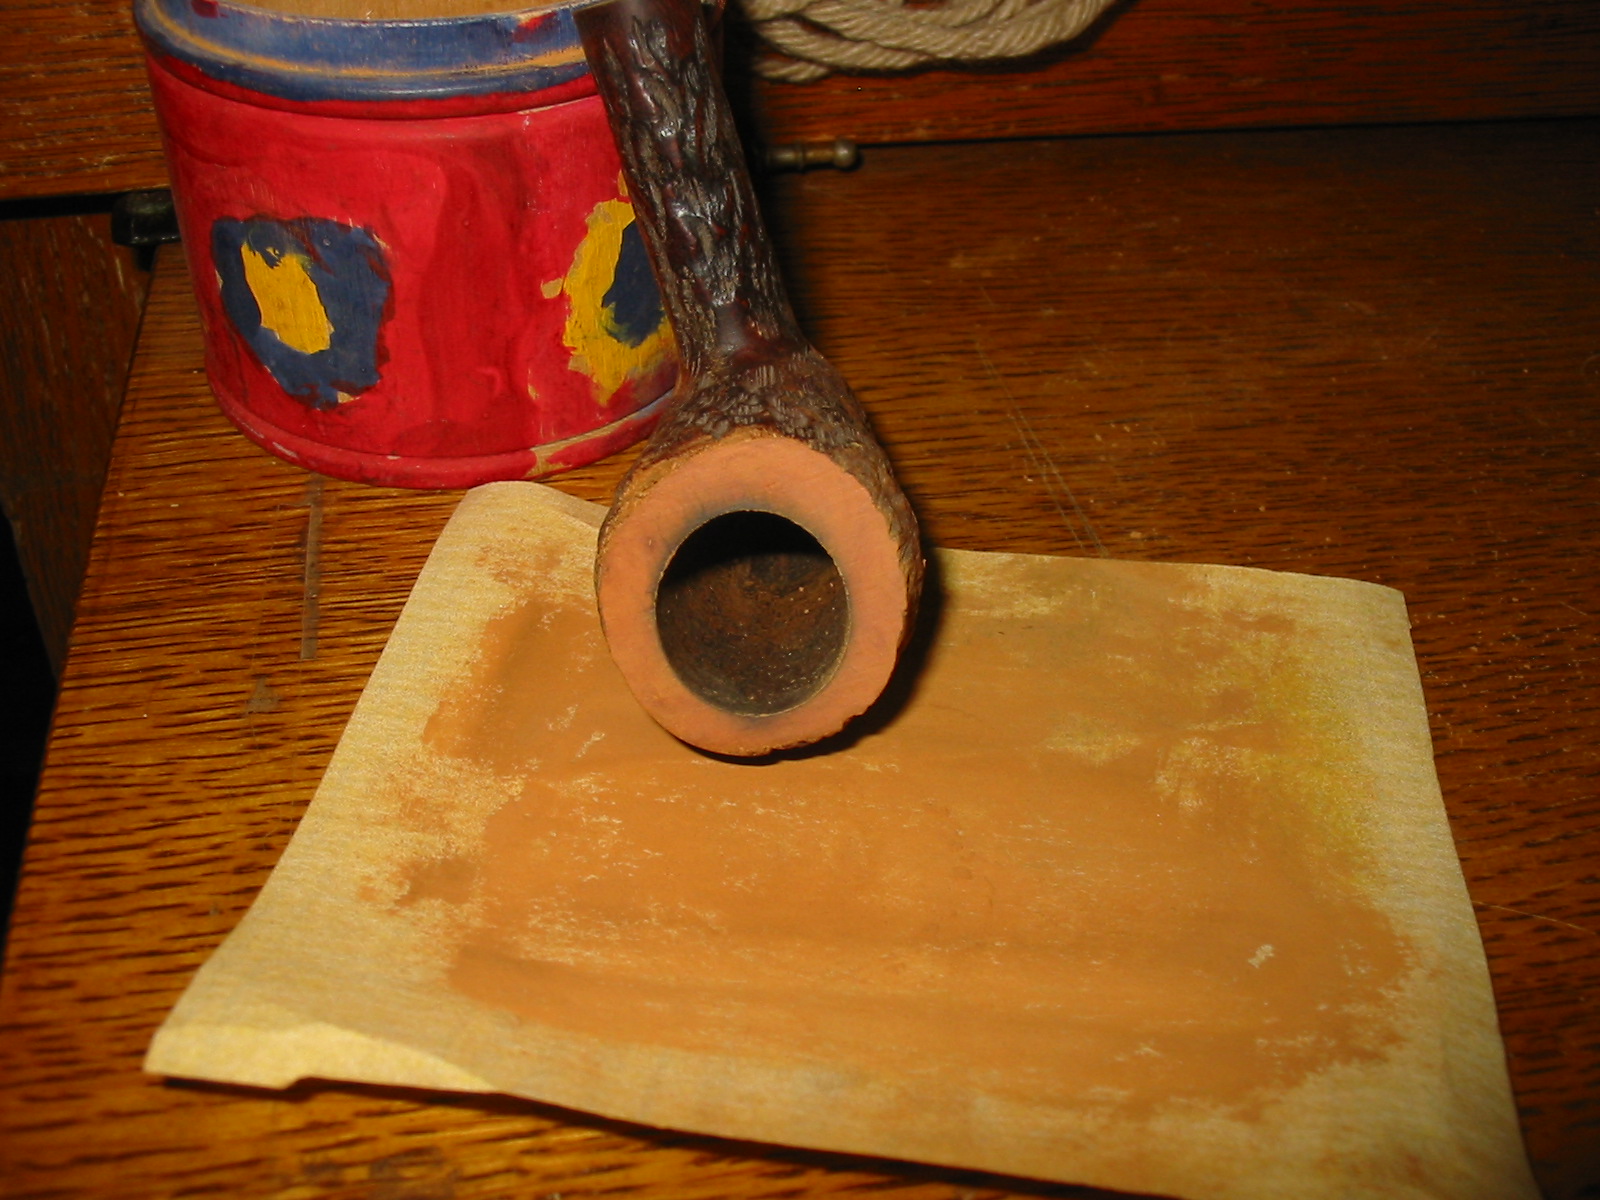
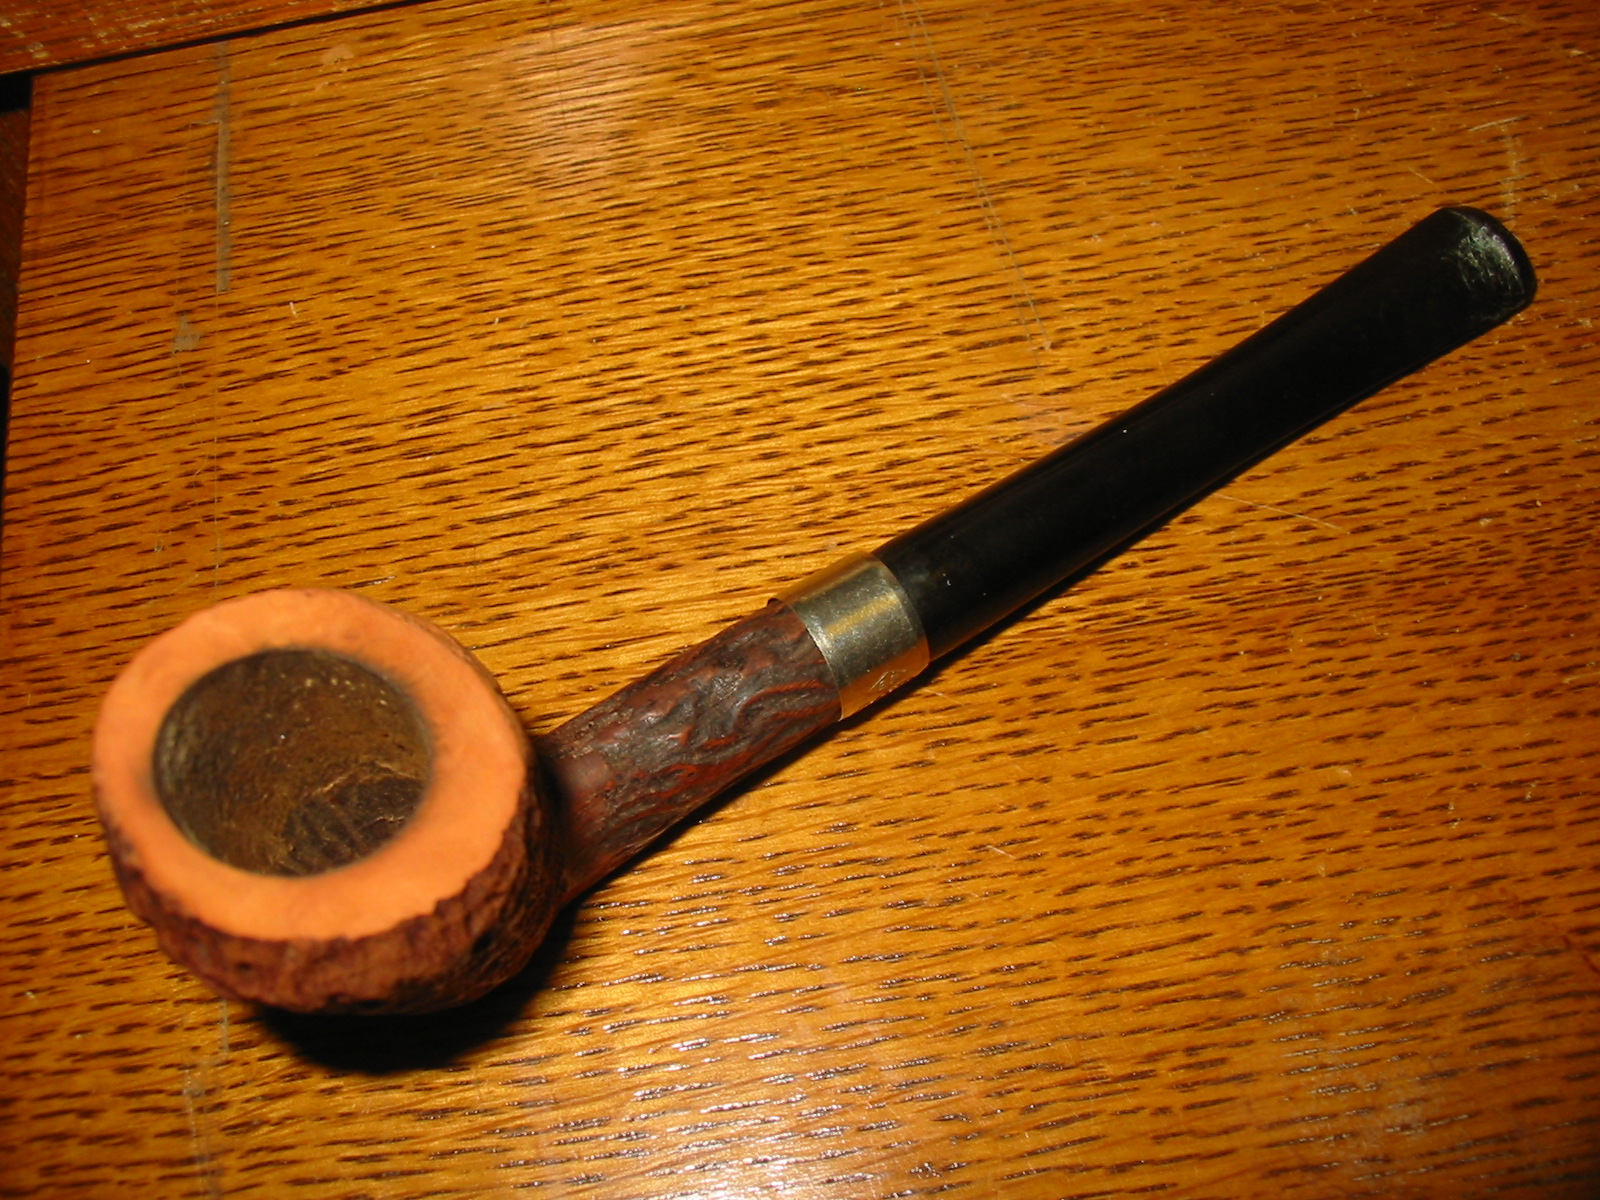
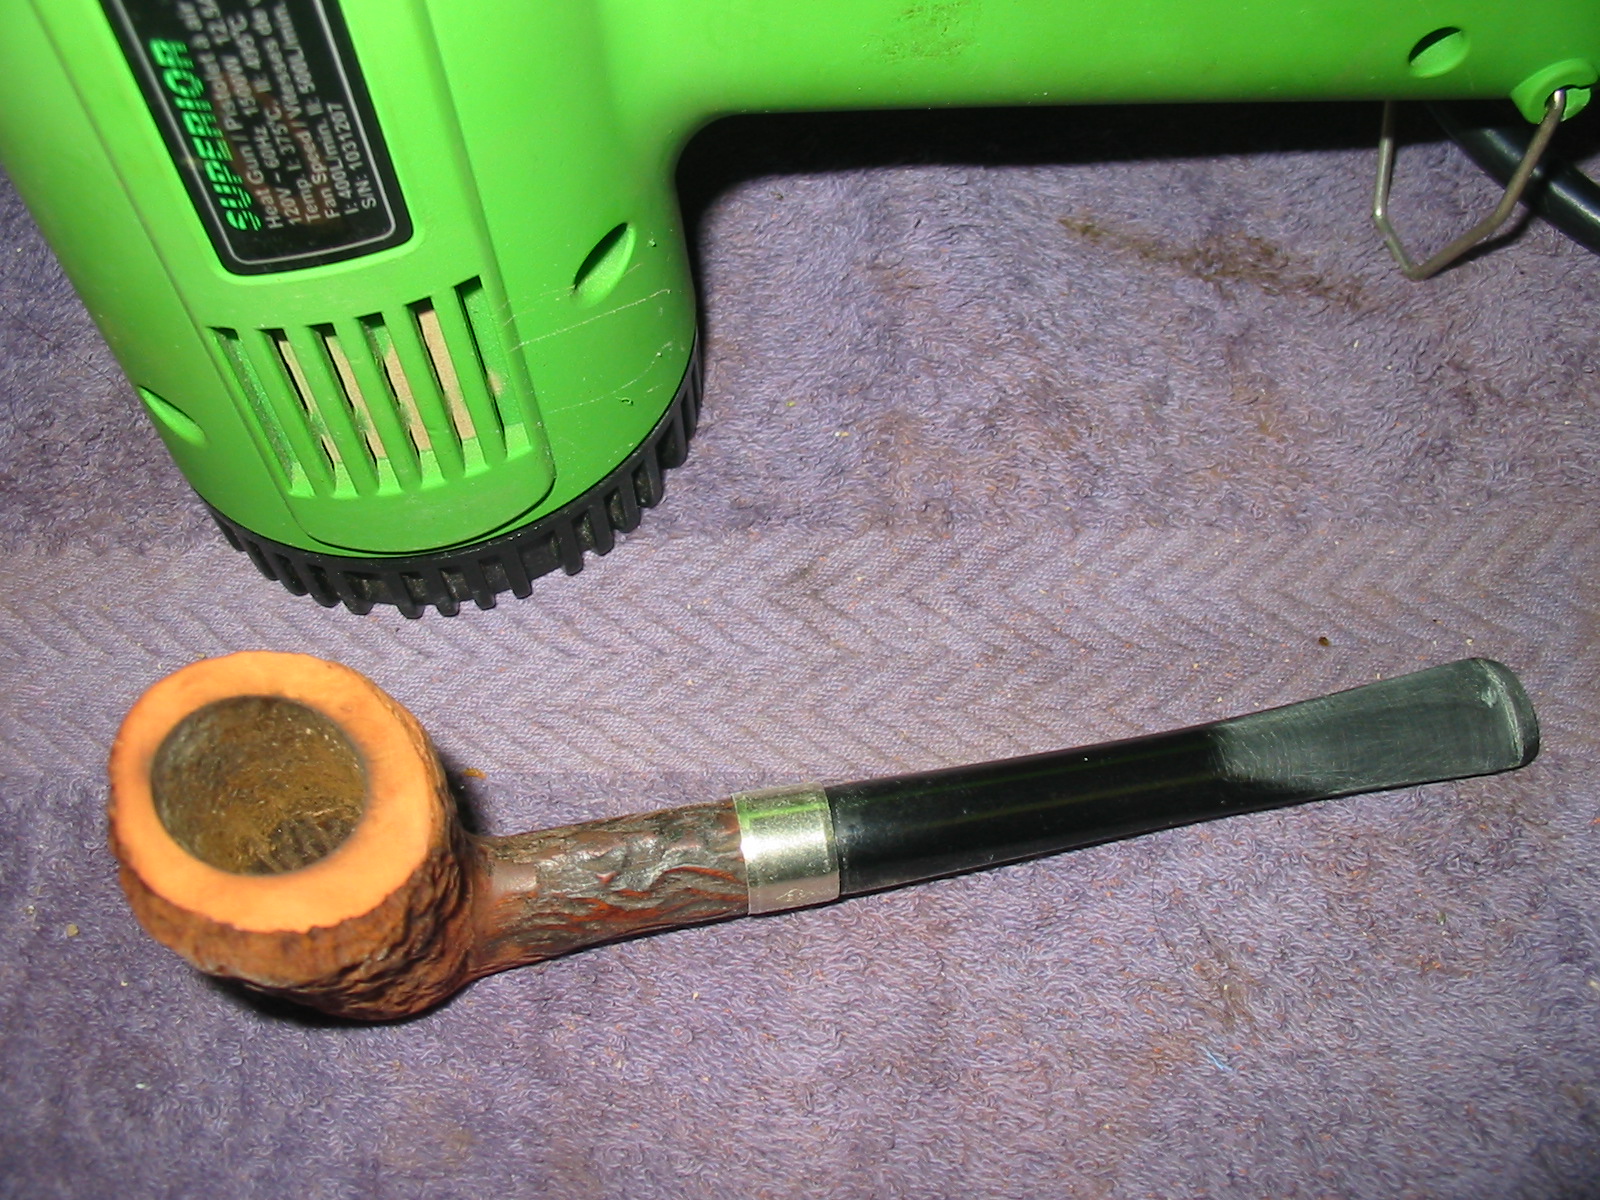
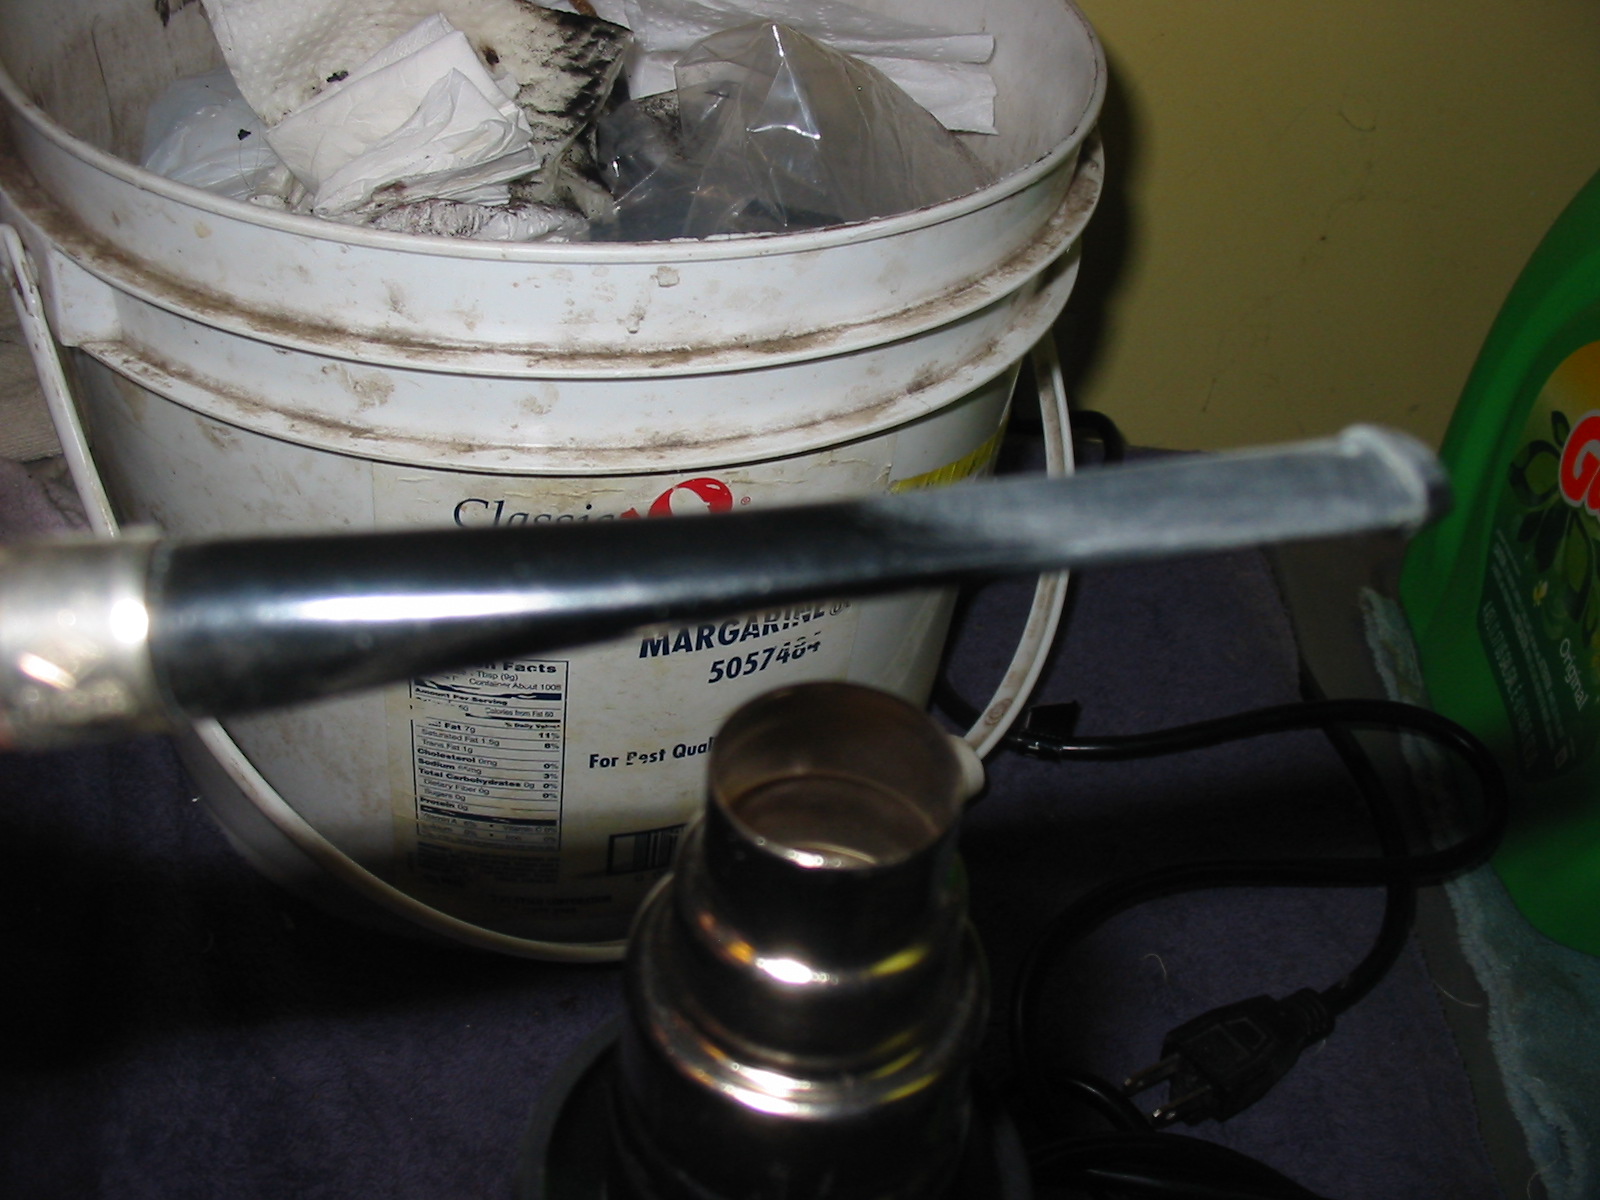
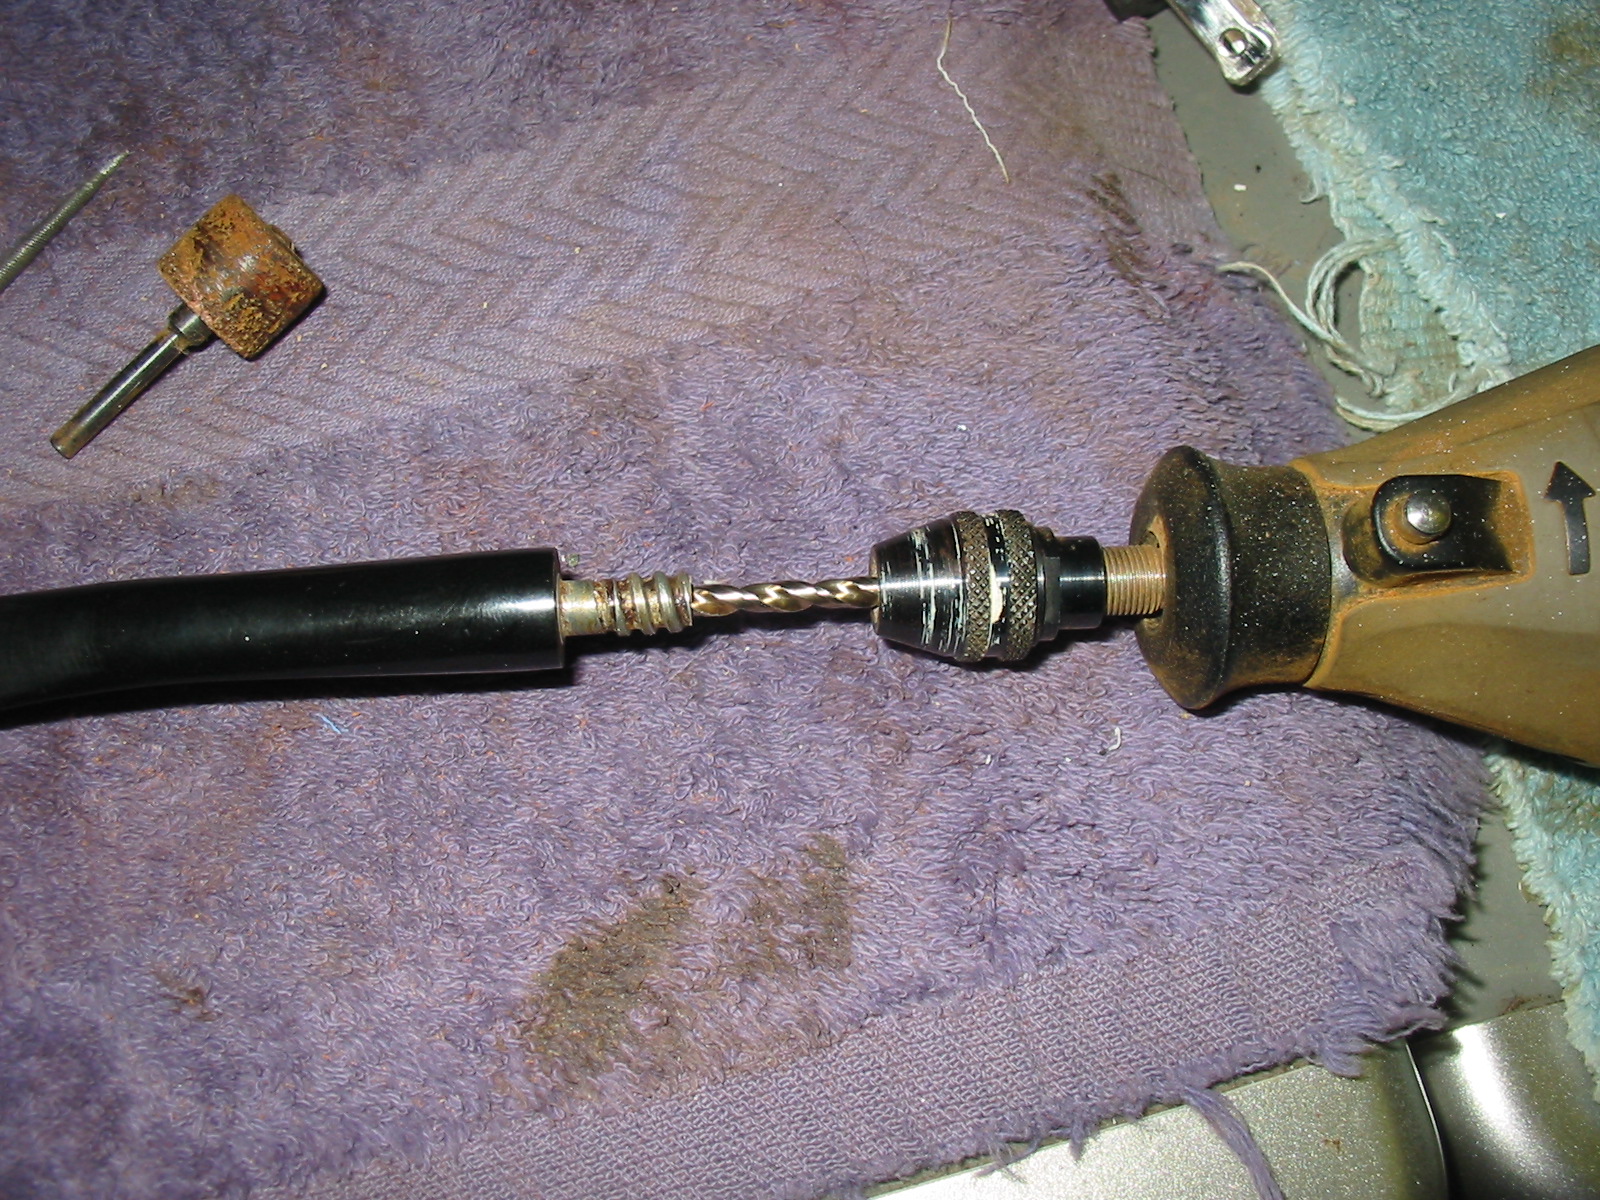
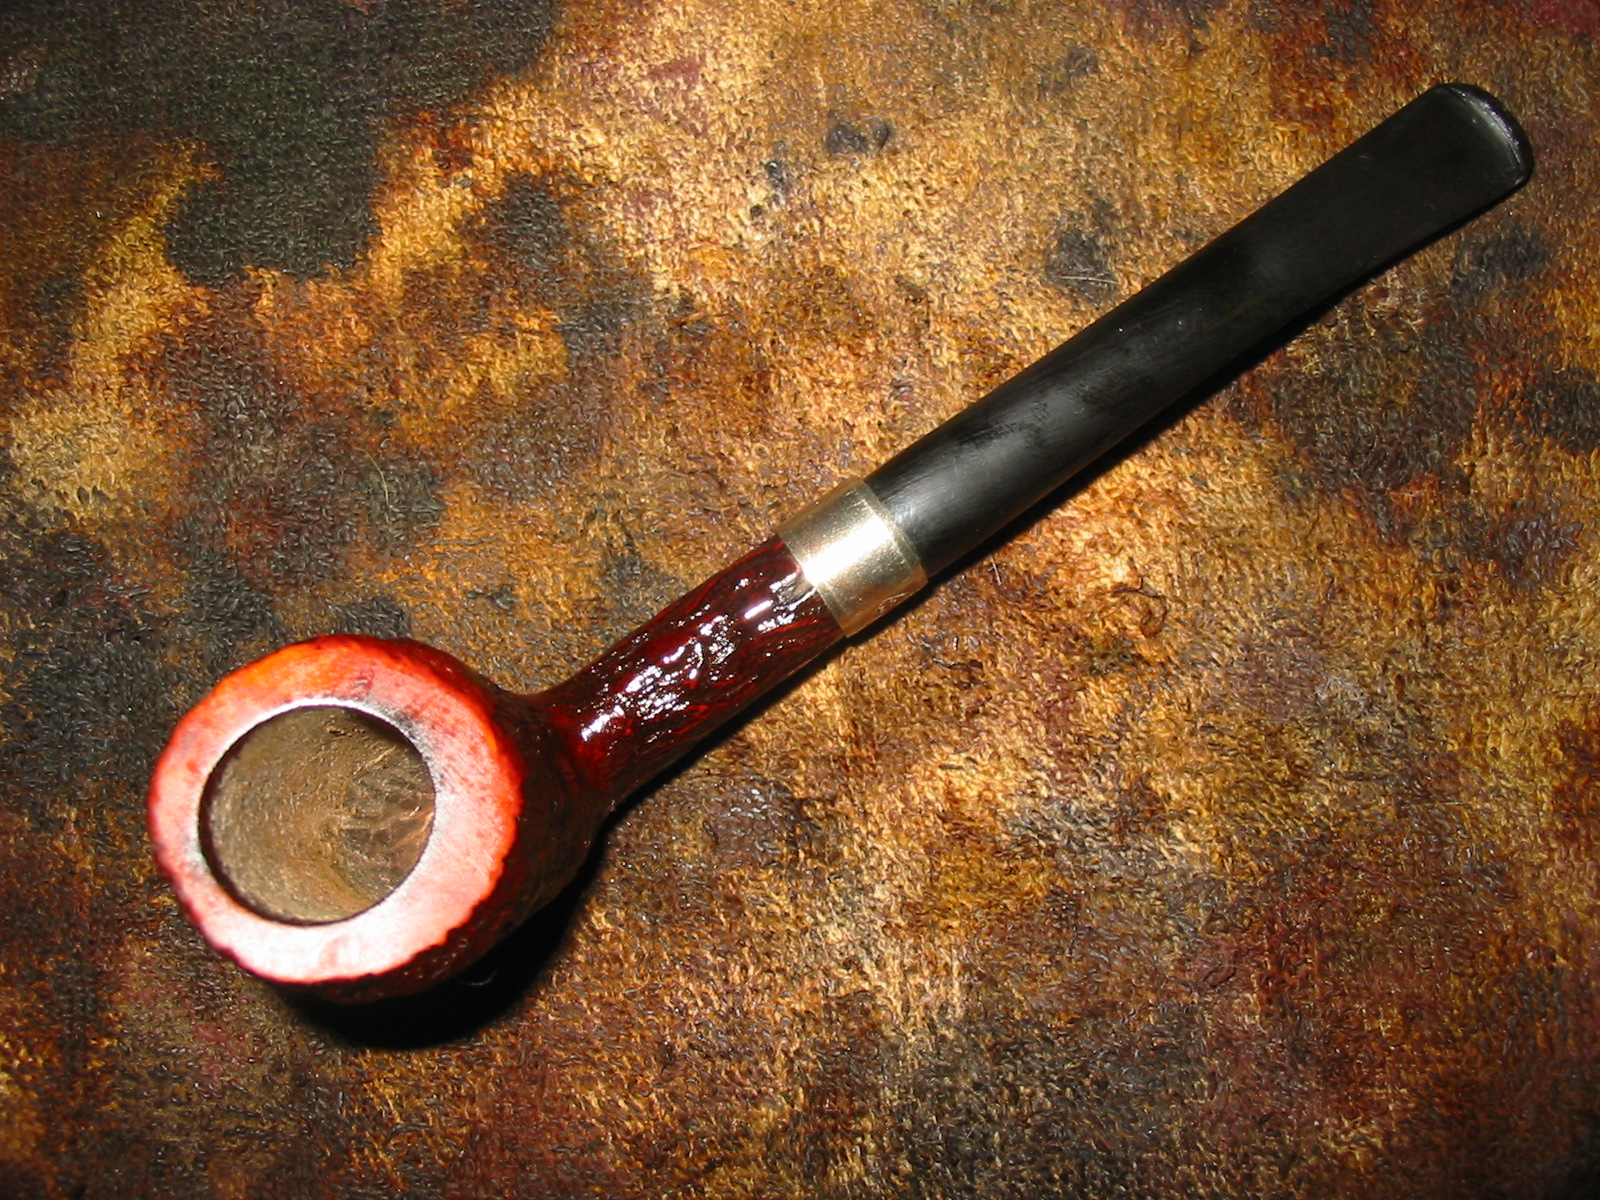
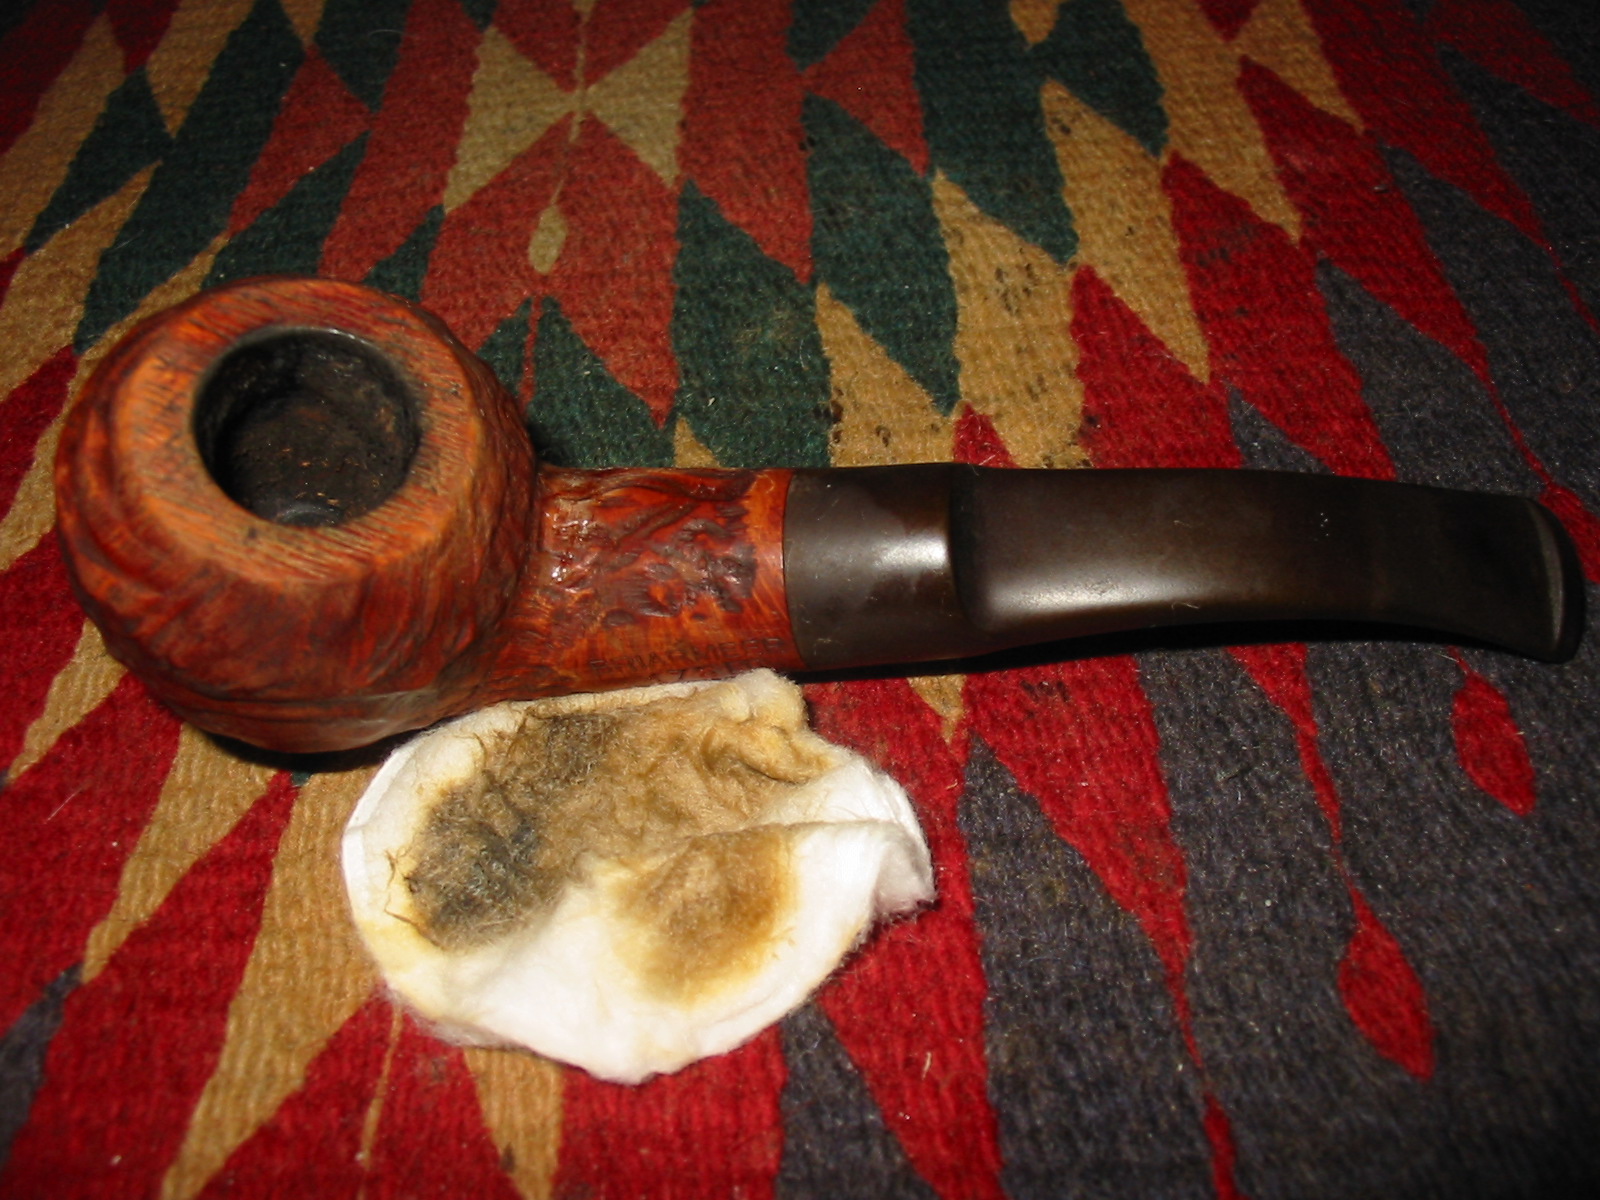
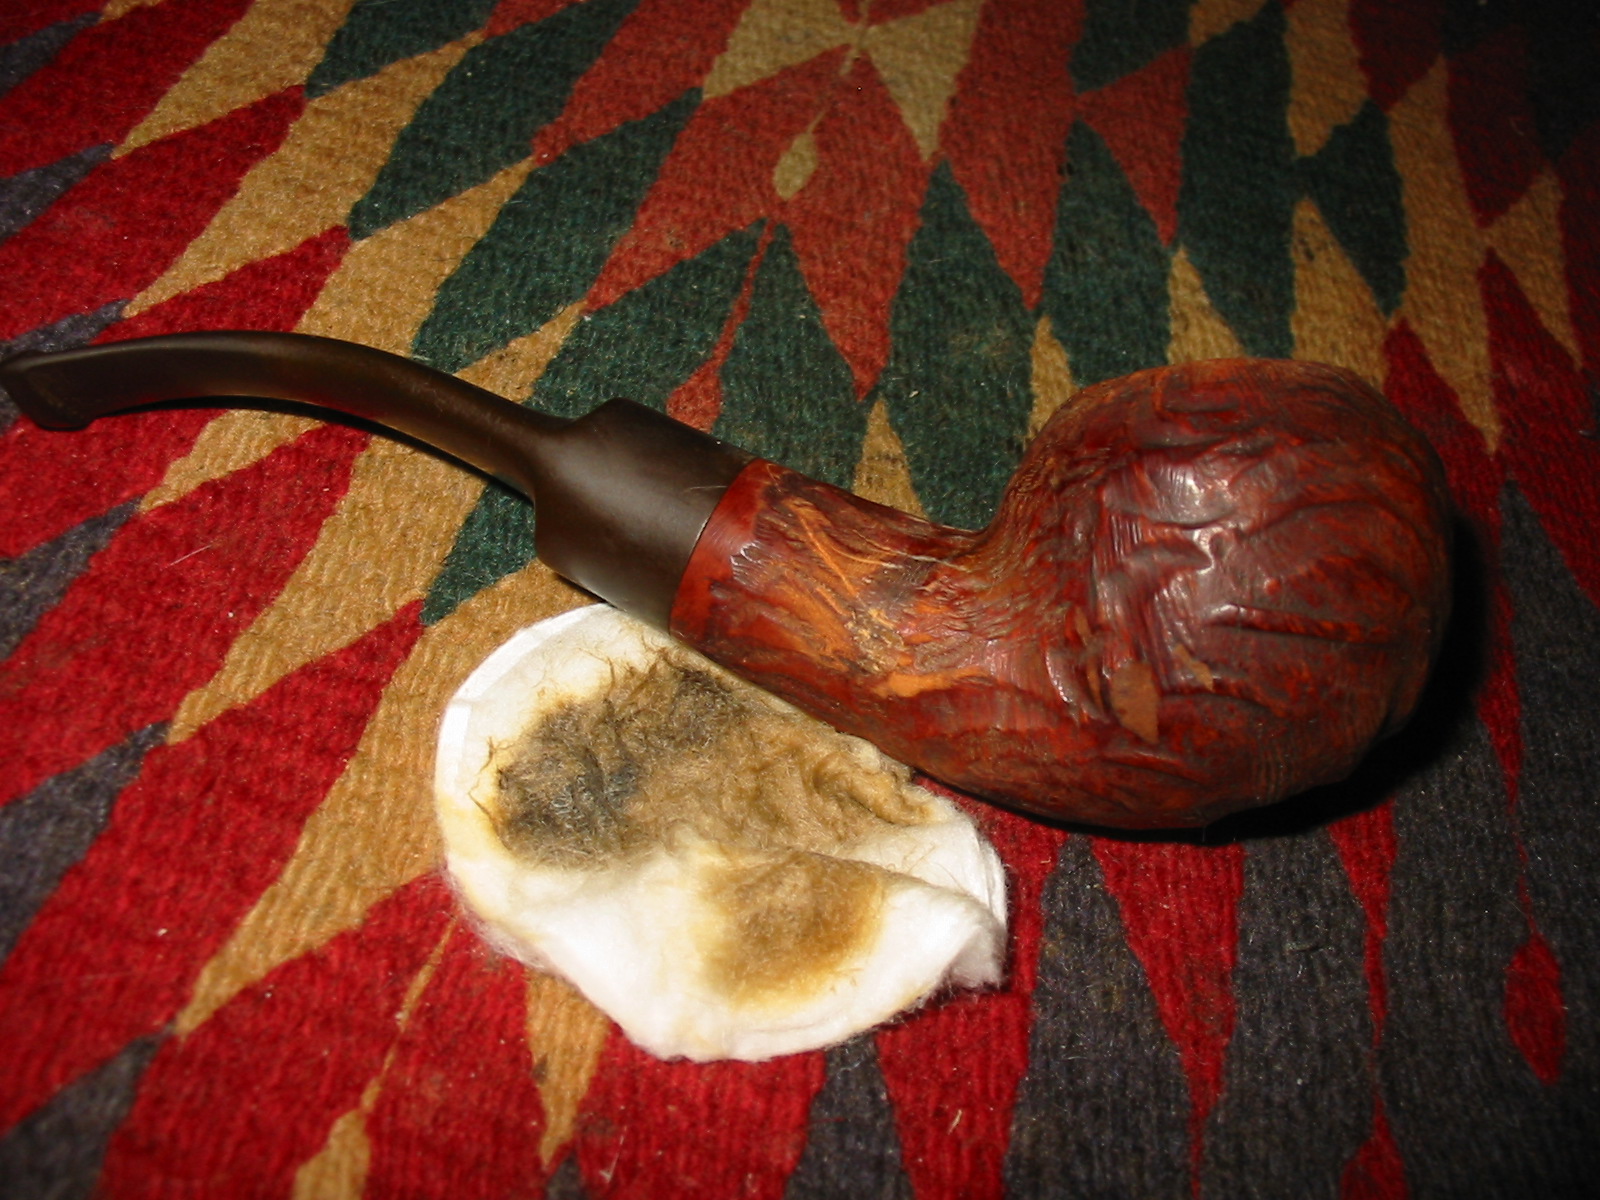
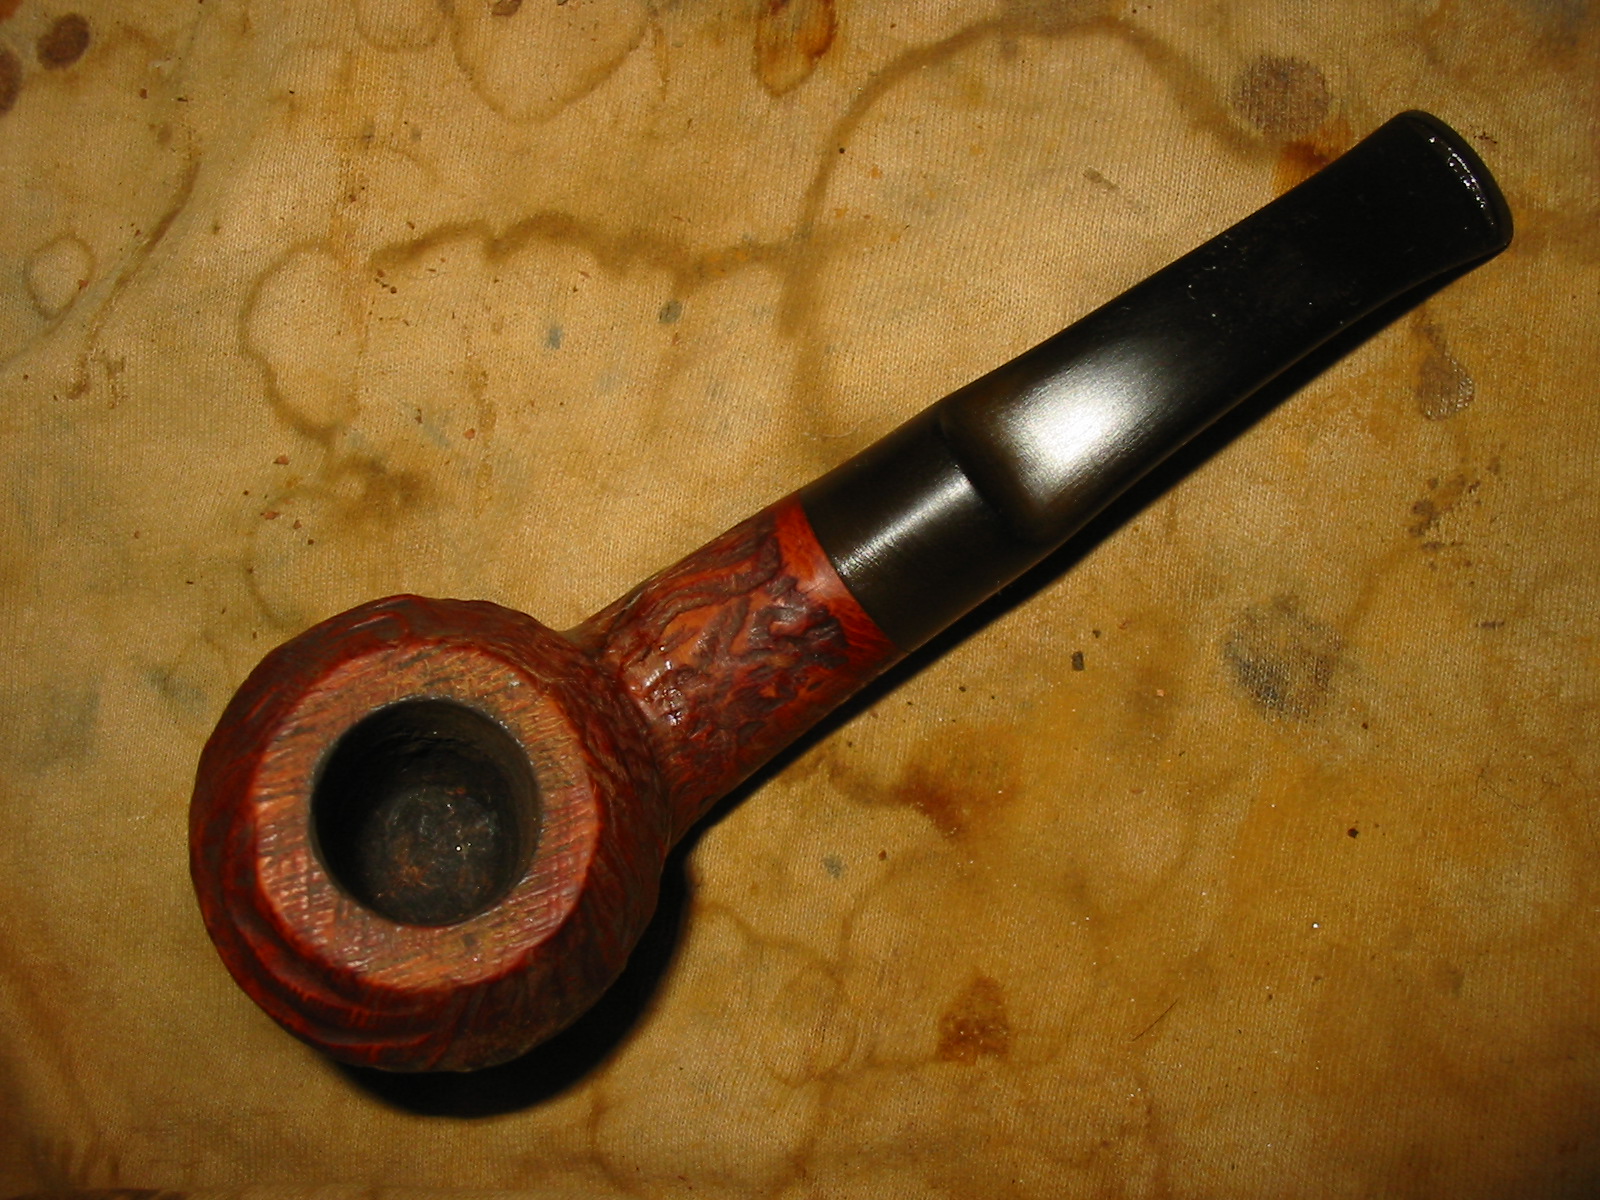
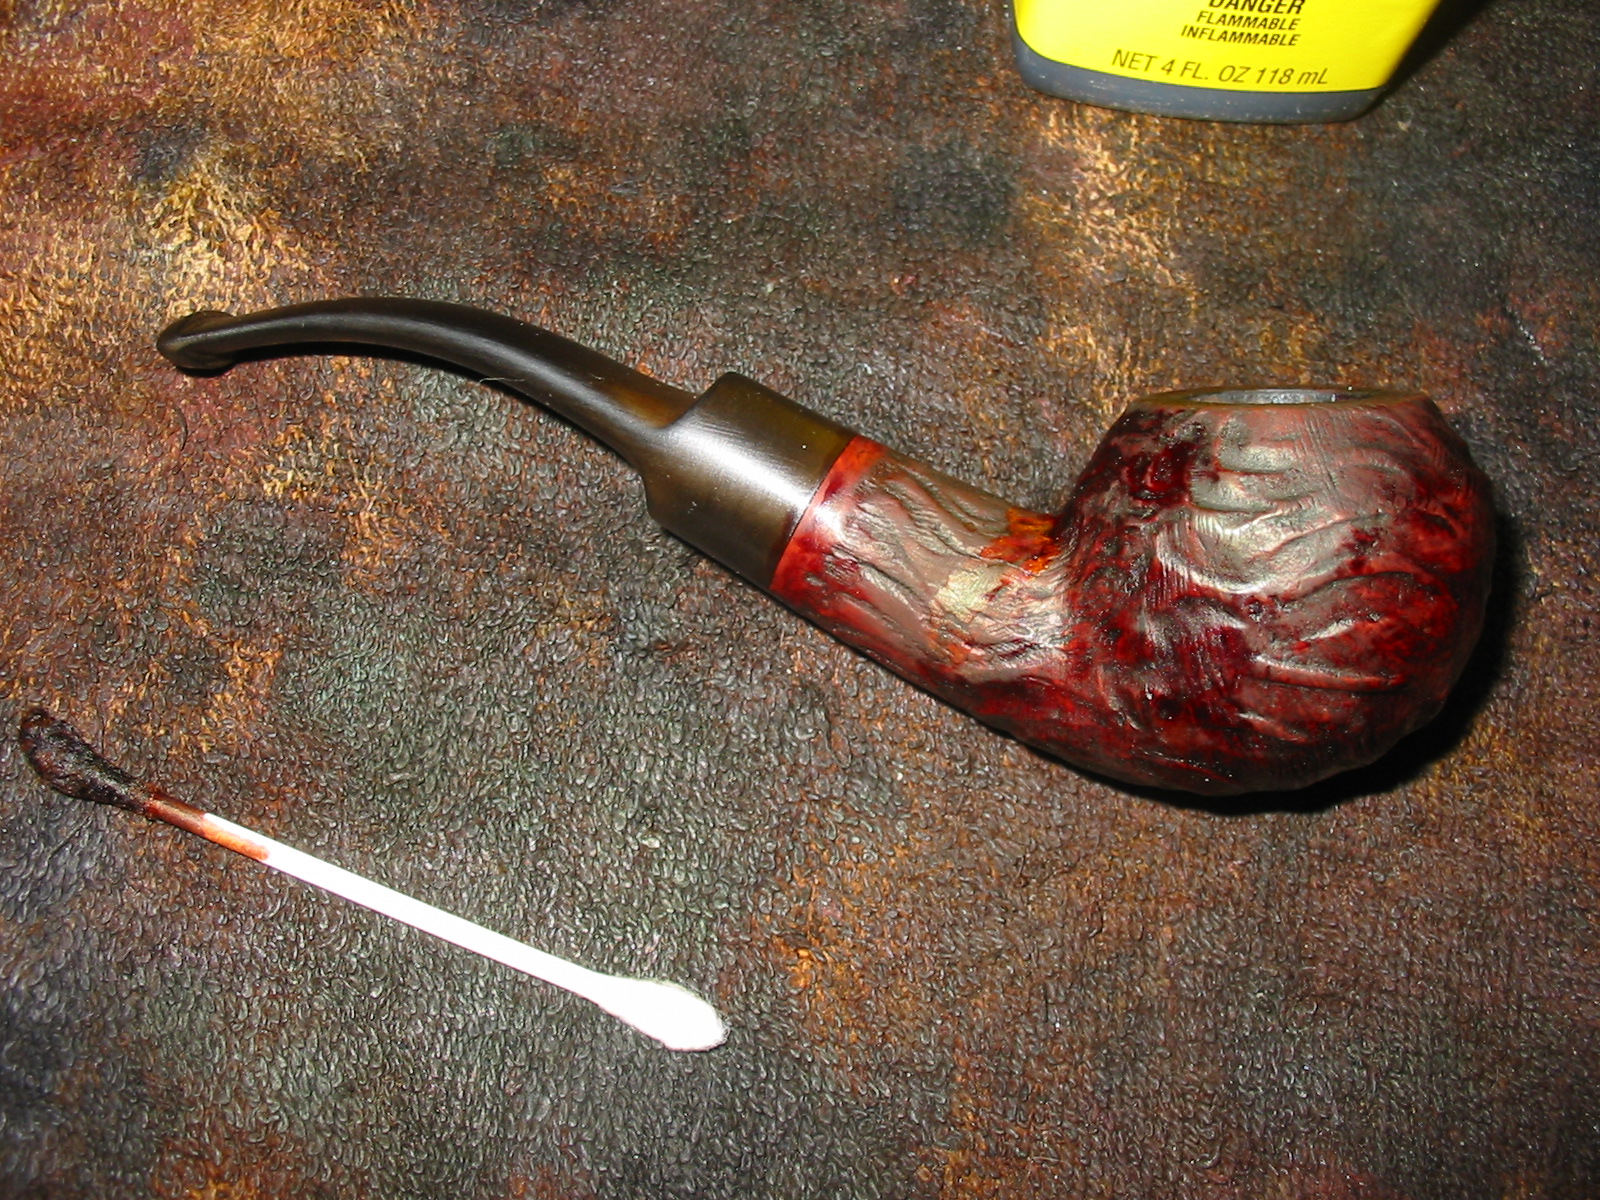
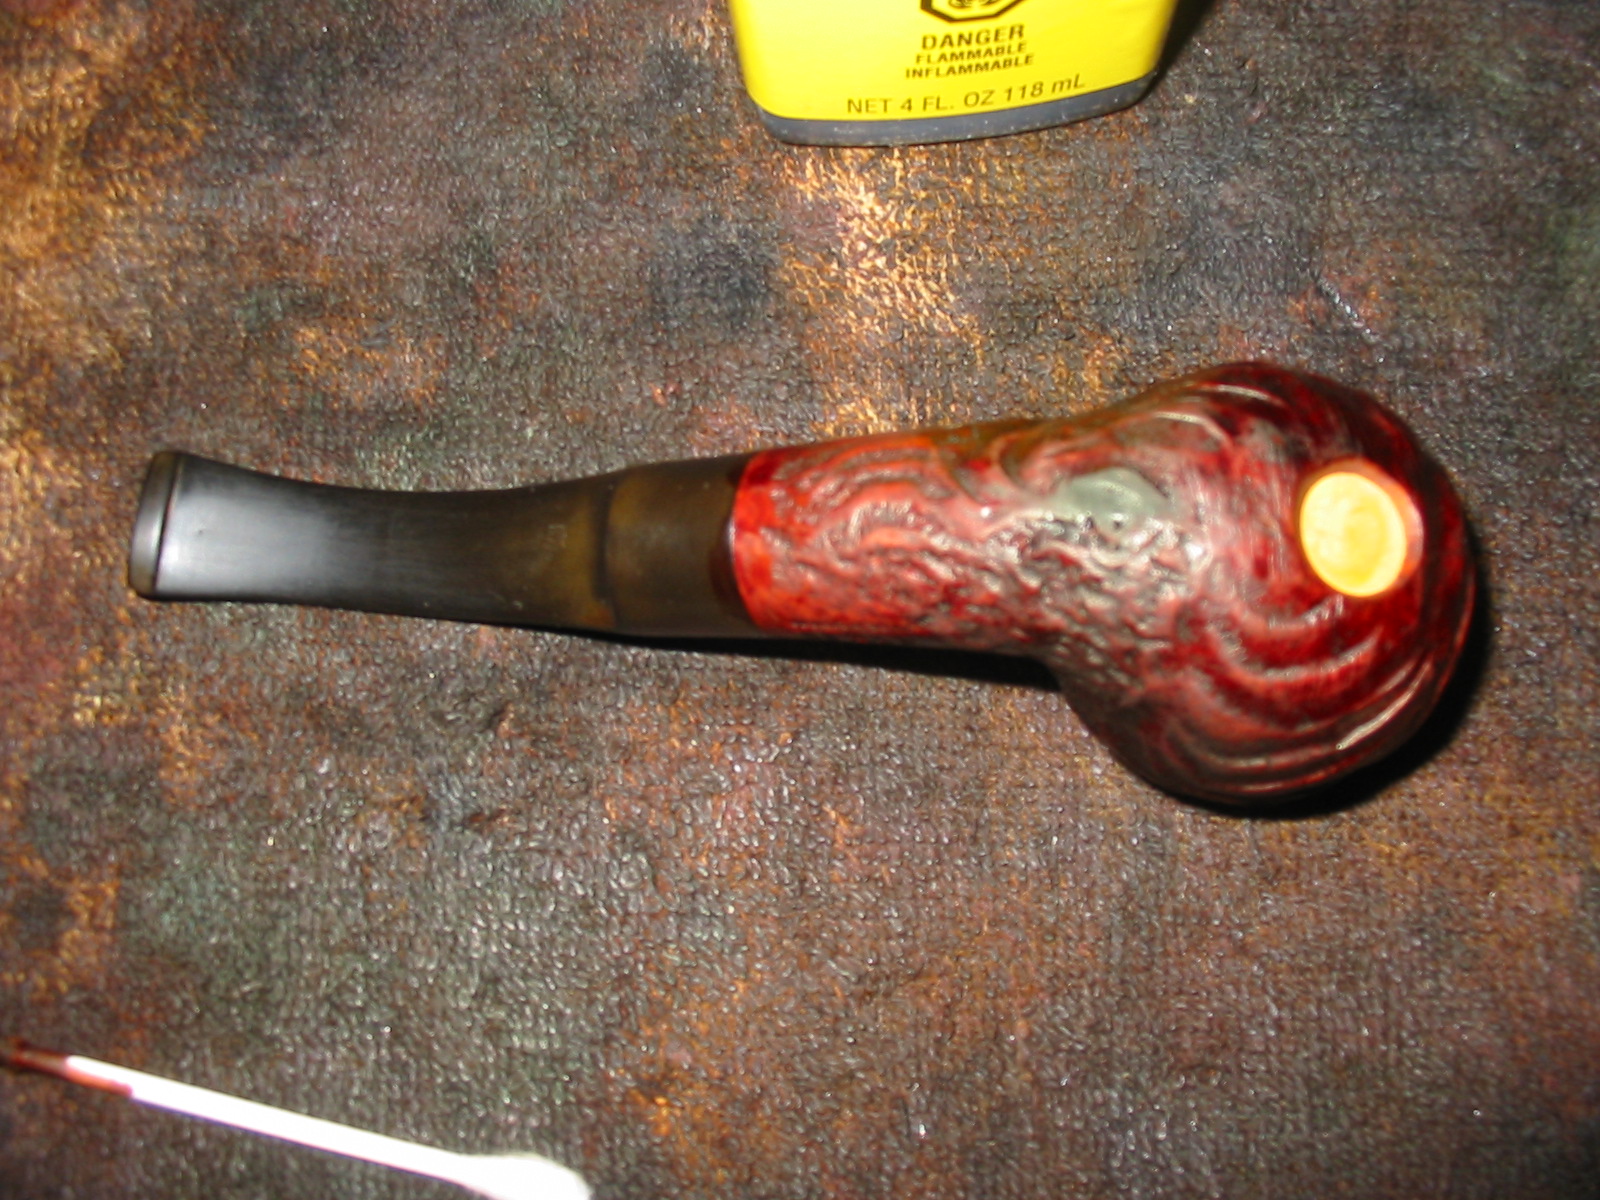
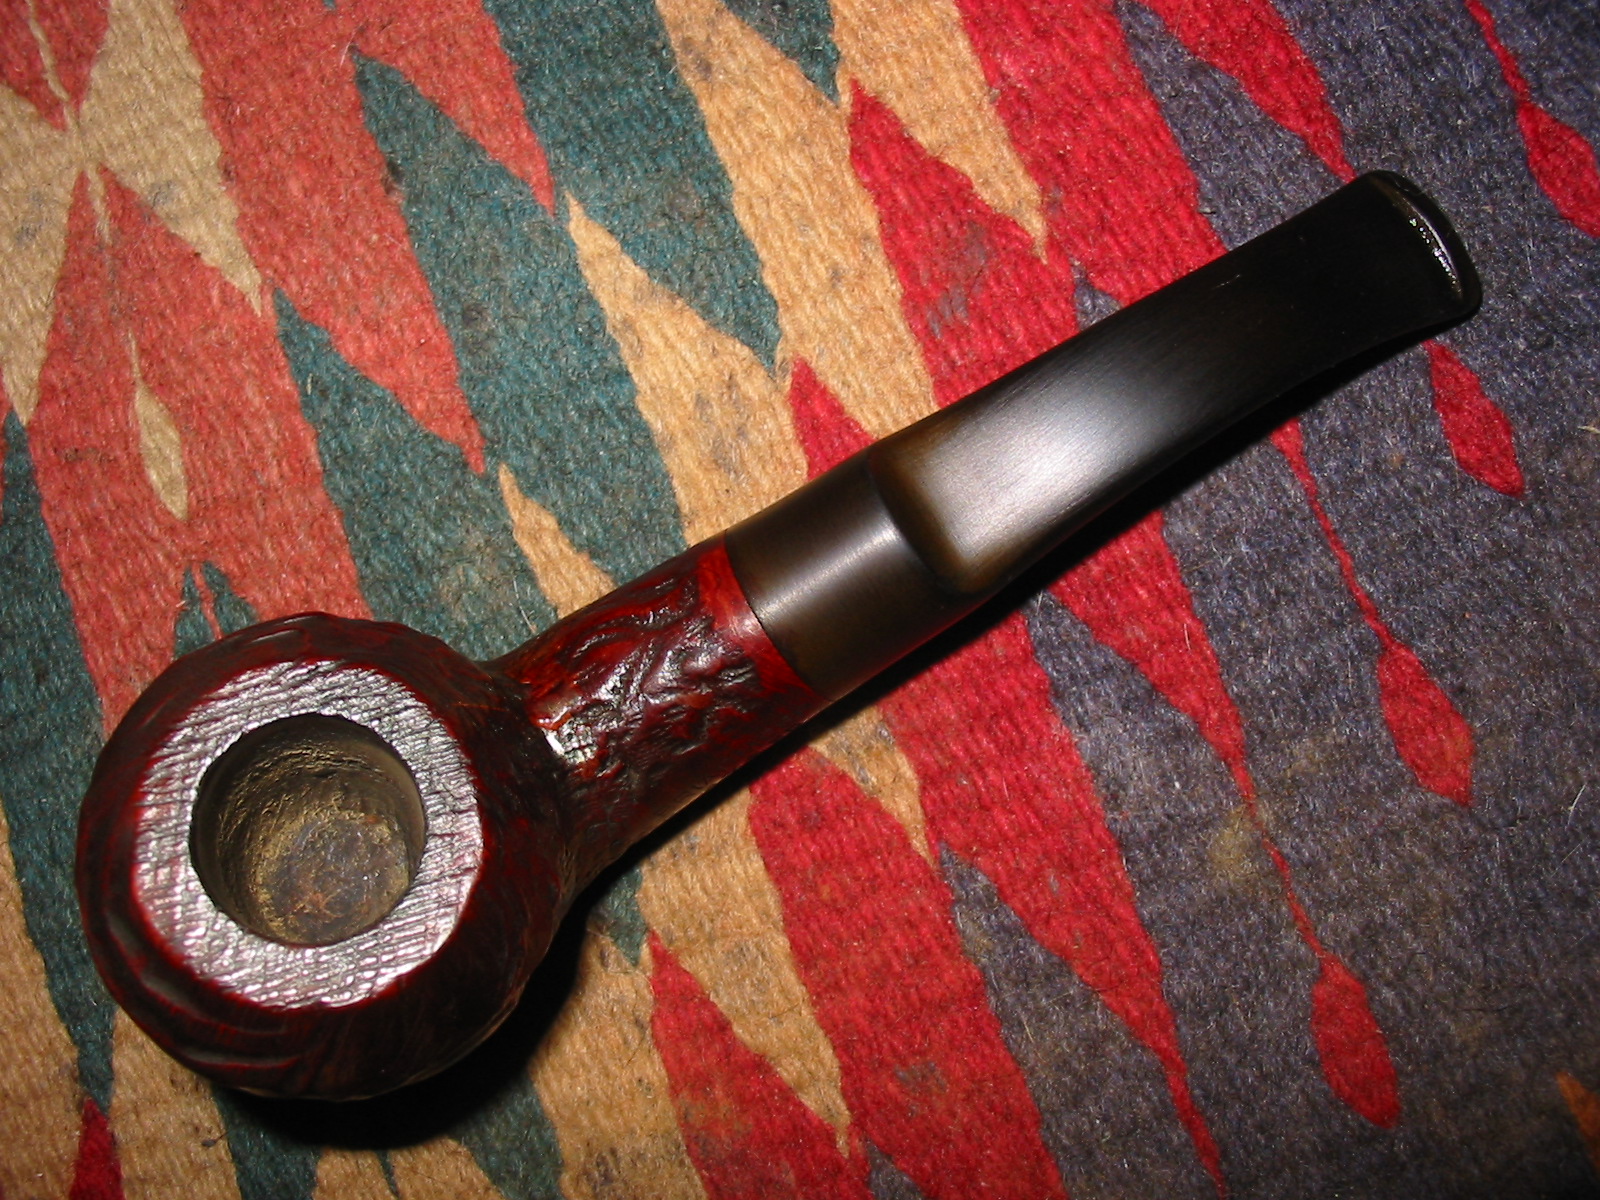
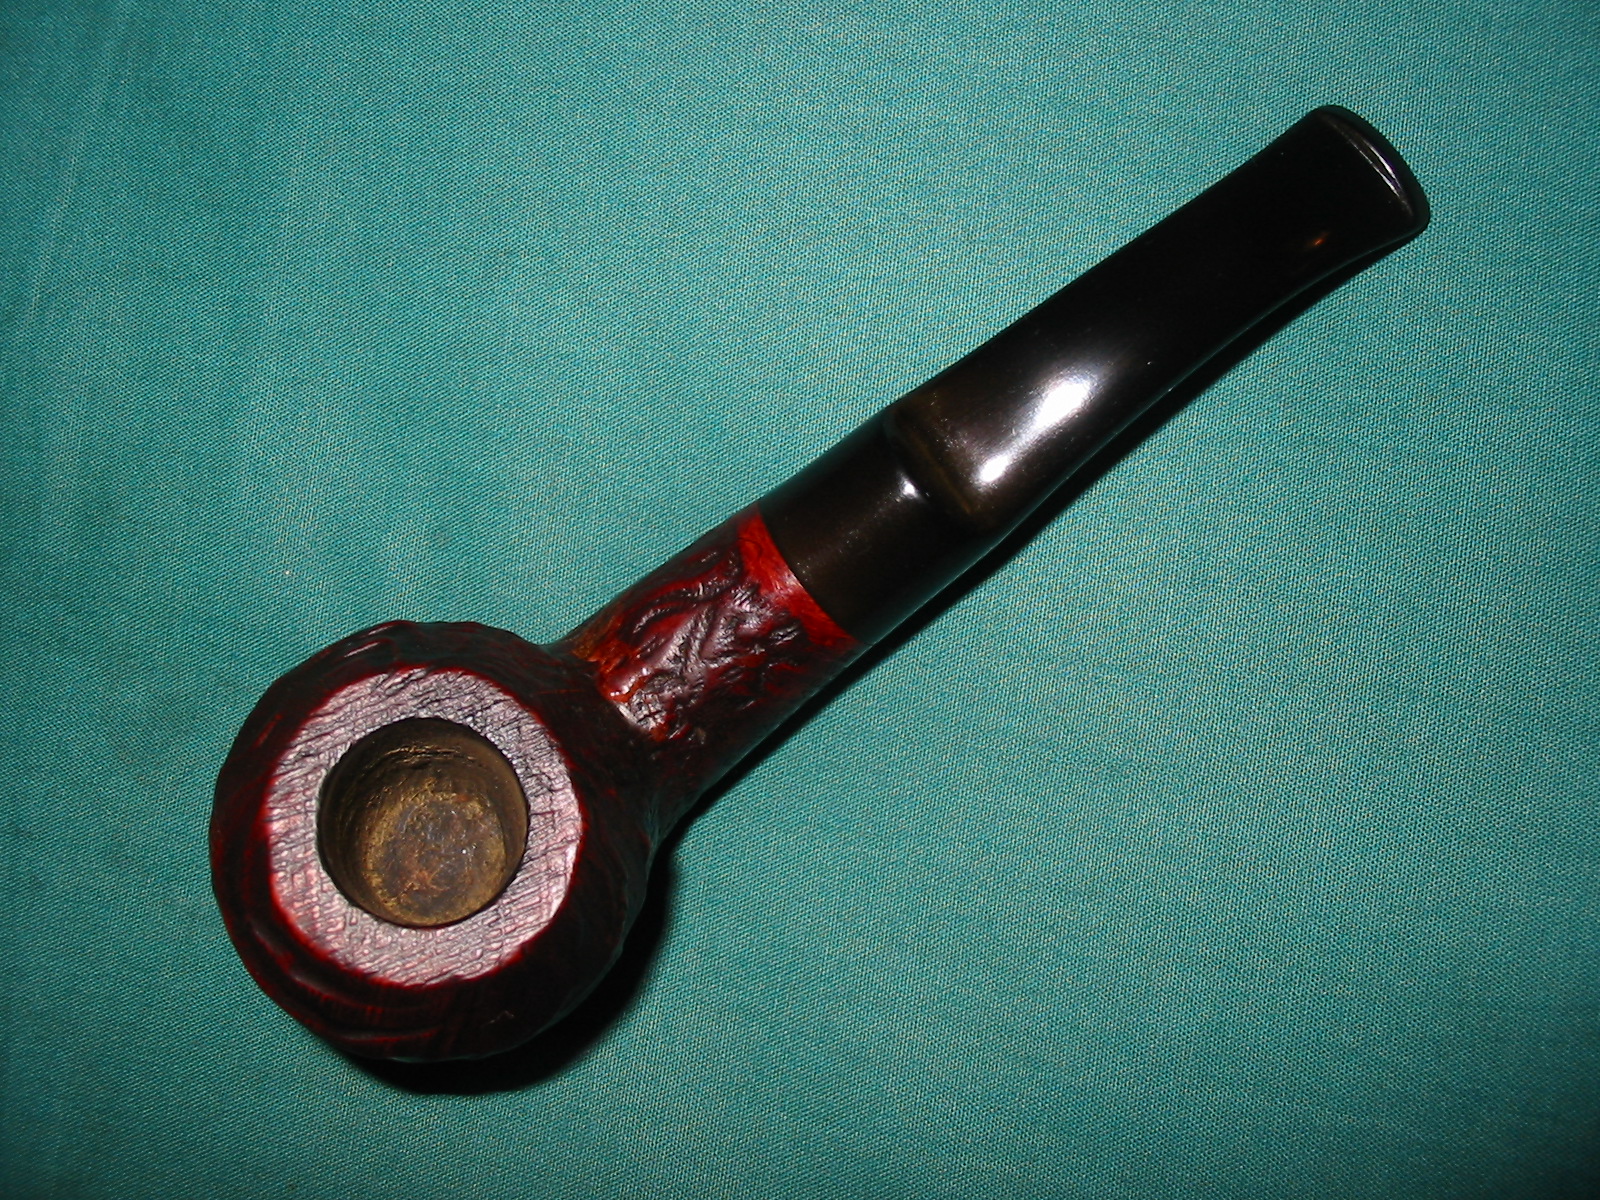
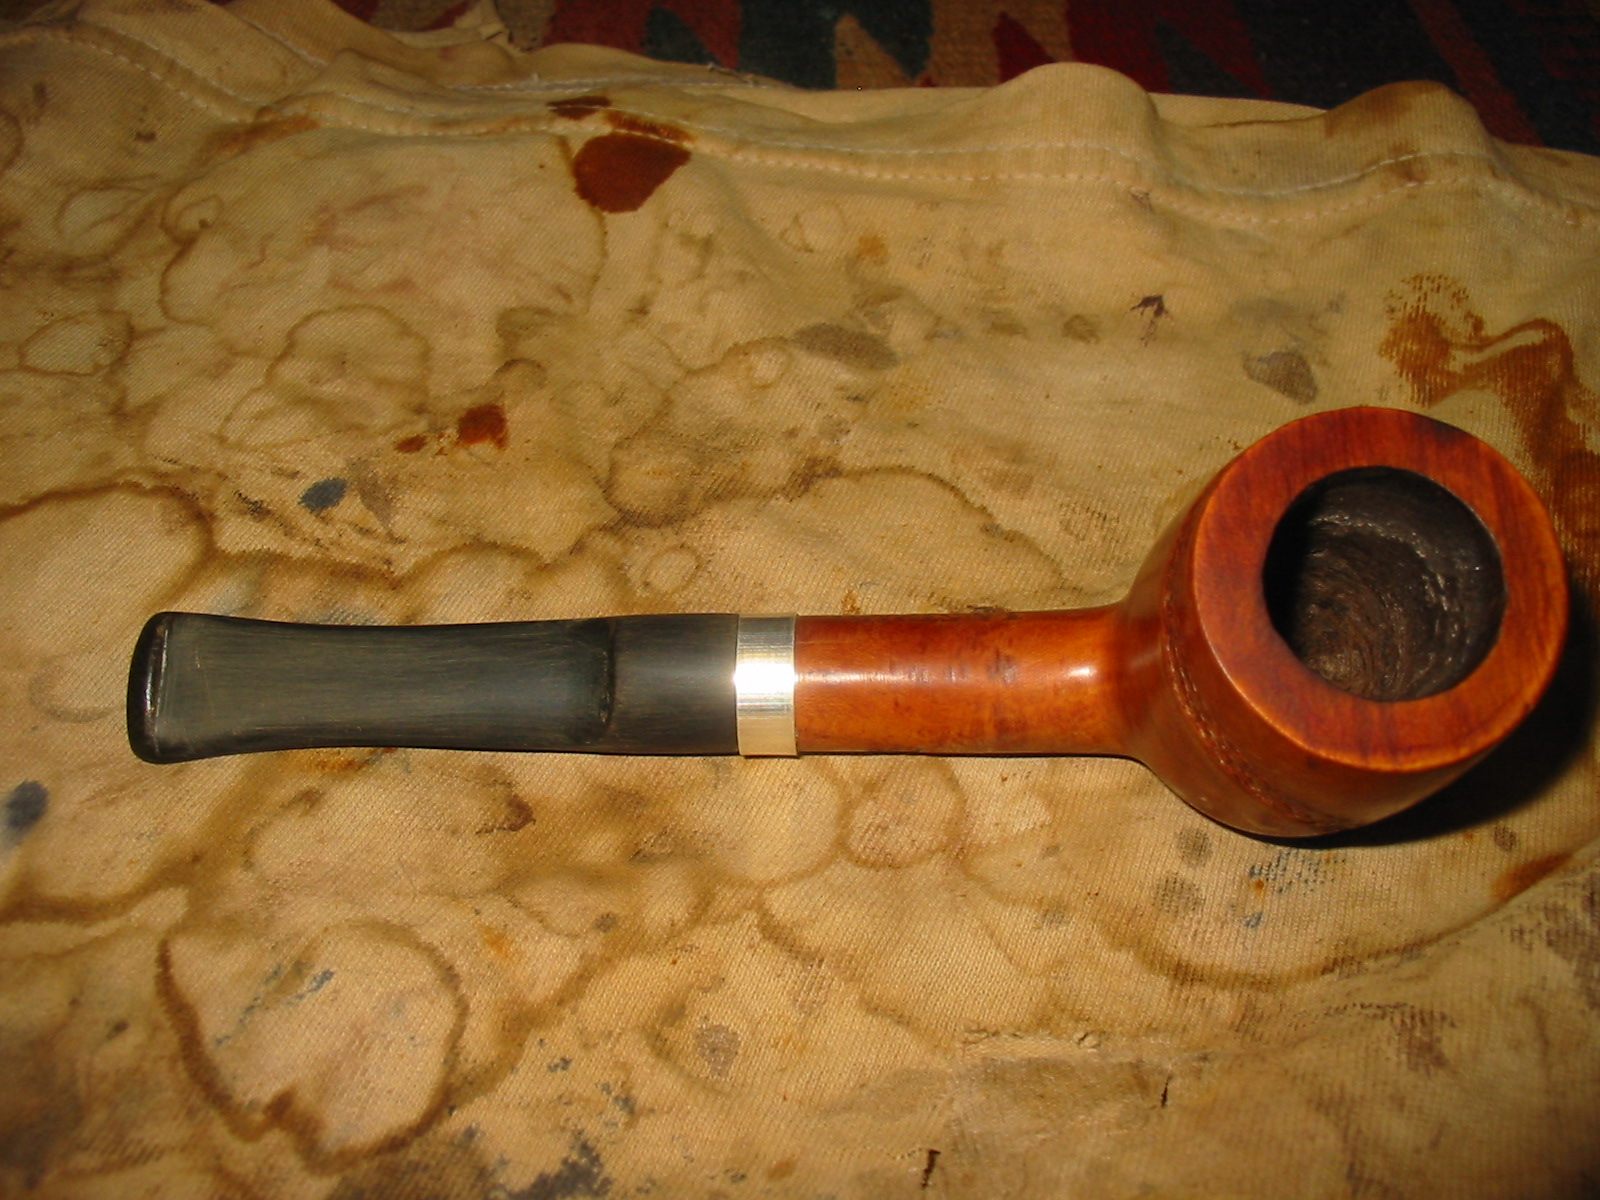
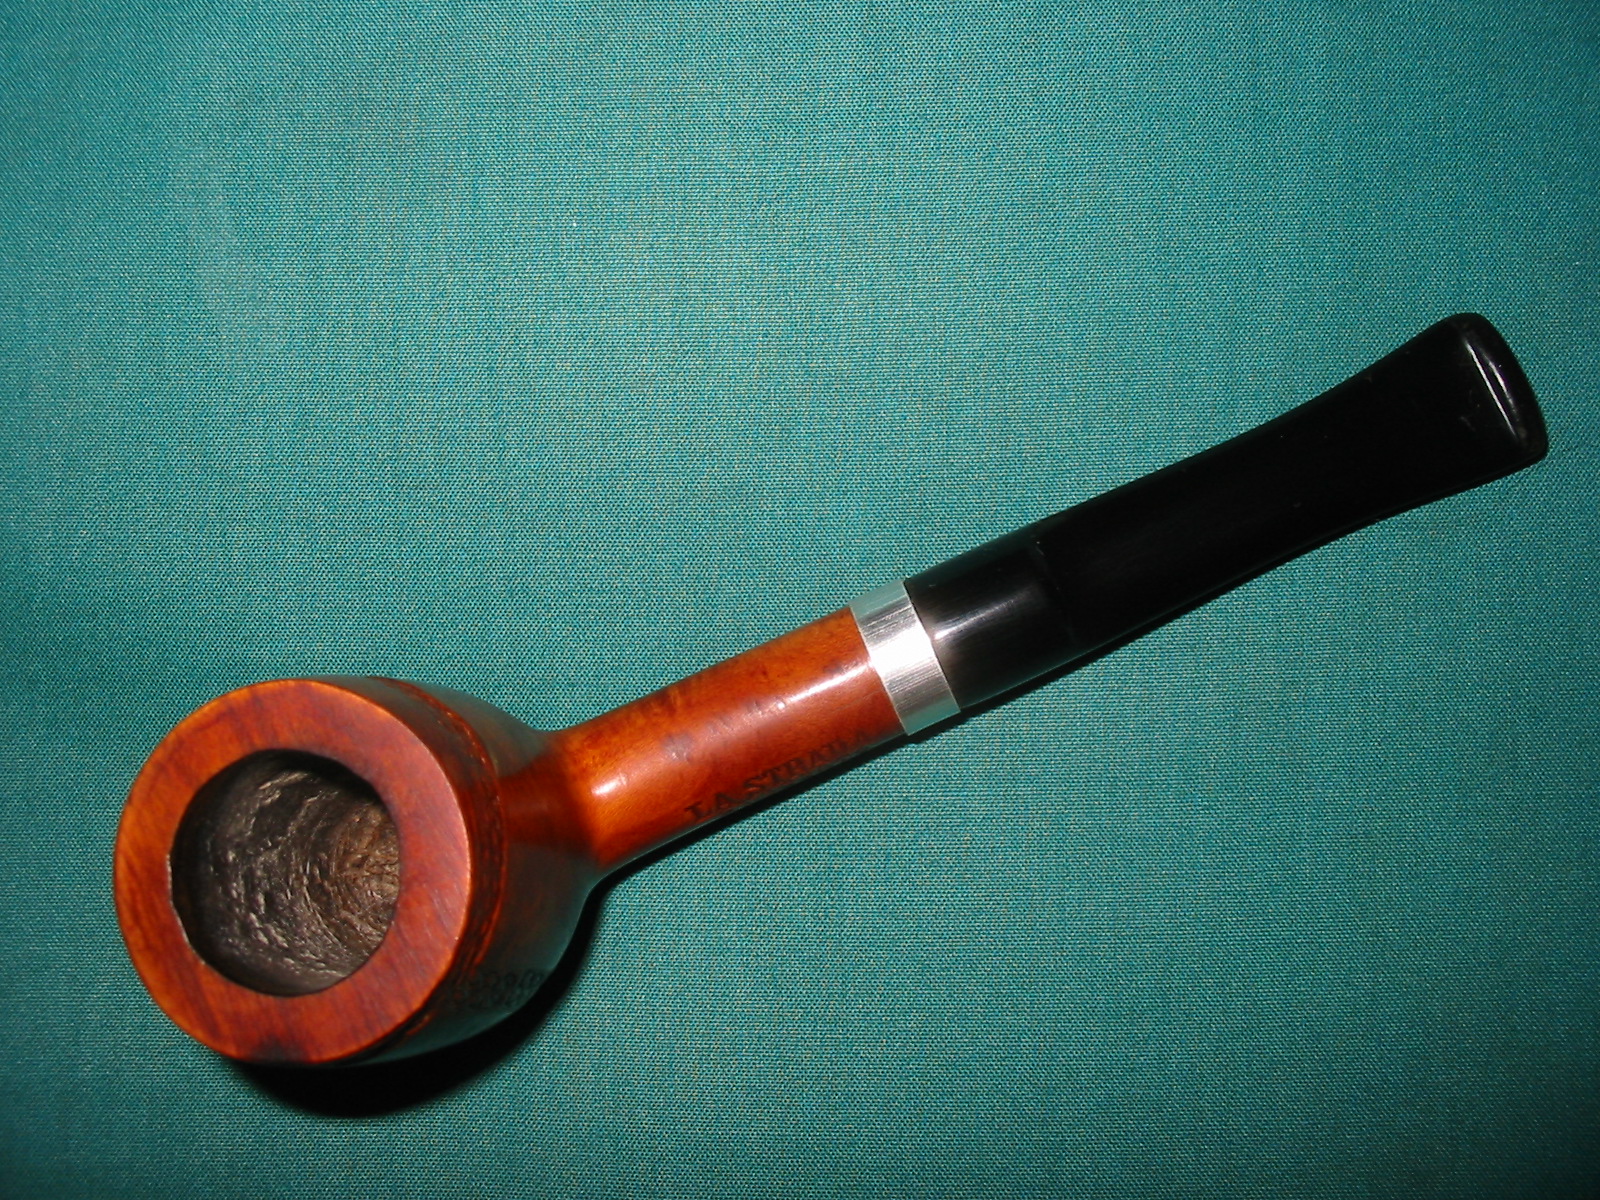
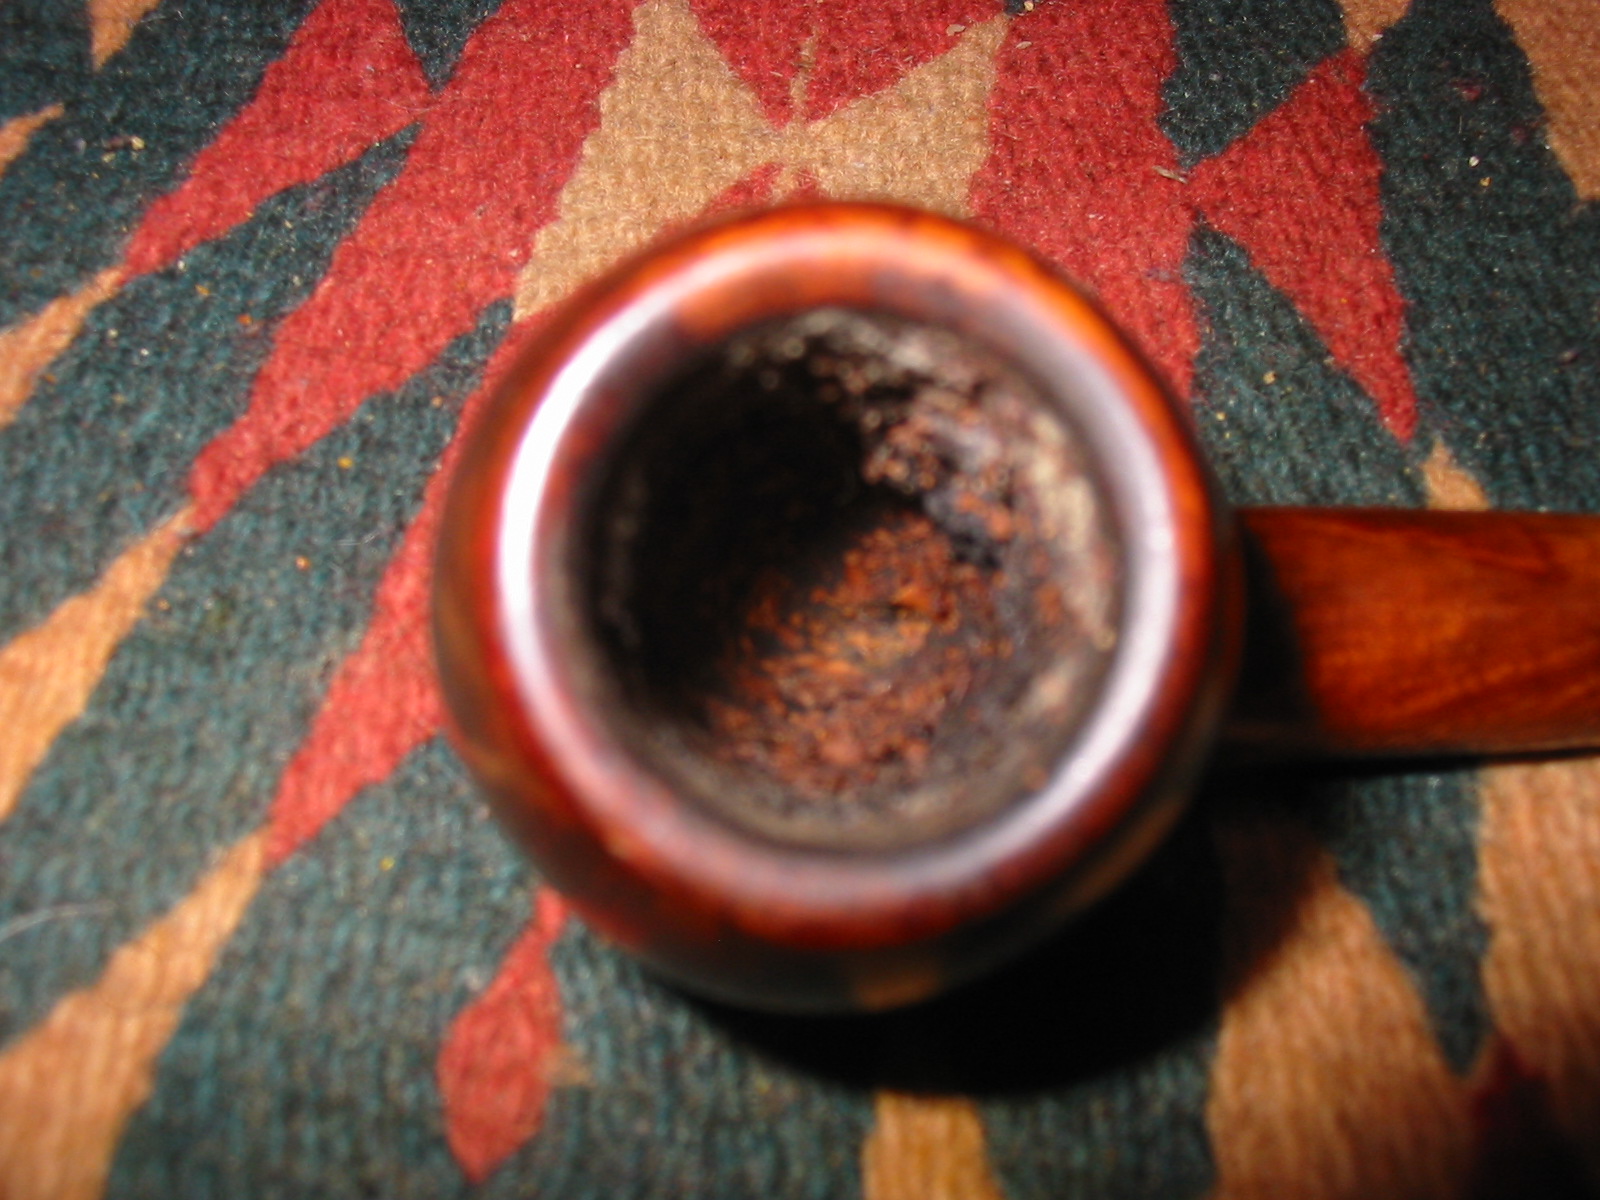
Armed with that information I went to work on the pipe to clean it up and refurbish it. The apple shape is one of my favourites so this was going to be a pipe that I would enjoy. I worked on the inside of the bowl and shank. The first photo below shows the condition of the bowl interior before reaming. The second photo shows the reaming process with a PipNet reamer. Once I reamed the bowl I scrubbed out the stain in the shank and the leftovers in the bowl with pipe cleaners, cotton swabs and isopropyl alcohol.
IMG_6924

IMG_6928
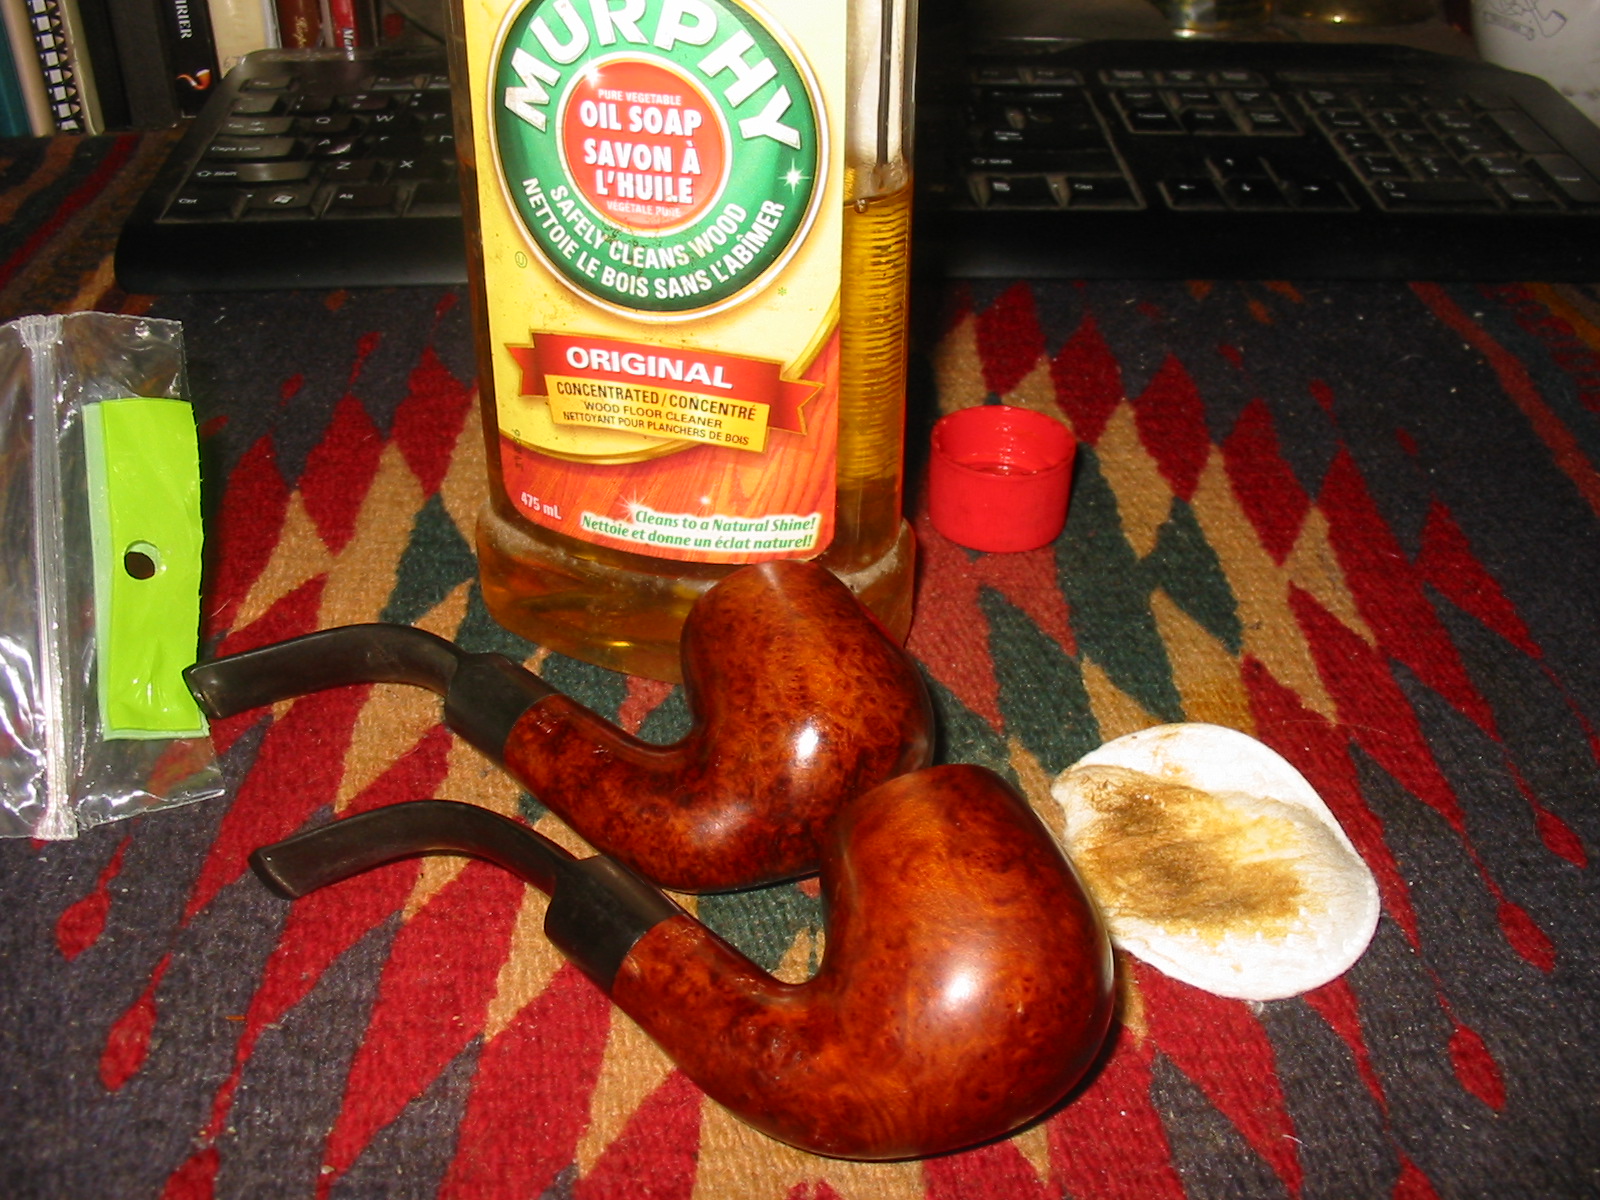
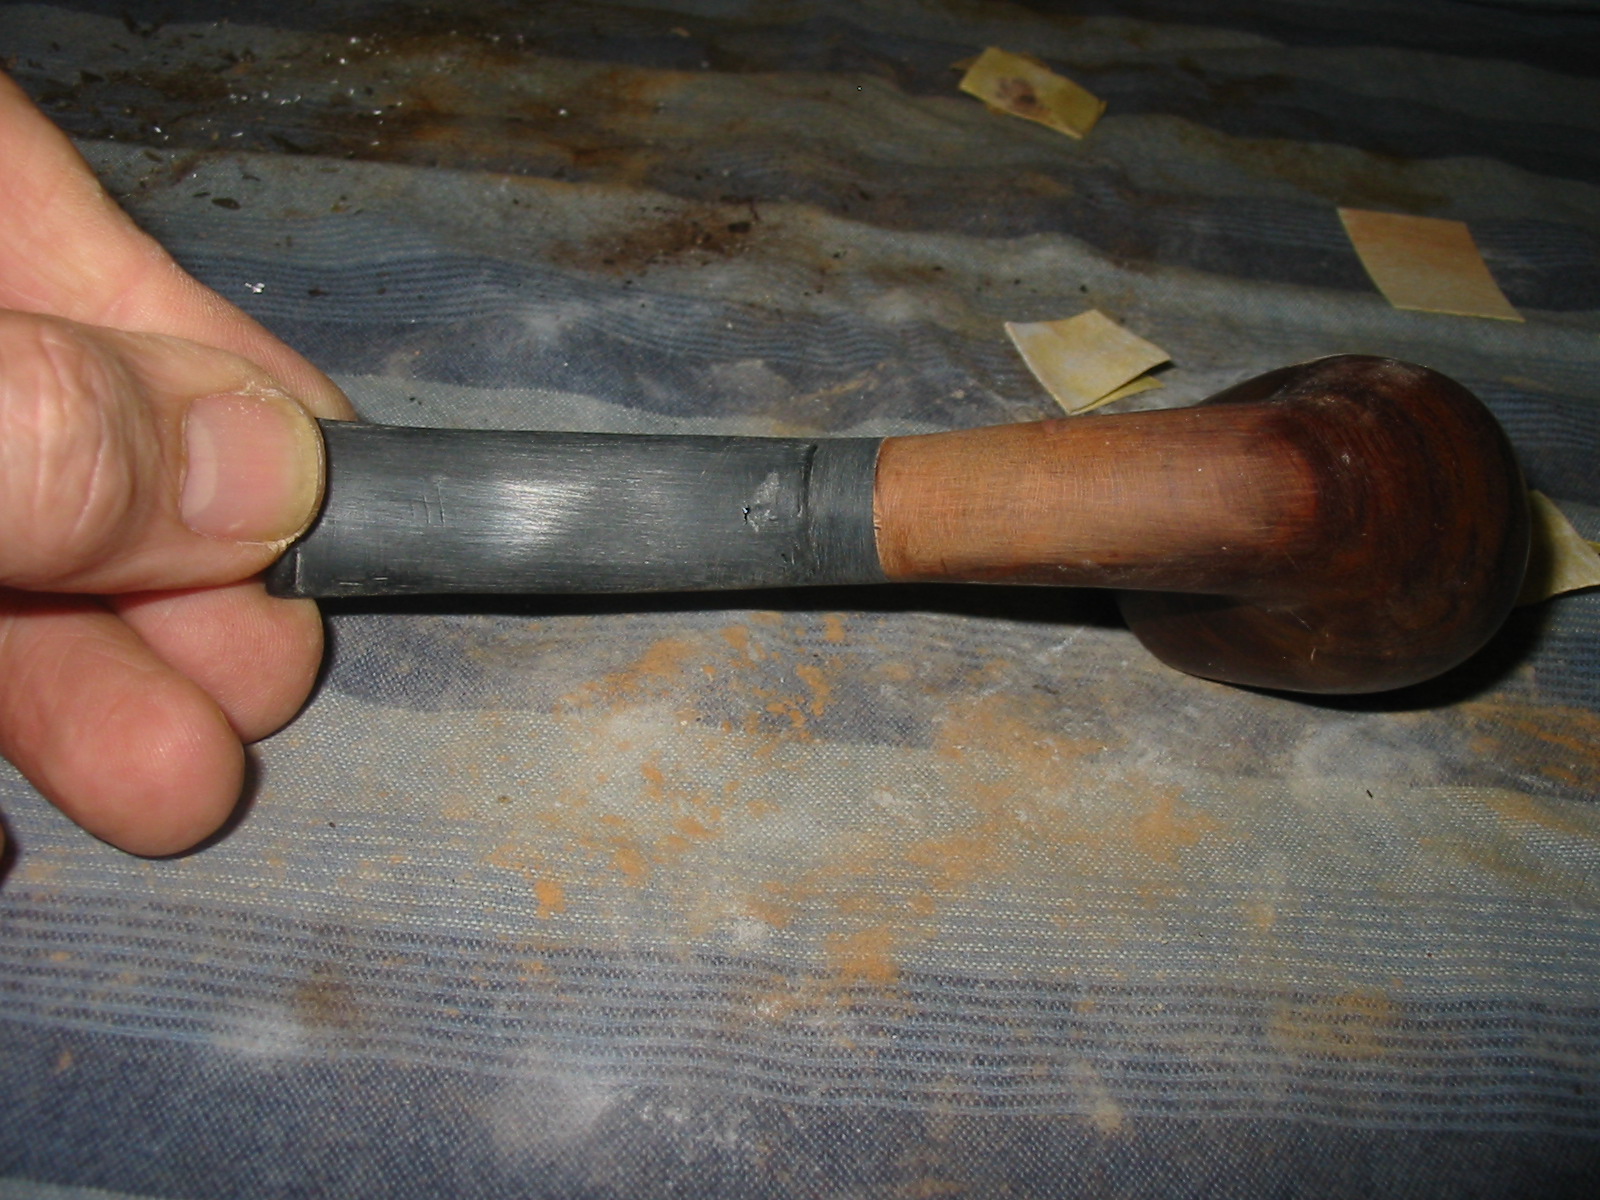
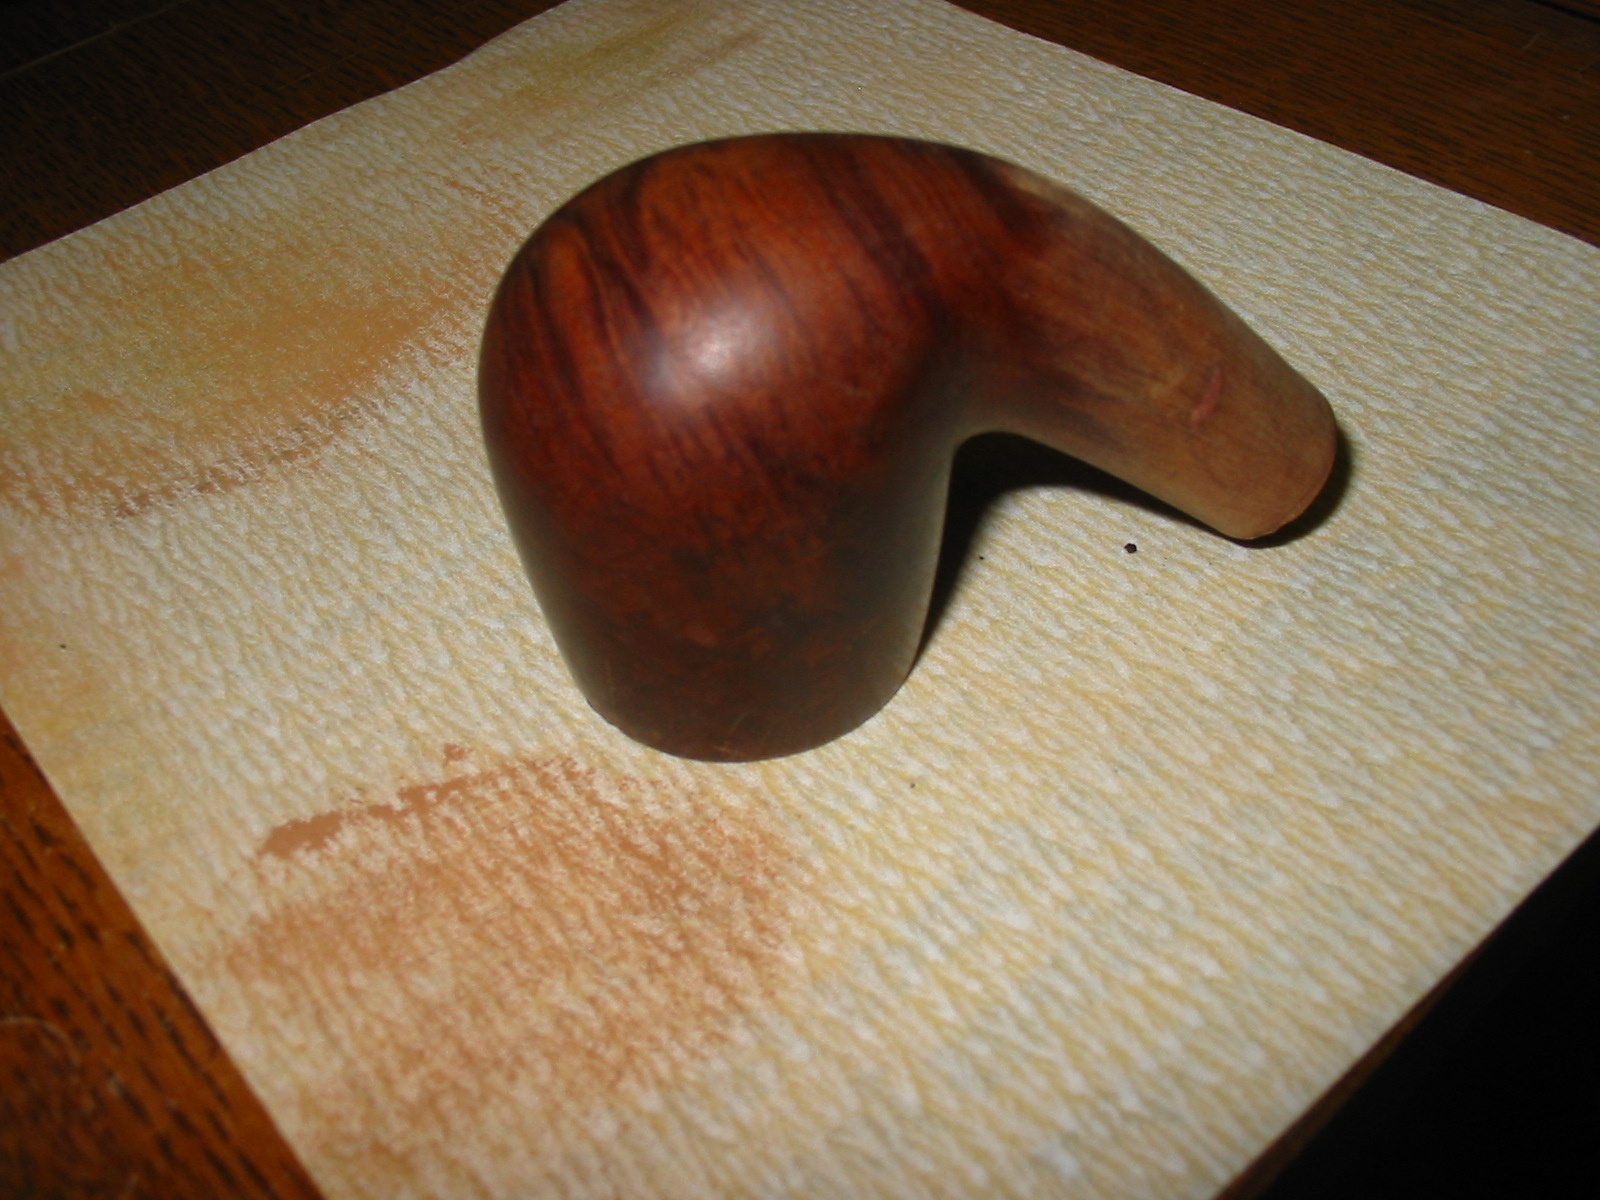
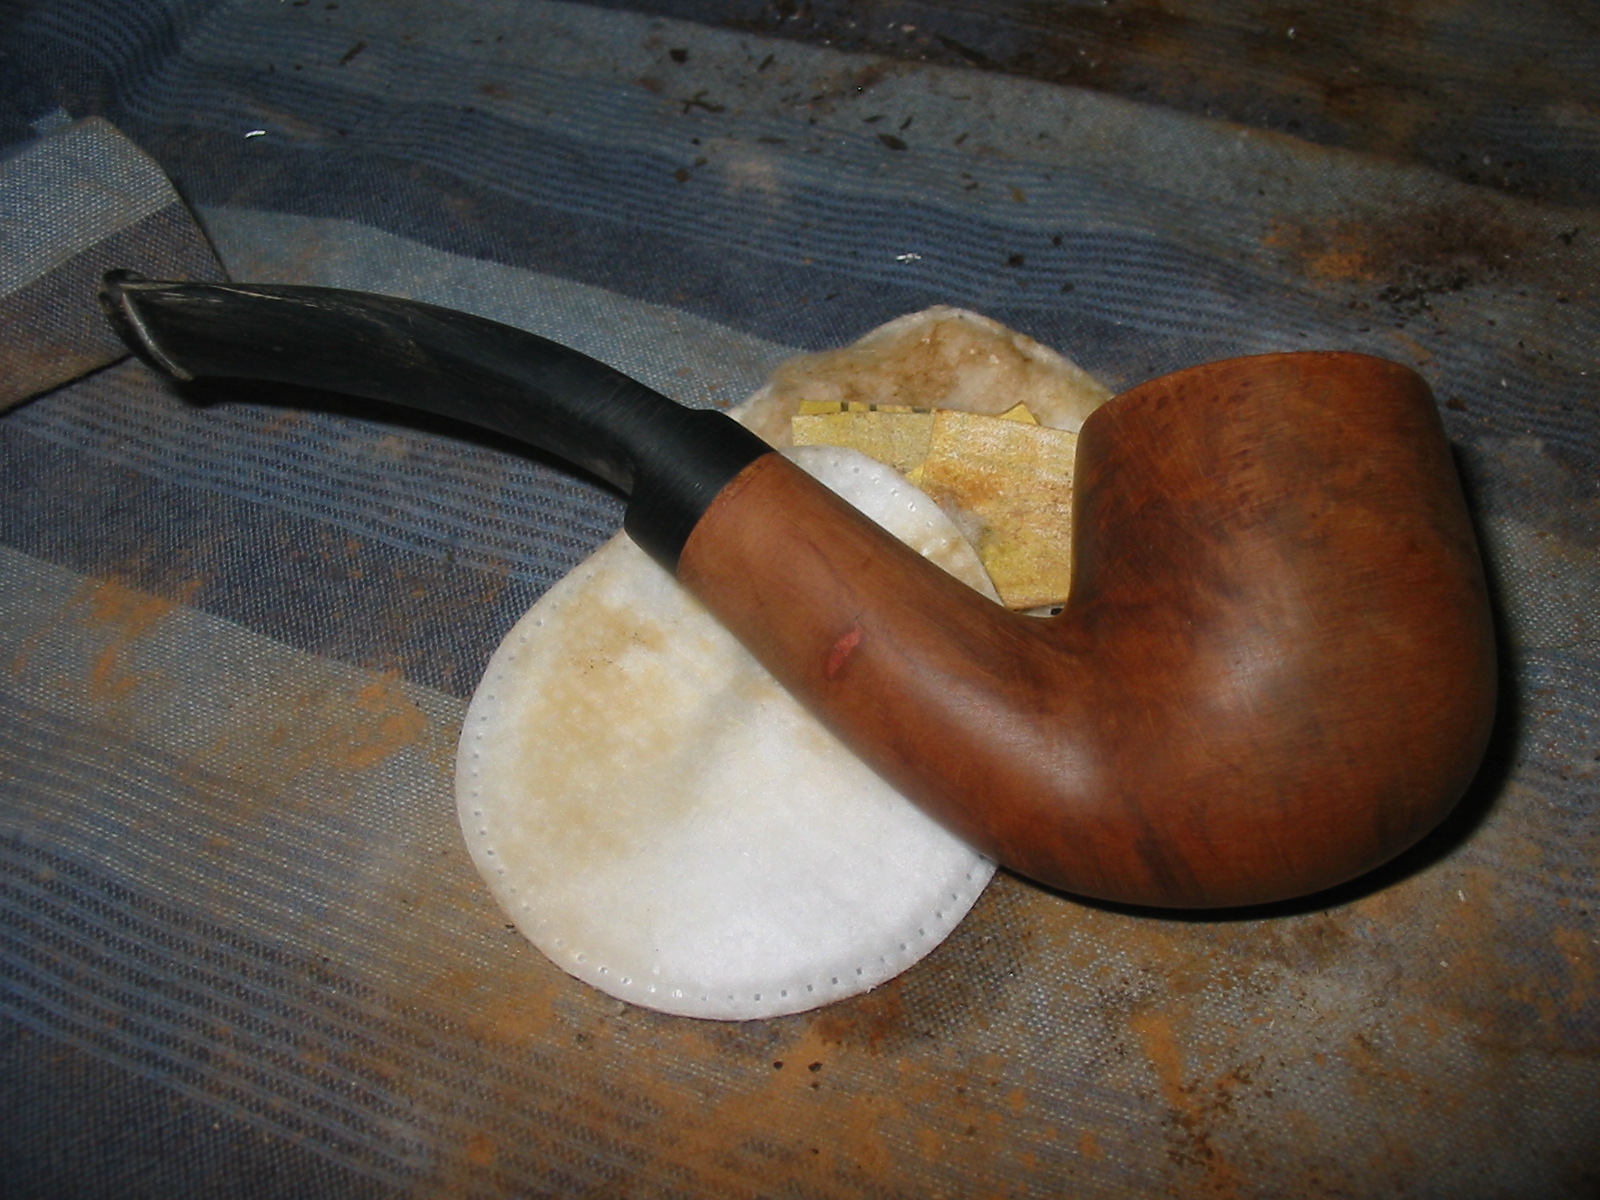
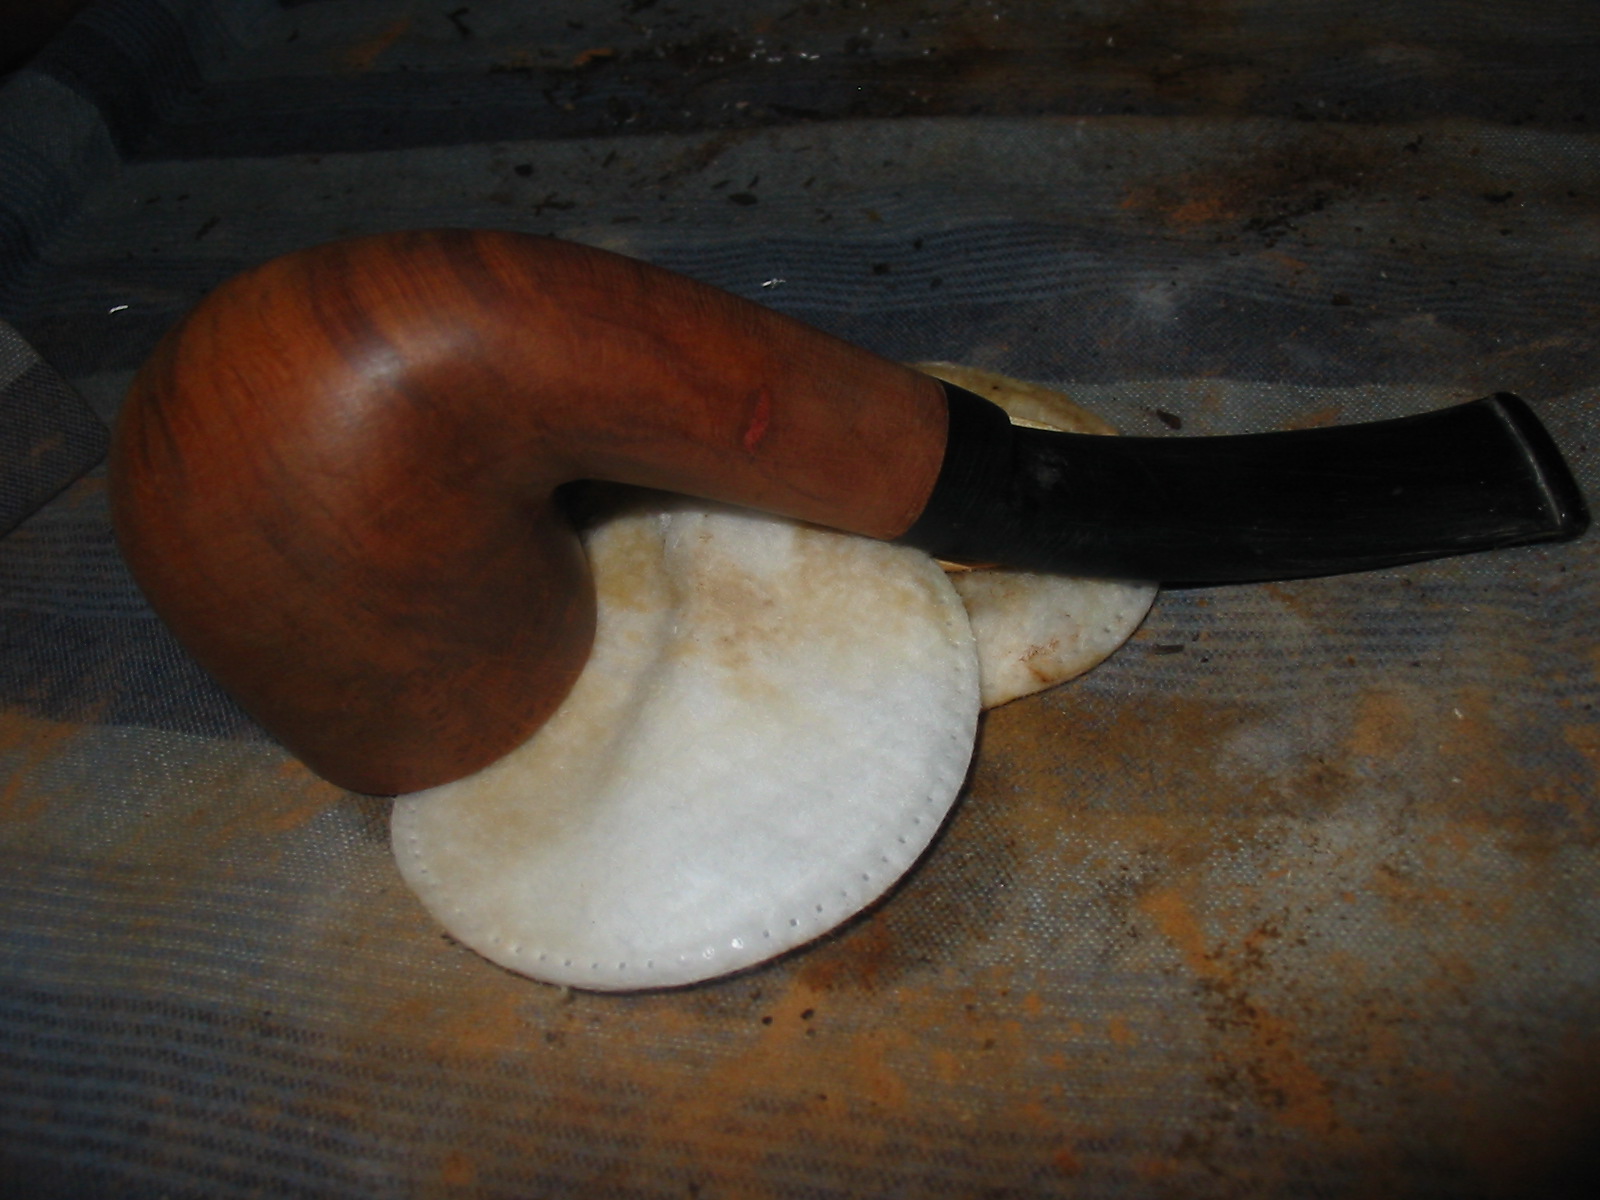
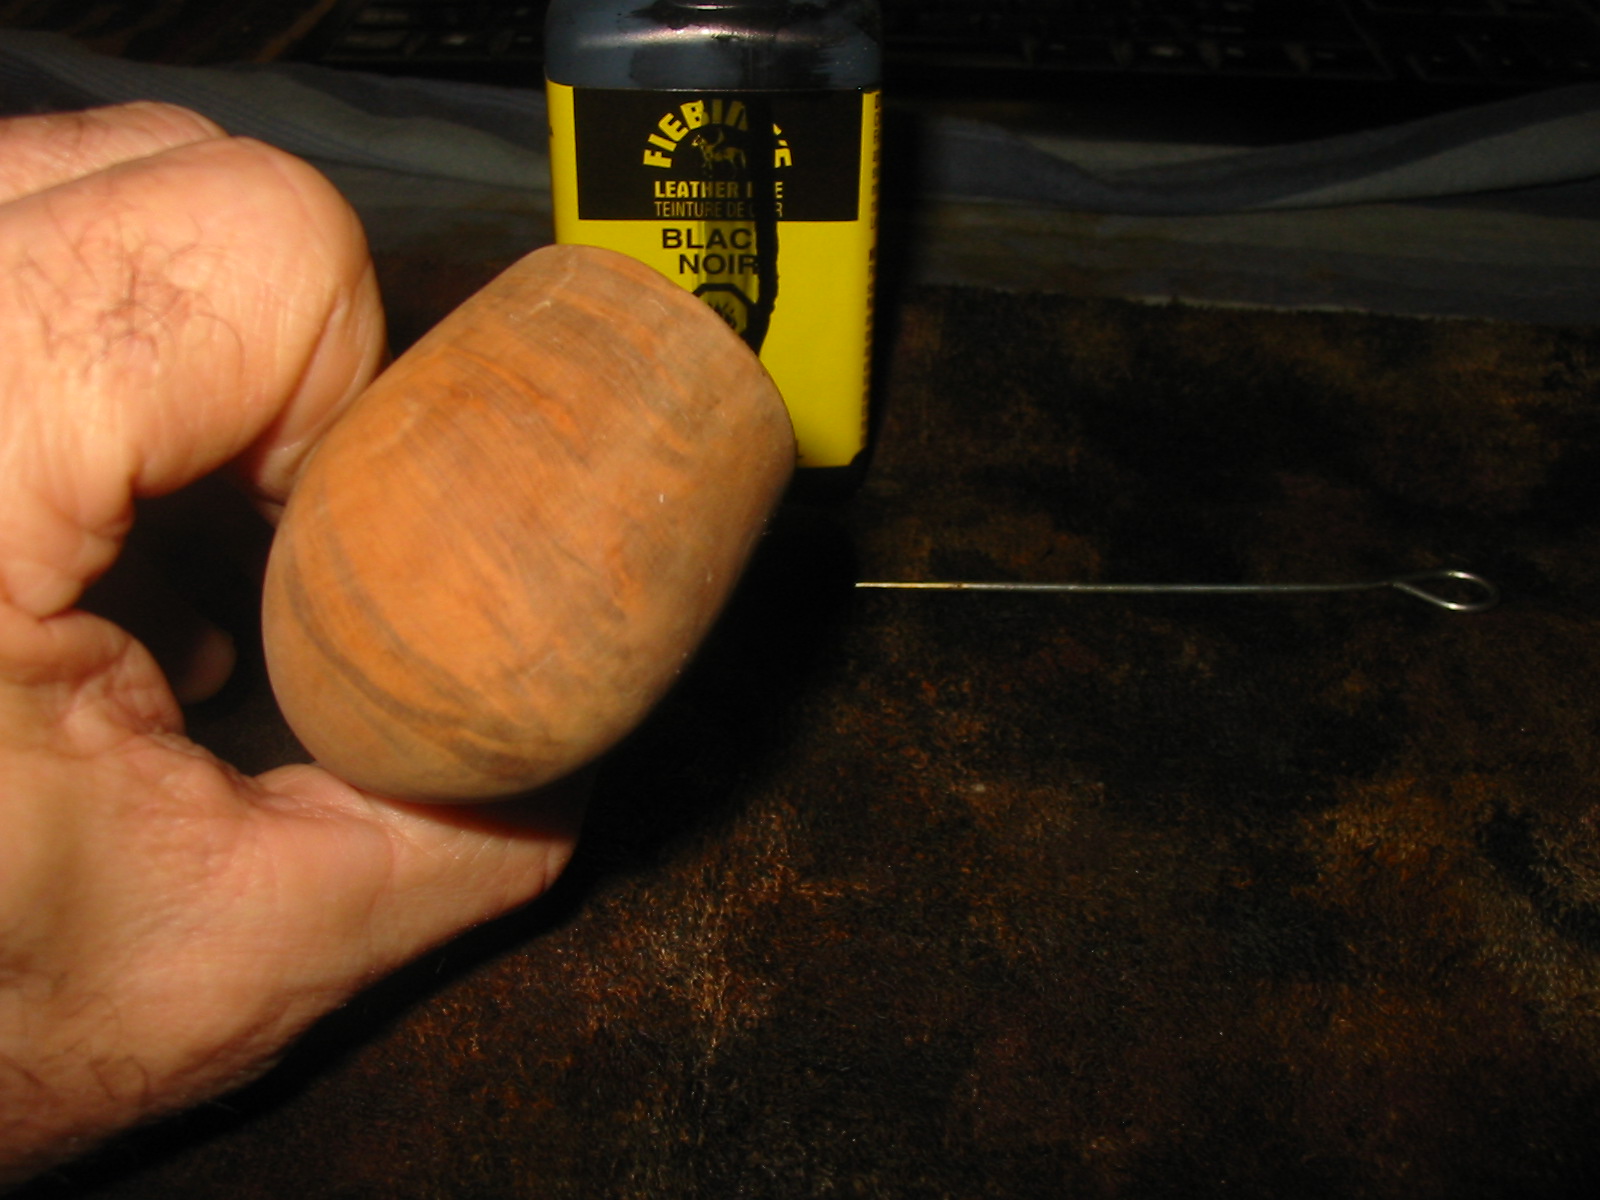
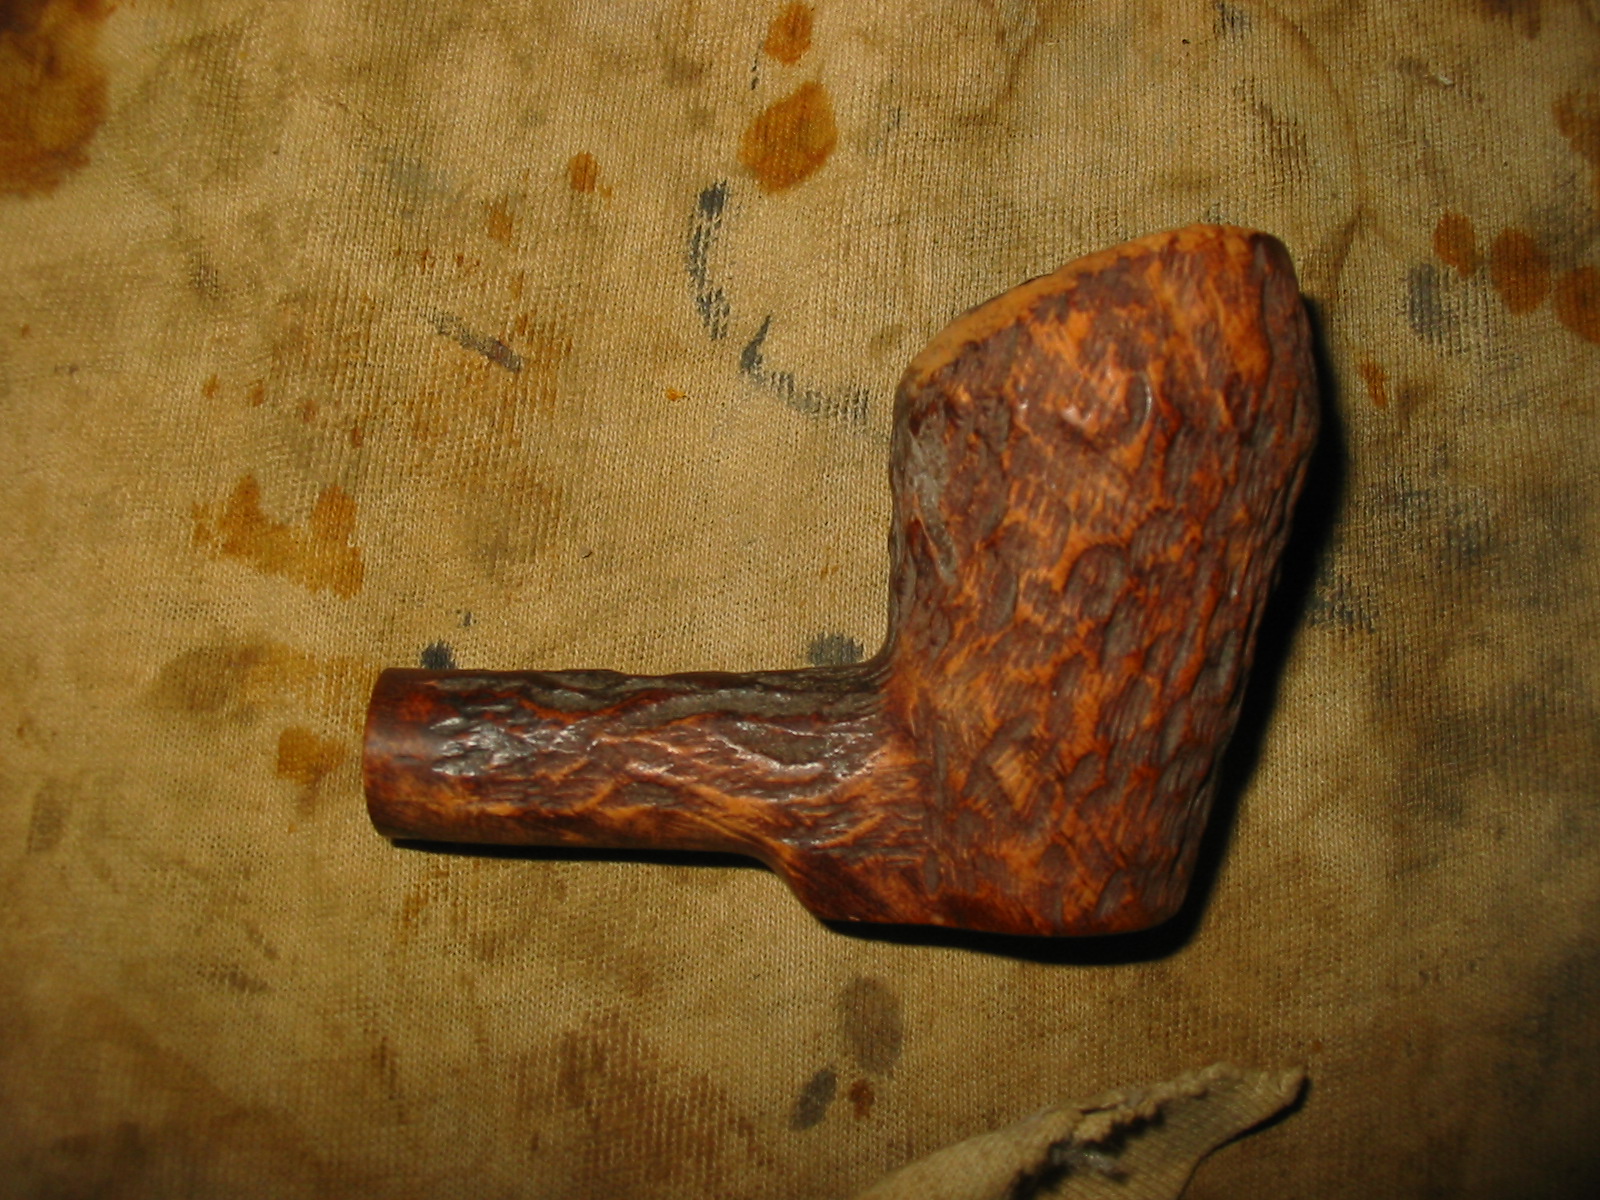
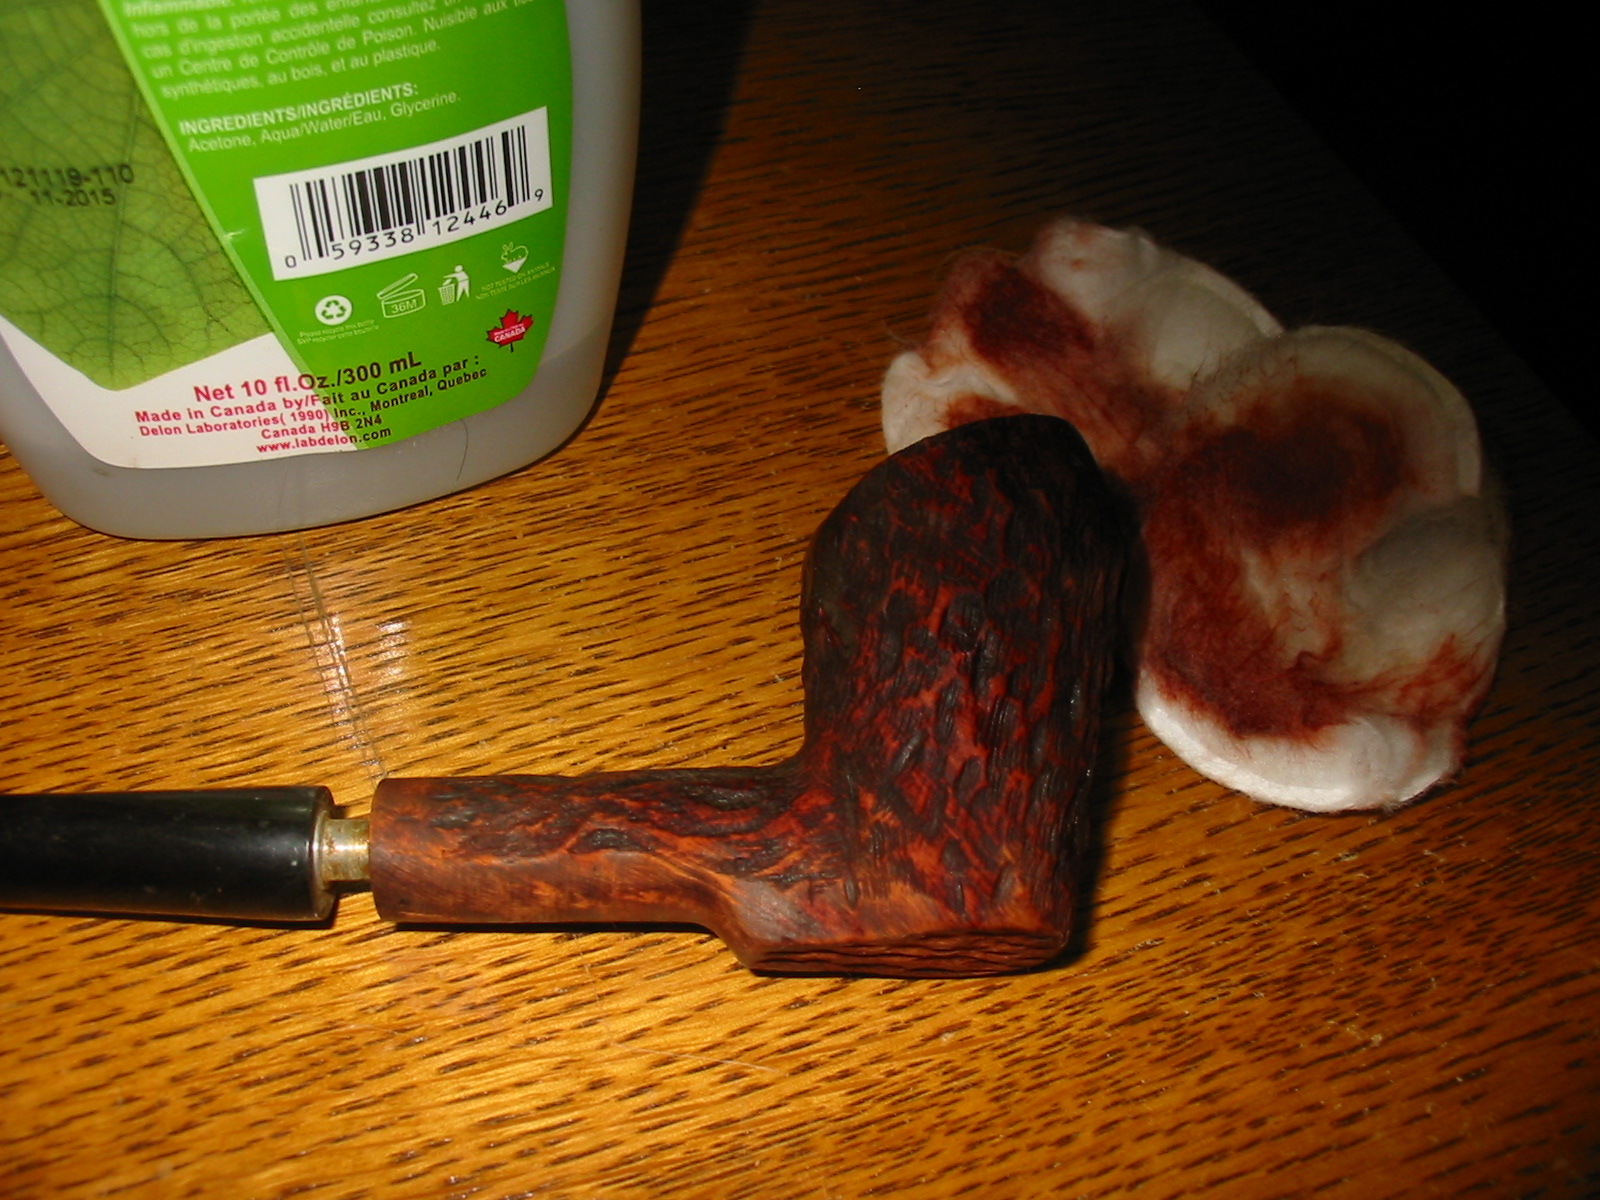
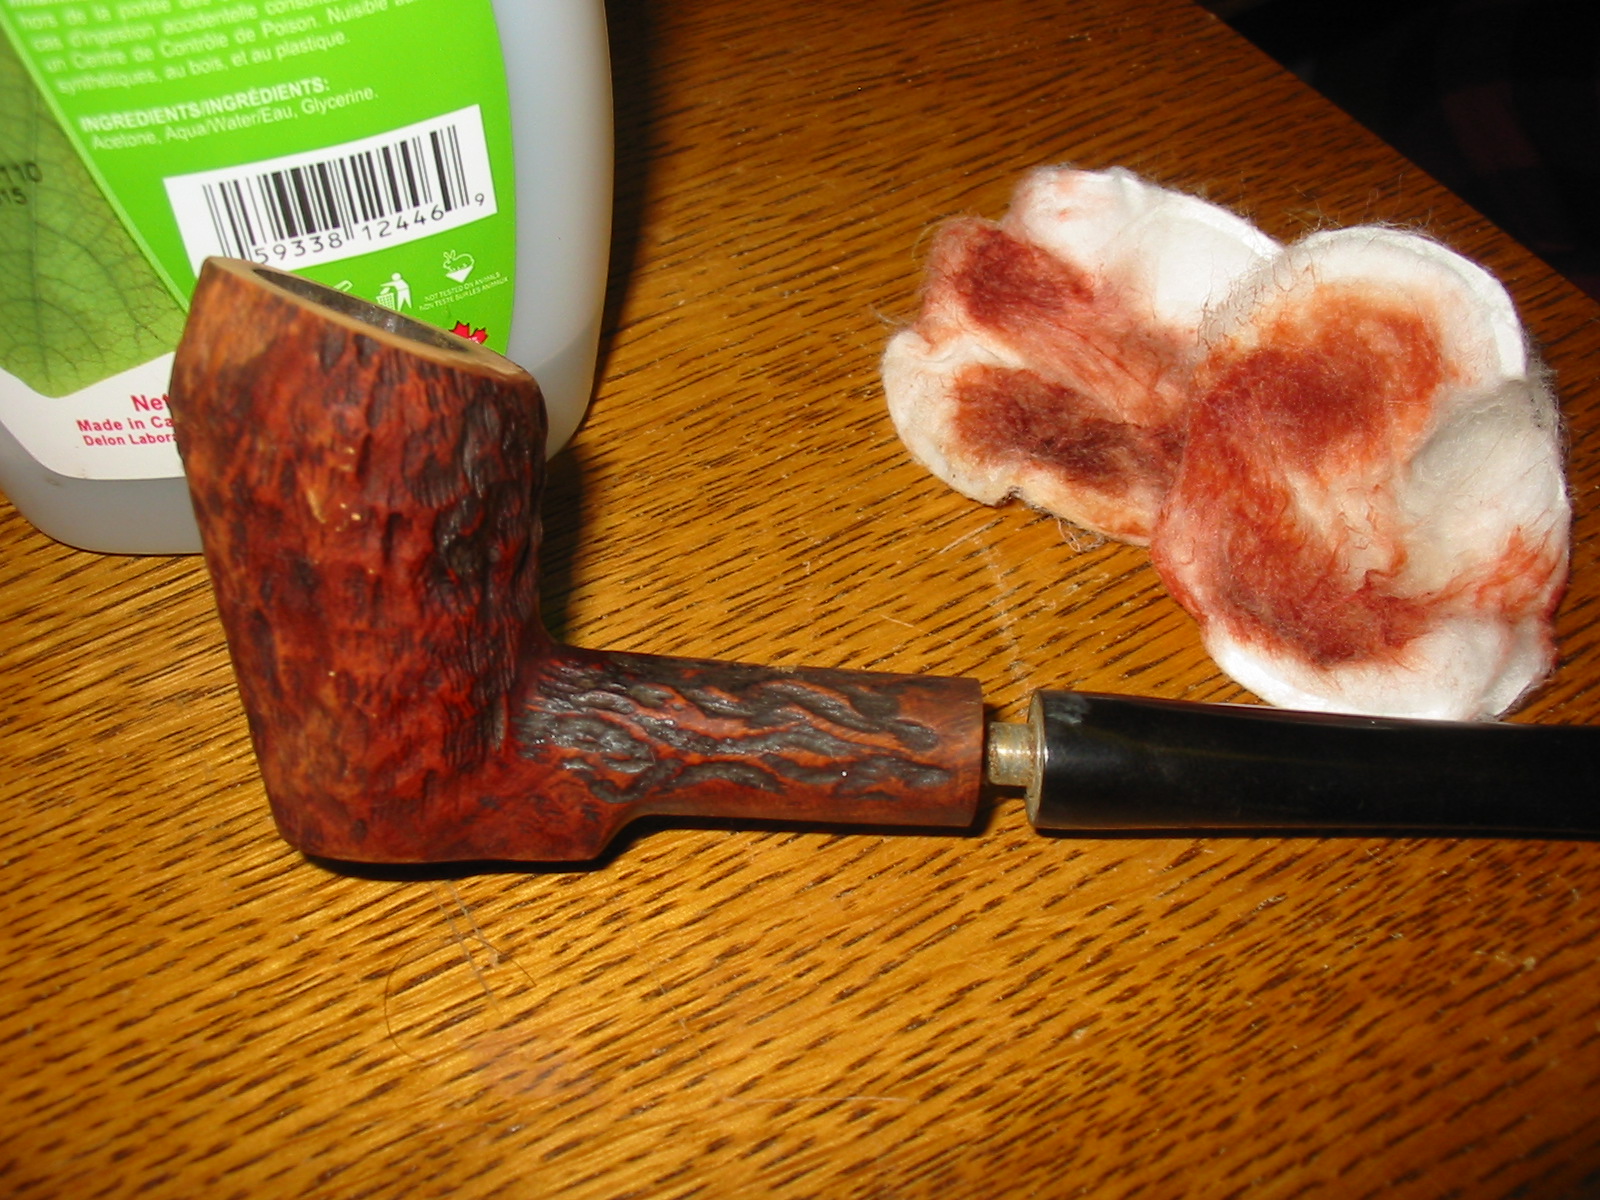
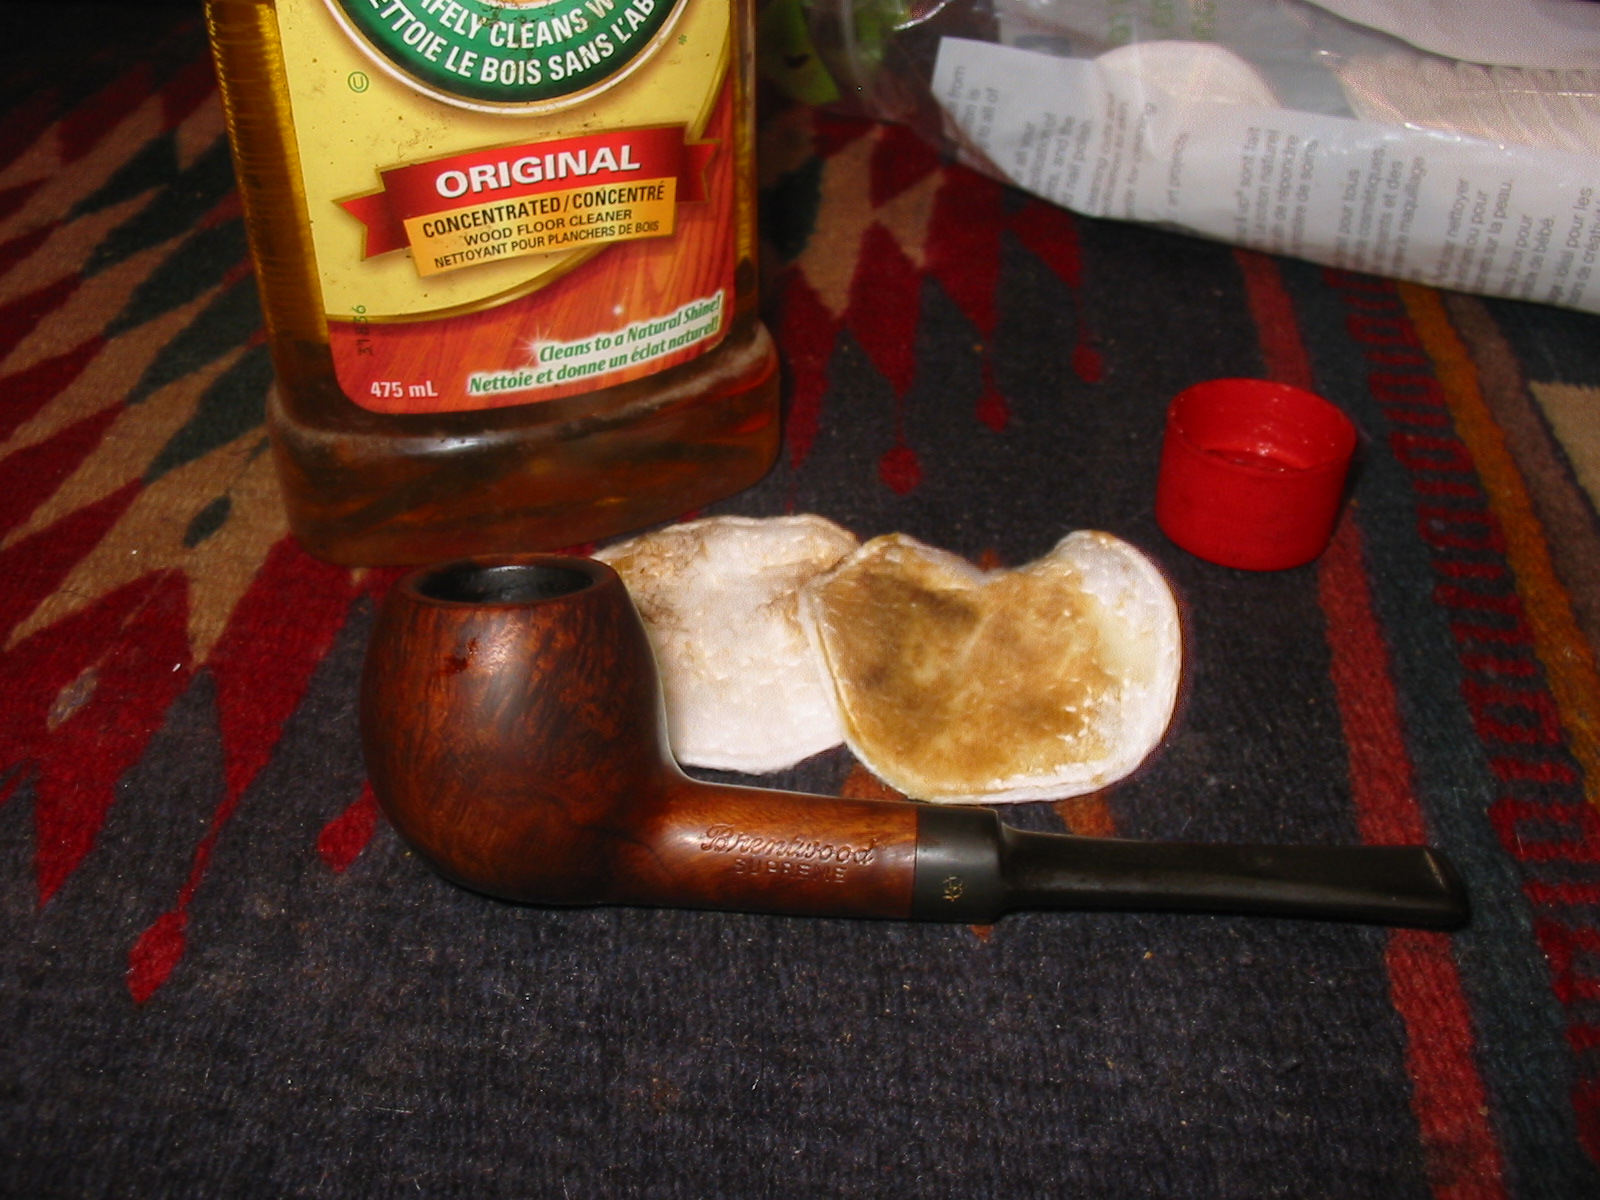
I scrubbed the exterior of the bowl and shank with Murphy’s Oil Soap on cotton pads. I wiped off the soap and residue and hand dried the bowl. The soap removed the grime and grease that was thick on the bowl. I always scrub with undiluted soap as I have found that it leaves the finish more intact than using the soap mixed with water.
IMG_6929

IMG_6930
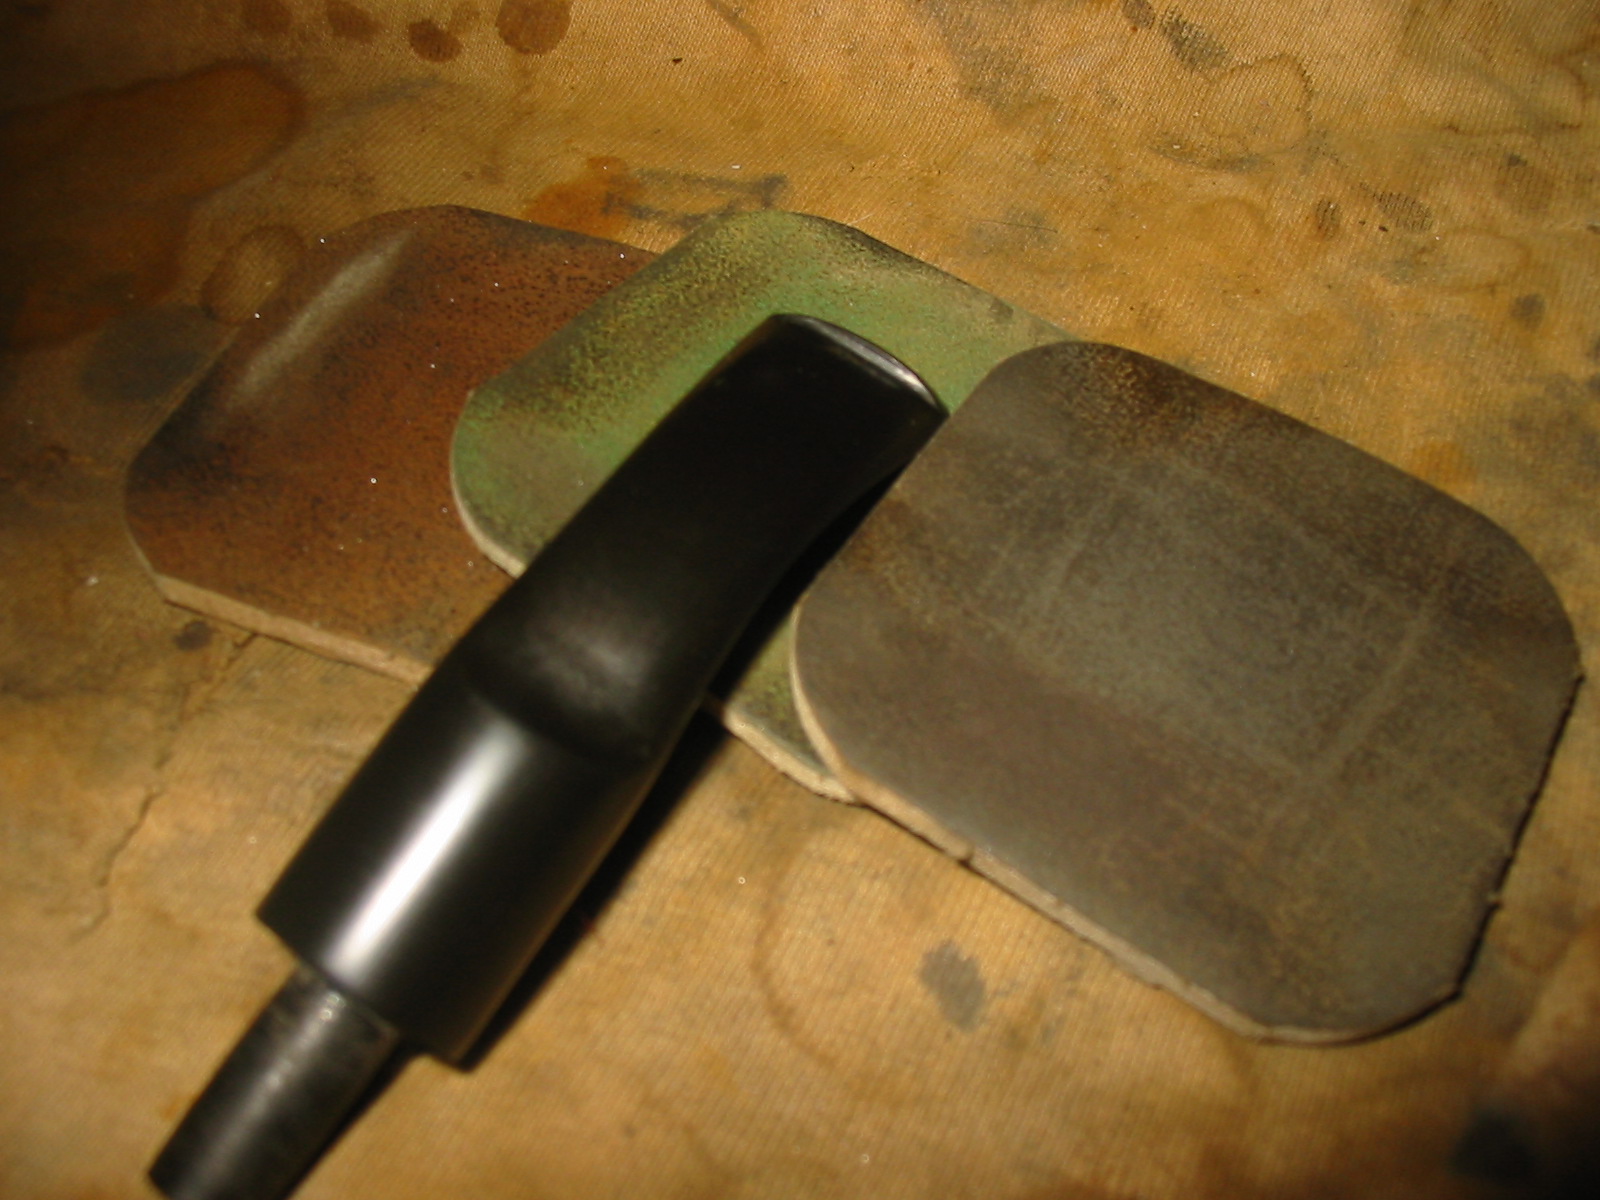
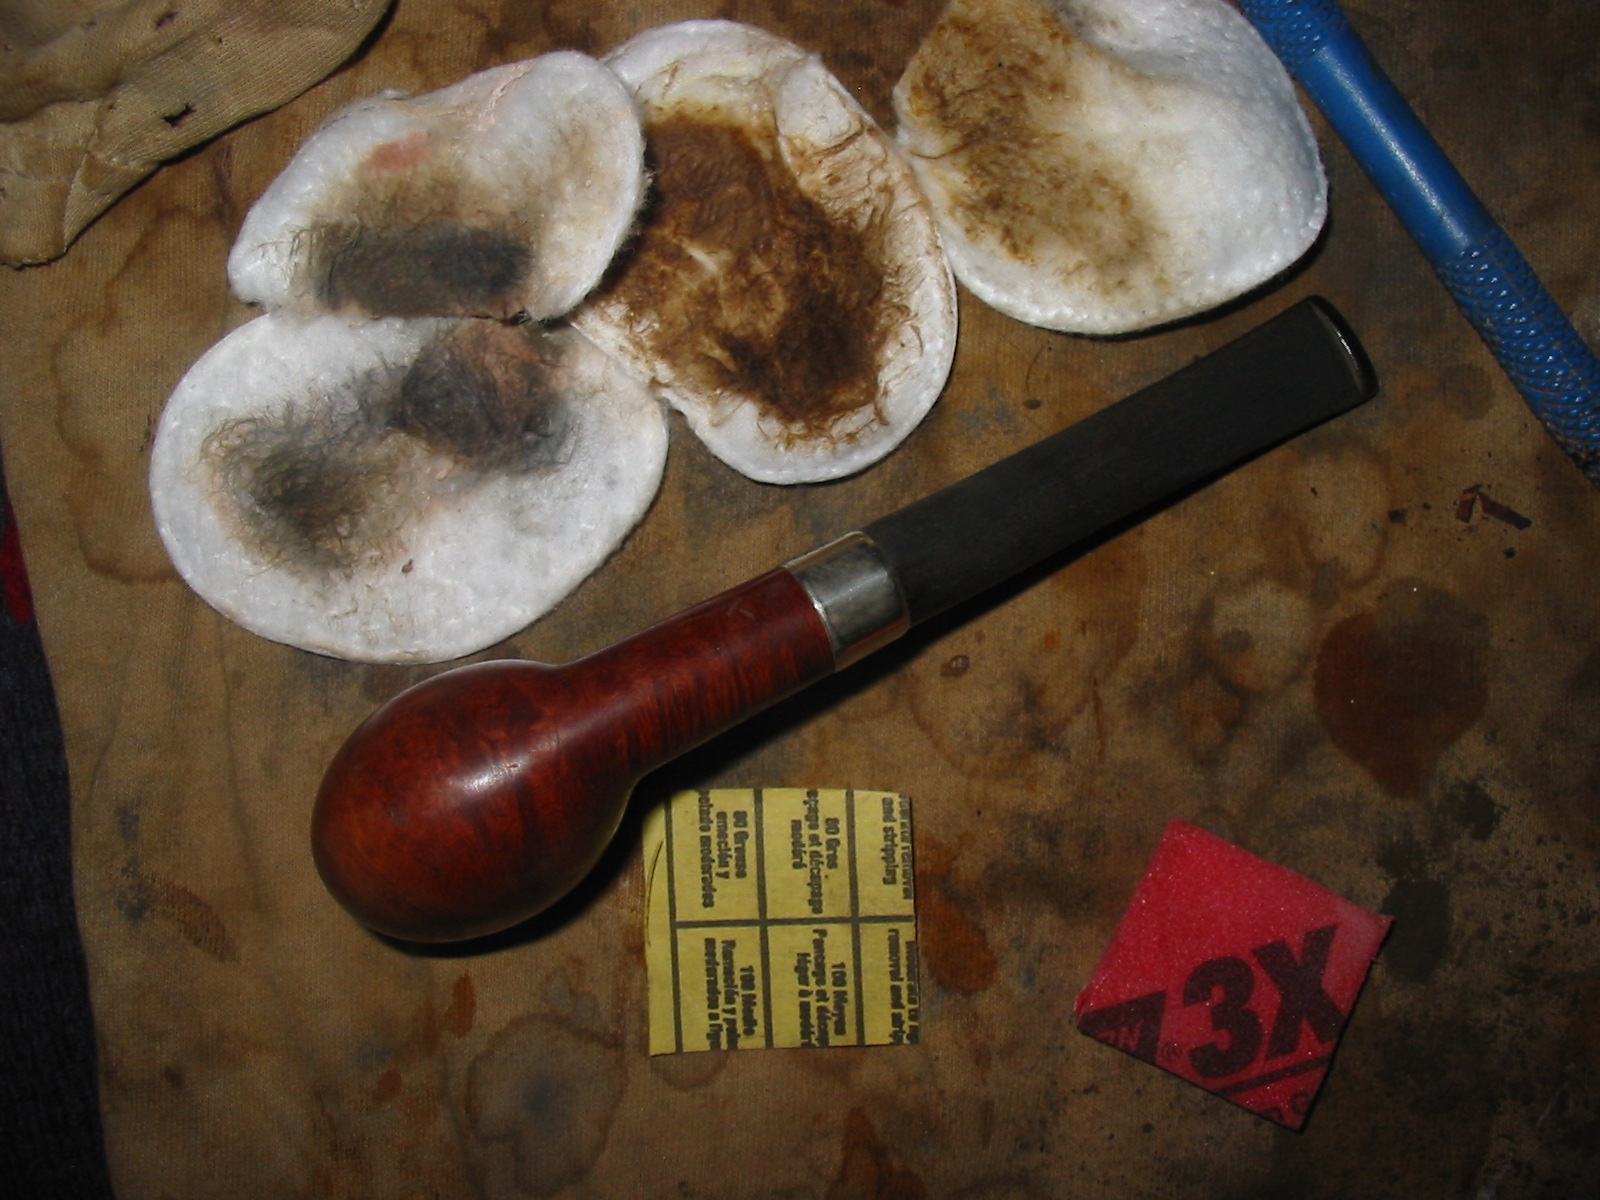
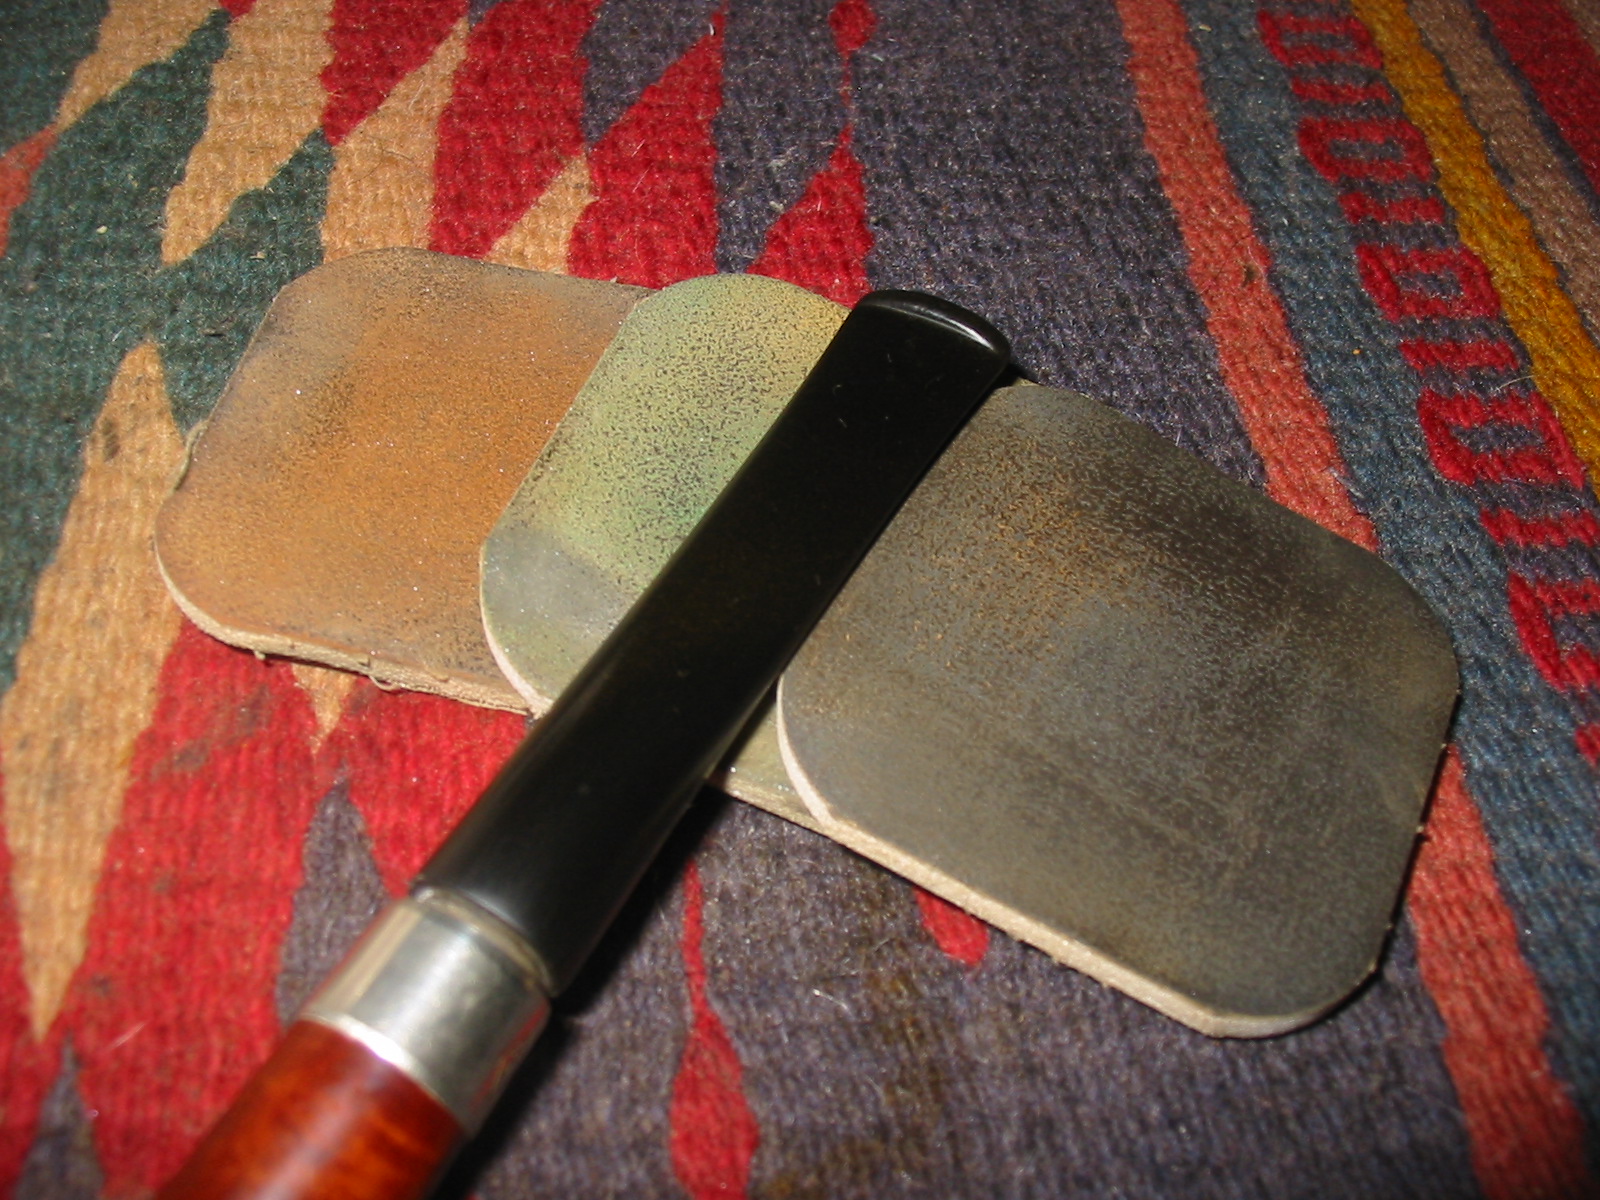
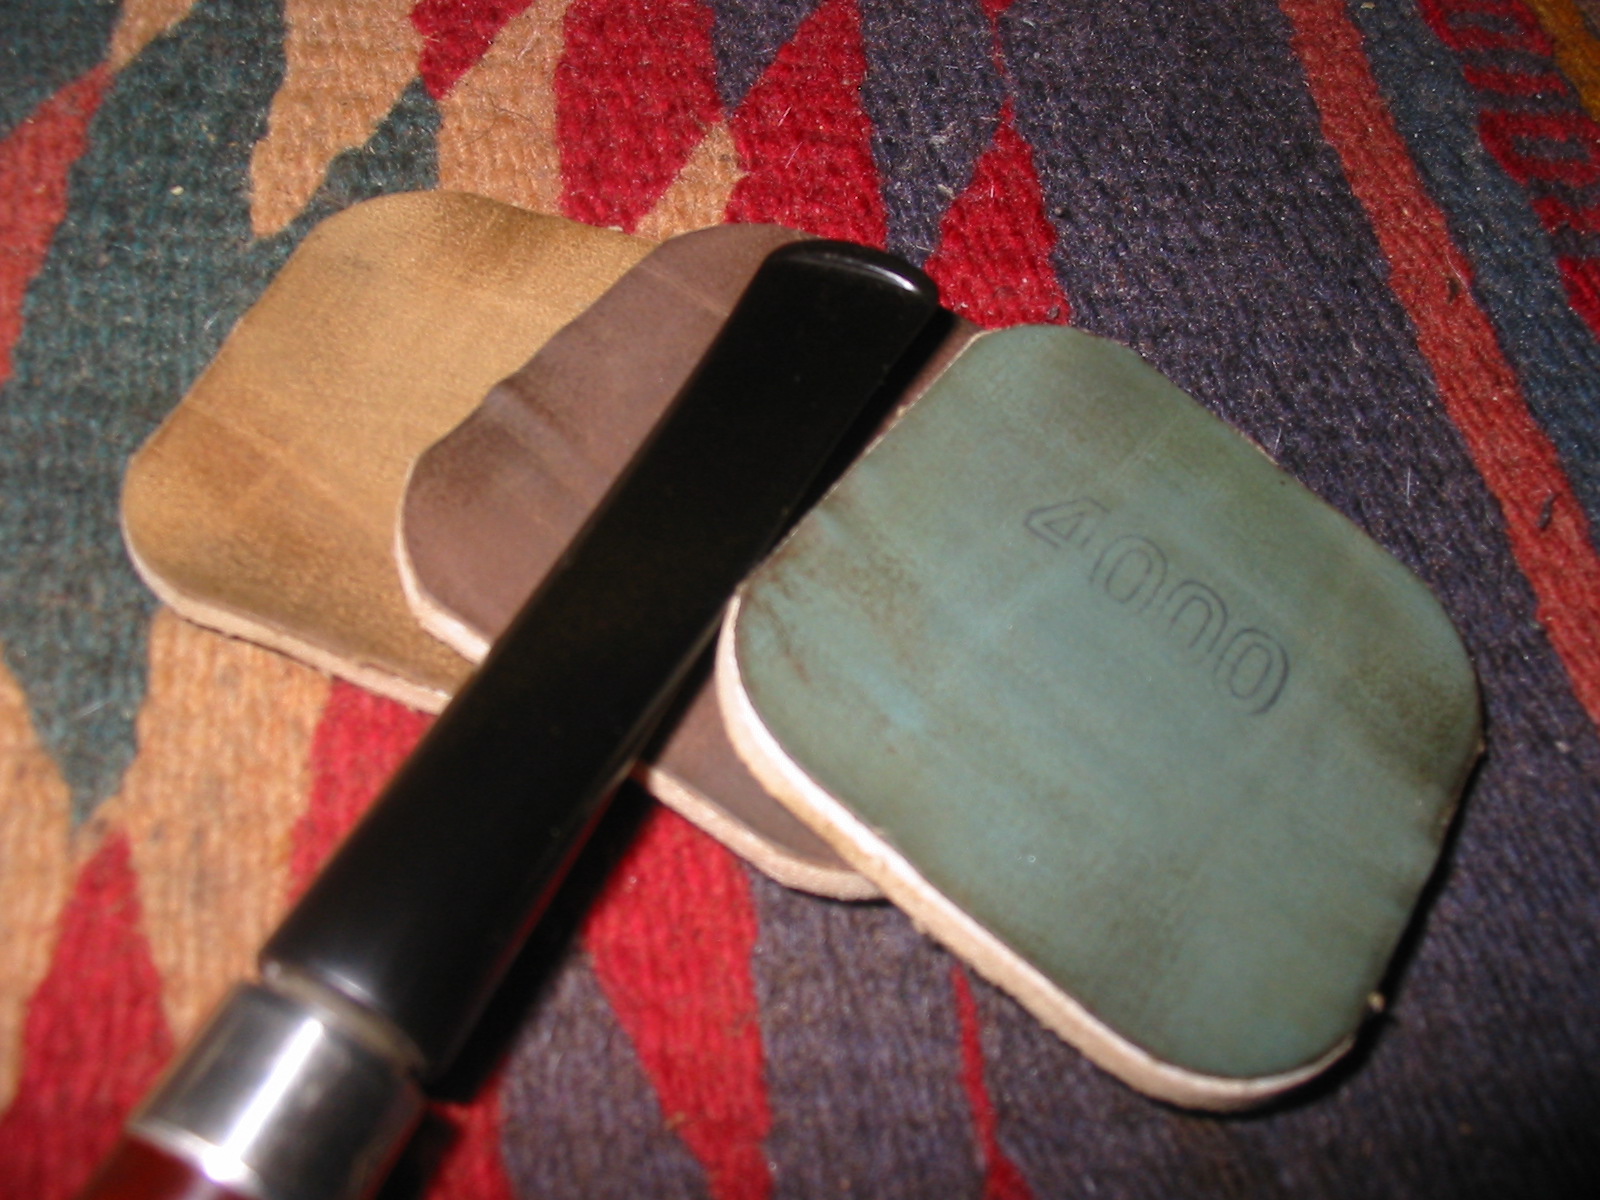
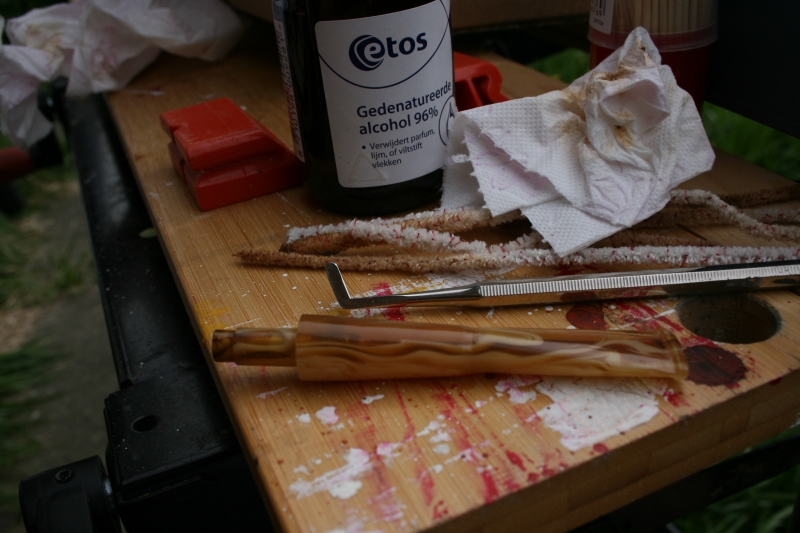
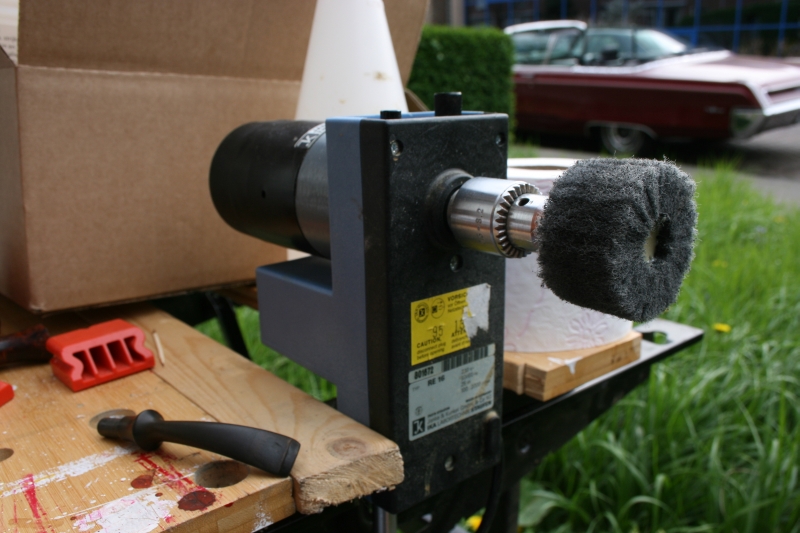
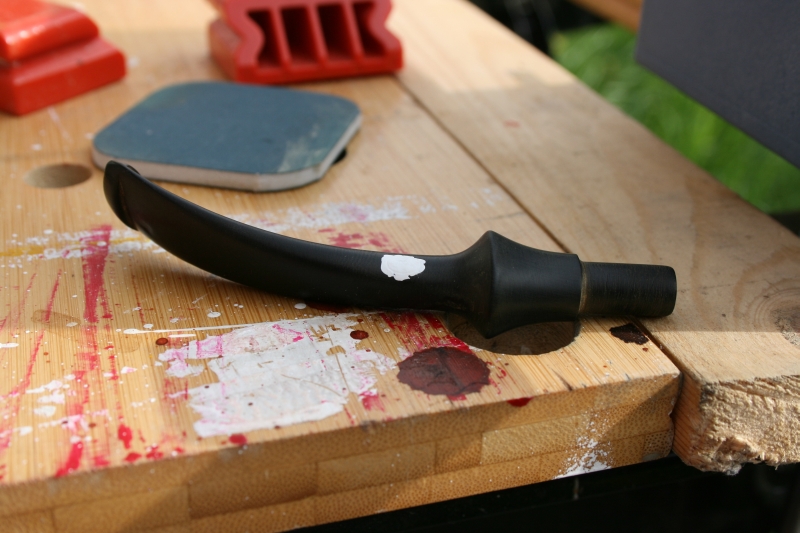
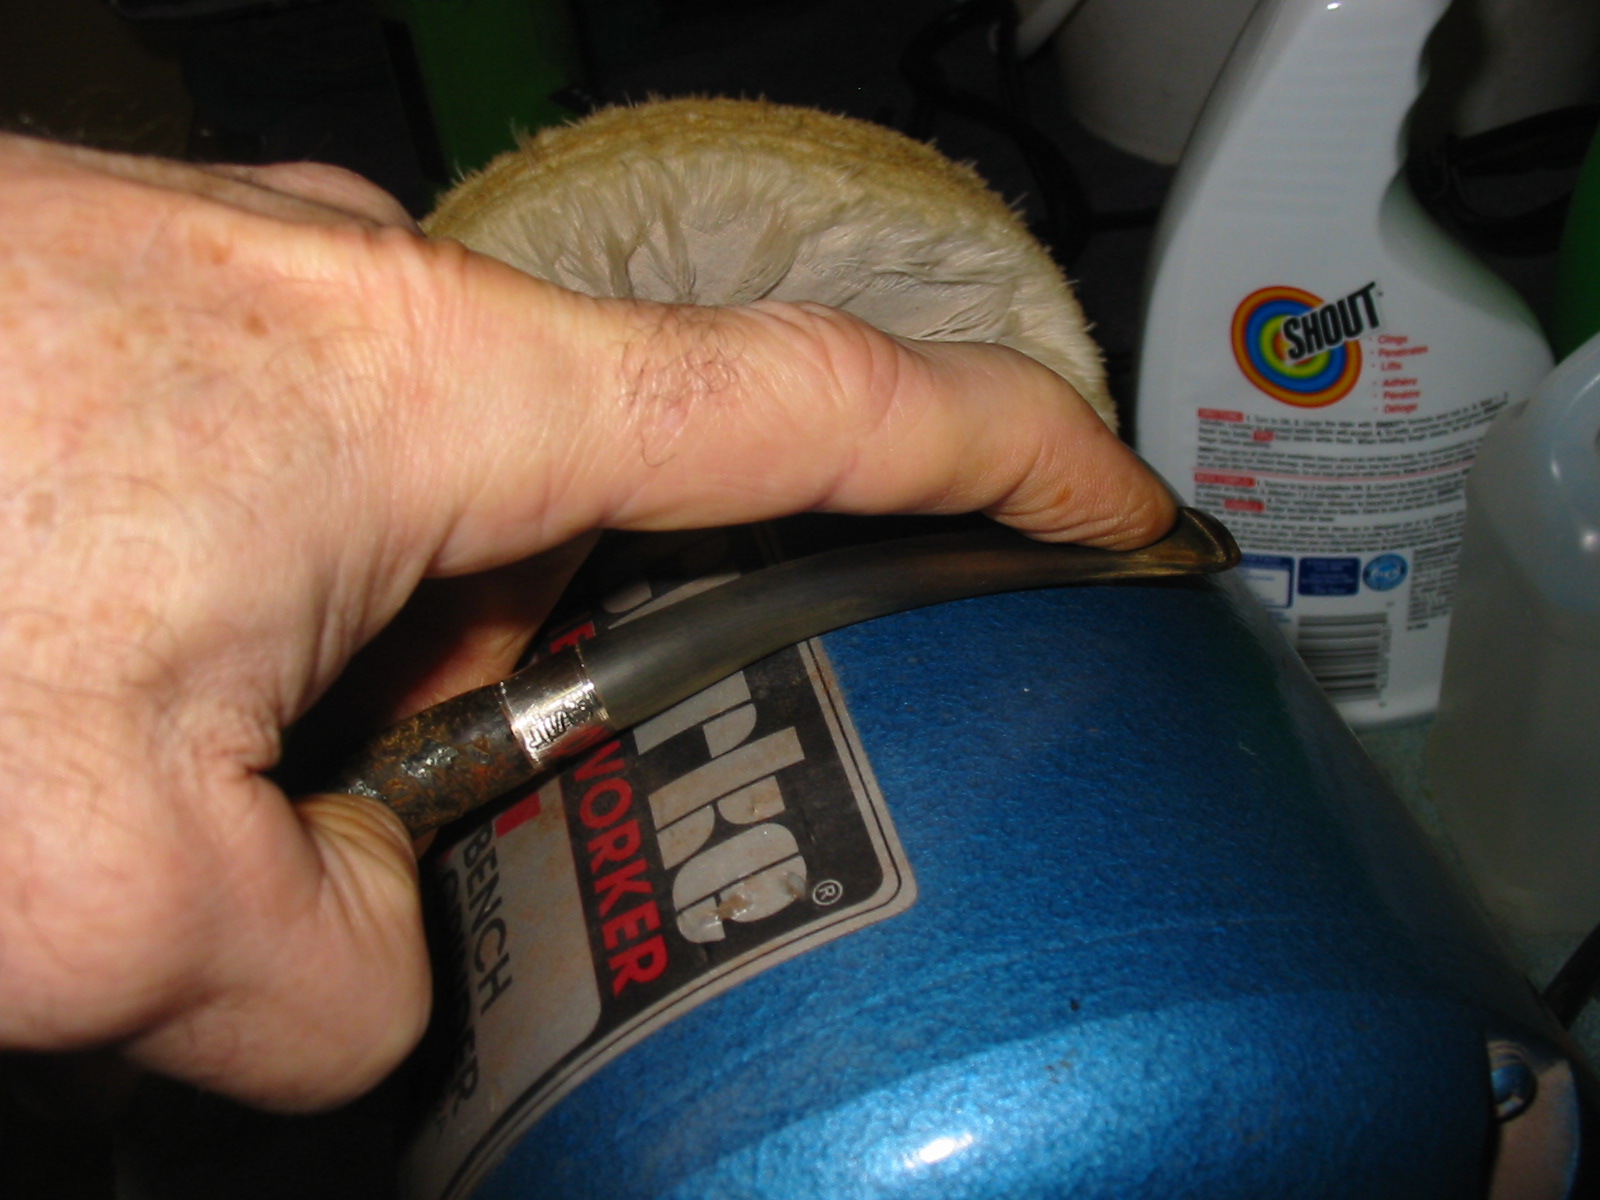
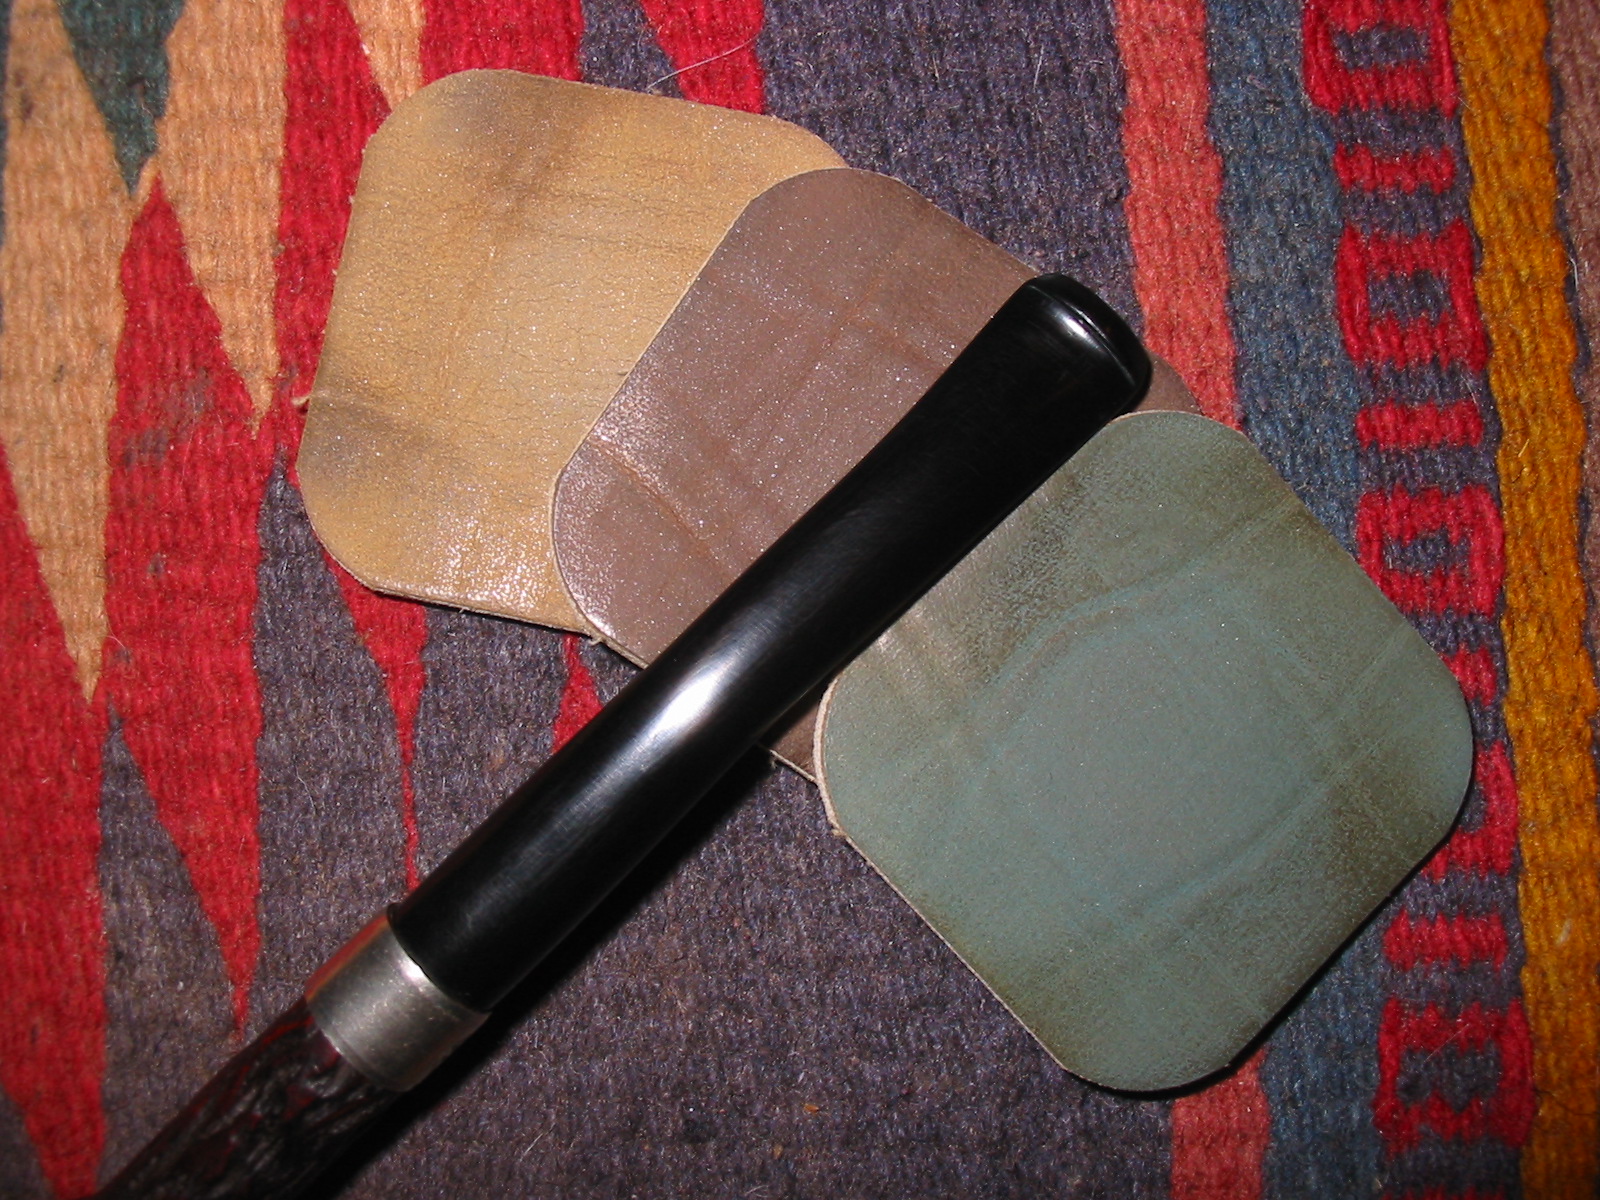
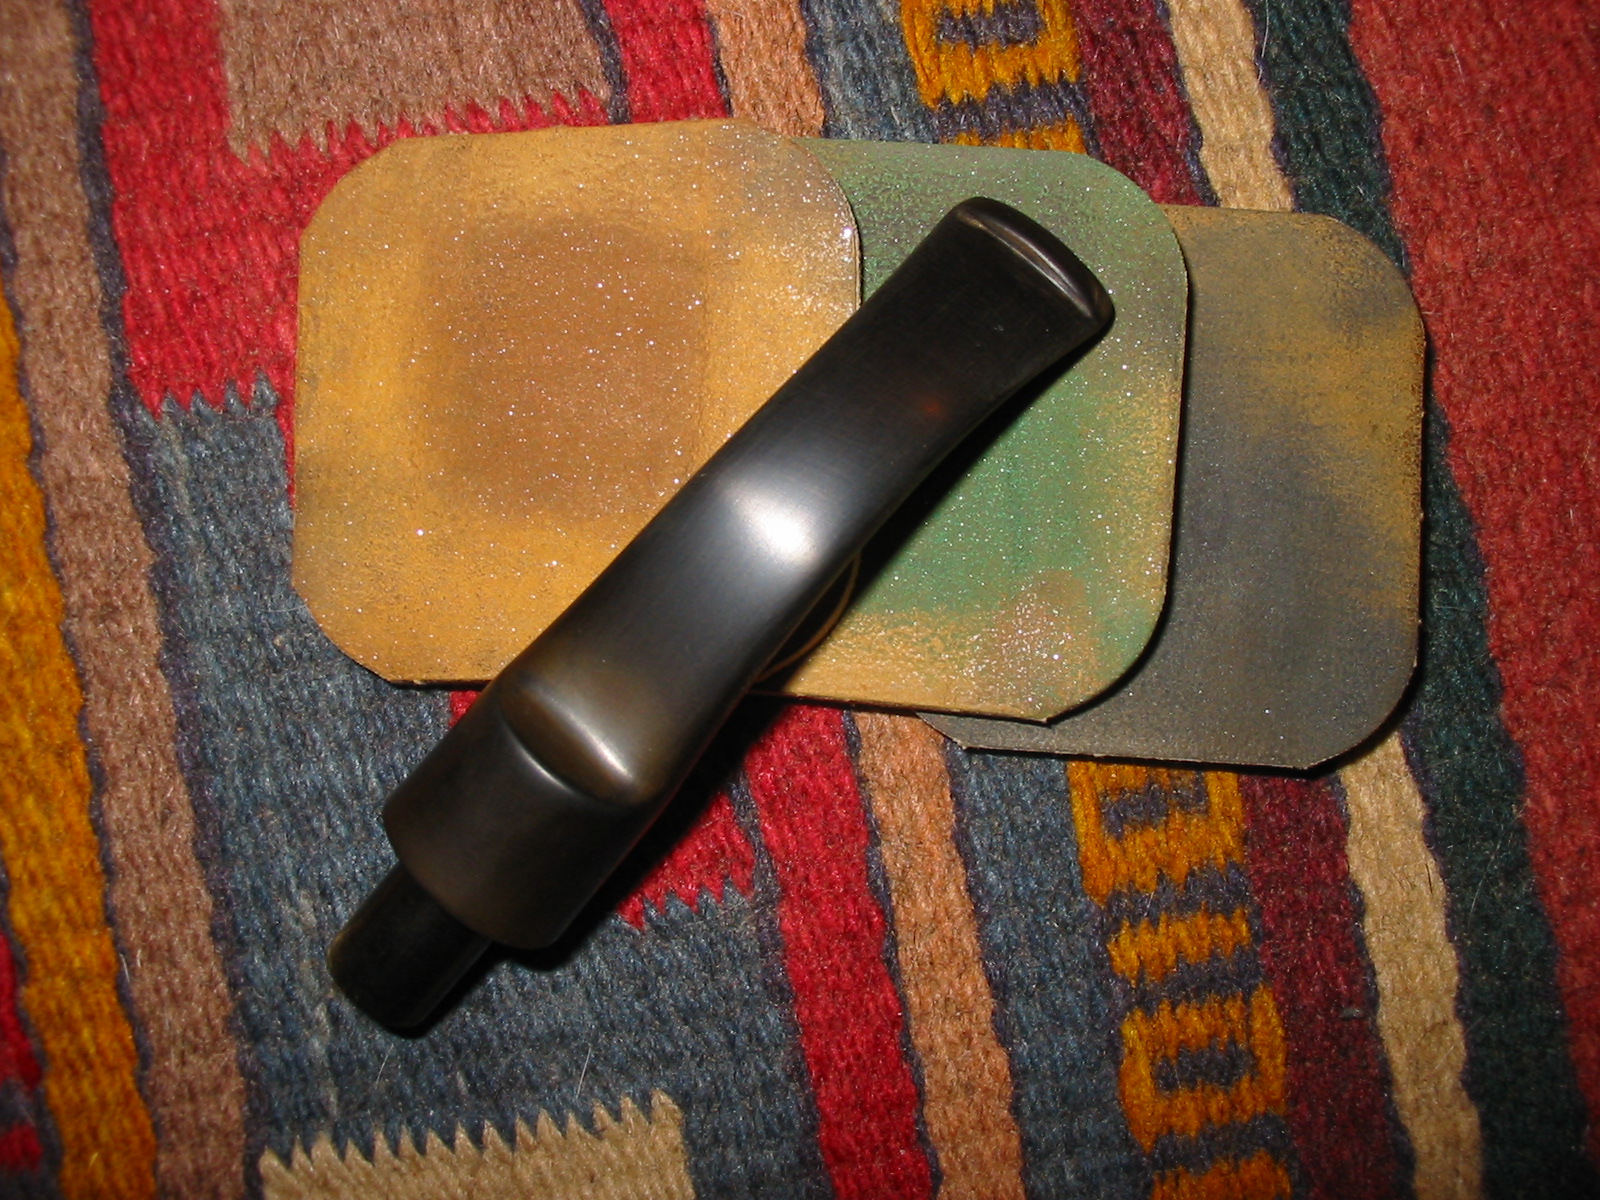
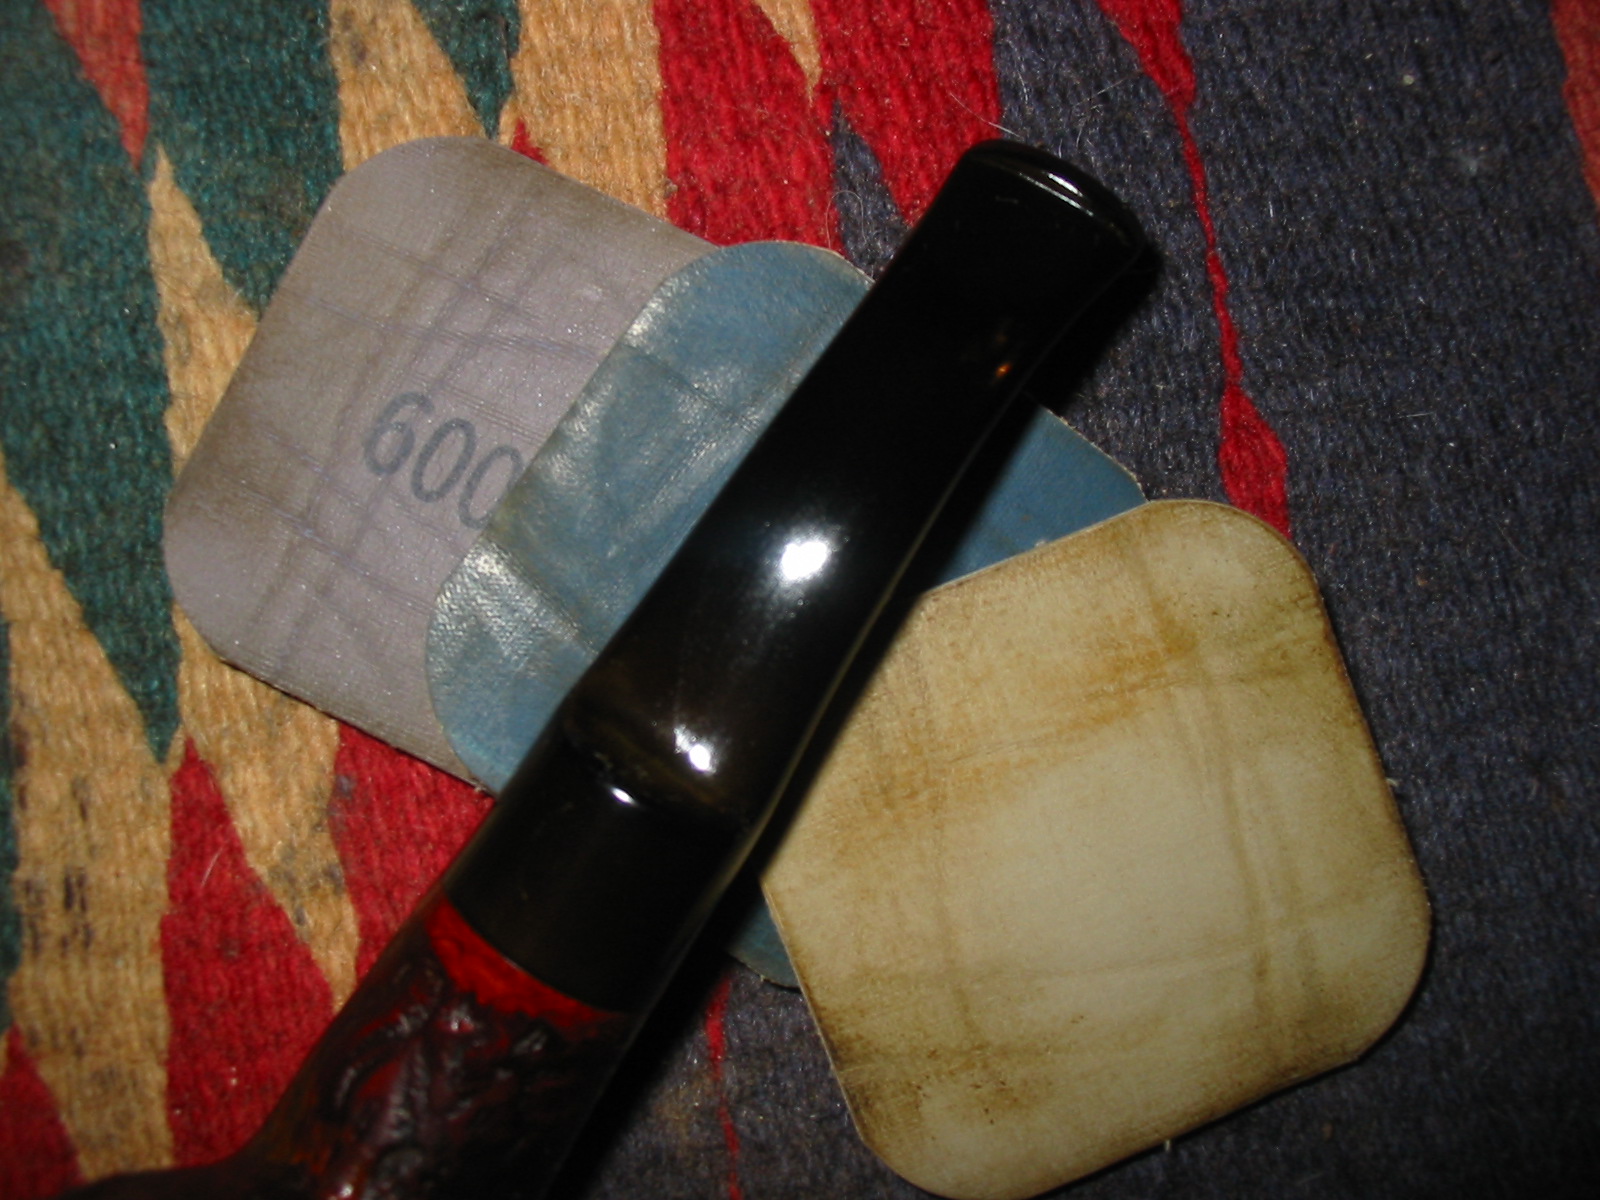
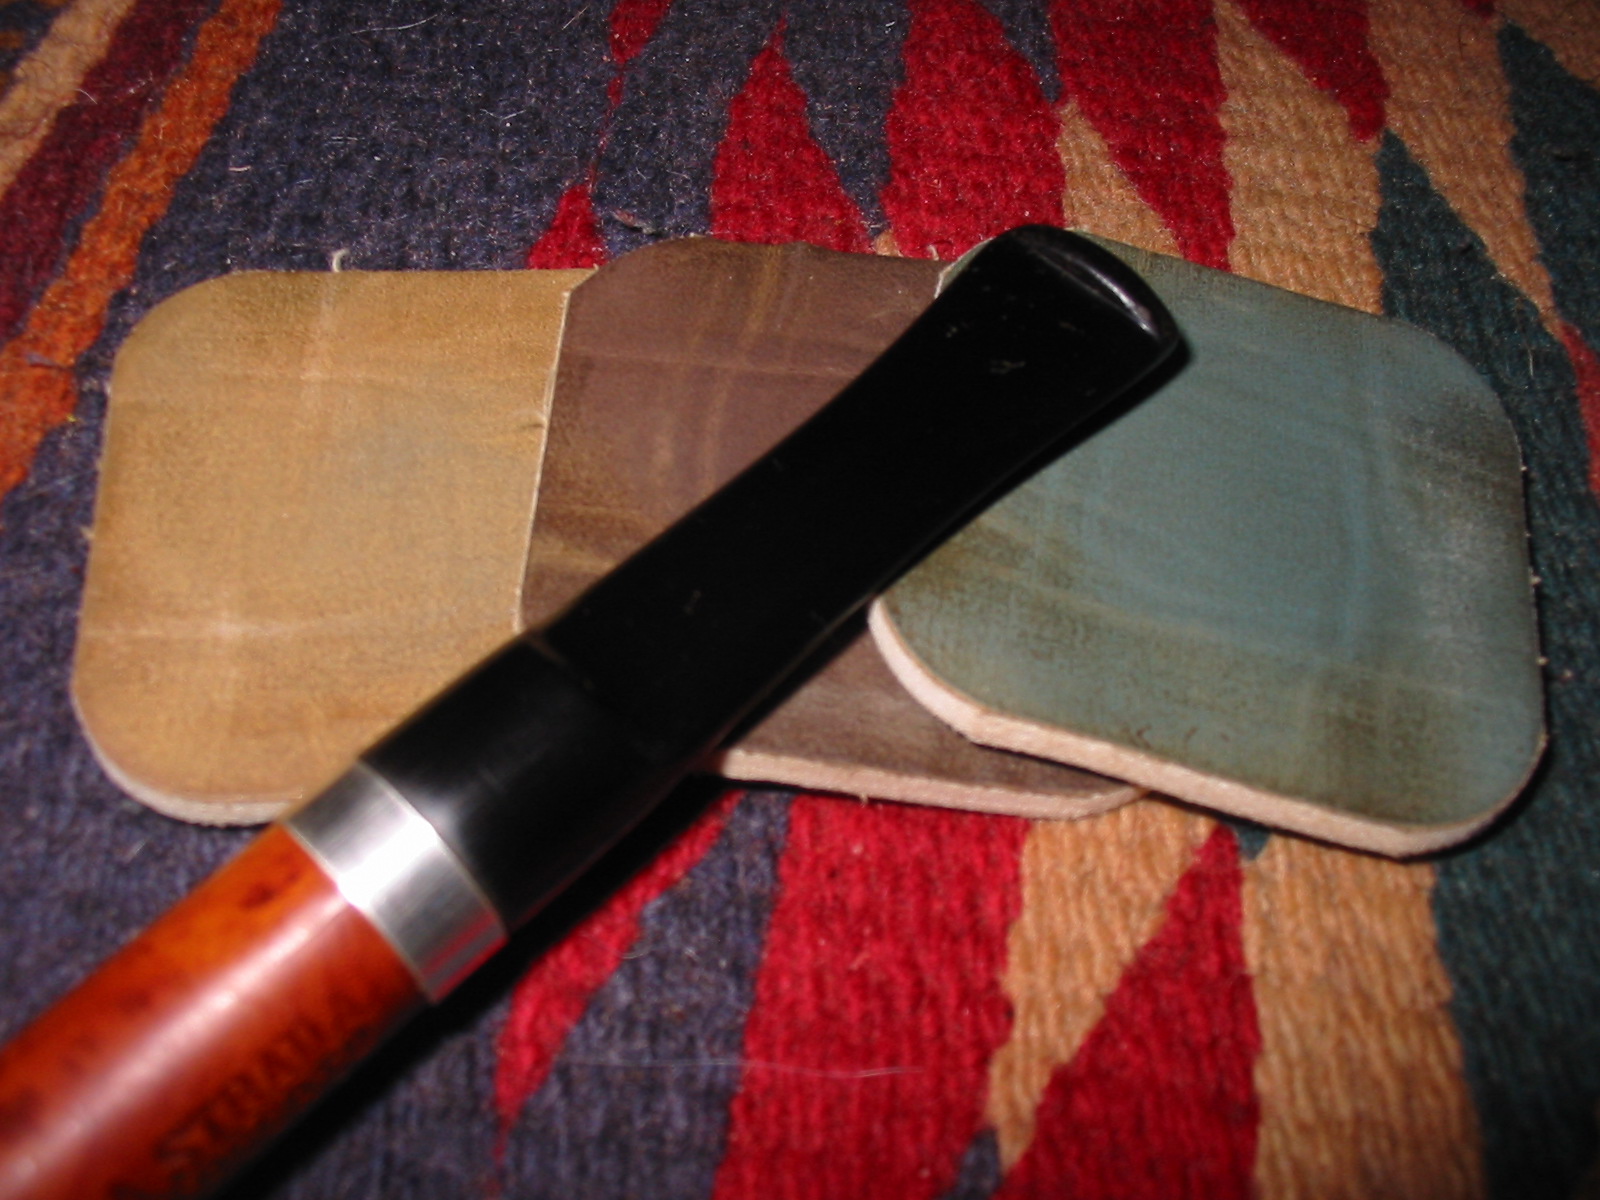
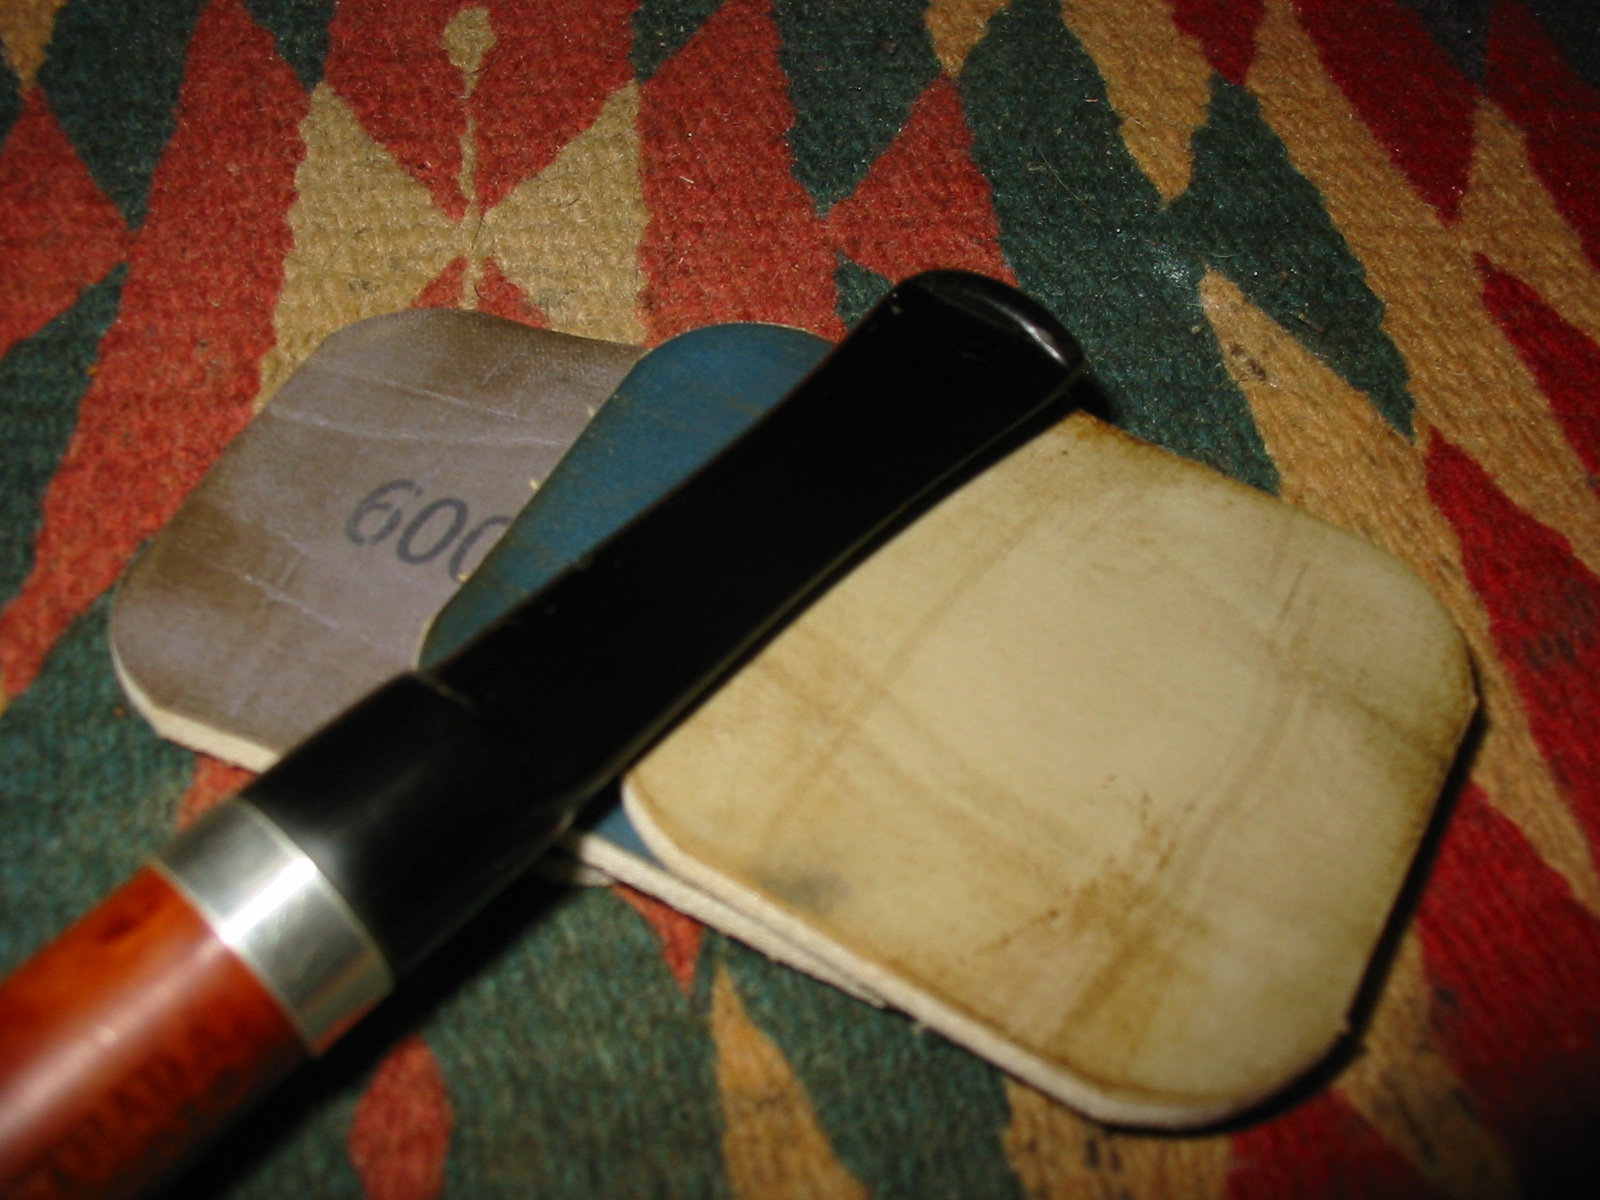
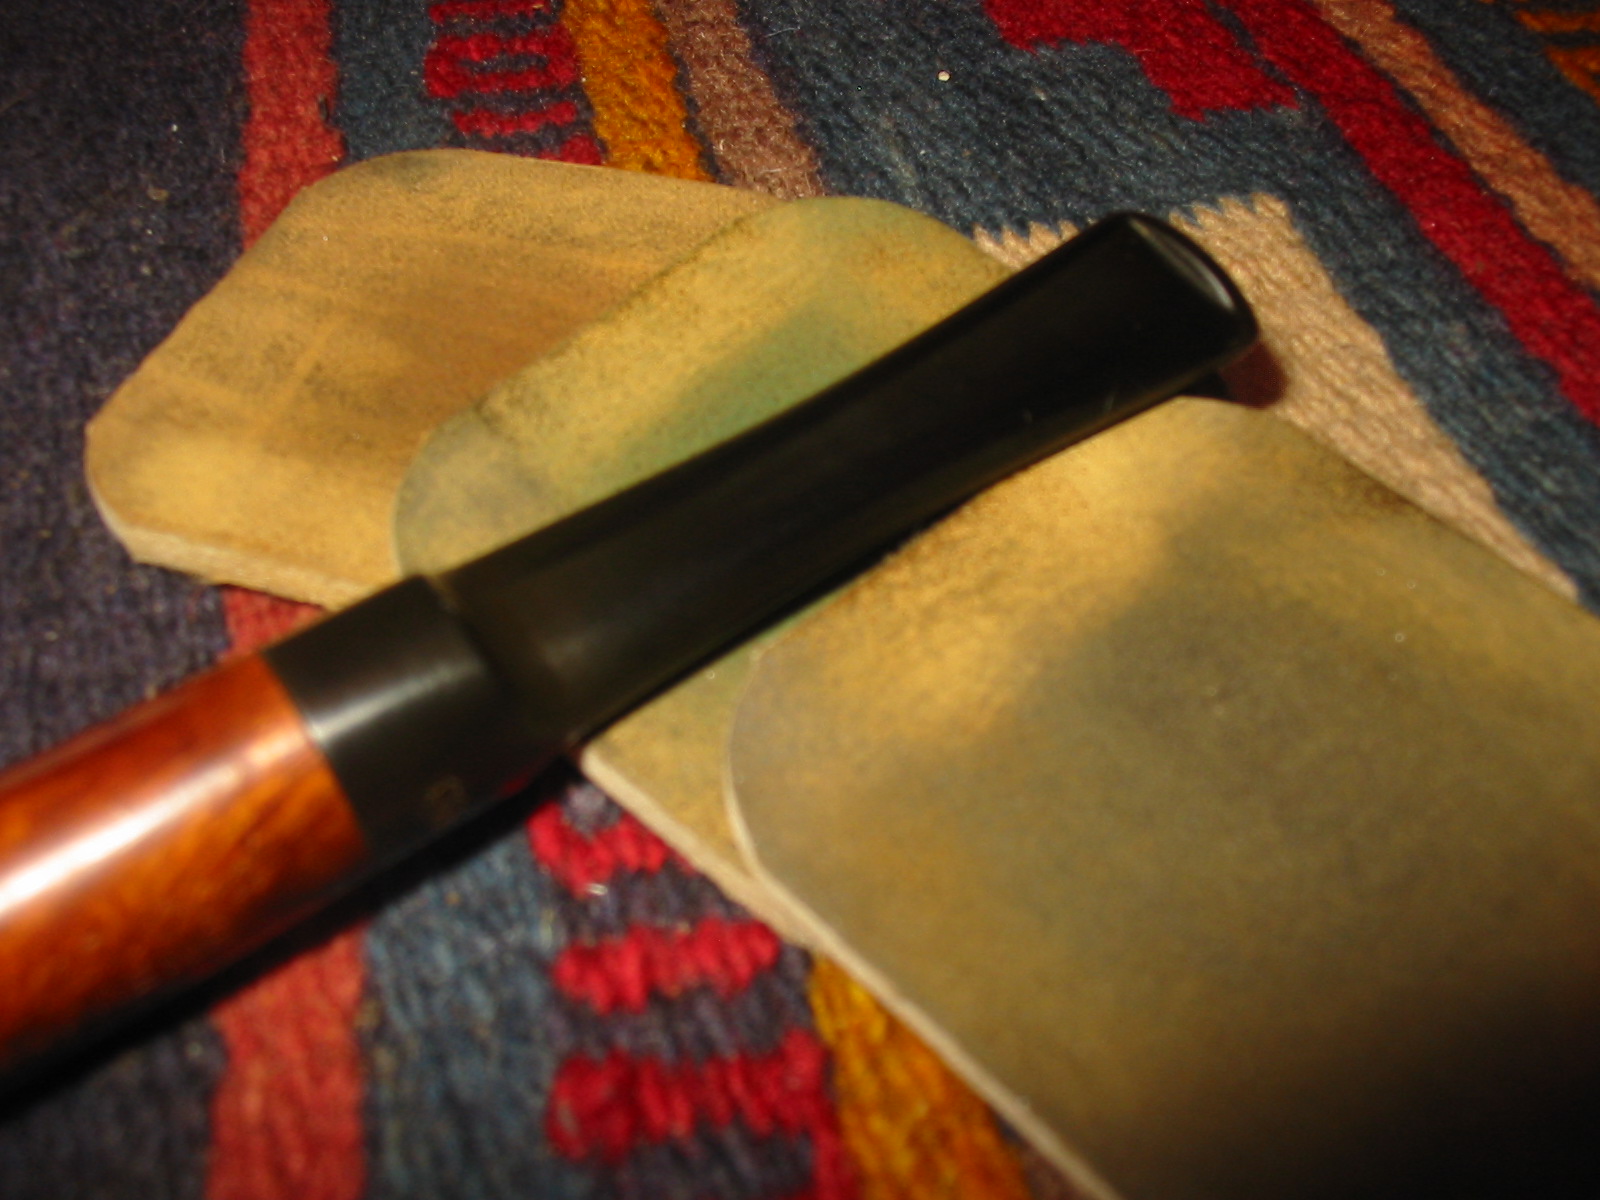
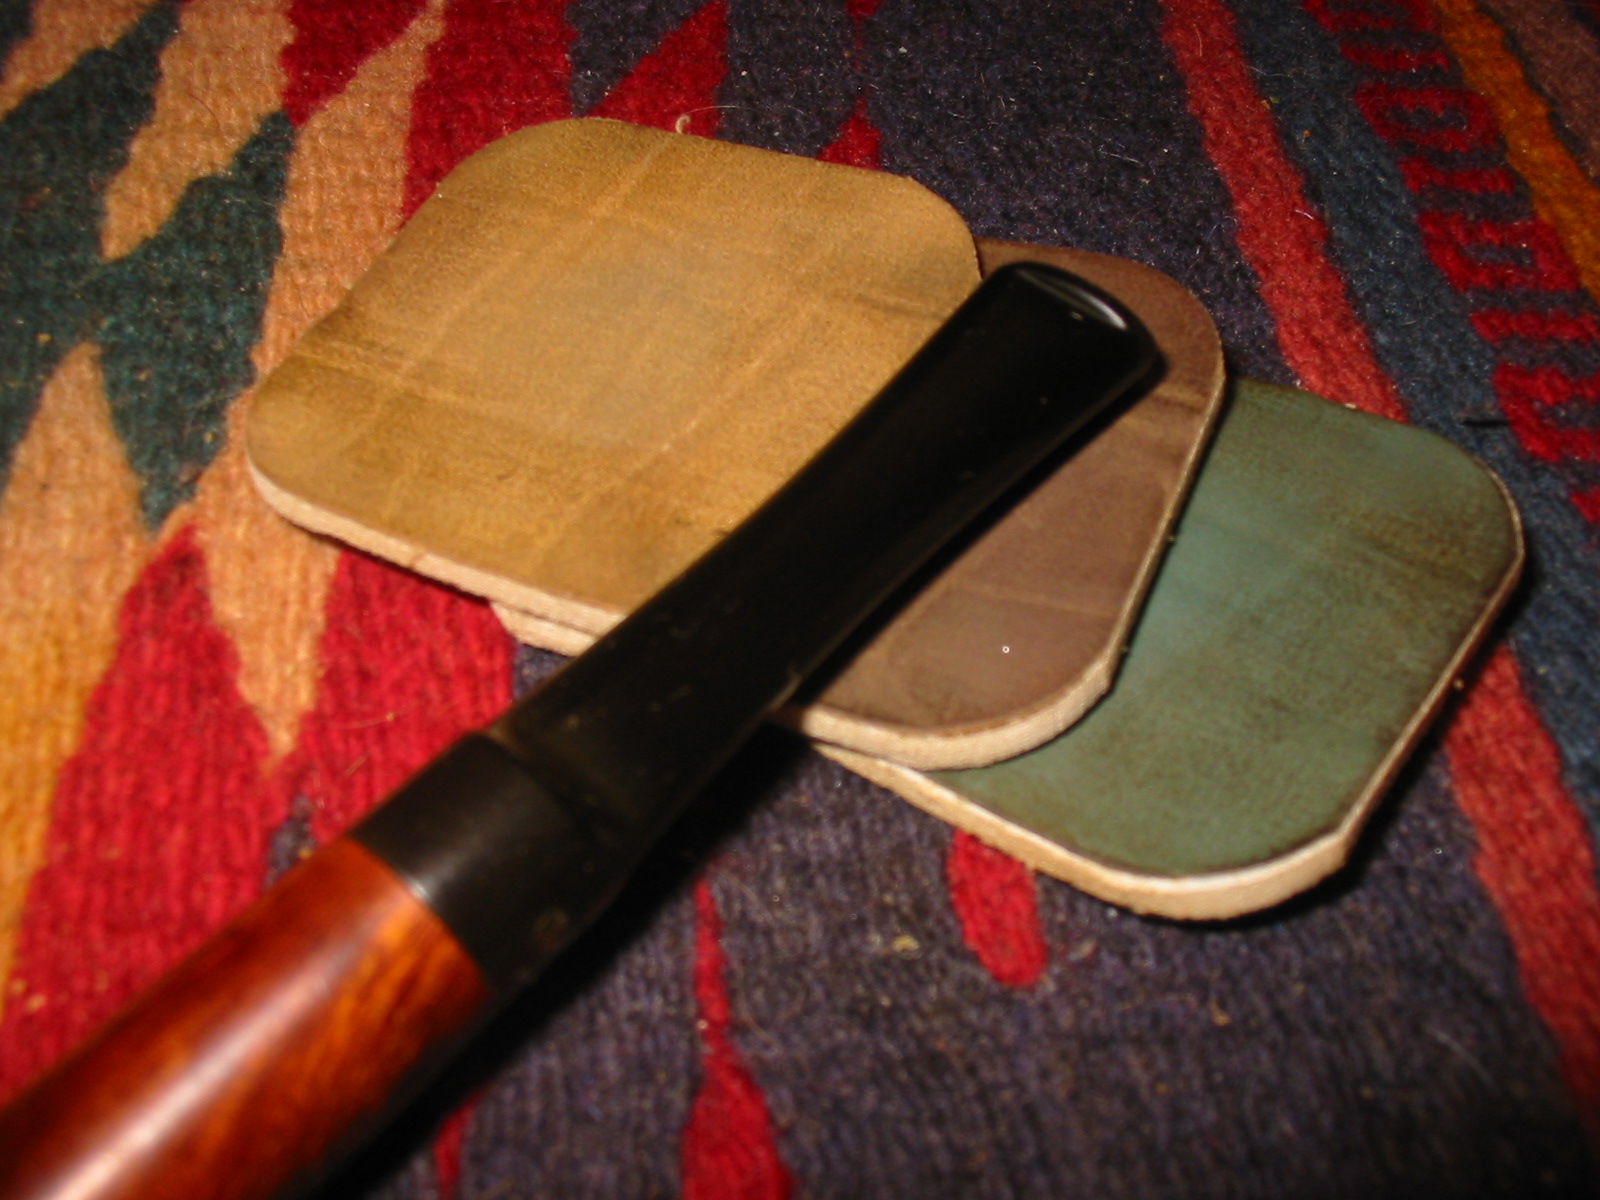
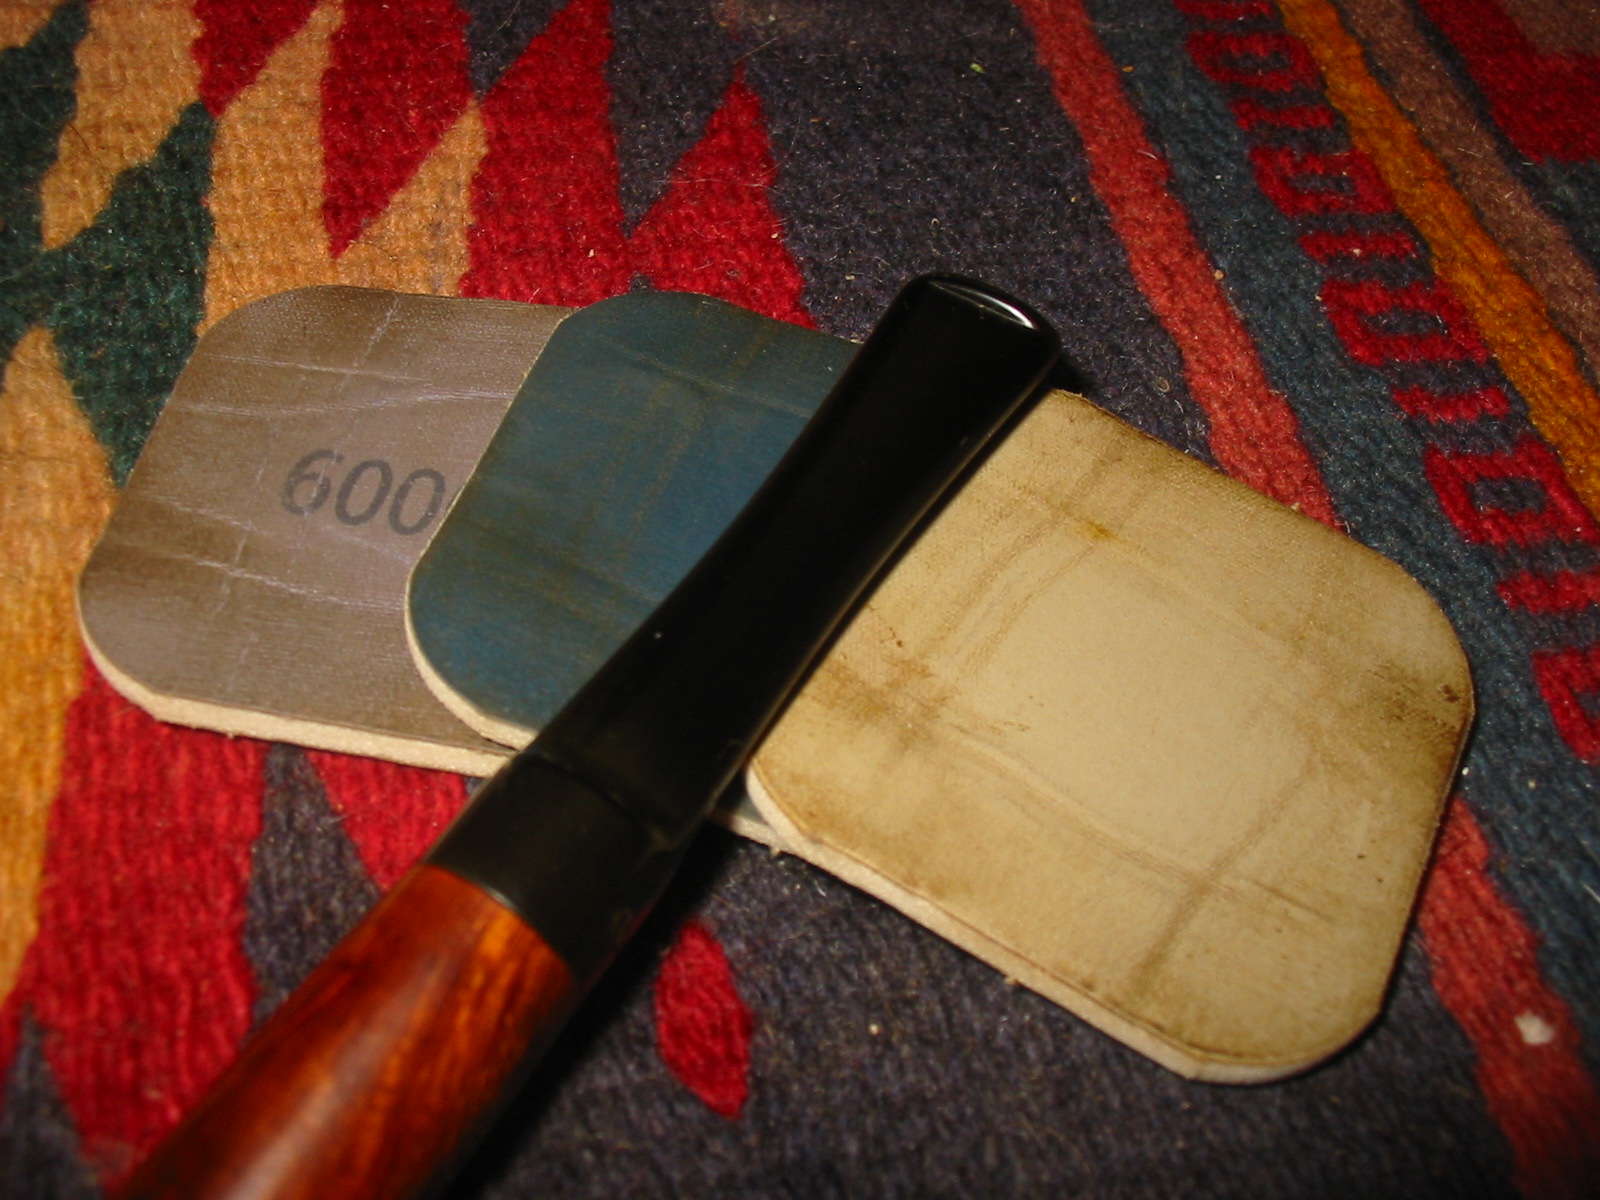
I sanded the stem with 220 grit sandpaper and medium and fine grit sanding sponges to remove some the buildup and slight oxidation on the stem. I then sanded the stem with micromesh sanding pads. I wet sanded with 1500-2400 grit pads and dry sanded with 3200-12000 grit pads. I rubbed the stem down with Obsidian Oil and when it had dried I buffed the stem with White Diamond.
IMG_6931

IMG_6933

IMG_6934

IMG_6935
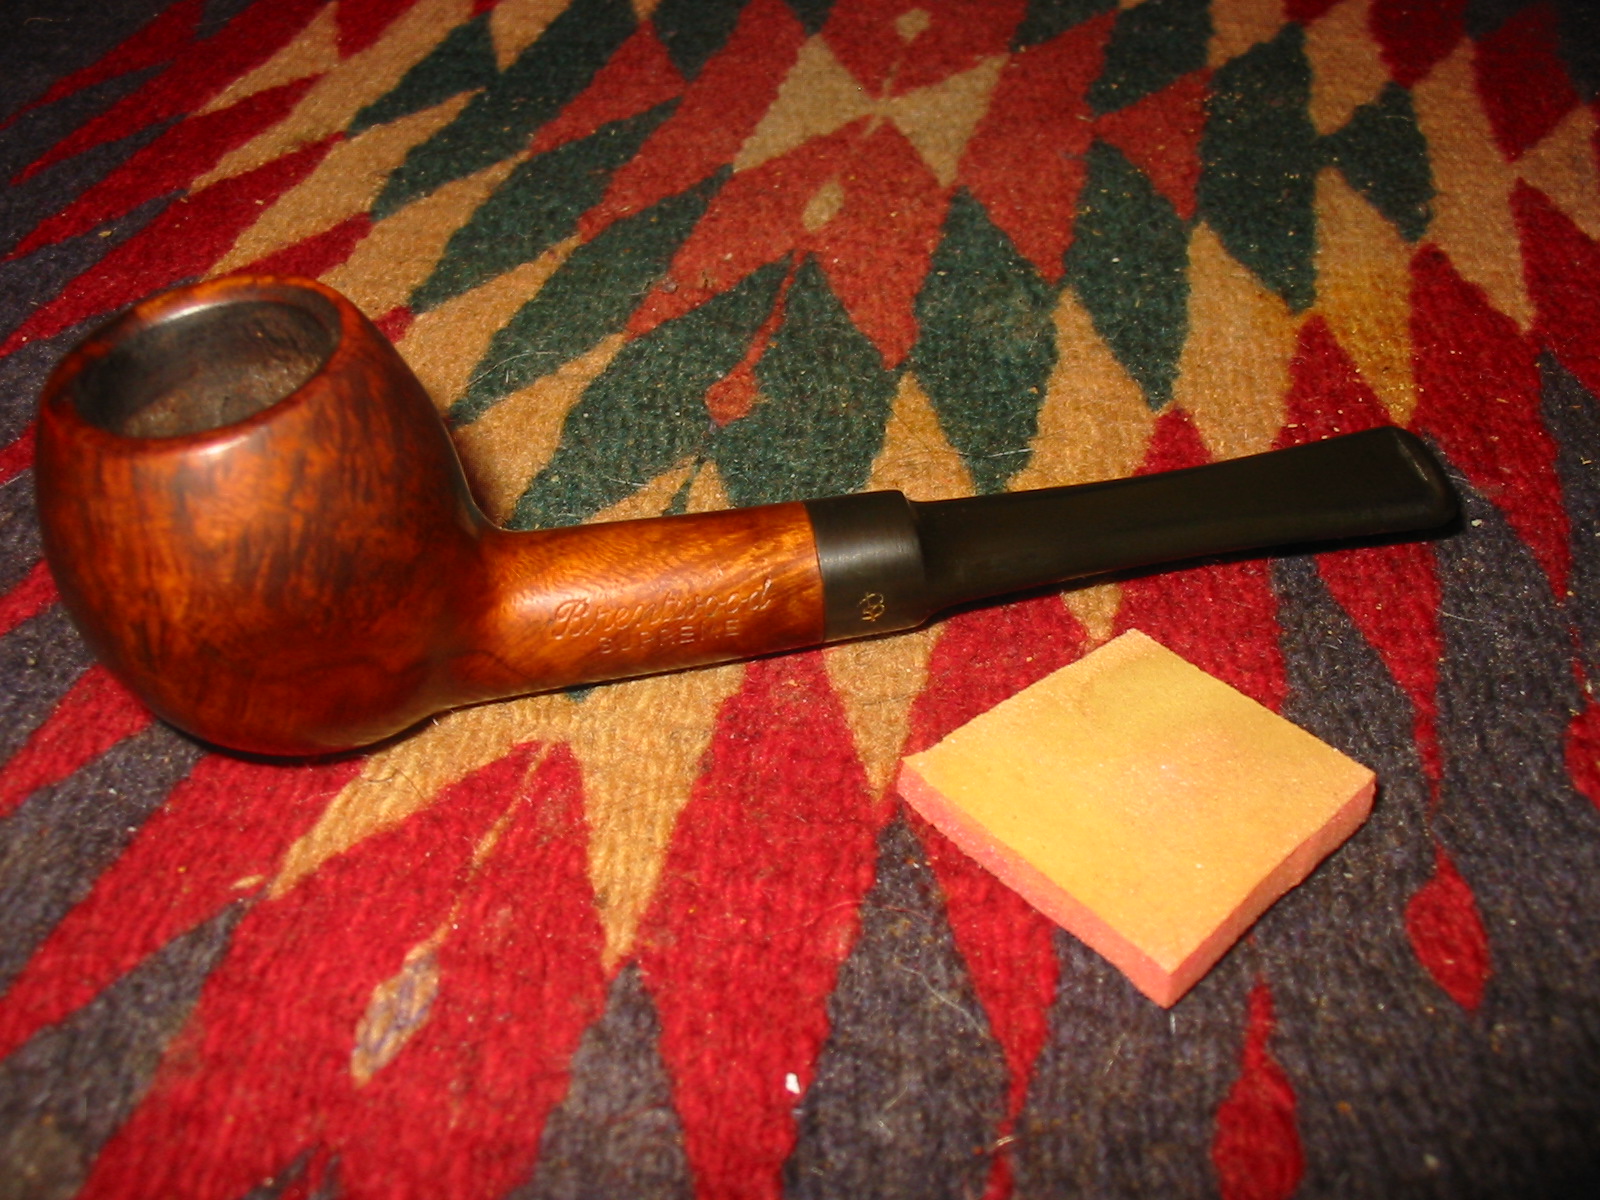
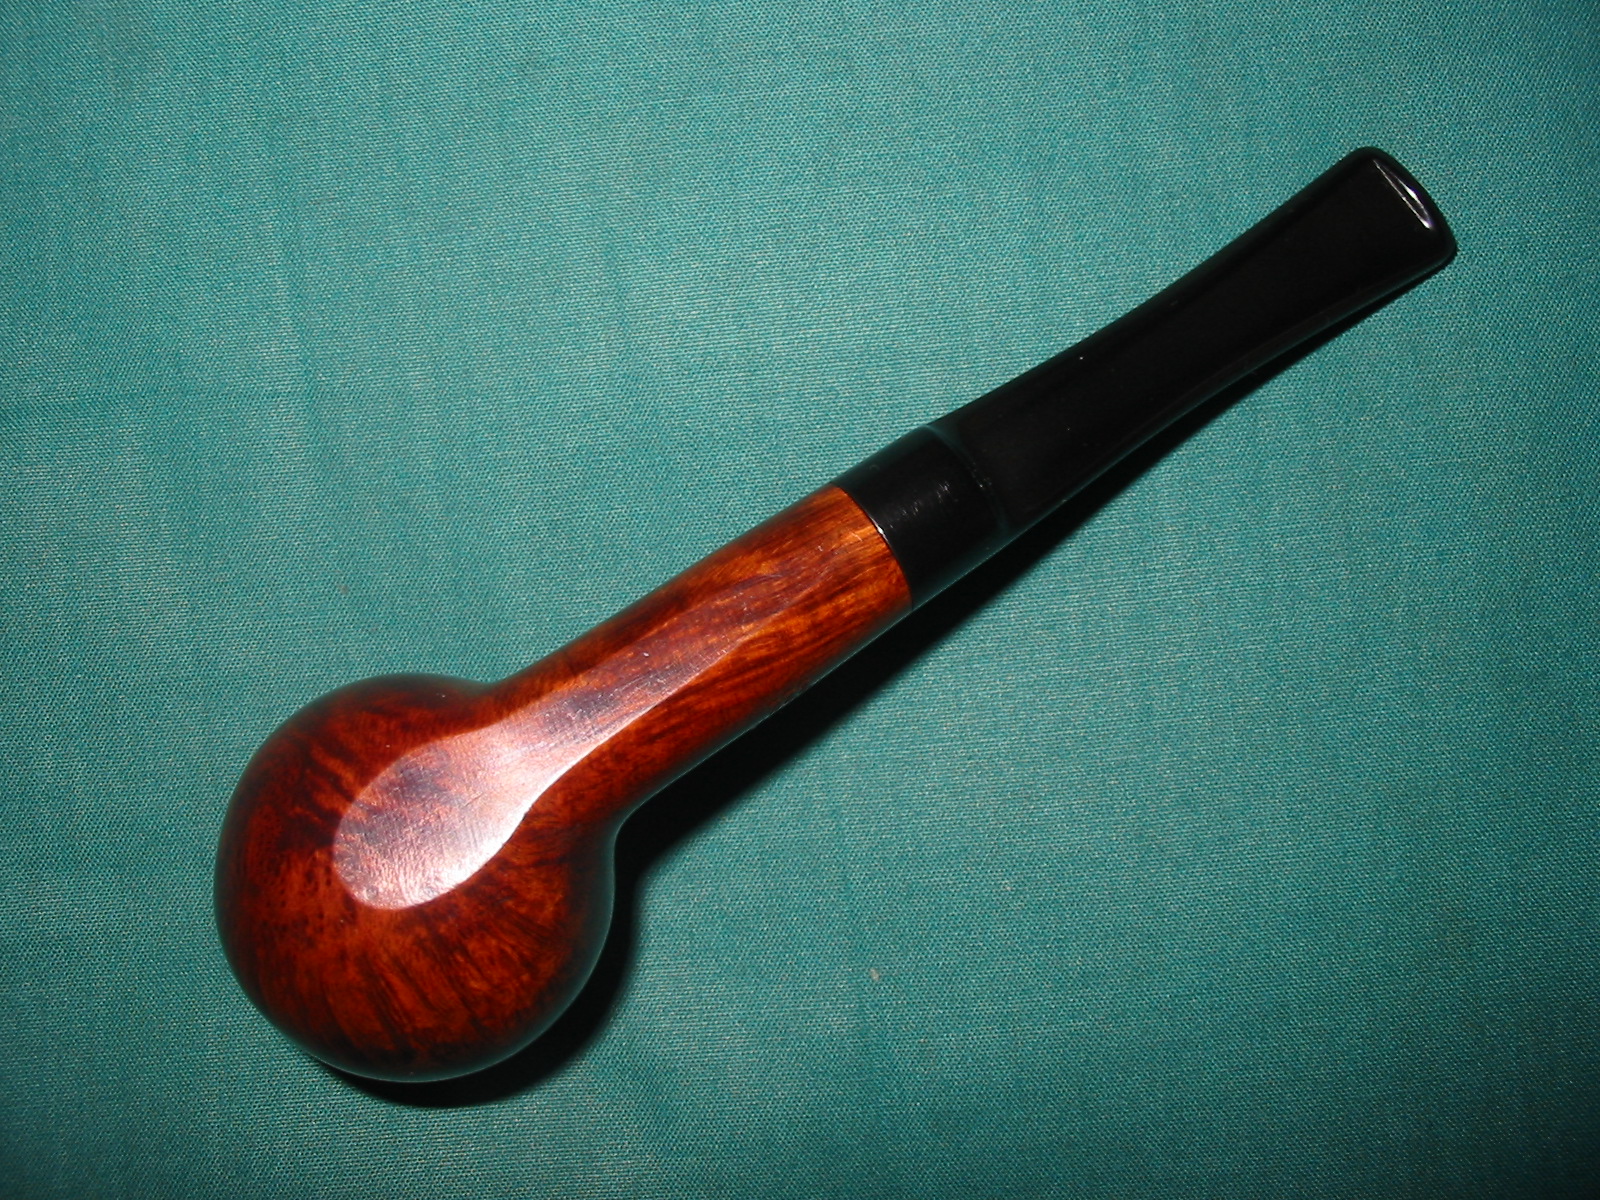
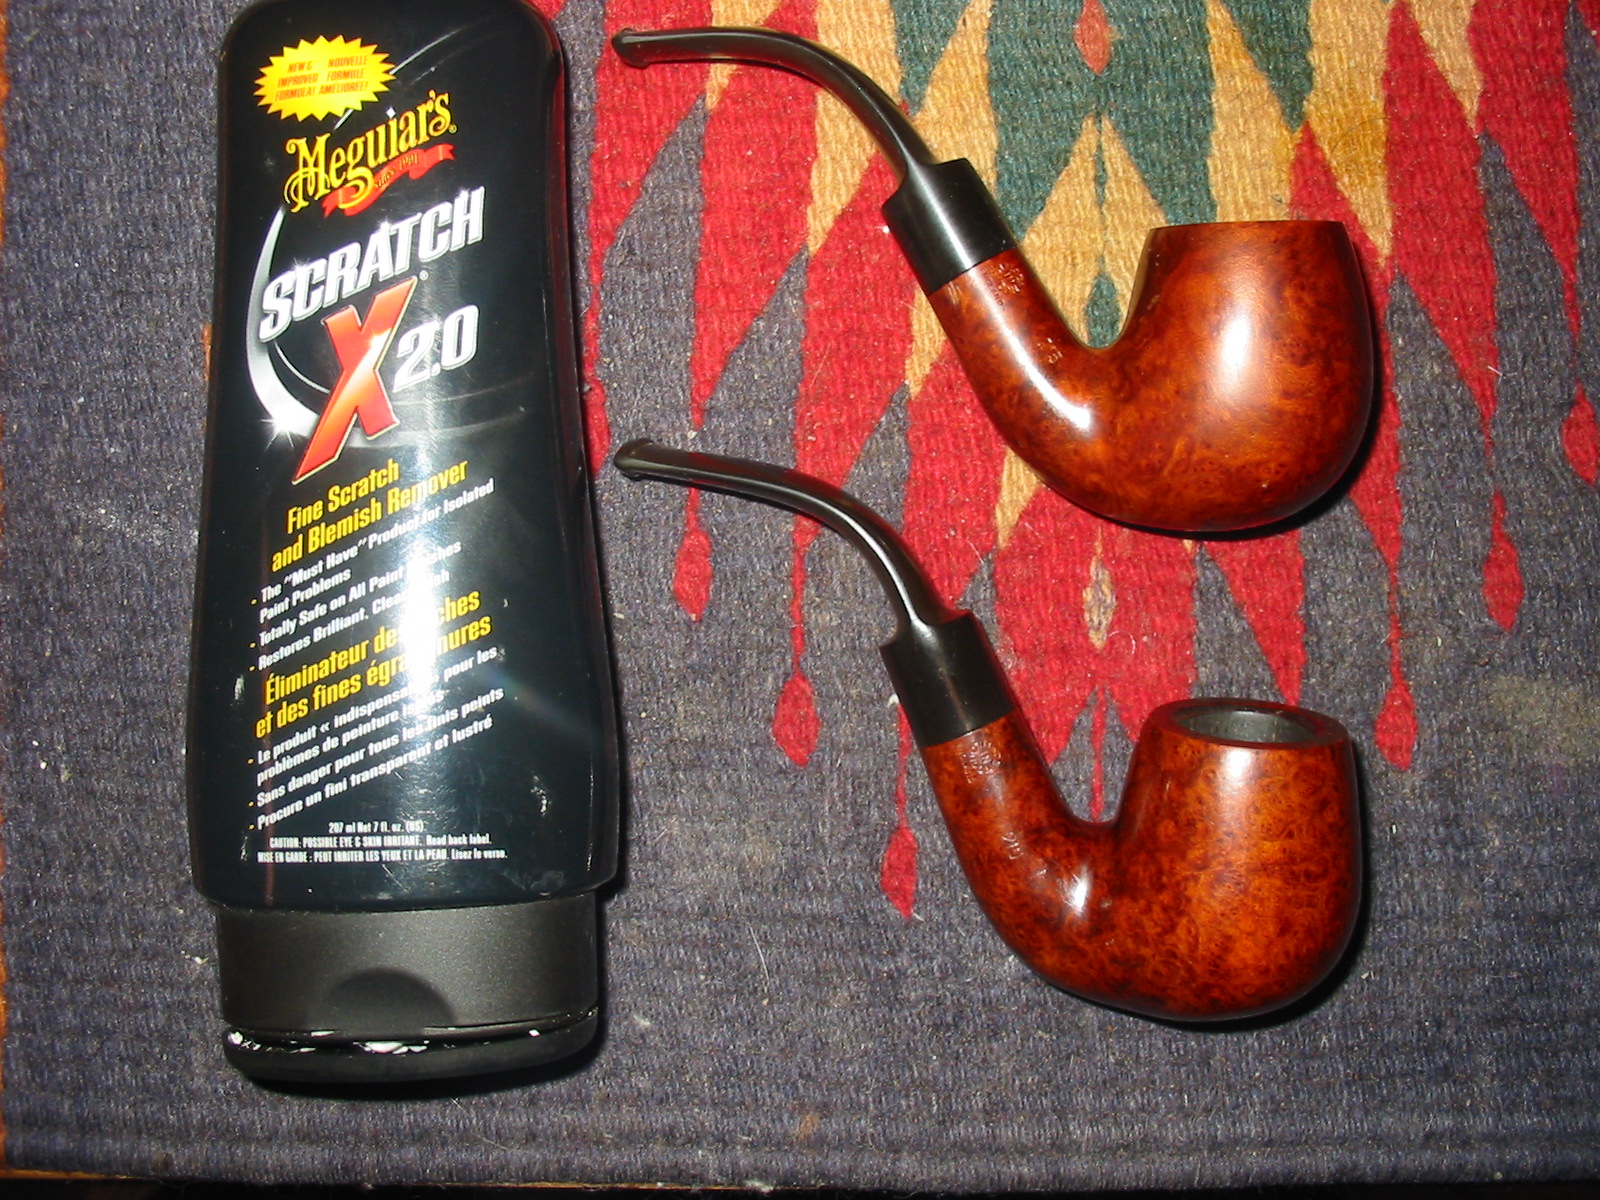
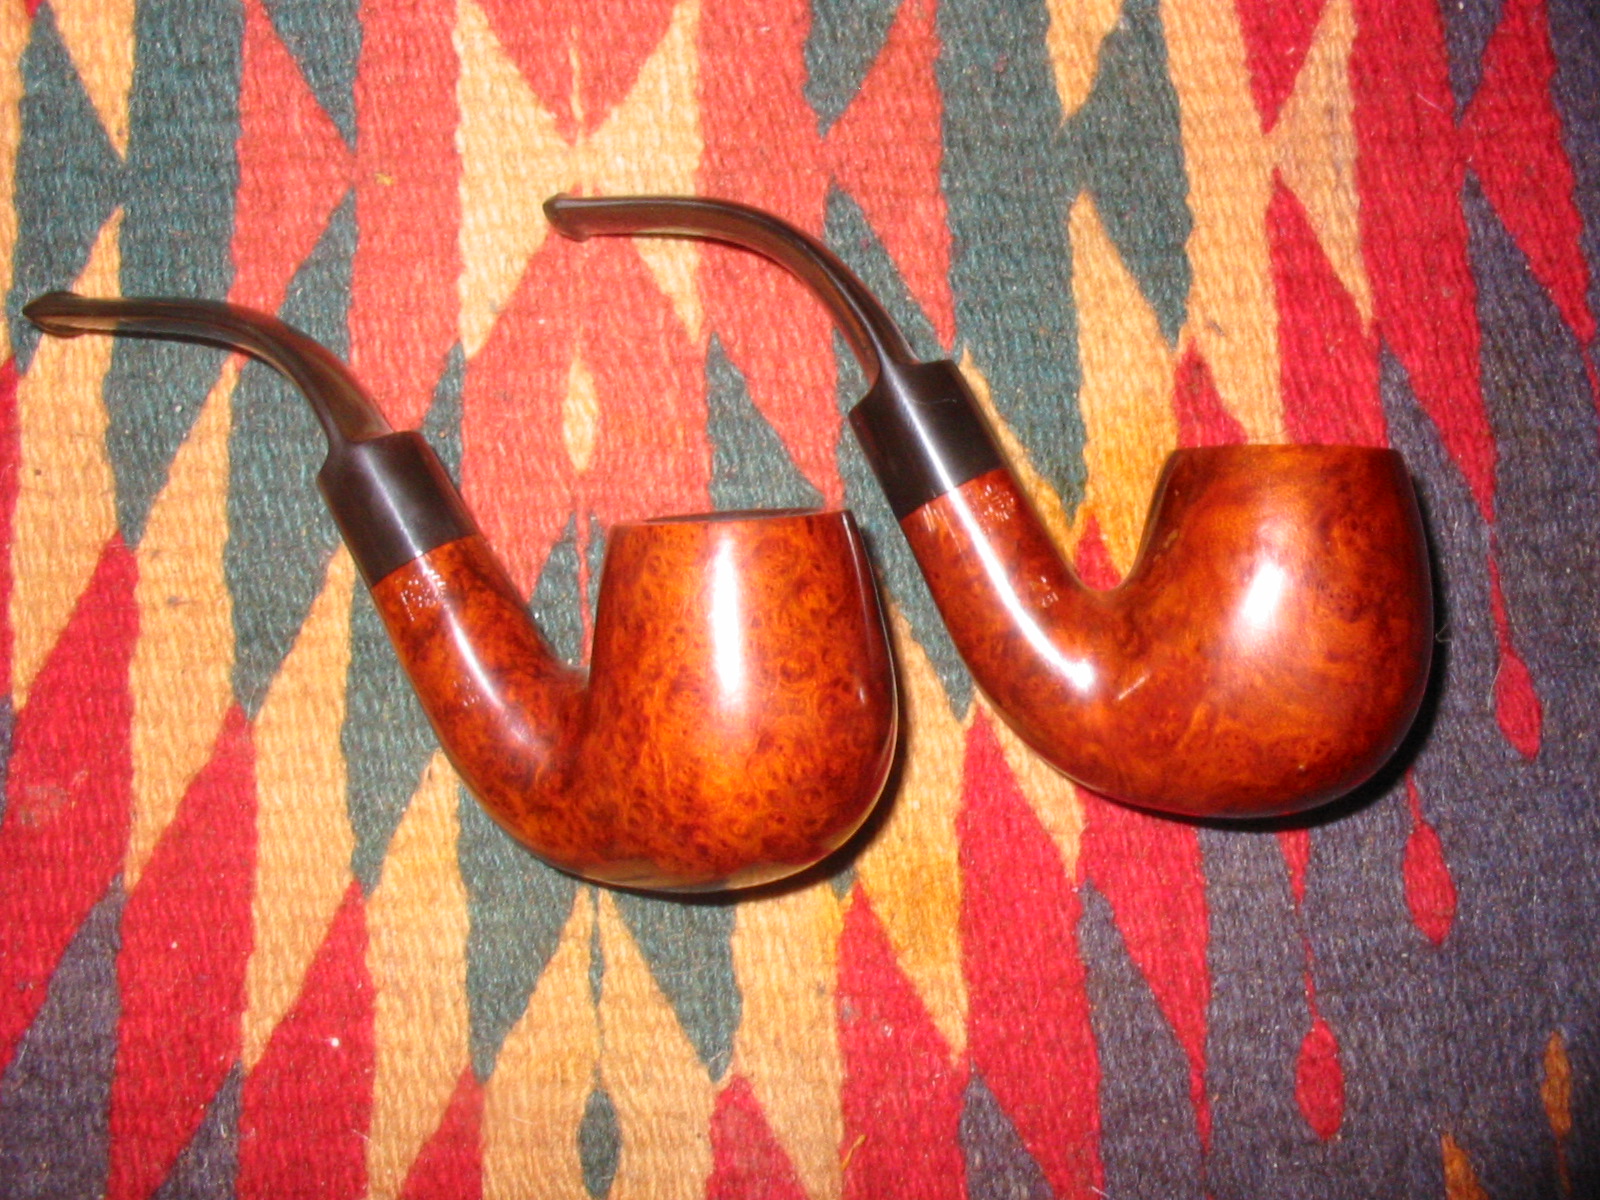
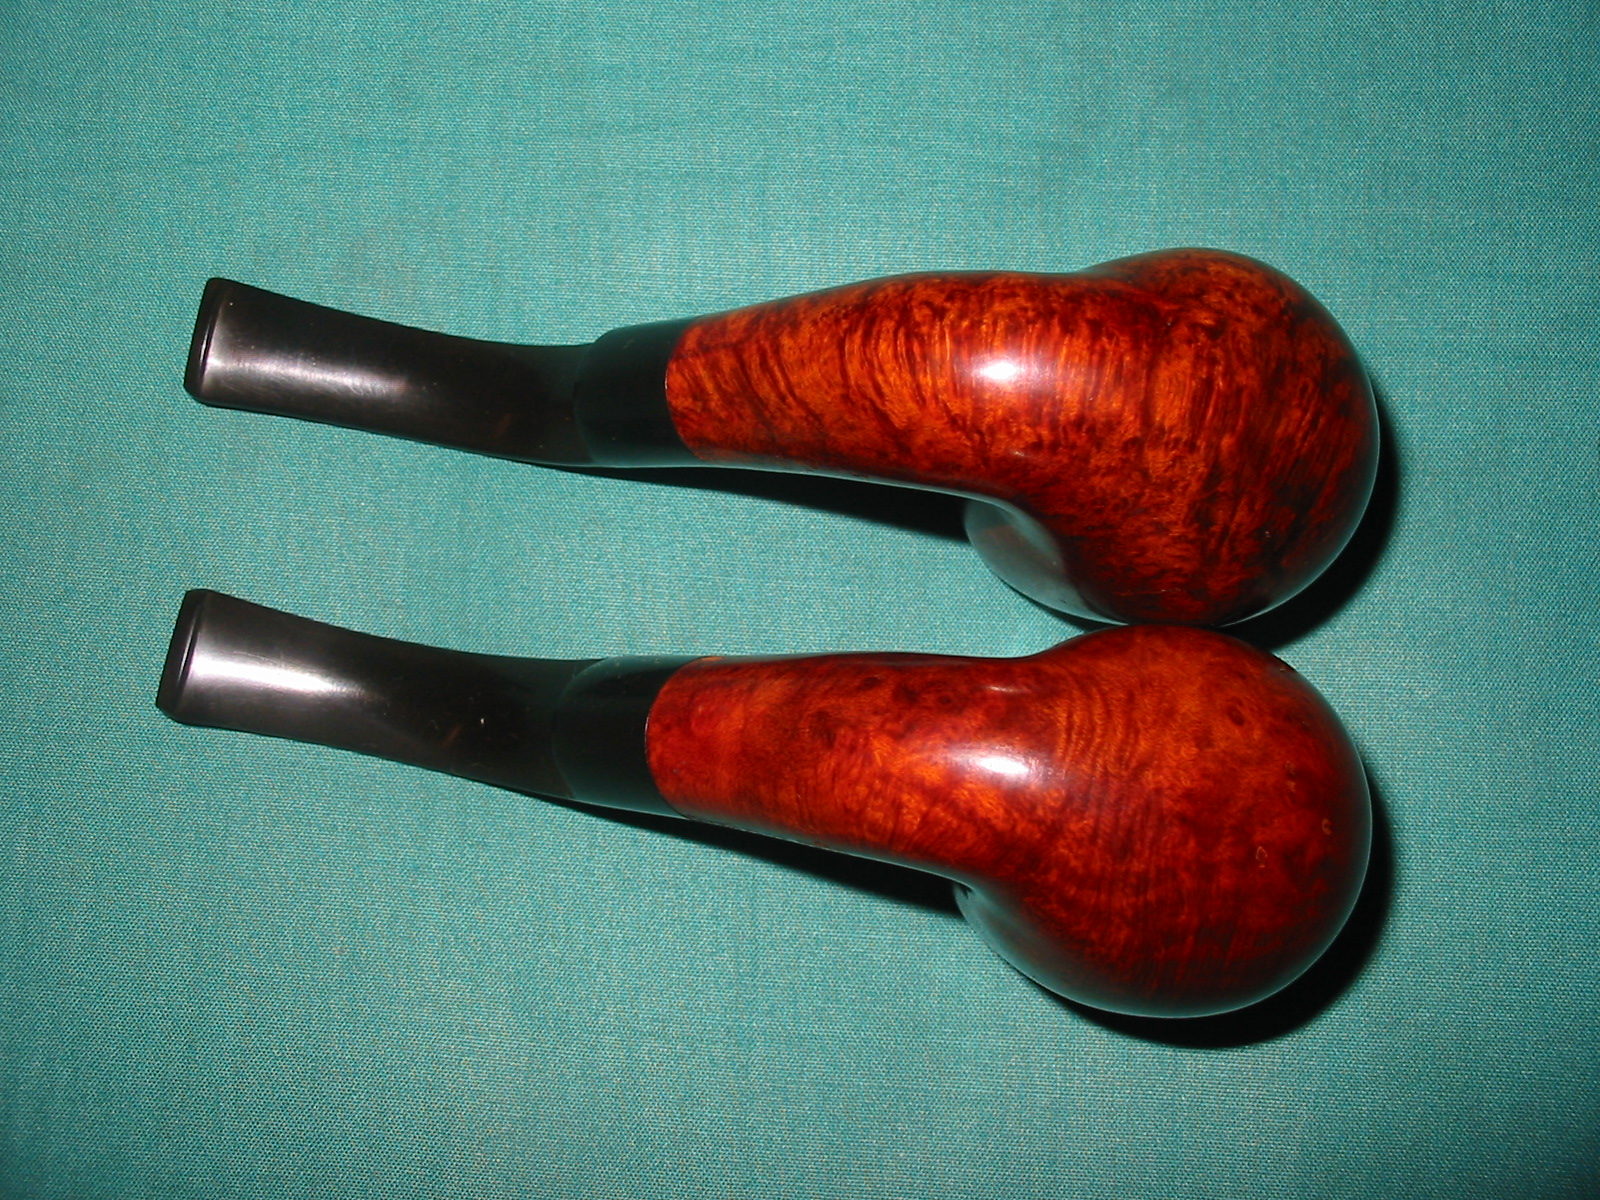
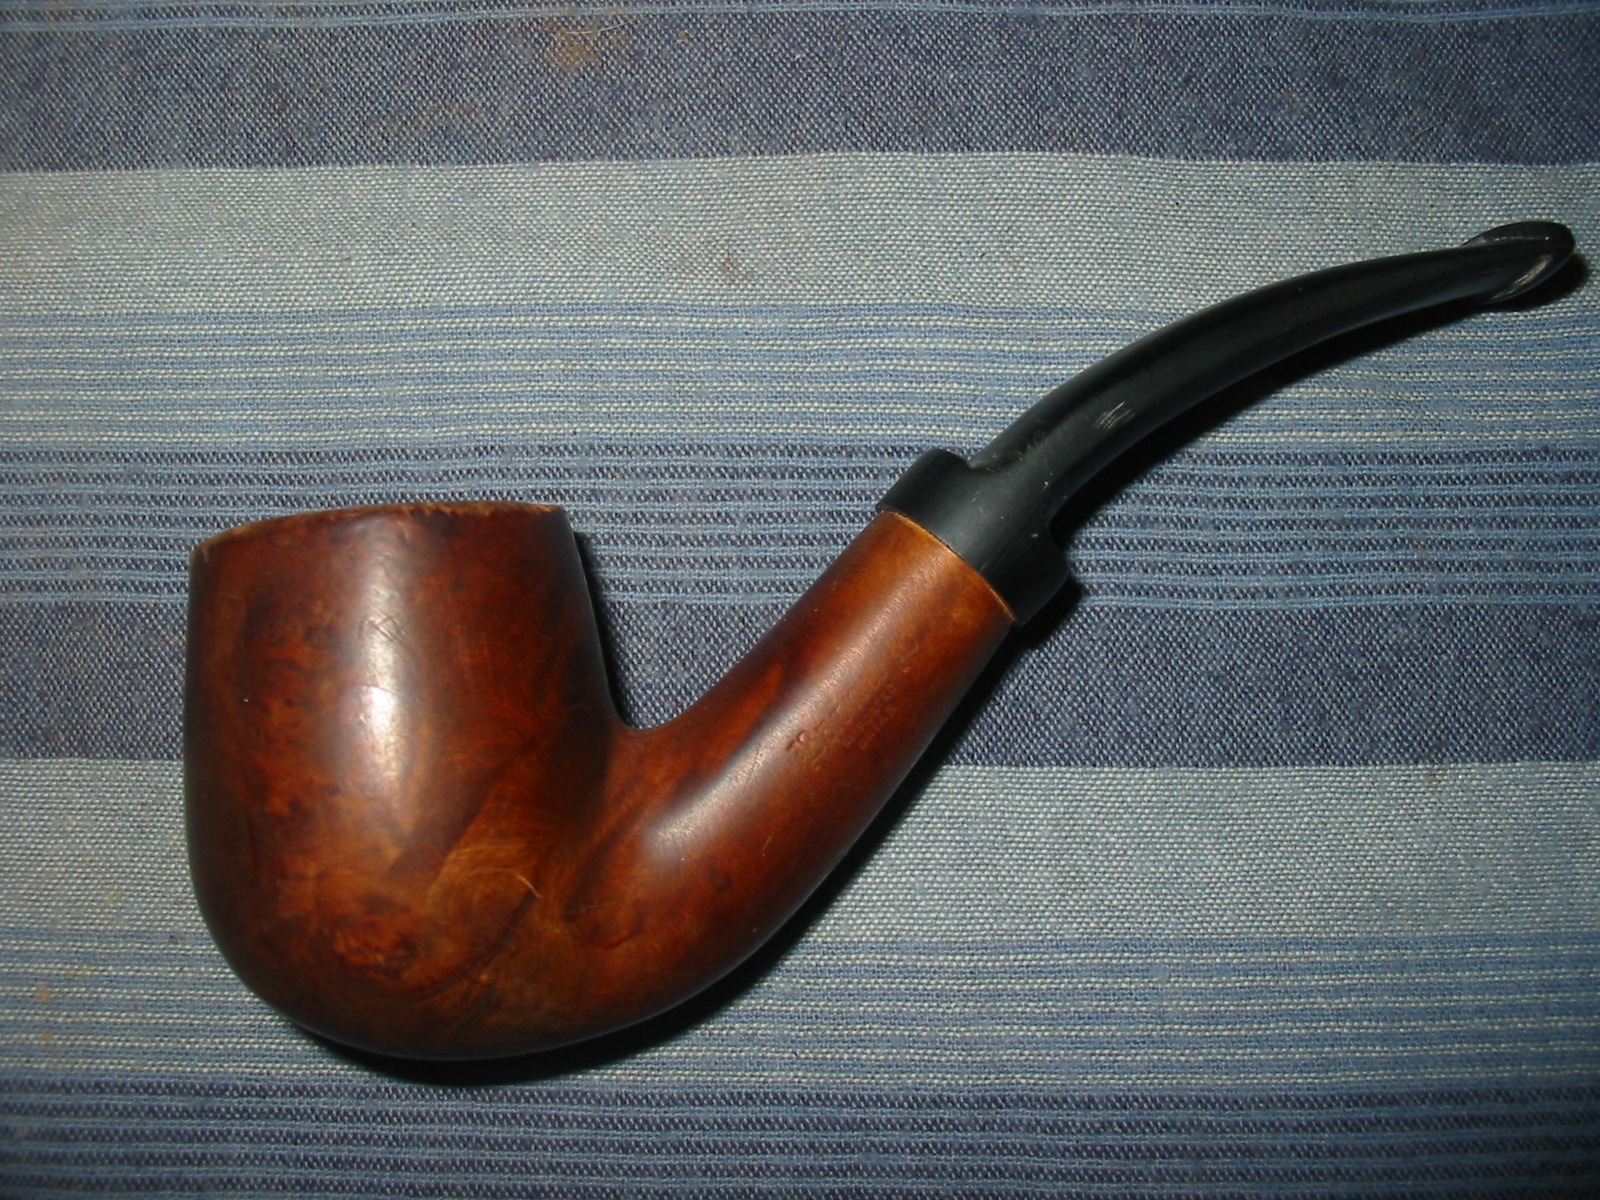
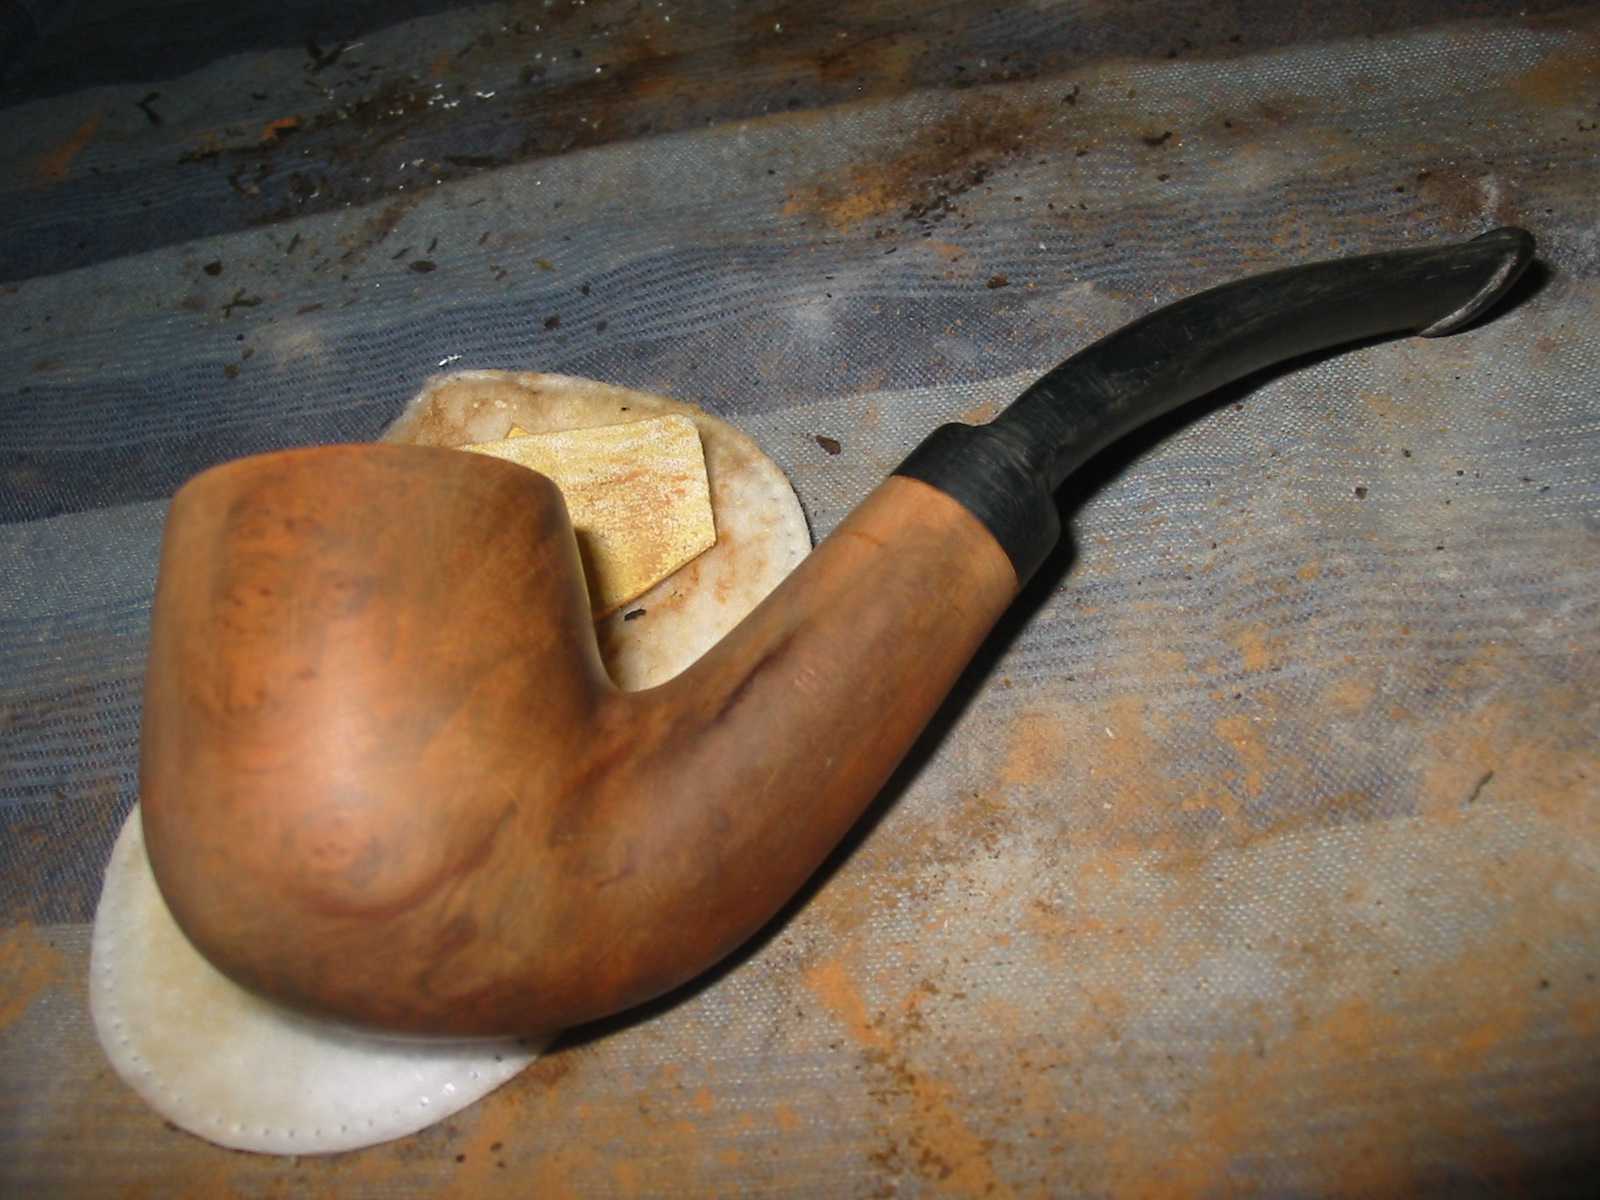
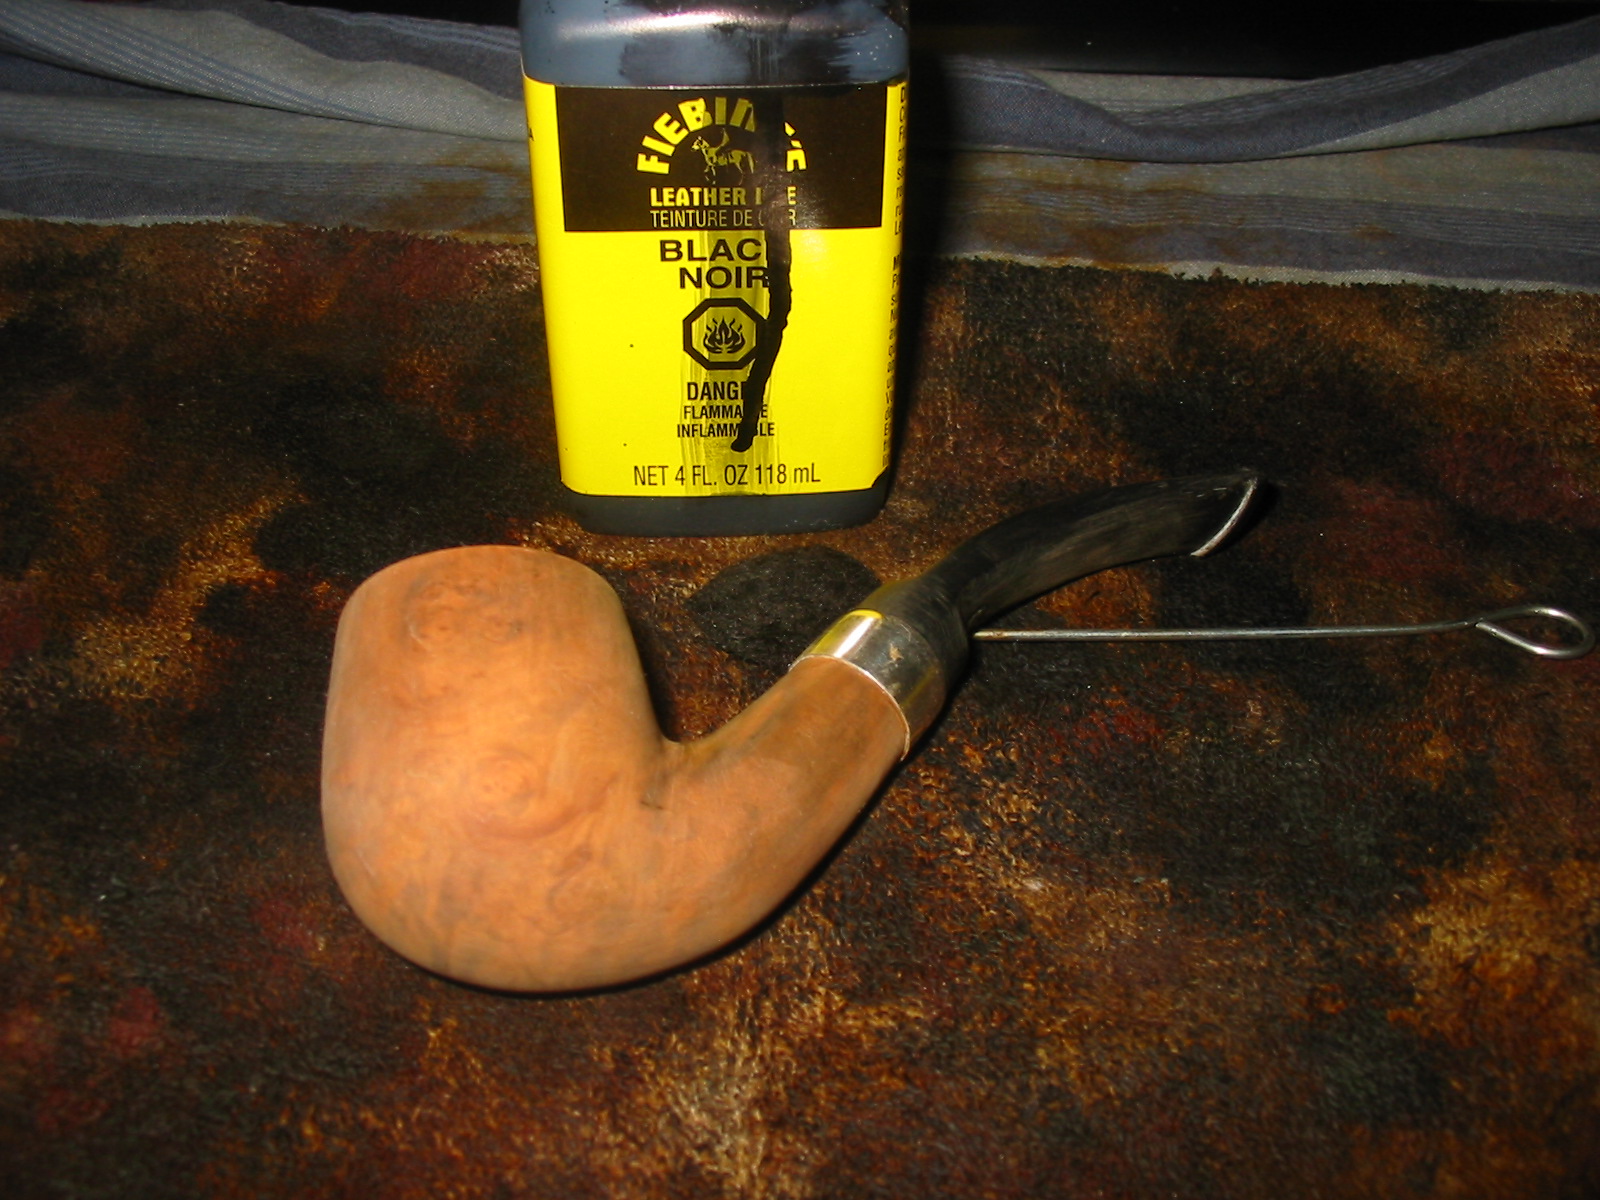
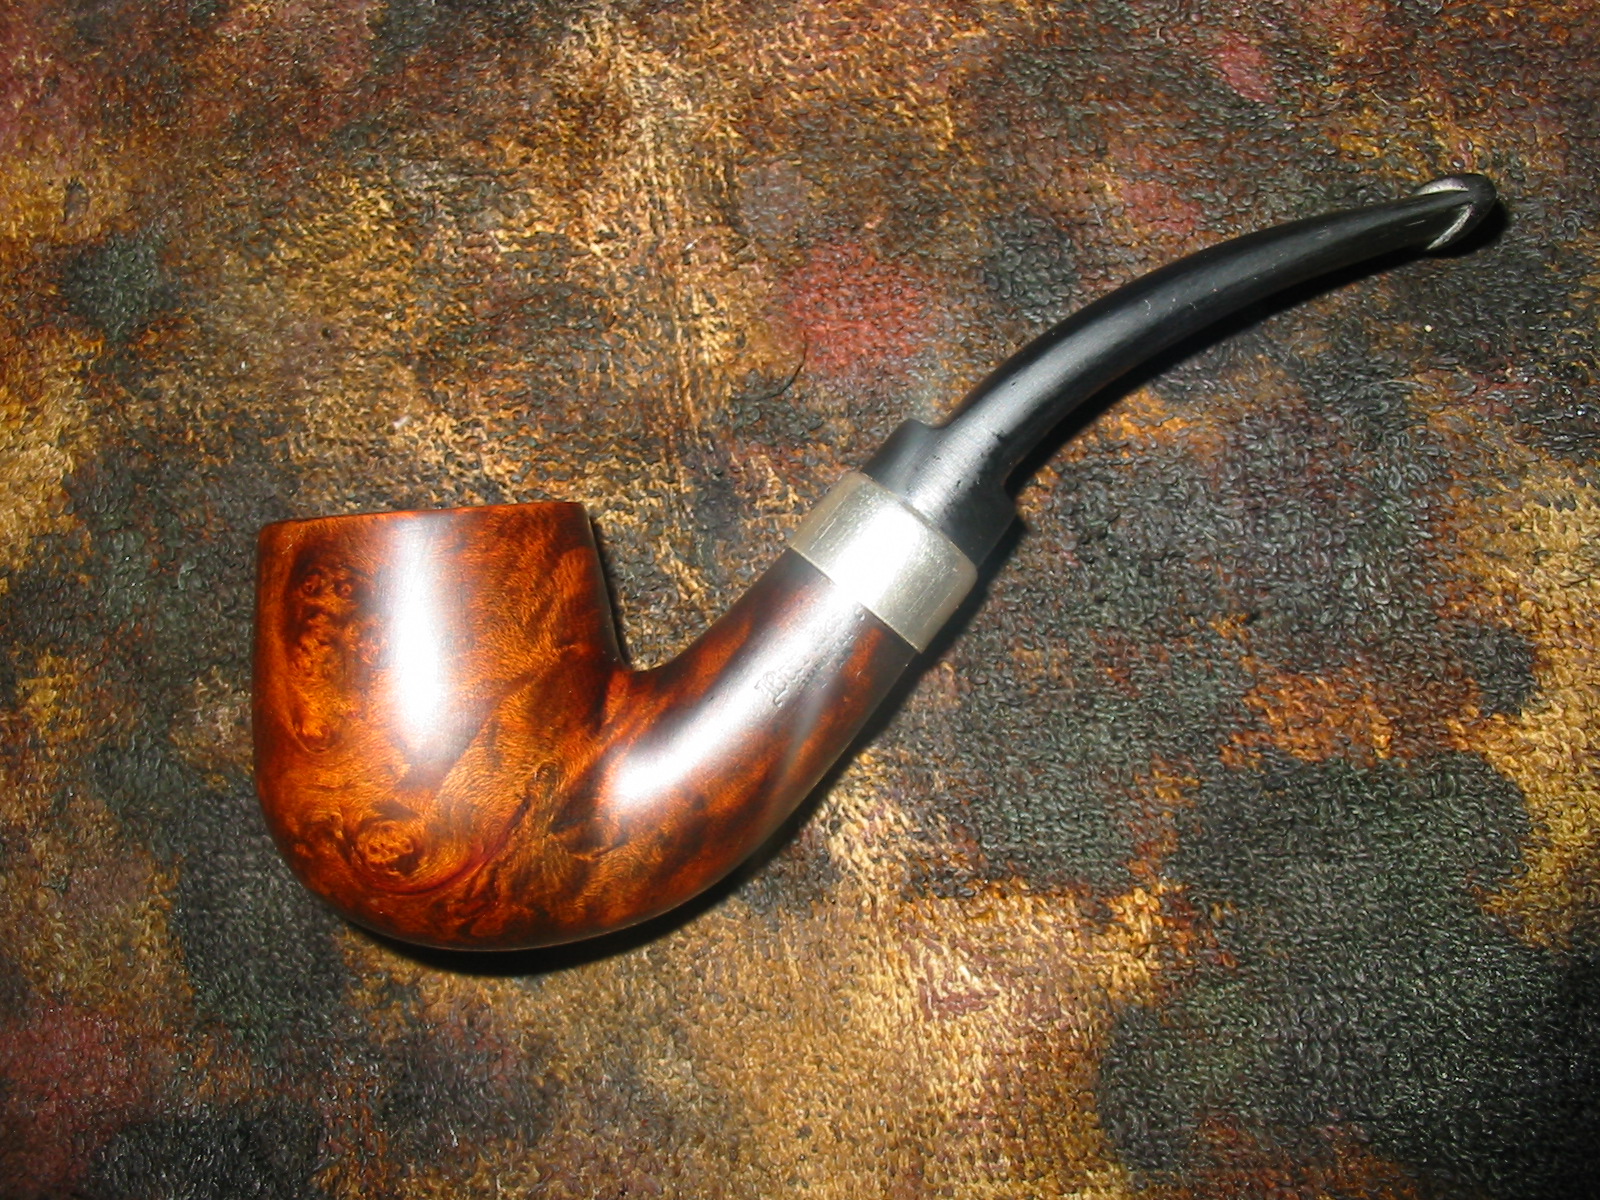
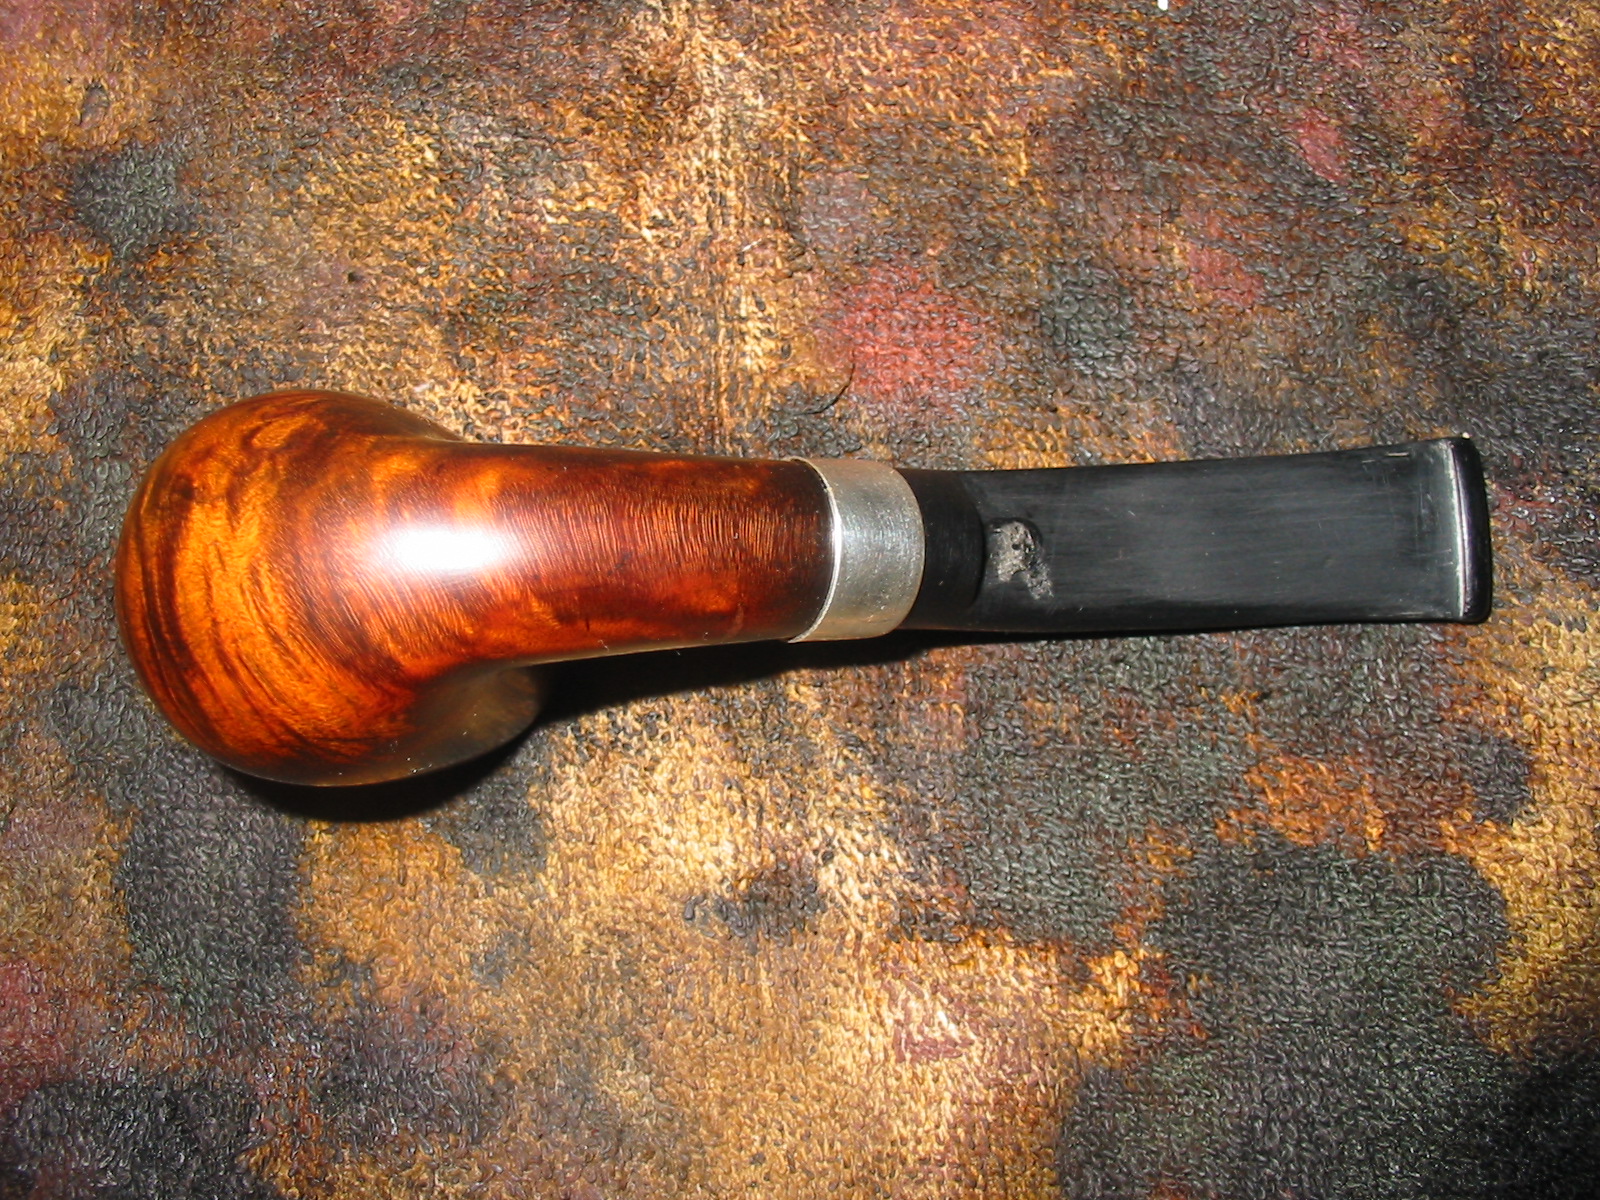
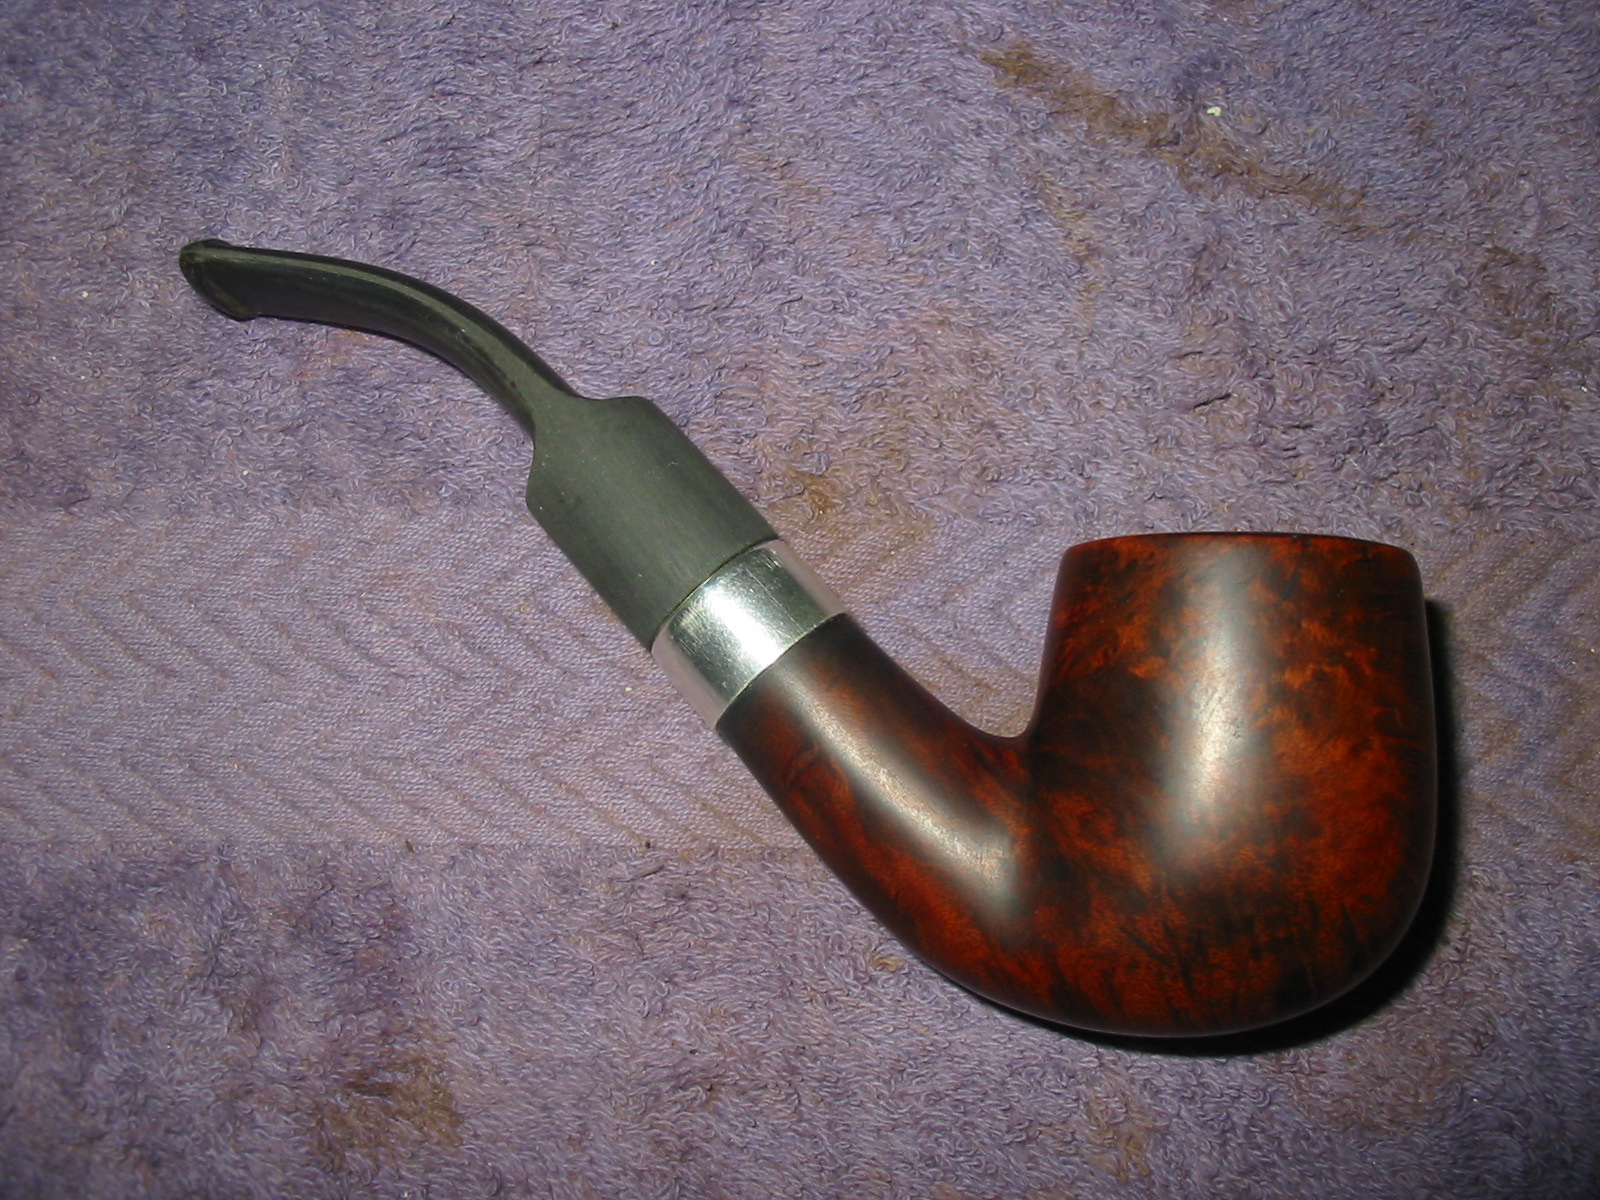
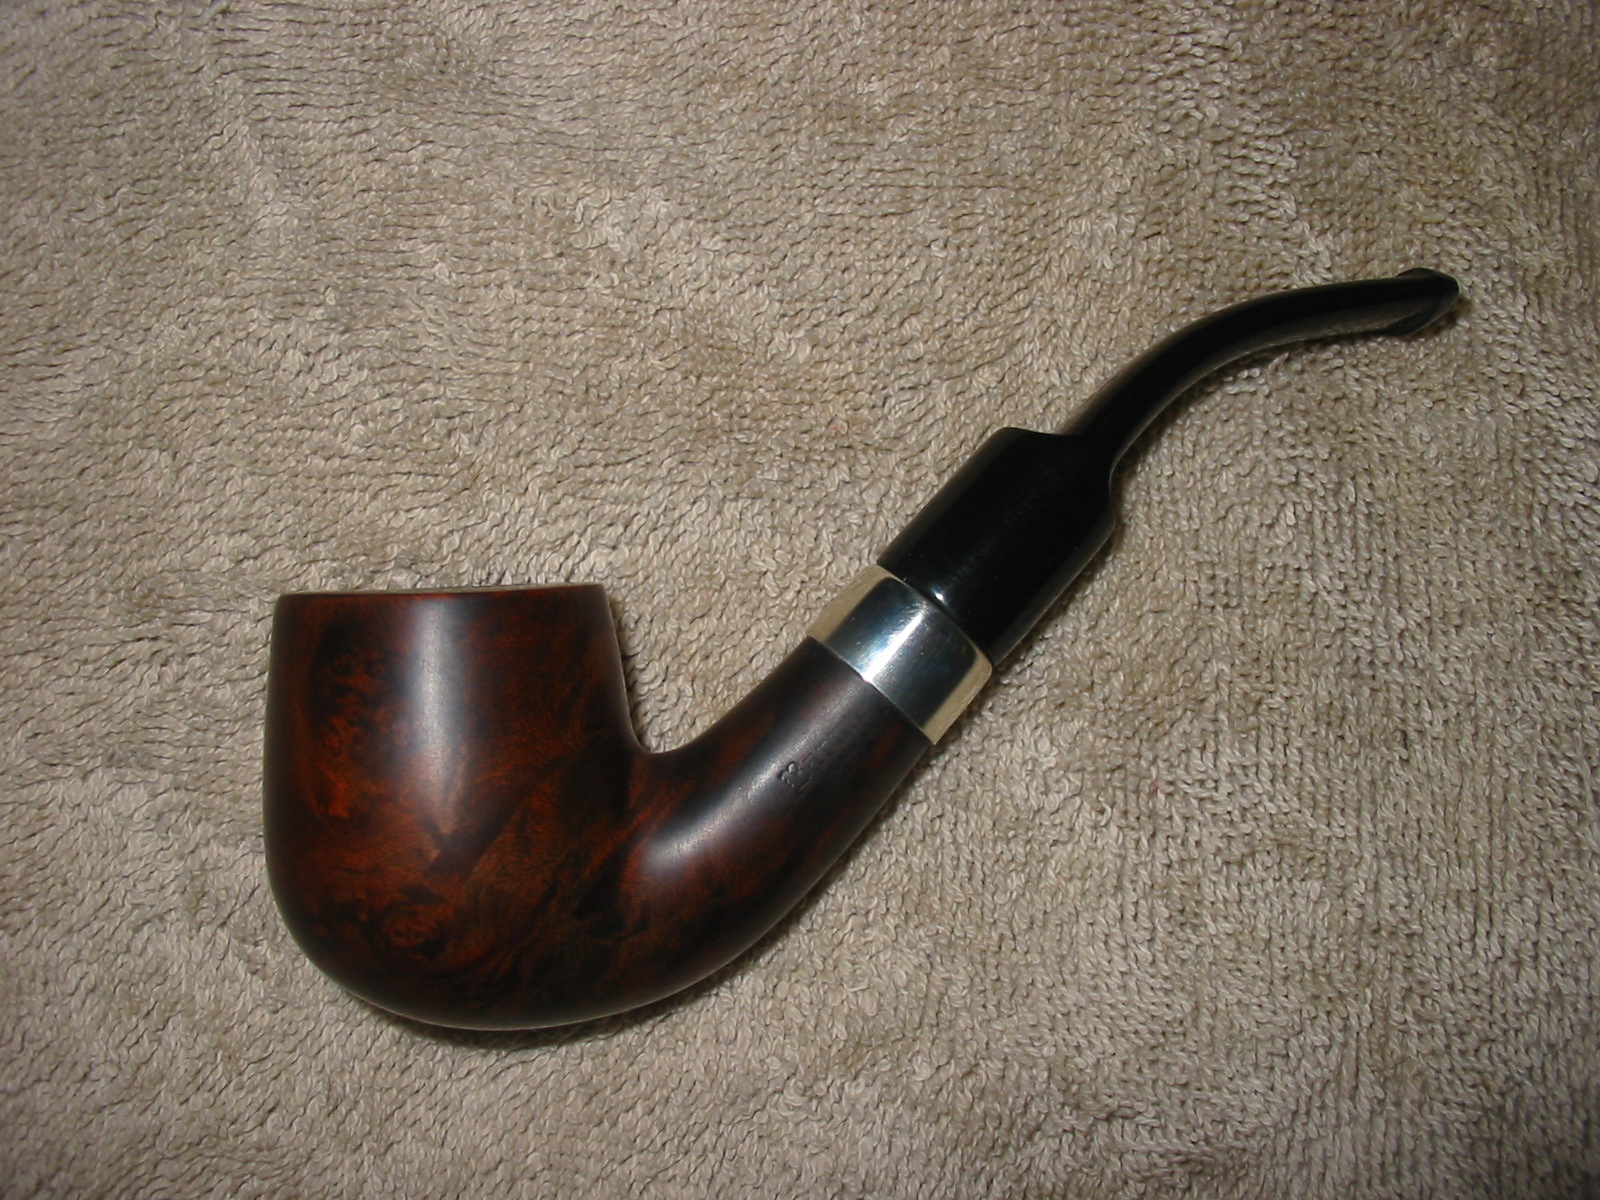
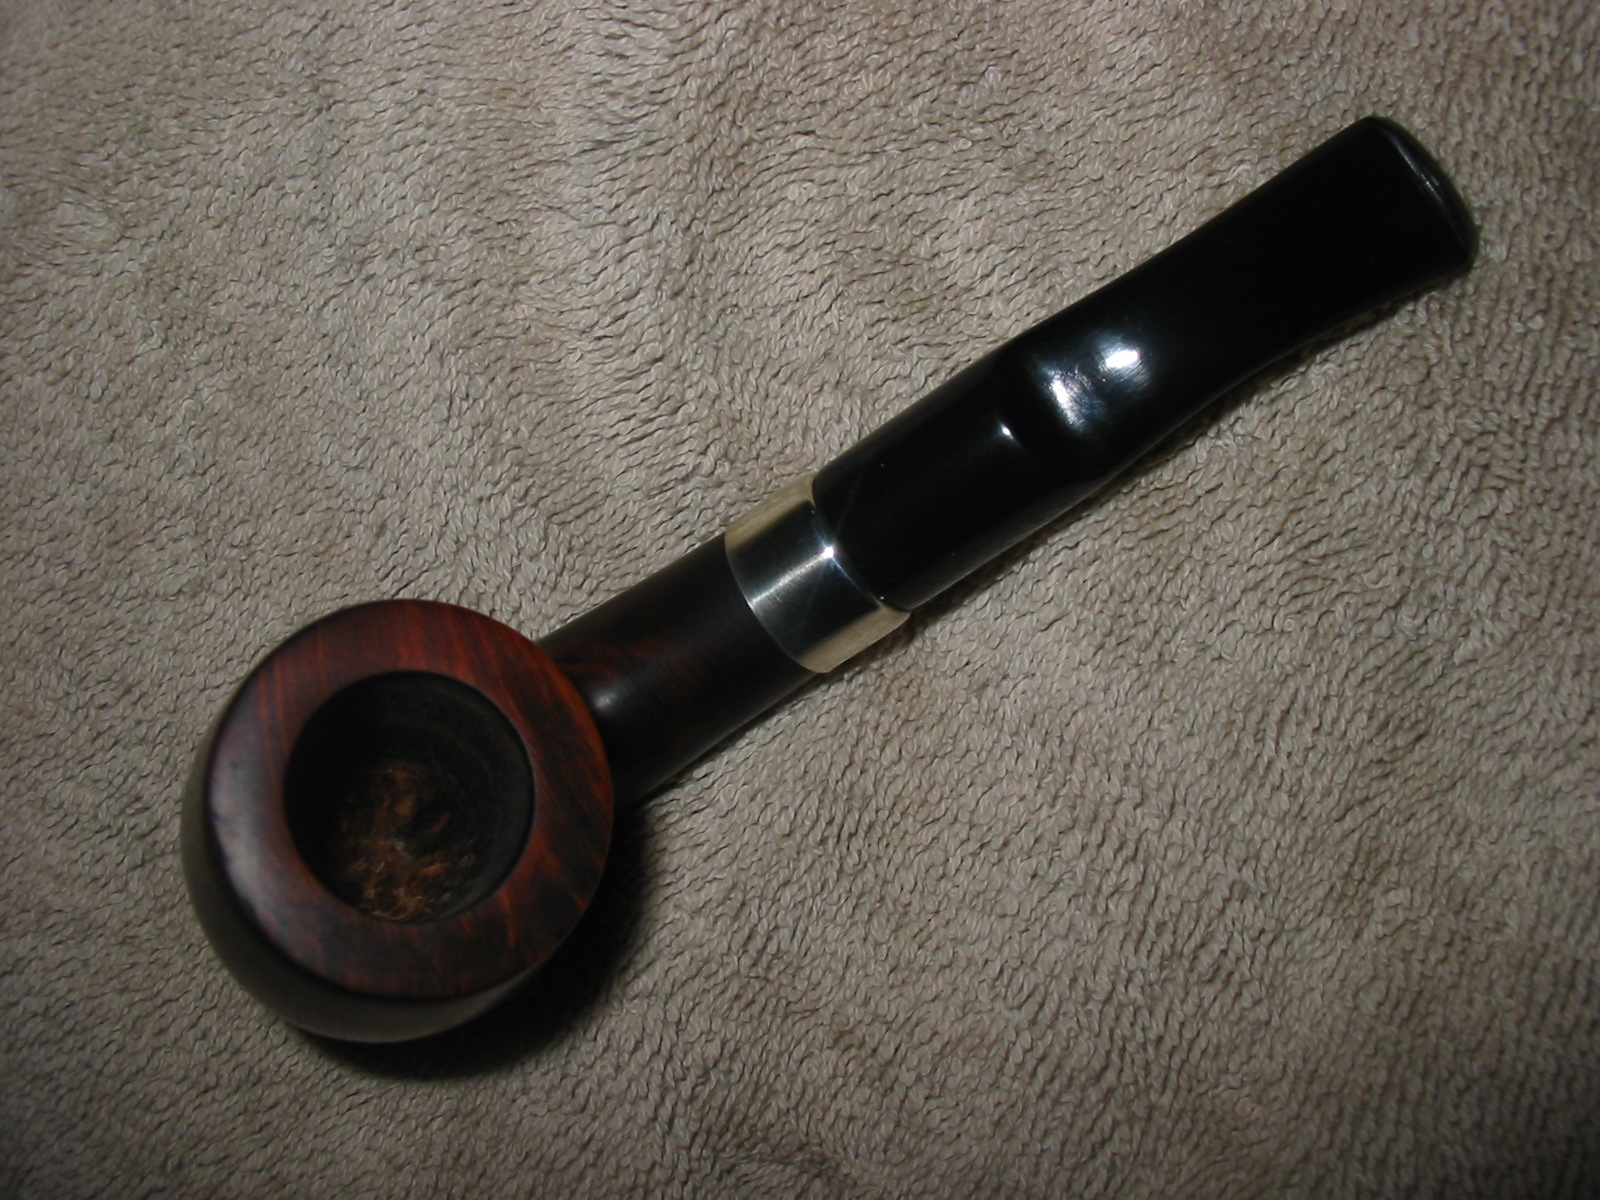
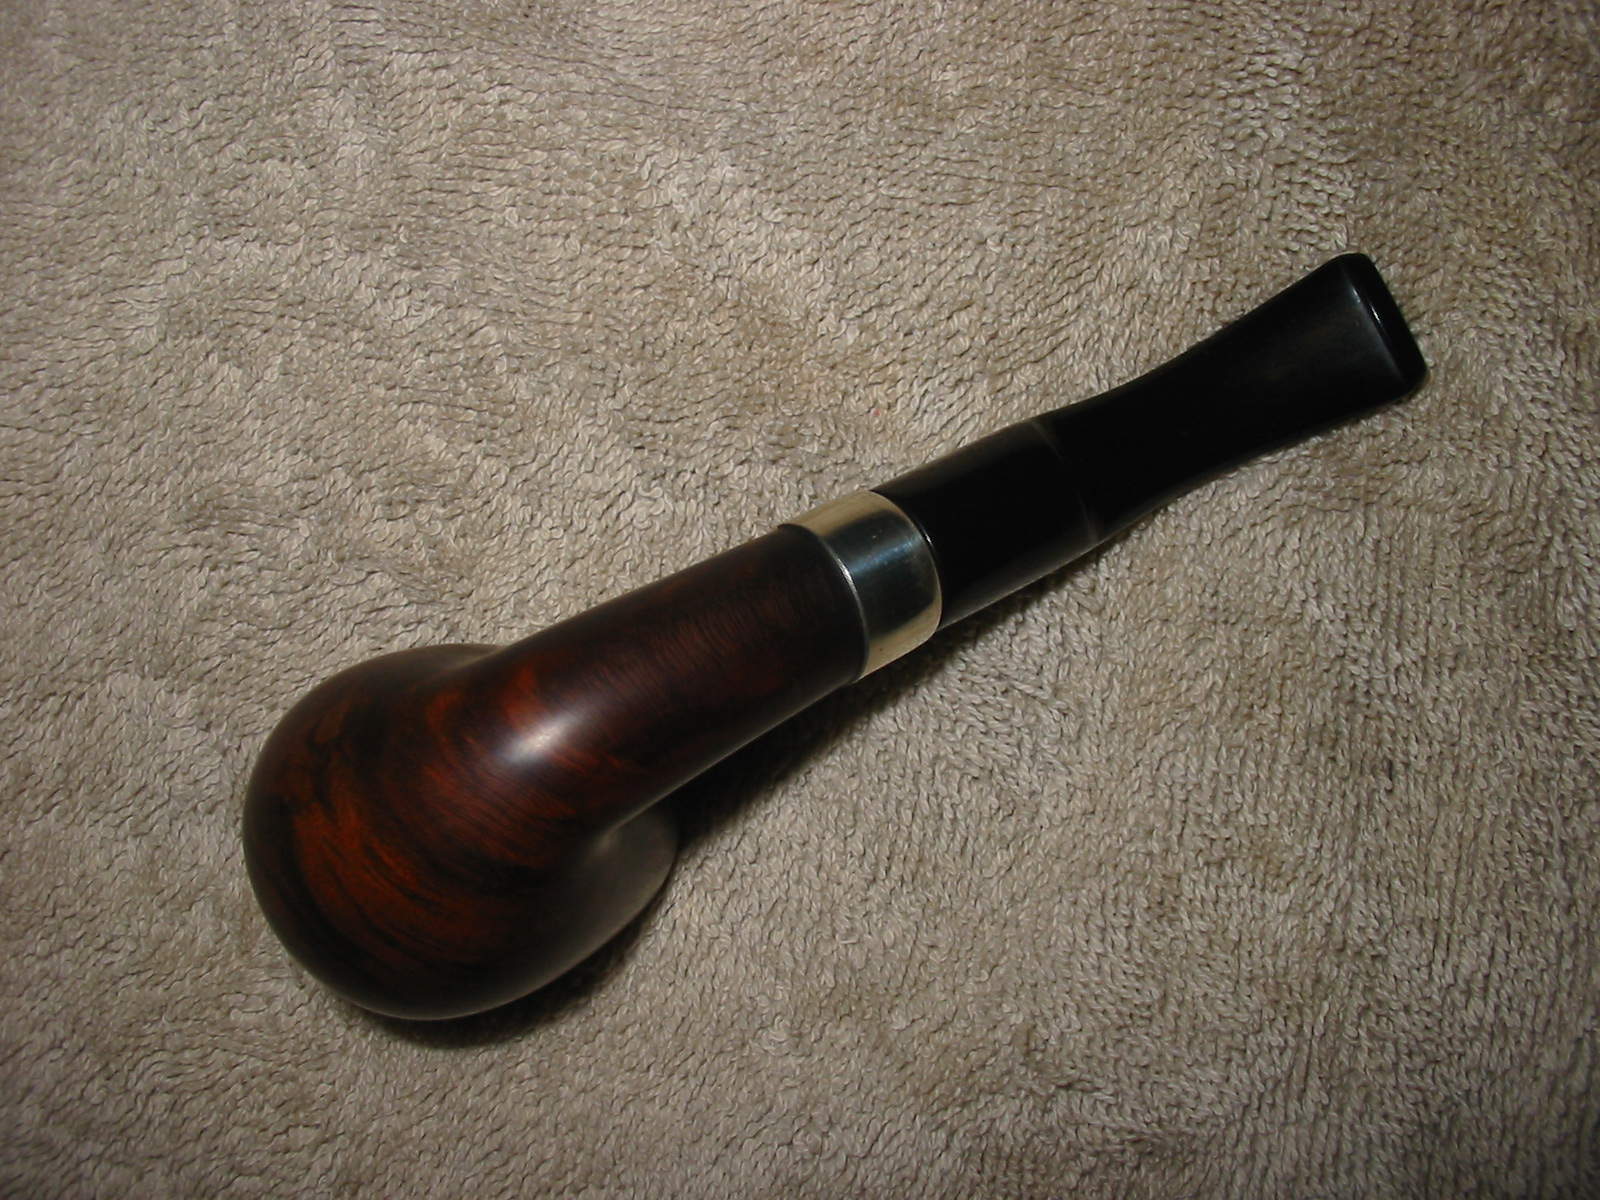
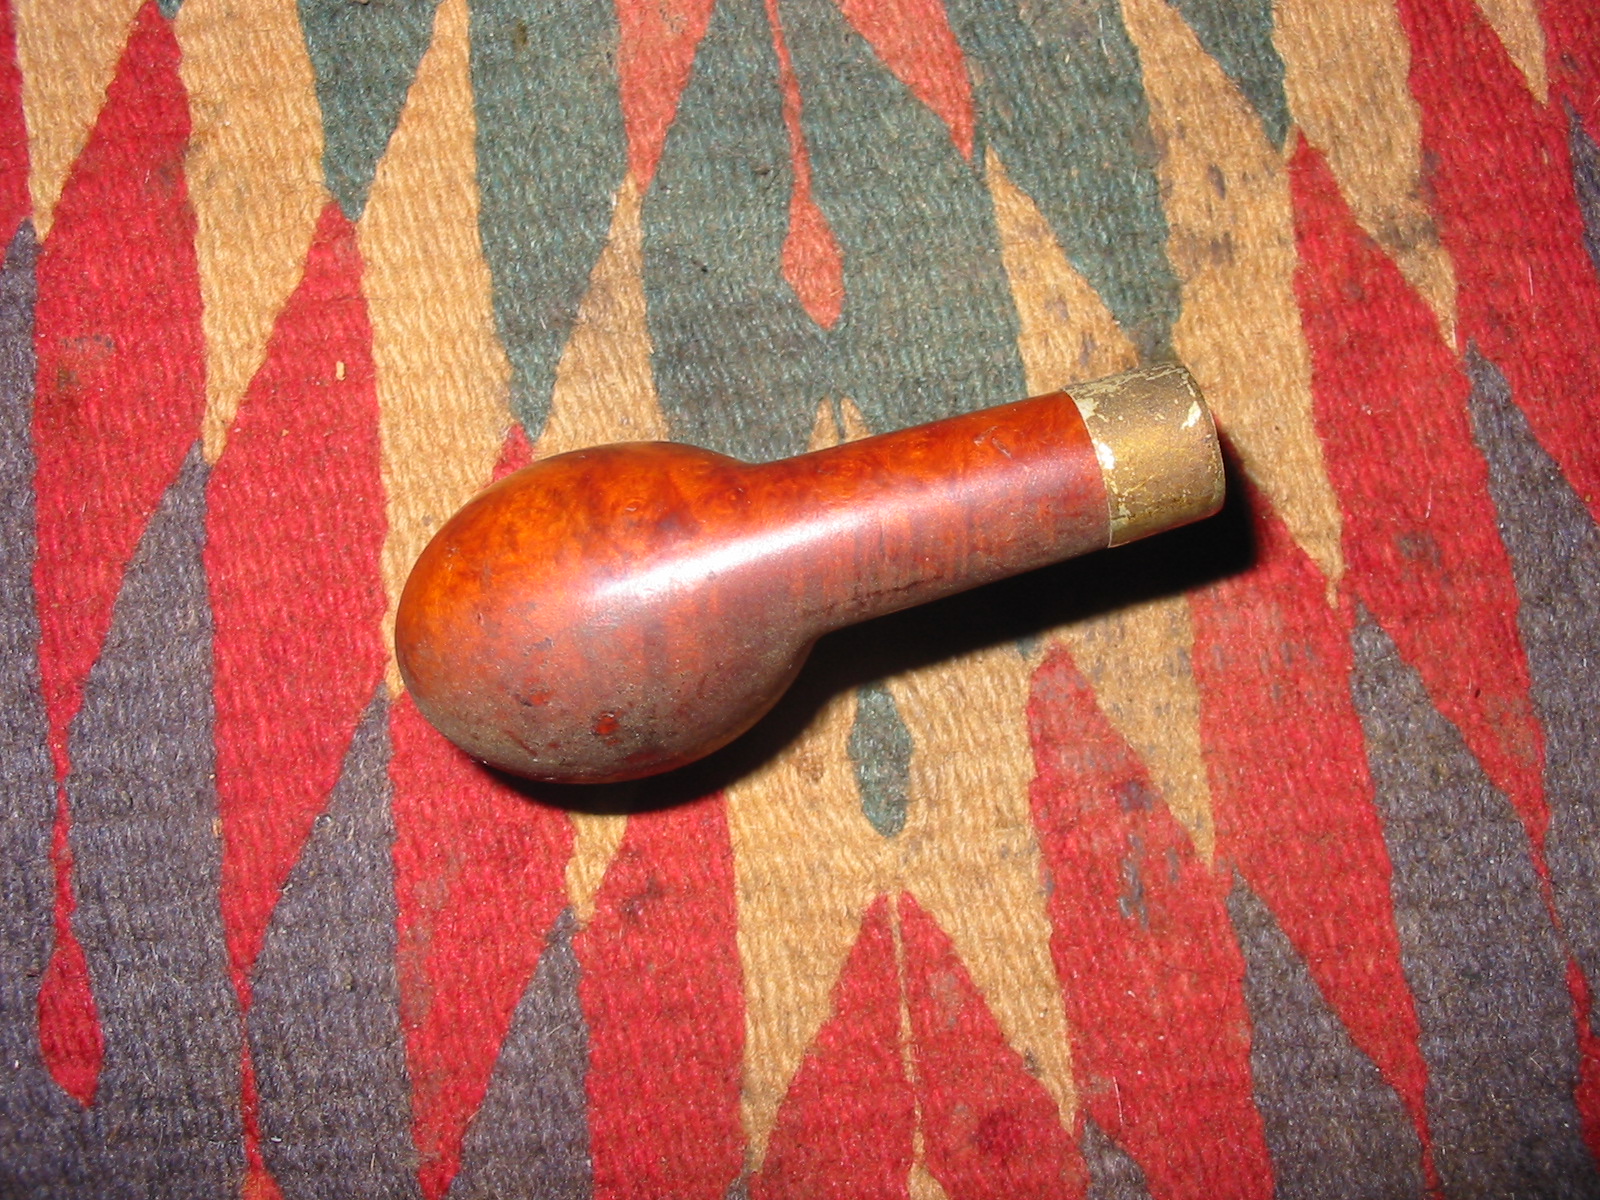
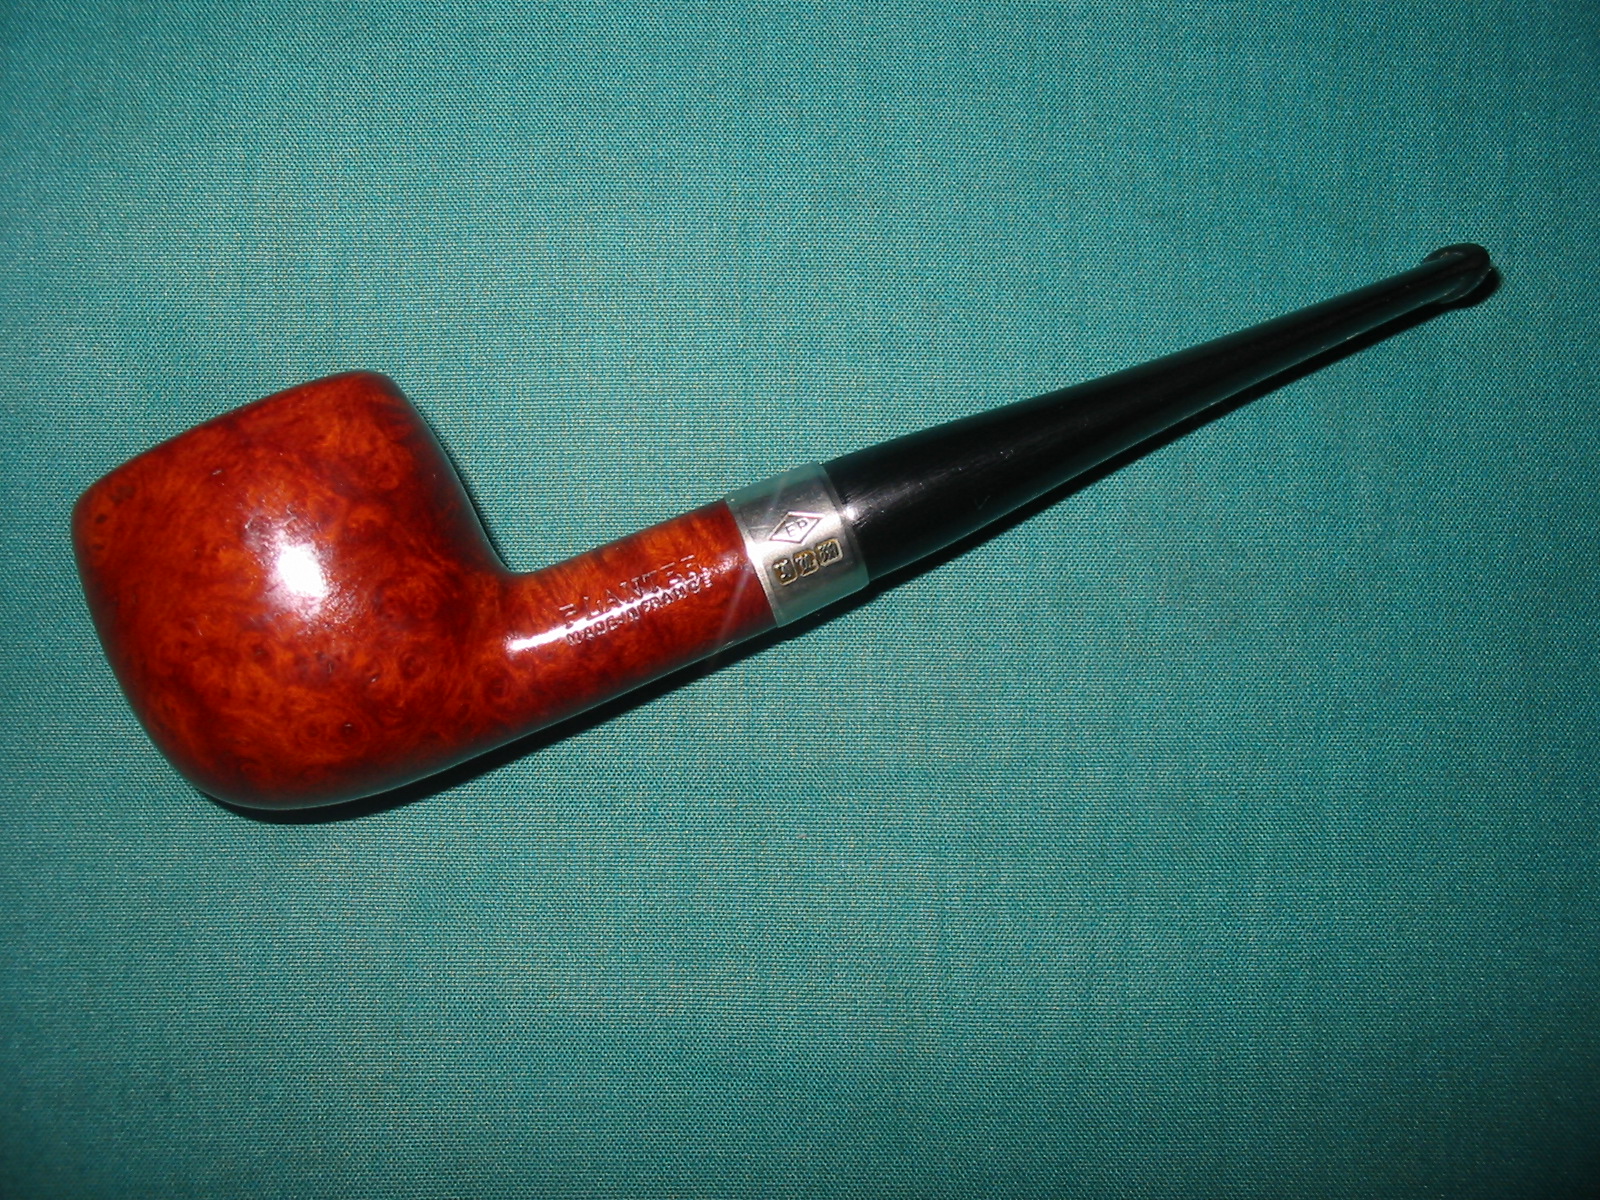
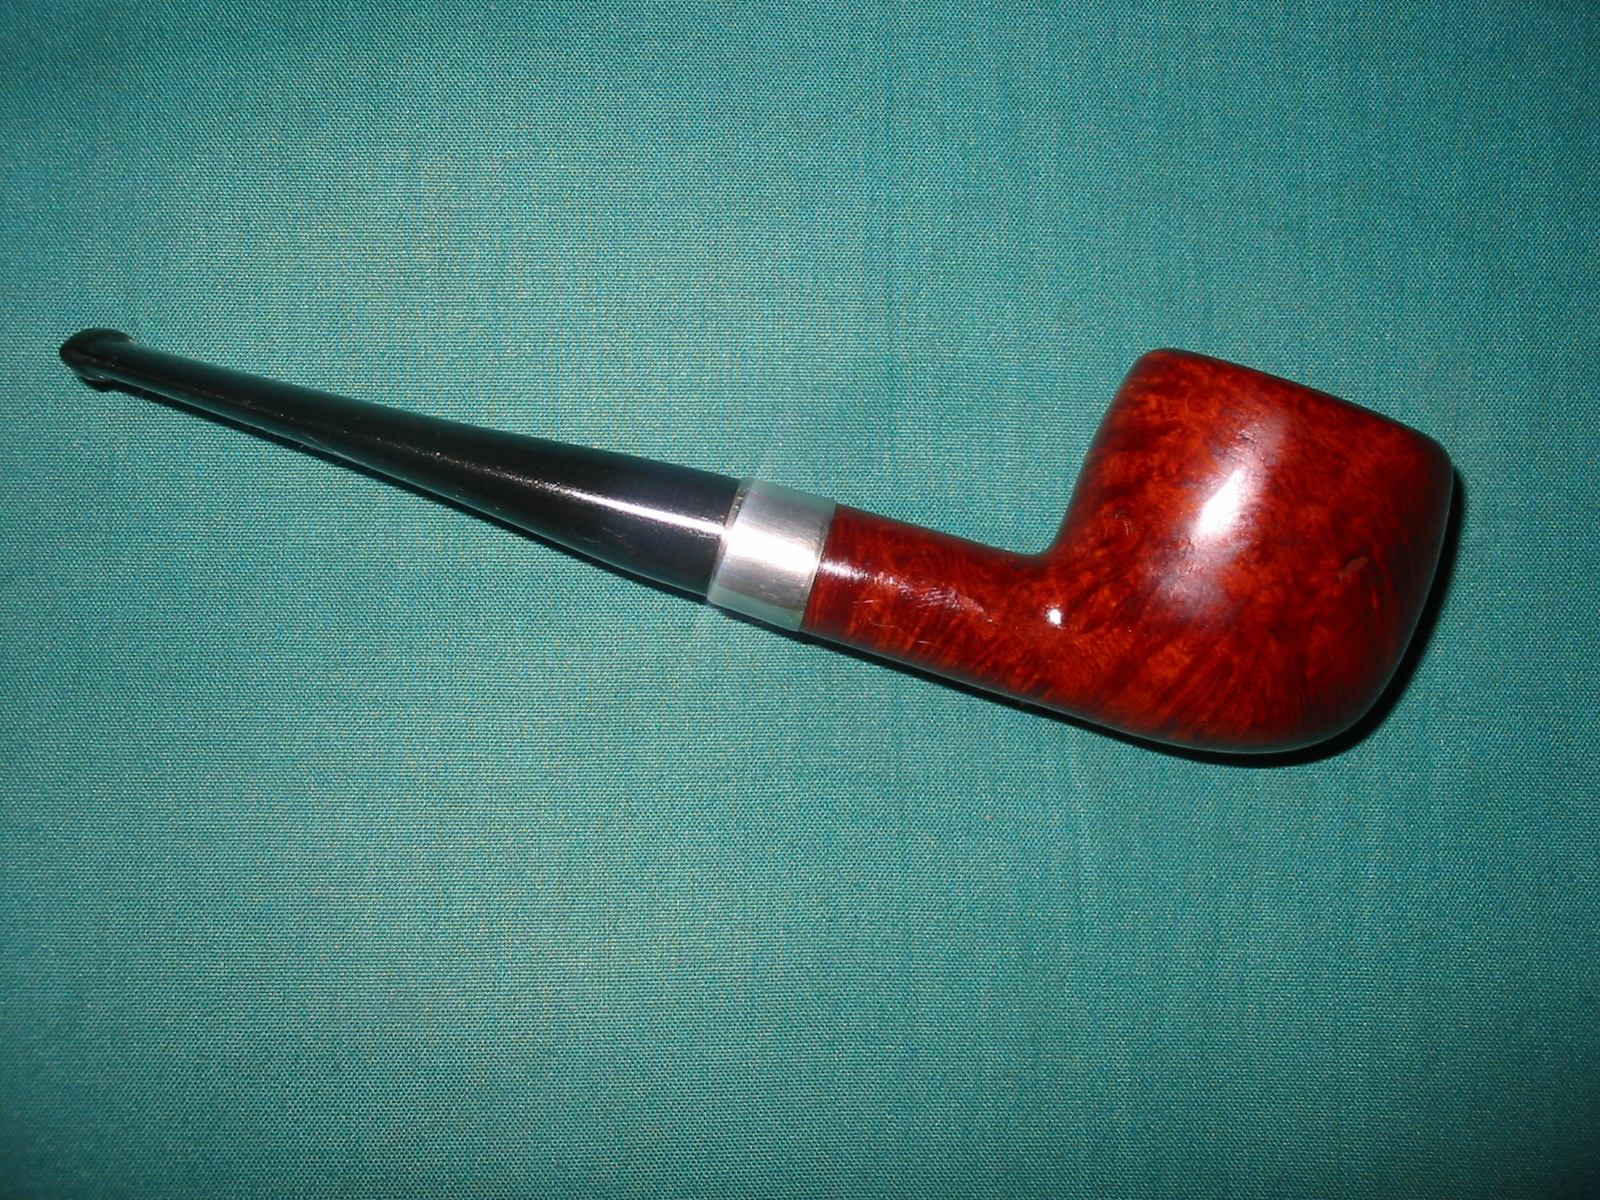
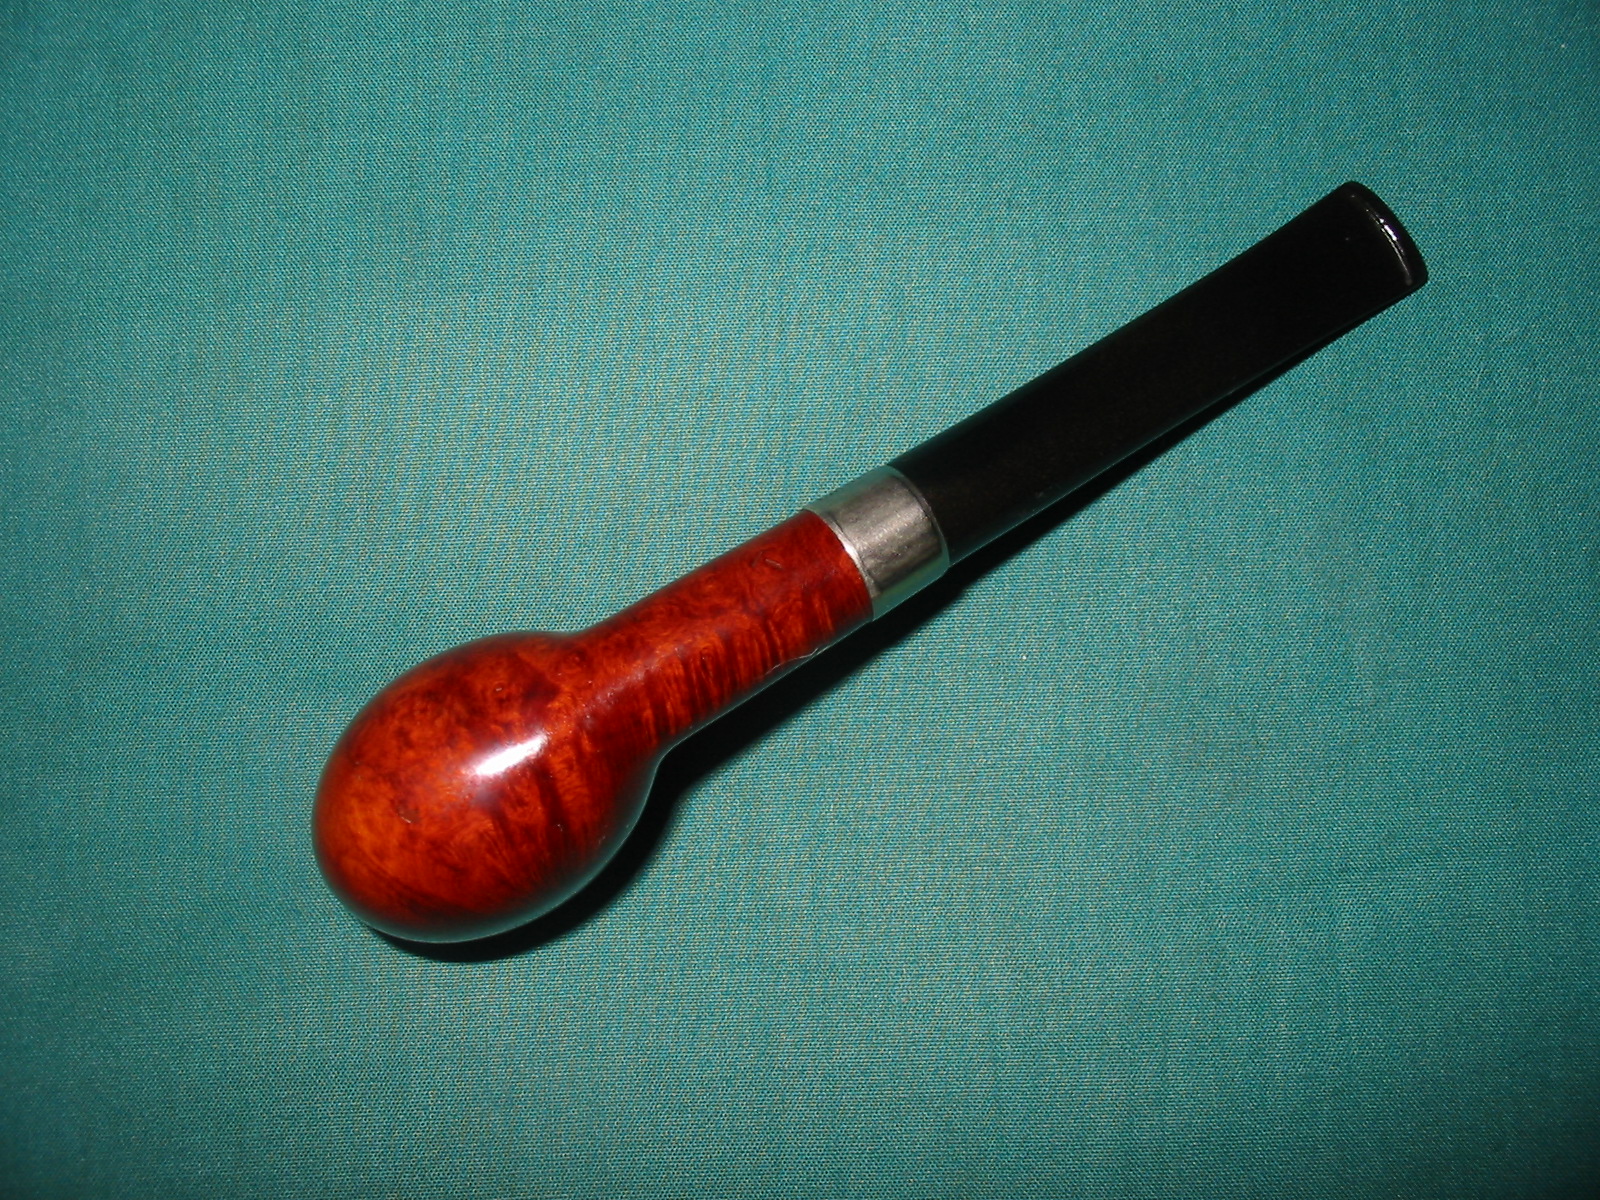
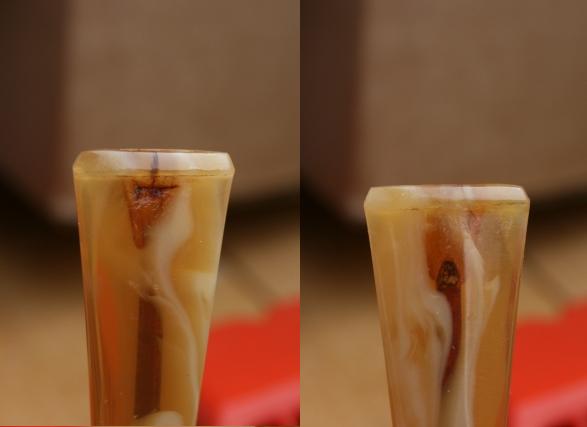
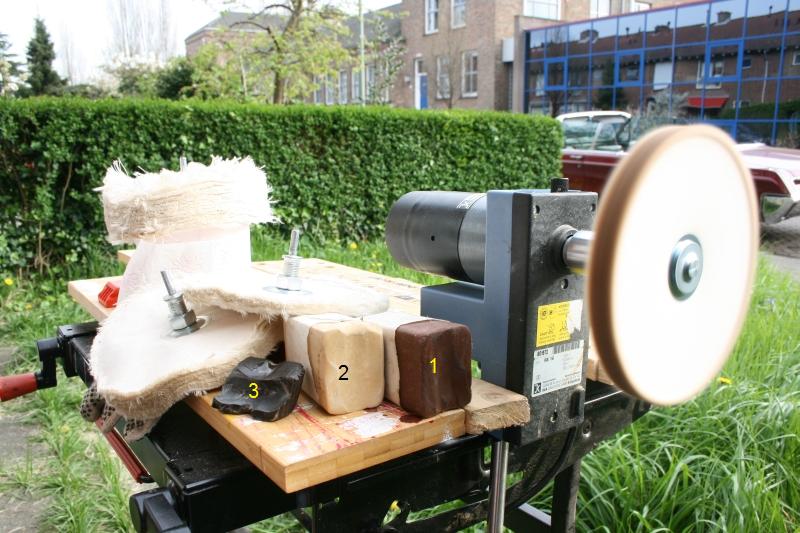
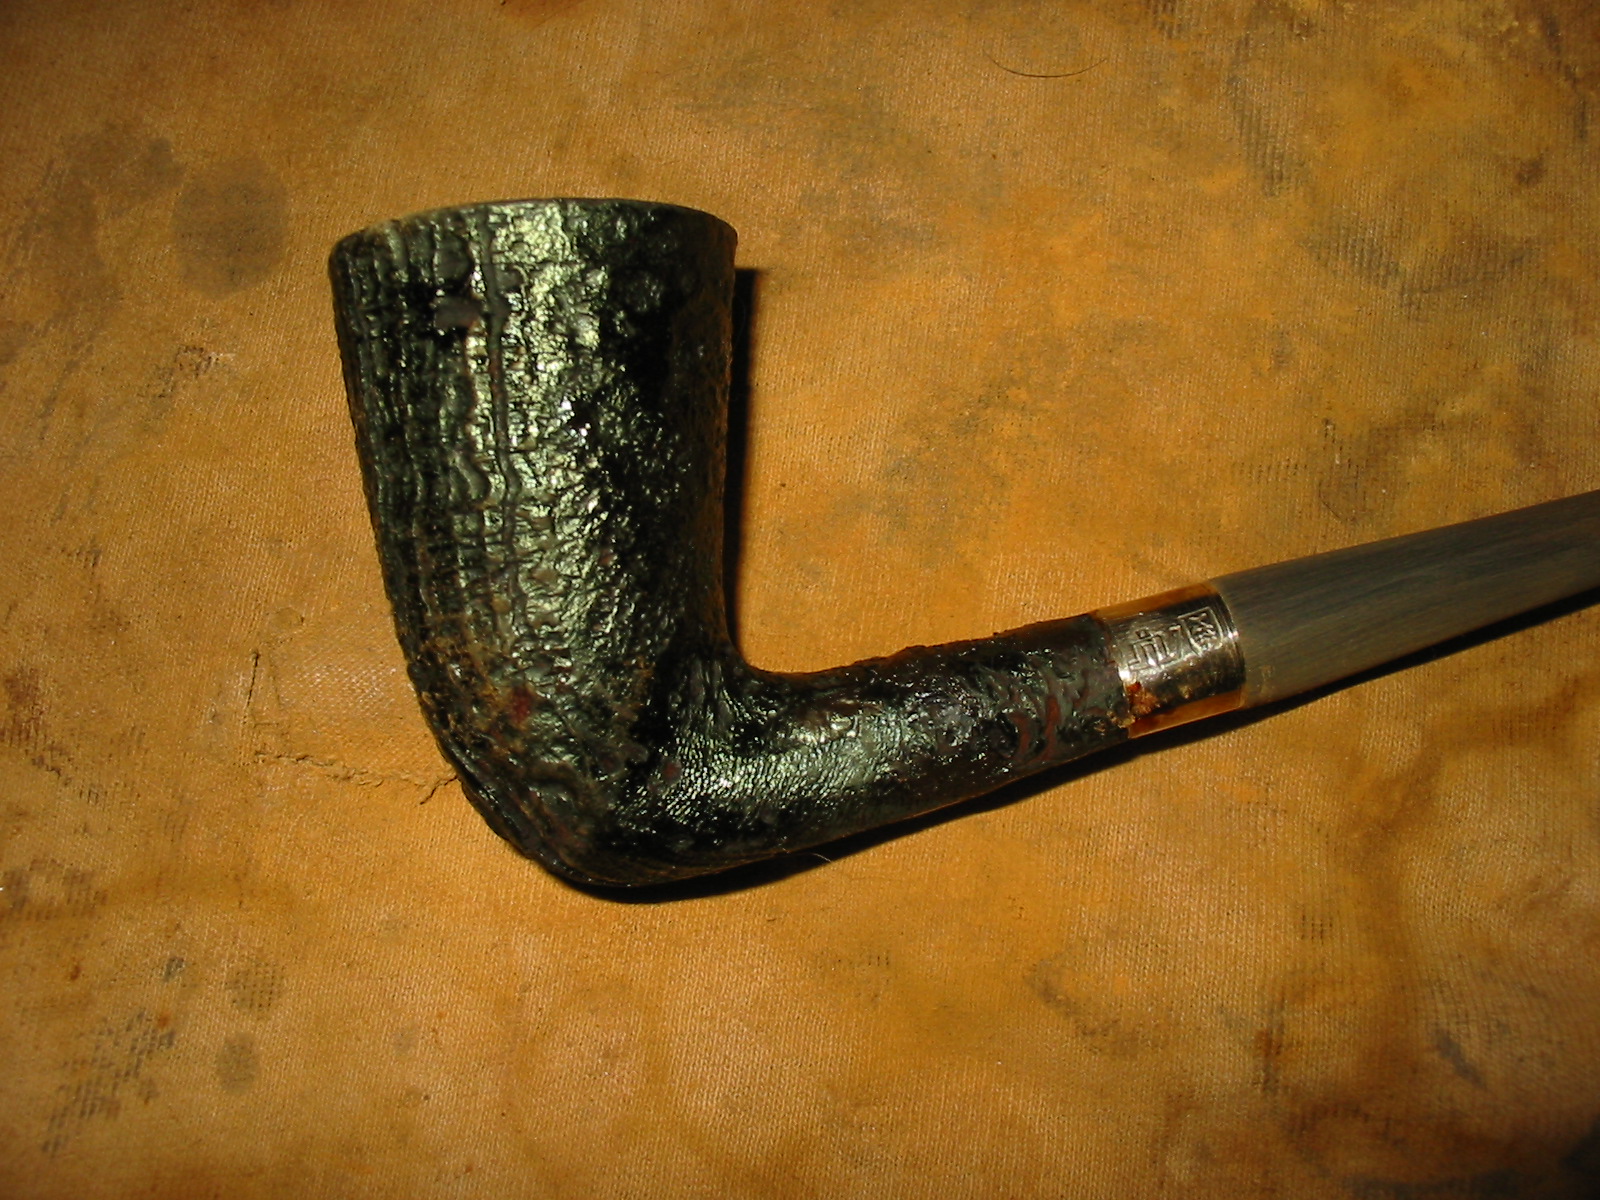
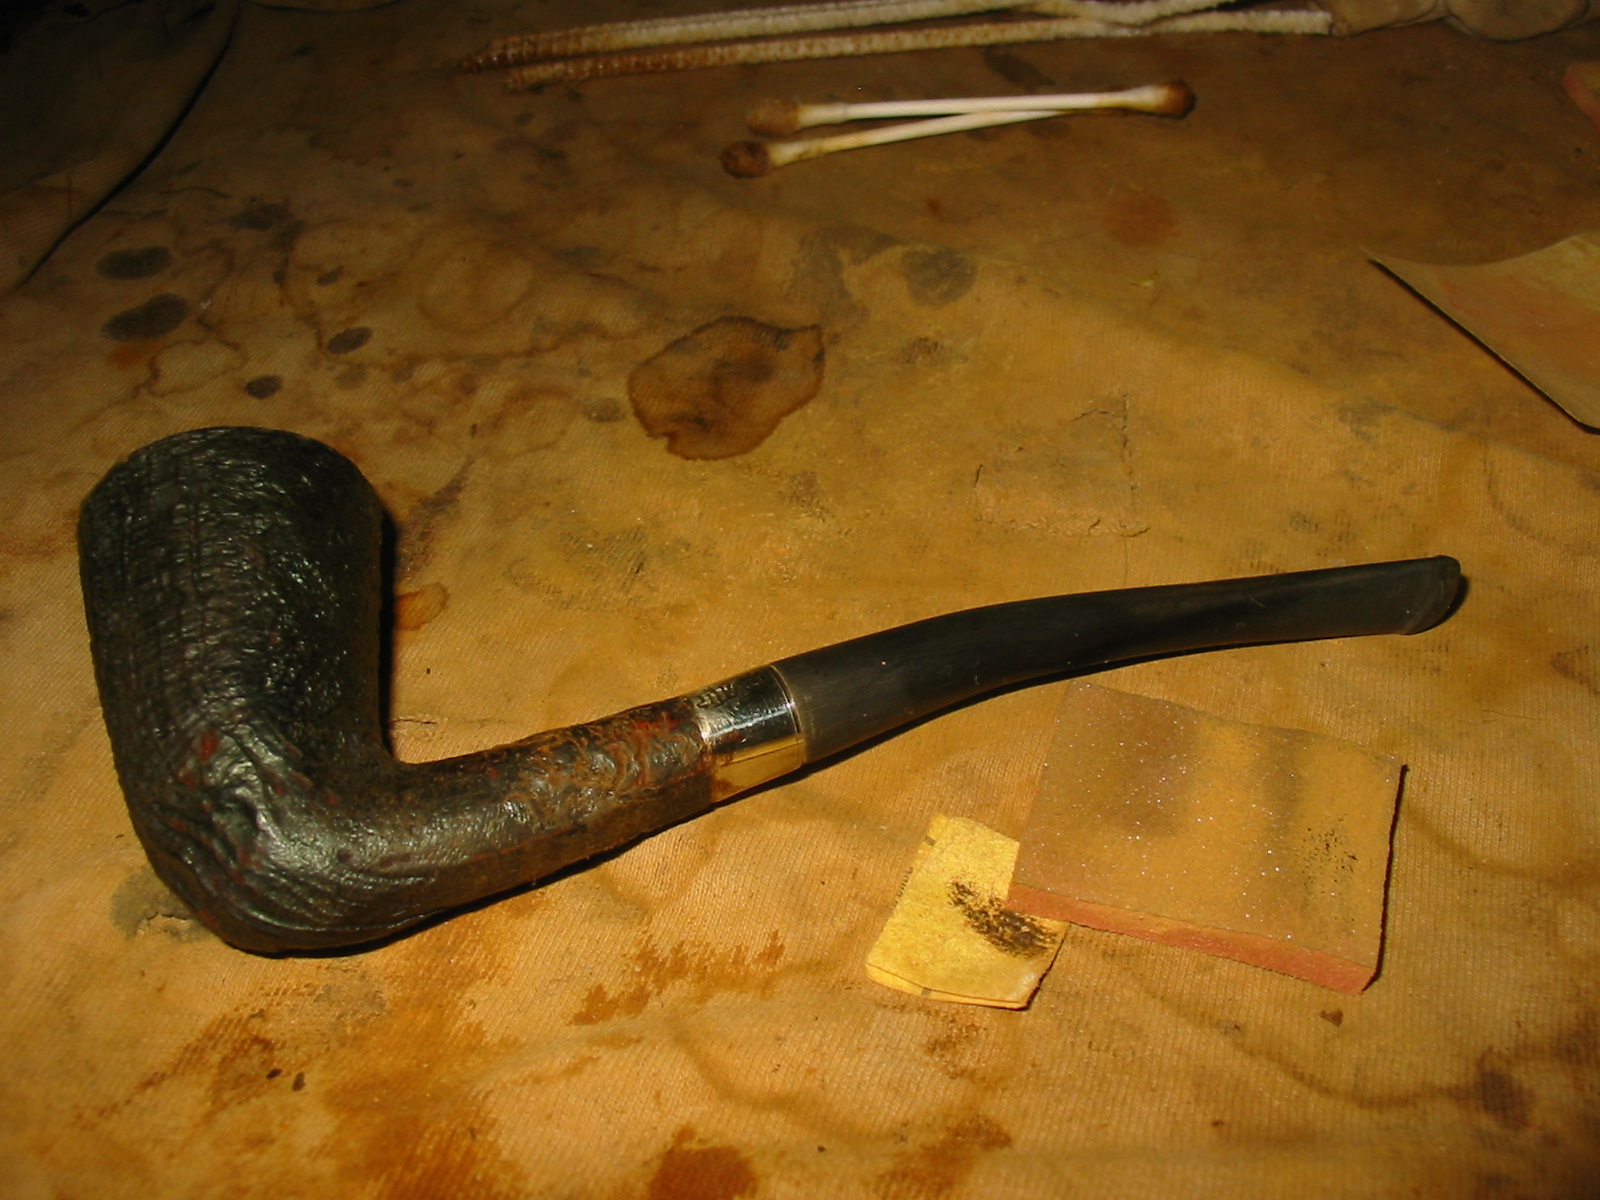
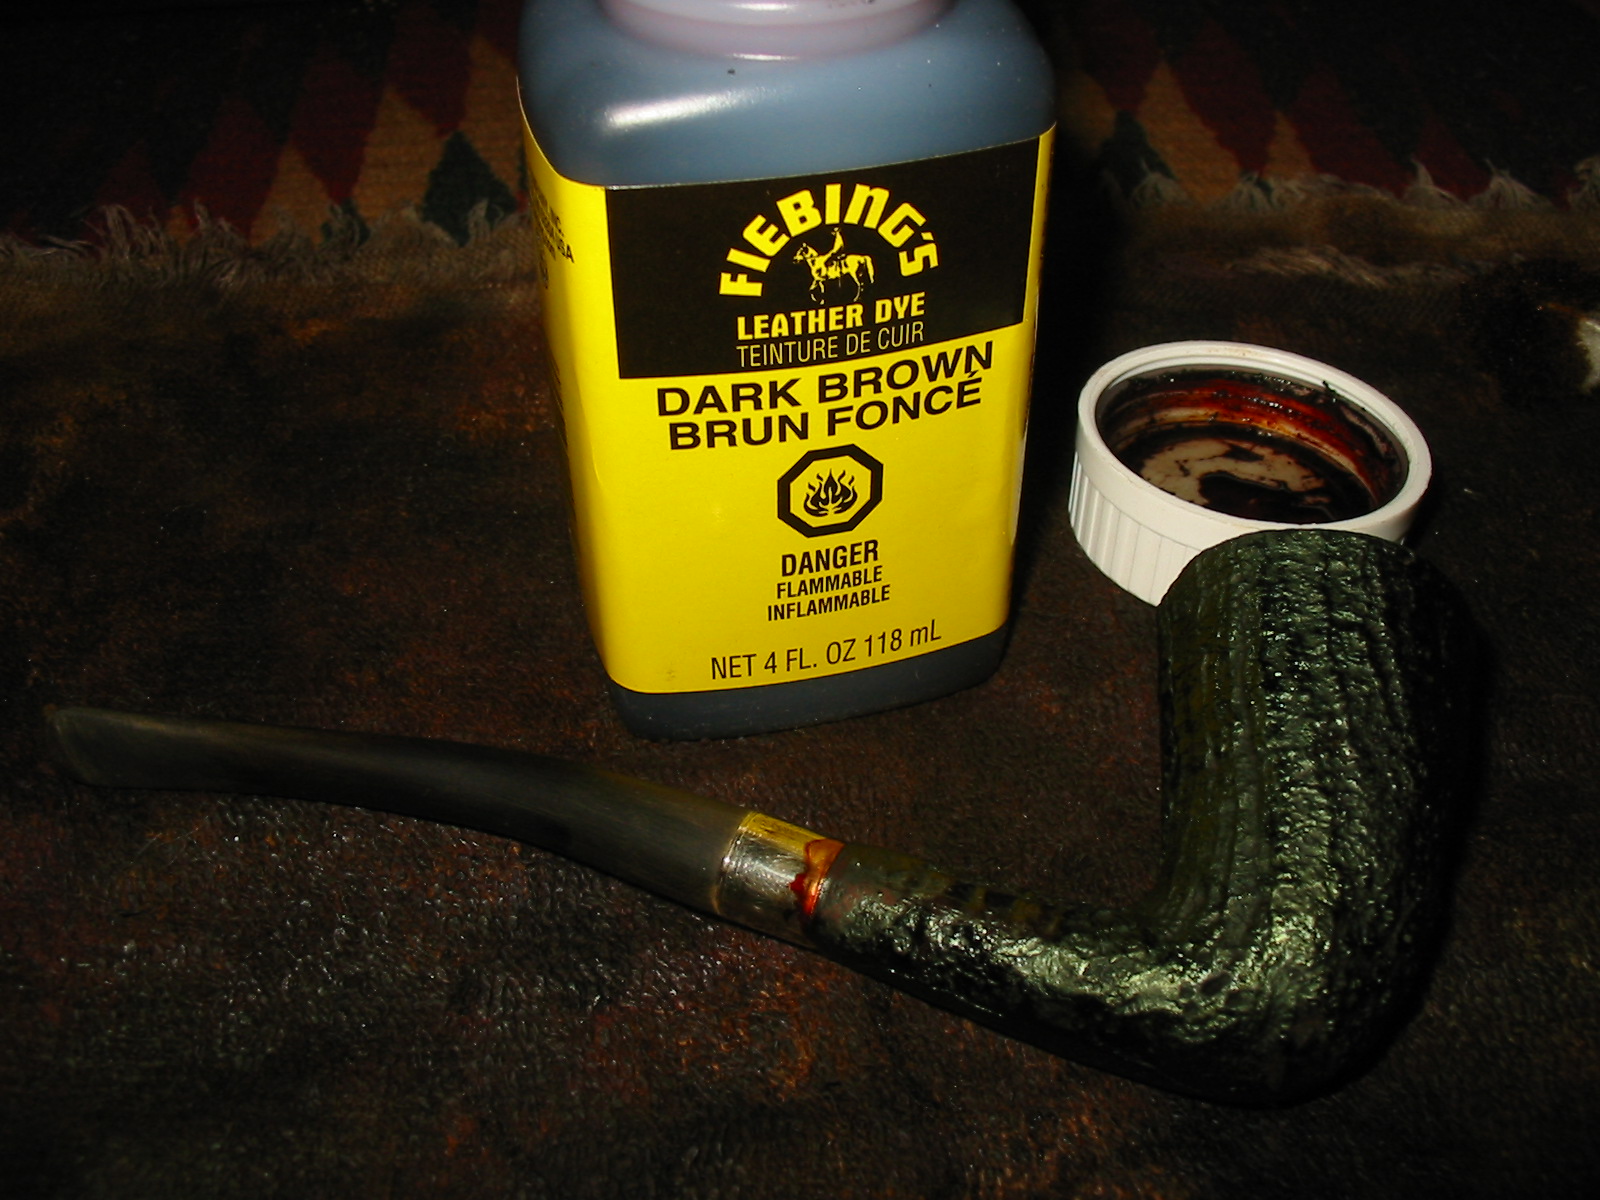
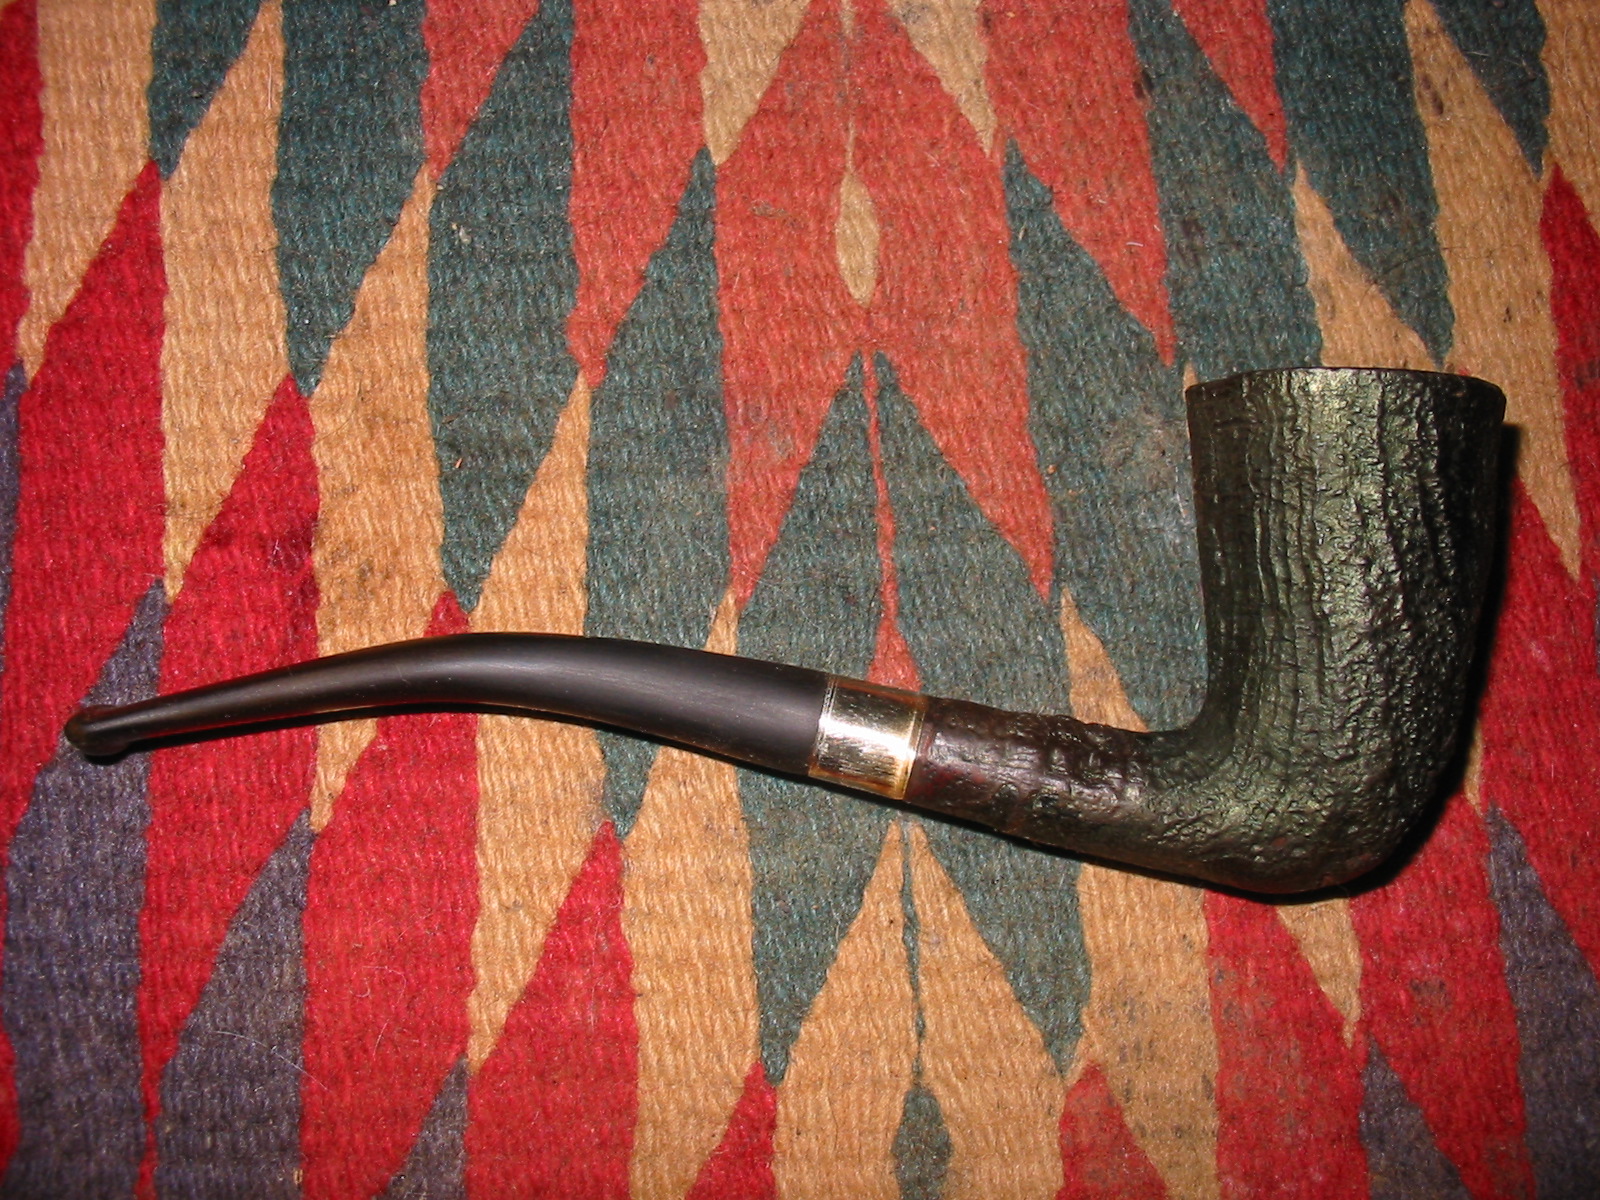
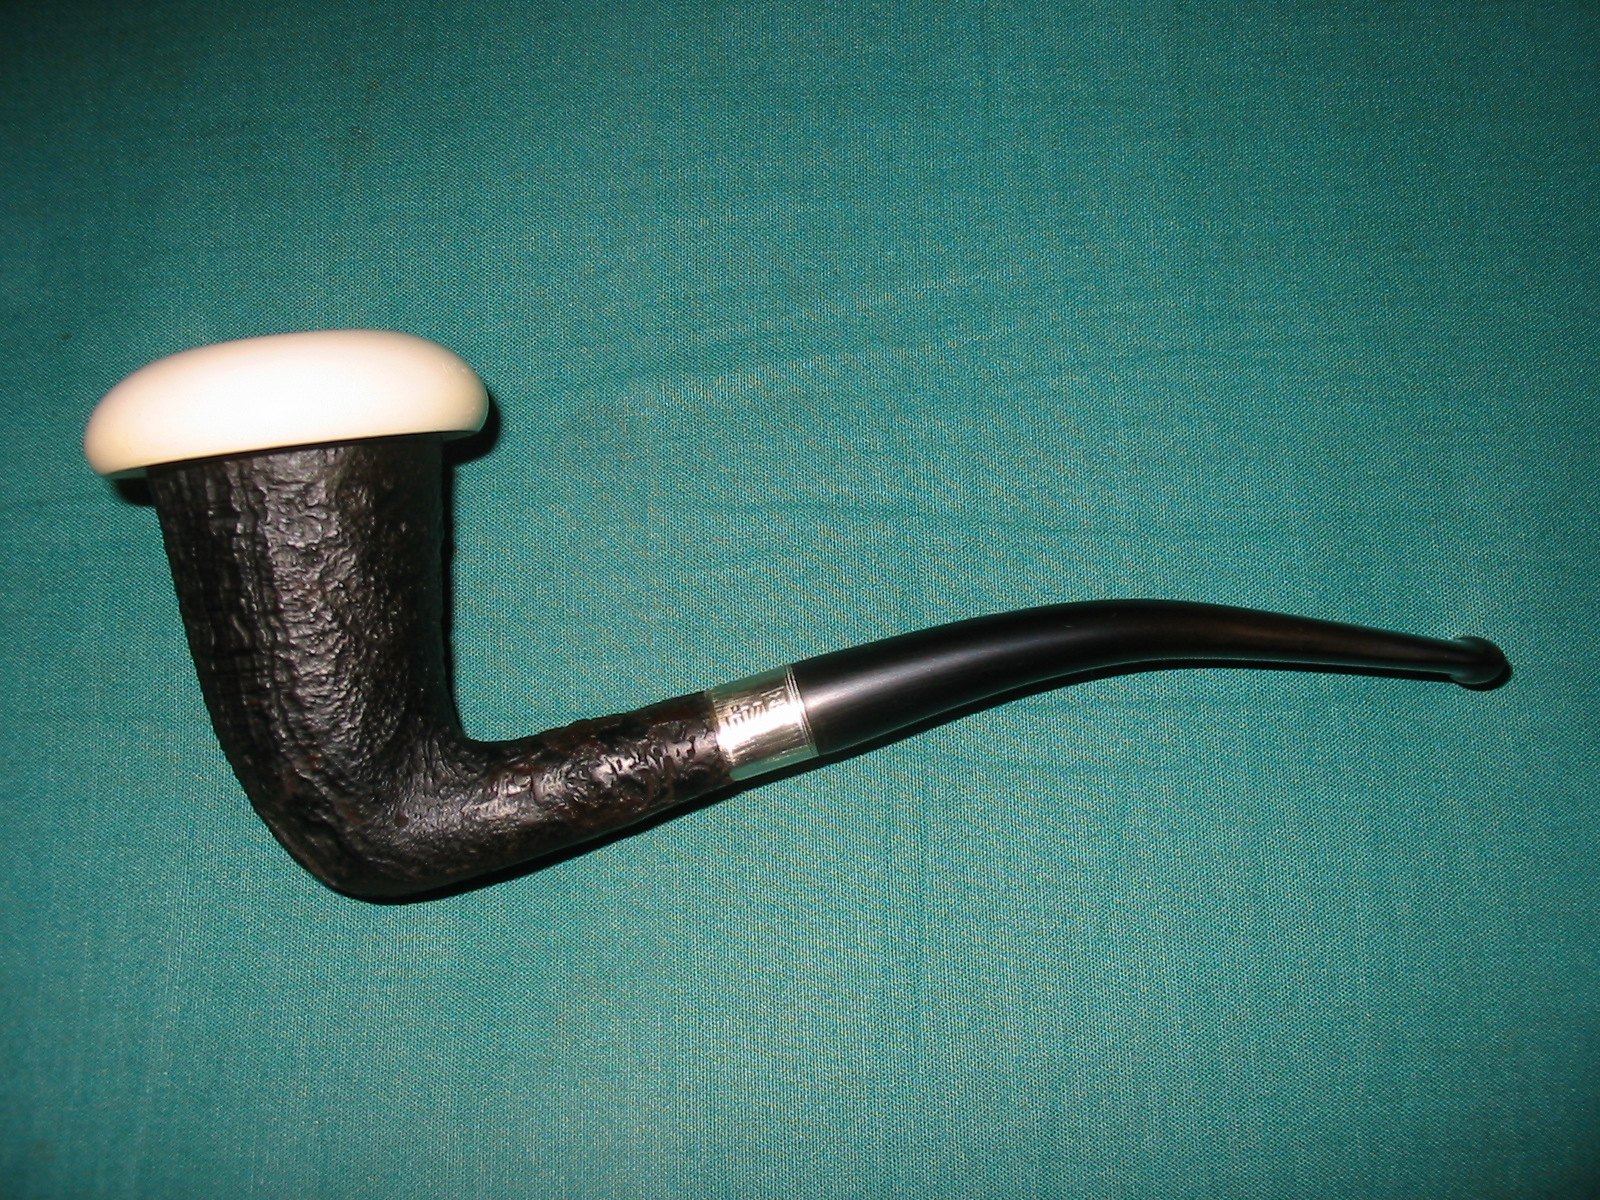
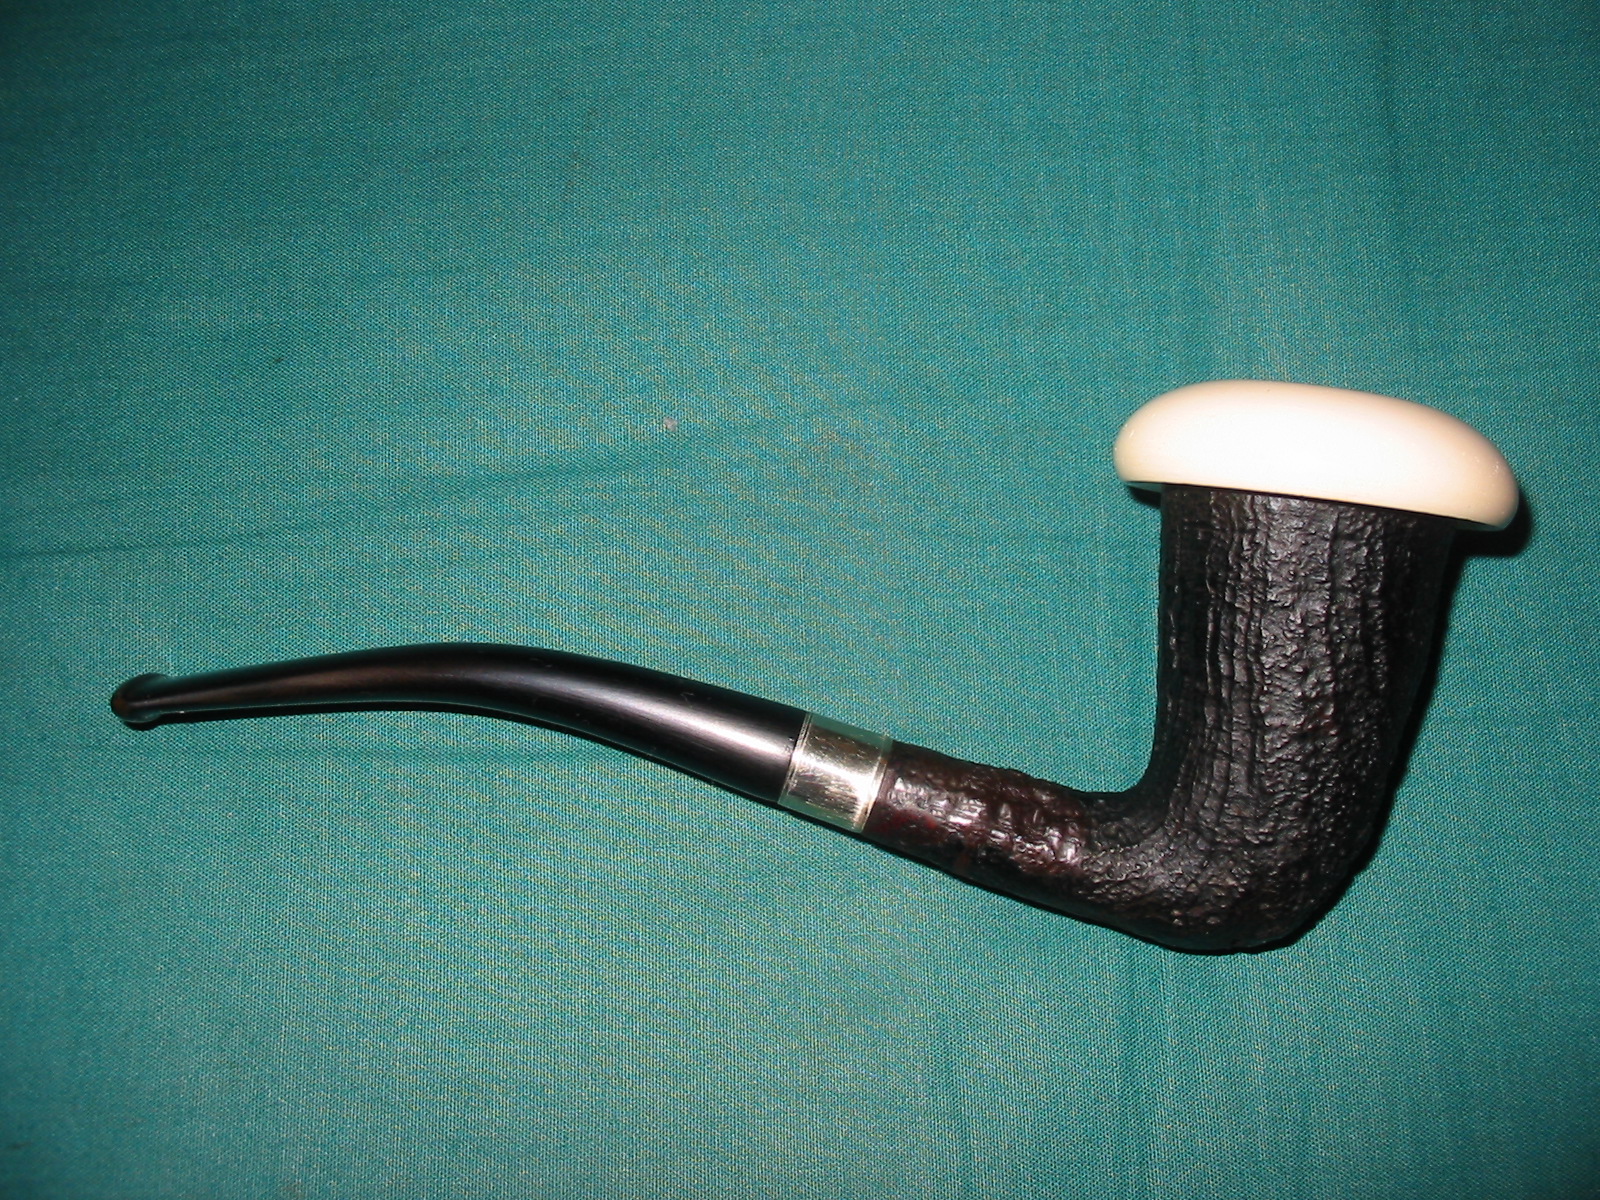
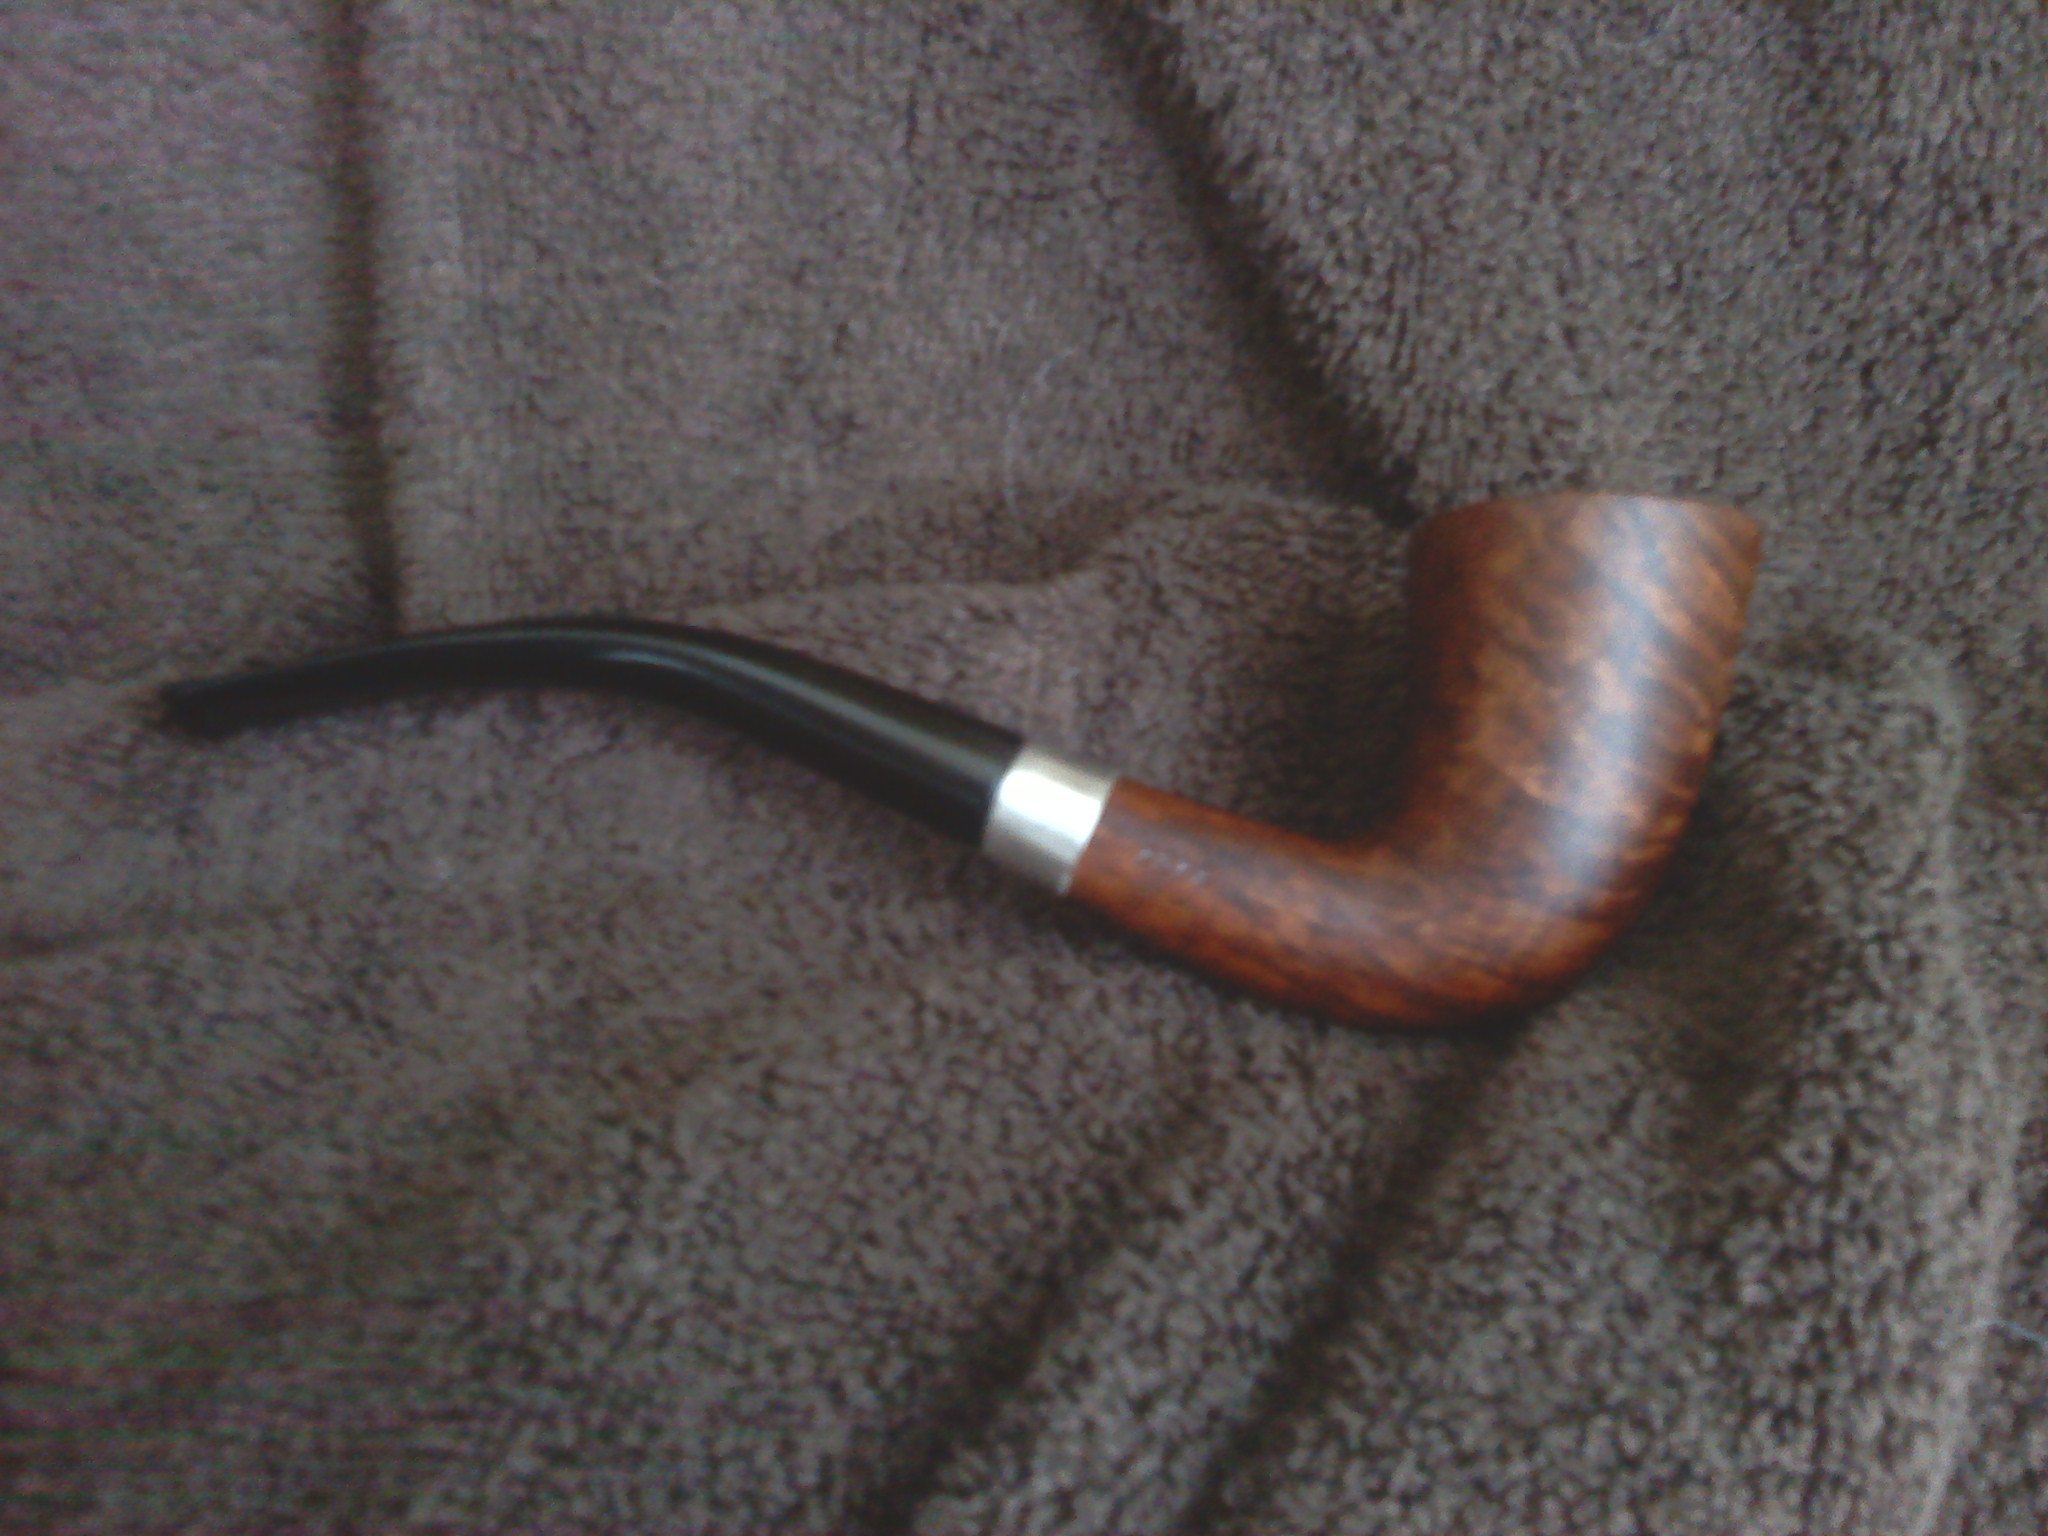
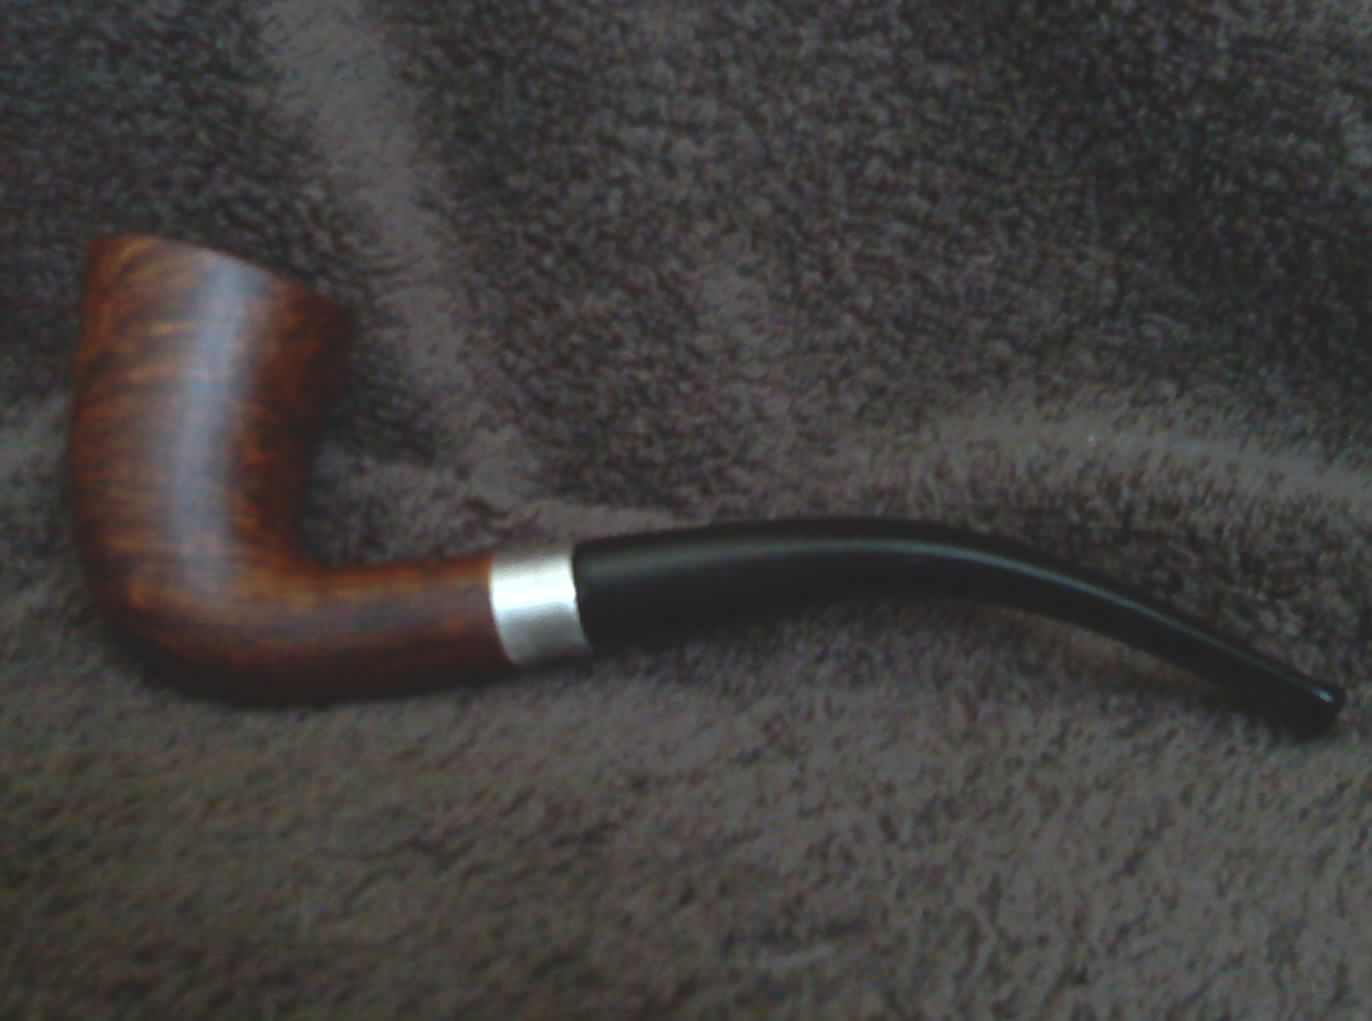
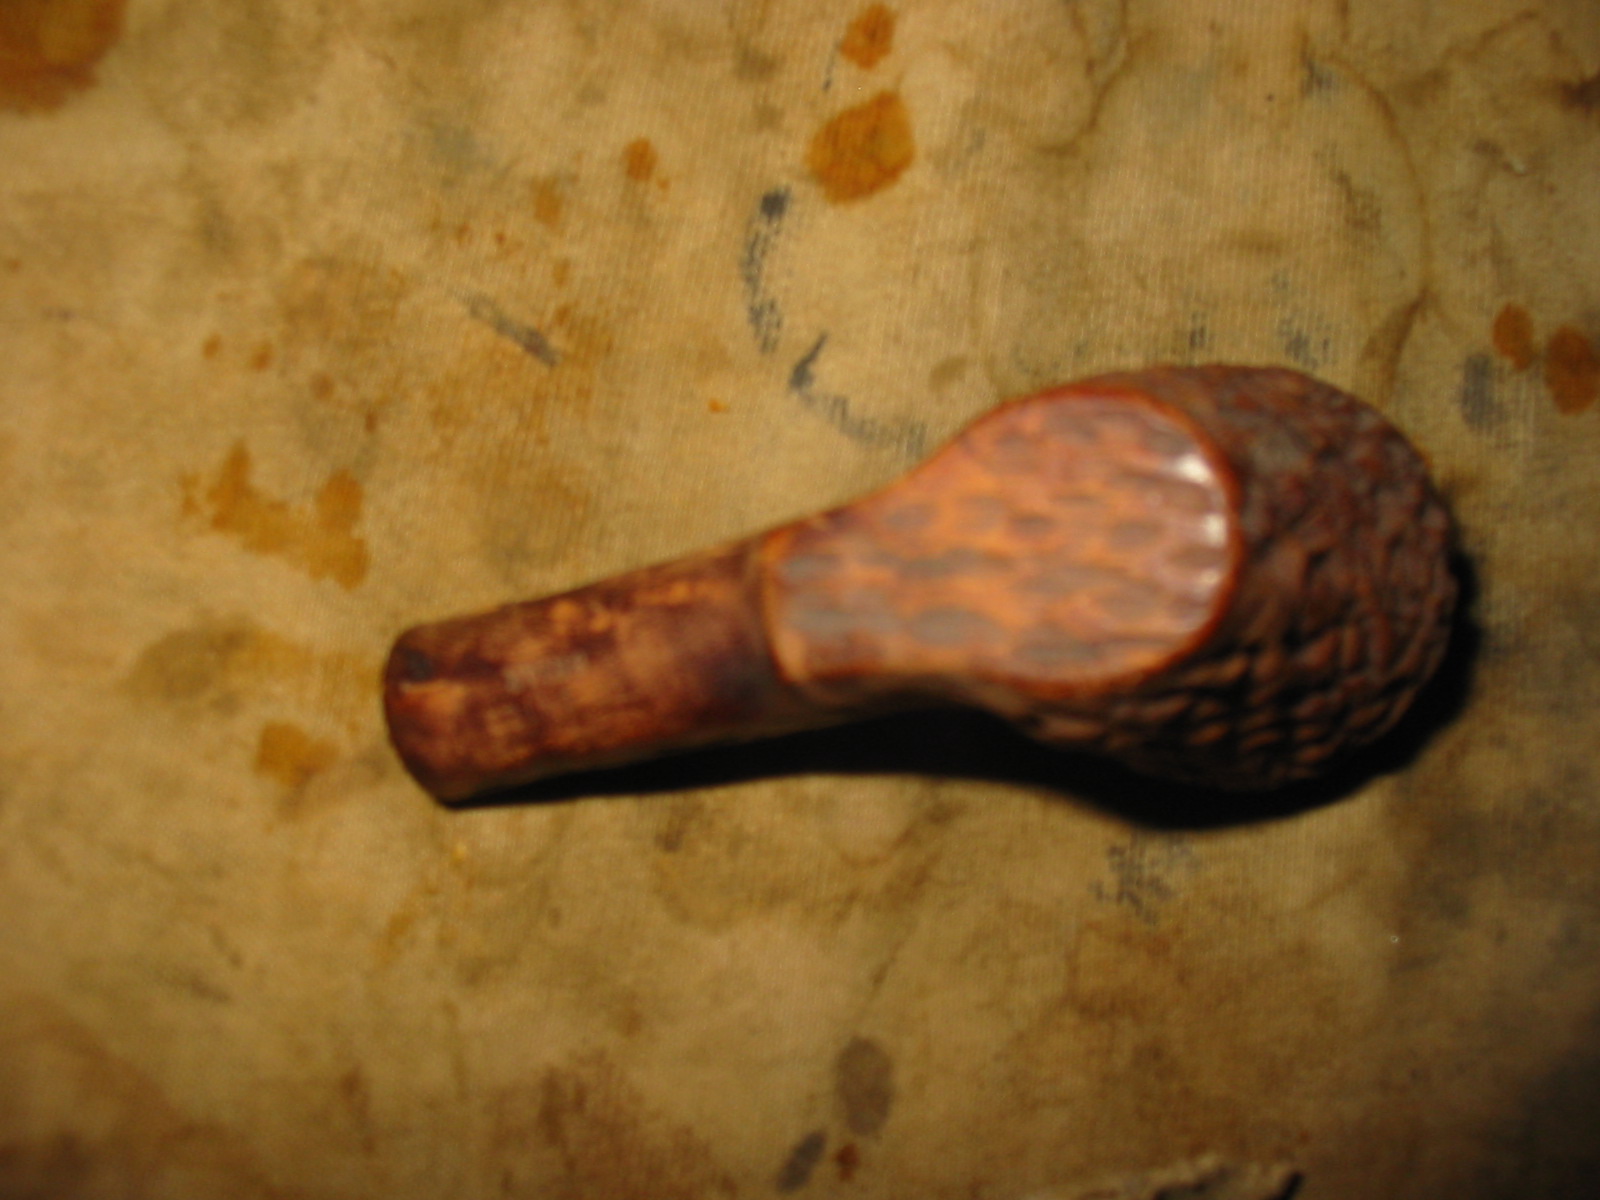
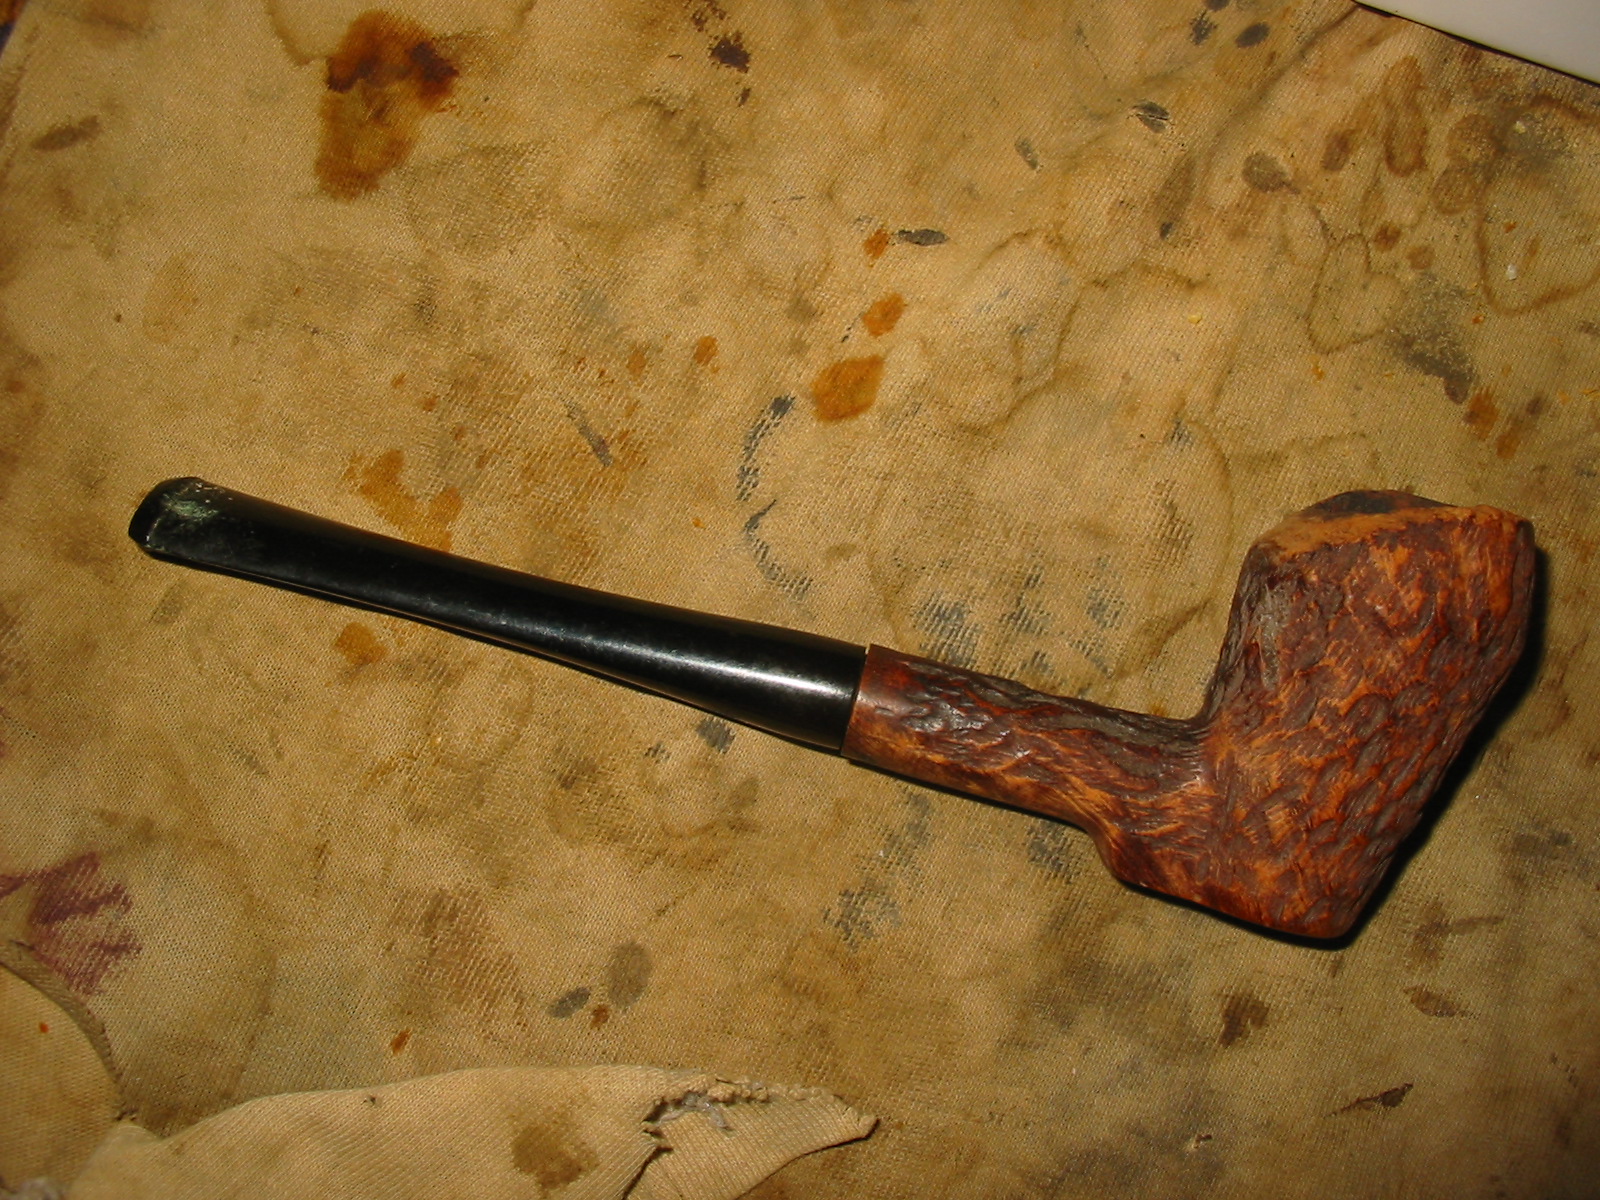
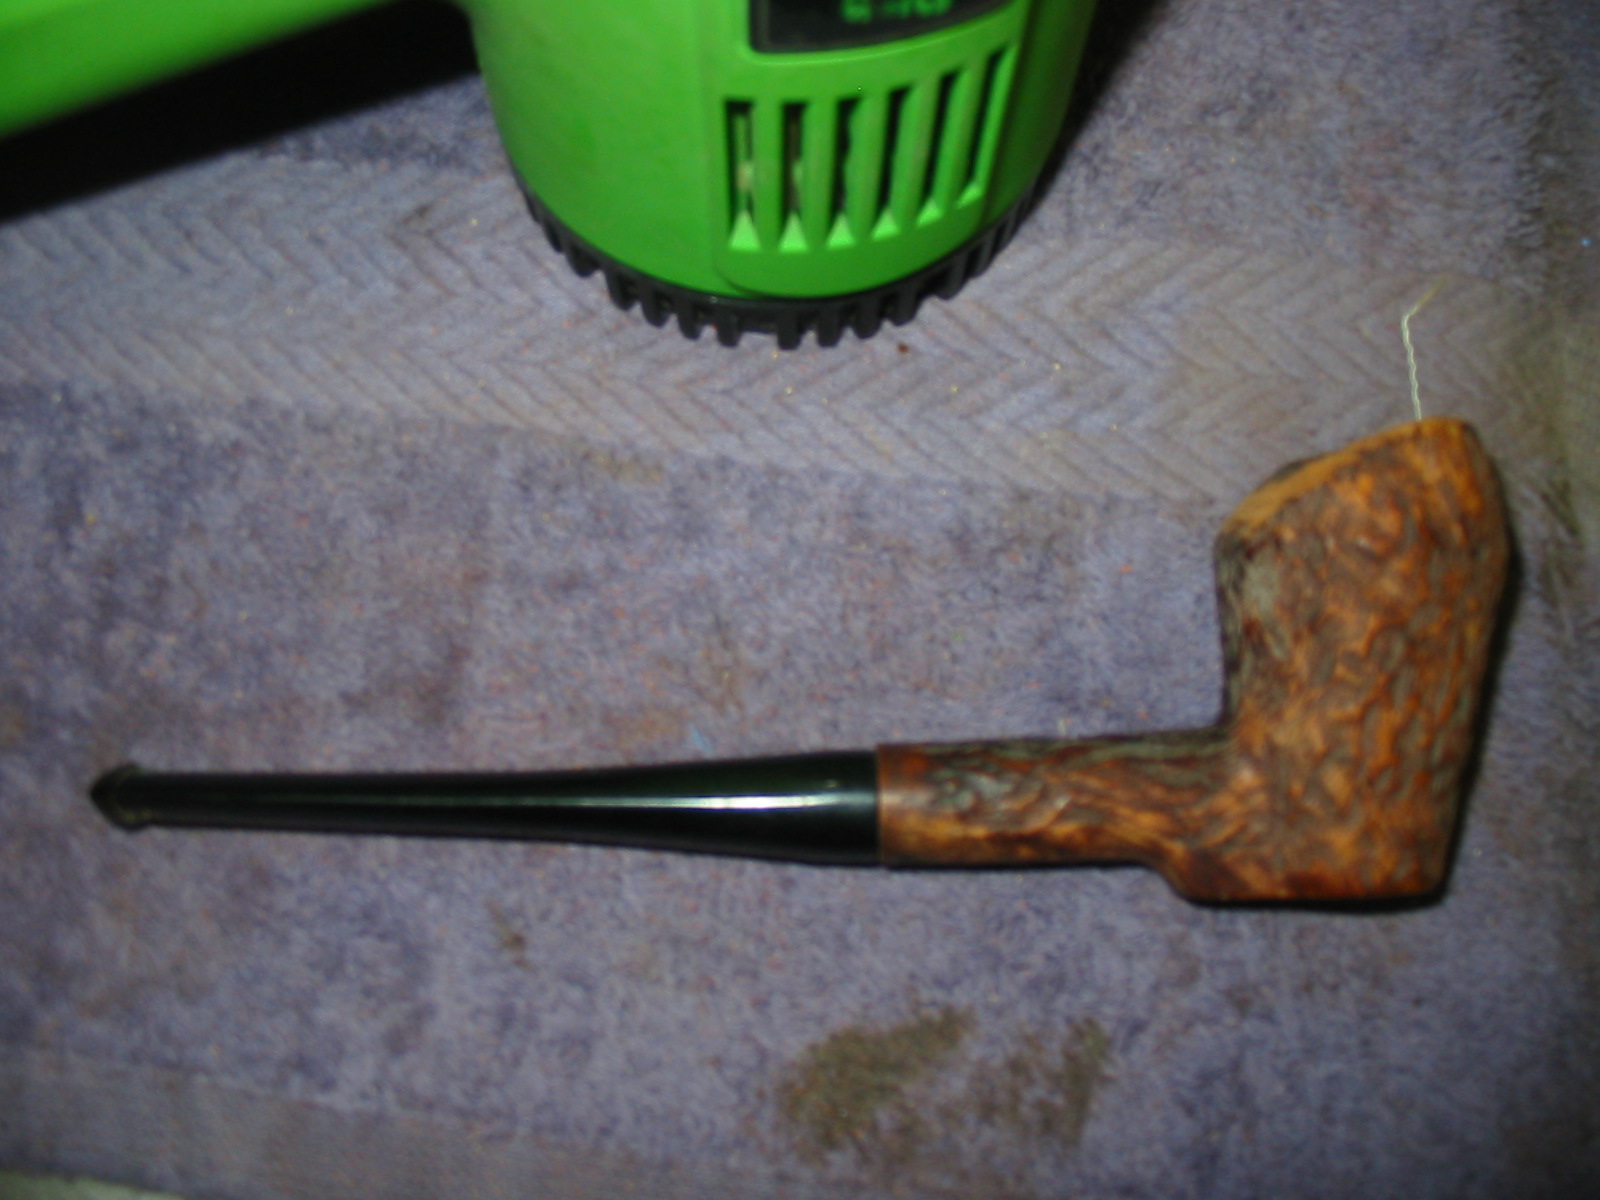
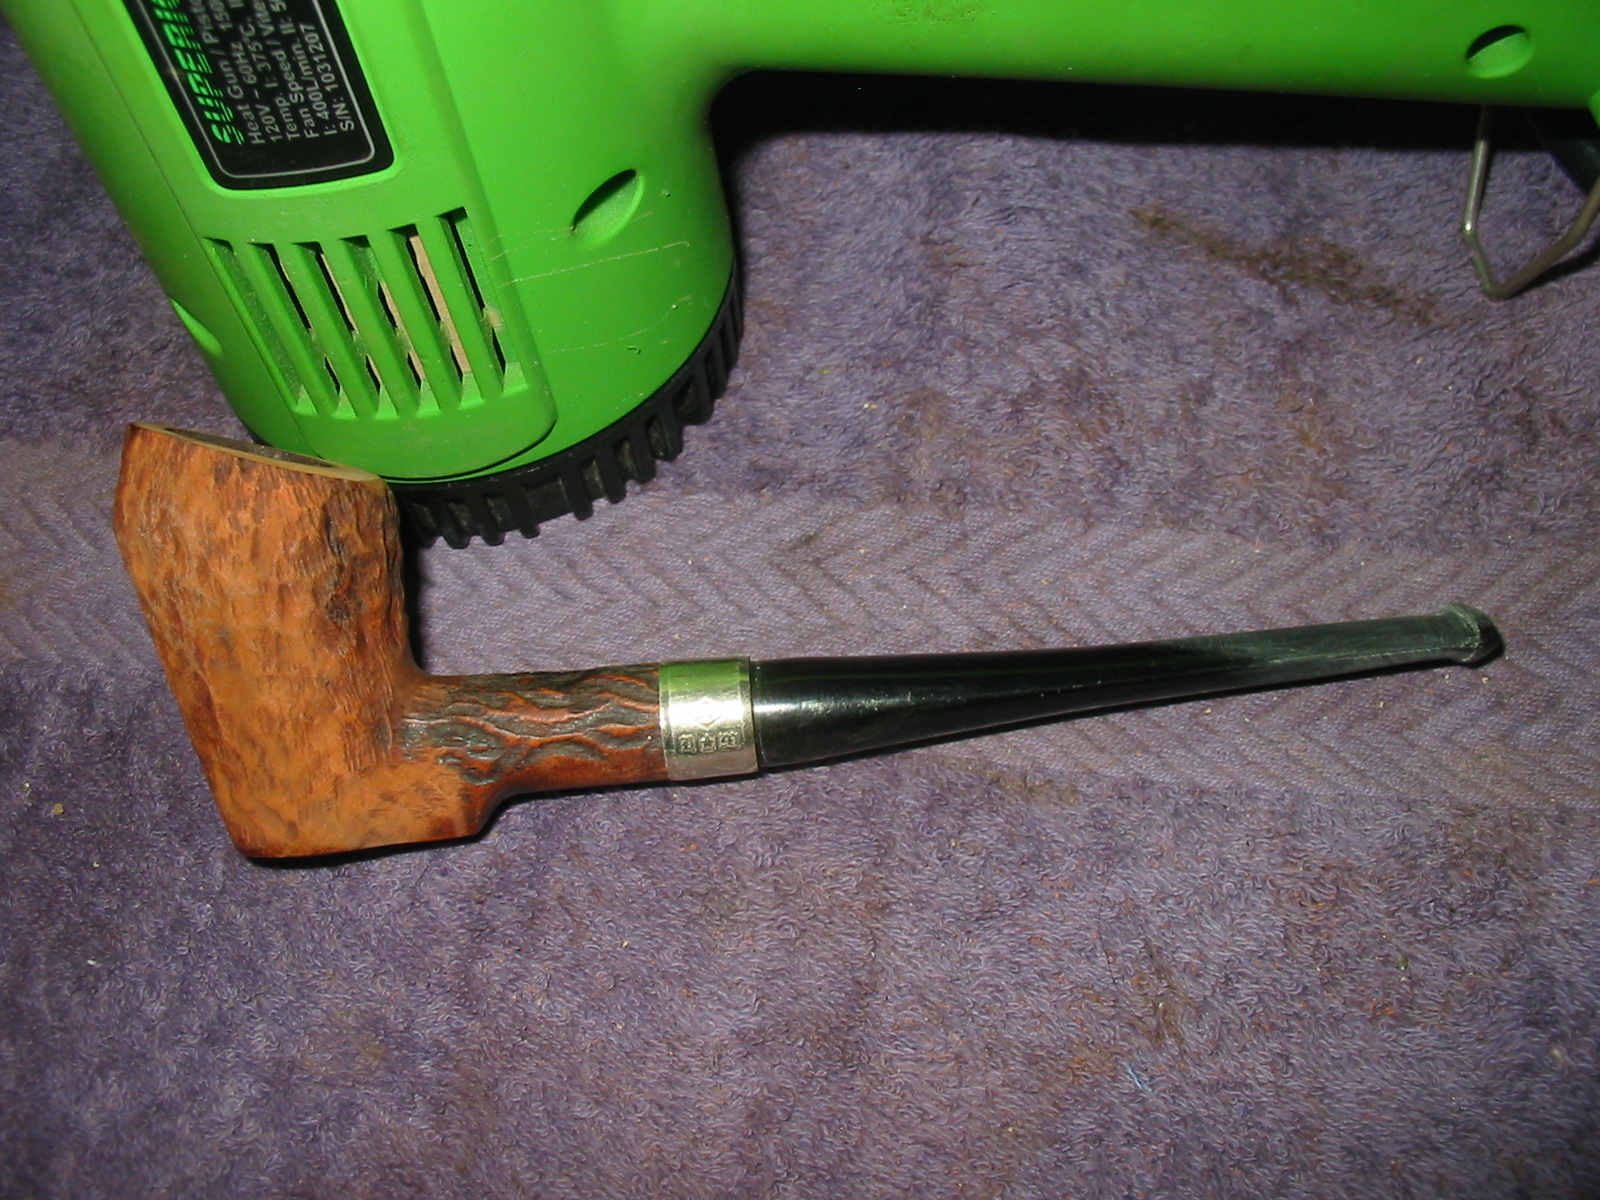
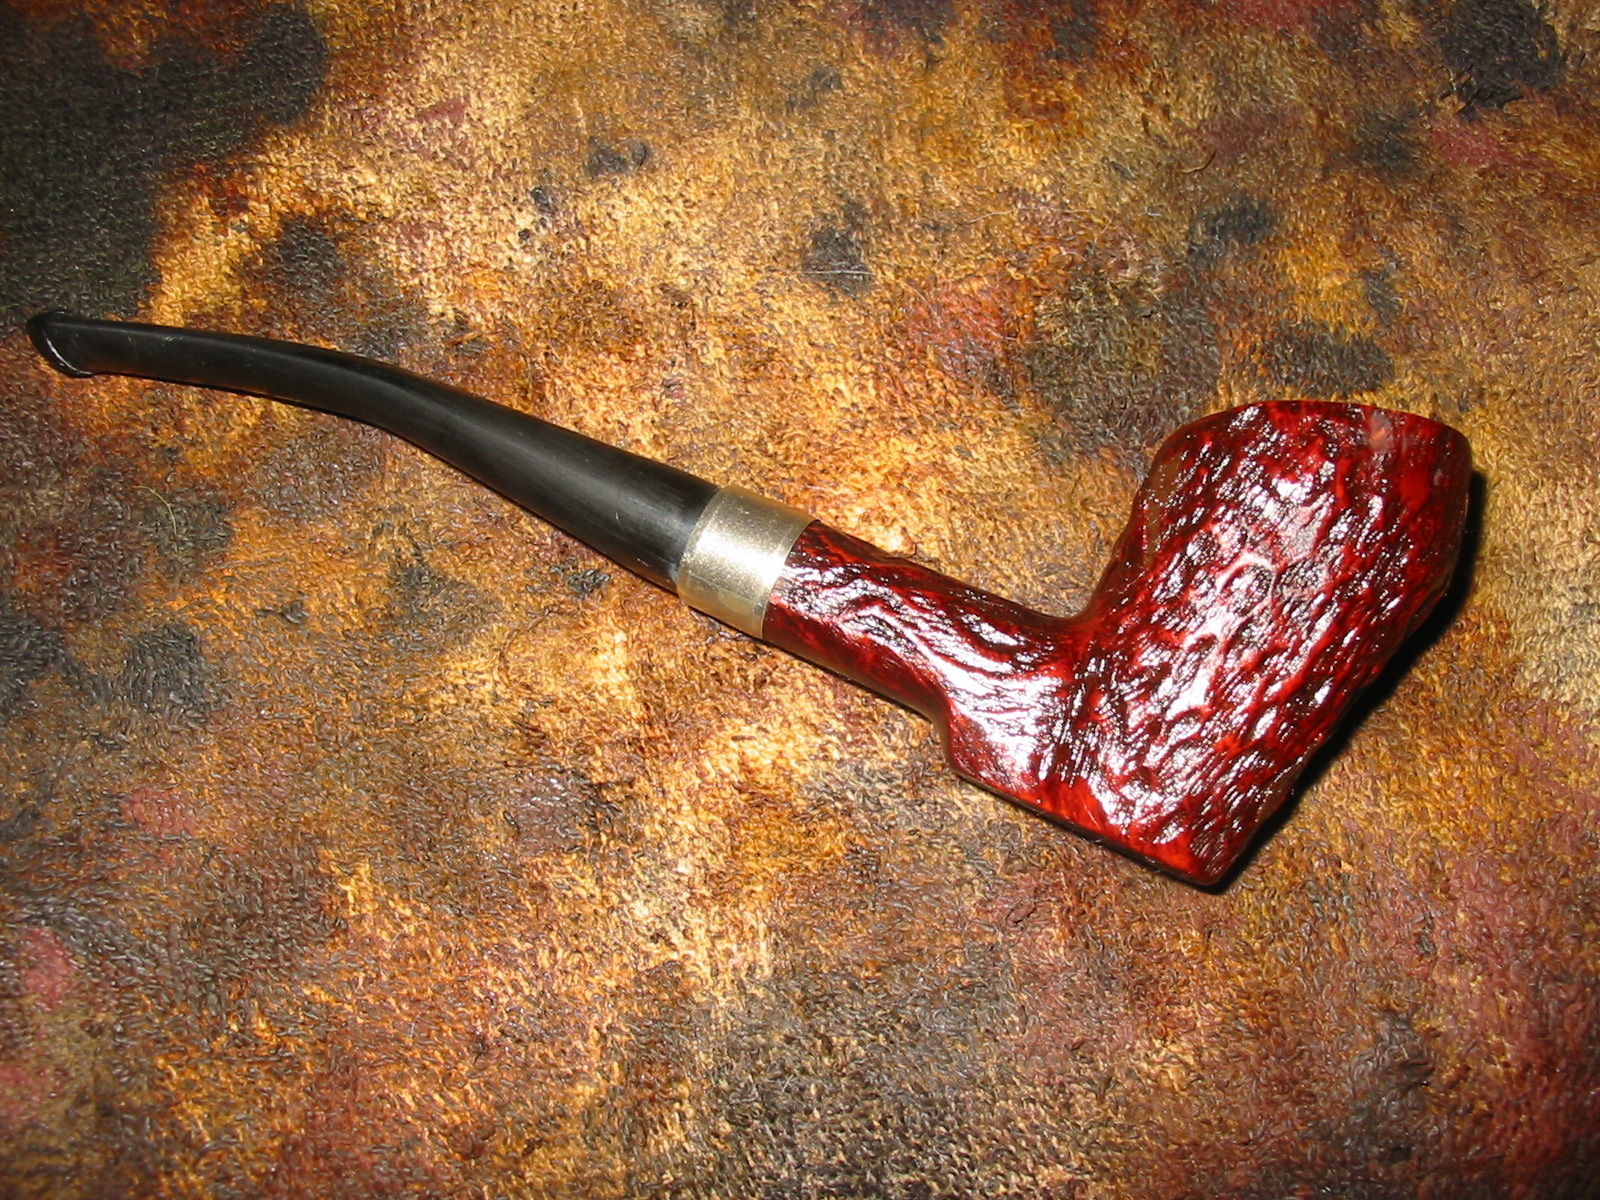
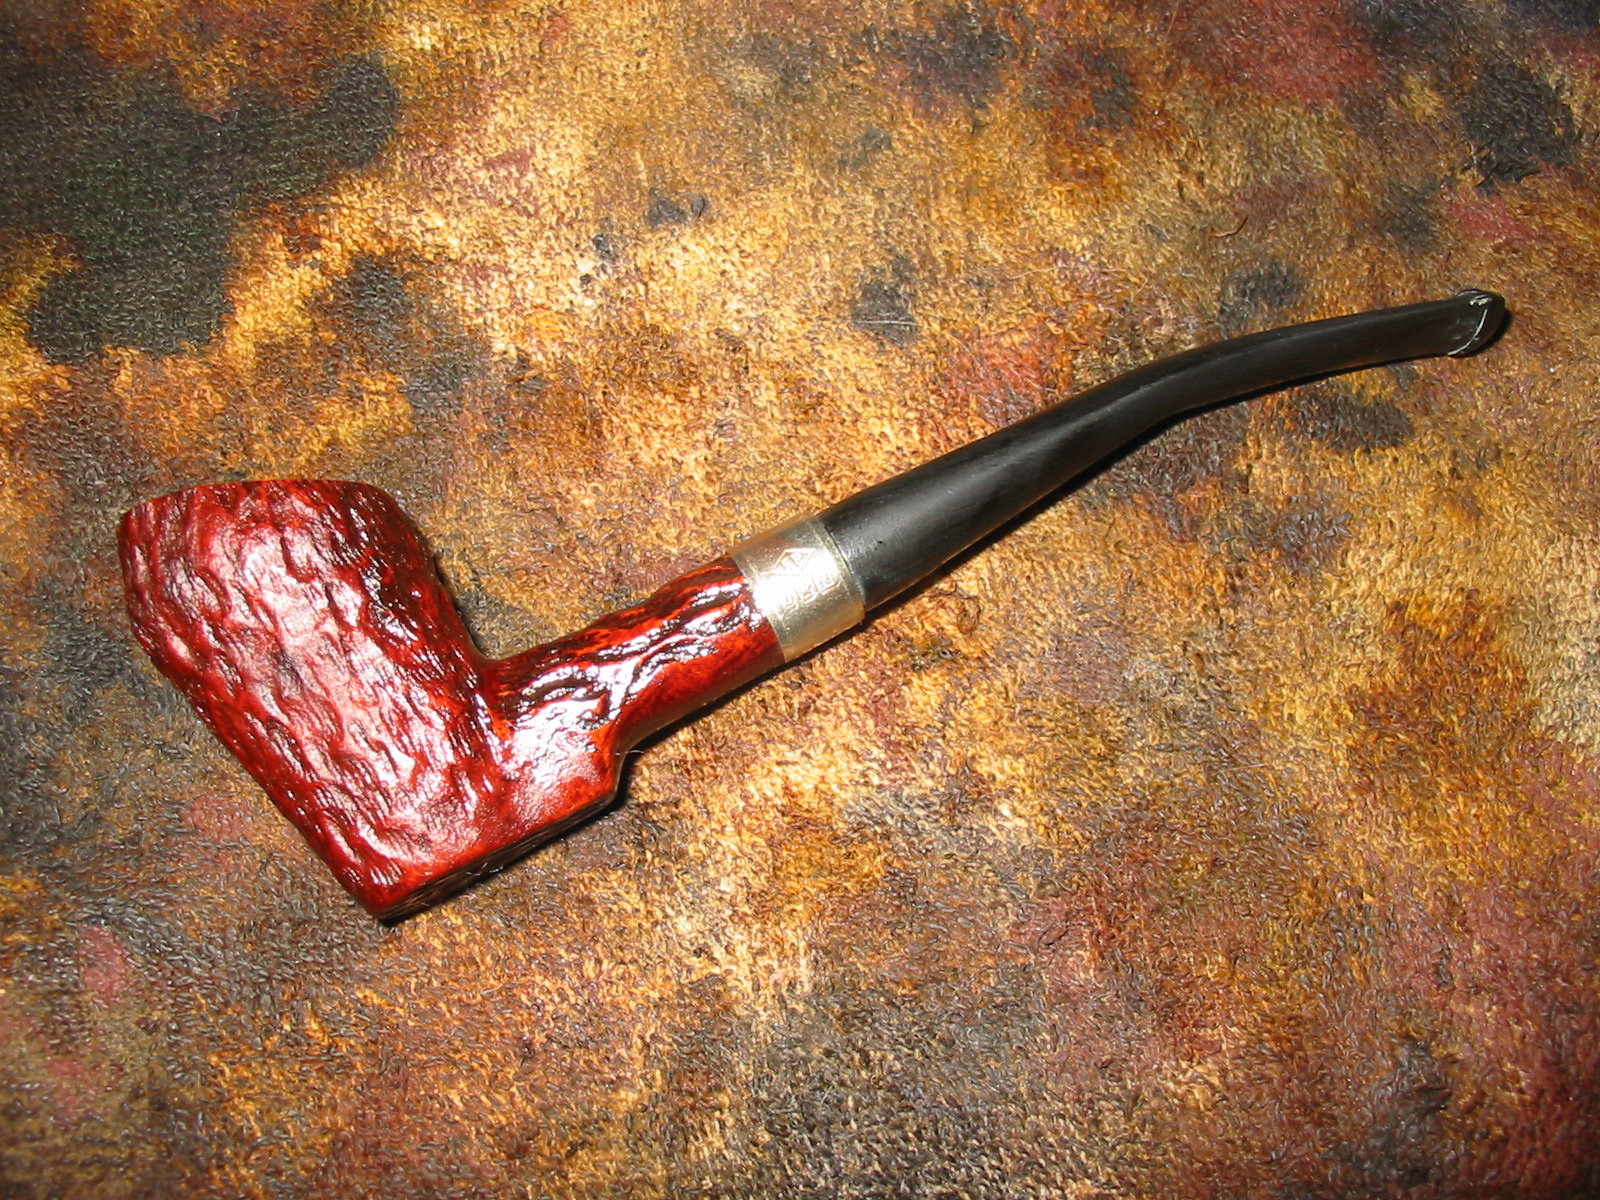
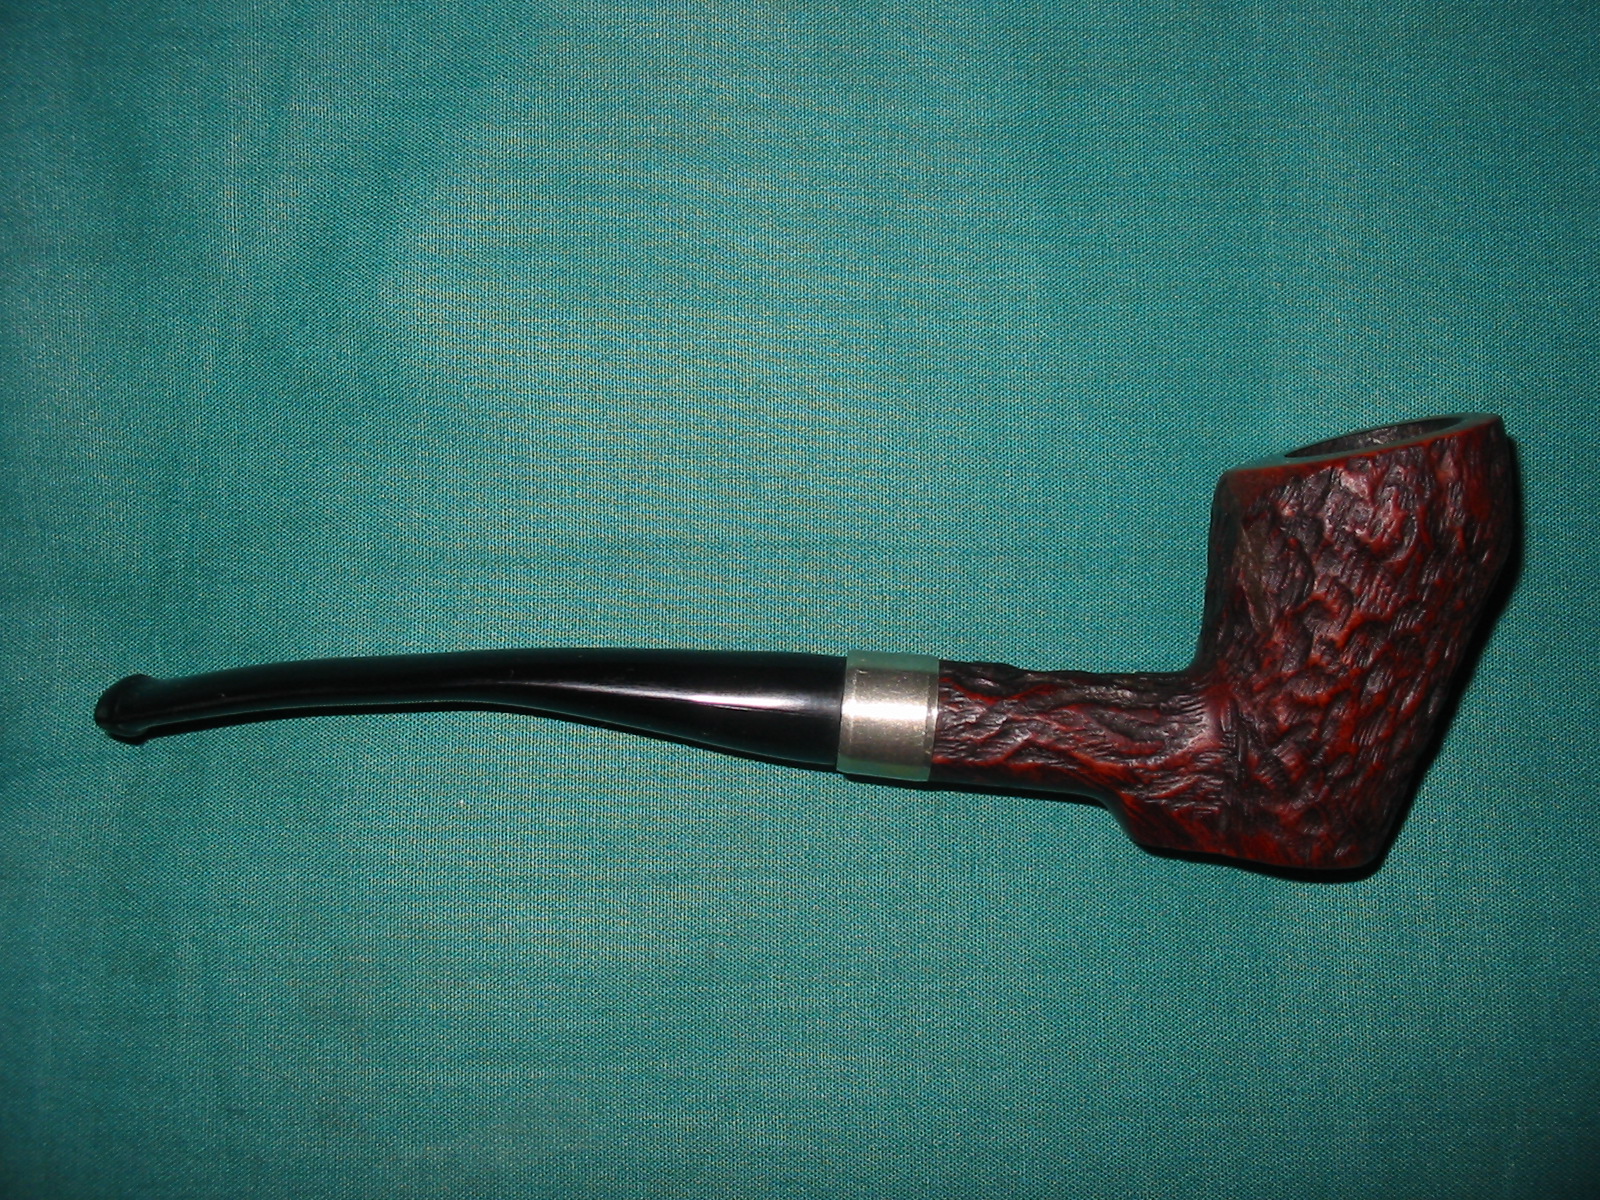
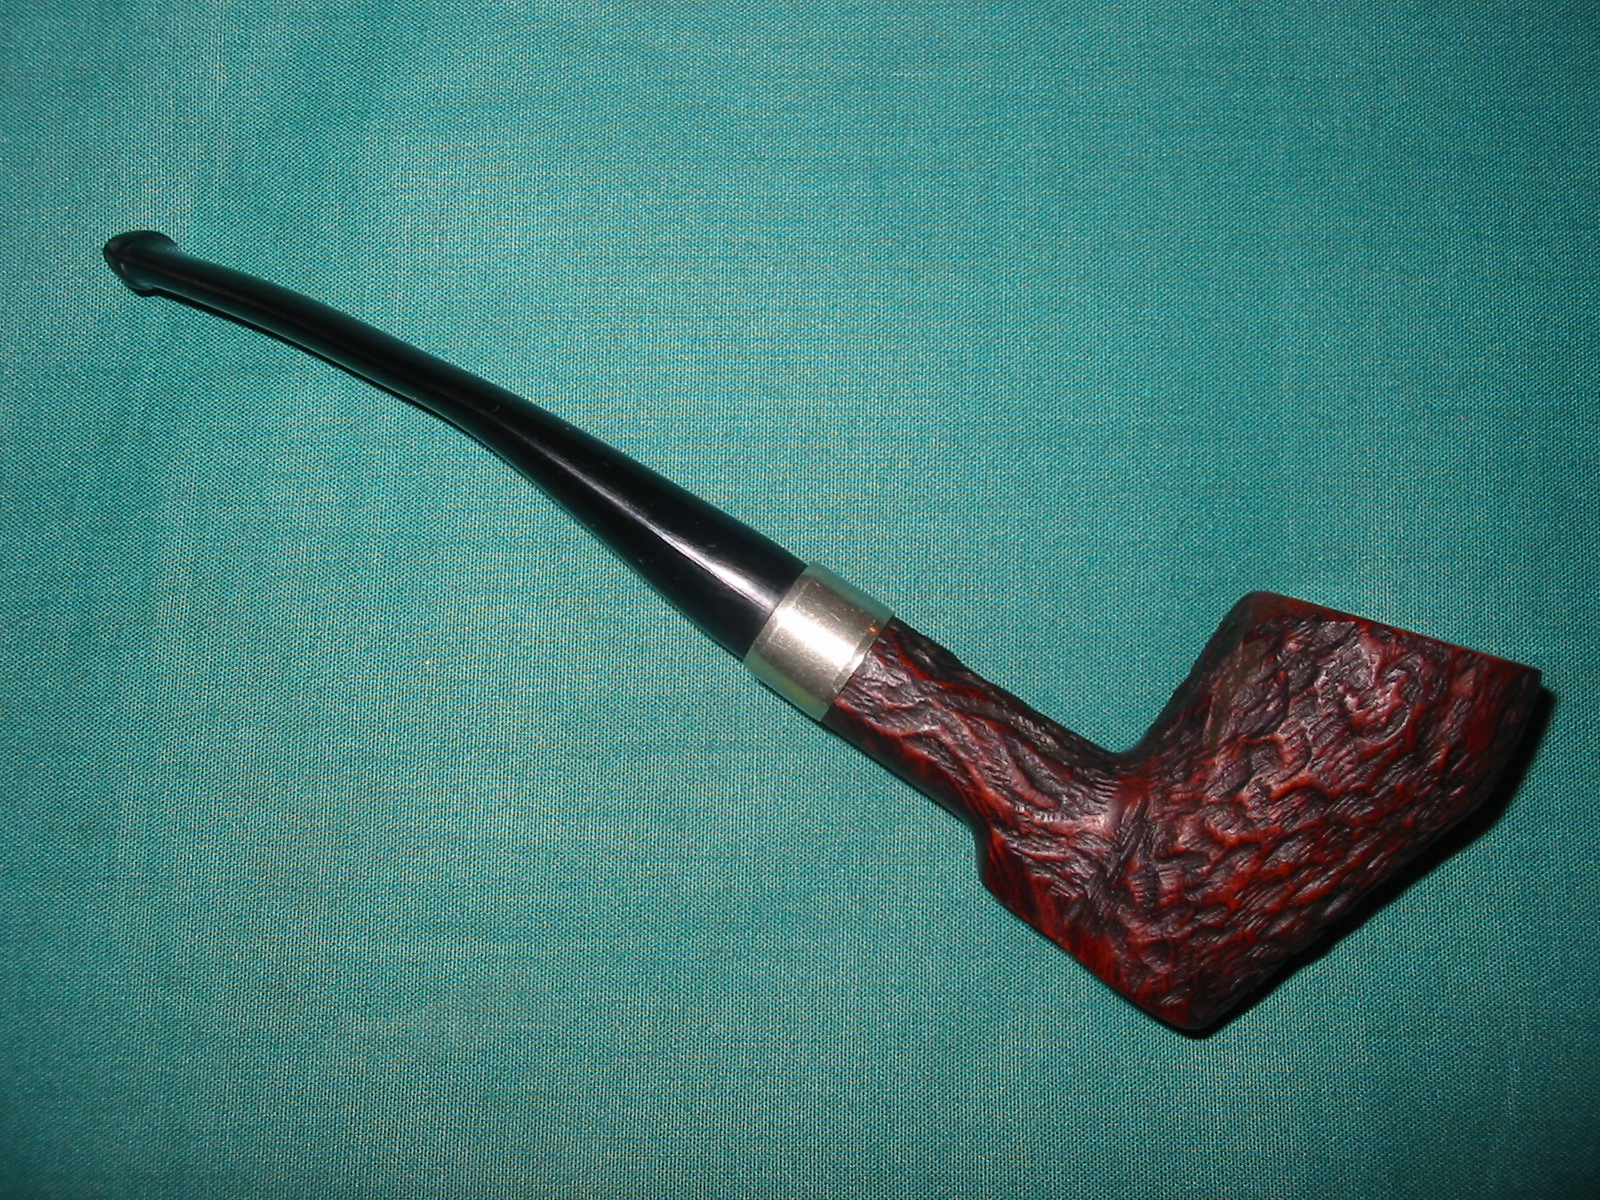
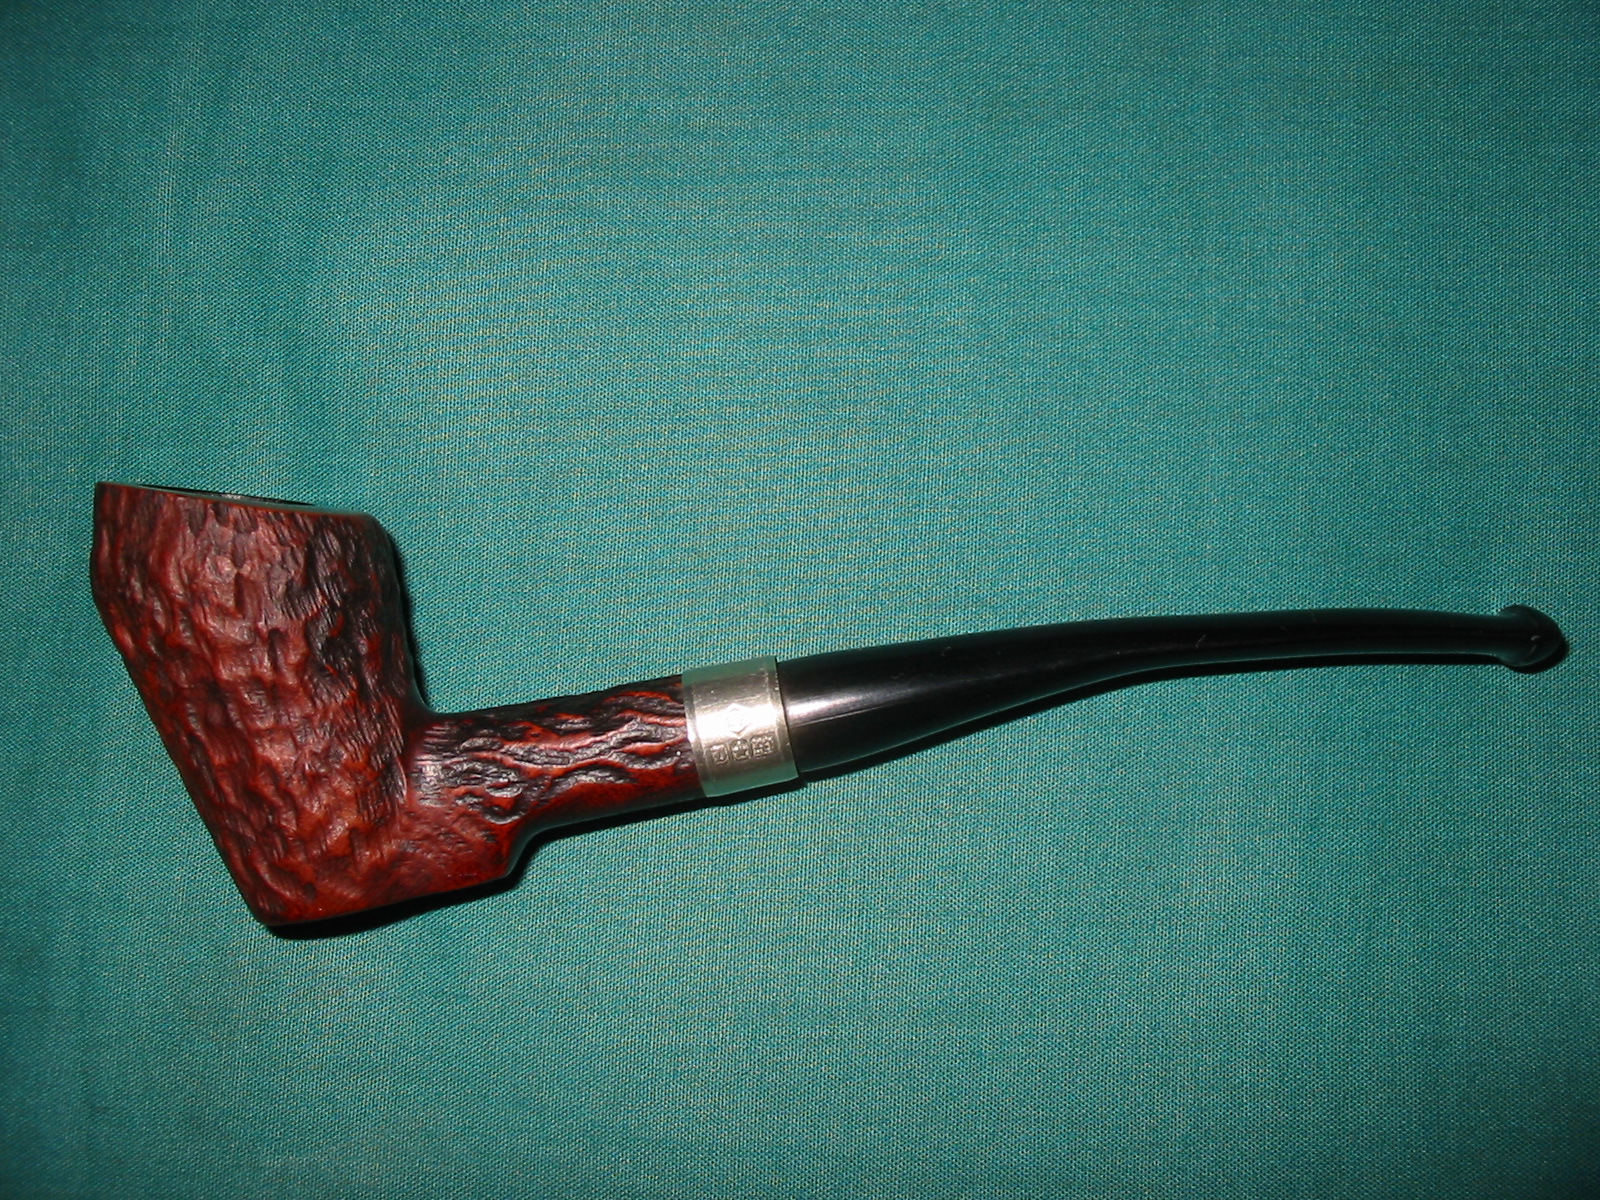
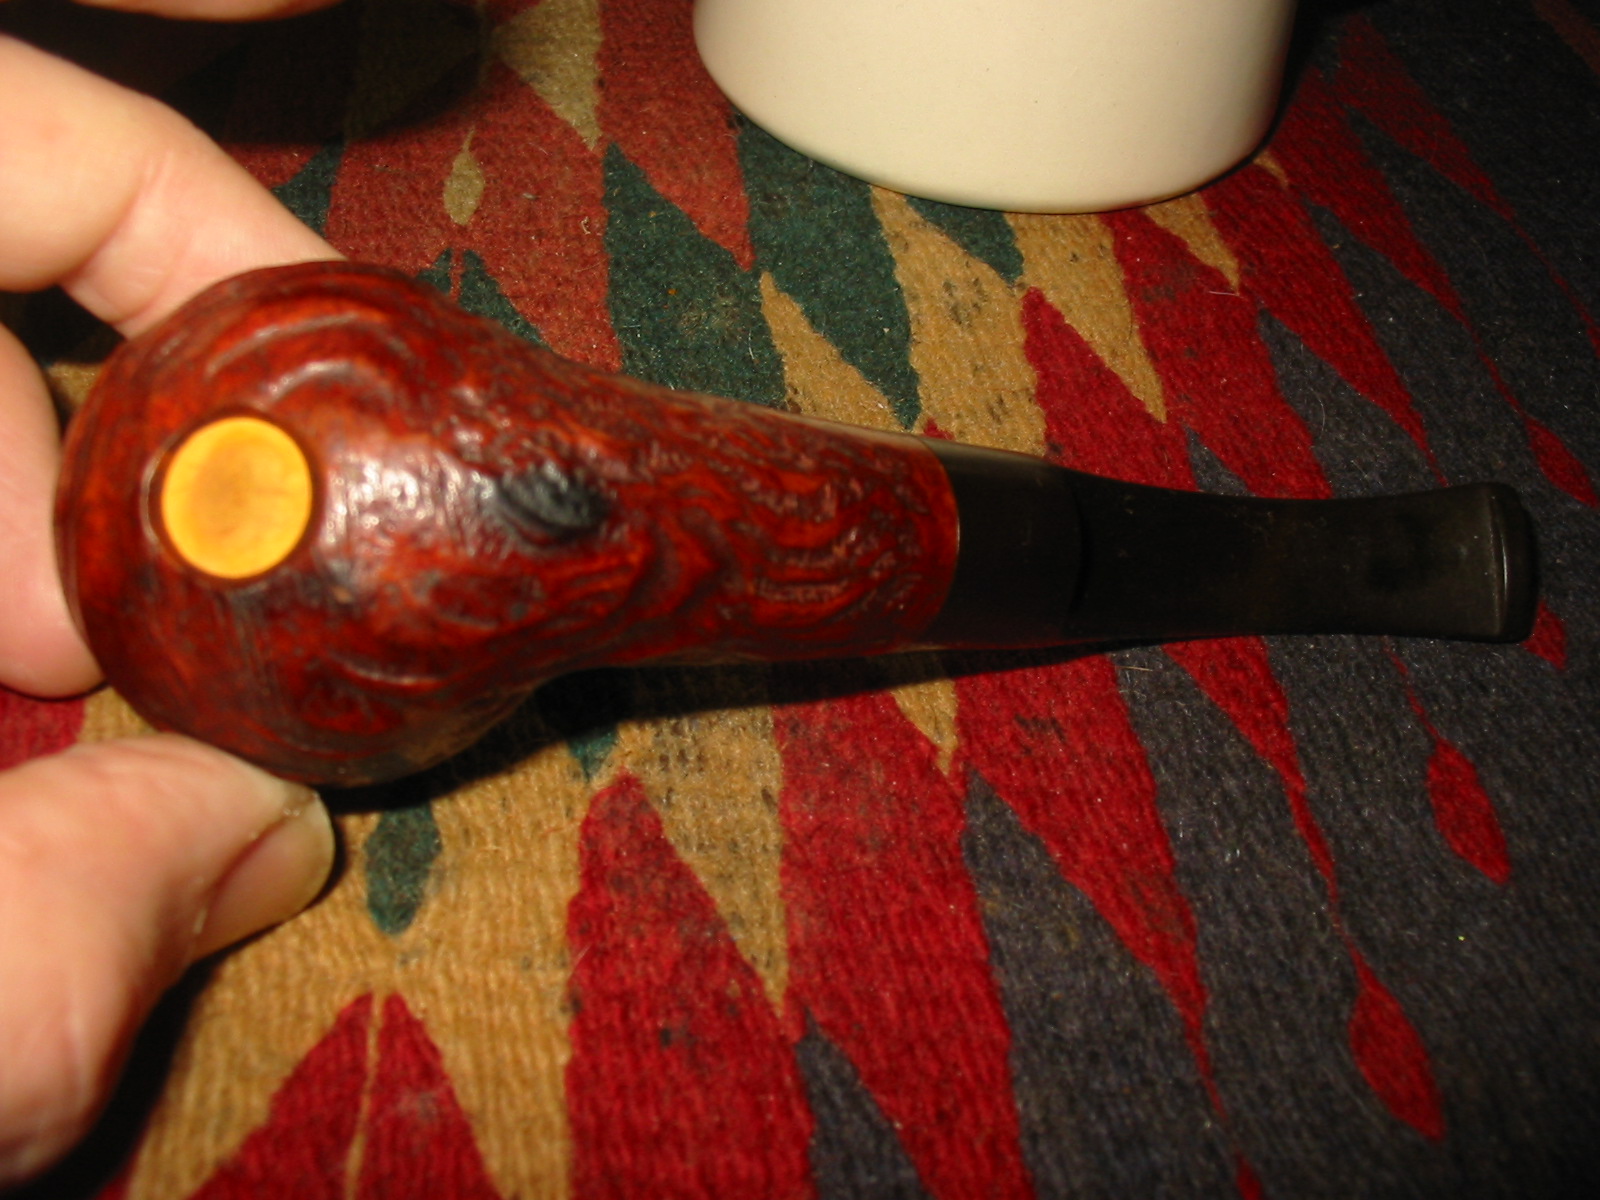
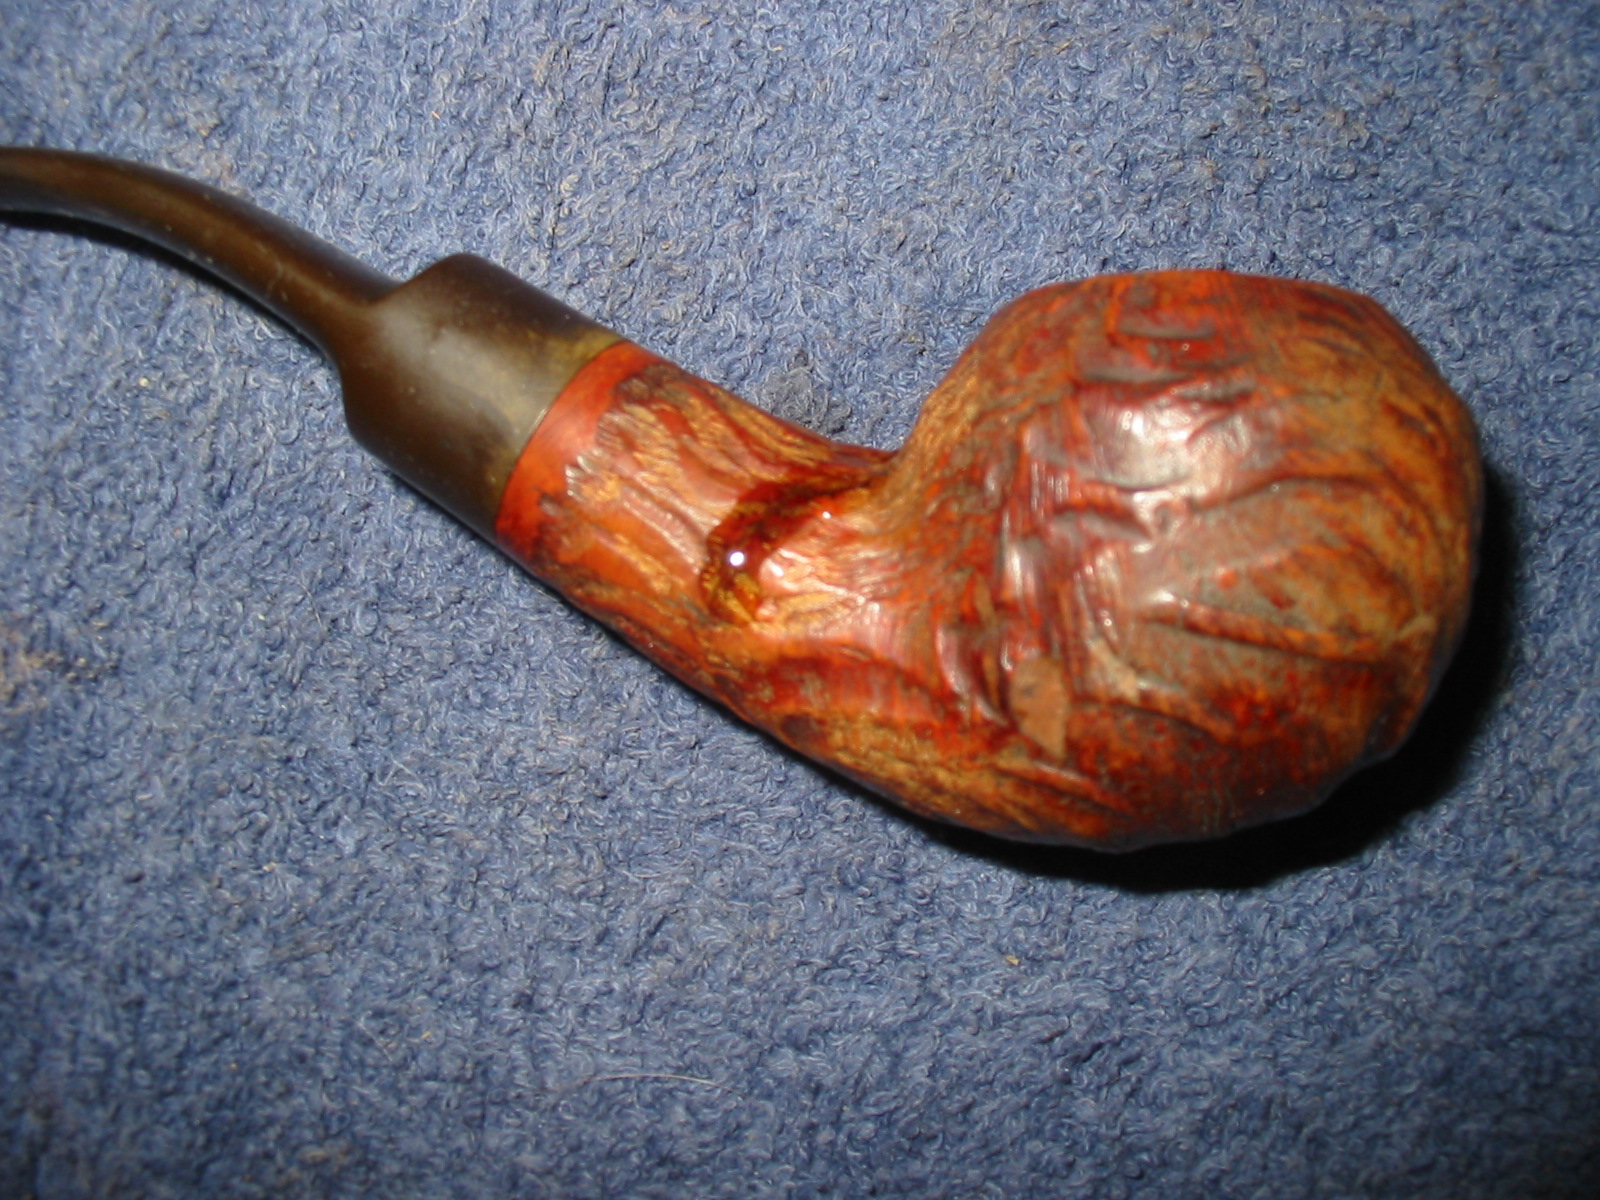
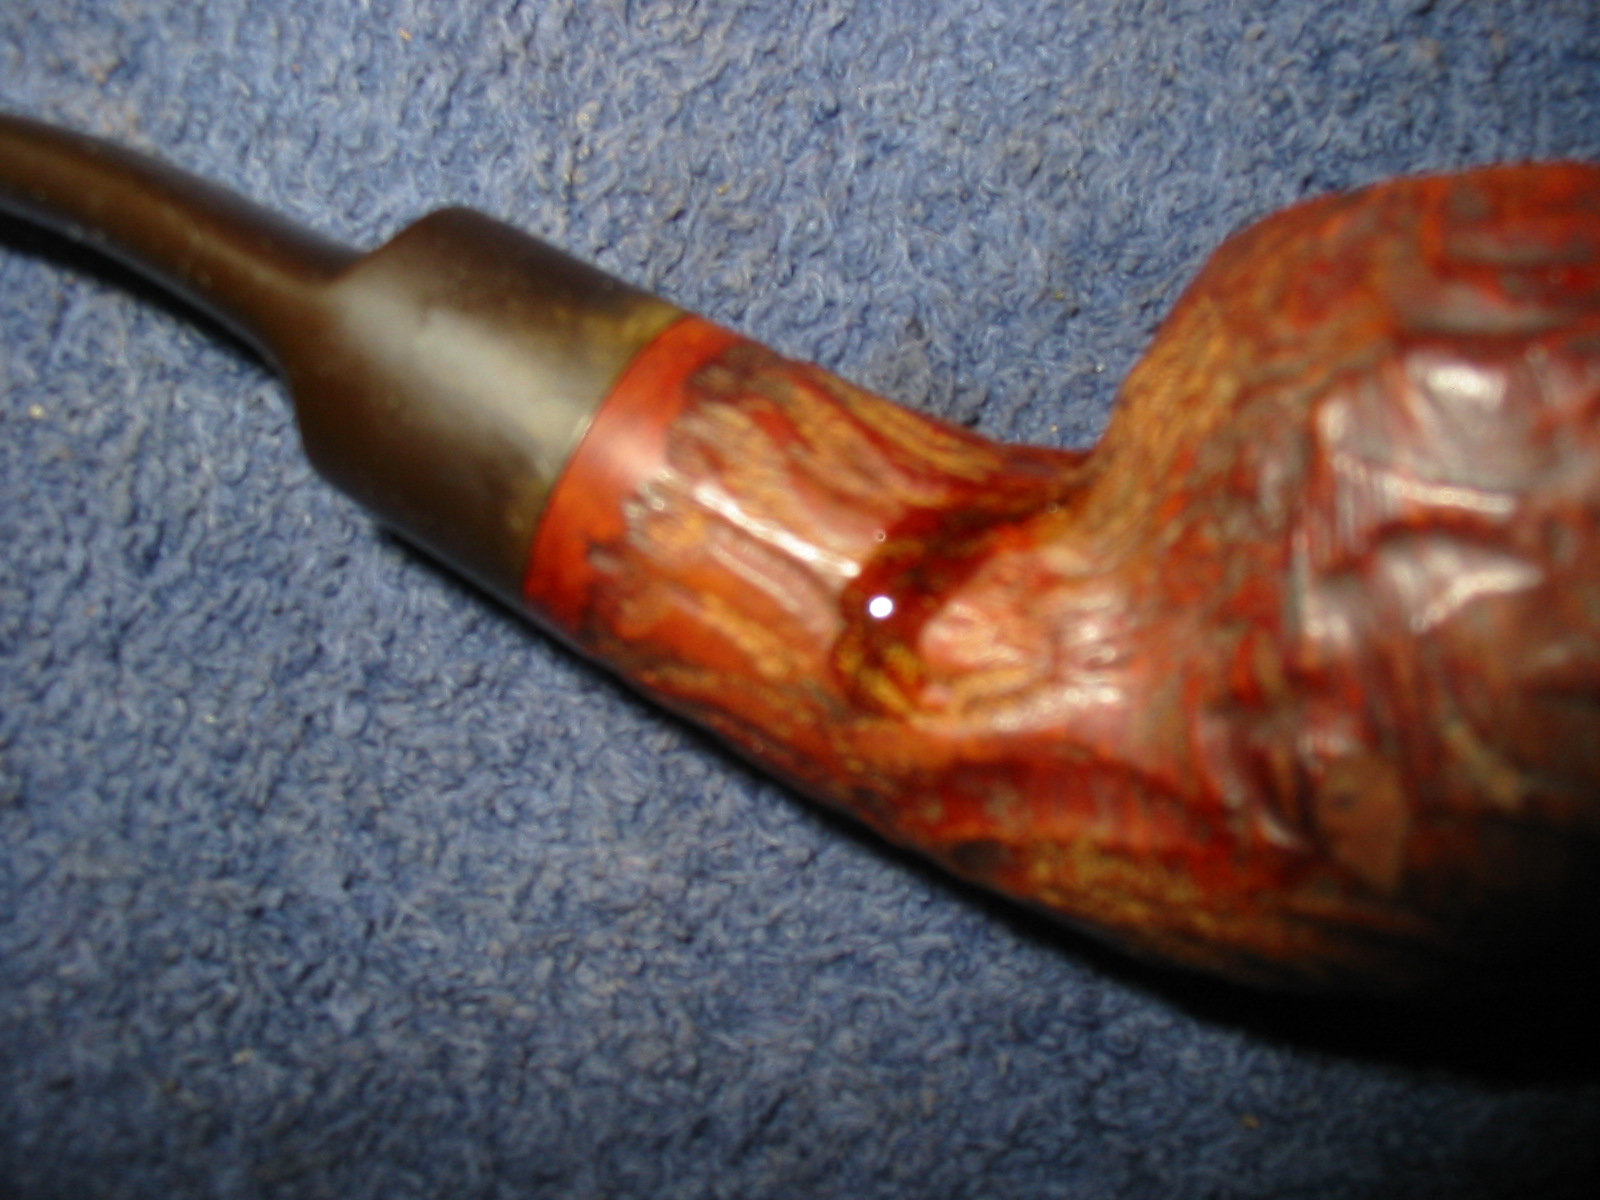
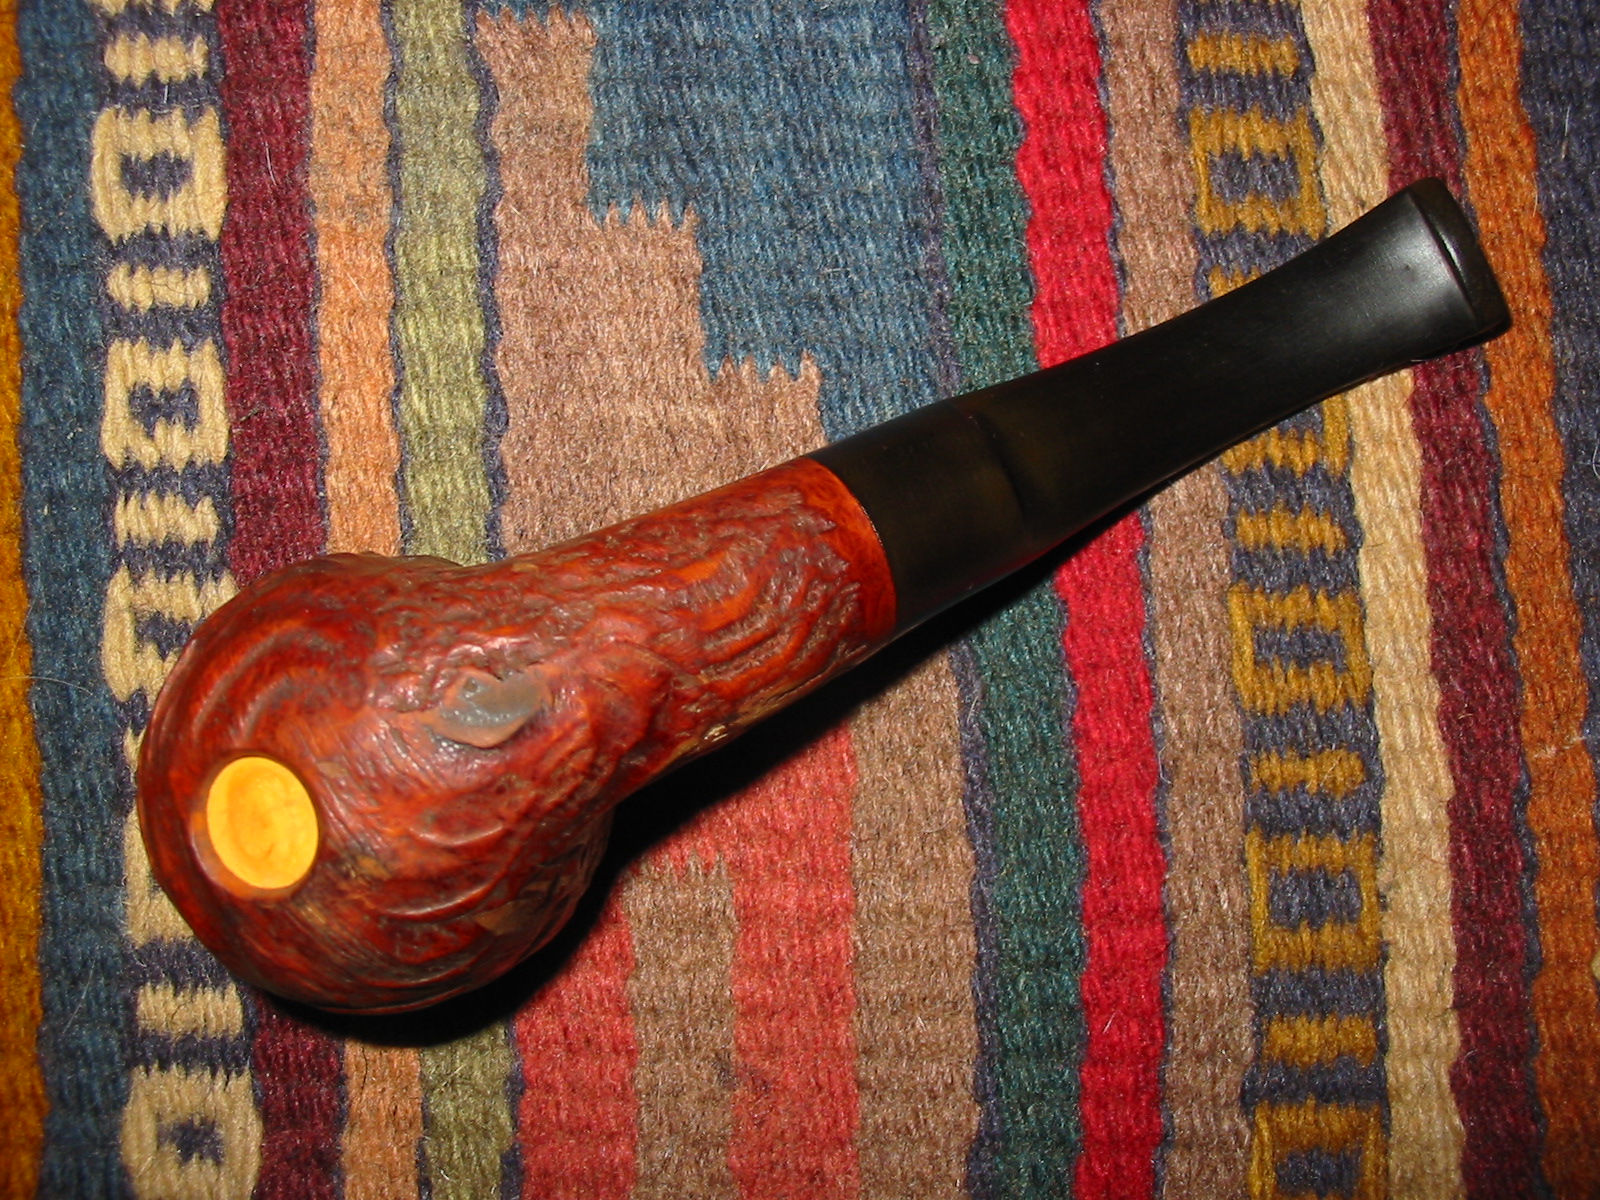
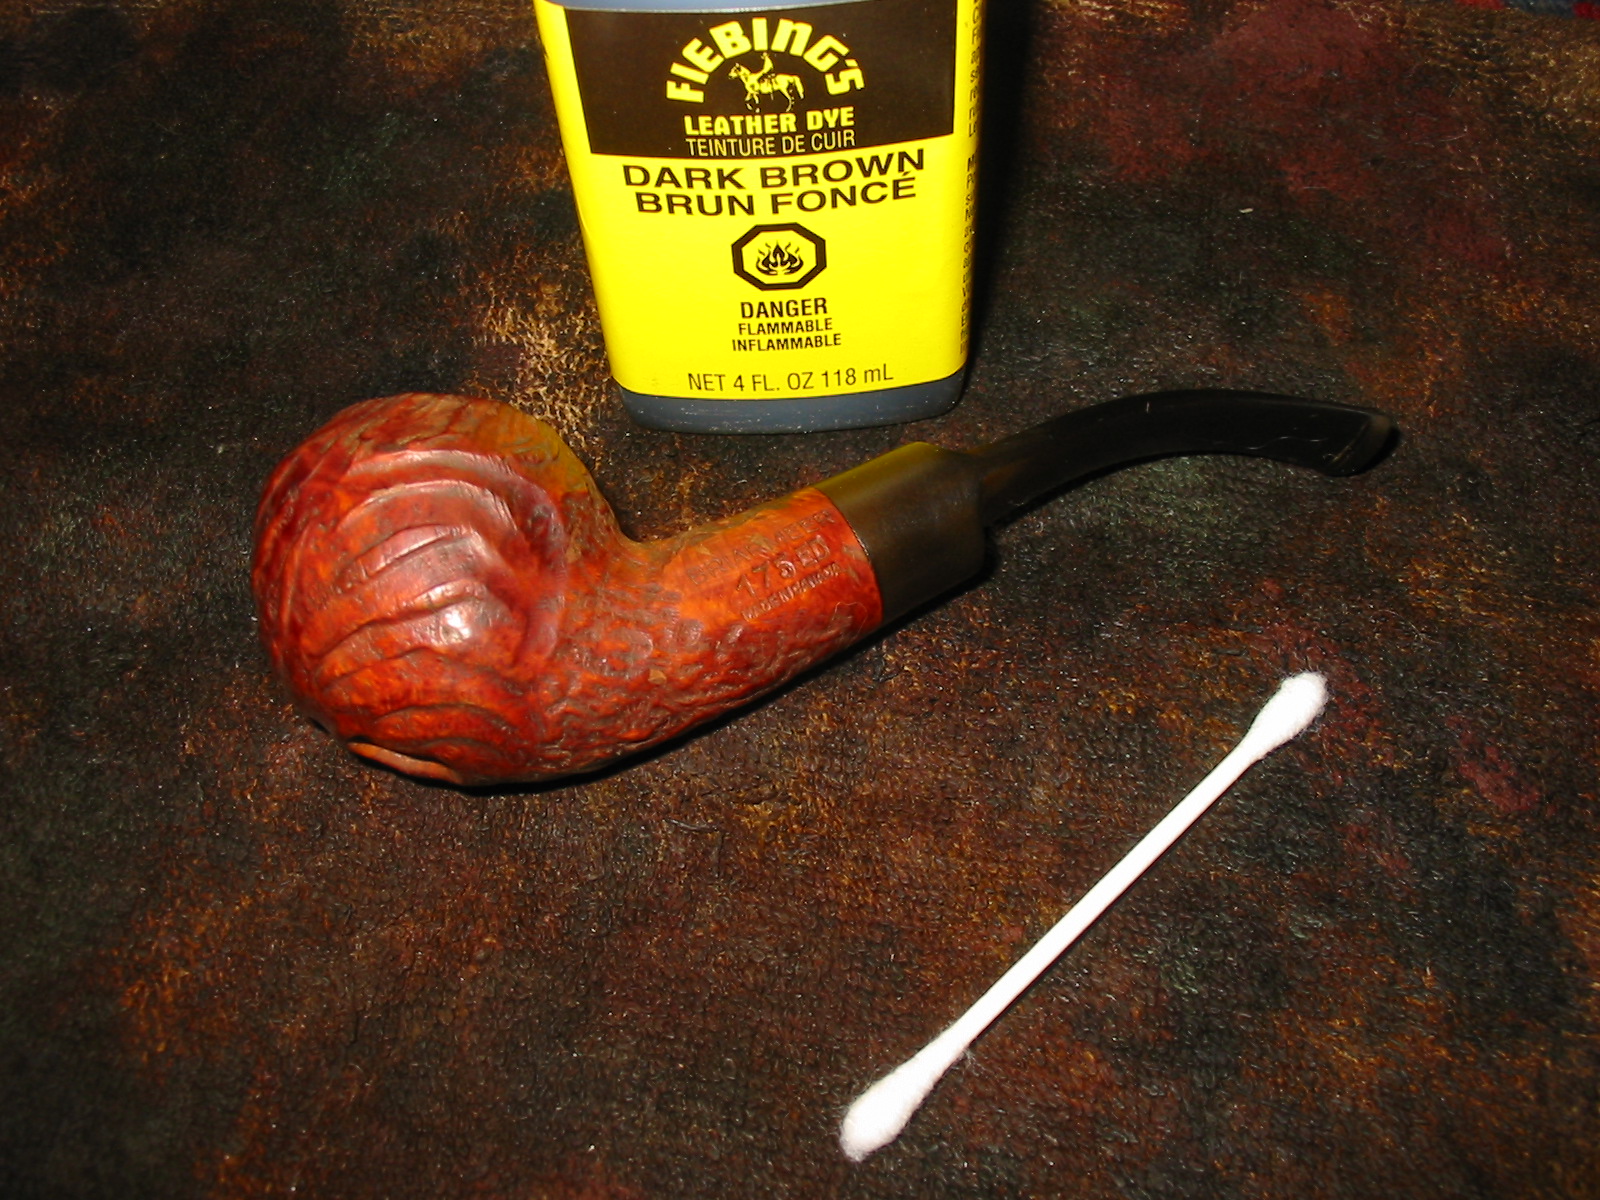
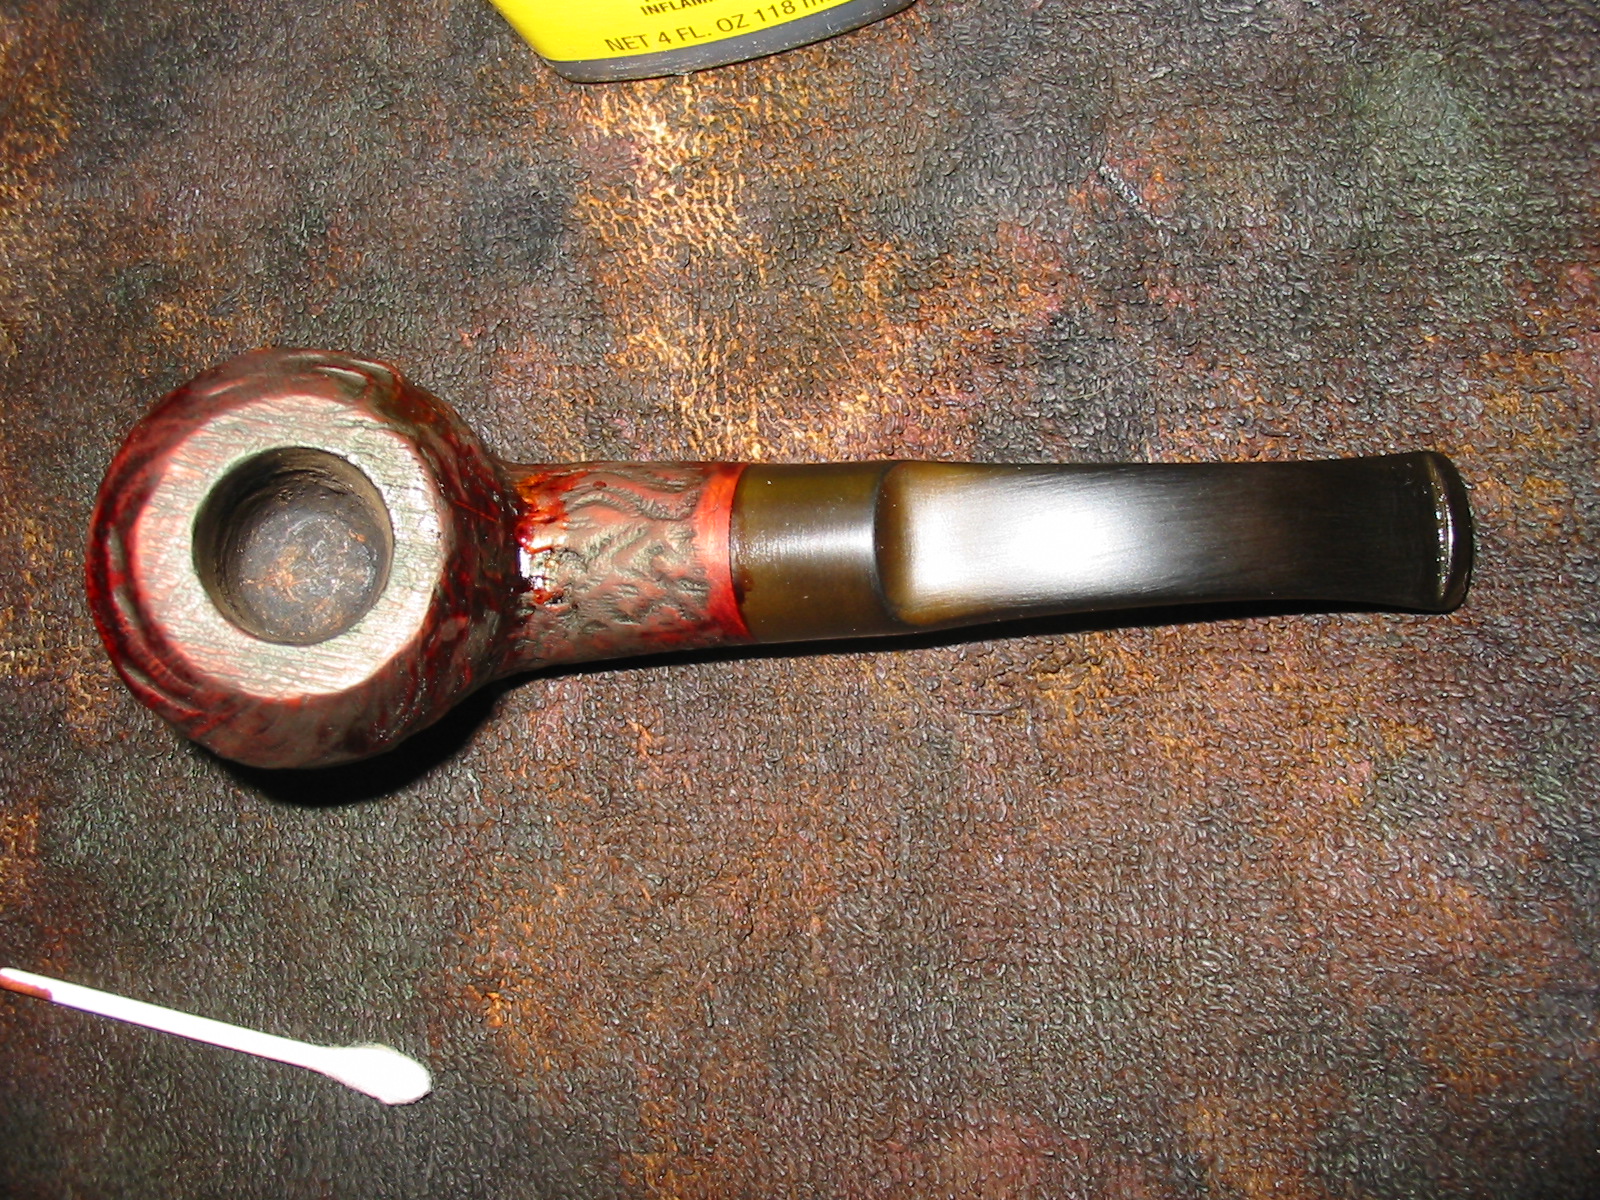
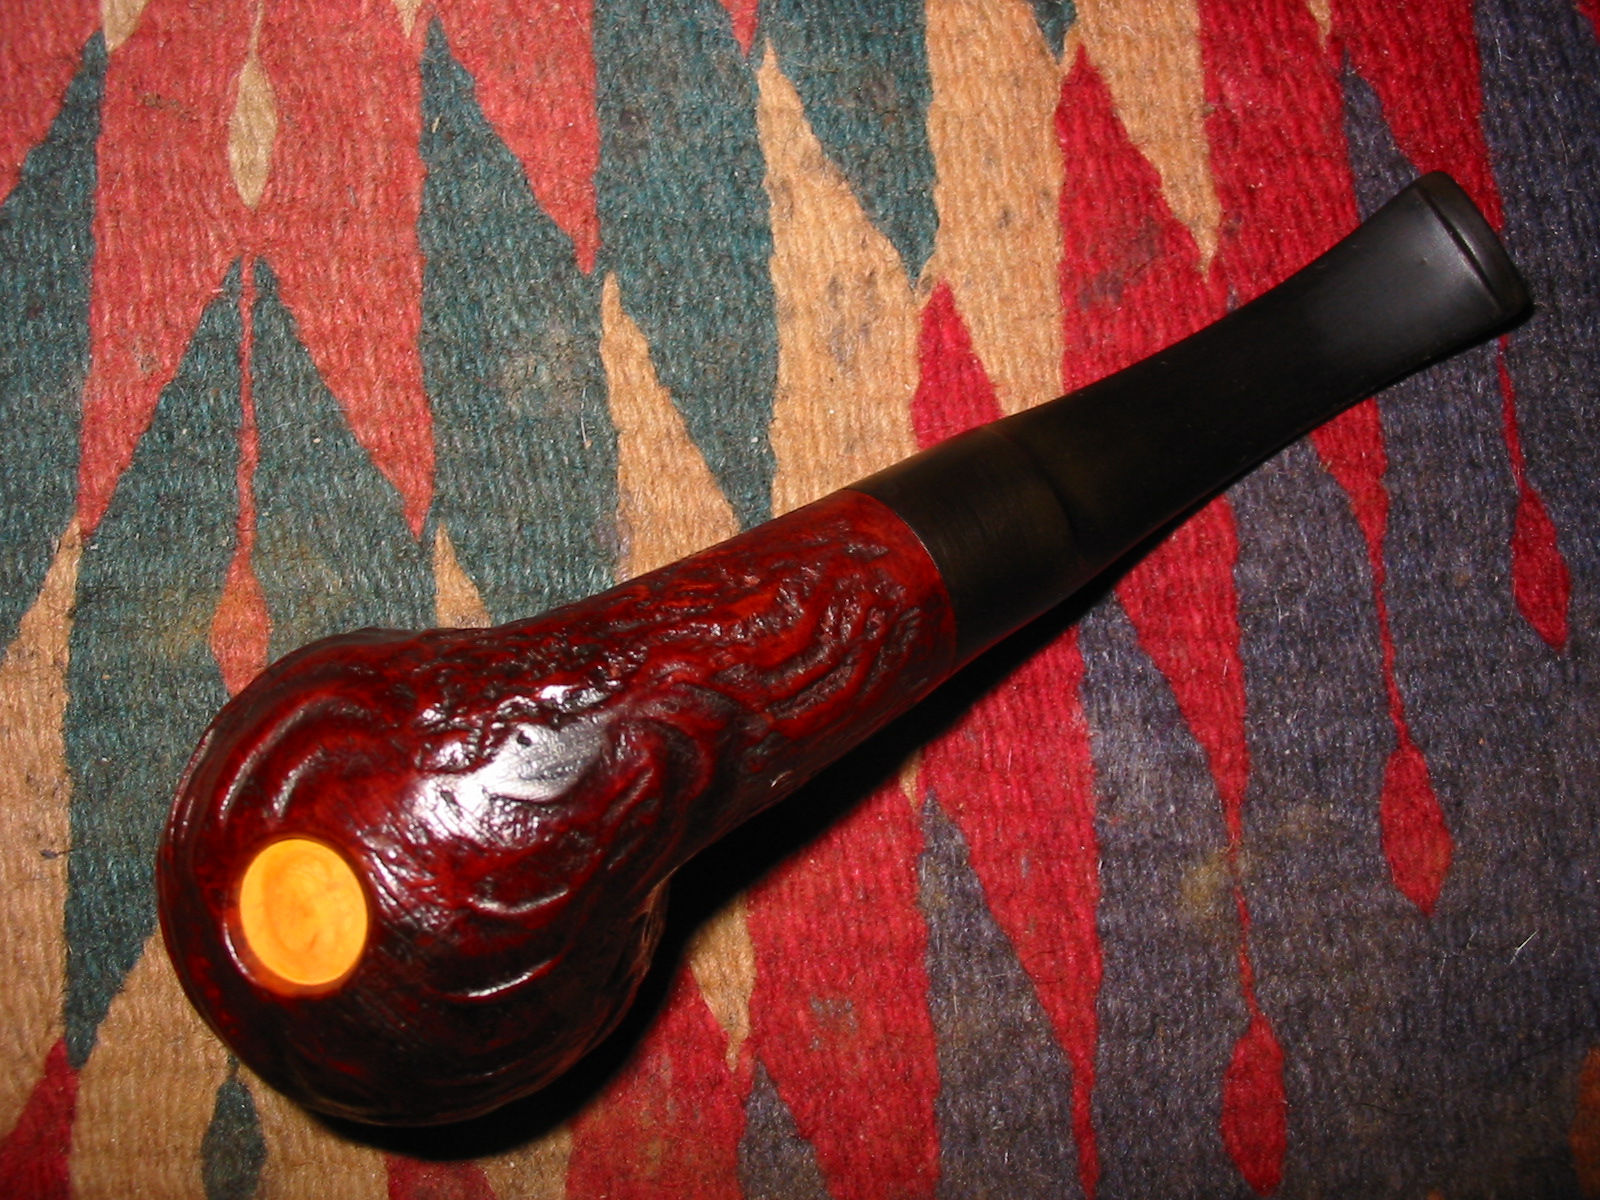
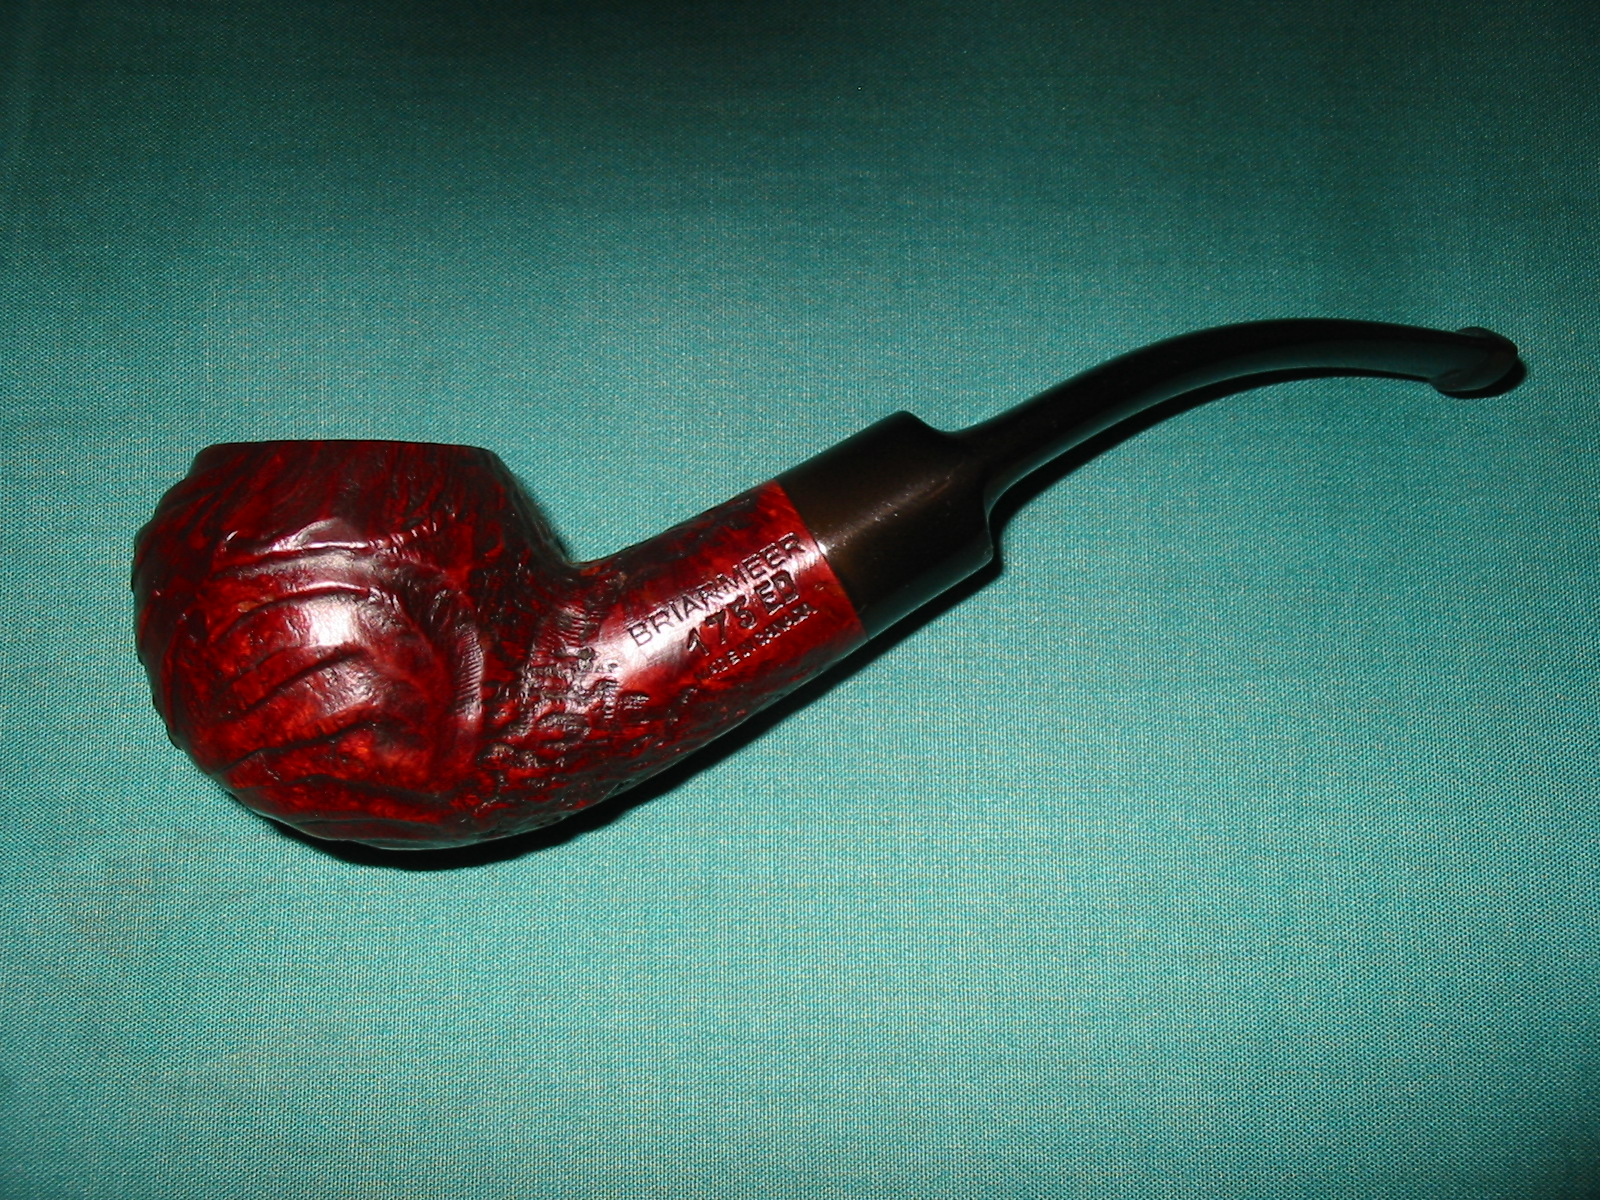
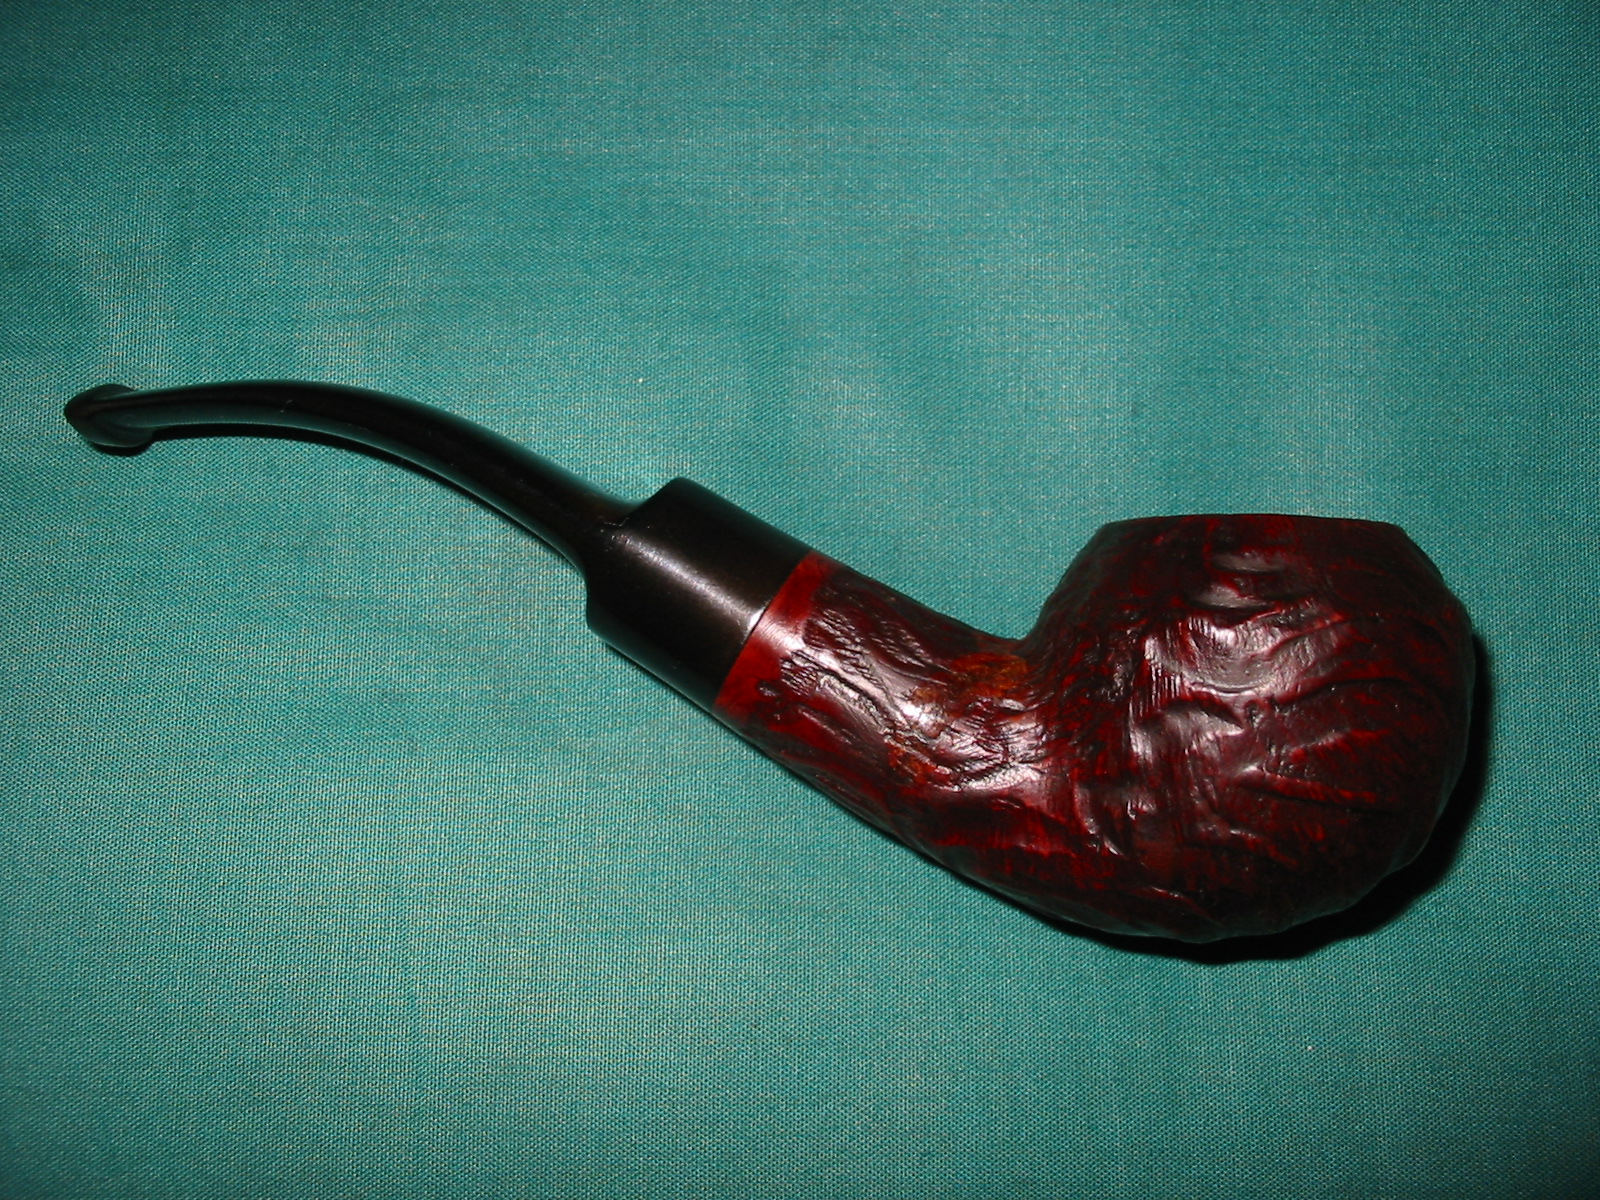
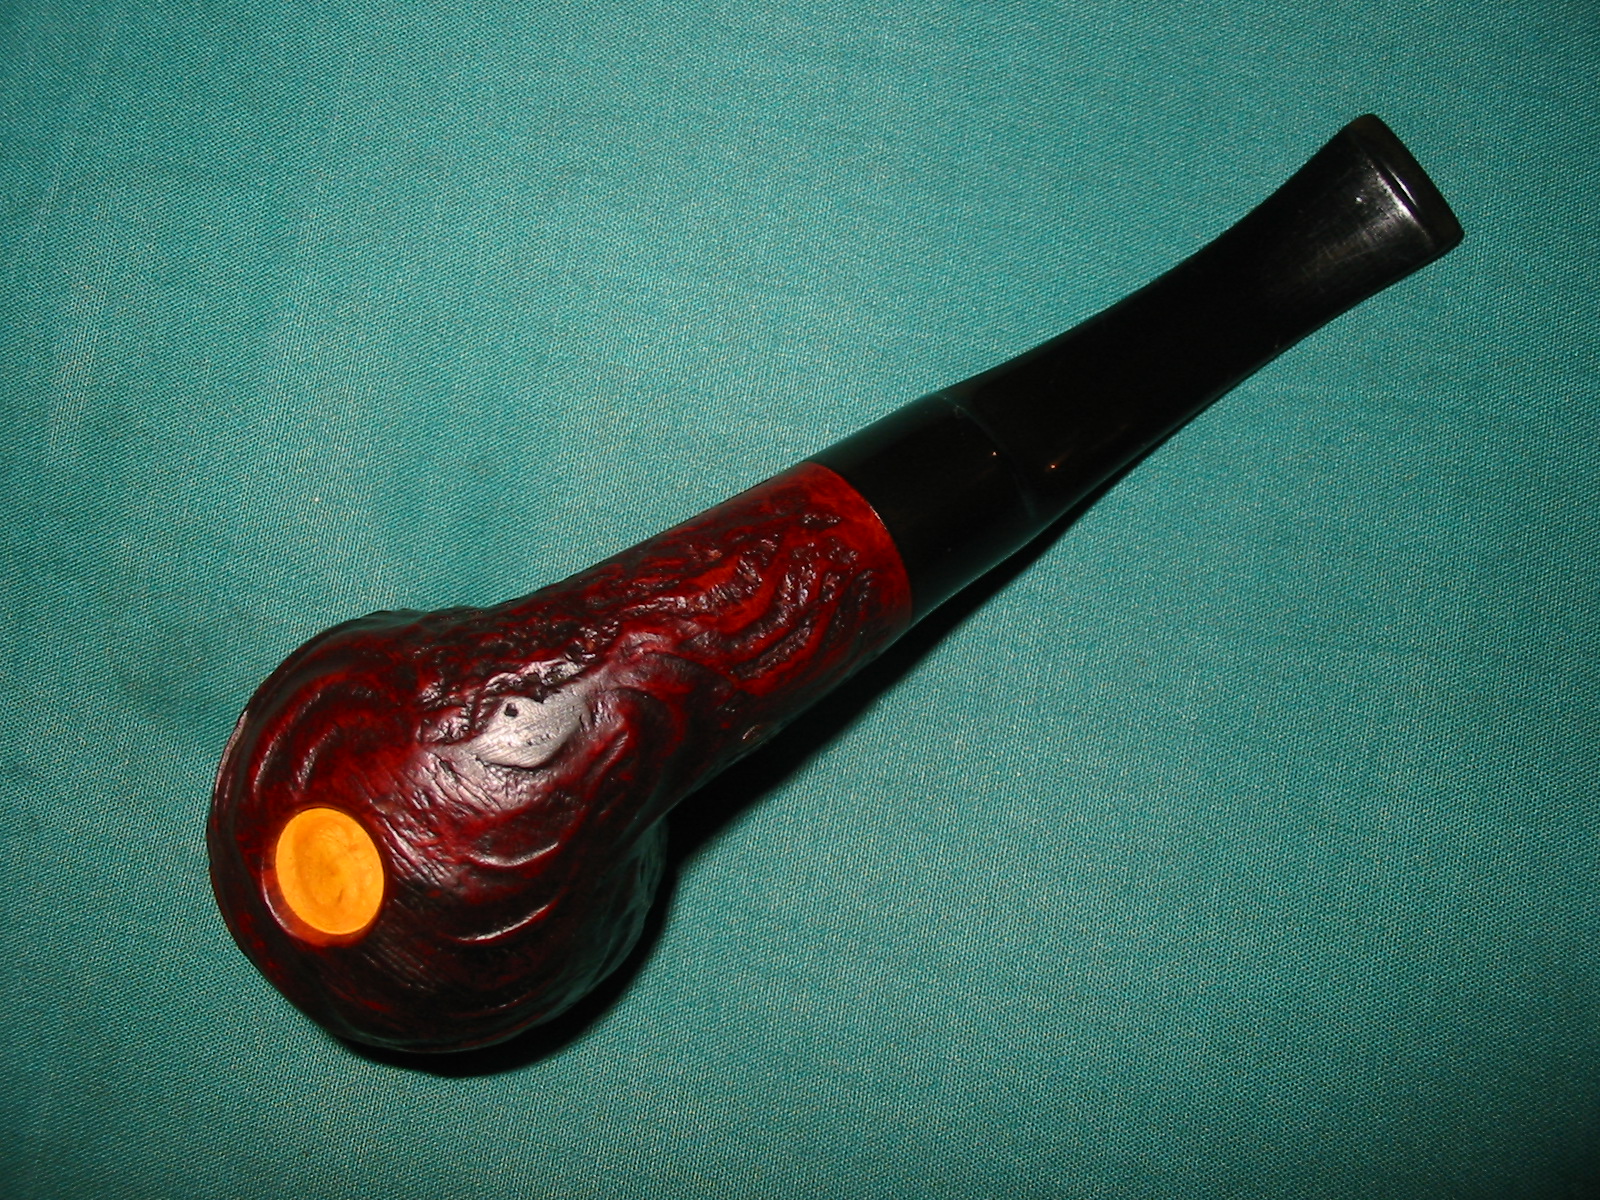
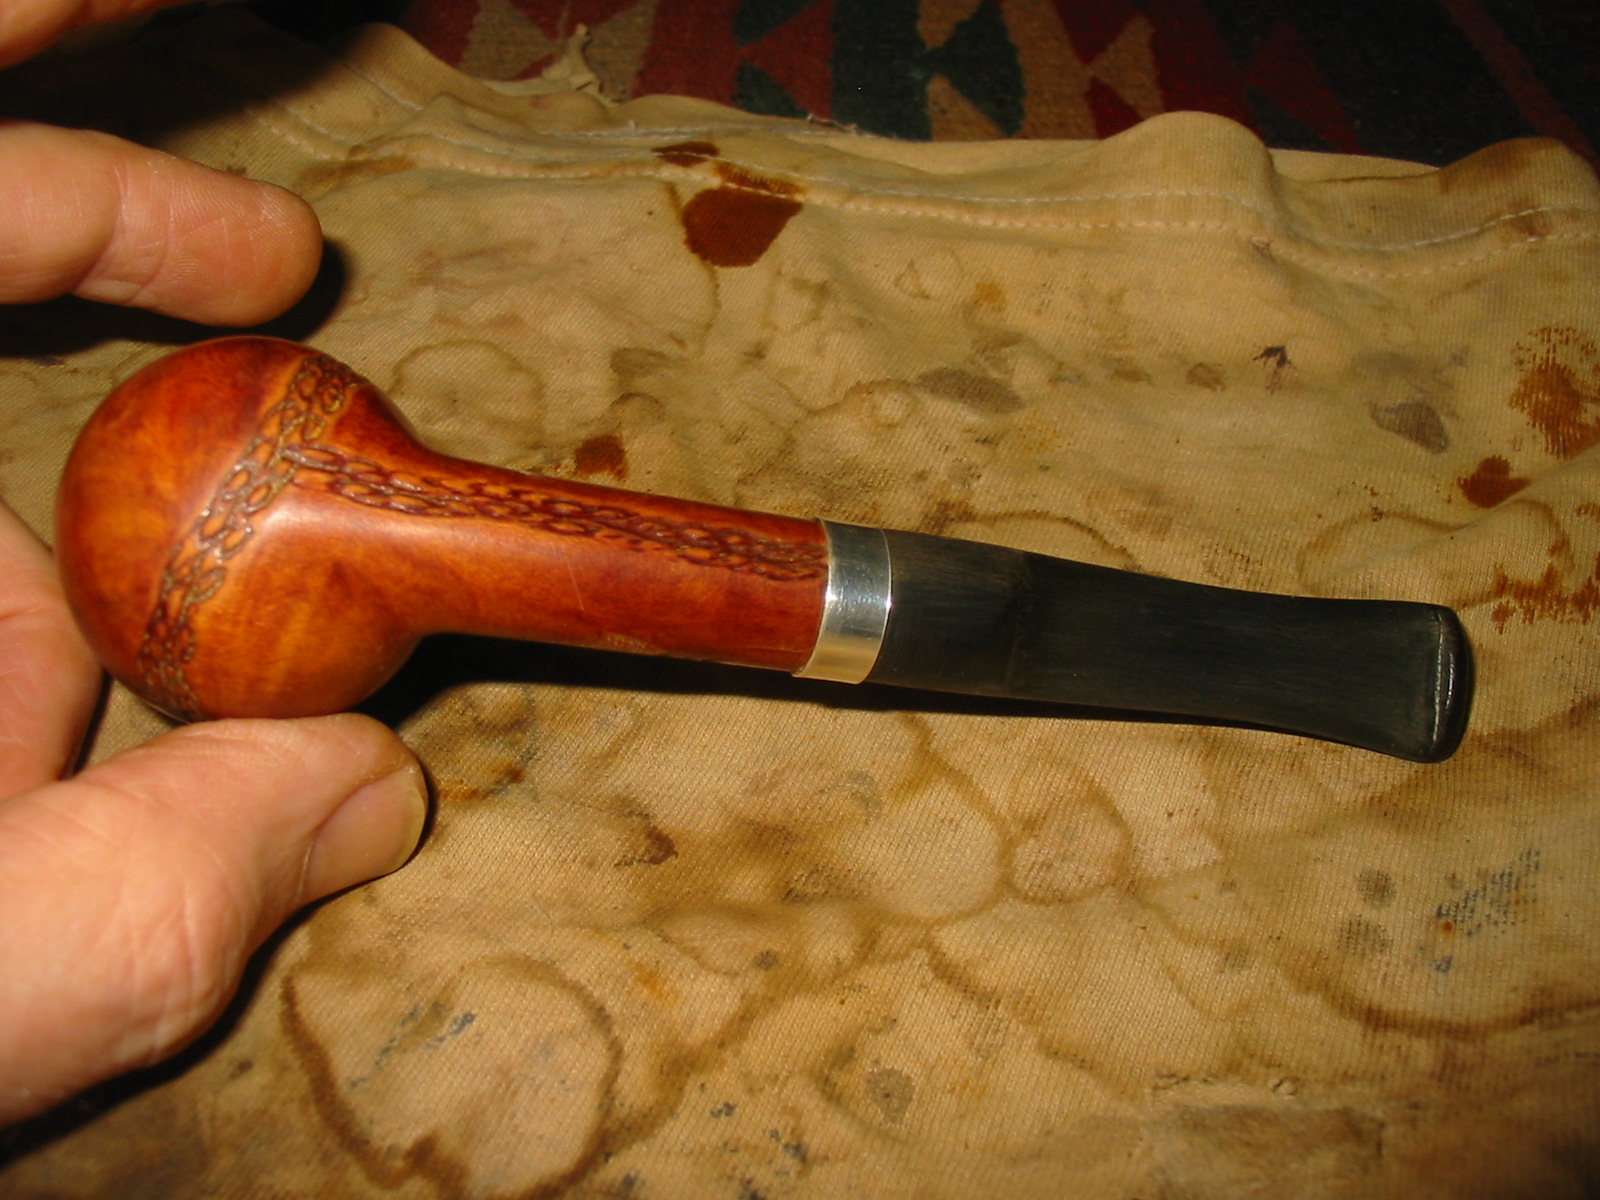
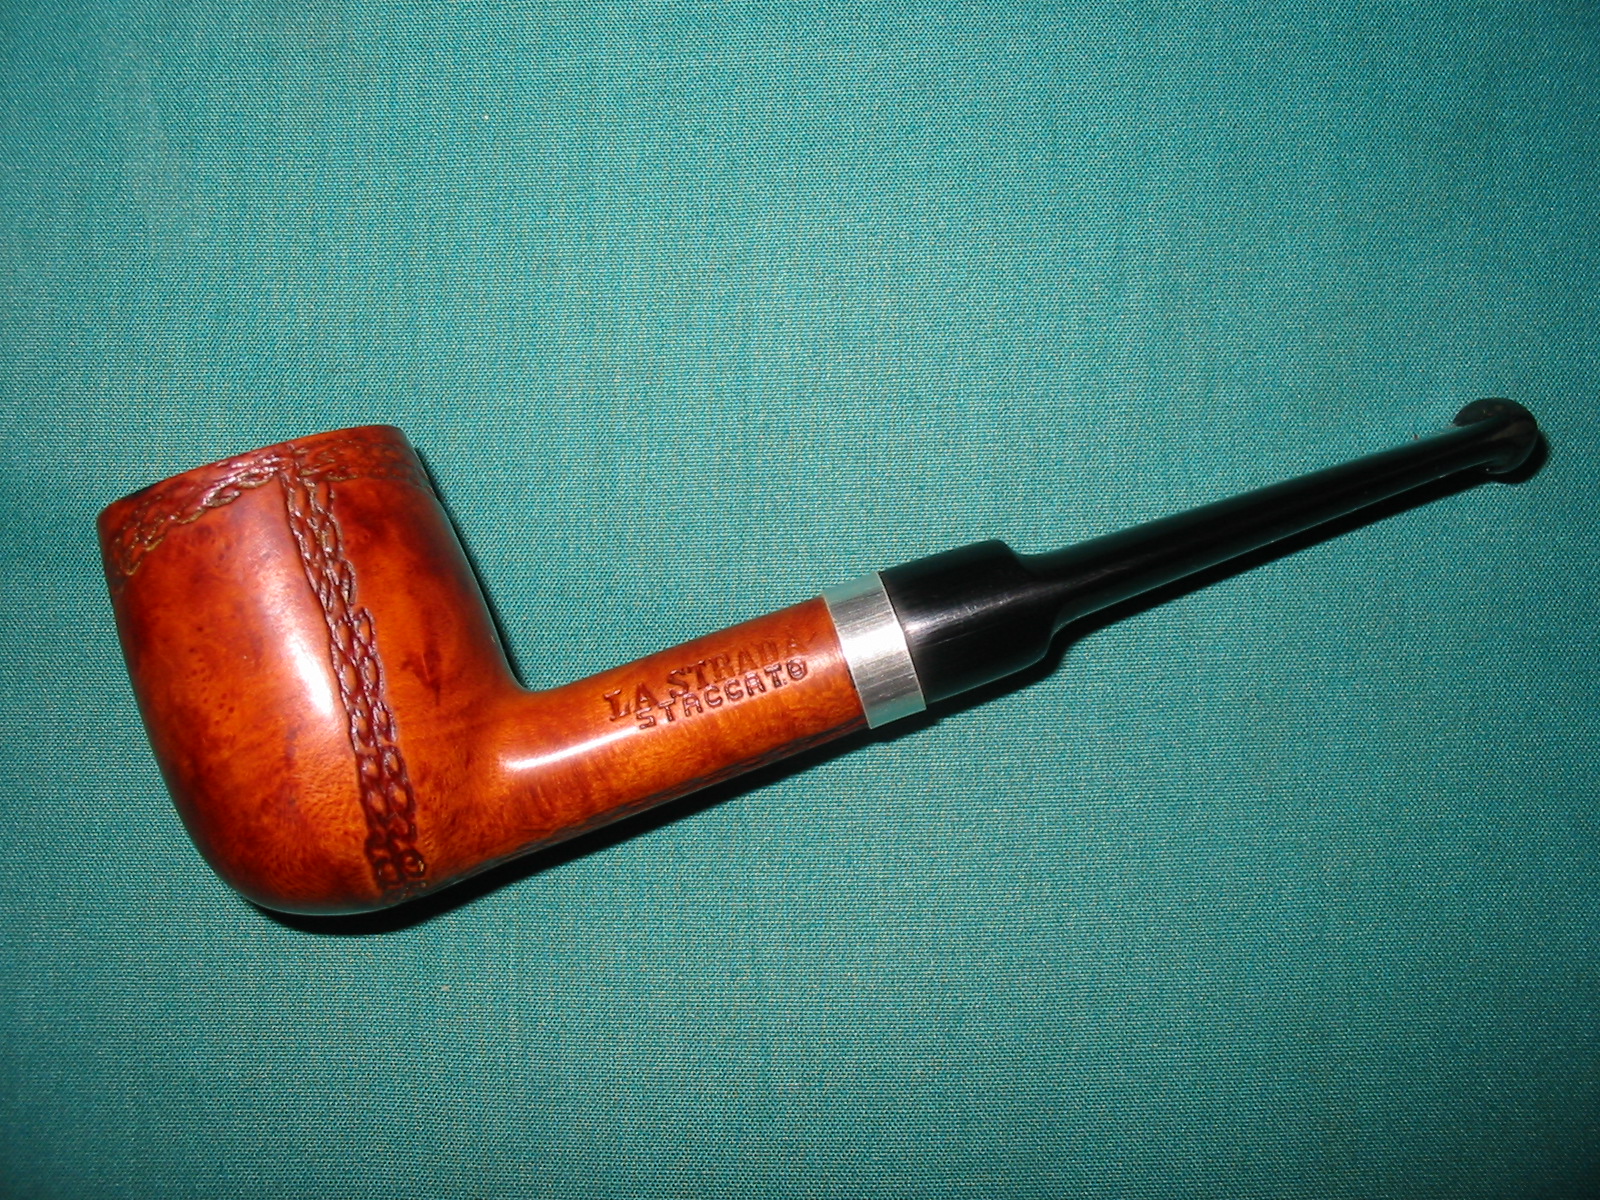
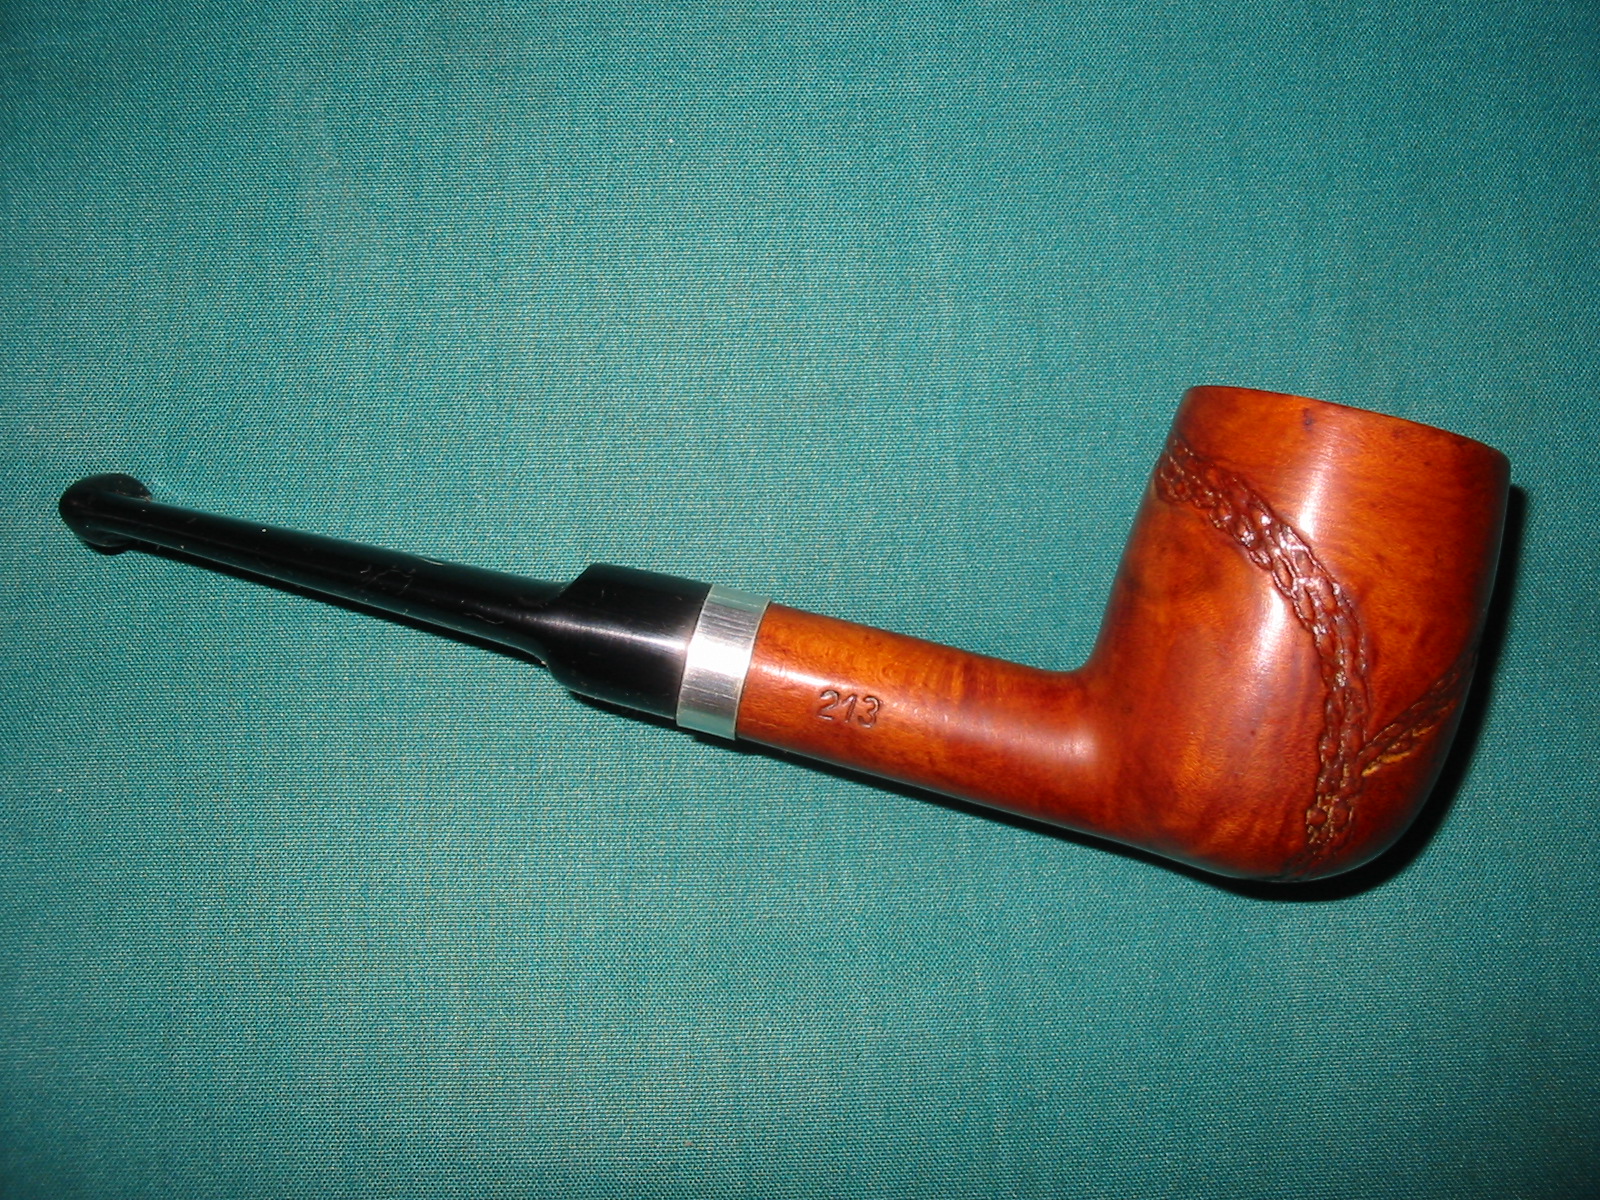
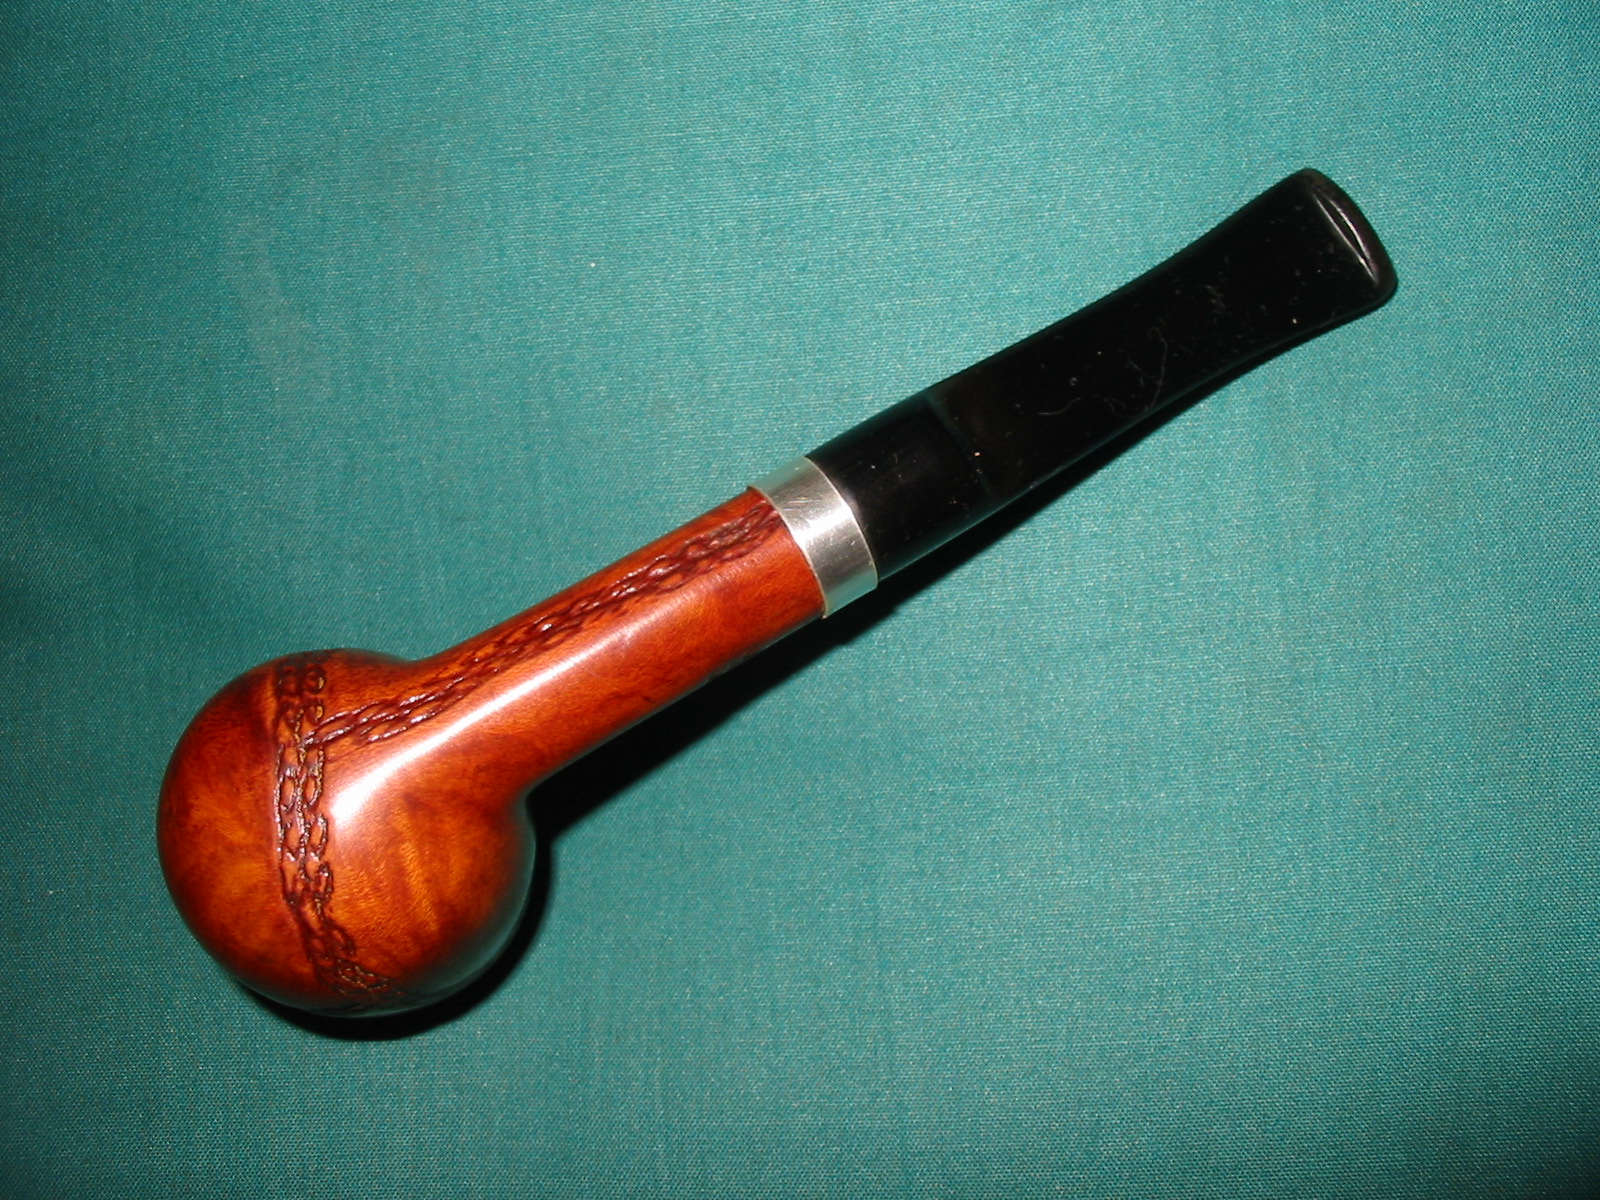
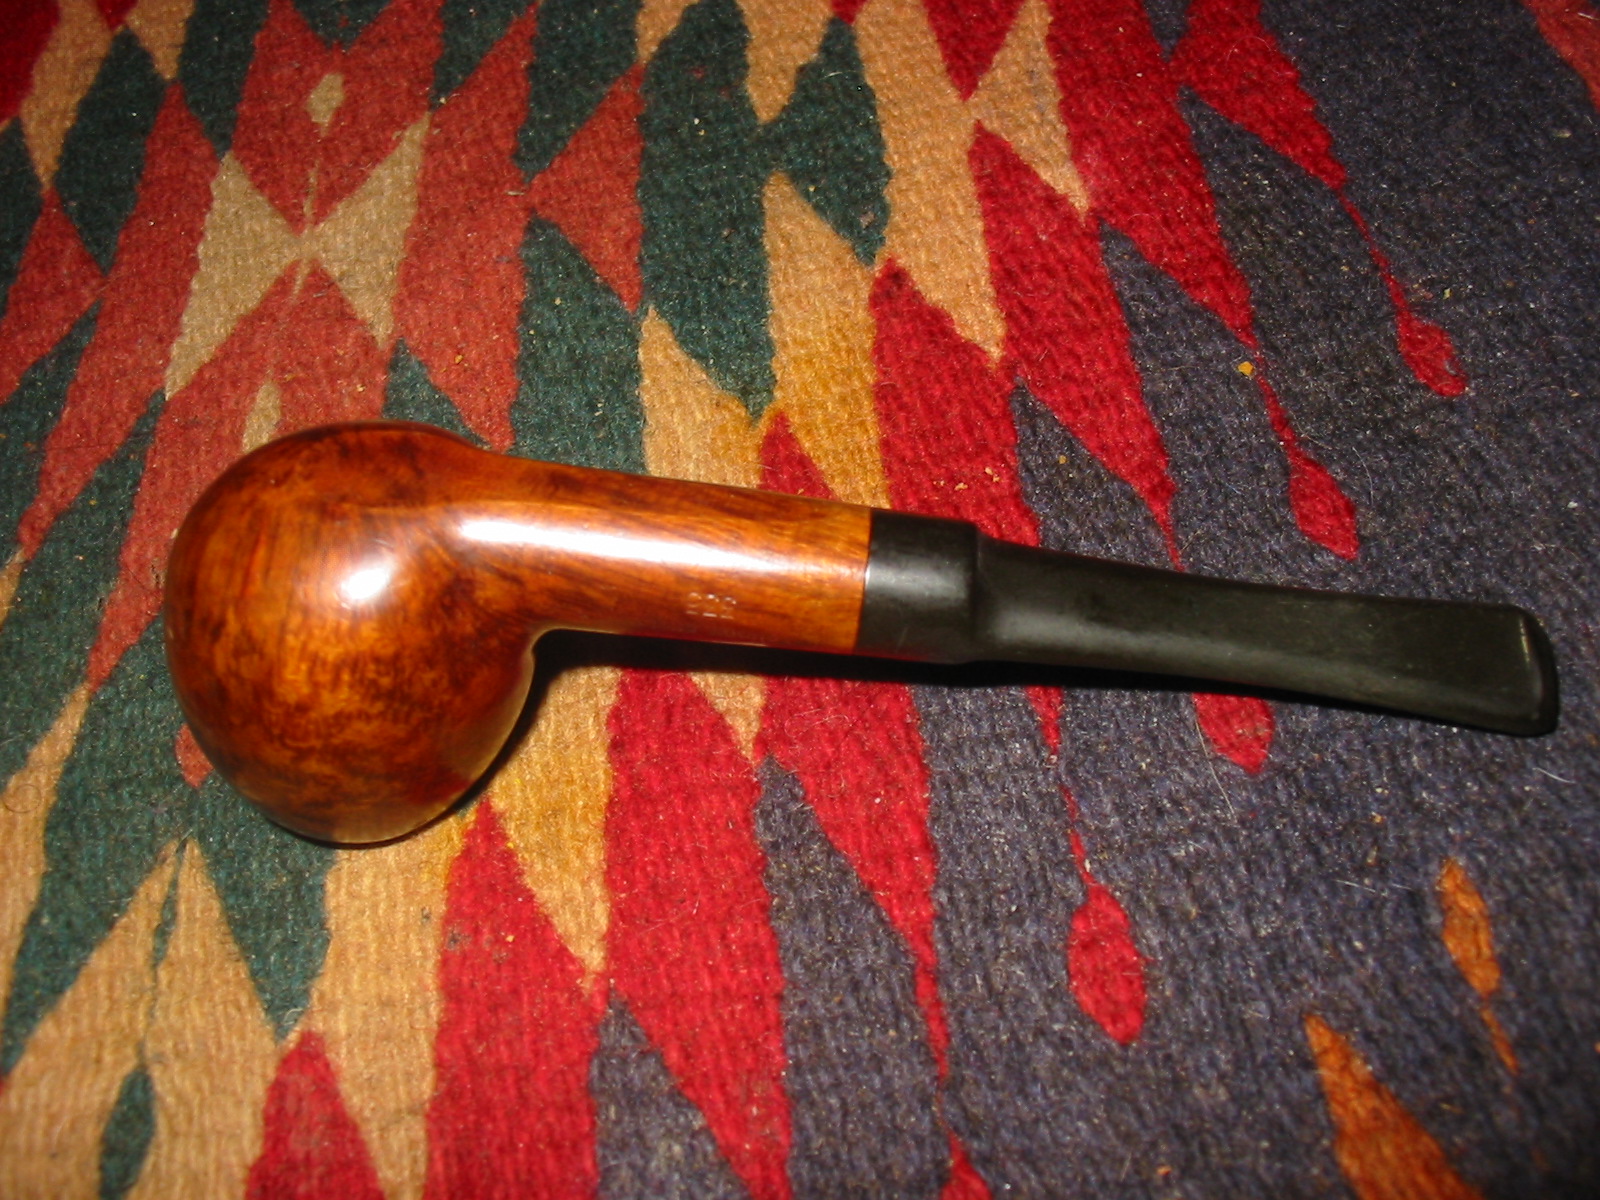
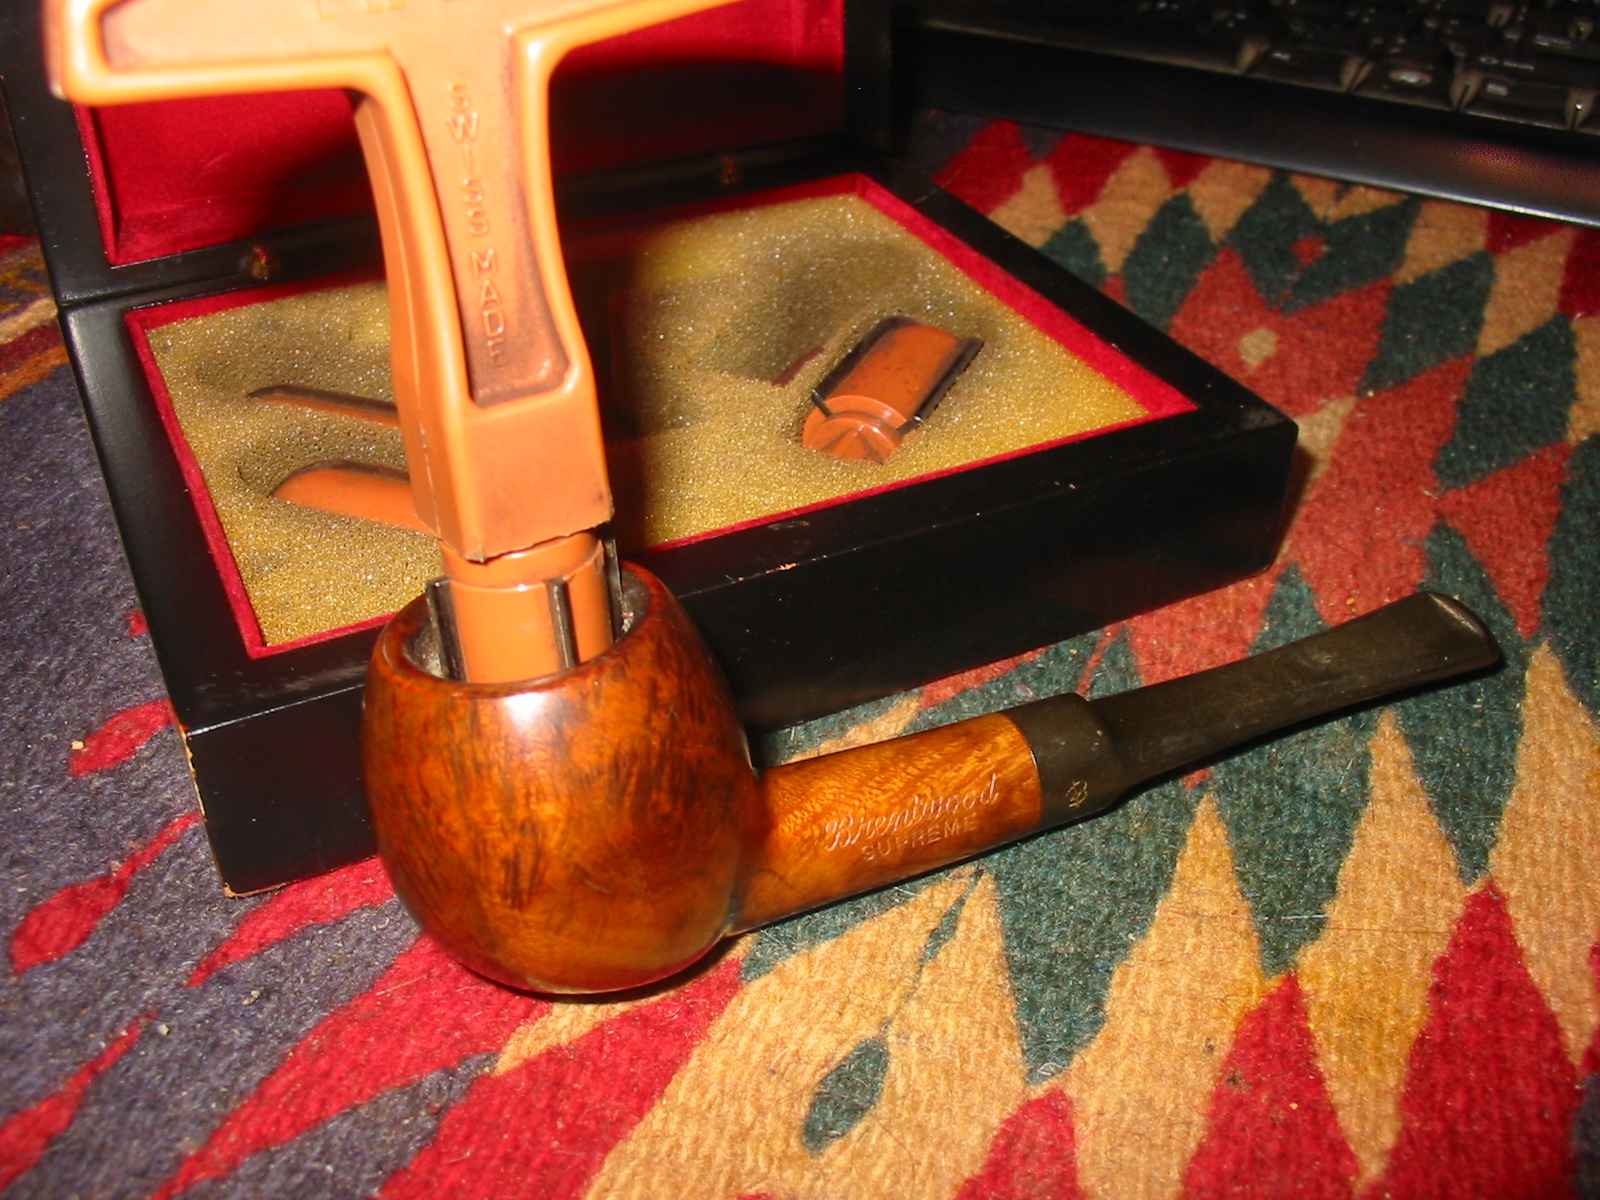
I buffed the stem and bowl with White Diamond and then gave it multiple coats of carnauba wax and buffed it with a soft flannel buffing pad. The finished pipe is shown below. The interesting grain is highlighted by the stain and the finish of the pipe. All that is left to do is to choose a tobacco to smoke in it for its inaugural smoke.
IMG_6936

IMG_6937

IMG_6938

IMG_6939

A Set of Twins – Bent Royal Coachman Billiards by Comoys


On a recent adventure I found a pair of bent billiards that had the Made in London England circle stamp on the right side of the shank and the Germanic script stamping, Royal Coachman on the left side of the shank. They were also stamped with a shape number 215. I did a bit of research to see if I could identify the maker. From the markings I was pretty confident that I was dealing with a Comoy’s seconds line but wanted to make certain I was right. The circle stamp on the right side of the shank was a giveaway to that identification. The shape number looked very familiar to me and the overall look said Comoys. So I looked in two the places that I always go to when beginning a hunt for info. The first is a website set up by Pipephil called Logos and Stampings. There I found that the Royal Coachman was indeed a Comoys brand. The site showed that the pipes were made by Chapuis-Comoys. The second site I looked at was Chris’ pipe pages http://pipepages.com/64com19s.htm . Chris has collected old catalogues and documents that give shape charts and many historical materials that cannot be found in other places. I have copied a page from the shape chart below and you can see that the 215 shape number matches not only the Comoys number but also the shape.
64com19
When I brought the pipes home from the antique shop they looked like the photos below. There were actually in pretty good shape for their age. The dealer said that he bought these along with 20 other pipes from a widow who was selling off her late husband’s estate. He had some interesting old pipes and I was able to pick through them and brought six of them home with me. These are the first pair of the bunch. The bowls were lightly smoked with a bare minimum of cake. The top pipe in the picture below was less smoked than the bottom one. Both pipes were grimy on the outside of the bowl and had some oxidation on the stems. There were no tooth marks on the top pipe and only a little tooth chatter on the underside of the bottom pipe. The top pipe has three small fills that are visible in the first photo below and a slight nick in the shank on the right side near the stem. The second pipe has a few fills as well with the largest of them visible low on the left side of the bowl in the photo below. The rims on both were clean and undamaged and showed no tar build up. On the right side of the bowl of both pipes there was a small spot of white paint.
IMG_6852

IMG_6853

IMG_6854

IMG_6855
I reamed the bowls with a PipNet reamer to remove the slight cake build up and clean out the bowl. I wiped down the exterior of the bowl with Murphy’s Oil Soap to remove the grime and grease build up. It also took off the paint spots on the right side of the bowl. I use the soap undiluted as I find it does not remove the finish on the bowl as much as when it is diluted with water. I rubbed it on and scrubbed it with cotton pads and wiped it off with the same pads.
IMG_6856

IMG_6860
I cleaned out the inside of the shank on both pipe using cotton swabs and isopropyl alcohol. Both had a slight reservoir in the shank with the drilling being quite high in the shank to accommodate the bend in the shank to bowl junction. I cleaned out the airway with pipe cleaners and then the inside of the bowl with folded pipe cleaners and cotton swabs.
IMG_6861

IMG_6862
I wiped down the stems with isopropyl alcohol on a cotton pad and then cleaned out the inside with pipe cleaners. The opening/airway on the end of the tenon was very small so I had to work to push the pipe cleaner into place. I had not seen an airway this constricted in a long time. The draw on the pipe was very tight; it was like pulling air through a coffee stirrer. When I pulled the pipe cleaner out a small ring came out with it. It is visible in the photo of the pipe cleaner below. The stem on the left is the one that the ring came out of and the stem on the right still has the ring. It appears to be made of brass and is a thin ring that constricts the airway for about 1/16th of an inch. With the ring removed the draw was very open. I continued to clean out the stem and airway until it was spotless and the pipe cleaners came out clean. I cleaned the end of the tenon with cotton swabs and isopropyl alcohol.
IMG_6863
I then used some Meguiar’s Scratch X2.0 on the stems to scrub the scratches and polish the stems. I applied it with a cotton pad and scrubbed and rubbed it off. The photos below show the stems after the polishing. There was some deep seated oxidation that came to the surface of the stems. There was more oxidation on the top of the stems than on the underside.
IMG_6866

IMG_6867

IMG_6868

IMG_6869
I buffed the stems with red Tripoli on my buffer to remove more of the oxidation. I followed that up with White Diamond polish on the buffer as well. I also buffed the bowl with White Diamond. The shine really came out.
IMG_6870

IMG_6871
There was still oxidation that came up on the stems. I sanded it with a medium and a fine grit sanding sponge and then wet sanded with 400 and 600 grit sandpaper. This removed the remaining oxidation in the stem. I then wet sanded them with 1500-2400 grit pads. I dry sanded them with 3200-12,000 grit pads. I rubbed the stems down with Obsidian Oil and when it had dried I buffed them with White Diamond and then gave both the bowls and stems multiple coats of carnauba wax and buffed them with a soft flannel buff on the buffer. The finished pipes are shown below. They are ready to enter the next phase of their lives.
IMG_6877

IMG_6878

IMG_6879

IMG_6881

Restoring a Bent Billiard – Converting a threaded mortise to a push mortise


When I picked up these two pipes in the antique mall grab bag my intention was to hunt down threaded metal tenon stems for them both. But I soon finished cleaning up the rest of the lot and was down to these two and an old Medico. These two were in far better shape to start with than the old Medico so I looked them over for a while. I decided to drill out the threads on both of them and fit a push stem to the shank. I started with the bent billiard as it needed the most work to clean up the rim damage. While I was setting up to do it I got to thinking that the odds were very high that the inserts were reverse threaded into the shanks of the pipes. I took out a pair of pliers and carefully locked onto the metal edge of the insert on the bent billiard. I turned it counterclockwise and after a few moments of not moving it came loose and screwed out with ease. I did the second pipe bowl at the same time so I now have two pipe bowls that have been modified with a simple fix to that the mortises will accommodate a push stem.
IMG_6668

IMG_6669

IMG_6667
I had a saddle bit in my can of stems that had a Delrin tenon and with a little sanding fit the shank perfectly. It had a short saddle and quite quickly went to a blade. It was still quite thick in the mouth so I would need to sand it thinner for comfort. The fit against the shank was snug and only the diameter of the stem would need to be adjusted to fit properly.
IMG_6670

IMG_6671

IMG_6674
The pipe has some interesting grain on it and only one fill on the side of the shank. The stamping reads something like Barnard B over Imported Briar on the left side of the shank. The Barna is very clear the next two letters are faint and the end there is a Germanic Style B. Not much information available on the brand that I can find. The rim was really badly beaten up. It was rough and chewed up looking. The outer edge was ruined with chunks missing. The inner edge surprisingly enough was quite clean and in decent shape. There was a thin cake around the top half of the bowl while the bottom half was still unsmoked briar. The finish as worn around the rest of the bowl but surprisingly there were no nicks or dings on the rest of the briar.
IMG_6672

IMG_6673
I took a close up photo of the top of the rim to give an idea of the condition it was in when it arrived at my work table. I fit the stem to the shank and then used the Dremel and sanding drum to take down the excess diameter of the stem. I then sanded the stem and shank with 220 grit sandpaper to make a smooth transition between the two materials. In the photos taken of the top and bottom you can begin to see the damage on the stem near the saddle. At this point it did not go through the Lucite material but it was definitely a grey colour instead of black.
IMG_6678

IMG_6679

IMG_6680

IMG_6681

IMG_6682
With the fit of the stem finished I topped the bowl. I set up the topping board and the 220 grit sandpaper and turned the bowl into the sandpaper in a clockwise direction. I sanded the outer edge of the rim with a folded piece of sandpaper to smooth out the damage that the topping did not remove. I then wiped the bowl down with acetone to remove the finish and clean up the bowl.
IMG_6683

IMG_6686

IMG_6684

IMG_6685

IMG_6687

At this point I got an urge to put a silver band/end cap on the shank just to have a look. I liked the look of the cap but did not particularly like the look of the short saddle stem with the band. I almost pulled the band and decided against it but decided to leave it and stain the bowl to see what the finished look of the bowl would be. I could always make another stem for it should I desire to do so.
IMG_6688

IMG_6689

IMG_6690
I sanded the bowl with medium and fine grit sanding sponges and then wet sanded the bowl with 400 grit wet dry sandpaper. Once the scratches were removed and the briar was smooth I stained it with a black aniline stain. I applied it, flamed it, applied it again and flamed it again. I then heated the bowl with a heat gun to further set the black stain in the grain.
IMG_6691

IMG_6692

IMG_6693

IMG_6694

IMG_6695

IMG_6696

IMG_6697
I wiped the bowl down with isopropyl alcohol and followed that with acetone on cotton pads to remove the excess stain. I wanted to leave it deep in the grain and remove it from the surface of the bowl. I sanded the bowl with medium and fine grit sanding sponges and then wet sanded it with 400 grit wet dry sandpaper. When I had finished the bowl looked almost grey and the dark striations of grain stood out on the heel and underside of the shank.
IMG_6698

IMG_6699

IMG_6700

IMG_6701
I wiped the bowl down with alcohol again and then restained it with a oxblood aniline stain to bring out the contrast in the briar. I really like the way the finish had turned out on the bowl. The stem was looking more and more problematic. It seemed that I had sanded through the blade next to the saddle and sanded into the Delrin tenon. In the top and bottom view photos below you can see the grey area in each of those spots next to the saddle. This stem was ruined and needed to be replaced.
IMG_6702

IMG_6703

IMG_6704

IMG_6705
I took the stem off the pipe and sanded the two sides some more to see if I could feather out the damage or maybe repair it with a super glue patch. Looking at the photos you can see that patching and repairing the stem would not work.
IMG_6706

IMG_6707
I found a vulcanite saddle stem in my can of stems that would fit the shank. I turned the tenon with a PIMO tenon turner and then sanded it until it fit snuggly in the shank. The outer diameter of the stem needed to have some of the vulcanite removed to center the stem against the silver end cap.
IMG_6709
I sanded casting ridges off the stem and used a Dremel and sanding drum to remove the excess stem material. I sanded the diameter and the edges to remove all of the scratch marks. I used 220 grit sandpaper and then medium and fine grit sanding sponges to finish. I set up the heat gun and turned it on the low setting and held the stem over the heat. Once the stem was flexible I bent it carefully over an old rolling pin I use as a base until it was the correct angle. I set the angle with cold water.
IMG_6711

IMG_6712

IMG_6714
I sanded the stem with micromesh sanding pads – wet sanding with 1500-2400 grit pads and dry sanded with 3200-12000 grit pads. I buffed it with White Diamond and then rubbed it down with Obsidian Oil and let it soak into the rubber of the stem.
IMG_6715

IMG_6716

IMG_6717
I buffed the pipe and stem with White Diamond and polished the silver band with silver polish. I gave the entire pipe multiple coats of carnauba wax to preserve and protect the finish. I finished by giving it a light buff with a soft flannel buffing pad. The finish pipe is shown in the photos below.
IMG_6722

IMG_6725

IMG_6728

IMG_6727

Restemming and Refurbishing a Planter Opera Pipe


This is the fourth bowl that I chose to work on from the antique mall lot. It had some great potential to clean up well as it was by far one of the least damaged of the bowls. It is stamped Planter over Made in France on the left side of the shank. There is no other stamping on the bowl or shank. There is no shape size or numbering on the shank. The right side is unmarked. I looked it up online and did not find any maker for the pipe. Pipephil did not have in on his logos and stampings pages nor did any of the other sites I frequent when searching for info online. I turned to my books and found out from “Who Made That Pipe” that the brand was made by Comoy’s in France. I checked Lopes book and it was not listed. The bowl itself was pretty clean on the inside and the interior of the shank was also clean. It barely looked to have been smoked. There were a few remnants of unsmoked tobacco on the walls of the bowl. On the exterior, one side of the bowl was clean and the other was covered with a greasy, dirty buildup. There was some nice looking grain under the grit and grime – both birdseye and cross grain. It looked like it would clean up nicely. There was one small fill on the right side of the bowl. The metal band was tarnished and yellow. The bowl did not come with a stem when I bought it at the antique mall.
IMG_6239

IMG_6241

IMG_6242

IMG_6243
I went through my can of stems and found one that would fit with very minimal adjustments. I sanded the tenon with a folded piece of sandpaper and it fit well against the shank. There were some issues on the diameter of the stem. It appeared that it was slightly out of round on the right side. It would need to be sanded on the right side, top and bottom for a perfect fit.
IMG_6244

IMG_6245

IMG_6246

IMG_6247
The band was not totally in place on the shank. It had slid toward the end of the shank over the years so I needed to heat it and press it into place. The benefit to this was that it heated up the yellow buildup on the band and it came off quite easily with some silver polish/metal cleaner. I scrubbed the band with some Hagerty Tarnish Preventative Silver Polish that I bought years ago at a jewelry shop. It removed the tarnish and oxidation and with repeated scrubbing it cleaned out the tarnish in the hallmarks.

I scrubbed the exterior of the bowl with Murphy’s Oil Soap to remove the greasy buildup on the right side of the bowl and shank. I followed that up with a wipe down of isopropyl alcohol to finish removing the grime. I sanded the stem on the right side to remove the excess vulcanite and make it line up with the band. I always look at the end view of the pipe and see if the diameter of the stem matches the edge of the band that it will sit against. I strive to make it the same all the way around as I think it looks better when done that way. I used 220 grit sandpaper and a medium and fine grit sanding sponge to get the fit right. In the photos below the pipe is shown after all the scrubbing and fitting of the stem.
IMG_6248

IMG_6250

IMG_6251
You can see from the few steps taken with the pipe that it was a very simple clean up. It took more time to fit the stem that it did to clean up the bowl and band. I gave it a quick buff with White Diamond before working on the stem. I took it back to the work table and sanded the stem with a medium and fine grit sanding sponge (the pink square pictured above is one of those sponges). I then sanded the bowl and stem with micromesh sanding pads – wet sanding with 1500-2400 grit pads and dry sanding with 3200-12000 grit pads.
IMG_6252

IMG_6254

IMG_6255
I finished by rubbing down the stem with Obsidian Oil and when it had been absorbed into the stem I buffed the stem and bowl with White Diamond. I gave it multiple coats of carnauba wax to protect and give it a shine. I finish with a soft flannel buffing pad on the buffer. The finished pipe is pictured below. Sometime today I will load a bowl and give it a smoke.
IMG_6256

IMG_6258

IMG_6259

IMG_6260

IMG_6261

Getting back in the saddle – AJ Verstraten


It is a pleasure to post another article by AJ Verstraten aka Bananabox-Ninja. It has been a while since he has been able to do any refurbs do to some health issues he had to deal with. It is great to know he is back and feeling much better. Glad to hear from you AJ and glad to hear you are healing. Thank you for taking the time to record your work for us to read and enjoy.

Greetings, it’s been a while since I was able to get behind my workstation and get some work done on the huge lot of pipes that are patiently waiting for a fix.
Some of you might remember my earlier piece in which I explained that I was home bound due to a motorcycle accident. Turns out I needed an operation to fix my cruciate ligament in my knee, this left me with a long recovery time but last week I was able to sit down and do four pipes that only needed some minor work to ‘flex my muscles’ so to speak.

A note about the pictures, as I did it outside in the nice spring weather there were still a lot of clouds and this makes some of the pictures quite dark.

These are the pipes I chose for cleaning:

Winsløw Grade E bought on ‘Marktplaats’ the Dutch version of Ebay
001 Winslow E group a
Chacom Silhouette a gift from a family friend who quit smoking years ago.
002 Chacom Silhouette a
Vibro Woodart acquired from a fellow forum-goer at the PRF.
003 Vibro Woodart a
Georg Jensen straight grain from the same friend as the Chacom.
004 Georg Jensen a
The procedure for all was the same.
Firstly I used hard bristled pipe cleaners dipped in 96%-proof alcohol. Afterwards the kettle would be inspected and cleared if necessary. After this I would set them aside and buff them one after the other.

The Winsløw is remarkable as it has only one dot on its mouthpiece instead of the two, I reached out to the Winsløw company about this but they didn’t reply. The pipe rather dull to clean as it was very well kept. I only cleaned the inside with the alcohol and that was it, the rest was nice and clean so I set it aside.
005 Winslow
The Chacom Silhouette was heavily used as was evident from the mouthpiece. It is made from swirling acrylic and you can see through it as they used clear acrylic in it. The black tar buildup took a lot of cleaners and the use of a new tool I acquired at a flea market.
006 Cleaning
The brown of the tar build up sits in the small cracks on the inside of the acrylic. These were formed by the precious owner who bit rather hard on his mouthpieces. I tried the ultrasonic cleaner but it wouldn’t budge. So I decided to keep it as is. (If anyone has a tip for me on that one I would be much obliged.)
007 Mouthpiece
Then it was time for the bowl, it had seen better days but there was no damage on the wood itself. So with the help of spit, a sock and the tool as shown earlier the coal layer was removed and the bowl was reamed with the reamer tool.
008 CS bowl
The Vibro Woodart pipe was the first one with an ebonite mouthpiece, so I set up the motor and abrasive wheel and let loose. It came out nice and black in the end.
009 Mouthpiece and motor
I noticed the mark in the mouthpiece was still visible so I used a correction fluid pen to fill it up and used the abrasive pads (8000 grit) to remove it gently.
010 colouring the letter
(The end result will follow)

I don’t have any pictures of the Jensen pipe as the pictures were all too dark. But I did the same as the Vibro pipe. Using the abrasive wheel and the correction fluid pen to get the logo back out again.

Then it was time for the buffing. Buffing with brown (1), white (2) and then with carnauba wax (3).
011 Buffing
Here are the final results, you can see the W on the Vibro pipe quite clearly and on the group shot the result on the Jensen.
012

013

014

015

016
In the end it was good to sit in the sun and once again get my hands into cleaning a nice pipe.
I always feel quite happy when a dull pipe with a heavily caked bowl turns into a nice shiny one that can be once again hopefully be used for many years to come.

A Hilson Meerlined Tall Dublin Reborn into a Briar Calabash


Blog by Steve Laug

I received this old briar bowl from a friend and decided to see what I could do with it. It was in pretty rough shape. The shank had been damaged and repaired with some kind of epoxy as the gel surface of the crack was hard as rock. The repair was actual the most substantial part of the bowl. The bowl had an amazing deep and craggy blast to it but the finish itself was worn. Fortunately the wear was not deep and the cragginess was not too badly affected. The rim was smooth but the edges were slightly worn. The bottom of the exterior of the bowl showed the most nicks and damage to the finish. There were marks from looked to be a band on the shank. The inside of the bowl was quite clean. Originally it looked as if it had a meerschaum lining and the glue that had held that bowl in place was gone and just a small remnant of the glue was on the interior walls of the bowl. The bottom of the bowl was stained with tobacco so evidently the meerschaum lining must have crack and seepage darkened the bottom of the bowl.
IMG_5393

IMG_5394

IMG_5395

IMG_5396

I cleaned out the inside of the bowl with cotton swabs and isopropyl alcohol. Once I had it clean I worked on the resin on the shank repair. I sanded it until it was flush with the surface of the rest of the shank so that it did not bulge. I continually checked to see if I was weakening the repair but the shank was solid. I used the dental pick and my modified Philips screwdriver rusticator to rusticate the area around the resin repair. I also found a band in my box that fit the shank perfectly and pressed it into place. The band was more for bling than as the shank was not cracked or damaged. I also went through my stem can and found a stem that fit the diameter of the shank, turned it with the PIMO tenon turning tool and fit is in place. It would need to be reduced slightly in diameter to fit well with the band. I wiped down the bowl and shank with isopropyl alcohol on a cotton pad. I did not want to chance acetone as I was worried about it dissolving the resin on the shank repair. As I did not know what was used in the repair I did not want to chance further damage.
IMG_5397

I stained the bowl with a dark brown aniline stain. I applied it, flamed it, applied it again and flamed it again. To get an even coverage on the sandblast finish it would take more than three applications and flamings to make the stain even. The photos below show the bowl after three coats of the stain. It would need to be repeated later in the process to get the rough places stained.
IMG_5398

IMG_5399

IMG_5400

IMG_5401

I sanded the stem with 220 grit sandpaper and with a medium and fine grit sanding sponge to make the fit against the band work well. Once the shape and the fit of the stem were correct I used a heat gun to bend the stem to an angle that worked well with the look of this pipe. For the angle I used the curve of my buffer to press the softened stem over. When I had it bent I held it as it cooled and then set the bend with cool water.
IMG_5402

IMG_5403

IMG_5404

IMG_5406

IMG_5407

After bending I resanded the stem with the sandpaper and sanding sponges. Once the majority of the scratches were gone it would need to be sanded with the micromesh sanding pads but I wanted to do some more work on the bowl and shank before finishing the stem.
IMG_5408

IMG_5409

IMG_5410

IMG_5411

I roughened the shank some more to give it a closer look to the sandblast of the bowl. I heated the bowl with the heat gun to warm up the briar before giving the bowl and shank yet another coat of the aniline stain. I gave it the fourth coat of the stain, flamed it and the coverage was finally what I was looking for on the pipe. The shank and the bowl bottom took the stain this time and matched the rest of the bowl.
IMG_5412

IMG_5413

I hand buffed the bowl with a shoe brush and then gave it a light buff with White Diamond on the buffing wheel. I took it back to the work table and gave it several coats of Halcyon II wax which works well on sandblast and rusticated finishes. I buffed it with the shoe brush to bring up the shine. The next three photos below show the bowl after the final stain and light buff.
IMG_5415

IMG_5416

IMG_5417

At this point in the process I used a cotton swab dipped in stain to touch stain the places on the shank the underside of the bowl that were lighter than the rest of the bowl. I let it dry completely over night and then hand buffed the bowl.

In a phone call with Tim West of J.H. Lowe Pipe Repairs I discussed the possibility of making this pipe a Briar Calabash. I gave Tim the dimensions of the bowl and he happened to have a bowl that was originally made for Pioneer Calabash pipes that was the correct dimensions. He sent along several strips of cork that would be used for making a gasket to give the meerschaum cup a snug fit in the briar bowl.
IMG_5501

I cut a strip of cork and glued it to the bowl with super glue. I used a small piece of the cork to fill the gap between the ends of the strip. Once the glue dried I sanded the cork gasket until it was the proper diameter for the briar bowl.
IMG_5502

IMG_5507

I used some Vaseline and lubricated the cork gasket and then used my finger to coat the inside edge of the briar bowl where the cork would sit. I then pressed the meerschaum cup into place in the briar bowl. The finished Briar Calabash pipe is shown in the photos below. The polished gloss of the white meerschaum bowl looks great against the sandblast dark brown briar bowl. The silver band gives a bit of contrast to the pipe. The draught on the pipe is perfect and the feel of the new Calabash in the hand is great. The pipe is still light in weight and the thin pencil shank and stem work well. Now all that remains is to load it up and have the inaugural smoke.
IMG_5508

IMG_5509

IMG_5510

IMG_5511

An Edwards 7377 Pipe Cleaned & Repaired


I first talked with Morty from Ontario on Pipe Smokers Unlimited online forums (PSU). She had found an old Altesse Briar with an Amber stem and found that I had the same pipe. In fact from what we could find and the responses we got we had the only two around! We exchanged quite a few emails and I did a few repairs and some stems for her. She has caught the refurbishing bug and has posted quite a few pictures of her work on the PSU Pipe Restoration Forum. She has been smoking a pipe off and on most of her adult life. She enjoys buying old estate pipes and cleaning them up and refurbishing them. She says that she has learned much from the blog and from other members on PSU. I have enjoyed seeing her work and have asked her to write-up some of her work and post it on rebornpipes for others to enjoy. Thanks Morty for being willing to do this for us. Enjoy this first post she has provided. I love the lines of this old pipe and the grain. Morty did a great job on restoring it. Without further introduction I give you Morty’s own words regarding this refurb.

I bought this Edward 7377 Long Bent Stem Pipe that was in bad condition and needed quite a bit of TLC.
morty1

I first reamed the bowl, did an alcohol and salt treatment. The bowl shank had a crack that was mostly covered by the silver band. I sanded the bowl with 100 grit, 220 grit sandpaper, and used medium and fine grit sanding sponges. I also topped the bowl as it had some slight char and some nicks that the topping easily dealt with.

I continued sanding the bowl with very fine grit sand paper before I dealt with the crack.
The crack in parts went right through, I wiped down the bowl with acetone to remove any remaining dirt and dust. I super glued the crack. allowing some to soak through to the inside.
I left this to set overnight.
morty2

I soaked the stem in Oxy Clean overnight as well. The next day I first removed most of the raised oxidation by scrubbing it down with a Magic Eraser, I find this makes the next steps easier and go much more quickly. The Magic Eraser removed most of the oxidation, I wet sanded with 1500 – 2400 grit, dry sanding with 3200 – 12,000 grit micromesh pads. Cleaned the inside of the stem with a test tube brush, and with many soft and bristle pipe cleaners, making sure the button is also spotless. Finally when the pipe cleaners come out spotless I will run a soft pipe cleaner through with Rum 151, this not only sanitizes the stem it can also grab any missed gunk.

I cleaned the silver band with fine steel wool. The next day I worked on the crack that was set now with the super glue. I sanded this down carefully and replaced the now clean silver band. The bowl cleaned up well as did the stem. I decided to use Olive Oil to bring out the grain, but also to darken the bowl a bit. Following Coastie’s (John William’s) method, I applied a small amount, rubbed it in with my hands, removed any excess and let it sit overnight. The next day buffed with a micro fiber cloth, and wow. !!! This had really brought the grain out and left a nice rich color to the bowl. I polished the bowl with Paragon Wax. I am pleased with the results on this very nice old Edwards Pipe.
Morty3

morty4

morty5

Giving New Life to an Old, Tired Unique


I am not sure who the maker of this pipe original was. It has some rustication patterns that remind me of Dr. Grabow. It has a metal screw mount mortise. The flat base that extends from the bottom of the bowl backward toward the stem also has similarities to a Grabow shape. But this one is only stamped Imported Briar on the bottom of the shank. When I received it the bowl was in rough shape. The finish was gone. The stem was gone, the rim was a beaten and worn down mess. I think originally the rim was probably straight across but it was worn and beaten to the point that it was now angled. If indeed it was originally angled then the rim was badly beaten. Either way it was rough. The cake in the bowl was quite thick. The internals of the shank and airway were quite clean – that was a surprise. The briar was solid and relatively thick and sound.
IMG_5281

IMG_5282

IMG_5283

IMG_5284

As I looked at it and studied it there was something about it that drew me to the shape. The wear and tear still did not hide the fact that there was some life still left in this old pipe. I went through my can of stems and found an old screw mount stem. The stinger apparatus on it was slightly different than the old Grabows that I had seen but it would work. The draw on the stem was very constricted anyway so I figured I would end up cutting the stinger off and drilling out the metal tenon. The stem has lots of tooth marks and chatter but was solid. It was a nylon stem and not vulcanite so it was a little trickier to work with. The diameter was also slightly off and the stem was overturned once it was on the shank.
IMG_5285

IMG_5286

IMG_5287

IMG_5288

I heated the metal tenon with a heat gun until the glue softened and then turned it in the shank until it lined up. This type of tenon is actually very easy to realign.
IMG_5290

IMG_5291

IMG_5292

Once the stem was aligned I reamed the bowl with a PipNet reamer and heads taking the bowl back to bare wood. I wanted to see what the shape of the bowl under the cake was like to assess whether I wanted to continue to put time into the pipe. The interior bowl was actually in excellent shape under the cake. This pipe must have been a good smoker – someone’s favourite pipe.
IMG_5300

IMG_5301

I set up a topping board and sanded the rim at the angle of the bowl to even out the top and to minimize the damage. The back edge was very ragged from tapping the pipe out, or using it as a hammer! It took some time to get the top flat and the angle correct from the back of the bowl to the front edge.
IMG_5302

IMG_5303

I wiped the bowl down with acetone on cotton pads to clean up the grime in the grooves of the rustication and to even out the remaining stain coat. There was also some varnish left on the shank that I wanted to remove.
IMG_5304

IMG_5305

IMG_5306

Once the finish was gone I experimented with a metal band. The shank was not cracked or broken. It was solid but I wanted to see what the shiny silver would look like against the rugged rustication. I also wanted to minimize the slight difference in the diameter of the shank and the stem. I decided I liked the look of the band so I heated it with the heat gun and pressed it into place on the shank. I liked the finished look of the nickel band. I feel it gives a bit of bling to a rough looking pipe.
IMG_5307

IMG_5308

I screwed the stem in place to have a look at the fit and finish of the pipe as a whole. I thought to myself that it would work well. I would need to give the stem a bend to make a correct fit to the sitter style of the bowl but it would work.
IMG_5309

IMG_5310

I decided to sand out the tooth marks and chatter as much as possible. I was hoping that the heat would lift the marks a bit. I heated the stem with a heat gun to do the bending. I bent it over a rolling pin. It took awhile for the nylon to be flexible enough to bend. Bending nylon stems is far trickier than vulcanite. It does not seem to have the memory of vulcanite so once bent it remains even if heated and has to be pressed back into shape. It also kinks very easily so you have to be very careful when bending it. I have also found that the wire in a pipe cleaner heats up and the pipe cleaner can stick to the inside of the stem. All of the above make it a pain to bend this type of stem.
IMG_5313

IMG_5314

IMG_5315

I finished the bend and set it with cold water. I was not happy with the overall look and flow of the stem. The bend was correct in terms of allowing the pipe to sit flat on the bottom of the bowl with the tip of the button arching to touch as well but the flow/arch of the stem was not right. I reheated and tried it a second time and still it did not quite work. I decided to stop and revisit that later.
IMG_5316

The draught on the pipe bowl was wide open and easy but the stem itself was very constricted. The stinger apparatus had a slotted entry into the stem. It was very narrow and seemed to extend quite a distance up the stem. A pipe cleaner would not pass through the stem and the stinger. I decided to sacrifice the stinger end so I sawed it off with a hack saw and then drilled out the airway in the metal tenon. As can be seen in the photo below the drill bit went a long ways into the stem before it broke through the slotted airway. Once I had opened the airway in the stem and removed the stinger the draught on the pipe was excellent – open all the way and passing a pipe cleaner with ease.
IMG_5317

I stained the bowl with an oxblood aniline based stain. I flamed it and restained until it was well covered. I then buffed the bowl with White Diamond on the buffing wheel. The photos below show the bowl after the staining and buffing. The colour of the briar after the stain coat was workable. The black undertones that were deep in the grooves of the rustication worked well with the red of the oxblood stain. The rim colour matched the bowl and the birdseye grain showed nicely on the flat of the rim.
IMG_5318

IMG_5319

IMG_5320

IMG_5321

The stem being nylon required all handwork. I could not use the buffer on it as it would melt and make more work than I desired to do on this pipe. Before I sanded it I used the heat gun to rebend the stem and get the angles and bend correct. Once I had that done I sanded it with 220 grit sandpaper and then with a medium and a fine grit sanding sponge. I then sanded the stem with my usual array of micromesh sanding pads – wet sanding with 1500-2400 grit pads and dry sanding with 3200-12,000 grit pads.
IMG_5325

IMG_5326

IMG_5327

I rubbed the nylon down with Obsidian Oil and once it was soaked in I hand buffed it with Paragon Wax. I gave it multiple coats of the wax to preserve it. I buffed the bowl with White Diamond and then gave it multiple coats of carnauba wax with a light touch to keep the wax from building up deep in the grooves of the rustication. The next series of photos show the finished pipe. The side profile photos show the pipe in the sitter position and also from an angle. The top and bottom view photos show the new finish on the rim and the shape of the bottom of the pipe. This old worn pipe is now freshly reworked and ready to give many more years of service.
IMG_5328

IMG_5333

IMG_5329

IMG_5332

IMG_5330

IMG_5331

Restoring a Briarmeer Rhodesian 175 ED that was Made in Canada


Blog by Steve Laug

I received an email from Andrew saying that he had a pipe he wanted to send my way. It was my kind of shape – a Rhodesian. He said that it was an odd pipe in that on the bottom of the bowl it had a slightly inset circular divot. The round inset was almost like a poorly made plug on the bottom of the bowl, or one that had shrunken with time. He thought that it would be a great challenge for me to do a repair on it. The stamping on the pipe shank was Briarmeer 175 ED Canada.
Briarmeer1

The brand was one I had not heard of before. And since I am in Canada I wanted to try to figure out where the pipe was made and what the plug was about. The name seemed to suggest that it was a meerlined pipe or at least included meerschaum in some form or fashion. Yet when I emailed Andrew about it he replied that there was no meerschaum lining present in the bowl. Instead it was just a nice looking briar pipe with the strange, misfit looking round plug on the bottom of the bowl.

This would require some research to see what I could find out. I went online and searched for any information that I could find regarding the brand. I wrote to the trademark attorney who was listed as the representative of the brand and received a very cryptic answer that was not helpful at all. I did learn however that Briarmeer pipes were made by Briarmeer Pipes Limited, 226 Park Street, Brockville, Ontario. The business was no longer present at that address and did not show up in any Brockville Business Directories available online or through the Yellow Pages .I searched the Canadian, American and British patent sites hoping to find a patent registration for the pipe but was not able to find one. I found a trademark registration document from the US patent office that showed that the brand or trademark was registered in the US in 1973. The document pictured below gives that information as well as the Canadian Registration Number 180,805 and that it was registered in Canada on January 21, 1972.
Briarmeer US Trademark patent

Using these registration numbers I searched both the Canadian and US patent records but could find no patent information available. From the public records it appears that the Briarmeer Company went out of business sometime in the late1980’s or early 1990’s and the name became public domain.

I was able to find out through further digging that the pipe is a variation on what Kaywoodiedid with its famous Carburetor.Kaywoodie had drilled a hole in the bottom of the bowl and inserted a metal airhole to introduce air into the bottom of the bowl to enhance burning of the tobacco. In the Briarmeer the drilled out area in the bottom of the bowl was significantly larger.It had been drilled out and a meerschaum disk inserted in the resultant hole. The draw hole was to be perfectly centered at the bottom of the bowl. From what I could find out the idea of using the meerschaum insert came to a Canadian engineer about 30+ years ago. He reasoned that the meerschaum bottom of the bowl would allow for a drier and cooler smoke while the briar would be sturdier than the meerschaum for the walls of the bowl.Now I knew what the inset on the bottom of the bowl was and where the Meer portion of the Briarmeer name came from.

I decided to see if I could hunt down some photos of the pipe. I had not noticed them before and did not figure I would find many available. I was wrong. I found quite a few clear photos online that showed the novel meerschaum insert with clarity. In all of the photos it was clear that the insert sits inset into the bottom of the bowl and there is a variance in the external bowl bottom and the depth of the inset meerschaum disk. I have included four of the photos I found to show the insert in the exterior bowl bottom. Some of the photos show a new and unsmoked pipe and other show an estate pipe. All have the pipes show the same variation in the depth of the bottom of the bowl and the depth of the meerschaum disk.
Briarmeer6

Briarmeer8

Briarmeer3

Briarmeer pipe bottom

I also learned that the American Company, Briarcraft who made the Smokemaster pipe also made a pipe with called the Briarmeer Acadian. The Briarcraft version of the pipe was a meerschaum lined pipe and was stamped with the Briarcraft logo, a B in a diamond on the shank and on the stem.However, the pipe I was gifted was not a meerschaum lined briar and it did not have the B stamp on either the shank or the stem. The stem appears to be original and the stamping on the shank clearly says that the pipe is Canadian made.

The pipe from Andrew arrived and it was indeed one of my favourite shapes. The finish was a little dirty and the rim had some carbon build up. The stem was oxidized and had some tooth marks on the underside of the stem near the button. There was also a darkened spot like a burn mark on the underside of the shank near the insert. There were several fills in the grooves of the rustication but I was fairly certain that when I restained the pipe they would be hidden. The meerschaum insert looked to be in very good shape from the outside of the bowl. Inside was caked with a fair amount of carbon and the insert was not visible looking into the bowl.
IMG_5192

IMG_5193

IMG_5194

IMG_5195
Upon closer examination it was evident that there was a crack in the shank on the right side that ran at an angle from mid-shank toward the back of the bowl shank union. The crack did not start on the bottom of the shank but rather started midway up on the right side of the shank and ended near the top middle of the shank. It was very clear under a lens that it was present. The next two photos, though slightly out of focus show the crack. It runs across the rustication pattern mid-shank.
IMG_5196

IMG_5197

I cleaned out the crack with a dental pick to remove the buildup of grime that filled it. The grime was evident through the lens. Once I had it clean when I viewed it through the lens I used superglue to repair the crack. Fortunately the crack did not go all the way into the airway. I checked the inside of the airway with a penlight and it was smooth and flawless. The repair externally would remove the visible damage.
IMG_5218

IMG_5219

I left the superglue to cure overnight and in the morning used the dental pick to clean out the grooves of the rustication and sanded the smooth portions of the briar surface with 220 grit sandpaper and then medium and fine grit sanding sponges. The photo below shows the repair after sanding and shaping.
IMG_5227

I wiped the surface of the bowl down with acetone on cotton pads to remove the damaged finish and enable me to blend in the patch when I restained the pipe. I scrubbed the rusticated rim of the bowl with the pads as well and was able to remove the carbon build up.
IMG_5228

IMG_5229

IMG_5230

I sanded the darkened area (burn?) on the bottom of the bowl to lighten it in preparation for staining. I wiped that area down with acetone on cotton pads afterward.
IMG_5231

I sanded the stem with 220 grit sandpaper and a medium and fine grit sanding sponge to remove the oxidation. I sanded the tooth marks on the underside of the stem near the button and was able to remove them.
IMG_5233

IMG_5234

IMG_5235

IMG_5236

I wiped the bowl down a final time with acetone, being careful not to scrub the insert with it. Once it was cleaned off I stained it with a dark brown aniline stain applied with a cotton swab. I avoided the meerschaum insert as I did not want to have the stain penetrate the meerschaum. I flamed the stain and reapplied it. I flamed it again and reapplied it again. After the final flaming of the bowl I set it aside to dry.
IMG_5238

IMG_5239

IMG_5240

IMG_5241

IMG_5243

When the stain had dried I buffed it with White Diamond on the buffer to even out the stain and give it a shine. I also applied a coat of Halcyon II wax to the rusticated surface and hand buffed the bowl with a shoe brush. The next four photos show the bowl after the buffing and waxing.
IMG_5244

IMG_5245

IMG_5246

IMG_5247

I worked on the stem with my usual group of micromesh sanding pads – wet sanding with 1500-2400 grit pads. I then buffed the stem with red Tripoli and White Diamond before going back to the work table and dry sanding with 3200-12,000 grit micromesh pads. I rubbed the stem down with Obsidian Oil and let it soak into the vulcanite.
IMG_5248

IMG_5249

IMG_5250

I buffed the finished pipe with White Diamond and then gave it multiple coats of carnauba wax. The finished pipe is shown in the photos below. The meerschaum disk inset into the bottom of the bowl is an interesting touch. I look forward to loading up a bowl and giving it a test run very soon. At the very least this is a great piece of tobacciana that still leaves a bit of mystery unsolved.
IMG_5251

IMG_5252

IMG_5253

IMG_5254

Reworking a La Strada Staccato 213 Billiard


The last of the bowls that came to me as a gift from Andrew was a La Strada Billiard bowl. It was stamped La Strada over Staccato on the left side of the shank and shape 213 on the right side. It needed a stem and it had a few minor issues that needed to be addressed. The finish was an interesting rope rustication pattern that went around the bowl like a lasso and the finish under the rope pattern was leatherlike in terms of colour and look. Over the top of the finish was a plastic clear coat that added a perma shine to the bowl. The rim was in very rough shape and had been hammered on to hard surface in tapping out the dottle. The build up on the rim covered the damaged roughness of the surface. The bowl was badly caked on only one side of the bowl. The shank was clean and looked undamaged. There was no stem with the bowl and the shank was very clean.
IMG_5072

IMG_5073

IMG_5074

IMG_5075

The La Strada was once again a brand with which I was unfamiliar. I had some vague memory of seeing them sold through Tinderbox but was not sure about that memory. I did a bit of research and found that indeed they had been sold there. They were Italian Made. Here is a page from a Tinderbox catalogue showing the brand. The catalog describes the pipe as “a gracefully conservative style that has today’s favoured matte finish, enhance by the unexpected touch of random routing.” The price was a princely $8.95-$10.00.
5tbox12

4tbox26

I sorted through my stems and found one that fit very nicely in the shank. When I inserted it there were two cracks revealed, one on top and one on the bottom of the shank. I honestly don’t know if they were present or if the happened when I put the stem in place. It was not a tight fit so I am unsure. It honestly did not matter as banding it would not be a problem. I found a silver band I had in my kit that was a good fit and pressed it into place on the shank. I heated the band with a heat gun and then pressure fit it onto the shank.
IMG_5077

IMG_5078

IMG_5079

IMG_5080

I reamed the bowl with a PipNet reamer (this seems to be more and more my reamer of choice in refurbishing).
IMG_5082

I set up my topping board and then topped the bowl with 220 grit sandpaper. I removed enough of the surface of the rim to take away the damage to the top and the front of the bowl. There were also some burn marks on the left side of the rim that I was able to sand out the majority of damage.
IMG_5083

IMG_5084

IMG_5085

I wiped down the bowl with acetone to try to break up the plastic/shiny finish that was on the bowl and was not able to remove it. The thick coat had bubbles that were thick around the rope rustication areas on the left side of the bowl. I finally put the bowl into an alcohol bath and let it soak overnight to try to break up the finish.
IMG_5086

IMG_5087

IMG_5088

IMG_5089

I took the bowl out of the alcohol bath and sanded it with a medium grit and a fine grit sanding sponge and was able to break through the finish and finally remove it. I wiped the bowl down again with acetone on cotton pads and the bowl was clean. I stained it with a dark brown aniline stain mixed 2:1 with isopropyl alcohol and applied and flamed it until the coverage matched the rim to the rest of the bowl. I buffed the bowl with White Diamond on the buffing wheel and brought it back to the work table and set it aside to work on the stem.
IMG_5090

IMG_5091

IMG_5092

IMG_5094

I sanded the tooth marks on the stem with 220 grit sandpaper and then a medium grit sanding sponge until they were no longer visible. I then used micromesh sanding pads to finish the stem. I wet sanded with 1500-2400 grit pads and dry sanded with 3200-12,000 grit pads. I rubbed down the stem with Obsidian Oil and when dry buffed it with White Diamond.
IMG_5095

IMG_5096

IMG_5097

I polished the silver band with silver polish and micromesh sanding pads and then buffed the pipe and stem with White Diamond. I gave the pipe multiple coats of carnauba wax and buffed it to a shine with a soft flannel buffing pad. The finished pipe is shown in the photos below. It is ready for its initial and should make someone a good pipe in the long run.
IMG_5098

IMG_5099

IMG_5100

IMG_5101