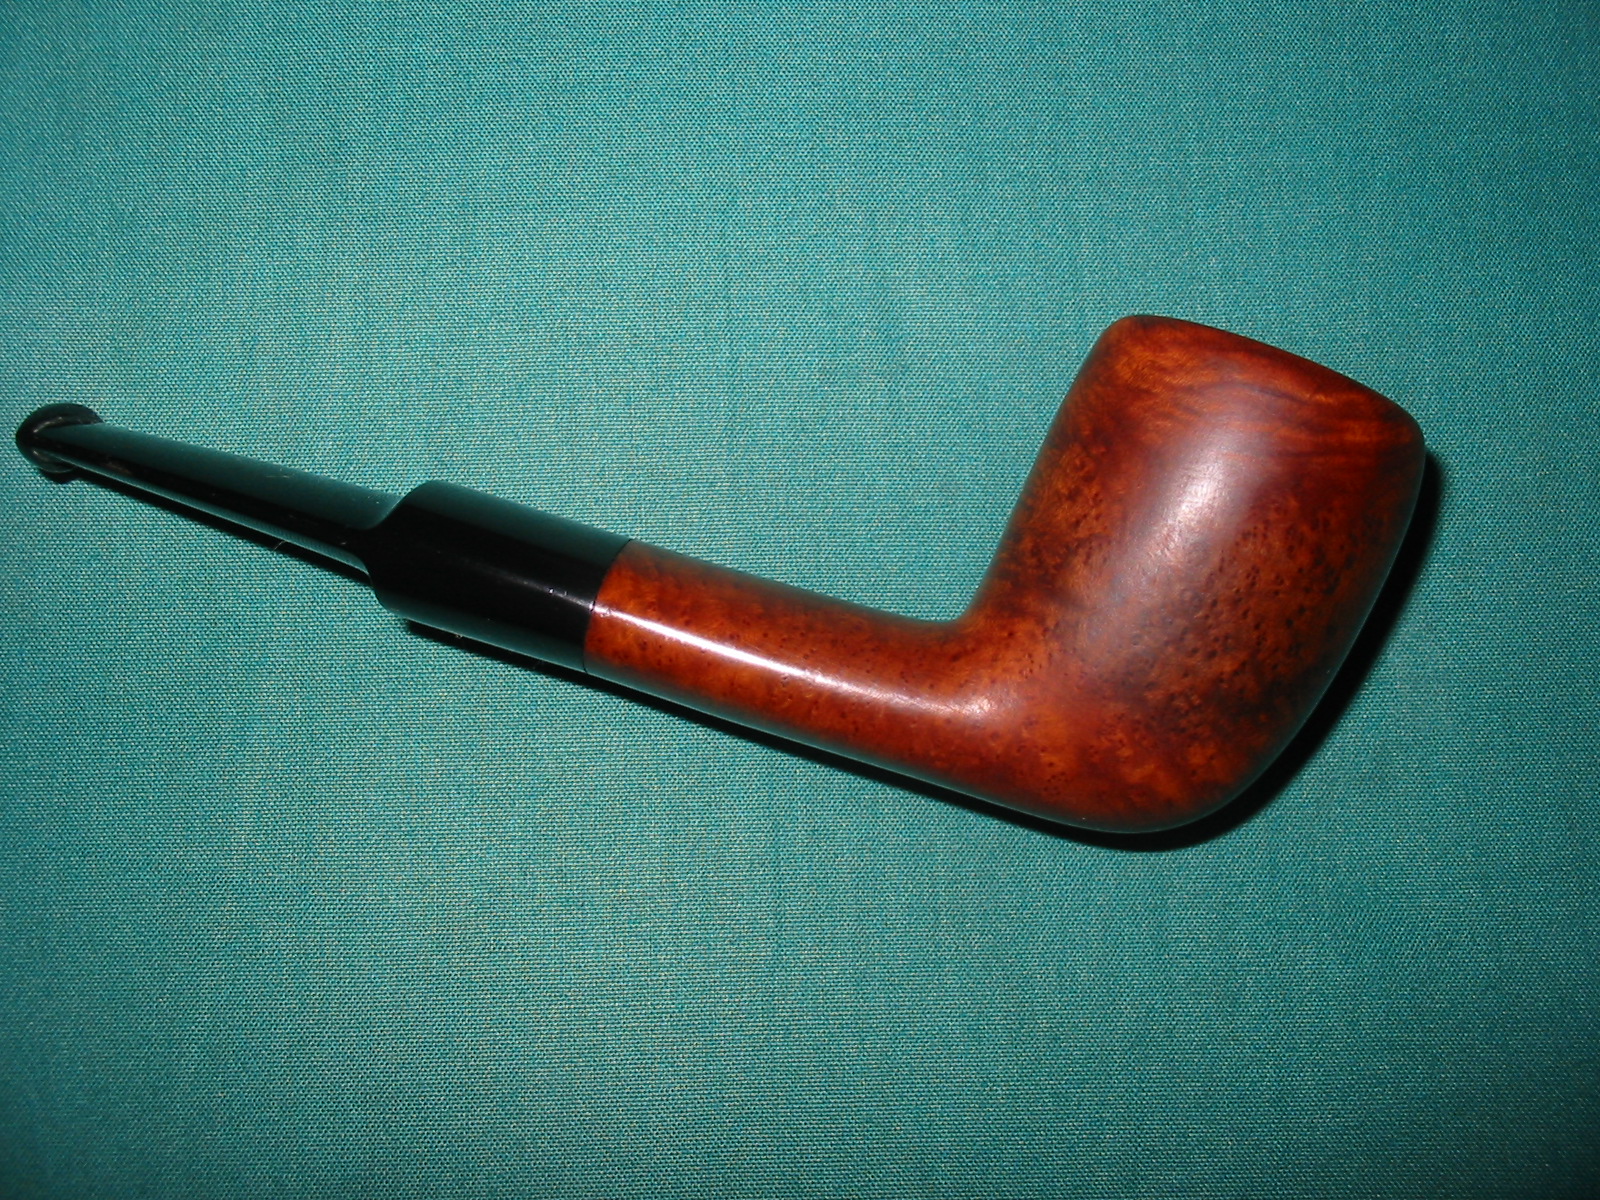
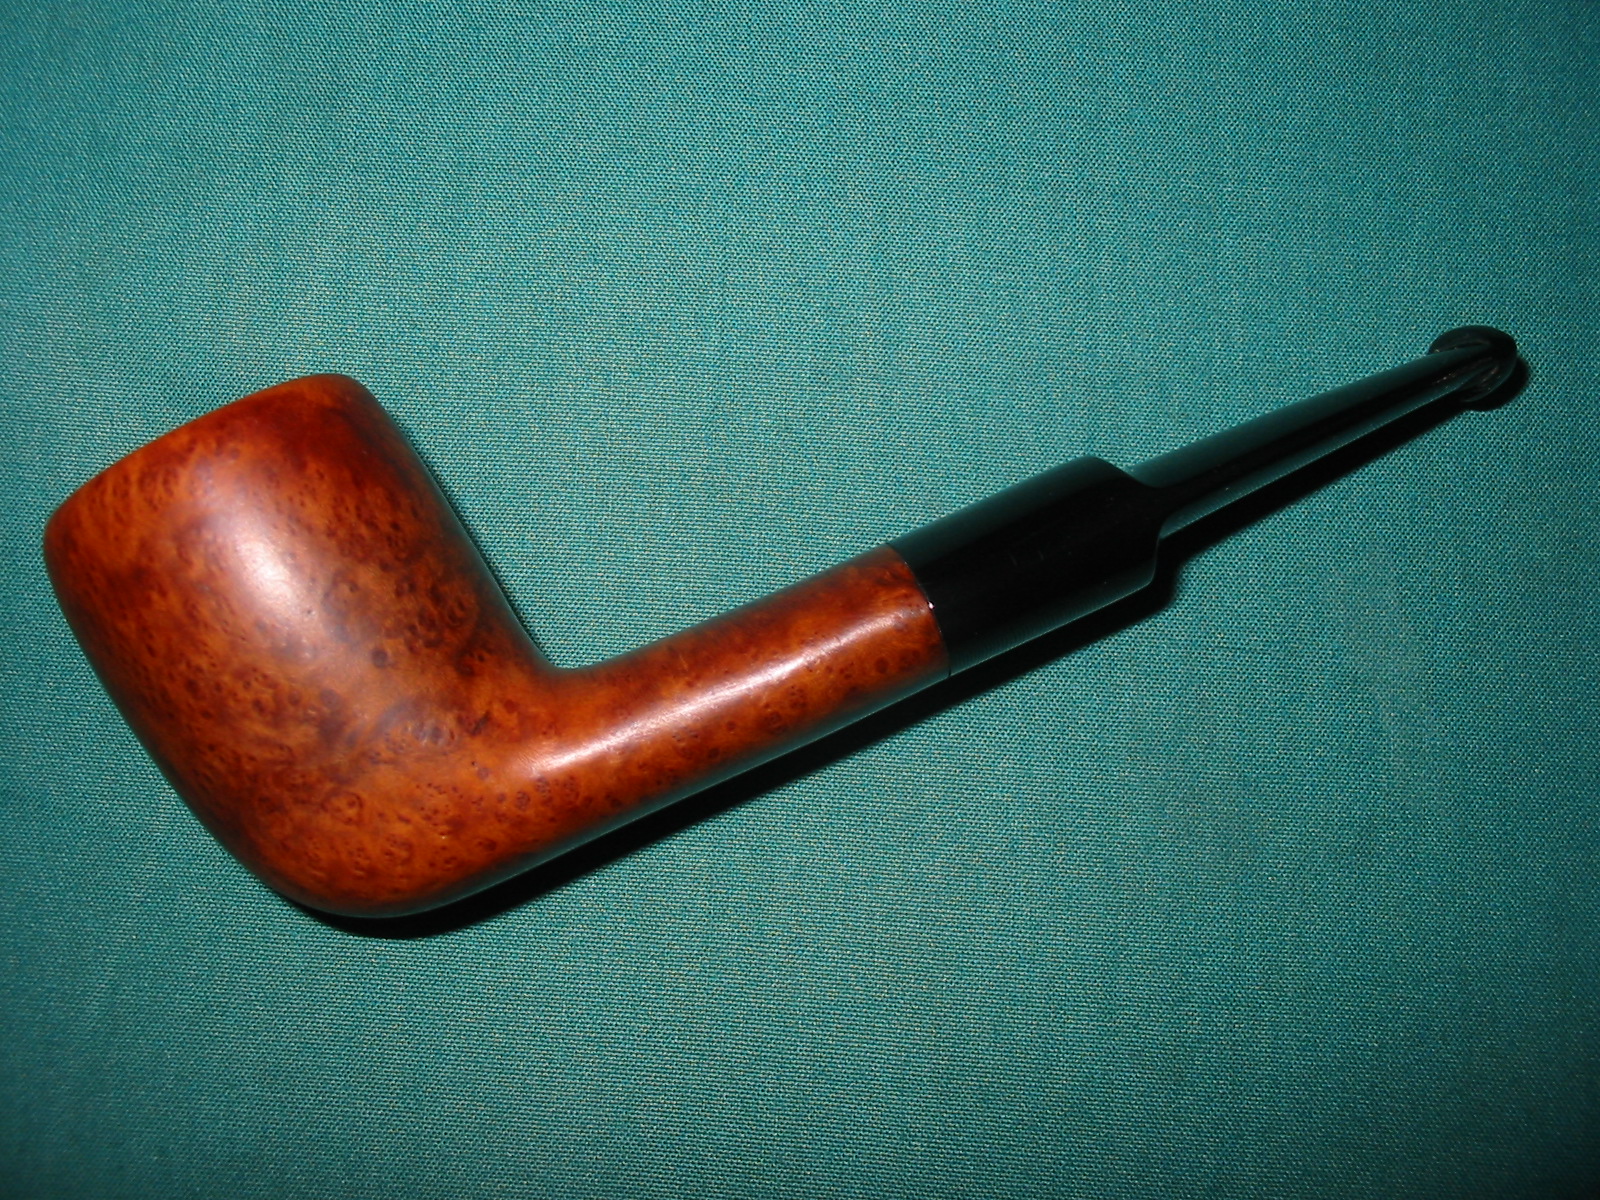
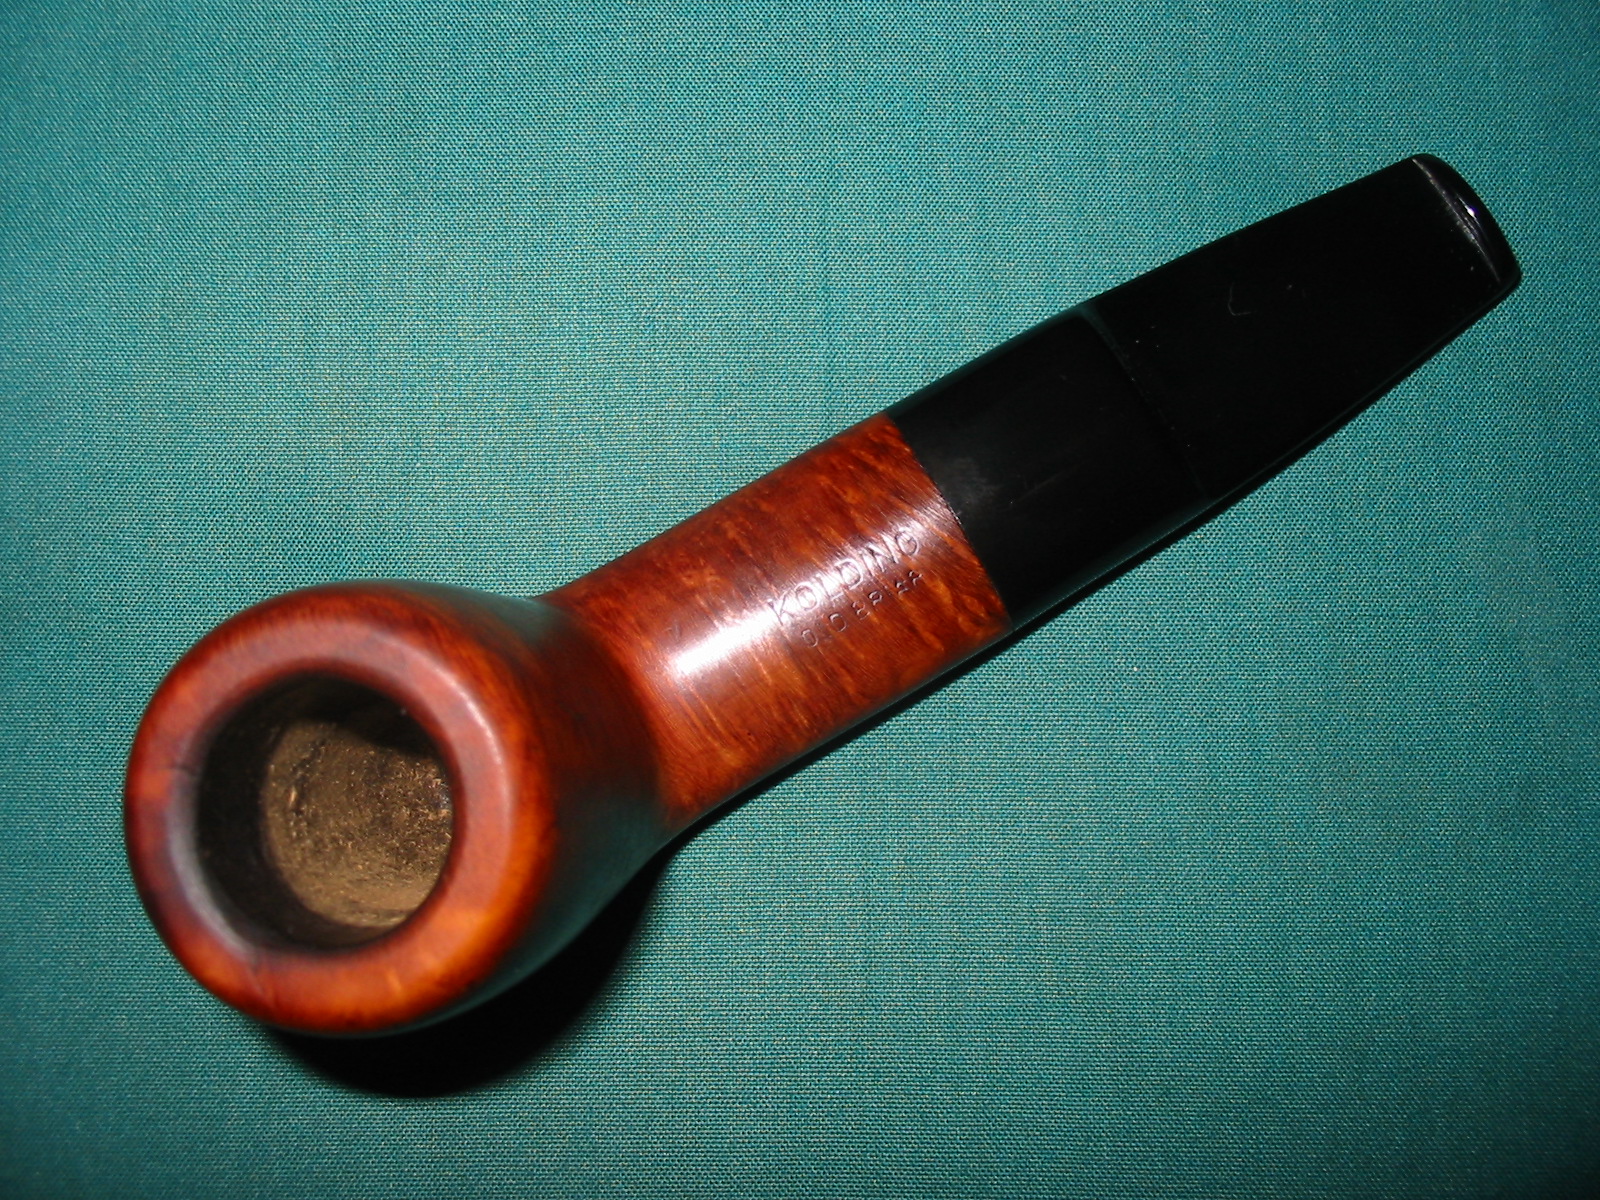
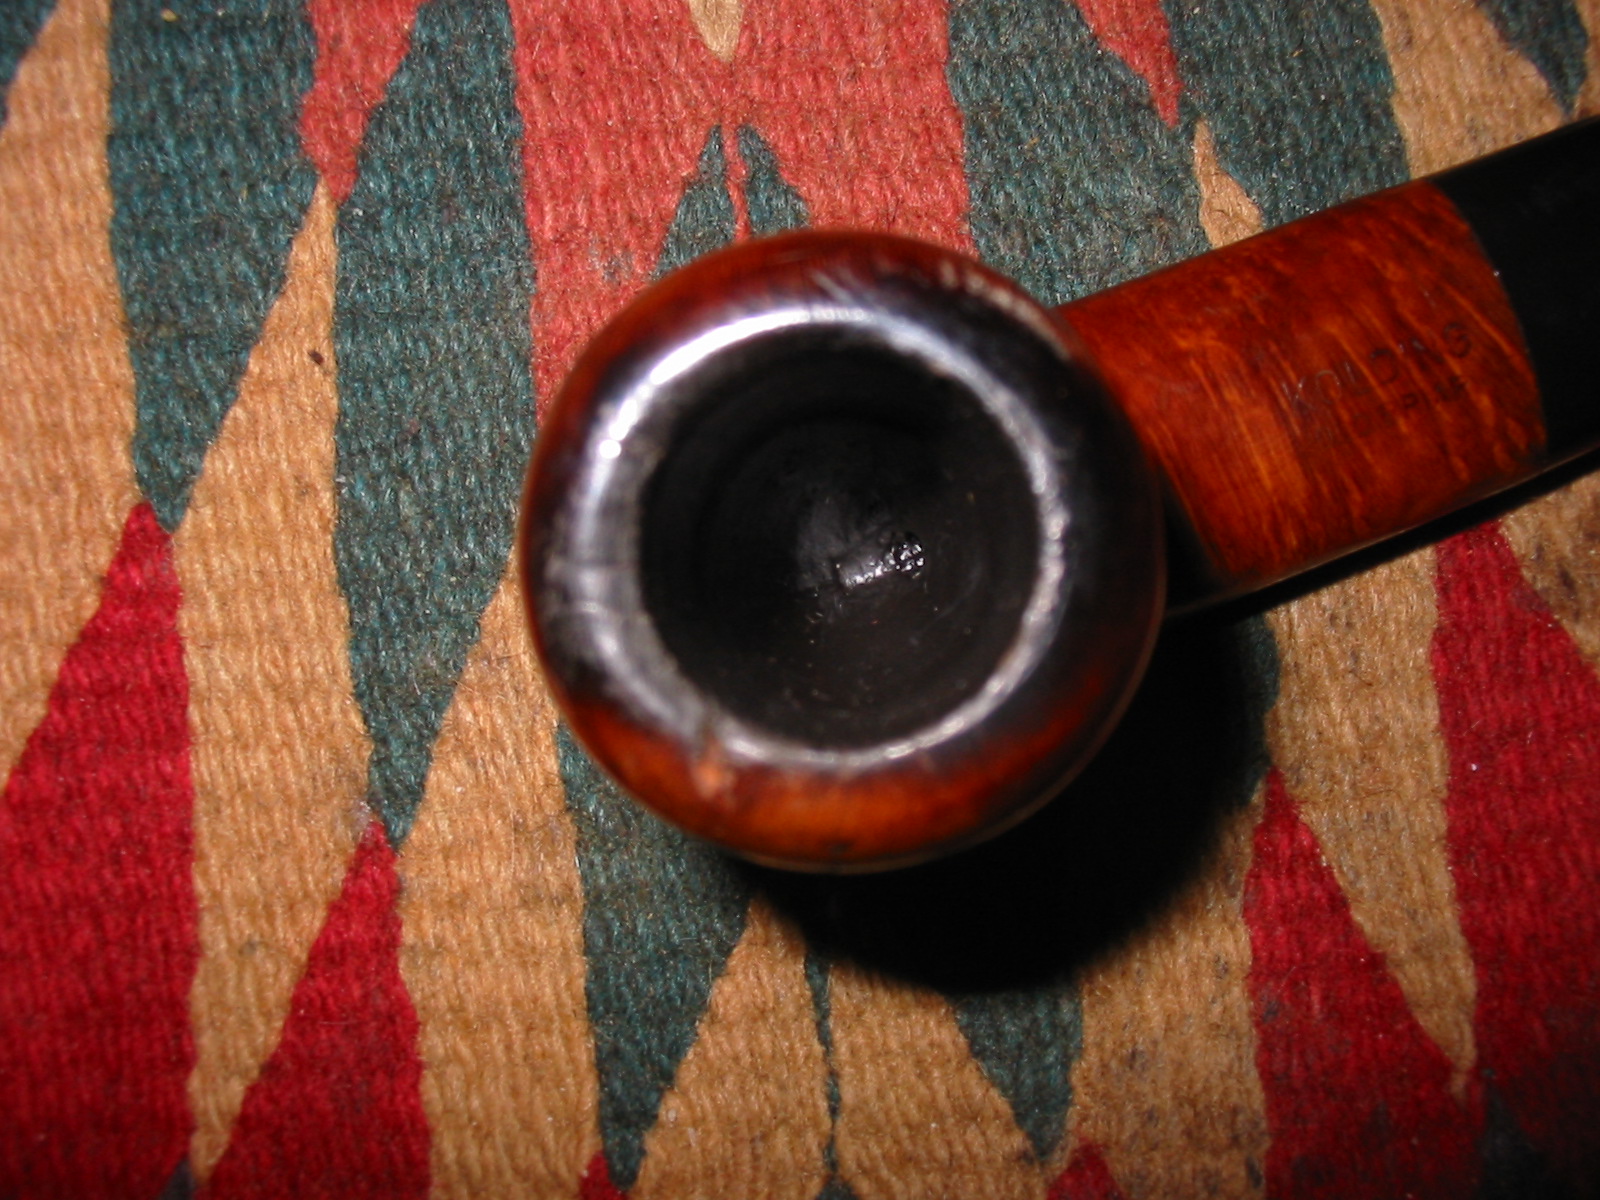
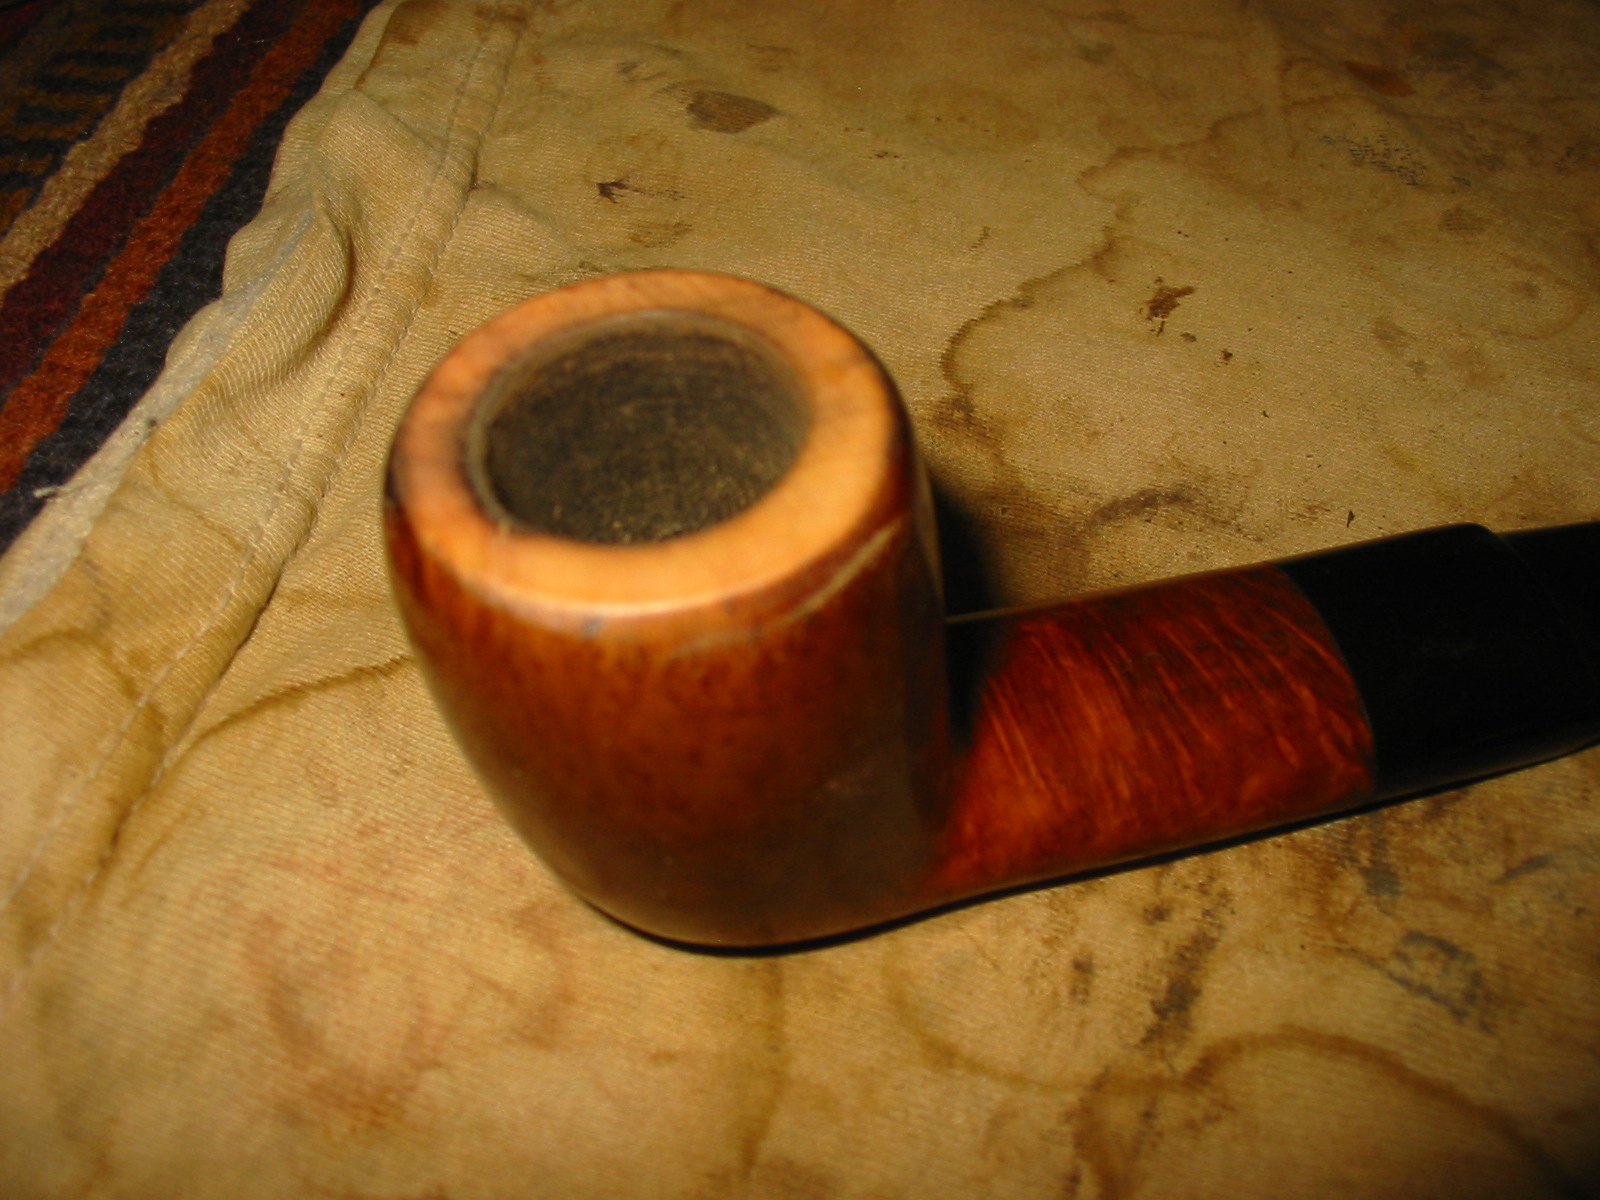
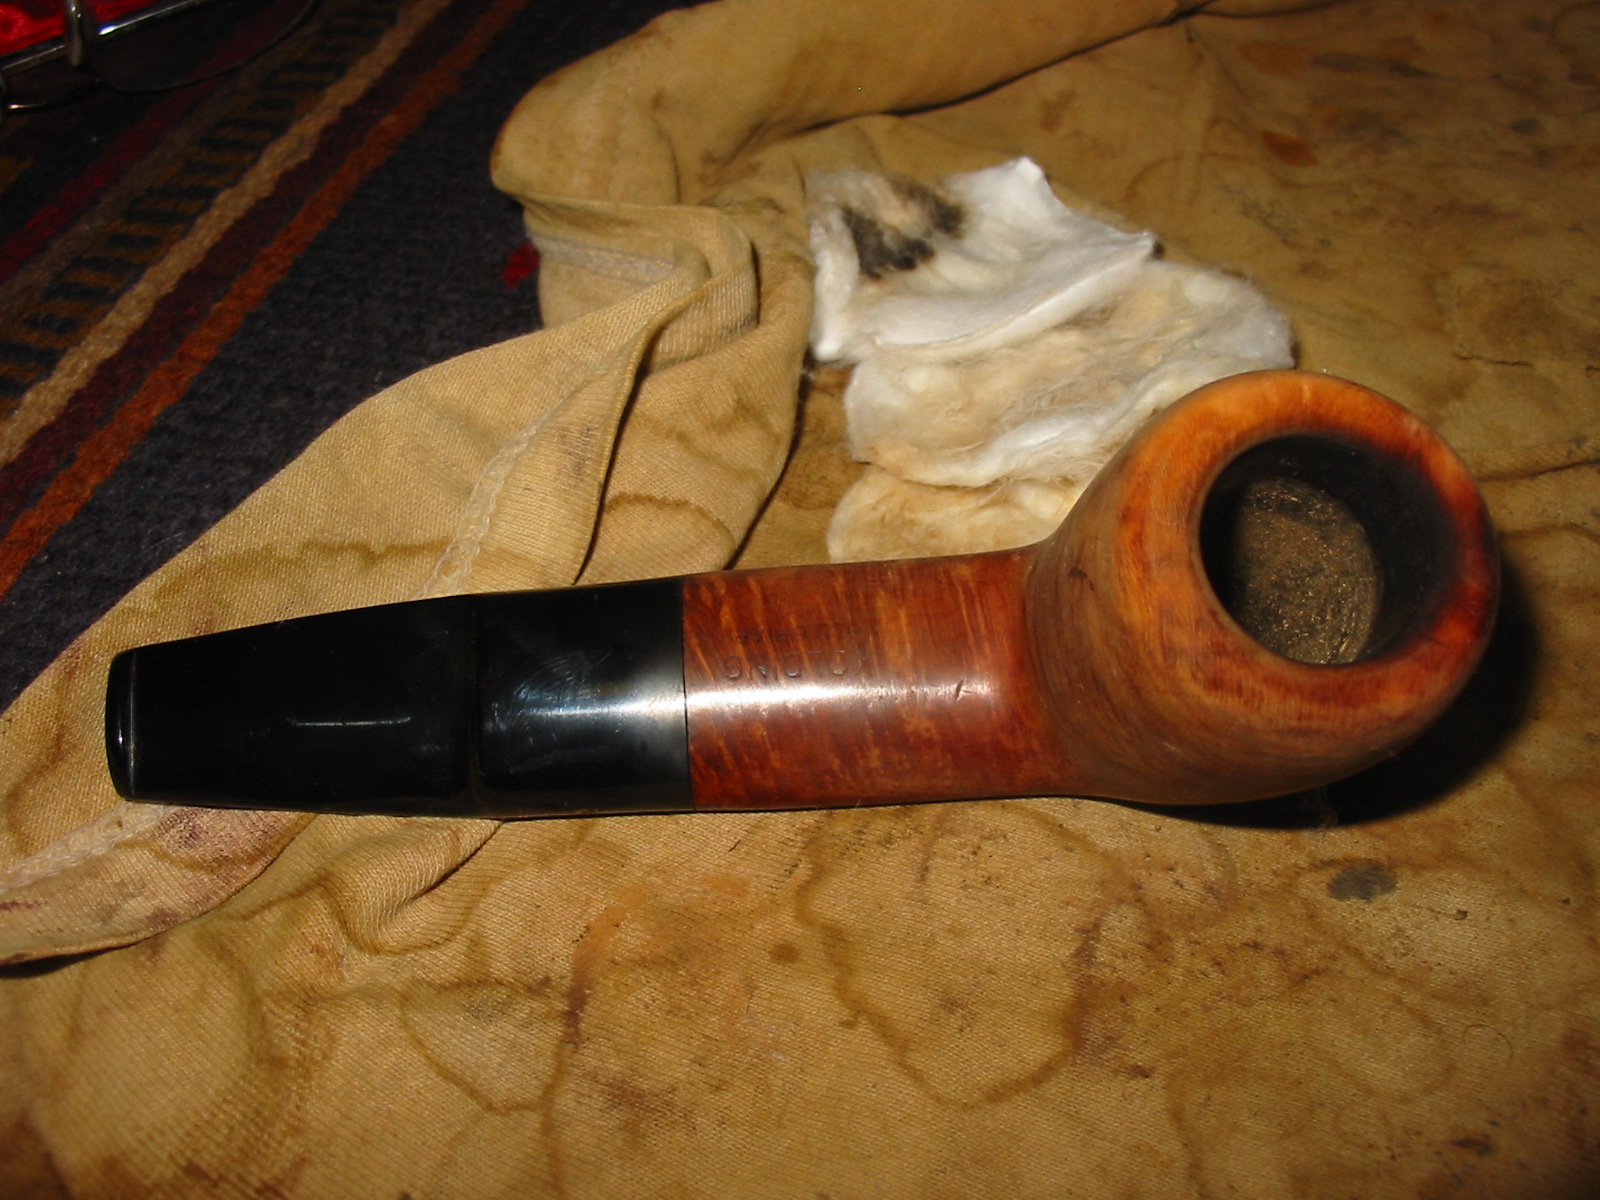
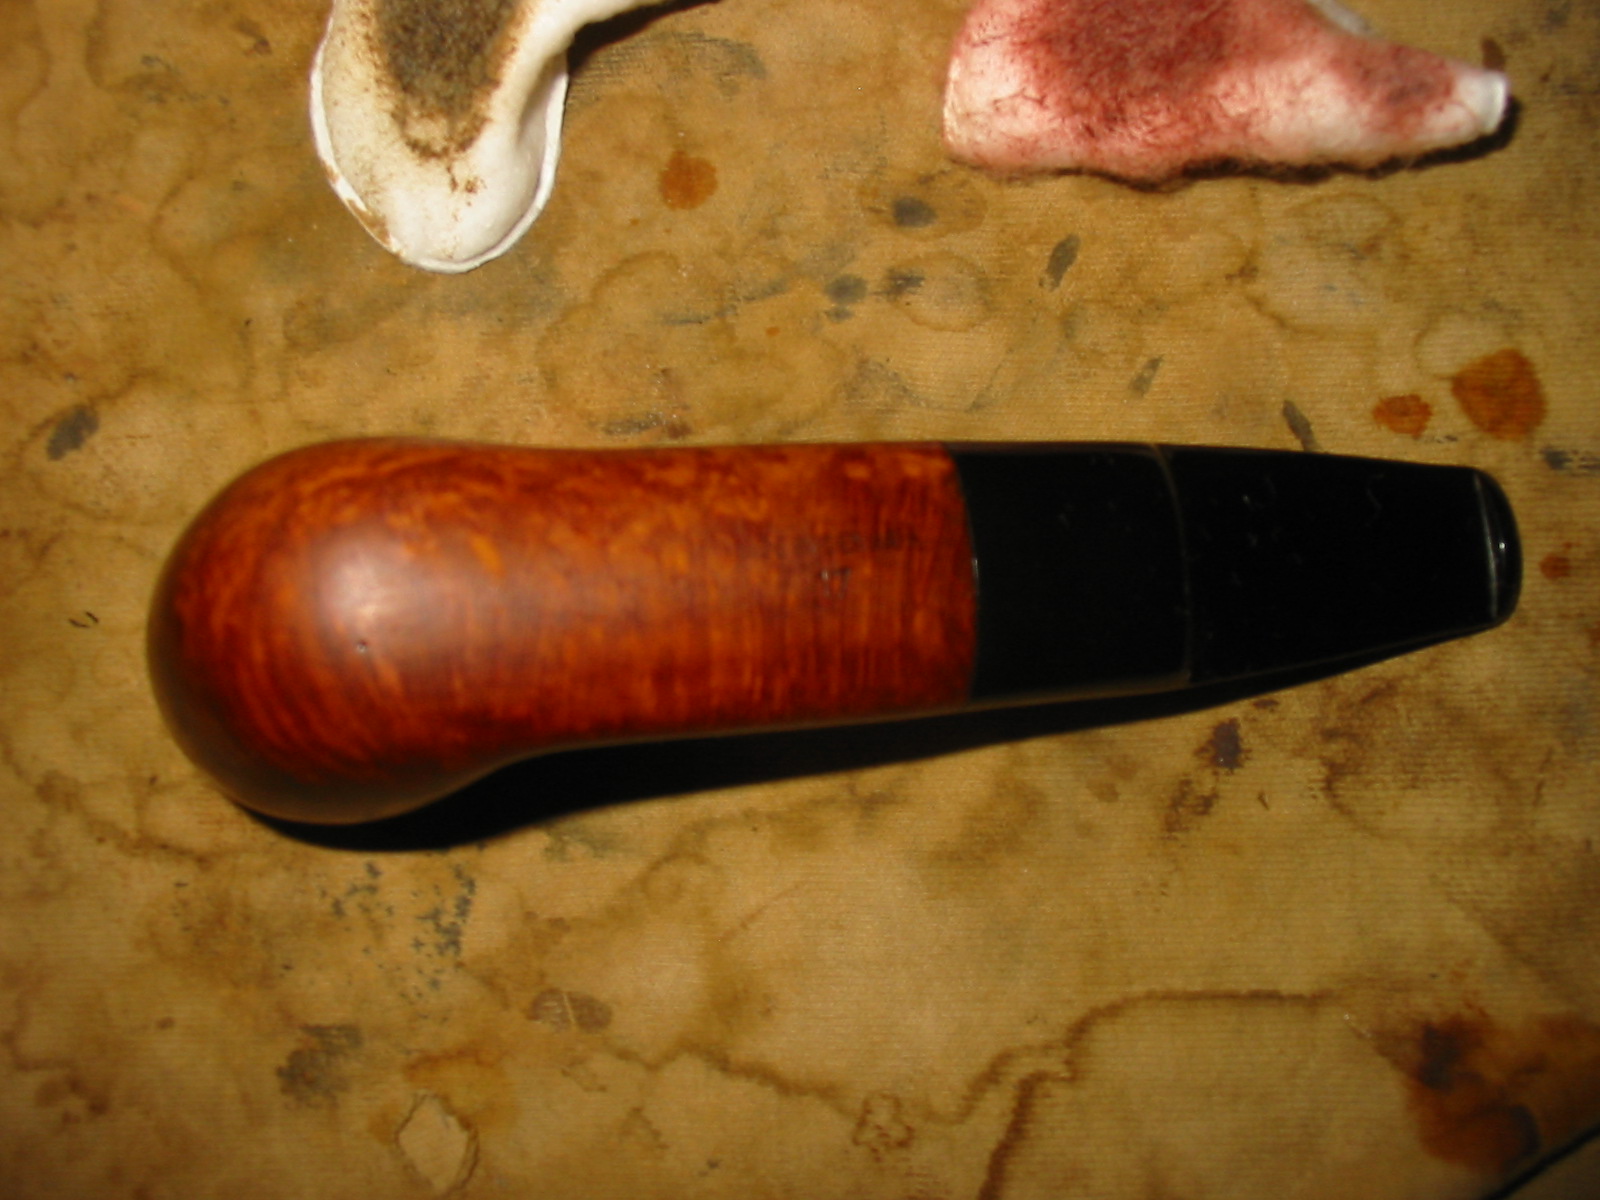
This old Kolding Old Briar is also one of the pipes that belong to the Vancouver Pipe Club lot. It is stamped Kolding over Old Briar on the top of the shank and Made in Denmark over 17 on the underside of the shank. I have a very similar pipe to this one made by Stanwell – same overall shape and oval flat saddle stem. Mine is a great smoking pipe. This one appears to have been much-loved as well. As with the others in this lot it was in dire need of attention. The briar had been given the standard coat of varnish that is on all of them. The varnish is put over the top of some buildup on the rim and some significant rim damage to the top and the edges of the bowl. There was a small piece of briar missing from one spot on the left front side of the bowl’s outer rim. The inner rim also was rough. The bowl had been coated with a black rubbery bowl coating. The stem was in very good shape with no tooth marks or damage and no oxidation.


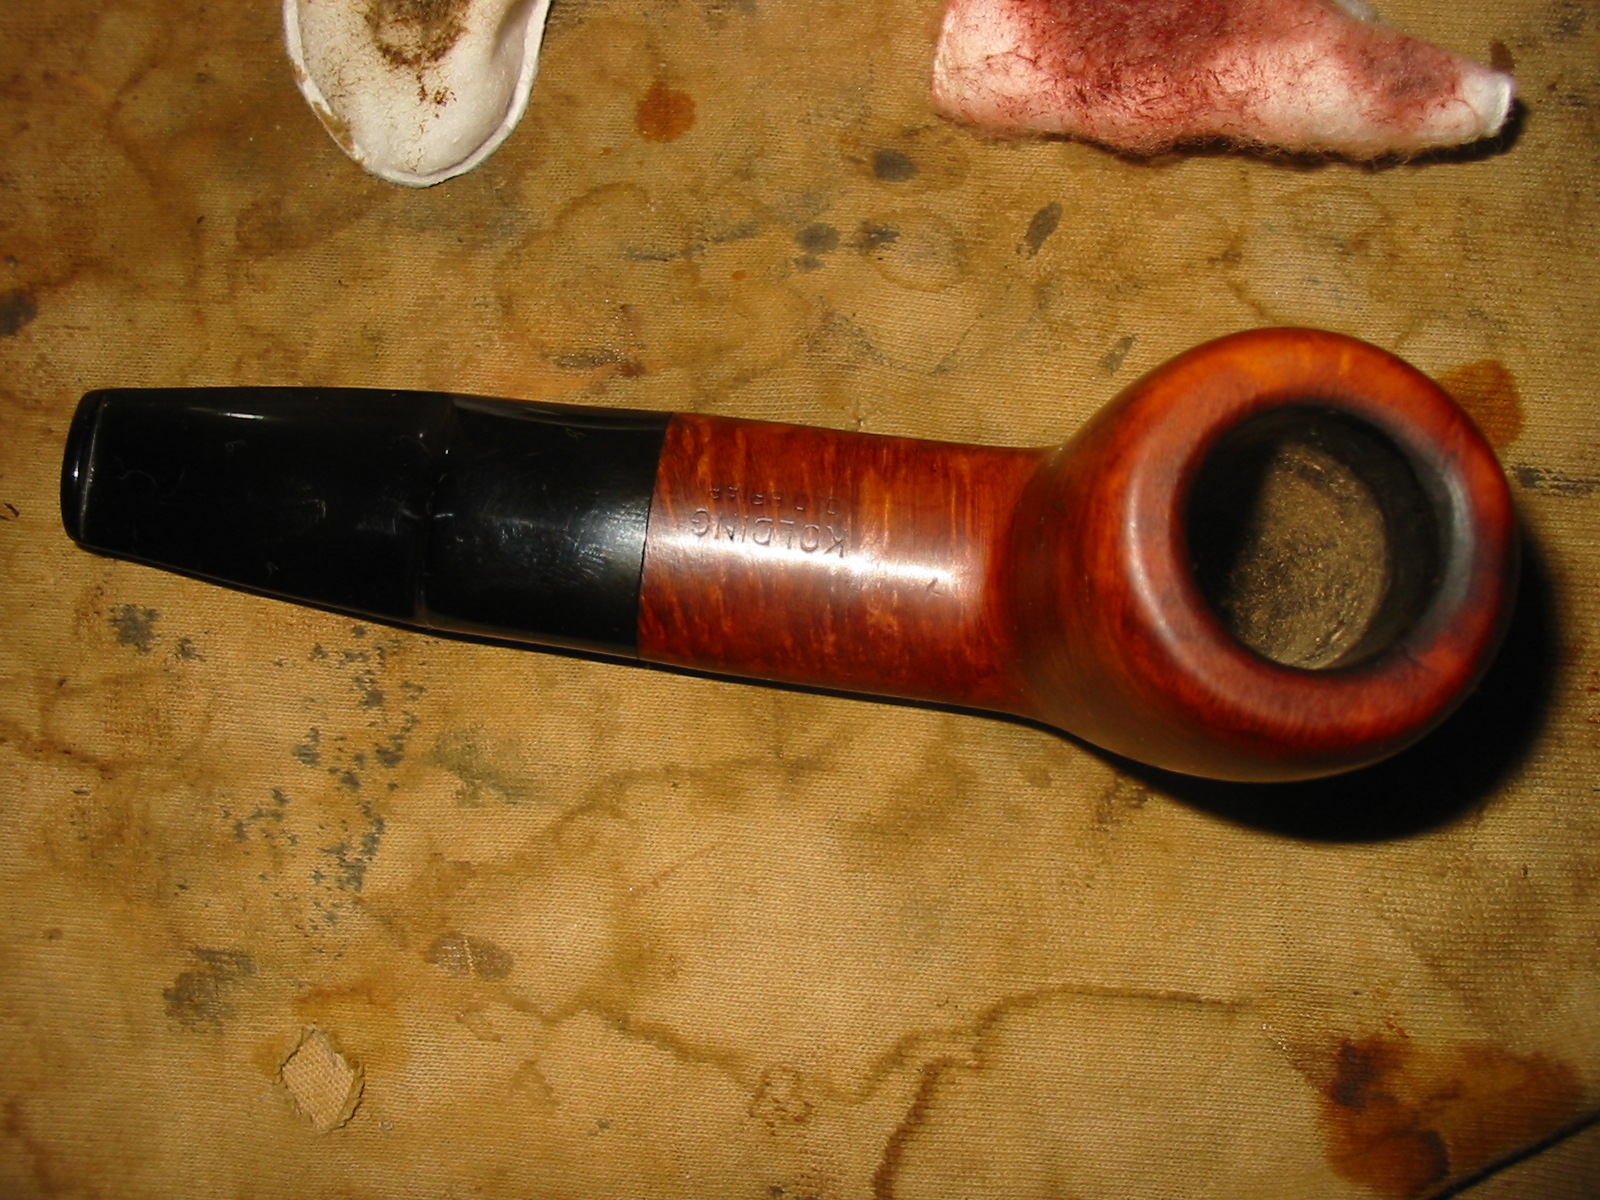
The close up photo below shows the rim damage – both burning, buildup and marks that went quite deep and broke the grain of the briar. Steaming would not work to lift the damage on this rim as it was compromised.
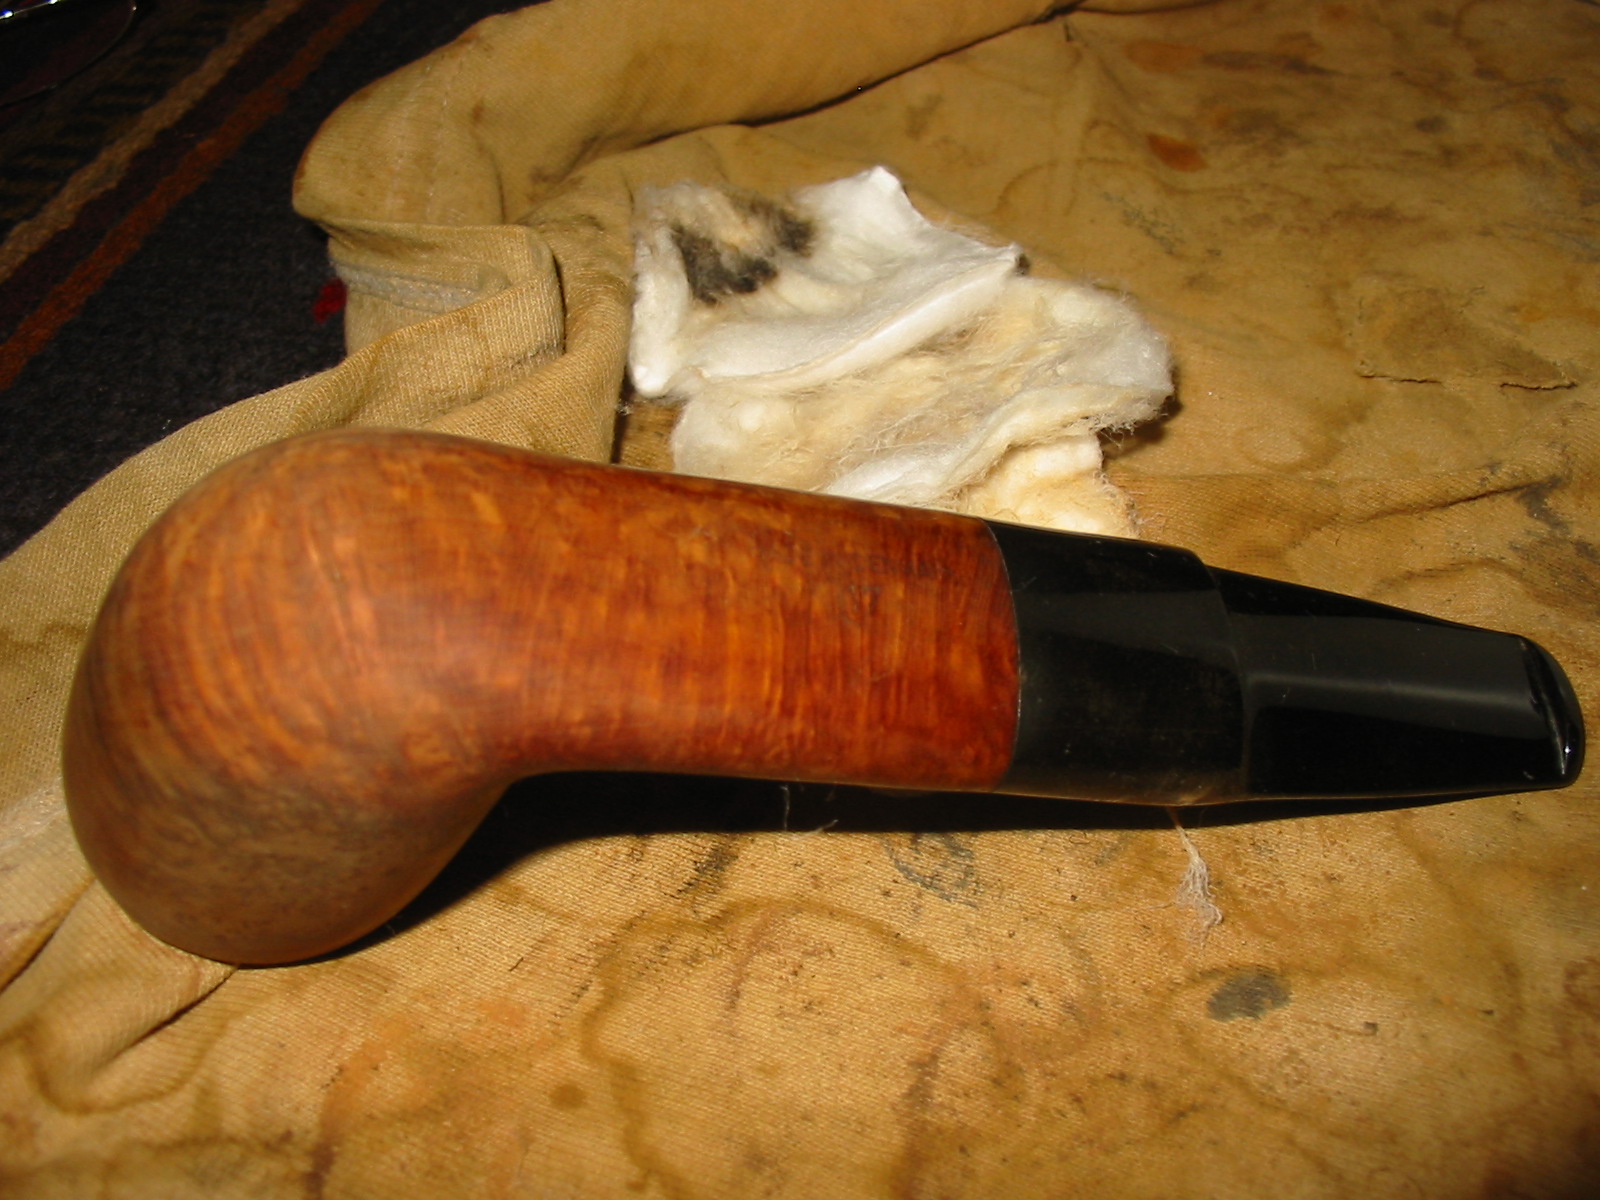
Topping this bowl would be far more involved than the previous bowls I had topped. It needed to be topped to remove the damage to the surface, flattened to take care of the deep cuts in the briar, and then the inner edge beveled and the outer edge rounded. I set up my topping board and sandpaper and began to sand the top of the bowl.

I took it down far enough to remove the damaged portions of the rim and then worked to bevel the inner edge with a folded piece of sandpaper. I sanded the rim and the inner bevel with a medium and then a fine grit sanding block. I also used the block to reshape the curve of the outer edge of the rim into the flow of the bowl.
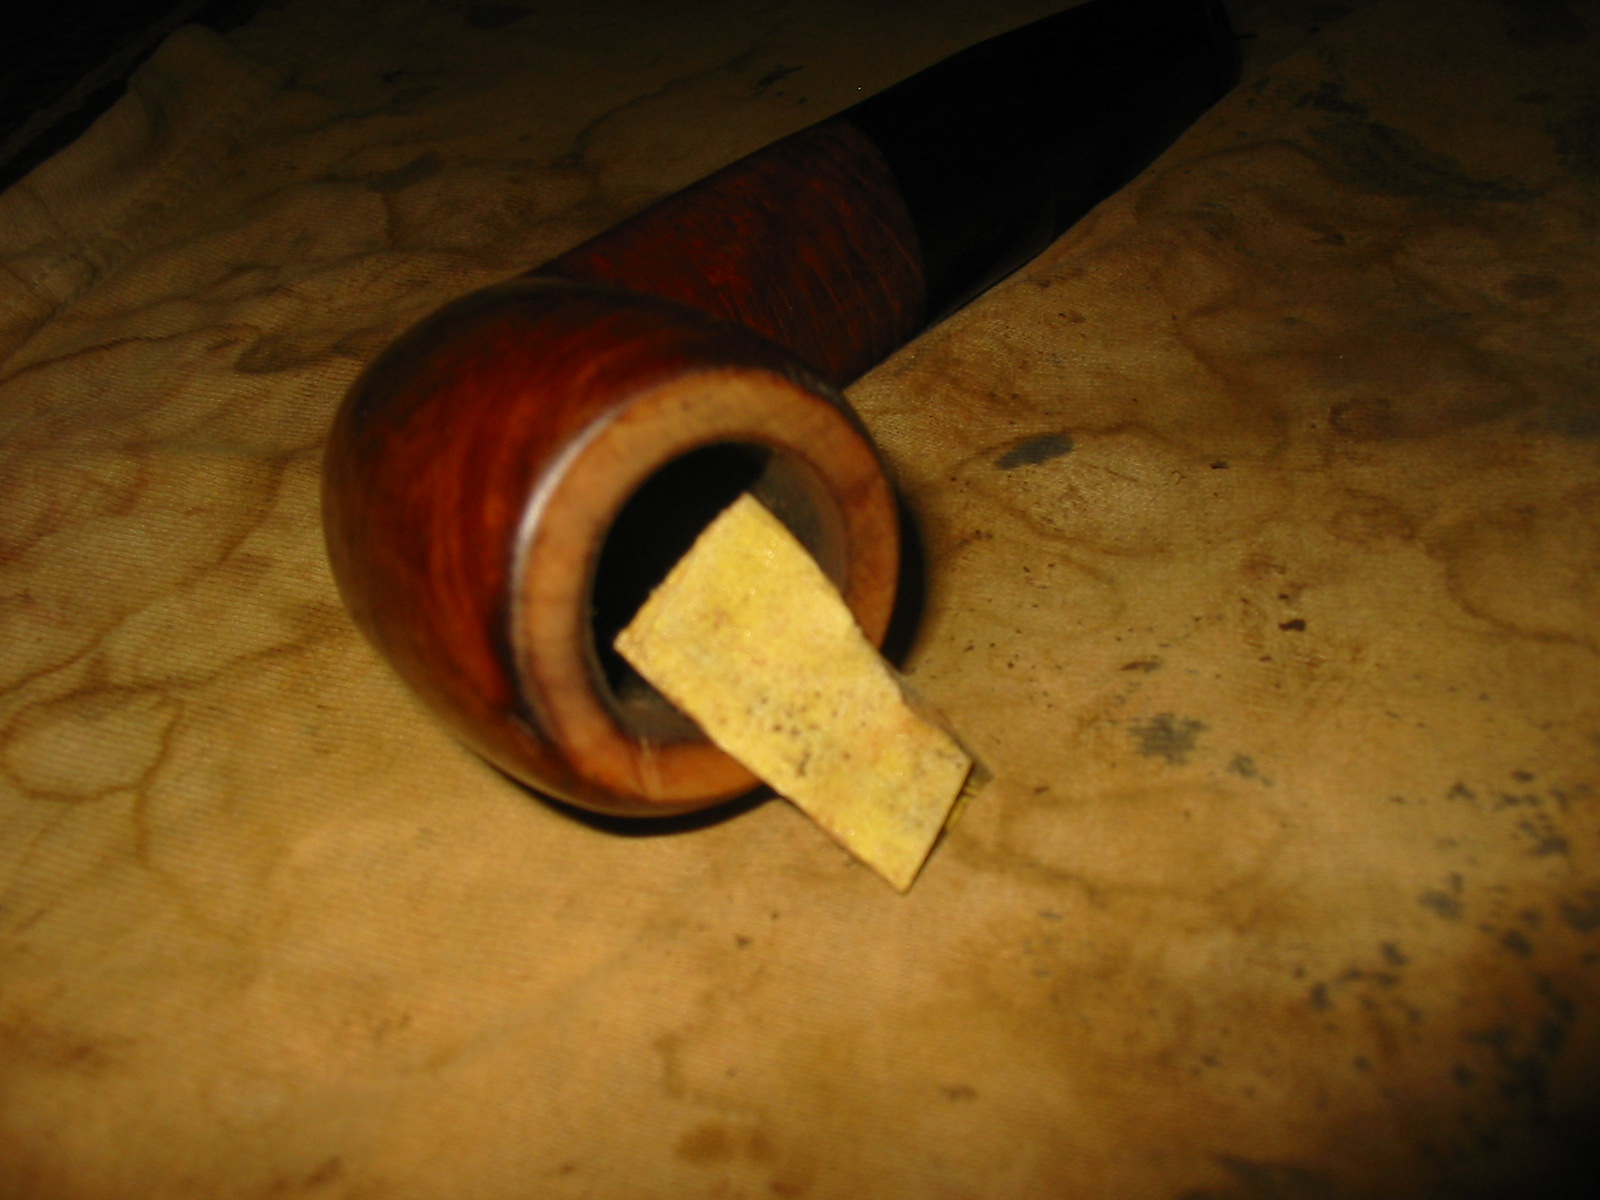


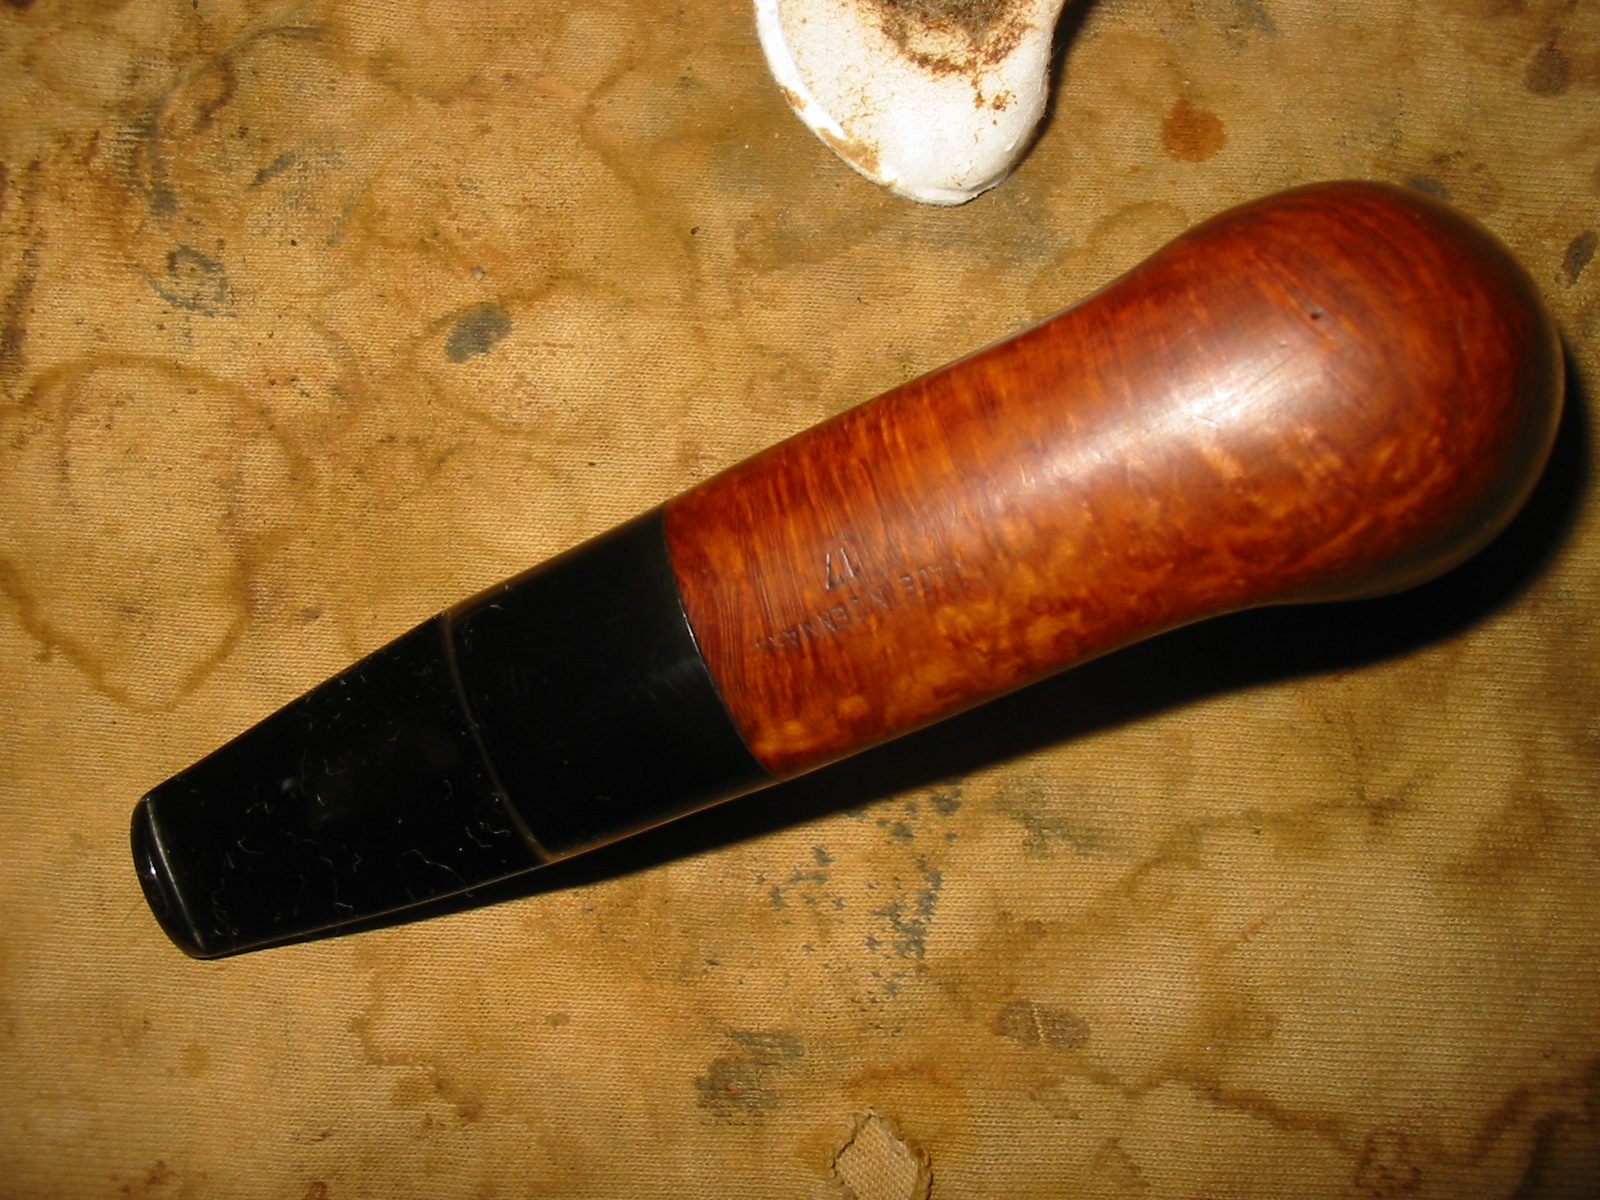
I wiped the pipe down with acetone on cotton pads to remove the varnish and the finish on the remainder of the pipe in preparation for the new coat of stain.
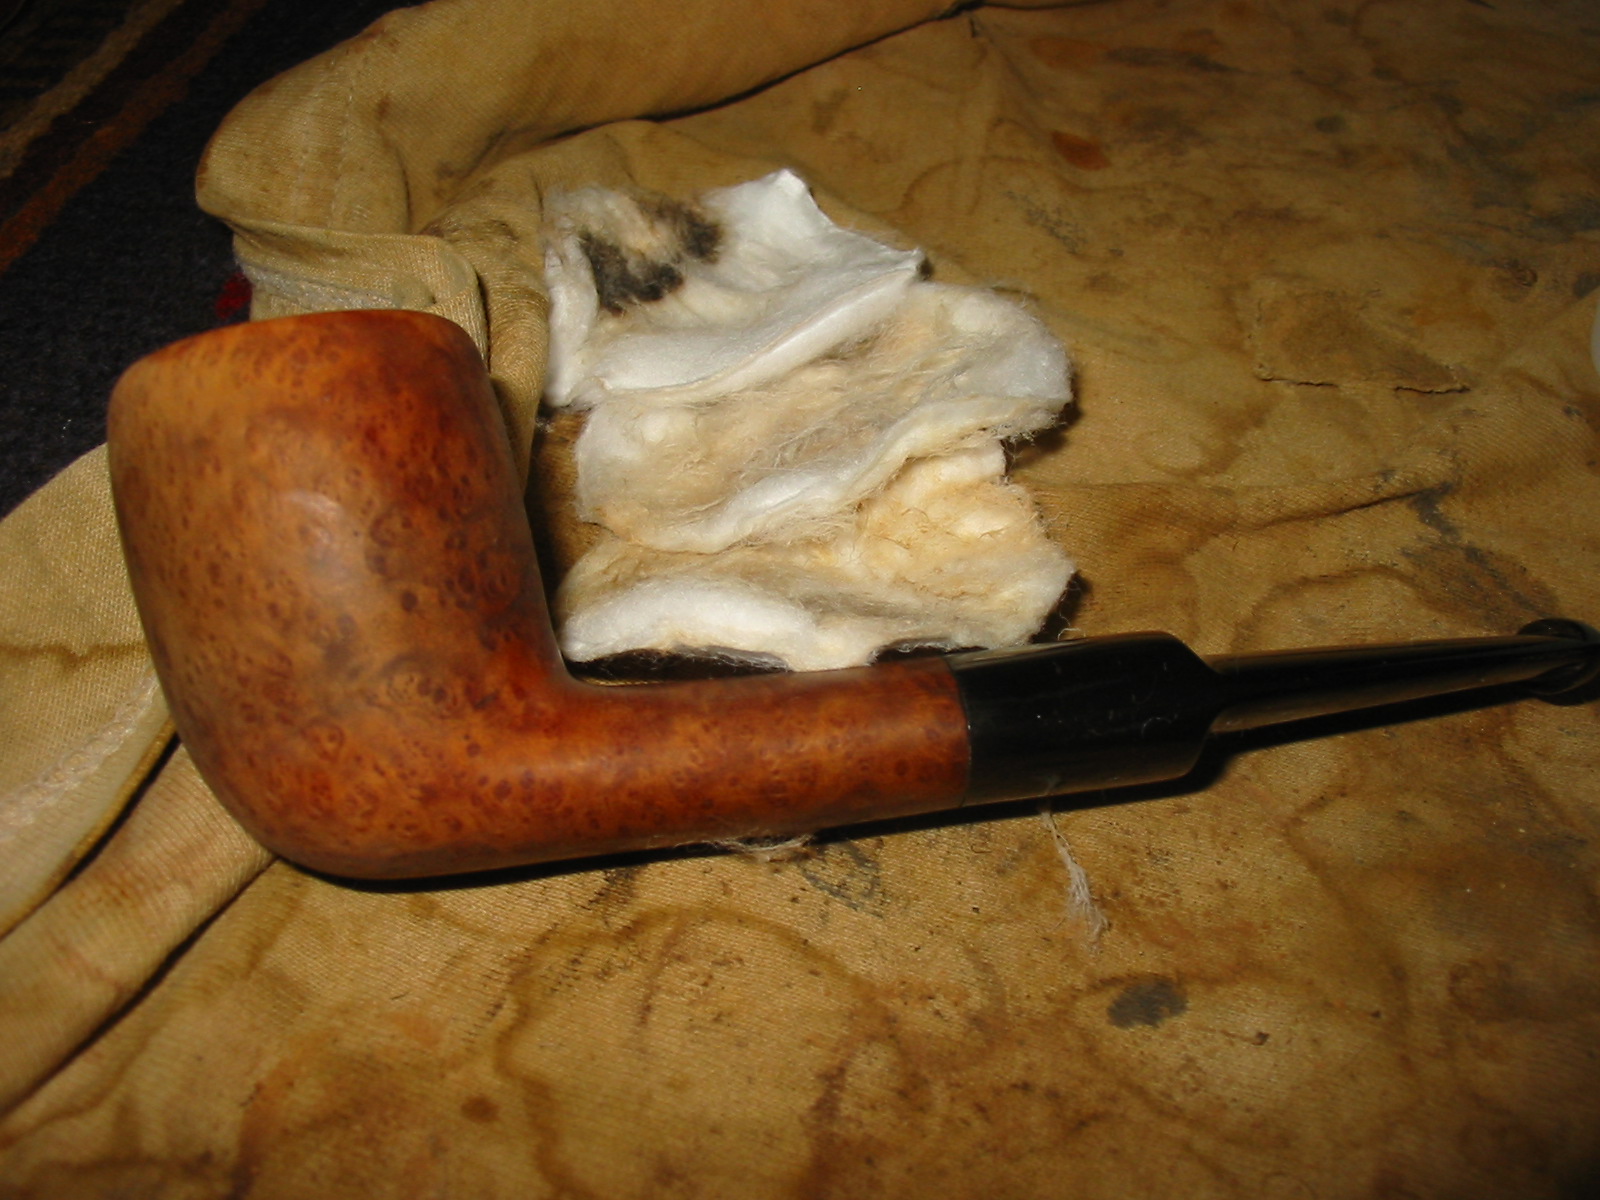

I decided to use two different colours of stain to restain the pipe. The first stain was a MinWax Medium Walnut stain. I rubbed it on and then rubbed it off. I buffed the pipe with White Diamond to polish the briar before giving it the second colour of stain.


For the second stain I used MinWax Red Mahogany stain. I rubbed it into the bowl and then rubbed it off. I polished the pipe with a soft cloth. I rubbed down the stem with Obsidian Oil and hand buffed the stem.
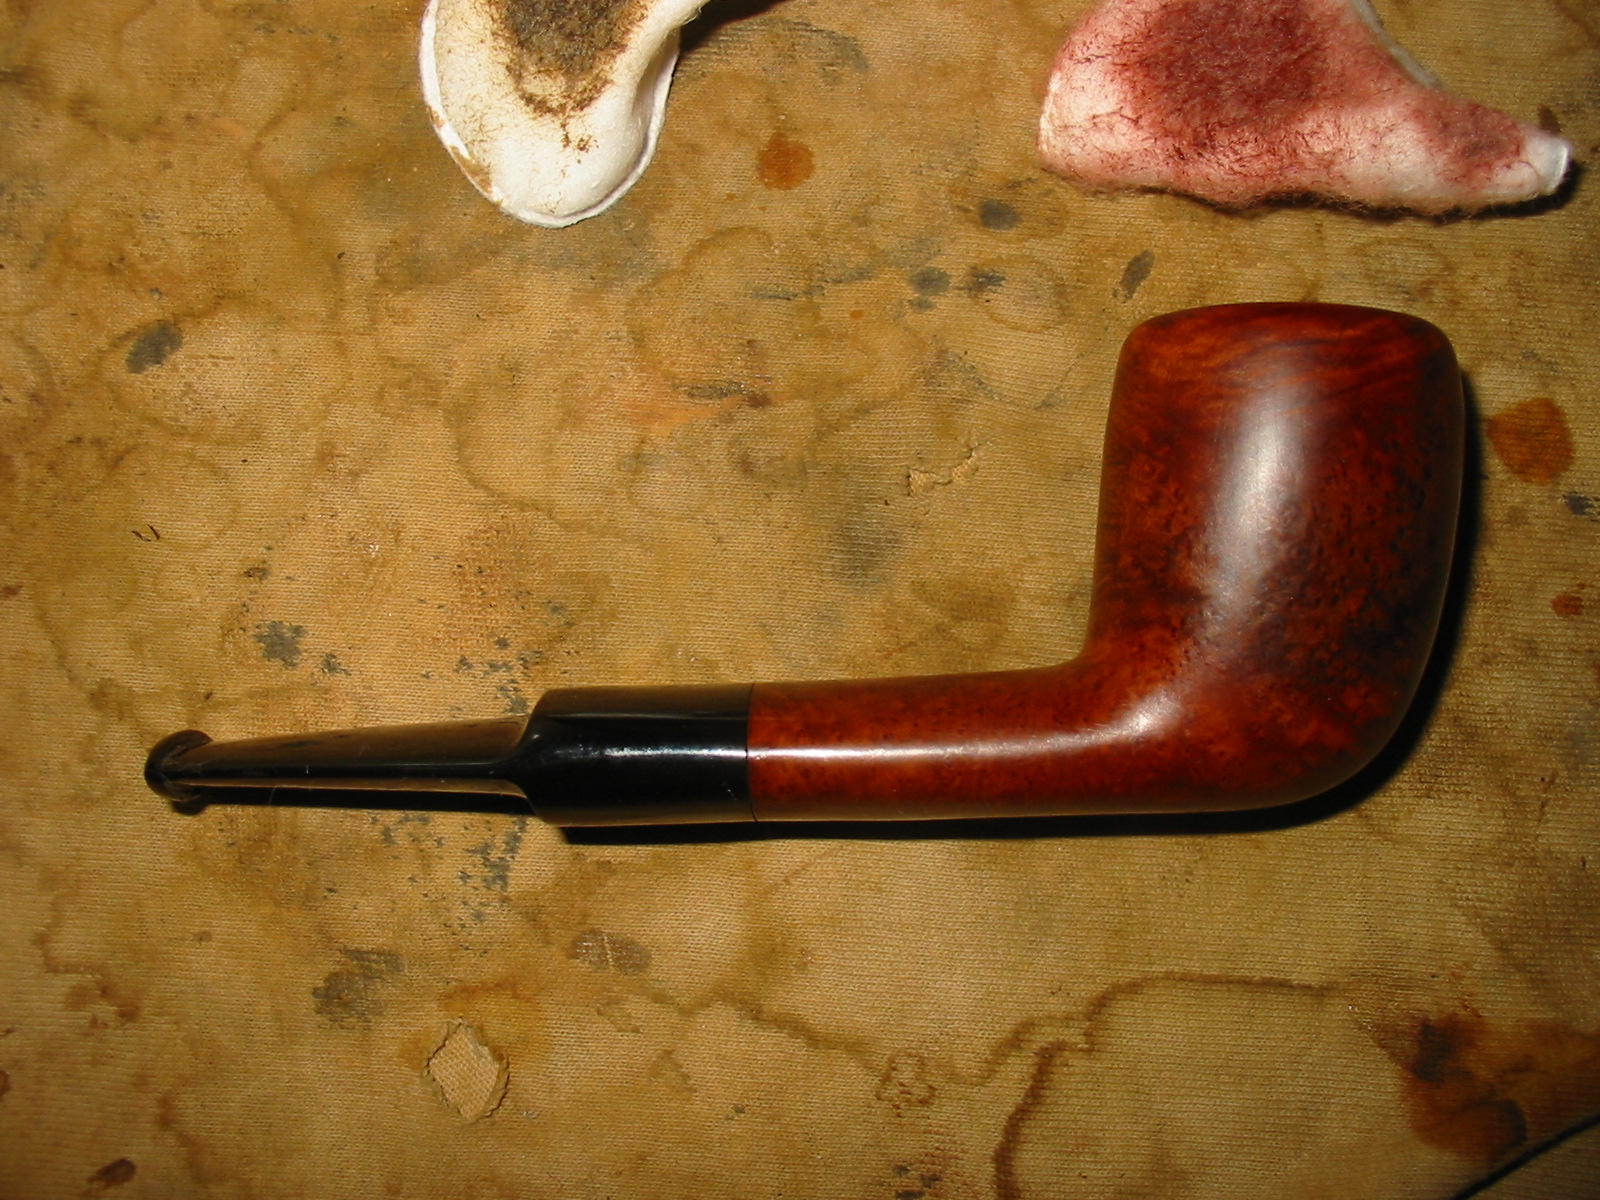

I buffed the bowl and stem with White Diamond again and then gave the bowl and stem multiple coats of carnauba wax. I gave it a final buff with a clean flannel buffing pad. The finished pipe is shown below. It will now join the others in the Pipe Club box until I finish those that remain. I love the rounded look of the bowl top and the bevel on the rim as it adds to the feel of the pipe. I think this one will also bring a good return for the club.