Blog by Steve Laug
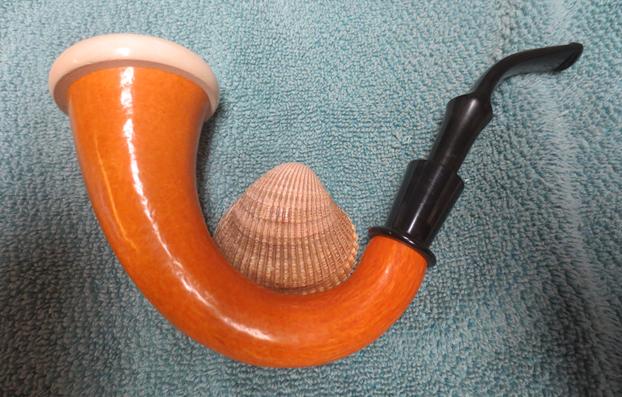
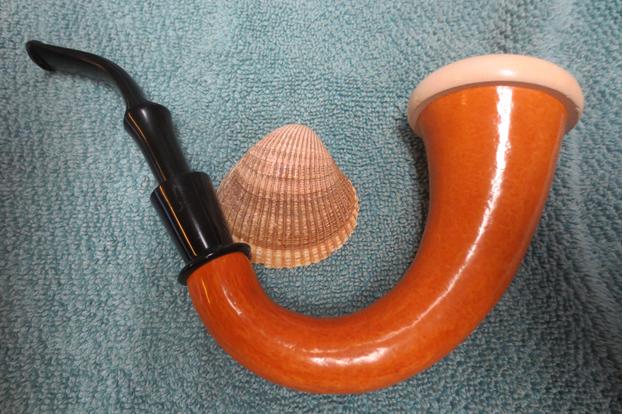
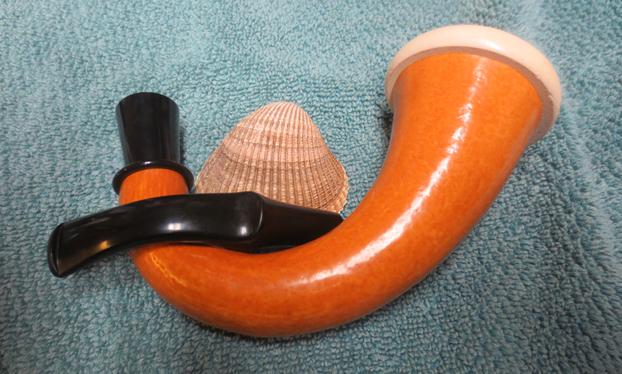
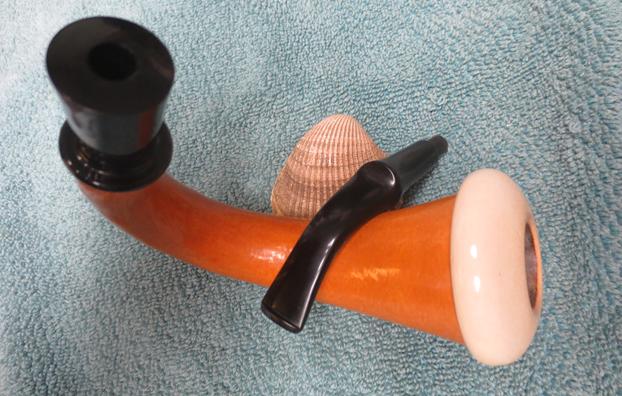
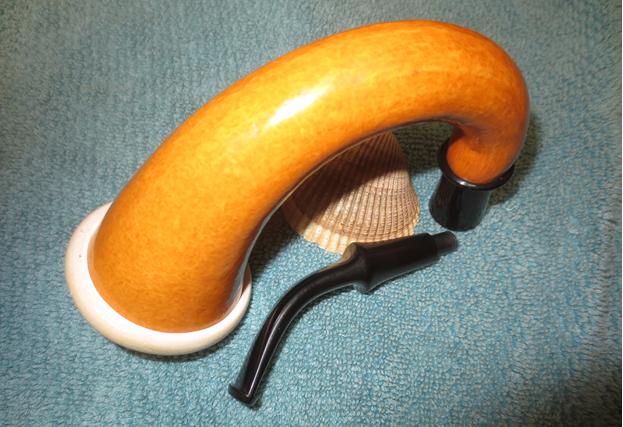
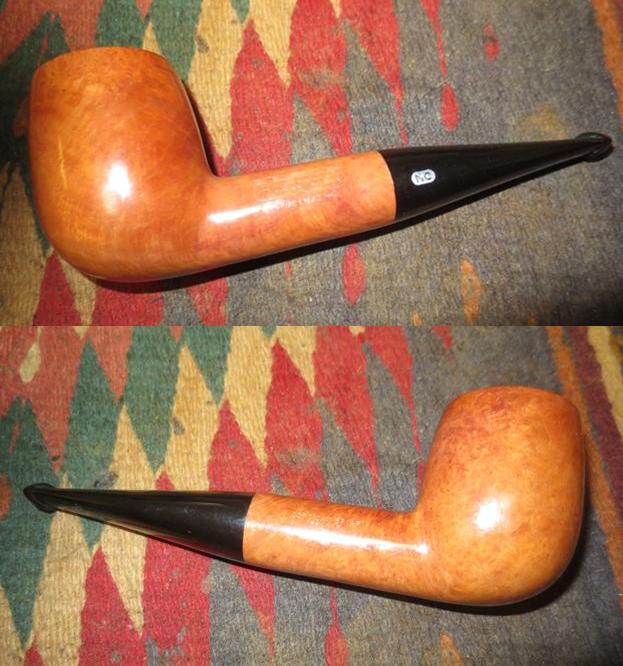
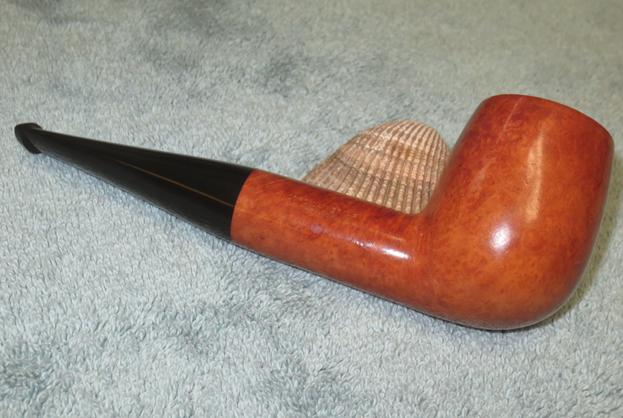
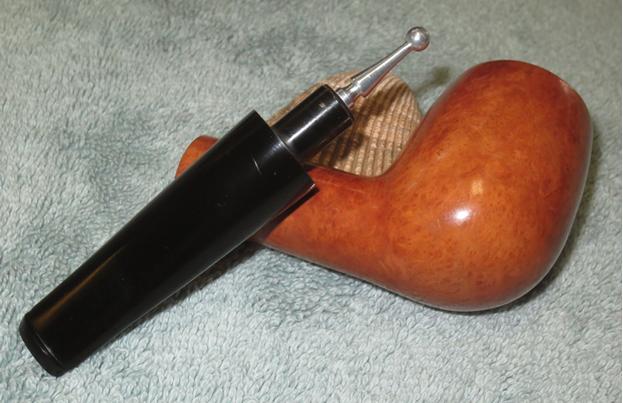
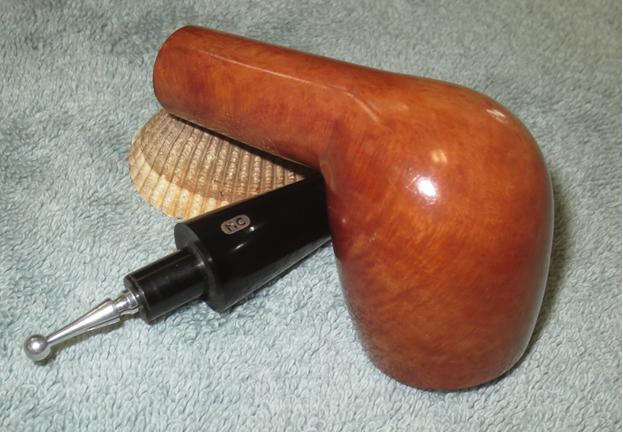
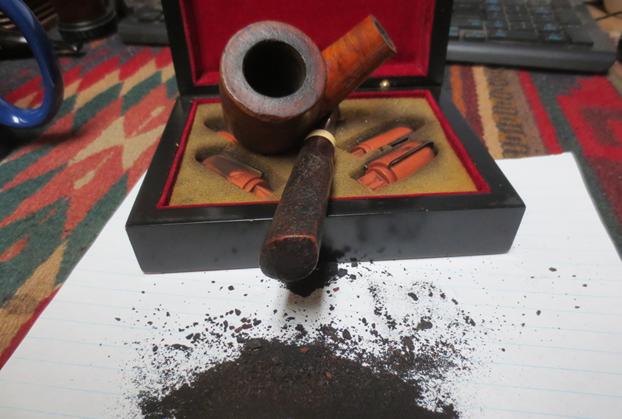
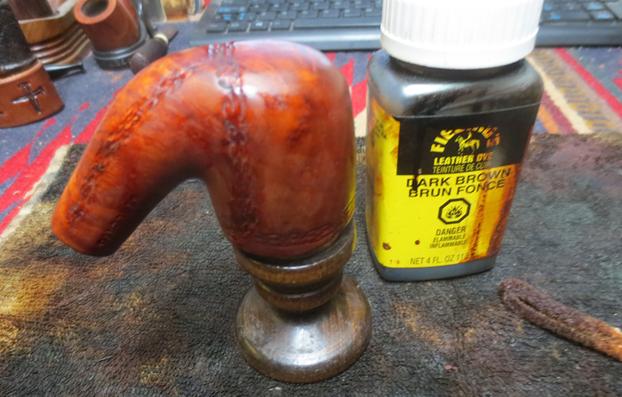
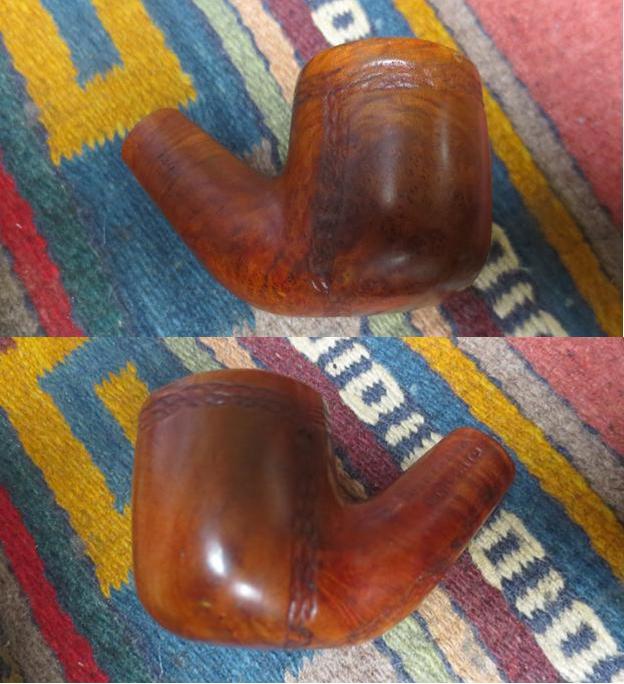
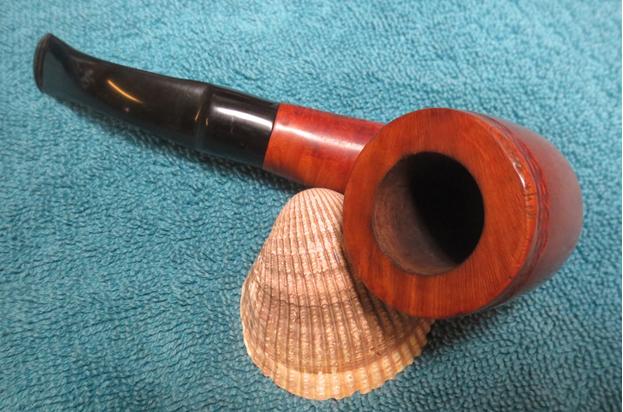
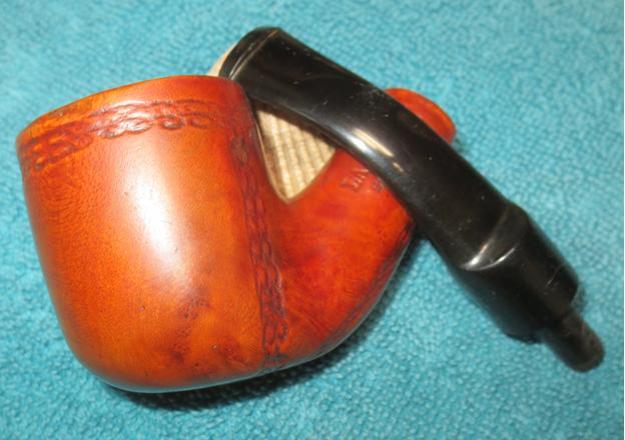
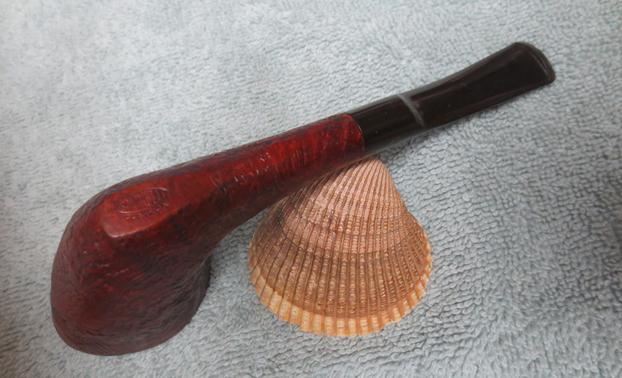
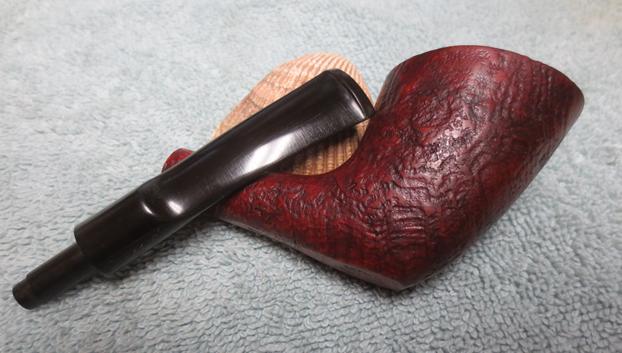
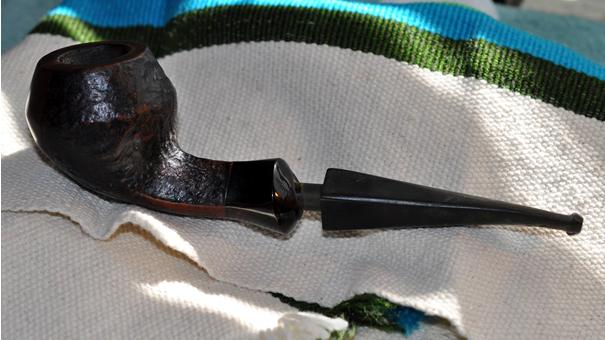
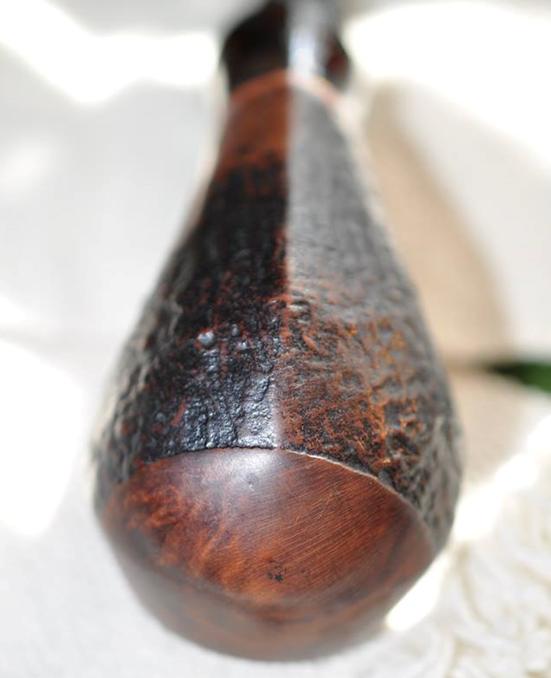
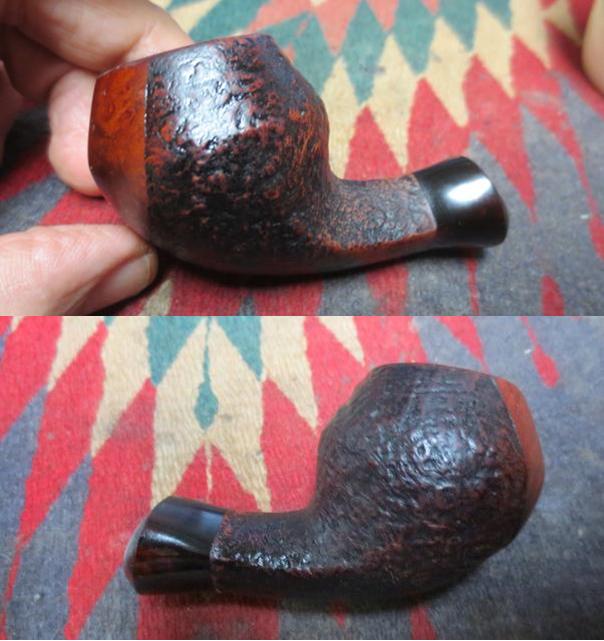
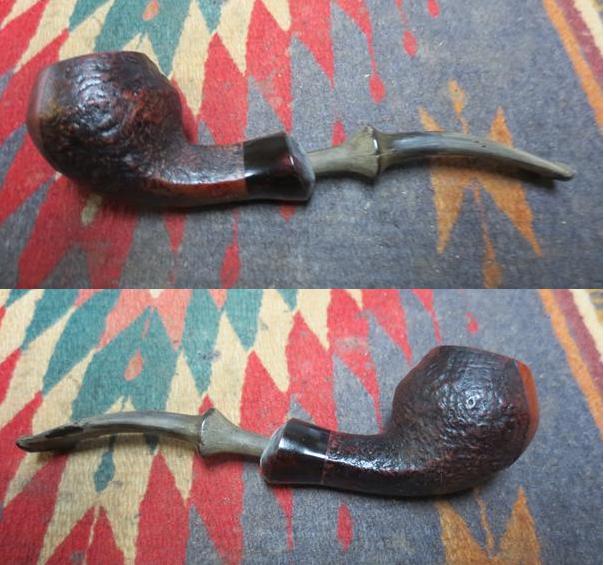
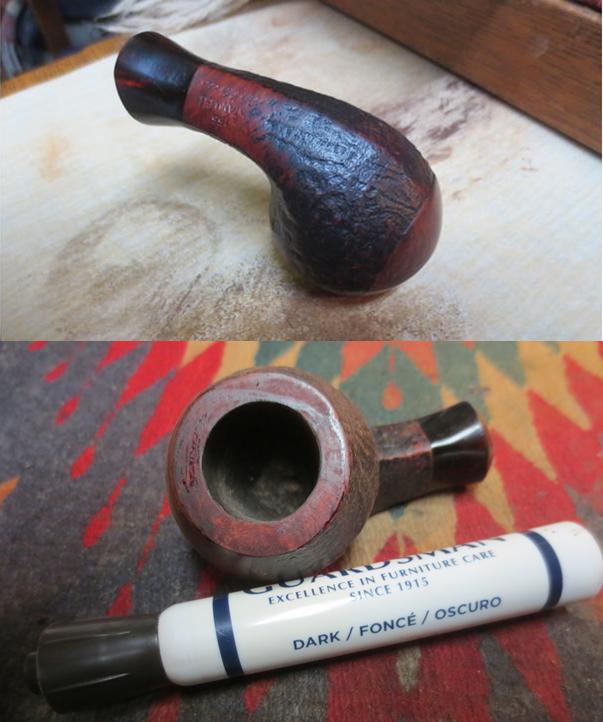
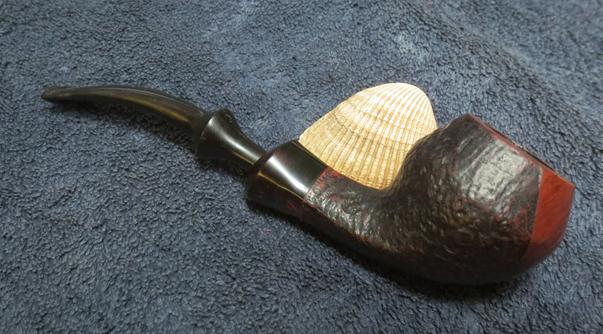
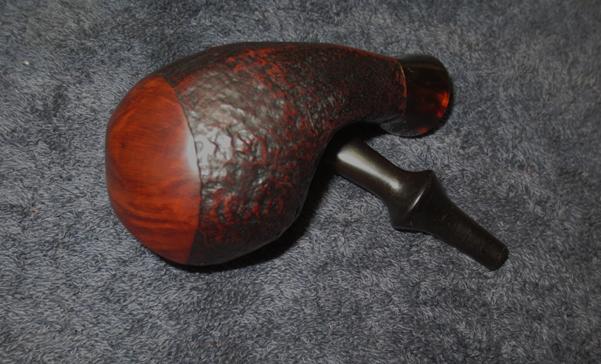
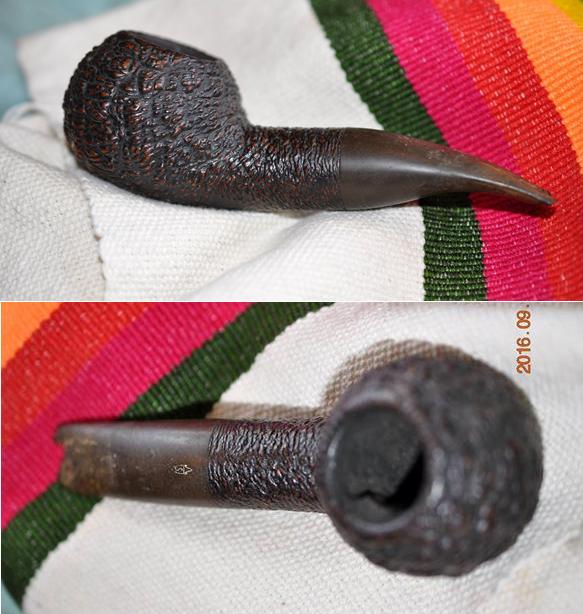
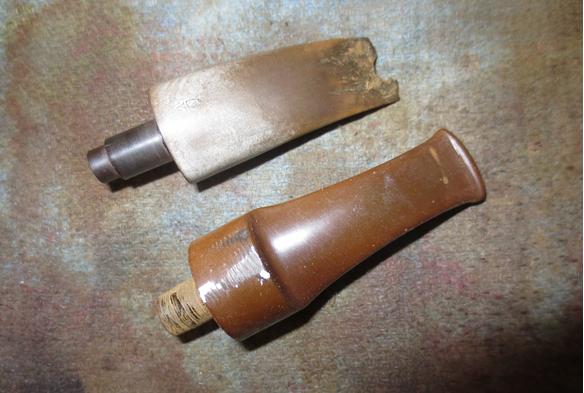
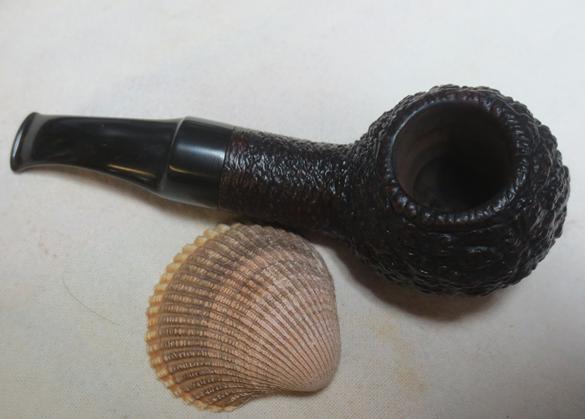
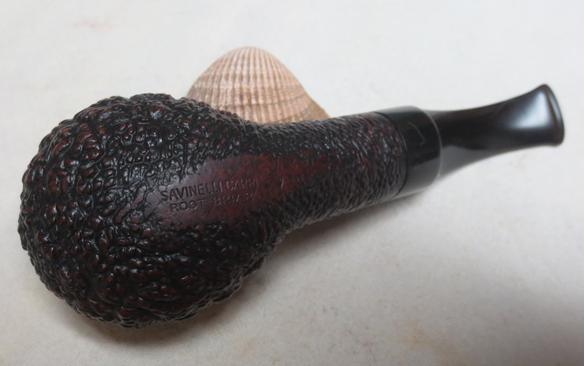
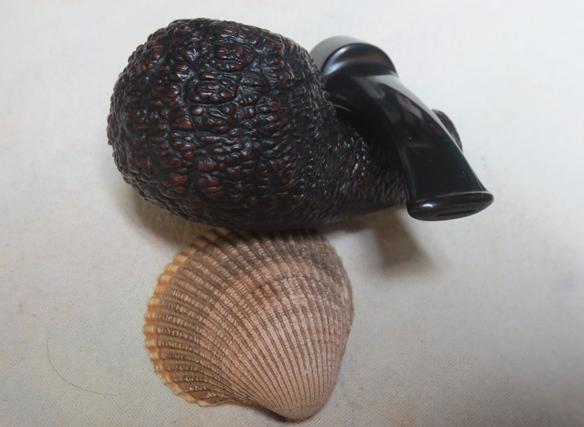
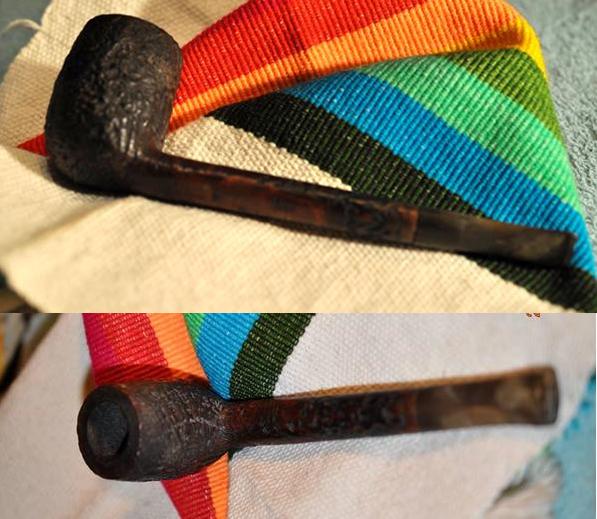
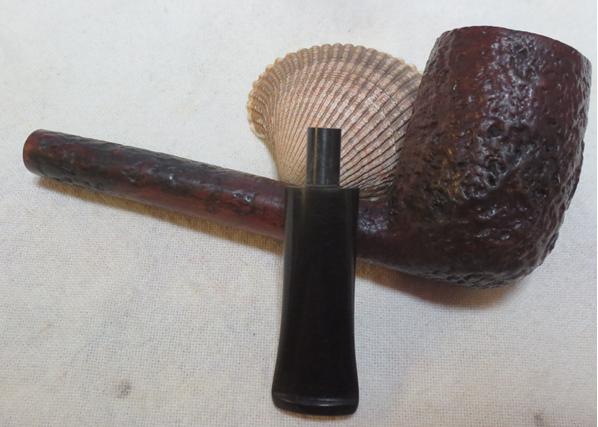
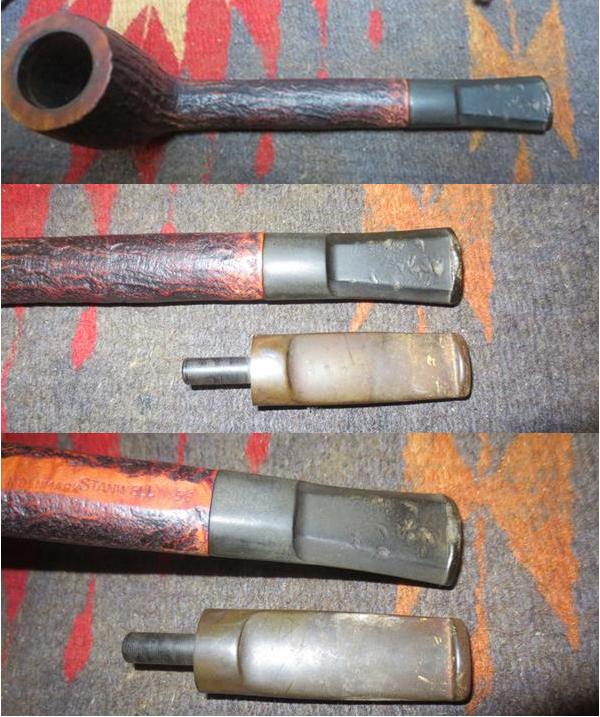
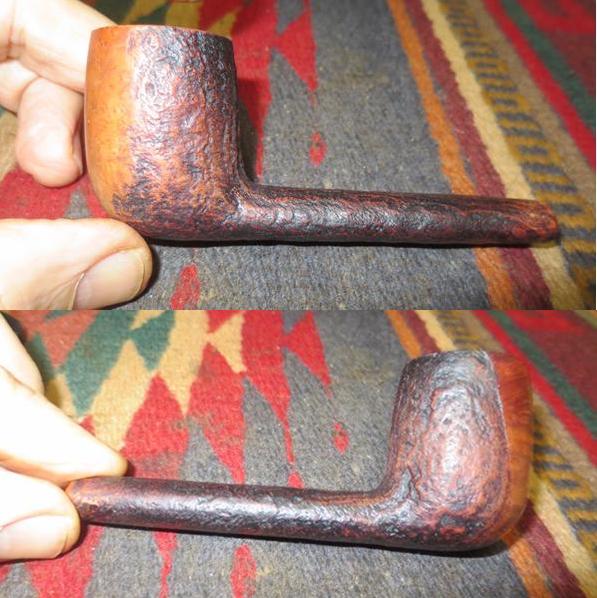
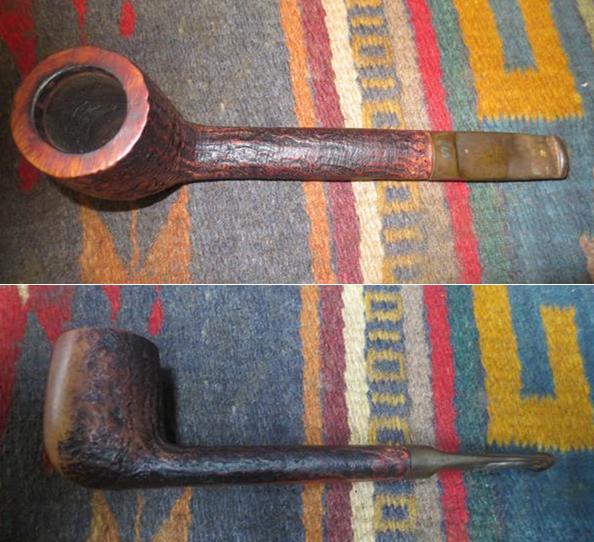
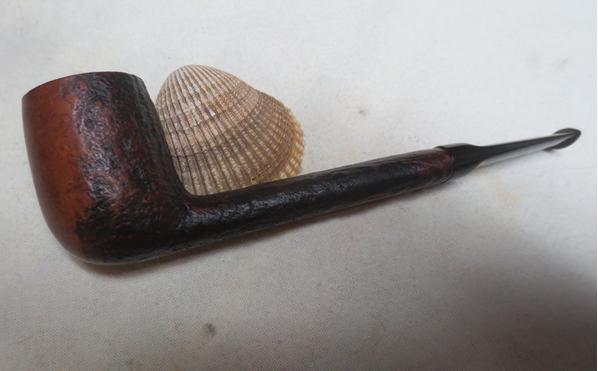
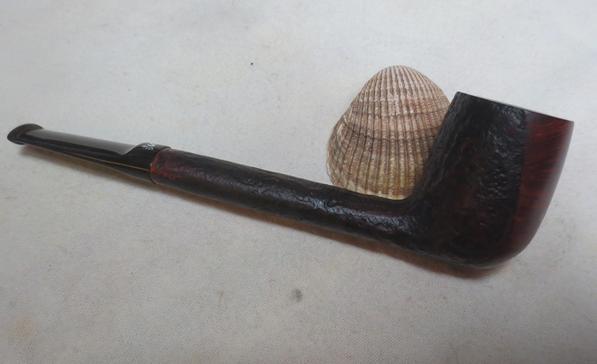
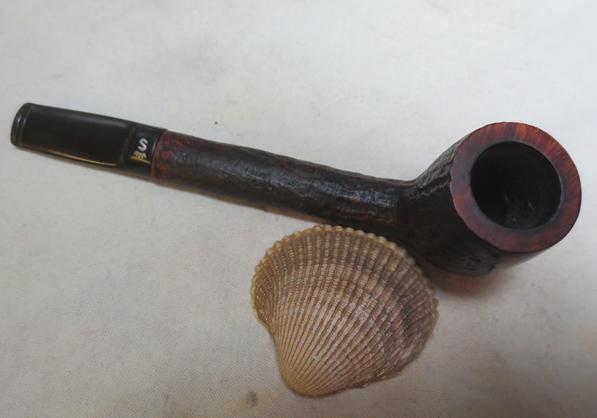
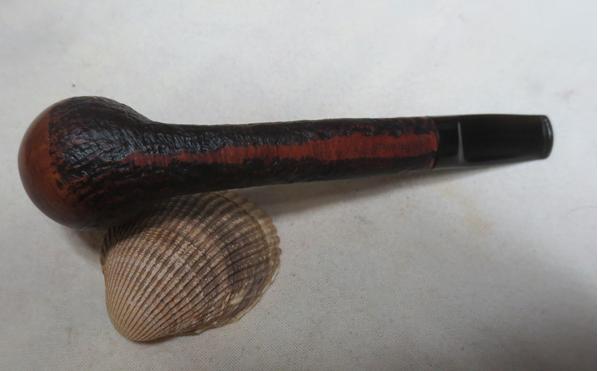
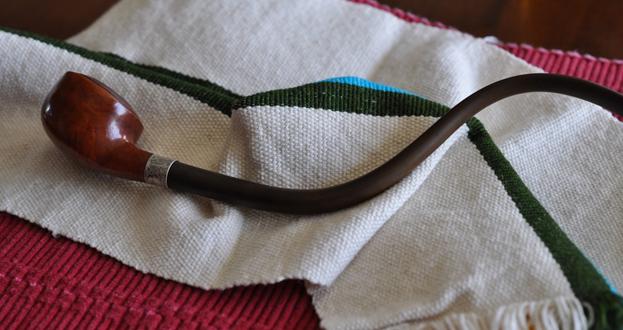
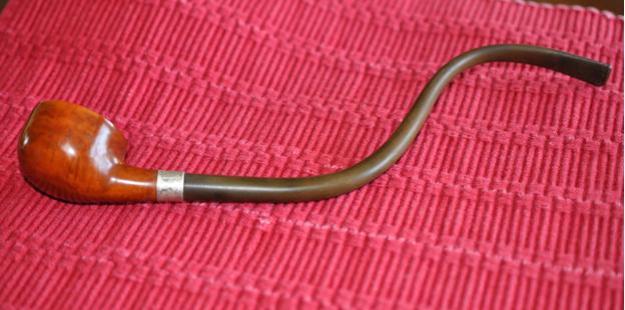
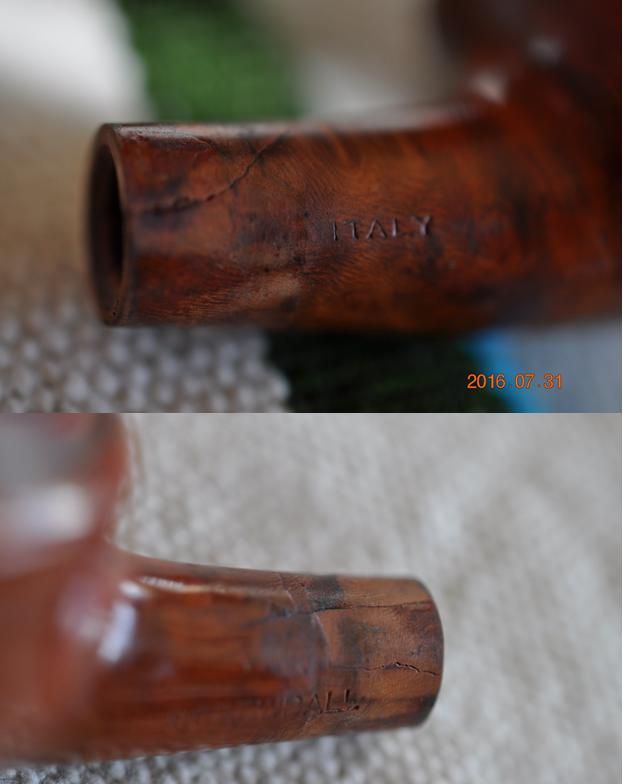
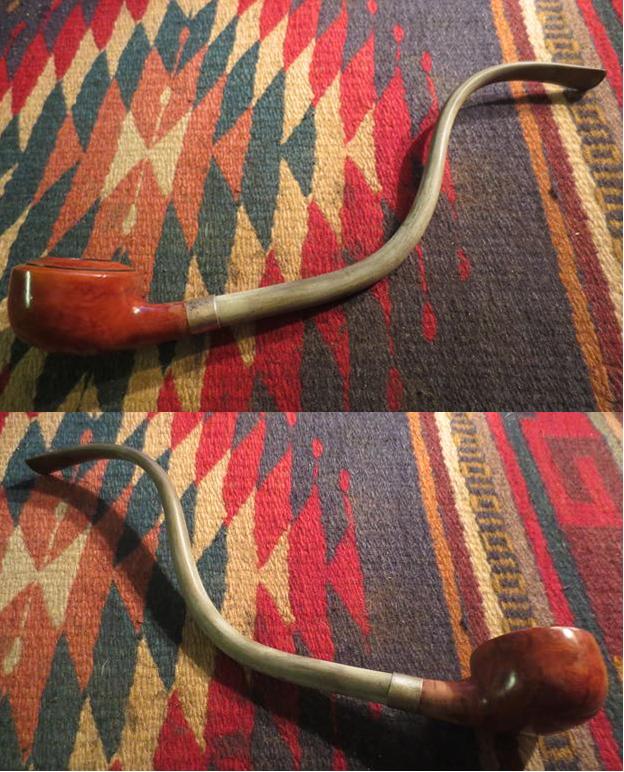
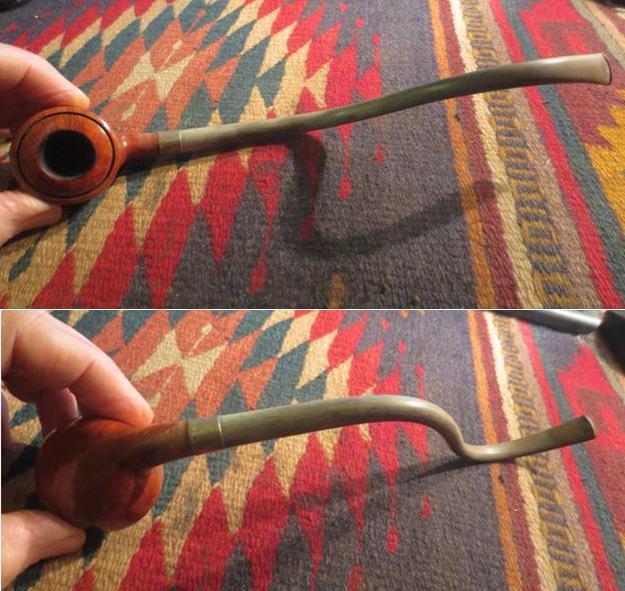
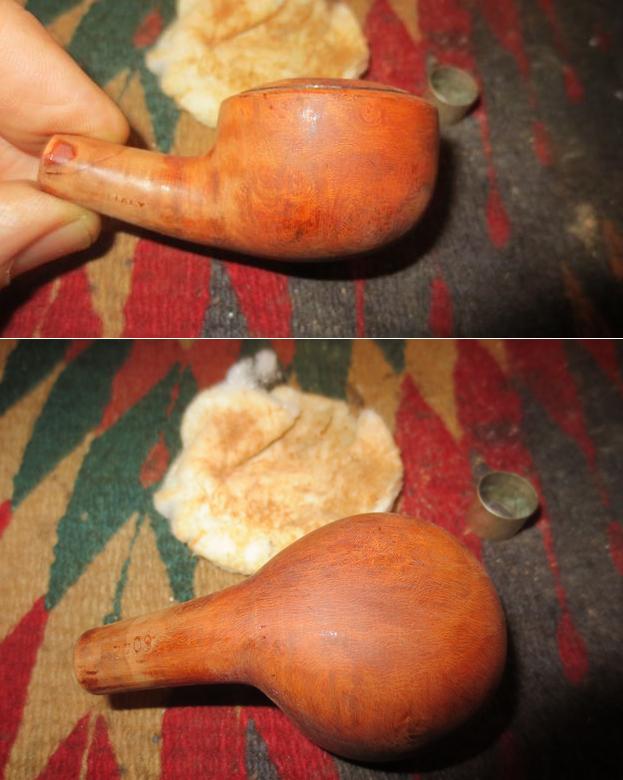
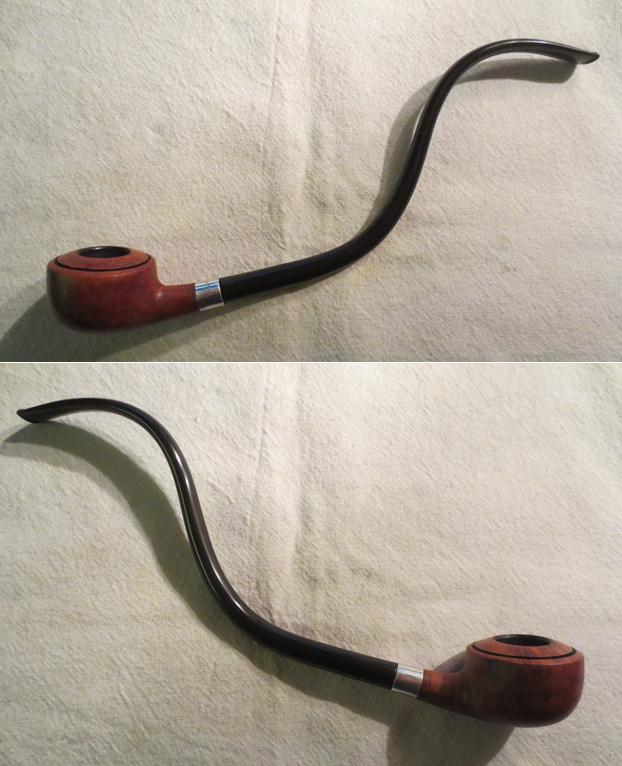
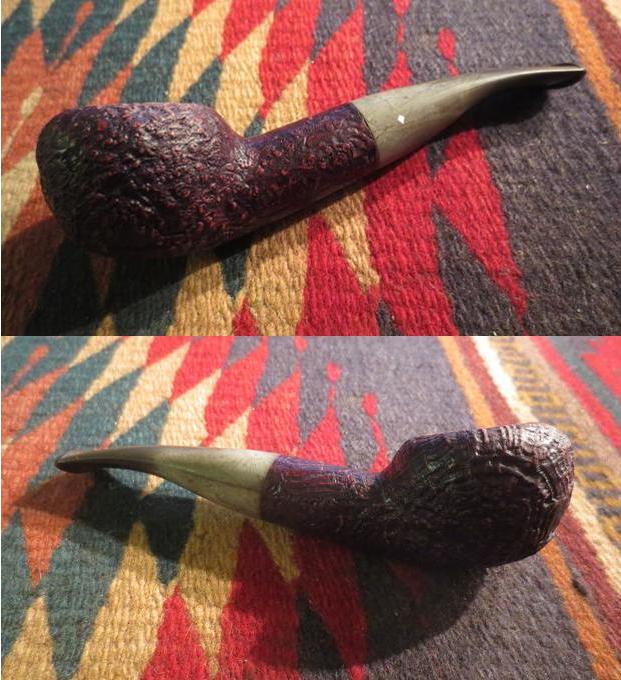
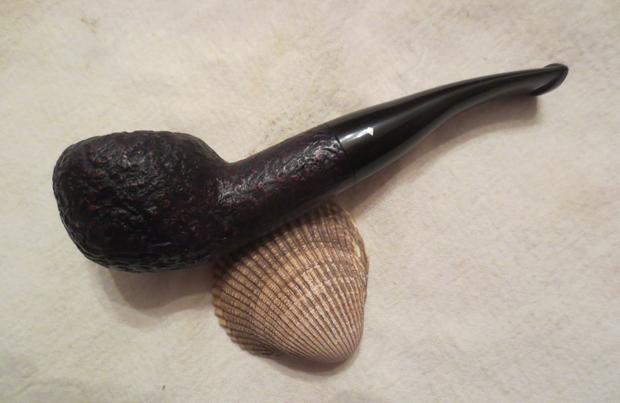
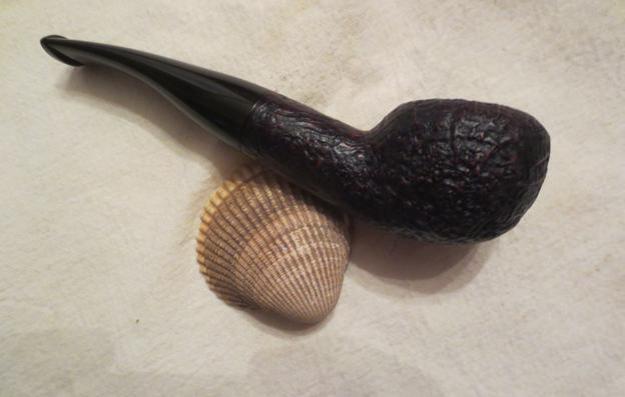
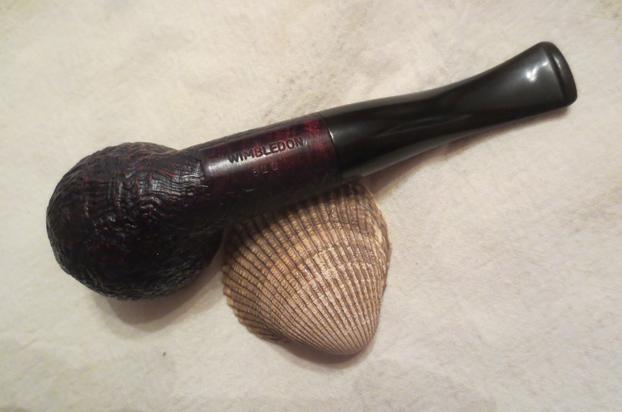
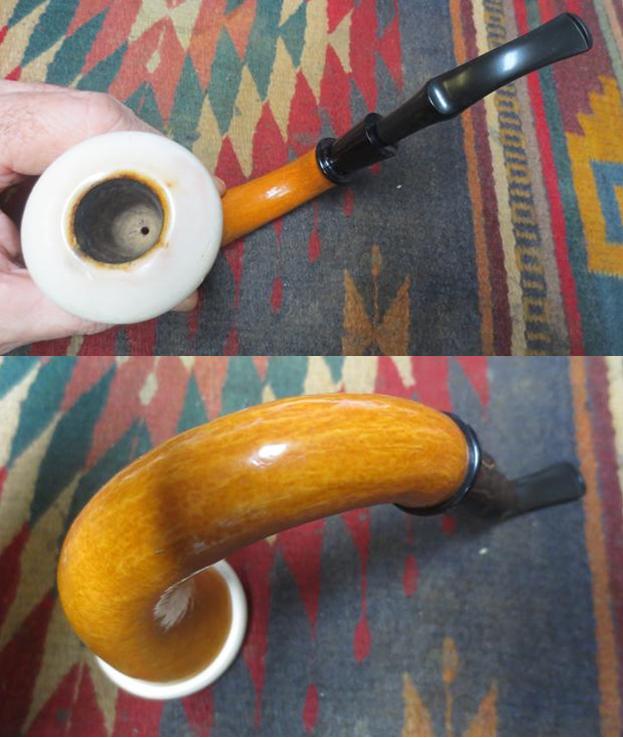
Well, I have come to the end of restoring the five gourd calabashes that my brother and I picked up on my recent trip to Idaho. This final one is very similar to the previous one that I cleaned up. I think it may also be a Pioneer Gourd Calabash but I have no way of proving it one way or another. The gourd on this one is a bit longer and has a slightly different bend than the previous one. The shank cap and extension is identical. The stem is different and it may well be a replacement. The pipe had been lightly smoked as is evidenced by the internals of the bowl and shank. However, it has been roughly handled. The bowl was darkened and scratched and there were chips missing on the outside edge. Fortunately they were not too deep and could be addressed but they were present nonetheless. This calabash was externally in the worst shape of the five but as I looked it over I could see that there was a lot of promise left in it and the bowl could be polished and smoothed out. The next four photos show the condition of the pipe when I brought it to the work table.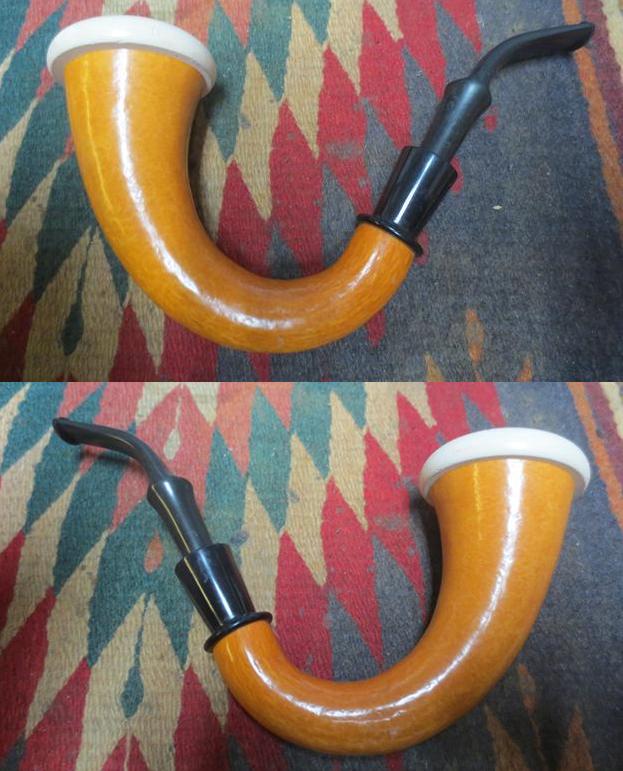
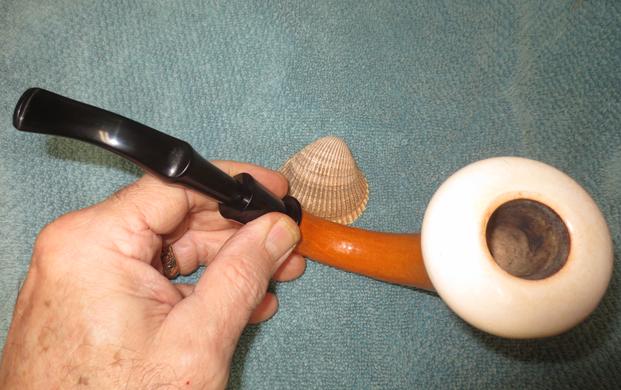
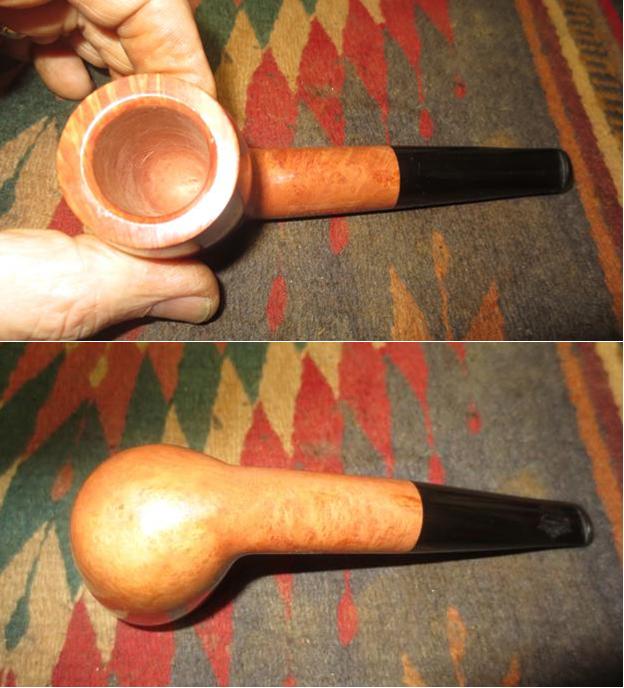
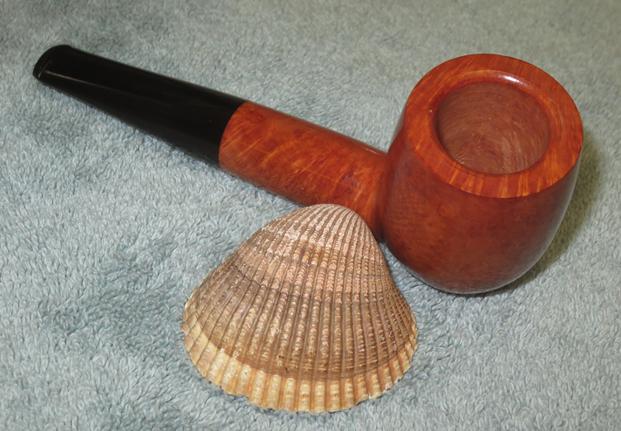
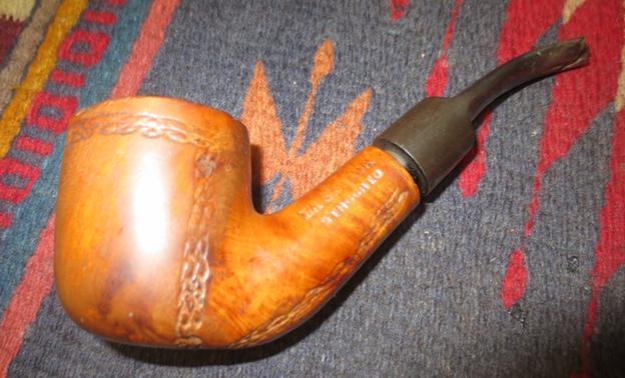
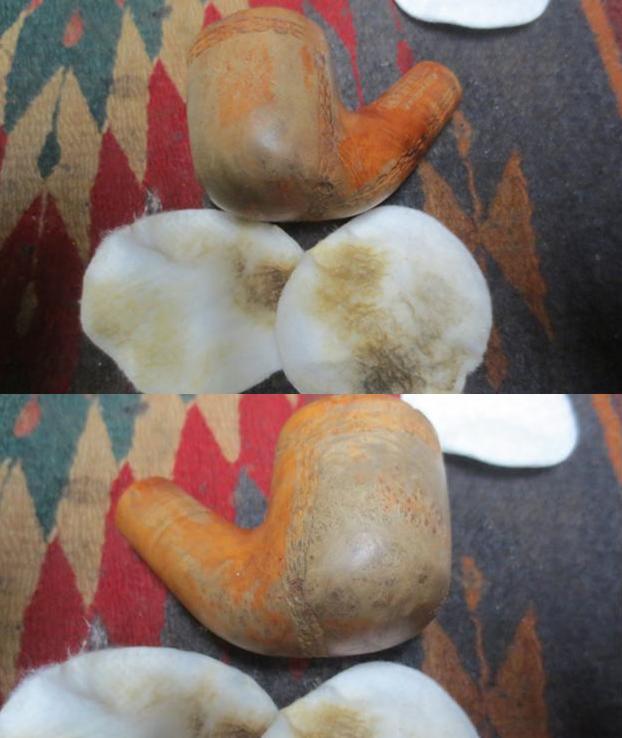
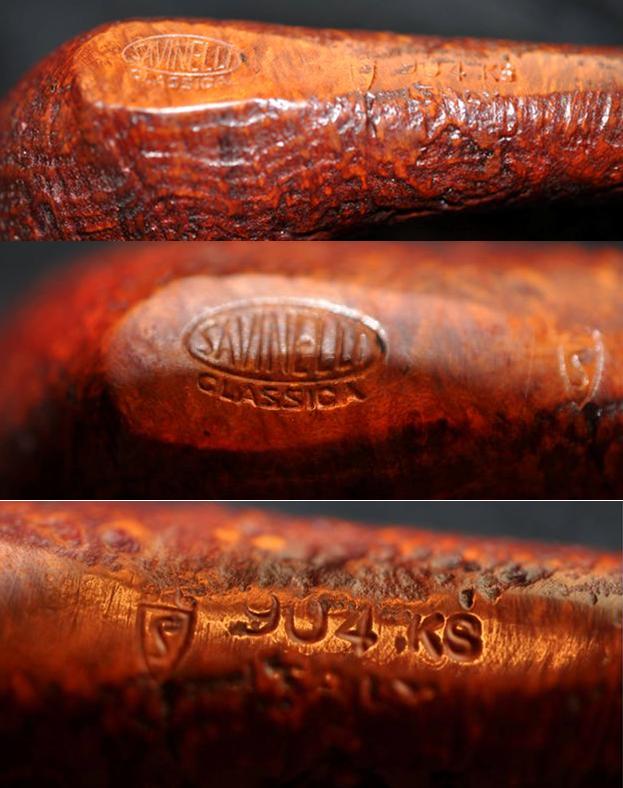
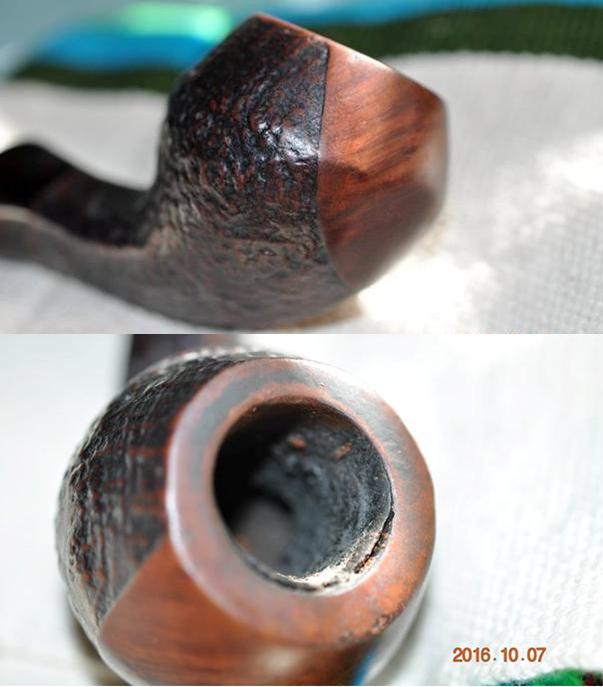
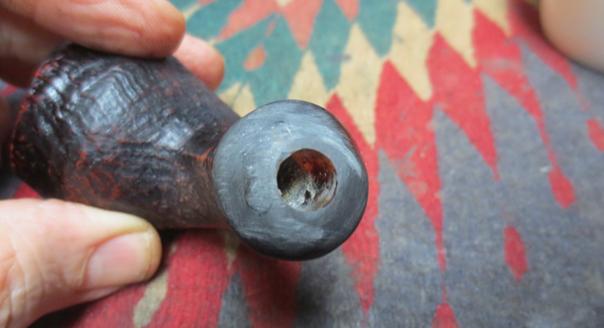
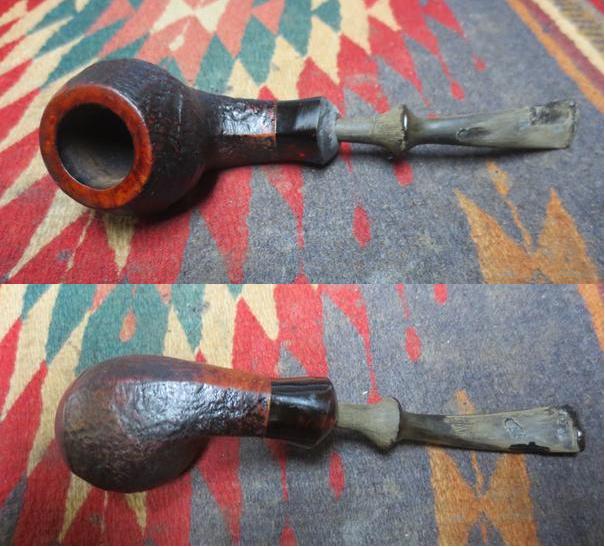
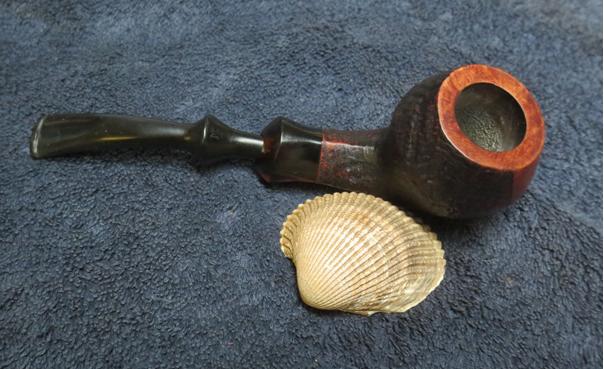
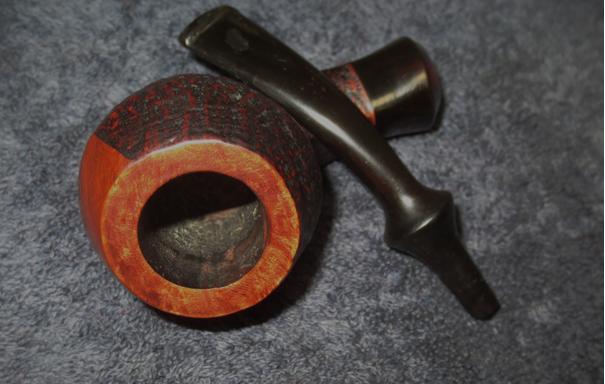
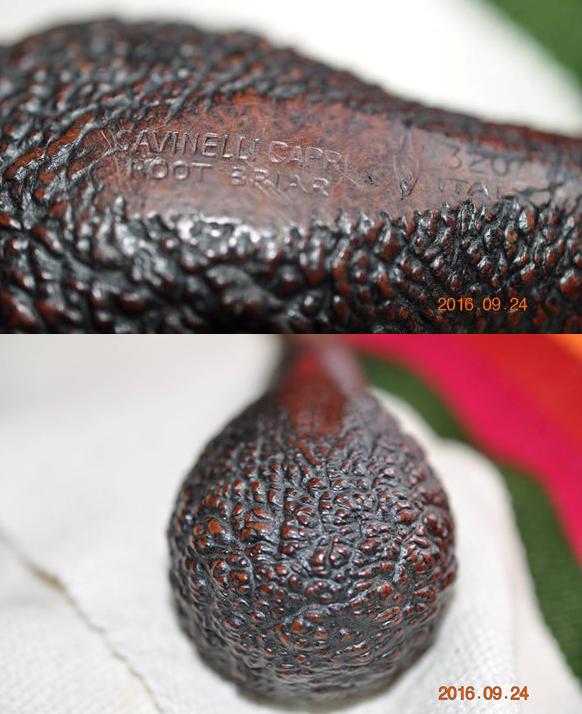
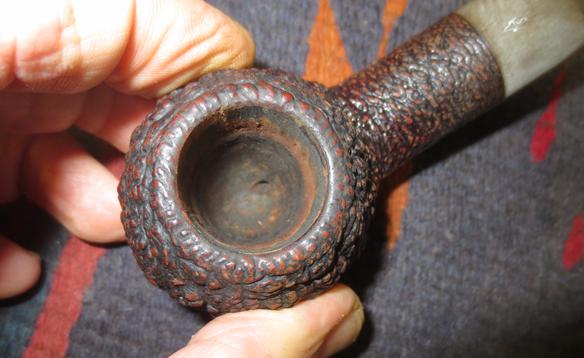
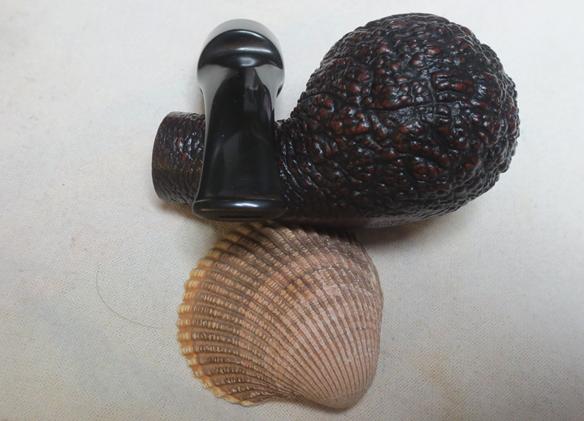
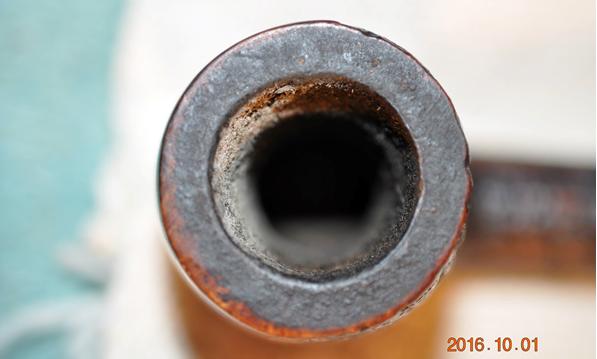
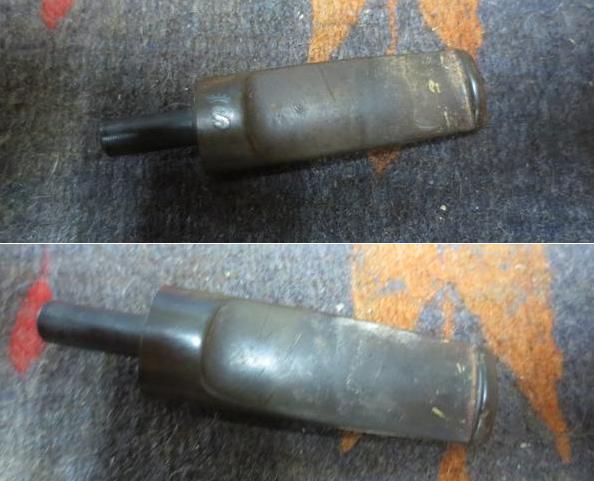
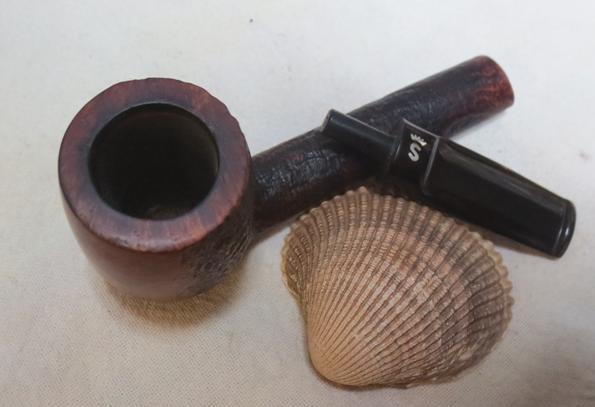
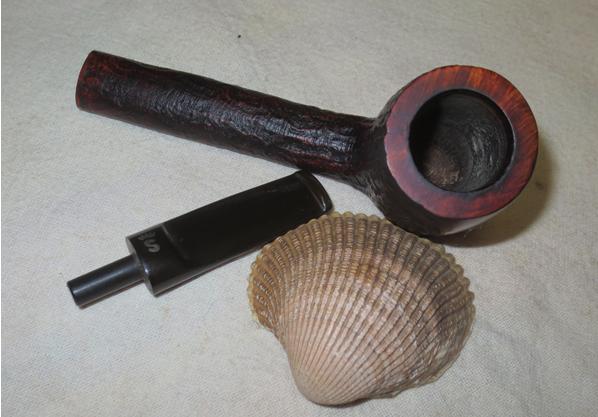
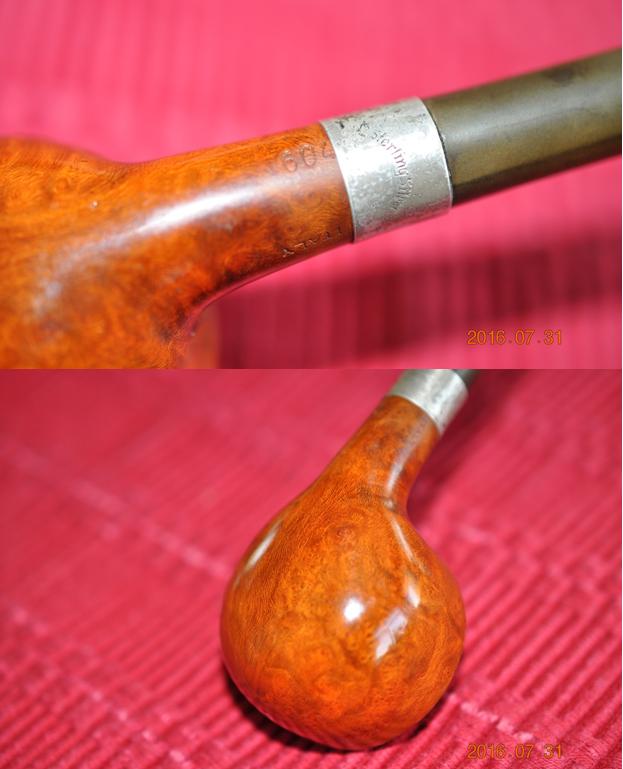
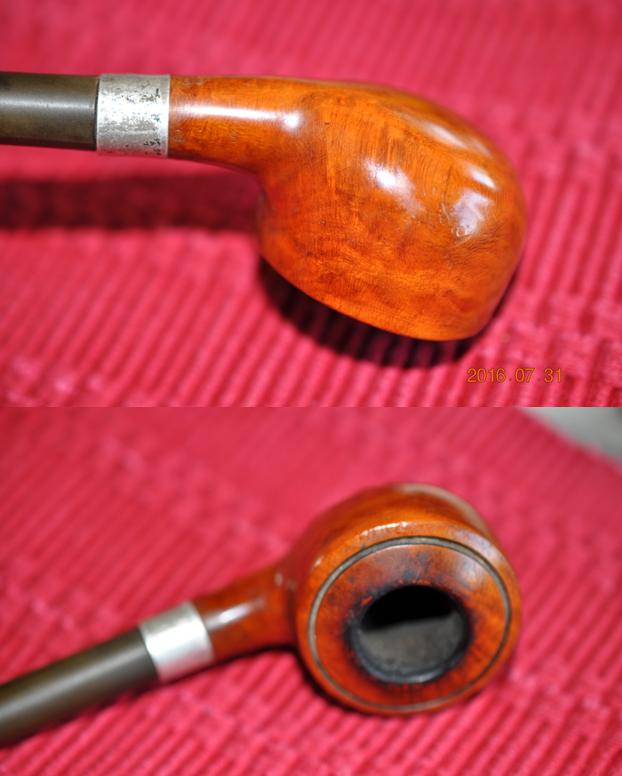
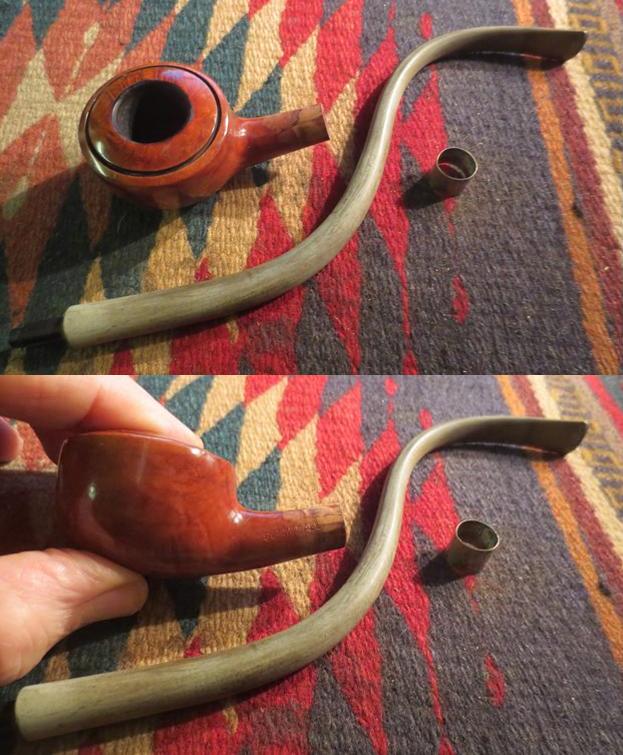
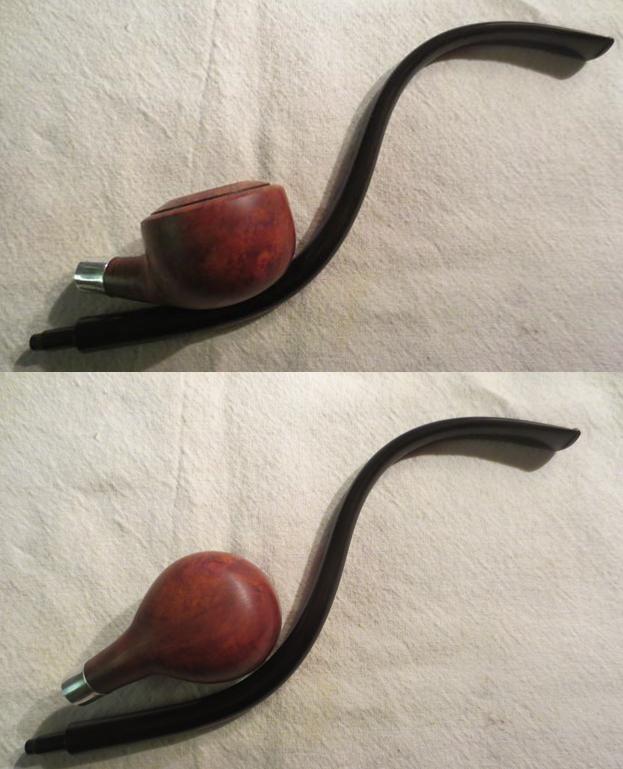
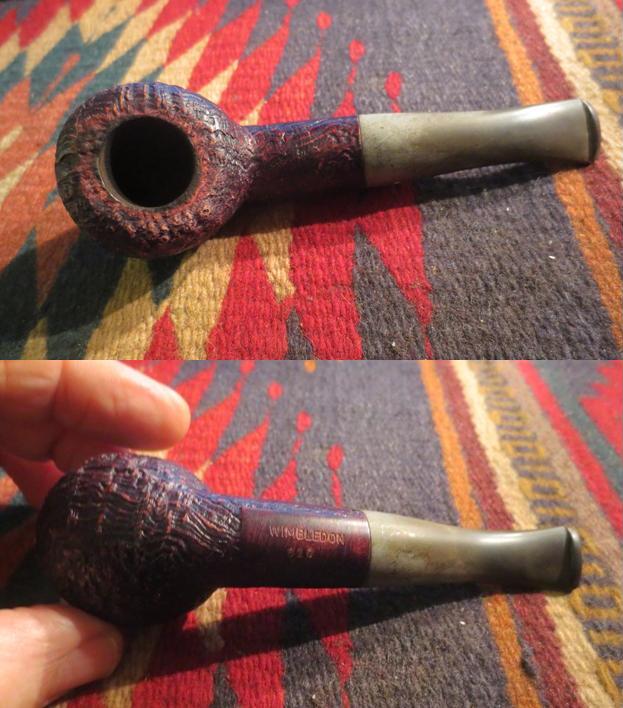
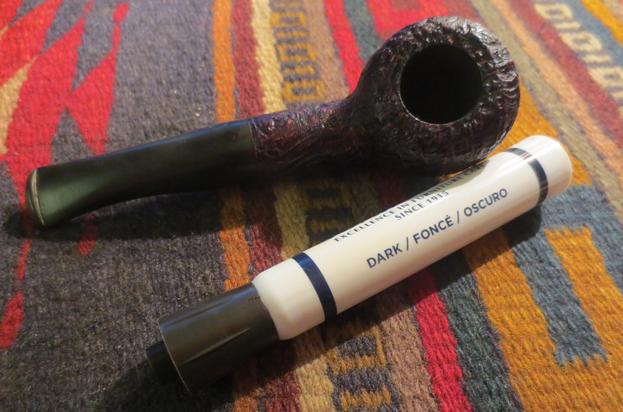
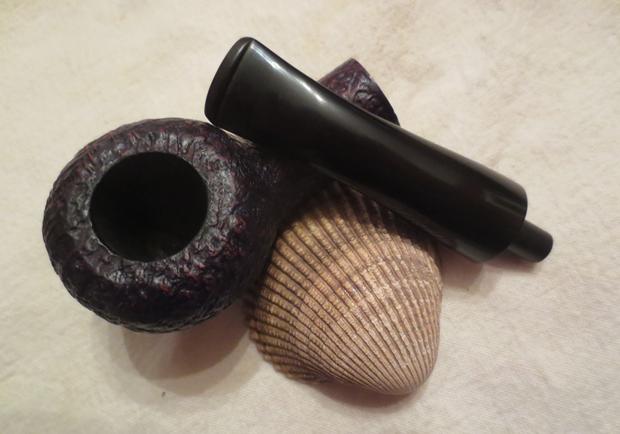
 I took the pipe apart to get a look at the parts. The inside of the gourd was surprisingly clean. In fact it looked barely smoked. This made me wonder if the bowl was not a used replacement bowl from another pipe. The cork gasket was also new and had been replaced. It was dry and hardened but still had not cracked or broken. The top of the bowl was in rough shape. There were some scratches and the burn marks were all around the inner edge of the bowl.
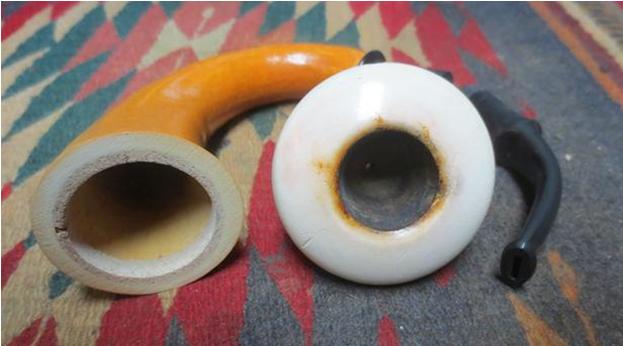
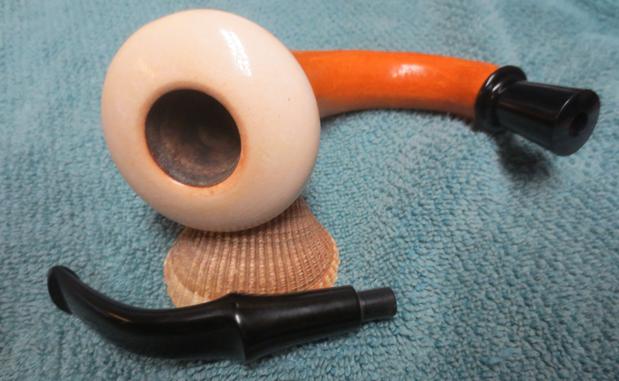
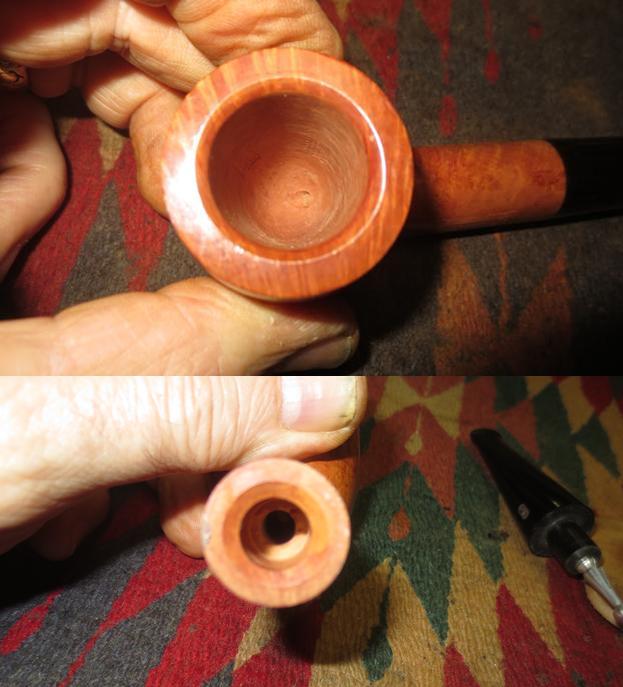
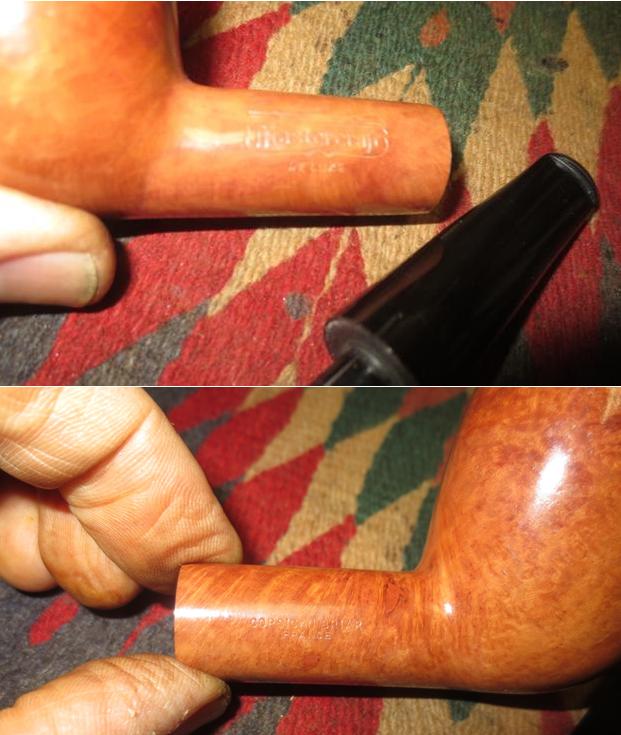
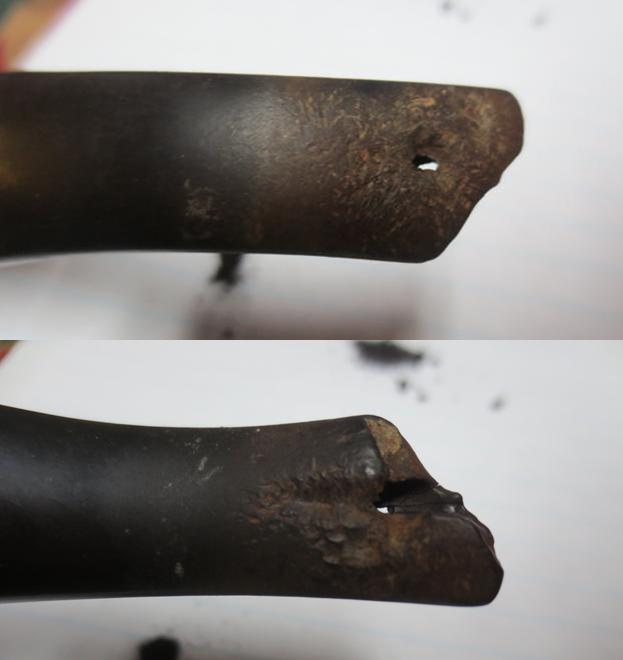
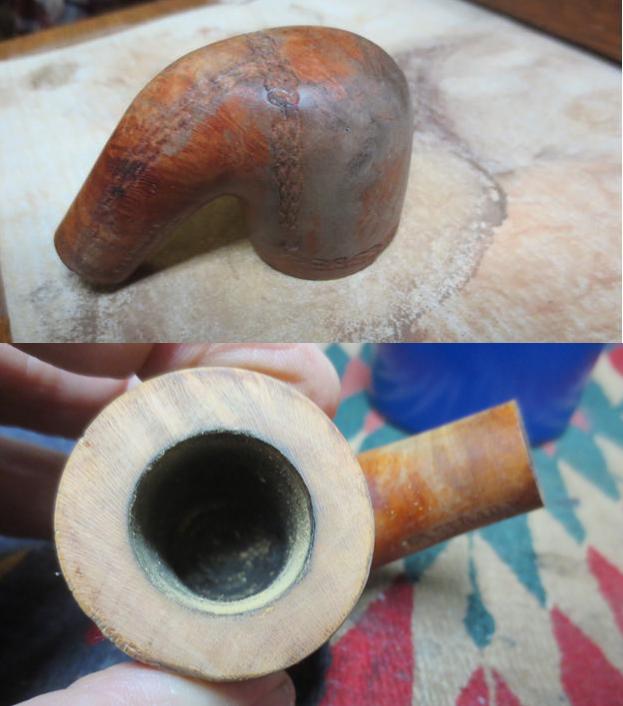
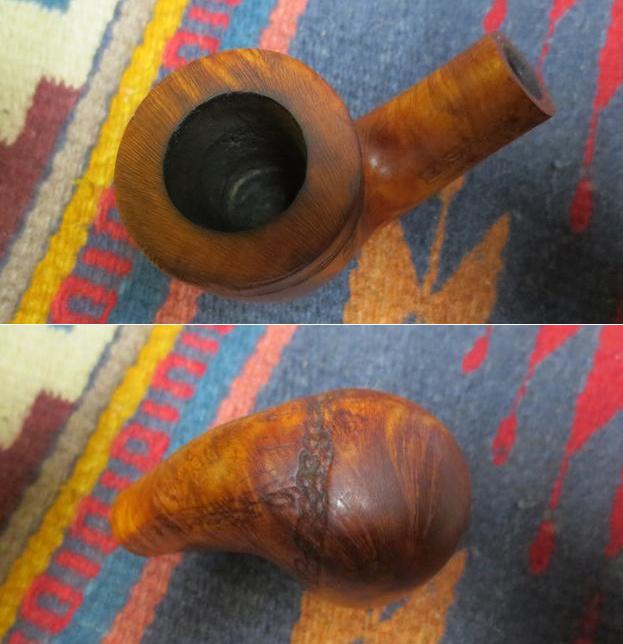
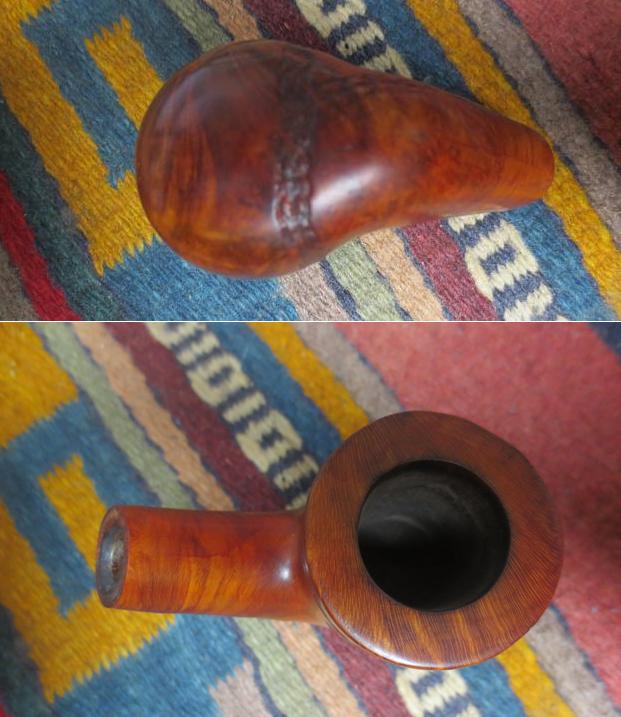
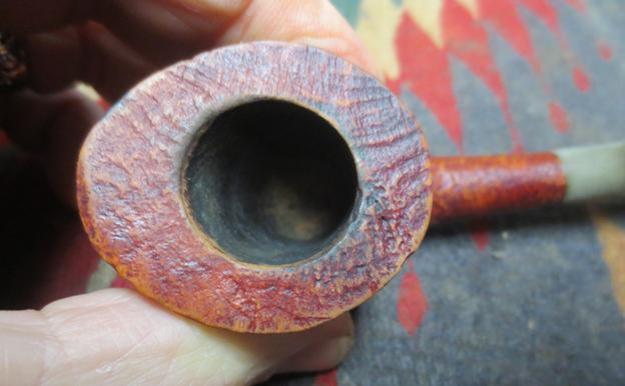
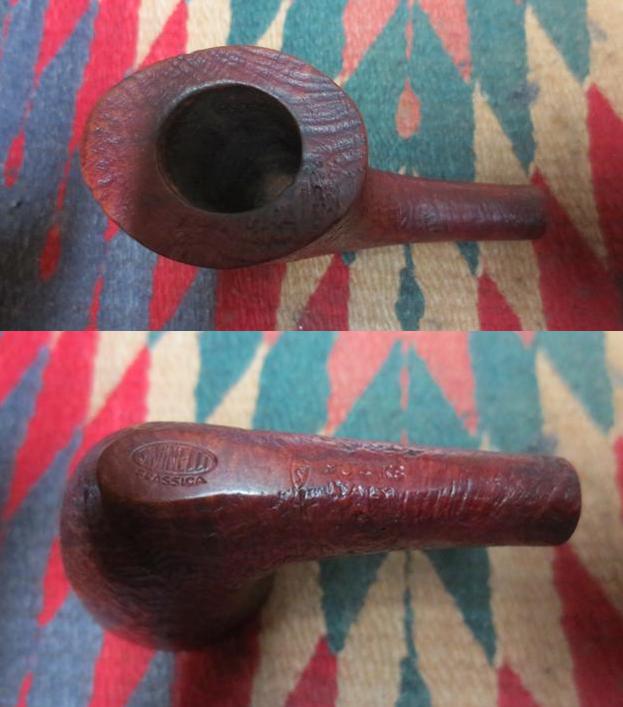
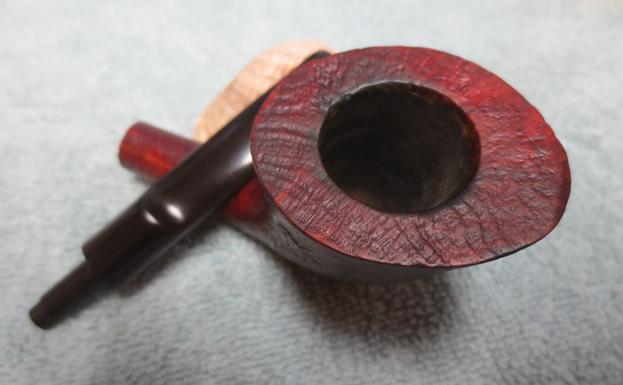
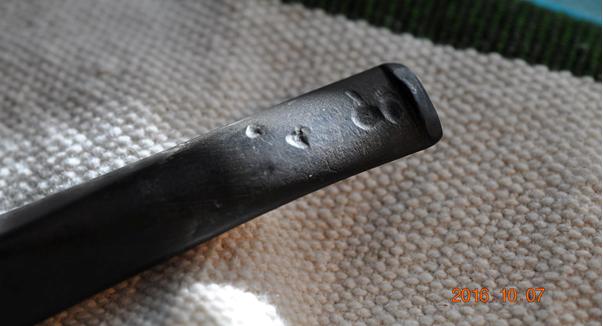
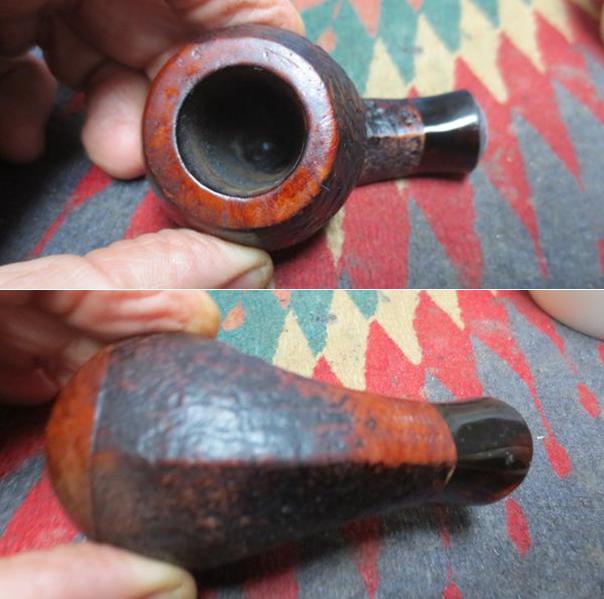
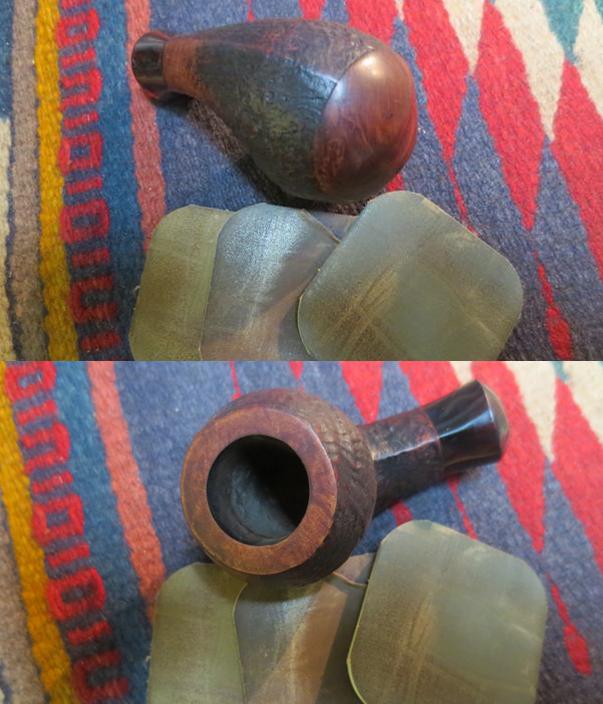
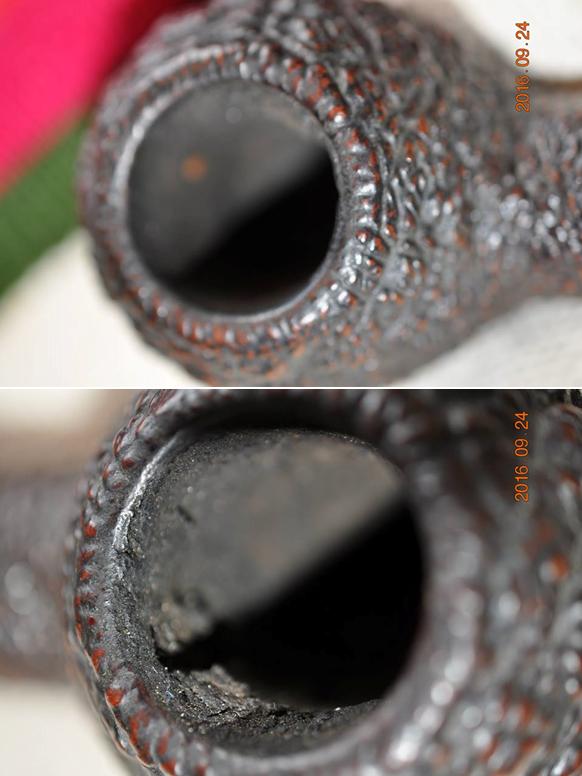
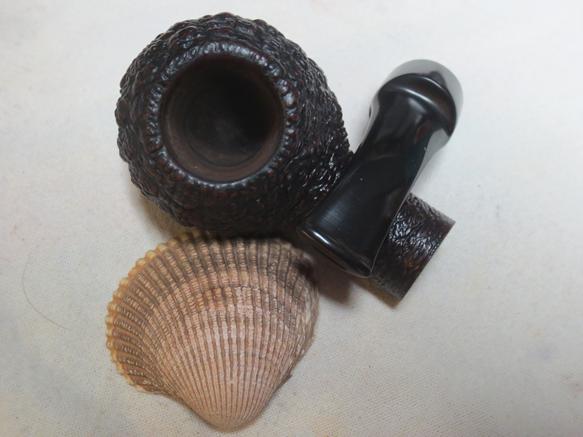
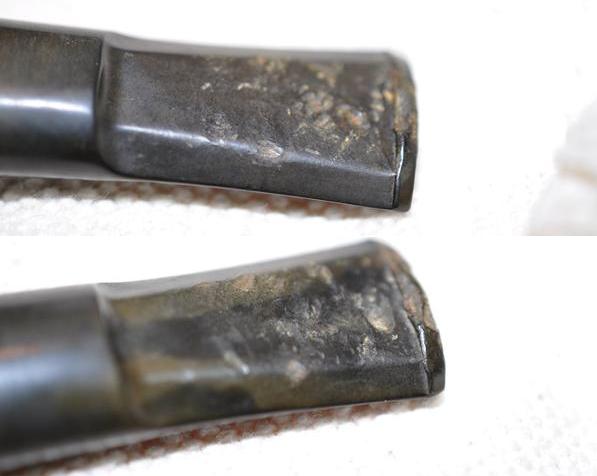
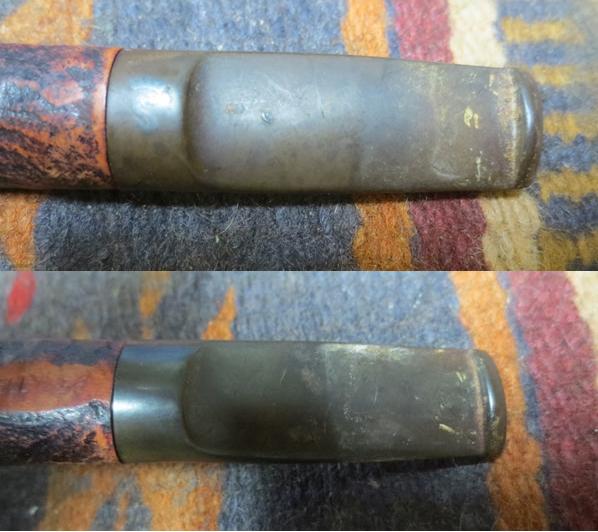
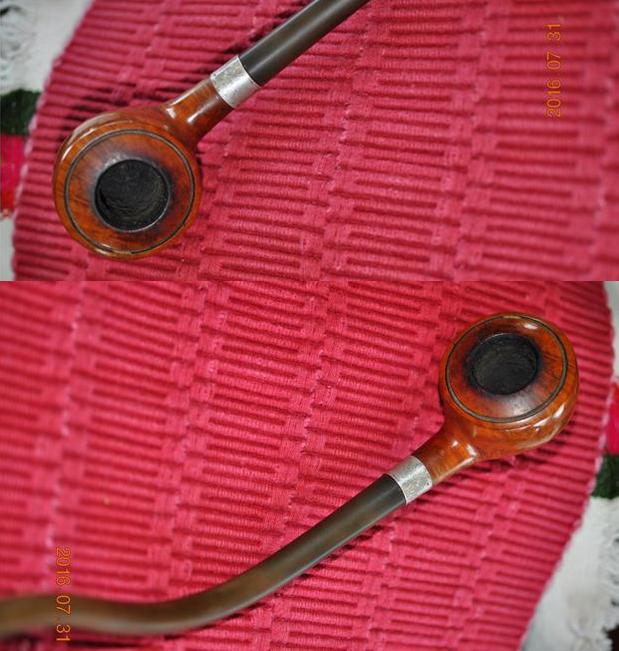
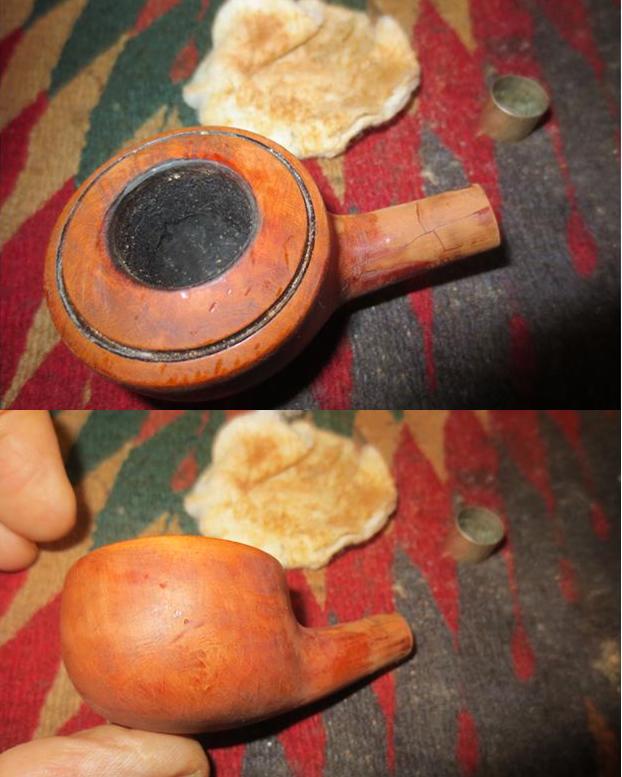
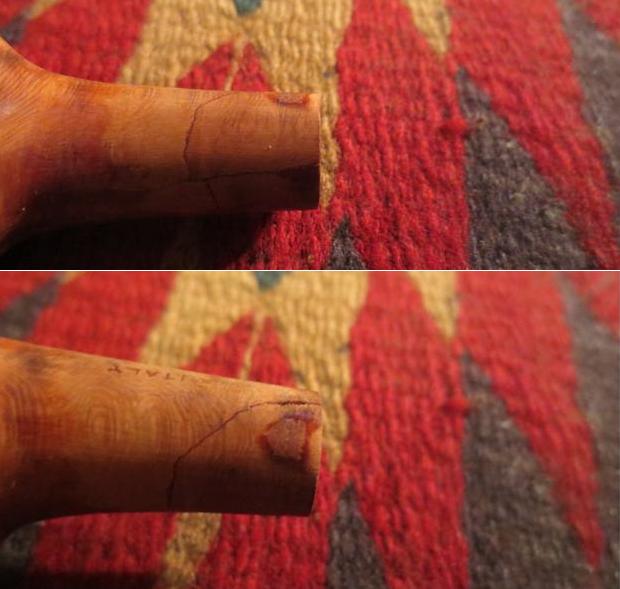
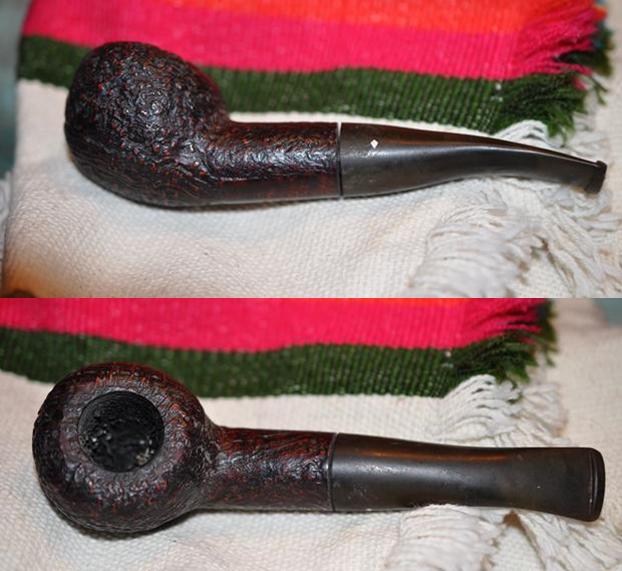
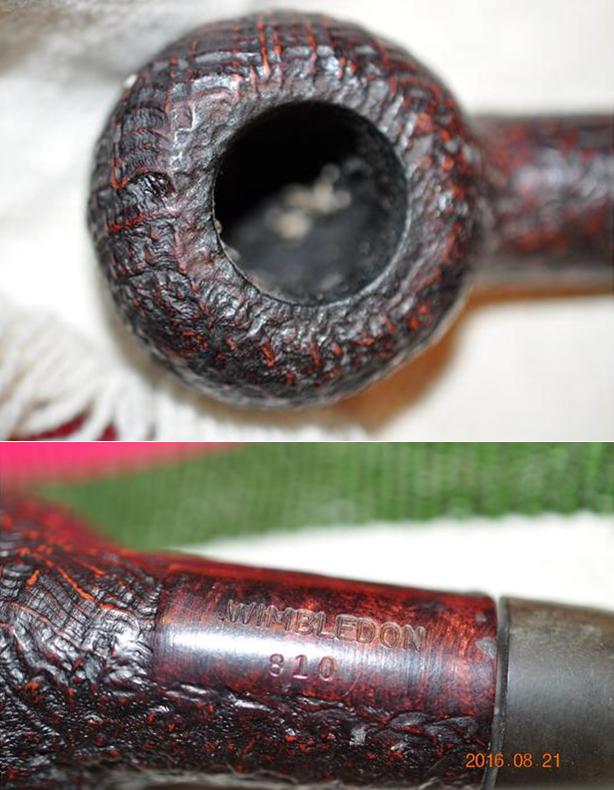
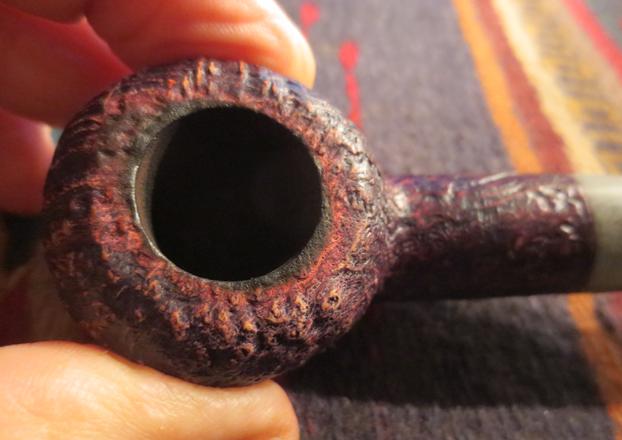
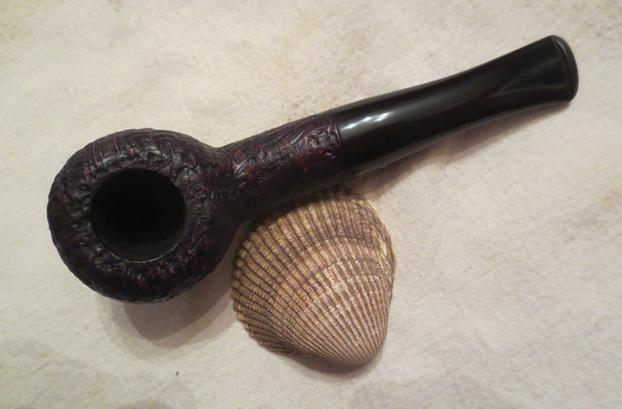
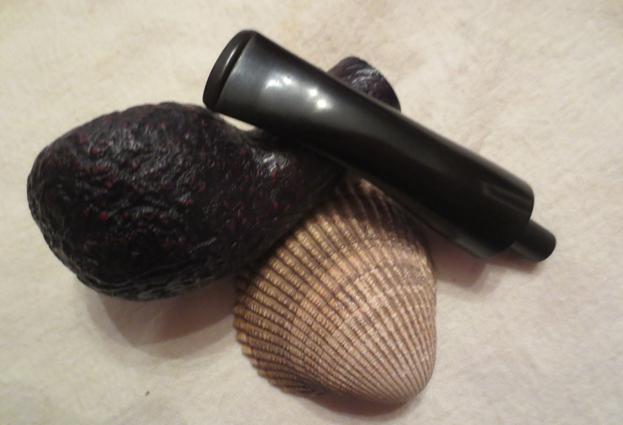
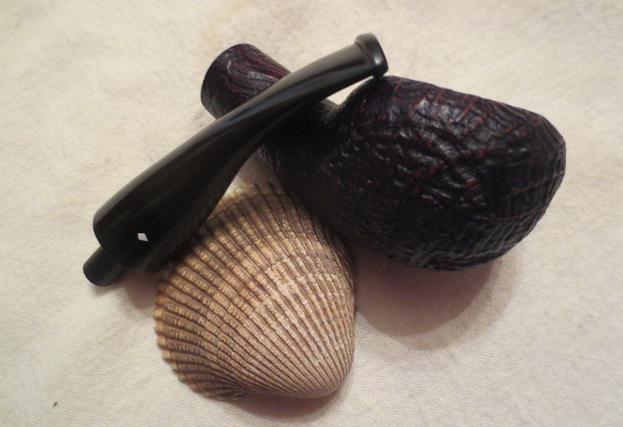
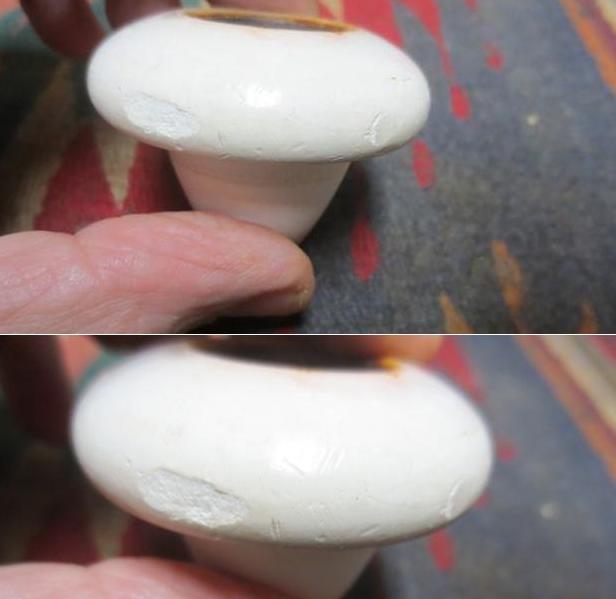
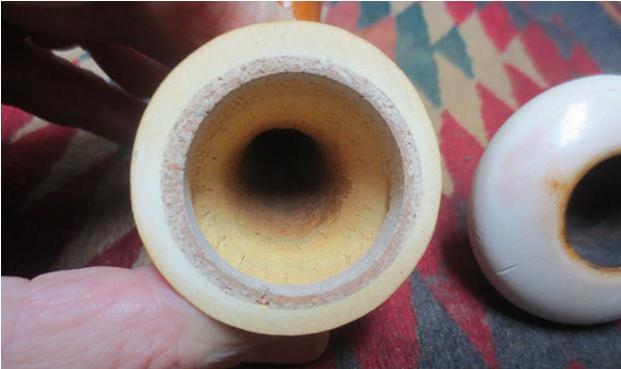 I took a close up photo of the bowl top and edges to show more clearly the kind of damage that would need to be addressed in cleaning this one up. You can see the nicks on the inner edge of the bowl and on the top. The burn marks went all the way around and out into the surface of the bowl. The scratches on the top are visible and many. The second and third photo below show the nicks in the out edge of the bowl. It looked to me that the bowl had been dropped some time in its life. There were two missing pieces and there were also a lot of scratches all the way around the outer edge of the bowl.
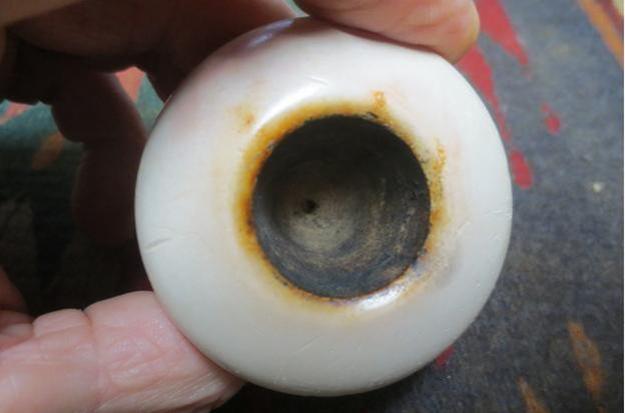
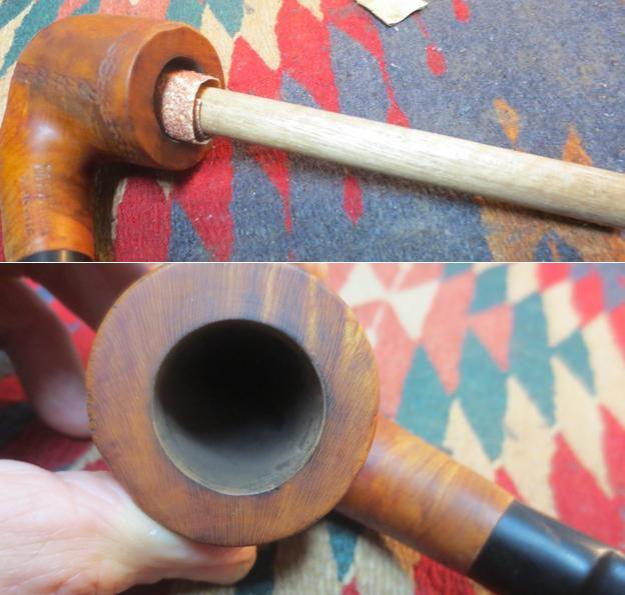
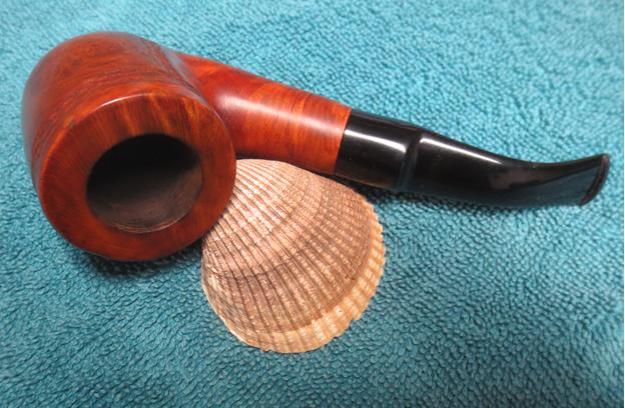
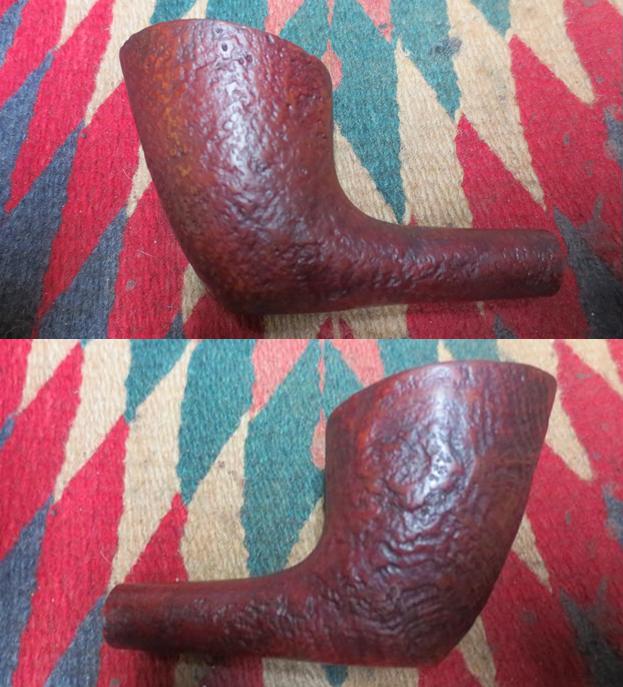
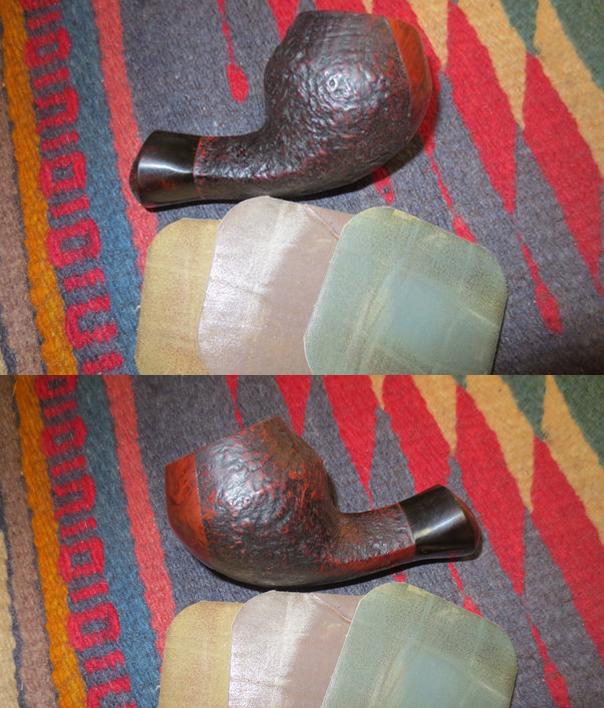
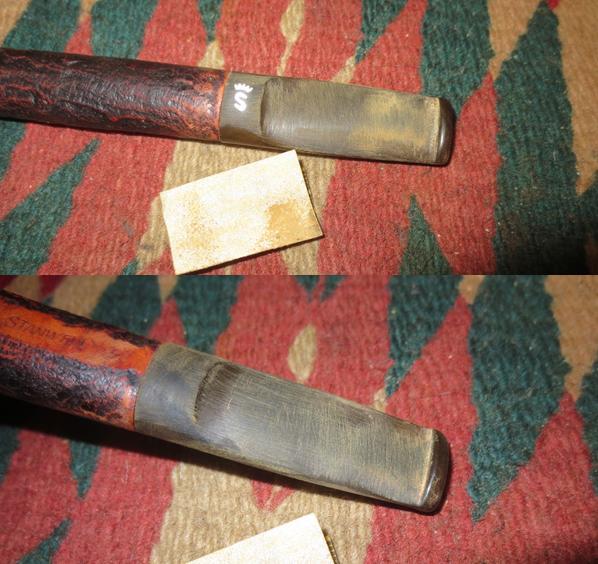
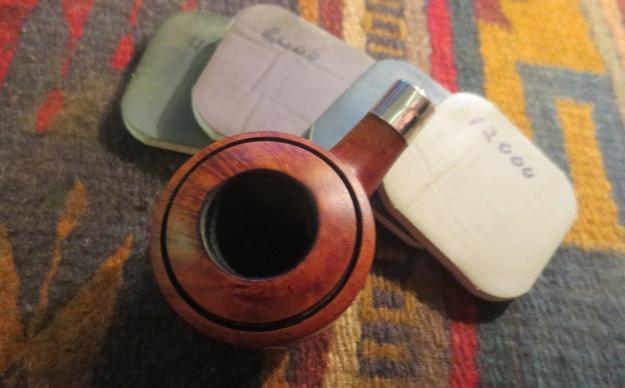
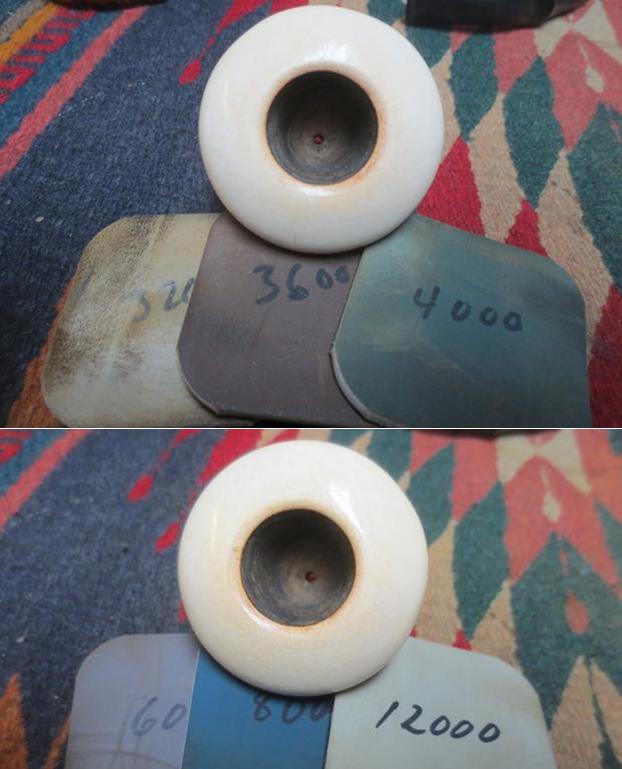
 I sanded out the as many of the scratches as possible with 220 grit sandpaper. I smooth out the missing chips on the edge of the bowl and reshaped the rounded edge of the bowl so that the chips were no long visible. I polished the meerschaum with micromesh sanding pads – wet sanding with 1500-2400 grit pads and dry sanding with 3200-12000 grit pads. I buffed the bowl with Blue Diamond to polish it to a shine. By the time I was finished most of the scratches and damage had been repaired and the bowl looked far better.
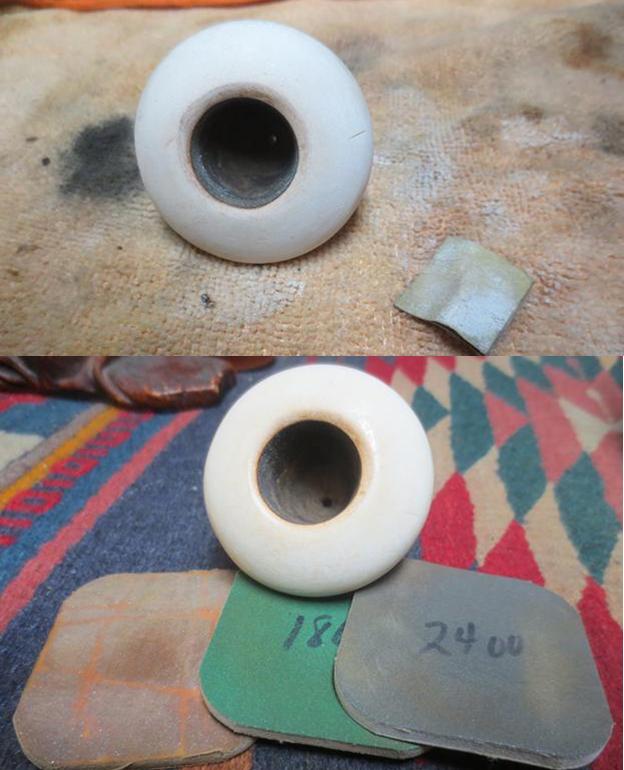
 I greased the cork with Vaseline to revitalize it and soften it. I rubbed it down and let it absorb before giving it another coat. Once it had been absorbed the cork was softer and more flexible. The bowl seated very well when pressed into place.
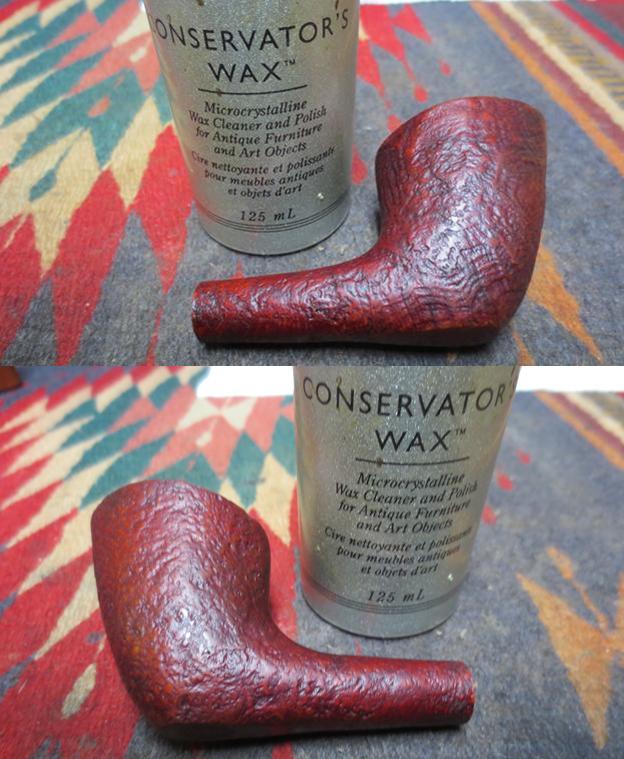
 I waxed the gourd with Conservator’s Wax and buffed it by hand with a soft cloth. I repeated the process and after buffing it with the cloth hand buffed it a final time with a microfibre cloth.
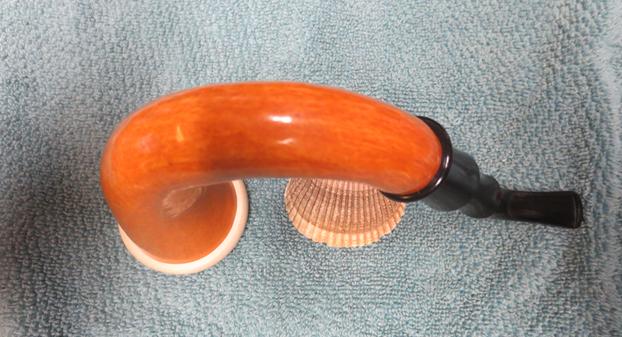
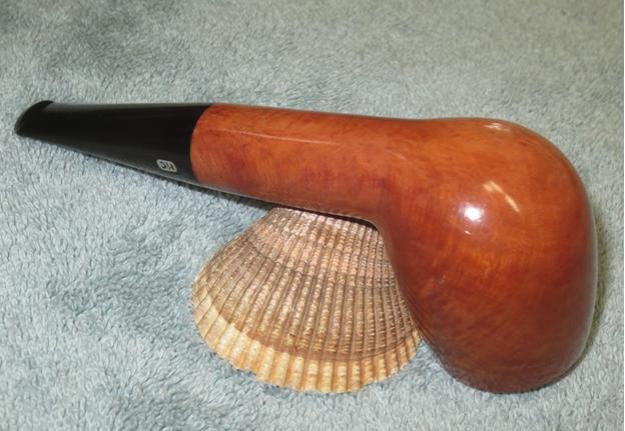
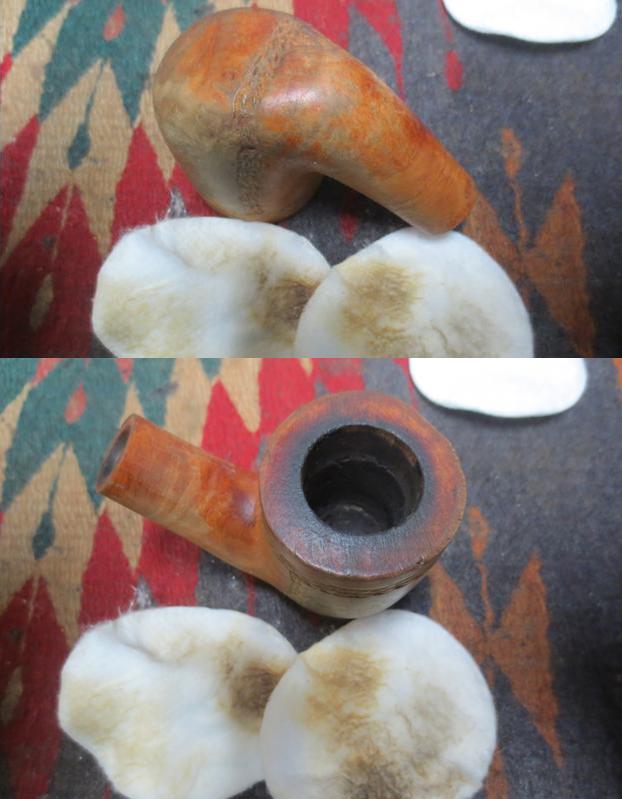
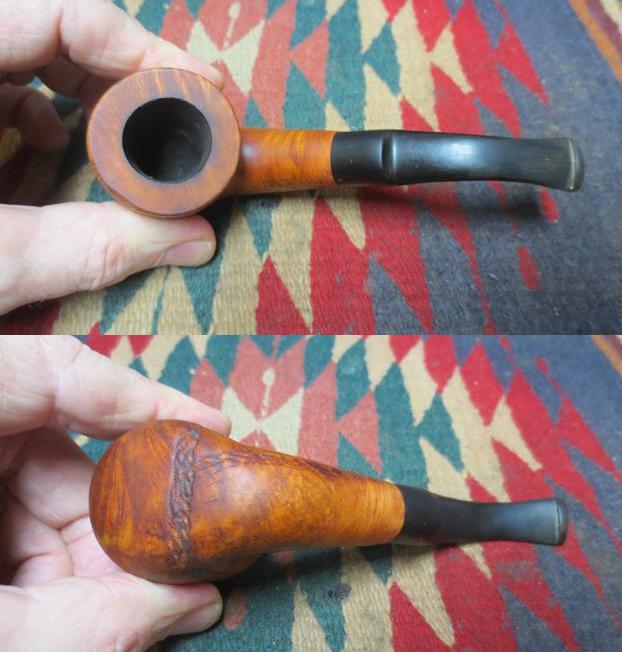
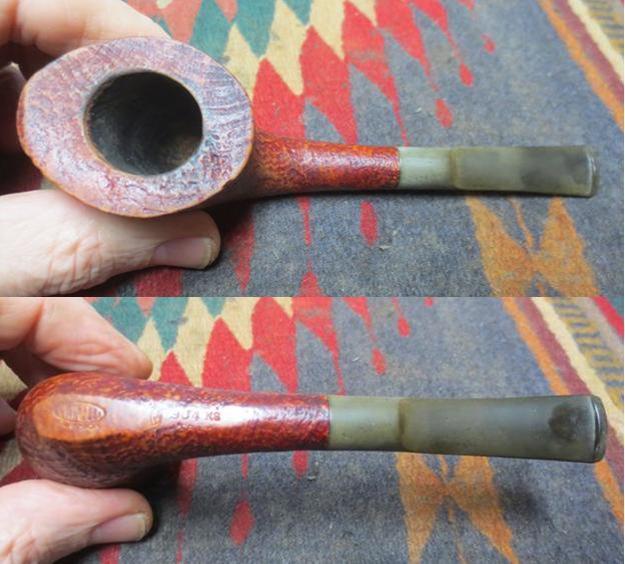
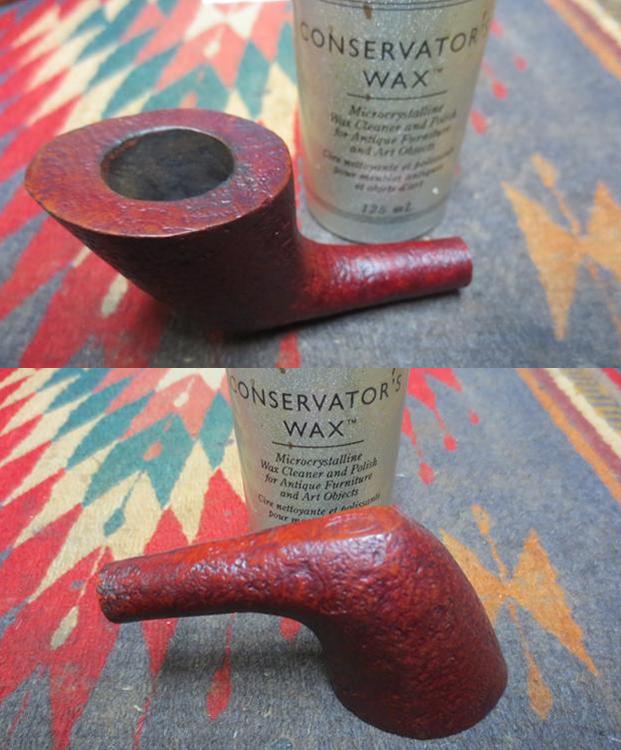
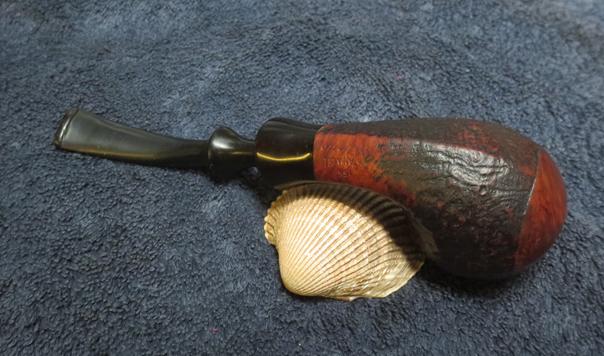
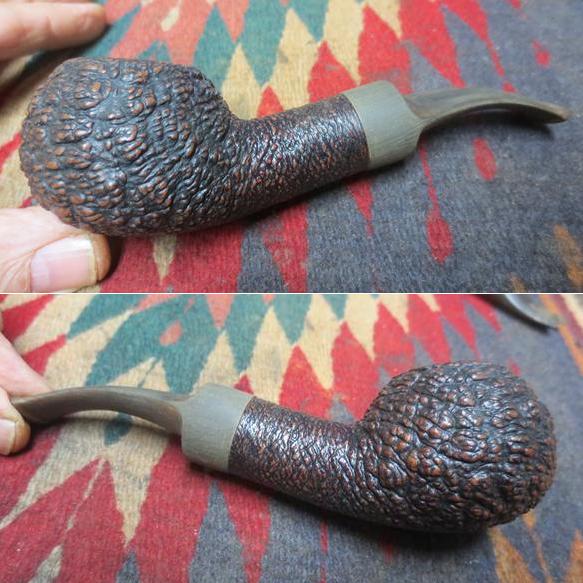
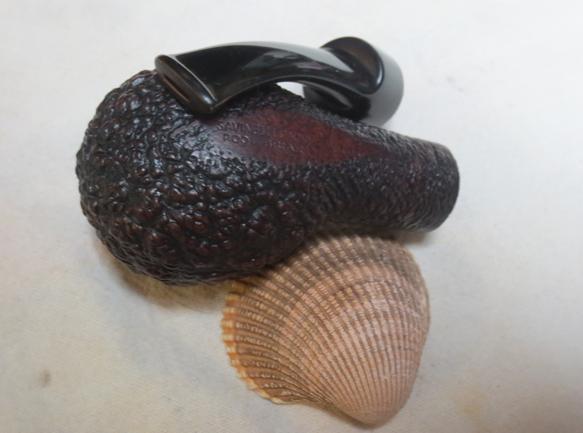
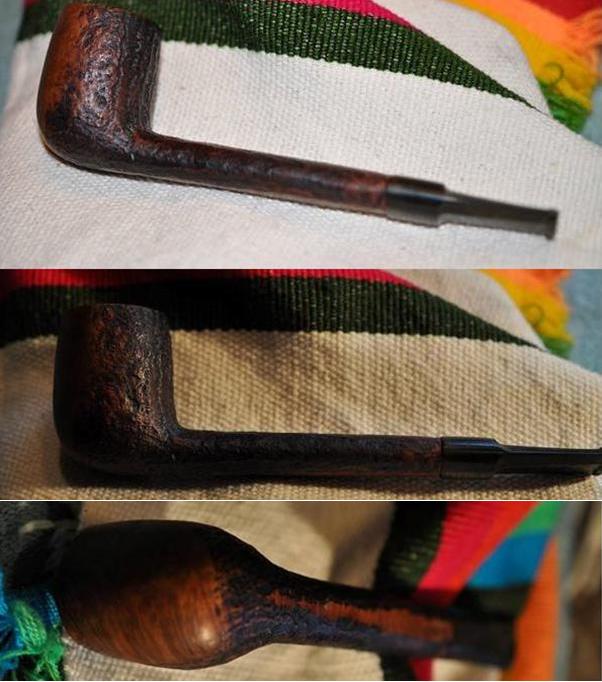
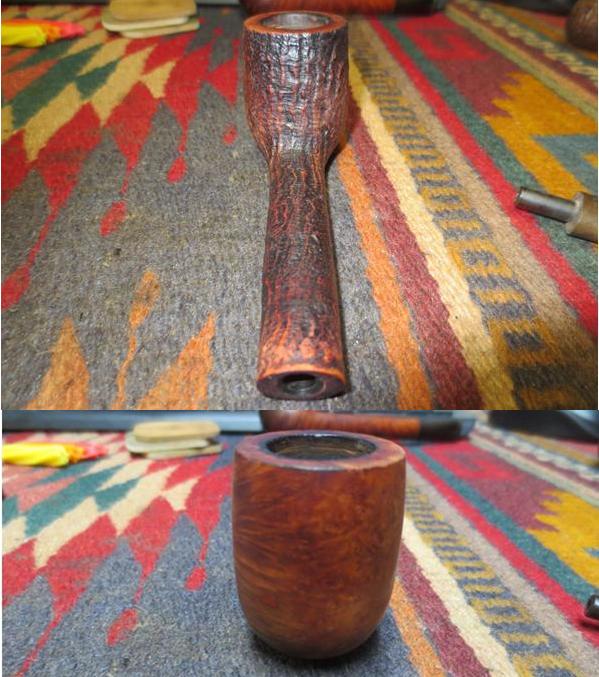
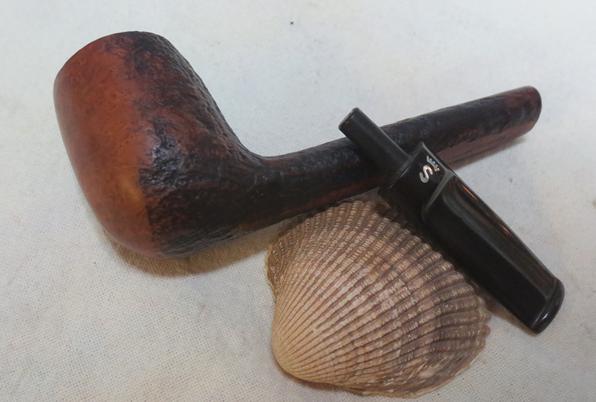
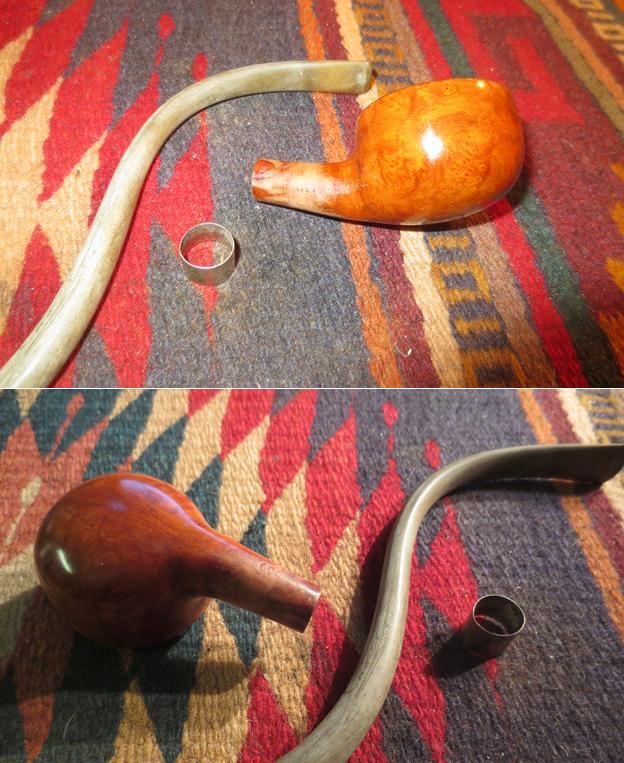
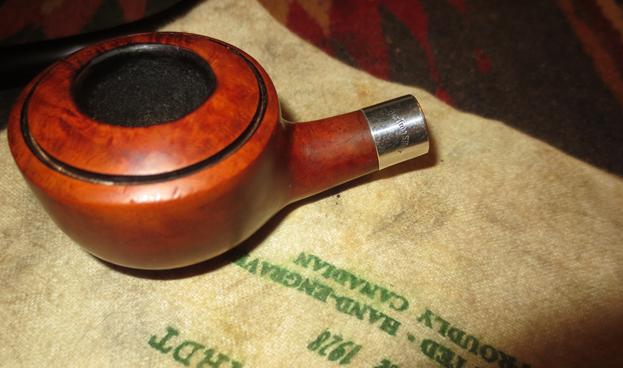
 I pressed the bowl into the gourd and it fit really well. The next two photos show the polished bowl and gourd. The pipe is already looking far better than it did when I started the refurbish on it. There is a shine to it now.
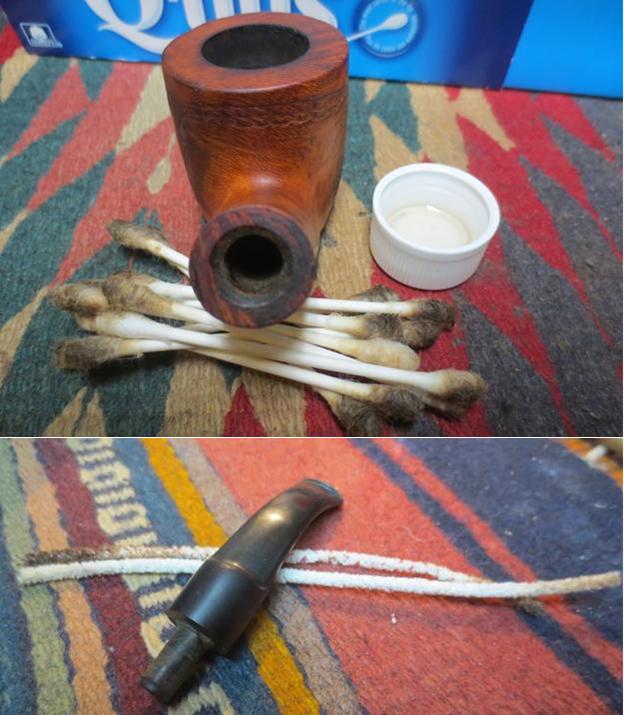
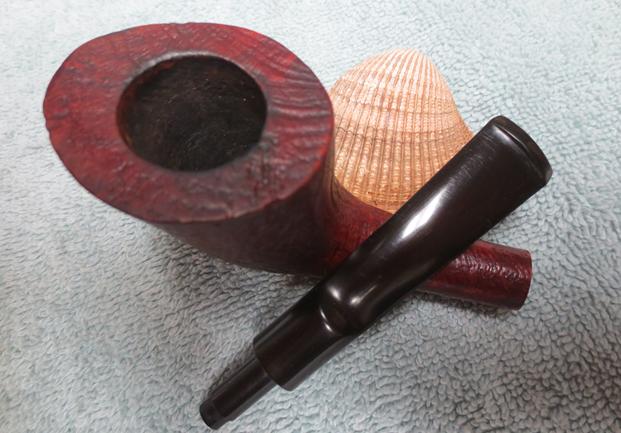
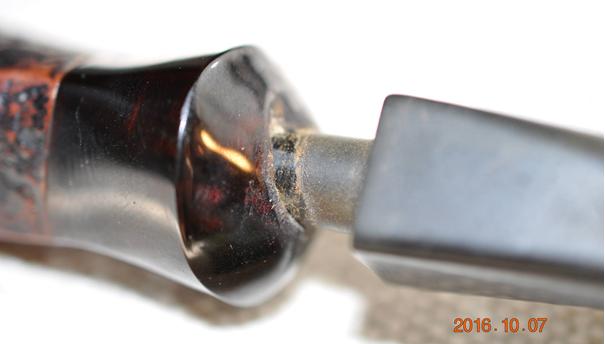
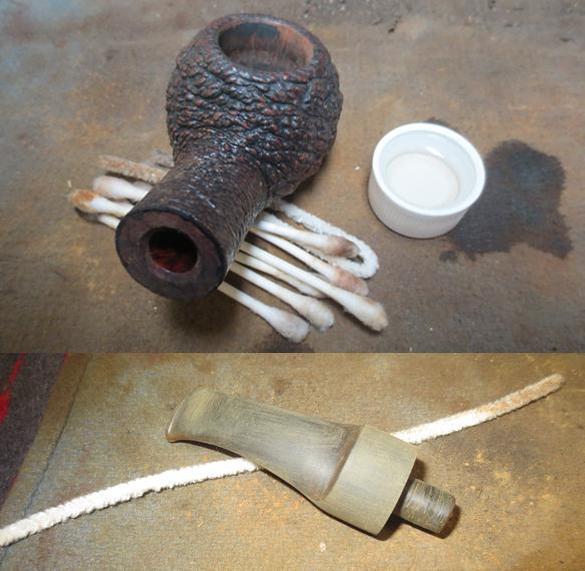
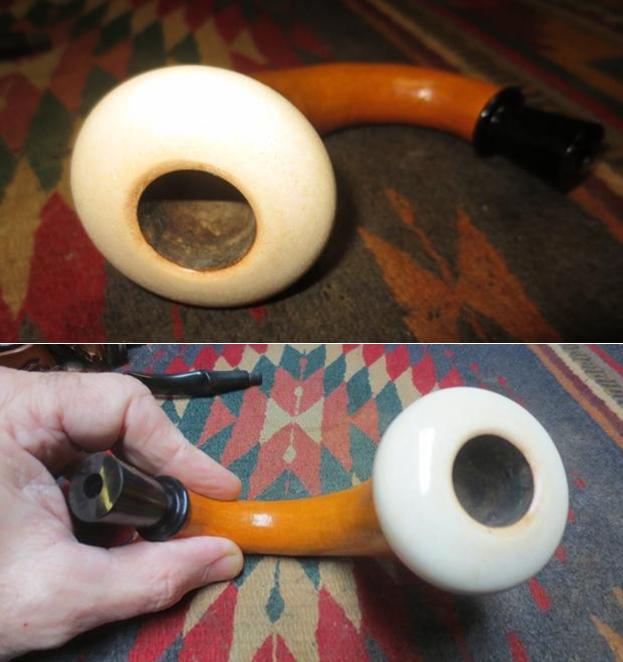 I cleaned out the shank, the mortise and the airway in the stem with pipe cleaners, cotton swabs and alcohol. It was remarkably clean which made me more certain that the pipe itself was unsmoked and a used replacement bowl had been added later.
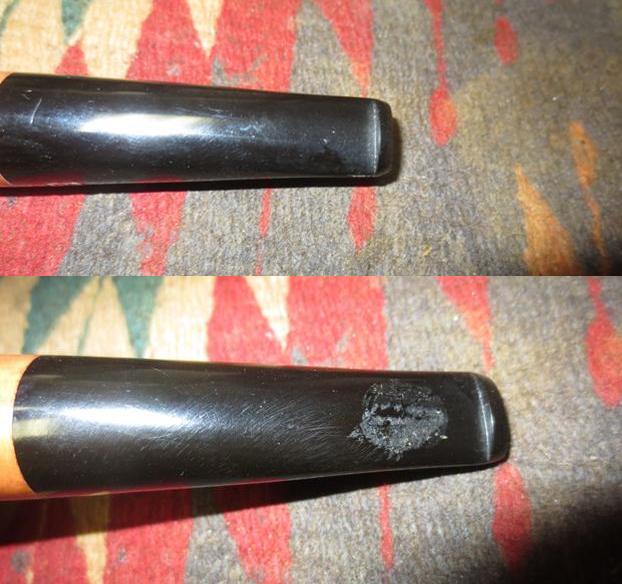
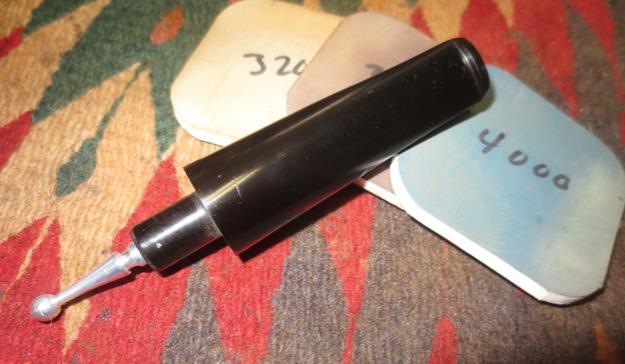
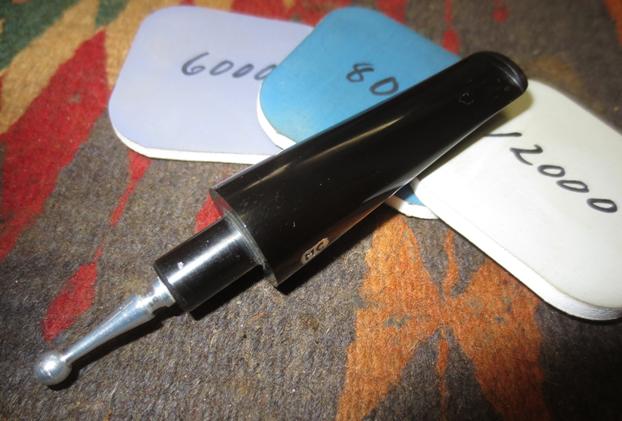
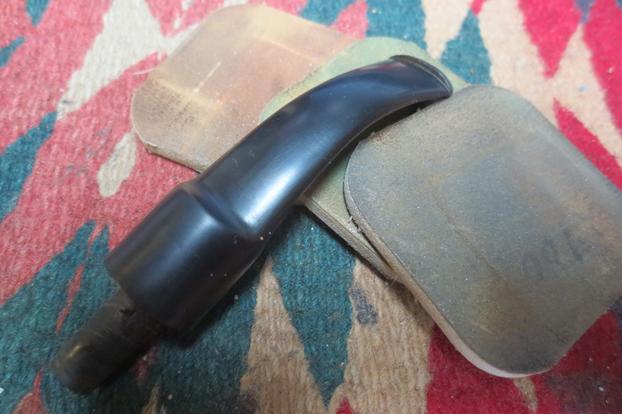
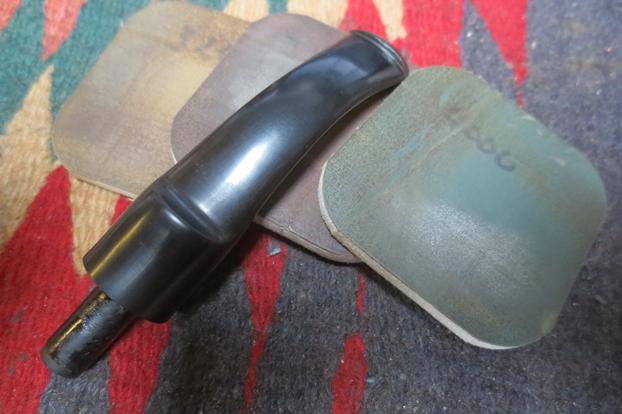
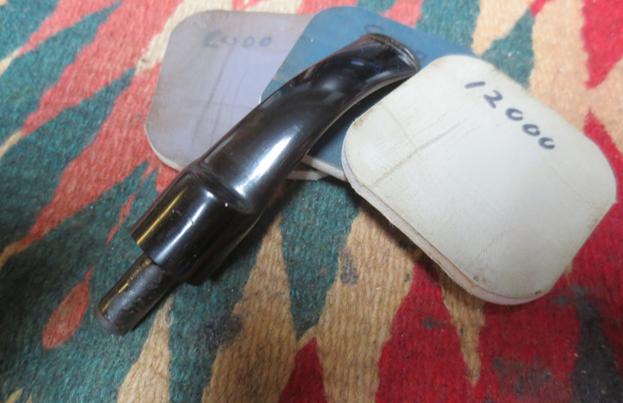
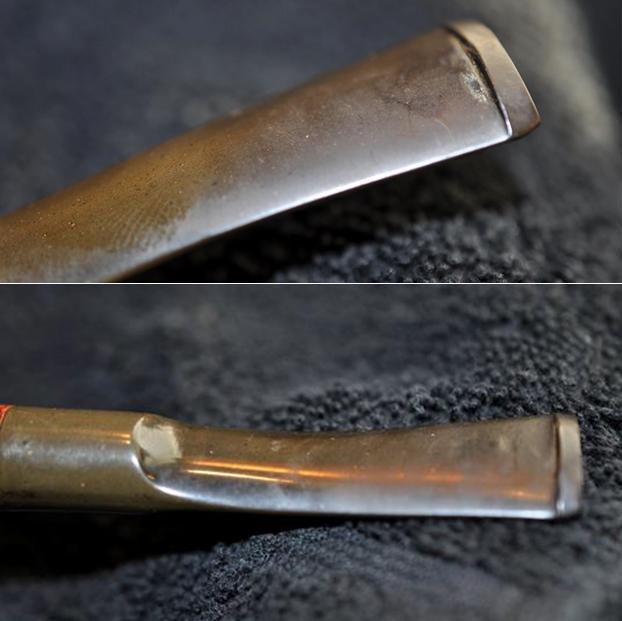
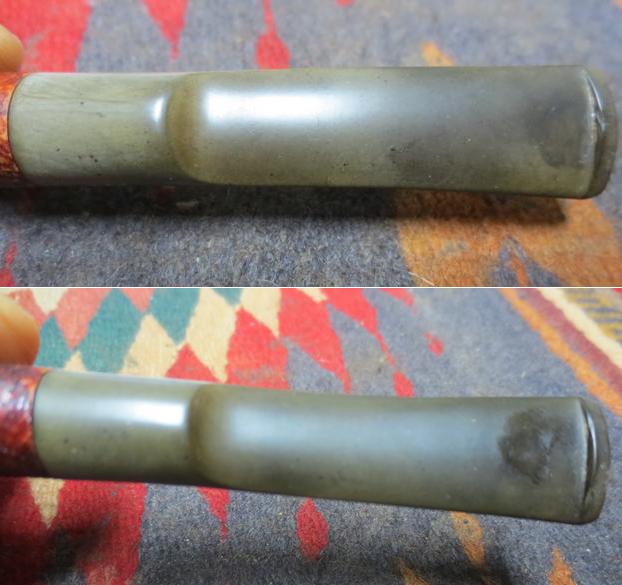
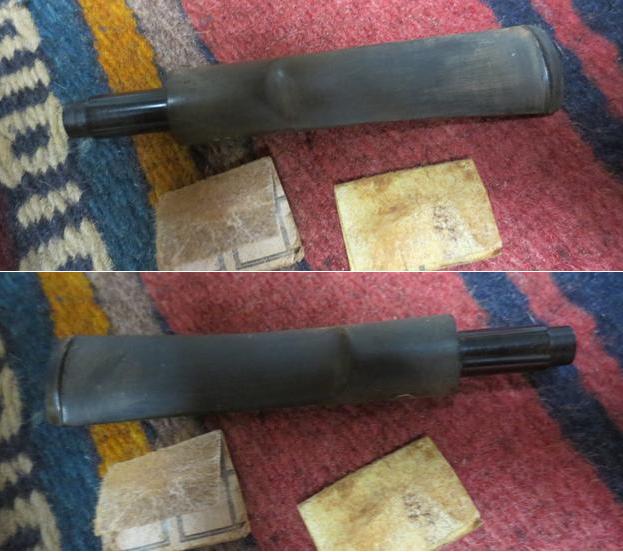
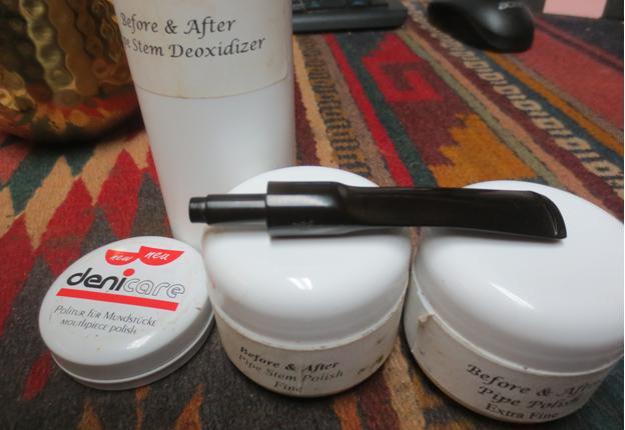
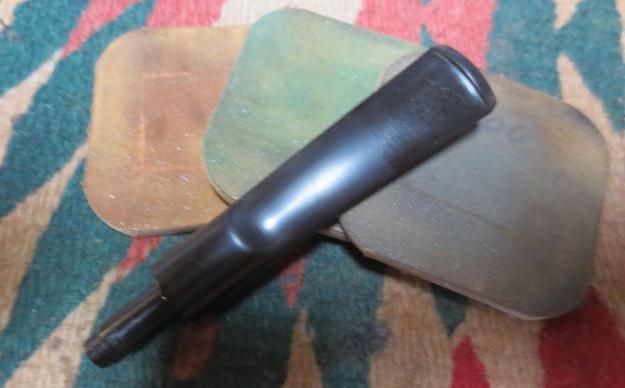
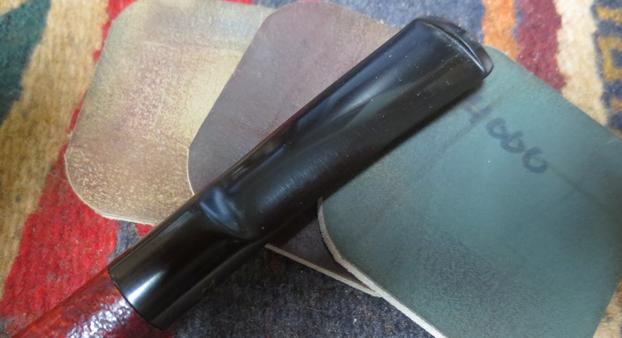
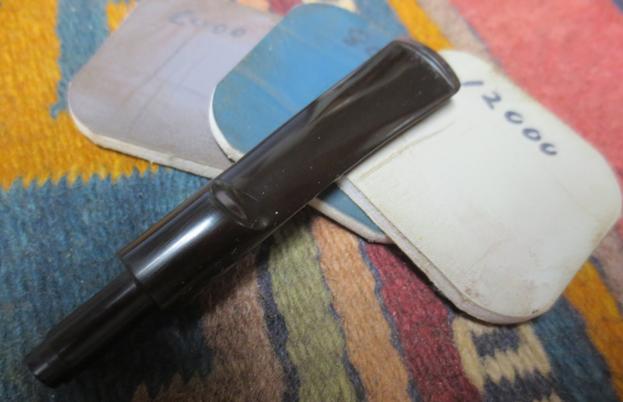
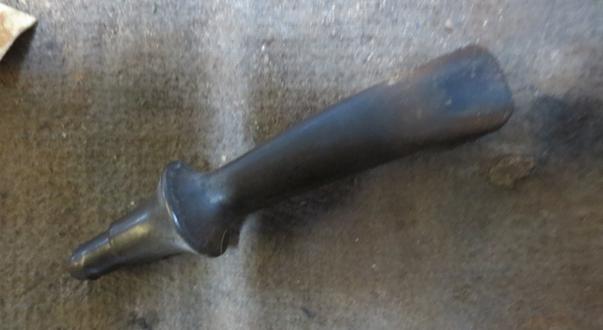
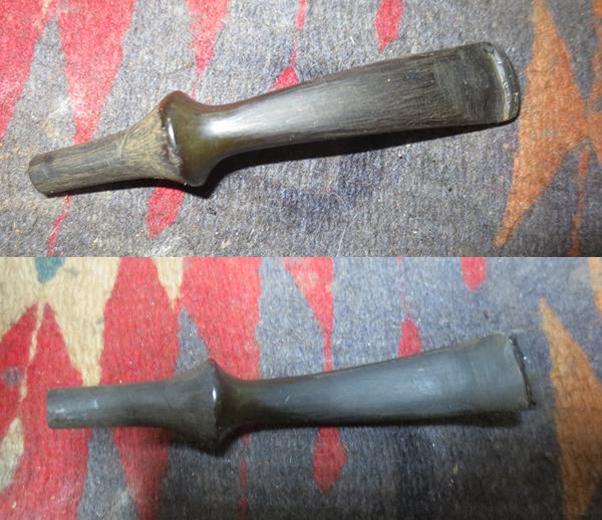
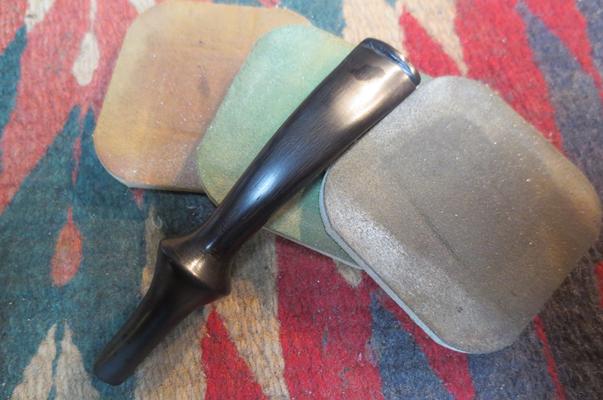
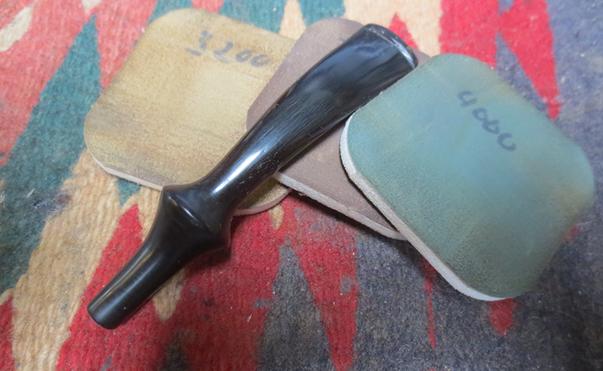
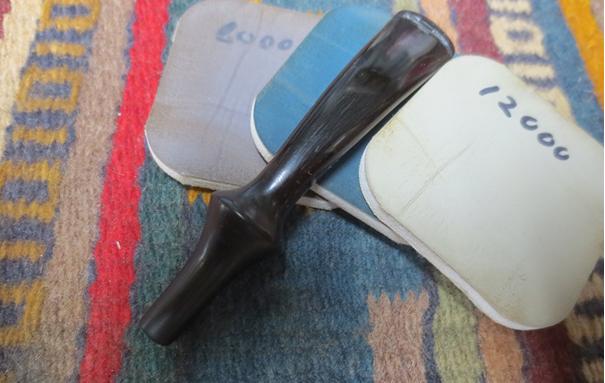
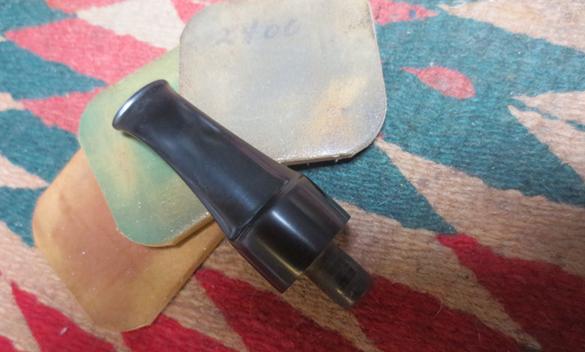
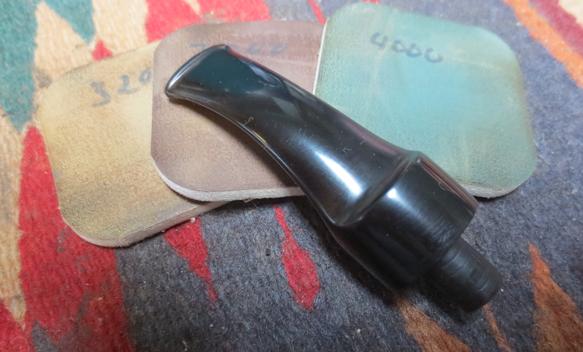
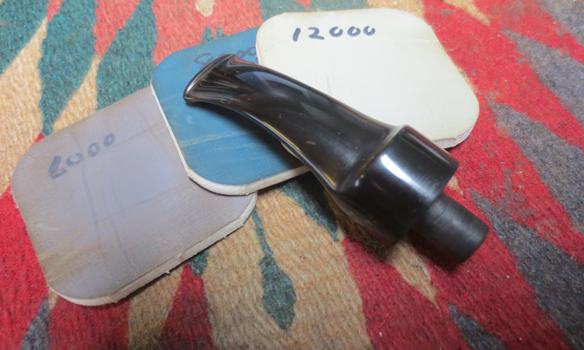
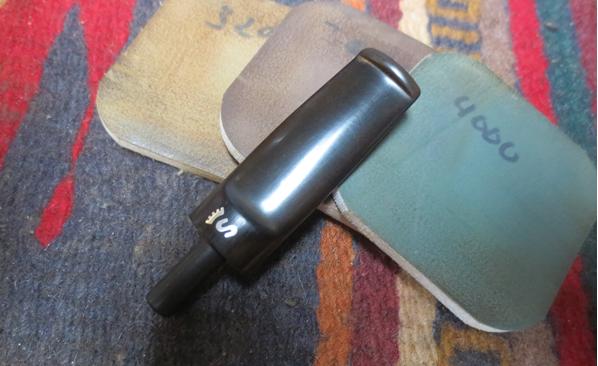
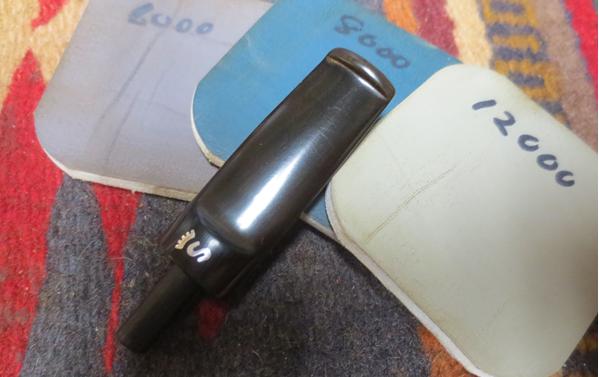
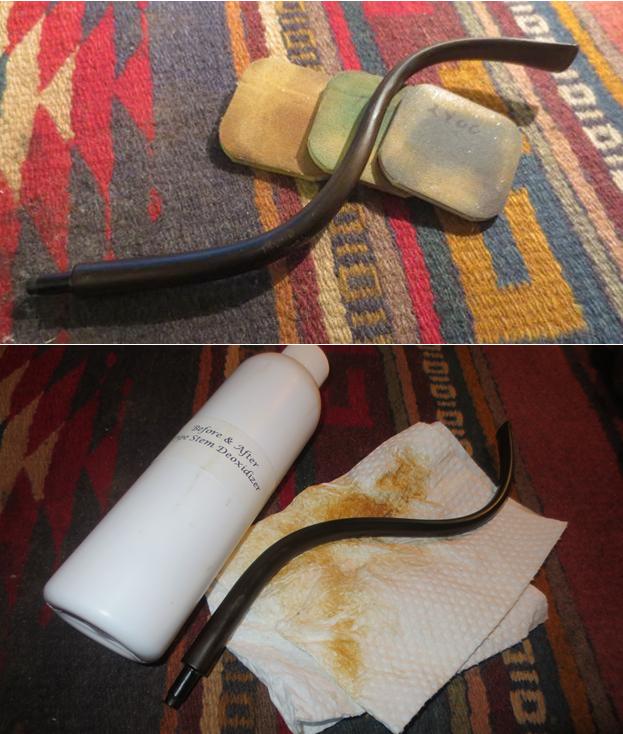
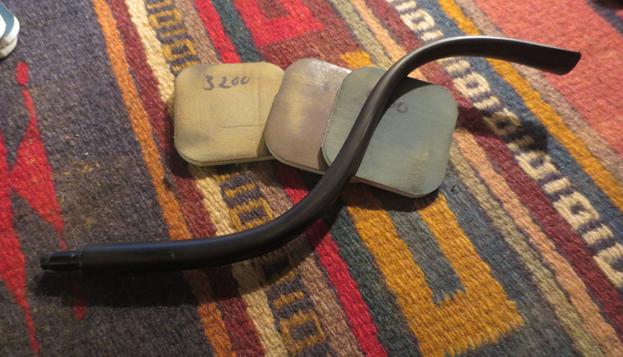
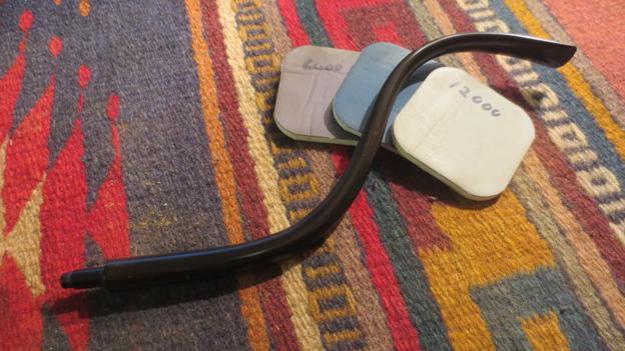
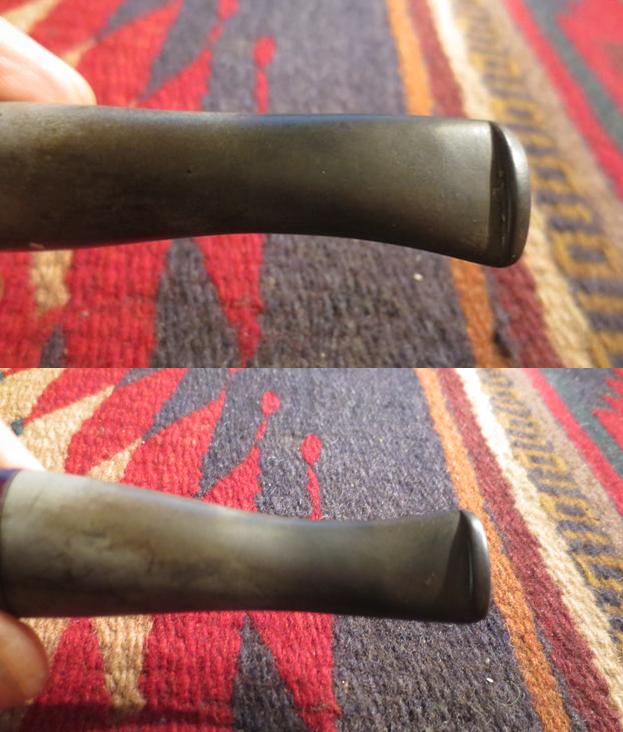
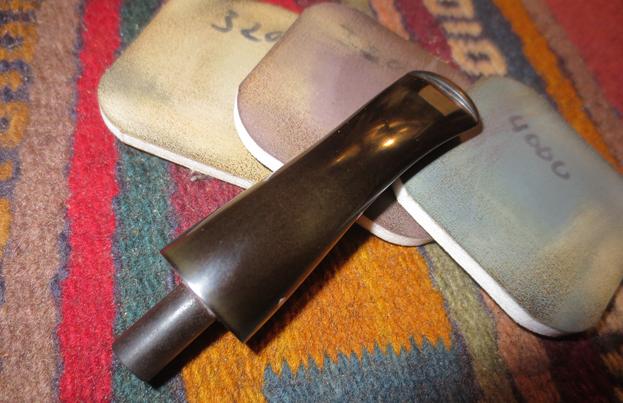
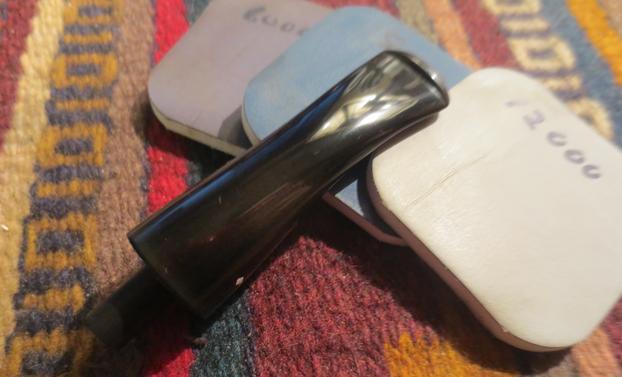
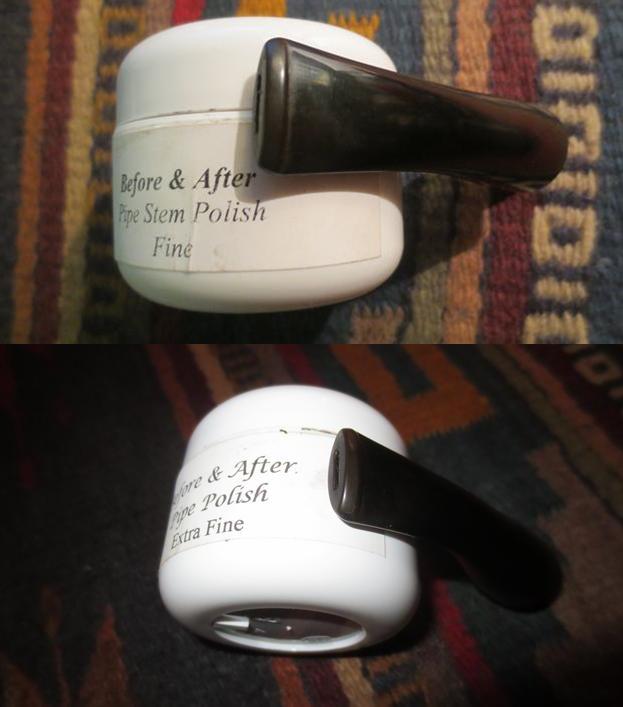
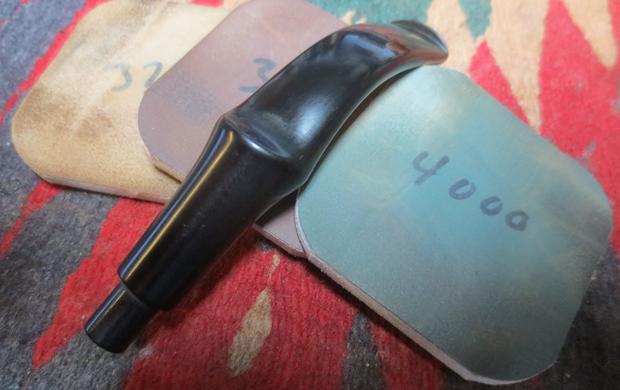
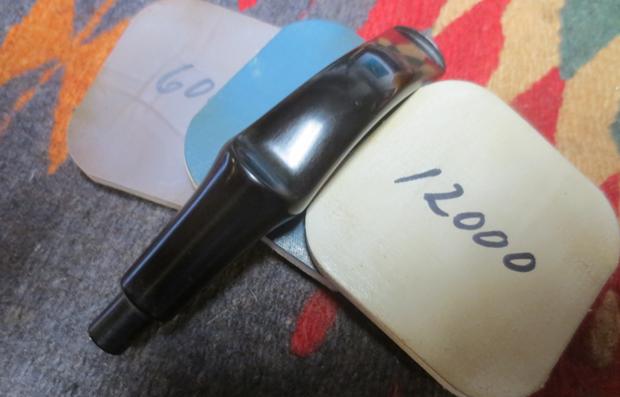
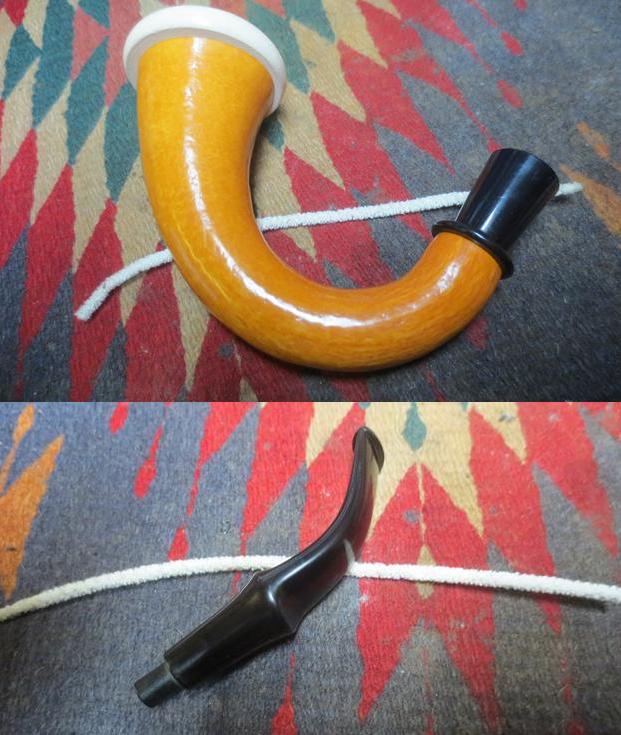 I polished the unused stem with micromesh sanding pads – wet sanding with 1500-2400 grit pads. I buffed the stem with red Tripoli to remove the light oxidation and then finished dry sanding with 3200-12000 grit pads. I gave the stem repeated coats of Obsidian Oil after the first set of pads and the buffing and after each set of three pads after that. I gave it a final coat after the sanding with the 12000 grit pad and then set it aside to dry.
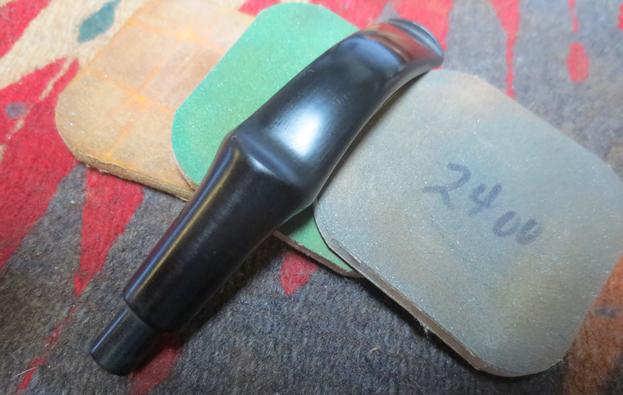
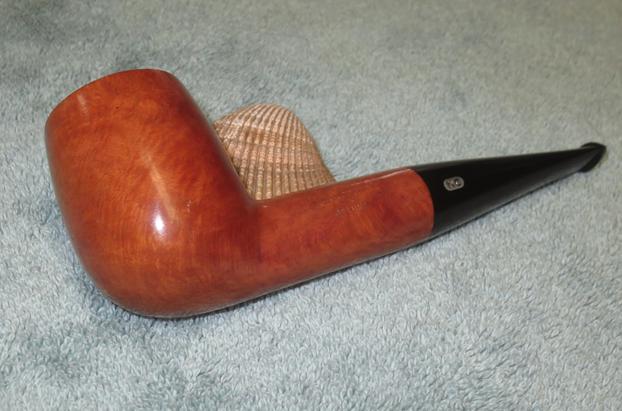
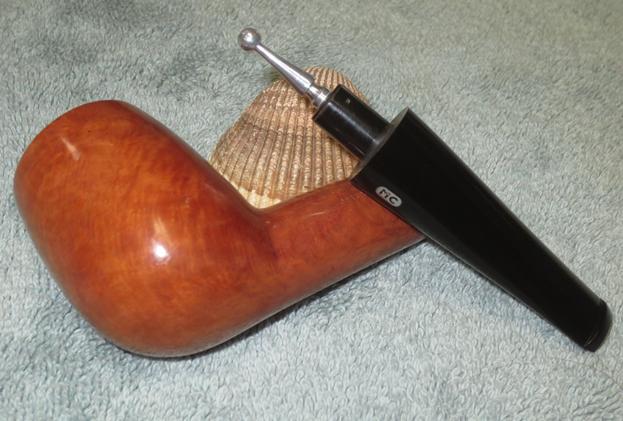
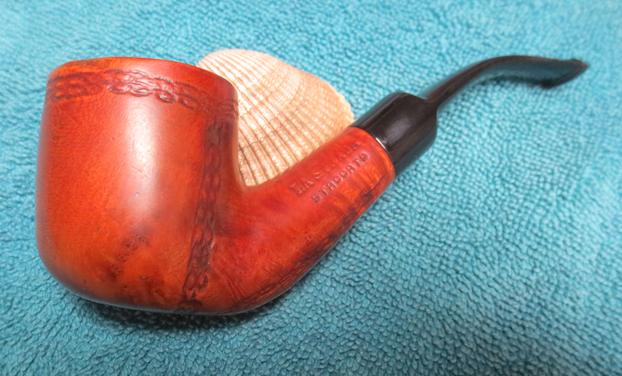
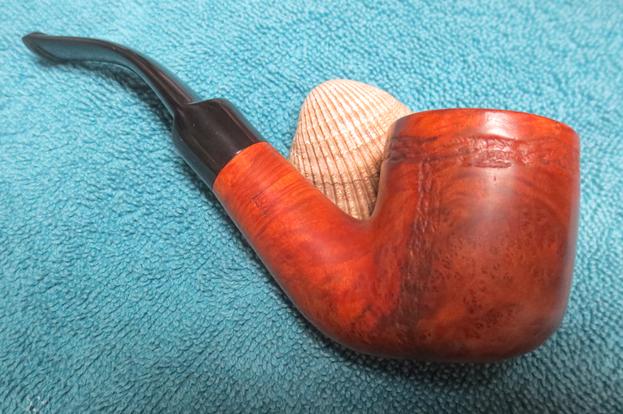
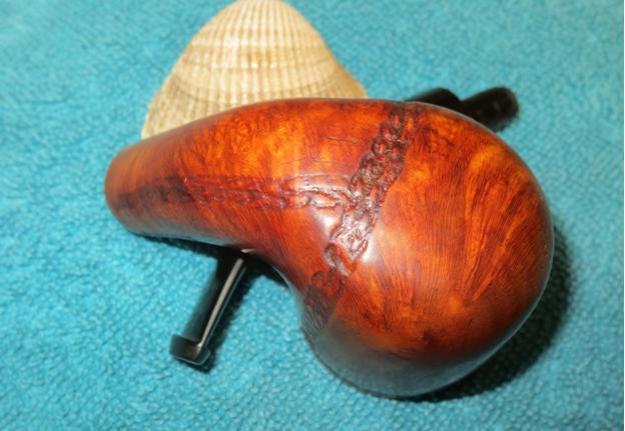
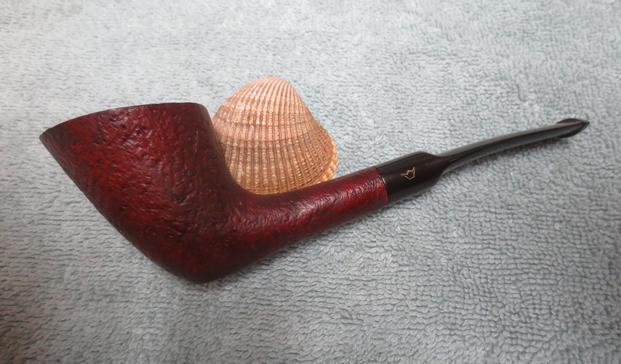
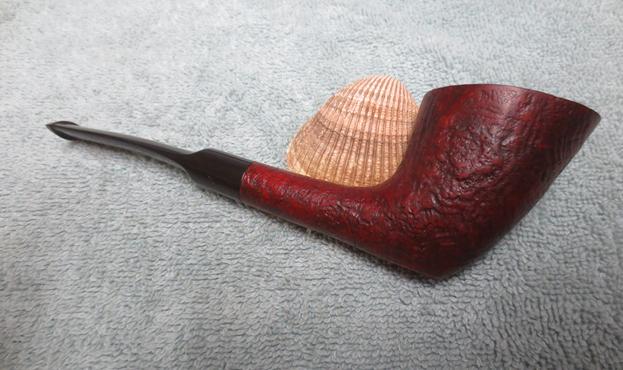
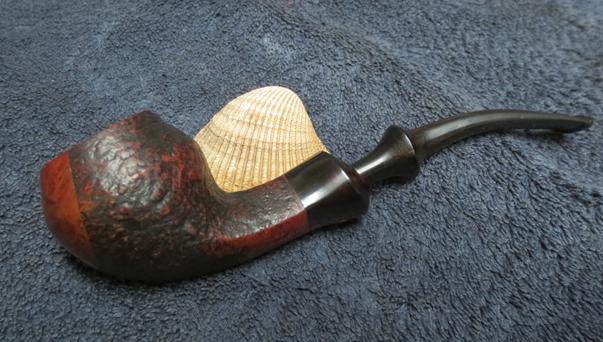
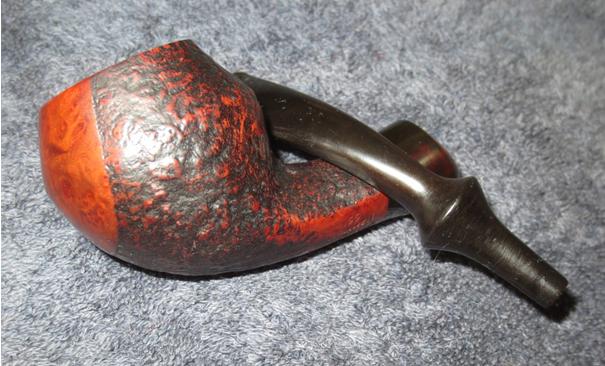
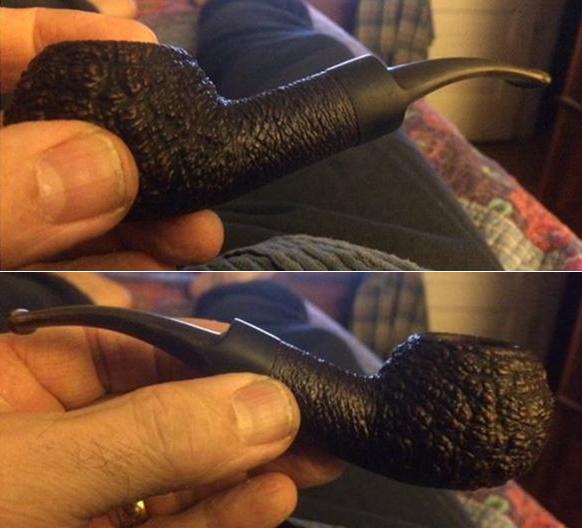
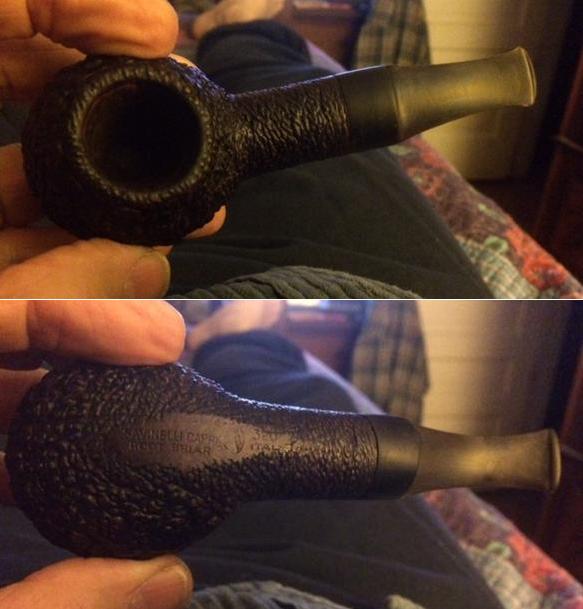
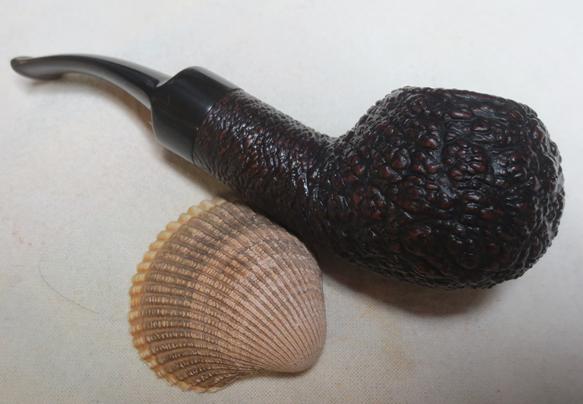
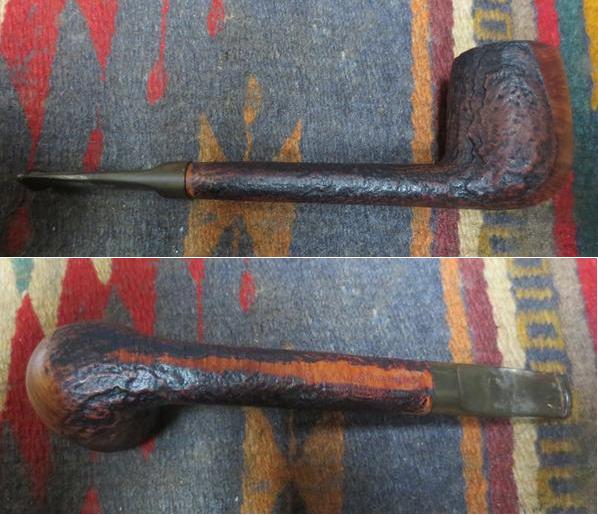
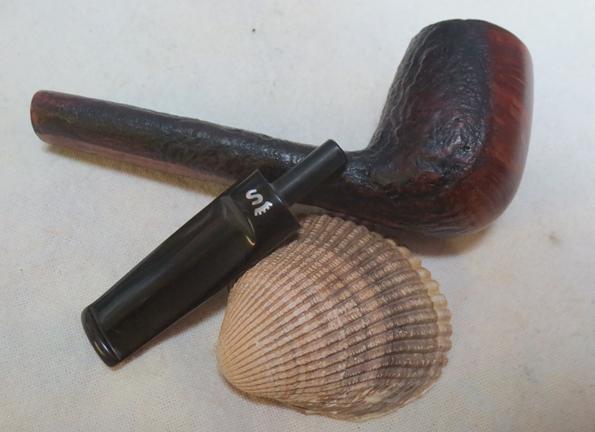
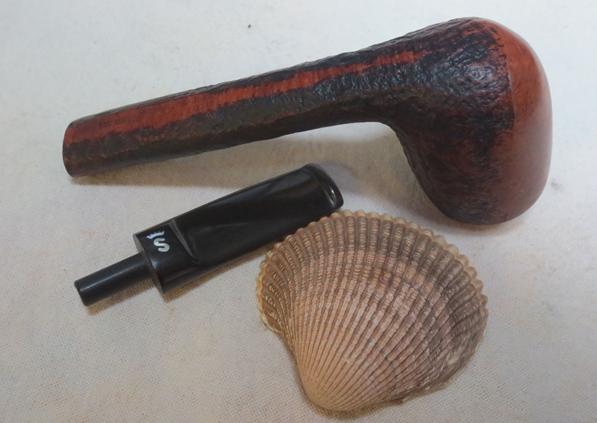
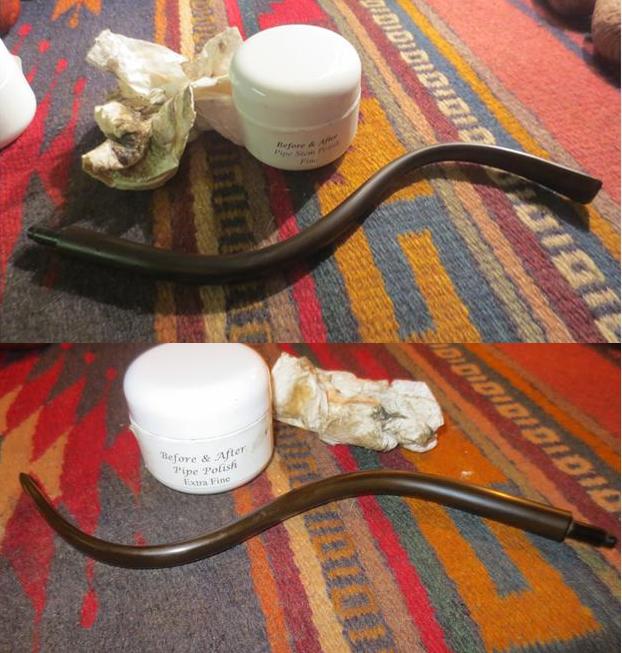
 I gave the stem multiple coats of carnauba wax and buffed it with a clean buffing pad to raise the shine. I removed the bowl and carefully buffed the gourd with a clean buffing pad to raise the wax shine on it as well. I put the pipe back together and hand buffed it with a microfiber cloth to deepen the shine. The pipe looks really good now that it is finished. You would be hard pressed to find the damaged areas on the bowl sides and the scratches on the rim top look really quite good. The bowl has a light patina that remained after I waxed it with beeswax. It is a beauty and will serve someone well. It will be available on the rebornpipes store shortly. If you have been looking for a gourd calabash this one may well fit the bill. Thanks for looking.