Blog by Steve Laug
My brother and I recently purchased some pipes from an estate sale from an old pipeman named Gene in Pocatello, Idaho. There were a lot of great pipes in the lot. I have written about the pipes on a previous blog: (https://rebornpipes.com/2016/10/07/a-good-day-hunting-orchestrated-between-british-columbia-and-idaho/). On his way home my brother stopped at an antique shop and found pipes that were by far the most prestigious of the finds. These included a Charatan’s Make Canadian Sandblast 0121, the Four Dot Sasieni Pembroke with a patent number, Pat.No. 150221/20, what we thought was a Dunhill Bruyere Canadian EC 4R (Once I got it I was pretty certain it is actually a Root Briar) and a Jost’s Supreme Diamond Shank bent billiard. I wrote about the restoration of the Sasieni earlier (https://rebornpipes.com/2016/11/05/restoring-a-classic-find-a-sasieni-four-dot-london-made-pembroke/). The second pipe that I have chosen to restore is the Dunhill Root Briar EC 4R Canadian.
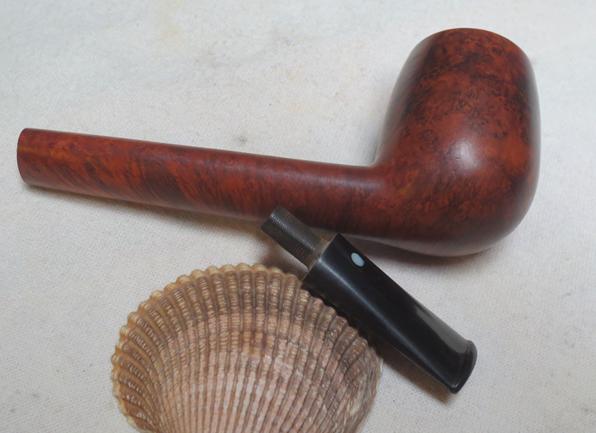
When my brother was cleaning up the pipe he called me and let me know that he had found a Dunhill on his recent hunt. He was excited and surprised by the find. The pipe obviously had a replacement stem as there was no white dot. The stamping had been buffed so much that it was unreadable except with a bright light and a lens. He read me the stamping on the shank. Near the bowl on the left side of the top of the shank it was stamped EC and mid shank on the left it read Dunhill over Root Briar. On the top right side mid-shank it read Made in over England with a 6 next to the D. That would make it a 1966 pipe if I am not mistaken. Next to the bowl shank junction on the same side it read circle 4R. The EC stamping told me that I was dealing with a Canadian. The R following the circle 4 told me that the pipe was a Group 4 sized Root Briar. He had found a good one. The only thing that would have been better was if it had come with the original stem. My brother took the photos that follow. They show the pipe before he cleaned it up and sent it to me. It had some nice grain on the bowl and shank. He took some close up photos of the bowl and stem. The first one below shows the condition of the rim. It had some tars on the surface but otherwise appeared to be in great shape. The inner and outer edge both looked good. There was a light cake in the bowl as well. The second and third photos show the oxidized and calcified stem. There was some light tooth chatter on both sides near the button. The replacement stem appeared to be well made.
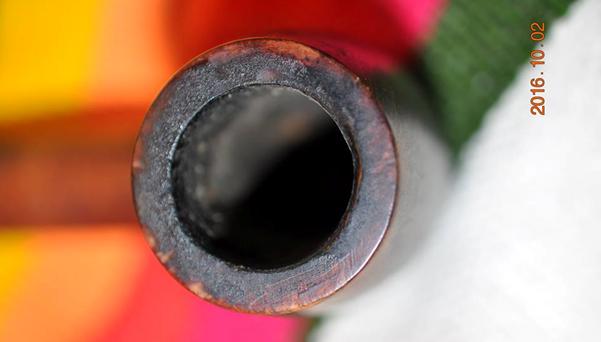
 The next two photos show the condition of the stamping on the top of the shank from both the left side and the right side. It was faint and over buffed but with a light and lens still readable.
 My brother carefully cleaned the externals of the pipe with Murphy’s Oil Soap and was careful in the process to not further damage the stamping. He reamed the bowl and scrubbed the rim to remove the tars and oils. He cleaned out the interior of the pipe with pipe cleaners, cotton swabs and alcohol leaving the mortise and the airways in the shank and the stem clean. The next photos show what the pipe looked like when it arrived in Vancouver.
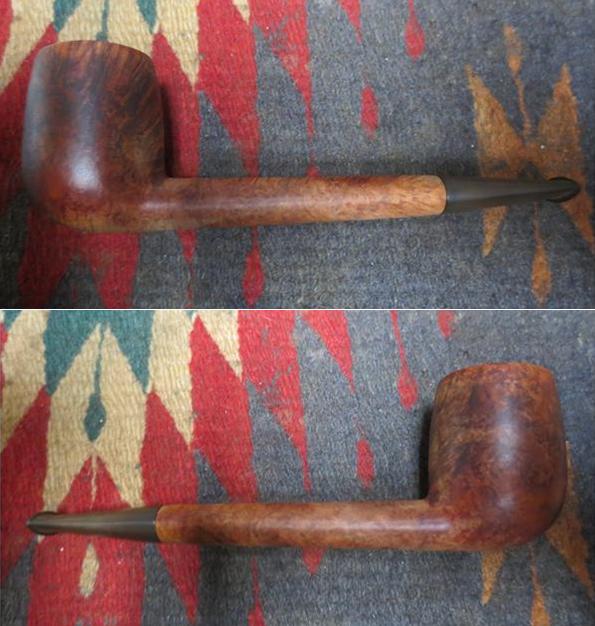
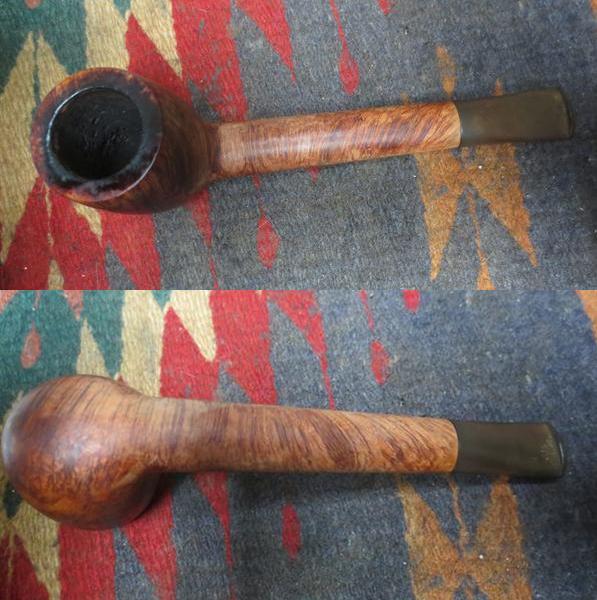 While the rim was free of debris there was still a lot of darkening and thin coat of tar on it. It would not take too much to clean off the surface. He had been able to remove much of the calcification on the stem and clear up some of the scratches on the stem.
 I sanded the stem with 220 grit sandpaper and removed the oxidation and the tooth chatter. There were some light tooth marks as well that I was able to sand out and leave the surface of the stem smooth.
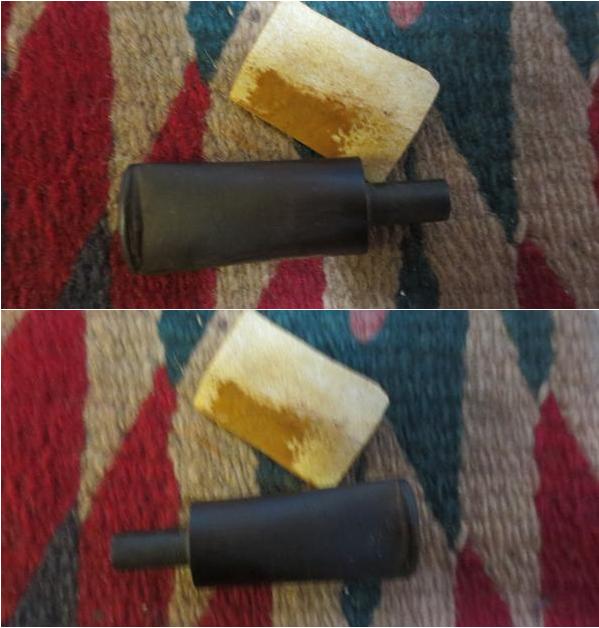 I gave the stem a light buff with Tripoli to polish it lightly and then drill it for a replacement dot on the top side. I used an ivory/white coloured knitting needle that I trim down to fit as a dot. I chose to make the dot larger than the normal white dot on these pipes to make it clear that it was a replacement. I marked the spot on the top of the stem with an awl and started the hole. I drilled it with a Dremel.
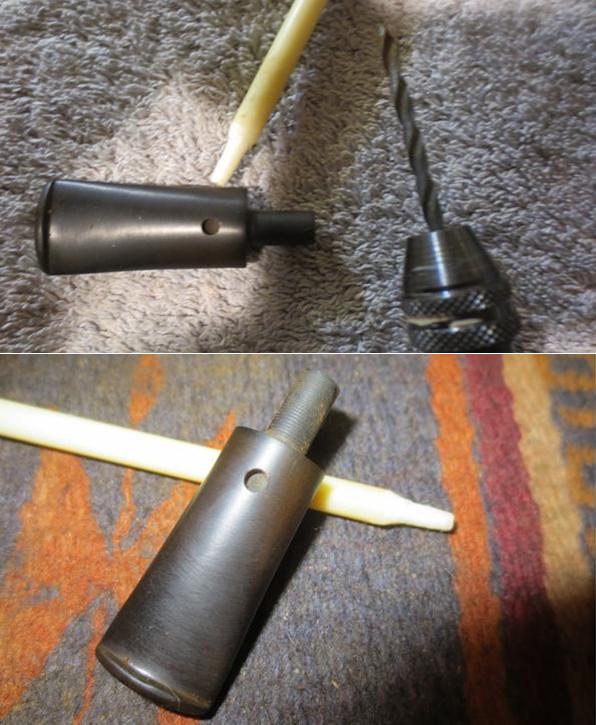 I painted the shaped end of the knitting needle with clear super glue gel and then inserted it in the drilled hole in the top of the stem. I cut it close to the stem with a pair of nippers and then sanded it with the Dremel to get as close as I could to the surface of the stem and then finished sanding it with 220 grit sandpaper to blend it in with the stem surface. You can see from the second photo that it is slightly larger than the standard Dunhill dot.
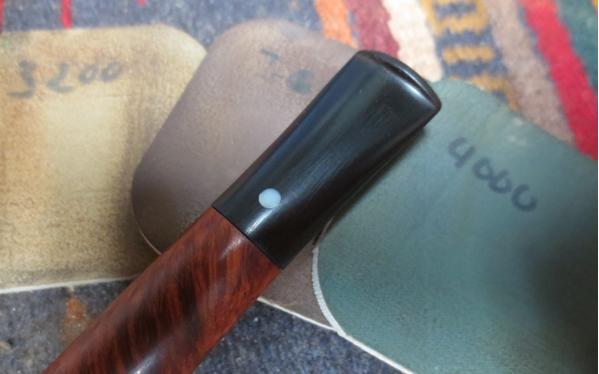
 I polished the stem with micromesh sanding pads – wet sanding it with 1500-2400 grit pads and dry sanding it with 3200-12000 grit pads. I rubbed the stem down with Obsidian Oil after each set of three pads. After the final set of three pads I gave it a final rub down with the oil and set it aside to dry. In the photos below the dot looks like it has a blue tint but in person it is a bright white.
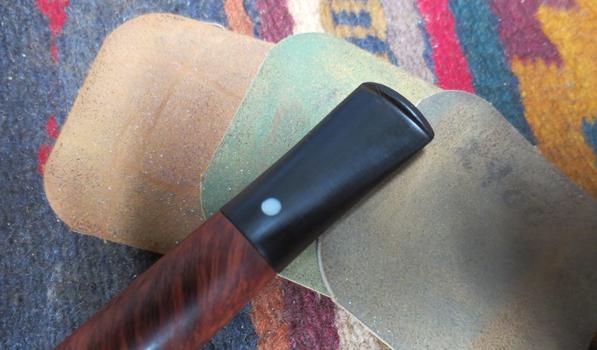
 I sanded the bowl and the shank with the micromesh sanding pads, avoiding areas where the stamping resided so as not to further damage it. I worked on the rim with the pads to further remove the darkening and light oils that still remained. I gave the bowl a light rubdown with olive oil to bring some life back to the natural finish of the Root Briar.
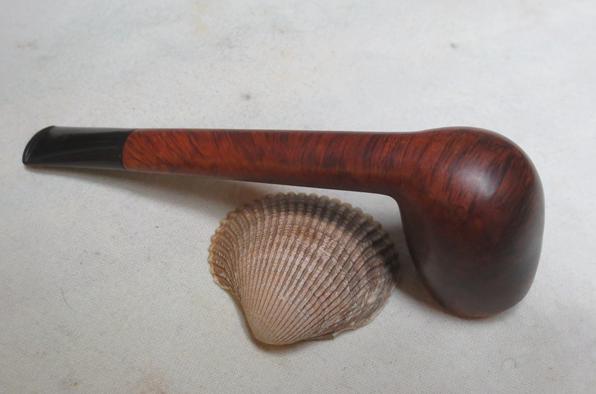
 I carefully buffed the bowl and stem with Blue Diamond on the wheel and gave them both several coats of carnauba wax. I buffed the pipe with a clean buffing pad and hand buffed it with a microfibre cloth. The finished pipe is shown in the photos below. While the stem obviously cries out that it is a replacement and the white dot says the same the overall look of the pipe is beautiful. The warm glow of the root briar finish looks really good. This old classic should be good to deliver a great smoking experience for many years to come. Thanks for walking with me through the process.
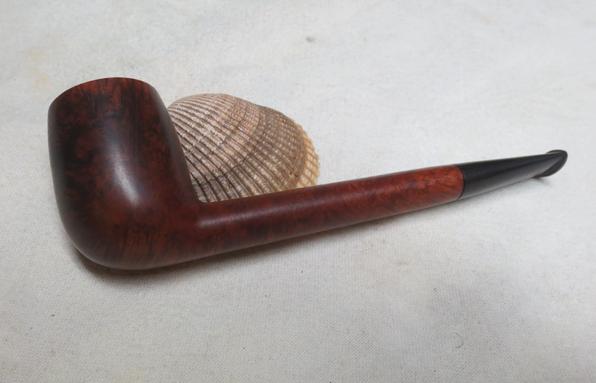


Hi Steve,
Great stem job !
Were the Root briars not stained at all ?
Best,
Roland
LikeLike
Pingback: Restoring the fourth Classic Find – a Jost’s Supreme Diamond Shank bent billiard | rebornpipes
Nice! The replacement stem looks like a good quality piece, and now, even better!
LikeLike
The Holy Grail of antique shop finds! She cleaned up nicely. 😀 The knitting needle pseudo-White Spot is a clever idea!
LikeLike
Pingback: Restoring the third Classic Find – a Charatan’s Make 0120 Canadian | rebornpipes