Blog by Steve Laug
A good friend of rebornpipes, Jim emailed me about a pair of pipes that he had that he wanted me to have a look at. The first of them is on the work table and it is going to take a bit of work to bring back to life. The second is the one I just finished and it is a beautiful pipe. It is a Yello-Bole like none I have seen before and I have worked on many of them over the years. This one is a large KBB Yello-Bole bent billiard similar in style to the WDC Wellington big pipes. This one is 10 inches long and 2 ¼ inches tall. The bowl is 7/8 inches in diameter and 1 ¾ inches deep. The stem was in decent shape other than oxidation and light tooth chatter on the top and bottom sides near the button. The button itself was very clean with a few tooth marks but the airway was in perfect condition. The stem has the older style inlaid Yello-Bole logo of the yellow circle on the top side. The stem appears to be a P-lip but it is the faux P-lip that has the airway coming out straight at the end of the P.
The finish on the bowl was dirty and the varnish coat was peeling away and flaking off around the bowl. There was a deep, rich oxblood colour to the stain underneath the peeling finish. The rim was dirty but otherwise it was pretty clean with no dents, dings or nicks in the surface or in the inner or outer edges of the rim. In the photos it appears that the bowl was meerschaum lined but I assure you that it was not – it is merely coated with the famous Yello-Bole Honey Curing yellow mixture. The bevel on the rim shows the yellow as does the bottom of the bowl. In fact, though the pipe was smoked it appears that it was never smoked all the way to the bottom of the bowl and the lower 1/4th of the bowl still shows the yellow bowl coating. There was a light cake that was spotty around the inside of the bowl but it was not thick of overflowing onto the rim.
The stamping on the left side of the shank reads KBB in a cloverleaf/club and next to it Yello-Bole over Reg. U.S. Pat. Off. Under that it is stamped Imperial in script and below that the fourth line of the stamp reads Cured With Real Honey. The nickel ferrule on the shank end is stamped with the KB&B Cloverleaf and underneath reads Nickel Plated. It is interesting to me to see this stamping on the band. Typically the Yello-Bole pipes bore the KBB stamp without the ampersand (&) between the two “b’s” which is true on the logo on the left side of the shank. It simply reads KBB in the leaf. On the band however the logo has the KB&B stamp which is usually reserved for the better quality Kaywoodie pipes of the time. The right side of the shank is stamped Algerian Briar over 3068C which I assume is the shape number.
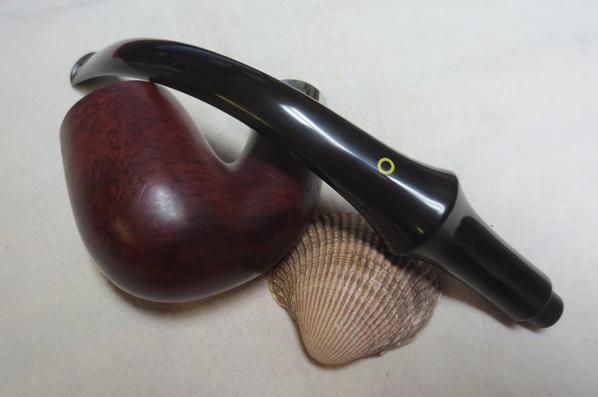
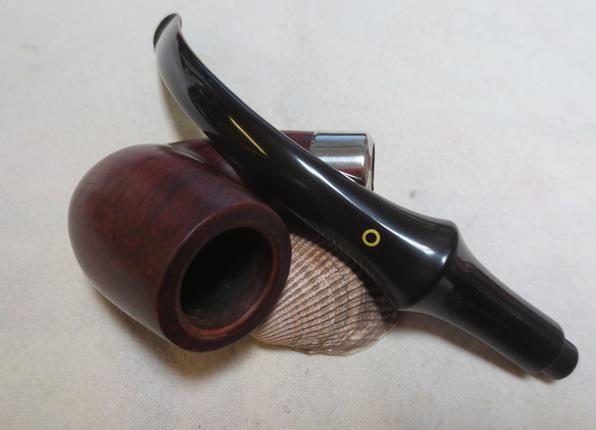
I took the photos below to show what the pipe looked like when it arrived and I had unpacked it on my work table.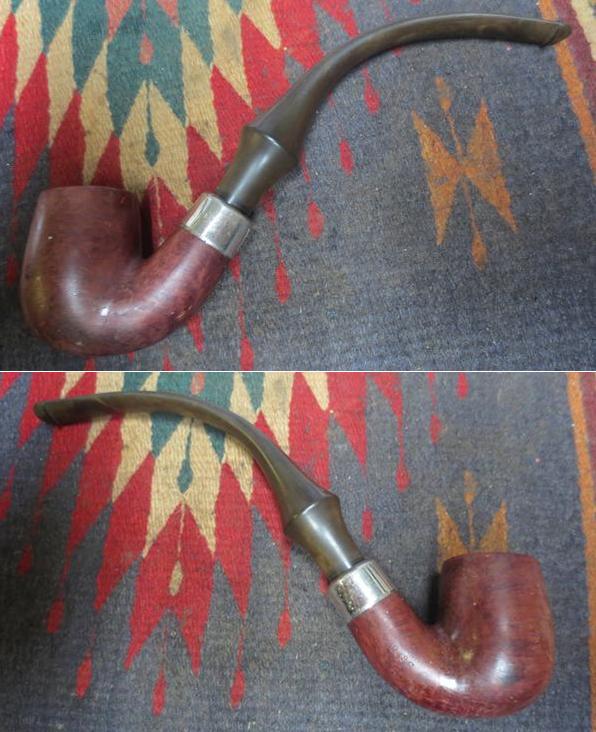
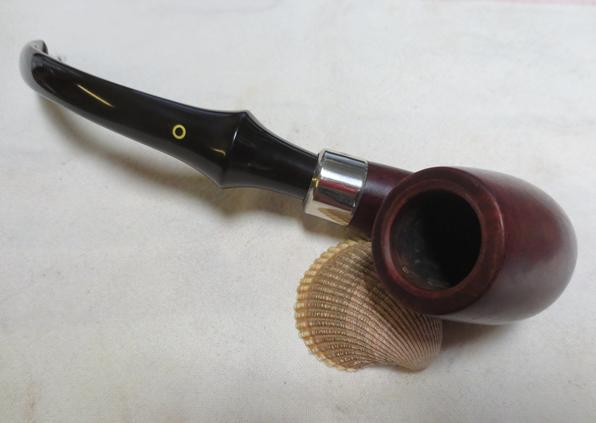
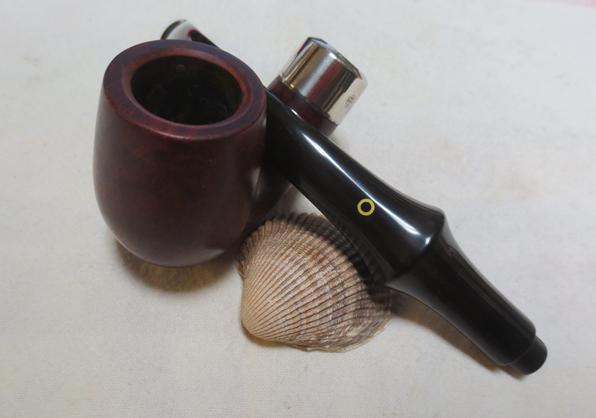
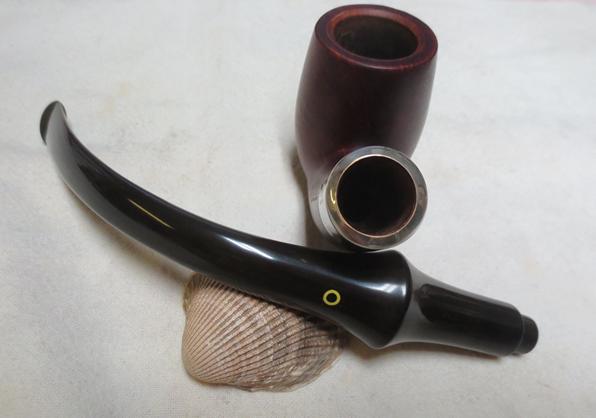
 I took some close up photos of the bowl, rim and stem to show the condition of those areas when I received the pipe. You can see the clean bevel on the rim with the slight darkening of the yellow bowl coating and the light, uneven cake in the bowl. You can also see the yellow bowl coating on the bottom portion of the bowl. The stem shows the oxidation and the light tooth chatter on the top and underside near the button. You can also see the airway exiting the stem at the end rather than the top of the “P-lip”.
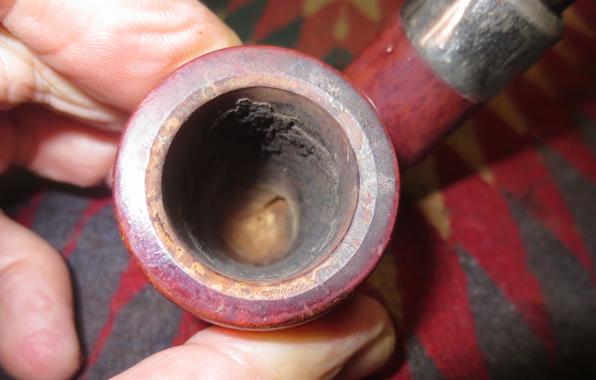
 I reamed the bowl with the Savinelli Fitsall Pipe Knife to clean the cake back to bare briar. I used that tool as I wanted to leave the yellow bowl coating intact in the bowl to leave it as original as possible.
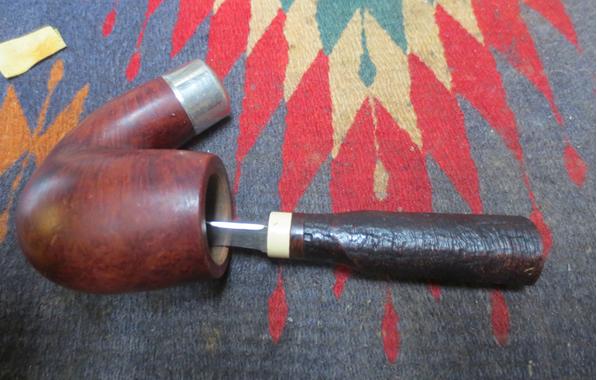 I scrubbed off the peeling finish with cotton pads and acetone (fingernail polish remover) until the surface of the briar was smooth and the oxblood stain coat shone through. I used 1500-2400 grit micromesh sanding pads to work on the rim top and the inner bevel of the rim until they also were clean.
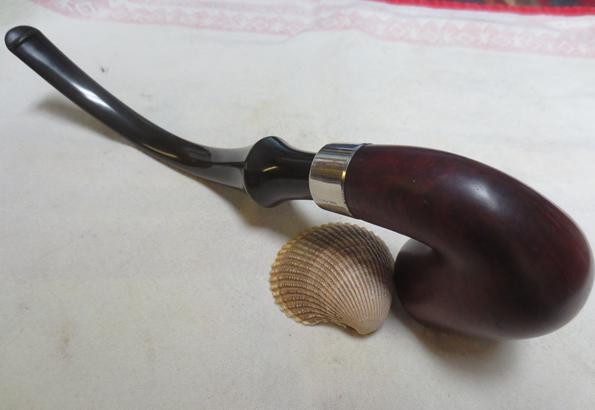
 Once I had removed the varnish coat there were a lot of dings and dents in the rim and the sides of the bowl. I used a hot butter knife and a wet cloth to steam out the dents. It took some time but I continued to steam the dented areas on the bowl until I had removed all but the small nicks on the bowl. I took photos of the bowl after I had steamed it and you can see from the photos that the briar looked far better after steaming.
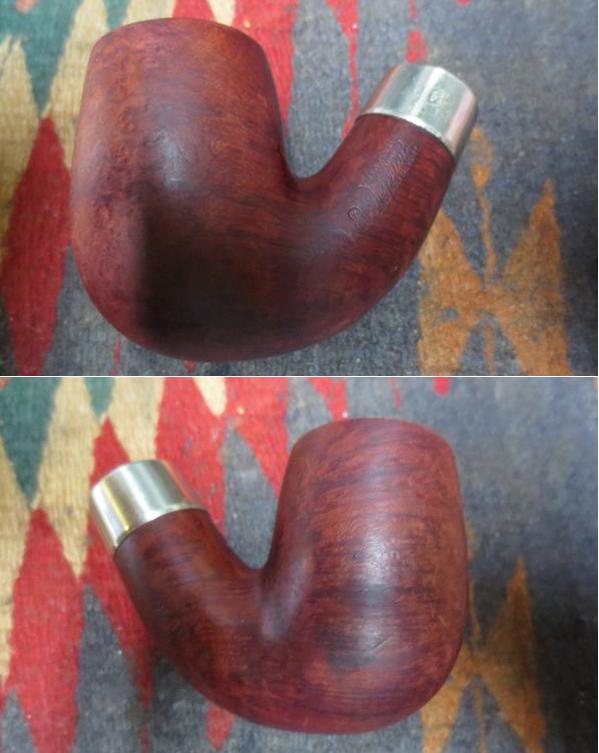
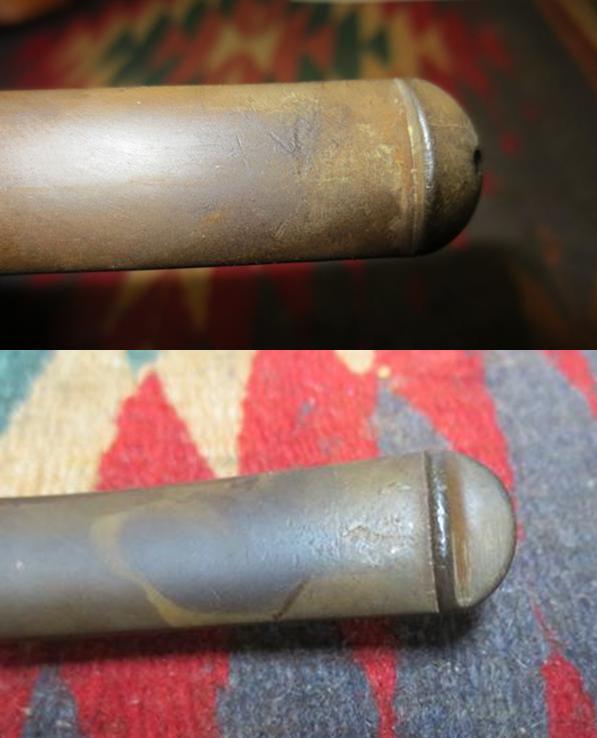
 I took some close up photos of the stamping on the shank and the nickel ferrule to show what I talked about in the earlier paragraphs. The nickel-plated ferrule had a lot of scratches in the surface of the nickel. You can also compare the KBB stamp on the shank with the KB&B stamp on the ferrule in the photos.
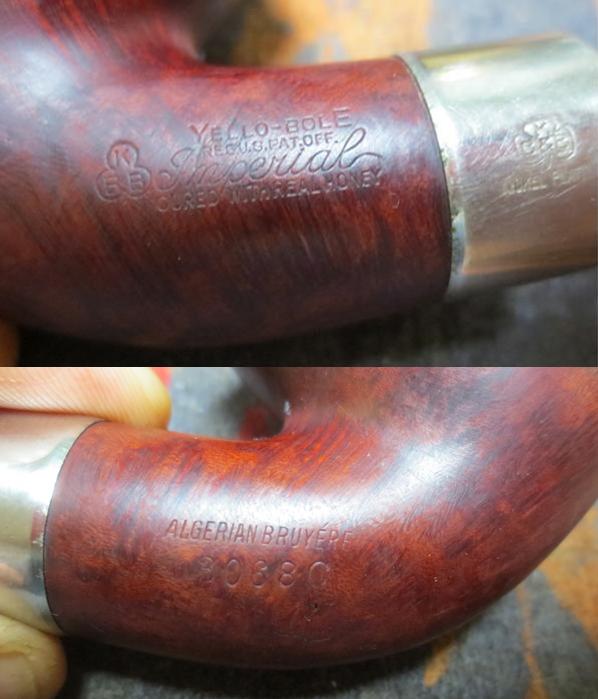
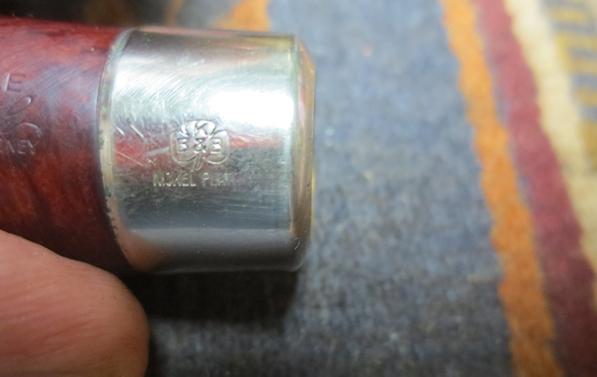 I polished the nickel ferrule with micromesh sanding pads to remove the scratches. I started with 1500 grit and worked my way up to 12000 grit. It removed the scratches and also polished the nickel. I cleaned out the interior of the mortise, the sump at the bottom of the shank and the airways in the shank and the stem with alcohol, pipe cleaners and cotton swabs. The first photo below shows the clean briar in the shank.
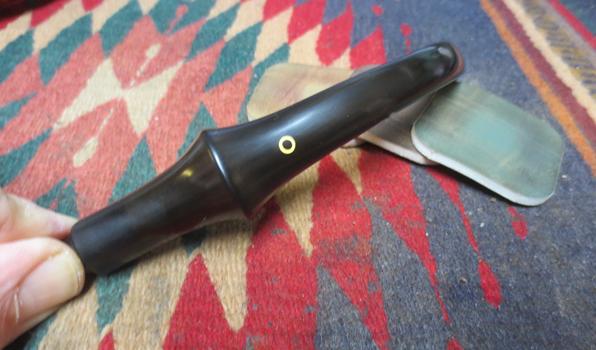
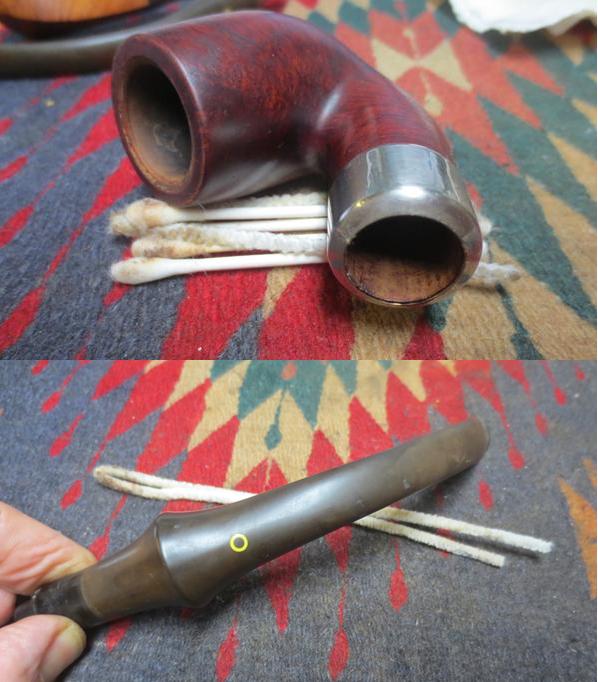 I sanded the stem with 220 grit sandpaper to remove the oxidation on the surface of the stem. I scrubbed it with the Before & After Pipe Stem Deoxidizer to lift more of the oxidation. I wet sanded the stem with 1500-2400 grit micromesh sanding pads and dry sanded with 3200-12000 grit pads. After sanding with each set of three pads I rubbed the stem down with Obsidian Oil. After sanding with 12000 grit micromesh I gave the stem a final coat of the oil and set it aside to dry.
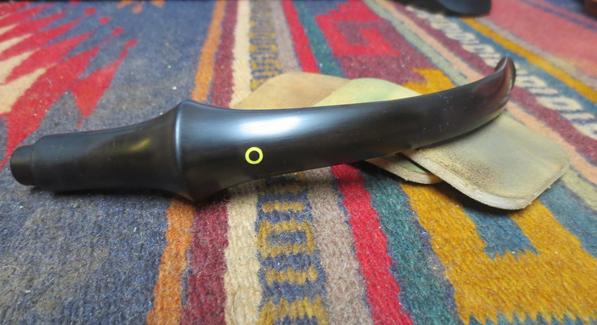
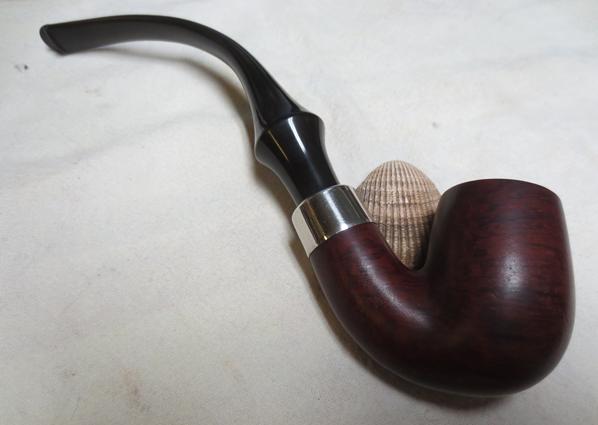
 I buffed the bowl and stem with Blue Diamond on the buffing wheel to further polish the bowl and the stem. I was seeking to remove even the micro scratches left behind in the vulcanite by the micromesh sanding pads and the remaining scratches in the briar as well. I gave the pipe multiple coats of carnauba wax to protect the pipe. I buffed it with a clean buffing pad on the wheel and raise a shine. I personally do not like the high gloss look of a pipe when it first comes off the wheel so I hand buff it with a microfibre cloth to deepen the shine and give it a rich look. The finished pipe is shown in the photos that follow. I look forward to hearing from Jim as to his thoughts regarding this “rare to me” older KBB Yello-Bole. Thanks for walking with me through the process.
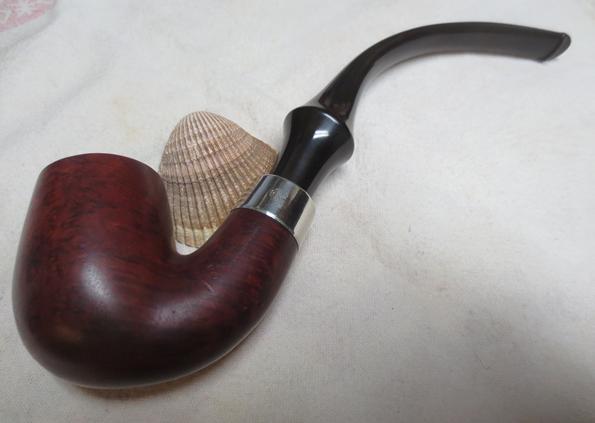
ADDENDUM:
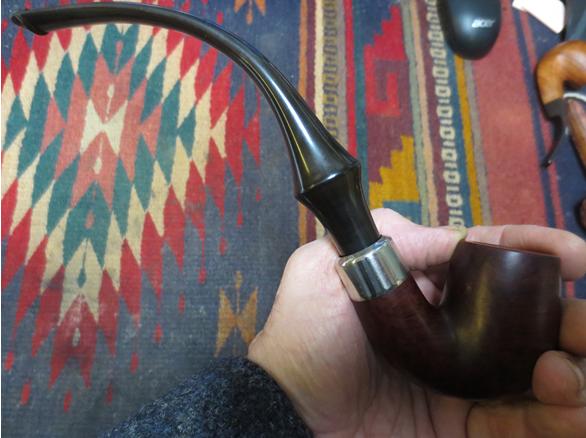
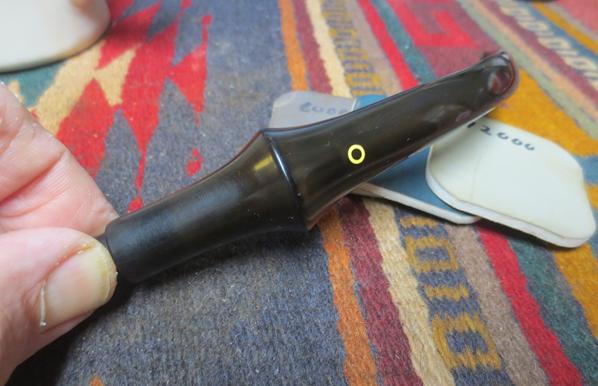
Andrew commented below regarding the size of the pipe. I have added this photo of the pipe in my hand to give an idea of the size.