Blog by Steve Laug
My brother and I recently purchased some pipes from an estate sale from an old pipeman named Gene in Pocatello, Idaho. There were a lot of great pipes in the lot. I have written about the pipes on a previous blog: (https://rebornpipes.com/2016/10/07/a-good-day-hunting-orchestrated-between-british-columbia-and-idaho/). I wrote of how he had stopped at an antique shop and four found prestigious finds. These included a Four Dot Sasieni Pembroke with a patent number, Pat.No. 150221/20, a Dunhill Root Briar Canadian EC 4R, a Charatan’s Make Canadian Sandblast 0121 and a Jost’s Supreme Diamond Shank bent billiard. I wrote about the restoration of the Sasieni and the Dunhill earlier in two other blogs: (https://rebornpipes.com/2016/11/05/restoring-a-classic-find-a-sasieni-four-dot-london-made-pembroke/) (https://rebornpipes.com/2016/11/06/restoring-another-classic-find-a-dunhill-4r-root-briar-canadian-ec/). The third pipe that I have chosen to restore is the sandblast Charatan’s Make 0120 Canadian.
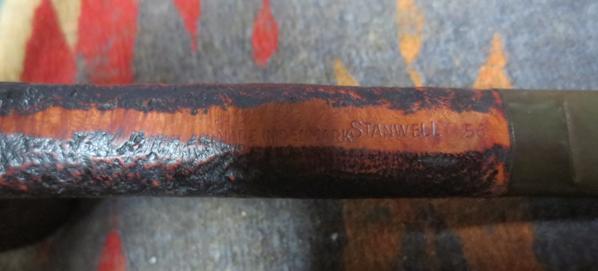
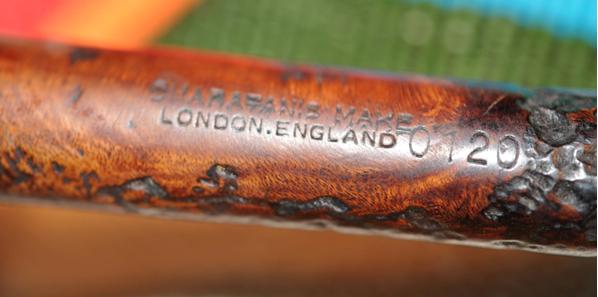
The Charatan pipe also had a replacement stem as there was no sign of a CP logo stamp on the top side. The stamping was on the smooth underside of the shank and it read Charatan’s Make and underneath it read London, England. At the end of the brand stamping was the number 0120 which is the shape number of a Canadian. I did some searching online and read the Charatan’s entry in Pipedia (https://pipedia.org/wiki/Dating_of_Charatans). I quote from there: “Pipes that belong to eras till the 1960 have the engraving ‘CHARATAN’S MAKE LONDON, ENGLAND’ in two lines, the shape code is composed by numbers only. The X and the DC appear only on pipes after 1960.”
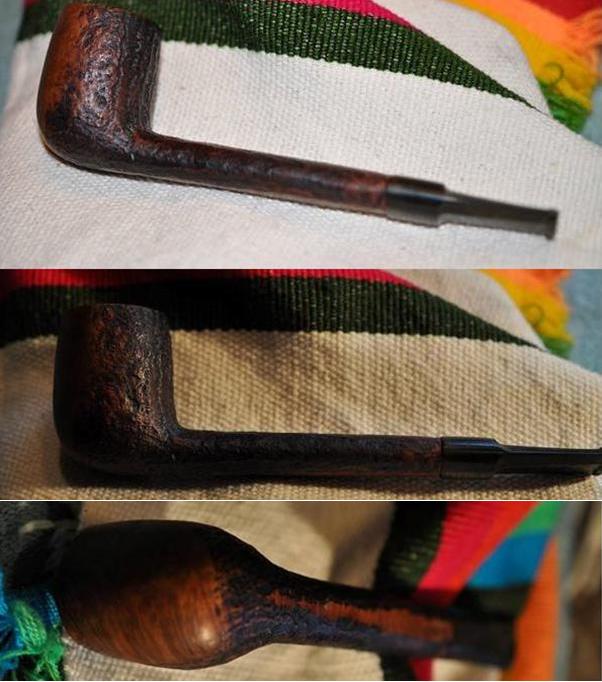
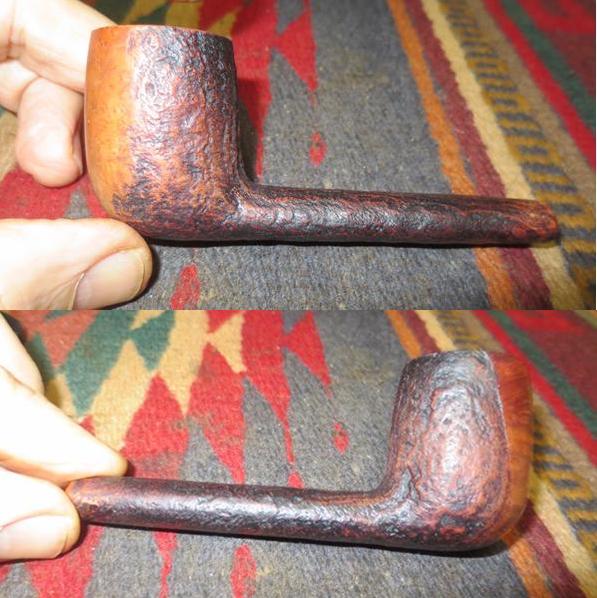
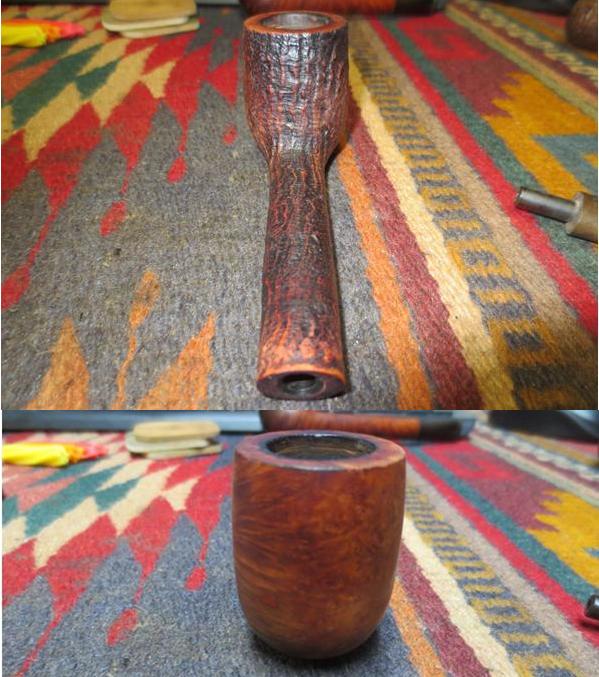
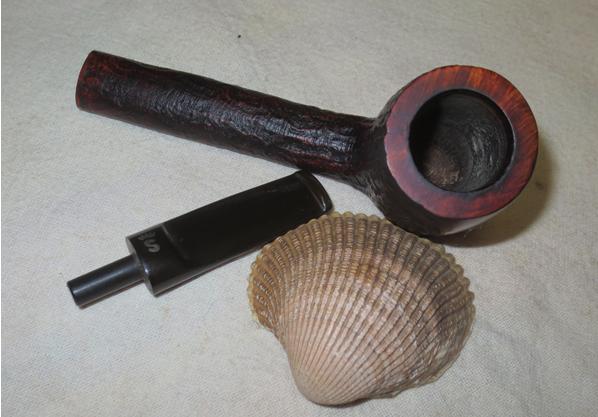
My brother had found another good one. The stamping gave me information about the time frame it was made. I knew that it was made prior to 1960 by the style of the stamping. It came from what the article identified as the Reuben era of Charatans that went from 1910-1960. Like the Dunhill the only thing that would have been better was if it had come with the original stem. My brother took the photos that follow. They show the pipe before he cleaned it up and sent it to me. It had a nice sandblast that deep and craggy on the bowl and shank. From mid shank back to the stem it appeared that the pipe had been rusticated to match the blast pattern. He took some photos of the pipe to give a feel for the overall look of it when he received it. These photos show the pipe before he cleaned and reamed it.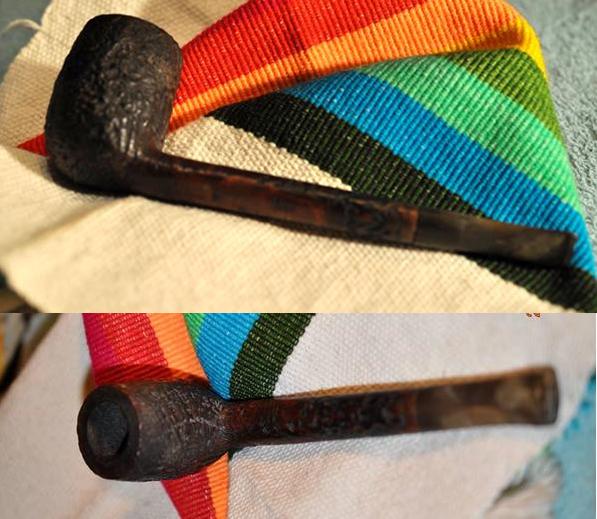 He took some close up photos of the bowl and sandblast on the bottom of the bowl. The bowl had a thick cake that had flowed over the top of the rim in hard tarry lava. It was thick but it appeared that the outer rim was undamaged and with any luck the inner one would be as well. The blast is interesting in that it also has a rustication pattern on the bowl bottom and also on the shank. It follows the pattern of the grain on the bowl.
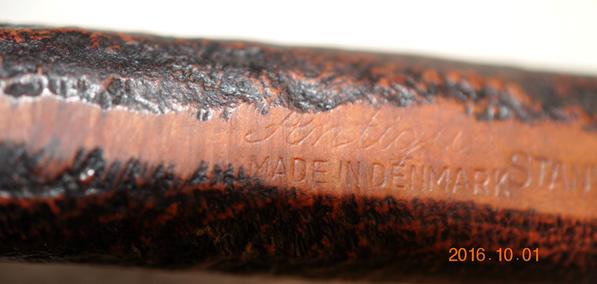
 The next photo shows the clear and sharp stamping on smooth underside of the shank. It reads as noted above – Charatan’s Make over London England with the shape number 0120 on the stem end of the shank.
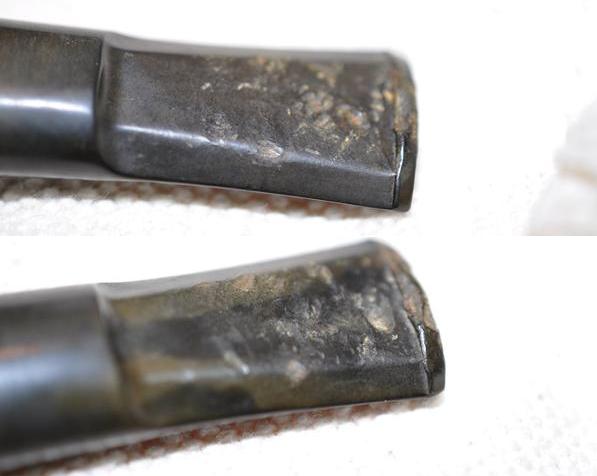
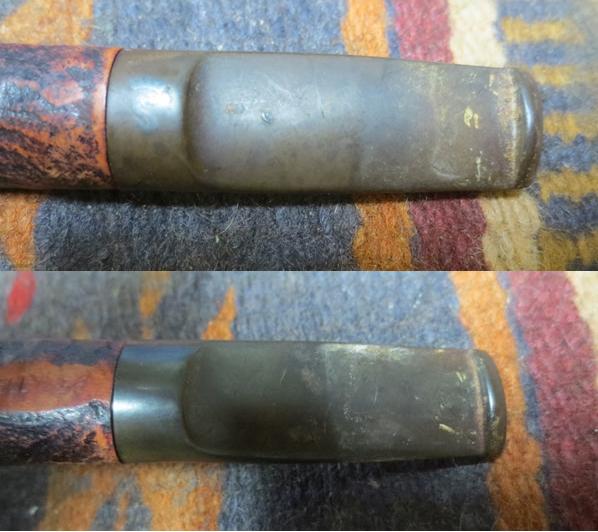
 The stem had a lot of tooth chatter and some shallow tooth dents. There was oxidation and also calcification.
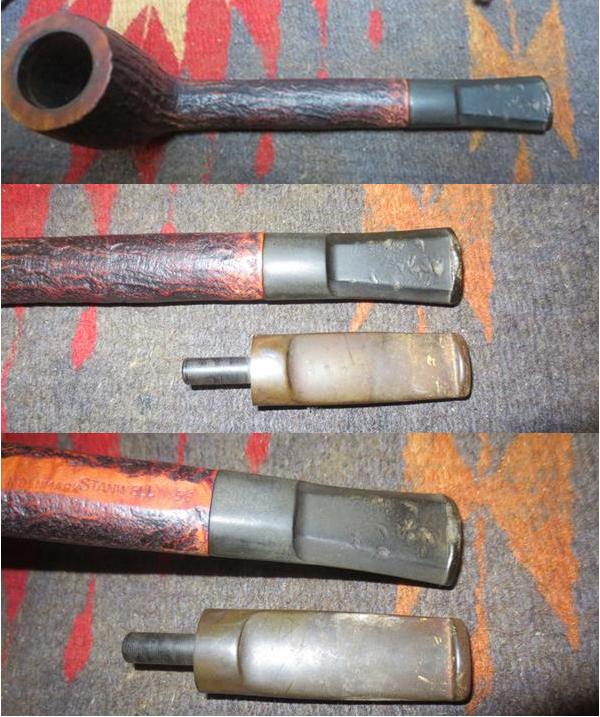
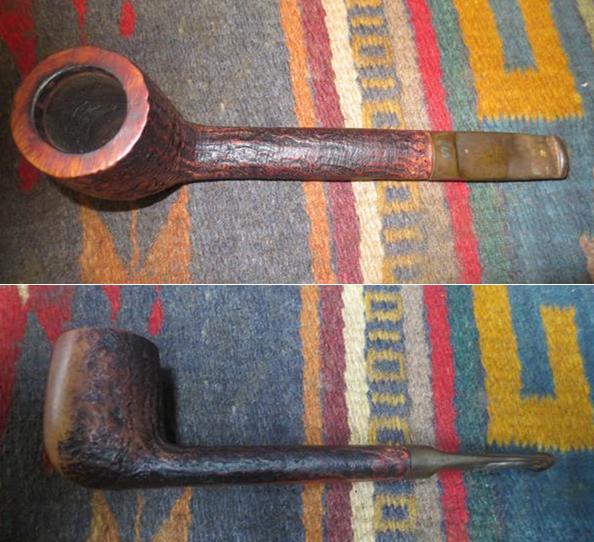
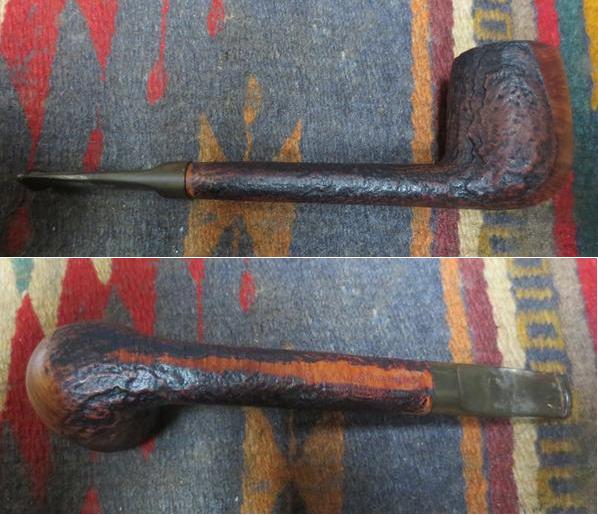
 My brother did his normal thorough job of cleaning the pipe. He scrubbed it with a tooth brush and Murphy’s Oil Soap. He cleaned out all of the dust and debris in the grooves and crevices of the “blastication”. The stem does not fit tightly against the shank at this point. The next photos below show the pipe as it looked when I brought it to my work table.
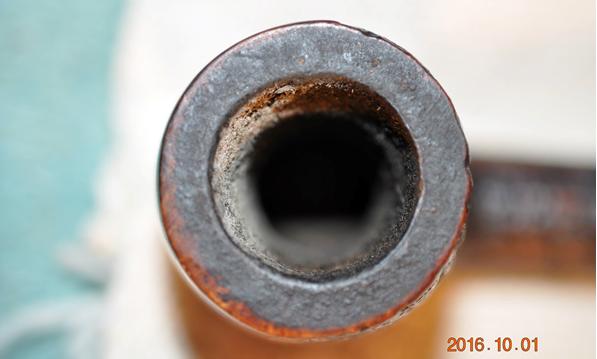
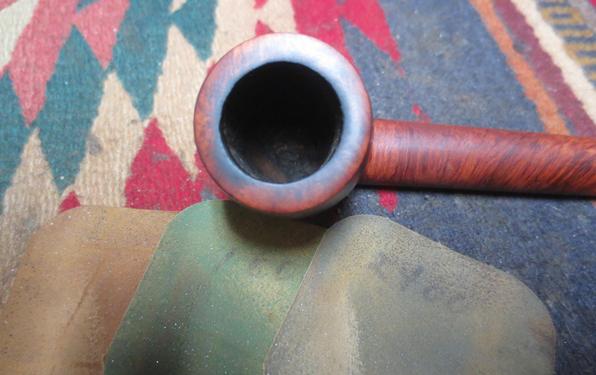
 I took some close up photos of the rim to show how well it cleaned up. My brother was able to get the lava out of the grooves on the rim and also on the underside of the shank. The stamping was still very clear.
 He cleaned out a lot of the gunk in the shank but the stem still did fit tightly against the shank end. He did get the calcification and some of the oxidation off the stem. You can clearly see the tooth chatter and the tooth dents now that the stem was clean.
 I scraped out the inside of the mortise with a dental pick with a flattened blade end. I scraped the stepped down area of the mortise as it entered the airway in the shank. I took a lot of tar and gunk out the shank area.
 I scrubbed the mortise, the airway in the shank and the stem with cotton swabs, pipe cleaners and alcohol. Once it was clean the stem fit more closely against the end of the shank.
 I scrubbed down the bowl and shank with acetone on cotton pads to remove the finish that remained on the pipe.
 I restained the pipe with a dark brown aniline stain thinned 50/50 with isopropyl alcohol. I flamed the stain and repeated the process until the coverage was even.
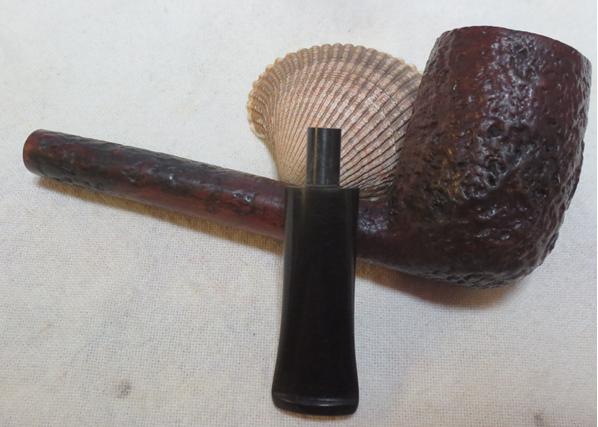
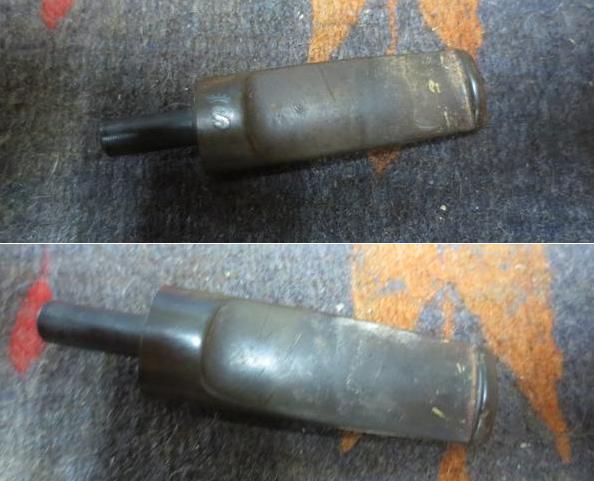
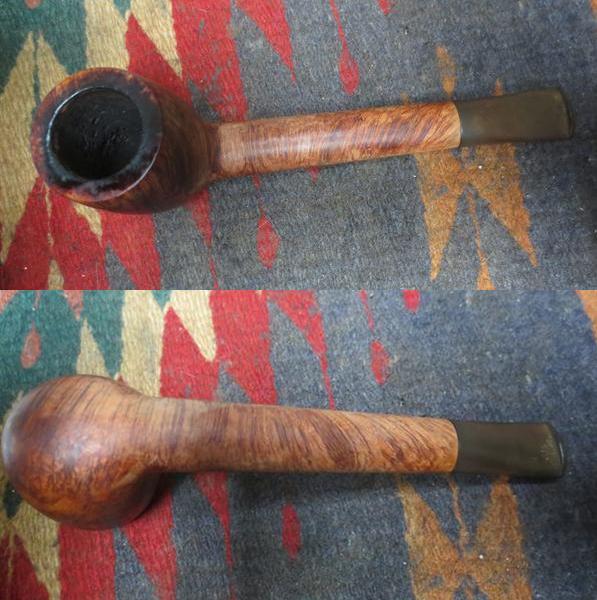
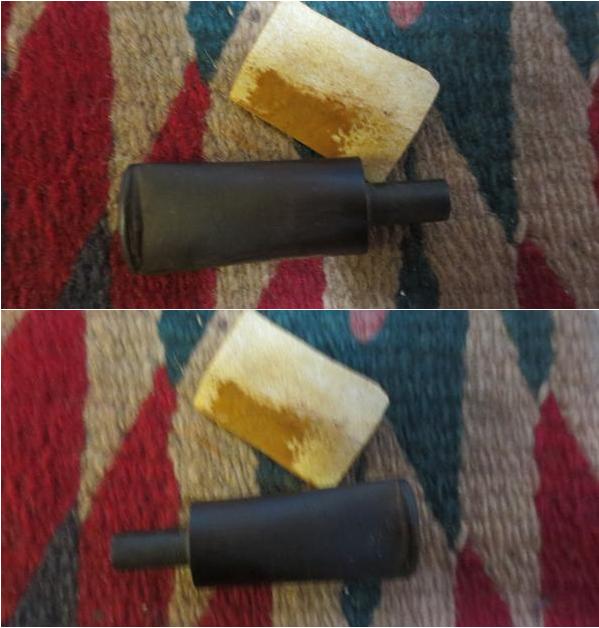
 I put the stem in the shank and took the pipe to the buffer. I buffed it to polish the stain. When I was just about finished I could not believe what happened. It is that moment when you are buffing a pipe where you get a sick feeling. The wheel grabbed the pipe out of my hand, off my finger and threw it against the table top under the buffer. It was not far – a mere 2 inches but I heard the snap as the tenon broke. I was sick to my stomach. I was almost finished with the pipe and then this had to happen. I took a photo of the broken tenon once I had pulled it from the shank. It was almost a clean break at the end of the stem. Oh the frustration.
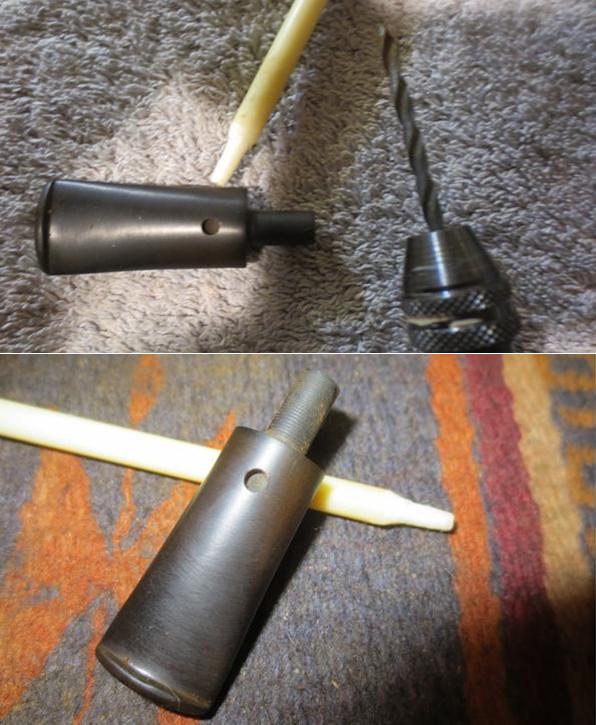
I used a Dremel to flatten the broken edge of the tenon against the face of the shank. It took a few moments to smooth out the broken part. I used the topping board with 220 grit sandpaper to face the end of the stem. I went through my box of threaded tenons and actually had one left in the box that was not a Jobey Link system tenon. It was the same diameter as the broken tenon. I chucked a drill bit in the cordless drill that was just a little larger than the air way in the stem. I turned the stem onto the drill bit the length of the threaded portion of the replacement tenon. I put two more drill bits in the drill and turned the stem onto the bits. Once it was the same diameter as the threaded portion I shortened the threaded end slightly so that it would fit tight against the stem. I roughed up the threads with the Dremel and a sanding drum. I left the threads in place so that I could turn it into the stem.
 I screwed it into the stem as far as it would go by hand and then used a pair of pliers to finish turning it tight against the stem face.
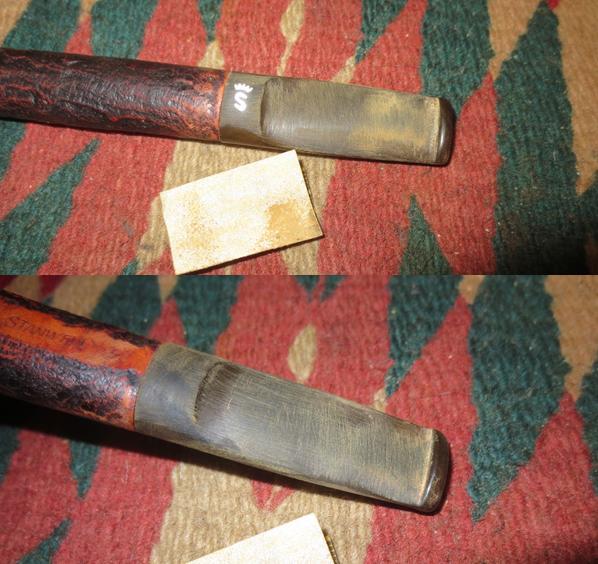
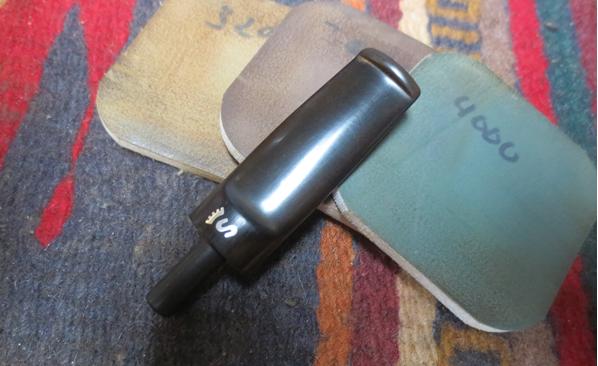
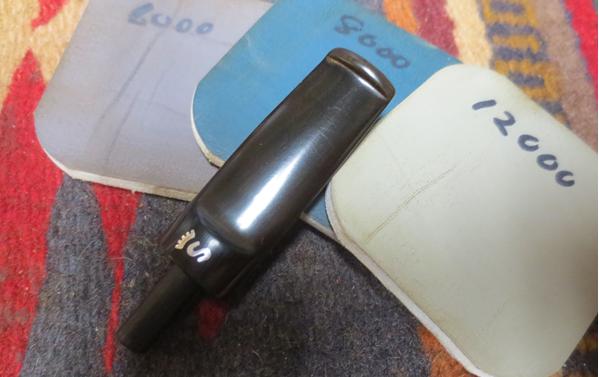
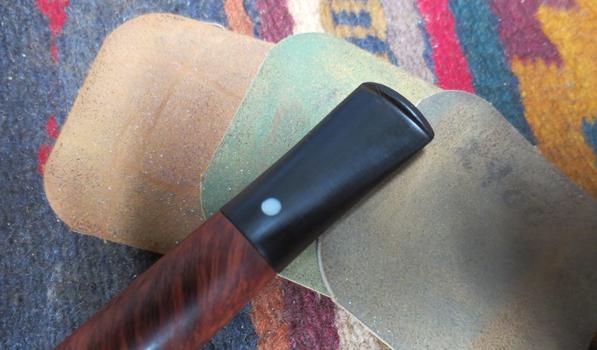
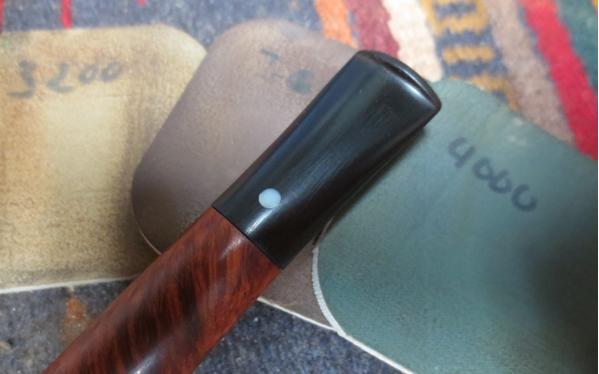
 I put the stem in place in the shank and the fit was tight against the shank. I polished the stem with micromesh sanding pads – wet sanding with 1500-2400 grit pads and dry sanding with 3200-12000 grit pads. I rubbed it down with Obsidian Oil after each set of three pads. After the final set I rubbed it down with a last coat of oil. I set the stem aside to dry. (In the photos below of the shank and stem I did not push the stem in against the shank so it shows a small gap at that point. You will notice in the final photos that I pushed it back in place.)

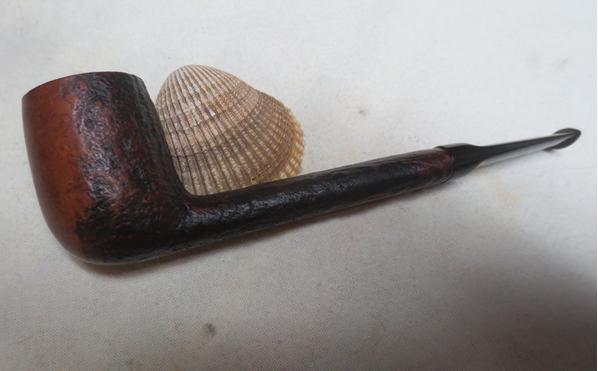
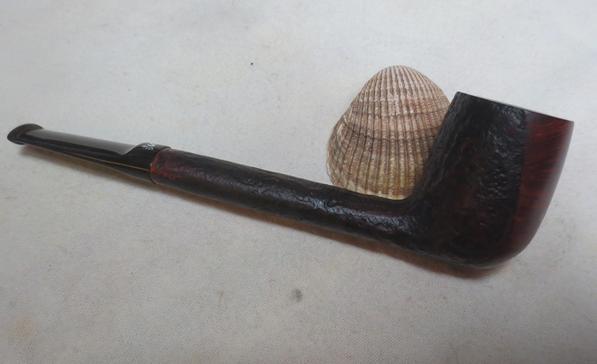
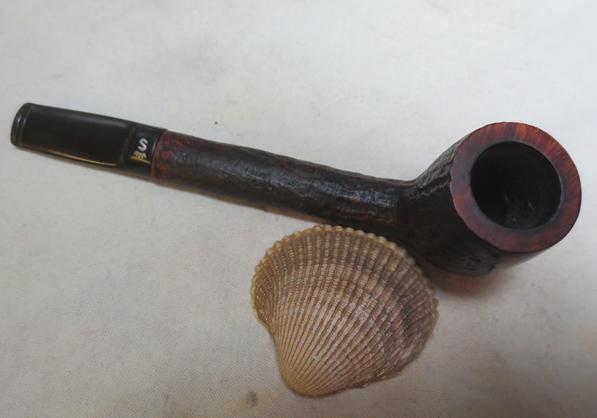
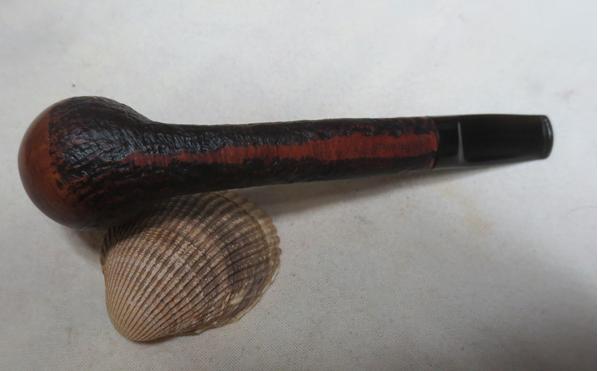
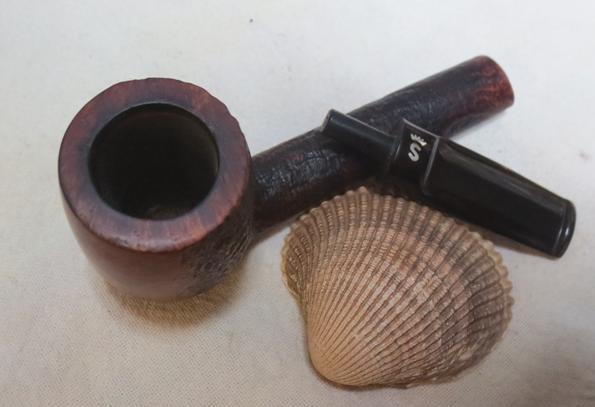
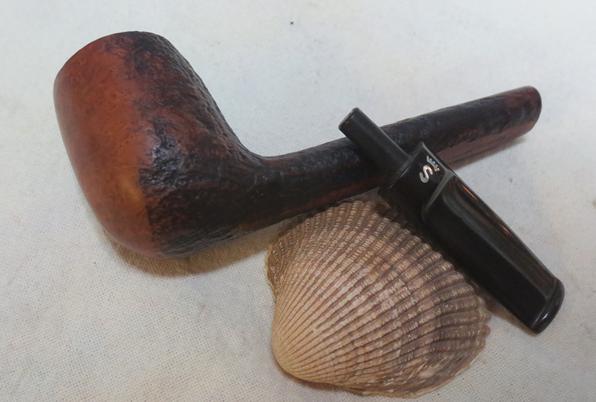
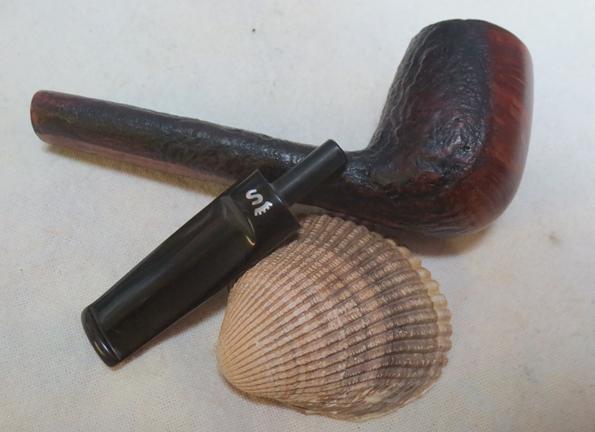
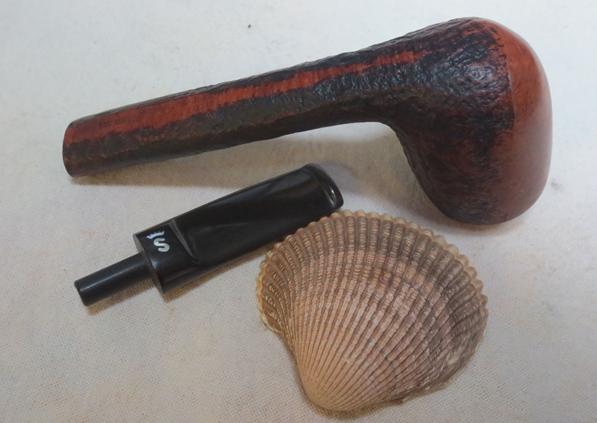
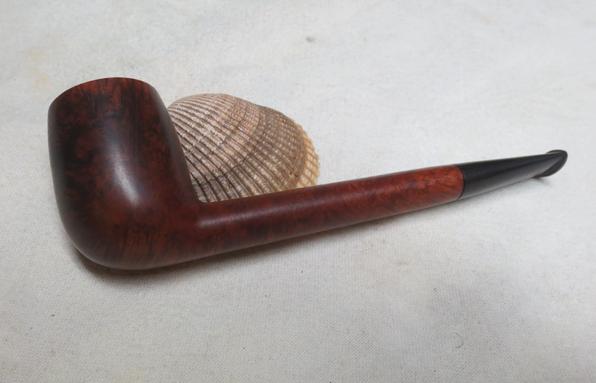
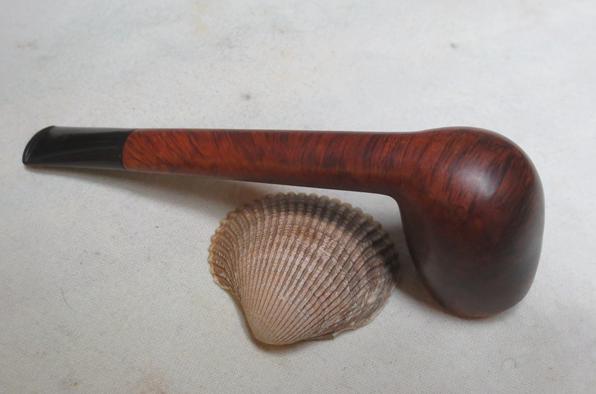
 With fear and trepidation I took the pipe back to the buffer. I did not want to repeat the broken tenon so I was very careful. I worked the pipe against the buffing wheel that had been charged with Blue Diamond polish. I buffed it until the stem shone. I lightly buffed the bowl with the polish as well – being careful to not let it build up in the grooves. I polished the stem with carnauba wax and put Conservator’s Wax on the sandblast finish of the bowl and shank. I buffed the pipe with a clean buffing pad to raise the shine. I hand buffed it with a microfibre cloth to deepen the shine. The finished pipe is shown in the photos below. The fit of the stem against the shank was better than when I started. Thanks for walking through the restoration with me and also through the frustrating need to replace the tenon.


