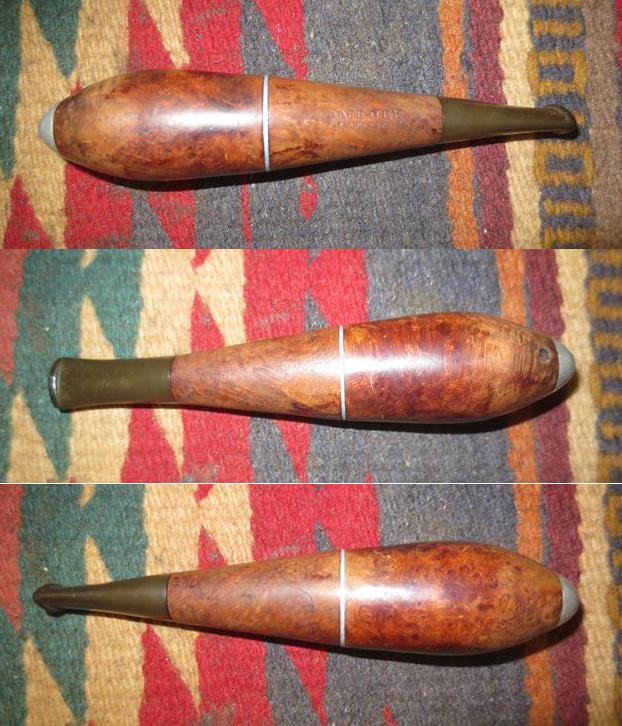
Daily Archives: November 2, 2016

GBD 549 Fantasy Bulldog Restoration


By Al Jones

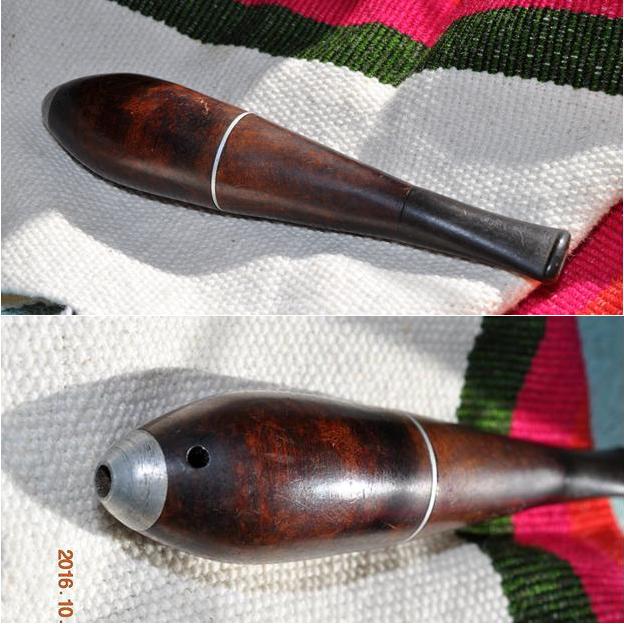
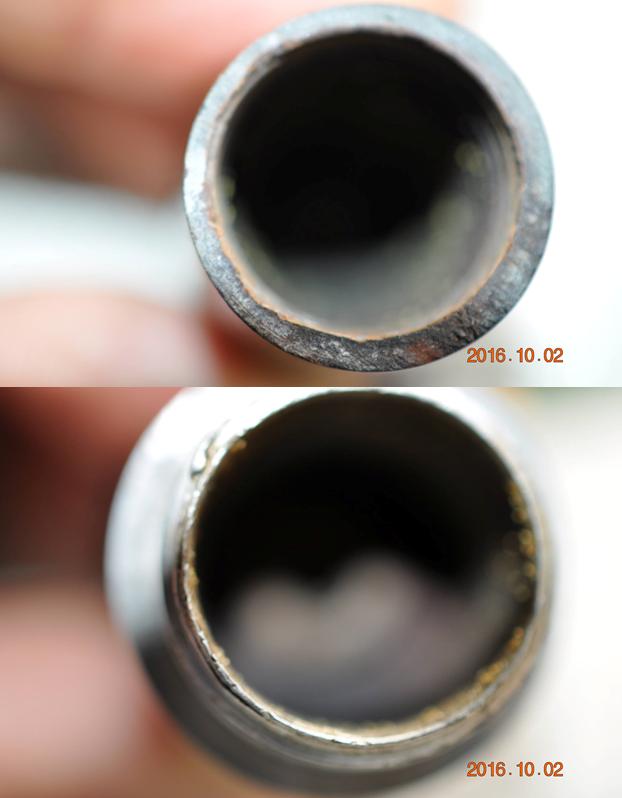
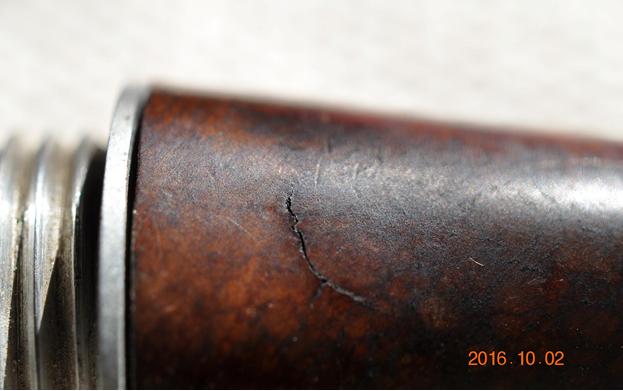
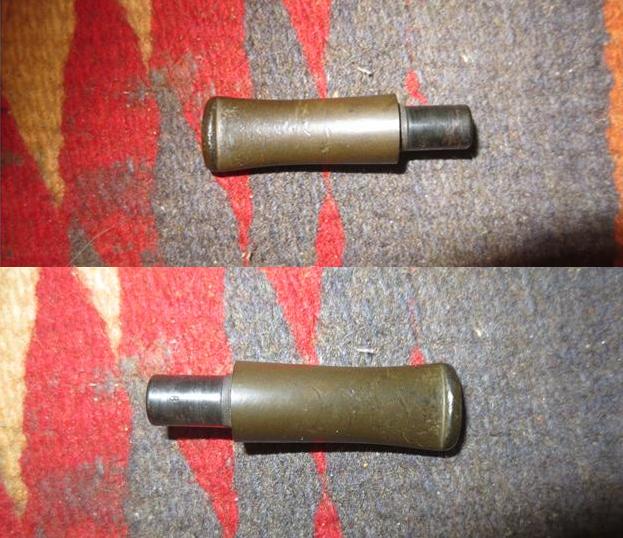
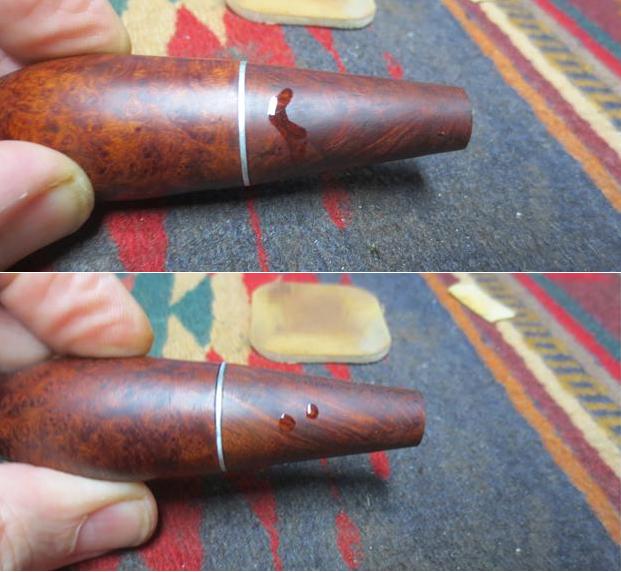
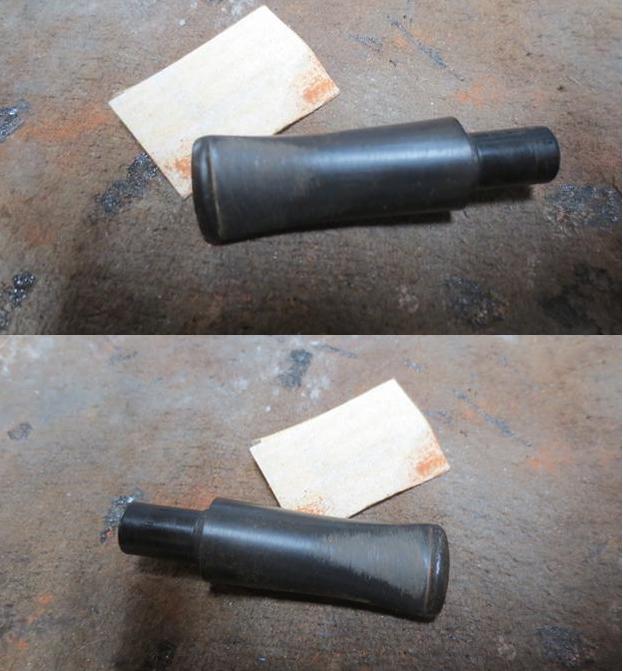
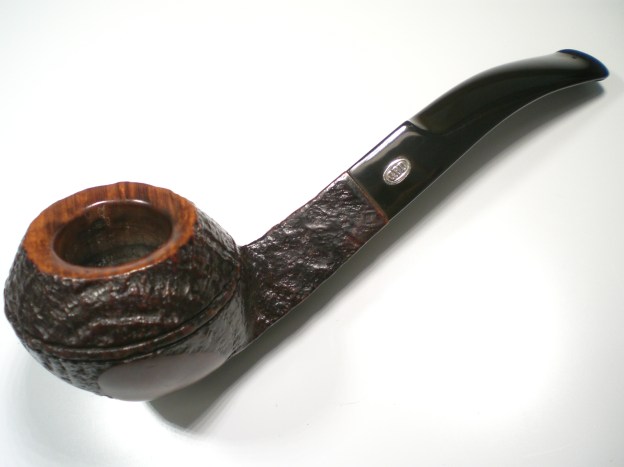
The GBD Fantasty and the similiar Tapestry line of pipes were introduced in the 1970’s and I think they fit that funky era perfectly. I can picture a hip 1970’s pipe smoker enjoying this one in a pastel leisure suit, showing care to not get a burn mark on his new silk-screened shirt. This one is the classic GBD bent bulldog, the 549 shape. The pipe had some build-up on the bowl top, but I was sure that a beautiful beveled GBD bowl top was hiding underneath. The stem had some oxidation and a few bite marks.

gbd_549_fantasy_before-1

gbd_549_fantasy_before-2

gbd_549_fantasy_before-3

gbd_549_fantasy_before-4

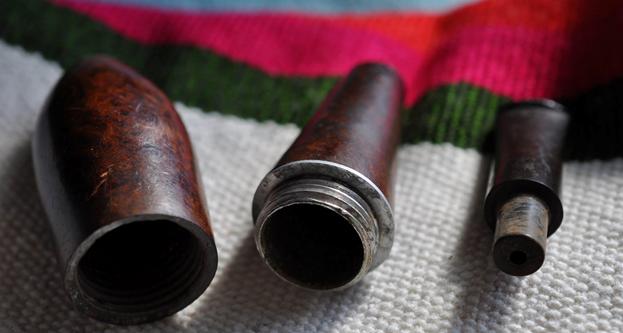
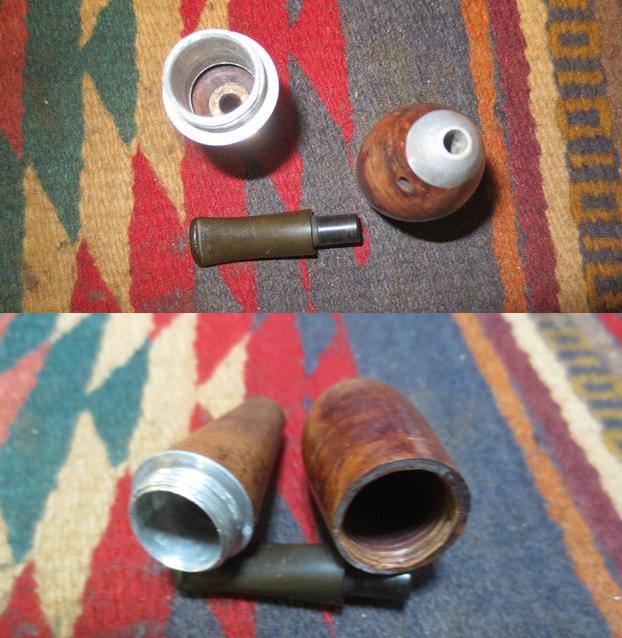
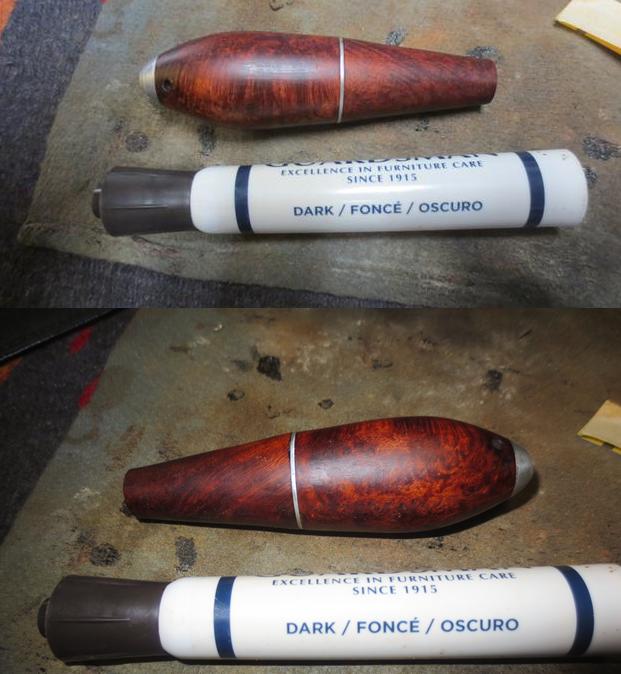
The bowl was reamed and soaked with alcohol and sea salt. While it was soaking, I put a dab of grease on the brass rondell and soaked it in a mild Oxy-clean solution. I used a cloth and some water to rub off the bowl top tars and then polished it with White Diamond and a few coats of Carnuba wax. I also gave the polished geometric shapes the same treatment. The blasted wood was polished by hand with Halycon wax.

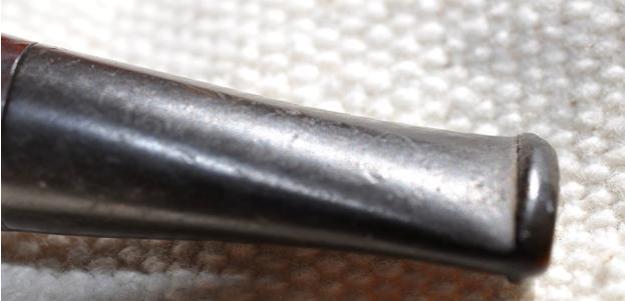
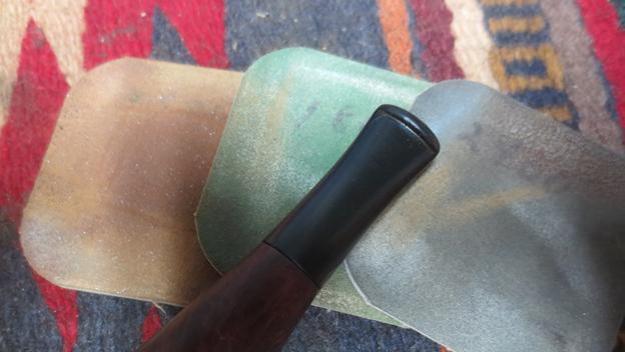
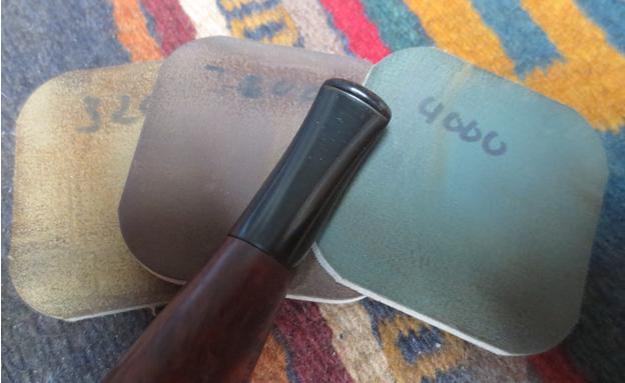
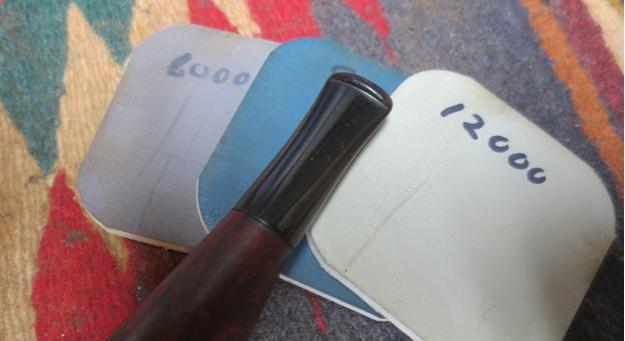
There were some dents in the vulcanite, which I was able lift out with a lighter flame. The stem was mounted and polished progressively with 800, 1500 and 2000 grade wet paper. That was followed with 8000 and 12000 micromesh. The stem was them buffed with White Diamond and Meguiars Plastic Polish. Two tiny teeth pricks remained, one on each side, but there were so small, I left well enough alone.

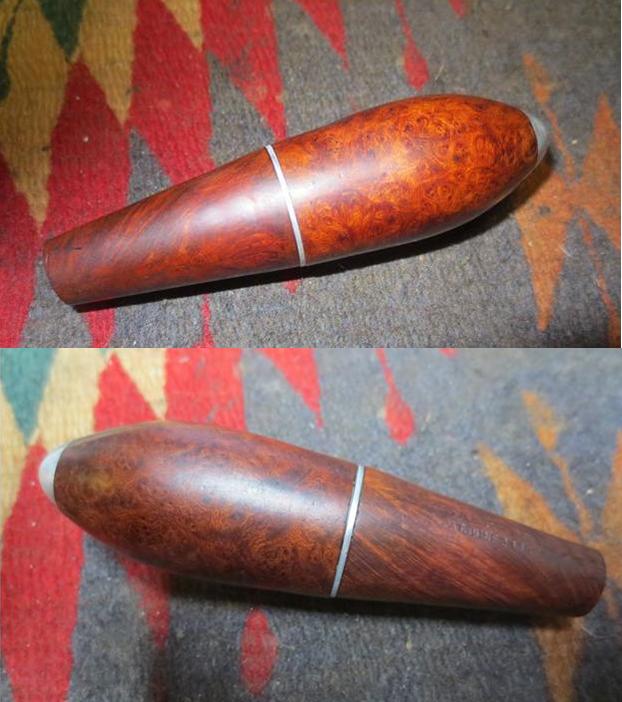
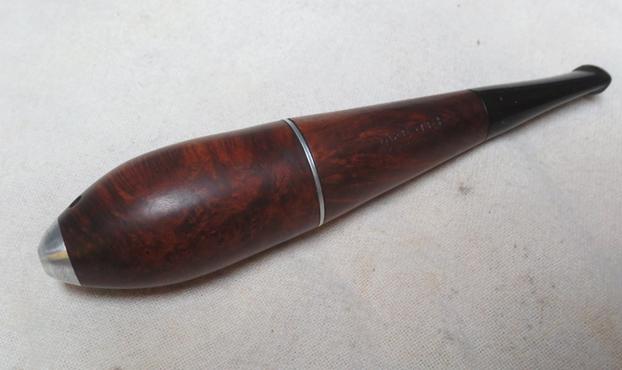
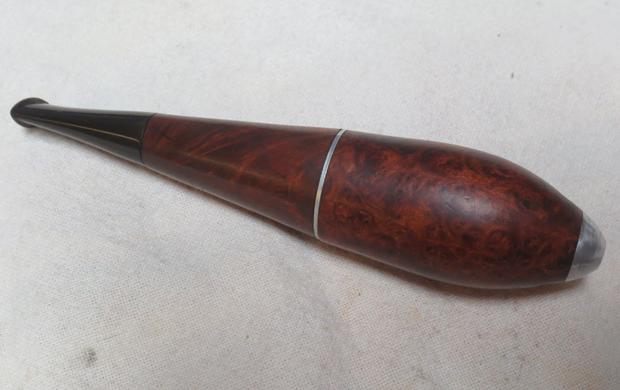
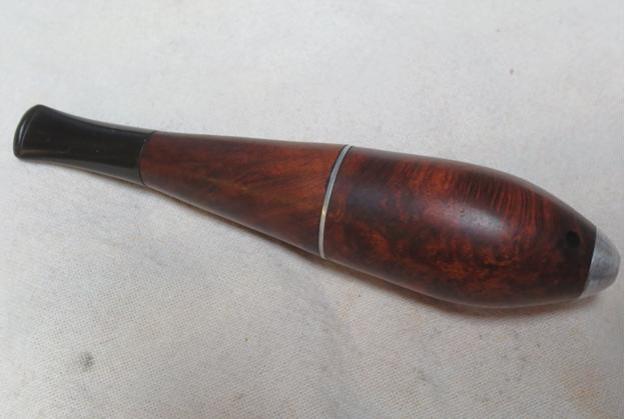
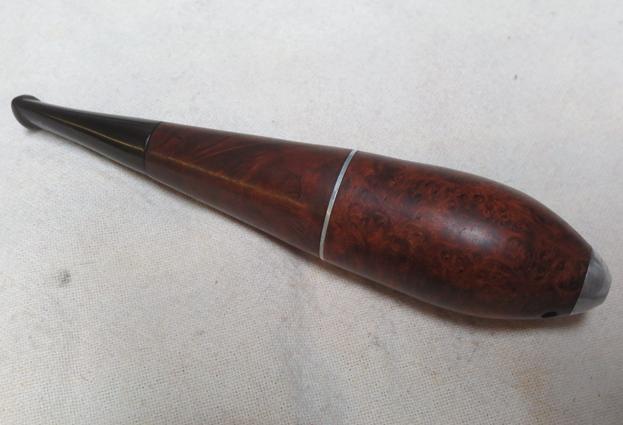
Below is the finished pipe.

gbd_549_fantasy_finish-1

gbd_549_fantasy_finish-5

gbd_549_fantasy_finish-4

gbd_549_fantasy_finish-3

gbd_549_fantasy_finish-2

?

gbd_549_fantasy_finish-1

Amazing Grain came alive on a Zeppelin Style Safe-Tee Patent Pipe


Blog by Steve Laug

When my brother sent me a photo of another cigar pipe he was bidding on I wondered about it. I have cleaned up two of them made by Mastercraft (https://rebornpipes.com/2016/09/12/back-in-flight-a-pair-of-mastercraft-sparkless-cigar-pipe-zeppelins/). They were an interesting pair of pipes. This one was different he said. The design was quite a bit more streamlined and smooth in terms of look. The aluminum nose cone was smooth and there were two air holes drilled in the briar itself rather than just in the nose cone. I am assuming this was to aid airflow in the pipe. It still had an aluminum to briar connector for the two parts. The vulcanite stem was well fitted.cigar1 cigar2What would be the left shank side was stamped SAFE-TEE over Pat. June 23, 1925. I did a lot of searching online and could only find one other picture of a rusticated version of the pipe. It is not listed on Pipedia or on pipephil’s Logos and Stampings site. I looked in my reference books here and found it listed in Who Made That Pipe. In classic form, giving an almost dictionary style definition the book says that the pipe was made by the Safe-Tee Pipe Company in the US. Now to me that is classic – the SAFE-TEE pipe made by the SAFE-TEE Pipe Company. The only additional piece of information was that it was made in the USA and it was patented originally in 1924. The photo below shows the stamping. cigar3The stem was in great shape with minor pitting and some tooth chatter but no heavy damage. There was light oxidation as well.cigar4My brother took the photos above and the ones below to show the condition of the pipe before he cleaned it. The next one shows the pipe taken apart. The nose cone portion of the pipe is all briar with threads cut into the briar. The shank portion has an aluminum connector that turns into the briar cone. There is a washer that serves as a spacer/band between the portions. The stem is straightforward with no stinger apparatus. He also took photos of each side looking down the barrel.cigar5 cigar6The washer is free and spins on the aluminum connector. It needs to be aligned for the two sides to meet properly. There was a small crack/flaw in the briar of the shank portion of the pipe.cigar7Once again I am thankful for my brother Jeff’s cleaning skills. The inside of the pipe and stem were spotless when it arrived in Vancouver. The exterior had also been scrubbed clean of dirt, debris and the mottle finish. The pipe was ready to restore. I took some photos of it when I brought it to my work table.cigar8I took some photos of the pipe taken apart to show some of the structure on the pipe. You can see the internals of the connector and the metal tube in the bottom of that portion (the one on the left of the photo) you can also see the end of the cone. It is an interesting design that is different from the Mastercraft version.cigar10The next photos show the condition of the stem – you can see both the tooth chatter and the oxidation in the photos. There was also some pitting in the vulcanite.cigar11My first order of business was to repair the crack and several of the deeper pits in the briar. I cleaned the entire pipe with a cotton pad and acetone. I examined the crack to see how deep it went in the briar and was pleased to see that it was really surface flaw. The tube inside the shank portion stabilized it from causing further damage. I used a dental pick to clean it out and filled it in with clear super glue. It was small enough that I did not mix any briar dust with the super glue repair.cigar12When the glue dried I sanded the repairs with 220 grit sandpaper to blend them into the surrounding briar and make them smooth.cigar13I sanded the repaired areas with micromesh sanding pads – wet sanding with 1500-2400 grit pads and dry sanding with 3200-4000 grit pads. I used the higher grit pads on the entire area around the repairs.cigar14I used a dark brown stain pen to touch up the repaired areas and blend them into the colour of the briar on the rest of the pipe. I gave the pipe a coat of Conservator’s Wax and buffed it. I set it aside and turned my attention to the stem.cigar15I did not stain the rest of the pipe but decided to leave it as it was. The repaired areas were stained to match the rest of the pipe but other than that it is unstained by me. I took the next two photos of the repaired areas after waxing and hand buffing them. The repairs blend in very well.cigar17I sanded out the tooth chatter and pitting on the stem with 220 grit sandpaper. It also removed the majority of the oxidation.cigar16I polished the stem with micromesh sanding pads – wet sanding with 1500-1800 grit pads and dry sanding with 2400-12000 grit pads. I rubbed the stem down with Obsidian Oil after each set of three pads. After the final set of pads I gave it a final coat of oil and set it aside to dry.cigar18 cigar19 cigar20I buffed the pipe with Blue Diamond on the buffing wheel being particularly careful around the stamping on the side. The stamping was already light on the left and right side so I did not want to damage it more. I gave it multiple coats of carnauba wax and buffed it with a clean buffing pad to give it a shine. I finished by hand buffing it with a microfiber cloth. The finished pipe is shown in the photos below. It turned out to be a beautiful piece of briar with a mix of flame, cross and birdseye grain surrounding the two halves. The aluminum polished up nicely and the black vulcanite, the natural finish and the aluminum combine to give the pipe a classic appeal. This was a fun one to work on. Thanks for walking with me through the process.cigar21 cigar22 cigar23 cigar24 cigar25 cigar26 cigar27 cigar28 cigar29