Blog by Dal Stanton
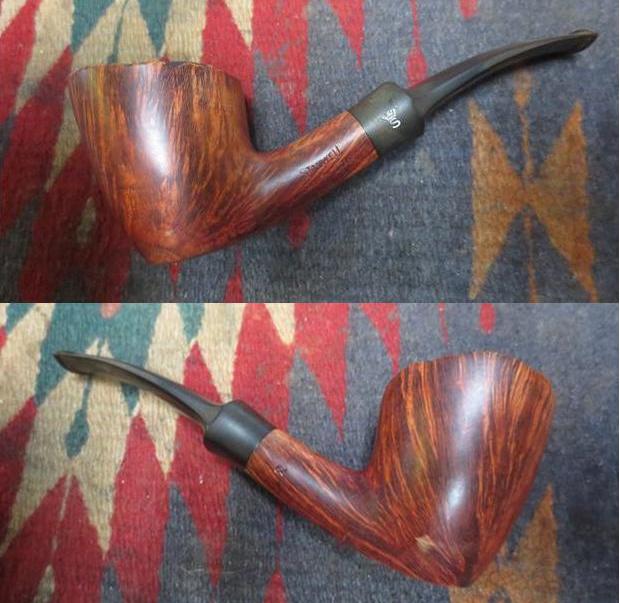
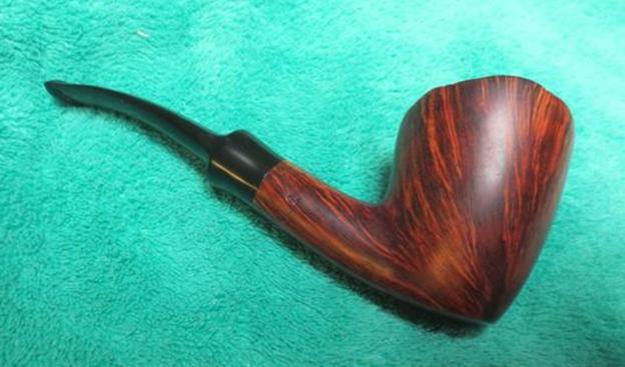
The pipe before me now was acquired from an eBay seller in Arkansas. The full bent shape (billiard or egg?) as well as the reddish, highlighted rustification drew my attention to this pipe – the rustified bowl reminded me of a bee hive – the tree hangers that Winnie the Pooh greatly coveted. Undoubtedly, a good choice for those pipe wielders who enjoy the tactile and sensory connection with the briar. Overall, it looked like it would fit well in a new steward’s palm. Information about the pipe was scant from the eBay seller, as is usually the case: Selection from Italy, was all. The eBay pictures describe some of the strengths and needs of this beehive rustified bent billiard:


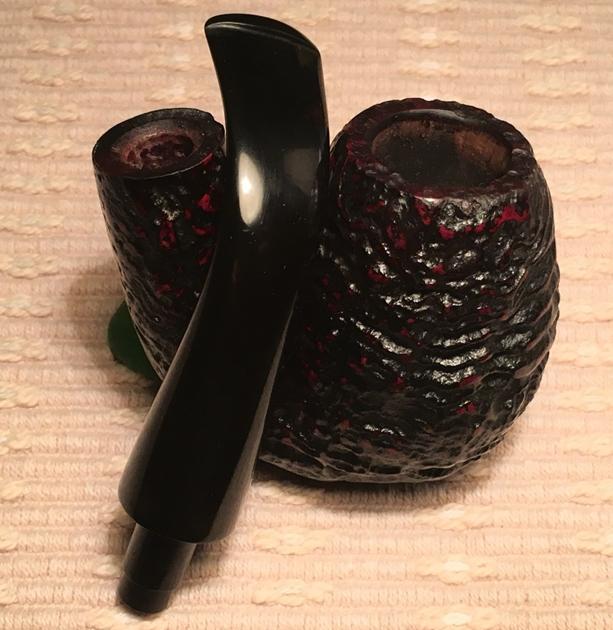
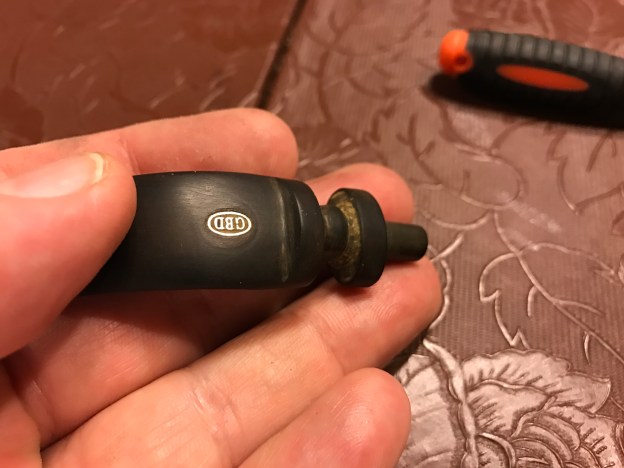
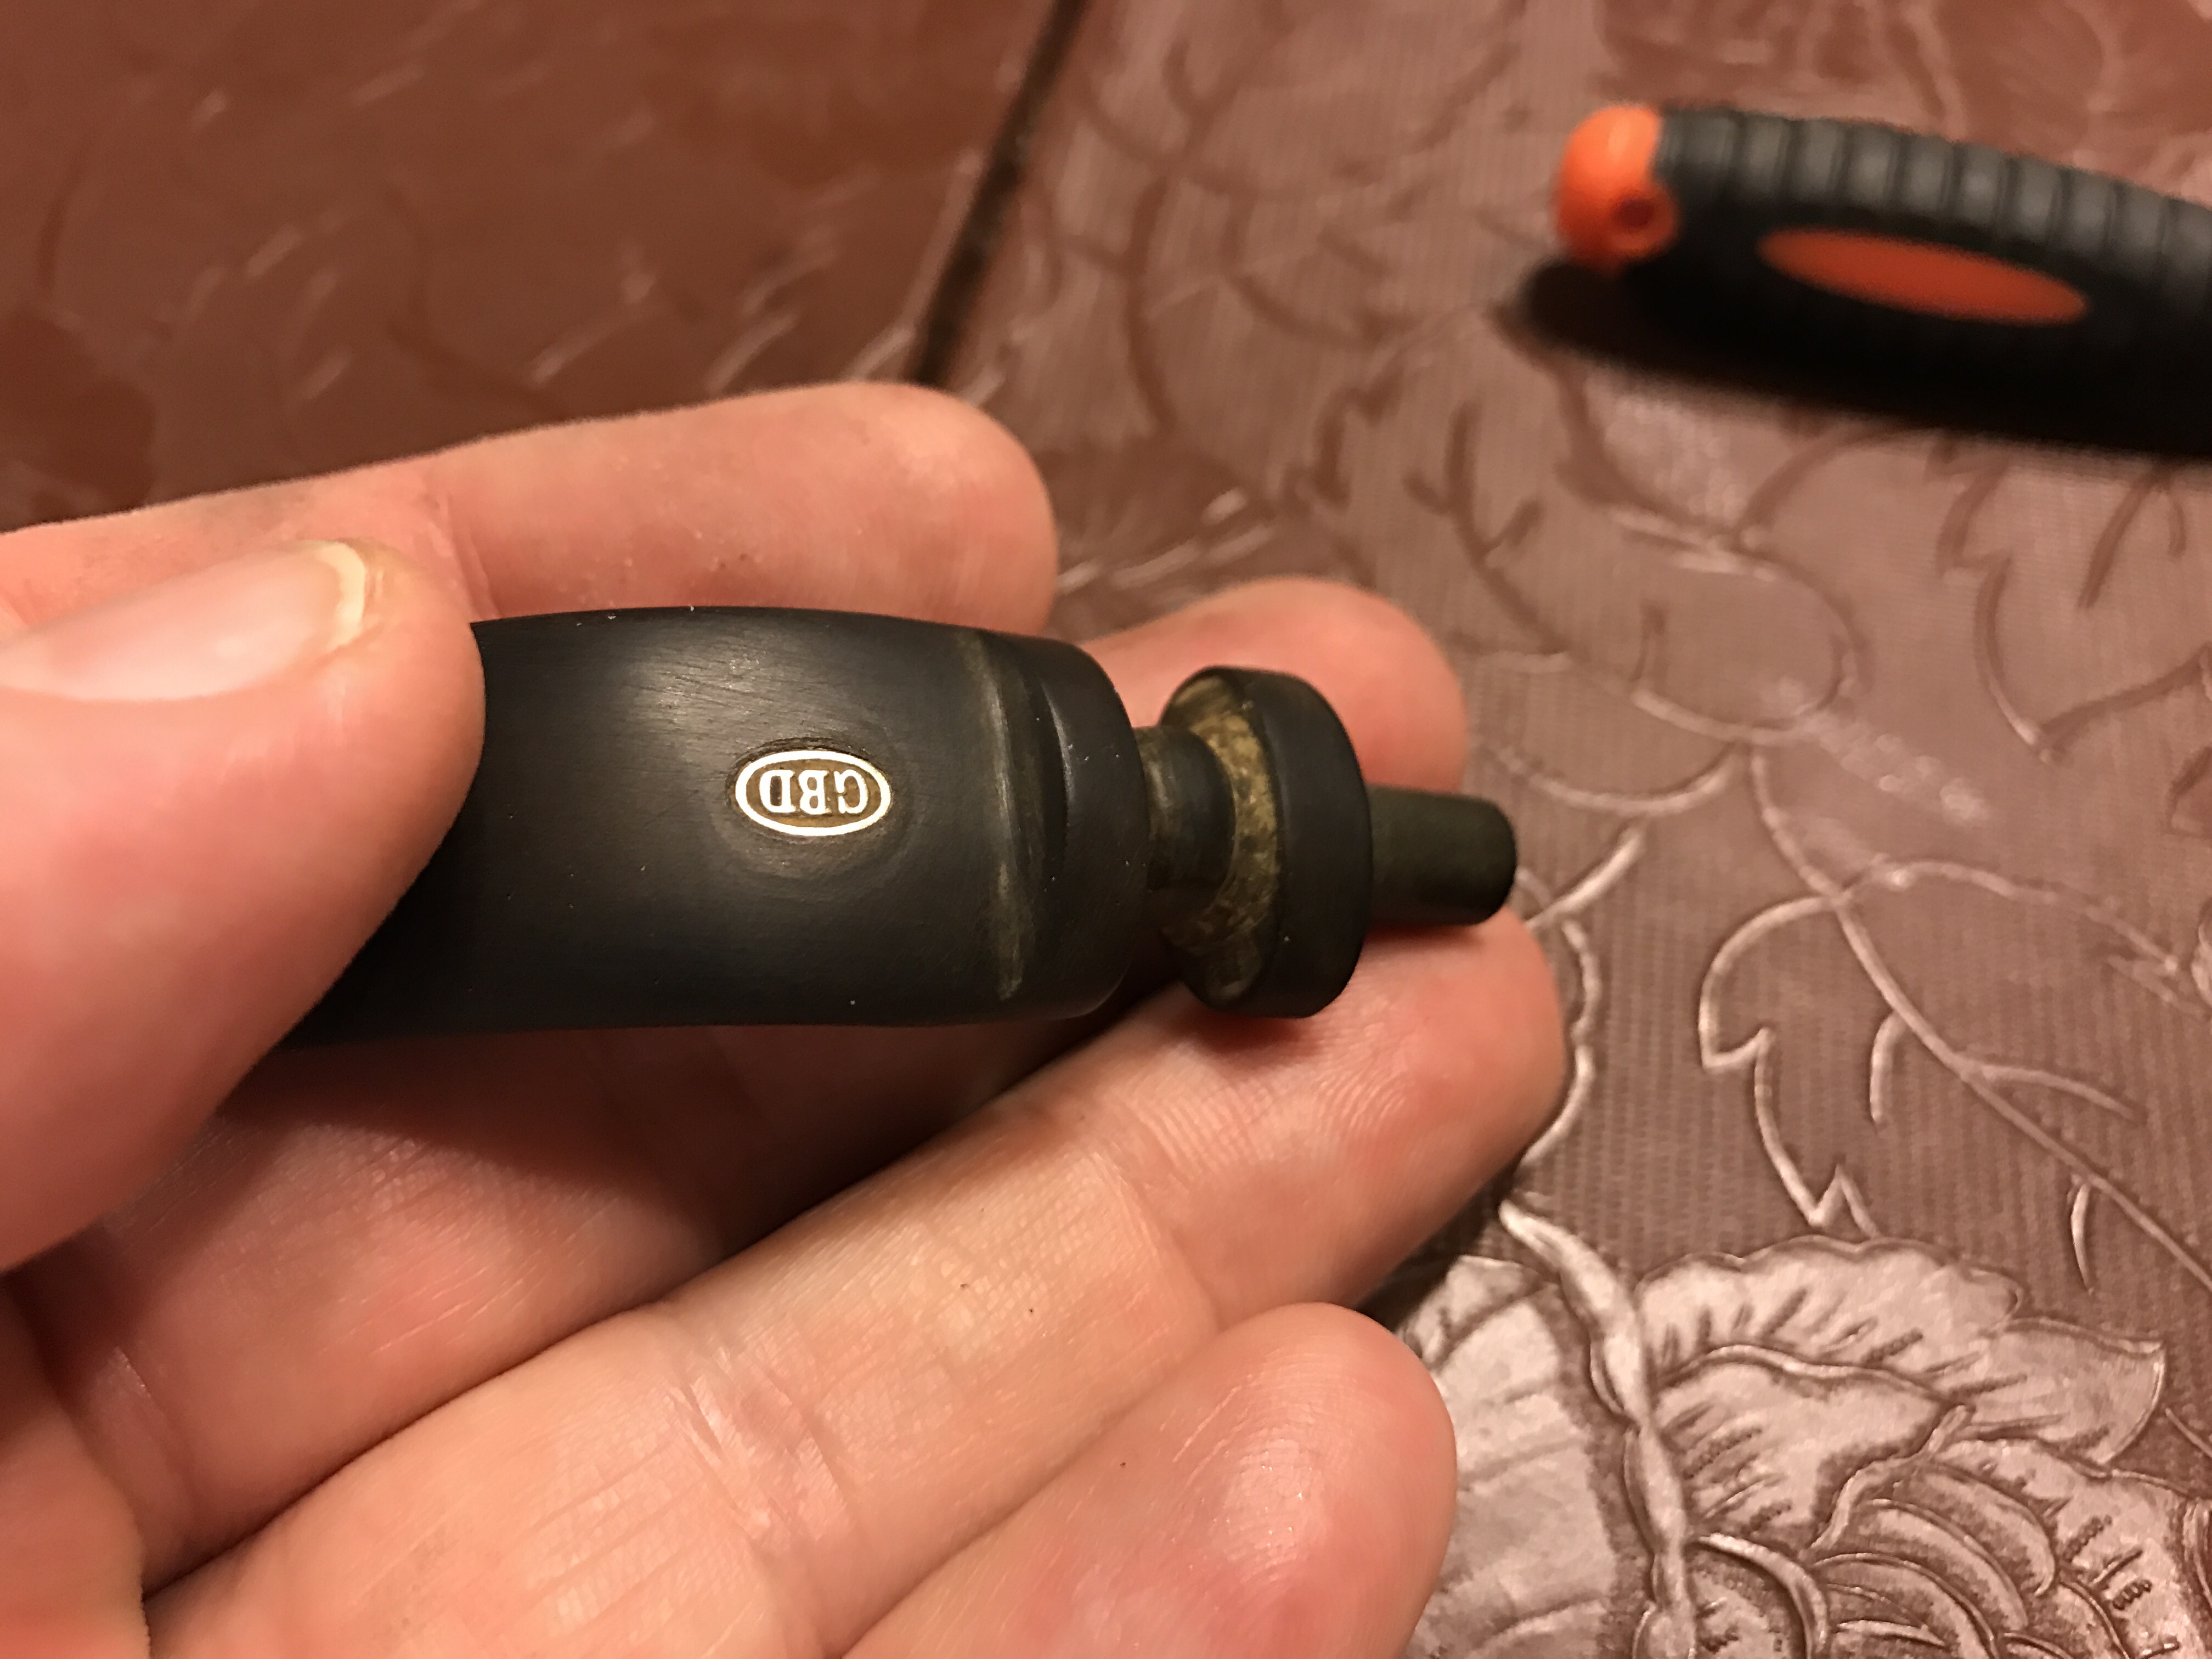
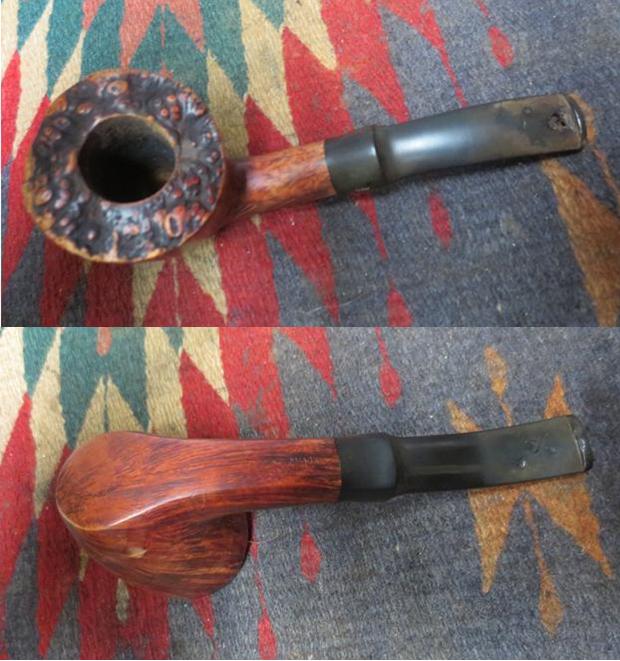
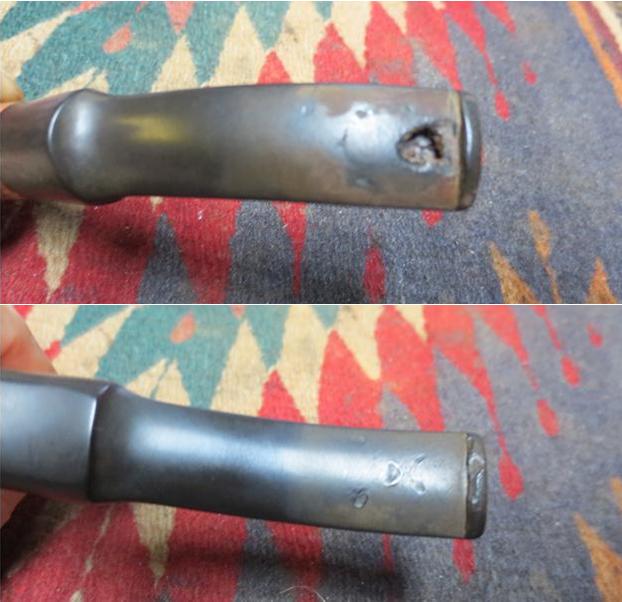
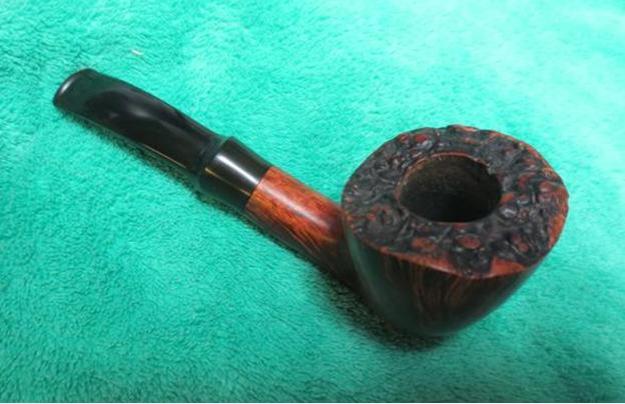
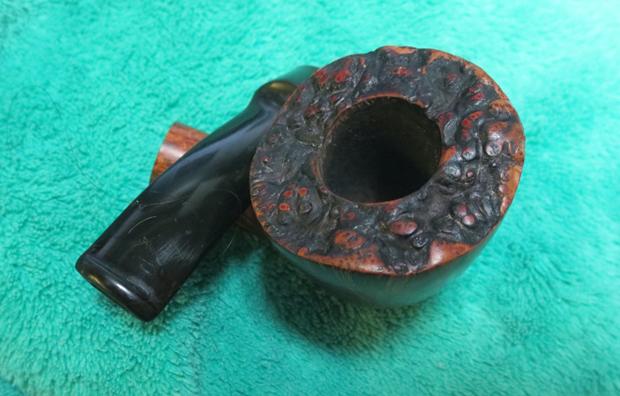
 When I retrieved the pipe from the ‘Help me!’ basket and put it on my work table here in Sofia, Bulgaria, I took some additional pictures to fill the gaps and show some problem areas. The rim of the bee hive bowl shows significant wear and some chips out of the briar. The immediate question in my mind is, can the chips be repaired to maintain the rustified rim and the tight bowl crown or will I need to top the rim and loose some valuable real estate in the process of its repair? AND to re-rustify the rim – a first for me. The inner bowl appears to be in good shape – mild cake but I will ream it and bring it down to briar for a fresh start. The stummel needs a thorough cleaning of the rustified mountains and valleys. The bent stem is in good shape – mild oxidation and tooth chatter around the bit. With a closer look at the nomenclature on the lower shank I discover a marking that is barely perceptible and due to a rustification canyon dissecting the middle of the word, a letter is missing of what appears to be a 6-letter name: RIA_IO over SELECTION with ITALY off to the right side. Since the pipe is from Italy, I searched Pipedia.com and Pipephil.eu and could not identify an origin. I went to Google Translate’s Italian to English tool and inserted every potential letter in the #4 slot and only came up with two cogent, Italian words: 1) Riario: The name of a prominent Italian family in the 1400s from Savona, near Genoa, which had special ties with and enjoyed the favor of Pope sixtus iv. This does not seem to be too helpful in establishing the credentials of this pipe. The only other translate nibble was: 2) Riadio, English: Radio. Therefore, Radio over Selection? Maybe. Does anyone recognize this name: RIA_IO??


 I take a second and third look at the rim damage and put the brain in gear to come up with a plan. The first order of business is to plop the stem in the Oxy-Clean bath to raise the oxidation in the vulcanite. Following this I will ream the bowl down to the briar and then clean the exterior of the rim and stummel to get a better look at the briar surface – the canyons and crevices in the rustification can hide a lot of crud. We need to clean things up. Using the Pipnet reaming kit I use the two smallest blades to navigate the narrow fire chamber. After these blades, I fine-tune the ream using the Savinelli pipe knife. Then, I roll up 240 grit paper around a dowel rod and sand the bowl from top to bottom. Finally, I wipe the bowl down with a cotton pad and a bit of alcohol. The picture shows the reaming tools.
 With undiluted Murphy’s Soap I go to work cleaning the rim and stummel surface. I use a bristle tooth brush to do the job. I’m careful to keep the internals dry during the wash. After scrubbed, I rinse the stummel in warm tap water.
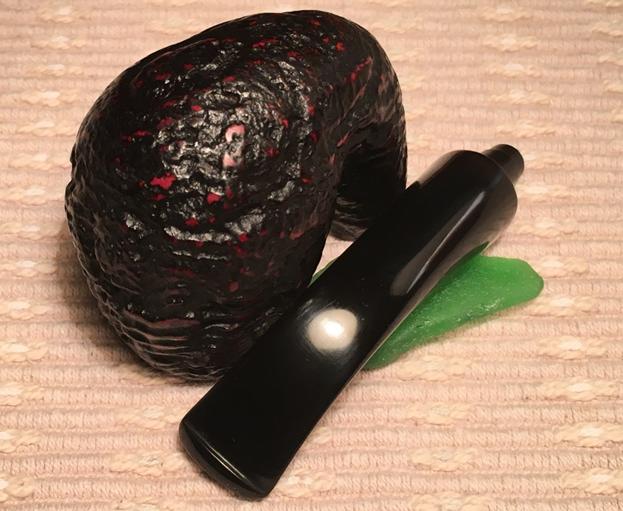
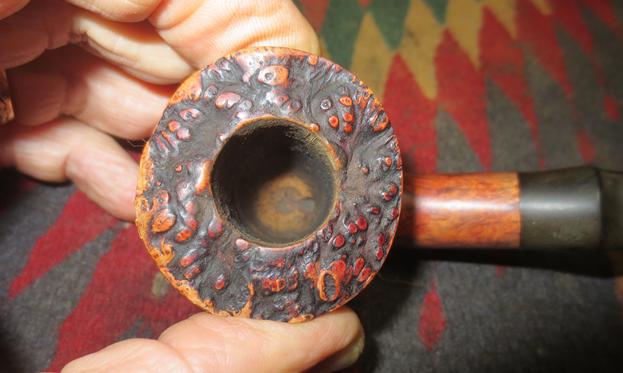
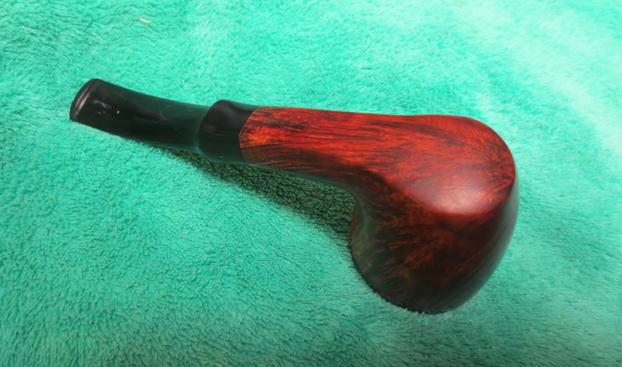
 What the clean-up reveals is a lot of work I did not see before. I’ve never tried my hand at the rustification process, but I will need to do that to bring this pipe back to its original condition. The upper front of the stummel is almost completely flattened and void of the rustification patterns. It looks as if this section was dragged across the pavement and skinned up. This skinned up damage goes right up to the rim as chunks of the briar are missing. This pipe has taken quite a beating. Even though it wasn’t my desire, I’ll need to top the bowl to remove as much damage as possible while maintaining shape integrity. I’ll need to read up on rustification techniques and give it a go. The only redeeming aspect of the front bowl skin up is that shadows of the former patterns are detectable which can be followed. Bringing a new finish to the skinned patch, blending the colors too, will be a challenge. The next pictures show the damage but also serve to be a record of the appearance of the rim when I try to imitate it.
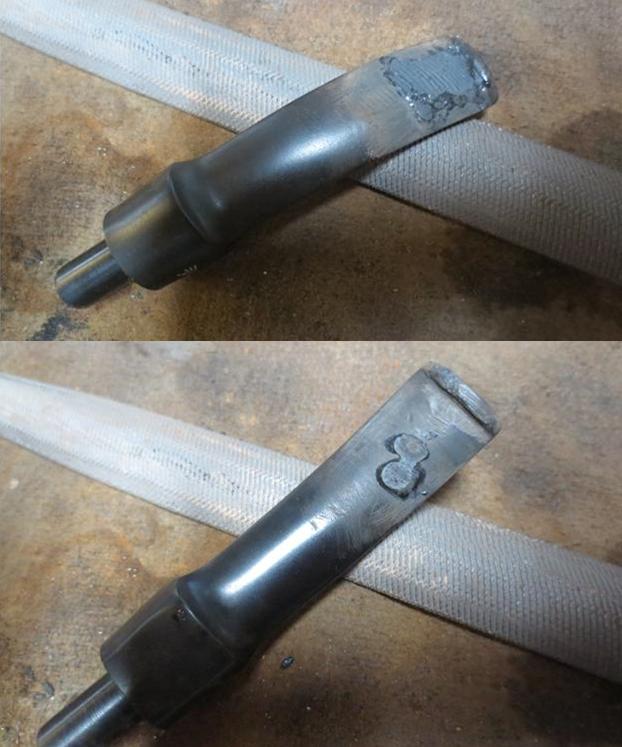
 I begin this daunting project by topping the rim using a chopping board and 240 grit sanding paper. I’m careful to let the inverted stummel ‘free stand’ to make sure I’m getting a level top. I rotate the inverted stummel in a circular motion checking my progress often – I don’t want to take off more than is necessary. I’m careful to keep an eye on the full bend shank as well – there’s not a lot of clearance. The rim does not need to be totally topped smooth because I will be re-applying rustification yet the topping restores a foundation of healthy briar.
 I need to reestablish the rustification patterns in the damaged area. I’ve read about this but there’s nothing like doing…. I’ve chosen different Dremel wood chiseling tools which I hope will emulate the patterns already in place on the beehive bowl. Easy does it! Patience! Prayer! The following pictures chronicle my slow, experimental approach reestablishing the rustification in this worthy pipe.


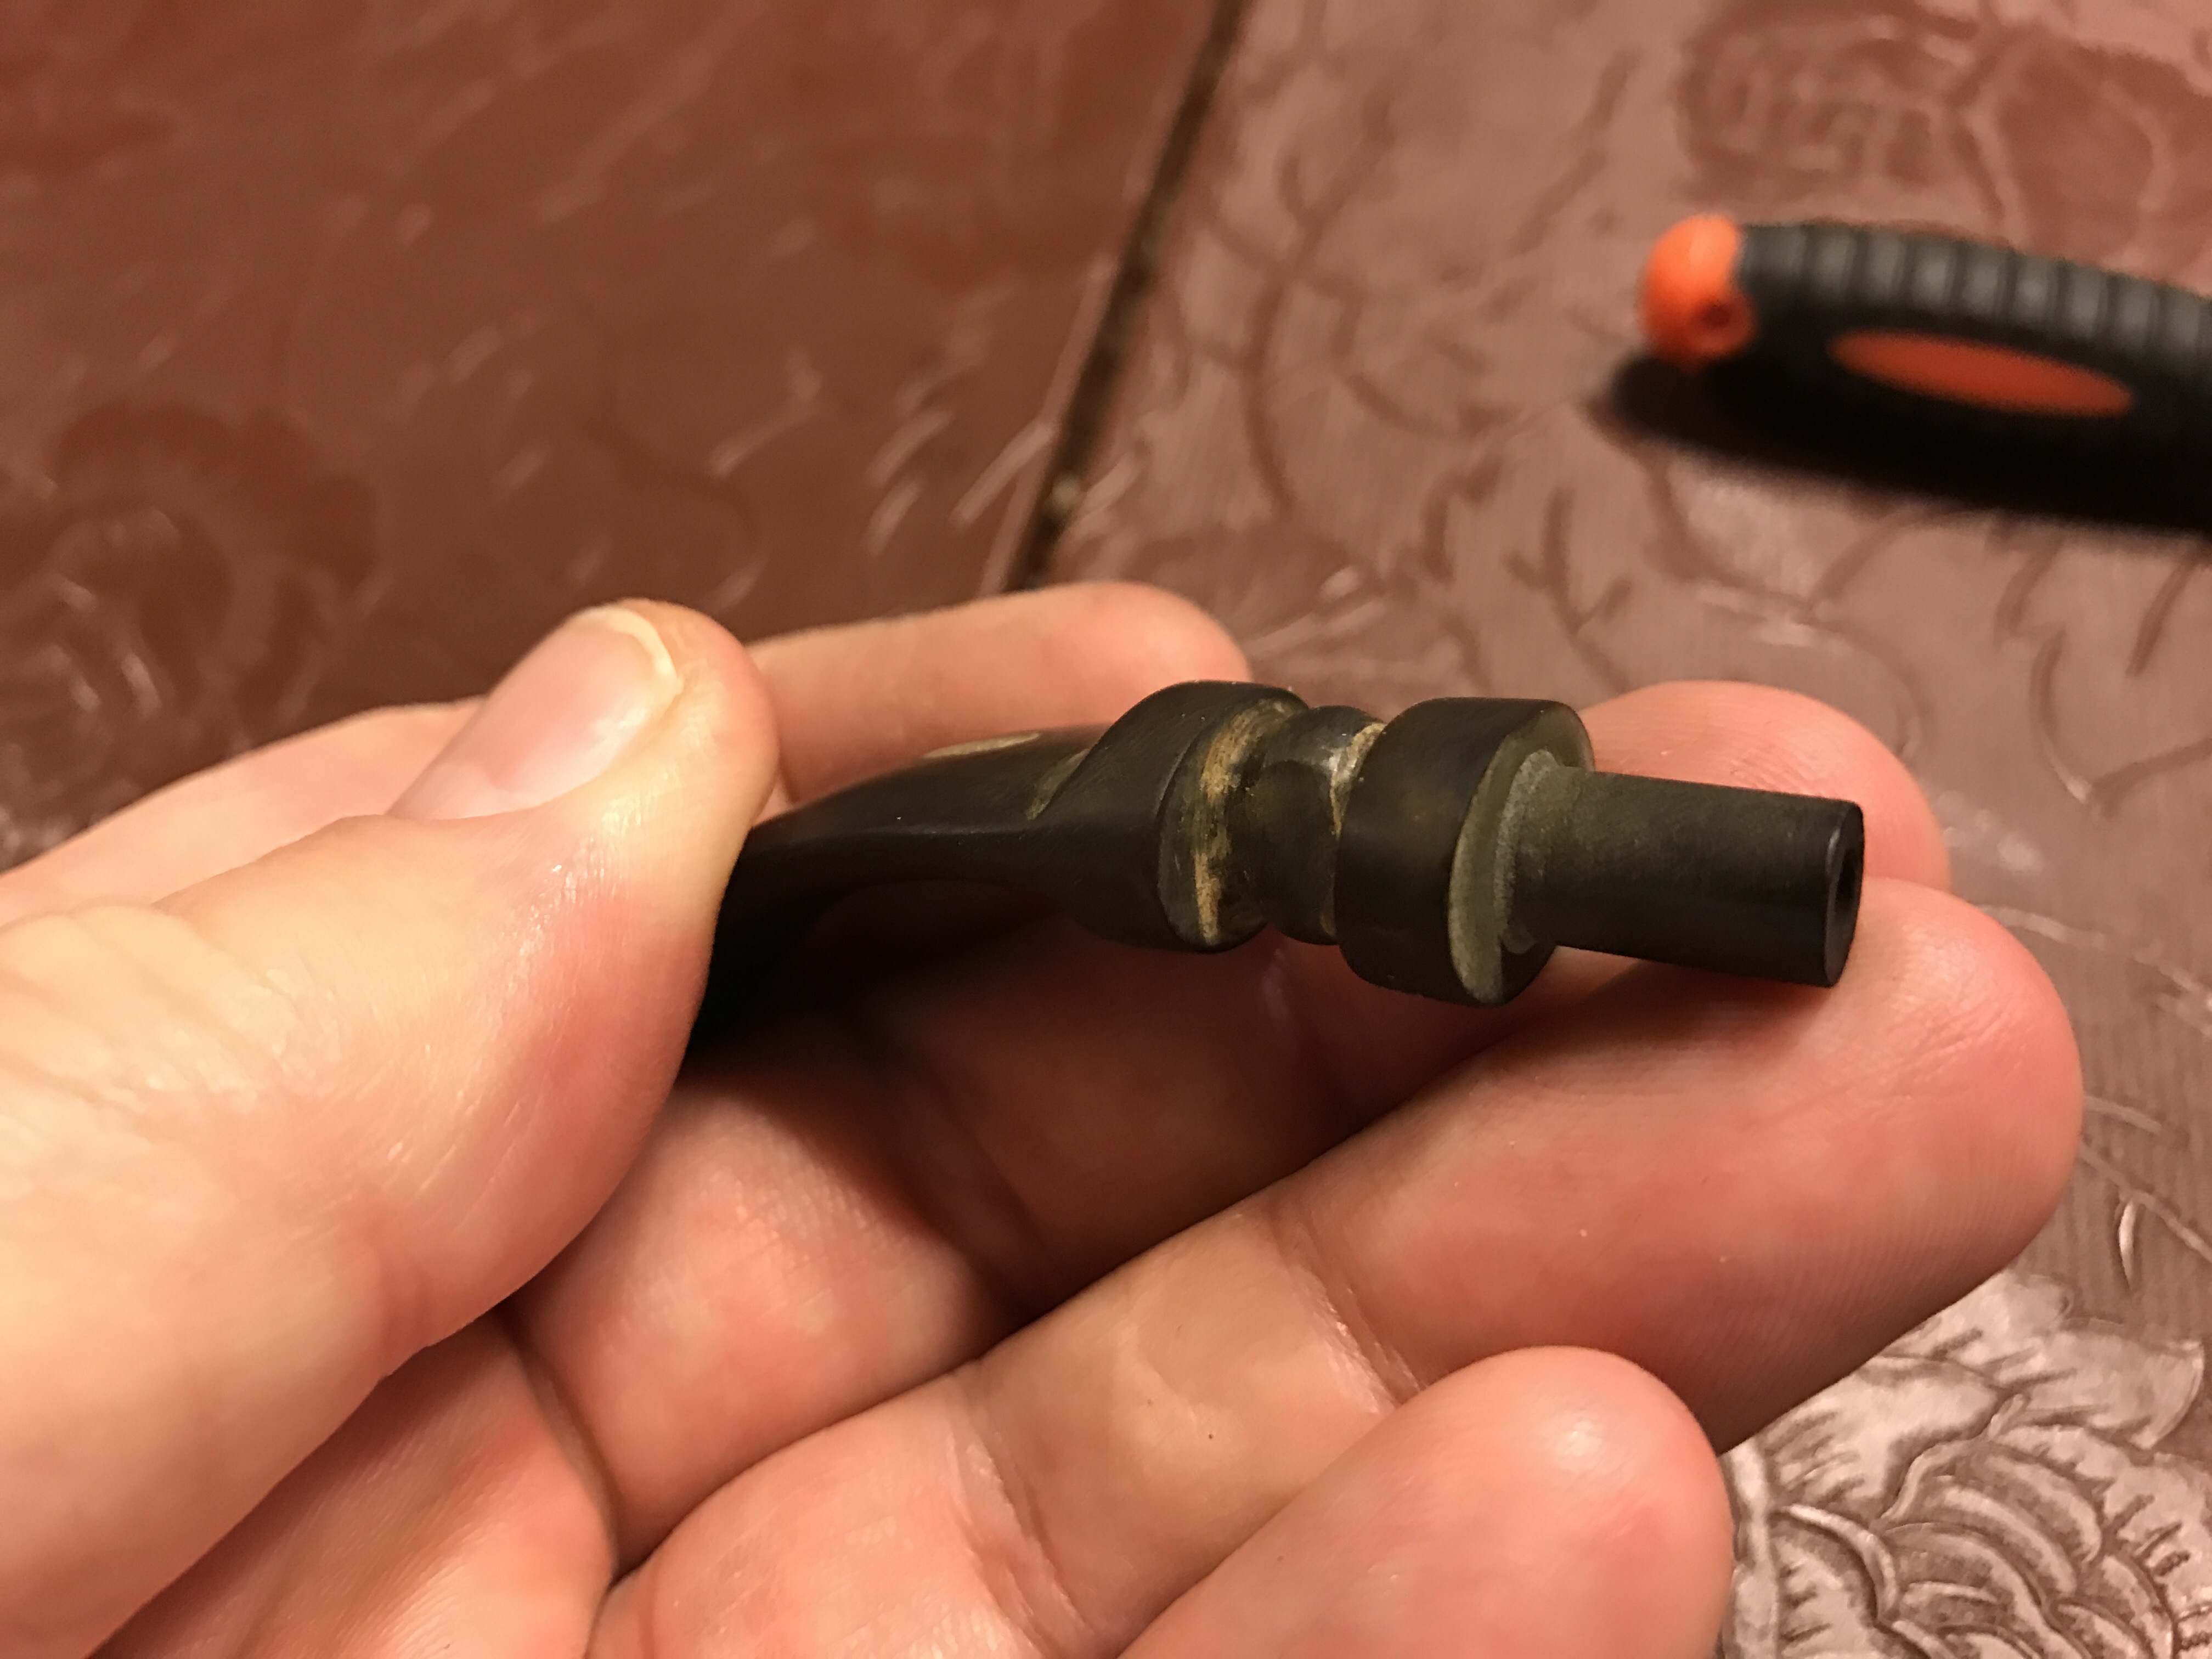
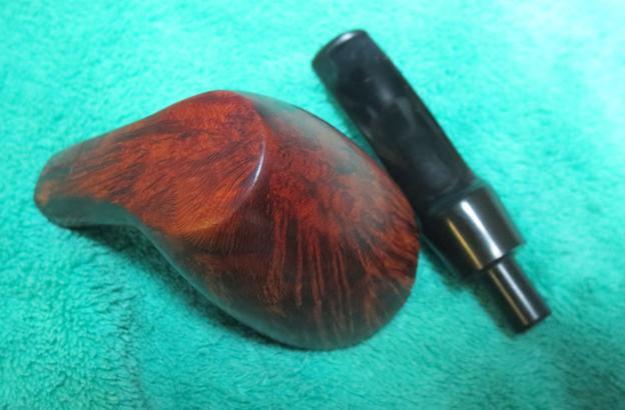
 Regarding the hurdle of refinishing the stummel surface in a way that hopefully blends with the native scheme, was a question that required a better mind than what I could bring to bear – an email off to Steve would hopefully remedy this novice’s paralysis. While waiting for a reply from Steve in Canada, I went to work on the clean-up of the stem and stummel internals. Fishing the stem out of the Oxy-Clean bath, I sanded the raised, classic olive green oxidation with 600 grit paper then with 0000 steel wool. Now for the internals. I use Q-tips and alcohol to run through the stem making sure that the primary gunk was moved. I did the same with the stummel – it took some time to open the airway with pipe cleaners. To loosen the clogging, I poured some isopropyl 95% down the mortise to let it soak. I also gently employed a short piece of cut hanger to help push through the gunk. With airway open, I reunite stummel and stem and utilize the retort to clean the internals. After the retort did its work, I finish the internal cleaning job with Q-tips and pipe cleaners dipped in isopropyl. The internals are clean! The pictures show the progress.


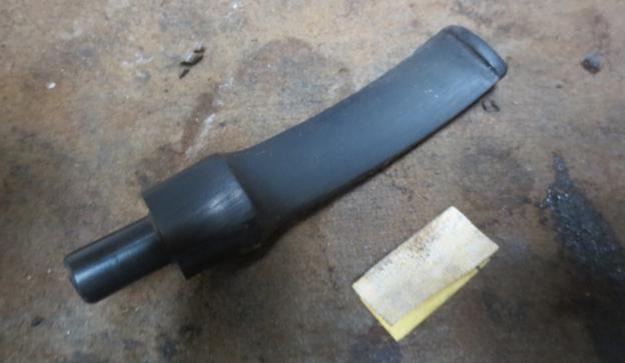
 The bit area of the stem is not in bad condition. I use the heat of a candle to help raise the tooth dent on the lower bit and sand upper and lower with 240 grit paper to work out the very light chatter. I redefine the button lips with a flat needle file.

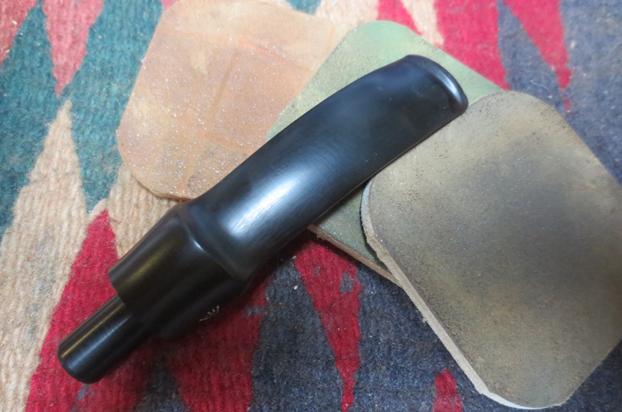
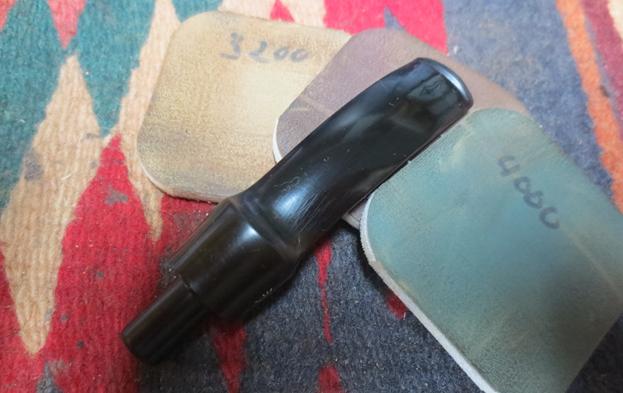
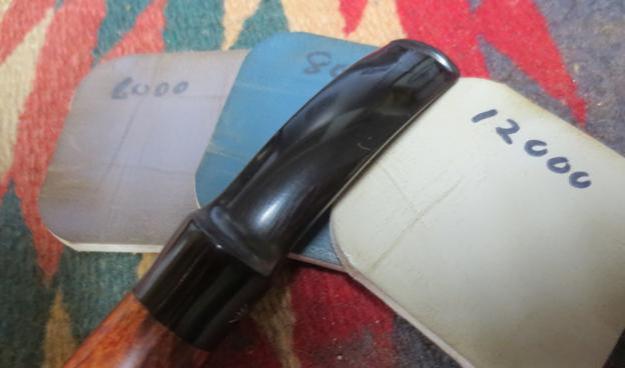
 I continue with the micromesh phase of the stem restoration. With micromesh pads 1500 to 2400 I wet sand followed by a coat of Obsidian Oil. Then with micromesh pads 3200 to 4000 and 6000 to 12000 I dry sand, following each set with an application of Obsidian Oil. The pictures show the progress. I love the wet ‘pop’ look on polished vulcanite!
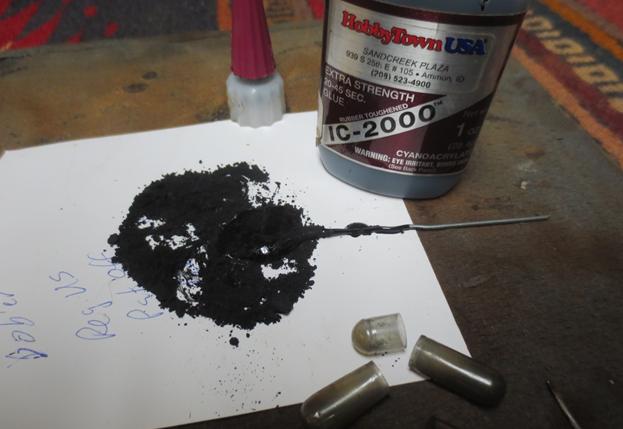
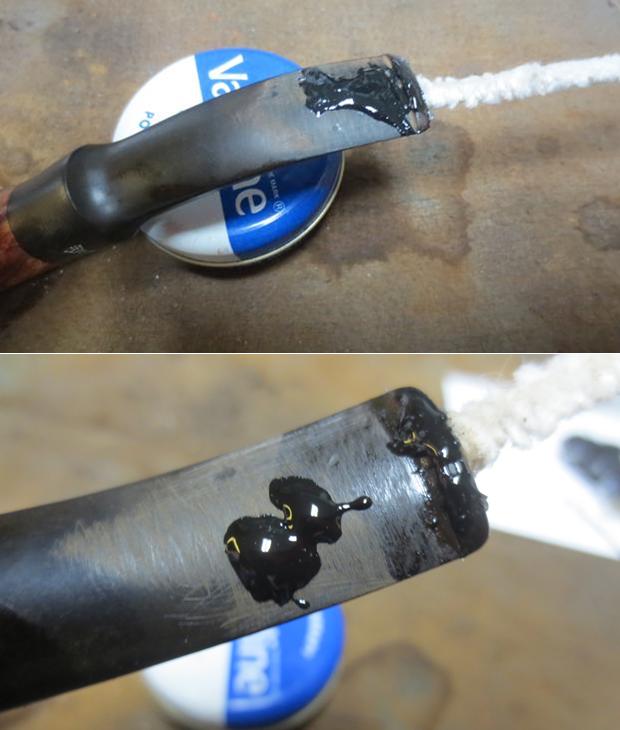
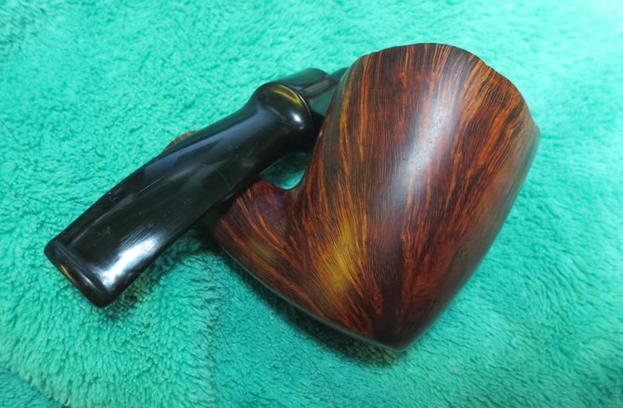
 Steve’s email arrived and the plan is set. Using Oxblood Leather Dye, I first stain the peaks of the rustified bare briar. I use a folded pipe cleaner to apply the dye. I also apply it to the rim – a splotch there and a splotch there – trying to vary the application. I lightly flame the Oxblood to set it in the grain. Then, taking a Sharpie black pen point, I highlight the deep crevices of the rustification and mark here and there on the rim – seeking to be random. After this, I used Fiebing’s Dark Brown Dye and applied it over the entire repair area and the rim. I lightly flamed it and then lightly rubbed the surface with a cotton cloth to soften the look. Finally, I took a cotton pad with some alcohol – not much, and lightly rubbed the peaks of the rustification to release the Oxblood. The result was not exactly emulating the red flecks over the stummel, but I grew to like the subtler interpretation of the new finish in contrast with the original. I’m pleased with the finish. The pictures tell the story.


 The home stretch. I apply Museum Wax to the stummel and buff it with a shoe brush to protect the rustification and bring out a nice shine. Reattaching the stem, I apply coats of carnauba wax with the Dremel wheel to shine and protect the stem. I know that carnauba is usually not applied to a rustified bowl but since I was using the Dremel wheel, I gave it a go. I really liked the results. I could angle and maneuver the wheel to work the carnauba over the rustified surface and I could easily detect the movement of the wax as I pushed it around with the Dremel wheel. It shined the stummel nicely. I completed this project with a rigorous buff with a micromesh cloth.
I like the rugged looks and feel of this large fully bent bee hive billiard from Italy. It fits the palm well! I hope that it finds a good home with someone soon! Thanks for joining me!