Blog by Steve Laug
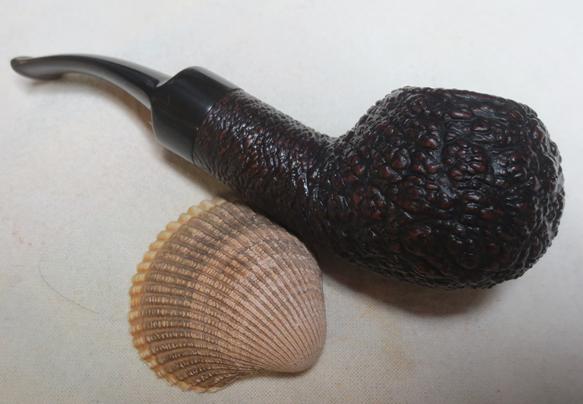
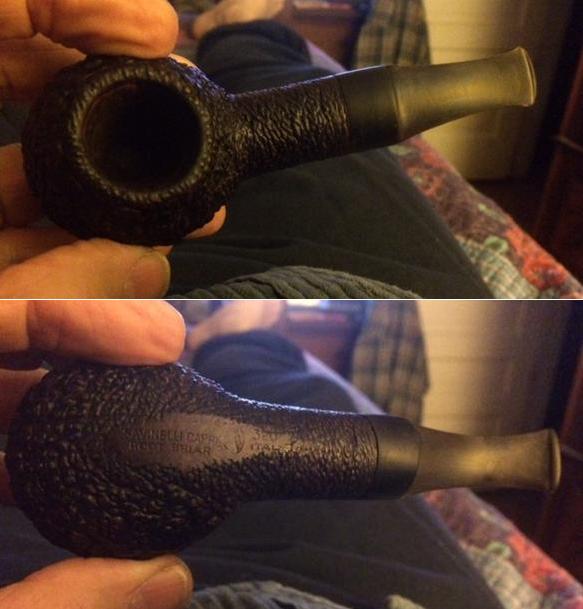
I have always liked the looks of the Savinelli 320 shape. I have one of them here and it is a 320EX so it is quite large. When my brother Jeff sent me photos of one that he was looking at I was interested. He bid on it and won. It is stamped on the underside of the shank on a smooth spot with the words Savinelli Capri over Root Briar. Next to the stamping was the Savinelli shield and to the right of that it reads 320 over Italy. The finish on the bowl looked really good. I really like the Capri rustication and the roughness of the feel in the hand.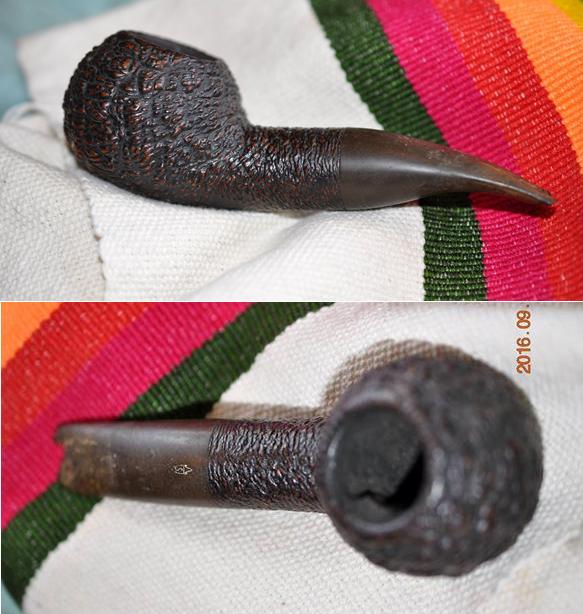 My brother sent me the photos above as well as these close up photos. The rim was actually in very good shape, surprisingly. The there was a thick rough ca,e in the bowl and some of the lava had overflowed on to the rim top grooves.
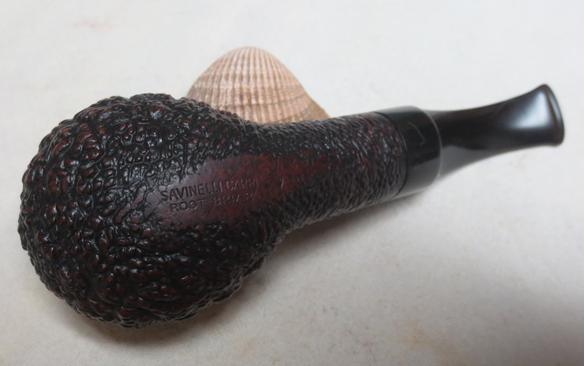
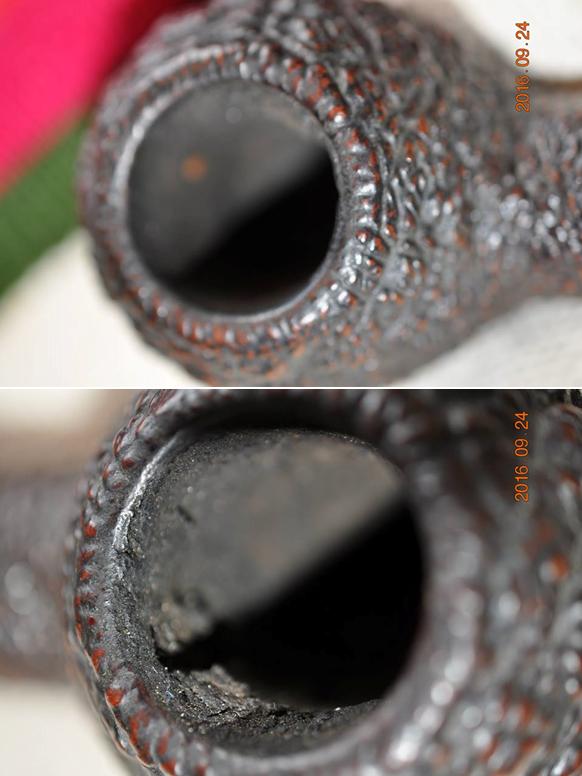 The underside of the shank was in excellent shape though there were some scratches on the smooth area. The pebble cut rustication was in excellent condition. The contrast stain on the pebble finish other than being dirty was undamaged.
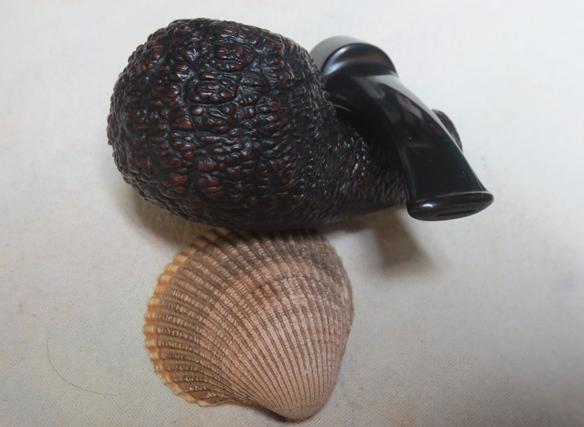
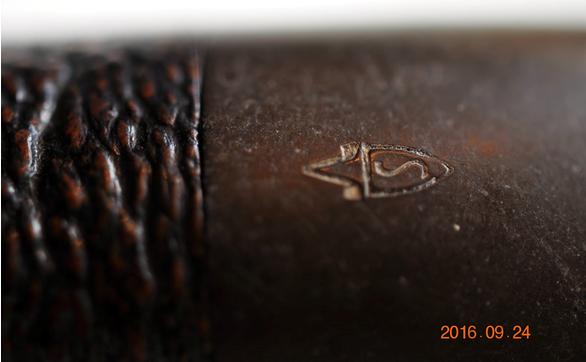
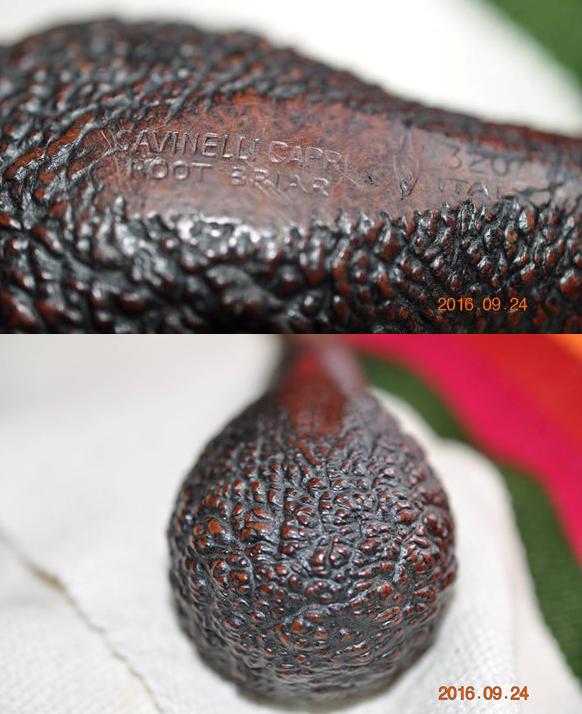 The real issue with the pipe lay with the stem. The stem had been gnawed to the point that there was almost an inch or more of the stem missing. It was missing a large portion of the vulcanite on the top and the underside of the stem. It is ironic that the stem logo was the only thing about the stem that was left undamaged.
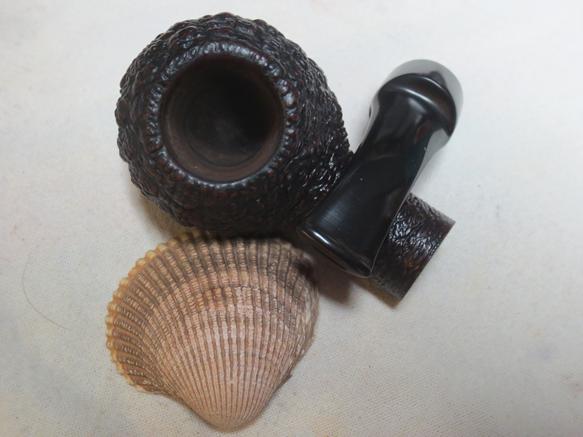
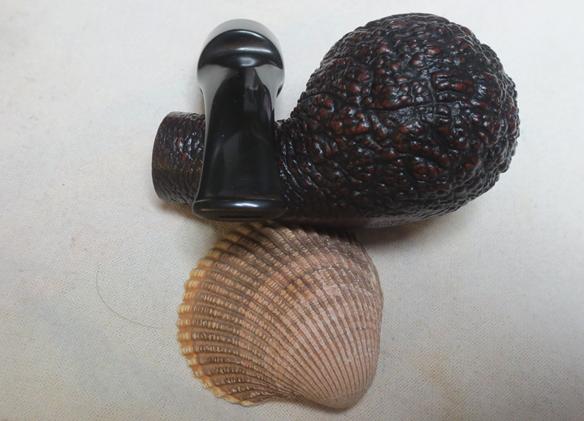
 My brother is getting really good at his cleanup process and this pipe was no exception. I am getting spoiled when I get a pipe that I have to ream and clean. When he sends them they have been reamed, scrubbed with Murphy’s Oil Soap on the exterior and cleaned thoroughly with alcohol, cotton swabs and pipe cleaners on the inside. I took some photos of the pipe to show the condition it was in when it arrived in Vancouver. You can see that the finish is clean and you can see the horrible damage to the stem.
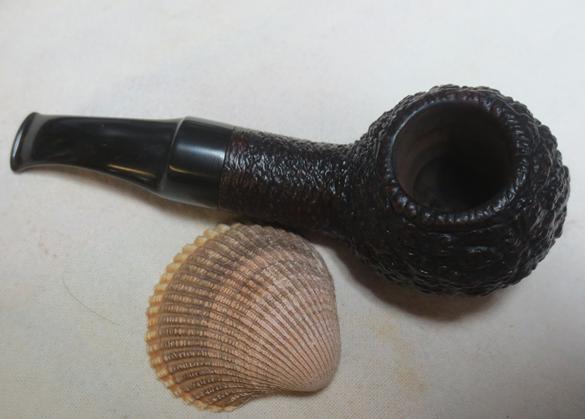
 I took a close up photo of the rim and the bowl. He had reamed back the cake to bare briar and also scrubbed the rustication on the rim and removed all of the tars and oils that had filled in portions of it on the back side of the bowl.
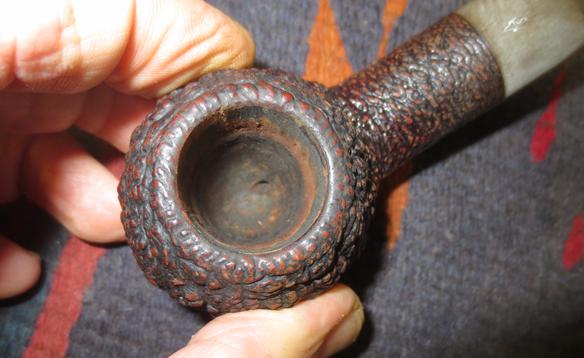 The original stem was a lost cause at this point. To shorten and reshape a new button I would have had to cut off almost another ½ inch. To my mind that would have made the pipe too short for my liking. I went through my can of stems and found a stem that had potential. The diameter of the stem at the tenon end was slightly larger than the Savinelli stem but it had room for adjustments. It had some file marks on the top and the tenon was a little large in diameter for the shank of the 320 but with a little work it would work. It had some paint on the top of the saddle and was deeply oxidized. There was not any tooth chatter or tooth marks on it. It would certainly work for the 320 but it would change the appearance. Once I had finished the fit I would take some pictures and make a decision.
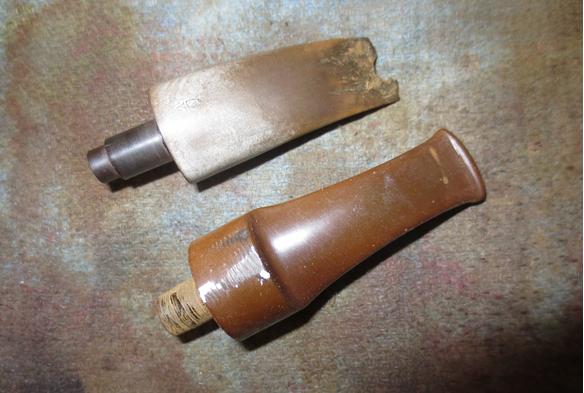 I scraped out the mortise with a dental spatula to remove the hard tarry build up that had accumulated there. Once I had scraped it clean I scoured out the inside of mortise and airways in the shank and the stem with alcohol, pipe cleaners and cotton swabs.
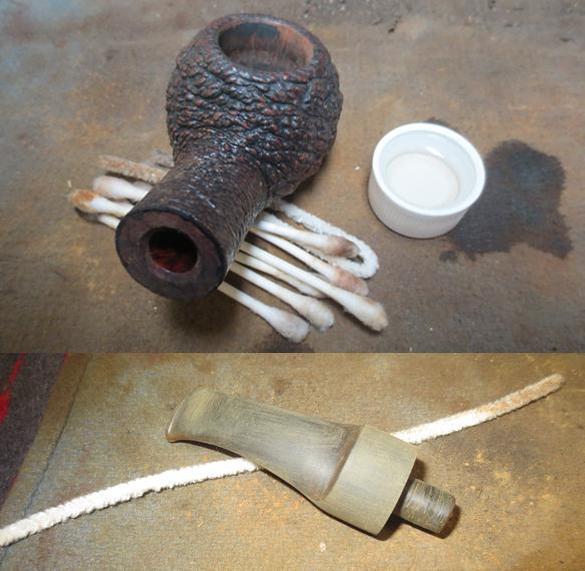 I sanded the tenon with a Dremel and a sanding drum to fine tune the fit in the shank. I also adjusted the diameter of the saddle with the Dremel and sanding drum until it was a close fit to the diameter of the shank. I fine-tuned the fit with 220 grit sandpaper until the saddle portion was free of the sanding marks left behind by the Dremel. I sanded the tenon with 220 grit sandpaper to adjust the fit in the mortise. I finished by sanding the remainder of the stem as well to break up the oxidation.
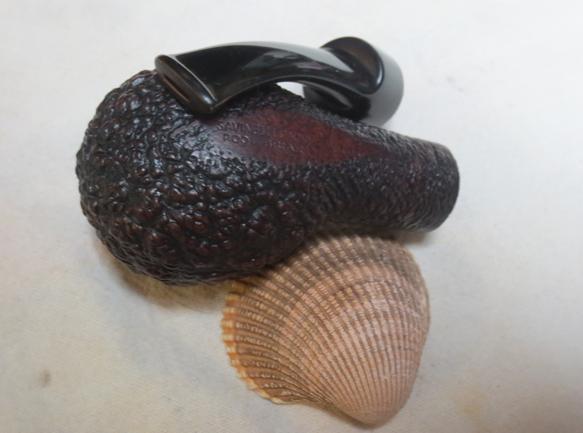
 Once the fit in the mortise and to the shank was correct I pushed the stem in place and took photos of the new look of the pipe. Part of this was to mark the progress but it was also an opportunity for me to see it from the eye of the camera and assess whether I would keep working on the stem or just wait until I came across another Savinelli tapered stem. As I studied the photos I was pleased with the look. There was something catching about the new slim stem flowing from the saddle. I liked the looks of it.
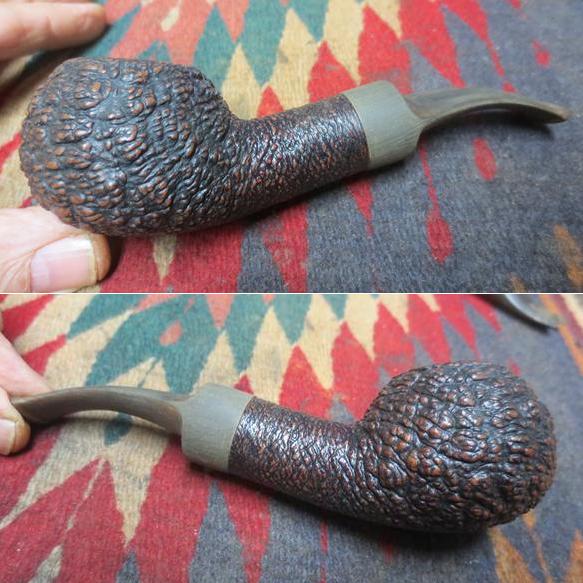
 I sanded the stem with the 220 grit sandpaper until I had removed the oxidation and then rubbed the bowl down with a light coat of olive oil to rejuvenate the briar. I rubbed the stem down with Obsidian Oil and took the next set of pictures. The pipe was beginning to look really good.
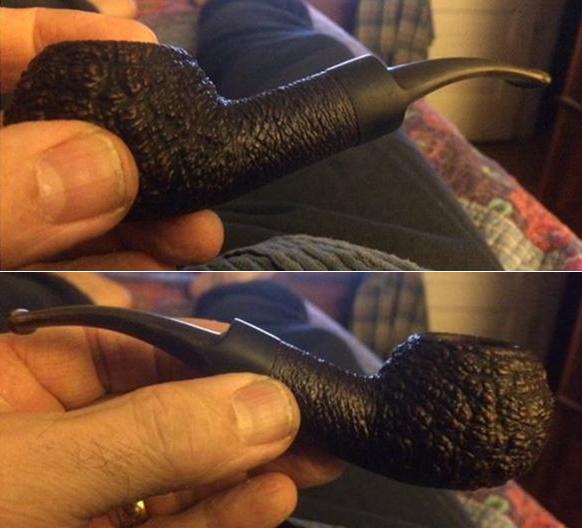
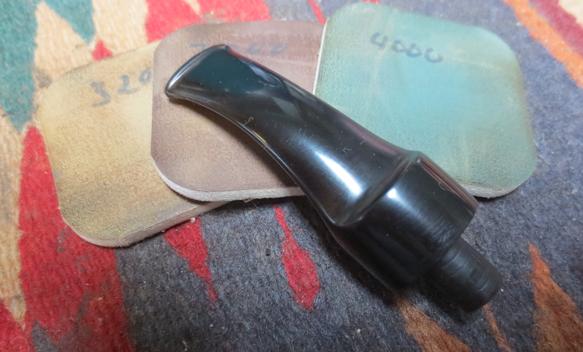
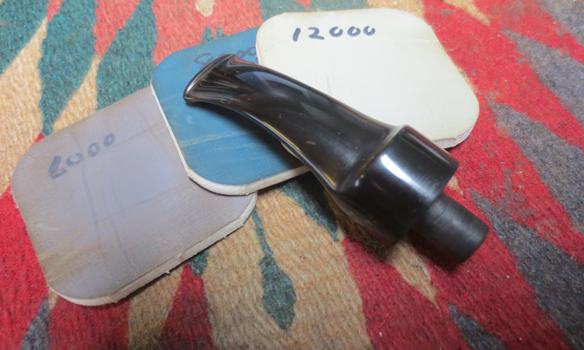
 I polished the stem with micromesh sanding pads – wet sanding with 1500-2400 grit pads and dry sanding with 3200-12000 grit pads. I rubbed the stem down with Obsidian Oil after each set of three pads. I gave the stem a final coat of Obsidian Oil after the last micromesh pad and set it aside to dry.
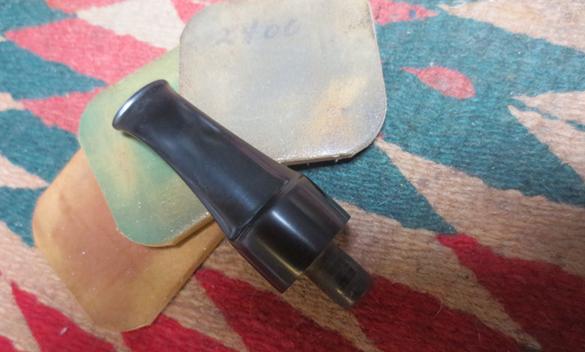
 I buffed the stem with Blue Diamond polish on the buffing wheel to polish it further. I gave the stem multiple coats of carnauba wax and gave the bowl several coats of Conservator’s Wax. I buffed the bowl and stem with a clean buffing pad to raise the shine. I finished the pipe by buffing it by hand with a microfibre cloth. The finished pipe is shown in the photos below. It took some work to fit the new stem to the shank but the new look of the saddle stem gives this pipe a fresh appearance to me that works well with the pebble rustication of the Capri Root Briar finish.