Blog by Steve Laug
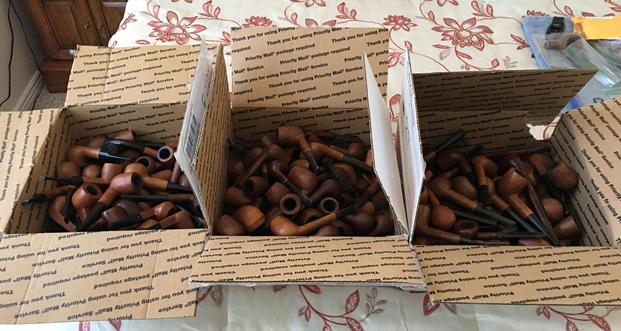
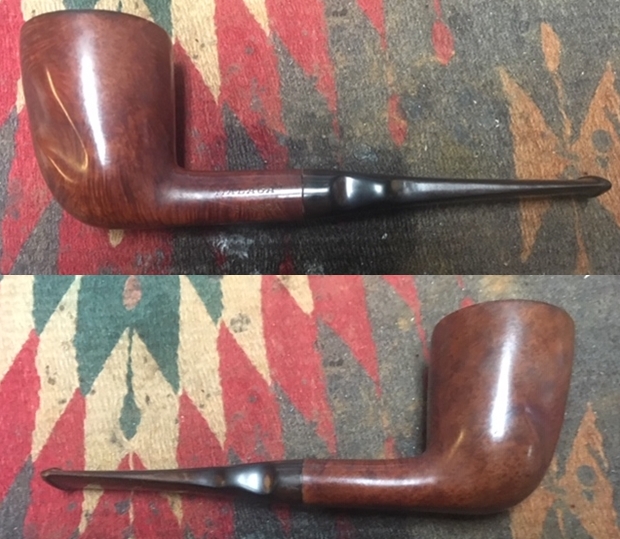
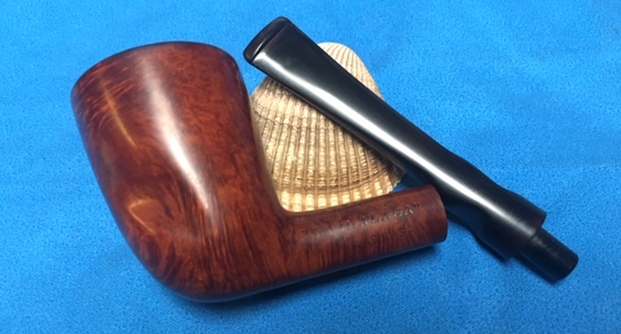
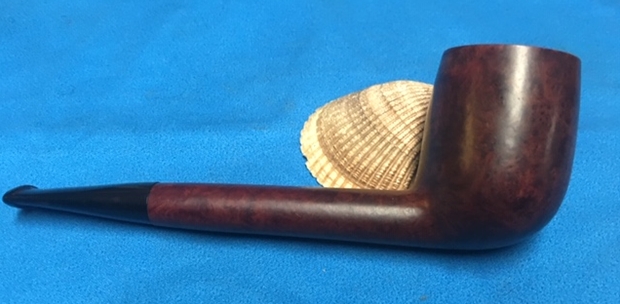
Rather than repeat myself and give readers grief with the repetition please refer to the previous blog posts on the collection of Bertrams and a smattering of other brands that Jeff and I purchased. I can’t adequately describe the sense of being overwhelmed that I have when I look at the 200+ pipes that need to be restored but there is only one way to move ahead – 1 pipe at a time. I am glad Jeff is helping with the clean up on the lot as that would be more than I could handle by myself in moving through this many pipes. From his cleaned pipes I chose an interesting little Lovat with amazing grain to be the next pipe that I would work on. It was a small Lovat with a saddle stem. There was a thick cake in the bowl and heavy lava overflowing on to the rim top. It was hard to know the condition of the edges due to the cake and lava. The stem showed some light oxidation and some tooth marks and chatter on the top and underside. The photos below tell the story and give a glimpse of the pipe.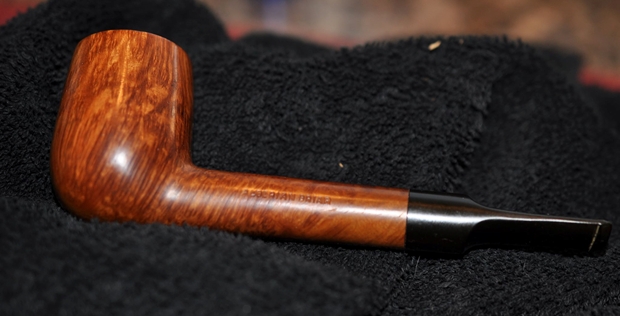
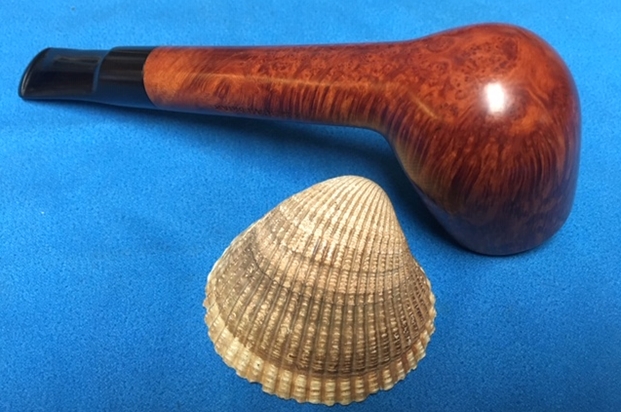
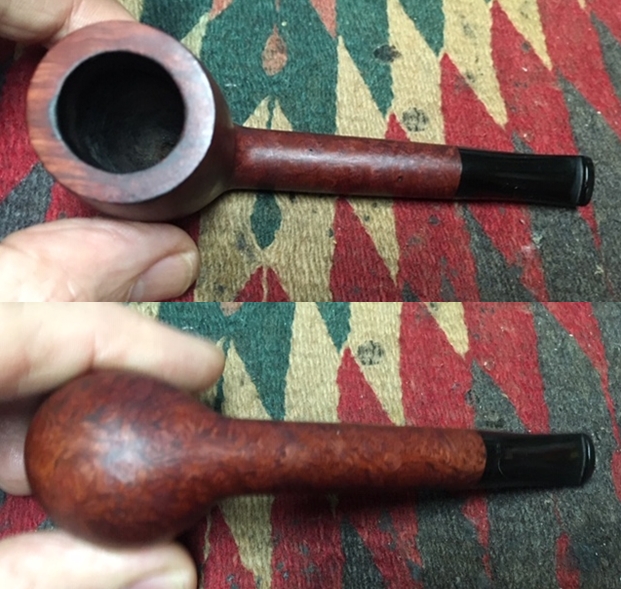
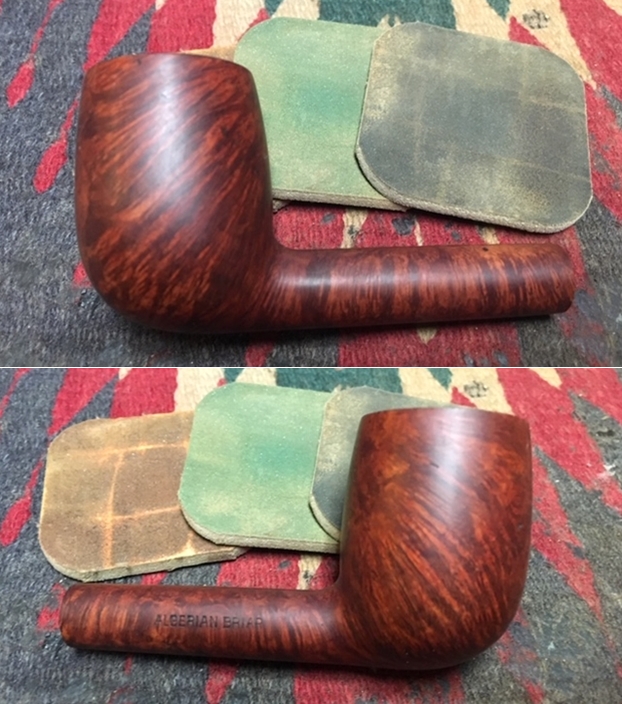
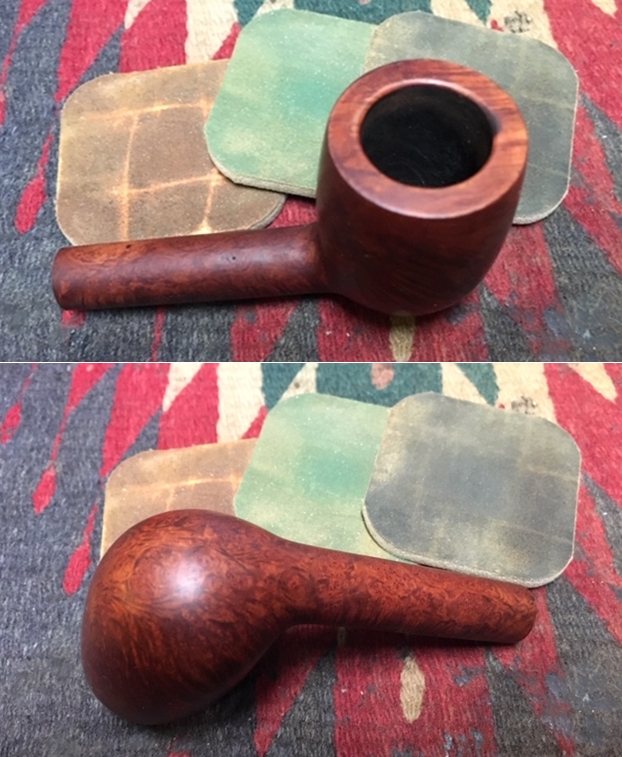
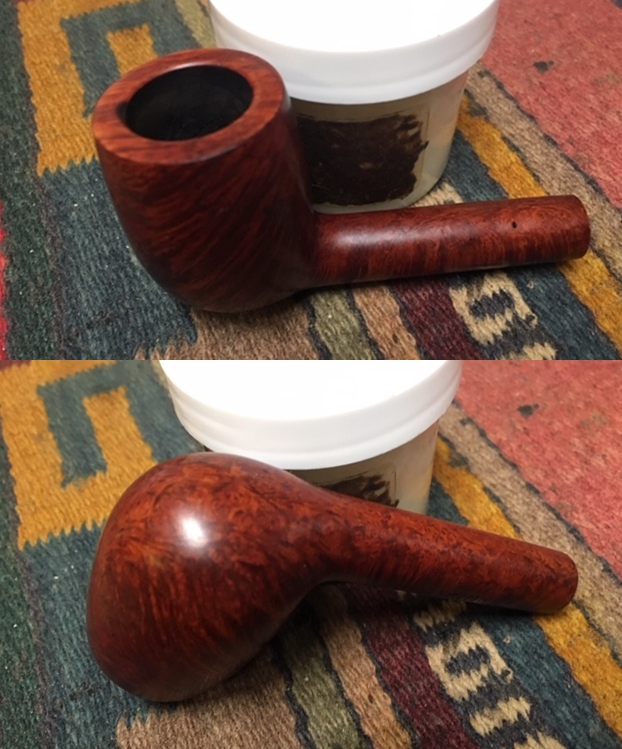
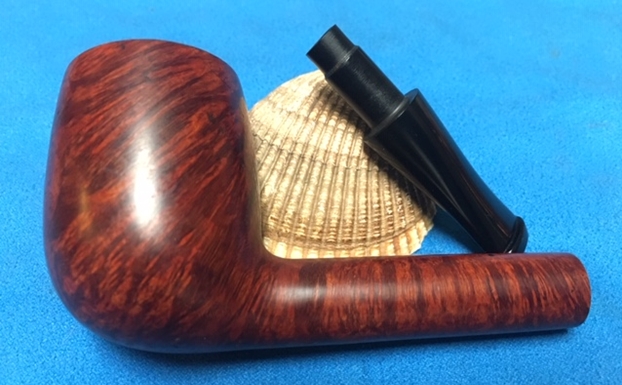
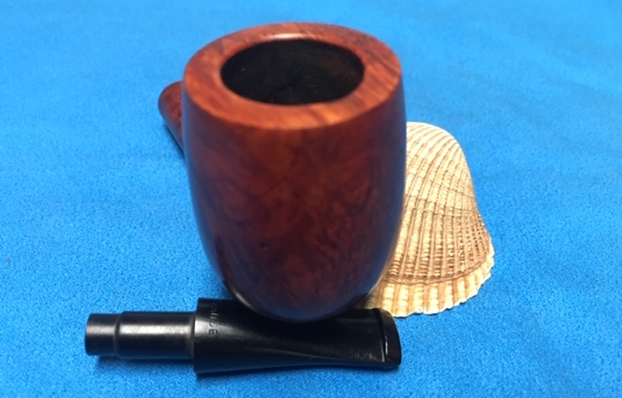
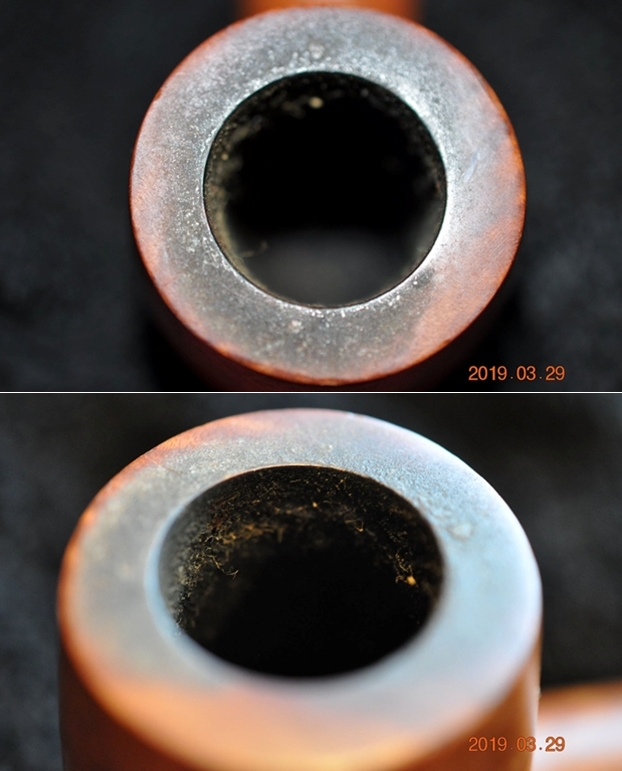
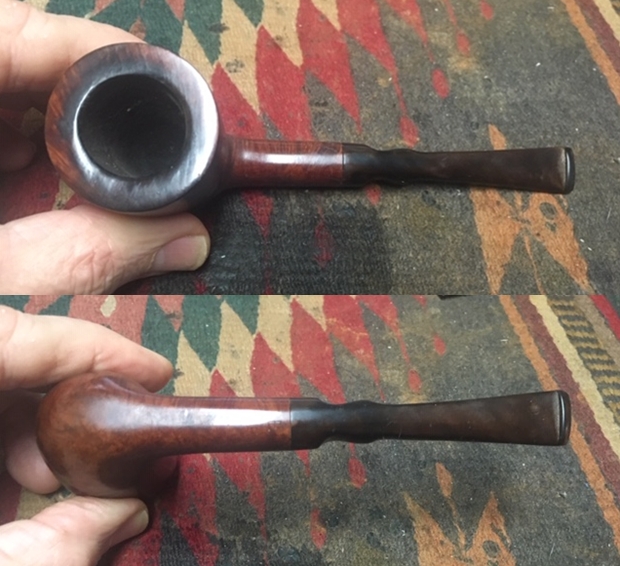
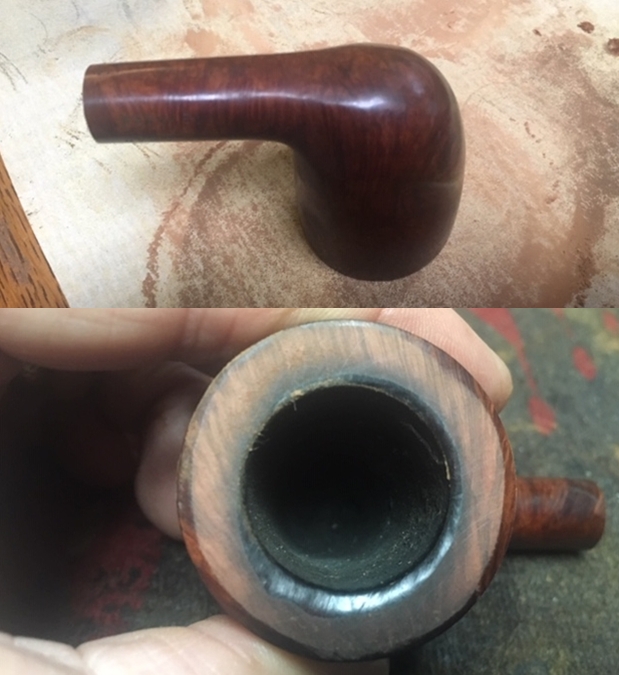
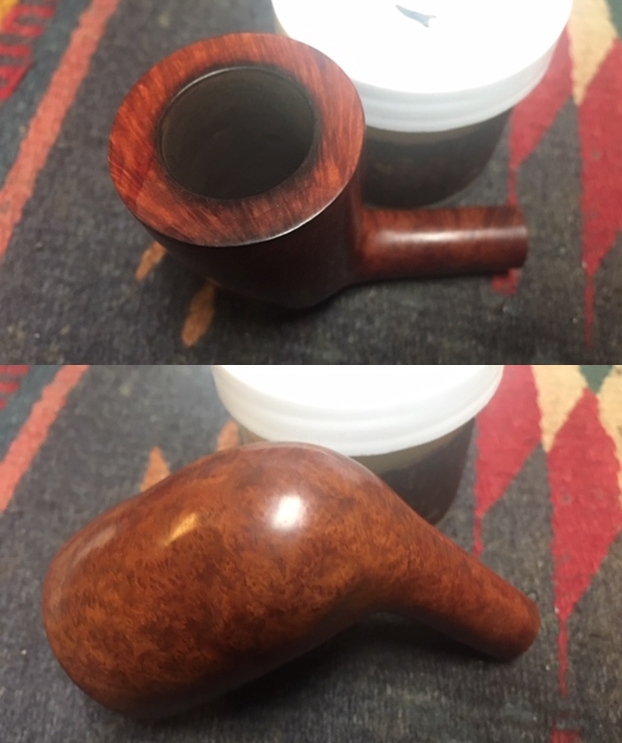
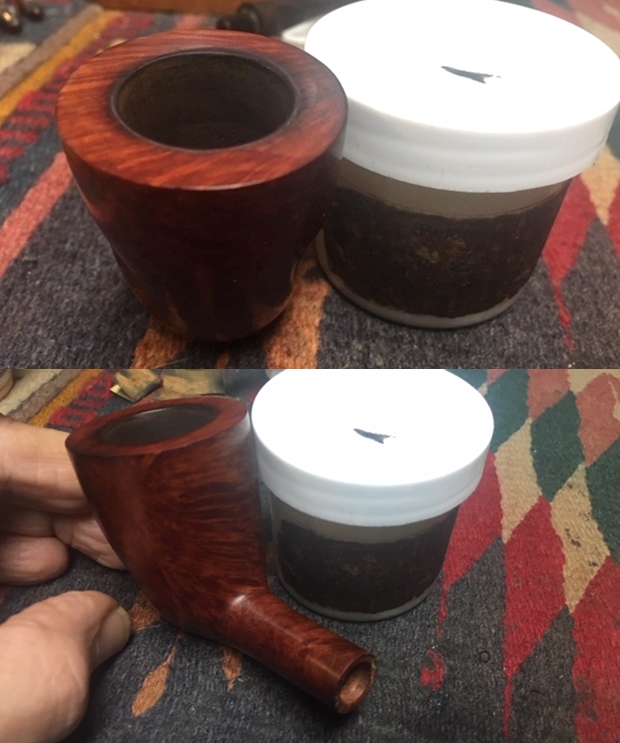
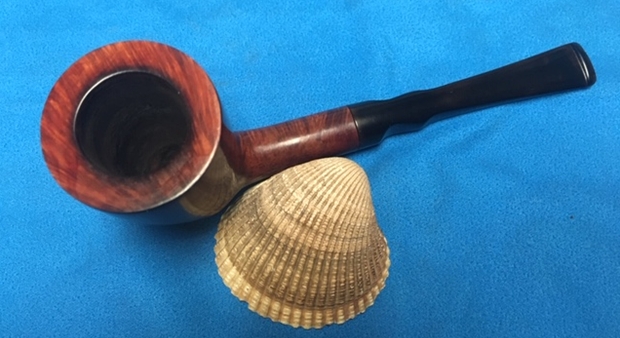
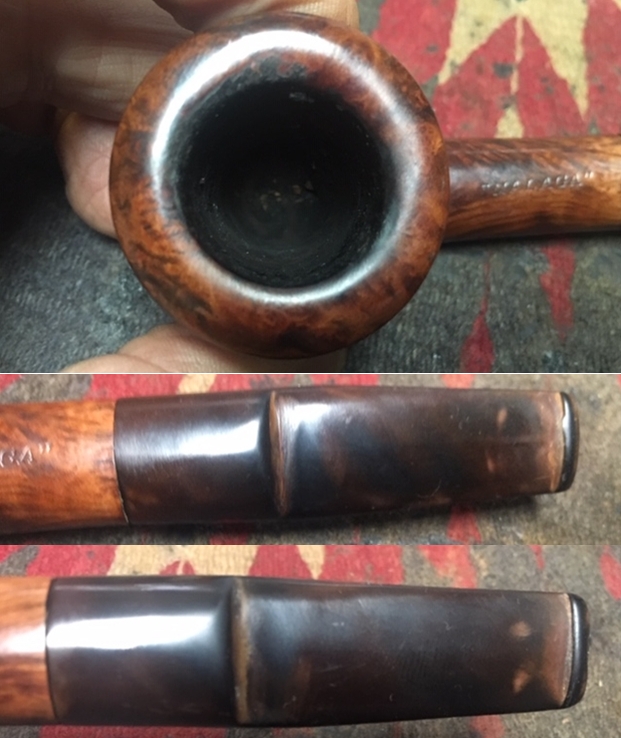
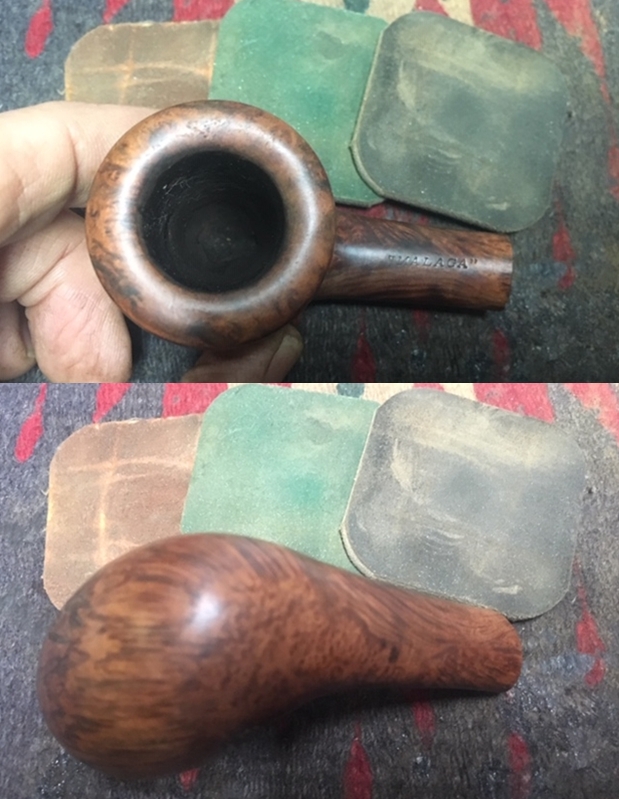
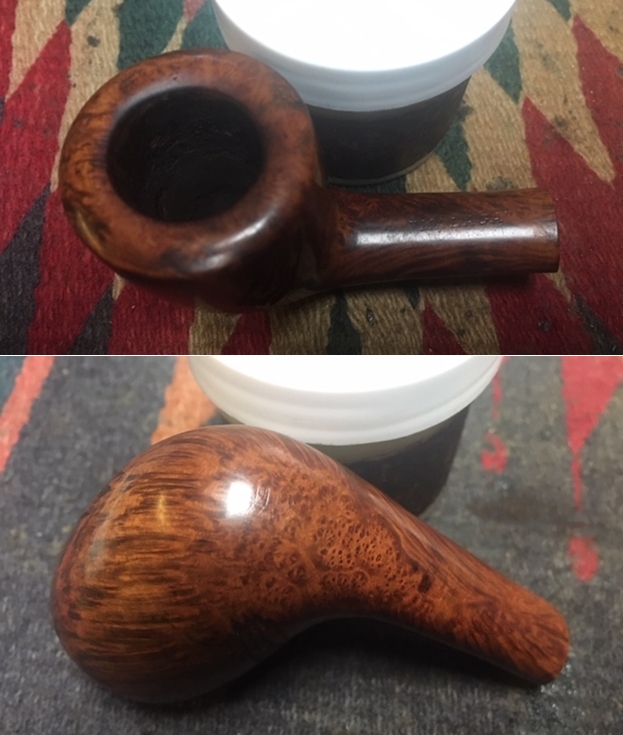
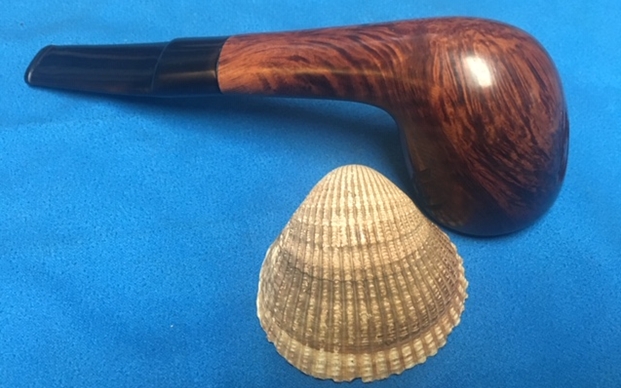
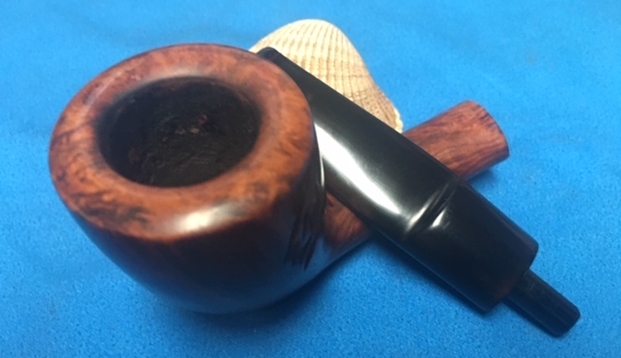
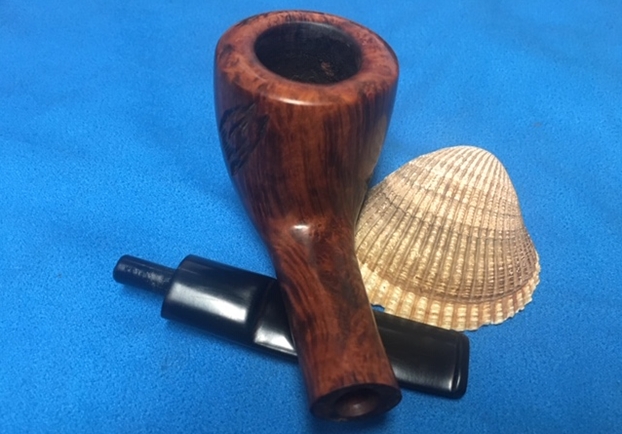
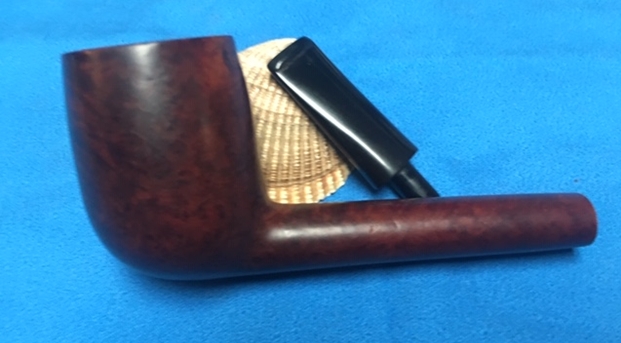
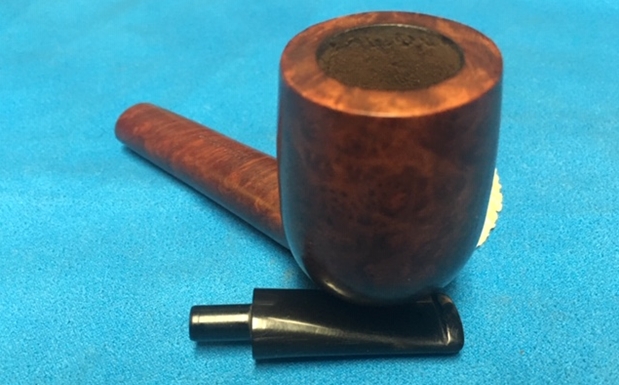
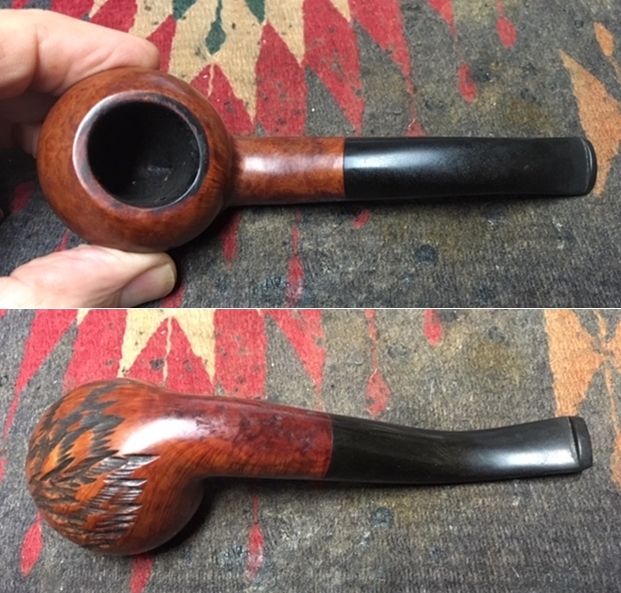
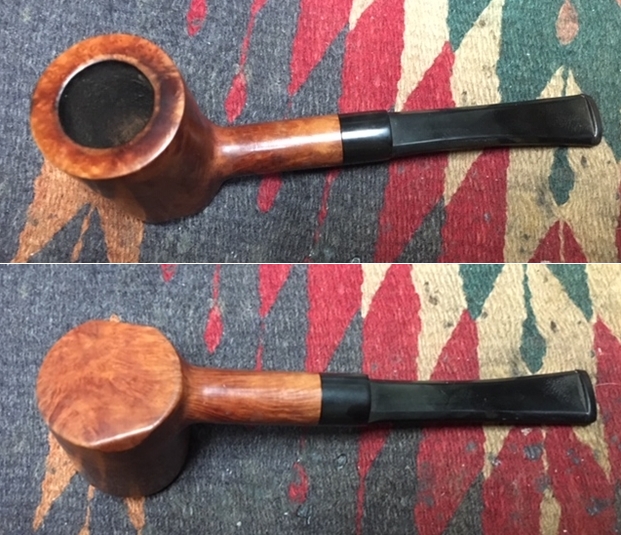
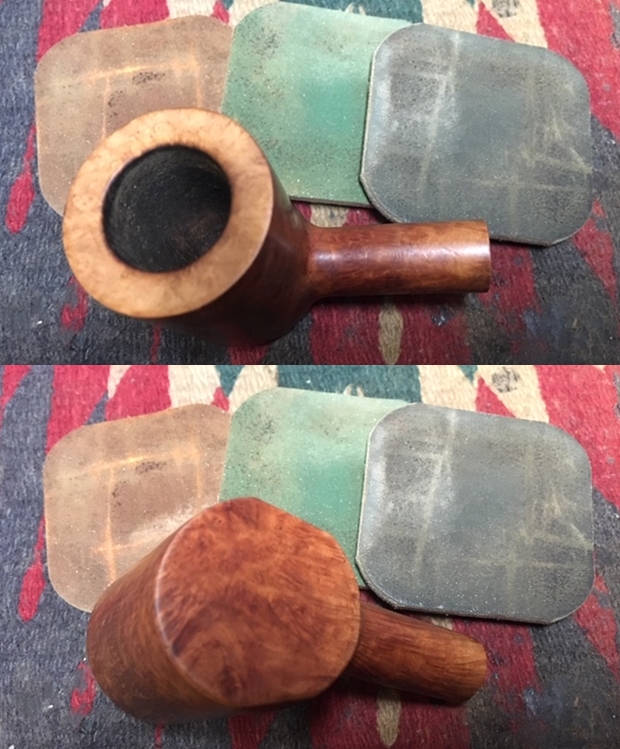
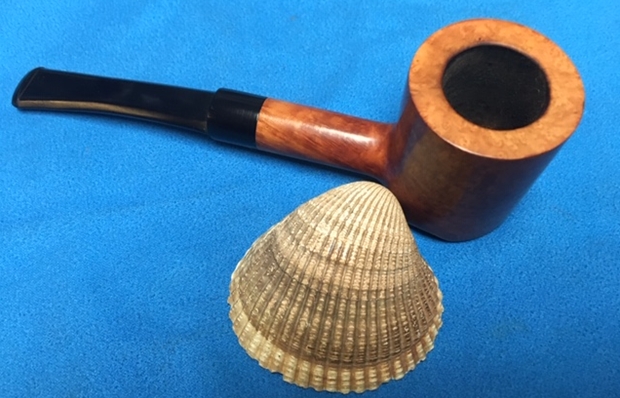
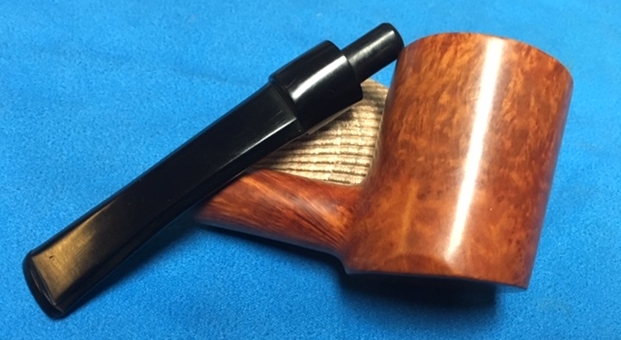
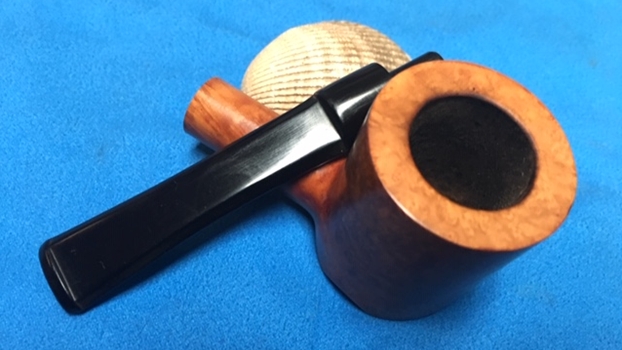
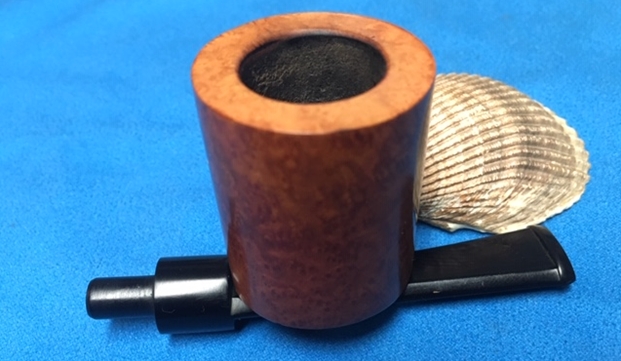
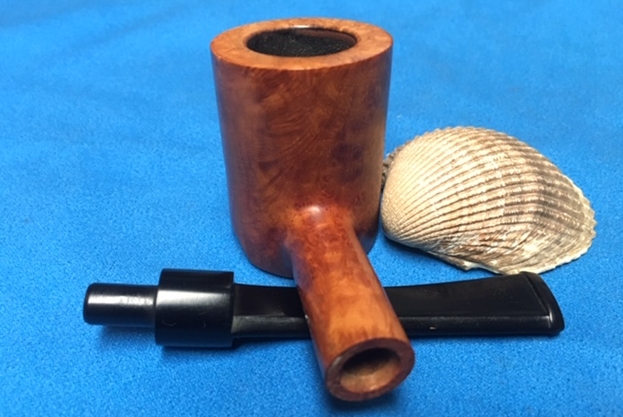
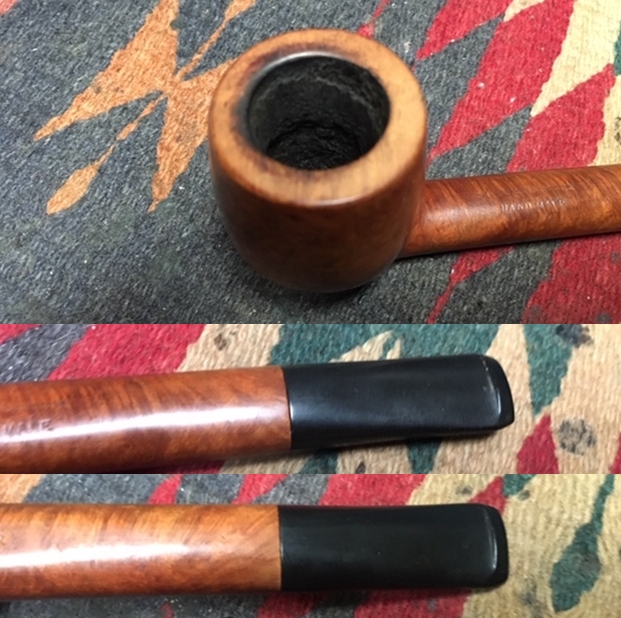
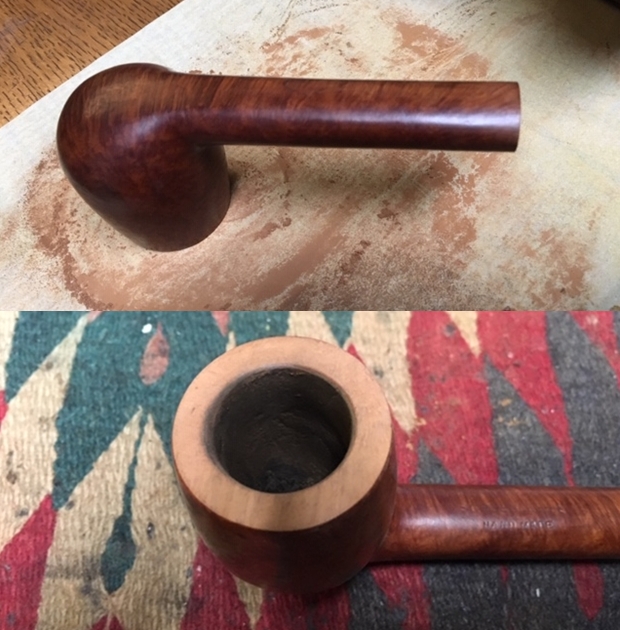
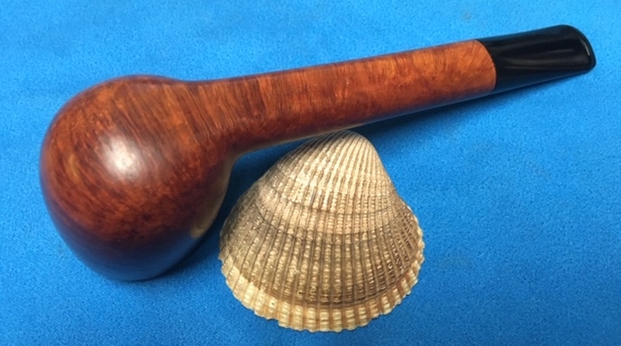
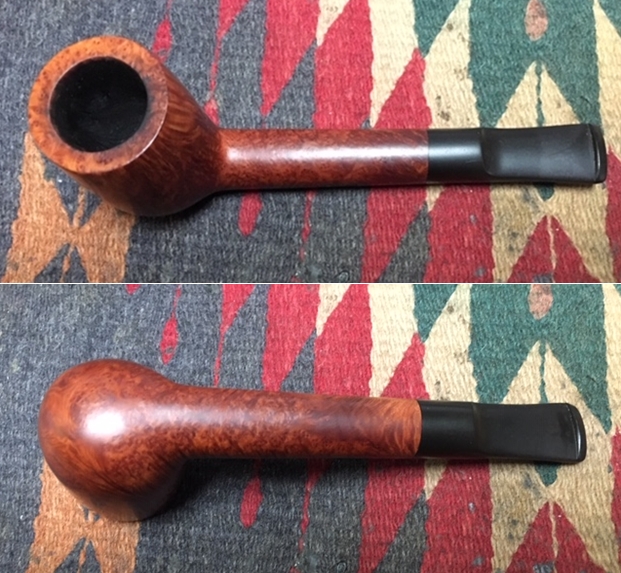
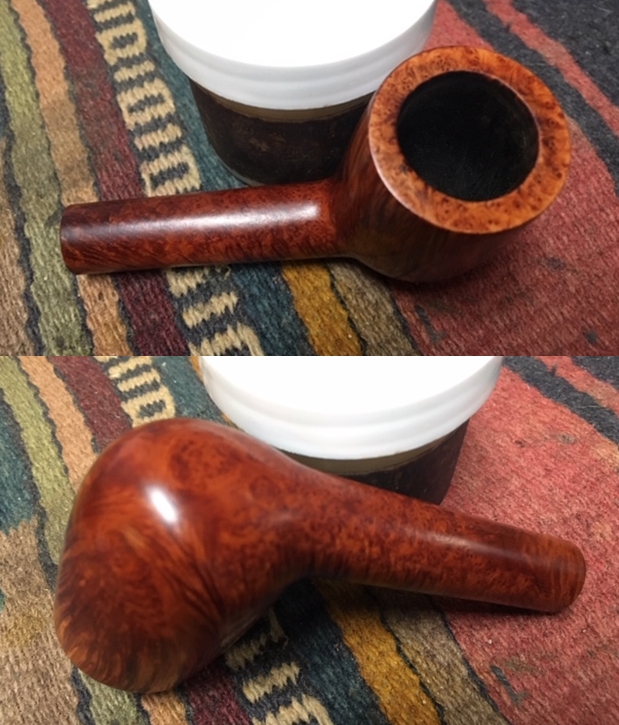
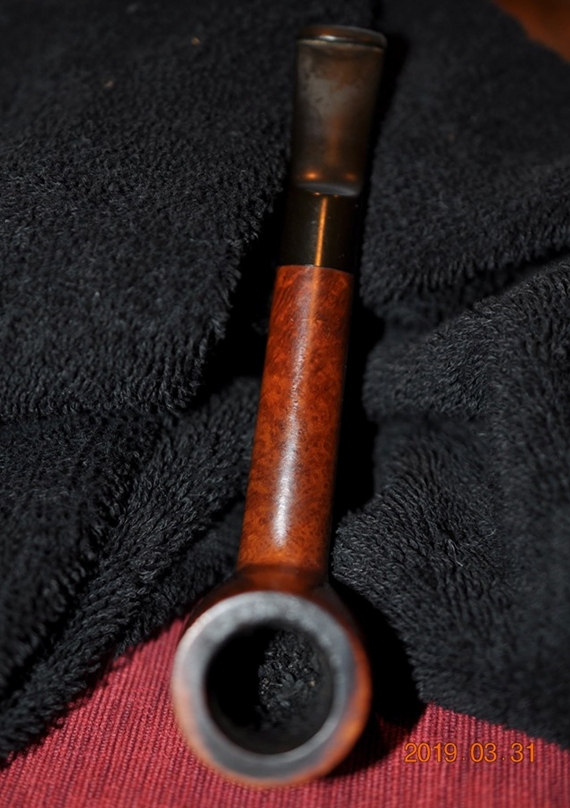 Jeff took close-up photos of the bowl and rim to capture the condition of the pipe when it arrived. The rim top had a thick coat of lava and the bowl had a thick cake.
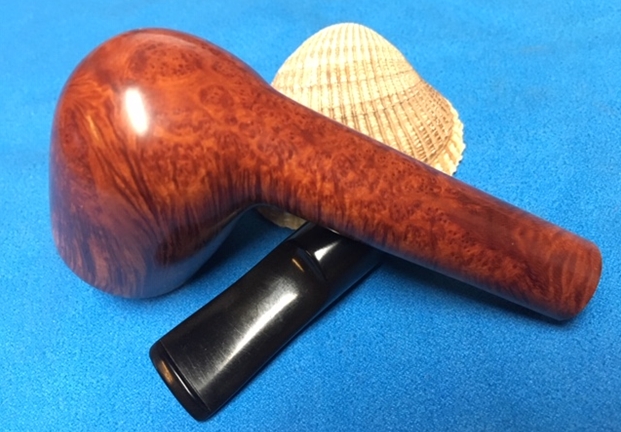
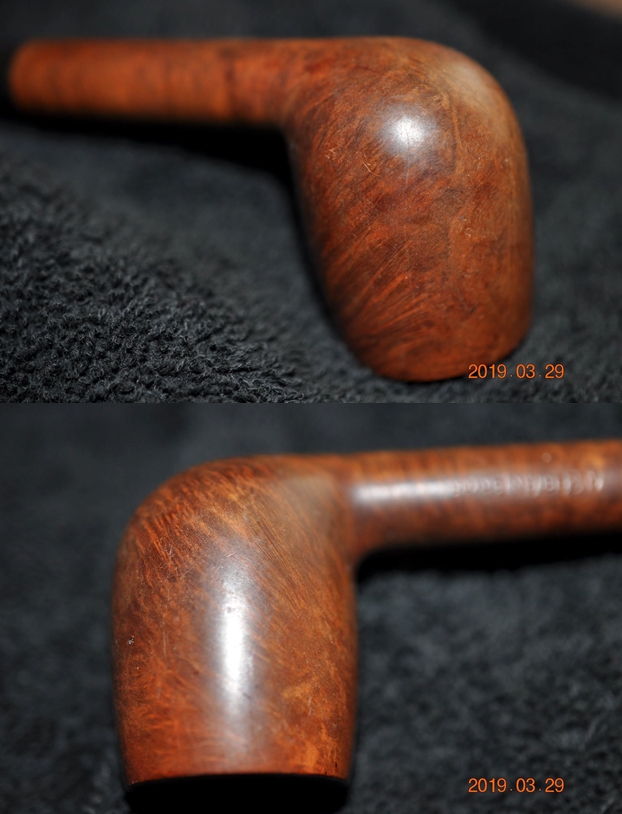
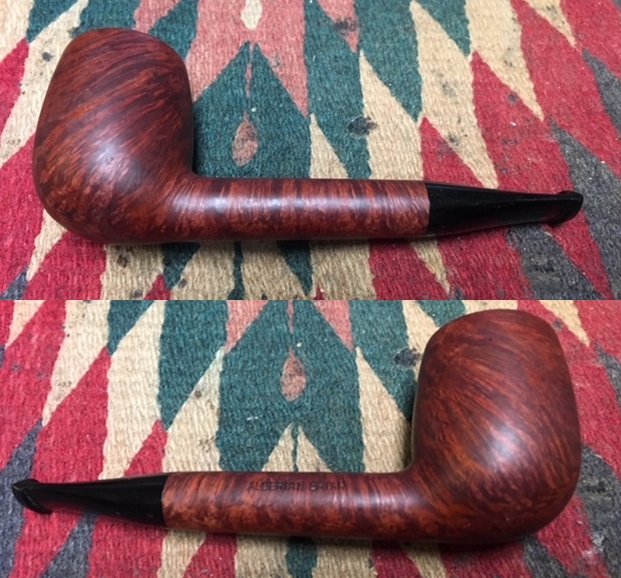
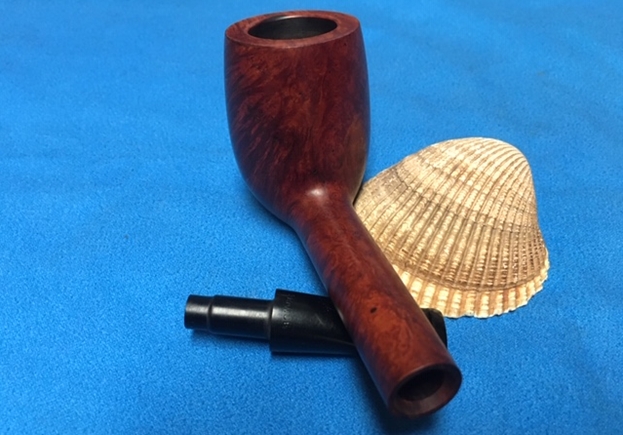
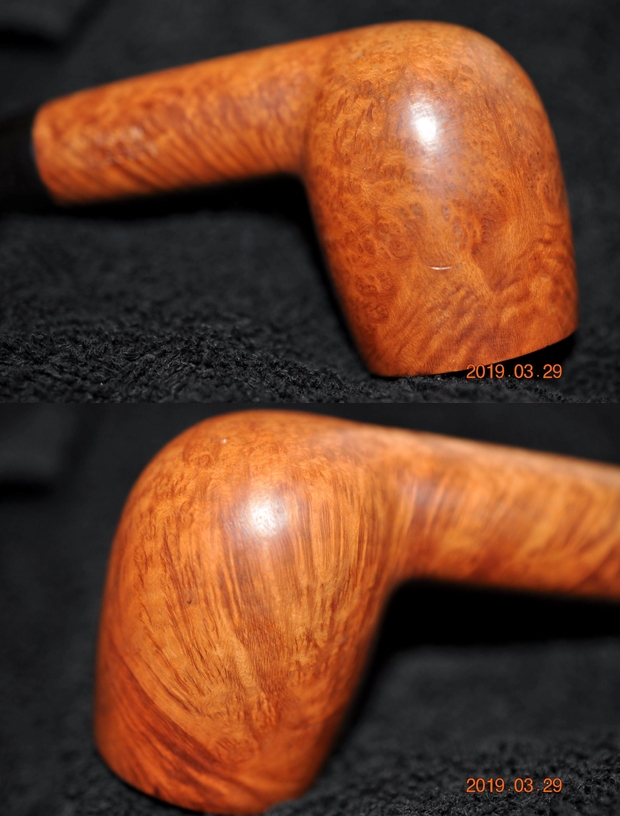
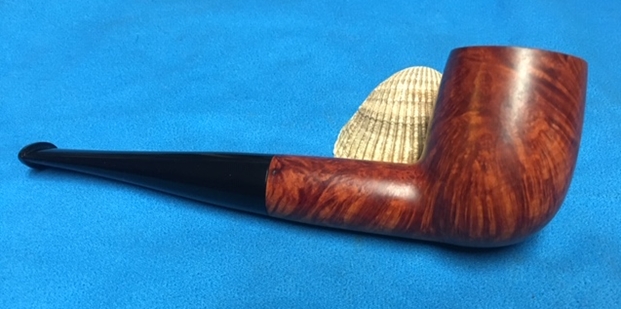
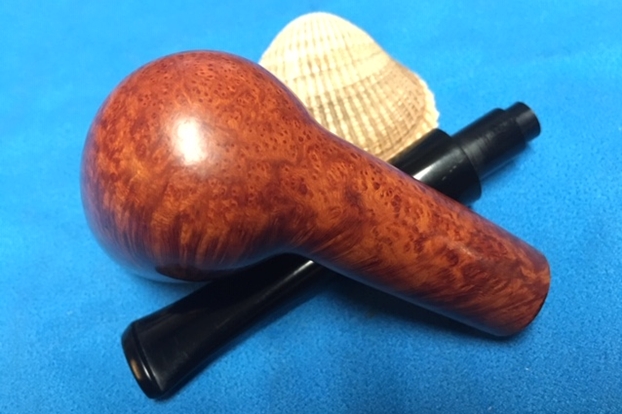
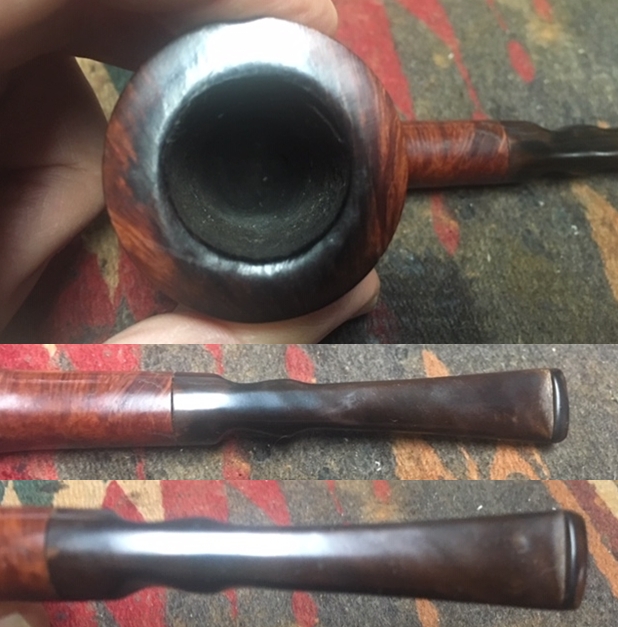
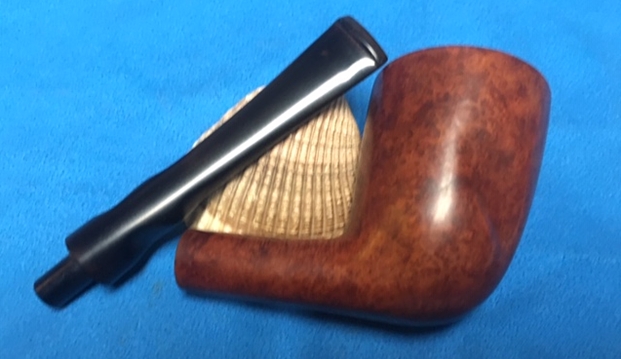
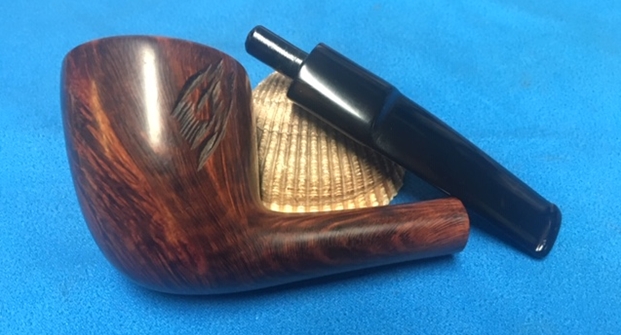
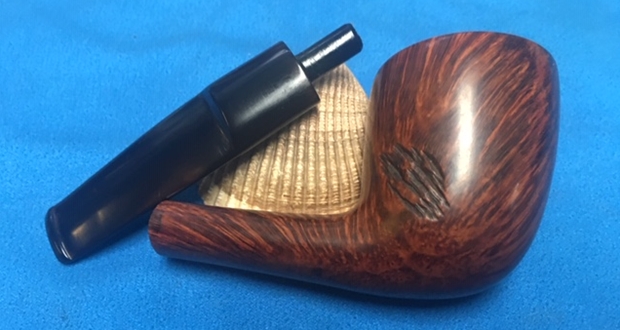
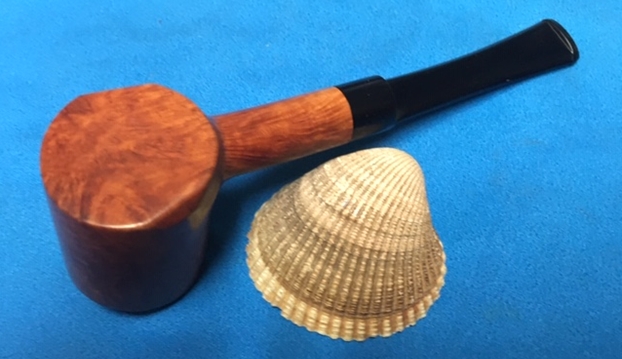
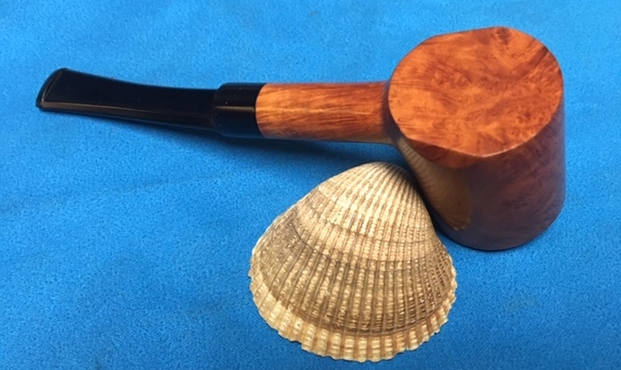
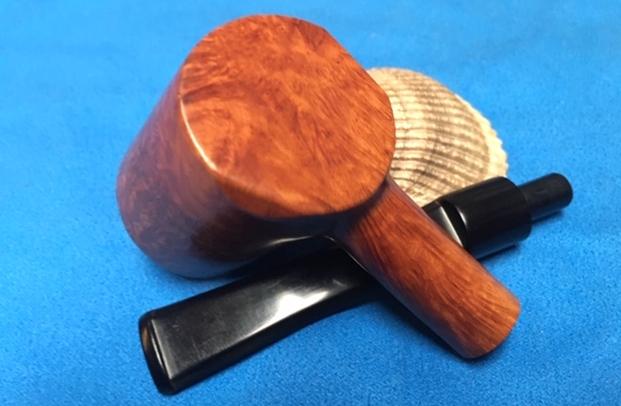
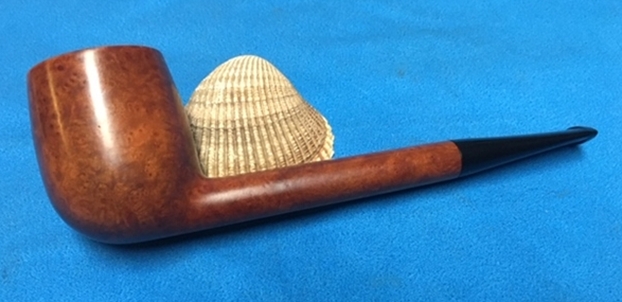
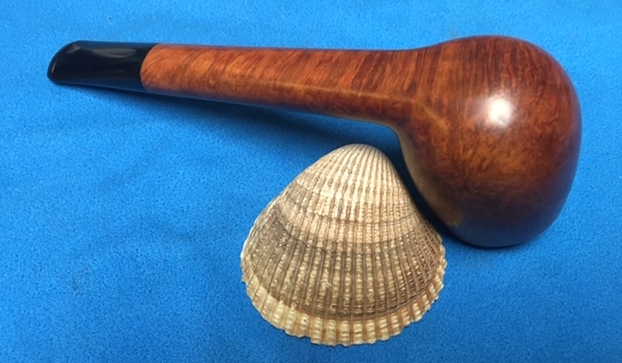
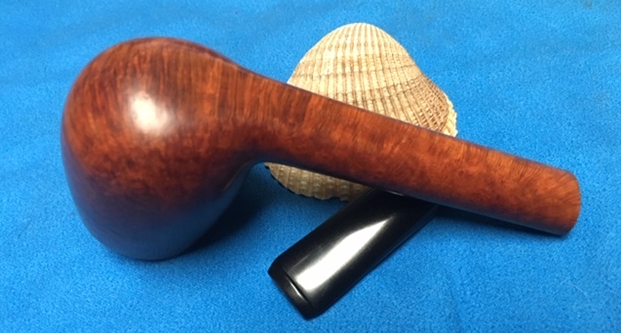
 Jeff took pictures of he bowl sides and the heel to show the marvelous grain on the bowl. It really is quite stunning and very dirty!
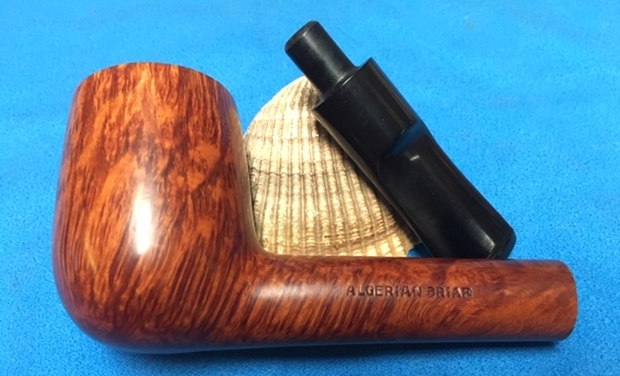
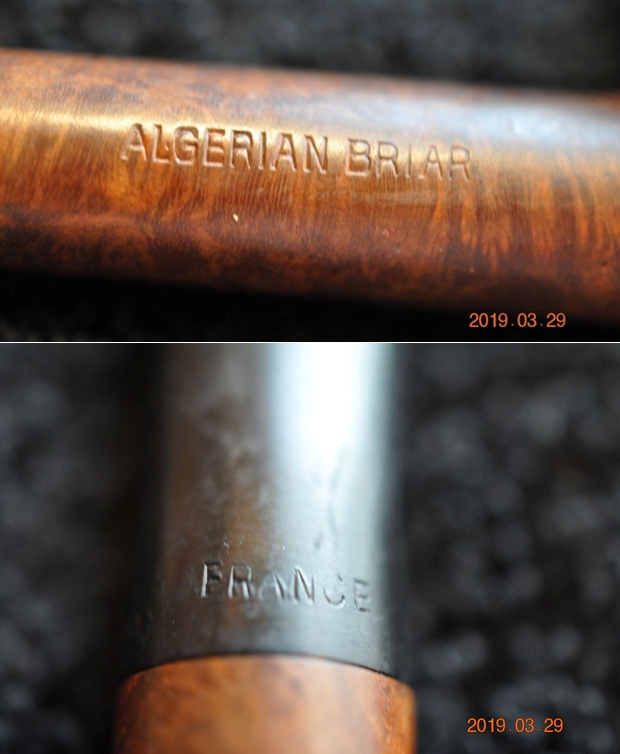
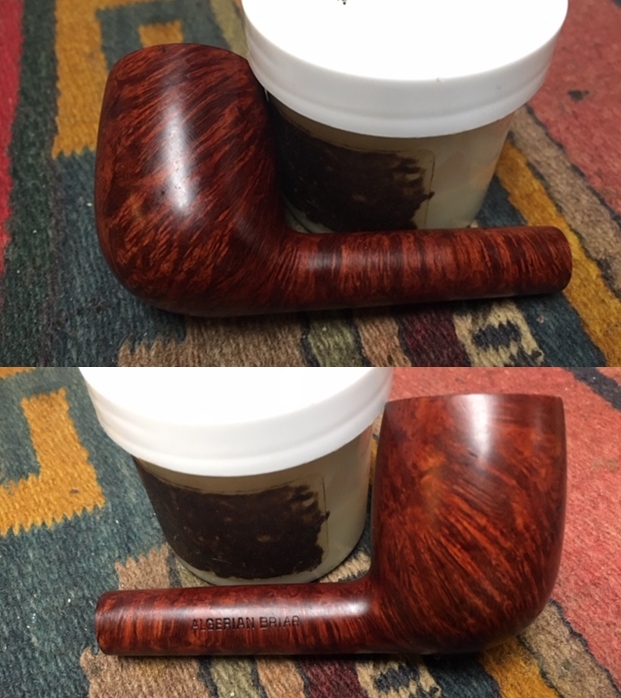
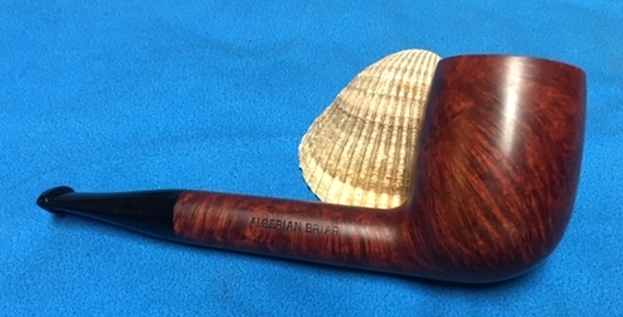
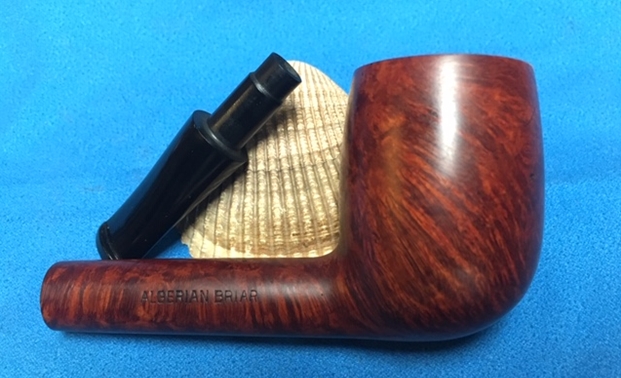
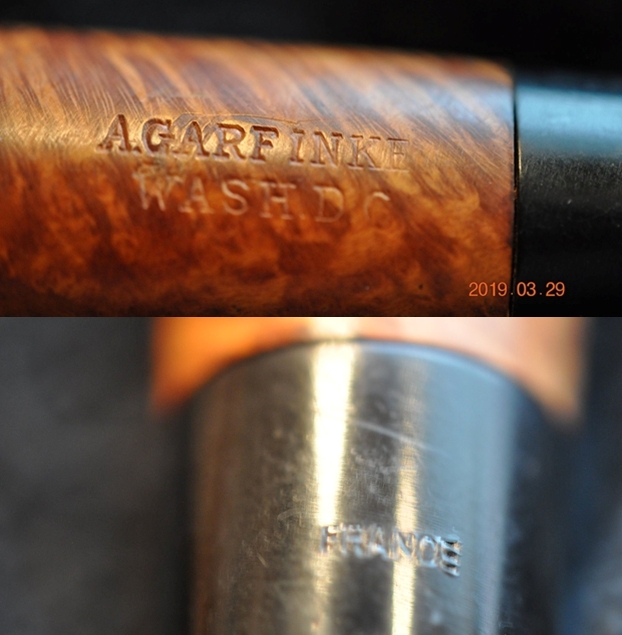
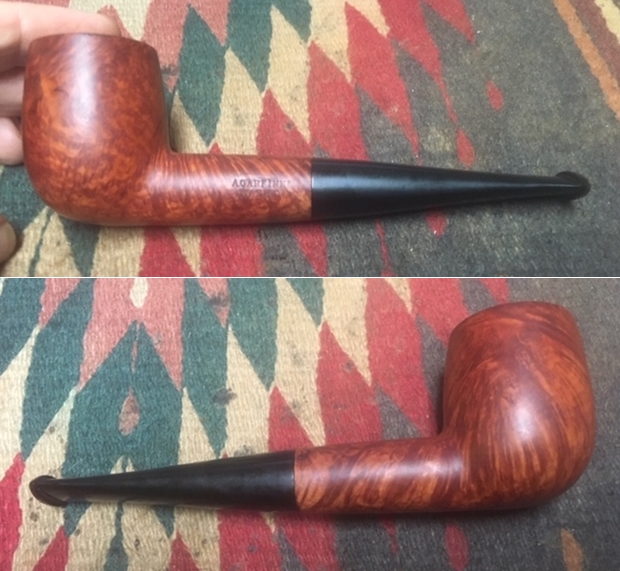
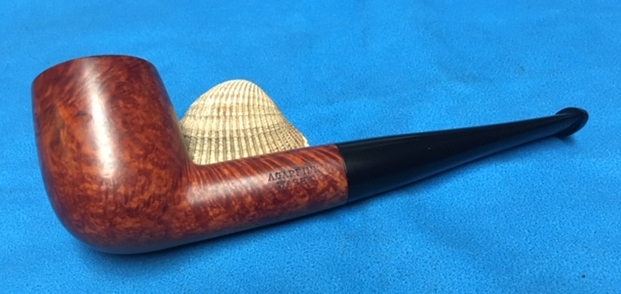
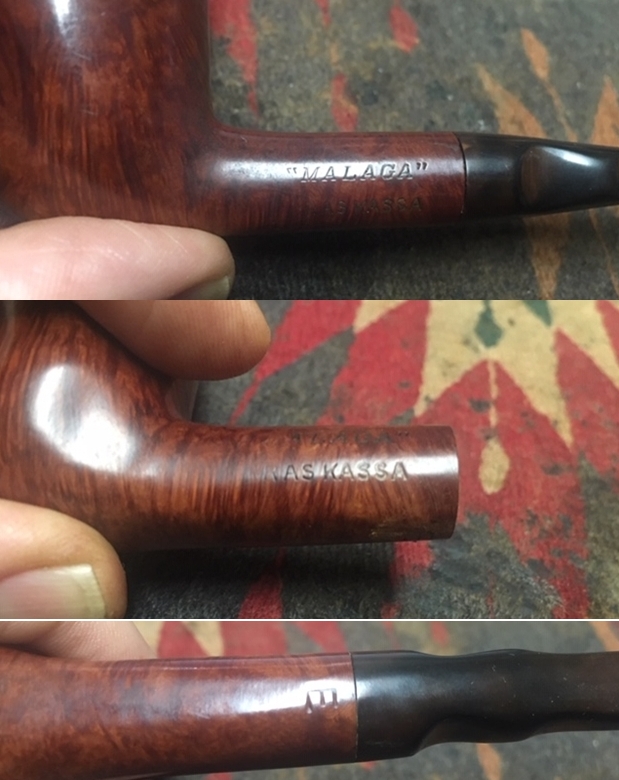
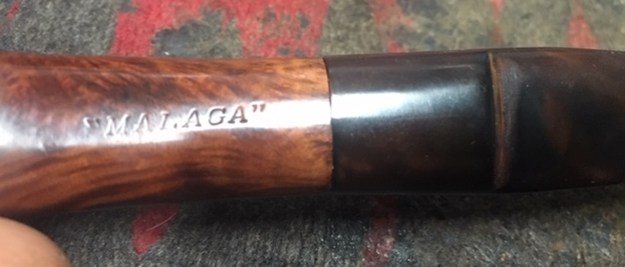
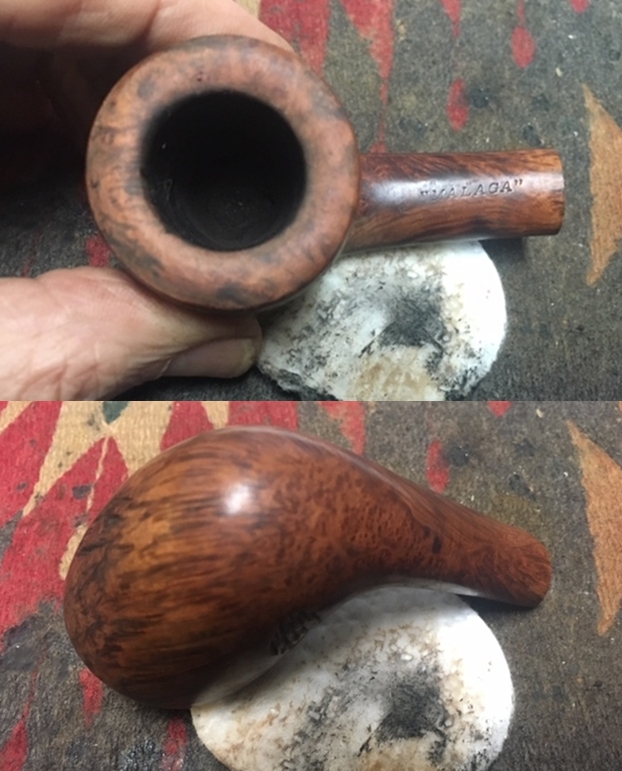
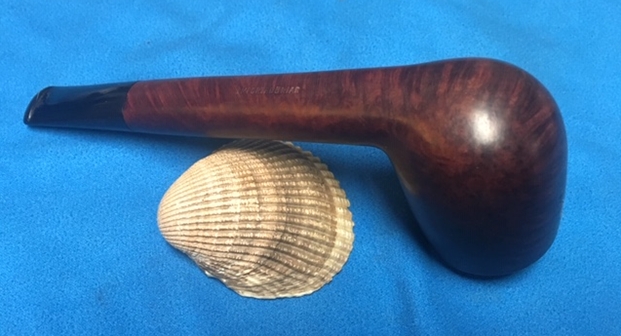
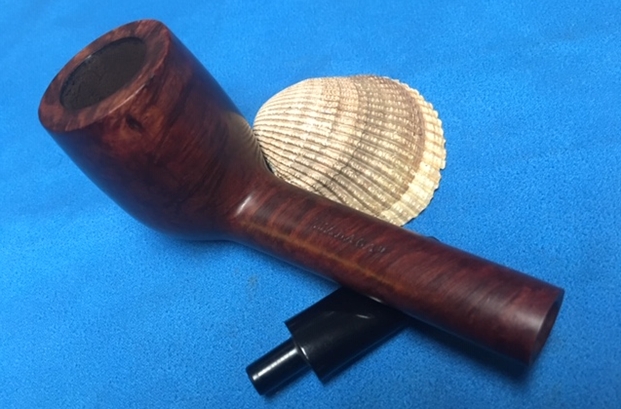
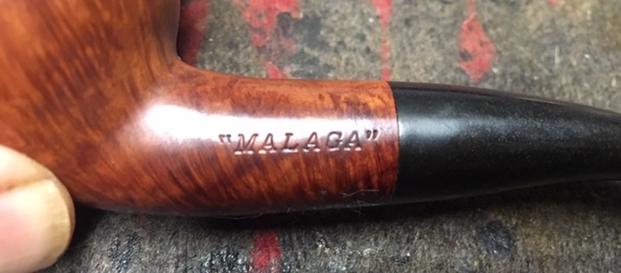
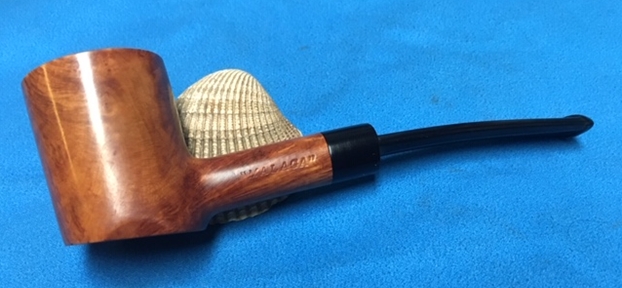
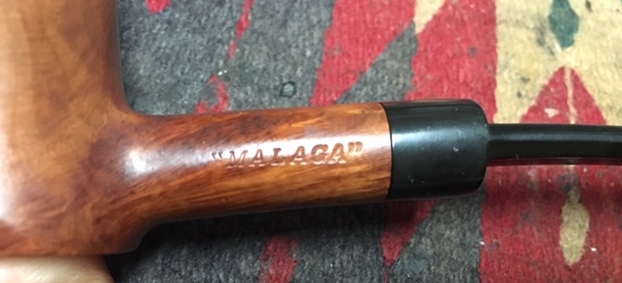
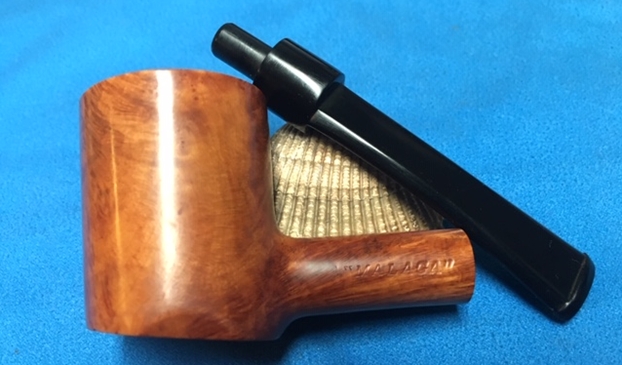
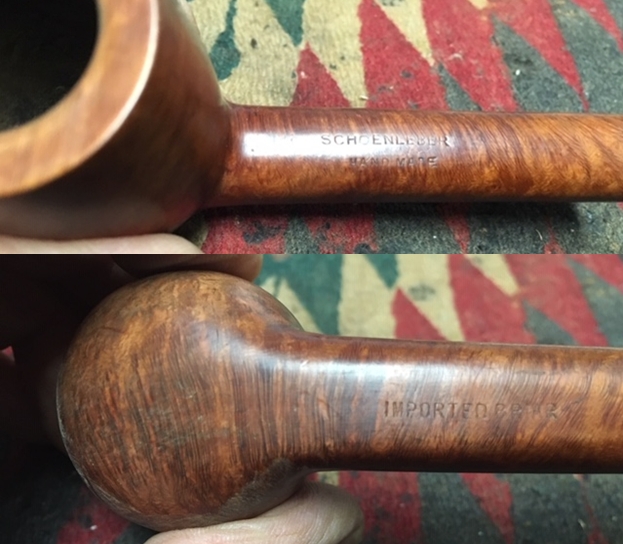
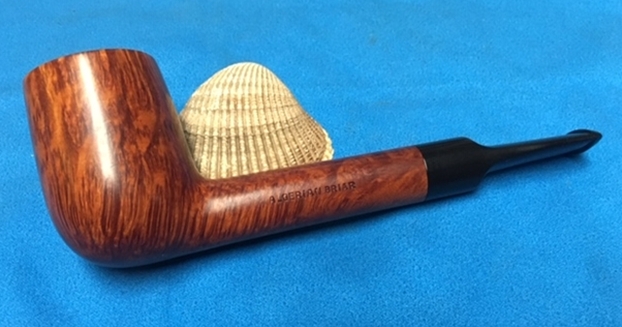
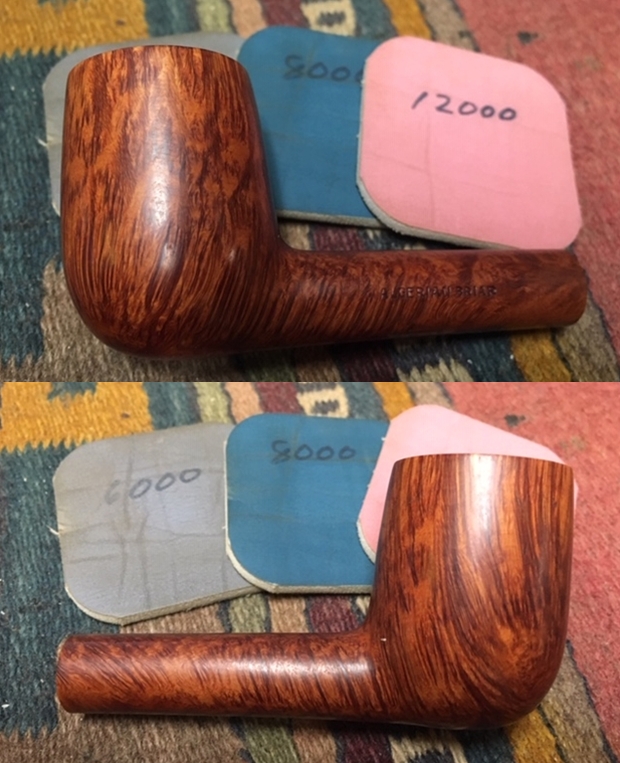
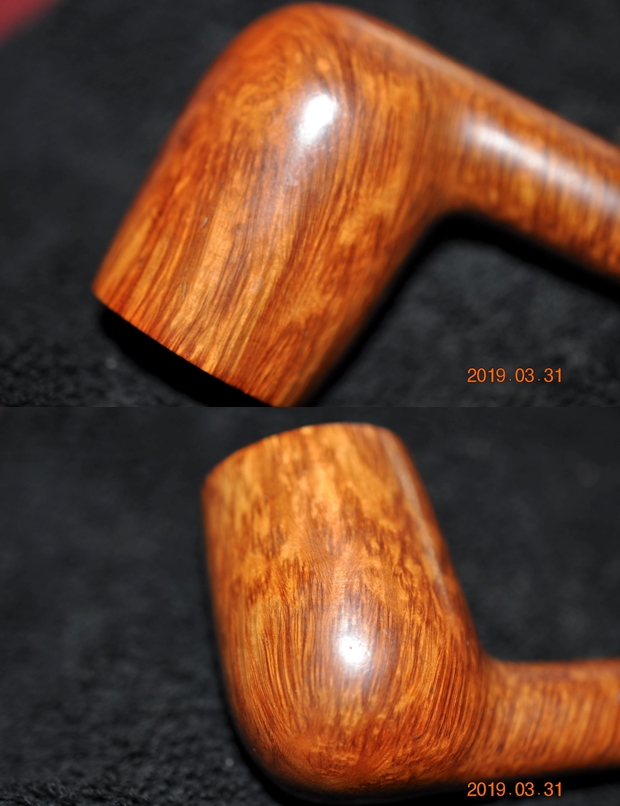 Jeff took a photo to capture the stamping on the left side of the shank. The photo shows the stamping on the shank which read ALGERIAN BRIAR. The stamping on this pipe is clear and readable.
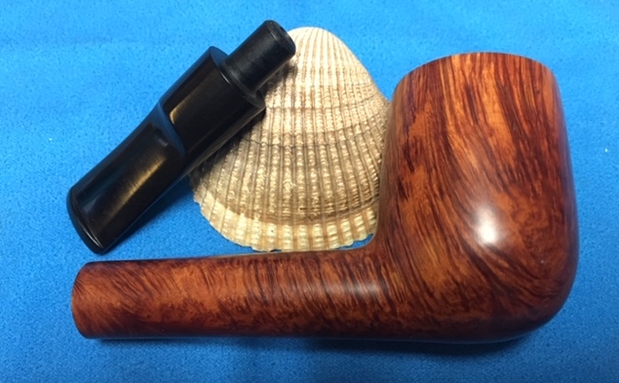
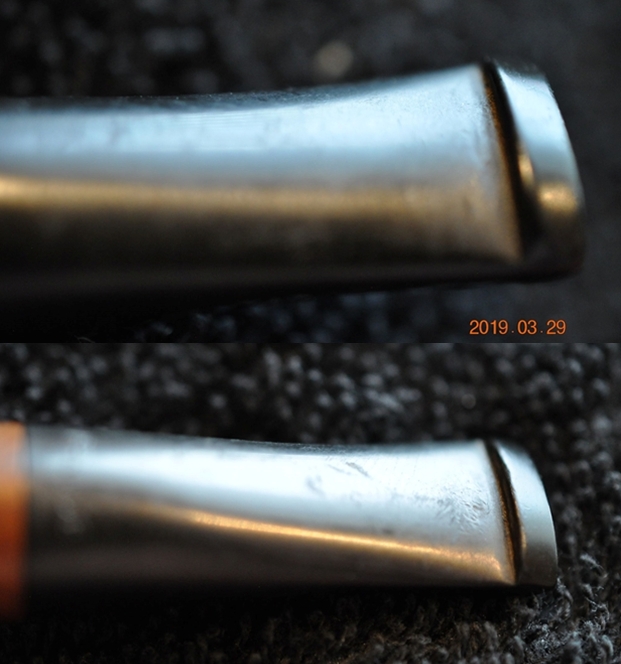
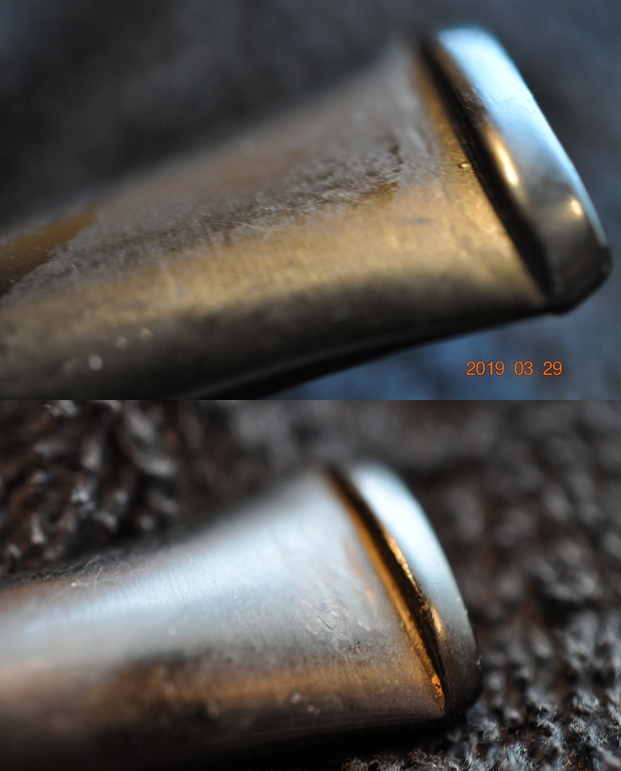
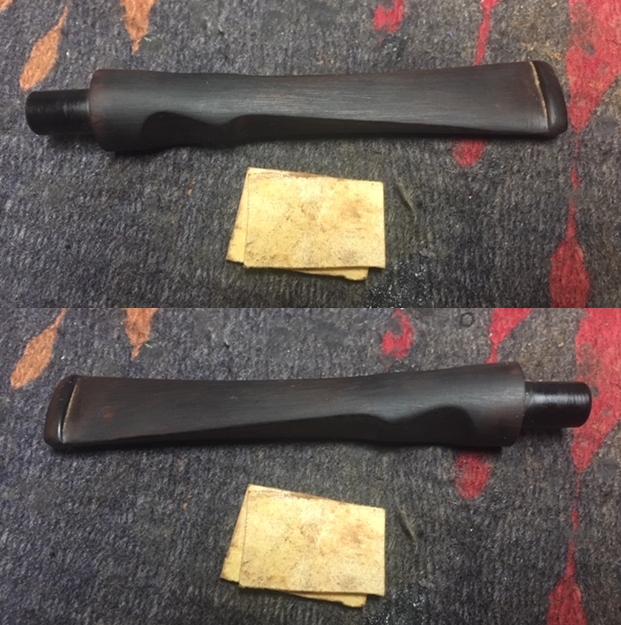
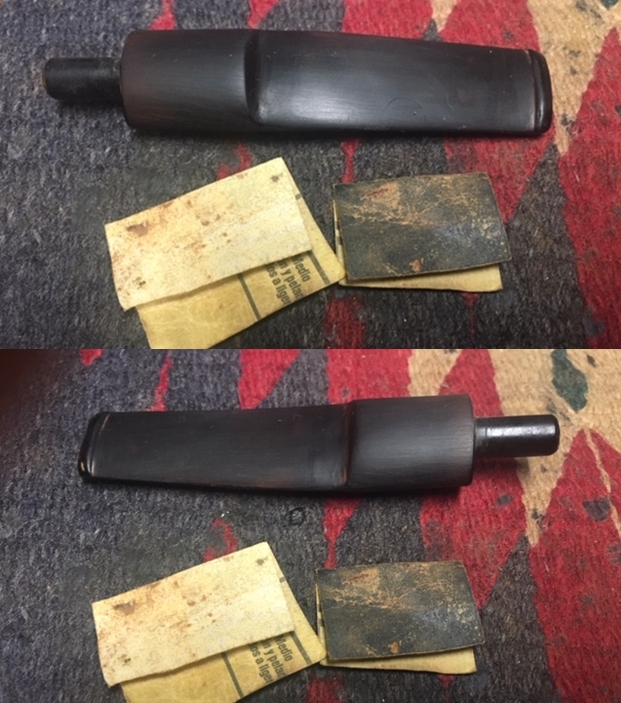
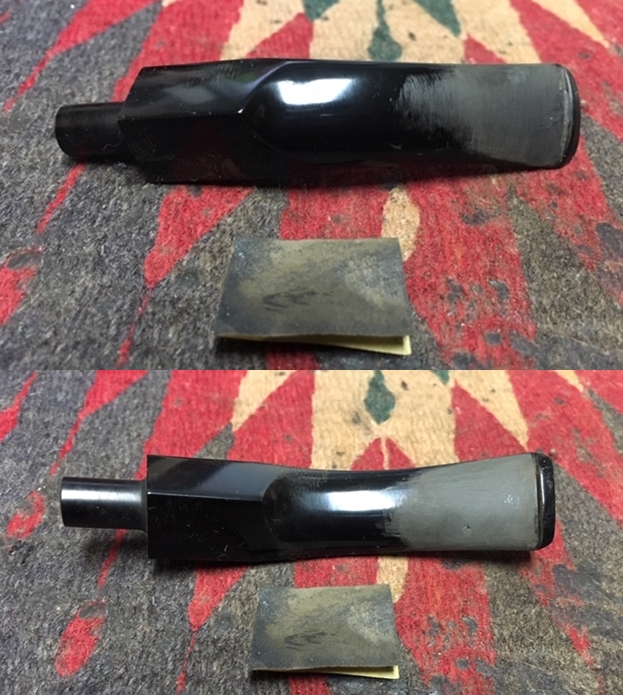
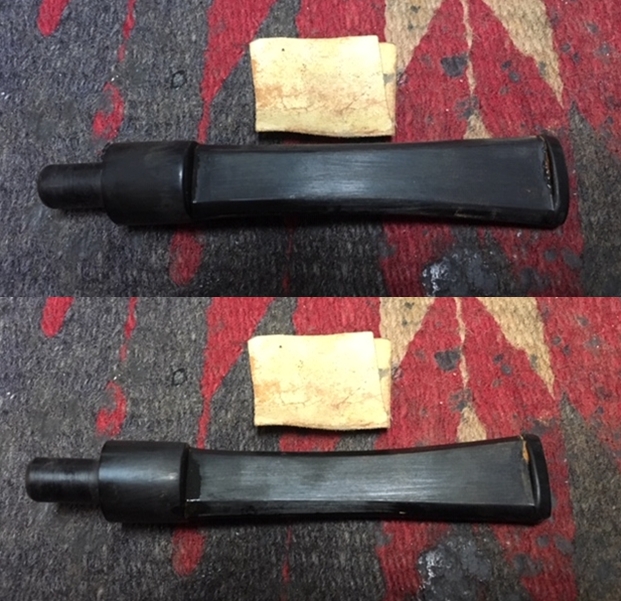
  The next two photos show the stem surface. They show the light oxidation and the chatter on both sides near the button. The tooth marks are visible next to the button on both sides.
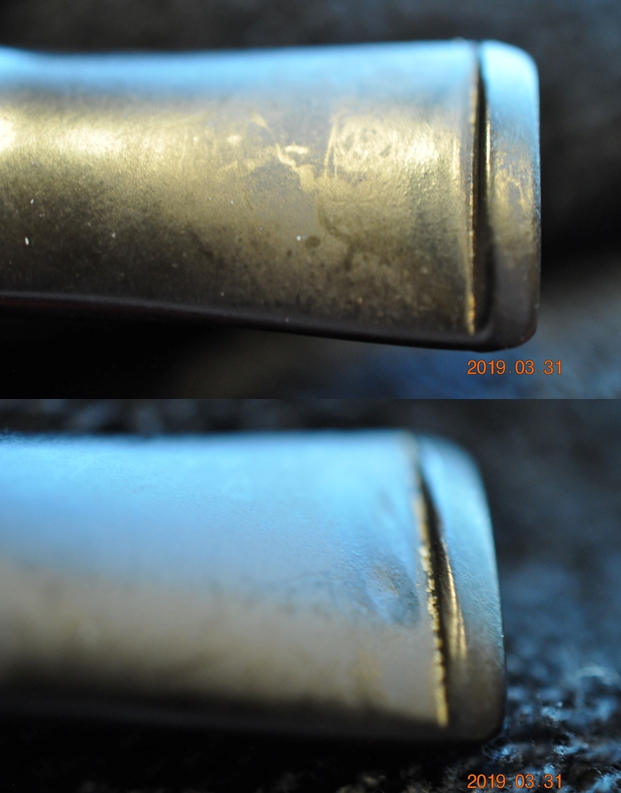 On the previous blog on the Algerian Briar – the Lumberman, I mentioned that Jeff and I have been working through the collection of Bertram pipes. Many of the other pipes in the lot are also from pipe shops in Washington, D.C. There are A. Garfinkel pipes, Ansell Pipes, National Pipes along with the Bertrams. Also included in the lot are pipes that have no other stamping than “ALGERIAN BRIAR”. This is the second of those pipes and while there is no way to be sure about the shop that these pipes came from I think it is safe to make a few conjectures. This pipe is stamped in a way very similar to the A.Garfinkel pipes that I am working on. Some of them have the stamp Algerian Briar along with the shop name. The lettering on the stamp is the same on both pipes. This one does not have FRANCE stamp on the underside of the stem. I thought I would I quote some of the information I included in the blog on the A. Garfinkel pipe once again (https://rebornpipes.com/2019/05/28/new-life-for-an-a-garfinkel-washington-d-c-large-billiard/). In the fourth paragraph below I have highlighted in Dark Blue the pertinent section that links this Algerian Briar pipe to the A. Garfinkel shop.
Before I started my part of the restoration I did a bit of research to see what I could learn about the brand. I turned first to the Pipephil website and did not find any information on the brand. That surprised me a bit but such is the hunt for information. I turned next to the Pipedia website and was more successful. Here is the link to the article – https://pipedia.org/wiki/Garfinkel. I quote in full below.
Garfinkel Inc. was a celebrated Washington, D.C. importer and retailer of pipes, tobaccos and cigars. The founder was Arnold Garfinkel (1903-1988). Arnold was originally from Germany, and the family had already been in the tobacco trade for two generations before he was born; his father sold tobacco to Kaiser Wilhelm in Berlin. Fleeing Nazi Germany in 1938, Arnold soon settled in the District of Columbia; in 1940 he established his first tobacco shop there, although it closed a few years later during the Second World War.
It wasn’t until July of 1960 that Arnold established A. Garfinkel. Originally located at 720 14th Street, N.W., in April of 1980 the shop advertised its move to 1585 Eye Street, N.W. The new location of was a block from Lafayette Square and not much further from the White House. In 1972, author Hugh Sidey wrote in Newsweek that while interviewing then President Richard M. Nixon he spotted some pipes and a tin of Garfinkel tobacco on Nixon’s desk.
Among aficionados the shop remains well known to this day for the imported tobacco blends sold under its own name; these were manufactured by Robert McConnell and Sobranie. In addition custom blending was done for customers both domestic and foreign, with Arnold sometimes using recipes he had brought with him from Europe. A. Garfinkel carried pipes under its own name as well; these too were apparently manufactured elsewhere. Pipes were stamped A. Garfinkel, Wash D.C.; some are marked Algerian Briar and others simply Imported Briar. Many appear to be Made in France. Finally, A. Garfinkel was renowned for its selection of cigars.
In 1940 Arnold married Esther Kolker. One of their four children, Larry, was managing A. Garfinkel by May of 1980 and eventually took over sole responsibility for running the shop. Notwithstanding Arnold remained active at A. Garfinkel throughout his life, with son Larry noting that “He had a great personality and a great smile…and a very good head for business.”
A victim of declining demand reflecting both increased pressures on smokers and changing tastes, A. Garfinkel shut its doors in the summer of 1992.
Given that information I think the link can be made to the A. Garfinkel pipe shop in DC. I think that there is also a tenuous tie to the Bertram shop in DC as well as all of the pipes in this lot are very similar in terms of finish and style. I suppose we will never really know for sure but I think it a pretty good surmise.
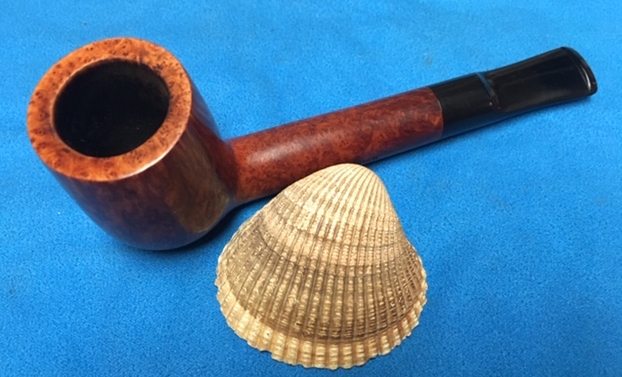
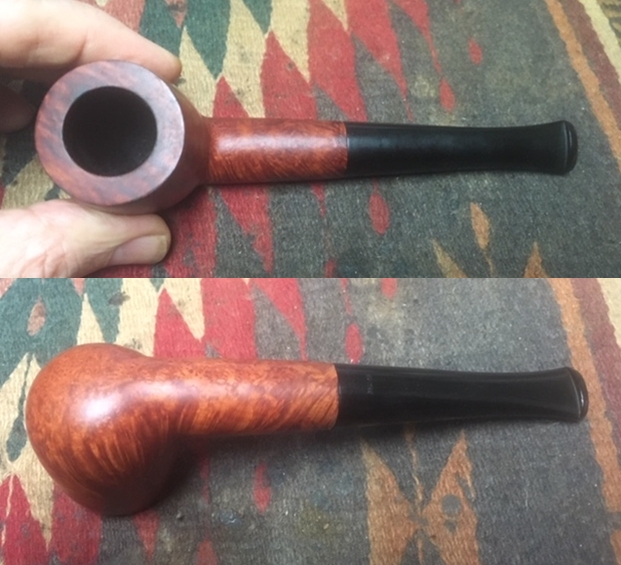
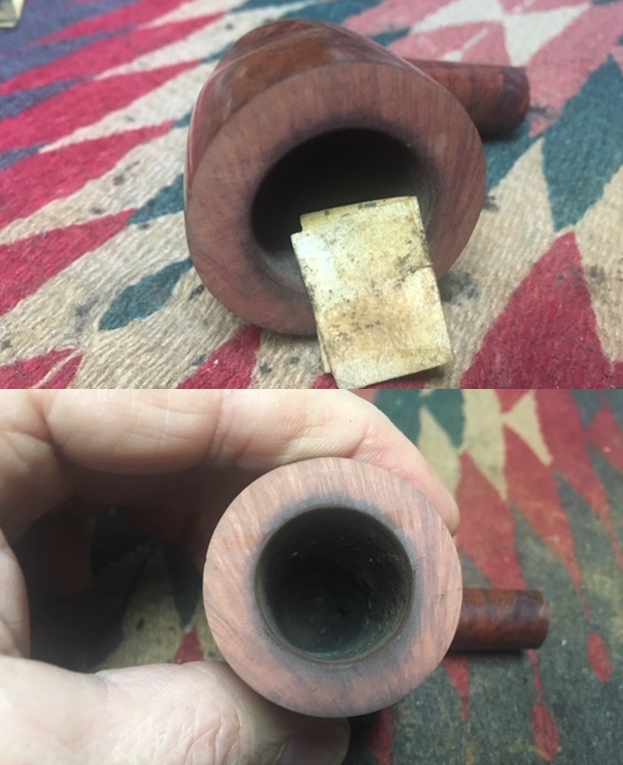
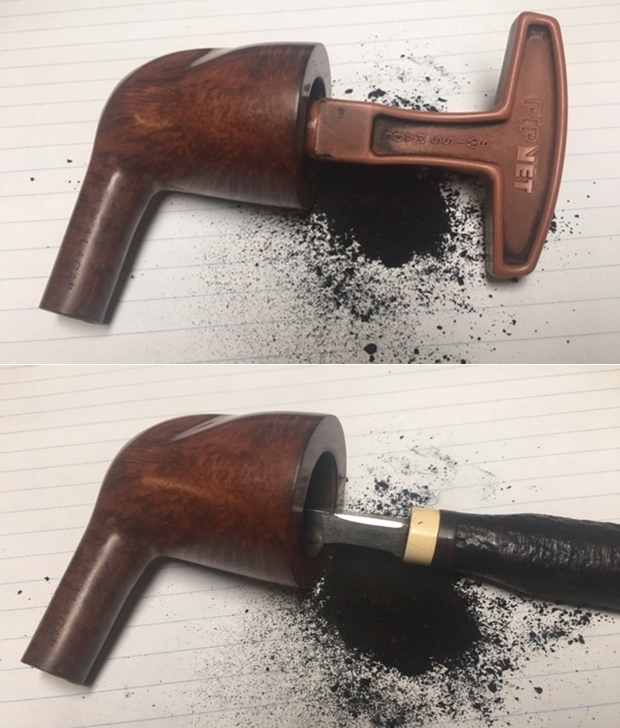
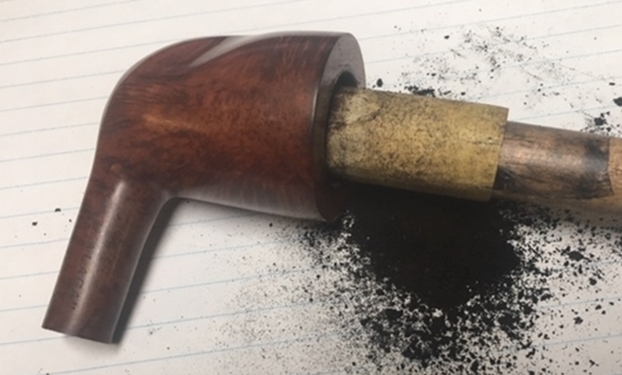
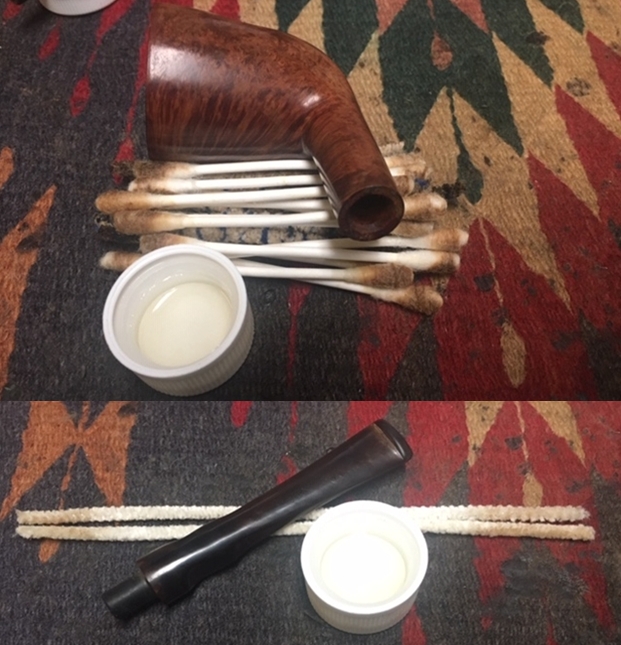
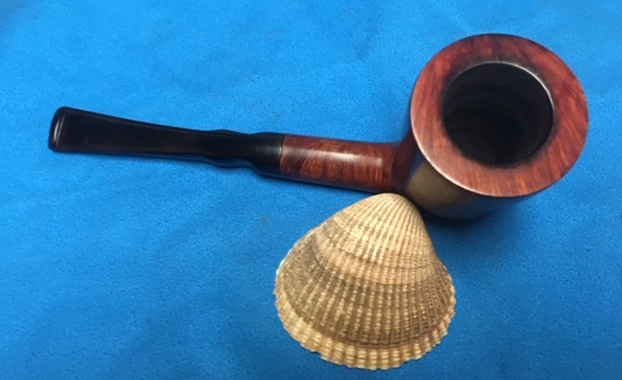
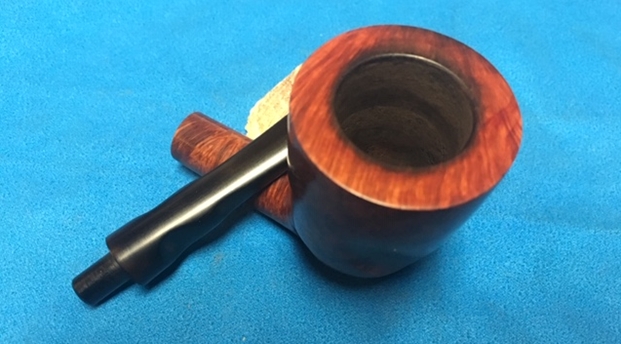
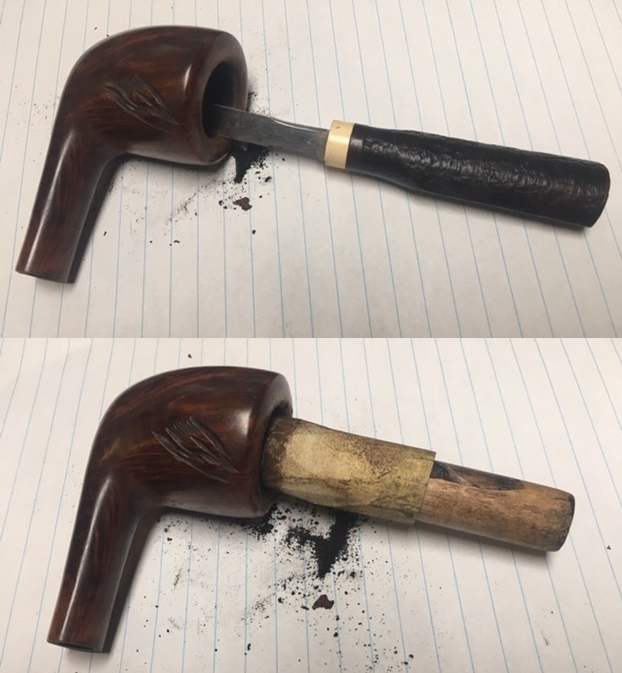
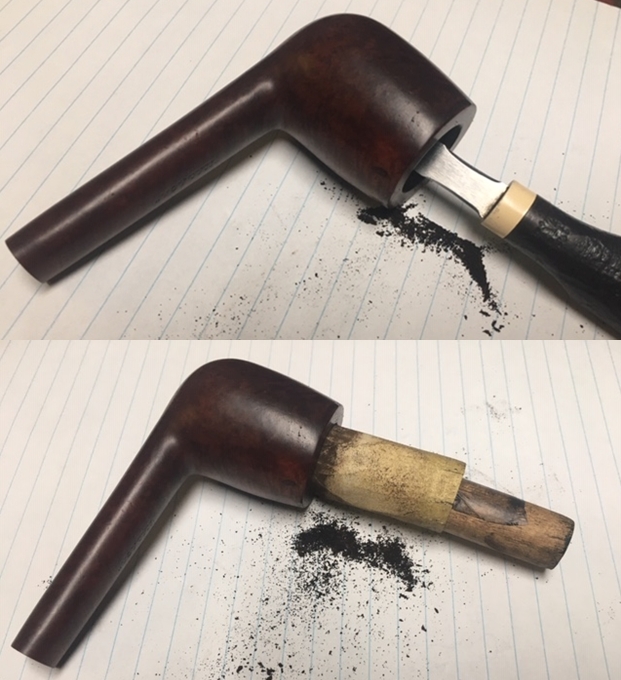
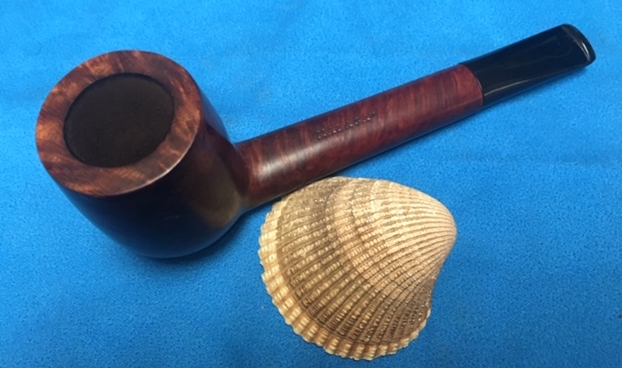
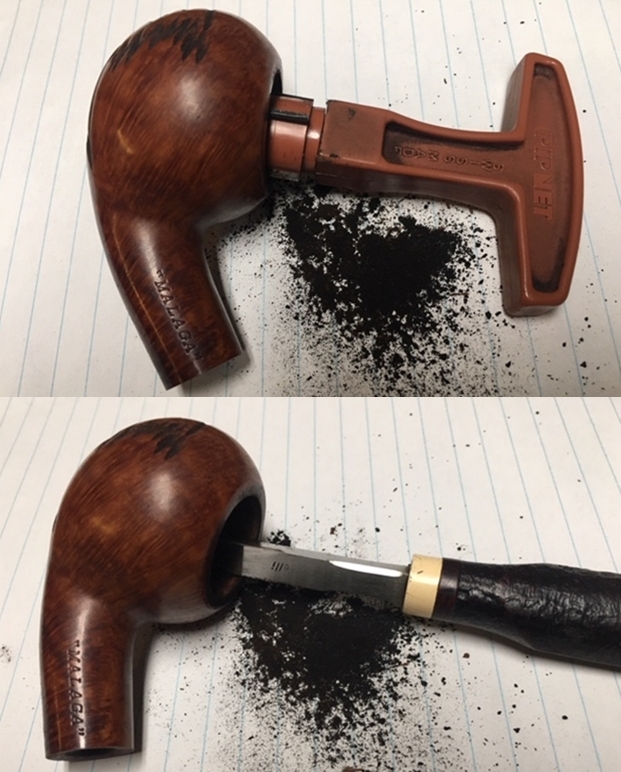
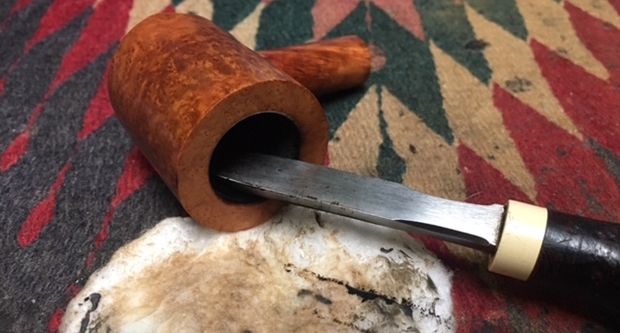
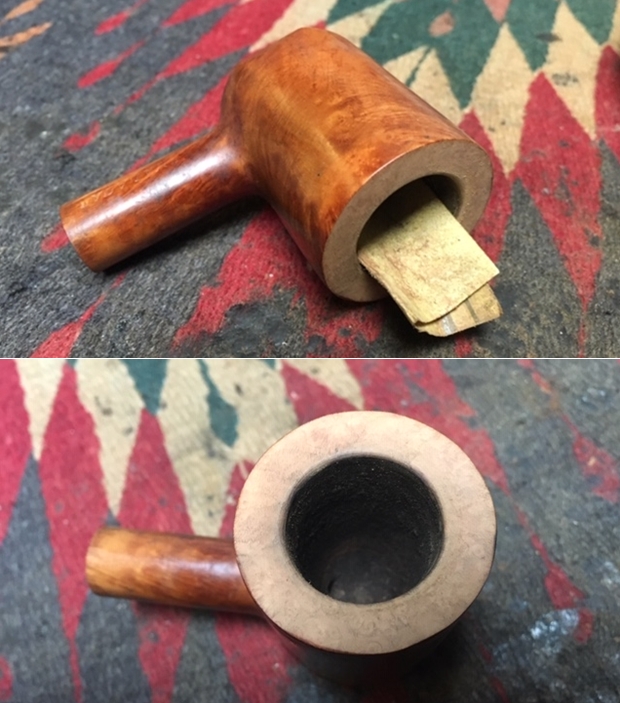
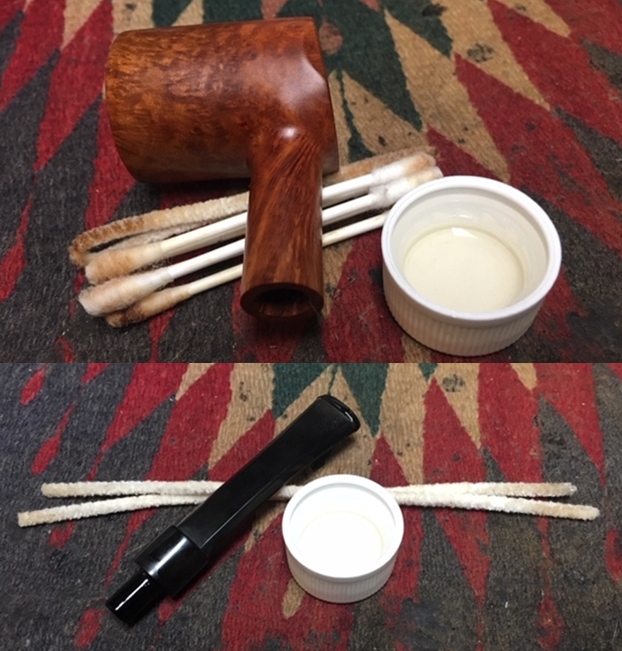
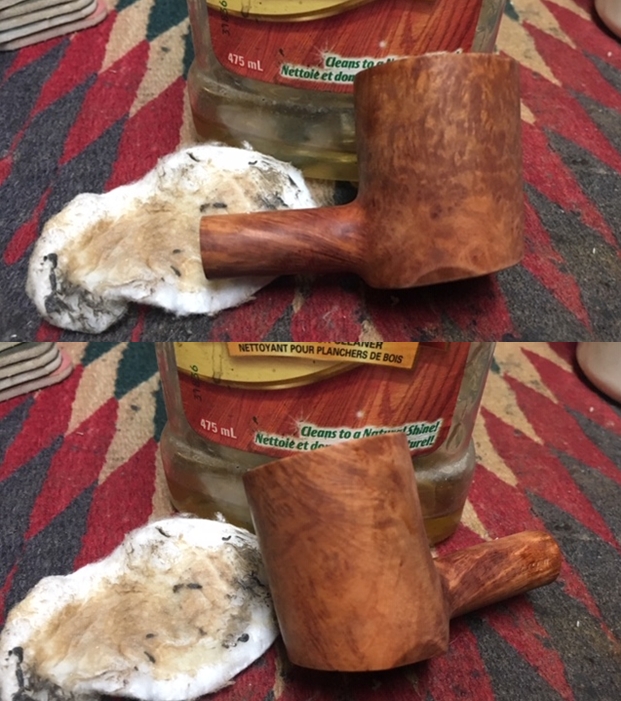
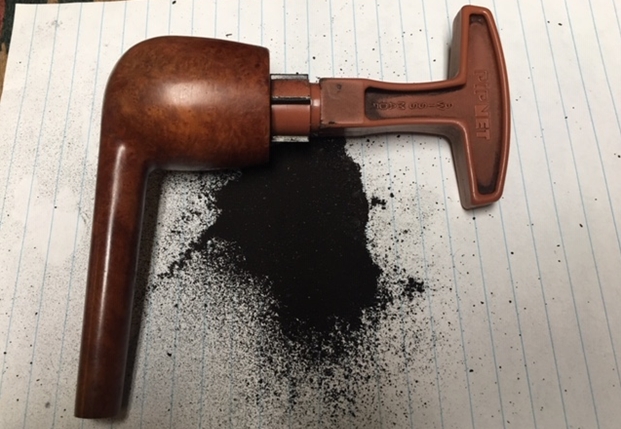
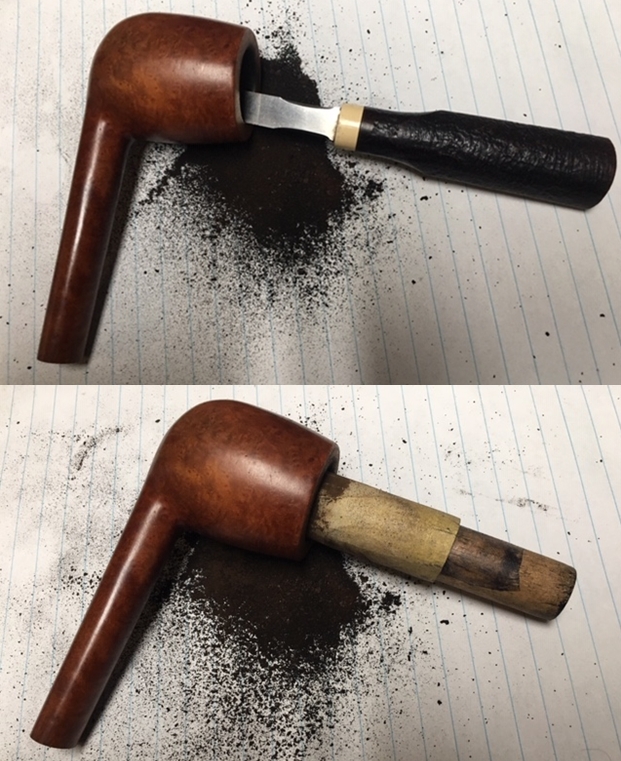
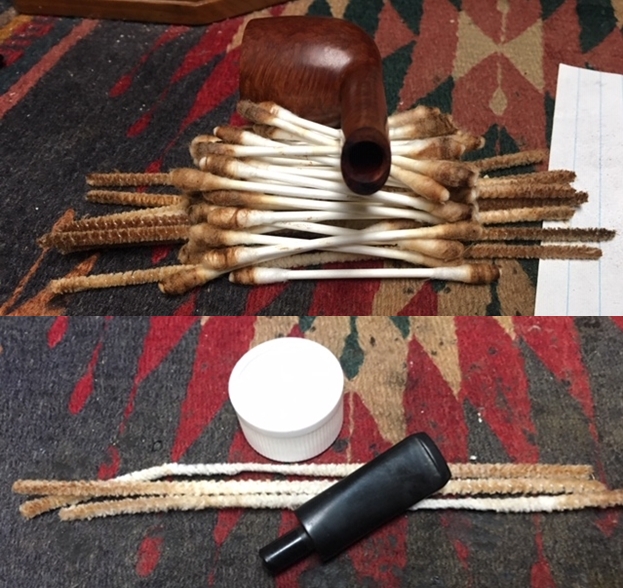
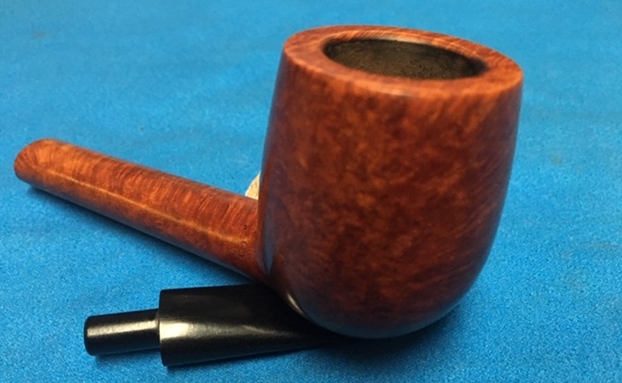
Since Jeff follows the same pattern of work in his cleanup we do not include photos but rather just a simple summary. Jeff reamed the bowl with a PipNet pipe reamer and followed up with a Savinelli Fitsall pipe knife to remove the cake. He scrubbed out the mortise and the airway in the shank and the stem with alcohol, cotton swabs and pipe cleaners. He scrubbed the exterior of the bowl, rim, shank and stem with a tooth brush and Murphy’s Oil Soap to remove the oils and tars on the rim and the grime on the finish of the bowl. He rinsed it under running water. He dried it off with a soft cloth. He was able to remove lava build up on the rim top and you could see the great condition of the bowl top and edges of the rim. There was some darkening on the rim top at the rear of the bowl but the edges were in good condition. He soaked the stem in Before & After Deoxidizer to remove the oxidation. I took photos of the pipe before I started my work. 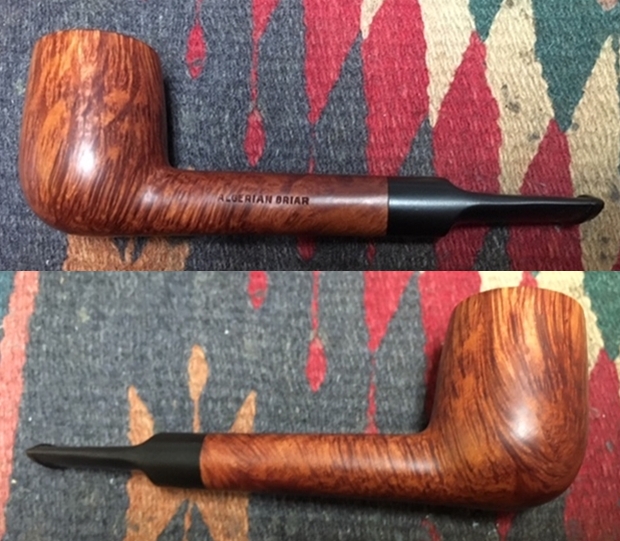
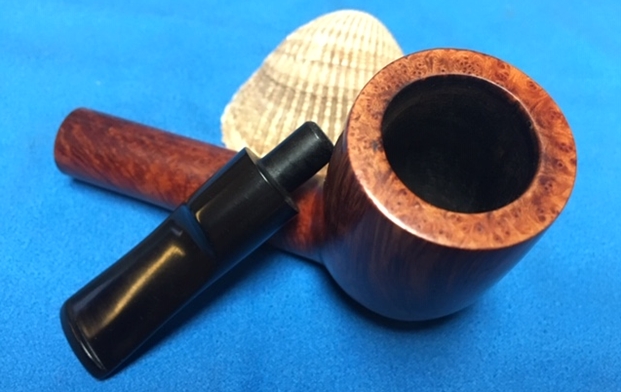
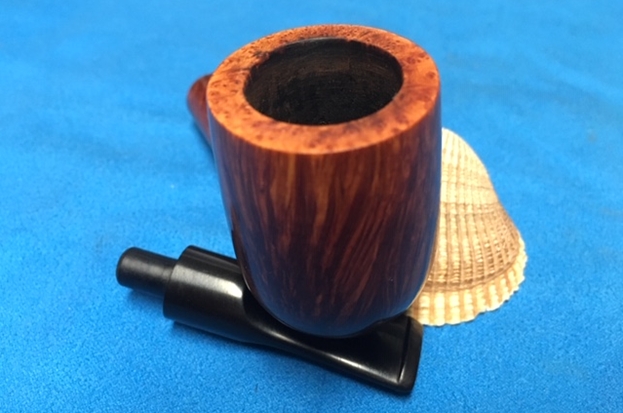
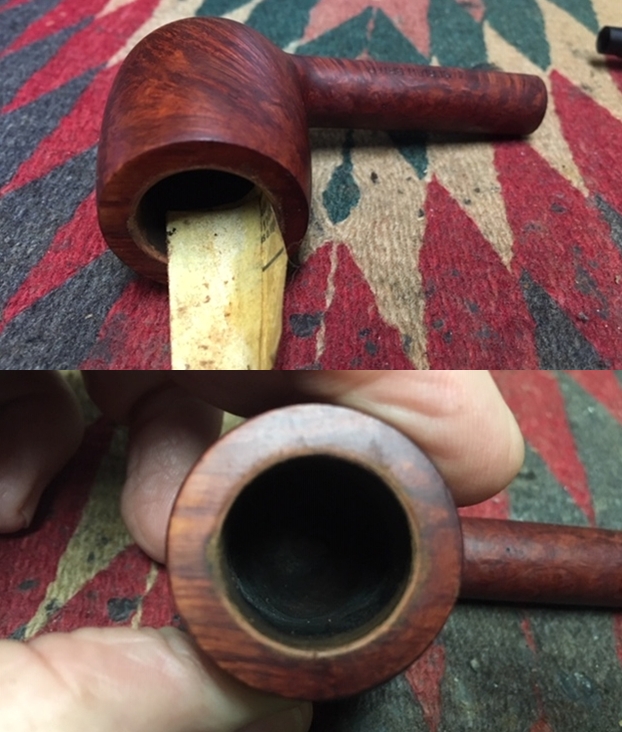
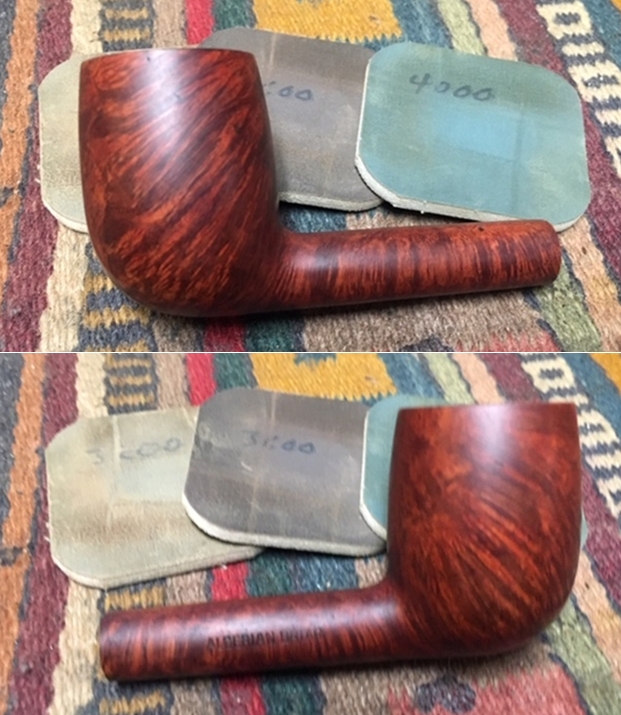
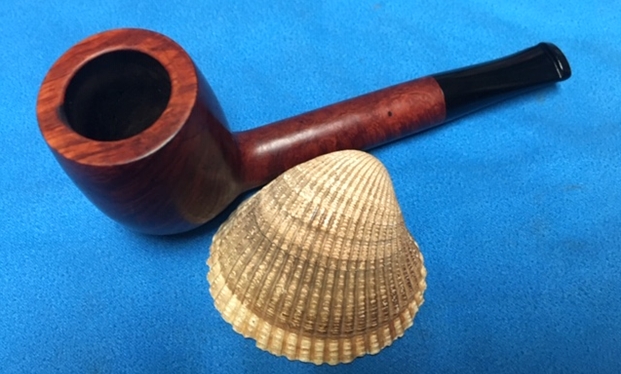
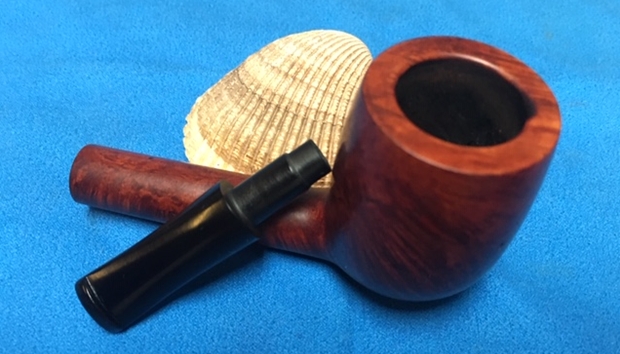
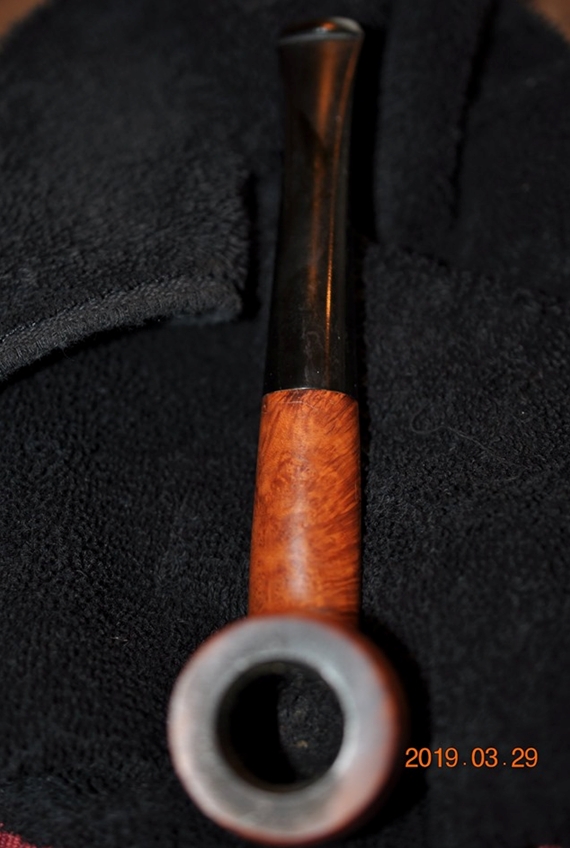
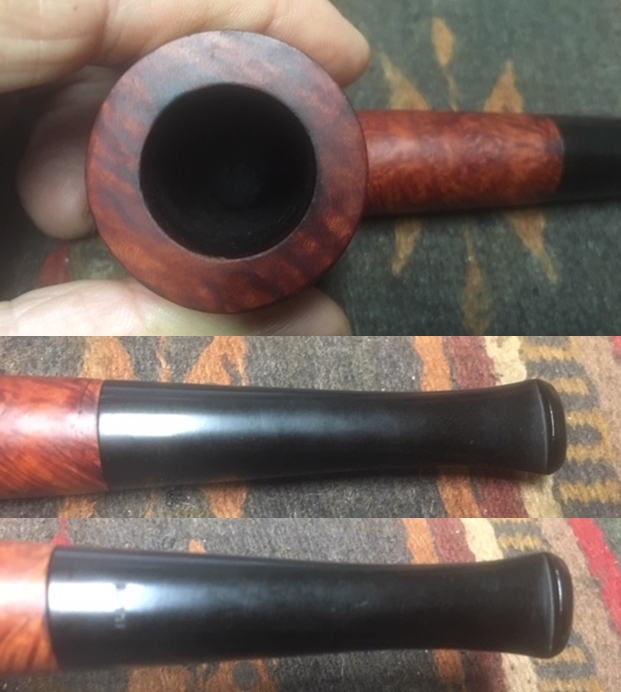
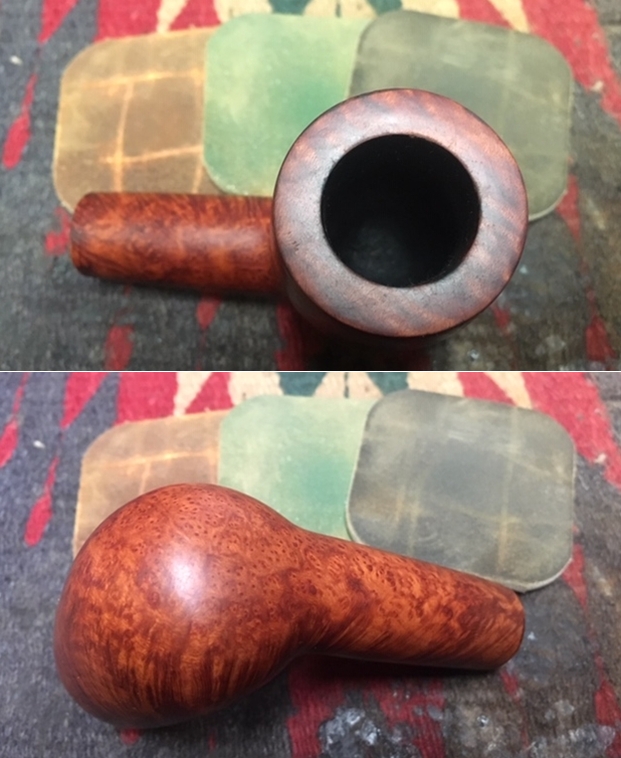
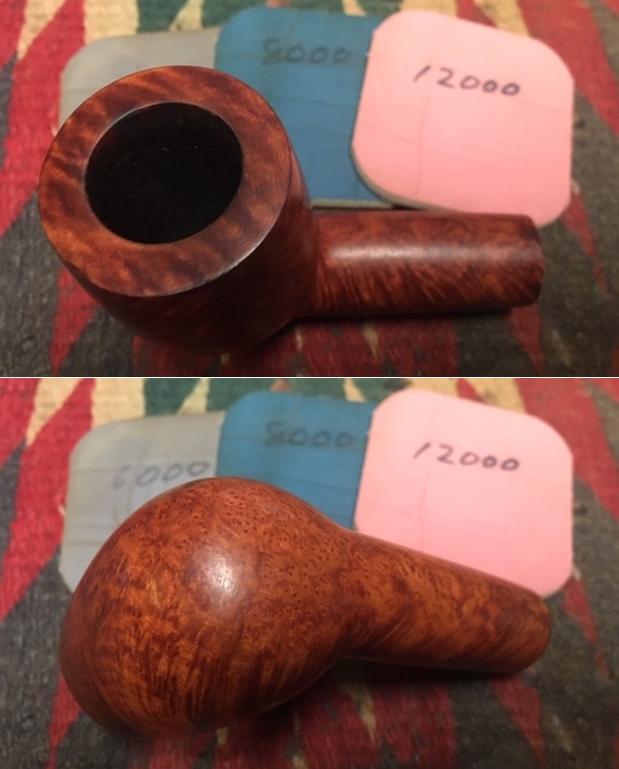
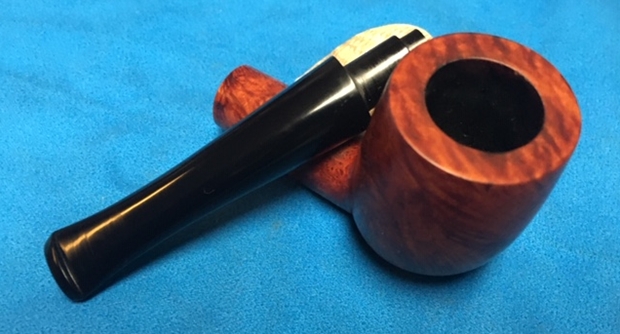
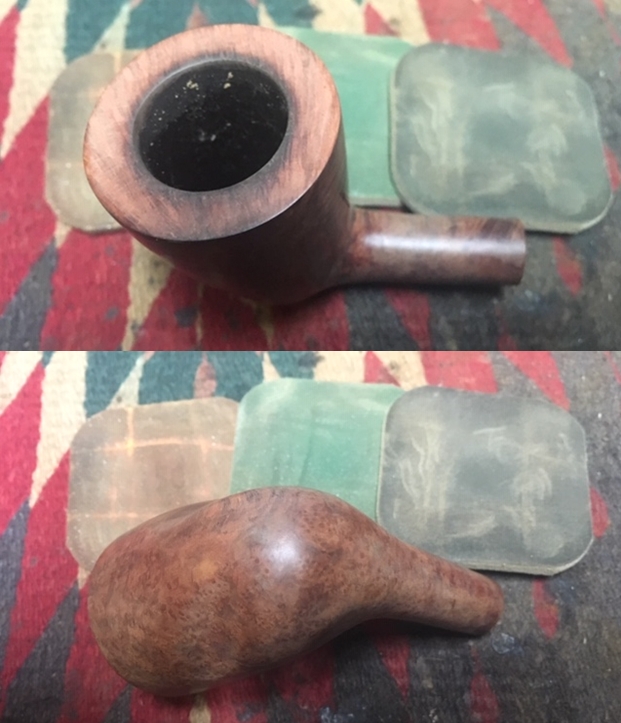
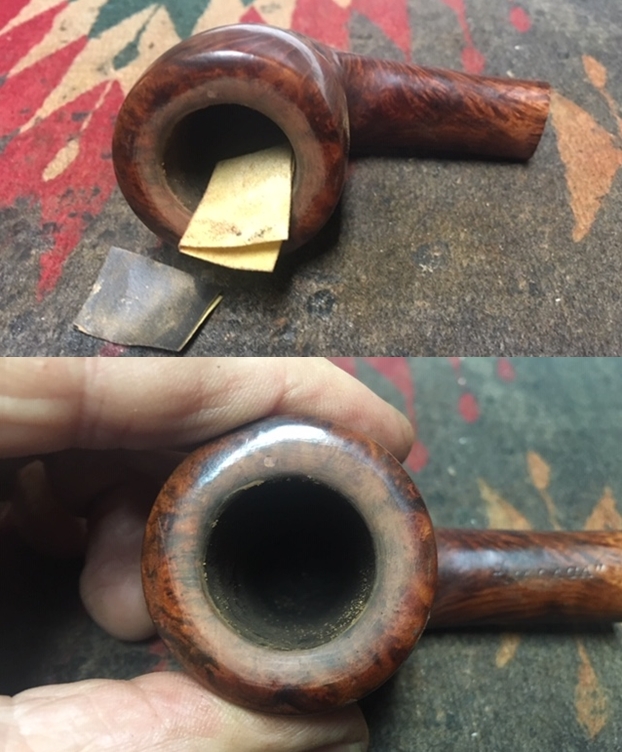
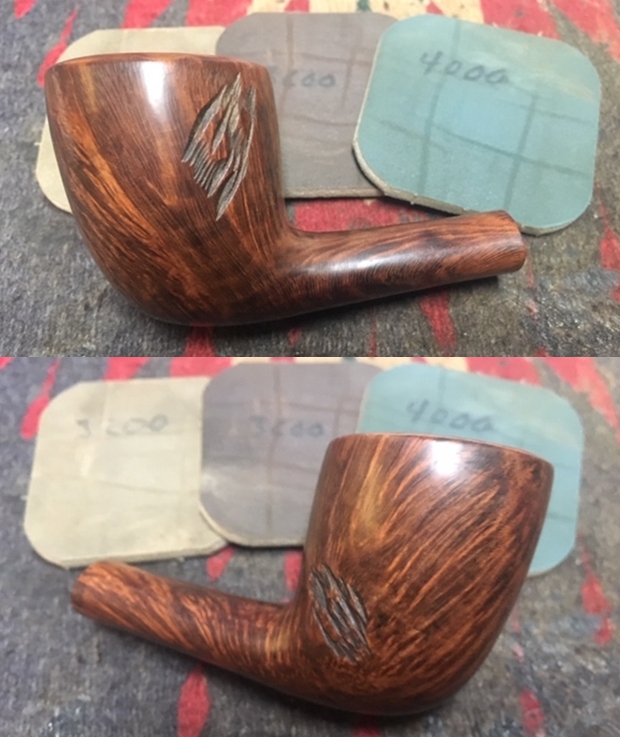
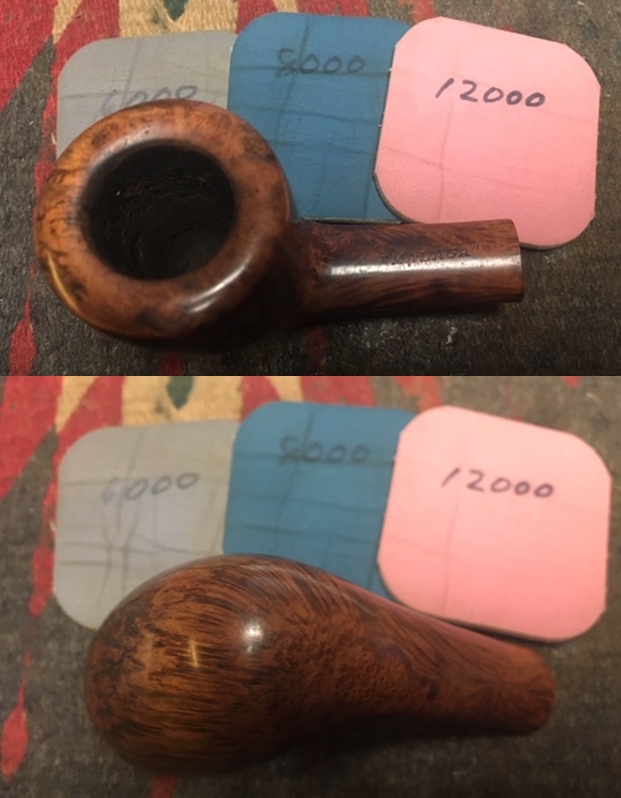
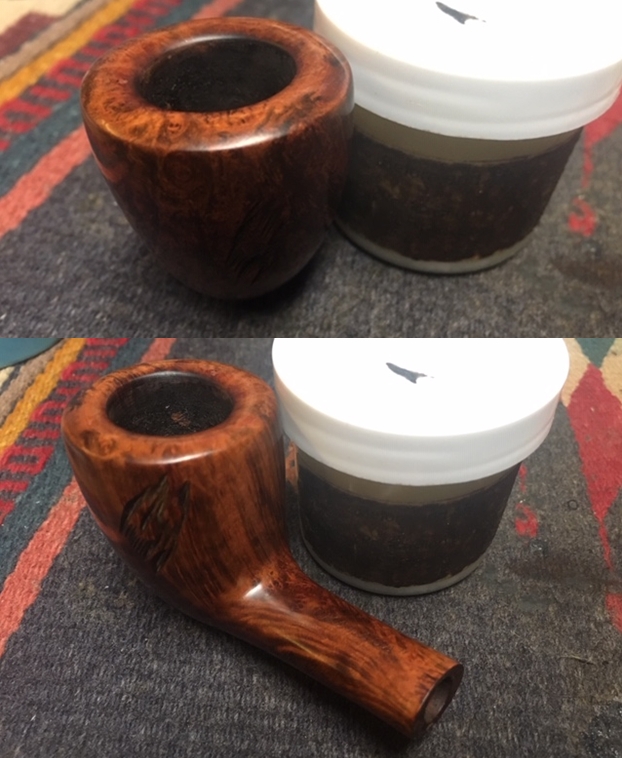
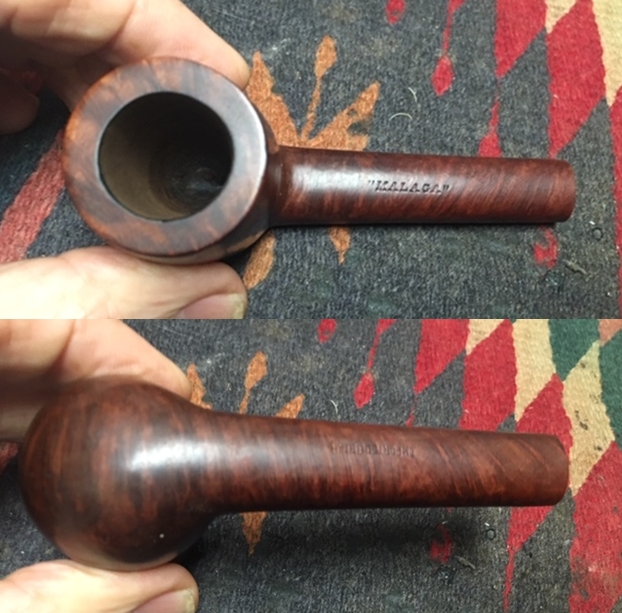
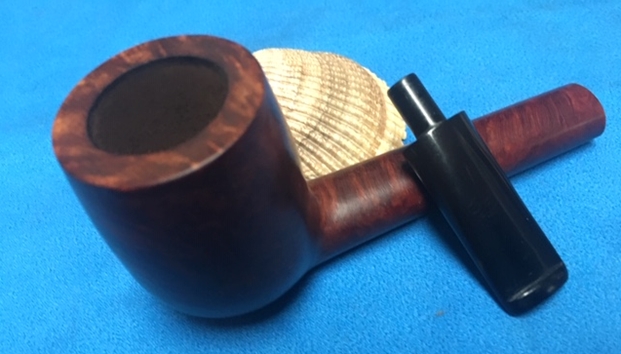
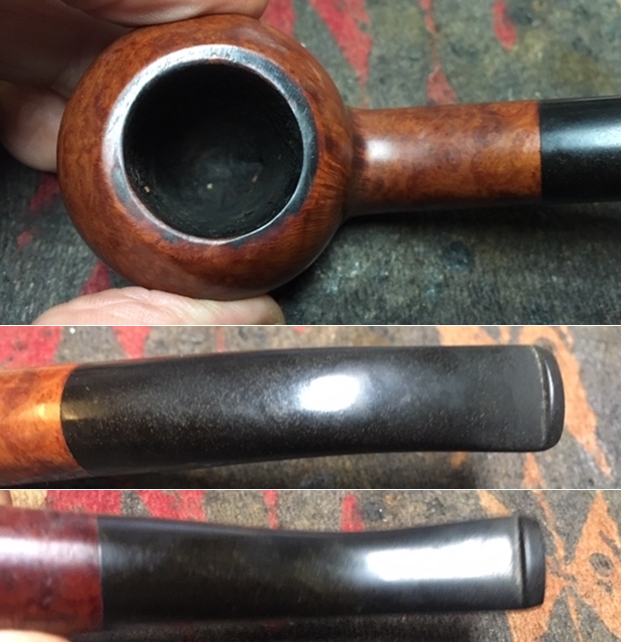
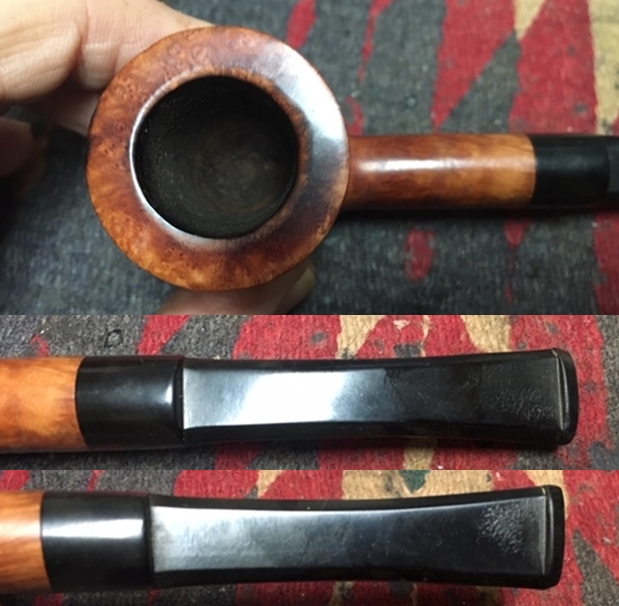
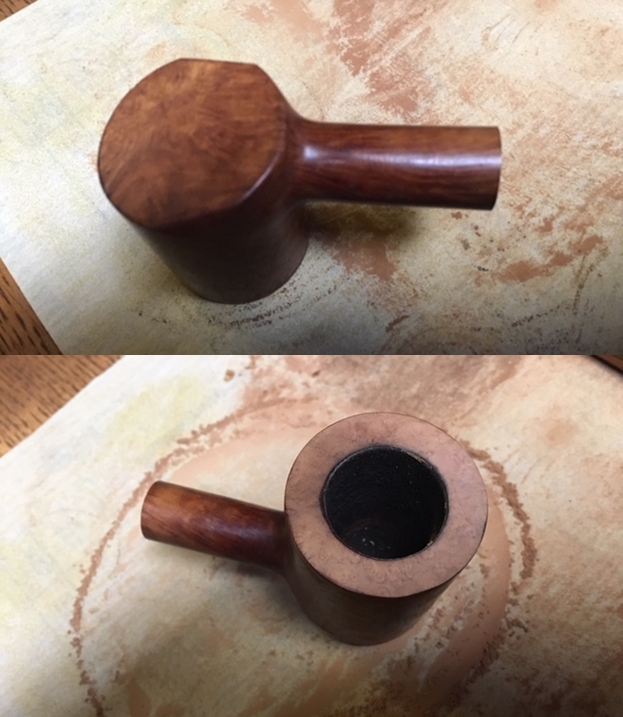
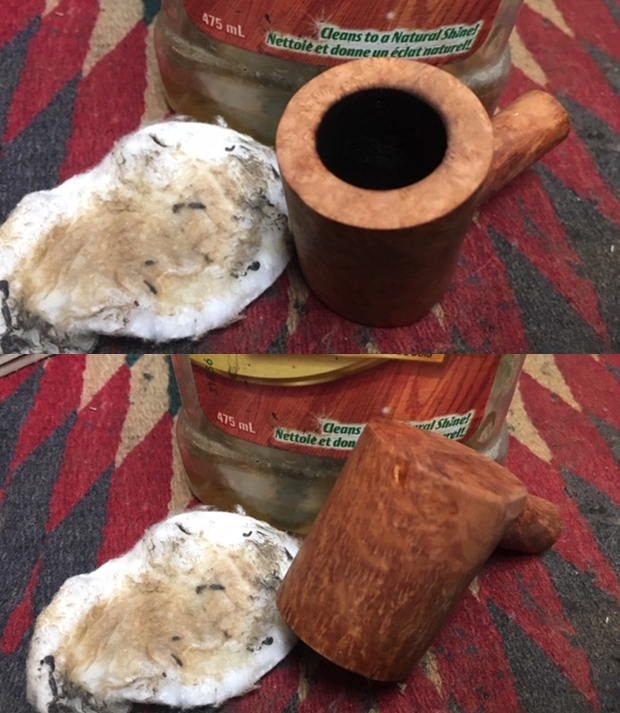
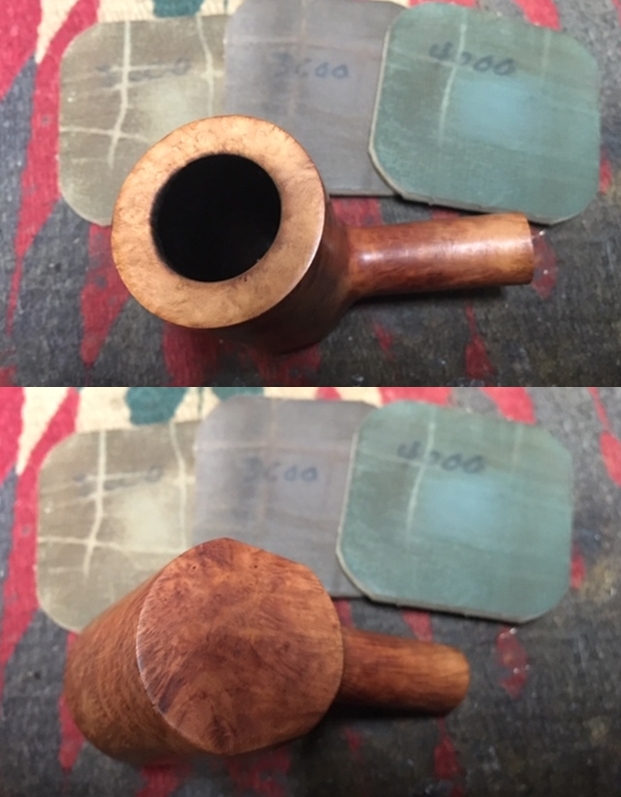
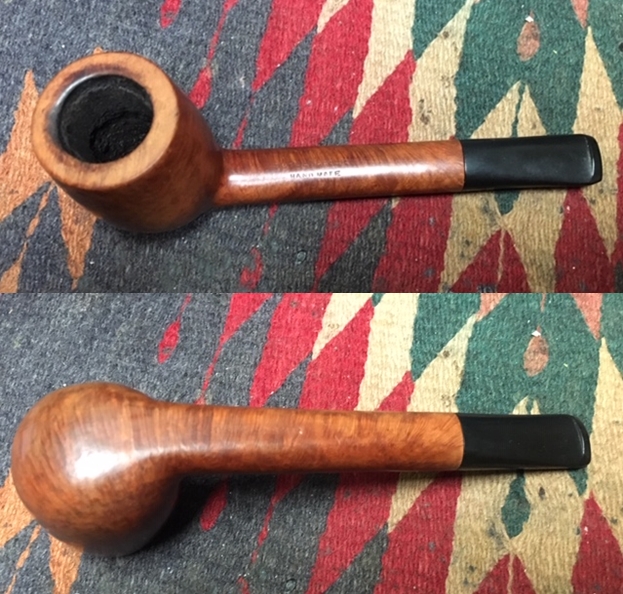
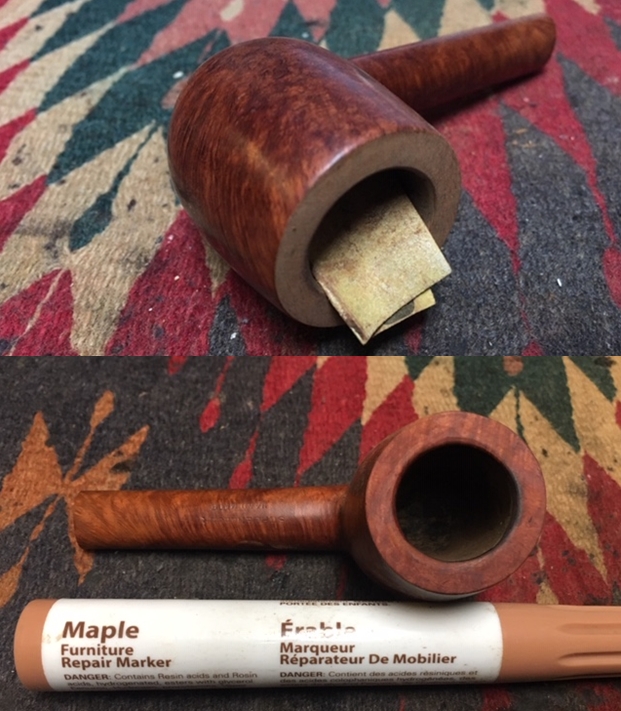
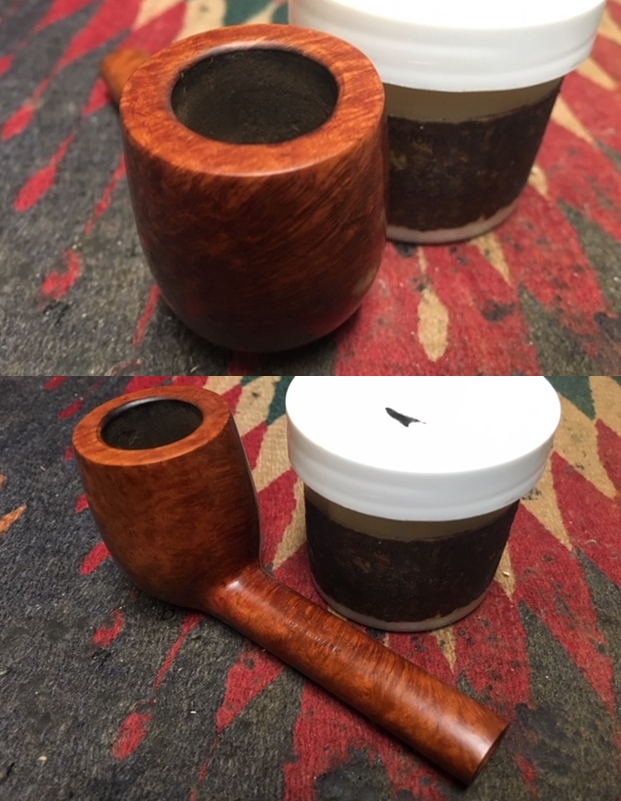
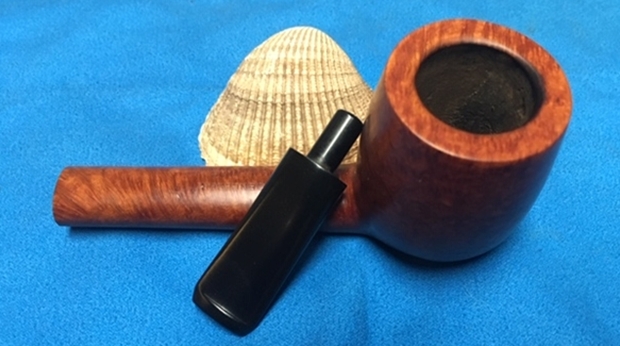
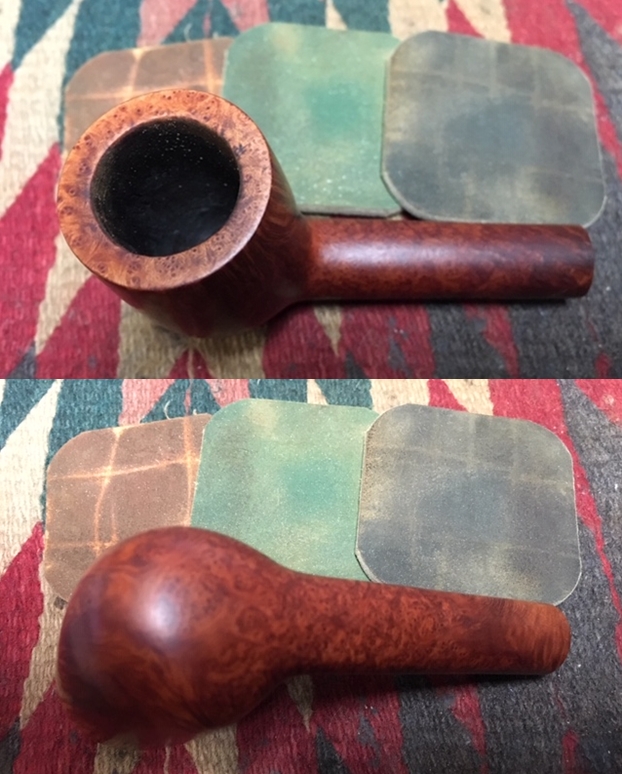
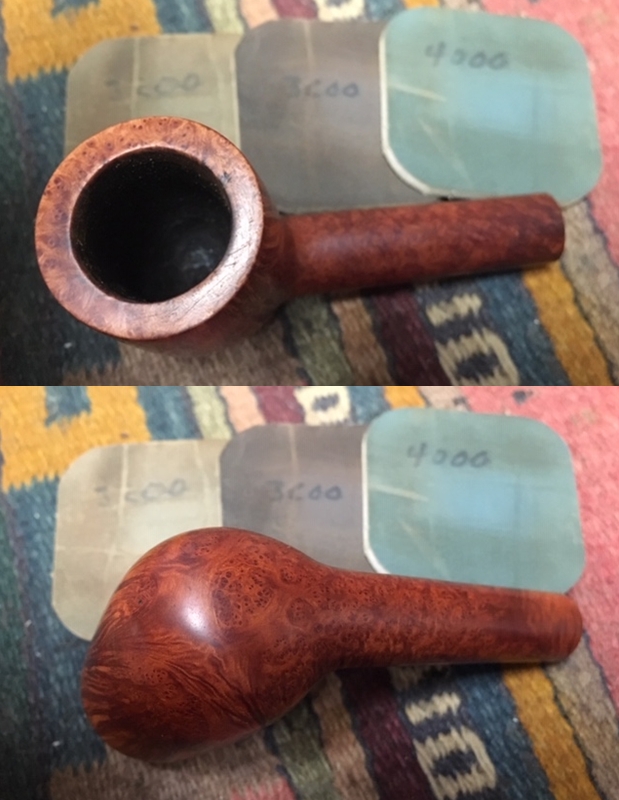
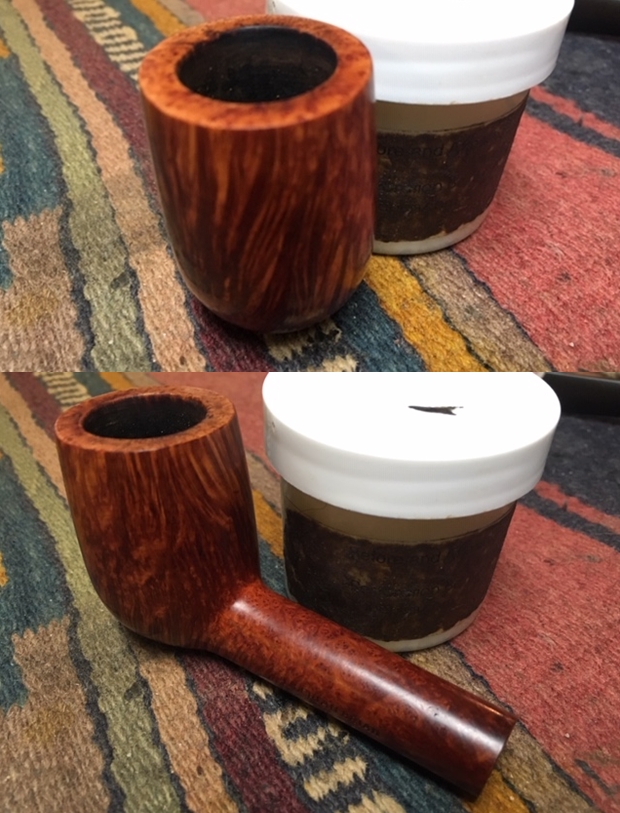
 I took a close up photo of the rim top to show the condition of the bowl and rim after Jeff had cleaned up the grime and lava. The burn damage on the front and back inner edge of the bowl is visible in the first photo below. The rim top has some darkening but otherwise looks very good. The stem photos show that the oxidation is gone. The light tooth chatter is hard to see but like the other pipes in this lot that I have already restored; I should be able to sand it out quite easily.
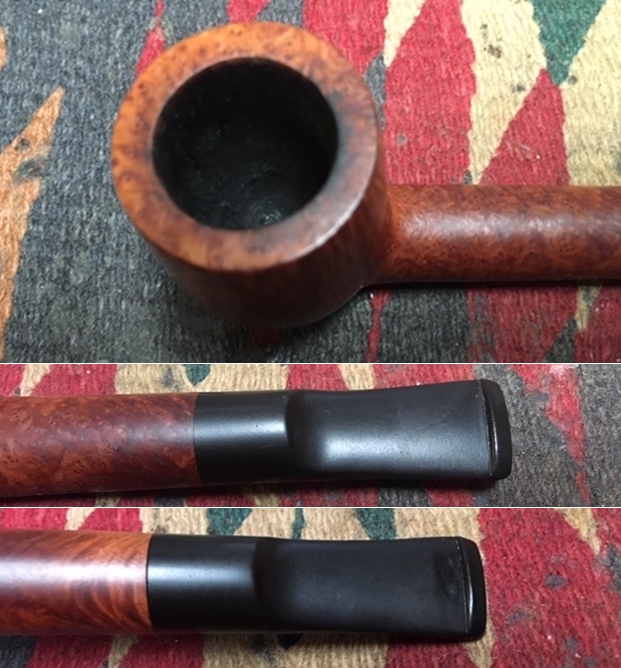 I also took a photo of the stamping on the right side of the shank showing how the stamping was laid out.
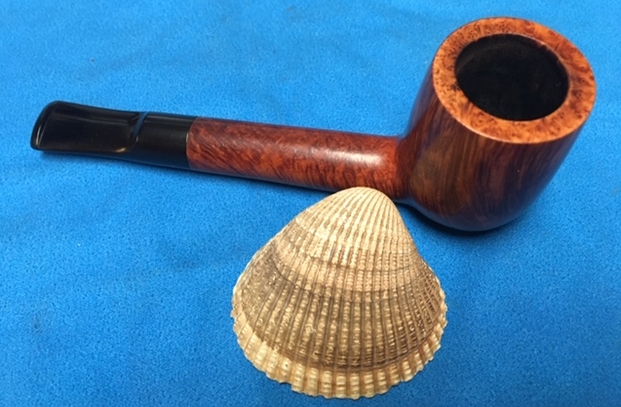
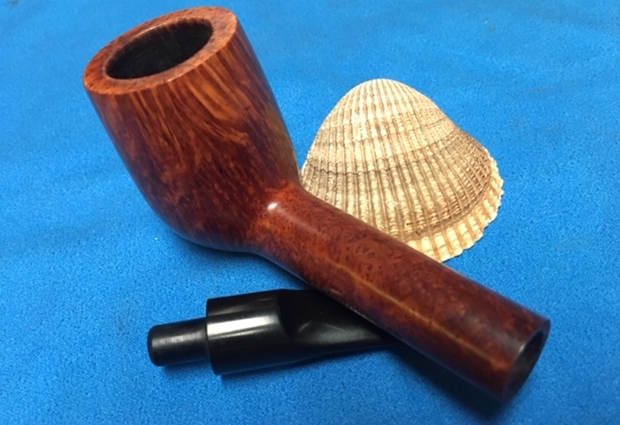
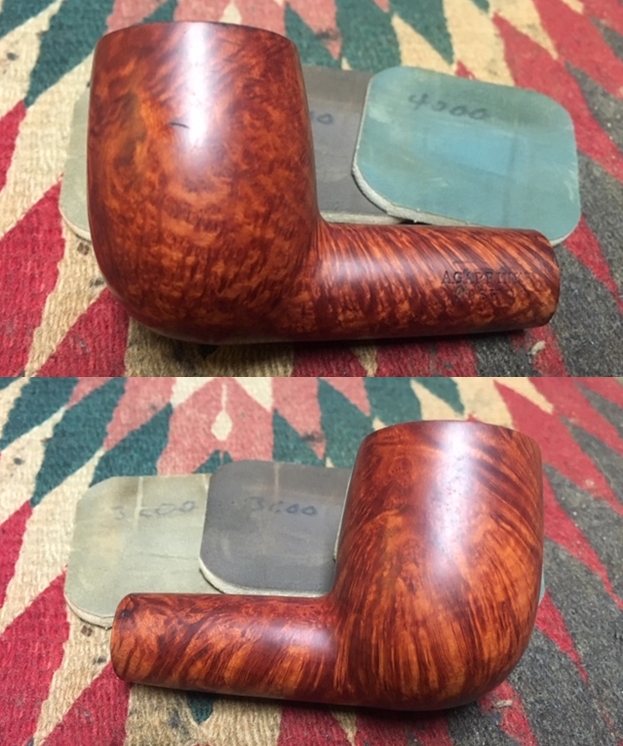
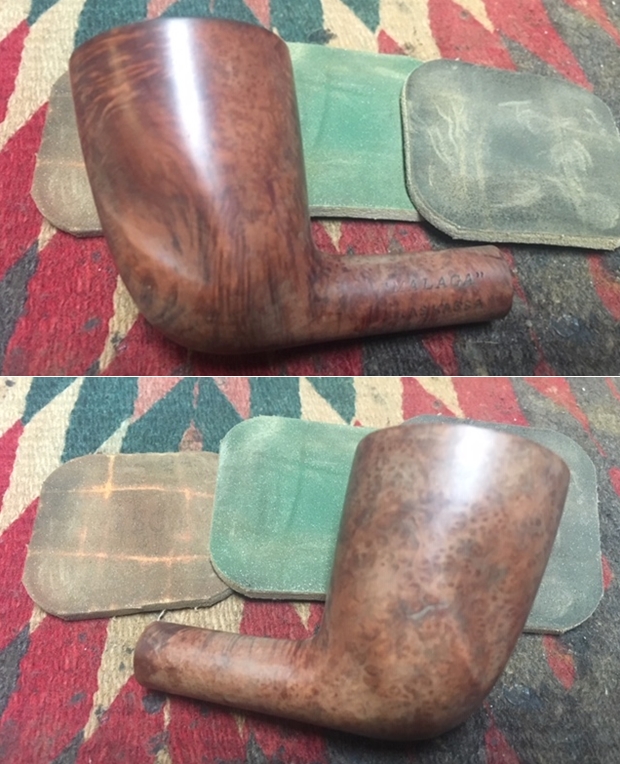
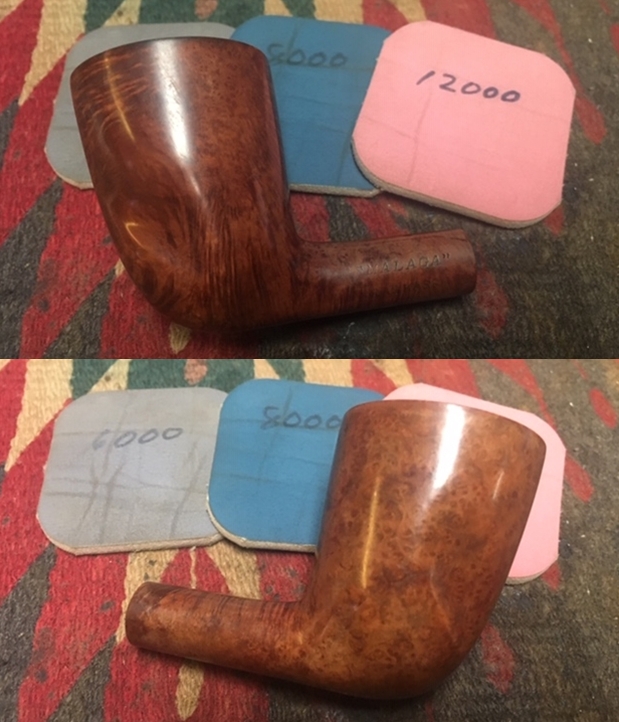
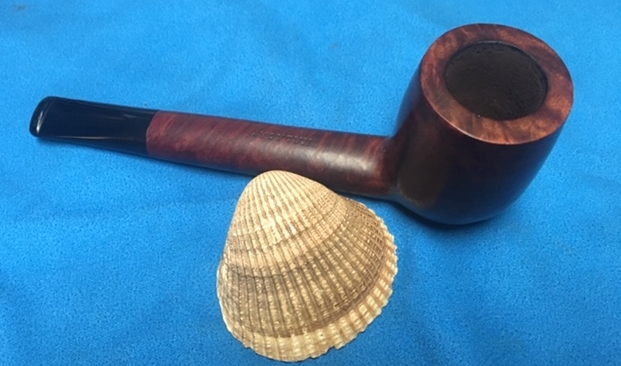
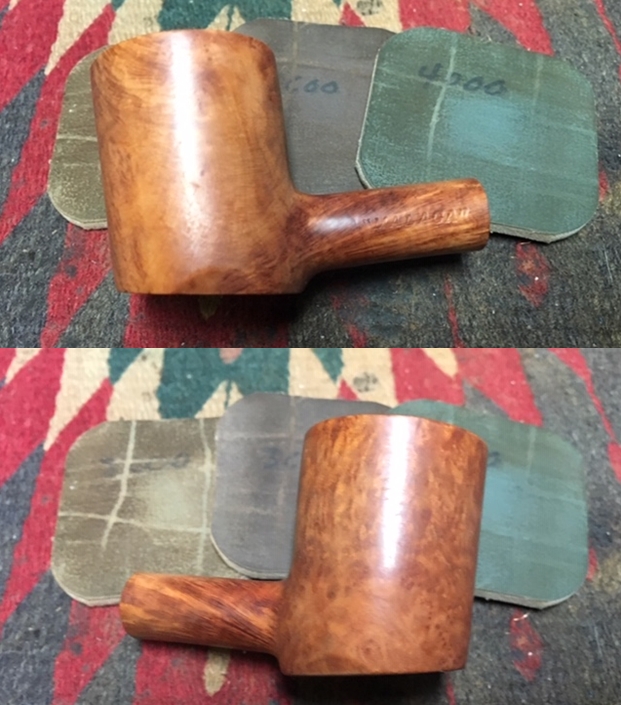
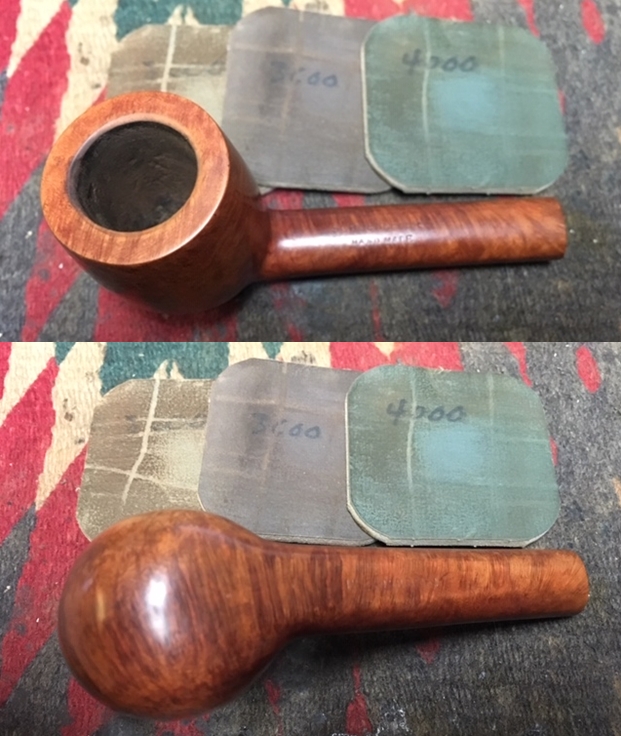
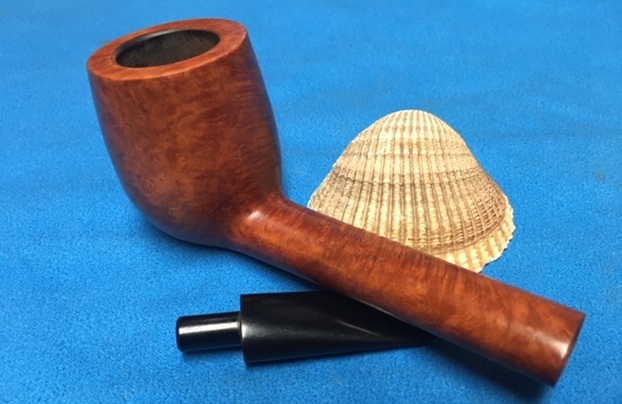
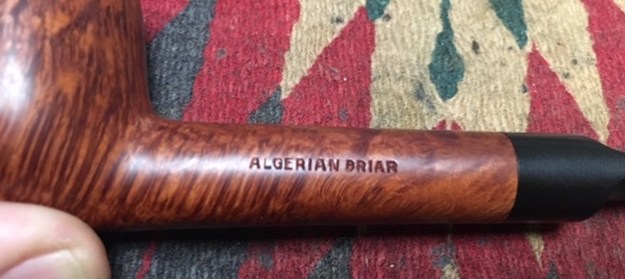 I worked on the darkening on the rim top and back edge with a folded piece of 220 grit sandpaper to remove the damage and the darkening. I polished the rim top with 400 grit wet dry sandpaper to remove the scratches. The photo shows how the rim looked at this point.
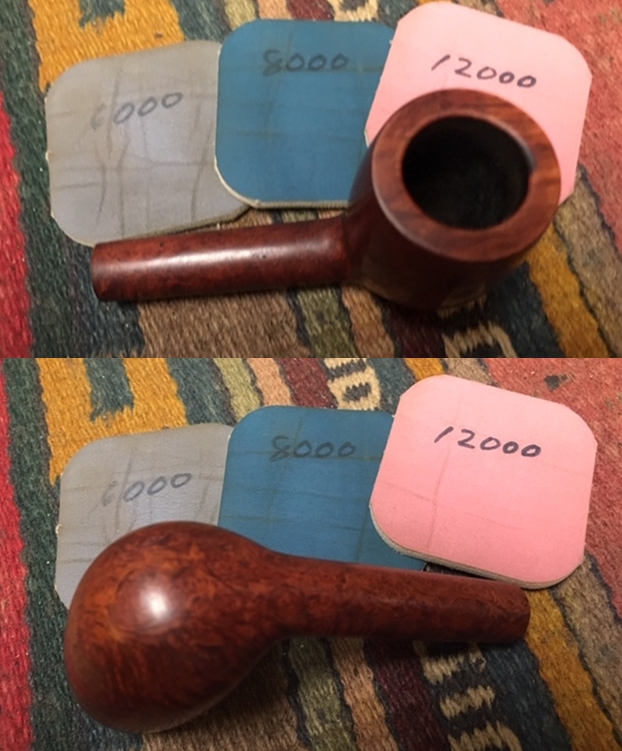
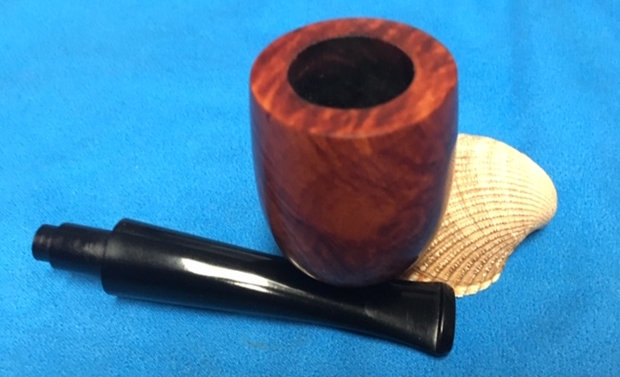
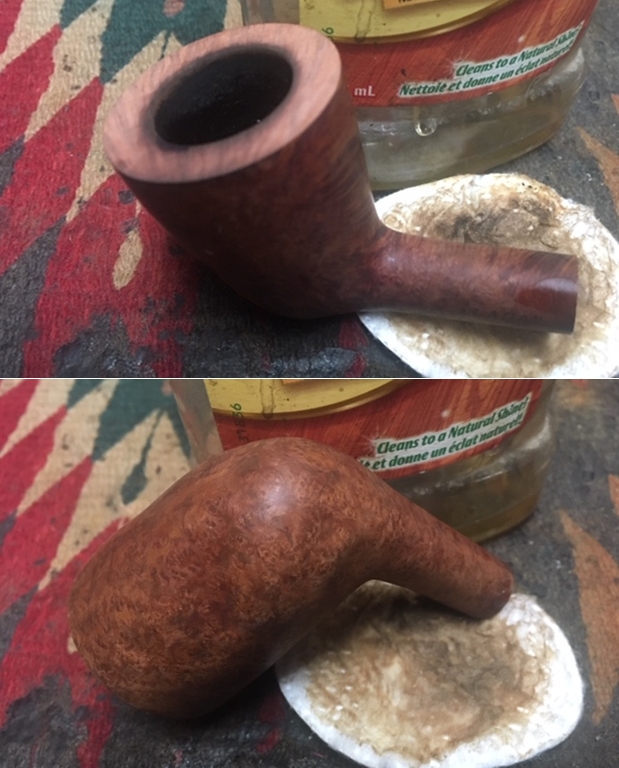
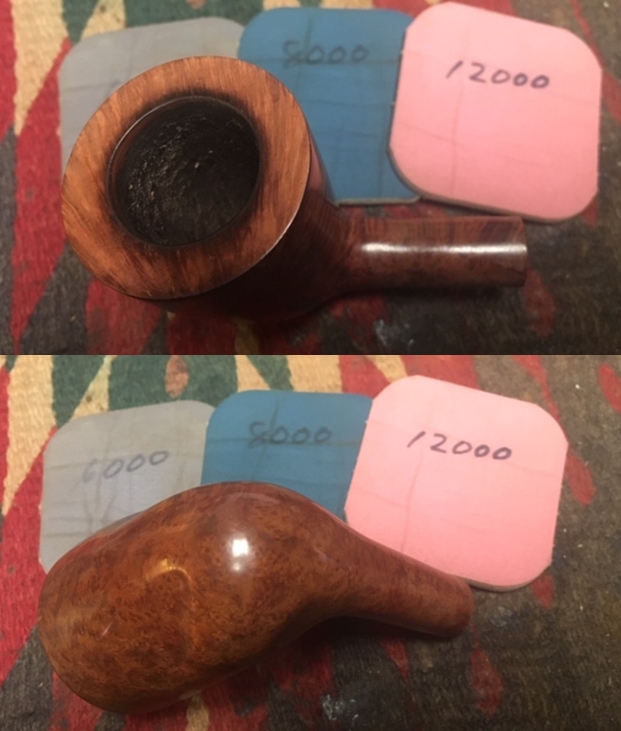
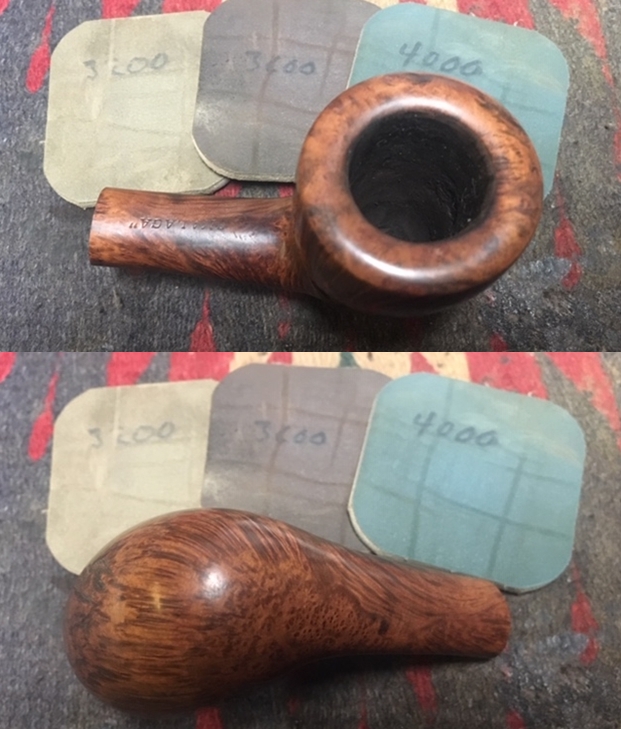
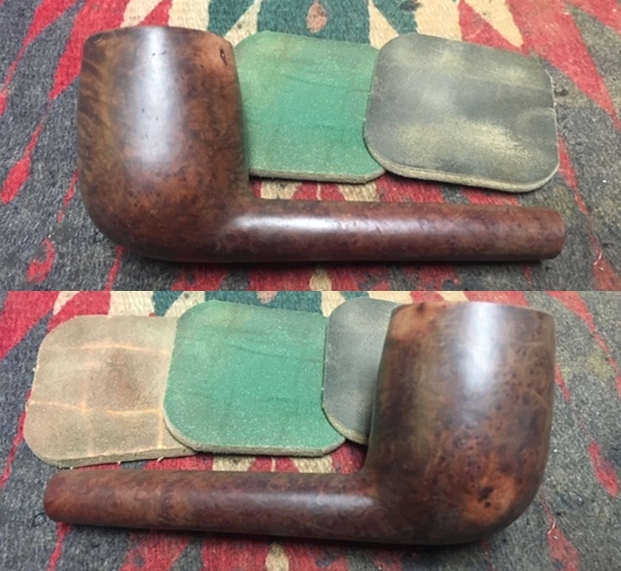
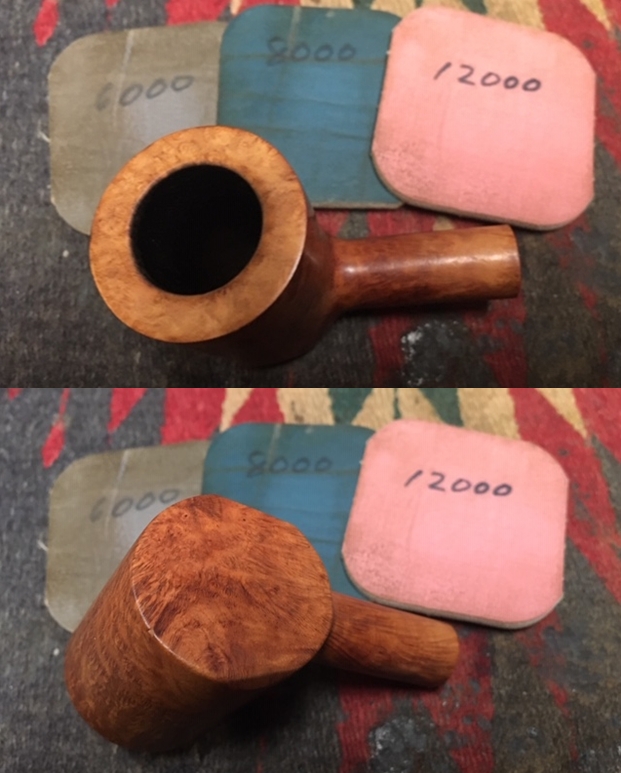
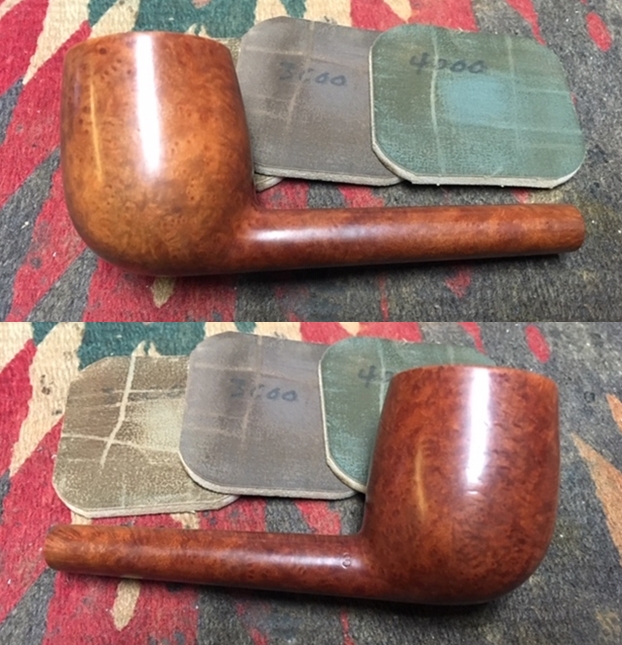
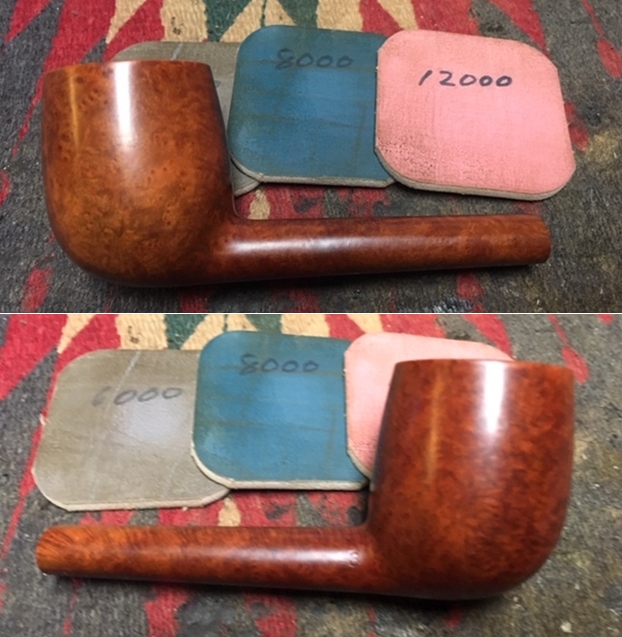
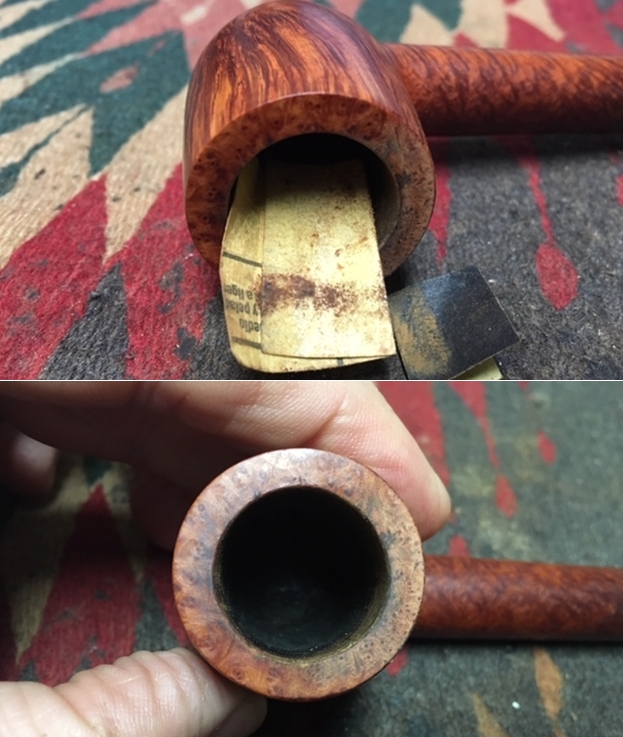 I polished the bowl and rim top with micromesh sanding pads – dry sanding it with 1500-12000 grit pads. I used the micromesh dry this time as I wanted to preserve the original patina on the bowl. I wiped the bowl down with a damp cloth after each pad to remove the sanding debris. After the final sanding pad I hand buffed it with a cotton cloth to raise a shine.
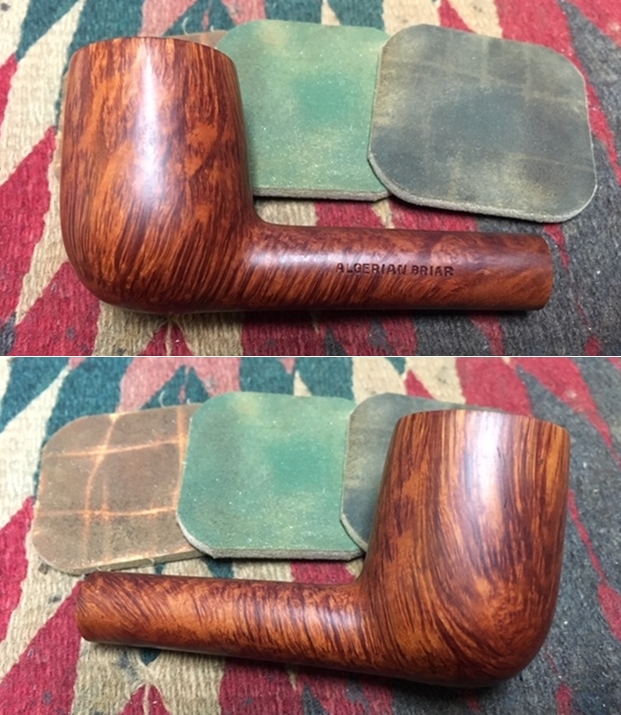
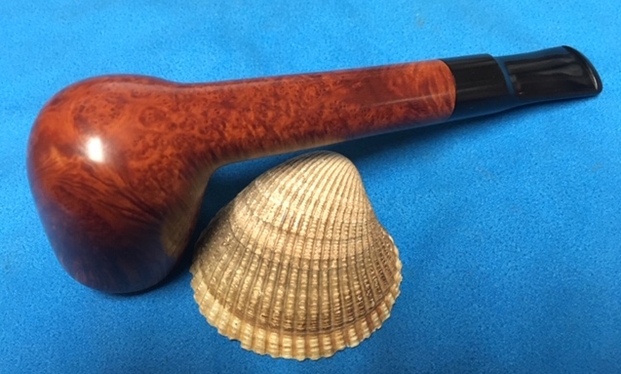
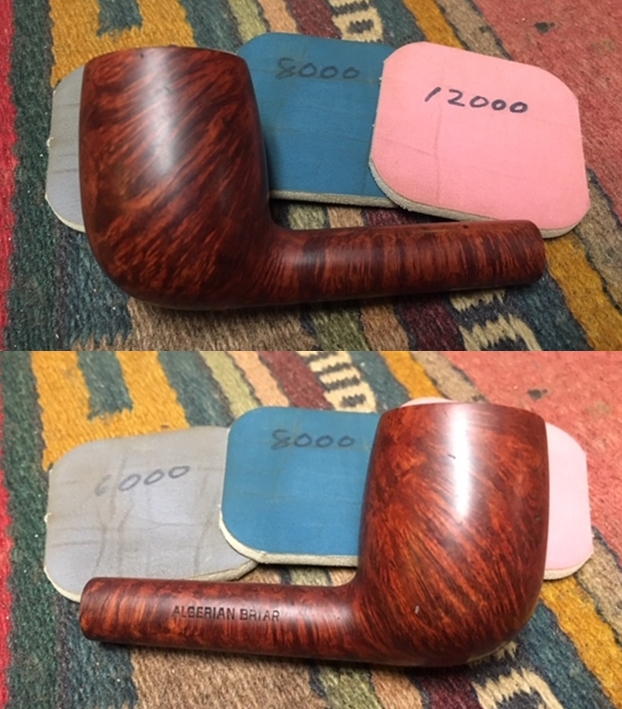
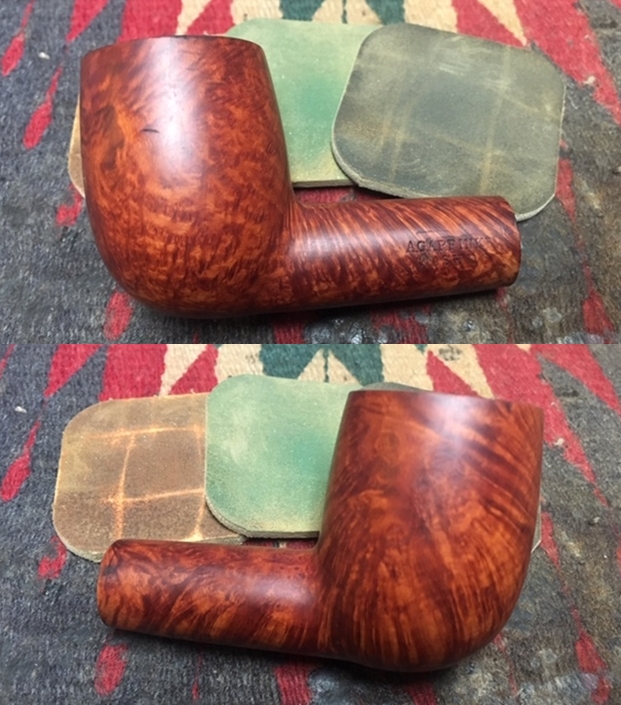
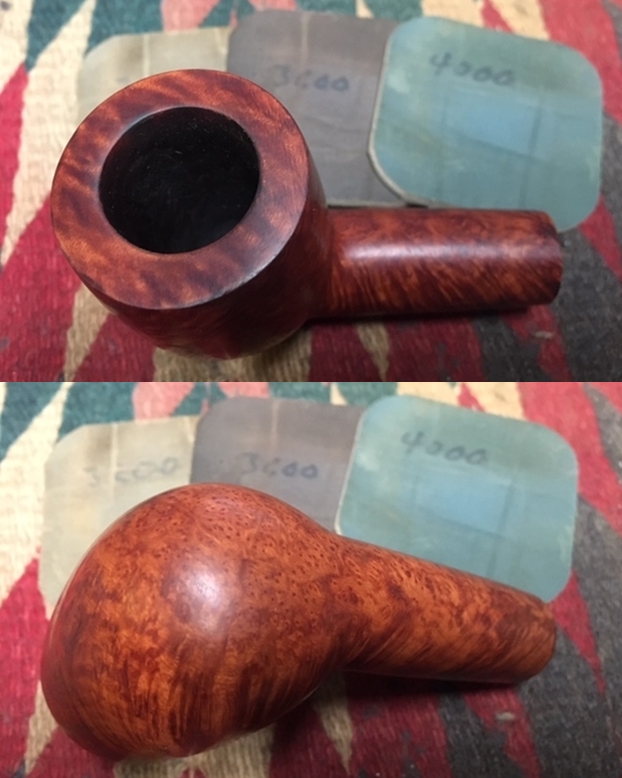
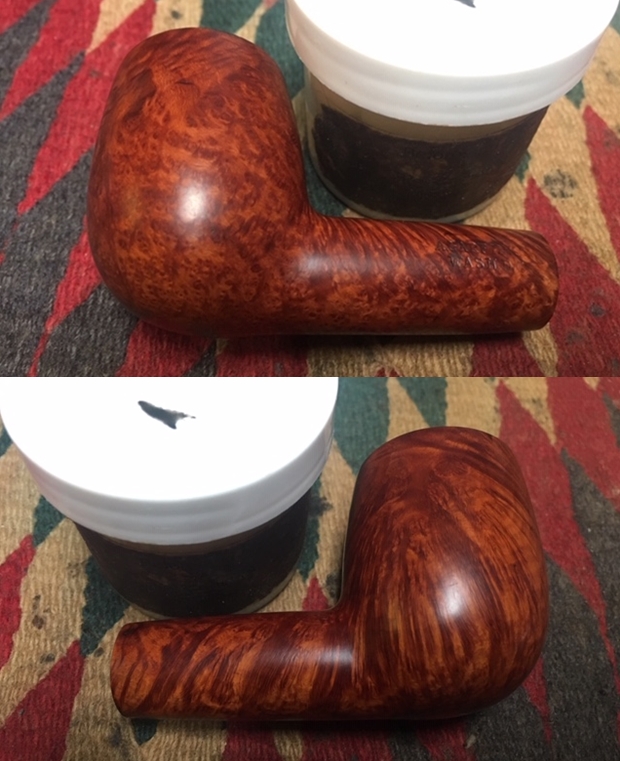
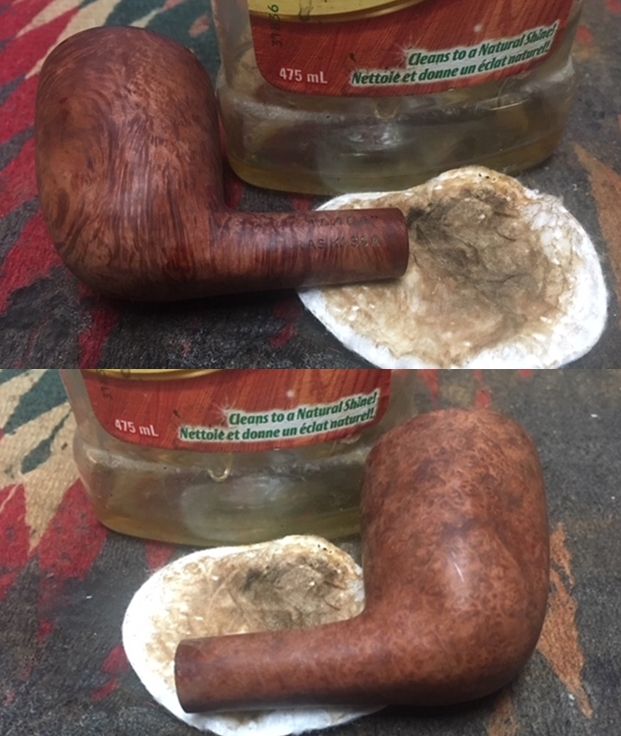
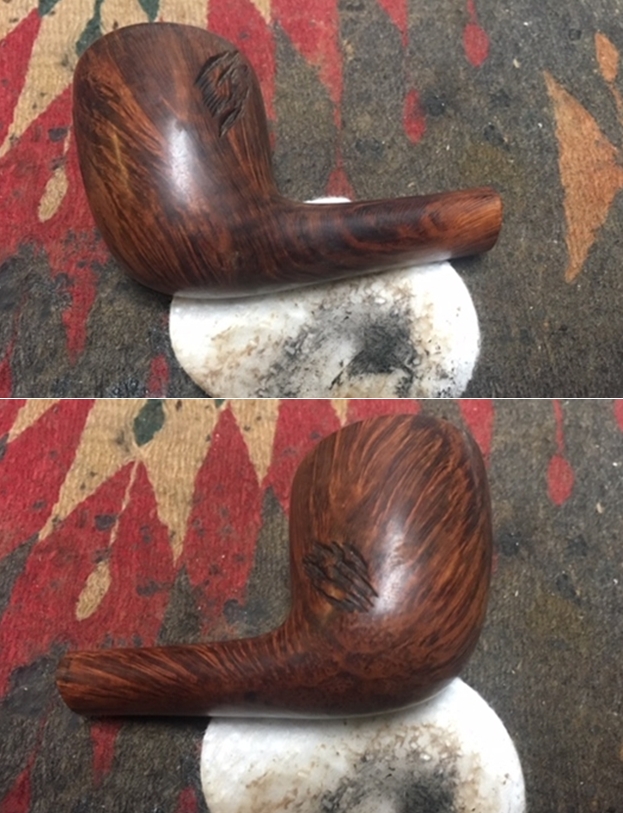
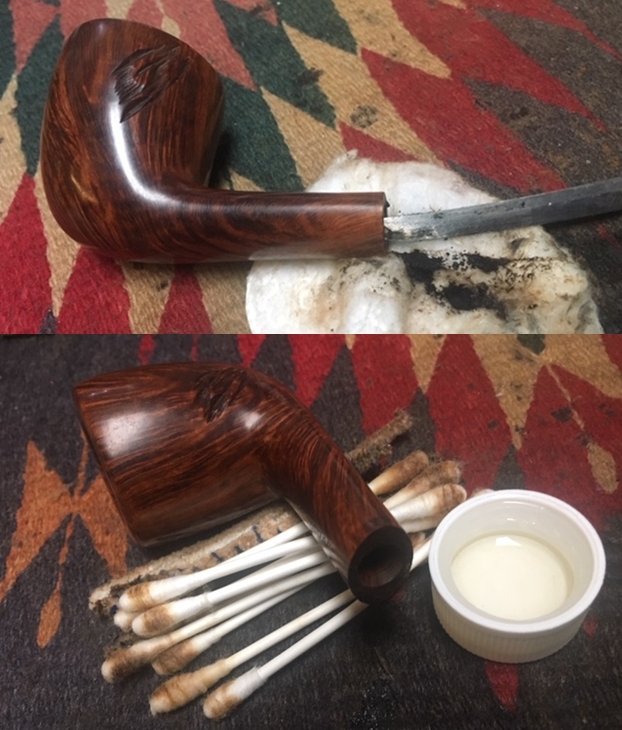
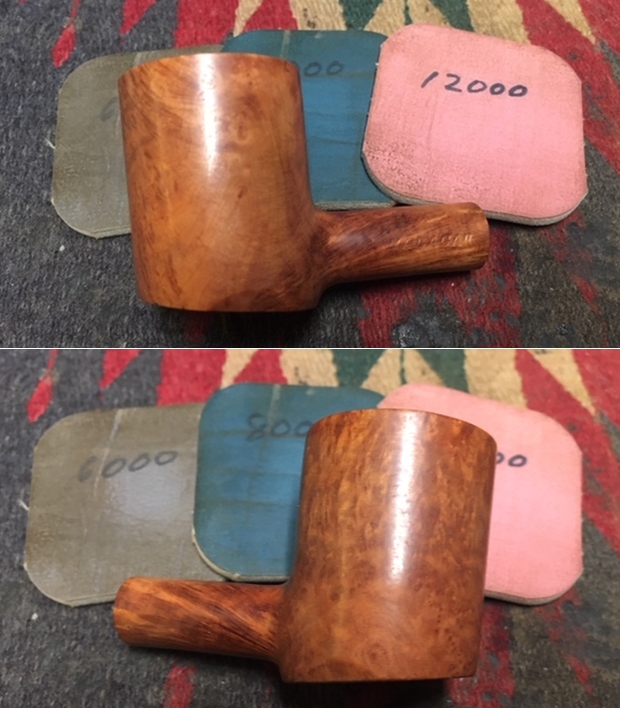
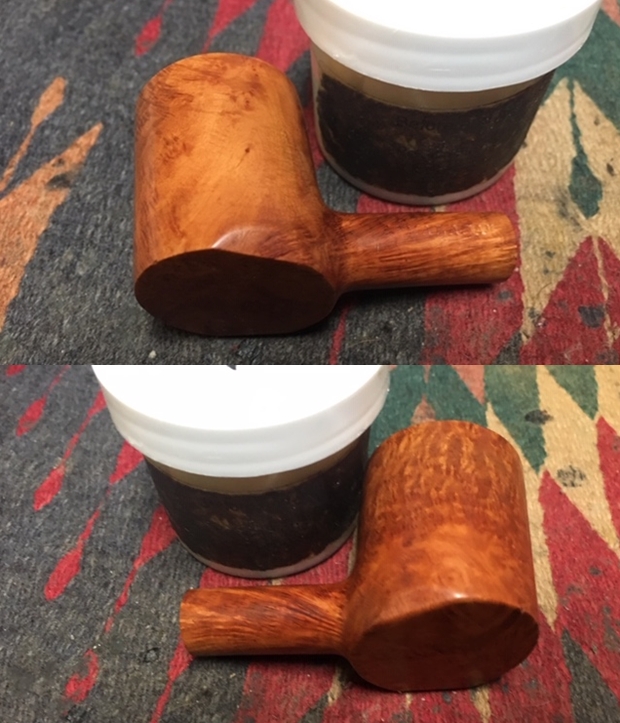
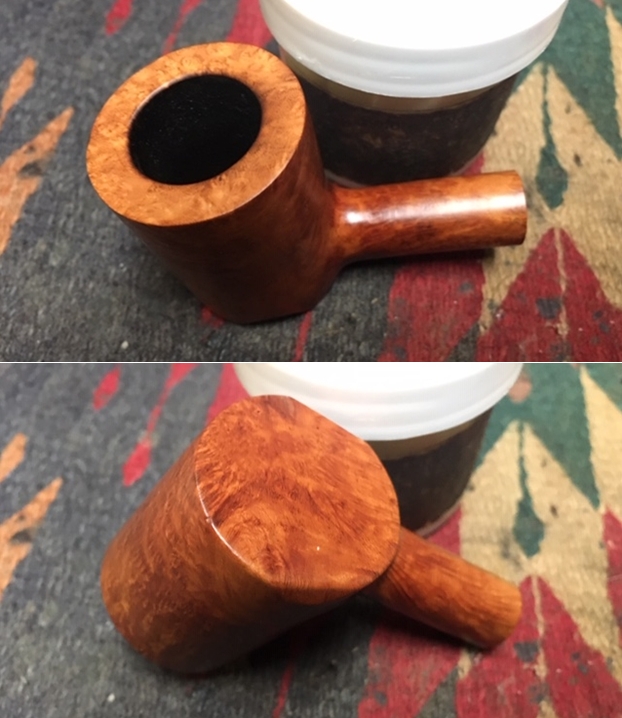
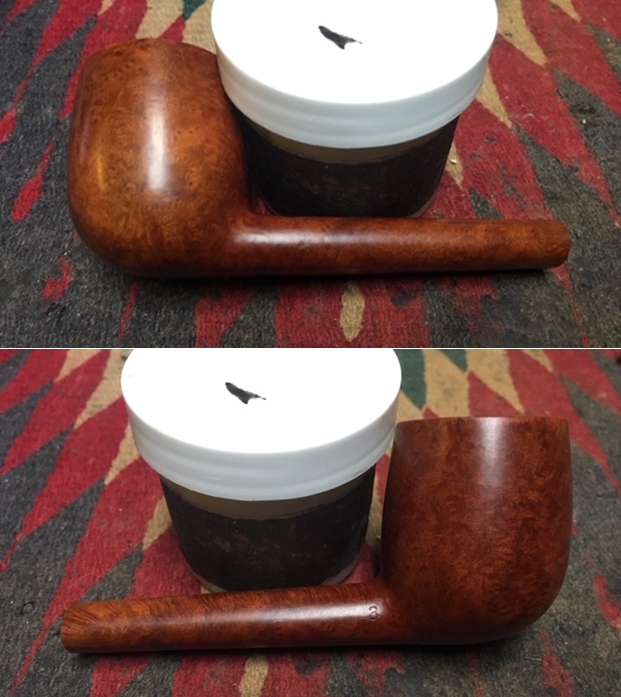
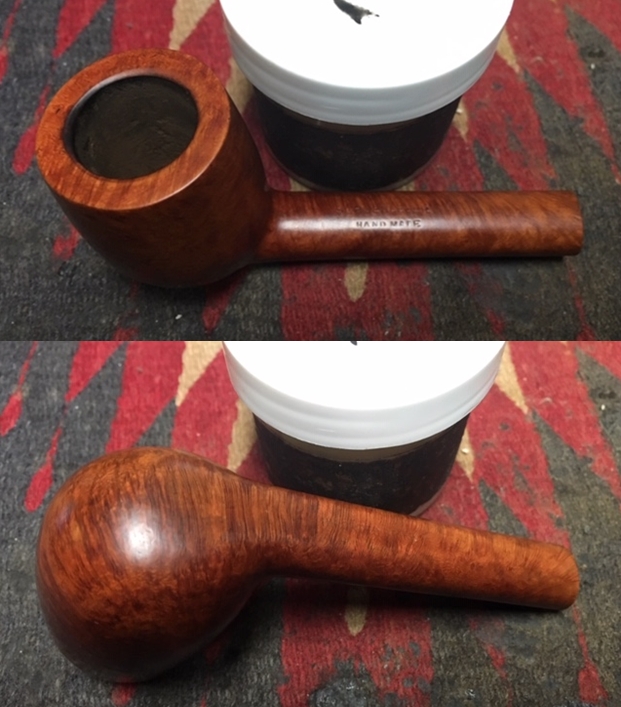
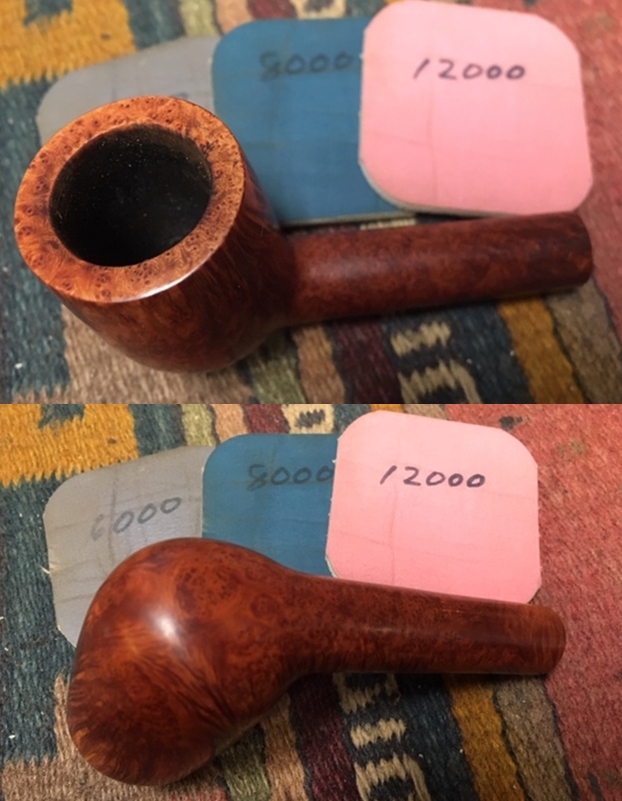 I really have come to appreciate Mark Hoover’s Before & After Restoration Balm for its restorative properties with dry briar. I worked it into finish of the briar with my fingertips to clean, enliven and protect it as I usually do at this point in the process. I let the balm sit for a little while and then buffed with a cotton cloth to raise the shine. The Restoration Balm really makes the grain stands out beautifully.
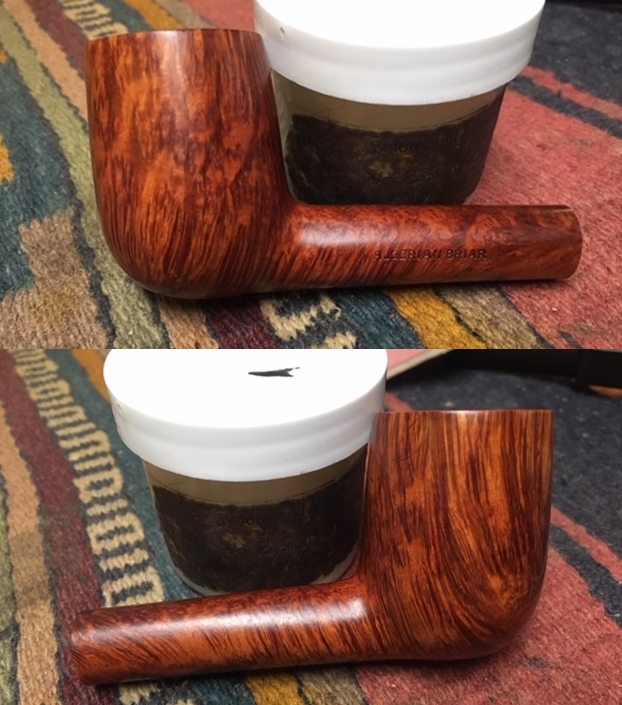
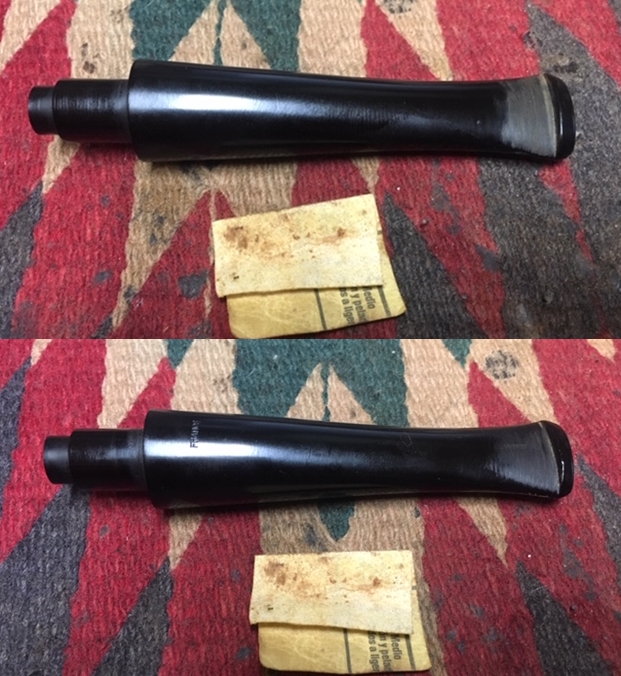
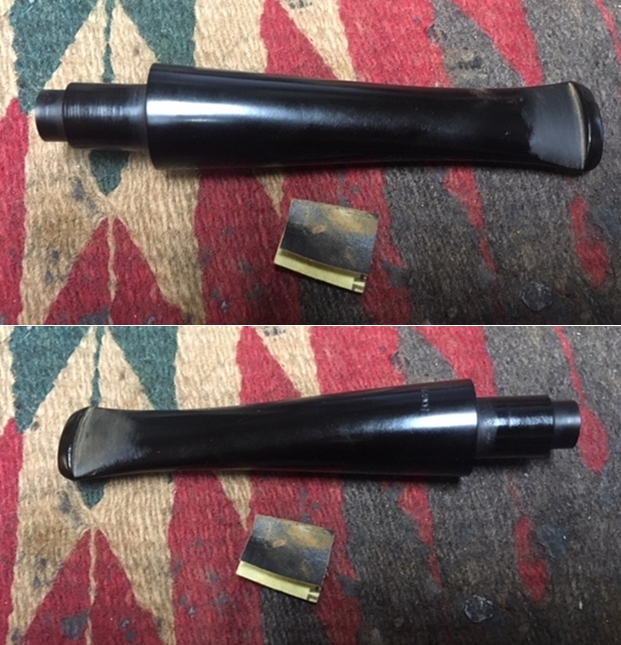
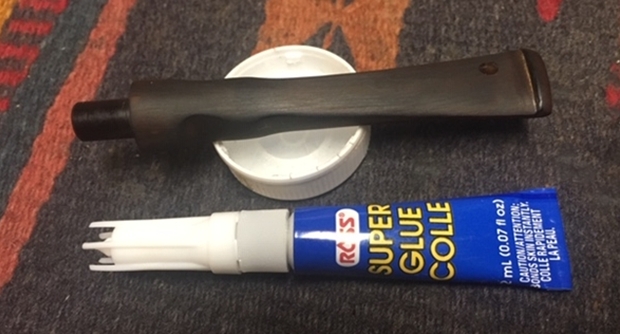
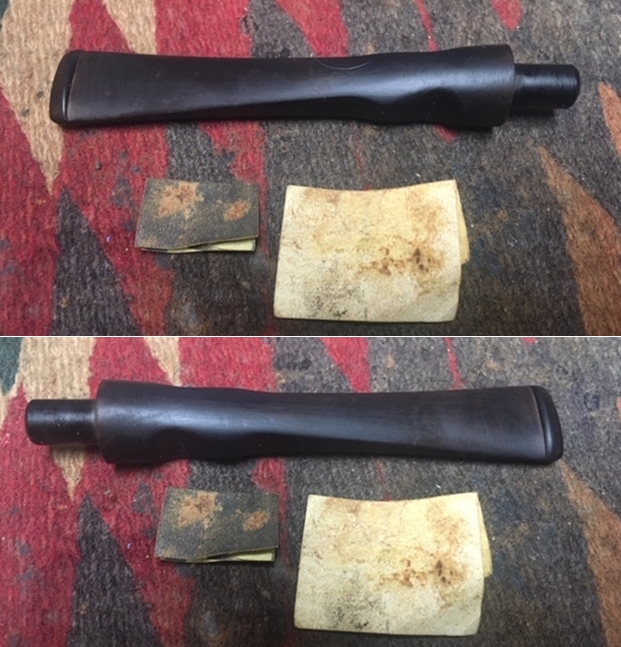
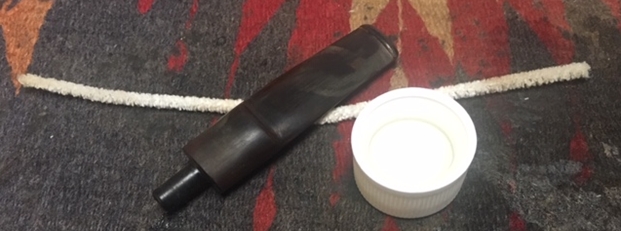
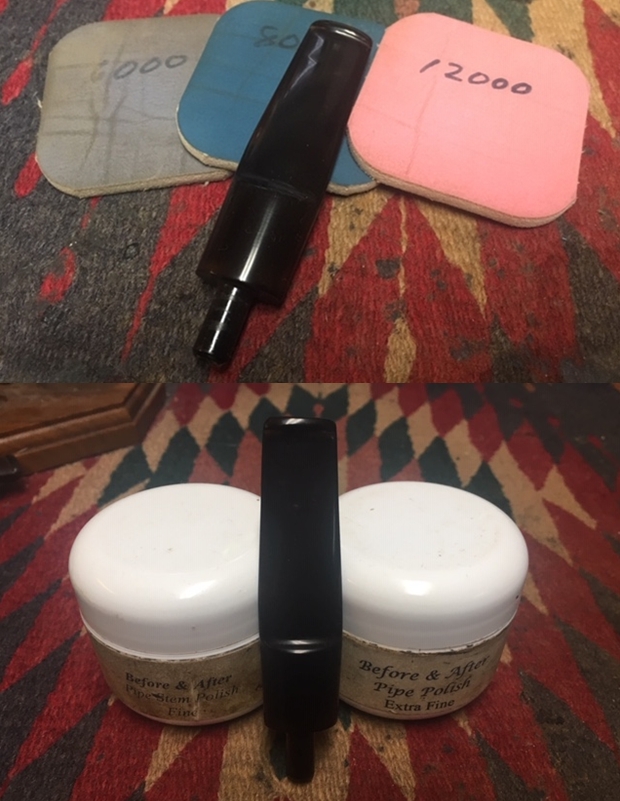
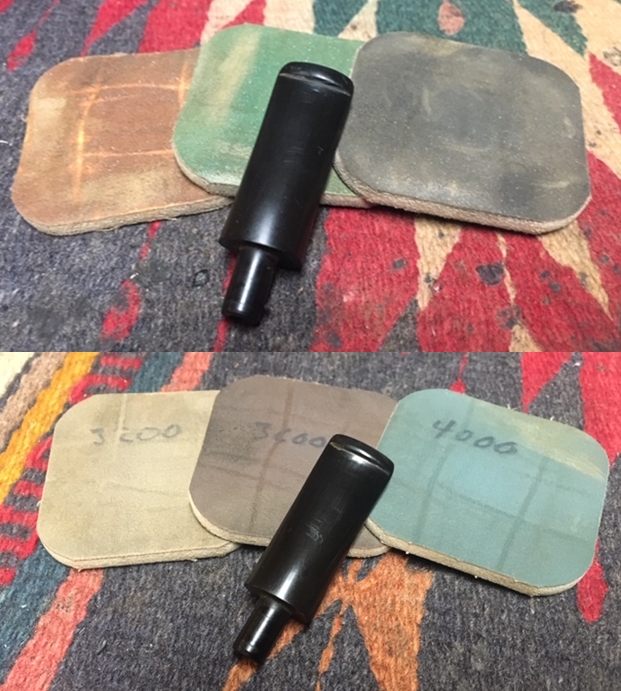
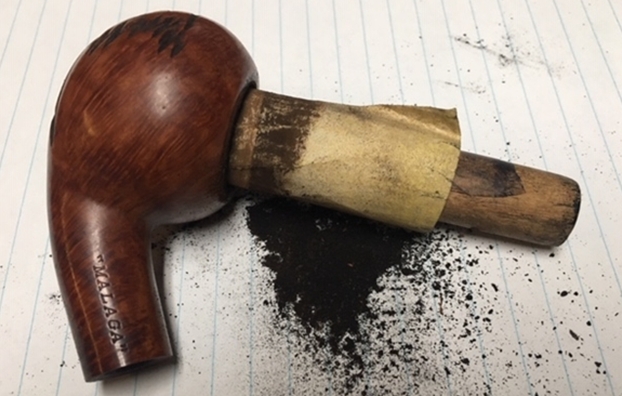
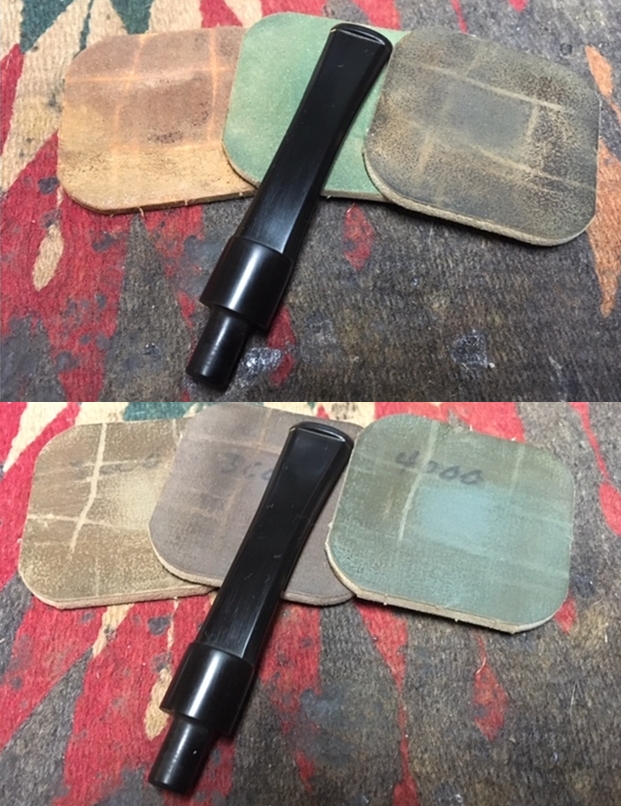
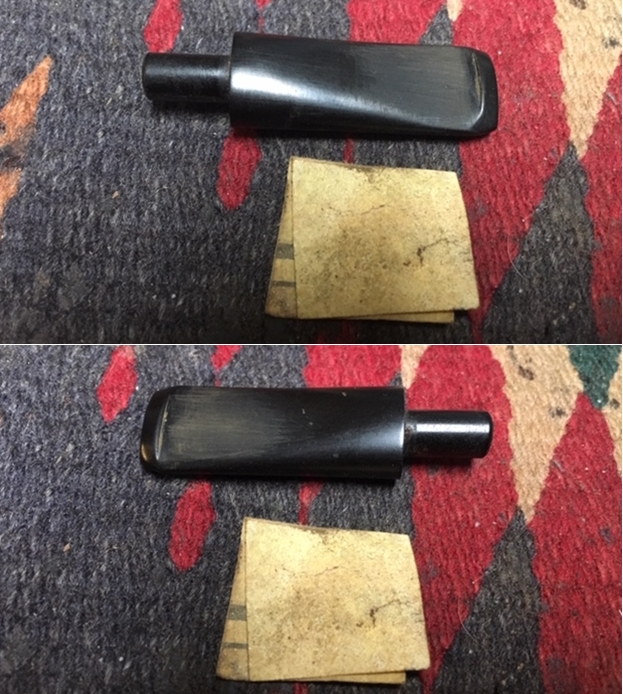
 I set the finished bowl aside and turned my attention to the stem. I used a folded piece of 240 grit sandpaper to blend the tooth marks and chatter into the surface of the stem. Once the surface was smooth I sanded out the scratch marks and started polishing the stem with a folded piece of 400 grit sandpaper. I wiped the stem down with Obsidian Oil.
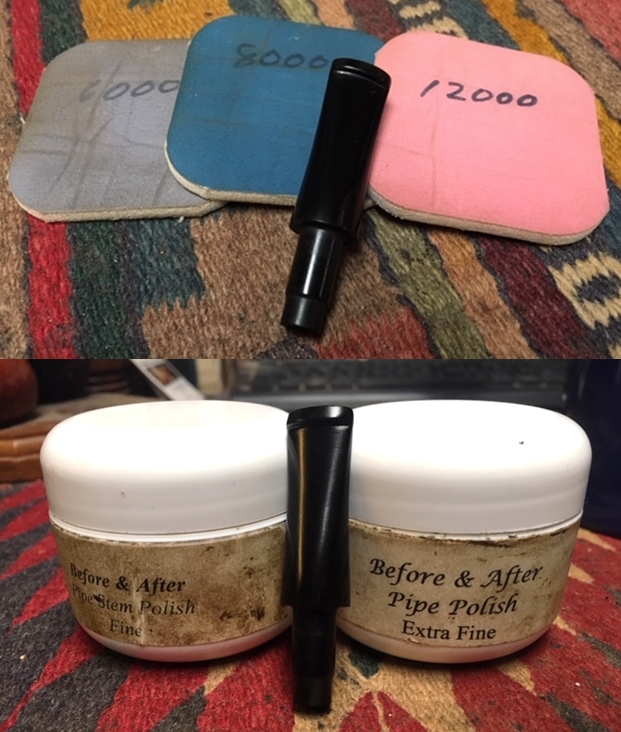
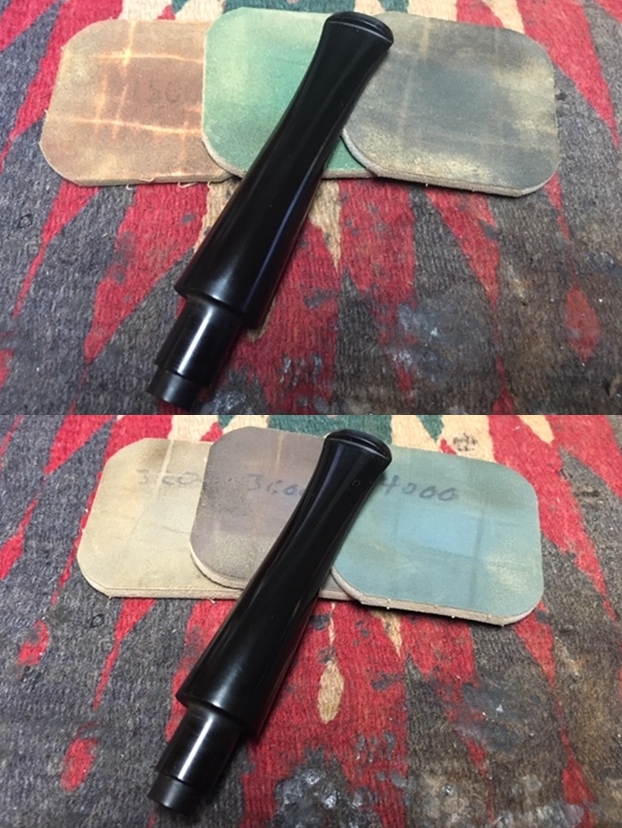
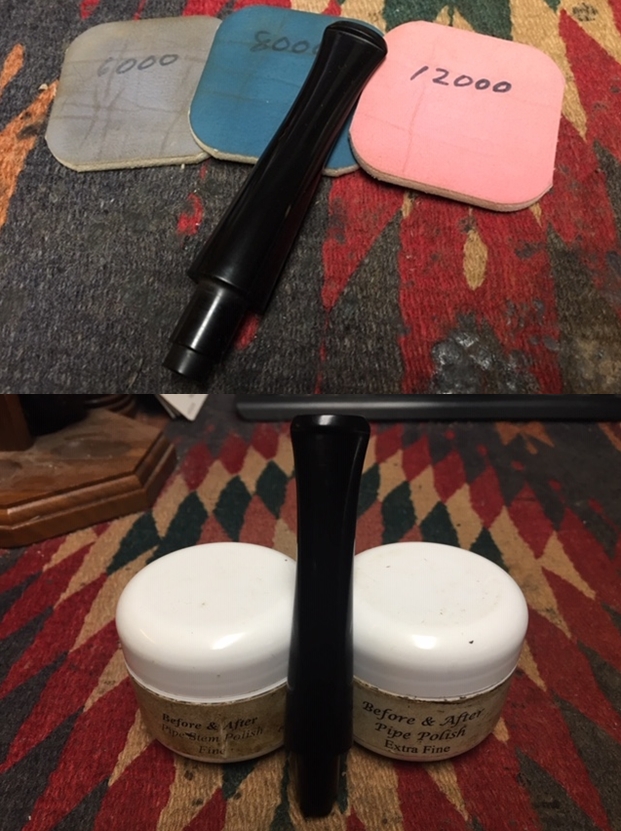
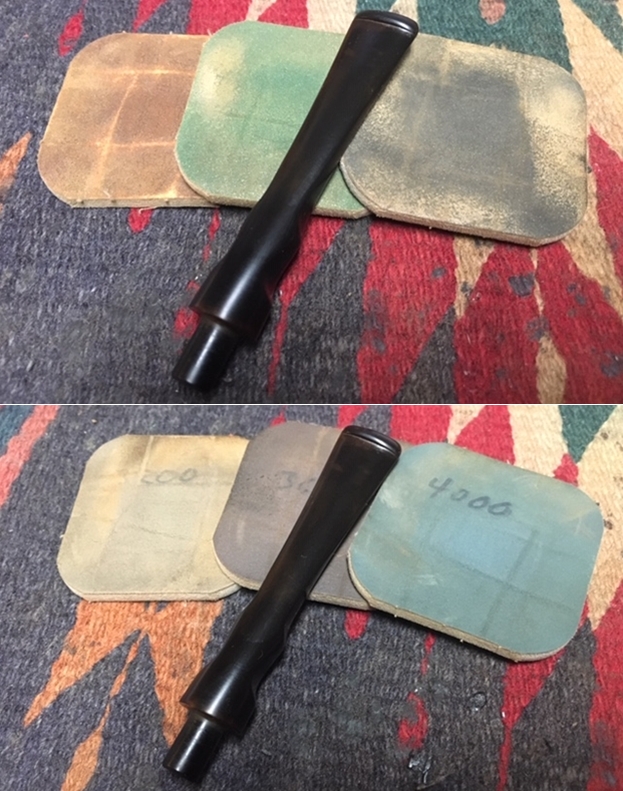
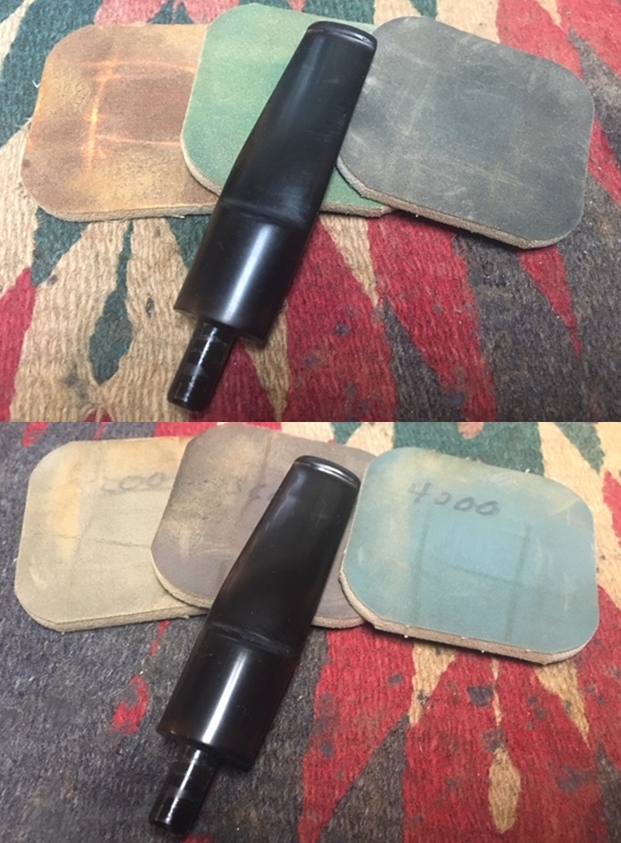
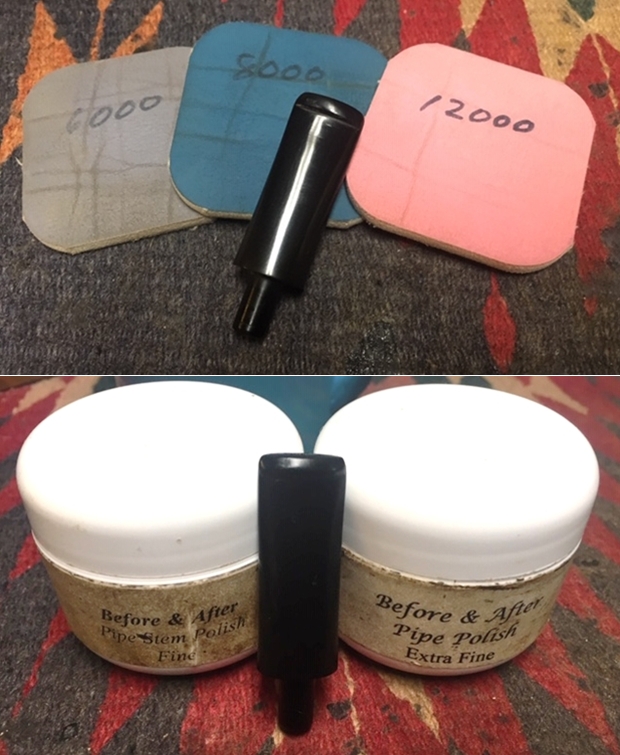
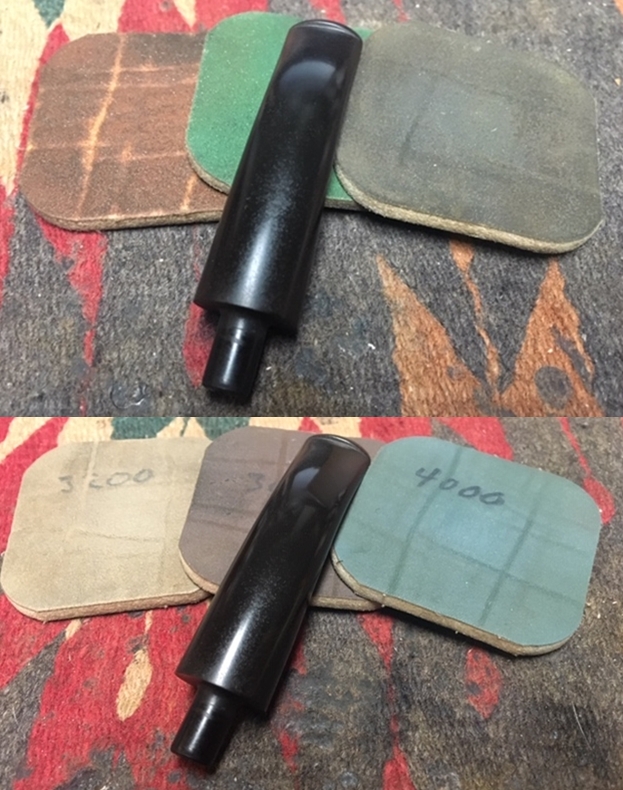
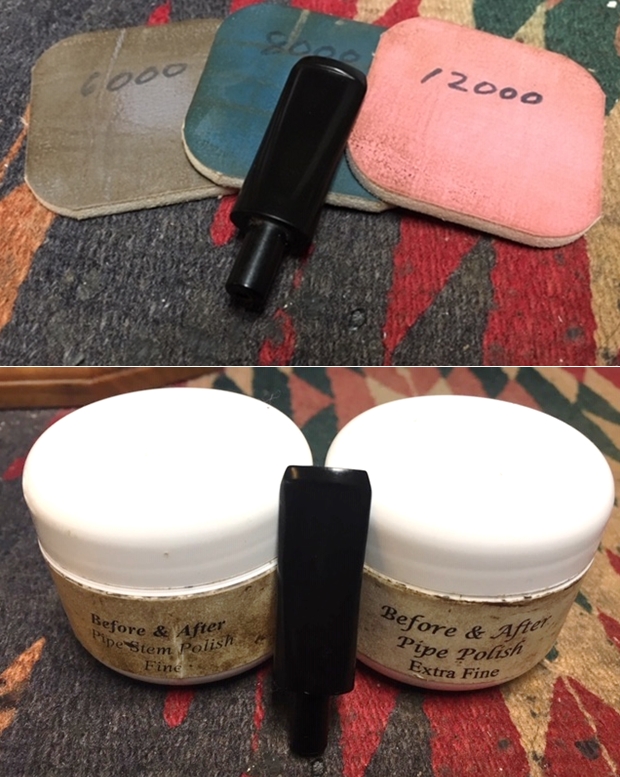
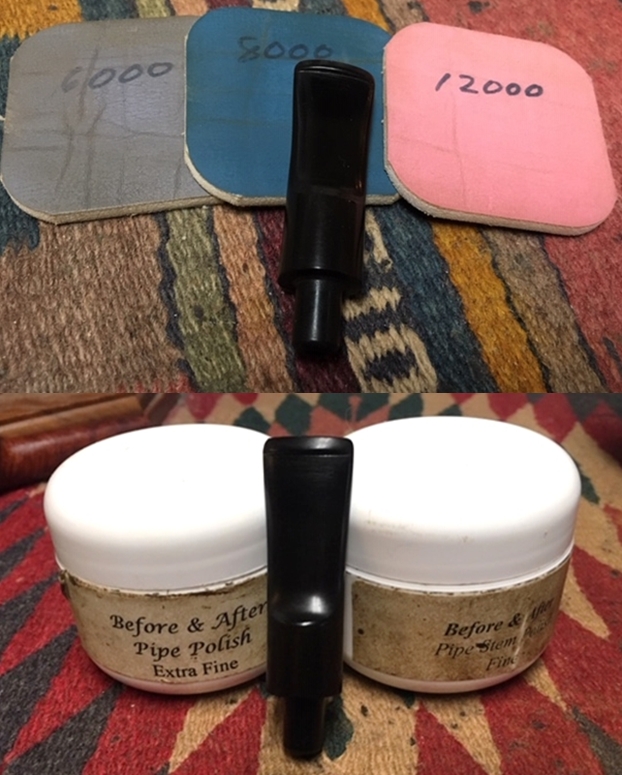
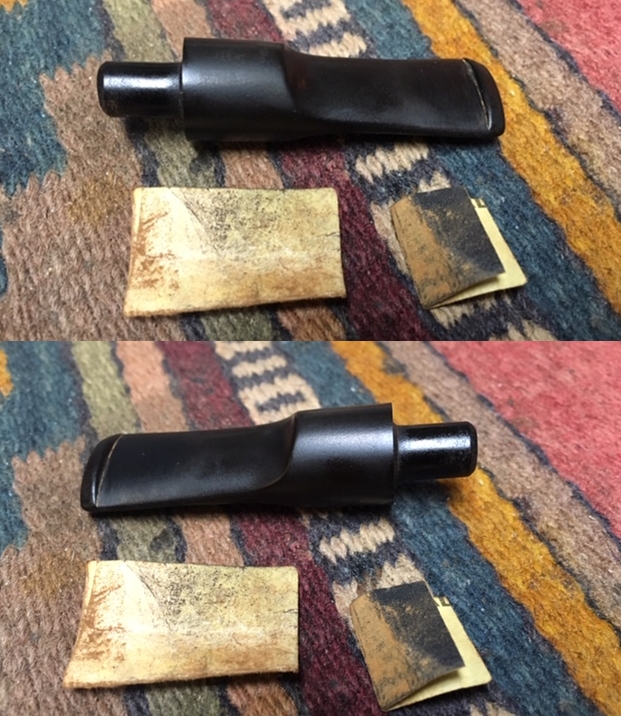 I polished the stem with micromesh sanding pads – wetsanding it with 1500-12000 grit pads. I wiped the stem down with Obsidian Oil after each pad. I polished it with Before & After Pipe Polish – both Fine and Extra Fine and gave it a final coat and set it aside to dry.
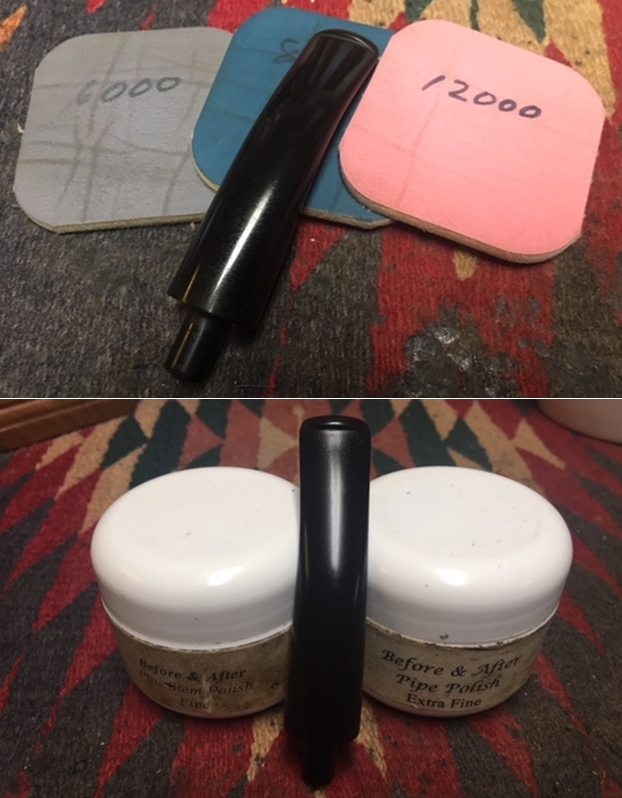
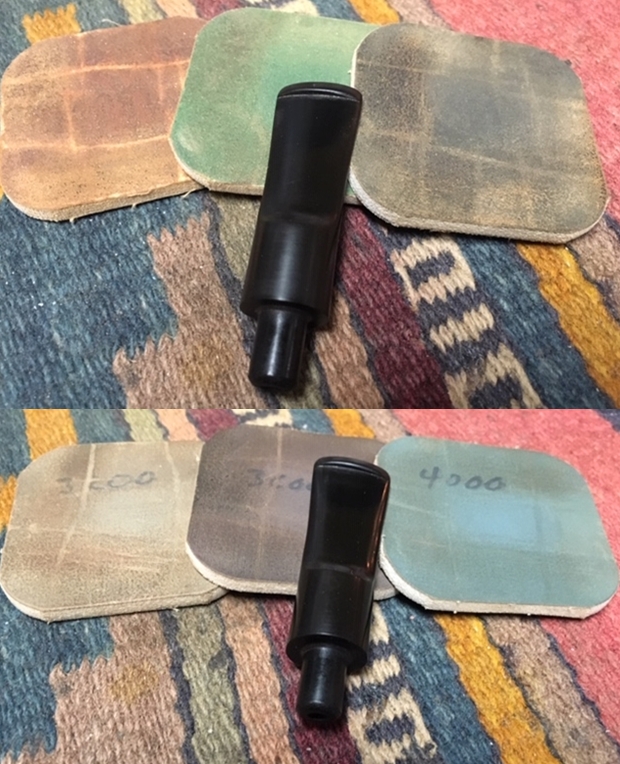
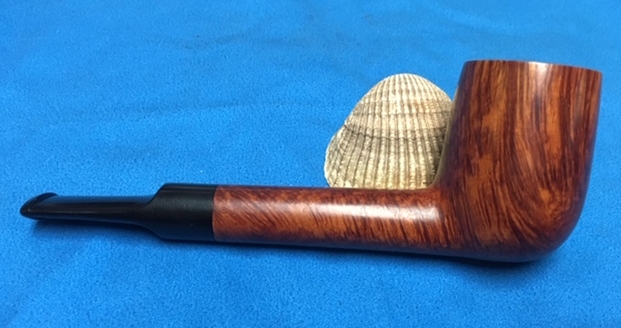
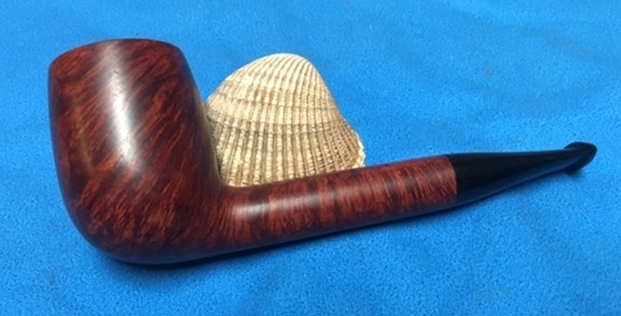
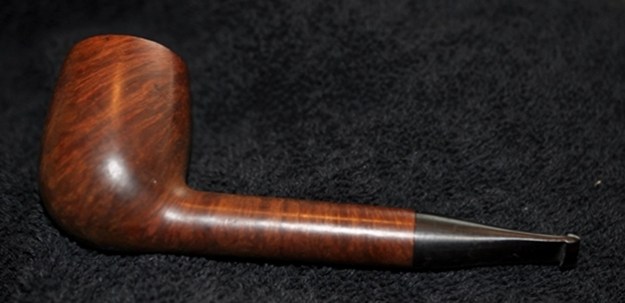
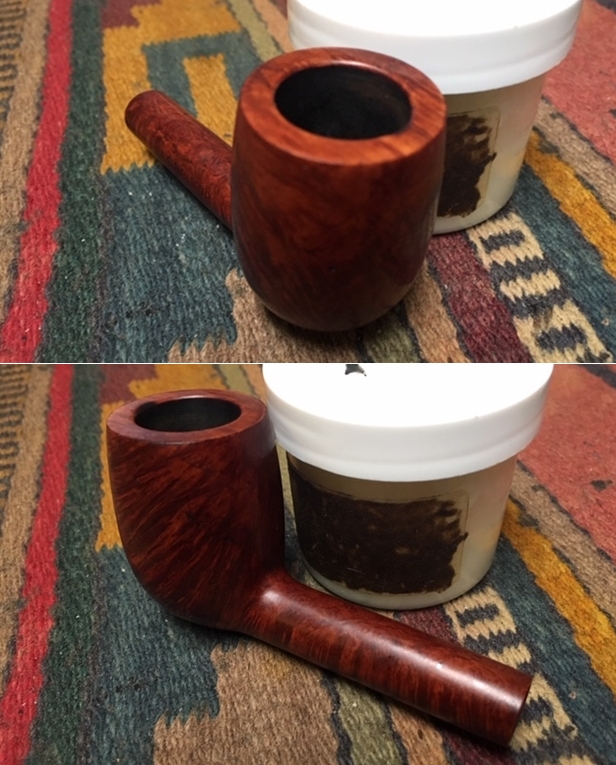
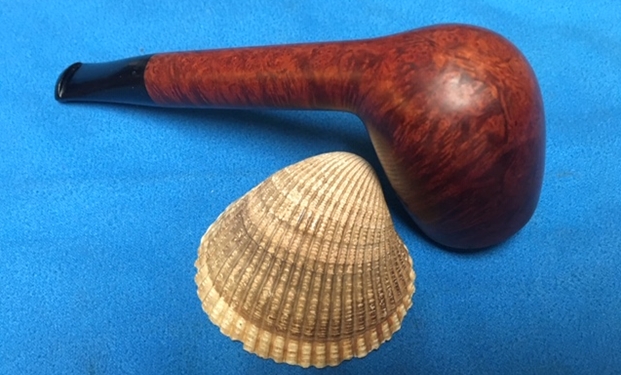
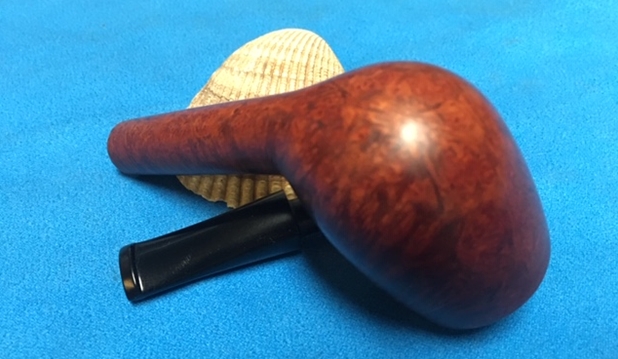
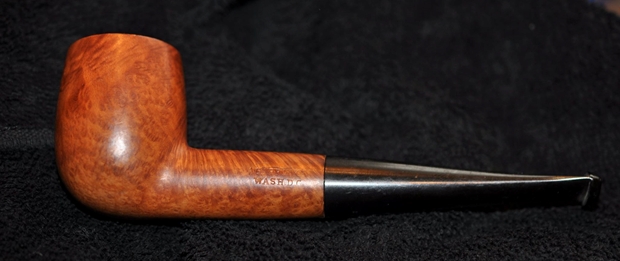
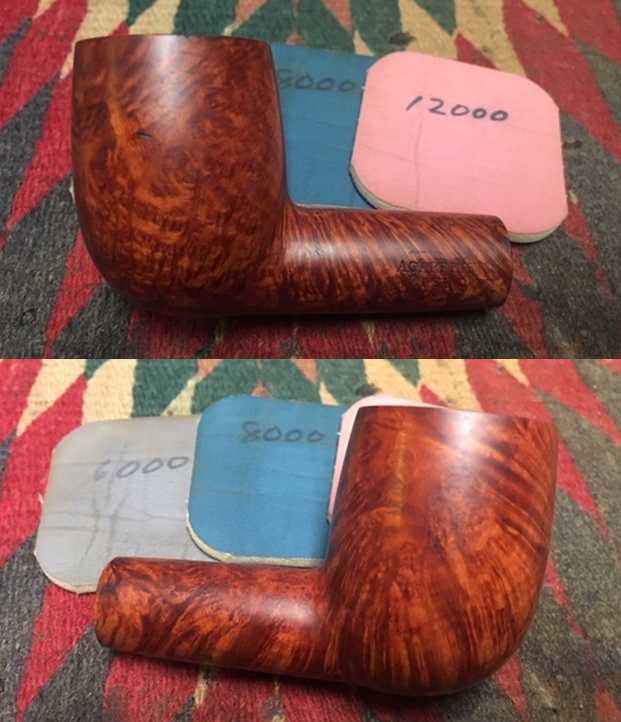
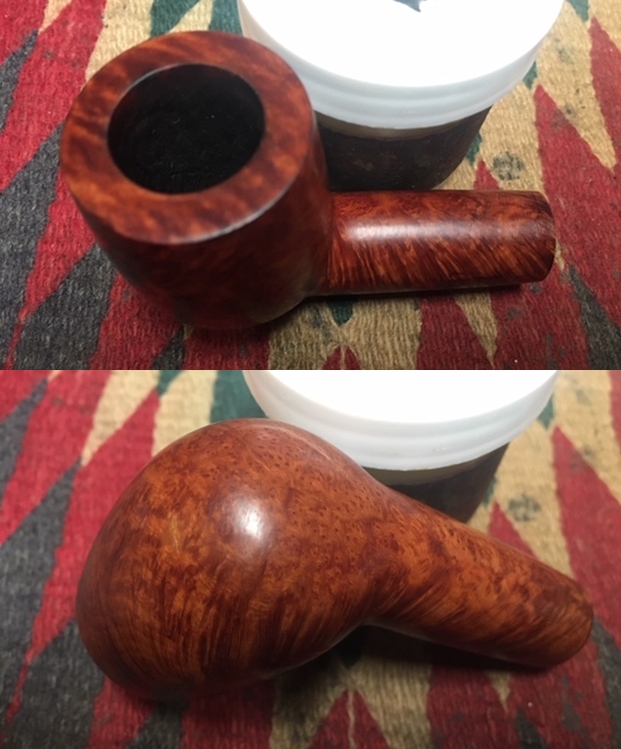
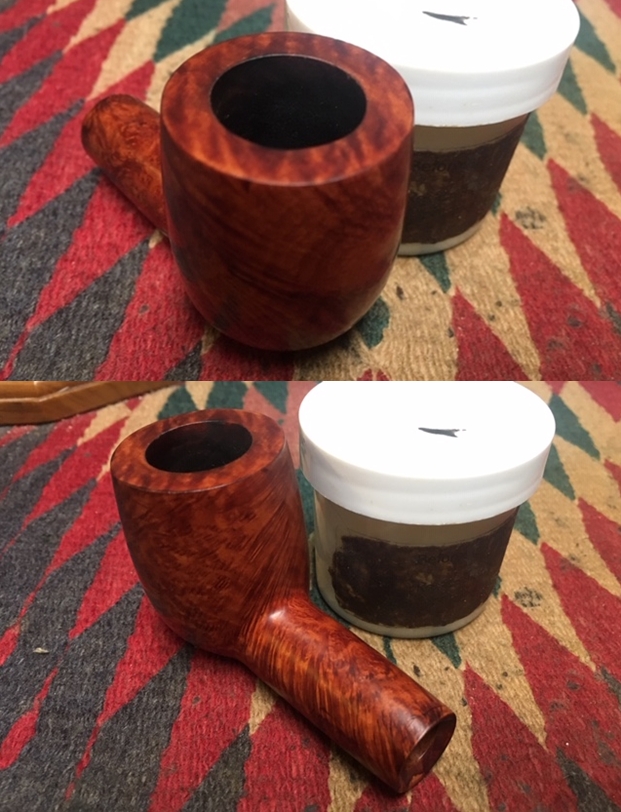
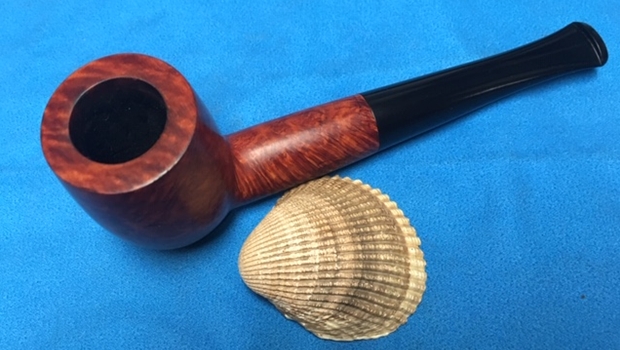
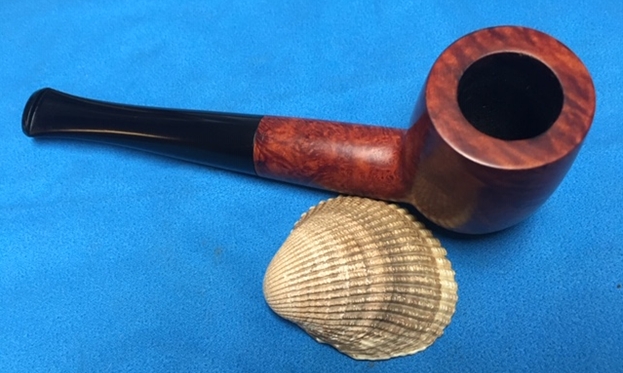
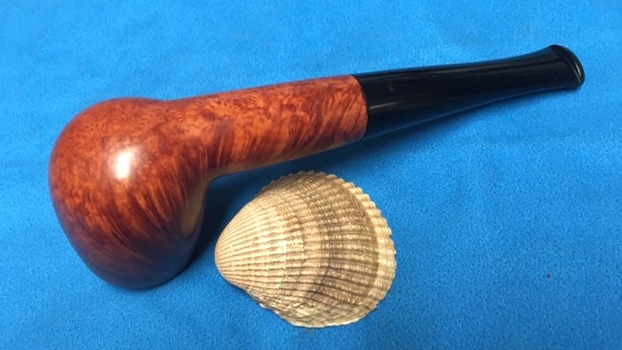
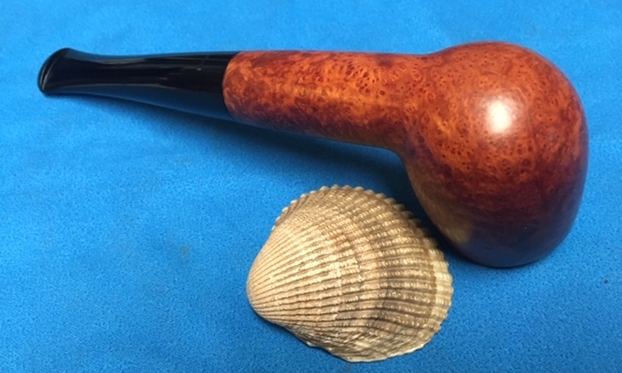
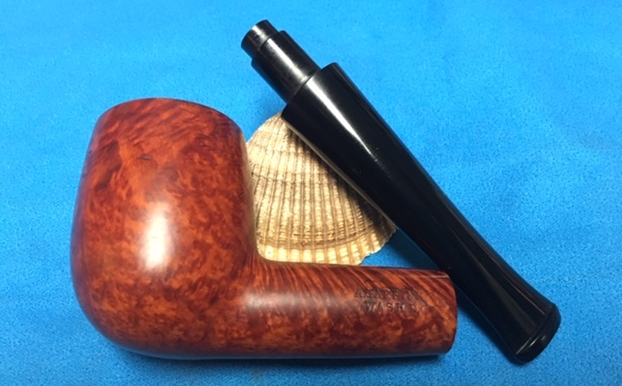
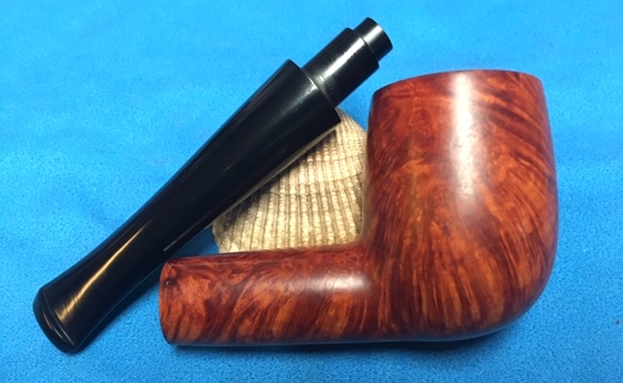
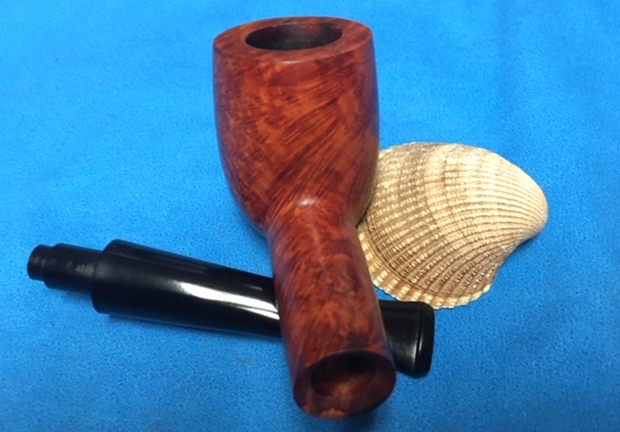
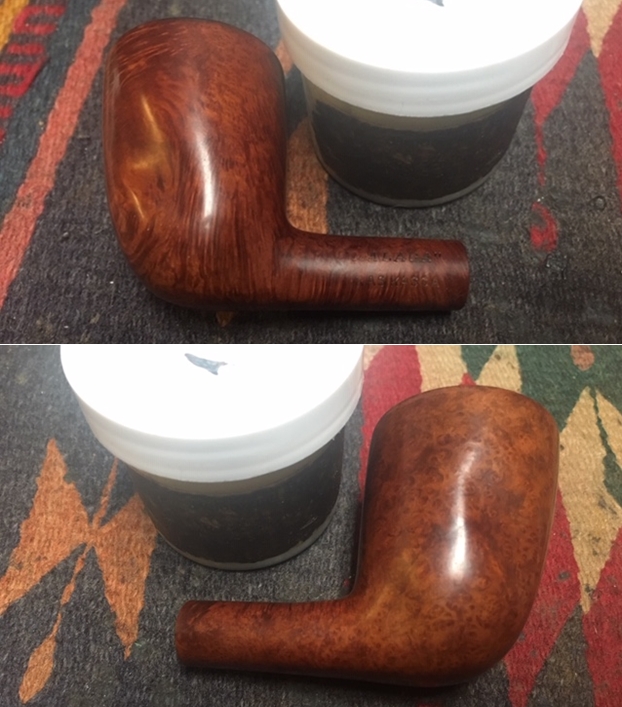
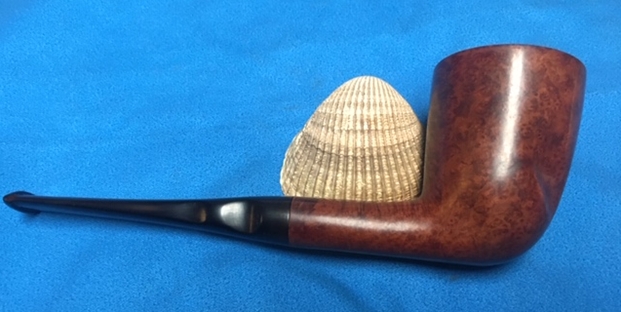
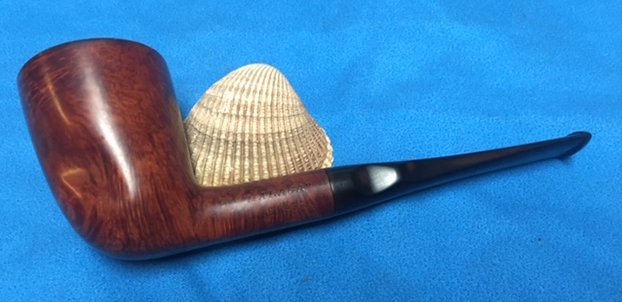
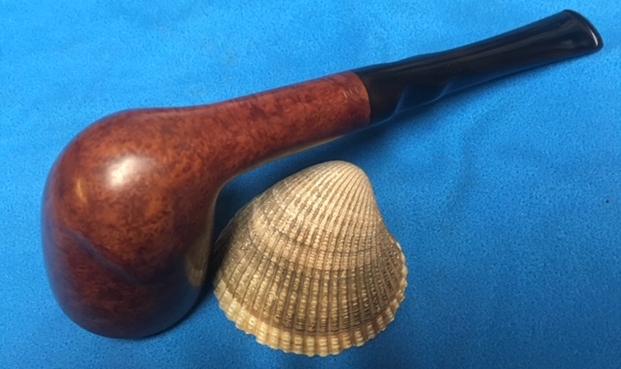
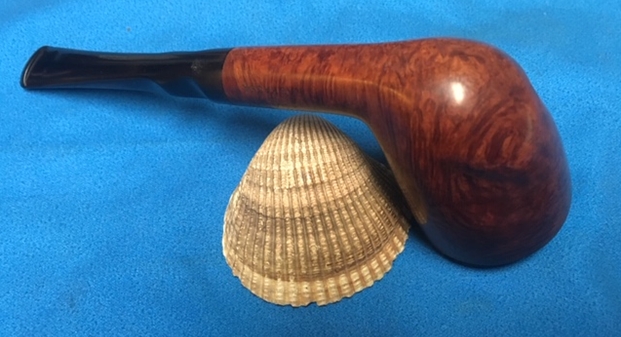
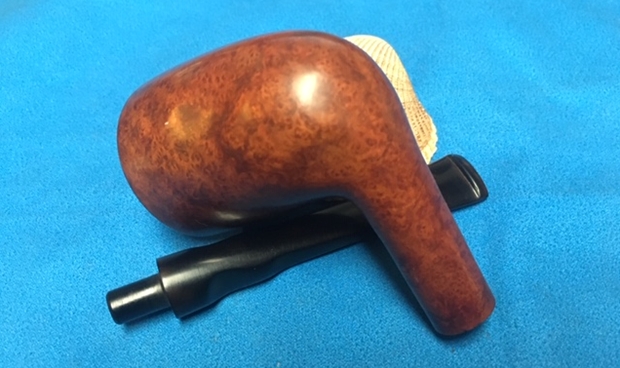
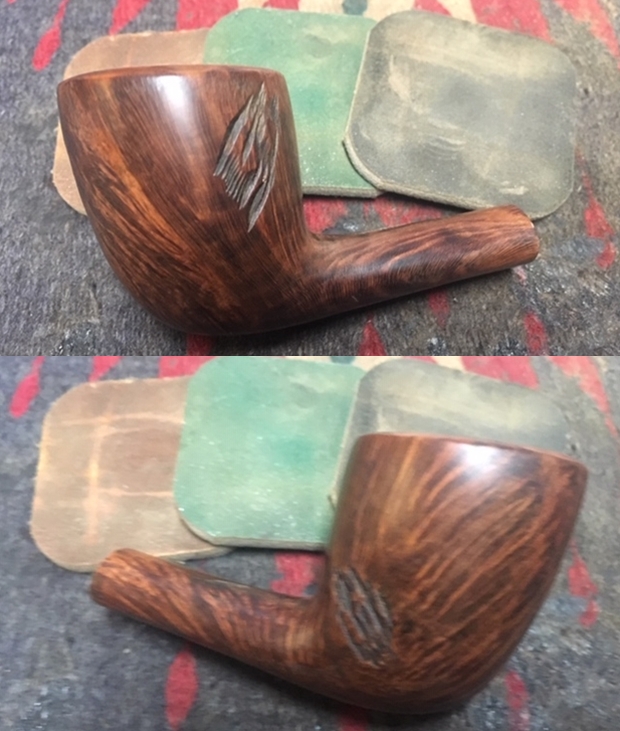
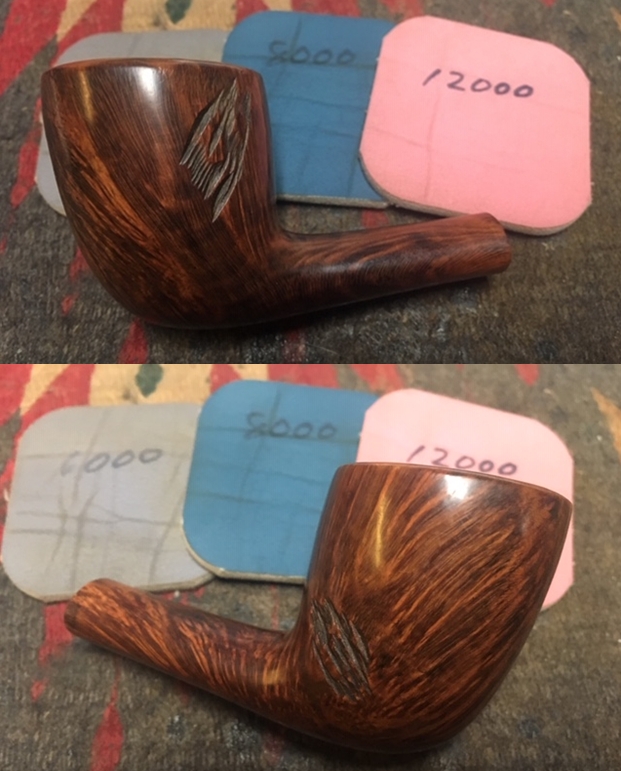
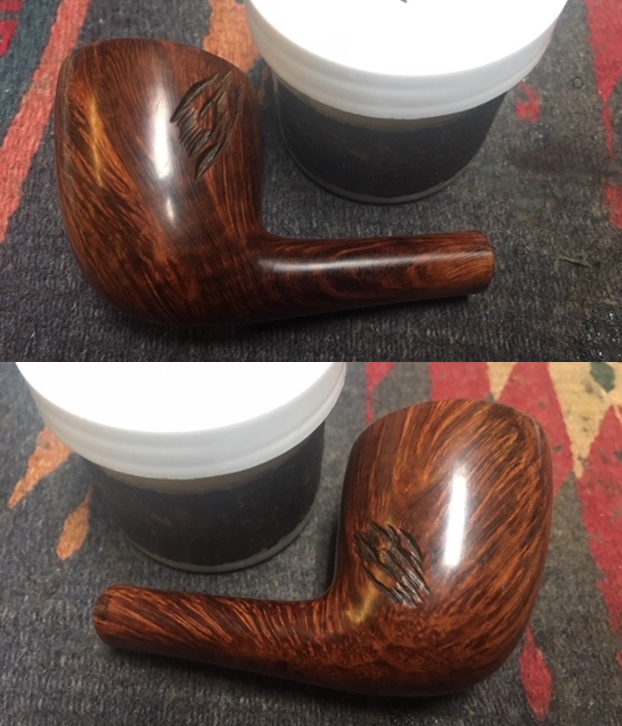
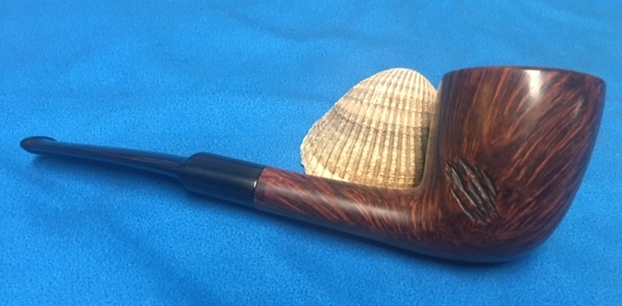
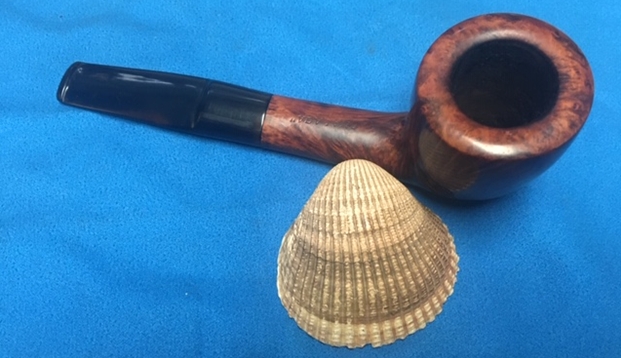
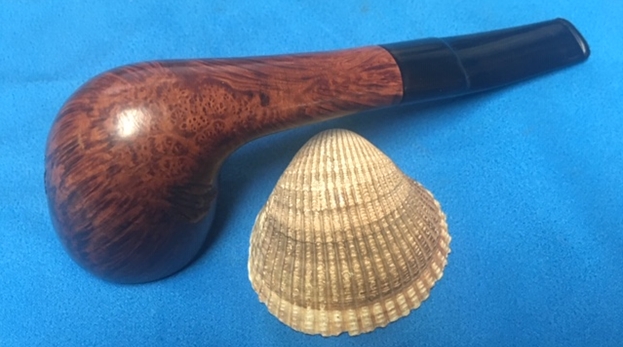
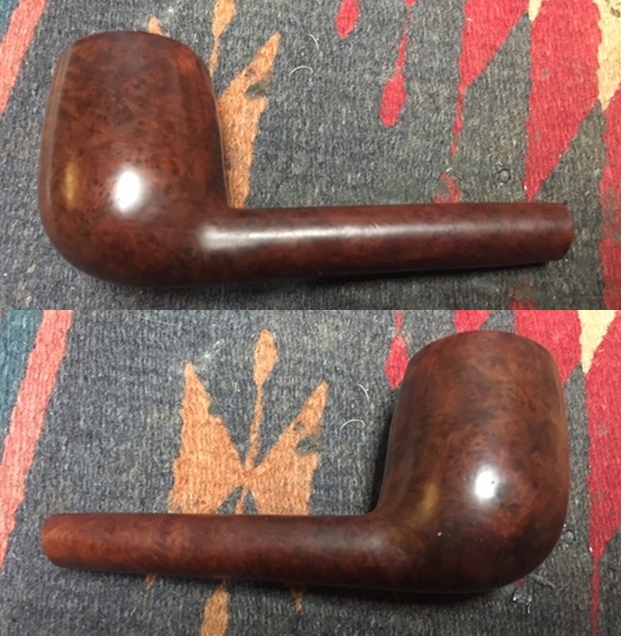
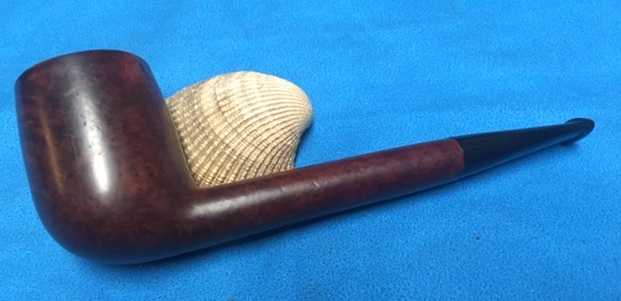
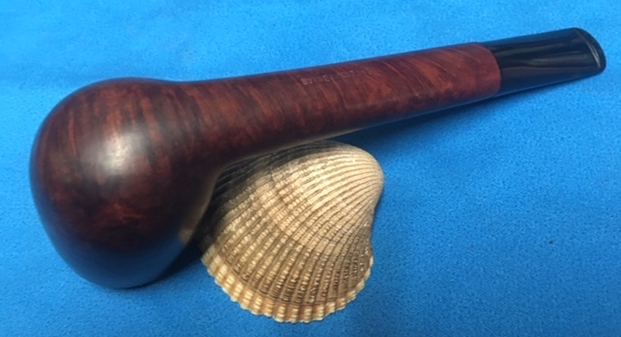
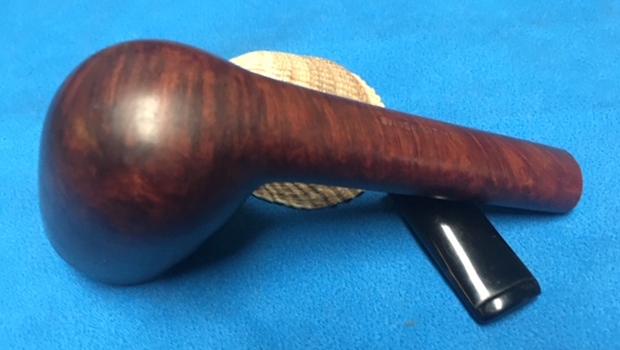
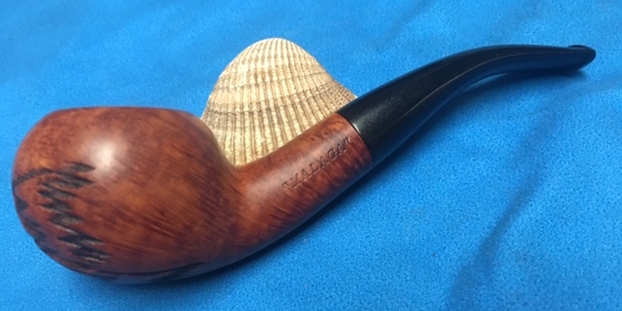
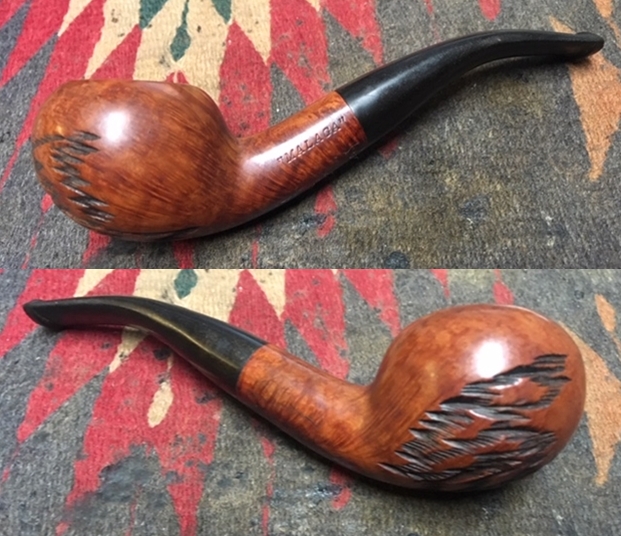
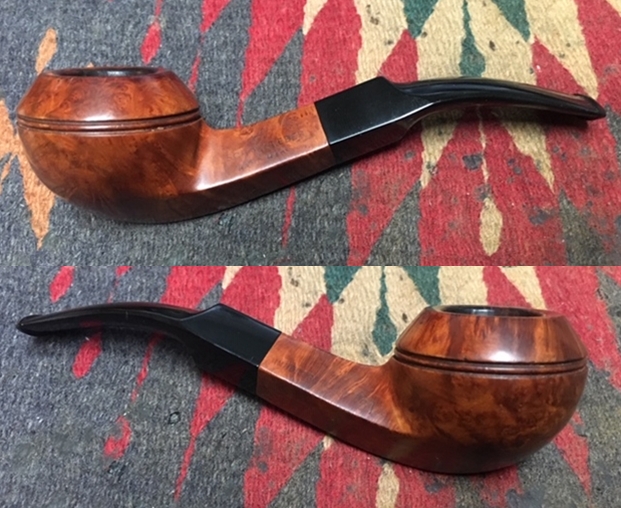
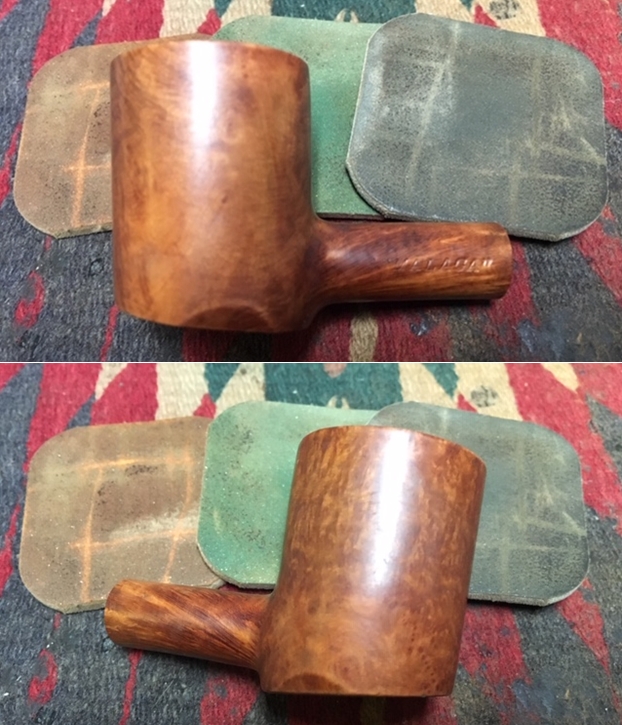
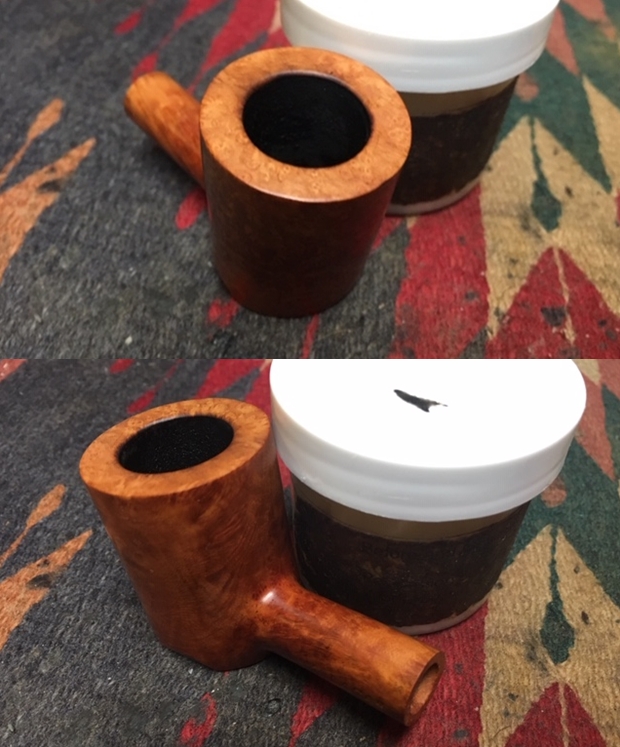
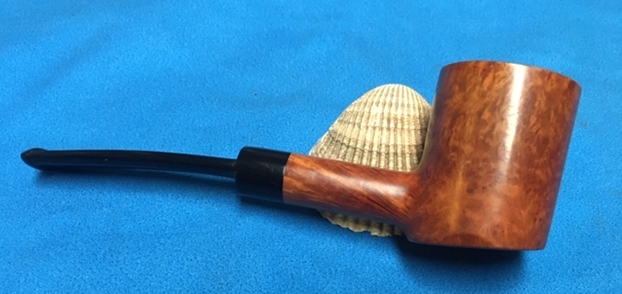
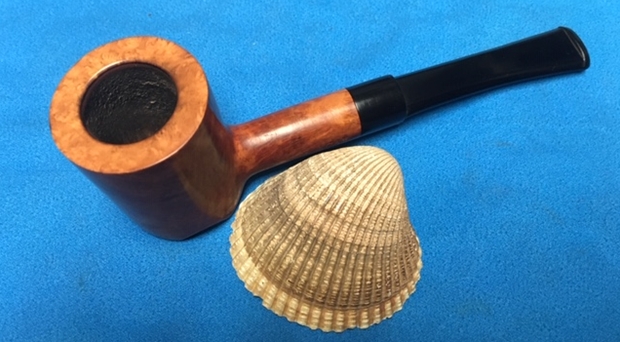
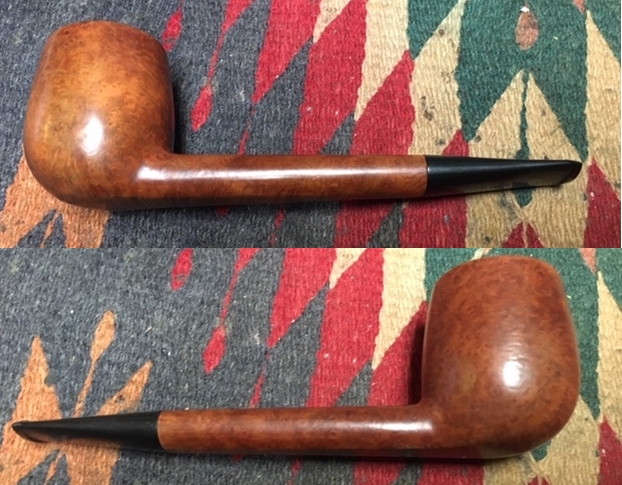
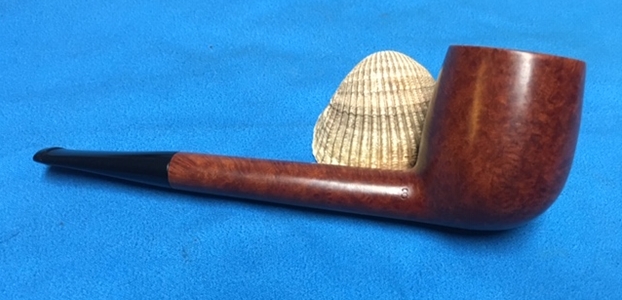
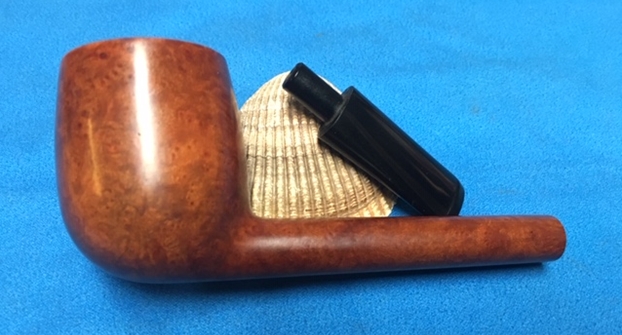
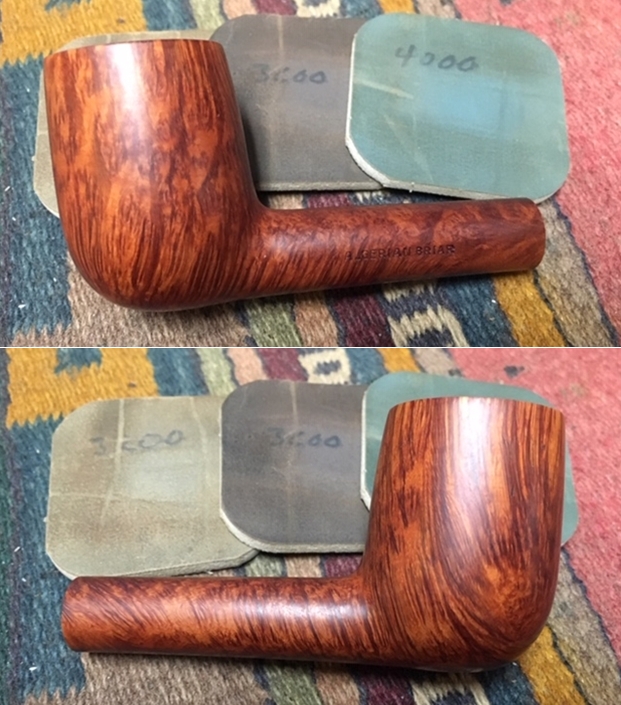
 I put the stem and bowl back together and buffed the pipe with Blue Diamond on the buffing wheel. I polished the briar and the stem until there was a rich shine. This Algerian Briar Lovat has a classic shape and a rich oil finish that highlights the amazing grain on a proportionally well carved pipe. Once I buffed the pipe the grain just popped. The black vulcanite stem had a rich glow. The finished pipe is actually quite stunning in my opinion. It is a beautifully grained Lovat and like the other pipe in this Bertrams lot it fits well in the hand and sits right in the mouth. Have a look at it with the photos below. The dimensions are Length: 5 1/2 inches, Height: 2 inches, Outside diameter of the bowl: 1 1/4 inches, Chamber diameter: ¾ of an inch. I will be putting this pipe on the rebornpipes store soon. If you are interested let me know. Thanks for walking through the restoration with me as it was a pleasure to work on.