Blog by Steve Laug
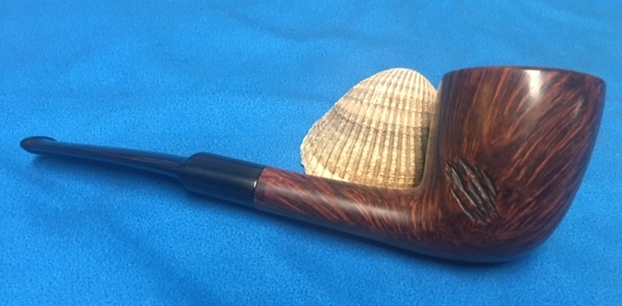
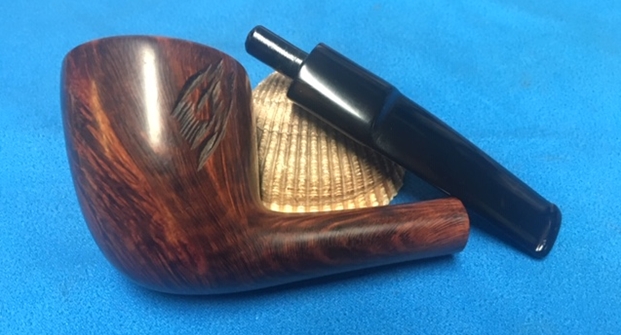
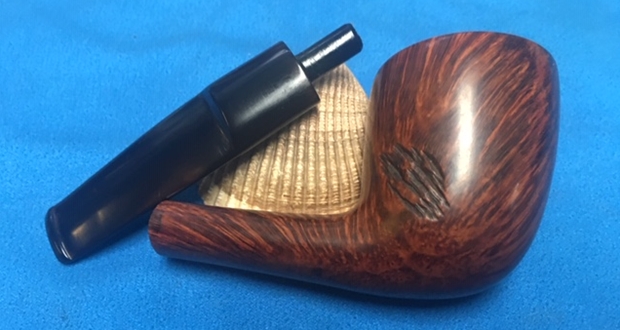
The next pipe in the queue is yet another pipe from the batch of pipes I am cleaning up for Alex – this one is another “Malaga” –a shape they call a scoop. It has some amazing grain around the bowl and has some carved feather/leaf patterns around the bowl. The shank is oval and gives the bowl an almost Stanwell look. Malaga’s take on the shape is carved to highlight the grain around the bowl. The pipe is stamped on the top side of the shank. It reads “MALAGA”. The oval saddle stem is vulcanite and has no marking or stamping. It is a nice looking piece like many of the pipes Alex is picking up. The bowl had a light cake in the chamber and the rim top has some lava on the inner edge. The cake and lava made it hard to know the condition of the rim and edge. The rim had a slight domed look to it. The exterior of the briar was dusty with grime and dust. The stem had heavy, deep oxidation and deep tooth marks in the surface of the stem and button. The photos below tell the story and give a glimpse of the pipe before clean up. 
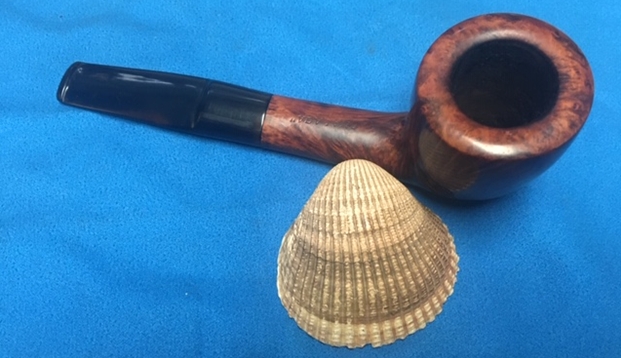
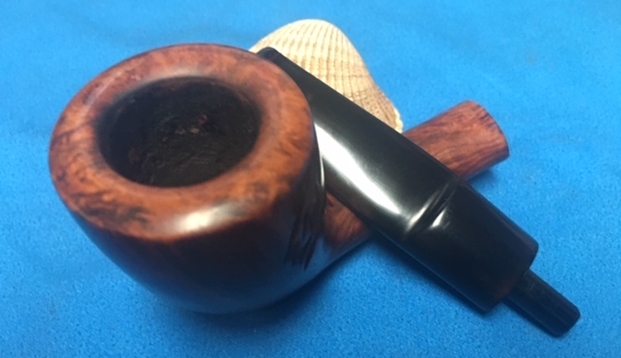
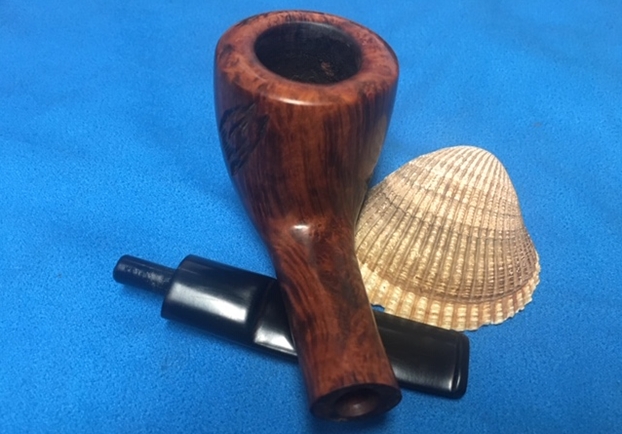
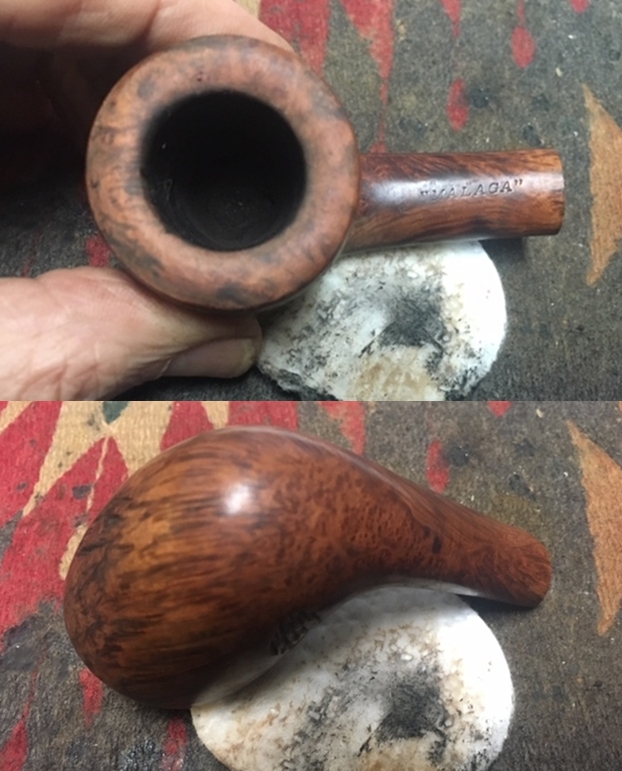
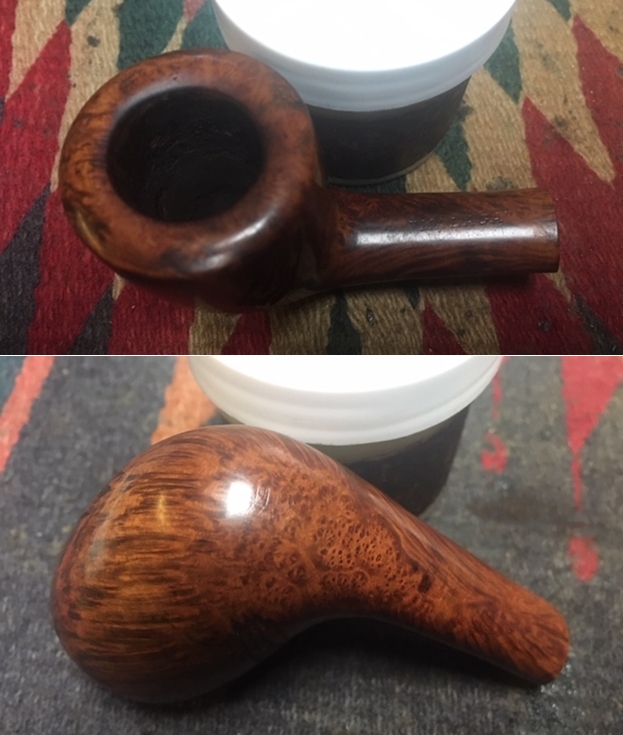
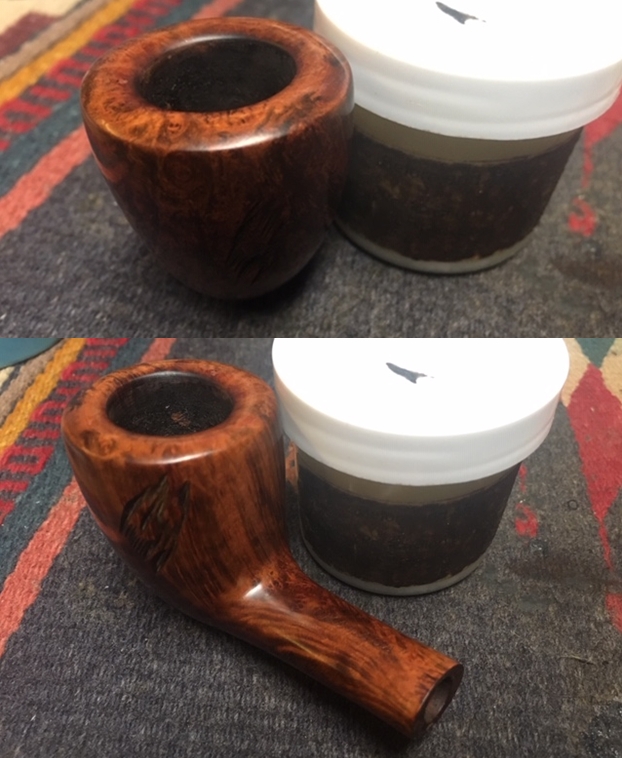
 I took a photo of the bowl and rim to capture the condition of the pipe before I started my cleanup work. You can see the lava overflow on the rim top and the cake in the bowl. The crowned top and edges of the bowl appeared to be in good condition but I would know more once it was cleaned and reamed. The stem was a mess. There was some deep oxidation on the surface of the vulcanite. The deep tooth marks on the stem and the button were on both sides.
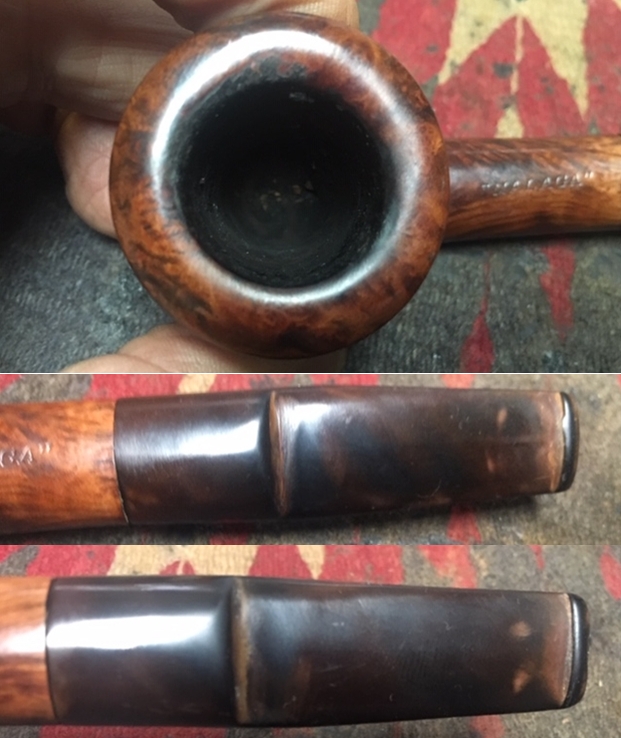 I also took a photo of top side of the shank to show the stamping. The stamping is readable in the photo below and is as noted above – “MALAGA”.
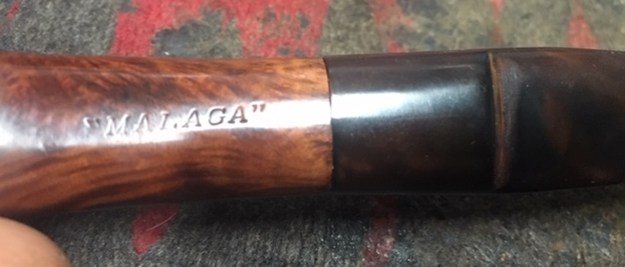
 For those of you who are unfamiliar with the brand, I am also including the link to a blog that I wrote that gives some of the history of the Malaga brand and the Malaga Pipe Shop in Royal Oak, Michigan in the USA. Here is the link – https://rebornpipes.com/tag/malaga-pipes/. That blog also includes links to a catalogue and the history of the pipemaker George Khoubesser. If you are interested to learn more then I invite you to follow the link to get a feel for the brand and the pipemaker.
I have included a page from the Malaga catalogue I received from Kathy recently that shows the scoop shape (https://rebornpipes.com/2019/02/27/malaga-pipes-catalogue-of-pipes-and-tobaccos/). I have put a red box around the shape for easy identification. The shape of the bowl is the same, however, the shank and stem are both oval on the one I am working on. The bowl had a thin cake so I reamed it with a Savinelli Fitsall Pipe Knife to get rid of the thin cake. I finished by sanding the bowl with a dowel wrapped with 220 grit sandpaper until the inside of the bowl was smooth.
 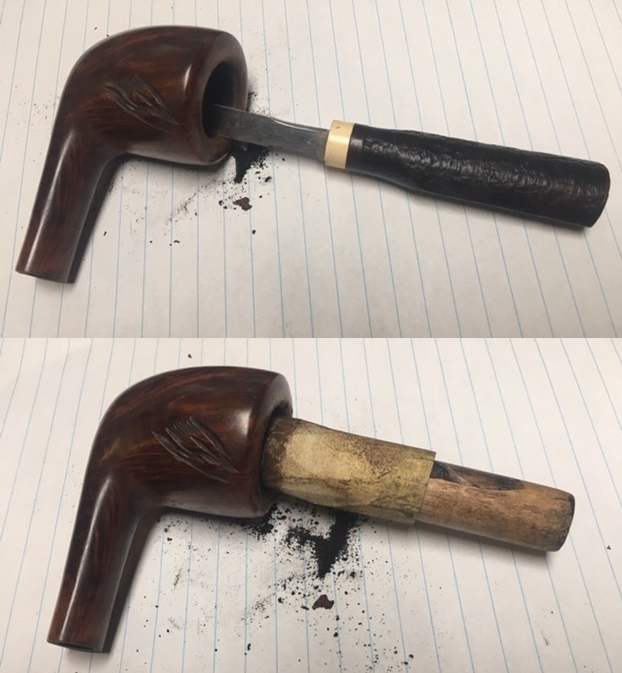 I decided to address the damage to the rim top and edges first. I sanded the damage on the rim top and edges using 220 grit sandpaper to remove the damaged portions of the rim surface. I started the polishing with 400 grit sandpaper.
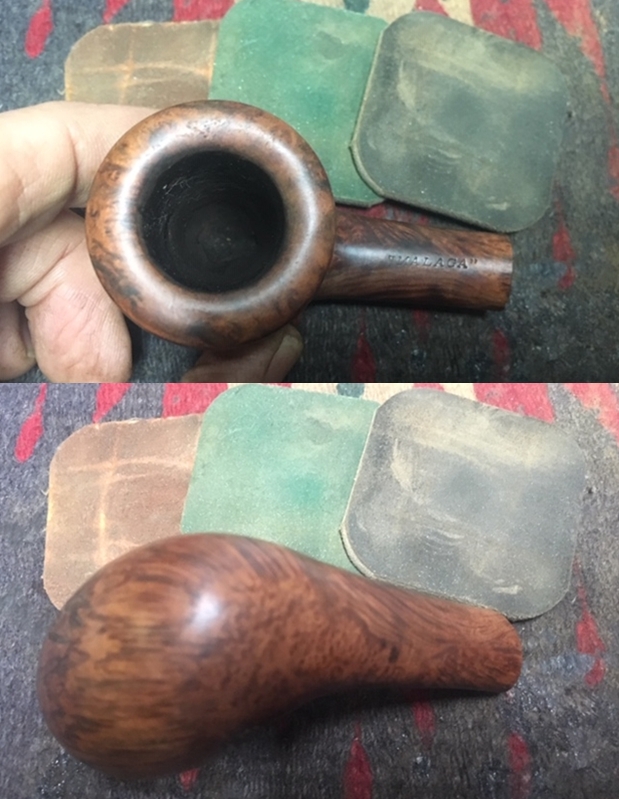
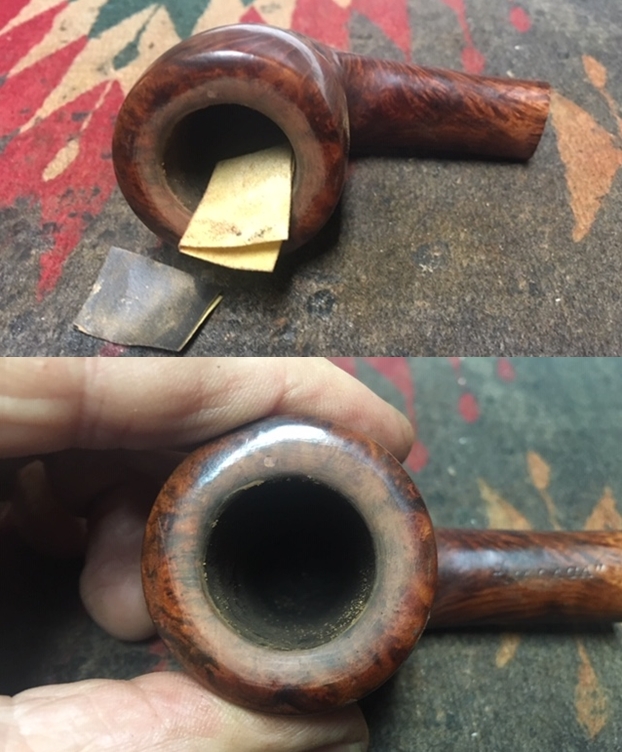 I scrubbed the bowl with a cotton pad and isopropyl alcohol. I washed the bowl down with alcohol to remove the remnants of the waxes and finish on the bowl. It also removed the grime and dirt in the briar.
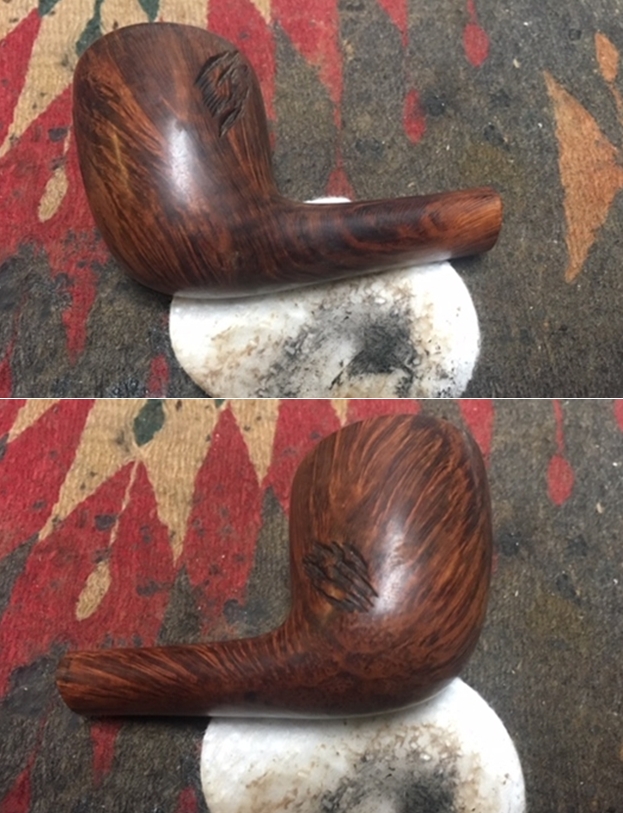
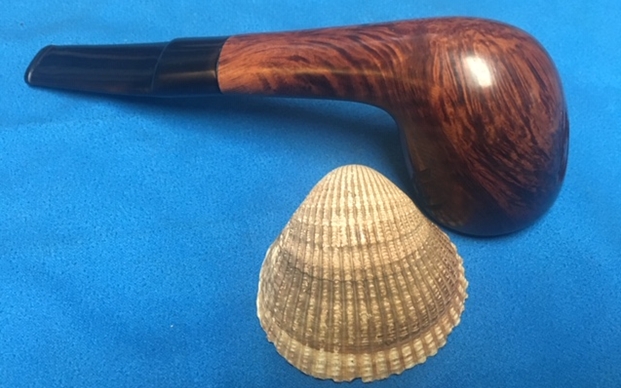
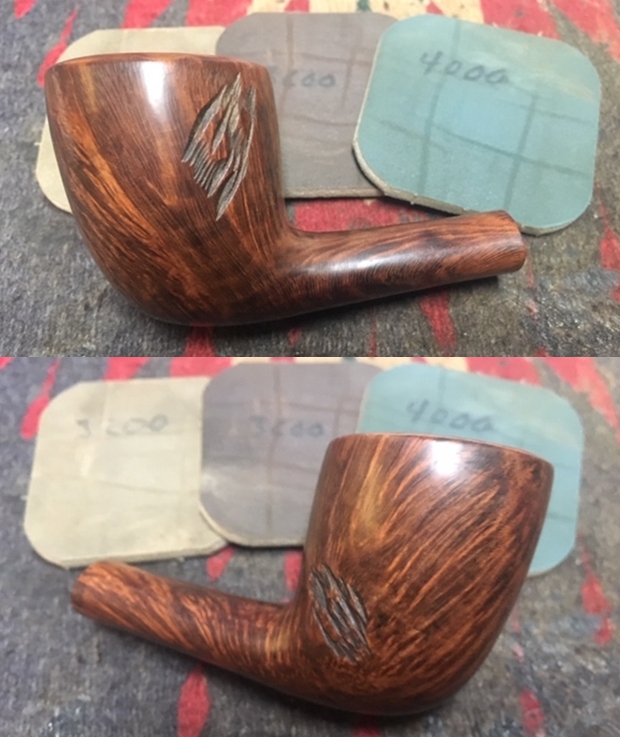
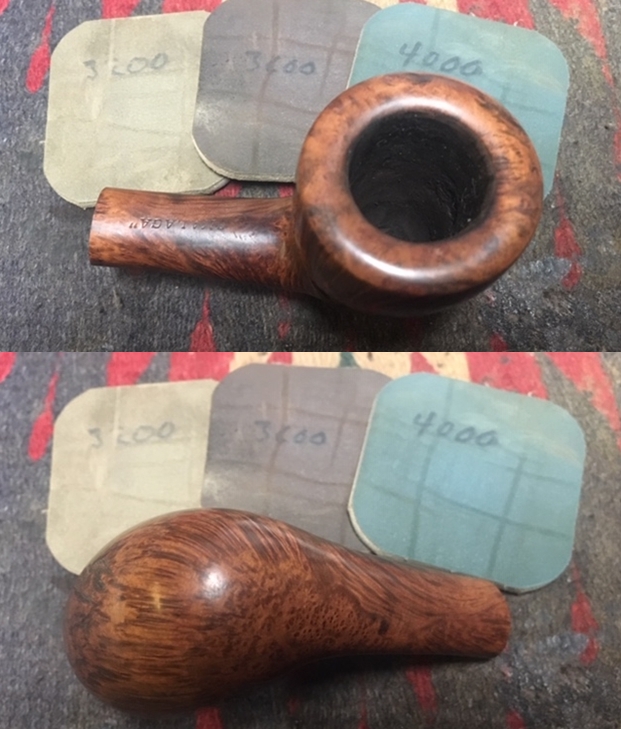
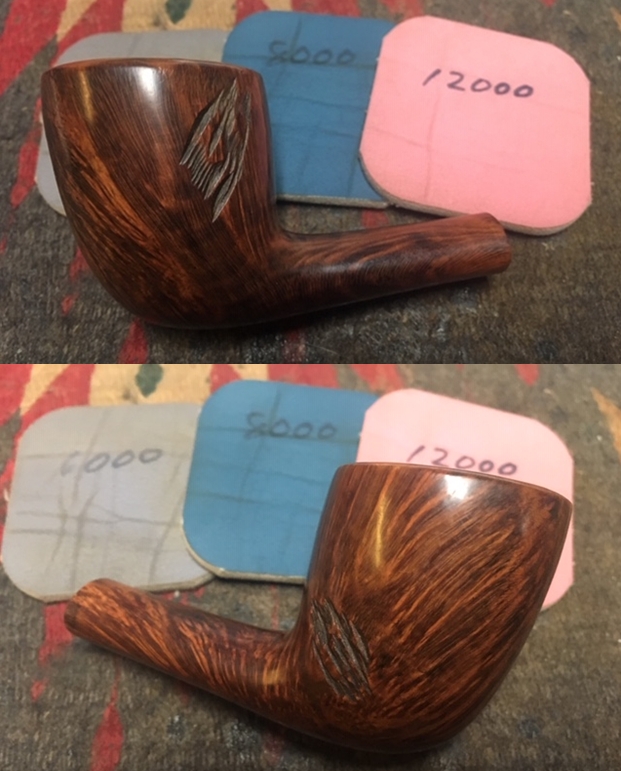
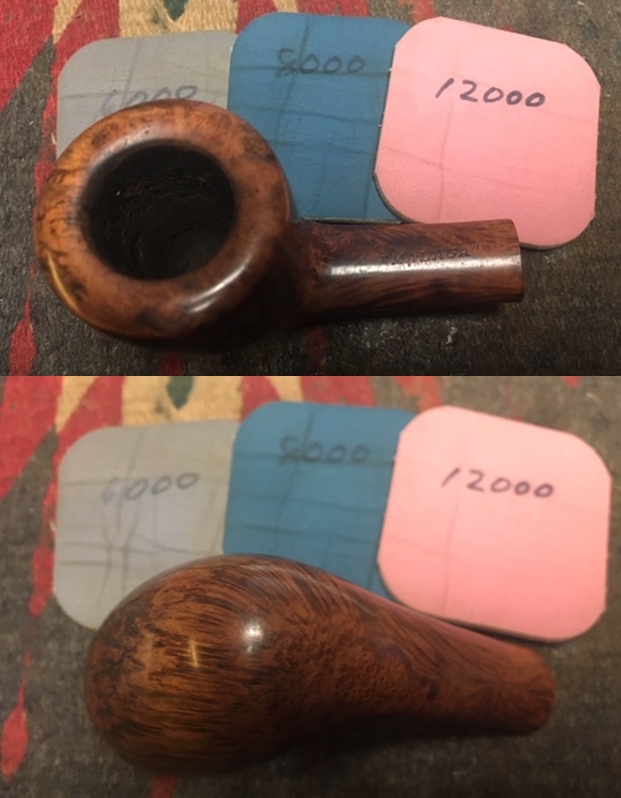
 I polished the rim and the outside of the bowl with micromesh sanding pads – wet sanding with 1500-12000 grit micromesh sanding pads and wiped the bowl and shank down after each pad with a damp cloth. The photos show how the grain really stands out after polishing. I am pretty happy with the results.
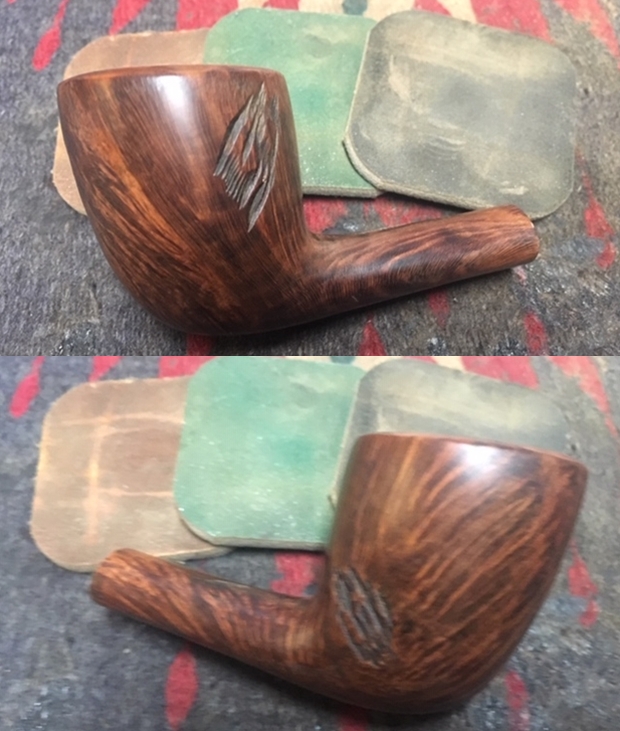
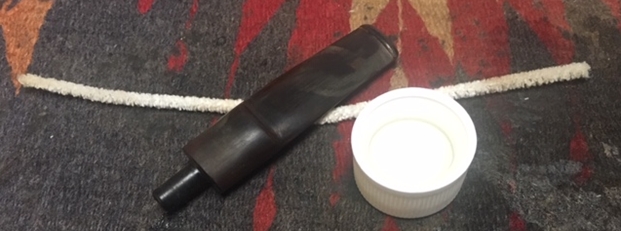
 I cleaned up the inside of the shank and mortise with a pen knife to remove the tar build up. I ran cotton swabs, pipe cleaners and alcohol through the shank to remove the tars and oils. I also cleaned out the airway in the stem using pipe cleaners and alcohol.
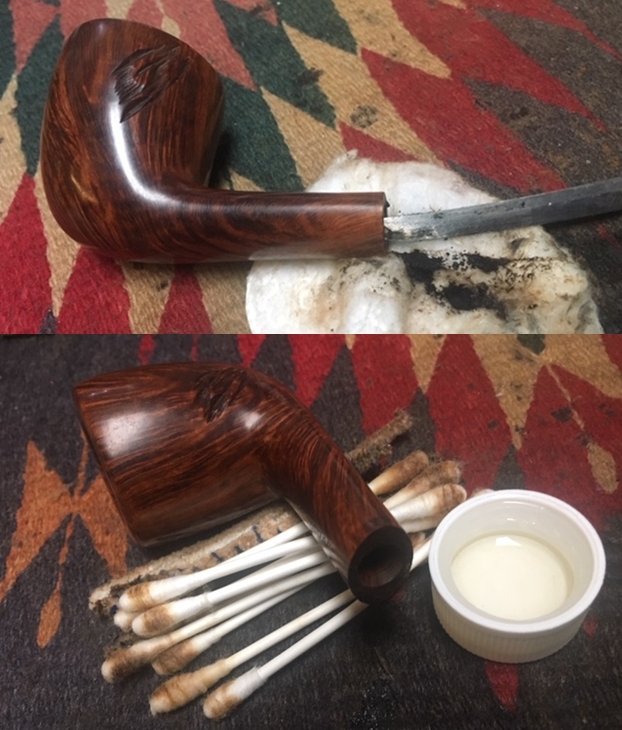
 I worked Before & After Restoration Balm into the surface of the briar with my fingertips to clean, enliven and protect it. I worked it into the craving on the sides of the bowl to make sure I covered all of the grooves, nooks and crannies. I let the balm sit for a little while and then buffed with a cotton cloth to raise the shine.
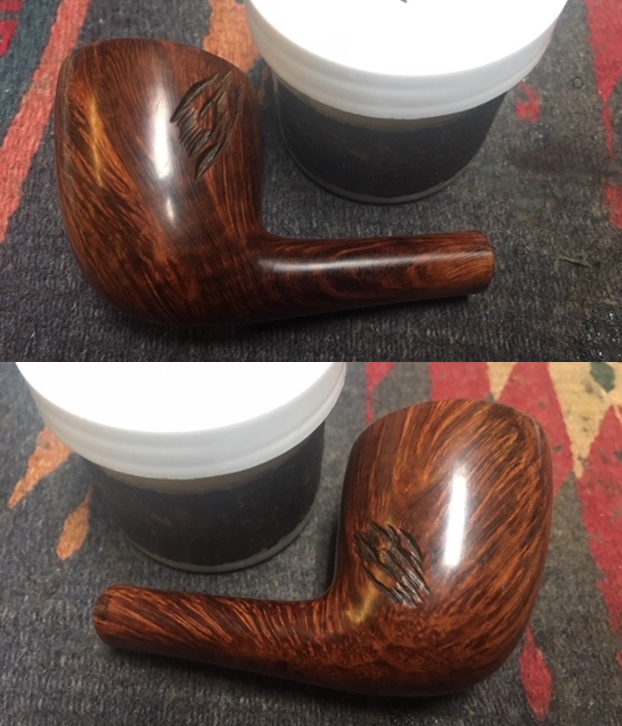
 I sanded the stem surface with 220 grit sandpaper to remove the oxidation and to smooth out the tooth marks into the surface of the stem. I polished the stem with 400 grit sandpaper. I am happy with the stem surface once that was done.
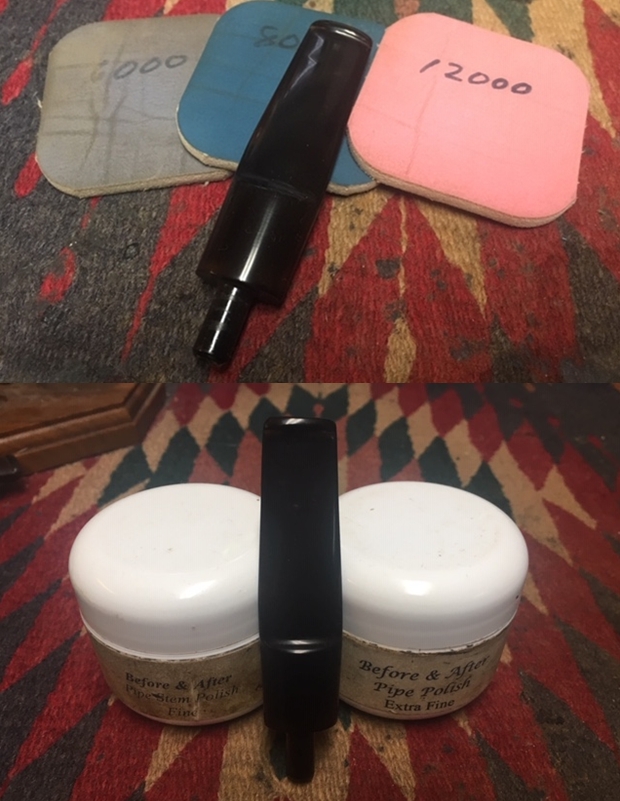
 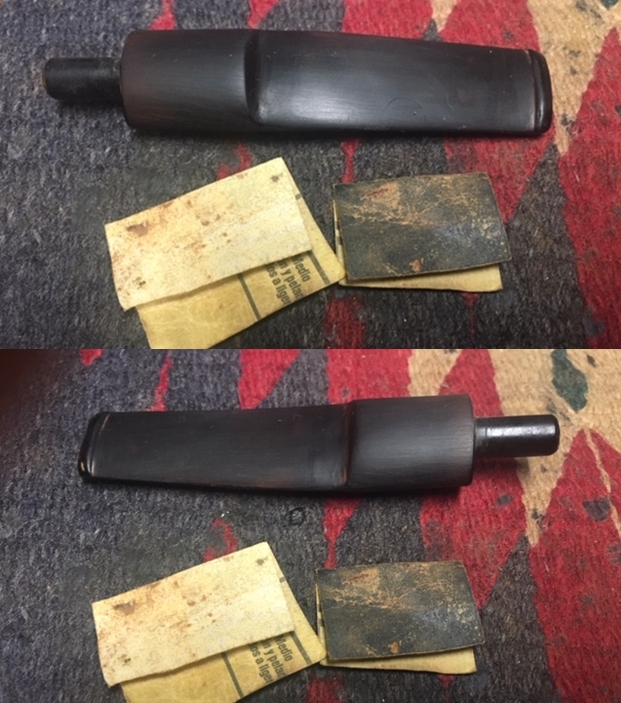 I started the polishing of the surface with 400 grit wet dry sandpaper. I polished the stem with micromesh sanding pads – wet sanding it with 1500-12000 grit pads. I wiped the stem down with a damp cloth after each pad. I further polished it with Before & After Pipe Polish – both Fine and Extra Fine. I wiped it down with a coat of Obsidian Oil and set it aside to dry.
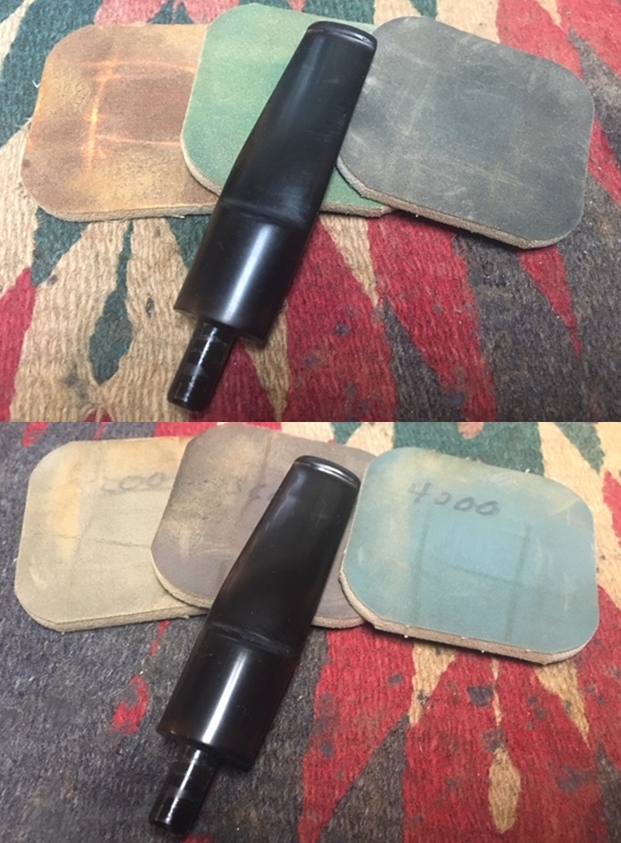
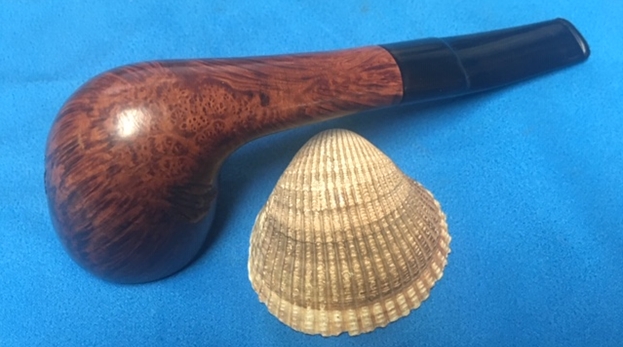
 I put the pipe back together and polished both the bowl and the stem with Blue Diamond polish on the buffing wheel. I gave the bowl and the stem multiple coats of carnauba wax. I buffed the pipe with a clean buffing pad to raise the shine. I hand buffed it with a microfiber cloth to deepen the shine. The pipe polished up pretty nicely. The oil cured finish and the grain came alive with the buffing. The grain really stands out and provides a rich contrast. The finish on the briar works well with the polished black vulcanite stem. The finished pipe is a well-proportioned, nicely grained Scoop. Have a look at it with the photos below. The dimensions are Length: 6 inches, Height: 2 inches, Outside diameter of the bowl: 1 1/2 inches, Chamber diameter: 7/8 of an inch. This Malaga Scoop will be going back to Alex to add to his rack of Malaga pipes that are in his collection. Thanks for walking through the restoration with me on another of Alex’s Malaga collection.