Blog by Steve Laug
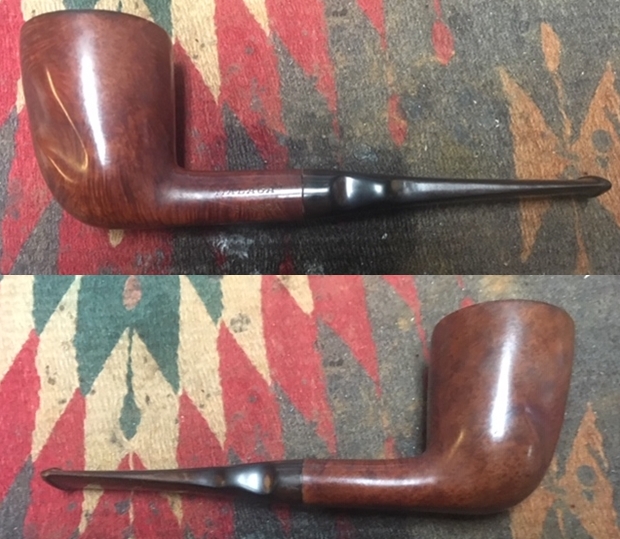
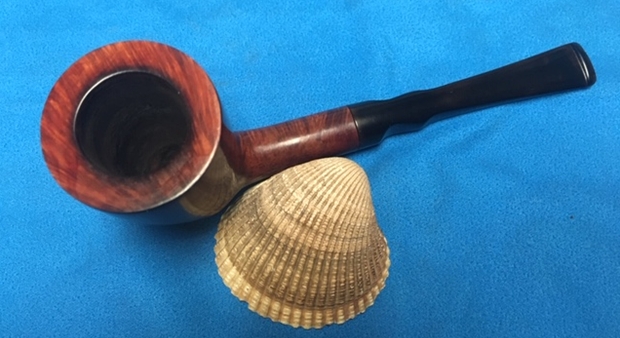
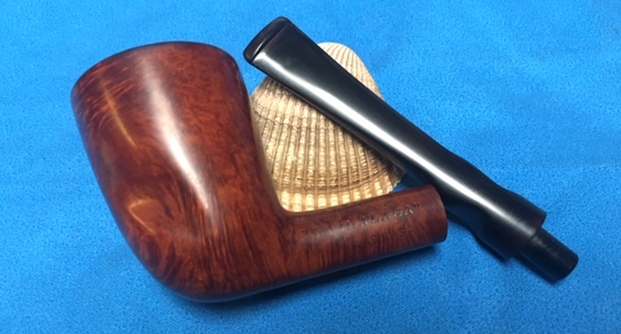
 With two pipes left to work on from Bob Kerr’s estate I needed to take a break and work on something different. Jeff had asked me about a Malaga Raskassa pipe that he said he had sent me. I could not find it in any of the boxes I had here. It turned out that it has been here for several years. I found it in a box of pipes awaiting restoration that I was going through to put together grab bags. I was surprised and decided it was the next one I would work on. The pipe is a Malaga Dublin with some beautiful grain around the oil cured bowl and shank. There is beautiful birdseye grain on the front and back of the bowl and cross grain on the sides. The pipe has not been stained but sports the usual Malaga oil cured look. The carver did a great job utilizing the block of briar to maximize the grain. The pipe is stamped on both sides of the shank. On the left it reads MALAGA and on the right side it is stamped RASKASSA. The saddle stem is vulcanite and has no marking or stamping. There was a thick cake in the bowl and a light lava overflow and darkening on the rim top. The exterior of the briar was dusty with grime ground into the briar. The stem is lightly oxidized and has light tooth chatter on both sides. The stem was in good condition under the grime. Jeff took the photos below to tell the story and give a glimpse of the pipe before his cleanup.
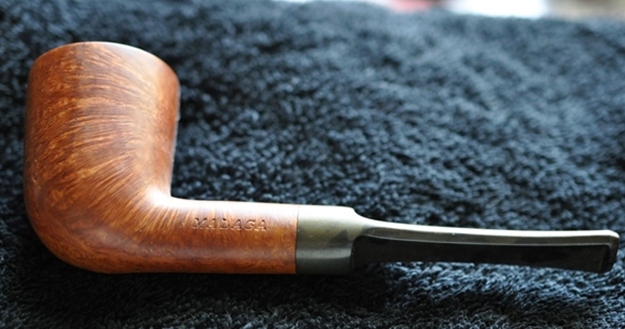
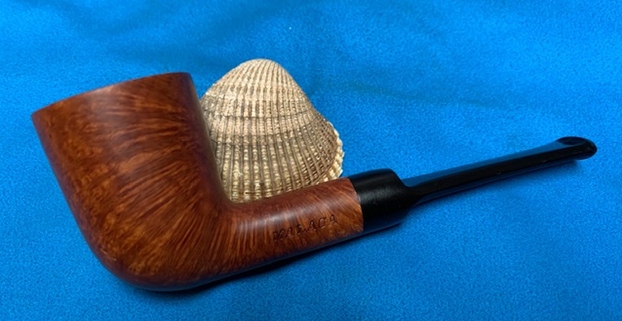
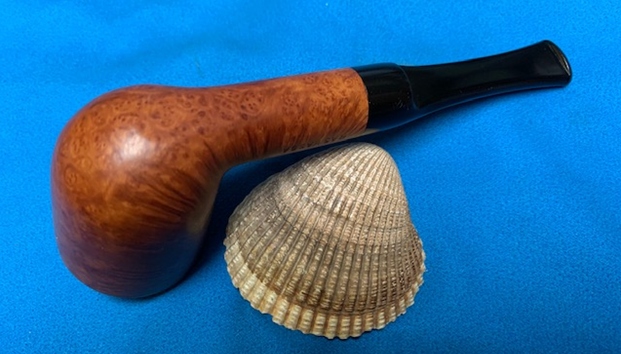
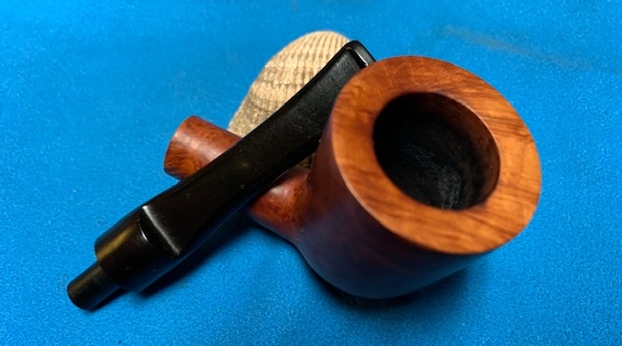
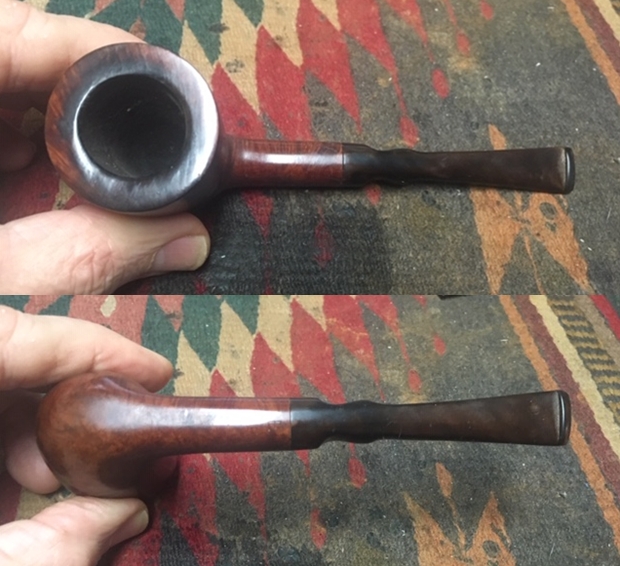
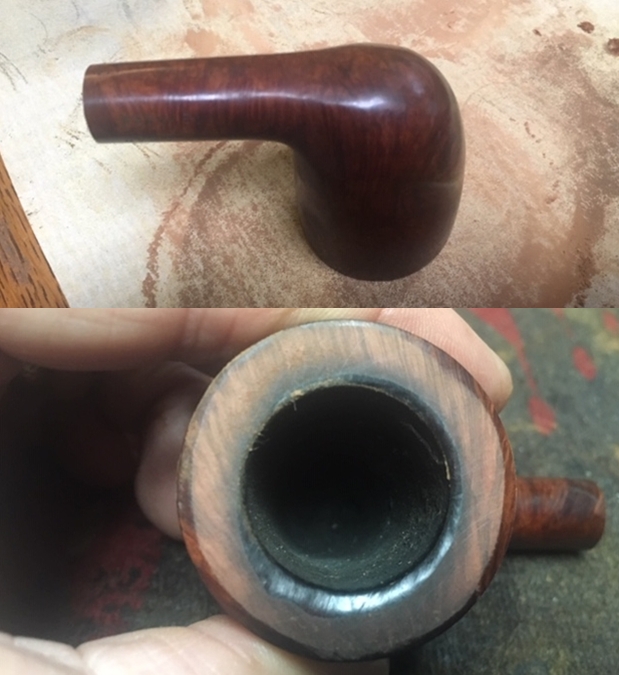
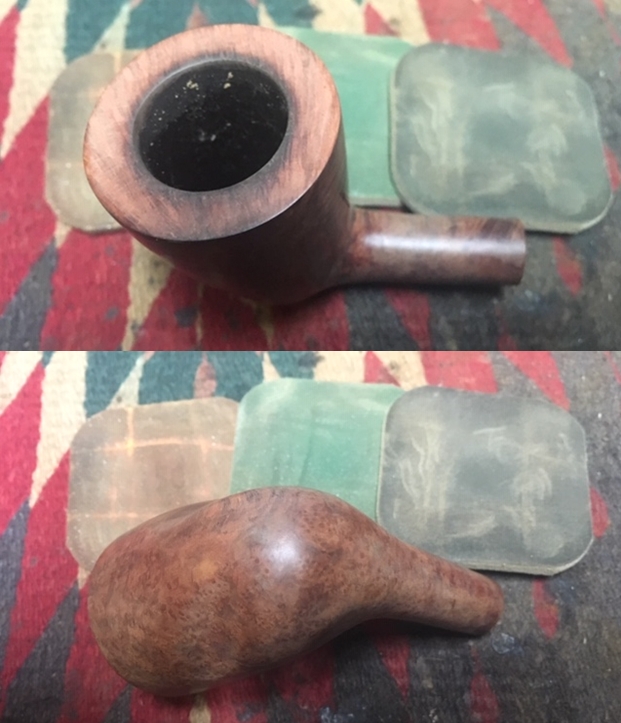
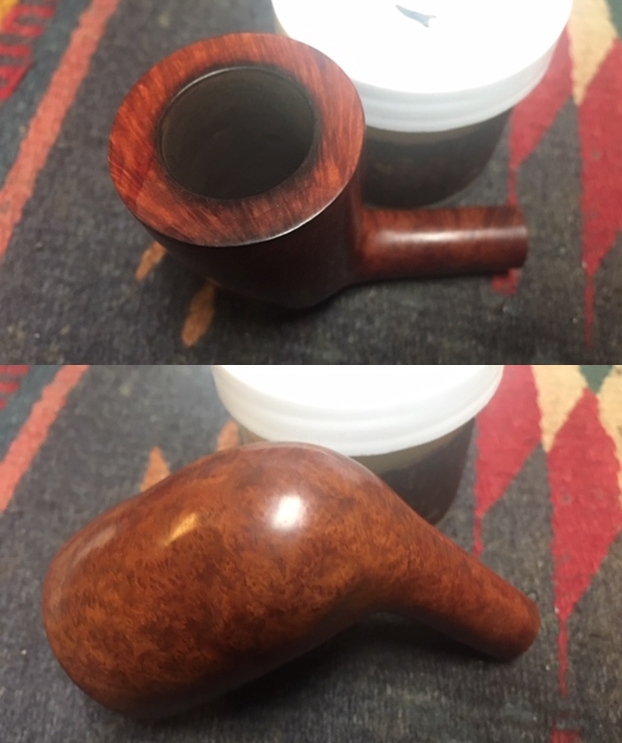
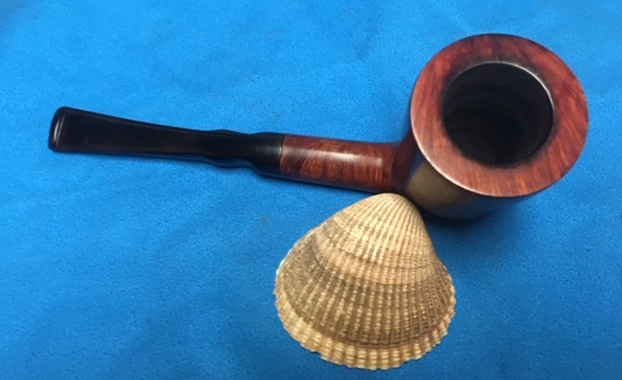
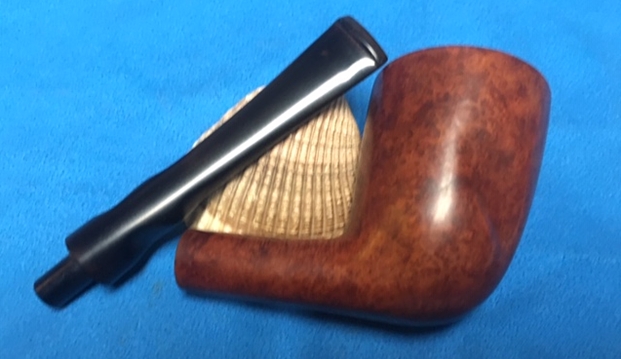
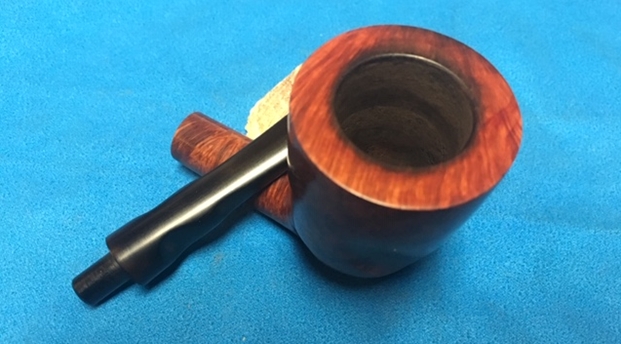
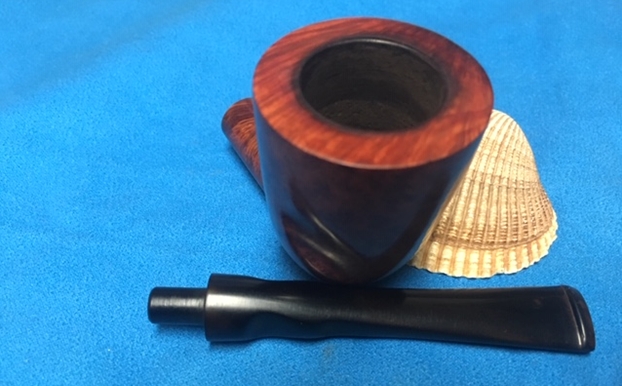
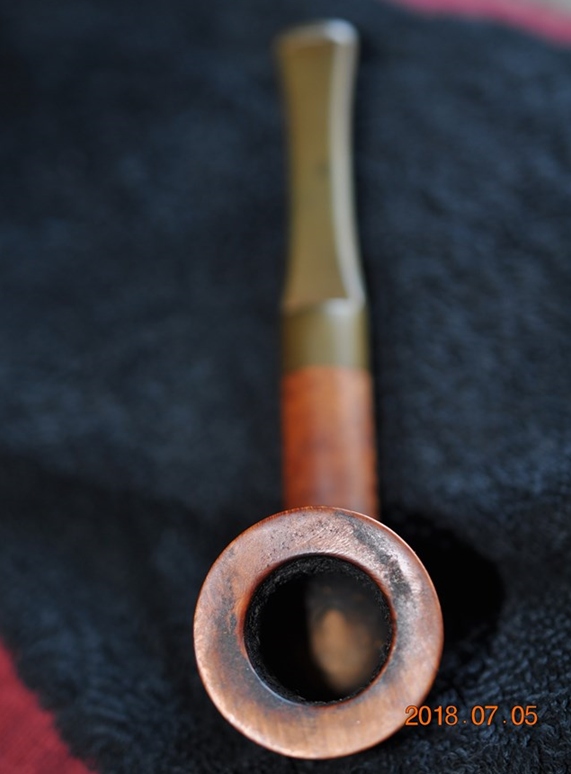 The exterior of the pipe was very dirty – grime and grit ground in from years of use and sitting. The rim top was covered with grime and there was a spotty coat of lava that overflowed the bowl. There was a thick, hard cake in the bowl.
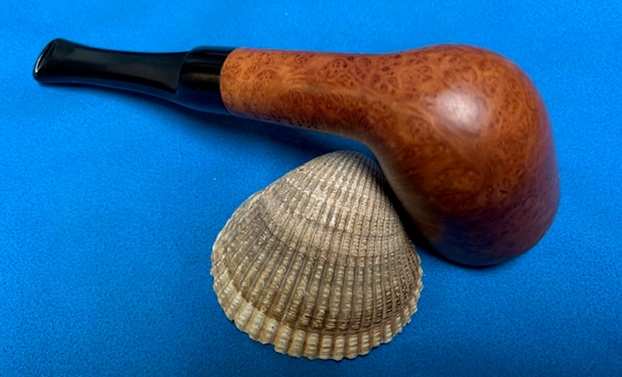
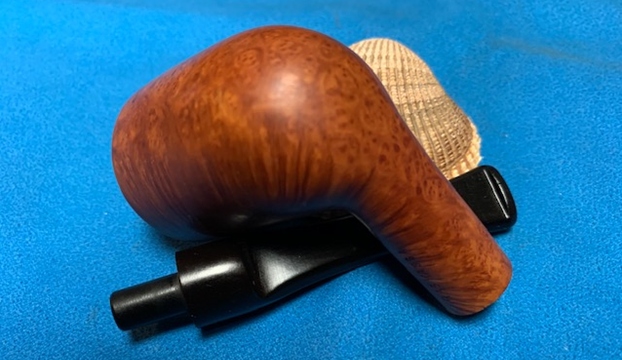
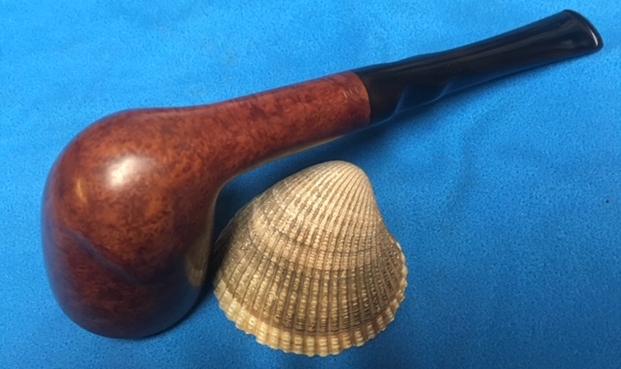
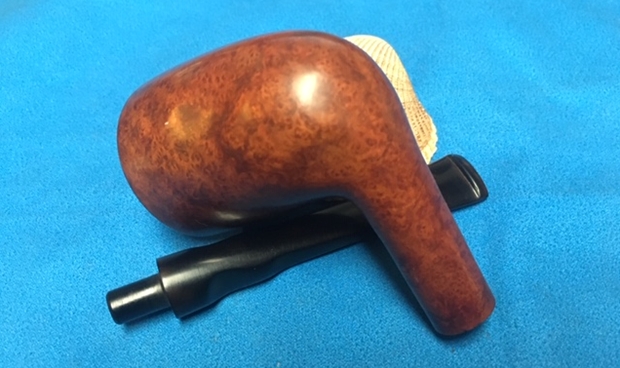
 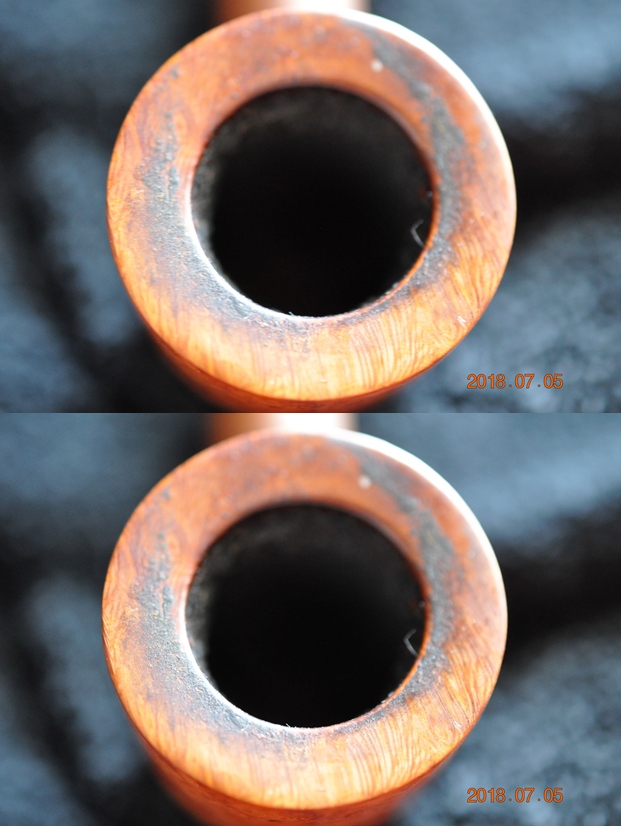 Jeff took photos of the sides and the heel of the bowl to give a better feel for the condition of the bowl.
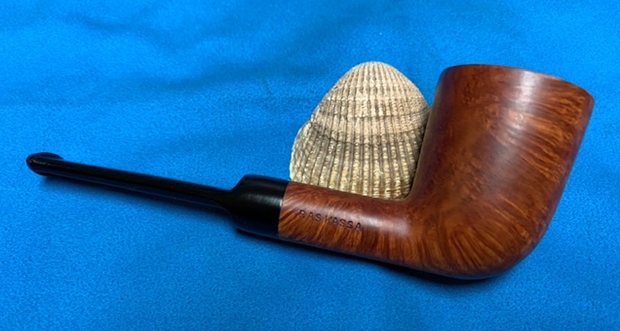
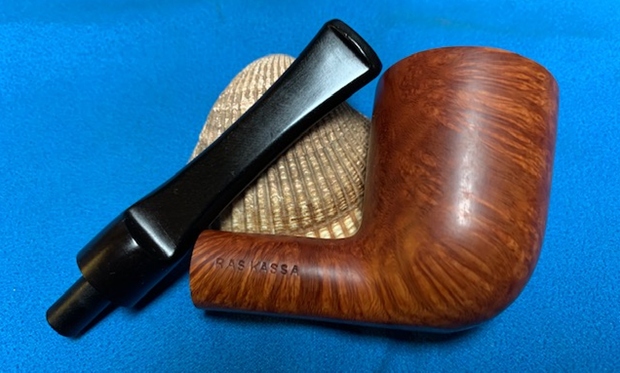
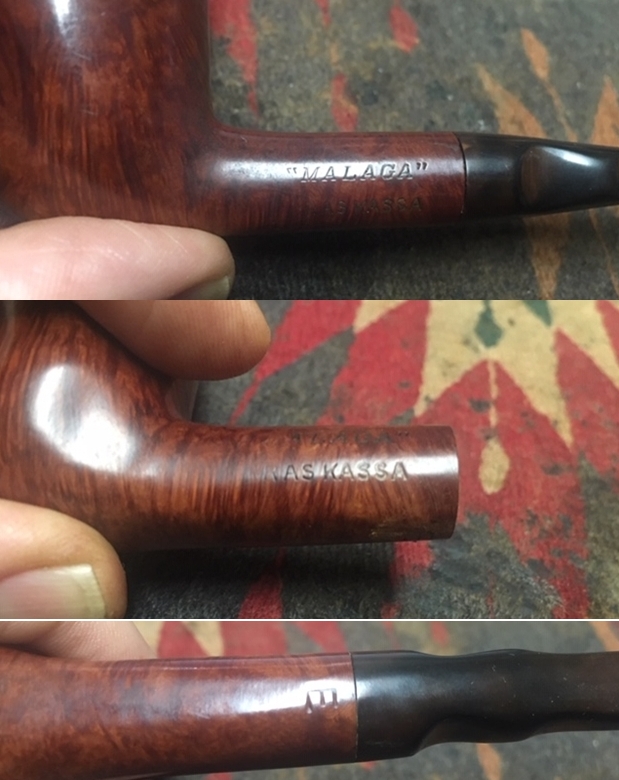
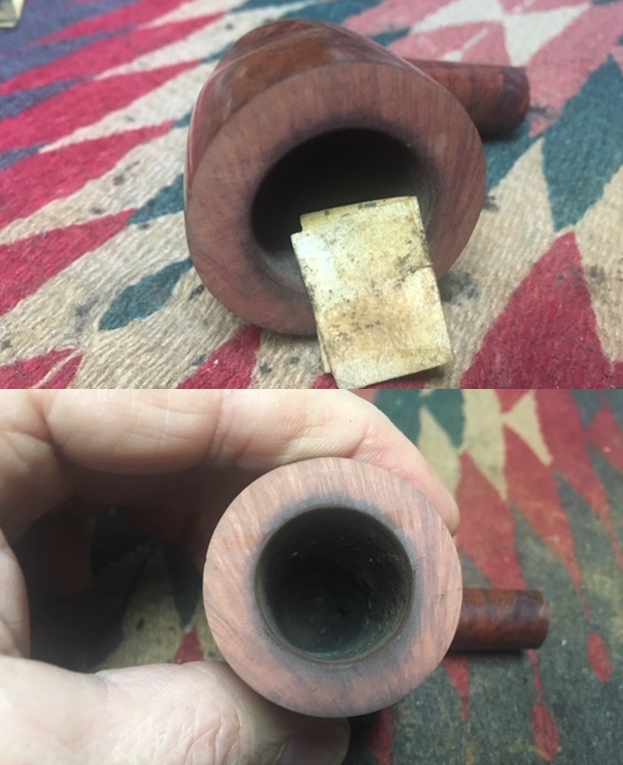
 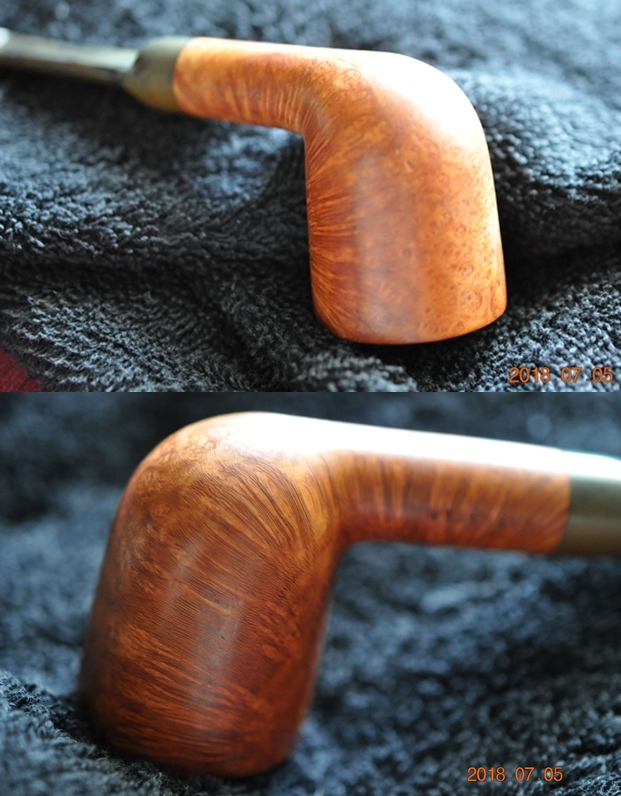 The next photos show the stamping on the sides of the shank and it is very readable. It reads as noted above.
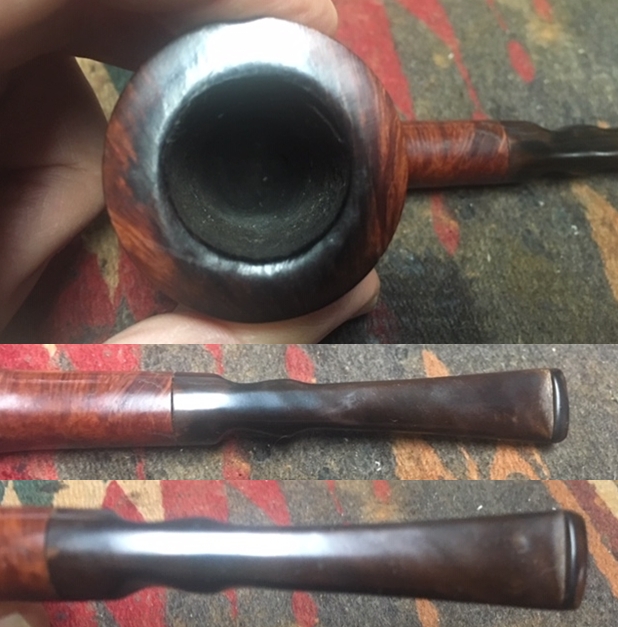
 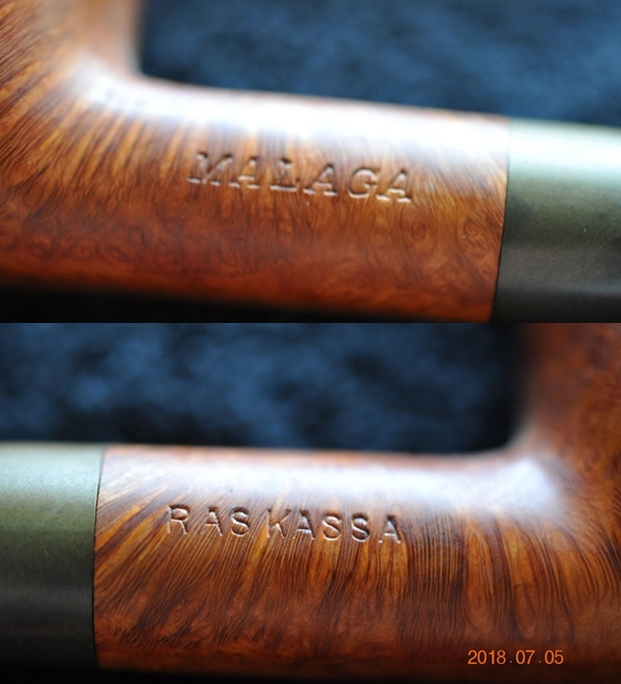 The stem was dirty and oxidized and had tooth chatter and marks on both sides ahead of the button.
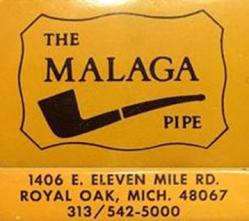
 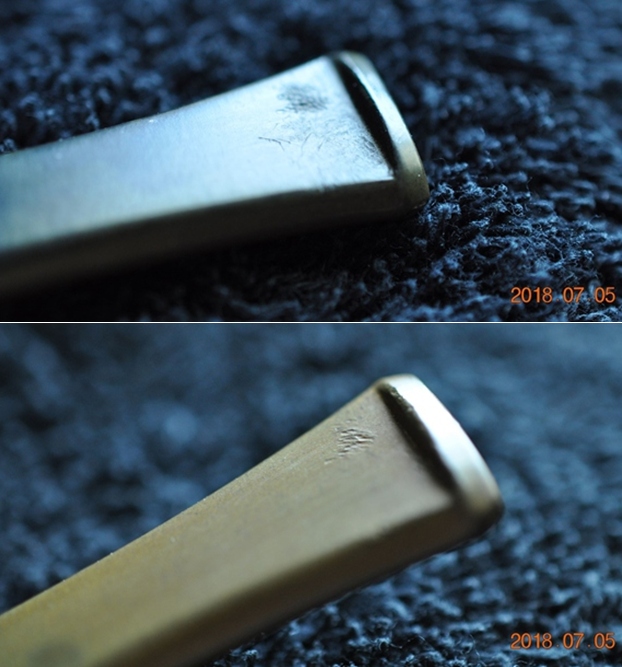 For those of you who are unfamiliar with the brand, I am also including the link to a blog that I wrote that gives some of the history of the Malaga brand and the Malaga Pipe Shop in Royal Oak, Michigan in the USA. Here is the link – https://rebornpipes.com/tag/malaga-pipes/. That blog also includes links to a catalogue and the history of the pipemaker George Khoubesser. If you are interested to learn more then I invite you to follow the link to get a feel for the brand and the pipemaker.
I am also am including some printed material on the Malaga brand that came to me from the daughter of George Koch to help identify the particular stamping on the pipe. The link takes you to the entire collection of materials that were sent to me. I am also including one particular page that helps identify the RAS KASSA stamping on the pipe. https://rebornpipes.com/2019/02/27/malaga-pipes-catalogue-of-pipes-and-tobaccos/
It basically says that the stamping is applied to pipes with special rare grain patterns in the briar. These appear to be straight grain, birdseye, swirled grains etc. that are tight patterns. They are rare – 1 or 2 in every hundred pipes. This pipe is one of those. You can read the description in the detailed explanation below.
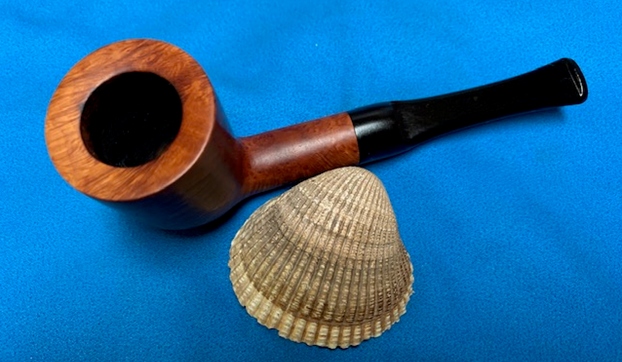
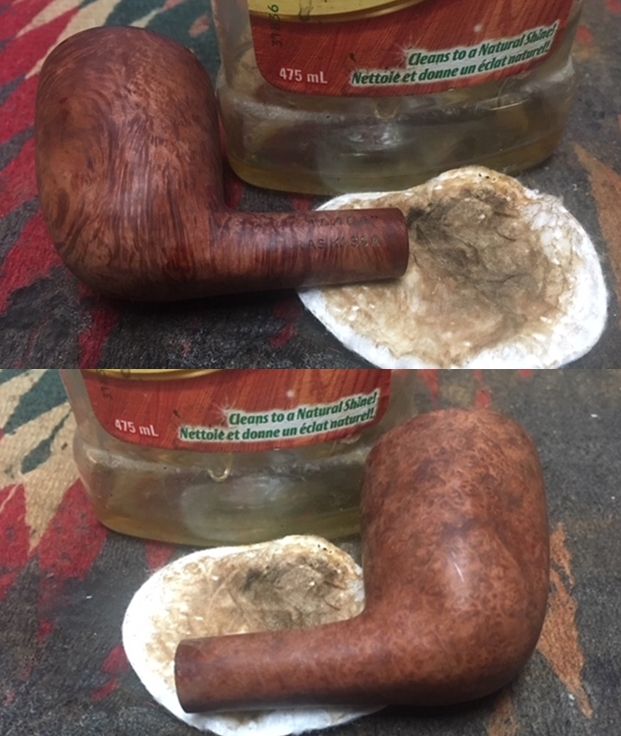
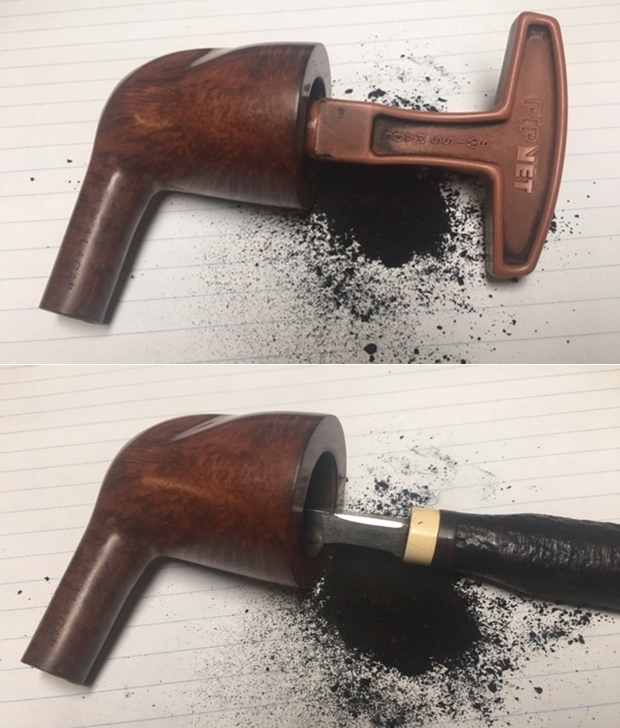
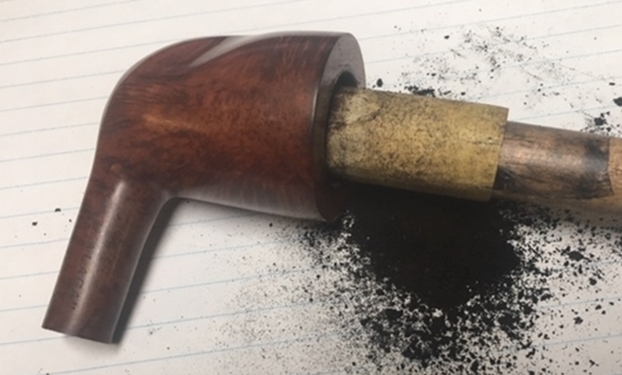
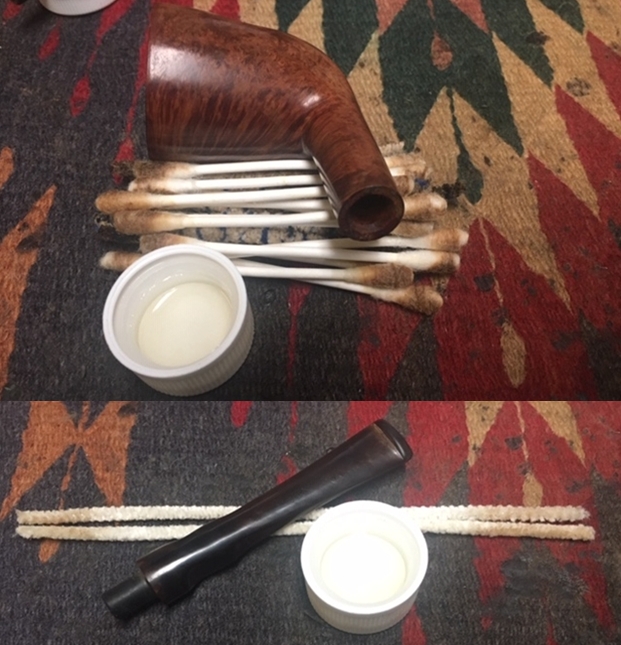
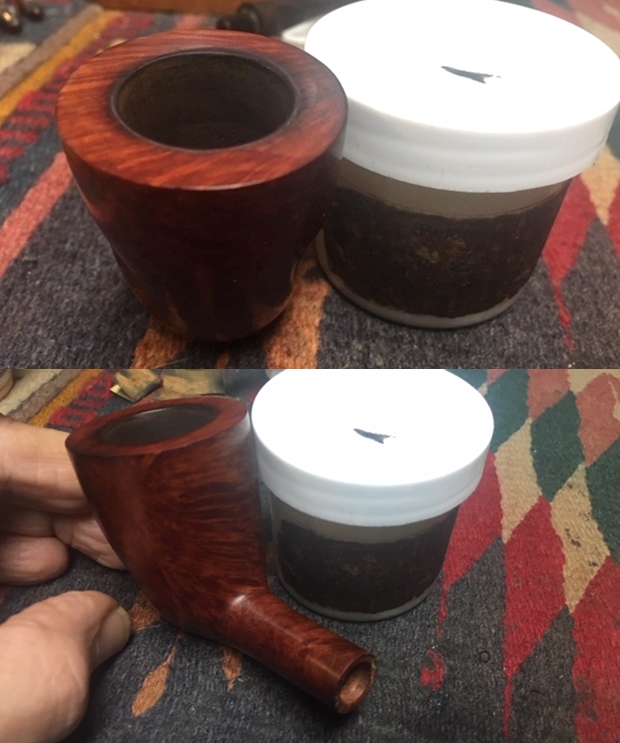
Jeff cleaned the pipe with his usual penchant for thoroughness that I really appreciate. Once he finished he shipped it back to me. He reamed it with a PipNet pipe reamer and cleaned up the reaming with a Savinelli Fitsall Pipe Knife. He scrubbed out the internals with alcohol, pipe cleaners and cotton swabs until the pipe was clean. He scrubbed the exterior of the bowl with Murphy’s Oil Soap and a tooth brush to remove the grime and grit on the briar and the lava on the rim top. The finish looks very good with good looking grain around the bowl and shank. Jeff soaked the stem in Before & After Deoxidizer to remove the oxidation on the rubber. When the pipe arrived here in Vancouver for the second stop of its restoration tour it looked a lot better. I took photos before I started my part of the work. 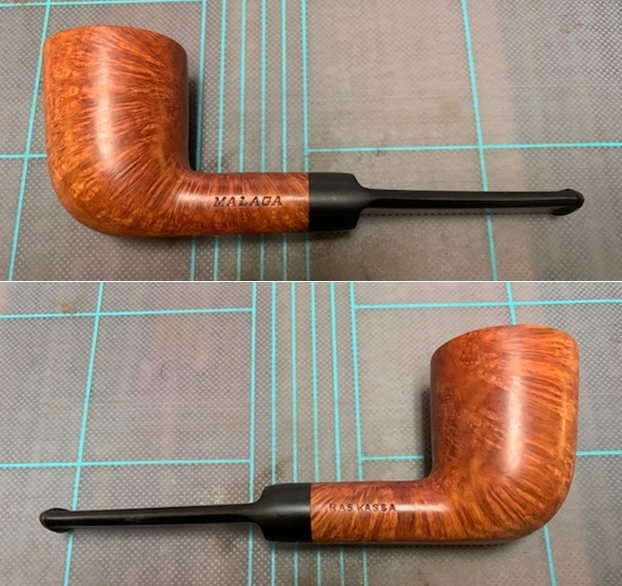
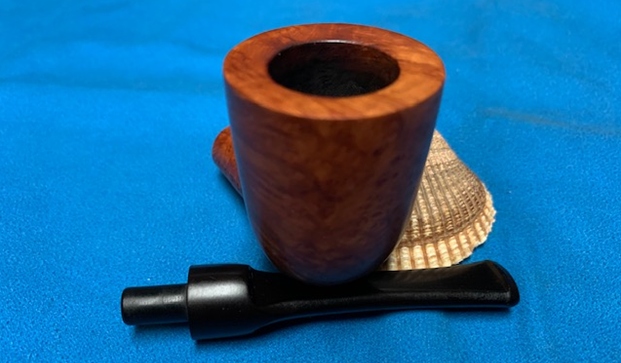
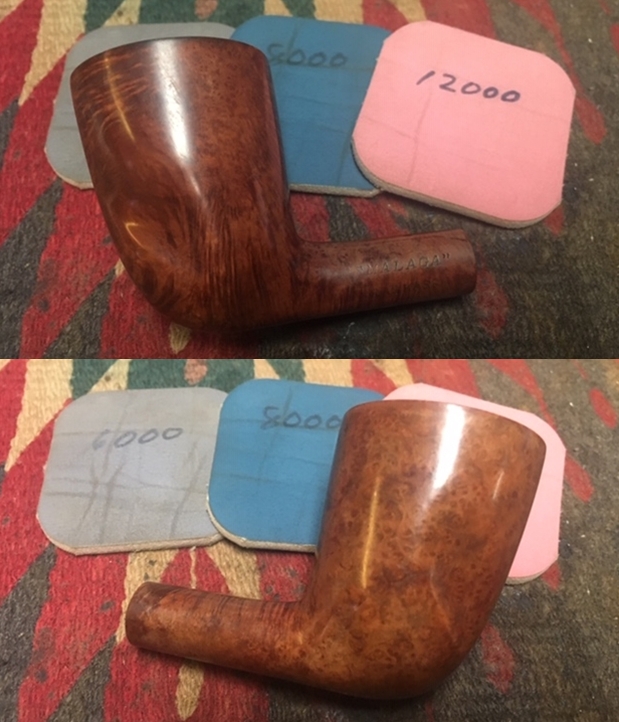
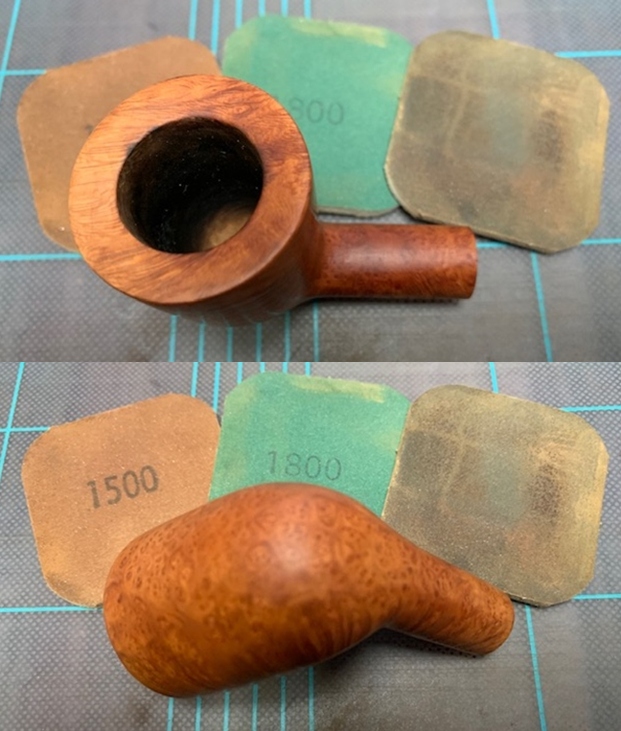
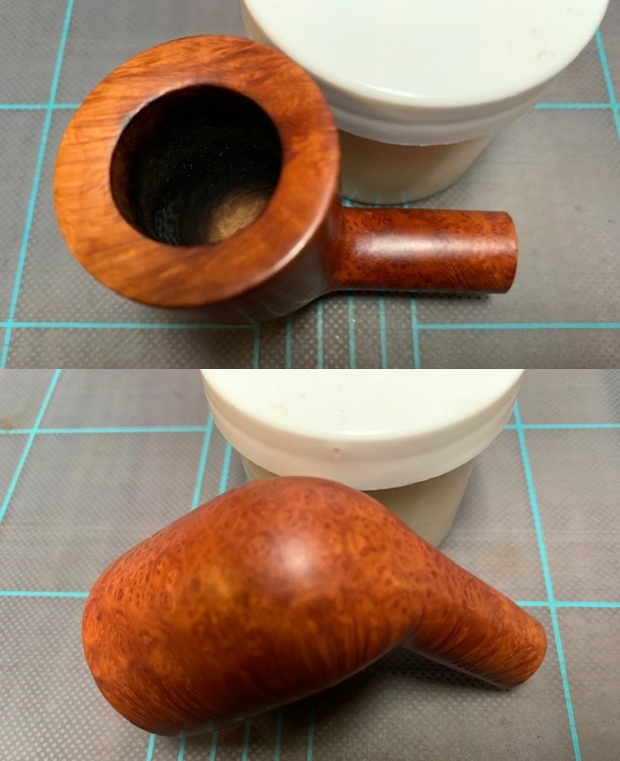
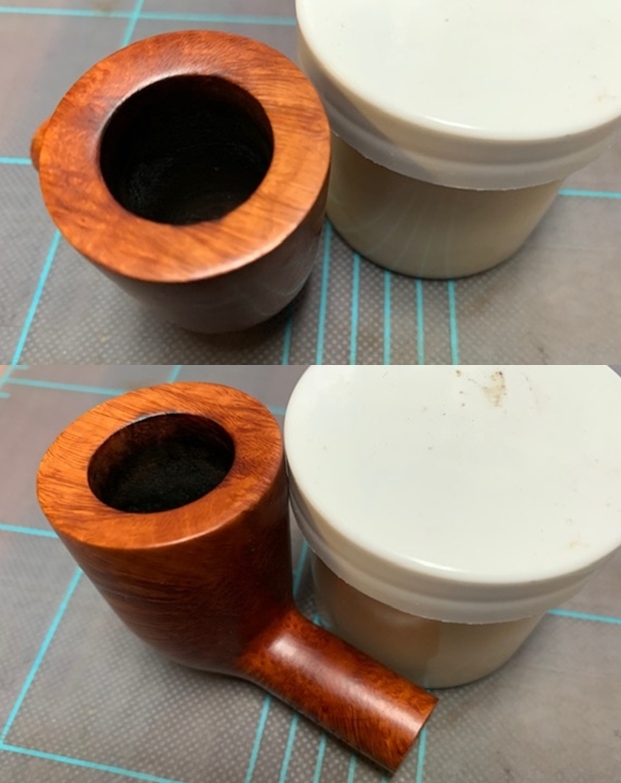
 I took some close up photos of the rim top and also of the stem surface. I wanted to show what cleaned bowl and rim top looked like. The rim top and edges are in excellent condition. I also took close up photos of the stem to show the light tooth marks on the stem surface.
 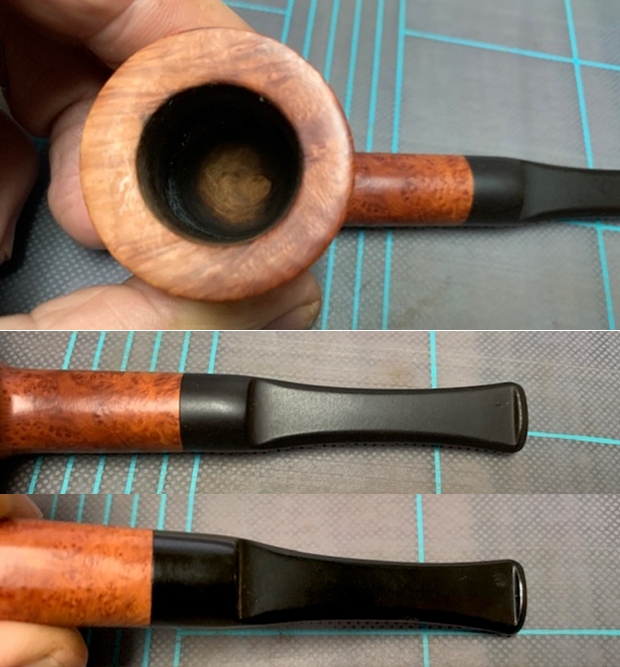 I took photos of the stamping on both sides of the shank and it is clear and readable. It is stamped as noted above.
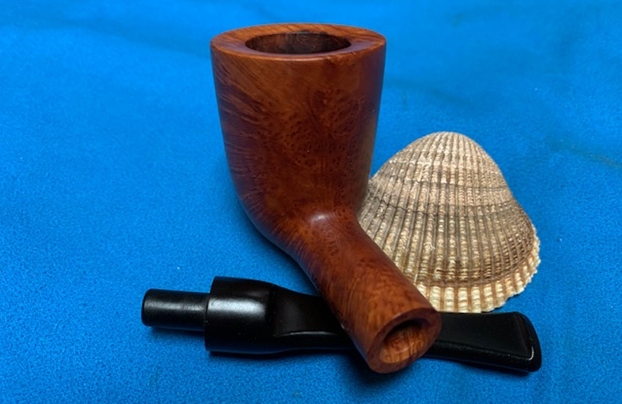
 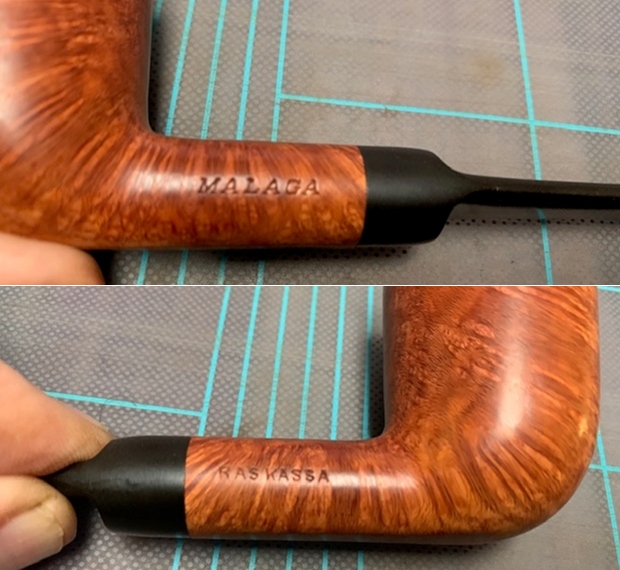 I removed the stem for the shank and took a photo of the bowl and stem to give a picture of what it looked like. You can see scratches in the stem surface.
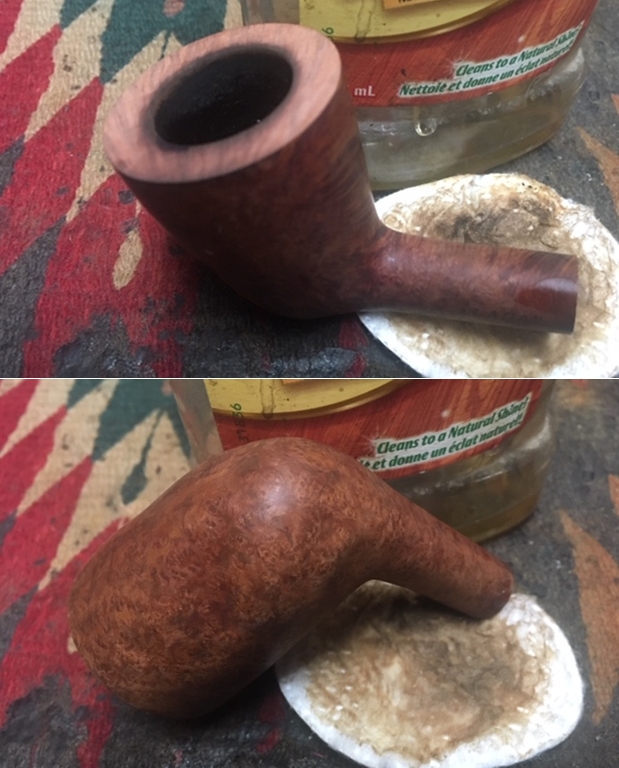
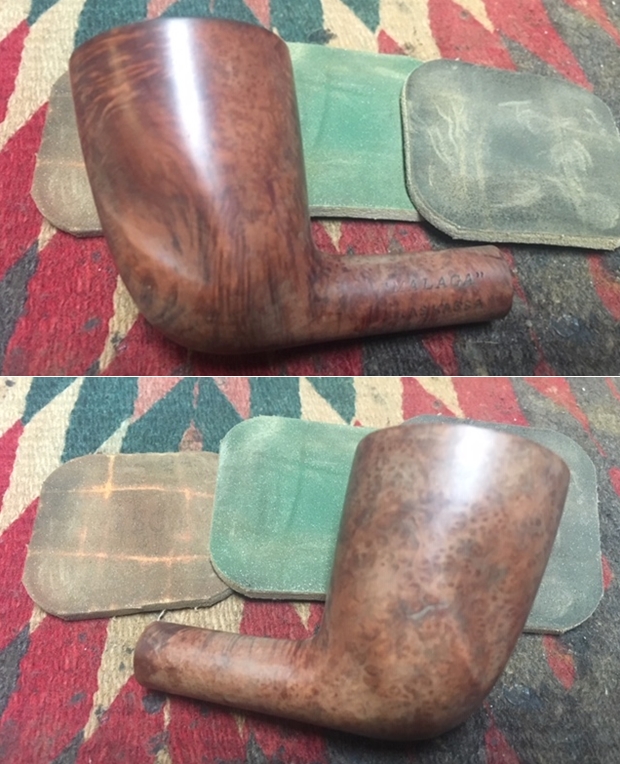
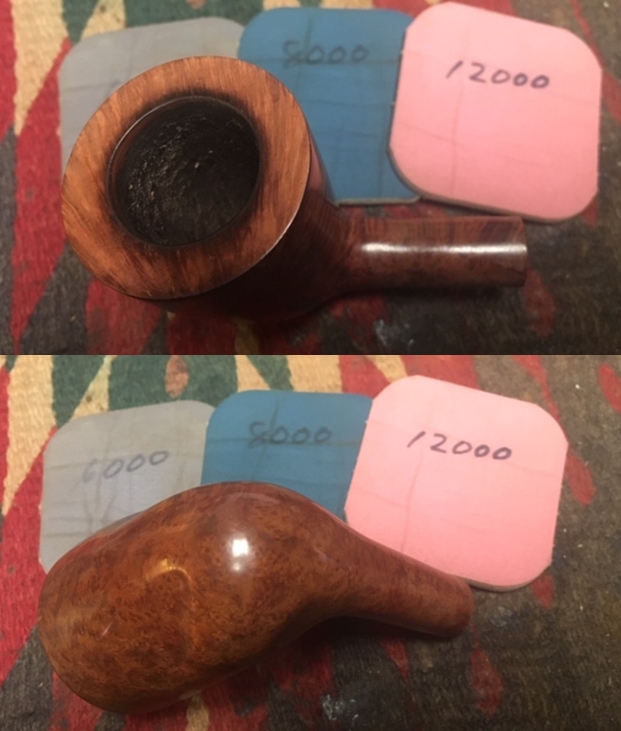
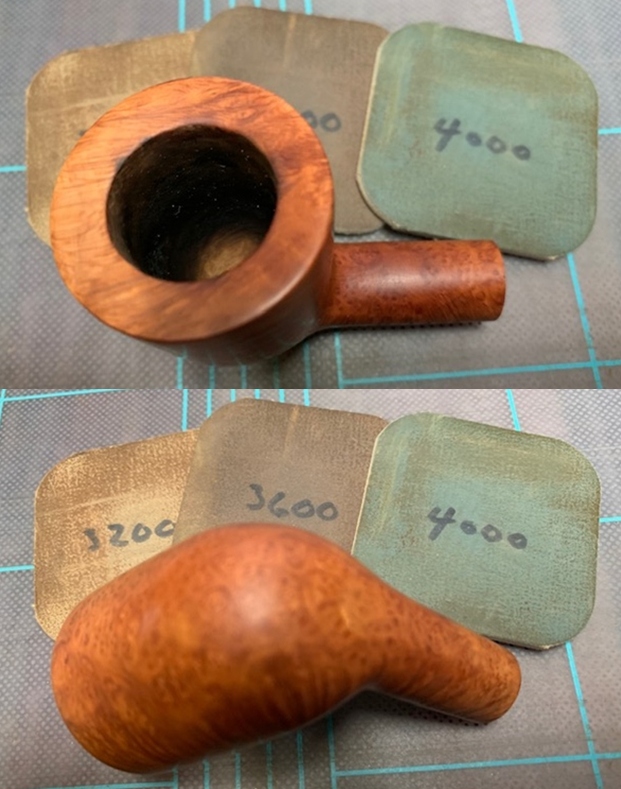
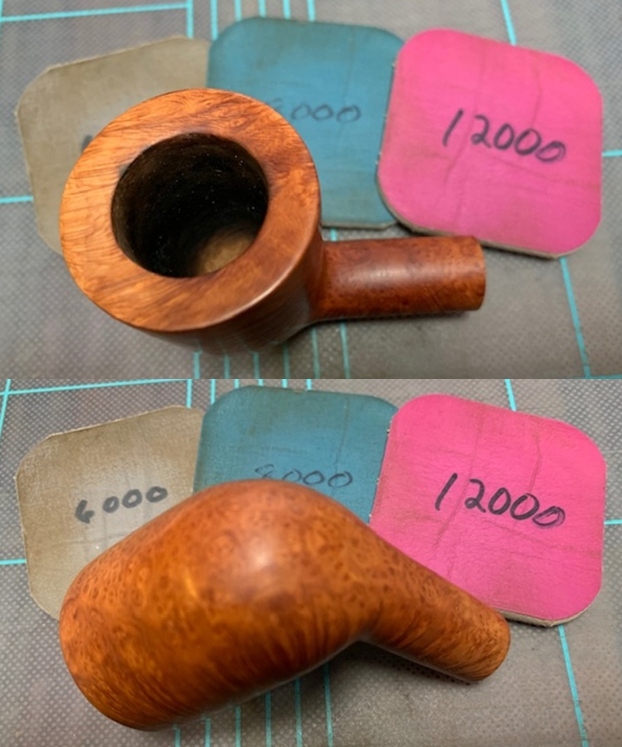
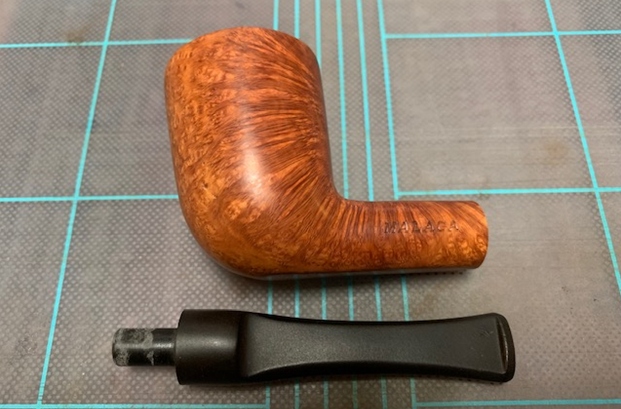 Now, on to my part of the restoration of this Malaga Raskassa Dublin. I decided to start by polishing the bowl and rim top with micromesh sanding pads – wet sanding with 1500-12000 grit pads and wiping the briar down with a damp cloth after each sanding pad.
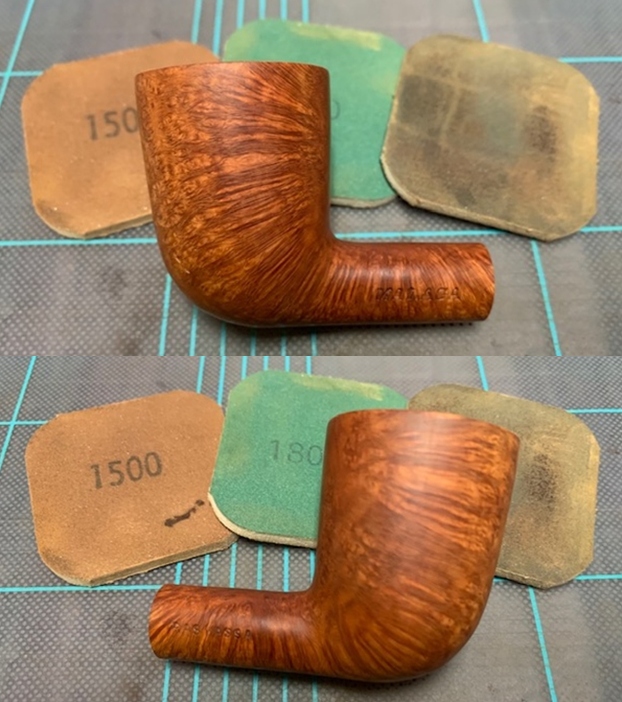
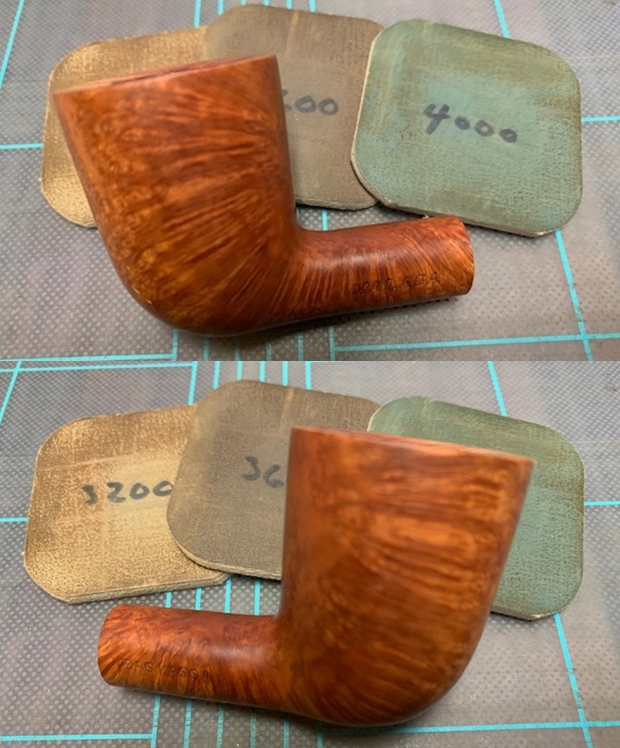

 I rubbed the bowl down with Before & After Restoration Balm. I worked it into the surface of the bark on the bowl sides and shank with my fingertips to clean, enliven and protect it. I let the balm sit for a little while and then buffed with a cotton cloth to raise the shine.
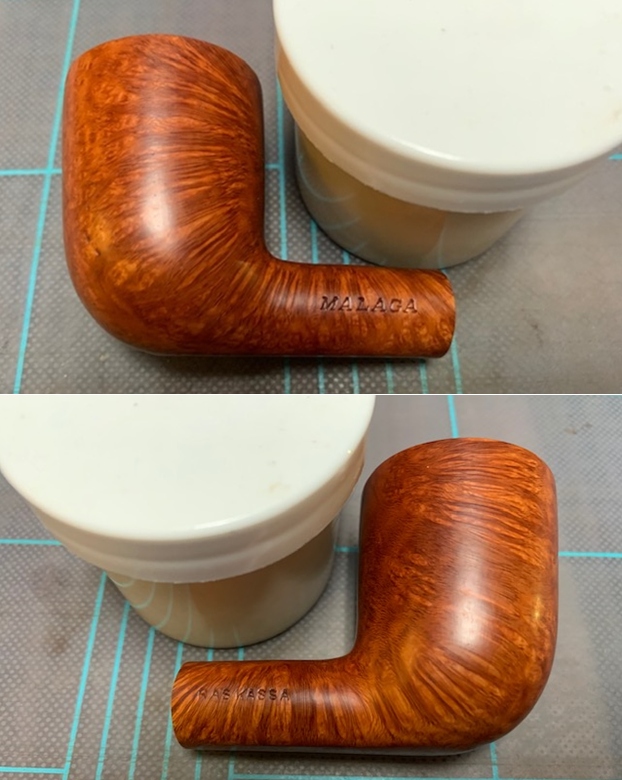
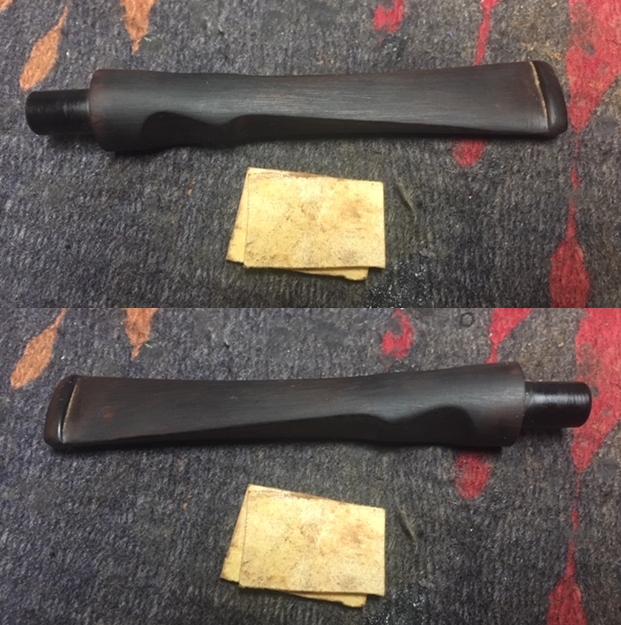
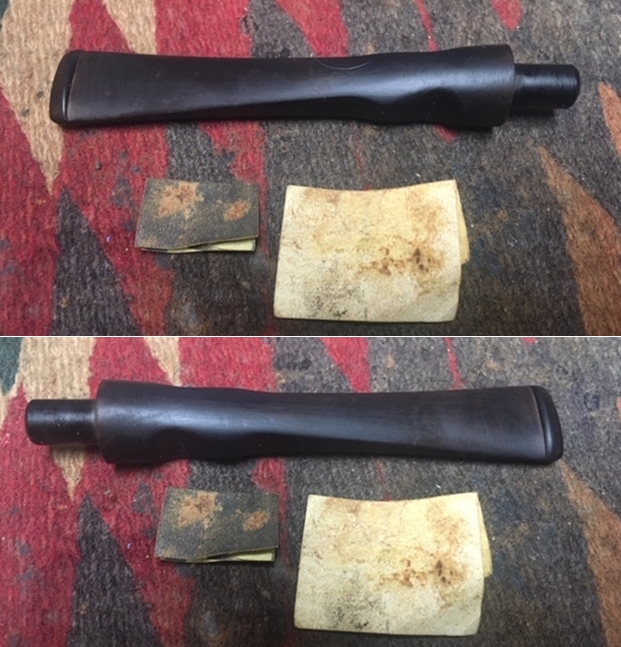
 I set the bowl aside and turned my attention to the stem. I “painted” the surface of the stem with the flame of a lighter. The heat lifted the scratches and dents in the stem surface that left behind only one small tooth dent. It also had the added benefit of burning off some of the oxidation.
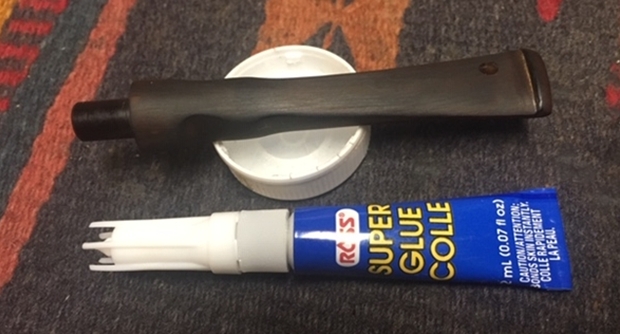
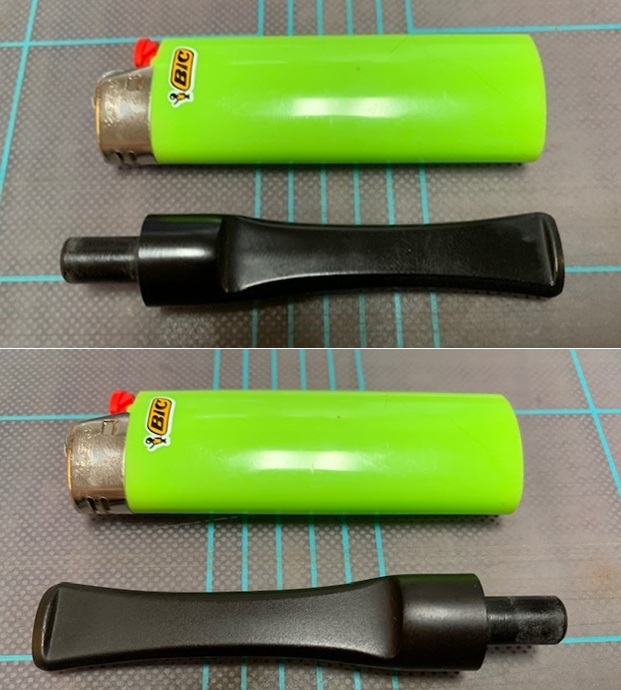 I filled in the remaining tooth mark with clear super glue. Once it cured I smoothed out the surface of the repair with a needle file.
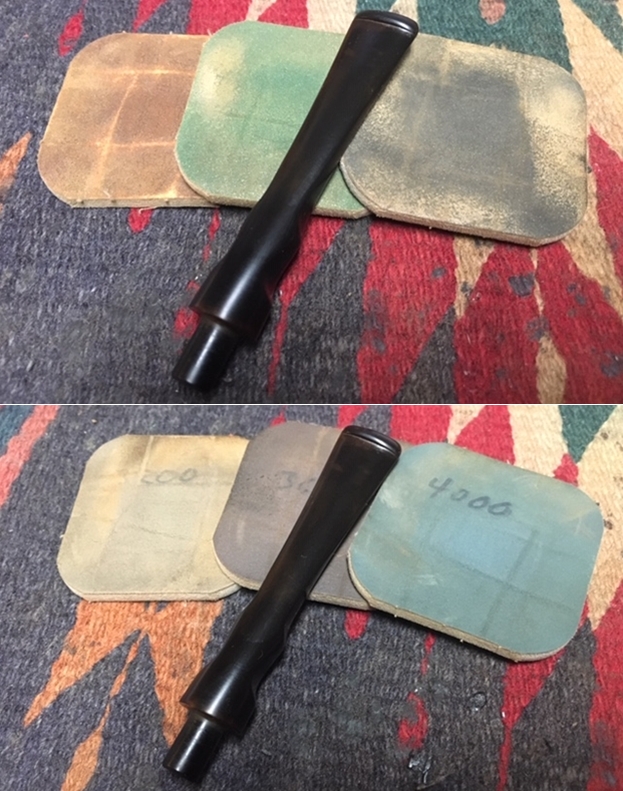
 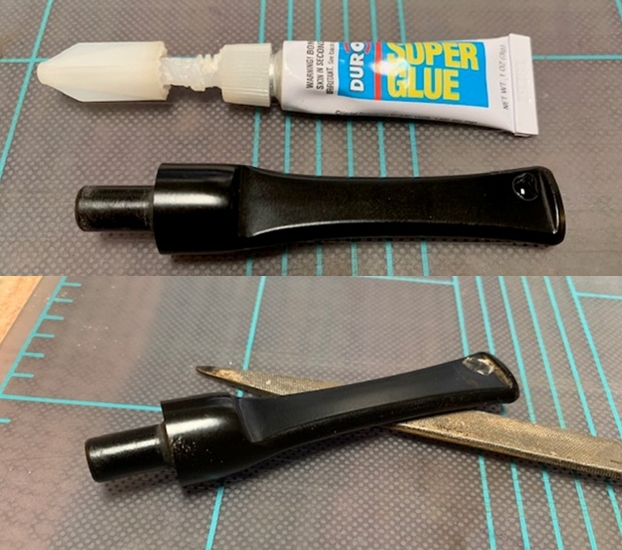 I sanded out the repair and scratches to blend it into the surface of the surrounding vulcanite. I started polishing the stem with 400 grit wet dry sandpaper.
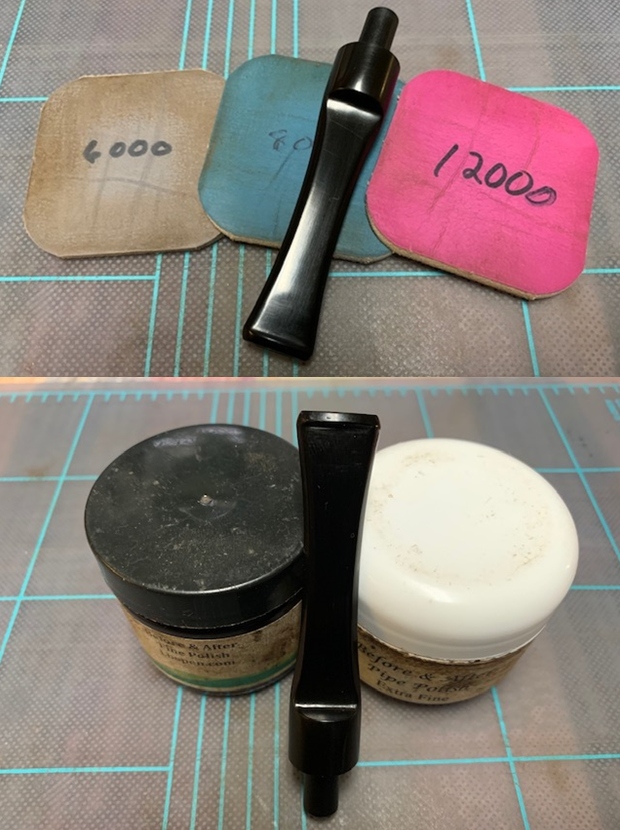
 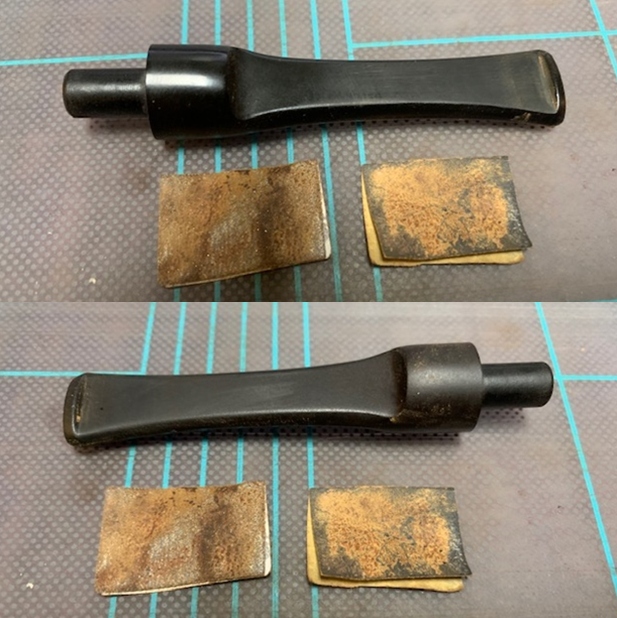 I polished the vulcanite with micromesh sanding pads – 1500-12000 grit pads. I wiped it down with a damp cloth after each sanding pad. I used Before & After Pipe Polish – both Fine and Extra Fine to further polish the stem.
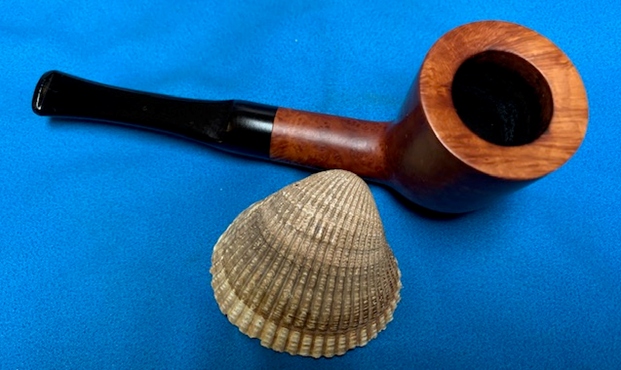
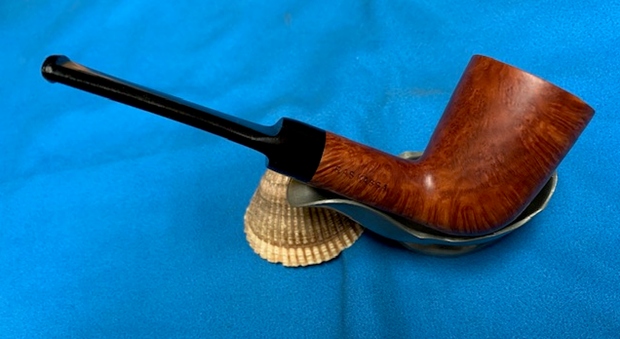
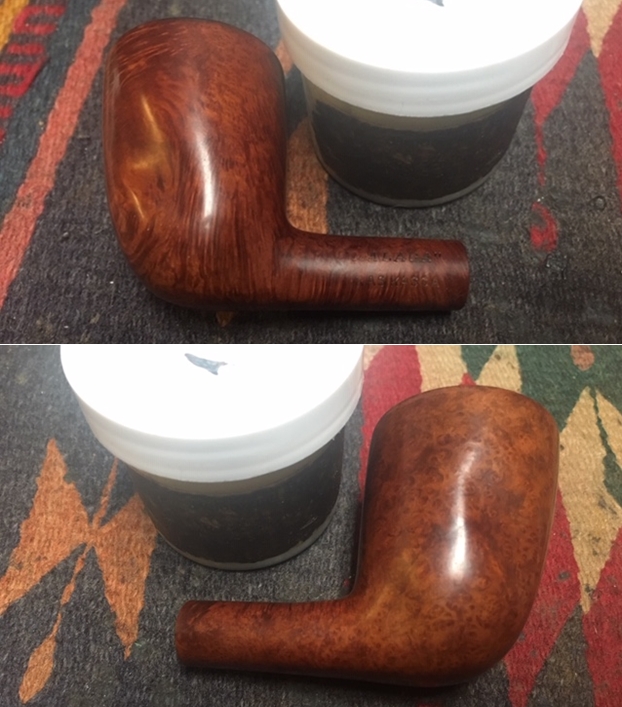
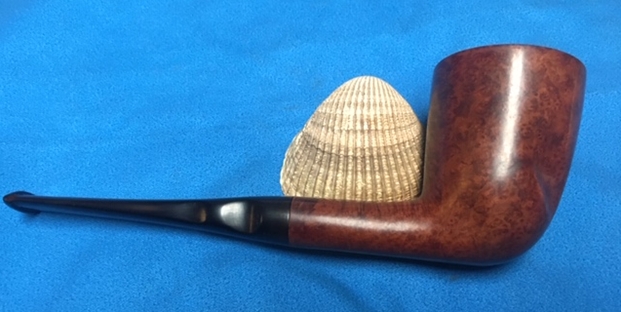
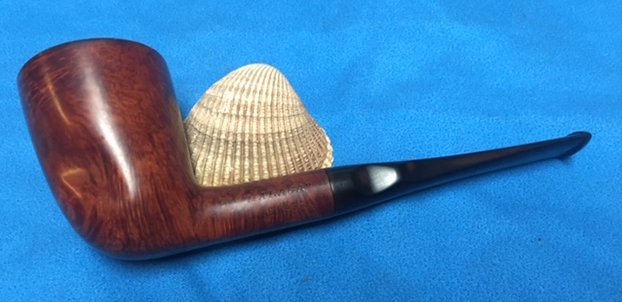
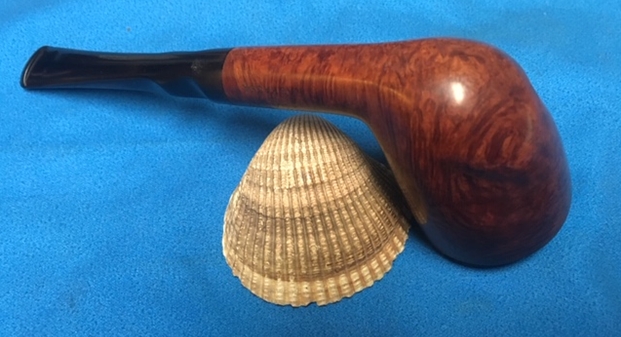
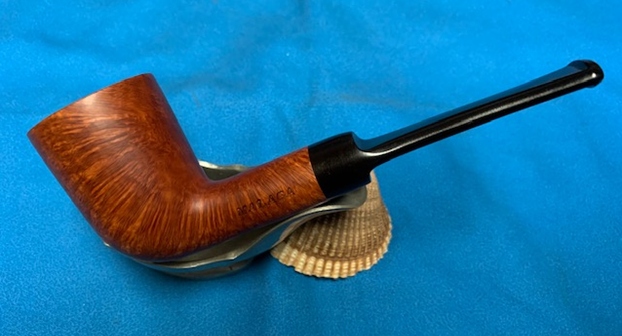
 After finding this Malaga Raskassa that I have been looking for through my boxes I was glad to finish it. It really is a great looking pipe. The finish on the pipe is in excellent condition and works well with the polished vulcanite saddle stem. I put the stem back on the bowl and carefully buffed the pipe with Blue Diamond on the buffing wheel using a light touch on the briar. I gave the bowl and stem multiple coats of carnauba wax on the buffing wheel and followed that by buffing the entire pipe with a clean buffing pad. I hand buffed the pipe with a microfiber cloth to deepen the shine. The finished Malaga Raskassa Dublin is a great looking pipe that looks almost new. The flow of the grain around the bowl and the shape contribute to beautiful look of this pipe. It fits nicely in the hand and feels great. Give the finished pipe a look in the photos below. The dimensions of the pipe are Length: 5 ½ inches, Height: 2 inches, Outside diameter of the bowl: 1 ½ inches, Chamber diameter: ¾ of an inch. I have been looking for a Malaga Raskassa for my own collection so this one fits the bill for me. I look forward to enjoying it. Thanks for reading this blog and my reflections on the pipe while I worked on it. This was an interesting estate to bring back to life.