
Blog by Steve Laug
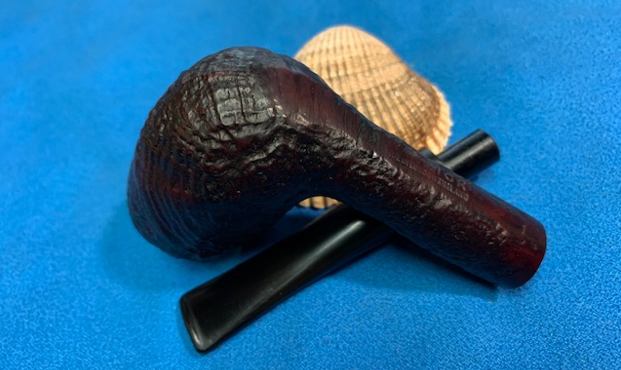
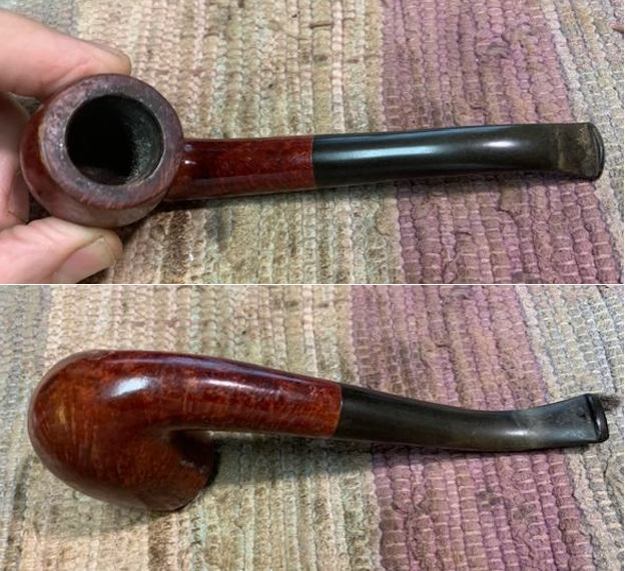
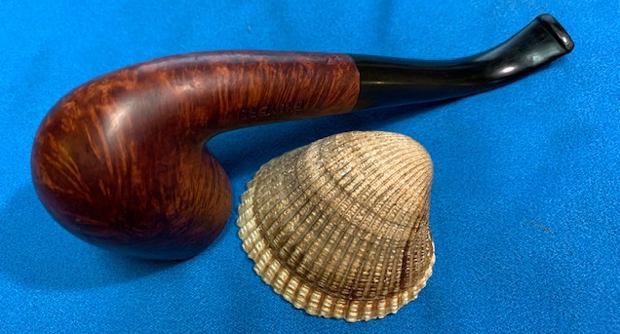
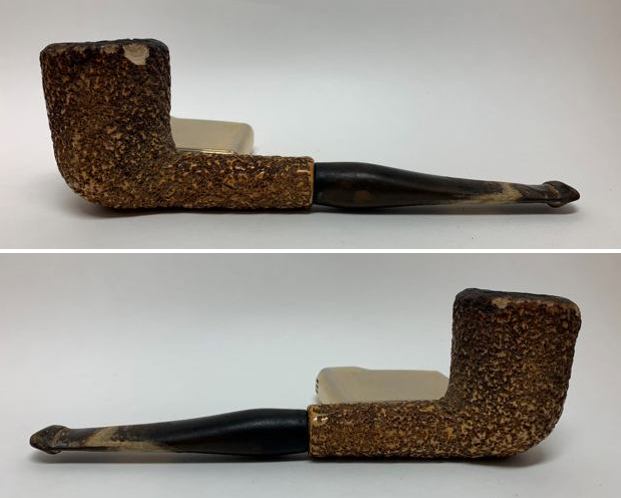
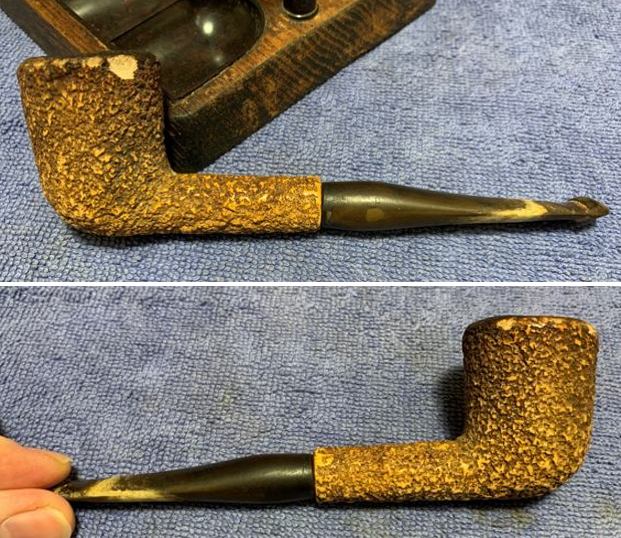
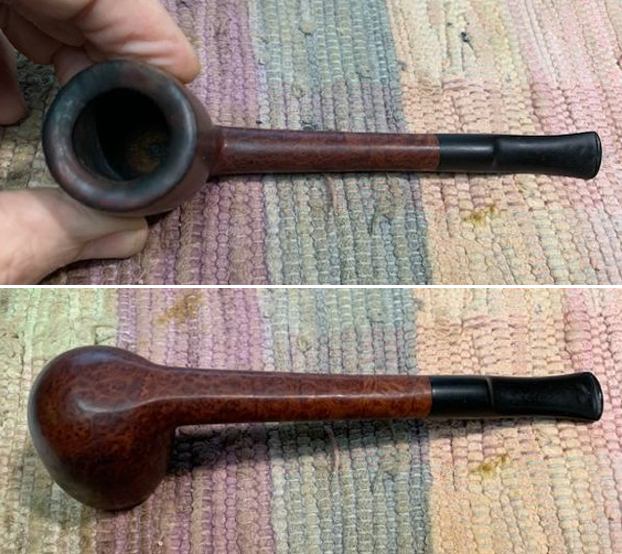
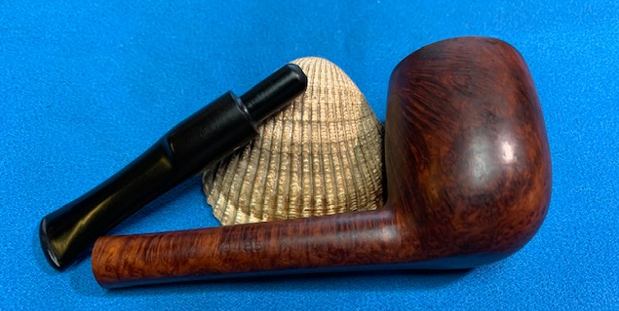
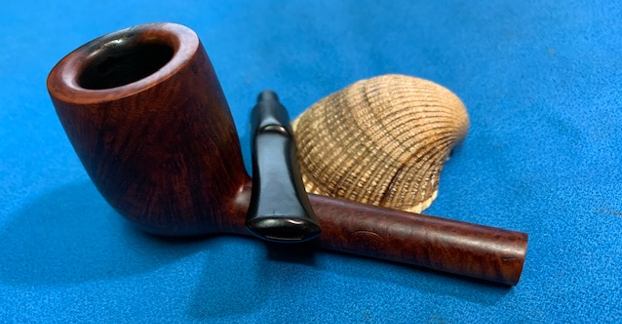
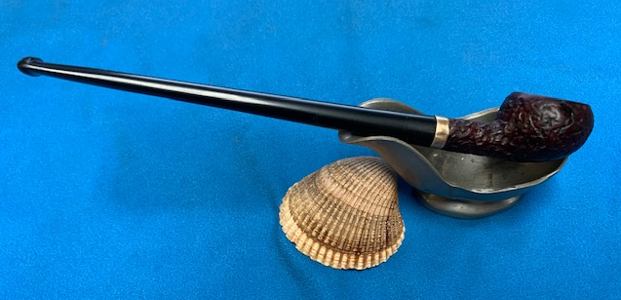
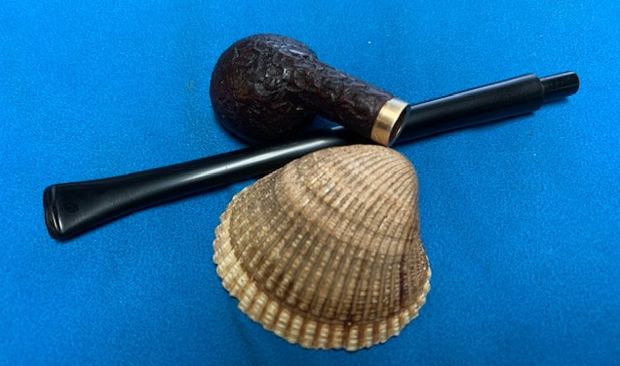
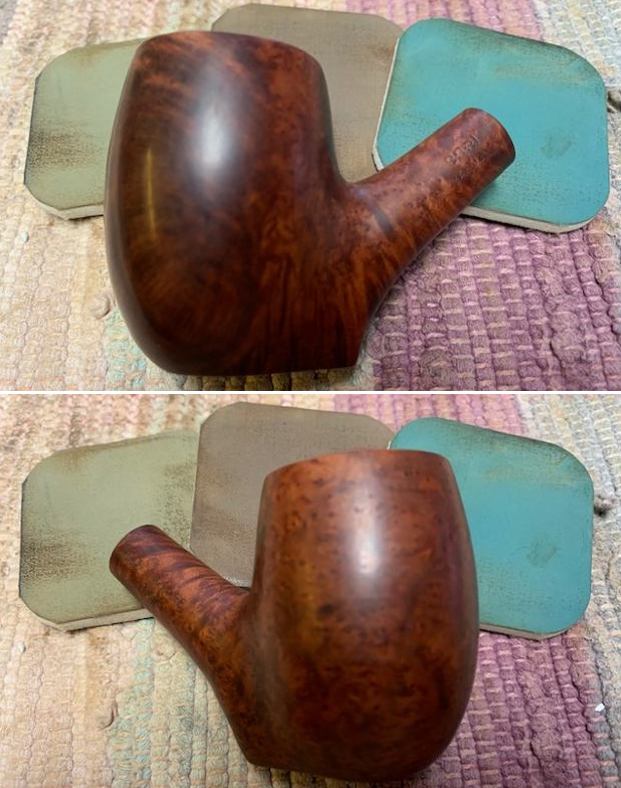
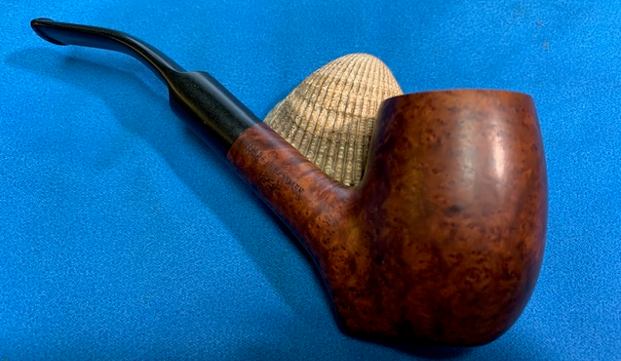
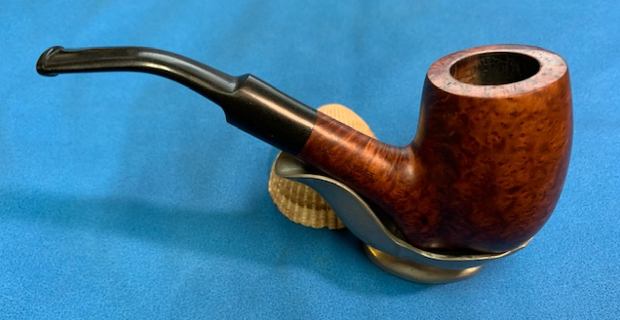
We picked up this next pipe back in 2017 from an auction in Rochester, New York, USA. It has been around a long time. Jeff cleaned it up in 2017 and I have had it sitting here since then. I am finally getting around to working on it. It is stamped on the underside of the shank and reads Warwick [over] Made in London England. There is a shape number 1 next to the stem/shank junction. It is a sandblast billiard. The stamping and the shape name and number make me wonder about a connection to Sasieni but I am not certain of that. The bowl was heavily caked and the sandblast on the rim top was almost filled in with the lava overflow. It appeared that there was damage on the rim top as it was no longer flat looking. That would become more clear as it was cleaned up. The sandblast around the bowl and shank was dirty and filled with debris and dust. There was also darkening around the briar from hand oils. The stem was oxidized, calcified and had tooth marks on the top and underside near the button. Jeff took photos of the pipe before he started the clean up work.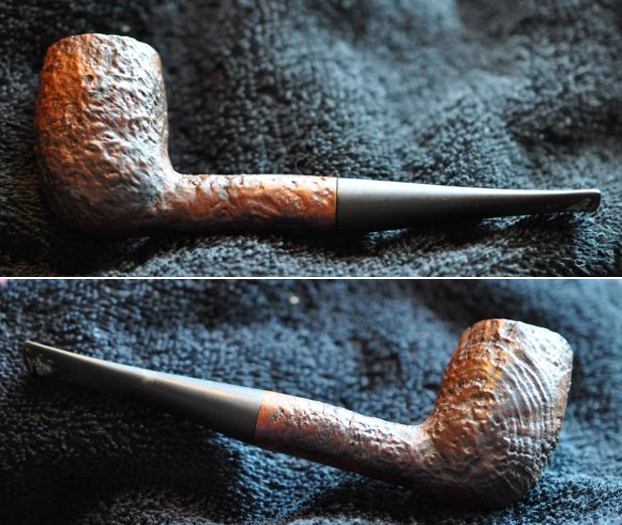
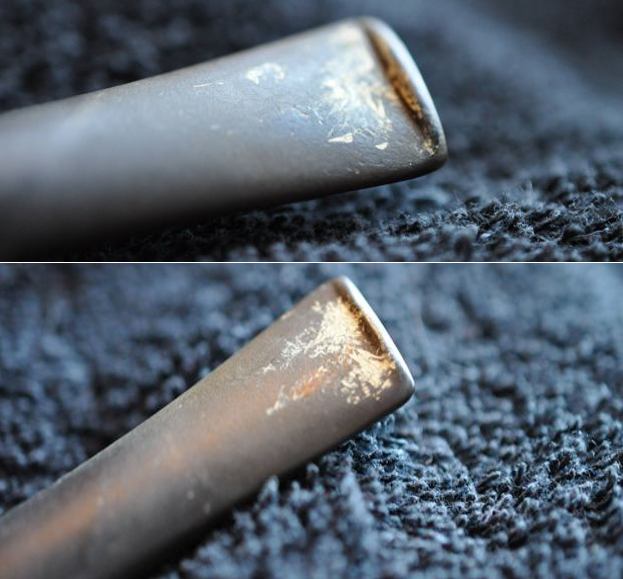
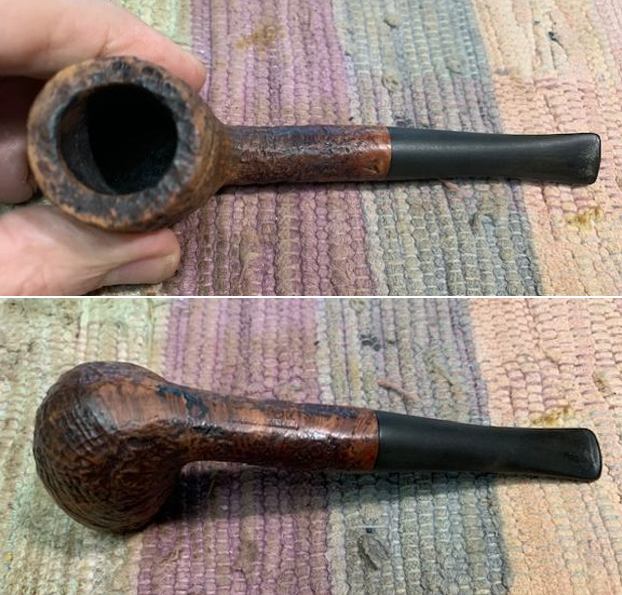
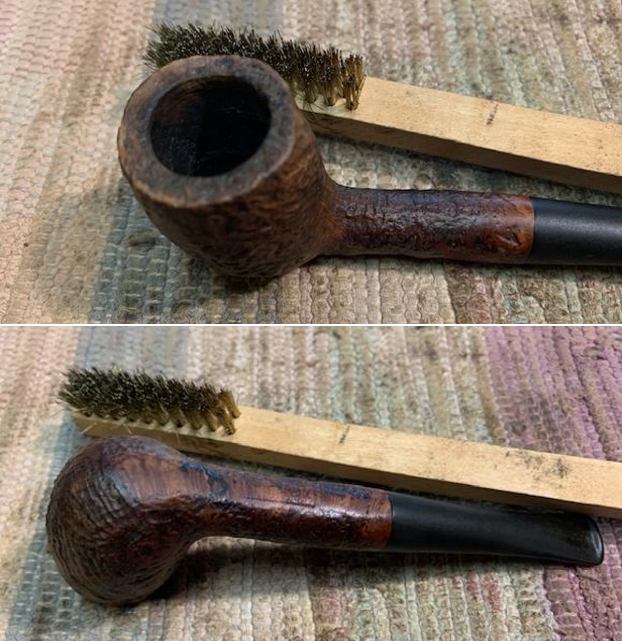
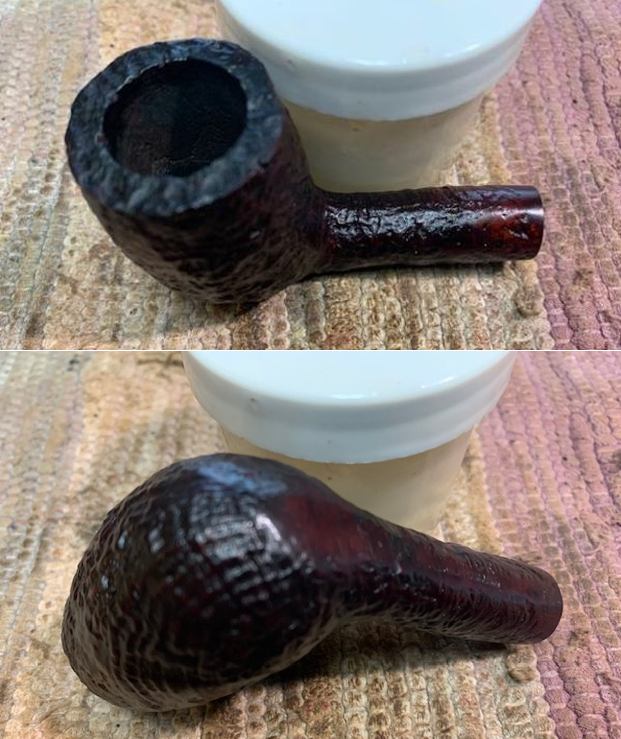
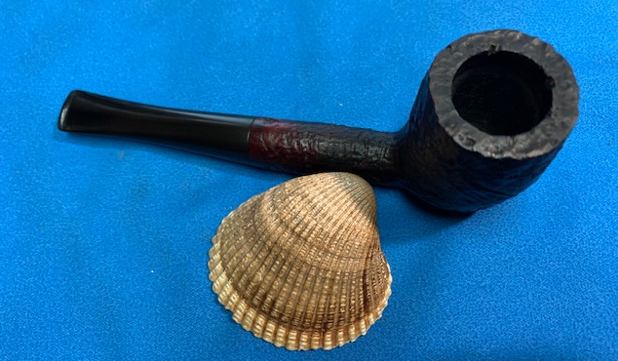
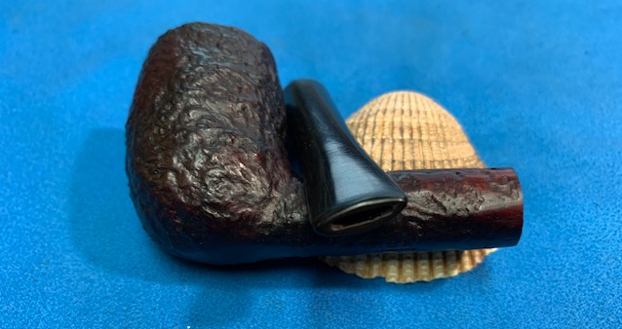
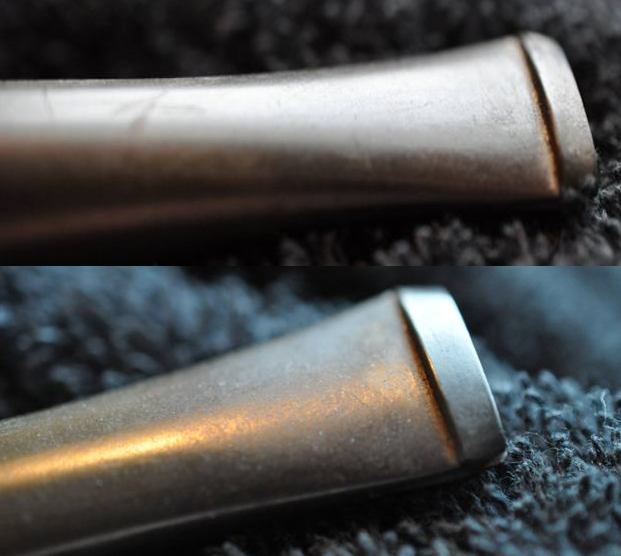
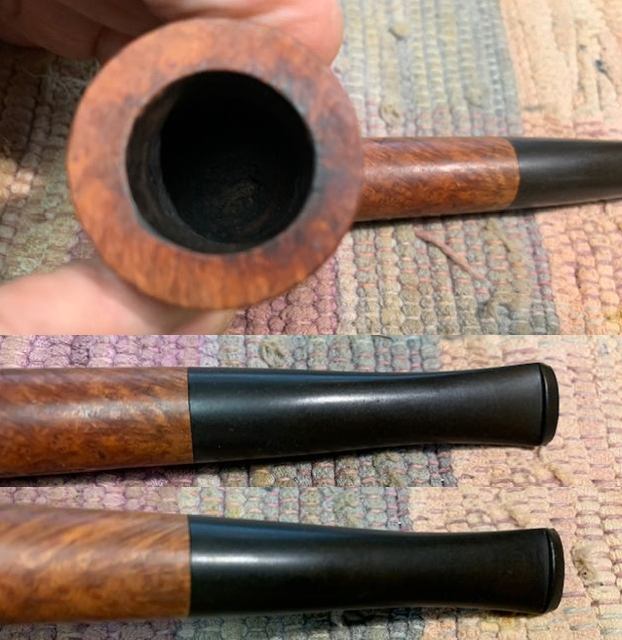
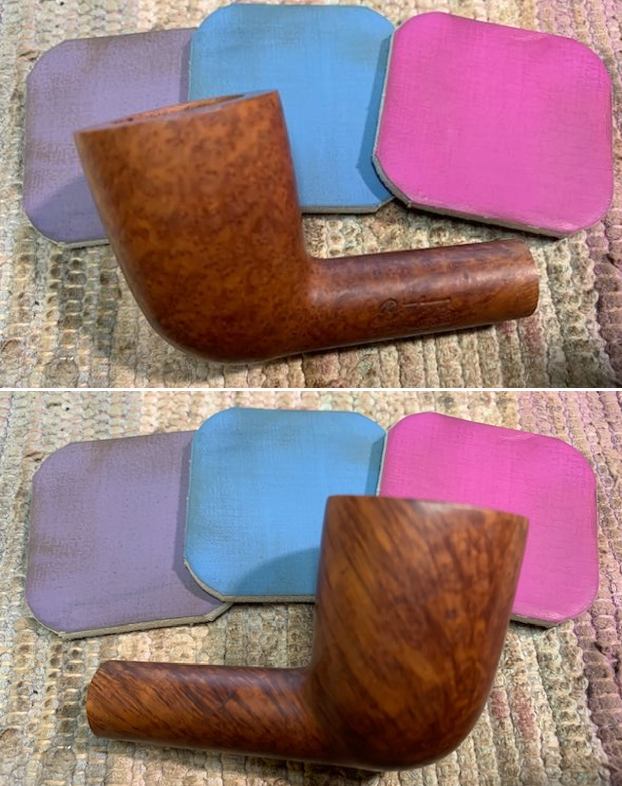
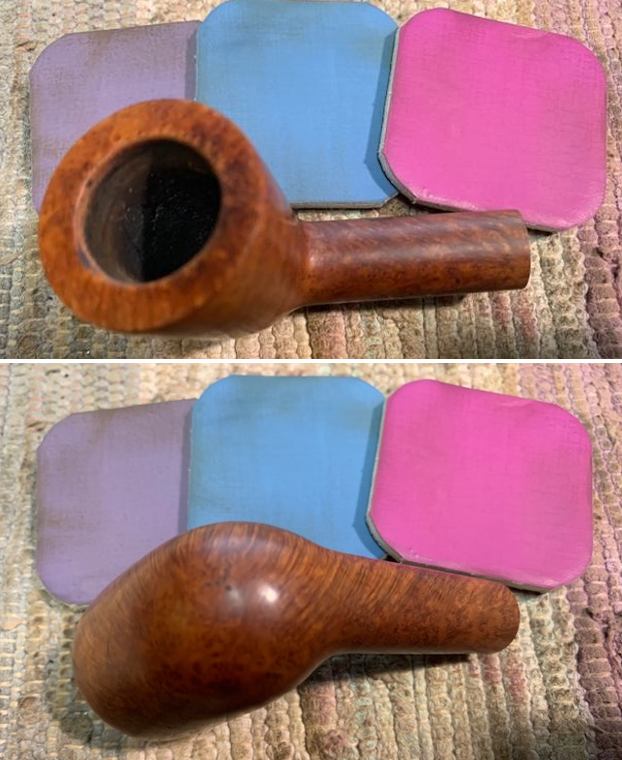
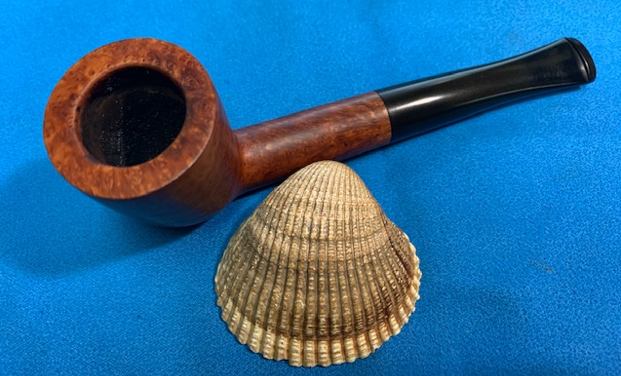
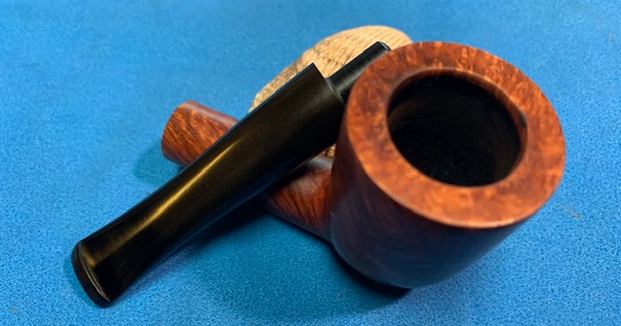
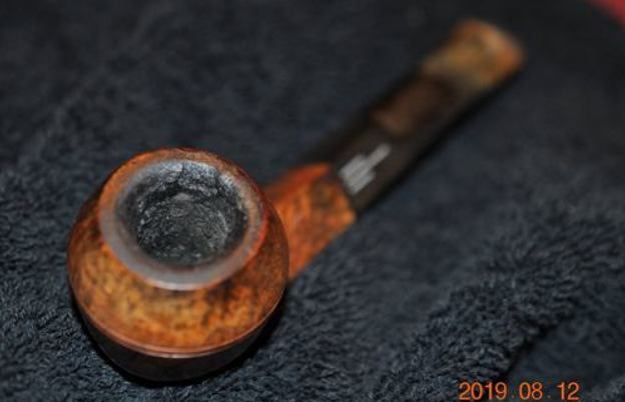
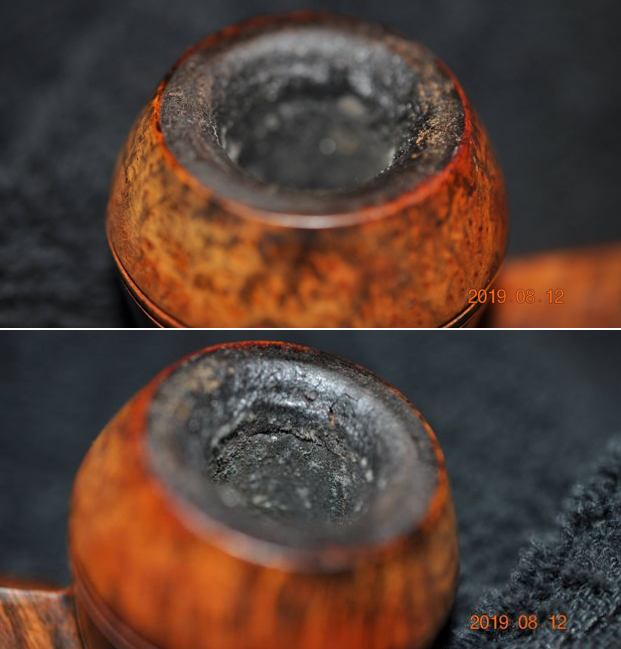
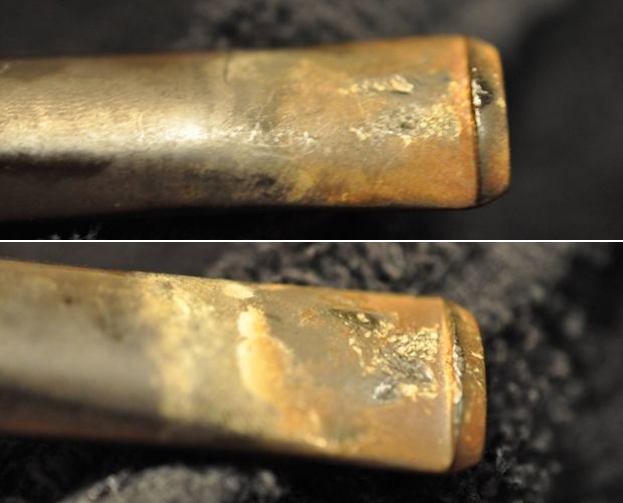
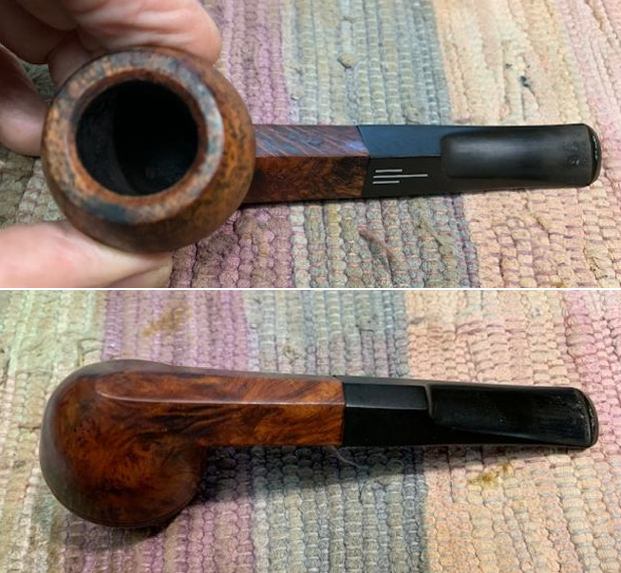
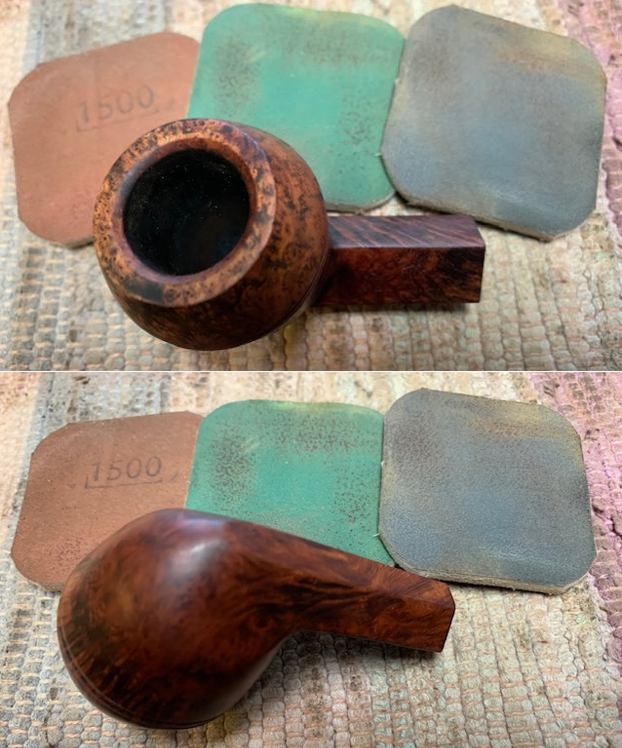
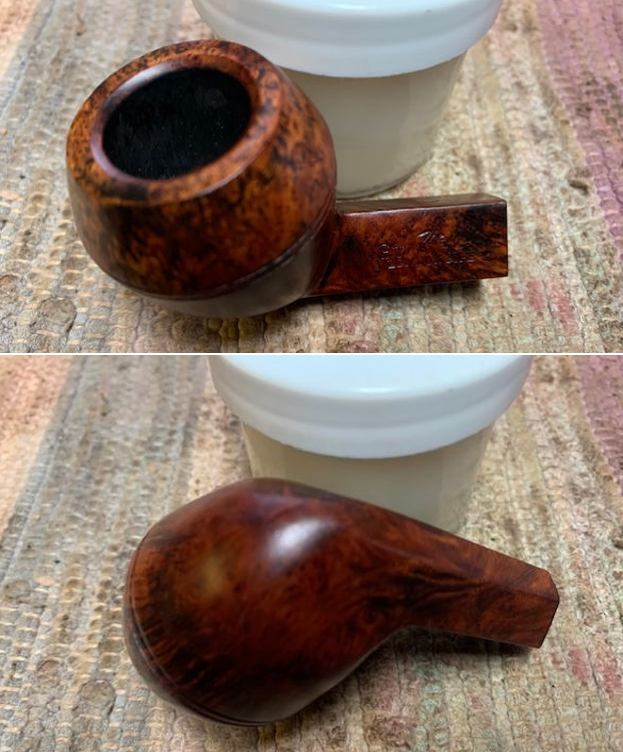
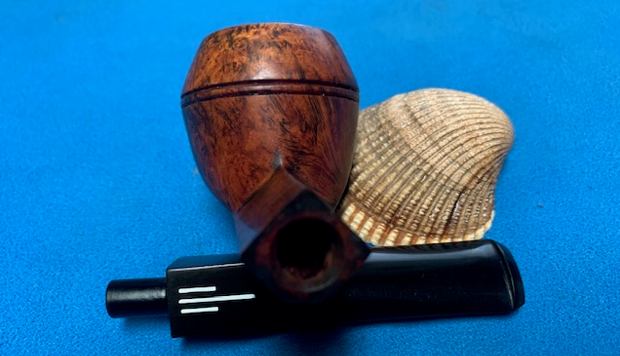
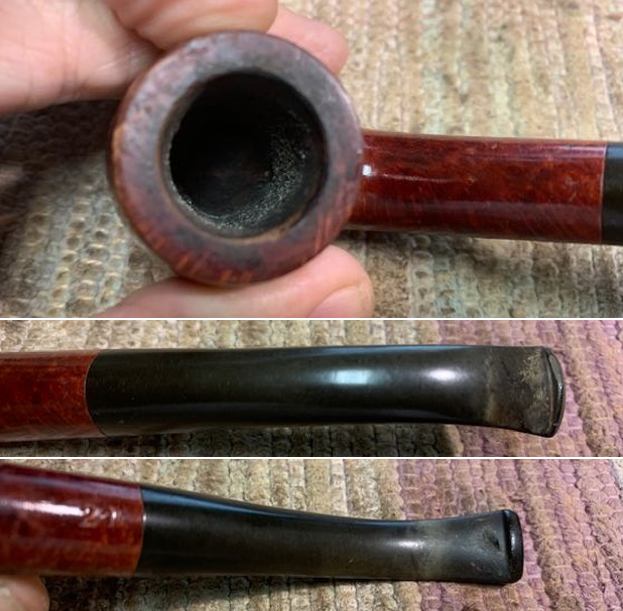
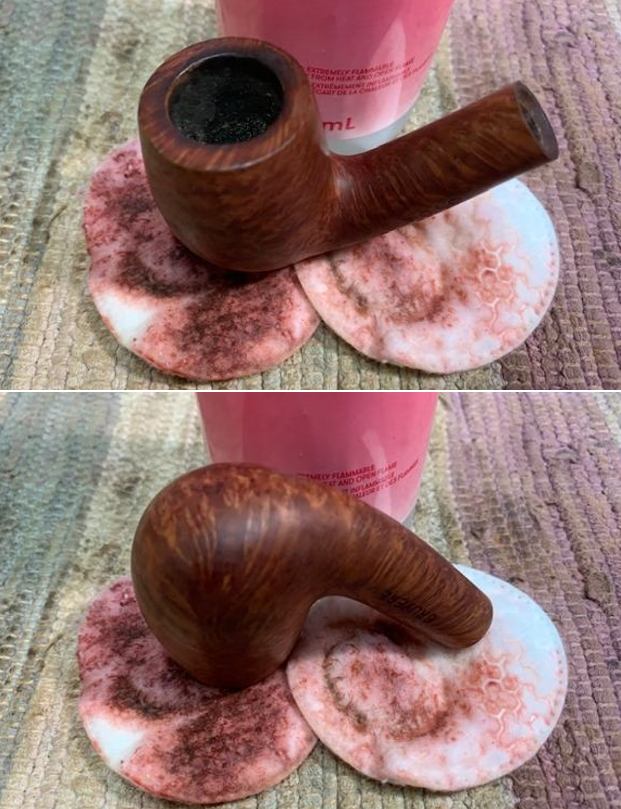
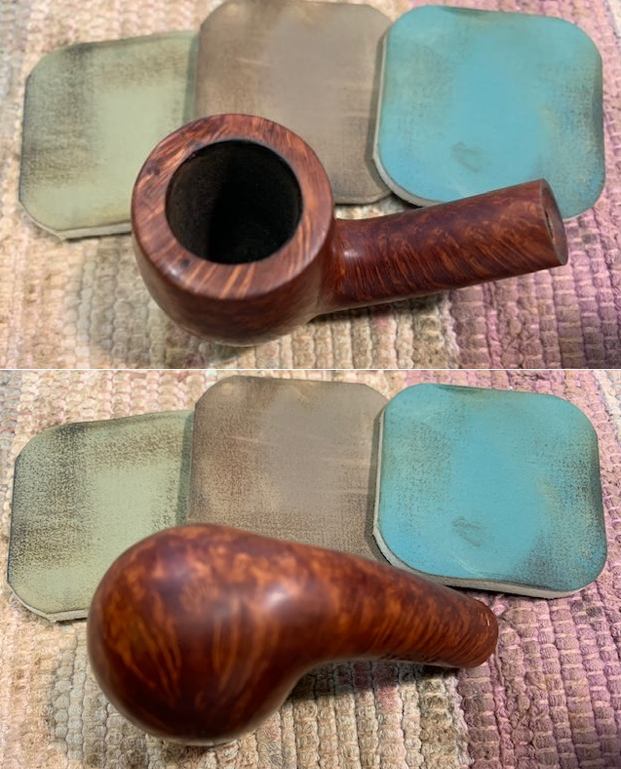
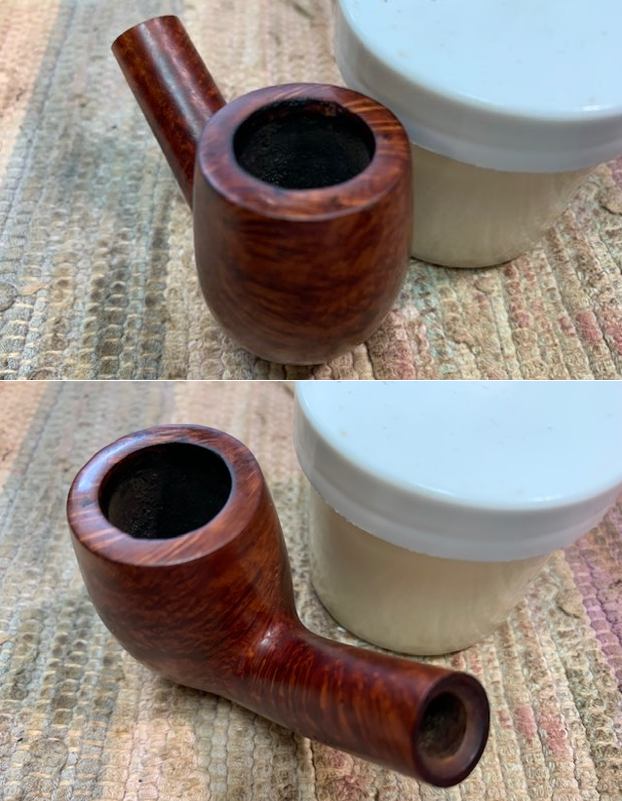
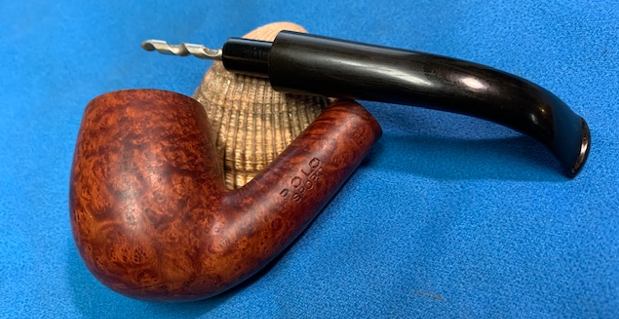
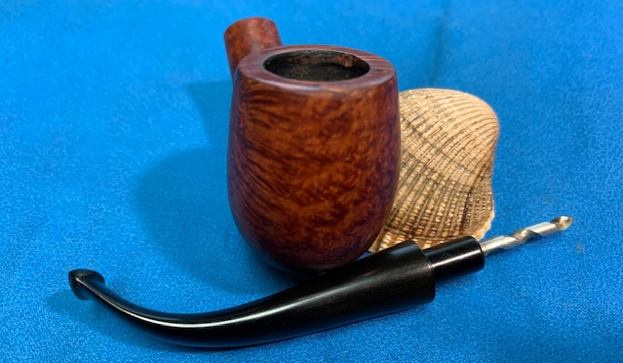
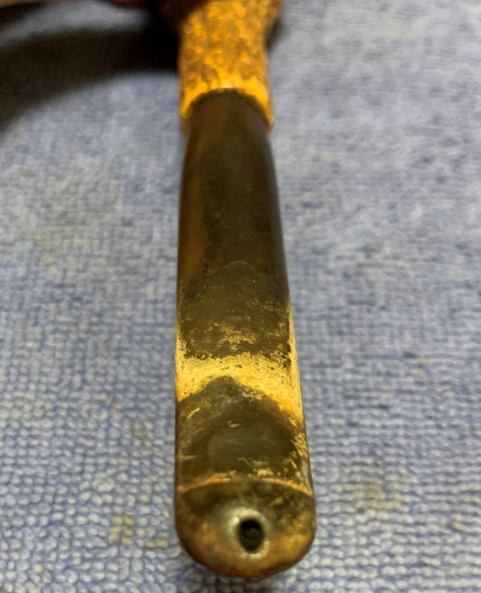
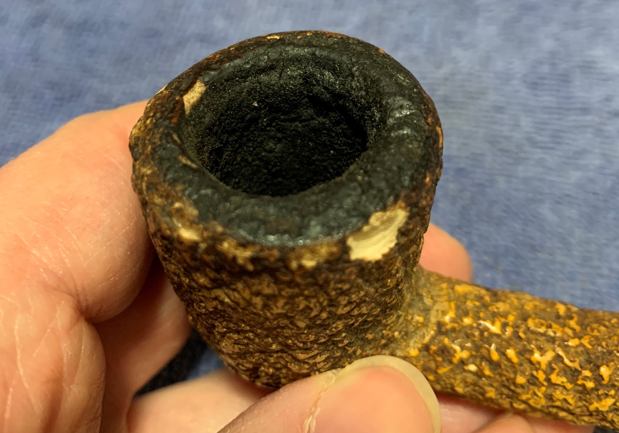
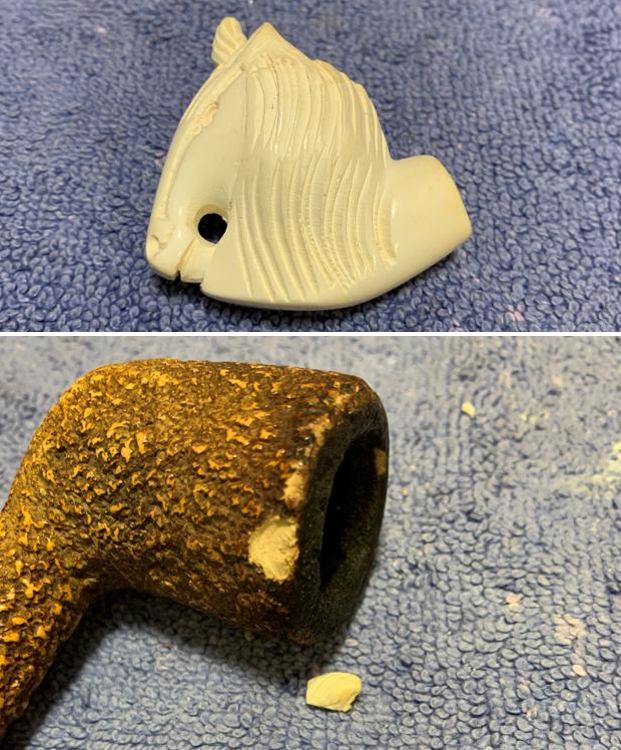
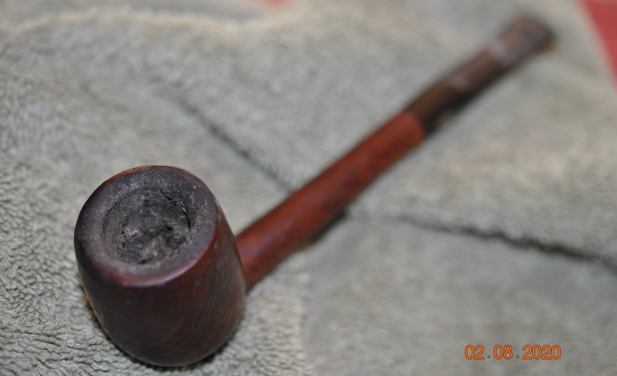
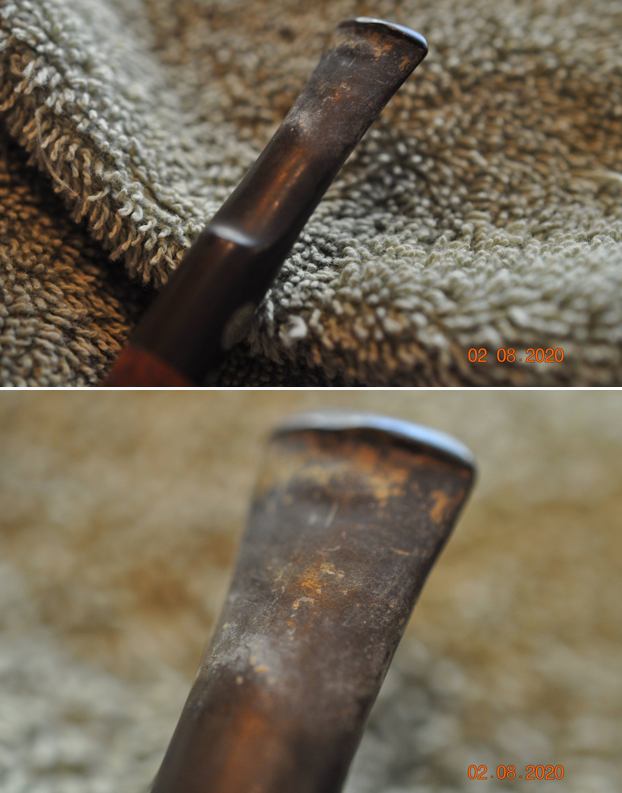
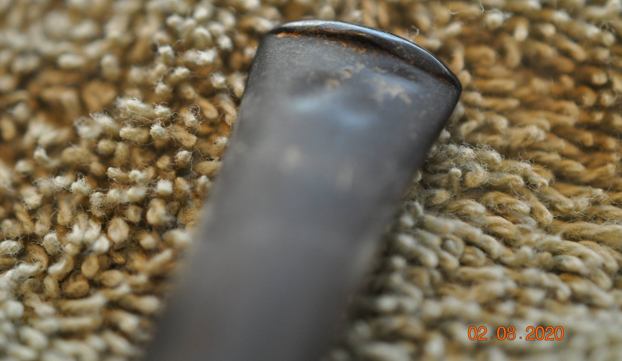
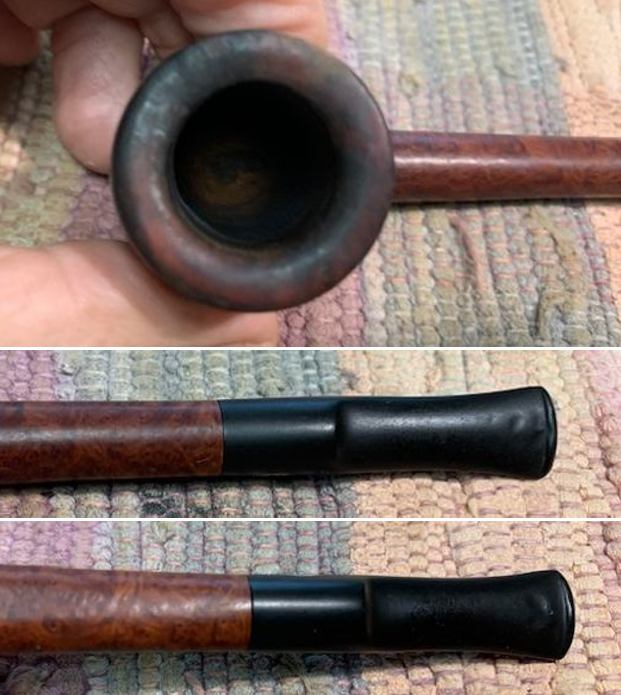
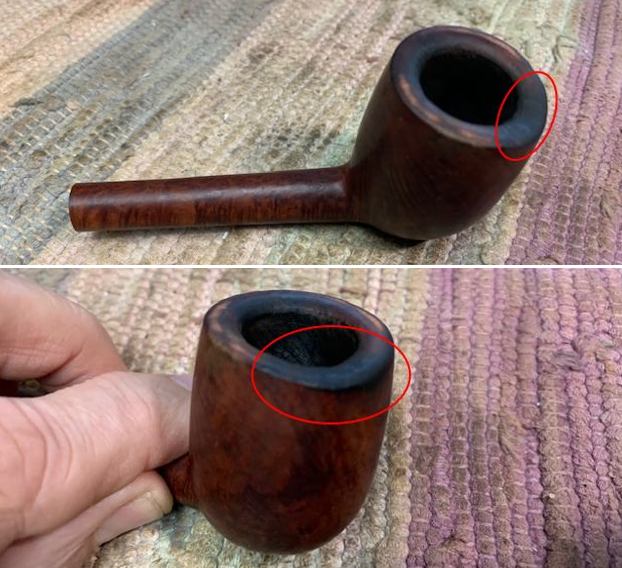
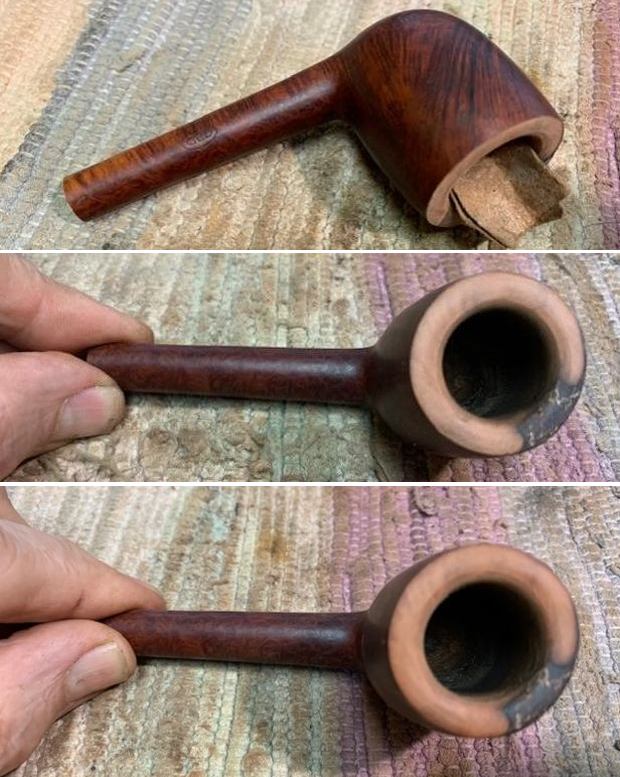
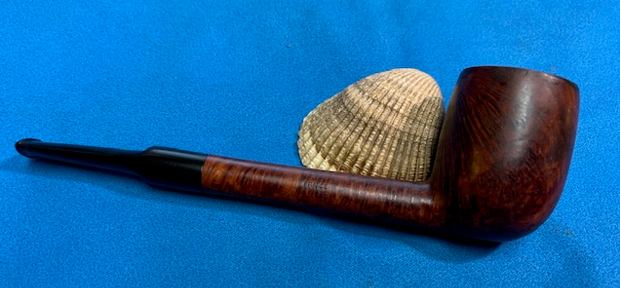
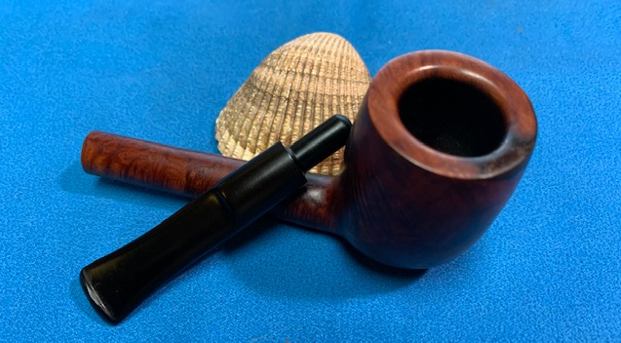
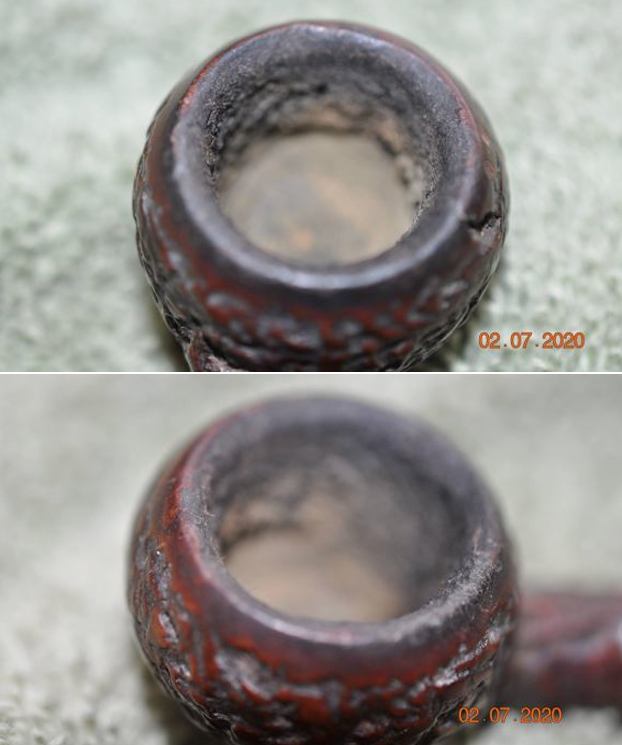
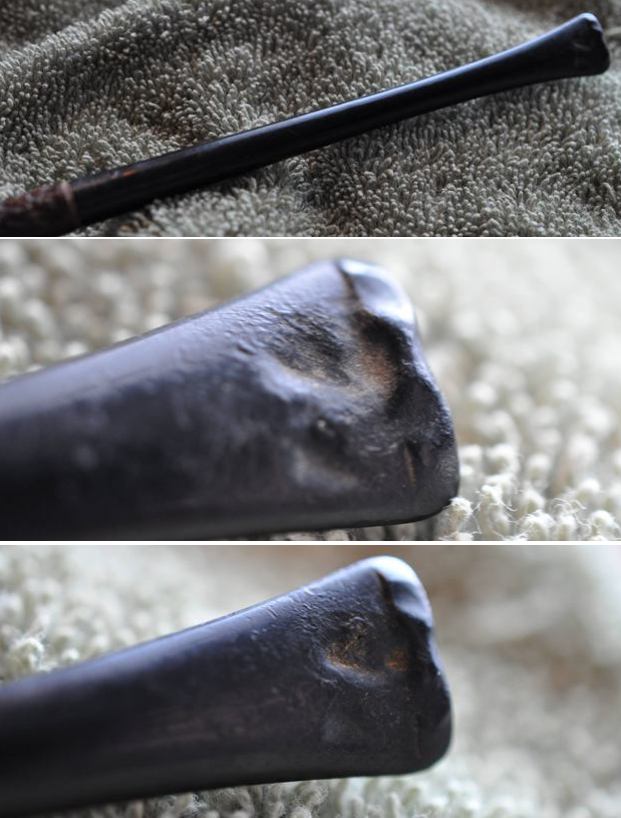
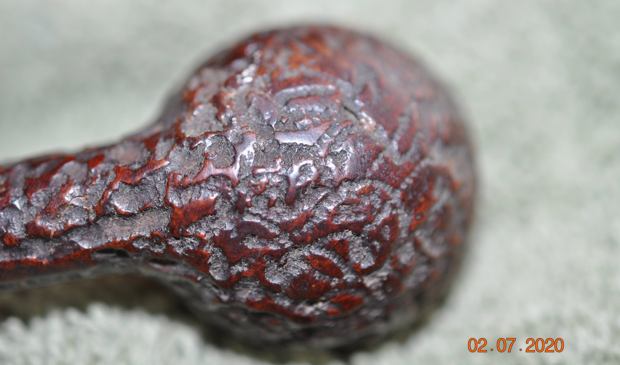
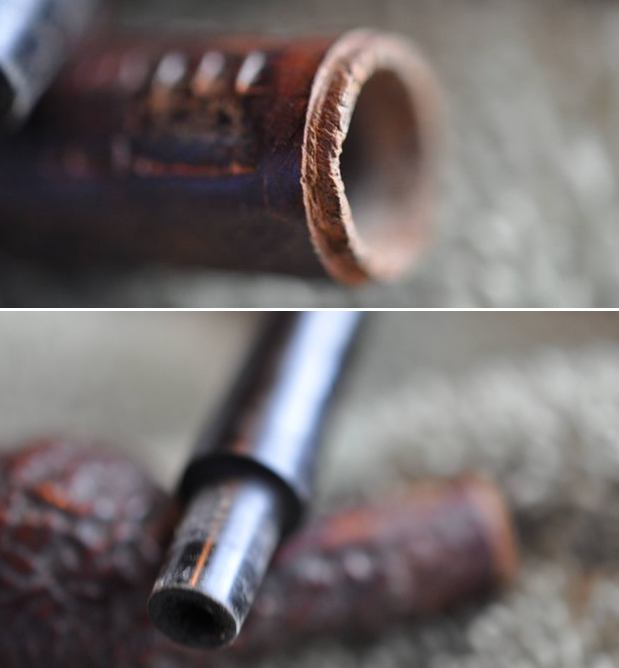
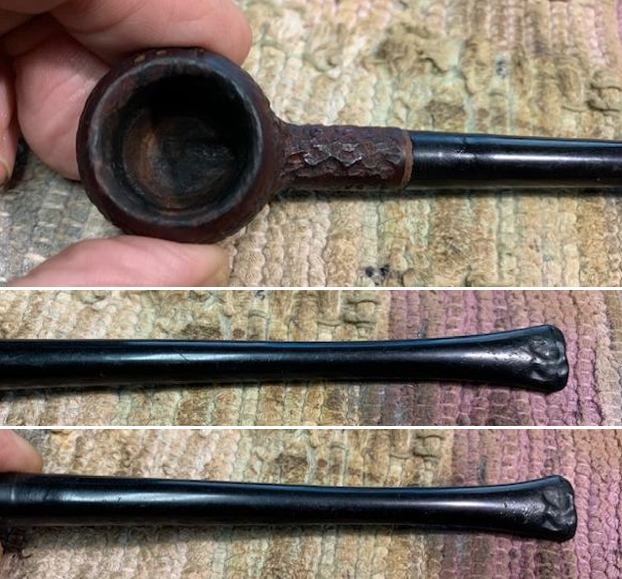
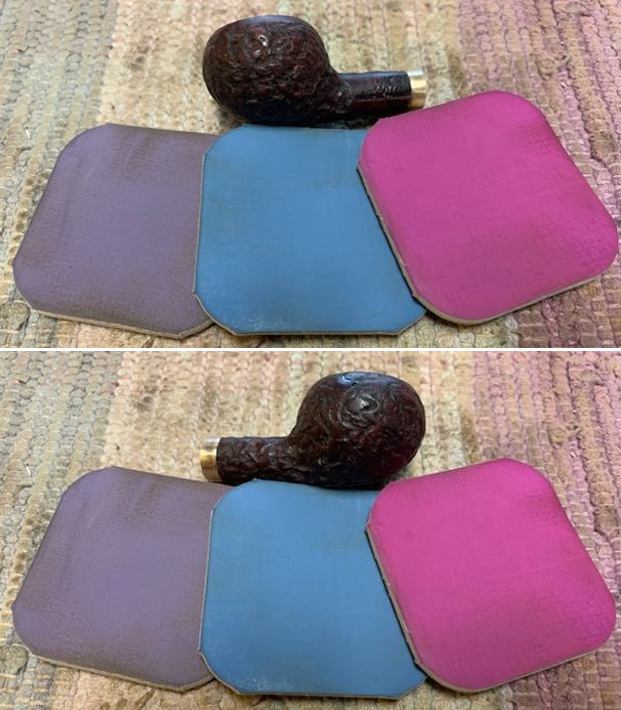
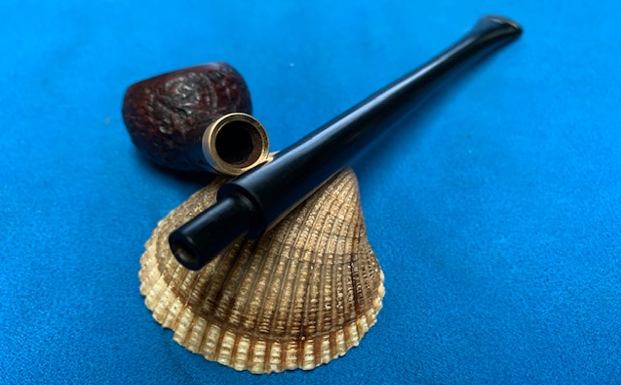
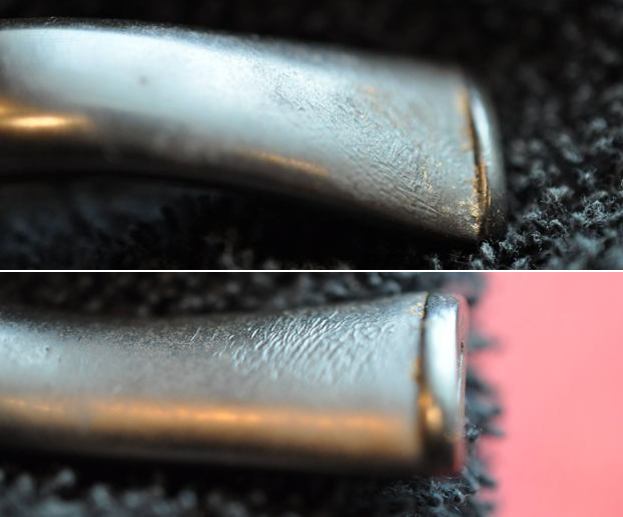
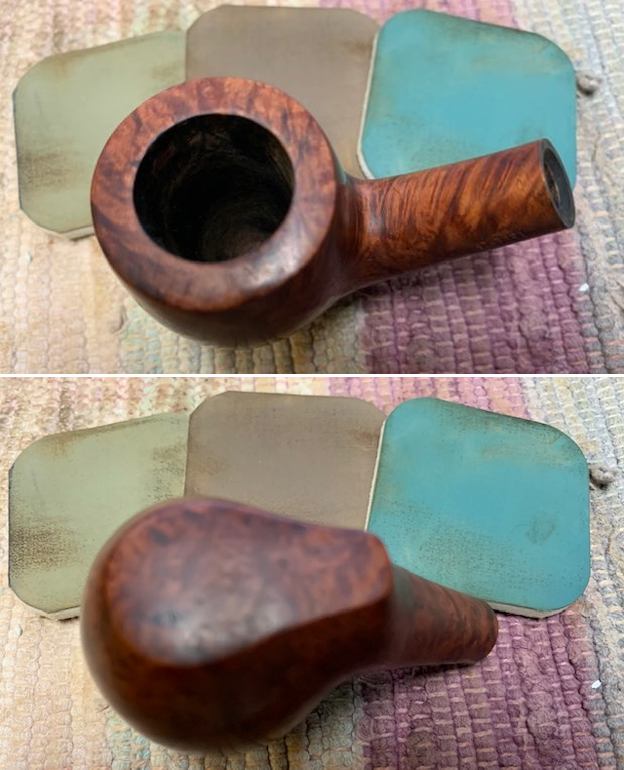
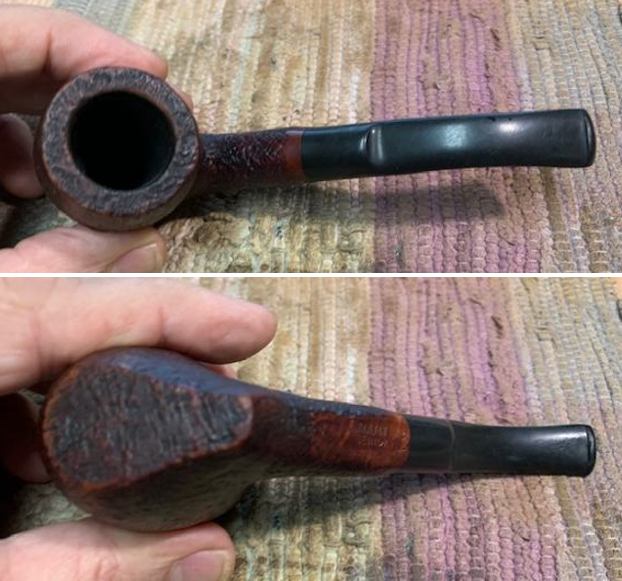
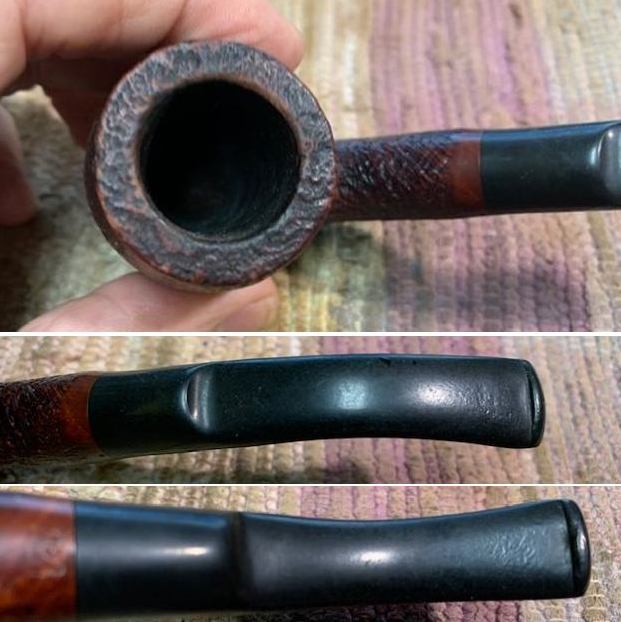
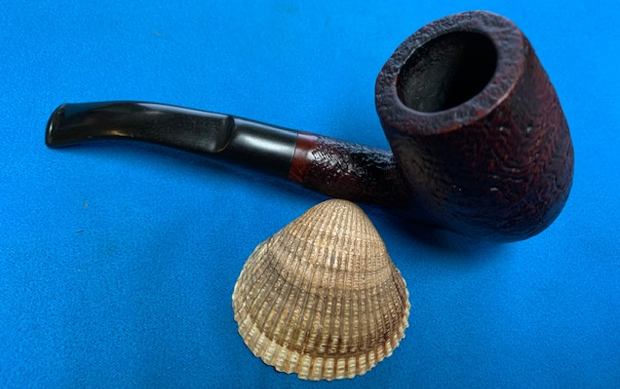
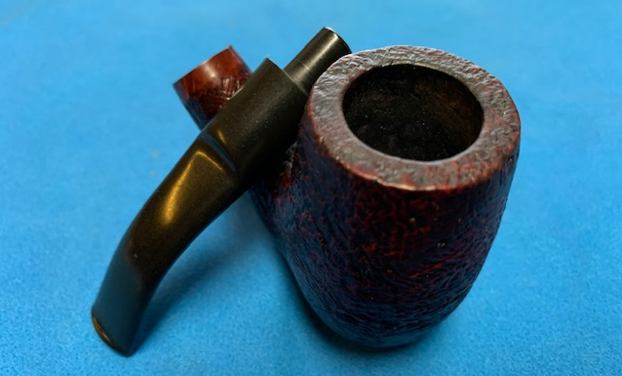
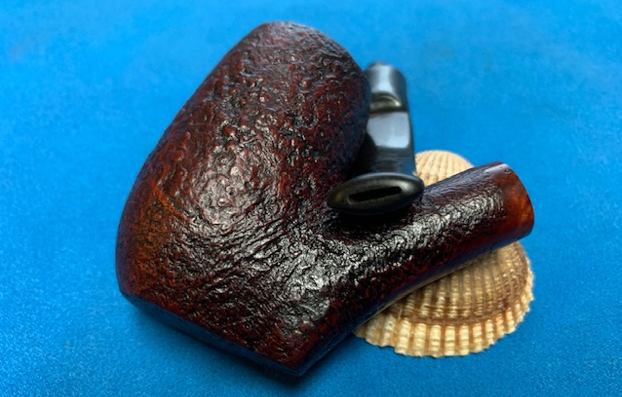
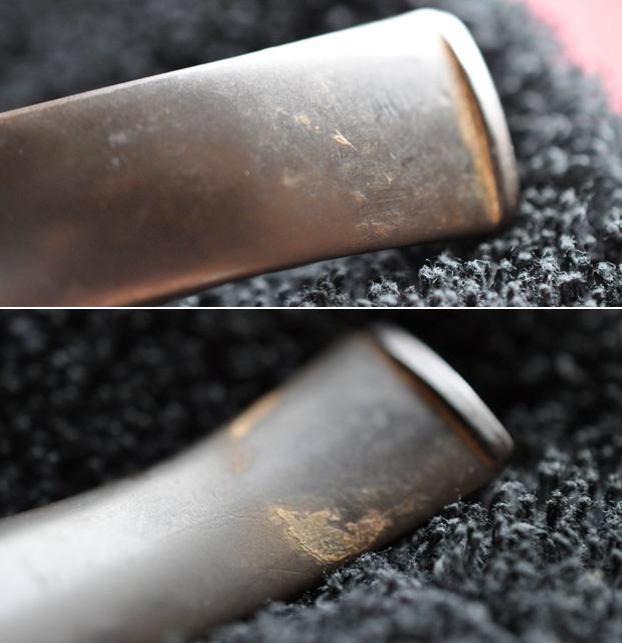
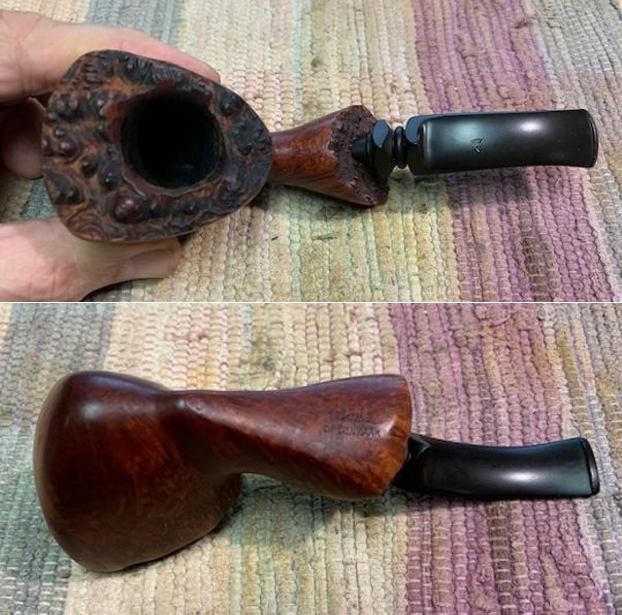
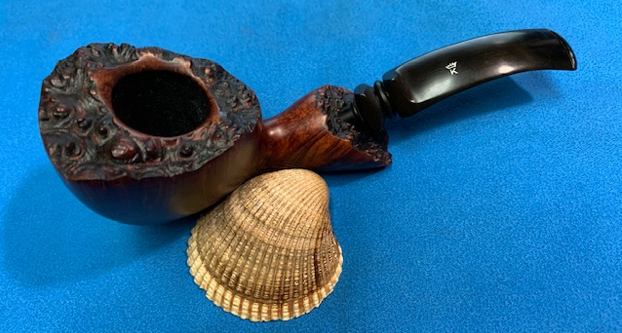
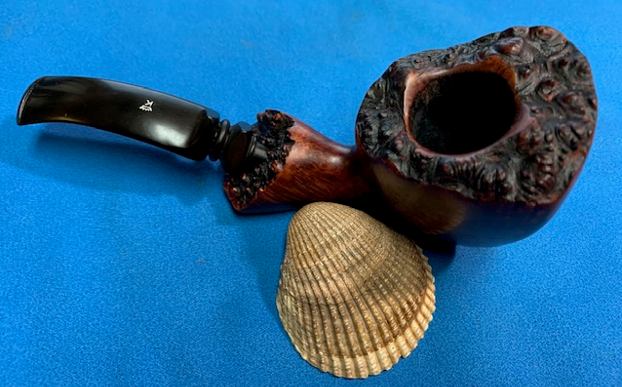
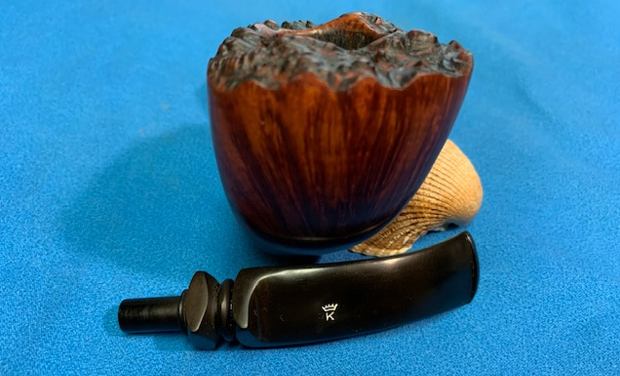
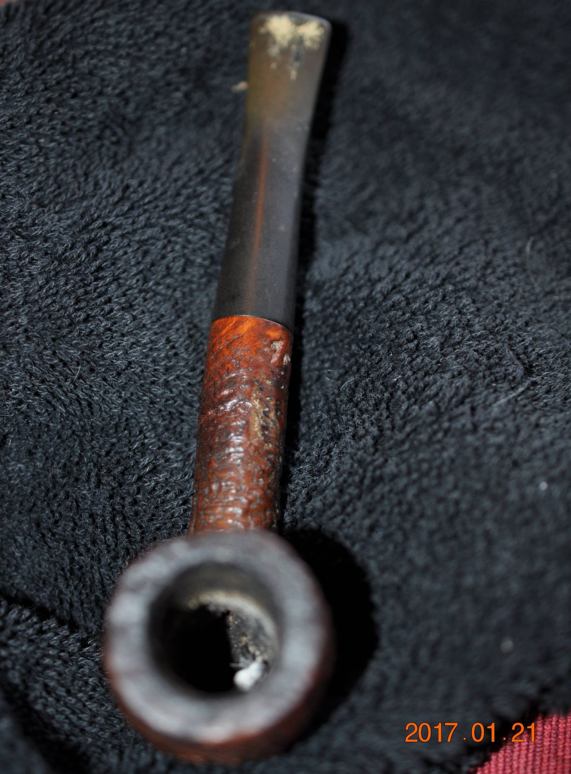 He took photos of the rim top and stem to give a feel for the overall condition of the pipe before he started. You can see the thick lava coat filling in the rim top but you can also see the unevenness of the top of the bowl and the edges. There is some definite damage under the grime. The stem is oxidized, calcified and has tooth chatter and marks on the top and the underside of the stem near the button.
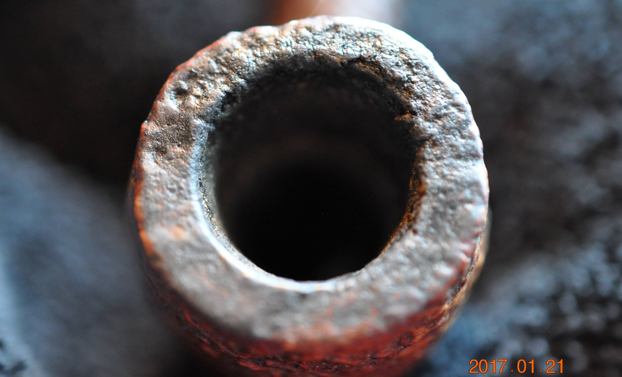
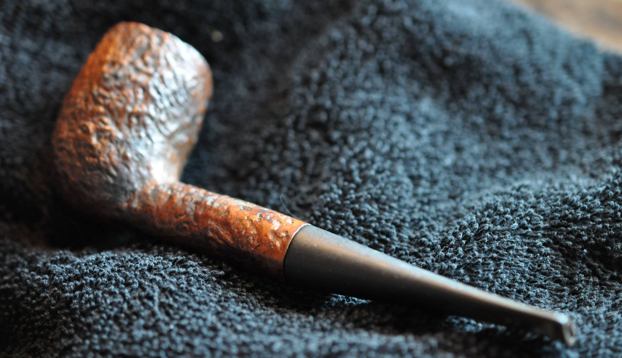
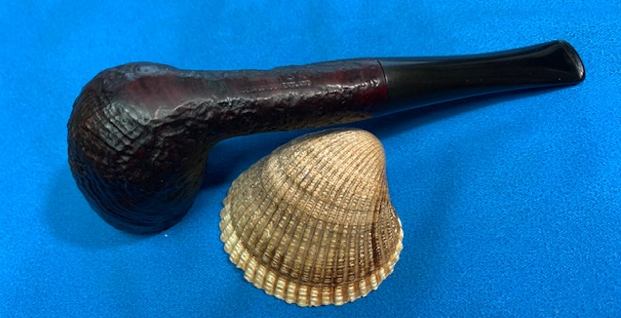
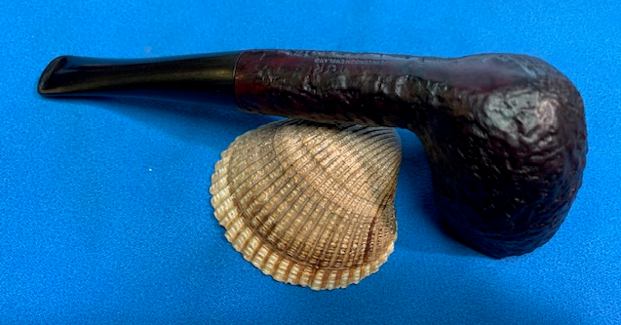
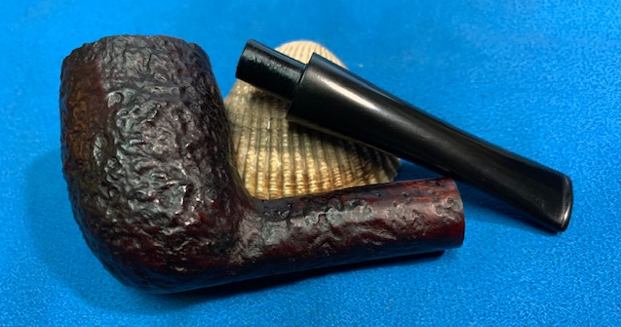
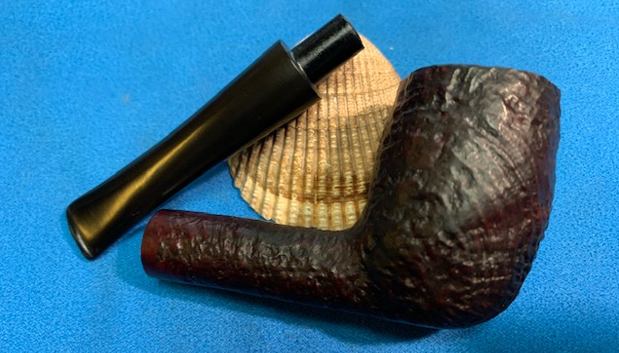
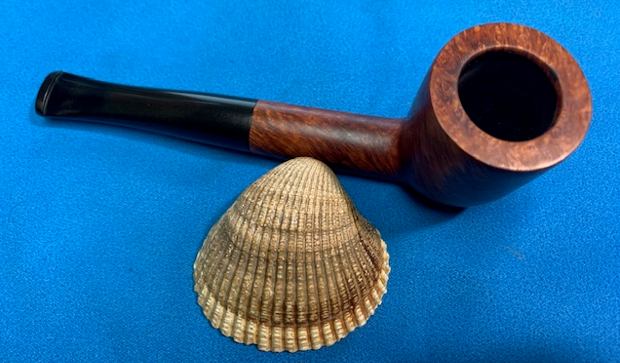
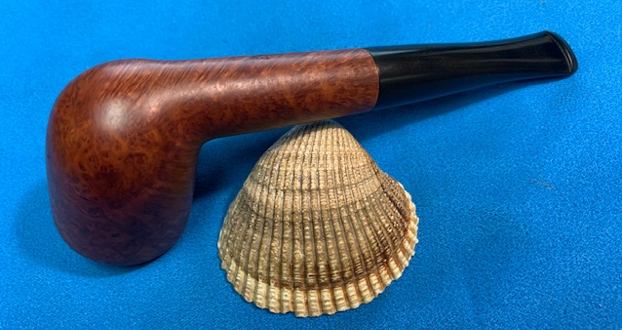
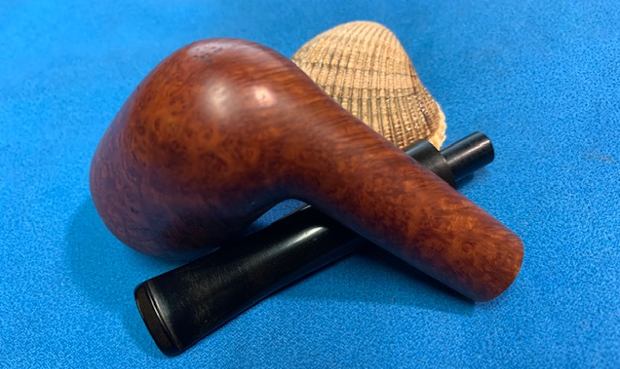
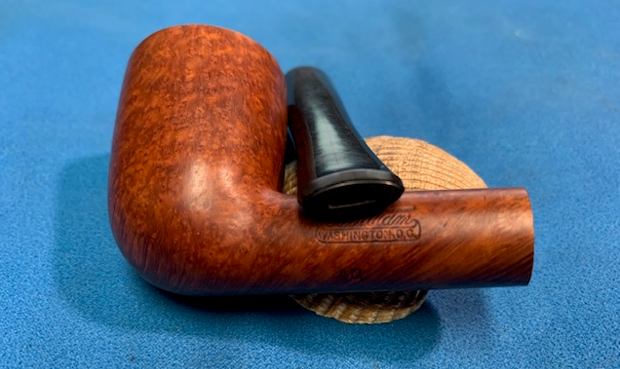
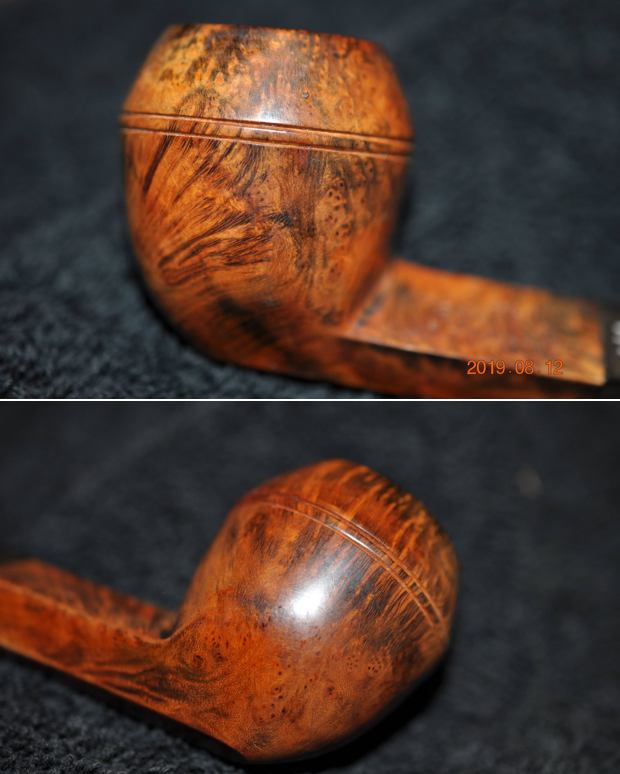
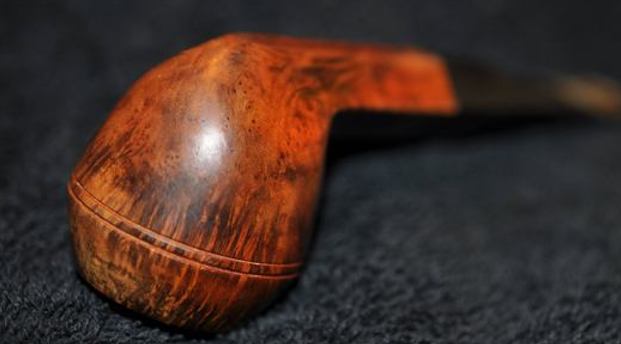
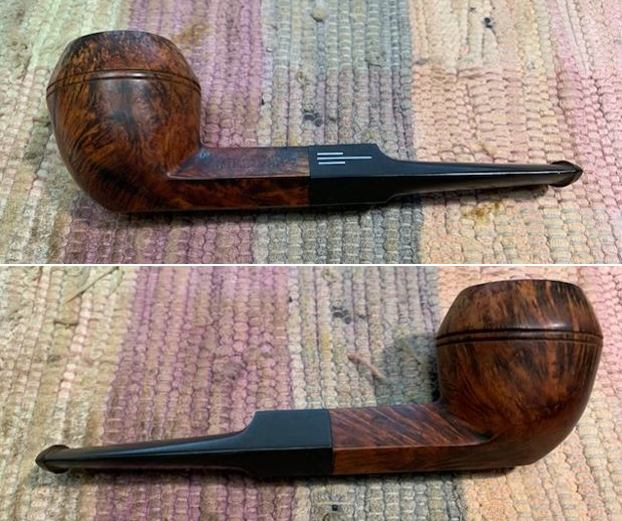
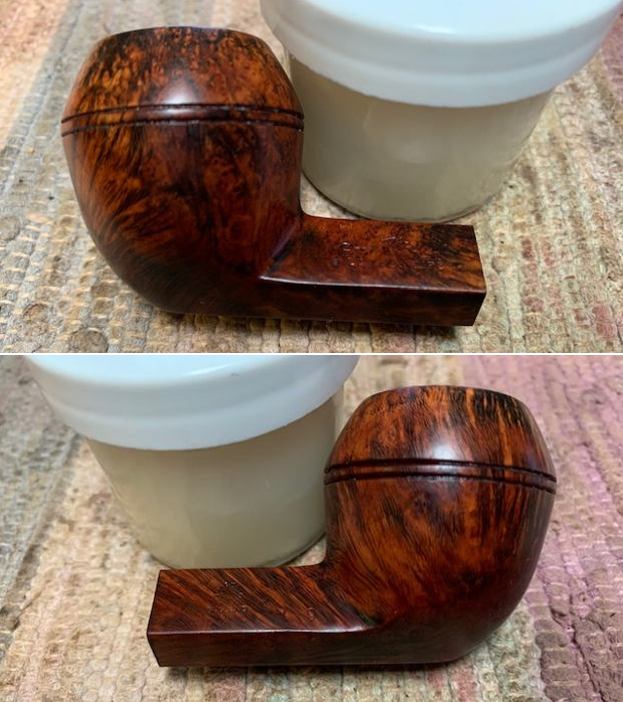
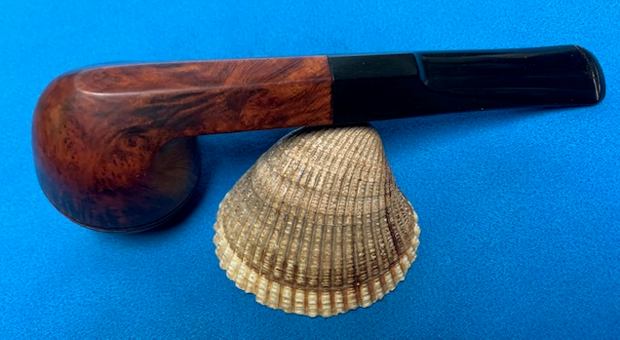
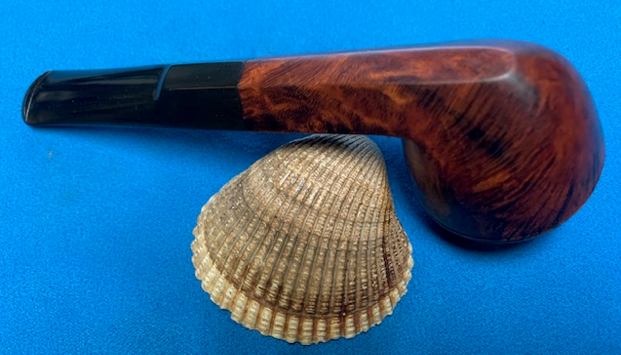
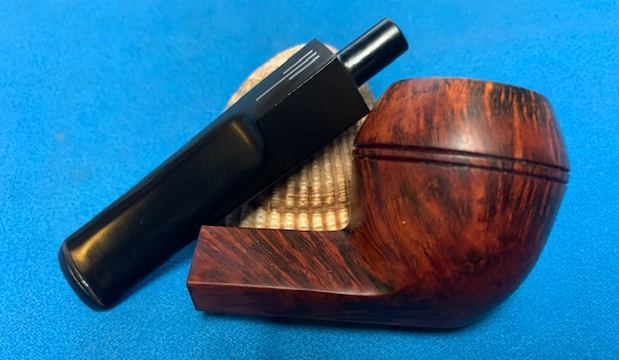
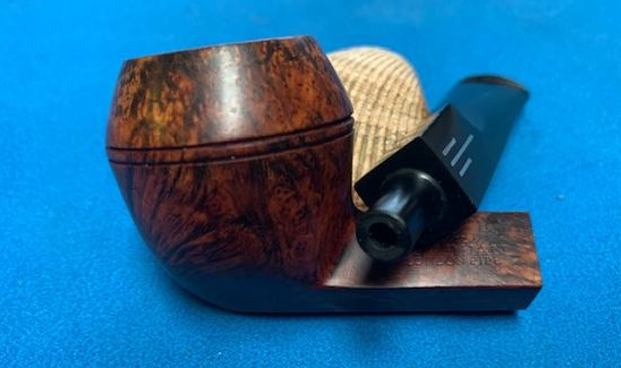
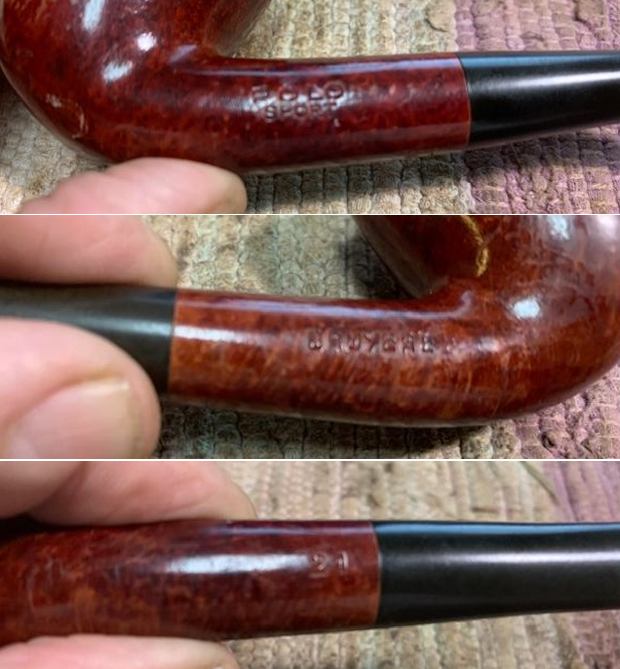
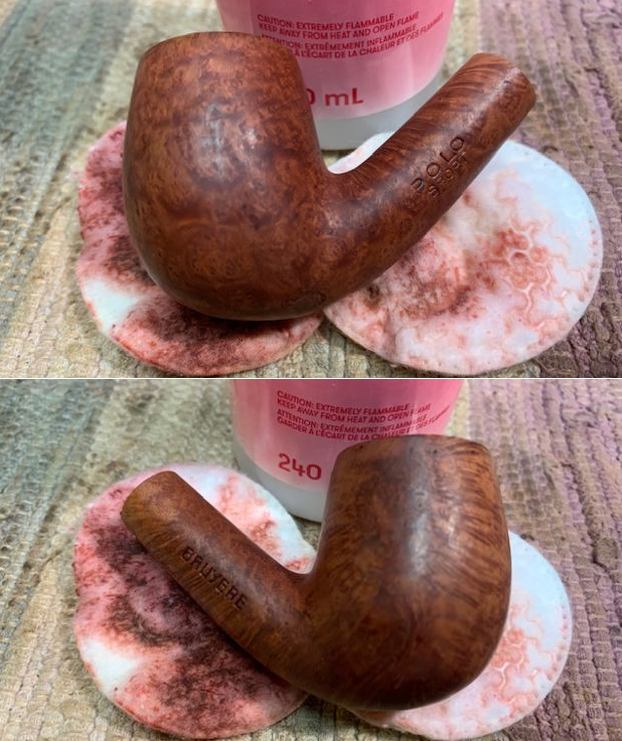
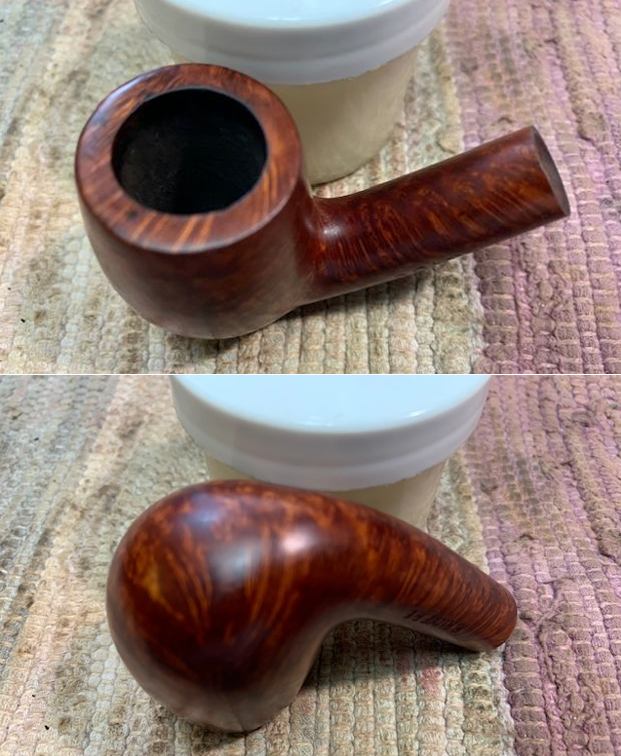
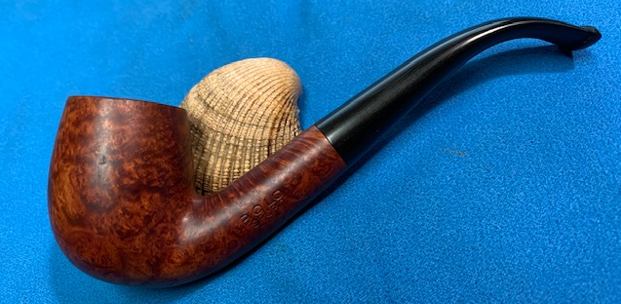
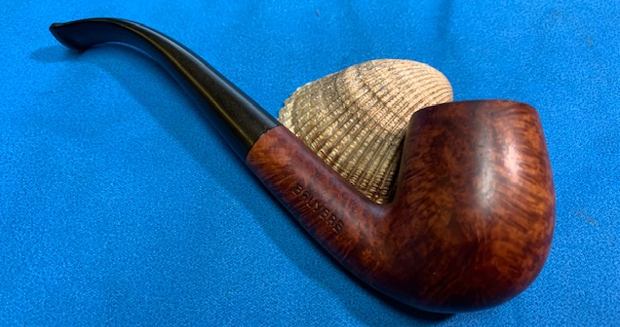
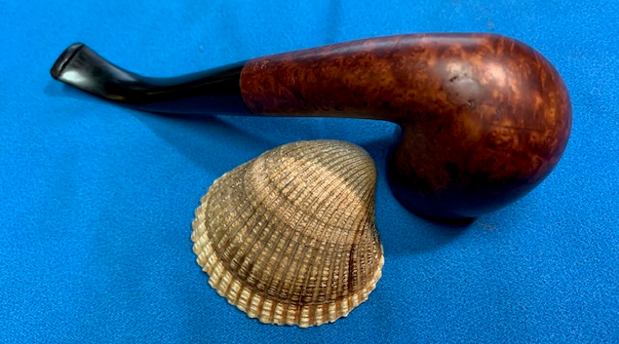
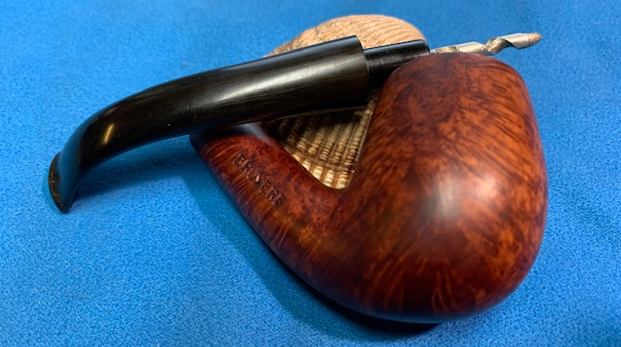
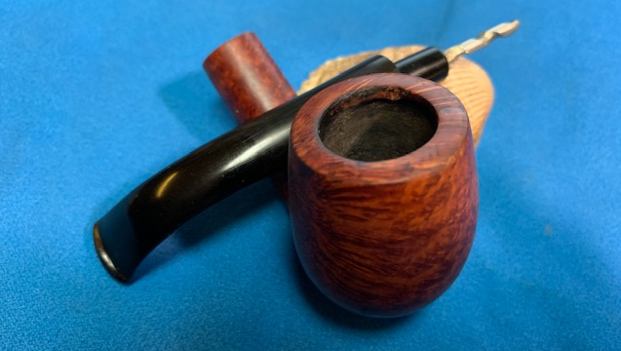
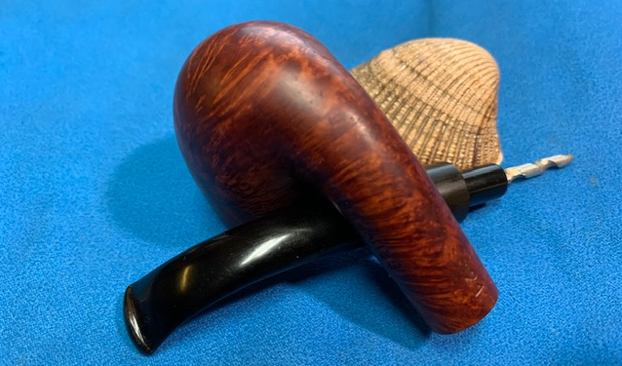
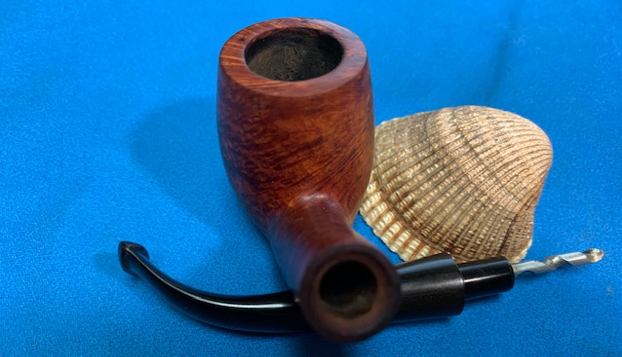
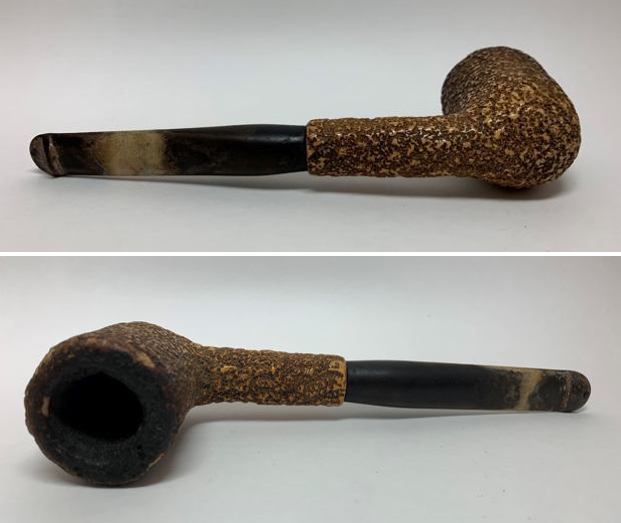
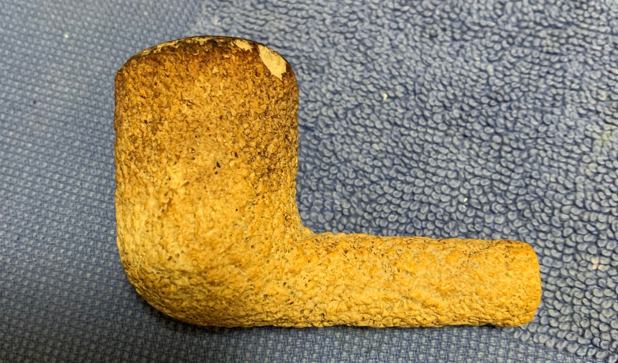
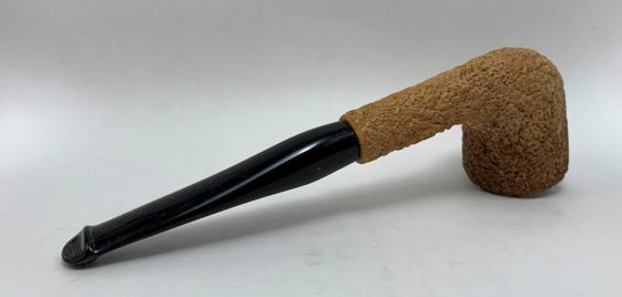
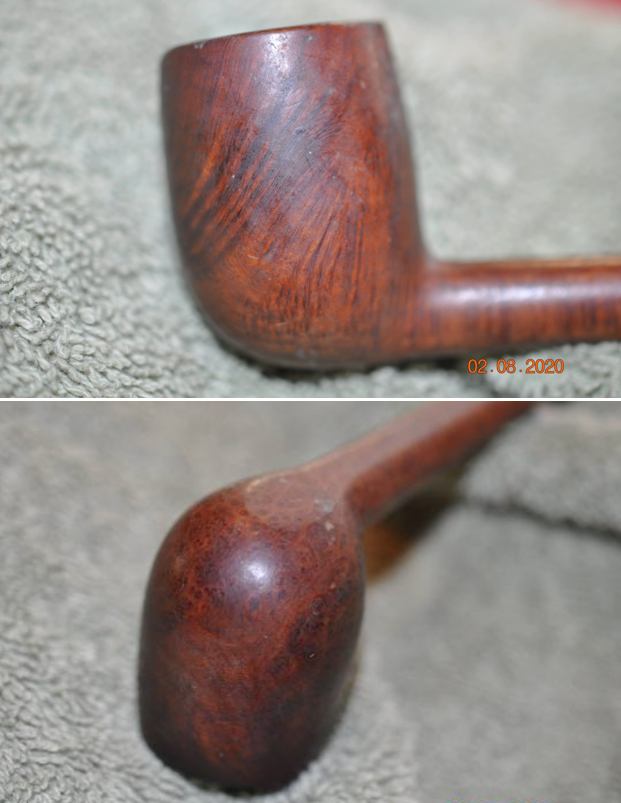
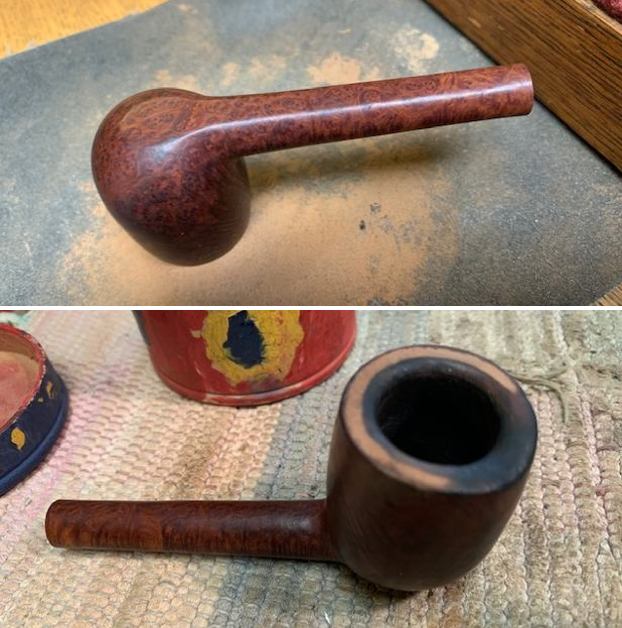
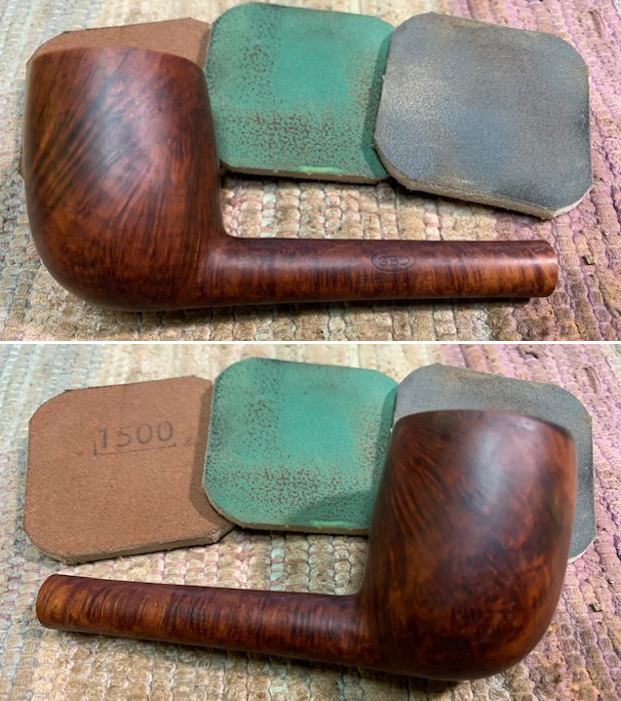
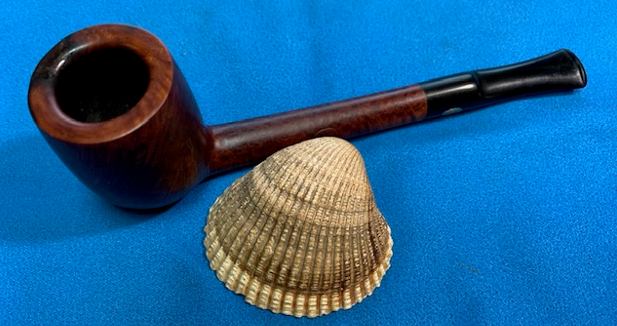
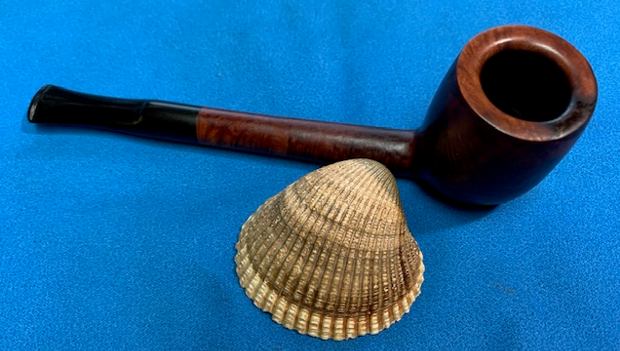
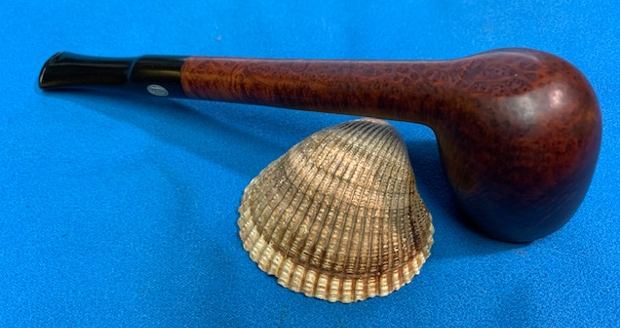
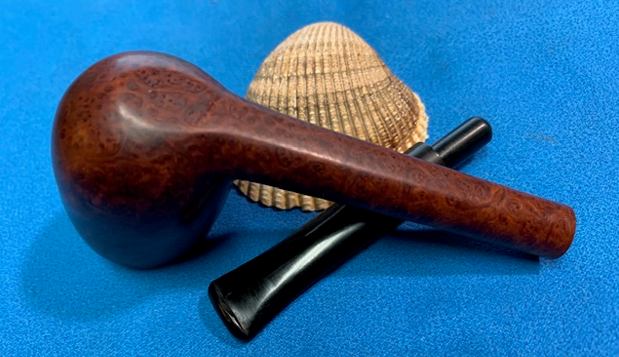
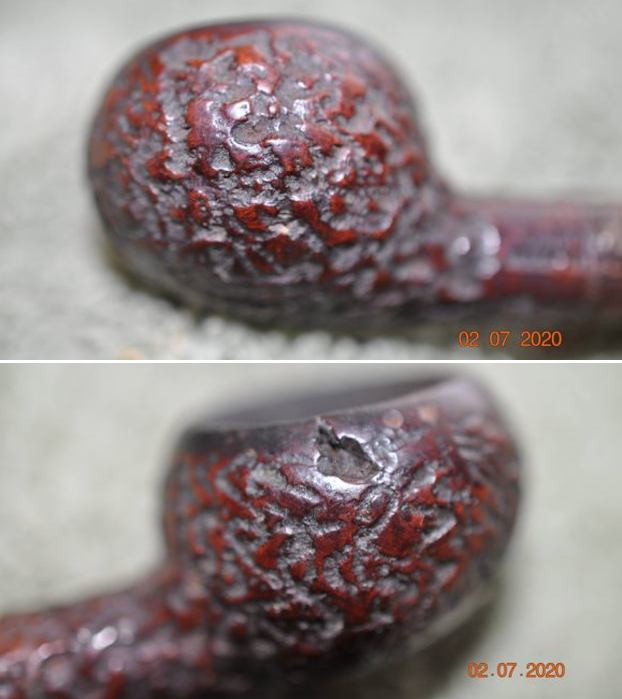
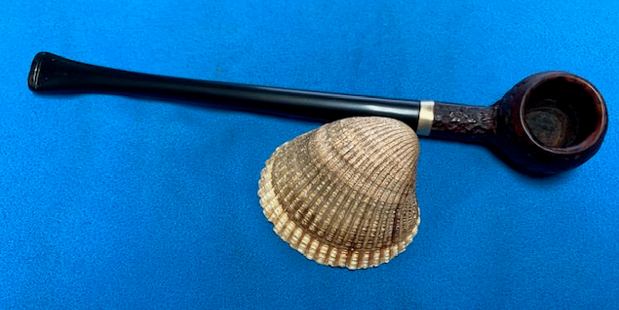
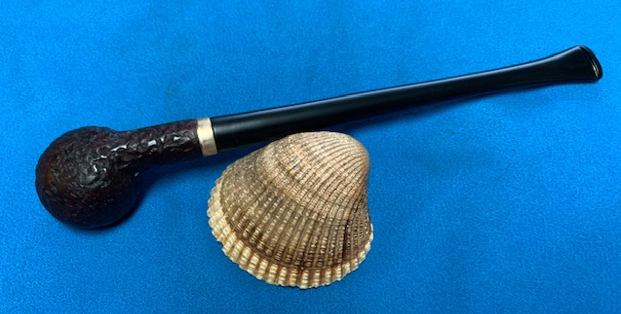
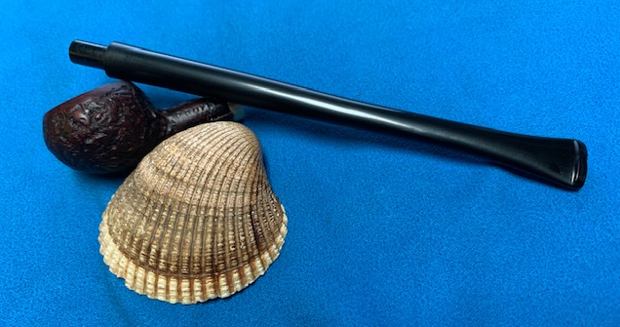
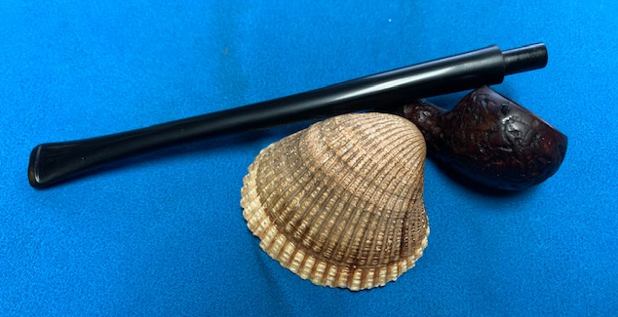
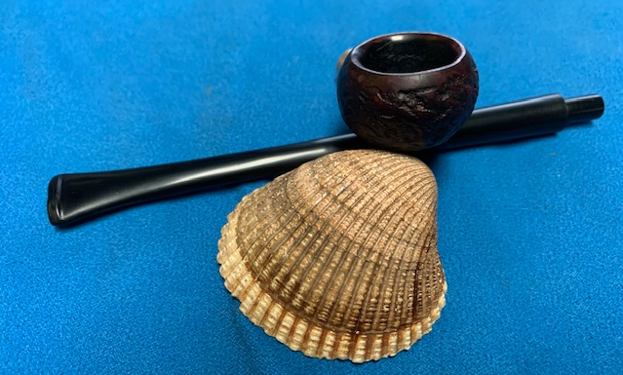
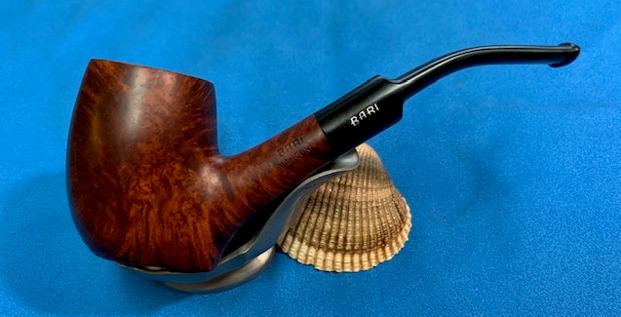
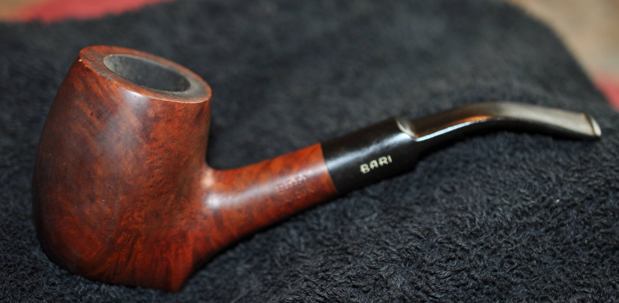
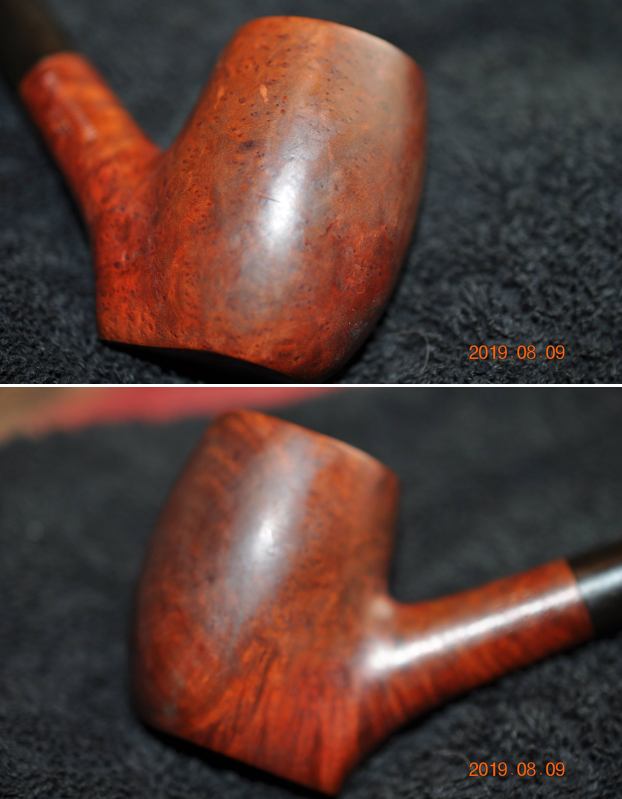
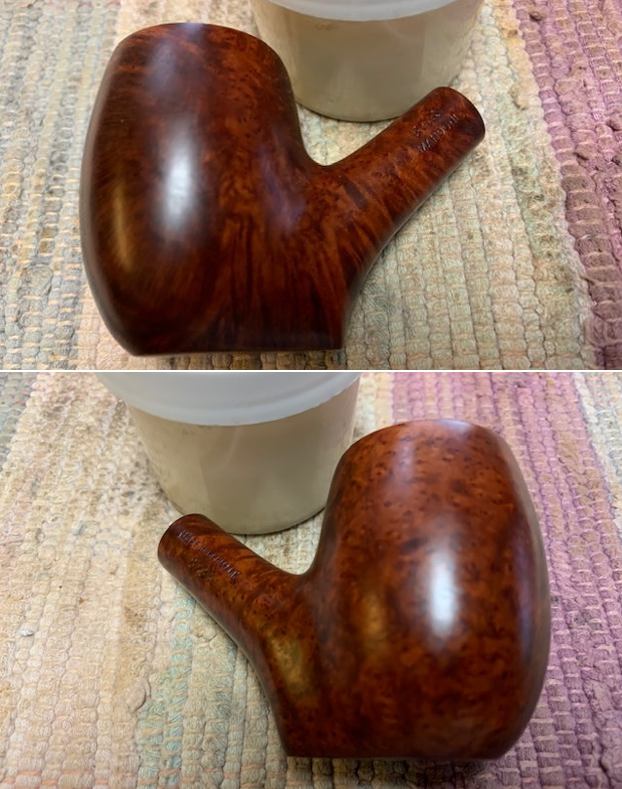
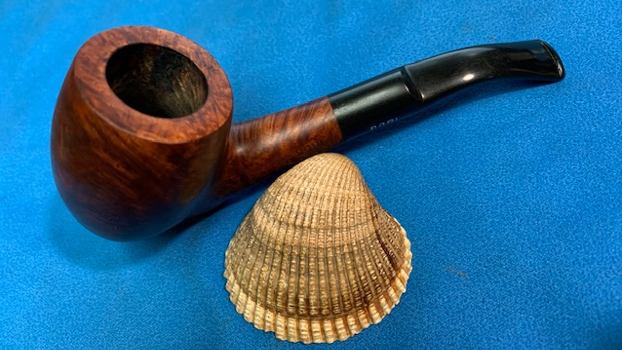
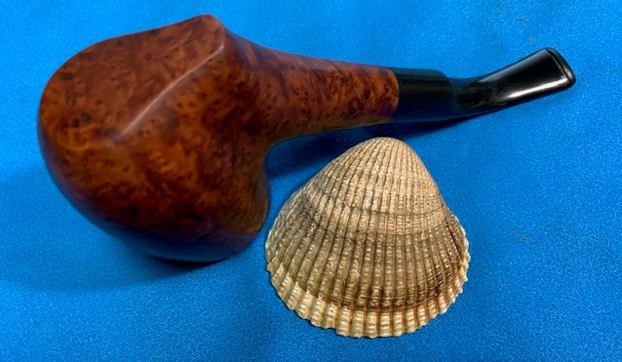
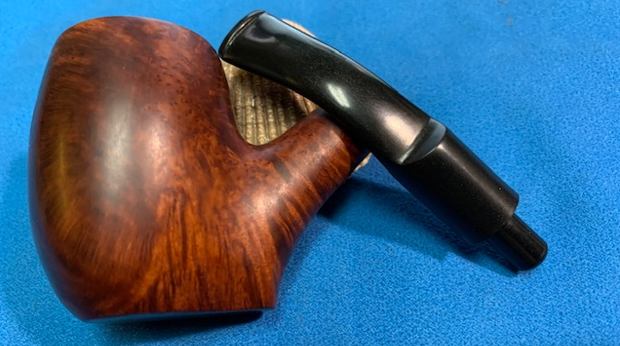
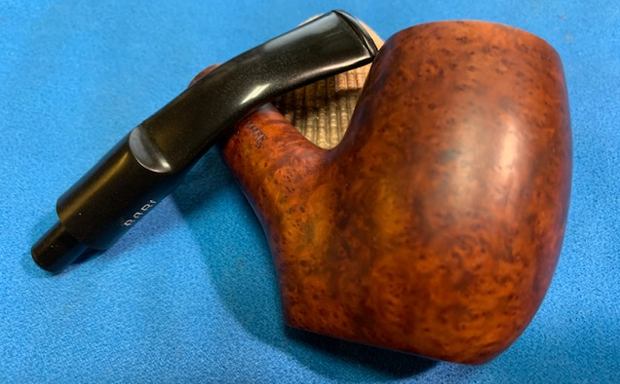
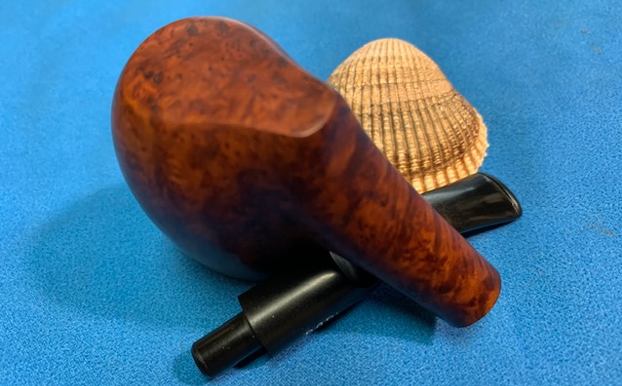
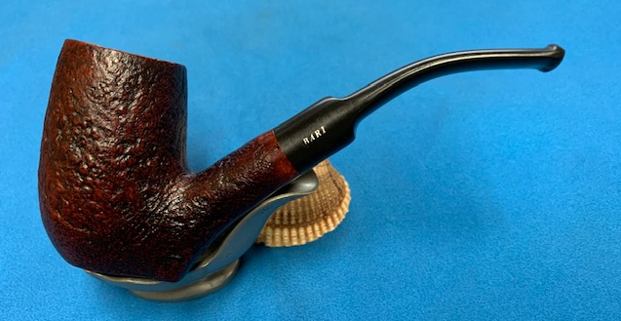
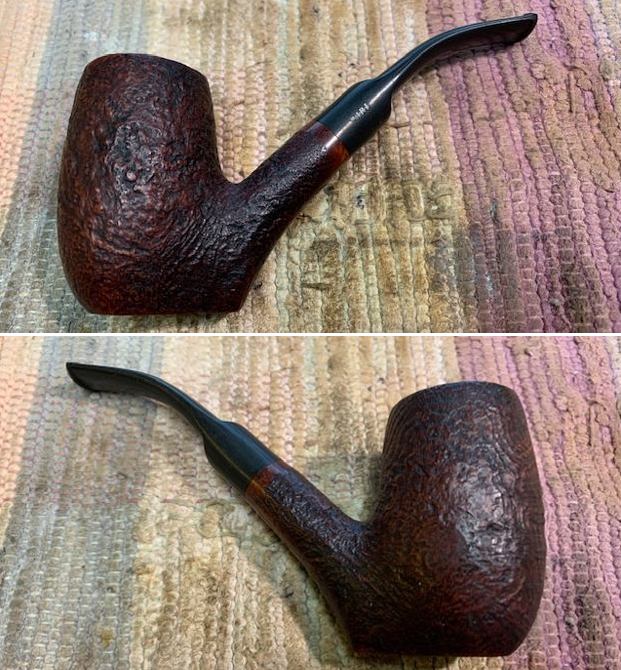
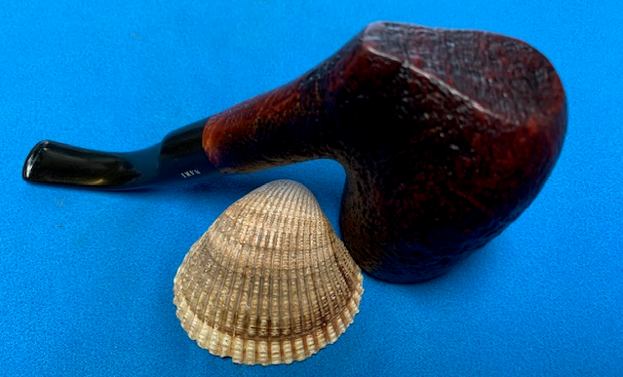
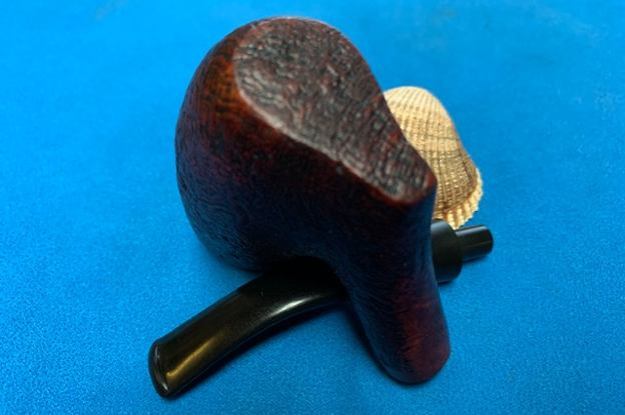
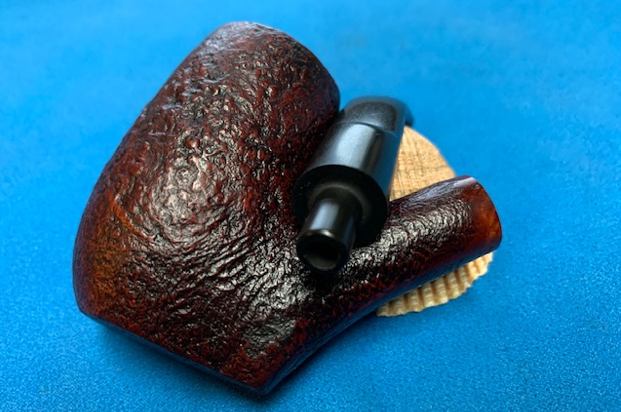
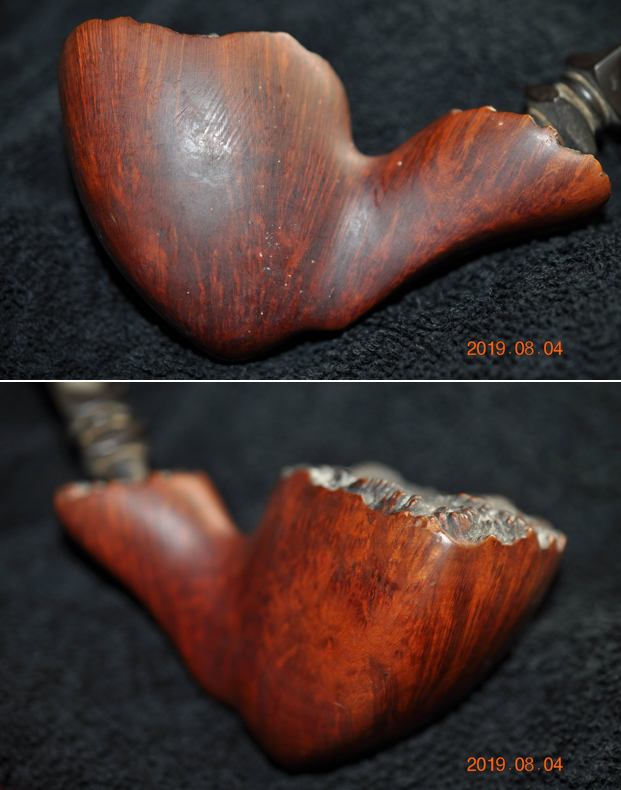
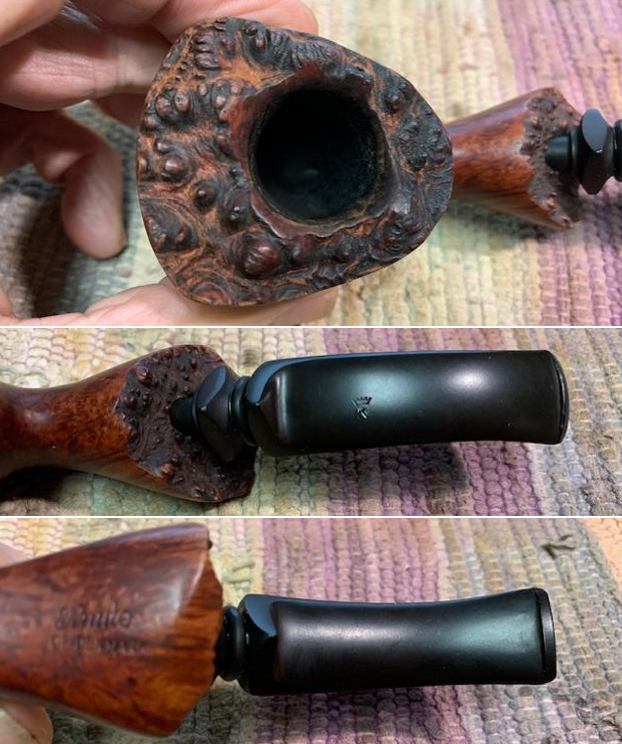
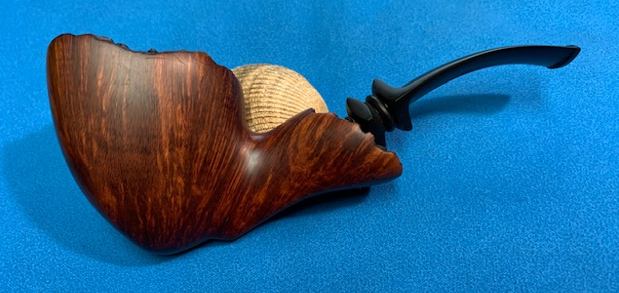
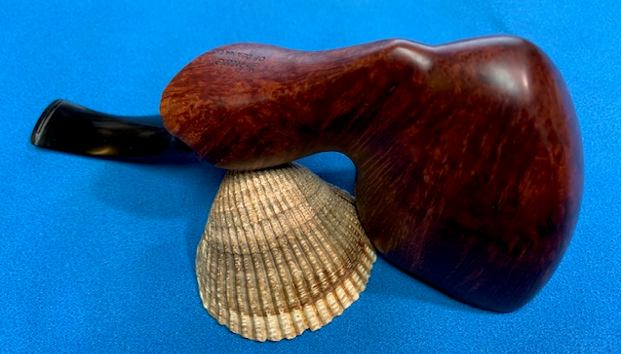
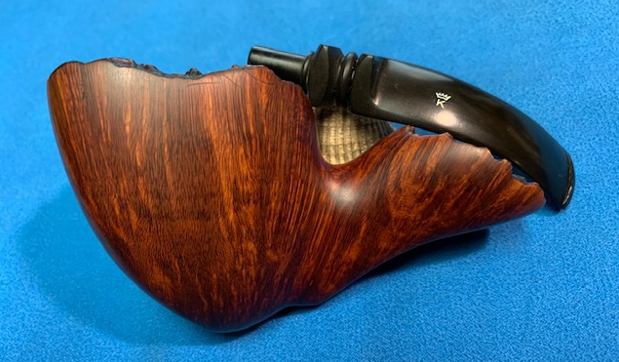
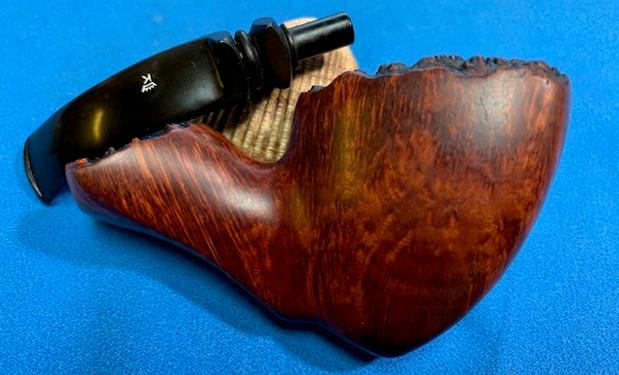
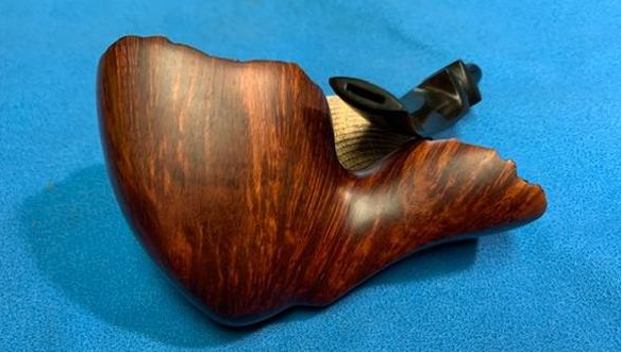
 He took some photos of the sides and heel of the bowl to capture the deep and craggy sandblast around the bowl. It really has some beauty to the blast.
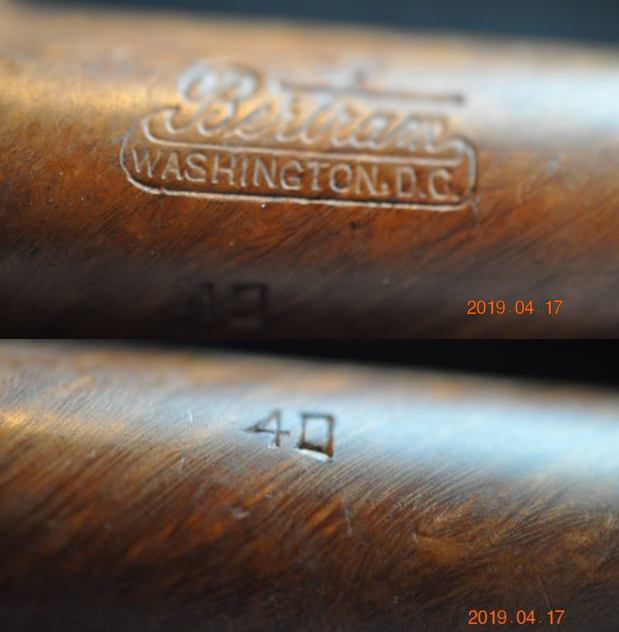
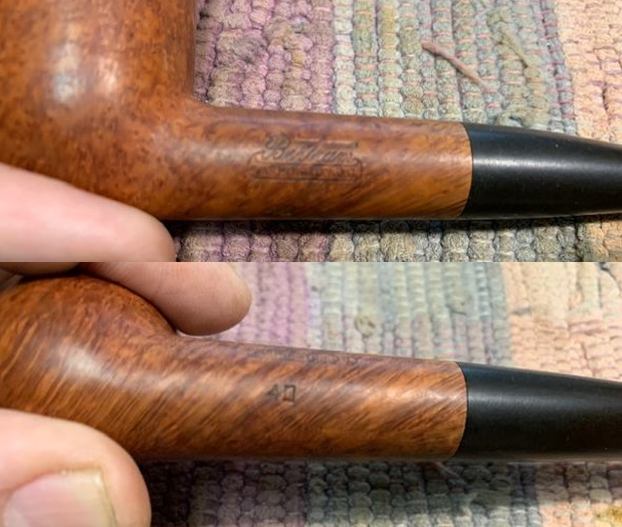
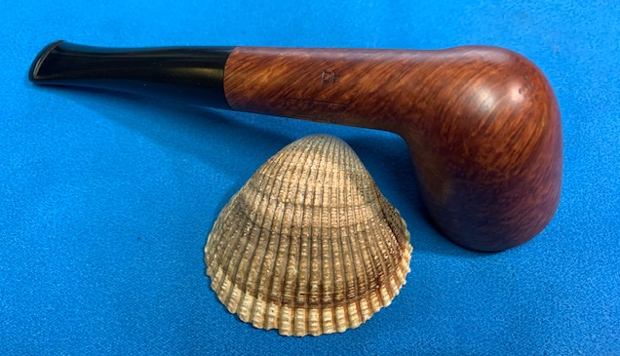
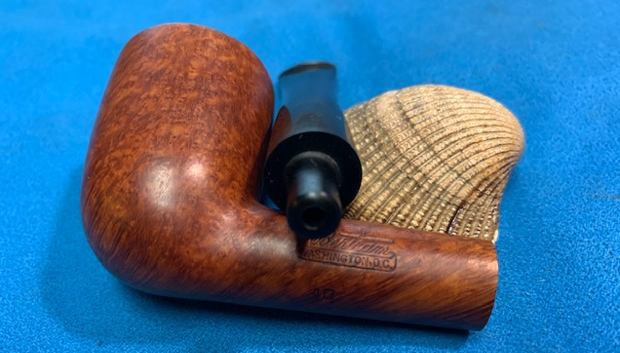
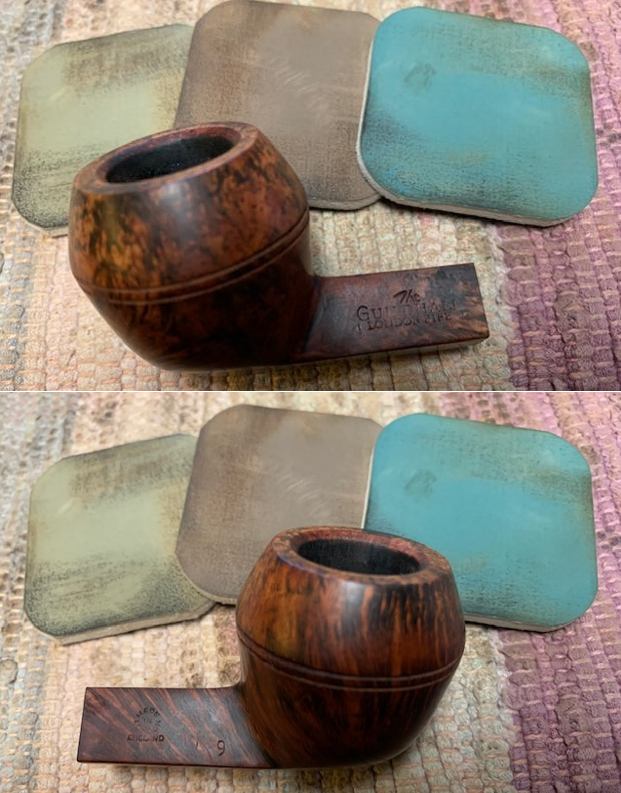
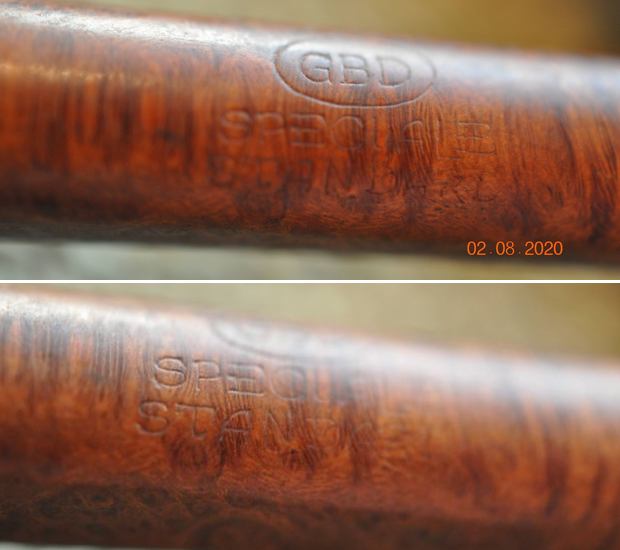
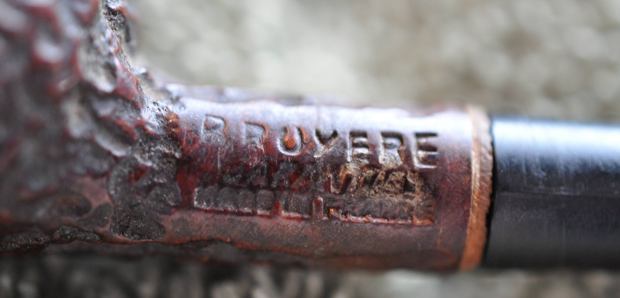
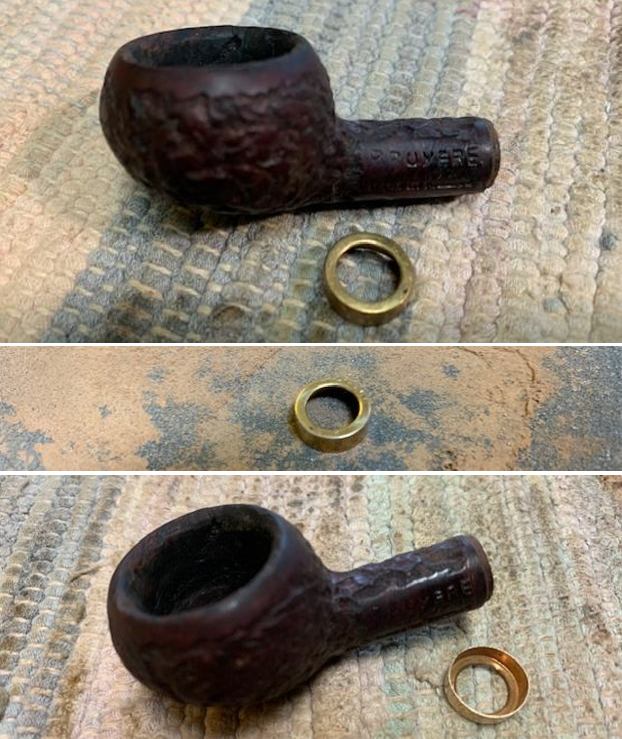
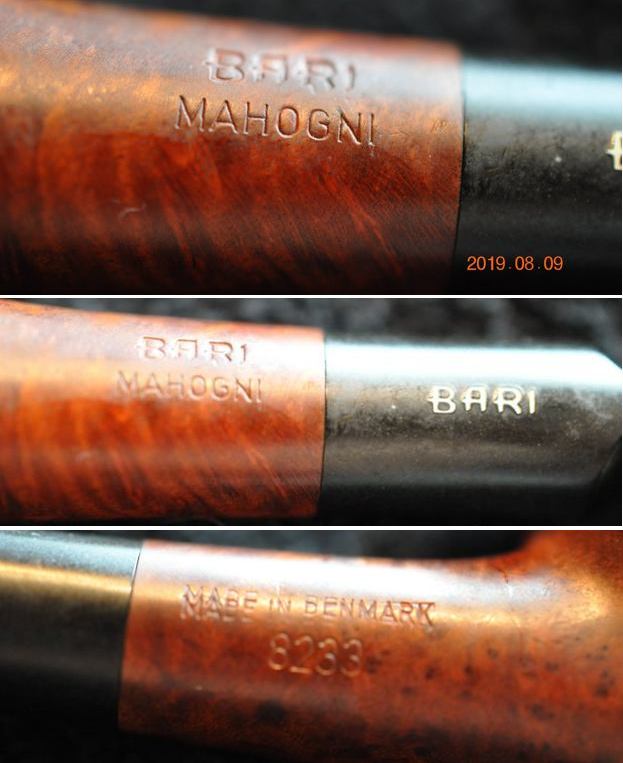
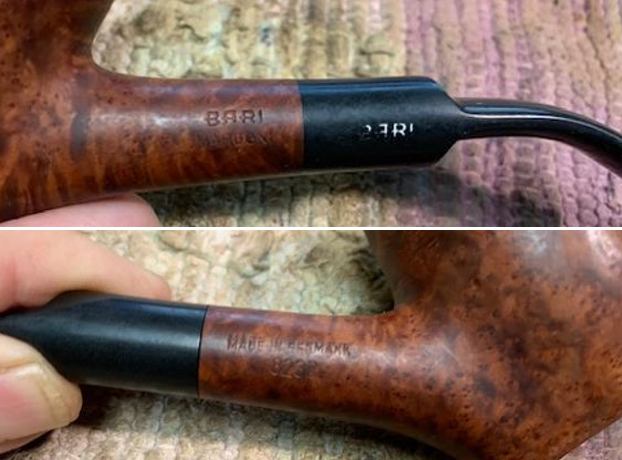
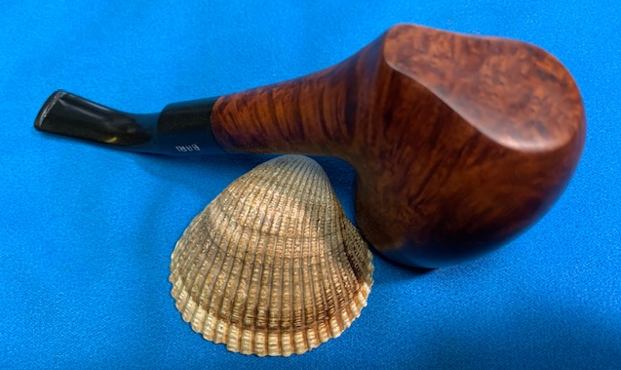
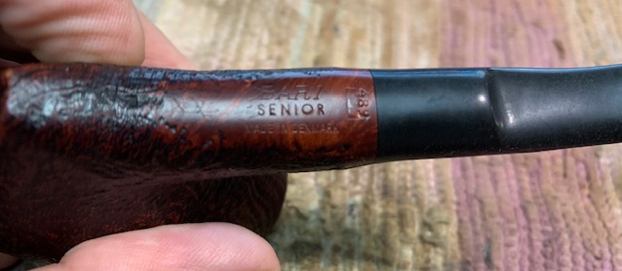
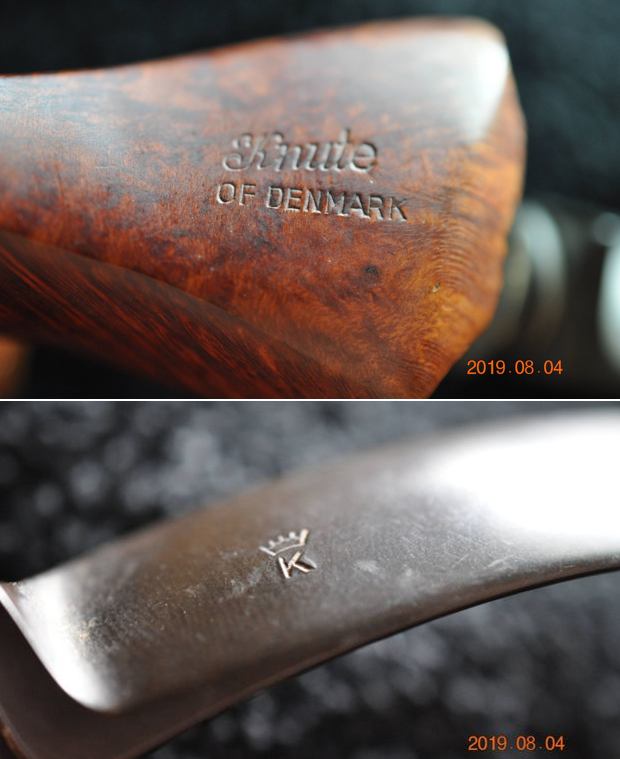
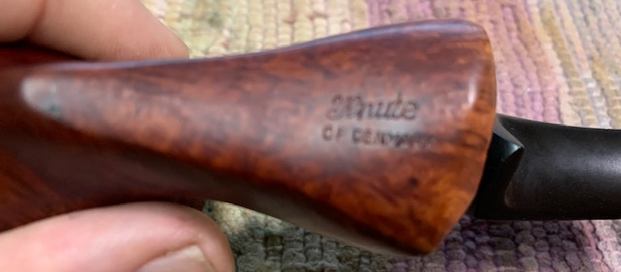
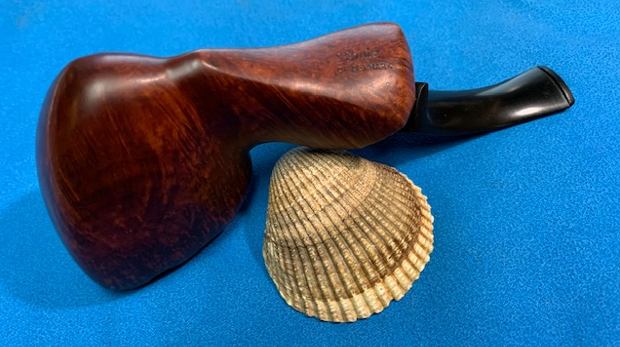
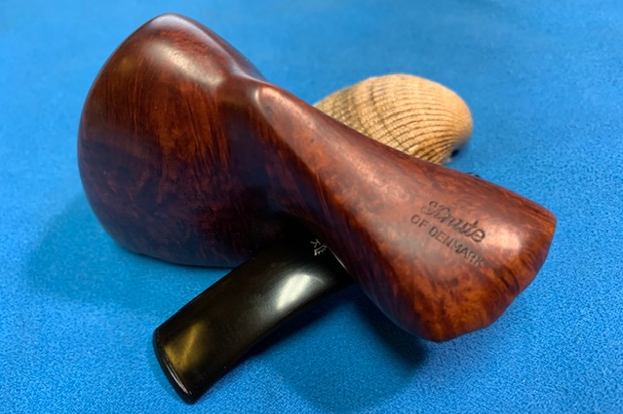
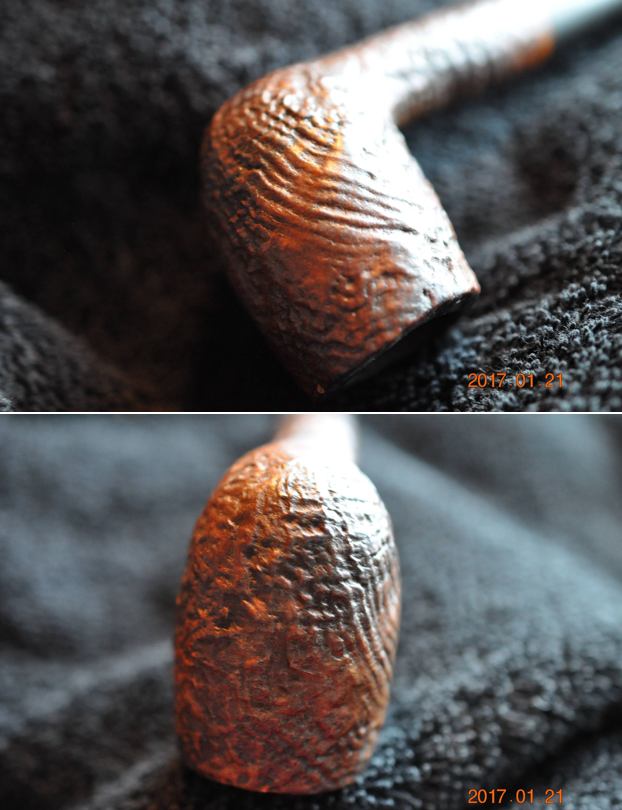 He captured the stamping on the underside of the shank in the next photo. It is readable though the left side of the stamping is more faint that the rest of the stamping toward the right. It reads as noted above. Now we would need to make a connection to the maker.
 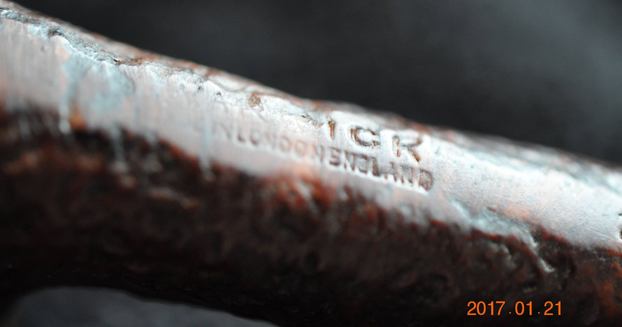 I turned to Pipephil’s site (http://pipephil.eu/logos/en/logo-w1.html) to see what I could learn about the brand. What I found was a pipe stamped Warwick but the font was slightly different. This one was made in Italy and said so. The one I was working on was stamped Made in London England.
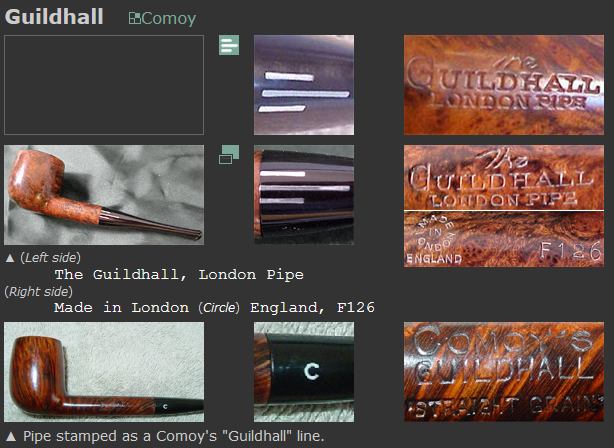
 On the side bar it had a note that I copy as follows: A sub brand of Comoy or Singleton & Cole. Not to be confused with Warwyck. I turned to the section on Comoy’s to see if there was any note for this stamping. There was not. I also turned to the section on the site on Singleton & Cole (http://pipephil.eu/logos/en/logo-s7.html). I have included a screen capture of the section that shows a Singleton Warwick that is stamped Made in England. The Warwick stamp is similar but the one on the pipe I am working on is heavier. So the hunt continues.
 I searched on Google and found a link on a sale site The Collection Hero that linked Warwick to a BBB pipe. https://pipes.collectionhero.com/view_item.php?id=43025&ekeywords=BBB. I have
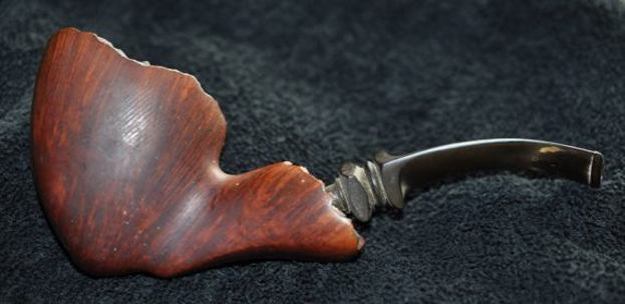
 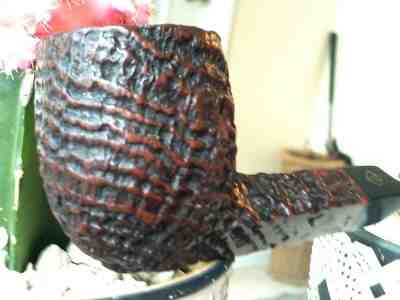 included that photo as well. The sale site says that the pipe is stamped BBB Own Make “Warwick”. It has a deep rugged sandblast but the finish is quite different from the one that I am working on. There also were no photos showing the stamping on the shank so I had nothing to compare my pipe with.
I was not convinced. So far I have seen the name attached to Comoy’s, Cole & Singleton and now BBB and none of them are conclusive. I still needed to do some more digging.
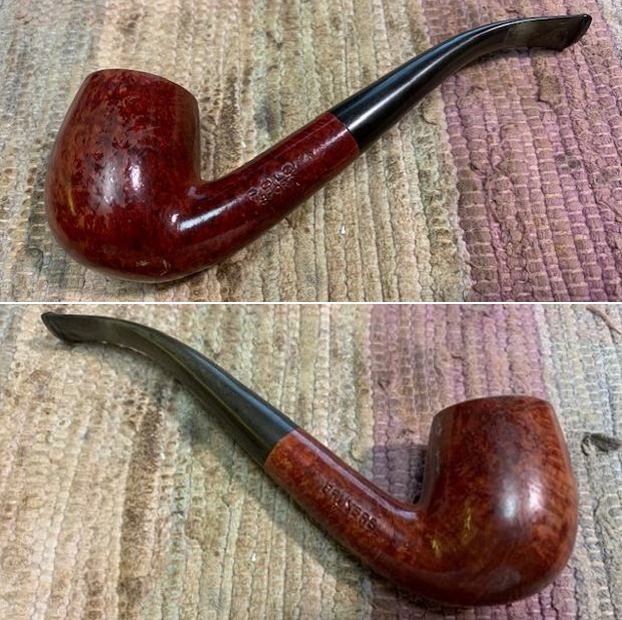
I did a bit more digging and found the name Warwick attached to Sasieni on a pipe on smokingpipes.com (https://www.smokingpipes.com/pipes/estate/england/moreinfo.cfm?product_id=89779). It is described as follows:
…An old Sasieni pipe like this on an update. Named after a town, Warwick, this piece is a true part of English charm, stained beautifully, and a lovely example of a Sasieni patent.
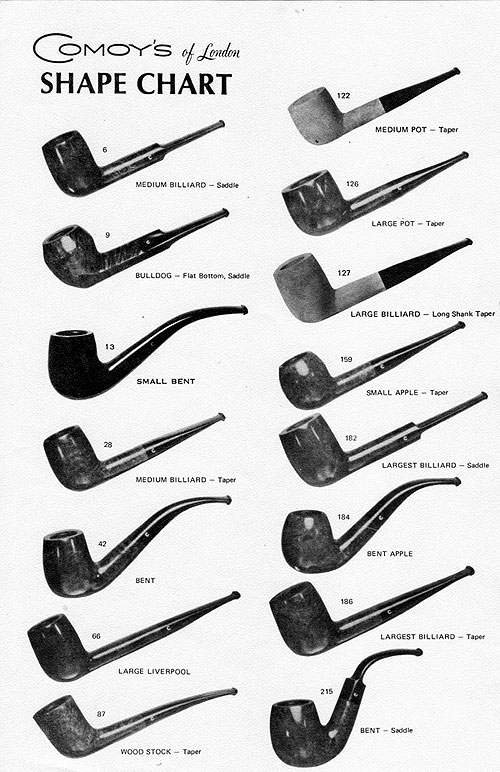
I looked up Sasieni seconds on Pipedia (https://pipedia.org/images/e/e4/Sasieni_Seconds.jpg) and found a chart that listed the various names. At the bottom of the alphabetical list is the name Warwick. Now I had all of the options in front of me and I was still no further ahead than when I started. I seemed to be able to link it to either Singleton & Cole or Sasieni. I would probably never know for certain but at least I knew it was an old English made pipe. Now it was time to work on the pipe.
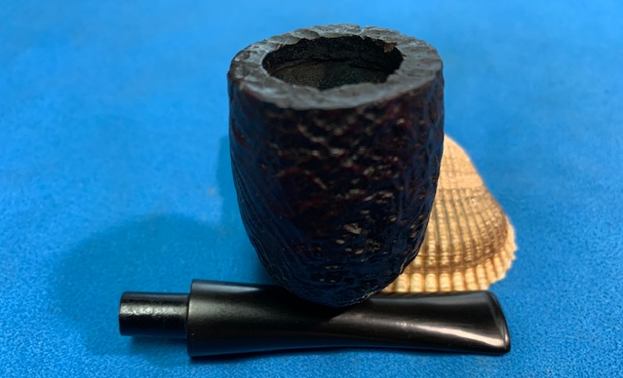
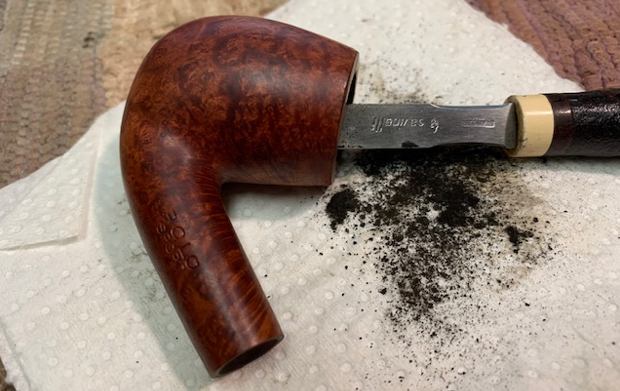
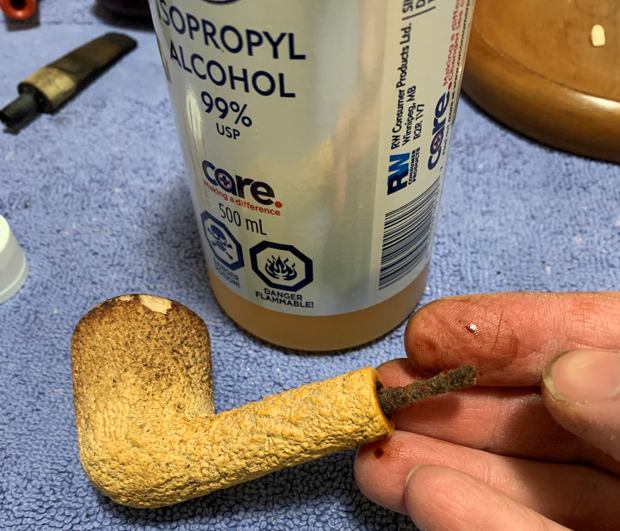
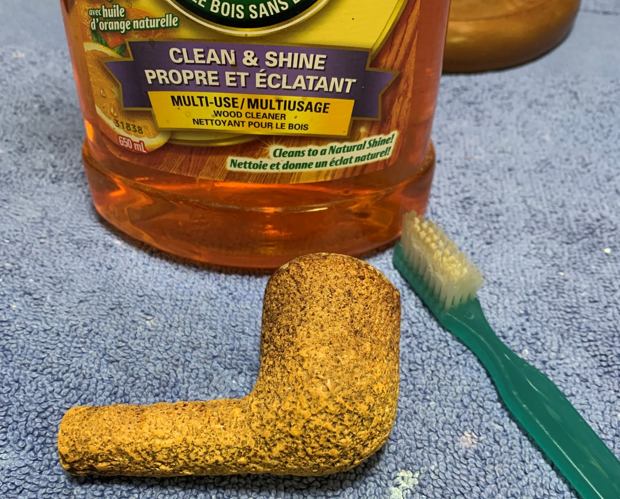
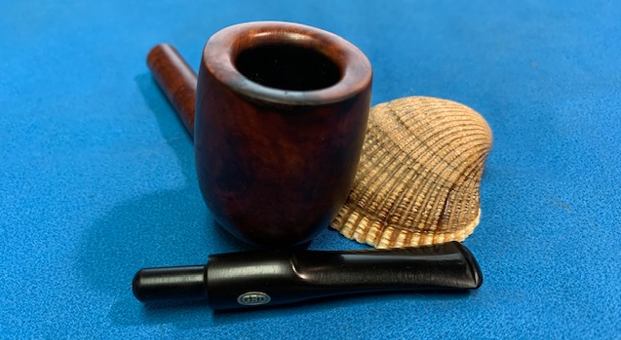
Jeff had cleaned up the pipe very well as usual. He has detailed his process other places so I will summarize it here. He reamed the pipe with a PipNet Pipe Reamer and cleaned up the remnants with a Savinelli Fitsall Pipe Knife. He scrubbed the bowl and rim top with undiluted Murphy’s Oil Soap and a tooth brush. He rinsed it under running warm water to remove the soap and grime. He cleaned out the inside of the shank and the airway in the stem with alcohol, cotton swabs and pipe cleaners. He soaked the stem in Briarvilles Pipe Stem Deoxidizer and rinsed it off with warm water. I took photos of the pipe once I received it.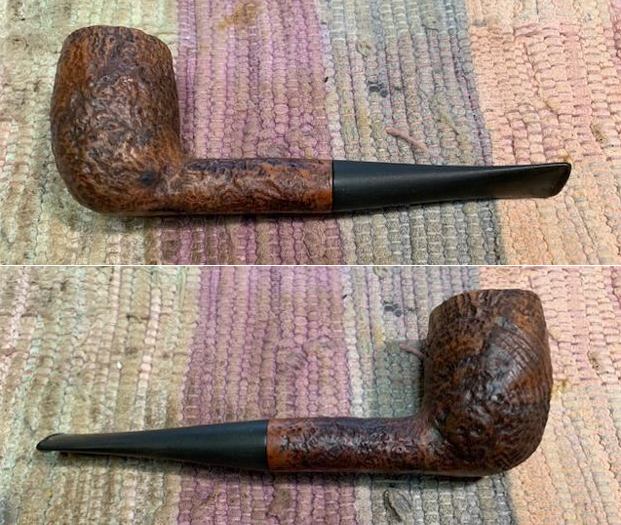
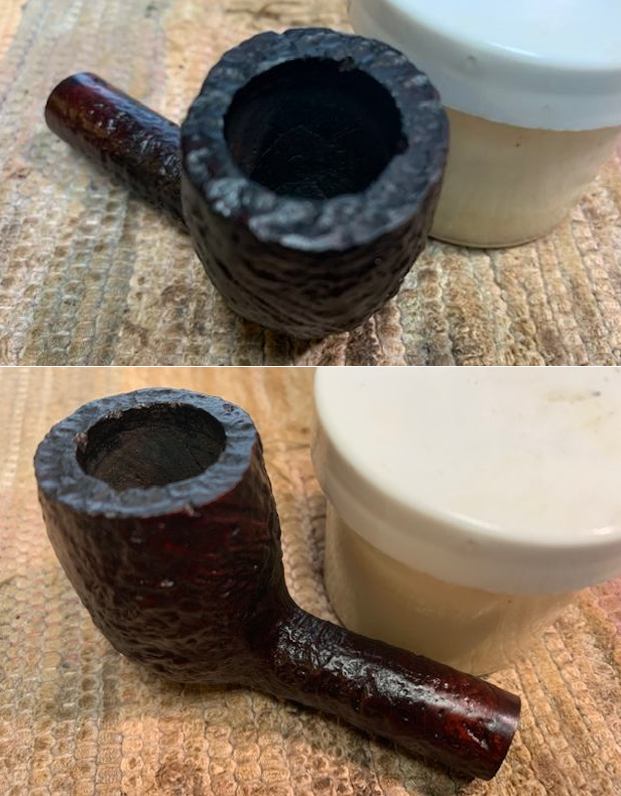
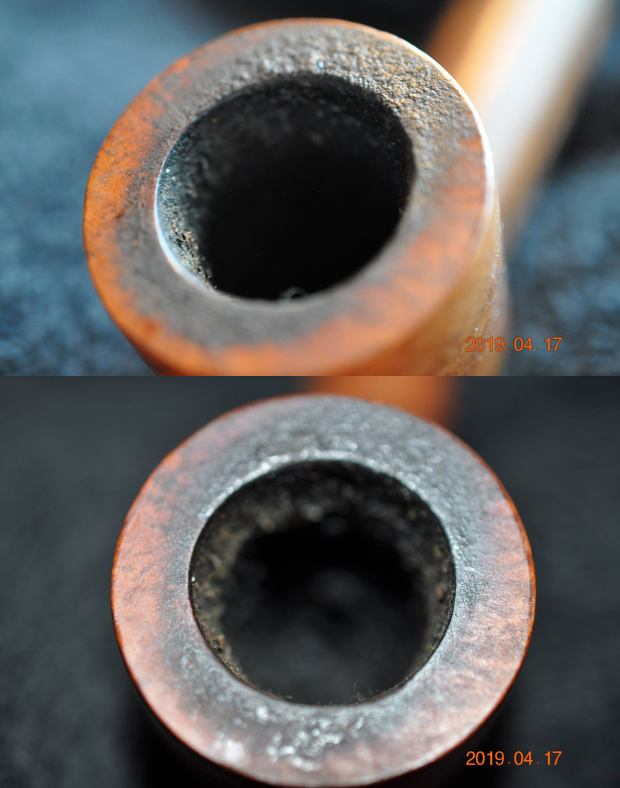
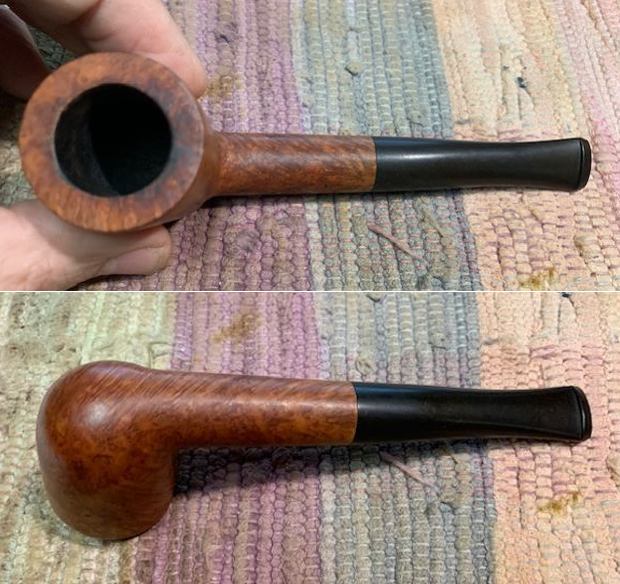
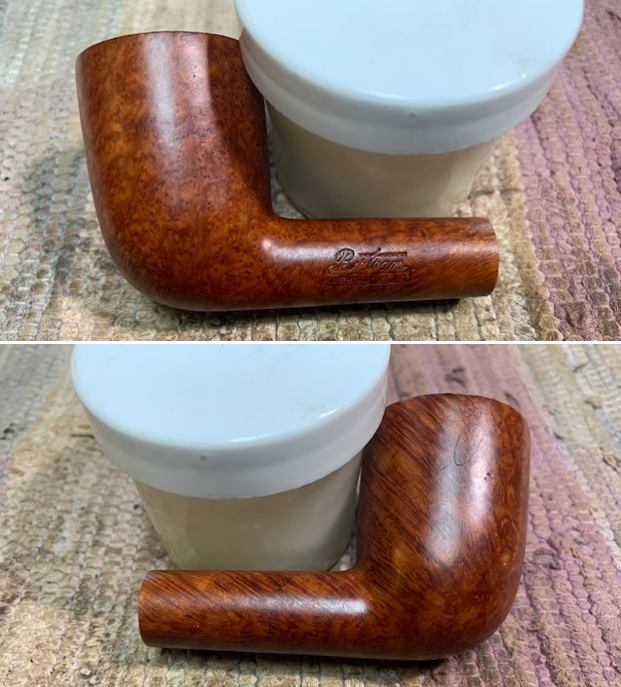
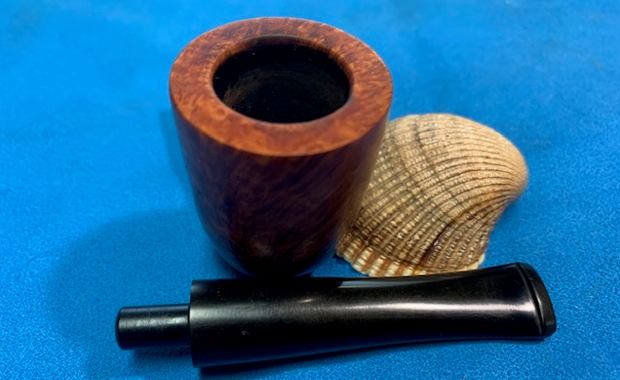
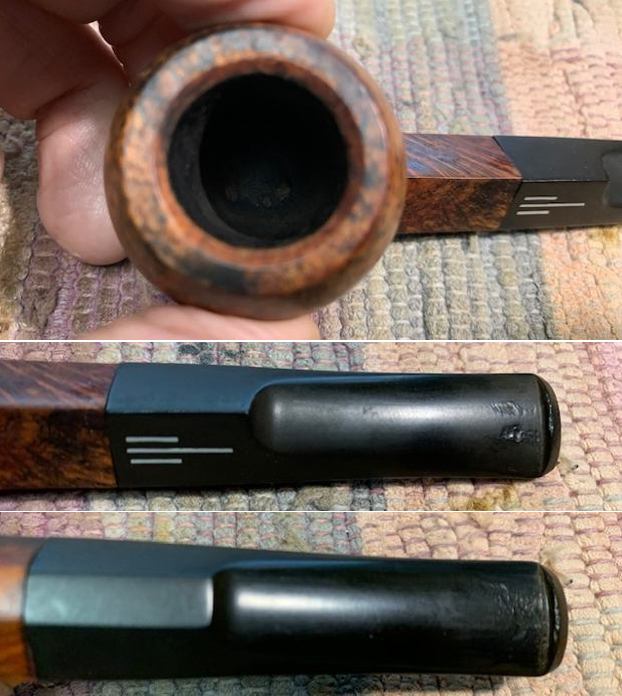
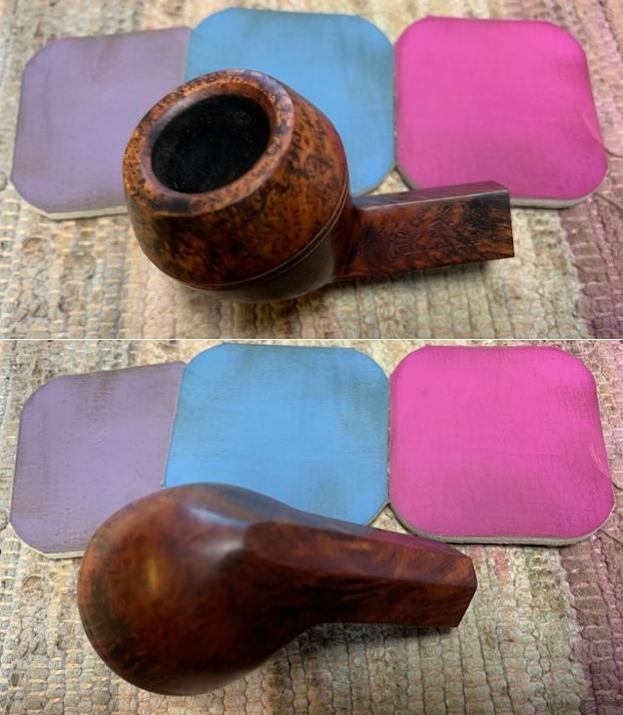
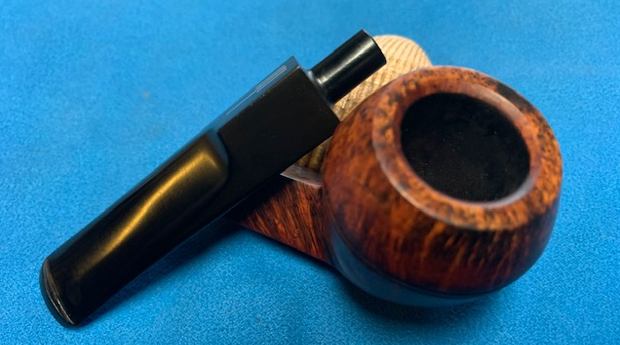
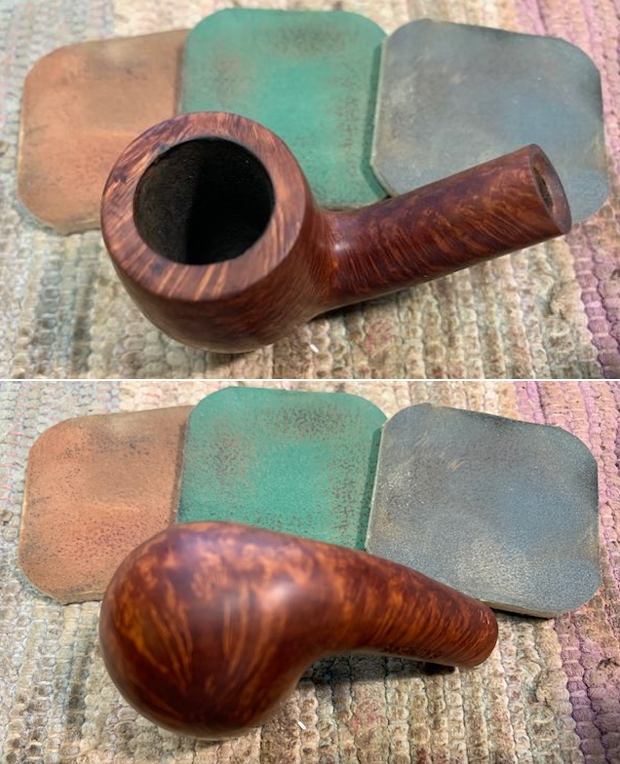
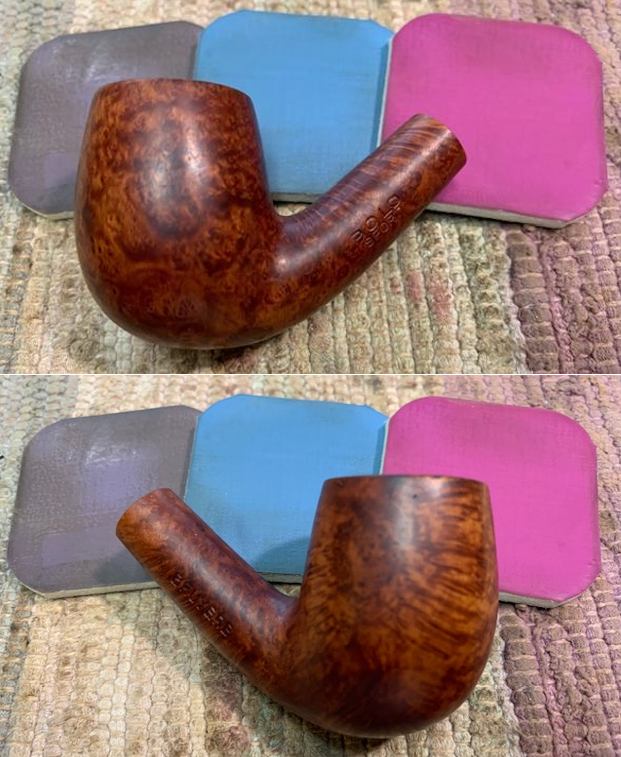
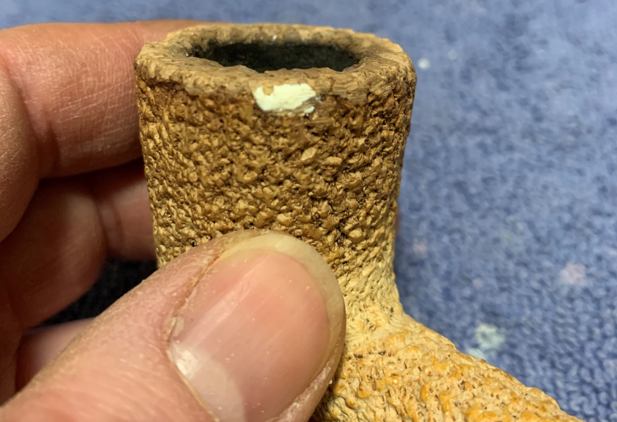
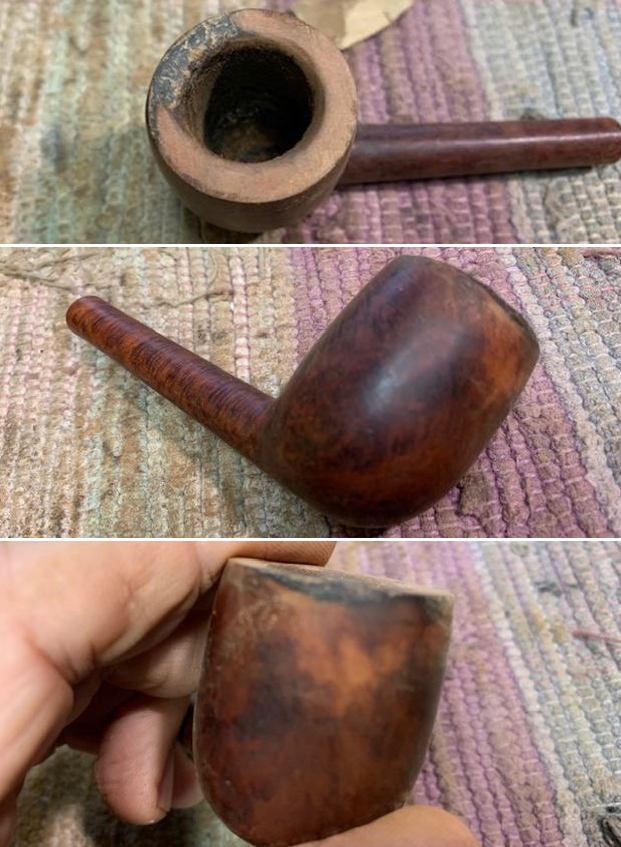
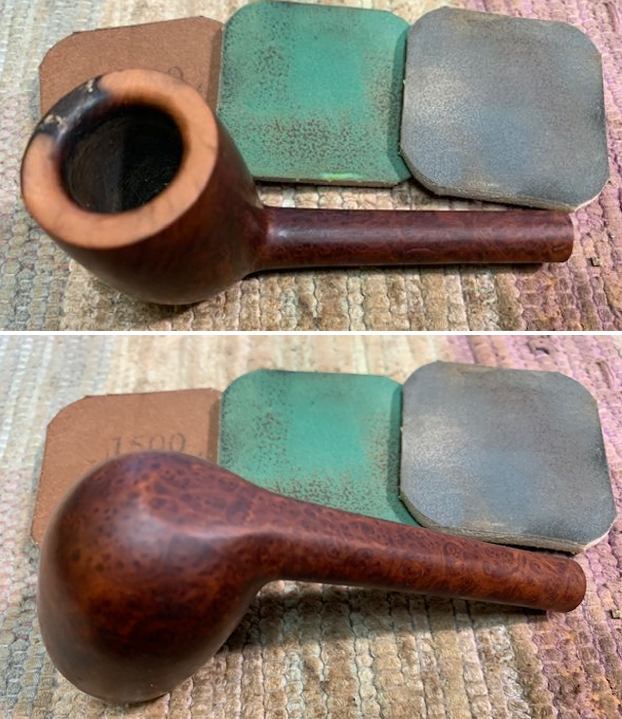
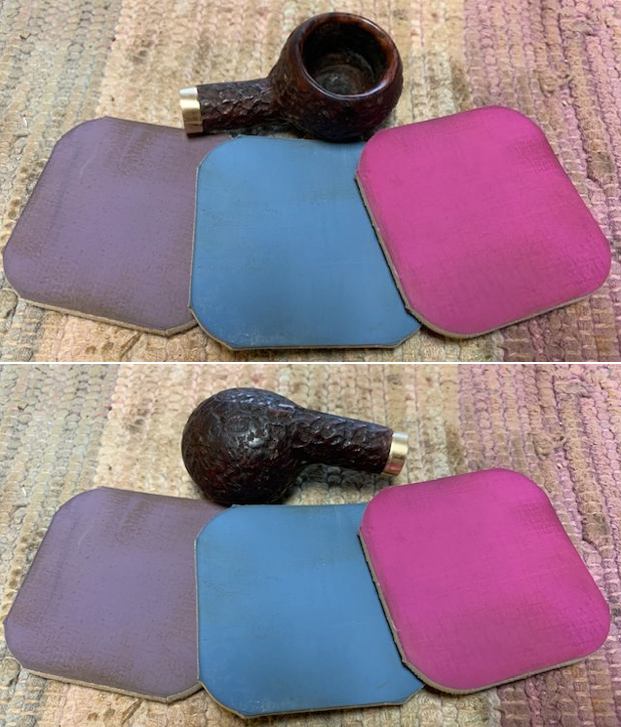
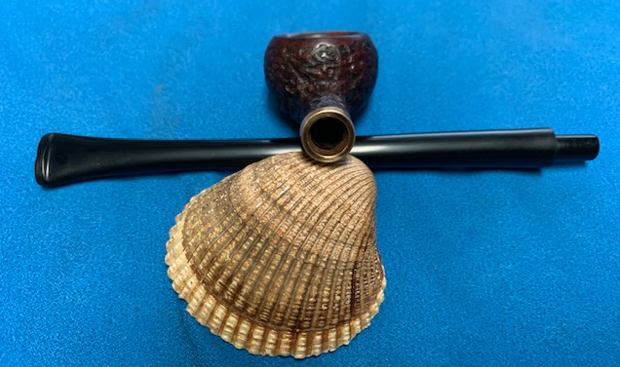
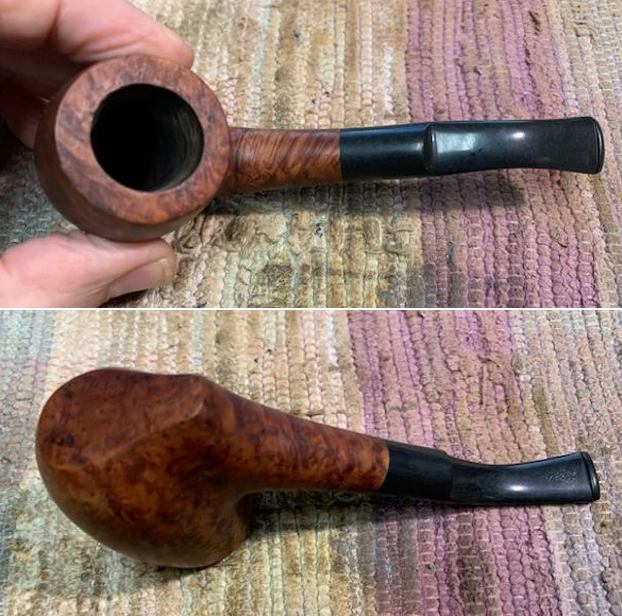
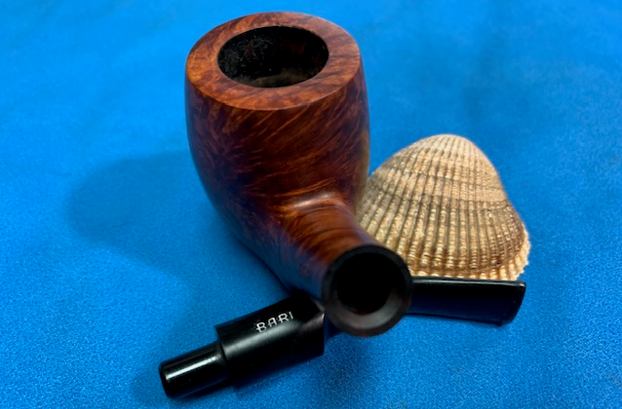
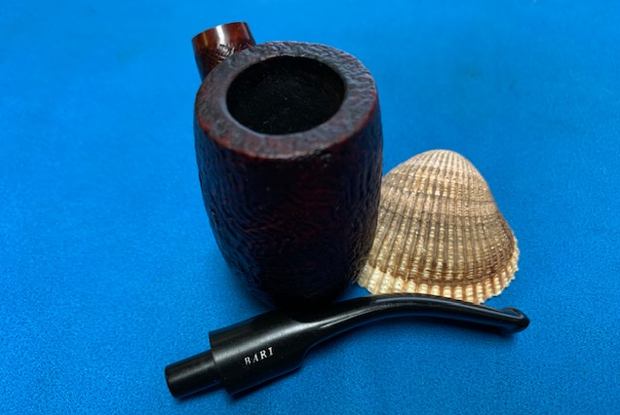
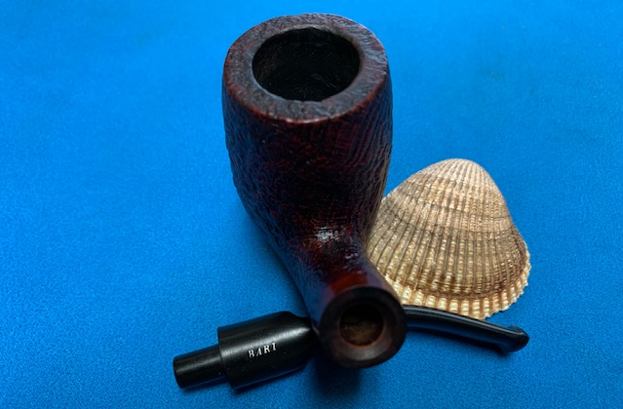
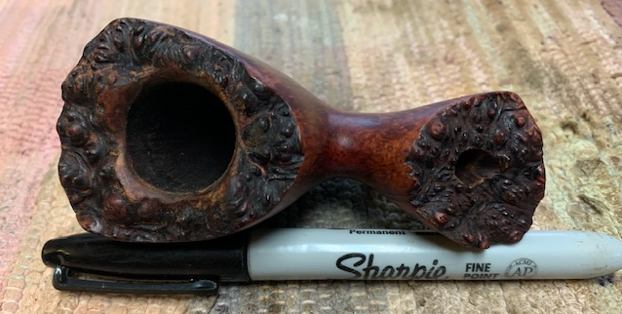
 The rim top had some damage and darkening on the top. The front right and left sides were almost smooth and the sandblast was gone. The sandblast on the back side was deeper and also had some damage. The inner edge of the bowl was damaged at the front. The stem surface looked good with light tooth marks and chatter on both sides near the button.
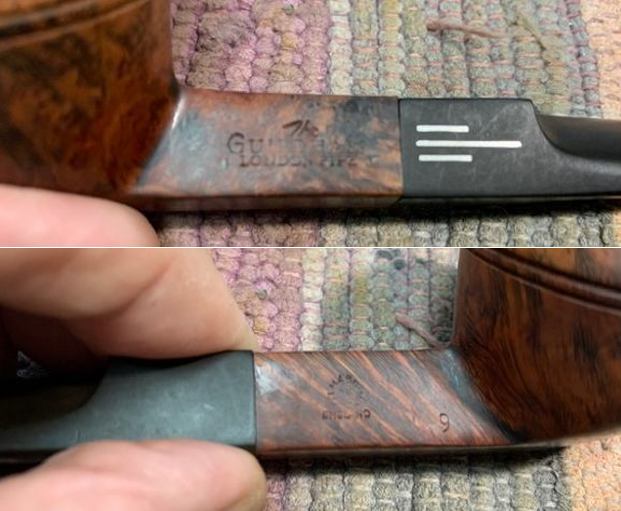
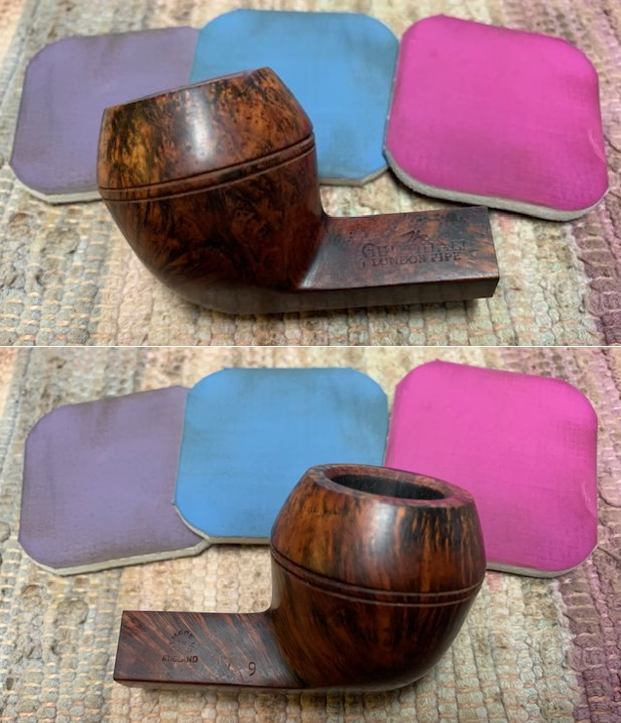
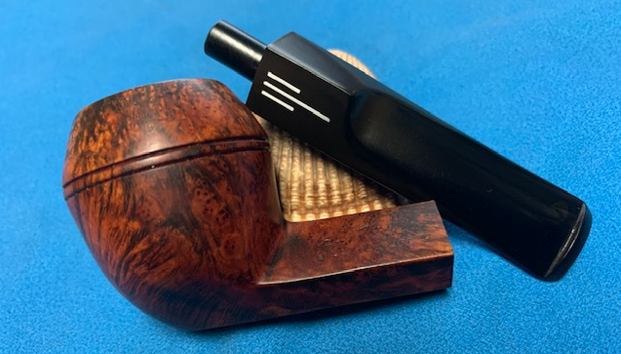
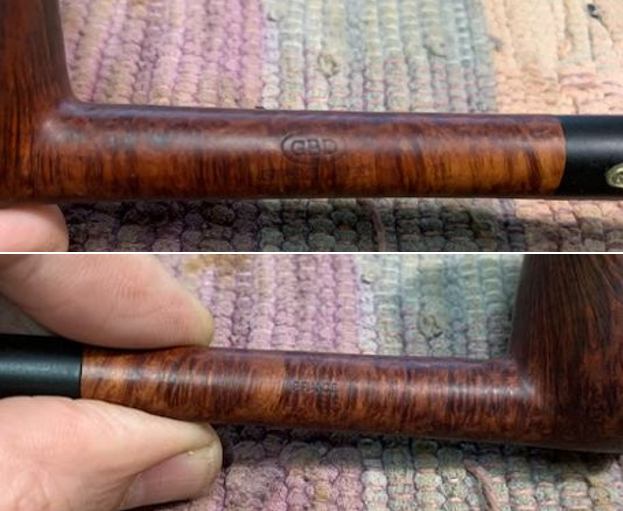
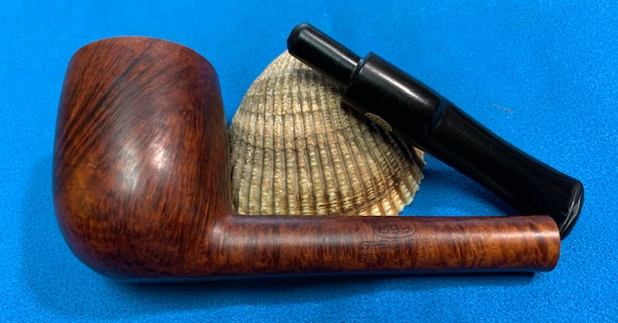
 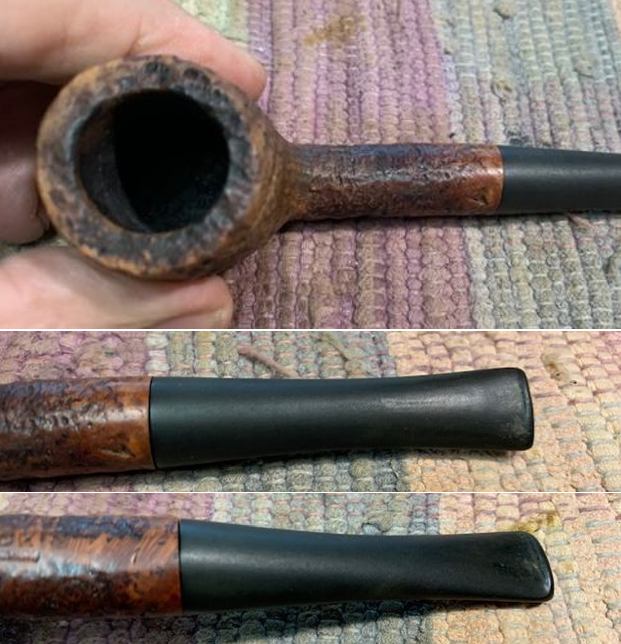 I took a photo of the stamping on the underside of the shank. The stamping was faint on the left side of the stamp and the stamping on the right side was more readable as noted above. You can see the shape number 1 near the shank/stem union.
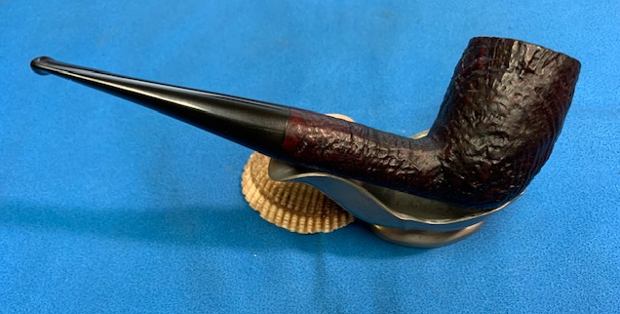
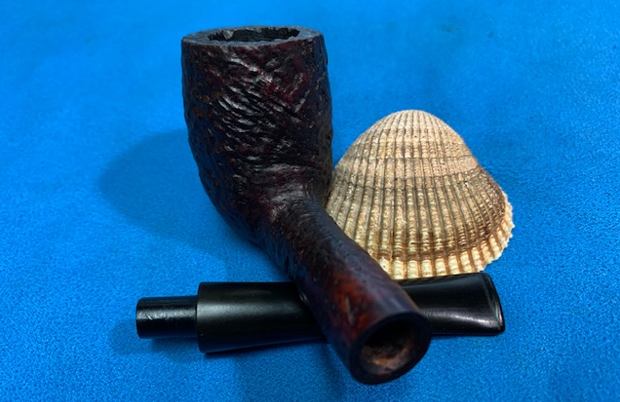
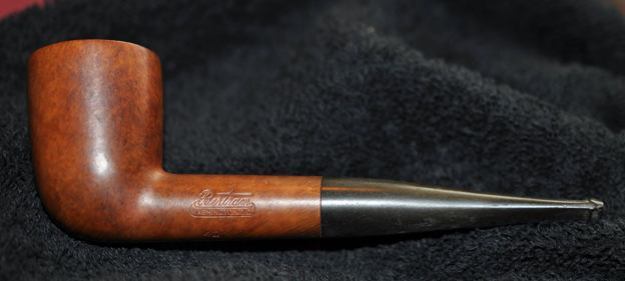
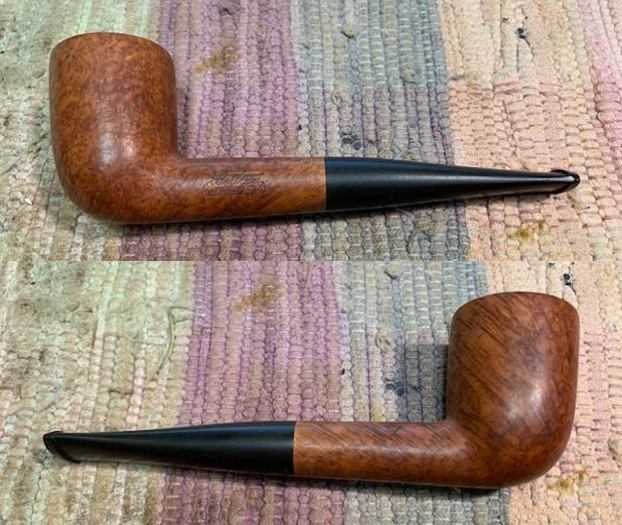
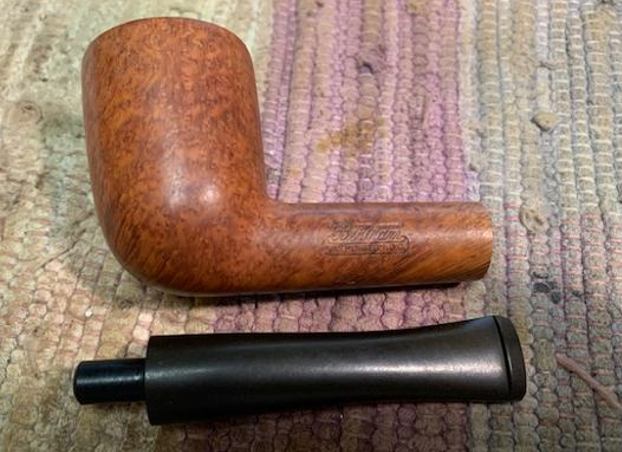
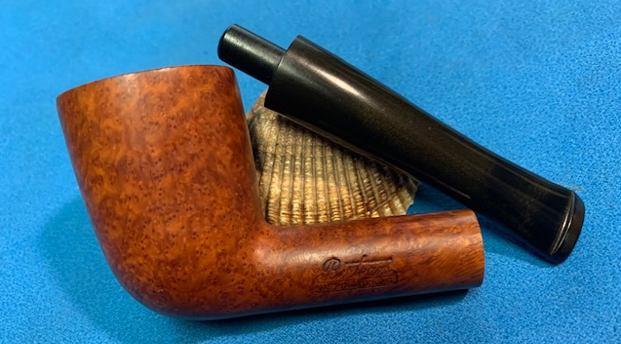
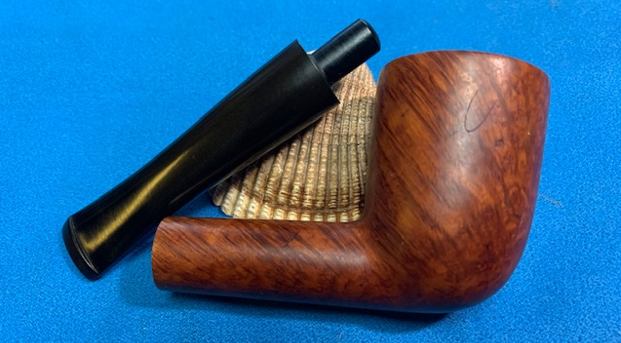
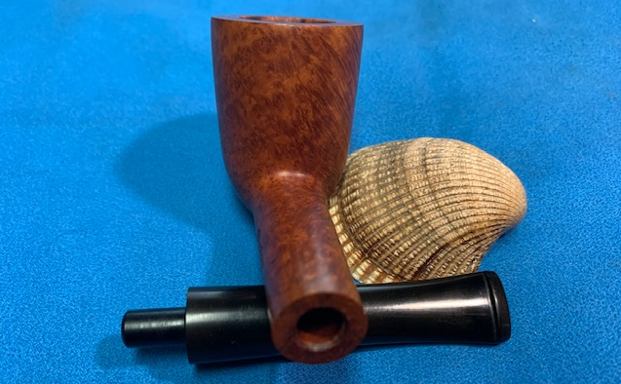
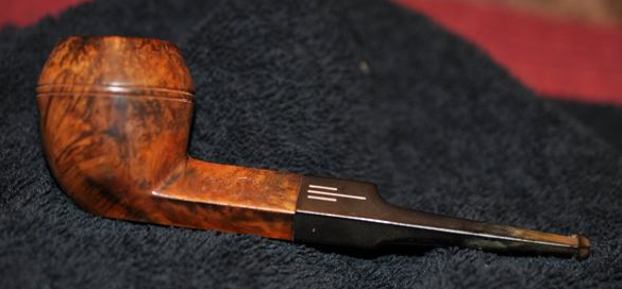
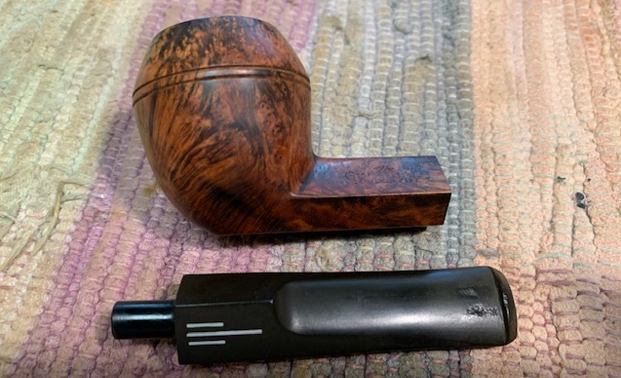
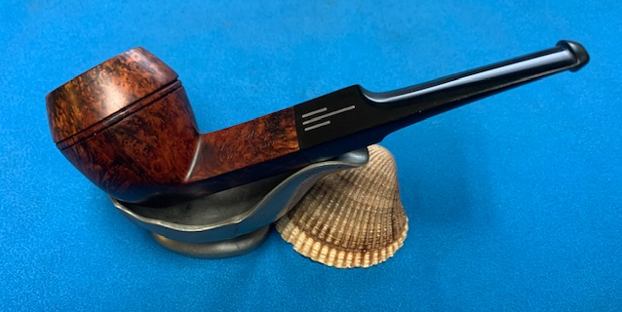
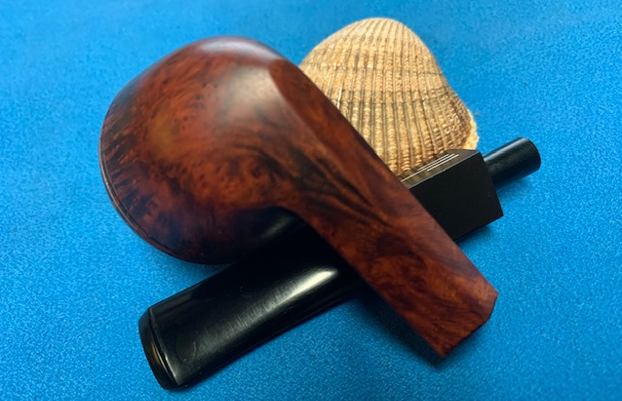
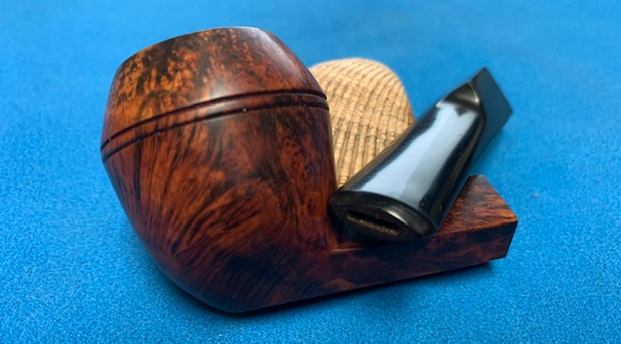
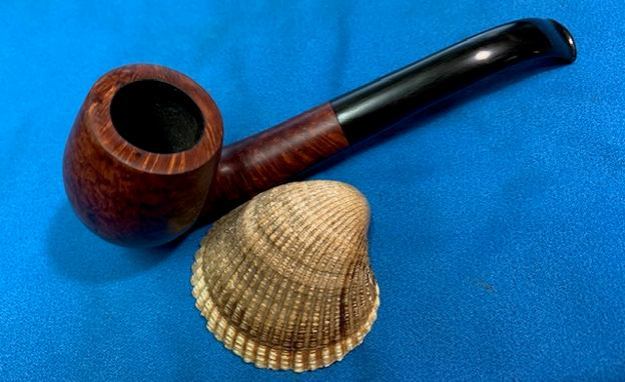
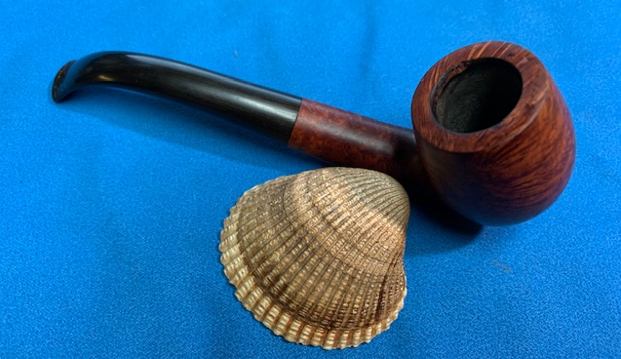
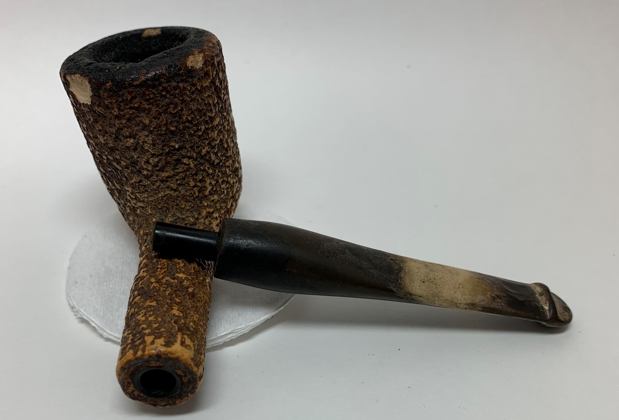
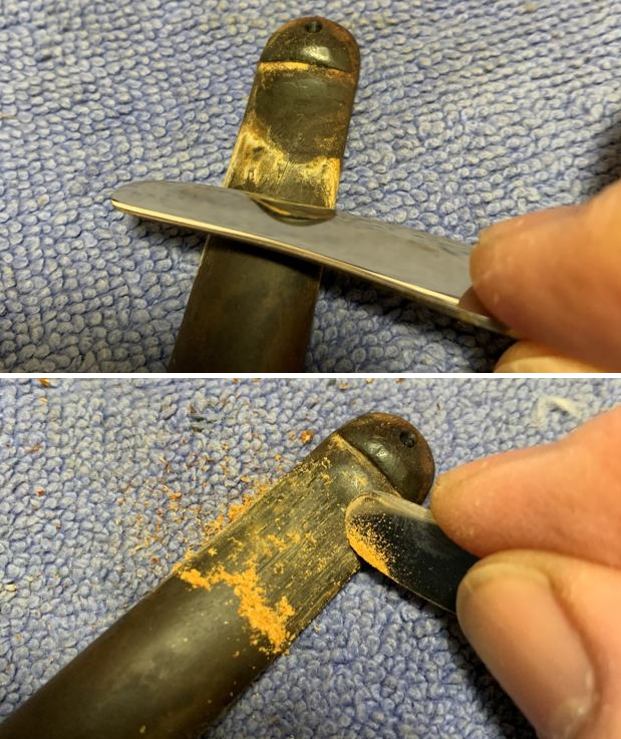
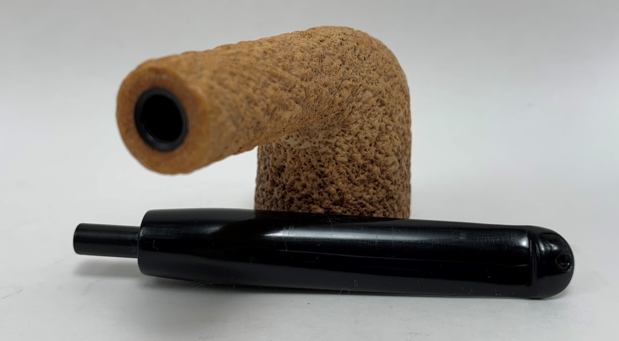
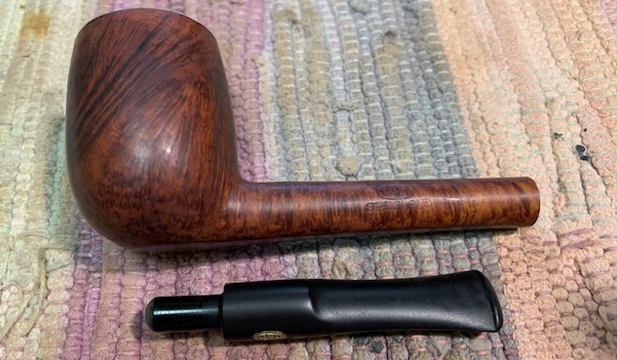
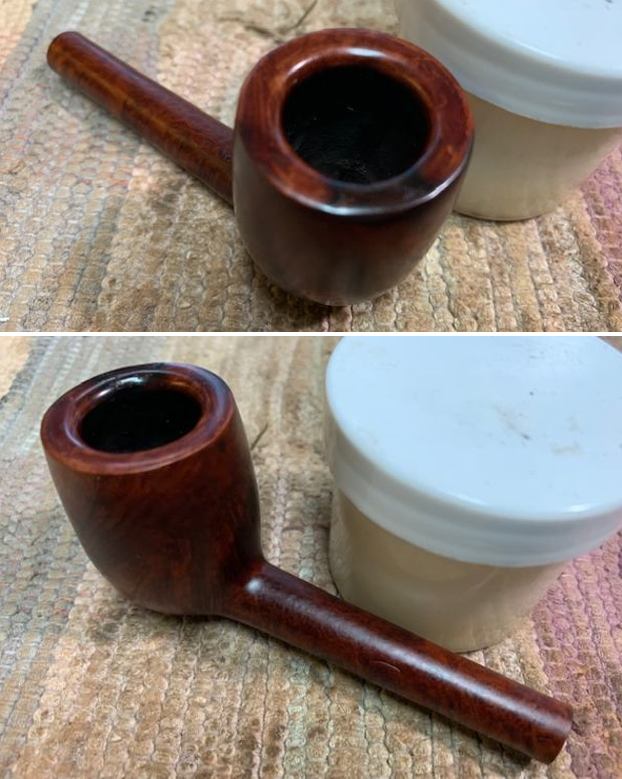
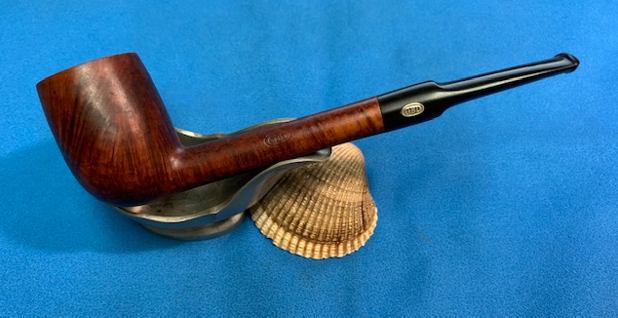
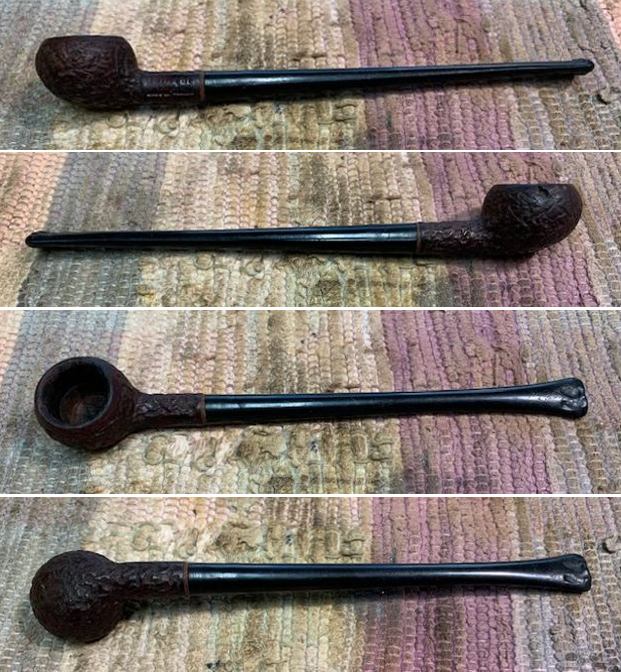
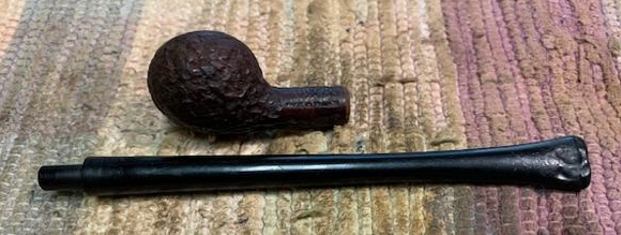
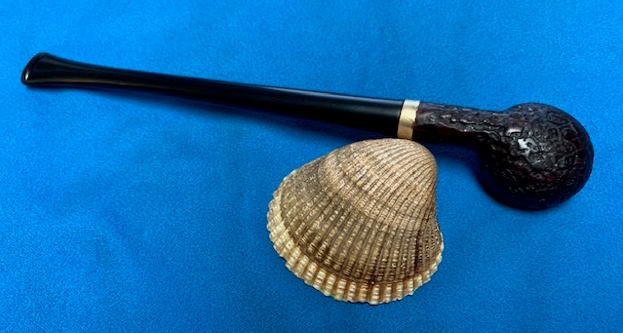
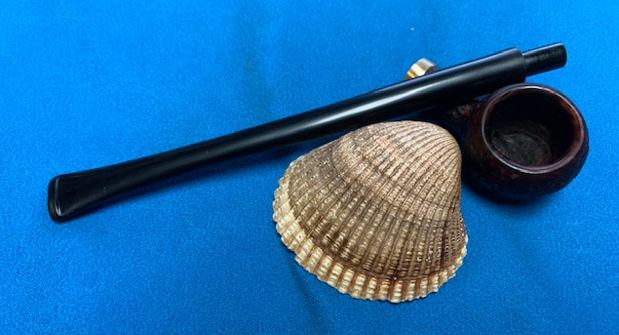
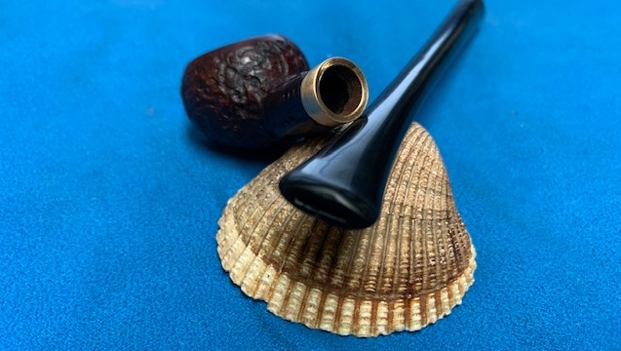
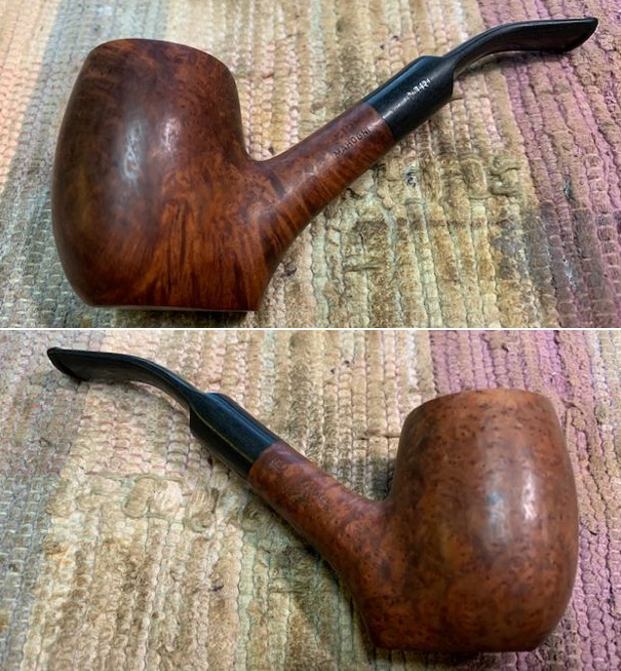
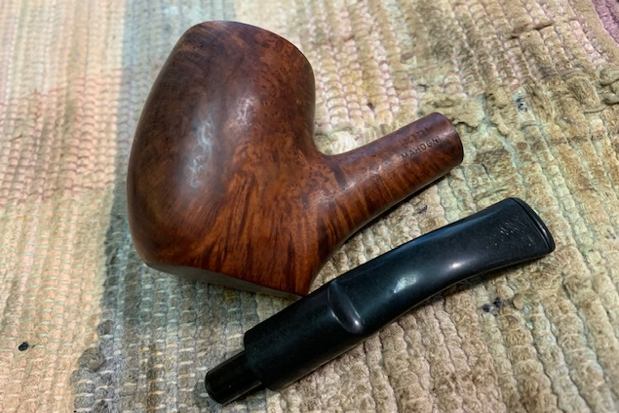
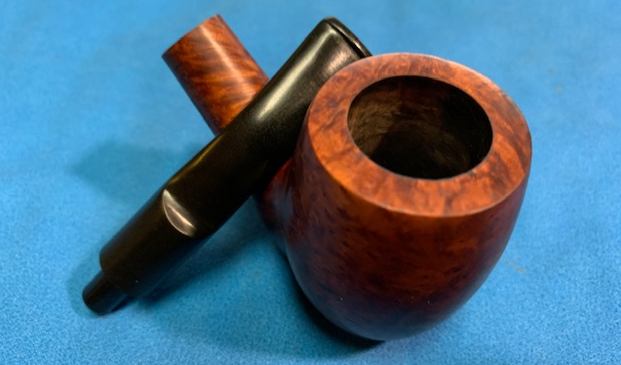
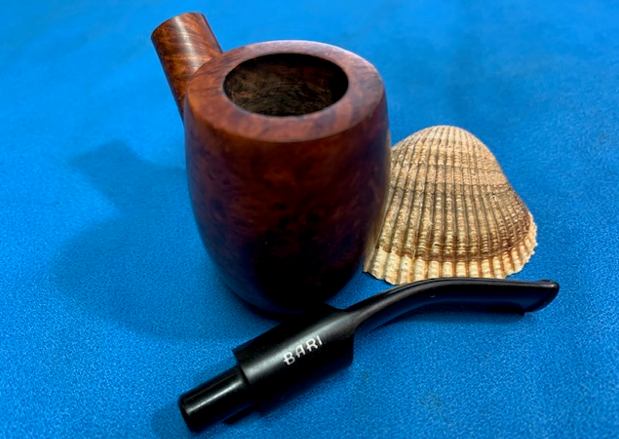
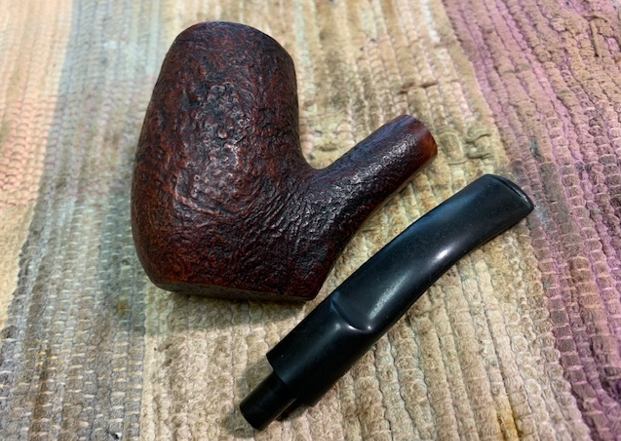
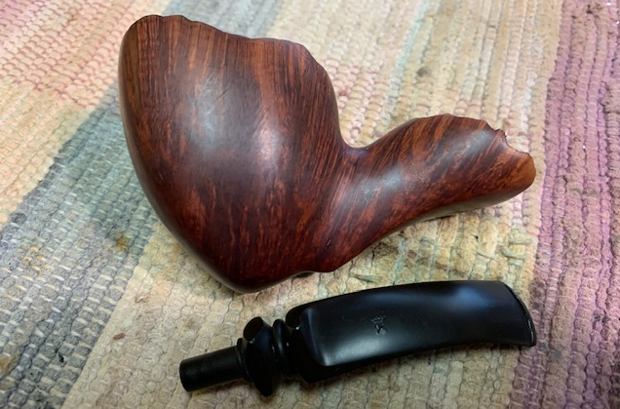
 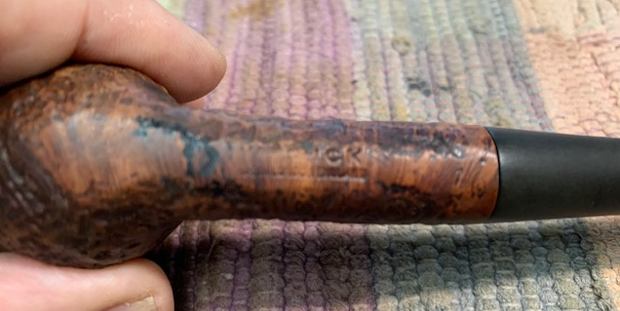 I removed the stem and took a photo of the pipe to give a sense of the whole. The stem is tapered.
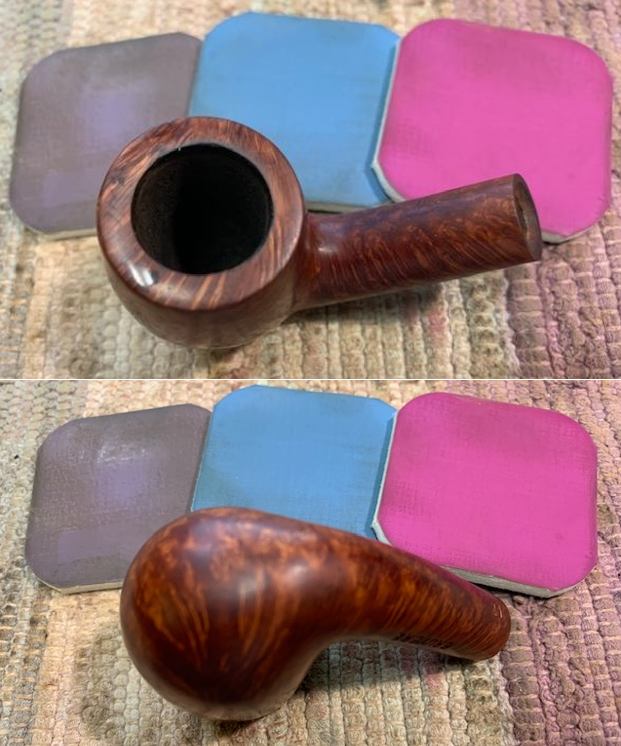
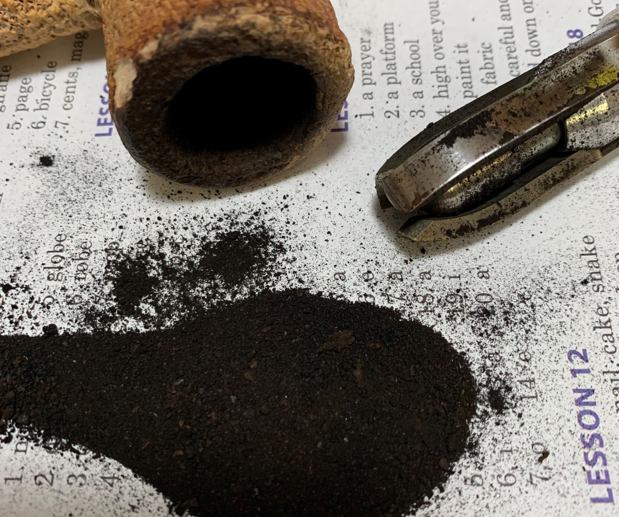
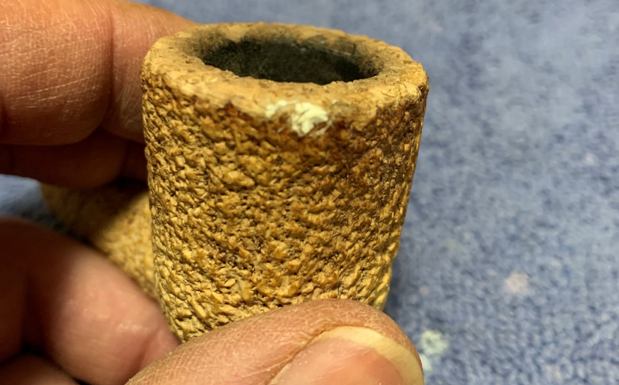
 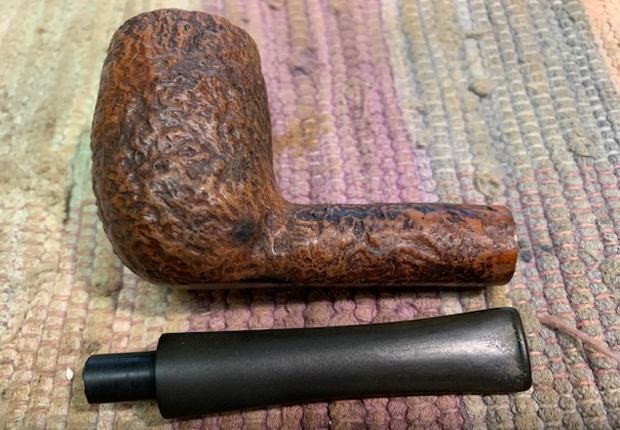 I started my work on the pipe by cleaning up the sandblast with a brass bristle wire brush. I worked it over the rim top and the blast on the sides and underside of the bowl until I cleaned up the blast. It looked much better once I finished with the brush. The rim top had other issues that I would need to address as well.
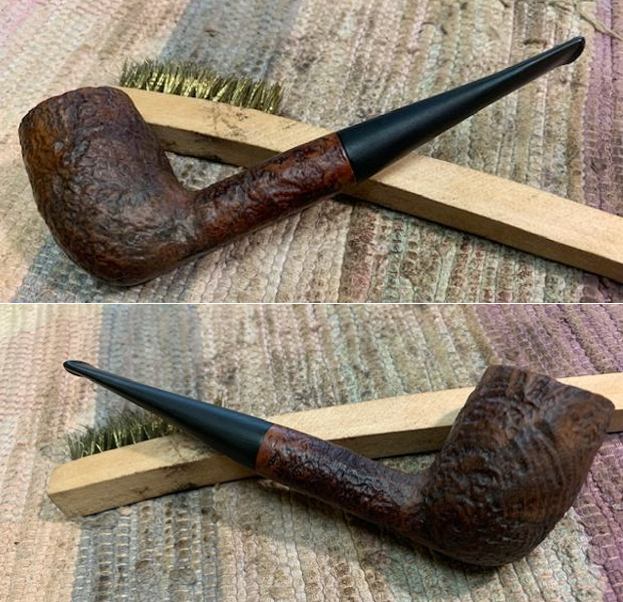
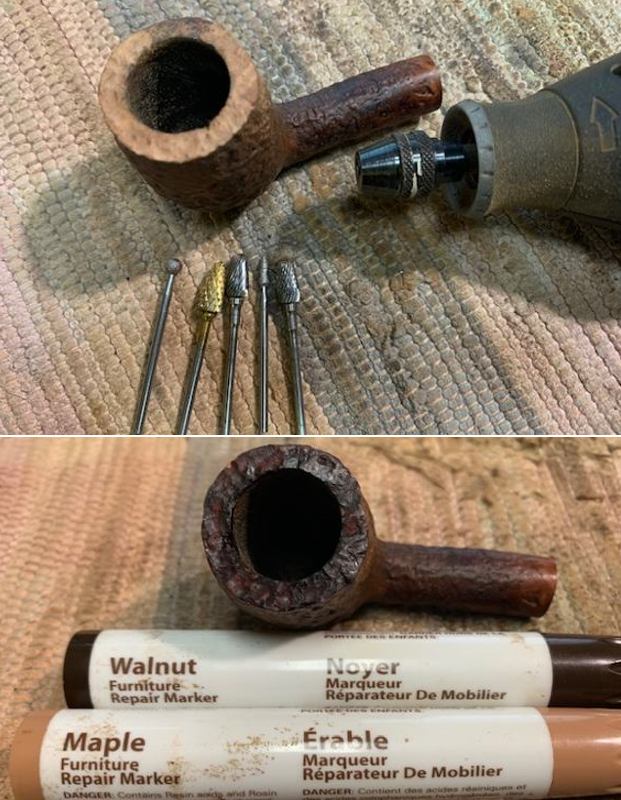
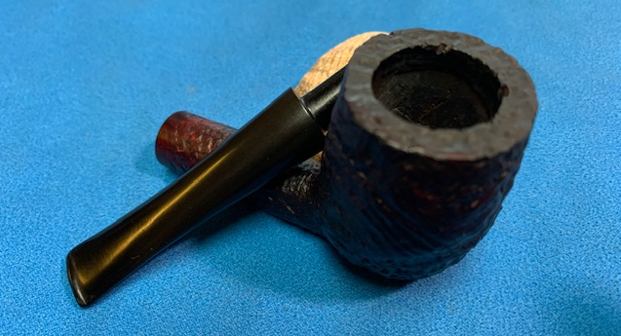
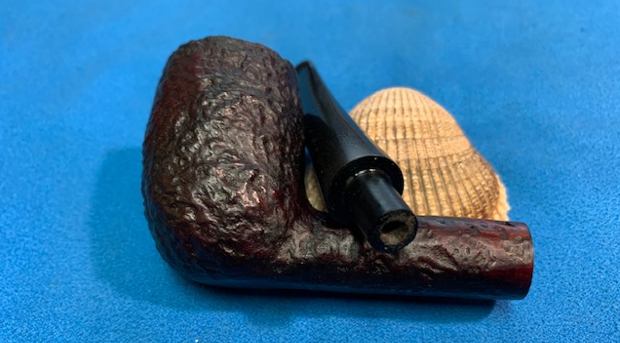
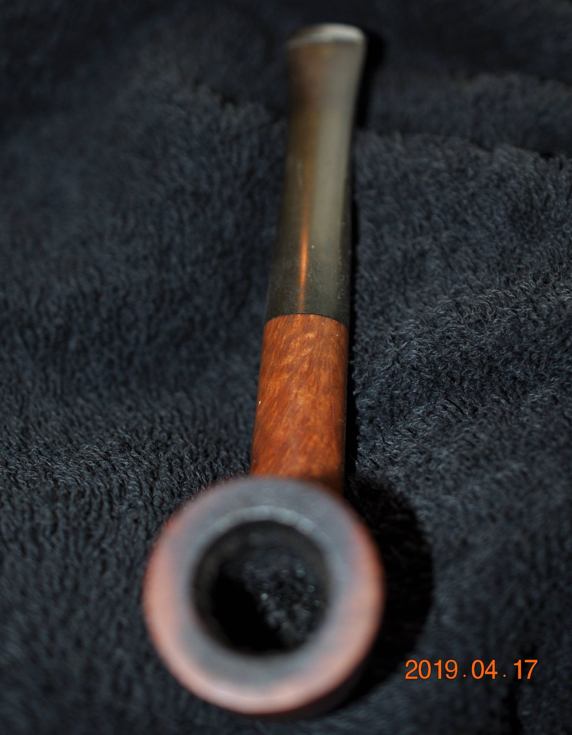
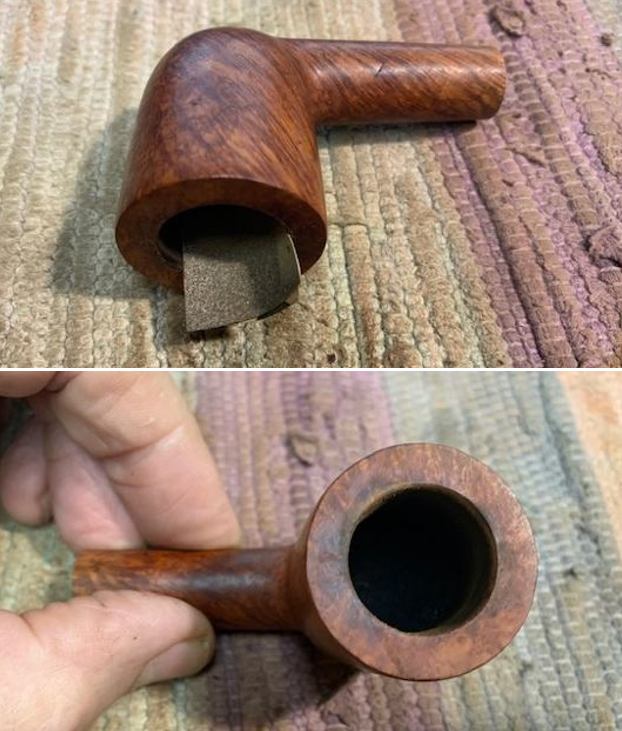
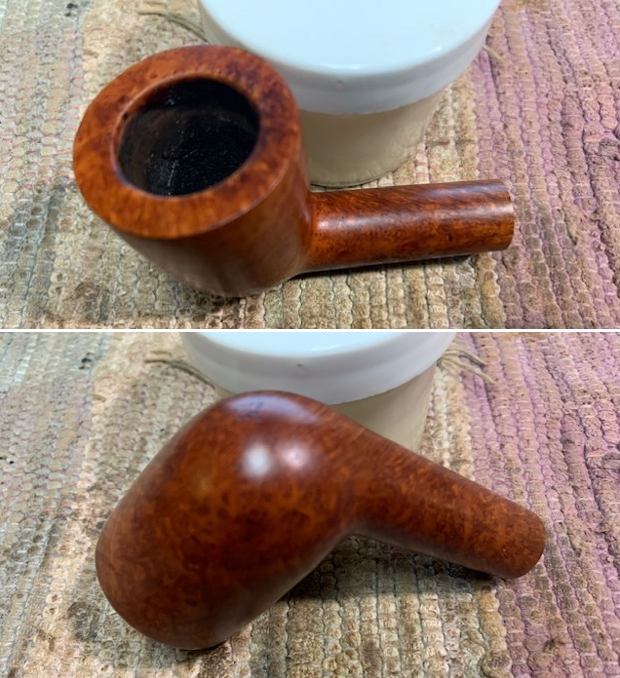
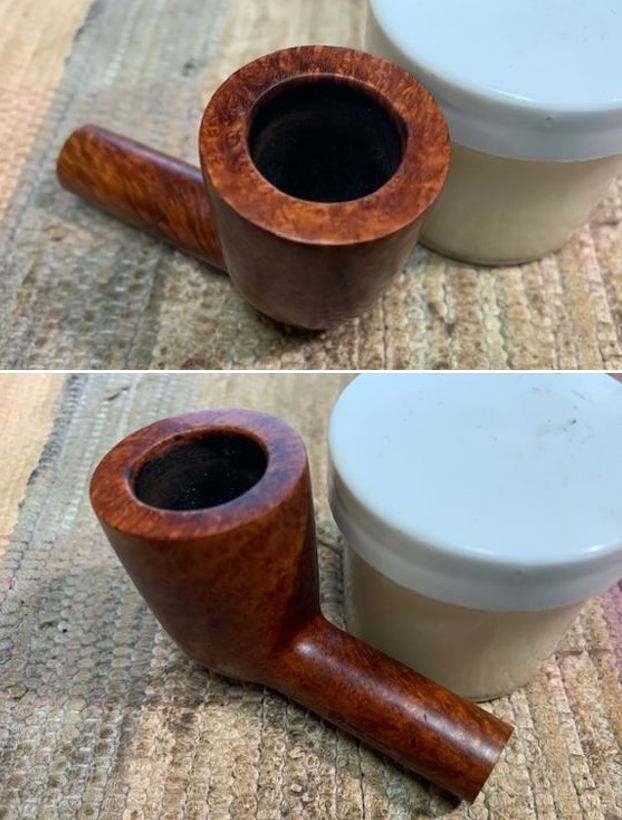
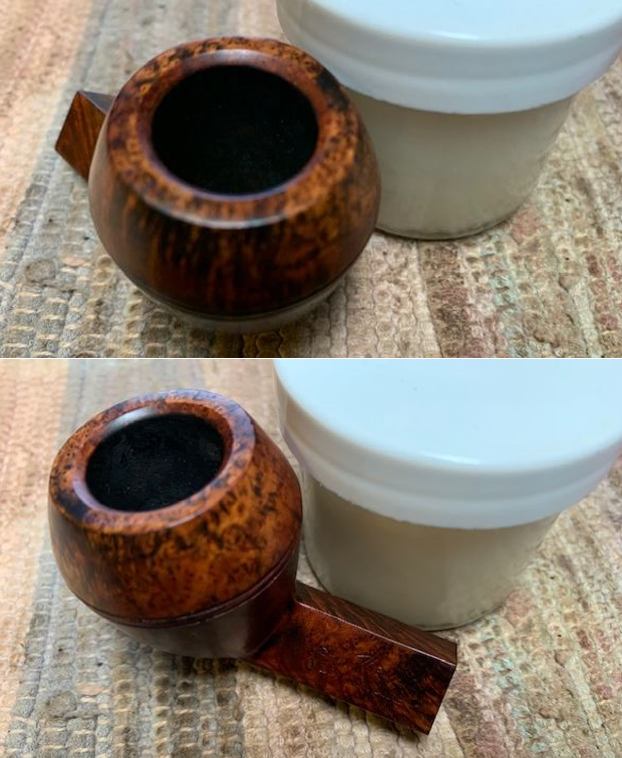
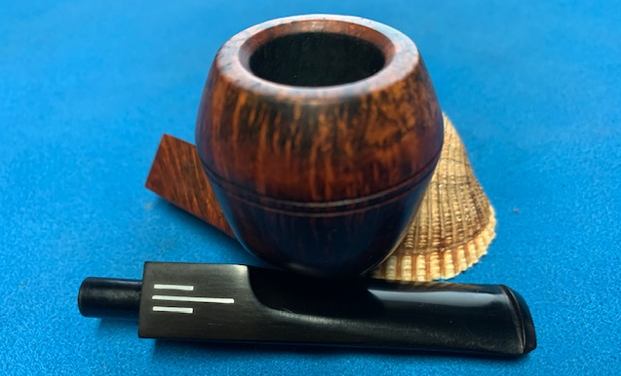
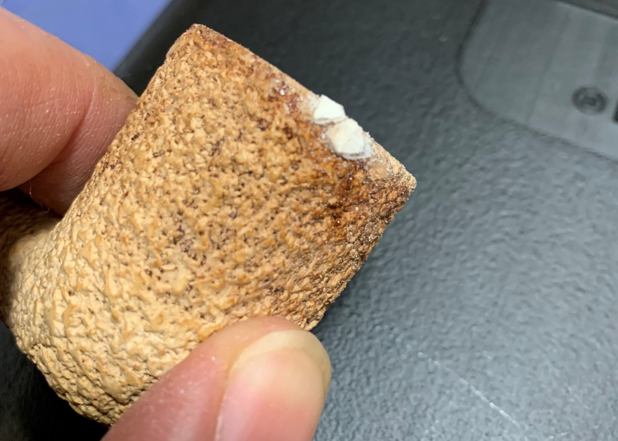
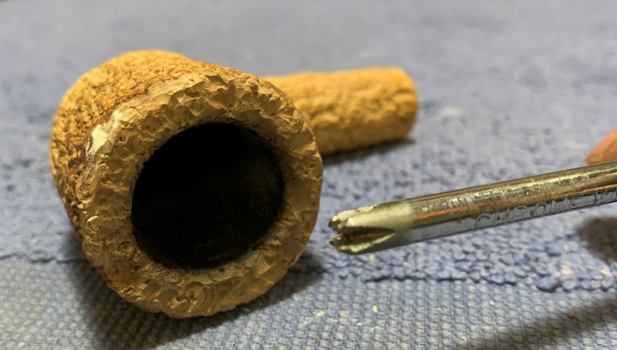
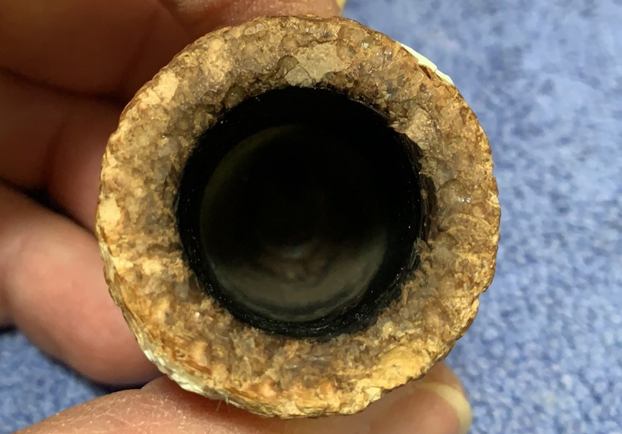
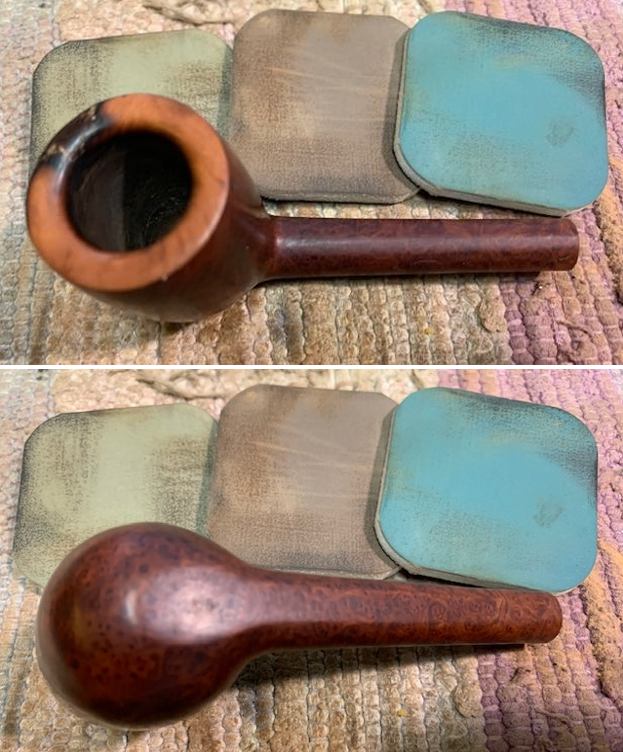
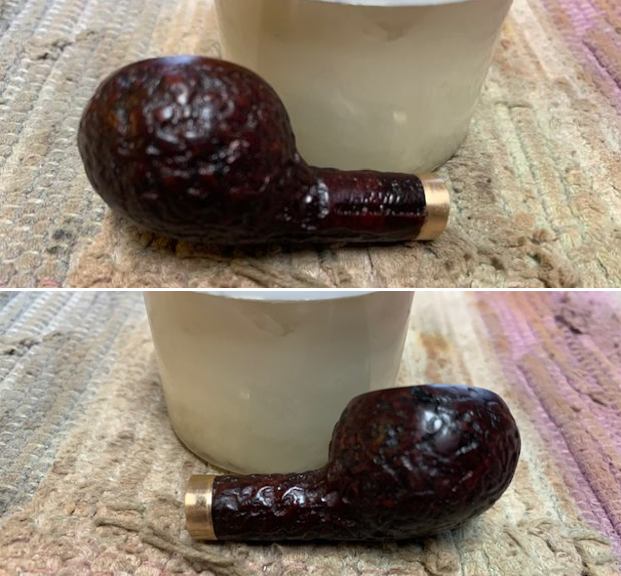
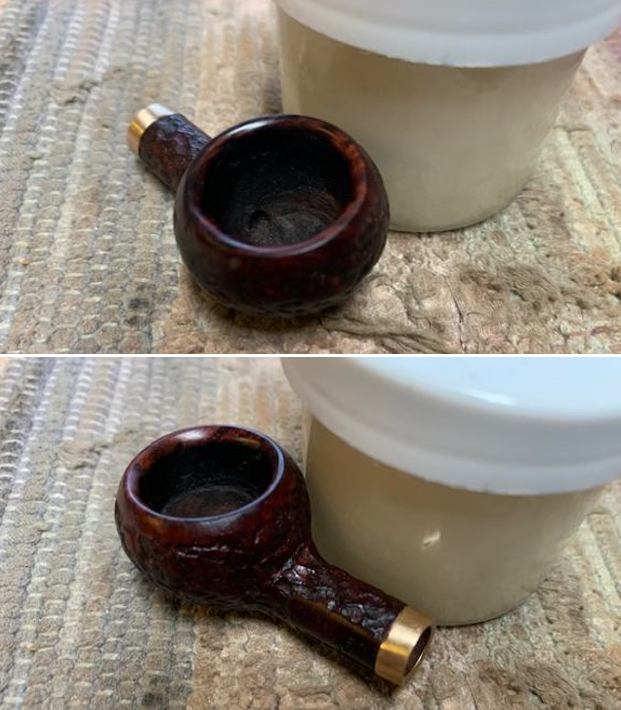
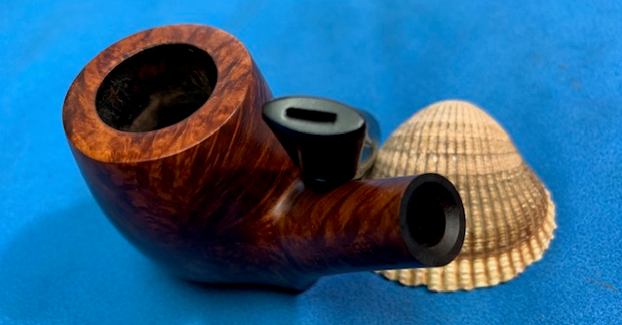
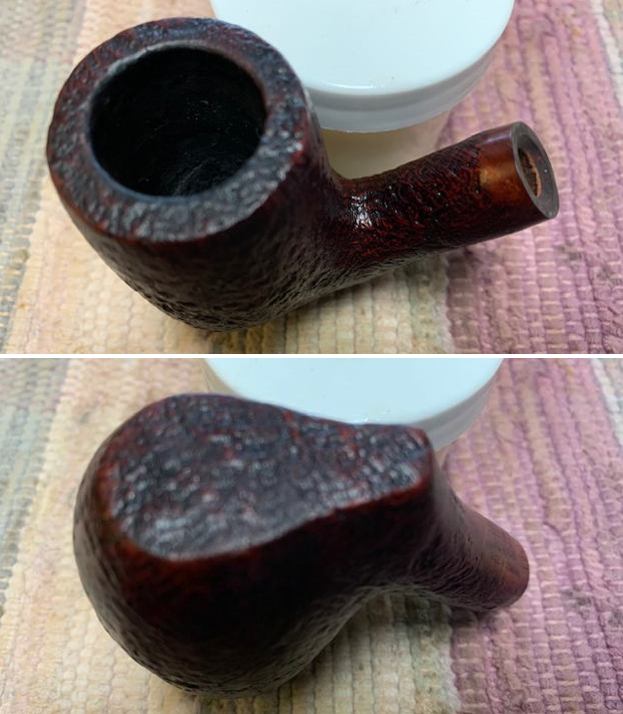
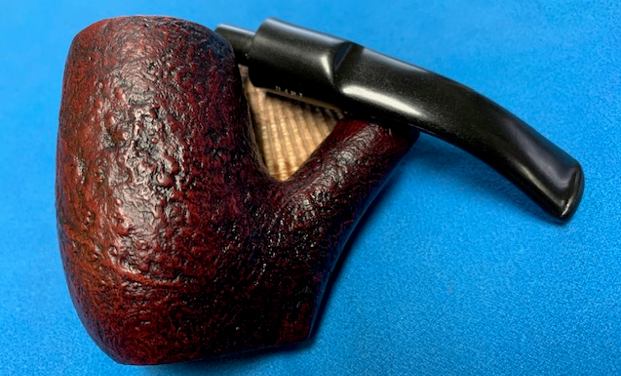
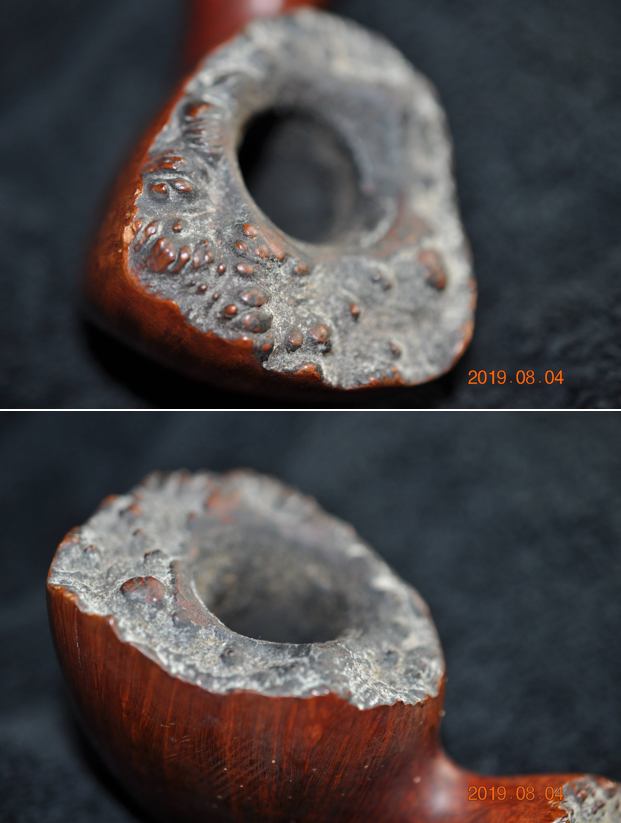
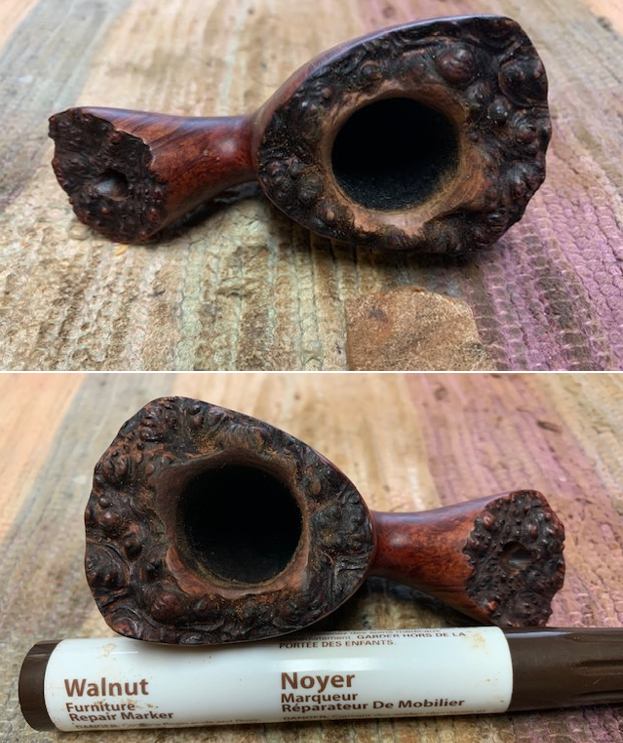
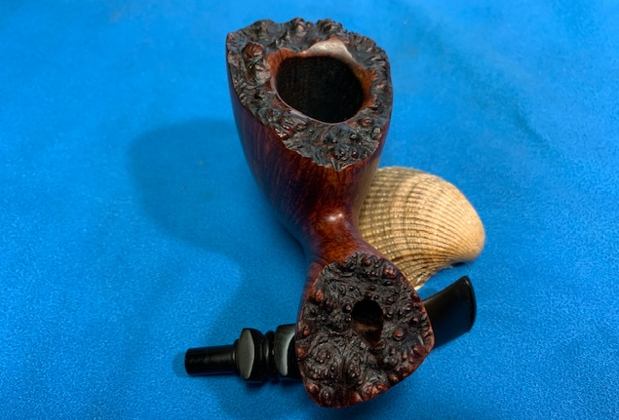
 I took some photos of the rim top to try and capture the damage to the rim top. It is no longer flat and the top from the back is at an angle and the sides have dips and valleys – it is a real mess.
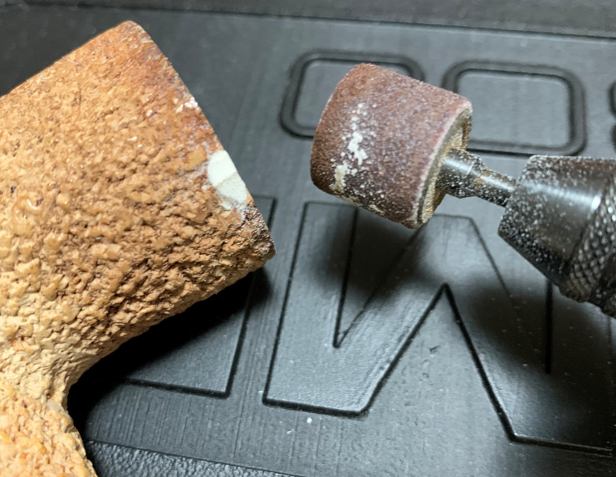
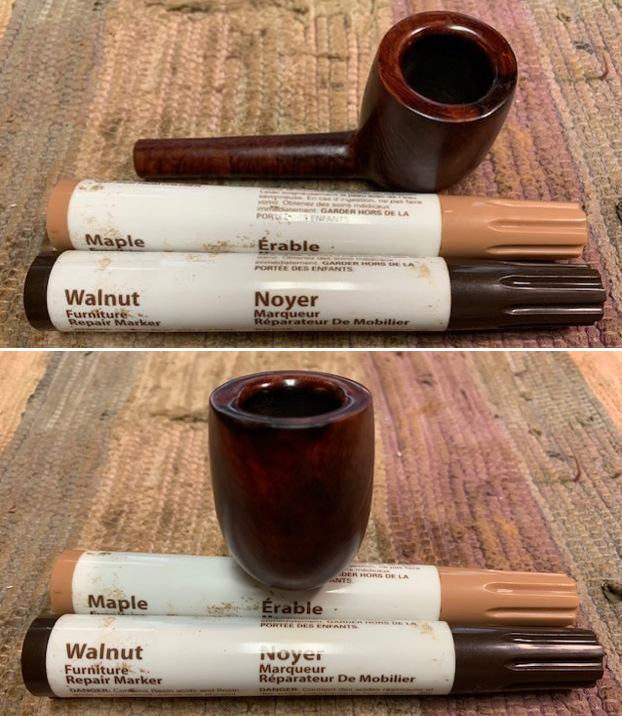
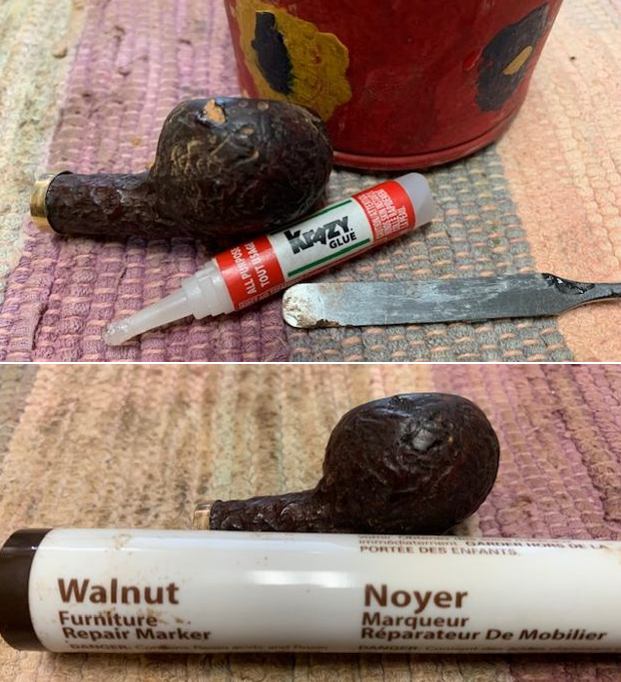
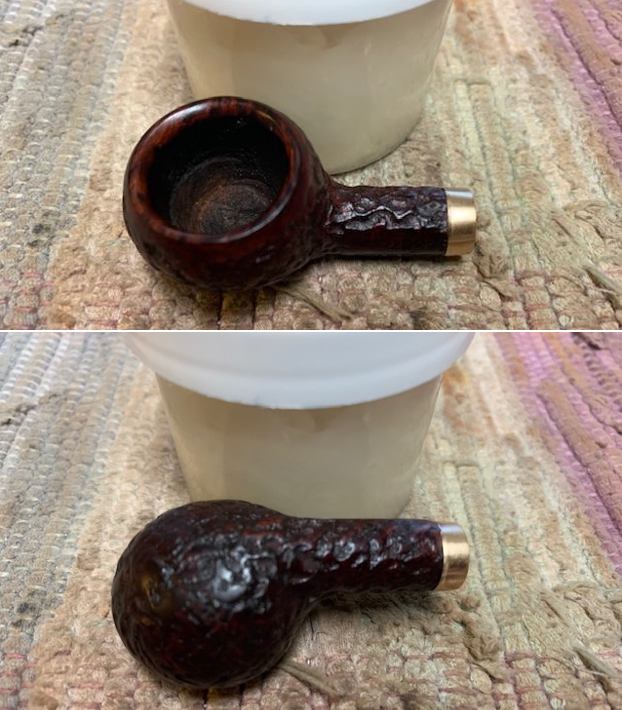
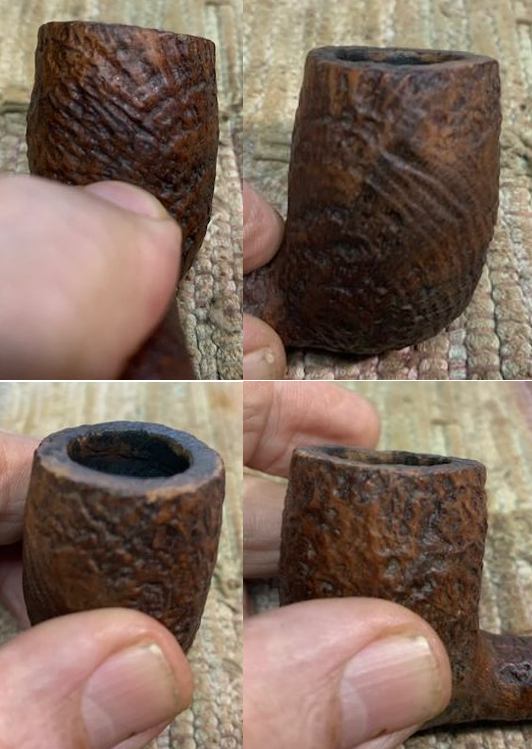 I would need to flatten the rim top on a topping board to get things flat again. Then I would need to try to duplicate the sandblast finish on the rim top. I topped the bowl on a topping board with 220 grit sandpaper. I started the rustication process with the tool for rustication that I made from a Philips screwdriver. I followed that up with a Dremel and burrs to rusticate the rim top and give it the appearance of a sandblast. I restained it with a Maple and Walnut stain pen to approximate the colour of the bowl.
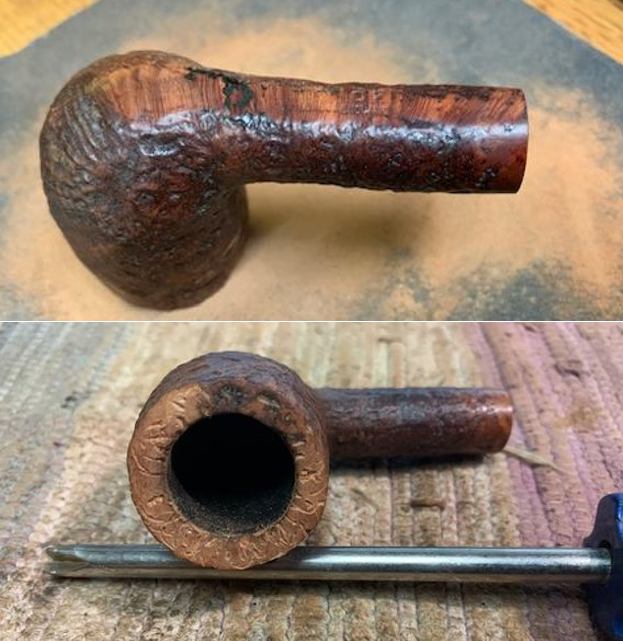
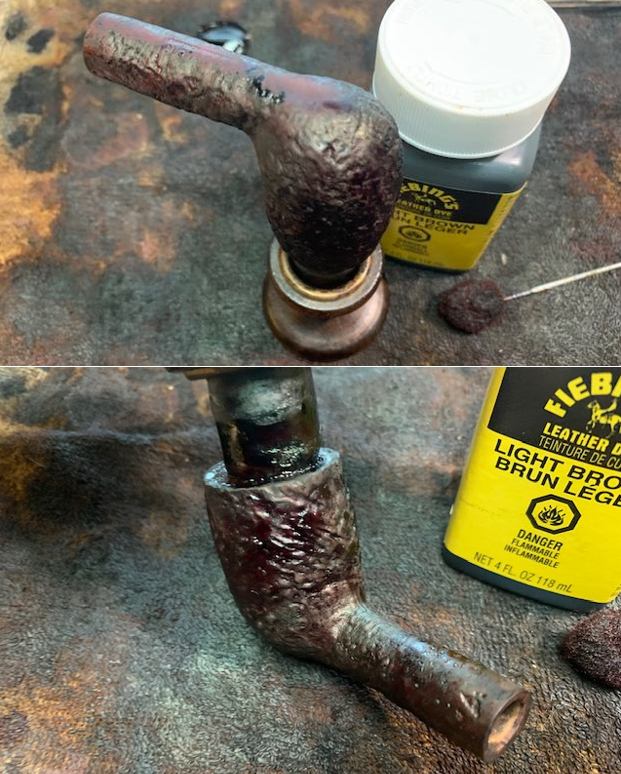
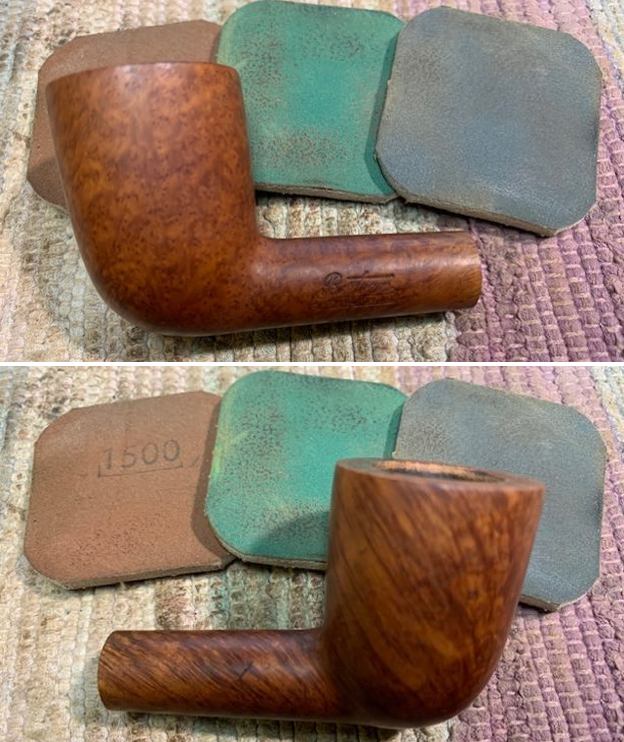
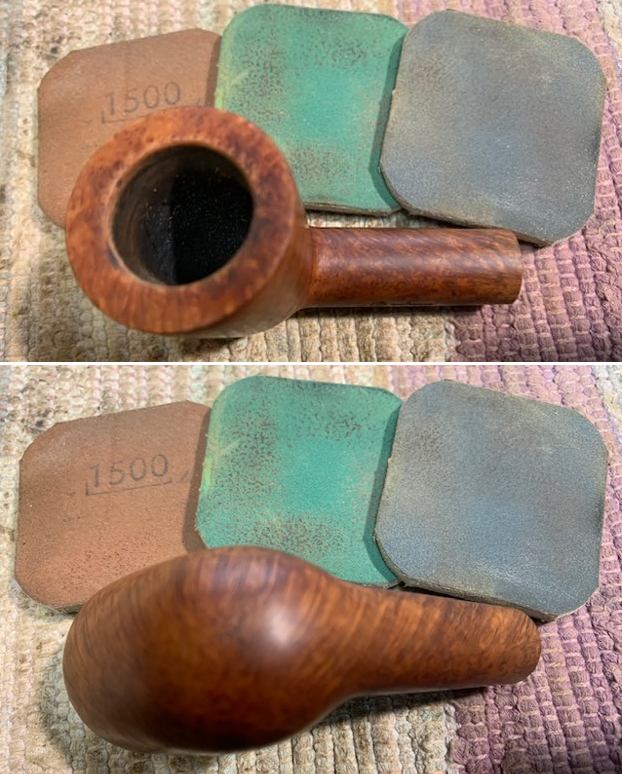
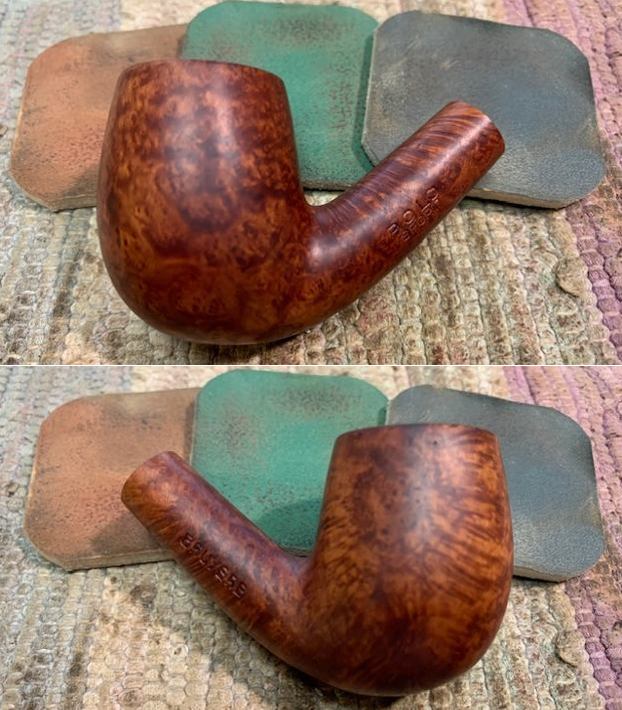
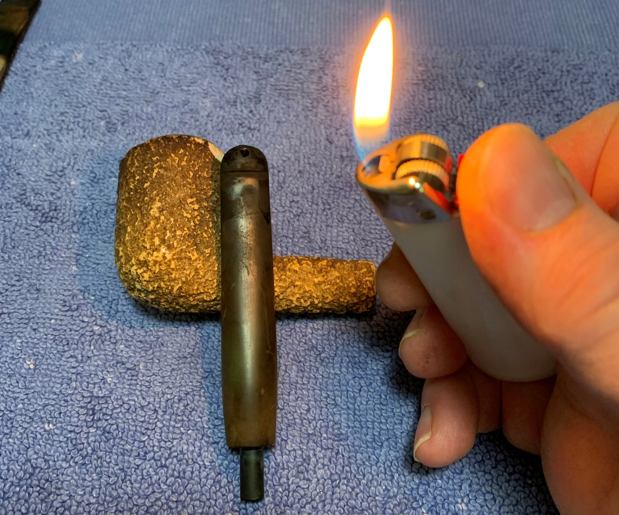
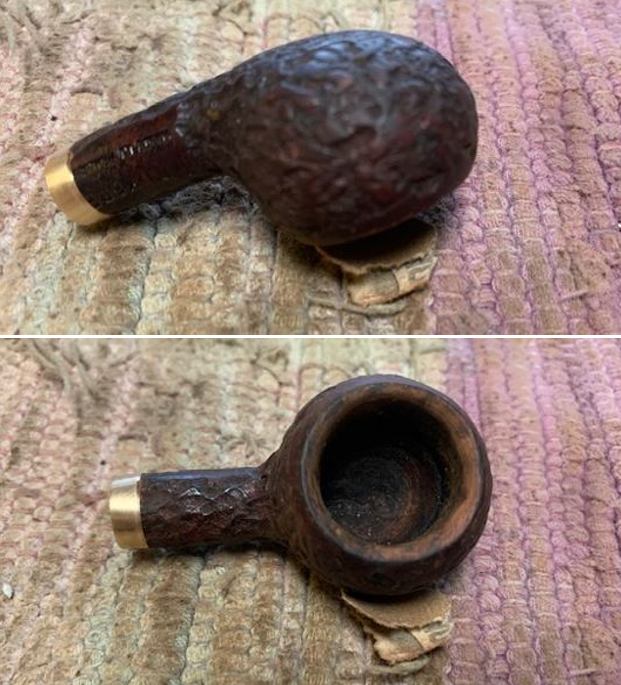
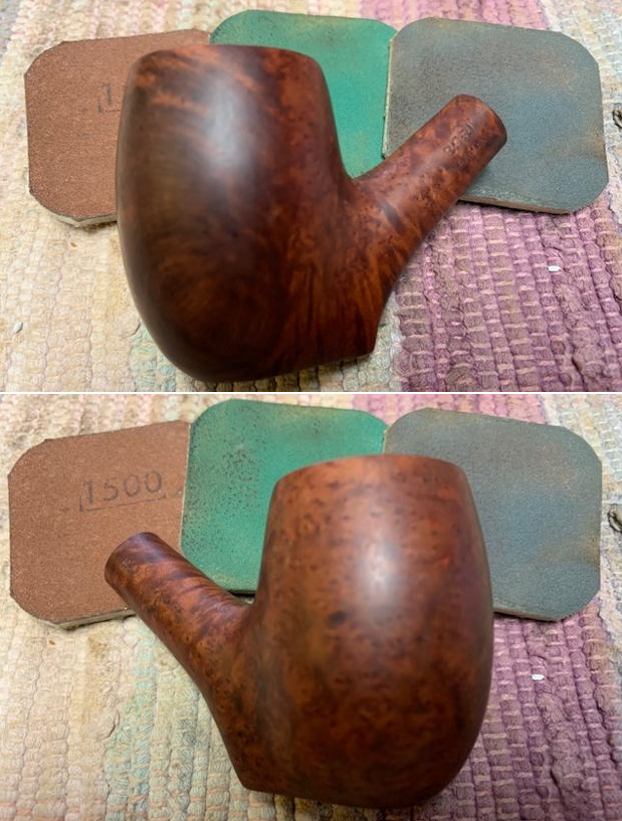
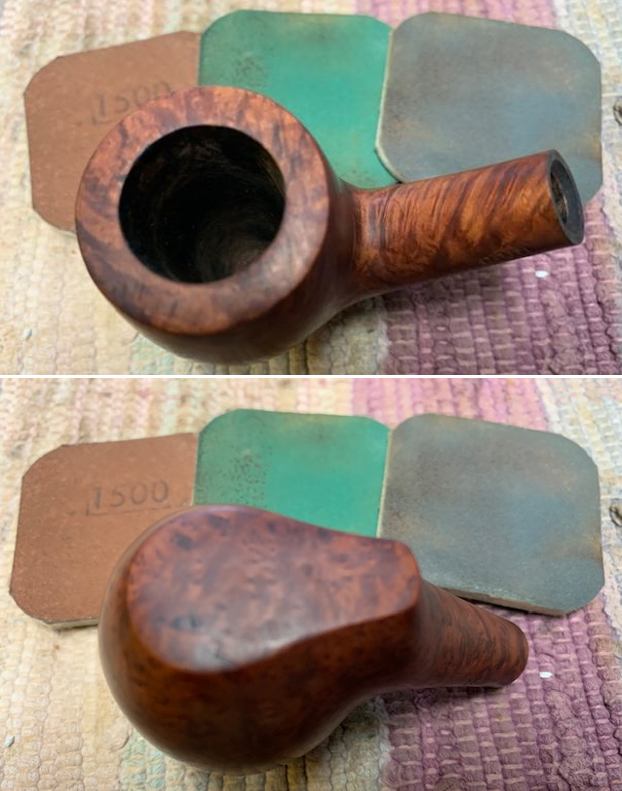
 To deal with the darkened areas around the bowl sides and the washed out stain on the rest of the bowl I restained it with a light brown aniline stain. I applied it with a dauber and then flamed it with a lighter to set it in the briar. I repeated the process until I was happy with the coverage.
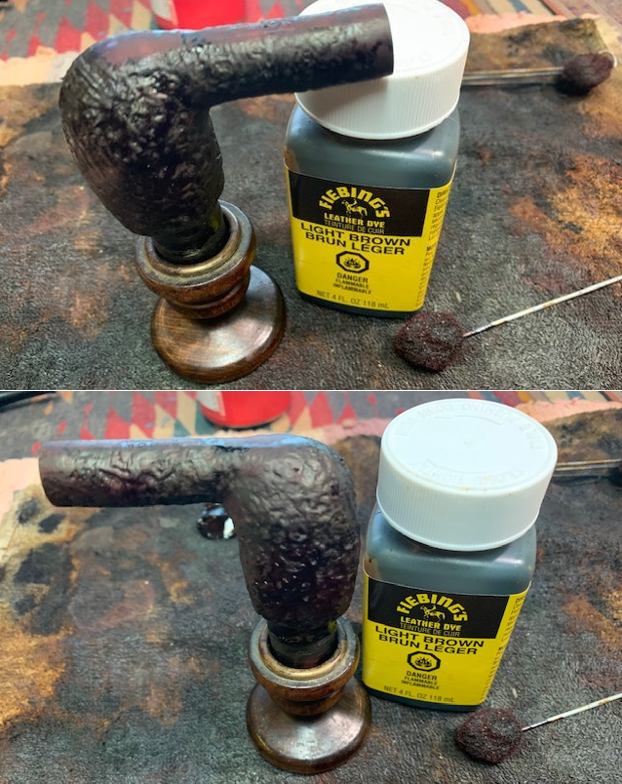
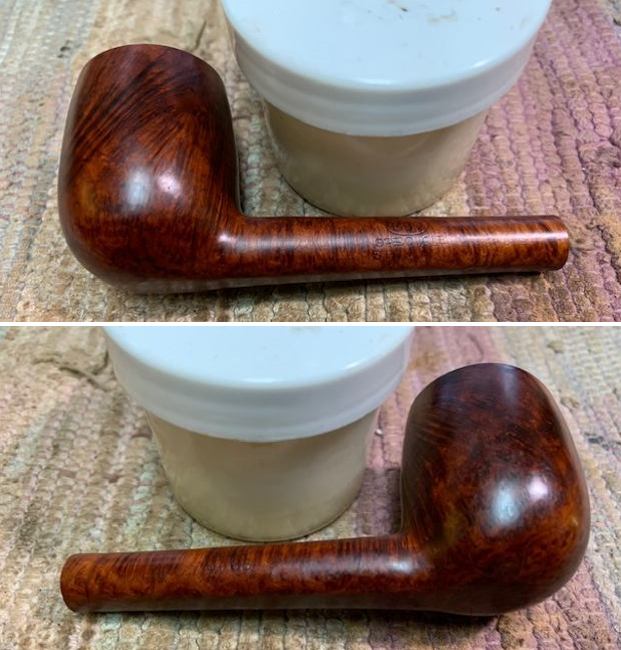
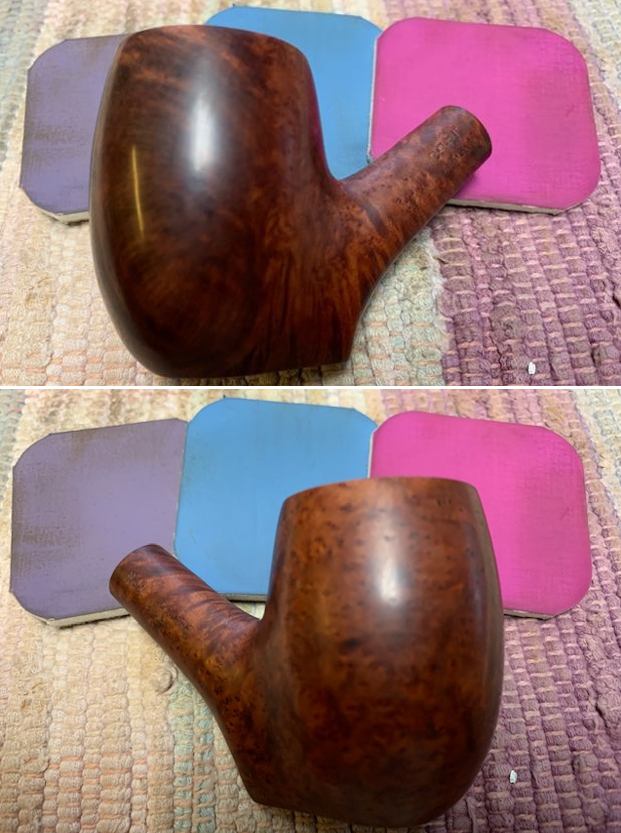
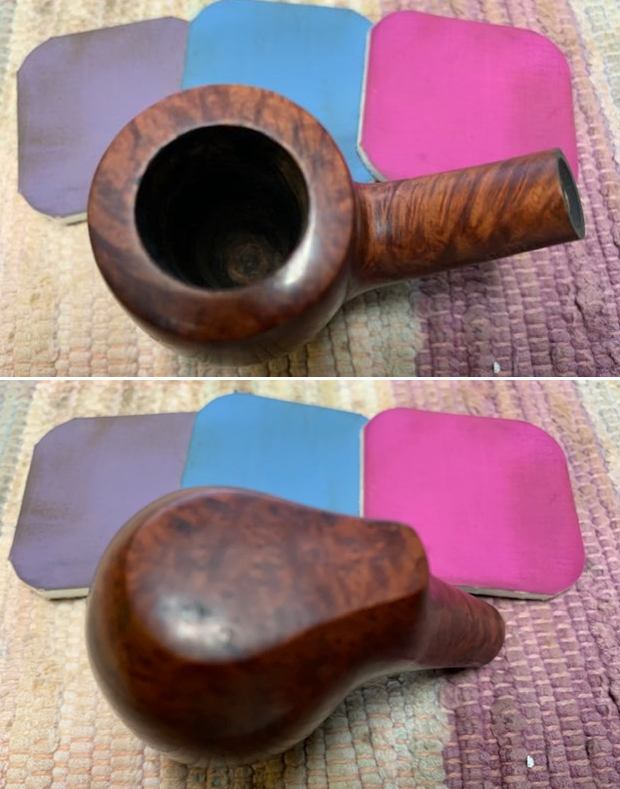
 I buffed the bowl with Blue Diamond on the buffing wheel and worked some Before & After Restoration Balm into the sandblast finish my fingertips and a horsehair shoe brush to clean, enliven and protect the briar. I let the balm sit for a little while and then buffed with a cotton cloth to raise the shine. The product brought the briar to life and gave some dimensionality to the sandblast.
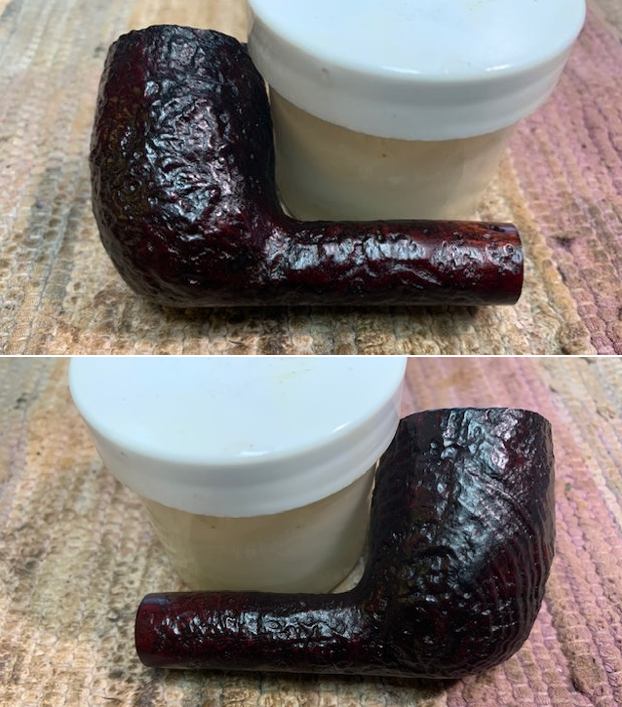
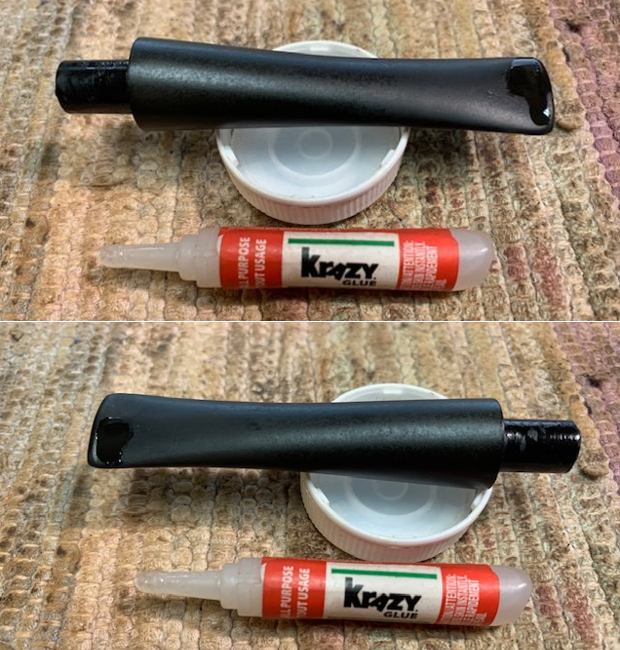
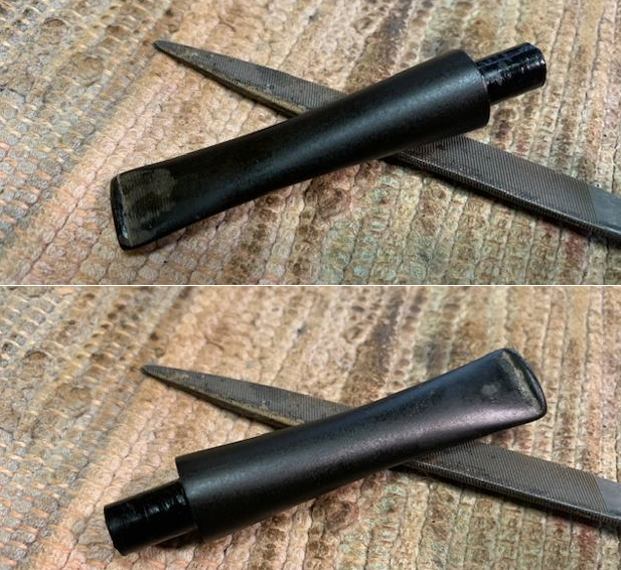
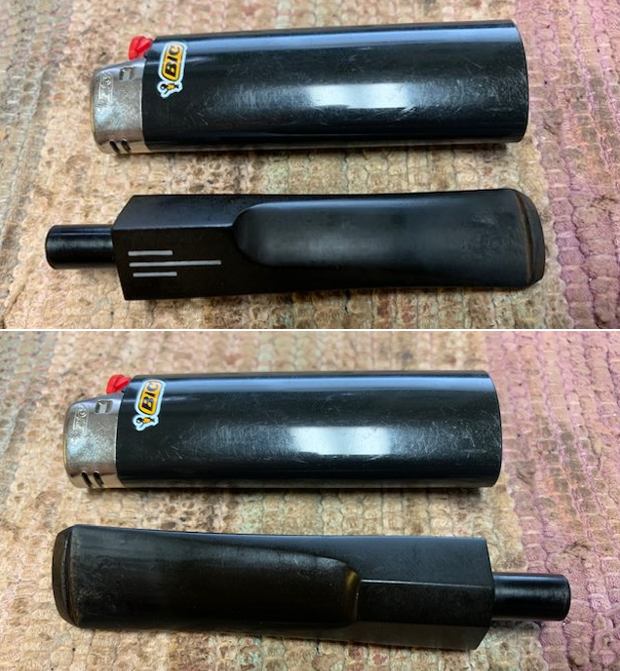
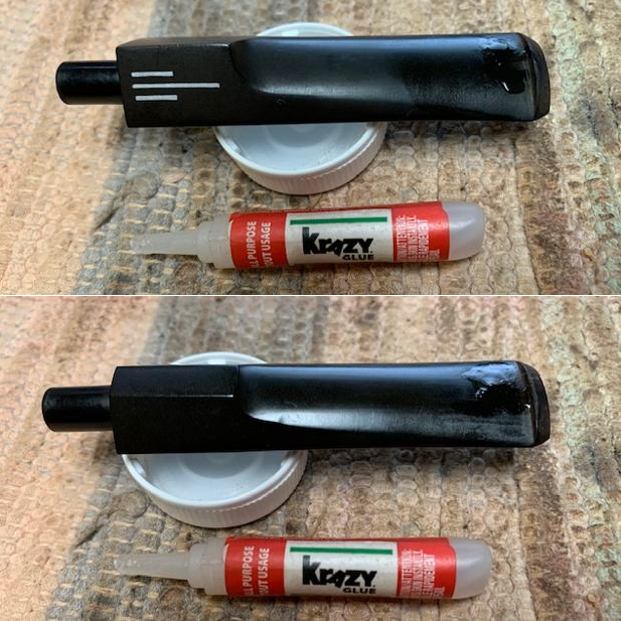
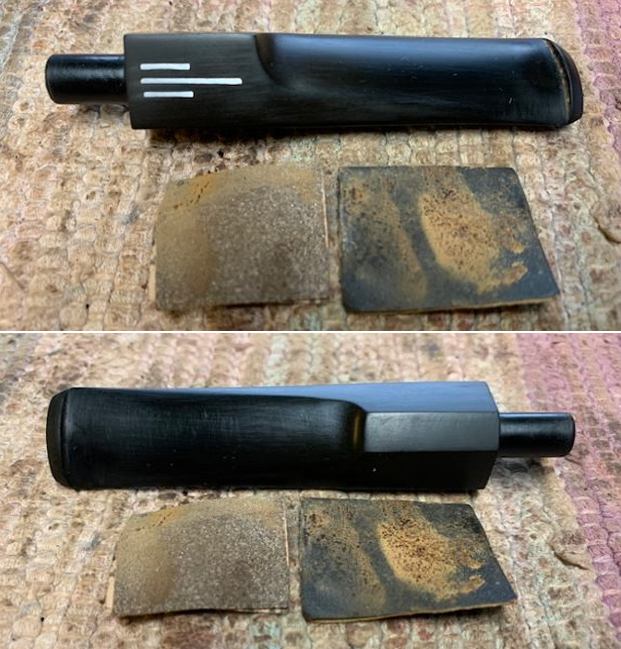
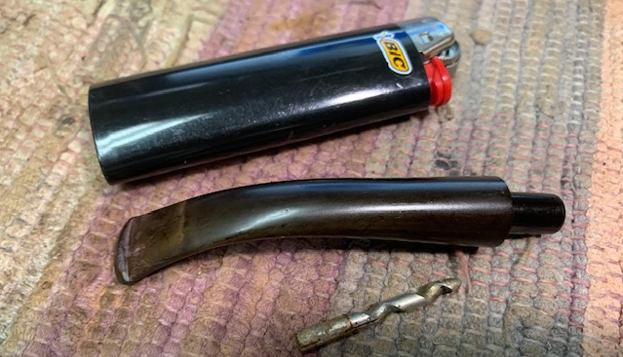
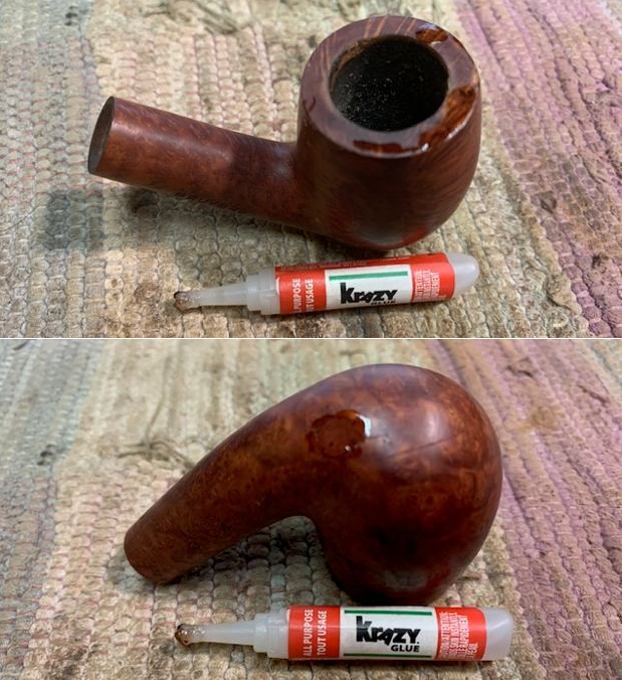
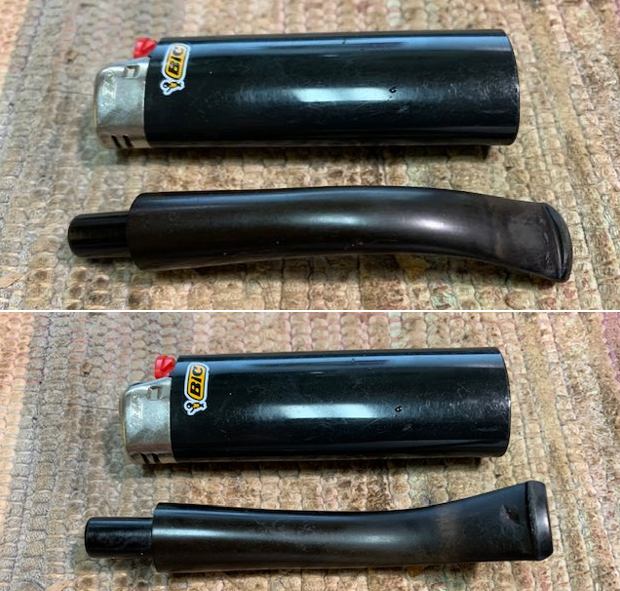
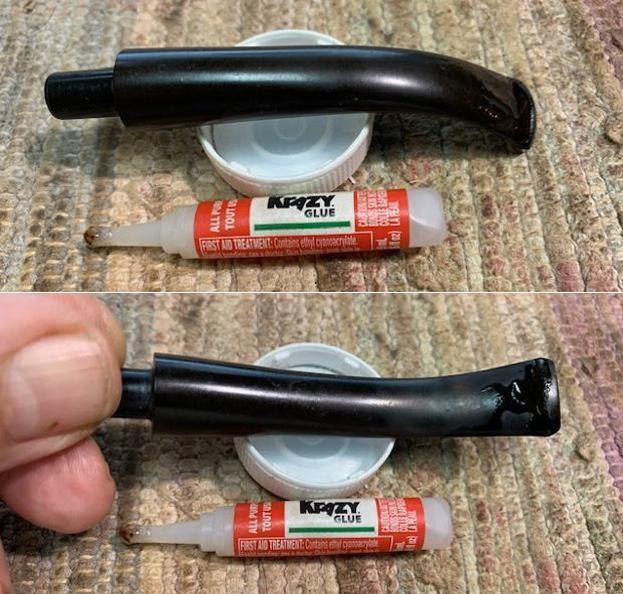
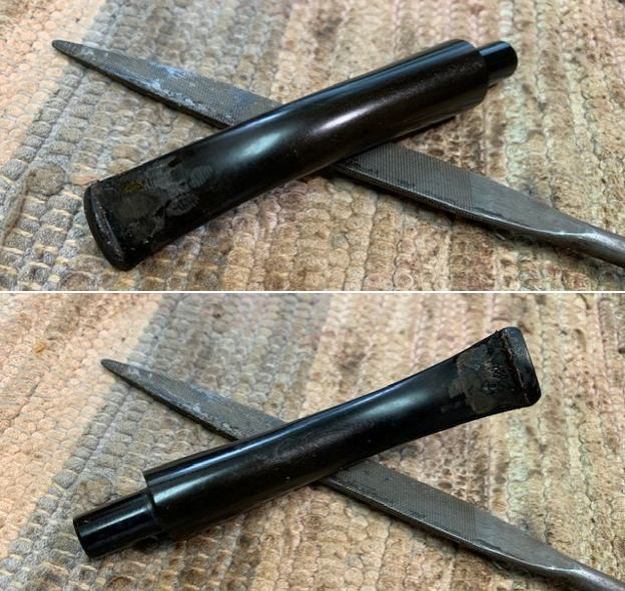
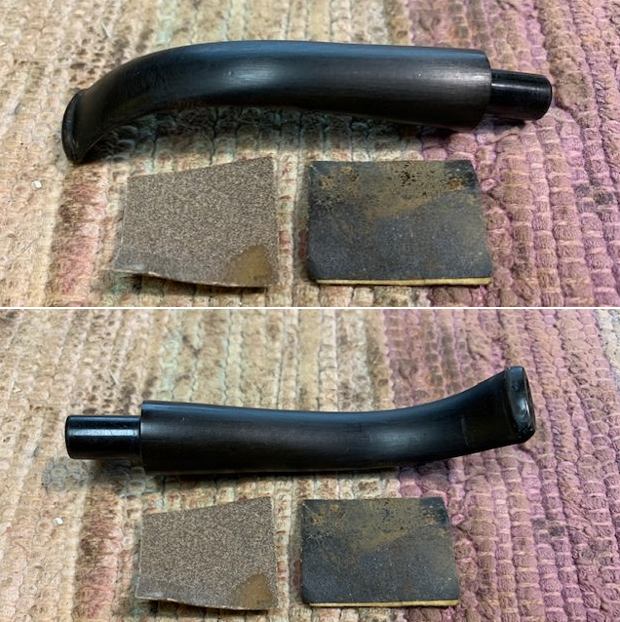
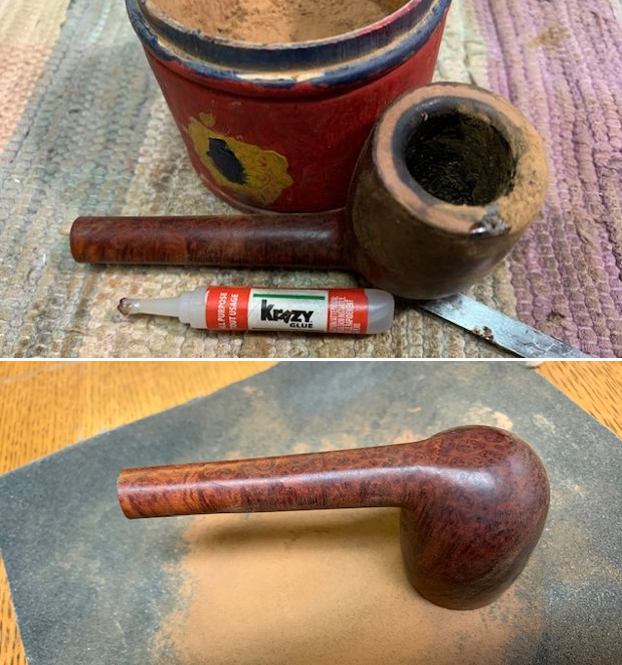
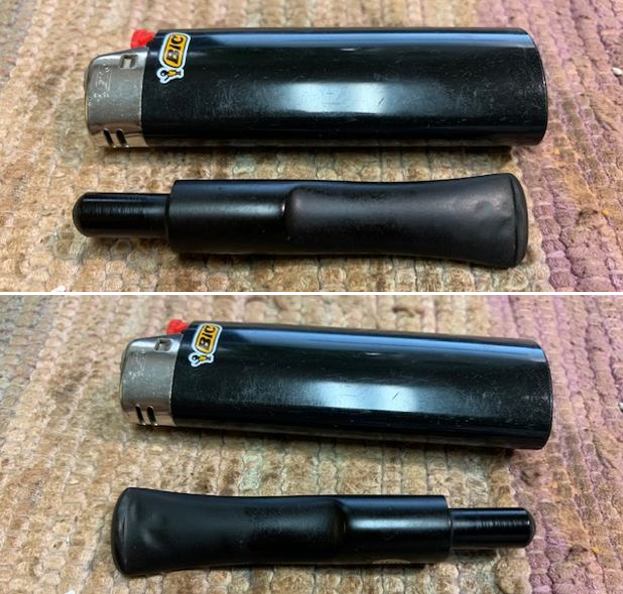
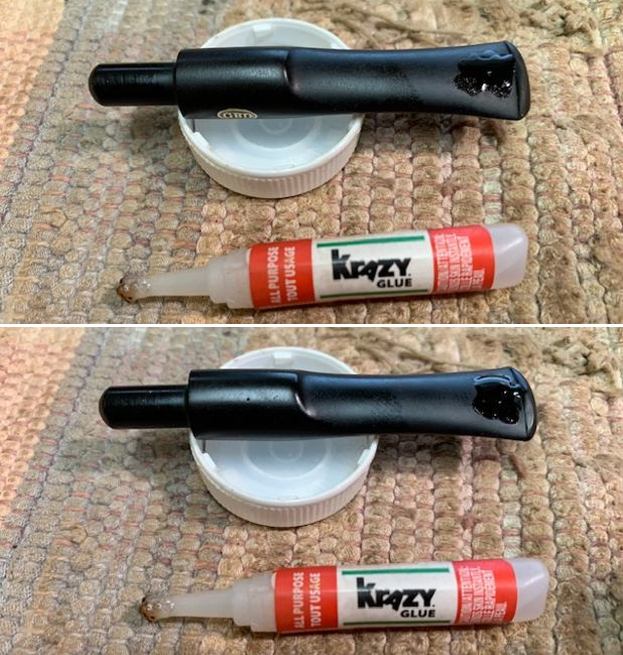
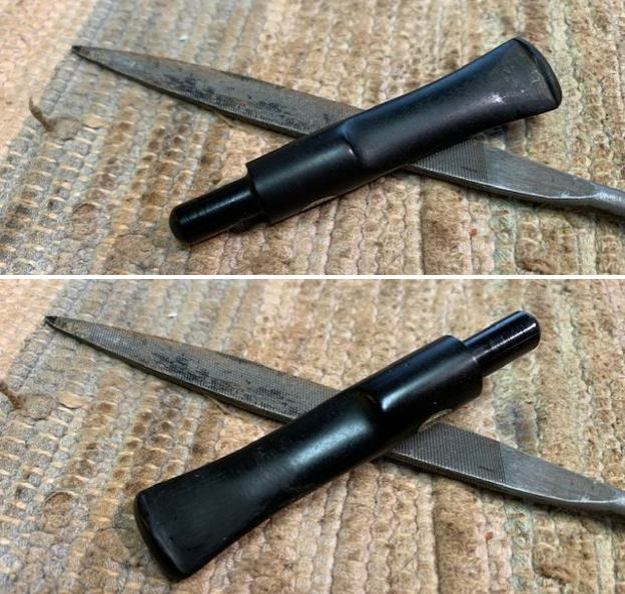
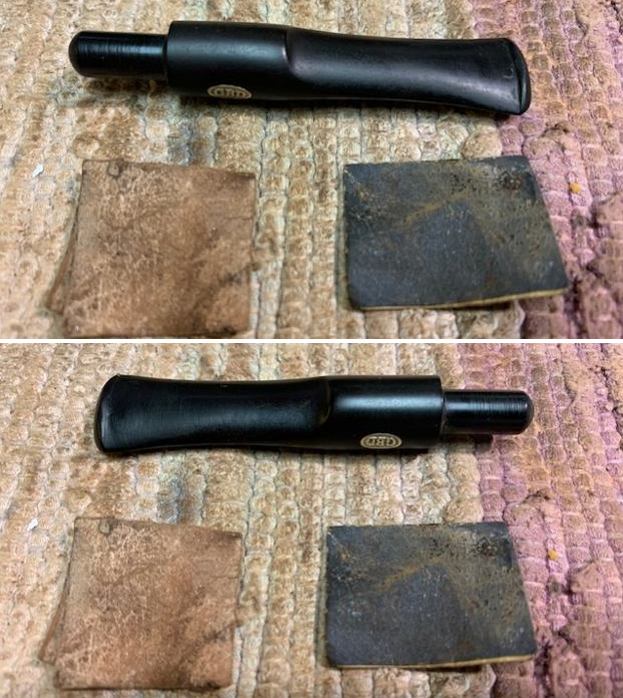
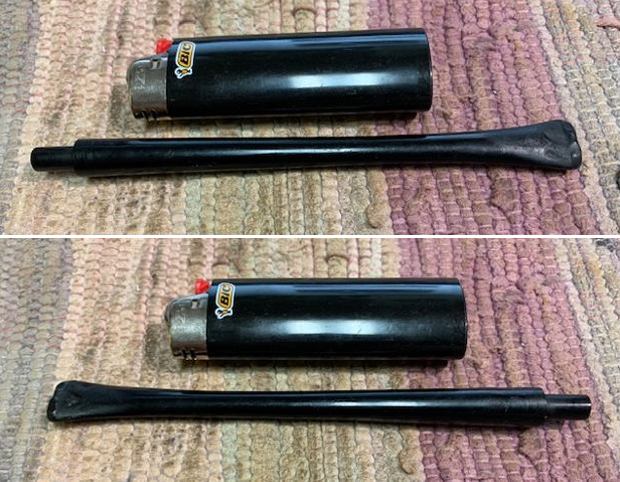
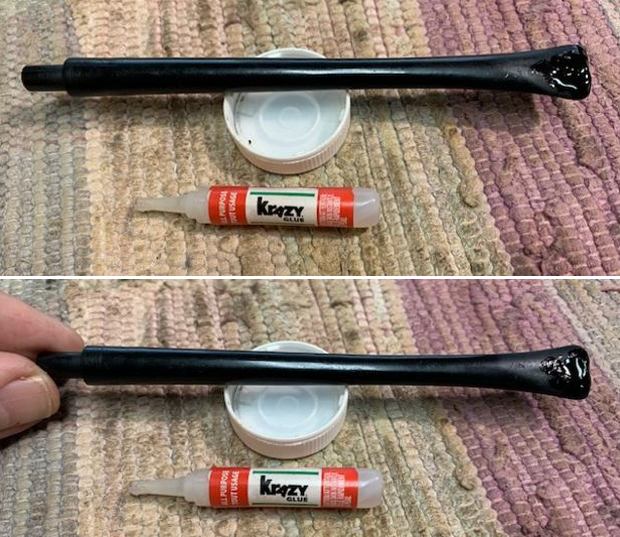
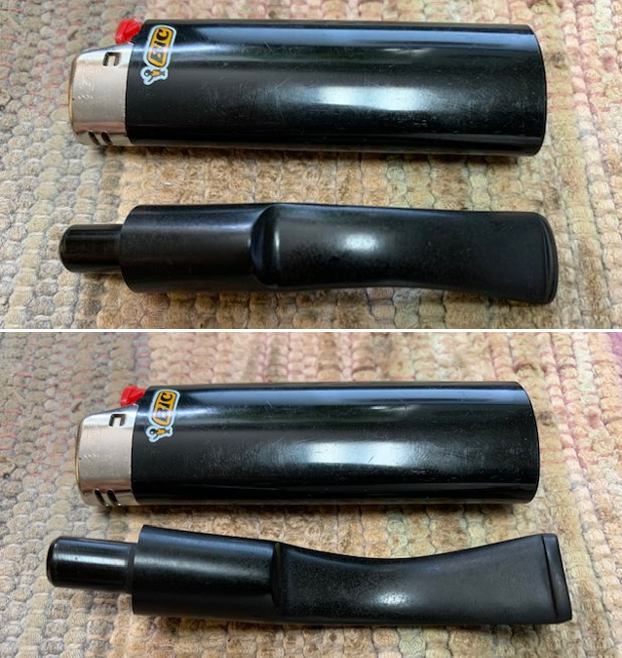
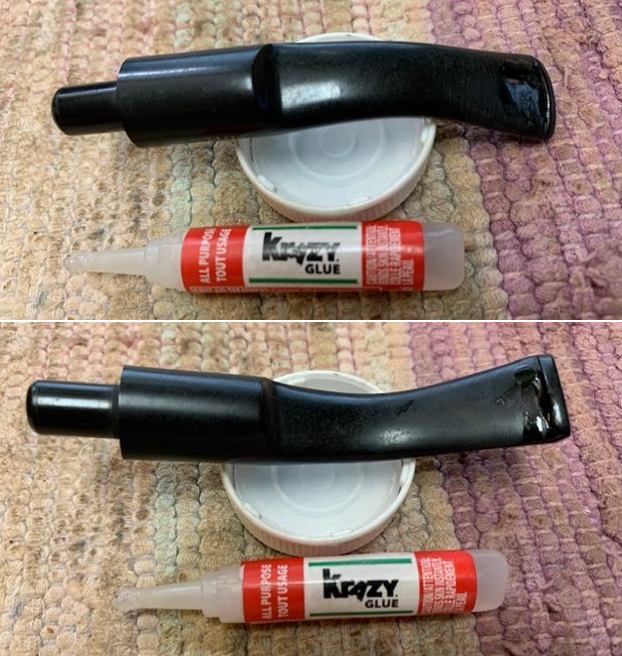
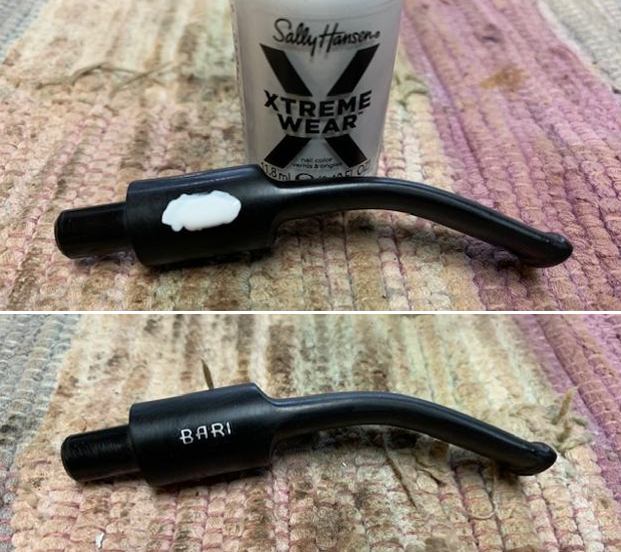
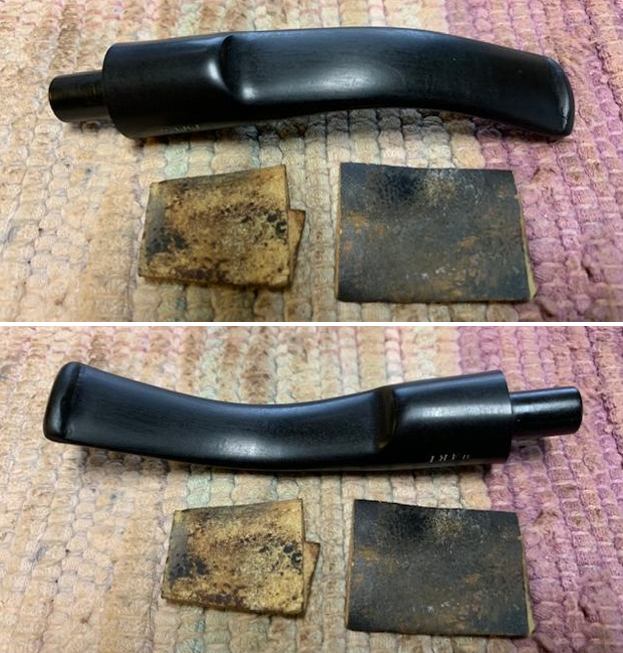
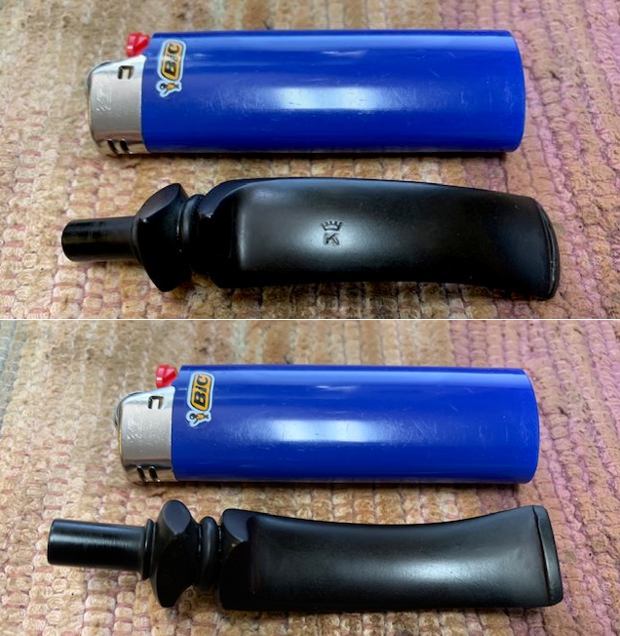
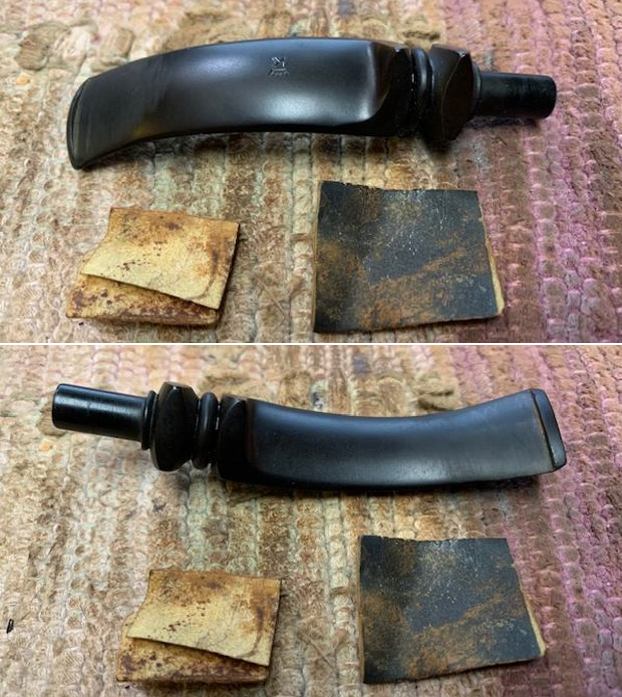
 I set the bowl aside and turned my attention to the stem. I “painted” the tooth marks with the flame of a lighter and was able to lift them significantly. I filled in the remaining marks with clear CA glue. Once it cured I used a small file to recut the edge of the button and to flatten out the repairs. I sanded out the repairs with a folded piece of 220 grit sandpaper and then started polishing it with 400 grit wet dry sandpaper.
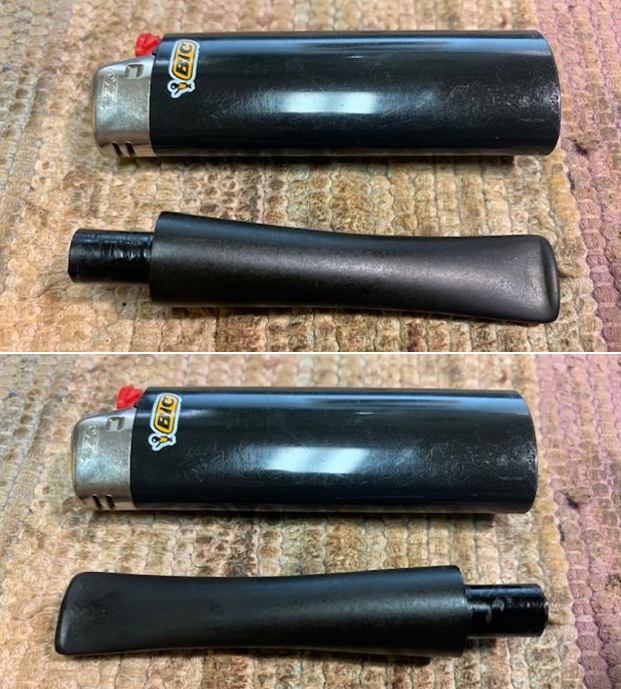
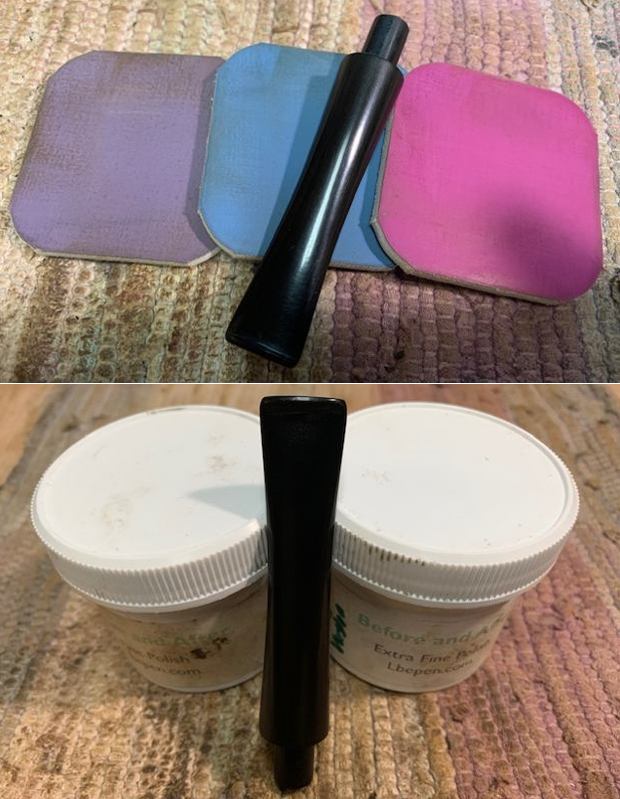
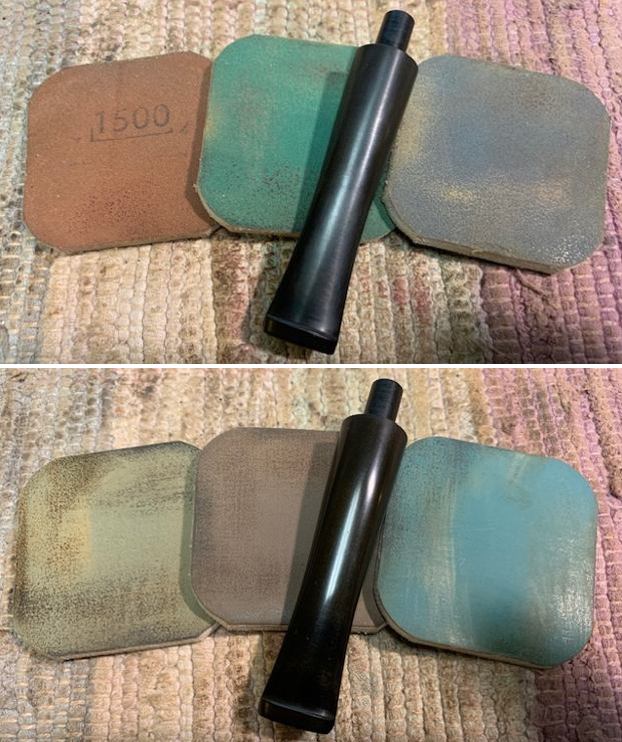
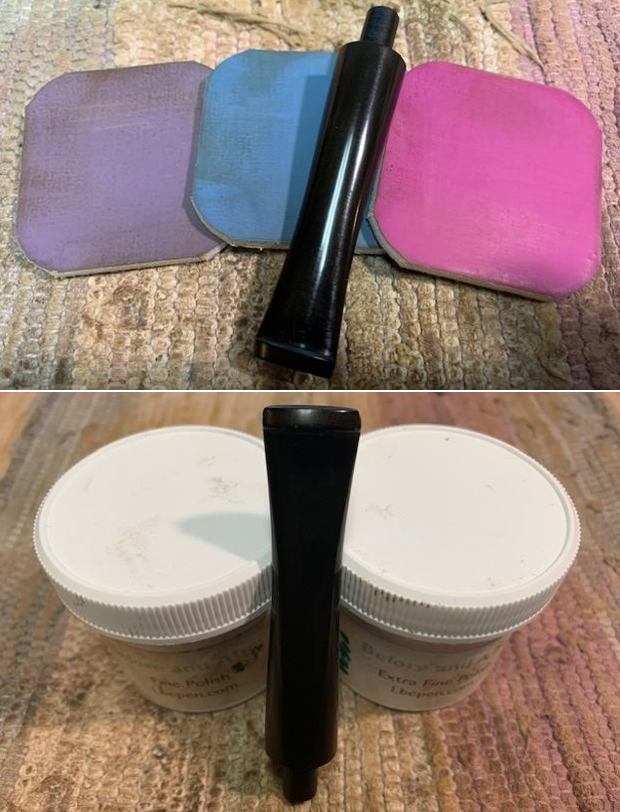
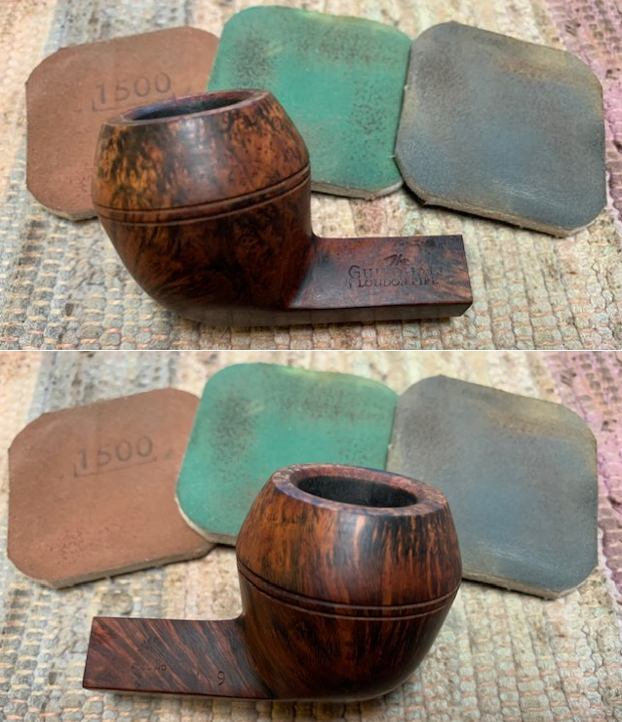
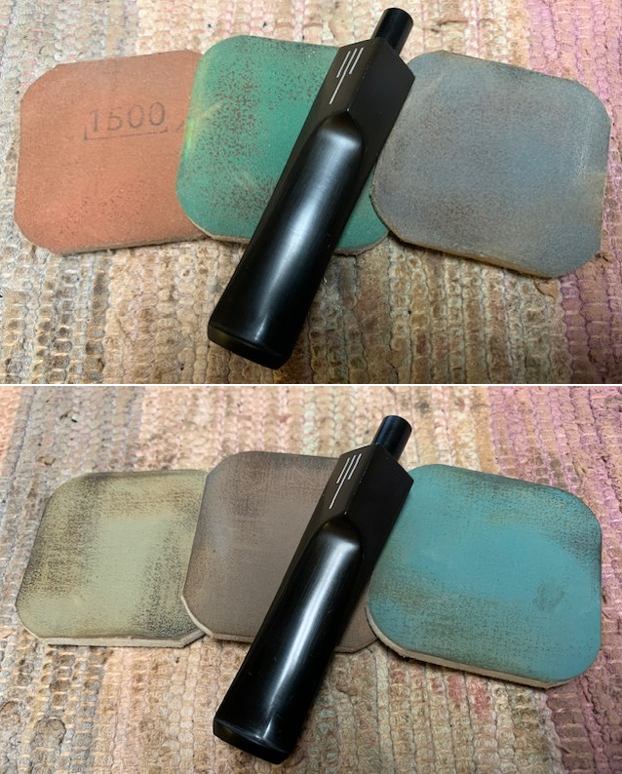
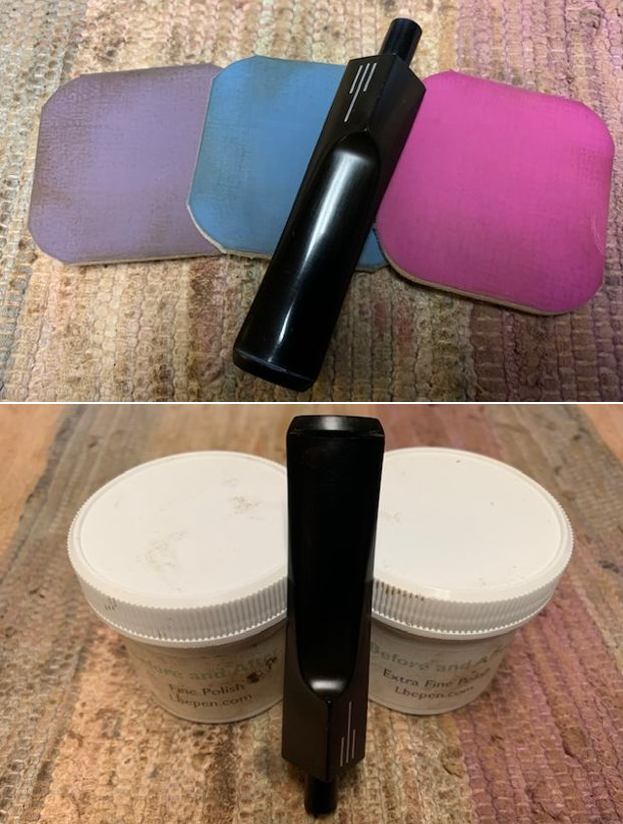
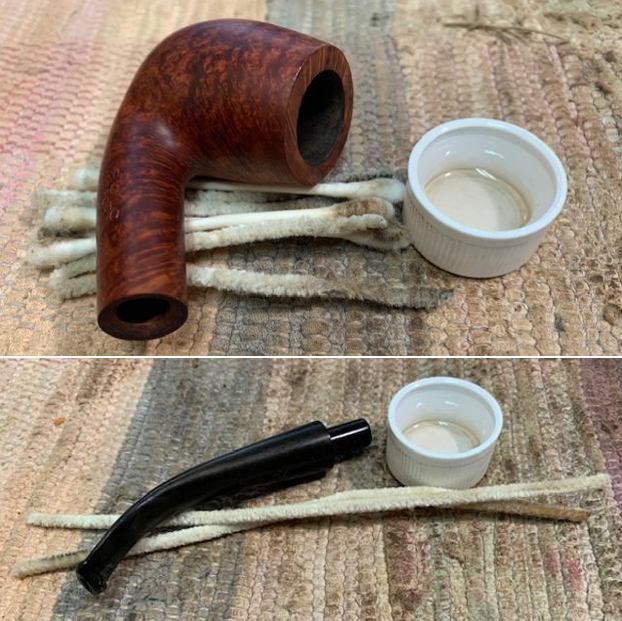
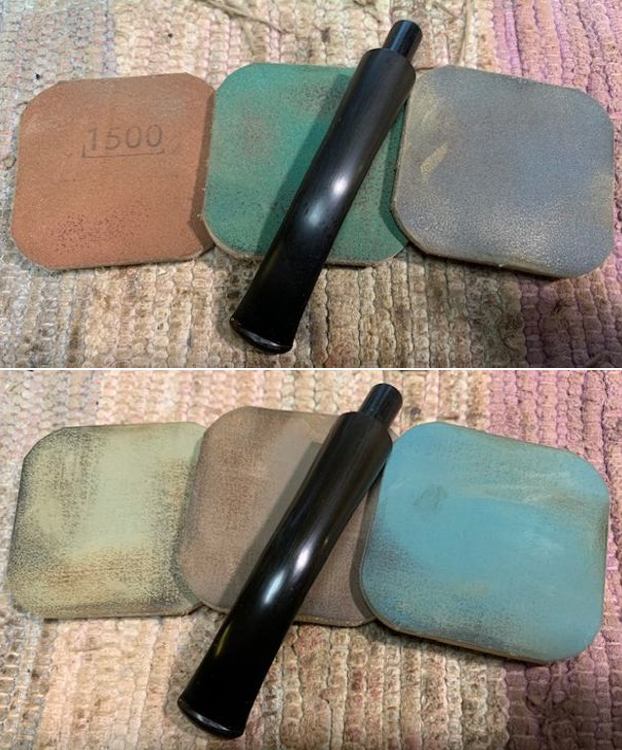
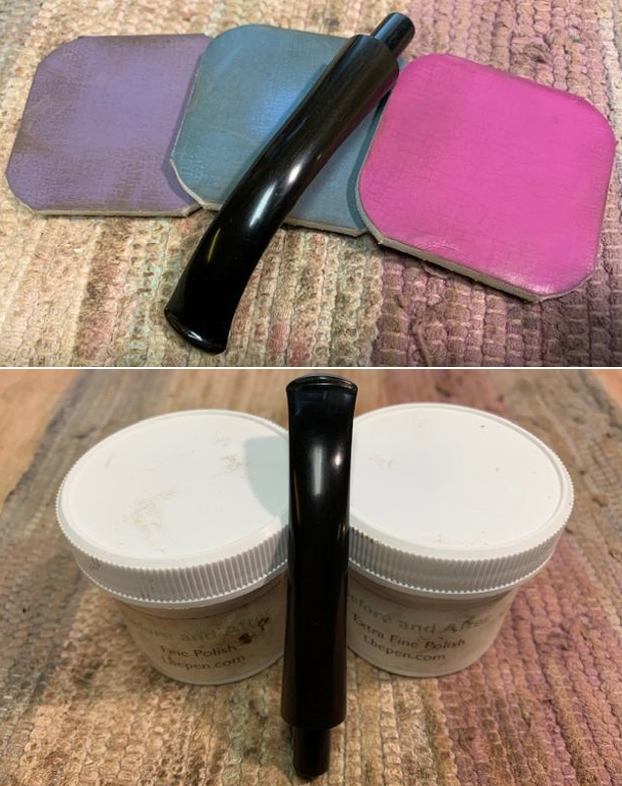
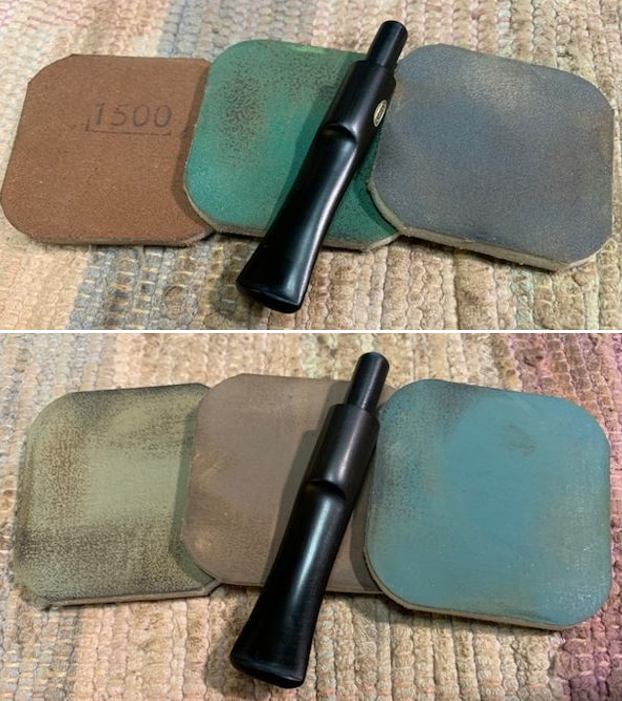
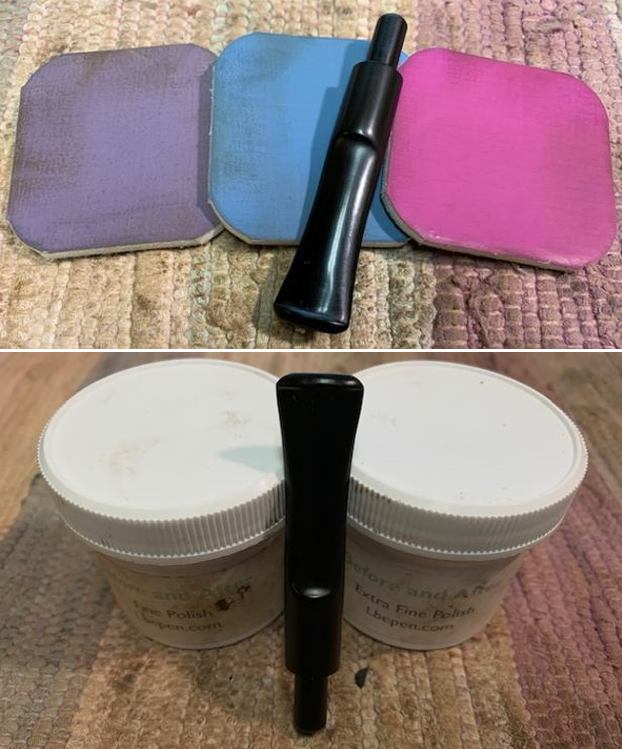
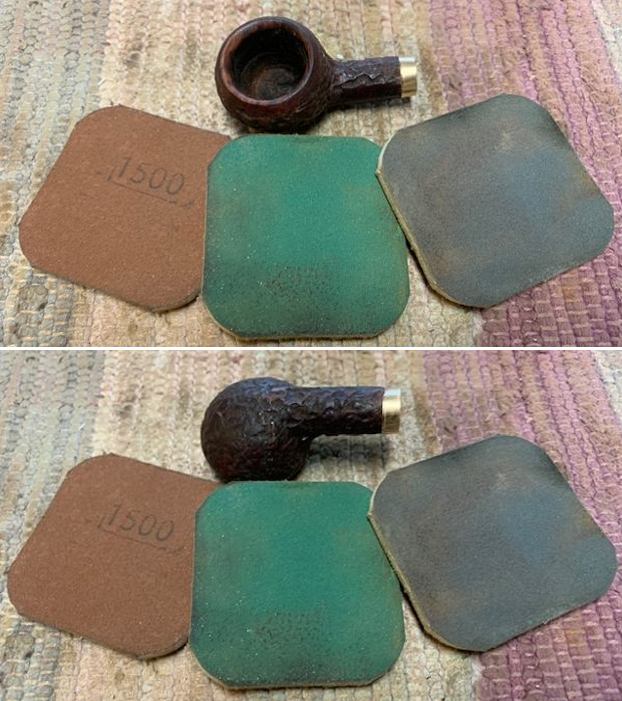
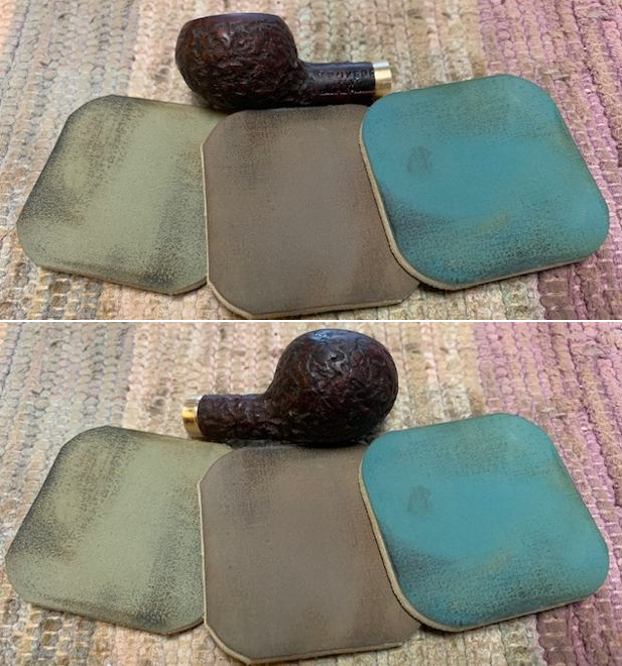
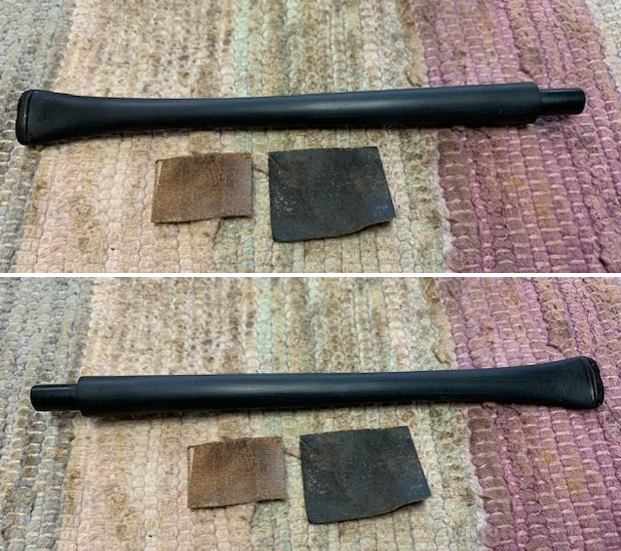
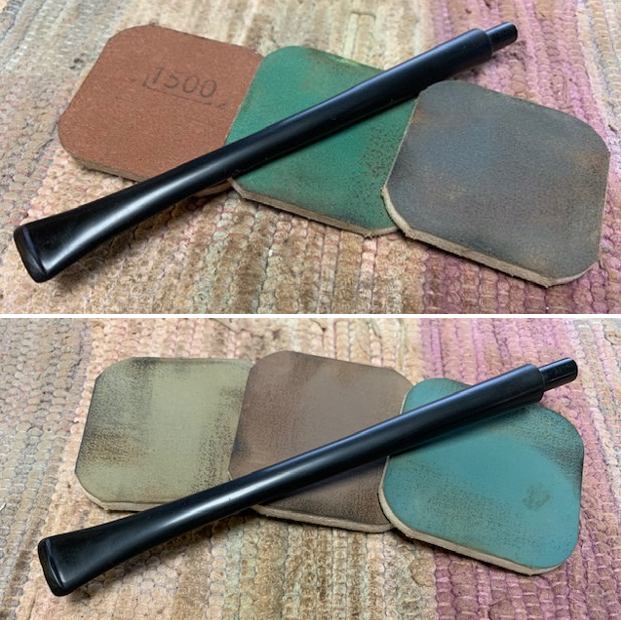
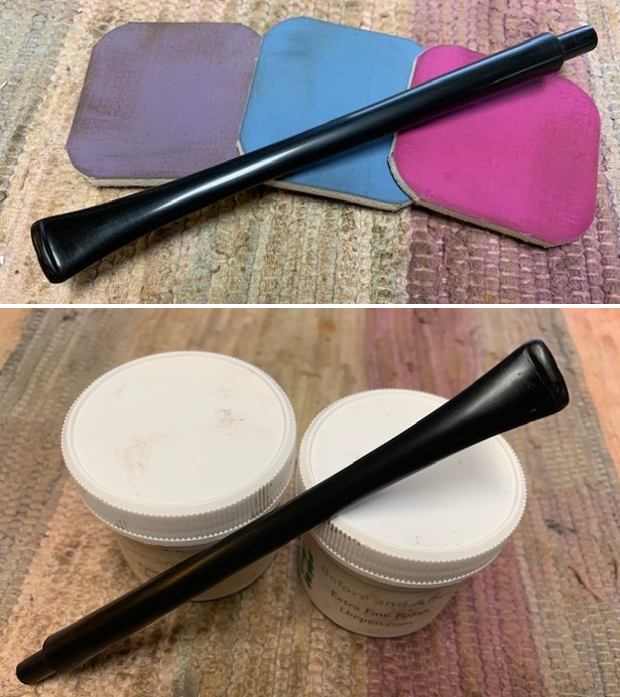
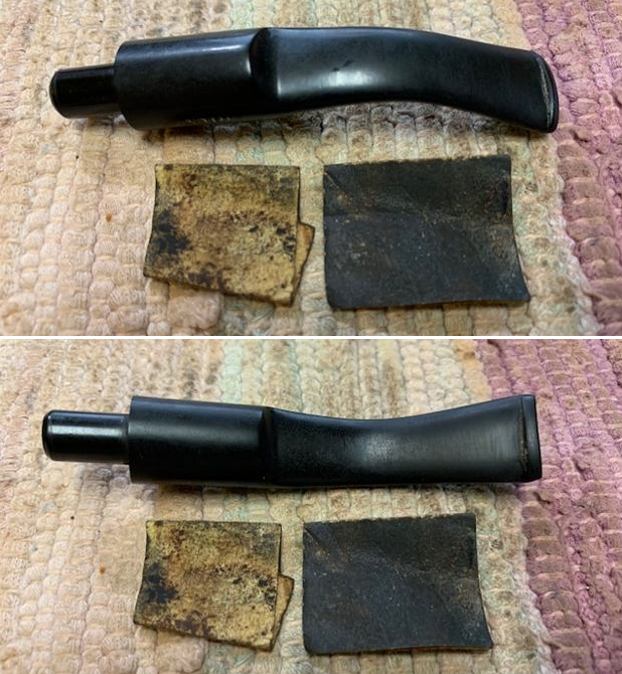
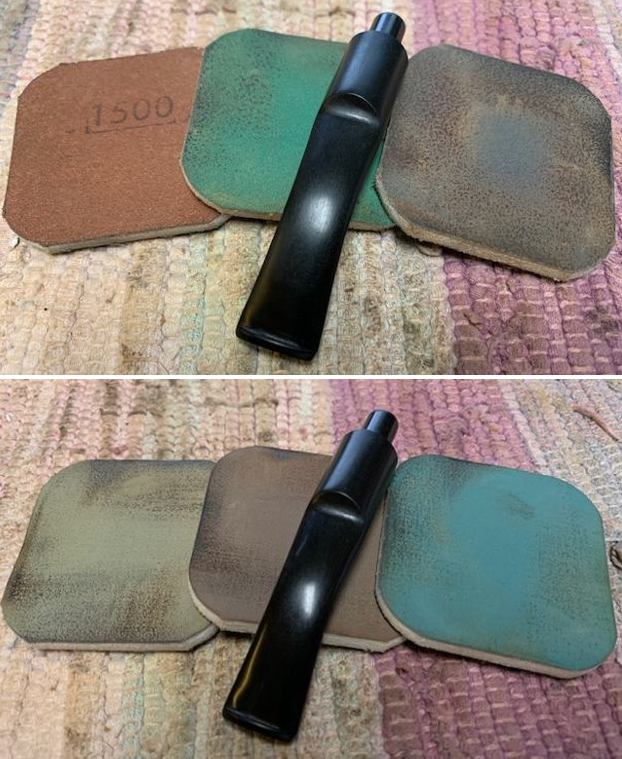
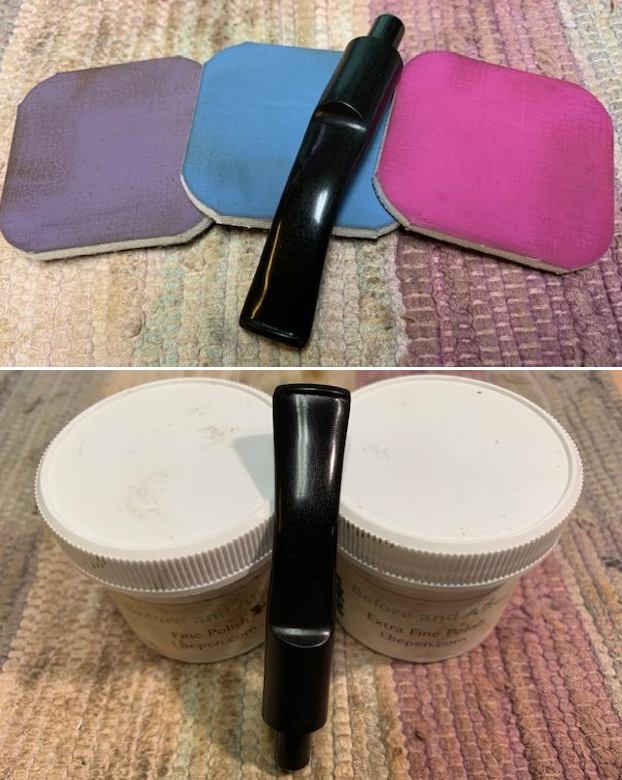
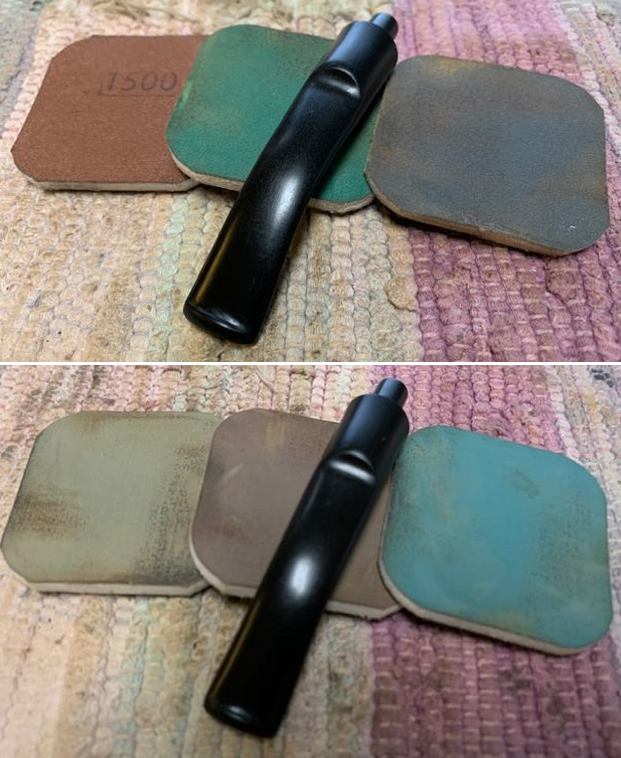
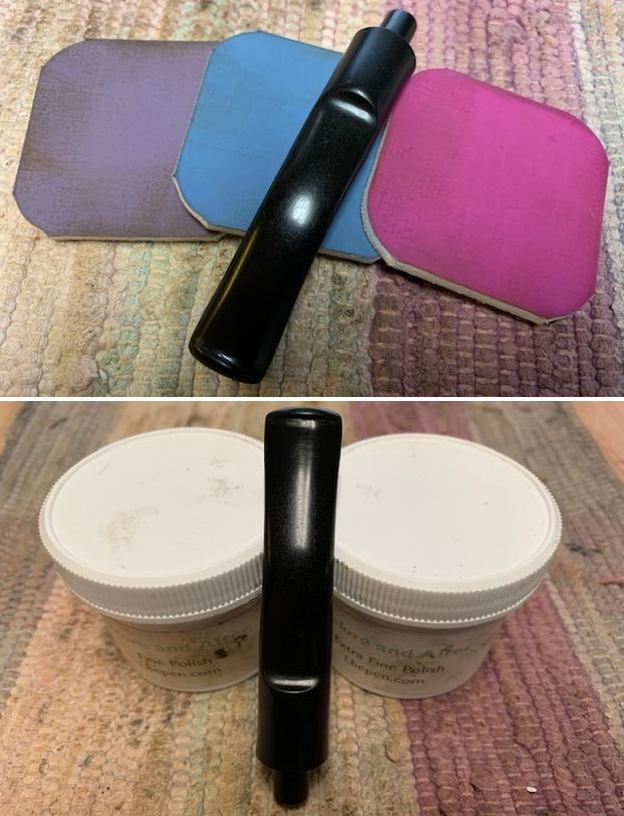
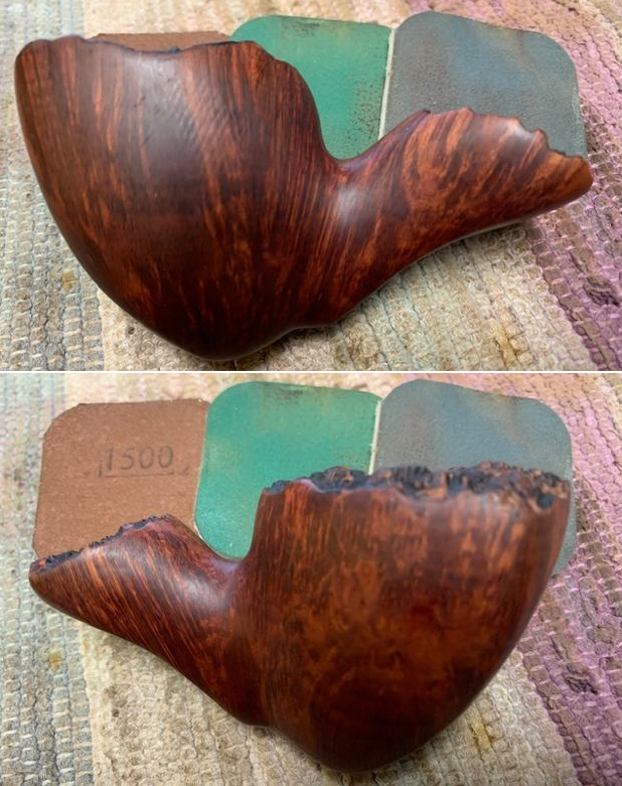
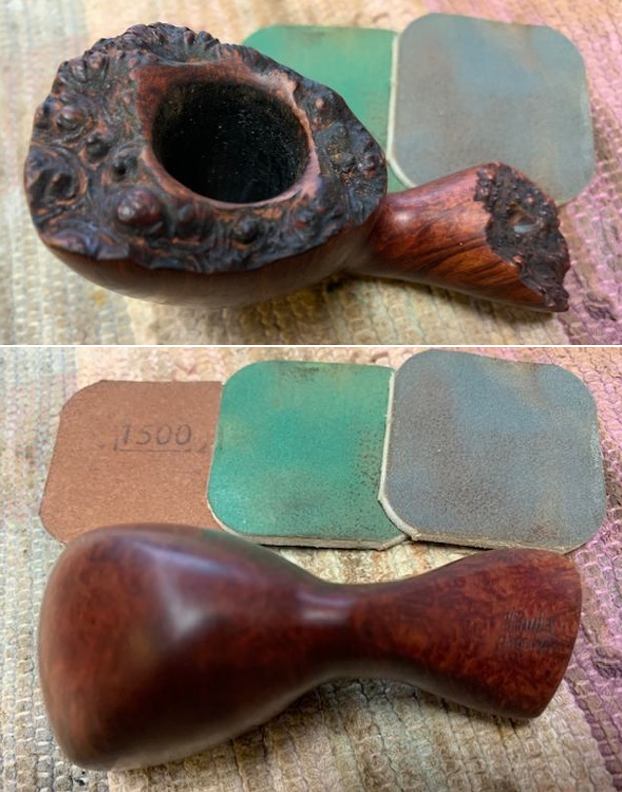
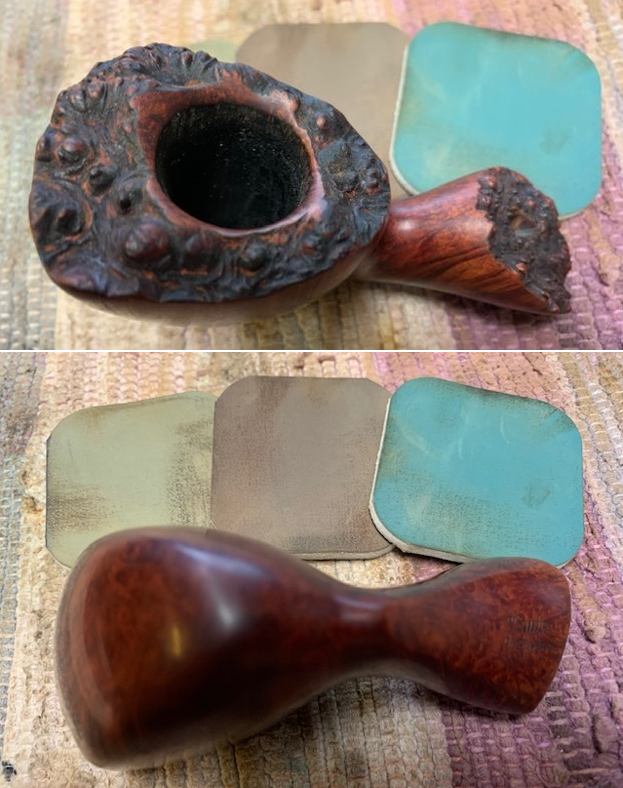
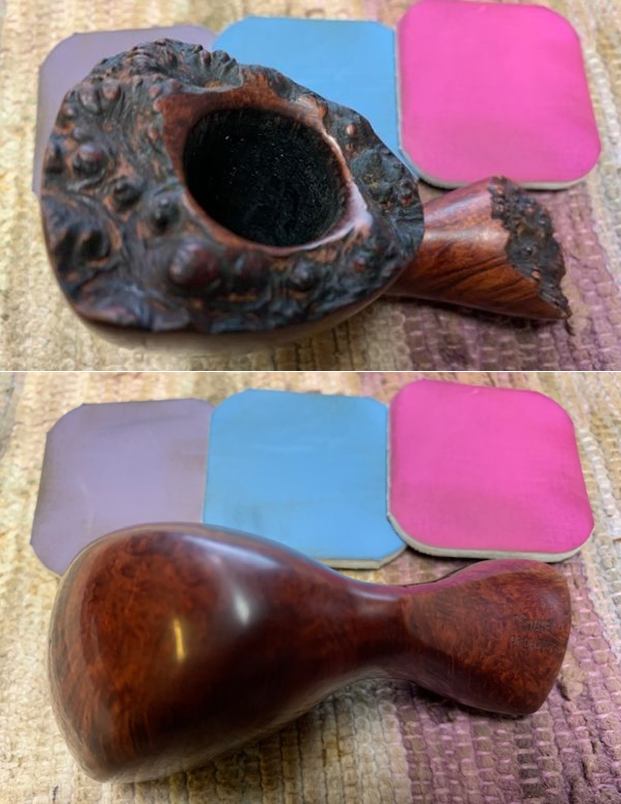
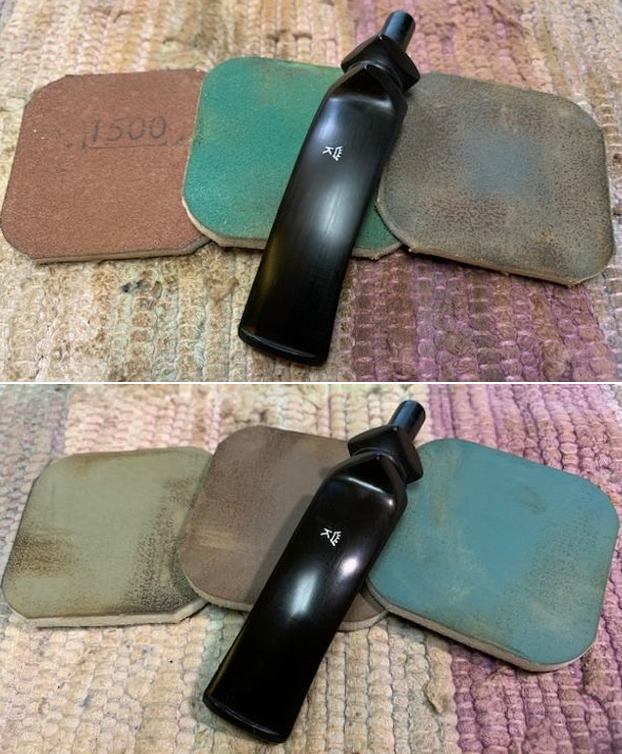
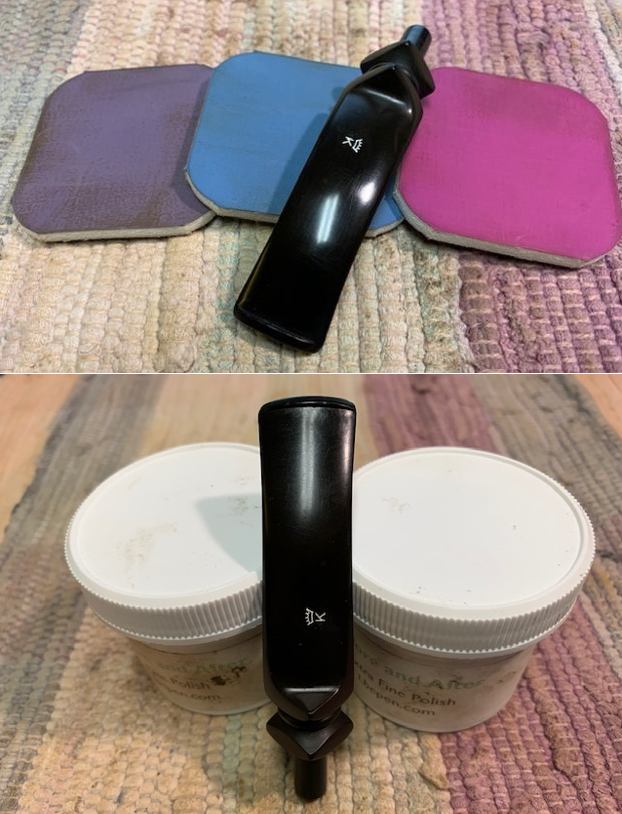
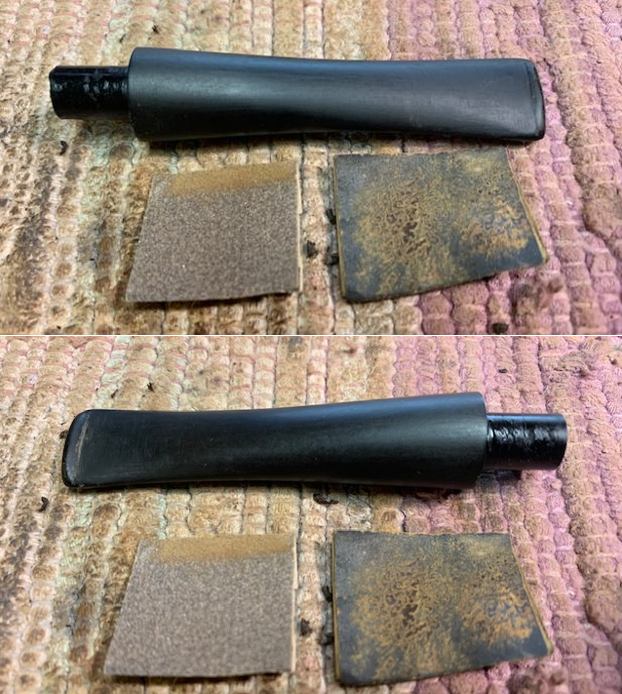 I polished the stem with micromesh sanding pads – dry sanding with 1500-12000 grit pads. I rubbed the stem down between pads with Obsidian Oil. I finished polishing using Before & After Stem polish – both Fine and Extra Fine. I rubbed the stem down a final time with Obsidian Oil.
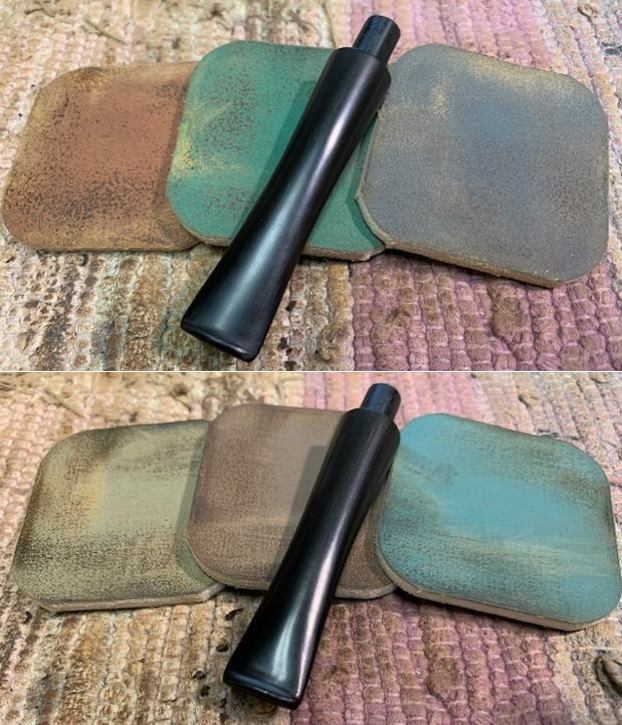
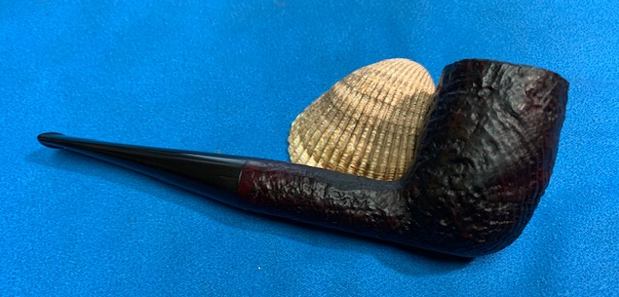
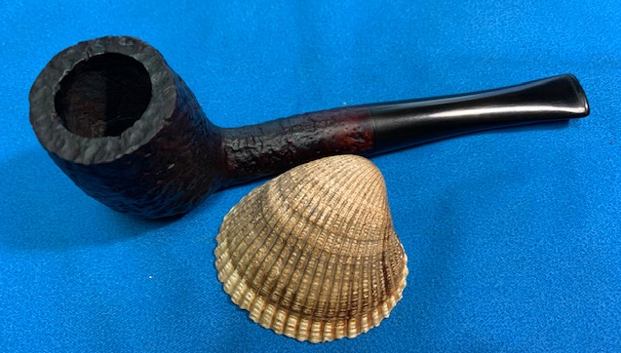
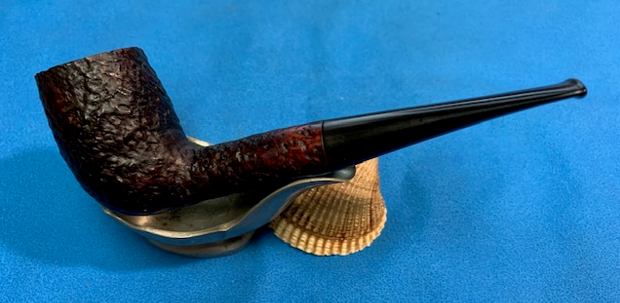
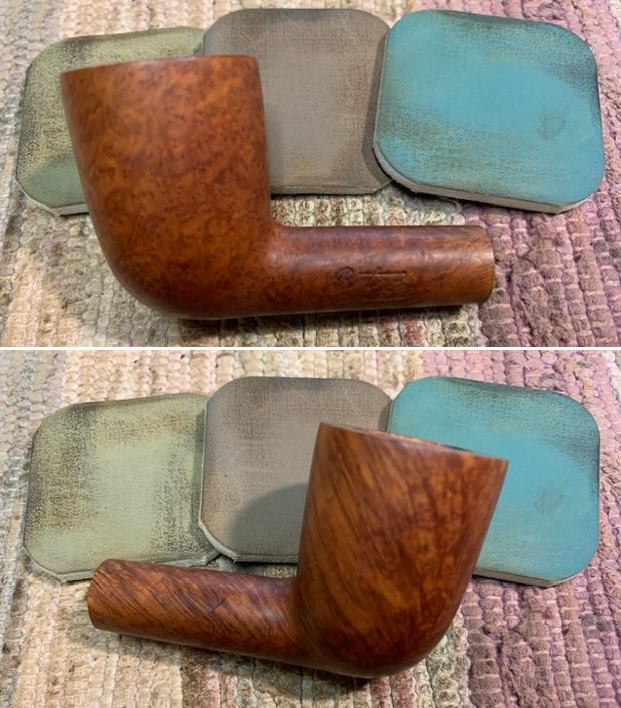
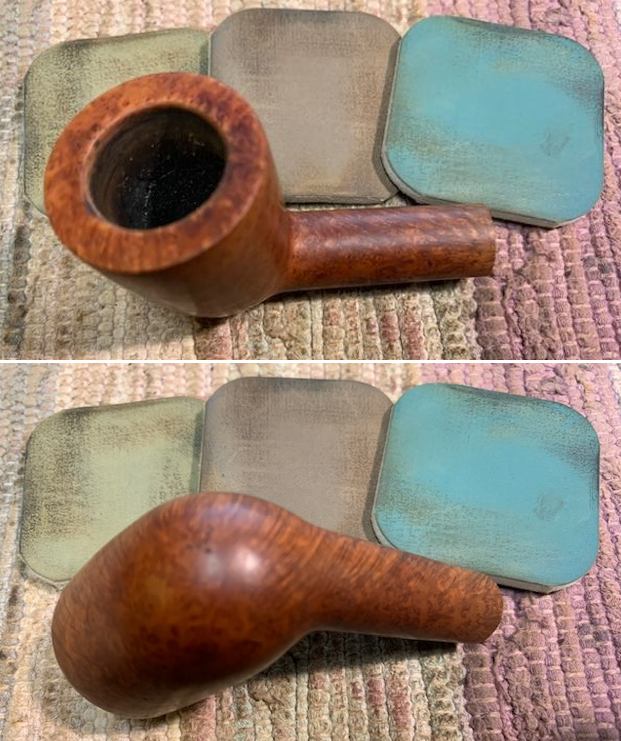
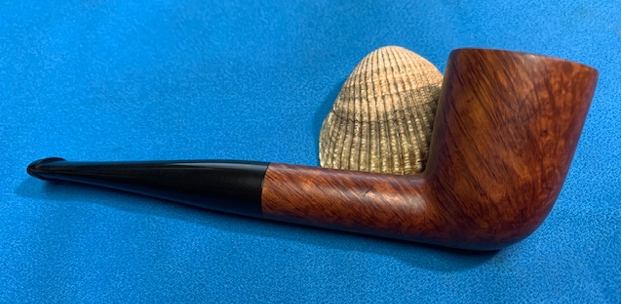
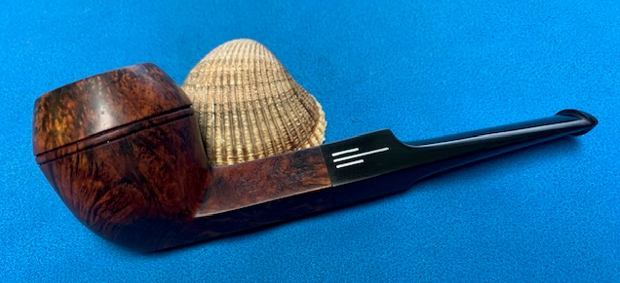
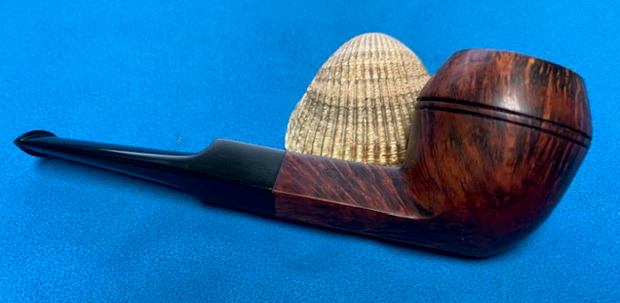
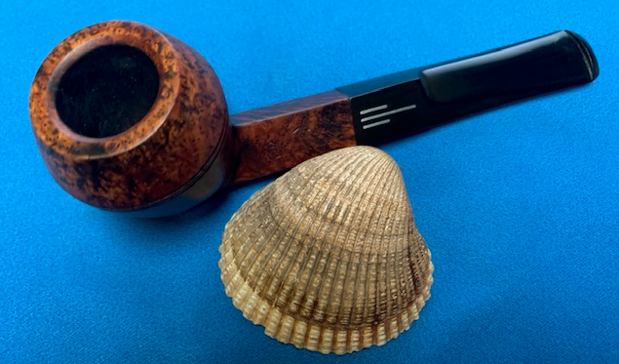
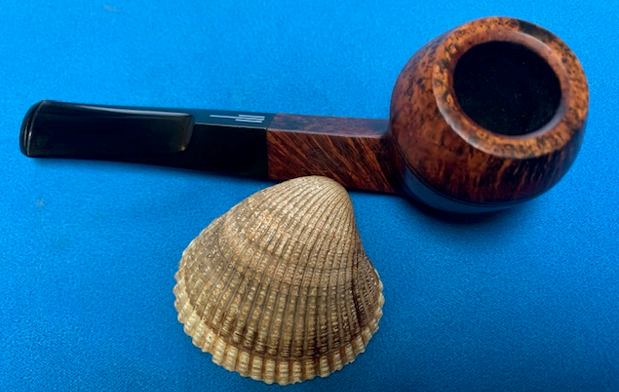
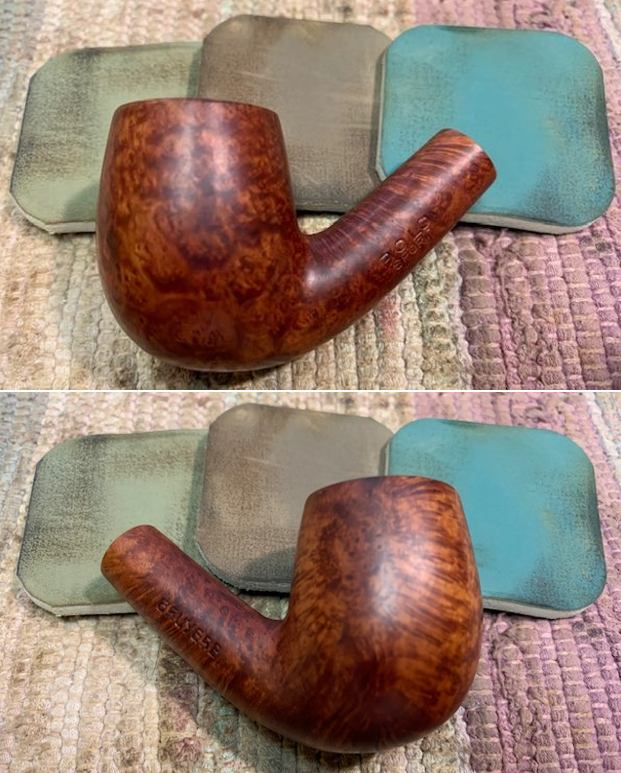
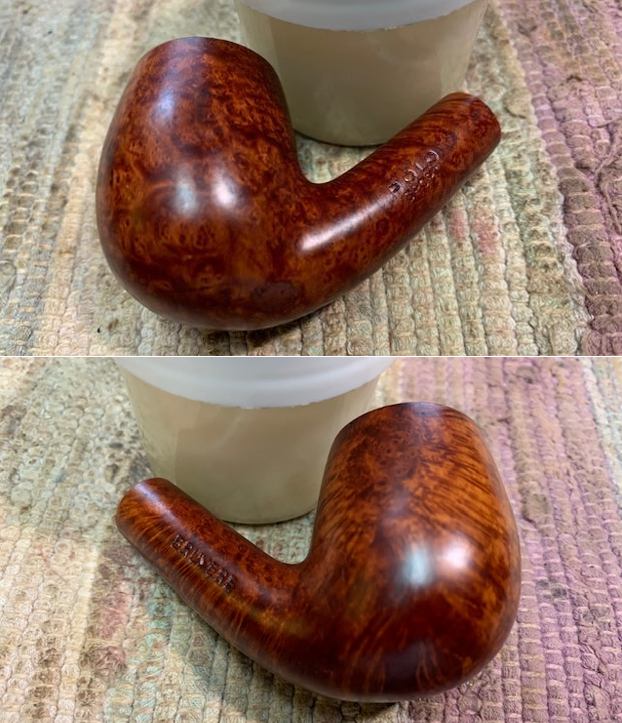
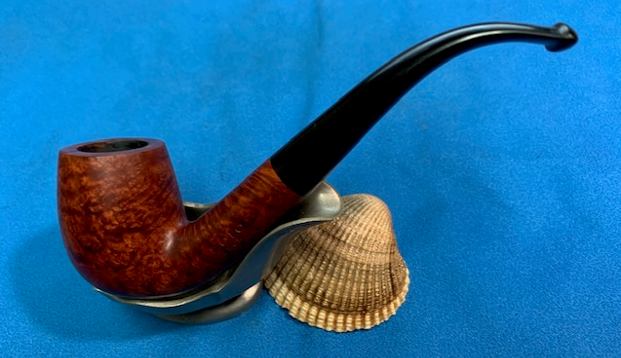
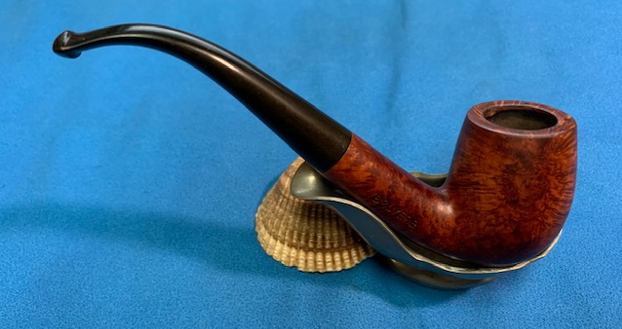
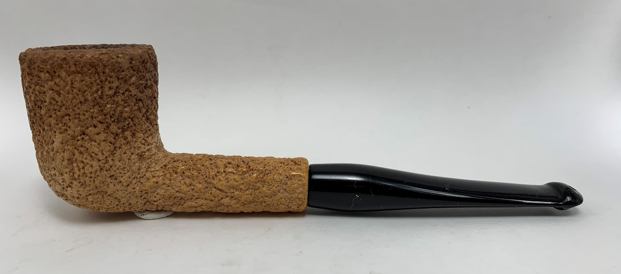
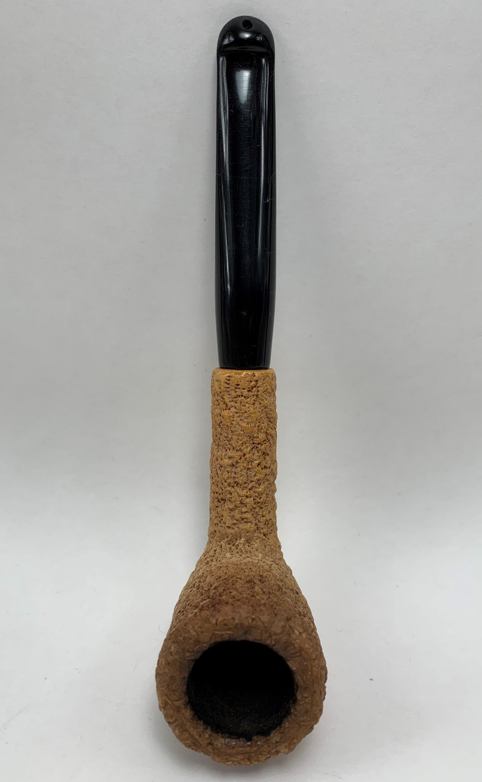
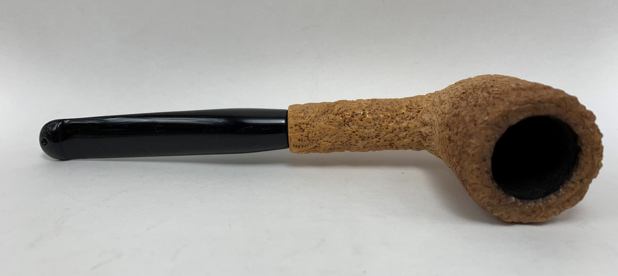
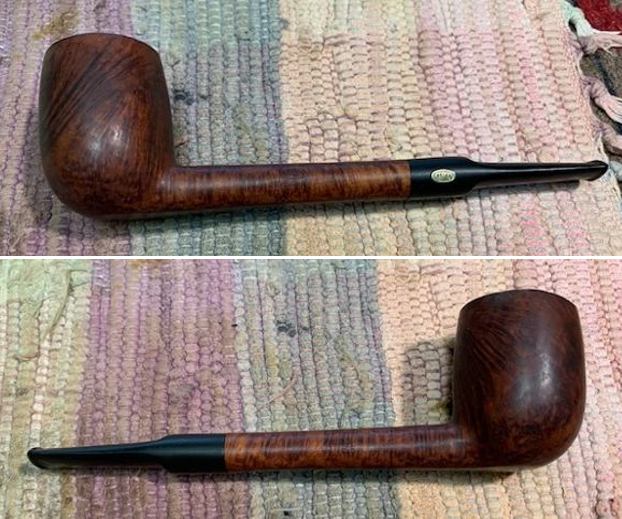
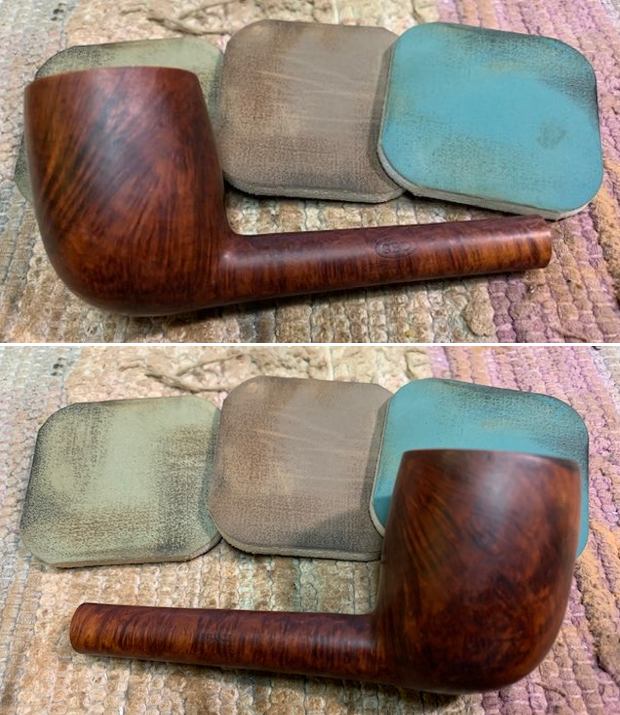
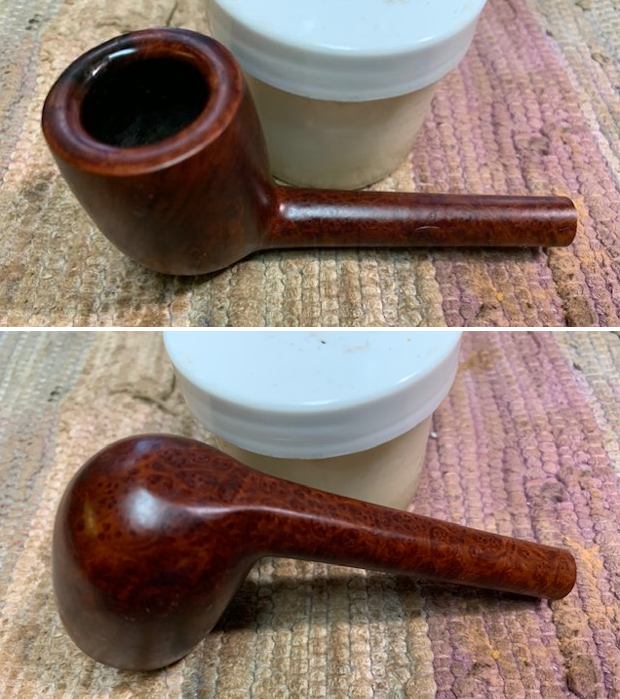
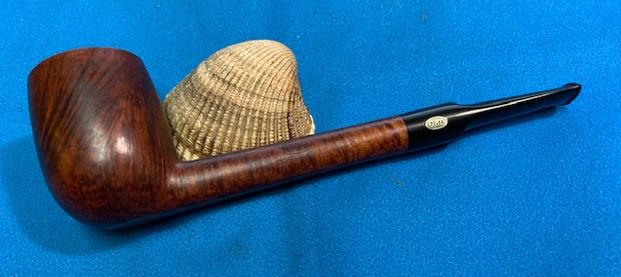
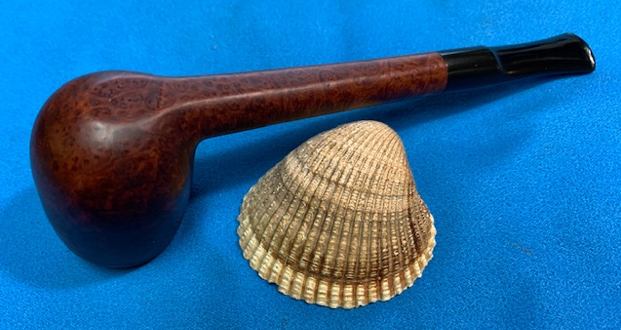
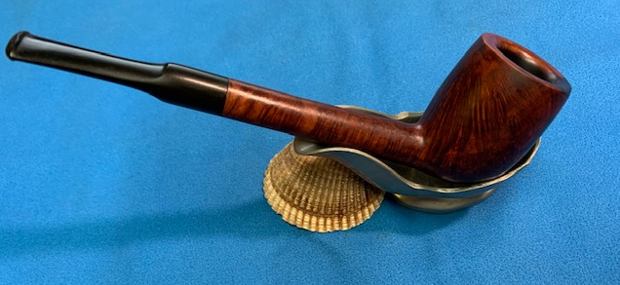
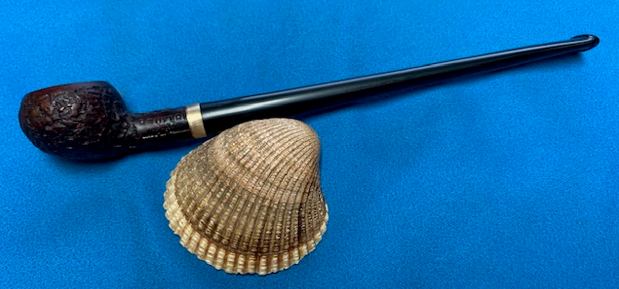
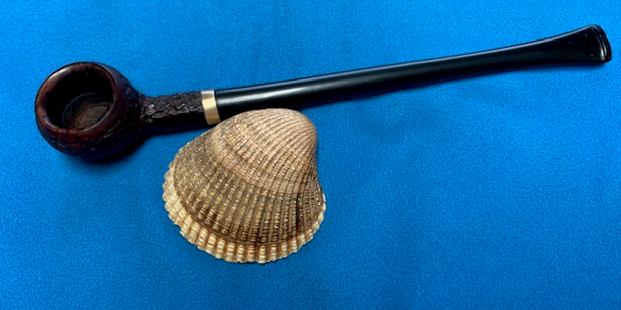
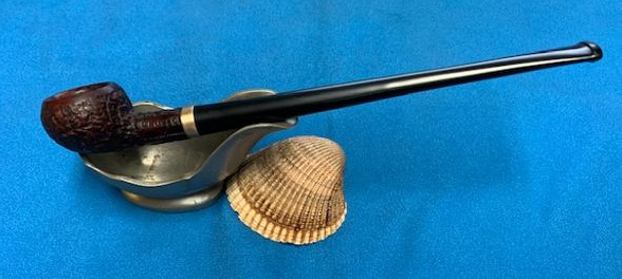
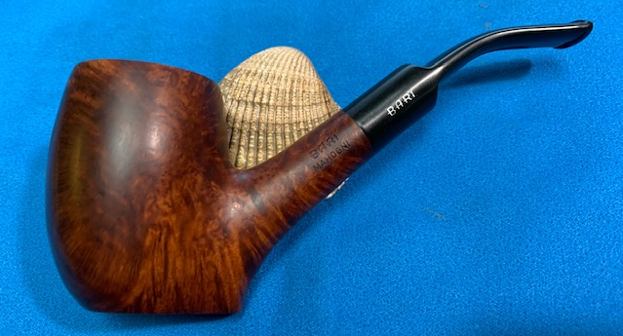
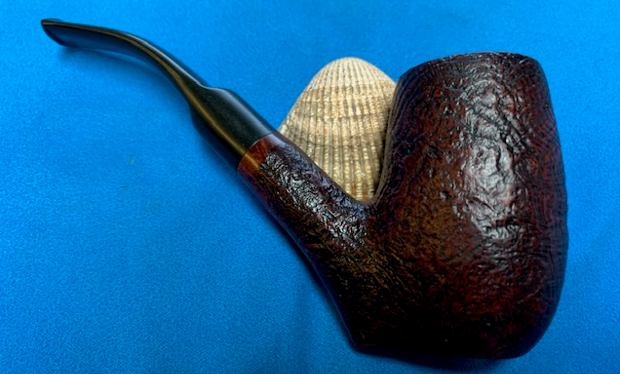
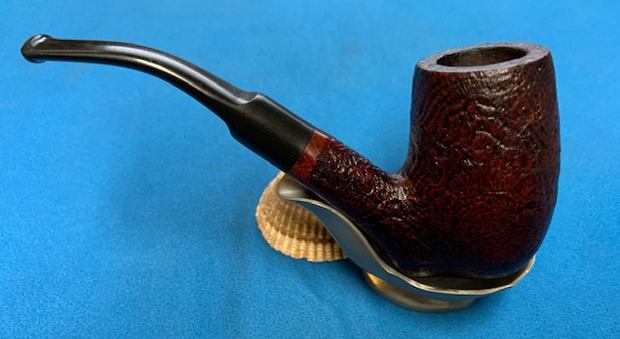
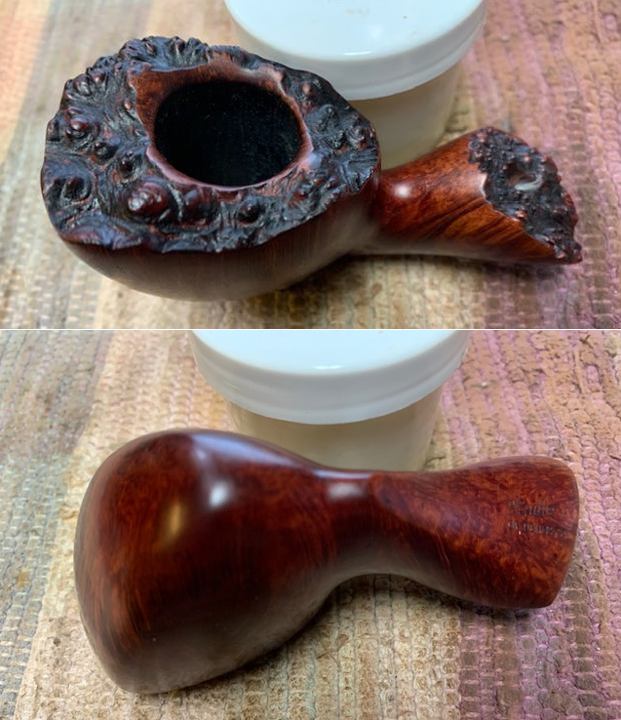
 The Warwick Sandblast 1 Sandblast Billiard is a beautiful pipe with an great looking, rugged sandblast finish. The blast is very nice and the rich brown stain on the briar goes amazingly well with the polished black vulcanite taper stem. The combination works to create a pipe that is a pleasure to look at and is comfortable in the hand. The dimensions of the pipe are Length: 5 inches, Height: 1 ¾ inches, Bowl diameter: 1 ¼ inch, Chamber diameter: ¾ of an inch. The weight of the pipe is 1.13 ounces/35 grams. Considering what the pipe looked like when we started, the now resurrected pipe is quite amazing looking. I will be adding it to the British Pipe Makers section of the rebornpipes store shortly. If you are interested in adding it to your collection send me a message on Facebook or an email. Thanks for walking through the process with me. Cheers.
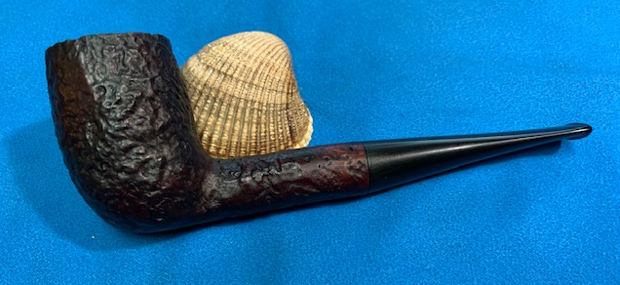


