
Blog by Steve Laug
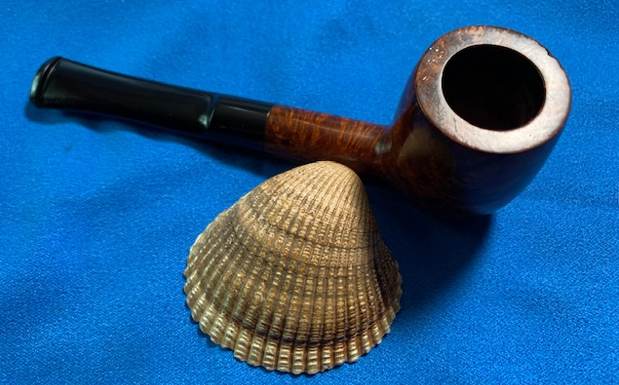
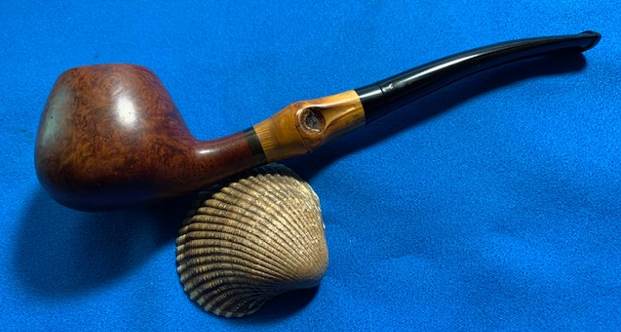
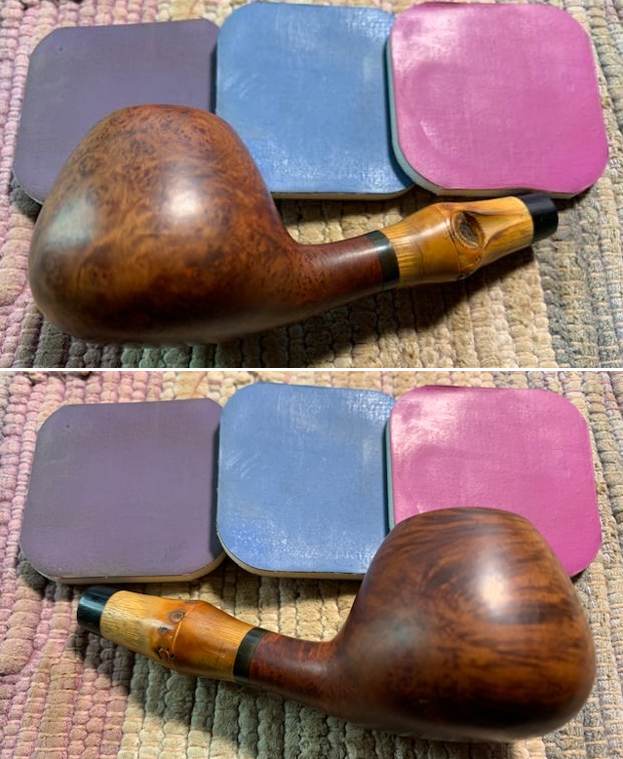
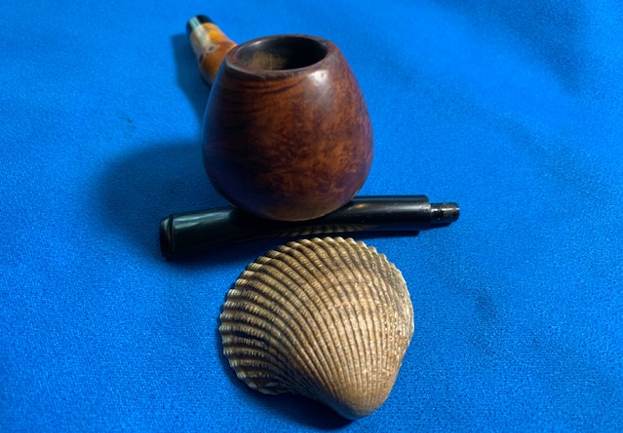
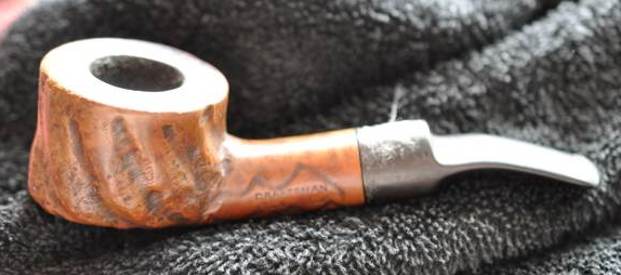
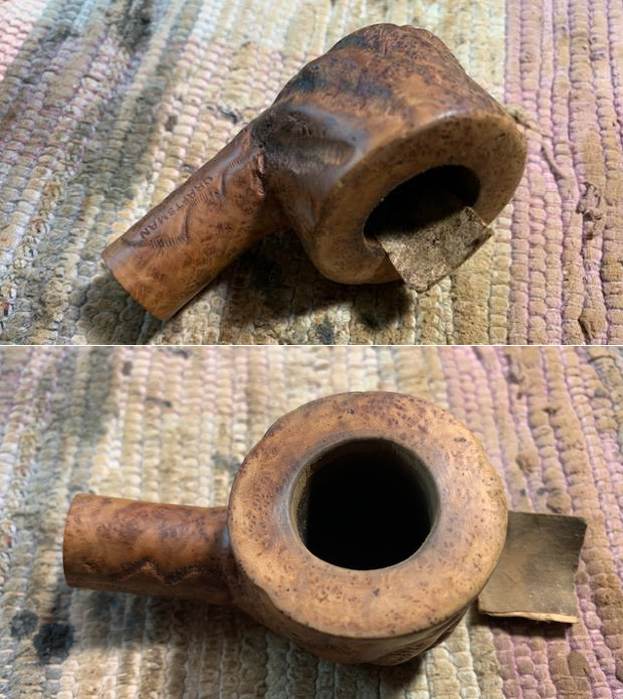
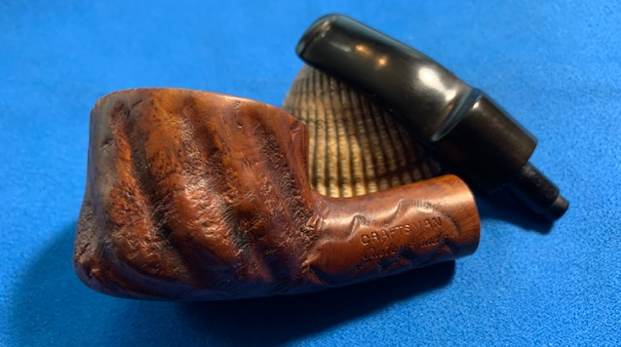
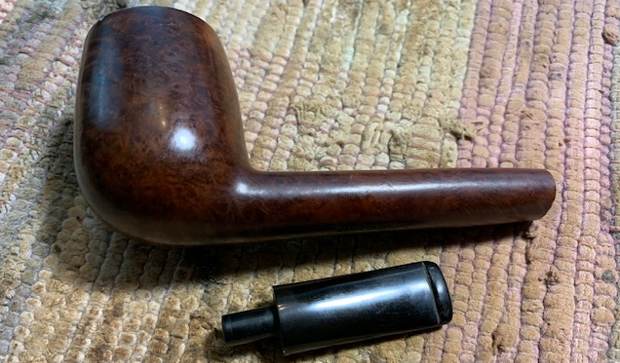
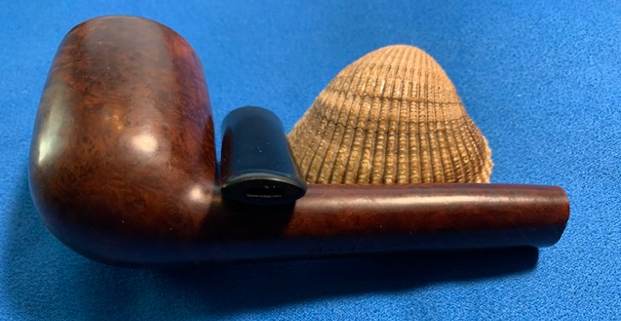
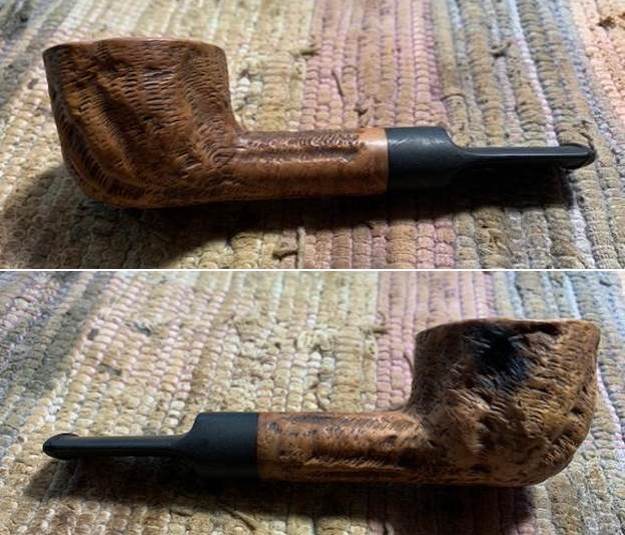
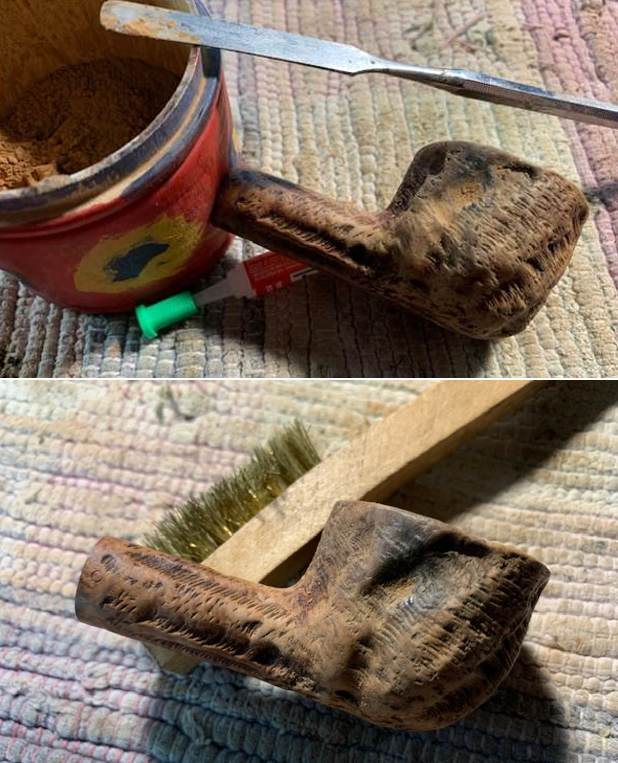
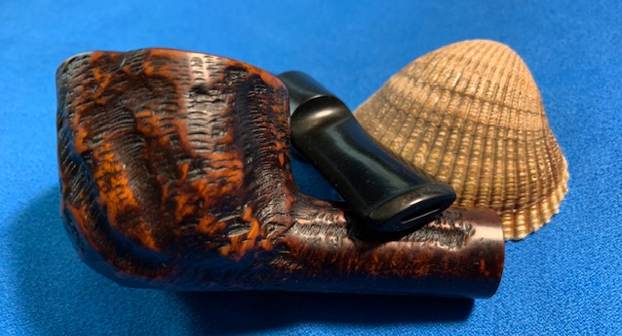
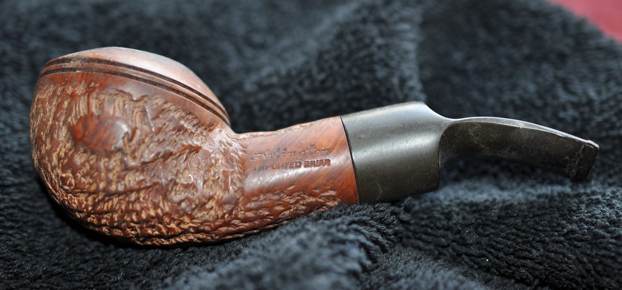
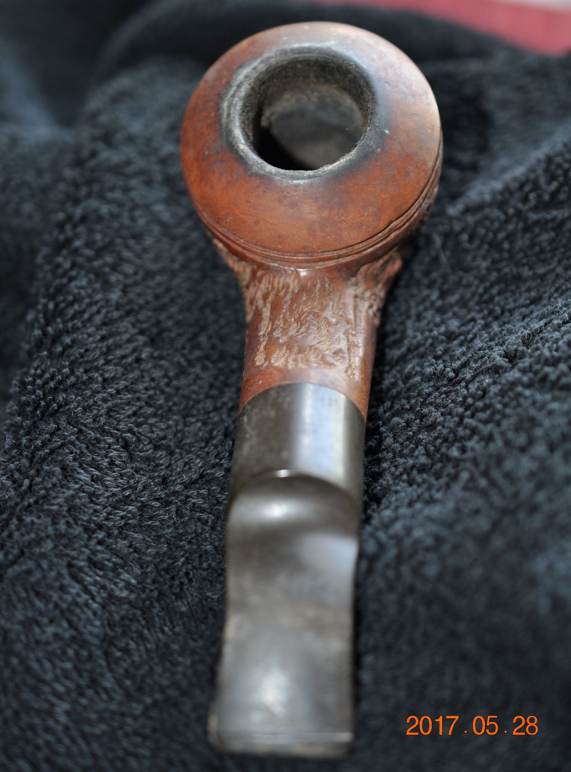
I am back to a few other pipes that have been here for a long time. You can see from the photos that Jeff took that it is another one that has been here for a long time. We picked it up back in 2017 – I can’t believe that it is almost five years ago. It is about time I got around to working on it because it really is quite nice. Jeff purchased this pipe from an antique mall in Salt Lake City, Utah, USA. It had an interesting rusticated brown finish with a smooth band around the base and shank end as well as a smooth heel of the bowl. There is a carved ring around the top ¼ inch of the rim top and edge as well that is a nice touch. There was a thick cake in bowl and lava on the rim top and the inner bevel. The finish was filthy with grit and grime ground into the surface of the briar. The pipe is stamped on the underside of the shank Jirsa [over] the shape number 96. The stem surface was oxidized and had a rotting Softee bit with a lot of awful looking sludge built up around it. The stem did not have a Jirsa logo. Jeff took photos of the pipe before he started his clean up work. 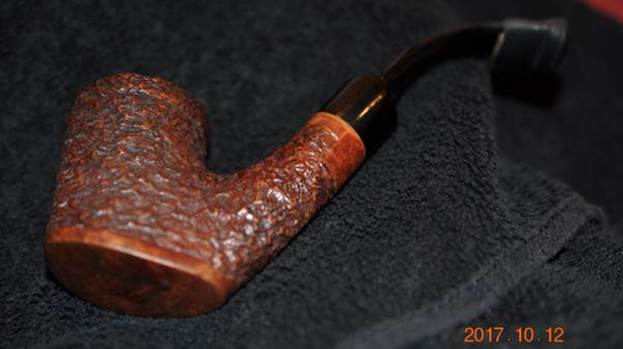
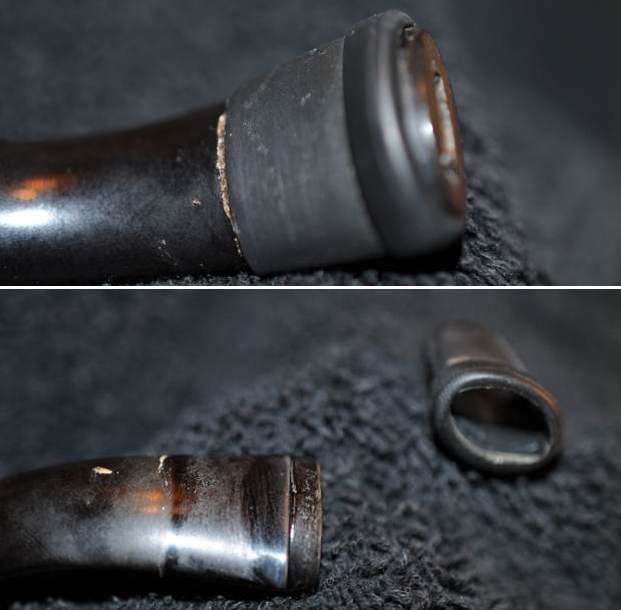
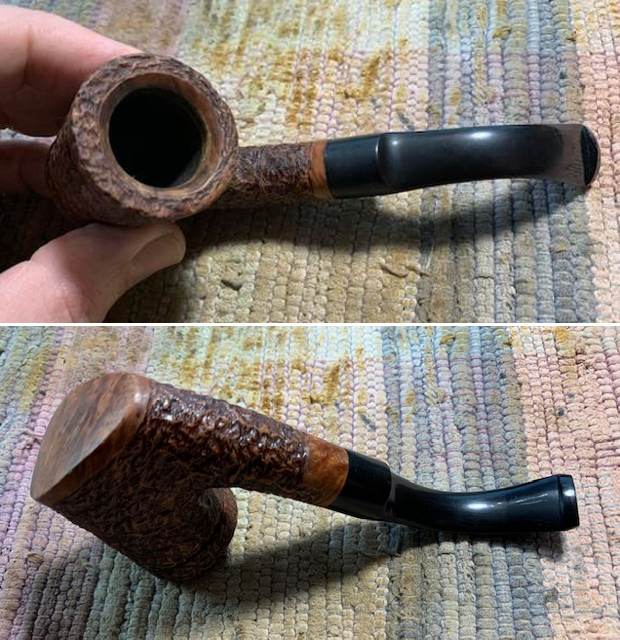
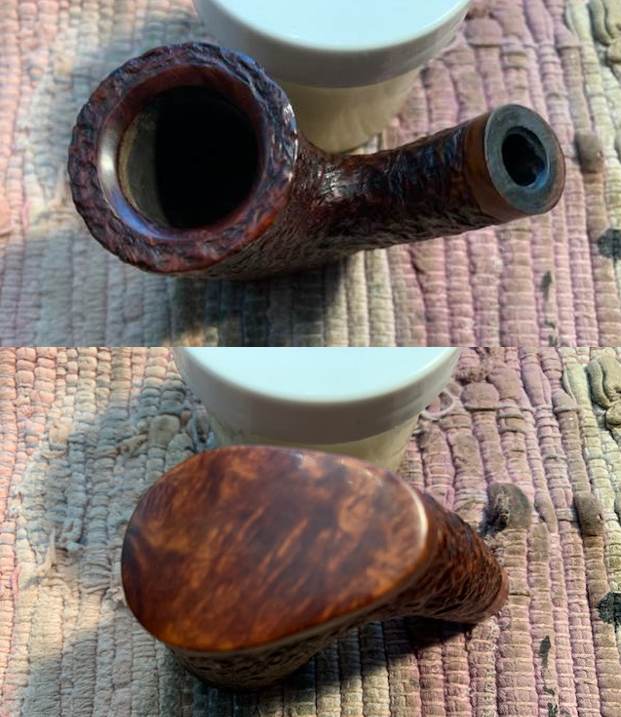
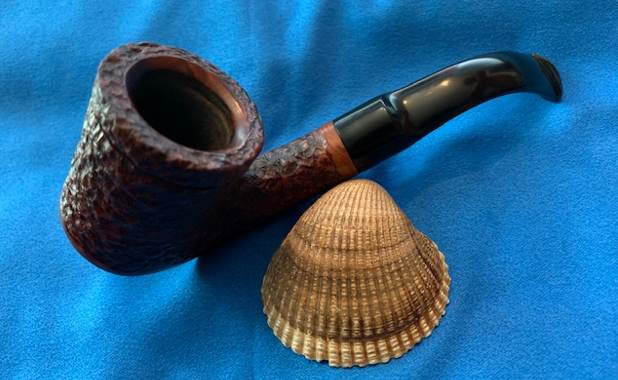
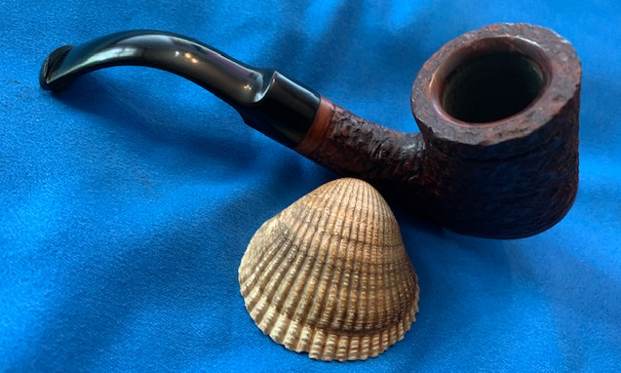
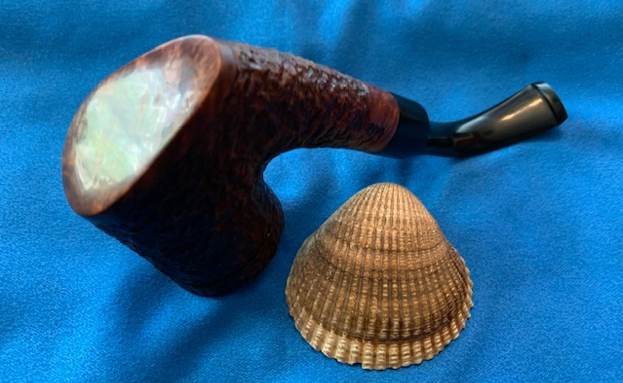
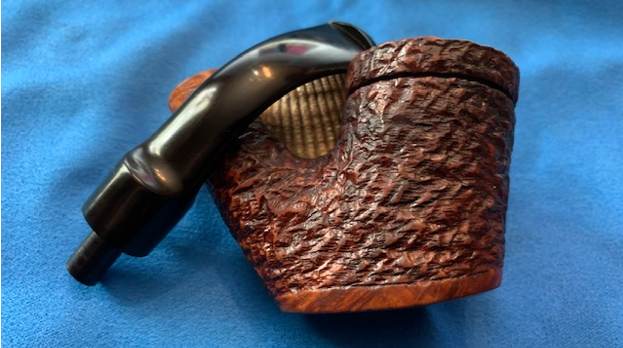
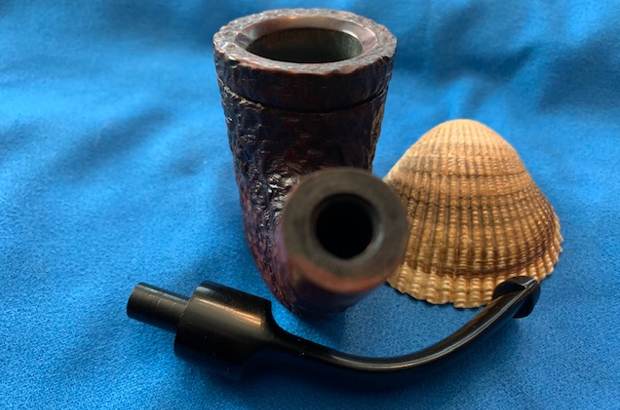
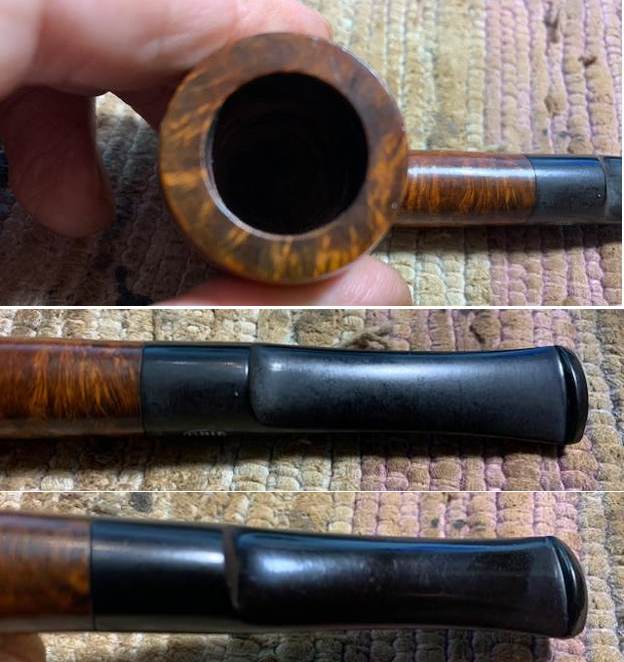
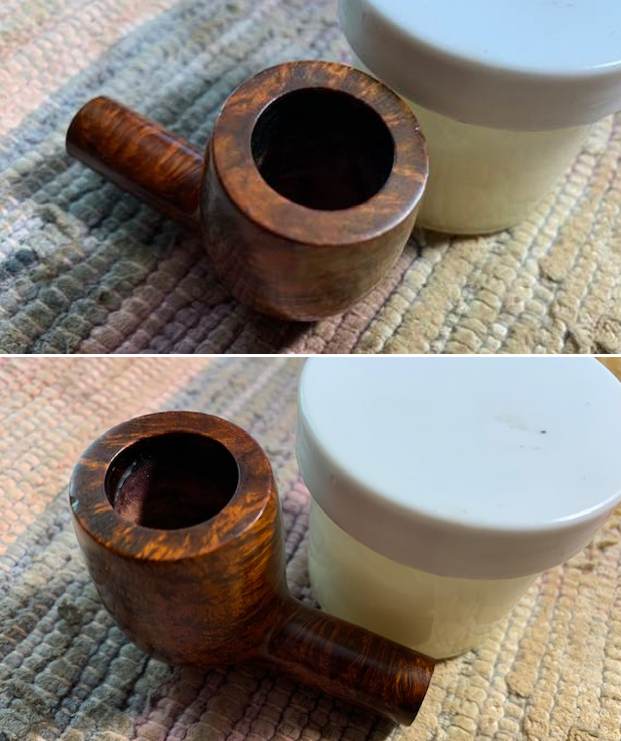
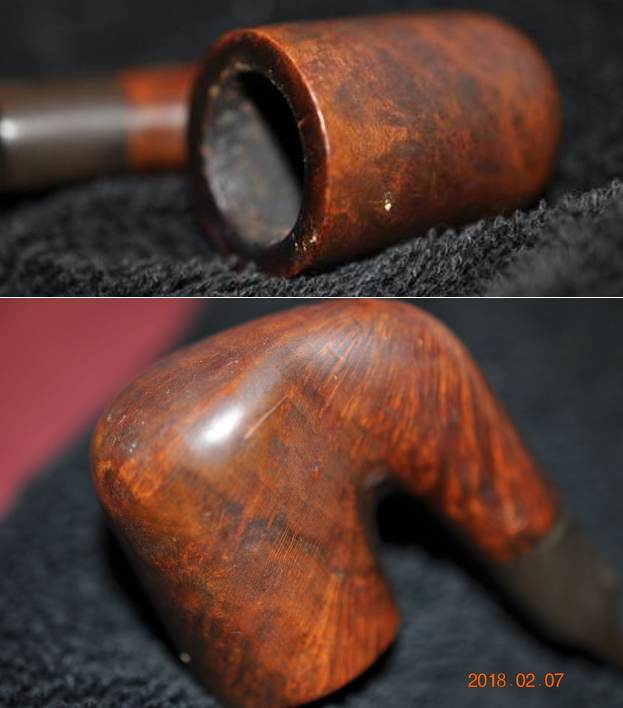
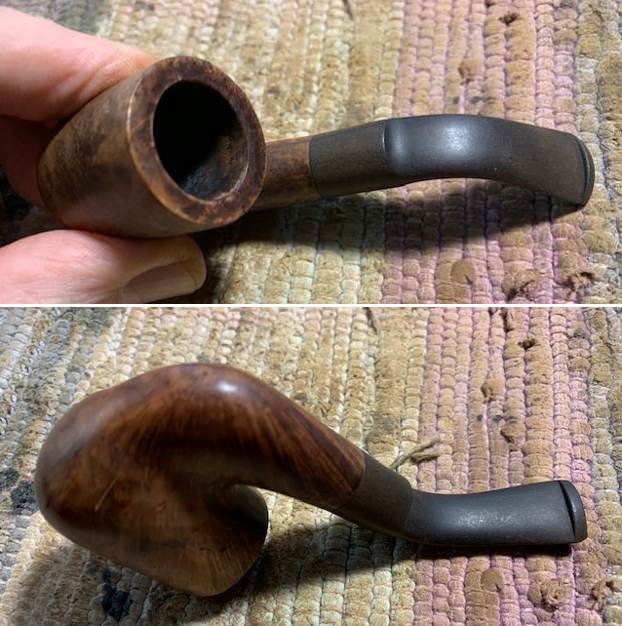
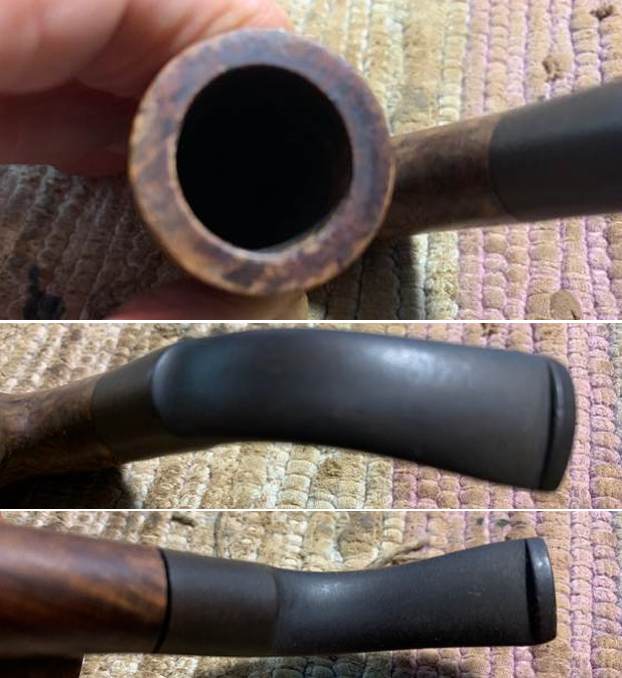
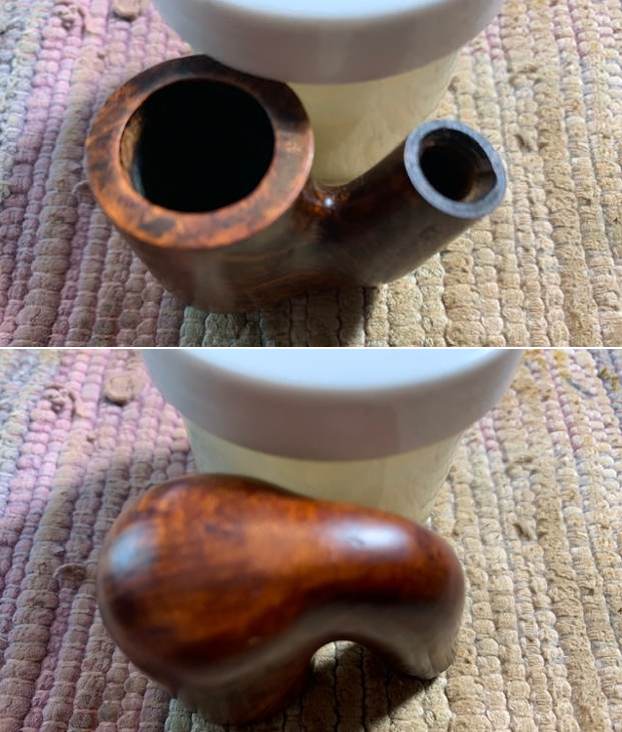
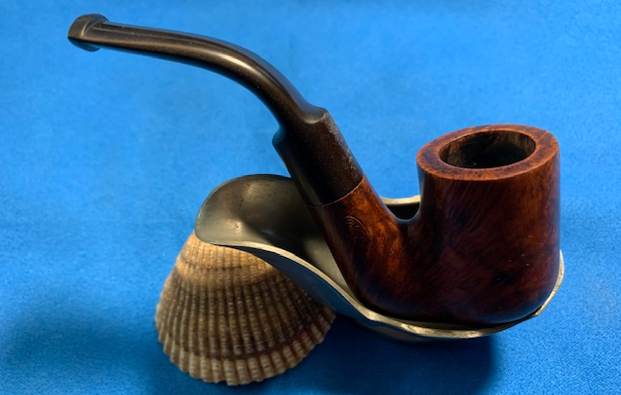
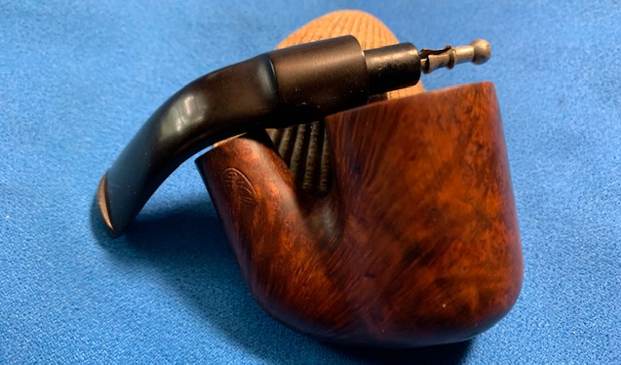
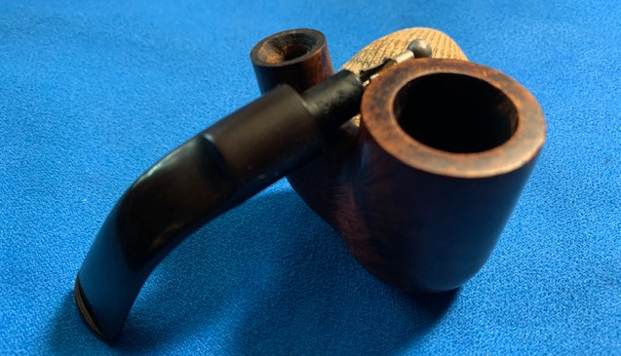
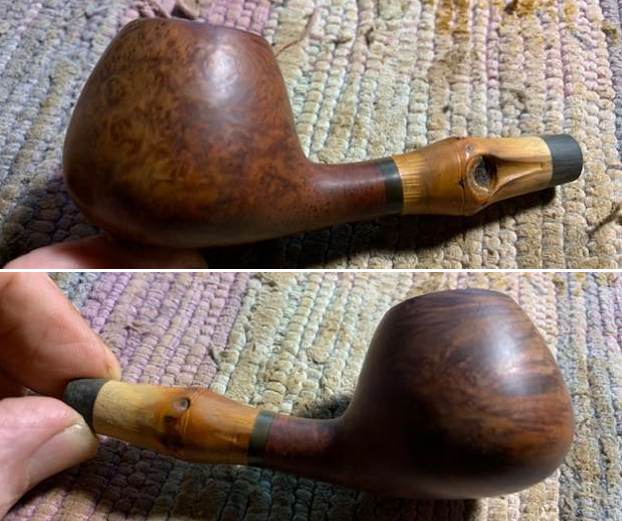
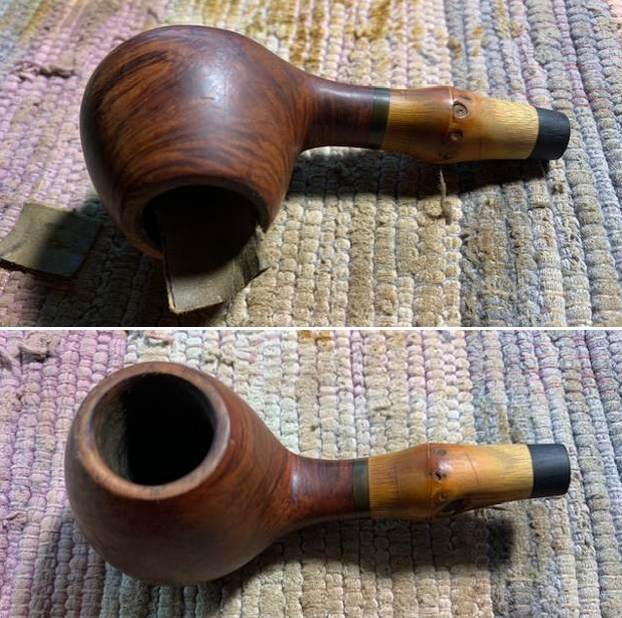
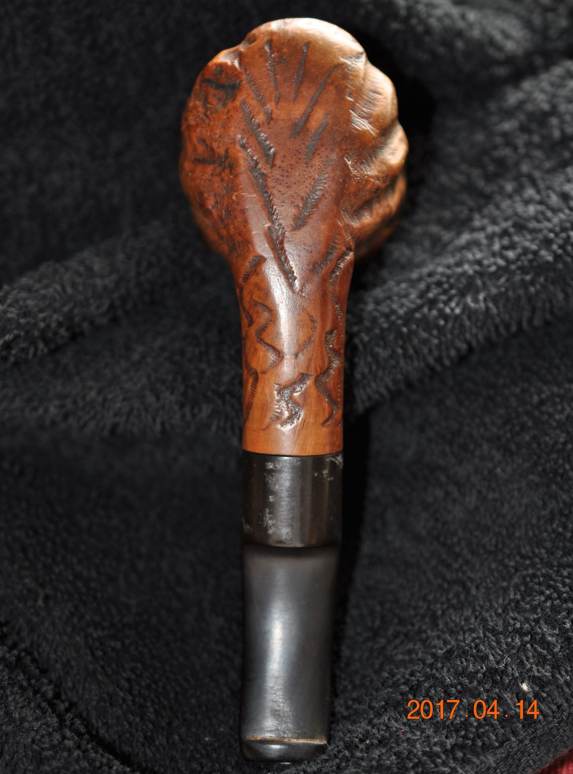
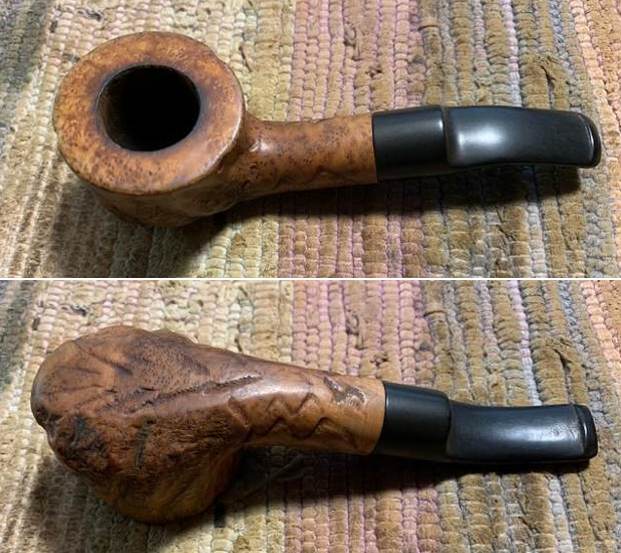
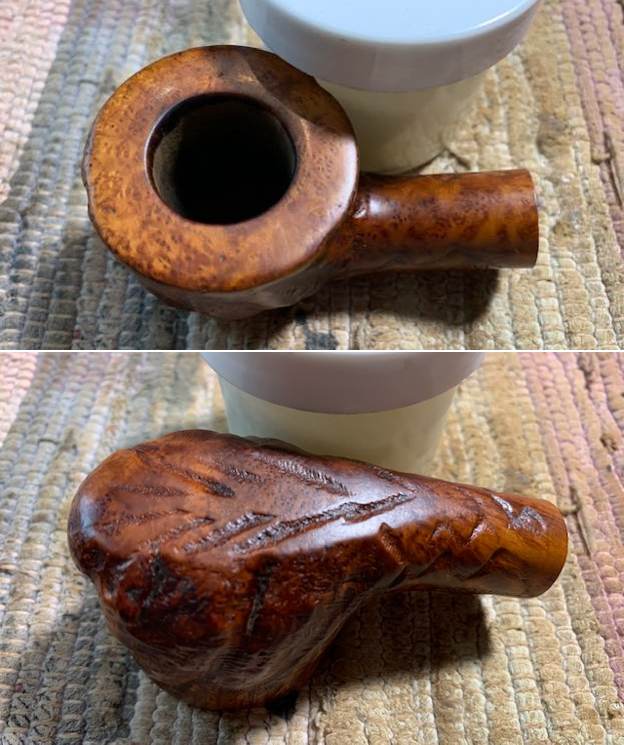
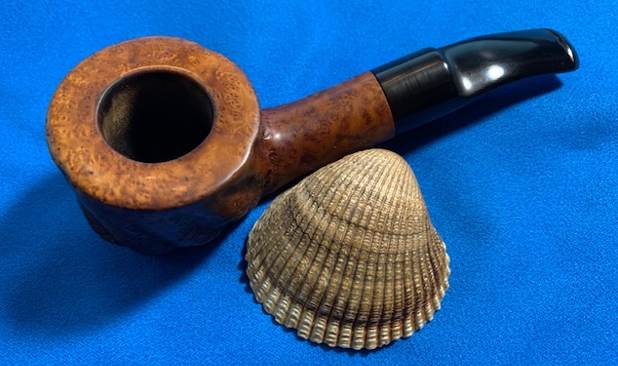
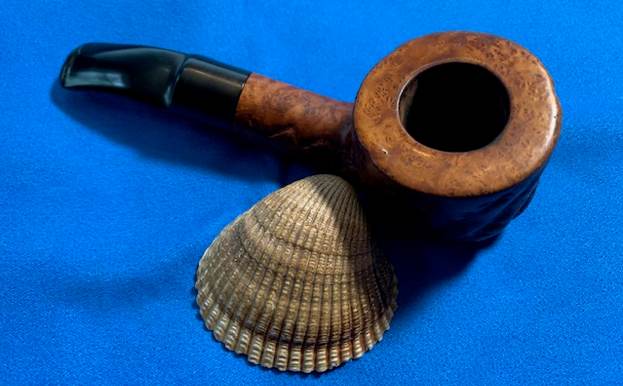
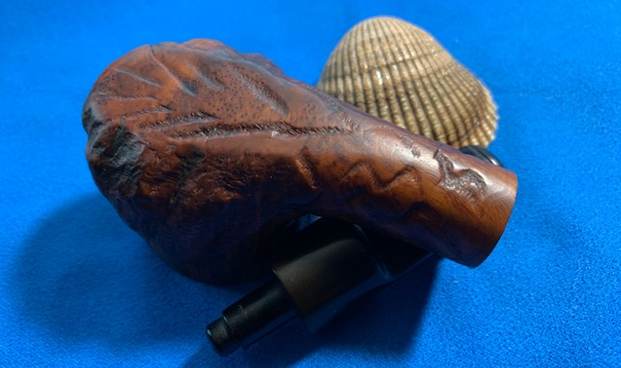
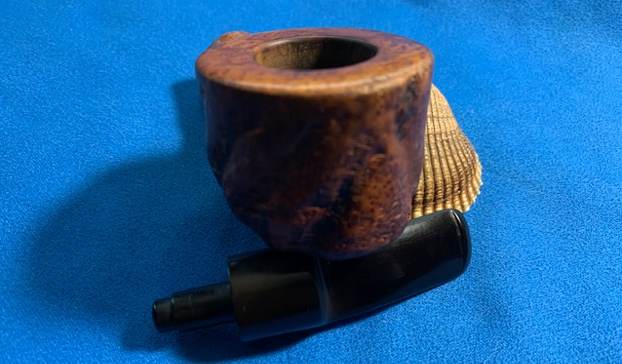
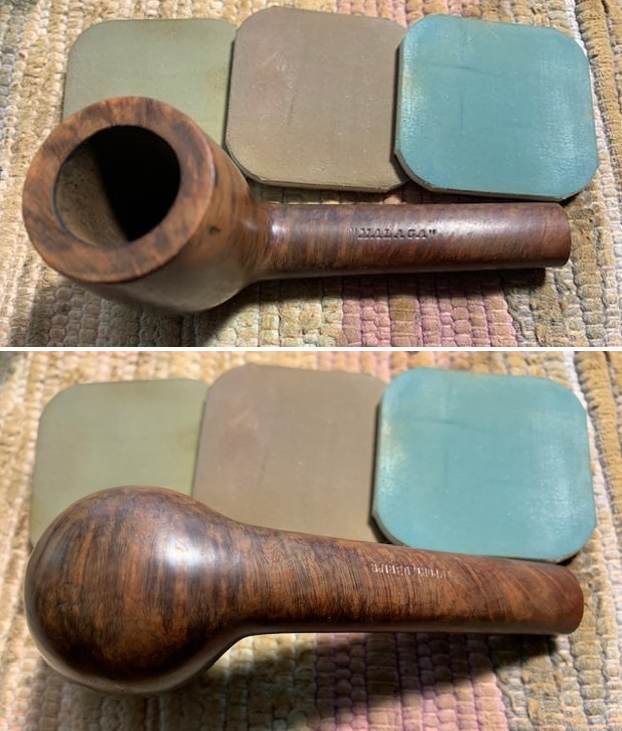
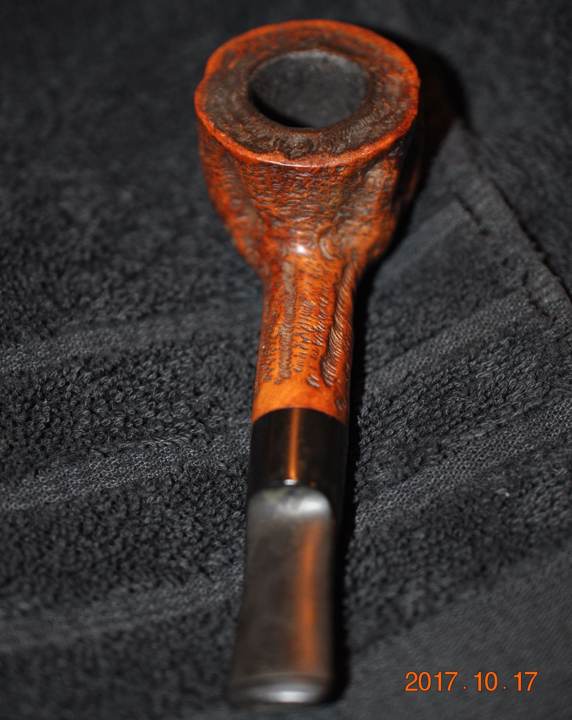
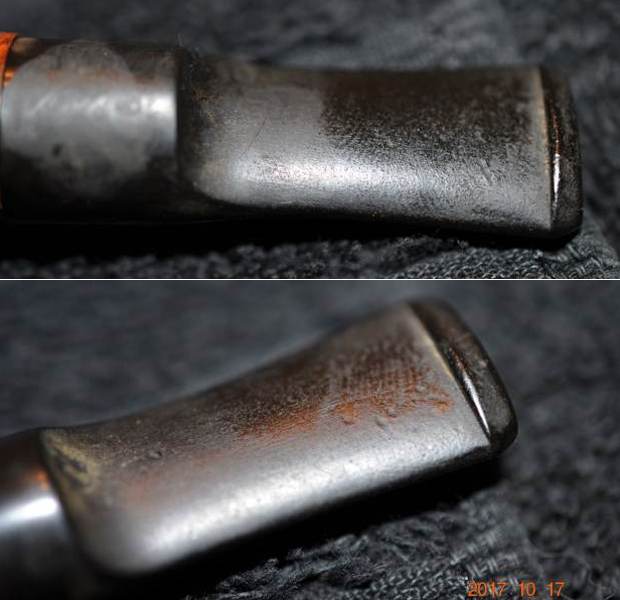
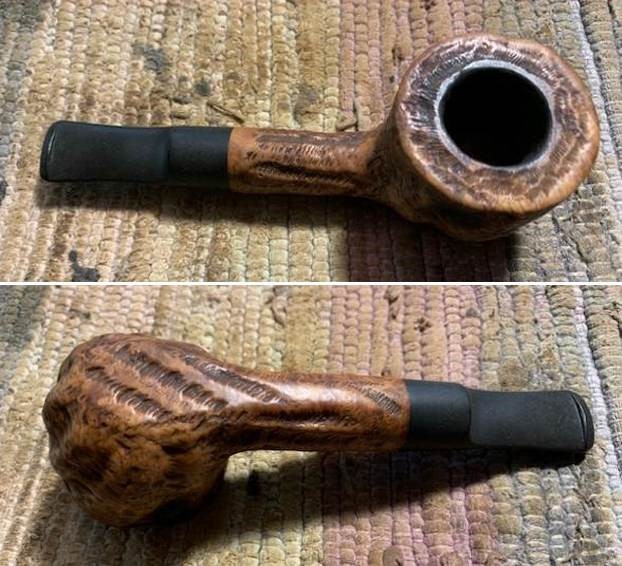
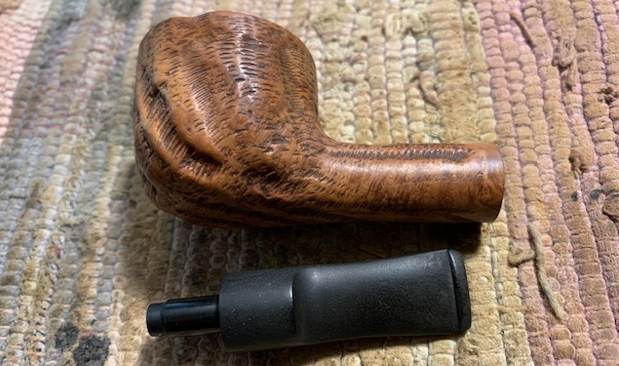
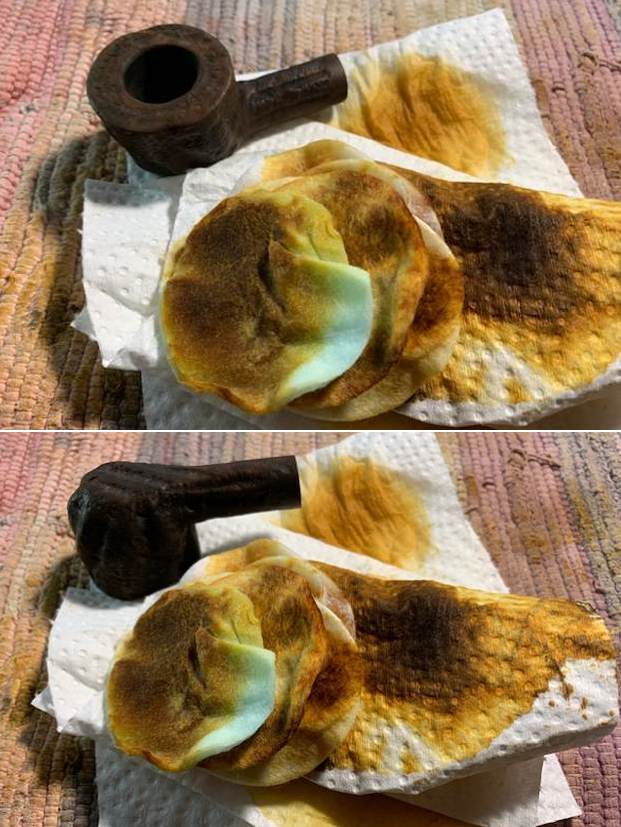
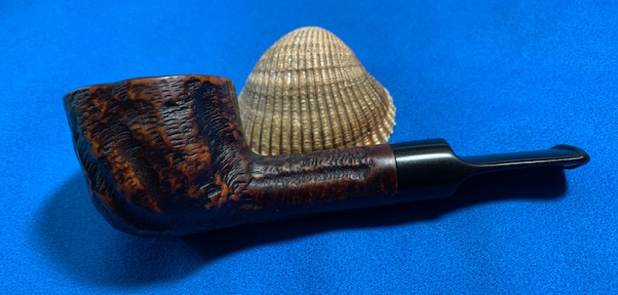
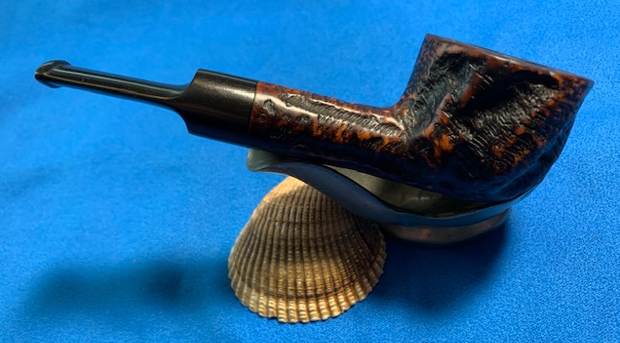
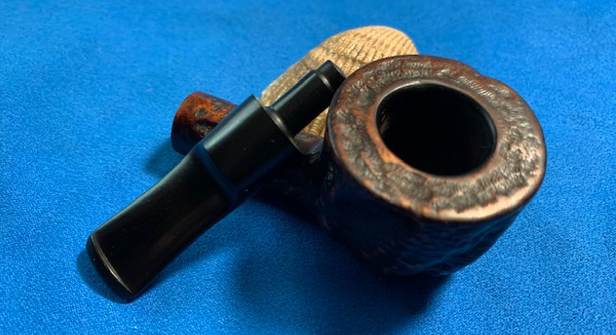
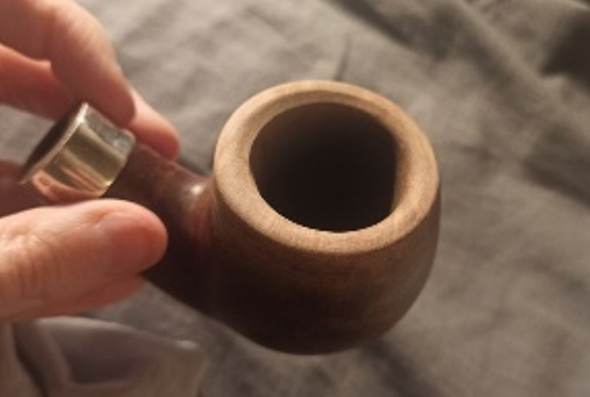
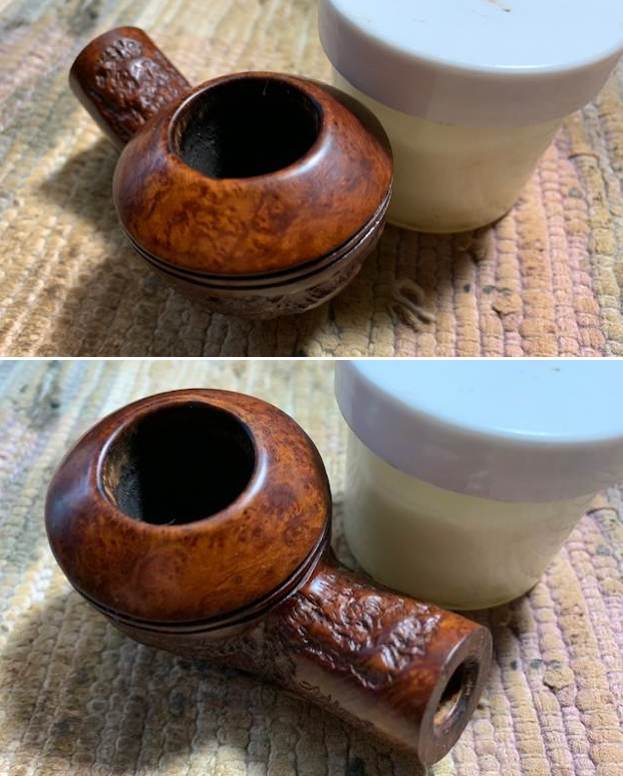
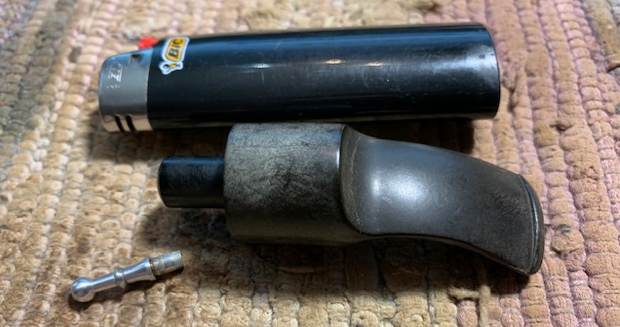
 I like to have an idea of how the pipe was smoked before we got it and what the bowl and rim top looked like. Jeff always takes some photos of the bowl and rim from various angles to show what it looked like. He took photos of the stem with and without the Softee bit to show the condition. While the stem was dirty the Softee had protected it from tooth marks and chatter.
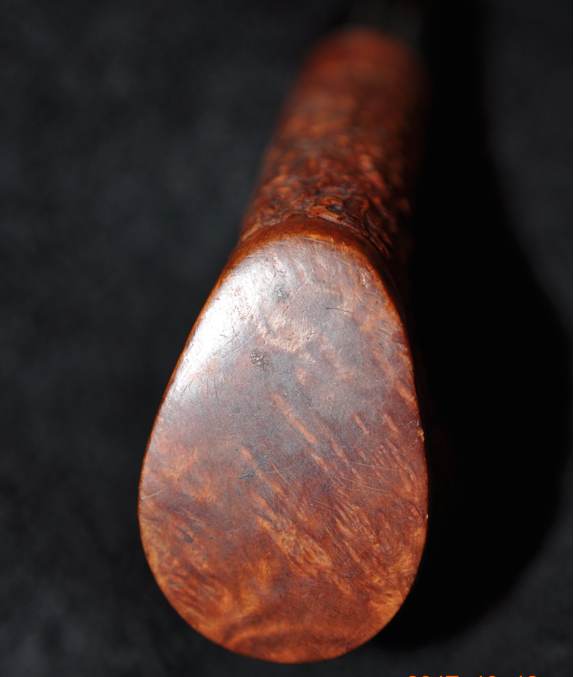
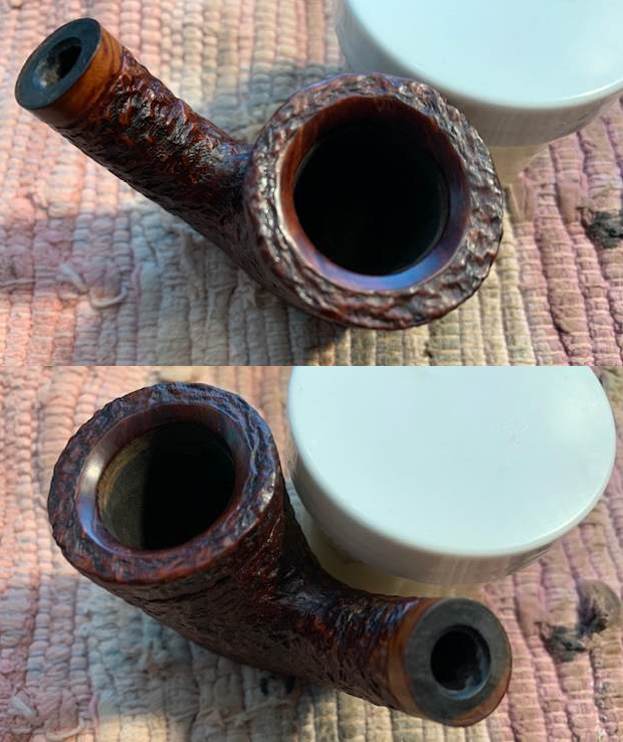
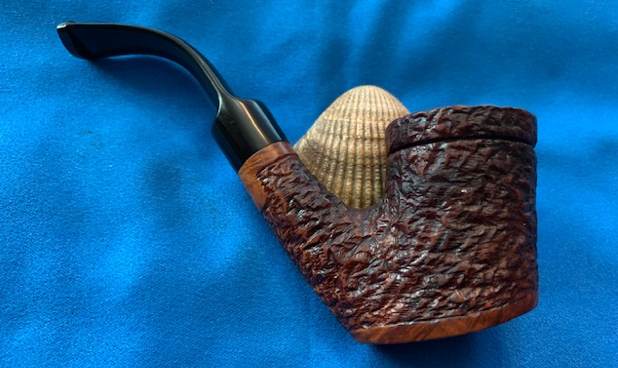
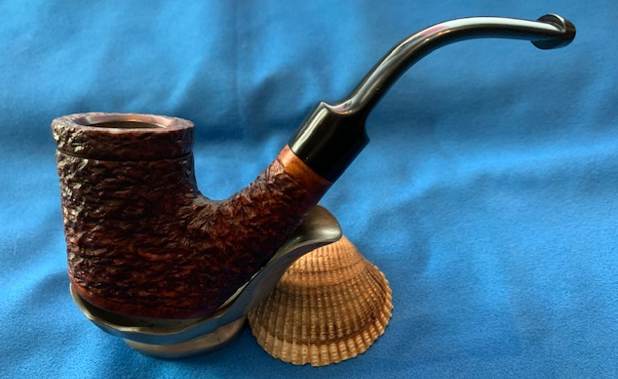
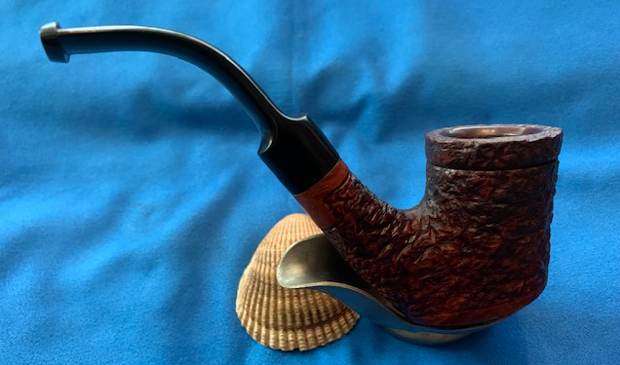
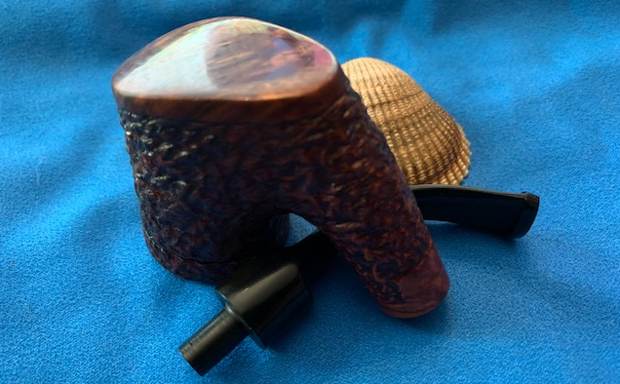
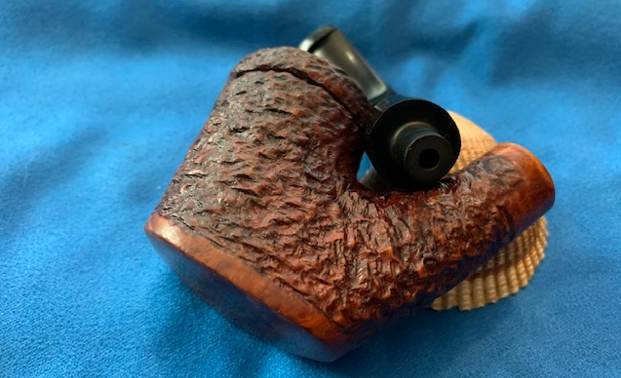
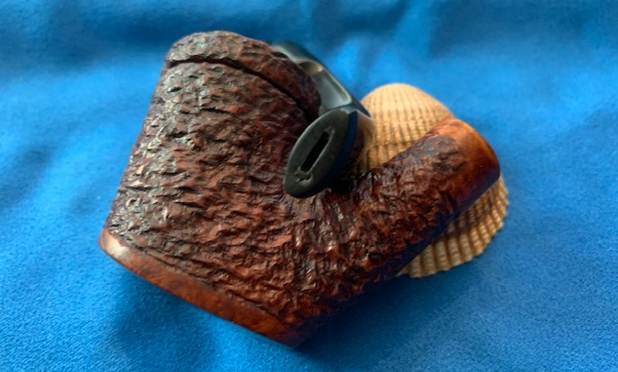
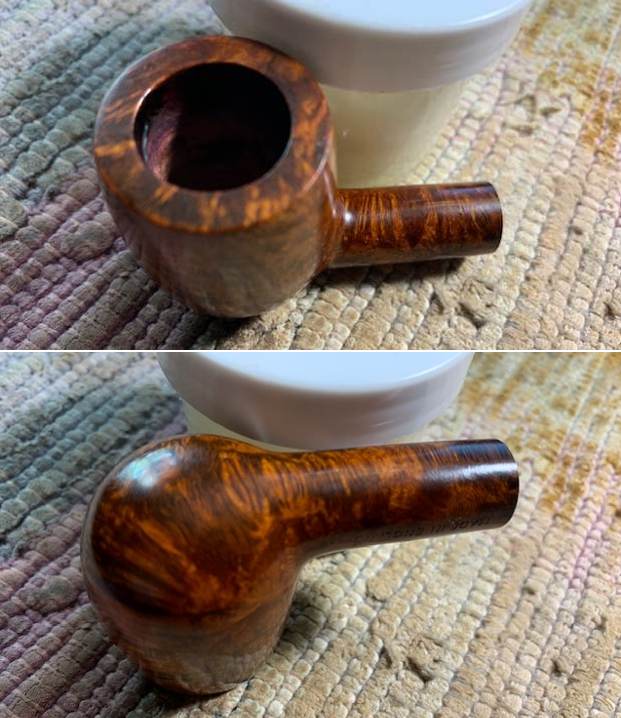
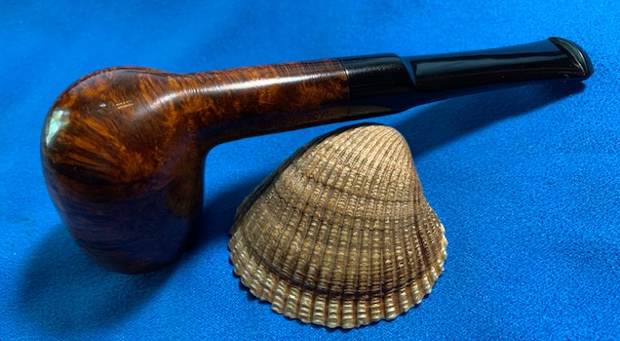
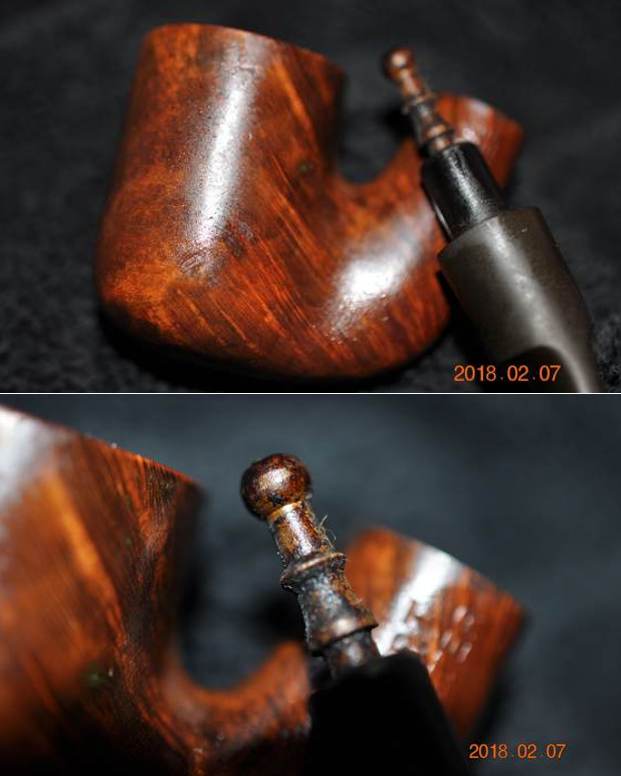
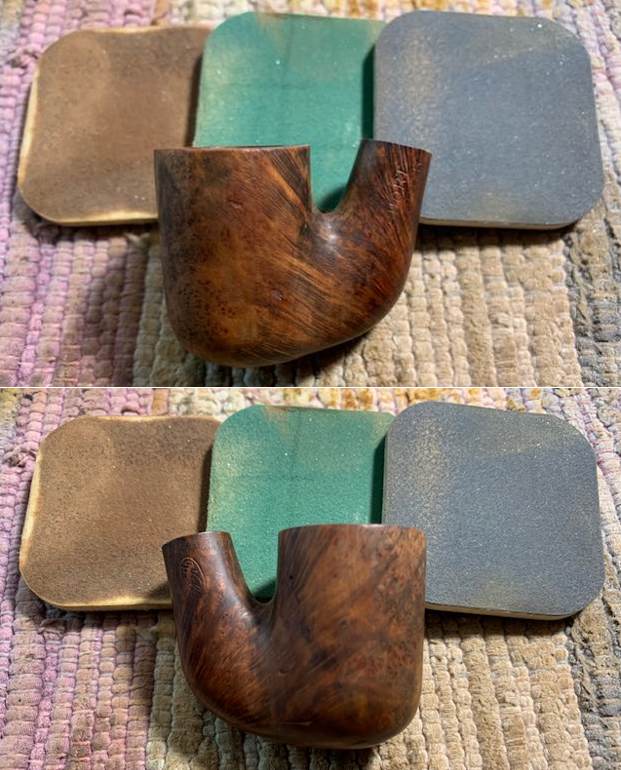
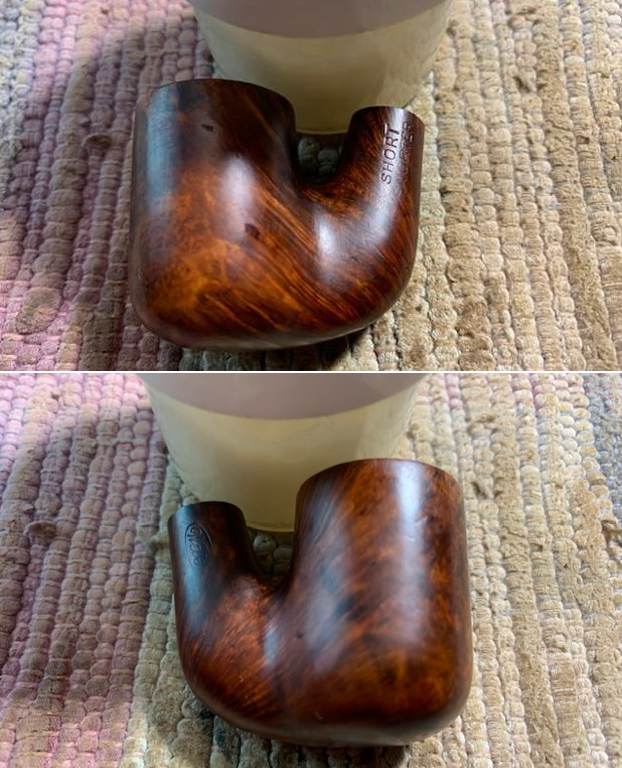
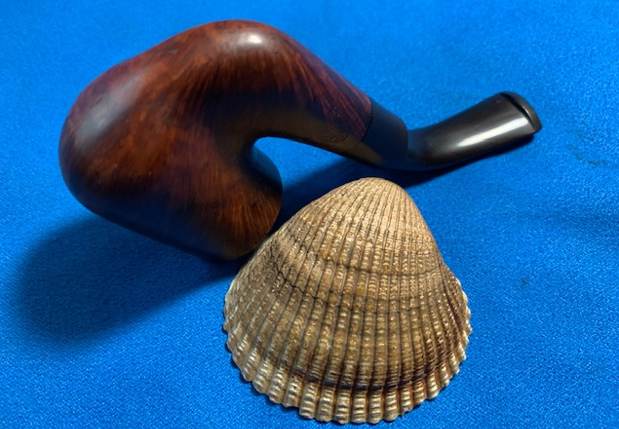
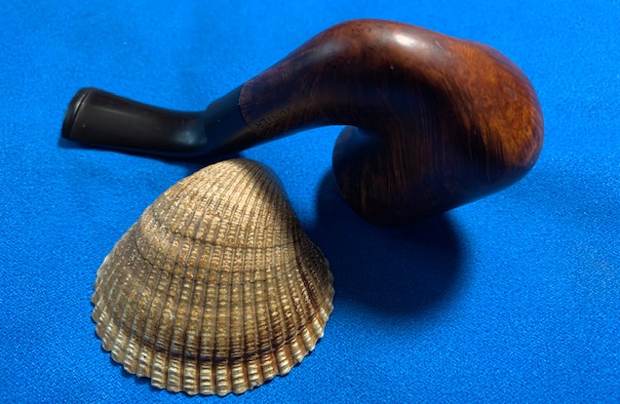
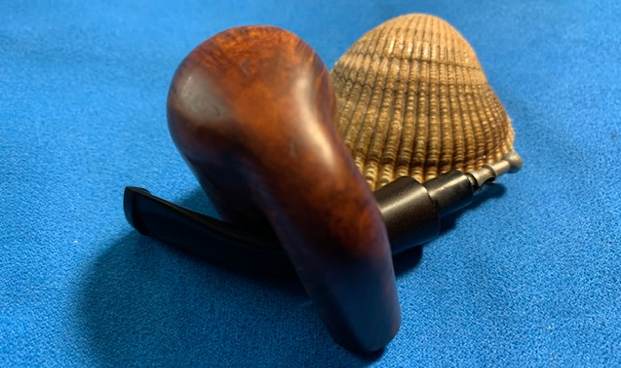
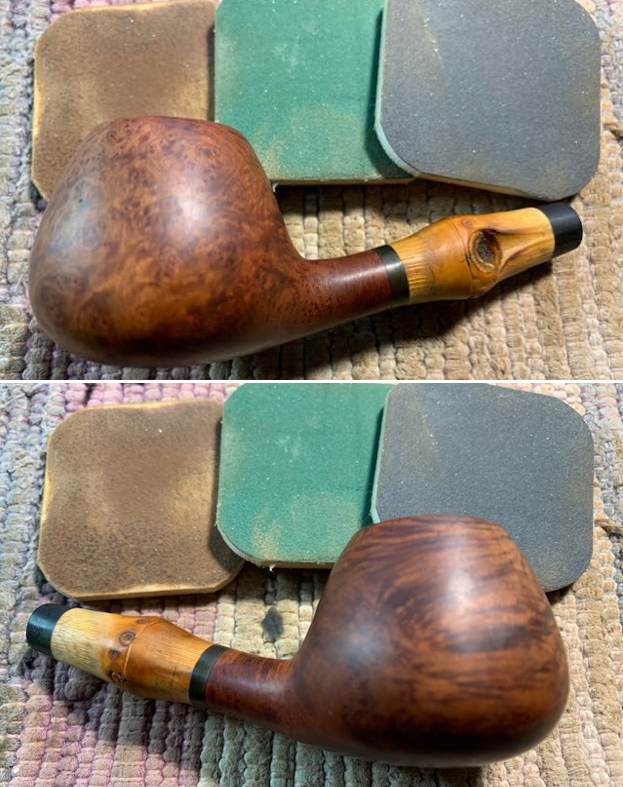
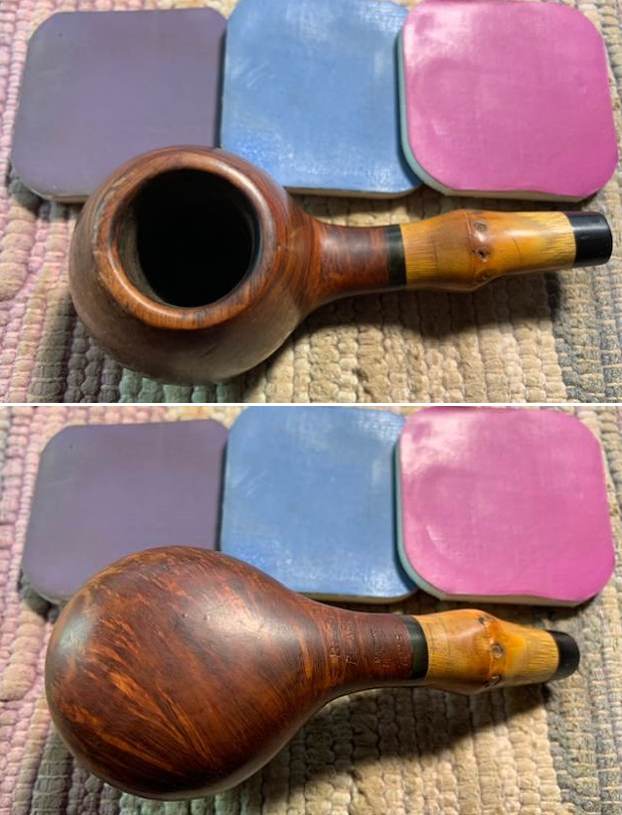
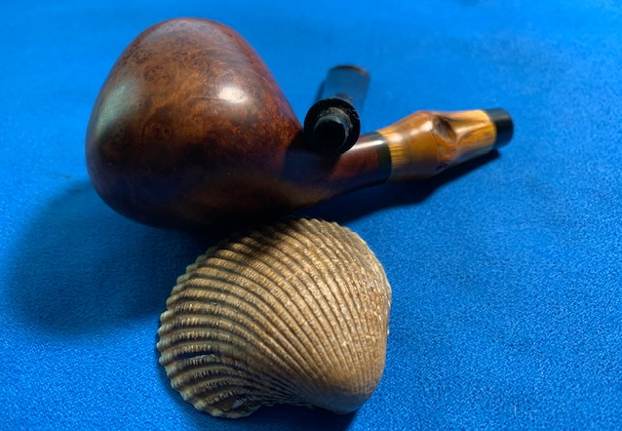
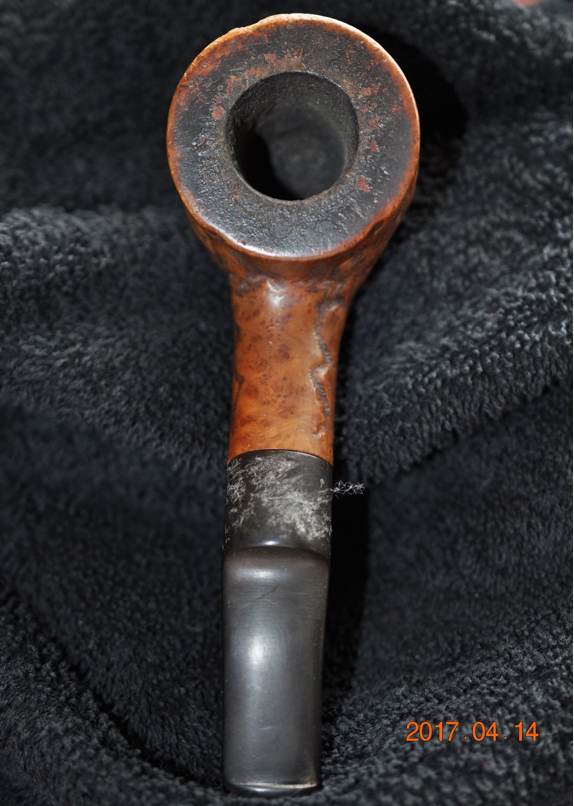
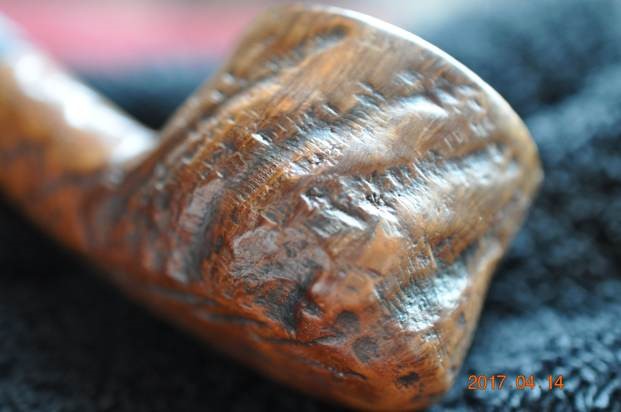
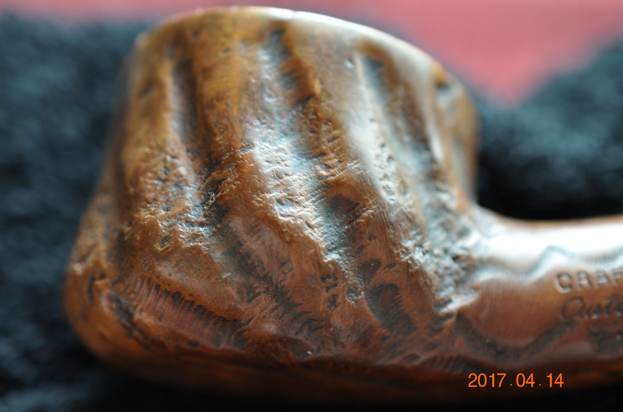
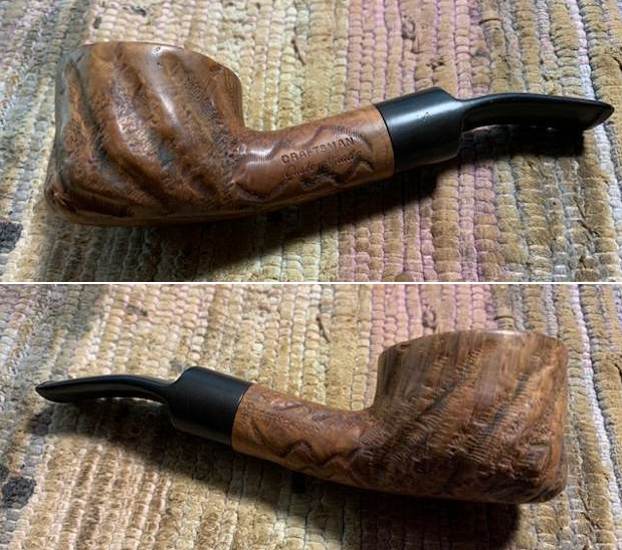
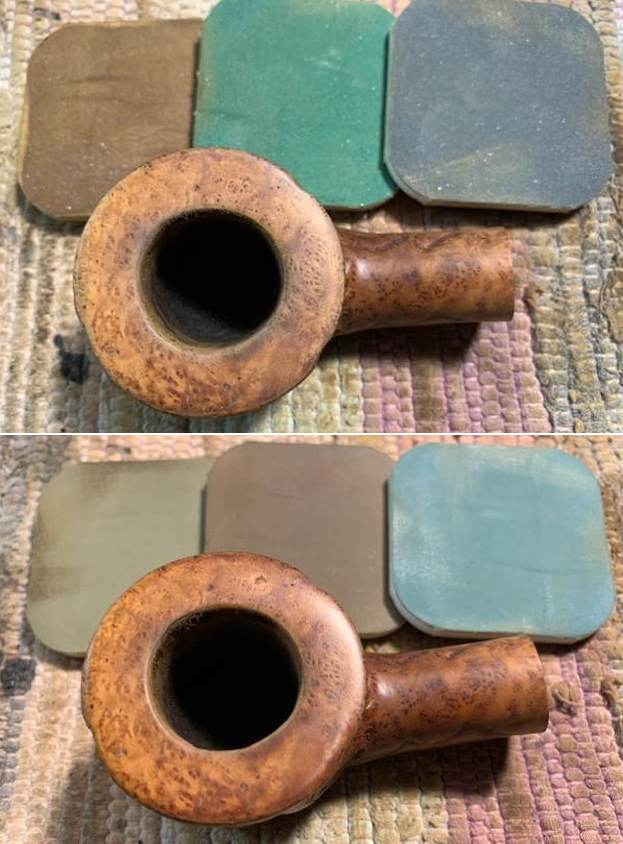
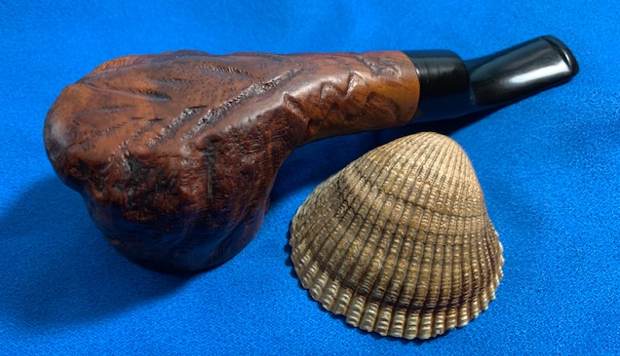
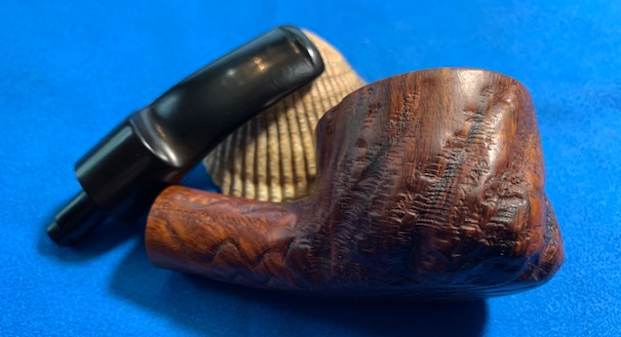
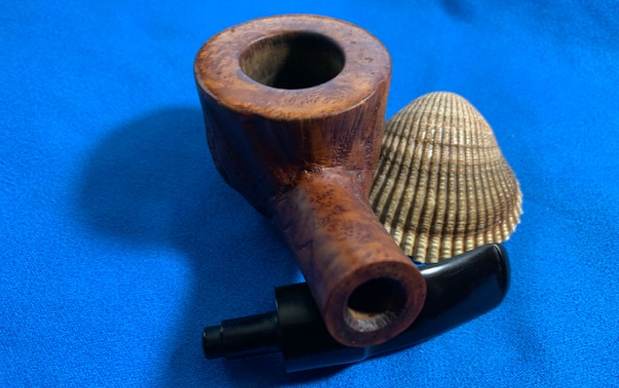
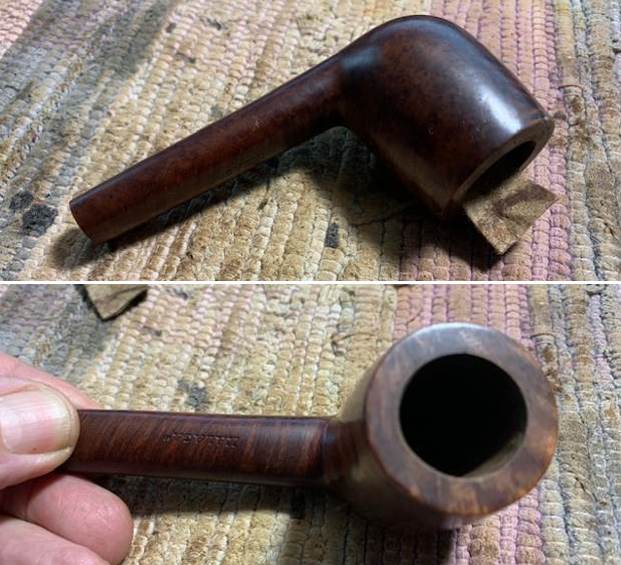
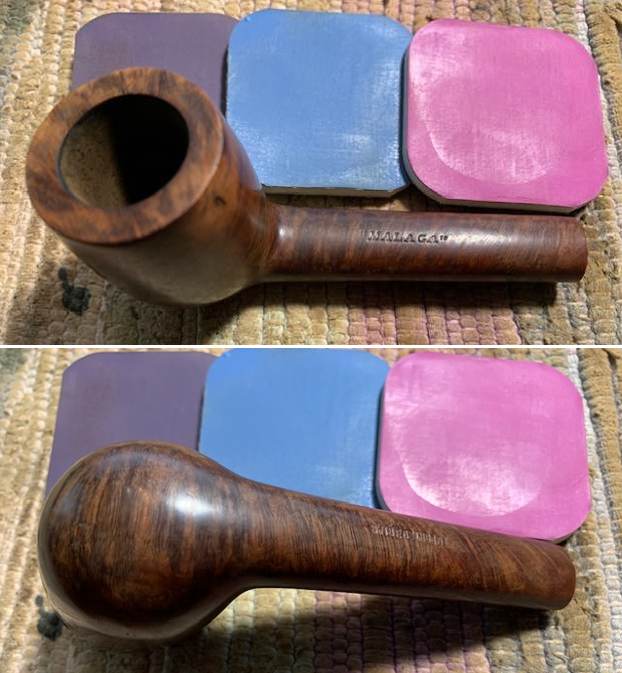
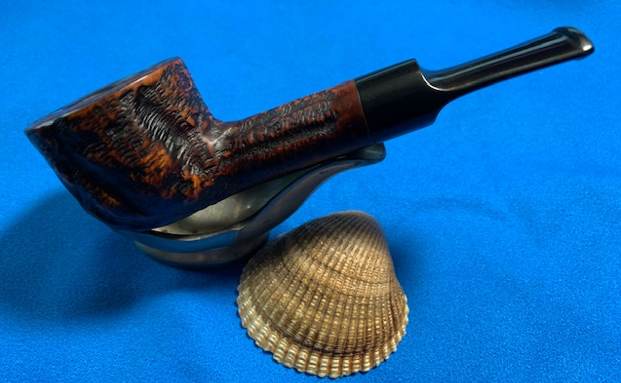
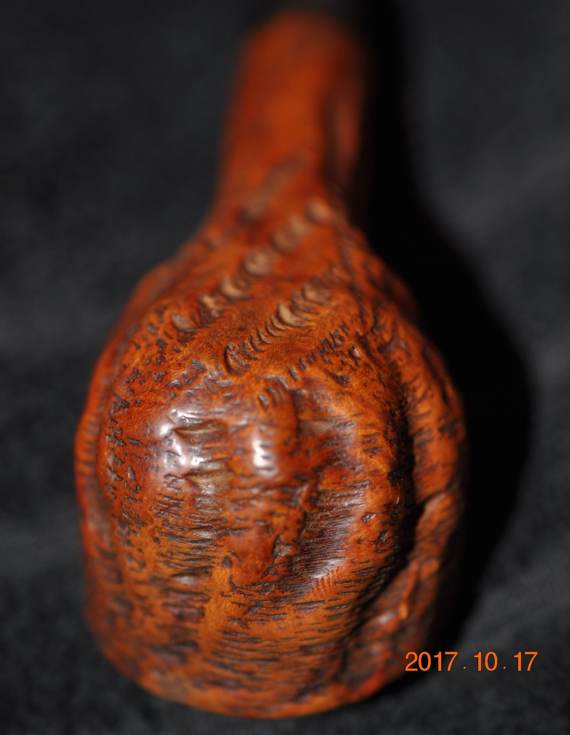
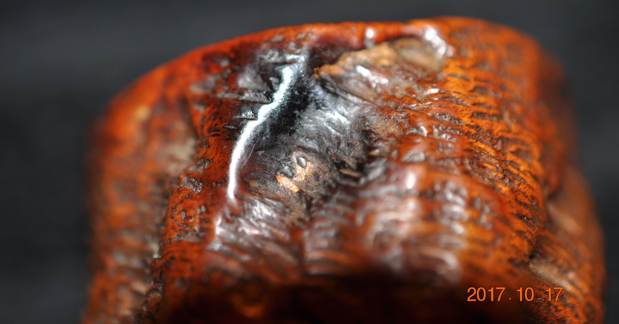
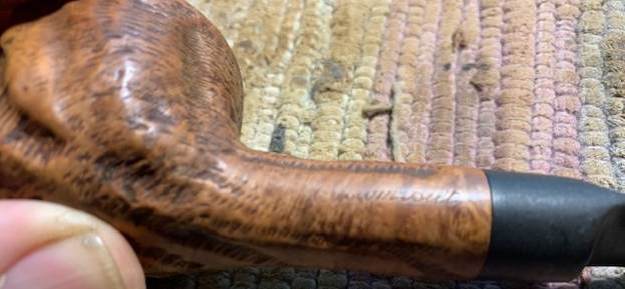
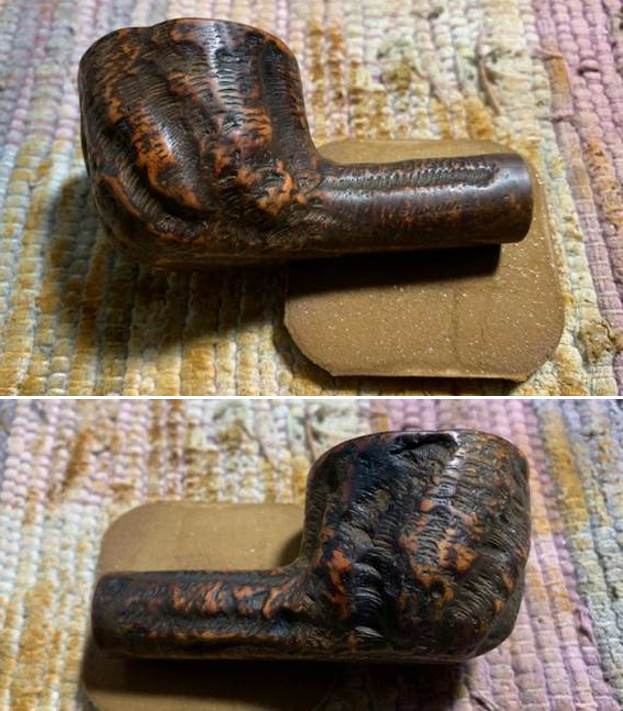
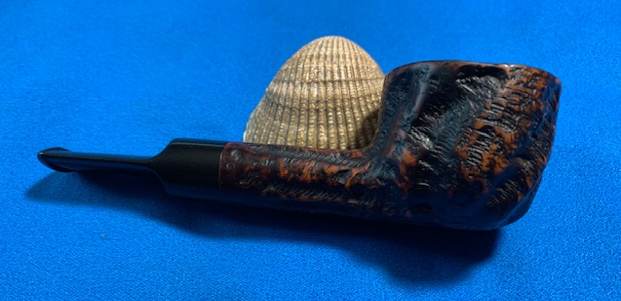
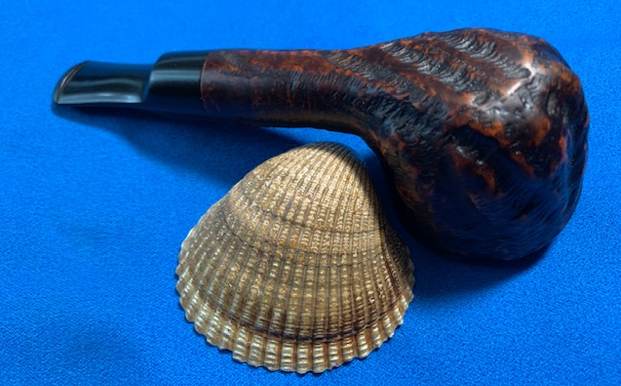
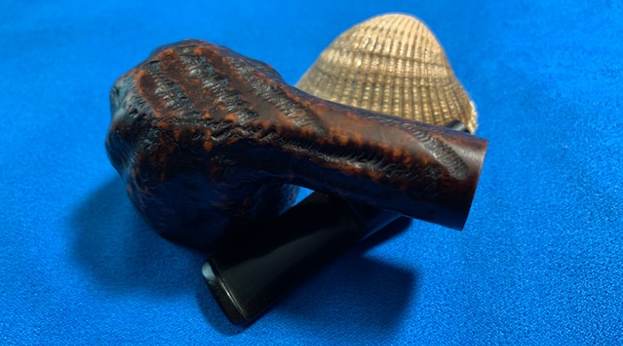
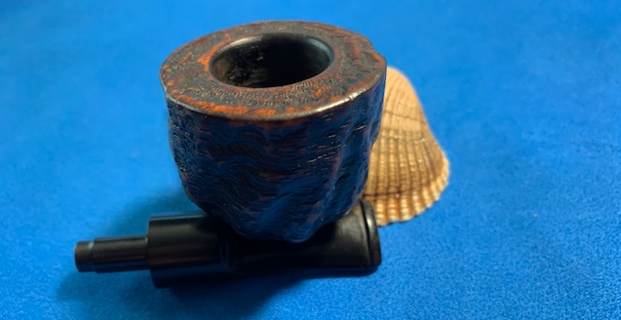
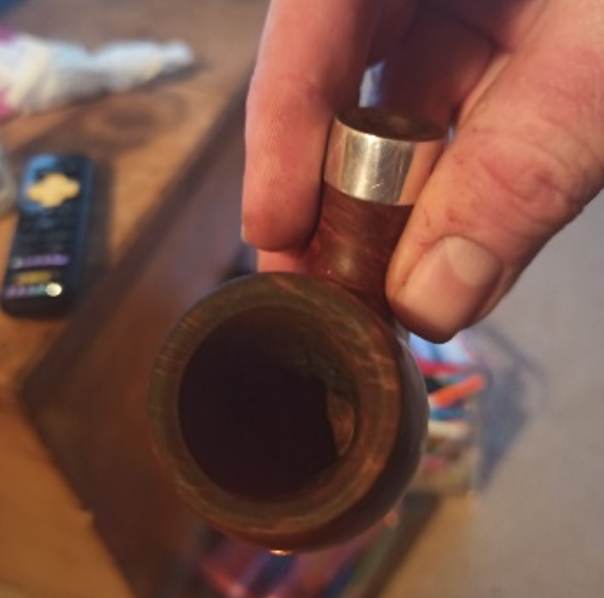
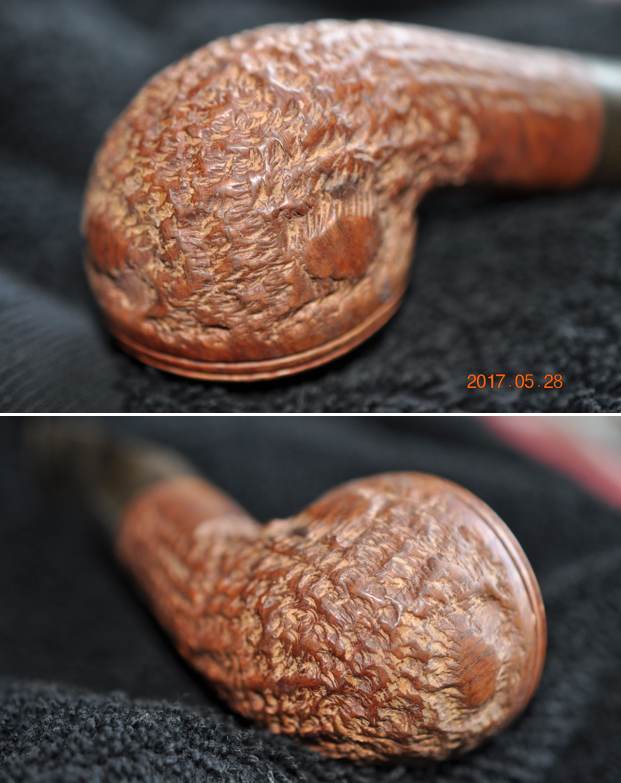
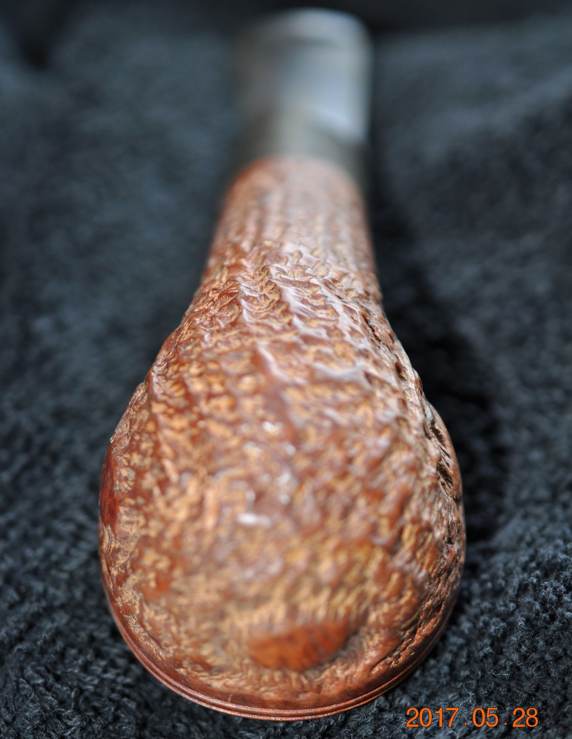
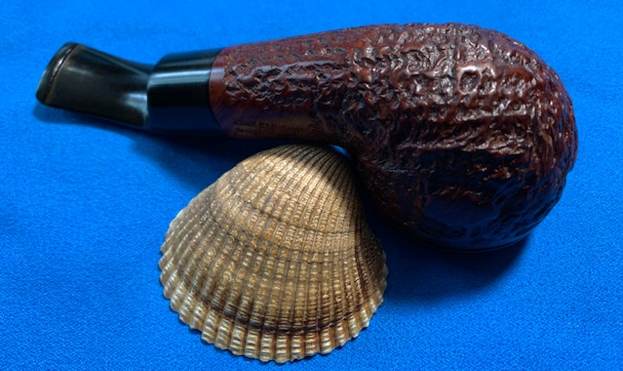
 He took photos of the sides and heel of the bowl to give a sense of the rustication on the pipe.
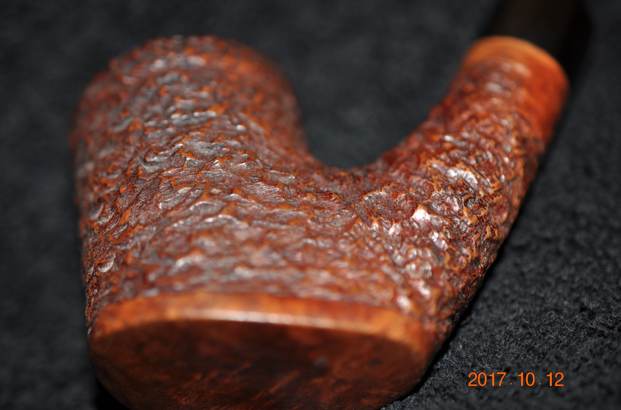
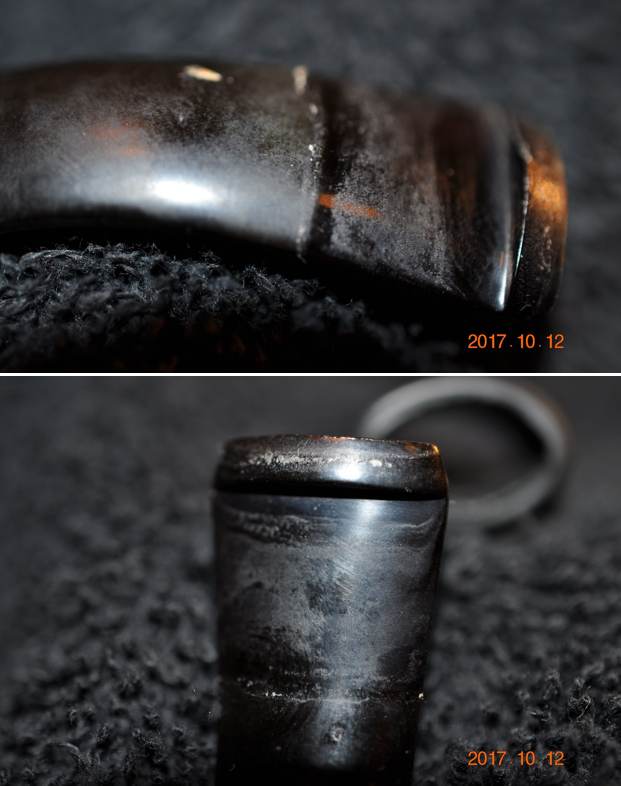
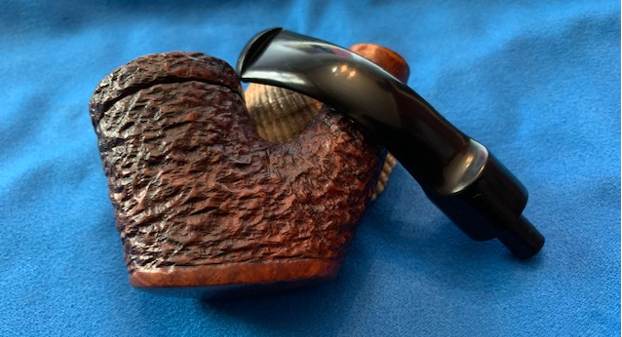
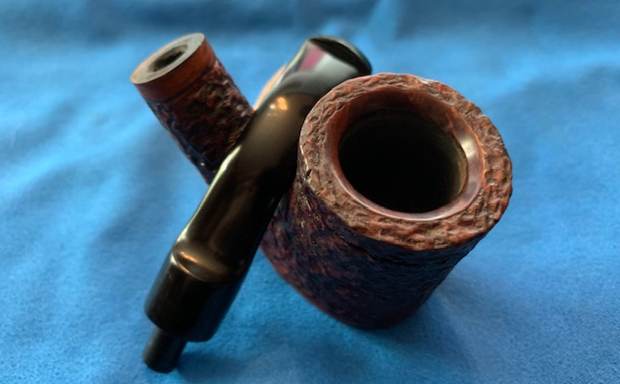
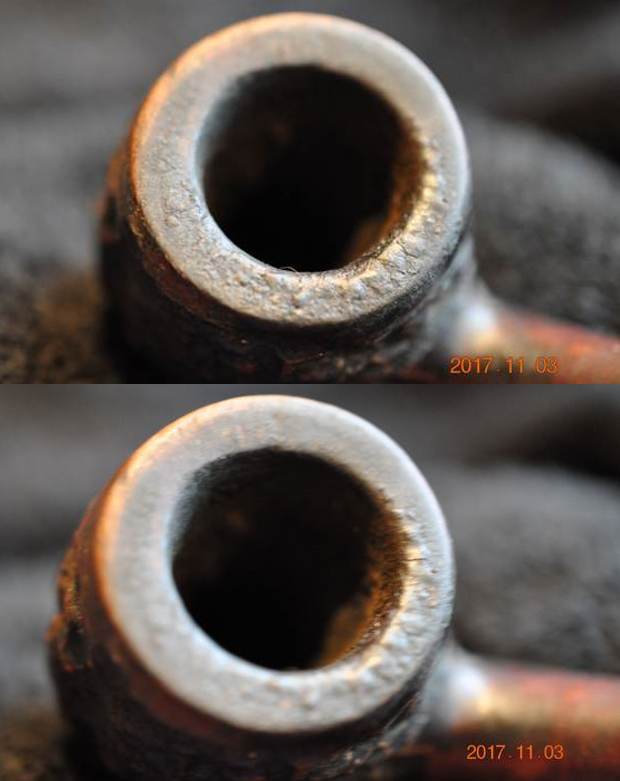
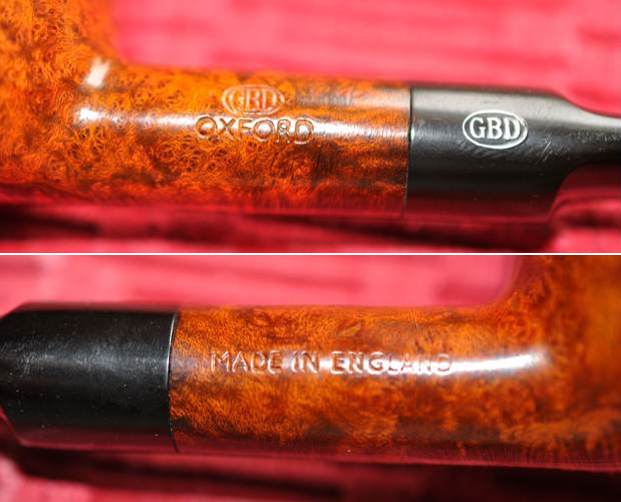
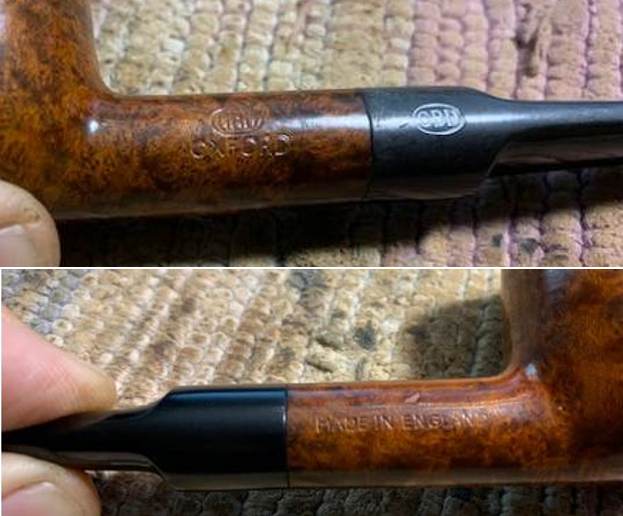
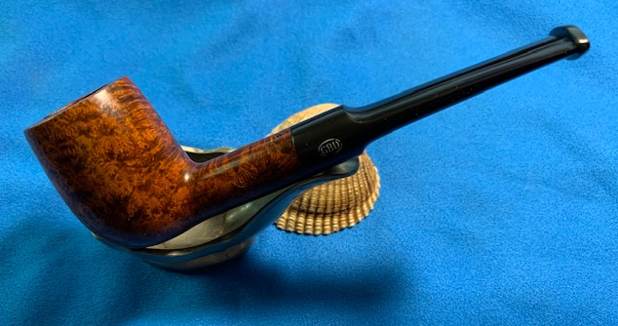
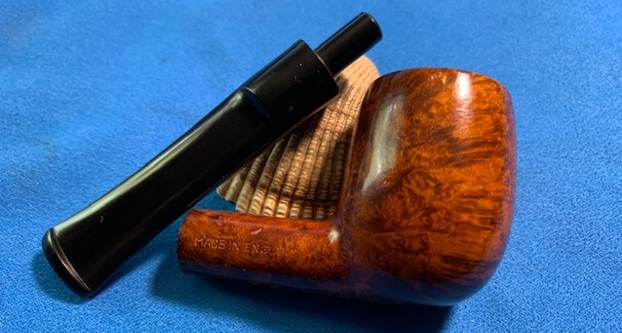
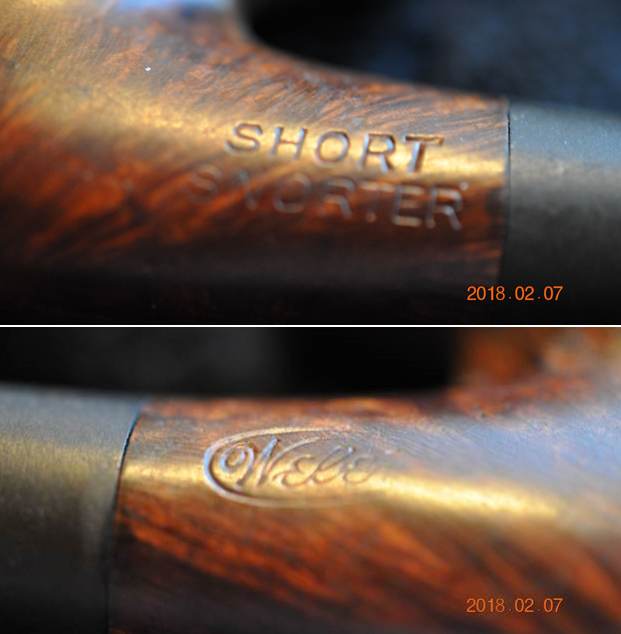
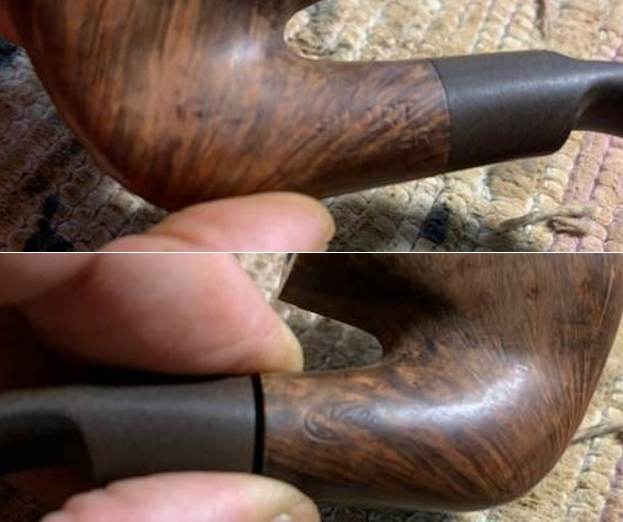
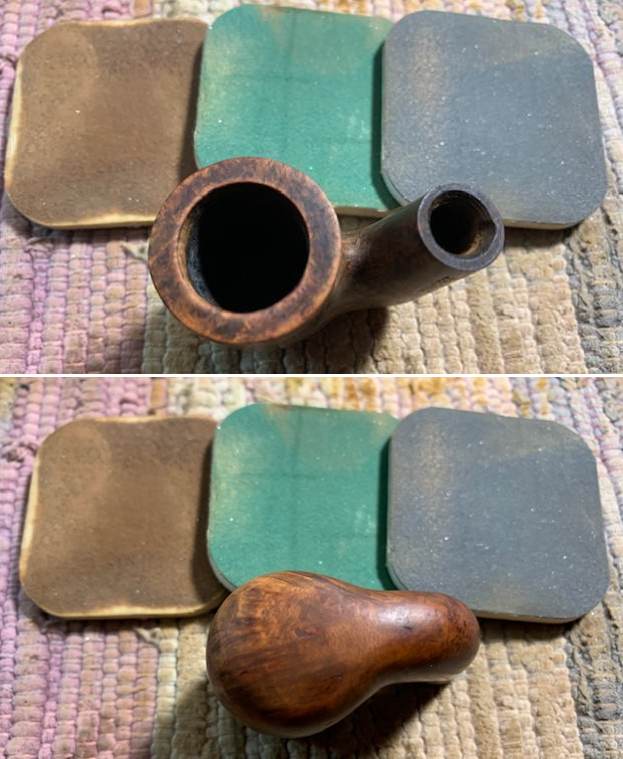
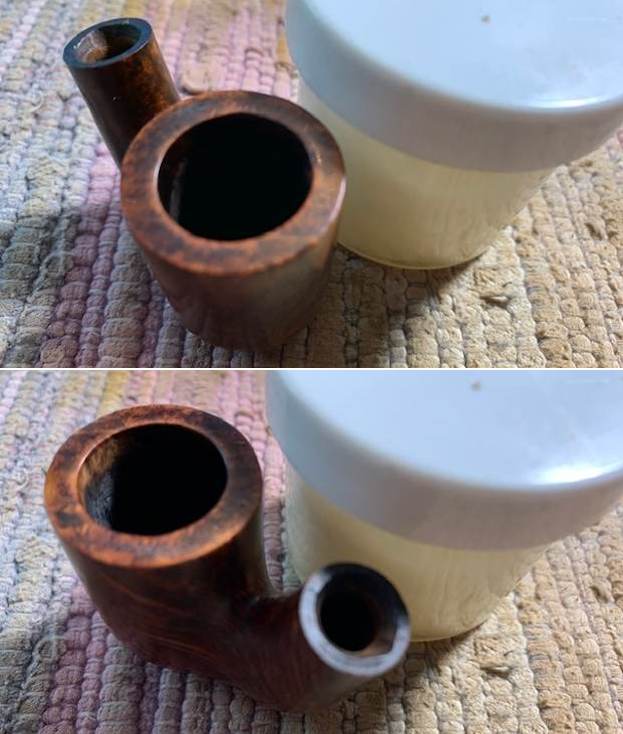
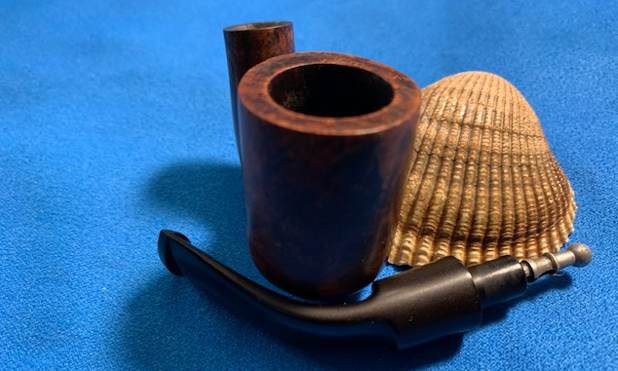
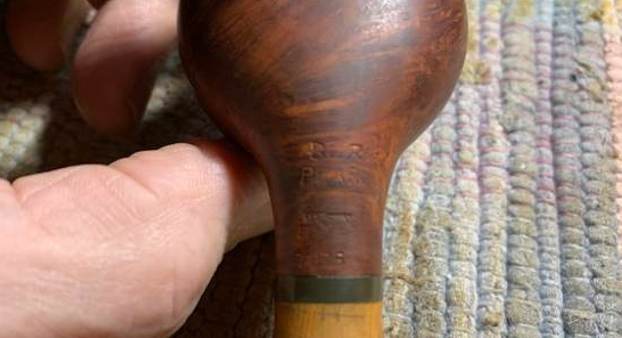
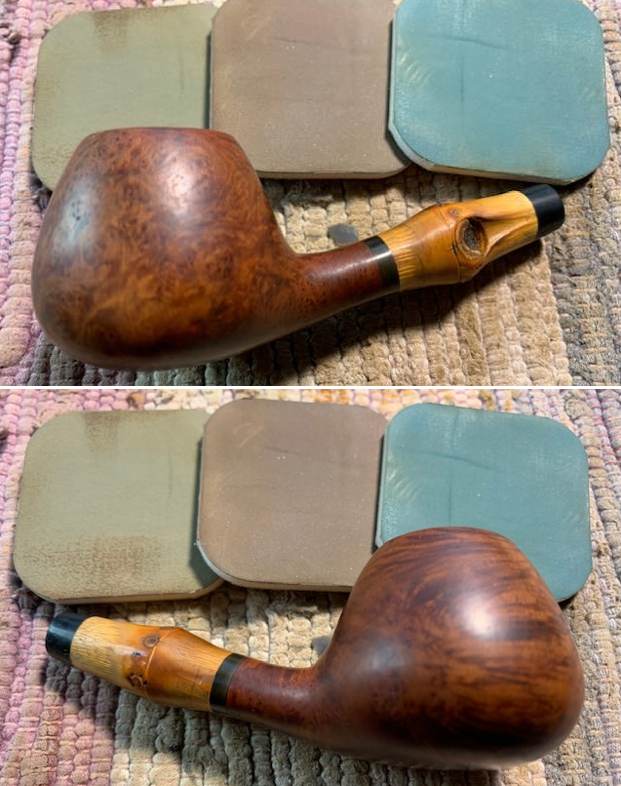
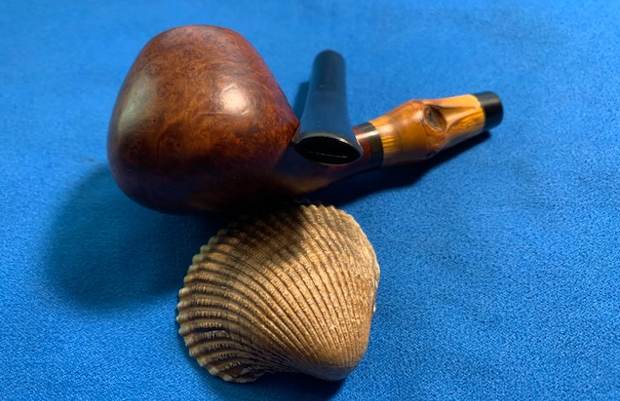
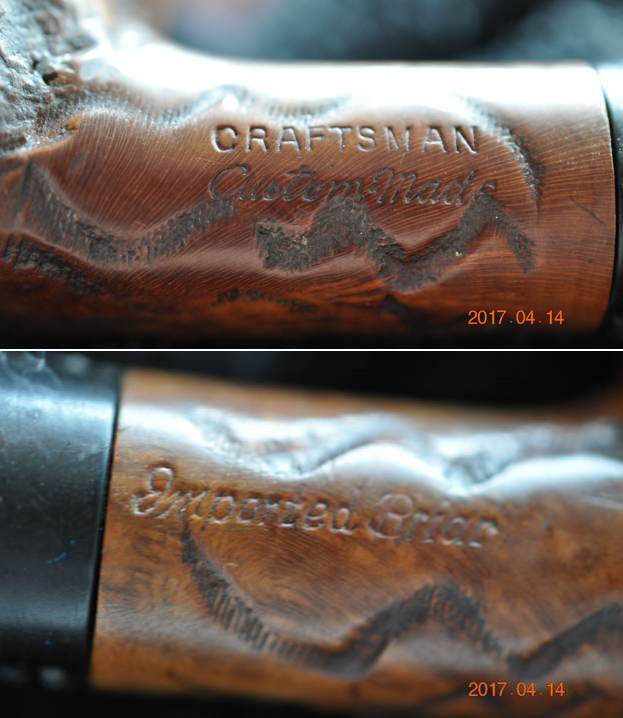
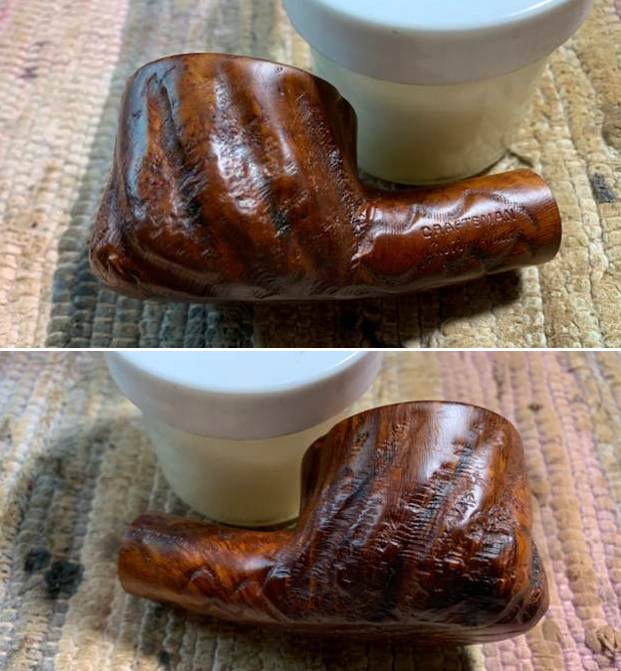
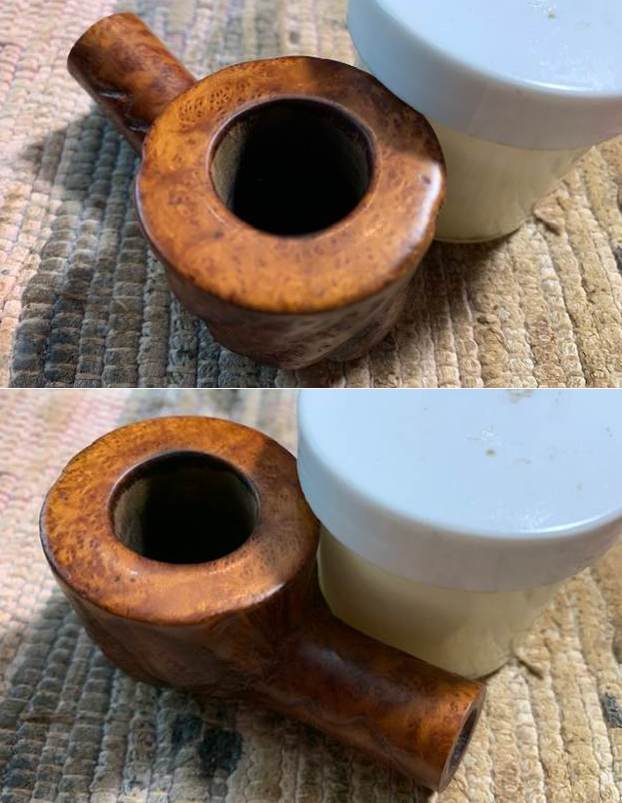
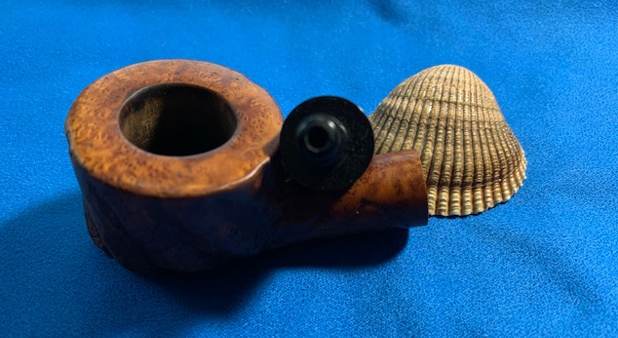
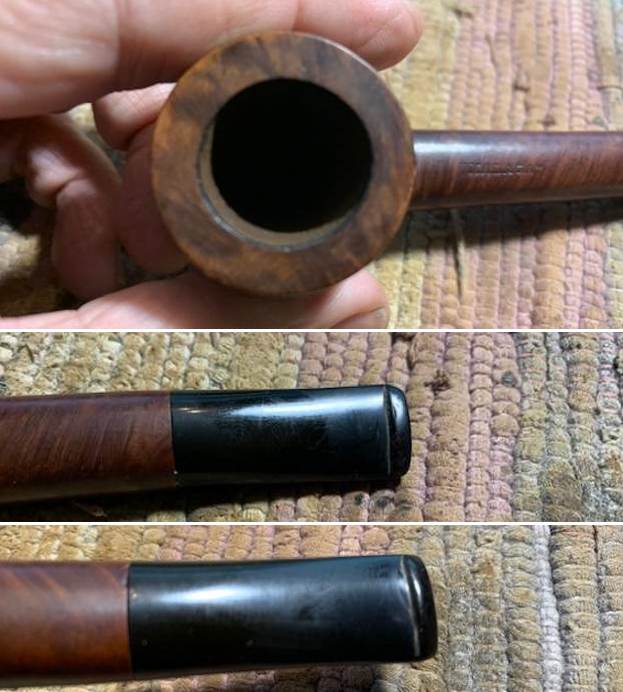
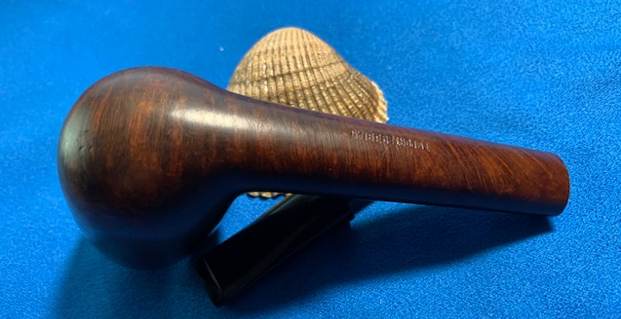
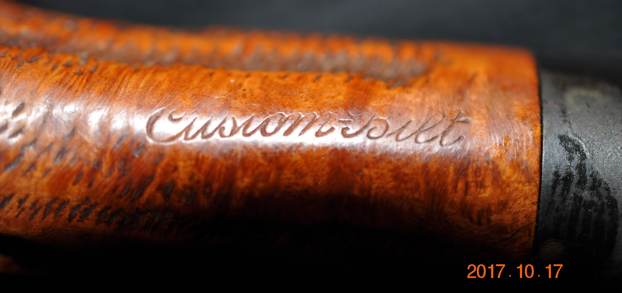
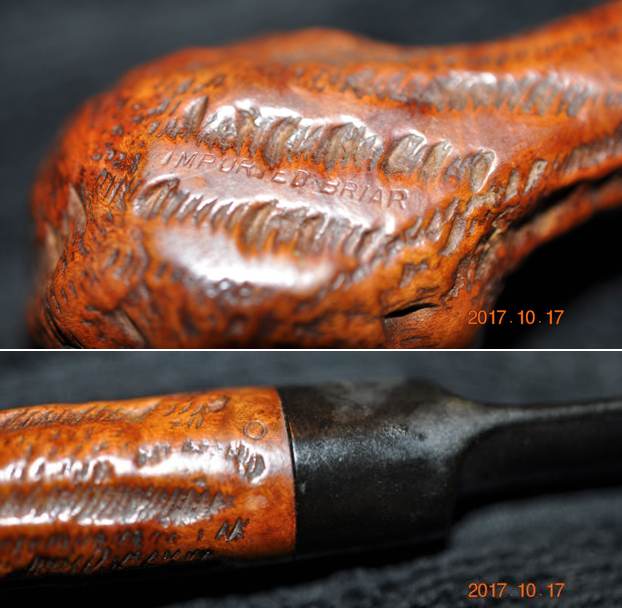
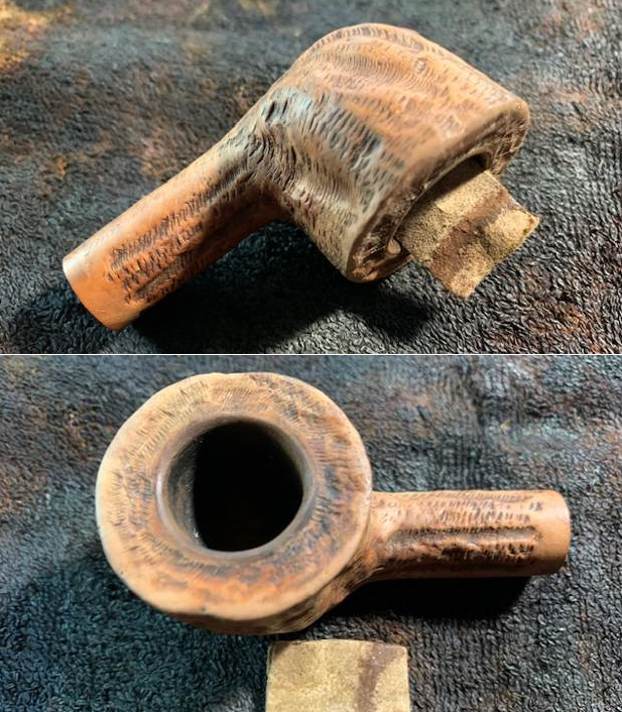
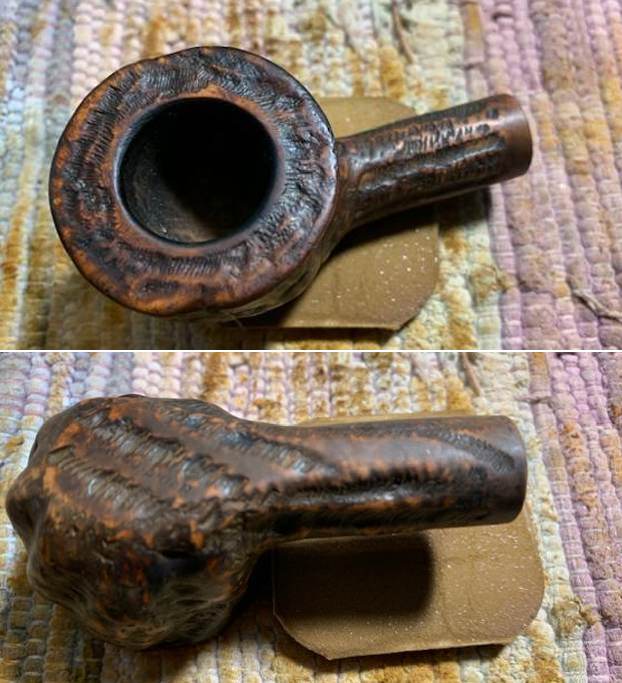
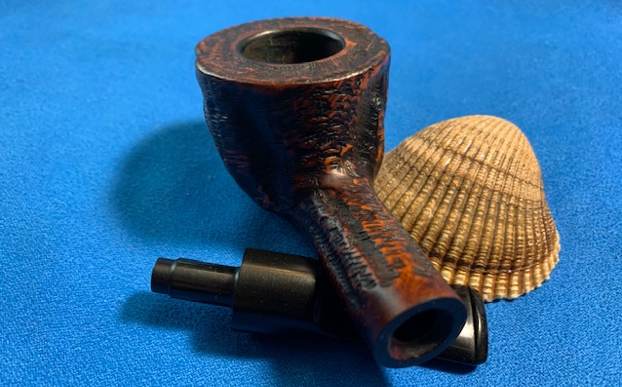
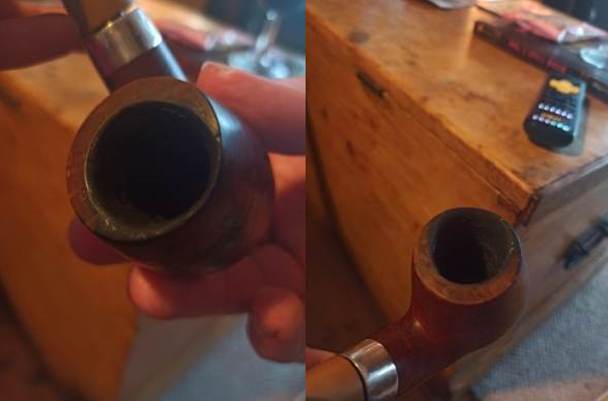
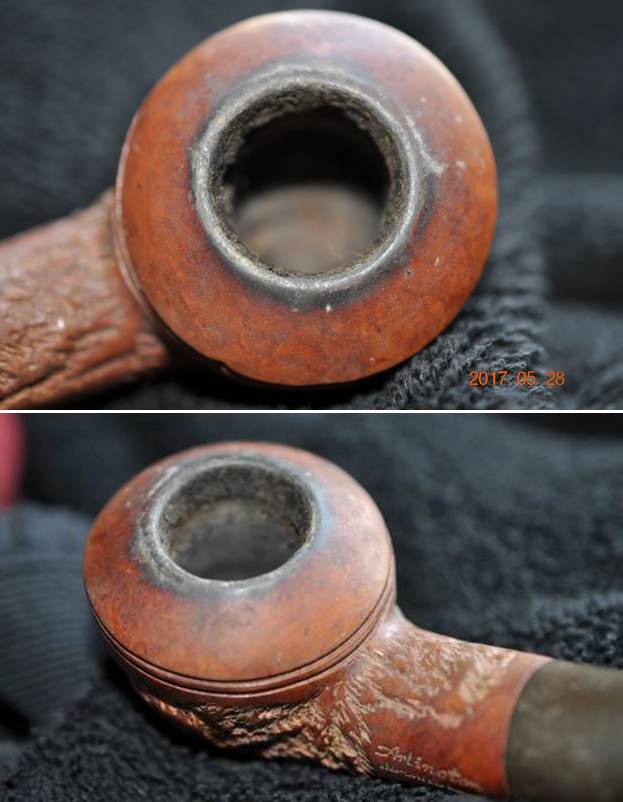
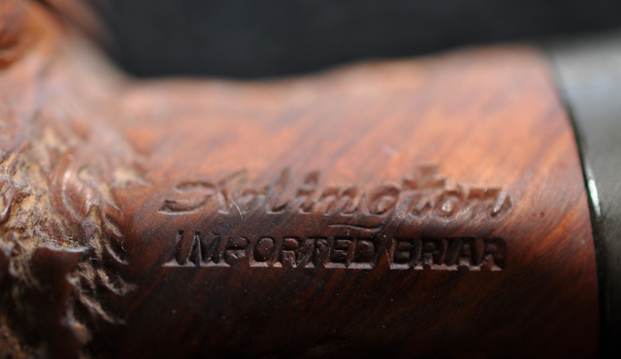
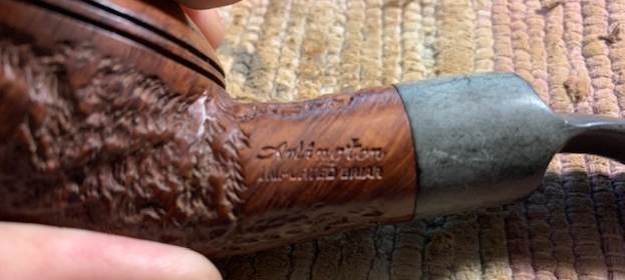
 The next two photos show the stamping on the underside of the shank. It is clear and readable as noted above.
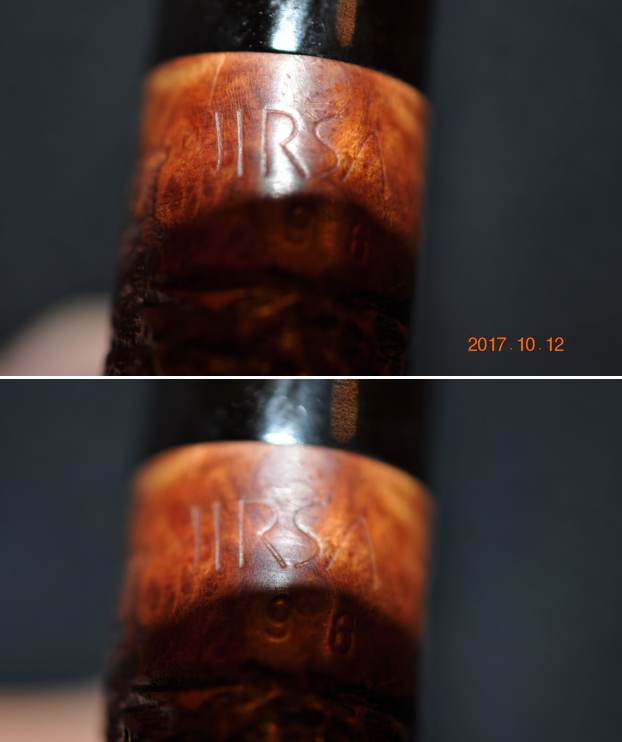 I did a quick scan of the rebornpipes blog and found a link to the Jirsa Octagonal Panel that I had restored (https://rebornpipes.com/2021/05/01/rebirthing-an-oldrich-jirsa-bent-octagonal-panel-138-billiard/). Rather than start over in my research on the brand I am quoting from that blog and the work I did there.
I turned to Pipephil’s site to see what he had on the Jirsa brand (http://pipephil.eu/logos/en/logo-j2.html). He had an entry that I did a screen capture of and also the following information on the brand. Artisan: Oldrich Jirsa (born 1962) makes pipes since 1994. I turned to Pipedia for more information on the brand (https://pipedia.org/wiki/Jirsa). I quote from the article below.
Jirsa is a Czech Republic brand owned by the family company headed by the artisan Oldrich Jirsa. They use Ebonite and cumberland stems. Best Grading: SG (Grain), three stars. Symbol: stylized J coming out of an oval.  I knew that I was working on a Czech made pipe by Oldrich Jirsa. The stem on the one I was working on was vulcanite and was not stamped. I suppose it could be a replacement but the fit and slow makes me think it is original. Now it was time to work on the pipe.
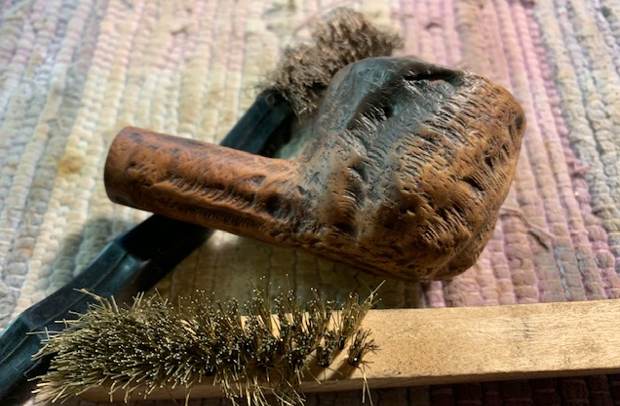
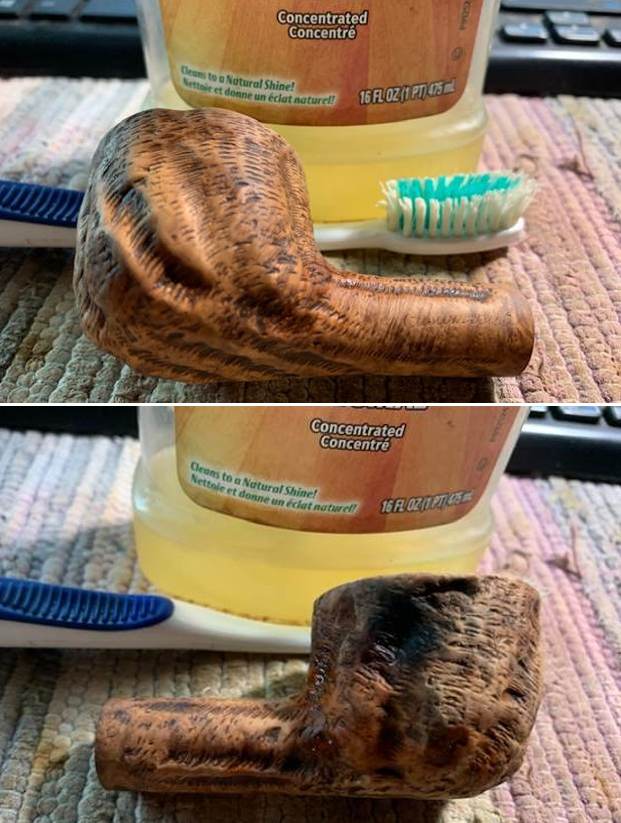
Jeff had done a great cleanup on the pipe. He reamed the bowl with a PipNet pipe reamer and followed up with a Savinelli Fitsall pipe knife to remove the cake. He scrubbed out the mortise and the airway in the shank and the stem with alcohol, cotton swabs and pipe cleaners. He scrubbed the bowl exterior with a tooth brush and Murphy’s Oil Soap to remove the grime on the finish of the bowl and the lava from the rim top. He rinsed it under running water. One of the benefits of this scrub is that it also tends to lift some of the scratches and nicks in the surface of the briar. He dried it off with a soft cloth. He cleaned the internals and externals of the stem with alcohol, pipe cleaners and cotton swabs. He soaked the stem in Before & After Pipe Stem Deoxidizer and rinsed it off with warm water and cleaned out the airway in the stem with alcohol. When I received it the pipe looked very good.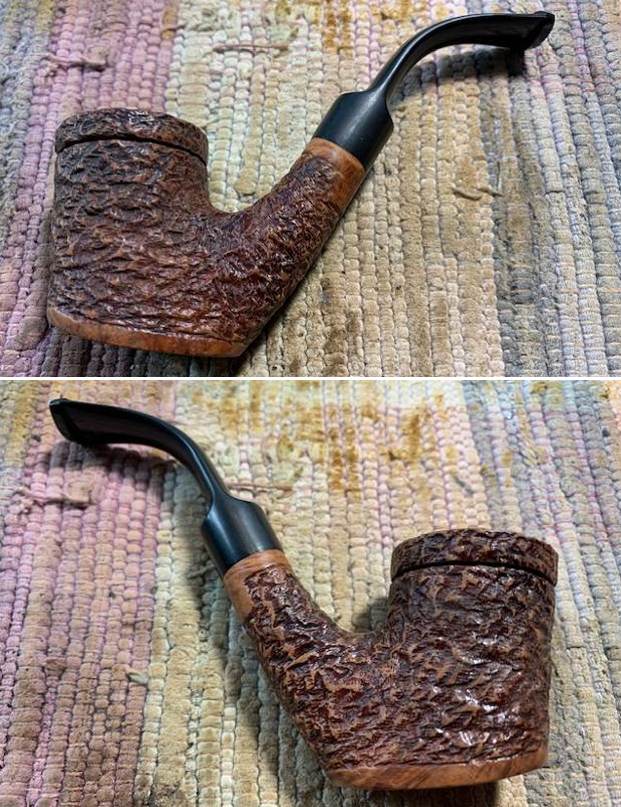
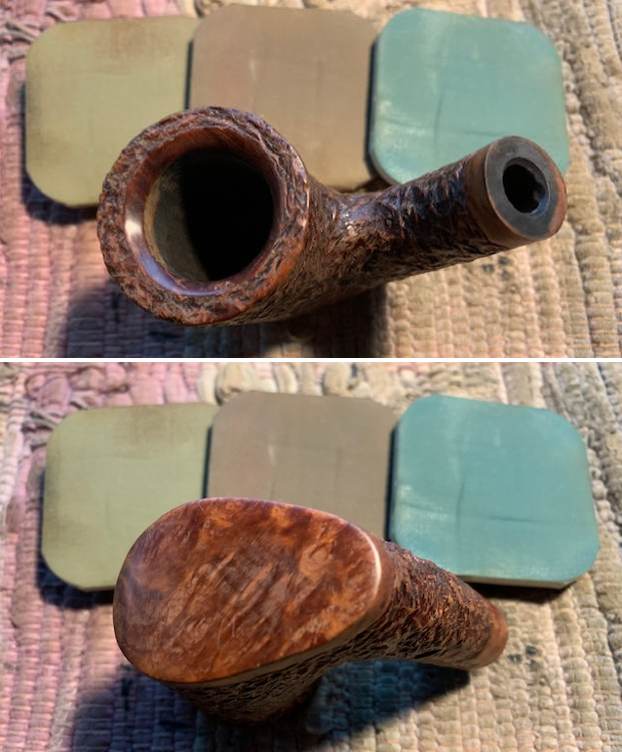
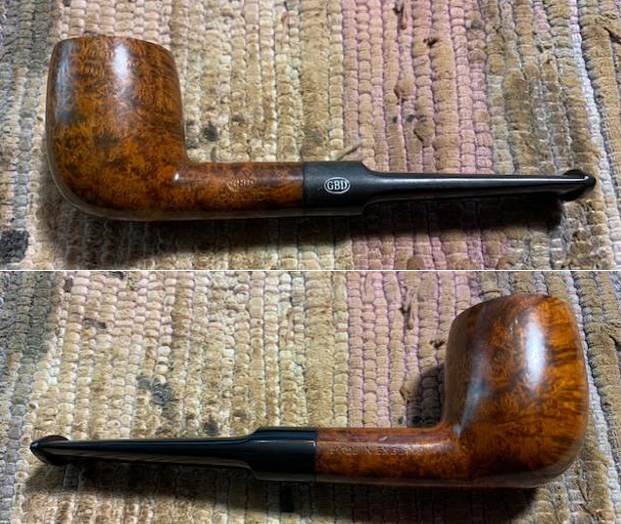
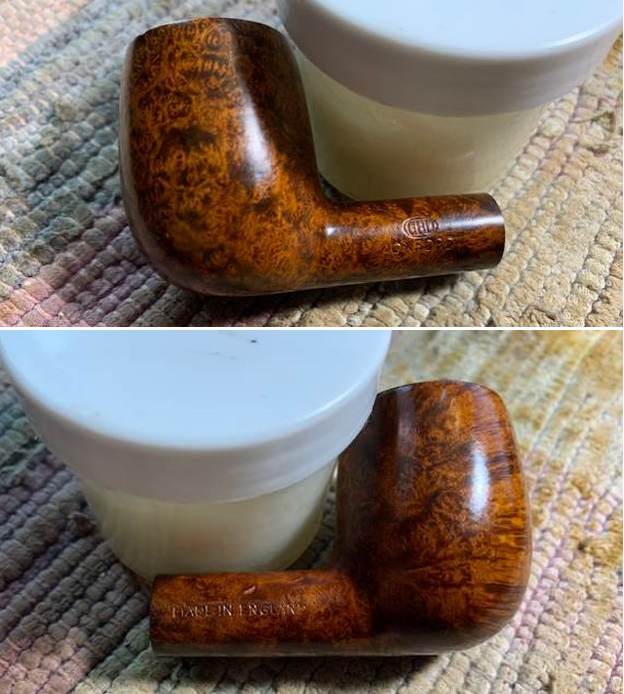
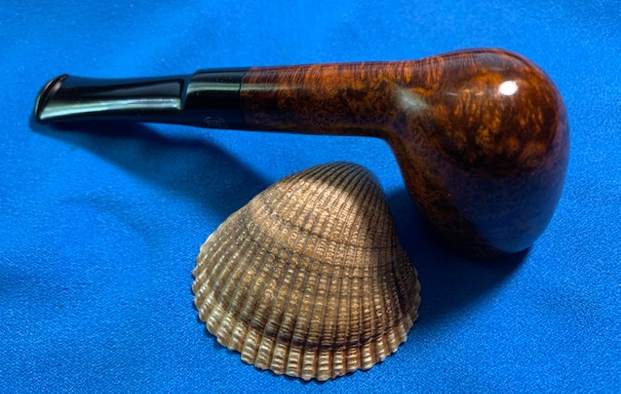
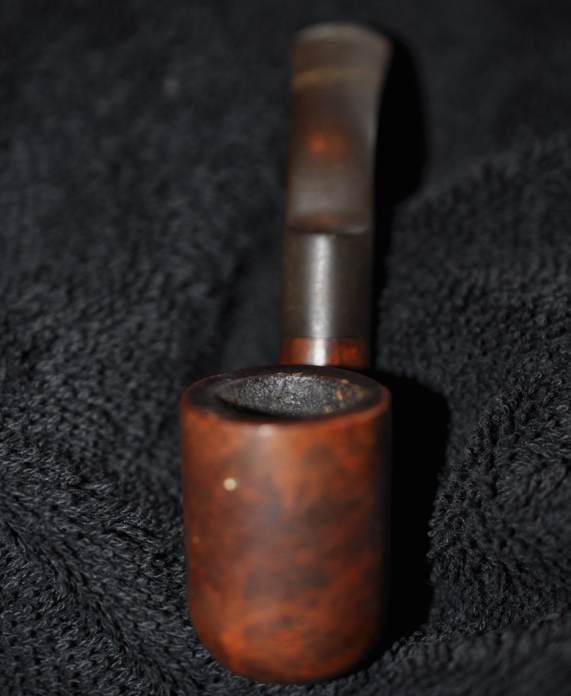
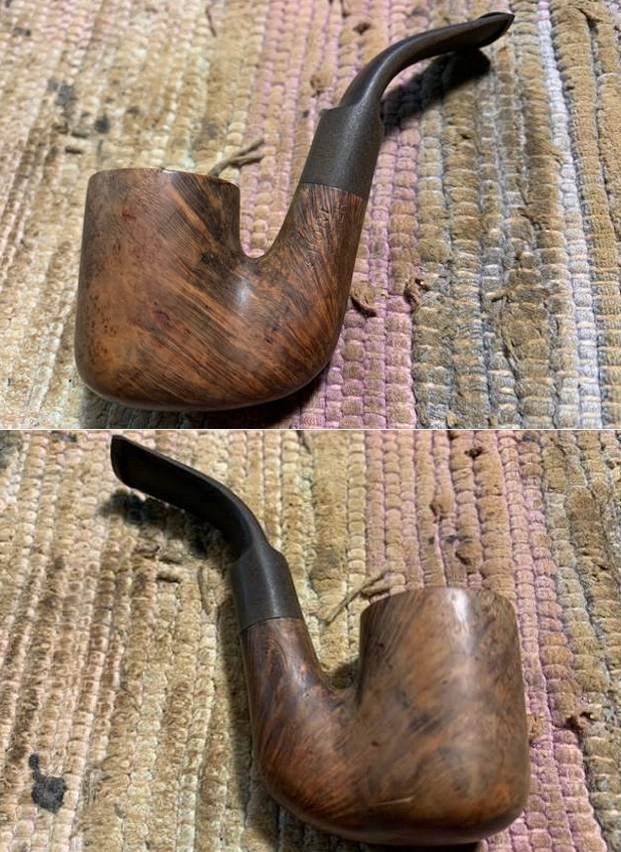
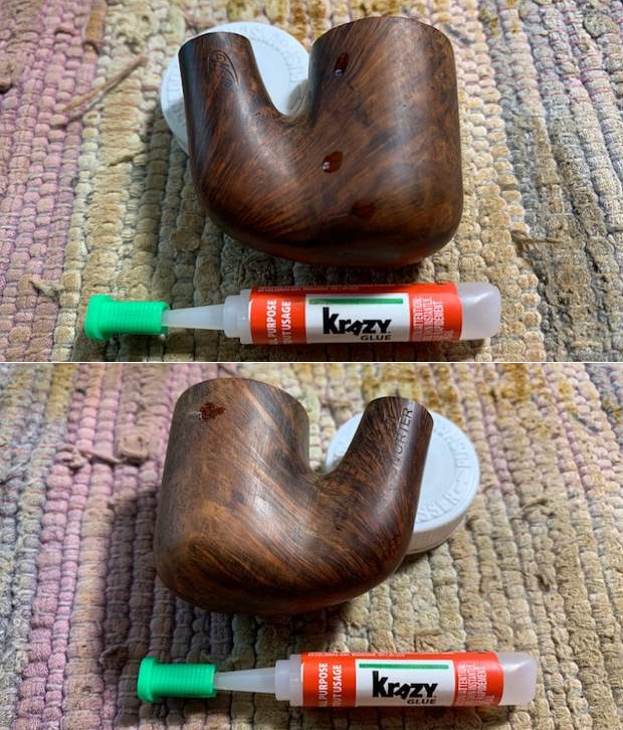
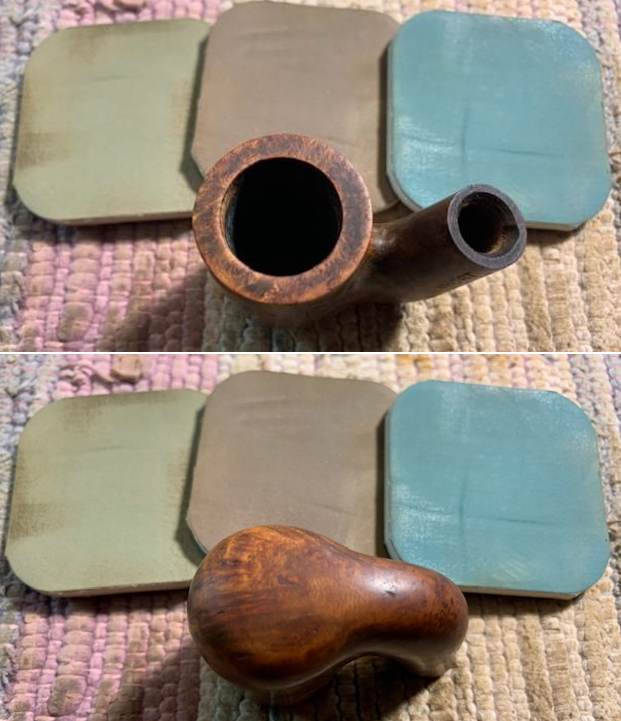
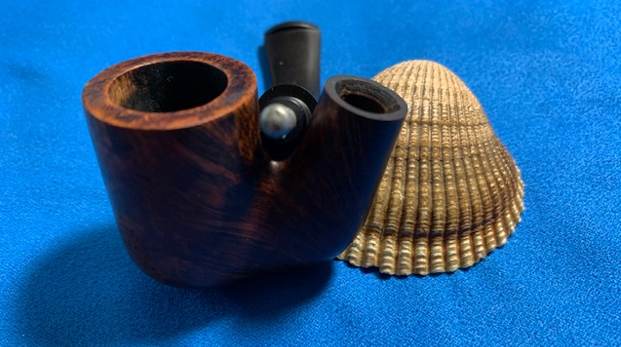
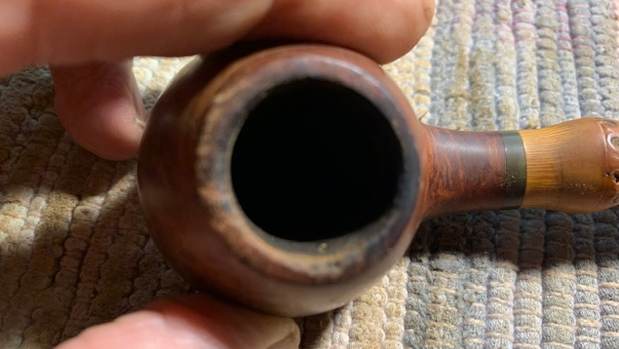
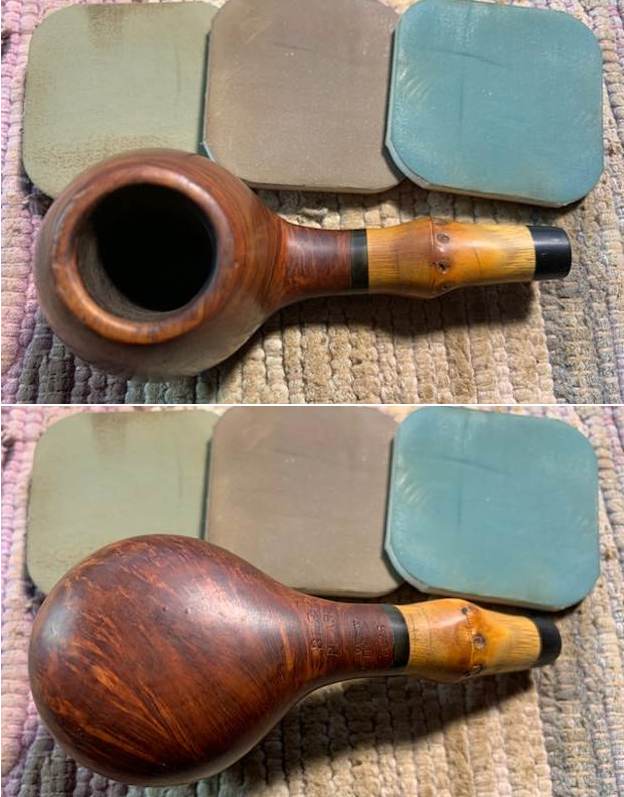
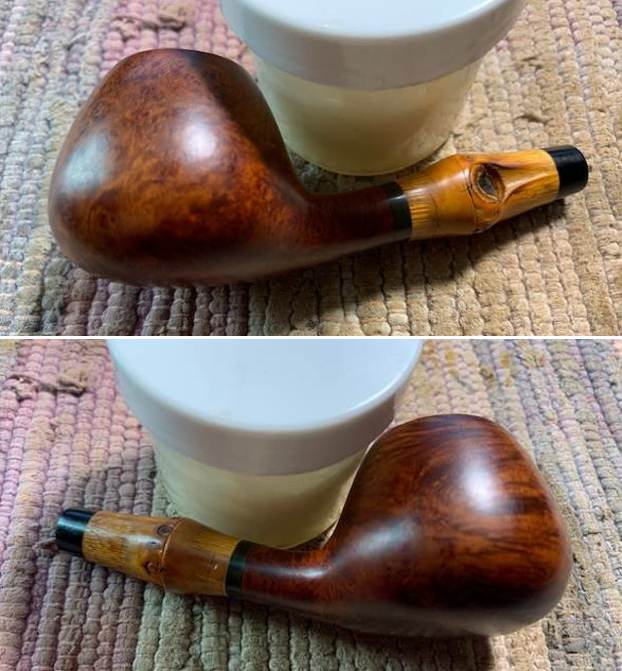
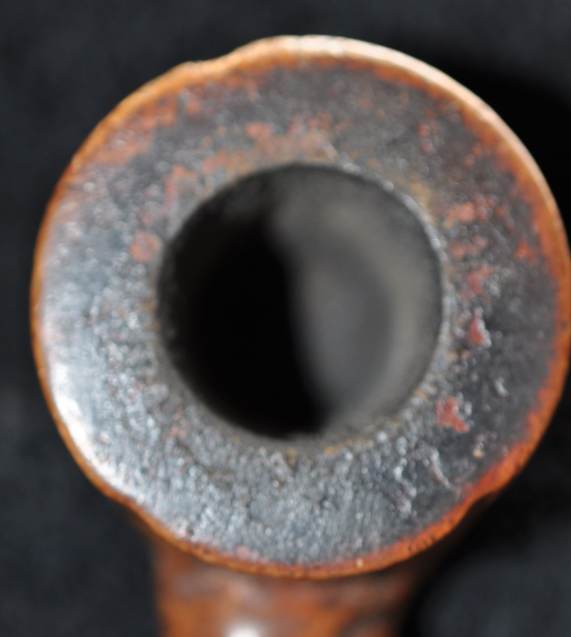
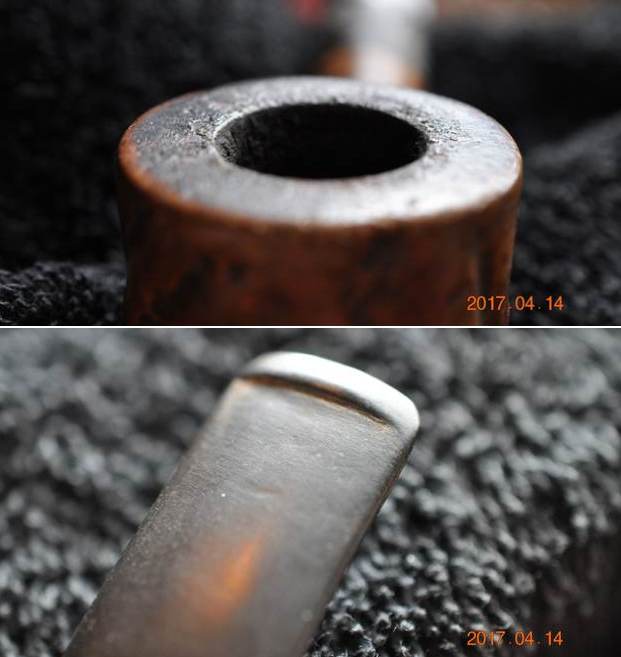
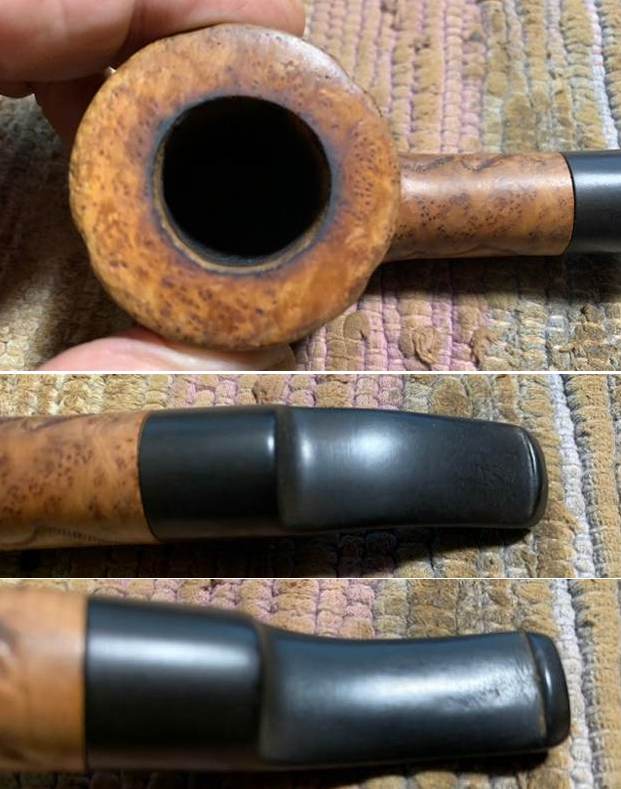
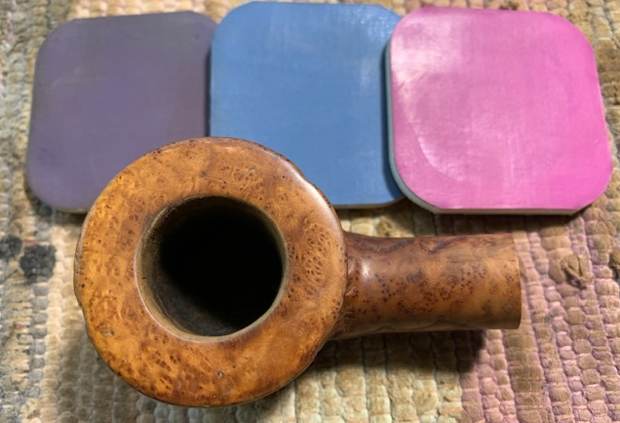
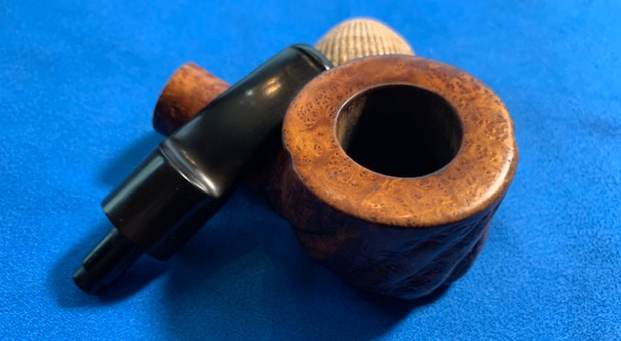
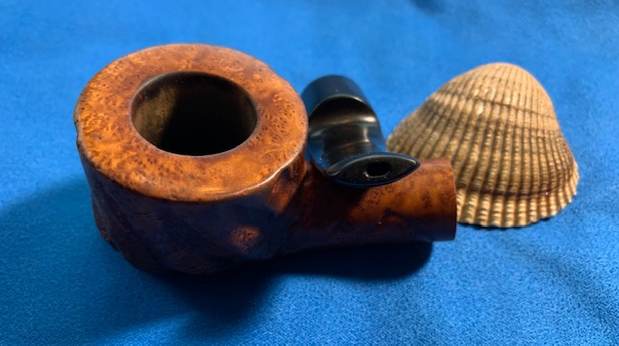
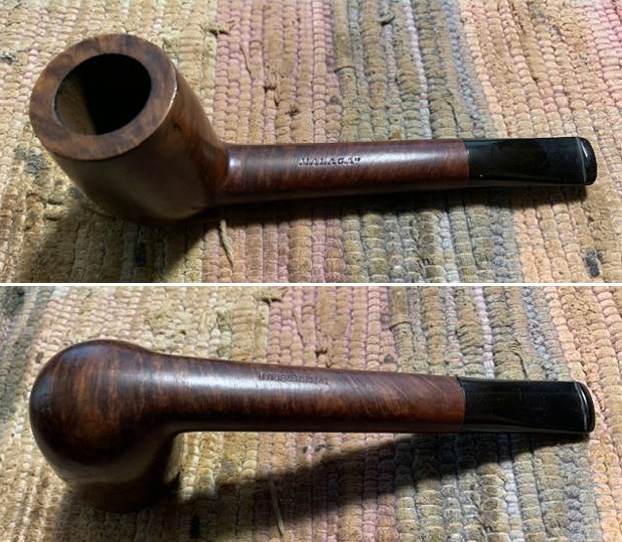
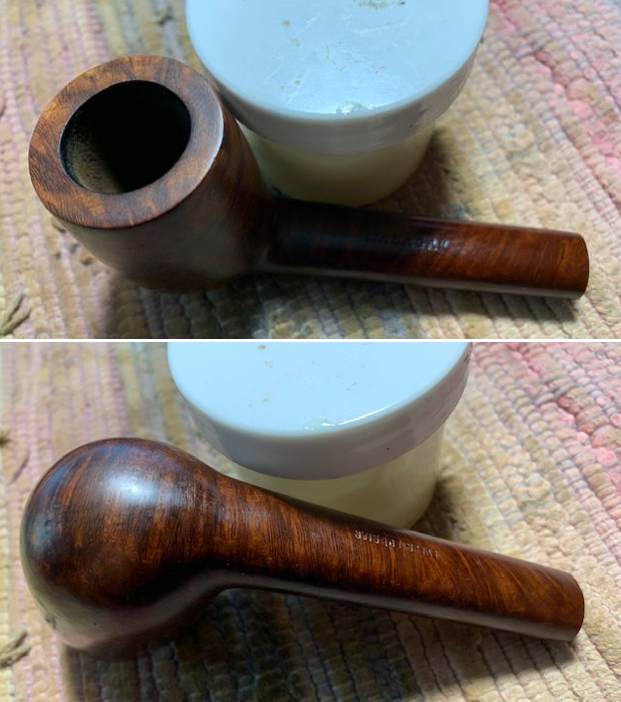
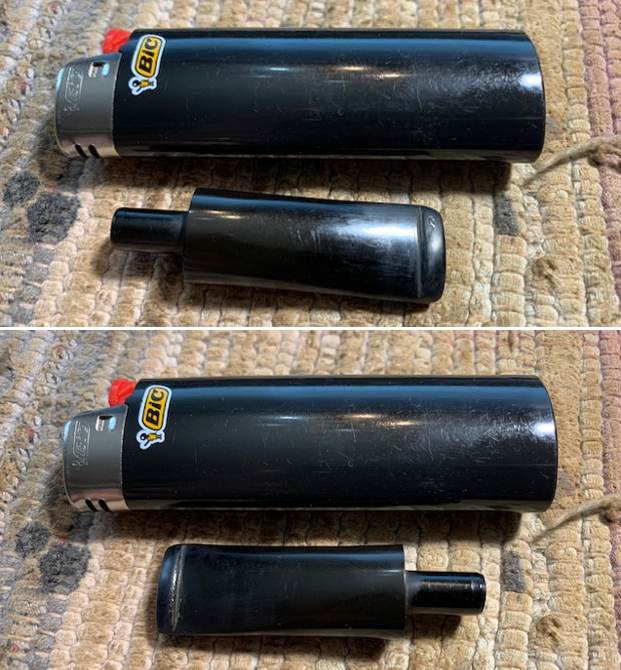
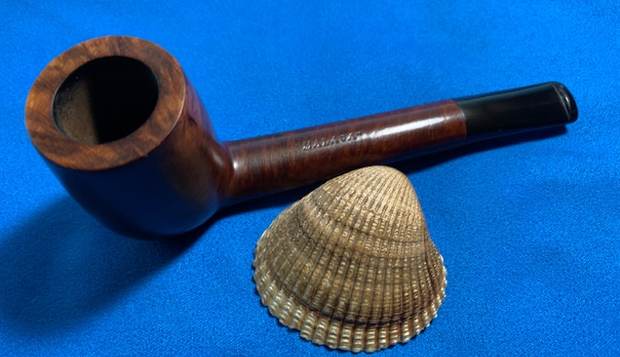
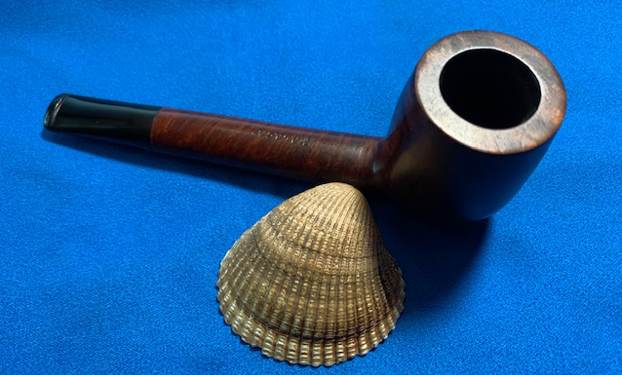
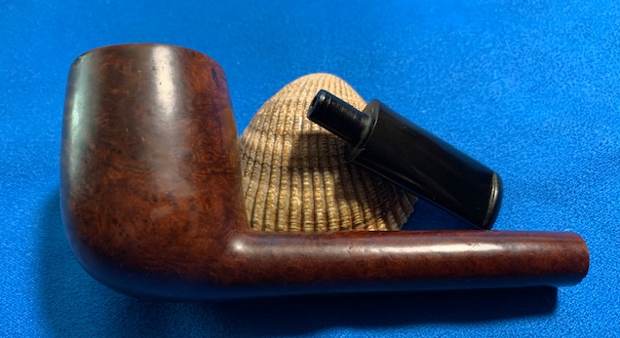
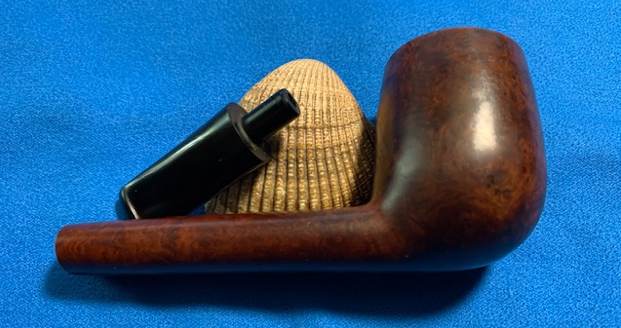
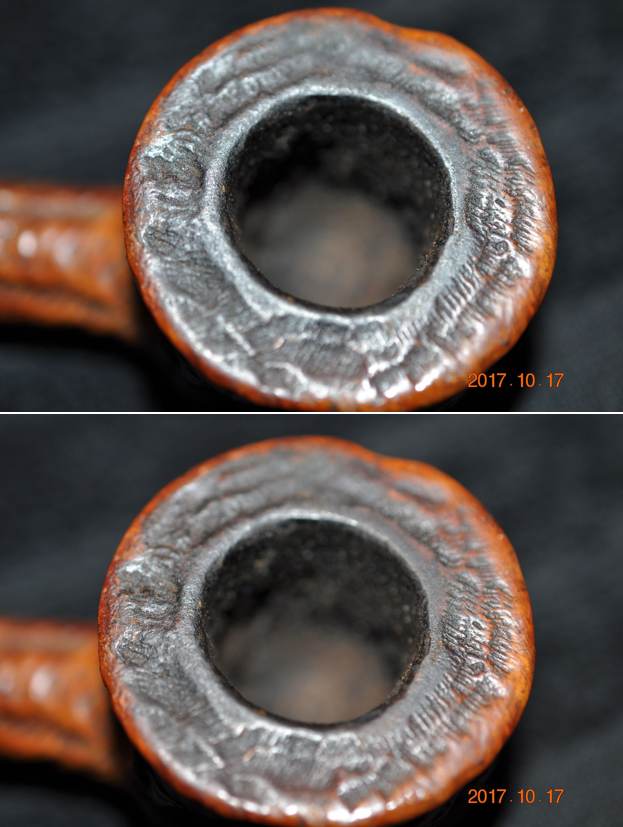
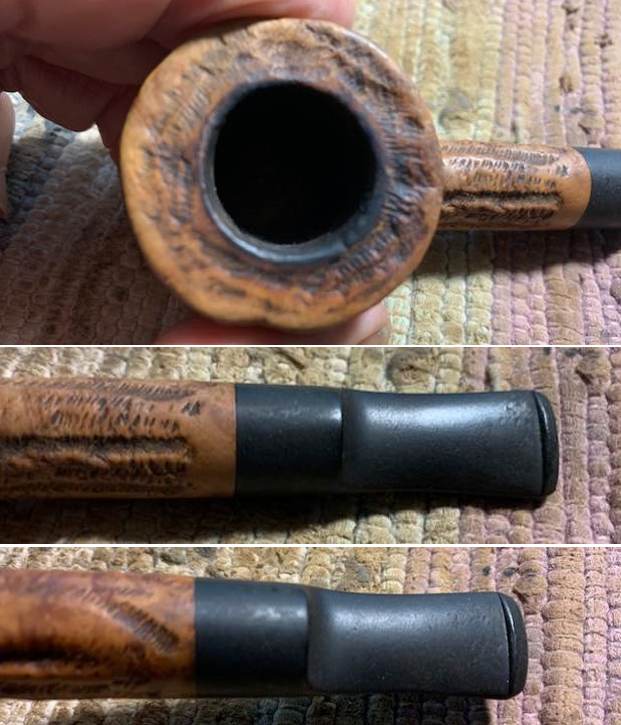
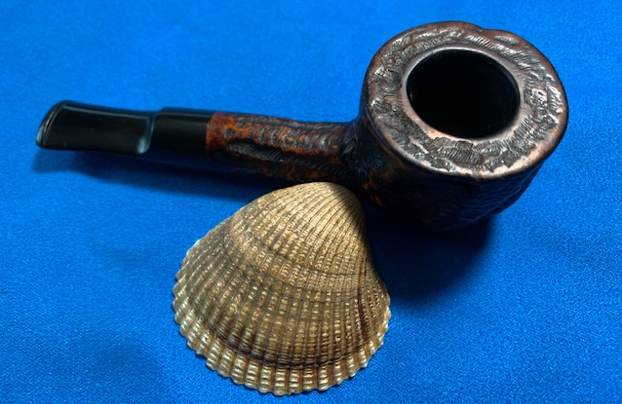
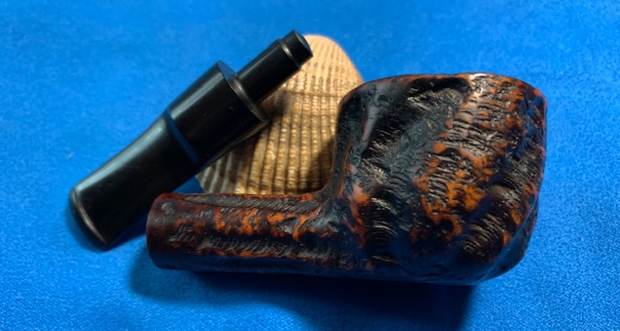
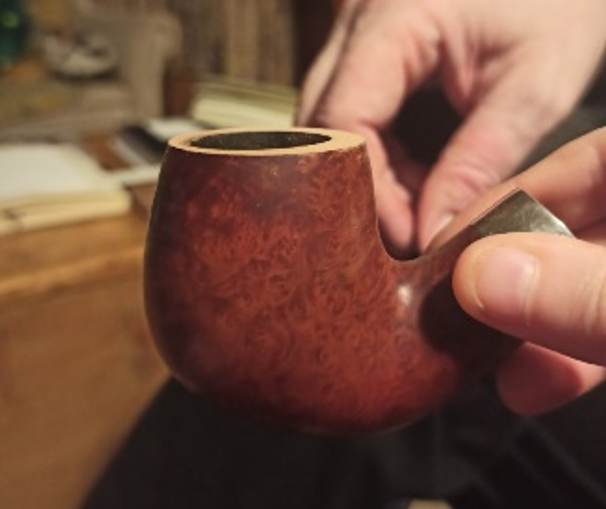
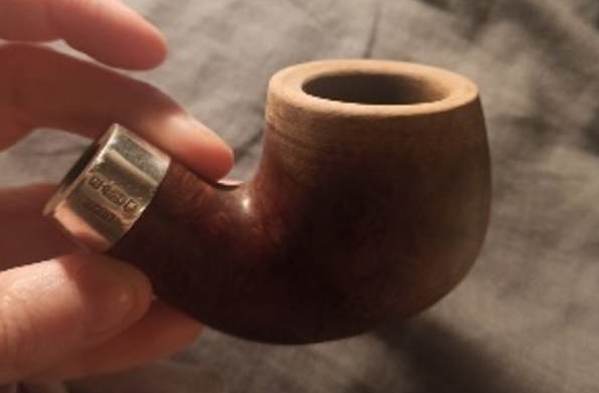
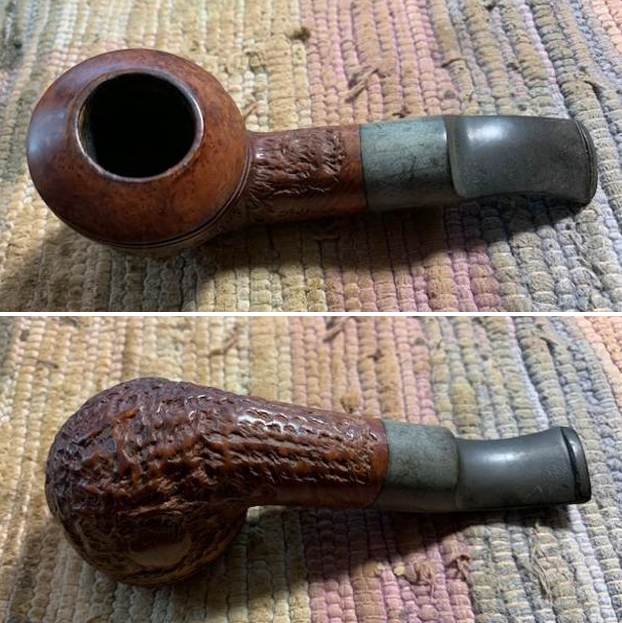
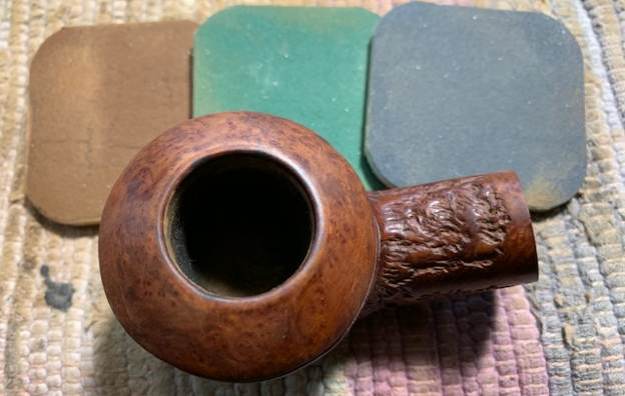
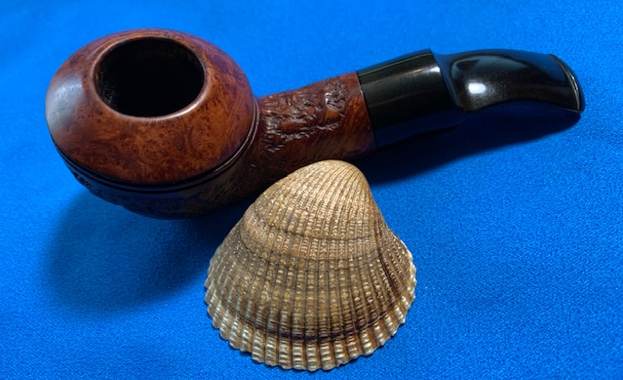
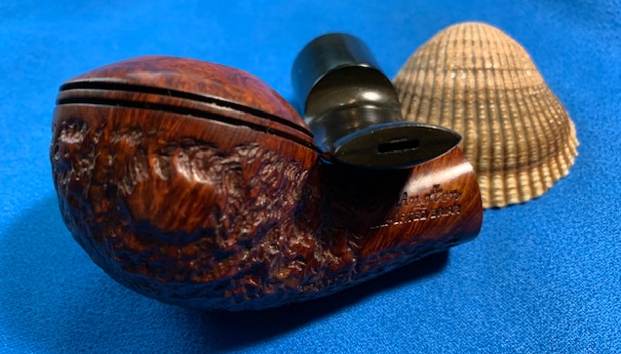
 I took a photo of the rim top and stem to show the condition. The rim top and the beveled inner edge and outer edge of the bowl were in good condition. The stem was vulcanite and there was some light tooth chatter on both sides ahead of the button.
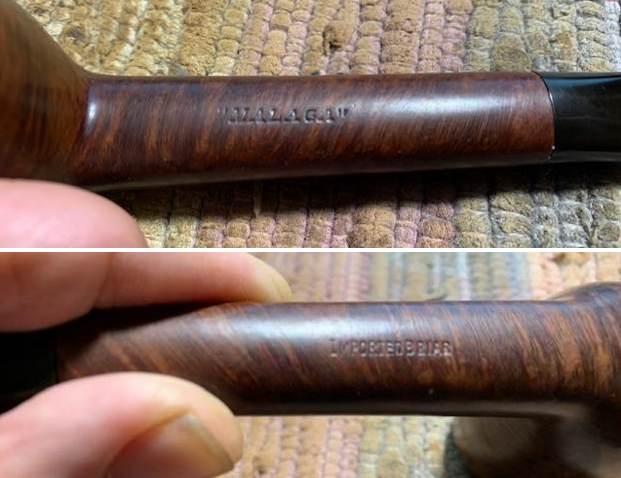
  The stamping on the pipe is clear and readable as noted above.
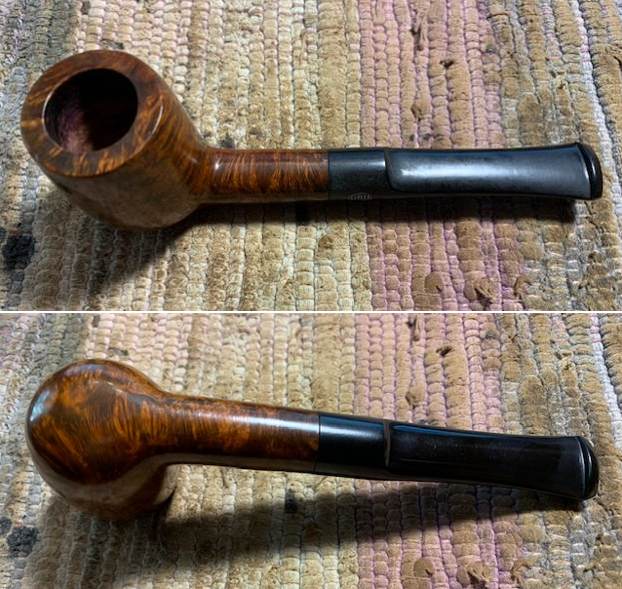
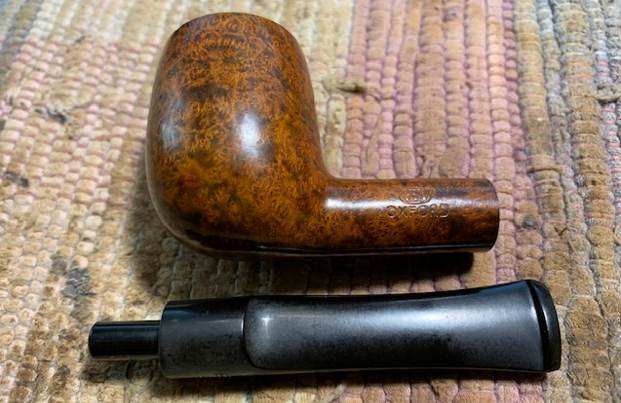
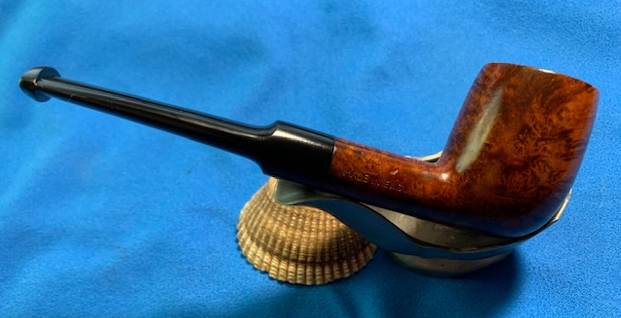
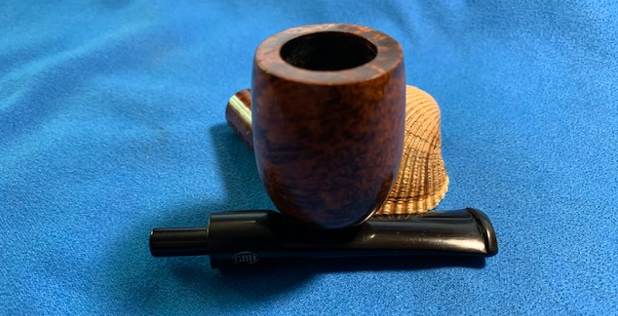
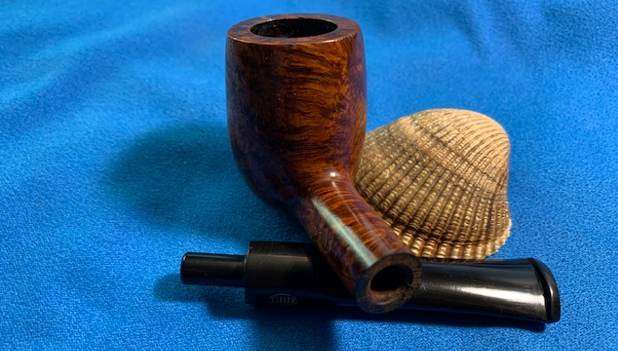
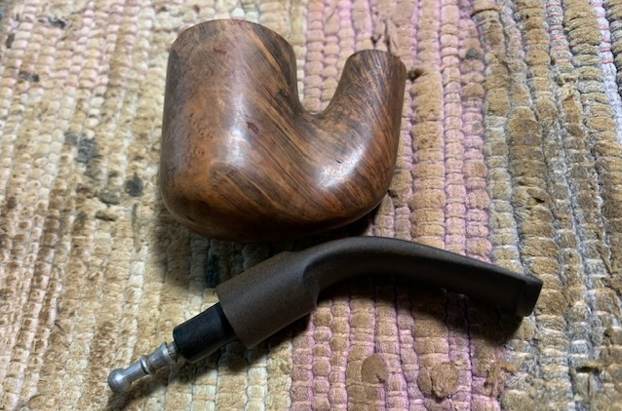
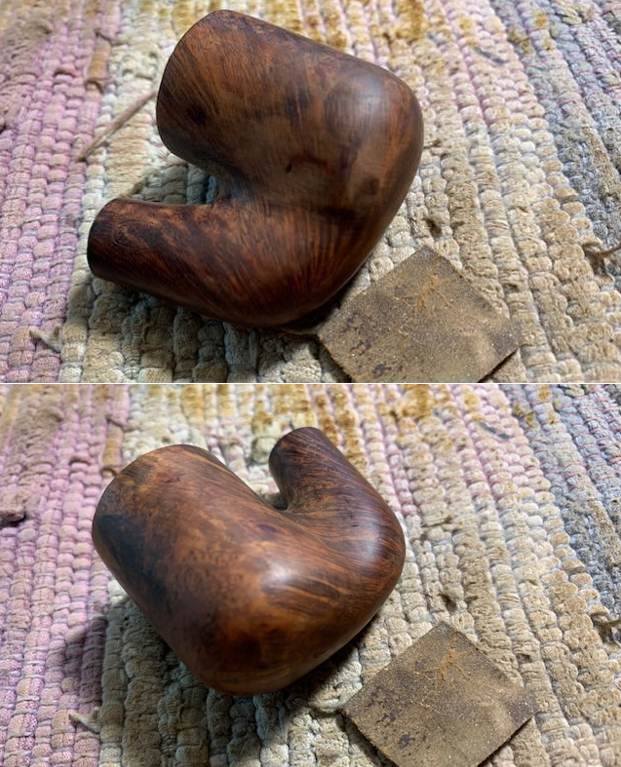
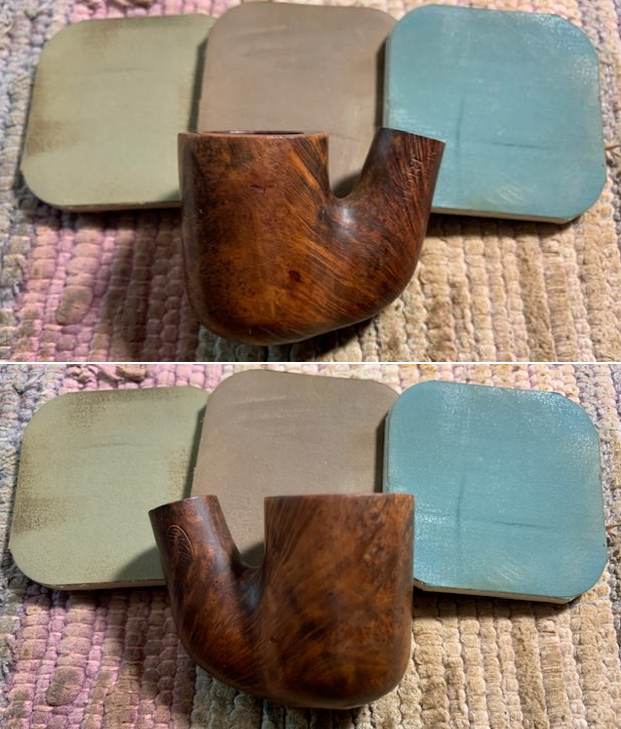
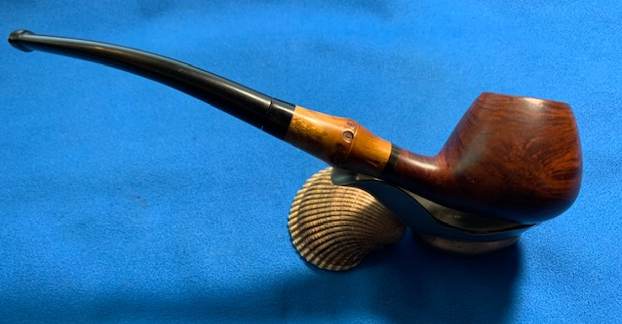
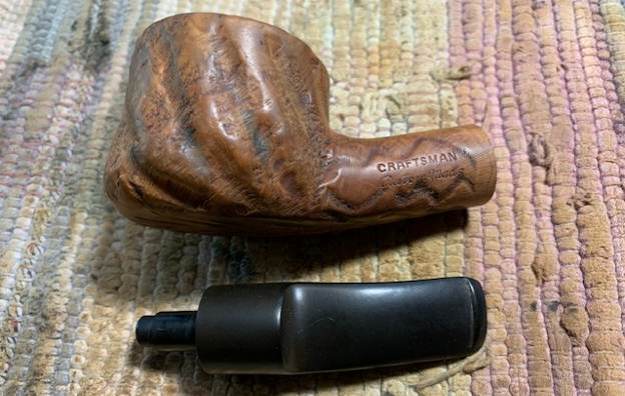
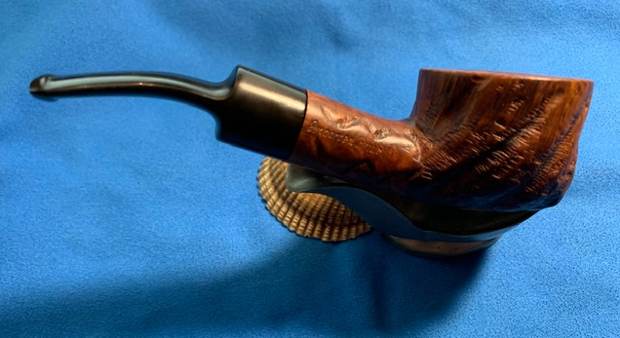
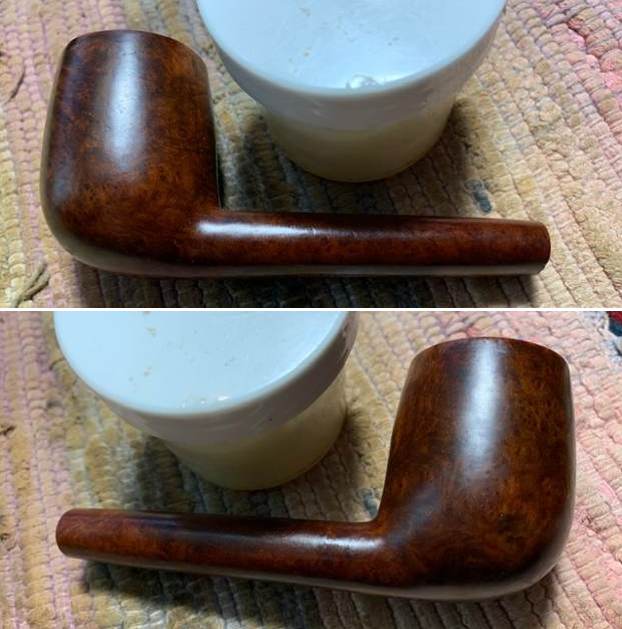
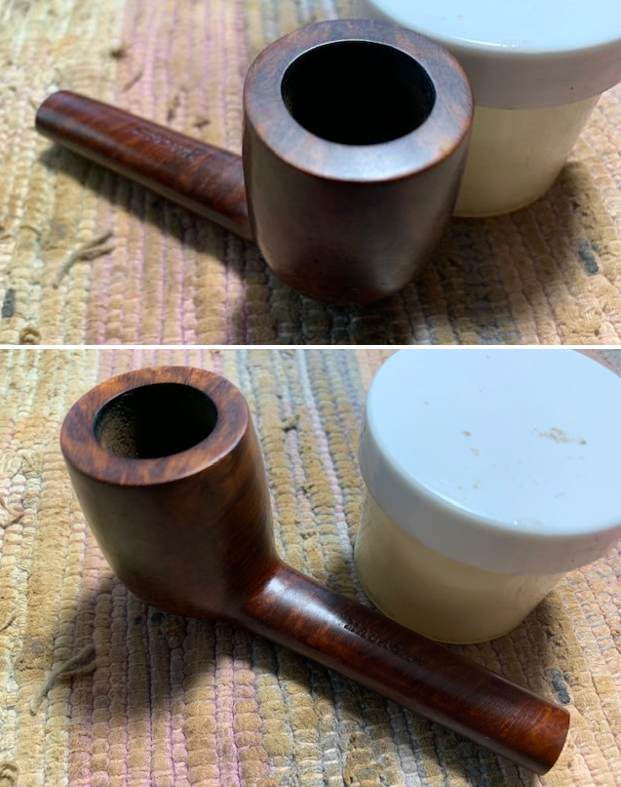
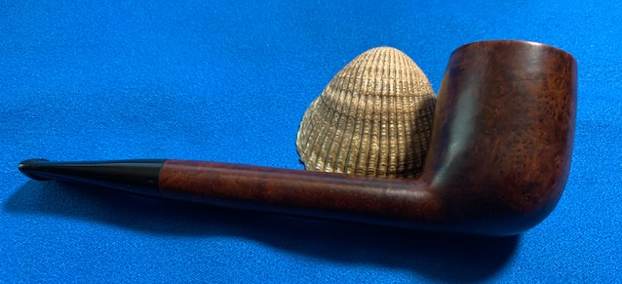
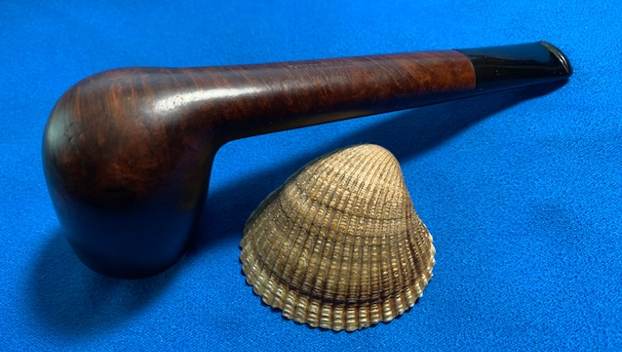
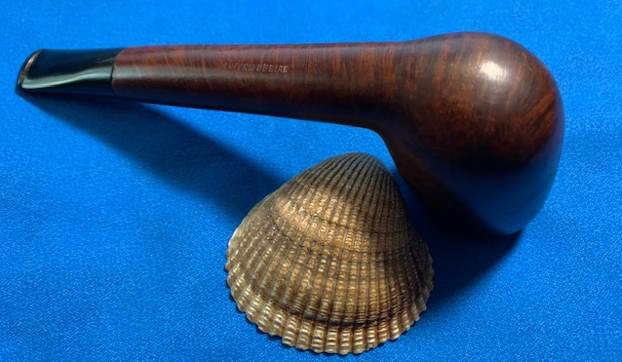
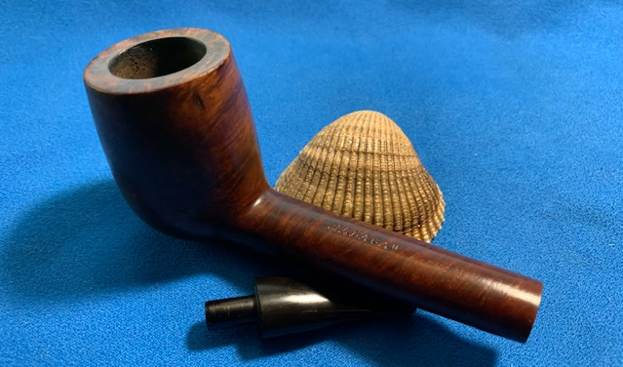
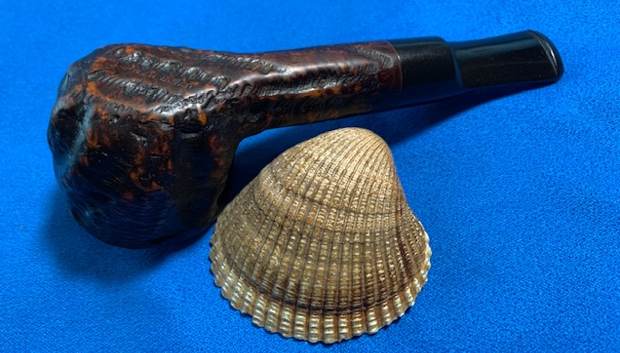
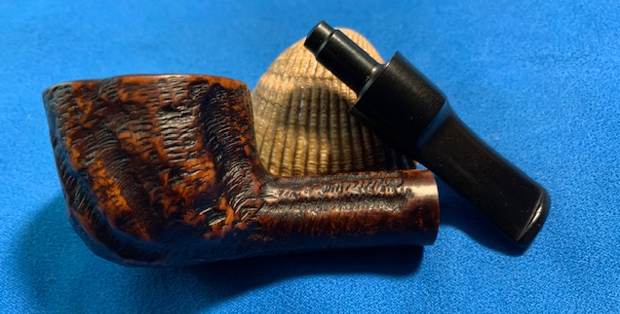
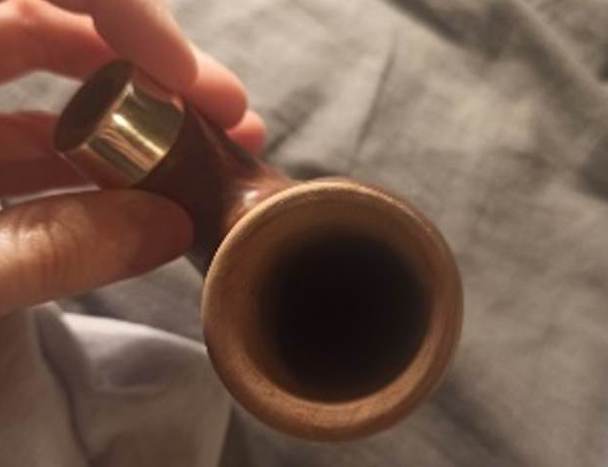
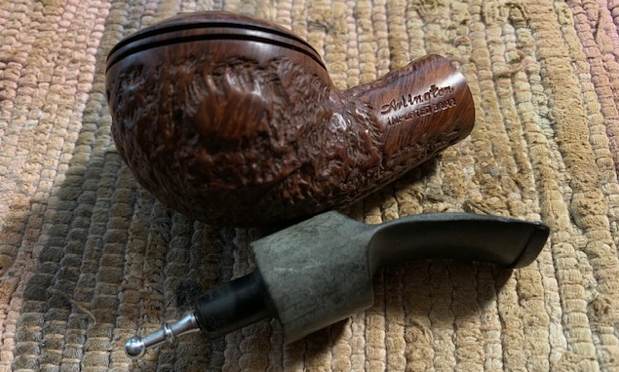
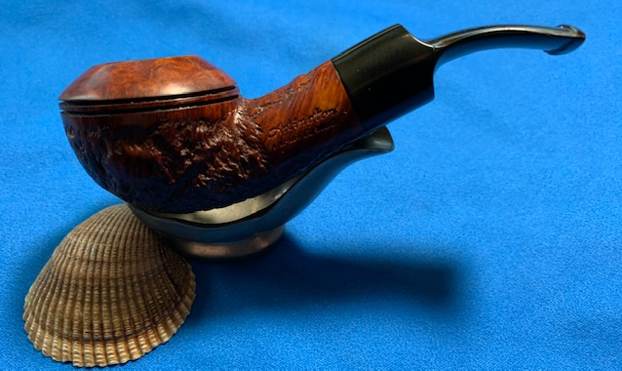
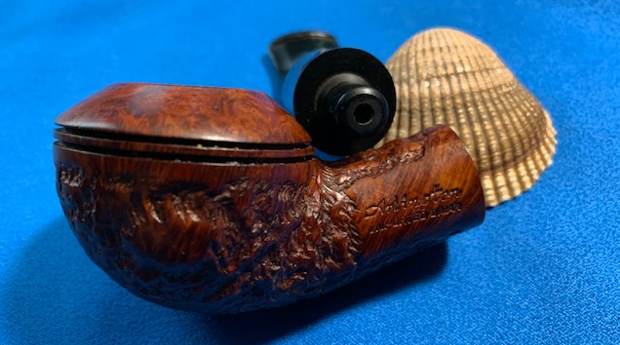
  I removed the stem from the shank and took a photo of the pipe to give a sense of the whole.
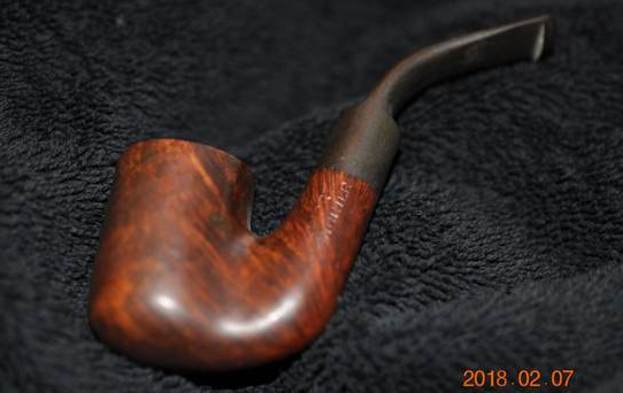
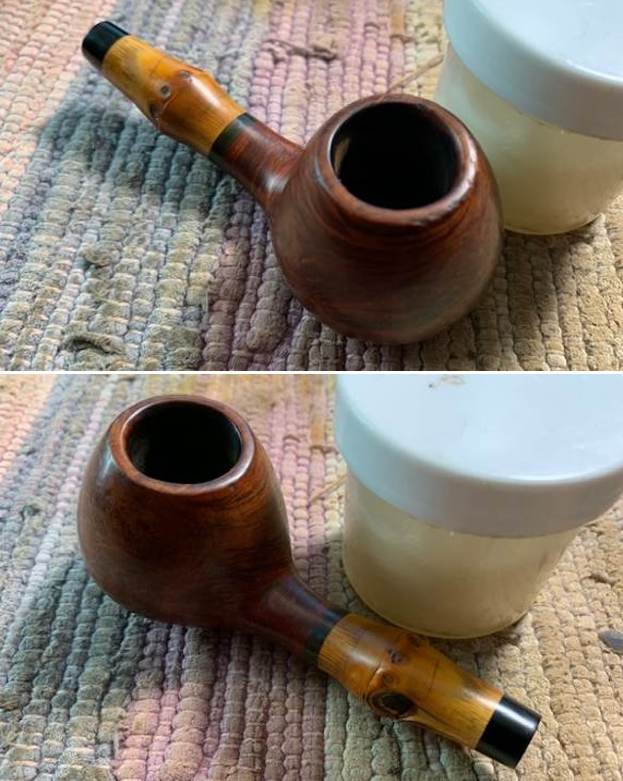
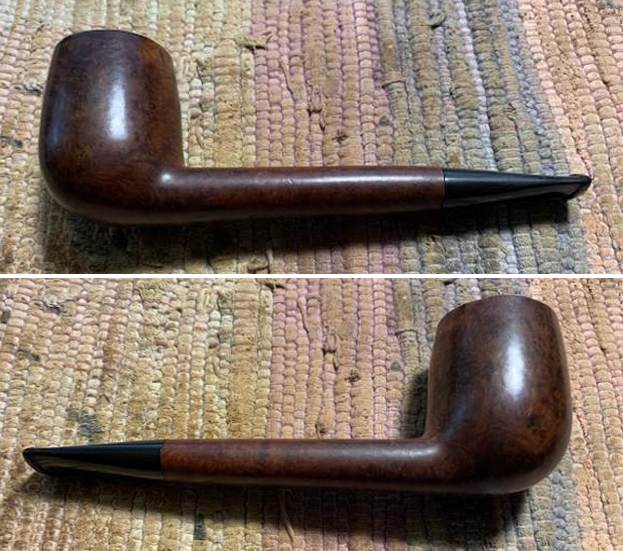
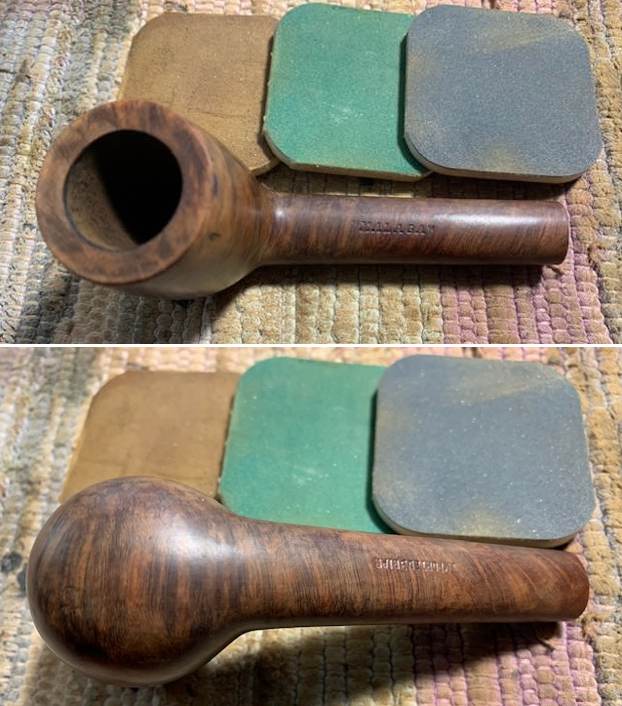
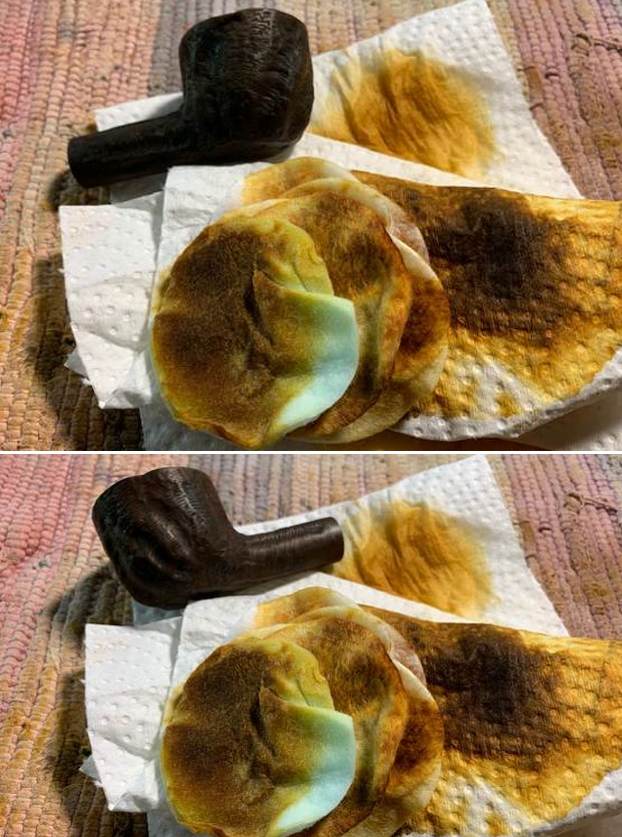
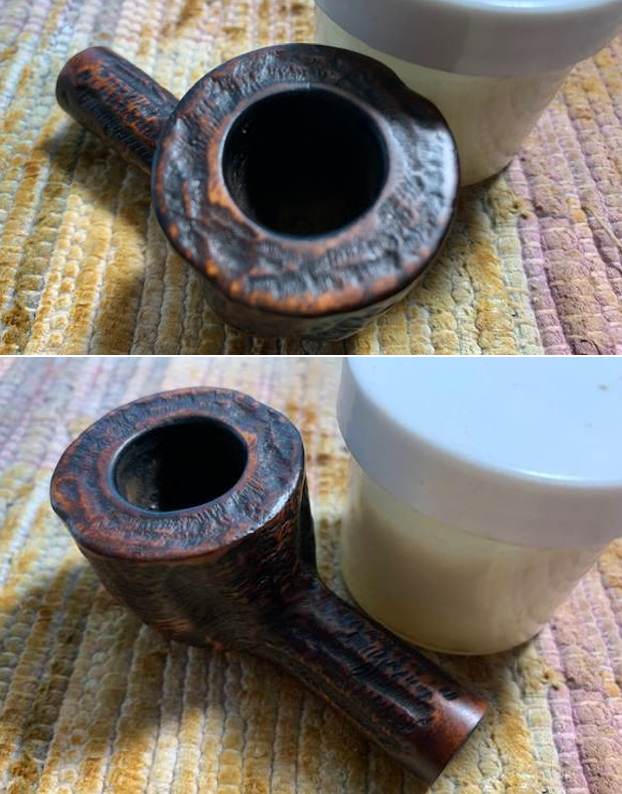
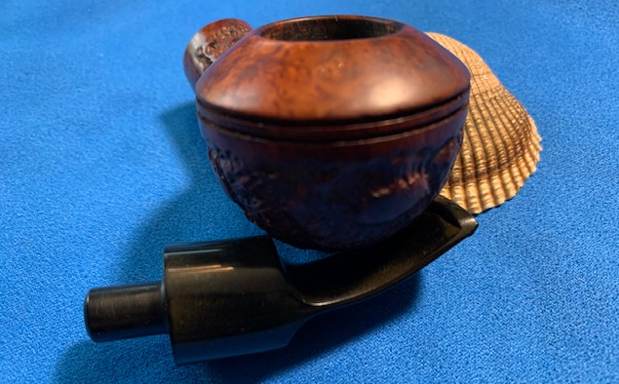
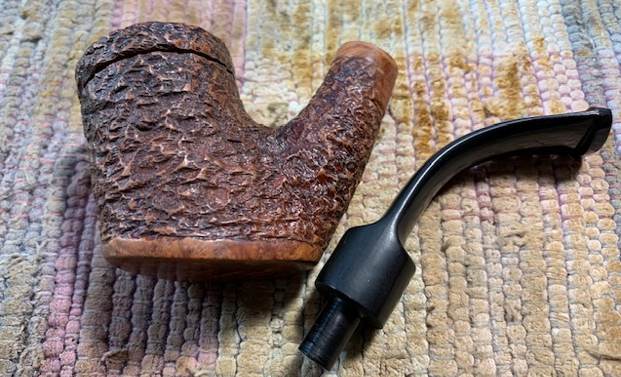 I polished the smooth portions of the briar with 1200-1500 micromesh sanding pads and wiping it down with damp cloth after each sanding pad. The inner edge of the rim, the band on the shank end and the band round the smooth base were all polished. As I worked through the cycle of pads the shine developed with each change of pad. The pipe looks very good.
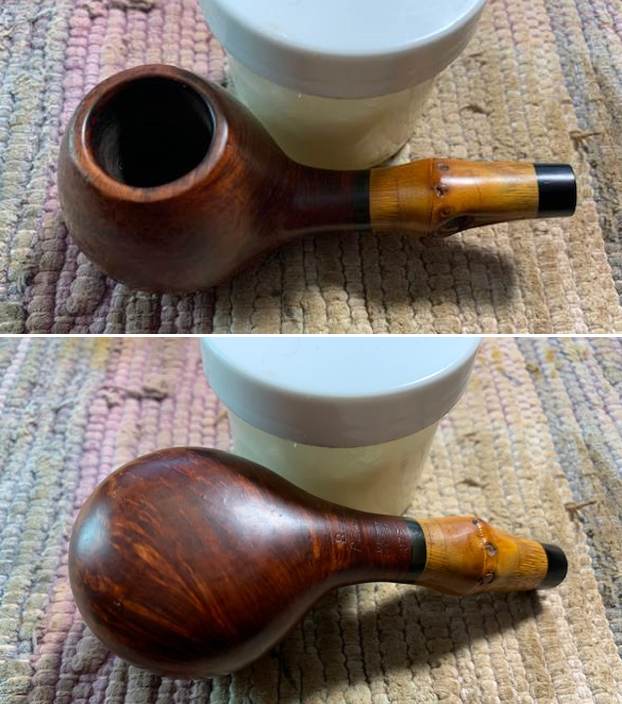
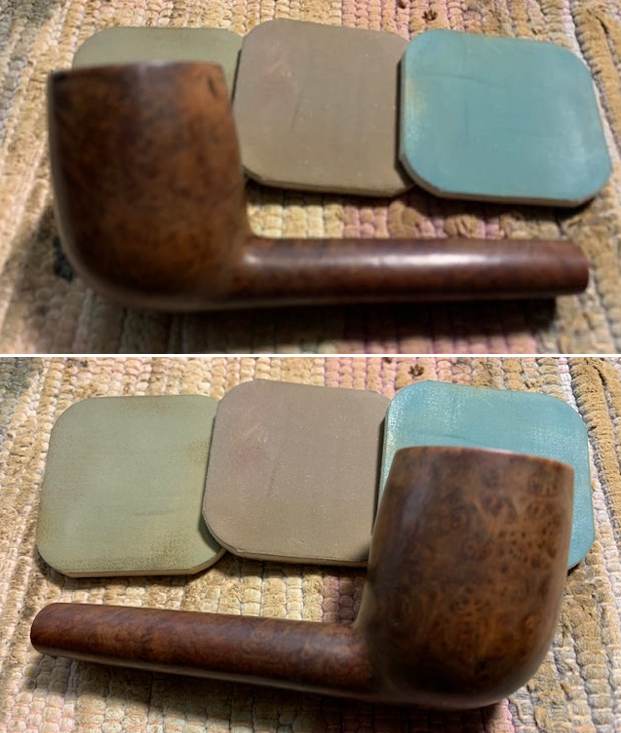
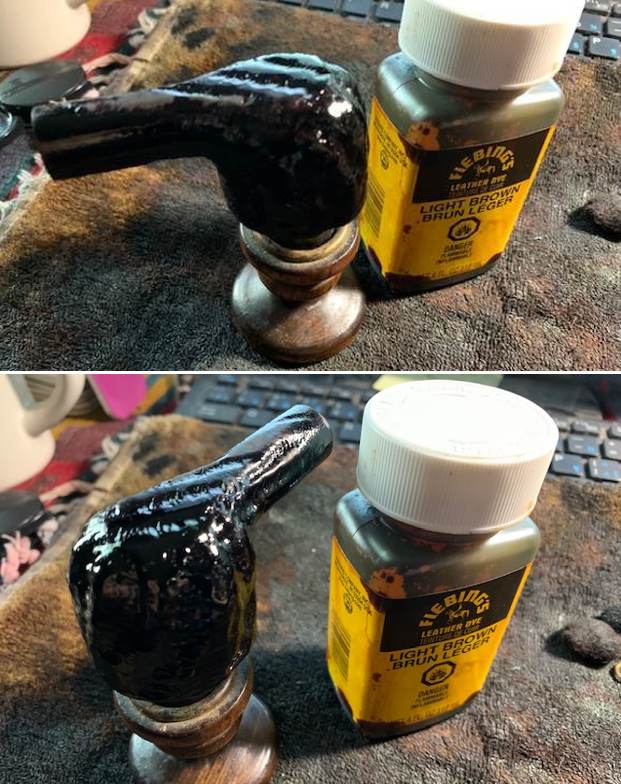
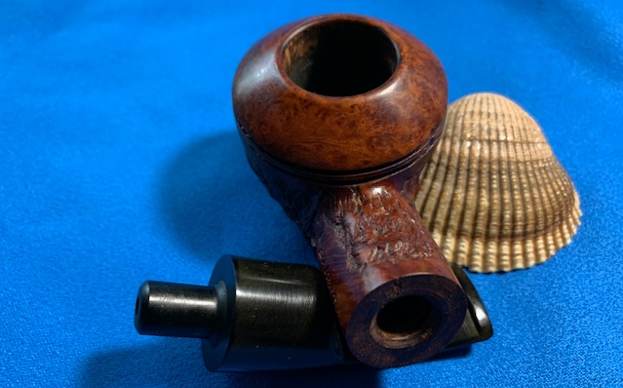
 I rubbed the bowl and shank down with Before & After Restoration Balm. I worked it into the surface of the bowl sides and shank with my fingertips and a horsehair shoe brush to clean, enliven and protect the briar. I let the balm sit for 10 minutes, then buffed with a cotton cloth to raise the shine. The Balm did its magic and the grain on the smooth portions stood and the rustication showed depth.
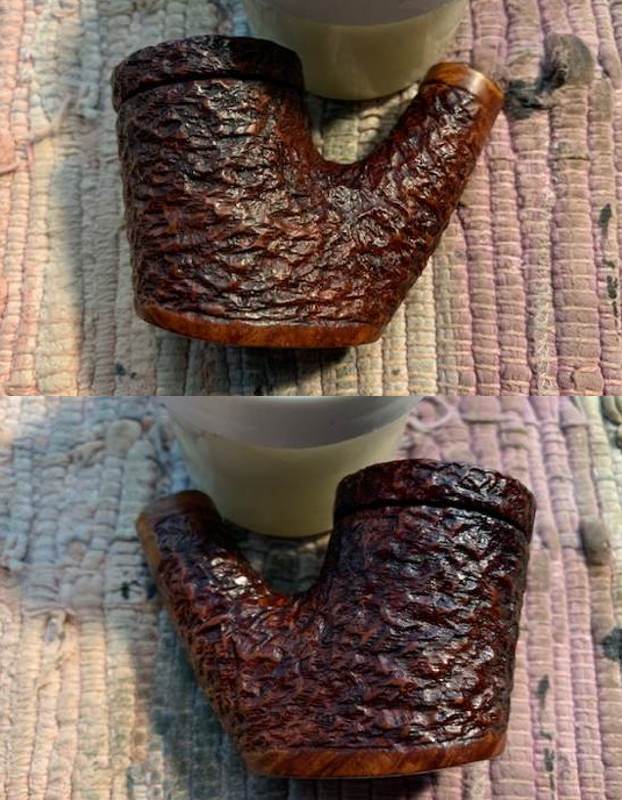
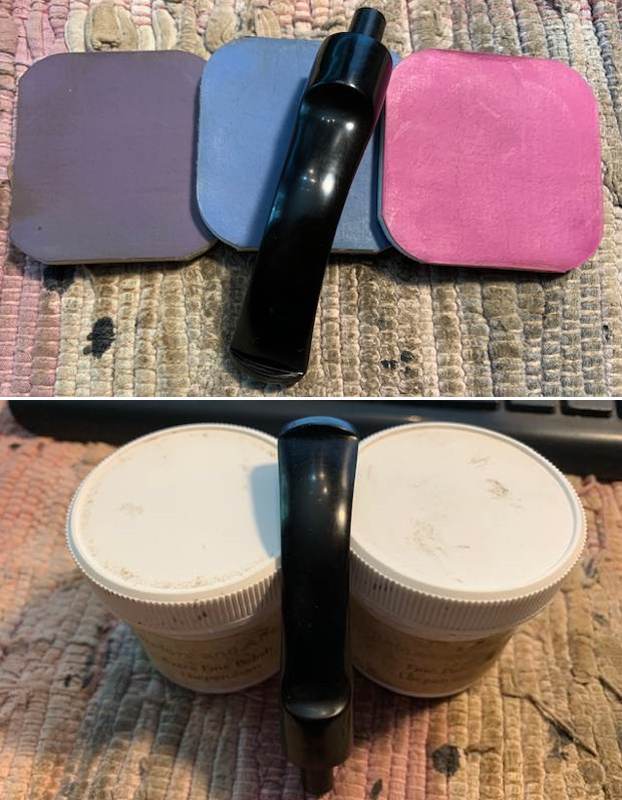
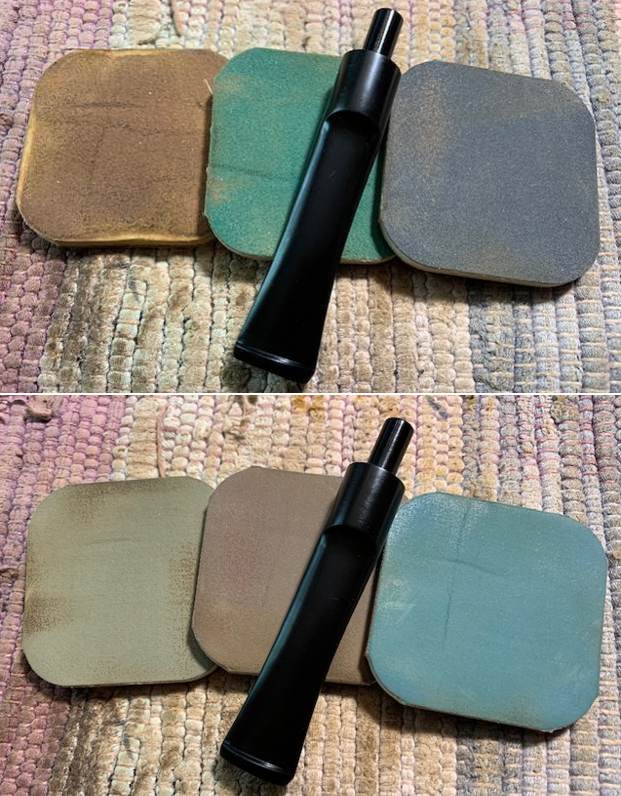
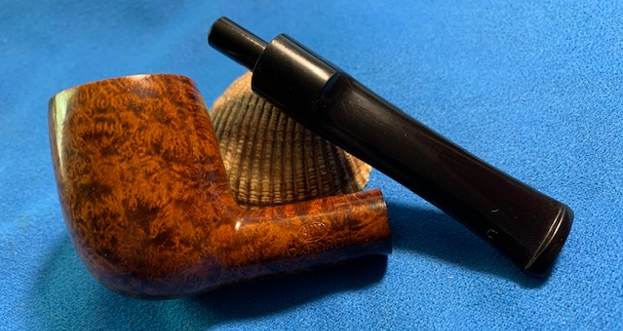
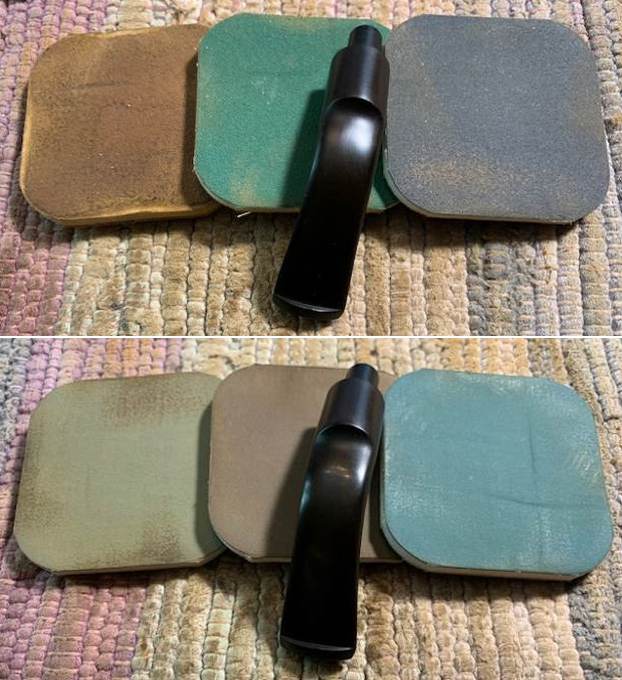
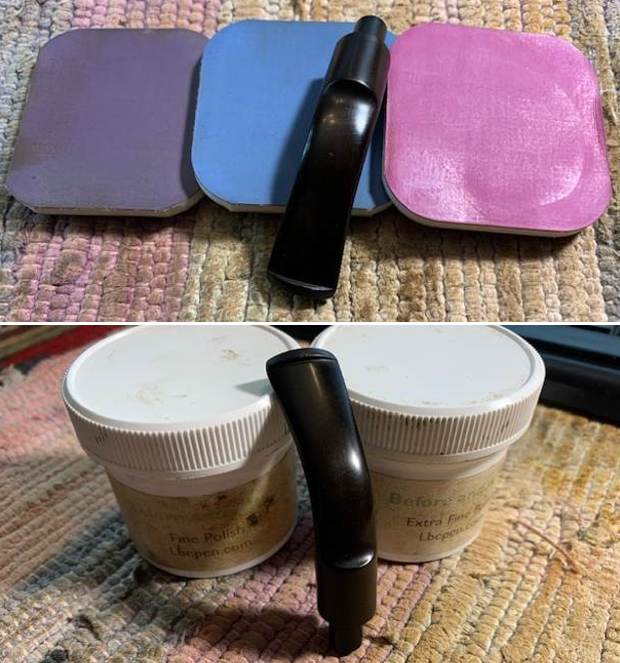
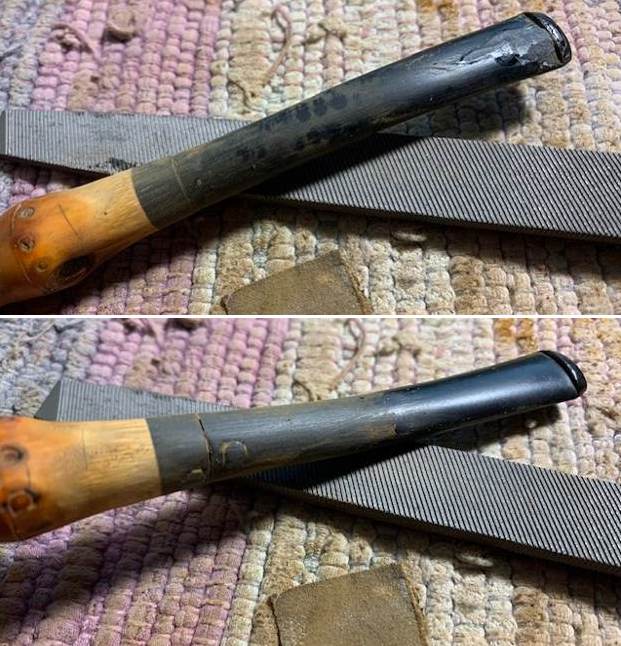
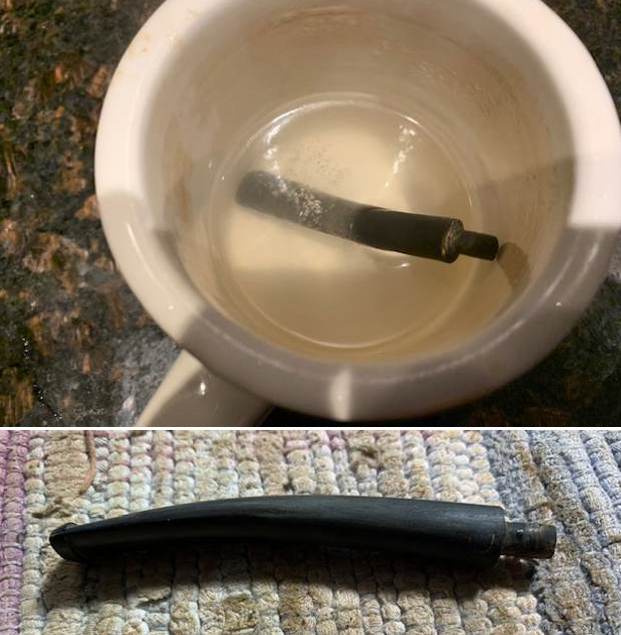
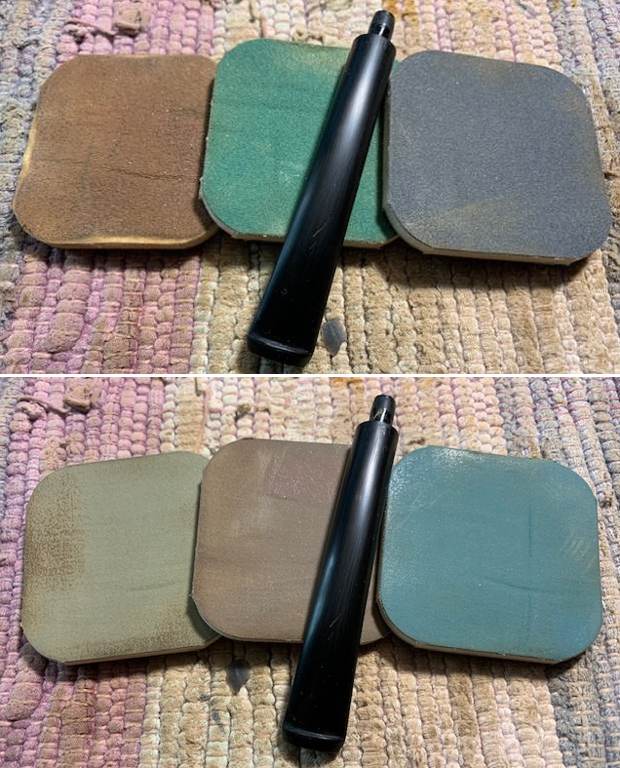
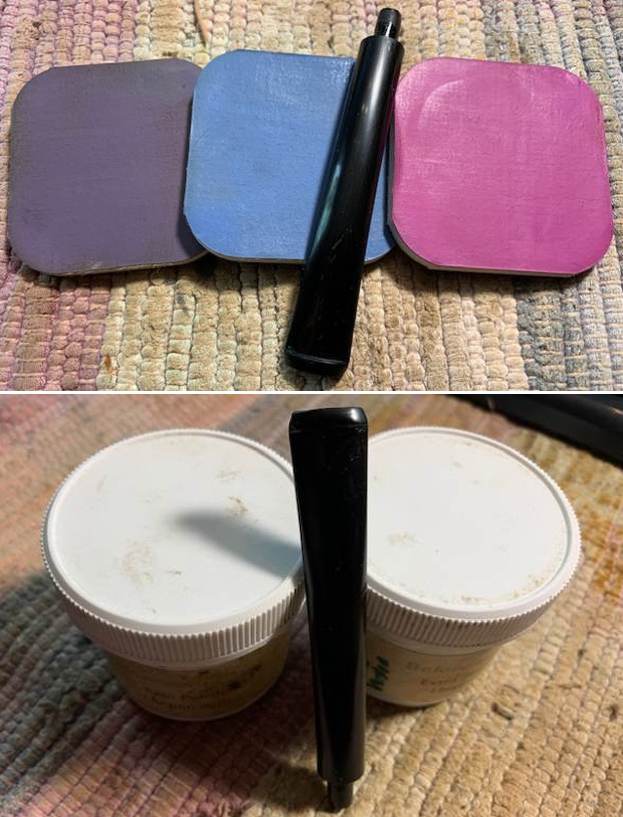
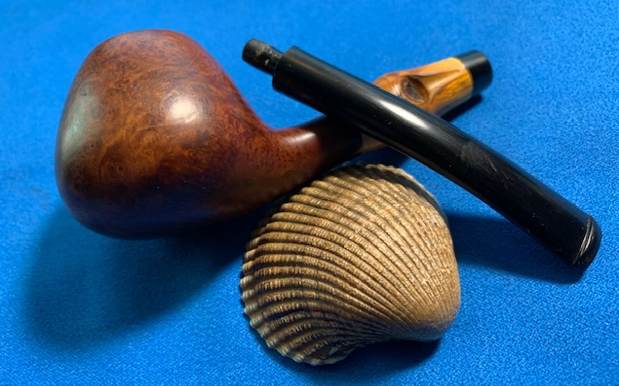
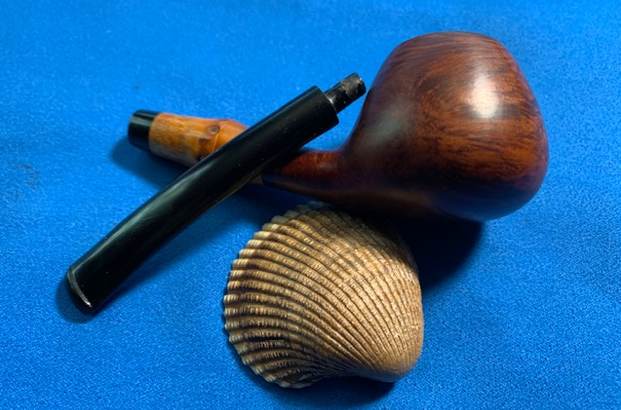
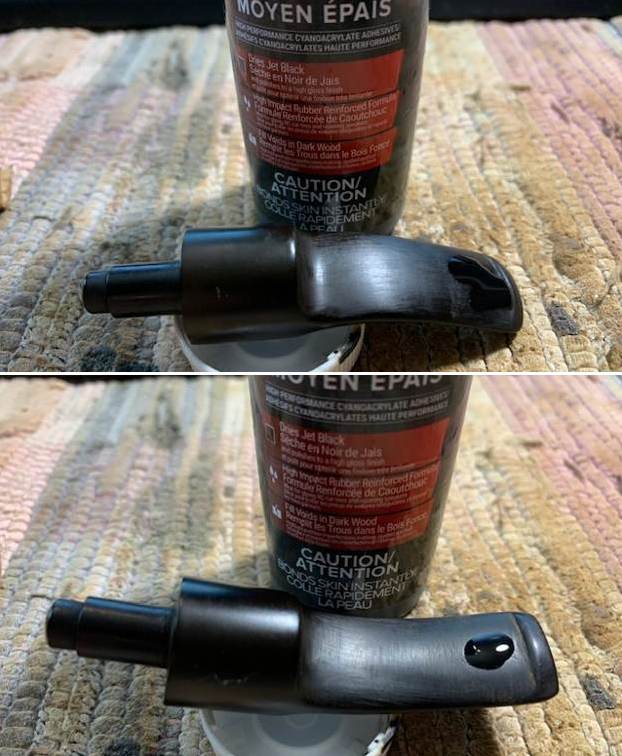
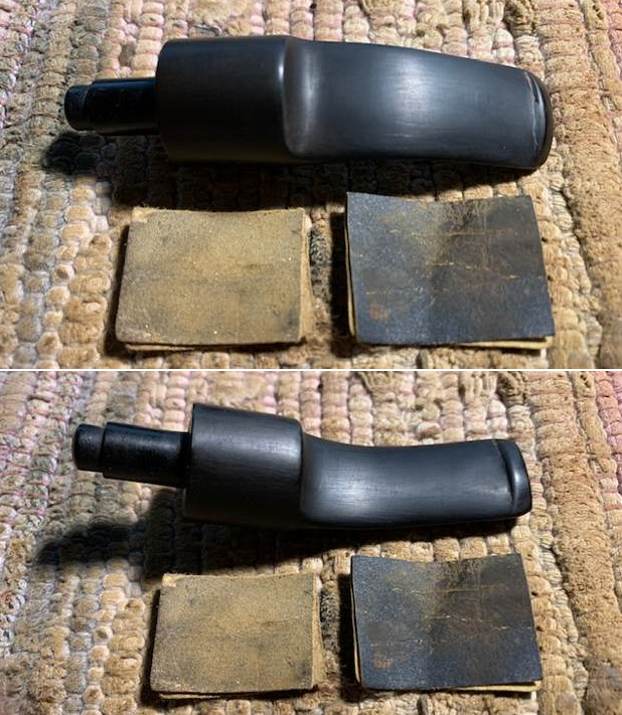
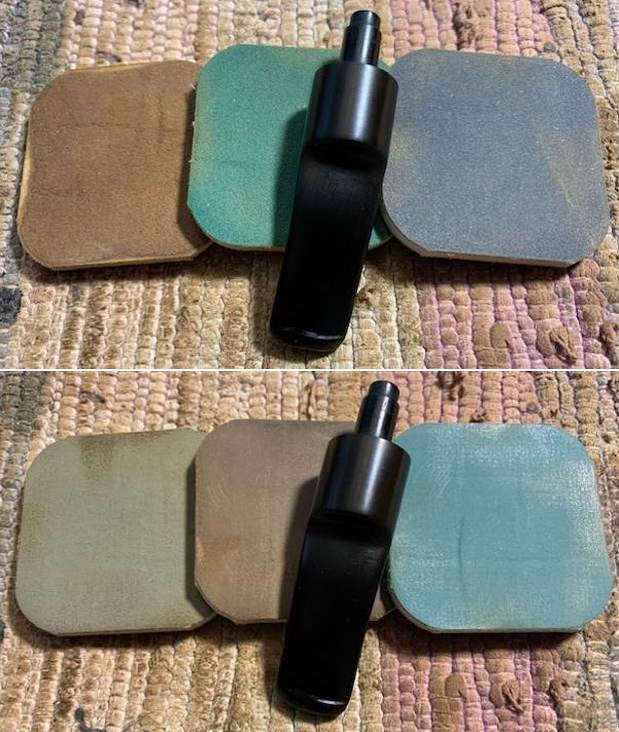
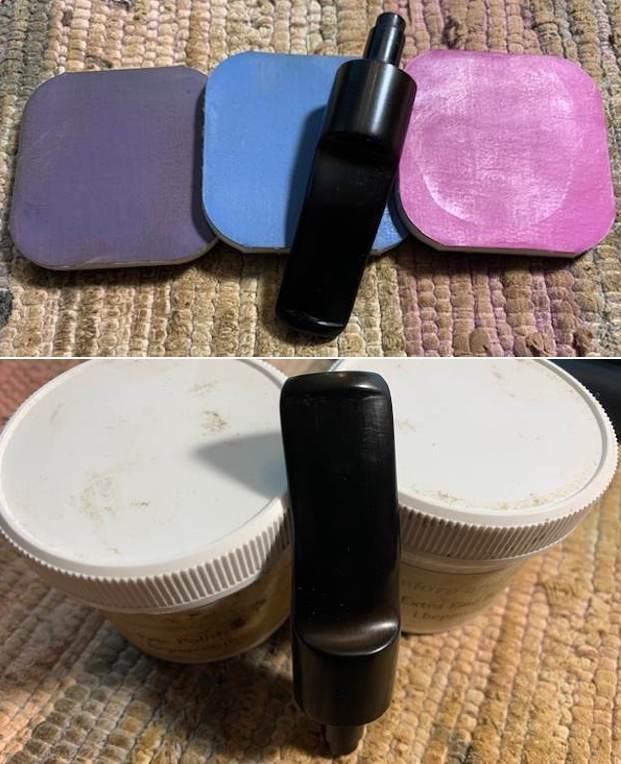
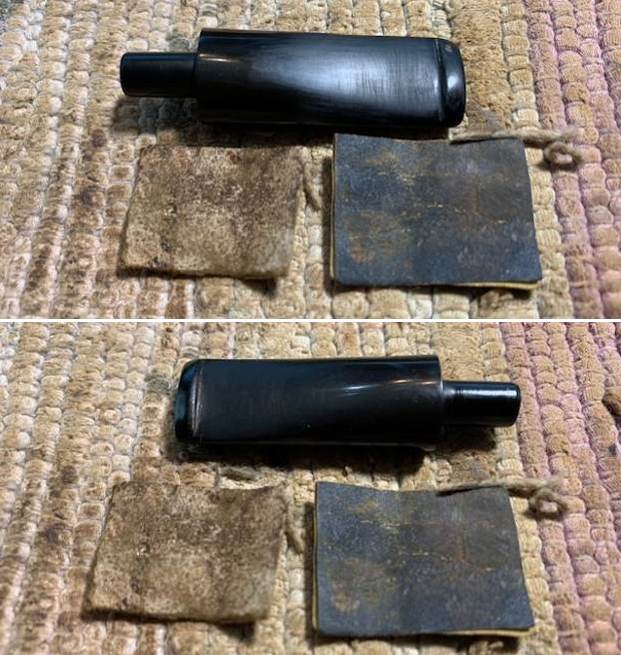
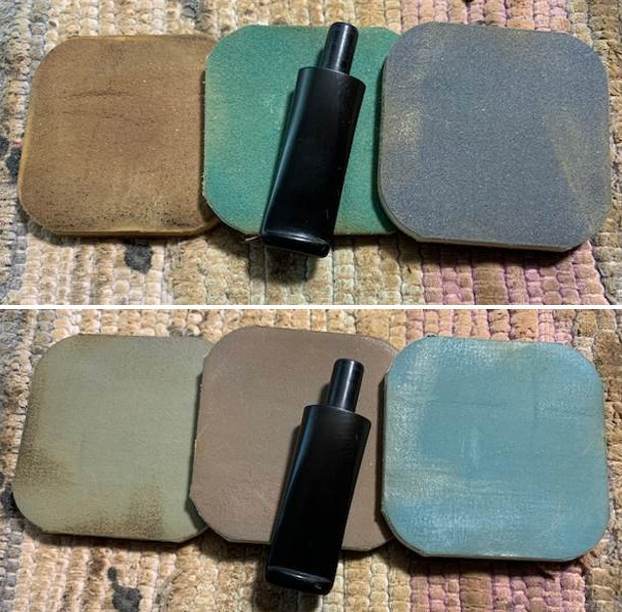
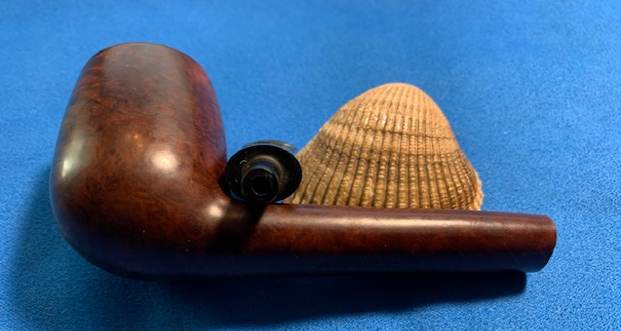
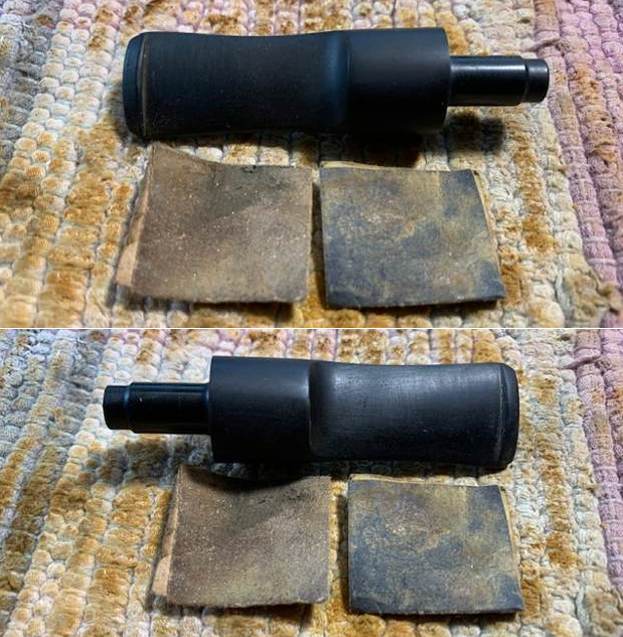
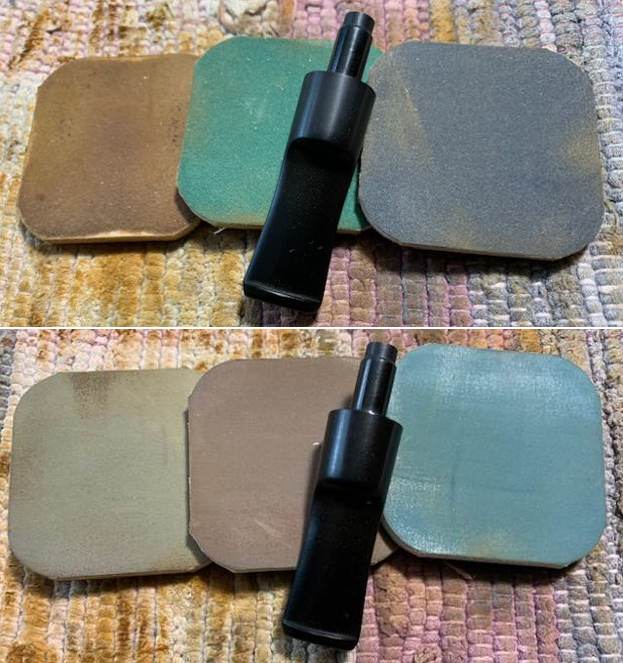
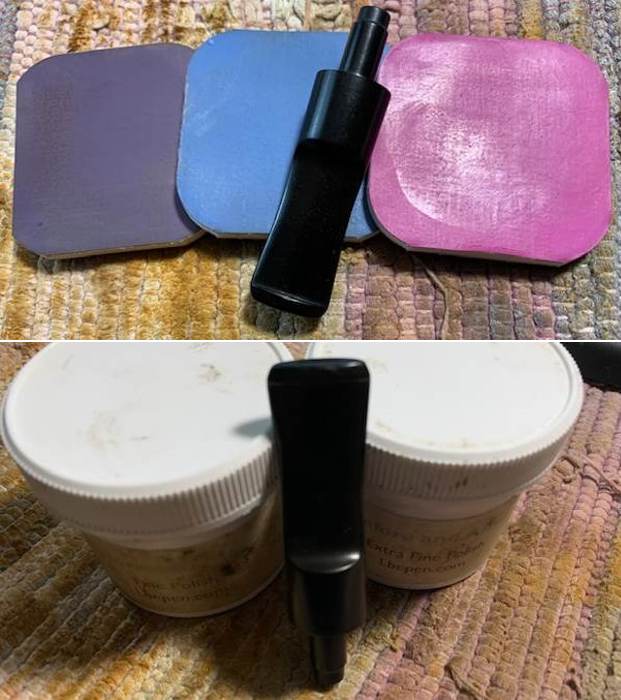
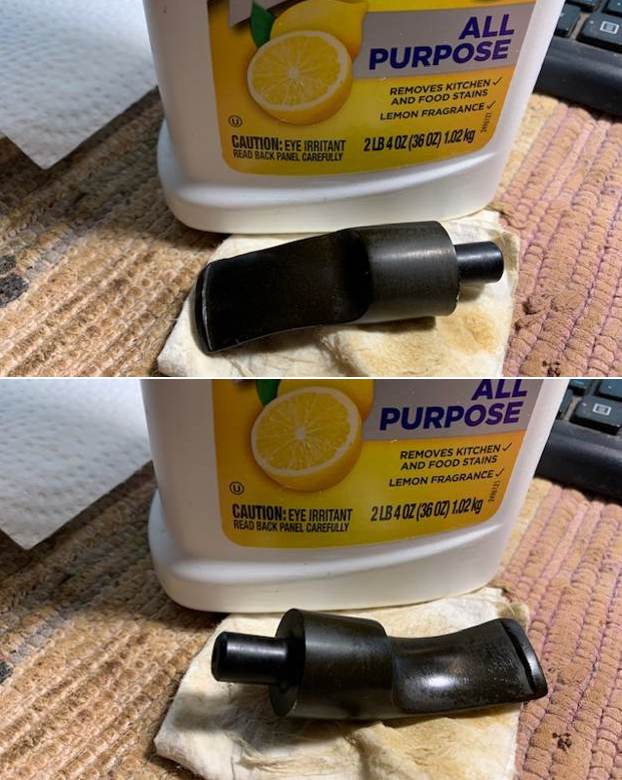
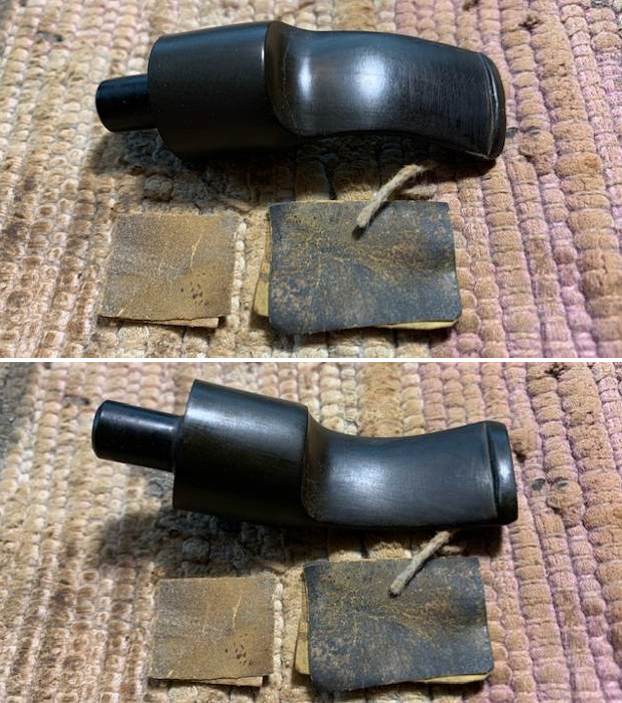
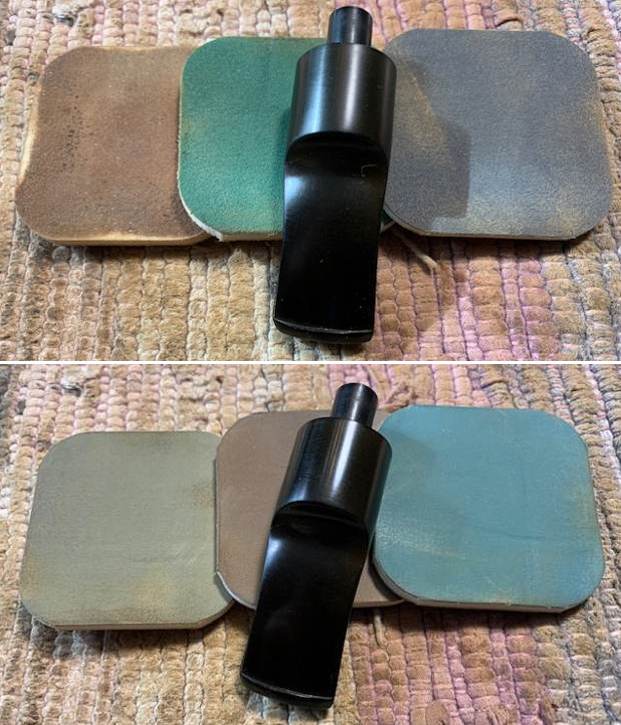
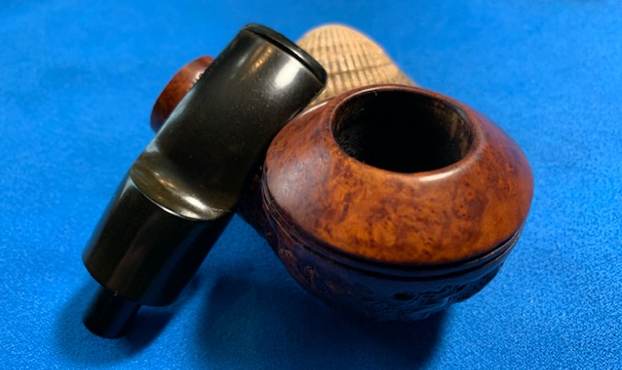
 I set the bowl aside and turned my attention to the stem. I polished the stem and built in band with micromesh sanding pads – 1500-12000 grit pads. I wiped it down with Obsidian Oil after each sanding pad. I used Before & After Pipe Polish – both Fine and Extra Fine to further polish the stem. The photos below show the polished stem.
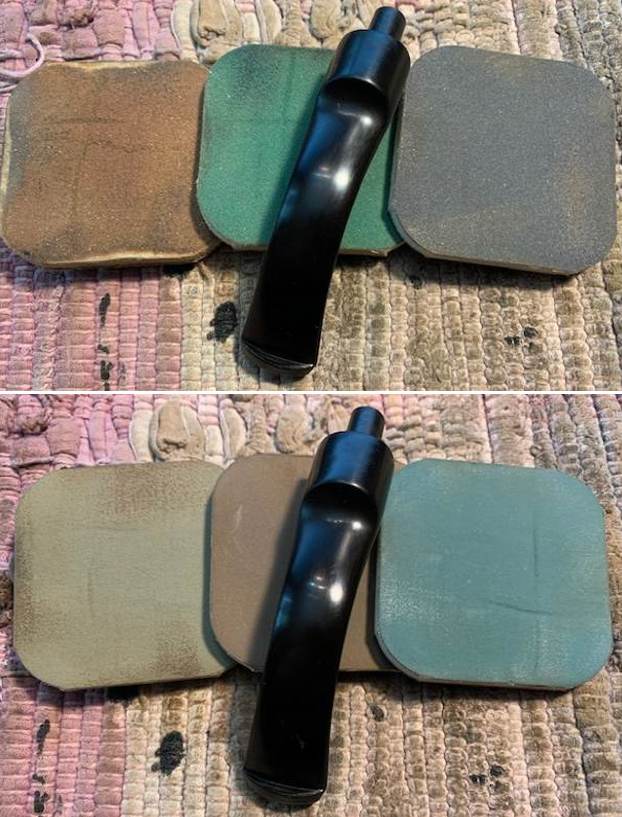
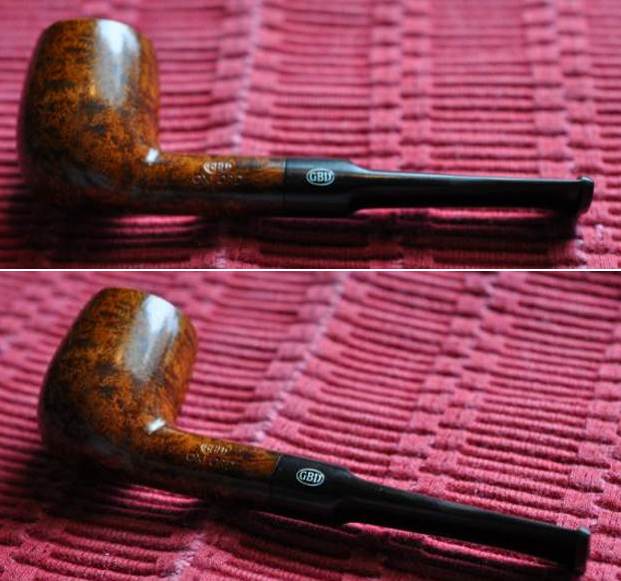
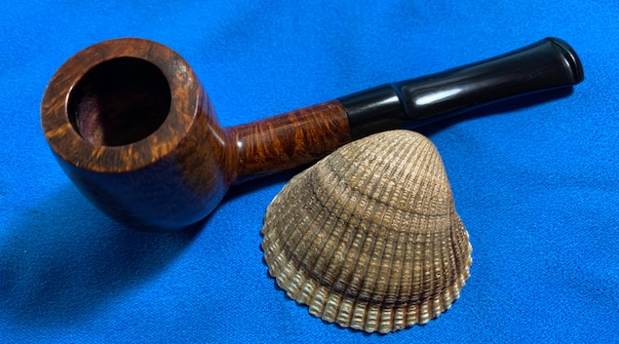
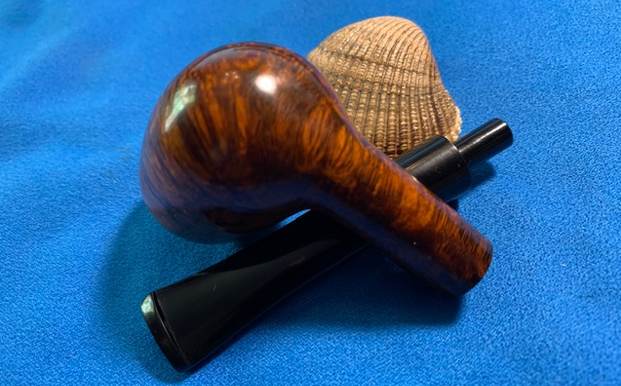
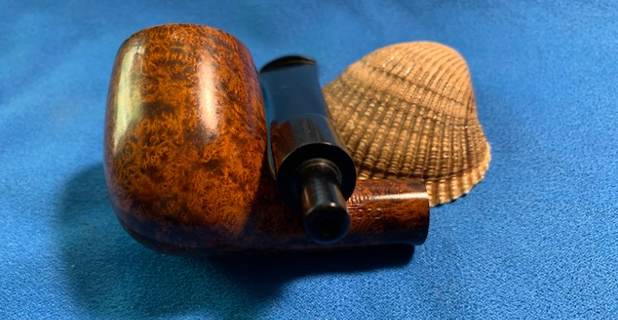
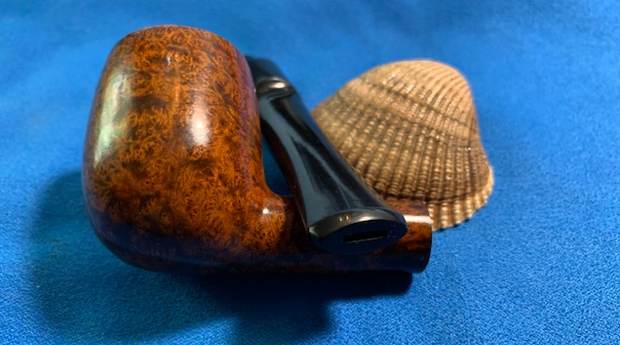
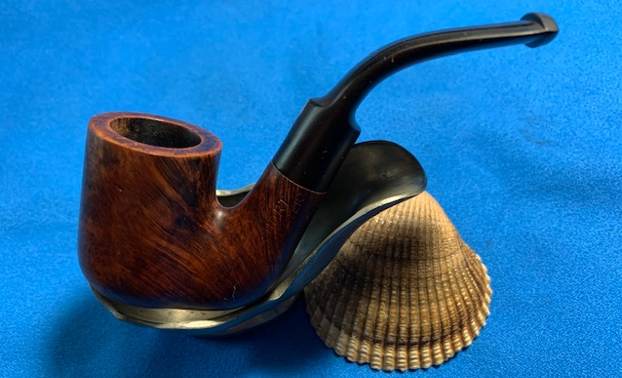
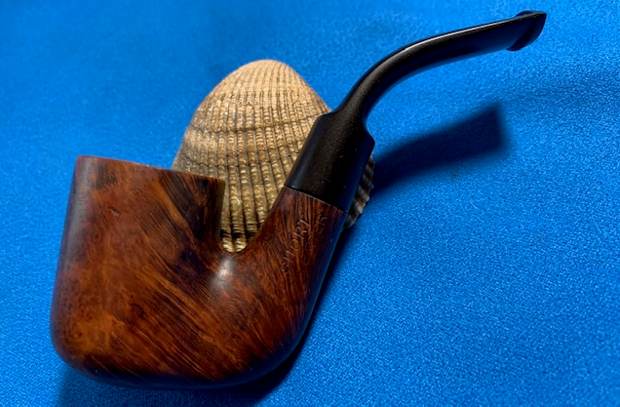
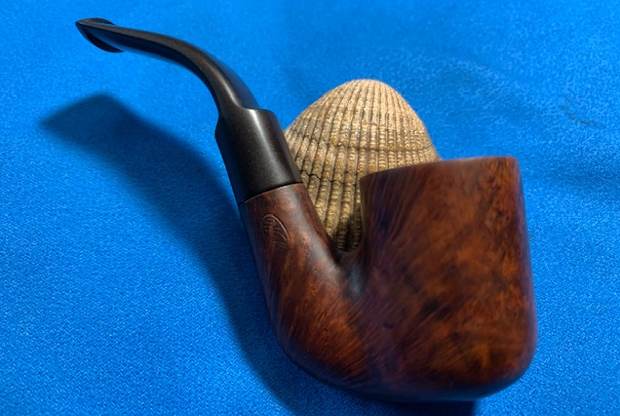
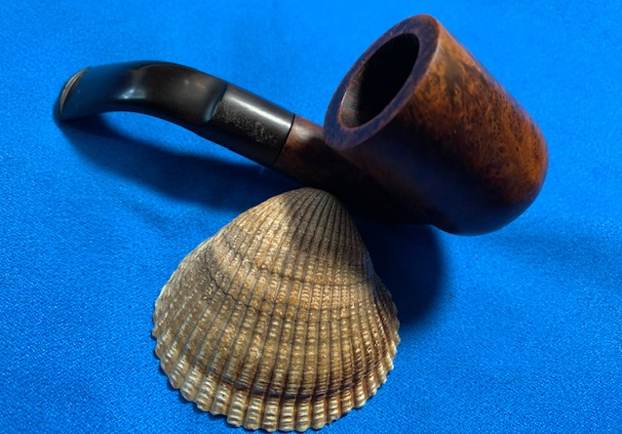
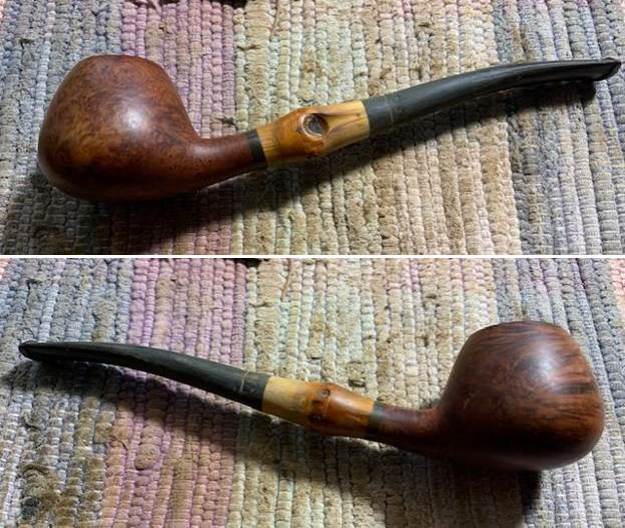
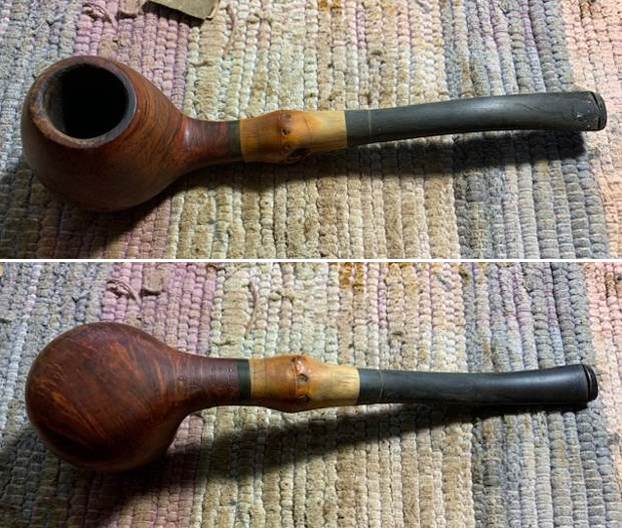
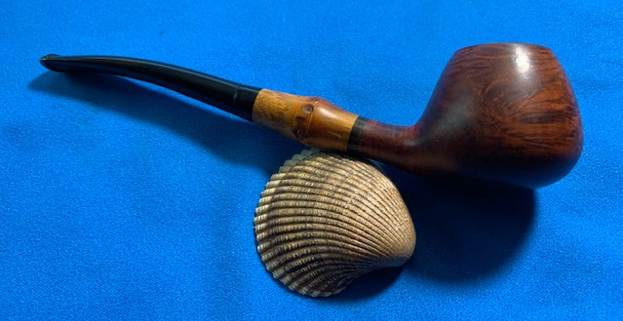
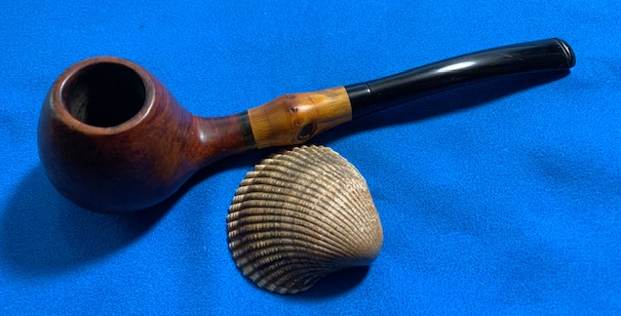
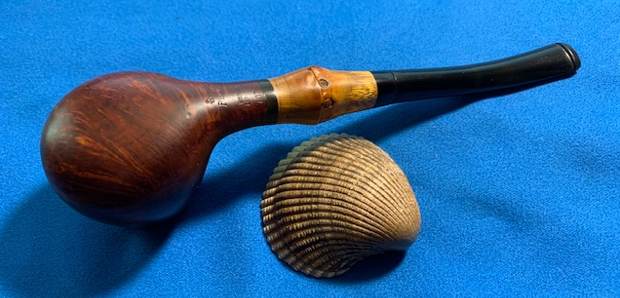
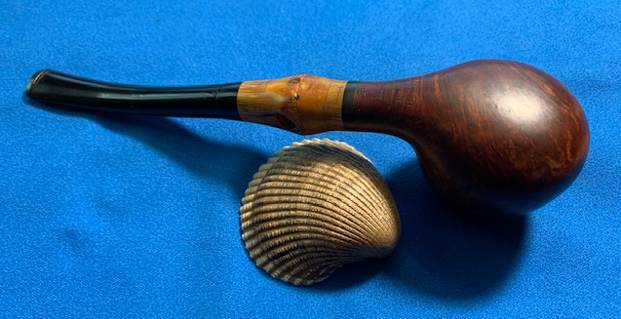
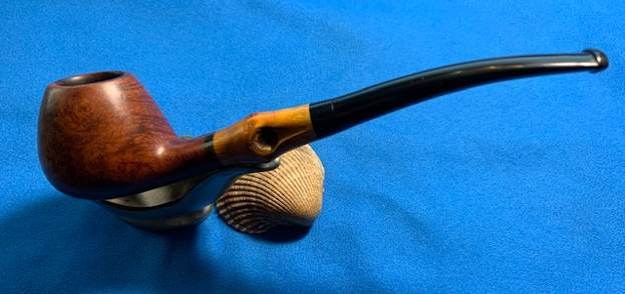
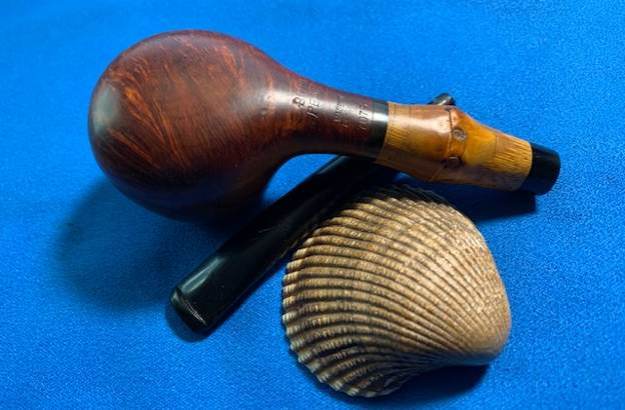
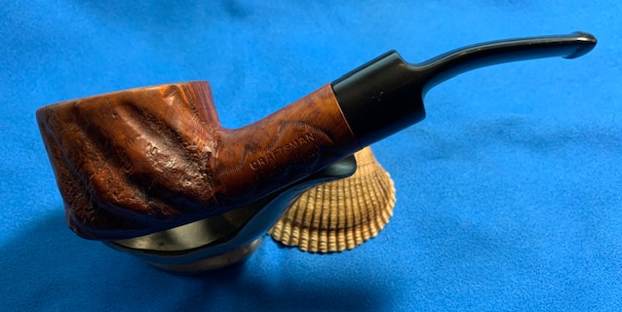
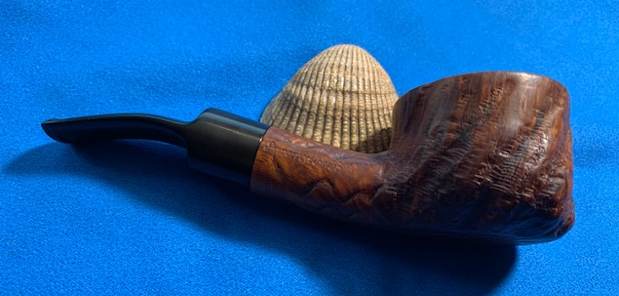
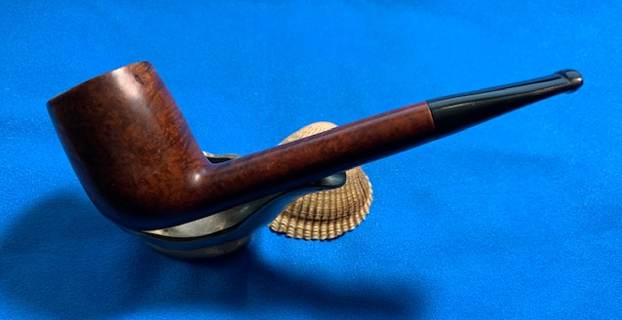
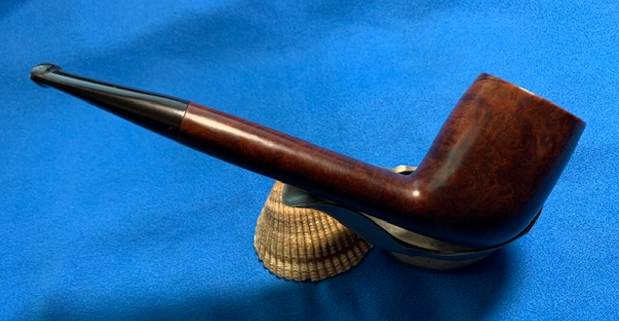
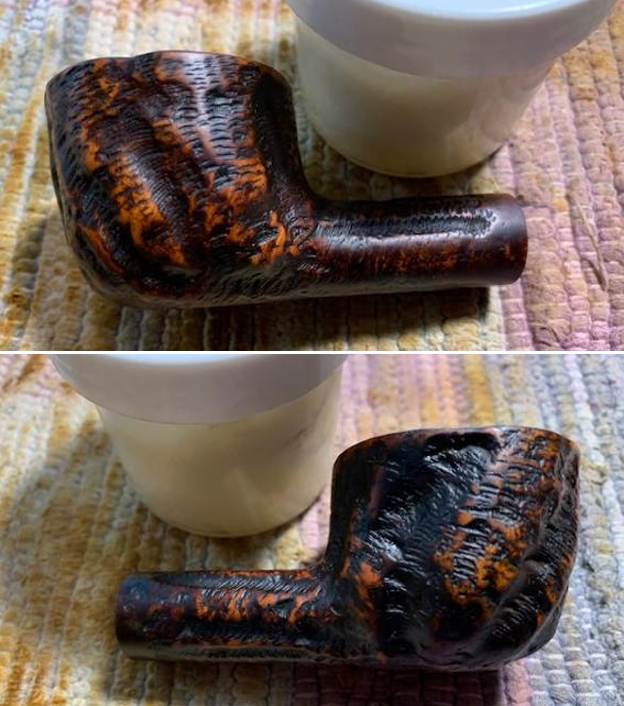
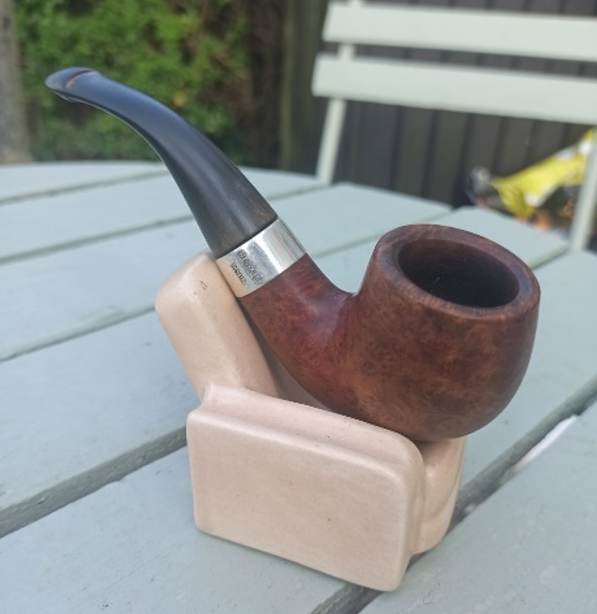
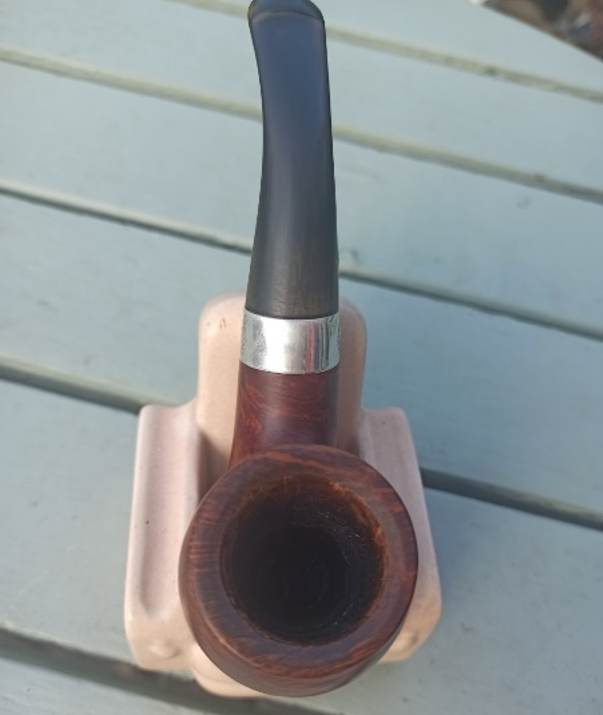
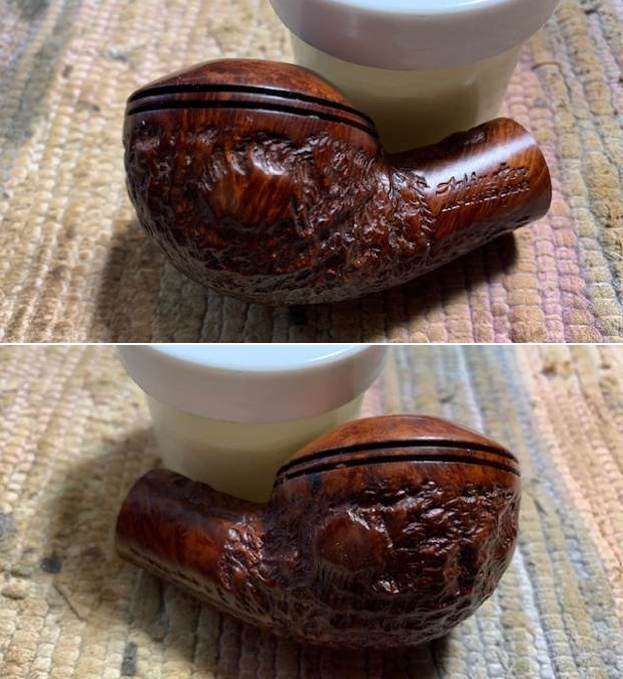
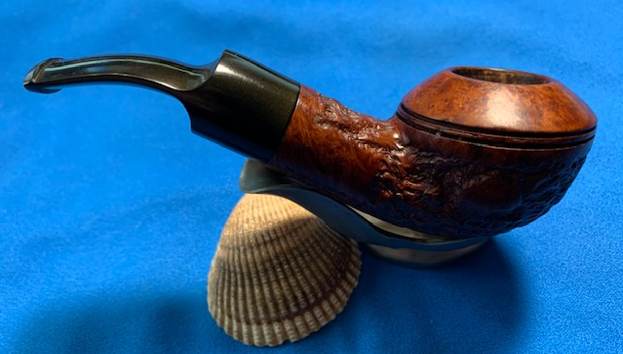
 This Czech Rusticated Jirsa 96 Poker/Sitter with a vulcanite stem is a great looking pipe now that it has been restored. The rich browns of the stain made the grain and rustication come alive with the polishing and waxing. I put the stem back on the bowl and carefully buffed the pipe with Blue Diamond on the buffing wheel using a light touch on the briar. I gave the bowl multiple coats of Conservator’s Wax and the stem multiple coats of carnauba wax on the buffing wheel. I buffed the entire pipe with a clean buffing pad to raise the shine. I hand buffed the pipe with a microfiber cloth to deepen the shine. The finished Jirsa 96 Poker/Sitter really is a beauty and fits nicely in the hand. Give the finished pipe a look in the photos below. The dimensions of the pipe are Length: 5 ½ inches, Height: 2 inches, Outside diameter of the bowl: 1 ½ inches, Chamber diameter: 7/8 of an inch. The weight of the pipe is 1.87 ounces /53 grams. This beauty will be going on the rebornpipes store in the Pipes from Various Makers Section. Let me know if you are interested in adding it to your collection. Thanks for reading this blog and my reflections on the pipe while I worked on it. There are many more to come!
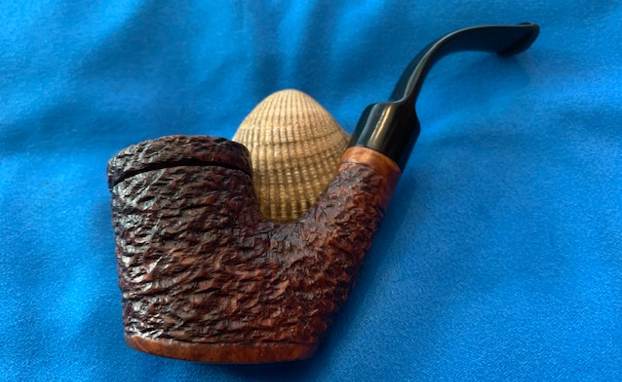


