Blog by Dal Stanton
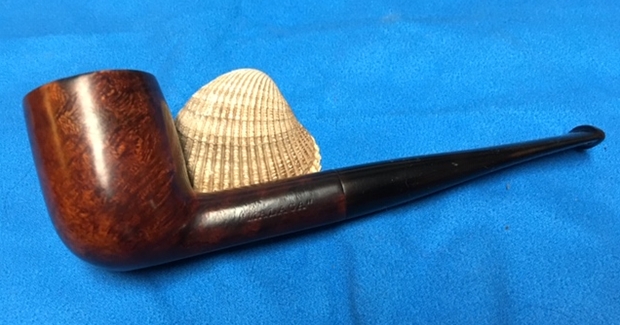
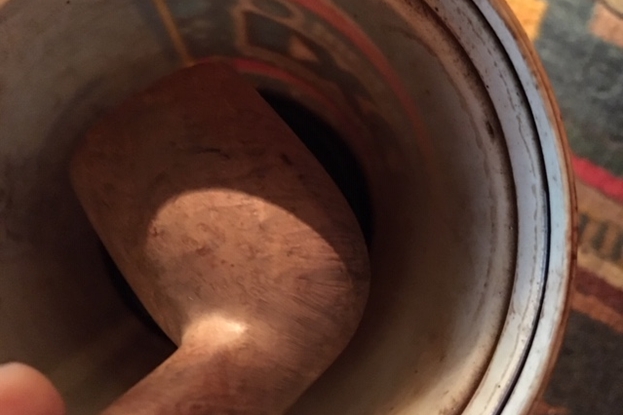
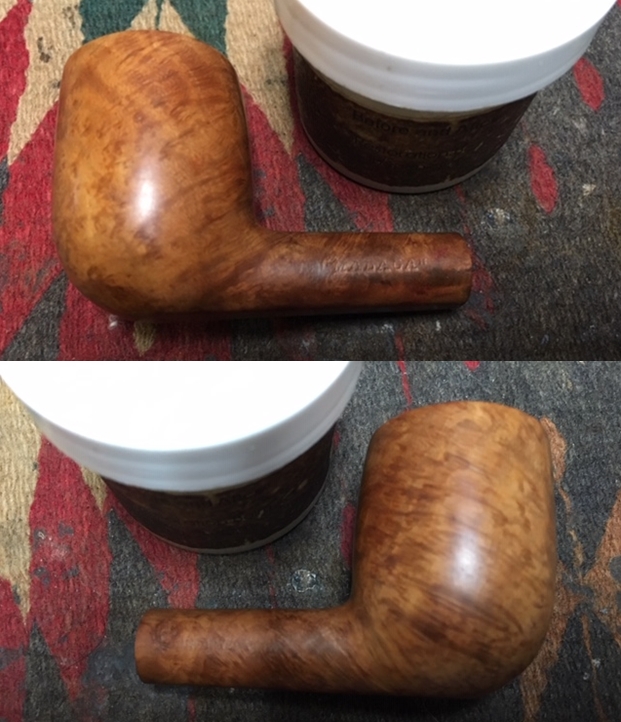
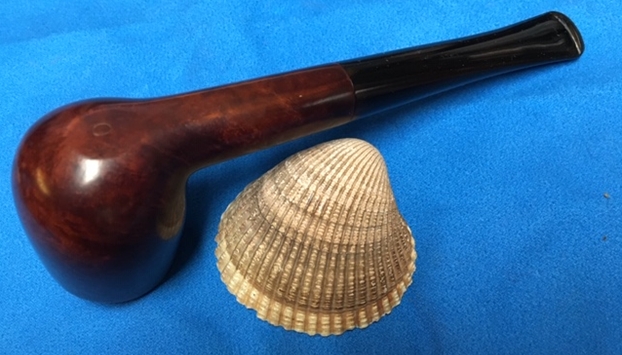
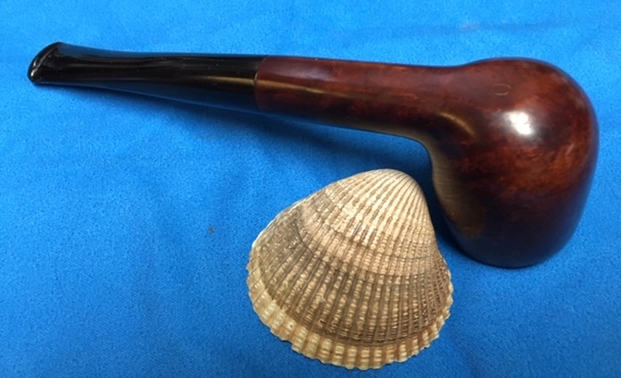
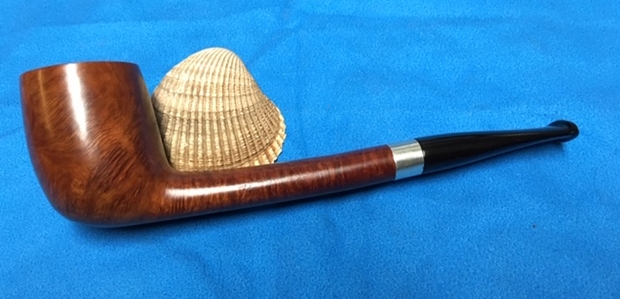
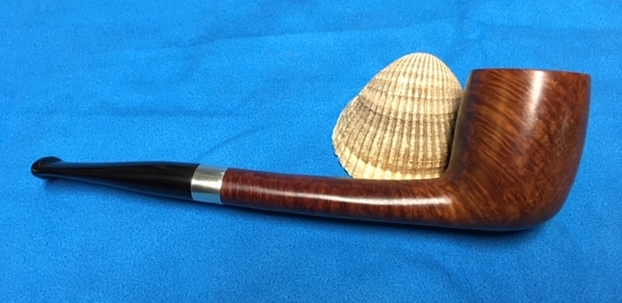
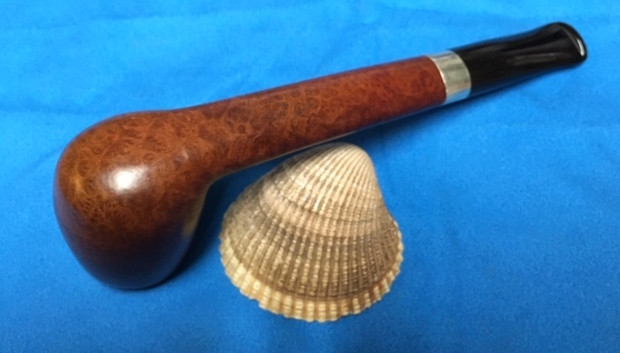
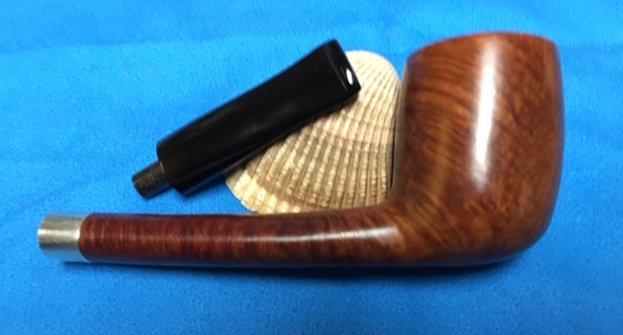
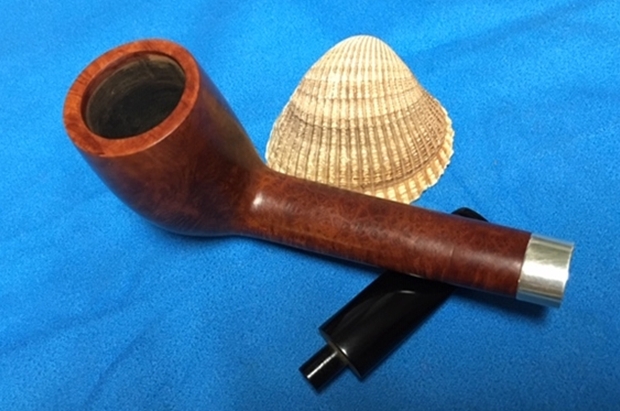
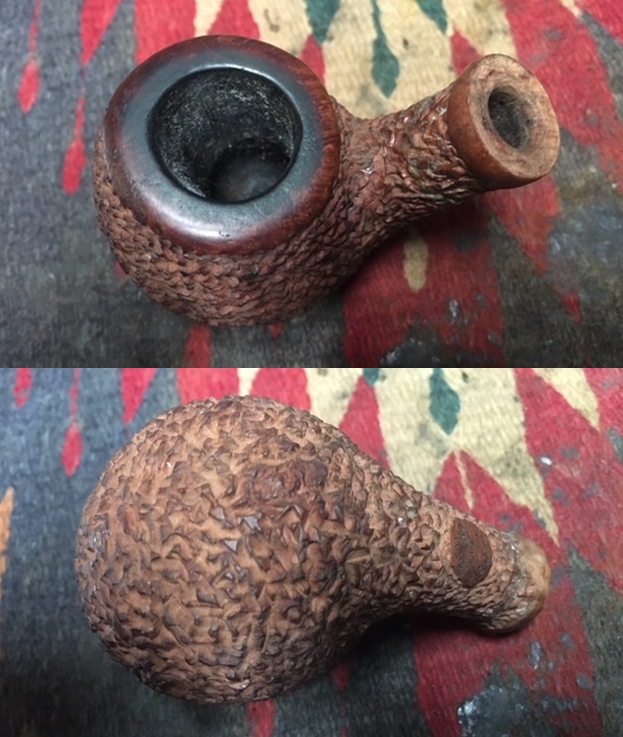
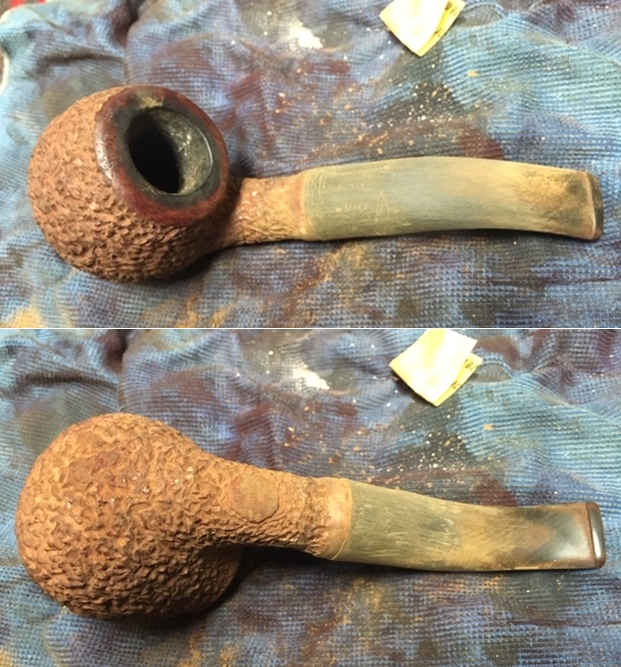
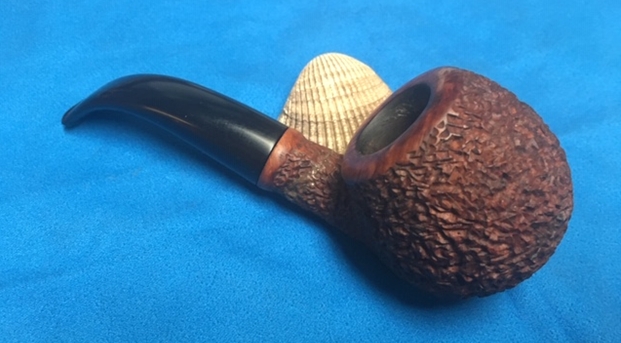
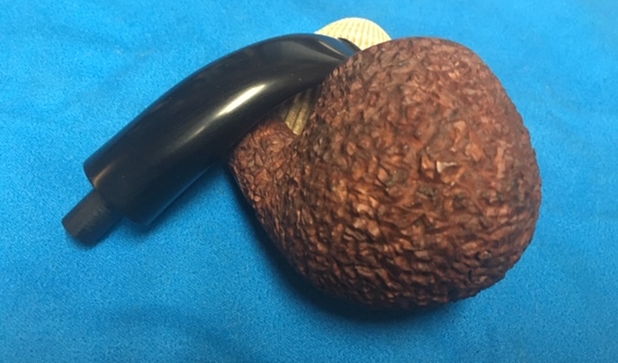
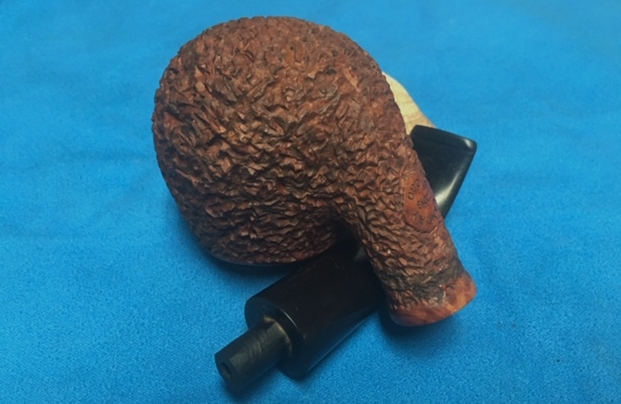
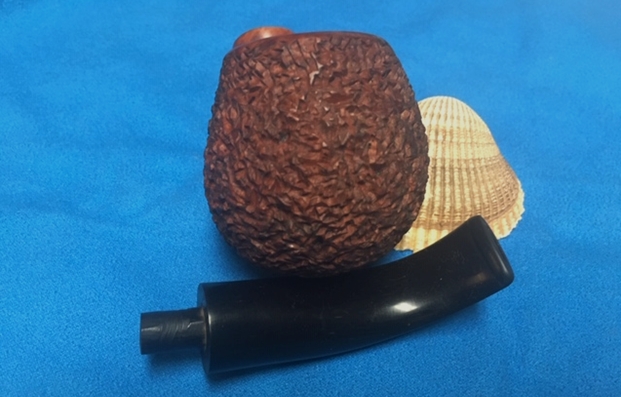
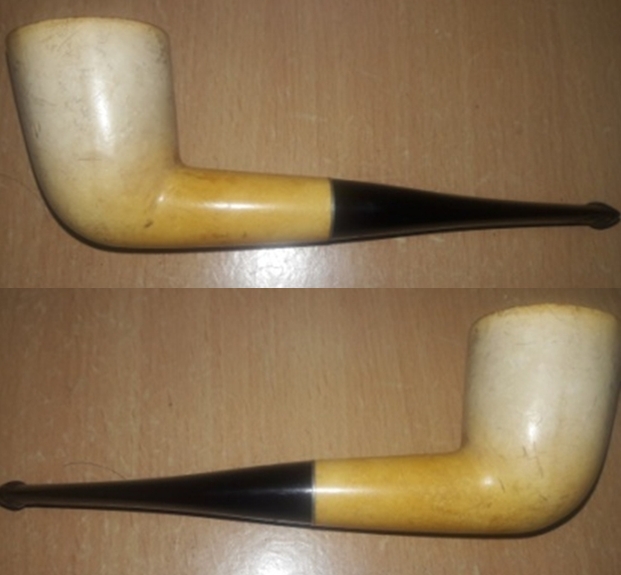
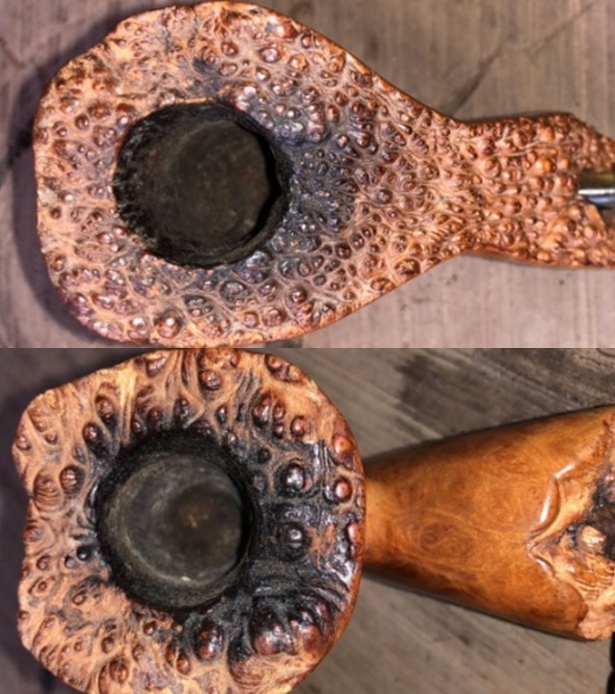
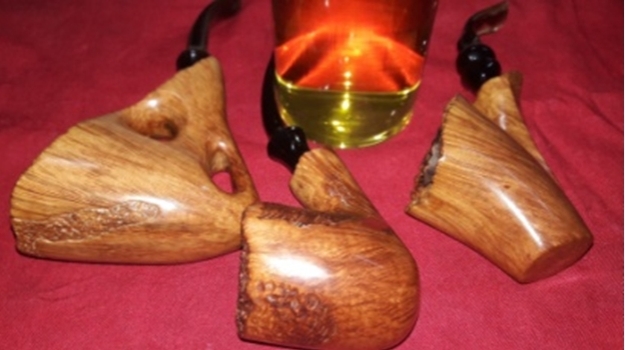
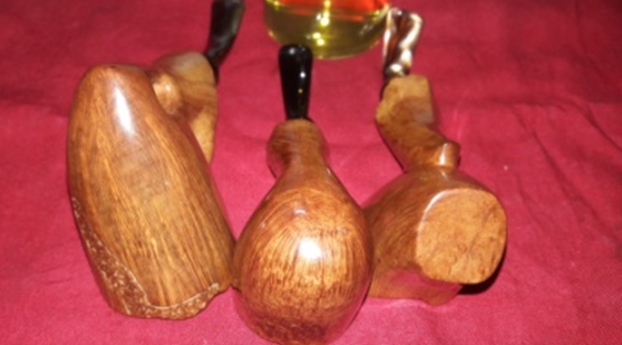
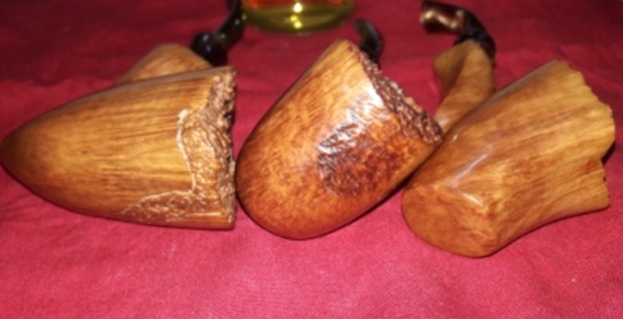
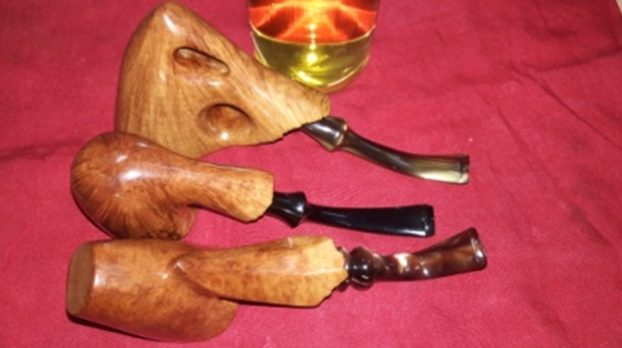
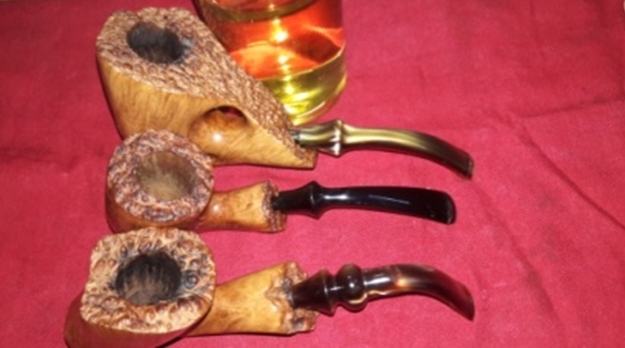
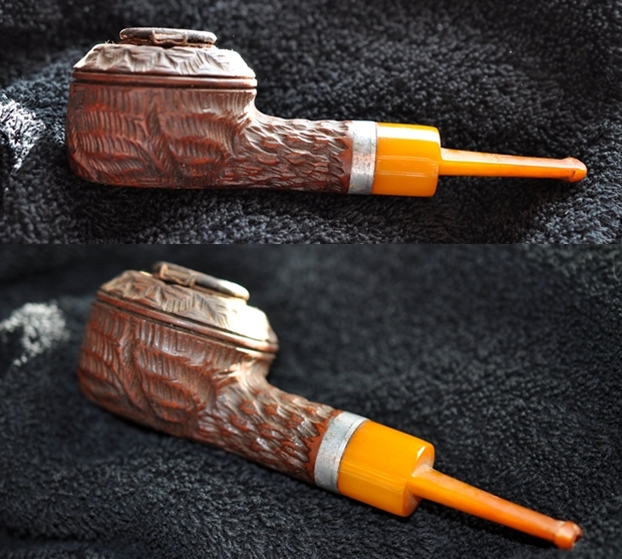
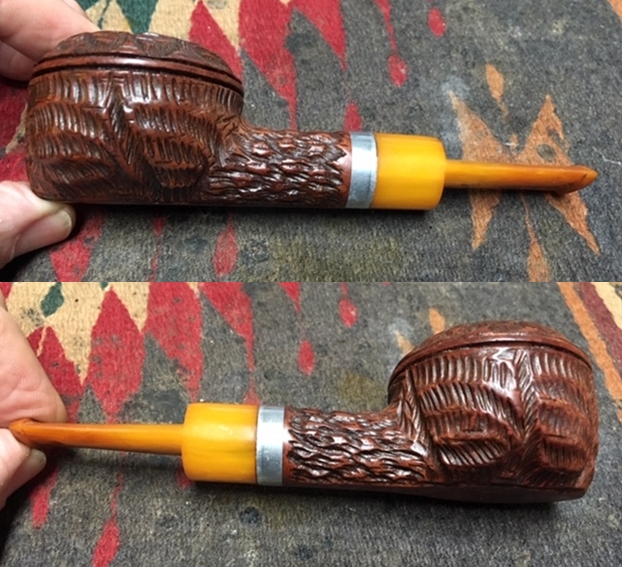
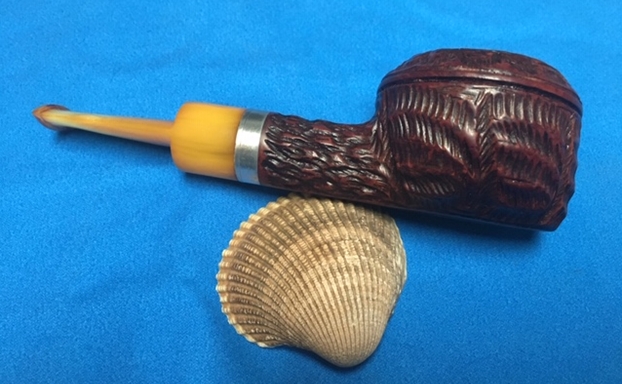
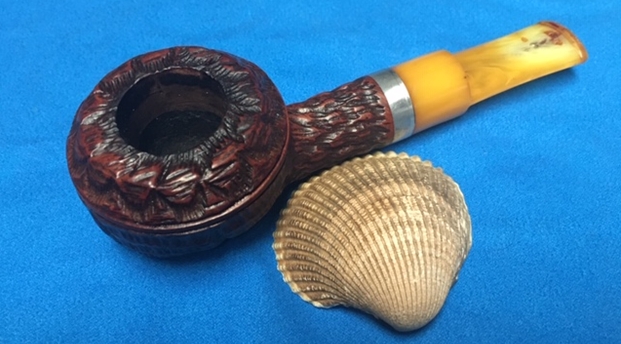
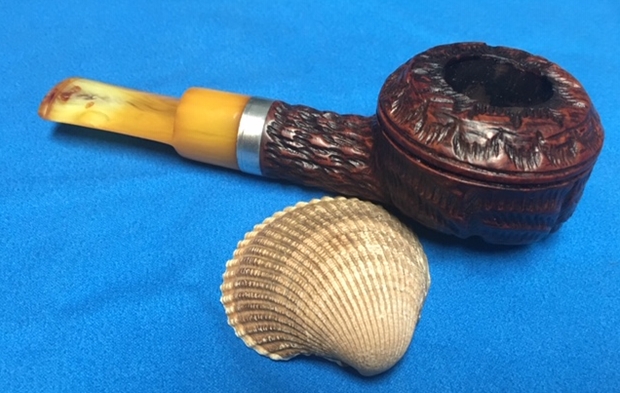
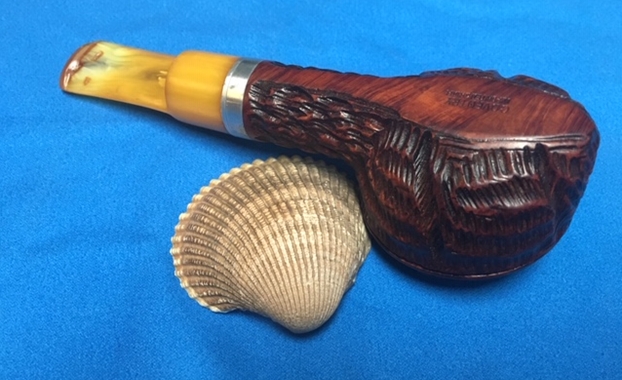
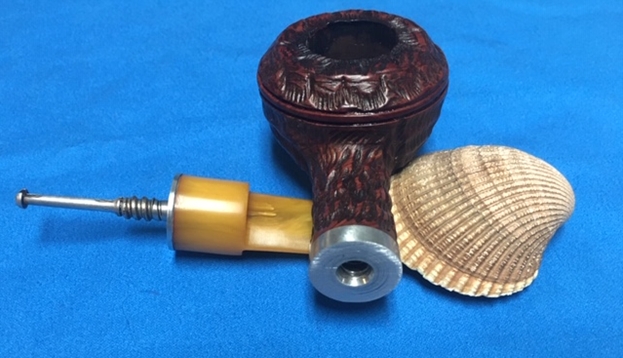
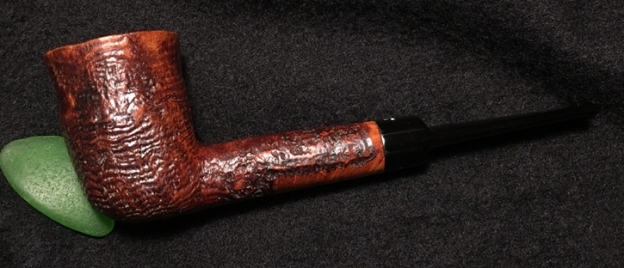
This Ben Wade came to me a couple of years back when I landed, from the eBay auction block, what I have called the Lot of 66. It continues to yield nice collectable pipes. The finish on this Ben Wade is a rustic looking blasted finish which is eye catching with the detail and bowl shaping. It caught Todd’s eye in the For “Pipe Dreamers” Only! collection and is the last of 3 that he has commissioned. Here are pictures of the Ben Wade Hand Model now on my worktable:


 I’ve discovered through the reading I’ve done about the name ‘Ben Wade’ that it has an up and down history. The Pipedia article is helpful in simplifying the history in four helpful ‘eras’ which I’ve summarized from the Pipedia:
The Family era (1860 to 1962) – the heydays of the English name when the pipes were stamped Made in Leeds, England.
Charatan / Lane second (1962 to 1988) – When Herman G. Lane purchased the name, the transition from a higher quality pipe during the long Family Era transitioned exclusively to the fabrication of machine-made pipes. Lane moved the production from the Leeds factory (closed in 1965) to Charatan’s Prescott Street factory. Ben Wade became essentially lower quality series pipes produced in standard shapes. The pipes during this period were stamped, “Made in London, England” or dropping the “London” and stamped with “England” alone. After Lane died, in 1978 his heirs sold the Charatan and Ben Wade names to Dunhill, which left the production of Charatan/Ben wade at the Prescott Street factor. In 1988 production came to an end for Ben Wade when the Charatan’s Prescott Street factory closed.
Ben Wade turns Danish (1971-1989) – During this era Preben Holm, from Denmark, was in financial difficulties and Herman Lane and he went into partnership producing the Handmade and fancy pipes. These pipes were marked “Ben Wade Made in Denmark”. These pipes gained great popularity, especially as the were marketed in the US. After Lane’s death, Preben Holm, not the businessman, was in financial difficulties and reduced his workforce and production, but at his death in 1989, production of the Danish Preben Holm pipes came to an end.
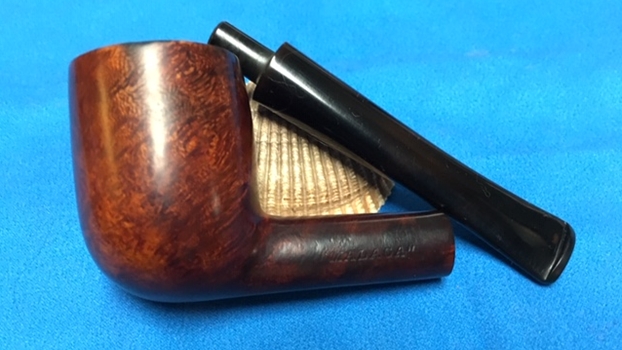
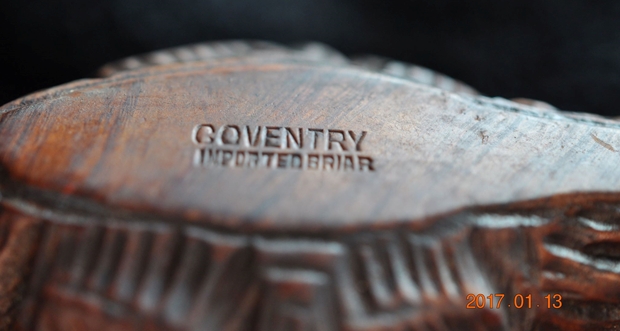
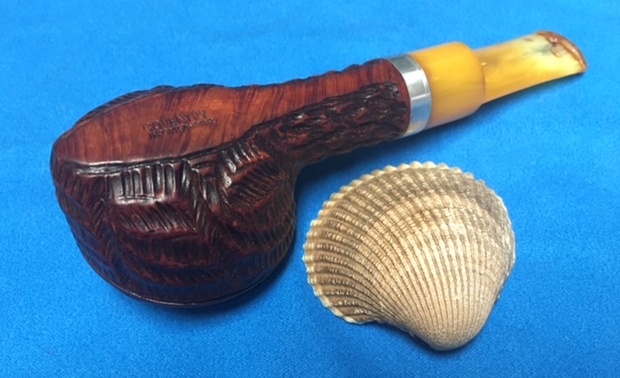
Resurrection – (1998 to present) – Duncan Briars bought the Ben Wade name from Dunhill in 1998 and production of Ben Wade pipes restarted at the Walthamstow plant, sharing the same space where Dunhill pipes are produced and reportedly benefiting from the same quality of production. During this present era, the stamping on the pipes is: “Ben Wade, Made in London, England” The reason I went through this summary of Ben Wade’s morphing history is because in nothing I’ve read about Ben Wade (and I’m sure there’s more out there), I found no reference to a Ben Wade Hand Model with the COM, London Made. The stamping on the pipe before me is ‘Ben Wade’ [over] HAND MODEL [over] LONDON MADE. The saddle stem has the Ben Wade stamped on the upper side of the stem saddle. My first glance at the blasted finish made me wonder whether this Ben Wade came out during the ‘mystery’ Resurrection period in the Pipedia article. Here is the full text that made me wonder:
As said before Preben Holm’s death marked the third end of Ben Wade and for long years there were no Ben Wade pipes in the shops anymore. But then, all of a sudden they were back in the USA some years ago! Who made these pipes? A concrete manufacturer was not known at first.
The rumors spreading were considerable. Especially because these Ben Wades – originally all blasted and in deep black color – featured so perfect straight and / or ring-grain that they were almost suspicious in view of the prices. The supposition that “Mother Nature” had been given a leg up by means of rustication combined with subsequent blasting was evident as different sources confirmed.
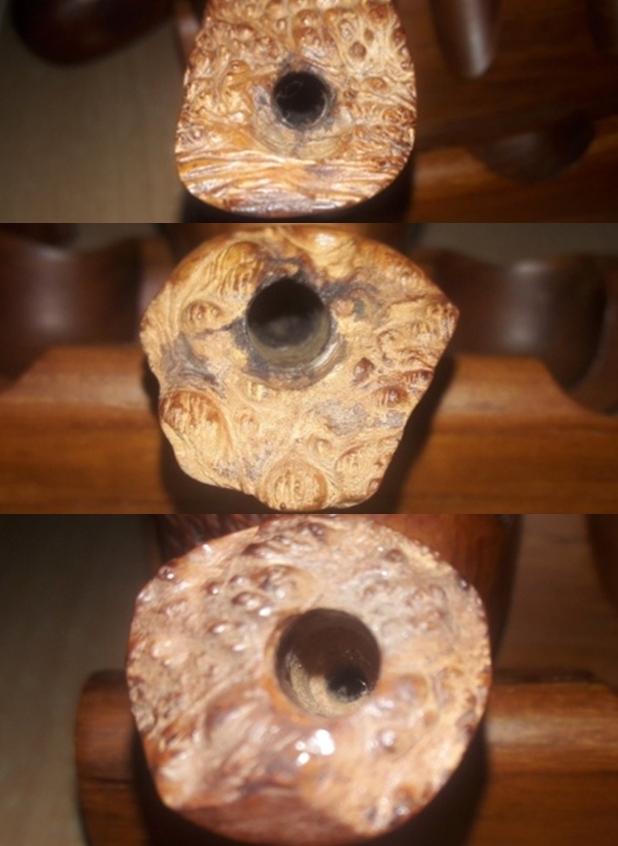
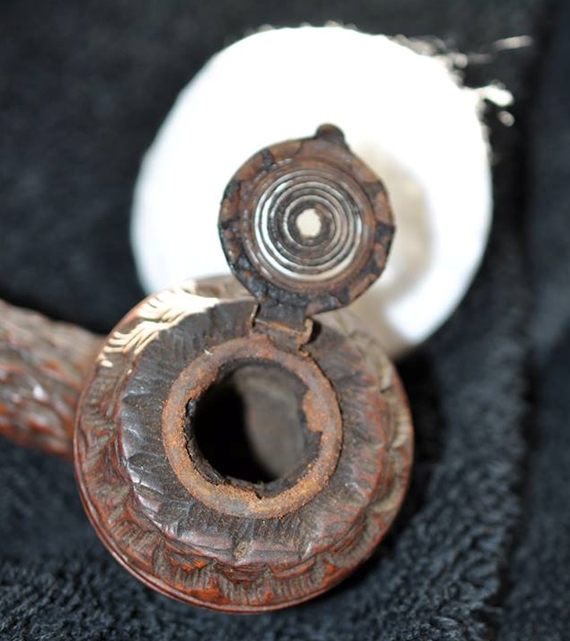
Steve on rebornpipes refers to pipes as having a ‘blasticated’ finish. The process is blasting a rusticated pipe making it appear naturally blasted but the more perfect lines make it seem better than ‘mother nature’ as the Pipedia described. As I look at this Ben Wade, I wonder if it’s from that time period and the grain looks so good, is it blastication? I sent Steve the picture below and his verdict was not blastication, but a really nice looking blasted finish. Yet, I’m stumped by the COM marking. Here’s a close-up of the stummel, very nice natural 3-D blasted grain and not blastication.  I sent out pictures of some pictures and the nomenclature to various pipe Facebook groups and the responses I did get, though they were anecdotal, pointed to an earlier period. Paul, from Pipe Smoker of America FB Group, said that he believed it was a Pre-78 and made in Charatan factory. He also said that these were some of his best smokers are London BWs. It sounds good to me!
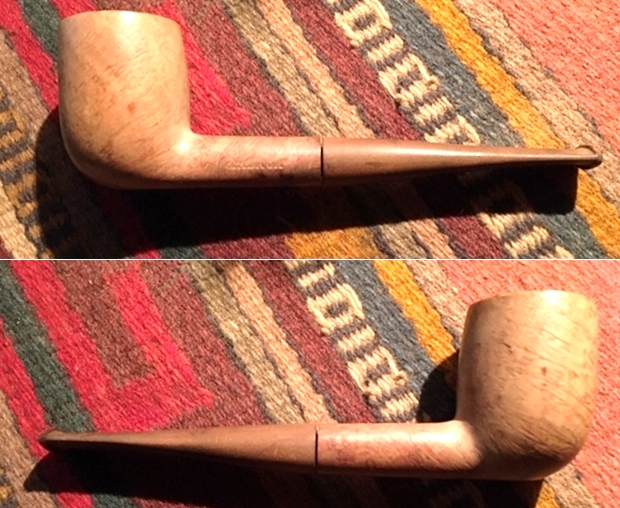
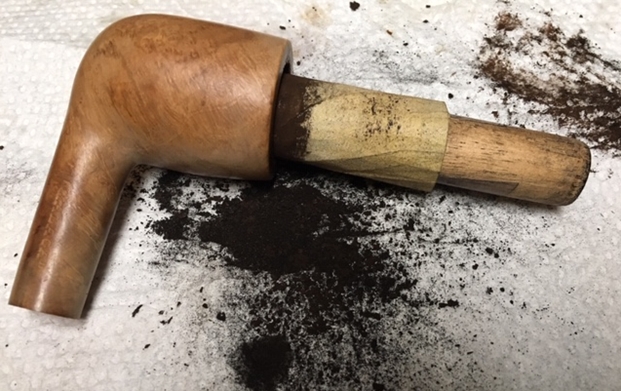
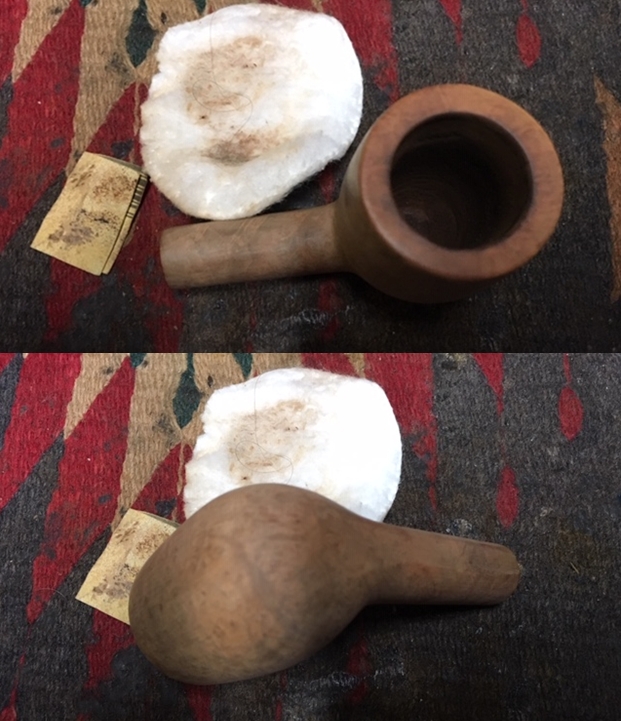
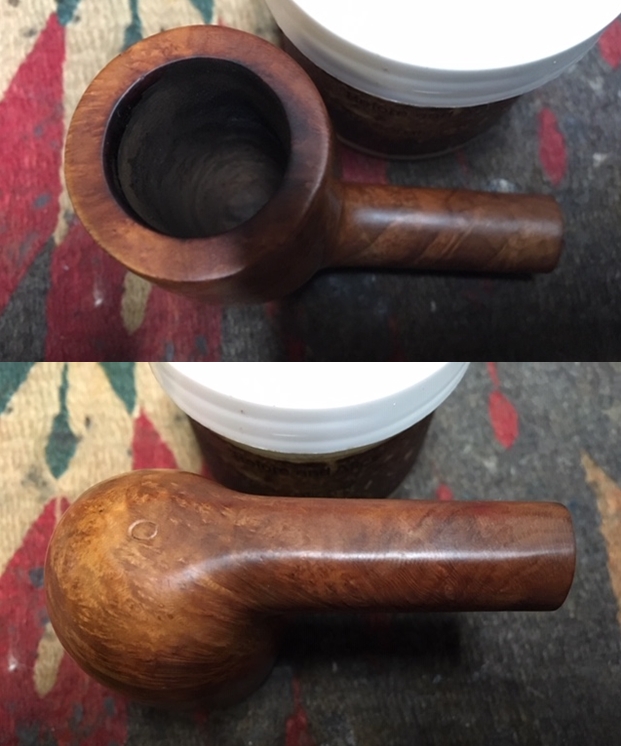
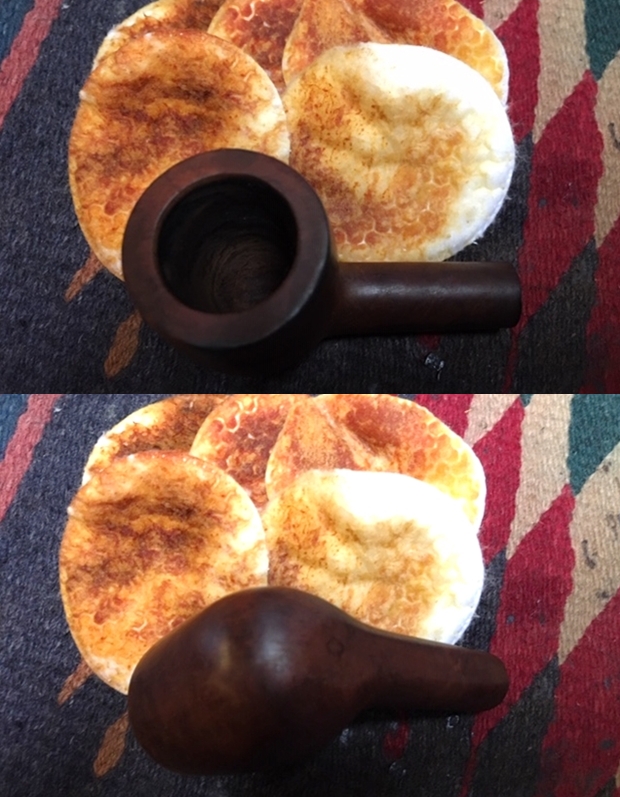
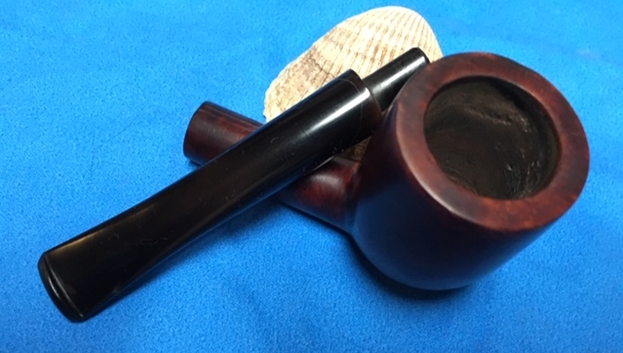
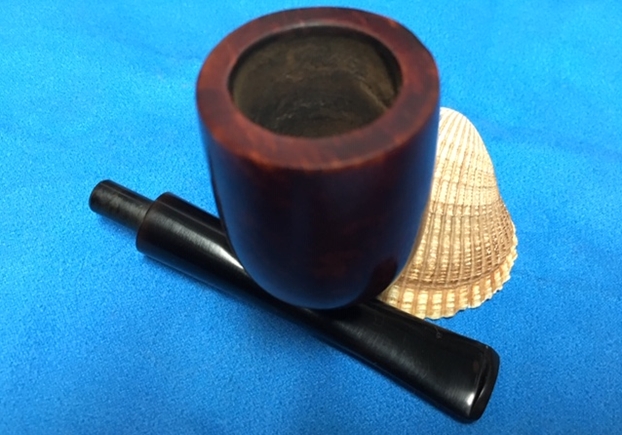
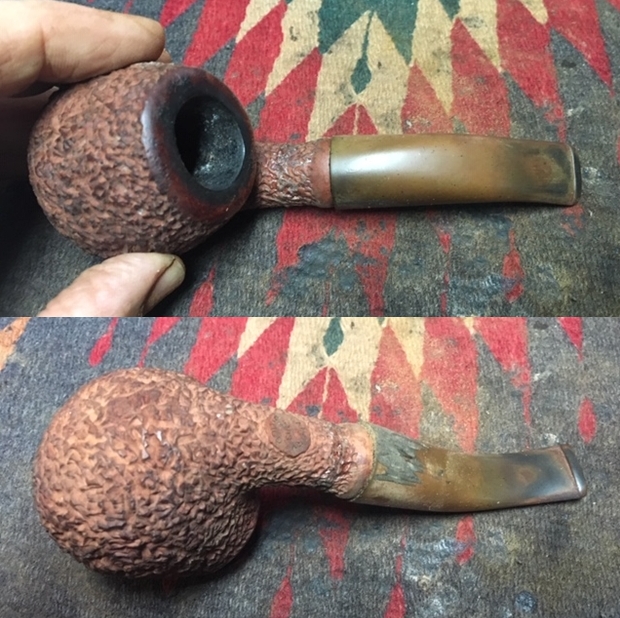
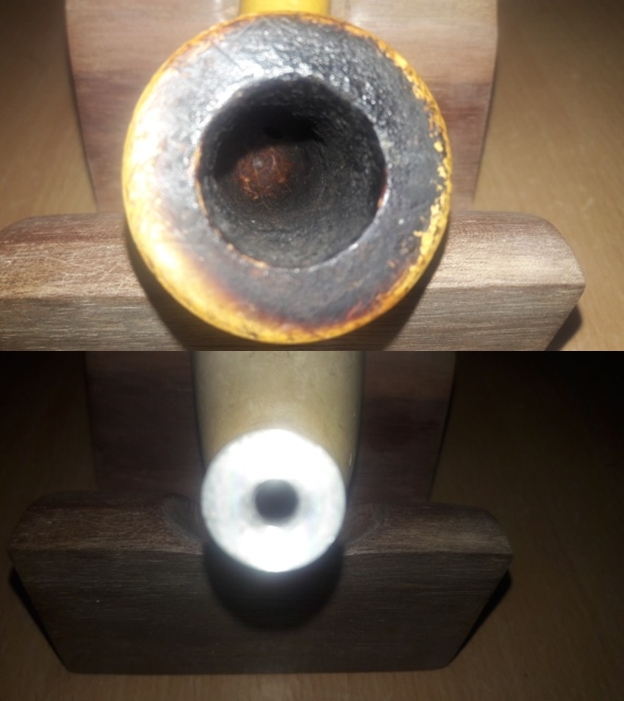
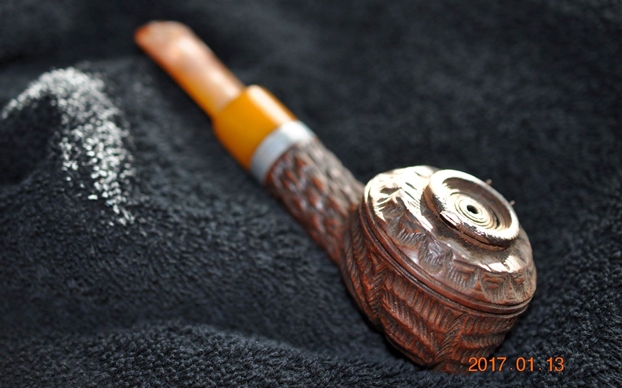
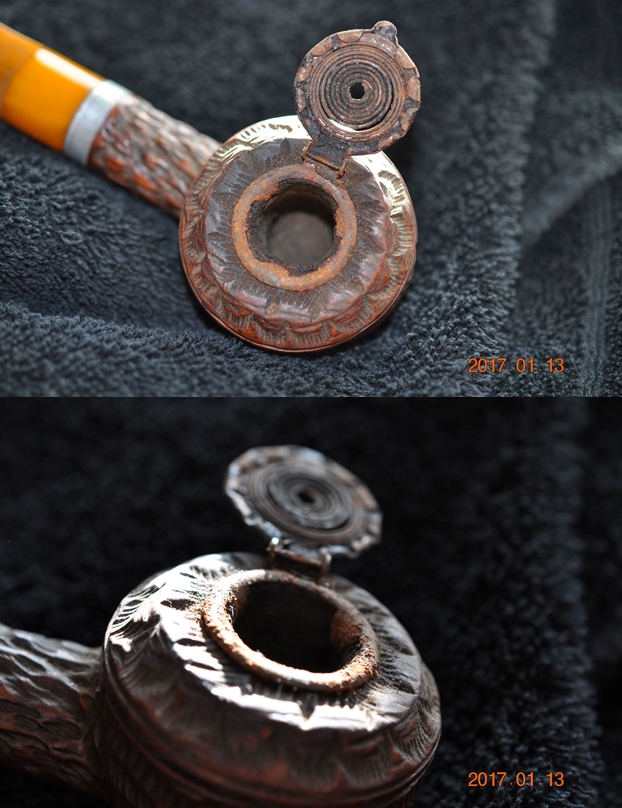
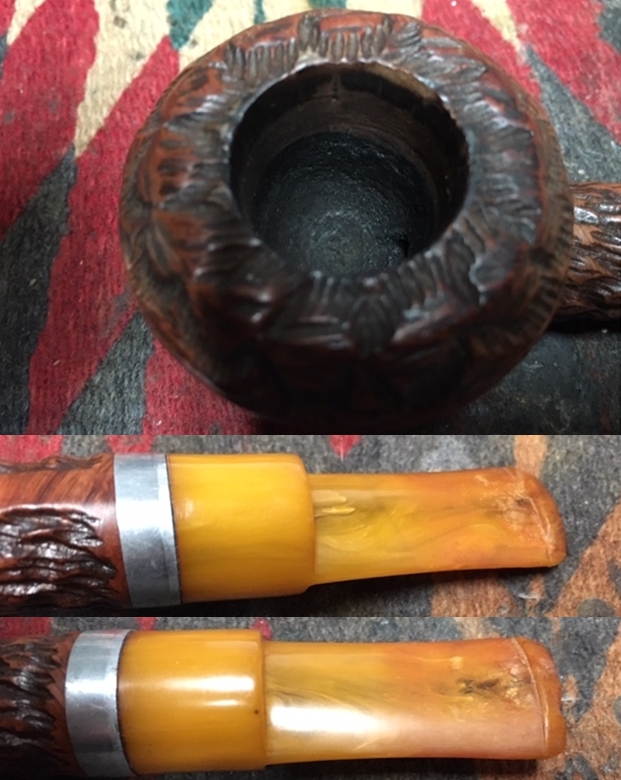
As I look at the condition of this Ben Wade, the surface needs cleaning to see what the finish will do. The finish is dark and tired as I look at it. The chamber shows light cake buildup and the rim is darkened with some lava flow. The stem will need to be cleaned of the oxidation and the button is chewed some with bite compressions on both the upper and lower bit.
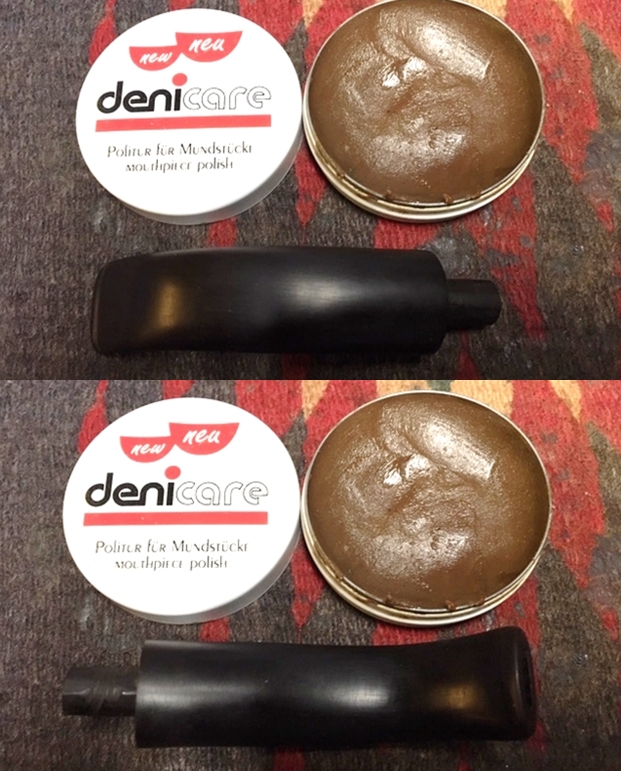
With a better knowledge of the Ben Wade Hand Model Billiard on my worktable, I begin by cleaning the stem airway with pipe cleaners wetted with alcohol and then add it to a bath of Before & After Deoxidizer along with other pipes and stems in the queue.  After several hours, I fish out the Ben Wade’s stem and wipe it down with cotton pads wet with alcohol to remove the raised oxidation. The Deoxidizer did a great job.
 To begin to rejuvenate the stem, I apply a coat of paraffin oil (a mineral oil) to the vulcanite and then put it aside.
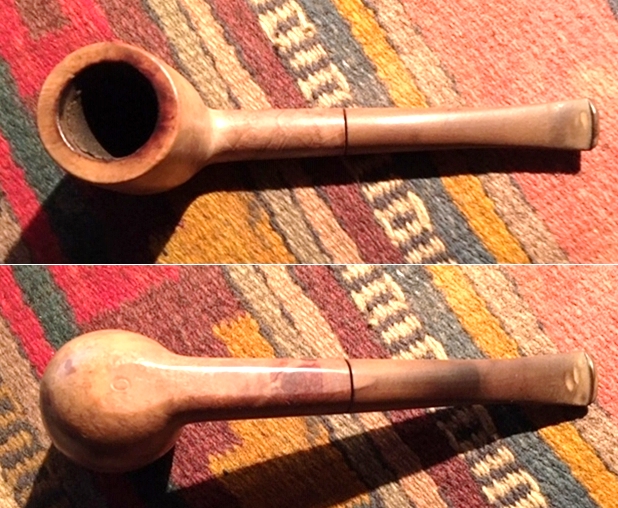
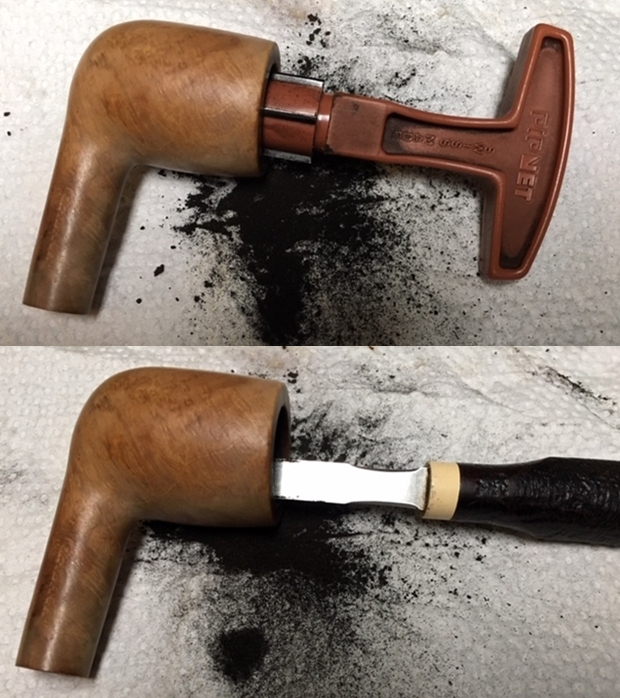
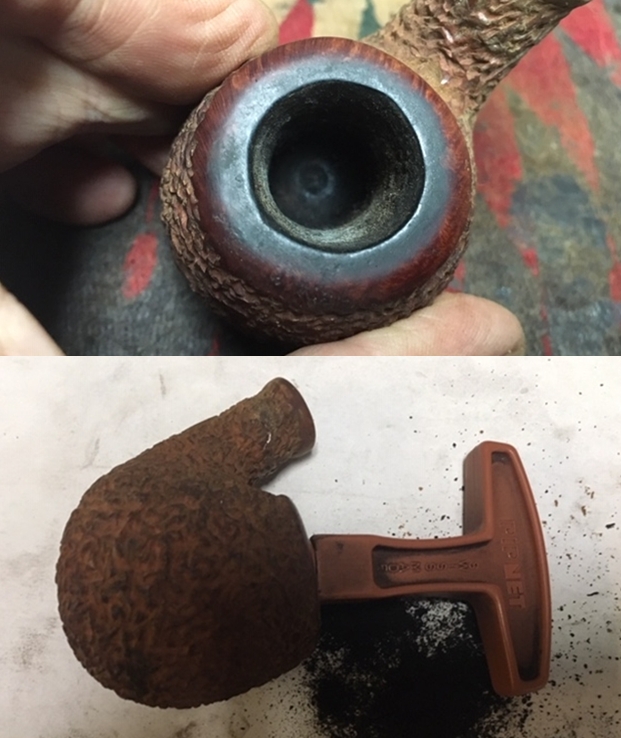
 Next, I go to work on the chamber using the Pipnet Reaming Kit. After putting paper towel down, I ream using 3 of the 4 blade heads available. I follow by fine-tuning with the Savinelli Fitsall tool and finish by sanding the chamber with 240 grit paper wrapped around a Sharpie Pen giving the briar a fresh start. I then wipe the chamber with a cotton pad and alcohol ridding it of leftover carbon dust. After inspecting the chamber, I see no heating or burning problems. I move on!

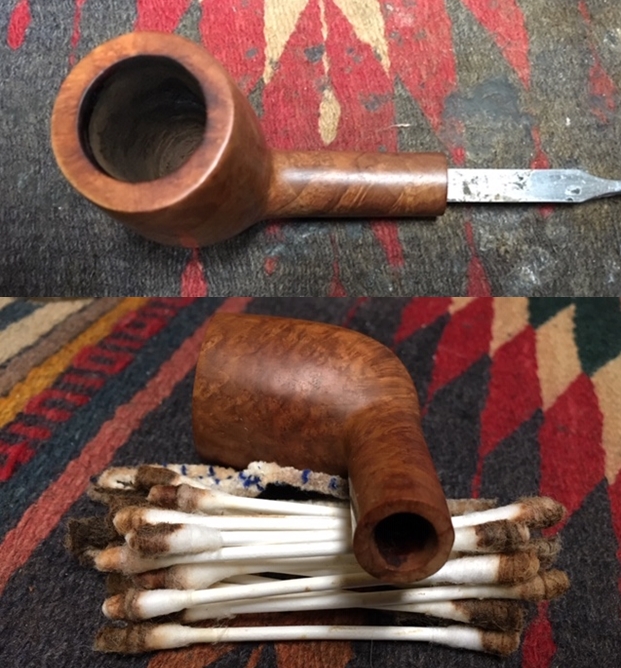
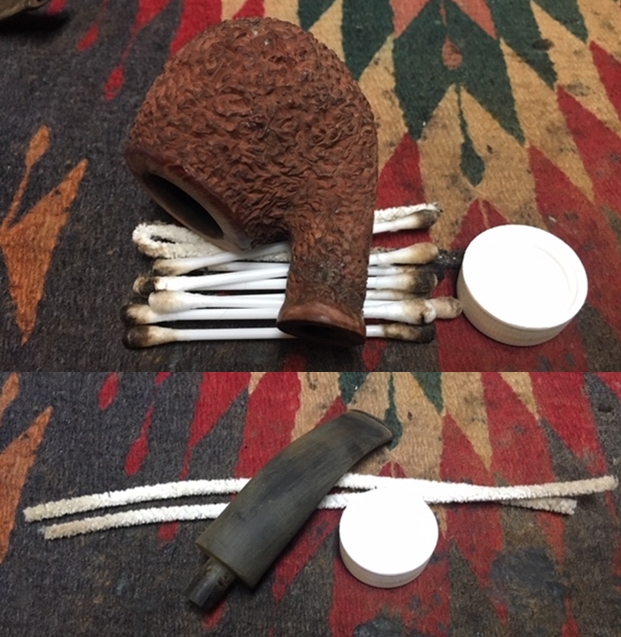
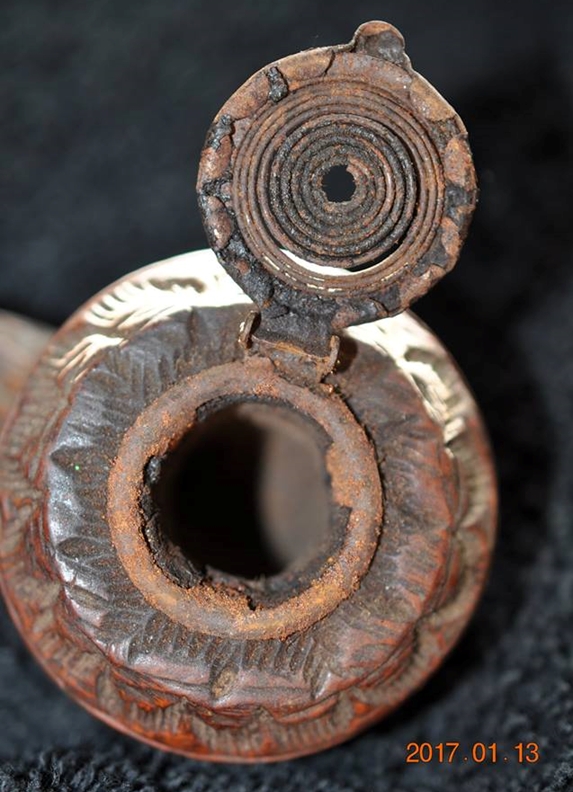
 The internals of the mortise and airway are next on the cleaning regimen. Using cotton buds and a few pipe cleaners, things clean up quickly. I also use a dental spatula and scrape the mortise wall and remove very little tars and oils. It’s nice when a stummel isn’t horrendously grungy! Moving on.
 Moving now to the external blasted finish, I use undiluted Murphy’s Oil Soap with a cotton pad to scrub. I’m wondering how strong the finish is – it appears a bit thin and the cleaning will reveal the answer. I also use a bristled tooth brush as well as a brass wire brush on the rim. After scrubbing, I take it to the sink and rinse the stummel with cool tap water without allowing water in the internals!
 The verdict is that the finish is worn and the scrubbing on the rim has left bare briar.
 With the day closing, I want to give the internals a further cleaning using kosher salt and alcohol as a soak. I create a wick from a cotton ball by pulling and twisting it. The wick serves to draw the tars and oils out. I then insert the wick down the mortise and airway with the help of a stiff wire. I then fill the bowl with kosher salt (which leaves no aftertaste) and after placing the stummel in an egg carton to keep it stable; I put isopropyl 95% into the chamber until it fills. I wait a few minutes and top off the alcohol once more. I turn out the light allowing the stummel to soak through the night.
 The next morning, I discover that the soak has not unearthed too much additional tars and oils from the internals of the pipe. This was confirmed after I followed with a few cotton buds and pipe cleaners dipped in alcohol. Cleaned!
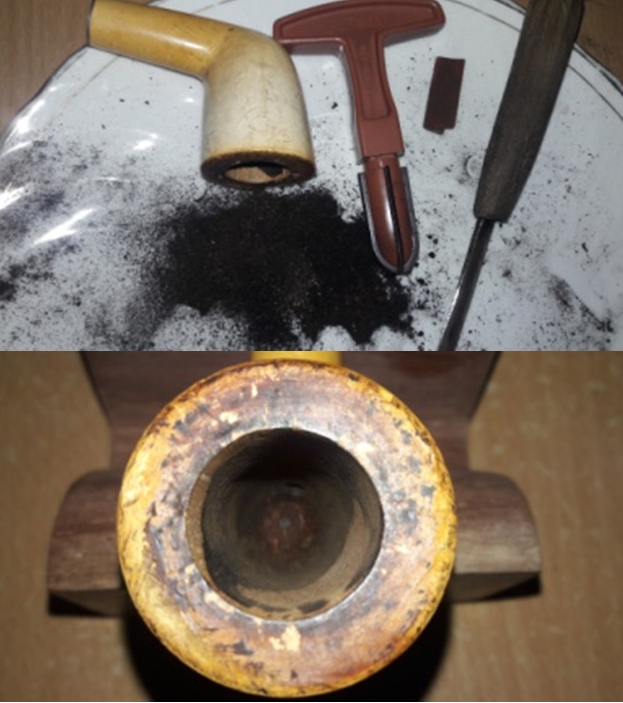
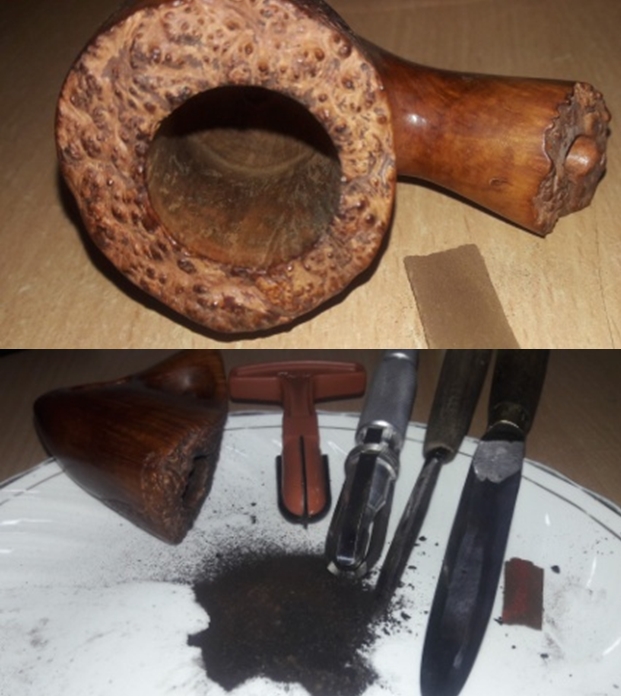
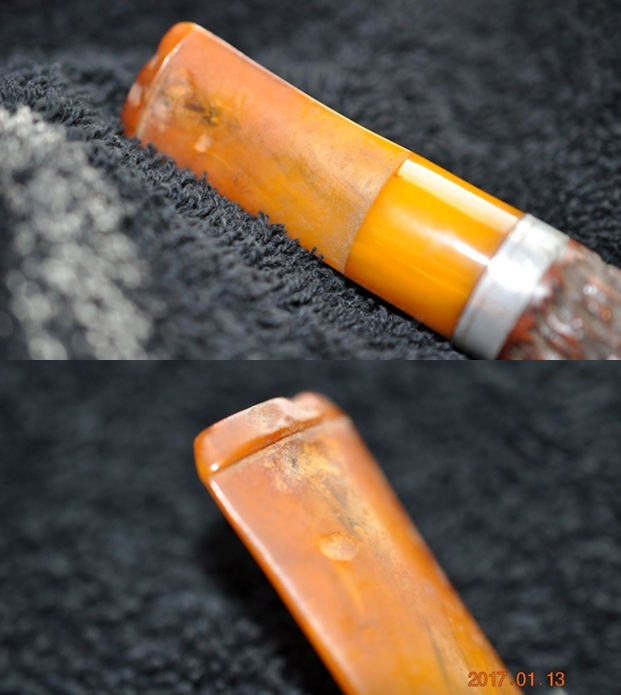
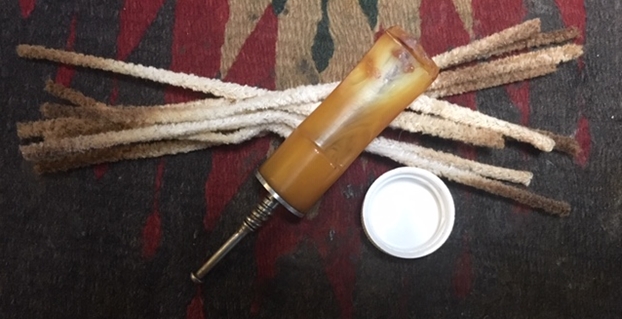
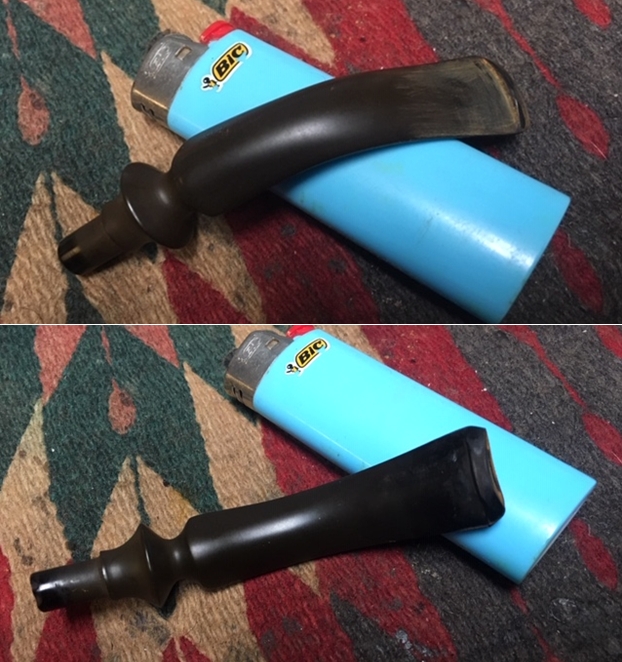
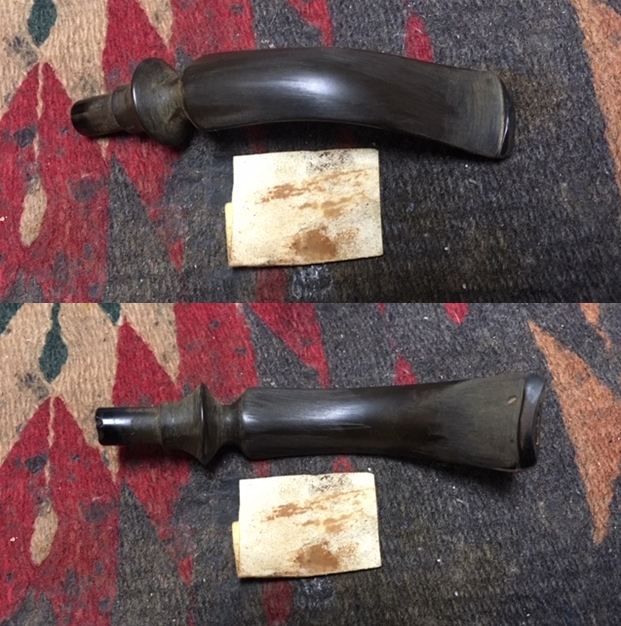
 Turning my attention now to the Ben Wade stem, the Before & After Deoxidizer did a great job excising the oxidation from the vulcanite rubber compound. Now I focus on the bit and button repair which have some significant bite compressions. I take a closer look with a couple of pictures to mark the start of the repair. I start by painting the bit area with a Bic lighter to heat and expand the vulcanite. After doing this for some time I take comparison pictures to show the unsatisfactory progress. Comparing first:
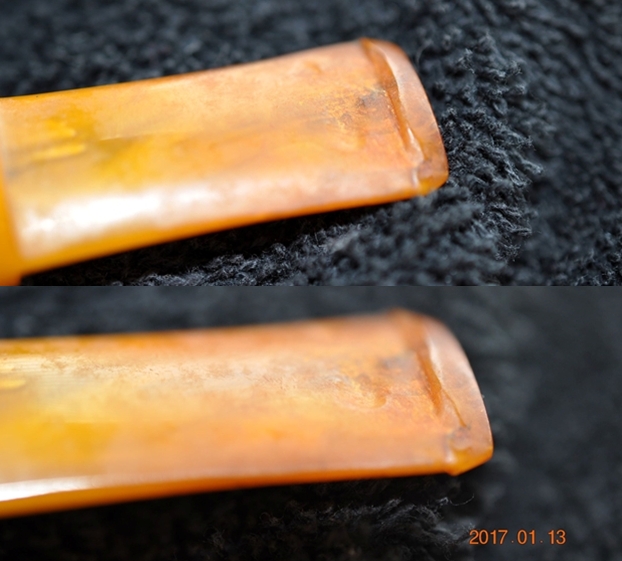
Upper bit, before and after: Lower bit, before and after:
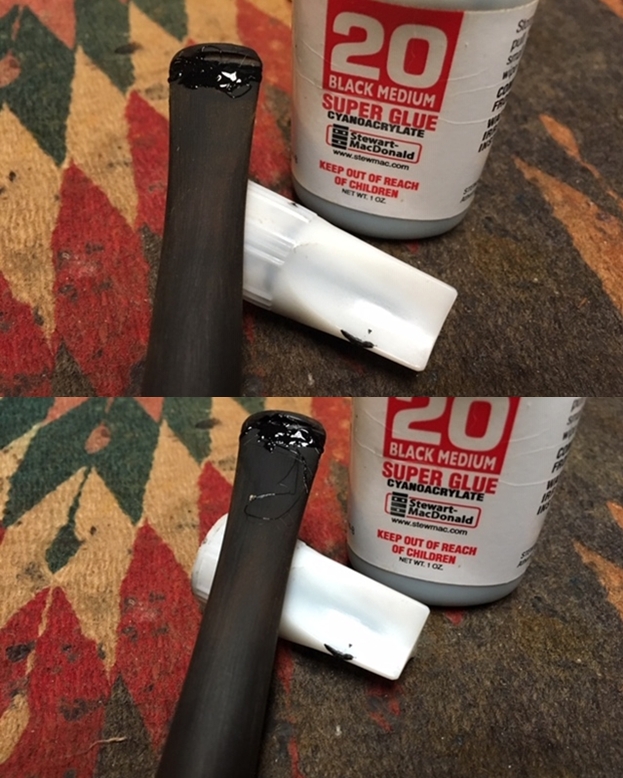
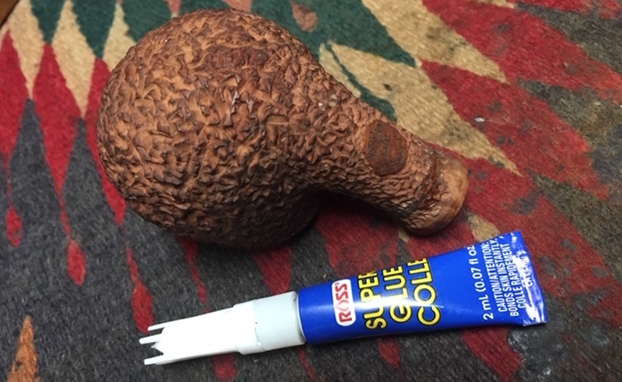
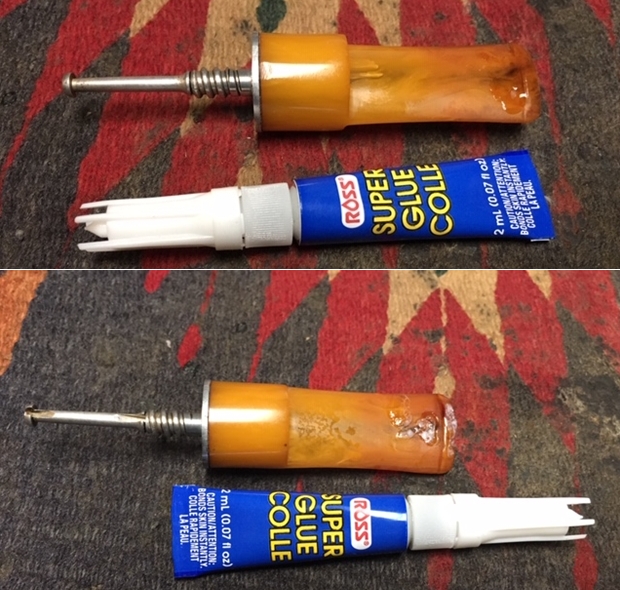
 The heating process made little progress. I now mix activated charcoal with CA glue to form a patch material and apply it to the tooth compressions and to the button lips – I’ll need to reshape the button. I first clean the stem area with isopropyl 95%. I then gradually mix thick CA glue with activated charcoal on an index card. I aim for a thickness of molasses so it’s thick enough to stay in place not run but will allow some manipulation once applied. On the first mixing, I mixed too much activated charcoal with the CA glue and got one of the chemical reactions where the mixture hardens instantly giving off an acrid smoke!! This has happened before. I need to apply the mixture before it thickens too much. The next mixtures work well. After applying patch material to both upper and lower I set the stem aside to allow the patch to cure.
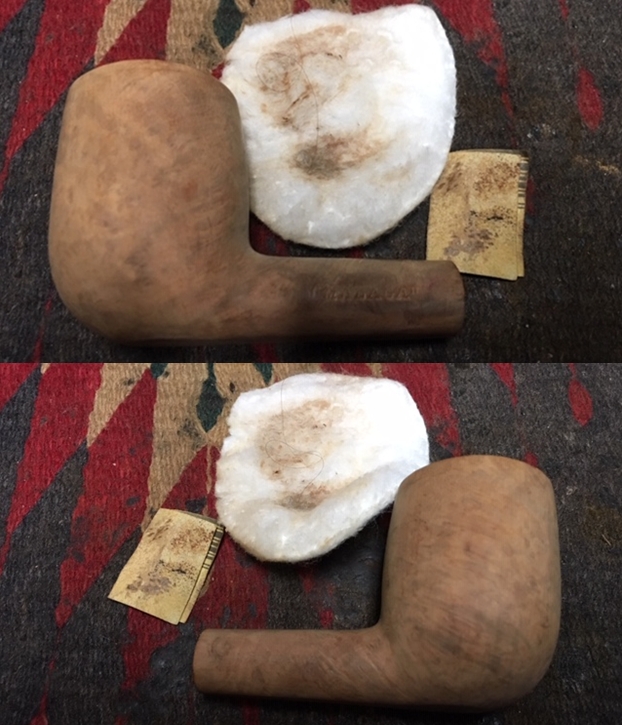
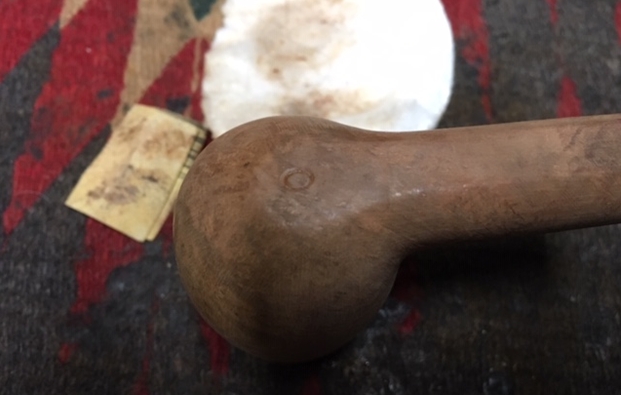
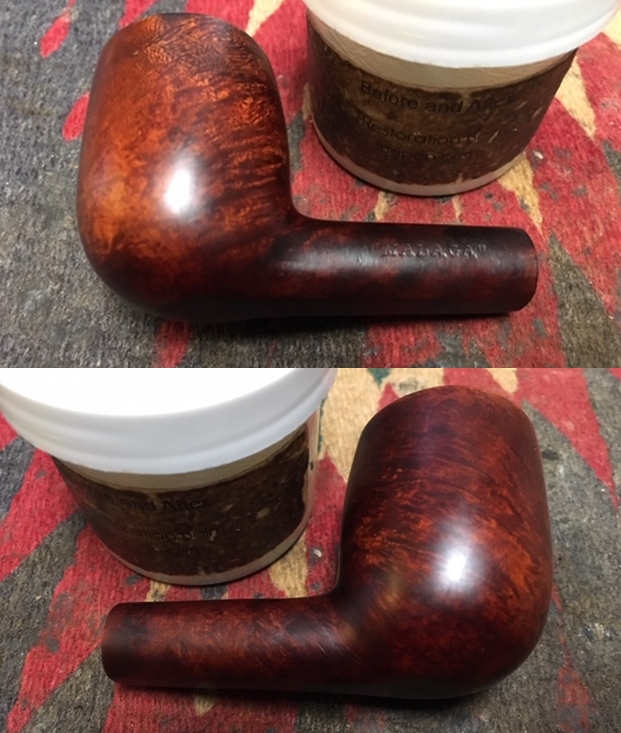
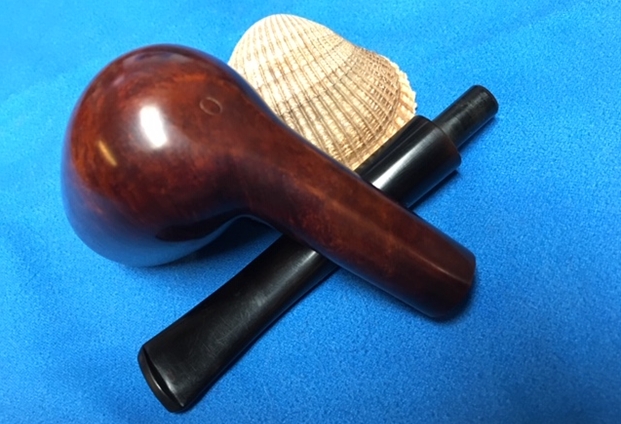
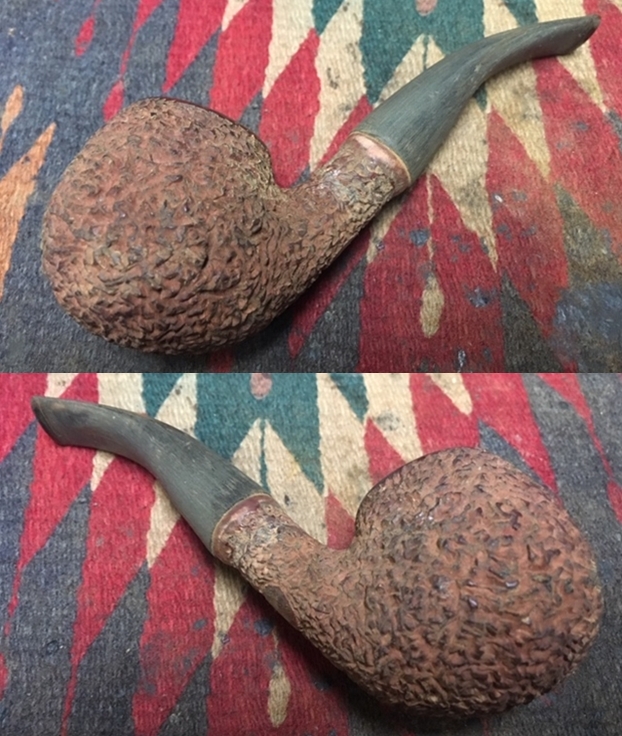
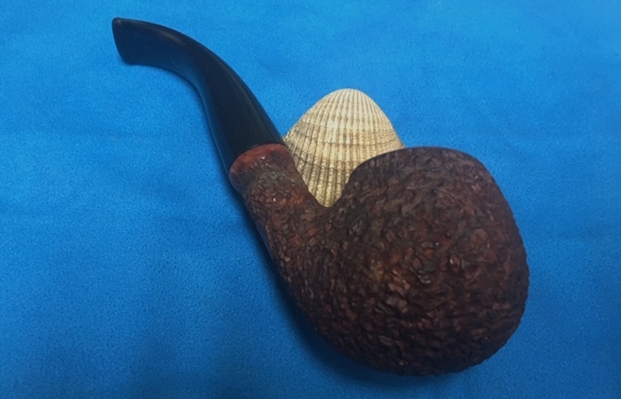
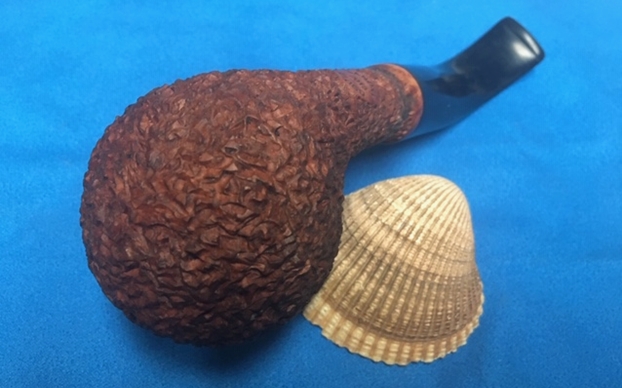
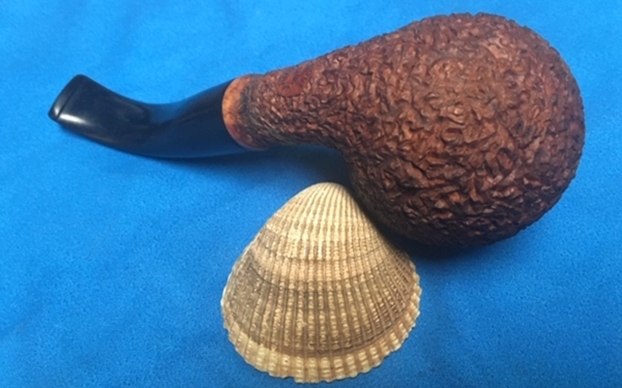
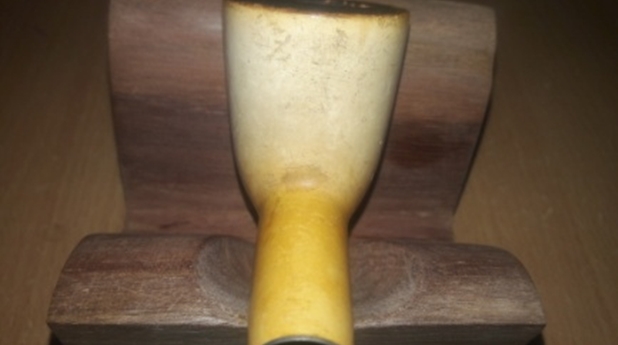
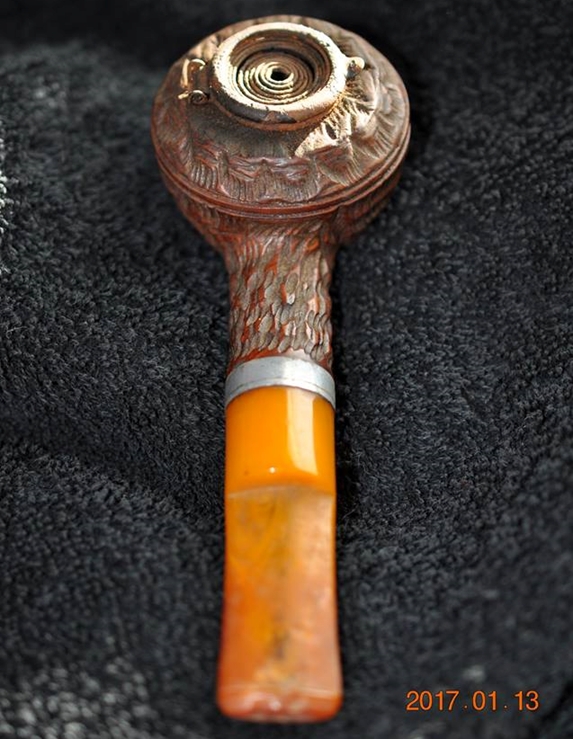
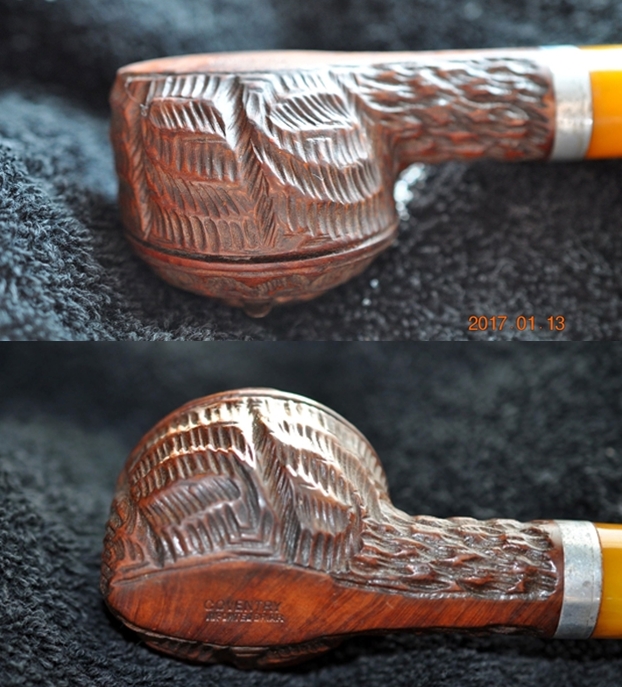
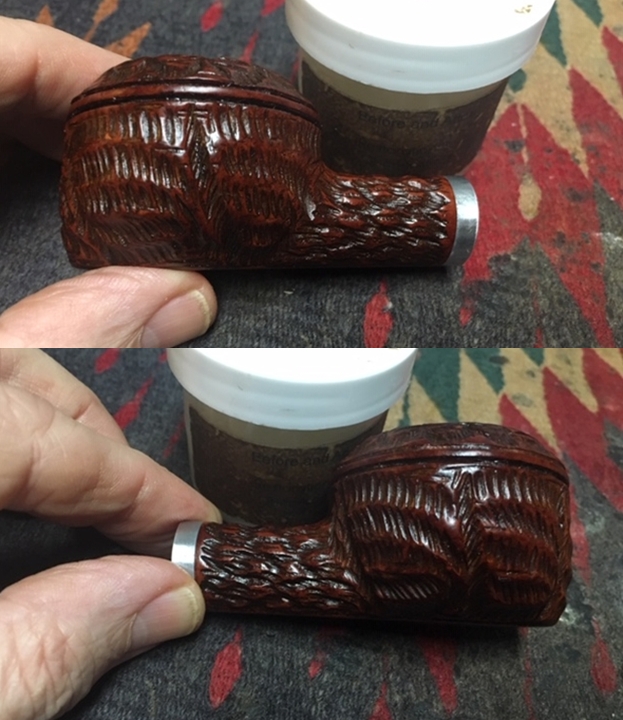
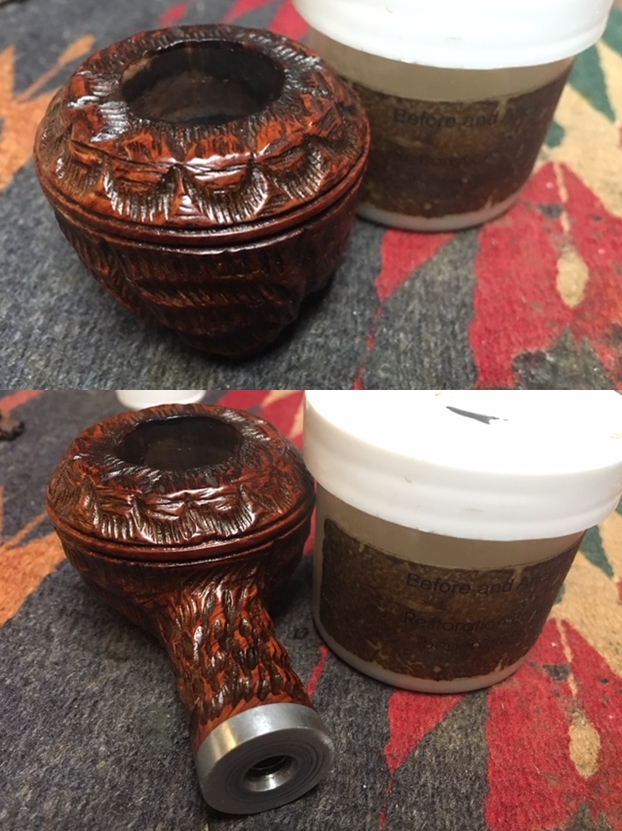
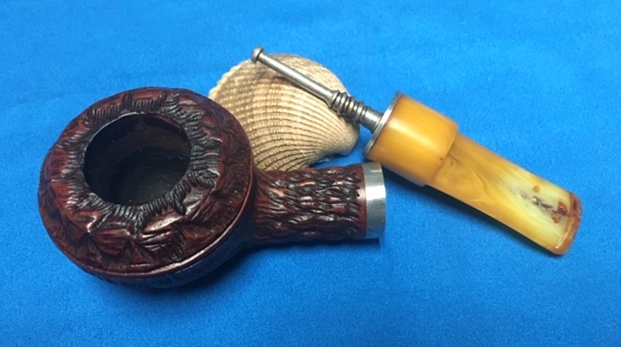
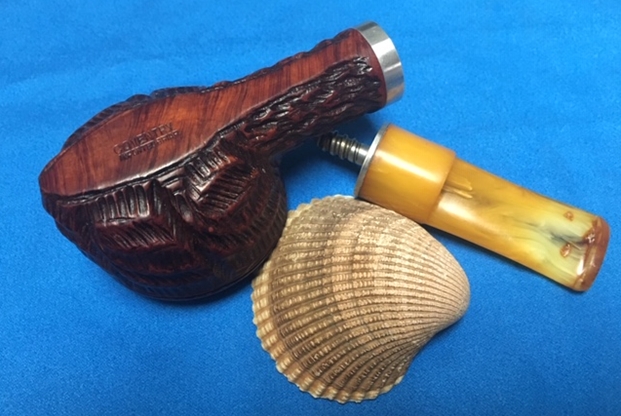
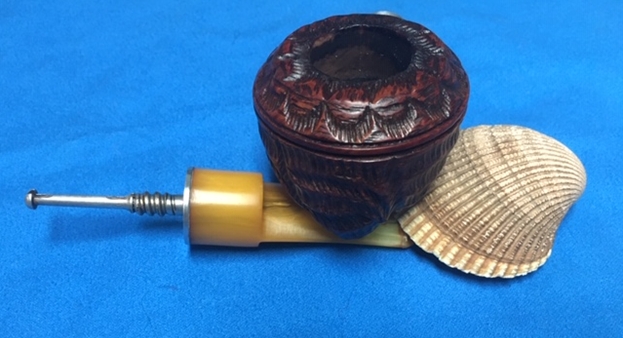
 I turn my attention now to the Ben Wade Hand Model stummel. I like the rustic look of this stummel. What I also like about it is that there is a curving or narrowing in the shaping of the bowl about 2/3s up as it moves toward the rim. With the rough finish, rough is good and the surface reminds me of tree bark!
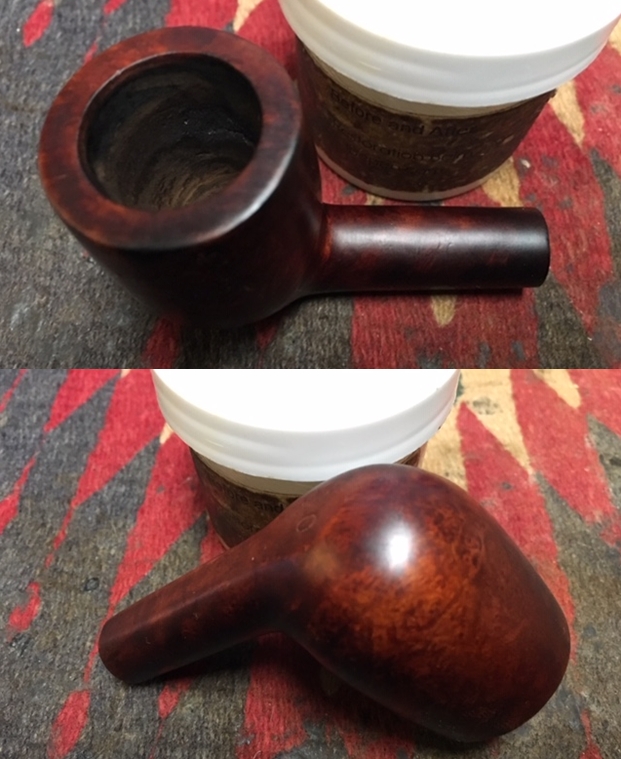
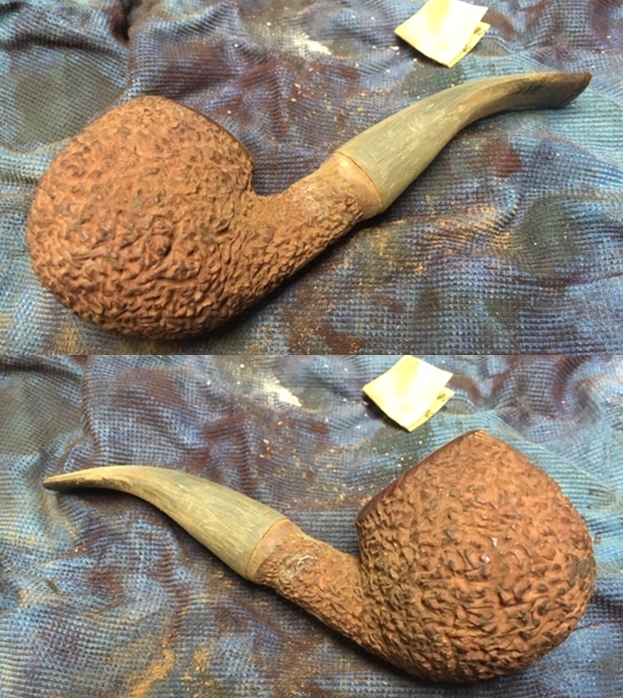
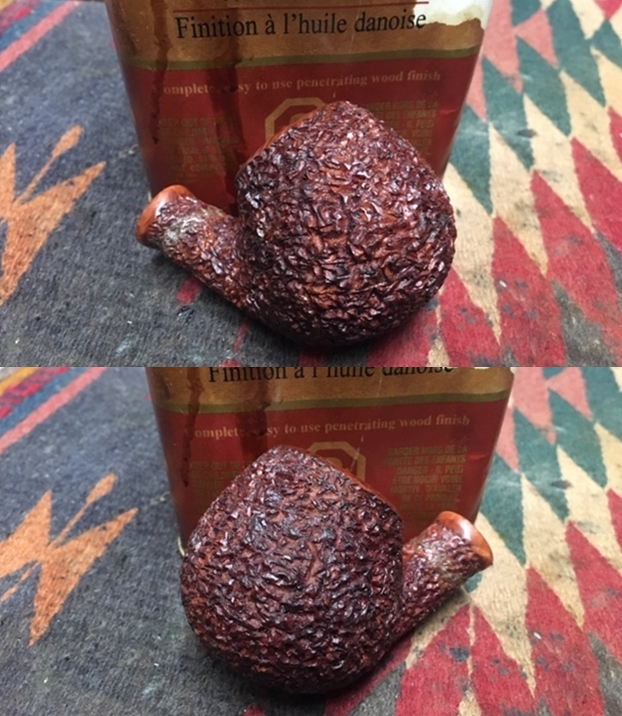
  With the stummel being dry and with a light blotchy look in the valleys of the blasted areas, I decide to add some paraffin oil to the briar to hydrate it. Doing this also allows me to get a sneak preview of what the briar will look like somewhat finished, I apply paraffin oil to the surface with a cotton pad. This moisturizes the briar and I like what I’m seeing. The only thing I’m not liking is that the scorched place on the back side of the rim is still evident even with the help of a darkened blend. The pictures show what I’m seeing.
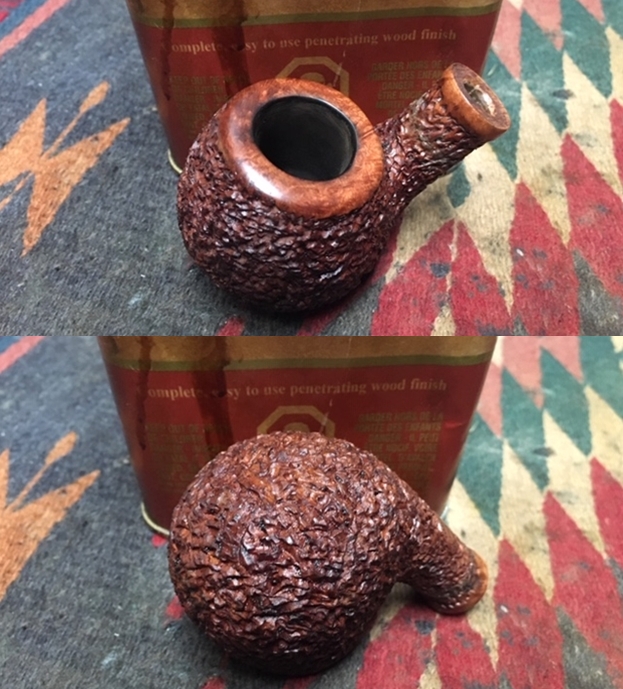
  I decide to go back to an elbow grease methodology and focus cleaning on the rim with a brass wire brush and Murphy’s Oil Soap. This time Murphy’s has its way. I did do a lot of scrubbing and the rim surface shows the skinned lighter area on the rim where the cleaning was, but the scorched area was removed.
 To darken the rim to blend with the rest of the bowl, I use a cherry dye stick which matches pretty well and I color the rim as well as the edge of the rim – external and internal. This looks good and will blend in more as I polish.
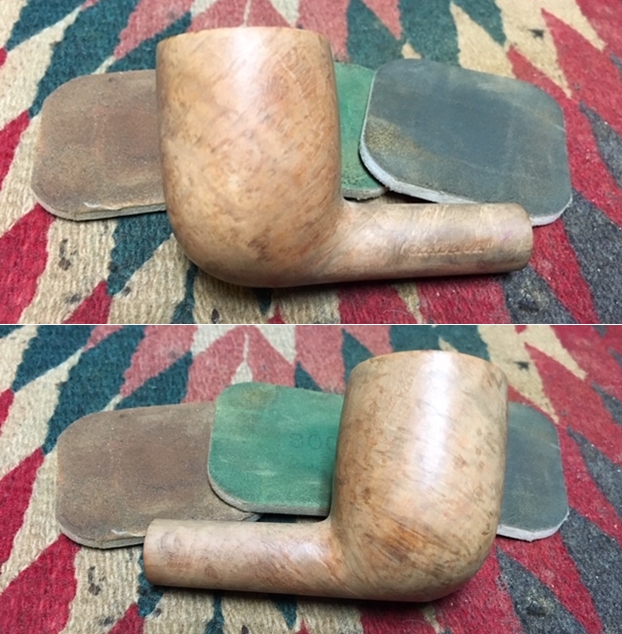
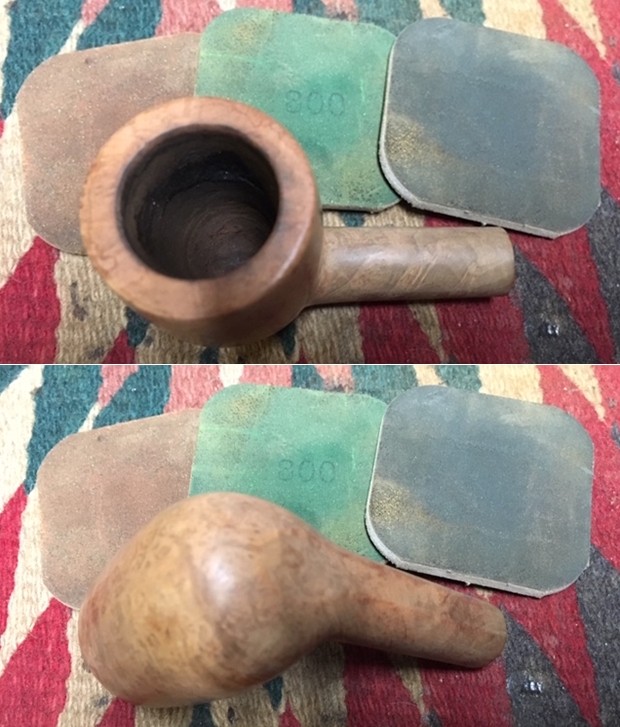
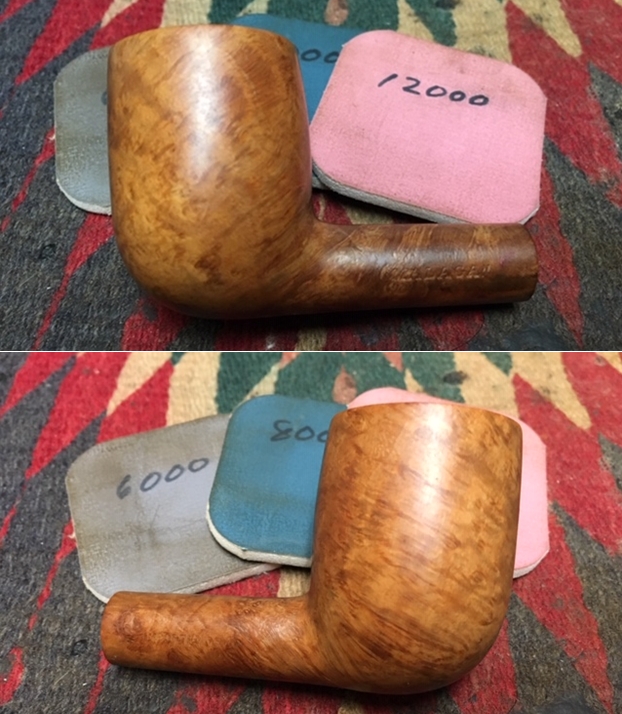
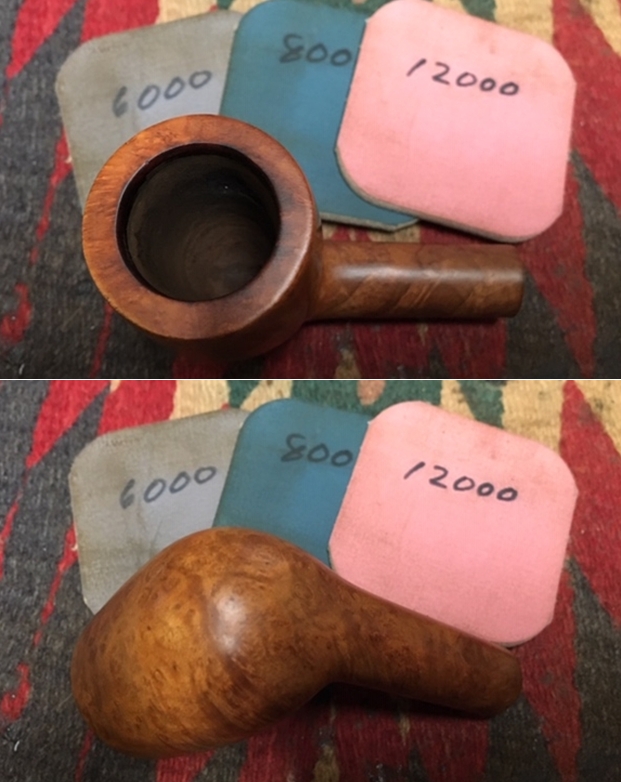
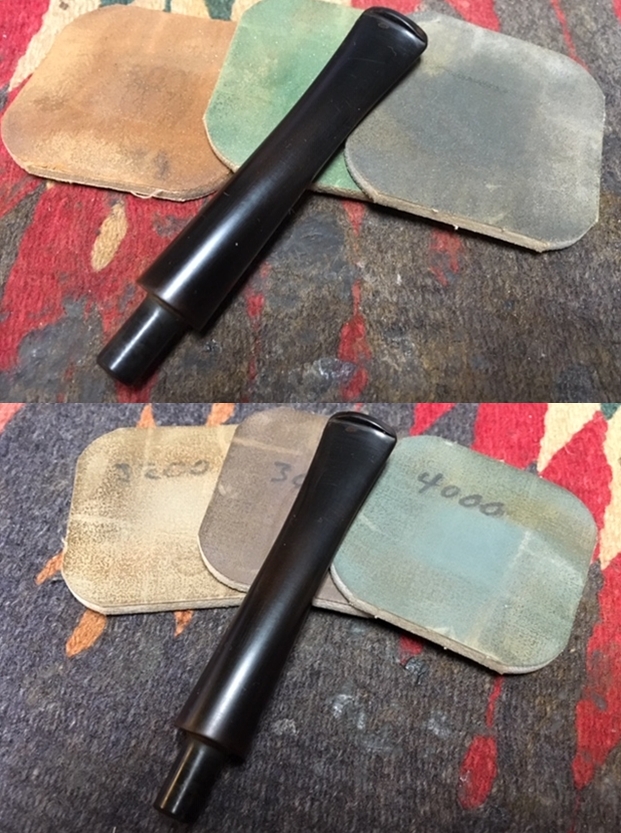
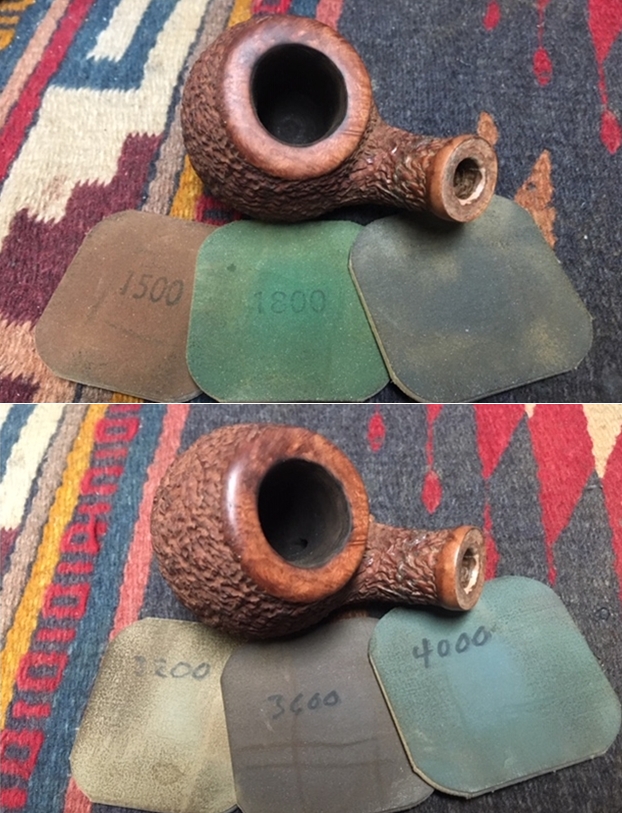
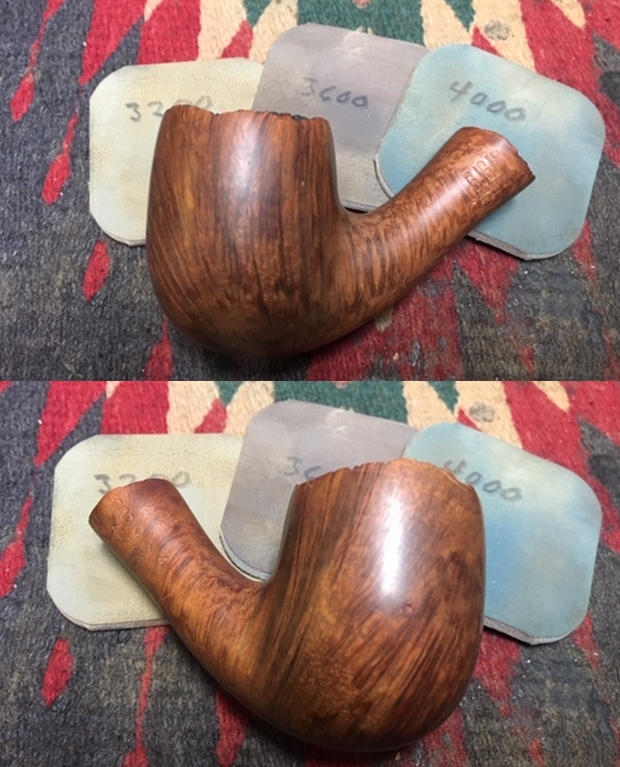
 Next, to clean up the lower shank panel, I very quickly and lightly, run the area through the full regimen of 9 micromesh pads from 1500 to 12000 – dry sanding with each. I wasn’t worried about the nomenclature because it is deep and solid, and I sanded very lightly with the pads. This gently cleaned the smooth briar of minor nicks and scratches.
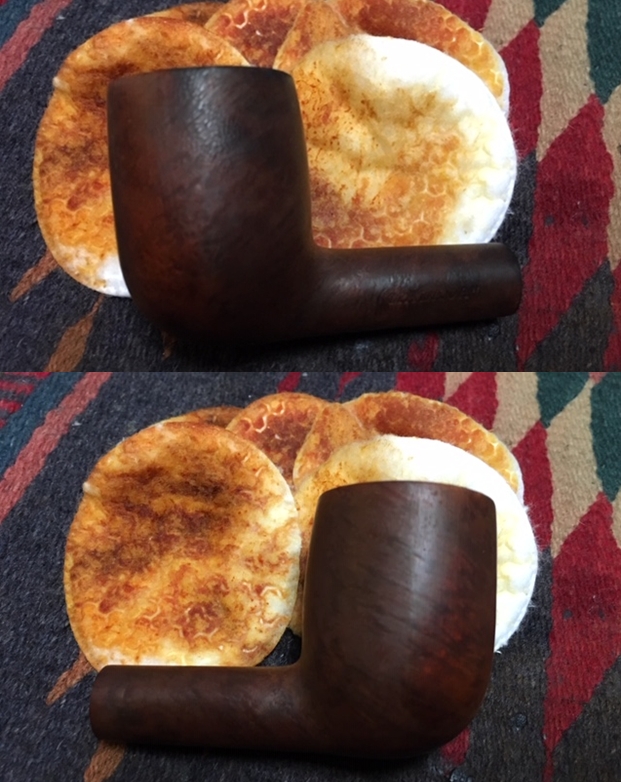
 I like the look of the finish and decide that it looks good just as it is. In order to deepen and enrich the natural grain, I apply Before & After Restoration Balm. I like this product that can be found at http://www.lbepen.com. I apply some of the Balm to my fingers and thoroughly work it into the briar surface – into the nooks and crannies of the richly blasted briar. After applying, I let the stummel sit for a few minutes – 10 or so, and then I wipe the stummel with a microfiber cloth to remove the excess Balm and to buff it up a bit. I take a picture during the ‘absorbing’ period.
 The patches on bit and button of the stem are now cured after several hours. I begin to remove the excess patch material on the upper bit using a flat needle file. I’m careful to establish the new inner lip of the button.
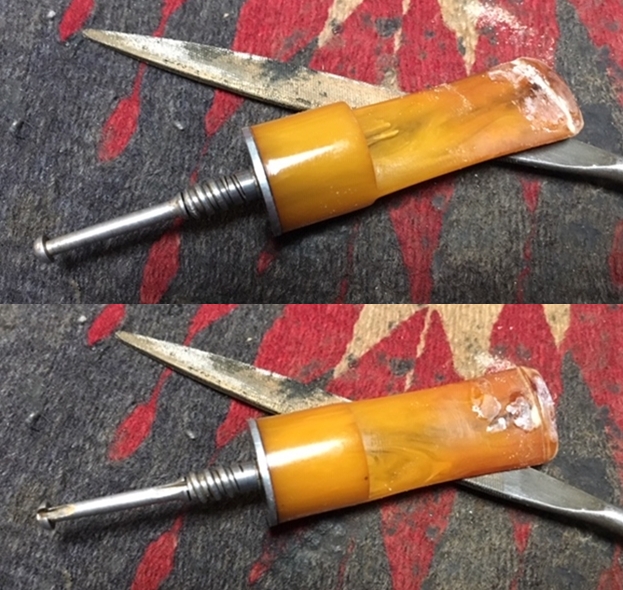
  As I filed to shape the new button lip, I discover a crevasse hidden below which is too severe simply to remove. There are other pockets on the button that don’t look too promising. It is normal in my experience, that its necessary to apply additional patch material to fill pockets and gaps that appear during filing and sanding.
 To address patching the button problems, this time I use a black CA glue to fill the crevasse and pockets and I apply an accelerator to quicken the curing process.
  Again, filing and shaping the upper button lip and this time better results are realized.
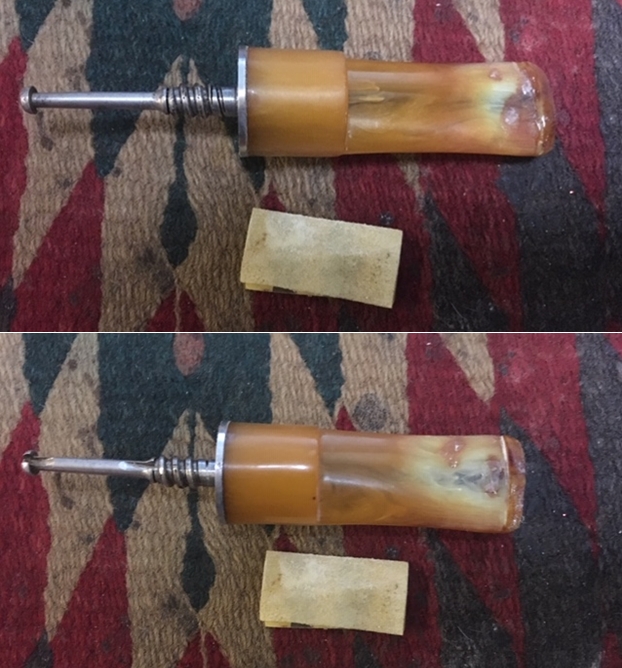
 I follow filing by sanding with 240 grit paper (which I forgot to add as a prop to this picture!) to erase the marks left by filing. As with the filing of the button, the finer 240 paper reveal a cluster of pockets in the center bit area in the patch. Again, I spot drop black CA glue to fill the pockets, apply an accelerator and file the excess then sand the bit area with 240 grit paper. The upper bit and button area look good.
 The same process is repeated on the lower bit and button. It too, looks good.
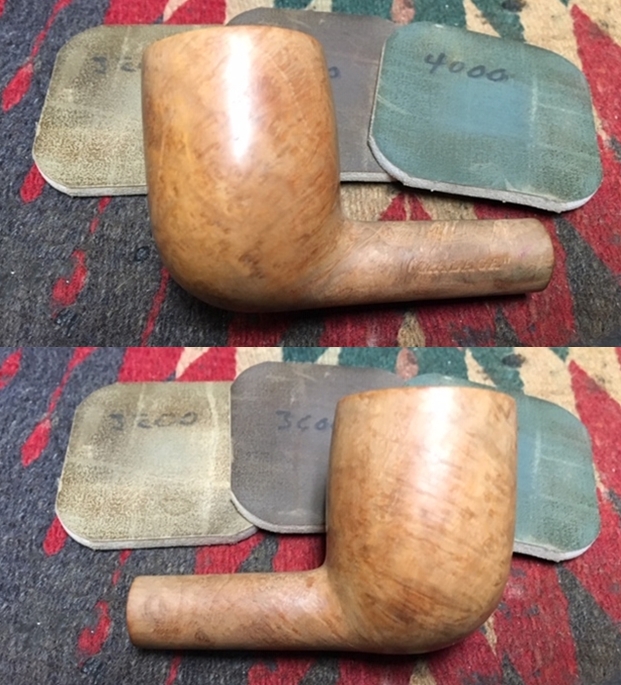
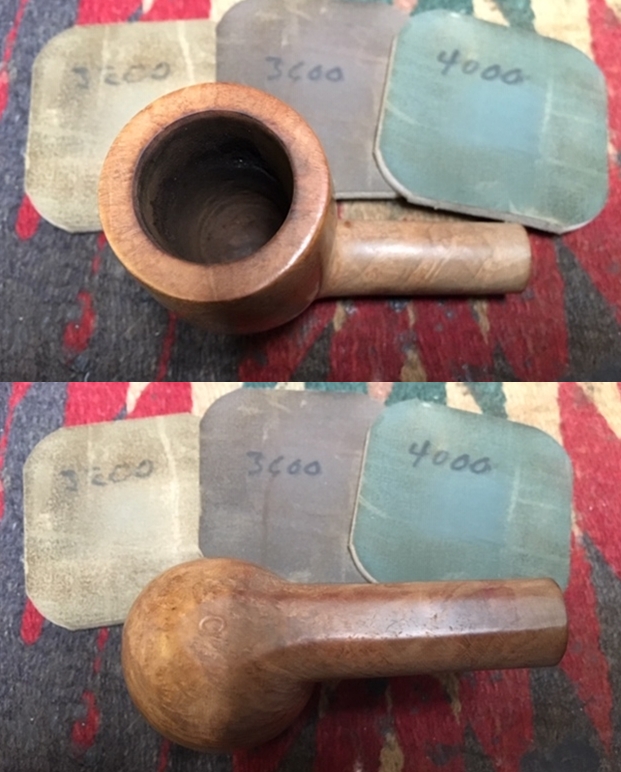
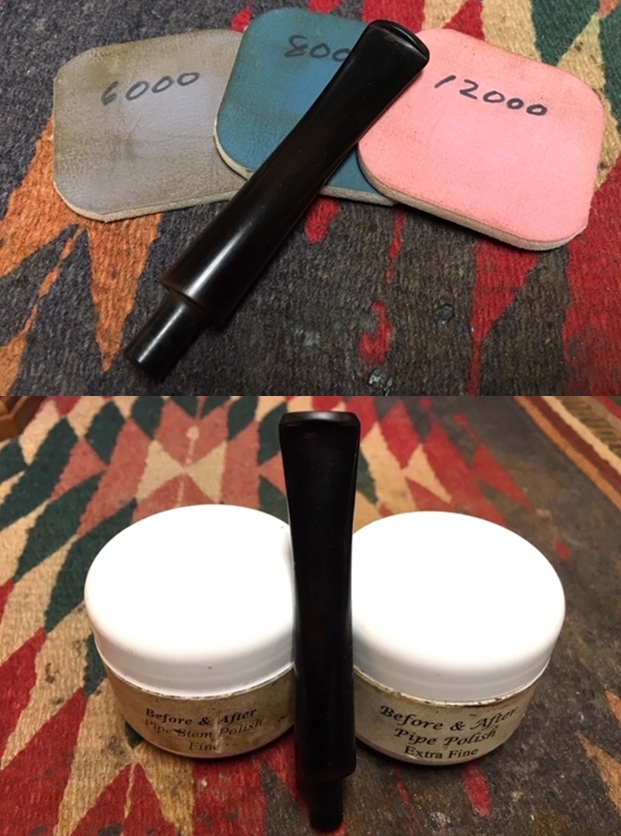
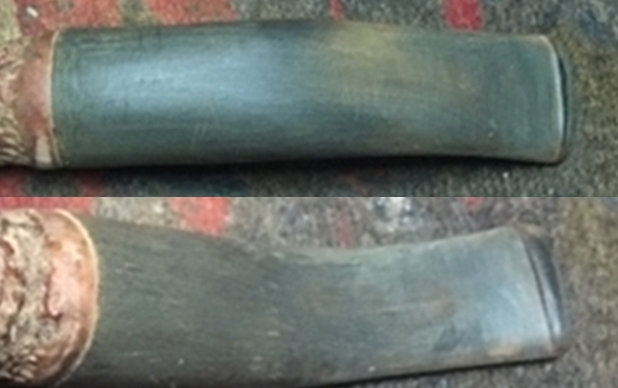
 With the bit repairs completed and with the repaired button shaped, I continue by wet sanding the entire stem with 600 grade paper. I’m careful to work around the BEN WADE stem stamp on the saddle. After wet sanding with 600 grit, I apply 0000 steel wool to stem. Finally, I wet scrub the stem with Magic Eraser. I’m satisfied with the progress.
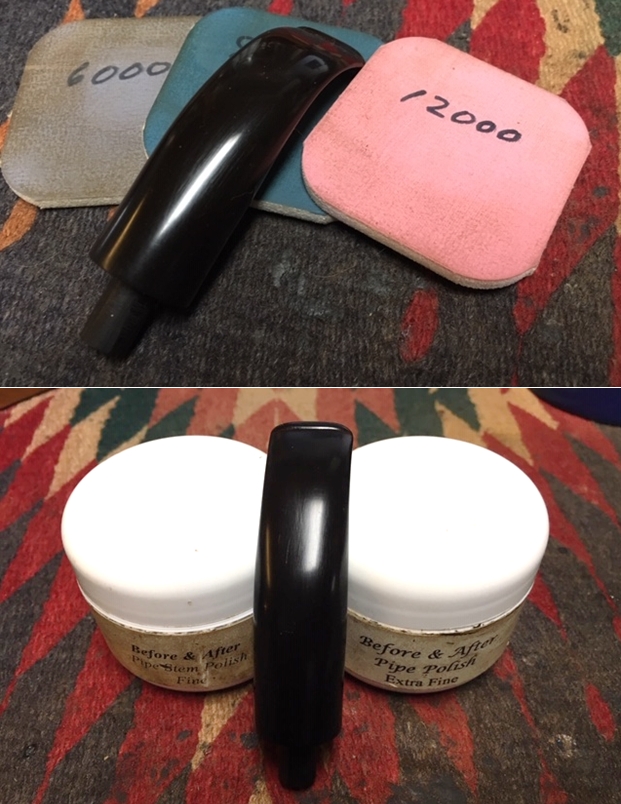
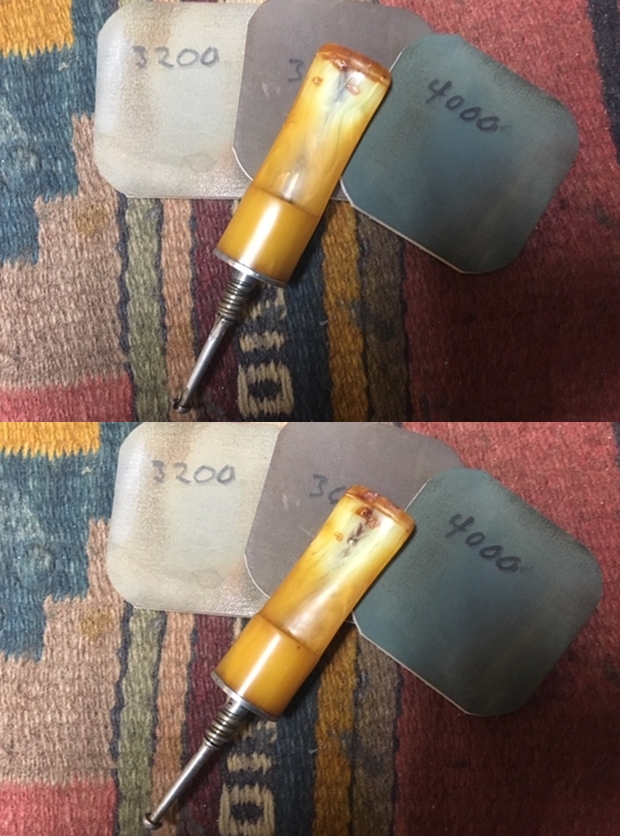
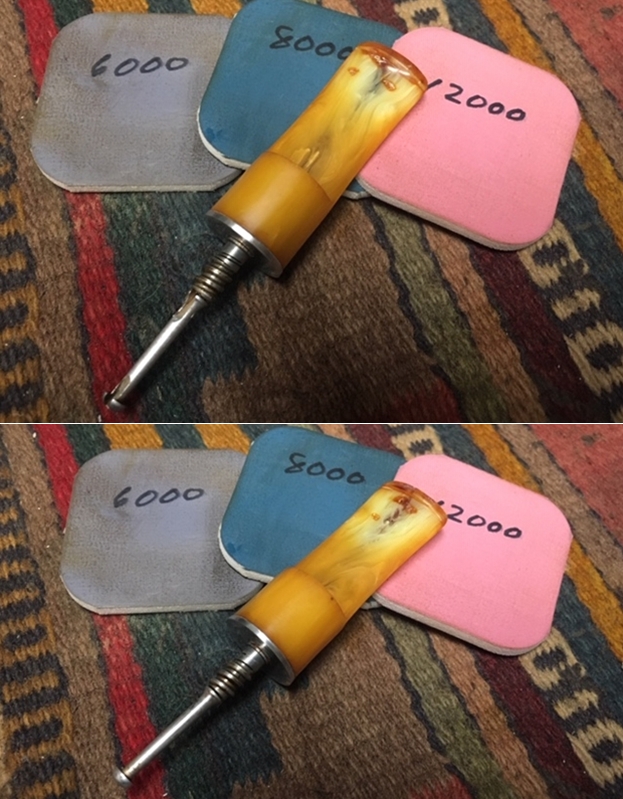
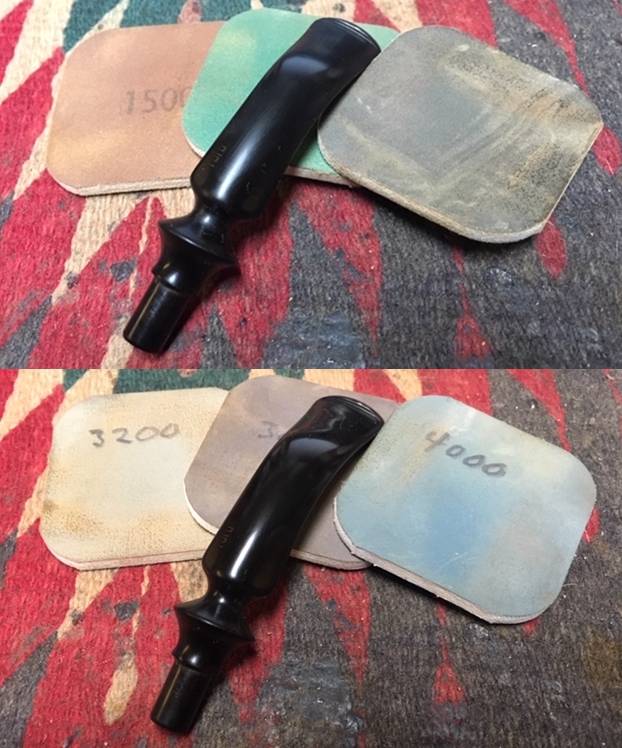
  I move forward with the micromesh pad regimen wet sanding using pads 1500 to 2400 followed by dry sanding with pads 3200 to 4000 and 6000 to 12000. I follow each set of 3 pads with an application of Obsidian Oil which further rejuvenates the vulcanite. I like that vulcanite pop! The stem looks great.
 I try to reunite the stem and the stummel and as is the case sometimes, after cleaning the mortise, the briar inside can expand causing the fit with the tenon to become too tight. I do not want to force the stem and risk a cracked shank, so I gently ream the mortise with a half-rounded needle file. Then I gently sand the tenon by wrapping 600 grit paper around the tenon.
 This works and I am able then to reunite the stem with the stummel and mount a cotton cloth buffing wheel to the Dremel and set the speed at about 40% full power. I apply Blue Diamond compound to the entire pipe. I run the wheel along the grain of the blasting to bring out the contrasts of rough briar as well as to buff it up into a shine. After completing the Blue Diamond, before applying wax, I freshen the Ben Wade white stem stamp. I clean the area with alcohol and then I dab a bit of white acrylic paint over the stamping. I then use a cotton pad to tamp the wet paint which draws off the excess paint and helps the paint to dry sooner.
 Then using a toothpick, I gently scrape off the excess paint leaving a refreshed BEN WADE stamp. It looks nice and crisp.
 I then mount another cotton cloth buffing wheel onto the Dremel and apply carnauba wax to the stummel. I increase the speed of the Dremel from my usual 40% up to about 50 to 60% full power. I do this to create more heat with the friction of the wheel to encourage the wax to dissolve in the craggy blasted briar surface. Waxing a rough surface can cause the wax to collect and not to absorb into the surface. The added heat encourages this and as I look at the waxing action, it looks like it’s having the desired effect. Nice! After finishing the waxing process, I then give the stem and stummel a rigorous and substantial hand buffing to remove any excess wax and to raise the shine.
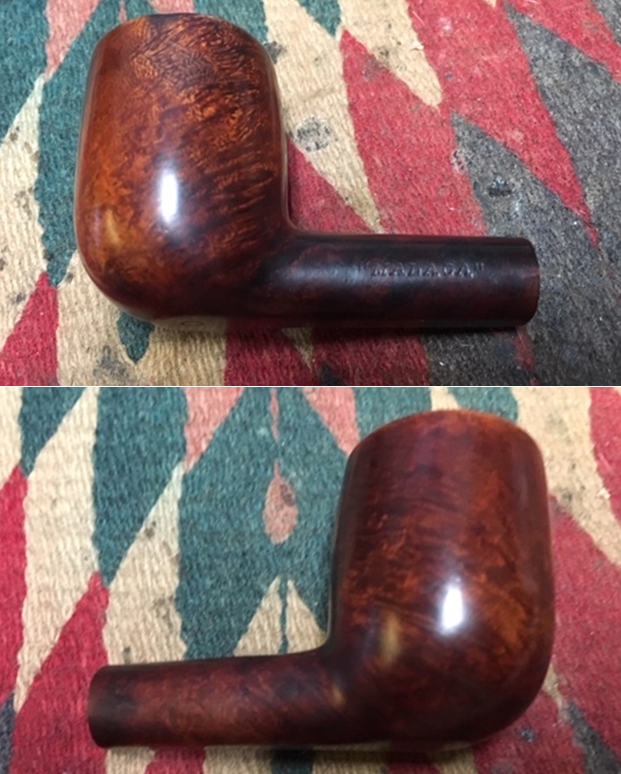
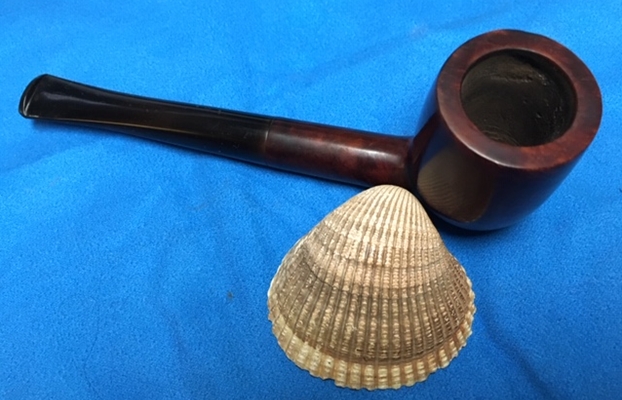
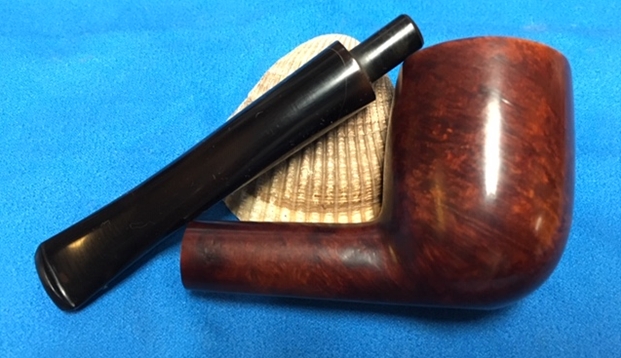
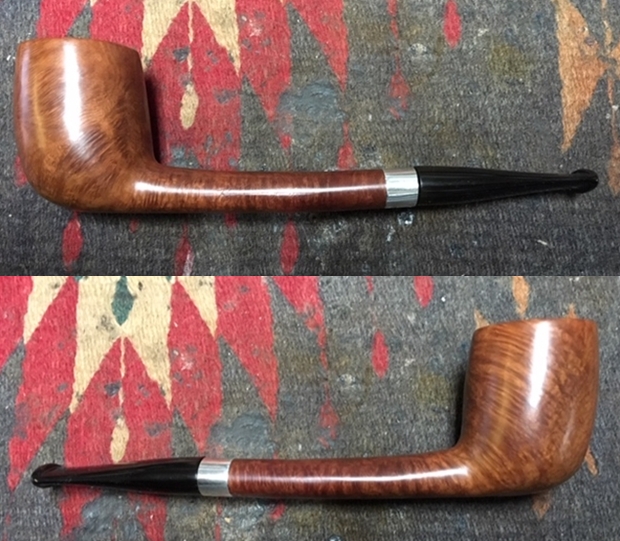
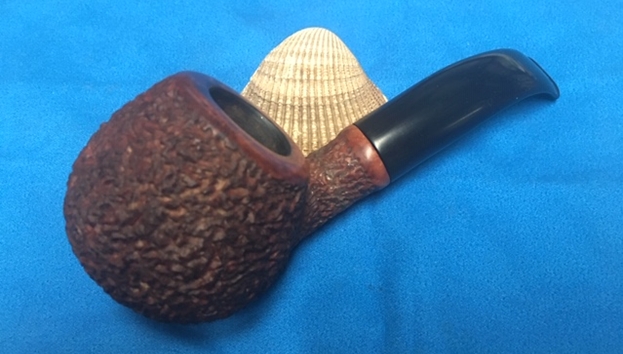
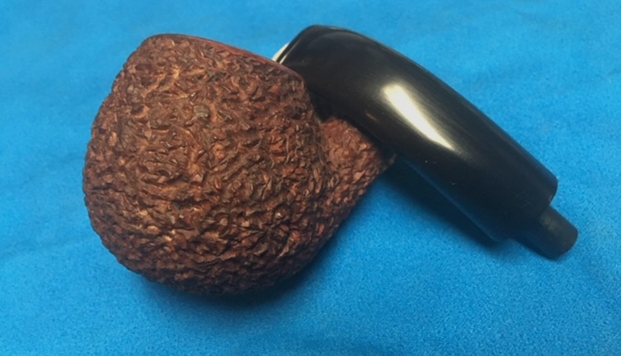
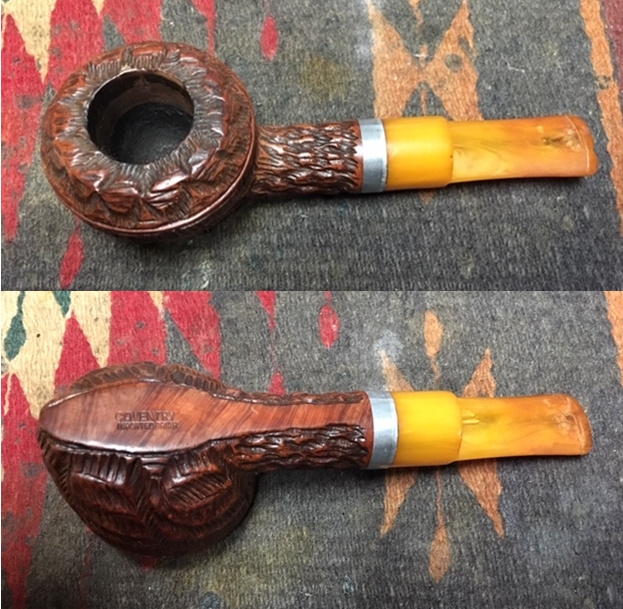
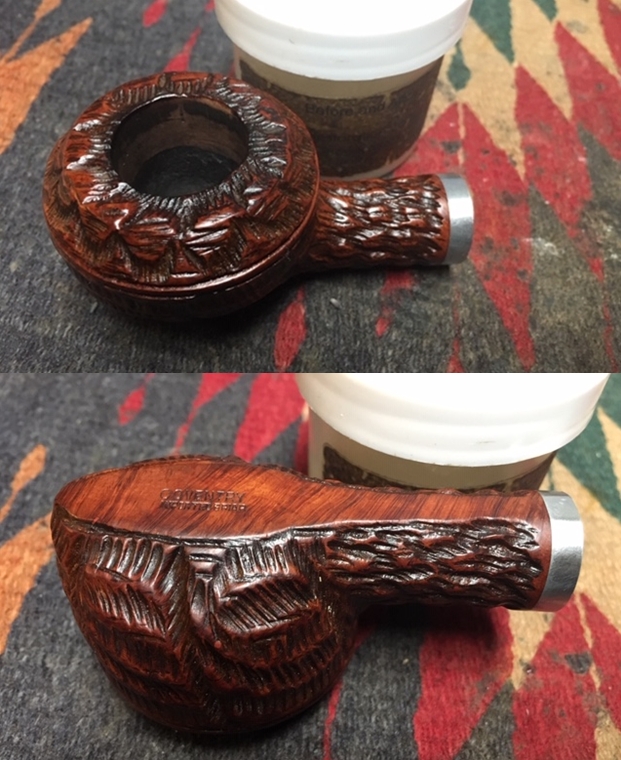
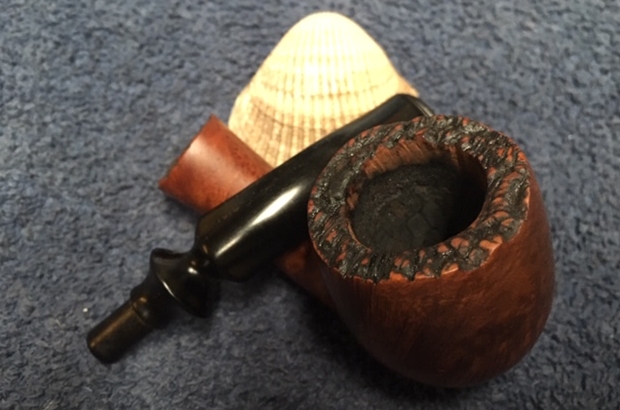
The blasted grain on this Ben Wade Hand Model is distinctive. It looked so good I thought that it might be the blastification process, but it is the real deal. The shaping of the bowl also adds to the rustic effect with it tightening near the top and then flaring out. The blasted briar displays many hues of grain – very eye pleasing. This is the third of three pipes that Todd commissioned, and he will have the first opportunity to acquire this Ben Wade Hand Model from The Pipe Steward Store. These pipes benefit the work we do here in Bulgaria with the Daughters of Bulgaria working among women and girls who have been trafficked and sexually exploited. Thank you for joining me!