Blog by Steve Laug
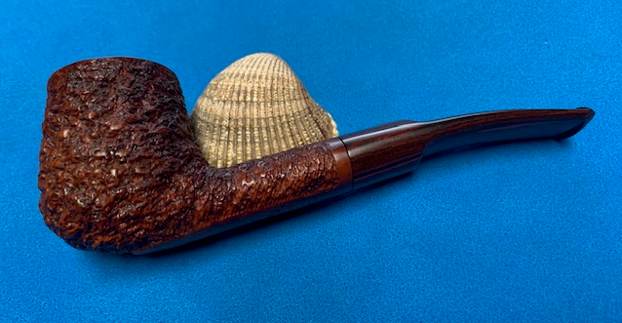
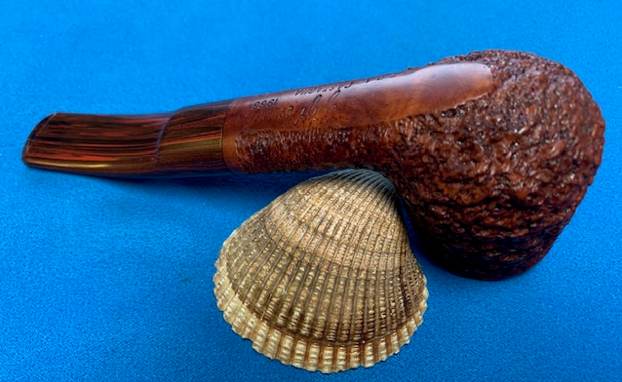
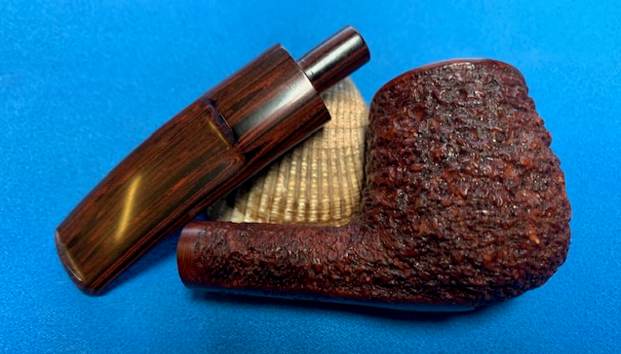
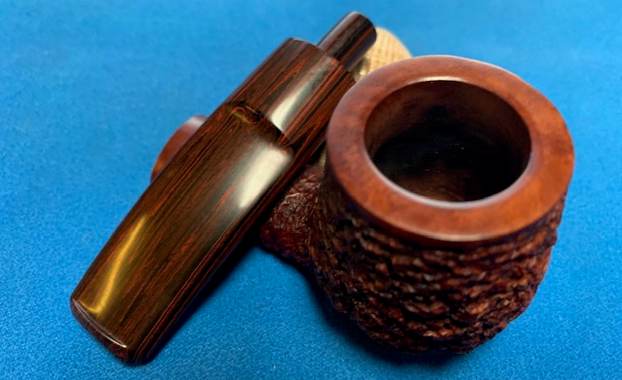
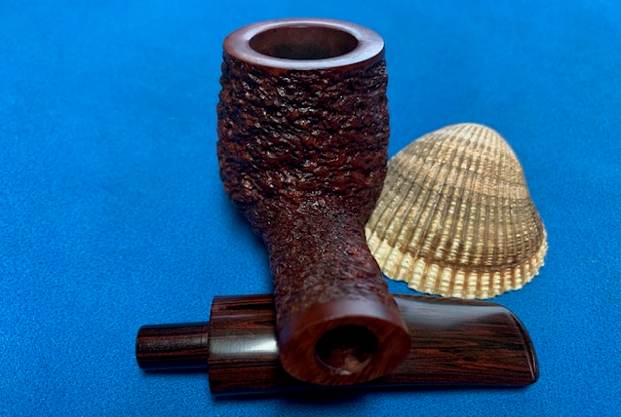
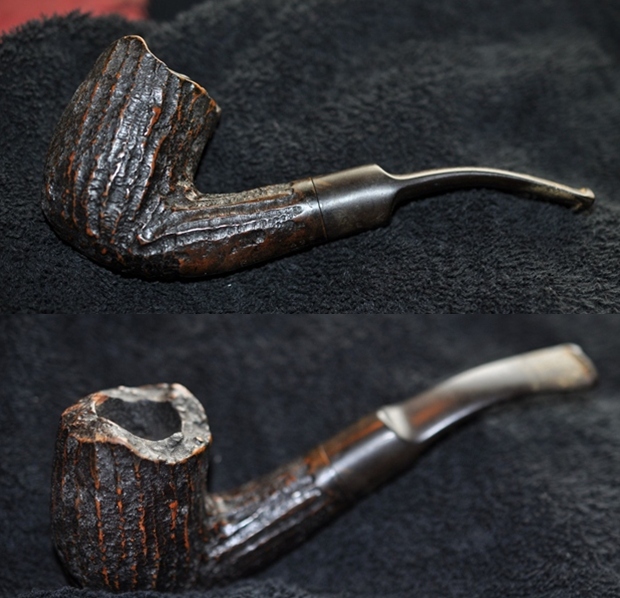
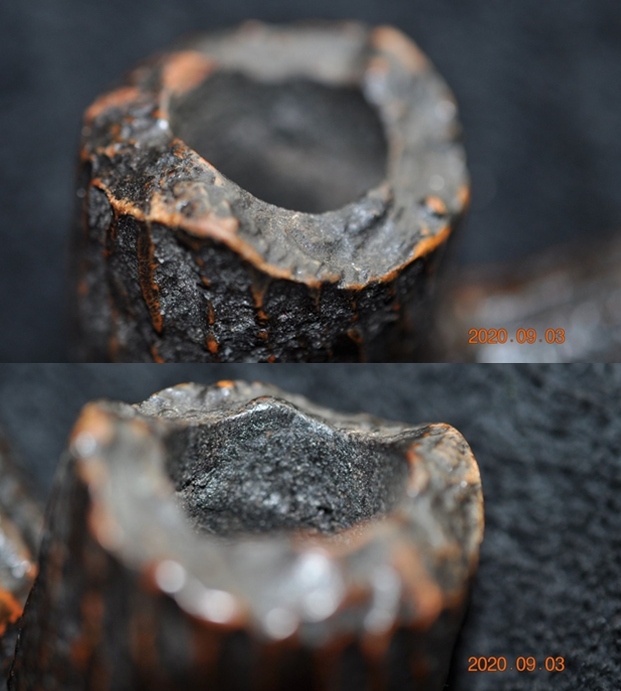
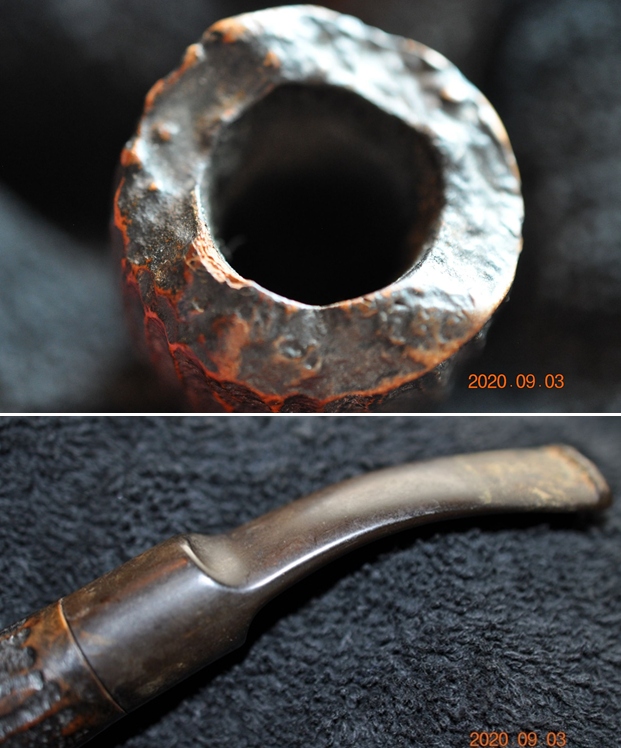
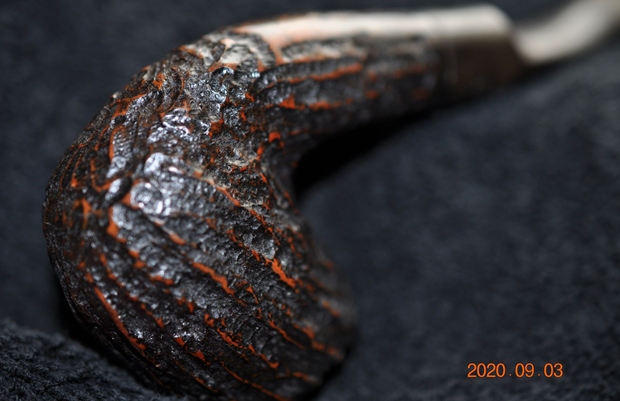
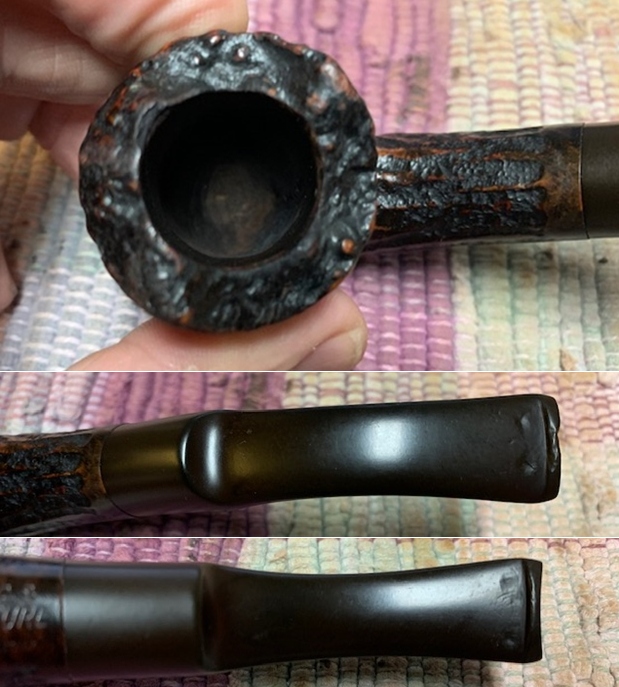
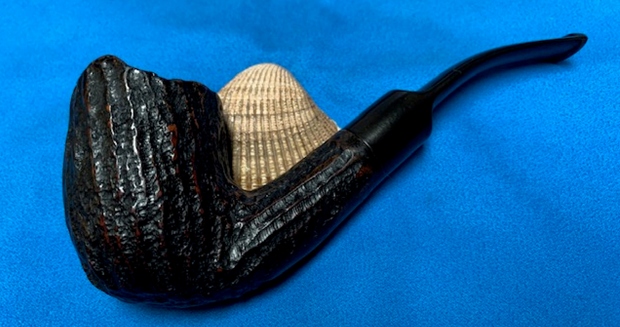
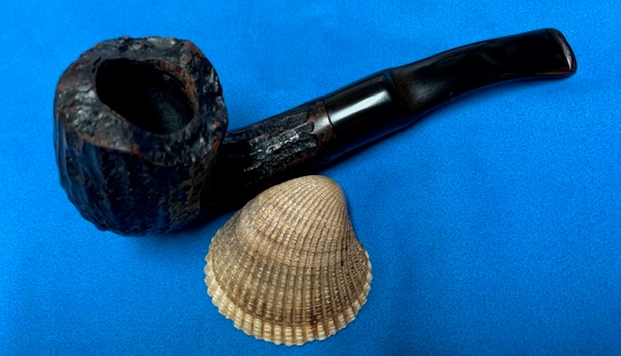
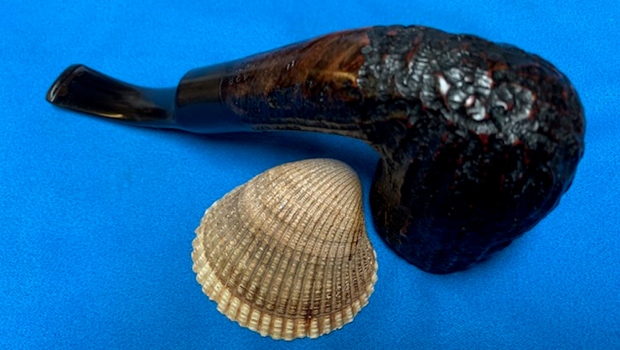
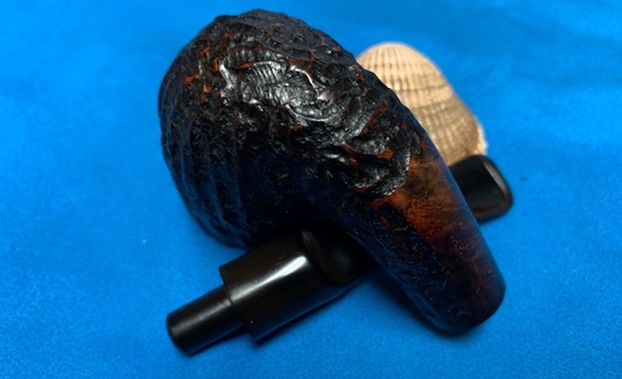
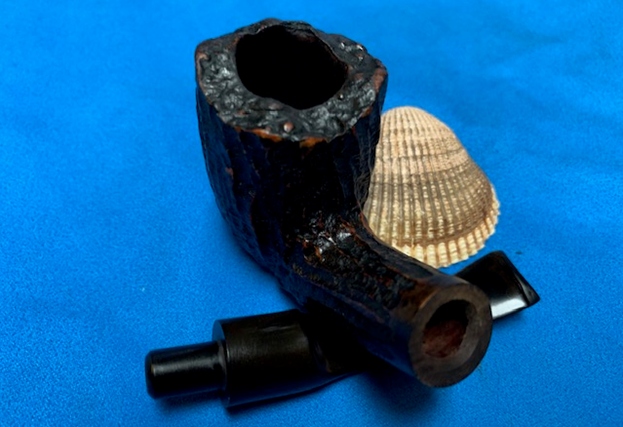
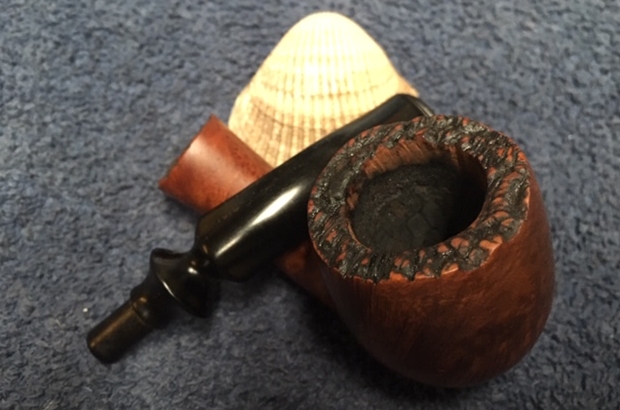
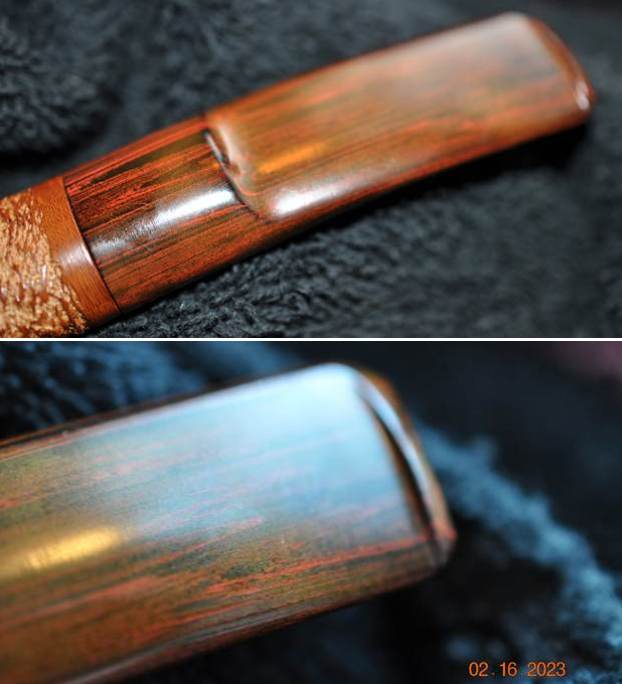
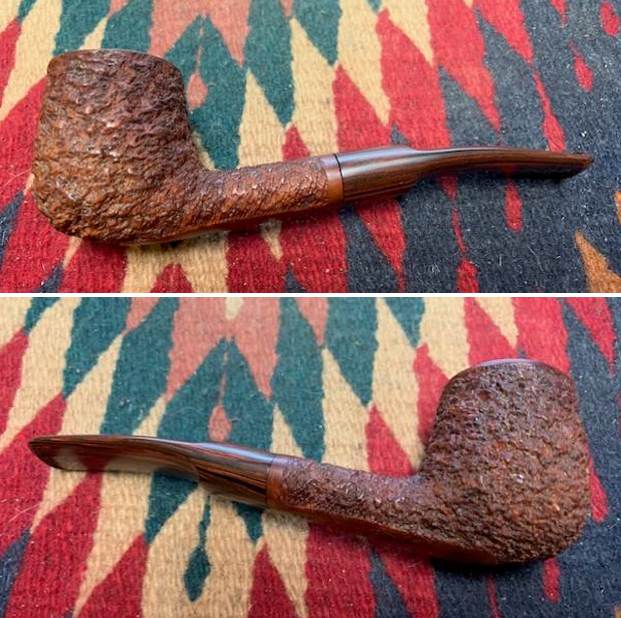
The next pipe was another surprise to Jeff and me when it came in a lot of pipes that we bought it from the fellow in Copenhagen, Denmark on January 26, 2023. Most of what we have picked up from him are Danish Pipes and few interesting exceptions. However, this Italian Made rusticated Brandy was a unique addition. It is a rusticated oval shank Pot with a smooth rim top and band at the shank end. The pipe is stamped on the underside of the shank and reads GiGi [over] Castagna. To the left is the shape number 721 and to the right is the line – Collezion [over] 1988. The bowl appeared to be lightly smoked with raw briar on the lower half. The smooth rim top was clean and the edges undamaged. The finish on the rusticated bowl was dull looking with dust in the grooves of the rustication. The Cumberland saddle stem is oxidized and dirty but otherwise undamaged. It came with a flannel bag stamped The Danish Pipe Shop in a circular logo. Jeff took these photos of the pipe before he started his cleanup work.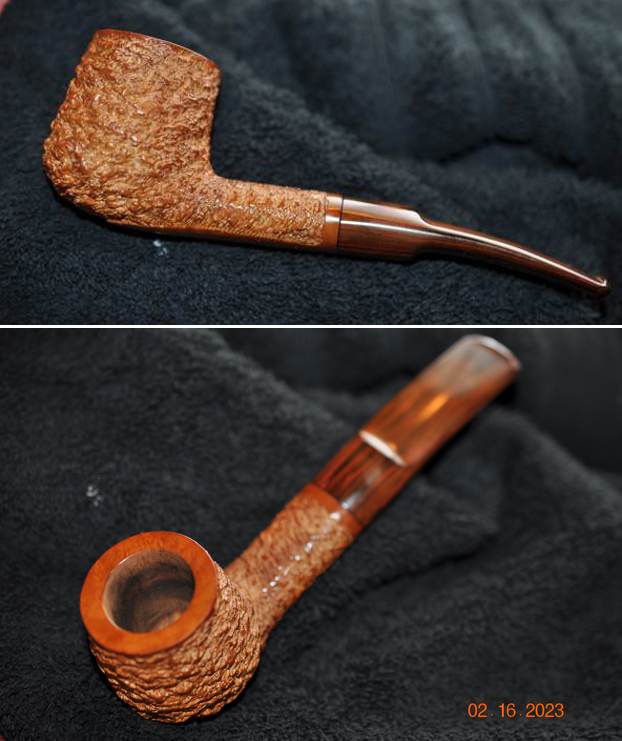 He took photos of the rim and bowl to show how clean the inside was and the lightly smoked condition. The bowl and the rim top and edges were in flawless condition. He also took photos of the stem surfaces to show its overall condition when it arrived. It was lightly oxidized and dirty but did not have any tooth marks or chatter.
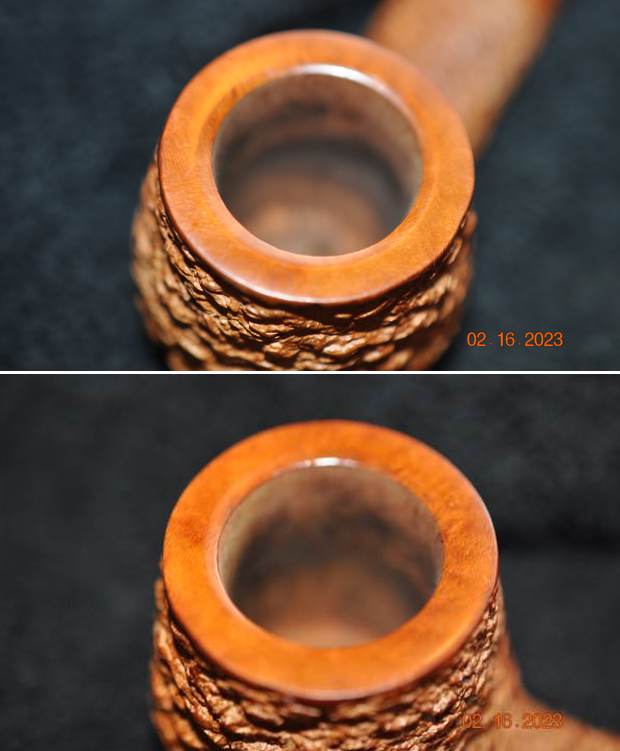
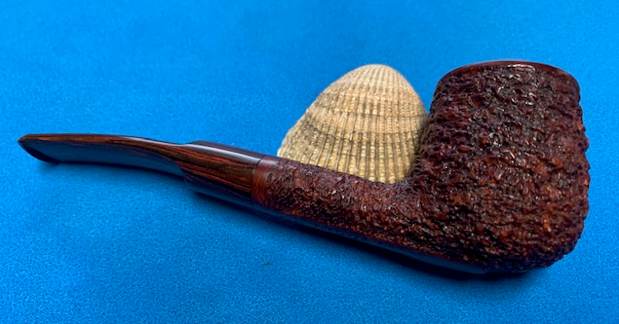
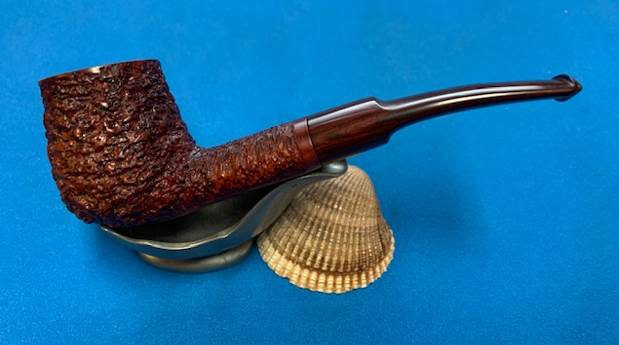
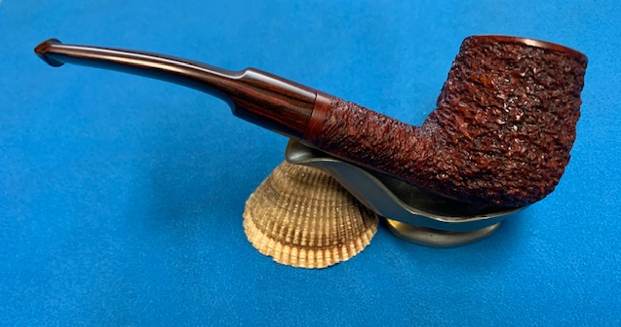
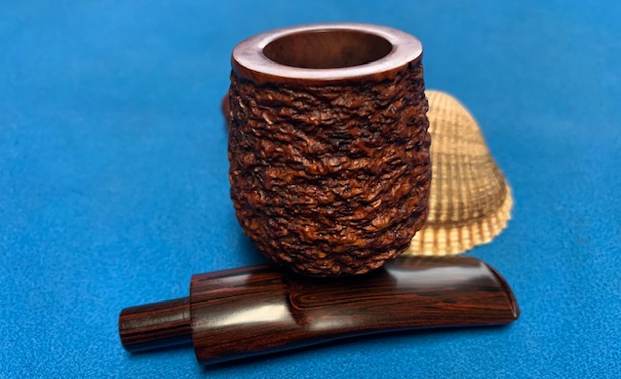
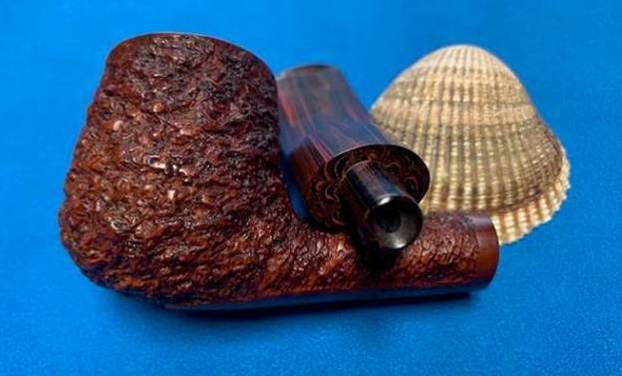
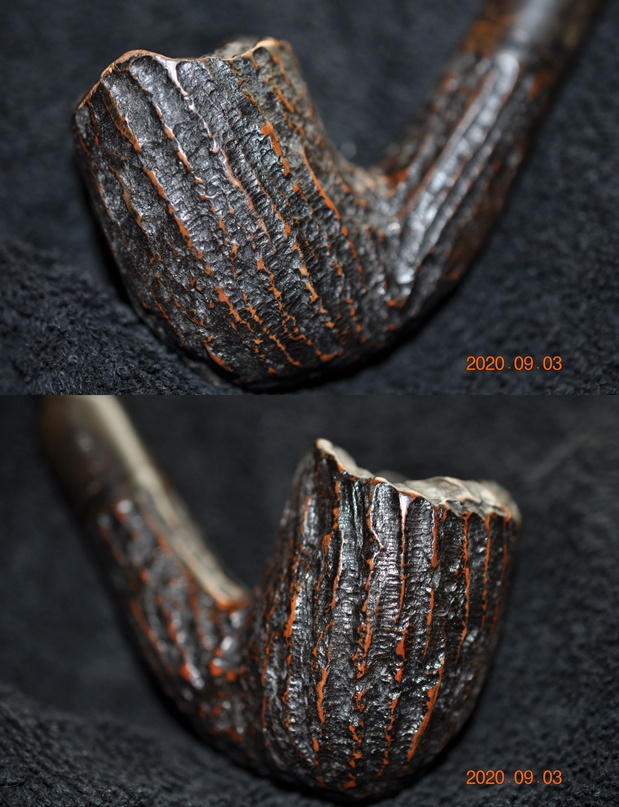
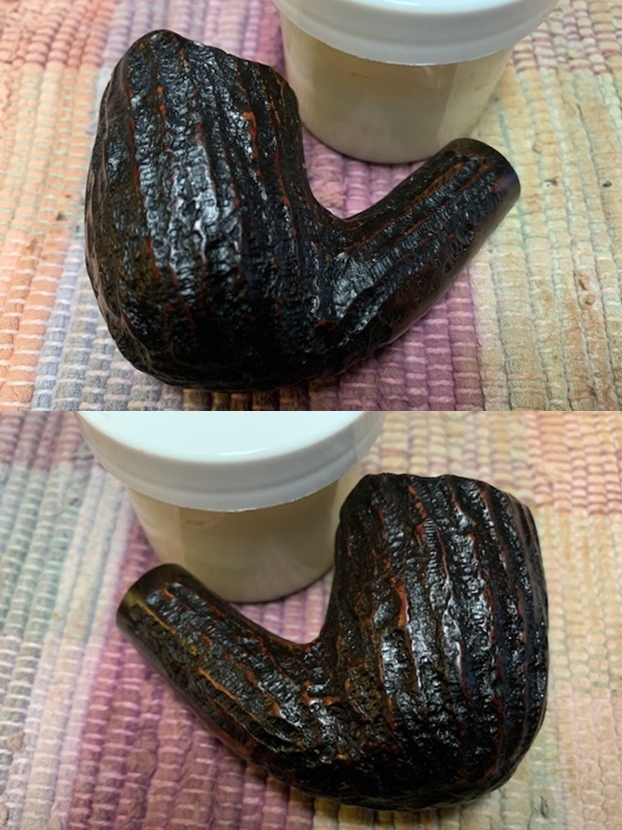
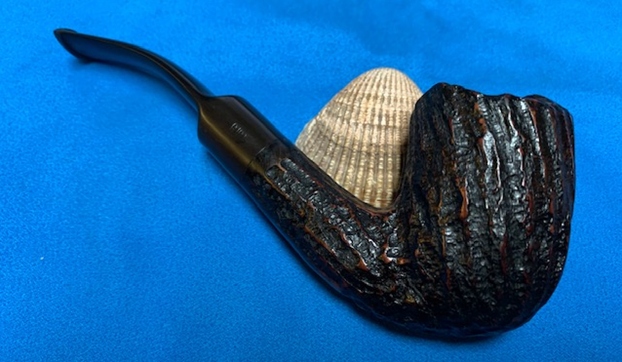
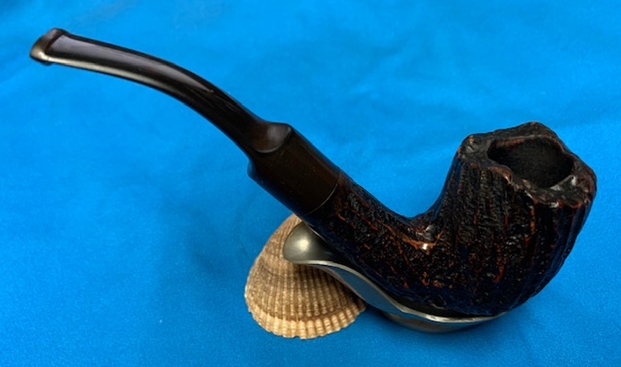
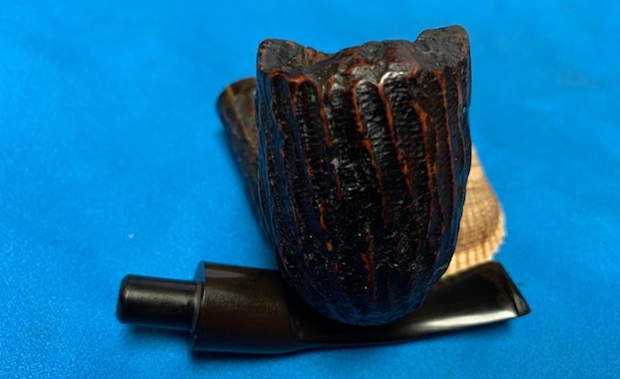
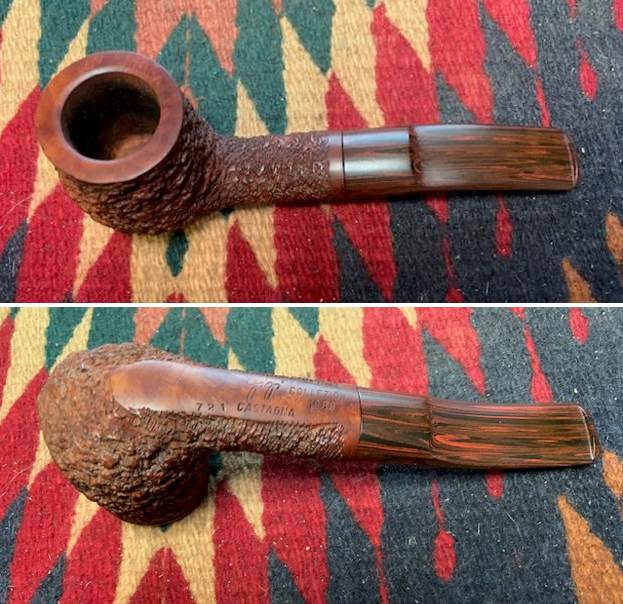
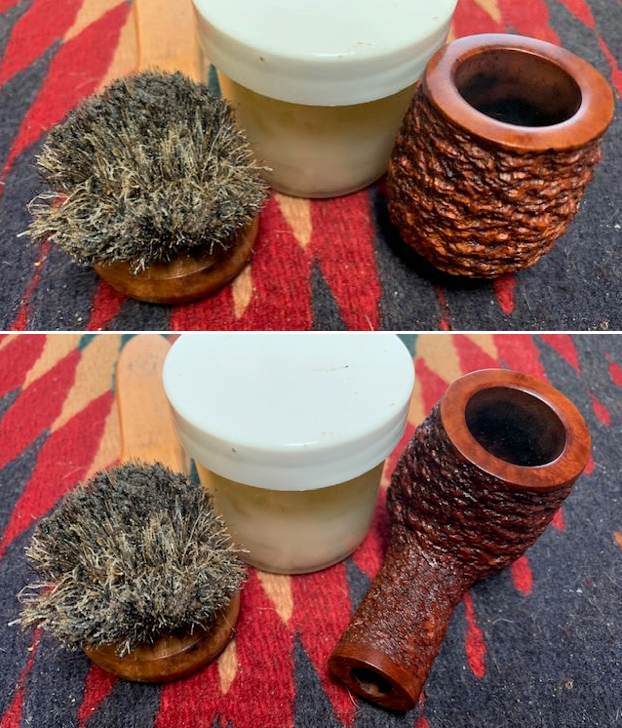
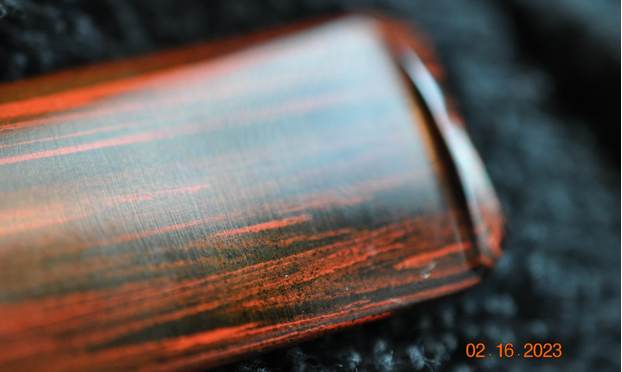 The photos of the sides and heel of the bowl show the rugged rustication around the bowl and shank sides. The rich tan stain adds depth to the finish.
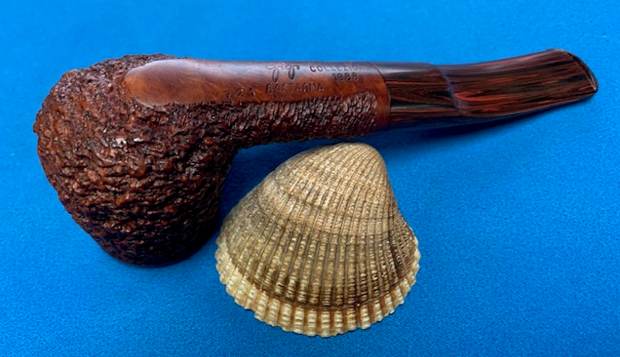
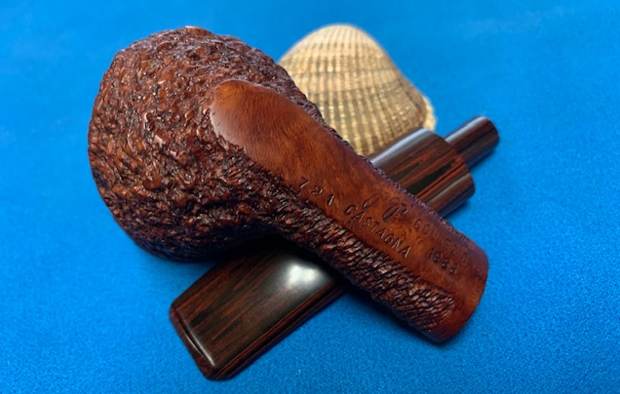
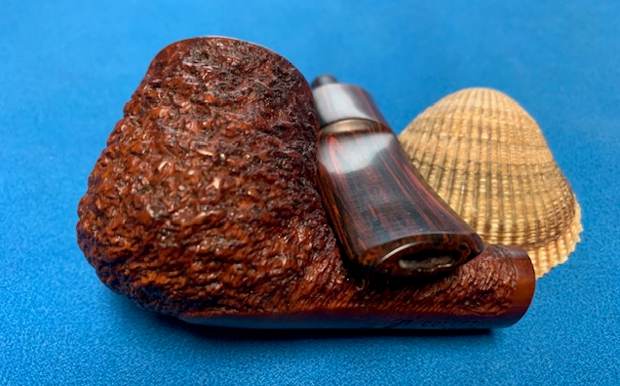
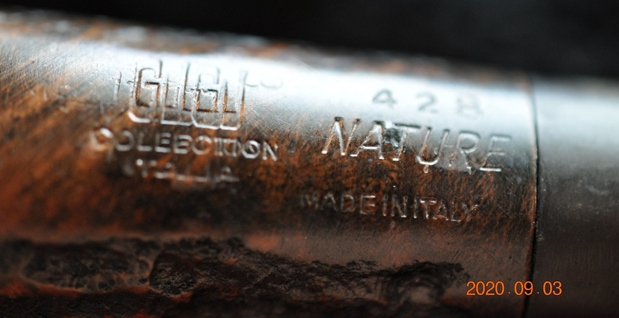
 He also took a photo of the stamping on the smooth panel on the underside of the oval shank. The stamping was clear and read as noted above.
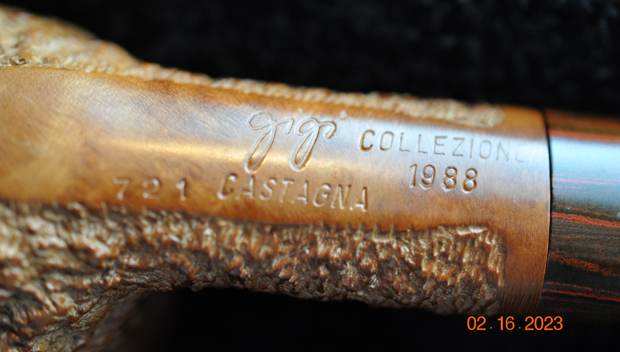 I turned to Pipephil’s site to see what I could learn about the GIGI brand and the carver who had made the pipe (http://www.pipephil.eu/logos/en/logo-g3.html). I have included a screen capture of the pertinent section from the site. The information I found was as follows:
Artisan: Luigi “Gigi” Crugnola made at Gigi Pipe Via Rovera, 40 21026 Gavirate Oltrona al Lago (VA).
Now I knew that the pipe was made by Luigi “GIGI” Crugnola. That was the extent of the information on that site.  I turned to Pipedia to see if I could gain a bit more information on the brand as it generally has a great digest of the history of the brand and maker (https://pipedia.org/wiki/Gigi). I quote the article in full below:
Luigi “Gigi” Crugnola was born in 1934, the same year Giorgio Rovera founded a company in his own name in Varese, Italy along with partners Angelo and Adele Bianchi, who also happened to be Luigi Crugnola’s Uncle and Mother, respectively. The company produced pipes for 30 years, largely exported to America and elsewhere in the world. Crugnola took over the company in 1964 with the death of Angelo Bianchi, changing the name soon after to his own nickname Gigi, and continues to run the company today. The vast majority of Gigi pipes continue to be made for export.
What I learned is that the pipe was made post 1964 and was in all likelihood made for export. We purchased this pipe from our Copenhagen, Denmark connection so indeed it was exported. Now it was time to work on the pipe.
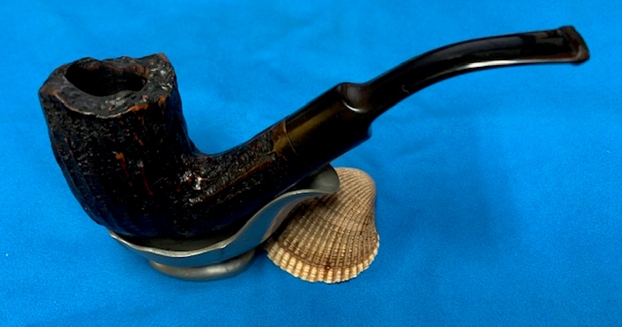
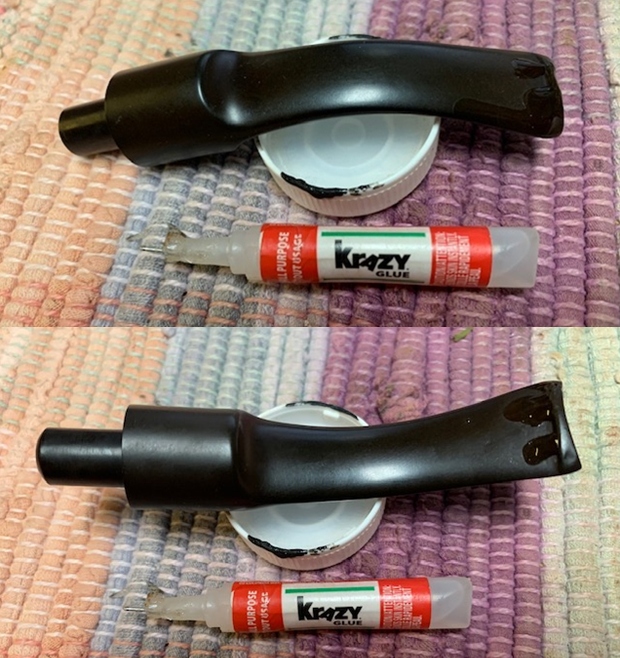
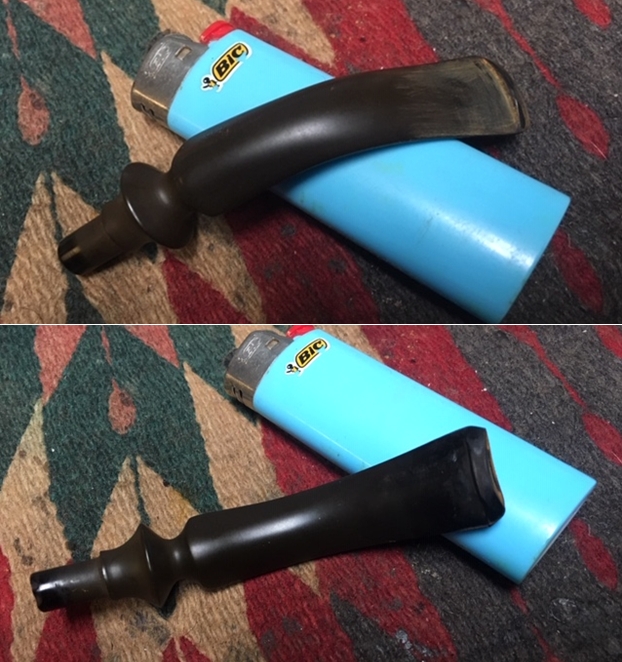
Jeff cleaned up the pipe for me. He reamed the bowl with a PipNet pipe reamer and cleaned it up with a Savinelli Fitsall Pipe Knife. He scrubbed the exterior with Murphy’s Oil Soap and a tooth brush to clean off the grime and dust off the finish. The cleaning had removed the debris and left the pipe looking very good. He cleaned up the internals of the shank, mortise and stem with pipe cleaners, cotton swabs and alcohol to remove any remnant of oils and tars in the lightly used pipe. He soaked the stem in Before & After Deoxidizer and was able to remove much of the oxidation, calcification. When it arrived here in Vancouver it was a clean pipe and I knew what I had to work with. I took photos of it before I started my part of the restoration.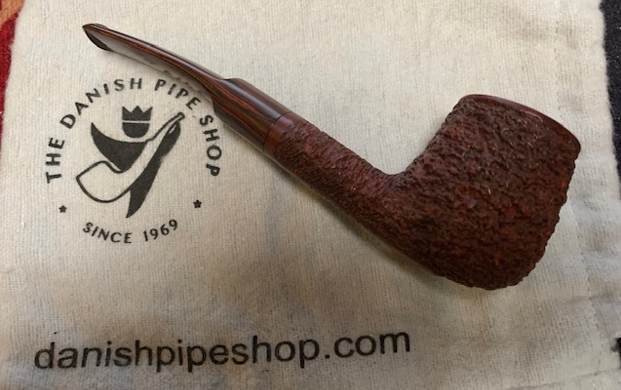
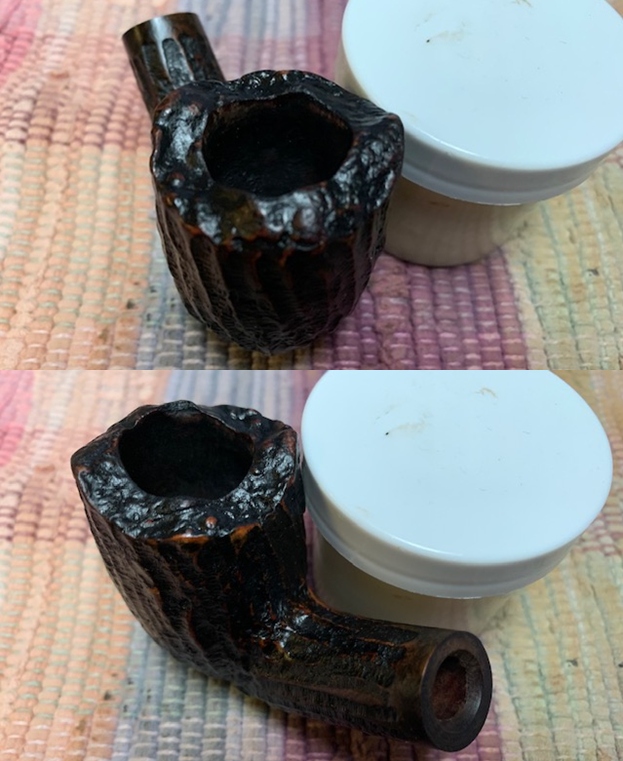
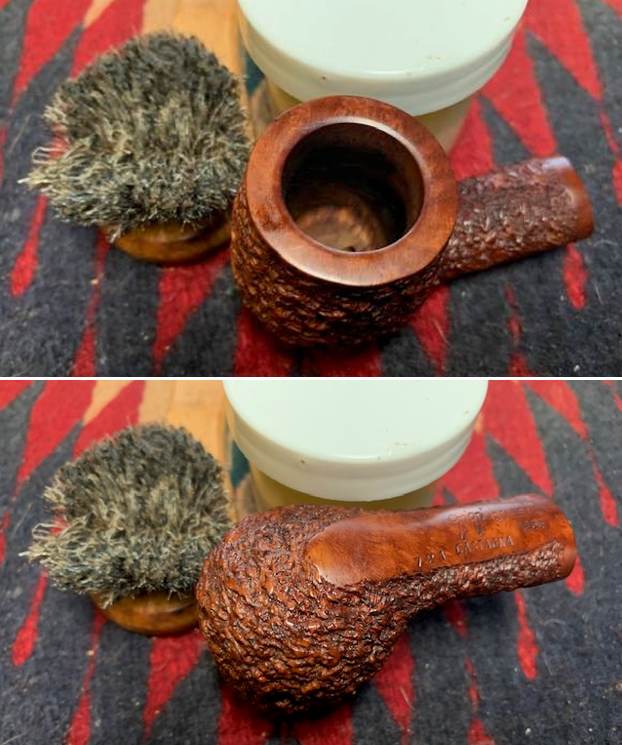
 I took a photo of the rim top and the stem to show their condition once it arrived in Canada. Jeff was able to clean up the rim and bowl sides as shown in the photos below. He was also able to get rid of the grime and grit in the surface of the briar. The Cumberland stem was quite clean and just needed a good polishing.
 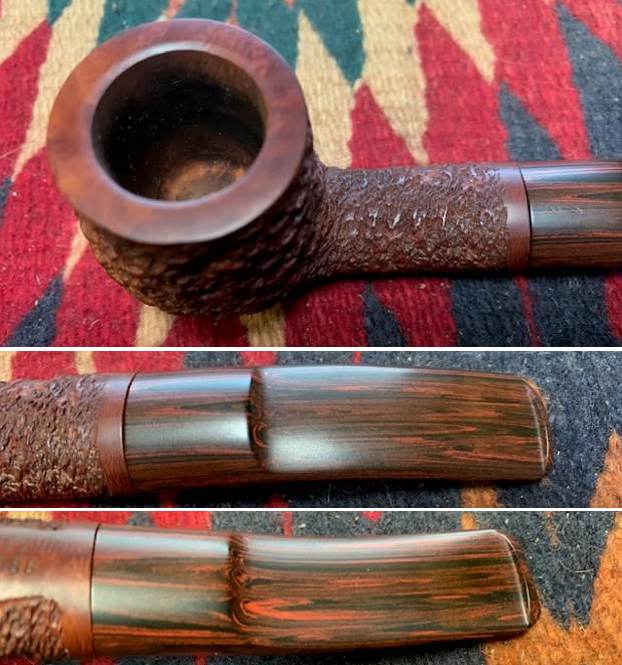 I took a photo of the stamping on the underside of the shank. It reads as noted above.
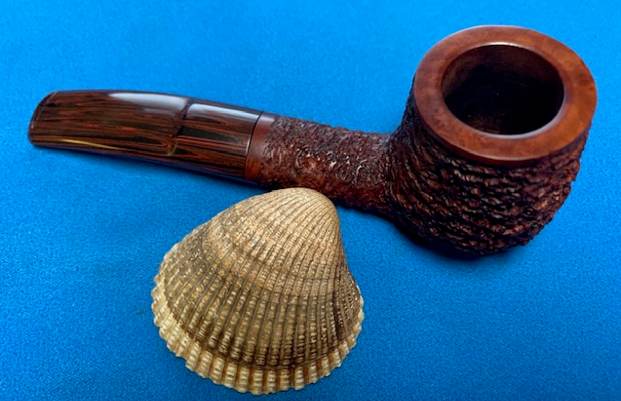
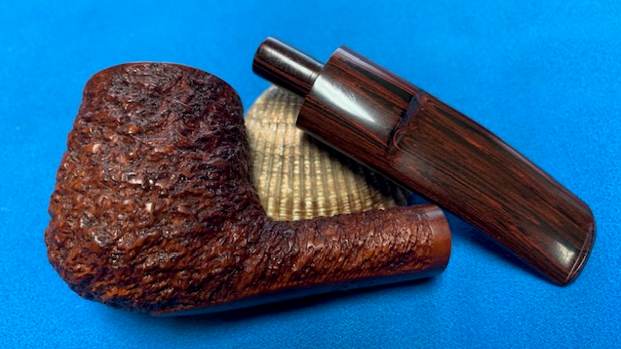
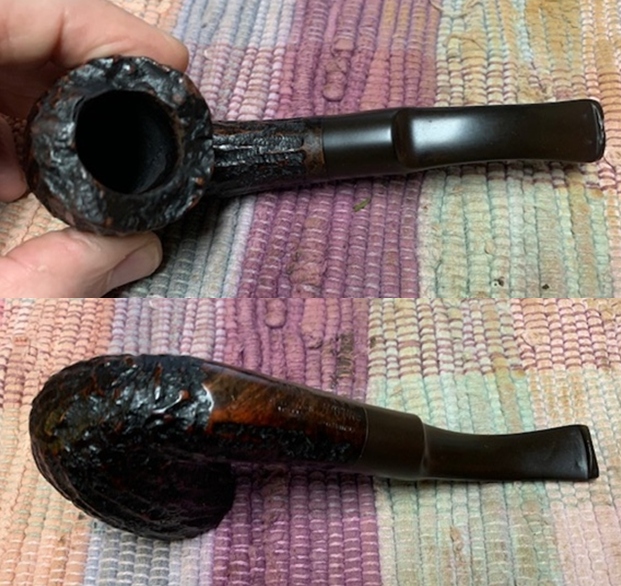
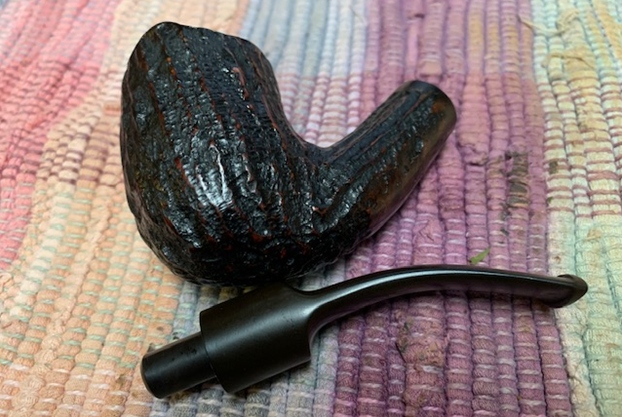
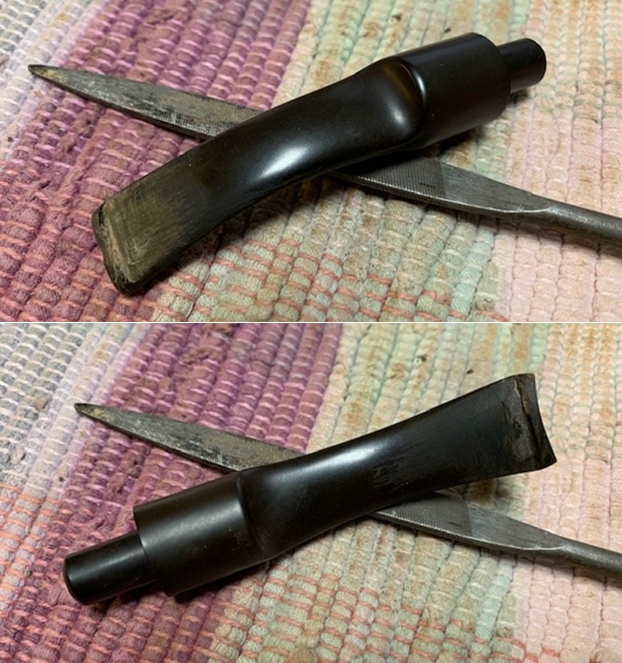
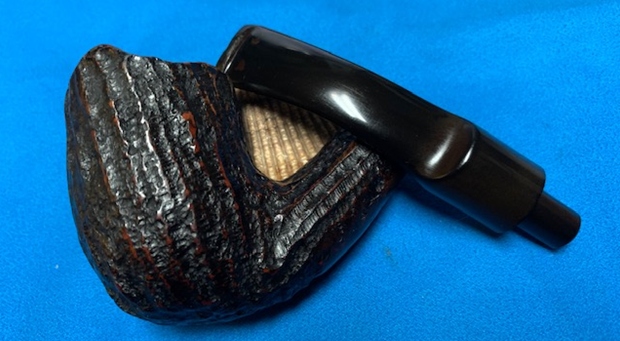
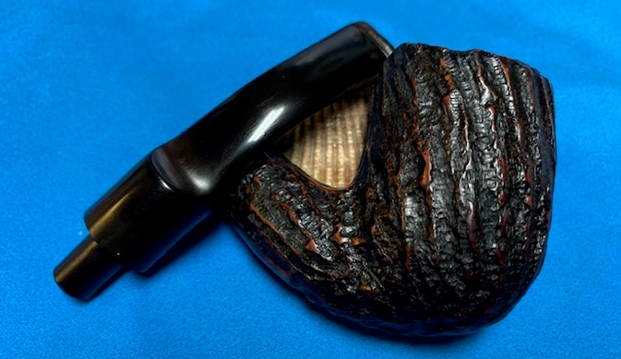
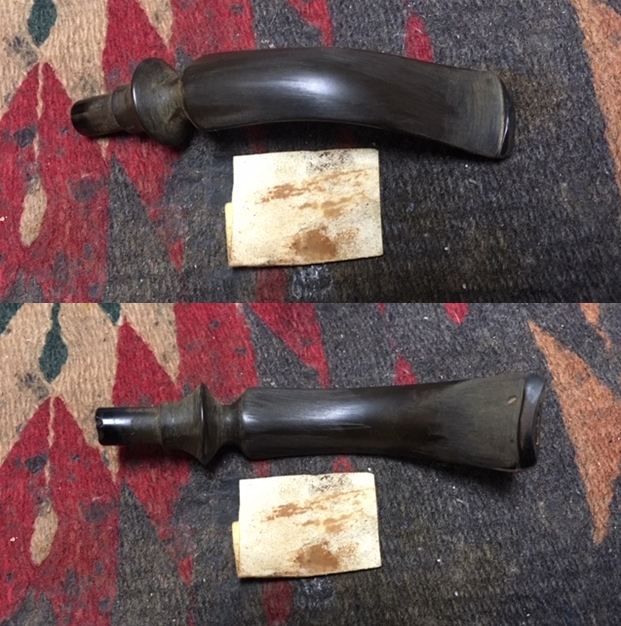
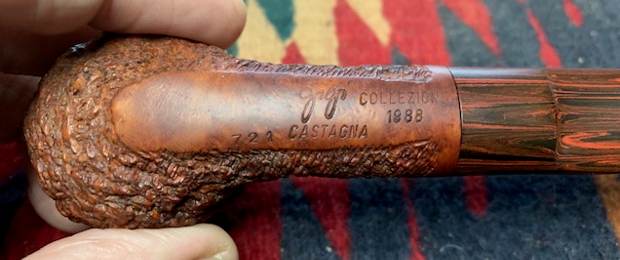 I removed the stem from the shank and took a photo of the parts to give a sense of what the pipe looks like. It is a proportionally pleasing pipe with classic dimensions and an oval shank with a Cumberland stem.
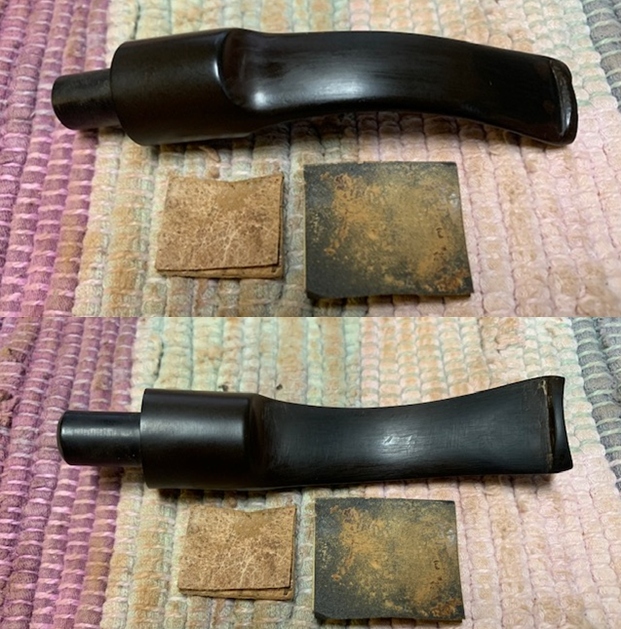
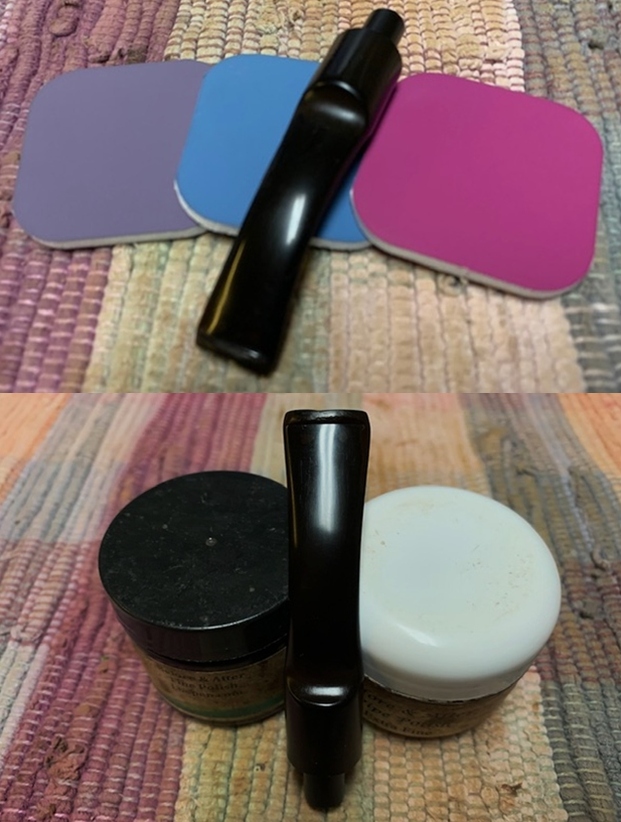
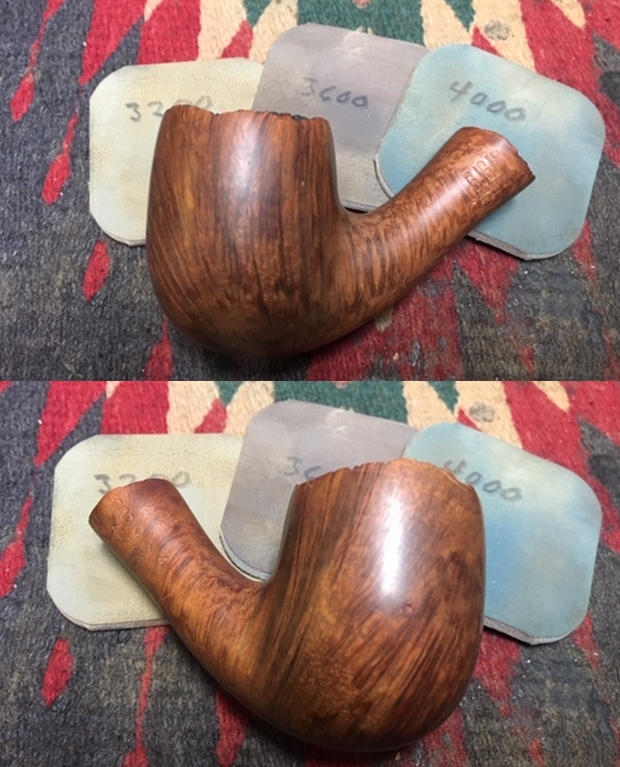
 I started my work on the pipe by polishing the smooth rim top with micromesh sanding pads – dry sanding with 1500-12000 grit pads. I wiped it down after each sanding pad with a damp cloth to remove the sanding debris.
 I rubbed the bowl and shank down with Before & After Restoration Balm and a horsehair shoe brush to deep clean them. The product works to clean, enliven and protect the briar. I worked it in with my fingers and the brush to get it into the rustication of the briar. I let it sit for 10 minutes then I wiped it off and buffed it with a soft cloth. The briar really began to have a rich shine.
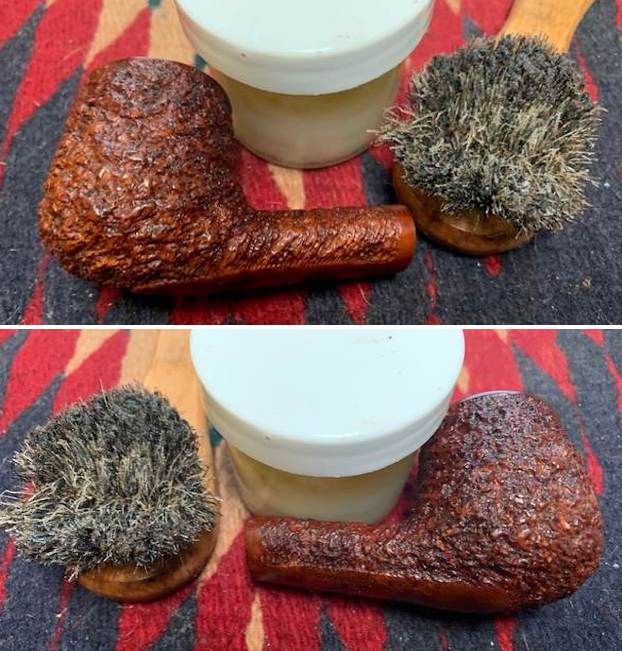
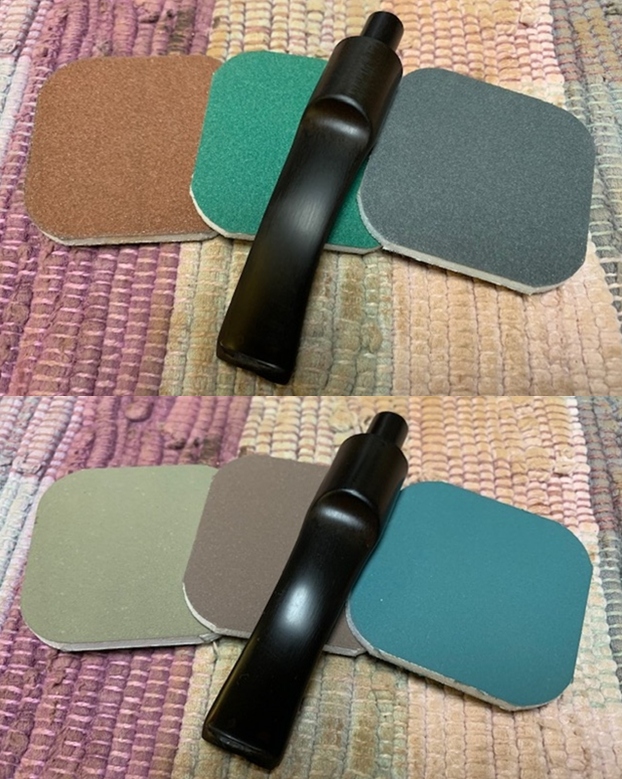
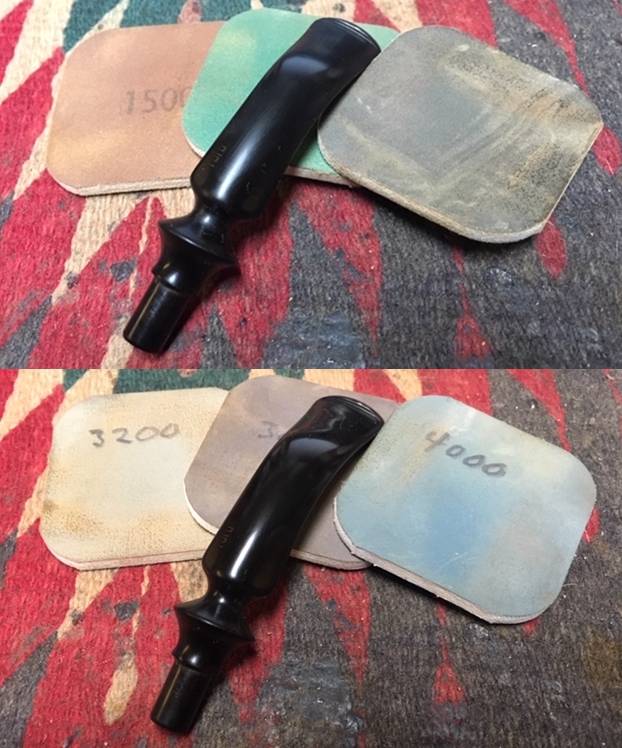
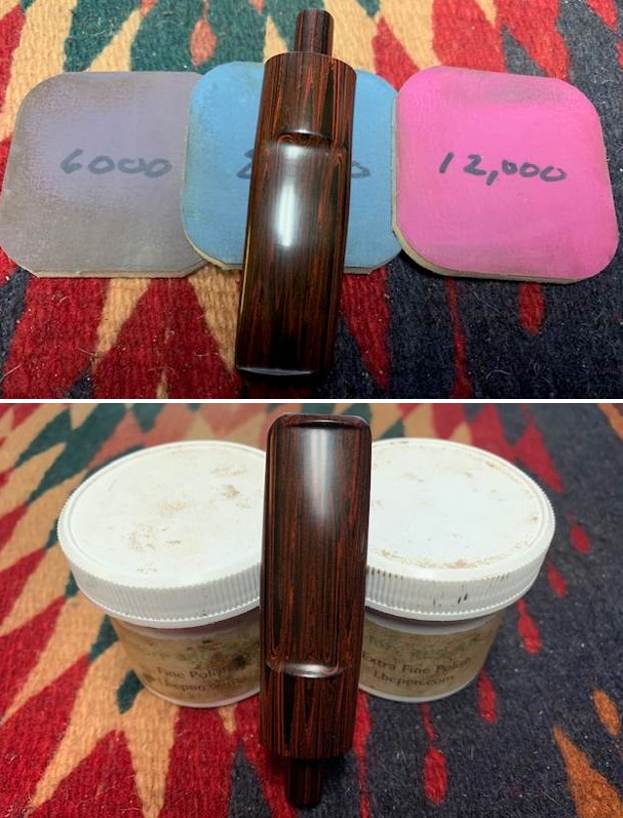
 I set aside the bowl and turned my attention to the stem. I polished the stem with micromesh sanding pads – dry sanding with 1500-12000 grit pads. I wiped the stem down after each pad with a damp cloth to remove the sanding dust. I gave it a further polish with Before & After Stem Polish – both Fine and Extra Fine. I finished by wiping the stem down with a final coat of Obsidian Oil and set it aside to dry.
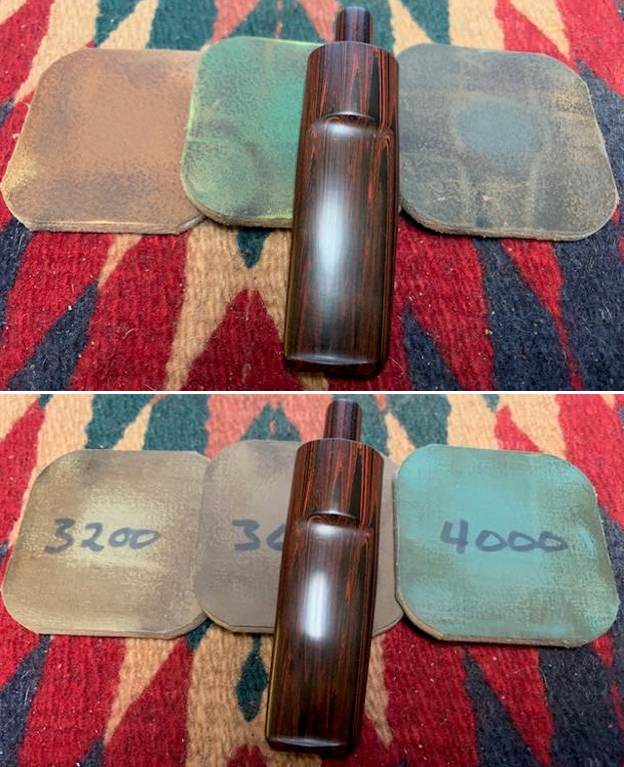
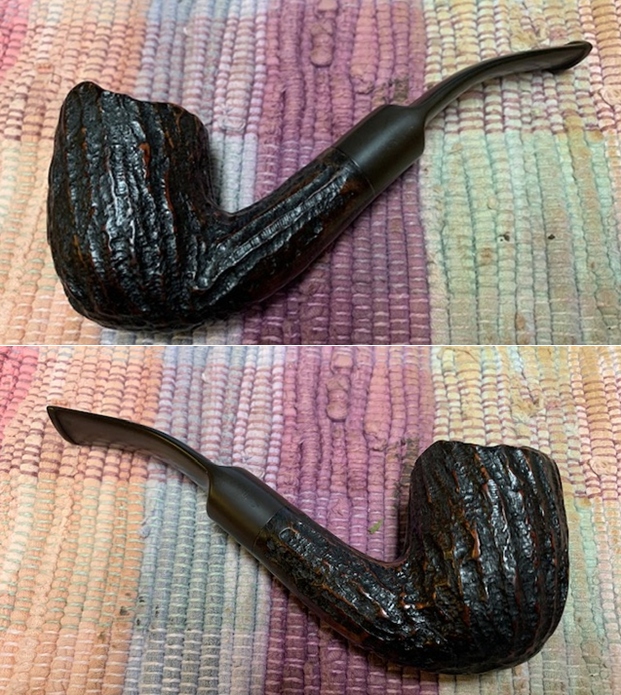
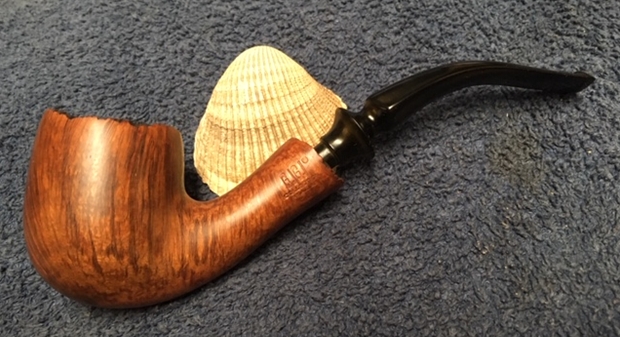
 I put the Cumberland stem back on the GiGi Castagna 1988 Collezion 721 Brandy and took the pipe to the buffer. I buffed the bowl and stem with Blue Diamond to lightly buff the briar and the Cumberland. Blue Diamond does a great job on the smaller scratches that remain in both. I gave the bowl several coats of Conservator’s Wax and the stem several coats of carnauba wax and buffed the pipe with a clean buffing pad to raise the shine. I hand buffed it with a microfiber cloth to deepen the shine. I am amazed at how well it turned out. The finished pipe is shown in the photos below. This is a beautiful GiGi Castagna 1988 Collezion – the Cumberland saddle stem and the rusticated finish combine to give this Brandy pipe a great look. The polished Cumberland stem looks really good with the deeply rusticated bowl and shank. The dimensions of the pipe are Length: 5 ½ inches, Height: 1 ¾ inches, Outside diameter of the bowl: 1 ¼ inches, Chamber diameter: ¾ of an inch. The weight of the pipe is 1.62 ounces/46 grams. This beautiful pipe will soon be added to the rebornpipes store in the Pipes By Italian Pipe Making Companies section of the store. Thanks for walking through the restoration with me on this beauty!