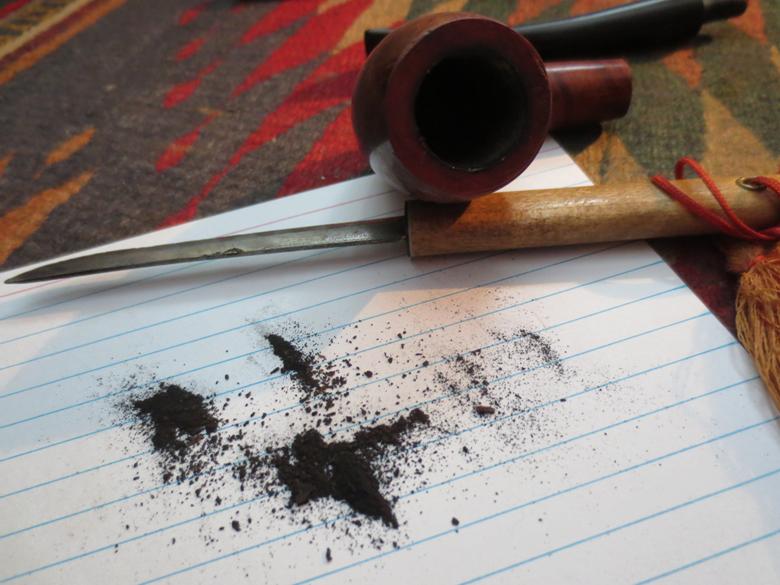
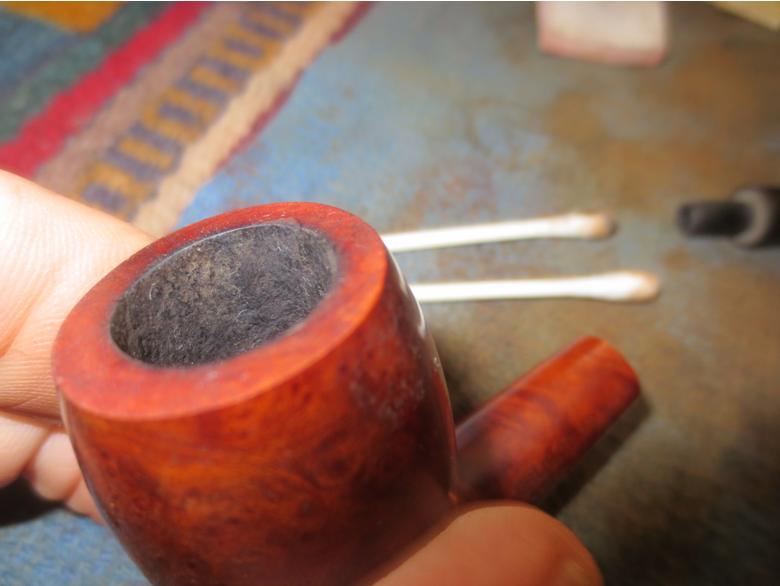
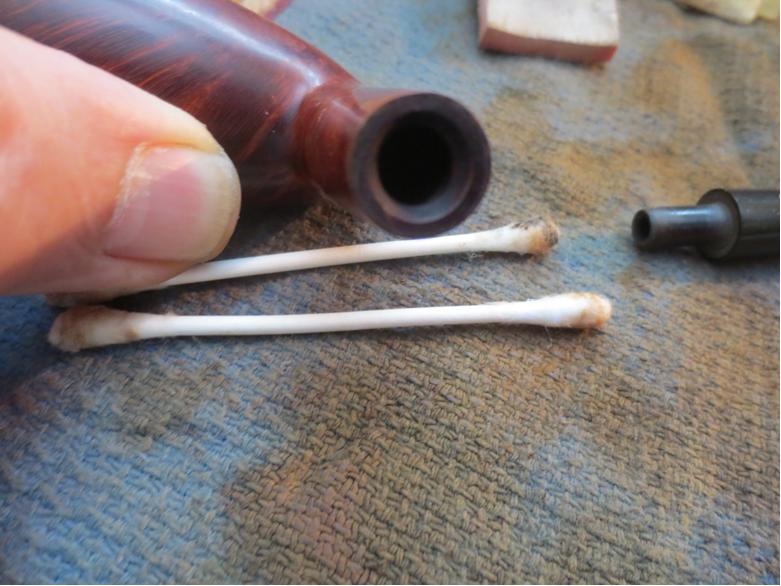
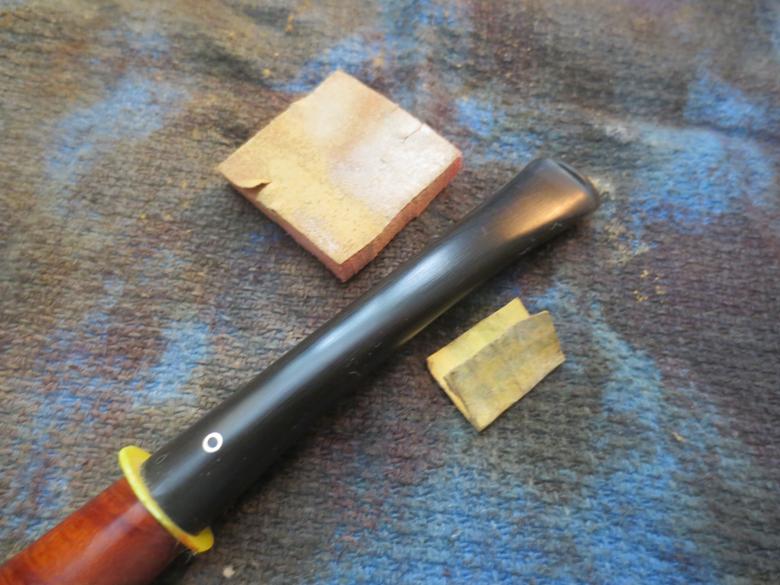
Tag Archives: finishing

A Possible Peterson Croydon That Could Be the Twin of another Reborn Pipe; or, Two Minds with Almost a Single Thought


Guest Blog by Robert M. Boughton
Member, North American Society of Pipe Collectors
http://www.naspc.org
http://www.roadrunnerpipes.com
http://about.me/boughtonrobert
Photos © the Author

“There comes a time in every rightly-constructed boy’s life when he has a raging desire to go somewhere and dig for hidden treasure.”
― Samuel L. Clemens (Mark Twain, 1835-1910), U.S. author and humorist, in “The Adventures of Tom Sawyer” [1876]

INTRODUCTION
I often wonder what my life would be like today had my mother married the man she loved – a well-known Apollo Program astronaut who later even tried to convince her to leave my dad. But she chose the space research and development nerd in the Brooks Brothers suits instead of the man in the dark blue uniform – which he sometimes traded for a big, bulky, white one with a sealed helmet to protect him from the void of space – who had the Right Stuff.Rob1 By the time he called again, I was about 10, living in the well-to-do Cleveland suburb of Shaker Heights, and Tricky Dick had somehow just been re-elected President. Even I knew what a mistake that was. I got out of bed late one night during one of my parents’ Gatsby-like parties to answer the phone upstairs in the hallway. A hushed voice, halting in surprise, asked, “Is Kit – your mother – there?”
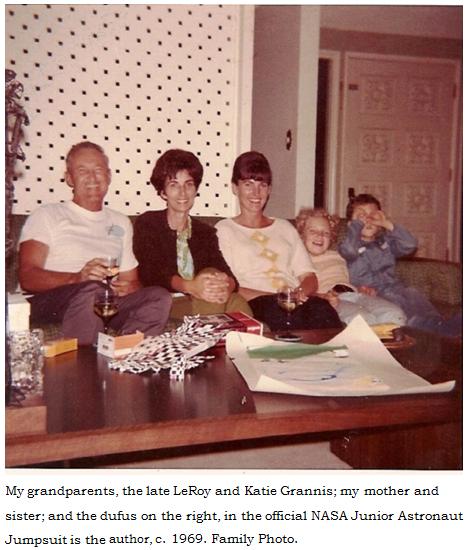
I told him she was at the party downstairs and said I could go and get her, but he quickly said no, asking me to have her call him and giving me his nickname. He must have thought I wouldn’t know who he was, but meeting him when I was just a toddler was something I never forgot. “Yes, sir, I’ll tell her, Colonel So-and-So [not his real name],” I replied, and can still hear him almost choke up over the long-distance phone line 43 years ago. Speechless for a moment, he at last suggested I just tell my mother in the morning, and I said, like a good little soldier on a mission, “Okay, sir. I understand.” And somehow I did.

Some events seem probable had my mother not married the man in the Brooks Brothers suits: I likely would have followed the astronaut to the Air Force Academy, and he would have been proud of me until he died some years back, unless I beat him to it in the service of my country. But the rest is blurry, except that I am still fatherless although my dad is alive and well.

Oh, and one more thing. I would not be here in beautiful Albuquerque, searching for treasures in pipe lots and one at a time and all the other right places.

RESTORATION
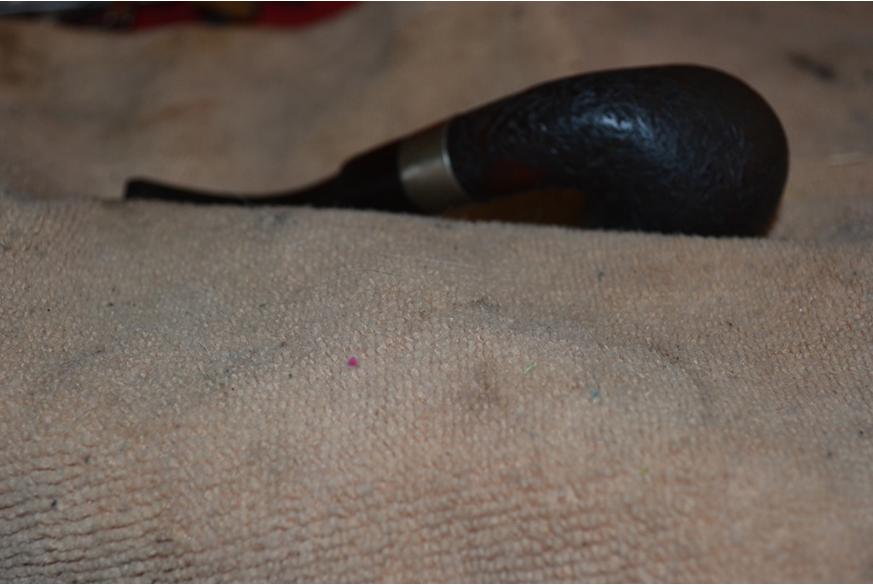
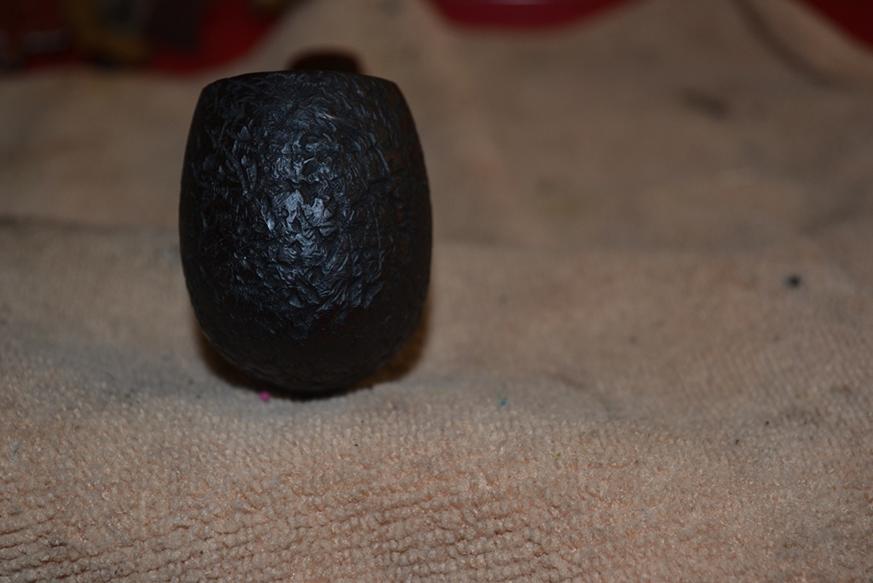
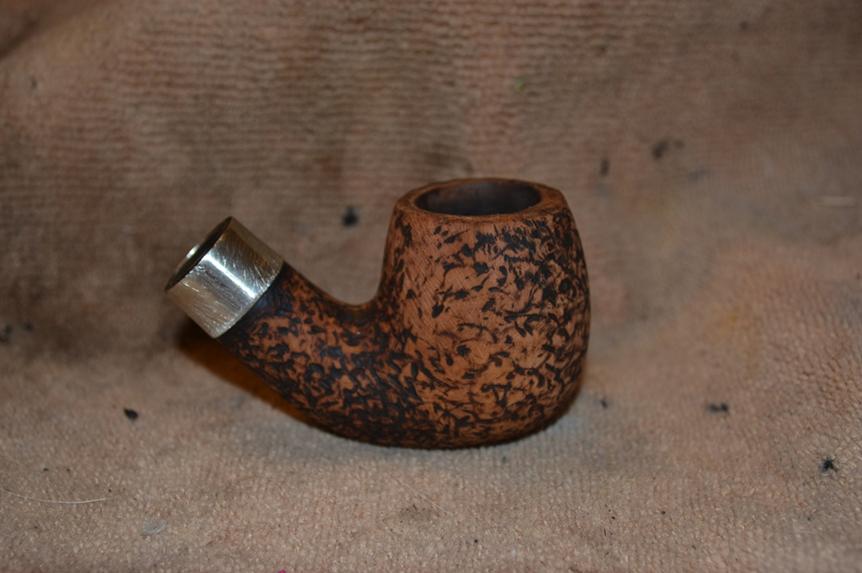
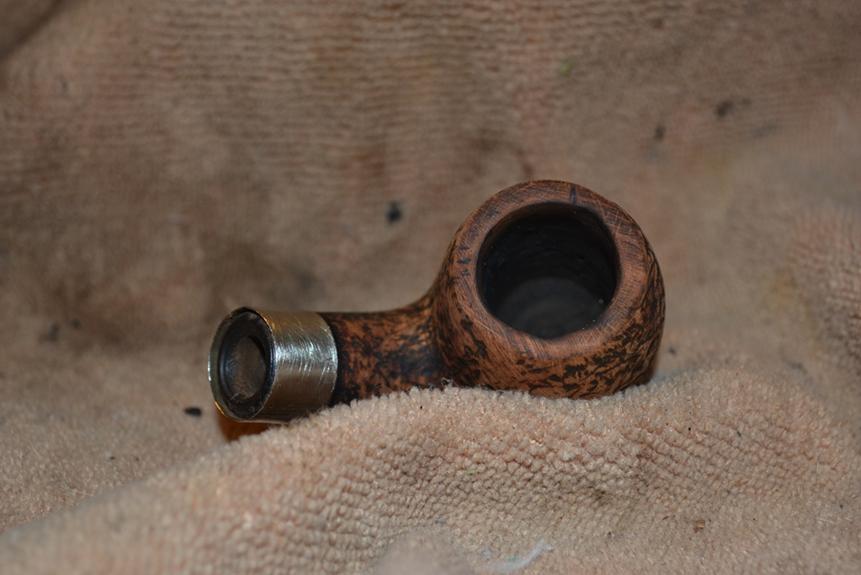
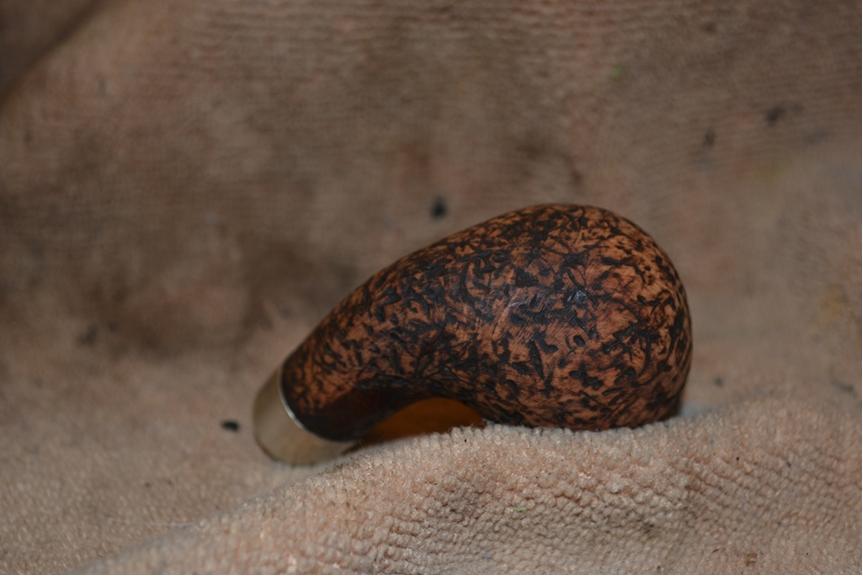
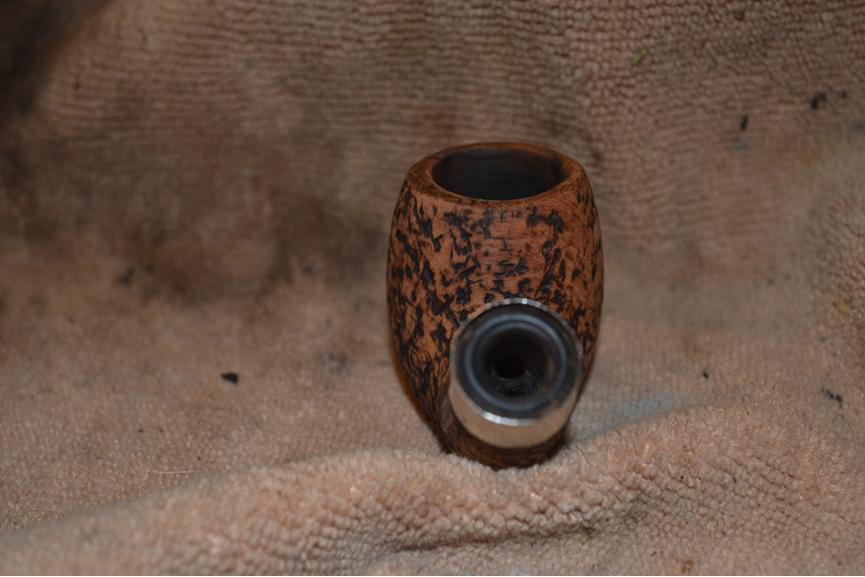
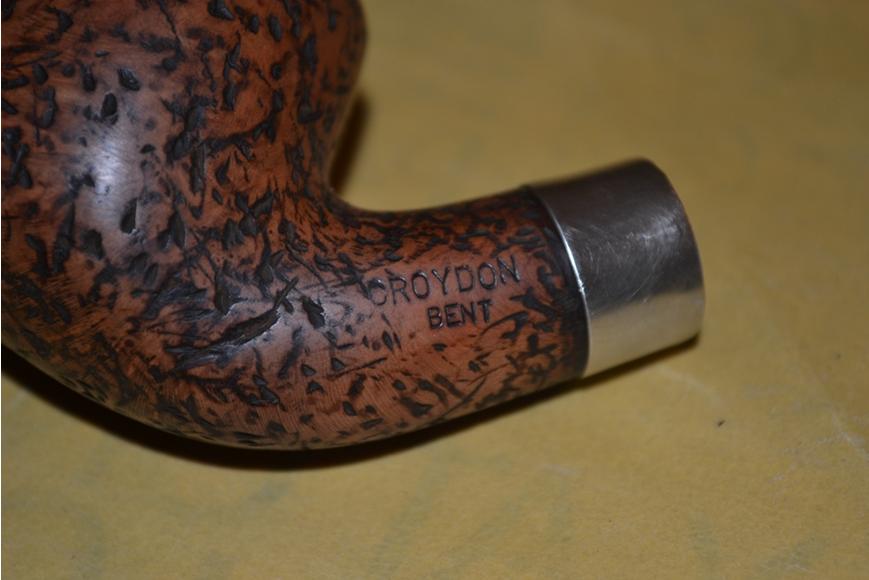
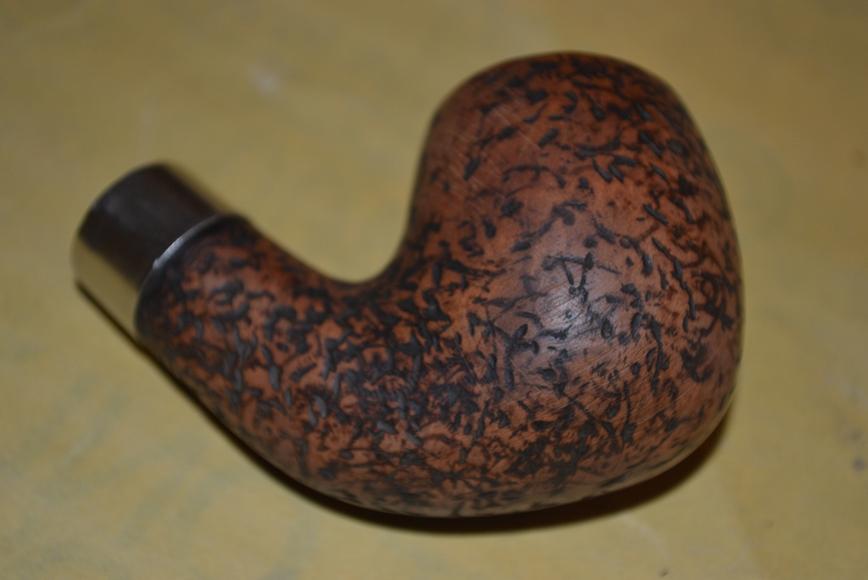
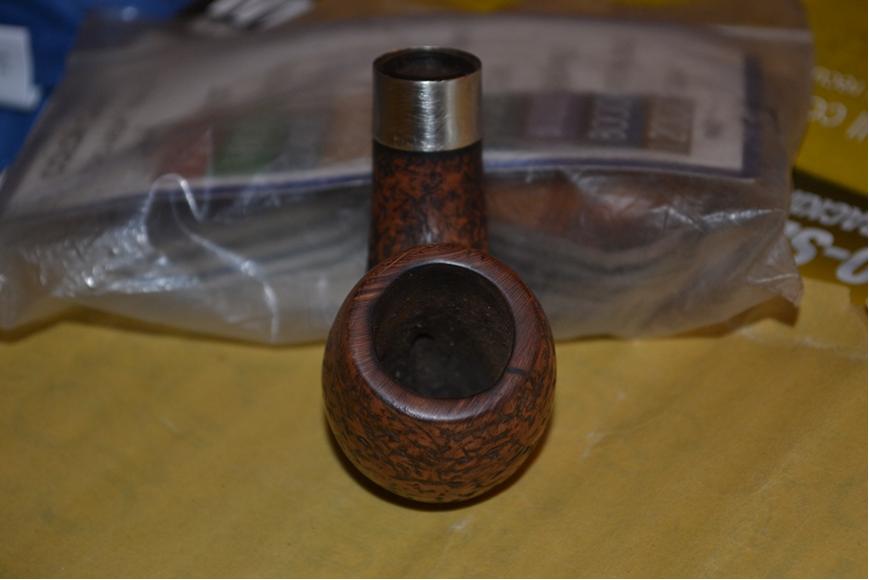
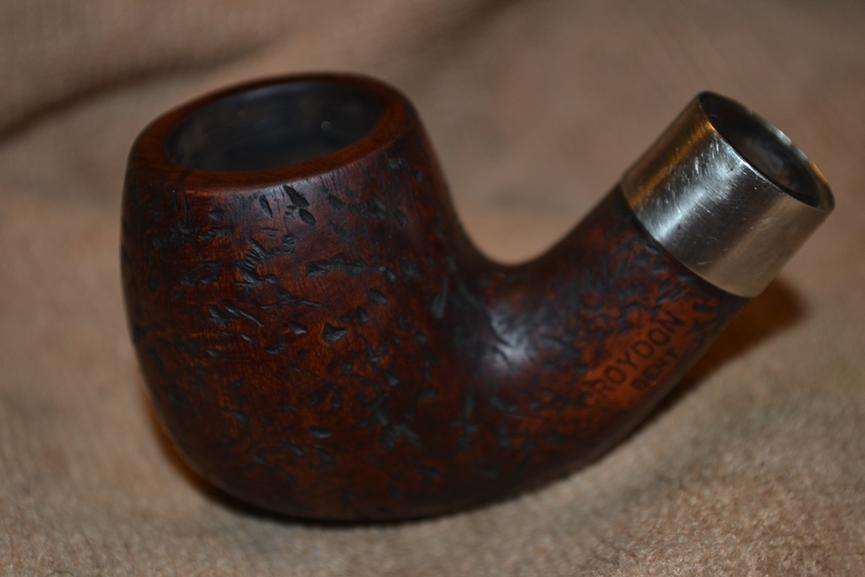
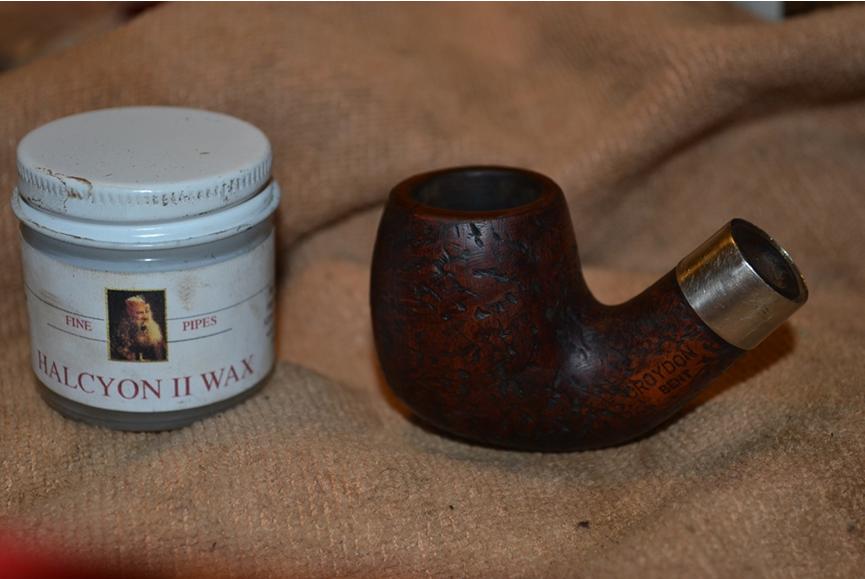
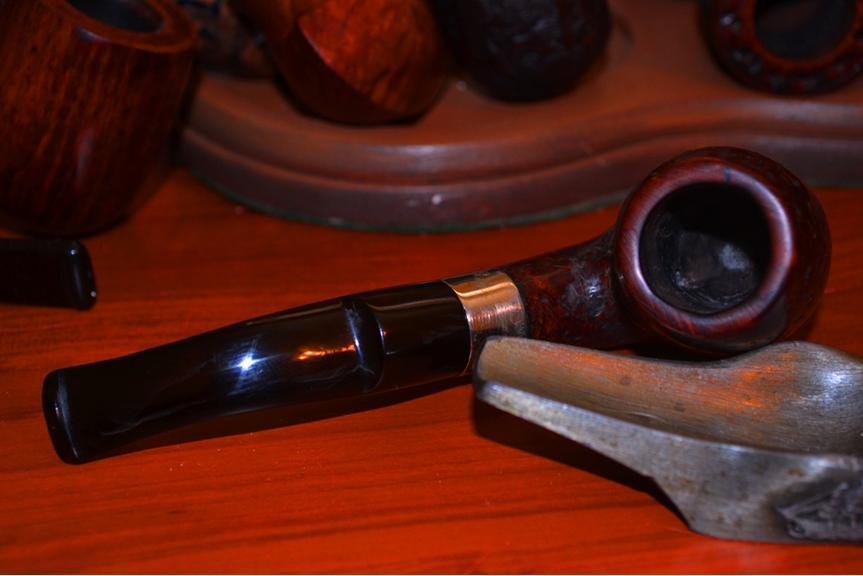
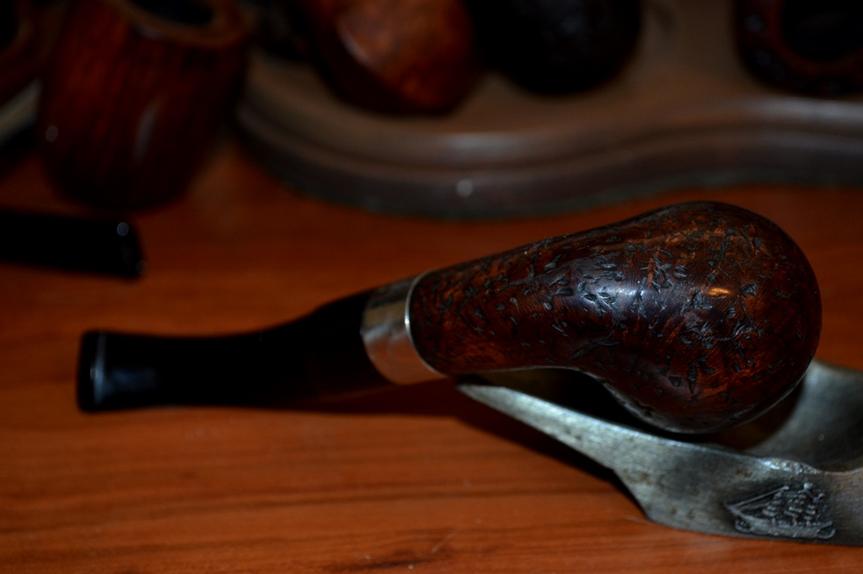
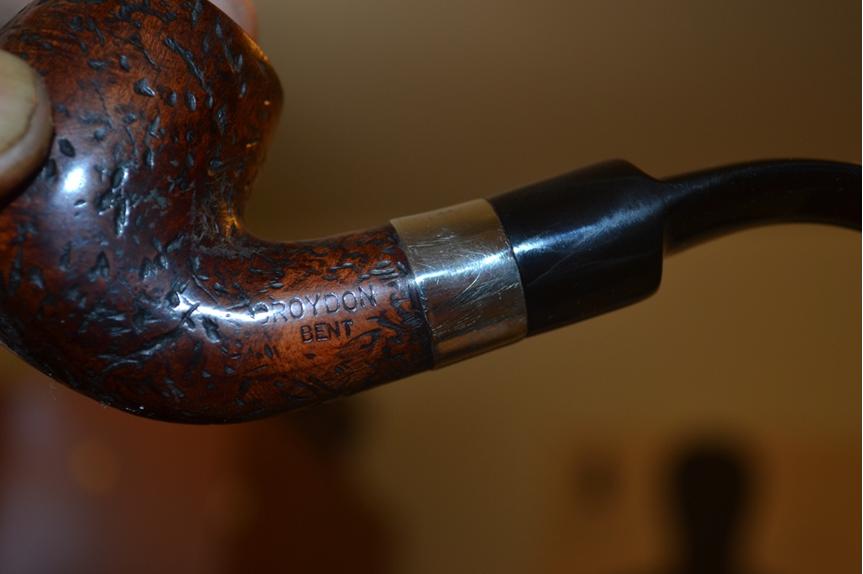
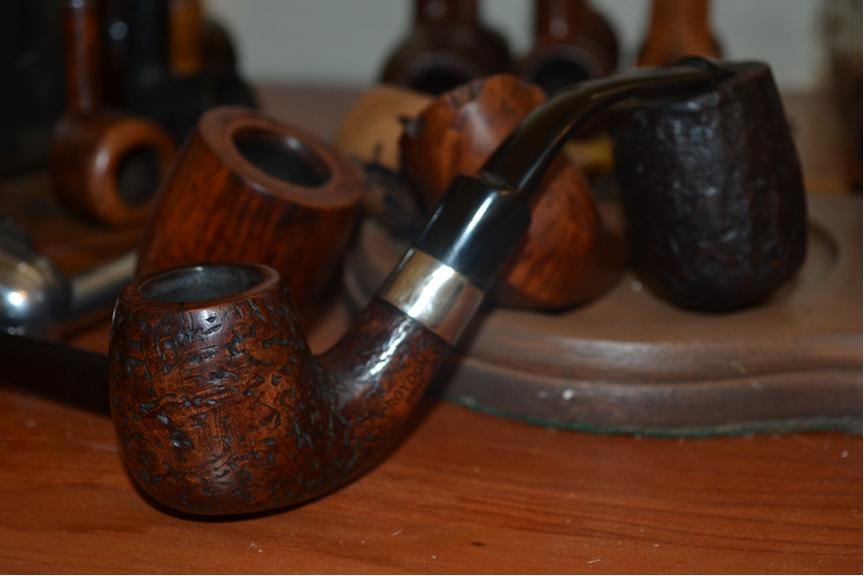
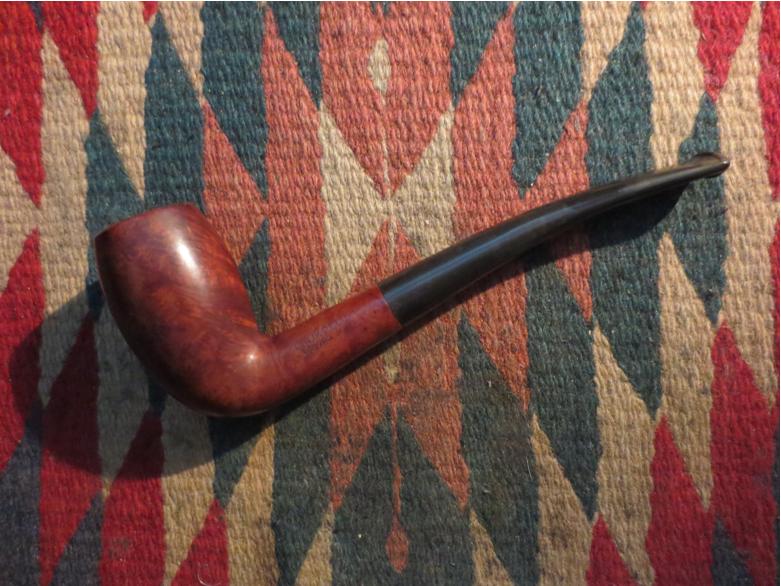
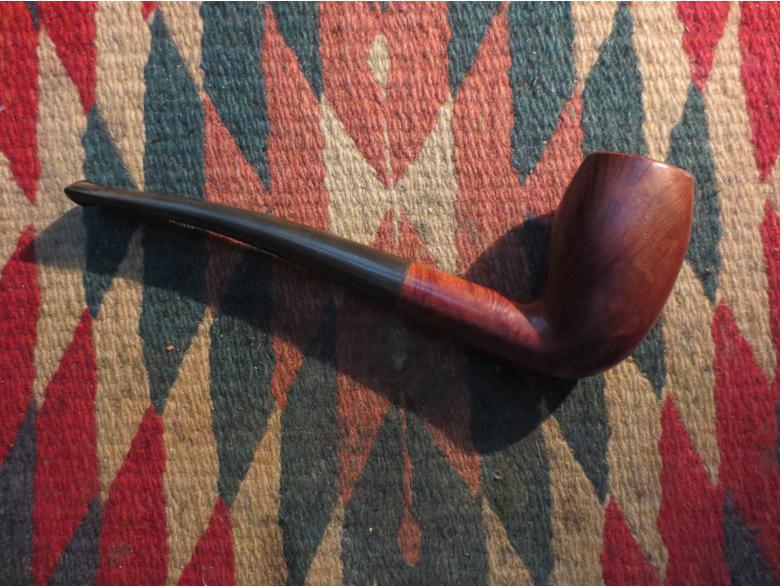
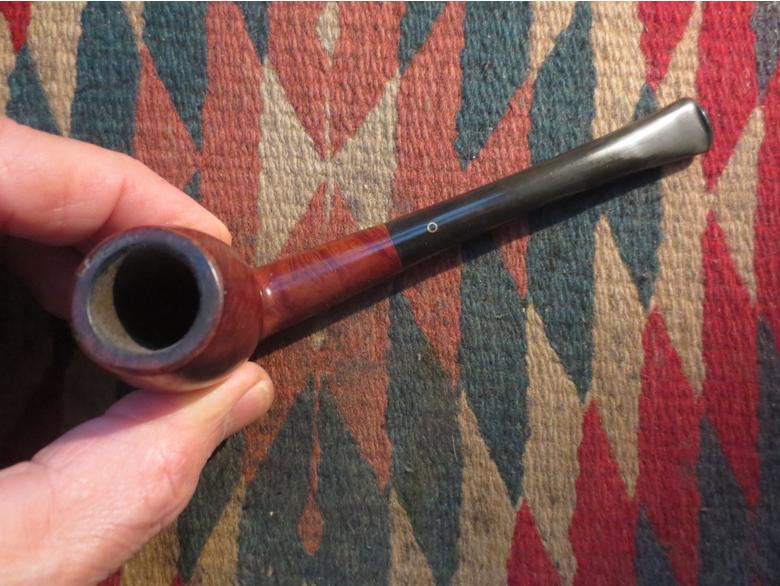
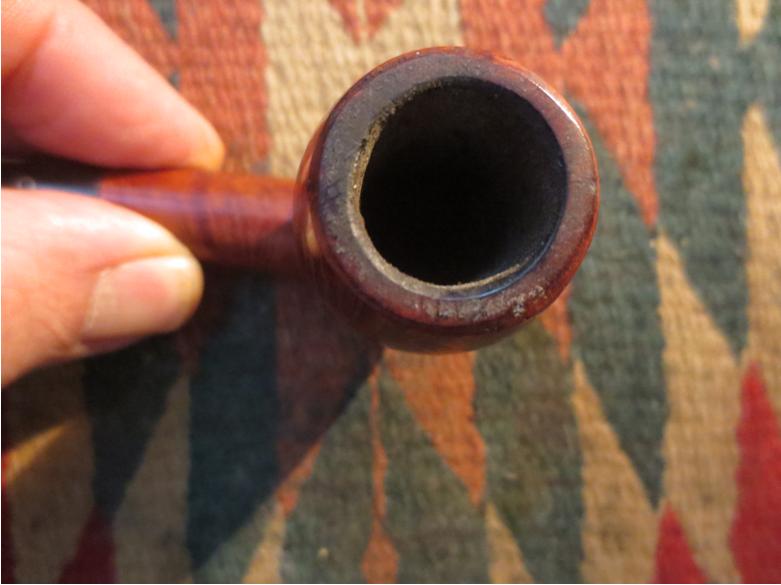
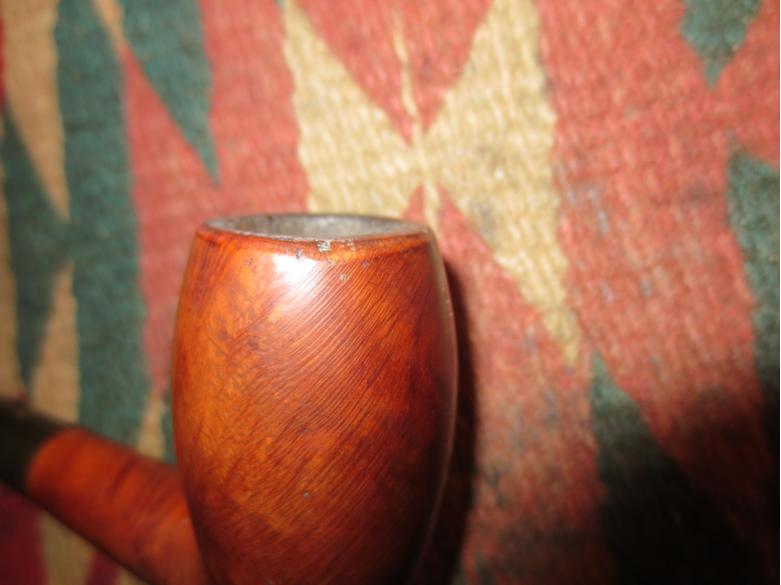
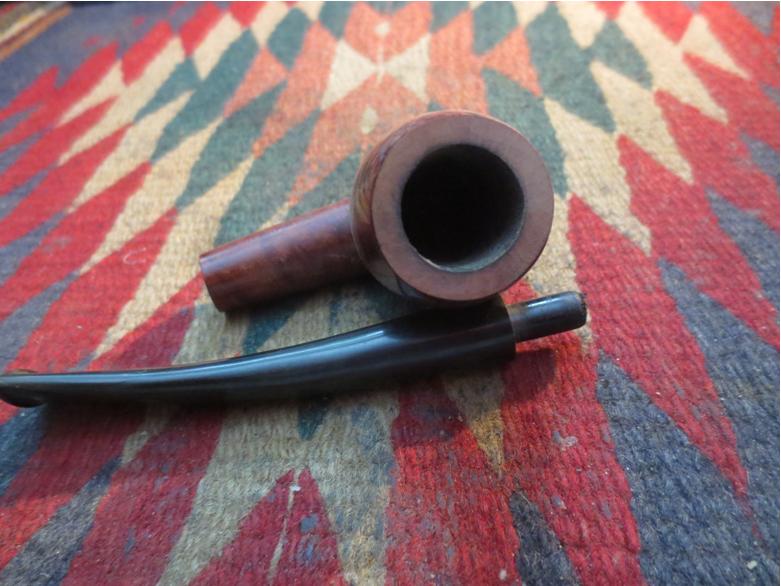
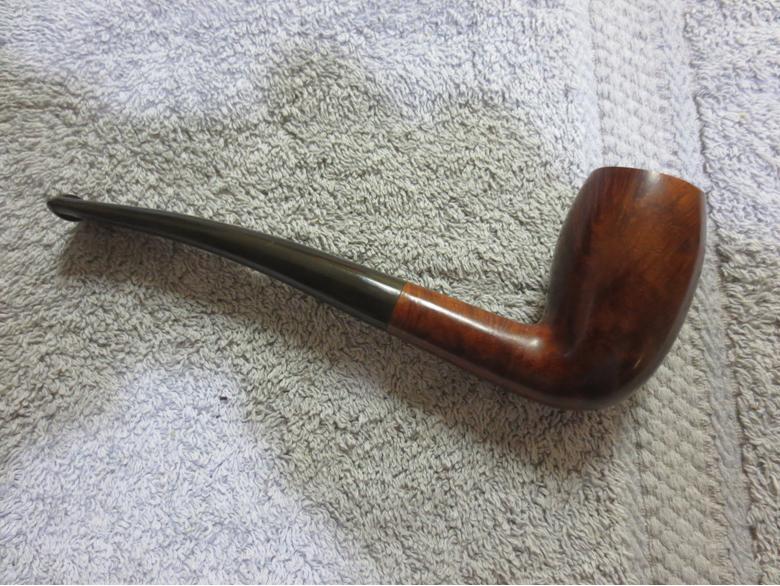
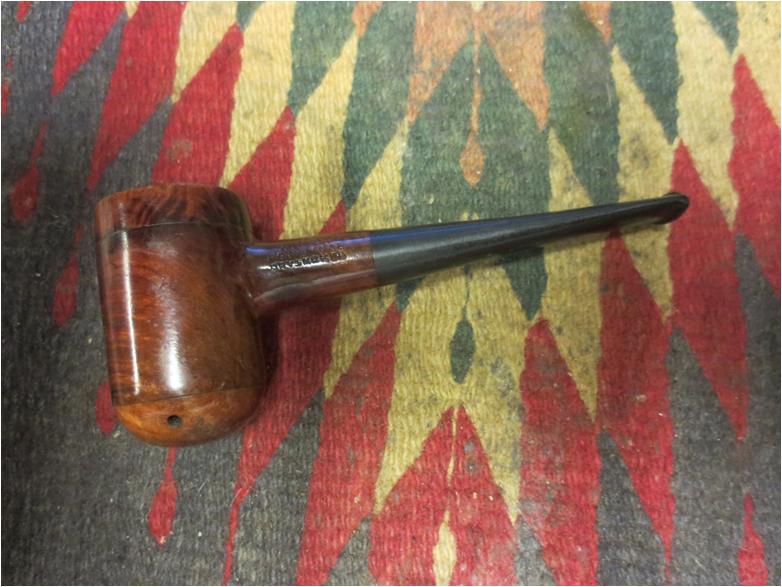
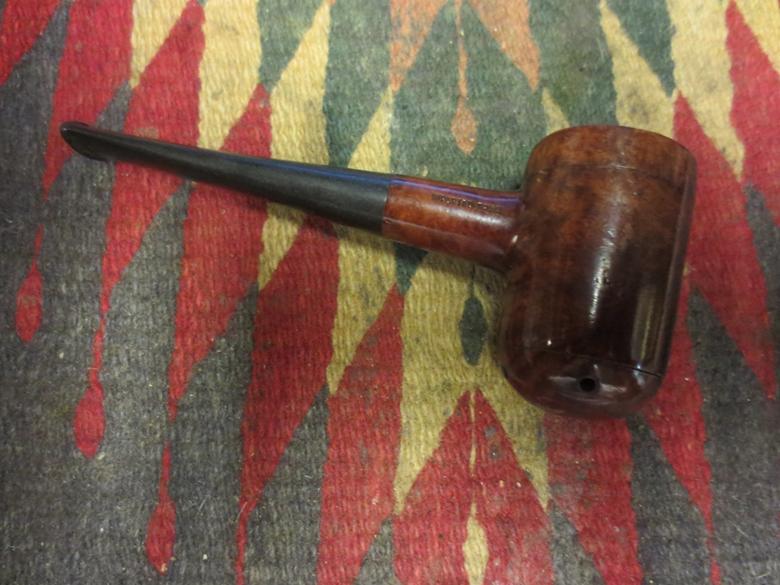
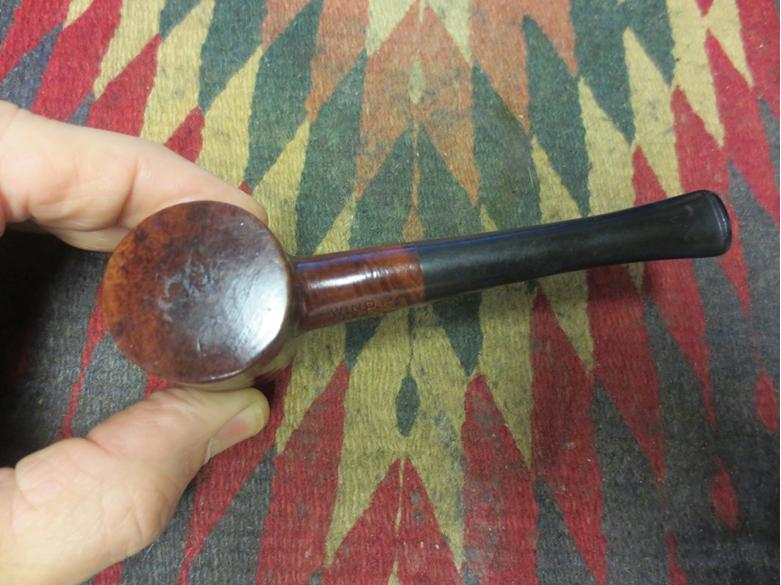
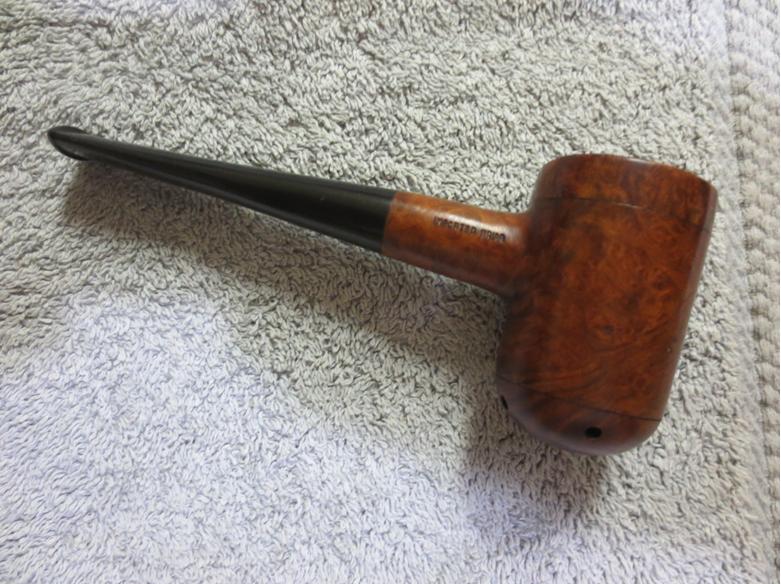
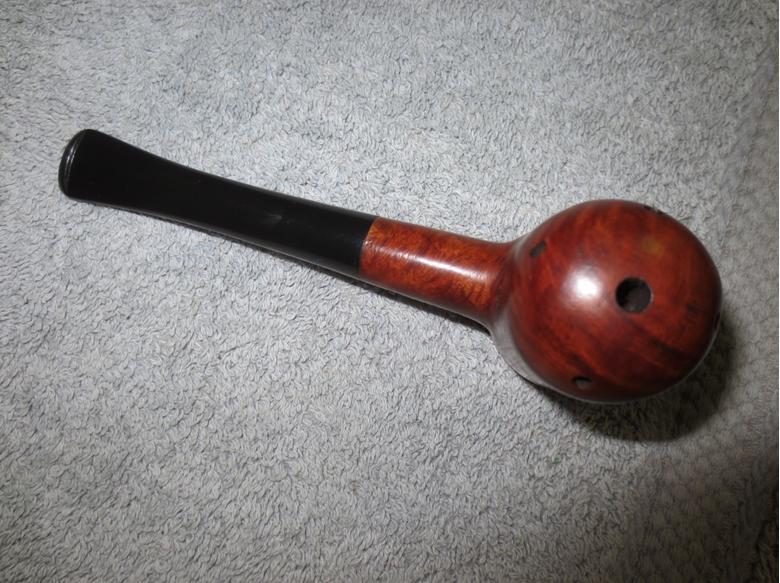
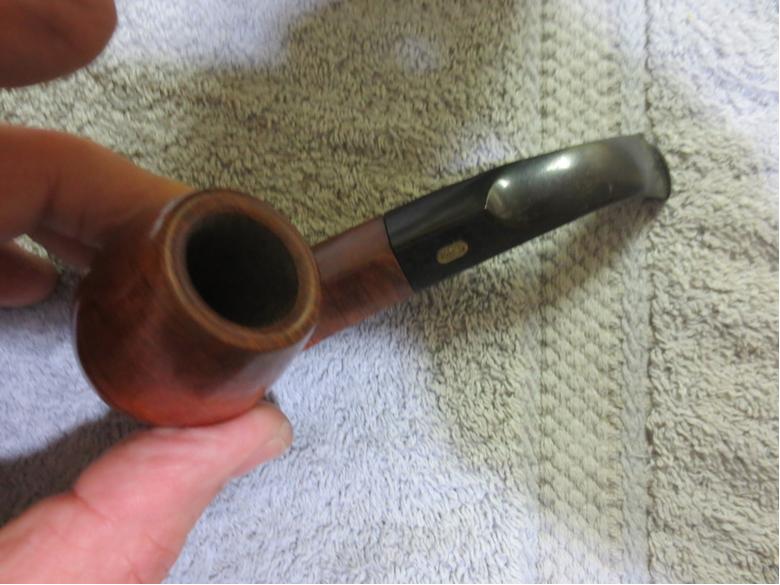
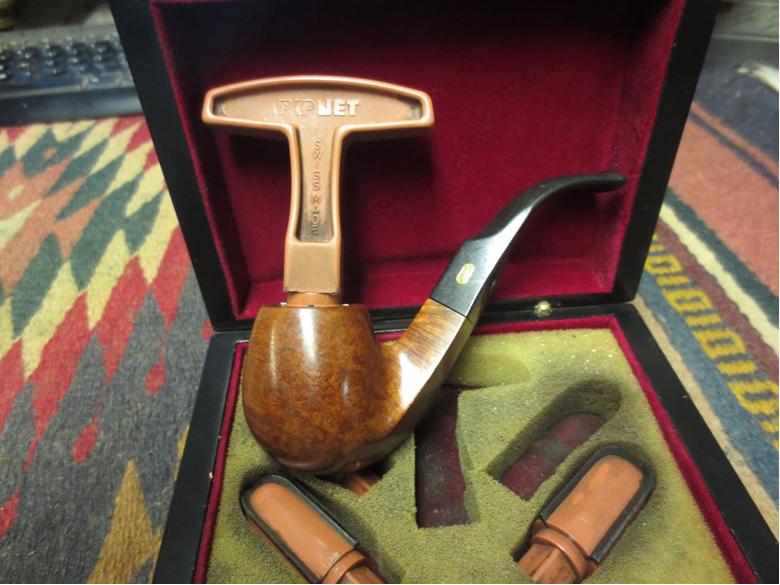
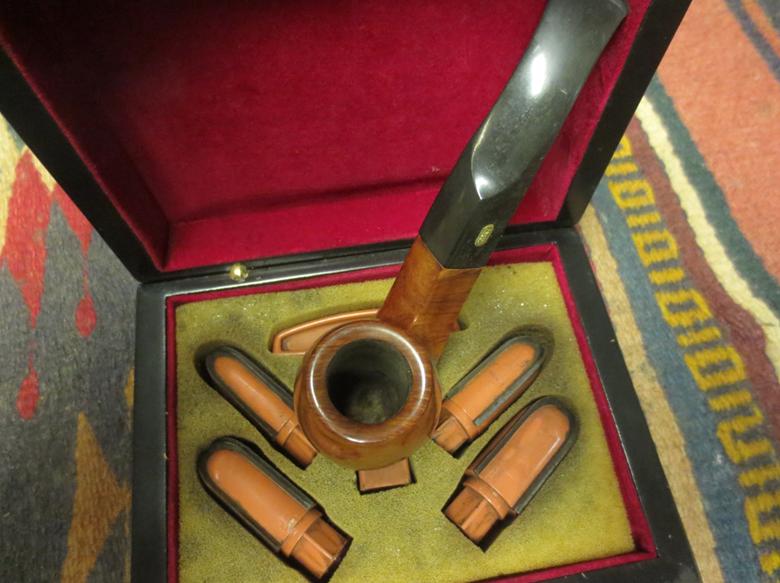
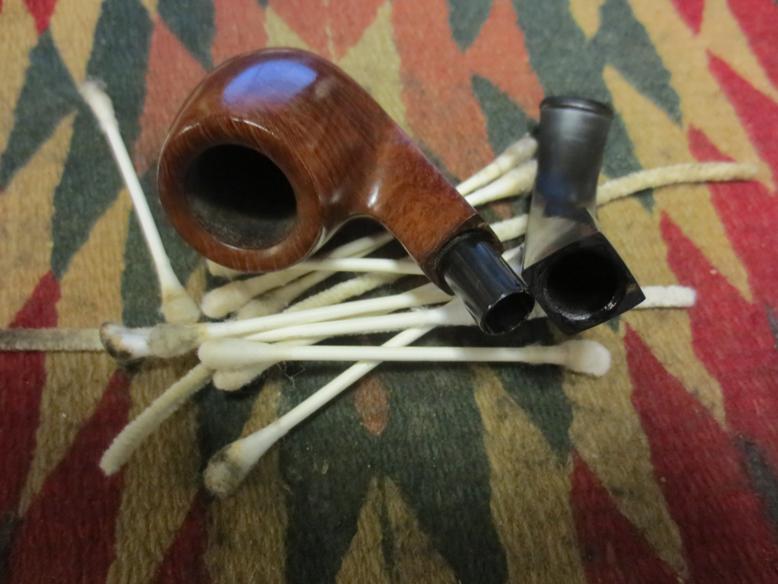
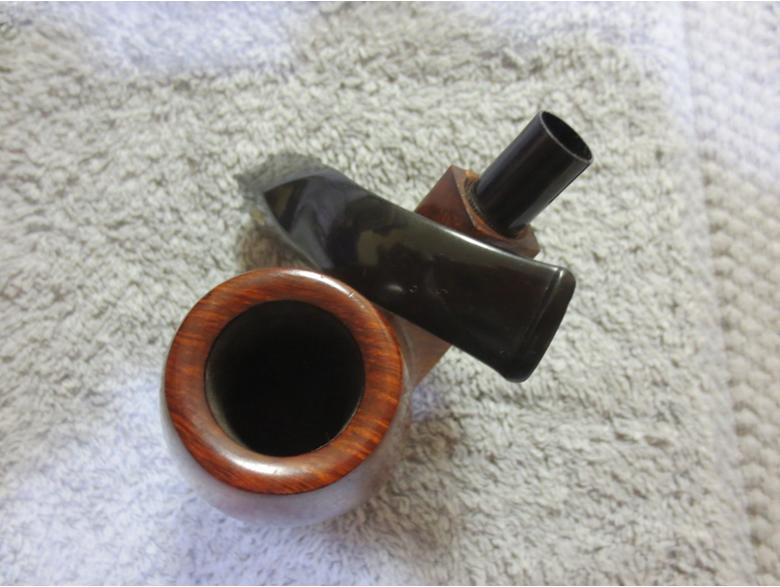
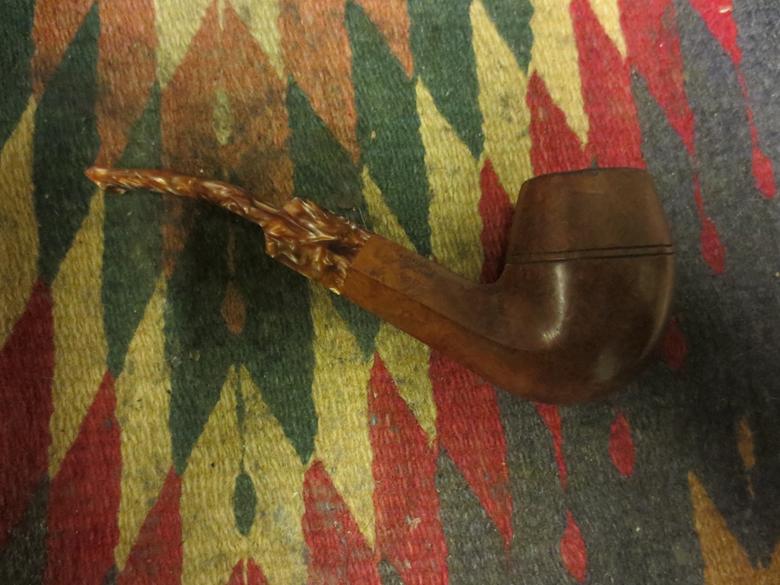
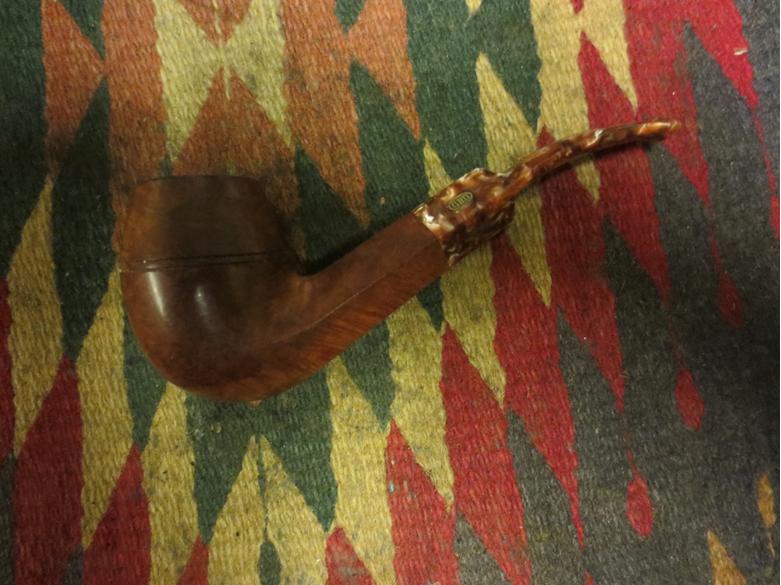
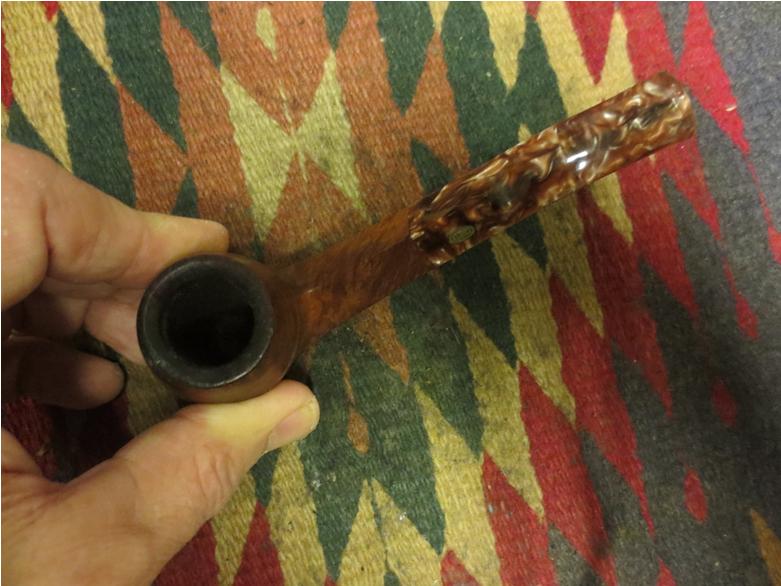
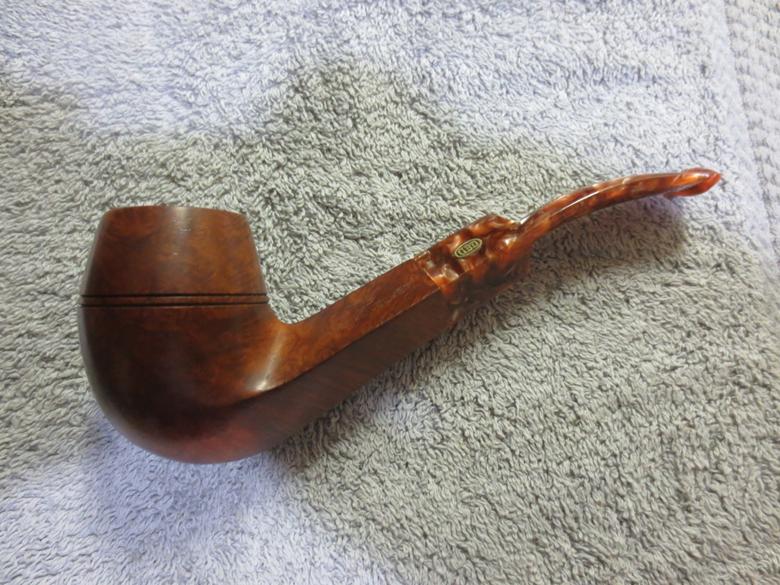
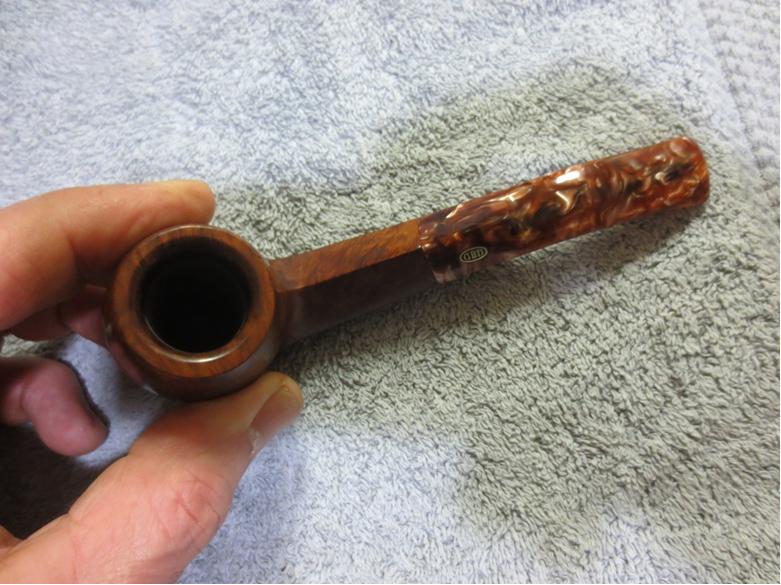
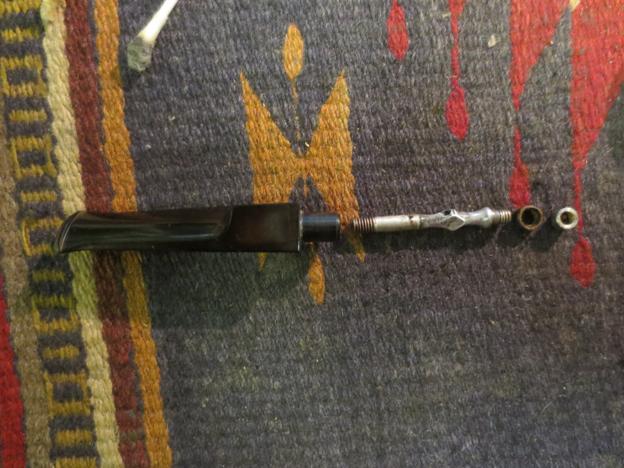
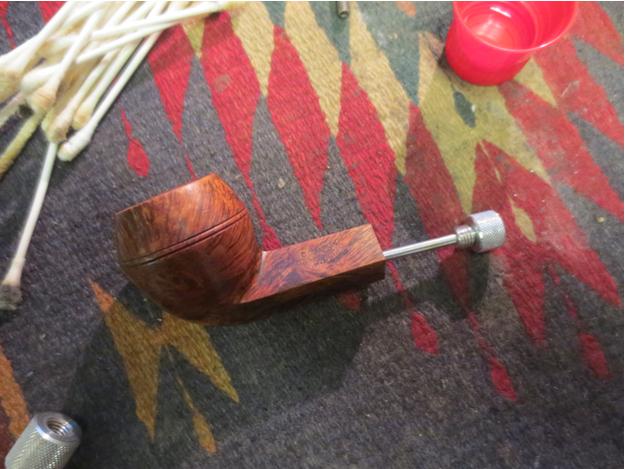
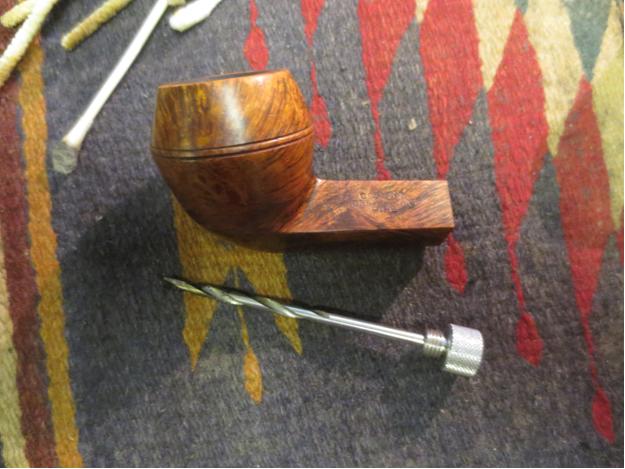
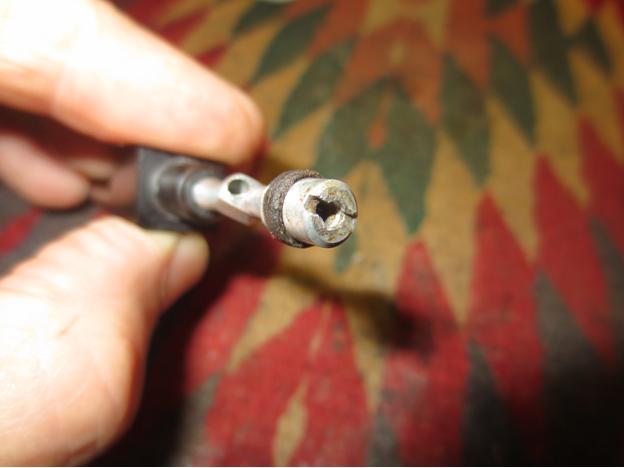
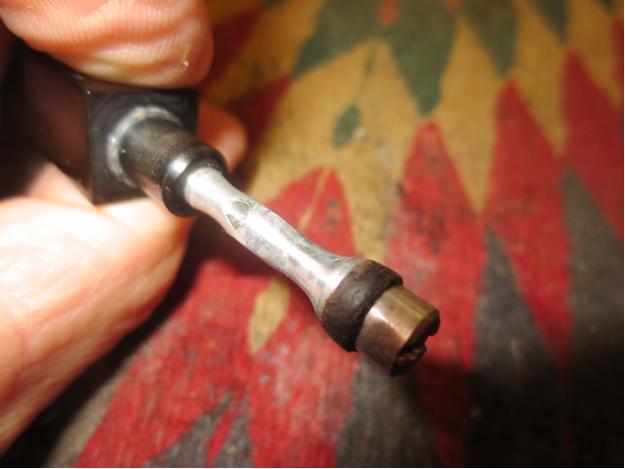
Looking online last week for background information on Croydon, I found links to various sites showing versions said to be made in London and Surrey, England as well as Spain, but without photos showing the nomenclature. Then I found a site for a definite Croydon brand from a Dutch carver named Lex Brouwer. There were also several sites for other brands, including Hilson and Peterson’s, with Croydon lines. I felt safe ruling out Hilson, which is known for its meerschaum lined chambers and mostly glazed clay bowls and shanks. Imagine my surprise to find an old Reborn Pipes blog by our host himself, from three years ago (June 20, 2012), about a ruined Croydon he believed was an old Peterson and of course re-made it to look perhaps better than new! Here are, top to bottom, his Croydon before restore and mine:Rob2
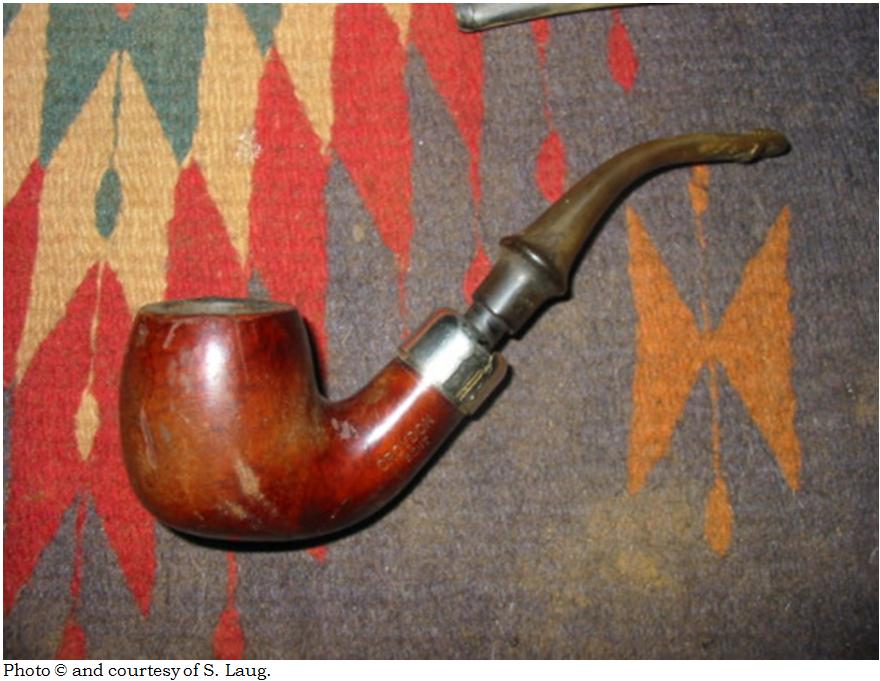
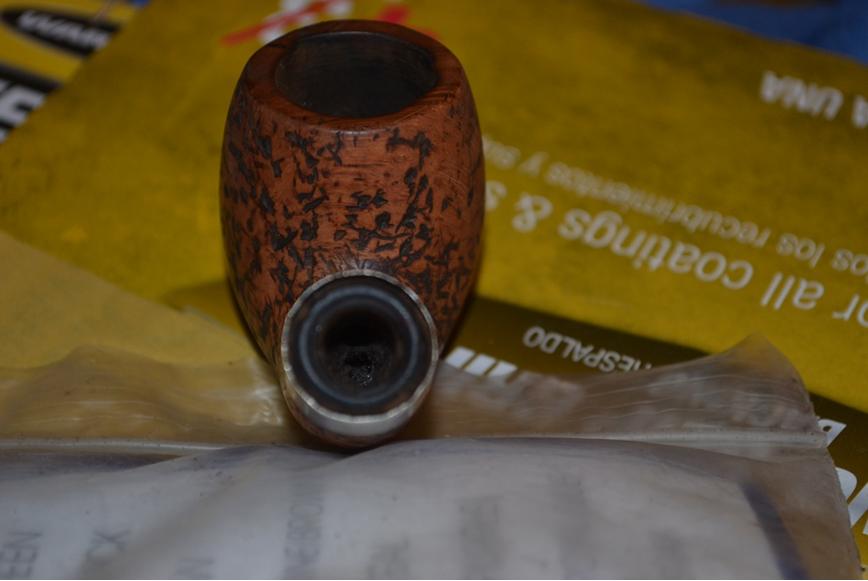
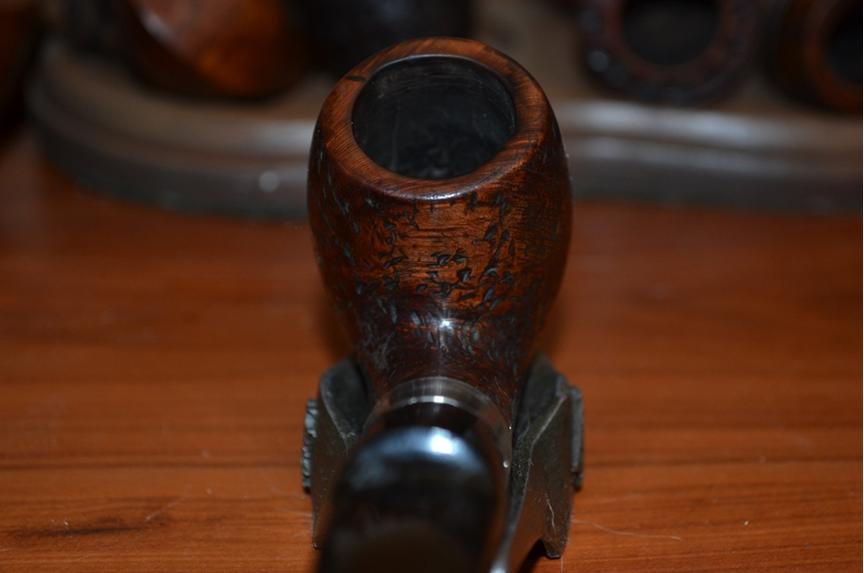
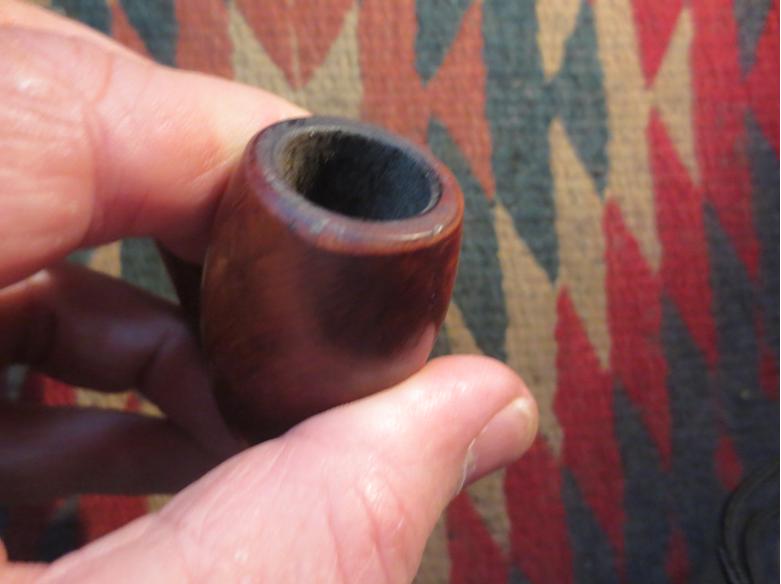
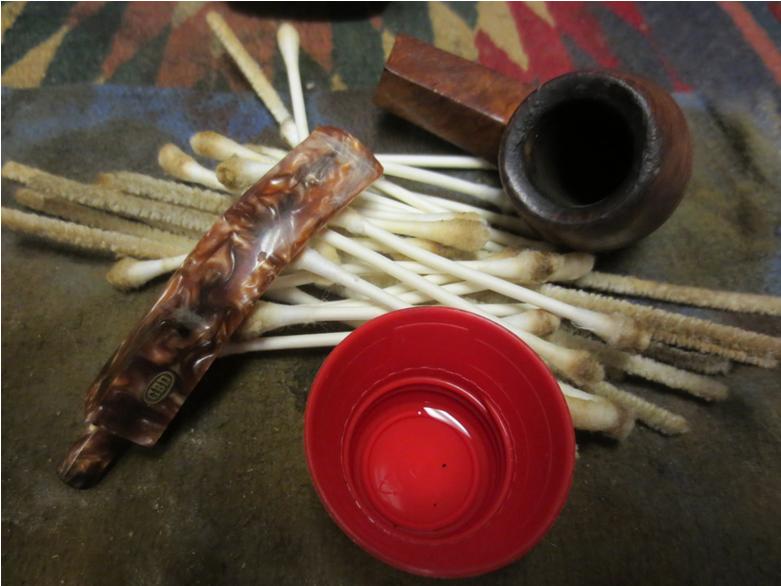
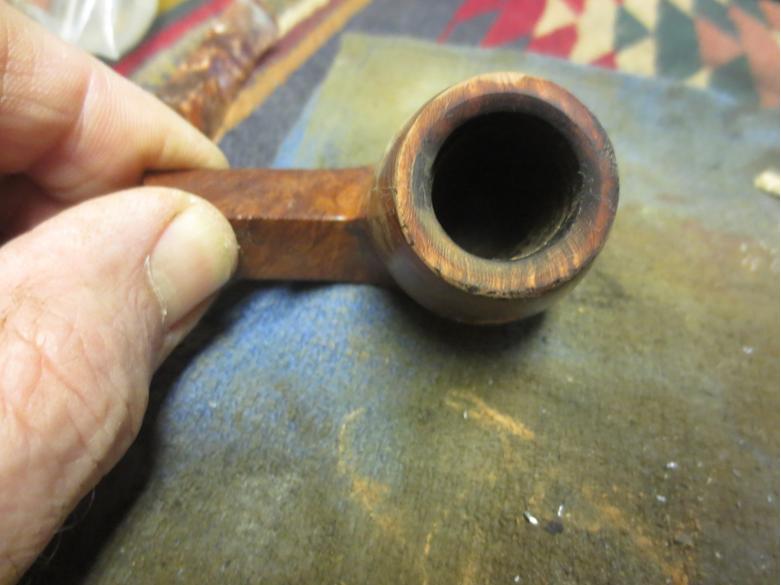
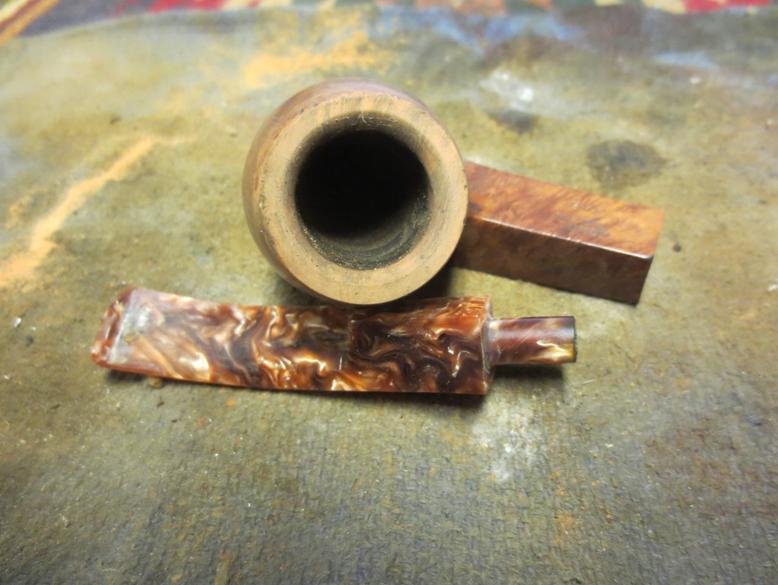
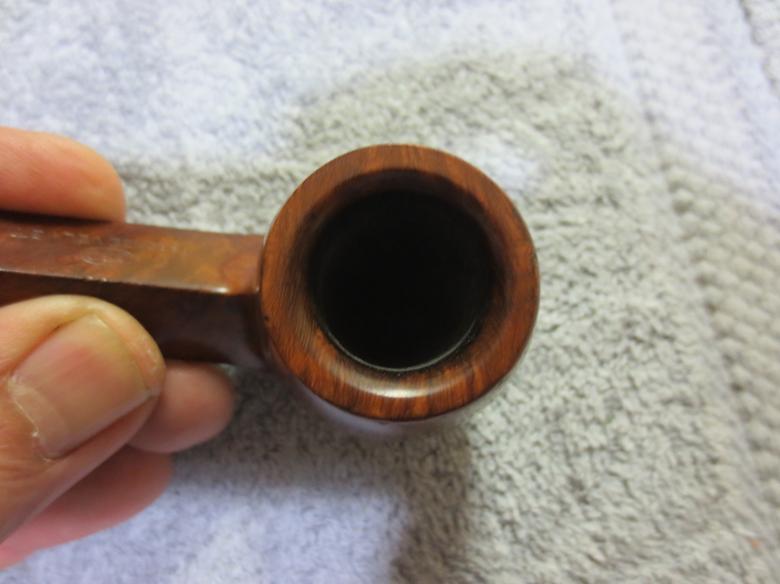
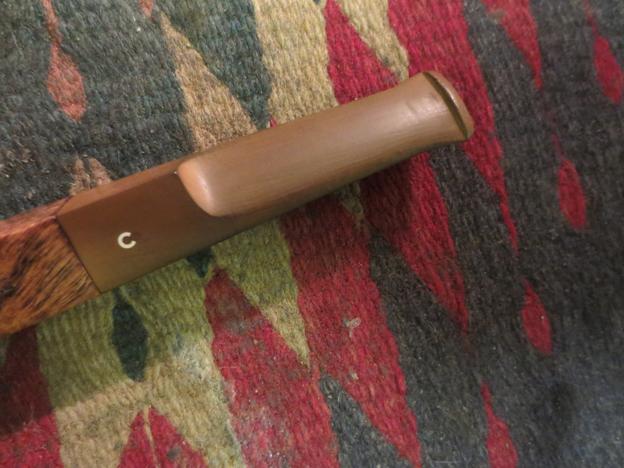
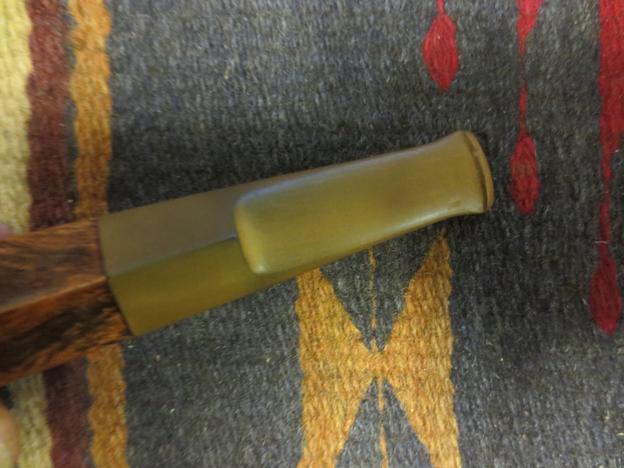
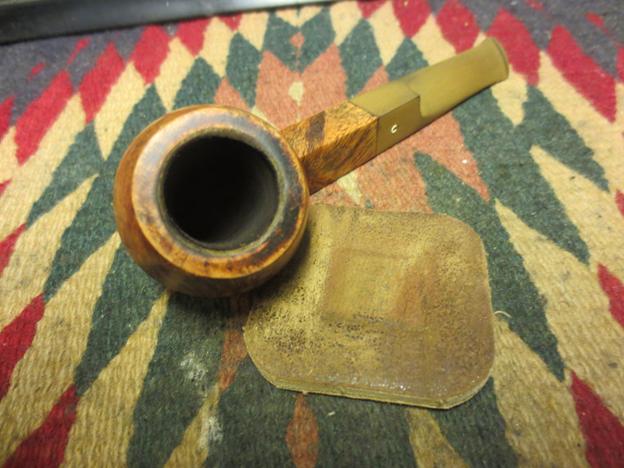
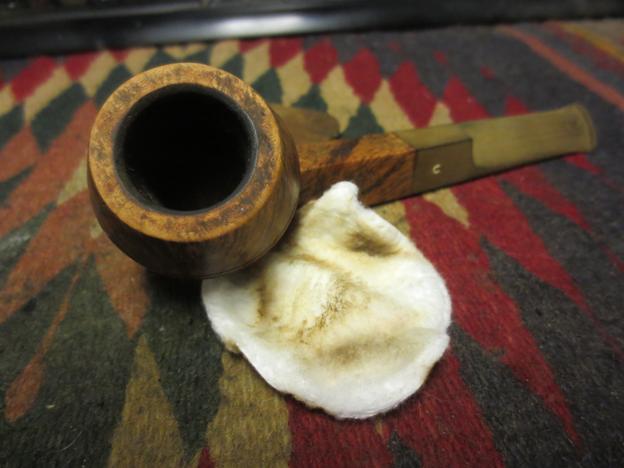
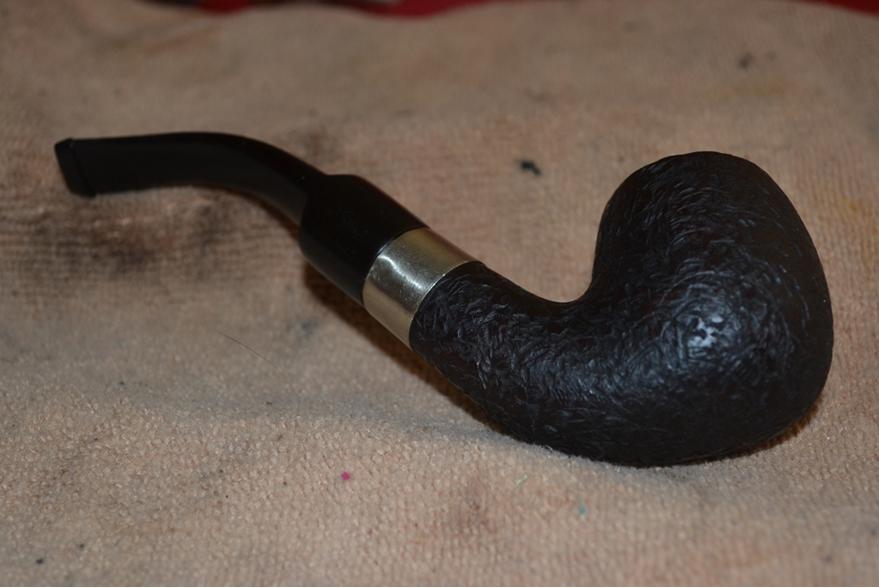
Rob3 Clearly, the similarity of the two pipes, other than the identical stampings of CROYDON over BENT, is not in these two before shots. What is amazing is how alike our vision of the finished pipe should be. (No fair skipping ahead to see what I mean! Bad habit!) Maybe even scarier is the fact that Steve’s modifications were made by necessity, about which you can read at https://rebornpipes.com/2012/06/20/old-croydon-reborn-3/, while mine were just for the sake of personal preference and nothing else. I might just as well have reamed and sanded the chamber, scrubbed and retorted the insides, lightly micro-meshed the bit below the lip and given the whole thing a nice new buffing.Rob4
Rob5

Rob6

Rob7

Rob8

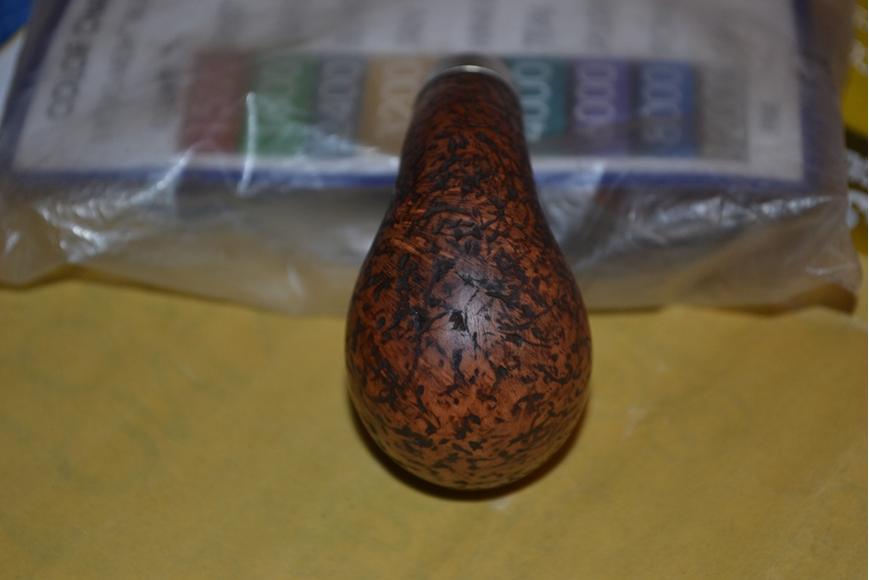
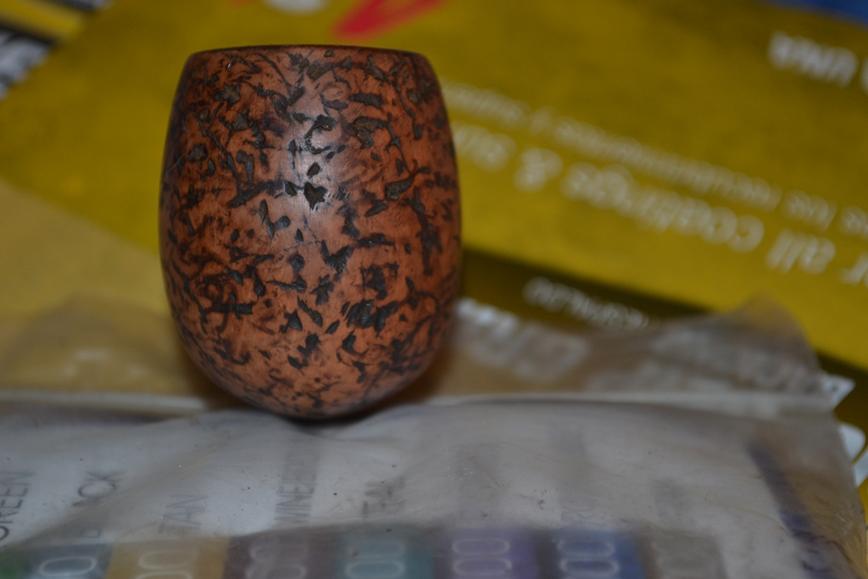
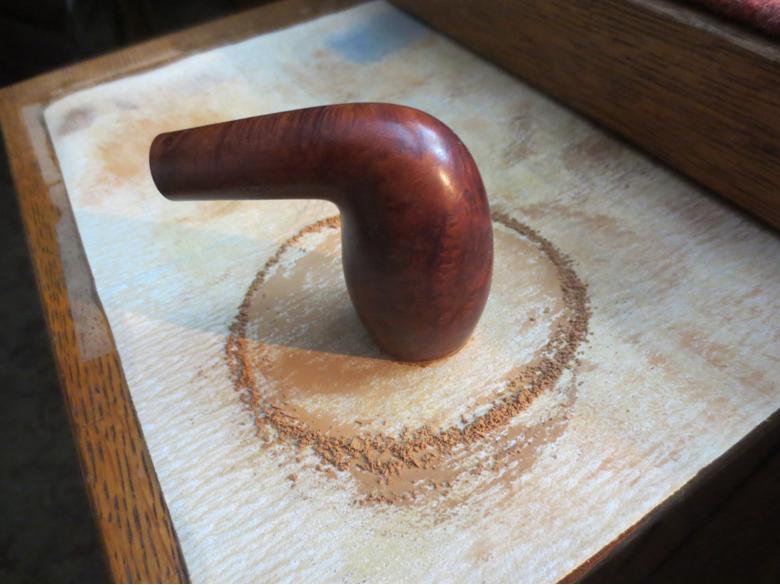
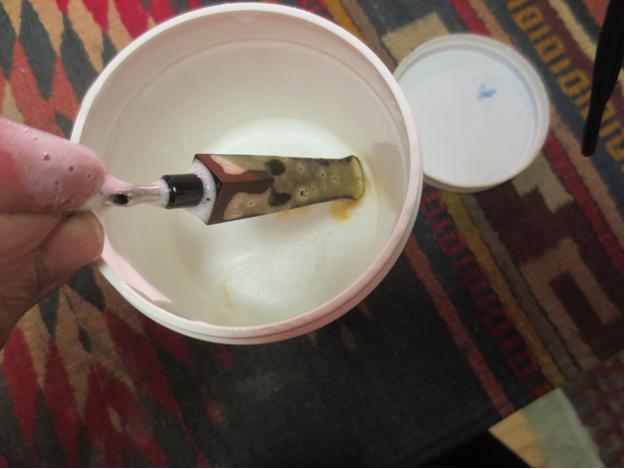
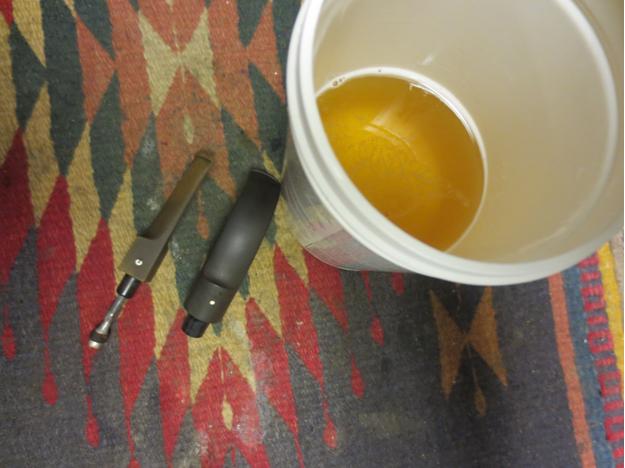
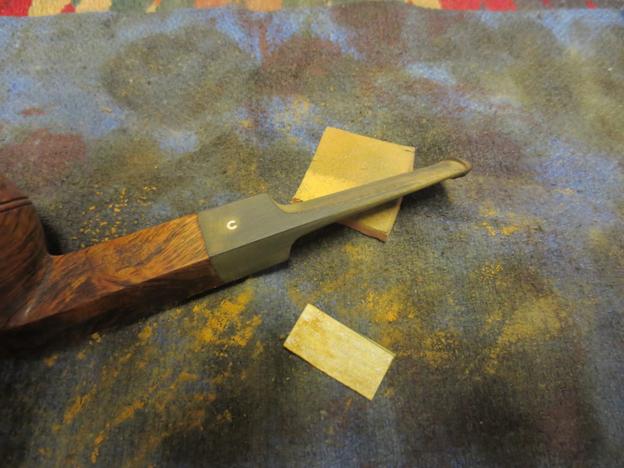
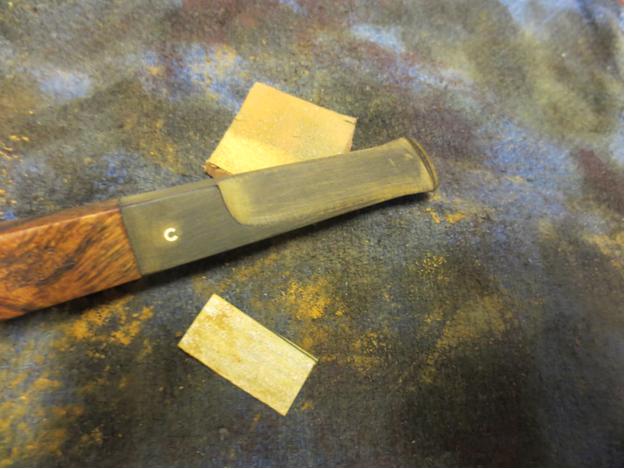
Rob9 But I’m just sick and tired of all the rusticated pipes that are finished with black stain! Enough is enough, I say! At least for this restoration, which I can only call that because of the initial stripping of the insidious stain, starting with 300-grit sandpaper followed by 400 and micromesh every grade from 1500-4000.Rob10
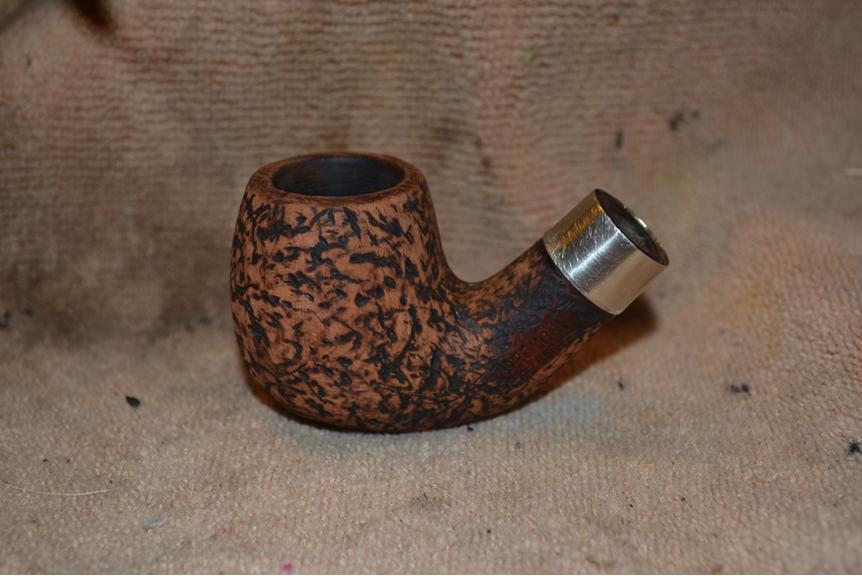
Rob11

Rob12

Rob13

Rob14

Rob15 I wanted to remove as much of the black from the crooks and crevices of the rustication as possible. Yes, my goal was to eradicate it if possible, which proved impossible with my knowledge – short of soaking only the wood in Everclear, which was problematic what with having to plug both ends of the draught hole and keeping the metal tilted up and out of the 95% alcohol. I suspect the alcohol would have eaten its way past any stoppers I might have devised anyway, and besides, I have had enough experience stripping pipes this way to have learned that less, in most cases, is better. Of course, in the case of Steve’s Croydon, he had absolutely no choice but to do a total makeover, even to the point of considering the idea of re-Christening the completed work a “Croydon-Reborn.” Reading his blog, I was touched by the apparently sincere struggle he had with the entire process he has many times since performed with ever-increasing brilliance.

At any rate, I chose the kinder, gentler approach of going over the wood again, but with super fine 0000 steel wool and focusing my tiring hand-work on the celestial but microcosmic canals and pocks. Then I did the full range of micromesh again from 1500-4000.Rob16
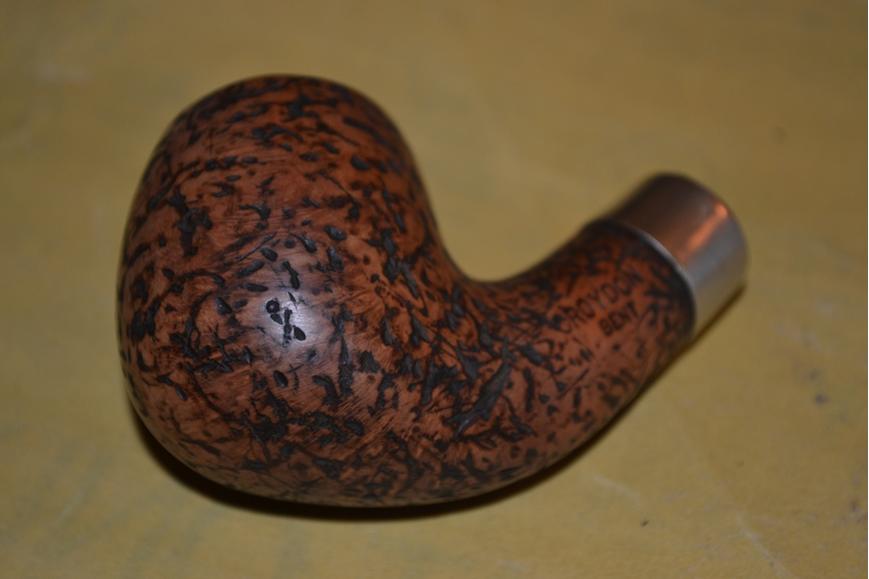
Rob17

Rob18

Rob19

Rob20

Rob21

Rob22 As is apparent, my efforts to remove even a little more of the blackness were fruitless. I should have known better than to try, but still not refrained from using the steel wool and another thorough micromesh progression for its fine effect on smoothing the wood and making it glow.

It was time, if not overdue, for retorting, which took a surprisingly low number of Pyrex test tubes of boiled Everclear shot through the stem and shank into the chamber filled with cotton that came out with any brown, and another to boil up and drain out several more times to confirm the job was done right.

Now, for the point of all this technically unnecessary work obliterating the certainly OK original black stain. What I was looking for was something closer to the briar’s true color but dark enough to cover the grain and fill in the grooves. I decided on Lincoln Marine Cordovan (Burgundy red) boot stain, knowing that except with the lightest shades of briar, it leaves only a subtle redness. Here it is, first stained and flamed, then gently buffed with 3200 micromesh and then after being hand-coated with Halcyon II to sit a while before buffing on the clean wheel.Rob23
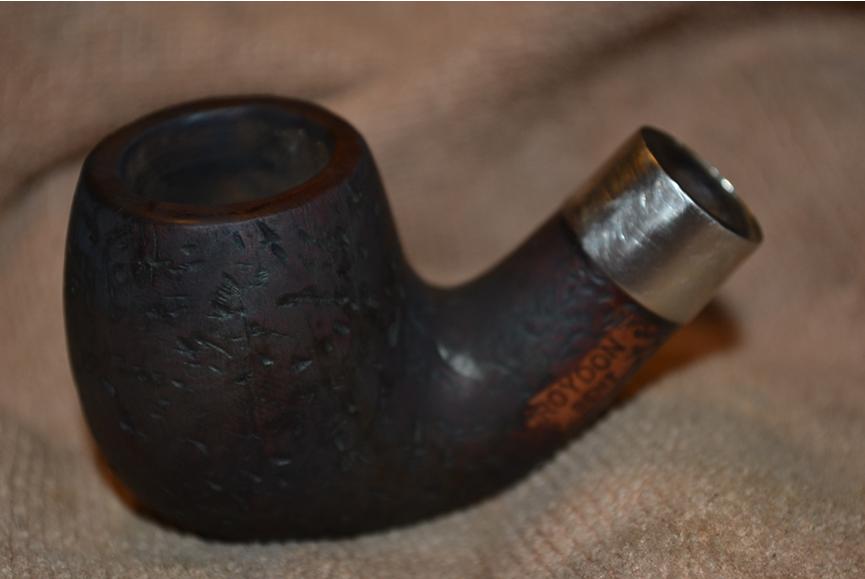
Rob24

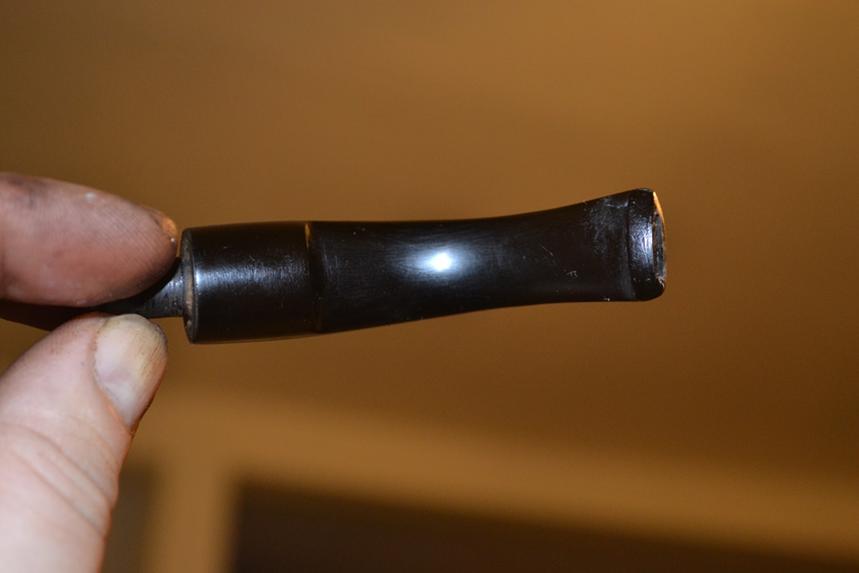
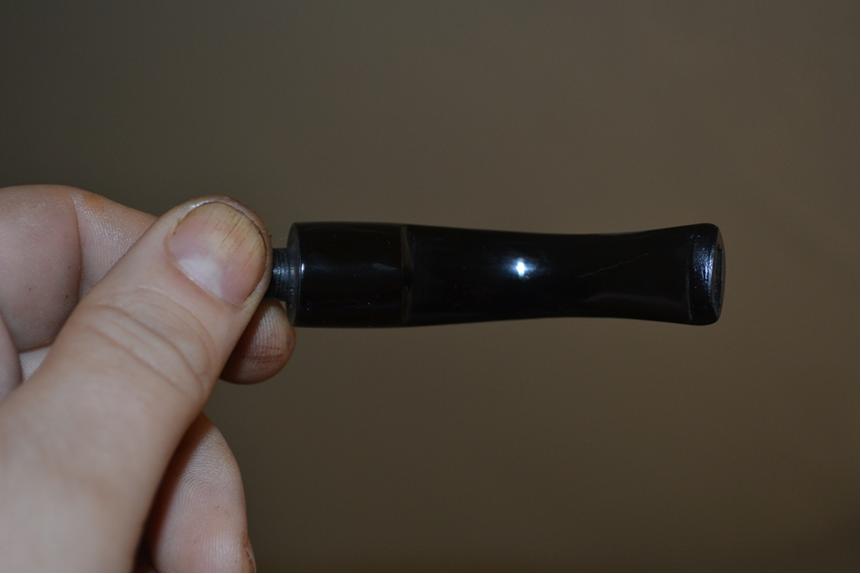
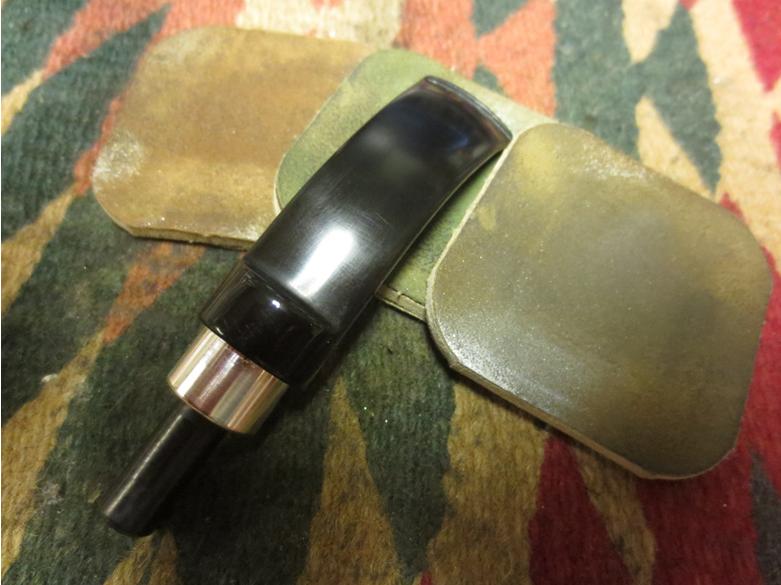
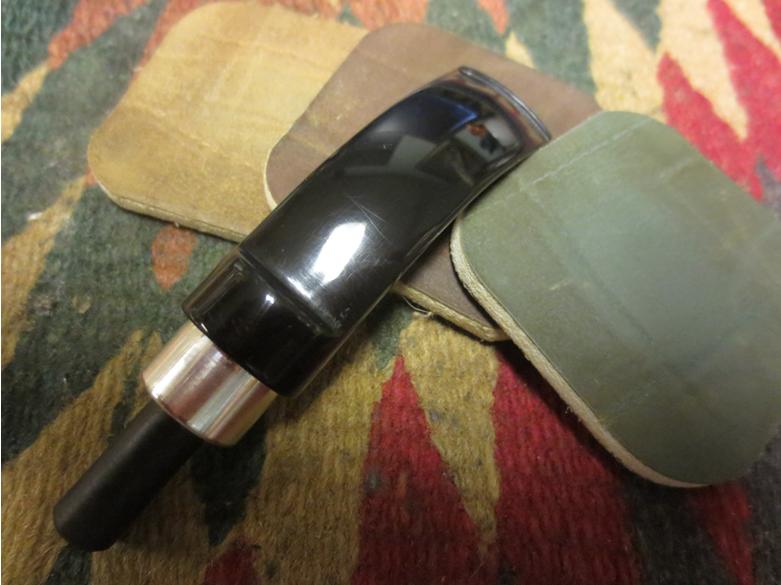
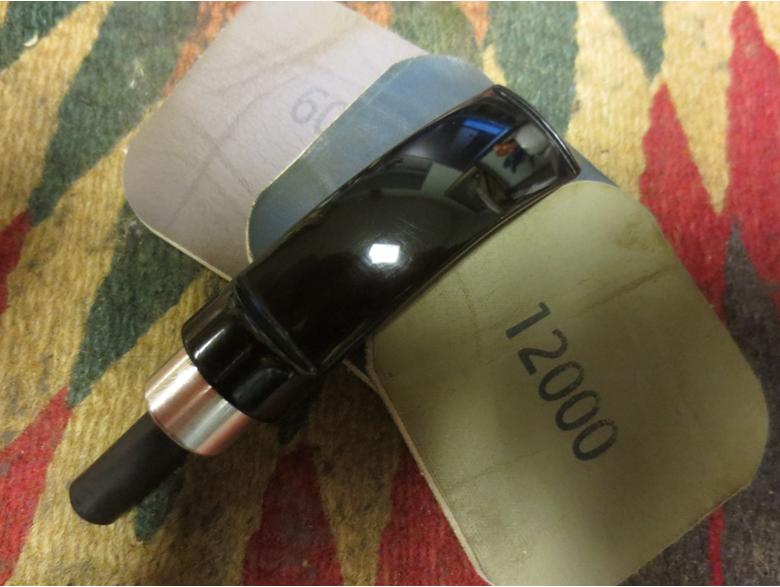
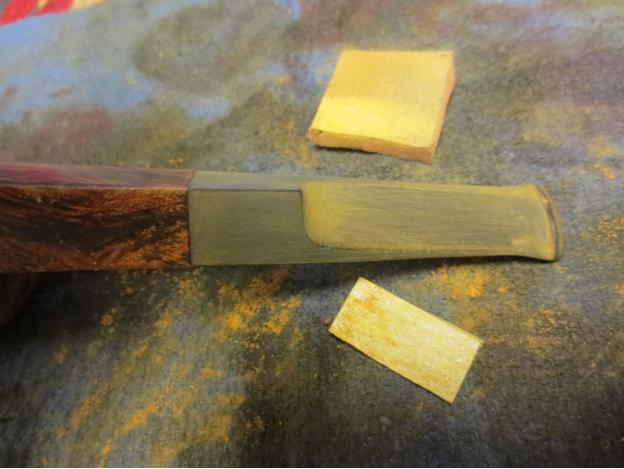
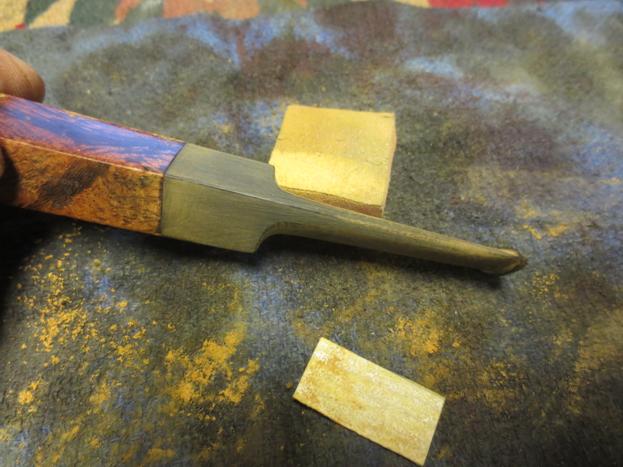
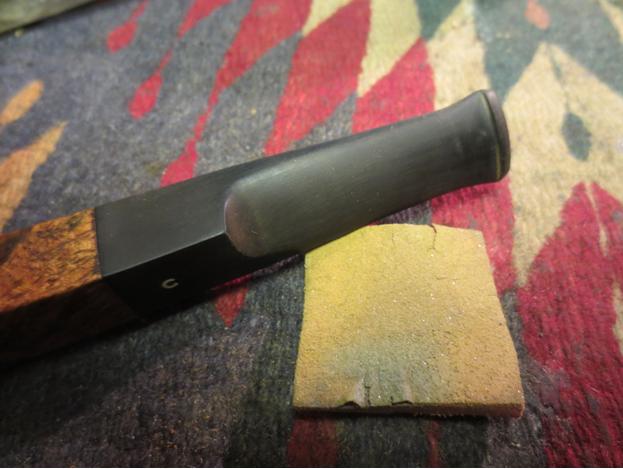
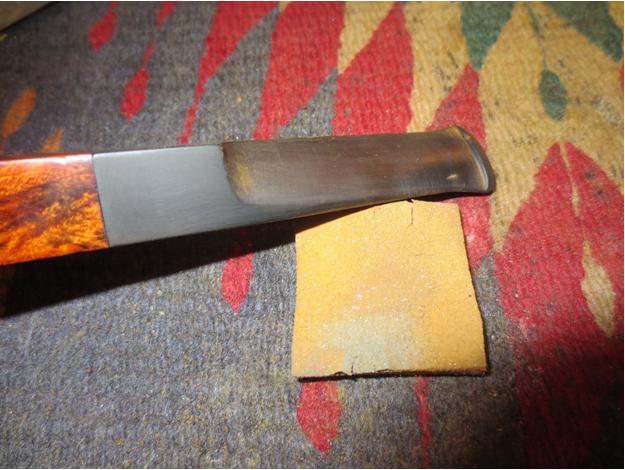
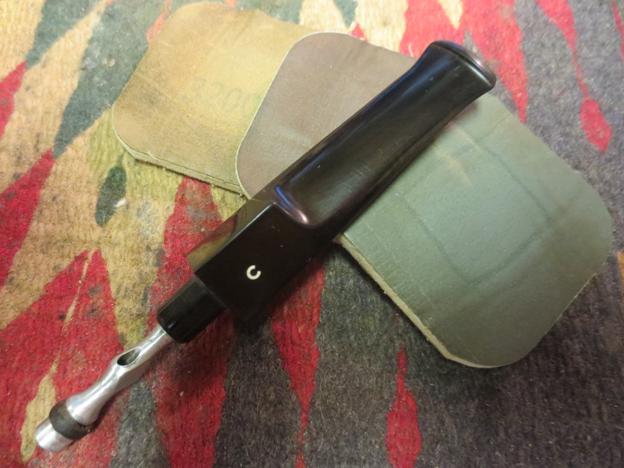
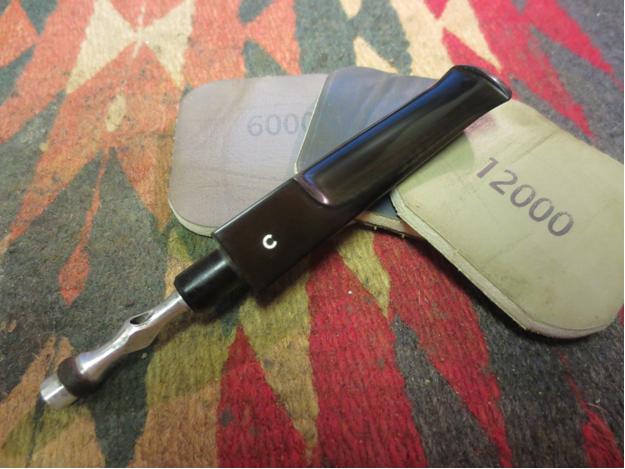
Rob25 Everything so far had worked out just right to do the minor clean up needed on the upper top and bottom of the bit, and including the lip, while the wax on the briar dried a little and worked into the wood. I micro-meshed the bit with 1500, 2400, 3200 and 3600 before buffing with red and white diamond, using the clean wheel and a soft cotton rag after both. Below are two shots before and one after, as both sides ended up the same.Rob26
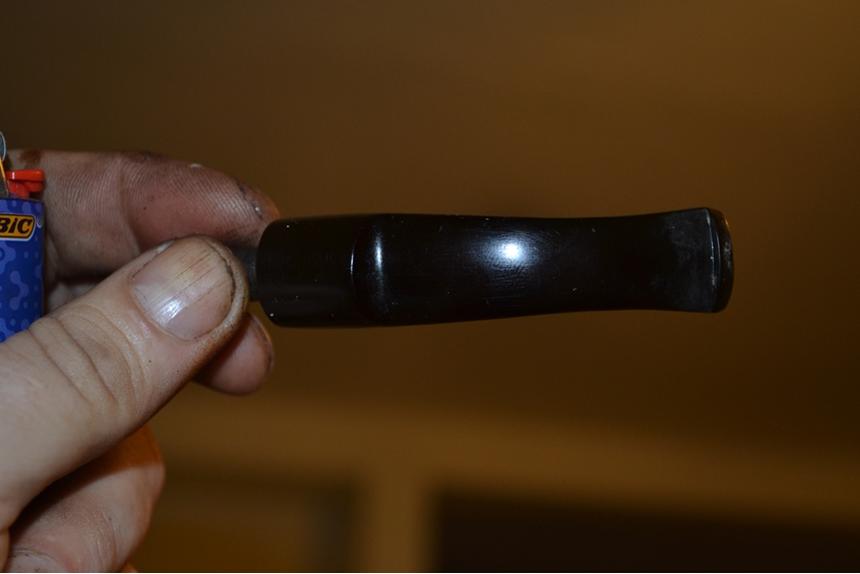
Rob27

Rob28 The last part of the job was to put the briar to the clean buffer with a light touch, re-join the two separated parts of the pipe and again wipe the whole thing with a cotton cloth.Rob29
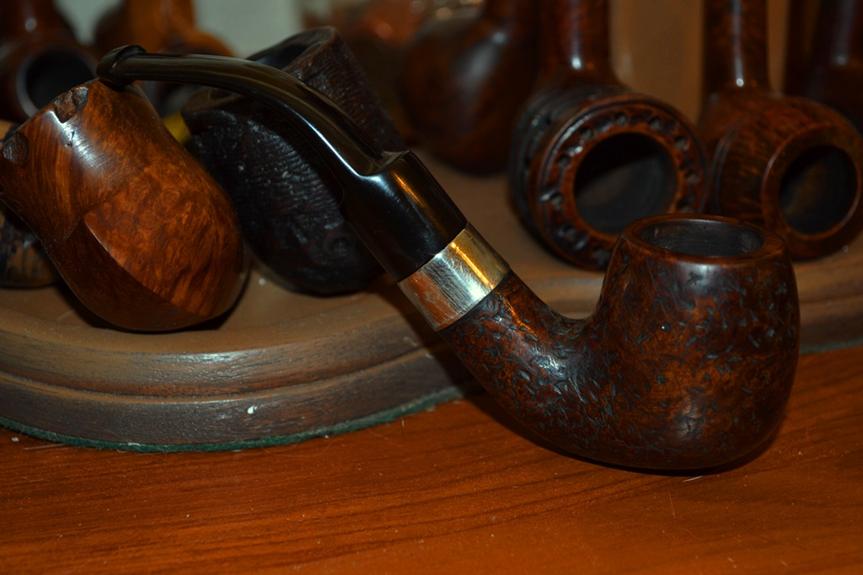
Rob30

Rob31

Rob32

Rob33

Rob34

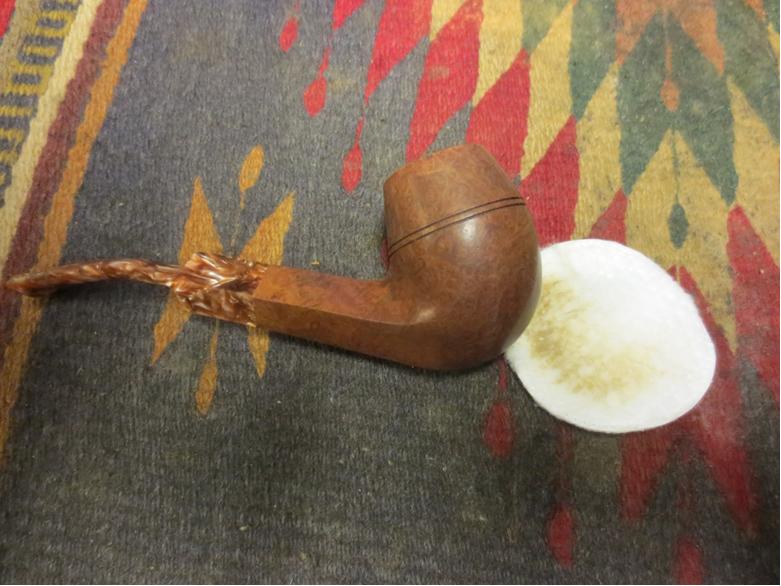
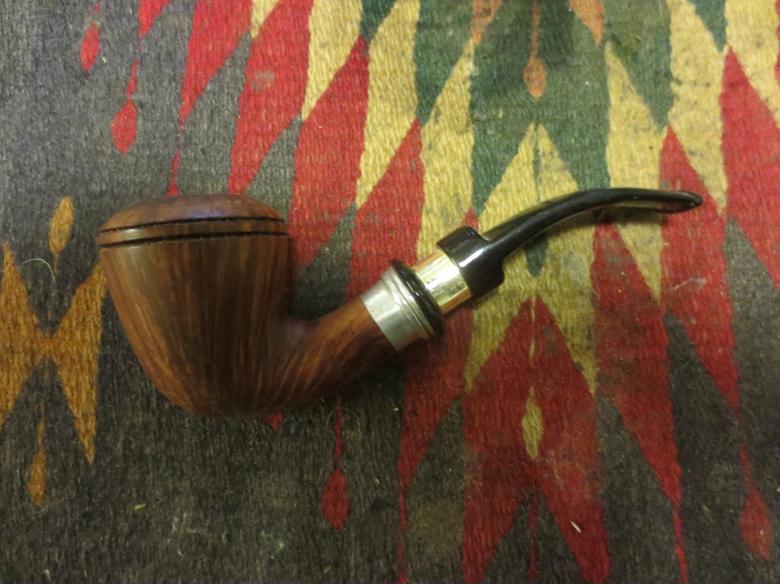
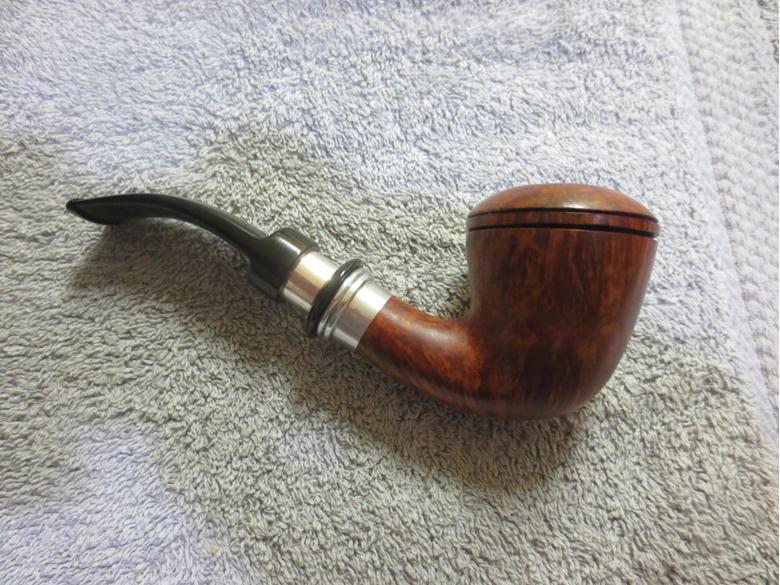
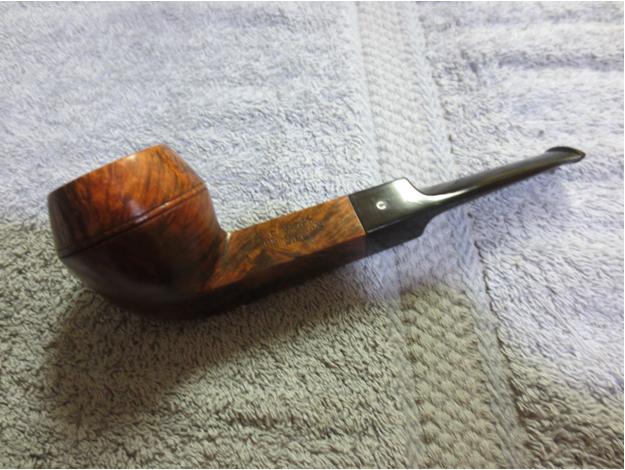
Rob35 I caught the slight smudge on the top of the stem in the photos above after taking them and fixed the problem. Now for the final, left view photos of Steve’s finished Croydon and mine side-by-side.Rob36 CONCLUSION
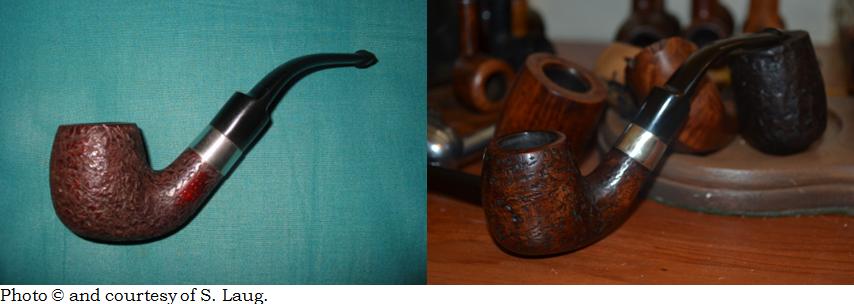
This was, of course, no competition, if only because of the fact that Steve’s was done three years ago, a few months before we ever “met” online. But had they both taken place at the same time, his would, hands-down, be the winner. Being able to take a pipe in the abominable condition in which Steve found his and clean it, rusticate the bowl and shank himself and replace not only the stem but, it appears, the band using the exact types with which an original is created astounds me…and inspires me.

If I still drank, Steve, I’d have two, one for me and one for you. But I wouldn’t stop there, so I guess I’ll have to settle for a Monster!

NEPAL PROJECT PIPE SALE 7 –Restoring a Kirsten K – Companion Generation 2


Blog by Steve Laug

This is the seventh pipe from the box of pipes that I was gifted by a good friend of mine with the instructed purpose of cleaning them up and selling them with all of the proceeds going to the aid of earthquake victims in Nepal. Once again all funds raised will all go to the SA Foundation, and organization that has worked in Nepal for over 15 years helping provide recovery, housing and job training for women who are victims of sexual exploitation and trafficking. The ongoing earthquakes (over 300) that continue to shake Nepal have left much in ruins. The SA Foundation Project there was able to find new housing for the women and help with staff as well. Every dollar raised from the sale of these pipes will go to the work in Nepal.

It is a Kirsten metal pipe with a briar Dublin bowl. It is stamped on the left side of the shank, Kirsten in a cursive script. On the underside it is stamped Made in U.S.A. – K. These pipes were made for a long period of time in the Seattle, Washington area of the US. They came in four generations or iterations – Generation 1, 1.5, 2 and 3. The stamping on this one, the absence of a metal cap to hold the bowl, and the presence of the rubber O rings on the metal valve and on the stem insert, point to it being a Generation 1.5 pipe or a transitional one.

Documentation that I quote on an earlier blog from Dave Whitney shows the following information on the Generation 1.5 – transitional period – mid to late 50’s. This was an experimental stage. Kirsten realized that the bit and insert were prone to seizure as the condensate dried. This model always has O-rings on the metal insert, and later models can have O-rings on both. Same markings, as I remember it. There is no metal cup spacer under the bowl. This generation has O rings either on the valve or mouthpiece but no O rings on the other end. This transitional period is stamped “Pat. Pending” and “Pats. & Pats. Pending” some with “Made in U.S.A. It seems like the company was using surplus parts to combine into this series of pipes. This particular pipe is stamped K after the U.S.A. thus making it a Companion.

When I brought this one to the work table the stem was frozen in the shank and the valve on the end was also frozen. The bowl could not be turned off by hand as my other Kirsten’s can. The bowl had a layer of cake and the screw in the bottom of the bowl was also caked and dirty. The rim was dirty and the metal was barrel was dull and soiled. The stem was not only stuck but it also had tooth marks on the top and underside of the stem near the button. There was also some discoloration and sticky buildup on the stem.K1

K2

K3

K4 I cleaned out the slot on the screw in the bottom of the bowl and was able to remove it with a flat blade screwdriver. The valve at the end of the barrel also came out when I used a pair of pliers that I had taped the end on so that it would not damage the aluminum of the valve. It was very tight and the tobacco oils acted like dried varnish on the rubber gasket and the aluminum almost welding it to the barrel. By carefully working it back and forth I was finally able to remove it.K5 The stem would not budge so I dropped the barrel stem down in my alcohol bath and let it soak overnight. I dropped the bowl into the bath at the same time to soften the cake in it and also make the cleanup of the rim and bowl easier.K6 I filled a small cap with alcohol and put the valve and the screw into the small bath overnight as well. I figured a good soak would make the clean up process much simpler.K7 In the morning I was able to remove the stem and rod apparatus from the barrel with ease. It was caked with the same kind of varnish from the tars and oils of the tobacco.K8 I took a photograph down the barrel to show what the inside looked like once the stem was removed.k9 I took the bowl out of the bath as well and laid out the parts of the pipe side by side for the photos before I cleaned them up.k10 Using a piece of 0000 steel wool I scrubbed the rod and the bowl down to clean up the grime and buildup. I also scrubbed the screw and the valve as well with the steel wool. It did not take much effort to remove that from the metal or the briar. The photo below shows the cleaned up parts.k11 I scrubbed out the barrel with cotton swabs and alcohol as far as I could reach. I pushed it through the threaded connector for the bowl as well to remove all of the oils and tar.k12 I took the next photo of the barrel to show the inside and how much cleaner it was. I still needed to clean it more so I twisted some tissue into a cord and turned it into the barrel until it came out the other end. I move it back and forth to scrub out the inside of the barrel. Once it was out the inside of the barrel shone.k13

k14 I reamed the bowl using a sharp pen knife paying particular attention to the seat at the bottom of the bowl which held the screw flat against the bowl bottom. I cut the cake back to a very thin coat along the walls. I then used some Vaseline on the threads of the screw and put it through the bottom of the bowl and used the screw driver to turn it into the barrel. I still needed to polish the grooves on the barrel and the valve but the pipe was beginning to look very good.k15

k16 I sanded the tooth marks on the stem with 220 grit sandpaper to remove as much of them as I could without thinning the surface of the stem or leaving behind a groove. I was able to remove both marks on the top and bottom of the stem.k17

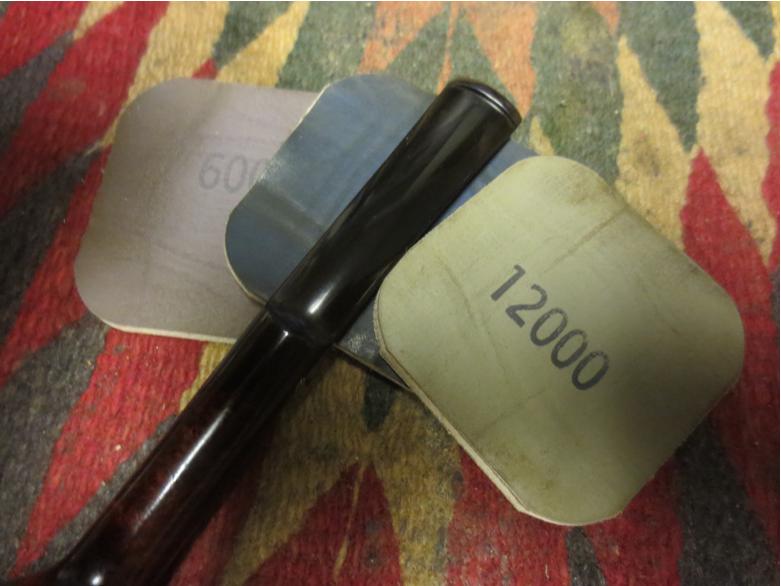
k18 I used micromesh sanding pads to polish the stem and bring back the shine. I wet sanded with 1500-2400 grit pads and then rubbed the stem down with Obsidian Oil and then dry sanded with 3200-4000 grit pads and gave it another coat of oil. Finally I sanded with the 6000-12,000 grit pads and then gave it a final coat of oil and let it dry.k19

k20

k21 I buffed the stem with Blue Diamond Plastic Polish on the wheel and brought out a deep shine. I then gave the stem multiple coats of carnauba wax and buffed it with a clean, soft flannel buffing pad to raise the shine.k22

k23 I buffed the barrel lightly with the Blue Diamond and also buffed the bowl. I gave the bowl and barrel several coats of carnauba wax and then lightly buffed it with a clean flannel buffing pad to raise the shine. The finished pipe is shown in the photos below. It is ready for someone who has been looking for one of these to pick it up and add it to their rack and help out the women of Nepal at the same time.k24

k25

k26

k27

k28 This older Kirsten Companion K is a great looking pipe and the Dublin bowl gives it a distinctive look. As I said above, it should make someone a great addition. If you are interested in this pipe email me with an offer at slaug@uniserve.com and we can discuss it. The entirety of the sale price will go to the Nepal project. I will pay the postage so that does not get taken off the proceeds. If you are interested in reading about the SA Foundation you can look at their website at http://www.safoundation.com.

Thanks for looking.

NEPAL PROJECT PIPE SALE 6 –Restoring a Bantam ¼ bent Dublin


Blog by Steve Laug

This is the sixth pipe from the box of pipes that I was gifted by a good friend of mine with the instructed purpose of cleaning them up and selling them with all of the proceeds going to the aid of earthquake victims in Nepal. Once again all funds raised will all go to the SA Foundation, and organization that has worked in Nepal for over 15 years helping provide recovery, housing and job training for women who are victims of sexual exploitation and trafficking. The ongoing earthquakes (over 300) that continue to shake Nepal have left much in ruins. The SA Foundation Project there was able to find new housing for the women and help with staff as well. Every dollar raised from the sale of these pipes will go to the work in Nepal.

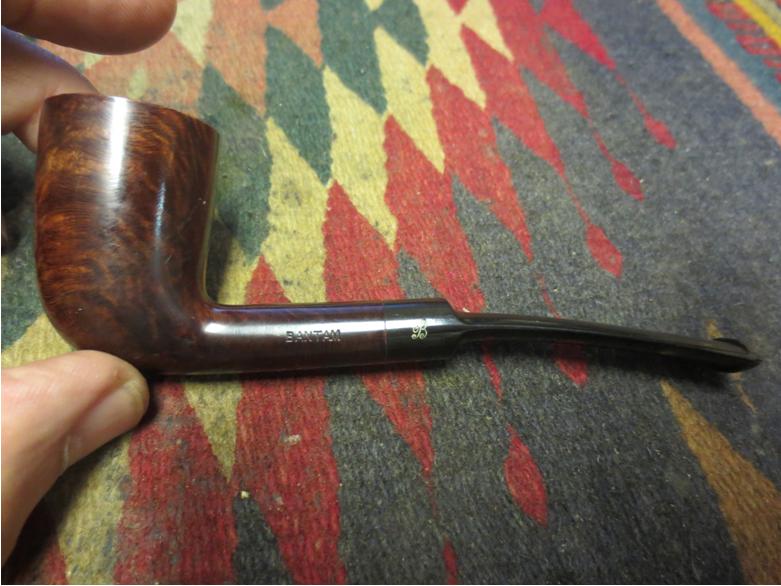
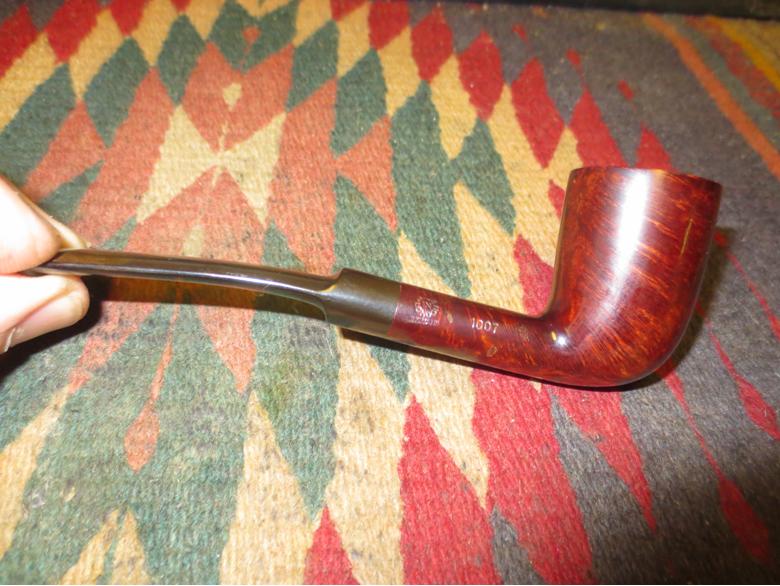
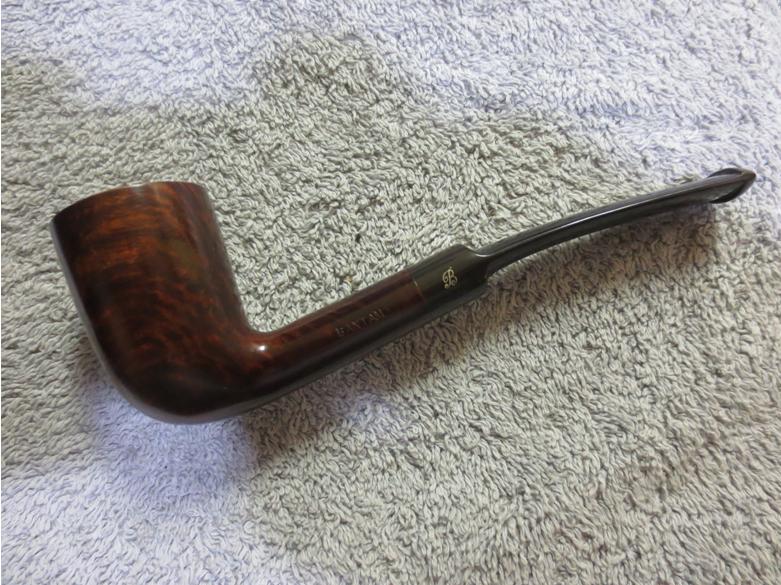
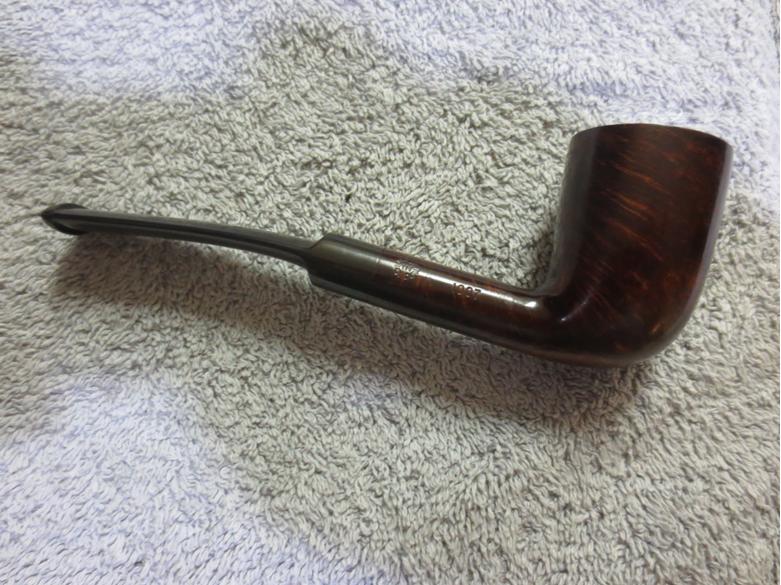
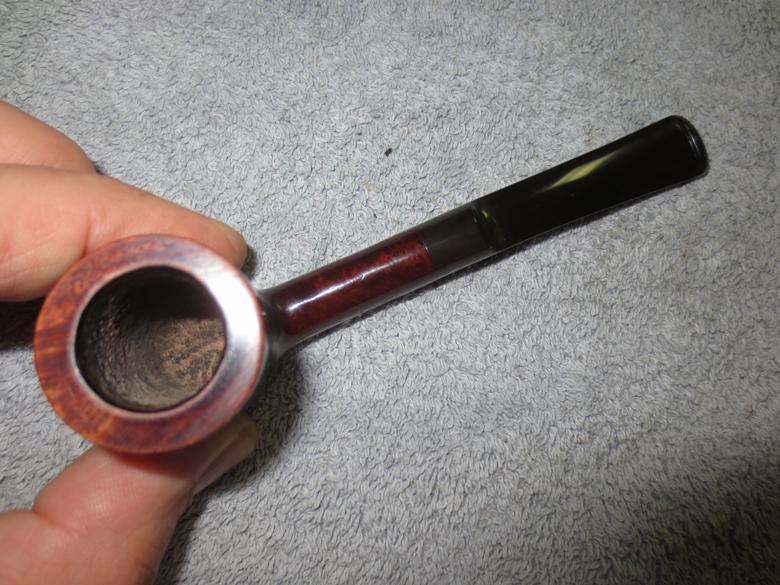
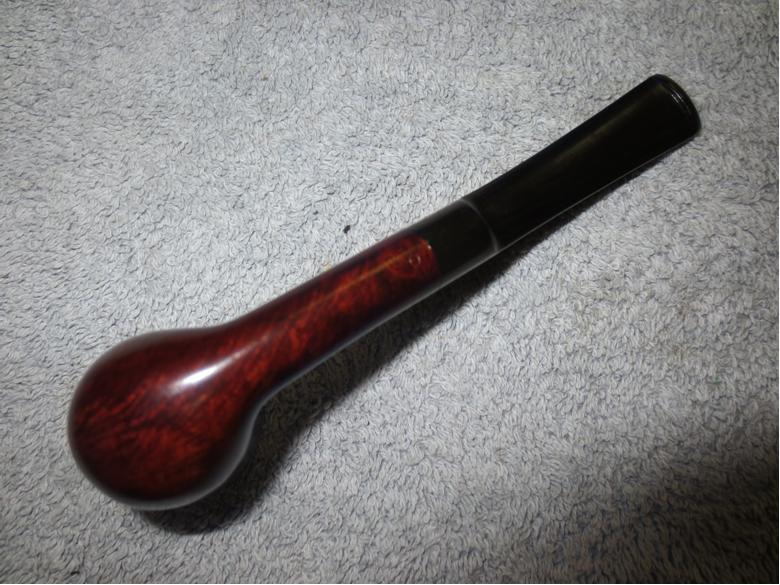
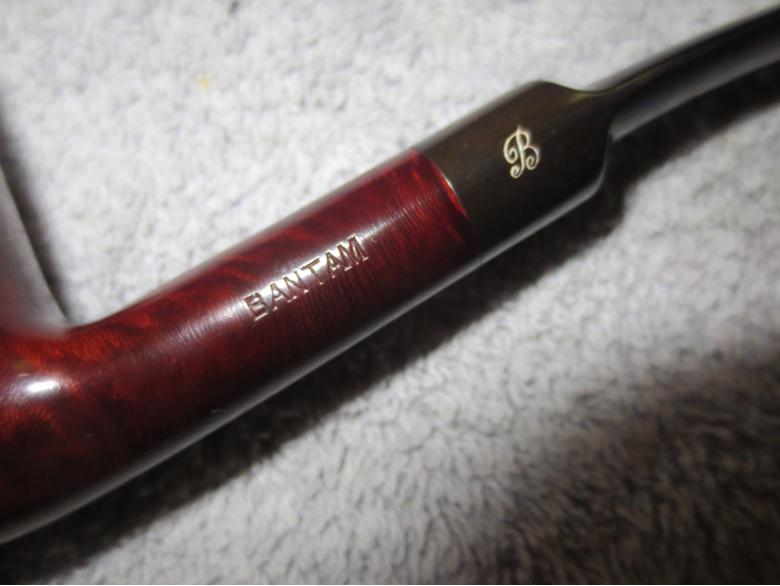
It is stamped on the left side of the shank, BANTAM with a cursive B on the saddle portion of the stem. On the right side it is stamped with the classic Comoy’s circle Made in London over England then the shape number 1007. On the underside of the shank next to the stem is the stamp O. In checking on the maker of the brand in Who Made That Pipe (WMTP) I found that it was indeed made by Comoy.

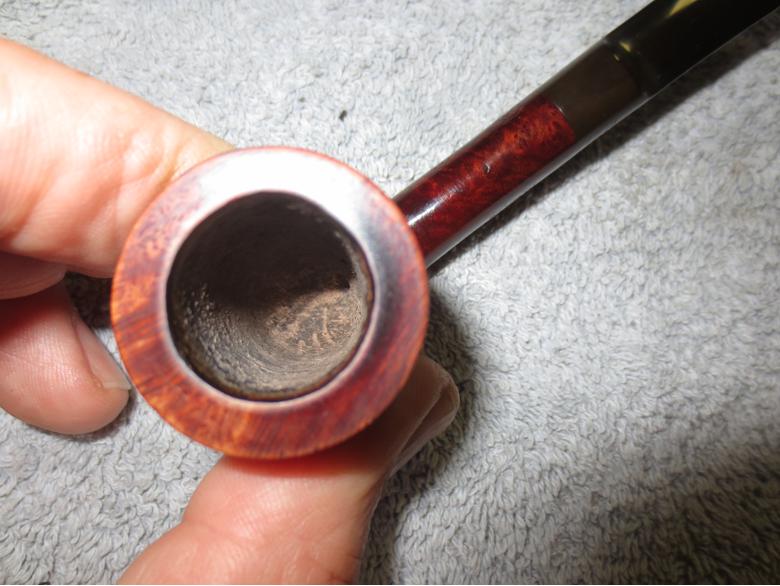
The finish on this one was in decent shape, just a little dirty. The rim had a build of tar on the back quarter that needed to be scraped and cleaned. The rim itself was quite clean and was undamaged on either the outer or inner edge. The stamping was very clear on both sides of the shank as noted above. I am a little mystified by the 1007 shape number on the shank as I can find no mention of that in the catalogues. The stem was oxidized and had a bit of tooth chatter on both the top and bottom sides near the button. The bowl had been reamed and cleaned but the inside of the shank and the stem were very dirty. The slot in the end of the stem was partially clogged and constricted the airflow. The pipe is a delicate Dublin shape around 5 inches long and very light weight.Bantam1

Bantam2

Bantam3

Bantam4 The close-up photo of the rim below shows the tar and oil build up on the back side as well as the ragged cake that had been left behind when the bowl had been reamed previously.Bantam5 I did not take photos of the bowl clean up. I am not sure what happened but I know I was working on several pipes at the same time so somehow I over looked photographing this one. I apologize for that and give you a description of the work I did on the bowl and the interior of the pipe.

I reamed back the rough cake with a sharp pen knife to smooth it out and leave a very thin coating. I scrubbed the rim with saliva and cotton pads and worked on it until I was able to get all of the tarry buildup off the back of the rim. I scrubbed the bowl with a tooth brush and Murphy’s Oil Soap and then rinsed it off with cool water. I dried off the bowl. I then buffed the bowl and rim with White Diamond and gave them a light coat of carnauba wax. I then took the bowl back to the work table and cleaned out the shank and the airway in the stem with pipe cleaners, cotton swabs and alcohol. I scrubbed until the cleaner came out white and the pipe smelled clean and fresh.

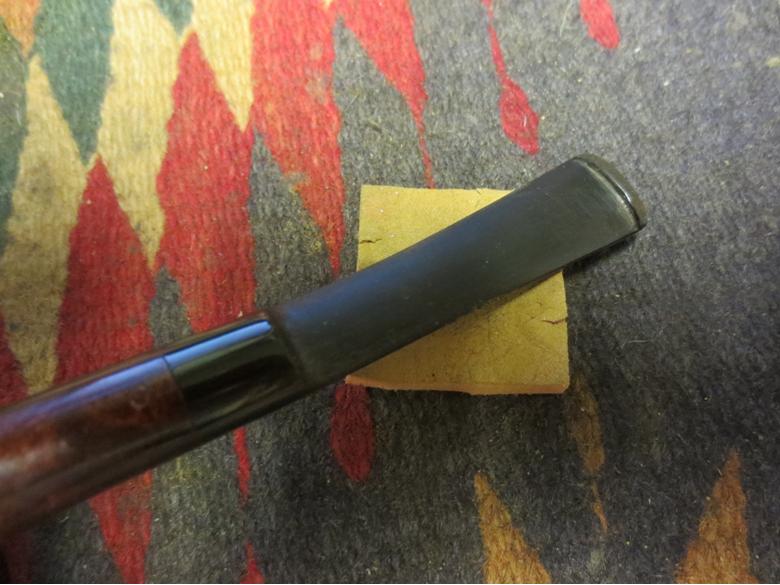
I did take a close-up picture of the stem to show the tooth chatter and tooth mark. The other side of the stem had matching tooth marks.Bantam6 I sanded out the tooth marks and the tooth chatter with 220 grit sandpaper followed by a medium and fine grit sanding sponge. Once I had the tooth marks cleaned up and no longer present I sanded the entire stem, carefully working around the stamped logo on the left side of the saddle.Bantam7

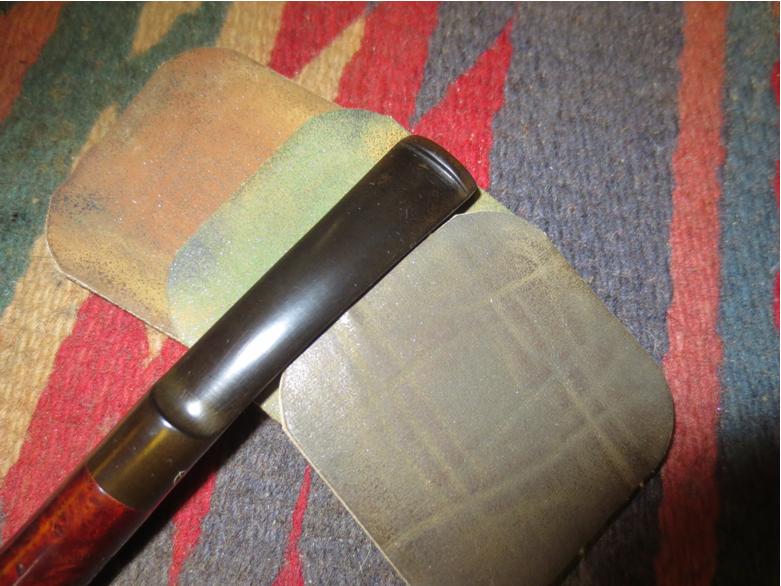
Bantam8 The oxidation on this one was particularly stubborn. I wet sanded it with 1500-2400 grit micromesh sanding pads and repeated that until I had the majority of the oxidation conquered. I rubbed the stem down with Obsidian Oil and took the first photo below. The oxidation still showed up in the bright light of the flash so I started over with this set of micromesh pads and repeated the process until it was clean.Bantam9 When the oxidation was gone I moved on to dry sand with 3200-4000 grit micromesh pads and sanded the stem until it began to shine. I rubbed it down with Obsidian Oil once more and when it dried I buffed the stem with White Diamond on the wheel before continuing with the next set of micromesh pads.Bantam10 I dry sanded with 6000-12,000 grit micromesh pads and then rubbed the stem down again with a final coat of Obsidian Oil.Bantam11 When the oil had dried I buffed the pipe and the stem with Blue Diamond Plastic Polish and then gave them both multiple coats of carnauba wax. The finished pipe is shown below. It is ready for the next owner to load with a bowl of his or her favourite tobacco and enjoy it. It should serve as a good smoke for a long time to come.Bantam12

Bantam13

Bantam14

Bantam15

Bantam16

Bantam17 You can purchase this beautifully shaped English looking Bantam 1007 ¼ bent Dublin and add it to your collection and help out the women of Nepal who are part of the SA Foundation’s project there. If you are interested in purchasing the pipe email me with an offer at slaug@uniserve.com and we can discuss it. The entirety of the sale price will go to the Nepal project. I will pay the postage so that does not get taken off the proceeds. If you are interested in reading about the SA Foundation you can look at their website at http://www.safoundation.com.

Thanks for looking.

NEPAL PROJECT PIPE SALE 5 – Restoring an Orlik De Luxe L206 – an Inclined Bevelled Egg


Blog by Steve Laug

This is the fifth pipe from the box of pipes that I was gifted by a good friend of mine with the instructed purpose of cleaning them up and selling them with all of the proceeds going to the aid of earthquake victims in Nepal. Once again all funds raised will all go to the SA Foundation, and organization that has worked in Nepal for over 15 years helping provide recovery, housing and job training for women who are victims of sexual exploitation and trafficking. The ongoing earthquakes (over 300) that continue to shake Nepal have left much in ruins. The SA Foundation Project there was able to find new housing for the women and help with staff as well. Every dollar raised from the sale of these pipes will go to the work in Nepal. It is stamped on the left side of the shank, Orlik De Luxe over London Made and on the right side of the shank it is stamped with the shape number L206. According to the page from the Orlik shape chart below, the L206 (the bottom pipe on the page) was called an Inclined Bevelled Egg.Egg1 The next four photos show the condition of the pipe when I brought it to the worktable to clean it up. The finish was in very decent shape though soiled and would clean up very nicely. The stamping was clear, though toward the back of the shank it was stamped more lightly than the front half of the shank.Egg2

Egg3

Egg4

Egg5 The next photos are close-up pictures of the outer edge of the rim. The outer edge was damaged around over half of the bowl. Someone along the path this pipe took during its life time had smoothed out the damage and in so doing had rounded the outer edge of the bowl.Egg6

Egg7

Egg8 From the Orlik shape chart and photos on the web I could see that the edge was supposed to be sharp and smooth rather than rounded. The rounding also hid some rough spots in the briar caused by knocking out the pipe against something hard. I decided to top the bowl with a topping board. I used 220 grit sandpaper on the board and sanded the top in a circular motion while pressing it into the sandpaper. I took it down until the damaged sections were gone and the outer edge was sharp once again.Egg9

Egg11

Egg10 I sanded the rim with a medium and fine grit sanding sponge to remove the scratching. I sanded it with 1500-2400 grit micromesh sanding pads to further smooth it out. I buffed the bowl and rim with White Diamond. I used a light and a medium brown stain touch up pen mixed together to match the stain with the rest of the bowl.Egg12 I used a sharp knife to ream cake the bowl, remove the crumbling cake from the bottom portion of the bowl and leave a thin cake on the walls of the bowl. My purpose was to facilitate forming a new cake on the walls.Egg13

Egg14 I cleaned out the mortise and the airway in the shank and the stem with pipe cleaners, cotton swabs and alcohol until the cleaners came out white.Egg15 With the inside clean I put the stem back in place with a plastic washer on the tenon so that when it was pushed in place it sat between the shank and the stem. This allows me to sand the stem and remove the oxidation without rounding the shoulders or damaging the stain and finish on the shank. I sanded it with a worn piece of 220 grit sandpaper and then with a medium and a fine grit sanding sponge.Egg16

Egg17 With the oxidation removed from the stem I went on to sand it with micromesh sanding pads – wet sanding with 1500-2400 grit pads and dry sanding with 3200-12,000 grit pads. I rubbed down the stem with Obsidian Oil between each set of three pads and then when I had finished the third set I did it again and set it aside to let the oil dry.Egg18

Egg20

Egg19 After the oil dried I buffed the pipe and the stem with Blue Diamond Plastic Polish on the wheel while carefully avoiding the stamping. I gave it multiple coats of carnauba wax and buffed it with a soft, flannel buff to raise the shine. The finished pipe is shown below. It merely waits for the right person to add it to their rack and enjoy a flavourful smoke in a very light weight pipe.Egg21

Egg26

Egg25

Egg24

Egg23

Egg22 This beautifully shaped Danish looking Orlik L206 Inclined Bevelled Egg should make someone a great addition. If you are interested in this pipe email me with an offer at slaug@uniserve.com and we can discuss it. The entirety of the sale price will go to the Nepal project. I will pay the postage so that does not get taken off the proceeds. If you are interested in reading about the SA Foundation you can look at their website at http://www.safoundation.com.

Thanks for looking.

A Windy Perpetual Drysmoker Restored


Blog by Steve Laug

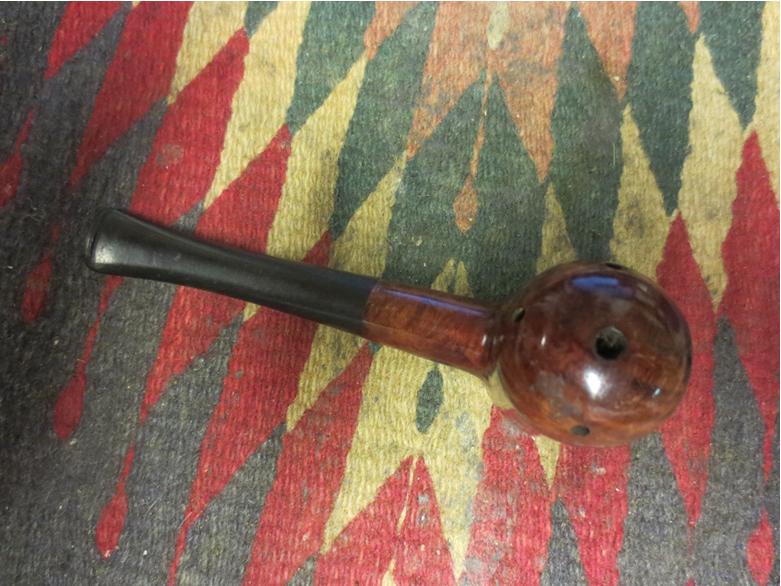
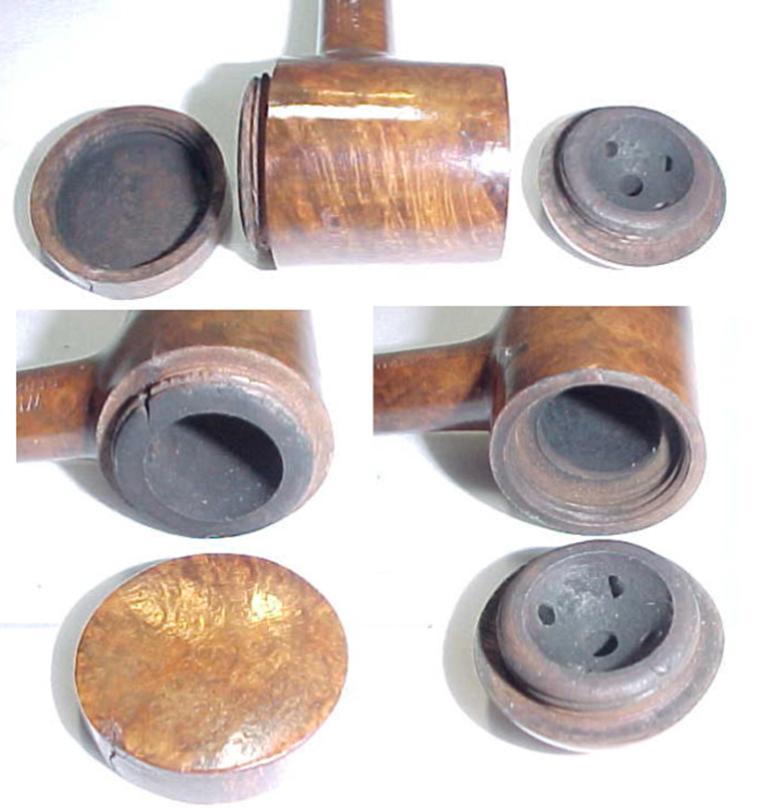
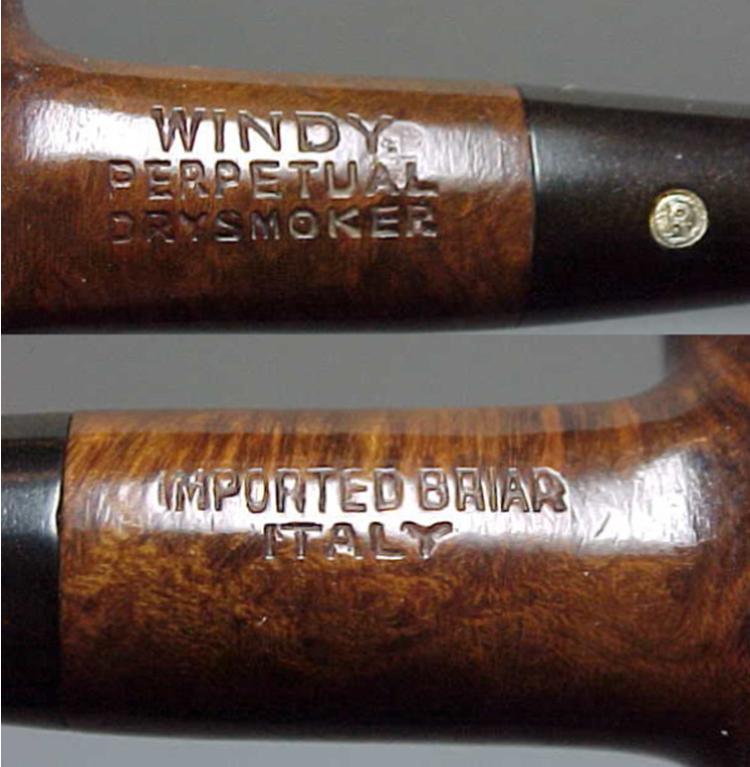
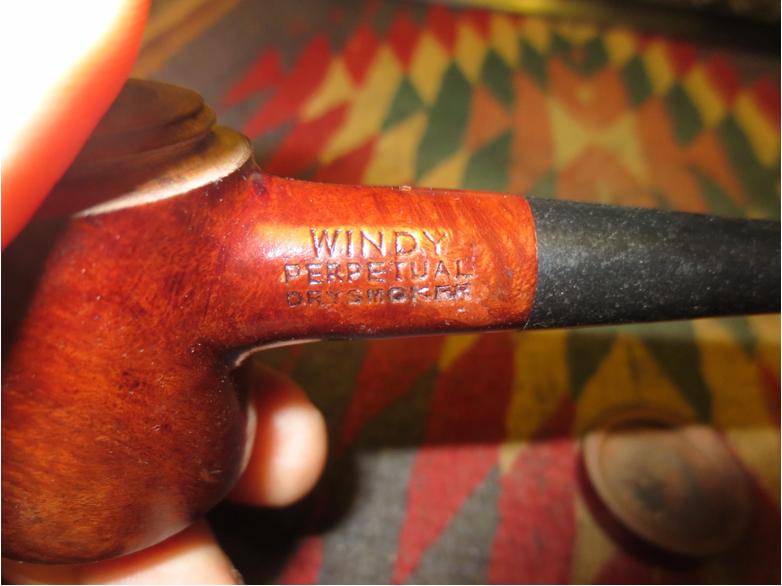
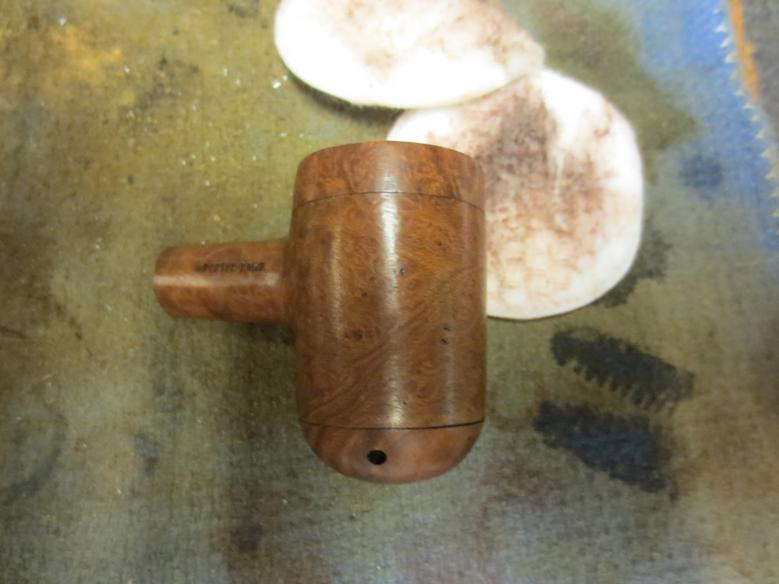
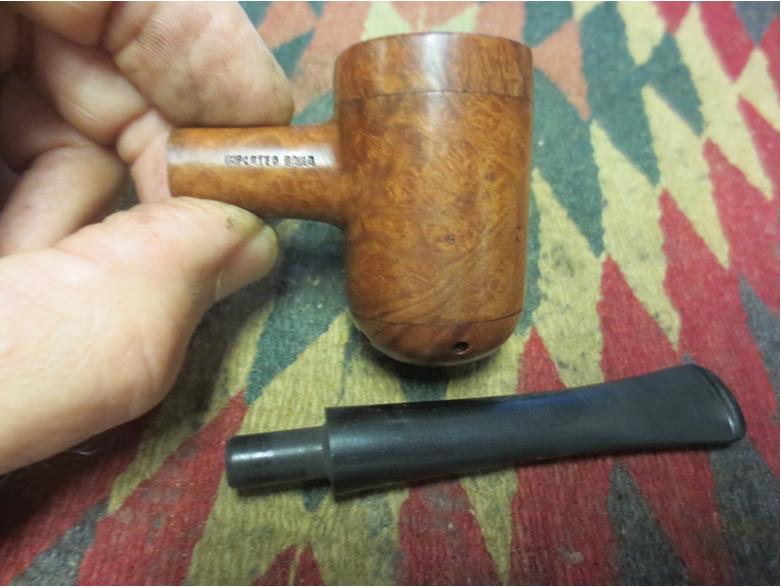
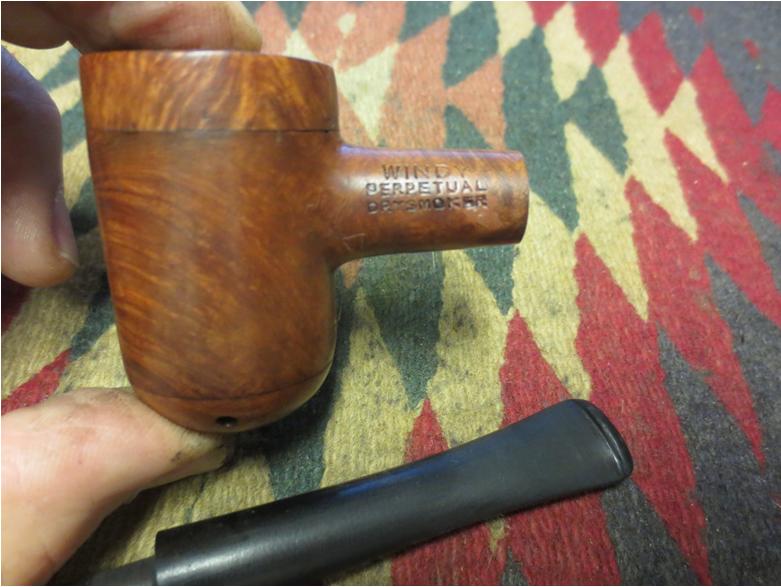
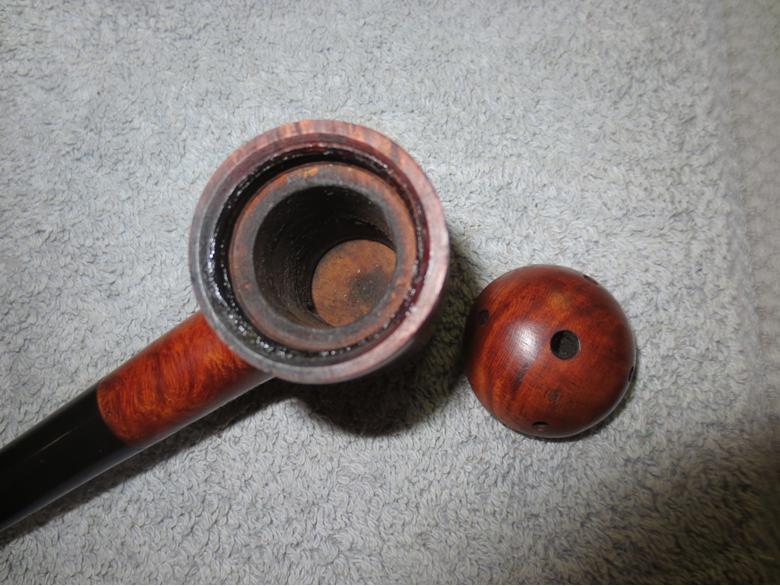
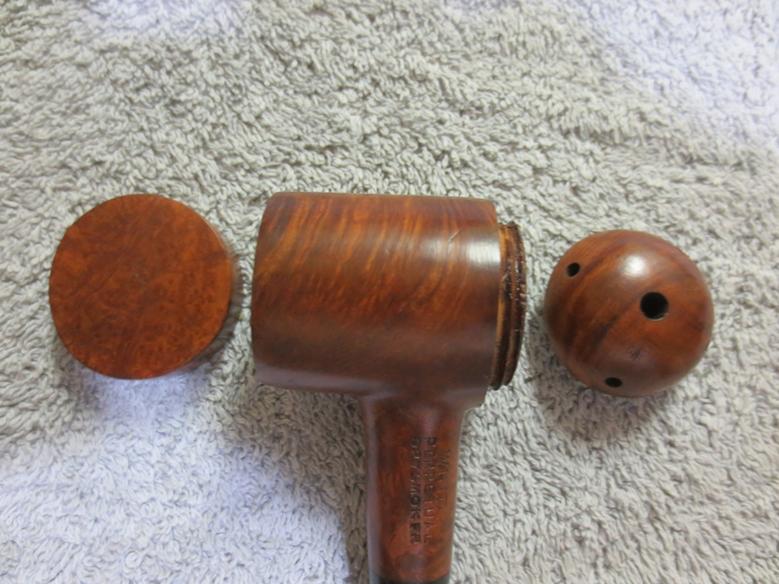
One of the contributors to rebornpipes,Troy Wilburn gifted me with a couple of pipes not long ago. Today I worked on the first of them – an interestingly odd old pipe the likes of which I have never seen. It is stamped on the left side of the shank WINDY over PERPETUAL over DRYSMOKER and on the right side of the shank IMPORTED BRIAR. Around the end of the shank on what I assume is the bottom of the pipe it is stamped ITALY.Dry1

Dry2

Dry3

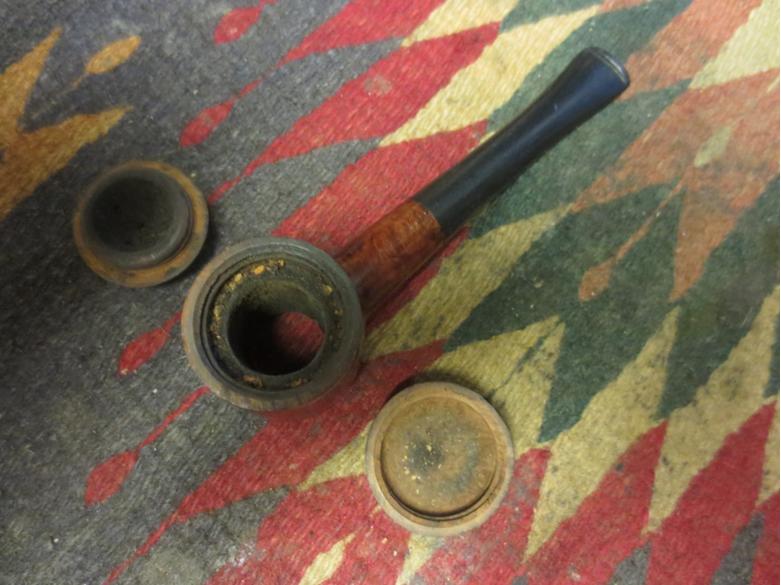
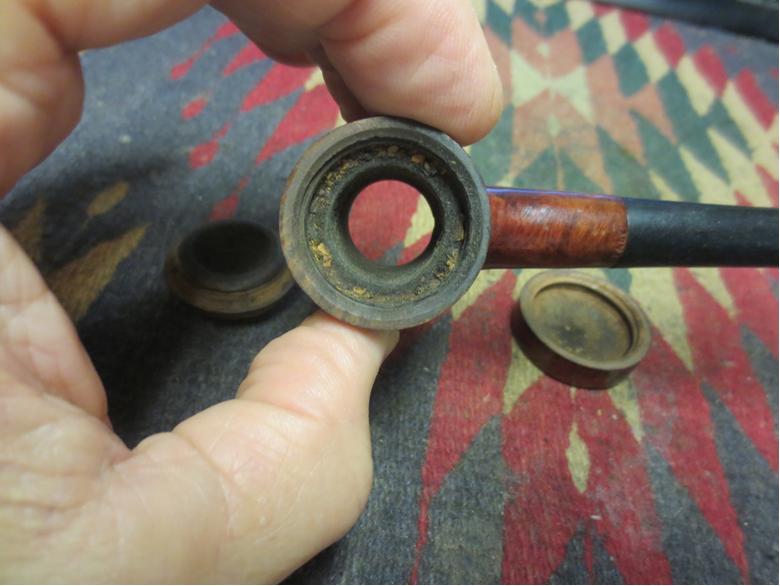
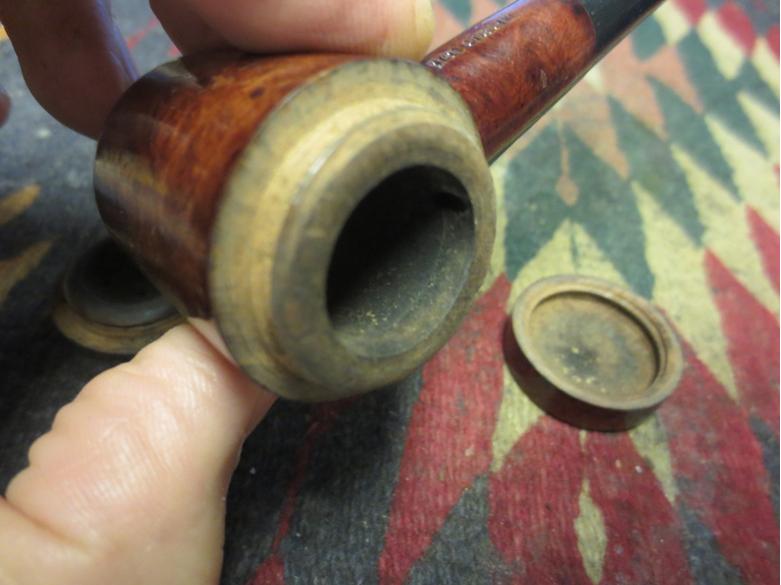
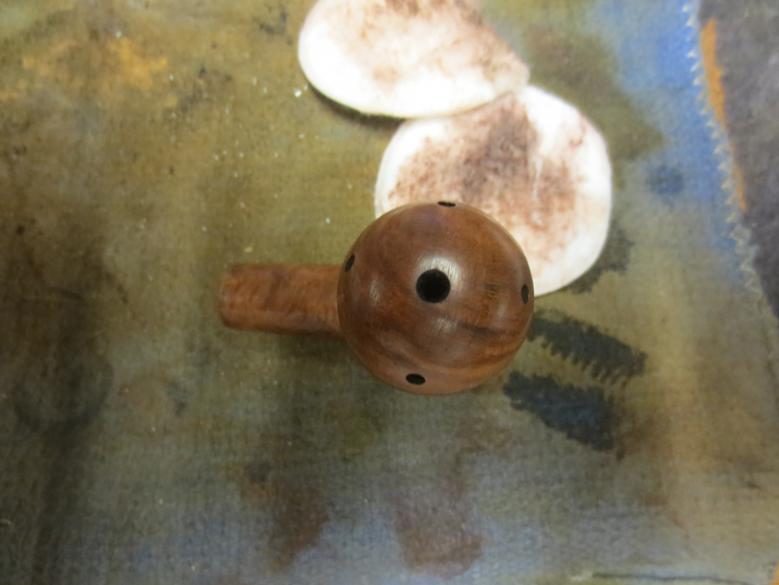
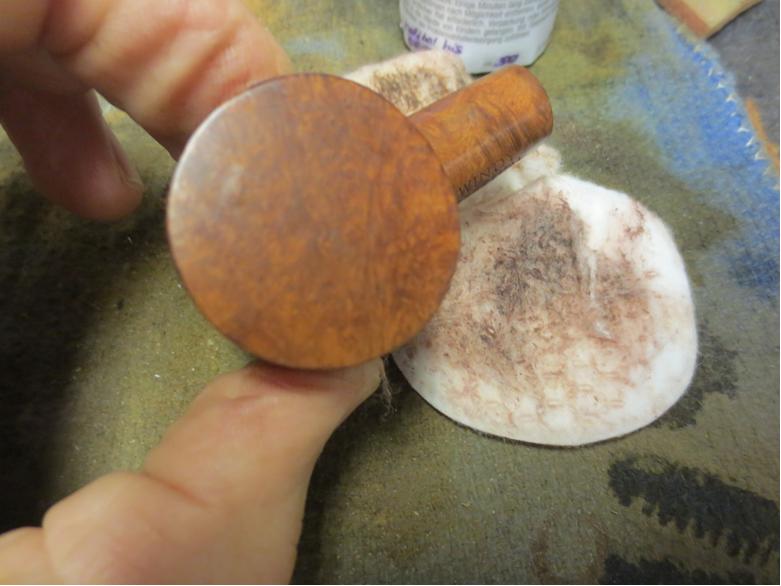
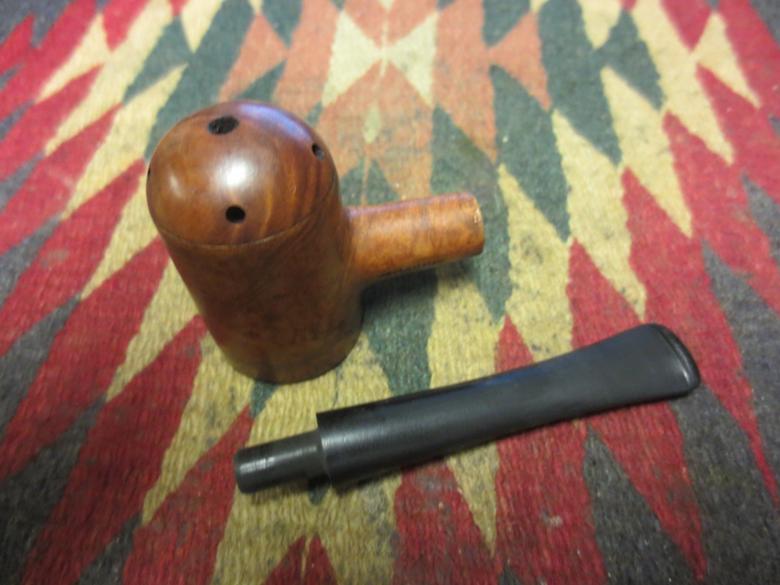
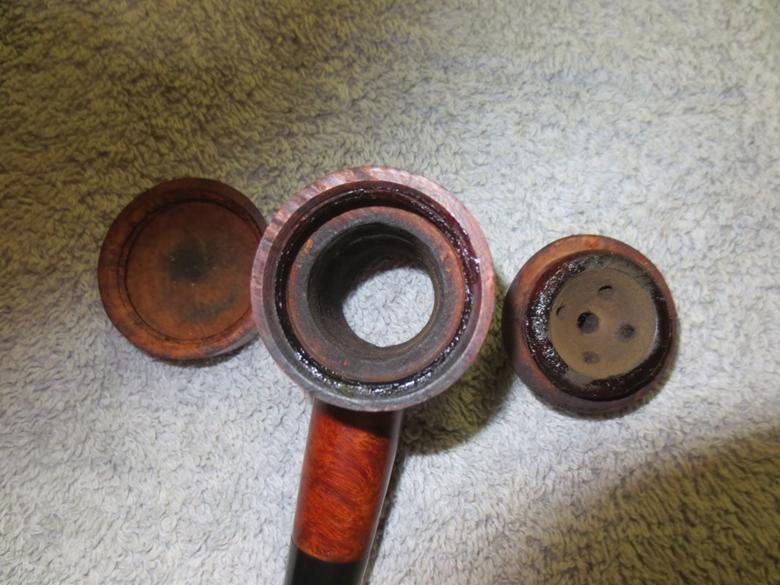
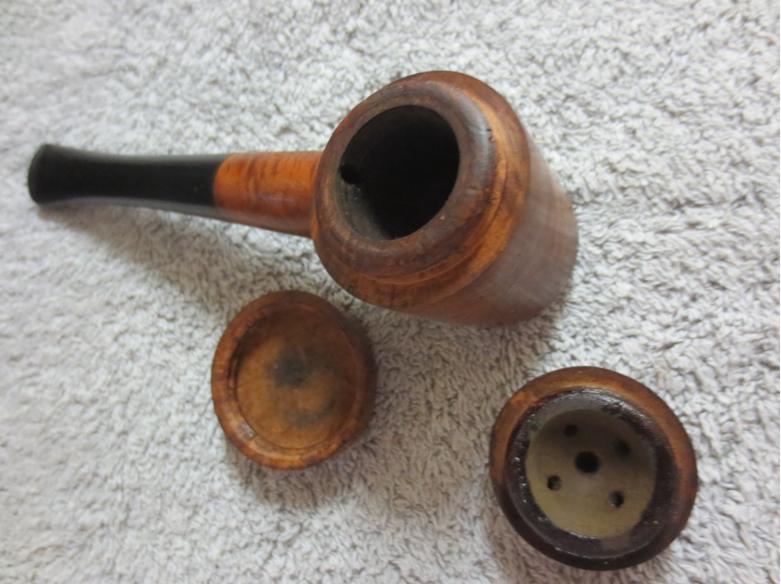
Dry4 This odd pipe is a bit of a mystery to me in terms of how it is smoked. You may laugh at that and say, “Put the end in your mouth and fire it up.” However it is a little more complicated. This particular pipe has a screw on wooden cap that sits on the “top” of the bowl if looked at the way I took the photos above. Held this way the stamping is right side up. On the other end of the bowl is what is like a normal windcap with five airholes in it. It is screwed into the bowl. When held with the windcap as the “top” the stamping is upside down. I can find nothing online that gives a hint to how it is to be smoked.Dry5 When I took it apart it was clear to me how the previous owner had smoked it. There was a cake on the walls of the bowl. There was a cake on the threaded five hole windcap. There was not any cake of darkening on the flat threaded cap. So the pipe had been smoked with the windcap facing downward and the stamping in the correct position. The bowl had been lit from the windcap end and then the cap put back in place and the bowl turned over and smoked with the coal on the bottom… I shall have to experiment with that to see what I can tell after smoking it myself.

The pipe was quite dirty. Tobacco shards were around the threads in both the top and the bottom of the bowl. There was a light cake that was crumbly in the bowl. The airway was reduced in size by the tars and cake. The stem was rough and the airway partially blocked. The finish on the briar was crackling and spotty.Dry6 Before cleaning up the pipe I did a quick Google search to see if I could find out any information. I wanted to see if the brand was known and if there was anything on the Pipephil site regarding the stamping. I found just two links to the pipe. One was on the smokingmetal site. The other was a YouTube video that was about a fellow smoking his Windy Perpetual Drysmoker. I did not find it helpful in that it was just a running commentary on the experience rather than information about the brand. The link to the smokingmetal site is here: http://www.smokingmetal.co.uk/pipe.php?page=508
I am quoting the article in full as it is really the only source of information I found.
WINDY – perpetual drysmoker
Appears to be a late 1940’s pipe, briar, which I thought initially should have had an internal bowl which did not appear to be present with this one. Some doubt as to how many parts there should be to this pipe, but see the following comments. The stamping is simply WINDY Perpetual Drysmoker one side of shank and Italy Imported Briar on the other

Sitter pipe. The pipe is just over 5 inches of the bowl to end of bit. Chamber diameter is just over 5/8 inch and depth is over 1 1/2 inch.

I have the following from Stan Wolcott, his are the images as well:

“WINDY PERPETUAL DRYSMOKER by Stan Wolcott”
In my travels I recently came across this intriguing pipe on which very little information appears online by Google search. The left side (?) is stamped “Windy Perpetual Drysmoker” and on the right side (?) “Imported Briar/Italy”. The stem has a small round gold medallion on the left side bearing a “R”. Although several similar pipes are pictured online here in the USA and UK, no explanatory information is included with those images. Floyd Norwood of Tennessee, who restored the pipe for me, also had no idea how the pipe was to be smoked. Tony Pringle of the UK, who has one pictured on his website, believes there may be other pieces which are missing from the four present in the images—flat cap, rounded cap with five vent holes (presumably the wind cap) and the pipe bowl and stem. As can be seen from the images, the flat cap has female threads and screws into the bottom (?) onto male threads on the bowl. The wind cap has male threads and screws into the top (?) of the bowl. I have placed the question marks in parentheses following the terms top, bottom, right and left, since I’m not even sure whether the flat cap is intended to be the bottom. Can someone out there enlighten me and the NASPC readership about this “mystery pipe”, its manufacturer and the proper way of smoking it?

This guy seems to have mastered it ..http://www.youtube.com/watch?v=c1Zk3qxuce0

The “Perpetual” part of the name seems to come from the ability to actually load more tobacco from the bottom of the pipe whilst still alight and of course the dottle etc. gets burnt as the smoking progresses. Rather ingenious. There are at least two possible for makers from the logo, REGIS and EMPIRE STATE and nothing seems to be known of these either.

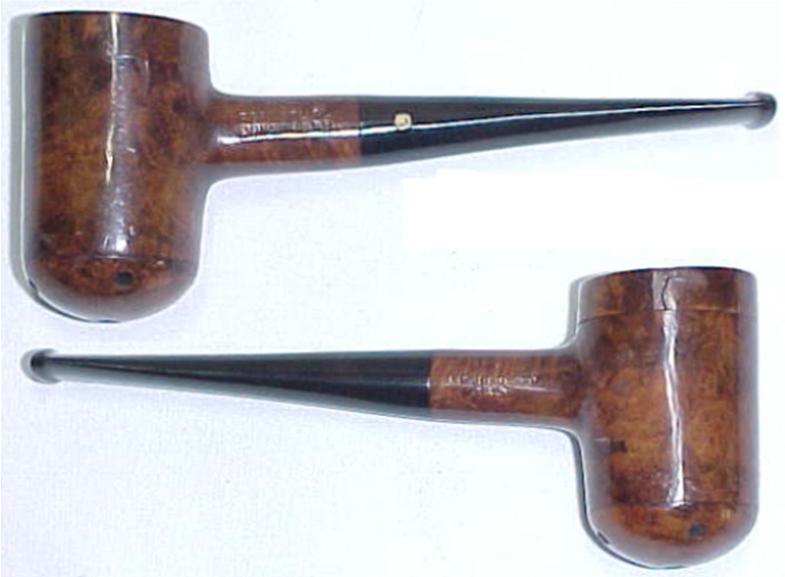
Tony Pringle of smokingmetal then includes the following photos of the pipe. There is no doubt that it is the same pipe that I have. There are a few variations between the two but the overall design is the same. He shows photos of the pipe as a whole, taken apart and of the stamping.Dry7

Dry8

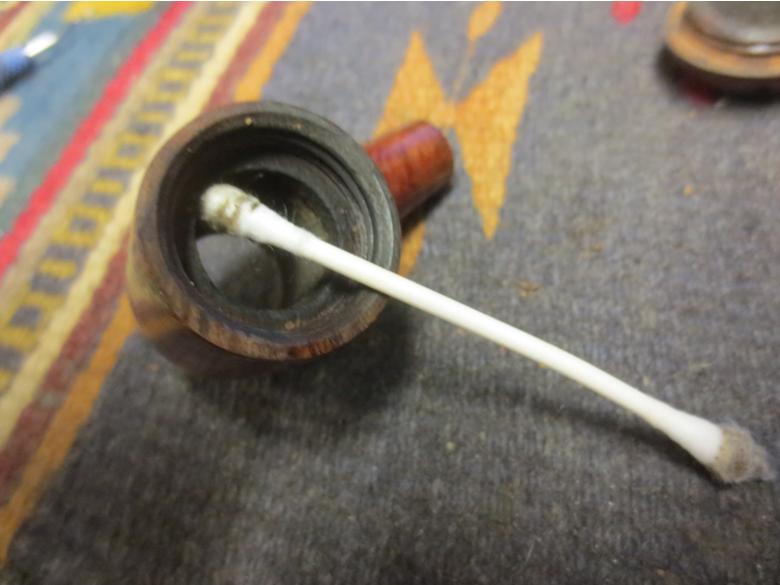
Dry9 The pipe that Troy gave me is in much better condition and also is stamped slightly different. The left side of the shank is the same but the right side only reads IMPORTED BRIAR on mine. The ITALY stamping runs around the shank at the junction of the shank and stem. It is stamped on what would be the bottom side if the cap is on the bottom. The stem on the one I have does not have the gold logo or seal.Dry10 I used a cotton swab and alcohol to scrub the threads on the bowl and the two lids. There was a lot of debris in both sets of threads.Dry11

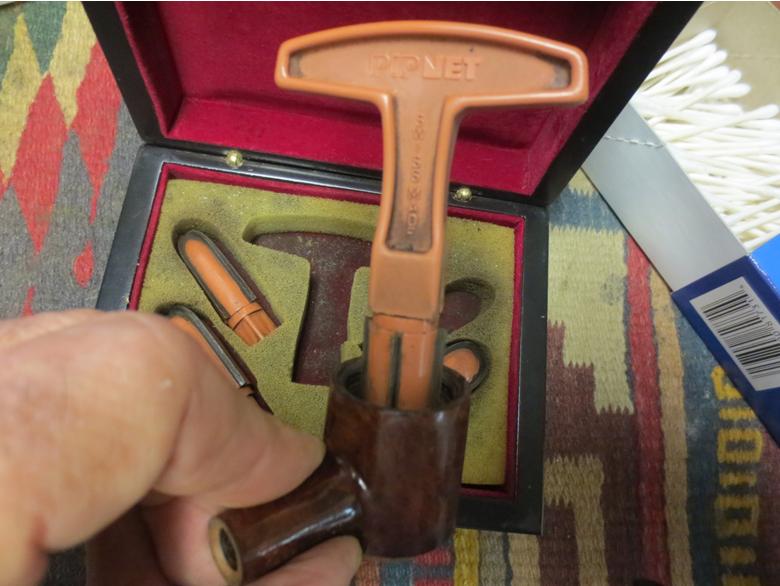
Dry12 I reamed the bowl with a PipNet reamer and the second cutting head as it was a perfect fit for the diameter of the bowl. I took the cake back to bare wood.Dry13

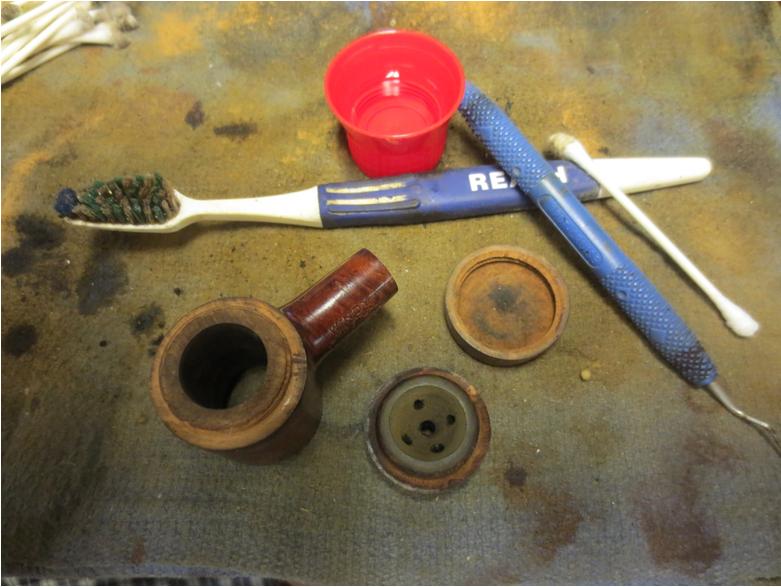
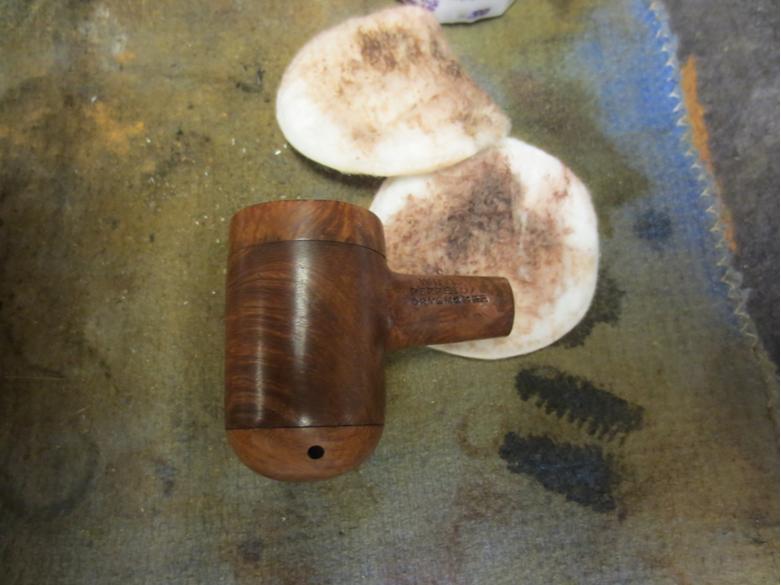
Dry14 With the major debris cleaned away with the alcohol and cotton swabs I used a toothbrush to scrub the threads on both the top and bottom of the bowl and also on the two caps.Dry15 With the interior cleaned out and the threads cleaned I put some Vaseline on the threads of the caps and put the pipe back together. I used some acetone on cotton pads to remove the spotty and broken finish on the bowl. I was amazed at the grain that was underneath the finish. There were no fills and just a few small sandpits.Dry16

Dry17

Dry18

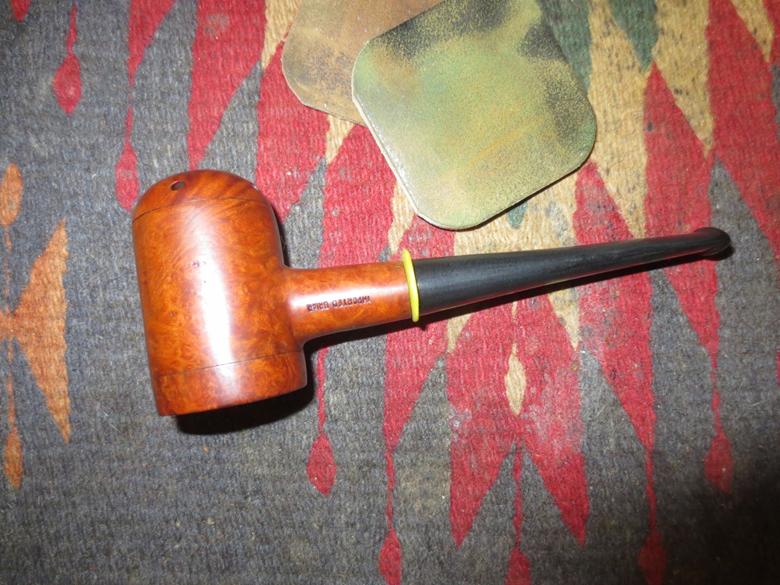
Dry19 With the finish removed the pipe was beginning to look like new. All that was left was to clean up the stem and then buff the two of them together. Look closely at the grain on the bowl and caps. I really find this a beautiful pipe.Dry20

Dry21

Dry22 I put a plastic washer on the tenon between the shank and the stem so I could sand the stem in place in the shank and keep the shoulders of the stem from rounding. I sanded the tooth chatter on the top and bottom of the stem with 220 grit sandpaper and then with a medium and fine grit sanding sponge. I went on to sand it with micromesh sanding pads – wet sanding with 1500-2400 grit pads and then rubbing it down with Obsidian Oil. One this that was very interesting about this stem was the quality of the vulcanite. The sanding dust was absolutely black rather than the usual brown. It left black streaks on the micromesh.Dry23

Dry24

Dry25 I dry sanded with 3200-12,000 grit pads and then rubbed the stem down with Obsidian Oil after the 4000 grit pad and the 12,000 grit pad.Dry26

Dry27 I buffed the pipe and stem on the buffer using Blue Diamond Plastic Polish on the wheel to polish the bowl and the stem. I gave it multiple coats of carnauba wax to protect the finish and then buffed it with a clean, flannel buff to raise the shine. The finished pipe is shown in the photos below. Thanks Troy for the strange yet beautiful pipe. I enjoyed working on this one and will also enjoy experimenting with how to smoke it!Dry28

Dry29

Dry30

Dry31

Dry32

Dry33

Dry34

Dry35 Thanks Troy and thanks for looking!
NEPAL PROJECT PIPE SALE 4 – Jobey 300 Bent Diamond Shank Brandy 9mm Meerschaum Filter Pipe


Blog by Steve Laug

This is the fourth pipe from the box of pipes that I was gifted by a good friend of mine with the instructed purpose of cleaning them up and selling them with all of the proceeds going to the aid of earthquake victims in Nepal. Once again all funds raised will all go to the SA Foundation, and organization that has worked in Nepal for over 15 years helping provide recovery, housing and job training for women who are victims of sexual exploitation and trafficking. The ongoing earthquakes (over 300) that continue to shake Nepal have left much in ruins. The SA Foundation Project there was able to find new housing for the women and help with staff as well. Every dollar raised from the sale of these pipes will go to the work in Nepal.

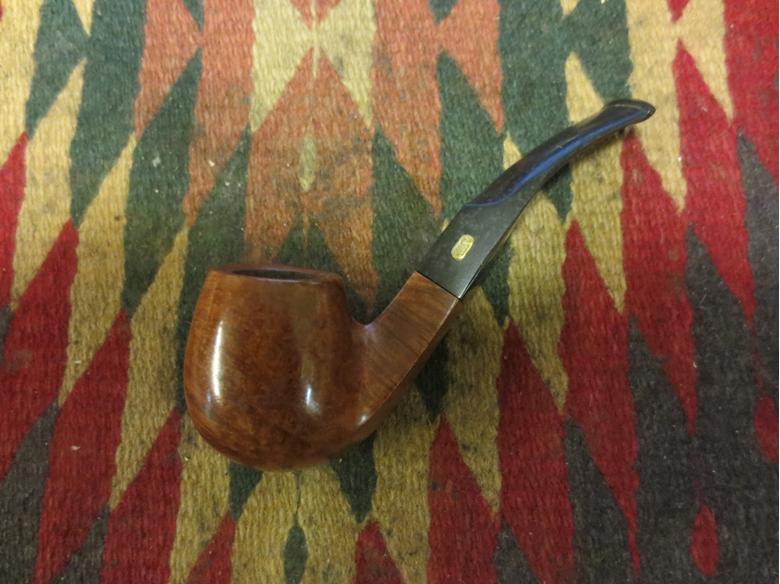
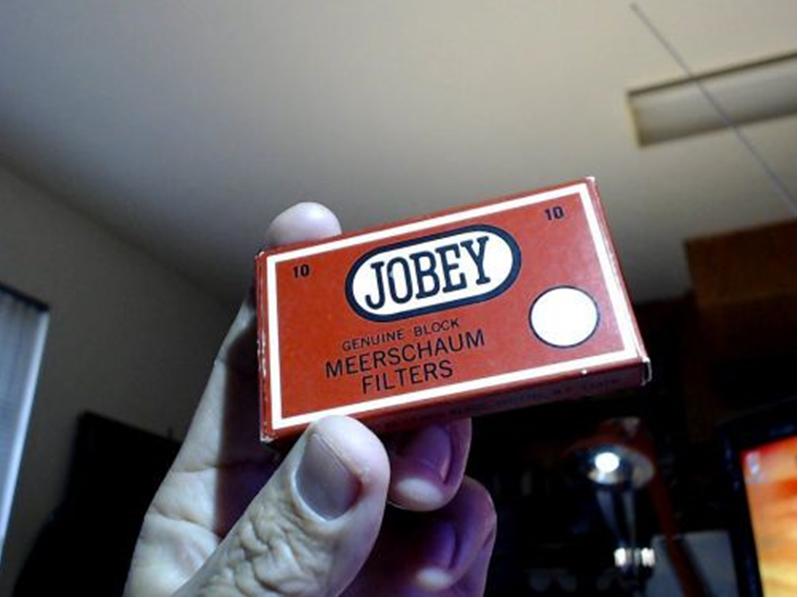
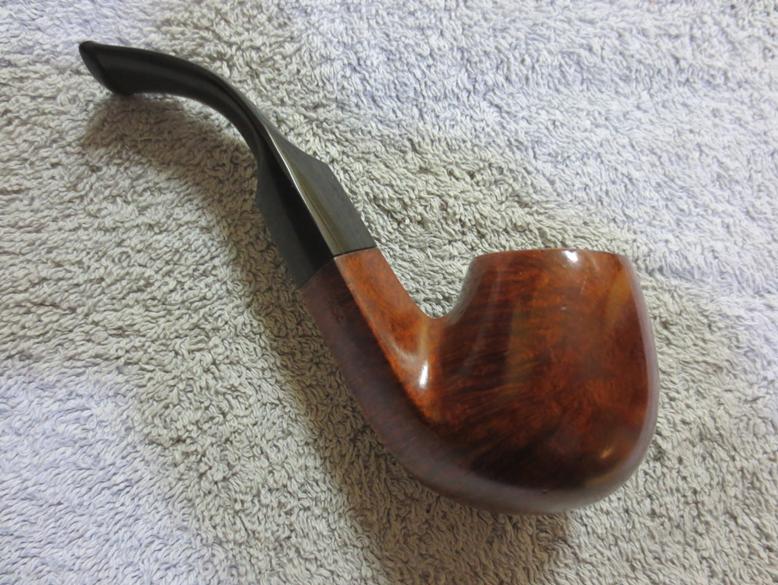
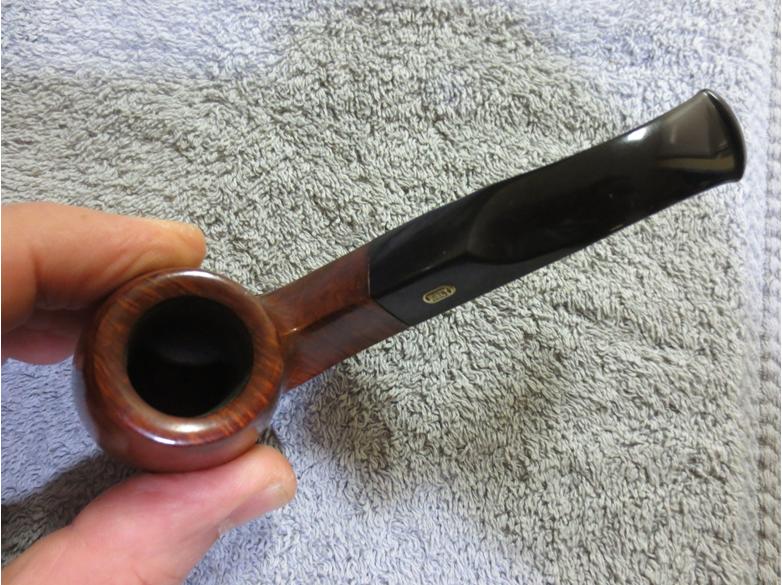
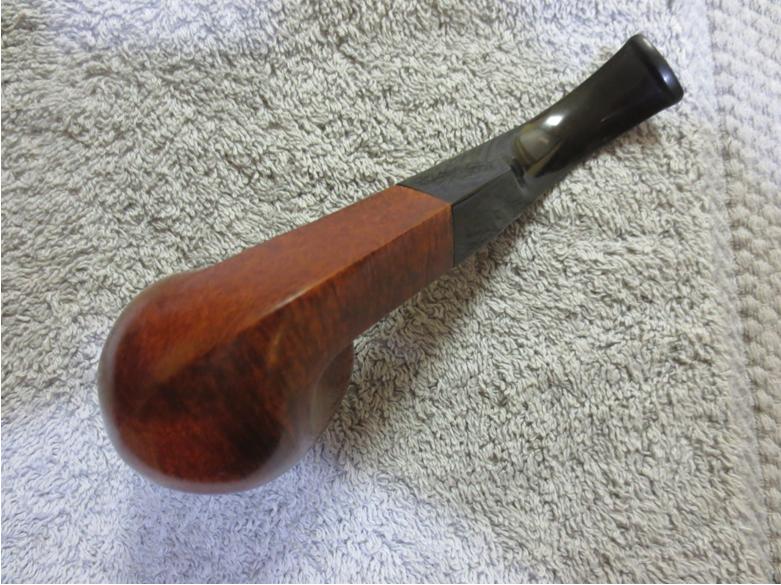
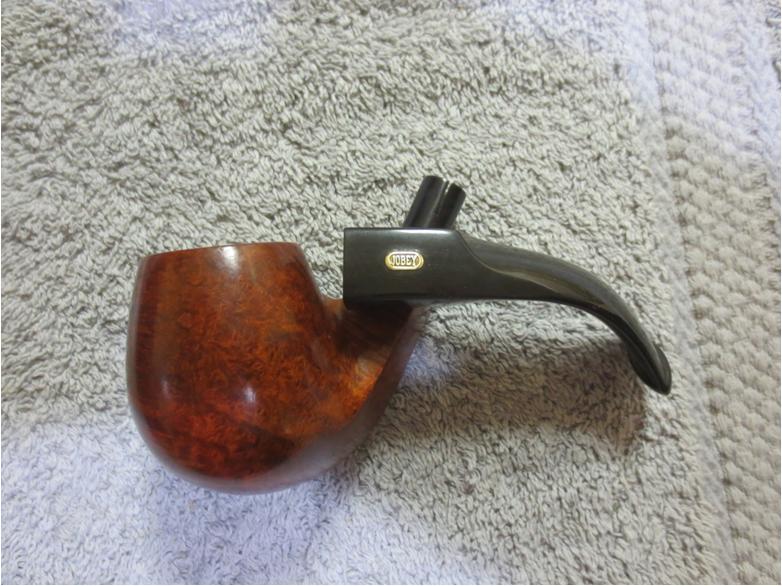
jobeylogoThis one is a little Jobey pipe has the typical Jobey fitment system with the tenon in the shank and the stem sliding over that. However that is where the typical ends. It is open for a 9mm filter and in this case a 9mm meerschaum filter. The pipe is stamped on the underside of the shank on the left side with the words Jobey over Meerschaum over Filter and on the right side it is stamped 300.Jobey1

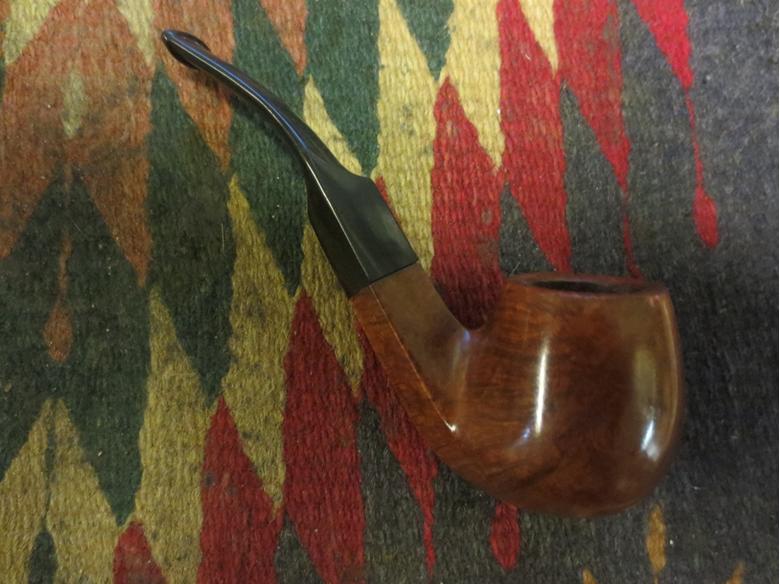
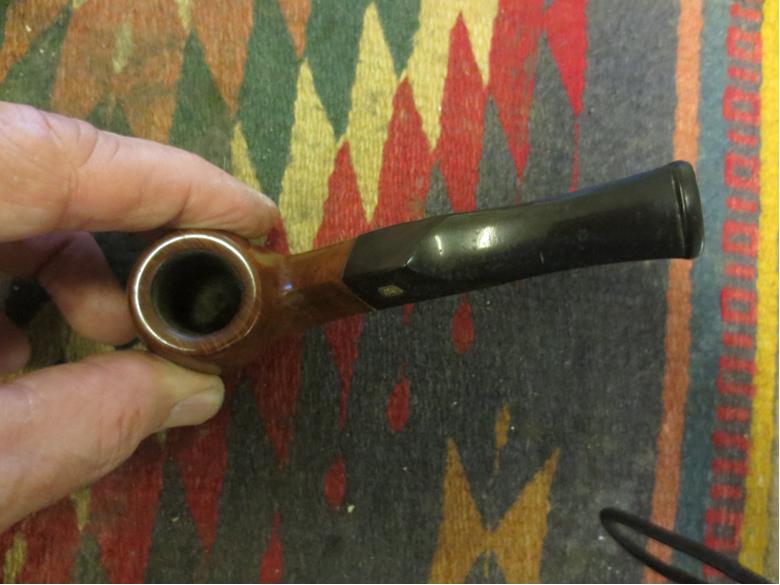
Jobey2 The finish on the bowl was in great shape, just dirty. The bowl itself needed a light reaming. The stem was dirty, oxidized and had straightened over time. There was a small nick on the top of the stem about mid-point. The inside of the bowl, shank and stem were dirty with tars and oils. There was no filter moldering away inside the shank which I was glad to see.Jobey3

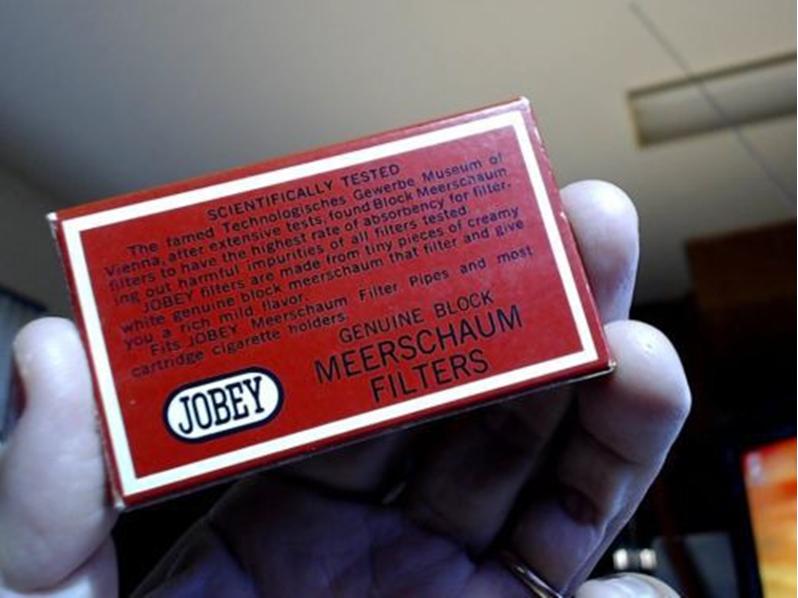
Jobey4 I did some searching to find out about the filters that were used. I found some pictures of the meerschaum filters that were used. I checked and the shank easily holds a regular 9mm filter from Vauen should the new owner wish to use one.Jobey5

Jobey6 I set up the heat gun and heated the stem to deal with the bend first. I wanted to bend enough to give it a proper look. Once it was flexible I bent it over a wooden rolling pin that I use for this purpose.Jobey7

Jobey8

Jobey9 With that corrected I took it back to the work table to address the cleaning issues. I used a PipNet reamer to ream the cake from the bowl and clean up the inside of the bowl.Jobey10

Jobey11 I cleaned the shank and the airway in the bowl and stem with cotton swabs, pipe cleaners and alcohol until it was clean. It did not take much to clean it out. A few pipe cleaners and cotton swabs and it was clean.Jobey12 I used a medium and a fine grit sanding sponge to knock off the grime on the stem and work over the small nick on the top of the stem. Once I had it cleaned up I moved on to polishing the stem with the micromesh sanding pads. I wet sanded with 1500-2400 grit pads and then dry sanded with 3200-12,000 grit pads. As is my practice, I rubbed the stem down between each set of three pads with my Obsidian Oil Sock to give me continued traction in polishing the stem.Jobey13

Jobey14

Jobey15 When I finished with the micromesh sanding pads I buffed the pipe and stem with Blue Diamond Plastic polish on the wheel and then gave it several coats of carnauba wax to preserve and protect. I finished by giving it a final buff with a clean, soft flannel buffing pad to raise the shine. The finished pipe is shown below. It should make whoever picks it up a decent smoking pipe.Jobey16

Jobey17

Jobey18

Jobey19

Jobey20

Jobey21 This Jobey 300 bent brandy should make someone a great addition. If you are interested in this pipe email me with an offer at slaug@uniserve.com and we can discuss it. The entirety of the sale price will go to the Nepal project. I will pay the postage so that does not get taken off the proceeds. If you are interested in reading about the SA Foundation you can look at their website at http://www.safoundation.com.

Thanks for looking.

NEPAL PROJECT PIPE SALE 3 – Cleaning up and Restoring a GBD Bronze Velvet 548 Bulldog


Blog by Steve Laug

This is the third pipe from the box of pipes that I was gifted by a good friend of mine with the instructed purpose of cleaning them up and selling them with all of the proceeds going to the aid of earthquake victims in Nepal. The funds raised will all go to the SA Foundation, and organization that has worked in Nepal for over 15 years helping provide recovery, housing and job training for women who are victims of sexual exploitation and trafficking. The ongoing earthquakes (over 300) that continue to shake Nepal have left much in ruins. The SA Foundation Project there was able to find new housing for the women and help with staff as well. Every dollar raised from the sale of these pipes will go to the work in Nepal.

The third pipe I decided to clean up from the box of donated pipes is an interesting GBD Shape 548 – a shape I call an elongated bulldog. It is a unique shape that GBD made for quite a number of years. It is stamped GBD in an oval over Bronze Velvet on the left side of the shank. On the right side it is stamped with the shape number 548 and London over England. When it was introduced it had a natural finish and a swirled bronze acrylic bit. In a 1976 Catalogue it was billed by GBD as, “Our ultimate GBD! Only the choicest natural bowls are selected for this premium newcomer. The crowning touch is the handcut mottled Bronze Velvet mouthpiece blending in complementary contrast to the bowl.”

This one will also be sold and all the proceeds will go to the project in Kathmandu. It is a great looking piece of briar with no visible fills in the briar.GBD1

GBD2 I examined the pipe before I went to work on cleaning it up and restoring it. The briar was very dirty and had sticky spots on the bowl and diamond shank sides. The double ring around the bowl was in excellent shape but had debris in the grooves. The rim was in rough shape. Not only was it caked with a lot of tars and oils but it had been knocked out on the front edge of the rim and there was roughening and damage to the front and the top of the rim. There were also notches in the top outer edge of the rim all the way around the rim. The inner bevel on the rim was also caked and hardly visible but appeared to be in pretty decent shape under the grime.GBD3

GBD4 The stem was a marbled bronze as suggested in the catalogue. The sharp edge of the button had been worn down so that the button merely sloped into the end of the stem. The top side was clean and the underside had a well done repair to a bite through. It appeared to be made out of epoxy and was rock hard. There were slight dents in the surface of the repair but it was still solid.GBD5

GBD6

GBD7 I decided to work on the stem first. I used a flat edge needle file to sharpen the edge of the button and give it more definition from the rest of the stem surface. I worked on both sides of the stem to give it shape. I also used the file to scrape away some of the stem material in front of the edge to give depth to the button.GBD8

GBD9 Once the button was cleaned up and defined I worked on the inside of the stem. I scrubbed the interior of the stem with alcohol, pipe cleaners and cotton swabs. I was surprised to find that the tenon had a metal tube that ran from the end into the stem to give the Lucite tenon more strength in an area where I have seen many of them snap off.GBD10

GBD11 I also wiped down the surface of the stem and used a dental pick to clean up the epoxy repair on the underside. When I had the area cleaned up I used some clear super glue to fill the marks and dents in the epoxy repair and then sanded the stem in that area with 220 grit sandpaper and a medium and a fine grit sanding sponge to blend it into the surface of the stem and smooth it out. Once that was done I set the stem aside and worked on the bowl.
I used the PipNet reamer to clean up the bowl and remove the bits of carbon that were left behind. I also cleaned the airway and the mortise with pipe cleaners, cotton swabs and alcohol until they came out clean.GBD12

GBD13 The damage to the rim needed to be addressed so I topped the bowl with the topping board and 220 grit sandpaper until the damaged portion was gone. I did the topping in several steps. I took the top down until the major damage was gone and then did a little more to minimize the damage on the front of the bowl.GBD14

GBD15 I reworked the beveled inner edge with a folded piece of 220 grit sandpaper until it was the same angles it was before I topped it. When that was sanding was complete I worked on the damage to the outer rim with the same sandpaper and then sanded the entire rim with a medium and a fine grit sanding sponge.GBD16 I wiped the bowl and the rim down with alcohol on a cotton pad. When I had finished the bowl looked as it is shown in the next photo.GBD17

GBD18

GBD19

GBD20 The next two photos show the bowl after I had scrubbed the surface of the briar with alcohol on a cotton pad. The natural briar looks clean and bears a slight patina of age. But is looking pretty decent at this point in the process – and I had not even buffed it yet.GBD21

GBD22 I polished the stem with micromesh sanding pads – wet sanding with 1500-2400 grit pads and dry sanding with 3200-12,000 grit pads. I rubbed the stem down with Obsidian Oil between each set of three pads. When I finished I gave it a light buff with White Diamond.GBD23

GBD24

GBD25

GBD26

GBD27 I buffed the entire pipe with Blue Diamond Plastic polish on the wheel and then gave it multiple coats of carnauba wax. I finished by buffing the pipe with a clean, soft flannel buff to raise the shine. The finished pipe is shown in the photos below. It is ready for its next pipeman to bring it home and bring it back into rotation.GBD28

GBD29

GBD30

GBD31

GBD32 This GBD Bronze Velvet should make someone a great addition. If you are interested in this pipe email me at slaug@uniserve.com and we can discuss it. The entirety of the sale price will go to the Nepal project. I will pay the postage so that does not get taken off the proceeds. If you are interested in reading about the SA Foundation you can look at their website at http://www.safoundation.com.

Thanks for looking.

NEPAL PROJECT PIPE SALE 2 – Breathing New Life into a Lorenzetti Dublin


Blog by Steve Laug
I was gifted a box of pipes from a good friend of mine with the instructed purpose of cleaning them up and selling them with all of the proceeds going to the aid of earthquake victims in Nepal. The funds raised will all go to the SA Foundation, and organization that has worked in Nepal for over 15 years helping provide recovery, housing and job training for women who are victims of sexual exploitation and trafficking. The ongoing earthquakes (over 300) that continue to shake Nepal have left much in ruins. The SA Foundation Project there was able to find new housing for the women and help with staff as well. Every dollar raised from the sale of these pipes will go to the work in Nepal.
The second pipe I decided to clean up from the box of donated pipes is a beautifully grained Lorenzetti bent Dublin. This one will also be sold and all the proceeds will go to the project in Kathmandu. It is stamped Lorenzetti over Italy over 2 on the left side of the shank. It is a great looking piece of briar with a few nicely done fills that blend into the briar.Lor1

Lor2

Lor3 When I brought it to the worktable the briar was very dirty. The finish was natural so it was not going to be a problem. It would need to be wiped down and scrubbed. The two rings around the top of the bowl were full of grime and needed to be cleaned as well. The silver on the shank and on the stem was oxidized. The top of the rim was covered with tars and oils that overflowed the bowl. The bowl itself was still round which was a plus but the cake in it was quite thick. The inner bevel of the rim was thick with tars and oils and I was concerned there would be damage underneath. The stem was Lucite and had minimal tooth chatter at the button. Looking at the Lorenzetti website I am uncertain the stem is the original but the fit and look are good.Lor4

Lor5 Internally the airway in the stem was filthy. There was even build up on the end of the tenon. The slot in the end of the stem had some of the same debris built up in the corners. The shank airway and mortise was darkened with the tars and at the bottom of the mortise there were small chunks of debris.Lor6 I reamed the bowl with a PipNet reamer to remove the cake. I took it back to bare wood to remove the crumbling cake and give whoever purchases this pipe the opportunity to build the cake the way they choose.Lor7

Lor8 I touched up the reaming with a sharp pen knife and cleaned the internal edges at the top carefully. I scrubbed the bowl and rim with Murphy’s Oil Soap on cotton pads to remove the grime and the tars and oils on the top of the rim. I scrubbed the rings around the bowl with a tooth brush and the soap.Lor9 I touched up the bevel of the inner edge of the rim with a folded piece of sandpaper and then a medium and fine grit sanding sponge to remove the stubborn buildup. When I had finished I rinsed the bowl with cool water to rinse off the oil soap and dried it with a cotton cloth. The rim came out looking far better than I expected. There was one spot in the front, directly at the centre that darkened but the overall rim looked very clean.Lor10 I cleaned out the internals of the mortise and airway with pipe cleaners, cotton swabs and alcohol. I scrubbed until the cleaners came out white. I used the drill bit on the KleenReem reamer and ran it through the airway to remove any buildup there.Lor11

Lor12 I scrubbed the silver band on the shank and the stem with silver polish on a cotton pad. I scrubbed until all the oxidation was removed. I then polished them both with a jeweler’s cloth.Lor13 Then it was time to polish the stem. I used micromesh sanding pads to polish the Lucite. I worked to remove the tooth chatter at the button end by wet sanding it with 1500 grit micromesh pads. I wet sanded the entire stem with 1500-2400 grit pads and dry sanded with 3200-12,000 grit pads. I rubbed the stem down with Obsidian Oil between each set of three pads. I buffed it with White Diamond between the 2400 and the 3200 grit pads.Lor14

Lor15

Lor16 I rubbed the bowl down with a light coat of olive oil and let it dry. Then I buffed the bowl and stem with Blue Diamond Plastic Polish on the wheel. I gave it multiple coats of carnauba wax and buffed it to a shine with a clean, soft flannel buff. The finished pipe is shown below.Lor17

Lor18

Lor19

Lor20

Lor21

Lor22

Lor23 On EBay Lorenzetti pipes sell for between $180-$200 each for the sand blast versions. This is a smooth so I would think that it could easily sell for that or more should it strike someone’s fancy. If you are interested in this pipe email me at slaug@uniserve.com and we can discuss it. The entirety of the sale price will go to the Nepal project. I will pay the postage so that does not get taken off the proceeds. If you are interested in reading about the SA Foundation you can look at their website at http://www.safoundation.com.

Thanks for looking.

Bringing a Comoy’s Grand Slam 5 Straight Bulldog Back to Life


Blog by Steve Laug

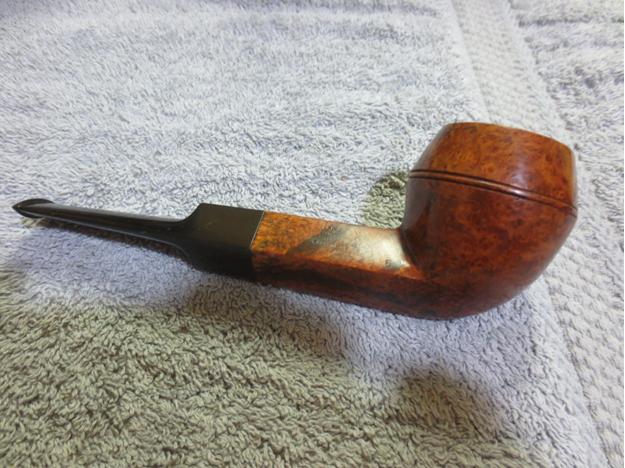
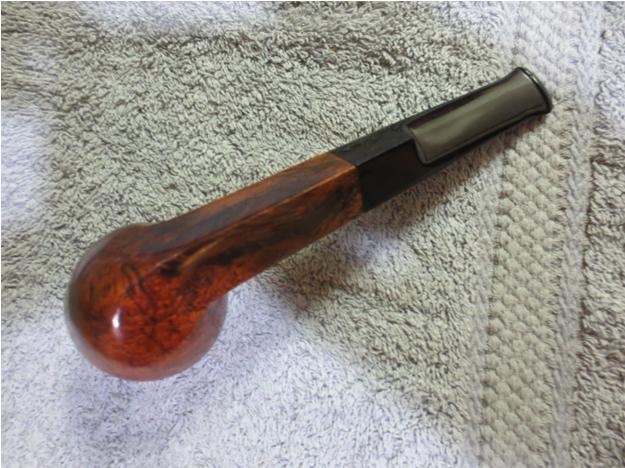
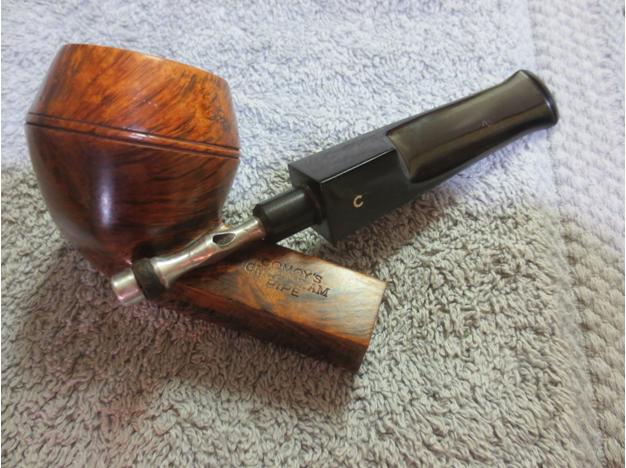
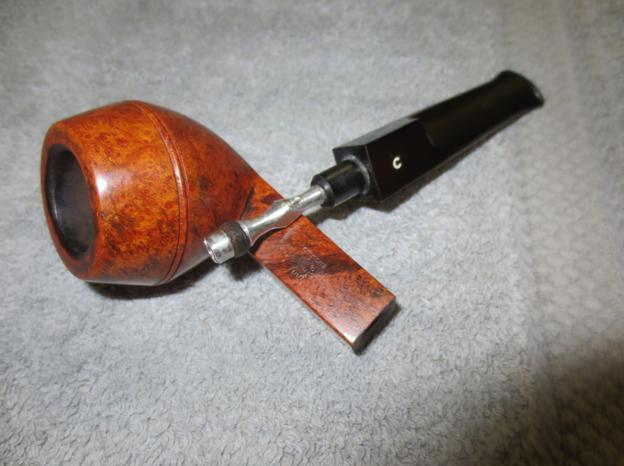
The next pipe on my worktable was a Comoy’s Bulldog. Personally, I think Comoy’s nailed the straight bulldog shape better than most others. It is a perfect bulldog shape and it is a pleasure to hold and smoke. The stamping on the left side of the shank reads Comoy’s over Grand Slam over Pipe. On the left underside of the shank next to the stem it is stamped X7. On the right topside it is stamped in the classic circle reading Made in London with the “in” in the centre of the circle. Underneath the circle it reads England. Further up that side of the shank is a number 5 stamped almost next to the bowl. I examined the C-inlay on the stem to see how it was made. I have learned over time and through research on these pipes that if it’s been applied in three steps, then it was made pre-1980. This one was indeed a three-step C-inlay. Thus I knew it was made earlier than 1980.Comoy1

Comoy2 Like all of the pipes I work on, I took a moment to give the pipe a quick assessment. Before I even start the clean up and restoration I take time to look it over to make sure I see what I have to deal with on a particular pipe. The examination helps me to plan how I am going to address the issues on this particular pipe. The Comoy’s pipe was definitely in need of some TLC. The original finish on the Grand Slam Pipe line was rich and full of life. The contrast of dark stain that highlights the grain and the top coat of stain that varies from a rich red to a dark golden combine together to give a very beautiful finish. There were no major dents in the briar that needed to be addressed, though there was a small one in the shank near the stem junction on the sharp edge on the right side that could not be repaired. The briar itself was lifeless and faded looking dull and flat. There was some dirt and grime on it and particularly at the bowl shank junction.Comoy3 The rim had a thick coating of tars on top and some minimal damage to the inner bevel. The bowl had a light cake and seemed to have been reamed recently. It would need to be tidied up.Comoy4

Comoy5 The stem was badly oxidized and had tooth marks on the top side and the underside near the button. The slot was partially plugged and would need to be opened.Comoy6

Comoy7 I cleaned up the bowl with a wipe down of alcohol on a cotton pad to remove the dirt and grime and begin to soften the tars on the rim. I gave it a light sanding with 1500 grit micromesh sanding pads.Comoy10 Then I wiped it down once more with the alcohol and cotton pads. The buildup was just about gone. Just a little more scrubbing and the rim was finished.Comoy11 I lightly sanded the stem with a medium grit sanding sponge to loosen the oxidation and then dropped it in a bath of Oxyclean to soak overnight. In the photo below you can see the oxidation begin to run off the stem into the white bubbles of the Oxyclean mixture.Comoy8 The next morning when I took it out of the bath the mixture was yellow with the oxidation. I dried off the stem with a coarse cotton towel to remove the softened oxidation. The stem was much cleaner and black of the vulcanite was beginning to show.Comoy9 I put the stem on the shank and sanded it with 220 grit sandpaper followed by a medium grit sanding sponge to remove the oxidation that had come to the surface after the soak.Comoy12

Comoy13

Comoy14

Comoy15 I wiped it down with Obsidian Oil and then took the following photos of the stem to show the progress so far.Comoy16

Comoy17

Comoy18 I cleaned out the deep tooth mark on the underside of the stem with a dental pick and then a cotton pad and alcohol. Once it was clean I used clear super glue to make a patch on the marks. I over filled the repair so that it would dry and not shrink too much requiring a second coat.Comoy19 I set the repaired stem aside to dry for the day while I was at work. After work I sanded it smooth with 220 grit sandpaper and then with a medium and a fine grit sanding sponge. When the surface of the repair matched the stem material the sanding was finished. I then used a flat blade screw driver to unscrew the end of the stinger in the tenon. The cap on the end held a replaceable leather washer in place. Once the cap was off I was able to remove the washer. I then used a pair of needle nose pliers on which I have covered then ends with a thick wrapping of scotch tape. This provides a cushion when grabbing onto metal. The stingers in the Grand Slam were threaded and I heated the metal tenon until the goop holding it tight was loose. I turned it with the pliers until it was free of the tenon.Comoy20 With all of the parts removed from the stinger I cleaned it with a soft bristle brass tire brush to clean off the tars. I cleaned out the interior of the stinger with pipe cleaners, cotton swabs and alcohol. I used the brass brush to also clean the threads on both ends of the stinger. When I had them cleaned I used coated the threads on the front of the stinger with a light coat of Vaseline to protect it and lubricate them when I turned the cap onto the end. I had cleaned it with some soap and warm water and then used the Vaseline to give it some life. With it all cleaned and lubricated I put it back together and set it aside while I cleaned the shank and the stem.Comoy21 I used the drill bit on the KleenReem pipe reamer to clean out the airway from the end of the mortise to the bottom of the bowl. It had almost closed off with the tars. The draught on the shank was very constricted. Once I had run the bit through it several time cleaning out the buildup the draught was open and unrestricted. I cleaned out the shank and airway with alcohol on cotton swabs and pipe cleaners. Once they came out clean the shank was finished and ready for the stem.Comoy22

Comoy23 I cleaned out the stem with pipe cleaners and cotton swabs while I had the stinger out. I was able to remove all of the buildup in the stem and then put it all back together again. The stinger end was lubricated and then threaded back into the tenon. It sits quite deep in the tenon and has a small flange that sits against the tenon end. Here are some photos of the stinger in place in the stem.Comoy24

Comoy25 I used a 1500 grit micromesh pad to further polish the aluminum of the stinger. I sanded the stem with micromesh sanding pads – wet sanding with 1500-2400 grit pads and dry sanding with 3200-4000 grit pads. Between the first set of three pads and after the second set I rubbed the stem down with Obsidian Oil. When it dried I buffed the stem with White Diamond on the wheel to polish the vulcanite. I brought it back to the worktable and gave it a further coat of Obsidian Oil.Comoy26

Comoy27 I finished dry sanding with 6000-12,000 grit micromesh sanding pads. I rubbed the stem down a final time with Obsidian Oil and buffed it with Blue Diamond Plastic Polish on the buffing wheel.Comoy28 I buffed the pipe with Blue Diamond and then gave it multiple coats of carnauba wax. Between each coat of wax I buffed it with a clean, soft flannel buffing pad to raise the shine. The photos below show the finished pipe. It is cleaned, polished and ready for that next inaugural smoke.Comoy29

Comoy30

Comoy31

Comoy32

Comoy33

Comoy34

Comoy35 Thanks for looking.

Midterm Exam #2: Repairing the Leaky Airway on a Champion Deluxe


Blog by Anthony Cook

It’s exam day again. I didn’t get much sleep, but I did have a good breakfast of Pop-Tarts and leftover ramen. So, let’s do this! This time, the exam is based on a bent brandy shaped Champion Deluxe.

PipePhil provides a little info on the Champion brand:Champ1 The pipe I’m working with has shank stamping and a stem logo that is identical to the middle pipe in the above graphic. The country of origin for the brand is listed as Switzerland, but there must be some French connection. The word “FRANCE” is stamped across the bottom of the shank-end of the stem on my pipe. You can see the pipe for yourself in the photos below, which were taken shortly after its arrival.Champ2 I was really pleased with this one when it arrived. I really liked the size, shape, and rustication pattern. As I turned it over in my hands, it seemed to be in pretty good condition. There were no major cracks or gouges, only a generous amount of grime on the stummel, one or two nicks on the rim, and a little oxidation on the stem. I thought it would clean up nicely and was beginning to look forward to working on it.

Then, I pulled the stem out to check the internals and cringed…Champ3 The airway was drilled so high that it actually penetrated the top of the mortise and only a very thin layer of briar remained between it and the surface of the shank. In fact, the wood was so thin that it had either cracked from heat/moisture expansion or had been punctured by the rustication tool. If you look closely, you can see in the second image that the alcohol from a dampened pipe cleaner would seep out of the airway to the surface of the shank.

I didn’t have the confidence at the time to attempt to repair something as essential and delicate as an airway. So, I reamed the bowl, scrubbed the inside of the shank and stem clean, and then dropped it back into the box where it’s been withering away for several months. So, today I pulled it back out for my second midterm exam.

The airway needed to be sealed before doing anything else. If that wasn’t successful any other work would be pointless. So, I clamped the stummel upside-down in my bench vise using a couple of foam strips to cushion it. I tried to make sure that the airway was as level to the ground as possible. Then, I applied super thin CA inside the airway with an applicator bulb. Since I couldn’t really see inside the shank and bowl, I had previously measured the length of the airway and marked it off on the applicator with a strip of tape. This, along with a slow and steady hand, kept me from dribbling the CA into the bowl.Champ4 Once I was sure that the glue was completely dry, I used 240-grit and 320-grit sanding needles to smooth out any lumps and bumps that the glue may have created in the airway. Then, I prepared my initial test of the patch. I dampened a pipe cleaner with alcohol and inserted it into the airway. I couldn’t see any seepage, but just to be sure I pulled out my jeweler’s loupe to give it a closer inspection. Still nothing. The patch had passed its first test.Champ5 I set up a retort for the next test. If there were any open fissures in the shank, the evaporation from the boiling alcohol would surely seep through. I flushed the shank 10-12 times before setting the pipe aside to cool. The color of the alcohol in the tube is a testament to the merits of a retort. It’s not filthy by any means, but remember, this is a pipe that I once thought was clean.

While the pipe rested, I closely inspected the shank to see if the patch had held. Success! I found no moisture seepage at all. The patch was doing its job and the worst part of the exam was over!Champ6 After another dozen or so flush with the retort the alcohol in the tube was almost completely clean. I let the pipe cool, and then gave it a final, quick scrub the wrap up the internal cleaning.Champ7 I placed the stem into a bath of warm water and Oxyclean and let soak for about an hour before I scrubbed it down with cubes cut from a Magic Eraser pad to remove the oxidation. Once the stem was clean, I applied a black CA glue patch to the remaining dents. I put a drop of activator on the patches to speed up the drying and they were ready to be worked again in about ten minutes. I sanded out the patches with 220-grit (the bottom image in the picture below), 320-grit, and 400-grit paper. Then, I gave the entire stem a light sanding with 600-grit paper to remove any minor scratches.Champ8 The paint in the stem logo was cracked and flaking. So, I picked out the loose paint, and then I began to fill in the area around the logo with a grout pen begin restoring the logo. I was a little worried about how well this was going to turn out since the recessed stamp was very narrow and shallow. I let the “paint” dry for about 20 minutes before carefully sanding it down with 1200-grit paper and I thought that it came out surprisingly well in the end. I finished up work on the stem by lightly sanding it with 1200-grit paper to even everything out, and then polished with micro-mesh pads 1500-12000.Champ9 The stem was finished and the clock on the wall was ticking. Some of the other guys were already turning in their papers. So, it was time to start wrapping things up. I mixed up a 3:1 stain solution of isopropyl alcohol and Fiebing’s black dye and applied it to the stummel. Then I buffed the entire stummel with red Tripoli before sanding out the scratches around the stamping with 400-grit, 600-grit, and 1200-grit sandpaper.Champ10 Then, I applied a 3:1 dilution of Fiebing’s cordovan before polishing the stamping area with micro-mesh pads 3200-12000. I reattached the stem and gave the entire pipe a light buff with white diamond, and waxed the pipe with Halcyon II for the stummel and a few coats of carnauba for the stem. Finally, I applied a bowl coating to promote cake growth, and then turned the exam in with my fingers crossed.

The photos below show how it finally turned out. For some reason, in these photos the cordovan and black blend together in the rusticated areas making them appear much darker. When you have the pipe in hand the cordovan is much more evident. I don’t know why that is. Man, I hope we aren’t being graded on our photography skills as well.Champ11

Champ12

Champ13

Champ14

Champ15 But, wait..!

Okay, I realize that this is a little unusual for an exam, but I’d like to make a bit of a revision. You see, when I ran my first bowl through this Champion the draw was extremely poor and it gurgled so badly that it sounded like an aquarium. To be honest, this wasn’t unexpected. The misalignment of the airway between the mortise was so extreme that it couldn’t help but create a lot of turbulence, and therefore a lot of moisture. I couldn’t let that stand. So, I took the stem back to the worktable to tweak it a little.

I clamped the stem in the vice and used a Dremel to cut off the stepped end of the tenon. You can see the piece I removed lying on top of the vice in the photo below.Champ16 After that, I sanded the face of the tenon smooth and level, and then used a tapered abrasive point in the Dremel to begin funneling the airway. I kept the airway lubricated with mineral oil to prevent the friction from burning or melting the vulcanite. The abrasive point opened up the end of the airway to a 3/16” diameter but transitioned it down to the 1/8” diameter of the original airway. Then, I used 240-grit and 320-grit sanding needles to make sure the transition was smooth. Finally, I used a round abrasive point to create a ¼” diameter chamfer on the tenon face around the airway and the sanding needles again to round off any of the sharp edges. In the picture below, the left image shows the step that I removed balanced on top of the stem for comparison; the right image shows the completed tenon after being reworked.Champ17 I was eager to try it out and the results were amazing for such a simple modification. The bowl smoked all the way to the bottom with no gurgle at all; even when I intentionally tried to build up steam by puffing rapidly (it was for the sake of science). After the pipe had cooled, I removed the stem and found a lot of moisture in the mortise. So, the extra space below the airway was acting like the sump/well of a system pipe. Very cool. The pipe was once again looking good and smoking well. My second exam was in the bag.