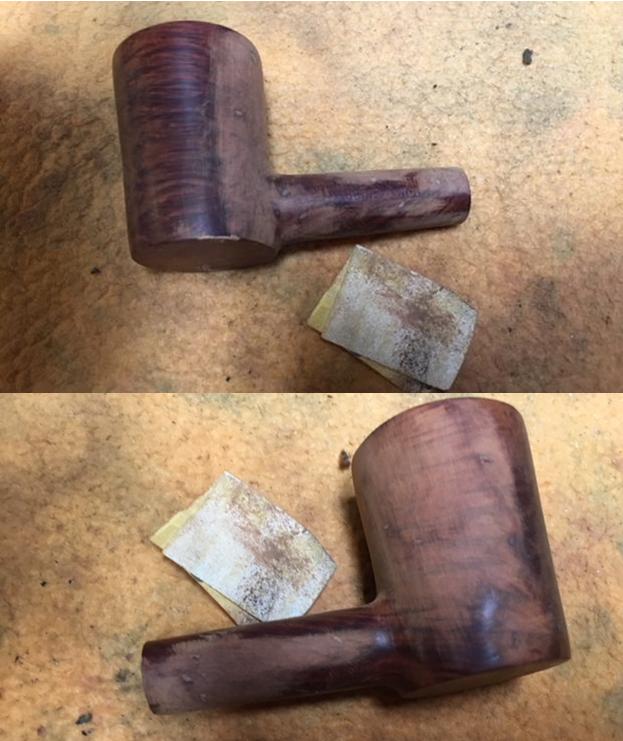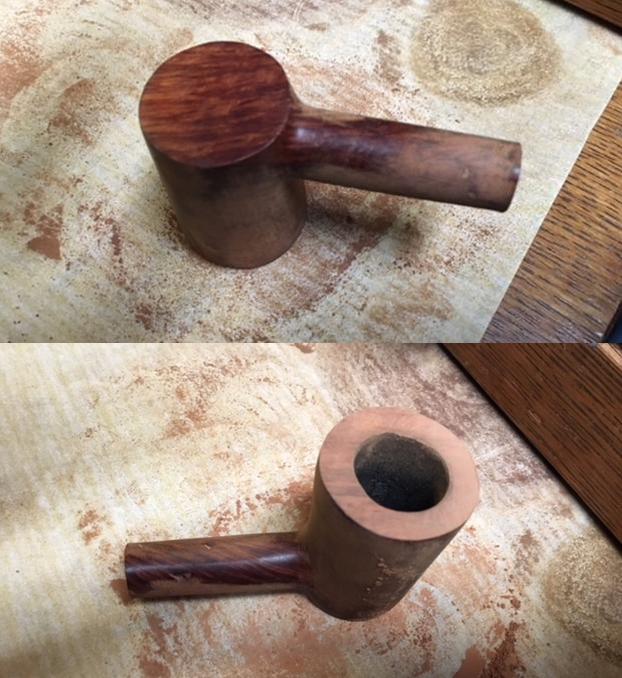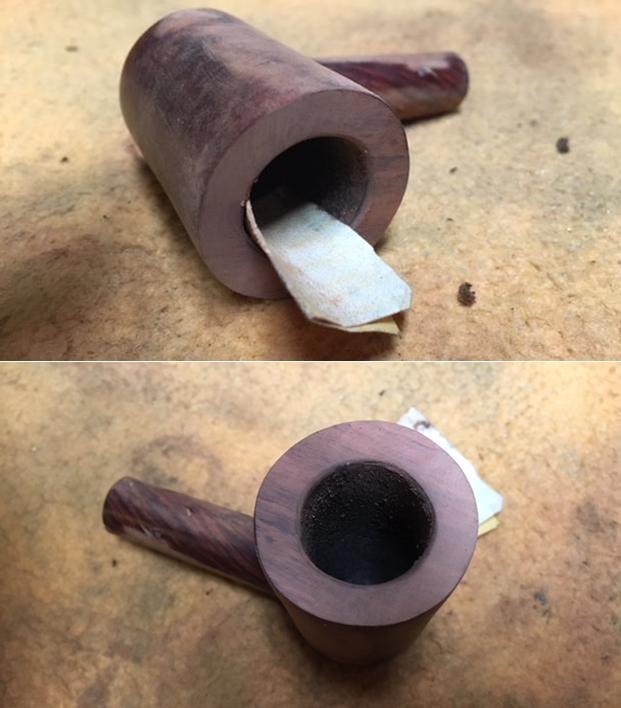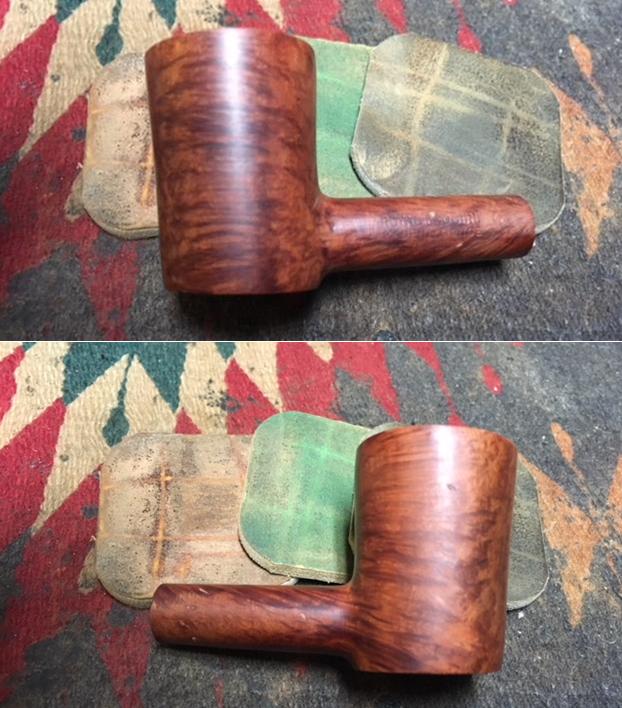
Tag Archives: bowls – refinishing

Paresh’s Grandfather’s Pipe #3 – A Dr. Grabow Starfire


Blog by Steve Laug

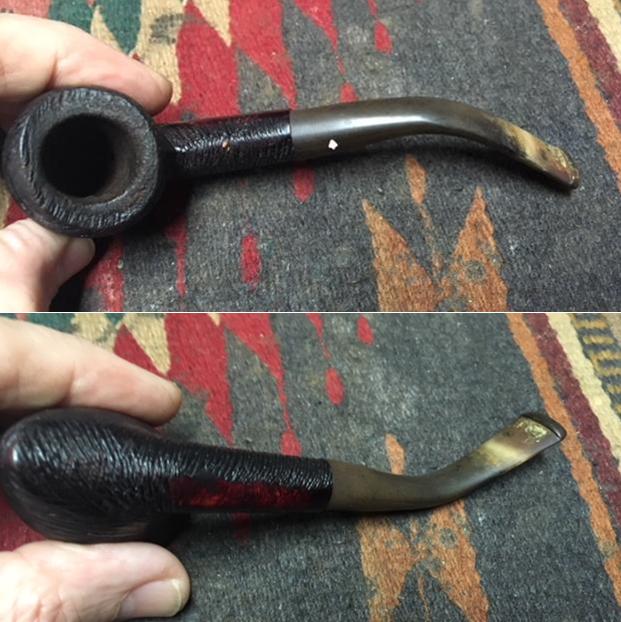
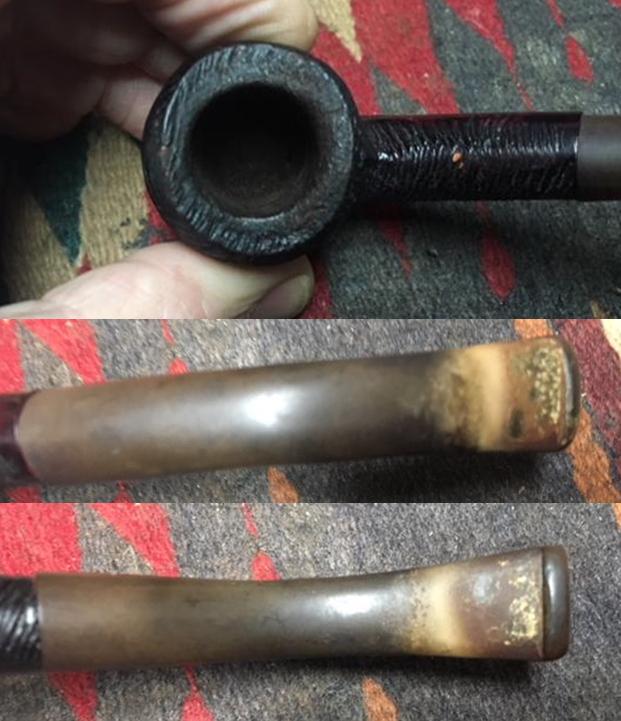
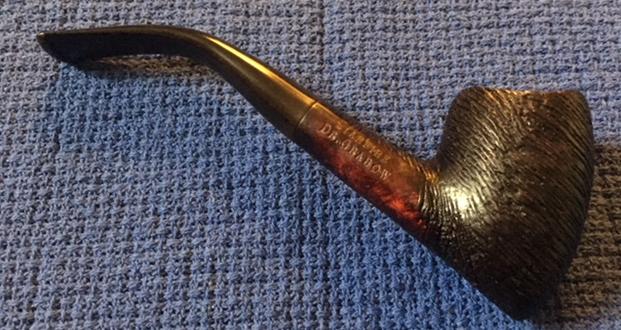
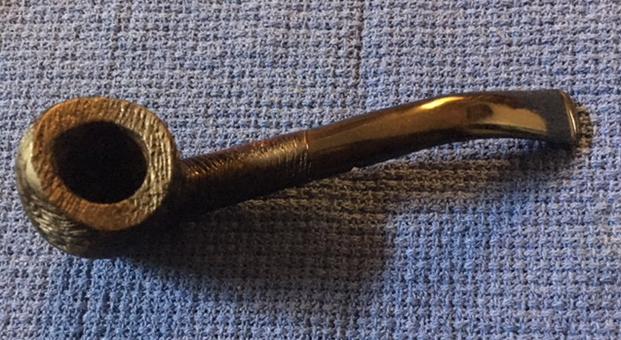
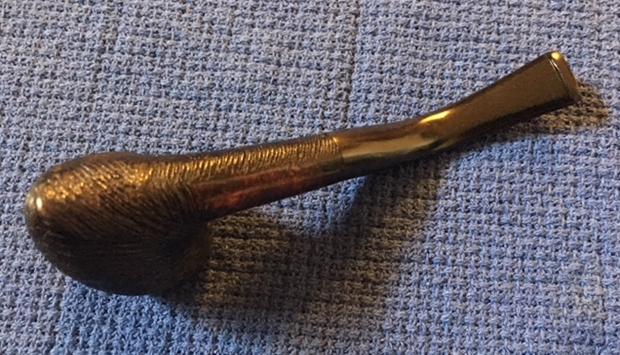
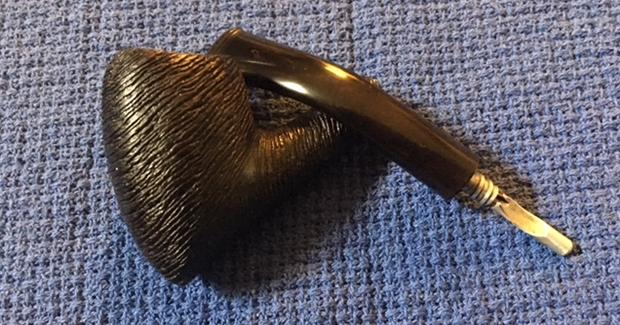
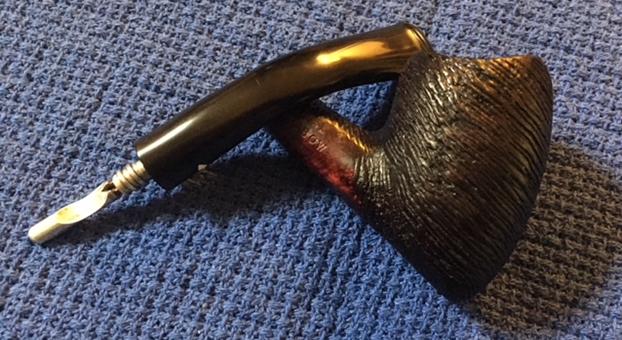
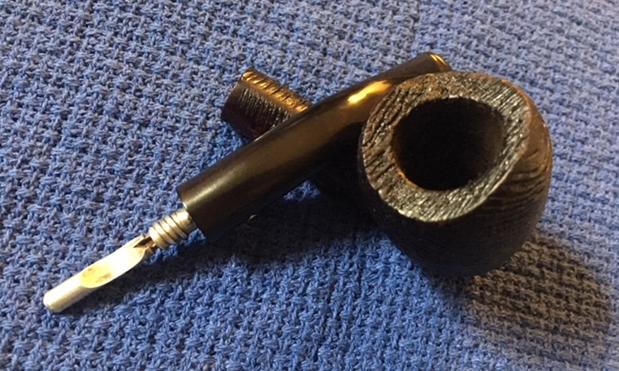
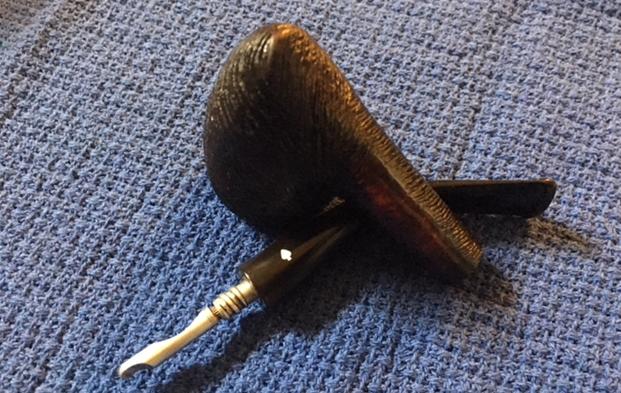
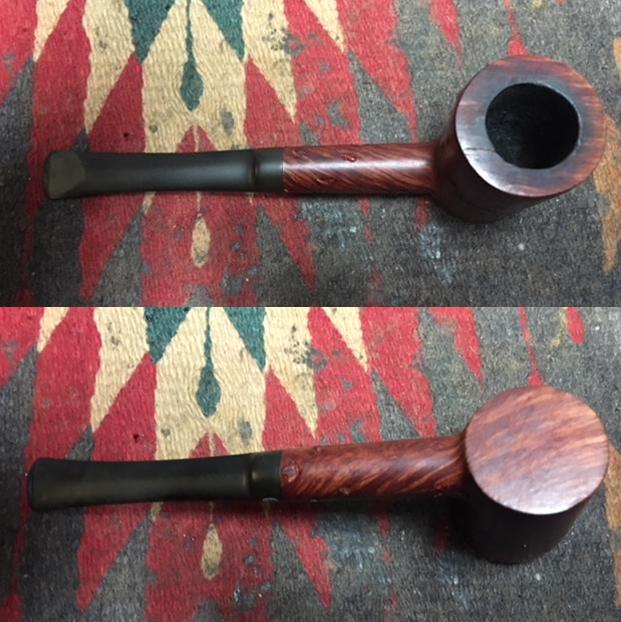
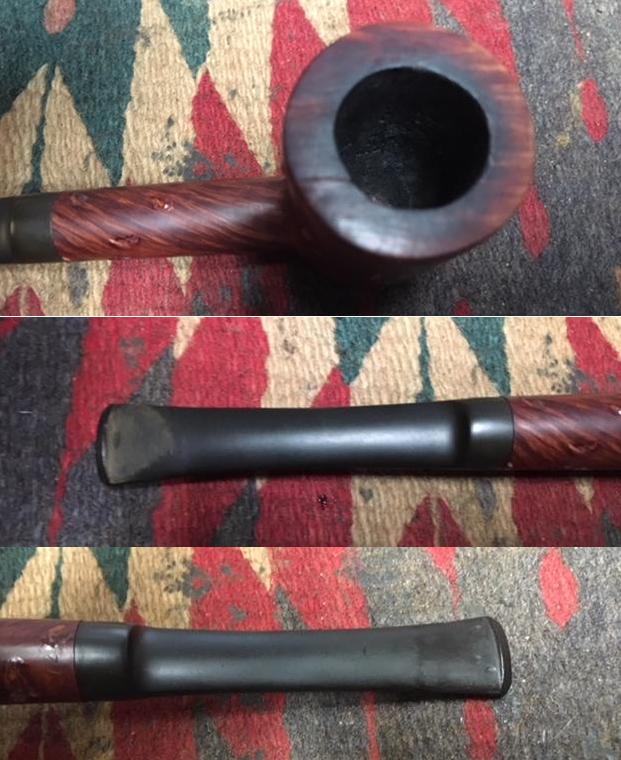
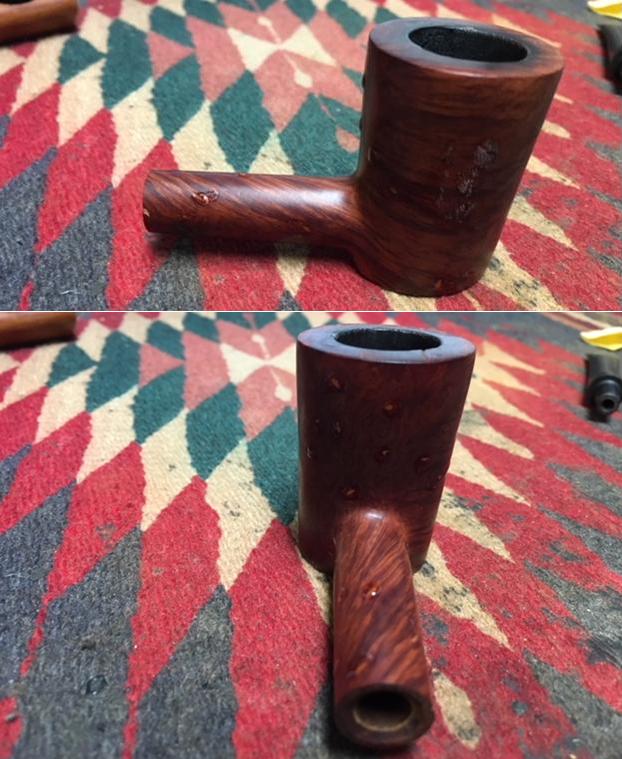
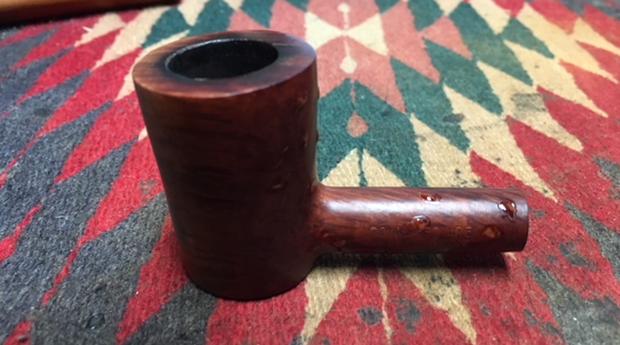
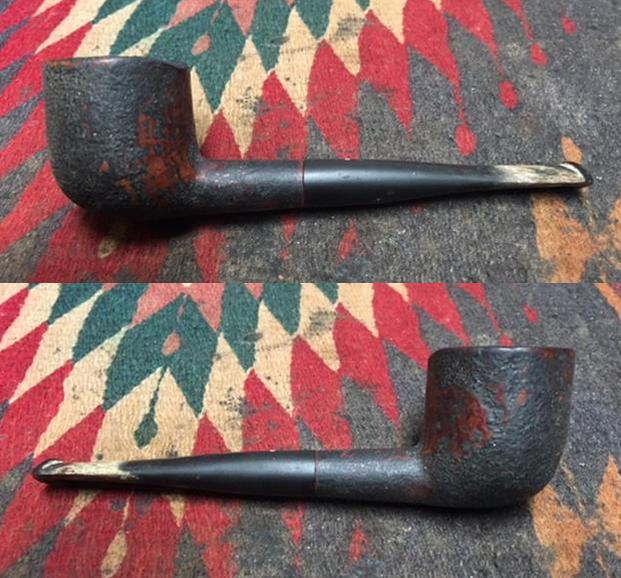
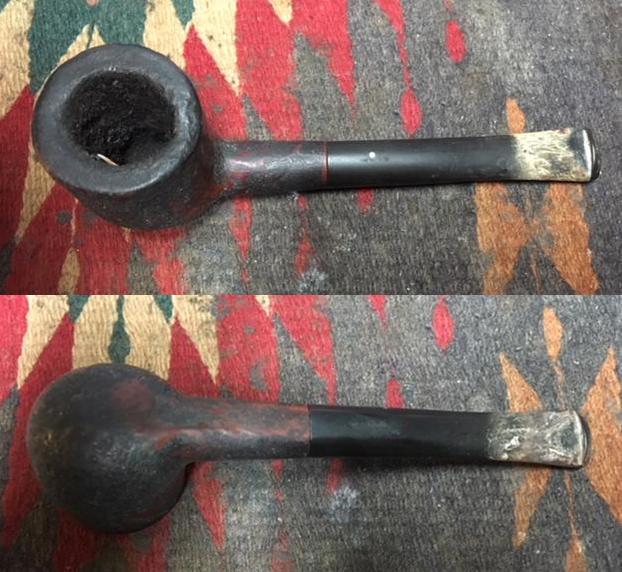
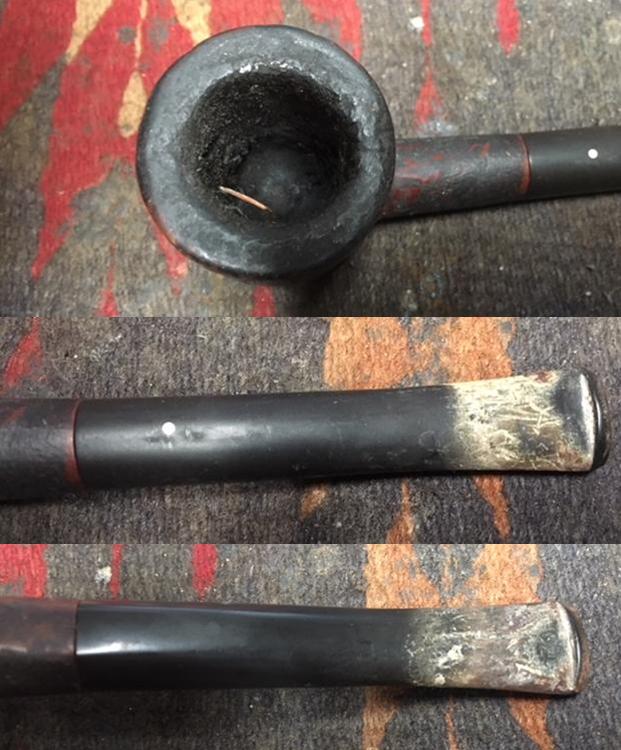
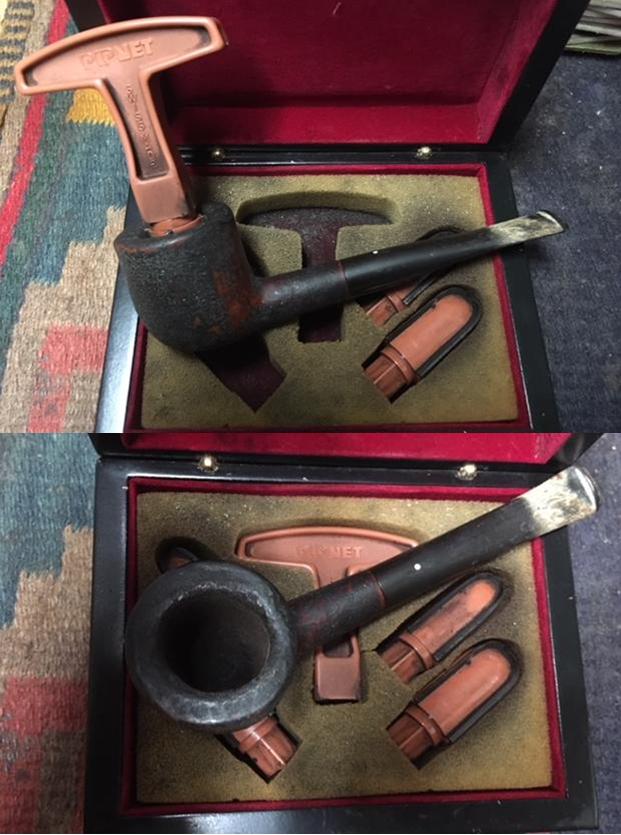
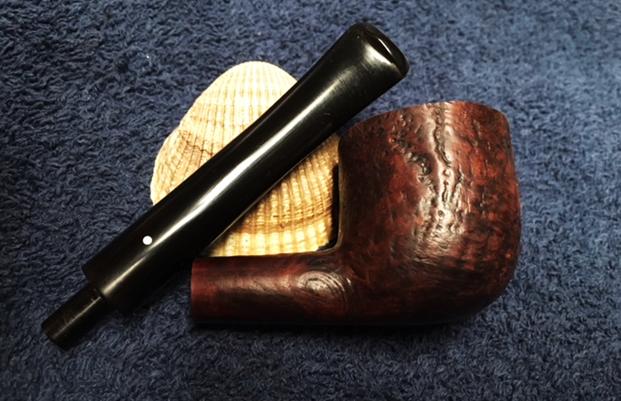
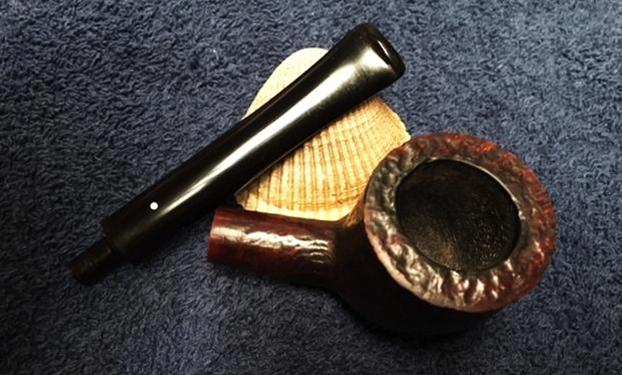
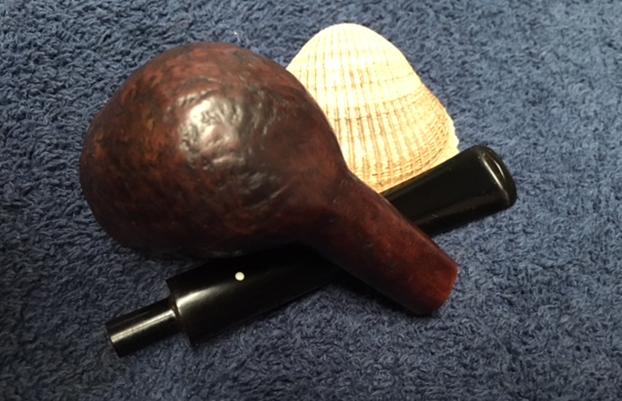
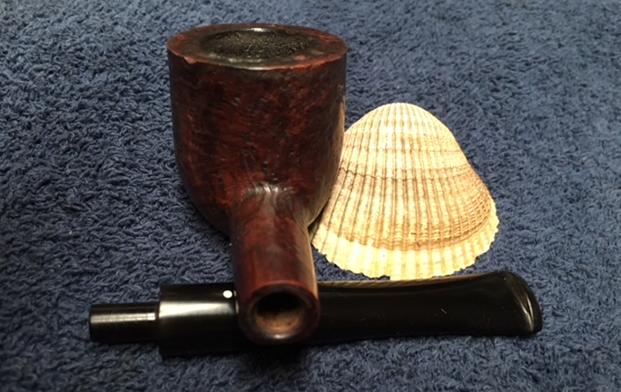
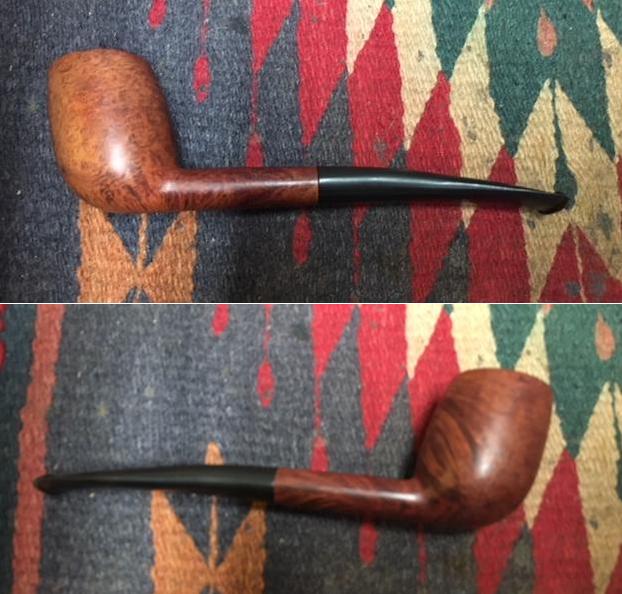
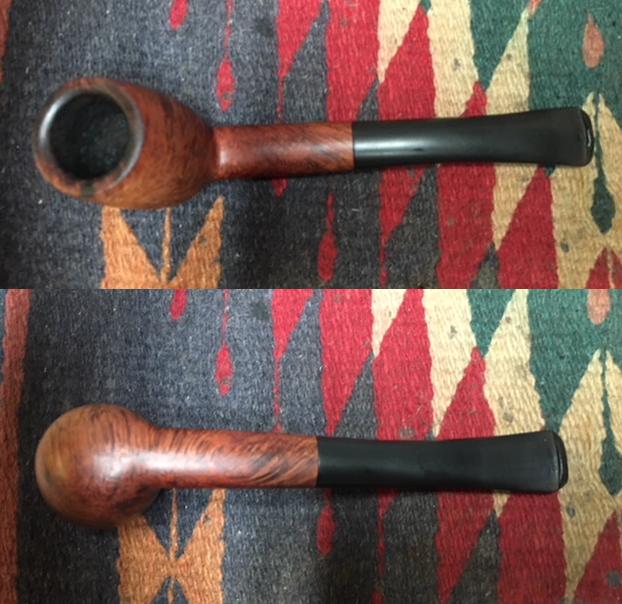
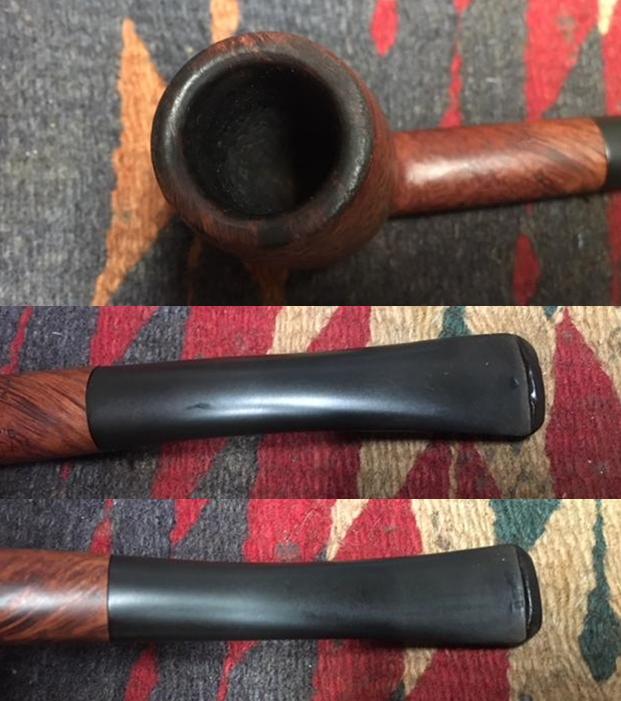
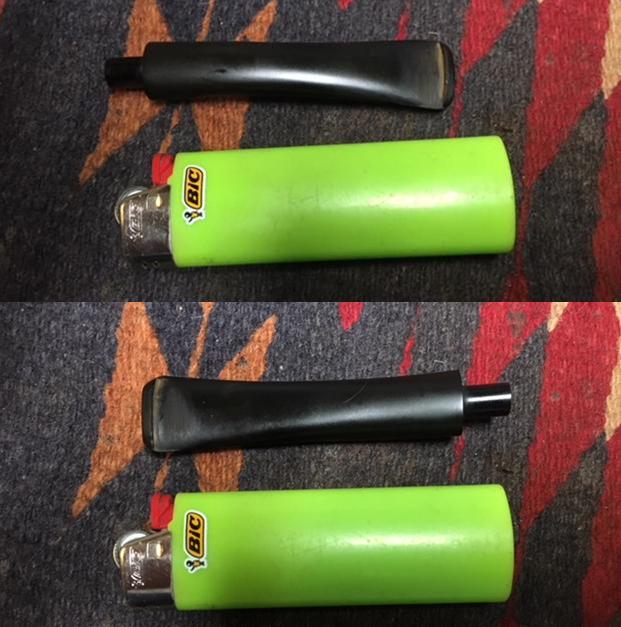
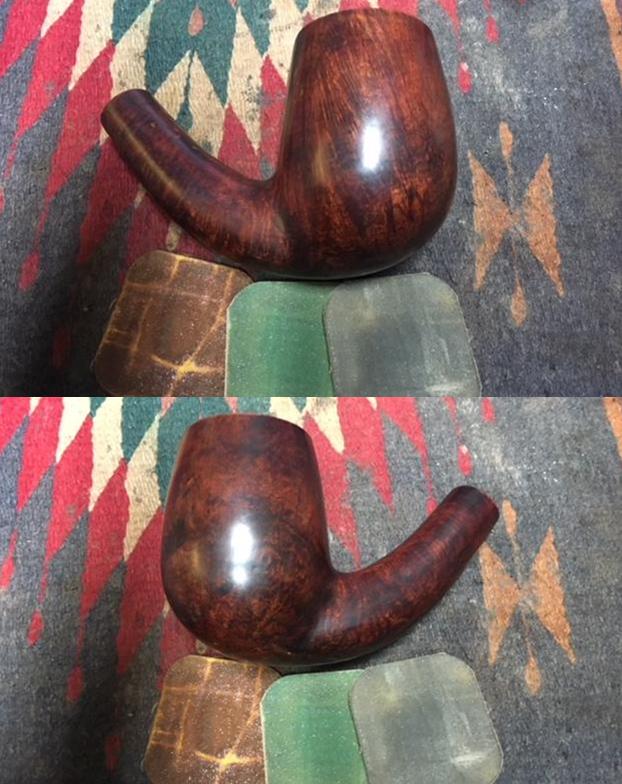
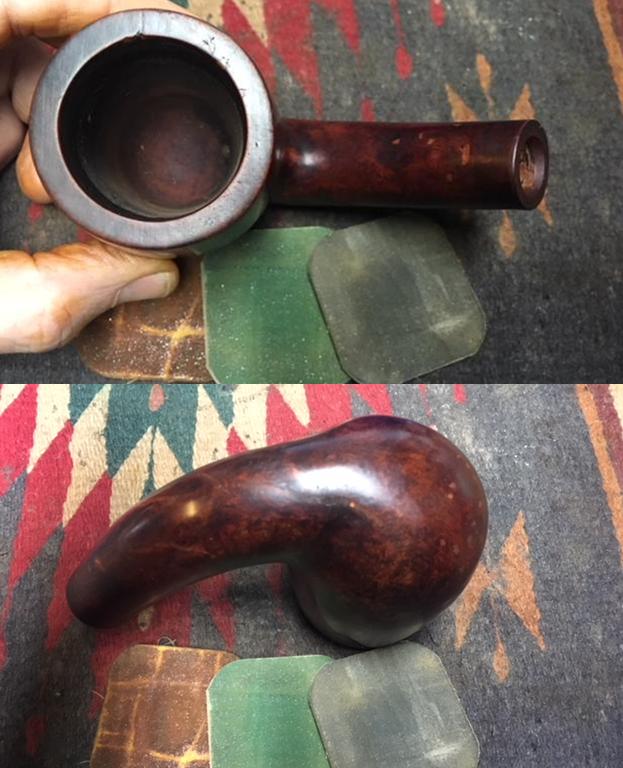
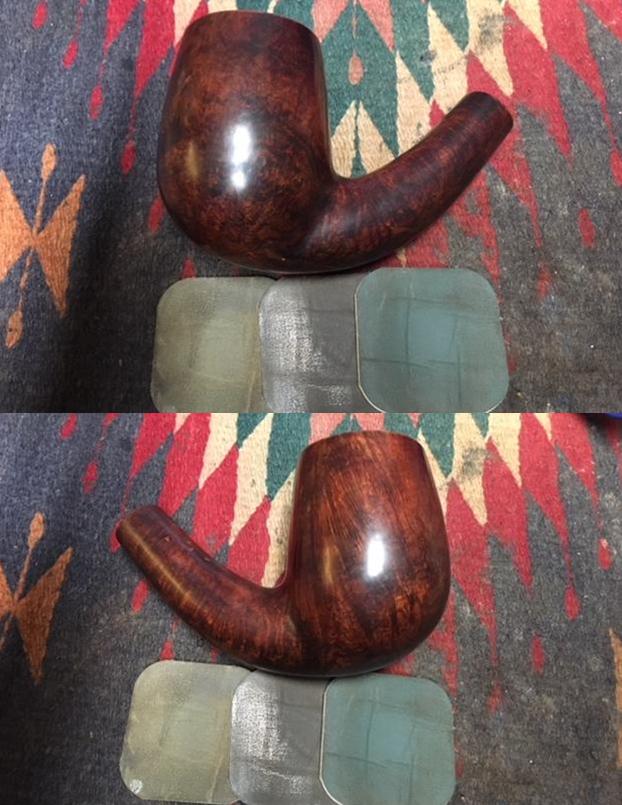
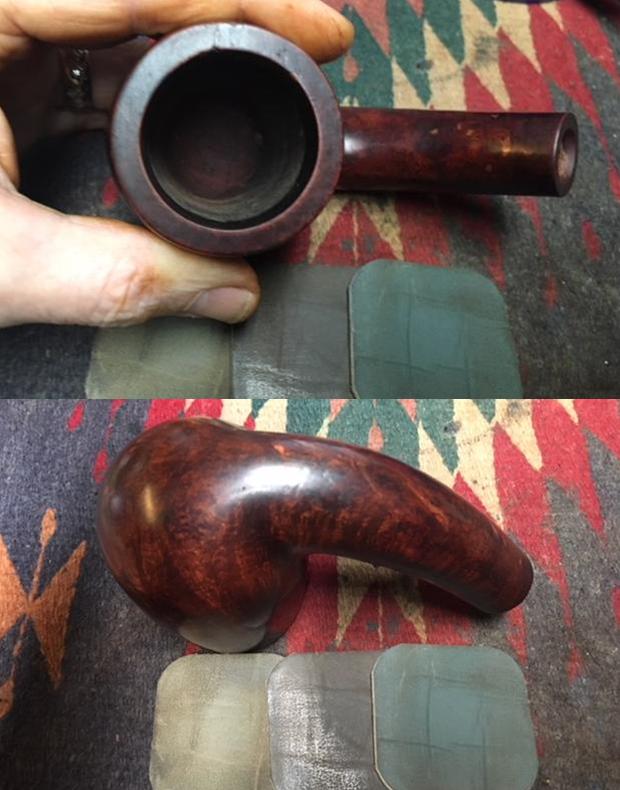
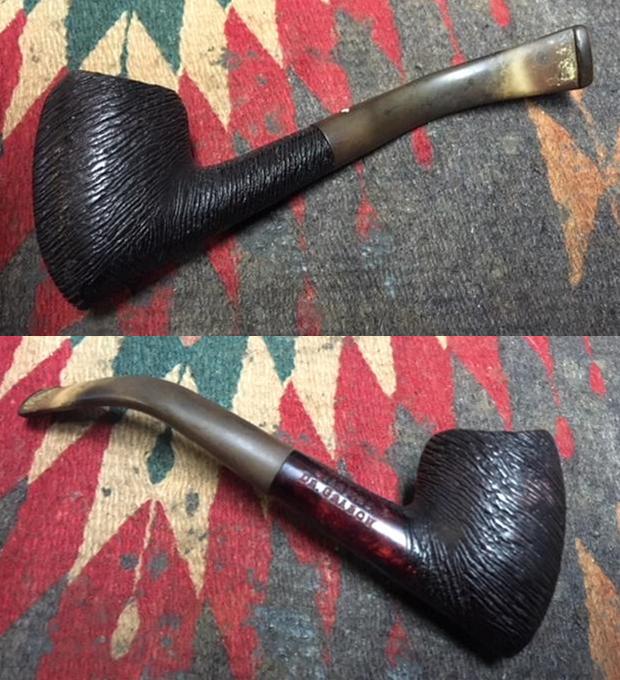
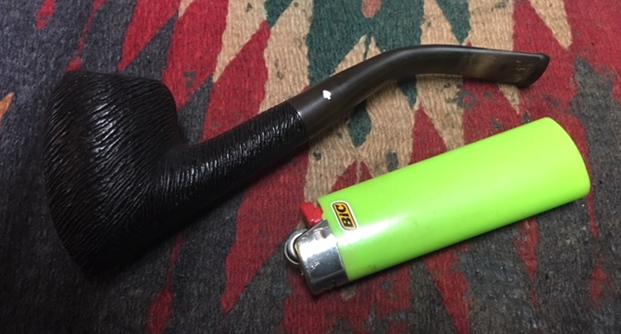
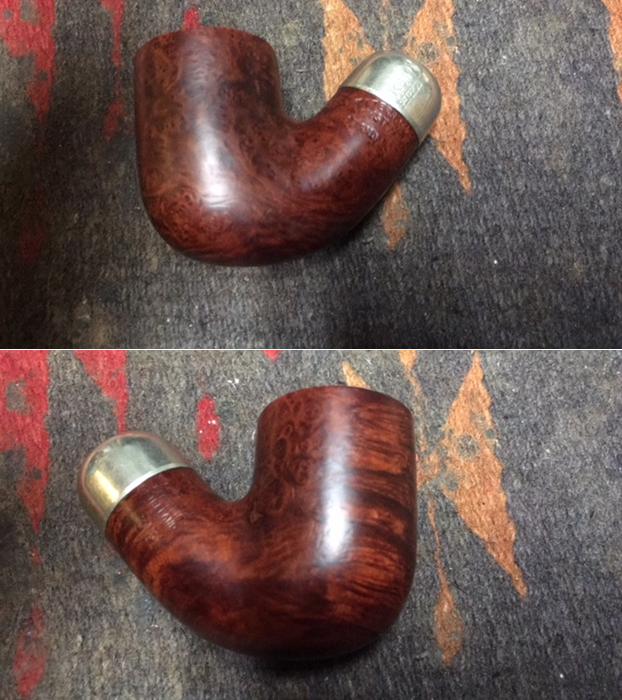
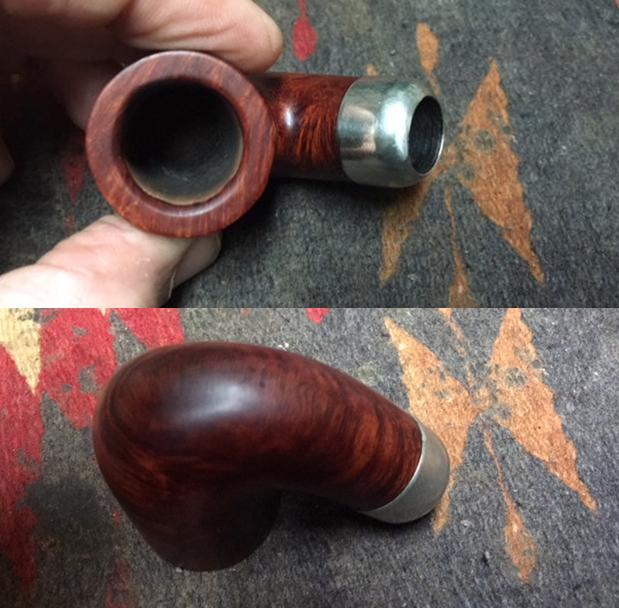
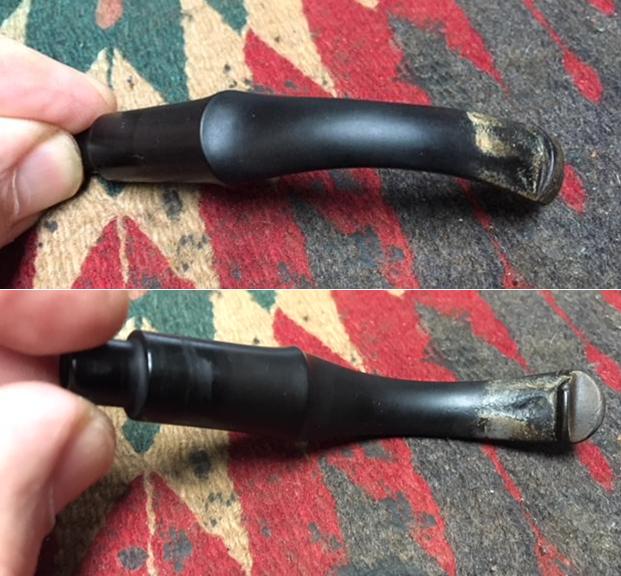
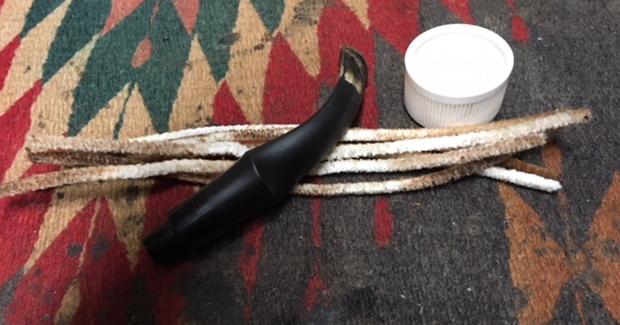
I have repaired pipes for Paresh in India over the past four months and not long ago he sent me seven of his Grandfather’s pipes to restore. It is an interesting assortment of older pipes that come from the period of 1937-1950s. His Grandfather worked for the Indian Railroad many years and was a pipeman. Paresh is also a pipeman and recently found out that his Grandfather smoked a pipe as well. The third of the pipes is an older Dr. Grabow Starfire Adjustomatic Tomahawk #21. It is stamped on the right side of the shank Starfire over Dr. Grabow. From what I can find out the pipe was part of the Continental X-Series that came in 12 unique shapes that were originally released in 1959. When the Continentals were first put into production they may have been available only by coupon in the Westbrook, Emperor and Sculptura lines, but they were available in the regular production–non coupon lines such as Viscount, Starfire and Eldorado. The coupon pipes were given XO shape numbers while the regular production lines (meaning sold in retail stores) were given standard shape numbers. The XO numbers were never stamped on the pipes, but the regular production pipes will sometimes have a stamped shape number. This particular pipe that I am working on for Paresh is a Starfire line pipe. I have included the following shape chart to help identify the pipe. It is the third pipe down in the column on the right side – shape #21. (Quoted from the late Ed James, a man who knew a lot about Grabow pipes and who is dearly missed by those of us who knew and enjoyed his company.  http://pipesmagazine.com/forums/topic/3-year-journey-complete-set-of-continental-x-series-pic-heavy.) I took the following photos of the pipe before I stated to work on it. It was probably one of the dirtiest of the pipes that Paresh’s wife Abha sent me – even then it was not that dirty because she had removed much of the cake bowl and the grime in the wire rustication.  The rim top has lava that has overflowed from the bowl and filled in the wire rustication. It is quite thick and hard. It will need to be scraped off when I started the cleaning. I am not sure what the inside edge of the rim looks like at this point because of the lava overflow. The outer edge of the bowl looks pretty good with a little wear on the front edge and back right side. The bowl still the remnants of cake left behind that I will need to take care of. I also took a close up photos of both sides of the stem. The stem significantly overclocked to the right giving the pipe an odd look. You can see the tooth chatter and calcification on the top and underside of the stem just in front of the button. It appears that the stem must have had a softee bit that was later cut off and left behind the debris.I always enjoy getting some background information on the pipeman whose pipes I am restoring when I am working estate pipes from the family members. If you have followed rebornpipes for a while you have read a few of these summaries from estates like Kathy’s Dad, Barry’s Dad and Farida’s Dad. Each of them did a great job summarizing their fathers’ estates. Since the next group of seven pipes that I will be working came to from India and belonged to the Grandfather of Paresh, I asked him to write a short tribute to his Grandfather. What follows is his writeup.

Respected Sir,

Now that the first batch of my Grandfather’s pipes has reached you, I would like to share my memories of him with you, the aim being to provide you with an insight to his personality, the era in which he lived, and a brief history associated with the pipes that I have inherited from him.

My Grandfather, Ananta (named after an exotic seasonal white flower having lovely fragrance), was born in a small coastal town of Konkan region of Maharashtra, India, in 1918. These were very turbulent times when India’s freedom struggle against British rule was gathering momentum and the atmosphere was charged with “Quit India Movement”. Having completed his graduation from Bombay, he joined Railways in 1937. This also marked the beginning of his journey into the world of pipe smoking!!!!!

Having seen his potential, in 1945, he was sponsored by the Government to visit England, for gaining further experience and expertise in his profession. This was a period when India’s Independence was round the corner and efforts were being made to train Indians for various administrative appointments in future Independent India. He returned back to India after a year, in 1946 and with him came some pipes that he had purchased in England. I believe a few of his Petes, Barlings, Charatans and GBDs are from this visit.

In 1947, when the British finally left India for good, my Grandfather was gifted pipes by his British peers, subordinates and Superior Officers as a parting gift. He stayed in touch with a few of them over all these years, even visiting them in 1959-60. Some of his later era Charatans and Barlings and Petes are from this trip. He quit smoking in early 1970s (before I was even born!!!!) and his pipes were packed up. There were a number of pipes which were used as TINDER for lighting fires (CAN’T BELIEVE IT…… I have not overcome my grief of this loss till date!!!!!) due to ignorance!!!!!!

My Grandfather was a very strict disciplinarian and temperamental (I did not know this as he was neither when dealing with me as I am the youngest of all his grandchildren!!!!!! He was always the most understanding and loving person in my life). I later learned that in his office, he was not to be disturbed when his pipe was lit, as he would be in his thinking/ contemplating mode while it was just the opposite as he lit his pipe in the evening while at home, when he would be at his relaxed best!!!!.

The interesting part is that neither of us knew that we each smoked a pipe until after his demise in Jan 2018!!!! In our culture, to this day, smoking or alcohol consumption is socially never talked about (mute acceptance!!!). It was during his last rites that absent mindedly I lighted my pipe and looking into the flickering flames of his funeral pyre, remembered and recollected all the wonderful memories and talks that we had shared. No one said a word to me about my lighting up a pipe!!!!!! Immediately thereafter, I rejoined my duty station. A few days later, my wife, Abha, received a box from my Uncle with a note that said “Grandfather would have loved Paresh to have these”. This box contained a collection of his fountain pens and 8-10 of his pipes (since then as my folks are winding up his belongings, I have received 2-3 packets and a large number of pipes, some in decent condition and some in unspeakable state). Abha immediately messaged me with pictures of these pipes and pens. I had been collecting and restoring (no major repairs, though) fountain pens since long and immediately recognized some of them as highly collectibles, however, pipes were a totally different ball game! I was inexperienced with no knowledge/ information regarding various brands/ pipe makers, shapes and materials. I knew nothing about the value of these pipes, nothing about pipe restorations, nothing about caring for them; I mean zero knowledge about collecting pipes. I smoked some real cheap Chinese pipes which were readily and unfortunately, the only ones, available in India and some inexpensive pipes from eBay India!!!!! Also regular pipe cleaning, pipe rotation, pipe cleaners and such things were unknown to me.

Thus, to know more about the REAL pipes, I embarked upon the journey of exploring finer nuances of pipe brands/ makers, their history and watching “How to videos” on packing a pipe, cleaning, repairing and caring for ones pipes. I found it extremely interesting and satisfying. It was while meandering through this confusing quagmire of pipe world that I came across rebornpipes.com website and eventually established contact with you, Mr Steve, who has since been my mentor, guide and GURU, making this journey a wonderful and satisfying experience.

Sir, there is one more thing that I need to thank you for and that is when you asked me to write a brief about my grandfather and his pipes, I realized how little I knew about him, in fact, knew nothing, as I was not even aware that he was a “pipeman” as no one in my family ever spoke about it being taboo subject and since he had quit a long time before I was even born!!!! This led me to ask the elders in my family, questions on the subject and came to know the above details. I cannot thank you enough for prodding me to get to know my grandfather and his pipes a lot better. Sir, these pipes of his, with your help and guidance, will remain with me forever in mint condition……

Thanks Paresh for this great descriptive take of your Grandfather. It really gives me a sense of the pipes that you have sent me and what they meant to him. It is obvious from the variety of pipes that you sent and the overall condition that he knew how to choose good quality pipes and obviously enjoyed smoking them throughout most of his life.

Paresh’s wife Abha cleaned the pipes before she sent them to me here in Canada and did an amazing job cleaning them up. She reamed the bowls, cleaned the rims and scrubbed the exterior of the pipes and the stems with Murphy’s Oil Soap and cleaned off the buildup on the stems. She had removed much of the cake on this pipe and done a great job cleaning the exterior of the bowl. The lava on the rim top was very hard and thick so she left that behind so as not to damage the top edge. The stamping on the right side of the shank was very readable. The stem was oxidized on both sides of the stem and had quite a bit of tooth chatter and calcification on both.

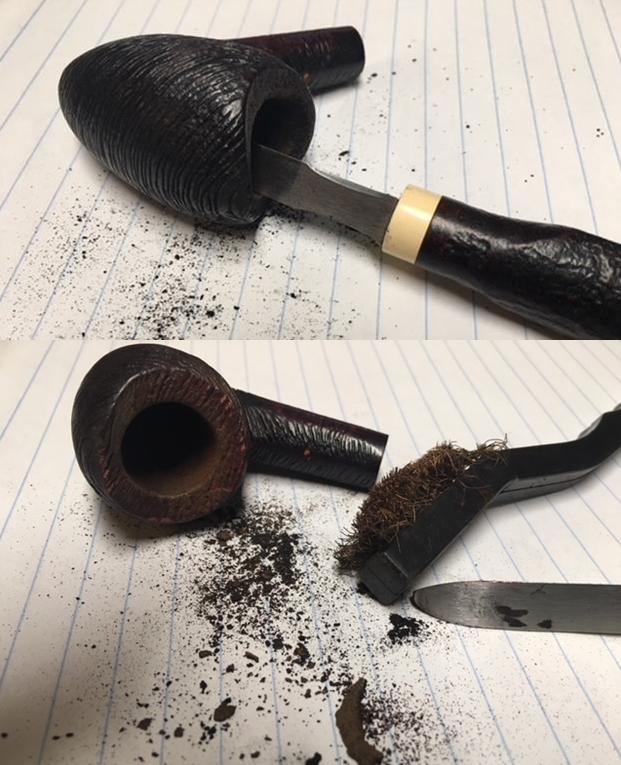
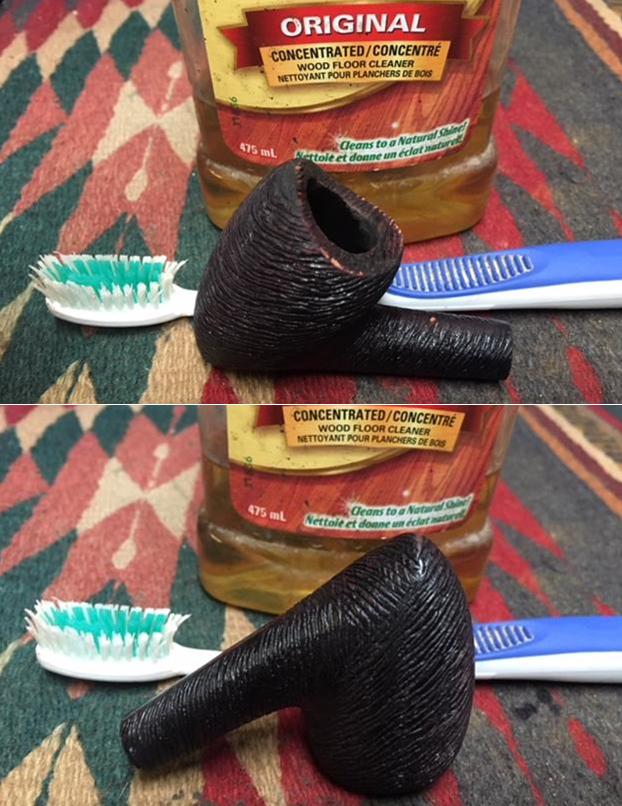
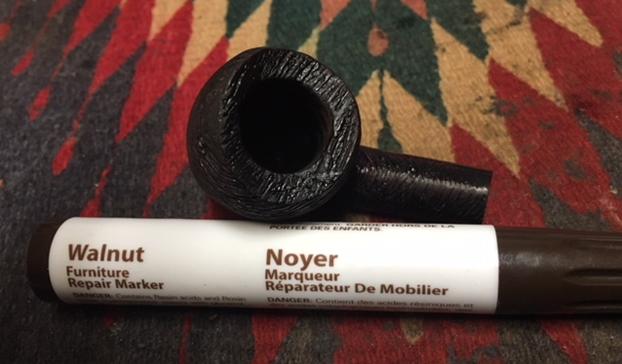
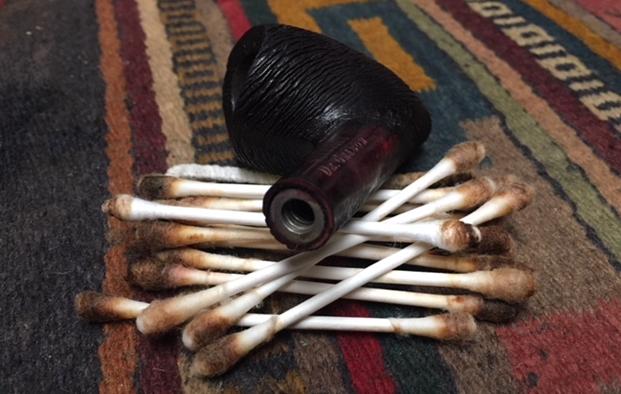
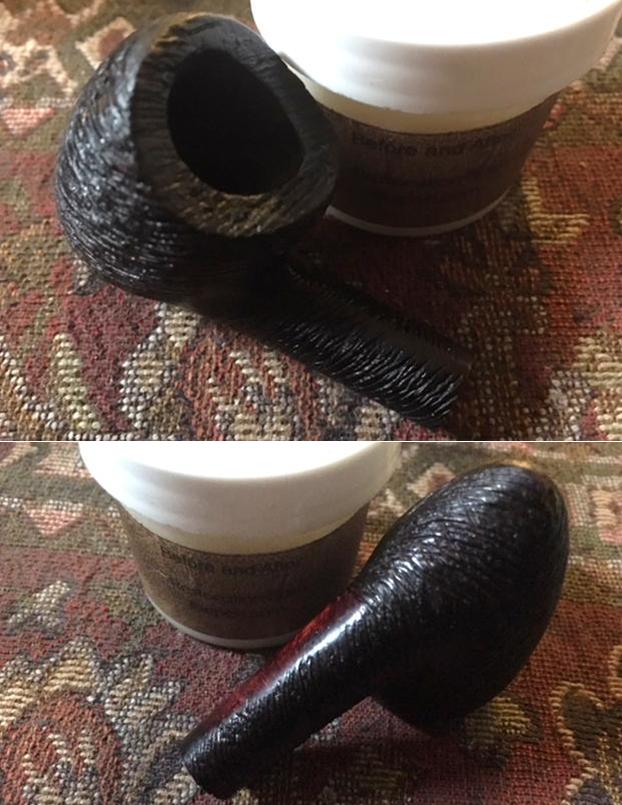
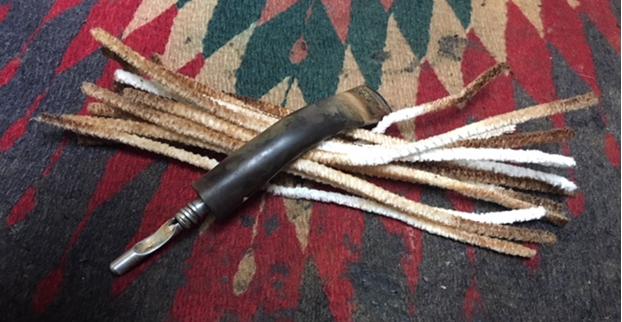
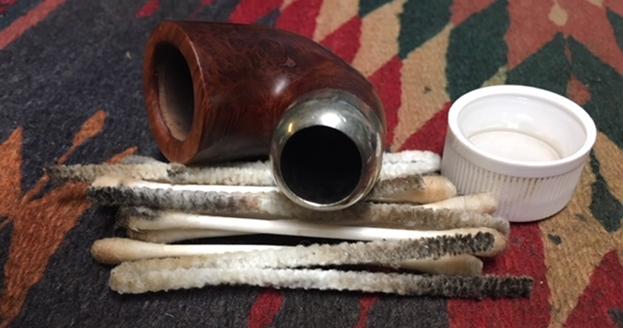
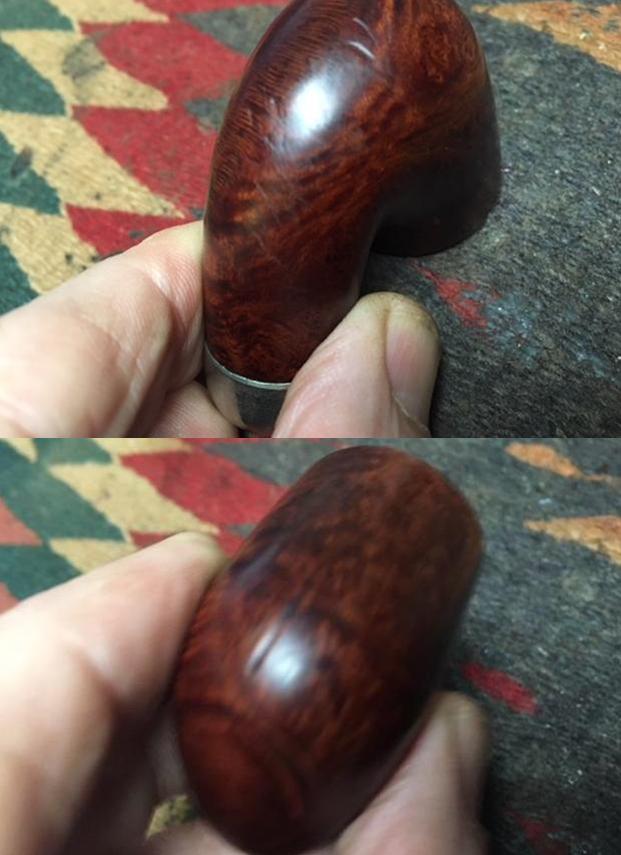
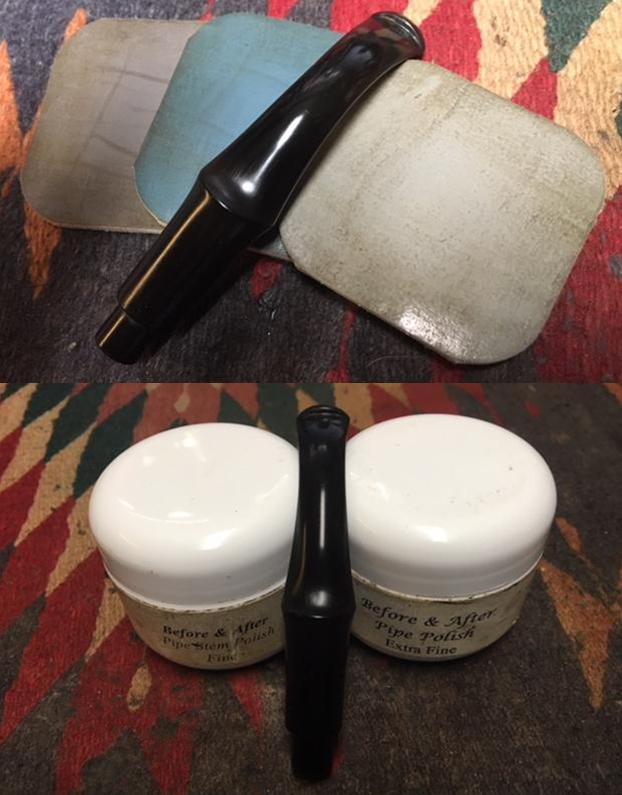
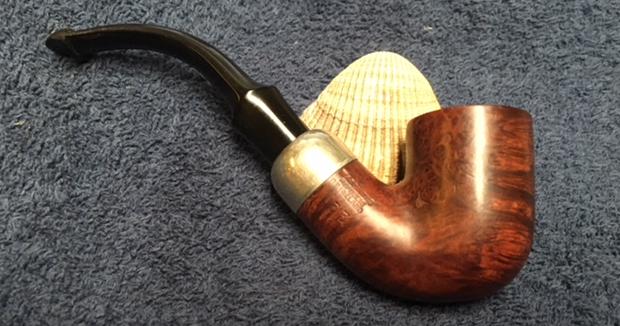
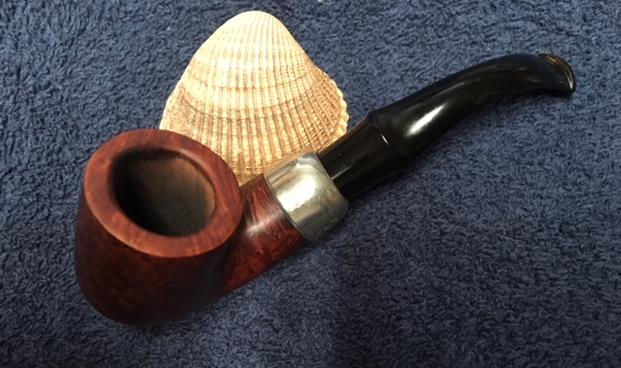
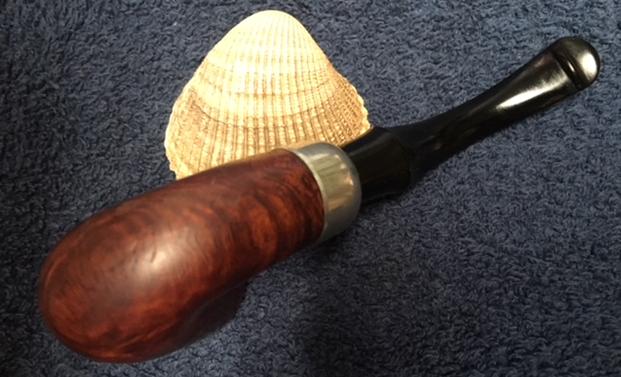
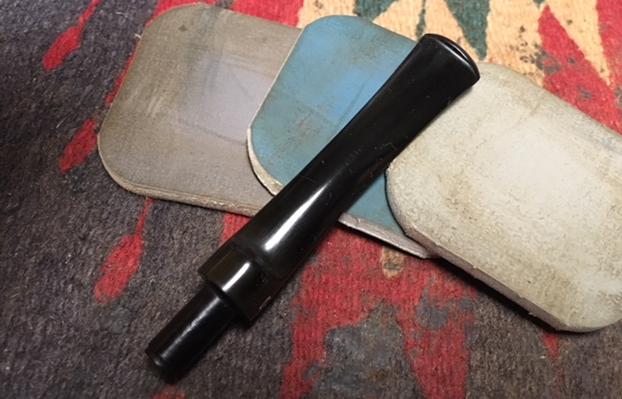
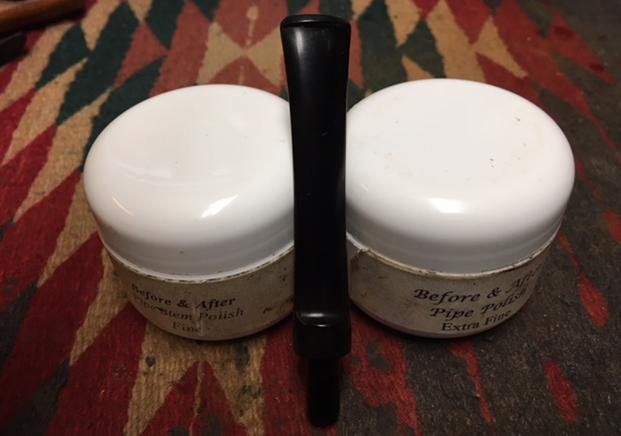
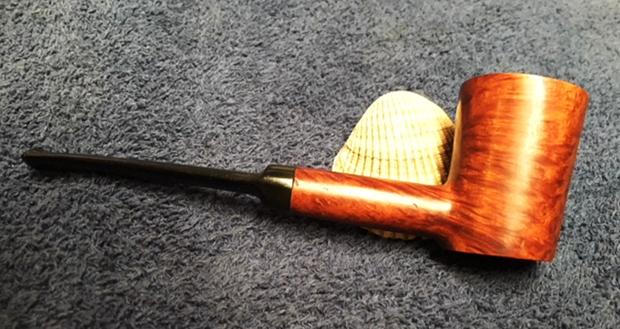
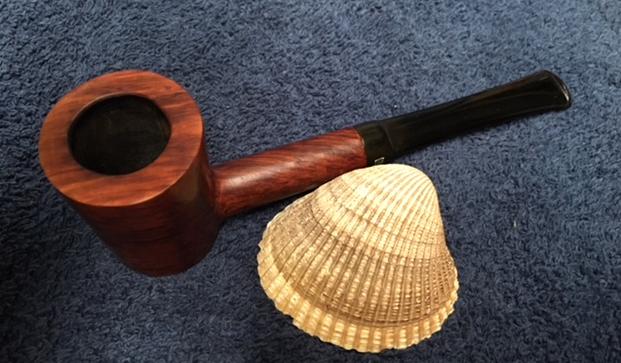
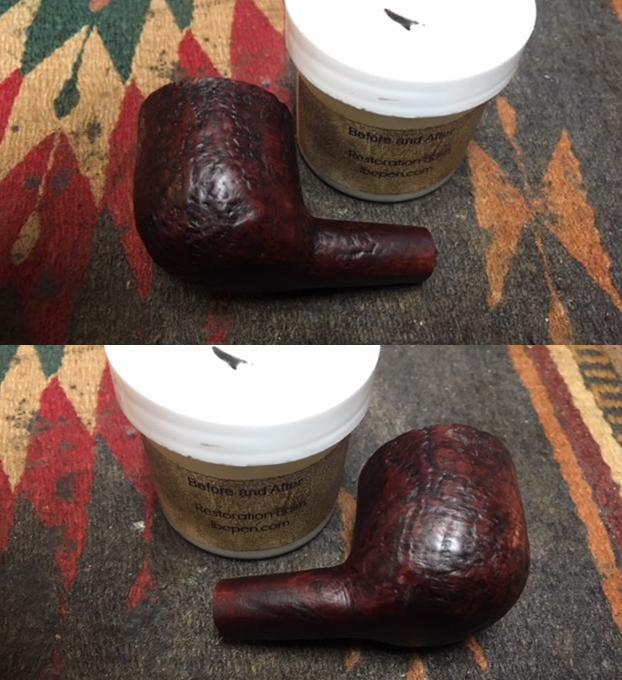
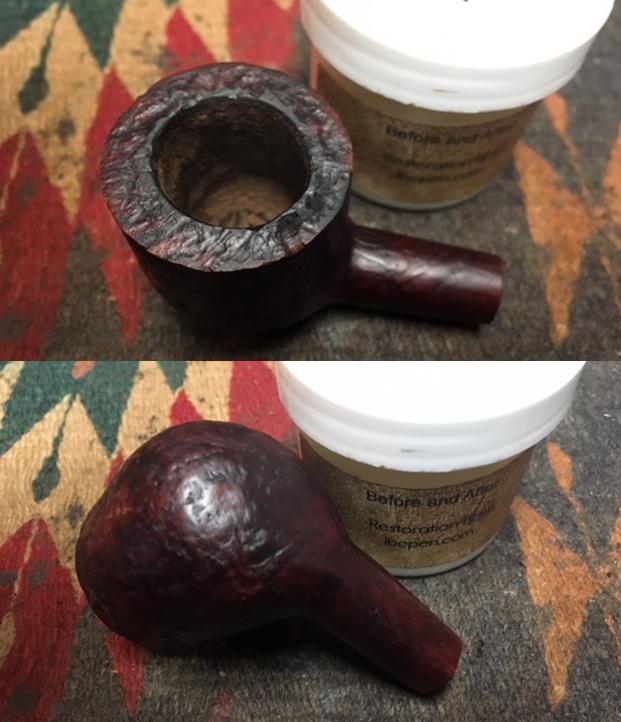
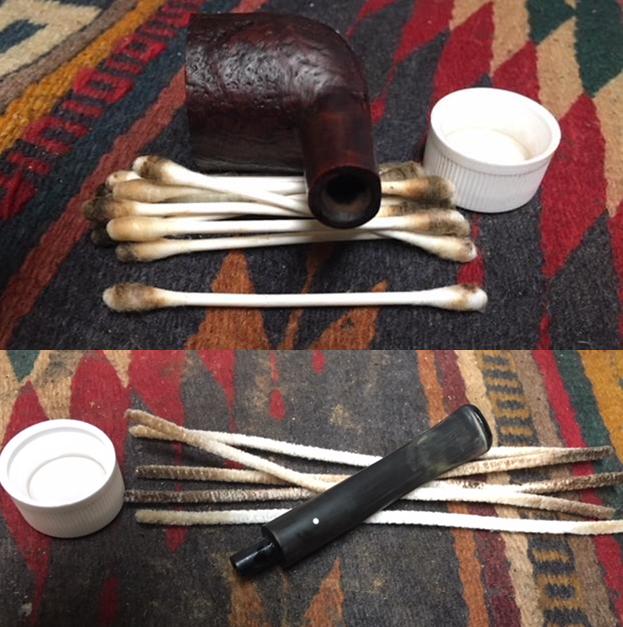
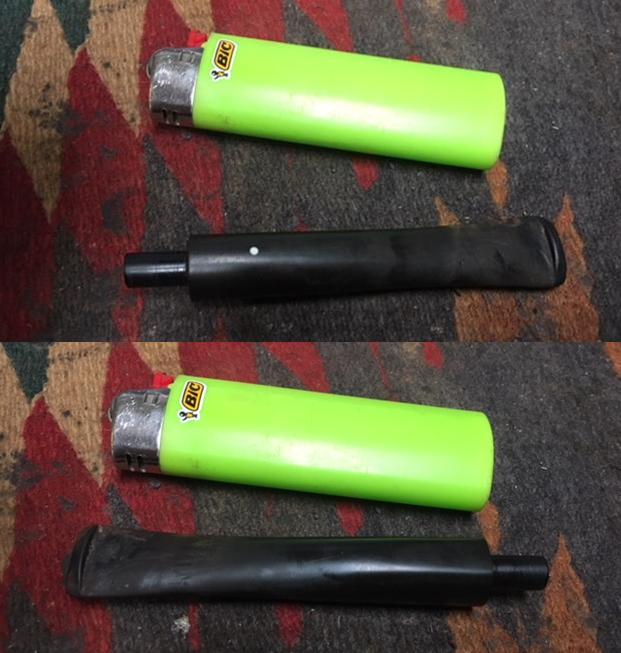
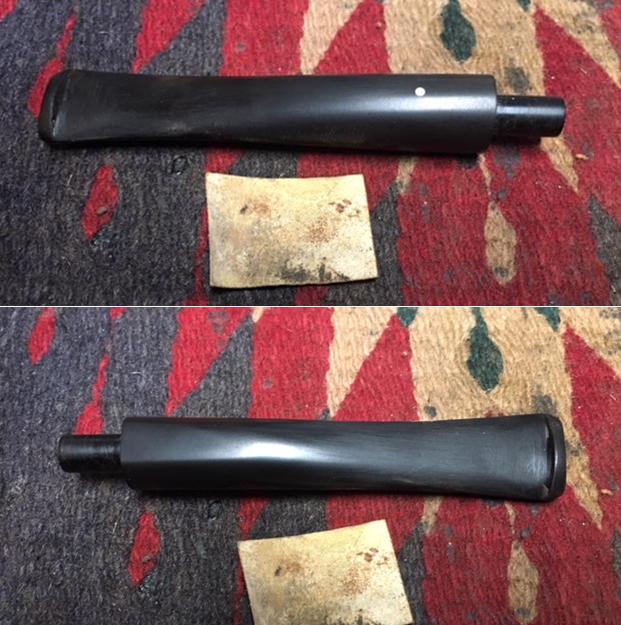
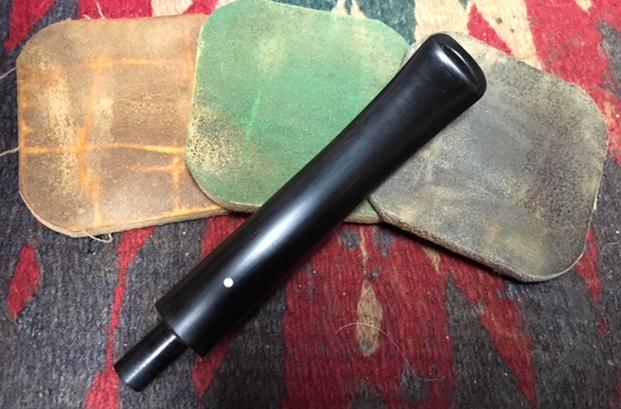
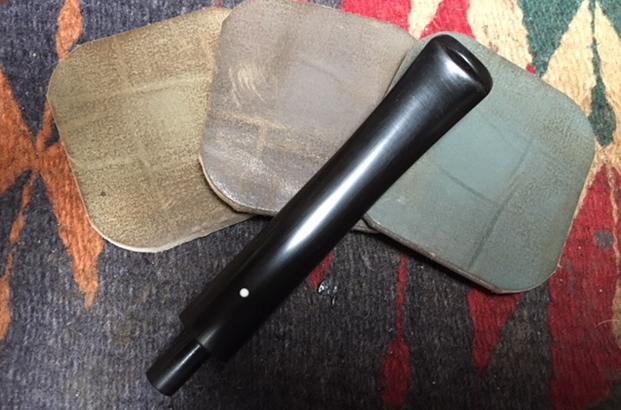
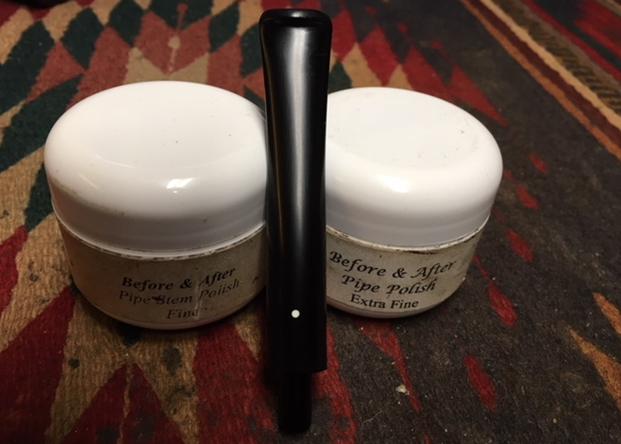
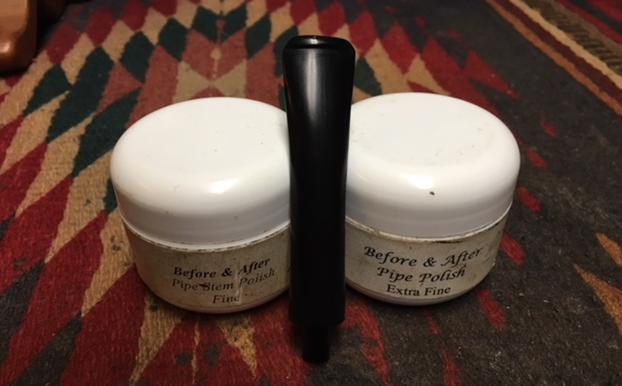
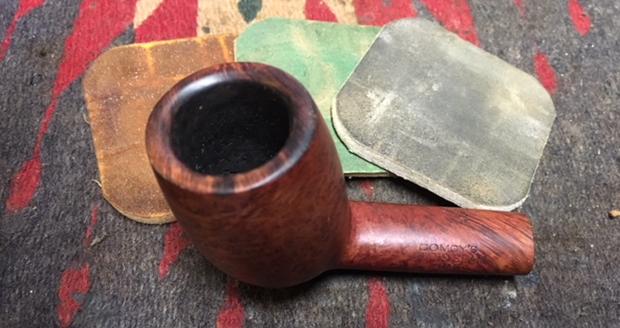
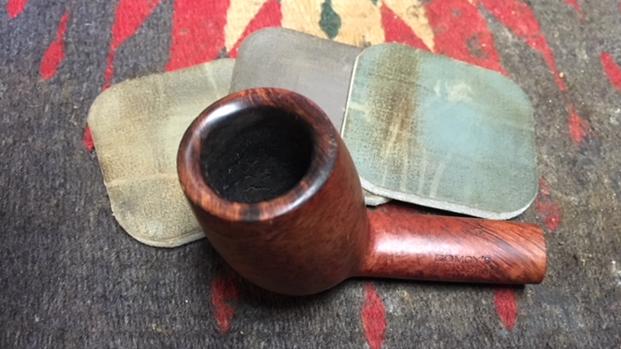
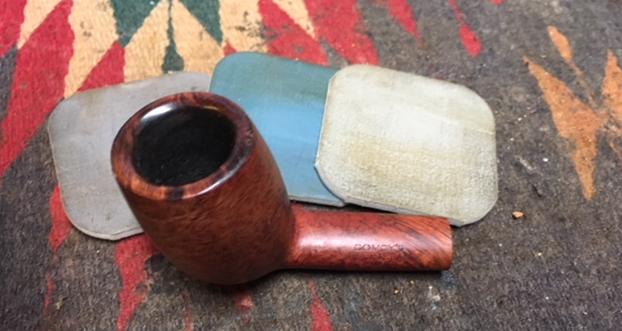
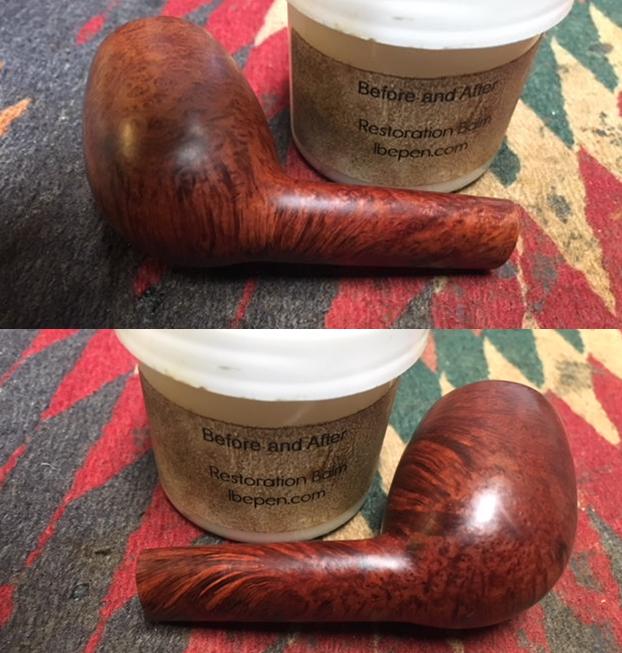
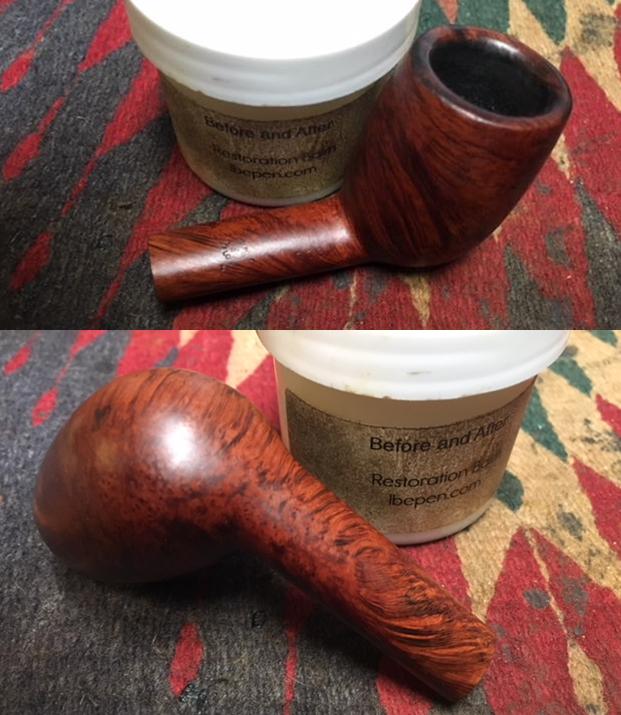
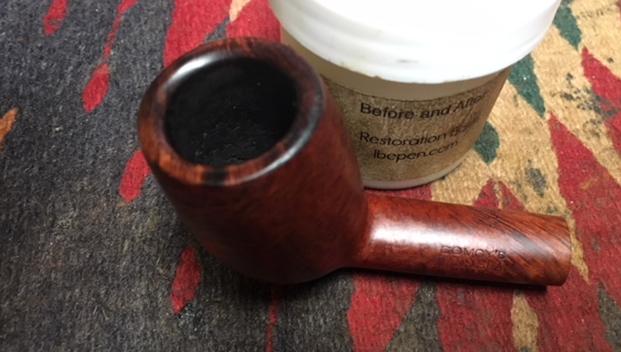
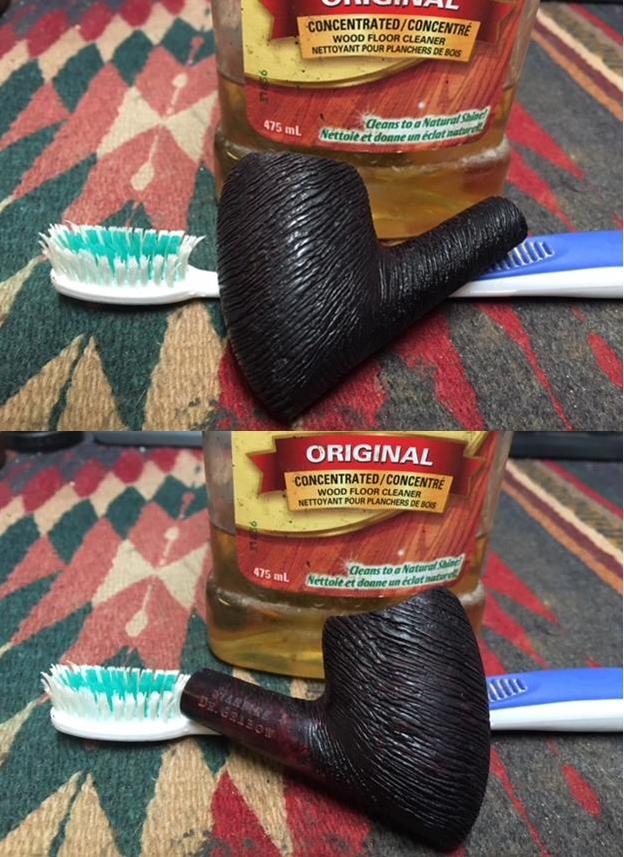
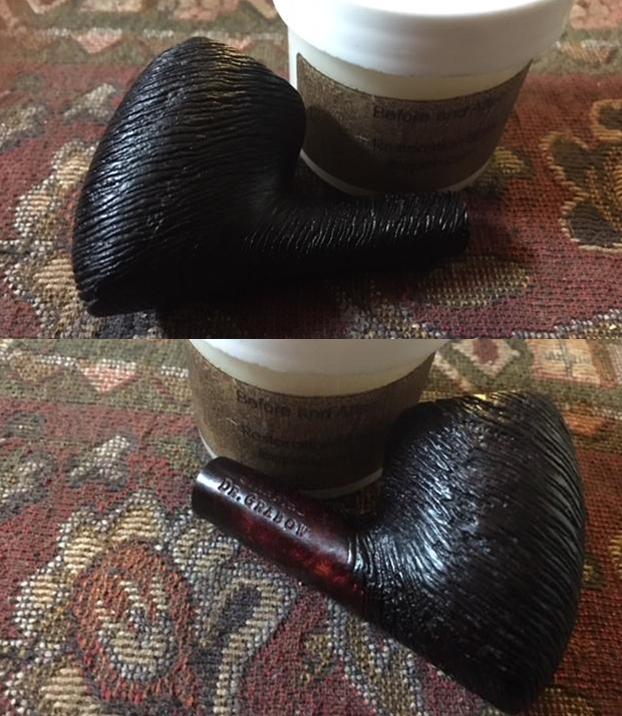
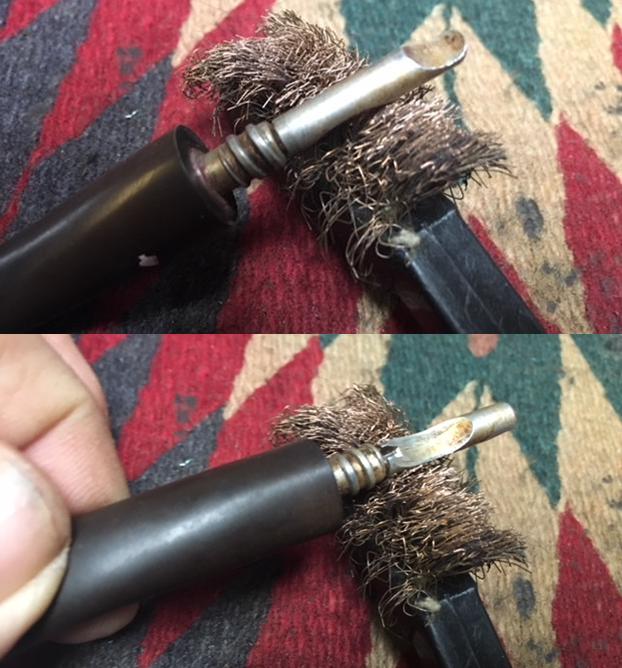
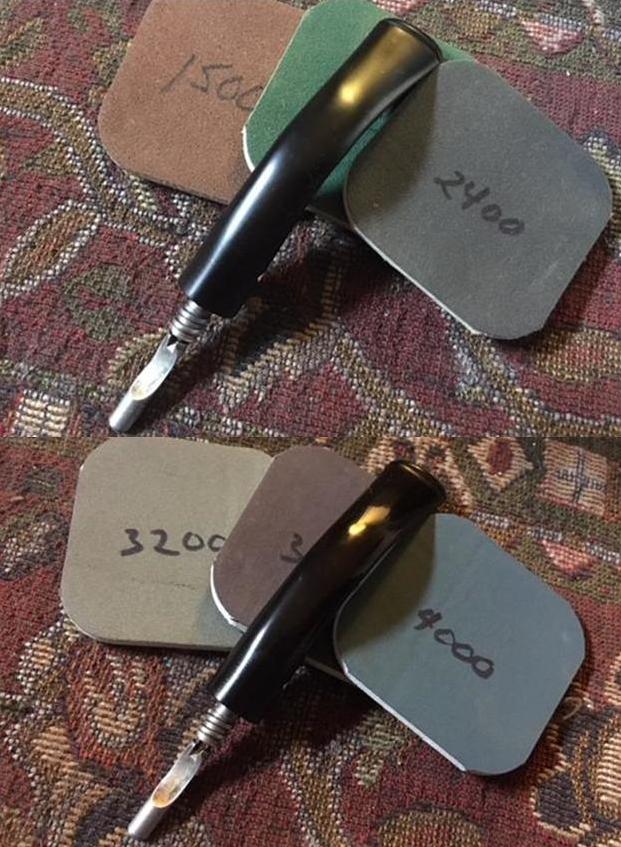
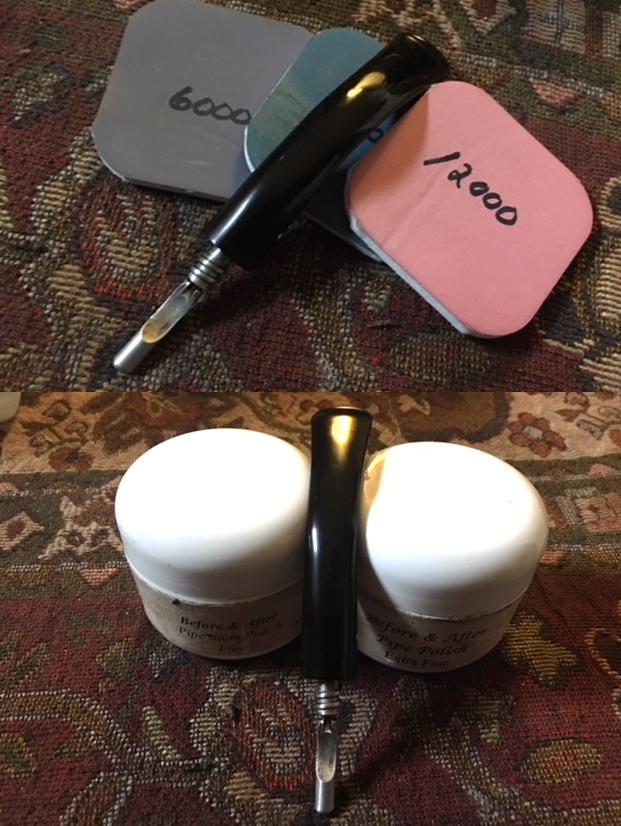
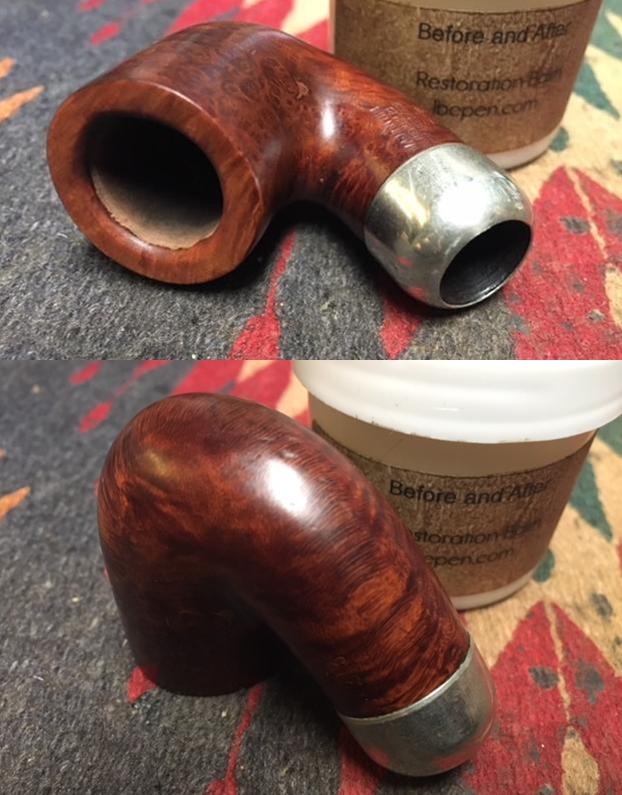
Since the stem was an adjustomatic according to what I had read I decided to work on the alignment before working on the rest of the pipe. I removed the stem and heated the metal tenon and stinger to loosen the tars and oils that had hardened on it. Once it was heated I turned the stem into the mortise and adjusted it by turning it clockwise until all was aligned.I let the heat dissipate from the stem and then removed it from the shank and started my work on the bowl itself. I cleaned up the cake in the bowl with a Savinelli Fitsall Pipe Knife and took the rest of the cake off until I had bare briar walls. I wanted to check out the condition of the interior of the bowl. It looked very good once it was cleaned off. There was no checking or cracking on the bowl walls. There was no sign of burn out inside. I scraped the rim top with the sharp edge of the Savinelli Knife and took off the thick lava that was there. I used a brass bristle wire brush to clean out the cake from the wire rustication on the surface. You can see the thick chunks of lava that came off the rim top on the white sheet of paper.I scrubbed the exterior of the bowl and shank with Murphy’s Oil Soap and a tooth brush to clean out the debris I left behind from the rim clean up. I also used the brass bristle brush with the soap to work over the rustication on the rim top. I rinsed it in running water and dried it off with a cloth. I restained the rim top with a Walnut stain pen to match the colour of the rest of the bowl. I touched up random spots on the shank and bowl sides where the finish was worn or nicked.I cleaned out the mortise and the airway in the shank with pipe cleaners, cotton swabs and alcohol. It took a lot of scraping and scrubbing to remove all of the thick tars and oils that had accumulated around the Grabow spoon stinger.I worked Before & After Restoration Balm deep into the briar to clean, enliven and protect it. I worked it into the finish with my fingertips. I worked it into the rim and shank end. I set it aside for a few minutes to let the balm work. I wiped it off and buffed it with a soft cloth to polish it. The briar really began to have a deep shine. I took some photos of the bowl at this point to mark the progress in the restoration. The bowl is really beginning to look good and the pipe is waxed I think it will really have a rich glow to wire rusticated finish.  I set the bowl aside and worked on the stem. I used a brass bristle wire brush to clean off the spoon stinger enough that I could remove it and clean out the rest of the stem. I cleaned up the stinger and the airway in the stem with pipe cleaners, cotton swabs and alcohol until they were clean. I would buff the metal with the buffing wheel to take off the rest of the staining later. I sanded out the tooth chatter and the calcification on both sides of the stem at the button with 220 grit sand paper.I polished the stem with micromesh sanding pads – wet sanding with 1500-2400 grit sanding pads and dry sanding with 3200-12000 grit pads. I wiped the stem down with Obsidian Oil after each sanding pad. I finished polishing the stem with Before & After Pipe Stem Polish both Fine and Extra Fine to remove the last of the scratches. I gave it a final coat of Obsidian Oil and set it aside to dry. With the stem polished I put it back on the pipe and lightly buffed the bowl and more heavily buffed the stem with Blue Diamond. I gave the bowl several coats of Conservator’s Wax and the stem multiple coats of carnauba wax. I buffed the pipe with a clean buffing pad to raise the shine and hand buffed it with a microfiber cloth to deepen the shine. The pipe polished up pretty nicely. The finished pipe is shown in the photos below. I have four more of Paresh’s Grandfather’s pipes to finish and then I will pack them up and send across the sea to India where he can carry on the legacy. I know that he is looking forward to having them in hand and enjoying a bowl of his favourite tobacco in memory of his Grandfather. Thanks for walking through the restoration with me as I worked this pipe over.
 

Breathing Life into a Republic Era Peterson’s System 313 Pipe


Blog by Steve Laug

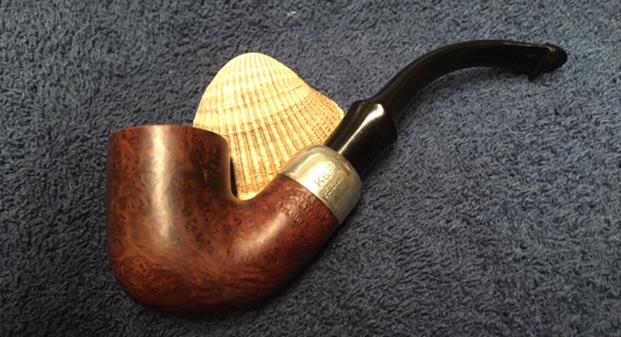
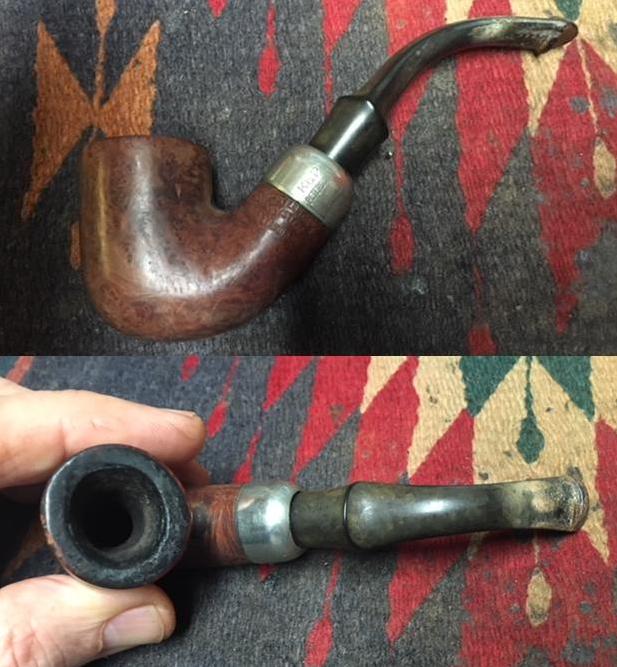
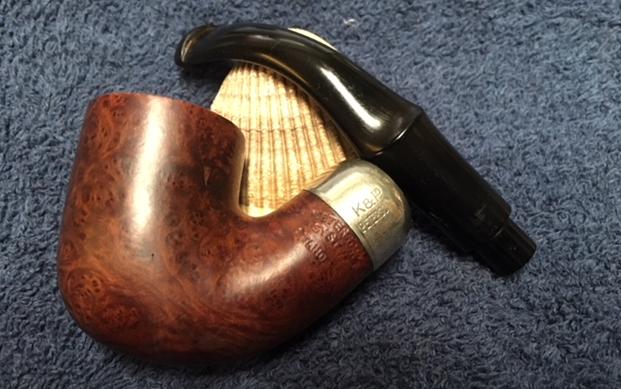
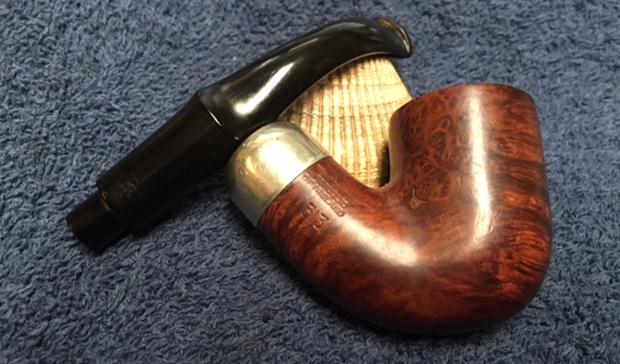
I have been corresponding with Paresh for some time now and have repaired and restored two of his pipes and sent him others as well. We carry on conversation via WhatsApp on the internet and discuss the various pipes he is purchasing as well as ones that he has inherited from his grandfather. This Peterson 313 System pipe came to me direct from the eBay seller in England. It took so long to get here (almost 2 months) that we both had pretty well given up on it. It arrived in a crushed package that I had to pick up at the post office. I was worried that the pipe inside had been damaged as well. This was one of those times that the seller had done a very thorough wrapping of the pipe in bubble wrap so it was unscathed by the crushing of the box. The pipe was stamped Peterson’s arched over System over Standard on the left side of the shank and Made in the Republic of Ireland on the right of the shank with the shape number 313 under that. The nickel ferrule was stamped K&P over Peterson.

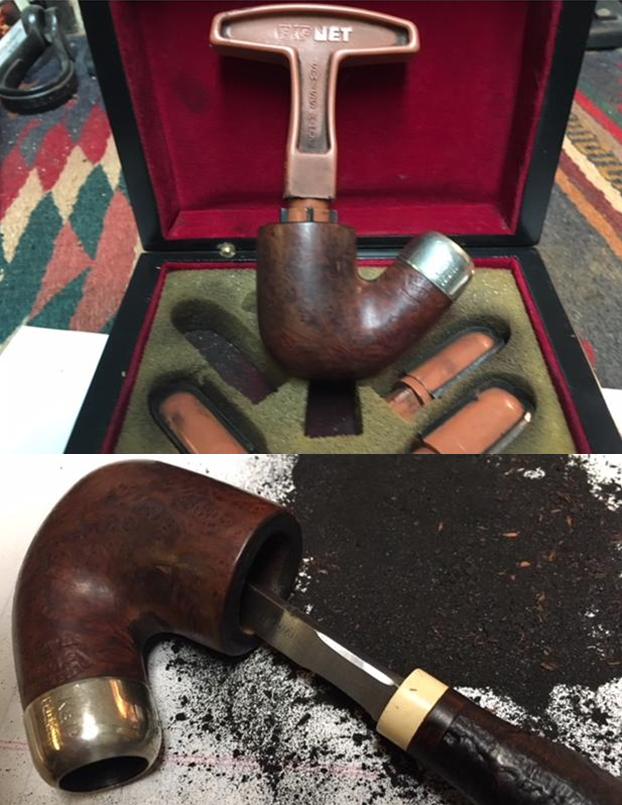
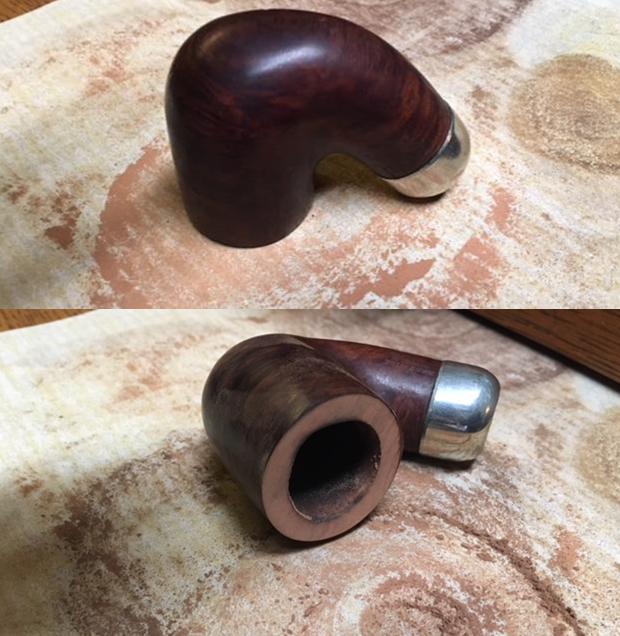
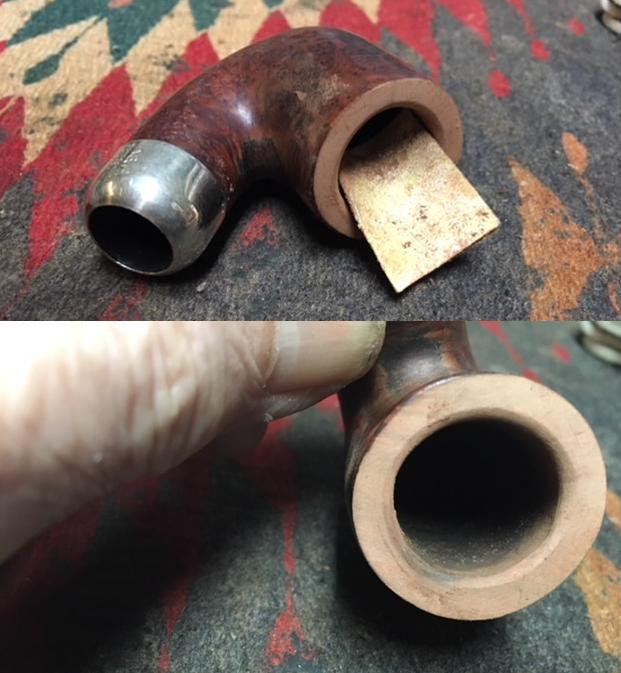
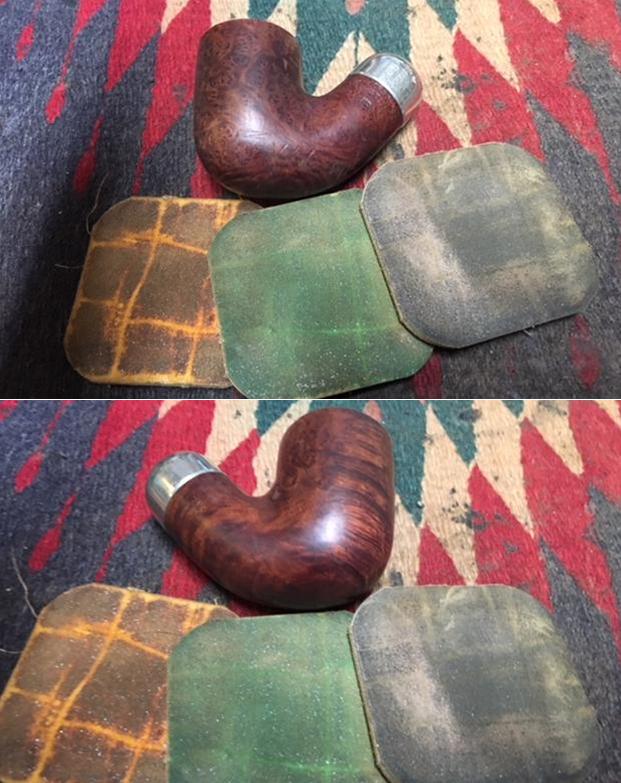
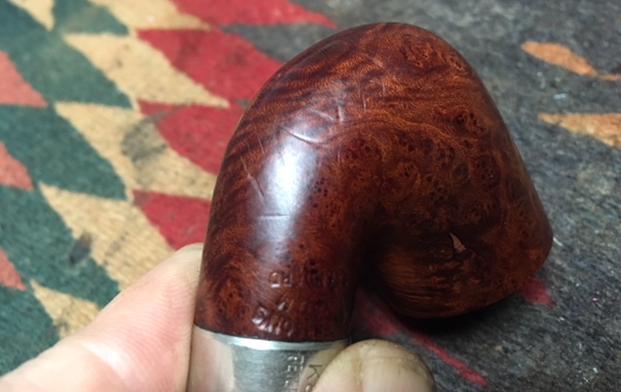
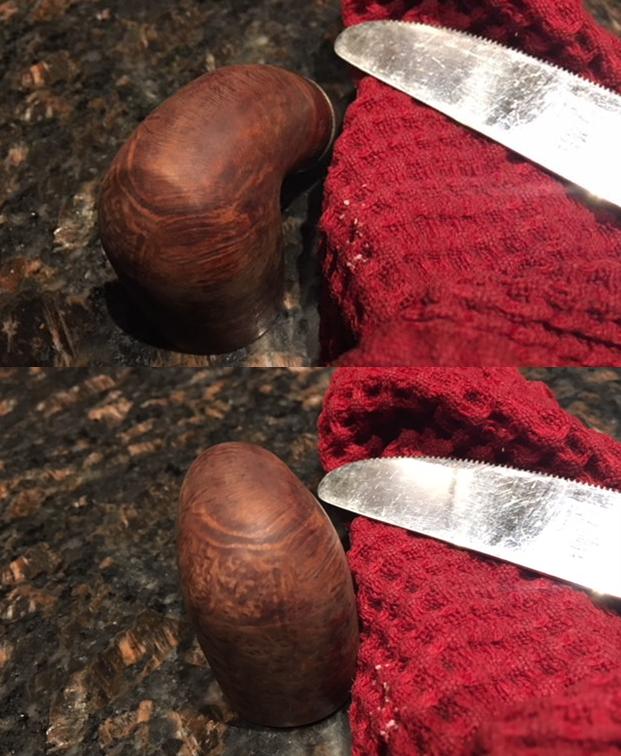
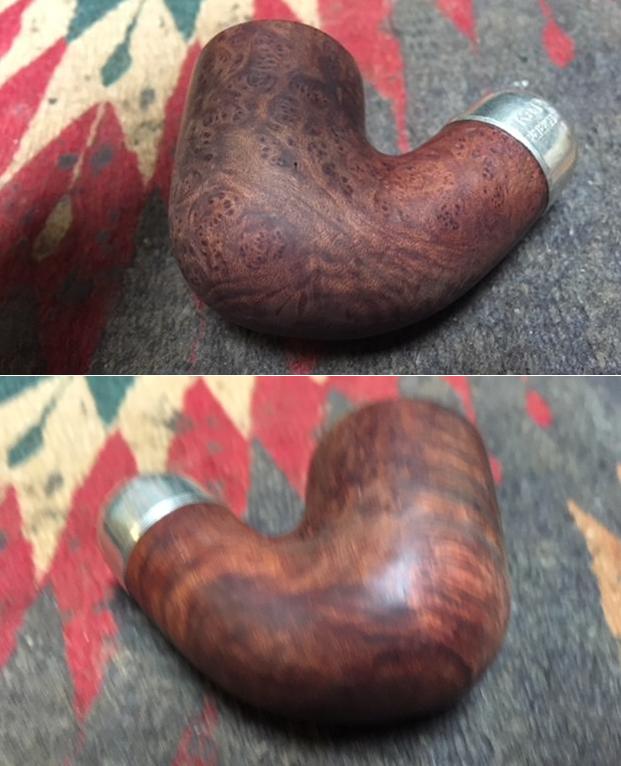
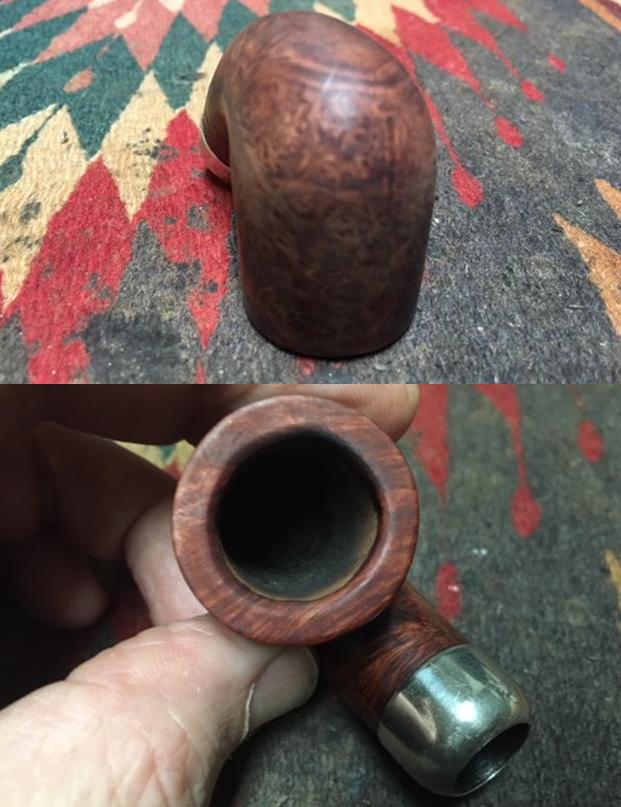
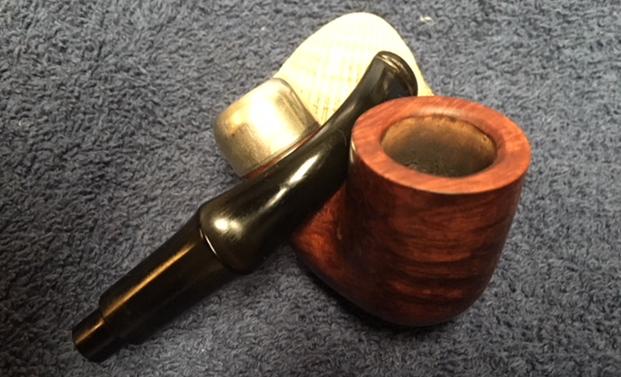
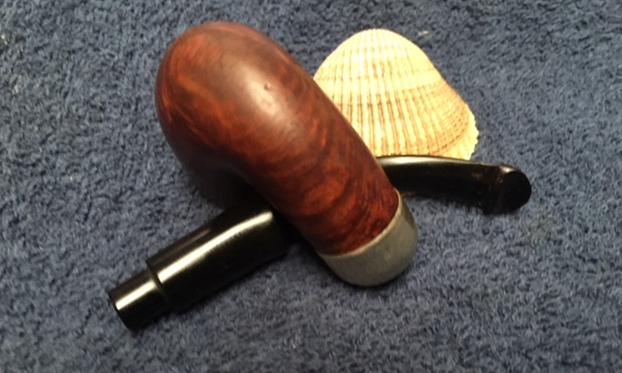
The finish on the pipe was very dirty with a lot of dents on the bottom side of the bowl and shank. There was a long deep dent on the front of the bowl. The bowl had a very thick, hard cake that had overflowed onto the rim top. The bowl was out of round and the inner bevel was burned and damaged. It looked as if some had tried to ream the bowl with a knife sometime in its life. There were two fills – one on the back left and one on the back right. In the angle of where the shank and bowl connected there was a heavy oily grime build up. The inside of the shank and sump were filled with tars and oils. The nickel ferrule was in great condition with light scratching but no real oxidation. The stem was a mess. The top side of the stem had deep tooth grooves extending forward from the p-lip button about 1 inch. On the underside there were also tooth marks. Both sides had a lot of serious chatter and some calcification build up. The stem was oxidized and very dirty. I took some photos of the pipe before I started working on it. I took close up photos of the rim top and the stem to show the condition it was in when it arrived in Vancouver. You can see the heavy lava buildup on the rim top. You can also see the damage on the inner edge, particularly heavy on the right front side. The cake was quite thick and very hard leaving barely enough room for my little finger to fit in the bowl. You can see the condition of the stem and the tooth marks in the oxidation on both sides. The tooth marks and chatter on both sides are deep and worn looking.The stem was stuck in the shank and would not move. I tried to twist it and turn it but nothing moved. I put the pipe in the freezer for half an hour let it do its magic. At the end of the half hour I was able to easily remove the stem from the shank.I decided to soak the stem in a bath of Before & After Pipe Stem Deoxidizer so I dropped it in the airtight container and set it aside overnight to let it do its work.I turned my attention to the bowl. I started by reaming the hard cake back with a PipNet pipe reamer. I started with the smallest cutting head and worked my way up to the second head. I took the cake all the way back to bare briar. I cleaned up the remnants in the bowl with a Savinelli Fitsall Pipe Knife. The knife allowed me to get all the way to the bottom of the bowl and remove the cake that still remained around the airway.I topped the bowl on a topping board with 220 grit sandpaper. I worked on it until I had removed the damage on the top of the rim and was able to minimize the damage to the inner and outer edges of the bowl. I used a folded piece of sandpaper to rework the inner edge of the bowl and give it a slight bevel to hide the burn marks and the damage from the knife reaming. With a little work I was able to remove the damage on the inner edge of the bowl. I also ran the folded sandpaper around the outer edge to smooth out the nicks and marks.The briar on the bowl had some dents around the sides, front and back of the bowl. The underside of the shank was also dented. Before I dealt with the dents in the surface I decided to polish the briar and raise a shine. I wet sanded it with 1500-2400 grit micromesh sanding pads and dry sanded it with 3200-12000 grit pads. I wiped it down after each pad with a damp cloth to remove any sanding dust. The grain in the briar really began to stand out. There was some really nice birdseye on the sides of the bowl and cross grain on the front and back sides. I used a cherry stain pen to restain the rim top to match the colour of the rest of the bowl. I have found that this particular cherry stain perfectly matches the colour of the Peterson’s System Standard pipe.I cleaned out the inside of the shank, the sump and the airway into the bowl with pipe cleaners, cotton swabs and alcohol. It took a few of each but after while the cleaners and cotton swabs came out clean and the pipe smelled fresh.With the internals clean and the externals clean I decided to address all of the dents in the briar on the bottom and front of the bowl. I took photos of the dents to give an idea of the sheer number of them all around the shank, bowl bottom and up the front. They were all quite rounded dents rather than cuts so I figured that I could steam most of them out. I use a wet cloth (not dripping but enough to make steam when heated) and a hot butter knife to steam the dents. I heated the knife over a flame on my gas stove, put the wet cloth over the dents and touched the surface of the briar with the hot knife. The heated blade on the wet cloth created steam and began to lift the dents. I repeated the process until the majority of the dents had been lifted. I took photos of the pipe, knife and wet cloth.I dried off the bowl and took photos of the briar to show how well the steam had lifted the dents in the wood. I rubbed some Before & After Restoration Balm into the briar to lift out the dust in the grain, enliven and protect the clean and steamed bowl. I let it sit for a little while then buffed it off with a soft cloth. I like the way the grain stands out now. Some of the dents are still visible on the bottom left side of the shank but they are far better than they were. I took the bowl to my buffer and buffed it with Blue Diamond to polish it and raise a shine. I was careful around the stamping so as not to damage it or reduce its readability. The bowl looks really good at this point. All that remains for the bowl is to wax it and buff it. I set it aside and began my work on the stem. I took the stem out of the Before & After Stem Deoxidizer bath and rinsed it under warm water. I blew air through the stem to remove the deoxidizer from the inside of the airway. I dried it off with a paper towel to remove the residual oxidation that was on the surface. I took photos of the stem at this point in the process. You can see some of the calcification on the stem around the button and the tooth marks on both sides. The tooth marks on the underside are by far the deepest.I cleaned the inside of the stem with pipe cleaners, cotton swabs and alcohol to remove the residual deoxidizer in the airway.I painted the surface of the stem with the flame of a Bic lighter to left as much of the tooth denting as possible. Once I had repeated that and the stem would no longer rise I sanded it with 220 grit sandpaper to smooth out the damage. I finished by sanding it with 400 grit wet/dry sandpaper to remove more of the scratches in the vulcanite. I sanded the entire stem with 220 grit sandpaper to remove the calcification and remaining oxidation. I used a needle files to sharpen and reshape the sharp edge of the p-lip button on the top side and the shelf on the underside. I need to clean up those areas before I could repair the deep tooth marks. I cleaned out the deeper tooth marks with alcohol and cotton swabs to remove the debris and dust from the divots. I dried them off with a cotton pads. I filled in the tooth dents with black super glue. I spread the glue and smoothed it out with a dental spatula. I set it aside to let the glue cure.I sanded the repairs smooth with 220 grit sandpaper and with 400 grit wet/dry sandpaper. I blended them into the surface or the stem and reshaped the button and shelf. I polished the stem with micromesh sanding pads. I wet sanded it with 1500-2400 grit pads and dry sanded with 3200-12000 grit pads. I wiped the stem down after each pad with a damp cloth. I finished polishing the stem with Before & After Pipe Polish – both Fine and Extra Fine. I rubbed it into the stem and polished it with a cotton pad. I gave it a final coat of Obsidian Oil and set it aside to dry. With the stem reshaped and polished I put it back on the pipe and buffed the bowl and stem with Blue Diamond. I used a light touch on the stem to polish out any remaining scratches. I gave the bowl and the stem several coats of carnauba wax and buffed the pipe with a clean buffing pad to raise the shine. I hand buffed it with a microfiber cloth to deepen the shine. The pipe polished up pretty nicely. The finished pipe is shown in the photos below. This is the fifth pipe I have worked over for Paresh. Once I finish the other two pipes that he has in the queue I will pack them up and send them to India. I look forward to hearing what he thinks one he has them in hand. Thanks for walking through the restoration with me as this one provided a few different challenges to the restoration craft. Cheers.
A Pipe for Vanity – a Stanton for a Stanton


Blog by Dal Stanton

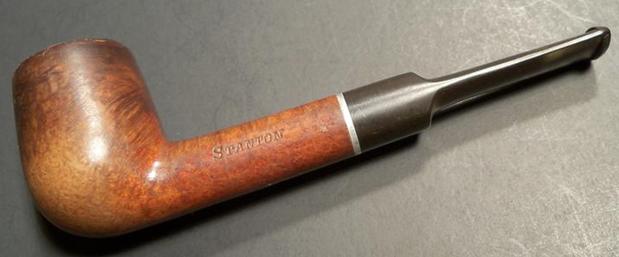
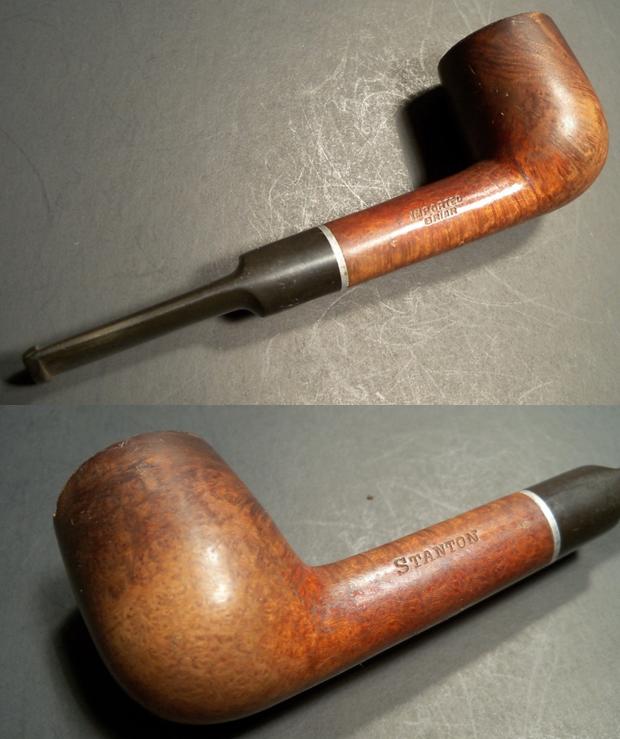
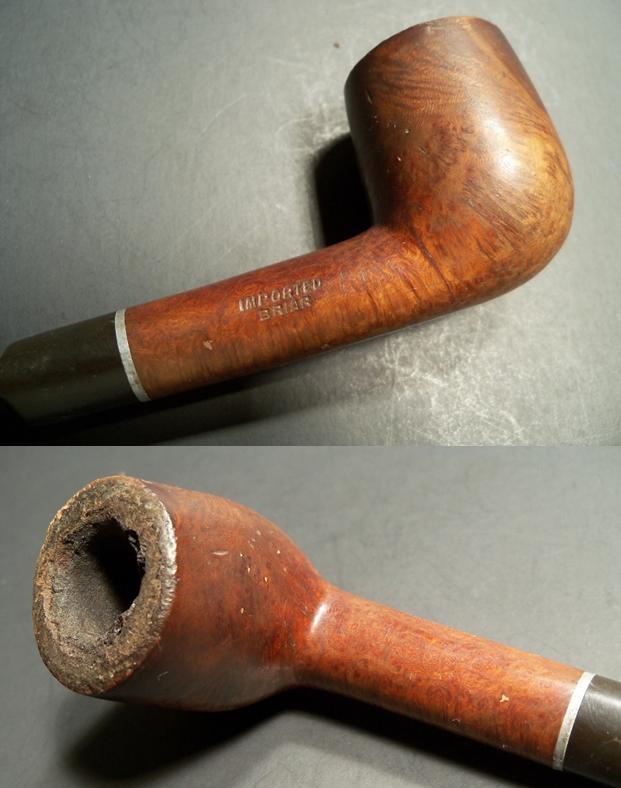
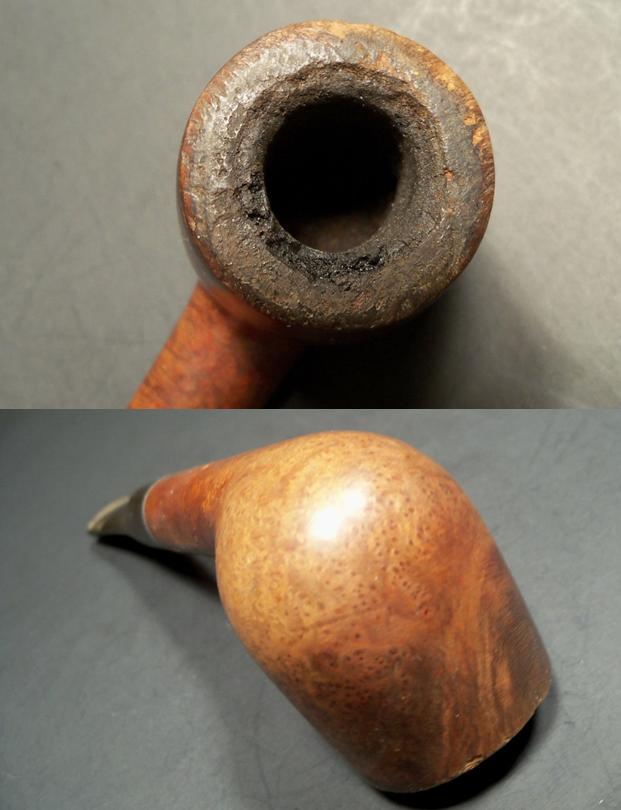
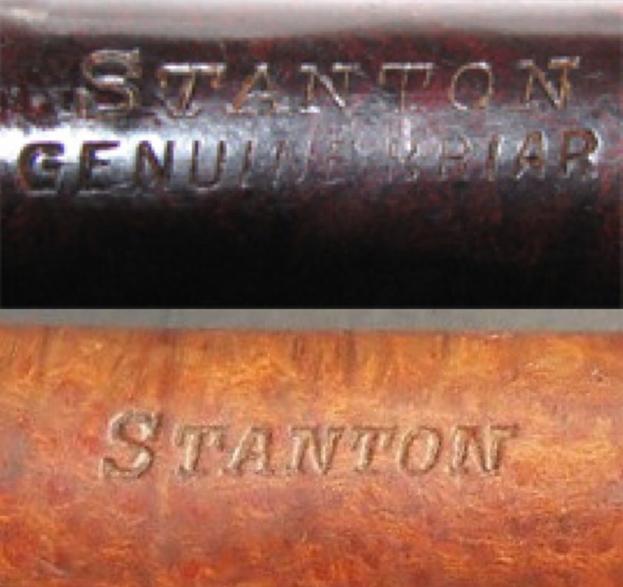
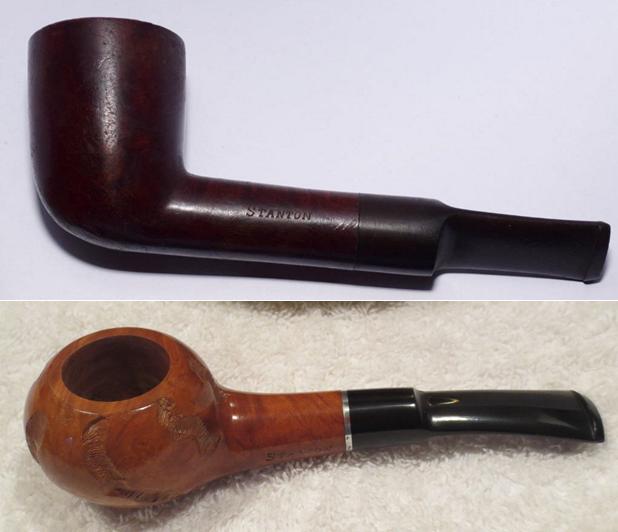
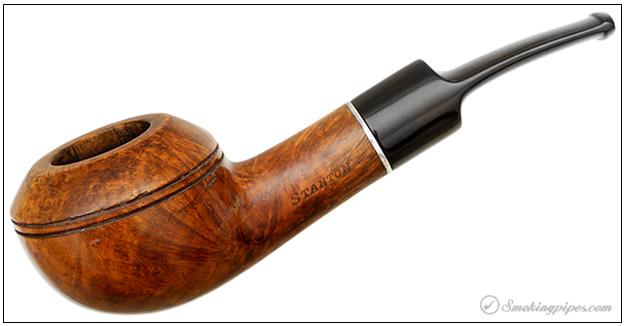
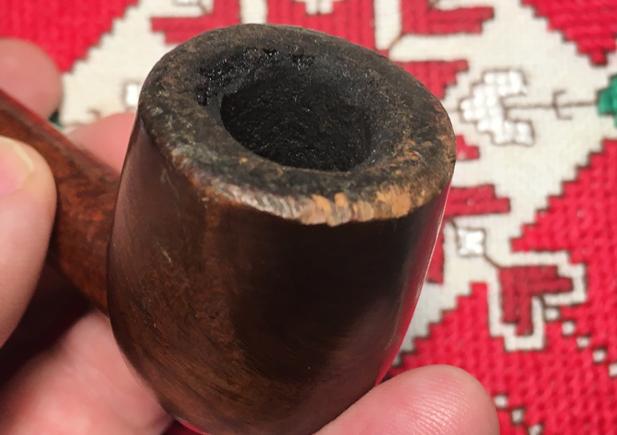
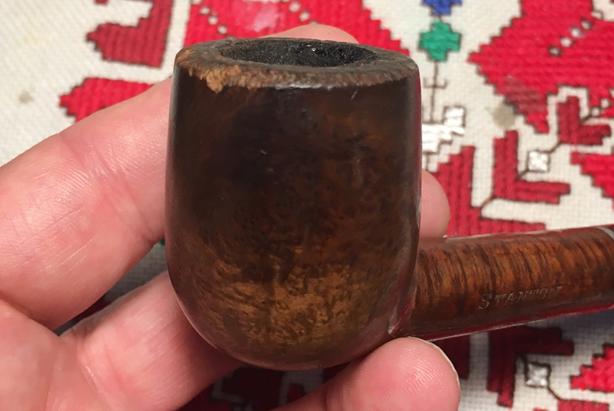
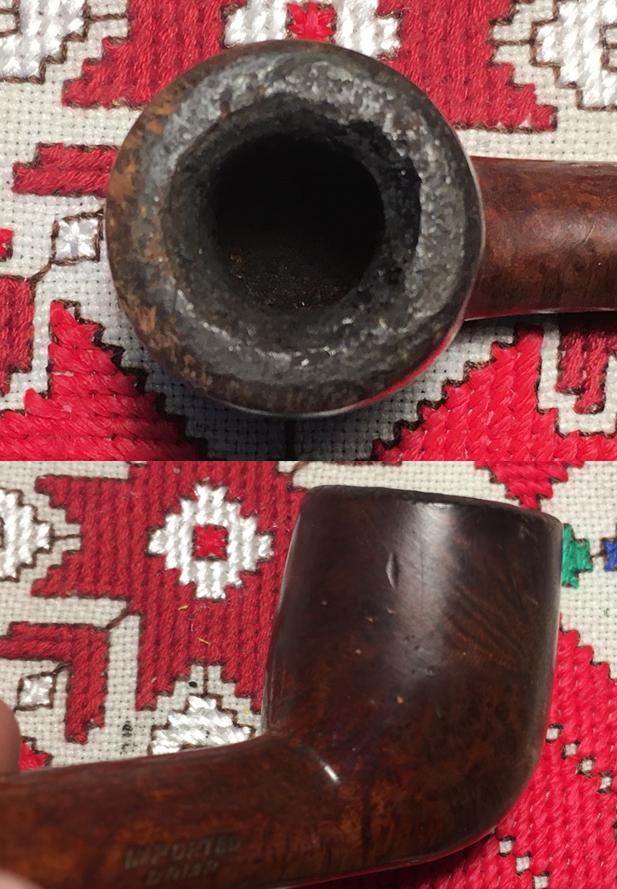
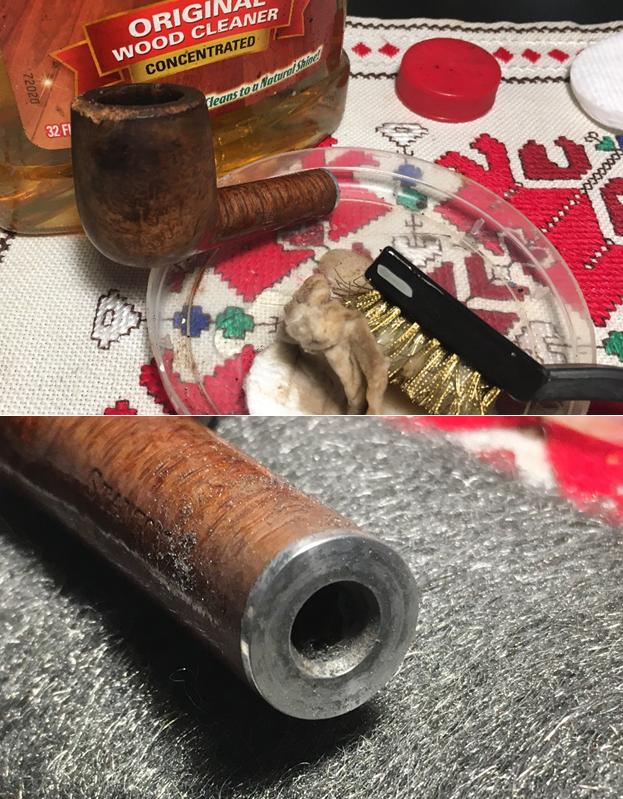
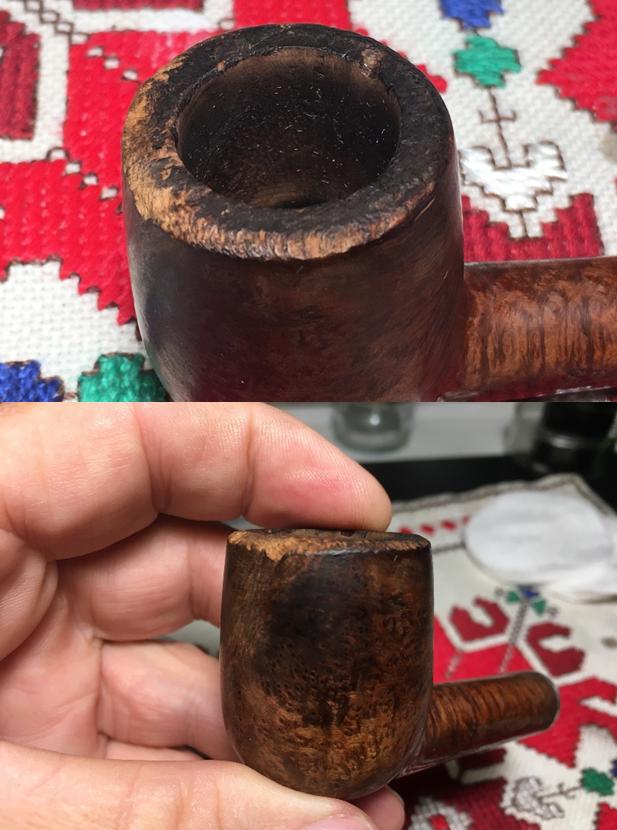
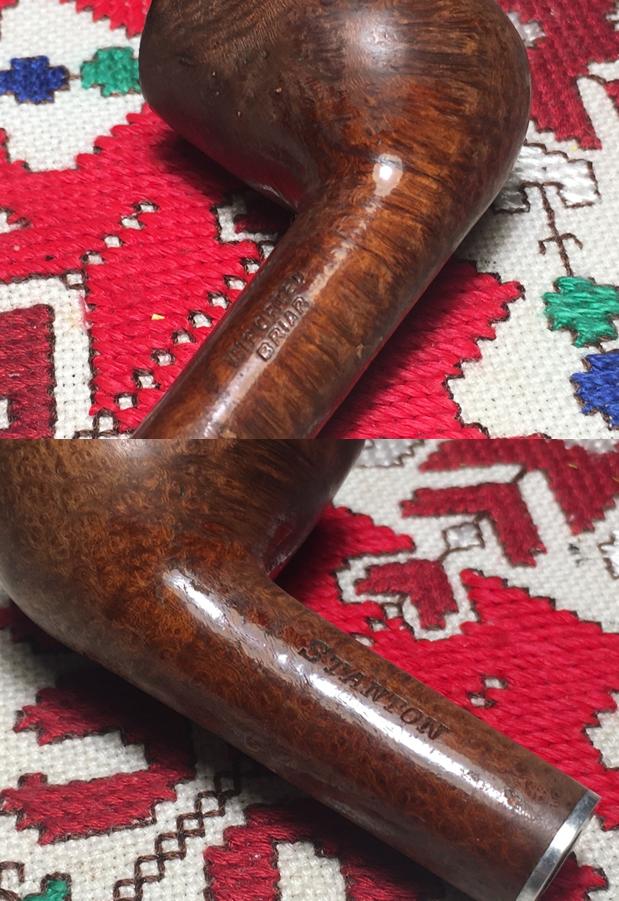
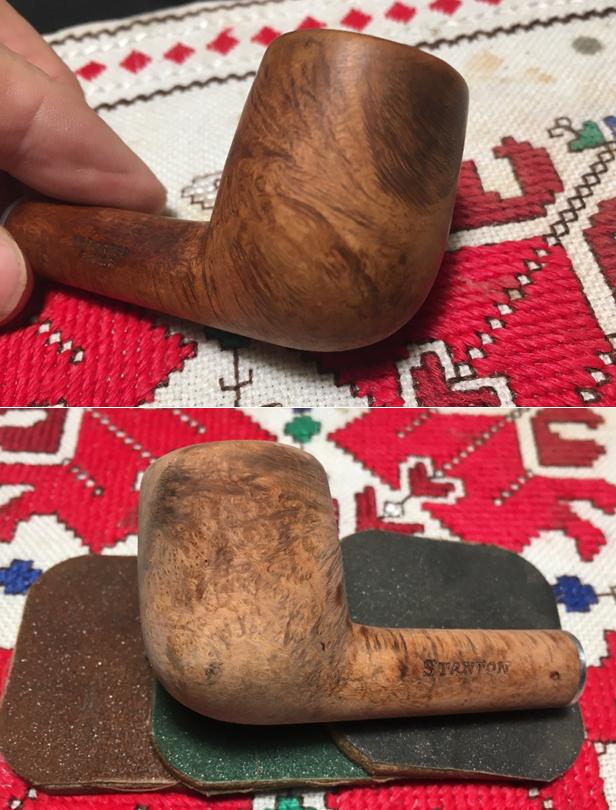
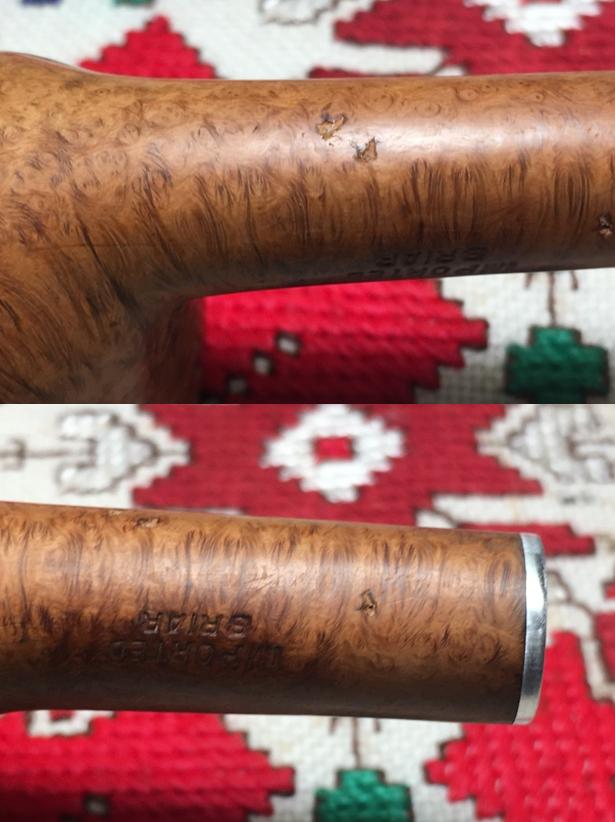
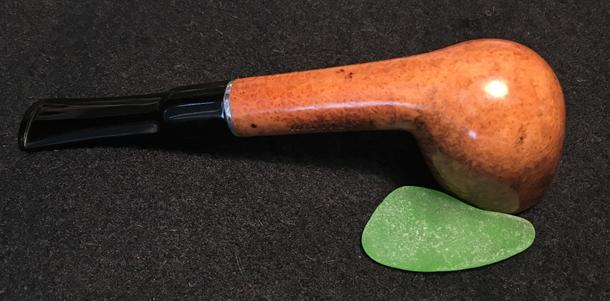
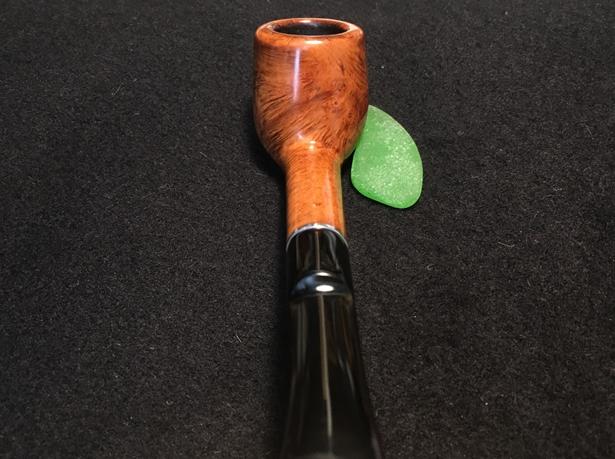
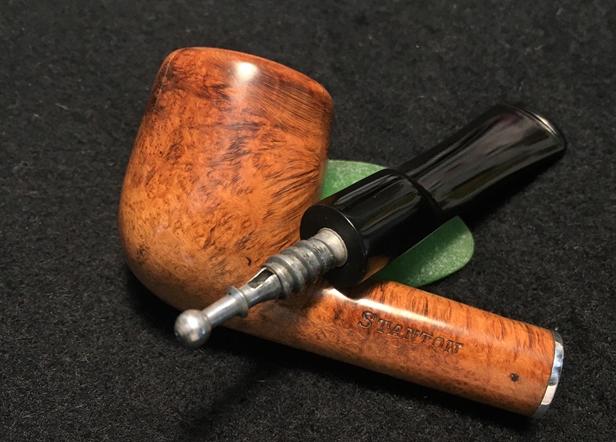
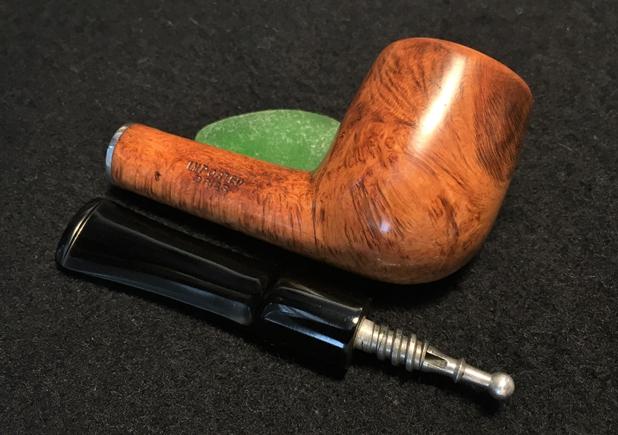
I suppose it IS vain to restart my restoration operations after 6 months with a pipe bearing my name.  In my recent travelogue blog, ‘There and Back again – to Bulgaria’, I described what I called my ‘Vanity Pipe’ as one of the 105 pipes I acquired during our 6 month US visit.  I came across this name-sake while trolling eBay’s offerings.  I hadn’t come across a ‘Stanton’ before and so I decided to place a bid.  As it turned out, I was the only Stanton bidding on the Stanton and claimed my Vanity Pipe with no competition.Name aside, the medium sized billiard looked to me like he was a hearty pipe – I will see if he’s a good smoker.  Yet, if the heavy use, thick cake, and banged up stummel is any indication of the former steward’s affections, I would say it was very much part of the rotation and saw much active duty!  The eBay seller provided good pictures of the Stanton which show the numerous challenges, but also the potential.  The grain is attractive and will look great when the surface is refurbished and polished up.  Here are some the pictures I saw on eBay. ‘STANTON’ is stamped on the left side of the shank, and ‘IMPORTED’ over ‘Briar’ on the right.  Of course, one of my first questions when I landed the Stanton from eBay was, where was this pipe manufactured?  Are there any clues?  My first inquiry was in Wilczak & Colwell’s, ‘Who Made That Pipe?’  Stanton was listed but designated as ‘Unknown’.  My next stop after Pipedia came up empty, was PipePhil.eu where I found my first Stanton cousin listed:There were some differences in the nomenclature – my Stanton has ‘Imported Briar’ stamped on the left side shank.  The specimen from Pipephil has ‘Genuine Briar’ under Stanton.  Another difference is the dot.  My Stanton’s saddle stem has no identifying mark.  Yet, what was very clear from the comparison of the ‘Stanton’ on both pipes is that the same stamp pressed Stanton in the briar.  The font is identical.  My Stanton is the lower comparison. Simple google searches revealed the clan was larger with additional Stanton cousins showing up demonstrating a variety of shapes being produced under the Stanton name.

Two cousins from eBay:The only thing I found of a Stanton that provided any remote tidbit on origin was from SmokingPipes.com where the listing was for a very attractive Stanton Rhodesian described as an American Estate pipe.  I liked Eric N. Squires’ description which I thought was apropos for my rugged and worn billiard:

American Estates: Stanton Smooth Rhodesian

Product Number: 004-009-6323

Here is another example of a pipe that was built extra stout, where it is a good thing that it was. This is because whoever else owned it, sure as hell didn’t baby it. I can see why they kept it so long though, as the broad chamber promises plenty of flavor, the drilling is nice and straight, and wide, firmly rounded bowl is pleasing in hand.

– Eric N. SquiresSo, it’s starting to become clearer – my new Vanity Pipe isn’t quite as vain as I!  He has humble origins it would seem.  If anyone can add information to this query into this Stanton’s roots, I would be appreciative.

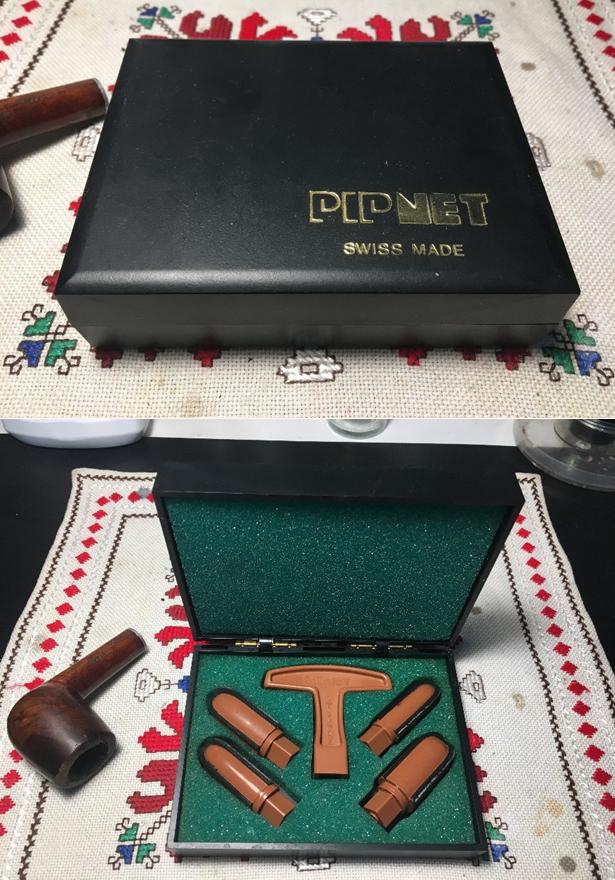
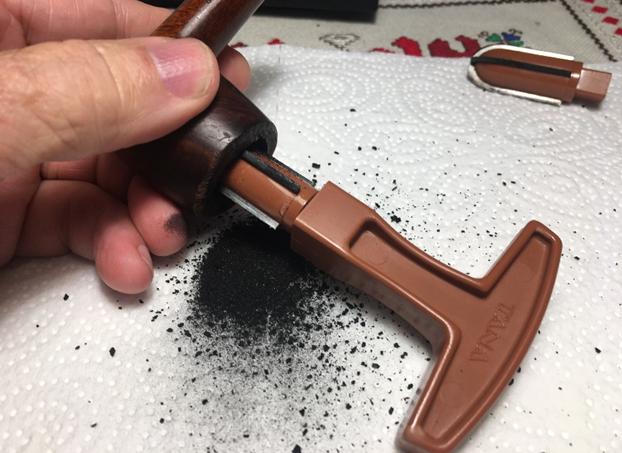
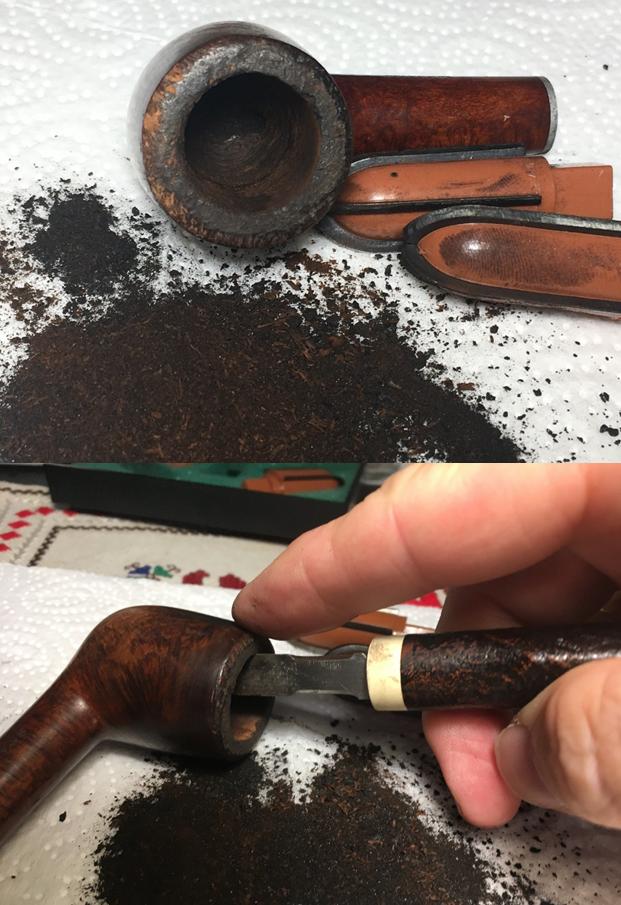
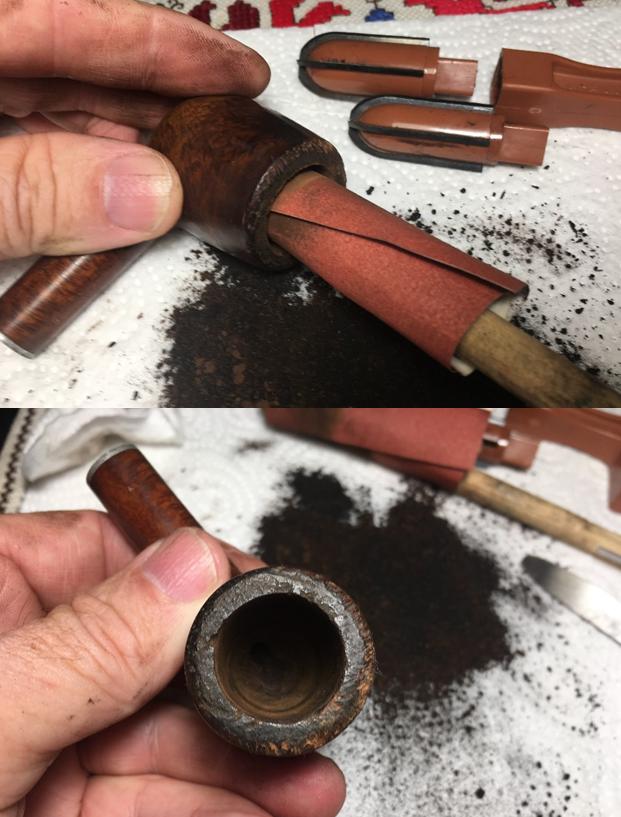
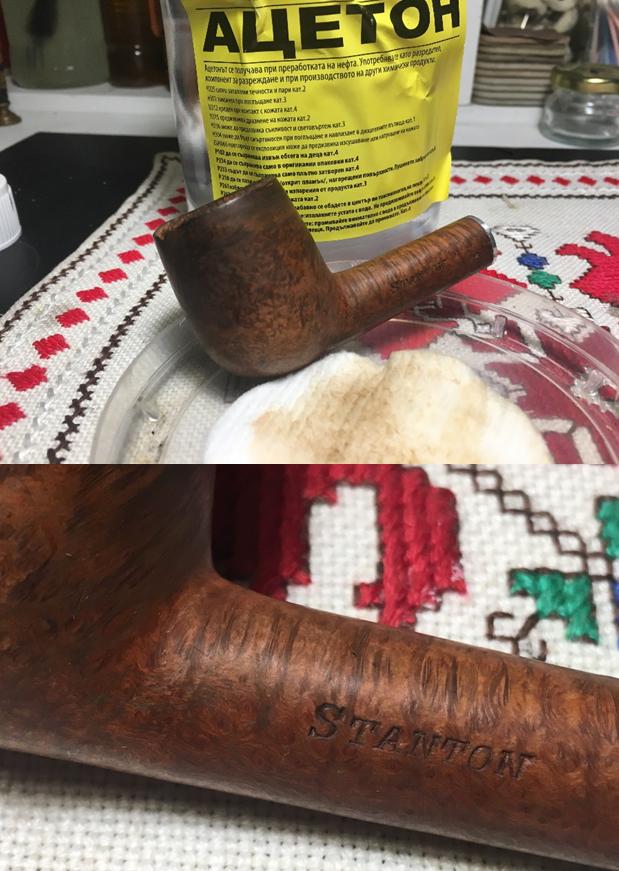
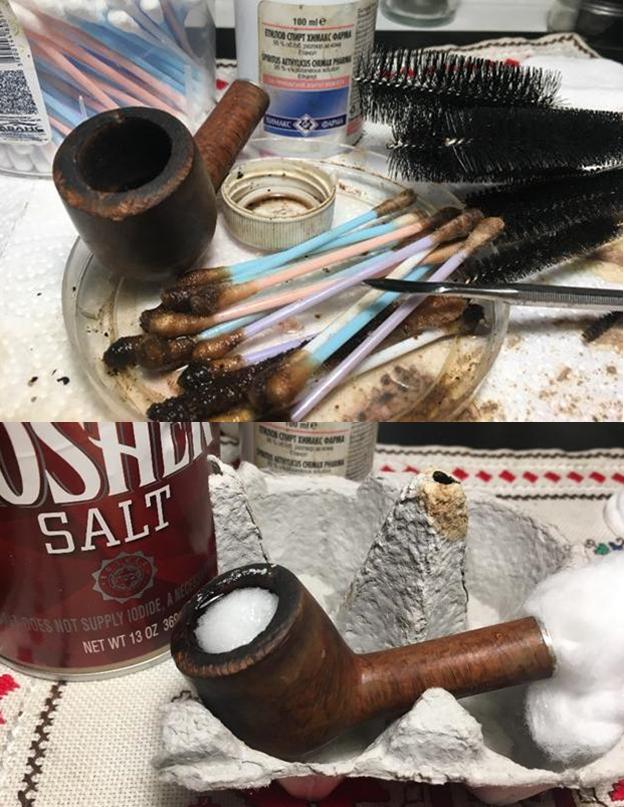
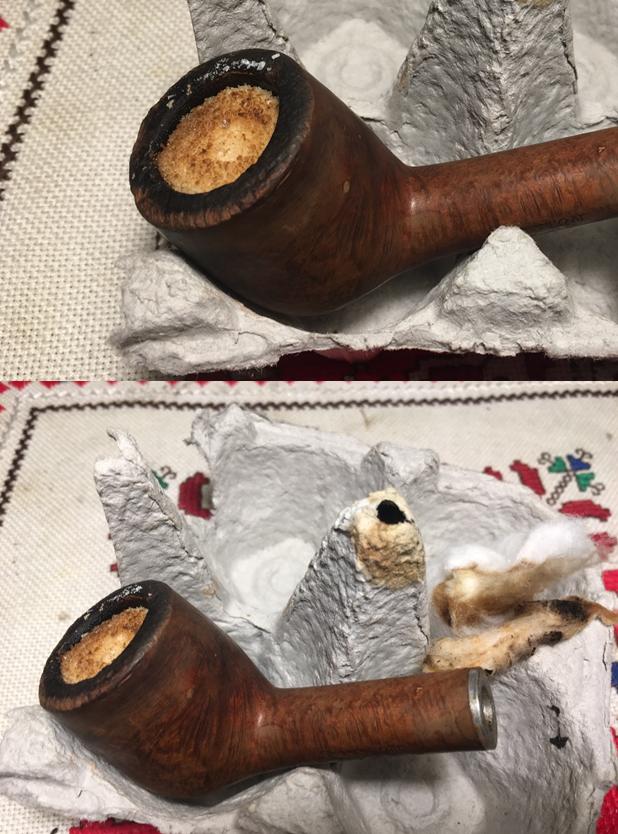
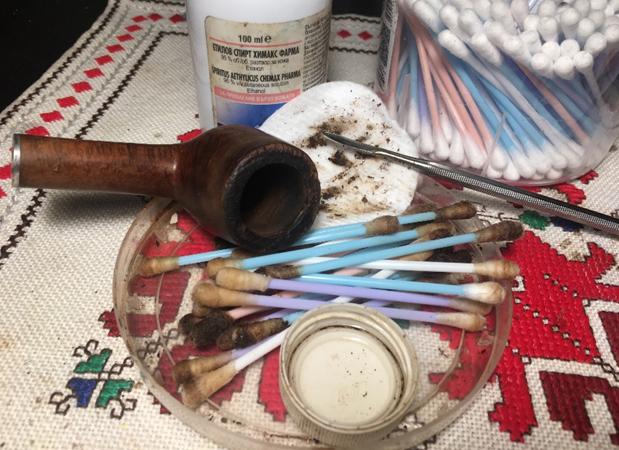
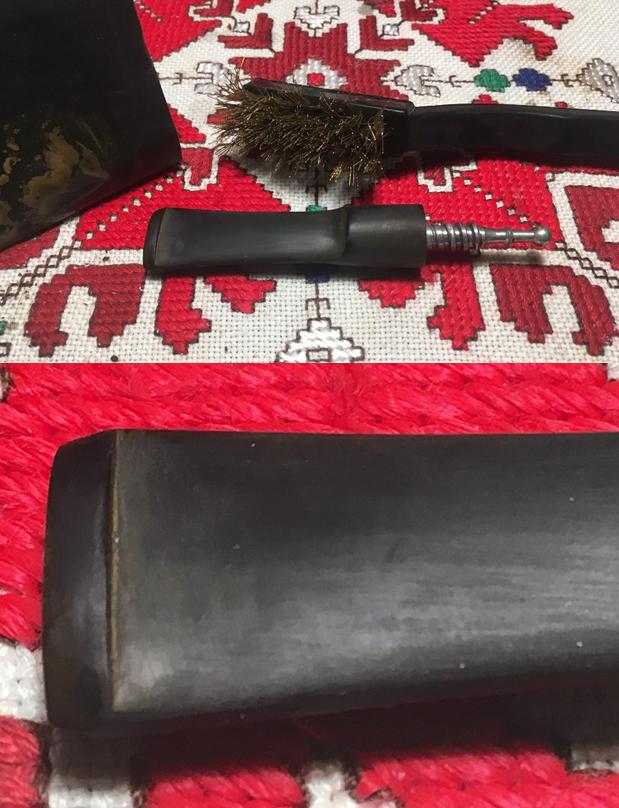
When I take a closer look at the Stanton billiard on my Pipe Steward work table here in Sofia, Bulgaria, I take a few more pictures to chronicle some of the challenges.  The rim is in rough shape, with most of the front quadrant showing heavy wear – almost looks like the edge was scraped on concrete. The cake is heavy and thick in the chamber and will need to be removed to reveal the condition of the chamber wall.  The bowl surface is grimy and dark with old finish, several pocks and dents.  Surprisingly, I do not detect any fills – the briar underneath the surface carnage looks to be very expressive, with much flow and character.  The heel of the stummel is populated with tight bird’s eye grain. The saddle stem looks to be in good condition, with some oxidation and wee bit of tooth chatter and dents.  The old screw in stinger needs to be cleaned along with the nickel insert/band – which seems to be a consistent design with the other Stantons.  I did note that the set of the tenon, when fully engaged, is under-clocked.  I’ll need to address this as well.   I begin the restoration of my first pipe after a 6-month hiatus AND one bearing my name by inserting a pipe cleaner into the stem, through the stinger, and putting it into OxiClean solution to raise the oxidation from the vulcanite.  As a side note, after reading several of Steve’s posts testing and then using Before & After Deoxidizer from Ibepen.com, I decided to try it.  I brought a bottle of it back with me to Bulgaria along with the balm and polishes.  Down the road I’ll give them a try.Turning to the stummel, I begin the reaming process with my newly acquired vintage Swiss Made Pipnet reaming kit made with heavier duty hard rubber.  Previously, I used the acrylic version that Pipnet put out later which tended to be more prone to breaking – the blades cracked on harder jobs.  With a bit of patience watching eBay, the older, stronger Pipnet system surfaced and I’m thankful to have it back in Bulgaria! Now, to take the new Pipnet blades for a test spin!  After putting some paper towel down to help in cleanup, starting with the smallest blade, I work on removing the hard, thick cake.  The blade went through with little effort.  The next larger blade did its job as well.  I then used the Savinelli Fitsall reaming tool to fine tune, removing more of the carbon in the harder to reach places.  Then, wrapping a piece of 240 grade sanding paper around a dowel rod, I sand the chamber walls and finish the job wiping out the remaining carbon dust with a cotton pad wetted with alcohol.  The pictures show the reaming process. Turning to the rim and the stummel surface, I need to clean the lava off the rim and the grime on the briar surface.  Using undiluted Murphys Oil Soap, I scrub the rim and surface with a cotton pad.  I also utilize a brass brush to work on the rim which will not add to the damage already present.  I then rinse the stummel with cool tap water.  While I’m working on the surface, I take 0000 steel wool and clean the nickel plate band/connector.  An inspection of the clean chamber walls reveals no problems.After the surface cleaning, I take a closer look at the stummel surface.  The rim will need to be topped, but it is possible that the severe outer lip damage to the rim can be leveraged to my advantage.  I can introduce an outer, rounded bevel and blend it with the freshened top.  This can allow less real estate to be lost in the topping process.  Along with the dents and pocks I saw before, I notice a dark area on the left front quadrant of the stummel which may indicate overheating of the stummel.  I also note that in the shank area, around the stamping, the old, shiny finish persists.  I want to remove all the old finish, especially around the stampings. To address this old residue of finish I use acetone and a cotton pad and make short work of the finish.  As hoped, the surface is now clean.Before moving further with the surface, I attack the internal cleaning of the mortise and airway.  I use pipe cleaners, cotton buds wetted with isopropyl 95% to do the dirty work.  I also use a dental probe to scrape the mortise surface and to excavate the oils and tars that have congealed over time in the airway.  That was the frontal attack.  With grunge still surfacing on the cotton buds, and with the late hour approaching, I decide to use the passive-aggressive approach.  Using Kosher salt, I fill the bowl and then add alcohol to sit overnight to work on cleaning the mortise.  I set the stummel in an egg crate to provide stability.  Then I fill the bowl with Kosher salt – not iodized salt which leaves an aftertaste.  I then stretch and twist a cotton ball, to create ‘wick’ to draw the crud out of the mortise as the salt/alcohol does its work.  I then fill the bowl with isopropyl alcohol 95% until full.  I wait a few minutes and top it off.  With that, I turn off the lights and head to bed.  Another day coming.  The next day, as hoped, the salt and cotton wick showed signs of the extraction of old oils and tars from the internals of the stummel.  I clean out the dried salt and used a dry paper towel and bristle brushes to remove the residue salt.  I also blow through the airway to help out.  Even after the salt treatment, there is gunk left in the mortise.  I continued to scrape the mortise wall with a dental spatula and follow with cotton buds dipped in alcohol to finish the job.  The pictures tell the story. I put the stummel aside to work on the stem, now soaking in OxiClean.  After taking it out of the soak, I take a picture and see that a moderate amount of oxidation had raised to the surface.  Taking a piece of 600 grade paper I wet sand the stem removing the oxidation from the vulcanite.  I also use a brass brush to remove the caked residue off the stinger.  Taking a close look at the bit, there were only very small dents remaining after the sanding.  I returned with the 600-grade paper focusing on those minute points and the stem is looking good. On a hunch, after the cleaning of the stinger and the mortise receptor band/plate, I refitted the stem to see if it still was under-clocked a few degrees as I saw earlier.  As hoped, the cleaning corrected the alignment – now, looking down the pipe from the steward’s view, one sees a true alignment.  Nice..To complete the clean-up, I turn to the stem using pipe cleaners dipped in isopropyl 95%.  I also utilize a long-bristled brush.  I find that utilizing the set of bristled brushes that I acquired some time ago saves on the pipe cleaners and are effective in getting at the gunk.  Stem and stummel are now clean. The rim needs my attention now.  I take a close look again.  I will top the stummel using 240 grade paper on a chopping board.  Looking at the first picture below, most of the external rim damage is on the front – 7 to 11 o’clock in the picture.  What I’m a bit concerned about is the large internal rim divot at the 2 o’clock position.  I’ll top a little and see if can address this without taking too much briar off.  Otherwise, I’ll need to fill it with a superglue/briar dust patch to build it up to the rim surface.On the topping board with 240 grade paper, I rotate the stummel as evenly as I can to avoid leaning in one direction or the other.  I check the progress to make sure I’m not leaning into softer wood.  I take some intermittent pictures below to show the progress.  I come to a point where not all the damage is removed, but enough that can be addressed by cutting bevels in the external and internal lips of the rim.  To me, applying bevels to rims generally makes it look classier.  I finish the topping by using a sheet of 600 grade and rotate the stummel several times to provide a smoothing of the surface.  The pictures show the progress.  Without going any further with the topping, I look closely at the dents and pocks on the stummel surface.  I see that some of the ‘pocks’ as I’ve described them may be very small fills on the underside of the shank and one on the top.  The fill is a light material.  The shank-side of the stummel is especially banged up with small dents.  I utilize sanding sponges to remove these and work toward smoothing out and rounding of the outer rim lip to remove the damage.  Careful to avoid the stampings on the shank, I progress by using the roughest grade, medium then fine grade sanding sponges in order.  I’m pleased with the results with most all the damage removed from the stummel.  The rounding of the rim looks great.  The pictures show the progress. The inner lip of the rim is next.  The one major divot at the 2 o’clock position I decide is too deep to remove it by creating an internal bevel.  To build this divot up, I apply a few drops of Hot Stuff Special ‘T’ CA Glue.  I’ll let the glue sit overnight before I bevel the inside lip. The next day, the CA has cured well.  To re-establish crisp rim lines, I take the stummel again to the topping board covered by 600 grade paper.  I’ll remove the CA glue mound and redefine the rim after the rounding of the rim edge.  I take a before and after pix. That does the job. Next, to complete this phase of the rim repair, I roll pieces of 120, 240 and 600 grade papers and cut an internal rim bevel to remove the remaining nicks and to soften the look.  With each rolled piece, I pinch the inside of the rim with the paper using my thumb and rotate evenly around the circumference.  The bevel is slight, and I think it looks good.  Again, before internal bevel and after pictures. I set the stummel aside and turn now to the stem.  The initial wet sanding of the stem with 600 grade paper removed the minor bite marks and I’m ready to move to the micromesh cycle.  Using all nine pads, 1500 to 12000, I wet sand with 1500 to 2400, then dry sand from 3200 to 4000 then 6000 to 12000.  Between each set of 3 pads, I apply an ample amount of Obsidian Oil to refresh the vulcanite stem. I love the pop of newly polished vulcanite!  My vanity pipe is shaping up nicely. As I pick up the stummel, I look closely at the briar grain and a dark area I thought might be an overheating of the stummel – scorching.  Now, with the old finish off and the hidden briar making an appearance, the area is a briar knot – a tight swirl of briar. It has character and I think it looks good.  To continue the preparation of the stummel, I wet sand using micromesh pads 1500 to 2400, followed by dry sanding with grades 3200 to 4000 then finishing up with pads 6000 to 12000.After finishing the first wet sanding cycle, I notice that the ‘pocks’ or fills on the shank had softened and become more noticeable and in need of filling.  A detour, but better now than later!  I use a dental probe to work out the softer fill.  I then mixed a small batch of superglue and briar dust to fill the holes.  I use a dental spoon to pack the mixture in the holes and put the stummel aside for it to cure. After the glue cures, I use a flat needle file surgically to bring the patch mounds down to the briar surface.  I am careful to keep the file on the glue mound not to create collateral damage to the surrounding briar.  Then using a tightly rolled piece of 240 grade paper, I remove the remaining glue residue by using the tight abrasive edge of the roll and rotate it in a circular motion over the mound area.  With touch and a close look, I’m able to determine the excess glue is removed.  Then, using 600 grade paper, I fine tune the entire area, not as concerned about the overrun on neighboring briar.  At this point the fine abrasion is blending and shining.  I finish the patches by catching the repair areas up with the first 3 micromesh pads.  The areas are still visible, but now smooth and will blend better as I continue with the finishing process.  The pictures show the detour progress. With the detour completed, I continue with the last two sets of dry sanding with micromesh pads 3200 to 12000.  This pipe’s briar is looking very nice. Well, there are a few pipes the make it through the restoration gauntlet up to this point, and the natural briar just says, I’m enough.  I had been planning to apply a lighter dye to the surface, but now…no.  The actual look of the briar is lighter than the pictures above, which I like.  So, with that decision made by my Stanton Vanity Pipe 😊, “I’m enough!”, I reunite the waiting stem with the stummel and take a picture – the bird’s eye view looks good.To tease out the briar grain even more, I finally take my Dremel off the hook and again use it after the 6 months hiatus!  Using Red Tripoli compound, I begin the buffing process on stem and stummel using a cotton cloth wheel mounted on the Dremel at the lowest speed. After completing a methodical circuit with the Tripoli, I switch to the lesser abrasive, Blue Diamond, using another cotton cloth wheel at the same speed.  Completing the abrasive compounds, I give the pipe a quick buff with a clean cotton cloth to remove the compound dust/powder before applying the wax.  I apply the carnauba wax with, yet another cotton cloth wheel dedicated to application of wax.  I increase the speed of the Dremel by about 20% and I apply a couple of coats of wax to the entire pipe.  For those who have not read my restorations, I live on the 10th floor of a former Communist block apartment building here in Sofia.  I do not have a lot of room, so my techniques for restoration, especially polishing techniques have had to bend to the realities – hence, my exclusive utilization of a Dremel with no room for the more powerful full wheel buffers.  After Steve asked me to write an essay on my techniques using a Dremel, I discovered out in the blogosphere many people who appreciated what I had written out of my own trials and errors.  You can find this essay at the Pipe Steward website here: My Dremel Polishing Techniques with a No-Name pipe from Sozopol Bulgaria.  My techniques have developed since then, but it’s a helpful essay.  Thanks to my wife for helping take the following pixs since I don’t have a third hand to use!After completing the application of carnauba wax, I give the pipe a rigorous hand buffing with a microfiber cloth.  This helps bring out the shine even more but also removes wax buildups that I may have not spread adequately with the Dremel.

The Stanton Vanity pipe came out well.  I’m please with the rim repair that was significant. The removal of the old finish and cleaning revealed a very nice presentation of briar grain – the highlight is the dark knot cluster that almost looks like a thumb print.  If anyone has any leads on more information about the ‘Stanton’ nomenclature I would appreciate a note!  It is good to back to The Pipe Steward work table.  The vast majority of my pipes are put in the store to help benefit the Daughters of Bulgaria, helping women and girls who have been trafficked and sexually exploited, but this fellow, Stanton, is staying in my collection.  Thanks for joining me!


Breathing New Life into a Royal Esquire French Made Poker


Blog by Steve Laug

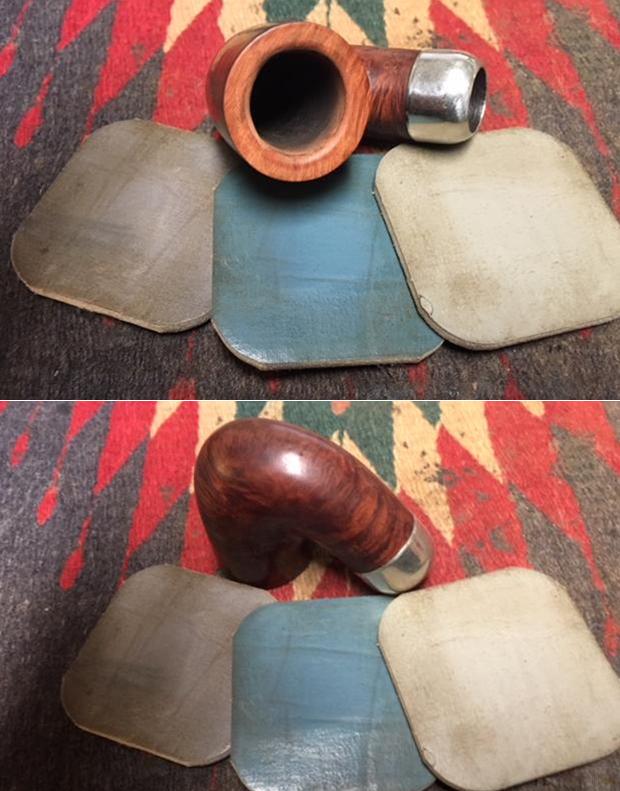
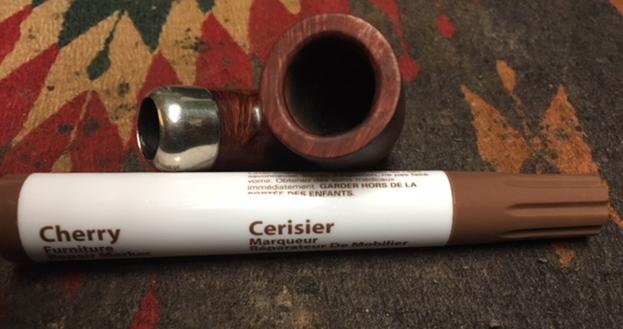
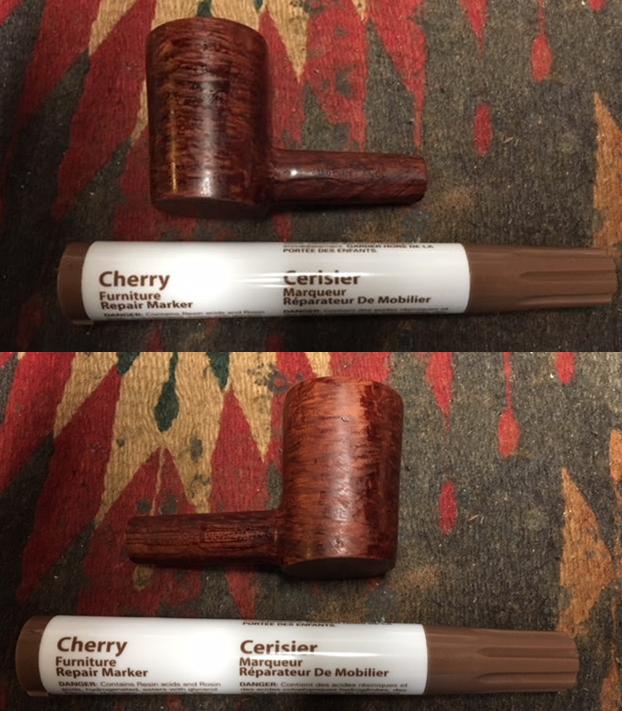
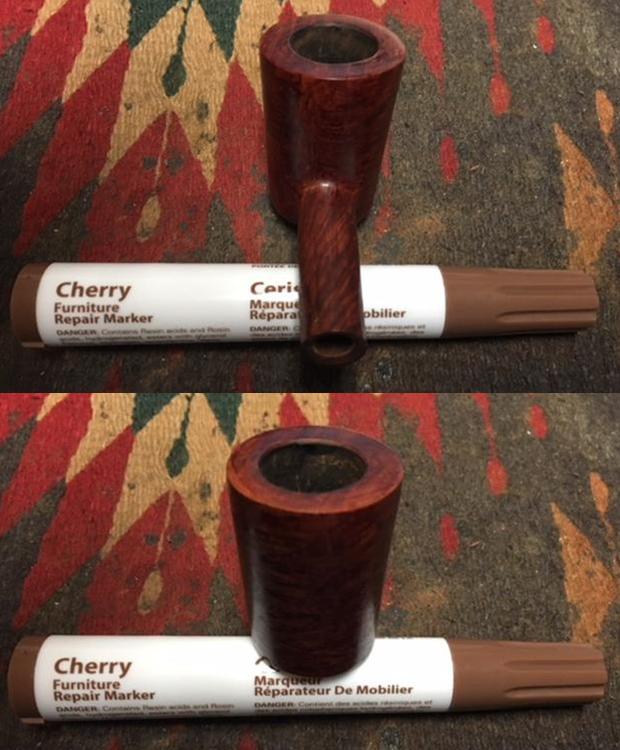
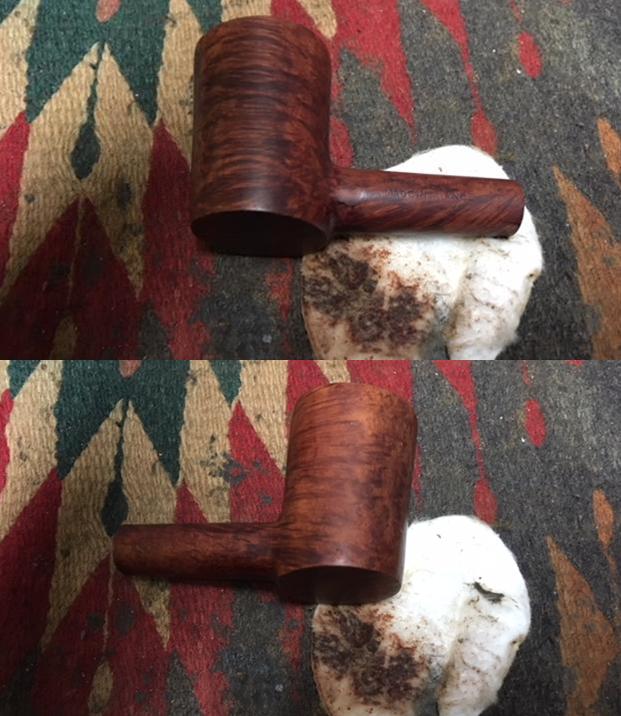
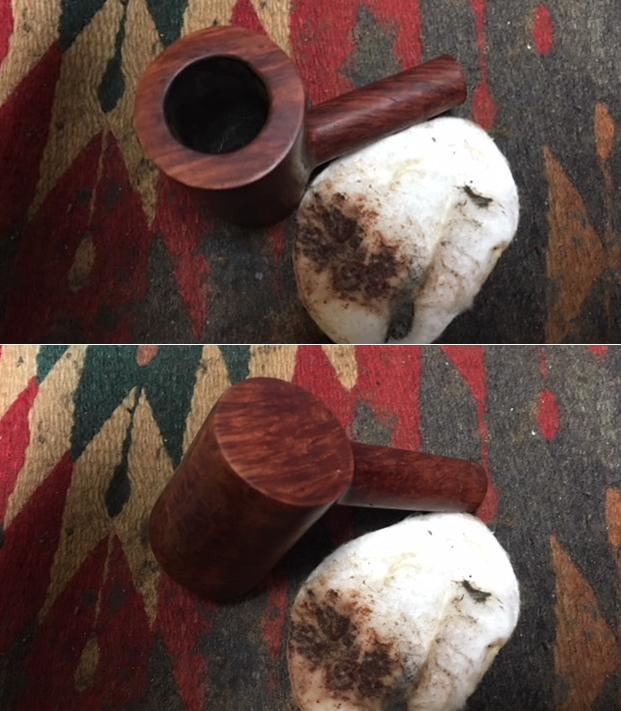
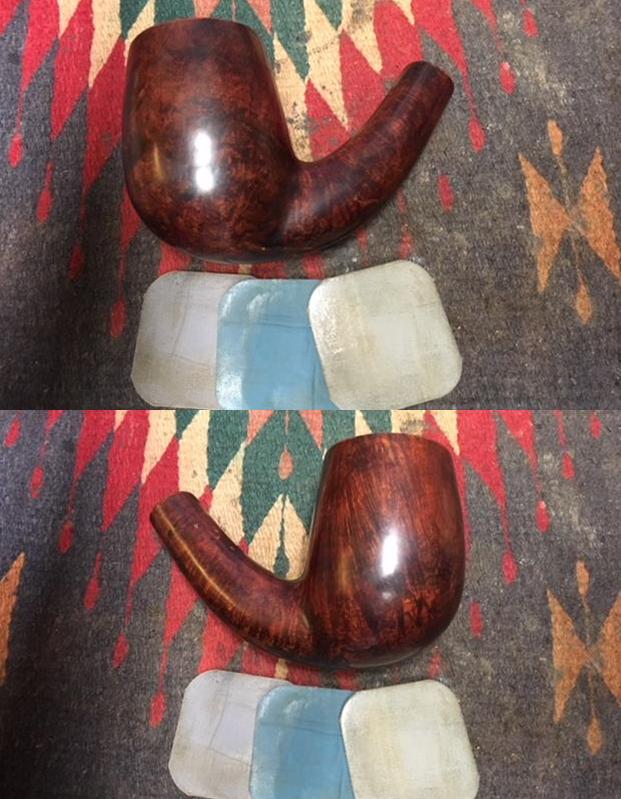
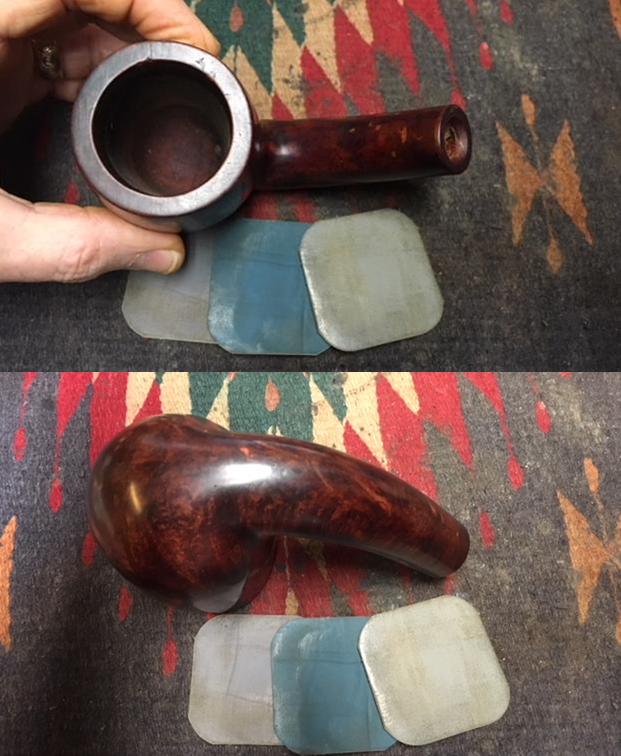
The next pipe on the work table is another pipe from the estate of a Vancouver pipe smoker whose widow left them with a local Pipe Shop. I was asked to clean them up and sell them for the shop after it closed. The photos show the pipe as it was when I brought it to my work table. It is a light weight Poker shape – with some interesting grain but the number of small putty fills in the bowl on the sides, back and shank detract from the cross grain on the bowl sides and birdseye on the front and back sides. The bowl was heavily caked with a lava coat on the top of the rim. It was hard to tell how the inner and outer edge of the rim actually looked until the bowl was reamed. The exterior of the bowl was dirty and covered with grime. The stem had the same tooth marks and chatter on the top and underside near the button as the rest of the pipes in this estate. There was calcification on the first inch from what looked like a Softee bit. The stem has a Top Hat logo on the left side of the saddle. The pipe is stamped on the left side of the shank with the words Royal Esquire over Made in France. There is no other stamping on the pipe. When I went back to the States after Christmas to visit my parents and brothers I took a box of these pipes with me so that I could have Jeff clean them for me. When they came back to Canada they looked like different pipes. He reamed the bowl with a PipNet pipe reamer and cleaned it up with a Savinelli Fitsall Pipe Knife. He scrubbed the exterior with Murphy’s Oil Soap and a tooth brush to clean off the grime on the finish and the heavy overflow of lava on the rim top. He cleaned up the internals of the shank, mortise and stem with pipe cleaners, cotton swabs and alcohol to remove all of the oils and tars in the pipe. When it came back to Vancouver it was a quite different pipe. I was in a hurry this afternoon when I worked on this one and forgot to take photos of the bowl and stem before I started working on the pipe. There were so many fills and places where the putty had shrunk that I had a hard time even looking at it the way it was. I had already refilled the fills in the sides and shank with clear super glue and then remembered to take photos. You will have to imagine it without all the super glue freckles around the bowl. I took photos of the rim top and the stem to show their condition. Jeff was able to clean out the bowl completely and the rim top. He removed the tars and lava and left behind a clean top that would need to be topped to remove some of the deep scratches and burn marks around the edges of the rim. The stem was lightly oxidized and there was tooth chatter and marks on both sides near the button and on the surface edges of the button itself.I took the stem off the bowl and took photos of the repaired fills all around the bowl and shank. Somehow the pink putty that was in them really stood out and made them highly visible. They look like pox marks. Once the repairs had dried/cured I sanded them smooth with 220 grit sandpaper to blend them into the surface of the bowl. It took a lot of sanding to smooth them all out. I was careful around the stamping on the left side of the shank so I would not damage it. To clean up the damaged rim top I used 220 grit sandpaper on a topping board. I topped the bowl until the surface was smooth and the damage was removed. It did not take too much work to remove the damaged areas.I cleaned up the inner edge and the slight bevel with a folded piece of sandpaper. I worked it around the bowl to smooth out the damage and minimize the darkening on the inner edge.I polished the bowl top and sides with micromesh sanding pads – wet sanding with 1500-2400 grit pads and dry sanding with 3200-12000 grit pads. I wiped the briar down after each sanding pad with a damp cloth. I was amazed at how many of the fills blended into the finish of the bowl and virtually disappeared. There were still some showing on the shank but the overall effect of the polishing was really apparent. I decided to stain the pipe with a Cherry stain pen to blend the repaired fills into the rest of the briar. The stain looks streaked and uneven but it will blend in nicely to the grain once I am finished with it. Once the stain dried I wiped the bowl and shank down with alcohol on a cotton pad to remove the streaking and blend the colours on the briar. The pictures below show the pipe at this point in the process. The fills have all but disappeared into the stain. The pipe looks considerably better at this point. I rubbed down the briar with Before & After Restoration Balm. I worked it into the surface of the briar to clean, enliven and protect the new finish. It also evened out the stain coat and gave the stain a multidimensional feel. I let the balm sit for a little while and then buffed it with a cotton cloth to raise the shine. The following photos show the bowl now. The fills are invisible. The bowl is pretty well finished. I still need to wax and buff it but that will wait for the stem. I turned my attention to the stem and worked on the tooth marks and chatter near the button. I sanded it with 220 grit sandpaper until I removed the lighter marks on the surface of the stem.I painted the surface of the stem with the flame of a Bic lighter to lift the tooth marks. One of the benefits of the lighter is that it burned off the sulfur on the surface of the stem. The tooth chatter and marks lifted on both sides of the stem. A little sanding would smooth it out well. I polished out the scratches in the vulcanite with 400 grit wet dry sandpaper and with micromesh sanding pads. I wet sanded with 1500-2400 grit pads and dry sanded with 3200-12000 grit pads. I wiped the stem down after each pad with Obsidian Oil. After sanding with the 12000 grit pad I polished the stem with Before & After Pipe Stem Polish – both Fine and Extra Fine. With the stem polished I put it back on the pipe and lightly buffed the bowl with Blue Diamond. I buffed the stem with a more aggressive buff of Blue Diamond. I gave the bowl and the stem several coats of carnauba wax and buffed the pipe with a clean buffing pad to raise the shine. I hand buffed it with a microfiber cloth to deepen the shine. The pipe polished up pretty nicely and the many fills virtually disappeared with the new stain. The finished pipe is shown in the photos below. I will be posting it on the rebornpipes store very soon. It should make a nice addition to your pipe rack if you have been looking for a reasonably priced pipe that can be used as a yard or shop pipe. It should be a great smoking pipe with a good hand feel. The dimensions are Length: 5 1/2 inches, Height: 1 3/4 inches, Outside diameter of the bowl: 1 1/4 inches, Chamber diameter: 3/4 inches. Thanks for walking through the restoration with me as I worked this pipe over.
Restoring a Savinelli Churchwarden 3003


Blog by Steve Laug

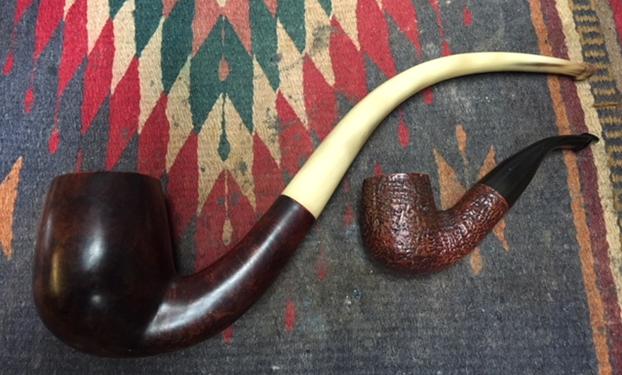
I finished the restoration work on Mark’s uncle’s pipes and a few of his own and sent them back to him in late January of this year. I wrote a blog on each of the restorations. They were a fun batch of pipes to restore for him. He sent me another package a few weeks ago that had just three pipes in it – A GBD Classic Straight Bulldog, a GBD 9242 Rhodesian (one of my holy grail pipes) and a long Churchwarden pipe that had originally belonged to his uncle. Each pipe had a different set of issues that would provide a variety of challenges. The Bulldog was in excellent condition other than the first ½ inch of the stem missing in chunks. The Churchwarden had a broken tenon that was still stuck in the shank. By far the worst of the lot was the 9242 pipe. When I saw it in the bag I was excited. When I took it out of the bag I was saddened at the condition of the pipe. The bowl was dirty and there was some lava and rim darkening on the top. There were a few nicks in the edges of the bowl. The finish was dirty but the grain on the pipe was really nice. If I had stopped my observation at this point I would have been quite happy.

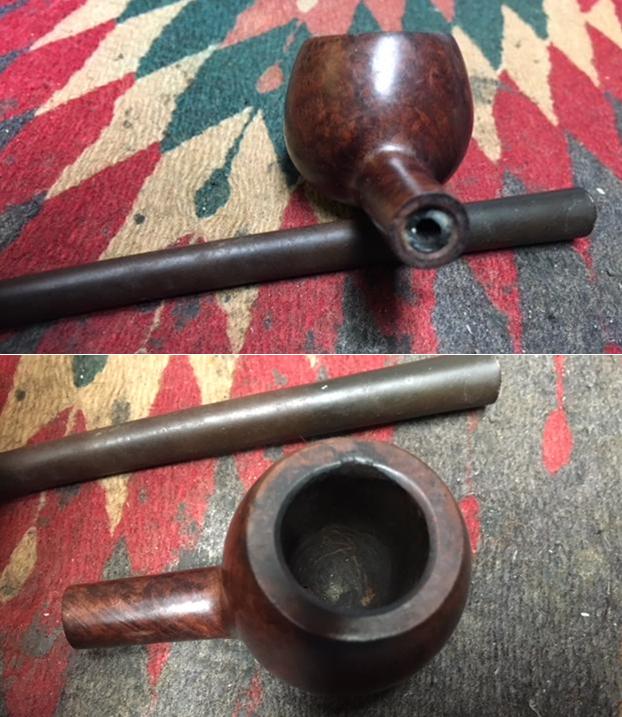
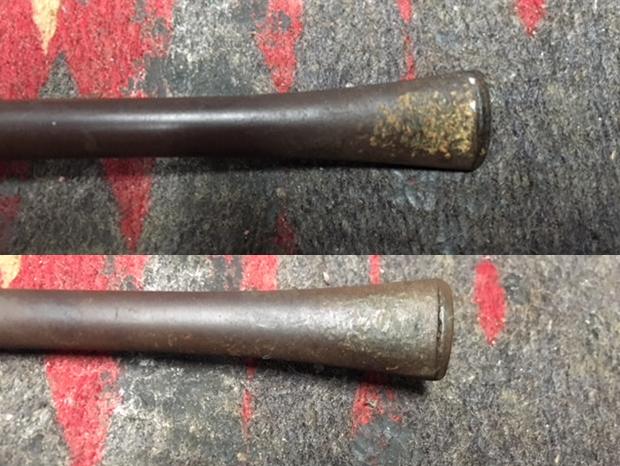
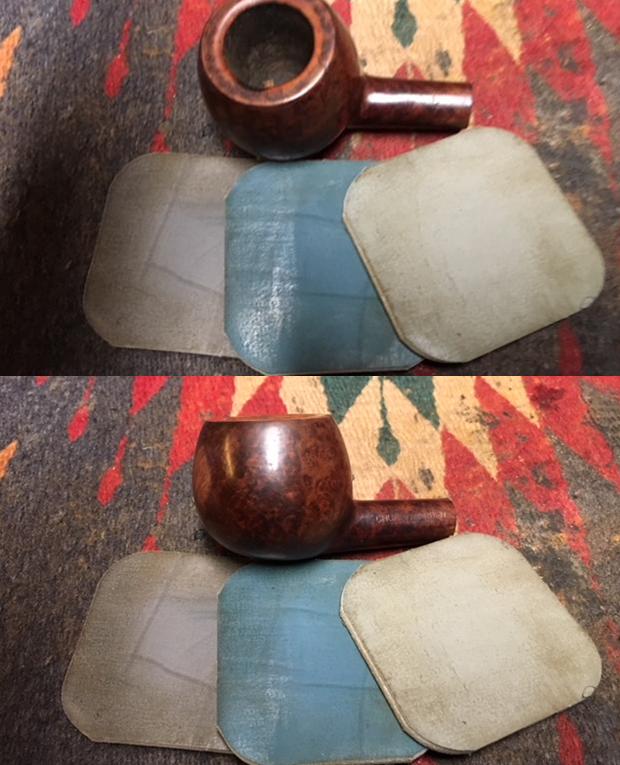
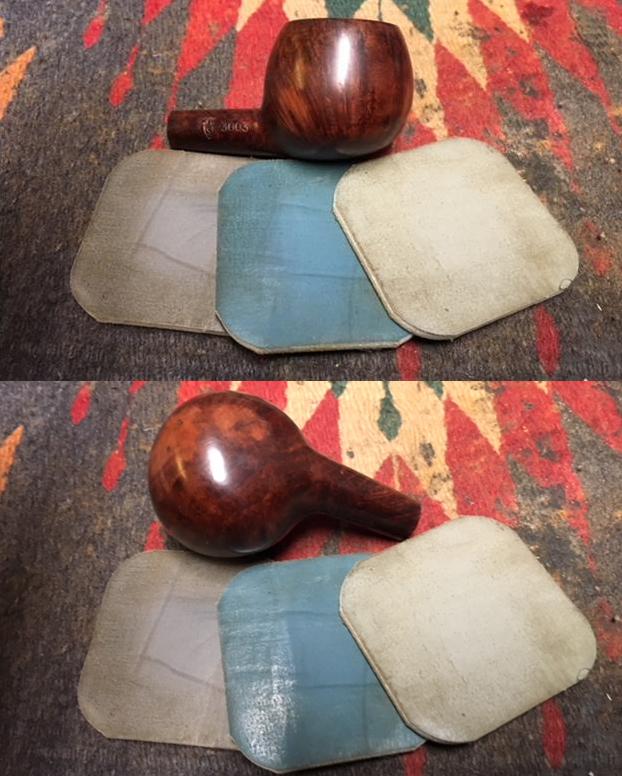
The second pipe I chose to work on from the batch of pipes was the Churchwarden that had belonged to his uncle. The Prince shaped bowl was in decent condition. The bowl was actually quite clean on the inside but the drilling where the airway entered the bowl was slightly off to the right side of the bowl. Other than having the tenon stuck in it; the shank looked pretty good as well. The rim top was dirty and there was a burn mark on the inner bevel of the left side. The finish was dirty and there were quite a few nicks and dents on the surface of the briar. The shank was stamped on the left side with the words Churchwarden over Aged Briar. On the right side of the shank it is stamped with the shape number 3003 and next to that was the Savinelli S shield. The underside of the shank is stamped Savinelli over Italy. The stem was quite oxidized and pitted. There were tooth marks and chatter on both sides of the stem at the button. The broken tenon remnants were on the end of the stem. It was broken pretty close to the stem/shank junction.

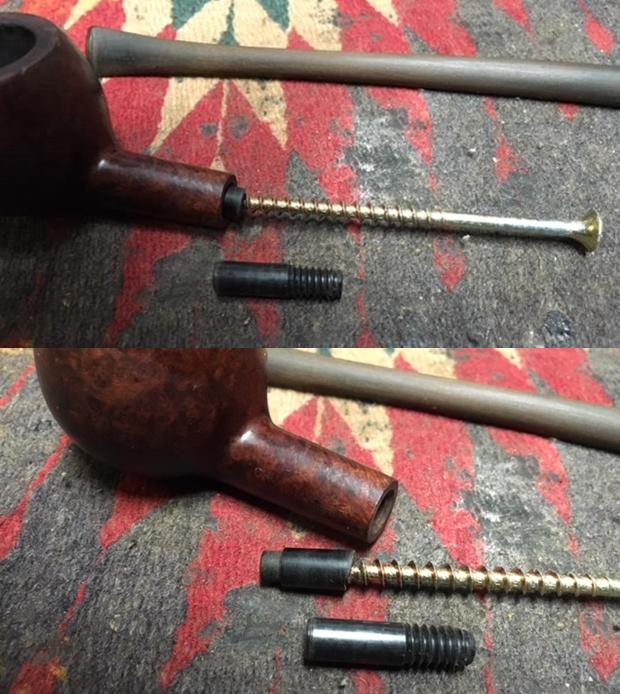
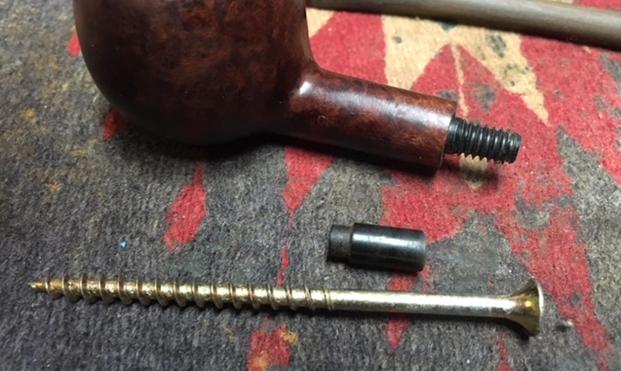
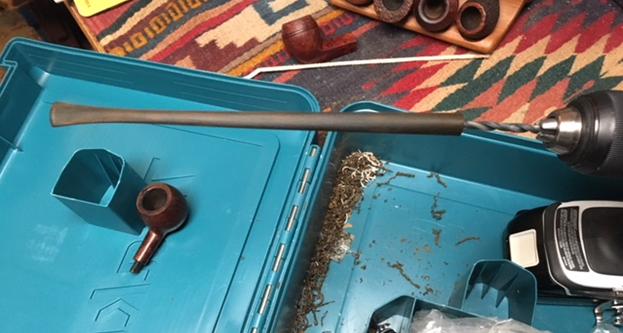
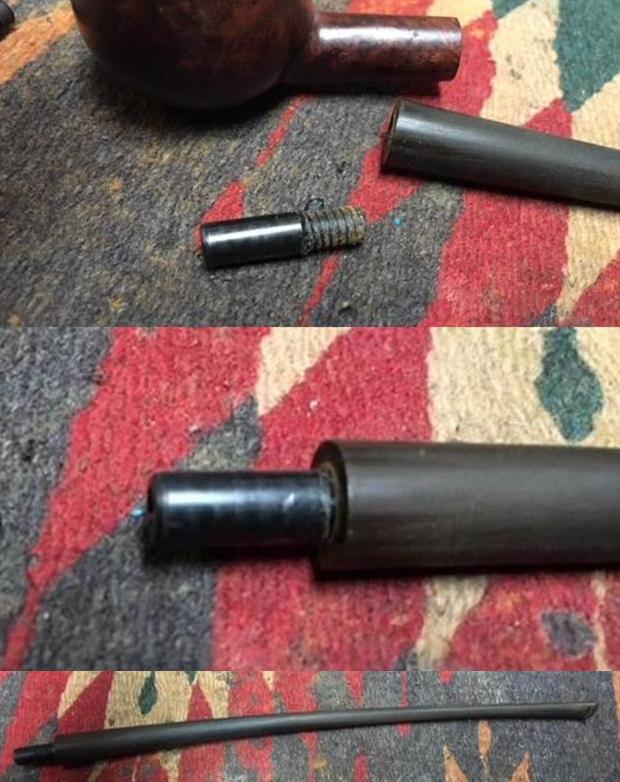
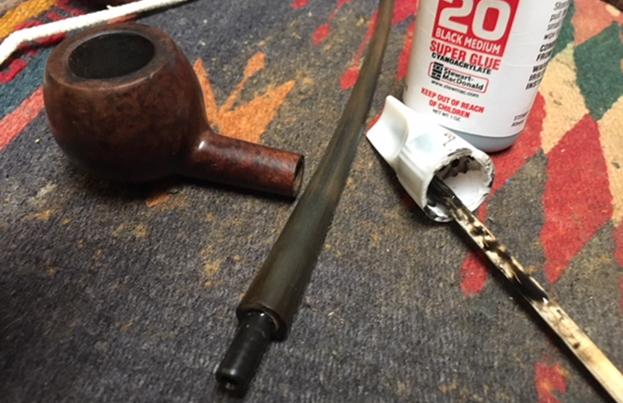
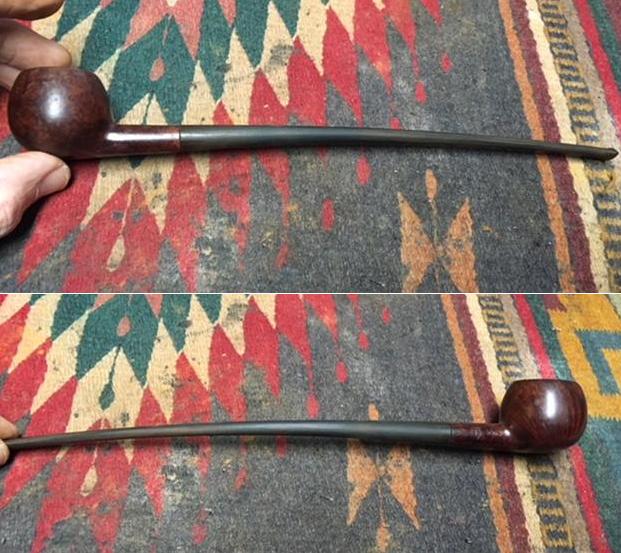
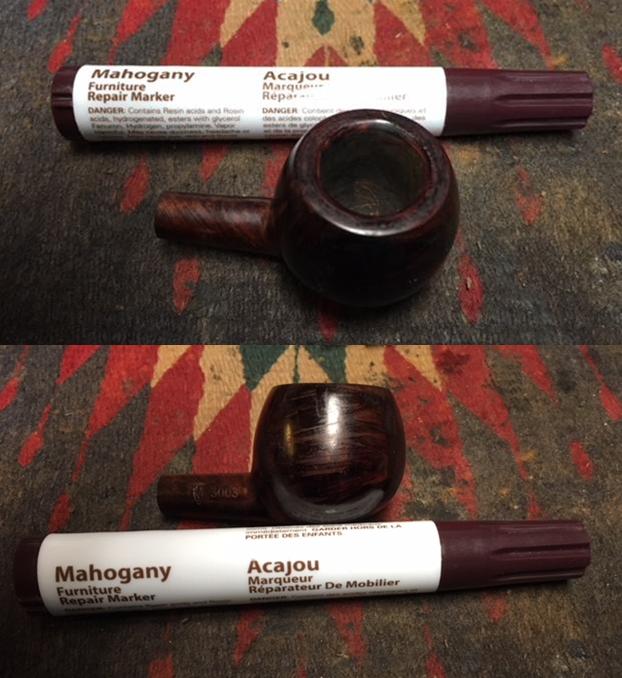
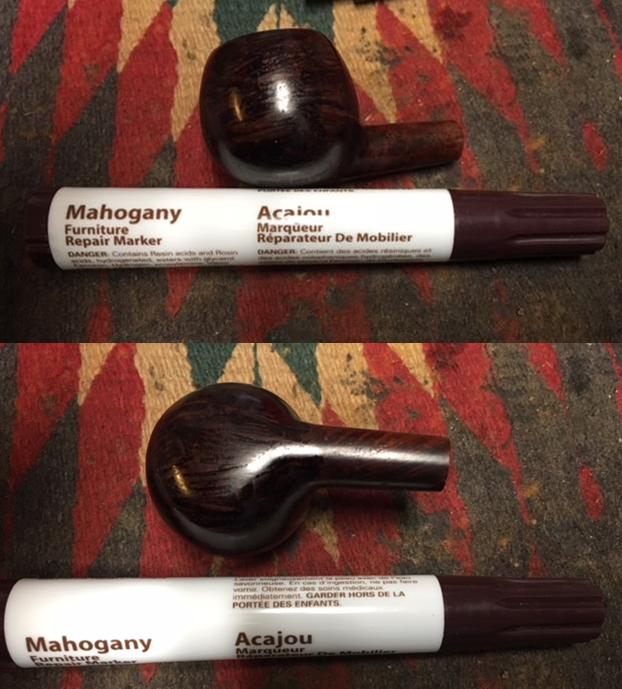
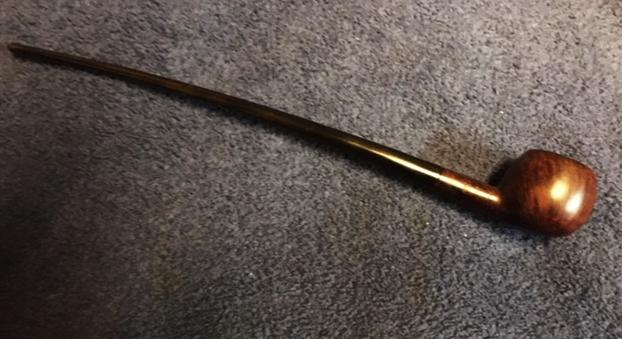
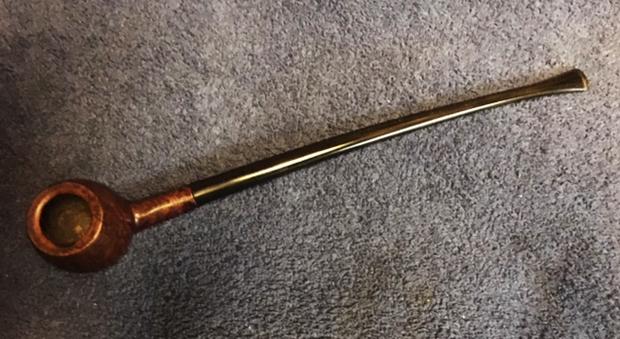
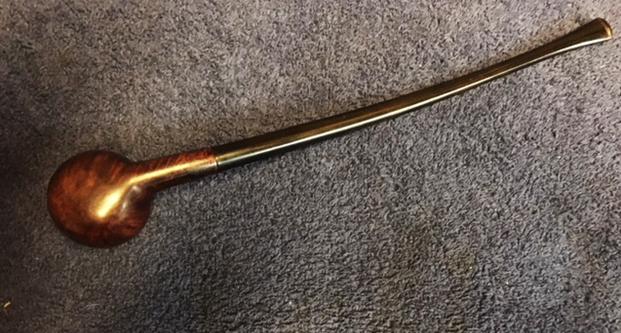
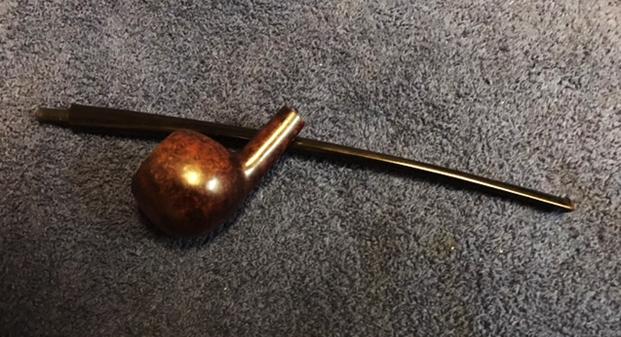
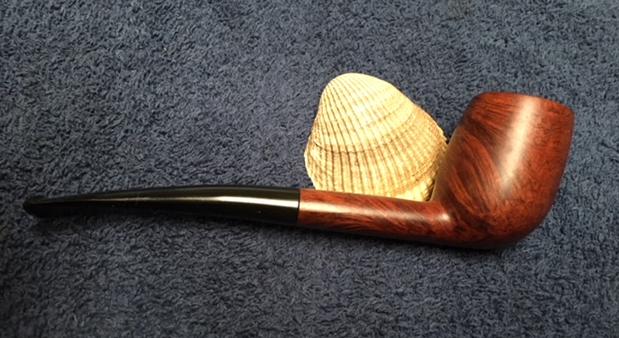
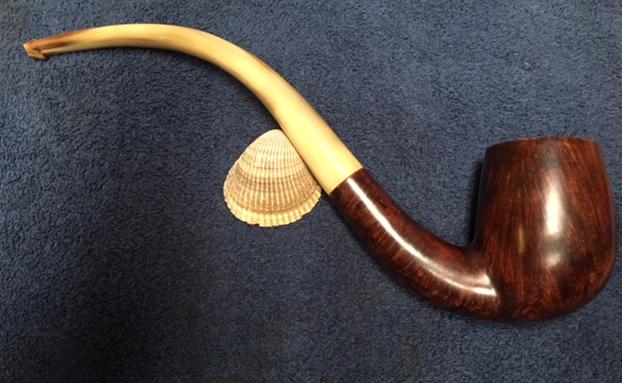
Sooo… here we go on the second of Mark’s restoration projects. I took photos of the pipe to show what it looked like when it arrived in all of its tattered splendour. The bowl had some beautiful grain underneath the grime. The photos show the stem the broken tenon and how close to the shank it was snapped off. The above photo shows the damage on the rim top to the inner edge. It is a burn mark from repeated lighting of the pipe in that spot. The photos below show the chatter and tooth marks on both sides of the stem at the button.The broken tenon was stuck in the shank when I first tried to pull it so I put it in the freezer for 30 minutes. I tried again using a long drywall screw and was able to get it free with the first try. I went through my jar of replacement tenons and found one that I thought would work. It is a threaded Delrin replacement tenon. Once I had the broken tenon out of the shank I compared them and found that the diameter was the same on both.  I tried it in the mortise and found that it was a perfect fit. Even the length was correct. I flattened the broken pieces on the end of the stem with a Dremel and sanding drum and then on the topping board. I wanted a flush surface to mount the new tenon on and also to have a snug fit against the shank. The airway was not centered in the stem so I had to do a bit of fussing with it to get it ready for the new tenon. I used a sharp pen knife to flare the side of the airway that was off to get it more centered before I drilled. Once I had done that I drilled the airway with a bit slightly larger in diameter than the airway and worked to keep it both straight and centered. This is yet another time I wished I had a drill press.I followed that drill bit with one that was the same diameter as the threaded portion of the new tenon. I sanded the threads to slightly reduce the diameter and pressed it into the stem. The fit was very good. I took a photo of the stem  at this point to show the look of the new tenon.I used black super glue that had a medium viscosity so that I had time to align the stem and the shank before the glue set. Once it was aligned I took a few photos of the fit of the stem to the shank. I would need to make a few minor adjustments but considering how off the airway was the fit was quite good. I carefully removed the stem and set it aside to let the glue on the tenon set firmly. I turned my attention to the bowl. The first item of business for me was to work on the rim top. I cleaned up the flat surface of the rim with 1500-2400 micromesh sanding pads and then shaped the inner bevel of the rim with a folded piece of 220 grit sandpaper to minimize the damage on the right inner edge. When I finished it definitely looked better. I would do a bit of finessing it once I worked on it with the micromesh pads.I decided to address the many nicks, scratches and cuts in the surface of the finish by filling them in with clear super glue. The next series of photos show the many spots on the front and bottom of the bowl.Once the repairs had dried I sanded them smooth with 220 grit sandpaper to blend them in with the surface of the bowl. I then wet sanded the entire bowl and rim with 1500-2400 grit micromesh pads and dry sanded it with 3200-12000 grit pads until the rim and the surface of the bowl was smooth and polished. I wiped down the surface of the bowl with a damp cloth to remove the sanding dust between each pad. I decided to highlight the reds in the briar and finish so I stained it with a mahogany stain pen. It looks streaked and poorly applied in the photos but the story is not over yet. I am more interested in getting the bowl covered with a stain that is transparent so when I take the next step the grain will come through the finish. Of course I was in a hurry at this point to call it a night so I forgot to take pictures of the next step. I wiped the bowl down with a cotton pad and isopropyl alcohol to spread the stain and wipe away the excess. When the grain stood out and the repairs remained hidden I rubbed the bowl down with Before & After Restoration Balm. I rubbed it into the finish to clean, enliven and protect the finish. I let it sit for a few moments and buffed it off with a cotton cloth. The photos below show the bowl at this point. Once the bowl was finished I set it aside to work on the stem. I sanded out the tooth marks and chatter on the top and underside of the stem at the button. I sanded the entire stem with 220 grit sandpaper to remove the damage and oxidation.I polished the vulcanite with micromesh sanding pads to remove the scratching and remaining oxidation. I wet sanded it with 1500-2400 grit pads and dry sanded it with 3200-12000 grit pads. I wiped the stem down with Obsidian Oil after each pad to remove the dust. I finished polishing the stem with Before & After Pipe Stem Polish – both Fine and Extra Fine to remove the rest of the scratches in the hard rubber surface. I put the stem back on the bowl and buffed the pipe with Blue Diamond on the buffing wheel. I gave it several coats of carnauba wax and buffed it with a clean buffing pad to raise a shine. I hand buffed it with a microfiber cloth to deepen the shine. The finished pipe is shown in the photos below. The repairs on the finish blend in really well with the overall finish of the pipe. The new tenon on the stem works very well and is a snug fit in the mortise. It really is a nice looking Savinelli Churchwarden. There is some nice grain on the bowl. This is the last of Mark’s uncle’s pipes and it is ready to head back to Mark for his smoking pleasure. I have one more pipe to fix for him then this one and the others will be in the post back to Mark. I think it is better than it was… thanks for looking.


The Worst Pipe I Ever Bought


Blog by Robert M. Boughton

Copyright © Reborn Pipes and the Author except as cited
https://www.facebook.com/roadrunnerpipes/

Look beneath the surface; let not the several quality of a thing nor its worth escape thee.
— Marcus Aurelius (121 AD – 180 AD), Roman Emperor, in Meditations

NOTE: My decision to post this blog was difficult because of my failure thus far to restore the pipe to a suitable condition.  The project remains a work in progress.  I now know what needs to be done to finish the job and will discuss those steps after the “Restoration” I offer now in a guileless attempt to show what horrors can follow the online purchase of a pipe that is just plain rotten to the core – a Frankenstein, if you will.  Still, this is no excuse for my frustrating defeat.  Maybe I should have extended the title to add “and the Worst Restoration I Ever Committed.” RMB

INTRODUCTION

Old Marcus knew what he was about, and his meditation on recognizing the full potential of a thing speaks to this precise pipe in an almost prescient way.  I wish I could say I always heed the sage advice, but I cannot tell that big a lie.  In the case of this tiny, smooth (in the roughest sense of the word), straight apple purported to be a Kaufman Brothers and Bondy Rocky Briar apple, I failed to a degree that does not now escape me in the least.  Where I should have listened to the voice in my head that screamed how the color was just wrong – not red or maroon but what I call Chinese Fake – part of me didn’t care because it was so cheap.  As it turned out, that term took on more than one meaning as well.  Where the numerous photos of the pipe offered for examination online showed blatant signs of serious damages, visions of repairing each of them overcame my usual better instincts and blinded me to the obvious conclusion that something still graver was hidden.  The result, as I suggested in my opening Note, is the absolute worst job of repairing a pipe I have ever made.  And so, when I opened the petite package that arrived soon enough in the mail and absorbed the monstrous truth, all that saved me from an explosion of temper was the song “Always Look on the Bright Side of Life,” from Monty Python’s Life of Bryan, and particularly the opening.

Some things in life are bad
They can really make you mad
Other things just make you swear and curse.
When you’re chewing on life’s gristle
Don’t grumble, give a whistle,
And this’ll help things turn out for the best.

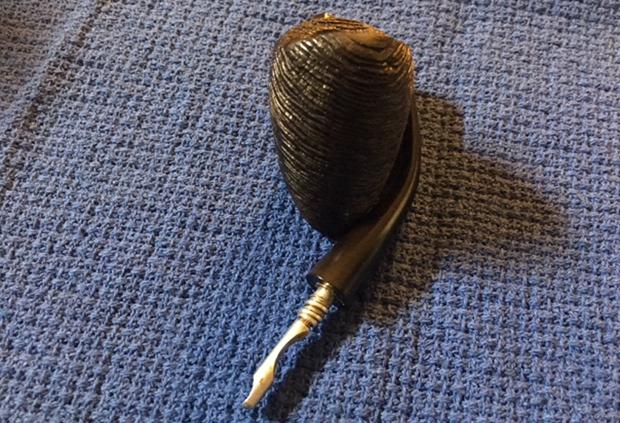
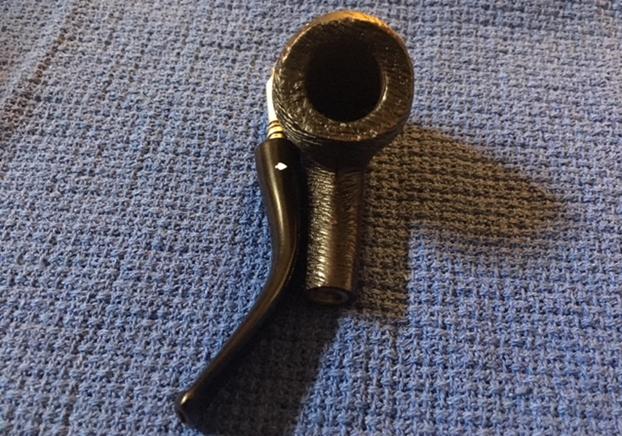
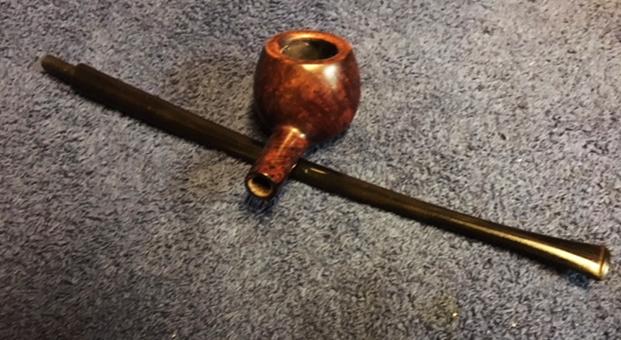
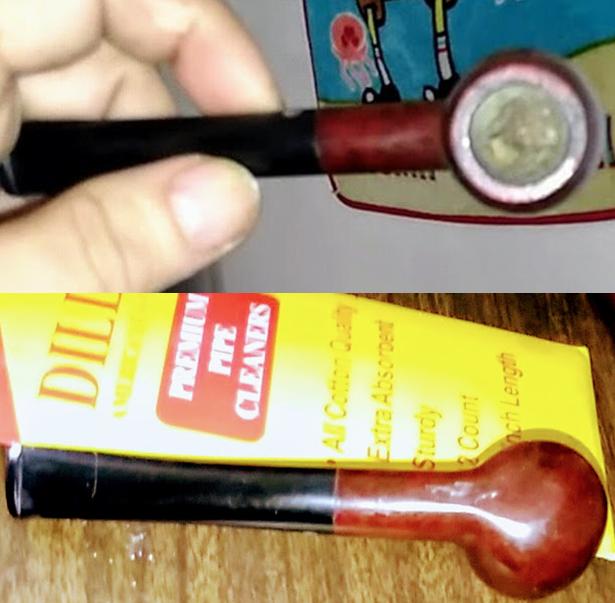
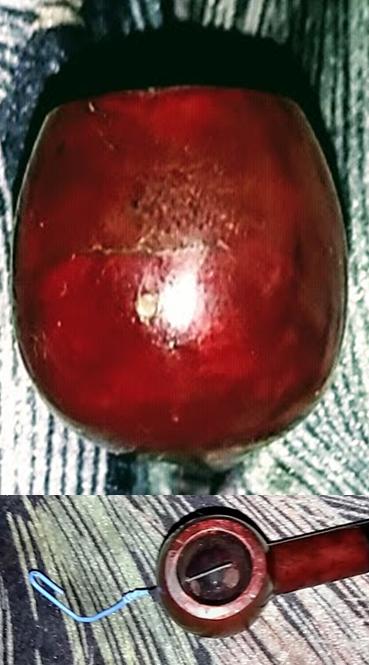
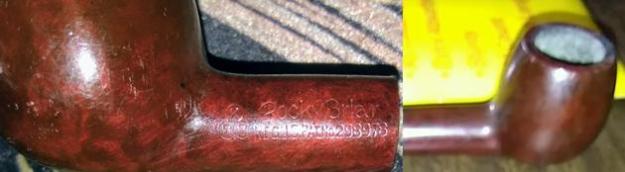
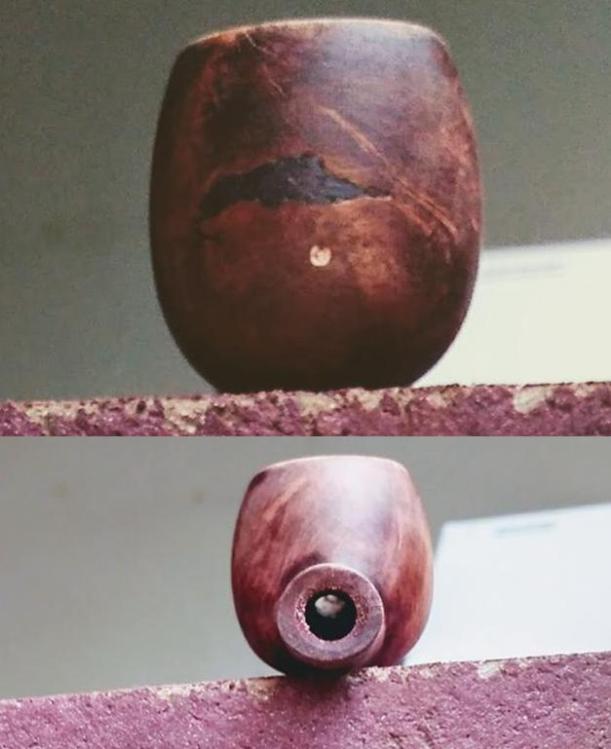
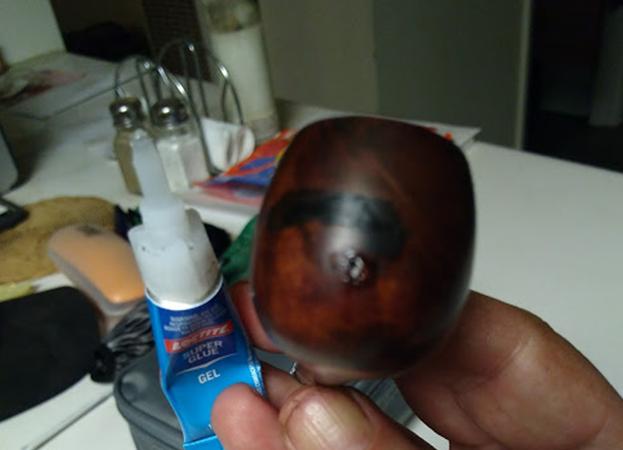
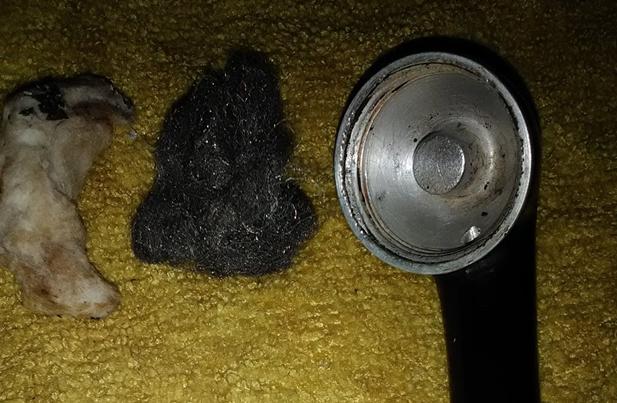
I mean, what else could I do but whistle, other than spend more than it was worth in return postage to the seller who went out of his way to hide the one definite fatal flaw, which was a pin-point hole in the bowl?  Oh, but if only that were the sole point at issue with this small yet abominable pipe!  Here are the sometimes poor but always honest pics I snapped with my old cell phone, showing every detail. The actual unique Chinese Fake color shows best in the fifth and sixth photos, close on the front and top with the latter including the stripped end of a small paper clip inserted through the hole it penetrated with precision.  This inexplicable tunnel, by the way, has no signs of being caused by a burnout.  It’s as if someone deliberately pierced through the dubious wood to test its physical density, perhaps a previous owner who was as doubtful as I that it’s briar.

The next shot above reveals the approximate length, beside the pack of six-inch long cleaners, to be a little more than an inch short, or the size of a salesman sample.  If the pipe were a real KBB, without the ampersand as shown in the nomenclature pic – and I’m stating categorically that I do not believe it is – then it would date to the early 20th century, at least pre-1930s.  More about that later.

Now, a little extra info about the size, which would be expected to make the pipe light.  But this thing has so little density as to be comparable to holding your empty palm before you and imagining a visible cloud of radon, the heaviest noble gas at 4.4 g/cubic cm, floating there!  Okay, okay, for those who don’t go in for such sarcasm, compare the weight at most to a strip from the tail end of a classic Guillow’s Balsa Wood Flying Machine Kit.  And that’s no exaggeration.

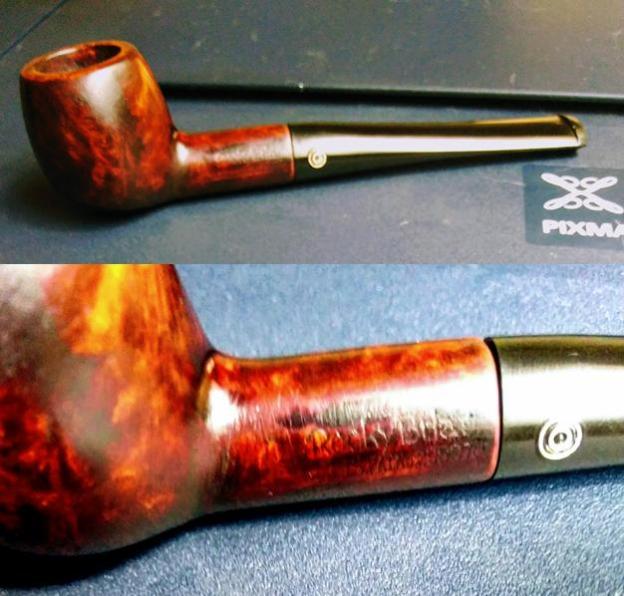
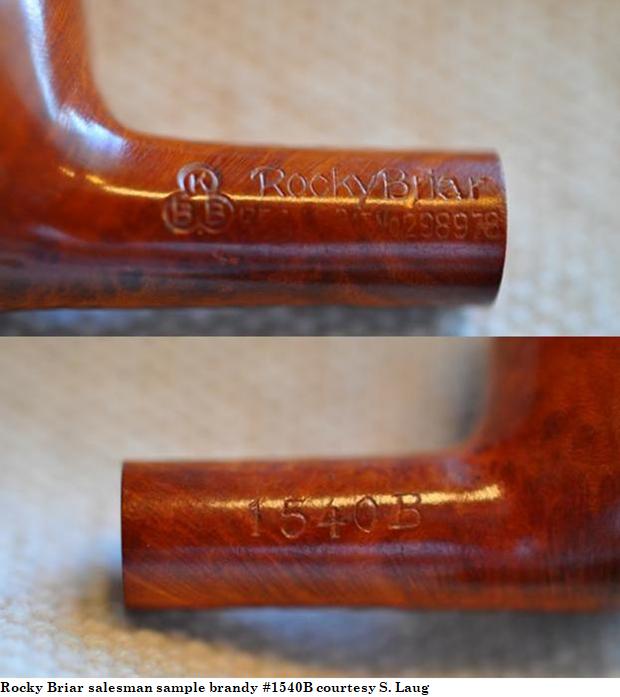
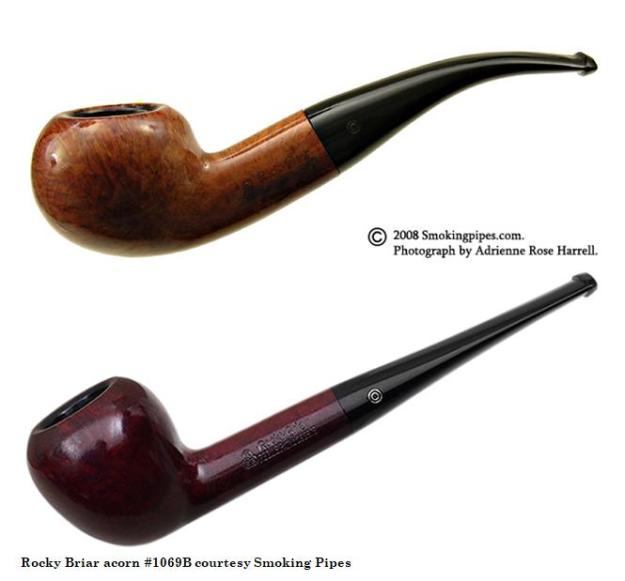
Returning to the veracity of the dainty pipe’s origins having any connection to KB&B, take a close look at the Reg US Pat No in the last shot above.  The number is 298978, which is a known KB&B Patent even though neither I nor anyone else I found searching online for a copy seems able to find one.  However, the number is fortunate in having two instances each of the numerals 9 and 8.  Now give the nomenclature still more scrutiny, and you’ll see neither pair is the same.  That is, the 9s don’t match each other any more than the 8s.  This sort of inconsistency just doesn’t happen in Patent stamps on pipes made by legitimate brands.  The two 8s are easier to spot the problem: the one at the end of the first half of the number is in the form of two separate tiny zeroes, one atop the other, while the final digit clearly shows a connection, or intersection, of the halves.  There’s also the absence of any shape number on the right shank that is present on every real Rocky Briar ever made.  Here are the two pertinent pictures again, this time followed by genuine KBB Rocky Briar examples.  Never mind the glare on the right shank of my fake; you won’t spot any number on the successive views following the worthless pipe’s restoration either.

See the weakness of the marks on my pipe as opposed to the crispness of the others.  Also note the varied but normal stain colors of the three authentic specimens, which can be viewed better at links in the sources, compared to the obvious dodgy glaze or varnish that clings to the questionable wood of mine as though still desperately trying to gain purchase.  I’ve made my point, but I’m sure those who doubt the very real and common existence of pipe forgeries will insist I just got my hands on a bad apple if I may be allowed the pun.

RESTORATION

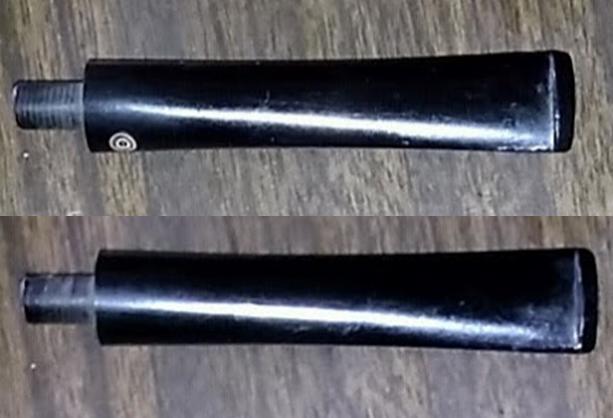
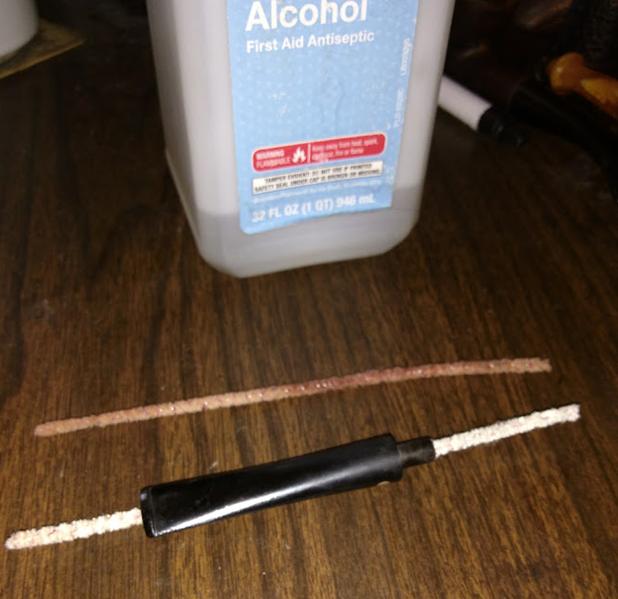
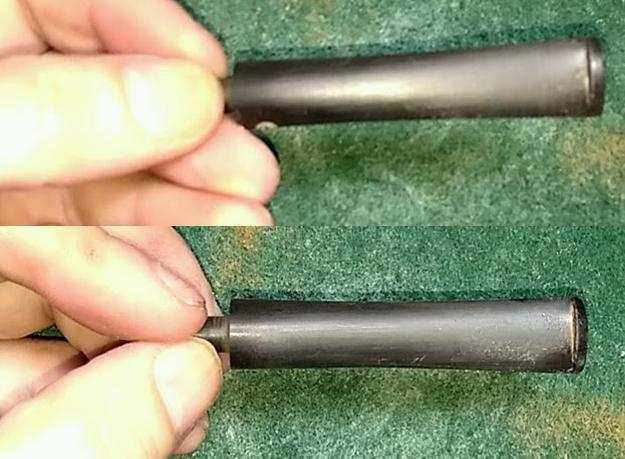
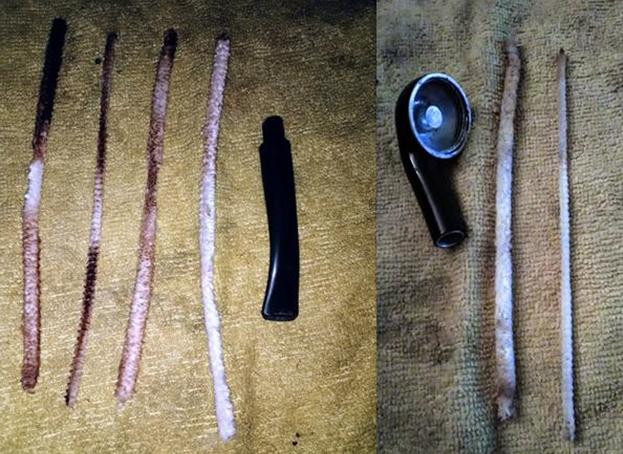
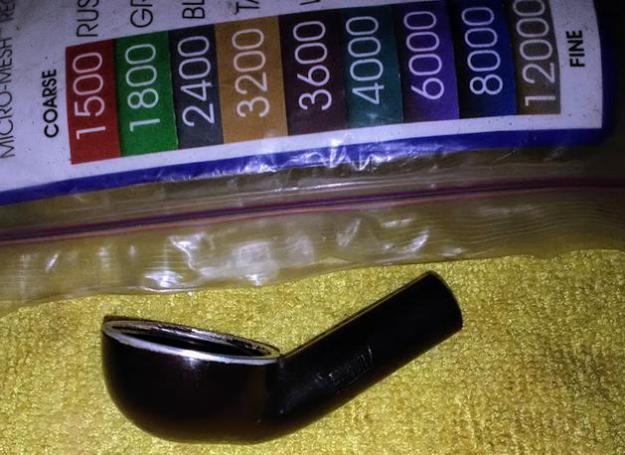
Let’s escape the hideous stummel altogether for the short time possible and start with the bit.  At least it’s Vulcanite for sure!Cleaning the bore with isopropyl alcohol was easy.  I suspect nobody who ever smoked the pipe did so more than once.Having read in this forum that using a small, relatively soft Brillo pad is a less invasive way to begin smoothing a bit, that’s how I began.  You’ll notice I still needed some practice with the method that was new to me.Then I gave it a wet micro mesh all the way from 1500-12000 with my older kit.And the same dry treatment with my newer kit.I recall using my Bic to pull out the minor chatter but seem not to have bothered recording the step.  Anyway, here’s how it worked out – a little dark, I apologize.Alright, fun time’s over.  For the stummel, I commenced the process that at times made me despair of the point of it all with the 150-grit side of a sanding pad.  At least I achieved a spotty resemblance to briar.See?  Still no sign of a shape number.
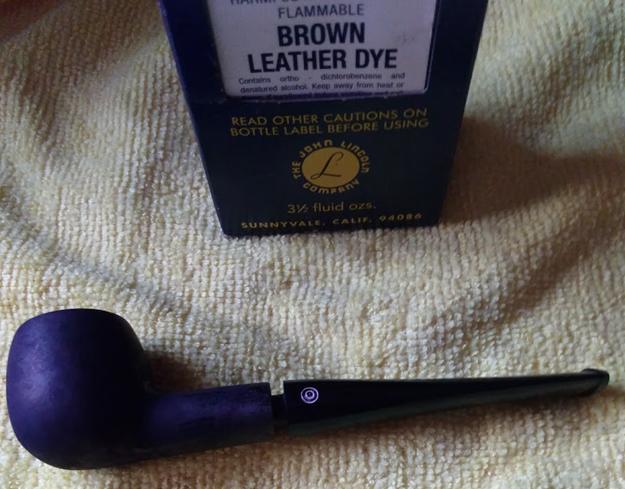
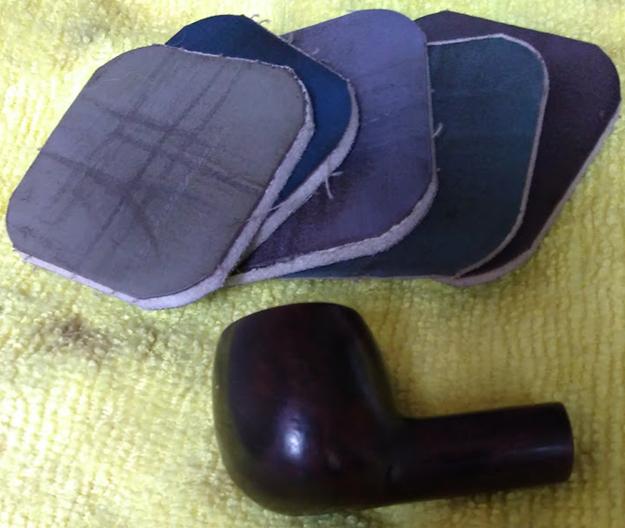
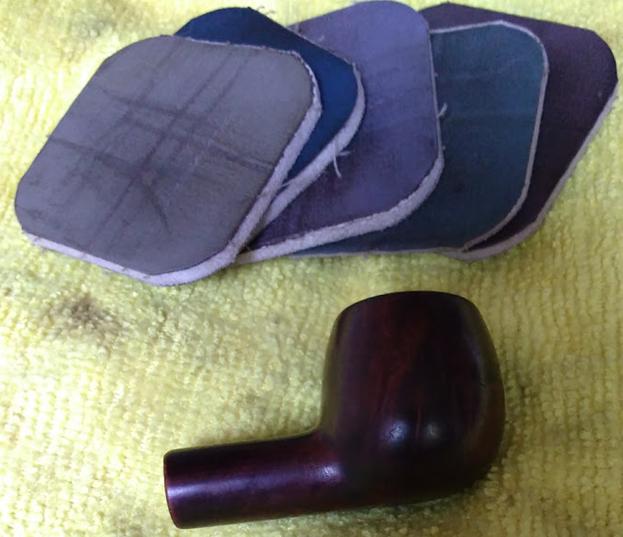
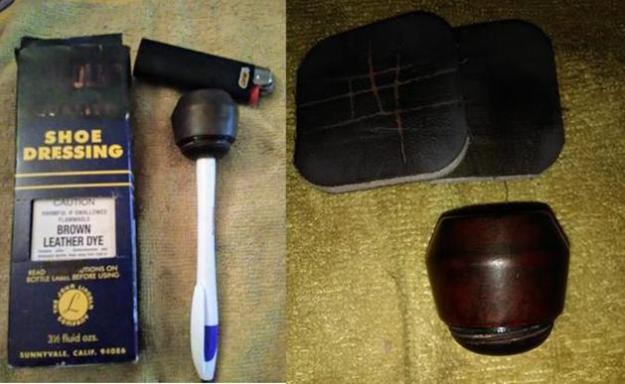
Here the thought that someone poked that hole in the bowl on purpose will seem a little saner.  My only guess at the cause of the glaring black mark, like a dark shape from a photo of the moon, is that it’s some weird sort of filling.  Check out the wear around the shank opening.  Does that look like briar?I gave the outer wood another full micro mesh progression, and it even started to look somewhat prettier. I stuffed the pin hole, from the chamber side, with wood putty and sealed the outer bowl side with Super Glue using the same exposed end of the paper clip from earlier.  Later I know I smoothed it with several of the finest micro mesh pads, but again didn’t record it.The next step was giving the wood a real stain.  I used Lincoln Brown Leather Dye and flamed it with my Bic.Hoping to obscure the dreadful damage to the front of the pipe with the darkness of the stain, I micro meshed from 3600-12000.  Everything was fine at that point but the front view. This is when the whistling stopped for the last time, and the gloves came off.  If the foul spot wouldn’t play nice, I rationalized, I’d just have to get rough.  And so, in inexcusable anger, I took 220- and 320-grit papers to the whole misbegotten stummel, micro meshed all the way one last time and gave the wood a few spins of carnauba.  Again, all but the final step went un-photographed, so ready to be done with the mess was I.  Somewhere in all the above steps I did retort the pipe.

Alrighty, then, here I go with the frankly awful results.Take a deep breath with me, as here comes the most deplorable result of my efforts, and the remainder.

Any doubters of the notion that this pipe is a forgery should consider the final closeup of the nomenclature showing the mottled stem mark.  Compare it again to Steve’s salesman sample stem crisp logo.

CONCLUSION

Embarrassment does not begin to describe the thoughts I’m having as I finish up this shameful example of how badly things can go when emotions are allowed to interfere with the task of dealing with each stage of a pipe restoration.  The work shown here was set aside at least a year ago in sheer disgust and mental exhaustion after setting out with such lofty ideals.  The fact that I knew I would never offer the pipe for sale and kept it for my own perverse enjoyment does nothing to mitigate my responsibility for the outcome.

I have not given up – I never do – but only taken the time to gird myself for the final confrontation.  In fact, it should be simple now, a mere matter of gentle sanding to remove the obvious abundance of scratches followed by another round of micro mesh, then re-staining the stummel dark brown or maybe maroon before the final electric buffing with carnauba.  And, of course, fixing the stem alignment.

Marcus Aurelius really had it right with the opening quote.  Quality and value are to be found in everything, regardless of the degrees.  My job remains to bring out the full potential for this faux KBB.

SOURCES

http://www.pipephil.eu/logos/en/logo-kbb.html#rockybriar
https://www.smokingpipes.com/pipes/new/peterson/moreinfo.cfm?product_id=40705
https://www.smokingpipes.com/pipes/estate/united-states/moreinfo.cfm?product_id=200676
https://rebornpipes.com/2016/08/12/restemming-and-restoring-a-tiny-kbb-rocky-briar-1540b-salesmans-pipe/
https://forums.arrowheads.com/forum/information-center-gc33/fakes-frauds-reproductions-authentication-gc94/identifying-fakes-reproductions-gc95/123908-pipe-smoking-instrument-fakes
http://pipesmagazine.com/forums/topic/warning-fraudster-on-ebay-selling-counterfeit-eltangs-possibly-castellos-etc
https://www.smokingpipes.com/pipes/new/castello/moreinfo.cfm?product_id=272648
https://pipedia.org/wiki/Kaywoodie
https://rebornpipes.com/2014/12/15/narrowing-down-a-date-for-kaufman-brothers-bondy-kbb-and-kbb-pipes/

An Ornery Falcon International Bulldog


Blog by Robert M. Boughton
Copyright © Reborn Pipes and the Author except as cited

If you get to thinking you’re a person of some importance, try ordering someone else’s dog around.

— William Penn Adair “Will” Rogers (1879-1935), U.S. stage and motion picture actor, vaudeville performer, cowboy, newspaper columnist and social humorist

INTRODUCTION

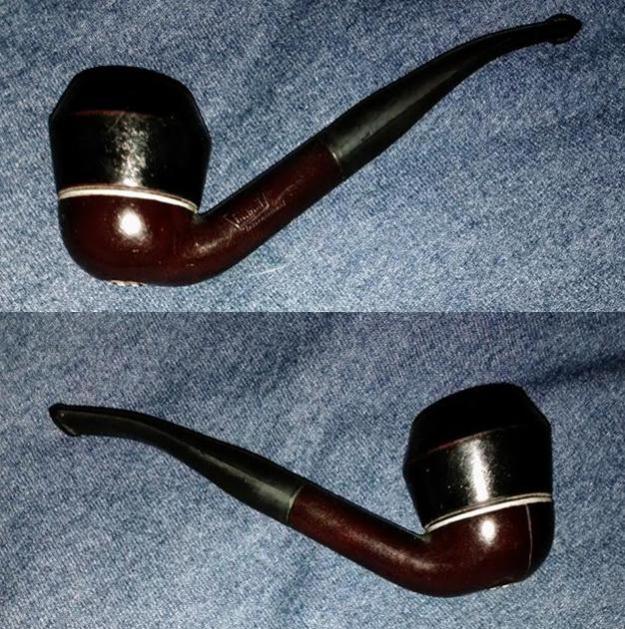
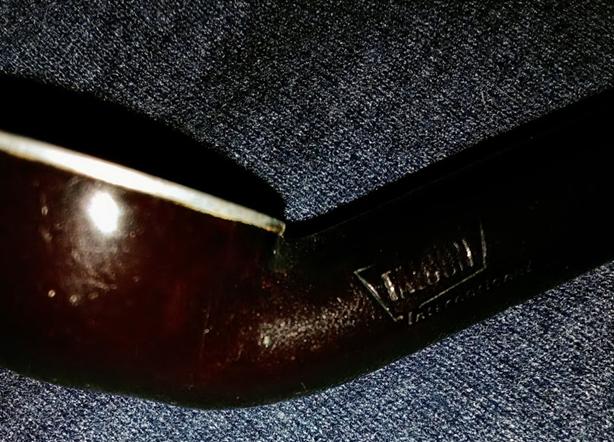
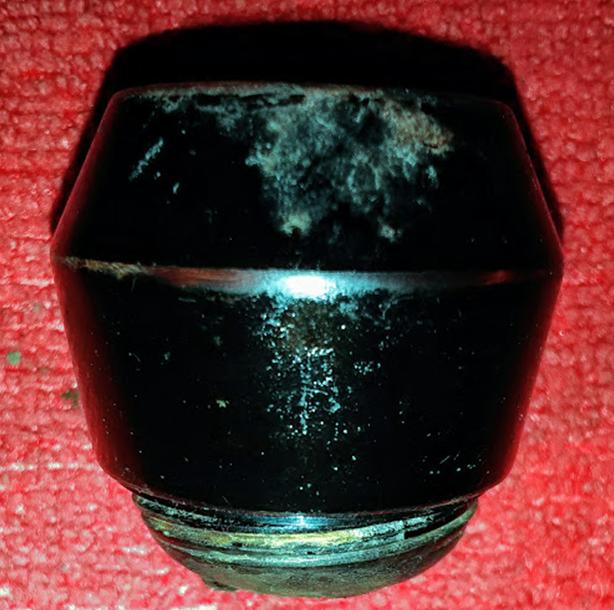
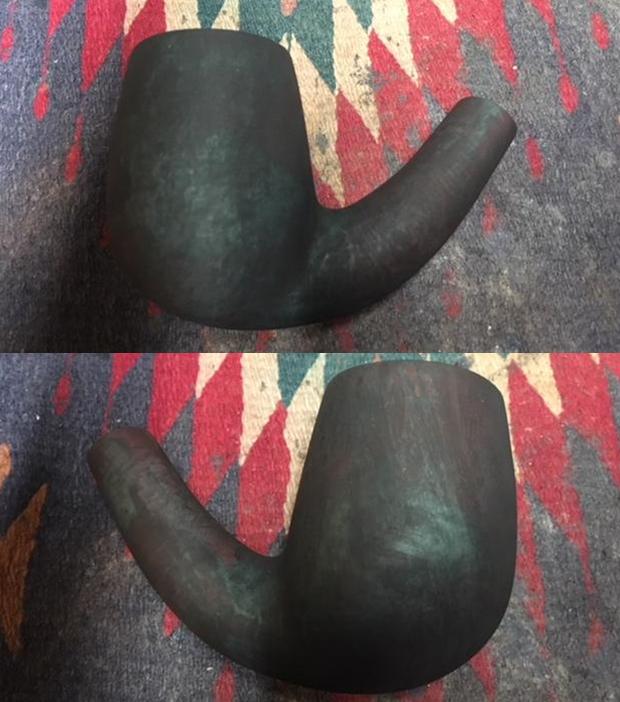
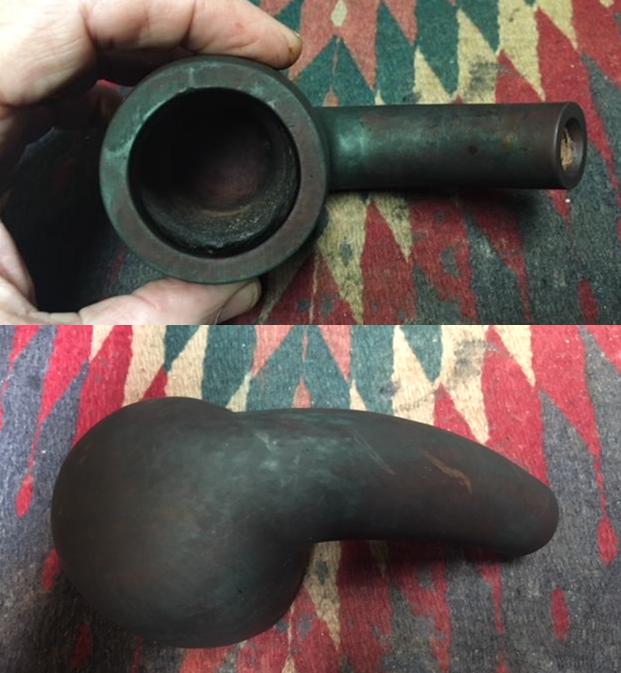
I came to understand the humorous comment above before push even came to shove with this Falcon International bent bulldog.  When I stumbled upon it on eBay, the metal system pipe’s most endearing aspect – that’s sarcasm, by the way – was its color, or rather, apparent lack of any.  Although I’m sure they exist, I had never seen one dressed all in black, or so I thought.  If for no other reason, as if I needed one, I had to have this thing, maybe to see if I could restore the rather ugly example of a type of pipe known for the more common sleek, shiny aluminum stems (which include the bit, shank and system filter dish) to the original condition.  But, of course, the threaded bowl coated with a thick black varnish did create a temptation, whether subconscious or not, to discover what lay beneath, and perhaps improve upon the condition, to my own way of thinking.

Understand, I have nothing against dress pipes, also called dinner or ebony, and have owned some remarkable representatives, from a Nat Sherman #862 billiard to a Peterson Kilarney #150 bulldog.  The International I purchased just seemed a bit wrong in that company.  I suppose my growing codger inclinations might be making me a tad old-fashioned, but in my humble opinion, the only proper place for a dress pipe is among fashionable all wood varieties.  I’ve always been against discrimination, but if that’s what this is, so be it!

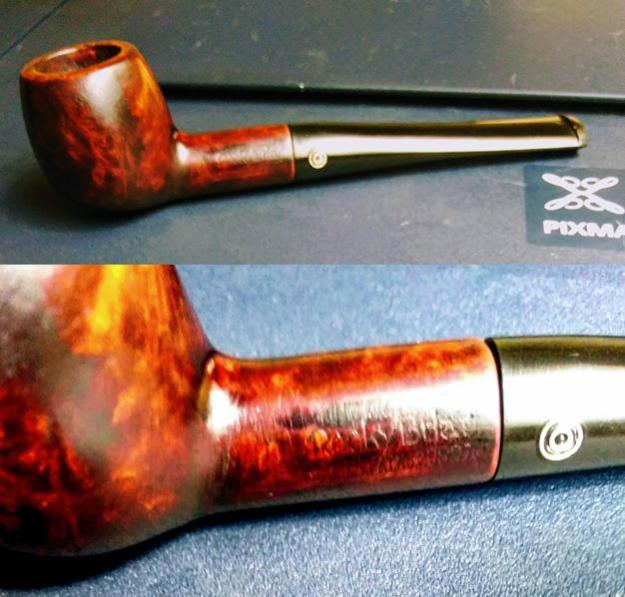
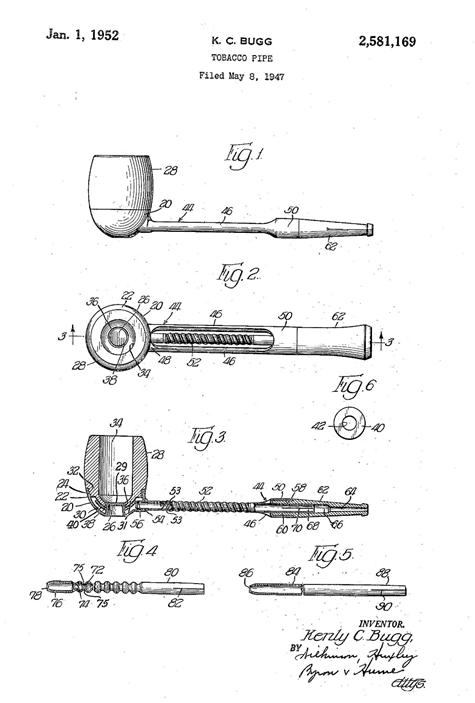
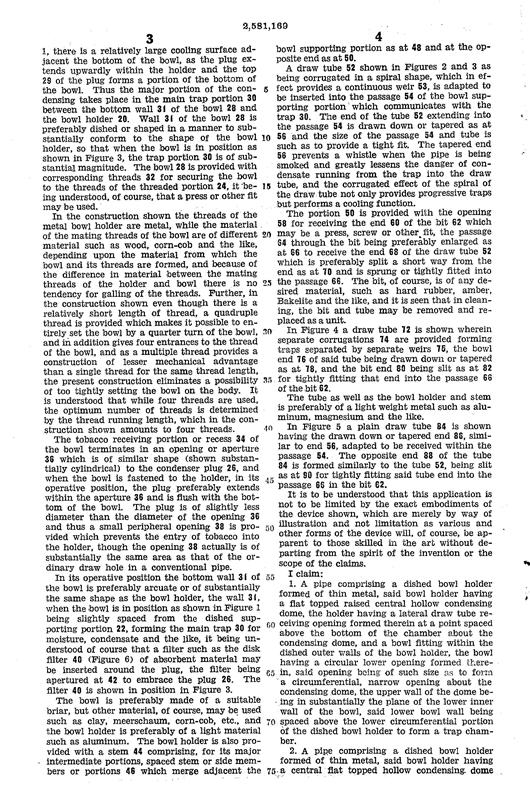
Created in 1936 by an American engineer named Kenley Bugg, the Falcon idea was to use a novel system design that provided for the tobacco smoke and resulting moisture to pass from an interchangeable wooden bowl that screwed onto the dish.  The Humidome., as the small aluminum area was known, trapped the dottle that would have ended up in the unfortunate smoker’s mouth, or worse yet, all the way to his stomach.  The revolutionary arrangement of the parts presented other benefits such as ease of cleaning and maintaining, not to mention that if an owner were so crass as to burn out, crack or otherwise lay waste to the bowl, instead of tossing the entire pipe, all that was needed was a less expensive replacement bowl.  Truly this must have been the dawn of the disposable age!  However, the greatest achievement of the Falcon is the potential lack of any need to give the pipes a resting period – again because of the interchangeability of the bowls.  One frame had the potential to facilitate countless pipes.

At first an oddity that some pipers embraced as such or owing to P.A.D., which must have afflicted some though likely fewer connoisseurs then as now, after World War II the situation that could have been called a fad began to turn into serious business.  More than six million of the increasing Falcon models sold during the brief nine years from 1958 to 1963 in the U.S. alone.  Current worldwide sales figures are hard to come by, but from 1958-1974, Falcon sold more than 14 million pipes outside the U.S.

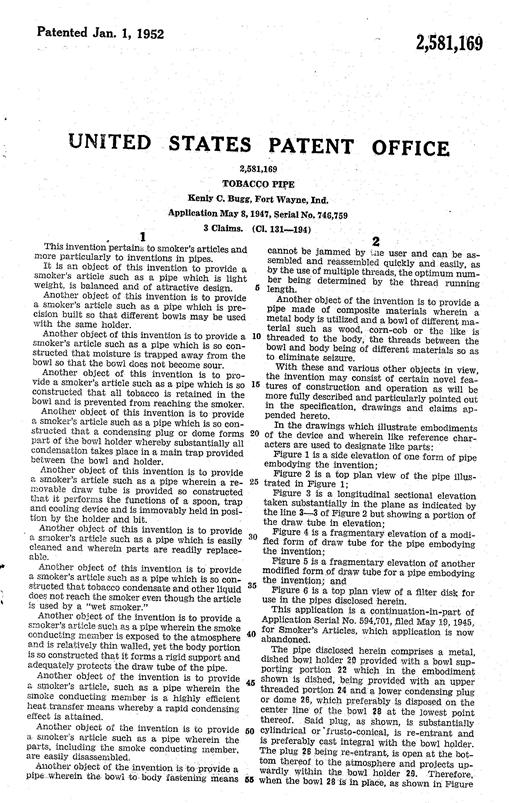
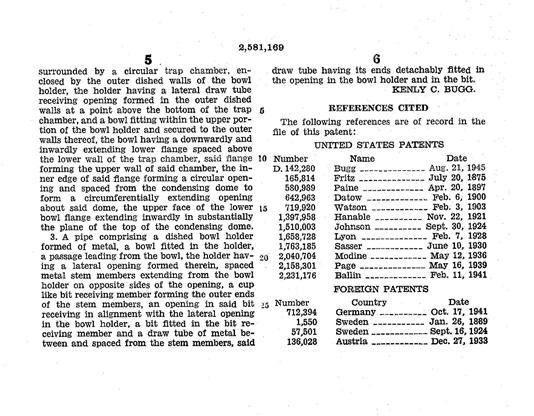
In a blog I wrote in January 2016 about the restorations of two different brands of similar pipes, one a Kaywoodie and the other a Delta, I concluded that Frederick Kirsten was the original inventor of the metal system pipe.  This may be true, but the fact remains that both Kirsten and Bugg came up with independent designs the same year: 1936.  Kirsten, however, filed for his U.S. Patent № 112,701 in 1937, while Bugg’s U.S. Patent № 2,561,169 wasn’t filed until 1947.  And so, who is the father of the metal system pipe?  We may never know. Here are the problems I saw to some extent in the eBay photos, but (surprise, surprise) with much more clarity using my own eyes and, better yet, taking pics, which always seems to reveal more.

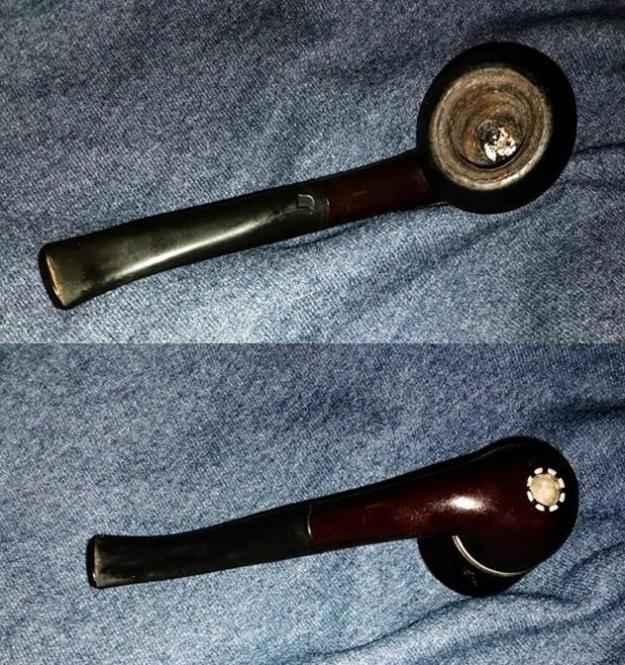
  1. The briar bowl was coarse from whatever inappropriate black substance was used to “stain” it – much like the type of result one sees when the covered surface is not smooth enough.
  2. The right side of the base where the bowl screws in appeared to have a wicked scrape at best or a crack at worst.
  3. The rim was charred and dinged, and the coating was gone.
  4. The indented circular groove of the bulldog shape had a reddish tinge I suspected was the result of wear.
  5. The chamber had been cleaned but was crude, as if it had never been smoothed and sanded.
  6. The inside of the Humidome was dirty, but not very.
  7. The round, hard rubbery seal on the bottom of the bowl was grimy, and its hole was caked with sticky old tobacco by-products.
  8. The shape I saw on the lower top side of the bit looked more like a gash than a deliberate mark, and the tenon had an unnatural, uniform rawness.
  9. The overall appearance of the pipe was that it was all metal.

A good friend once told me I’m attracted to wounded people and things, and the International had all the earmarks of a nice challenge.

RESTORATION

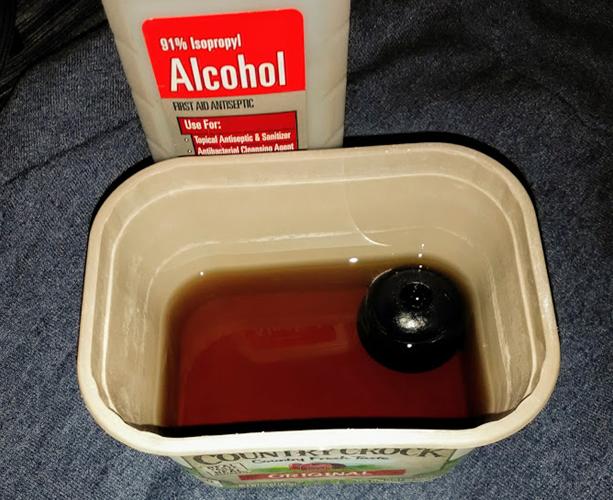
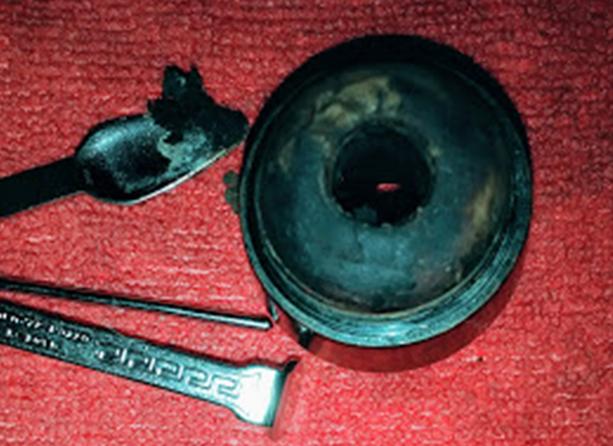
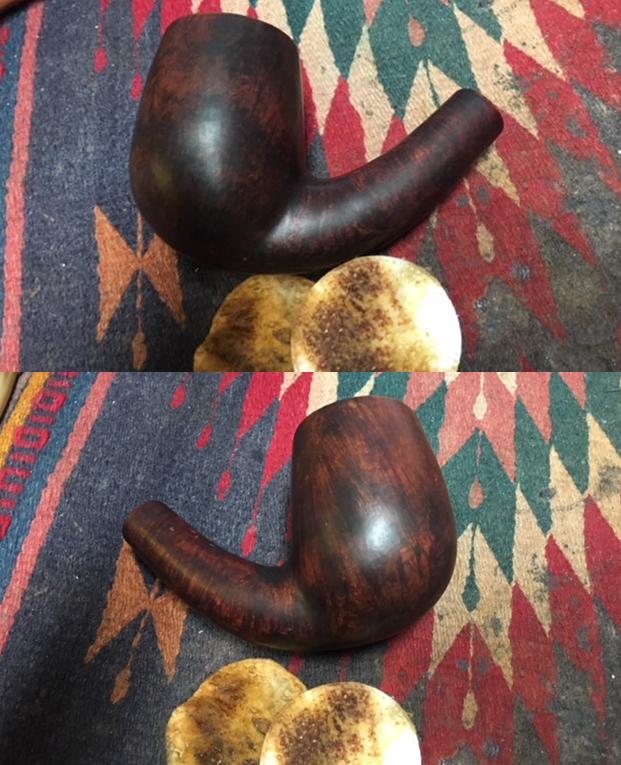
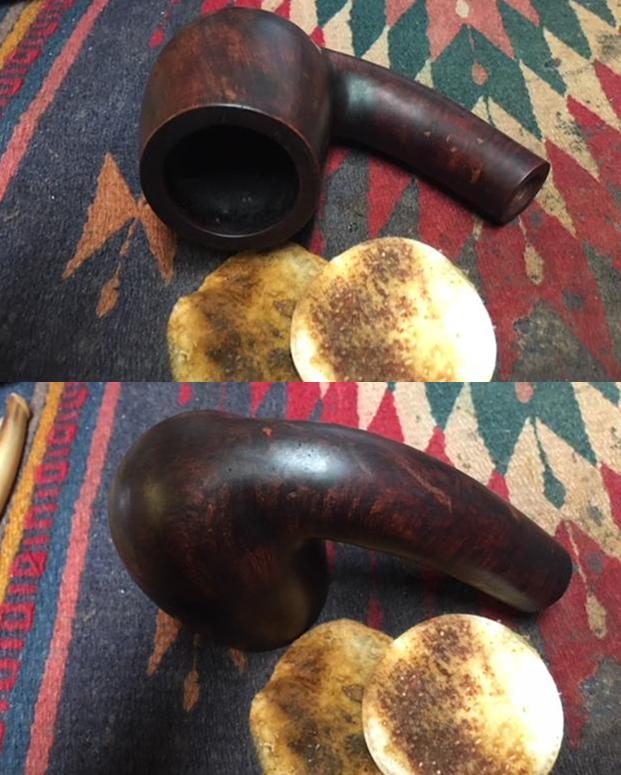
Now, I really do try not to resort to alcohol stripping and/or sanding when less invasive measures will do.  Nevertheless, this called for more than the ideal.  Also, I had decided I needed to uncover the briar beneath the unholy glaze covering if only to see how bad it could be.  I soaked the bowl except for the rubbery seal in isopropyl alcohol for 10 hours, but confidence was high there would be minimal if any effect.  The last pic shows some of the crud I scraped out from around the hole.  Next, I used the 150-grit side of a sanding pad followed by 220-grit paper with somewhat better results.  The near absence of any grain at all explained why the folks at Falcon chose to obliterate it, although the use of varnish or some other glaze is never justified. Note the sparkling bits within the toxic coal black substance, which prevented the wood from expanding, or breathing to use the more apt word, when tobacco was lit.   The coal black almost debris covered the pad that has a normal maroon color.  The bowl needed another couple of hours in alcohol.  I have to say I was surprised by the improvement in the general look and color a full micro mesh progression made. Sanding the chamber with 150-, 320- and 600-grit paper worked well to render it smooth.Cleaning the Humidome with a cotton pad soaked with alcohol and a small piece of superfine 0000 steel wool was simple.I think this was the first time I worked on a pipe when the bit was dirtier than the shank.At last, my favorite part arrived – staining and flaming the wood.  Only the 8000 and 12000 micro mesh was needed to clear away the soot and improve the color.The last part was micro meshing the stem to remove scratches.  In the process, the apparent gash or crack turned out to be just a bigger scratch that almost disappeared. I gave the whole thing three coats of carnauba only. CONCLUSION

I chose to leave good enough alone concerning the remaining minor scratches on the stem.  I’ve tried to stain metal before, and it’s a nightmare if you don’t know what you’re doing.  My friend Don Gilmore, who makes beautiful pipes and accessories, is knowledgeable about Falcons in general.  He had never seen one with the rounded shank and told me at last months pipe club meting he thought it might be a Chinese knock-off.  He suggested I check Smoking Metal, and when I showed him the following pic from that site he was relieved.  So was I.

Falcon Internationals courtesy Smoking Metal

This is one unusual example of the company’s products I wanted to add to my own collection.  But I decided to offer it for sale at my online store, https://www.facebook.com/rebornpipes/ (click on Store in the left column).  I hope it finds a good home.

SOURCES

https://www.uktobacco.com/acatalog/Falcon-Pipe-Accessories.html
http://www.tobaccopipes.com/falcon-history/
http://www.gqtobaccos.com/falcon-metal-pipes
http://www.smokingmetal.co.uk/pipe.php?page=103
https://rebornpipes.com/2016/01/10/i-got-the-kaywoodie-delta-blues/
http://www.chesapeakepipeandcigar.com/?page_id=2952
https://patents.google.com/patent/US2581169A/en?oq=2581169
https://patents.google.com/patent/USD112701

Farida’s Dad’s Pipes #4 – Restoring a Dunhill Red Bark Pot 43061


Blog by Steve Laug

The next collection of pipes that I am working on comes from the estate of an elderly gentleman here in Vancouver. I met with his daughter Farida last summer and we looked at his pipes and talked about them then. Over the Christmas holiday she brought them by for me to work on, restore and then sell for her. There are 10 pipes in all – 7 Dunhills (one of them, a Shell Bulldog, has a burned out bowl), 2 Charatans, and a Savinelli Autograph. His pipes are worn and dirty and for some folks they have a lot of damage and wear that reduce their value. To me each one tells a story. I only wish they could speak and talk about the travels they have had with Farida’s Dad.
When I wrote the blog on the Classic Series Dunhill and thinking about its travels, Farida sent me an email with a short write up on her Dad. She remembered that I had asked her for it so that I could have a sense of the stories of her Dad’s pipes. Here is what she wrote: My dad, John Barber, loved his pipes. He was a huge fan of Dunhill and his favourite smoke was St. Bruno. No one ever complained of the smell of St. Bruno, we all loved it. I see the bowls and they’re large because he had big hands. When he was finished with his couple of puffs, he would grasp the bowl in the palm of his hand, holding the warmth as the embers faded. The rough bowled pipes were for daytime and especially if he was fixing something. The smooth bowled pipes were for an evening with a glass of brandy and a good movie. In his 20s, he was an adventurer travelling the world on ships as their radio operator. He spent a year in the Antarctic, a year in the Arctic and stopped in most ports in all the other continents. He immigrated to Canada in the mid-fifties, working on the BC Ferries earning money to pay for his education. He graduated from UBC as an engineer and spent the rest of his working life as a consultant, mostly to the mining companies. Whatever he was doing though, his pipe was always close by. 
She sent along this photo of him with his sled dogs in the Antarctic sometime in 1953-1954. It is a fascinating photo showing him with a pipe in his mouth. He is happily rough housing with his dogs. As a true pipeman the cold does not seem to bother him at all.Thank you Farida for sending the photo and the background story on your Dad for me to use on the blog. I find that it really explains a lot about their condition and gives me a sense of who Dad was. If your Dad was rarely without a pipe I can certainly tell which pipes were his favourites. As I looked over the pipes I noted that each of them had extensive rim damage and some had deeply burned gouges in the rim tops. The bowls seemed to have been reamed not too long ago because they did not show the amount of cake I would have expected. The stems were all covered with deep tooth marks and chatter and were oxidized and dirty. The internals of the mortise, the airway in the shank and stem were filled with tars and oils. These were nice looking pipes when her Dad bought them and they would be nice looking one more when I finished.

I finished two of the pipes and have written a blog on each of them. The first one was the Dunhill Shell with the oval shank pot (https://rebornpipes.com/2018/02/04/restoring-a-1983-dunhill-shell-41009-oval-shank-pot/) and the second was the Dunhill Classic Series Shell Billiard (https://rebornpipes.com/2018/02/08/faridas-dads-pipes-2-restoring-a-1990-lbs-classic-series-dunhill-shell-billiard/). The third pipe I restored from the estate was a Savinelli Autograph (https://rebornpipes.com/2018/02/15/faridas-dads-pipes-3-restoring-a-savinelli-autograph-4/).

I went back to the Dunhills today so I chose to work on a Dunhill Red Bark 43061 pot. It was so dirty it was hard to tell what it looked like under the thick grime. The blast itself was almost filled in with thick, oily grime. I wiped the grime off the underside of the shank to be able to read the stamping. It was worn but readable. On the bottom of the bowl is the 43061 shape number. Next to that it is stamped Dunhill Red Bark over Made in England 17.  Dating this pipe is a fairly easy proposition. You take the two digits following the D in England and add them to 1960. In this case it is 1960+17= 1977. (Pipephil’s site has a helpful dating tool for Dunhill pipes that I use regularly http://www.pipephil.eu/logos/en/dunhill/redbark1.html). The bowl was thickly caked and the cake had flowed over onto the light sandblast finish on the rim top forming a hard lava that made the top almost smooth. The inner and outer edges of the rim were damaged. On the front of the bowl the rim had been scraped and damaged and then burned. On the back edge there was the same kind of damage that was on the other Dunhill pipes in this estate. This one however was not quite as deep so it would need to be dealt with a bit differently when I got to that point. The stem was oxidized and calcified at the button end. There were tooth marks and chatter on both sides in front of the button. The Dunhill white spot was intact on the top of the stem. I took photos of the pipe to show what it looked like before I started the cleanup work. I took close up photos of the bowl and rim top as well as the stem. You can see the condition of the rim top and bowl in the first photo. The stem has tooth chatter and some deep bite marks on the top edge of the button and a deep tooth mark on the underside of the stem just ahead of the button. There is a lot of calcification and wear on the rest of the stem as well.I reamed the bowl with a PipNet reamer and I had to use three of the four cutting heads to clean out the cake. The bowl thickly caked so I started with the smallest of the three and worked my way up to the third which was about the same size as the bowl diameter. I took back the cake to bare briar. I took a photo of the cleaned bowl. I scrubbed the surface of the sandblast with Murphy’s Oil Soap and a tooth brush to clean out all of the dust. I worked on the top of the rim with a brass bristle wire brush and a brass bristle polishing brush to remove the lava on the rim. I scrubbed the stem with the tooth brush as well to remove the calcification and grime. I rinsed the pipe under warm running water to remove the dirt, grime and soap. I dried off the bowl with a soft rag. The cleaned and scrubbed pipe really made the rim top damage very clear. It looked to me that I would need to top the bowl. I cleaned up the reaming of the bowl with a Savinelli Fitsall Pipe Knife to remove the remaining cake that was on the walls around the airway and the lower part of the bowl.I topped the bowl to remove the damage to the top surface of the rim and clean up the damage to the edges. I did not have to remove a lot and repeatedly checked it to make sure that I had removed enough but not too much.I used a series of dental burrs on the Dremel to etch a pattern into the top of the rim to blend it into the sandblast around the bowl sides. It was not a deep sandblast so the pattern on the rim needed to be random looking and not deep. I wanted it to blend in the damaged area on the back side of the rim. The photo below shows the rusticated rim top and the three burrs that I used to create it.I restained the bowl and rim with a Mahogany stain pen. I wanted to match the colour of the Red Bark shown in the photo below. After I stained the pipe with the Mahogany and I used a red oil based stain. I rubbed it onto the finish and buffed it off with a soft cloth. I rubbed down the briar with Before & After Restoration Balm. I worked it into the nooks and crannies of the sandblast finish to clean, enliven and protect the new finish. It also evened out the stain coat and gave the stain a dimensional feel. I let the balm sit for a little wall and then buffed it with a horsehair shoe brush. I buffed the bowl with a cotton cloth to raise the shine. Once again I have gotten so used to Jeff cleaning the pipes before I got them I just I realized that I had not worked on the internals of the pipe. I looked down the shank and it was filthy as was to be expected. Arghhh. Went back to clean out the shank and airway in the stem and shank. I scraped the hardened tars on the walls of the mortise with a pen knife. I cleaned the mortise and the airway in the shank with pipe cleaners, cotton swabs and alcohol until it was clean. I painted the surface of the stem with the flame of a Bic lighter to lift the tooth dents in the underside of the stem. It took a few swaths of the lighter and the dents lifted. There was only one small pin prick left next to the button that would need to be repaired.  I repaired the remaining deep tooth marks on both sides of the stem with black super glue. Once it dried I sanded the surface of the stem with 220 grit sandpaper to smooth out the repaired tooth marks and chatter and removing the remnants of calcification and oxidation on the stem until the oxidation was removed.I polished the stem with micromesh sanding pads – wet sanding with 1500-2400 grit micromesh sanding pads and dry sanding it with 3200-12000 grit pads. I rubbed the stem down with Obsidian Oil after each pad. I polished it further with Before & After Pipe Polish, using both the Fine and Extra Fine polishes to further protect and polish out the scratches. When I finished with those I gave it a final rub down with the oil and set it aside to dry. With the stem polished I put it back on the pipe and lightly buffed the bowl with Blue Diamond. I buffed the stem with a more aggressive buff of Blue Diamond. I gave the bowl several coats of Conservator’s Wax and the stem several coats of carnauba wax and buffed the pipe with a clean buffing pad to raise the shine. I hand buffed it with a microfiber cloth to deepen the shine. The pipe polished up pretty nicely. The finished pipe is shown in the photos below. This is the fourth of Farida’s Dad’s pipes that I am restoring from his collection. I am looking forward to hearing what Farida thinks once she sees the finished pipe on the blog. I will be posting it on the rebornpipes store very soon. It should make a nice addition to your pipe rack if you have been looking for a reasonably priced Dunhill. When you add it to your collection you carry on the trust from her father. The dimensions are Length: 5 3/4 inches, Height: 1 1/2 inches, Outside diameter of the bowl: 1 1/2 inches, Chamber diameter: ¾ inches. Thanks for walking through the restoration with me as I worked over this estate Autograph. More of his pipes will follow including some Charatans and more Dunhills.
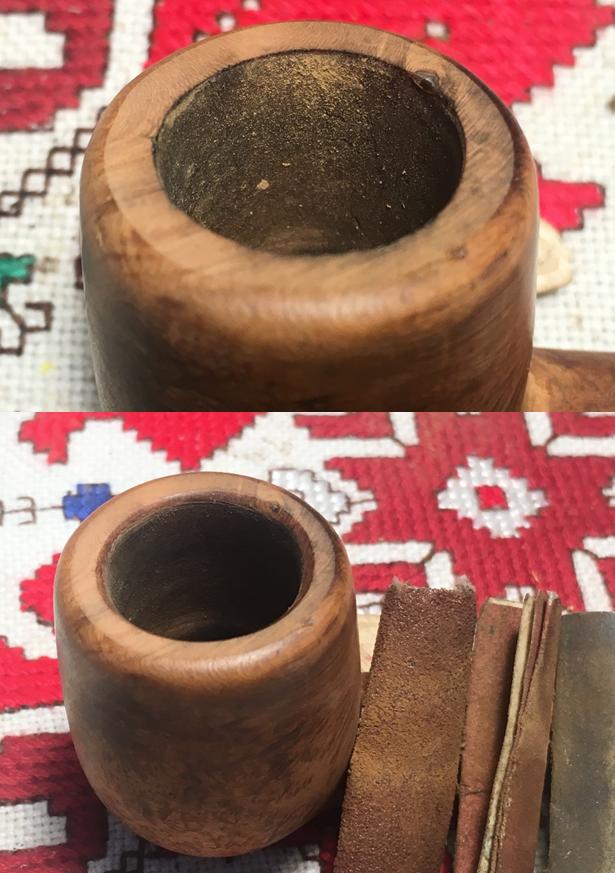
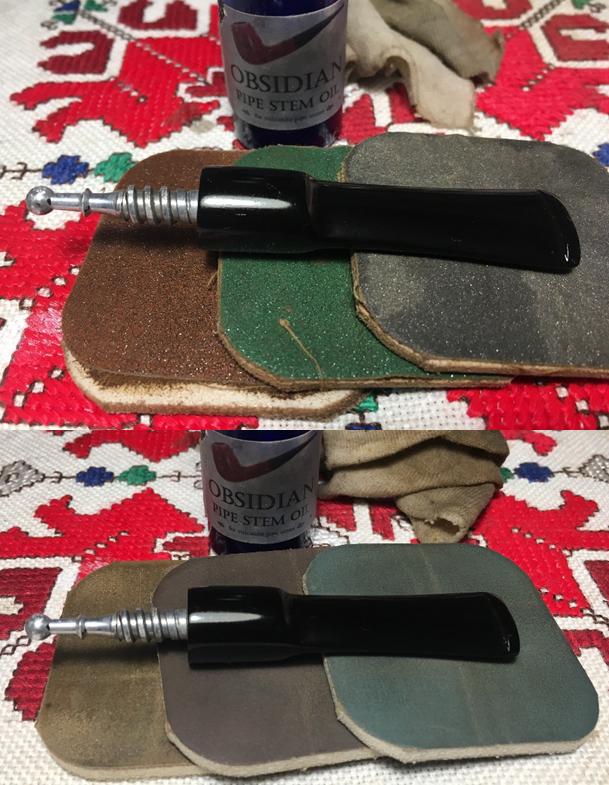
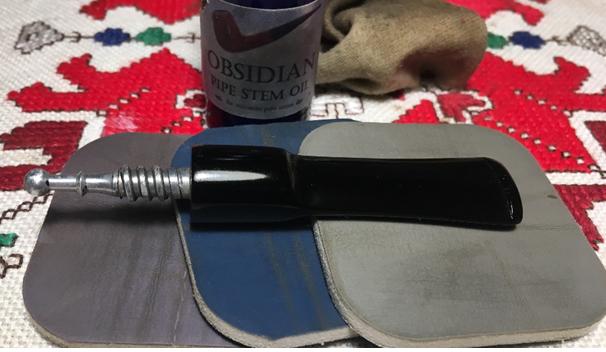
Restoring another of Barry’s Dad’s Pipes – a Comoy’s Grand Slam Pipe 202


Blog by Steve Laug

Late in the summer of 2017 I received an email on rebornpipes blog from Barry in Portland, Oregon. He wanted to know if I would be interested in purchasing his father’s pipes. He wrote that his Dad was a gracious, dignified and dedicated father, businessman and community leader for many years in Fresno, California where he was raised. He acquired his pipes when he gave up smoking cigarettes in the 1960s. There wasn’t an ounce of pretense in the man and he smoked his pipes for pleasure and as a pass-time while reading, enjoying company or watching sports on TV. Barry and I corresponded back and forth and concluded our deal. I became the proud owner of his Dad’s pipes. The inventory of the pipes he would be sending included some real beauties – Comoy’s, Parkers, Dunhills and some no name brands. They were beautiful and I could not wait to see them. I had him send them to Jeff where he would clean them up before I received them. Jeff took some photos of the lot as he opened the box. Each pipe was individually wrapped with bubble wrap and taped to protect them. There were 25 bubble wrapped packages and a lot of pipe accessories included – pipe racks, reamers, scrapers and Comoy’s filters and washers. There were pipe pouches and a wooden cigar box that held all of the accessories and reamers. There was a boxed KleenReem pipe reamer that was virtually unused. Jeff unwrapped the pipes and took pictures of the estate showing both the pipes and the accessories. Barry had labeled each pipe with a sticky note. It was an amazing addition to my pipe and tool collection. The next pipe I chose to work on from the collection was a Comoy’s Grand Slam Pipe, one of four Comoy’s pipes. It was also was missing the original stem but the shape of the bowl and shank were elegant. The shape was a classic Yachtsman or Zulu. The bottom of the shank was flattened and the pipe could stand on the desktop. The finish was dirty and filled with the detritus of years of use followed by sitting unused. The bowl was thickly caked and had an overflow of lava on the rim top. Even through the grime and grit you can still see the amazing birdseye on the sides and cross grain on the front and back of the bowl and the top and underside of the shank. Once more the presence of the replacement stem told me that the pipe had been a favourite and that the original stem had been either gnawed or broken and replaced. The new stem was well made and fit the shank perfectly. The pipe repairman had done a great job on the stem. I also had some use and was lightly oxidized and had tooth chatter and marks on both sides of the stem at the button. The surface edges of the button also had tooth marks that were present. This stem also had some calcification around the button as well that made me think that perhaps the stem had once sported a softee bit. Jeff took photos of the pipe before he cleaned it up. The photos tell the story better than my words can. He took some close up photos of the bowl and rim top to show the cake and their condition.  He also took photos to show the grain on the side, front and underside of the bowl. He also photographed the stamping on both sides of the shank to show what it read and the condition of the stamping. The left side is stamped Comoy’s over Grand Slam over Pipe. On the right side it is stamped with the Comoy’s Com stamp Made in London in a circle over England. Next to that is the shape number 202. There is no patent number on the shank and the markings of the leather washer size *5 on the underside of the shank at the shank/stem union. The replacement stem was oxidized as mentioned above and had tooth chatter and marks. Jeff took photos of both sides of the stem to capture their condition before he cleaned the pipe.I wanted to learn a bit more about the Grand Slam line. The pipe had originally come with a special stinger/filter apparatus screwed into the tenon. I found the following photos and info on the pipephil website. I include both the link and the following photos for your information. http://www.pipephil.eu/logos/en/infos/comoy1.htmlThe next photo shows the original metal filter system that  was made to force “the air stream through a go-between space before entering the stem and the smokers mouth.” The stem that I have does not have the threaded tenon and thus cannot hold the apparatus. The photos below show the stem and the diagram of the system.I also wanted to have some idea of the date on this old pipe so I did a bit of digging on Pipedia. I found a helpful dating guide there. I found that the Comoy’s Grand Slam stamp on the shank dated it to the 1950s. At that time there were four variants to the stamping.

  1. A simple block-letter style without serifs but with the C larger than the other letters and the apostrophe before the “S”.
  2. A return to the slightly more fancy block letters with serifs and the apostrophe. (It seems that some grades carried different stamps, or at least that the stamping changed in different years for some grades.)
  3. A simple block-letter style without serifs and without the apostrophe and with the “C” the same size as the rest of the letters. This stamp was probably not used very long.
  4. A simple block-letter style without serifs but with the apostrophe before the “S” and with the “C” the same size as the rest of the letters.

Variant number 4 fits the style of stamping on this pipe. It is stamped with capital letters, block style without serifs and having an apostrophe between the Y and the S of Comoy’s. That helped me identify the pipe as coming from the 1950s.

The COM stamp (Country of Manufacture) is like the one in the picture to the left. The picture shows exactly what is stamped on the shank of this pipe. It is stamped in a circle with “MADE” at the top, “IN” in the middle, and “LONDON” at the bottom, with “ENGLAND” in a straight line beneath. According to the Pipedia article it can be assumed that this stamp was first used in the export drive in the early 1950s. Here is the link to the article: https://pipedia.org/wiki/Comoy%27s_Dating_Guide

Jeff did his usual stellar clean up job on the pipe leaving it pristine and without damage to the finish. He reamed the bowl with a PipNet pipe reamer and cleaned up the remnants with the Savinelli Fitsall Pipe Knife. He scrubbed out the mortise and the airway in the shank and the stem with alcohol, cotton swabs and pipe cleaners. He scrubbed the exterior of the bowl, rim and shank with a tooth brush and Murphy’s Oil Soap to remove the grime of the smooth finish on the bowl and shank. He rinsed it under running water. He dried it off with a soft cloth. Once the dust and debris were removed the finish looked very good. I took photos of the pipe to show its condition before I started my work on it. I took some close up photos of the bowl and rim top as well as both sides of the stem to show their condition. The bowl was very clean and the rim top looked good other thank some light nicks and darkening. He had been able to remove the lava from the finish. The inner edge was in excellent condition and there was some slight roughness on the outer edge. The stem is lightly oxidized as can be seen in the photos and has small tooth marks near the button on both sides.I started with the stem on this one. I “painted” the tooth marks with the flame of a Bic lighter and was able raise most of them even with the surface of the stem. I used some clear super glue to fill in the tooth mark on the top of the button that did not rise with the heat. Once the glue dried I sanded out the tooth chatter and the tooth marks next to the button on both sides and the repair on the top of the button with 220 grit sandpaper. I polished stem with micromesh sanding pads – wet sanding with 1500-2400 grit pads and dry sanding with 3200-12000 grit pads. I wiped the stem down with Obsidian Oil after each pad. I polished it with Before & After Pipe Stem Polish, both Fine and Extra Fine. I gave it a final coat of Obsidian Oil and set it aside to dry. I worked on the darkened rim and the small marks and nicks on it with micromesh sanding pads. I lightly sanded it first with 220 grit sandpaper and followed it up with 1500-12000 grit micromesh sanding pads. I wiped it down after each pad to check on the progress. I worked Before & After Restoration Balm deep into the briar on the smooth finish to clean, enliven and protect it. I wiped it off with a soft cloth. I buffed the bowl with a cotton cloth to polish it. It really began to have a deep shine in the briar. I took some photos of the bowl at this point to mark the progress in the restoration. The grain on the bowl is really beginning to stand out and will only do so more as the pipe is waxed. I put the stem back on the bowl and worked the pipe over on the buffing wheel using Blue Diamond to polish the stem. I buffed the bowl and the stem with Blue Diamond polish to raise the shine on the briar and the vulcanite. I was careful to not buff the stamping and damage it. I gave the bowl and stem multiple coats of carnauba wax. I buffed the entire pipe with a clean buffing pad to raise the shine. I hand buffed it with a microfiber cloth to deepen the shine. The finished pipe is shown in the photos below. The rich brown stain allows the grain to really stand out on this little pipe and it works well with the rich black of the polished vulcanite stem. This Comoy’s Grand Slam is a beautiful and interesting looking pipe. The dimensions of the pipe are: Length: 5 1/2 inches, Height: 1 3/4 inches, Outside Diameter: 1 1/8 inches, Diameter of the chamber: 3/4 inches. This 1950s era Comoy’s is one that will fit well in any pipeman’s collection and add a touch of real class. Thanks for walking through the restoration with me.

Resuscitating a Gentle Giant Bent Billiard


Blog by Steve Laug

Several weeks ago I got a Facetime call from my brother Jeff. He was in Bozeman, Montana at an antique shop and had found a pipe that intrigued him. The seller wanted $49 for it and it was a large chunk of briar, well carved with a horn stem. He showed me photos on Facetime and it was indeed intriguing. It had gentle curves both from the bend of the shank to the curve of the horn stem. The horn stem appeared to be in good condition overall. The button and slot were damaged but it would not take too much work to clean up the slot and the nicks at stem/shank junction. We decided to pick it up and restore it. I have to tell you I had no idea how big the pipe was.Jeff took some photos of the pipe before he cleaned it up. It was in pretty good condition. The bowl had a light cake but there was no lava overflow on the rim top. The varnish finish on the bowl was peeling and spotty. The grain on the sides of the pipe was really nice. There were a lot of fills on the bottom and back sides of the bowl and all along the sides of the shank. On the underside of the shank and on part of the bottom of the bowl there were some very large fills that were chipped and damaged.The next series of photos show the rim top and the sides and bottom of the bowl. The cake in the bowl is not thick. The rim top is clean and there are fills that are chipped and nicked on the flat surface. The grain on bowl sides is really quite nice. The photo below of the bottom of the bowl and shank show the damaged fills. They are quite long and extend all along the shank bottom. The second and third photos below show the damaged areas of the fills. The fit of the stem to the shank was snug. There were a couple small nicks in the horn stem.The slot in the button end was damaged. On the top and the bottom edges the horn was missing. The second photo gives perspective on the damage along the edges of the button. The good thing was that the button itself was quite deep and I would be able to “top” it and remove much of the damage to the end. Jeff did his usual great job cleaning the pipe before he sent it to me. He reamed the bowl with a Savinelli Fitsall Pipe Knife. He scrubbed out the mortise and the airway in the shank and the stem with alcohol, cotton swabs and pipe cleaners. He scrubbed the exterior of the bowl, rim and shank with a tooth brush and Murphy’s Oil Soap to remove the peeling varnish coat on the bowl and shank. He rinsed it under running water. He dried it off with a soft cloth. Once the peeling varnish debris was removed, the finish was in decent condition. When it arrived it was in a vinyl bag that had been made for it. I had no idea how large the pipe was. I slowly took it out of the bag and took photos of the pipe to show its condition before I started my work on it.It was large enough that I can honestly say I have never seen a pipe this large. To get a better idea of the size I measured it for myself. The dimensions were Length: 12 inches, Height: 3 ½ inches, Outside Diameter of the Bowl: 2 inches, Diameter of the Chamber: 1 ½ inches. Later I will take a photo of the pipe with a regular sized bent billiard. I took some photos of the pipe to show what he had done in the cleanup work. It was a beautiful pipe. I took a close up photo of the rim and bowl to show the condition after the cleanup. You can see the fills on the top and inner edge of the bowl as well as the damage on the front inner edge. The stem itself looks to be in great condition other than several chips around the end next to the shank and the damage to the slot in the button.I took close up photos of the slot in the button to show the damage. In the photos you can see the damage to the edges of the slot on the sides and the top and bottom.Because of the depth of the button, the thickness of the stem end I decided to start on that first. I used the topping board and 220 grit sandpaper and topped the end of the button to remove the damaged areas as much as possible.I filled in the notches in the slot with clear super glue. I worked on them to repair the damages in those areas. I sanded the end of the button and slot to remove the excess and used a needle file to clean up the slot edges.I blew air through the stem and found that the flow was constricted. I pushed a pipe cleaner into the airway from both end and found that it hit a clogged or constriction at the midpoint of the stem. I pushed a flexible wire through the airway and pushed out thick tars and hardened oils from the stem. I used long churchwarden pipe cleaners dipped in alcohol through the airway to clean out the debris. Once I had cleaned it out the flow of air through the stem both ways was unrestricted.I repaired the chipped areas on the tenon end of the stem with clear super glue. Once the glue had cured I sanded the repaired areas to remove the excess and blend it into the surface of the horn. I polished the stem with micromesh sanding pads – wet sanding with 1500-2400 grit pads and dry sanding with 3200-12000 grit pads. I wiped the stem down with Obsidian Oil after each pad. I polished it with Before & After Pipe Polish and rubbed it down with a cotton pad to deeply polish the horn. I set the stem aside and worked on the bowl. I decided to top the bowl to remove the damaged areas from the surface and edges of the rim. I used 220 grit sandpaper to clean it up. I topped it until the rim top was clean.I repaired the fills in the briar with clear super glue. I filled them until they were slightly over filled so that as the glue cured it would not shrink and require a second coat.When the glue dried I sanded the bowl with 220 and 380 grit sandpaper to blend the fills into the surface of the briar. I wiped the sanded briar down with alcohol on a cotton pad. I sanded the bowl with a medium and a fine grit sanding sponge and then stained it with a dark brown stain. I flamed it and repeated the process until the coverage was even. You might wonder why I stained it with such a dark stain… my reason was quite simple. I wanted to mask the fills – particularly the large ones on the underside of the shank. I set the bowl aside to let the stain dry and called it a night. In the morning I wiped it down with alcohol on cotton pads to make the dark brown stain more transparent and allow the grain to pop through the finish. The fills though still present were in better condition and less obvious. I polished the briar with micromesh sanding pads – dry sanding with 1500-12000 grit pads. I wiped the bowl down with an alcohol dampened cotton pad after each grit of micromesh. I put the polished stem back on the shank and took a photo of the pipe next to a Peterson’s London Made Kapruf 9BC to give an idea of the sheer size of this giant pipe. The Peterson is an average sized pipe and it appears almost like a nosewarmer next to this big one.I took the pipe to the buffer and worked it over on the buffing wheel using Blue Diamond to polish it. I buffed the entire pipe to raise the gloss on the briar and really bring shine to the horn. I gave the bowl and stem multiple coats of Carnauba Wax. I buffed the entire pipe with a clean buffing pad to raise the shine. I hand buffed it with a microfiber cloth to deepen the shine. The finished pipe is shown in the photos below. The dark brown stains on the bowl do not hide the grain and the fills though present do not stand out as much. The bowl and the rich striated colours of the horn work really well to create a rich looking pipe. The pipe is so big that I want to once again give you the dimensions; Length: 12 inches, Height: 3 ½ inches, Outside Diameter of the Bowl: 2 inches, Diameter of the Chamber: 1 ½ inches.  This humongous briar and horn stem pipe is truly a beauty. I have never seen a pipe this big before and it makes me wonder if it was not originally made as a display pipe. I don’t think I will ever know for sure but I do know that it was smoked and it is available to anyone who is interested in adding big pipe to their own collection. I would have said rack but it is too big to fit even a large rack. I will be putting it on the rebornpipes store shortly so if you are interested let me know. Thanks for walking through the restoration with me.