Blog by Steve Laug
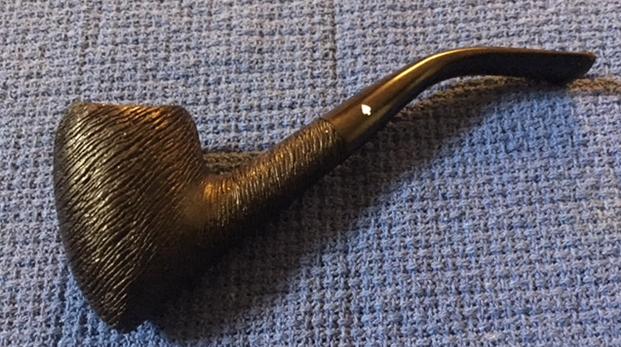
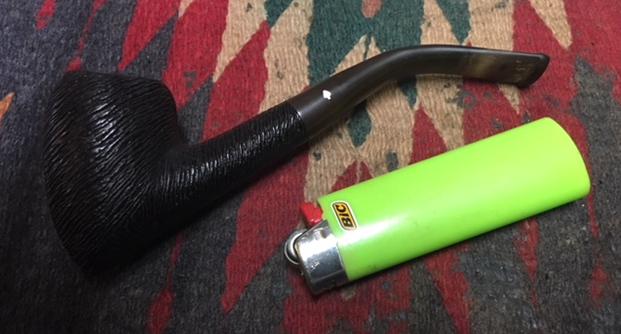
The next pipe on the worktable is another American made pipe from Pipe by Lee out of New York City. I will give more information on the brand later in the blog. This one is a classic smooth finished, beautifully grained Rhodesian with a vulcanite saddle stem. It has some great flame grain around the bowl and shank sides with birdseye on the rim and shank top and heel of the bowl. Jeff and I purchased it along with other pipes from a fellow in Cornwall, Pennsylvania. The pipe is stamped on the left side of the shank and reads Pipes by Lee [over] Limited Edition. On the right side it is stamped and reads An Authentic Imported Briar. On the underside of the shank is carved ’51 [over] Rochester with an underline. Jeff and I were speaking about the pipe and we remembered that the fellow we bought it from in Pennsylvania went to Rochester Institute of Technology, New York and he bought the pipe at that time – 1951. The pipe is dirty with a thick cake in the bowl and some light lava on the rim top. The finish was dusty and there was dust in the twin rings around the rim cap. It was also ground into the finish around the sides of the bowl. The vulcanite saddle stem is oxidized, calcified and has tooth marks and chatter on the top and underside near the button. Jeff took some photos of the pipe before he started his cleanup work. 
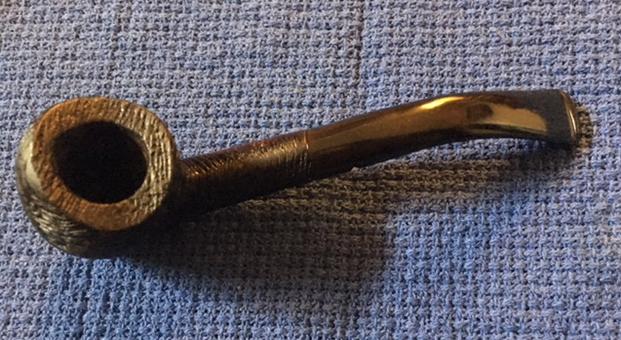
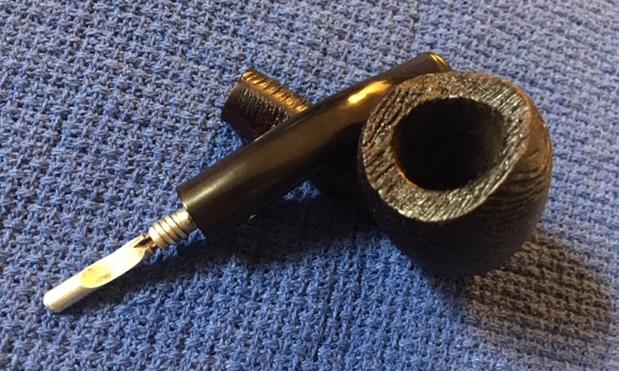
 He took a photo of the bowl and rim top to show their general condition. You can see the light lava on the rim top and the thick cake in the bowl. The stem is oxidized, calcified and has tooth marks and chatter on both sides near the button.
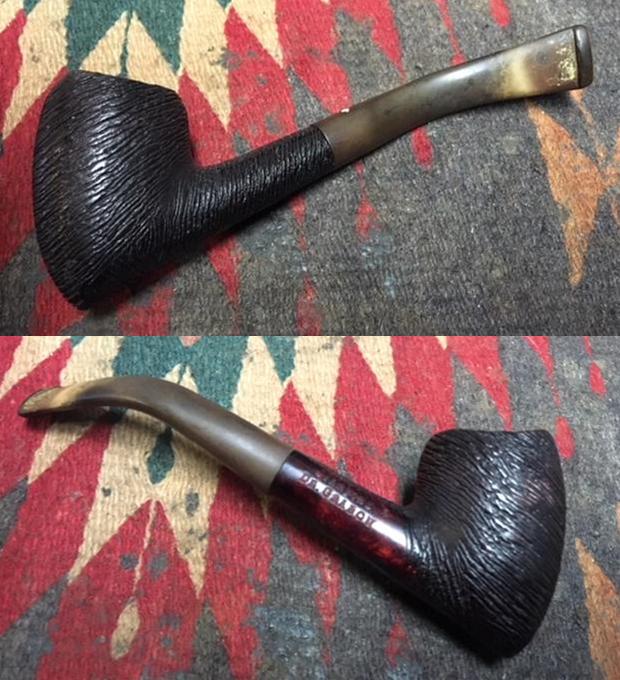
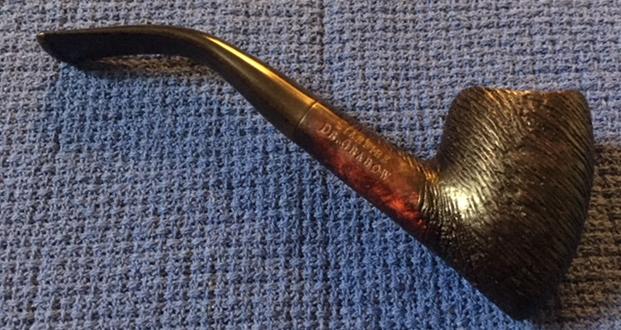
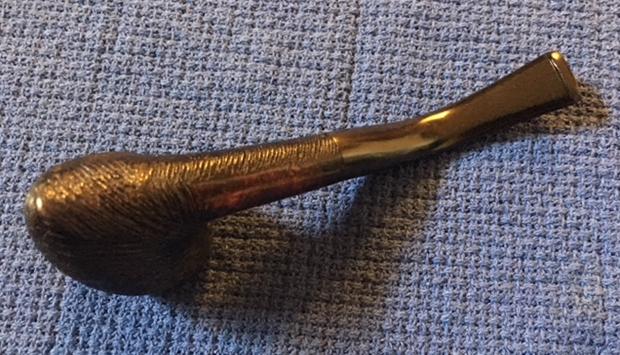
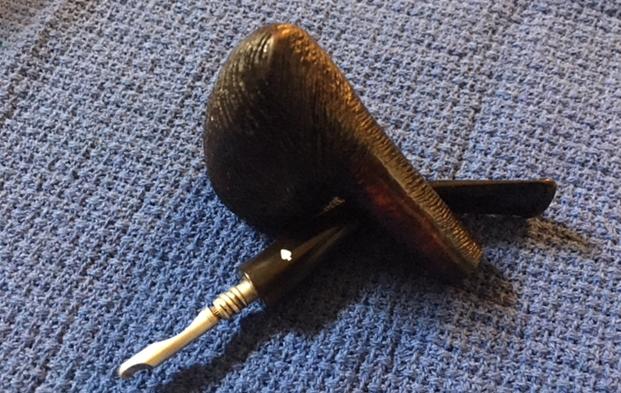
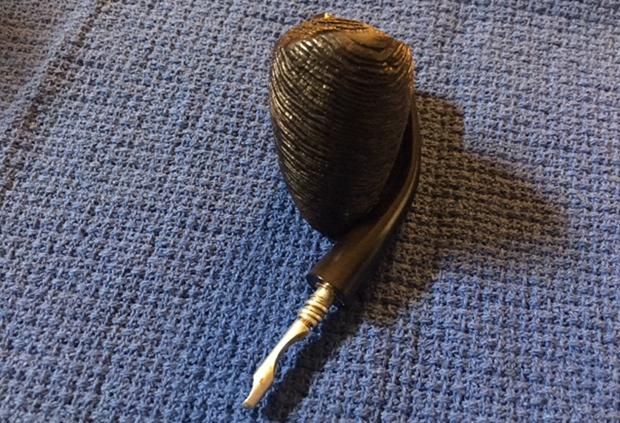
 Jeff took some photos of the sides and heel of the bowl to give an idea of the grain around the bowl and shank. It has some great grain around the bowl sides and bottom – a mix of birdseye, straight and flame grain. I cannot wait to see what it looks like once it is cleaned and polished.
  He took a photo of the stamping on the sides of the shank to capture it for me. It is clear and readable.

 Aaron Henson written about the restoration of a Pipes By Lee 3 Star Rhodesian similar to this on in the past so I turned there first to read about it. I am including the link to the blog if you wish to check it out on your own. (https://rebornpipes.wordpress.com/wp-admin/post.php?post=37004&action=edit&classic-editor).
Aaron had included pic of the flyer to the left that gives a sense of the hierarchy of the brand. I know that even though the flyer says it goes up to 5 stars I have seen 7 star pipes in the past.
I turned to Pipephil to get a feel for the history of the brand and have included a screen capture of the pertinent section on the site below (http://www.pipephil.eu/logos/en/logo-l3.html). I am also including the side bar information that was on the site.
This brand was distributed by Stewart-Allen Co, Inc. NY. Grading (ascending): 1 to 5 stars Early pipes have seven pointed brass stars, middle run have five points and later pipes are stamped with coloured gold stars. Lee seconds: Briar Lee , Gold Coast.
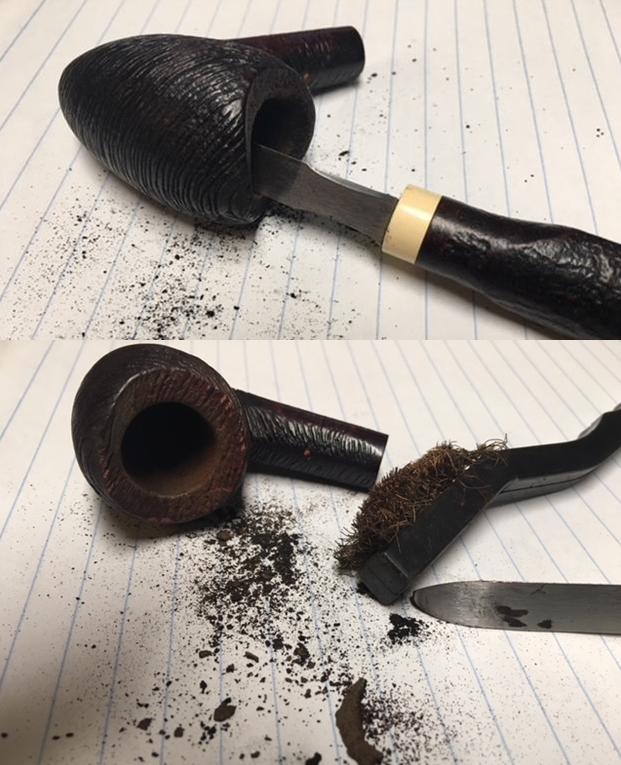
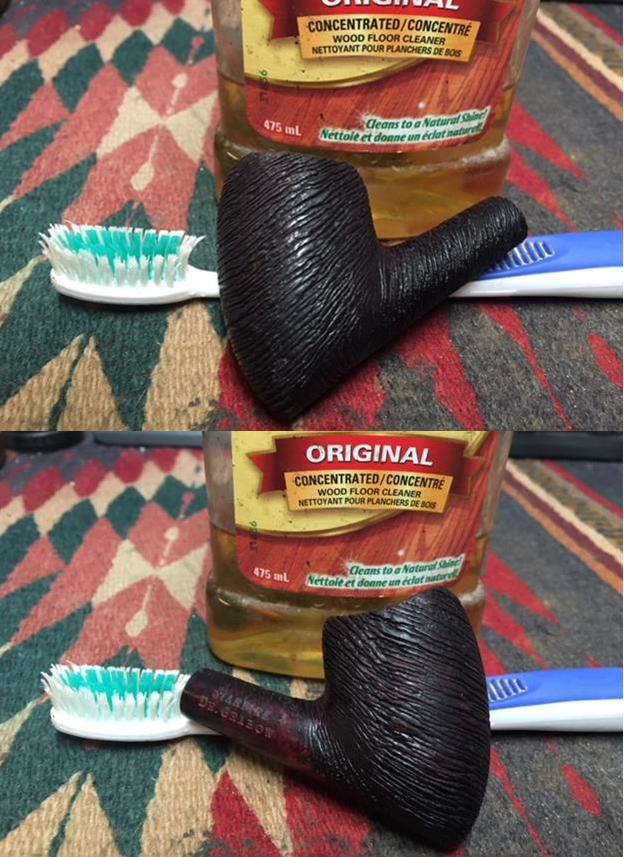
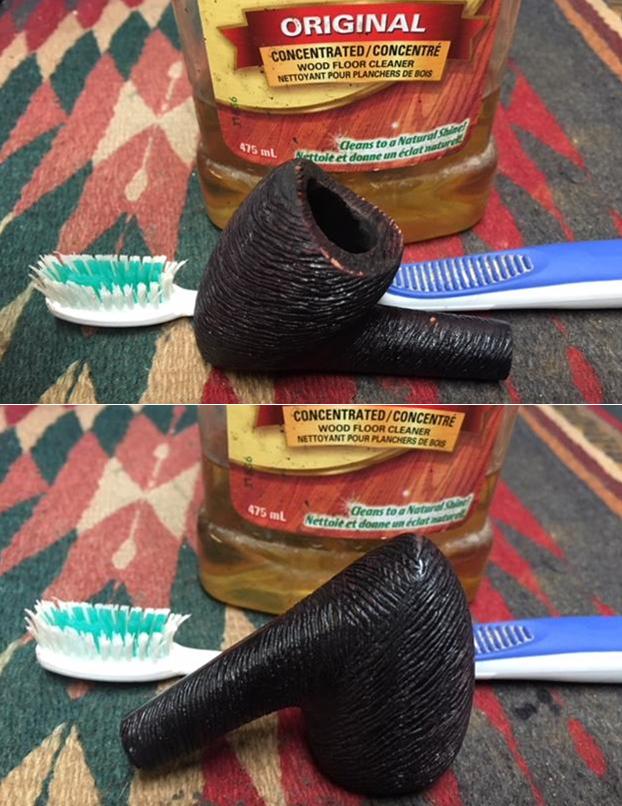
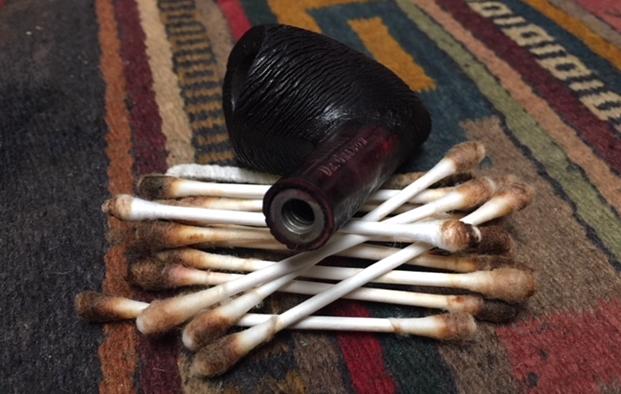
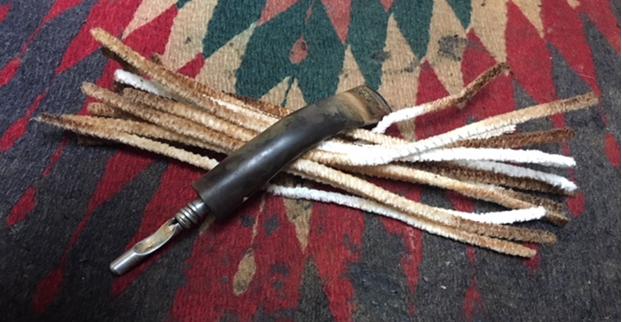
I turned to Pipedia for any additional information as did not find anything new. I have included the link in case some of you might want to check it out (https://pipedia.org/wiki/Lee). Now I had a pretty good idea of how the pipe was stamped and made. With that information I moved forward to work on the pipe itself and see what I had to do with it. Jeff had done an amazing job in removing all of the cake and the lava on the rim top. He had reamed the bowl with a PipNet Pipe Reamer and cleaned up the remnants with a Savinelli Fitsall Pipe Knife. He took the cake back to bare briar so we could check the walls for damage. He scrubbed the exterior of the bowl with Murphy’s Oil Soap and a tooth brush to remove the grime on the bowl and rim and was able to remove the lava and dirt. He cleaned out the interior of the bowl and shank with pipe cleaners, cotton swabs and alcohol until they came out clean. He cleaned the stem with Soft Scrub to remove the grime on the exterior and cleaned out the airway with alcohol, cotton swabs and pipe cleaners. He soaked the stem in Before & After Deoxidizer and rinsed if off and recleaned the inside of the stem with alcohol and pipe cleaners. I took photos of the pipe before I started my part of the restoration.
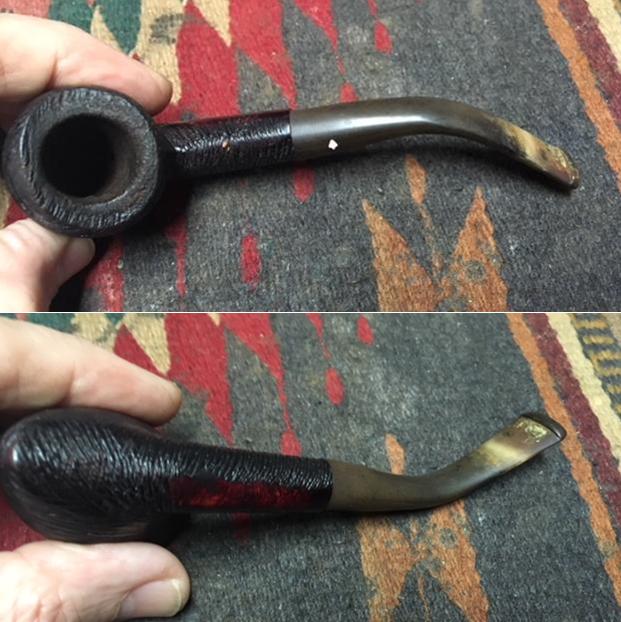
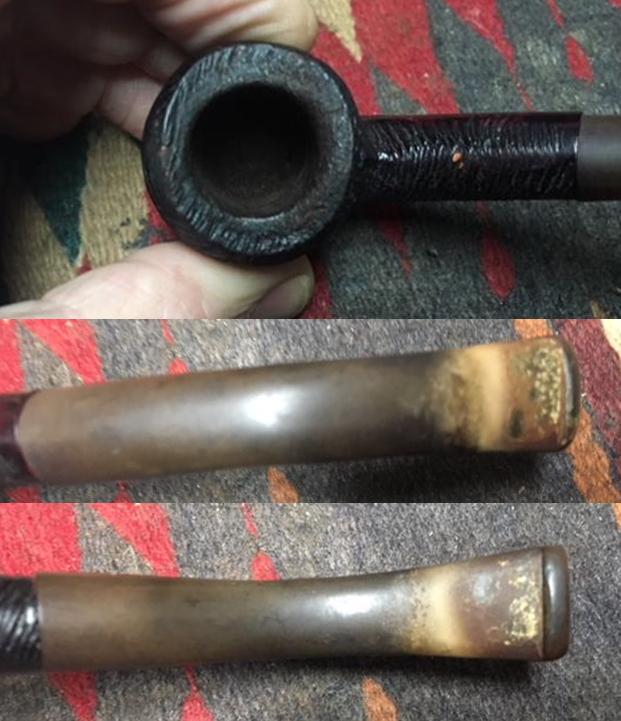
 I took some photos of the rim top and stem. The rim top and bowl looked very good. The damage to the front left inner edge and right rear inner edge of the bowl are visible in the photo. The close up photos of the stem shows the tooth marks and chatter on the top and underside of the stem near the button. The stem is also slightly overclocked to the right.
 I took a photo of the stamping on the sides and underside of the shank to show the condition after the cleanup. It looks good.
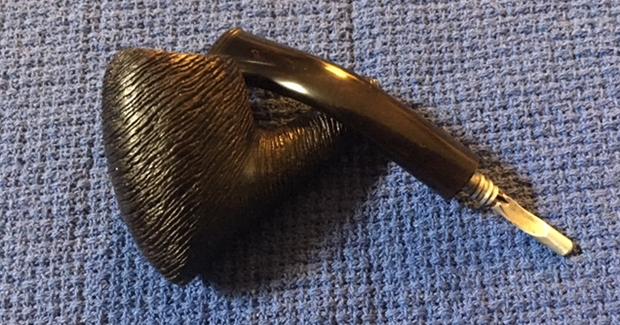
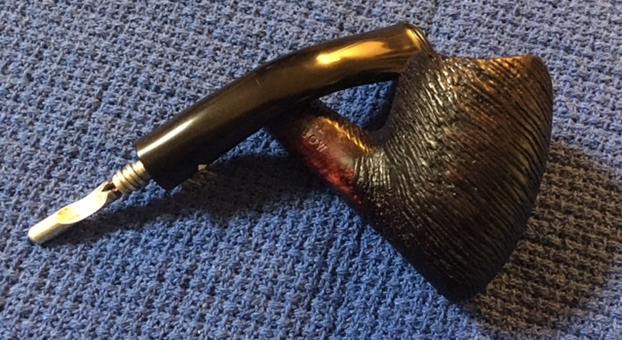
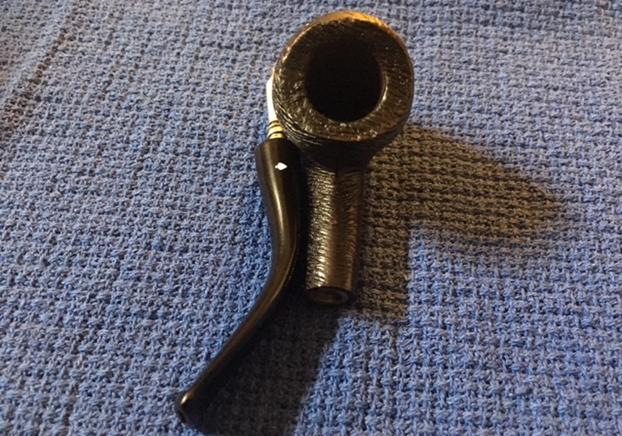
  I removed the stem from the shank and took a photo of the pipe at this point. You can clearly see the condition, size and shape of the pipe.
 I started my part of the restoration work on this pipe by addressing the overclocked stem. I heat the tenon in the stem to loosen the glue that holds it and then twisted the stem into position and aligned it on the shank. I let the pipe cool and the glue reset before removing the stem.
 I addressed the damage and darkening on the edge of the rim, particularly on the front and rear of the inner edge. I used a folded piece of 220 grit sandpaper to remove the damage to the bowl. I started polishing the edge with 400 grit wet dry sandpaper.
  I sanded the outside of the briar with micromesh sanding pads to polish the finish. I wet sanded with 1500-12000 grit sanding pads and wiped it down with a damp pad after each pad.


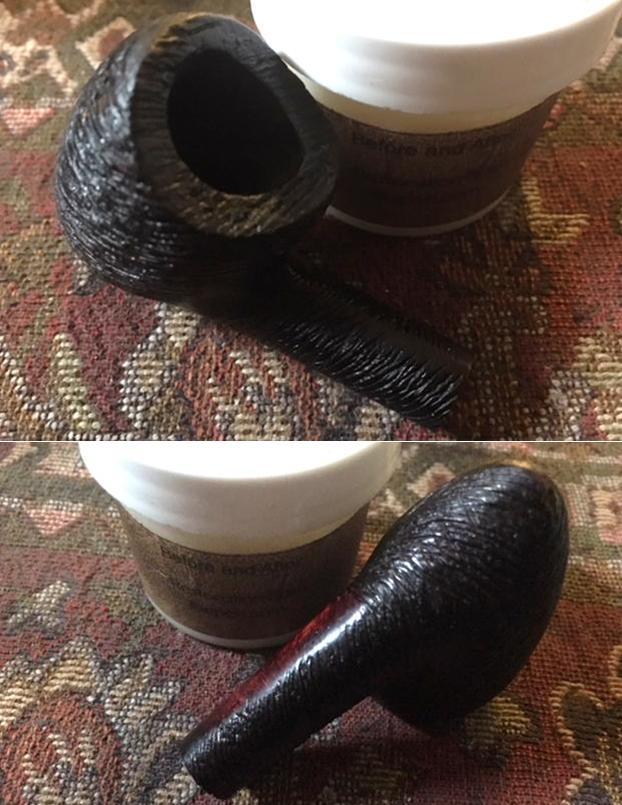
 I worked some Before & After Restoration Balm into the surface of the briar with my fingertips to clean, enliven and protect the briar. I let the balm sit for about ten minutes and then buffed with a cotton cloth to raise the shine. The photos show the bowl at this point in the restoration process.

 I set the bowl aside and turned my attention to the stem. I “painted” the stem surface with the flame of a lighter to lift the tooth marks. I was able to lift most of them using this method. I filled in the remaining marks with black super glue and set the stem aside while the repairs cured.
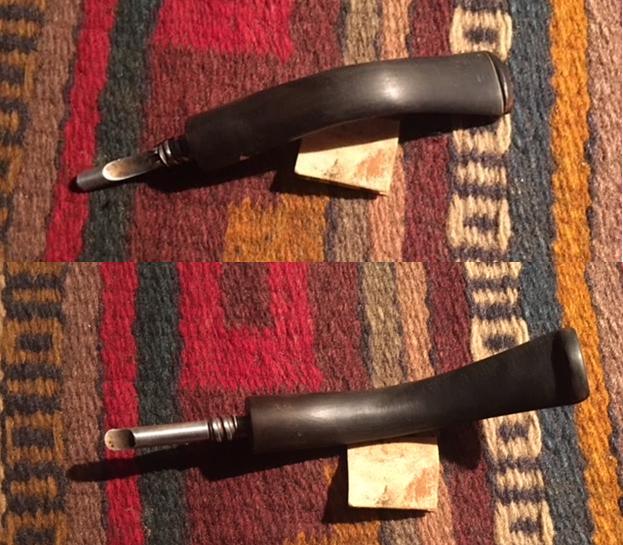
 I sanded the stem with 220 grit sandpaper and 400 grit wet dry sandpaper to remove the scratching in the vulcanite.
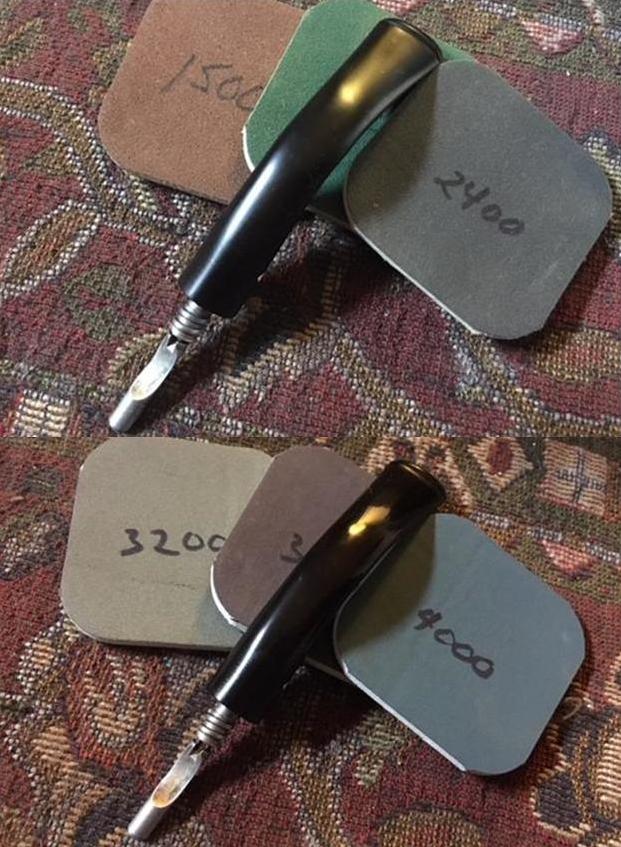
  I polished the stem with micromesh sanding pads – dry sanding with 1500-12000 grit sanding pads. I wiped it down after each sanding pad with a cloth containing some Obsidian Oil. I finished polishing it with Before & After Pipe Stem Polish – both Fine and Extra Fine and buffed it off with a cotton cloth.
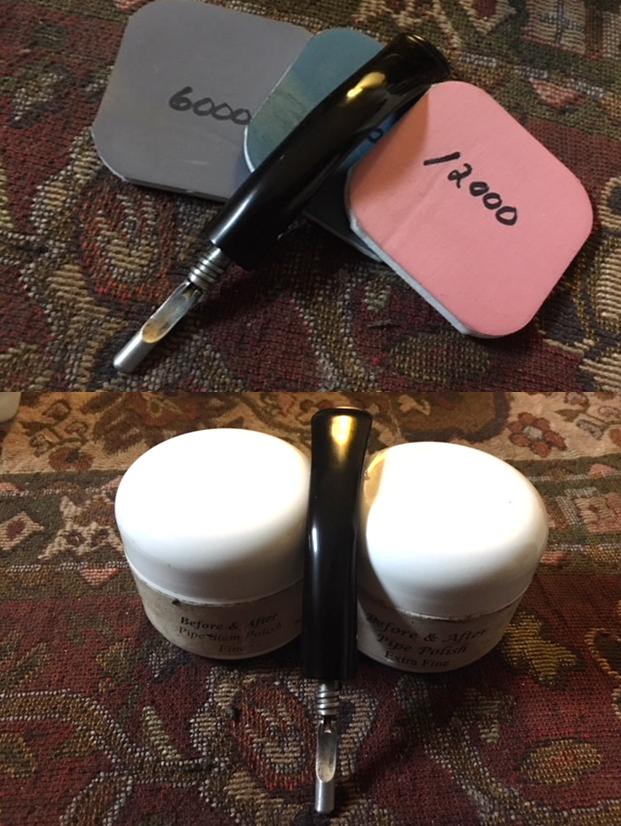
 This Pipes by Lee Limited Edition 3 Star Rhodesian is a nice looking pipe. The finish looks very good and the grain stands out. I put the stem back on the bowl and buffed the pipe with Blue Diamond on the buffing wheel. I carefully avoided the stamping on the shank sides during the process. I gave the bowl and the stem multiple coats of carnauba wax on the buffing wheel and followed that by buffing it with a clean buffing pad on the buffer. I hand buffed the pipe with a microfiber cloth to deepen the shine. The finished pipe is an excellent example of the pipes that were made by Pipes by Lee. The flow of the grain and the way the shape follows it is very well done. Give the finished pipe a look in the photos below. I can only tell you that it is much prettier in person than the photos capture. The dimensions of the pipe are Length: 5 ½ inches, Height: 1 ½ inches, Outside diameter of the bowl: 1 ¾ Chamber diameter: 7/8 of an inch. This interesting Pipes by Lee Rhodesian is a great looking pipe in excellent condition. Thanks for walking through the restoration with me as I worked over another beautiful pipe. I will be adding it to the rebornpipes store soon. If you want to add it to your collection send me an email or a message! Thanks for your time.