Tag Archives: Bowls – refinishing

Restoring a Malaga Hand Made Freehand Sitter


Blog by Steve Laug

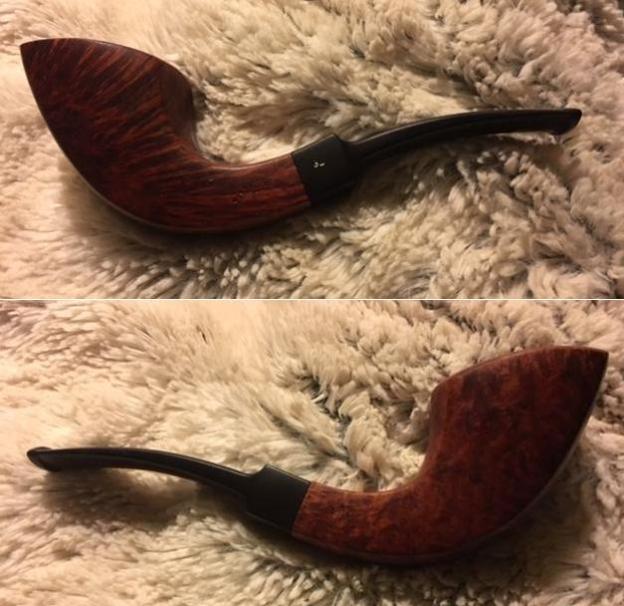
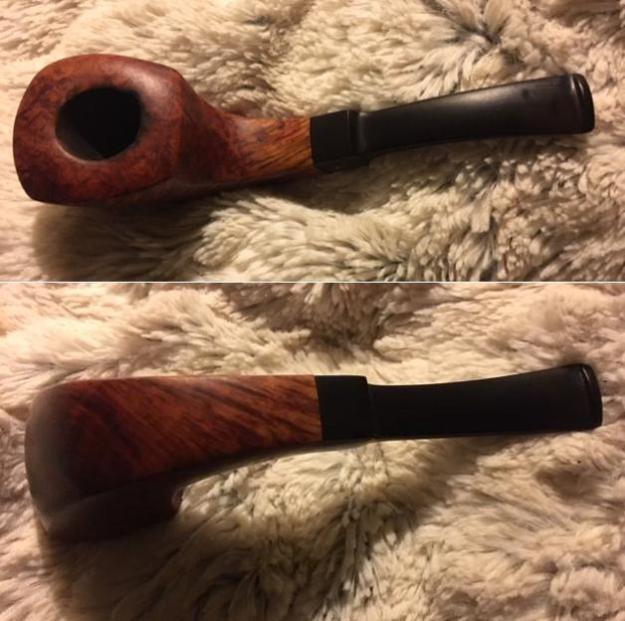
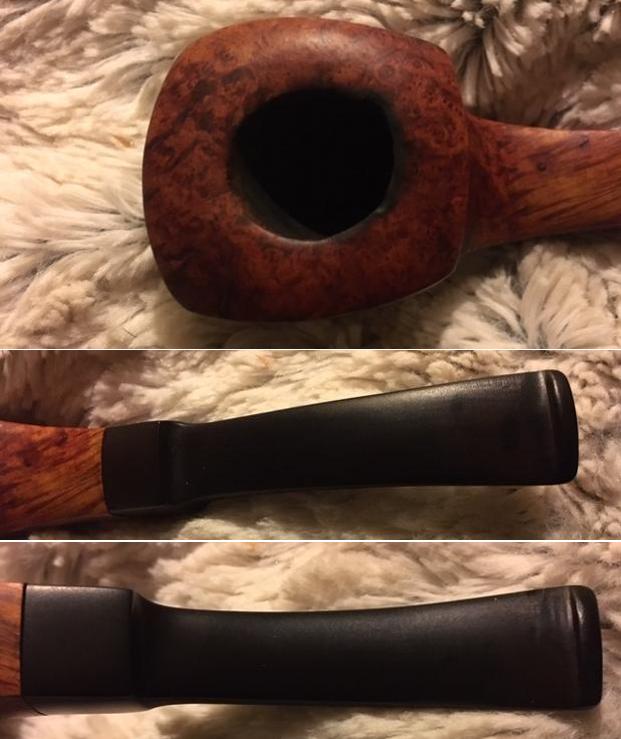
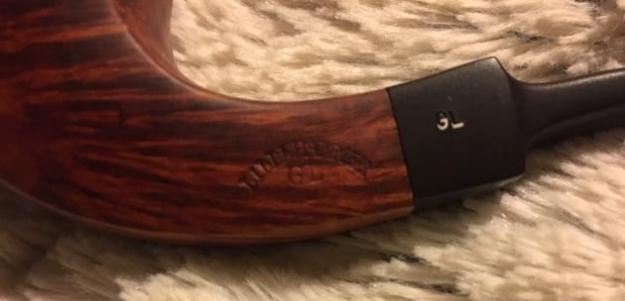
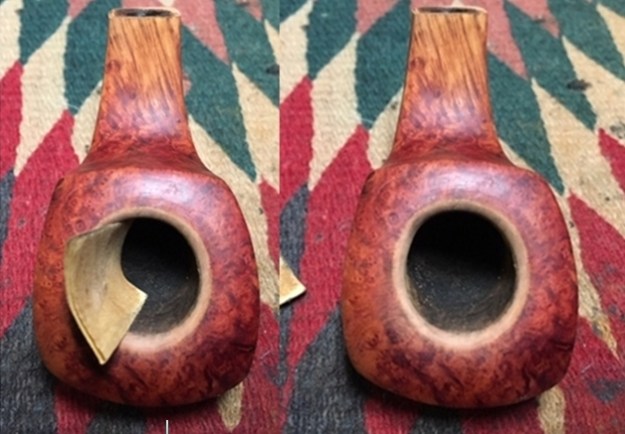
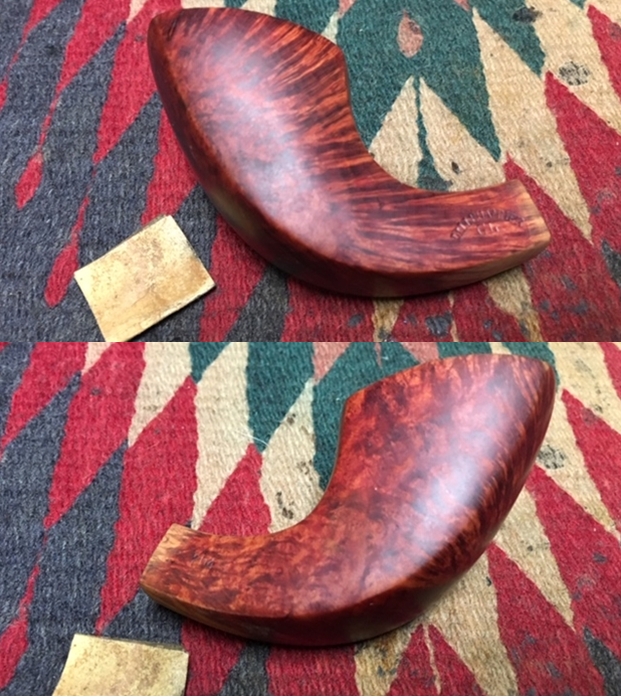
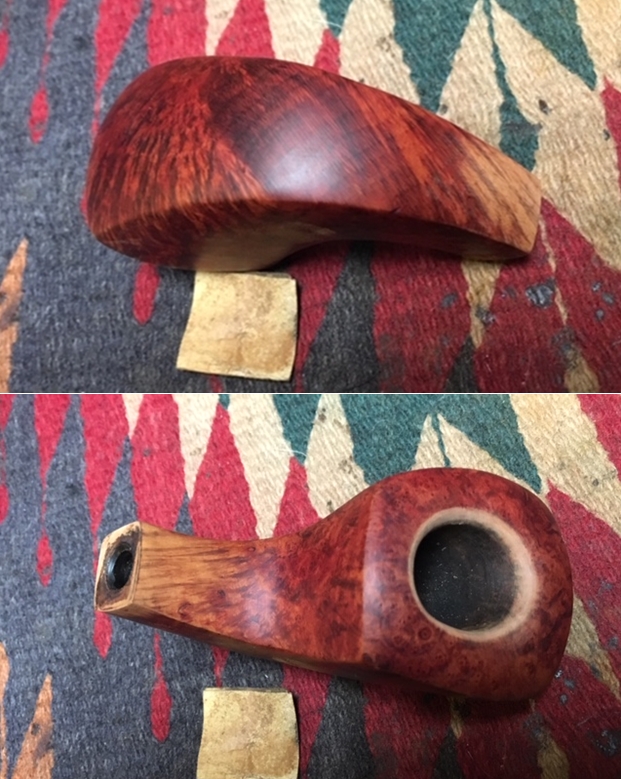
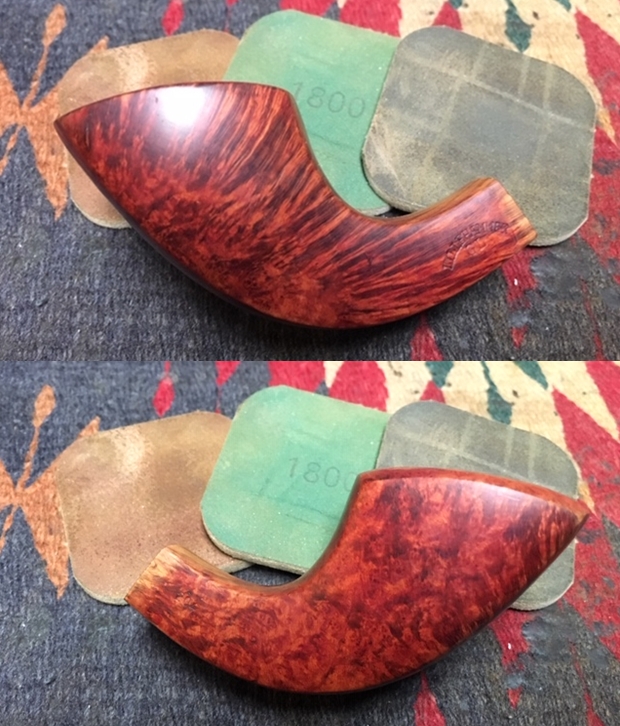
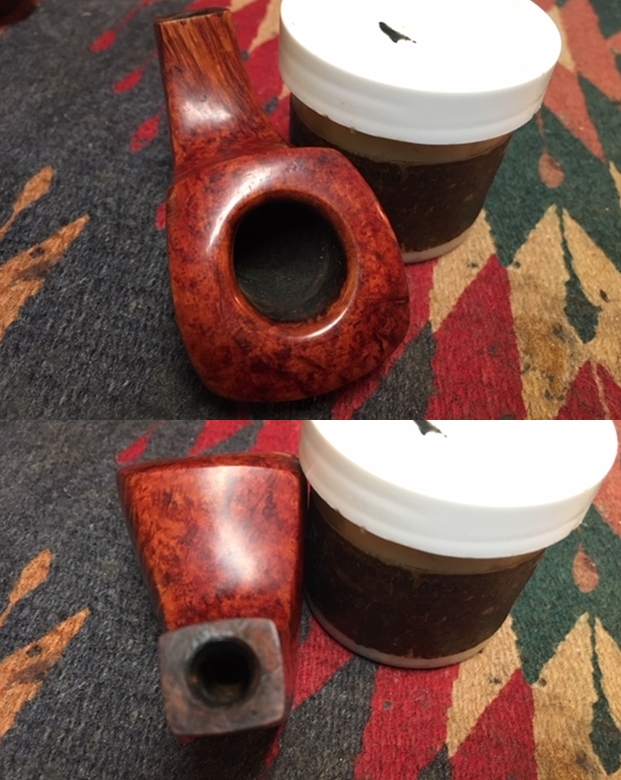
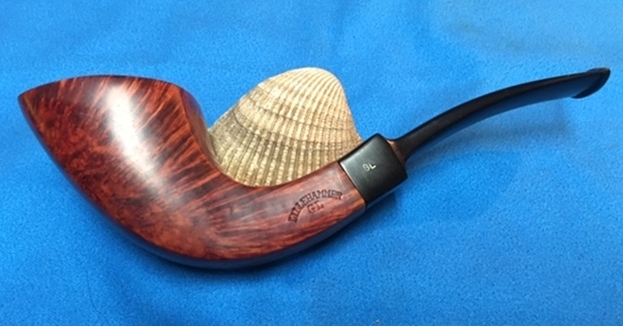
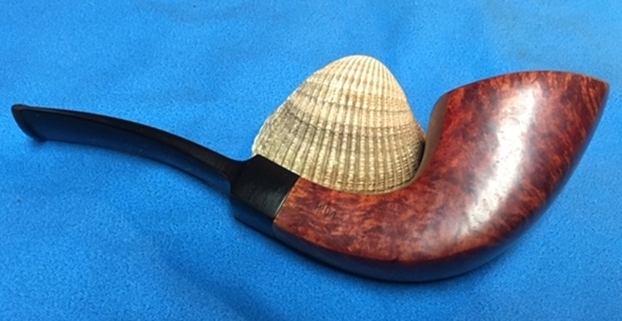
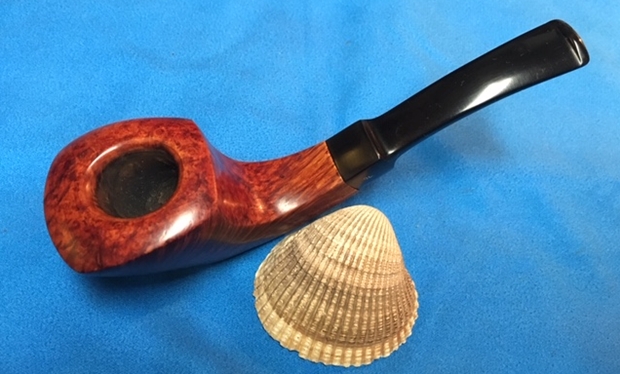
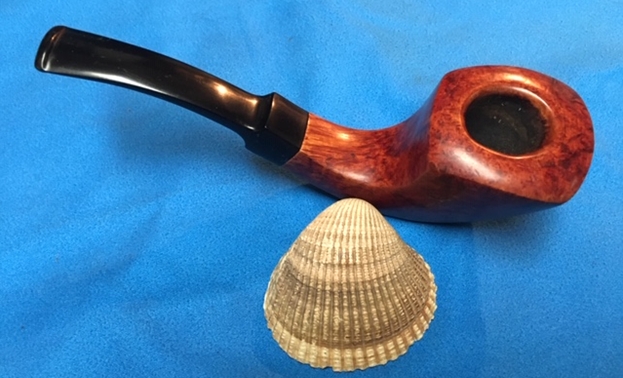
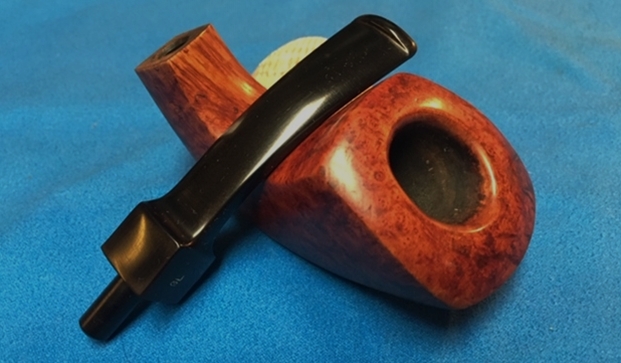
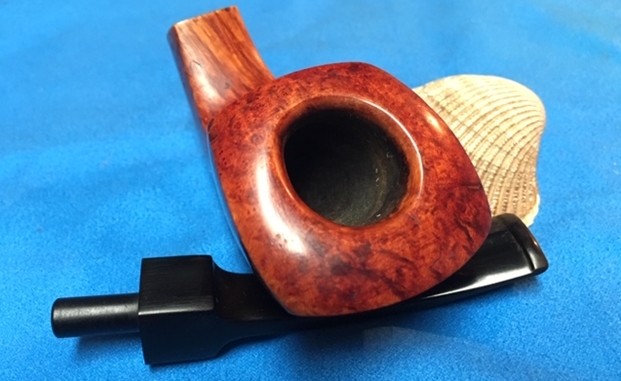
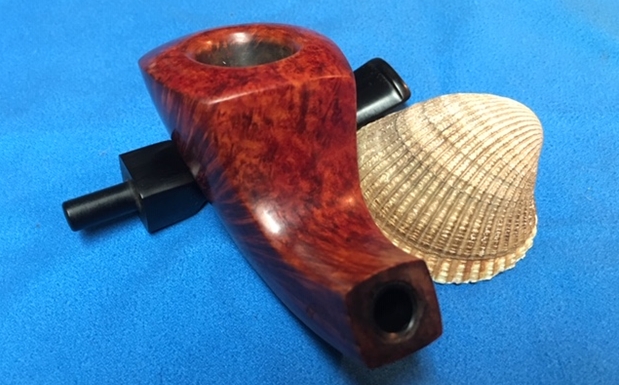
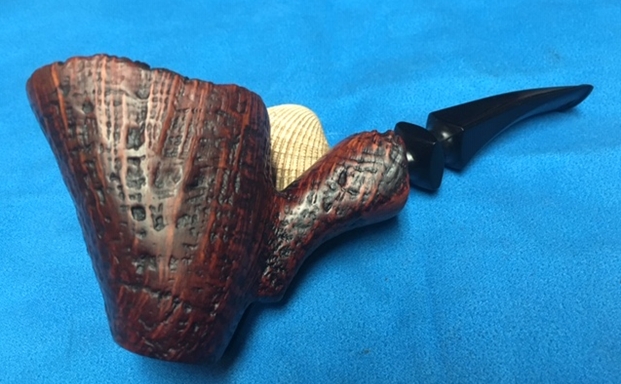
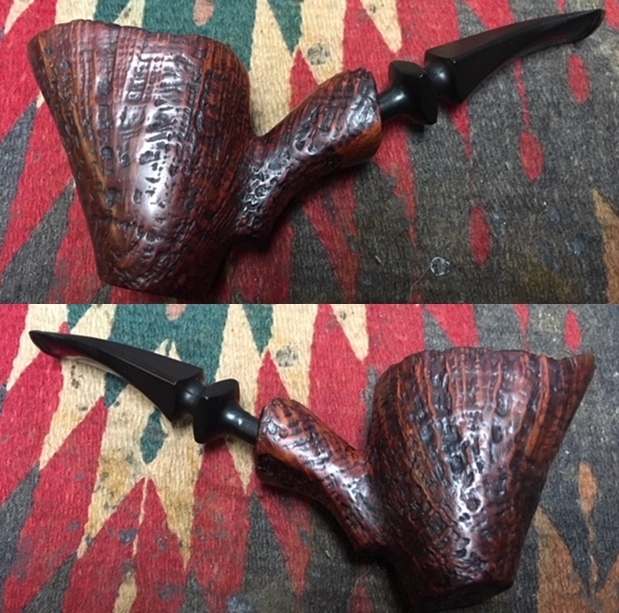
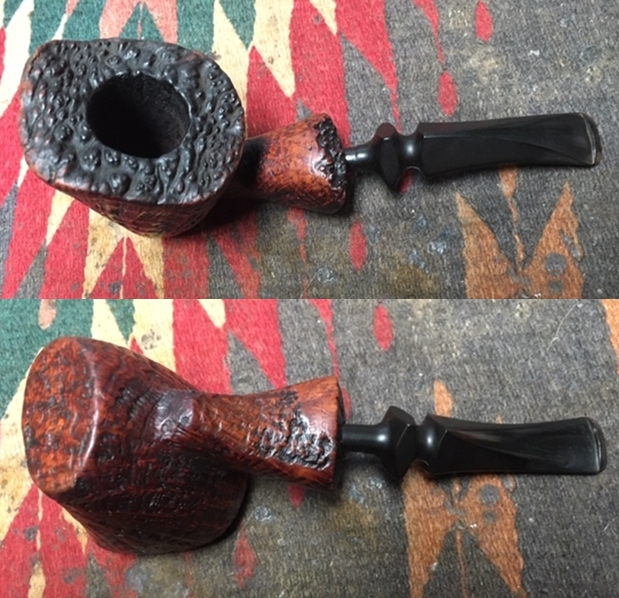
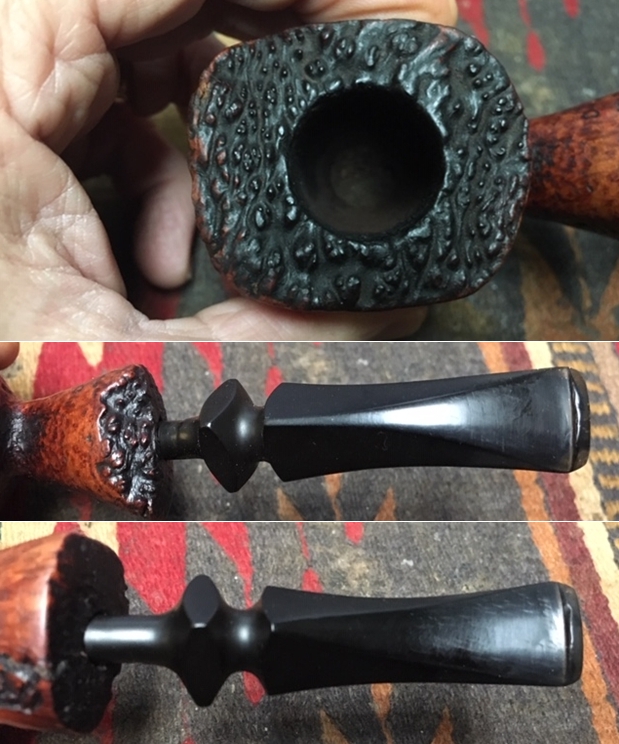
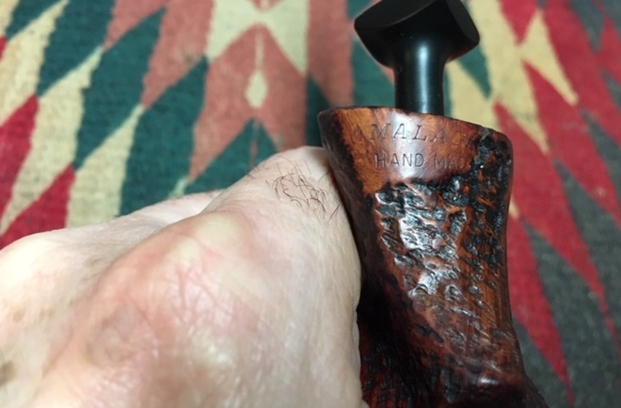
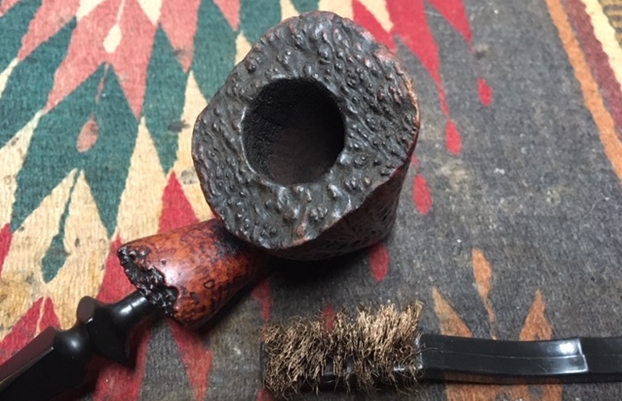
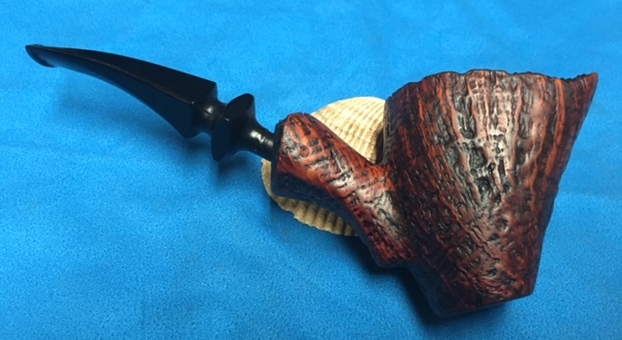
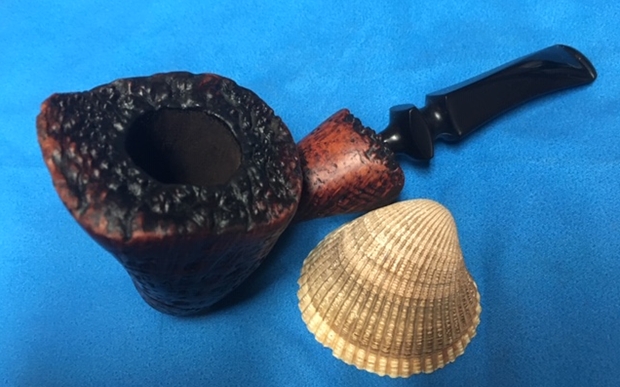
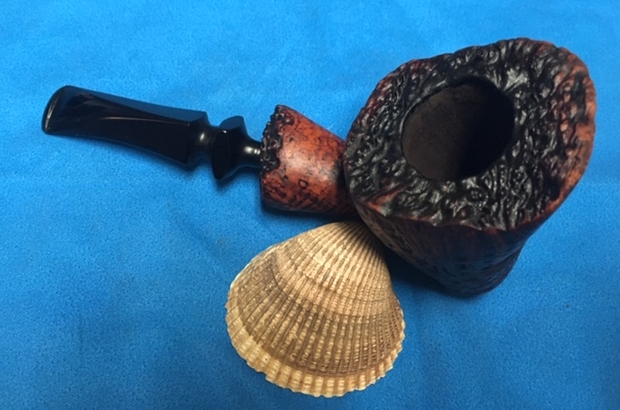
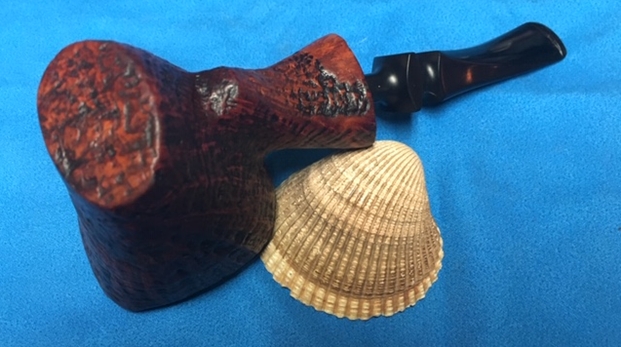
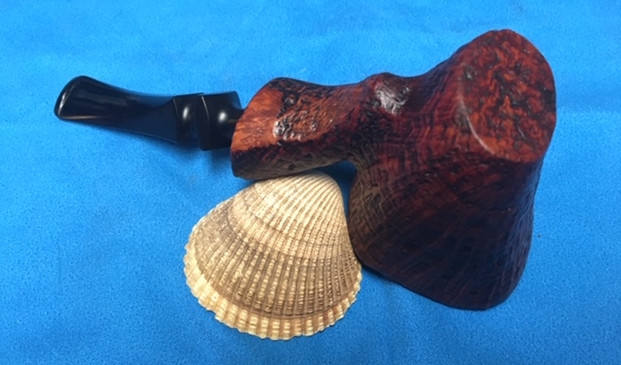
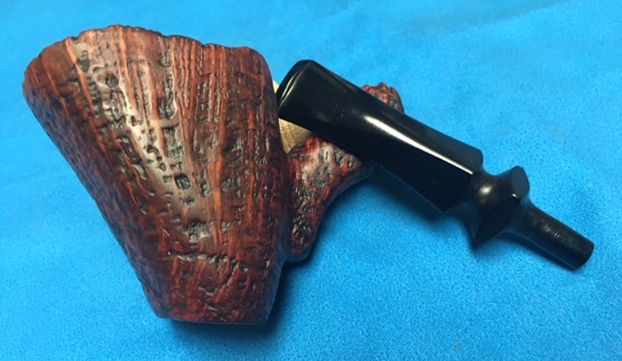
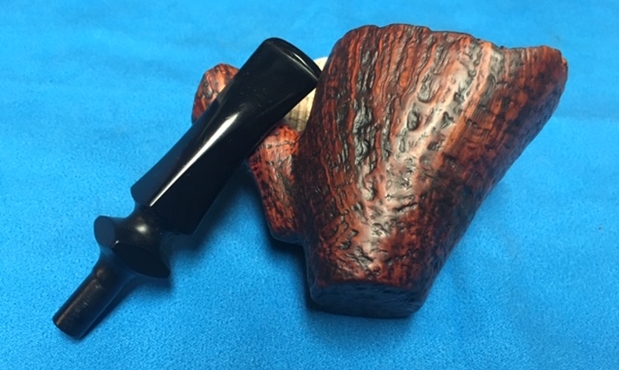
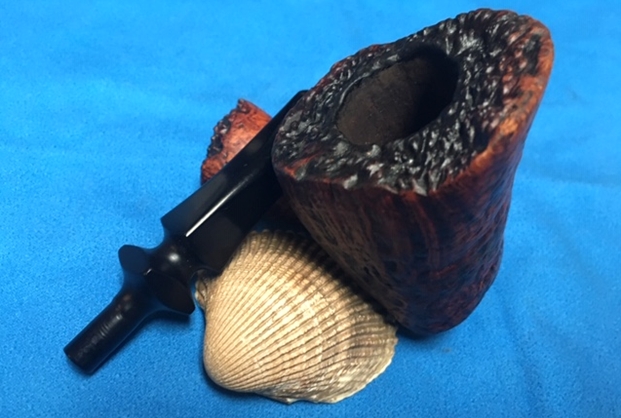
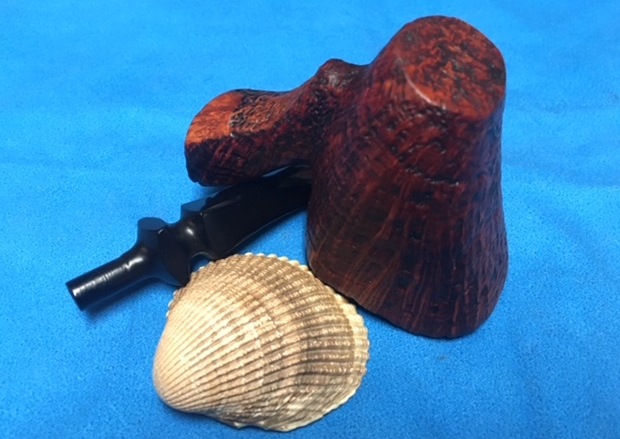
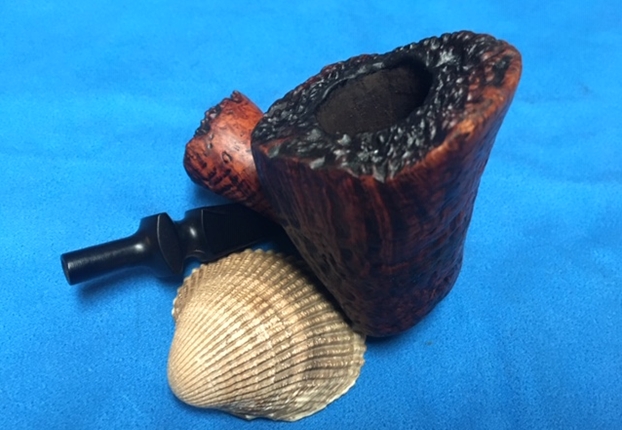
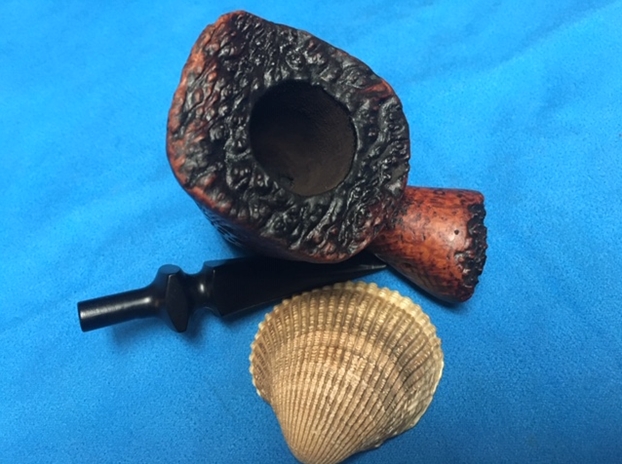
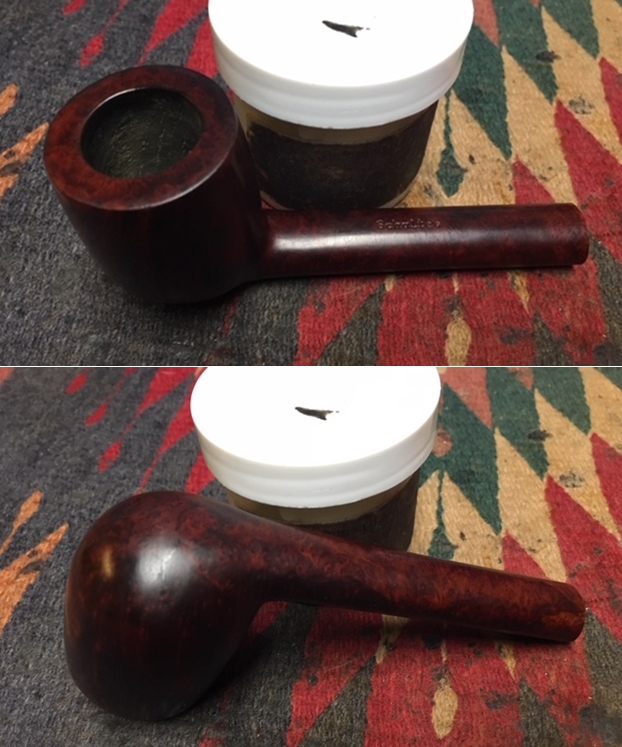
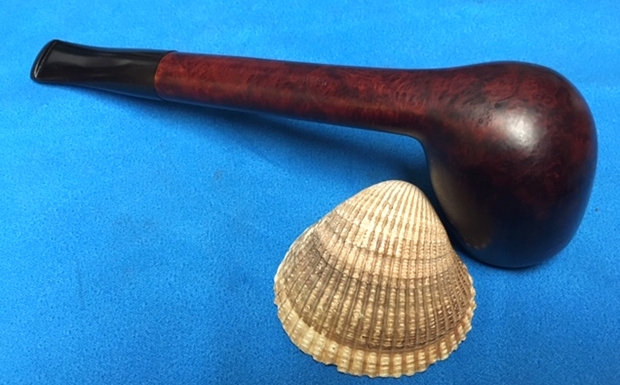
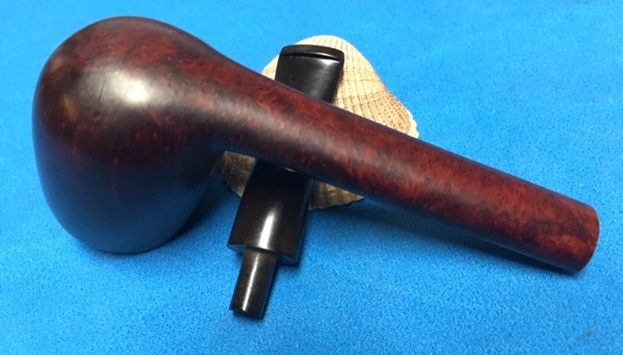
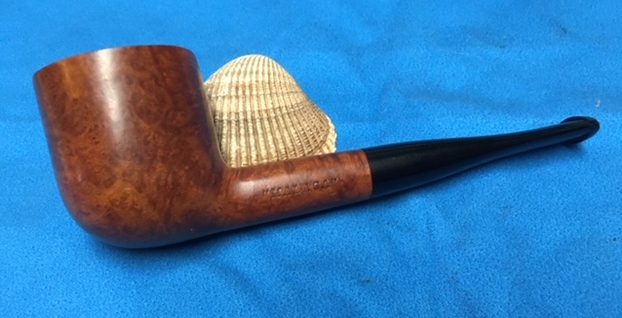
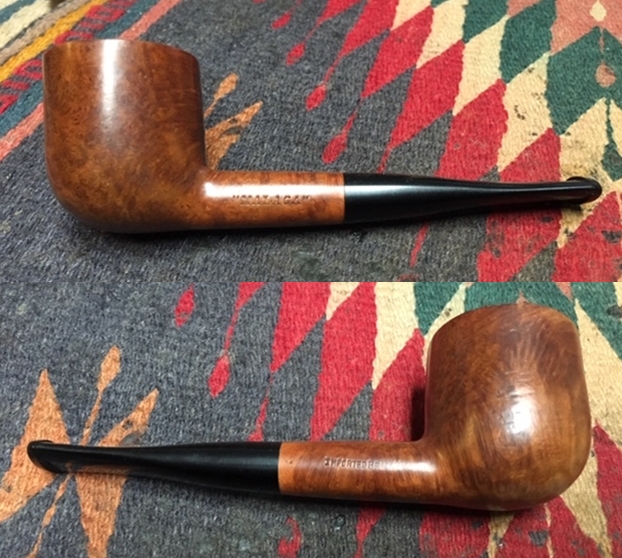
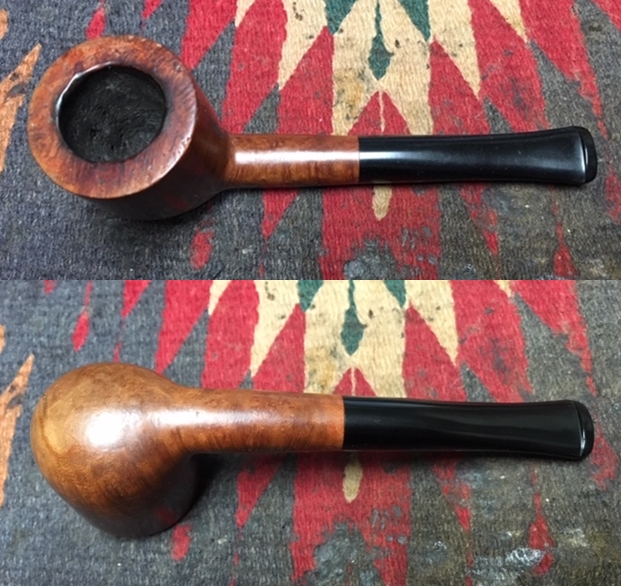
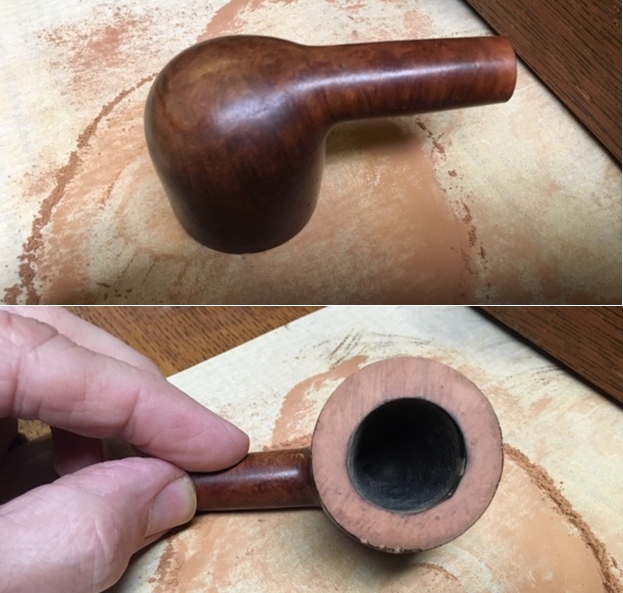
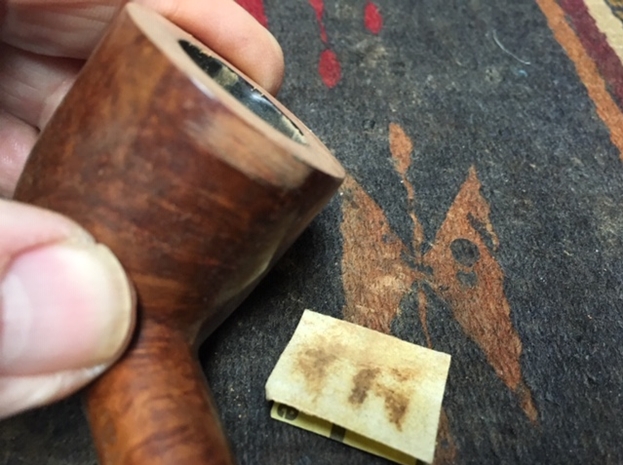
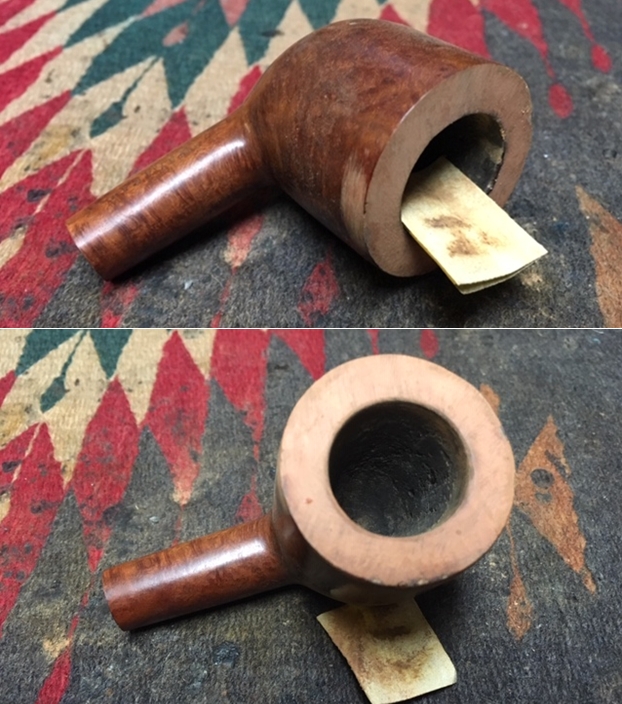
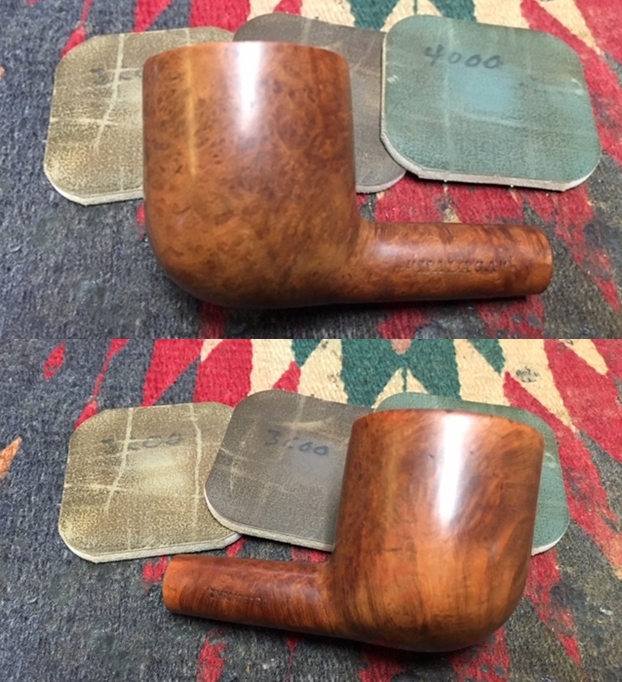
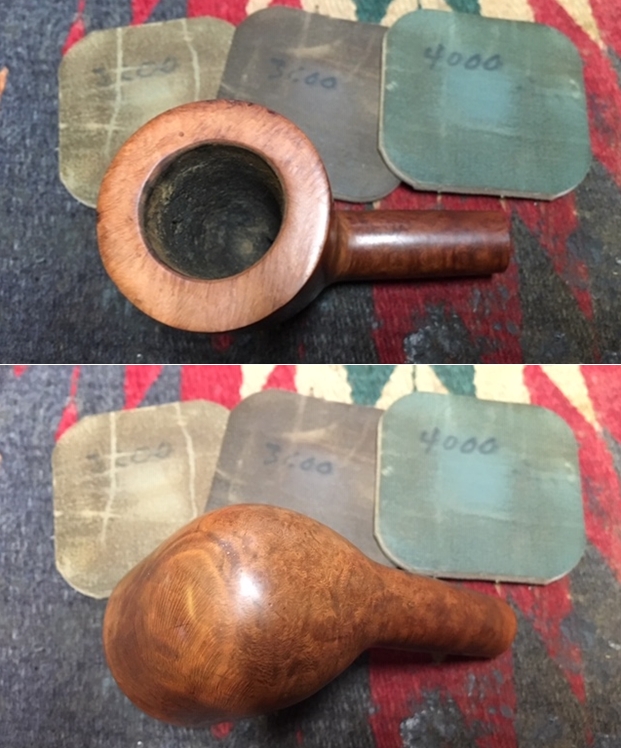
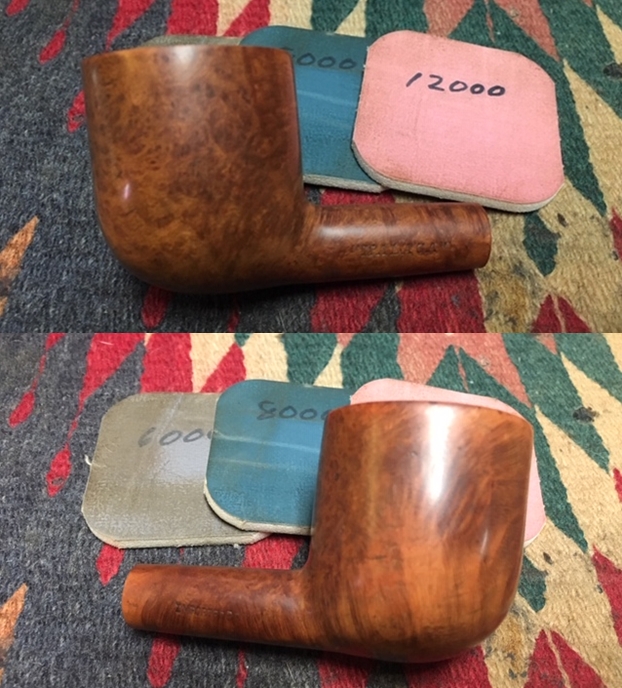
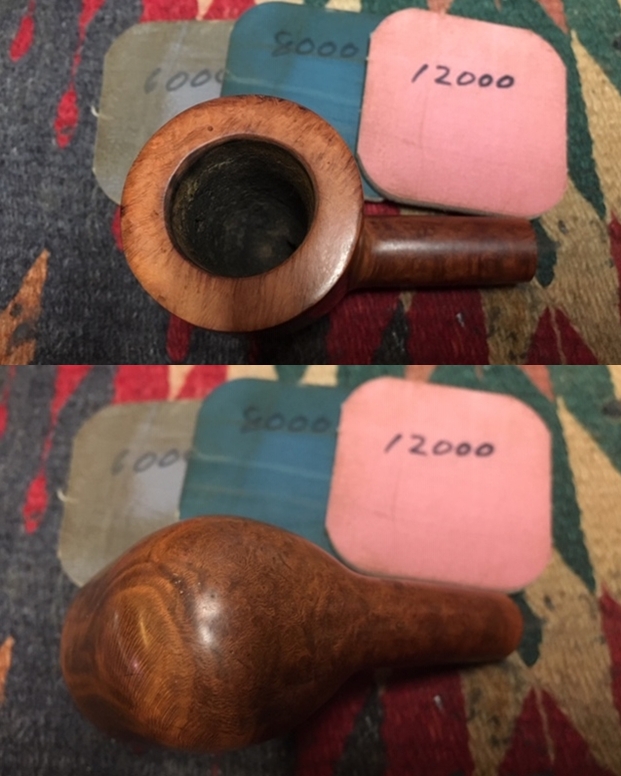
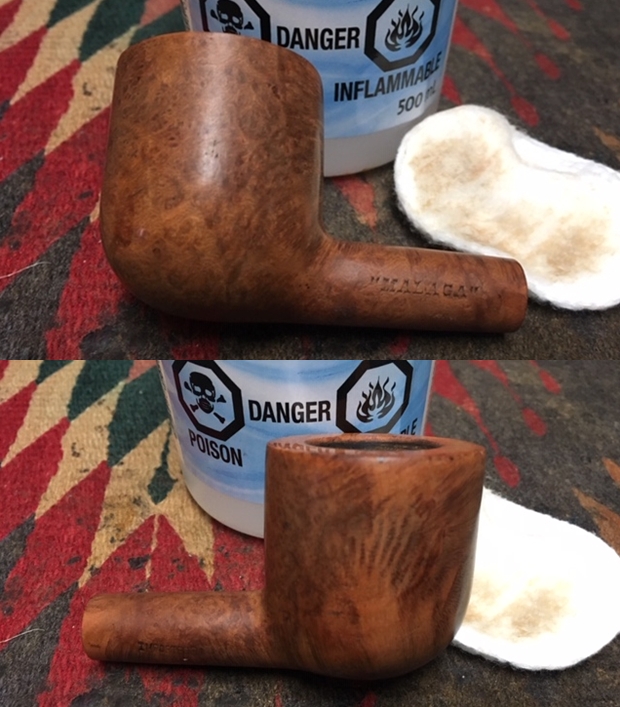
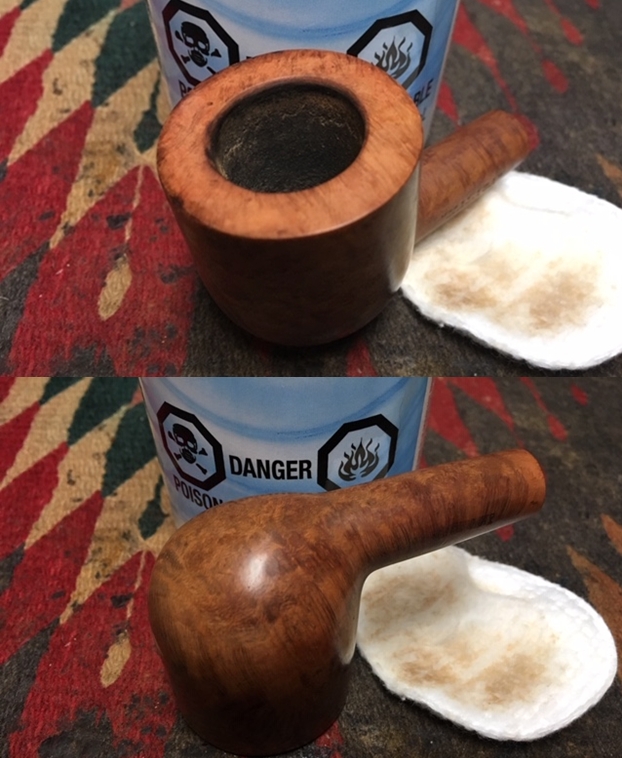
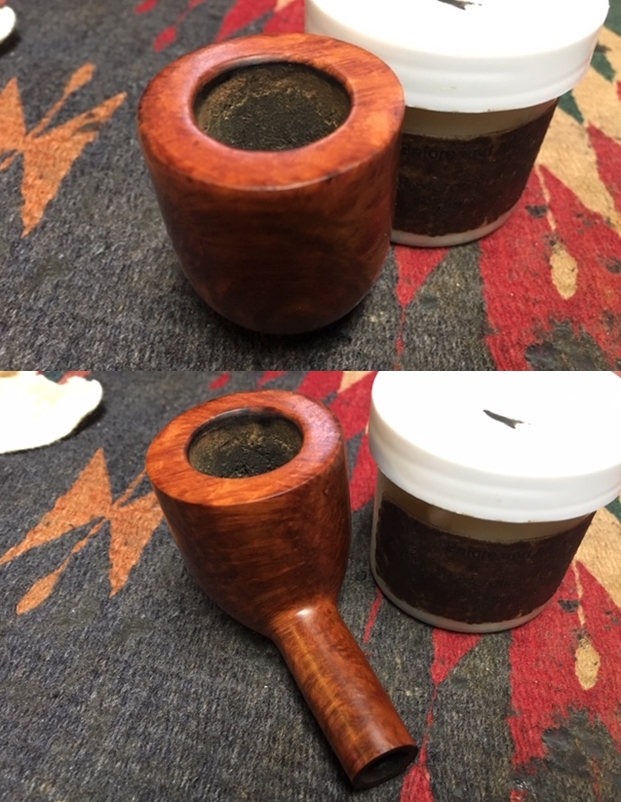
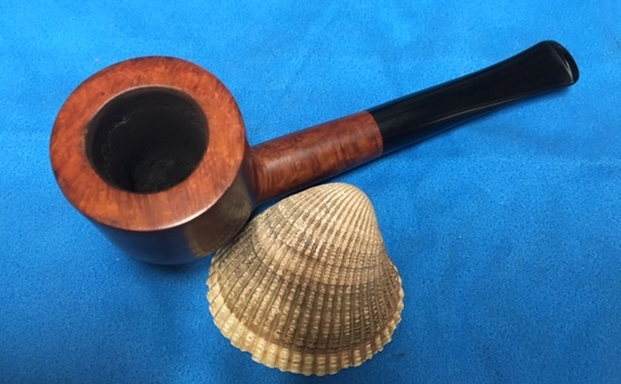
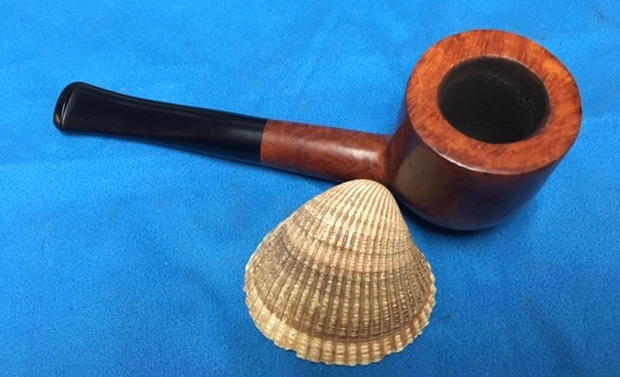
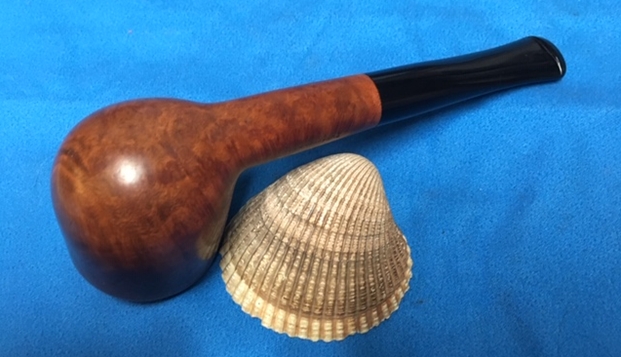
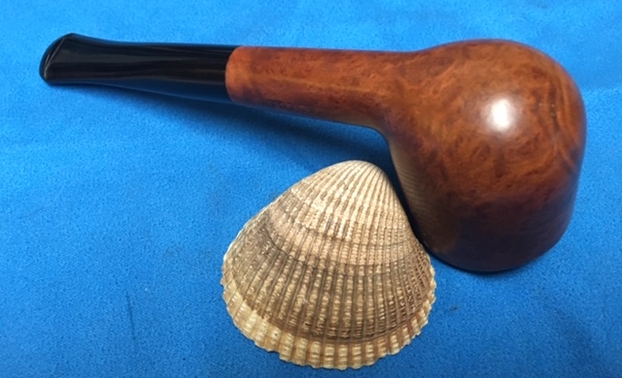
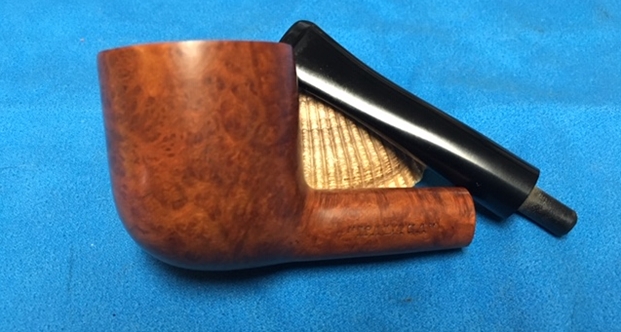
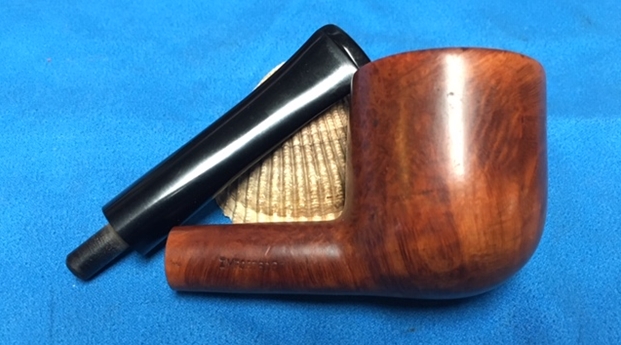
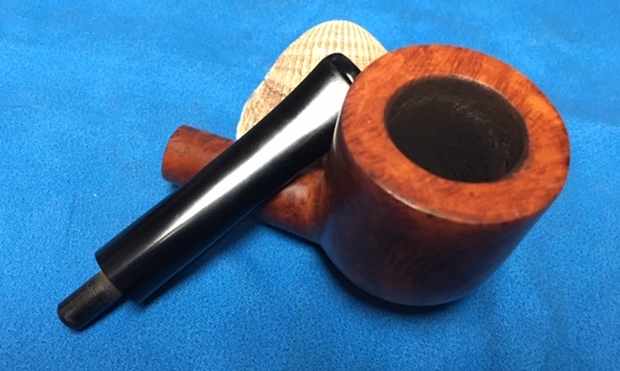
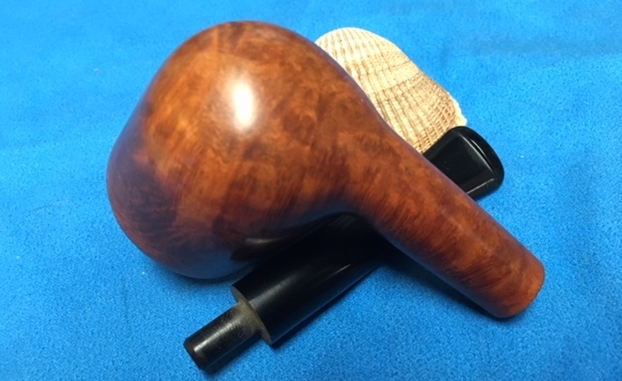
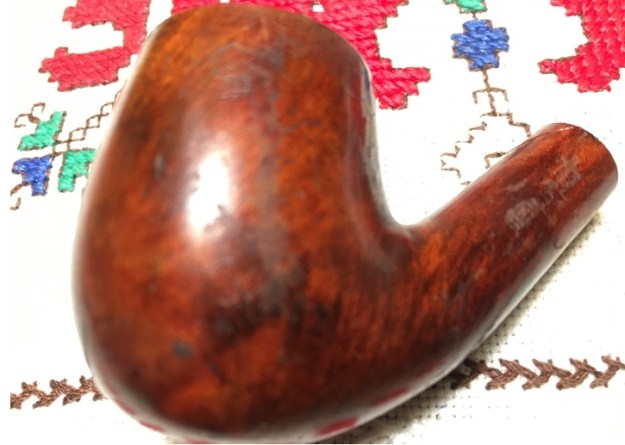
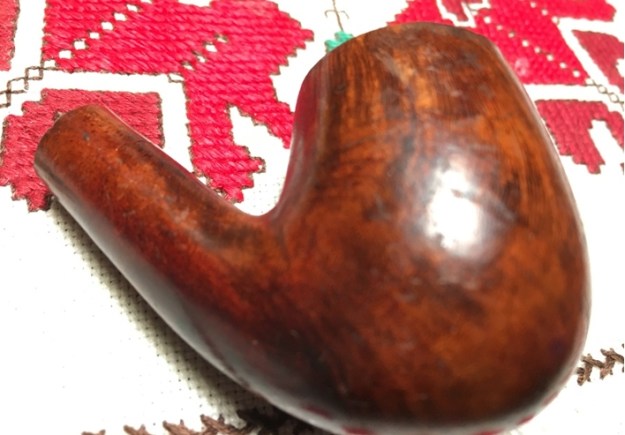
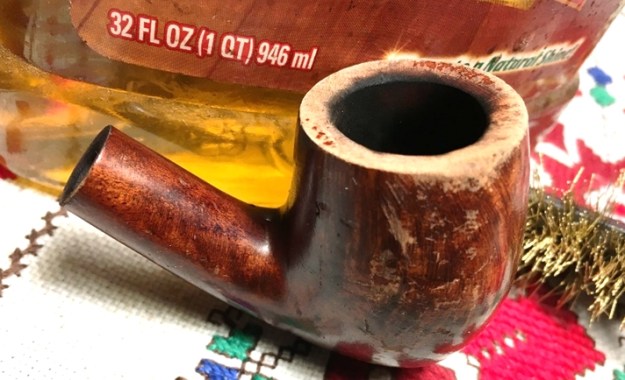
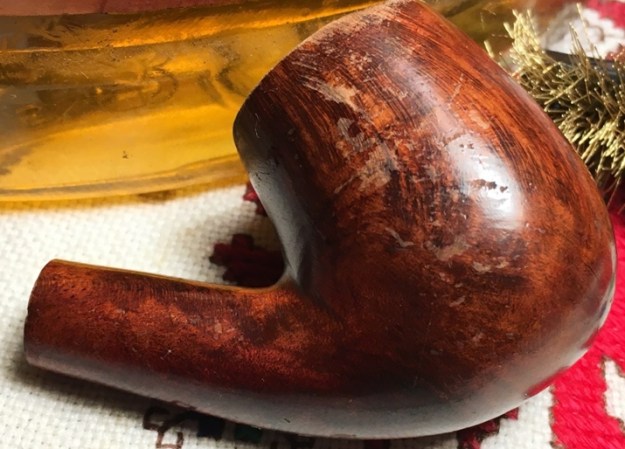
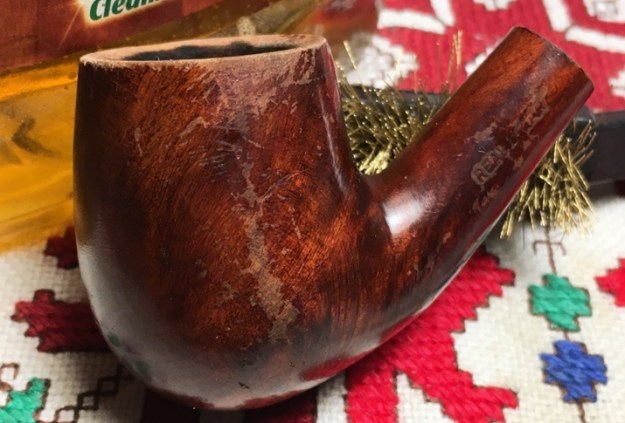
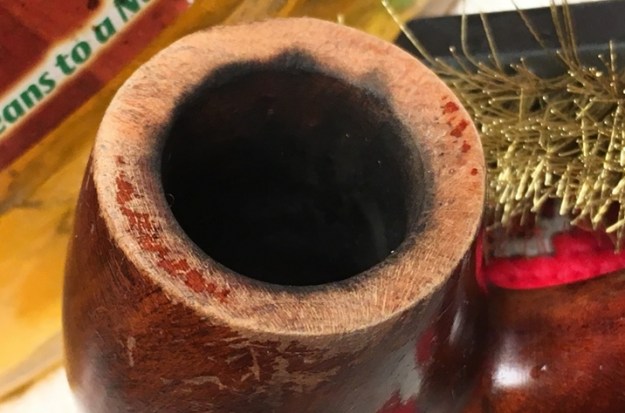
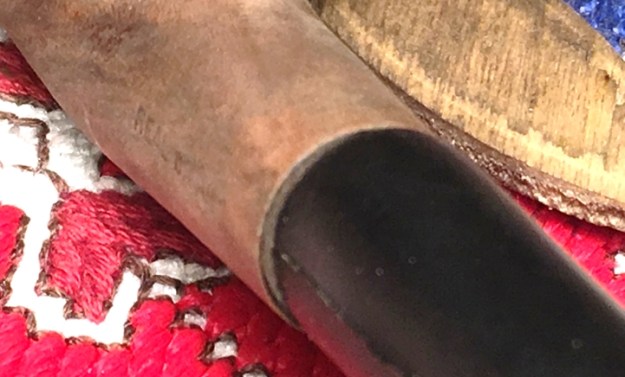
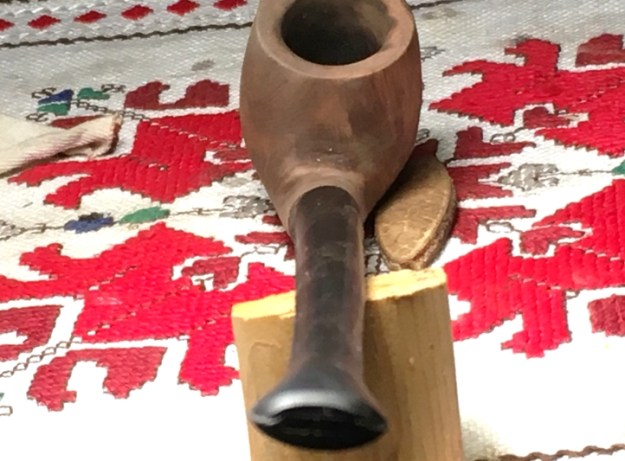
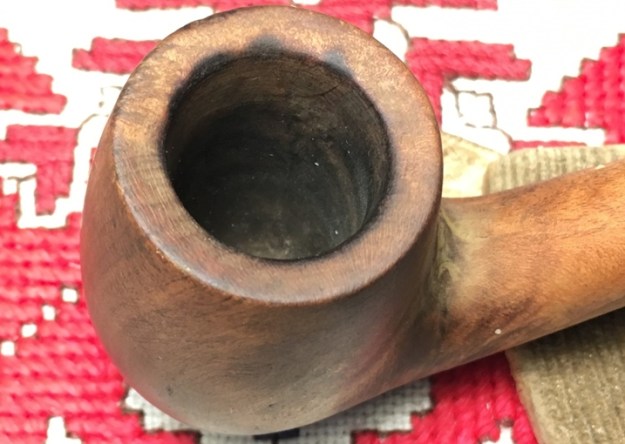
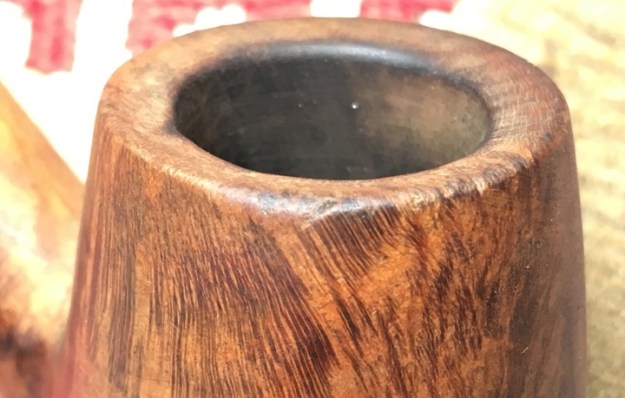
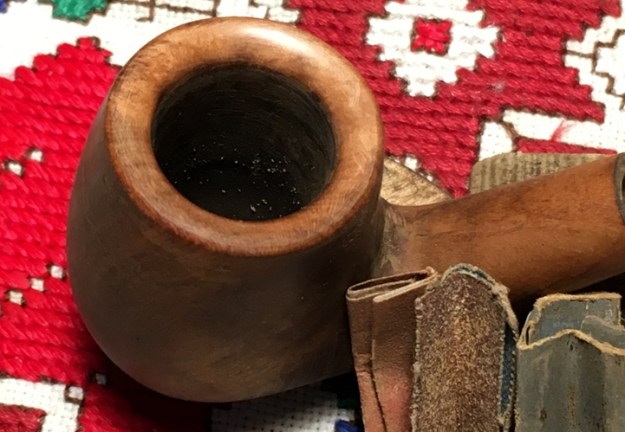
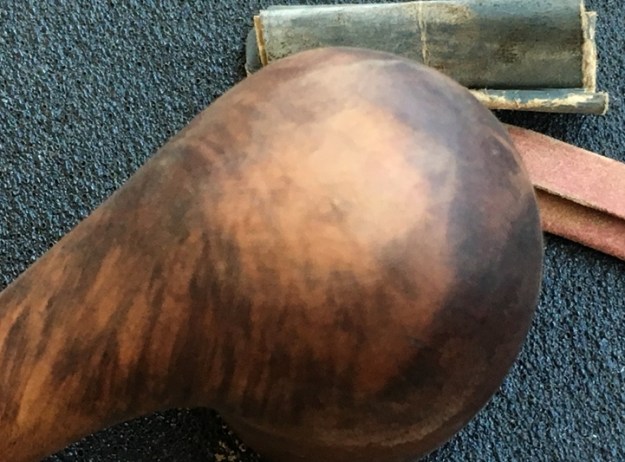
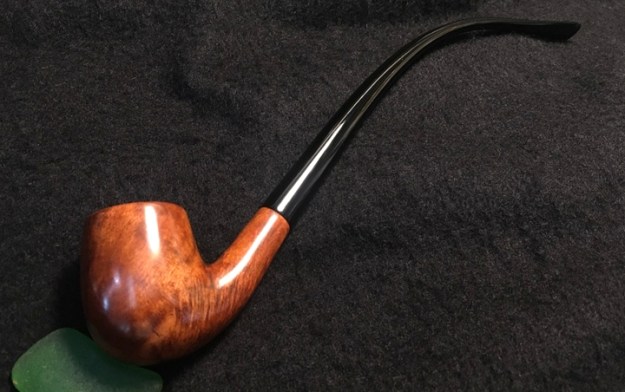
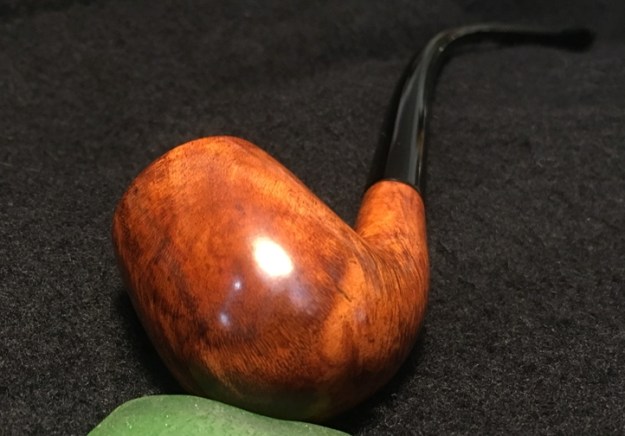
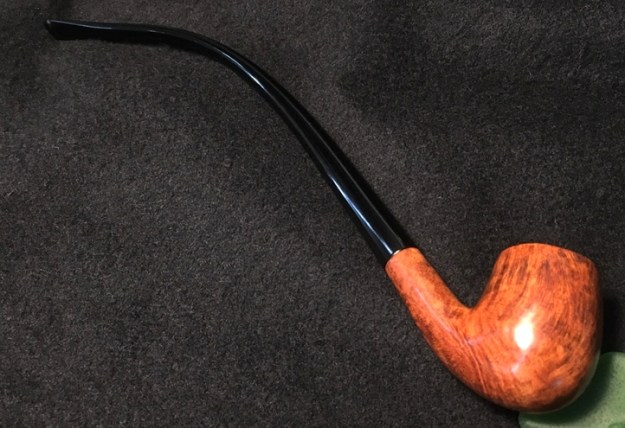
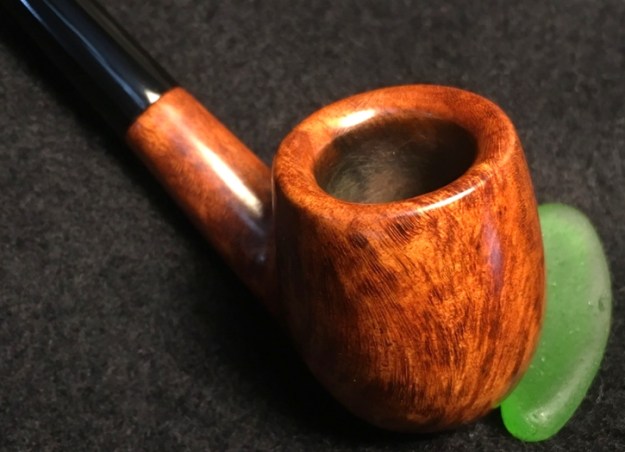
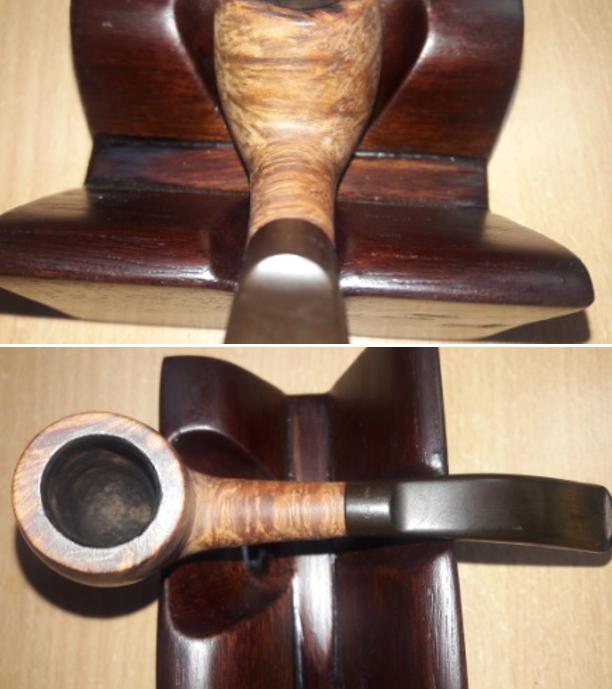
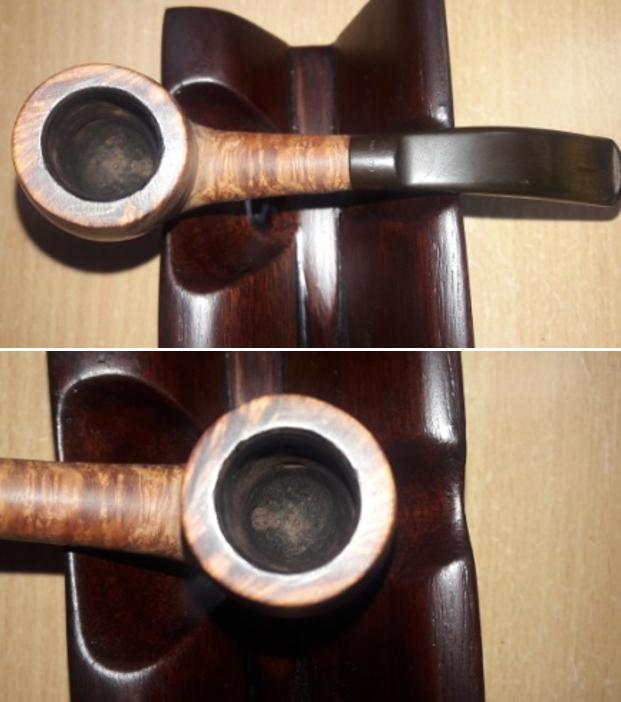
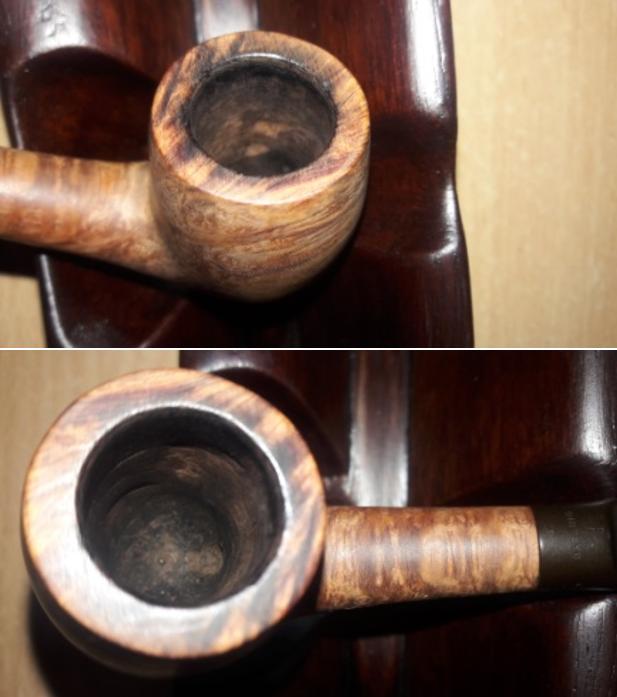
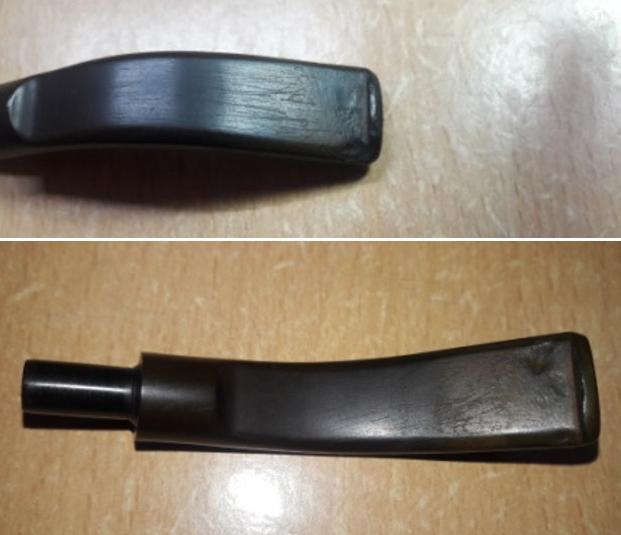
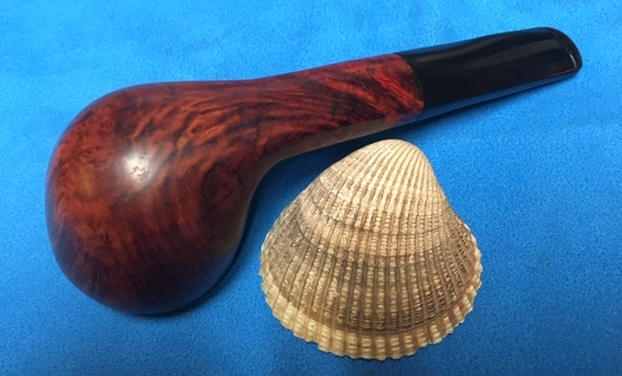
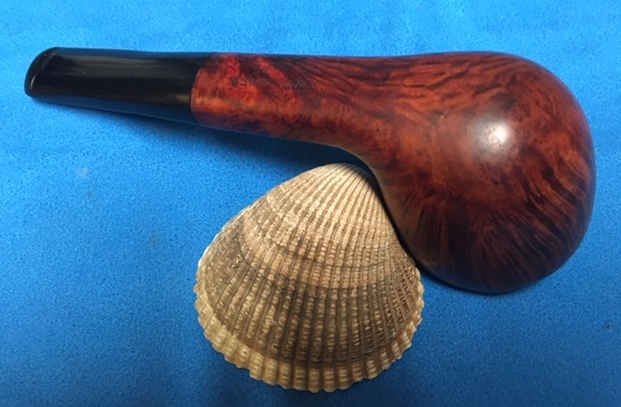
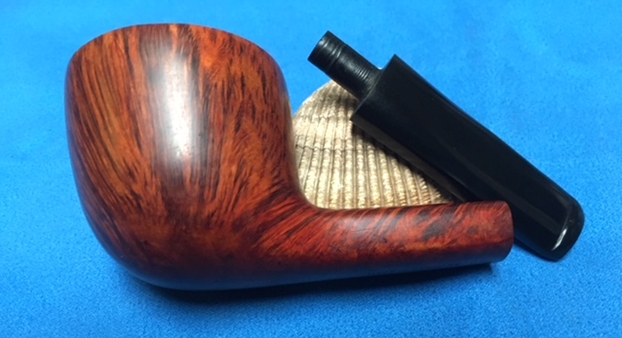
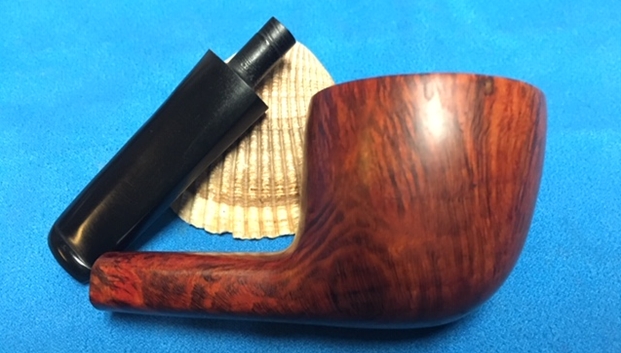
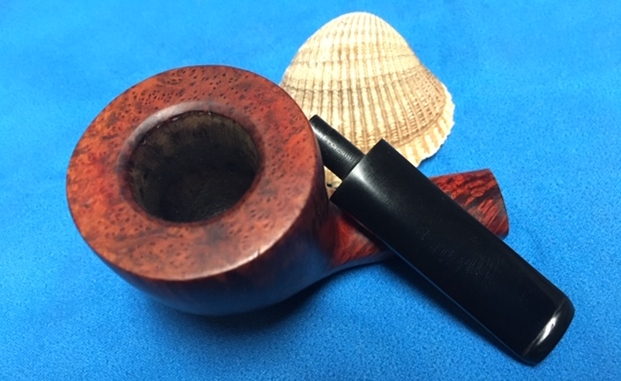
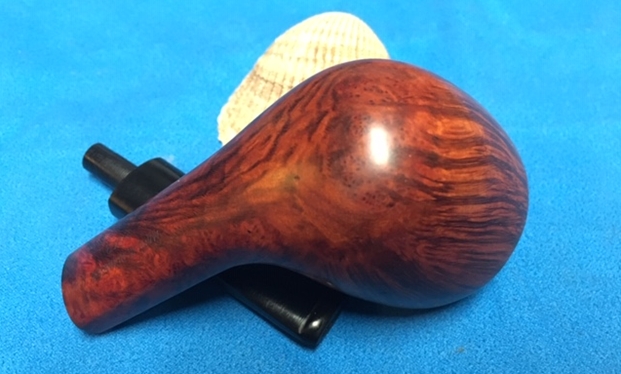
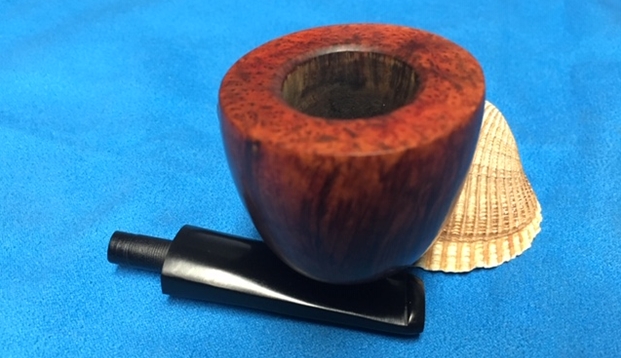
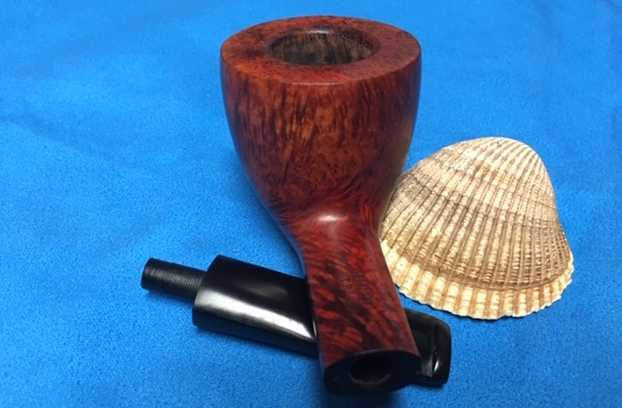
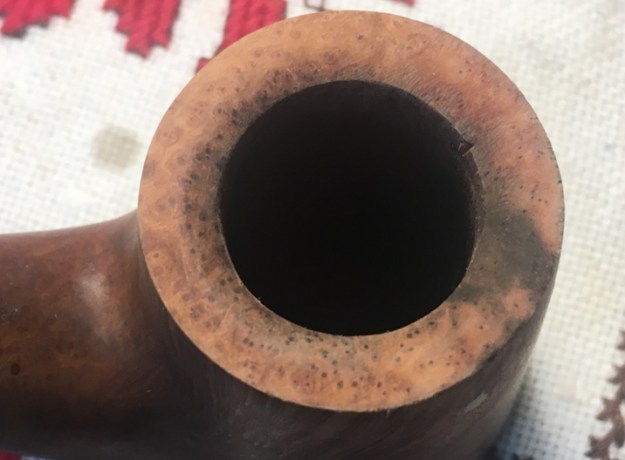
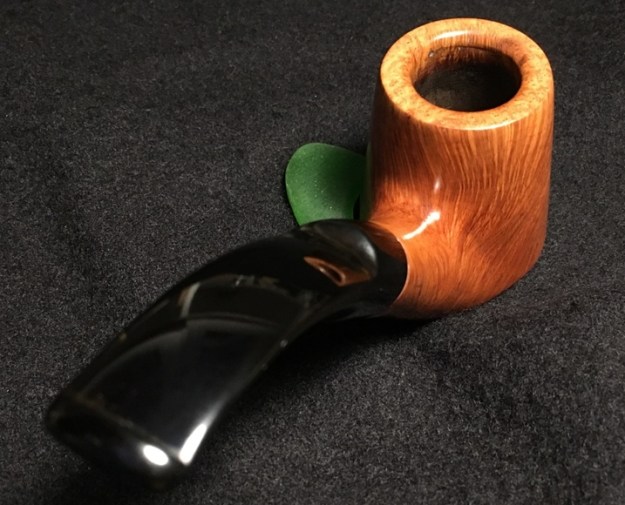
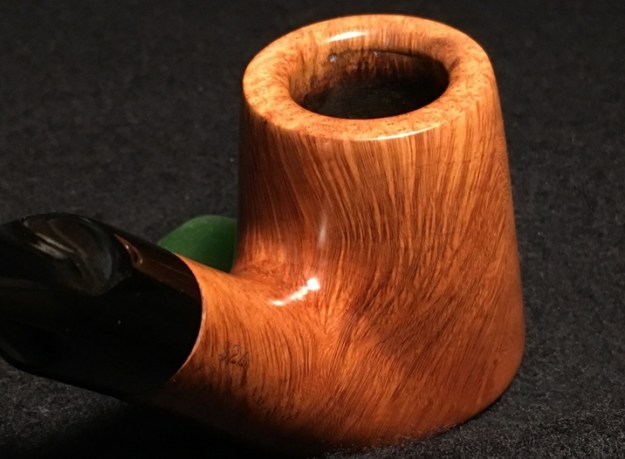
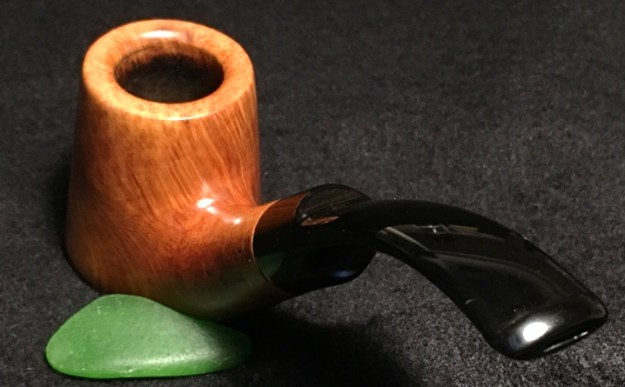
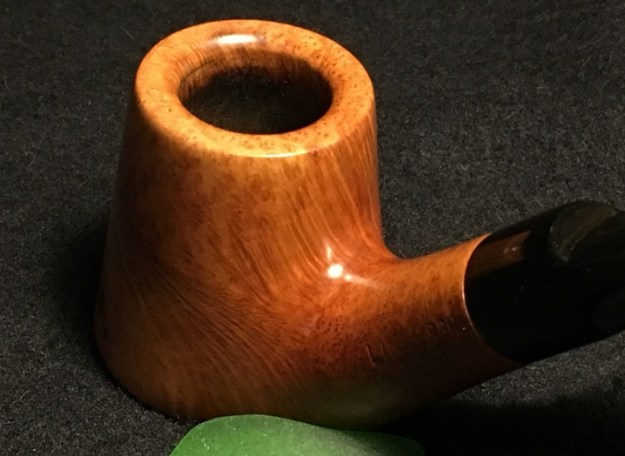
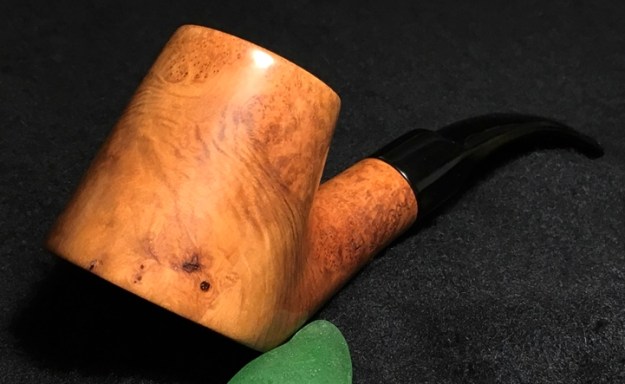
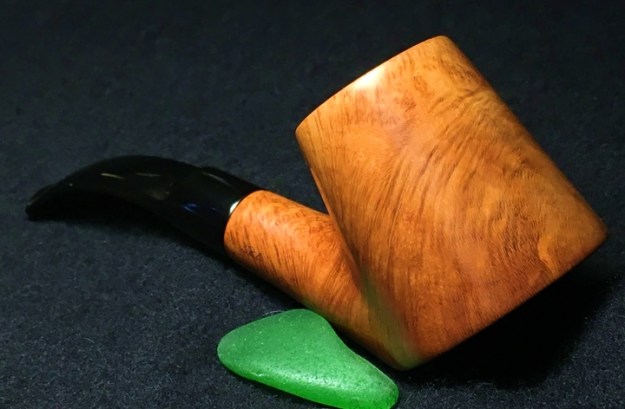
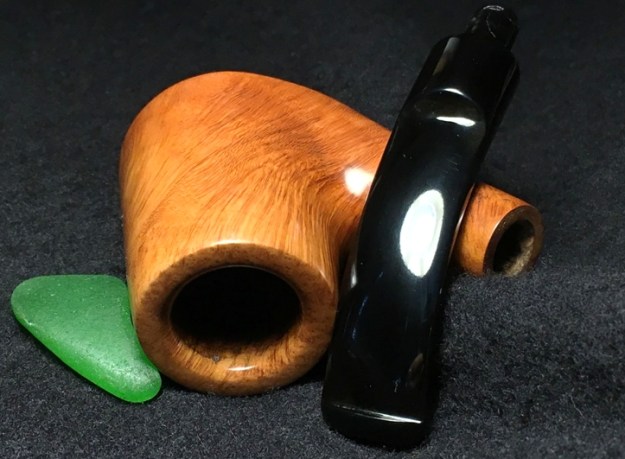
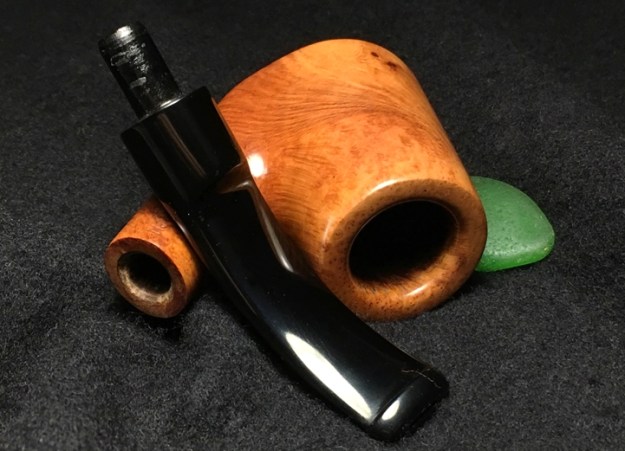
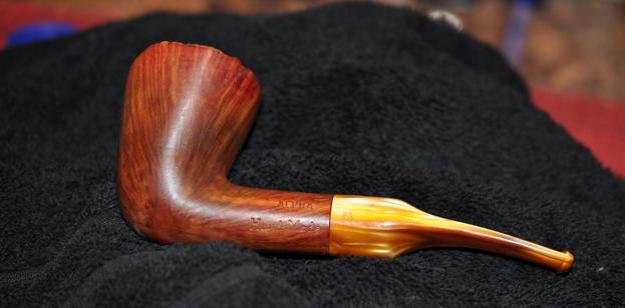
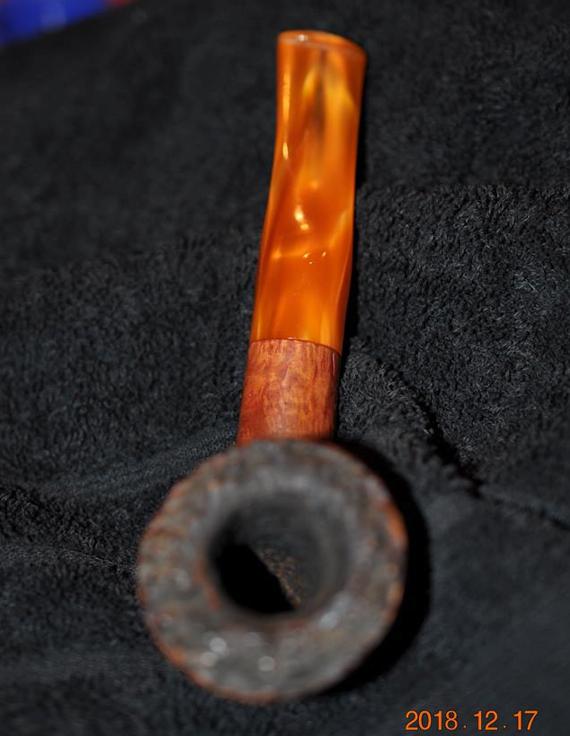
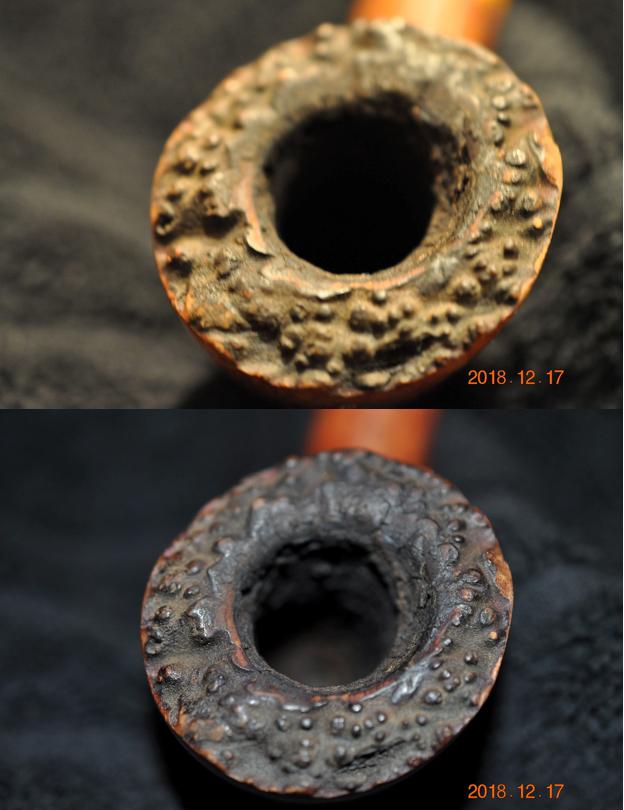
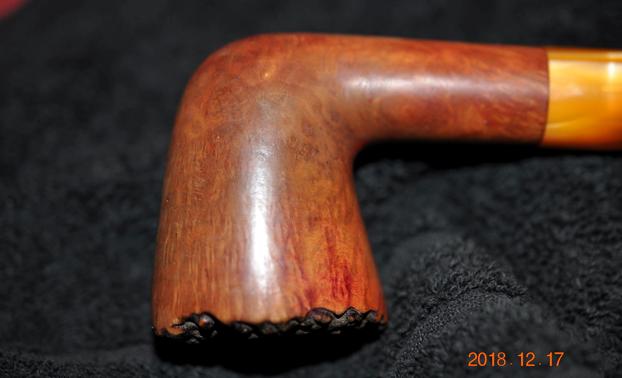
The next pipe in the queue is from the batch of pipes I am cleaning up for Alex – this one is a Hand Made Malaga Freehand Sitter with plateau on the rim top and shank end. The entire pipe had been sandblasted but some beautiful straight grain around the bowl and birdseye grain on bottom showed through the blast.The pipe has a dark under coat of stain in the blast and a top coat of brown that really makes the grain shine through the blast. The carver did a great job utilizing the block of briar to maximize the grain. The pipe is stamped on the underside of the shank. It reads “MALAGA” (over) Hand Made. The saddle stem is fancy, turned vulcanite and has no marking or stamping. This is another nice looking piece much like many of the pipes Alex is picking up. There was a thick cake in the bowl and some lava overflowing onto the plateau rim top. The exterior of the briar was dusty with grime in the crevices of the blast. The stem is dirty and there were tooth marks on both sides of the stem at the button edge and some wear on the button edge itself. The photos below tell the story and give a glimpse of the pipe before clean up. I took a photo of the bowl and rim to capture the condition of the pipe before I started my cleanup work. There was a lava on the rim and the cake in the bowl. The inner and outer edges of the bowl appeared to be in excellent condition. The plateau top had a lot of grime in the crevices. The stem was in decent condition. There was some light oxidation and there was wear on the button surfaces on both sides of the stem. There were tooth marks and chatter on the underside of the stem but otherwise it was not too bad.I also took a photo of the underside of the shank to show the sandblast and the stamping on the smooth panel on the end. The stamping is readable in the photo below – MALAGA over Hand Made.For those of you who are unfamiliar with the brand, I am also including the link to a blog that I wrote that gives some of the history of the Malaga brand and the Malaga Pipe Shop in Royal Oak, Michigan in the USA. Here is the link – https://rebornpipes.com/tag/malaga-pipes/. That blog also includes links to a catalogue and the history of the pipemaker George Khoubesser. If you are interested to learn more, then I invite you to follow the link to get a feel for the brand and the pipemaker.

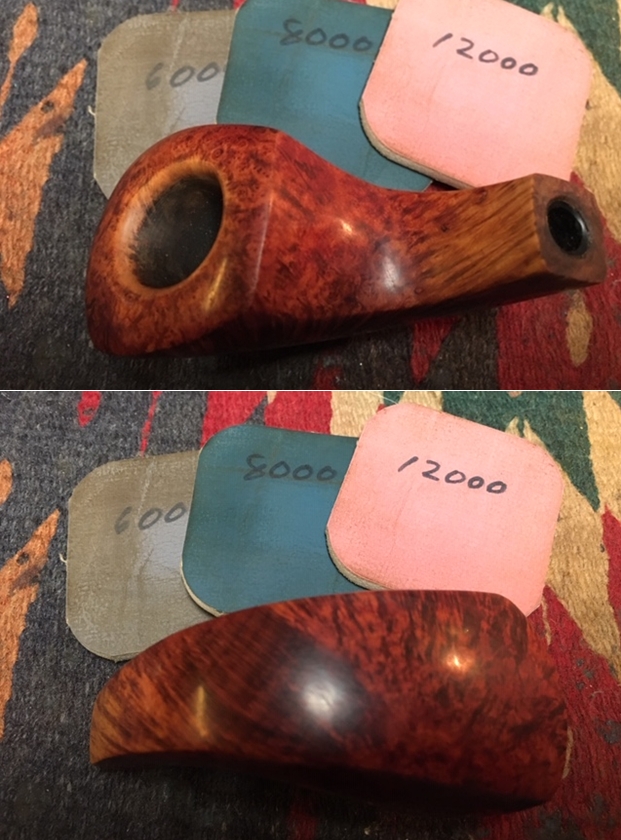
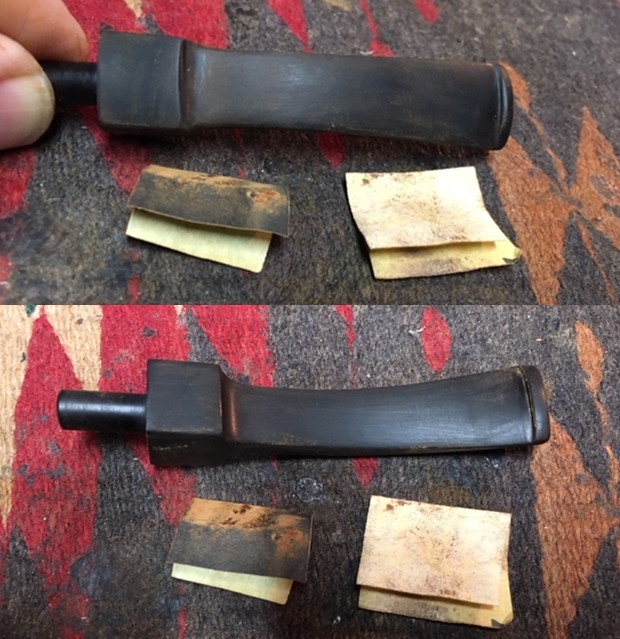
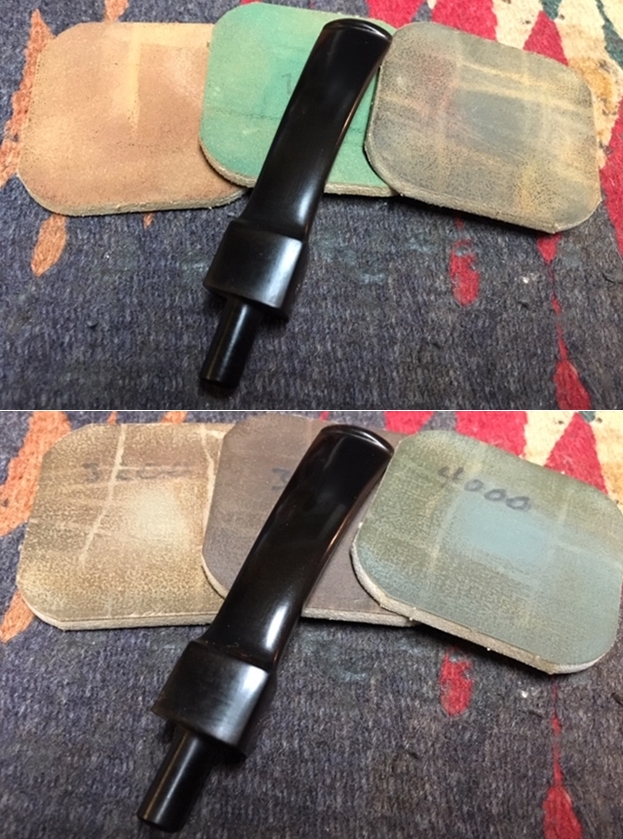
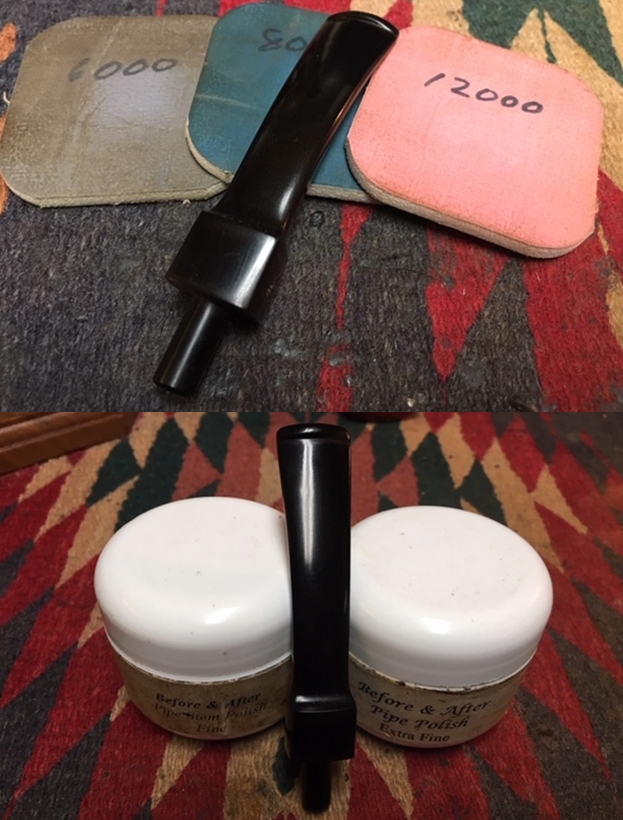
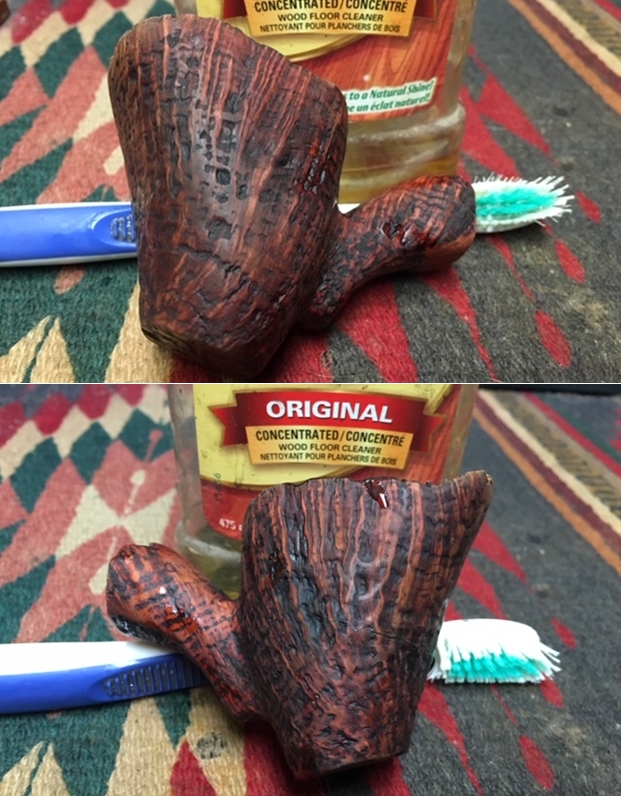
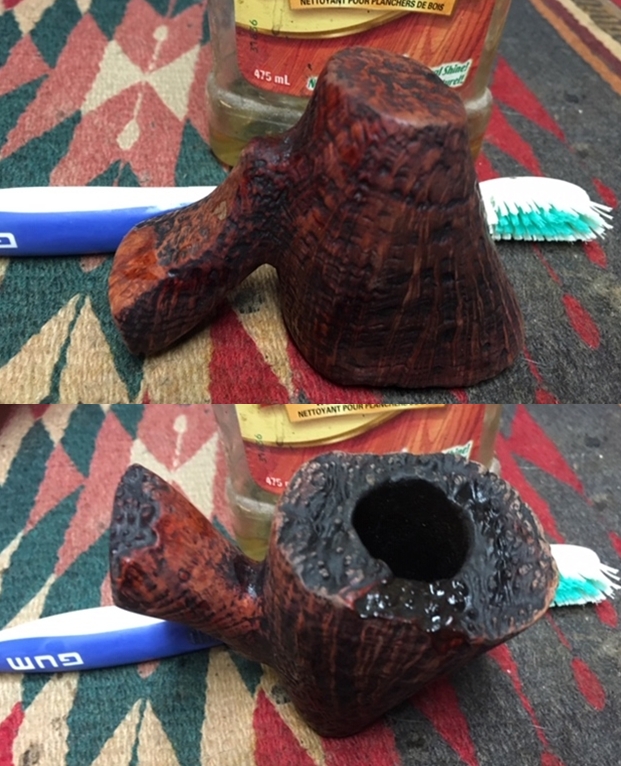
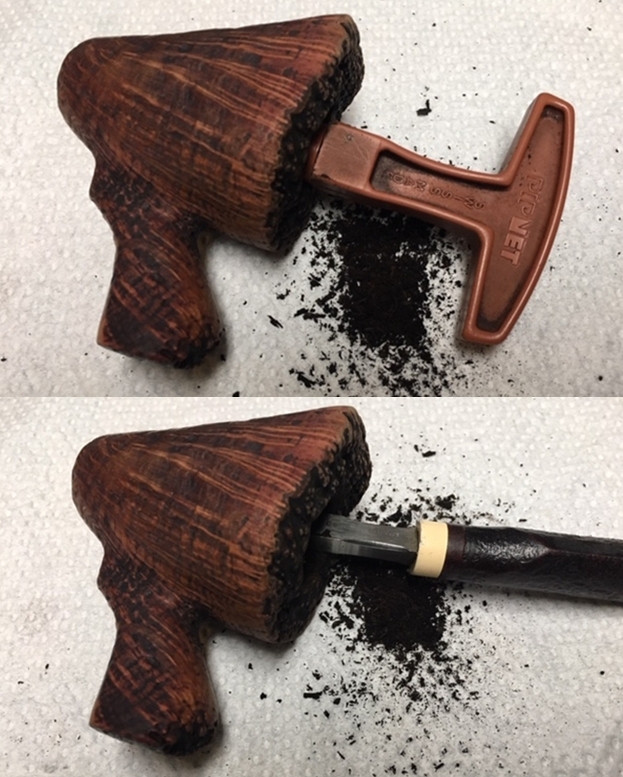
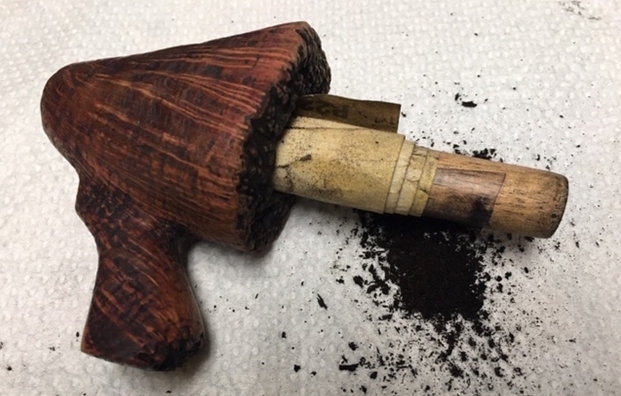
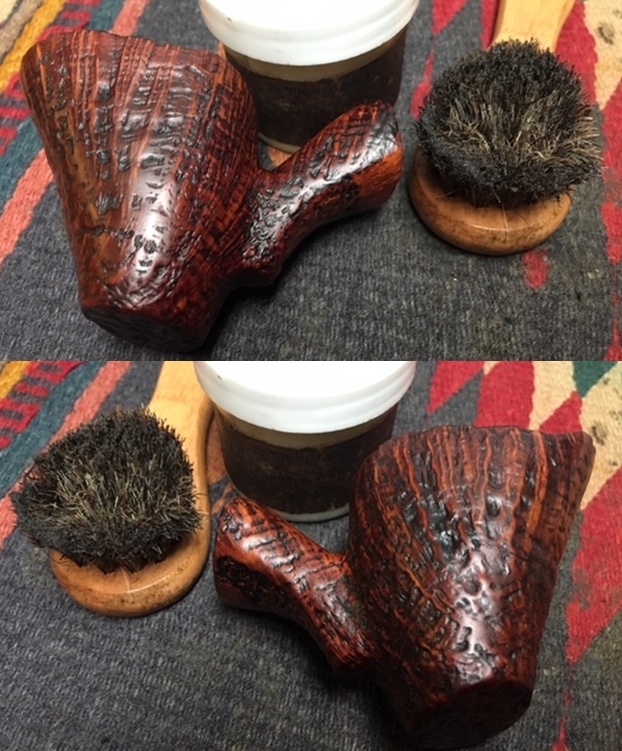
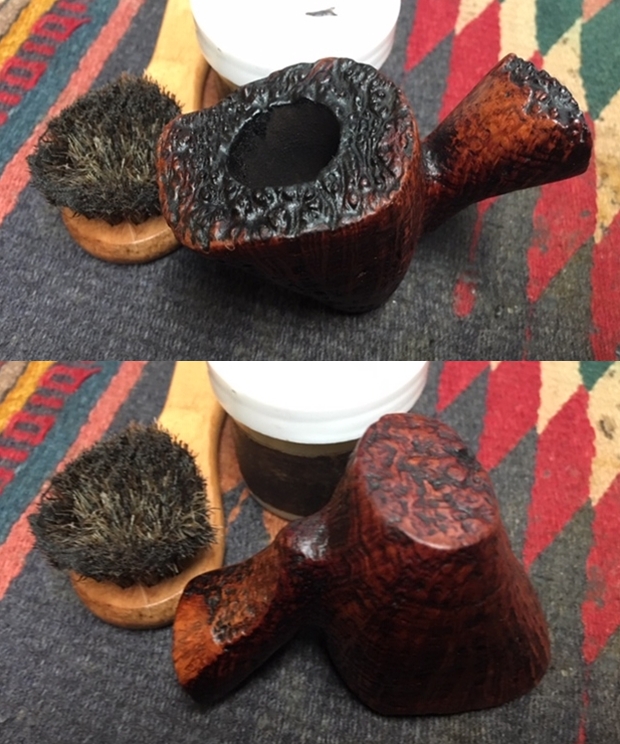
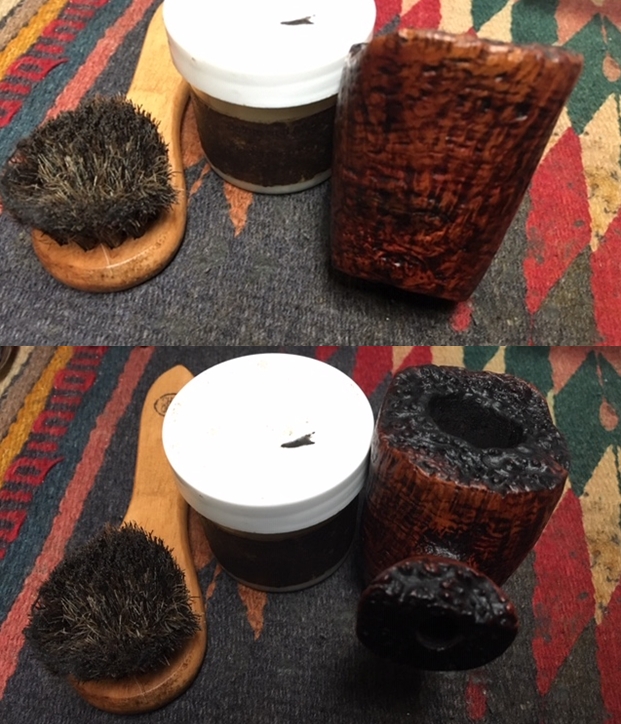
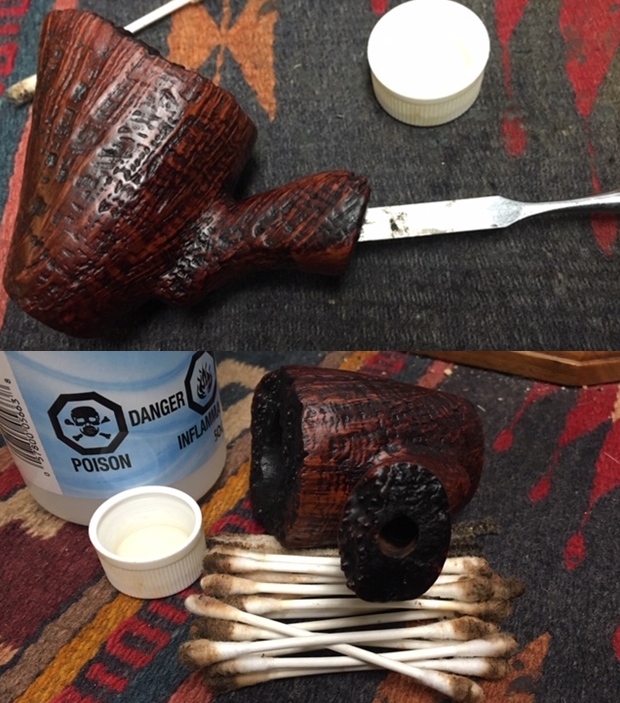
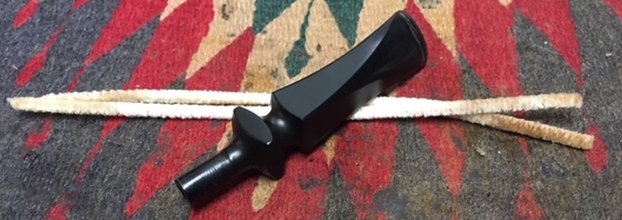
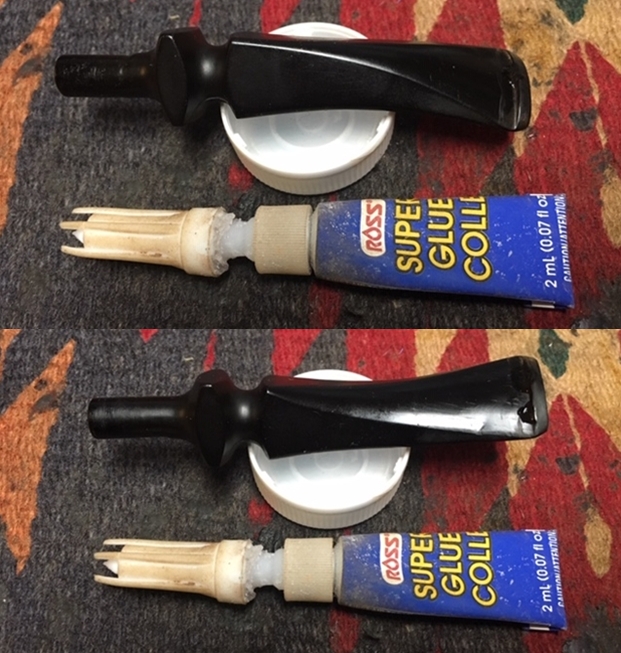
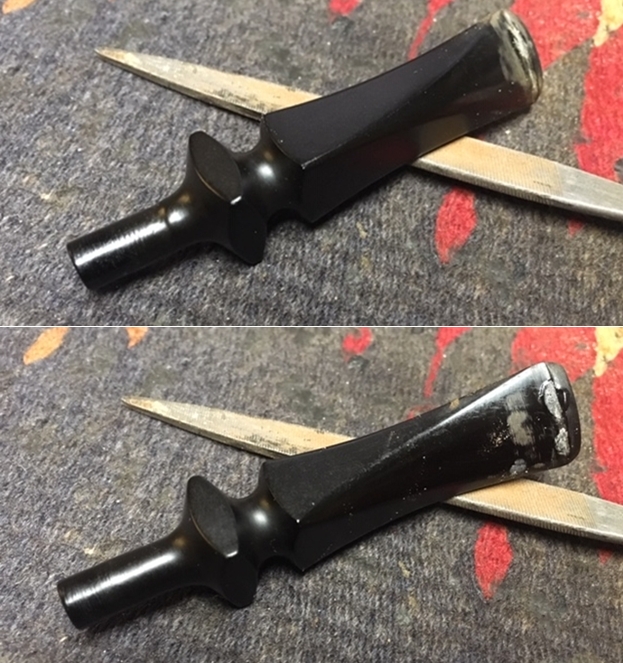
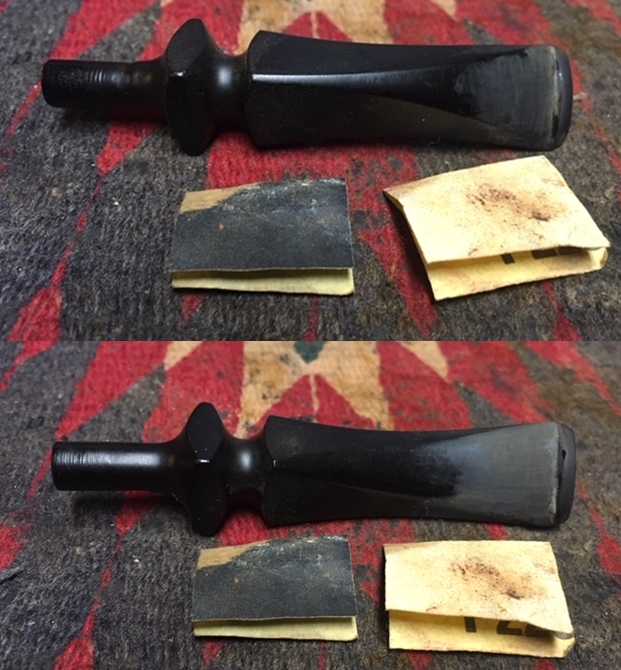
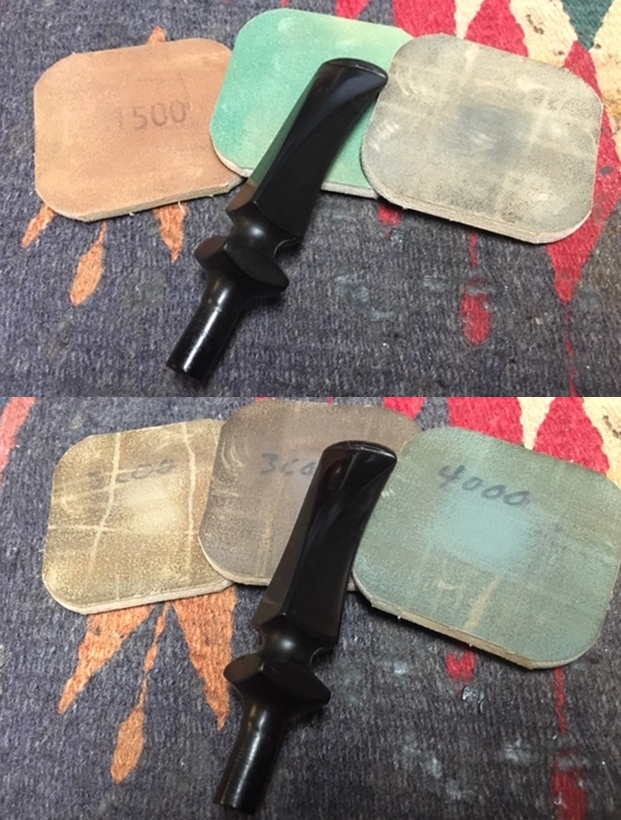
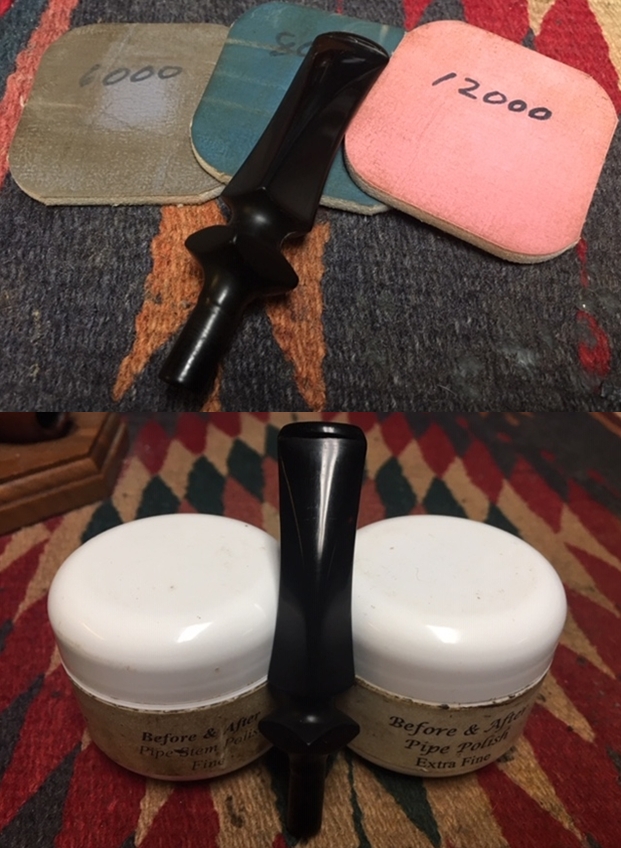
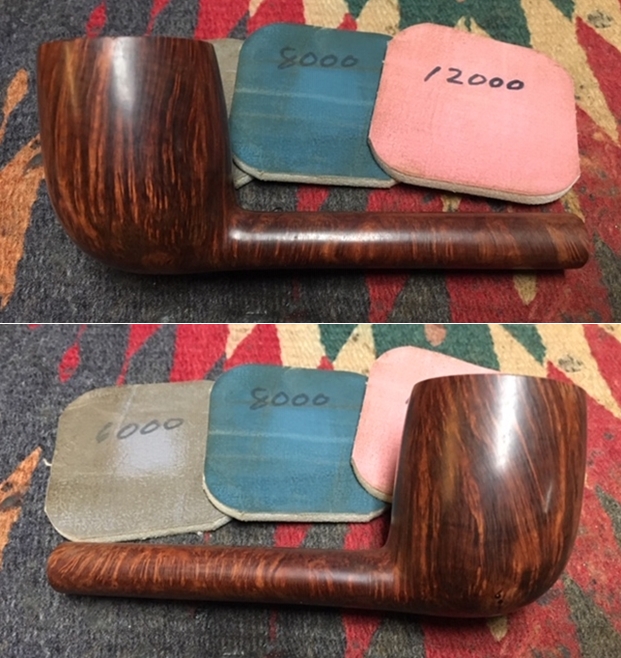
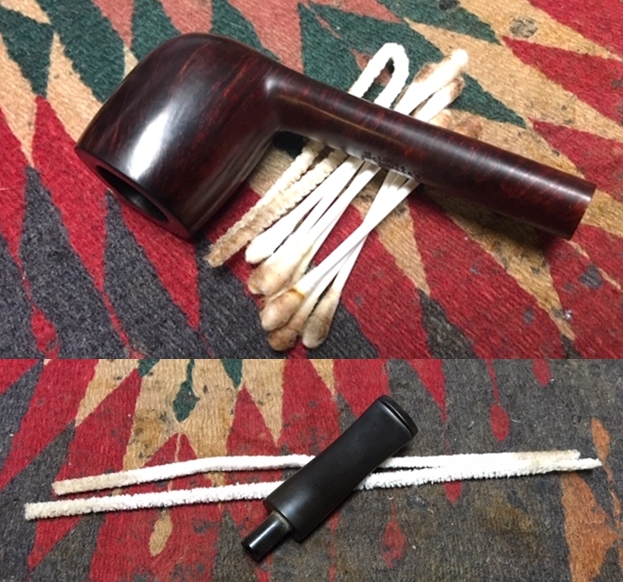
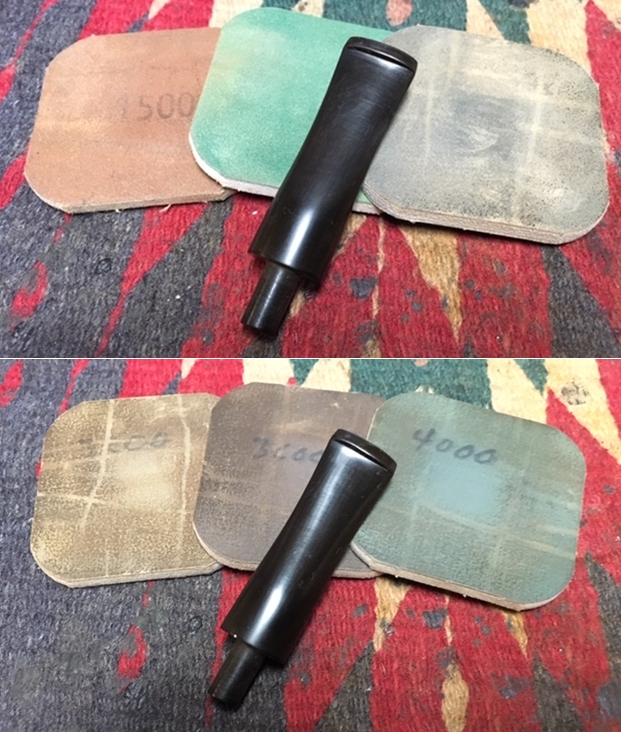
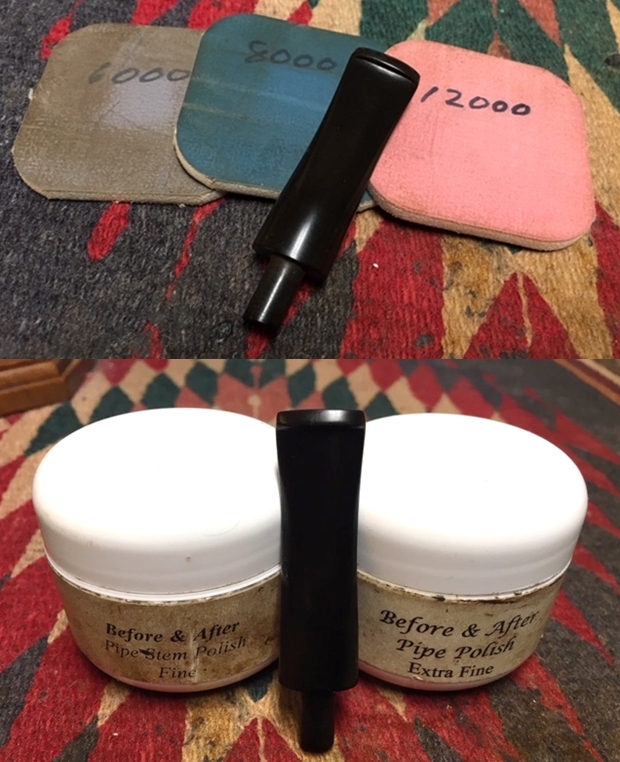
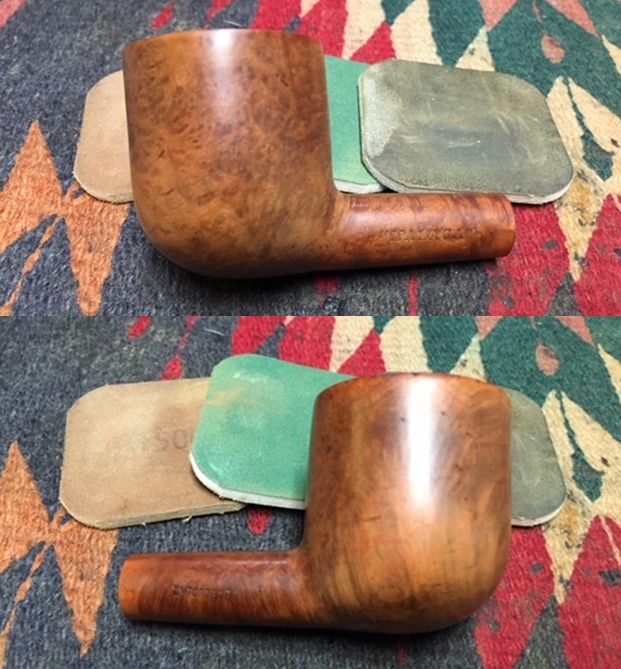
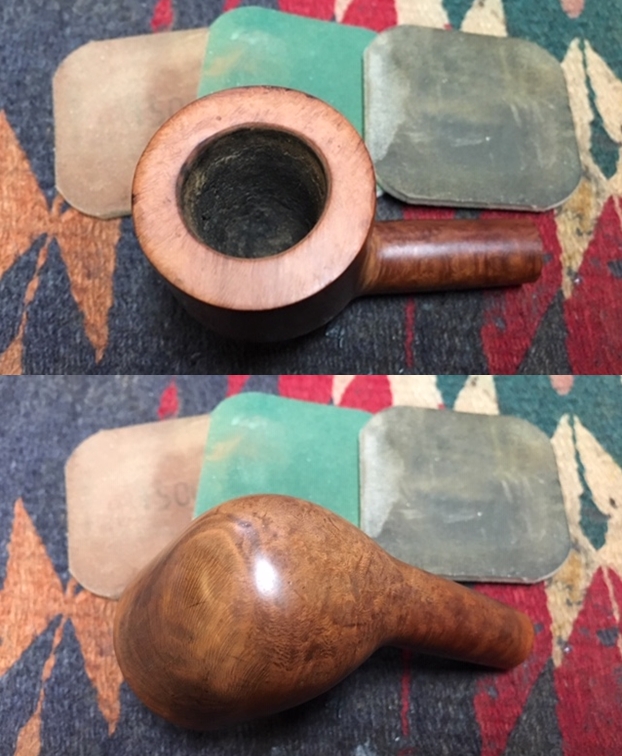
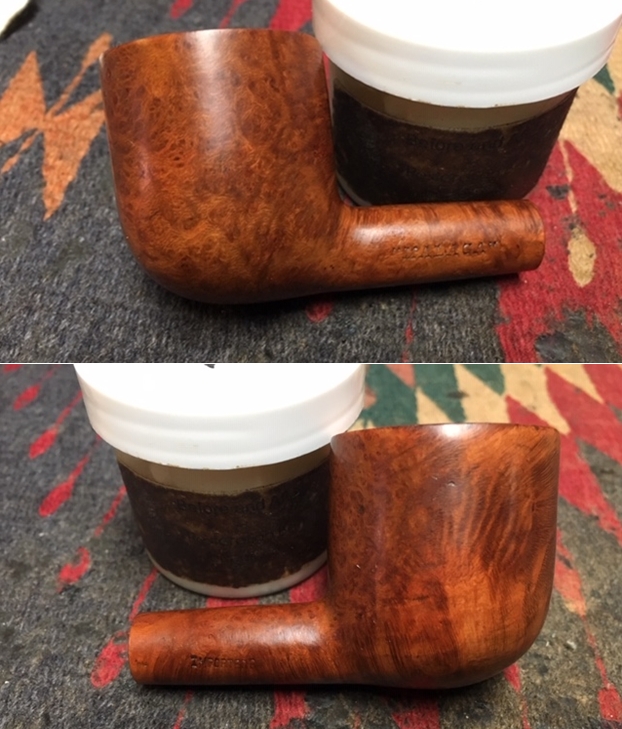
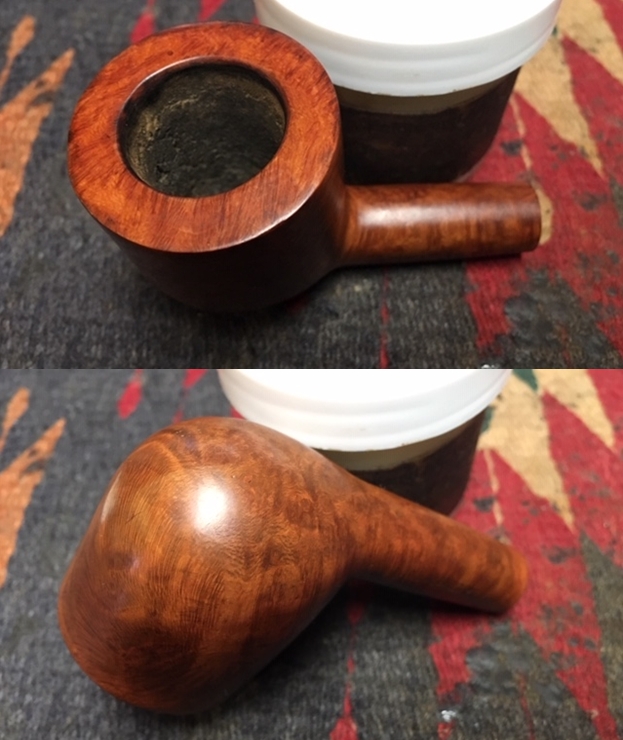
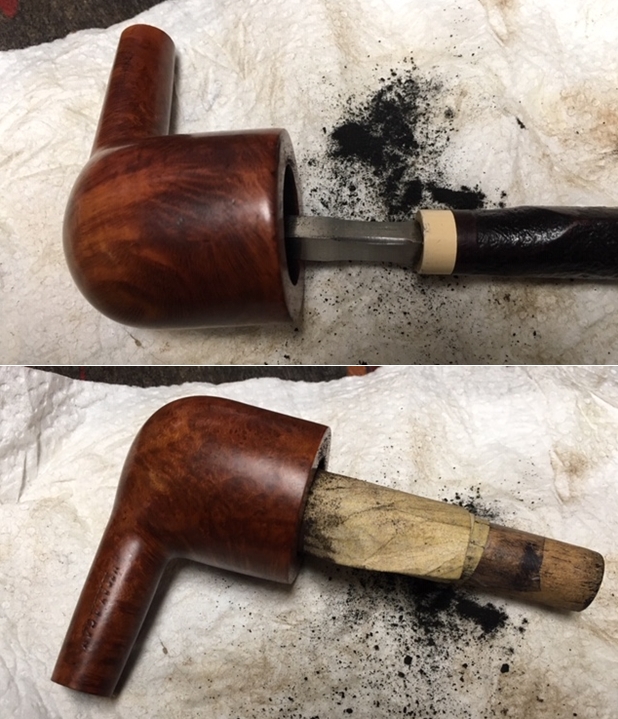
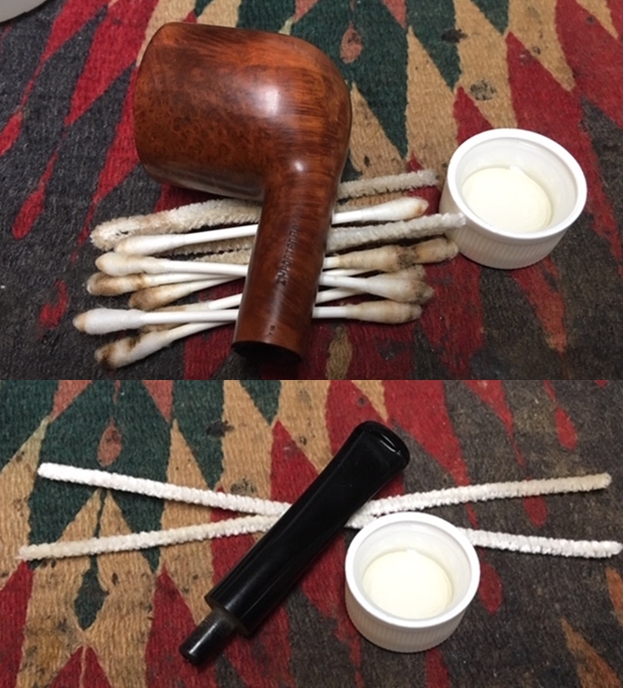
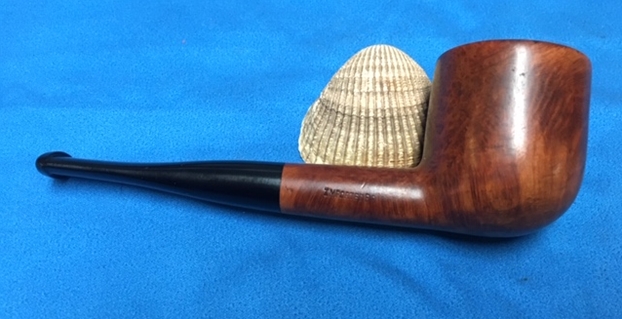
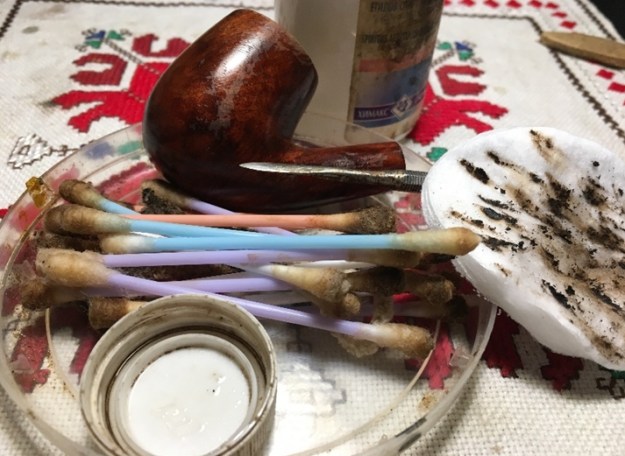
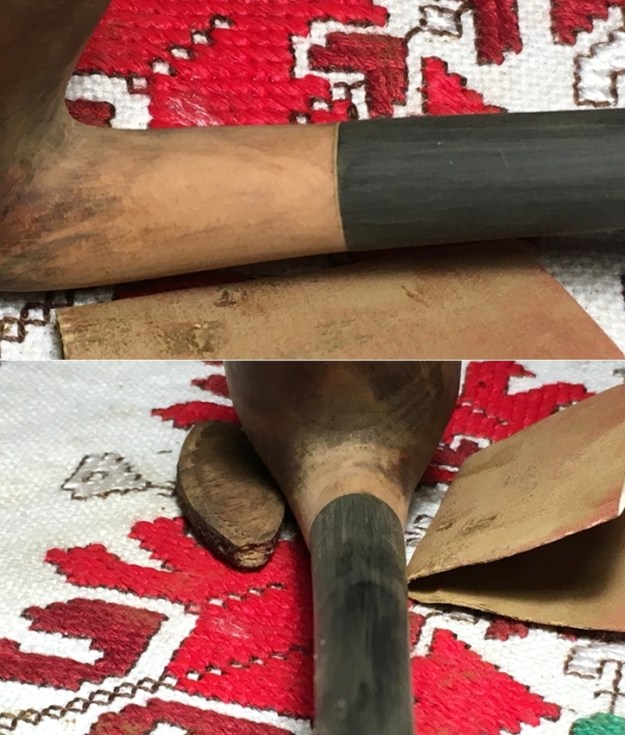
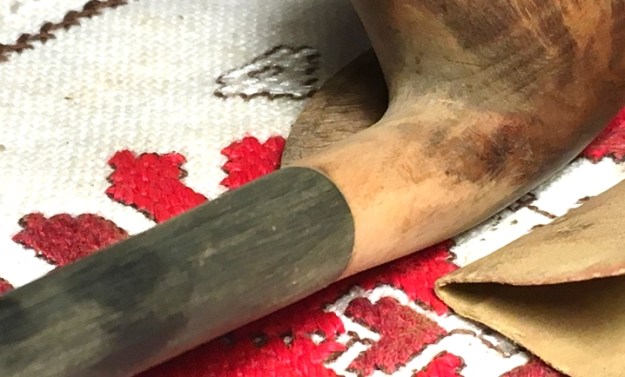
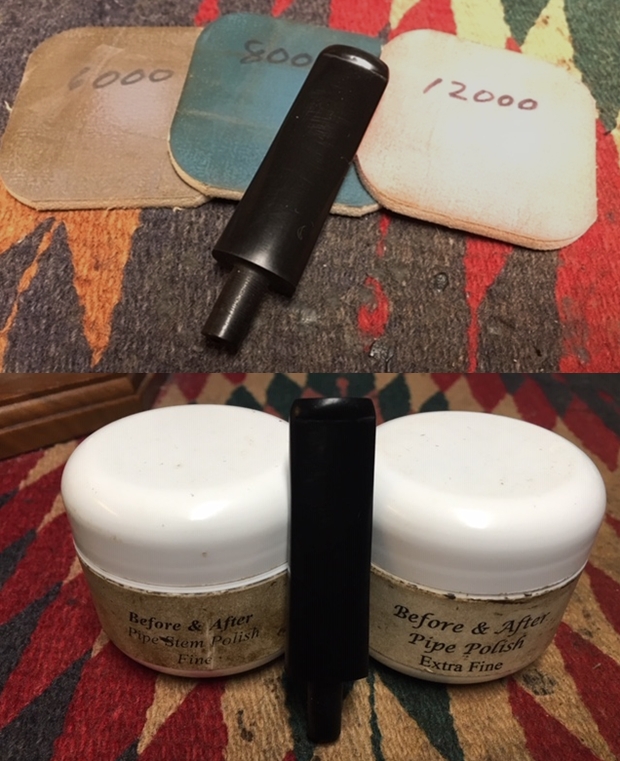
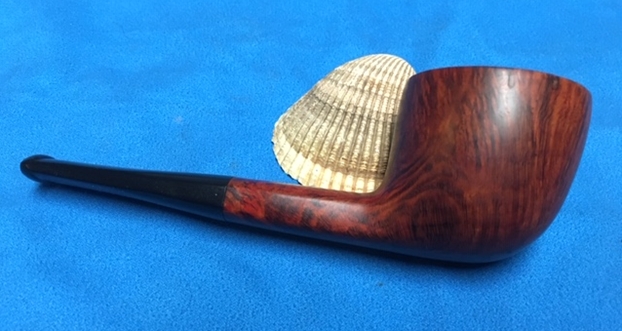
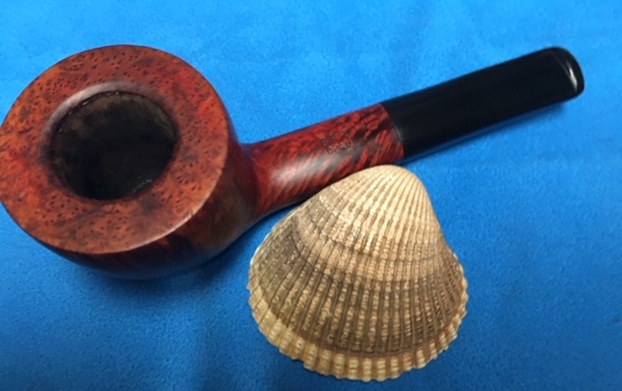
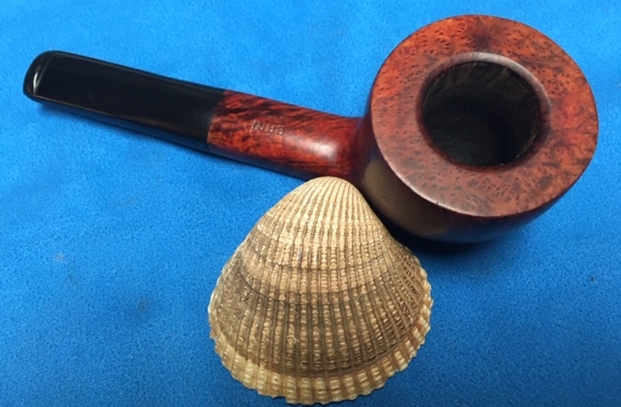
I started the process of the restoration by cleaning out the grooves in the plateau with a brass bristle tire brush. Once I finished I scrubbed the bowl with a tooth brush and undiluted Murphy’s Oil Soap. I rinsed the bowl under running water to wash off the soap and the grime that the tooth brush had loosened. I reamed the bowl with a PipNet pipe reamer and followed up with a Savinelli Fitsall pipe knife to remove the remnants of cake. I sanded the inside of the walls with a dowel wrapped with 220 grit sandpaper. I worked some Before & After Restoration Balm into the surface of the briar and the plateau with my fingertips and a horsehair shoe brush to clean, enliven and protect it. I let the balm sit for a little while and then buffed with a cotton cloth to raise the shine. I buffed the rim top with a shoe brush to make sure that the nooks and crannies had the conditioner deep in them. The following photos show the bowl at this point in the restoration process. The bowl and the rim top look very good with rich contrasting stains. I scraped the mortise with a dental spatula to remove the hardened tars and oils on the walls. I then scrubbed out the mortise and the airway in the shank and the stem with alcohol, cotton swabs and pipe cleaners. With the bowl finished I set it aside and turned my attention to the stem. I filled in the deep tooth marks and dents on the both the top and underside of the stem and on the edges of the button on both sides with clear super glue. When the repairs had cured I used a needle file to flatten the repaired spots in preparation for sanding. I sanded the stem surface with 220 grit sandpaper to smooth out the repairs the tooth marks on the surface of the button. I am happy with the stem surface once that was done. I started the polishing of the surface with 400 grit wet dry sandpaper.I polished the stem with micromesh sanding pads – wet sanding it with 1500-2400 grit pads and dry sanding it with 3200-12000 grit pads. I wiped the stem down with a damp cloth after each pad. I further polished it with Before & After Pipe Polish – both Fine and Extra Fine. I wiped it down with a coat of Obsidian Oil and set it aside to dry. With both parts of the pipe finished, I polished the bowl and the stem with Blue Diamond polish on the buffing wheel. I gave the bowl multiple coats of Conservator’s Wax and the stem multiple coats of carnauba wax. I buffed the pipe with a clean buffing pad to raise the shine. I hand buffed it with a microfiber cloth to deepen the shine. The pipe polished up pretty nicely. The sandblast finish and the grain came alive with the buffing. The rich contrasting colour finish on the briar works well with the polished black vulcanite stem. The finished pipe is a beauty and feels great in the hand. Have a look at it with the photos below. The dimensions are Length: 6 inches, Height: 2 1/2 inches, Outside diameter of the bowl: 2 inches, Chamber diameter: 7/8 of an inch. This one will be going back to Alex to add to his rack of Malaga pipes that are in his collection. Thanks for walking through the restoration with me on this uniquely carved Malaga Hand Made Freehand Sitter.

Getting Rid of a Foul Smell in a fourth pipe – a Schulte’s Canadian


Blog by Steve Laug

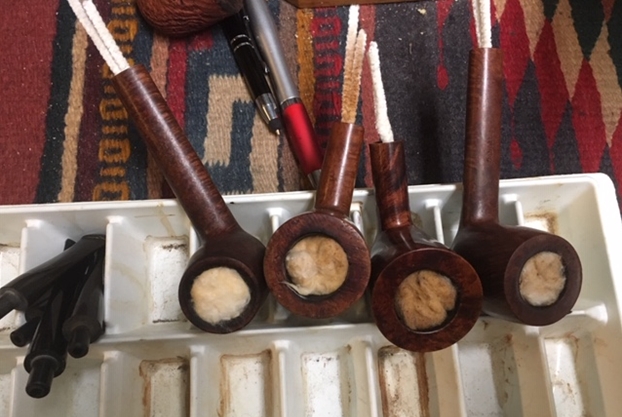
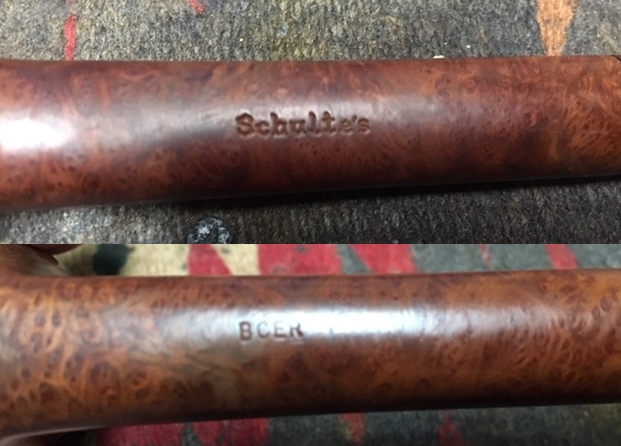
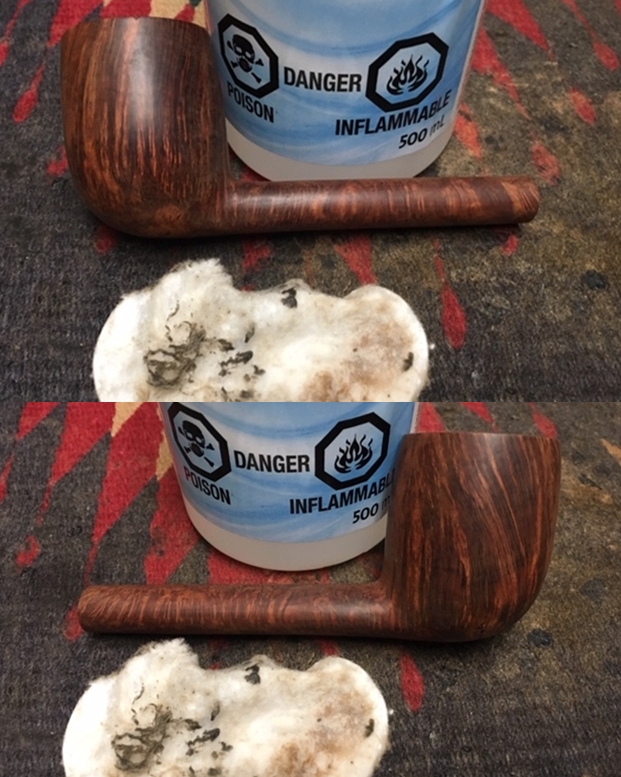
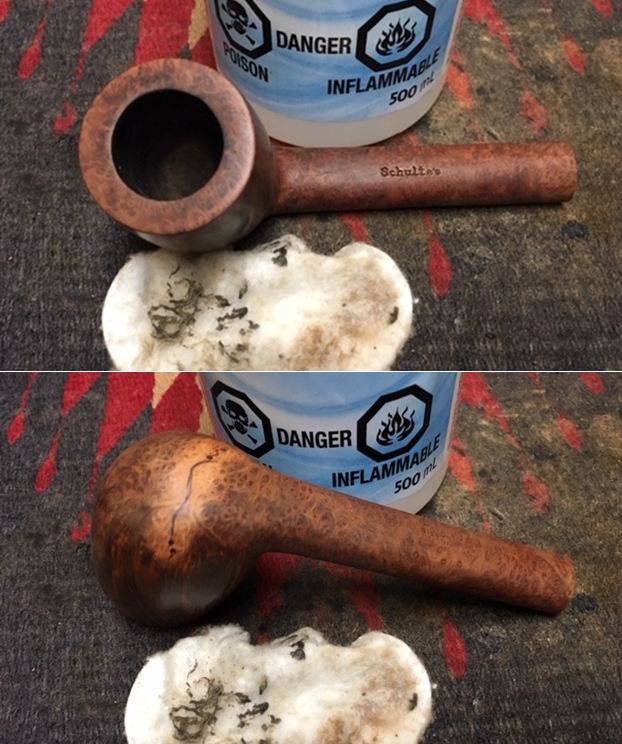
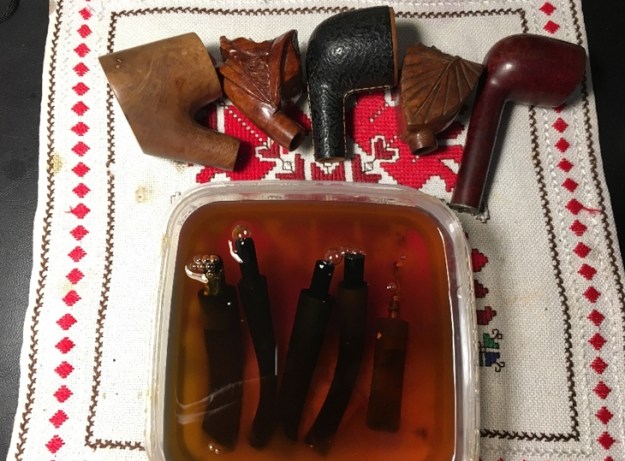
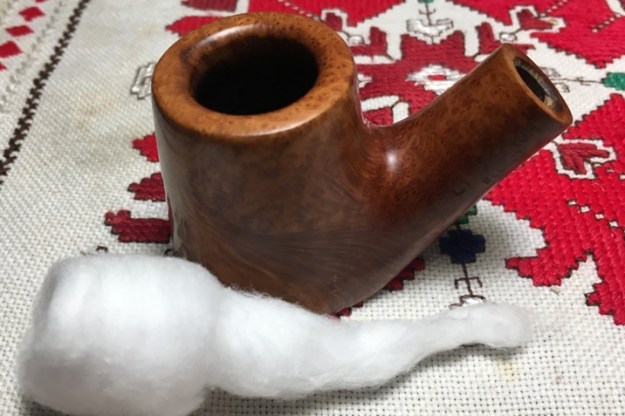
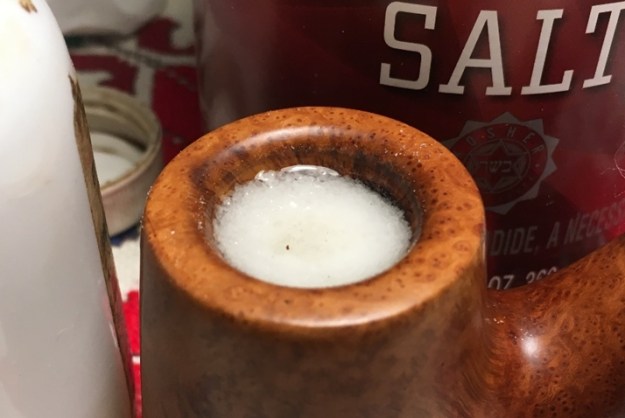
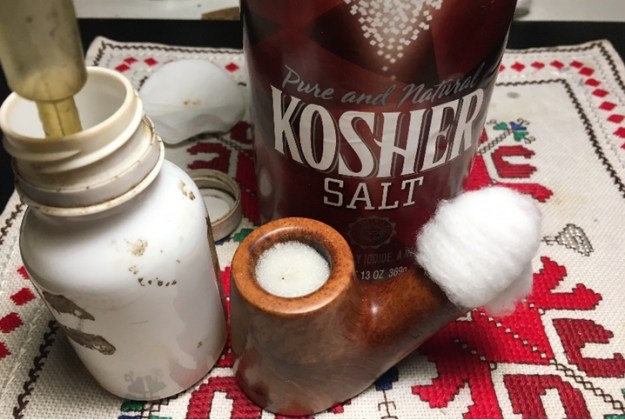
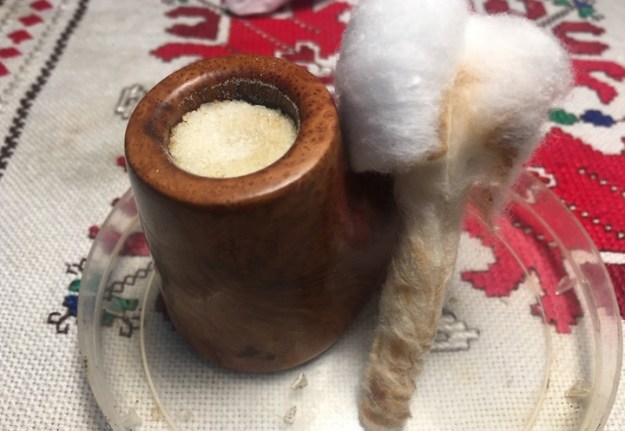
This is the last of the foursome of pipes that I have from a box of some 25 pipes that I am working through for a friend here in Vancouver. This last of the four came to me in a sour, stinky condition. With this one I am finishing the last of them. Alex had smoked them once or twice each and found that as he smoked them each became fouler. From my experience this happens when a pipe has not been thoroughly cleaned in the process of restoration. Sometimes even if it has been cleaned, the first few smokes draw out a foul taste and in this case an odor that made me put the four pipes in a zip lock bad to keep the odor contained. They really stunk! On Sunday evening I decided to give the foursome a cotton ball and alcohol treatment to draw out the oils and tars in the briar. I pushed cotton balls into the bowl and a folded pipe cleaner in the shank and used an ear syringe to fill the bowl with isopropyl alcohol. I set the pipes aside to let the alcohol do its work overnight. I know many of you use kosher salt and alcohol and that certainly is your choice. For me however the cotton balls work just as effectively in providing a medium for the foul juices drawn out of a pipe to be deposited. They are also easier to clean up and they do not leave residual salts in the briar. In the morning I took a photo of the finished work. You can see the effectiveness of the treatment.I took the cotton out of the bowls of the pipes and wiped the bowl down with pipe cleaners and cotton swabs to dry them out. The last pipe I decided to work on is the beautifully grained Canadian, the first pipe on the right in the photo above. It is stamped on the topside of the shank SCHULTE’S and on the underside of the shank it is stamped BCER. I know something about Howard Schulte who is a pipe repairman in Florida but could not remember much about the brand. It was another pipe that the seller said was clean but after several smokes Alex deemed it unsmokable. It was now up to me to figure out what was going on.

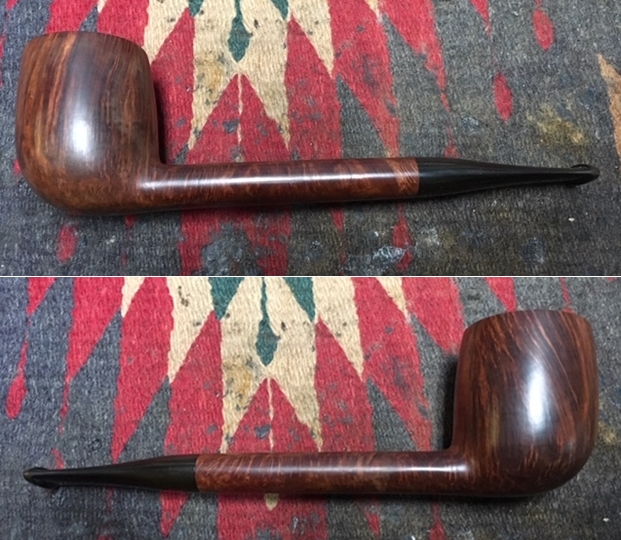
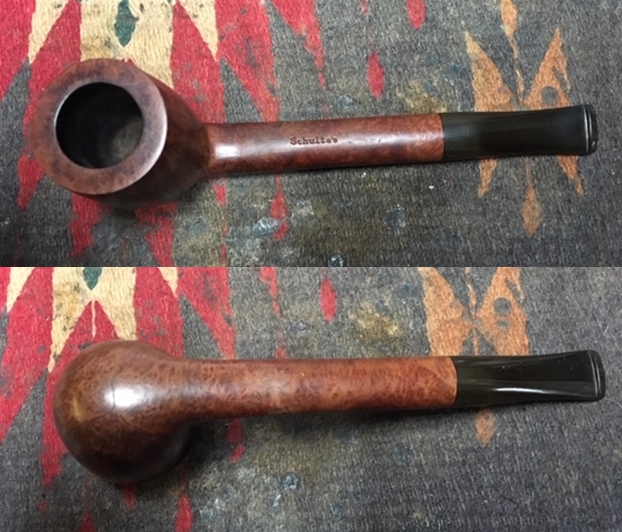
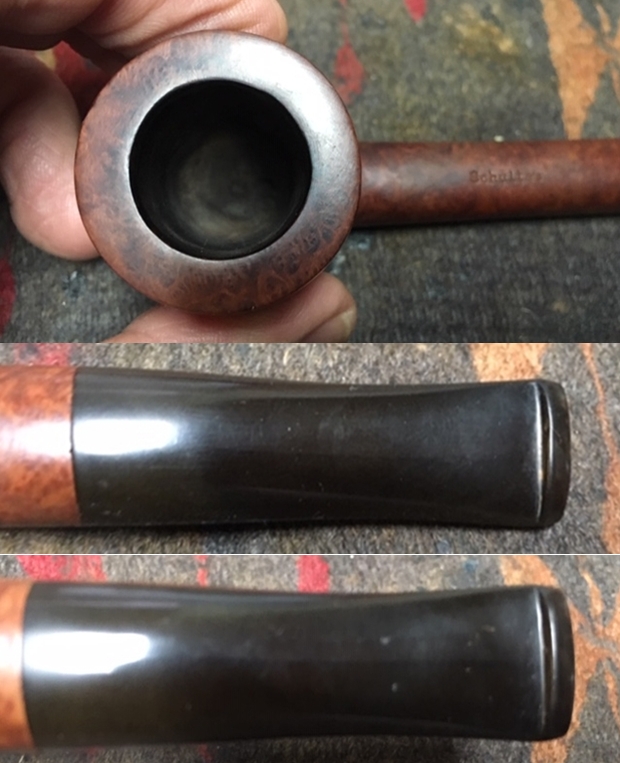
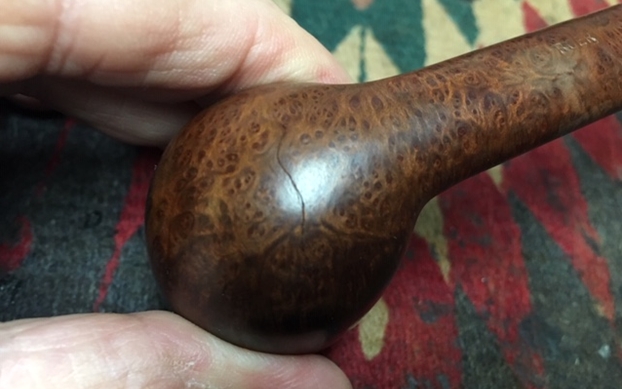
I examined the pipe when I took out the cotton balls and alcohol and I learned a few things about it that would need to be addressed. The rim top and inner and outer edges of the rim were in excellent condition and would not require a lot of work. The finish was spotty but the pipe had some beautiful grain. The biggest issue was that there was a crack on the heel of the bowl where it looked like the pipe had been dropped. Fortunately it did not go all the way into the interior of the bowl so it would be a pretty straightforward repair. The bowl was the cleanest of the lot with a very light cake inside that could easily be reamed out. The stem was lightly oxidized near the stem/shank junction but it was clean and was free of tooth marks or chatter. I wondered what the airway was like but that is an easy clean up. I took some photos of the pipe at this point. I took a close up photo of the bowl and rim to capture the condition of the rim top and light cake in the bowl. The rim top was in excellent condition and free of damage to the inner and outer edges. The cotton ball alcohol treatment had rid the pipe of the rank smell. The stem was in excellent condition with light oxidation near the shank end. At least it did not have tooth chatter or marks.I took a photo to capture the stamping on the top and underside of the shank. The first photo shows Schulte’s on the topside of the shank. The second photo shows the stamping on the underside and reads BCER. It is clear and readable.The pipe has some amazing grain! BUT…. Here is the real issue after the stench of the bowl and shank.There was a crack running across the heel of the bowl. It looked a lot worse than it actually was fortunately. This kind of crack generally comes when a bowl is dropped. In this case it did not go deep in the briar. Upon examination with a light there was no sign of it in the interior of the bowl. I probed the crack with a sharp pick and it did not go too deep in the briar.I needed to refresh my memory about brand so I turned to Pipephil’s site and did not find anything. On Pipedia I was more successful. The article had a series of comments from former customers that gave a sense of the shop and the pipes (https://pipedia.org/wiki/). I quote in part from that article.

Max Schulte – the name is sometimes misspelled “Shulte” – operated a pipe & tobacco shop in Newark and later in Maplewood, NJ. A customer remembers:

“My first pipes and tobaccos came from Max’s shop in Maplewood (I think it was on Bloomfield Avenue near Hy’s Cheesecake) back around 1965. The smell on entering either of these stores was sublime. I remember him well standing at the polishing wheel just off the counter, wearing a long workman’s apron, working on one of his characteristic classic shapes. The wall behind his tobacco counter was filled with rubber clips holding these as well as Savinellis, Sasienis, and Stanwells. I think he was actually on the front edge of the Danish trend. Max could polish a pipe in five minutes & have it come out looking new. He also blended an Oriental/Balkan blend (I think) called “Maritza” that was the finest of its kind (that I ever encountered) in those days. Max was always willing to share his extensive knowledge of pipes and tobaccos with any customer, even a young know-nothing like me, and seemed genuinely glad of the company. BTW, the going price for a half-pound of Maritza in those days was about seven dollars. It was worth every single cent.”

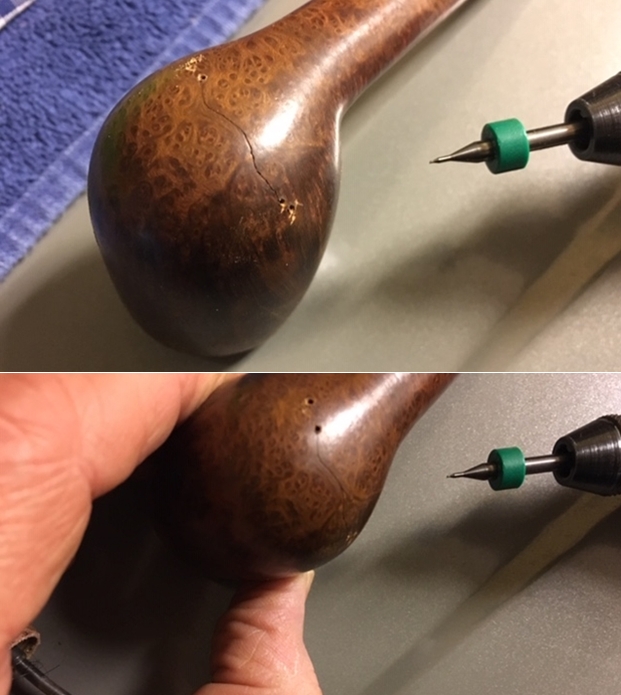
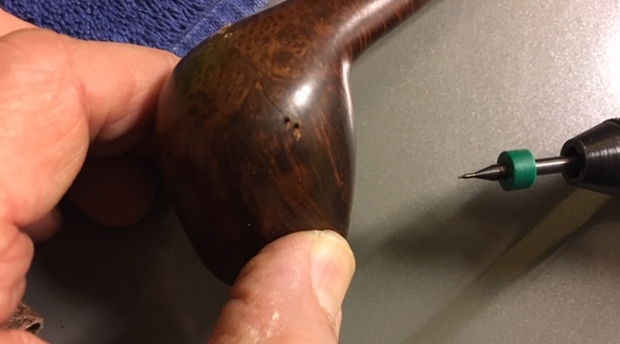
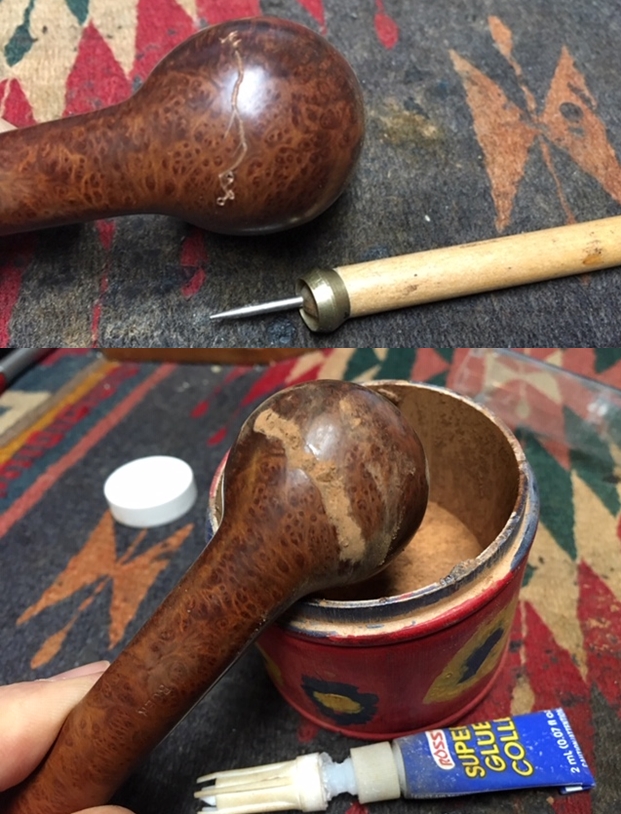
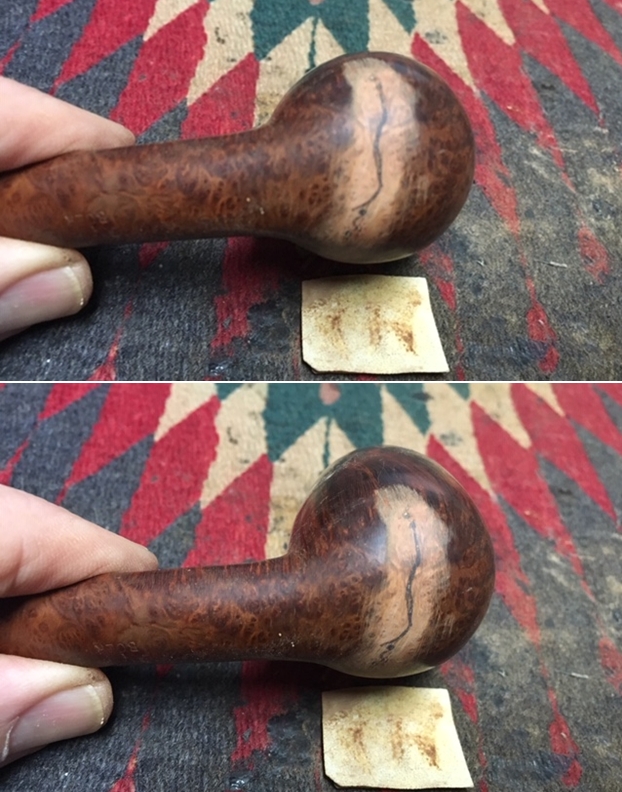
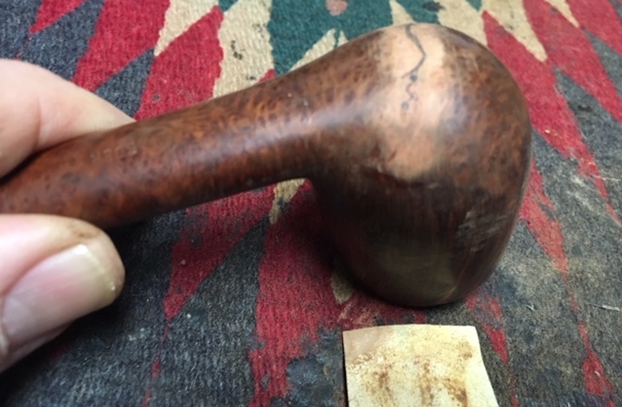
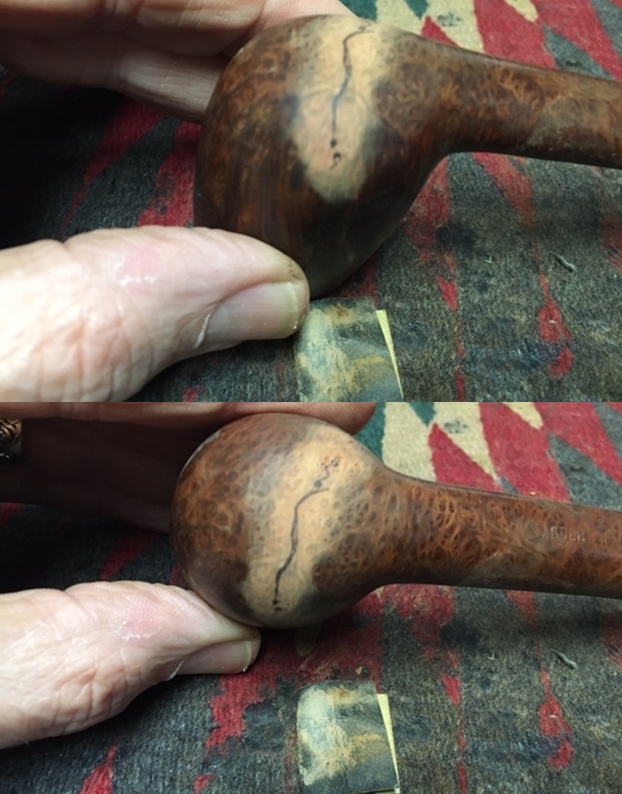
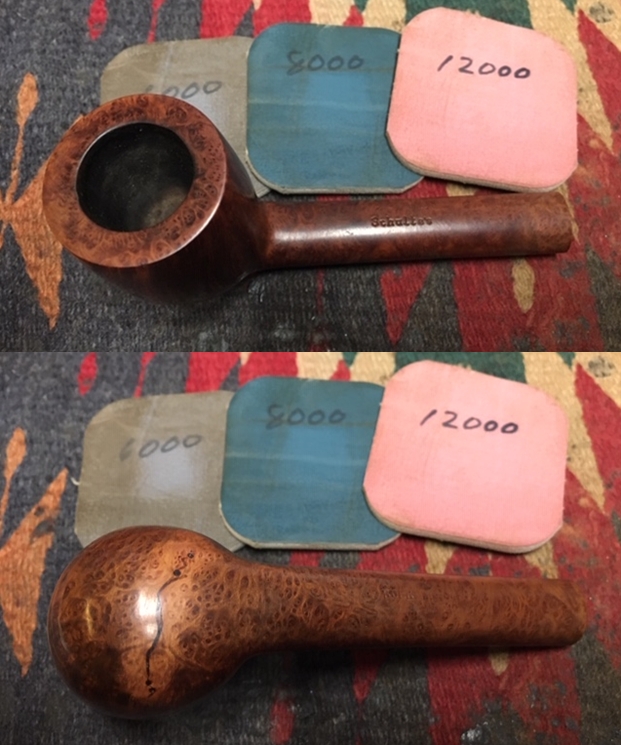
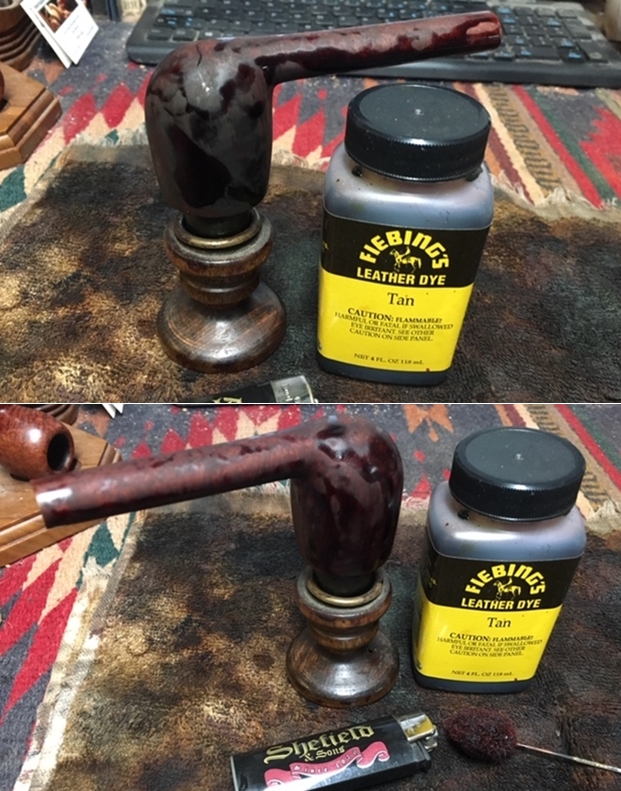
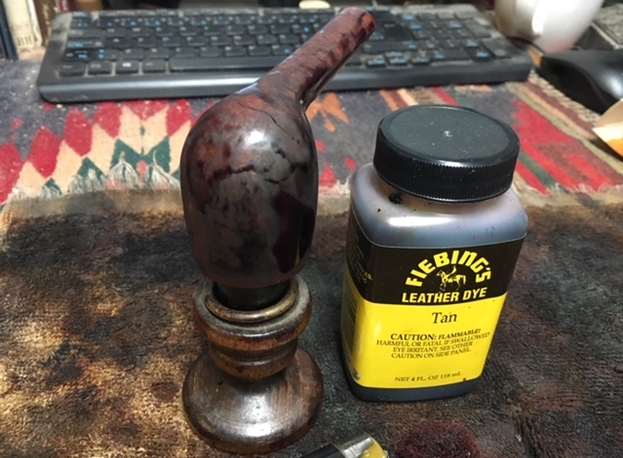
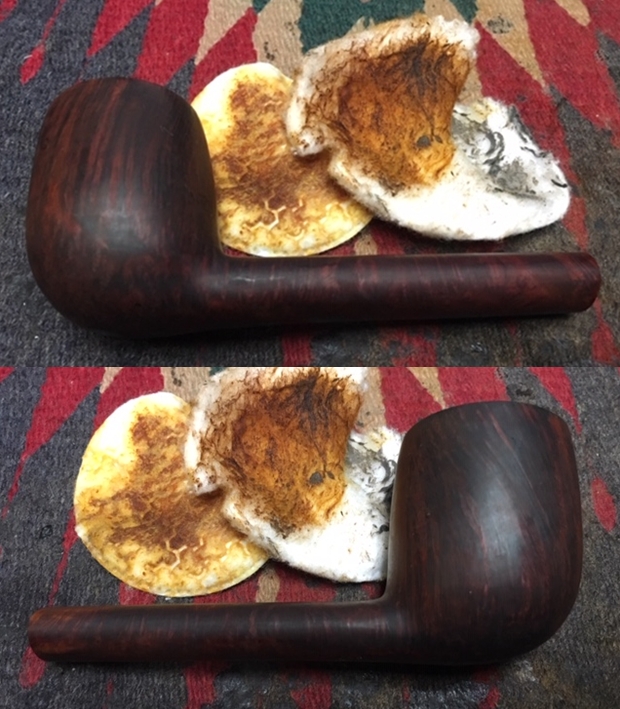
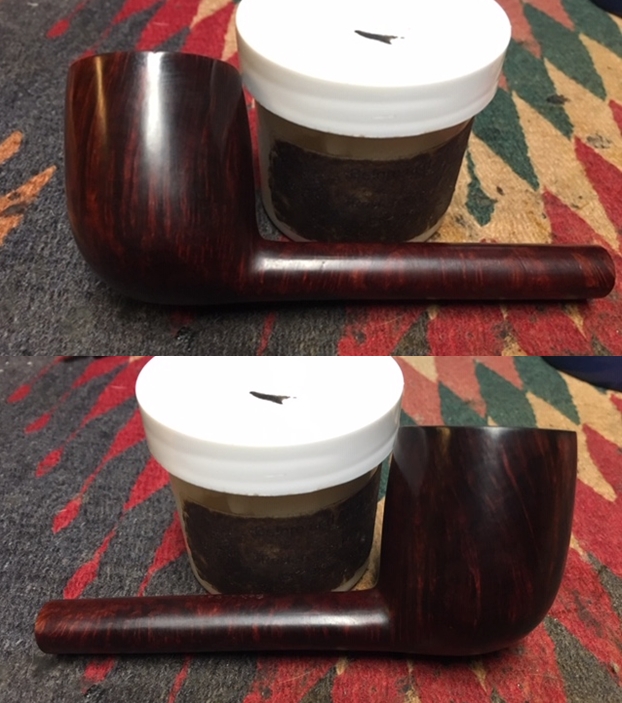
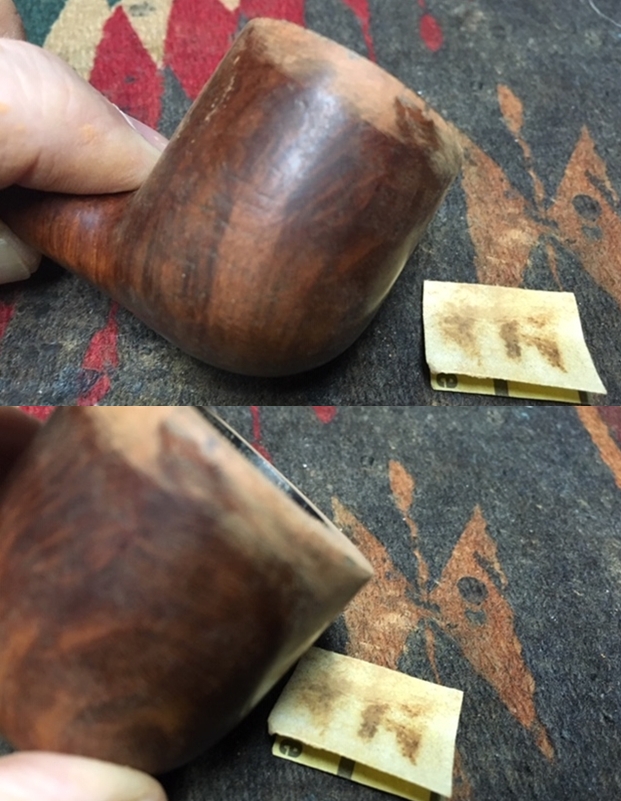
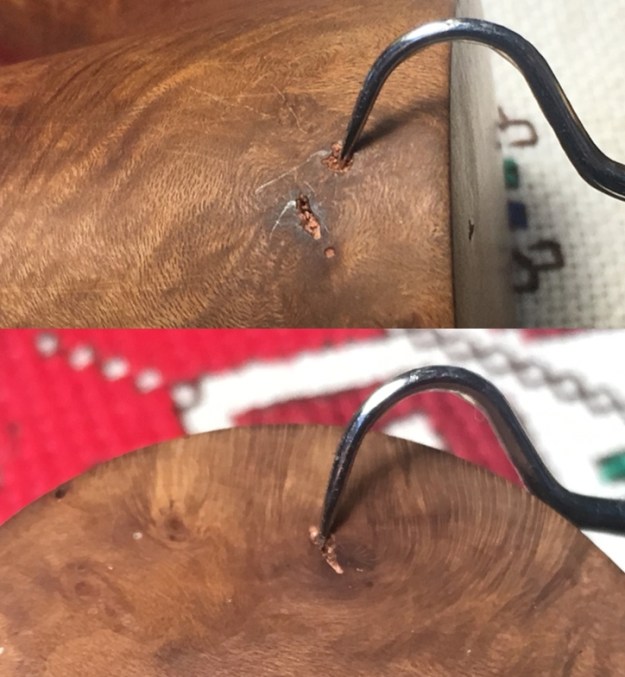
Now that the stink was gone once again I did not even think of cleaning the shank and airway I just immediately went to the most irritating part of this pipe – crack on the heel of the bowl. I used a microdrill to drill small pin holes at the end of each of the cracks. I did the drilling under a bright light so I could see the extent of the damage and make sure put a small hole at the end of each line of the crack. The large crack had a small crack branching of each end. I put a pin hole at the end of the main crack and one on the end of each small branching crack. I used a sharp point to trace the crack and give me some surface to fill with the repair of briar dust and super glue. The first photo shows the groove I carved. I filled in the groove and crack (along with the pin holes) with super glue then used a dental spatula to put briar dust on top of the glue and press it into the groove.Once the repair cured I sanded it smooth with a folded piece of 220 grit sandpaper to blend it into the surface of the surround briar. The photos below show the repaired scar on the heel. I sanded it further with 400 grit wet dry sandpaper to polish out the scratches. I polished the repaired heel and the rest of the bowl with micromesh sanding pads – wet sanding with 1500-2400 grit pads and dry sanding with 3200-12000 grit pads. I used the wet sanding on the first three pads to give me the traction to remove the scratches in the briar and the dry sanding to polish the briar. I wiped the bowl down after each pad with a damp cloth. It was beginning to look really good. The scar on the bottom of the bowl was very obvious so I would probably need to stain the bowl to blend it into the finish but the polishing would make that clear for me. The finish was looking pretty good but I knew that I would need to do more to blend the repair into the rest of the bowl. In preparation for staining the bowl I decided to wipe it down with isopropyl alcohol to remove the uneven finish. This way when I put a stain coat on at least the undercoat will be even. I looked through my Feibing’s stains to find one that would help to hide the repair but also let the grain shine through. I have found that the tan stain brings out the reds in the briar and once polished allow the grain to shine through. I stained it with the tan stain, flamed it and repeated the process until the coverage was even. I set the pipe aside for the night to let the stain cure. In the morning I wiped it down with alcohol on cotton pads to remove the heavy top coat and begin the process of unveiling the grain. I was also anxious to see how the repair scar looked on the heel of the bowl. I was pleased with how it blended in. It was not invisible but it did not stick out either. I buffed the bowl on the wheel with Blue Diamond to polish the new stain and get a feel for what the grain and the scar would look like. I was pretty happy with the results. I took it back to the worktable and worked some Before & After Restoration Balm into the bowl and shank with my fingertips to clean, enliven and protect it. I let the balm sit for a little while and then buffed with a cotton cloth to raise the shine. The following photos show the bowl at this point in the restoration process. Once again it was at this point that I realized that I had not reamed the bowl or done any cleaning of the internals after the cotton ball and alcohol treatment. I had been so intent on cleaning up the damaged rim that I totally skipped my normal pattern of work. So I went back to ream the bowl with a Savinelli Fitsall Pipe Knife. I was surprised at how clean it was. There was no carbon on the walls and what I had seen as a light cake was not. I turned then to clean out the internals. I cleaned out the airway in the shank and stem with cotton swabs, pipe cleaners and isopropyl alcohol. I cleaned out the mortise in the shank with cotton swabs and alcohol until the mortise walls were clean and looked bare. The pipe smelled clean and fresh.The stem on this Schulte’s was flawless. There were no tooth marks and no chatter. There was some oxidation near where the stem sat against the shank. I polished it with micromesh sanding pads – wet sanding with 1500-2400 grit pads and dry sanding with 3200-12000 grit pads. I wiped it down with Obsidian Oil after each pad. I polished it further with Before & After Pipe Stem Polish – both Fine and Extra Fine. I gave it one more final coat of Obsidian Oil to protect and deepen the shine. I put the stem back on the bowl and polished the pipe with Blue Diamond polish on the buffing wheel. I gave the bowl and the stem multiple coats of carnauba wax. I buffed the pipe with a clean buffing pad to raise the shine. I hand buffed it with a microfiber cloth to deepen the shine. The pipe polished up pretty nicely. The grain came alive with the buffing. The rich brown finish on the briar works well with the polished black vulcanite stem. The finished pipe is a beauty and feels great in the hand. Have a look at it with the photos below. The dimensions are Length: 6 inches, Height: 2 inches, Outside diameter of the bowl: 1 3/8 inches, Chamber diameter: 3/4 of an inch. This one will be going back to Alex to join the other three foul pipes that I had given back to him. Thanks for walking through the restoration on this now great looking Schulte’s Canadian. The repaired crack on the heel came out well and is blended into the darker colour of the pipe. It is really a beauty. I think Alex will enjoy it and he should get a better smoke from it now as that is ultimately what is most important to me. Aesthetics is important but if it does not smoke well it fails for me.

Getting Rid of a Foul Smell in a third pipe – a Malaga Pot


Blog by Steve Laug

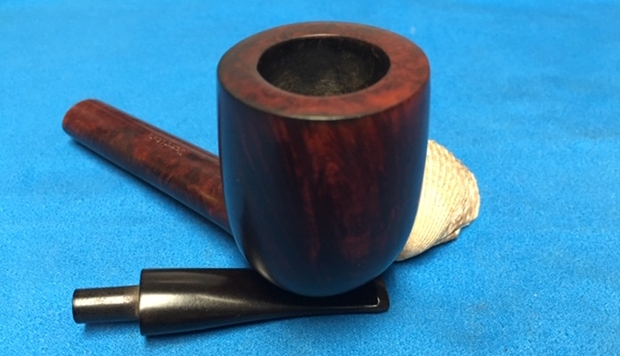
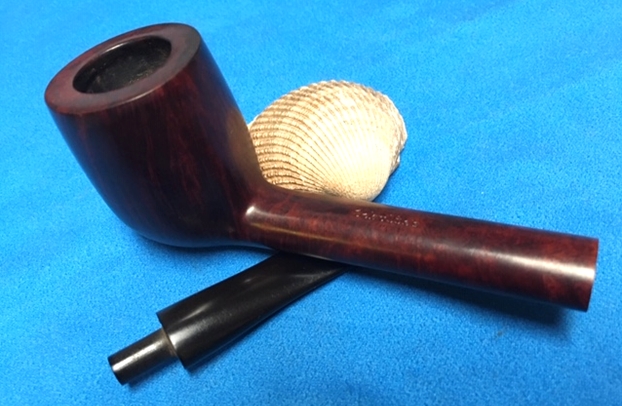
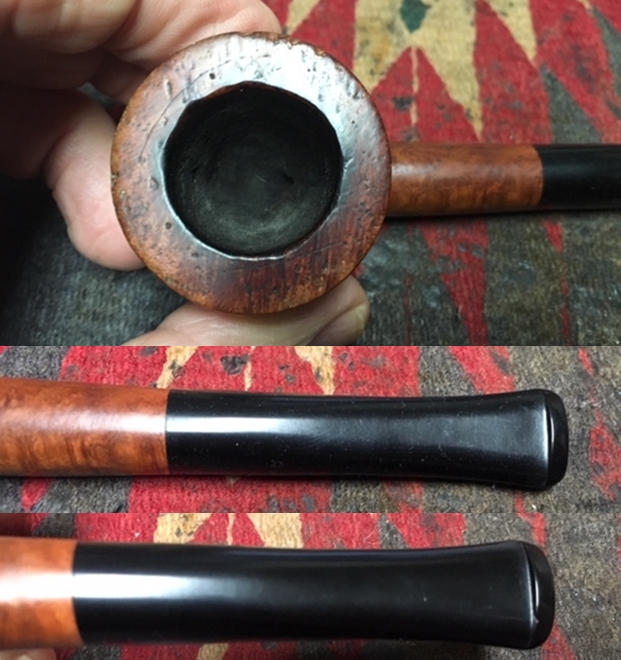
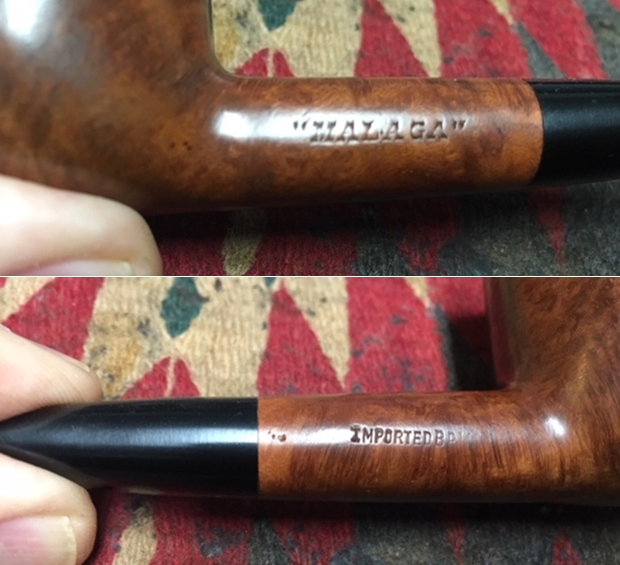
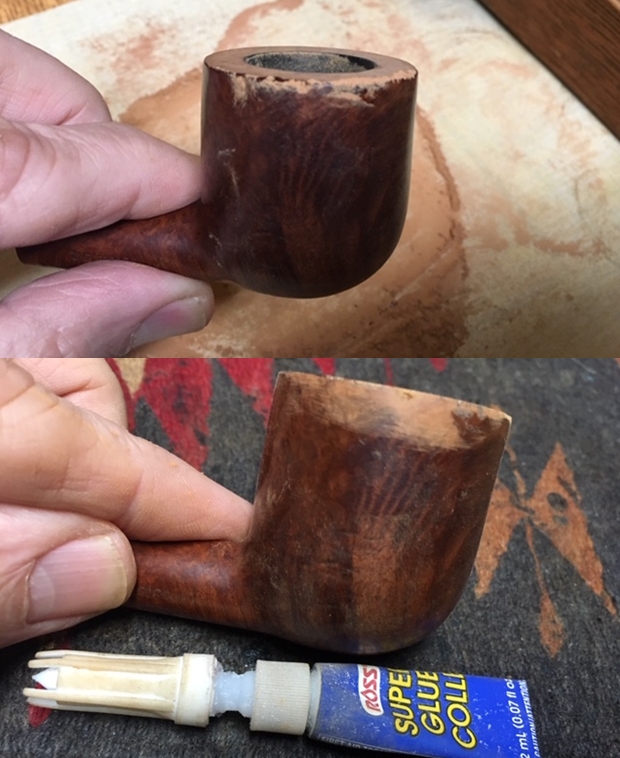
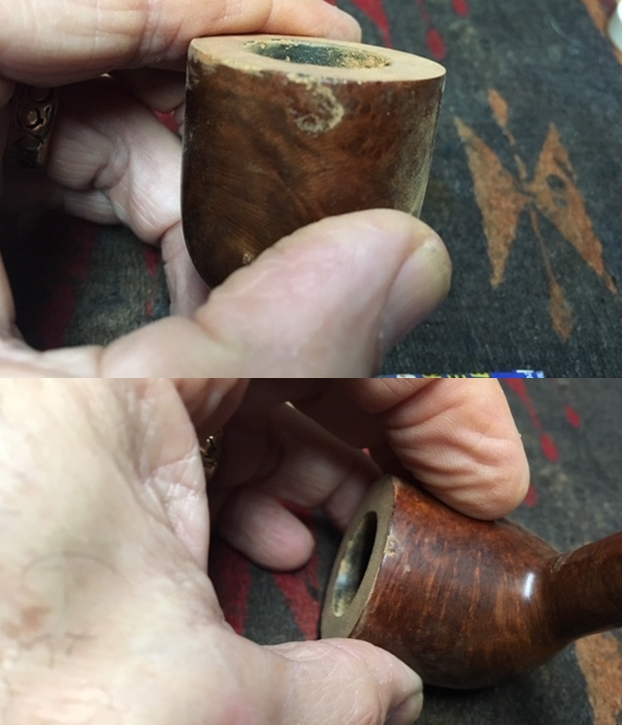
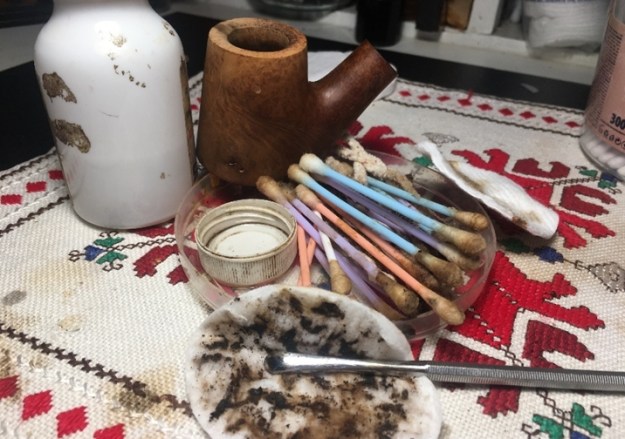
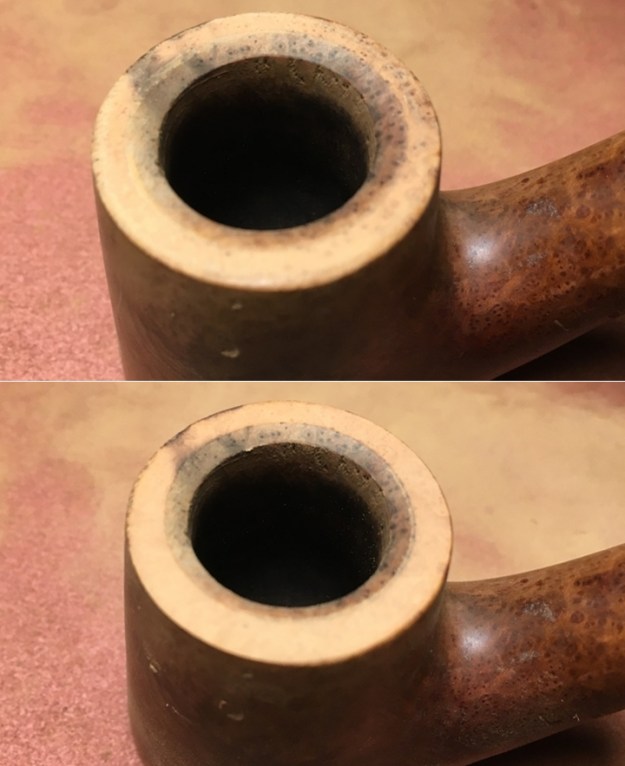
I have a box of some 25 pipes that I am working through for a friend here in Vancouver. The next group of four pipes that I am working on came to me in a sour, stinky condition. Alex had smoked them and found that as he smoked them each one became fouler. From my experience this happens when a pipe has not been thoroughly cleaned in the process of restoration. Sometimes even if it has been cleaned, the first few smokes draw out a foul taste and in this case an odor that made me put the four pipes in a zip lock bad to keep the odor contained. They really stunk! On Sunday evening I decided to give the foursome a cotton ball and alcohol treatment to draw out the oils and tars in the briar. I pushed cotton balls into the bowl and a folded pipe cleaner in the shank and used an ear syringe to fill the bowl with isopropyl alcohol. I set the pipes aside to let the alcohol do its work overnight. I know many of you use kosher salt and alcohol and that certainly is your choice. For me however the cotton balls work just as effectively in providing a medium for the foul juices drawn out of a pipe to be deposited. They are also easier to clean up and they do not leave residual salts in the briar. In the morning I took a photo of the finished work. You can see the effectiveness of the treatment.I took the cotton out of the bowls of the pipes and wiped the bowl down with pipe cleaners and cotton swabs to dry them out. The pipe I decided to work on is the beautifully grained straight pot, the third pipe from the right in the photo above. It is stamped on the left side of the shank “MALAGA” and on the right side of the shank is stamped Imported Briar. Alex has grown to love Malaga pipes and continues to pick them up on eBay and other places on his journey. It was another pipe that the seller said was clean but after several smokes Alex deemed it unsmokable. It was now up to me to figure out what was going on. I examined the pipe when I took out the cotton balls and alcohol and I learned a few things about it that would need to be addressed. The rim top and inner and outer edges of the rim were in rough condition. It looked like the pipe had been used for a hammer. The finish was spotty with nicks and marks. The bowl had some cake inside and it too would need to be reamed out. The stem was the best of the lot. It was clean and was free of tooth marks or chatter. I wondered what the airway was like but that is an easy clean up. I took some photos of the pipe at this point. I took a close up photo of the bowl and rim to capture the damage to the rim top and light cake in the bowl. The rim top was in bad condition with nicks and cuts. The inner and outer edges were rough. The bowl was out of round. It needed some more work to clean it up but at least the cotton ball alcohol treatment had rid the pipe of the rank smell. The stem was in the best condition of the four pipes. It did not have tooth chatter or marks and was not oxidized.I took a photo to capture the stamping on the right and left side of the shank. The first photo shows “MALAGA” on the left side of the shank. The second photo shows the stamping on the right side it reads Imported Briar. The stamping on this pipe is readable.Now that the stink was gone I did not even think of cleaning the shank and airway I just immediately went to the most irritating part of this pipe – the beat up rim top and edges. I topped it on a topping board with 220 grit sandpaper to remove the damage to the rimtop and to try to minimize the damage to the inner and outer edges. The rim top looked significantly better as can be seen in the second photo below. I cleaned up the outer edge with some sandpaper and wiped it down. I filled in the deep nicks in the edge with briar dust and super glue.I sanded the edge repairs with 220 grit sandpaper to blend them into the surface of the briar. I would polish out the scratches later but for now the edge was at least smooth. Once the outer edge was cleaned up I worked on the inner edge. I used a folded piece of 220 grit sandpaper and smoothed out the edge. I gave the edge a slight bevel to take care of the rim damage and darkening that was present.I polished the rim top and the rest of the bowl with micromesh sanding pads – wet sanding with 1500-2400 grit pads and dry sanding with 3200-12000 grit pads. I used the wet sanding on the first three pads to give me the traction to remove the scratches in the briar and the dry sanding to polish the briar. I wiped the bowl down after each pad with a damp cloth. At this point in the process the finish looked very uneven to me – even spotty. I decided to wipe down the bowl and shank with isopropyl alcohol to remove the uneven finish. I was able to even out the look of the finish to a point where I was happy with the look.  I worked some Before & After Restoration Balm into the bowl and shank with my fingertips to clean, enliven and protect it. I let the balm sit for a little while and then buffed with a cotton cloth to raise the shine. The following photos show the bowl at this point in the restoration process. The bowl and the rim top look really good and the damage is gone. I am very happy with the results. It was at this point that I realized that I had not reamed the bowl or done any cleaning of the internals after the cotton ball and alcohol treatment. I had been so intent on cleaning up the damaged rim that I totally skipped my normal pattern of work. So I went back to ream the bowl with a Savinelli Fitsall Pipe Knife. I sanded the inside of the bowl with a piece of dowel wrapped with 220 grit sandpaper to remove all remnants of the cake. When I was finished the bowl walls were smooth and clean.I cleaned out the airway in the shank and stem with cotton swabs, pipe cleaners and isopropyl alcohol. I cleaned out the mortise in the shank with cotton swabs and alcohol until the mortise walls were clean and looked bare. I stopped and checked out the smell of the pipe and it was clean and fresh smelling.The stem on this Malaga was flawless. There were no tooth marks and no chatter. The stem absolutely glow it was so clean so there was nothing to be done with it. I wiped it down with some Obsidian Oil to protect and deepen the shine but otherwise it was perfect.

I put the stem back on the bowl and polished the pipe with Blue Diamond polish on the buffing wheel. I gave the bowl and the stem multiple coats of carnauba wax. I buffed the pipe with a clean buffing pad to raise the shine. I hand buffed it with a microfiber cloth to deepen the shine. The pipe polished up pretty nicely. The grain came alive with the buffing. The rich brown finish on the briar works well with the polished black vulcanite stem. The finished pipe is a beauty and feels great in the hand. Have a look at it with the photos below. The dimensions are Length: 5 ½ inches, Height: 1 3/4 inches, Outside diameter of the bowl: 1 9/16 inches, Chamber diameter: 7/8 of an inch. This one will be going back to Alex with the other two previously foul pipes that I worked on. Thanks for walking through the restoration on this now great looking “Malaga”. It is really a beauty. I think Alex should get a better smoke from it now.

Crafting a Churchwarden for a Lord of the Ring’s Enthusiast


Blog by Dal Stanton

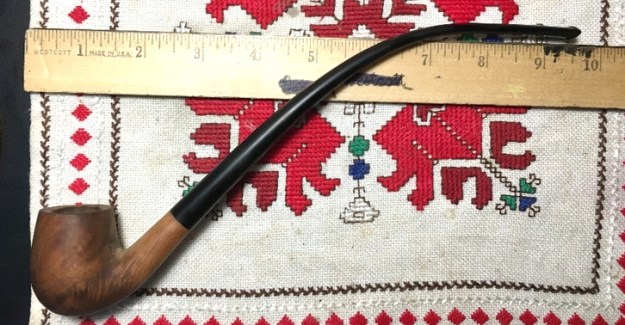
After restoring 3 pipes which Tina chose to gift special men in her life, the final request was to fashion a Churchwarden for her oldest son Thomas, who is a Lord of the Rings “groupie” and of course, he wants a ‘Gandalf Pipe’ to aid in blowing inspired smoke rings!  Tina’s son has been married for a few years and apparently, he and his wife have a Lord of the Rings movie binge at least once a year!

In my research on the Churchwarden shape, as the story goes, there were men back in the days when they didn’t lock churches at night, who were employed as ‘wardens’ of the church – whose responsibility was to guard the premises.  To be faithful to their charge, they were not allowed to leave the walls of the church.  That created an unusual dilemma between guarding the holy confines and the desire to enjoy one’s evening smoke.  The moral dilemma was creatively solved by a stem.  The length of the stem enabled the church wardens to tend to their evening bowls as they stood vigilantly inside the church walls while the stems extended through the windows…so the story goes (see Pipedia’s article).  Of course, everyone knows that Churchwardens were prevalent in Middle Earth as Gandalf spun up fireworks and smoke rings!

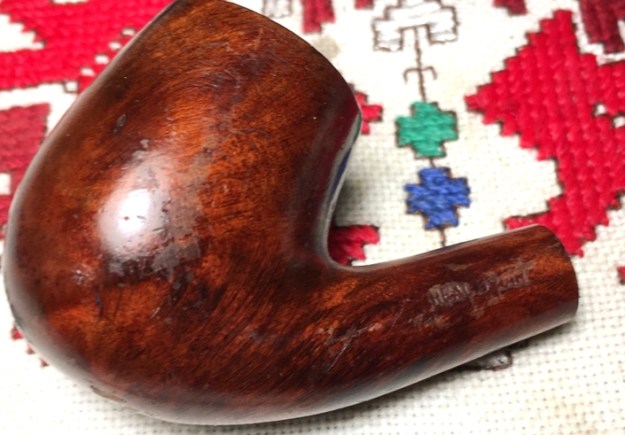
I found a bowl that I put aside quite some time ago that

Courtesy of Gonzalo Kenny https://lotr.fandom.com/wiki/Balrogs

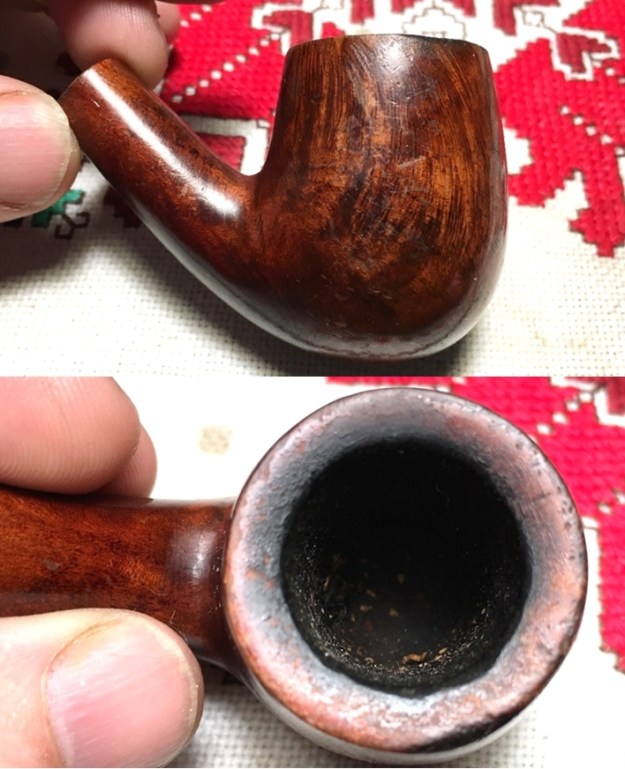
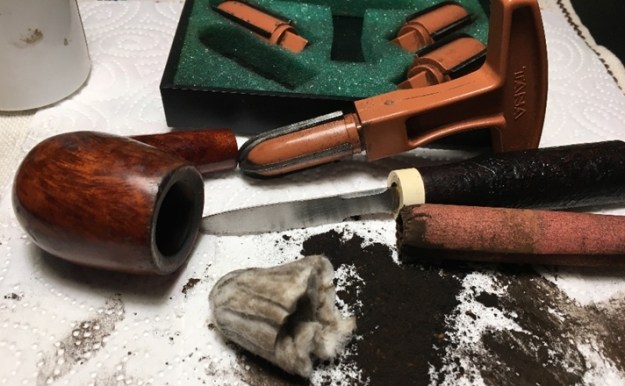
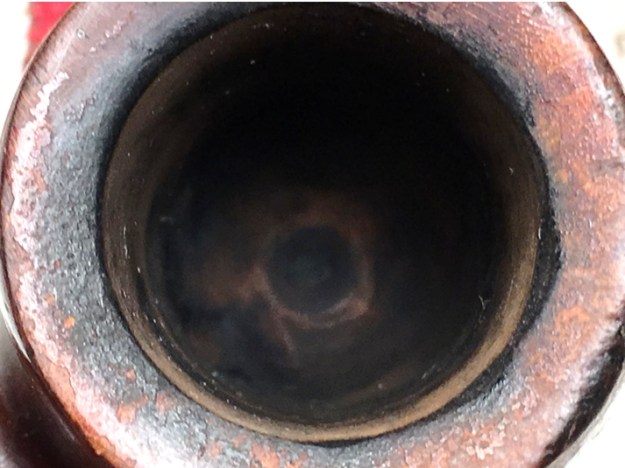
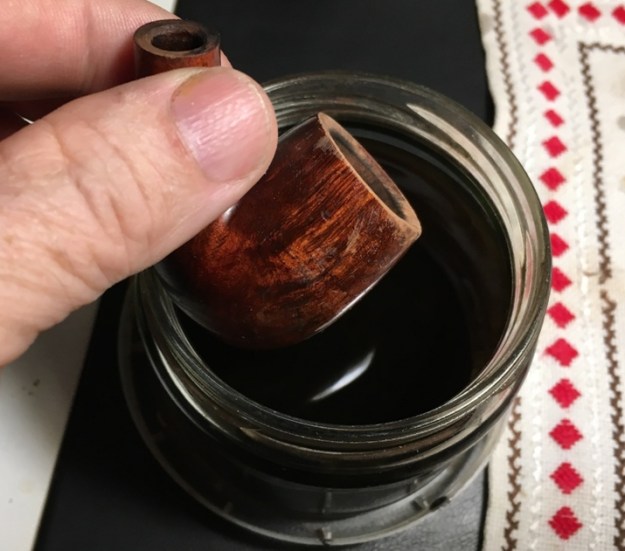
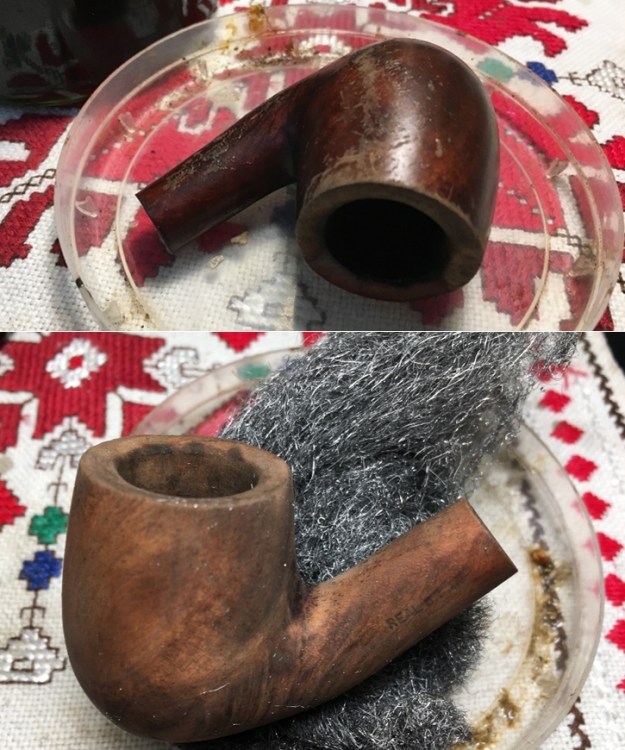
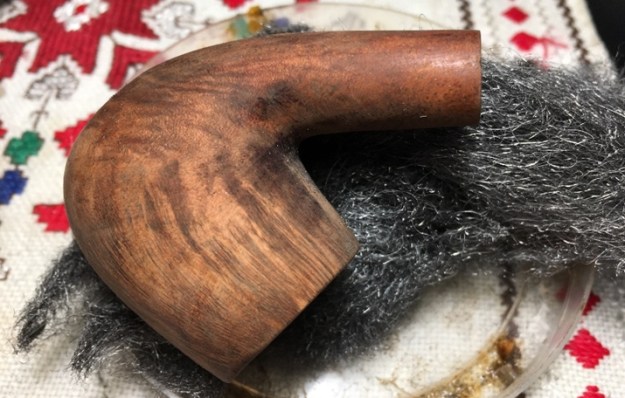
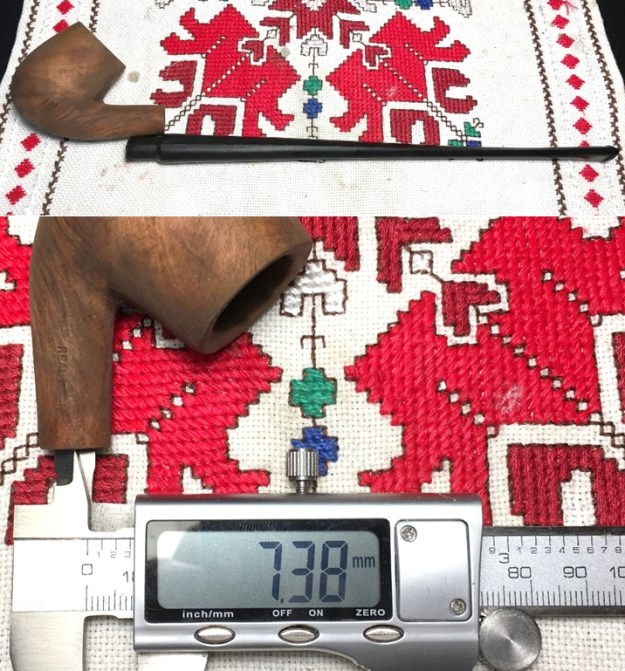
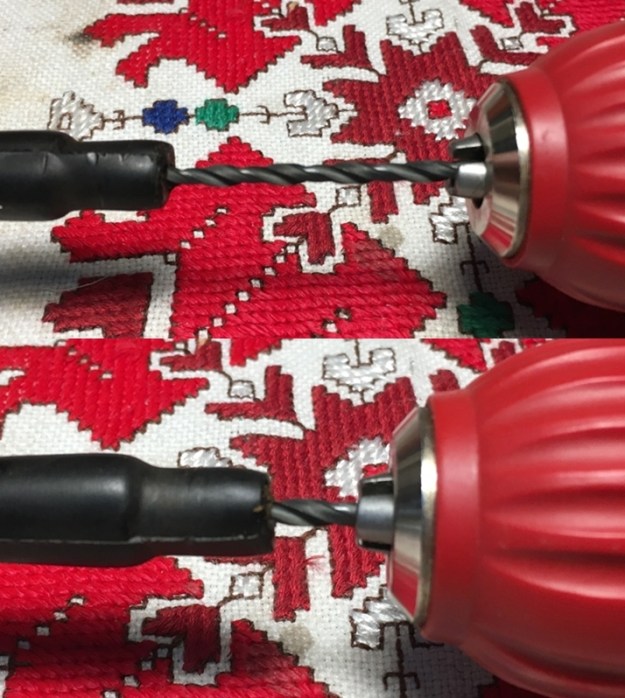
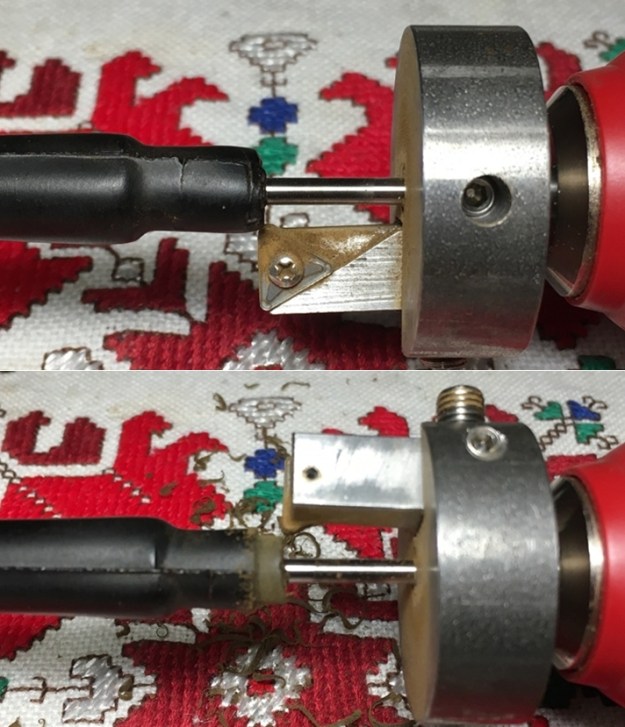
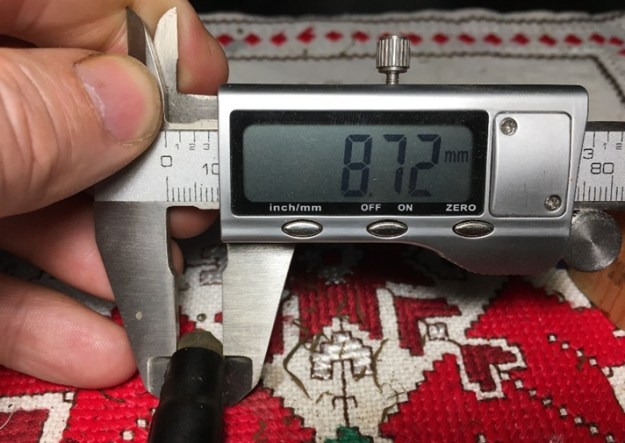
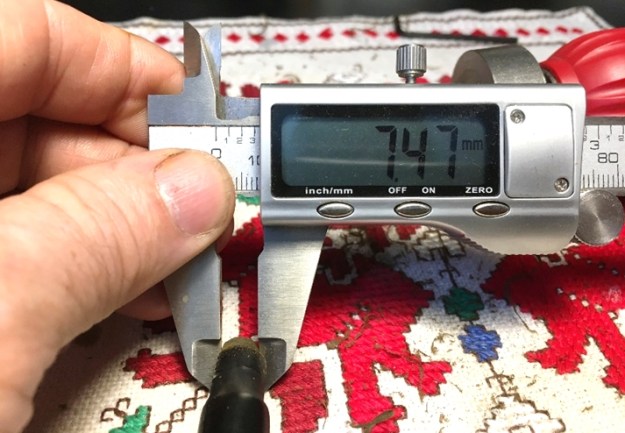
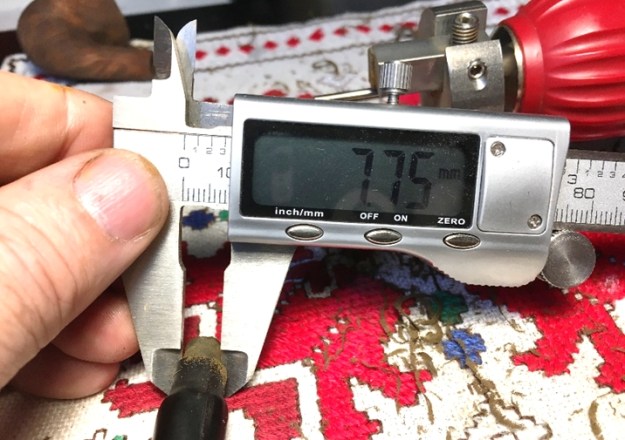
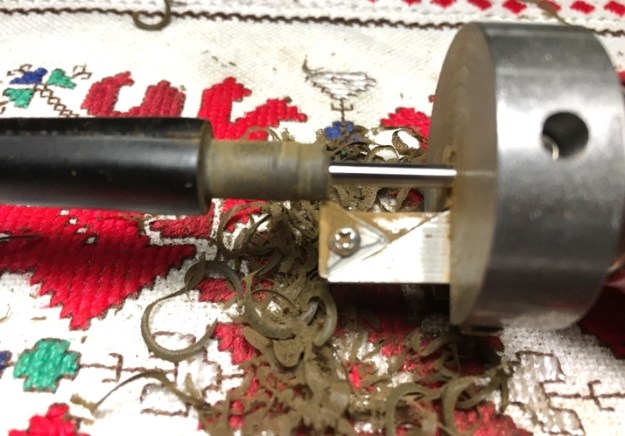
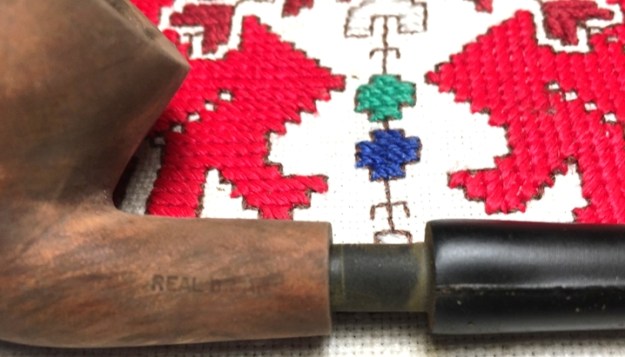
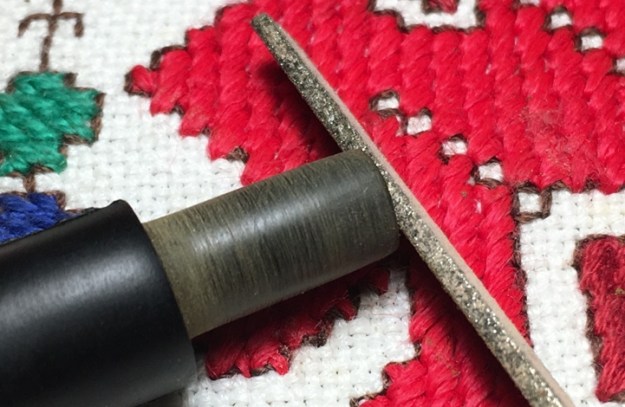
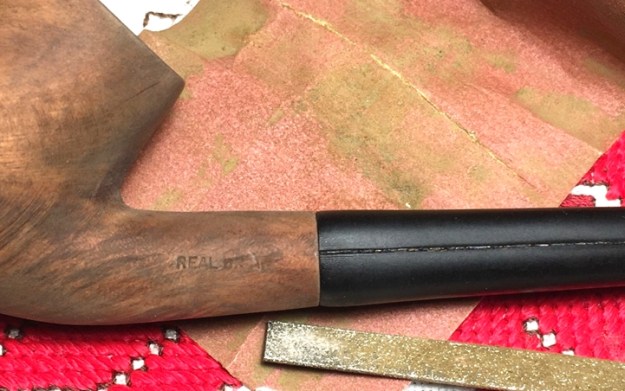
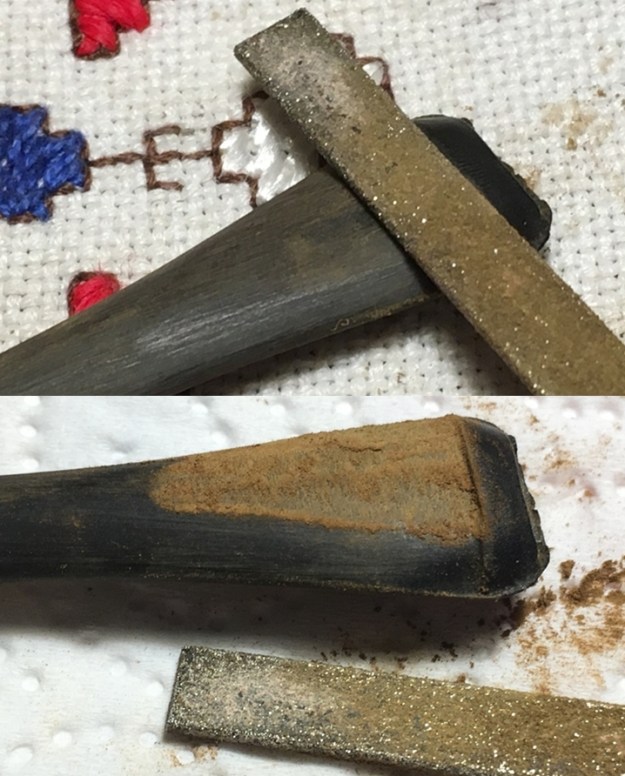
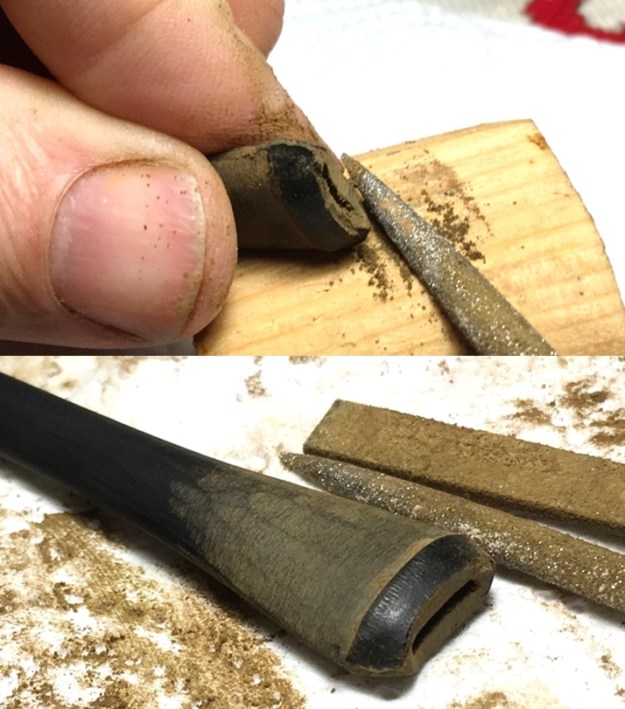
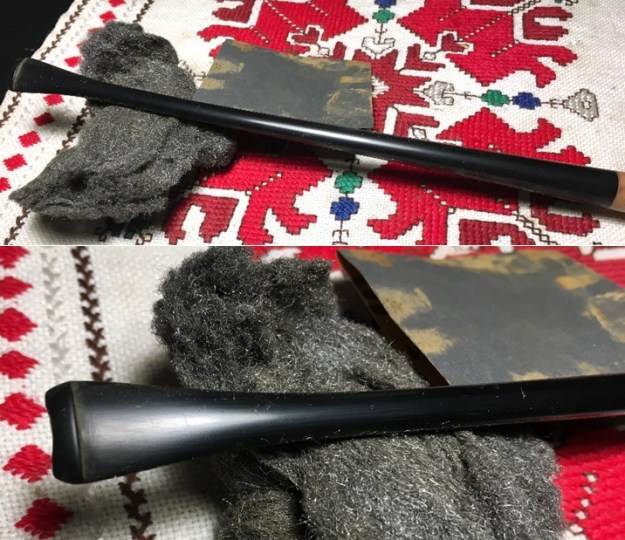
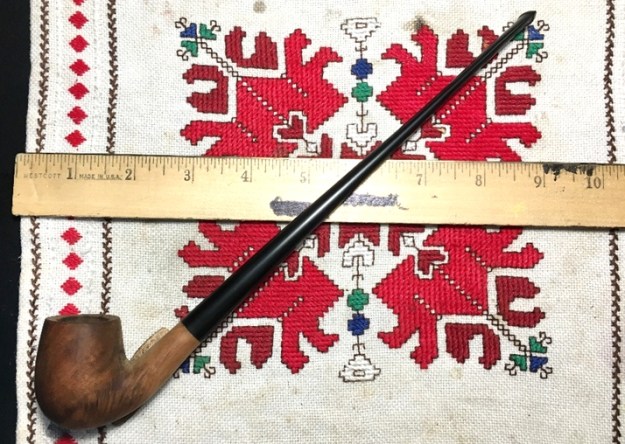
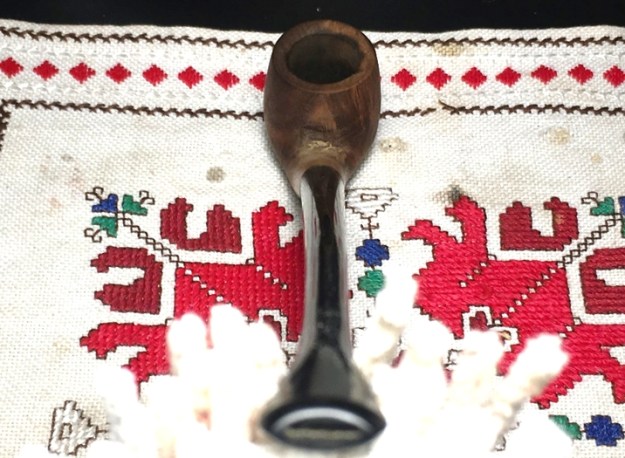
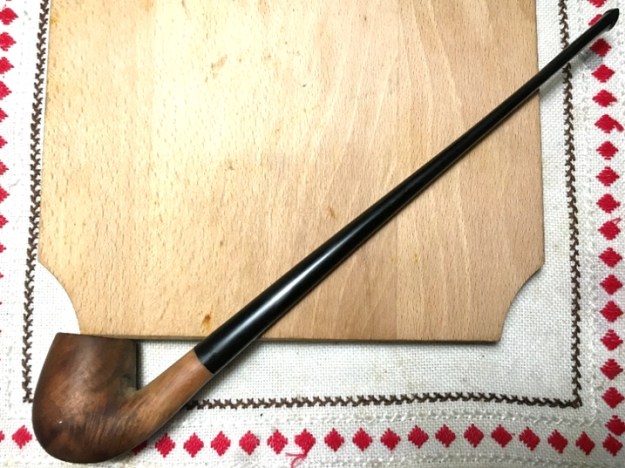
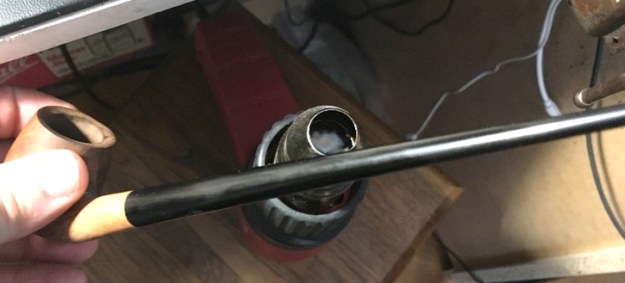
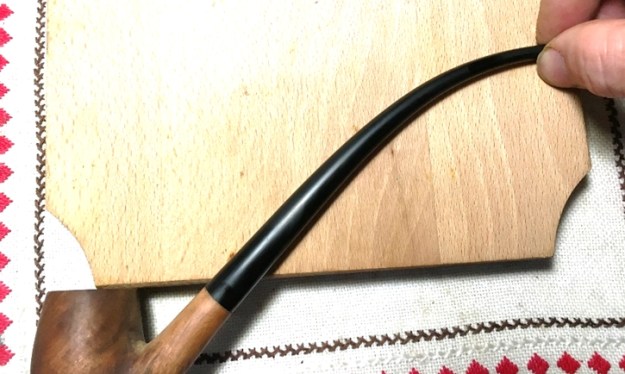
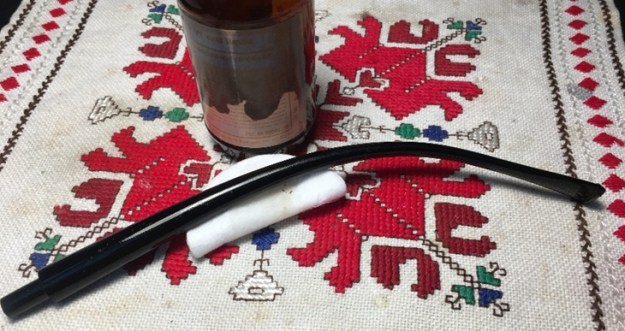
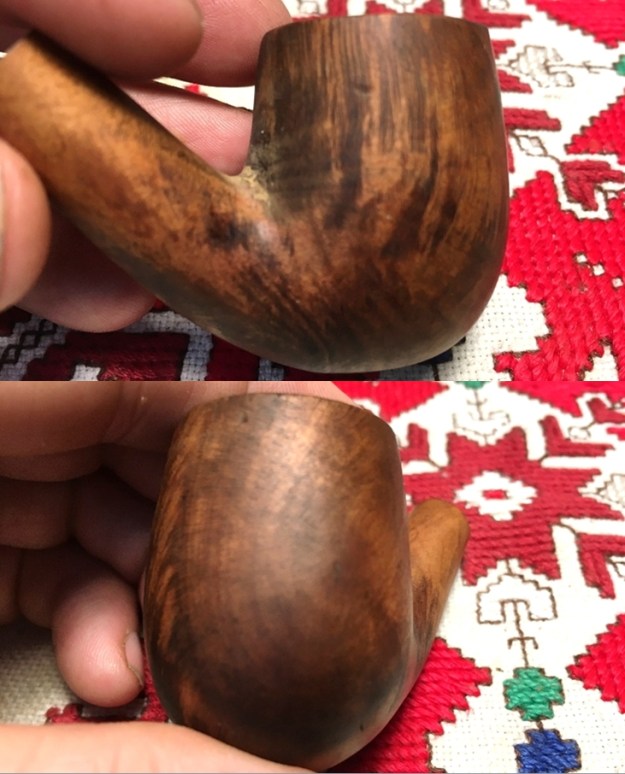
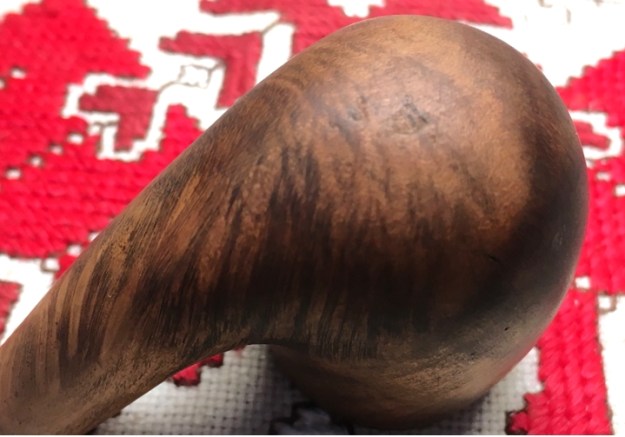
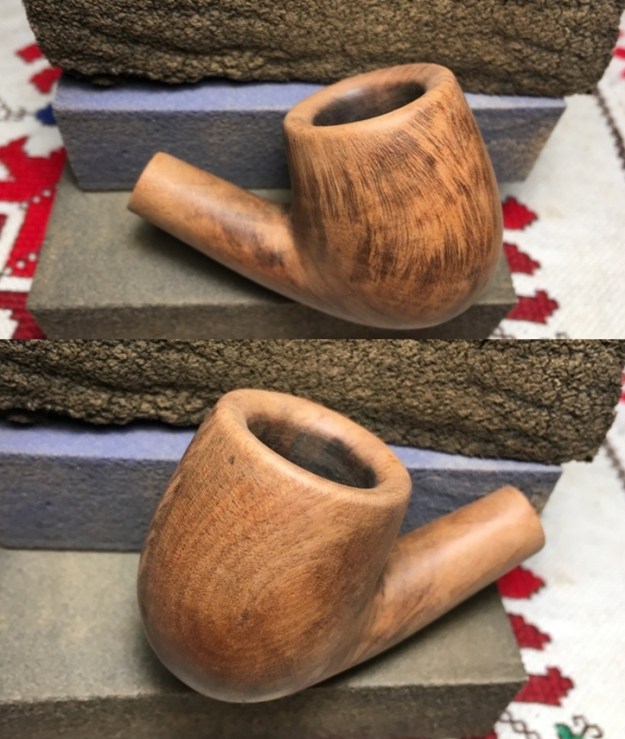
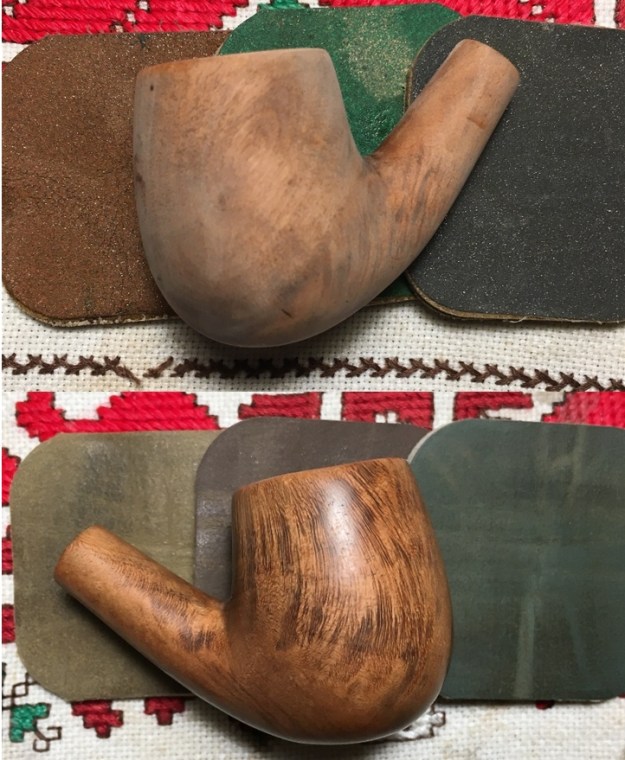
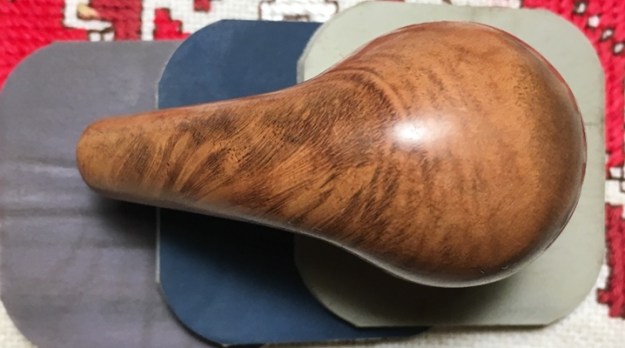
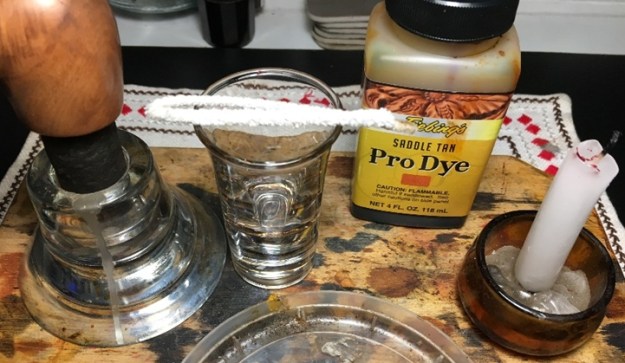
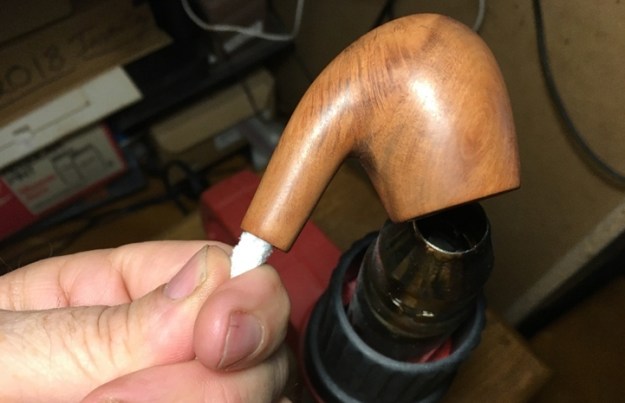
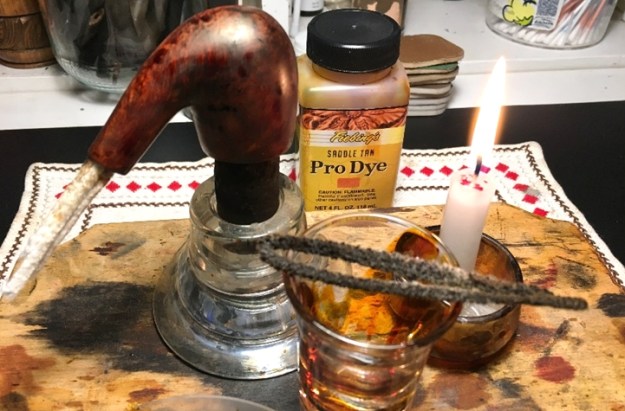
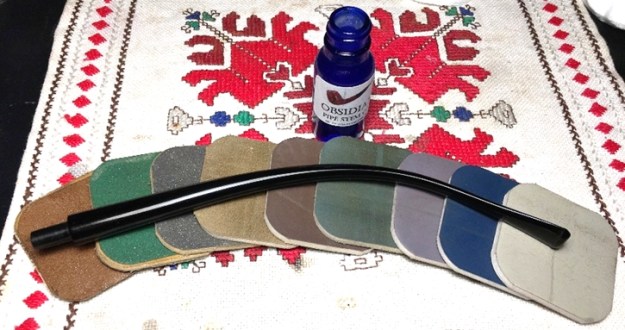
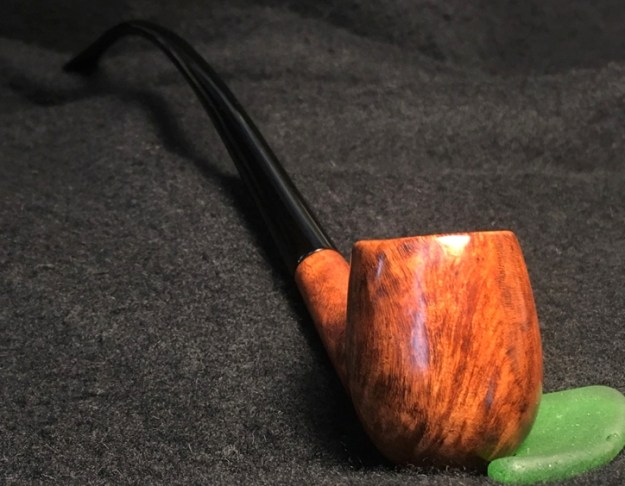
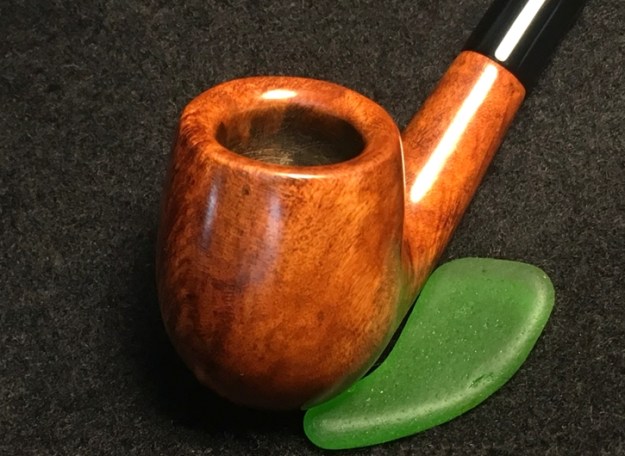
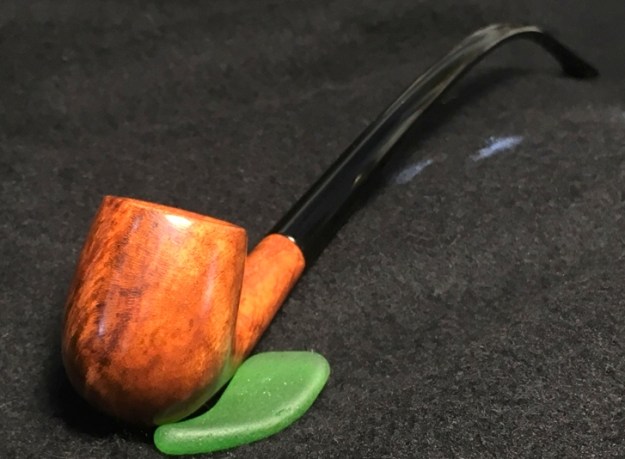
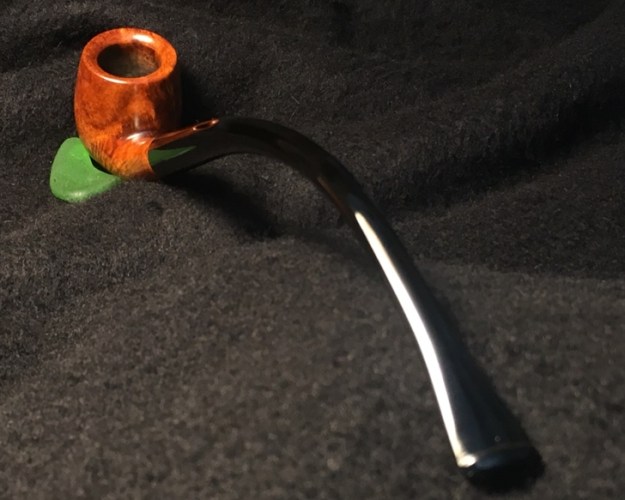
I believed would serve well as a repurposed stummel to be mounted as a Churchwarden.  I know that there are strict Warden purists out there who question the validity of repurposing a bowl for use in fashioning a Churchwarden.  Yet, I appeal to Bill Burney’s description of the Churchwarden in his excellent Pipe Shapes Chart published in Pipedia where he says: “Interestingly, all the other styles of pipe are identified by the shape of their bowls, but the churchwarden is identified by its long stem.  The stem can be bent or straight, but it is always very long – 9” to 18” long.”.  There may be ‘true born’ Churchwardens and there are also those Churchwardens who are adopted into the ranks through the promotion of a discarded and forgotten stummel surviving from another lifetime where they served among other mere mortal pipes that they used to be.  For a common bowl to be remounted onto a Warden stem and to experience that metamorphosis is perhaps like when Gandalf transformed through fire in his mortal combat with Balrog – transforming from The Grey to The White….  Perhaps, only Gandalf knows for sure!  The bowl and stem I chose for this transformation are now on my table.The pre-molded Warden Stem comes from my main supplier, Tim West at http://www.jhlowe.com/bits.htm.  The stummel has ‘Real Briar’ stamped on the side of the shank, but what I like a lot is the 1/2 bent shank.  This will yield a very nice sweeping bend in the Warden stem.  The bowl’s size is not too large – perfect for a Churchwarden. Looking closely at the stummel, I see potential grain underneath the dark, marred surface.  The rim has lava flow but has an attractive inwardly slanted rim.  The chamber has light cake.  I take some pictures of the stummel in its current condition. Before I start working on fashioning the new preformed stem, I clean the stummel.  I start by reaming the chamber using the Pipnet Reaming kit.  I only use the smallest of the blade heads and then transition to the Savinelli Fitsall Tool to fine tune the scraping and cleaning.  Then I sand the chamber using a piece of 240 grade sanding paper wrapped around a Sharpie Pen.  Finally, after wetting a cotton pad with alcohol, I wipe the chamber cleaning it from the carbon dust.  I inspect the chamber after finishing and all looks good. Next, turning to the external surface, I take a few more pictures to show the nasty layer of grime over this stummel!  I use Murphy’s Oil Soap undiluted on a cotton pad and begin the scrubbing process.  I also utilize a brass wire brush to clean the rim. The results are good, but the reality is revealed by the cleaning!  The reality of the condition of the stummel is the reason it was in the box with other lonely stummels having given their all and discarded!  The finish is shot and the rim in mangled. Restoring this stummel to fashion a Churchwarden will be a noble endeavor! Next, I turn to cleaning the internals.  Using cotton buds and pipe cleaners wetted with isopropyl 95%, I go to work.  The internals are nasty.  I also utilize and small dental spatula to scrape the mortise walls.  There was a lot of resistance, but the buds started lightening until I was satisfied that the largest part of the cleaning was accomplished.  I’m not too concerned at this point because I’ve already made the decision to put the stummel in a soak of acetone to totally remove all the old finish which will also take care of residual internal tars and oils. The next morning, I fish the bowl out of the acetone bath.  Some of the finish was removed during the soak, but with the use of 0 grade steel wool, I’m able to dispatch the old finish easily after the night’s soak softened the old finish.  The pictures show the raw briar that allows me to start over. With the stummel cleaning process completed, I turn now to fashioning the preformed Churchwarden stem.  I use an electronic caliper to measure the diameter of the mortise to mark the target sizing of the tenon of the preformed stem that will eventually be seated.  The mortise measurement is 7.38mm in diameter.  Using Charles Lemon’s (of Dad’sPipes) methodology, I add 50mm to this exact measurement to give me my ‘fat’ target.  The ‘fat’ target is what I will aim for when bringing the tenon down to size using the PIMO Tenon Turning Tool.  The ‘fat’ target is 7.88mm.  From this point, I will sand the tenon by hand which gradually and patiently custom fits the mortise. The first thing needed is to pre-drill the tenon airway with the drill bit provided by the PIMO tool.  This enlarges the airway slightly enabling the insertion of the PIMO tool guide pin.  I mount the drill bit to the hand drill and drill out the airway.Next, the PIMO Tenon Turning Tool is mounted on the hand drill and I cut a small test sizing to measure to give me the distance between the test cut and the ‘Fat’ target.  After cutting the test, I measure it with the caliper and record 8.72mm and subtract the ‘Fat’ target, 7.88mm leaving .84mm to remove using the PIMO tool. Using the Allen wrench provided with the PIMO tool, I close the gap of the cutting arm and cut again.  The measurement of the next cut after closing the gap of the carbide cutter arm took off more than I wanted – the measurement is 7.47mm – beyond the 7.88 fat target.  This is why you only to partial cuts at the beginning!I enlarge the gap of the cutter arm a small amount and cut again.  The next measurement is 7.75mm – much better, just falling under the 7.88mm fat target.With this measurement reached, I cut the entire tenon down to the 7.75mm width.  I take the cut to the stem shank facing so a nice straight edge is created, and a ‘shoulder’ is not left from the rough preformed stem.I begin the sanding process by wrapping the tenon with 240 grade paper and rotating the stem and applying pressure strategically with my finger and thumb. I smooth and shorten the tenon a little so that it looks better and doesn’t butt into a ridge that I detect in the mortise which would block the full insertion of the tenon.  I use a flat needle file to do this.The process is slow with a lot of tests and sands… But in time the tenon seats very nicely in the mortise.  Nice!With the tenon snuggly seated in the mortise, the work is far from finished!  The picture shows the offset of the stem and the lip of briar hanging over the stem.  No stem fits automatically!The preformed Warden stem also is not straight but bows to the left through the reach of the stem.  I’ll work on this when I bend the stem later.Using 240 grade paper I begin the process of sanding the junction of the stem and shank.  My goal is to have a seamless transition from shank to stem with no overhanging ridges.  The other issue I see is that both the shank and stem have high spots that need to be sanded down and blended into a uniform flow.  What I want to avoid is the bloomers or stuff-pants look – where the shank balloons out when the sanding has not tapered the flow of the shank from the stem width as it transitions into the shank. It takes time, but in time the ridges have been removed and the tapering through the shank to the bowl looks good. I continue sanding the entire stem with 240 grade paper.  The precast stem is full of ridges and the casting seam down both sides – all of which needs to be sanded away and smoothed.  I also use the flat needle file to form and shape the new button.  I want to retain the curved button slot.  It looks classy! After sanding out the main issues with the new precast Warden stem, I transition to wet sanding using 600 grade paper.  With the bowl and stem united, I sand not only the stem including the shaped button, but also the junction of stem and shank to continue to smooth and blend the tapered transition.  After completing the wet sanding with 600 grade, I use 000 grade steel wool to sand in the same way.  The distance pictures with a Warden stem are always too far away to see detail, but a close-up shows some progress.With the main fabricating and sanding completed with the Churchwarden’s stem, the next step is to bend it.  The 1/2 bent shank of the stummel provides a wonderful trajectory for the bend and sweep of the stem – which emulates more directly Gandalf’s style of Warden.  My goal is to bend the stem so that the final orientation of the bit is generally on a parallel orientation with the plane of the stummel rim which is what is suggested by the ruler in the picture. I remarked earlier that the stem is also a little catawampus to the left as you look down the shaft toward the bowl.  Interestingly, I set up a renewed picture to show this looking down the shaft and my second look at this isn’t as pronounced as it appeared to me before.  The sanding and shank tapering may have mitigated this to some degree. Bending the stem is usually by trial and error to get it right, but the good thing is that the vulcanite stem is very forgiving!  To be on the safe side, though I don’t really believe it to be necessary, I put a pipe cleaner into the end of the stem to protect the airway integrity.I use the hot air gun to warm the vulcanite.  As it’s warming, I gently apply pressure to the bend as the rubber compound becomes supple.  When the stem becomes pliable enough and the bend reaches what appears to be at the right place as I eyeball it, I transfer the pipe to a chopping board where I can use the flat surface and the overhang for the bowl and button expansion at both ends, I press down to straighten the shaft orientation as I hold the bend.  This works very well. The first time around, I decide I need a bit more bend, so I reheat, bend further and then hold the stem firmly against the chopping board until the vulcanite sufficiently cools so that I don’t lose the bend.  To make sure the bend holds I run cool tap water on the stem to seal the bend.I like the results!  The bend is perfect and will present a true Gandalf experience for the new steward of the Churchwarden taking shape.Before I put the newly bent Warden aside to turn to the stummel, I apply paraffin oil to vitalize the vulcanite.Turning now to what was a ‘throwaway’ stummel, I like the grain that made an appearance after the cleaning.  It’s in there!  It just needs some TLC to restore it to the condition that allowed for more beauty to come through.  The briar surface is in surprisingly good condition. There are a few dents and nicks to be expected. There’s a more significant heel bruise where it appears the bowl was thumped on a hard surface.The rim has an attractive inwardly sloping cant which will serve to my advantage in dealing with the residual burn marks and the right side (top in the first picture) of the rim.  The outer edge of the rim is also chewed up a bit. Starting with the rim, I begin by using a coarse 120 grade paper to clean and remove the scorched wood and the dents on the edge.  I follow this with 240 grade paper sanding the canted rim surface.  I’m hopeful this will remove the blemishes but also serve to freshen the rim canted pitch and lines.  I then fine tune with 600 grade paper. The results are great.  The transformation is more than hoped for!  The rim is actually very attractive and some grain peeking out.I do the same with the heel bruise.  I dispatch the blemish quickly with 240 grade paper followed by 600 grade paper.Continuing the sanding, I now sand the entire stummel using sanding sponges.  I start with a coarse sponge, followed by a medium grade then finish with the light grade sanding sponge.  The briar grain is showing up!Following the sanding sponges, I apply the full regimen of 9 micromesh pads.  First, I wet sand using pads 1500 to 2400 then dry sand with pads 3200 to 4000 and 6000 to 12000.  For a ‘throwaway stummel’ this piece of briar is looking very nice. Throughout the micromesh process, I knew I was approaching a decision point.  The natural briar came out way more than I had thought possible when I began with this stummel.  I can remain with the natural briar or apply a dye.  I decide to apply Fiebing’s Saddle Tan Pro Dye to the stummel not for the purpose of covering blemishes but to bring out the briar grain more which is still somewhat subdued as I look at it.  I assemble my desktop dying components.  After I wipe the stummel with alcohol to clean the surface, I insert two folded pipe cleaners into the shank to serve as a handle.I then heat the briar stummel with an air gun.  As the briar heats, this expands the grain enabling the grain to be more receptive to the dye when it’s applied.Using a folded pipe cleaner, I paint the bowl with the aniline based dye in sections and flame each section as I go.  I use the lit candle to combust the painted section of wet dye and it immediately combusts the alcohol in the dye leaving the pigment to set in the heated wood.  I eventually apply the Saddle Tan dye to the entire stummel and repeat the painting and flaming process again to assure full coverage.  I then put the dyed and flamed stummel on the cork to rest through the night. With the dyed bowl resting I take the Churchwarden stem through the full micromesh regimen.  I wet sand using pads 1500 to 2400 and then dry sand with pads 3200 to 4000 and 6000 to 12000.  Between each set of 3 pads I apply a healthy coat of Obsidian Oil to the stem to vitalize the vulcanite.  The newly polished vulcanite pops!  I take one concluding picture instead of the usual 3 because the picture shows no detail because of the size of the stem!The next morning, I’m ready to unwrap the flamed bowl.  After mounting a felt cloth buffing wheel on the Dremel, I set the speed to the lowest possible to reduce the heating factor.  I then apply Tripoli compound to the bowl to remove the flamed crust to reveal the briar beneath. With the assistance of my wife, she takes a few pictures to show the initial removal of the flamed crust.  It takes me a good bit of time to slowly and methodically go through this ‘plowing’ and polishing process.  I remove dye blotches to make sure what is revealed is the minutia of the grain texture.  Not pictured is after I complete the process with the felt wheel (pictured below) I change to a cotton cloth buffing wheel and increase the speed of the Dremel to 40 % of full speed and again go over the entire stummel with Tripoli compound.  I do this first, to reach into the crook of the shank that is too tight for the felt wheel to reach.  Also, I like the further fine tuning of the Tripoli compounds polishing of the briar surface.  The grain sharpens even more providing the contrasts between the harder and softer woods of the briar.I then wipe the bowl with a cotton pad wetted with isopropyl 95% to blend the dyed finish.  The wipe of alcohol evens out the finish and blends it.  Wiping with alcohol will also lighten the finish if I continue to wipe, but I like the tone of the hue where it is so I only to a light wipe for blending purposes.I switch to another cotton cloth buffing wheel, keep the speed on the Dremel and 40% and apply Blue Diamond compound to the stem and stummel.  I don’t join the two because it is easier to work with each individually.  After completing the application of the compound, I wipe both stem and stummel with a felt cloth to remove the compound dust left behind.Finally, I reunite the Warden stem with the repurposed stummel and apply a few coats of carnauba wax to the Churchwarden.  When finished, I give the pipe a vigorous hand buffing with a microfiber cloth to bring out the shine.

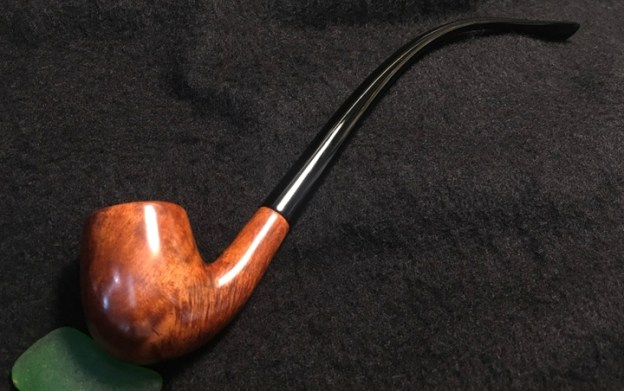
Wow!  When I think of where this throwaway stummel was at the beginning of the process and what I see now, it is truly amazing. This Churchwarden’s 1/2 bent shank provides the perfect trajectory for the stem’s gentle, flowing bend to project a pipe that is truly Gandalf worthy!  The grain of the bowl is varied from a vertical flame, a knot with outwardly flowing concentric circles and some bird’s eye thrown in for good measure!  This Churchwarden is certified for Middle Earth distribution for Tina’s son, Thomas.  Tina commissioned  this Churchwarden project along with 3 other restorations (to learn more about commissioning pipes see: For “Pipe Dreamers” Only! ) and each will be boxed and heading to Birmingham, Alabama, USA, from Bulgaria.  All these pipes benefit our efforts here in Bulgaria working with women and girls who have been trafficked and sexually exploited – the Daughters of Bulgaria.  Thank you, Tina!, and thank you for joining me!


A Challenging Restoration of my Grandfather’s WDC Stratford Pipe


Blog by Paresh Deshpande

This is the third pipe which I received from Abha, my wife, which has been cleaned, reamed and with no “before” pictures!!

I have inherited a large collection of my grandfather’s pipes; a few of them are unique and quite collectible. There are many WDC pipes in this collection and the one now on my work table is a “WDC STRATFORD” in its original case (in fact there are quite a few pipes in their original cases!). This smallish bent billiards displays gorgeous densely packed straight grain all round the stummel, including the shank and a sterling silver band adorns the shank end. It is stamped on the left side of the shank as “STRATFORD” in sentence case over the trademark “WDC” in an inverted equilateral triangle. The sterling silver band bears the American hallmarks of a STAR, EAGLE AND LETTER ‘D’ over “STERLING”. There are no other stampings visible on the entire pipe. The leather case, though worn by age and weather, is still solid and the inner golden hued felt lining is intact. This lining is stamped in deep red square with black border on the lid as “WDC” in a triangle and “STRATFORD”.INITIAL VISUAL INSPECTION
This pipe is third pipe that Abha, my wife had sent me after she had reamed the cake back to the bare briar and cleaned the stummel exterior and rim top surface with Murphy’s oil soap. She had also cleaned the sterling silver band using Colgate toothpowder. She followed it up with cleaning the mortise and the shank using regular and hard bristled pipe cleaners dipped in isopropyl alcohol. The felt lining inside the case was painstakingly cleaned up by repeated wiping with a cloth and warm soap water. The cleaned up pipe on my work table now, can be seen in the following pictures. It really feels nice to work on a clean pipe; I must admit and cannot help but thank her for doing all the dirty work. Unfortunately, she did not click any pictures of the condition of the pipe before she worked her magic on them. When I enquired about the condition before she had cleaned it, her one line reply was “it was in the worst of condition of all the pipes seen till date!!!” For those who have been reading my previous write ups would recollect that my grandfather never really believed in cleaning his pipes, he would rather buy new ones when the old pipes clogged up and became unsmokable.

The cake was so thick that even her little finger would not go in and there was heavy and sticky overflow of lava all over the stummel and shank. This lovely little pipe must have been his favorite and has been extensively used. There are a few issues which are immediately noticed. Firstly, the stem is shorter than the case and does not sit flush in the mortise. The tenon end of the stem appears to be unevenly cut. Secondly, the brass tenon, though it fits snugly in to the mortise, is clearly not original to the stem. The tenon end is also uneven (circled in violet).Thirdly, there are two dings on the right side of the stummel and this will have to be addressed. There is not a single fill on the entire stummel.Fourthly, the bowl is completely out of round with the left side of the rim and chamber wall thinner than the right side. Topping the bowl rim surface should address this issue to an extent. As regards the comparatively thin wall on the left side, I shall decide once I reach that stage of restoration.Fifthly, the vulcanite stem has a round slot which is correct for the vintage of this pipe. However, from the shortened length, the brass tenon and the fact that the stem does not sit flush with the shank end are all pointers to the fact that the stem has undergone extensive repairs at some point in its existence. My assumption is that this pipe must have fallen down on a hard surface and the tenon must have broken at an odd angle. While fitting a new brass tenon, the repairman had to cut a small portion of the stem at the tenon end, drill a new hole for the shaft of the tenon and fix it afresh. Even though the cut to the stem is not a clean one, the repairs are solid. This, and the assumption that this pipe was my grandfather’s favorite, is evident from the damage to the upper surface of the stem. There are two large gaping holes, one near the lip edge (which is understandable and attributed to clenching) and the other is nearly half way down the stem towards the tenon end (and can neither be explained at this stage!!). The stem is oxidized. THE PROCESS
Since in this project, the stem has the most number of issues to be addressed, it is where I start the restoration. I flamed the surface of the stem with a Bic lighter to raise the tooth indentations and scratches on the stem. The heat from the flame of Bic lighter causes the vulcanite to expand and regain its natural shape, reducing the marks. I wiped the stem surface clean with a cotton pad dipped in alcohol to remove all the dust and dirt from the surface. I had a closer look at the tenon and its fit in to the mortise. I realized that the length of the tenon is slightly longer than the mortise and that is the reason why the stem did not sit flush with the shank end. Also the tenon end was uneven as can be seen in the above pictures (circled in violet). I addressed this issue by grinding the tenon end on a grinding disk, frequently checking the seating joint of the stem and the shank end. Before proceeding with any further stem repairs, I decided to run a pipe cleaner through the stem to clean out the fine dust left behind due to grinding of the tenon end and it was then that I understood the possible reason for the second hole on the stem upper surface. The pipe cleaner did not pass through the airway cleanly!! There seems to be some kind of protrusion in the airway. On further close scrutiny, I realized that the tenon end inside the stem airway was thicker than the airway and thus obstructing the passage of the pipe cleaner through it causing repeated slamming of the pipe cleaner on the stem upper surface. That explained the probable cause of the second hole!!

I decided to smooth out the inside of the tenon to match the stem’s airway. Using a drill bit which was slightly larger than the tenon opening, I increased the tenon bore. With a round needle file, very carefully I filed the tenon end inside the stem till the pipe cleaner passed through it very easily. This was followed by sanding the stem surfaces with a folded piece of 220 grit sandpaper to remove the oxidation. I again cleaned the internal and external surface of the stem and proceeded to reconstruct the damaged upper surface of the stem. Once I was satisfied with the internal cleaning, I wiped the stem surface, particularly the damaged area, with a cotton pad and alcohol to remove any traces of dirt and grime. To begin the stem repairs, I smeared a pipe cleaner with petroleum jelly and inserted it in to the stem airway. I prepared a mix of CA superglue and activated charcoal and generously applied it over the gaping hole in the button of the stem and set it aside for curing overnight. While the stem repairs were curing, I decided to address the two dings on the stummel. I wiped the area with a moist cloth to remove the dust from the surface and spot filled it with a mix of briar dust and super glue. I use the layering technique, first fill with briar dust followed by super glue and again a layer of briar dust. I use this method since the moment super glue comes in contact with briar dust, the mix hardens instantaneously. I set the stummel aside to cure overnight and call it a day!!Once the filling of charcoal and CA superglue had cured, using a needle file, I sand the fill to match the surface of the stem. For a better blending, I further sand the entire stem with 220. At this stage, I observed air pockets in both the fills. This is the most dreaded observation for me as addressing this issue costs me more time and repeat of the entire process. Nevertheless, I again coat the damaged surface with clear super glue. While the fill was curing, with a flat needle file, I sand the stummel fill to achieve a rough match with the rest of the stummel surface. I further blend the fill with a 220 grit sand paper. This fill turned out satisfactory. I shall completely blend this fill during the micromesh cycle.Next issue to be addressed was the out of round rim top and the comparatively thin left side of the chamber wall. I approached this issue by first topping the rim on a 220 grit sand paper. This process also addressed the thinning of the rim observed on the left side to some extent. To further even out the inner rim edge, I created a bevel using a 220 grit sand paper. I am pretty satisfied with the way the rim surface appears at this stage. The uneven thickness on the left side is still apparent and to address this I had an option of increasing the thickness by lining the chamber wall with J B Weld followed by coating with a mixture of activated charcoal and yogurt. However, since I am not going to smoke this pipe ever, I decided to keep the appearance as it is, which incidentally does not look as glaring as it appears in the description.The next step in the process was to bring out the shine and highlight the beautiful grain on the stummel. I had an option of using more abrasive 220 grit sandpaper followed by micromesh pad cycle and loose the patina or straight away go to the micromesh cycle. Using the more abrasive sand paper, minor dents and dings would be further addressed but I would lose out the old sheen which the briar has taken over the years.  I decided on keeping the old sheen and went straight for the micromesh cycle. I wet sand the stummel with 1500 to 2400 grit pads and follow it up by dry sanding with 3200 to 12000 grit pads. The stummel, at this stage, looks absolutely stunning with the straight grain popping out from every inch. The natural finish and hues on this pipe is something that I have not seen before on any pipes. The very dark brown hued straight grains contrast beautifully with the dark browns on the rest of the stummel giving it a very antique appearance. I rub a small quantity of “Before and After Restoration Balm” in to briar and let it rest for a few minutes. The balm almost immediately works its magic and the briar now has a nice vibrant appearance. I further buff it with a horse hair shoe brush. In my enthusiasm to finish this project, I forgot to take pictures of the results at this stage.

Once the second filling of charcoal and CA superglue had cured, using a needle file, I sand the fill to match the surface of the stem. This time around the results were much more disastrous!!!! The entire filling collapsed in to airway, leaving the same gaping holes on the stem surface. I was so frustrated that I just did not have the heart to take pictures. To cut the rambling, I again repeated the procedure and made a fresh filling for both the holes and set it aside for curing. Once cured, I file the fillings with a needle file. For a better blending, I further sand the entire stem with 220 followed by 600 and 800 grit sandpaper. This helps to reduce the sanding marks left behind by the more abrasive 220 grit paper. To bring a deep shine to the vulcanite stem, I went through the complete set of micromesh pads, wet sanding with 1500 to 2400 grit pads and dry sanding with 3200 to 12000 grit pads. I wiped the stem with alcohol after each pad and rubbed it down with Extra Virgin Olive oil. The internals of the stem was cleaned out using alcohol and pipe cleaners. The finished stem is shown below. To finish the restoration, I re-attach the stem with the stummel. I mounted a cotton cloth buffing wheel to the Dremel (actually it is not the brand machine, but a local machine which is similar).  I set the speed at about half of the full power and applied White Diamond compound to the entire pipe. I wiped/ buffed the pipe with a soft cotton cloth to clear it of any leftover compound dust. I then mounted another cotton cloth wheel on to the polishing machine and applied several coats of carnauba wax. I finished the restoration by giving the entire pipe a rigorous hand buffing using a microfiber cloth to raise the shine further.The completed pipe looks fresh, vibrant and ready for its next innings with me. This piece of briar will find a place of pride in my collection, if not as part of rotation, as a part of the memories left behind by my grand old man. If only it could tell me stories it had witnessed and why did my grandfather love this pipe so much?!! PS:  There is one contentious issue which I have deliberately raised and left it open for discussion. I would like to encourage the readers to express their views in a frank manner as it will help me in understanding the minds of the esteemed readers while clearing my own thought process. The issue that I am talking about is my decision (temporary!!!!) to let the unequal thickness of the chamber wall on the left side to remain addressed to the extent I have managed and not address it completely as well as the way I had thought of completely addressing it, if at all I decide to do so. Cheers……….!

A Simple Restoration of an Early Transition Era Barling 2639


Blog by Paresh Deshpande

Having worked on a few difficult projects from my Mumbai Bonanza, involving major stem reconstruction and addressing flaws in the stummel (read refreshing fills!!) taking a lot of time and heartburn and efforts which had left me drained, I decided to work on something simple and relatively quick refurbishing of pipes from my inherited collection.

The Barling pipe on my work table is an exquisite bent billiards with beautiful and very tightly packed bird’s eye grains on either side of the bowl and shank, extending over to more than half of the front of the stummel. Equally tightly packed cross grains are seen on the front left and back of the bowl and also on the upper and bottom surface of the shank. It is stamped on the left side of the shank as “BARLING” in script hand over the numeral “2639” over “LONDON ENGLAND”. There is no other stamping seen on the stummel. The double bore vulcanite saddle stem bears the trademark Barling stamped in cross on the upper surface of the saddle.Even though there are quite a few Barlings in my grandfather’s collection, this beauty is the second of the Barling’s that I shall be restoring. During my reading while working on my first Barling, I had read about this brand, its passage through times and pointers towards their dating. To refresh my memory about the brand, the lines offered by the maker and attempt to date this particular pipe, I visited Pipedia which has a wealth of neatly cataloged heading-wise information on Barling’s pipes. From the stamping seen on this pipe and correlating it with my information, it was immediately apparent that this one is definitely not a Family Era pipe, but a later era pipe. Luckily, on the same page, towards the end, there is a link to 1962 Barling catalog, courtesy Yuriy Novikov. This catalog, on page 7 shows the pipe which is on my work table, here is the link to this catalog: https://pipedia.org/images/d/d9/BARLING_CATALOG_1962.pdf

From the above information, it is conclusive that this piece is a size 2, flat bent billiard from the Transition period/ Corporate era and was made during 1962. The minimalist stamping and the double bore stem indicate that this pipe was intended to be sold in the local markets.

INITIAL VISUAL INSPECTION
This pipe was one of the pipes that Abha, my wife had sent me after she had reamed out complete cake back to the bare briar and cleaned the stummel exterior and rim top surface with Murphy’s oil soap. She had also cleaned out the mortise and the shank using regular and hard bristled pipe cleaners dipped in isopropyl alcohol. The cleaned up pipe on my work table now, can be seen in the following pictures. It really feels nice to work on a clean pipe; I must admit and cannot help but thank her for doing all the dirty work and saving me time while sharing my hobby. Unfortunately, she did not click any pictures of the condition of the pipe before she worked her magic on them. When I inquired about the condition before she had cleaned it, her one line reply was “no different from his (grandfather’s) other pipes!!!” For those who have been reading my previous write ups would recollect that my grandfather never really believed in cleaning his pipes, he would rather buy new ones when the old pipes chocked up and became unsmokable. From the present condition of the pipe, there are only two issues that I would need to address on the stummel; one is the darkened rim top surface with an uneven inner rim edge and the other is slightly deep gouges on the chamber walls. The vulcanite stem is heavily scratched and shows deep oxidation on the surface. Some heavy tooth chatter is seen on both surfaces of the stem towards the lip with few deep bite marks on the upper and lower surfaces. This issue should not be a major headache to address. The lip edge on both sides is distinct but damaged showing tooth marks. The quality of vulcanite is good.THE PROCESS
I flamed the surface of the stem with a Bic lighter to raise the tooth indentations and scratches on the stem. The heat from the flame of Bic lighter causes the vulcanite to expand and regain its natural shape, reducing the marks. I followed it up by sanding the entire stem surface with a folded piece of 220 grit sand paper to reduce the tooth chatter while removing the oxidation from the area to be filled. I wiped the stem surface clean with a cotton pad dipped in alcohol to remove all the dust and dirt from the surface. The tooth marks which were visible after the flaming and sanding were filled with a mix of activated charcoal and clear CA superglue and I set it aside to cure overnight. While the stem fill was set aside for curing, I decided to address the darkened rim top surface and the uneven inner rim edge issue observed on the stummel. I did not resort to topping straight away, but decided to try scrubbing the rim top with Murphy’s oil soap and scotch brite pad. The result of this scrubbing far exceeded my expectations. The rim top is now clean and there are no traces of rim darkening. To address the issue of an uneven inner rim edges, with a folded piece of 220 grit sand paper, I created a slight bevel to the inner edge. The rim top and inner edge issues are now pristine. The next step in the process was to bring out the shine and highlight the beautiful grain on the stummel. I had an option of using more abrasive 220 grit sandpaper followed by micromesh pad cycle and loose the patina or straight away go to the micromesh cycle. Using the more abrasive sand paper, minor dents and dings would be further addressed but I would lose out the old sheen which the briar has taken over the years.  I decided on keeping the old sheen and went straight for the micromesh cycle. I wet sand the stummel with 1500 to 2400 grit pads and follow it up by dry sanding with 3200 to 12000 grit pads. The stummel, at this stage, looks absolutely stunning with the grain popping out from every inch. I rub a small quantity of “Before and After Restoration Balm” in to briar and let it rest for a few minutes. The balm almost immediately works its magic and the briar now has a nice vibrant appearance. I further buff it with a horse hair shoe brush. Turning my attention to the stem, I first covered the stamping on the stem with whitener using a whitener pen. The filling of charcoal and CA superglue had cured and using a needle file, I sand the filling to match the surface of the stem. For a better blending, I further sanded the entire stem with 220 followed by 400, 600 and 800 grit sandpapers. This helps to reduce the sanding marks left behind by the more abrasive 220 grit paper. To bring a deep shine to the vulcanite stem, I went through the complete set of micromesh pads, wet sanding with 1500 to 2400 grit pads and dry sanding with 3200 to 12000 grit pads. I wiped the stem with alcohol after each pad and rubbed it down with Extra Virgin Olive oil. The internals of the stem was cleaned out using alcohol and pipe cleaners. The finished stem is shown below. To finish, I re-attach the stem with the stummel. I mounted a cotton cloth buffing wheel to the Dremel (actually it is not the brand machine, but a local machine which is similar).  I set the speed at about half of the full power and applied White Diamond compound to the entire pipe. I wiped/ buffed the pipe with a soft cotton cloth to clear it of any leftover compound dust. I then mounted another cotton cloth wheel on to the polishing machine and applied several coats of carnauba wax. I finished the restoration by giving the entire pipe a rigorous hand buffing using a microfiber cloth to raise the shine further. The completed pipe looks lovely, fresh and vibrant; the photographs in this case, do not do justice to the appearance of this beautiful little pipe. This beautiful piece of briar, without a single blemish to the stummel, will find a place of pride in my collection. If only it could tell me stories it had witnessed and experiences, trials and tribulations and joyous moments in my grandfather’s life journey!!!! Thank you for having the patience to reach this far while reading the write up. PS: This project was a welcome break from the previous difficult stem reconstruction and stummel restoration projects that had posed a challenging obstacle at every stage in the process. I must thank my wife, Abha, who had done all the dirty work and presented a simple and quick refurbishing project.


Renewing a Classic Bari Shape – A Bari Opal 8443


Blog by Steve Laug

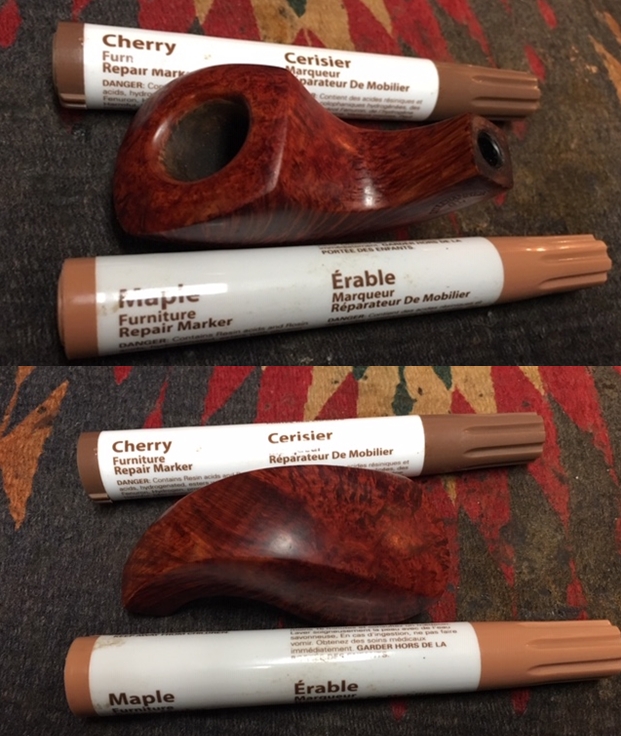
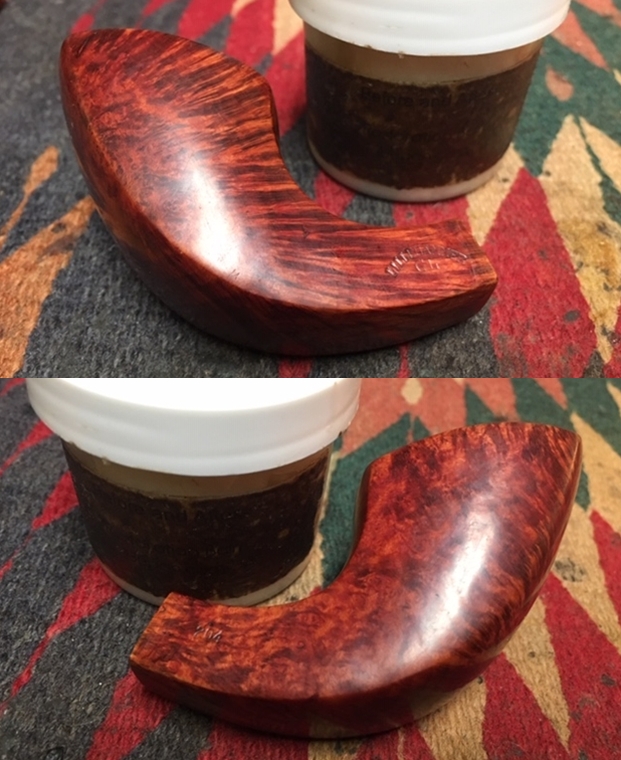
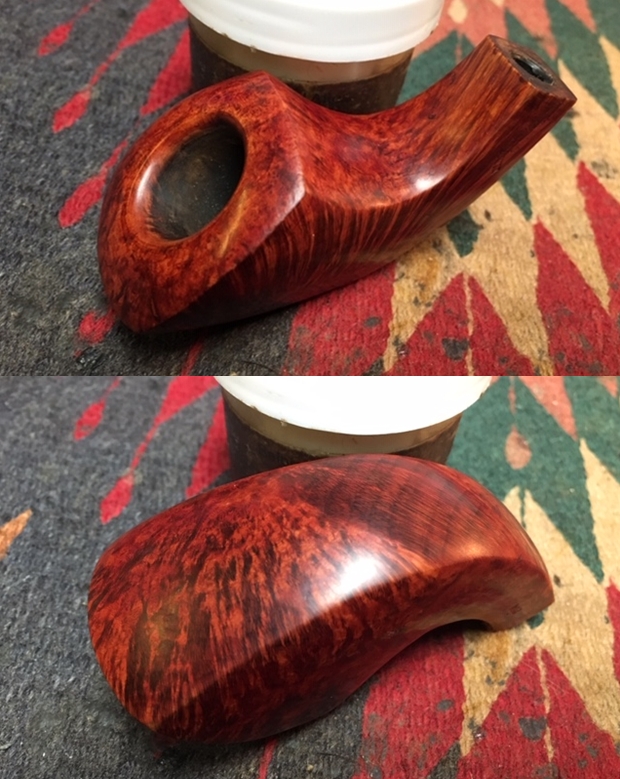
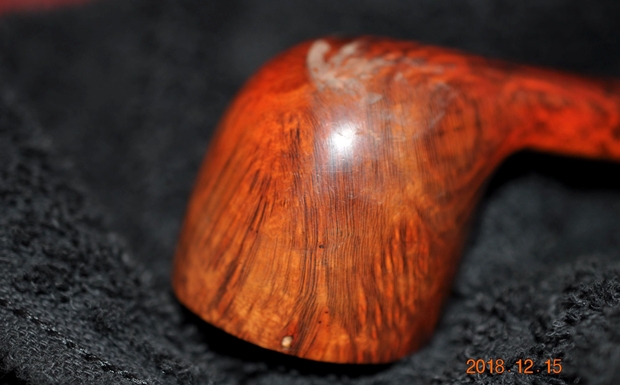
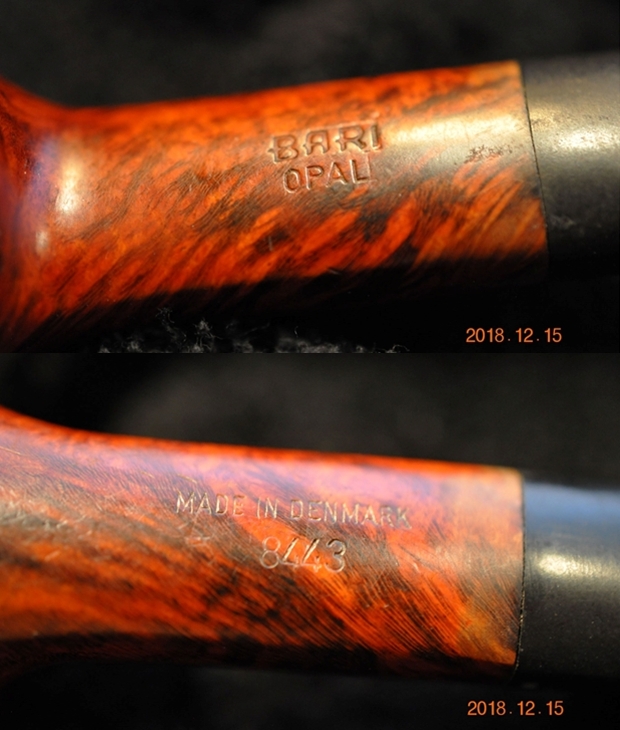
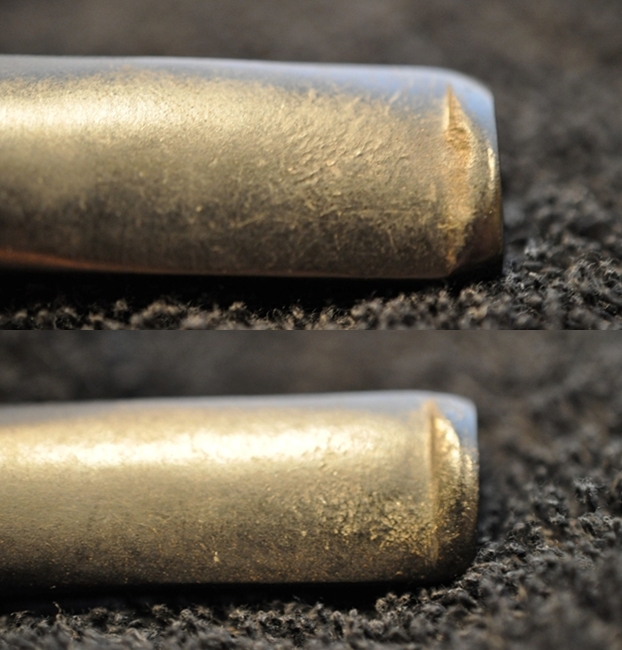
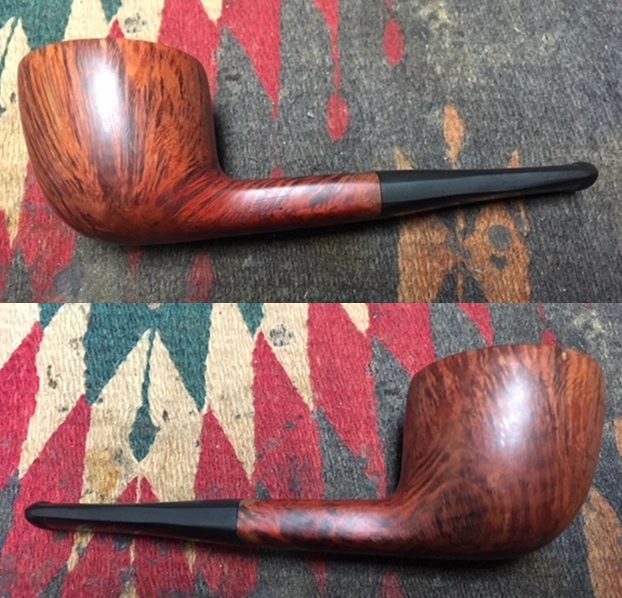
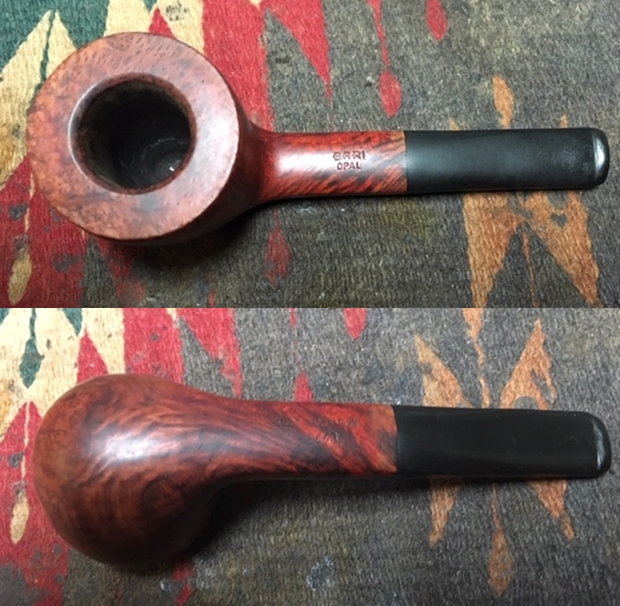
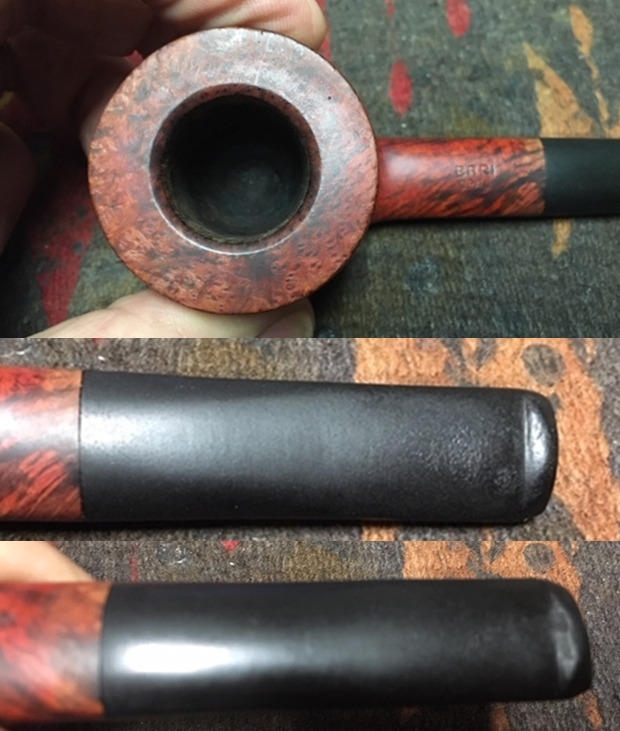
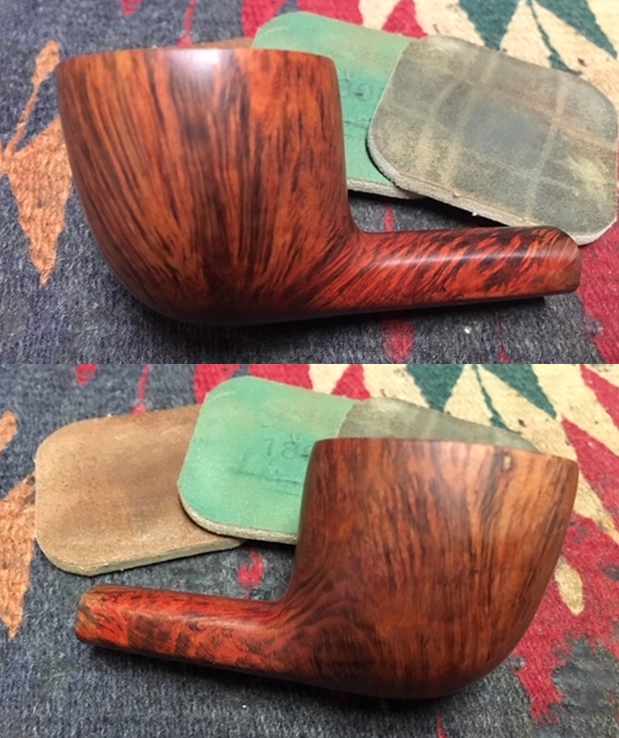
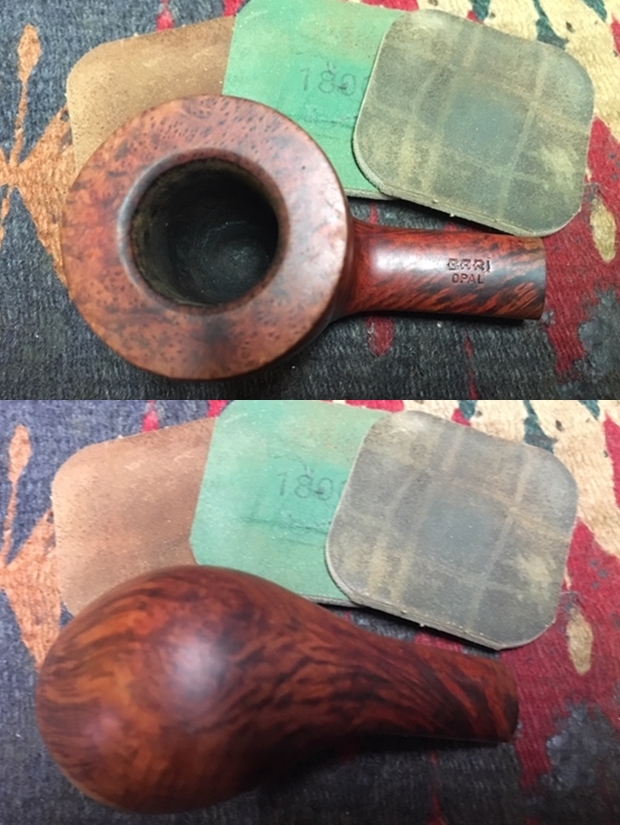
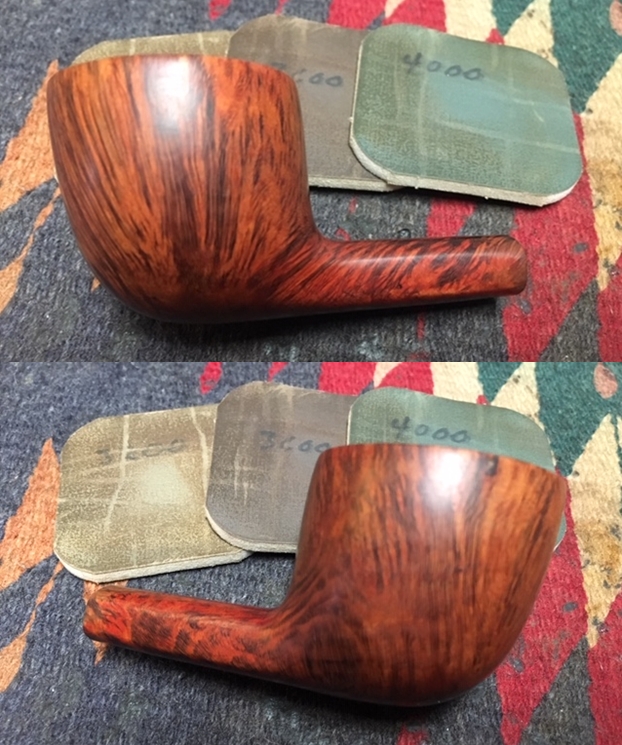
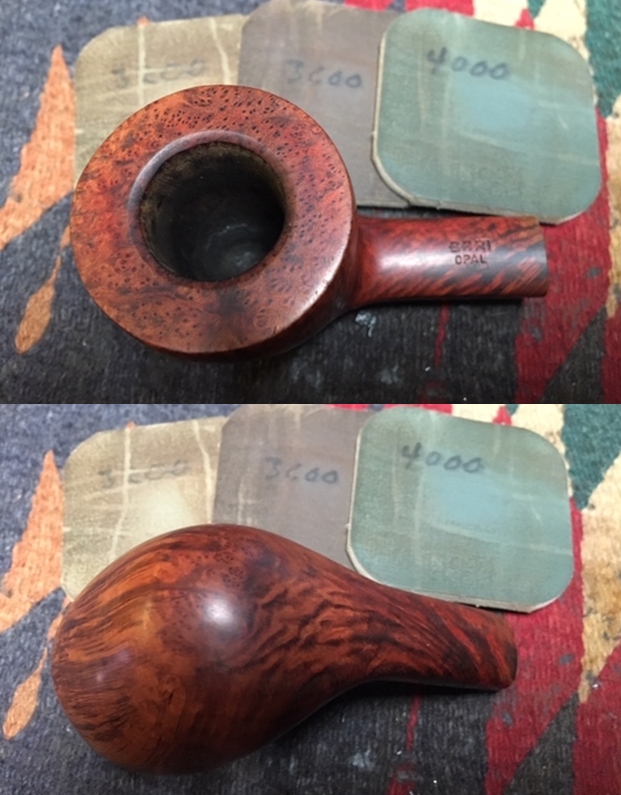
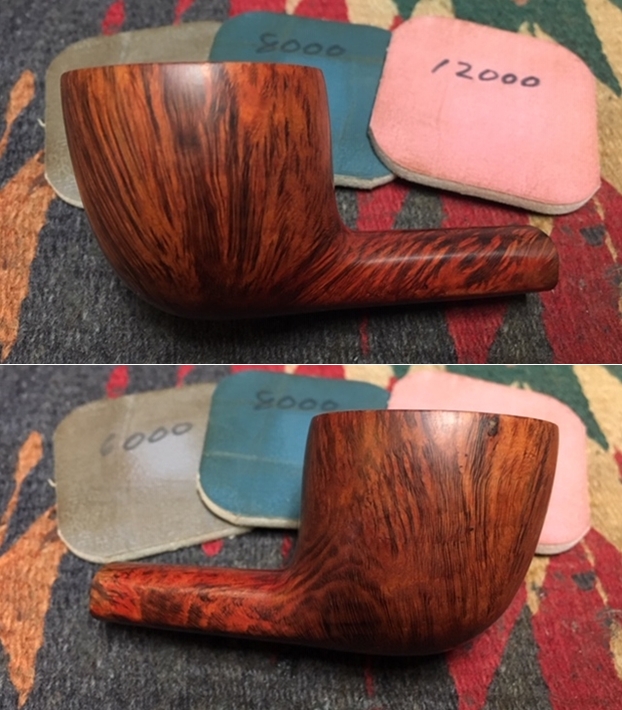
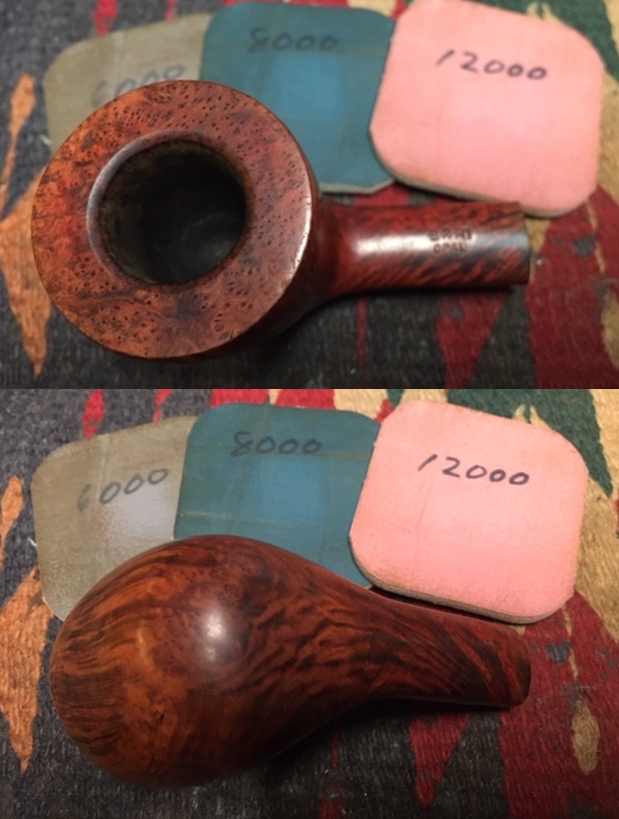
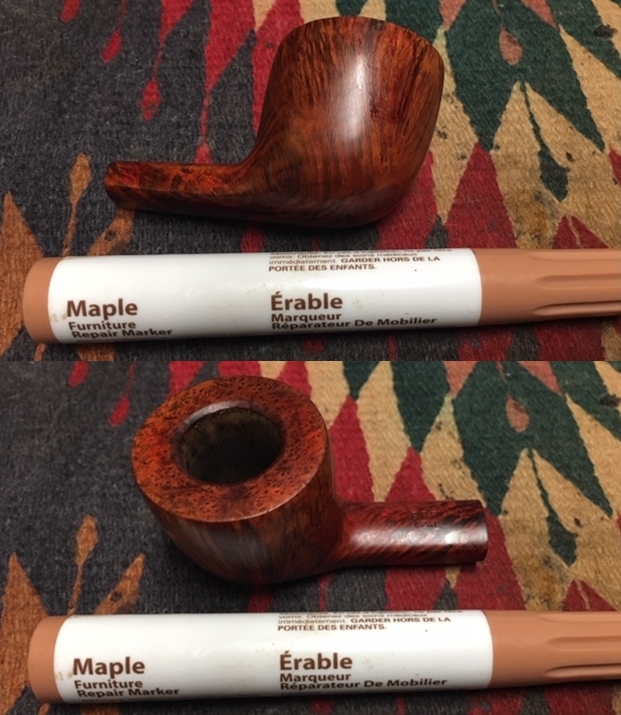
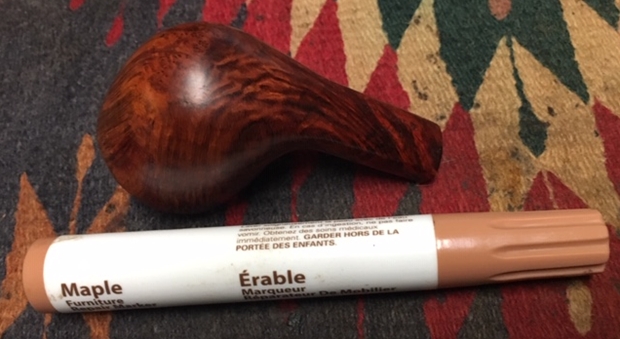
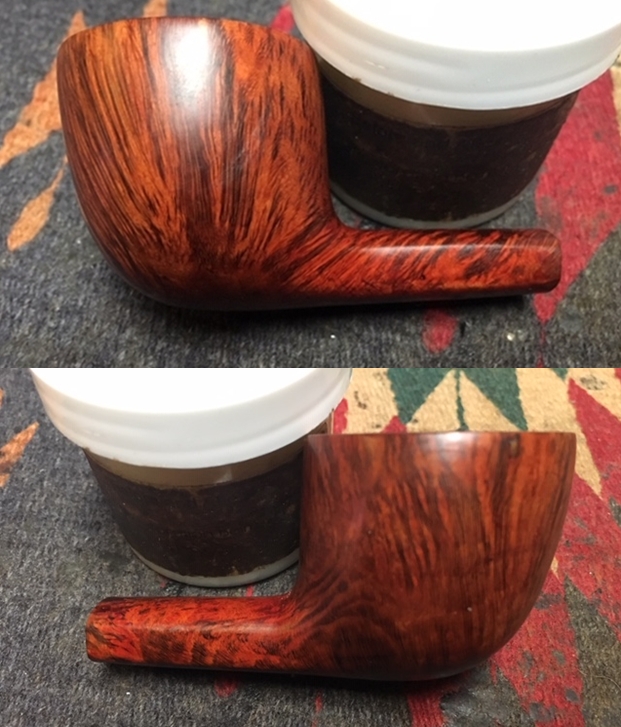
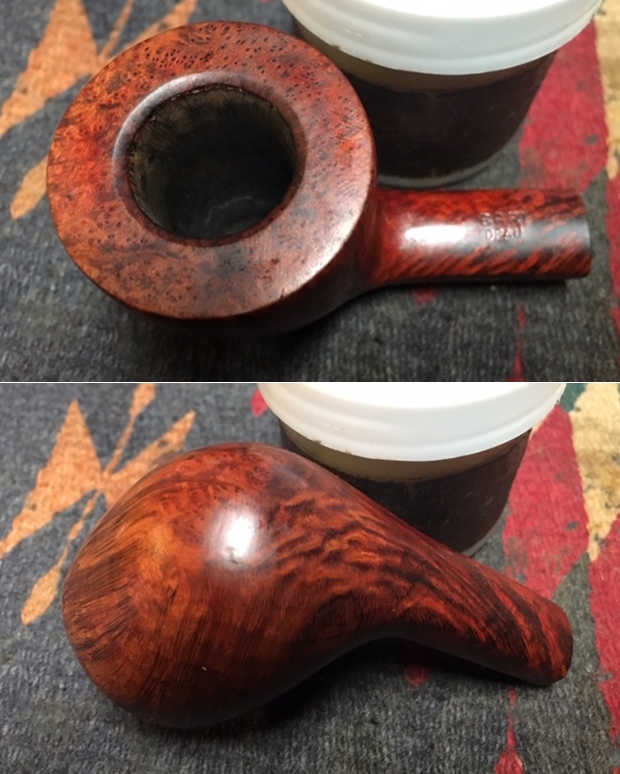
The next pipe on the table is from one of the unsung pipe makers that I really enjoy working on. It is a Bari pot shaped pipe with a rectangular shank and tapered vulcanite stem. This has some stunning straight and flame grain around the bowl and shank with birdseye on the top of the bowl and the heel. It showed a lot of promise even in its filthy condition. The rim top was quite wide and had a slight bevel on the inside rim edge. The pipe is stamped on the topside of the shank Bari over Opal and on the underside Made in Denmark over the shape number 8443. Lately we have been picking up some really dirty pipes and this pipe was no exception. It was very dirty with a thick cake in the bowl and a layer of lava overflowing on to the rim top. It was thick enough to have some wrinkles in the surface that looked almost like cracks. It was hard to know what the inner edge of the rim looked like because of the lava and cake. From the photos it appeared that the inner edge was in good condition. Other than being dirty the finish also appeared to look very good. The stem was lightly oxidized and the button surface on both sides was worn down from tooth damage. There was chatter on both sides of the stem. Jeff took some photos of the pipe before he started working on it. He took photos of the rim top to show the thick cake in the bowl and the overflow of lava. The cake is thick and hard and the lava overflow is a thicker toward the back of the beveled rim. The bowl and the rim are a real mess. This must have been a great smoking pipe.He took a photo of the right side and heel of the bowl to show some of the grain and the condition of the pipe. There is one small fill at the top of the bowl that will need to be dealt with but otherwise it is a pretty pipe.Jeff took photos of the stamping on the top and underside of the shank to capture the clarity of it even under the grime. It is clear and legible.The vulcanite stem was worn at the button with the sharp edge of the button worn down with tooth marks. The stem also had a lot of chatter both sides and some oxidation.Jeff had already cleaned up the pipe before sending it to me. He had reamed the bowl with a PipNet pipe reamer and cleaned it up with a Savinelli Fitsall Pipe Knife. He scrubbed the exterior with Murphy’s Oil Soap and a tooth brush to clean off the grime off the finish and the heavy overflow of lava on the rim top. He cleaned up the internals of the shank, mortise and stem with pipe cleaners, cotton swabs and alcohol to remove all of the oils and tars in the pipe. When it arrived here in Vancouver it was a clean pipe and I knew what I had to work with. I took photos of it before I started my part of the restoration. I took photos of the rim top and the stem to show their condition. Jeff was able to clean up the thick cake and lava overflow that was shown in the rim and bowl in the earlier photos. He was also able to get rid of the grime and grit in the surface of the briar. The rim top looked a lot better than when he started. There was still some pitting and darkening on the surface of the inward bevel but it should clean up very well.I decided to work on the scratches in the surface of the briar first. I polished the surface with micromesh sanding pads – wet sanding with 1500-2400 grit pads and dry sanding with 3200-12000 grit pads. I wiped the rim down with a damp cloth after each pad. I was able to polish out the scratches without damaging the finish on the bowl or the rim. The finish looked very good once I was done polishing it. On the right side of the bowl there was a fill that stuck out. I touched it up with a black Sharpie pen and buffed it by hand. I used a Maple stain pen to touch up the area around the fill and the lighter areas on the shank end. The finish on the rest of the bowl was in excellent condition. After I was finished with the stain pens and polishing the restained areas I rubbed the bowl and shank down with Before & After Restoration Balm to deep clean the finish on the bowl and shank. The product works to clean, enliven and protect the briar. After it sat for a little while I wiped it off and buffed it with a soft cloth. The briar really began to have a rich shine. I took some photos of the bowl at this point to mark the progress in the restoration. It is a beautiful bowl. I set the bowl aside and worked on the stem at this point in the  process. The stem may well be a replacement one but it is hard to know for certain. It is well made and fits perfectly to the shank. I decided to start by repairing the deep tooth marks on the button and the stem. I filled them in and built up the surface of the button with clear super glue and set the stem aside while I went to lunch.I used a needle file to cut a sharp edge on the button on both sides of the stem. I worked it until there was a definite sharp edge. I sanded the button and the stem with 220 grit sandpaper and 400 grit sandpaper to remove the scratches. I polished the stem with micromesh sanding pads – wet sanding with 1500-2400 grit pads and dry sanding with 3200-12000 grit pads. I wiped the stem down after each pad with Obsidian Oil to remove the sanding dust. I polished Before & After Pipe Stem Polish – both Fine and Extra Fine. I gave it a final hand buff with some Obsidian Oil and laid it aside to dry. I put the stem back on the pipe and the pipe to the buffer. I worked it over with Blue Diamond to polish out the remaining small scratches in the briar and the vulcanite. I gave the bowl and the stem several coats of carnauba wax and buffed the pipe with a clean buffing pad to raise the shine. I hand buffed it with a microfiber cloth to deepen the shine. I love the way that the buffer brings a shine to the pipe. I was happy with the look of the finished pipe. The photos below show what the pipe looks like after the restoration. I have worked on quite a few Bari’s over the years and I am always pleased with the way the shape and the grain work together.  The shape and the look is uniquely Bari and are very elegant. The polished black vulcanite stem looks really good with the contrasting browns of the briar. The dimensions of the pipe are Length: 5 inches, Height: 1 3/4 inches, Outside diameter of the bowl: 1 3/4 inches, Chamber diameter: 7/8 of an inch. This pipe will soon be added to the rebornpipes online store. If you are interested in adding it to your collection let me know. This one should be a great smoker. Thanks for walking through the restoration with me on another beauty!

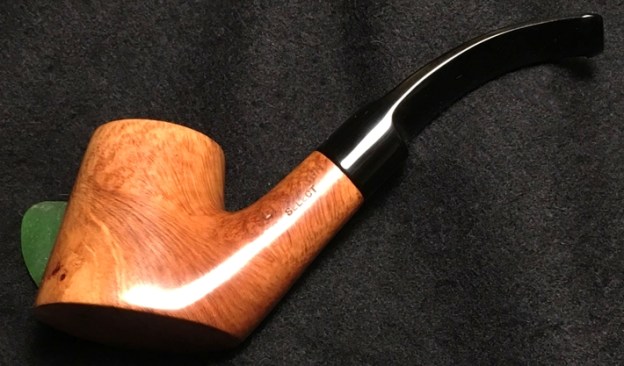
Tina’s first choice: Renewing a Lindbergh 324 Poker


Blog by Dal Stanton
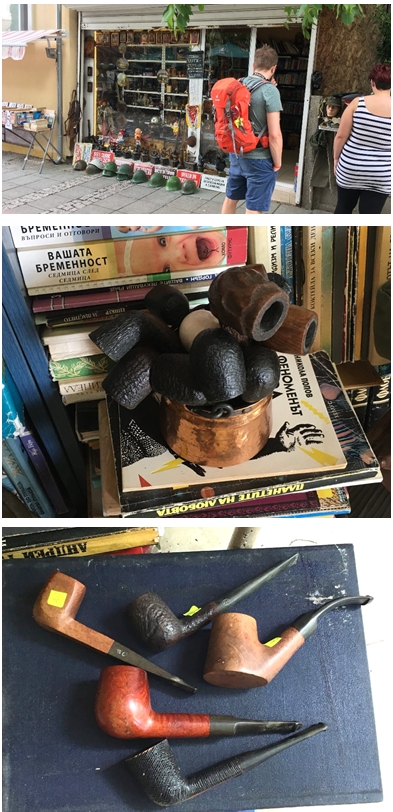
Burgas, Bulgaria, is a coastal city on the Black Sea where my wife and I as often as we can, go to find some rest and relaxation on the beach, especially during the summer months.  When we’re not enjoying the surf and sand, one of my favorite activities is to go pipe picking, of course!  I found the Lindbergh 324 Poker on one of these expeditions in 2017 on the main walking streets in Burgas – an antique shop I’ve visited before did not let me down on this visit!

I found the treasure trove in a copper pot waiting for me on a stack of books.  I carefully and methodically sifted through the pipes in the brass pot and culled 5 nice candidates who were calling my name!  They were a Butz Choquin Supermate 1596 Paneled Billiard – St Claude-France, a Rusticated Harvey Meerschaum Lined Dublin (LONDON/PARIS/NEW YORK), a Lincoln London Made Real Sandblasted Billiard, and an Old Bruyere Billiard with an interesting P-Lip saddle stem and the Lindbergh Select 324 Poker.

I was drawn to both the Lincoln and the Harvey because they had the “RESEARCH ME!” aura about them in addition to being cool looking pipes.  The BC Panel had gain that said, “Let me loose!”  Yes, I believe pipes speak if we have ears to hear and my ears were fine-tuned having spent time on the beach clearing the senses!  After negotiations were completed, the Burgas 5 were wrapped and bagged and came home with me to Sofia.

As with most of my acquisitions that benefit the Daughters of Bulgaria, they are pictured, recorded, catalogued and put into the online For “Pipe Dreamers” Only! collection waiting for a steward to hear them calling from the virtual ‘Help Me!’ baskets.

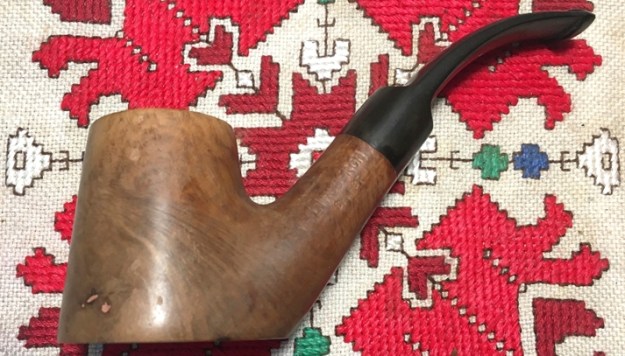
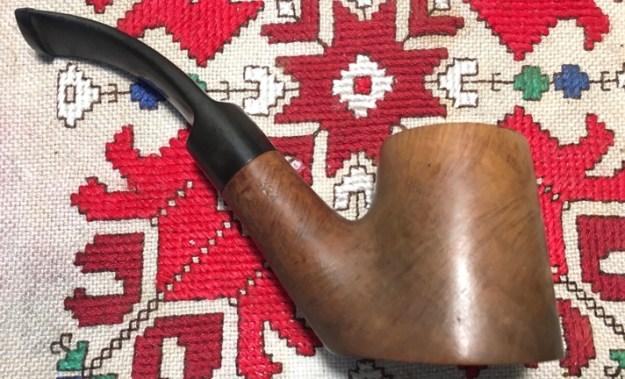
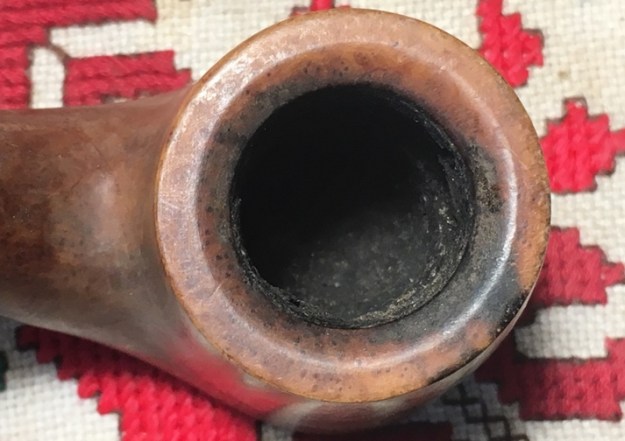
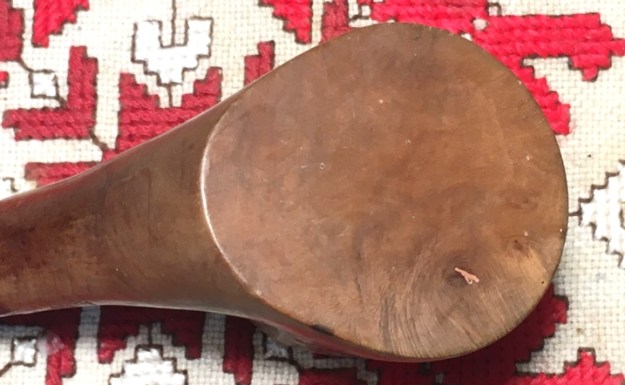
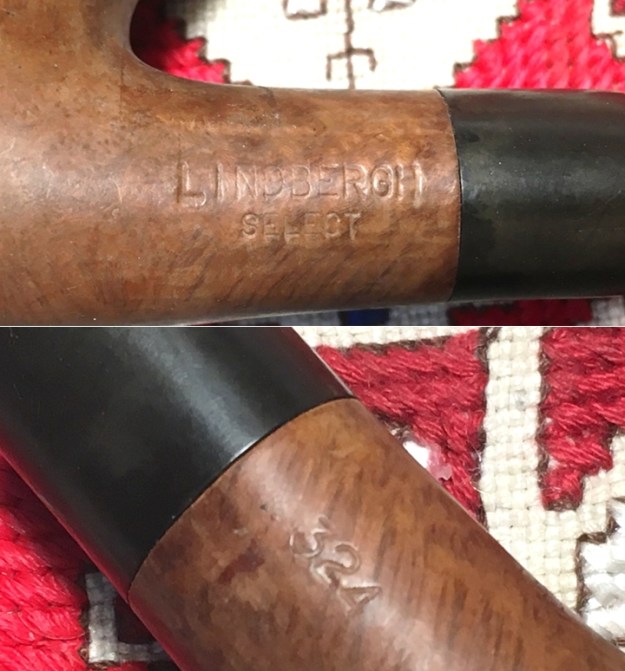
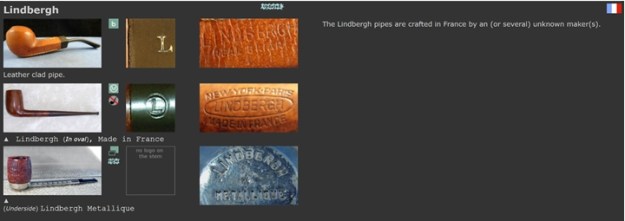
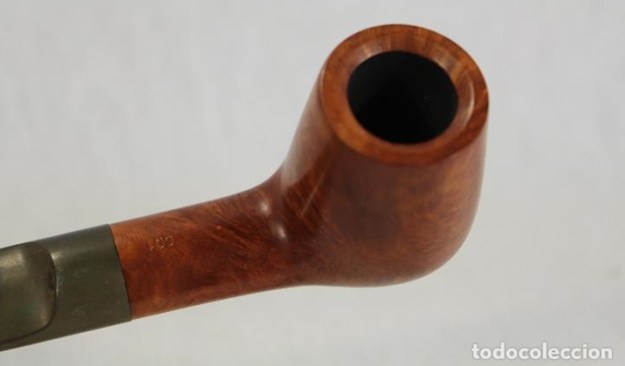
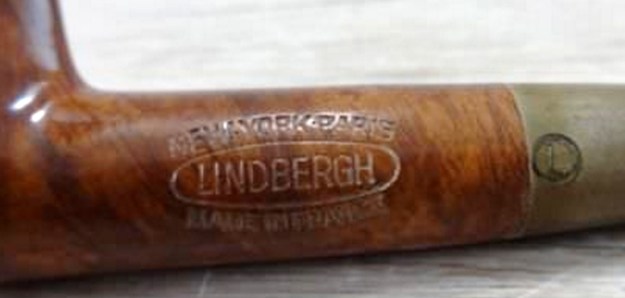
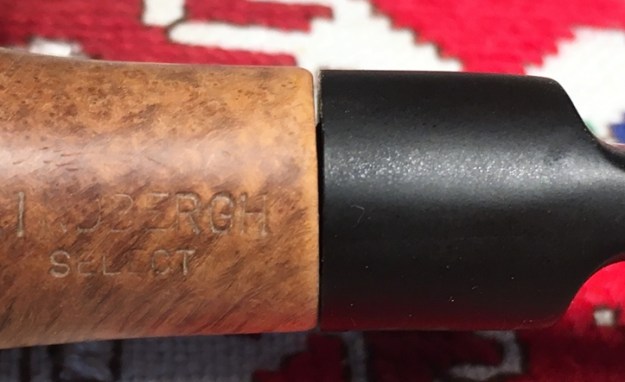
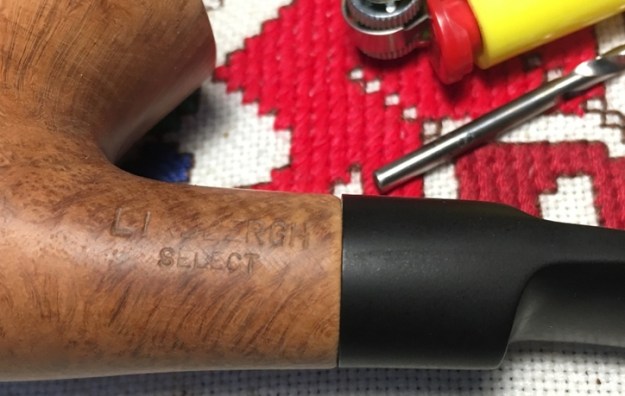
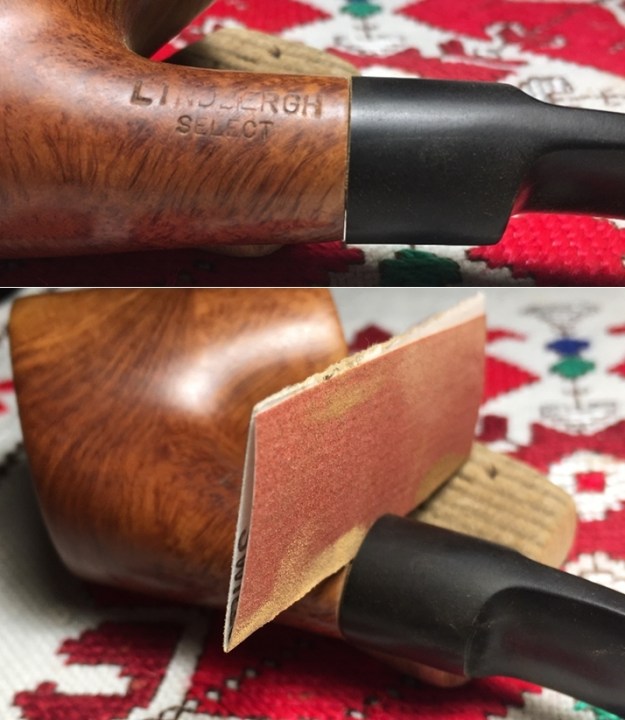
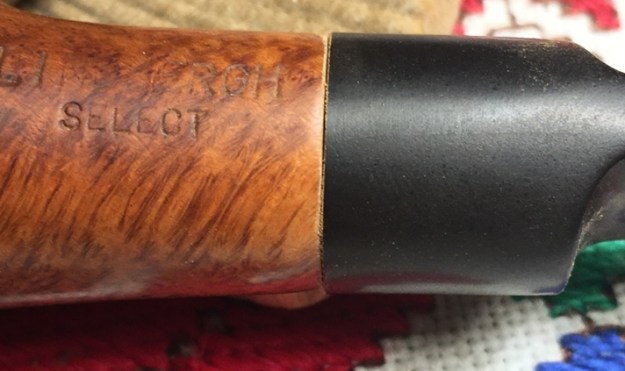
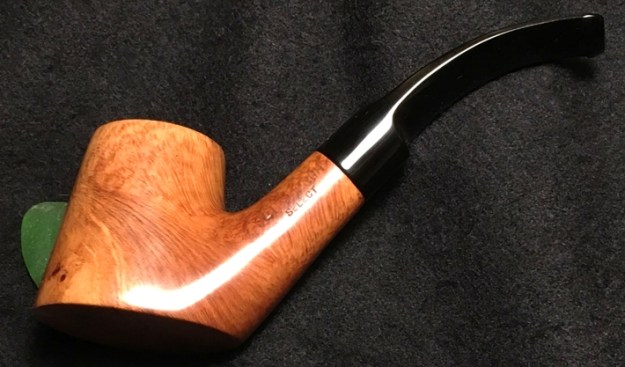
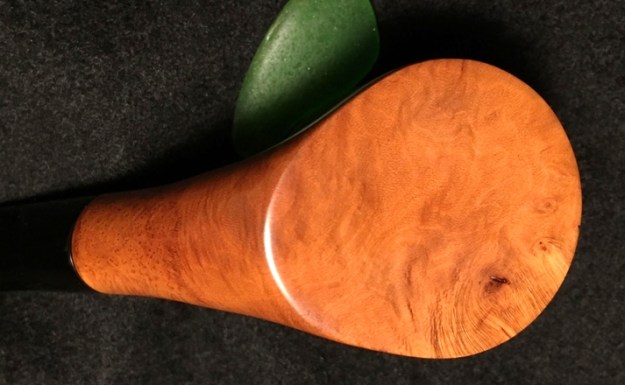
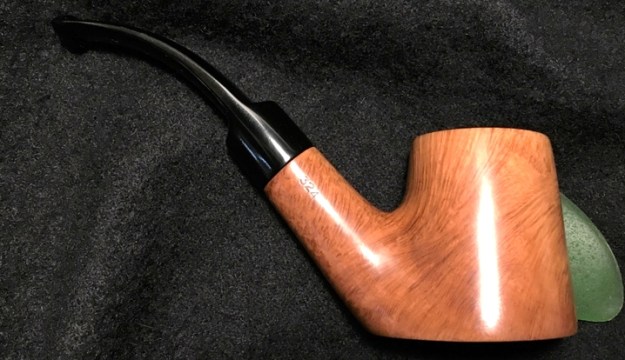
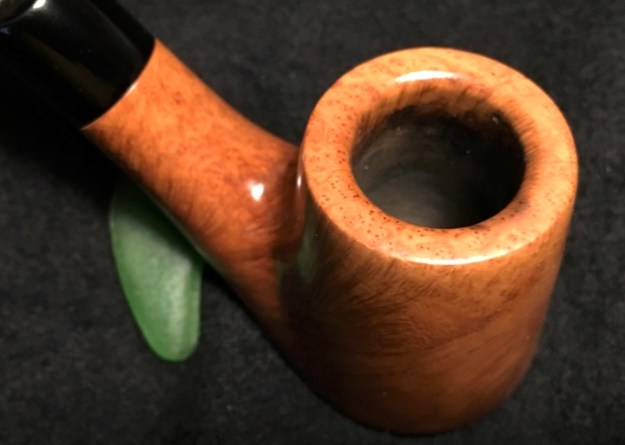
Tina was visiting us in Bulgaria with a group of other ladies from Birmingham, Alabama, USA, and with most of our visitors, they heard of my ‘interesting’ hobby of collecting and restoring vintage pipes.  Tina was intrigued and asked to see my work table and some pipes – she had the growing idea of commissioning some pipes FOR THE DAUGHTERS to gift special men in her life – husband, sons, colleagues…. This was my kind of visit!  She started going through the troves of pipes that I have in the inventory for the Daughters and it was fun watching her settle on certain pipes that ‘matched’ the man she had in mind and in the end, she commissioned 4 pipes to be restored and one Churchwarden project which I will fashion from a repurposed bowl.  I gave her estimates for the pipes she had chosen, and she solemnly agreed to a vow of PATIENCE.  I’m thankful for her patience which is finally bearing fruit on my work table!  I chose the Lindbergh Select Poker with a shape number of 324 to work on first.  I love the iconic Poker shape and the story associated with the utilitarian purpose of the Poker’s flat bottom, that easily finds a casual place on the card table next to the adult beverage while its hopeful steward looks expectantly at the cards dealt.  This Poker has a large swatch of briar real estate and an attractive canted volcano-like descent that results in a larger card table base or heel.  The 3/4 bent shank/stem gives the entire pipe a casual, reach for me feel.  Here are pictures of the Lindbergh Select 324 now on my work table: The stamping on the left flank of the shank is ‘LINDBERGH’ [over] ‘SELECT’.  The right flank is stamped with what I’m assuming is the Poker’s shape number, 324.  There are no other identifying marks that I can see.To learn more about Lindbergh Select, I look to Pipedia with no nibbles.  My copy of Herb Wilczak and Tom Colwell’s, ‘Who Made That Pipe?’ also came up empty.  Turning next to Pipephil.eu I found more.  The examples of Lindbergh I found there were of various markings without a strong sense of a positive hit.  The note that was included in this name that gave a COM of France was that they were most likely crafted by more than one maker, which makes sense looking at the different markings and especially the stem stampings and different stem lettering.  Seemingly no continuity in the markings.This was a helpful bit of information which pushes my thinking a bit broader than a single manufacturer of the Lindbergh name.  Next I do a Google search and found another Lindbergh SELECT that was for sale on an auction block (LINK) and found an interesting similarity – the sharply beveled internal rim. Unfortunately, the pictures they provided did not show the nomenclature but did show a shape number – 601 for the oval shank Billiard.  My search took me next to a discussion thread about a Lindbergh pipe on PipesMagazine.com that brought me as close to understanding the origins of this pipe as I’m going to get for now.  The thread started with sablebrush52 who purchased a Meerlined Panel with the markings Lindbergh with the addition of ‘New York – Paris’ in the nomenclature.  The thread described the historical attachment the French have with the famous and controversial aviator Charles Lindbergh, whose historic jaunt across the Atlantic in the prop plane, The Spirit of St. Louis, captured the imaginations and hearts of the French at that time.  This national embrace of Charles Lindbergh would explain how pipes were produced from different French sources with the Lindbergh name – more of a historical commemoration of this event.  The nomenclature of the pipe under discussion in the thread is pictured here:I’m including one well-known contributor’s statement as a summary of this history and fascination with Charles Lindbergh.  From mso489:

Lindberg was one of the early American mega-celebrities, which both immortalized his life and damaged it in various ways, the later kidnapping of his child and his relationship with the rise of the Nazi regime with their interest in aeronautics. So this pipe reflects that tender moment in history where his mere name sent out sparks of admiration. It’s appropriately a handsome example of industrial design. Lindberg was a farsighted designer of aircraft which is why he succeeded first with his flight. His plane, The Spirit of St. Louis, was a masterpiece of prioritization, economy, and spareness; he gave up a front windshield substituted with a periscope to make room for yet another fuel tank — but that’s an easy example. The whole plane was conceptualized that way. Then there was the whole problem of staying awake to fly the plane, which he managed to do.

Looking more closely at the Lindbergh Select on my work table, the chamber has light cake and some lava flow on the rim and shows some scorching on the right forward quadrant.  The large Poker stummel has several fills that will need to be cleaned out and refilled on the stummel side and the heel.  The upper right side of the bowl has a dent which might be able to be drawn out through heating.  The saddle stem has oxidation.  The bit has very little tooth chatter at all. I discover that scotch tape was wrapped around the tenon in order to tighten the fit.  When I remove the tape, the result is a very loose fitting tenon – rattling around in the mortise! It’s very possible that this stem is a replacement, but it should fit nicely. The balance of the Poker is perfect – it sits quite nicely. I start the restoration of this Lindbergh Select Poker by first cleaning the internal airway of the stem with pipe cleaners dipped in isopropyl 95% and then placing it in a bath of Before & After Deoxidizer along with other pipes and stems in the queue – most commissioned by Tina! After some hours, I fish out the Lindbergh bent Saddle Stem and allow the B&A Deoxidizer to drain off.  I also run another pipe cleaner through the airway to force the Deoxidizer out and then wipe the raised oxidation with cotton pads wetted with isopropyl 95%.  Much oxidation is removed.After finishing the removal of oxidation, I begin to revitalize the vulcanite stem by applying a coat of paraffin oil (a mineral oil) and I put the stem aside to soak in the oil and dry.Turning now to the Poker stummel, using 3 of the 4 blade heads available in the Pipnet Reaming Kit, I ream the chamber.  I follow by employing the Savinelli Fitsall tool to fine tune by scraping the chamber walls further.  Finally, I use a Sharpie Pen wrapped with 240 grade paper and sand the chamber removing the residue carbon and revealing fresher briar.  I wipe the chamber with a cotton pad wetted with alcohol to remove the remaining carbon dust.  After inspection of the chamber, all looks great!  There are no evidences of heating problems. Next, I clean the external real estate of the Poker’s briar using undiluted Murphy’s Oil Soap and a cotton pad.  I keep my eye on the old fills to see how they react.  I also utilize a brass bristled brush to work on the darkened scorched area on the rim.  I also carefully scrape the rim with the sharp edge of a Buck pocket knife.The results of the cleaning are good, but the rim still shows the burn trail of the lighting practice of the former steward – pulling the flame over the rim instead of over the tobacco and pulling the flame downwardly.As I suspected would be the case, the old fill material softened, and I easily remove it from the side and heel of the stummel using a sharp dental probe.Before moving further with the external repairs, I clean the internals of the stummel by using pipe cleaners and cotton buds wetted with isopropyl 95%. The internals turn out to be nasty and I do much excavating using a dental spatula – scraping the mortise walls of tars, old oils and much gunk. I also use a shank brush to clean the airway. Finally, the crud starts giving away and cotton buds start emerging a much lighter hue. I call the job done for now, to return later for a kosher salt and alcohol soak to draw more tars and oils from the internal cavity as well as to freshen the stummel.To continue the work on the stummel surface, I start from the top down.  First, to address the deep scorching on the rim, I use the topping board with 240 grade paper on it to top the stummel.  Thankfully, this stummel as a good bit of real estate but I still am very stingy in giving up the briar.  I take a picture to mark the start and then a few pictures showing the progression as I rotate the inverted stummel over the 240 grade paper. I come to a place that is the tension between complete removal of the dark area and having given up enough top briar in the effort.  I stop and switch out the paper to 600 grade paper and give the stummel a few more rotations to smooth out the scratches of the 240 paper.  The rim lines are refreshed, but a darkened area remains at this point.To now sharpen the bevel and clean the rim further, I use 240 grade paper tightly rolled and sand the internal bevel. I follow this with 600 grade paper (which I forgot to picture!) and then, one final rotation on the topping board with 600 grade paper to sharpen the rim lines once more.  I like it.  The rim looks great.With the rim repair advanced to this point, I now work on refilling the pits on the side and the heel of the stummel that were left after removing the old fill.I mix briar dust and thick CA glue to form a putty that I use to fill the pits.  After putting a small amount of briar dust on an index card, I then place some CA glue next to it.  Using a toothpick, I gradually mix briar dust into the CA glue until it thickens to the consistency of molasses.  I then apply the putty to the pits using a tooth pick.  When filled, I put the stummel aside for the putty to cure.After the briar dust patches have set up sufficiently, I now work on the two dents on the upper part of the Poker.  I take a couple pictures to capture the larger and the smaller dents from different angles.The heating method can work very well to expand the compressed wood by using heat to hydrate the wood and causing it to expand.  I’m thankful that my wife allows use of her iron to do the job.  I go to the ironing board for this activity.  I wet a cotton cloth handkerchief and place the wet cloth over the dents then I apply the hot iron over the dented area. It steams a lot as the moisture in the cloth rapidly evaporates and steam is forced toward the wood surface.After doing this steaming procedure a few times, I take another picture.  You can still see the outline of the injury, but compared to where it was, by touch it is much less pronounced and should easily sand out.With the briar putty patches now fully cured after several hours, I use a flat needle file to begin working the patch mounds down to the briar surface. From the needle file I transition to 240 grade paper and remove the remainder of the excess briar patch material bringing the fill flush with the briar surface.Next, I again bring out the topping board with 240 grade paper.  This time, though, I’m topping the heel of the stummel which has taken the brunt of the wear and tear.  It is interesting to see the progression of the ‘topping’ of the heel which is not flat.  The first picture marks the starting point followed by a progression of rotations on the topping board. I switch the topping paper to 600 grade paper and take the heel a few more rotations to smooth the heel surface after the 240 grade paper.  The grain on the heel looks good.Now moving to the stummel proper, I return to the dents that I used the steaming method to expand and minimize the dents.  To fully remove these injuries, I lightly sand the area with 240 grade paper and follow with 600 grade paper to smooth further.  The steaming method helped and now the dents have been erased.With all the patches and blemishes addressed, I use a progression of sanding sponges from coarse, medium to light to sand the entire stummel removing the nicks and scratches.  I lightly address the surface around the Lindbergh Select nomenclature and shape number. I’m at a junction point for the stummel – moving on to the micromesh pad regimen.  I also have a stem that is waiting in the wings for attention.  I reunite the stem and Lindbergh Select Poker to get a look at the progress.  I love the shape of this Poker as its heel expands outwardly to form a stable platform to sit. With the reunification of the stem and stummel, I’m reminded again of the very loose-fitting junction of the tenon’s seating in the mortise.  During the cleaning of the stem, I discovered that the stem fitting had been tightened by wrapping scotch tape around the tenon.  The picture below shows the extent of the looseness. To rectify this by expanding the tenon, I use a drill bit one size larger than what will fit comfortably into the airway. To introduce the larger drill bit end into the tenon’s airway to begin expanding it, I first heat the end of the tenon with a Bic lighter to soften the vulcanite.  When the heated vulcanite becomes supple, I begin to gently insert the drill bit into the airway.  The larger bit expands the airway which pushes the tenon’s diameter outwardly.  As the bit begins to enter less supple, cooler vulcanite while I’m inserting it, the bit is straightened by this, so I don’t have to worry about the tenon during the supple stage to be angled improperly.After the first try, I refit the stem into the shank and it is tighter, but it needs a little more tightening for a snugger fit. I repeat the process and heat more of the tenon and then insert more of the bit into the expanding airway.  Before taking the bit out of the airway, I set the vulcanite with cool water from the tap so that the expansion holds. The second procedure works like a charm with a good snug junction.  I’m pleased.I decide to move forward with the finishing of the stummel’s briar surface with the micromesh regimen.  I plan to apply a dye to the Poker, but we’ll see how things develop.  I first wet sand using pads 1500 to 2400 and then dry sand with pads 3200 to 4000 and 6000 to 12000.  I love this part of teasing out the grain of this large Poker stummel.  I’m amazed at how the grain darkened and deepened during the micromesh process.  Before this, I was thinking that I would need to stain the stummel to mask the patches on the briar surface.  After looking at the natural grain, the patches look like natural knots in the briar.  I decide at this point to go with the natural briar hue. Before applying Before & After Restoration to the briar surface, I eyeball once more the junction between stem and stummel.  I’m not satisfied with the seating of the stem in the shank.  I can see a gap on the lower side of the shank/stem junction.  The top of the junction is riding high preventing a clean meeting on the lower side.  To address this, I fold a piece of 240 grade paper in half and insert it between the upper shank/stem junction and sand between the two.  This eventually lowers the top side helping the lower junction to seat better.  I’m not totally pleased with the junction at the end, but I’ve learned when to stop striving for perfection! With the stem and shank junction fitting much better, I put the stem aside again and apply Before & After Restoration Balm to the Poker surface.  I place some of the Balm on my finger and work it in to the briar surface.  After about 10 minutes I wipe off the excess and buff up the surface with a microfiber cloth.  The grain hues deepen and the natural briar finish is very nice.Turning now to the stem, the tooth marks on the bit are very minor.Using 240 grit paper, I sand out the minor issues on the bit very quickly.I then wet sand the stem using 600 grade paper and then follow by applying 0000 grade steel wool.  In addition, I scrub the surface with Magic Eraser to finish the cleaning. With my day ending, I have two projects that I’ll leave to work through the night.  I apply paraffin oil to the stem to further rejuvenate it.I also give the stummel internals a further cleaning and freshening with a kosher salt and alcohol soak.  I create a mortise ‘wick’ by pulling and twisting a cotton ball and then insert it down the mortise with the help of a stiff straight wire.  I then sit the Poker in its natural state on the table and fill the bowl with salt.  I then fill the bowl with isopropyl 95% until it surfaces over the salt.  After a few minutes the alcohol has been absorbed and I top the bowl with more alcohol and turn out the lights. The next morning, the soak had furthered the cleaning – there was minor discoloration in the salt and wick.  I tossed the salt in the waste and cleaned out the stummel with a paper towel and blowing through the mortise to be sure to remove all the expended salt.  To be on the safe side, I expend a few more pipe cleaners and cotton buds to clean up residue after the soak.  All was clean!  Moving on. Now back to the stem.  I now apply the full regimen of micromesh pads from 1500 to 12000 to the stem.  I first wet sand using pads 1500 to 2400, then dry sand using pads 3200 to 4000 and 6000 to 12000.  After the wet sanding I move out to the satellite work desk on my 10th floor ‘Man Cave’ balcony where spring is trying to show itself.  A shot of me enjoying the change of weather and the view that I have of Sofia’s Vitosha Mountain nursing a bowl of Land BCA with my smooth Meer and teasing out more patina!

Next, I reunite stem and stummel and after mounting a cotton cloth buffing wheel to the Dremel, I adjust the speed to about 40% of full power and apply Blue Diamond compound to the entire Lindbergh Select Poker.  Following the compound, I wipe/buff using a felt cloth to clean the pipe of compound dust.  I then mount a cotton cloth buffing wheel dedicated to applying carnauba wax.  Leaving the Dremel and 40% power, I apply several coats of wax and finish by hand buffing with a microfiber cloth.

The Lindbergh Select 324 Poker fits and exceeds the expectations of this classic shape.  The grain is displayed over the large briar landscape and the broad heel is an added benefit.  The vertical flame grain terminates in the rim revealing distinctive bird’s eye grain – very nice.  The 3/4 bent saddle stem also adds to the overall balanced feel of the iconic Poker.  The Lindbergh Select’s specific manufacturer will remain a mystery, but the French origin seems secure.  Tina commissioned this pipe along with 4 others from the For “Pipe Dreamers” Only! collection to give as gifts to special men in her life.  She will have the first opportunity to acquire the Lindbergh Select in The Pipe Steward Store.  This pipe benefits the Daughters of Bulgaria – women and girls who have been trafficked and sexually exploited.  Thanks for joining me!

Restoring an Alpha Hand Made Pipe from Israel


Blog by Steve Laug

It was time to turn back to a couple of pipes that Jeff and I purchased recently. We had picked up some pipes from a guy in Fredericksburg, Virginia. I pulled one of those pipes out of my “to be restored” bin and brought it to my worktable. This one is a large freehand with beautiful grain and a plateau rim top. It has some smooth beveled areas on the inner edge of the rim and a flush mount acrylic stem. It is stamped on the left side of the shank Alpha over Hand Made and there is an A logo stamped in the left side of the tapered, acrylic stem. We seem to pick up some really dirty pipes and this pipe was no exception. It was very dirty with a thick cake in the bowl and a heavy layer of lava overflowing on to the rim top filling in the crevice of the plateau. It was hard to know what the inner edge of the rim looked like because of the lava and cake. From the photos it appeared that the inner edge was in good condition. Other than being dirty the finish also appeared to look very good. The gold variegated acrylic saddle stem was in excellent condition with some light tooth chatter on both sides at the button. Jeff took some photos of the pipe before he started working on it so I could see what he was dealing with. I am including those now. He took photos of the rim top to show the thick cake in the bowl and the overflow of lava. The cake is thick and hard and the lava overflow is a thick band around the bowl. The bowl is a real mess. This must have been a great smoking pipe.The next photo shows the right side of the bowl and shank to give a clear picture of the beauty of the straight and flame grain around the bowl of the pipe. It is a beauty.Jeff took a photo of the stamping and logo on the stem to capture the clarity of it even under the grime. The acrylic stem looked very good and though the photos are a little out of focus the stem appeared to be in good condition. There looked like there were some light tooth marks and chatter on the stem was light that should not take too much work to remedy.Before I started my work on the pipe I wanted to refresh my memory of the Alpha brand I remembered that somewhere along the line it was sold to Grabow in the US. Since Alpha was the first good pipe I owned I was interested in revisiting the history a bit. I turned first to Pipephil’s site and the information was brief so I went to Pipedia hoping to find more. I looked up the brand there (https://pipedia.org/wiki/Alpha). I was reminded that the brand was made by the Shalom Pipe Factory. I quote in full:

Alpha was originally a brand of the Shalom Pipe Factory in Israel, owned by Bernard Hochstein, former CEO of Mastercraft. The Alpha line was made exclusively for export to the United States. They were made in Israel from the 1970s into the 1980s, at which point the name was sold to Mastercraft, and later to Lane, Ltd., who produced very few Lane Alpha pipes at the end of the 1990’s. Lane Alphas were sold in five finishes, each denoted with a Greek letter. After Lane, Mastercraft again marketed the Alpha, under the name Alpha USA, with finishes named Sierra, Delta, Mark V, Blue Ridge, Sabre, and Big Boy, some of which were not stamped with the Alpha name. Among others, the Israeli made Alpha pipes were available in a line marketed as “Citation”.

So I now had a date for the pipe – 1970s and into the 80s at which point the brand was sold to Mastercraft (not Grabow as I remembered). I also knew that it was made in Israel for the US market.

Armed with that information I turned to address the pipe itself. Jeff had already cleaned up the pipe before sending it to me. He had reamed the bowl with a PipNet pipe reamer and cleaned it up with a Savinelli Fitsall Pipe Knife. He scrubbed the exterior with Murphy’s Oil Soap and a tooth brush to clean off the grime off the finish and the heavy overflow of lava on the rim top. He cleaned up the internals of the shank, mortise and stem with pipe cleaners, cotton swabs and alcohol to remove all of the oils and tars in the pipe. When it arrived here in Vancouver it was a clean pipe and I knew what I had to work with. I took photos of it before I started my part of the restoration. I took photos of the rim top and the stem to show their condition. Jeff was able to clean up the incredibly thick cake and lava overflow that was shown in the rim and bowl in the earlier photos. He was also able to get rid of the grime and grit in the surface of the briar. The rim top looked really good. The inner edge of the bowl was in good condition and there was a smooth bevel on the surface of the rim edge.I took a photo of the left side of the shank to show the stamping on the pipe. It read as noted above – Alpha Hand Made. You can also see the A stamp on the left side of the saddle stem. The second photo below shows the ISRAEL stamping at the stem/shank junction.The bowl was in excellent condition. I touched up the edges of the plateau briar with a black Sharpie pen. It blended those areas into the rest of the plateau finish. After it was finished I rubbed the bowl and shank down with Before & After Restoration Balm to deep clean the finish on the bowl and shank. I worked it into the plateau surface with my finger tips and buffed it in with a horsehair shoe brush. The product works to clean, enliven and protect the briar. After it sat for a little while I wiped it off and buffed it with a soft cloth. The briar really began to have a rich shine. I took some photos of the bowl at this point to mark the progress in the restoration. It is a beautiful bowl. I set the bowl aside and worked on the stem at this point in the  process. I sanded tooth chatter and the remaining oxidation on the stem with folded pieces of 220 to remove the marks and the light brown colouration on the stem surface. I sanded them with 400 grit sandpaper until the marks were gone and the oxidation was gone.I polished the Lucite stem with micromesh sanding pads – wet sanding with 1500-2400 grit pads and dry sanding with 3200-12000 grit pads. I wiped the stem down after each pad with a damp cloth to remove the sanding dust. The stamped A on the left side of the stem was originally white in colour but the colour had been faded or wiped away. I used a white correction pen and pipe cleaner to work the white into the stamp. Once it had dried I scraped it off with my nail and buffed the area with an 8000 and 12000 grit micromesh sanding pad.I put the stem back on the pipe and the pipe to the buffer. I worked it over with Blue Diamond to polish out the remaining small scratches. I gave the bowl and the stem several coats of carnauba wax and buffed the pipe with a clean buffing pad to raise the shine. I hand buffed it with a microfiber cloth to deepen the shine. The pipe polished up really well and the beveled rim top looked good. I was happy with the look of the finished pipe. The photos below show what the pipe looks like after the restoration. The freehand shape reminds me of some of the American made freehand pipes that I have restored. It was a bit of a blast from the past for me to pick up and Alpha again and work on it – taking me back to one of my first pipes a little Alpha author. The polished variegated, gold Lucite stem looks really good with the browns of the briar and the darker plateau on the rim top. The dimensions of the pipe are Length: 6 inches, Height: 2 ½ inches, Outside diameter of the bowl: 2 inches, Chamber diameter: 7/8 of an inch. This is another pipe that I will be putting it on the rebornpipes online store shortly, if you are interested in adding it to your collection. The thick shank and tall bowl look and feel great in the hand. This one should be a great smoker. Thanks for walking through the restoration with me on this beauty!

Rejuvenating a Norwegian Made Lillehammer 204 Horn


Blog by Steve Laug

It was time to turn back to a couple of pipes that Jeff and I purchased recently. We bought some pipes from a guy in Pennsylvania. The next pipe on my worktable comes from that collection. This one is a panel shape horn with a square shank and a saddle stem. The rim topped is crowned and the shape follows the grain of the block of briar very well. It is stamped on the left side of the shank Lillehammer arched over GL and on the right side it has the shape number 204 stamped just ahead of the stem/shank union. The stem has a GL stamped on the left side of the saddle. The pipe was very dirty with a thick cake in the bowl and some lava overflowing on to the rim top. It was hard to know what the inner edge of the rim looked like because of the lava and cake. From the photos there seemed to be some damage to the inner edge at the back of the bowl but I could not be sure. Other than being dirty the finish appeared to be in good condition. The stem was lightly oxidized and had come calcification where a pipe Softee bit had been. There was some light tooth chatter and tooth marks on both sides of the stem at the button. I have included two photos that the seller sent to me to give an idea of what Jeff and I saw when we were deciding to purchase the pipe. We had the pipe lot shipped to Jeff in the US so he could do the cleanup on them for me. He took photos of the pipe before he started working on it so I could see what he was dealing with. I am including those now. He took photos of the rim top to show the thick cake in the bowl and the overflow of lava. The cake is thick and hard and the lava overflow is a thick band around the bowl. The bowl is a real mess. This must have been a great smoking pipe.The next photos show the side and bottom of the bowl to give a clear picture of the beauty of the birdseye, cross and flame grain around the bowl of the pipe. Under the grime there is some great grain peeking through.Jeff took photos of the stamping to capture the clarity of it even under the grime. The brand and the shape number are very readable. The stem looked dirty and oxidized with the calcification left behind by a pipe Softee bit. The bite marks and tooth chatter on the stem was light and should not take too much work to remedy. The oxidation was another issue that would need to be addressed.Before I started my work on the pipe I wanted to learn more about the Lillehammer brand so I turned to the first two sites that I always check to gather information on a brand. The first site I turned to this time was the Pipedia site (https://pipedia.org/wiki/Lillehammer). There I was able to learn the backstory and history of the brand. I quote in full from that article and include pictures of the two principals.
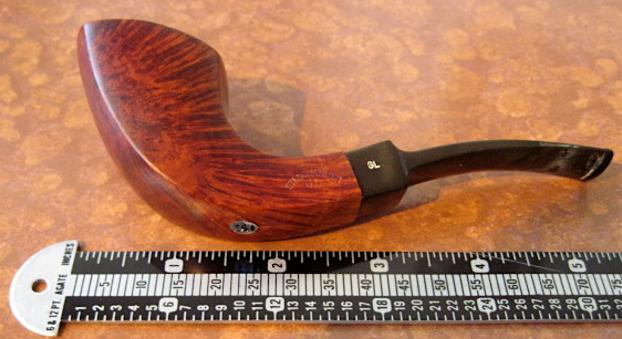
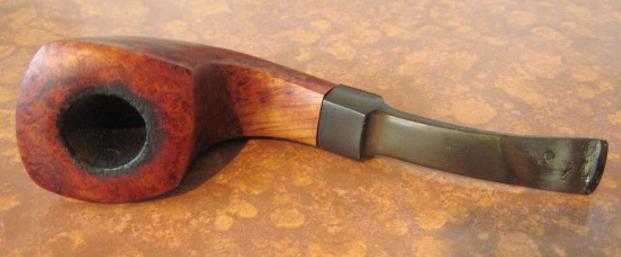
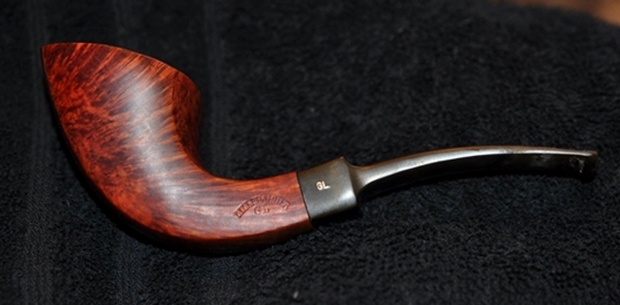
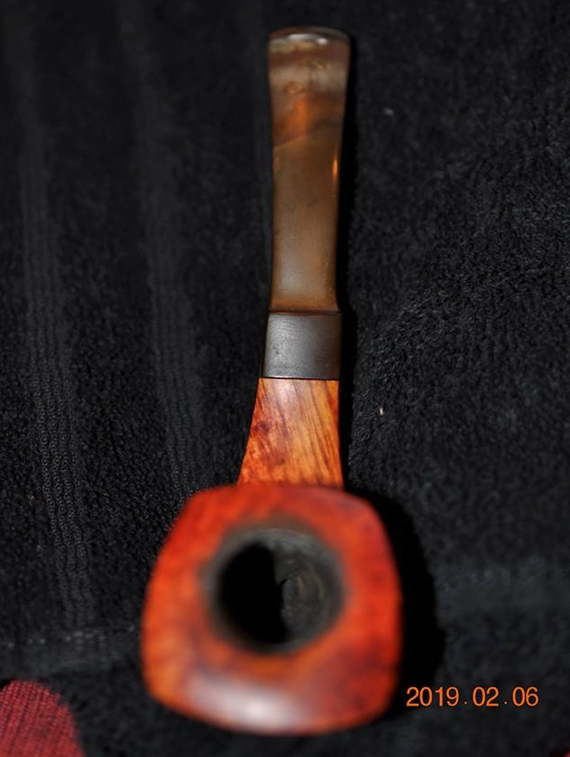
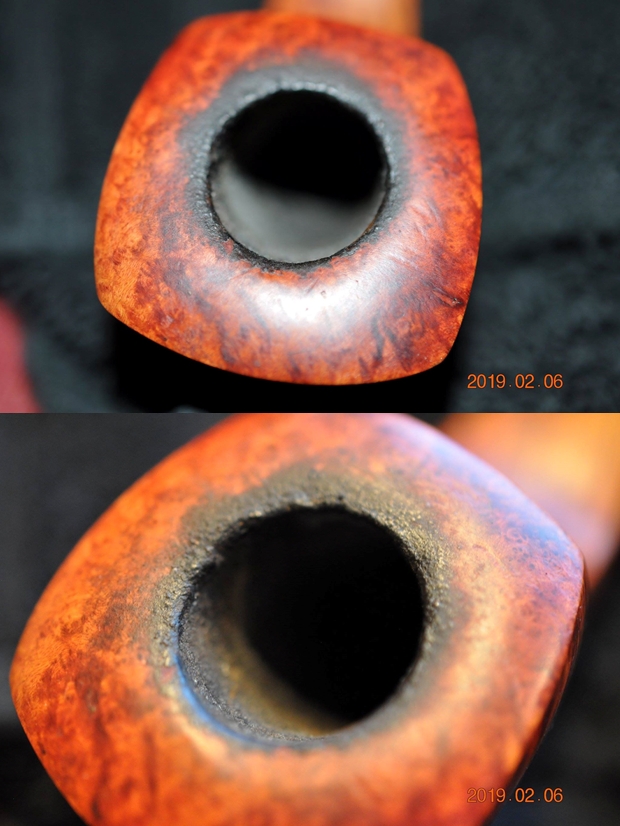
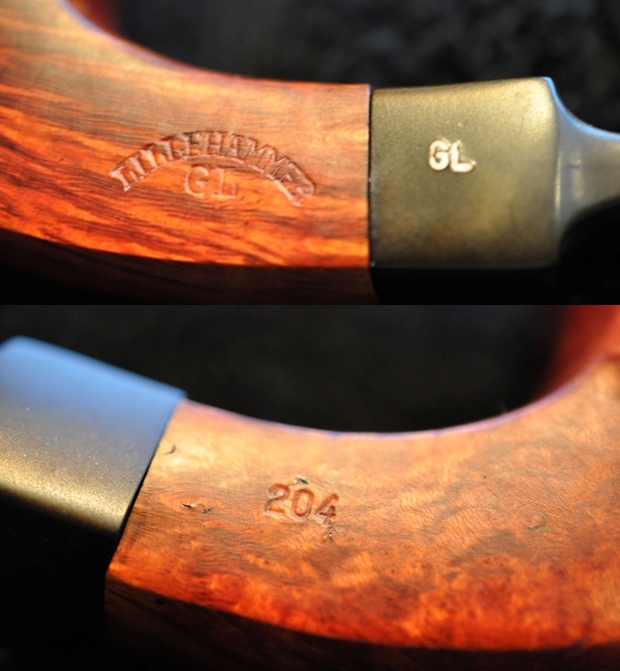
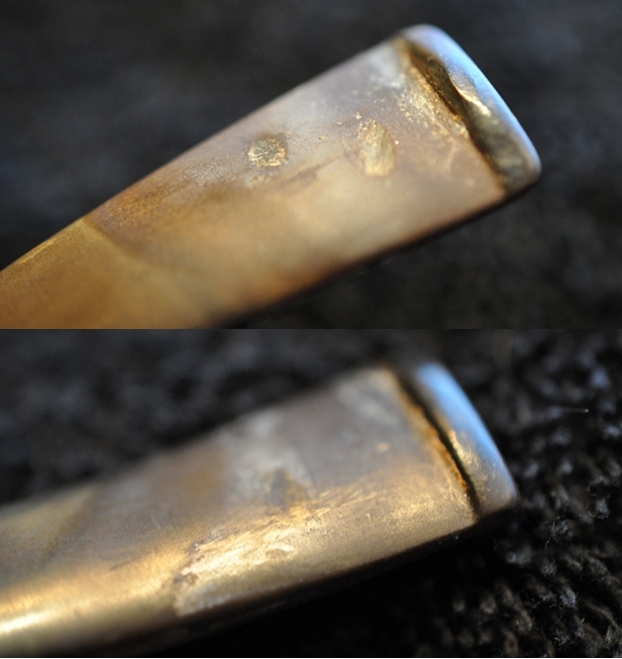
In the 1830’s a young Norwegian wood-carver named Gudbrand Larsen saw some pipes made from meershcaum. He though they were beautiful and wanted to make pipes like that, but he could not obtain the material. So he decided to go where it was to be found.
Gudbrand Larsen (1815-1902)

Larsen went to Eskisehir, Turkey, to learn all about meerschaum. But the most beautiful pipes in those days were not made there but in France, so he continued his journey to Marseielle, where he found work in one of the most famous factories at the time. In 1844 he returned to Norway and started a small factory for meerschaum pipes in the town of Lillehammer. The pipes garnered a good reputation from the first.

Gudbrand’s son, August, followed in his father’s footsteps and joined him in the business. However, father and son did not get along very well, so Junior–as August usually was called–did like his father once had, he traveled to learn more about pipe-making.
Martin August “Junior” Larsen (1855-1915)

Junior understood that briar, not meerschaum, was the material of the future, so during his journey he studied the subject carefully, first in England and then in France.

In Paris Junior earned a position with a pipemaker of good repute and became highly respected in his work. However, Gudbrand was getting old and considering retirement, so he asked his son to come home and take over the family business, an offer Junior willingly accepted. As a businessman Junior was even more successful than his father, and during his period of leadership the business prospered.

In 1902 Gudbrand Larsen died at almost 90 years of age. Then Junior passed away a dozen years later, in 1914. His death was followed by some unstable years for the factory because it lacked competent management. And World War I had just started on the continent, which made it difficult to obtain raw material.

In 1916 the factory was bought be a company that appointed new management, and a long, stable period of successful expansion had begun. That period was to last for almost half a century. The main part of the production was briar pipes, but they also continued to make some meerschaums.

Problems at the factory began again at the end of the 1960s, when sales slowed dramatically. The main reason was the “fancy pipes” had become very popular, and Larsen’s of Lillehammer had nothing to offer there. Something had to be done and two steps were taken. In the middle of the 1970s the Danish company Kriswill was bought, and in that way they obtained access to that company’s more modern shapes. A new designer was also employed, but these efforts were not sufficient, and in the 1979 the factory closed.

I turned to the my usual second information site – Pipephil’s (http://pipephil.eu/logos/en/logo-l4.html) and most of the information was confirmed. There was one startling difference that I have highlighted above in the Pipedia information and below in the Pipephil information with bold, italic and underlined text with the main point in red text.

While Lillehammer’s sales went from bad to worse in the 1960’s, Kriswill purchased the brand and used to manage the Norwegian plant a short period.

Now there was a mystery that needed checking. On the Pipedia site it said that in the mid 70’s the Lillehammer Company bought out Kriswill to access the modern shapes. Pipephil reverses that and says that the purchase went the other way around – Kriswill bought out Lillehammer and managed the shop for a short period which putting the two articles together was from the mid 1970s until the plant closed in 1979.

I did some searching on the web to see if I could clarify the above anomaly. The first link I found was to the Pipe Club of Sweden site. There was a great article on the pipe maker Bård Hansen who followed the tradition of the Lillehammer Factory and was trained by a retired engineer from the Lillehammer Factory thus tying him to the brand. In that article there is confirmation for the Pipedia information above (http://www.svenskapipklubben.se/en/pipemakers/bard-hansen/). I quote in part the article there by Jan Andersson. (Once again I have highlighted the pertinent information in the text below using bold, italic and underlined text and marking the main point highlighted in red.

In a Swedish tobacco shop, even in small places in the province, there were usually a fair number of pipes in the 50s and 60s with stems from aluminum. But even for the more traditional pipesmoker, who wanted a pipe from wood and ebonite, there was a lot to choose from. Ratos was the dominant brand, but for those who were willing to spend a little extra, there were usually at least a few more exclusive pipes – pipes in green or blue-checked boxes. Those pipes came from Norway, from G.L. Larsens pipe factory in Lillehammer.
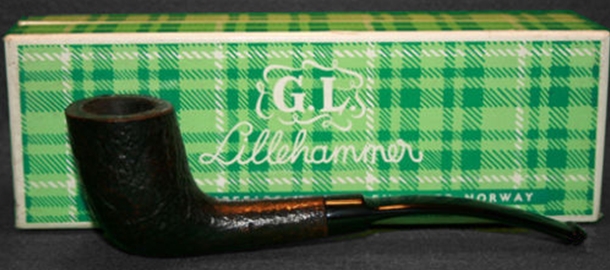
Photo is from the Pipephil Website.

Lillehammer pipes were found in two qualities, Bastia was a little cheaper and Lillehammer GL was for the truly discerning pipesmoker. Later I have learned that there were also more expensive and finer qualities, even one called Best Make, but those luxury pipes were never found in the shops in the small town where I lived. Lillehammer pipes were easily recognizable, they usually were rather slim and with a long stem, which was the fashion at the time. So while a true English gentleman smoked a Dunhill with the white dot on the stem, Norwegian or Swedish pipesmokers preferred an elegant Lillehammer.

We will not go into detail about the interesting story of Lillehammer, but unfortunately we can see that from the beginning of the 70s, it rapidly went downhill for the factory. They bought the Danish company Kriswill but that was not a success, nor was the new series of shapes created by the pipemaker Thorbjørn Rygh. So G.L. Larsen’s pipe factory in Lillehammer had to close, deeply missed by many of us. This feeling persists to this day, which is particularly evident in the great interest in the Lillehammer pipes at auctions and collector’s markets.

The article goes on to make the tie with Bard Hansen. I quote in part to show the ongoing life of a brand and its machinery and to help establish a date for the pipe that I am working on.

Until last spring, I thought that Norwegian manufacture of smoking pipes was just a memory, but fortunately I was wrong. In Bergen there is a man called Bård Hansen, who carries the tradition on.

It all began six years ago when Bård met Hans Tandberg, a retired engineer who had been working as a pipemaker in Larsen’s pipe factory. He had built a workshop with machines from his old workplace and as he had no heirs, he wanted to sell it all to someone who could carry on the traditions. Bård was interested to learn, so he bought the machines and a large stock of briar from the old Lillehammer factory and, not least, he was trained in the art of making pipes by Hans Tandberg.

Bård keeps the old traditions from the Lillehammer factory alive. He prefers the classical, clean lines and two things are important to him: balance and rhythm.

Mainly Bård makes small and medium-sized pipes. The pipes are stamped Tabago. The stems are from ebonite, except on some pipes, where the shaft is from briar.  Those who wish can get their name or any other engraving on a silver ring.

Gathering the data together from my research I have learned that the pipe I have on my worktable is from the period between the mid 70’s to the closing of the factory in 1979. I am also quite certain that came from the time when Kriswill was purchased with the hope of breathing new life into the old Lillehammer Factory. The purchase was made with the thought that through their innovative and modern shapes the Kriswill company would offer new markets for the Lillehammer brand. The GL stamping on this one makes it one of the higher end pipes from the factory.

Armed with that information I turned to address the pipe itself. Jeff cleaned up the pipe for me. He reamed the bowl with a PipNet pipe reamer and cleaned it up with a Savinelli Fitsall Pipe Knife. He scrubbed the exterior with Murphy’s Oil Soap and a tooth brush to clean off the grime off the finish and the heavy overflow of lava on the rim top. He cleaned up the internals of the shank, mortise and stem with pipe cleaners, cotton swabs and alcohol to remove all of the oils and tars in the pipe. He soaked the stem in Before & After Deoxidizer and was able to remove much of the oxidation. When it arrived here in Vancouver it was a clean pipe and I knew what I had to work with. I took photos of it before I started my part of the restoration. I took photos of the rim top and the stem to show their condition. Jeff was able to clean up the incredibly thick cake and lava overflow that was shown in the rim and bowl photos above. He was also able to get rid of the grime and grit in the surface of the briar. There was some general rim darkening and a burned and damaged area on the backside of the bowl that made the bowl out of round. The inner edge of the bowl was rough to the touch and a bit jagged because of the burn. The rest of the rim top and edges looked very good. The variation in the size of the shank and stem are also visible in the photos below. You can see the step down transition. However what you cannot see in the photos is the “lip” at that transition on the briar portion. The stem was much cleaner and there was light tooth chatter on both sides near the button.I took a photo of the left side of the shank to show the stamping on the pipe. It read as noted above – Lillehammer GL. You can also see that a portion of the white paint in the GL stamp on the left side of the saddle stem is missing.I decided to address the bowl first. I worked on both the rim damage and on the flow of the shank to the stem. There was a lip on the briar at the shank/stem transition that needed to be dealt with to make it smooth to touch. I worked on the inner edge of the rim first using a folded piece of 220 grit sandpaper smooth out the damage, bevel the inner edge and bring the bowl back as close as possible to round.I then turned to the shank to smooth out the transition to the stem. I sanded the shank with 220 grit sandpaper to match the stem. I carefully avoided sanding the stamping so as not to damage it but to still minimize the lip on the briar at the joint. I  sanded the top and underside with 220 grit sandpaper to smooth that out as well. I polished the briar with micromesh sanding pads – wet sanding with 1500-2400 grit pads and dry sanding with 3200-12000 grit pads. I wiped the bowl down after each pad with a damp cloth. I used a Maple and a Cherry Stain pen to blend the sanded areas with the rest of the bowl and shank. The combination of the two stain pens were a good match. I rubbed the bowl and shank down with Before & After Restoration Balm to deep clean the finish on the bowl and shank. It also helps to blend the newly stained areas in to the surrounding briar. The product works to clean, enliven and protect the briar. I worked it in with my fingers to get it into the briar. After it sat for a little while I wiped it off and buffed it with a soft cloth. The briar really began to have a rich shine. I took some photos of the bowl at this point to mark the progress in the restoration. It is a beautiful bowl. I set the bowl aside and worked on the stem at this point in the  process. I sanded tooth chatter and the remaining oxidation on the stem with folded pieces of 220 to remove the marks and the light brown colouration on the stem surface. I sanded them with 400 grit sandpaper until the marks were gone and the oxidation was gone.I polished the stem with micromesh sanding pads – wet sanding with 1500-2400 grit pads and dry sanding with 3200-12000 grit pads. I wiped the stem down after each pad with a damp cloth to remove the sanding dust. I used the Before & After Pipe Polish to remove the small minute scratches left in the vulcanite even after the micromesh regimen. I finished by wiping the stem down with a final coat of Obsidian Oil and set it aside to dry. I put the stem back on the pipe and the pipe to the buffer. I worked it over with Blue Diamond to polish out the remaining small scratches. I gave the bowl and the stem several coats of carnauba wax and buffed the pipe with a clean buffing pad to raise the shine. I hand buffed it with a microfiber cloth to deepen the shine. The pipe polished up really well and even the newly beveled rim top looked good. I was happy with the results of the reworking of the rim. The finished pipe is shown in the photos below. The unique horn shape definitely reminds me of the Kriswill pipes that I have restored though none of them were paneled horns. It is my first Lillehammer pipe and I have to say it is quite stunning. The polished black vulcanite stem looks really good with the browns of the briar. The dimensions of the pipe are Length: 6 inches, Height: 2 inches, Outside diameter of the bowl: 1 ½ inches, Chamber diameter: 3/4 of an inch. This is another pipe that I will be putting it on the rebornpipes online store shortly, if you are interested in adding it to your collection. The “detective” work on the brand was an added bonus for me as I worked on this beauty. Thanks for walking through the restoration with me on this beauty!