Blog by Dal Stanton
One of the great things about restoring pipes and making them available to pipe men and women world-wide is that I have met very interesting people as they commission pipes and I correspond with them. Toby is a returning customer from Germany. He previously commissioned two Churchwarden creation projects where he intended one as a gift for his friend and the other was for himself. I had fun with the write up, “A Tale of Three Churchwardens”, where I spun a story weaving in folklore, J.R. R. Tolkien and of course, a bit of Middle Earth and Gandalf. Two of the three Churchwardens went to Toby and after he gifted his friend with his Churchwarden, Toby sent me a selfie of him and his friend blowing inspired smoke rings, each nursing a bowl in their Churchwardens together! I’ve learned that Toby is a great guy and loves to gift people with special gifts! That was not the last I heard from Toby. He desired to find another gift. Here is his note:
 Hey Dal!
Having been so happy with your work I would like to commission the bearded sailor pipe for my future brother-in-law from New Zealand and I think it will be a nice fit. He is getting married in July of next year, do you think that would be possible?
Blessings,
Toby
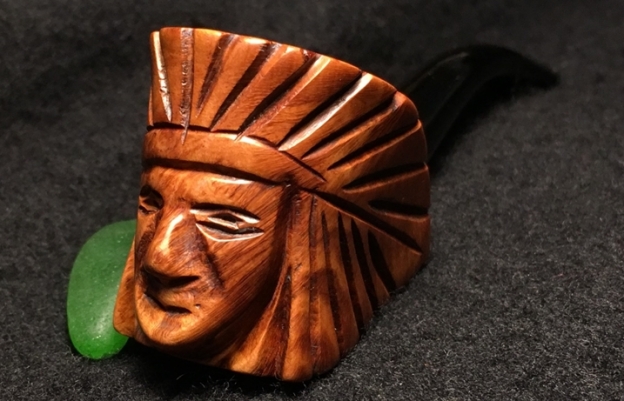
Unfortunately, the pipe he saw in the For “Pipe Dreamers” Only! collection had just been commissioned and I hadn’t had time to mark it as such on the website. Toby had a good eye for an interesting pipe, which I just restored and published not long ago, A Carved Bearded Sailor – Ole Crusty – also intended as a gift! I’m glad that Toby continued to look for an alternative that would meet his desires to be a special wedding gift for his brother-in-law. Another email came and Toby had chosen the Indian Chief as an alternative and called it the “Chief of Pipes”! This worked for me and ‘Chief’ went into the queue with a tag reminder of the wedding coming in July. Here are pictures of ‘Chief’ acquired from the original eBay seller now on my worktable:


 The pipe was advertised as having never been smoked and this was an accurate assessment. The interesting thing about this carved Native American Chieftain pipe is that it was crafted in Italy. I take a picture of the nomenclature located on the left side of the squat shank and the lettering is juxtaposed to wrap around the shank. The stamping is ‘HAND CARVED’ [over] ‘IMPORTED BRIAR’ [over] ‘ITALY’. There are no other identifying marks on the pipe that I can see. As is the case here in Bulgaria, the native North American (in both Canada and the United States) population first called ‘Indians’ from mistaken European explorers, are seen somewhat as an exotic people. Certainly, Hollywood’s depictions of the ‘Cowboys & Indians’ movie genre has contributed to this. Yet, somewhere in Italy, a pipe maker and a carver (or it could be one person!) decided to craft a unique pipe with the full native American headdress which were always full of great symbolism and meaning for those who wore them in different tribes.
I was fascinated by the information I found in this article from Wikipedia about the War Bonnet:

Muscogee war bonnet Wolfgang Sauber – Own work
War bonnets (also called warbonnets or headdresses) are feathered headgear traditionally worn by male leaders of the American Plains Indians Nations who have earned a place of great respect in their tribe. Originally they were sometimes worn into battle, but they are now primarily used for ceremonial occasions. In the Native American and First Nations communities that traditionally have these items of regalia, they are seen as items of great spiritual and political importance, only to be worn by those who have earned the right and honour through formal recognition by their people.[1][2]
The article goes on to describe the ceremonial importance of feathers:
Many Native American tribes consider the presentation of an eagle feather to be one of the highest marks of respect. An honored person must have earned their feather through selfless acts of courage and honour, or been gifted them in gratitude for their work or service to their community or Nation. Traditional deeds that bring honour can include acts of valor in battle (including contemporary military service), but also political and diplomatic gains, or acts that helped their community survive and prosper. The esteem attached to eagle feathers is traditionally so high that in many cases, such as a warrior (e.g. Dog Soldiers of the Cheyenne), only two or three honour feathers might be awarded in a person’s whole lifetime. Historically, the warrior who was the first to touch an enemy in battle and escape unscathed received an eagle feather. When enough feathers were collected, they might be incorporated into a headdress or some other form of worn regalia. Historically, headdresses were usually reserved exclusively for the tribe’s chosen political and spiritual leaders.
I believe the carving does justice to the importance of the headdress or war bonnet as it forms a spiraling movement of feathers encasing the proud image of a warrior. What’s interesting is that this spiraling movement of feathers forms the image of a larger, dominant feather. I take a picture to show the feather I’m seeing in the carved war bonnet. This is very cool! My challenge, as with Old Crusty, the Bearded Sailor, is to guard the rustic roughness of the carved image but to clean it up so it becomes more expressive. The stem is in good shape except for some minor tooth chatter and oxidation. Even though the pipe is unsmoked, the condition of the finish shows some wear and tear. The chamber is totally pristine. The top side or top of the headdress, encompasses the chamber and slopes toward the squat shank. This area appears to be in good shape with only small nicks. A beautiful showcase for the grain with this much smooth briar exposed.
 However, it is apparent that the top, right of the headdress, as I look at the image from the front, has sustained some damage. It appears that Chief took a head dive some time ago. The top edges of the feathers have chipped. I take another picture on the opposite side that has not sustained this damage to show the comparison of the healthy bridge across the top. The question is, is this damage too minuscule to bother with and is there enough wood for a patch to cling to if I were to attempt a repair? The damage is noticeable.

 Looking straight on at the image, expected nicks are evident amid the intended roughness of the carving. The crevasses, especially to the left and right of the face, are full of dirt and grime.
 The large heel of the pipe which enables it to serve as a sitter, reveals 2 daunting fills that will need attention on the far left and right of the picture. Though, like the top plateau headdress, the heel provides a large plat of briar landscape that will show off the grain.
 I think that ‘Chief’ serves as a great nickname for this Native North American Hand Carved of Italy. It is evident from his serious expression he is a proud man! I begin his clean up and restoration for Toby’s future brothers-in-law’s wedding gift, by removing the stem from the stummel to clean it. I discover that the tenon is mounted with a small, useless stinger which I promptly remove and put it in my growing stinger collection. After running a pipe cleaner wetted from isopropyl 95% through the stem to clean the airway, I add the stem to a bath of Before & After Deoxidizer along with other pipes and stems in the queue.
 After several hours in the B&A Deoxidizer soak, I remove Chief’s stem and run another pipe cleaner wetted with isopropyl 95% through airway to clear and clean the Deoxidizer from the airway. I then wipe the stem with cotton pads wetted with isopropyl 95% to remove the raised oxidation. The oxidation is thick but came off very nicely.
 The B&A Deoxidizer did a great job and I follow by applying paraffin oil, a mineral oil I can get here in Bulgaria, to the stem which aids the rejuvenation of the vulcanite, rubber compound. I then set the stem aside to dry and absorb the oil.
 With nothing in the chamber to clean, I move directly to cleaning the external briar surface using undiluted Murphy’s Oil Soap and cotton pads. To clean deeply in the crevasses of the carving I also use a bristled tooth brush and a sharp dental probe to run down the length of the crevasses.
 The finish on the stummel is very thin and the scrubbing with Murphy’s almost totally removed the finish except for small patches here and there. The following pictures show the cleaned stummel.


 As I suspected, the fills made simply of wood glue, has softened after the cleaning process and the fills have also shrunk so that the hole ridges are easily detected. Without much thought, I use a sharp dental probe to dig out the old material.
 To remove the patches of left-over finish and to clean the heel where I removed the fill material, I use a cotton pad wetted with alcohol to wipe the surface. This does a good job.
 A moment of decision has arrived concerning repairs on the stummel surface. There is no question regarding the holes left on the heel of the pipe. These will be filled. The question is how perfectionistic will I be about the feather tips on the upper right of the war bonnet? I’ve been thinking about how I would approach the fine patching of a carving. Filling a hole is one thing, recasting an image is quite another! Without question, if I use briar dust putty made with mixing briar dust and CA glue, the result will be darker for both the heel fills and the feather repair – darker than the raw briar currently shows. This possibly would mean utilizing a dye later in order to mask and blend the patching but it’s also possible that the natural briar will darken as it sanded, treated and polished and this can possibly mask the repairs enough. Another question that I mentioned earlier was whether there was enough wood for the patch material to ‘grab’ in order to be a solid repair?
 Well, as I look at the mangled war bonnet and wondering if I could live with it, an idea started to formulate in my mind, and then started to take shape with my hands. I snipped the ends of some toothpicks to create crevasse wedges that would form the boundaries around which I could apply patch material.
 I circled the war bonnet with masking tape that would hold the toothpick wedges in place. I expect the tape to flex some, but the goal is to hold the wedges in place so that briar putty will not seep into the crevasses.
 Next, I gently insert the wedges into the crevasses and are held in place by the resistance provided by the tape.
 I reinforce the masking tape to keep things where then need to be!
 I decide to start with the heel fills and to employ an accelerator so that the patch would cure quickly, enabling me to flip the stummel and apply patch to the feather repairs. I mix briar dust with a thick CA glue until it reaches the consistency of molasses – that’s my subjective standard – not too thin so that it runs and not so thick that the CA glue hardens too quickly. I apply the briar dust putty to the holes and then spray with an accelerator. The putty hardens very quickly.
 I then flip the stummel and apply briar putty on top of the feathers in need of repair. I make sure there is excess so that I can file and sand down to form a new flat bride across the top. I apply the putty carefully but quickly and spray it also with an accelerator so that the putty remains in place and not seep down the crevasses. I expect some seepage but I’m hoping to ward off a lot because that would not be fun sanding it out!
 After a time, I unwrap the tape and one toothpick wedge came out with the tape – didn’t put any putty on it at all! Oh well. I look at the area and I think it will easily sand. The three wedges remain with the cured putty holding them in. I’m hopeful – the plan seems to be working!
 Using a flat needle file and a triangular needle file that fits very nicely in the crevasses, I begin the slow process of filing over and around the toothpick wedges. I don’t try pulling the wedges out because I’ll simply file around them until they are loosened from the grip of the putty. I don’t pull them out risking pulling the patch material off! The wedge on the right comes out next.
 As I continue to carefully file, there is now only one wedge remaining.
 I’m liking how the putty is strong and sturdy as I file on the top as well as in the crevasses vacated by the wedges. The repair zone still looks pretty rough.
 I come to the point where I’ve filed the briar putty patch down to almost the briar surface but not quite. I use the triangular file to create a pointed notch at the top of the crevasse. It looks good! Time to switch to 240 grade sanding paper to fine tune the sanding.
 I finish sanding and shaping with 240 grade paper. Wow! I’m very pleased with the initial results of this reconstruction project on the feathers of the war bonnet. I will continue to fine tune the results as I go. I wanted to restore a straight bridge across the top of the feathers to match the healthy feathers.
 Turning now to the heel repairs, I use a flat needle file on both patch mounds. I file the mound down until close to the briar surface then I switch to 240 grade sanding paper to bring the patches flush with the briar surface.

 As sometimes is the case, the fill located to the front of the stummel has a pocket in the briar dust putty patch. A pocket of air was trapped, and sanding revealed it.
 I clean out the patch pit and wipe it with a cotton pad wetted with alcohol to clean it. I then apply clear CA glue to the pit and then spray it with an accelerator to quicken the curing process.
 Again, I file the patch with the flat needle file and sand with 240 grade paper and the patch is patched!
 Looking at the stummel, I still see what look like patches where the old finish is still hanging on. Old finish is evident because it will look a bit shiny compared to the raw briar around it. The reason it is important to dispatch old finish in this case is that will affect the final look if old finish is still in play whether I leave it as natural briar or apply another dye.
 In order to continue with a clean briar canvas, I wipe the stummel with acetone using a cotton pad. This does the trick nicely. The shiny spots are gone. I move on.
 Next, I see in each of the crevasses of the carving, dark grime and surface discoloration probably from old finish collected in the gaps.

 Patience is the key here! First, using a piece of 240 grade sanding paper, I fold into a knife edge and run the paper through every crevasse. I clean the gaps as well as sand out rough edges and snags as much as I can.
 After finishing going through all the crevasses with the 240 grade paper, I do the same thing with 600 grade paper.
 The carving is still maintaining that appropriate rustic roughness, but I like the results of the sanding with the additional cleaning and smoothing.

 I now use sanding sponges to sand the entire stummel using first a coarse grade sponge, then medium, and finishing with a light grade sponge. With both the coarse and medium grade sponges, I can run the edge of the sponges through the crevasses. This is nice to further smooth these rough edges.


 From the sanding sponges I go straightaway to sanding the stummel with the full micromesh pad regimen. First, I wet sand using pads 1500 to 2400 then follow dry sanding with pads 3200 to 4000 and 6000 to 12000. I take a different angled picture after each set of the pads. The grain in being teased out and I like that.
 The deep tone of the natural briar is what I was looking for from the micromesh process. With a carved pipe like this, I would much rather stay with the natural briar if the briar presentation needs no masking to hide and blend repairs. The heel fills look almost natural and the feather war bonnet repair is invisible. For this reason, I stay with the beautiful natural briar that has emerged on Chief and apply Before & After Restoration Balm to enrich and deepen the natural hues of the briar. I apply the Balm after squeezing some onto my fingers and then I meticulously work the Balm into the briar. I take special care working it into the carving – each crevasse receives individual attention sometimes with the help of toothpick to push the Balm into the gaps. It takes a bit of time. After applying the Balm, I wait about 15 minutes for the Balm to fully absorb then I wipe the excess off with a microfiber cloth. Again, the process is meticulous as I clear, wipe and buff each detailed crevasse. Chief is looking good! I take a picture of the Balm absorbing period.
 Next, I return to the stem that has been waiting for attention. Before starting the sanding the stem, I test the fit of the tenon/mortise union. As I detected earlier, it is tight. To provide a more comfortable fit, I wrap a piece of 240 grade paper around the tenon and while pressing it with my fingers and thumb, I give the paper a few rotations around the tenon and again test the fit. Works like a charm! The tenon seats well, with an appropriate snug fit.
 Turning now to the stem, the bit is in good condition. The upper bit looks almost pristine, the lower shows just one small dent on the button. Since this pipe is unsmoked, the only wear and tear on the stem is from living in a drawer or perhaps in a box with special keepsakes. The vulcanite surface also is rough.
  To make sure the entire stem is pristine, I mount the stem again, but I use a disc to divide the stem and stummel so that I can sand without concern for shouldering the stem’s shank facing. I use 240 grade paper on the entire stem, followed by wet sanding with 600 grade paper. I finish this phase by using 000 grade steel wool to buff up the shine.
 Now to the micromesh regimen. I begin by wet sanding with pads 1500 to 2400, then dry sanding with pads 3200 to 4000 and 6000 to 12000. Between each set of three pads I apply a coat of Obsidian Oil to continue vitalizing the vulcanite. I like that new glassy, glossy pop of polished vulcanite!
 Now, on the homestretch. After rejoining stem and stummel, I mount a cotton cloth buffing wheel to the Dremel, set the speed to about 40% full power and apply Blue Diamond compound to the entire pipe. I take special care to work the crevasses of the Native American carving. Afterwards, I wipe the pipe with a felt cloth to remove compound dust in preparation for applying carnauba wax. I change to another cotton cloth wheel on the Dremel, maintain the same speed and apply the wax to the pipe. I apply a couple of coats of wax and after completing this, I give the pipe a rigorous hand buffing with a microfiber cloth to polish more and raise the shine of the stem and stummel.
I’m pleased with the results of the restoration of this Native American Hand Carved of Italy – Chief. He’s still rough looking, which I think is appropriate, but the lines and edges have been smoothed through the detailed sanding and the Chief’s image carved on this stummel has come alive. I really am amazed. The large smooth heel and plateau came out beautifully with distinct grain profiles. The repair to the feathers on the war bonnet came out well, too. When I started, I didn’t know if the repair would work or not. It worked! Toby commissioned this Hand Carved Chief from the For “Pipe Dreamers” Only! collection as a wedding present for his future brother-in-law. He will have the first opportunity to acquire this pipe in The Pipe Steward Store. This pipe benefits our effort here in Bulgaria working with women and girls who have been trafficked and sexually exploited – the Daughters of Bulgaria . Thanks for joining me!


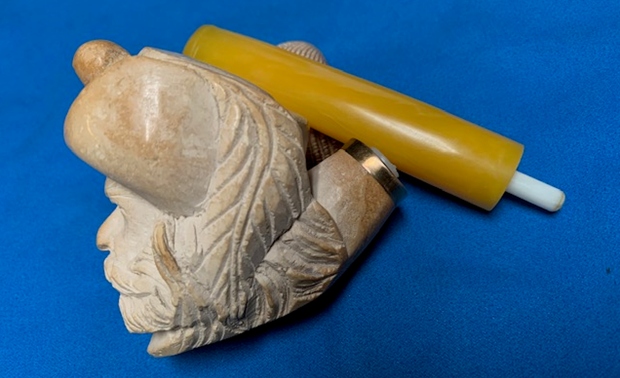
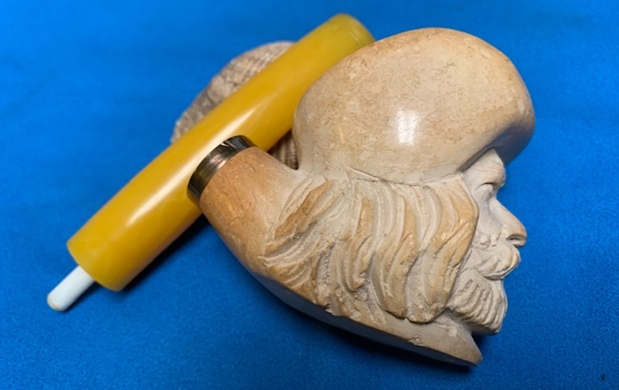
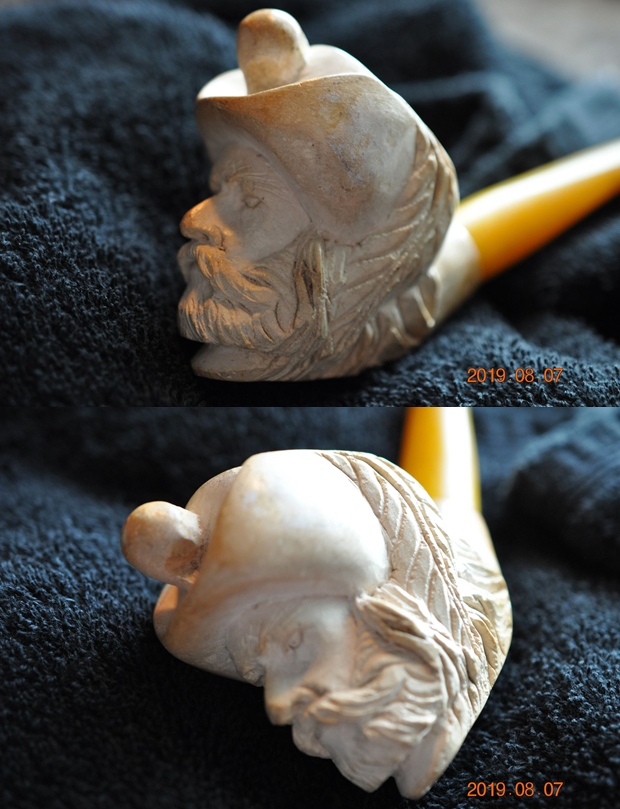
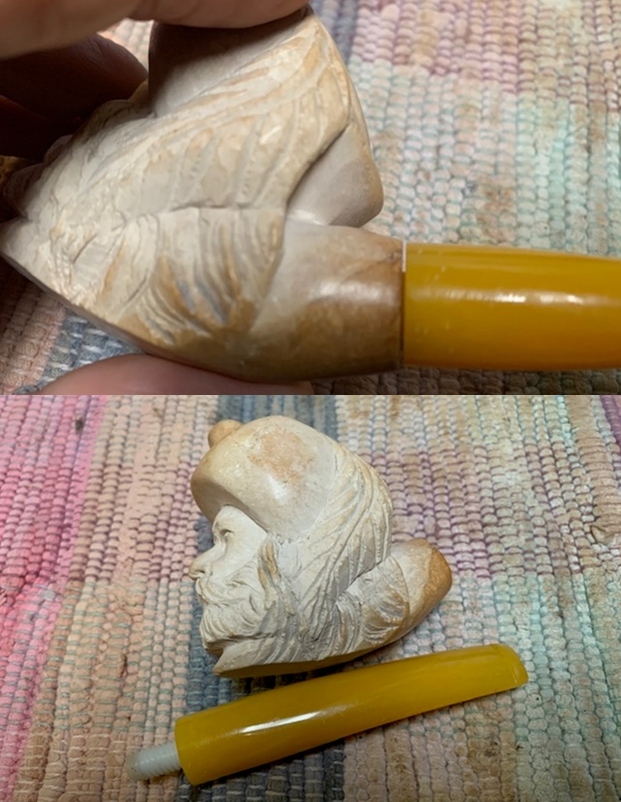
 Jeff took some closer photos of the features of the carving around the bowl face and sides. It is dirty and worn looking but the features are very well done. The carving of the facial expression and the hairs of the beard, mustache, eye brows and hair around the face is well done.
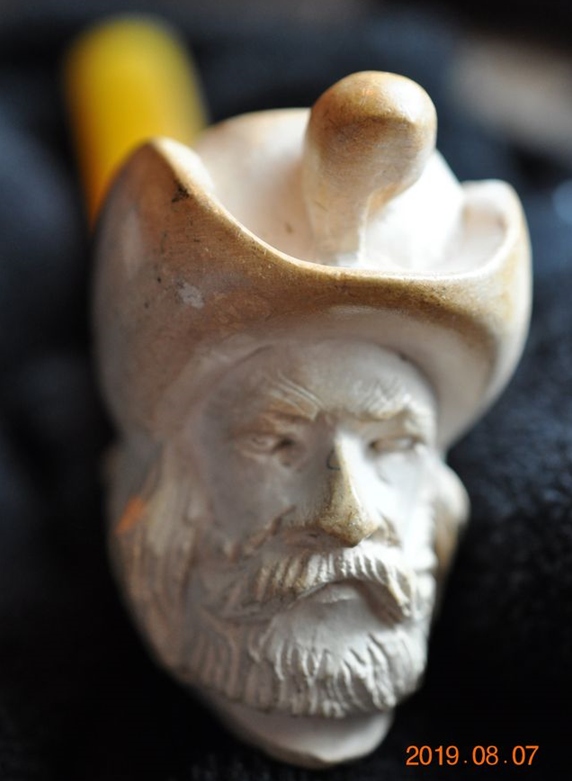
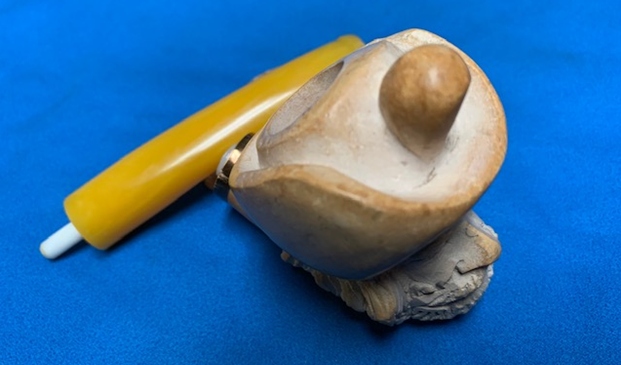
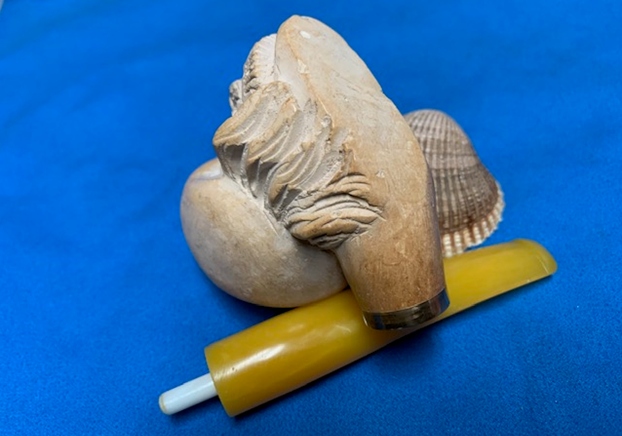
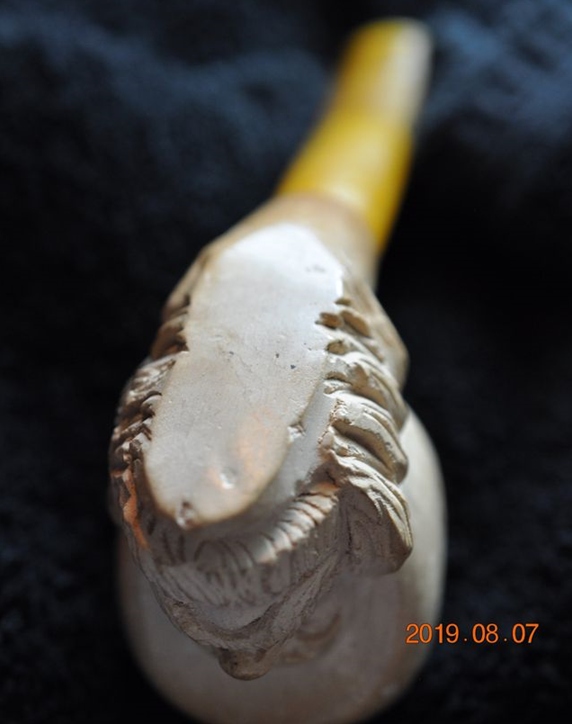
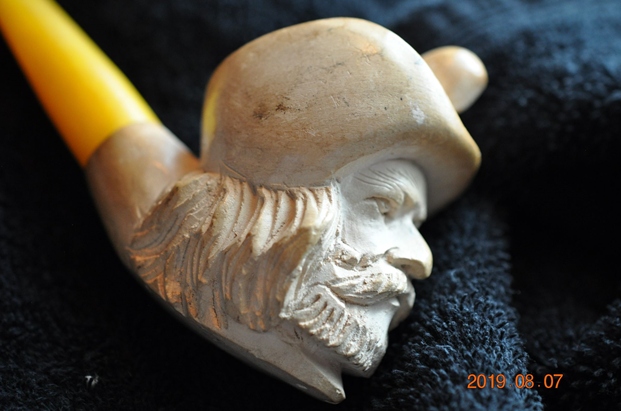 He took a photo of the underside of the bowl and shank is smooth. There are a few nicks and scratches around the edges of the bottom but it still looks very good.
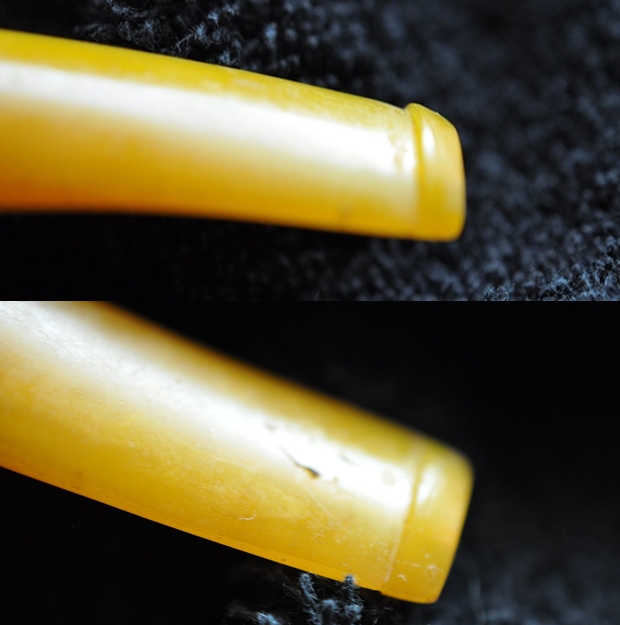
 He took some photos of the stem to show the overall condition. It was very clean and the light scratches would easily polish out when I worked on it.
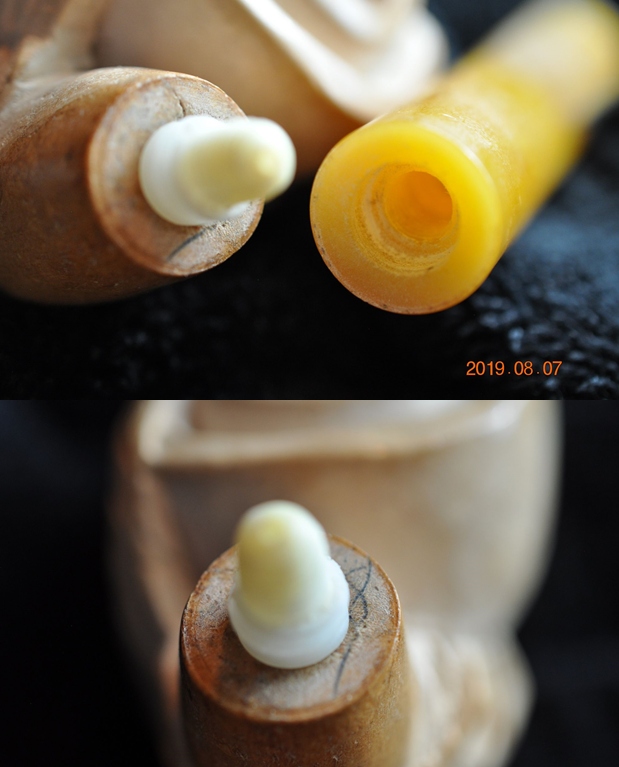
 Jeff took the stem off the shank and it appears to be a threaded tenon. I have seen this before and I am pretty certain that it is a push tenon that has come out of the stem. I would know more once I saw it in person. My guess is that the other side of the tenon sticking out of the shank is threaded. It is a threaded fitment that is threaded and screwed into the shank. The part that is showing is threaded as well and screws into the stem.
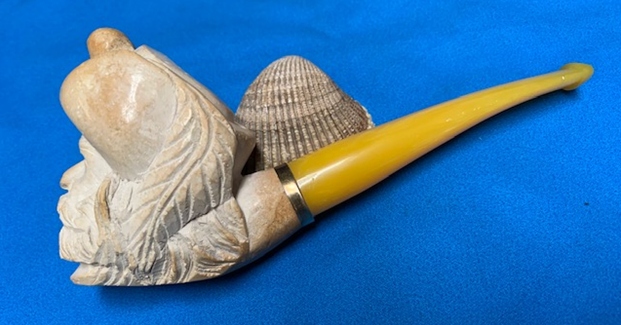
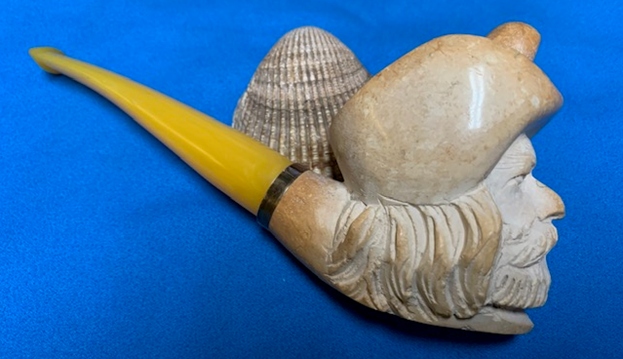
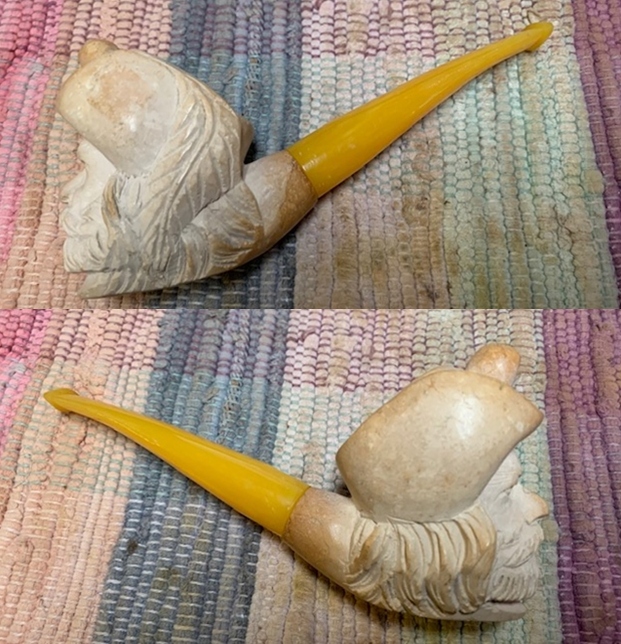
  I decided to have a look on the web and see what I could find out on the Three Musketeers. I found an article on Wikipedia (https://en.wikipedia.org/wiki/The_Three_Musketeers). I quote a portion of the article below to give a bit of context for the pipe.
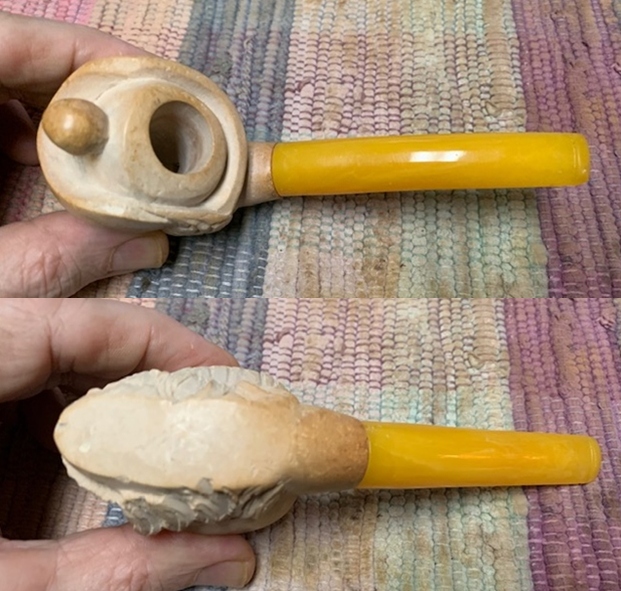 I took a photo of the bowl and rim top as well as both sides of the stem. They were clean and would polish up very well.
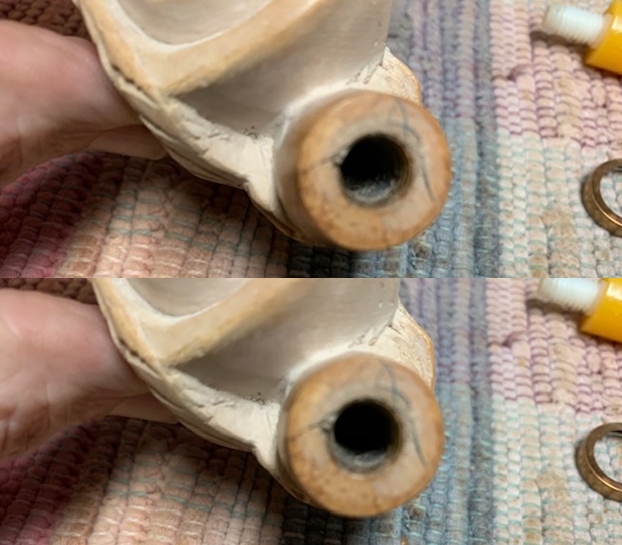
 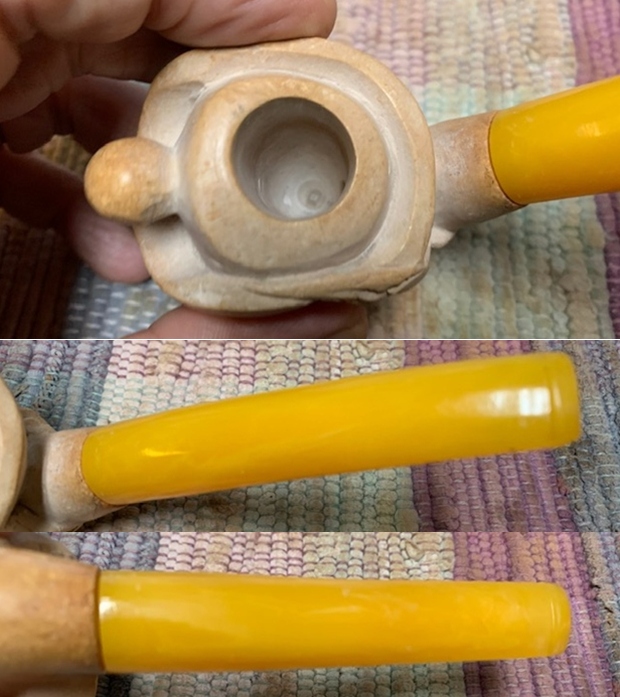 The first photo below shows the crack in the shank side. It is a tight hairline crack that I need to address so it will be a pretty easy fix. I unscrewed the stem from the shank to deal with the crack in the shank side.
  I went through my brass bands and found the one that would fit the shank and bind the crack in the shank and shank end together more permanently. The second, third and fourth photos below show the crack clearly.
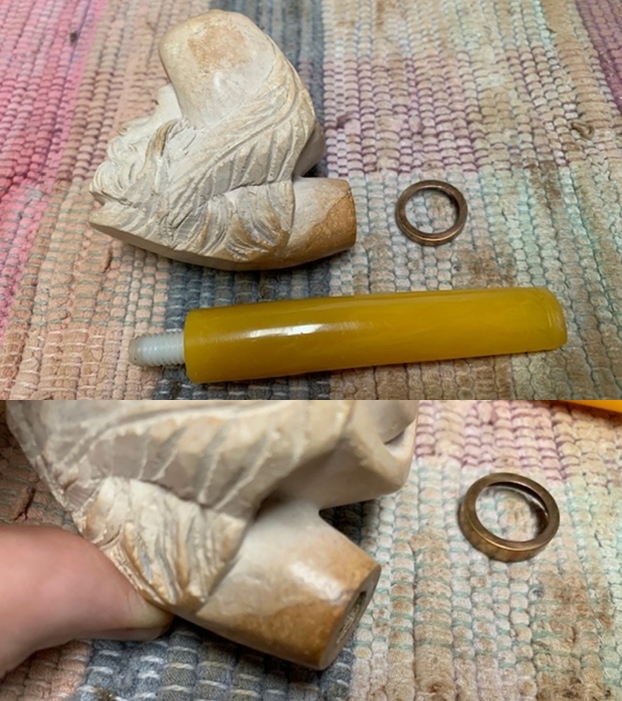
 I pressed the band onto the shank end by pressing it against the mat on my desktop. I took photos of the pipe after I had banded it.
 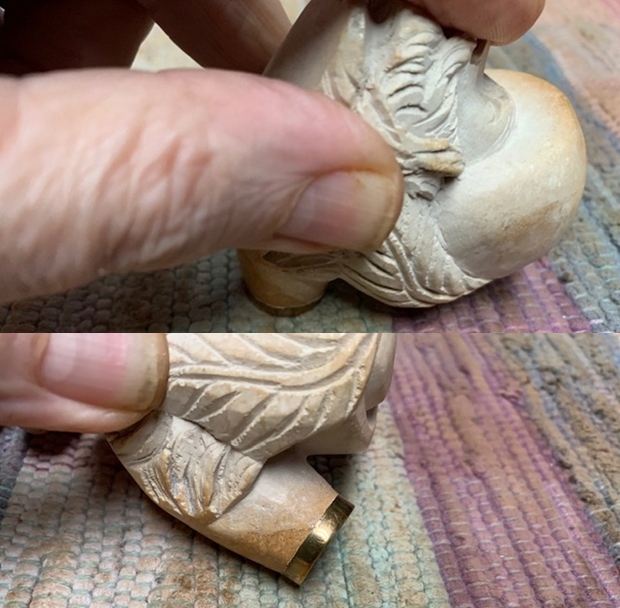 I took a photo of the shank end to show the band and the threads in the inside of the shank. It was pretty clear that my assessment of the stem/tenon situation was correct.
 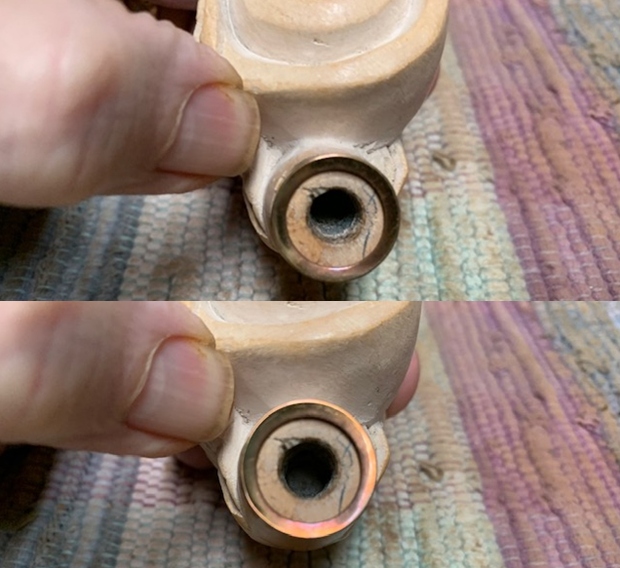 I turned the stem onto the shank to get the fitting in the shank. I twisted the stem out of the shank. Sure enough it was a push tenon with a threaded fitment that fit in the shank end. I put a bead of glue on the fitting and let it set.
 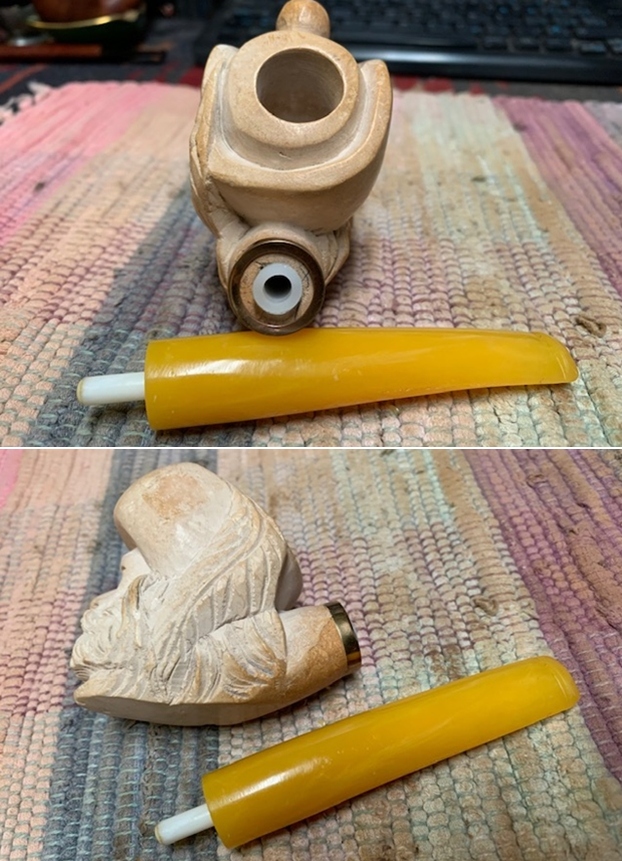 I put the stem back on the shank and took pictures of the pipe with the band the stem. It looks quite good.
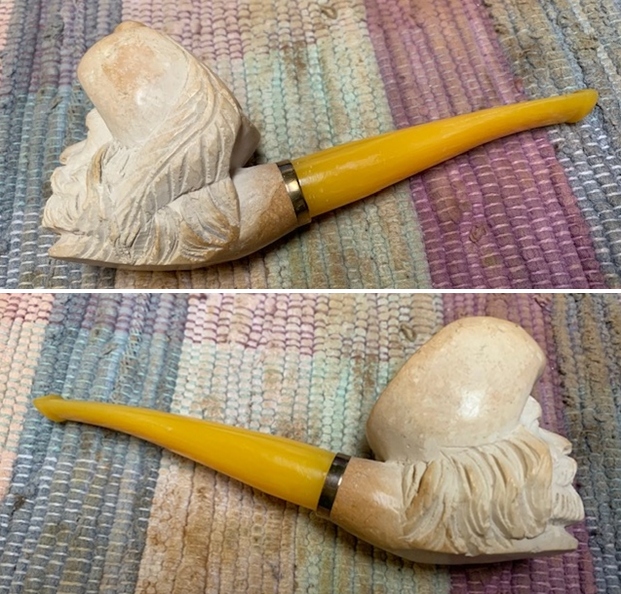
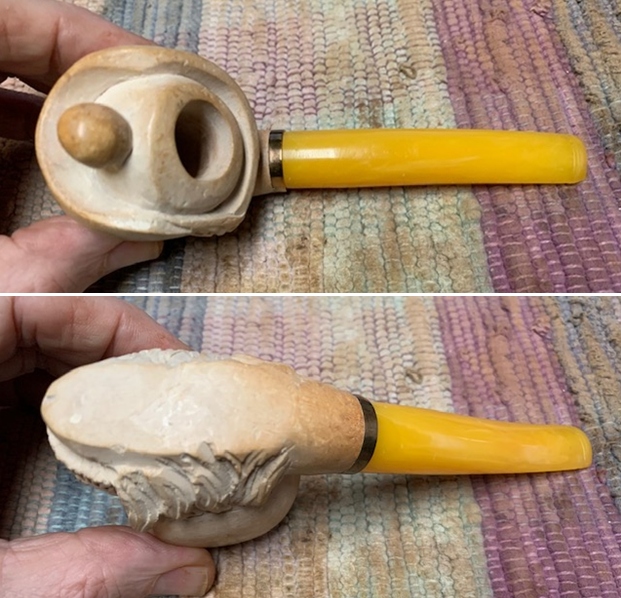 I polished the meerschaum bowl with micromesh sanding pads – dry sanding with 1500-12000 grit pads and wiped it down after each pad with a damp cotton pad.
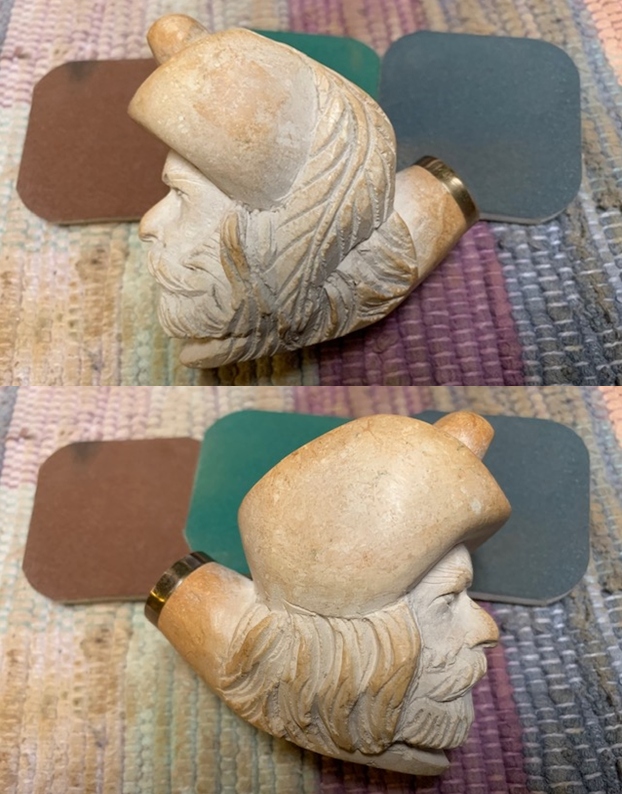
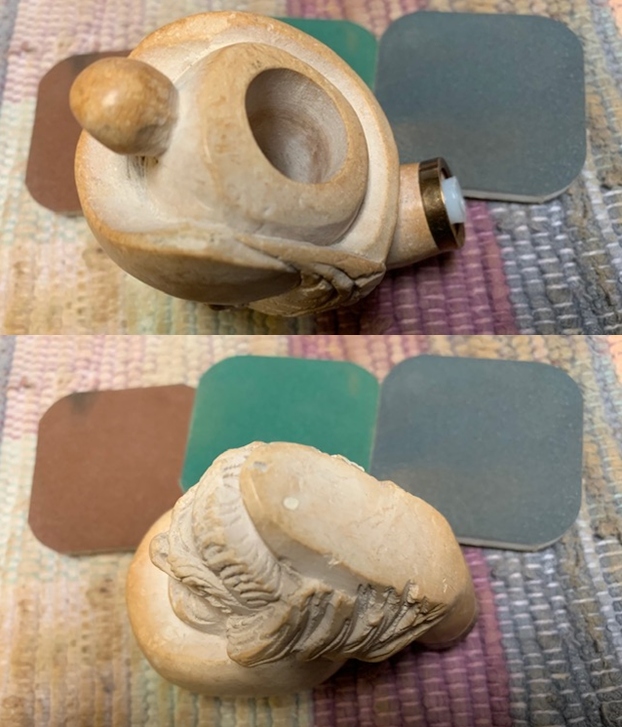
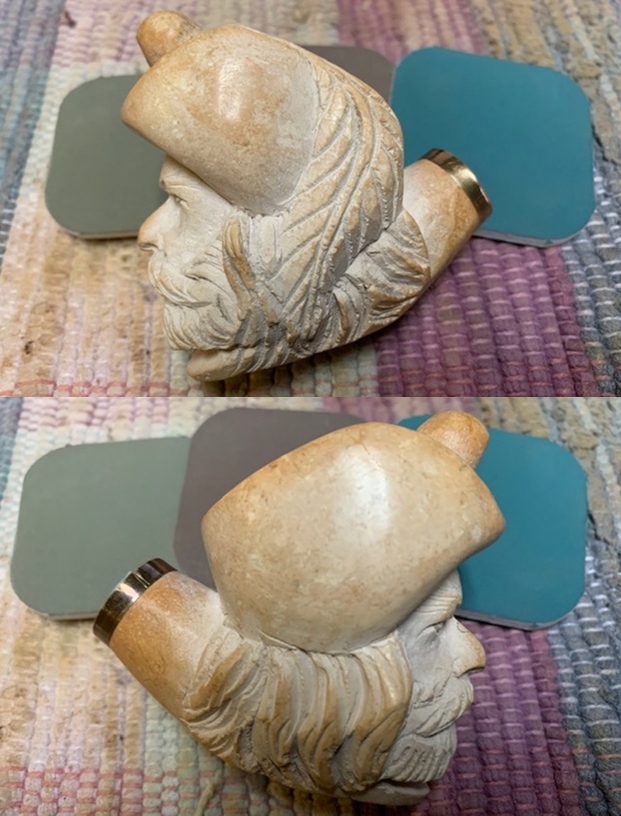
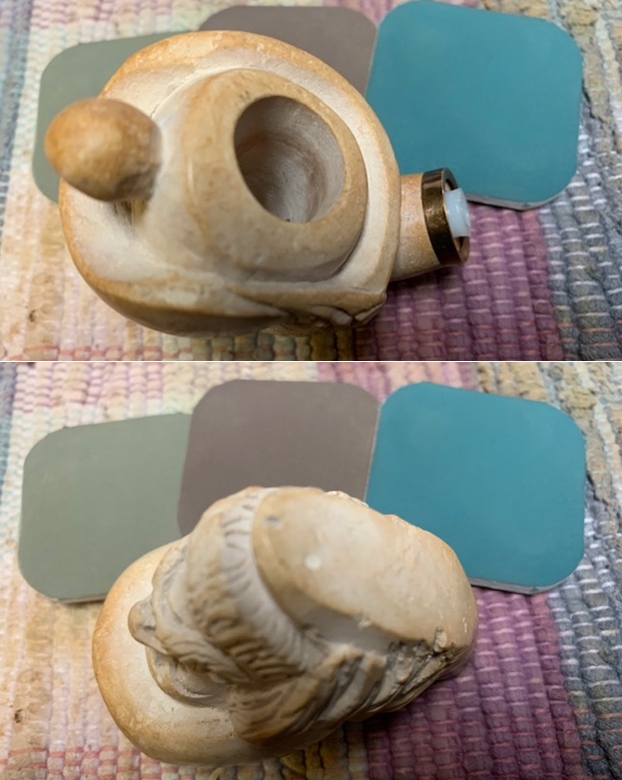
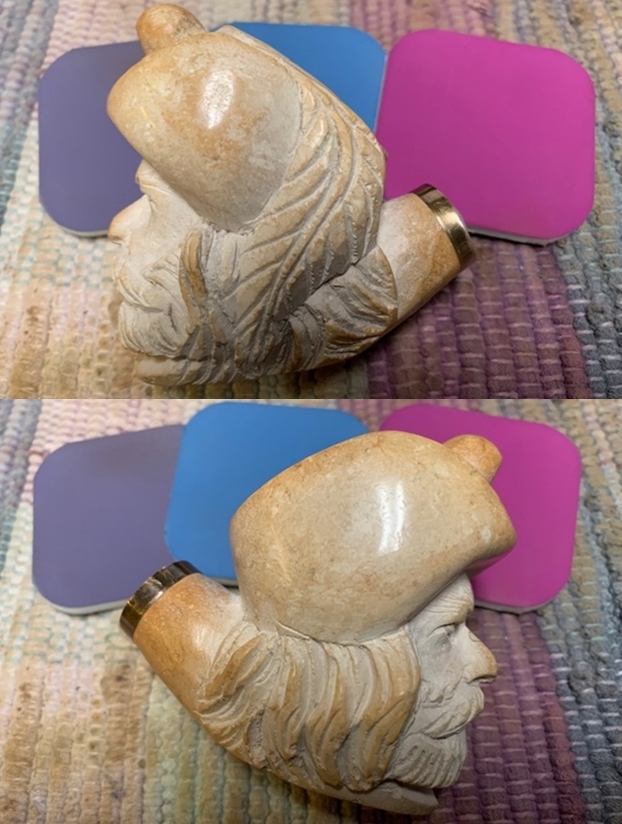
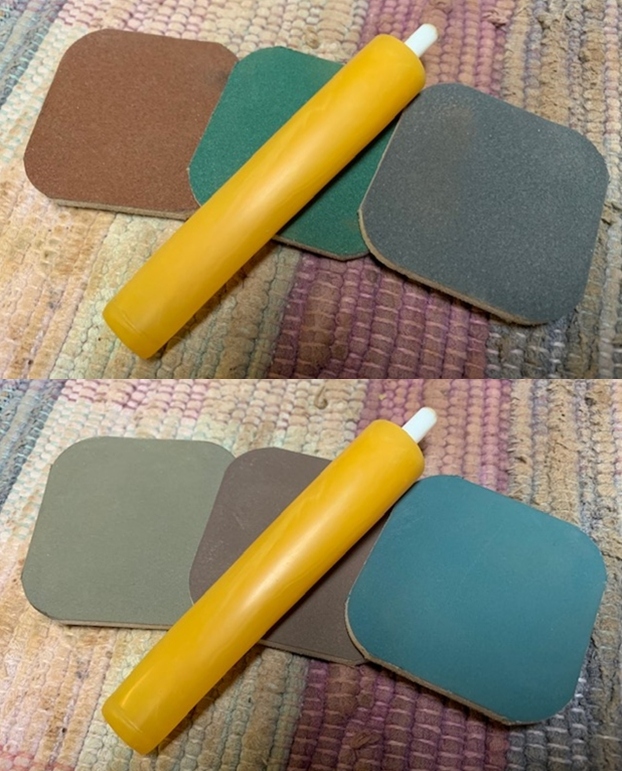
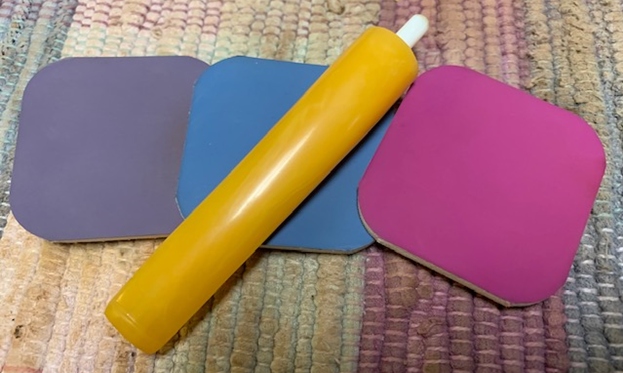
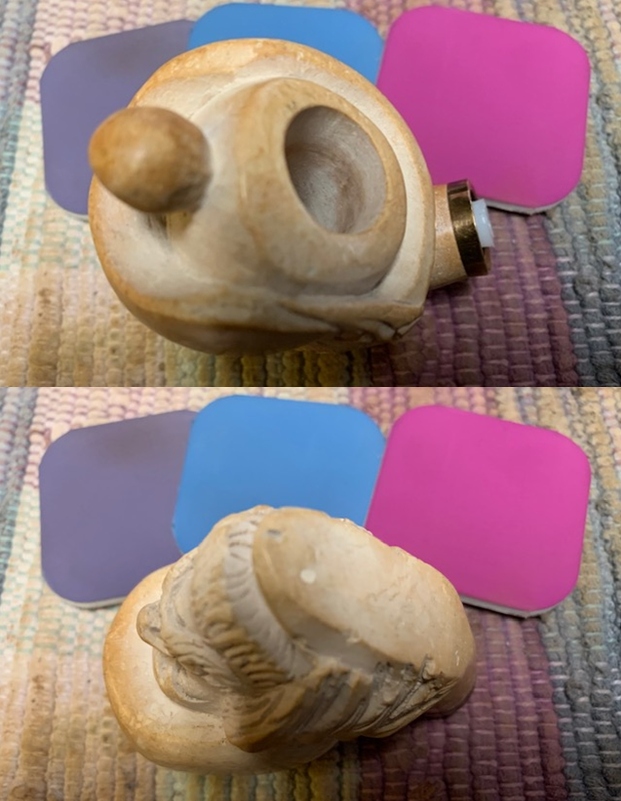 I polished the acrylic stem with micromesh sanding pads – wet sanding with 1500-12000 grit pads. I wiped it down with a damp cloth to remove the sanding dust between each pad. I wiped the stem down with Obsidian Oil after the stem was polished.
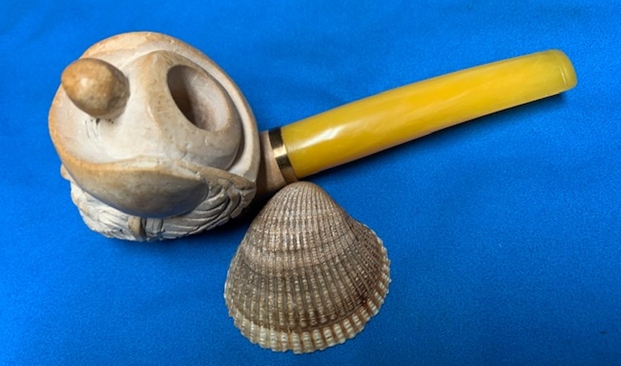
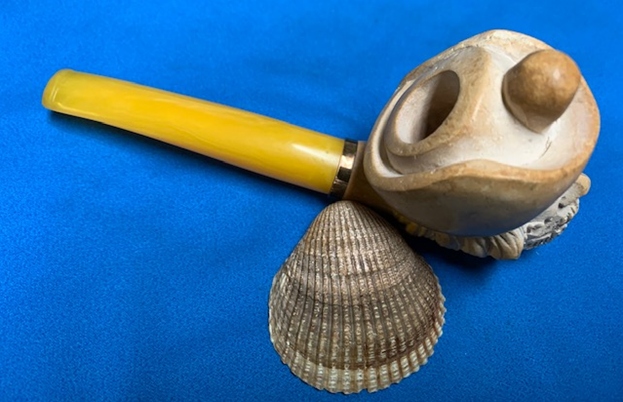
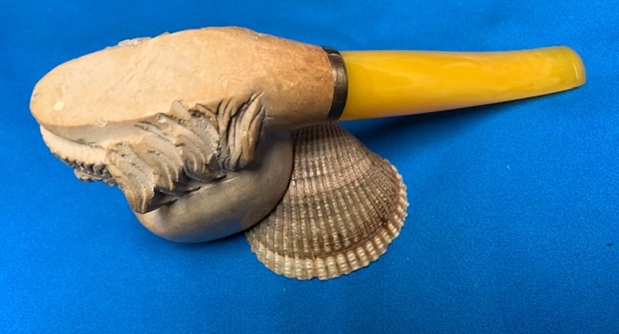
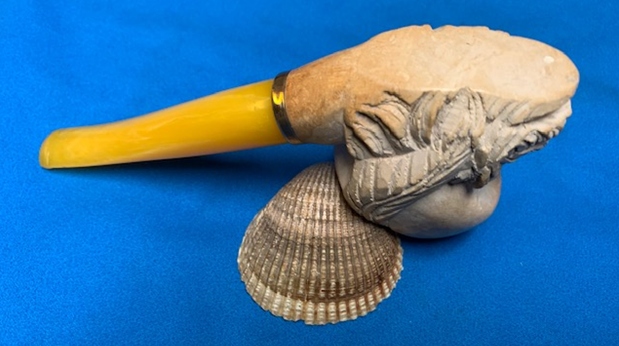
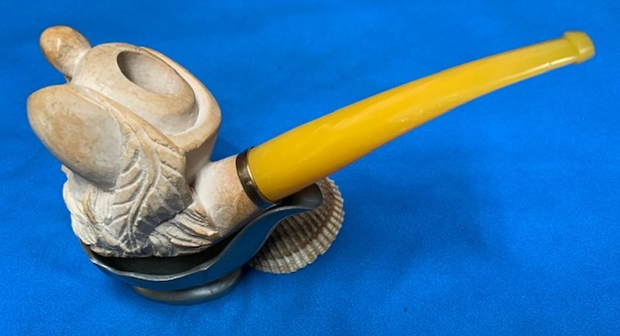
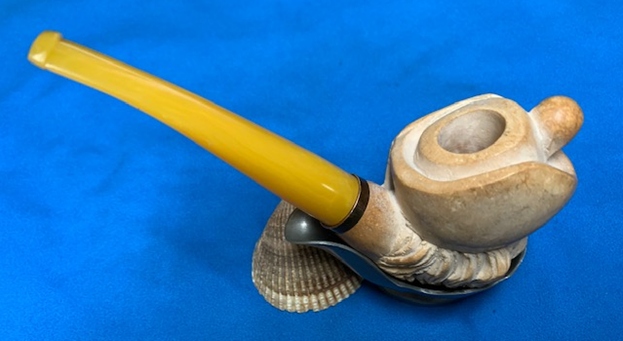
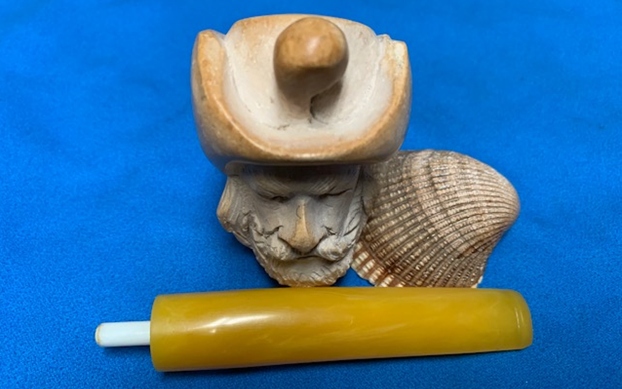
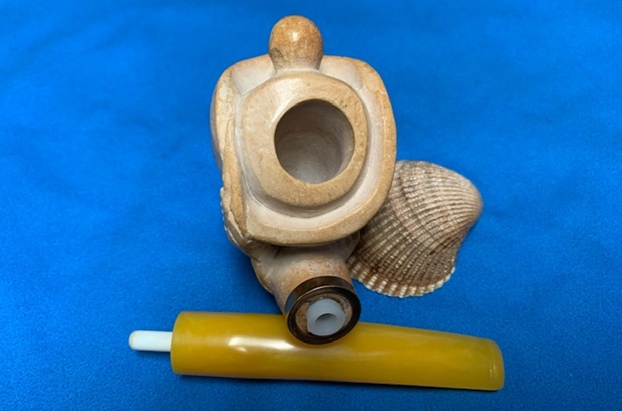
 I put the stem back on the bowl and buffed the carved d’Artagnan Meerschaum with some Blue Diamond on the buffing wheel carefully working to avoid letting it build up in the grooves of the carving. The meerschaum polished up well and the patina came to the surface. The golden, buttery coloured acrylic stem polished well and took on a rich glow. The small brass band worked well to repair the cracked shank and also gives a touch of class to the pipe. The unsmoked bowl looks very good and the pipe is ready to load with your favourite tobacco and break it in for yourself. The Figural Meerschaum looks very good. The dimensions of the pipe are Length: 6 inches, Height: 2 ½ inches, Diameter of the bowl: 1 ¾ inches wide x 2 inches, Diameter of the chamber: 5/8 of an inch. The weight of the pipe is 90grams/3.25oz. If you would like to add this pipe to your collection send me an email or a message and I will put it aside for you. Thanks for walking through this restoration with me it was a pleasure to work on.