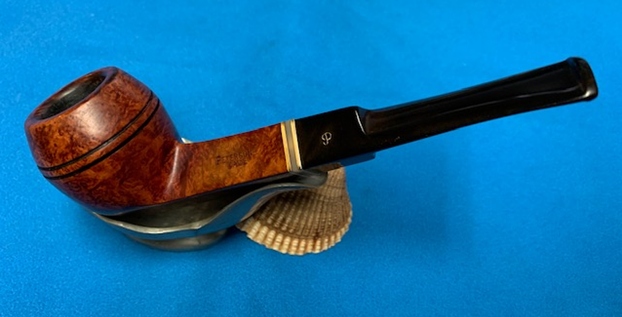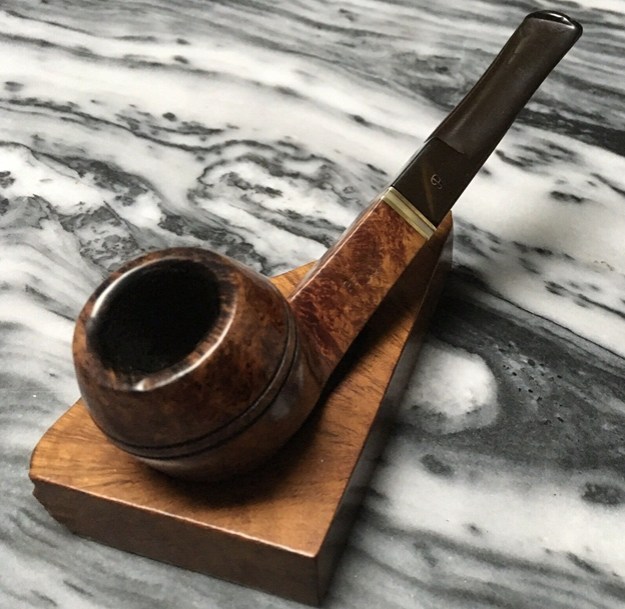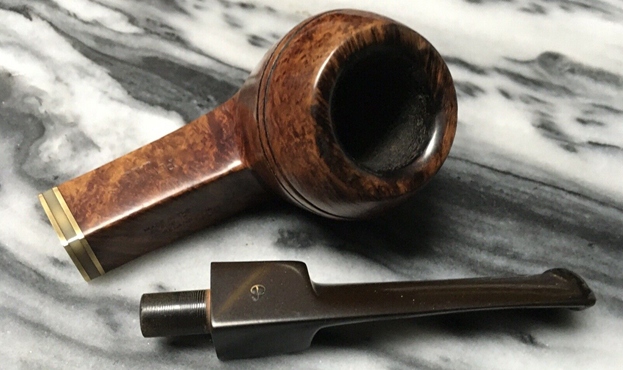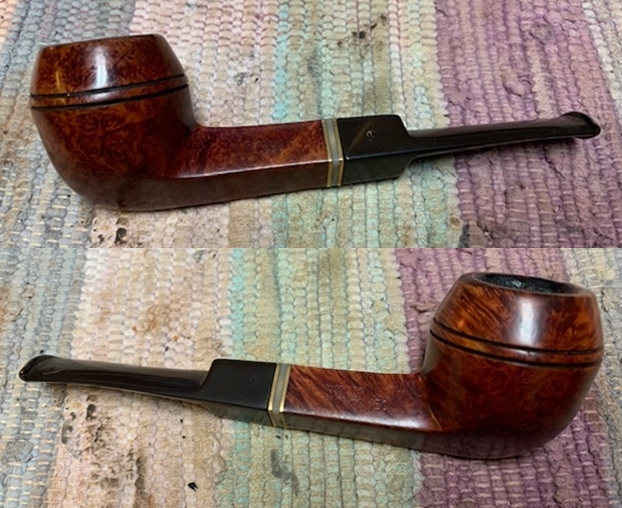
Tag Archives: bowl topping

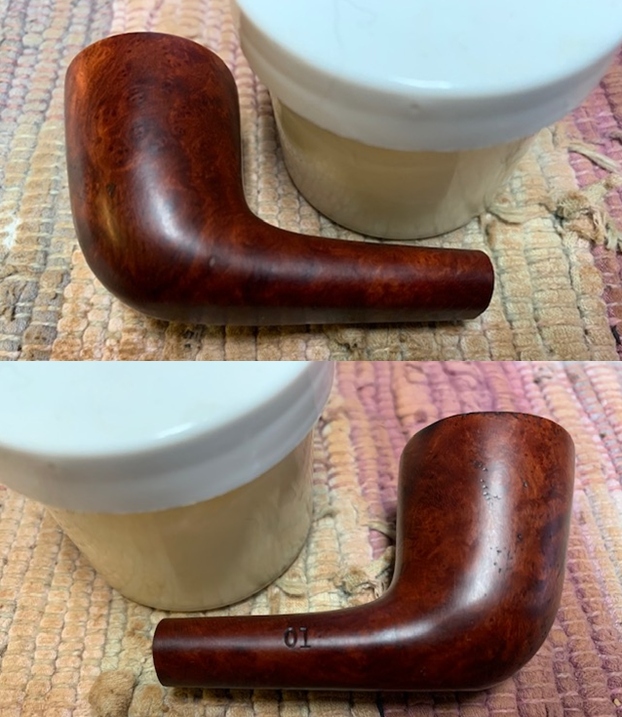
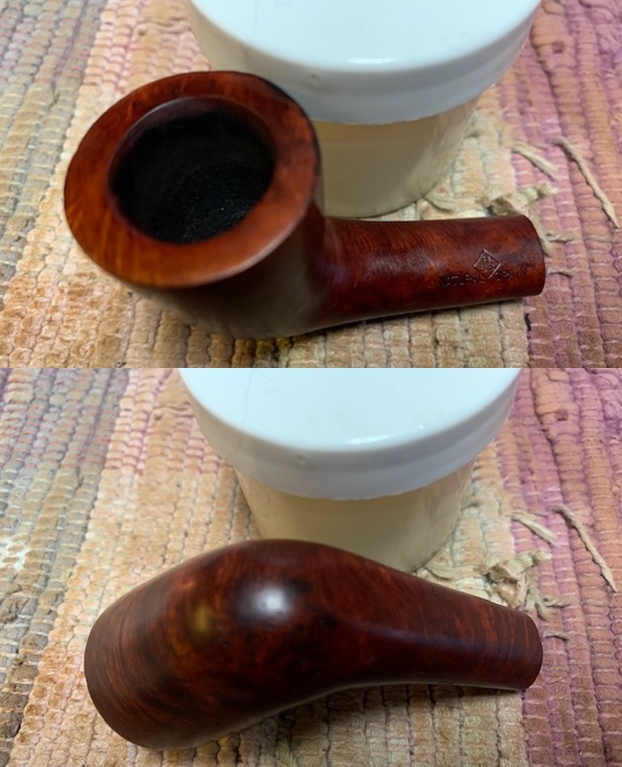
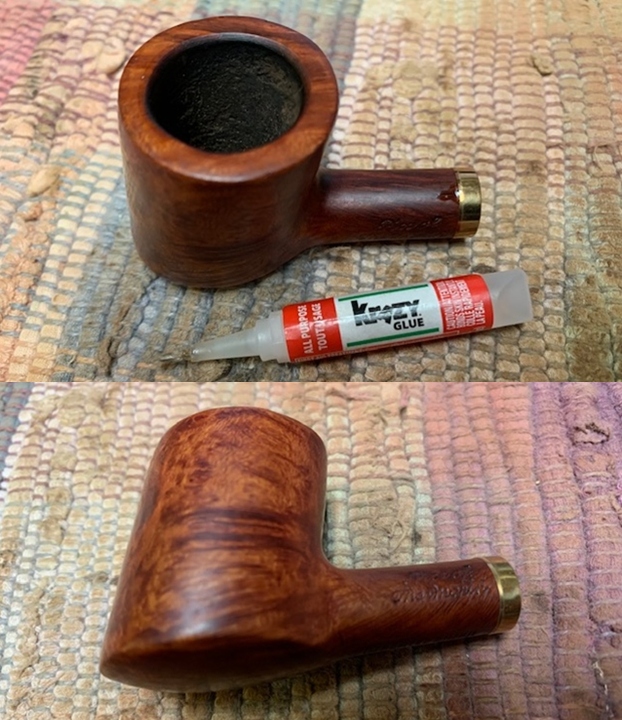
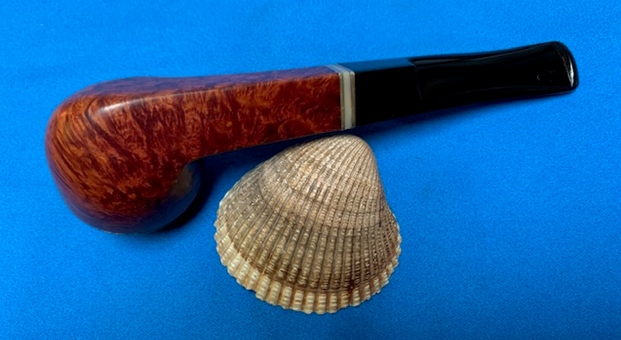
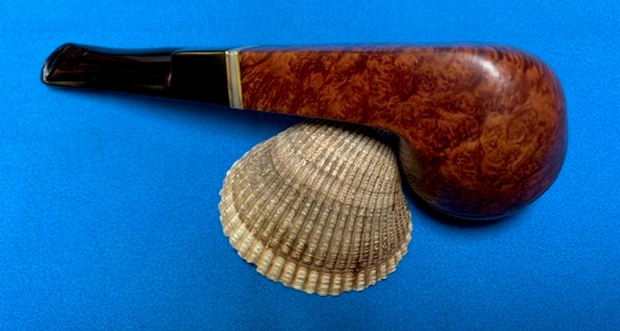
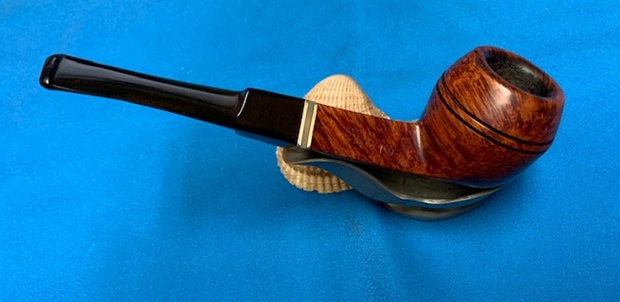
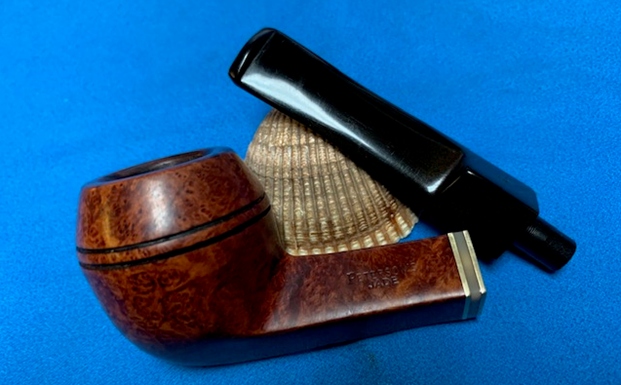
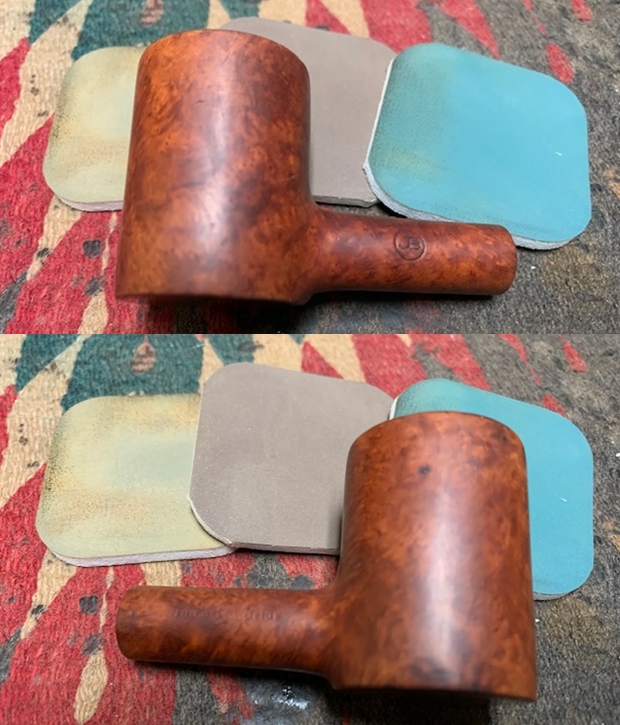
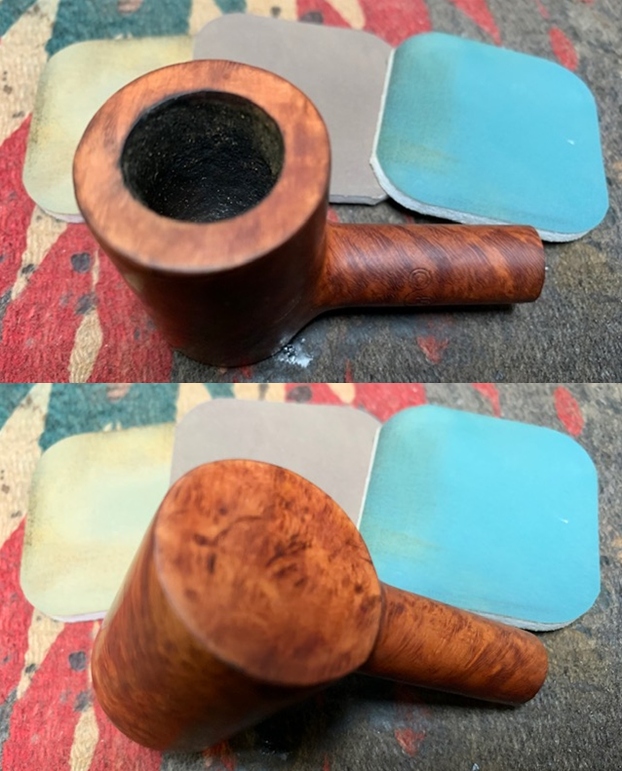
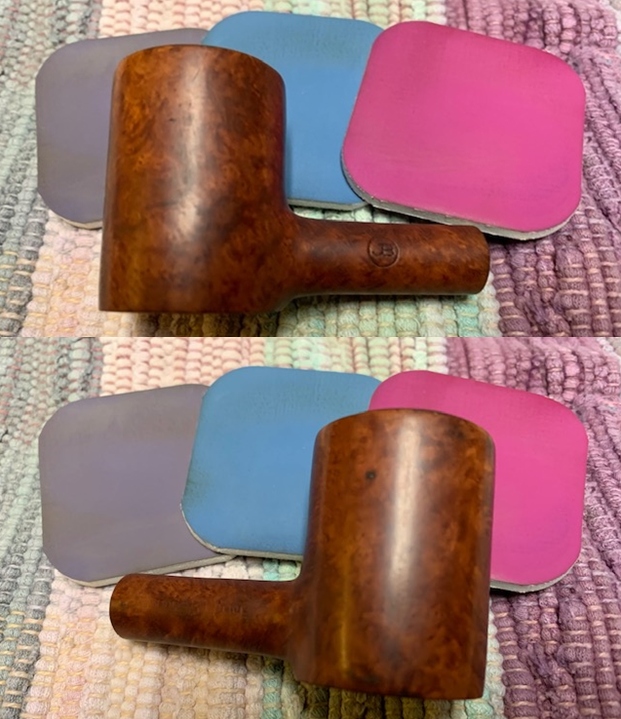
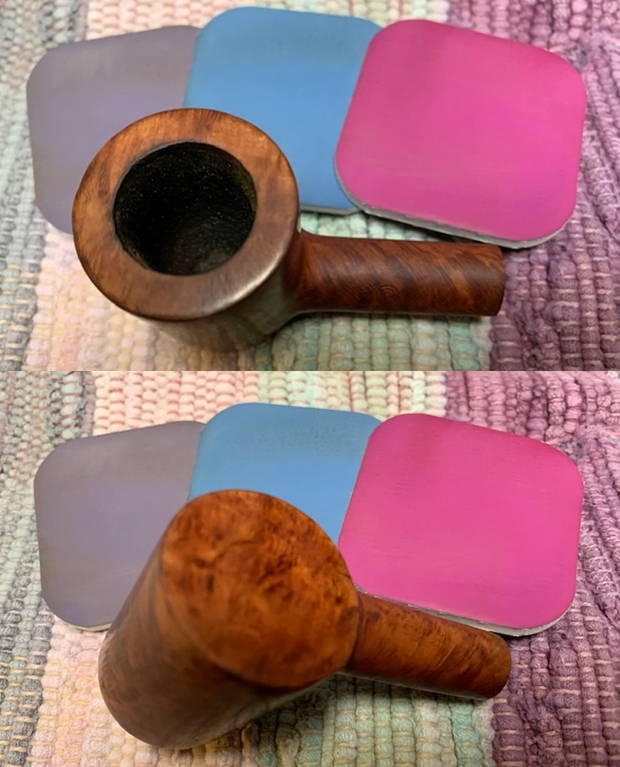
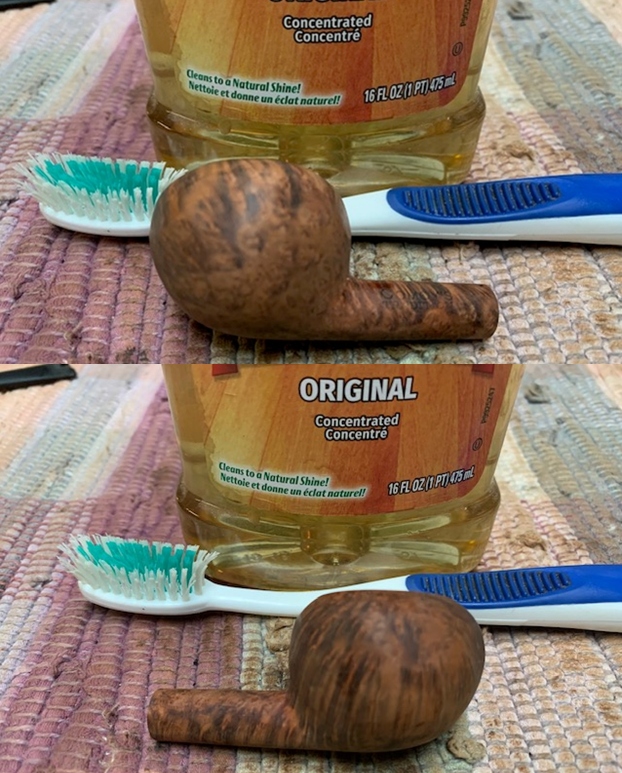
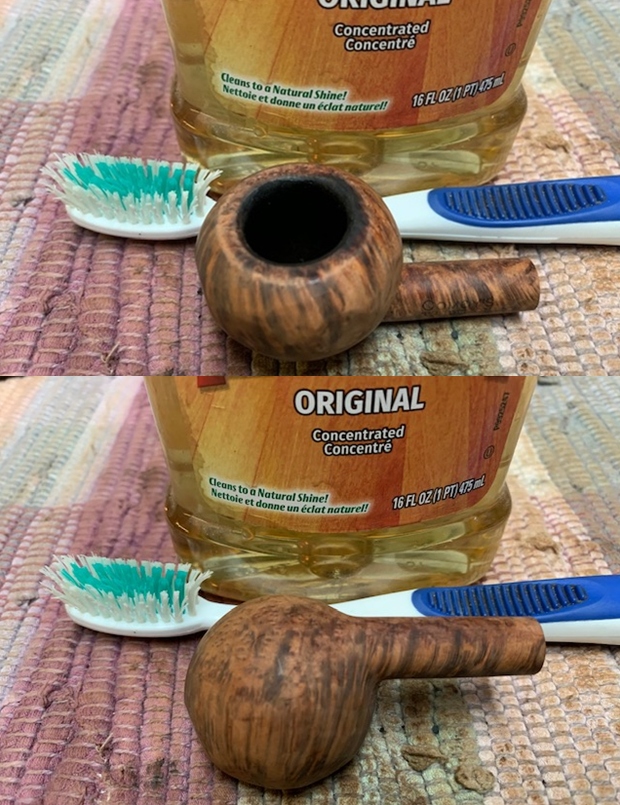
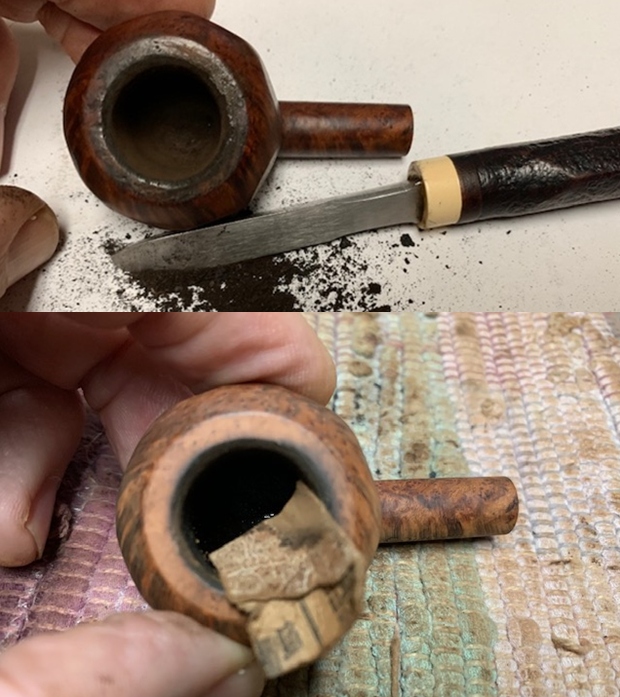
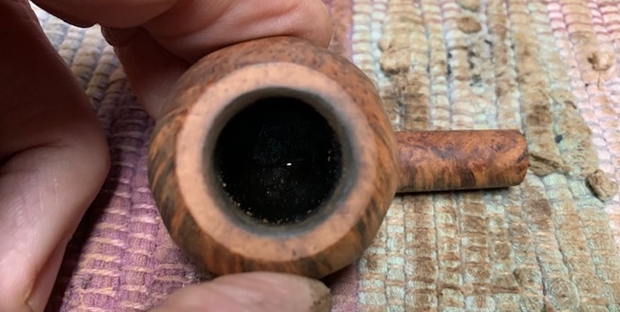
Restoring A New-To-Me Brand – an LHS “Sternies”


Blog by Paresh

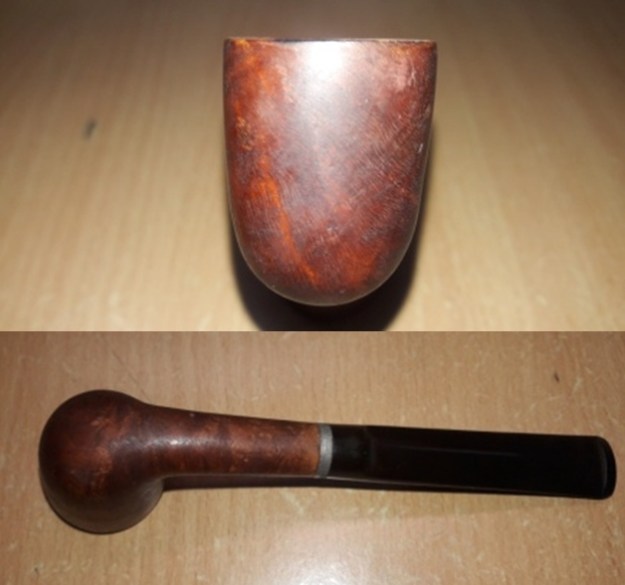
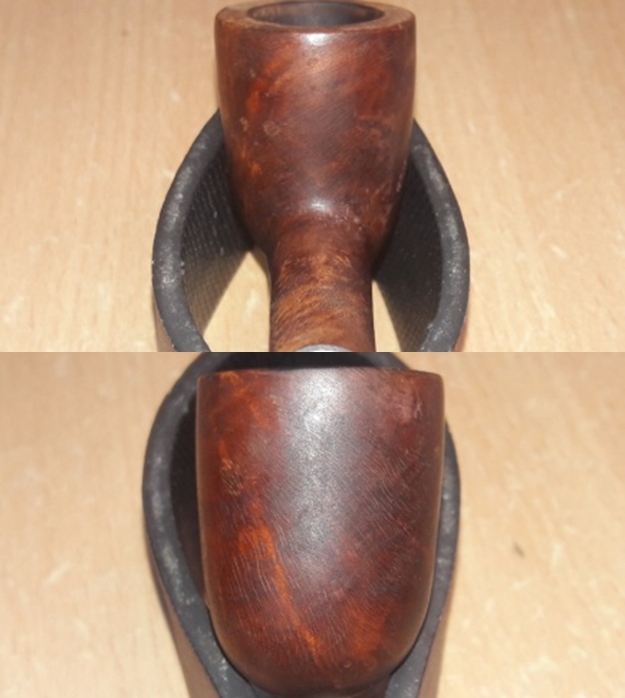
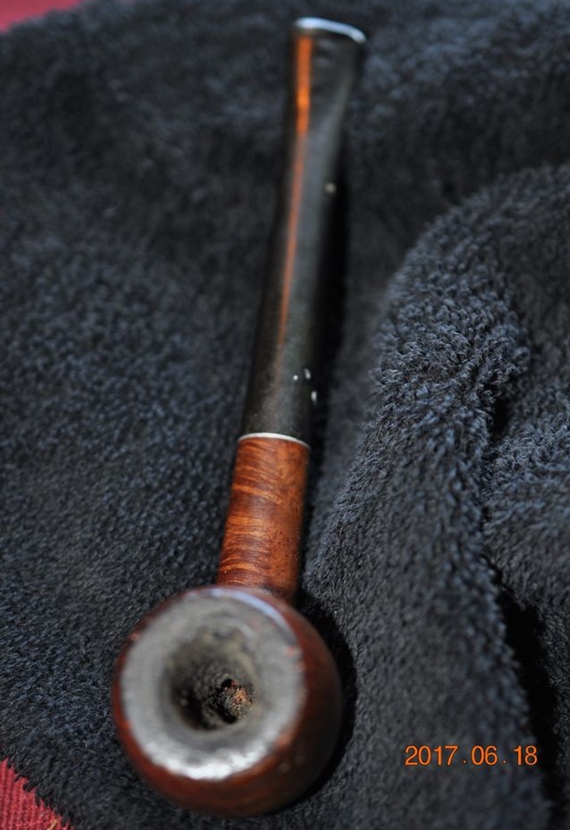
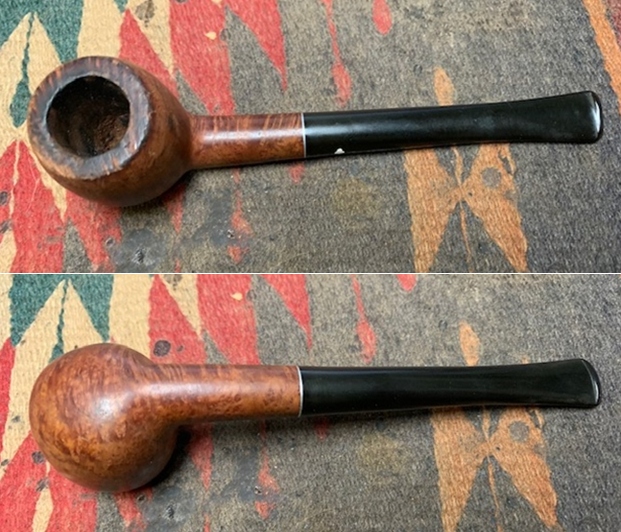
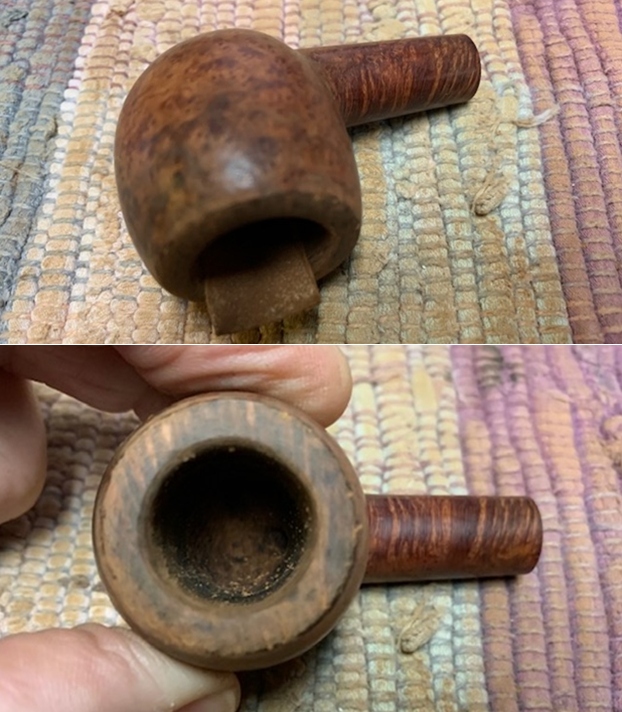
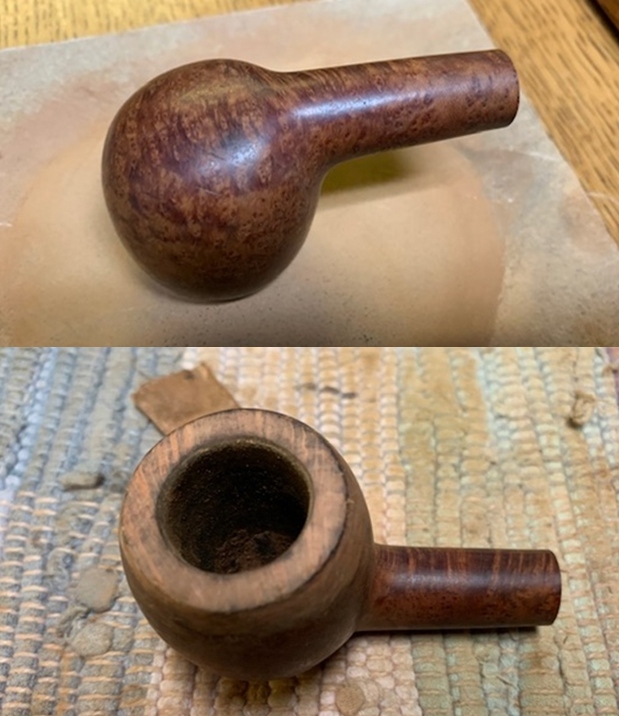
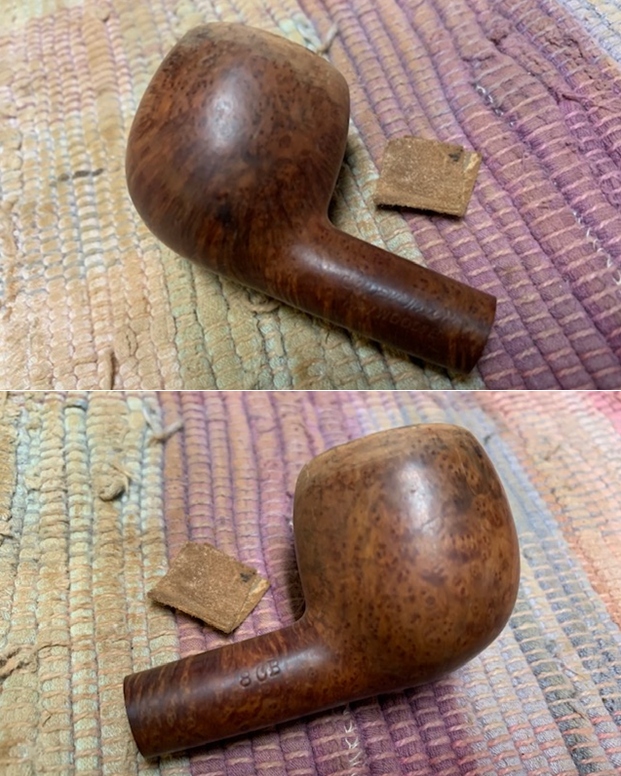
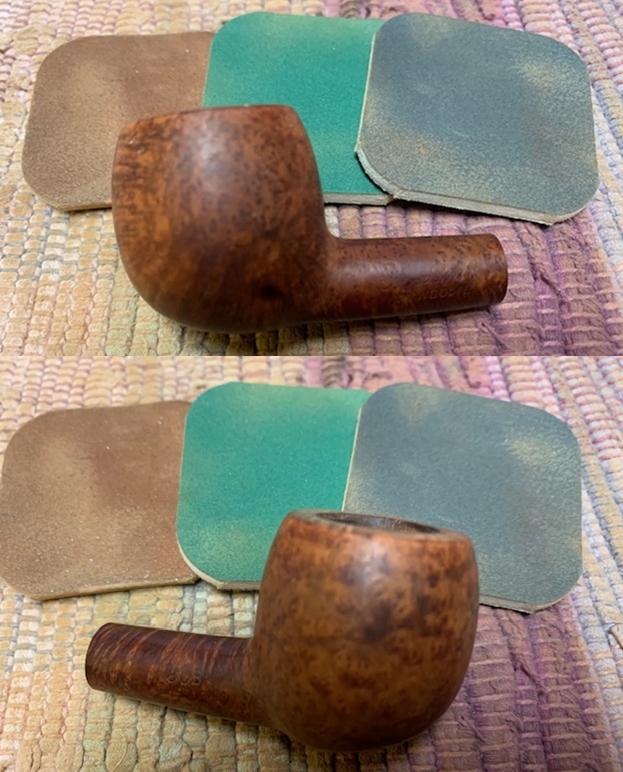
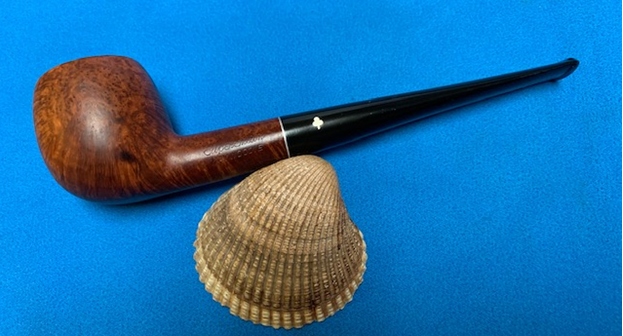
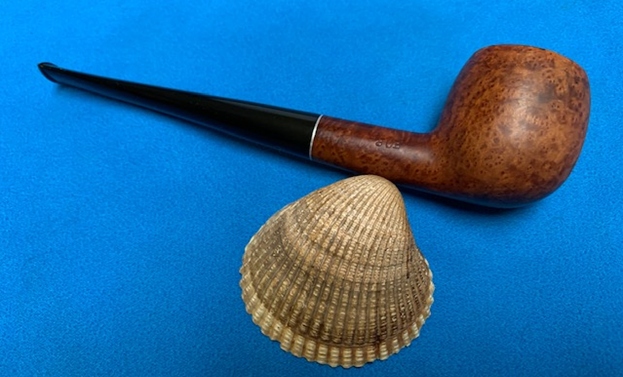
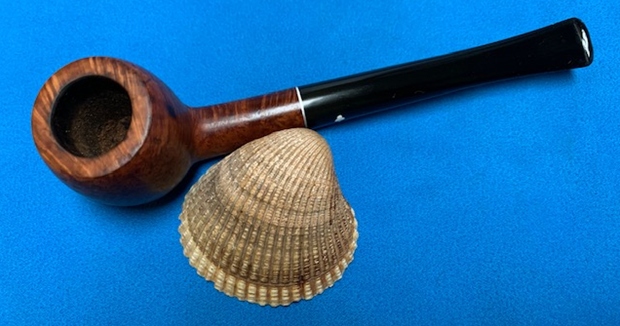
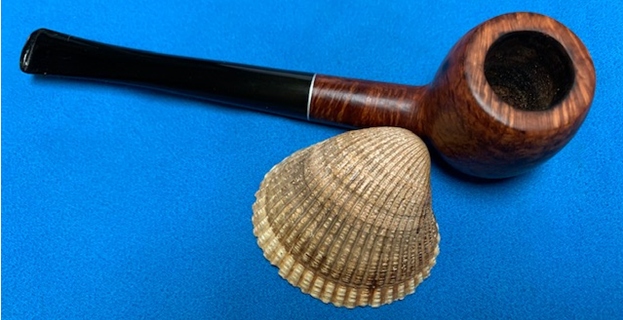
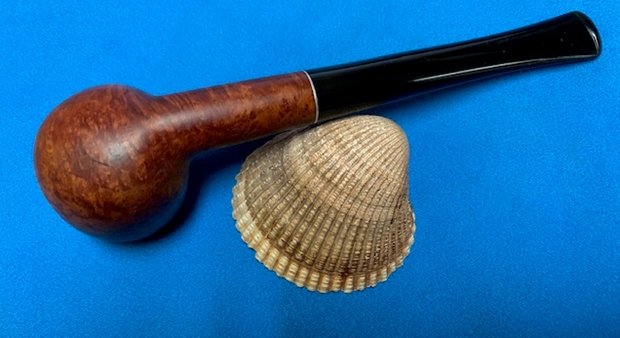
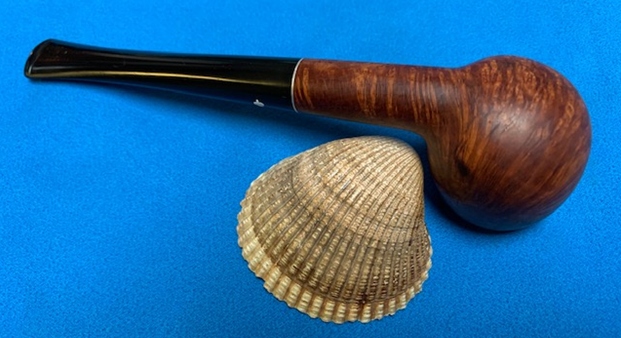
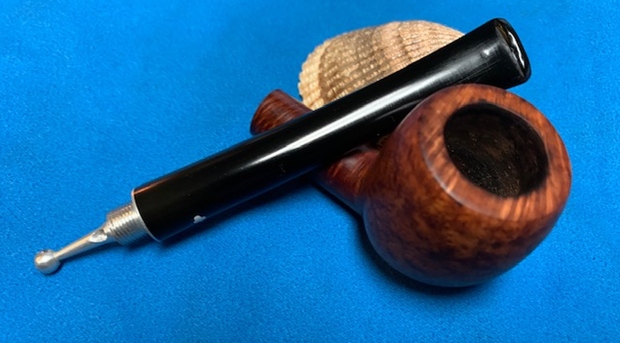
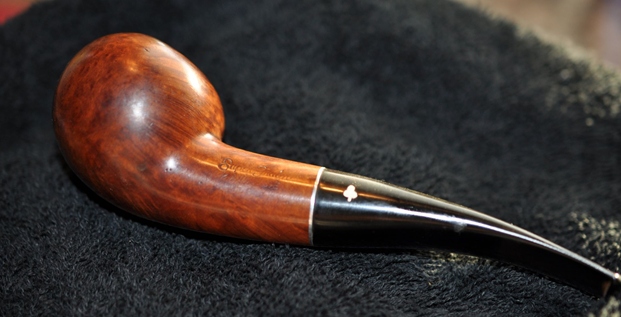
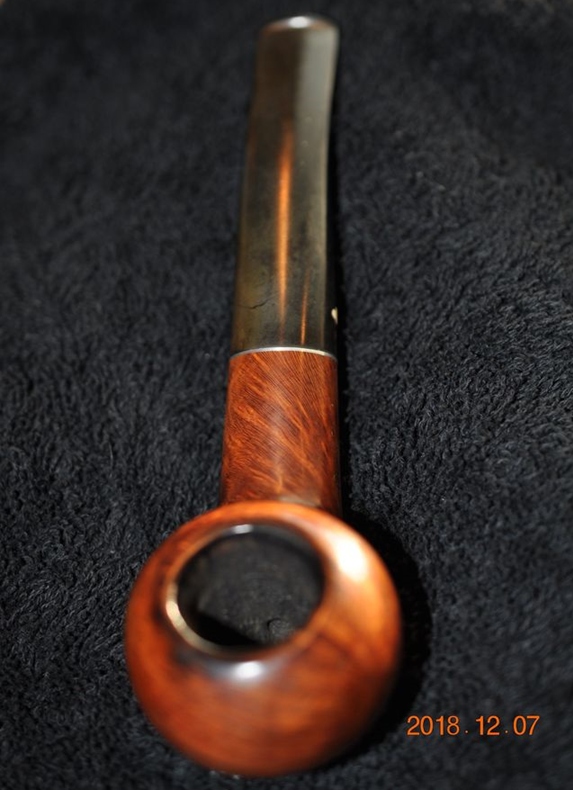
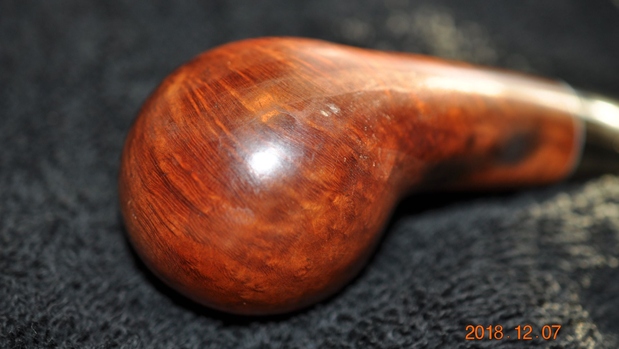
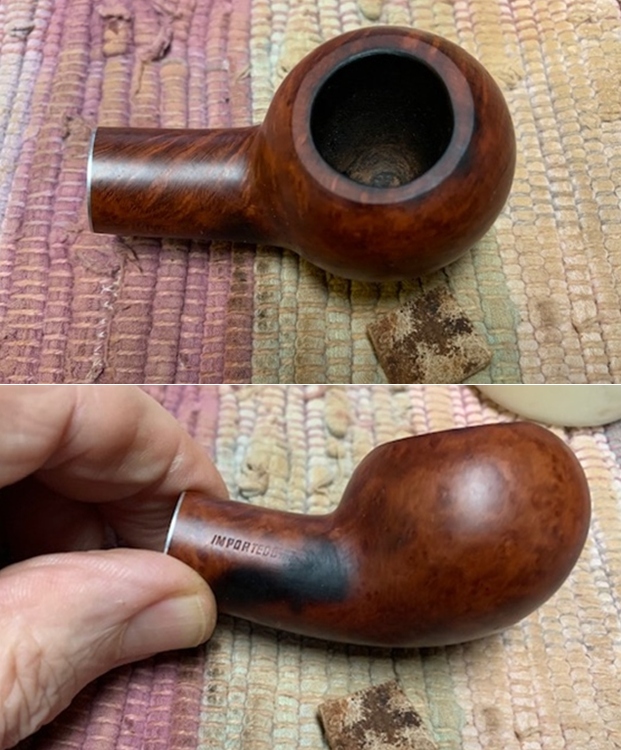
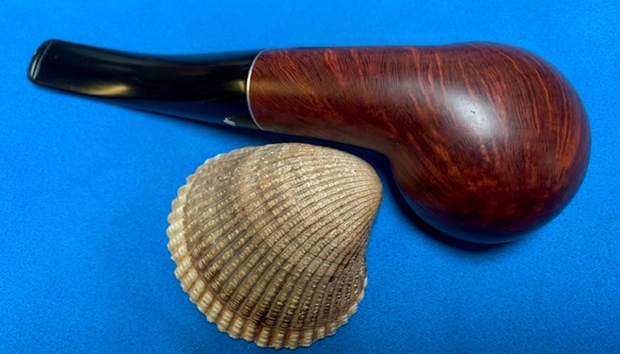
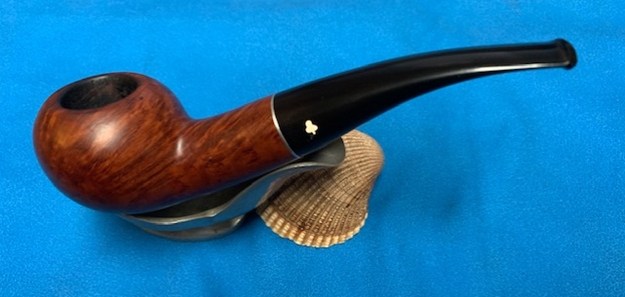
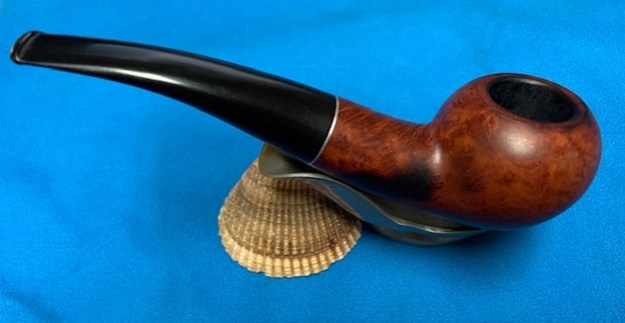
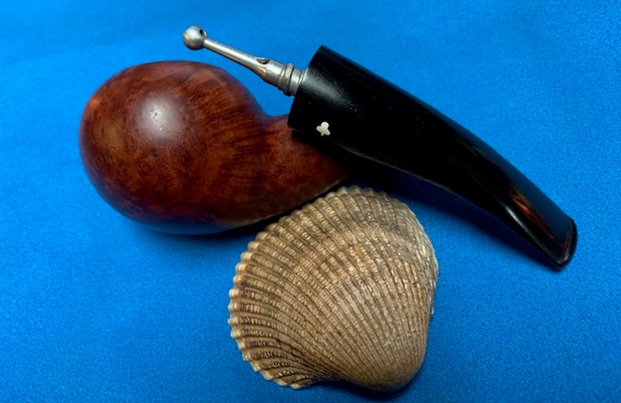
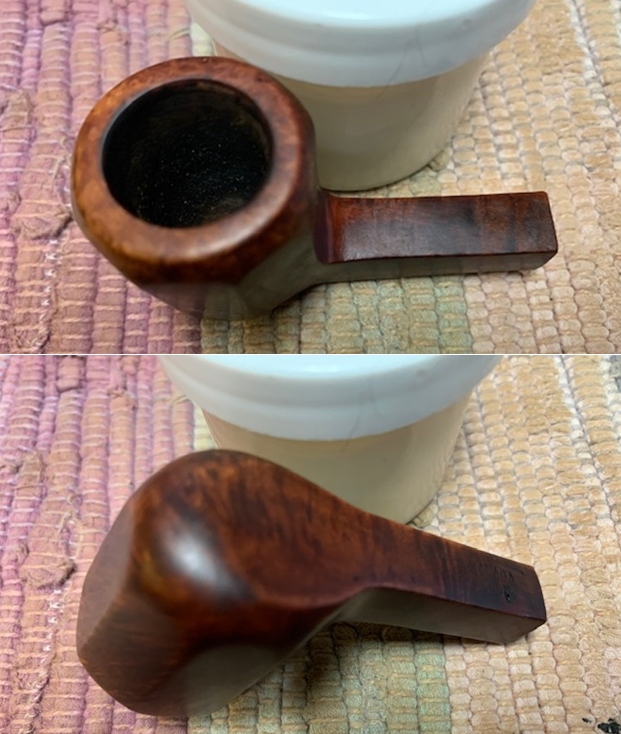
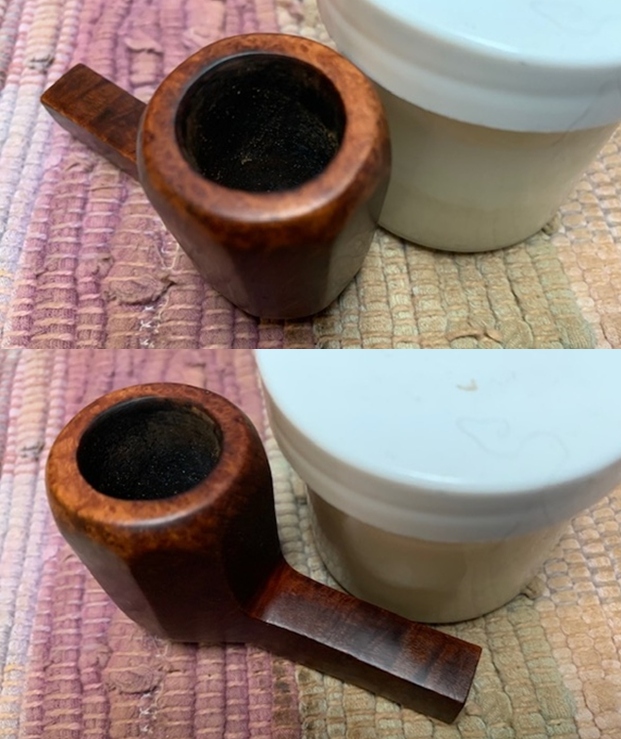
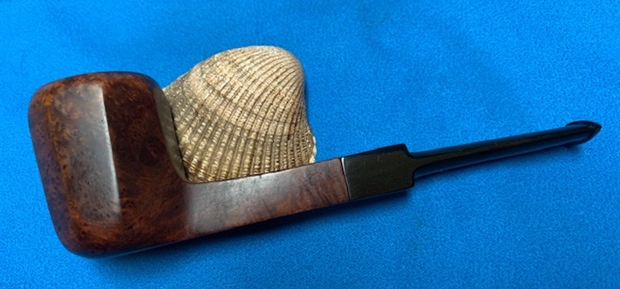
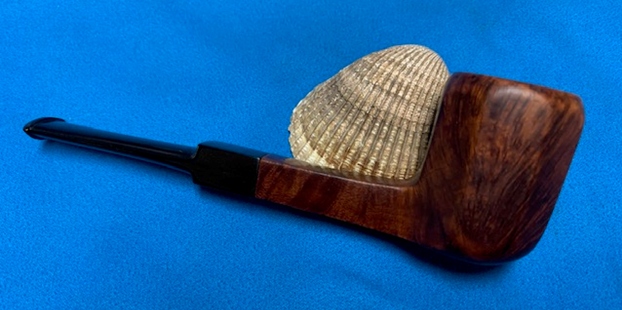
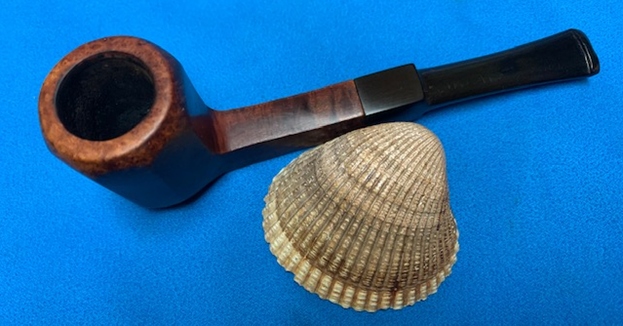
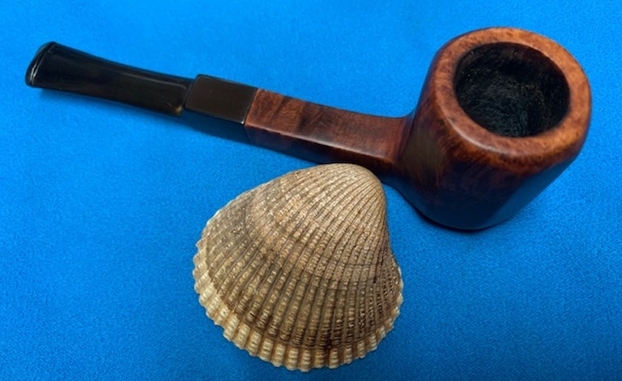
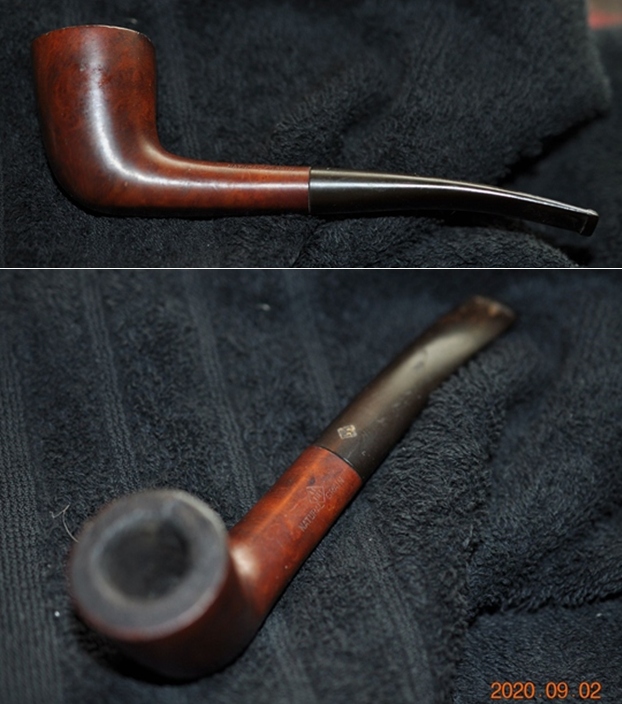
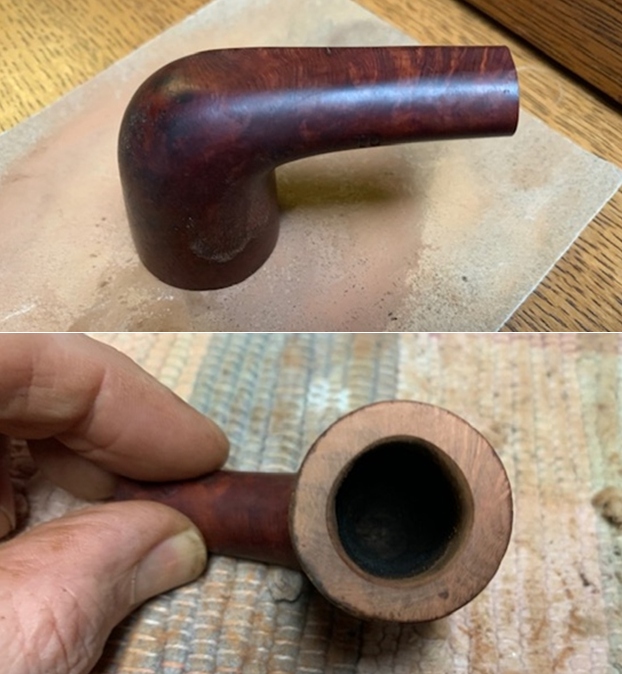
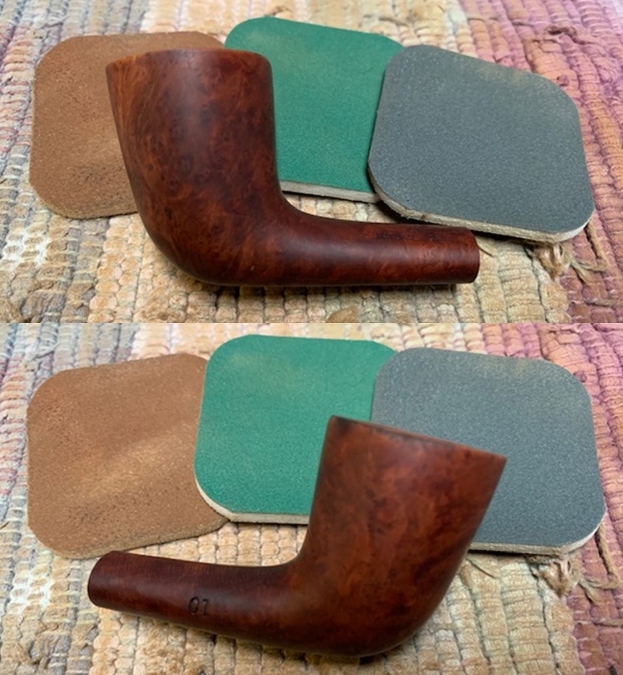
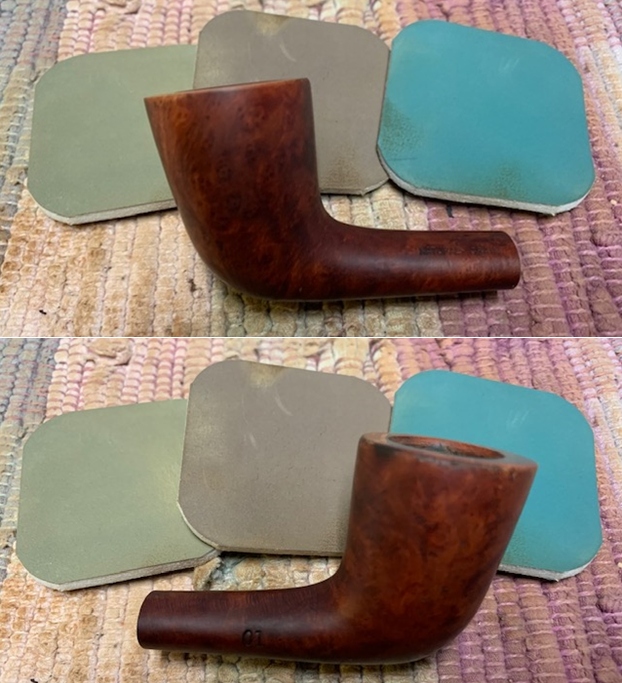
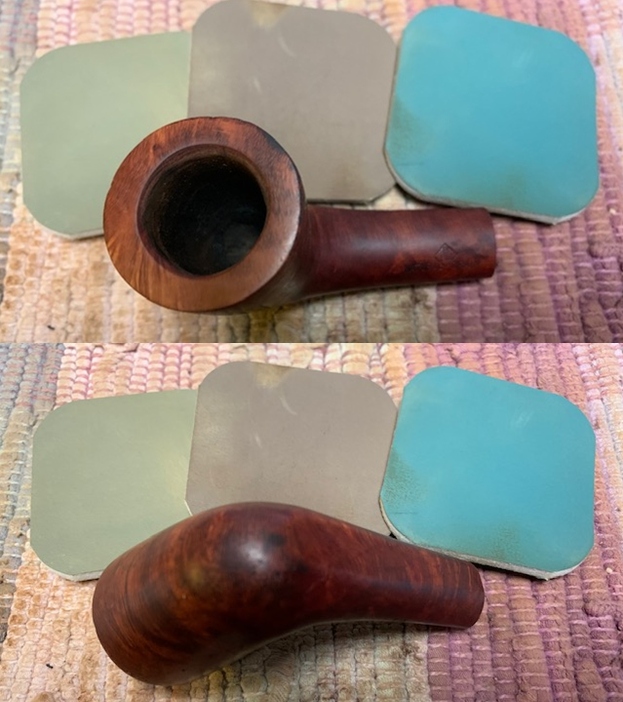
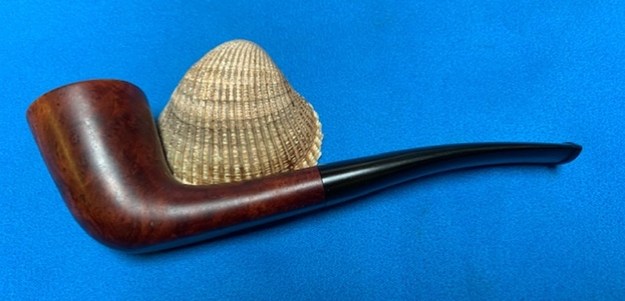
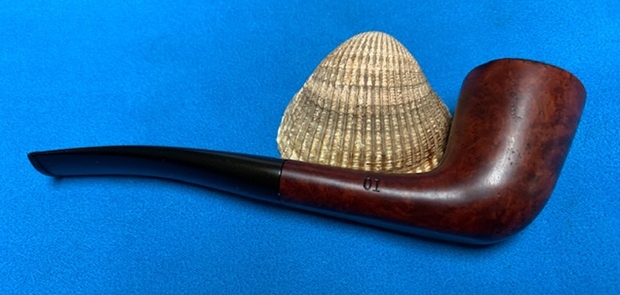
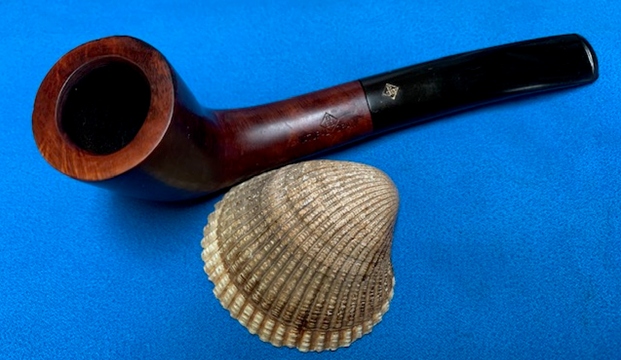
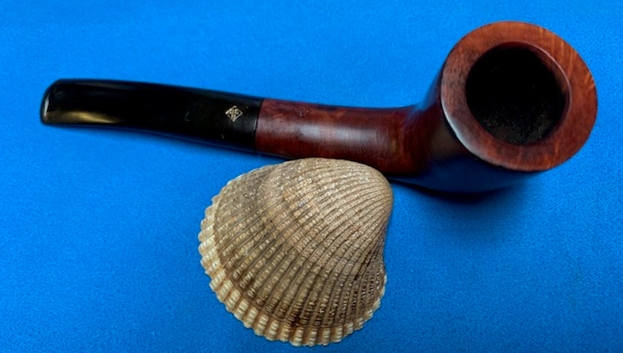
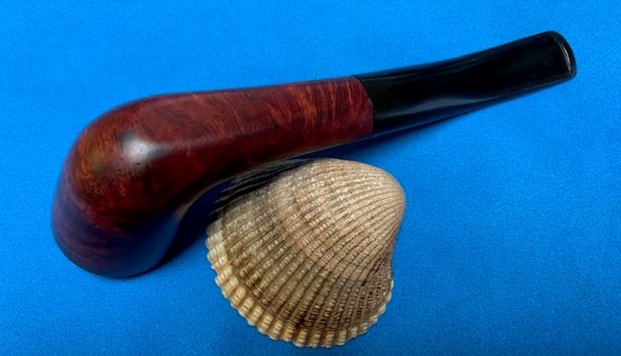
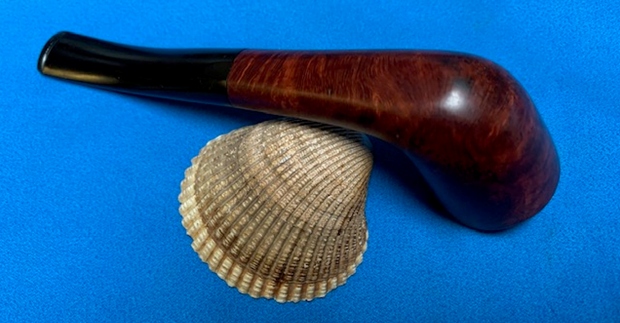
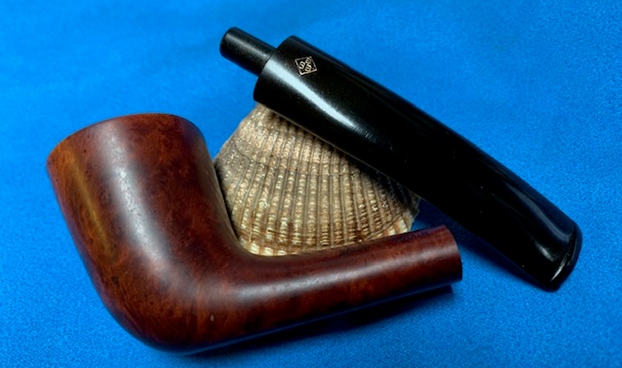
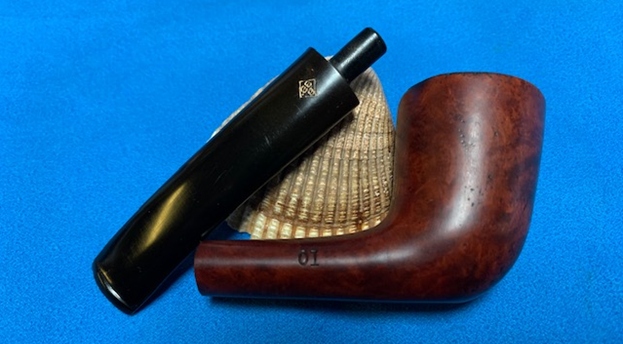
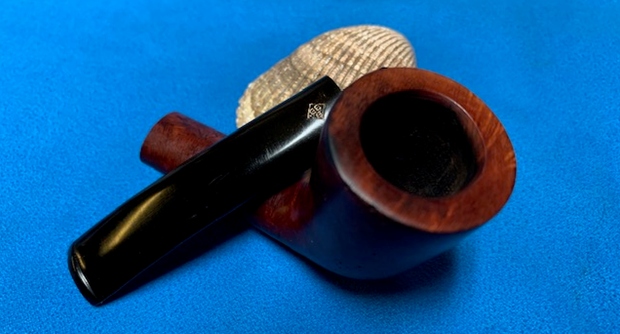
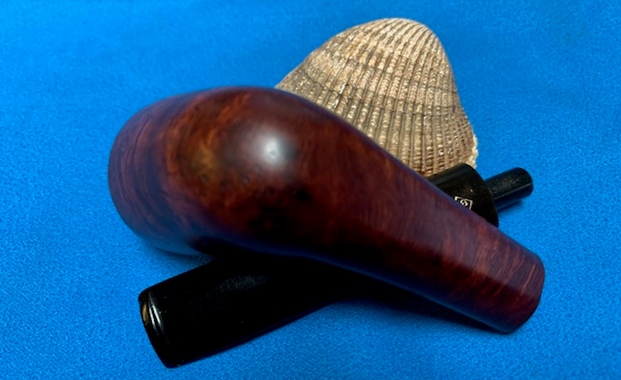
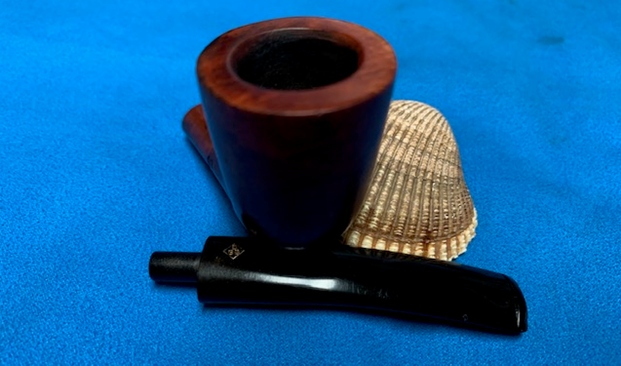
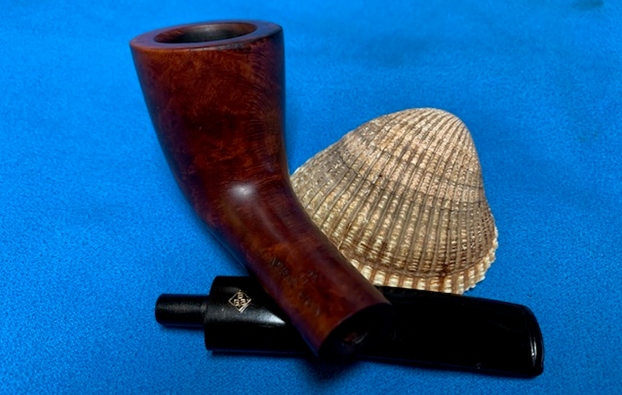
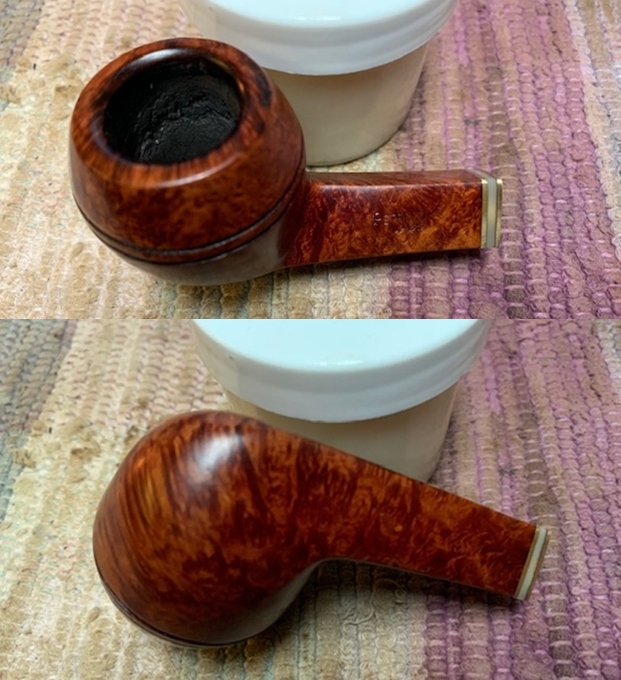
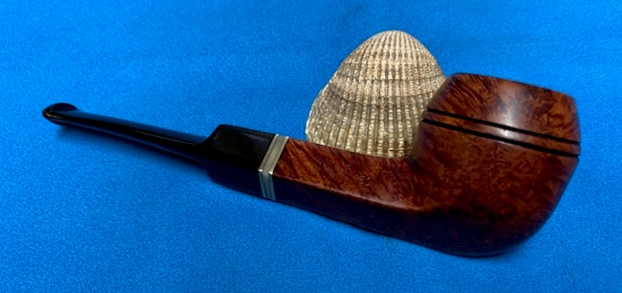
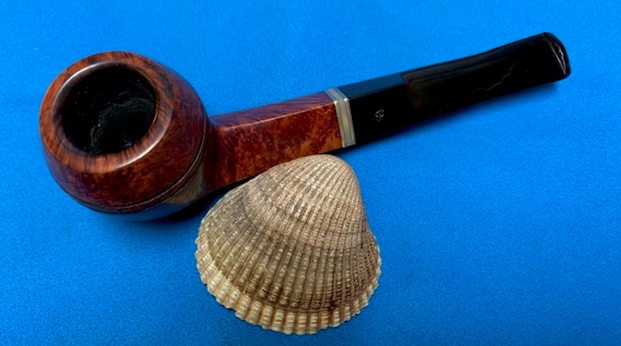
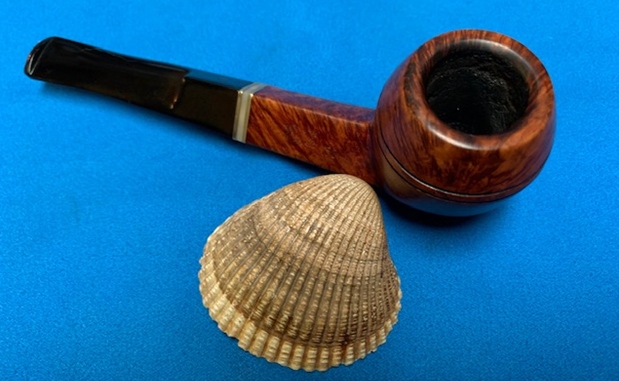
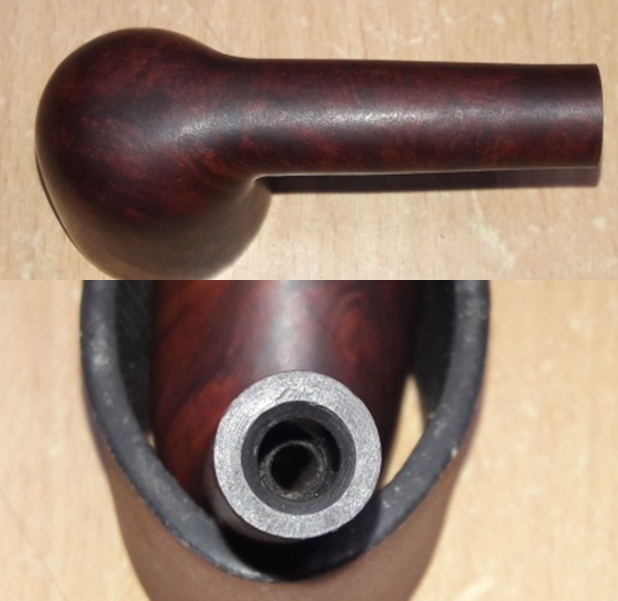
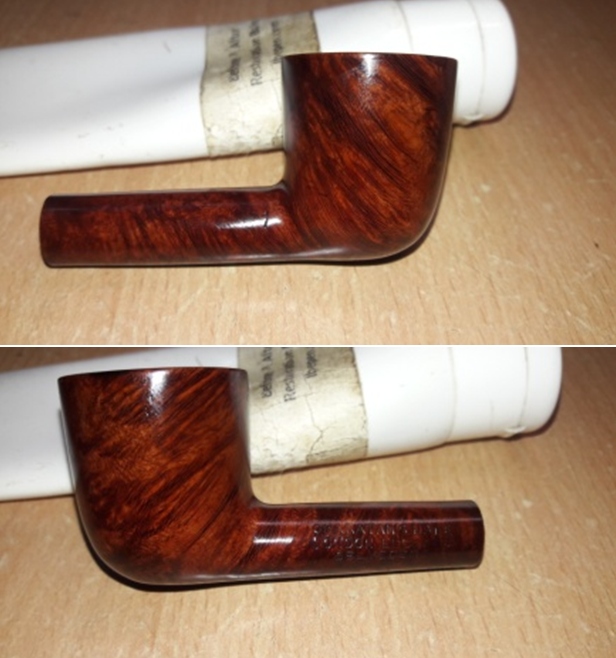
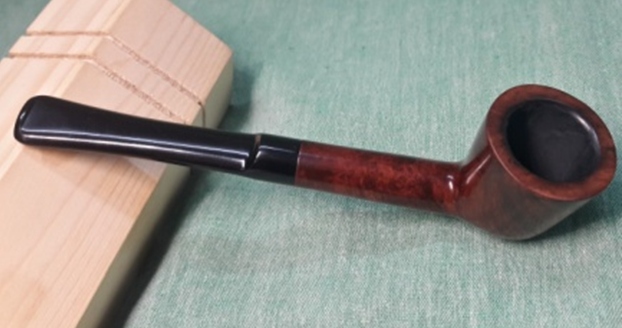
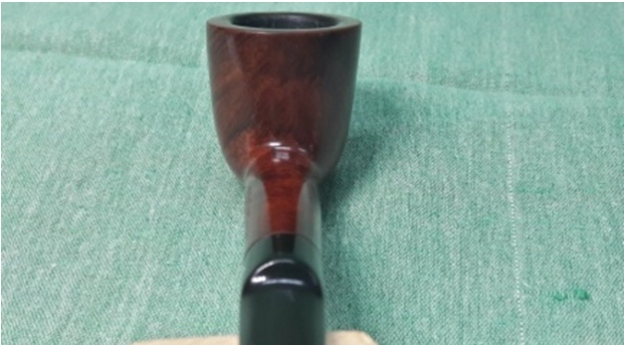
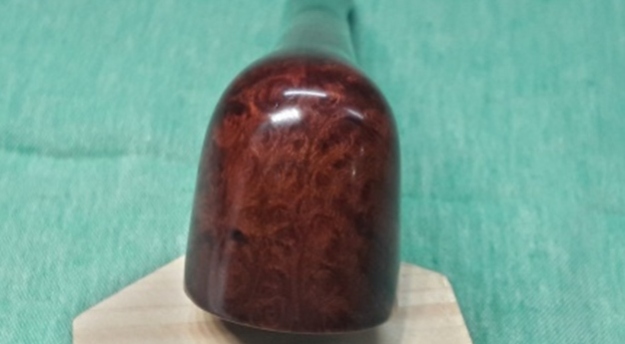
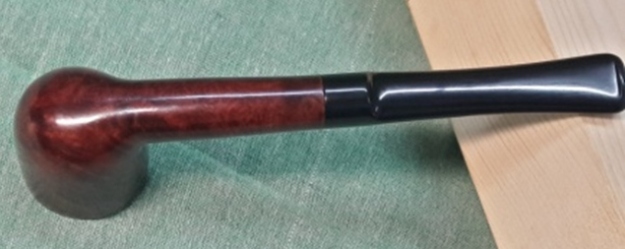
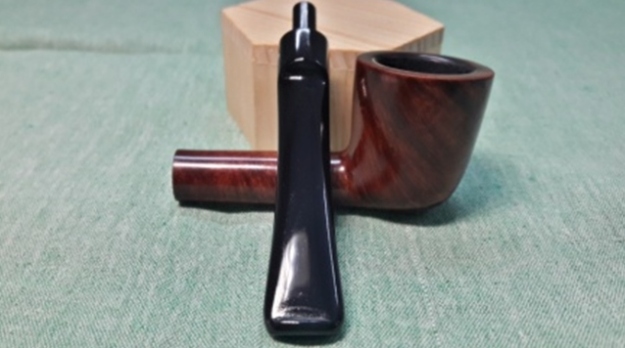
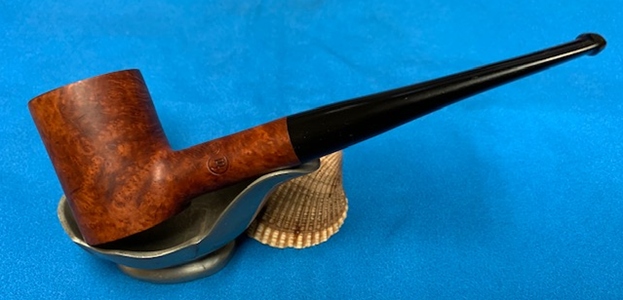
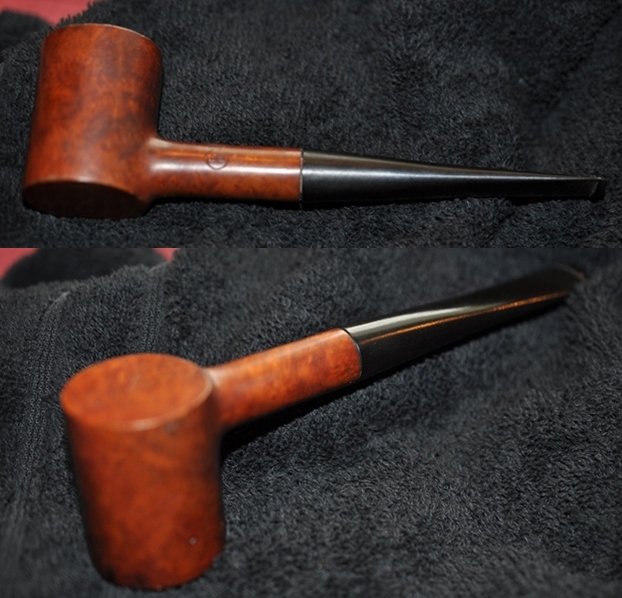
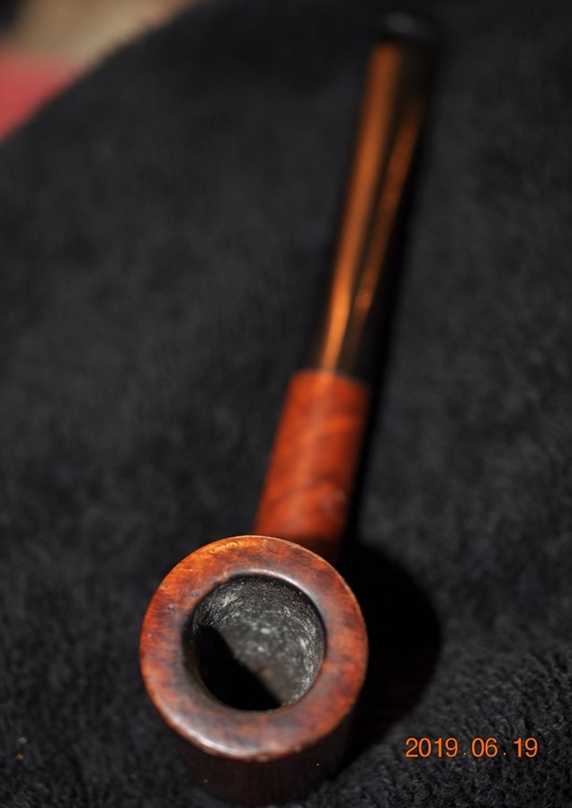
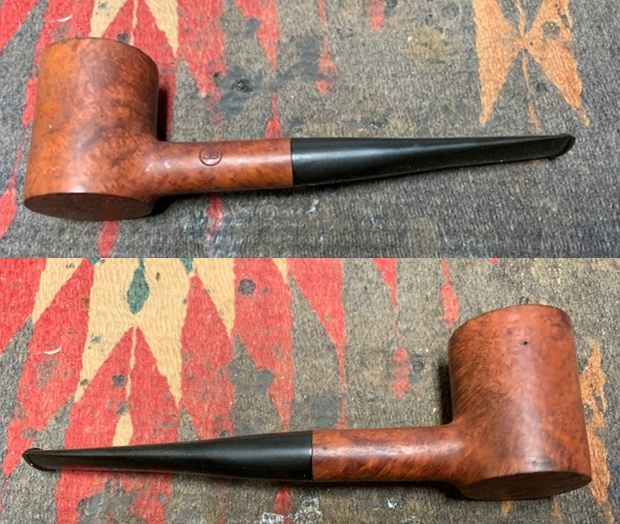
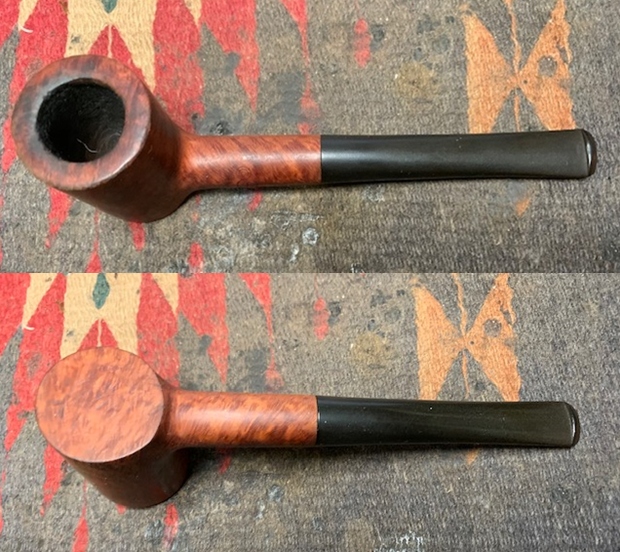
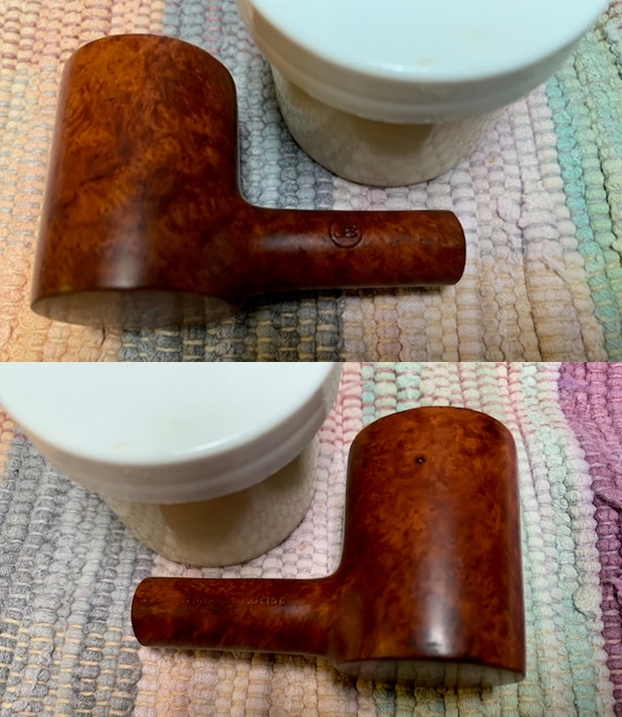
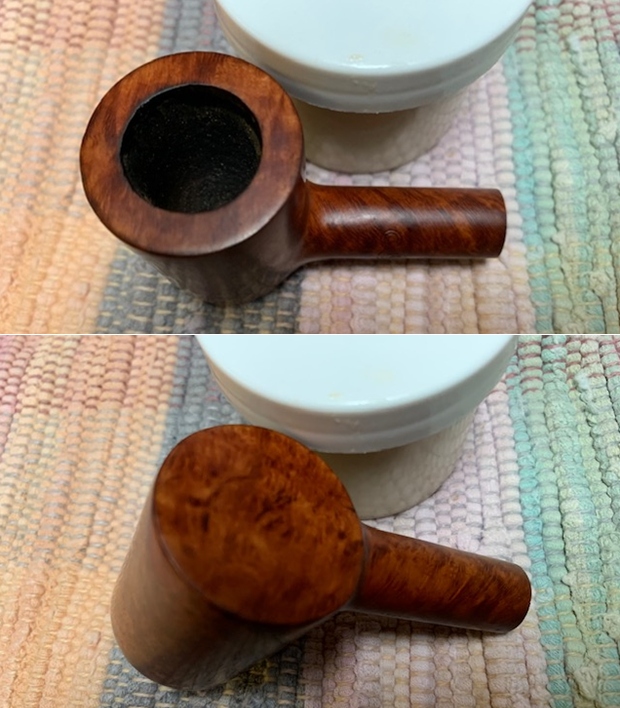
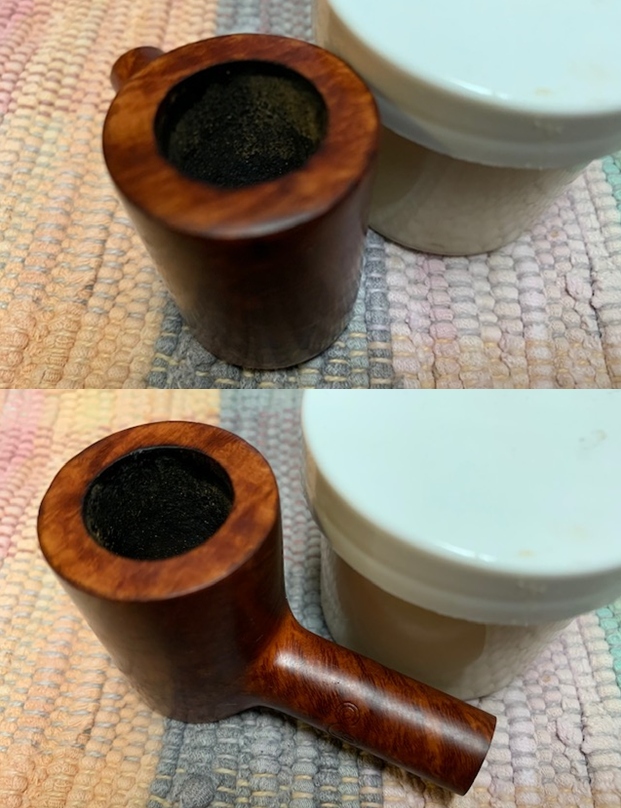
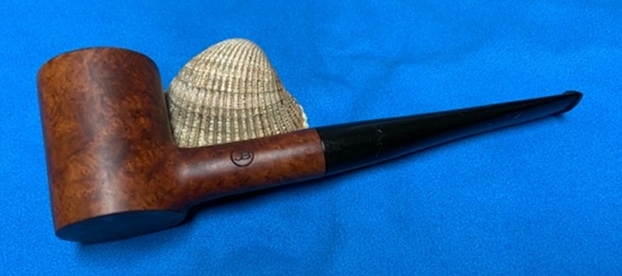
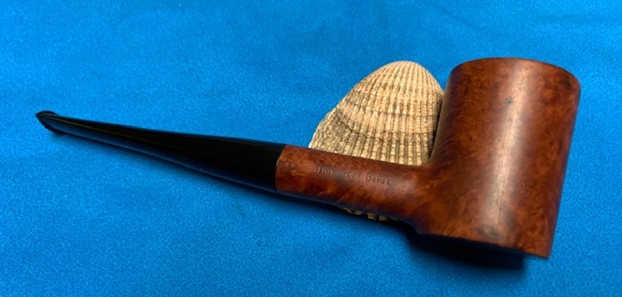
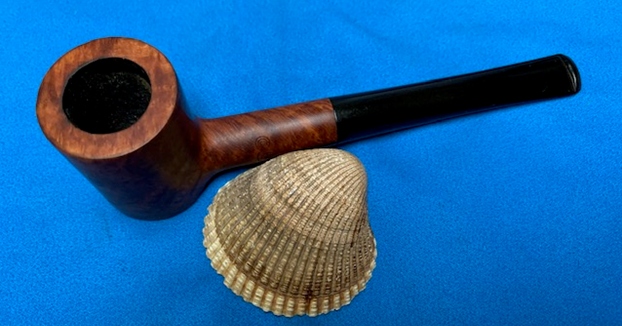
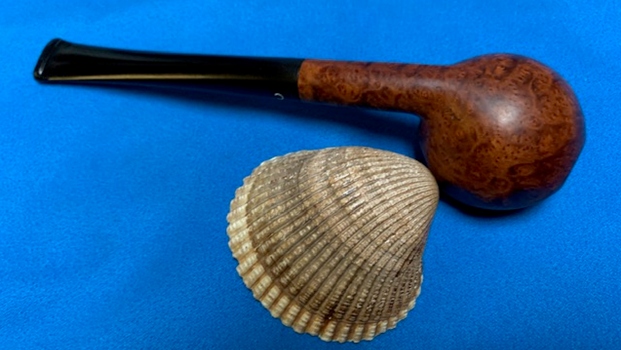
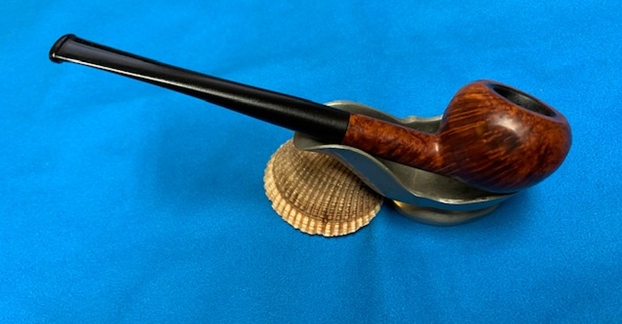
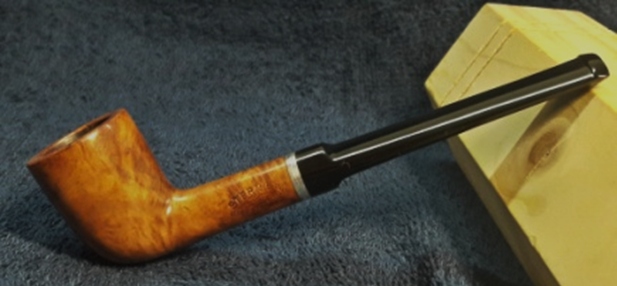
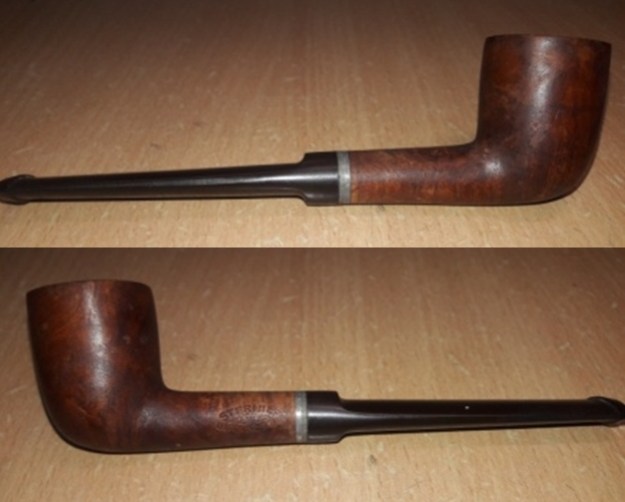
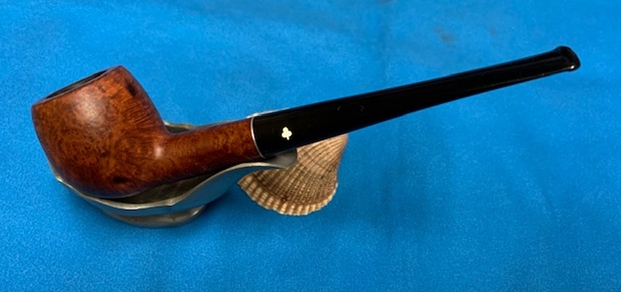
The next pipe that I picked up for restoration is a small sized classic straight Dublin shaped pipe that feels ultra light in the hand with a nice and comfortable feel in the mouth when clenched. This pipe came in one of couple of pipe lots that I had purchased on Etsy a few years ago and had been languishing in the lot of about 40- 50 pipes that Abha had done the initial cleaning for me. It languished at the bottom of the pile for no other reason than the fact that it was so nondescript that it did not attract my attention. However, with the continuing lockdown and partial suspension of work by Postal and Customs departments, my tobacco stock is fast depleting and this forced me to search for small bowled pipes. Thus, this pipe has now moved up in the line for restoration.

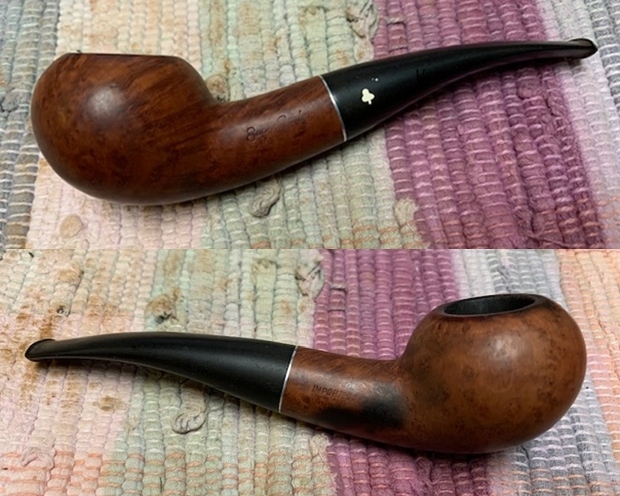
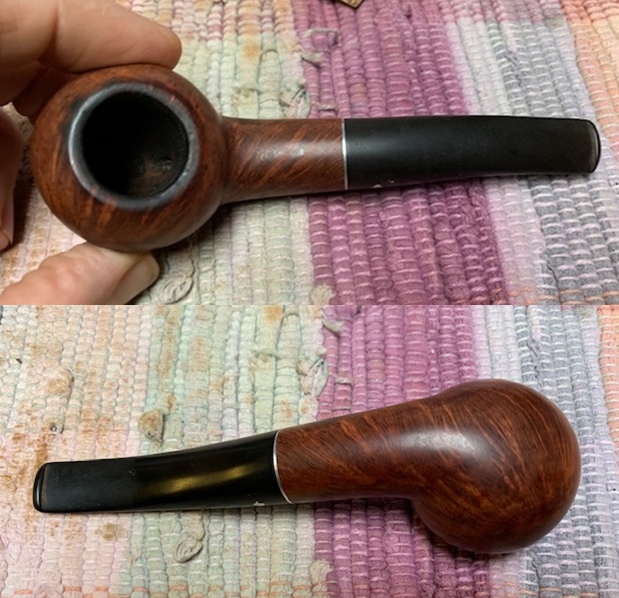
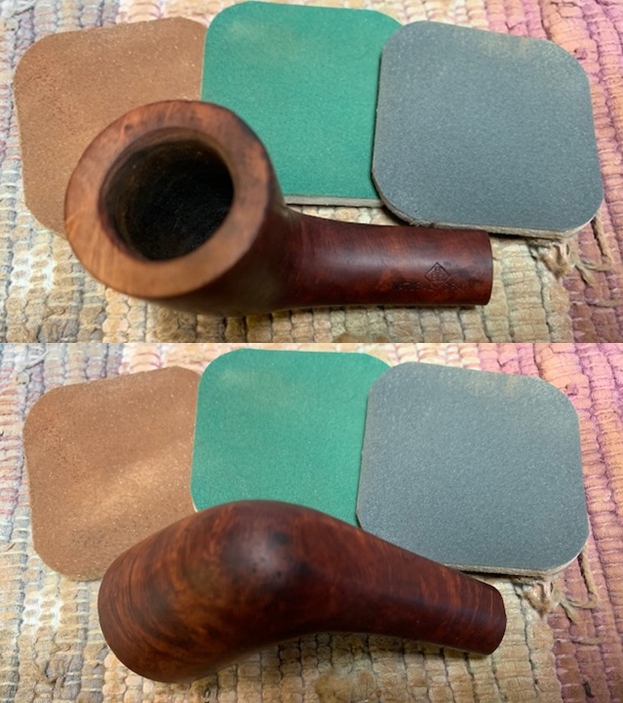
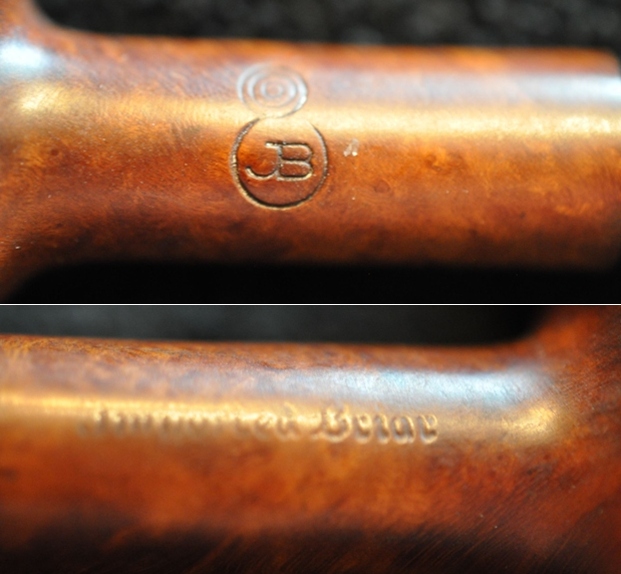
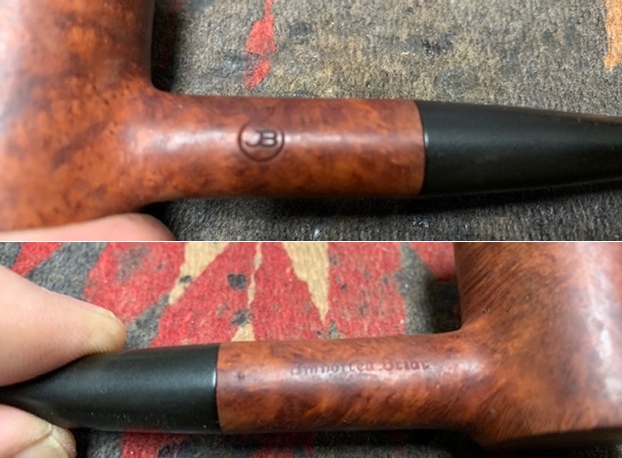
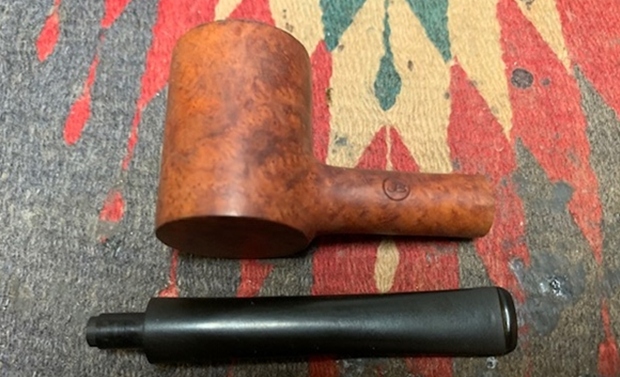
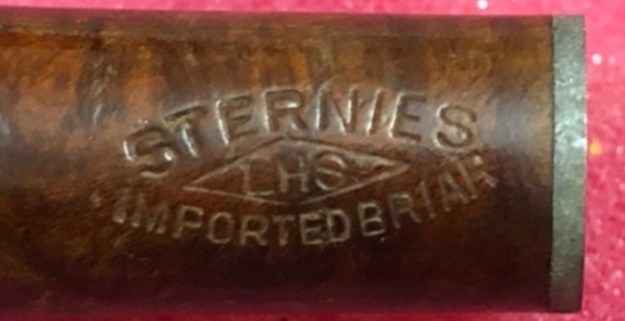
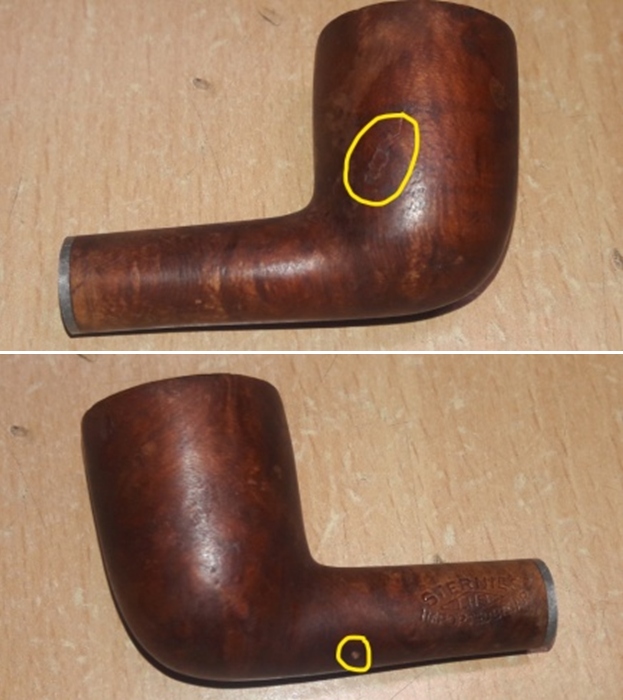
This pipe has a quaint little bowl size with some nice mixed grains. It is stamped on the left side of the shank as “STERNIES” over “LHS” in a diamond over “IMPORTED BRIAR”. The set of stampings on this pipe are all crisp and in block capital letters. The vulcanite stem is devoid of any stampings.While researching any pipe, the first site that I visit is rebornpipes.com since this is one site where I usually find well researched information on any brand that has anything, even remotely related, to pipes!! Now, till the time I got this pipe on my work table, I had not heard or read anything on this pipe brand and now that I have decided to work on it, rebornpipes does have a write up by Steve on this brand. He had thoroughly researched this brand and makes for an interesting read. Here is the link to the write up:-
https://rebornpipes.com/2020/09/01/new-life-for-an-american-made-lhs-certified-purex-pencil-shank-prince/

To avoid the proverbial ‘reinventing the wheel’, I urge readers to go through the above write up to get a better feel of the brand. However, only a few relevant excerpts of the information that would help me in establishing the provenance of the pipe are reproduced below.

The L&H Stern Inc. was established by Ludwig Stern (1877-1942) in 1911. His brother Hugo (1872-?) acted as vice-president & secretary. The firm moved to 56 Pearl St. Brooklyn in 1920. It closed down in the 1960s. LHS was one of the main pipe suppliers for US soldiers during WWII.

The brand had 8 pipe grades listed in the 1944 issue of Outdoor Magazine.

Sterncrest Ultrafine $ 10

Sterncrest 14K $ 7.50

Sterncrest Sterling $ 5

Certified Purex $3.50

Select Grain $2.50

Sivercrest $ 2

Superfine Purex $1.50

Sculpted Purex $1.50

 In addition to the above grades, a 1944 catalog also listed the following lines and models:

Barrister

Marwyn

Park Lane

Radmanol

Warwick

Additional notes: Some models were made before, during, and after WWII. LHS was one of the main pipe supplier for US soldiers during WWII.

Pre-war pipes were stamped Real Briar Root, or Briar Root. Some war time pipes were made from domestic briar or “American” briar and were void of any briar stampings. Many American pipe makers lost their overseas supply of Mediterranean briar shortly before and during the war. Post war pipes were stamped Imported Briar to assure customers that they were buying premium briar once again.

The grade “STERNIES”, as seen on the pipe on my work table, finds no mention in the 8 grades of pipe that have been listed in the 1944 catalogue. Also the fact that the stem bears no logo of two dots is a mystery (or has it been completely buffed off?). That fact apart, the stamping “IMPORTED BRIAR” points to post WW II production.

Thus, the LHS pipe currently on my work table is from the period 1945 to 1960s when LHS closed shop!!

Initial Visual Inspection
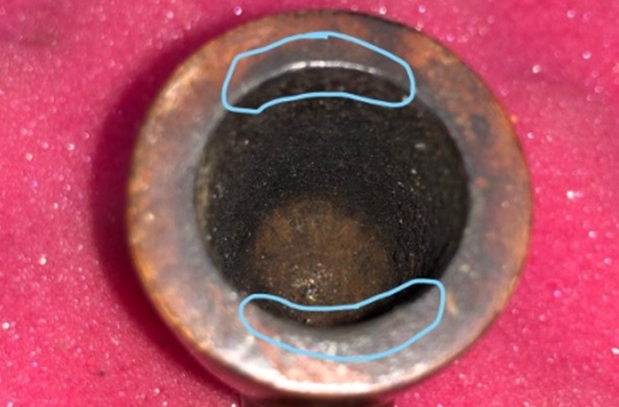
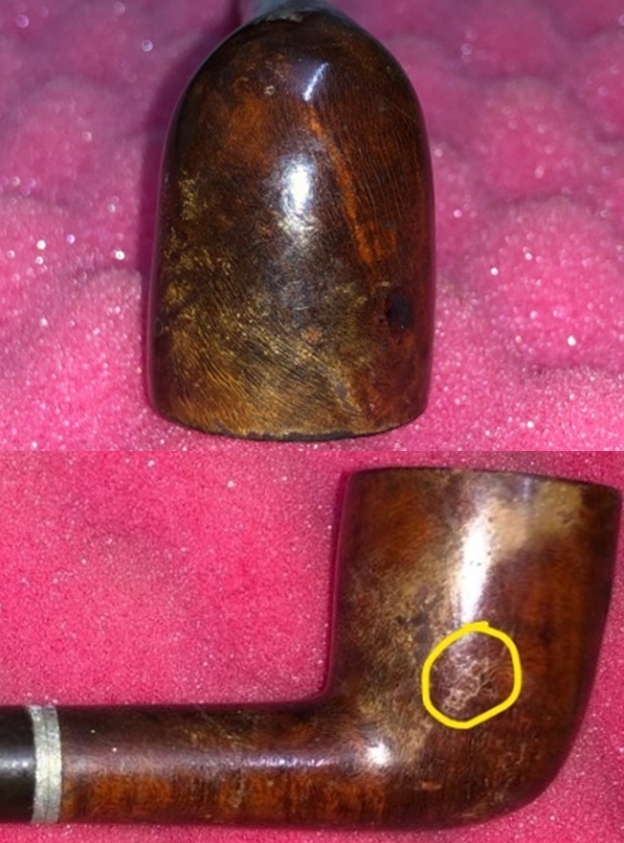
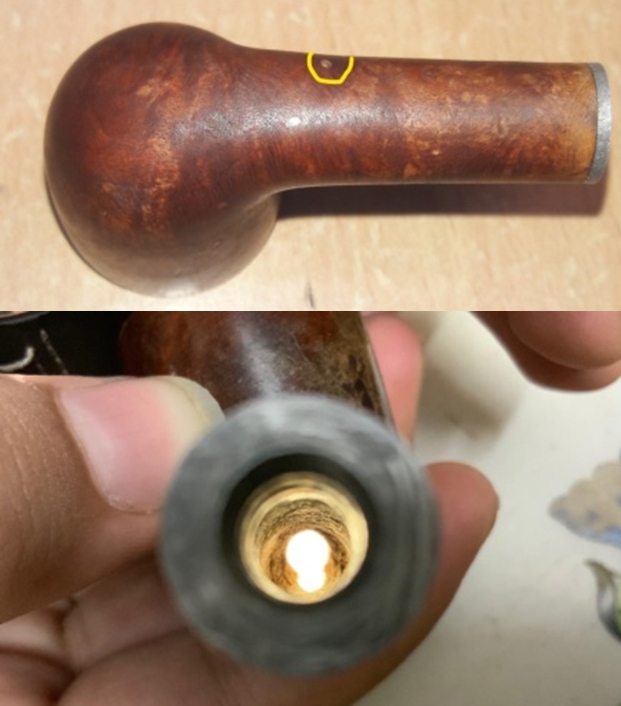
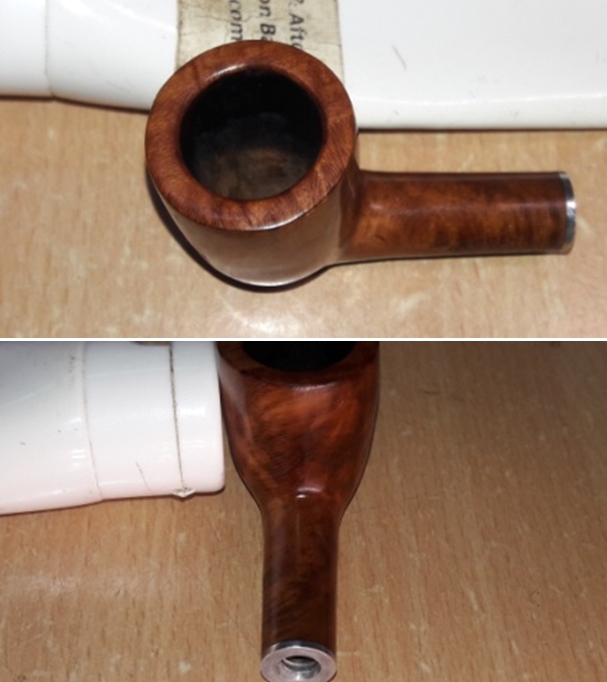
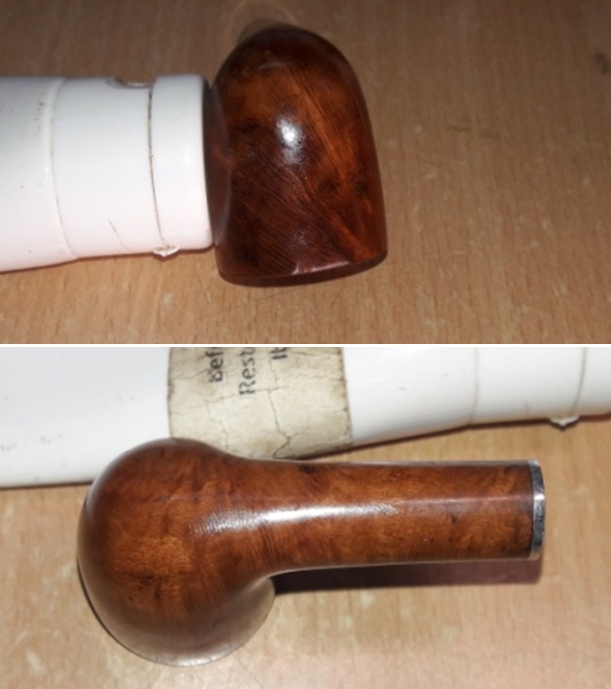
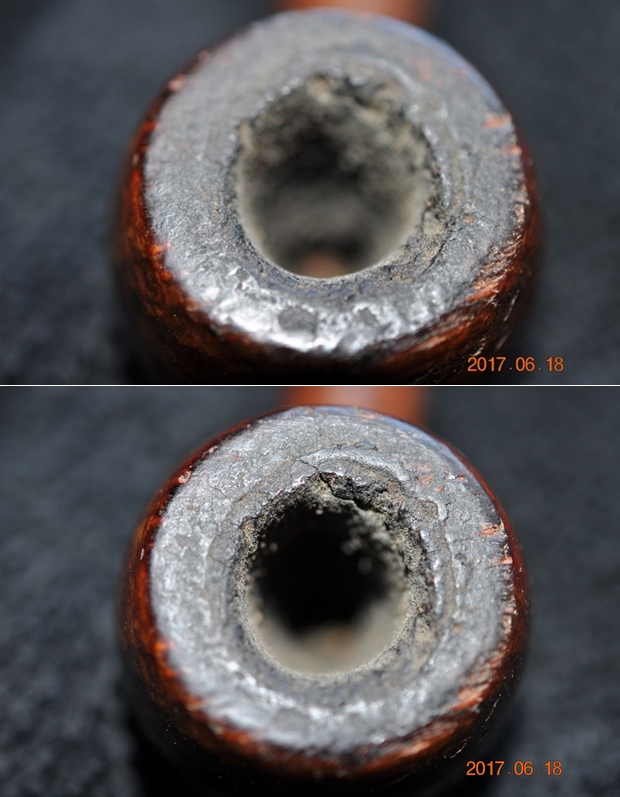
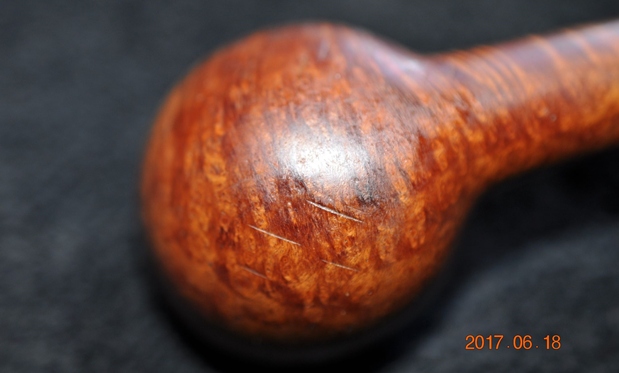
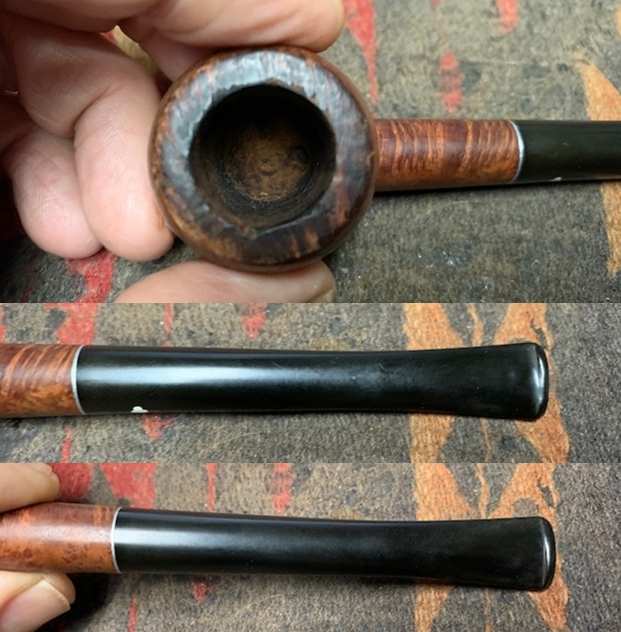
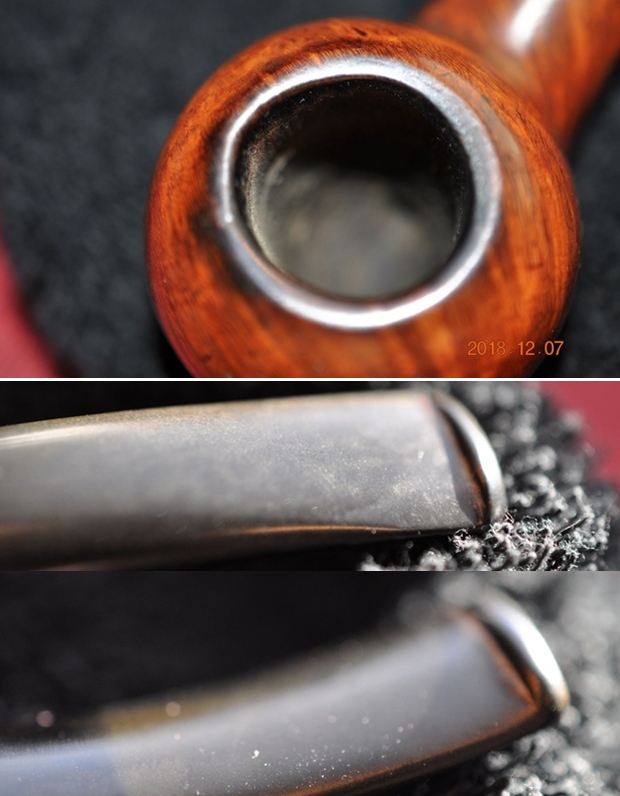
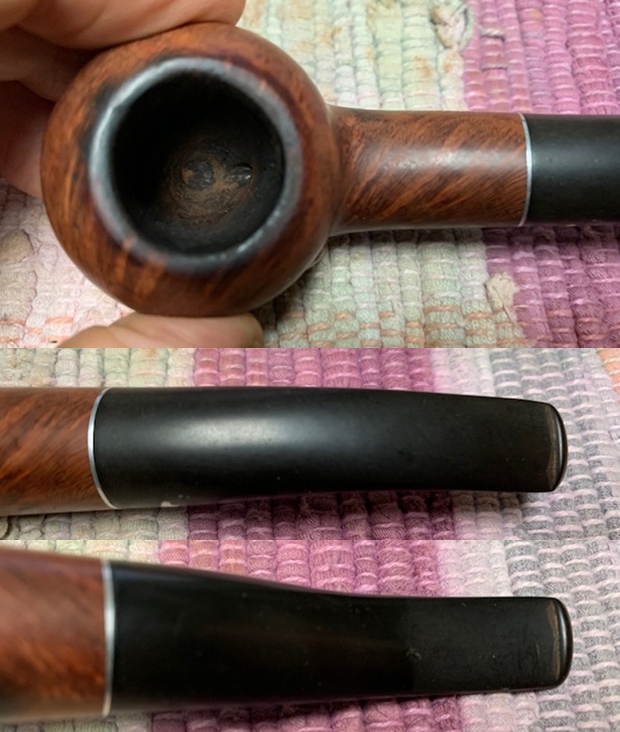
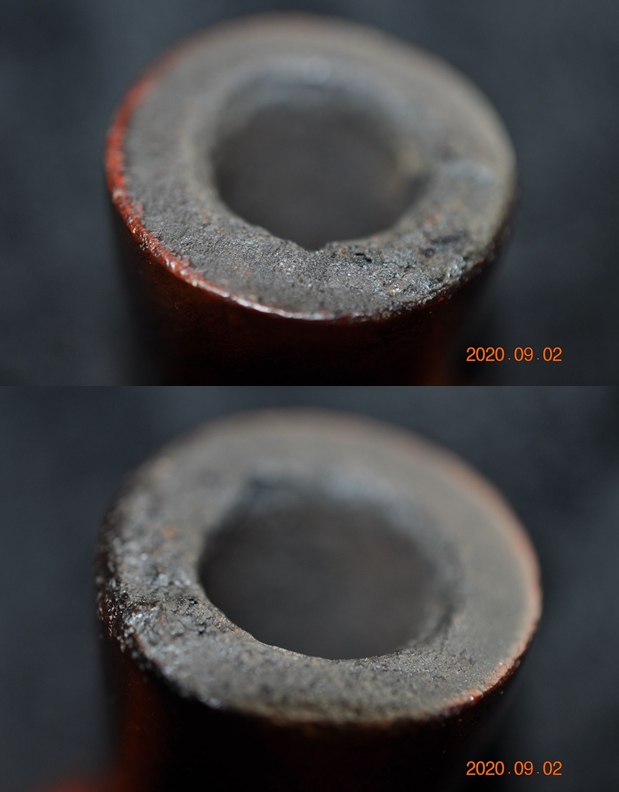
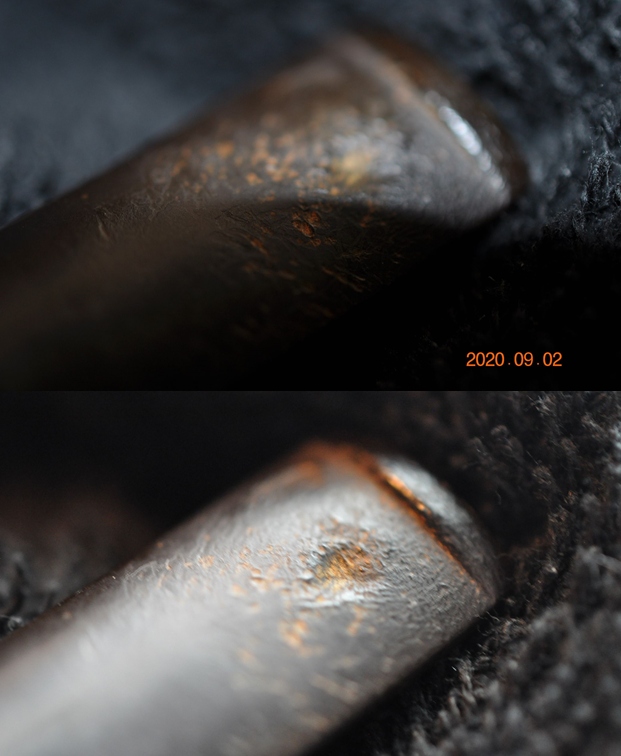
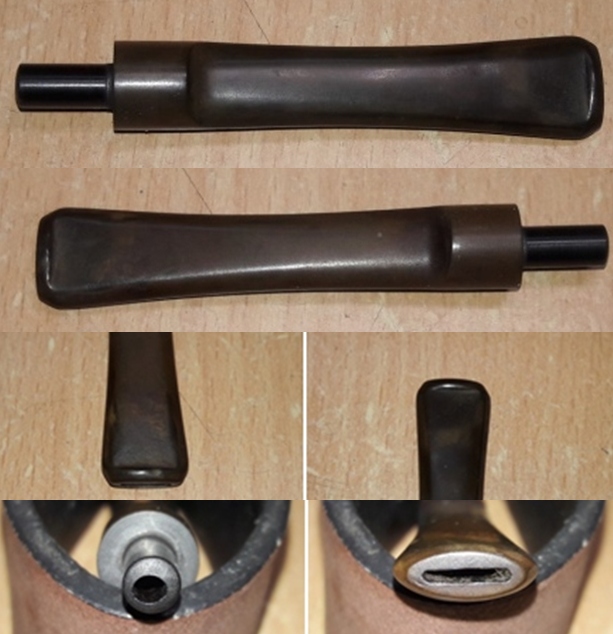
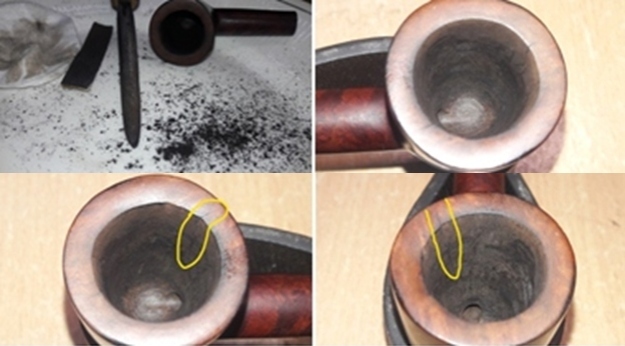
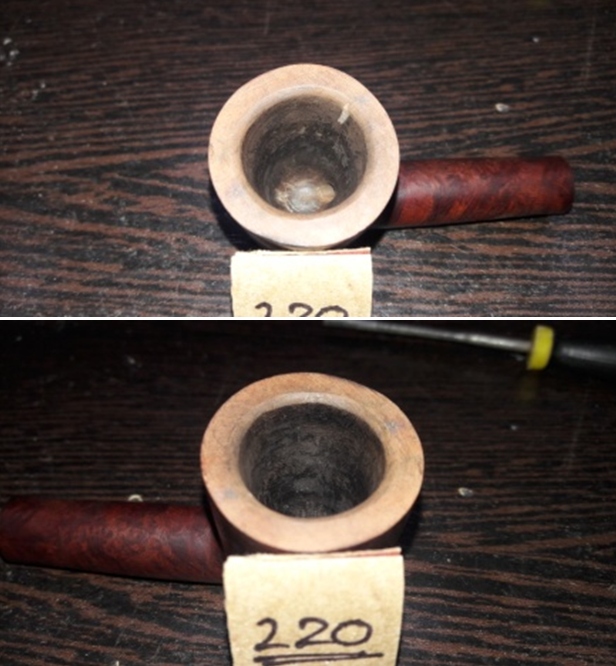
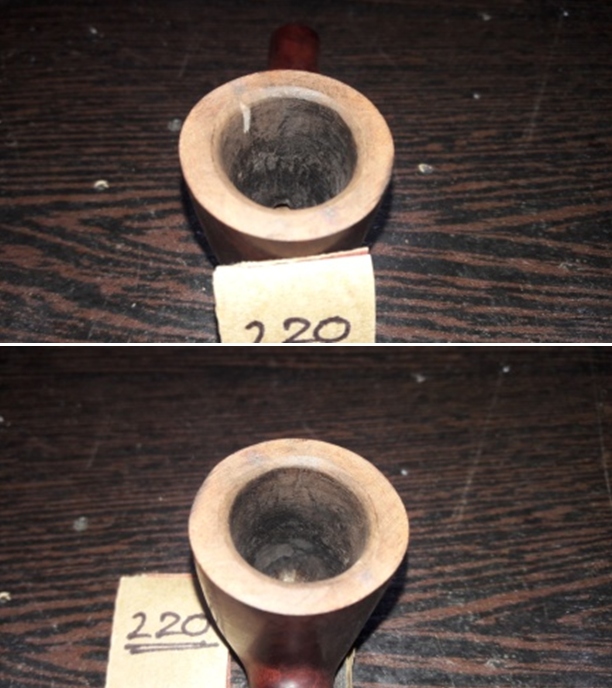
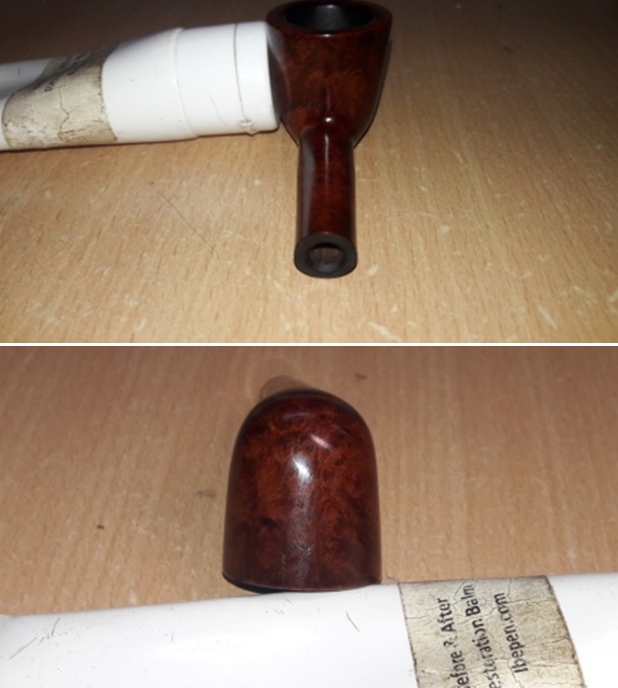
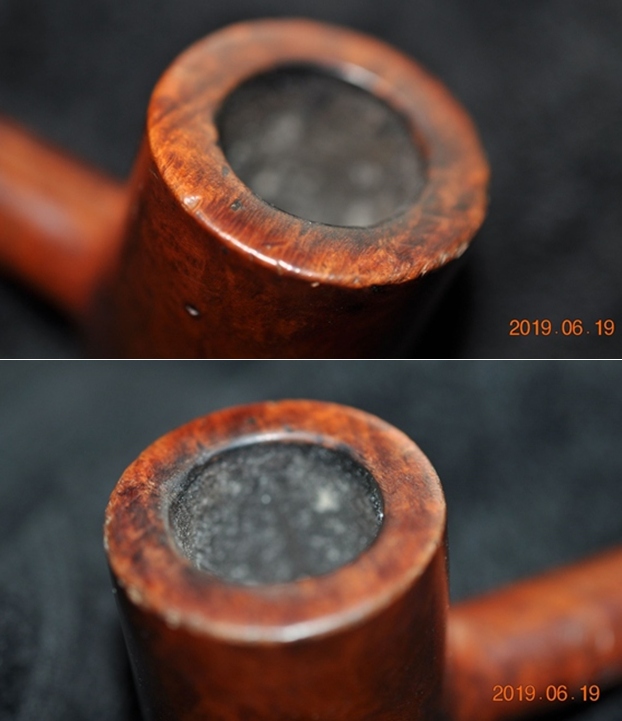
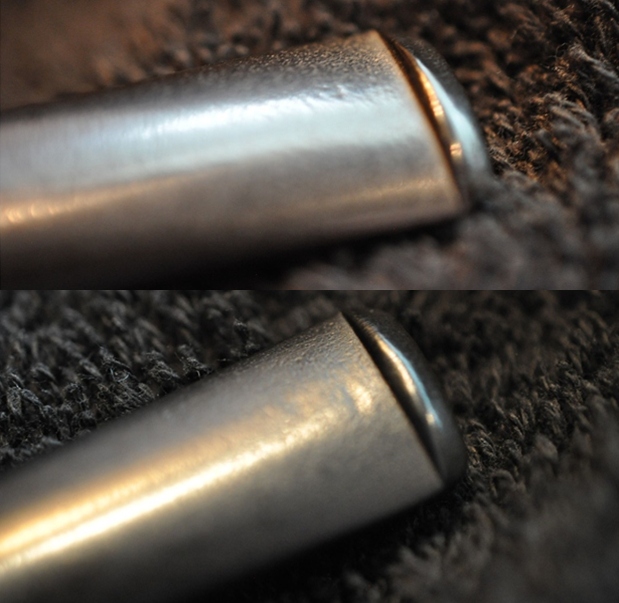
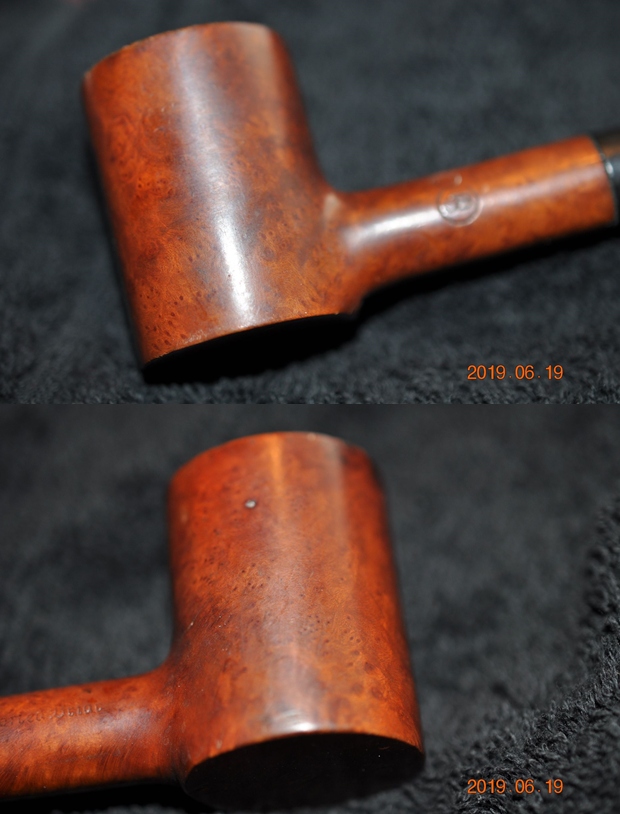
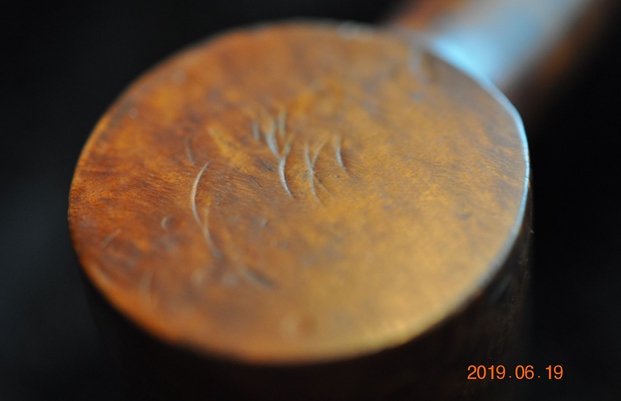
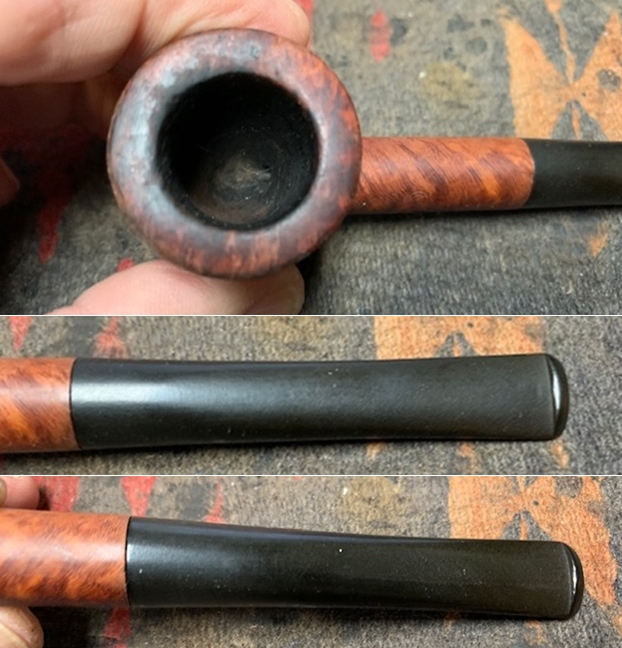
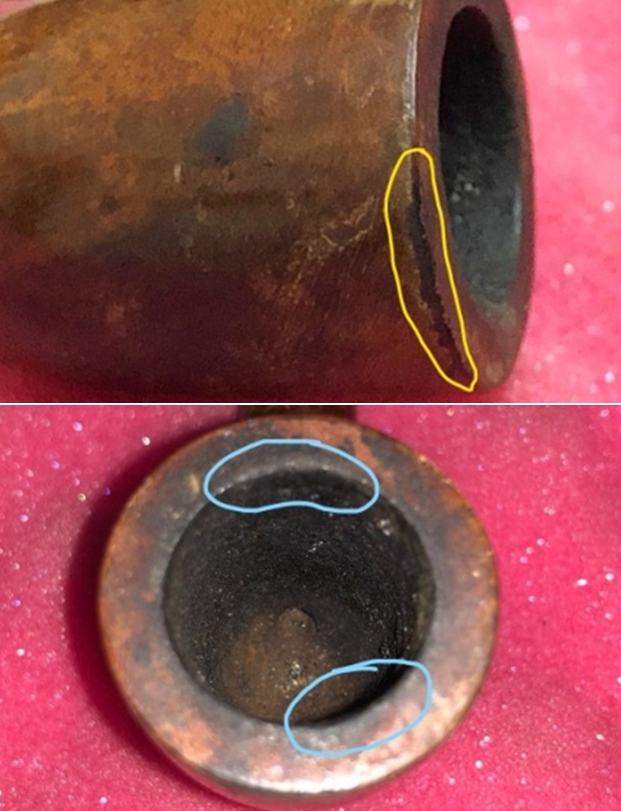
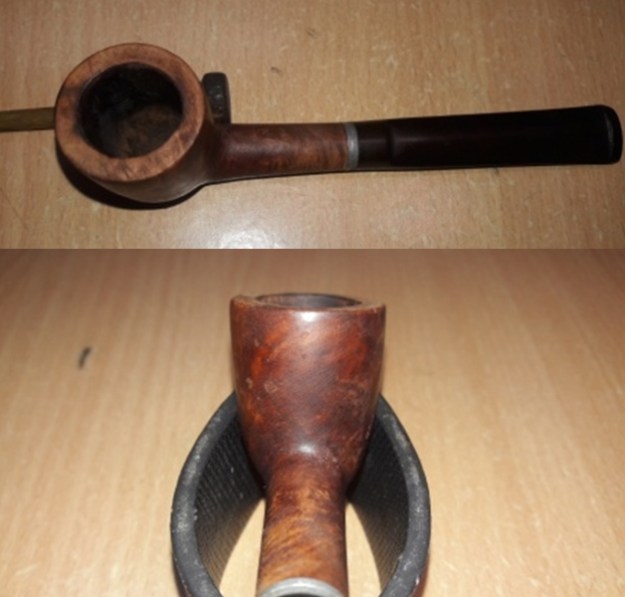
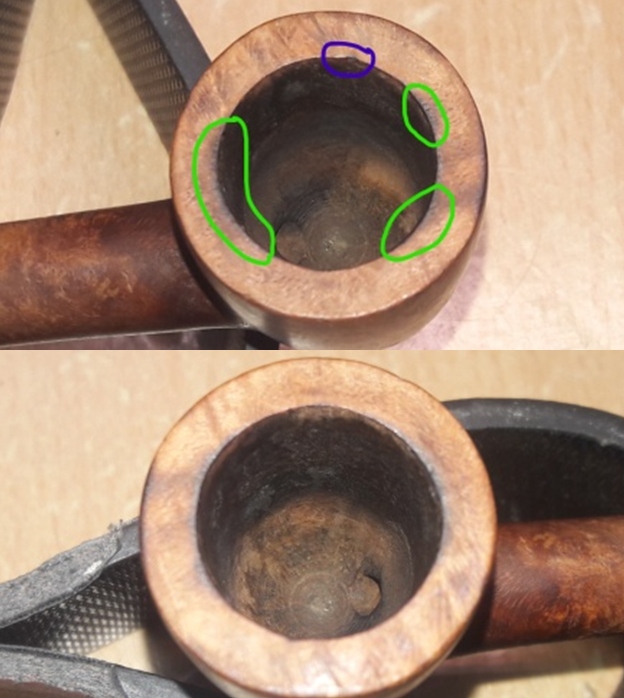
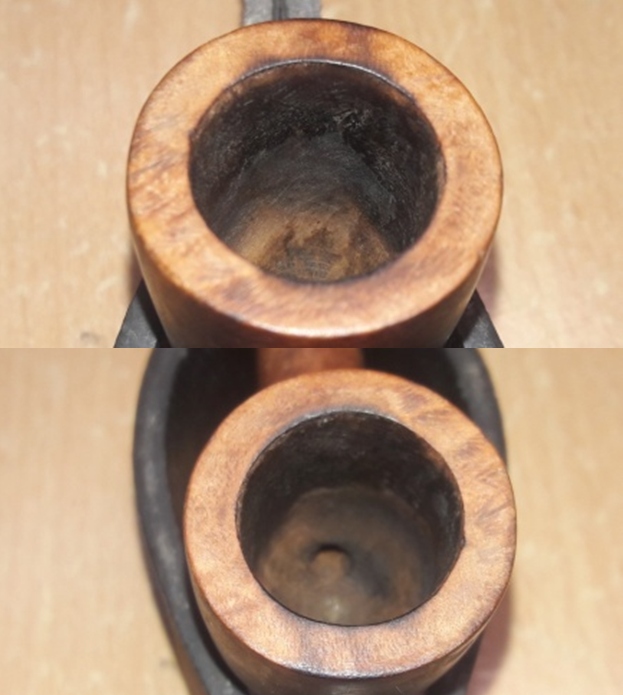
As I have mentioned above, this pipe was initially handled by Abha and she is not in a habit of taking many pictures as she works on each piece of briar. There are not many pictures to give the readers an idea about the condition of the pipe before she had worked her magic and presented me with a nice clean canvas to carry forward my repair and refurbishing tasks. I have included a description of the initial condition of the pipe as documented by her. This pipe has a rather small bowl in a classic Dublin shape and has a chamber depth of about 1.1 inches. The chamber had an even layer of dry flaky cake which is not very thick. The condition of the inner walls of the chamber can be commented upon after the cake has been taken down to the bare briar. The rim top surface was covered in overflowing lava. The inner rim edge has minor charring in 6 o’clock and 11 o’clock directions (encircled in pastel blue) with some minor dings all along the edge. The outer rim edge is mysteriously darkened in the 12 o’clock direction. The draught hole is clogged and restricts the free flow of air through it. The ghost smells in the chamber are very mild. The smooth stummel surface has some very beautiful grain patterns and has a coat of lacquer that has worn off at a number of places giving the surface a blotched appearance. The stummel shows signs of vintage in the form of many scratches, dents and dings that it has acquired over a period of time. There a couple of fills over the stummel surface and are easily noticeable (encircled in yellow). The briar has accumulated a lot of grime and dust imparting the stummel a lifeless and bone dry appearance. The shank end has an aluminum spacer ring separating the shank end from the stem end when threaded in. On closer observation, it can be seen that a portion of this spacer extends into the mortise and is threaded which matches with the stinger threads.    The vulcanite stem was lightly oxidized. Some minor tooth chatter and tooth indentations are seen on both the upper and lower stem surfaces in the bite zone and at the bottom of the button edge. The threaded aluminum stinger tenon end had accumulated ash and oils/ tars that had dried out on the inside as well as on the outside. The horizontal slot has dried gunk embedded in to it which will have to be addressed.Initial Cleaning By Abha…
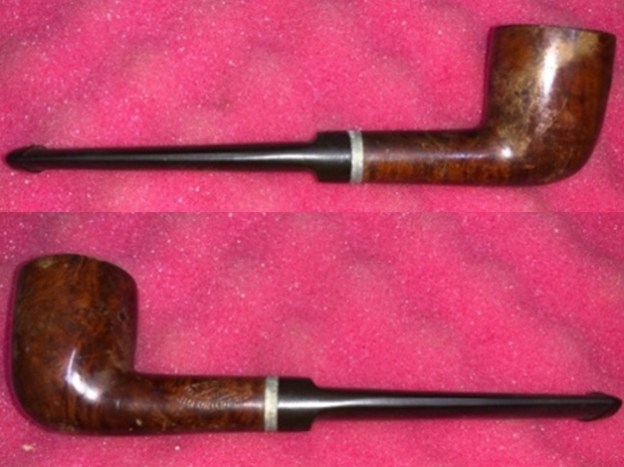
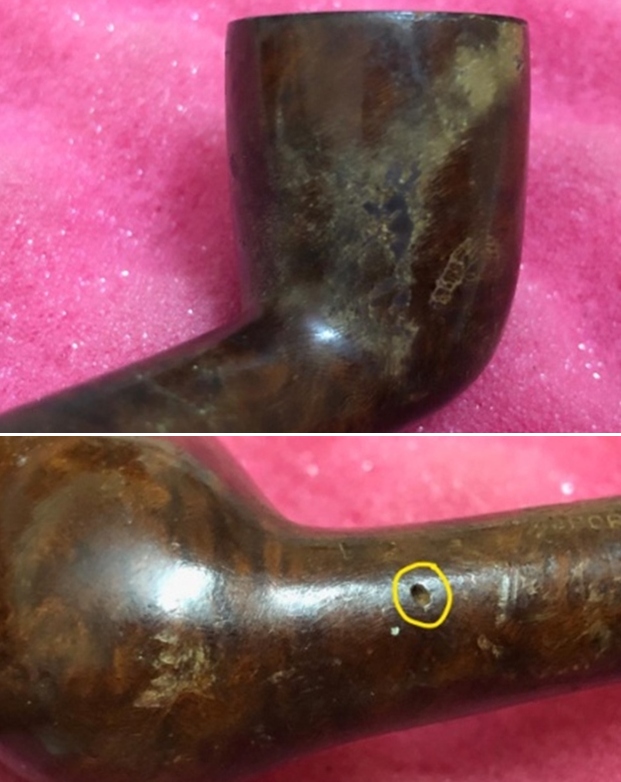
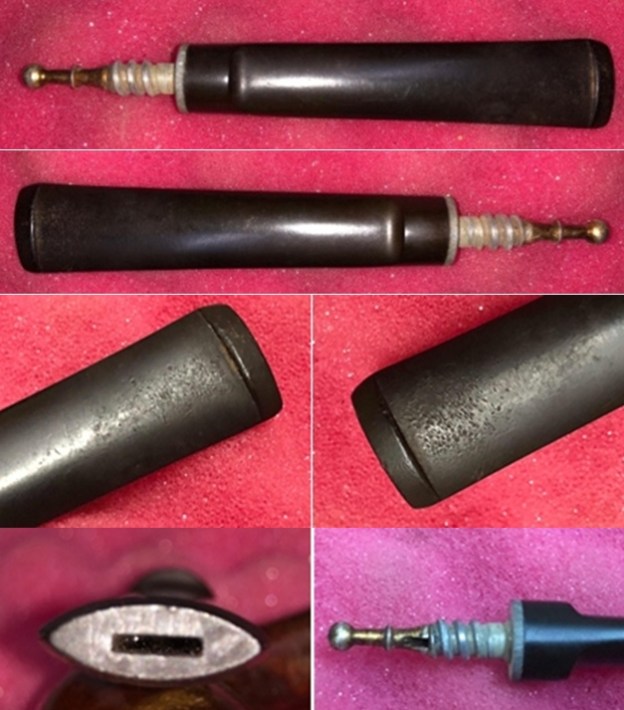
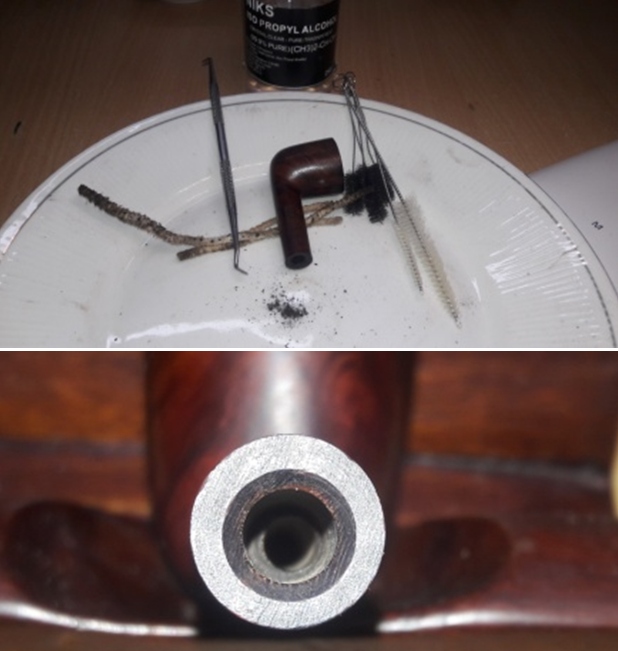
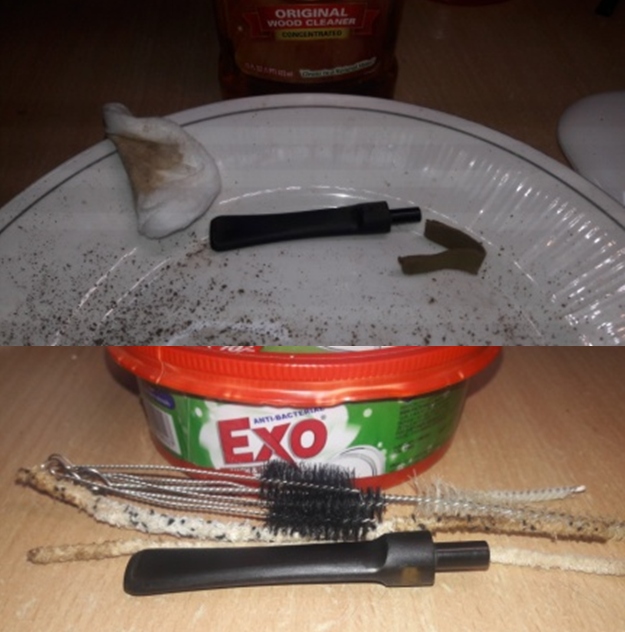
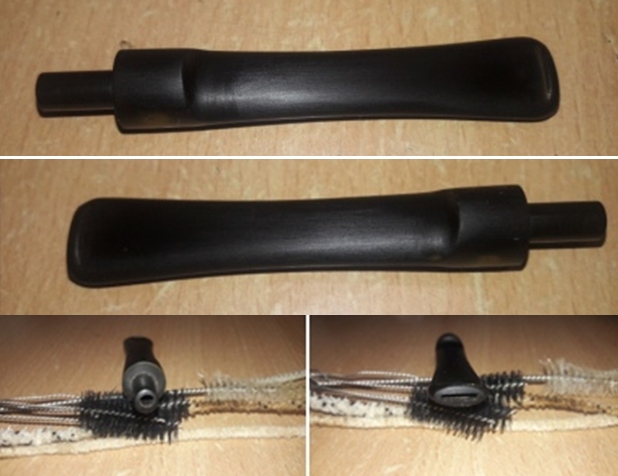
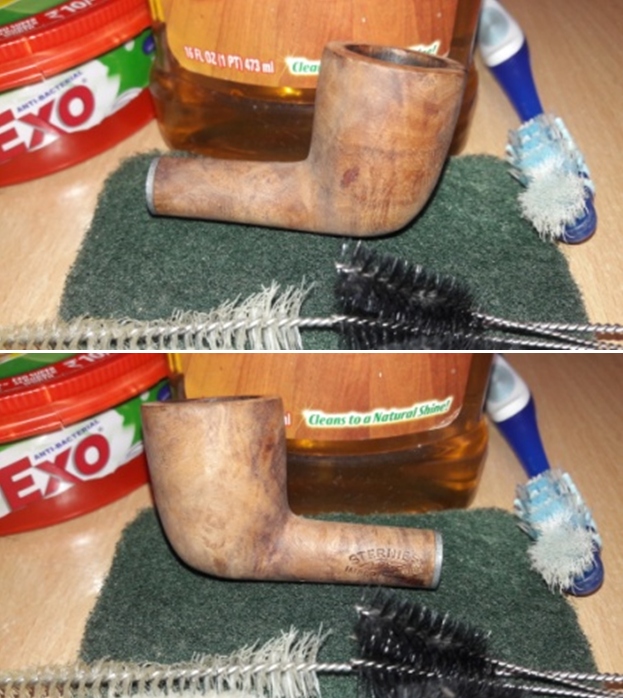
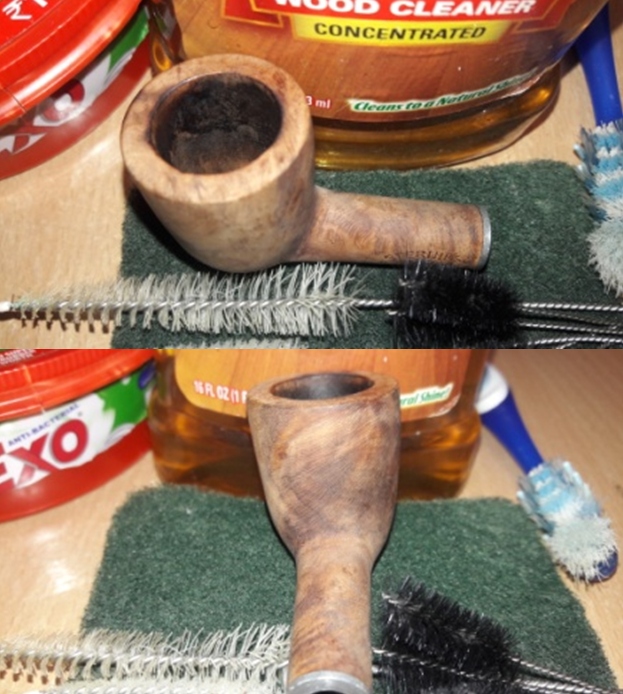
Abha, my wife, reamed out the complete cake and further smoothed out the chamber walls with a folded piece of 220 grit sand paper and scrapped out the entire lava overflow from over the rim top surface. She further cleaned out the internals of the shank with pipe cleaners and alcohol and cotton buds. She followed the internal cleaning of the shank with external cleaning of the stummel using Murphy’s Oil soap and hard bristled tooth brush and dried it with paper napkins and cotton cloth. Next she cleaned out the internals of the stem air way using hard and regular pipe cleaners dipped in isopropyl alcohol. She cleaned the stem surface under running warm water and scrubbed the surface oxidation from the stem using Scotch Brite pad and dish washing soap. The aluminum stinger was also similarly cleaned. She further removed the oxidation by scrubbing the stem with 0000 grade steel wool and applied a little olive oil to rehydrate the stem.    Once The Pipe Is On My Work Table…
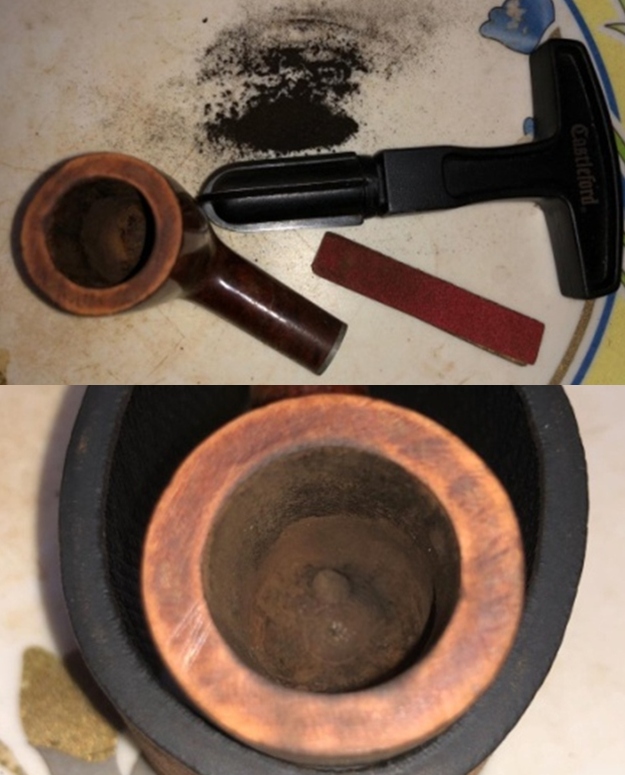
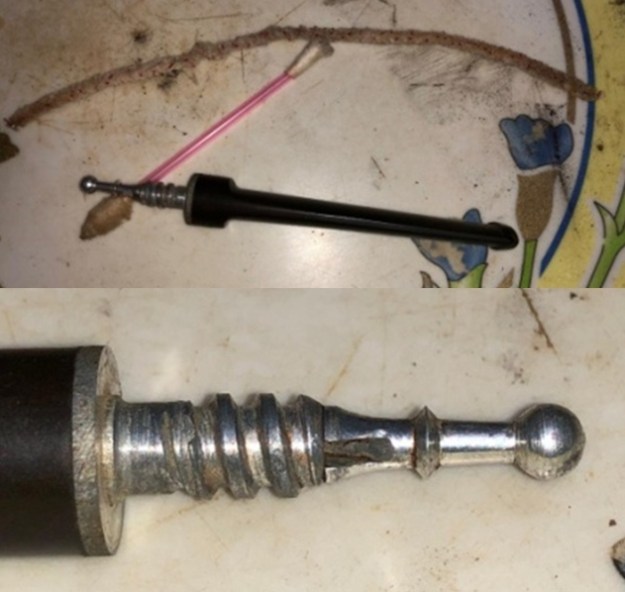
The cleaned up pipes presents a very clear picture of what needs to be done to restore this pipe to a decent and smokable condition. I really cannot thank Abha, my wife, enough for all the help and support that she extends me in my pursuance of this hobby. I proceed to carry out my appreciation of the work that needs to be done on this pipe to restore it.

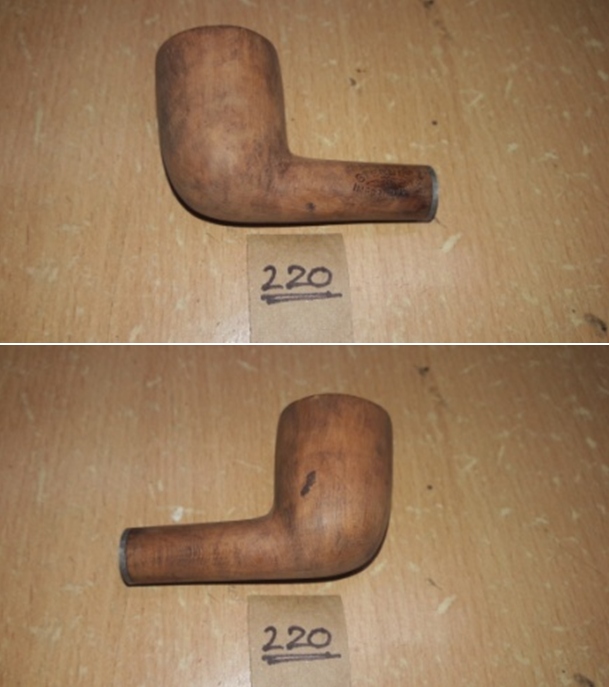
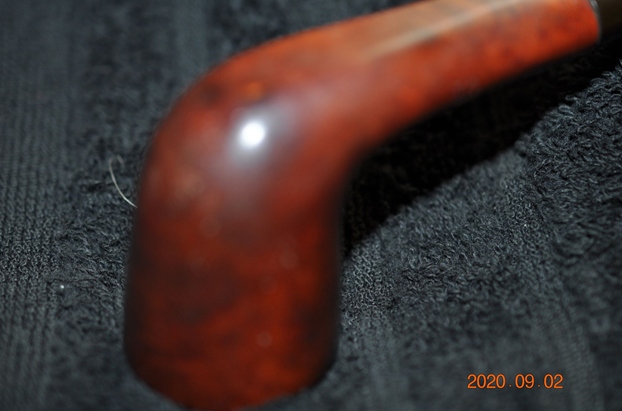
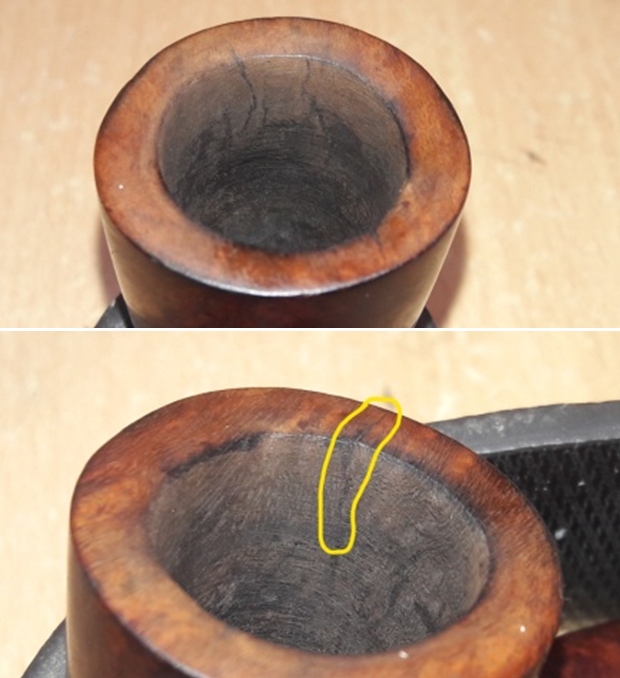
As with all the cleaned pipes that Abha packs, there was a note in the zip lock pouch with issues that she had observed in the pipe. The first point was that she had not dunked the stem in to “Before and After Deoxidizer” solution because of the metal stinger. The next issue that she pointed out was of the rim top surface not being even and the darkening of the inner rim edge. The third issue she pointed out was that the stummel surface had not cleaned up the way it usually does. Here are the pictures of the pipe as I had received. To be honest, the pipe had cleaned up nicely. What she thought was unclean stummel was in fact the old lacquer coat that had come off in patches. The two fills, encircled in yellow, are now plainly visible. The right side of the stummel shows a few dents/ dings. The aluminum spacer ring at the shank end is greatly oxidized and would need to be polished to a nice shine. The mortise is nice and clean. Sanding the stummel surface with a piece of 220 grit sand paper should address the issue of dings to a great extent. Once the stummel has been completely scrubbed and free of the old lacquer, I shall refresh the fills with a mix of briar dust and superglue. A vigorous scrub with Scotch Brit pad and Murphy’s Oil soap should suffice to remove the old peeling lacquer coat. In case this does not work, a wipe with pure Acetone on a cotton swab will definitely address this issue. After the aluminum spacer ring has been polished, it will provide a nice bling to the overall appearance of the pipe.   The chamber walls are sans any damage. The inner rim edge is in good condition save for light charring (encircled in green) and a chip (encircled in blue). The outer rim edge shows just a hint of darkening in 1 o’clock direction, but otherwise in excellent condition. The rim top surface is uneven to the touch. The draught hole is dead center and at the bottom of the heel and this construction geometry should make this pipe a fantastic smoker. Topping the rim surface should address the issues of uneven rim top, the charred outer rim edge while greatly reducing the inner rim edge damage. I shall, if need be, create a bevel to the inner edge to completely address the rim damage. The moment I saw and held the stem in my hands, I was not sure if the stem was vulcanite or made of some plastic derivative. It was very light weight and considerably harder than vulcanite. It was lightly oxidized and had minor tooth chatter on either surface in the bite zone. The button edges on either surface are slightly deformed with tooth indentations. I shall not risk heating the bite zone with the flame of a lighter to raise the tooth chatter but would rather try and sand it out. In case required, I shall further use charcoal and superglue mix to address this issue. I need to sharpen the button edges and shall do so with a flat needle file. The Process
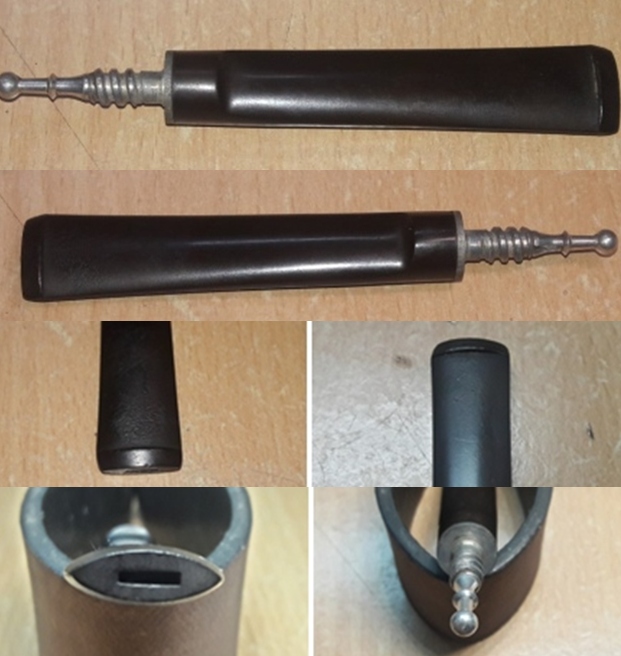
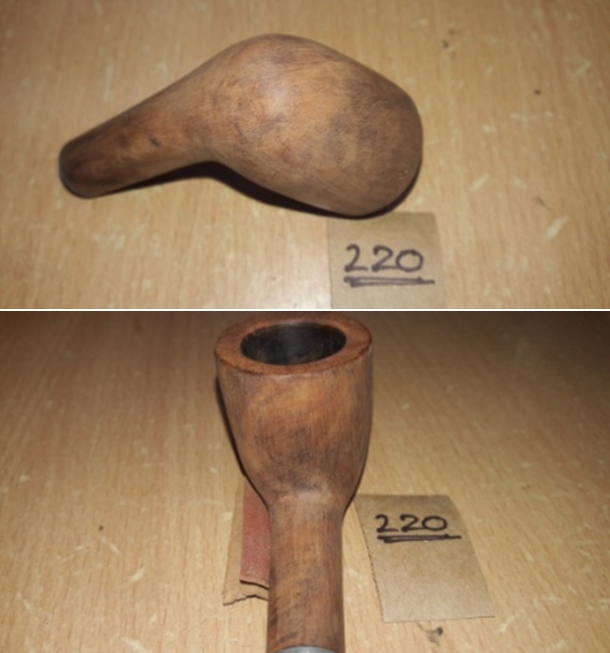
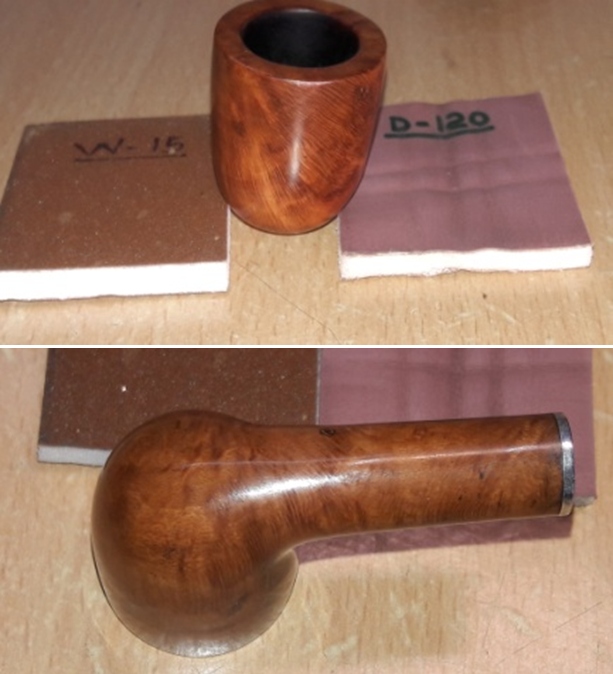
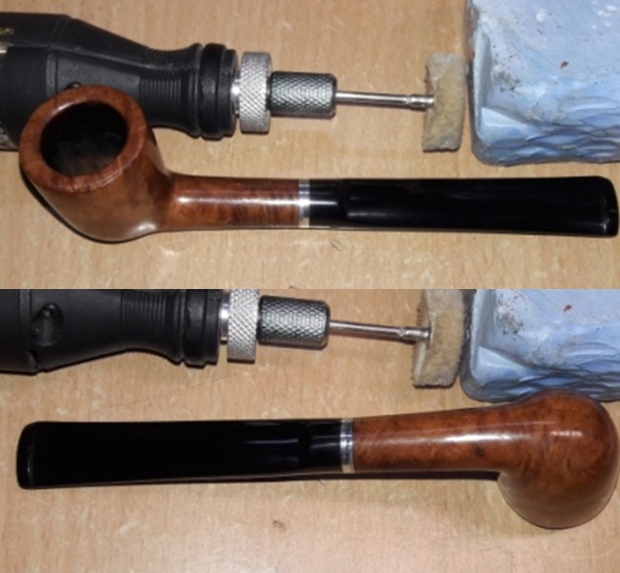
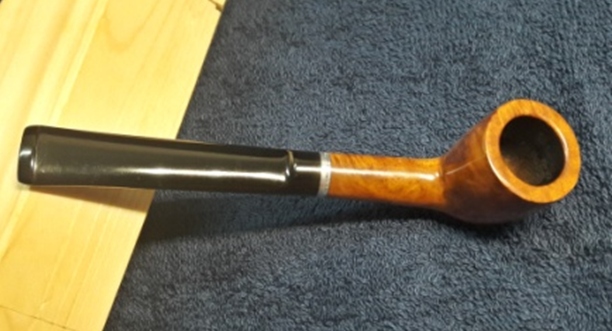
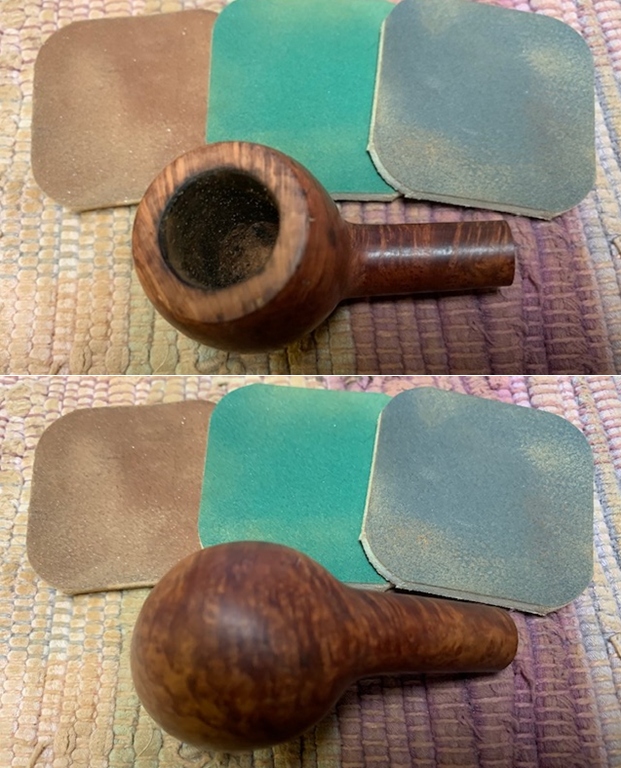
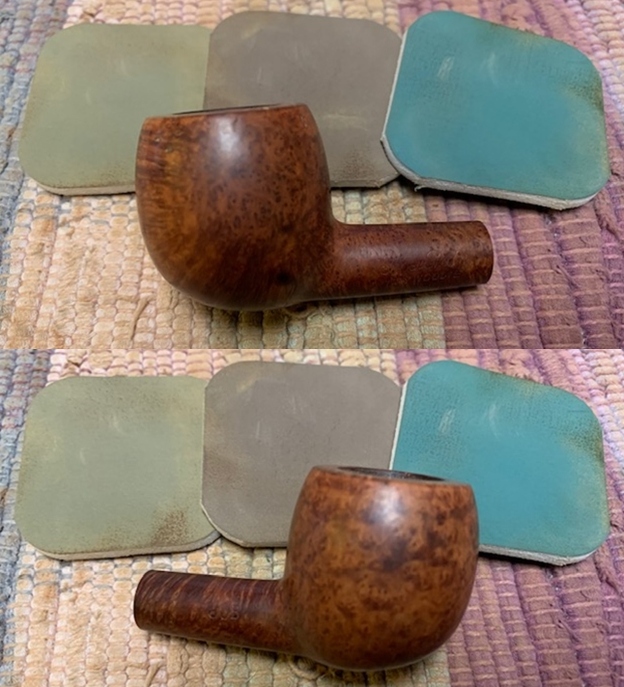
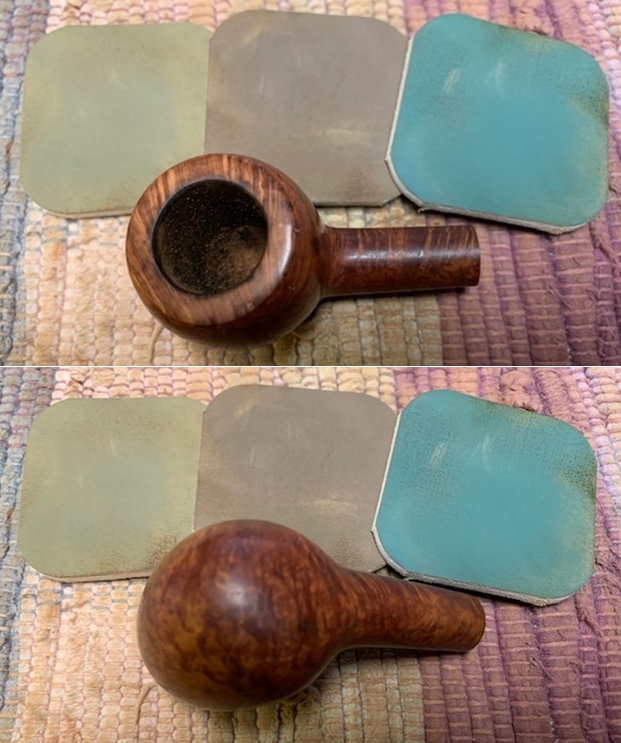
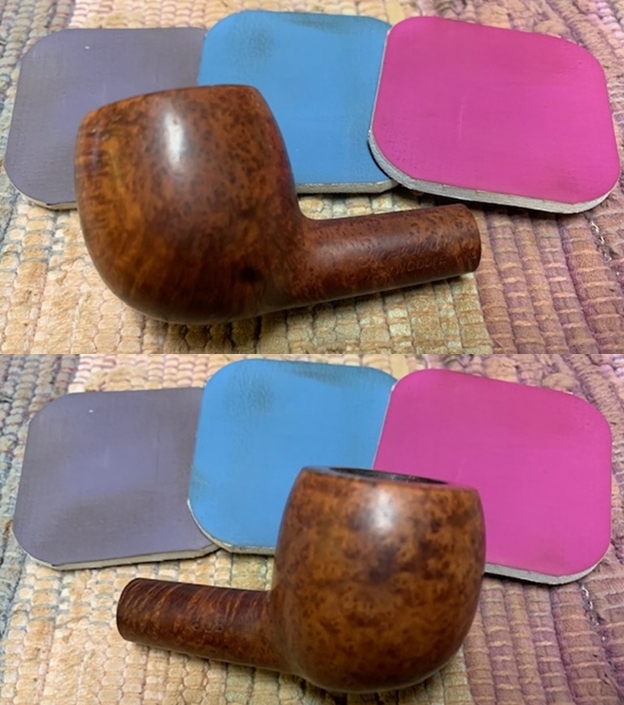
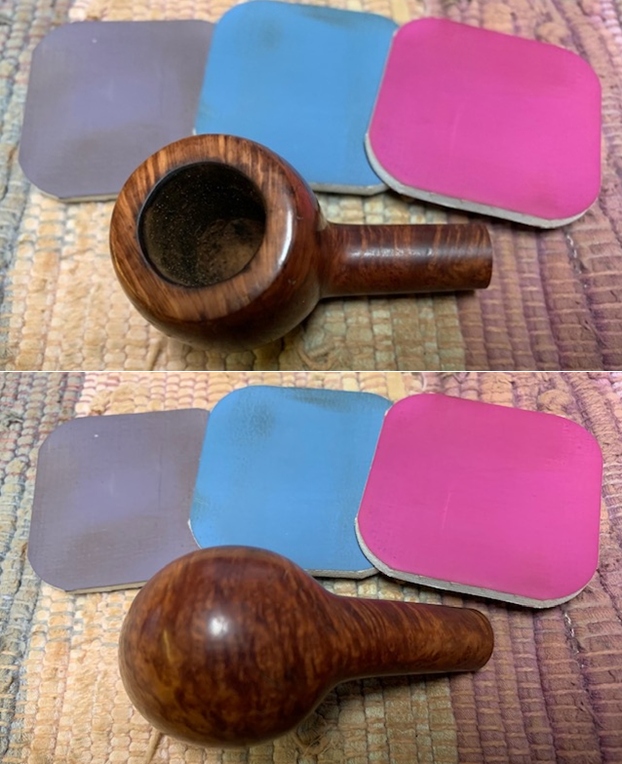
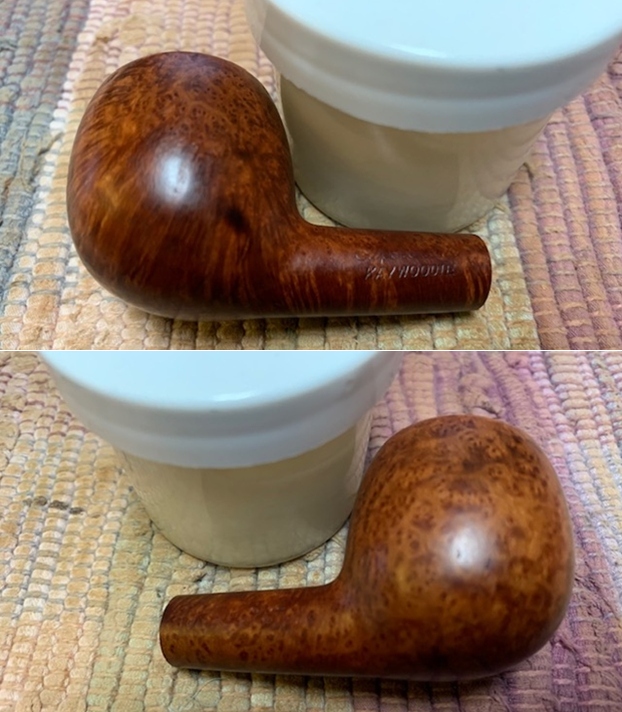
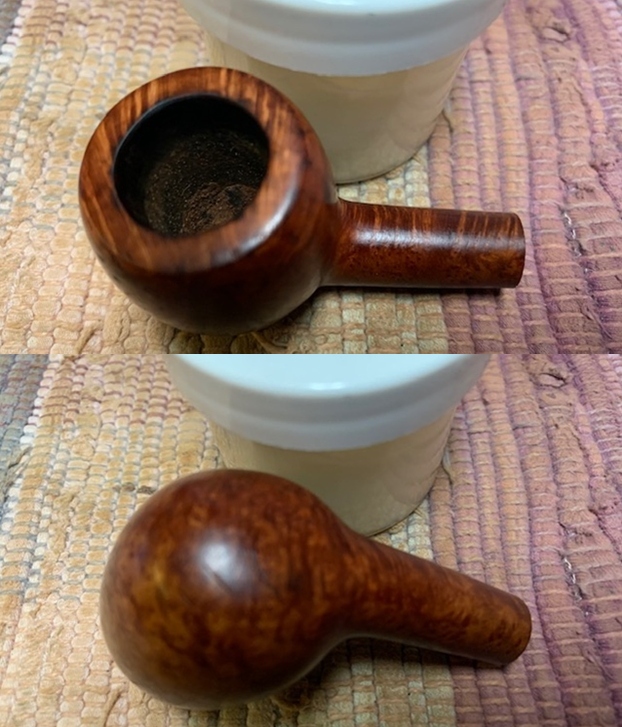
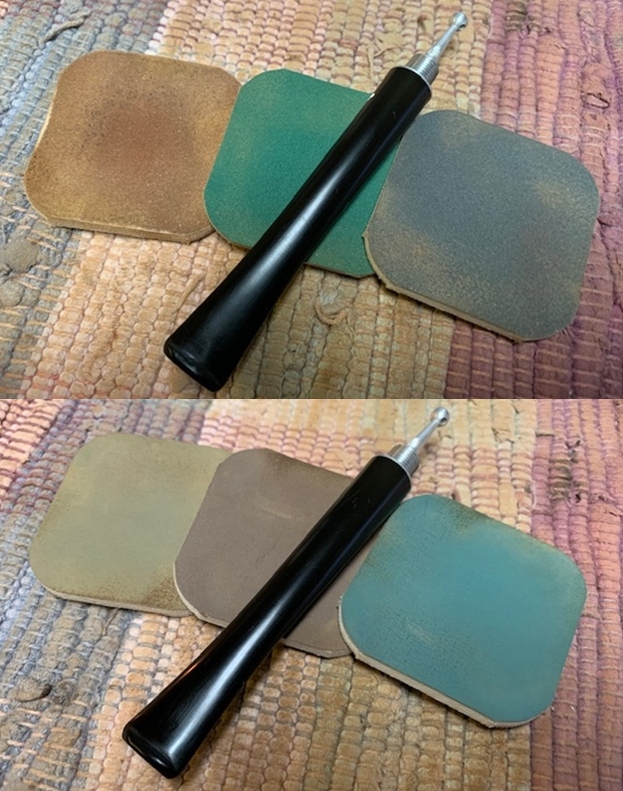
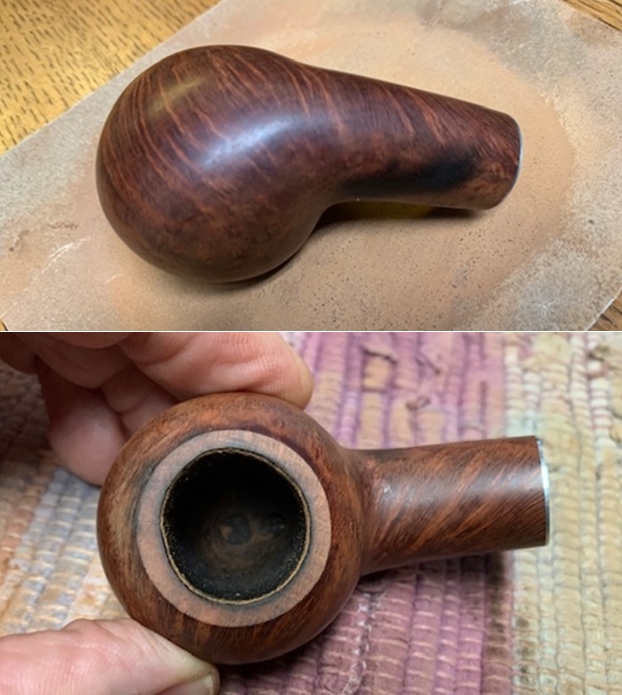
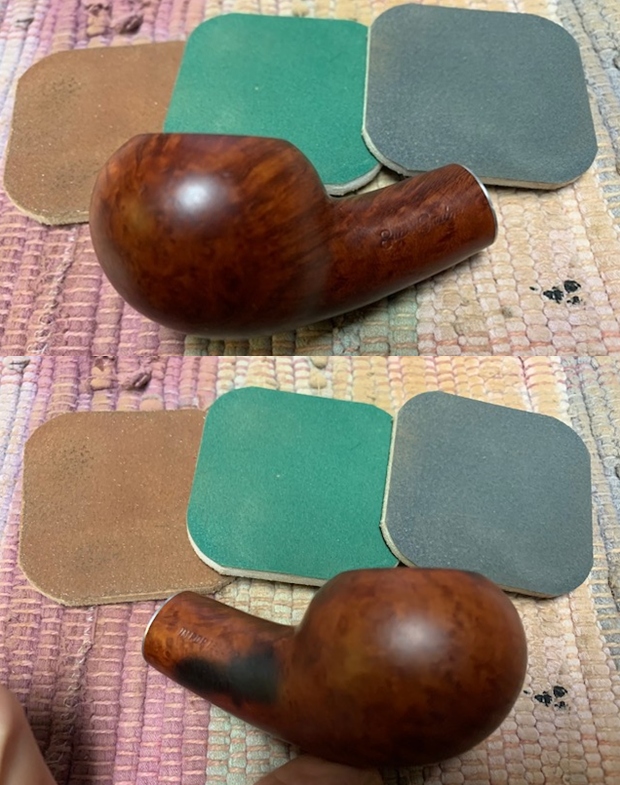
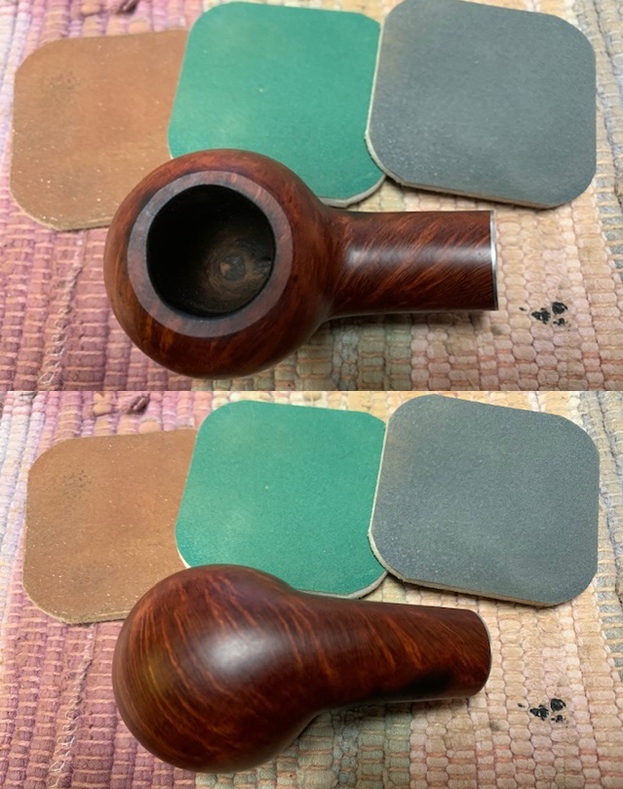
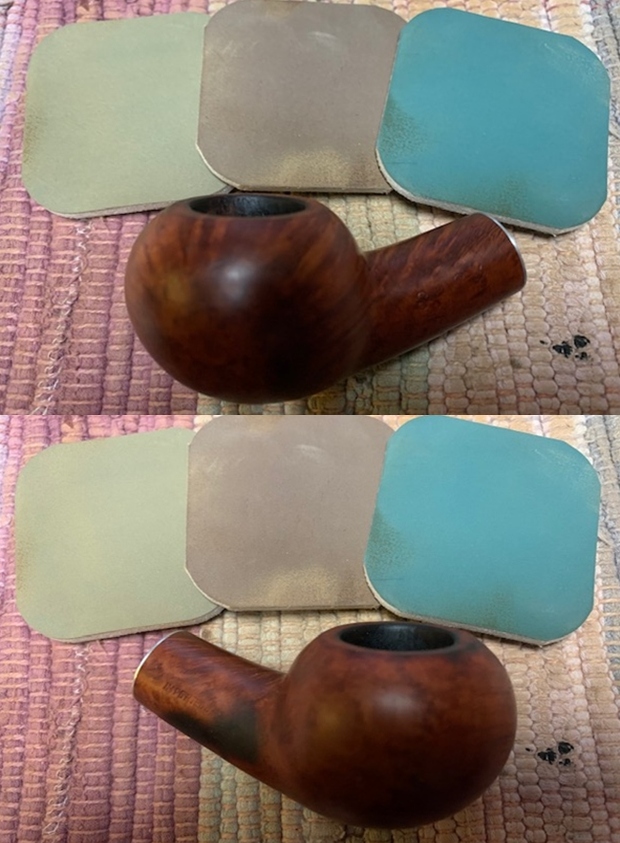
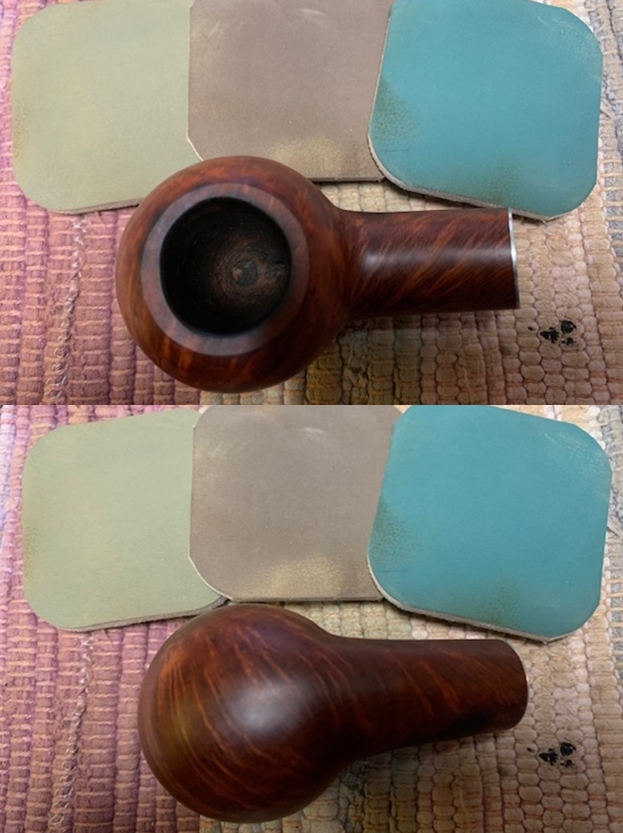
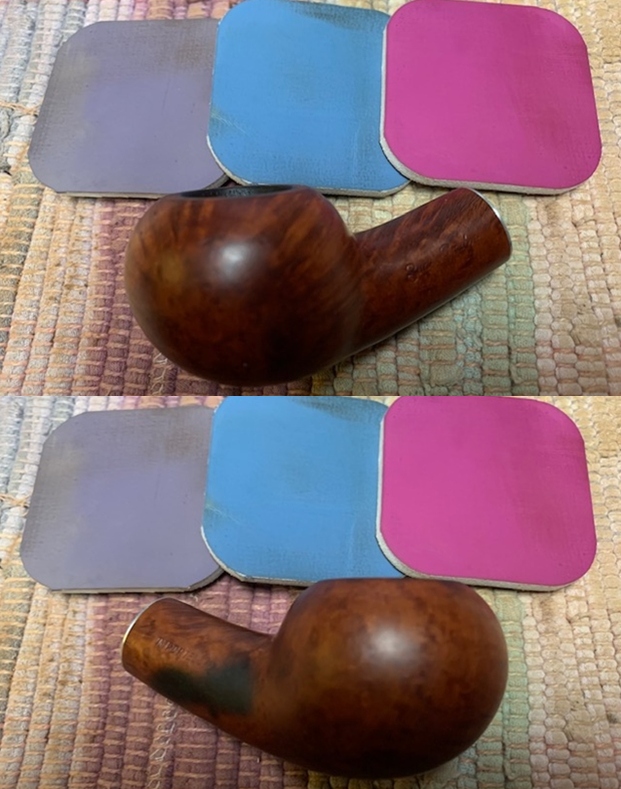
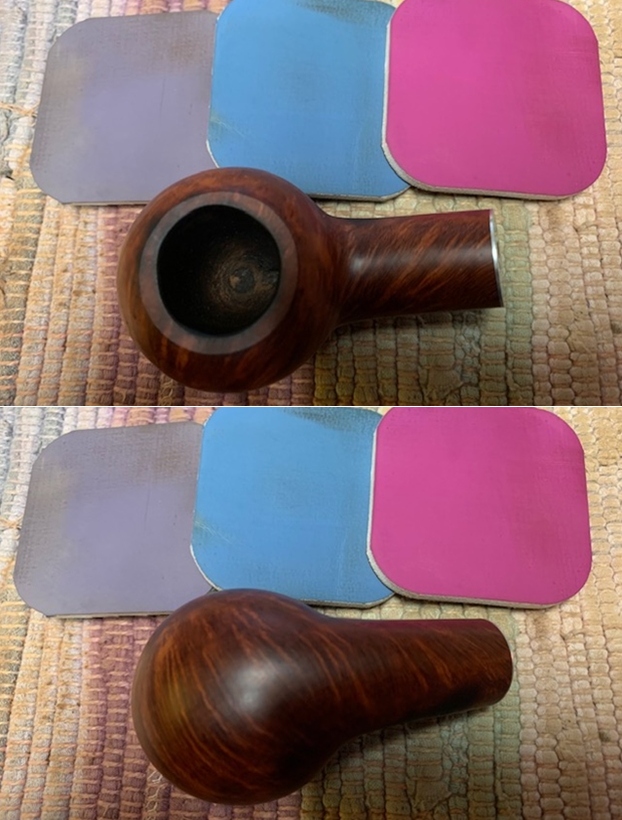
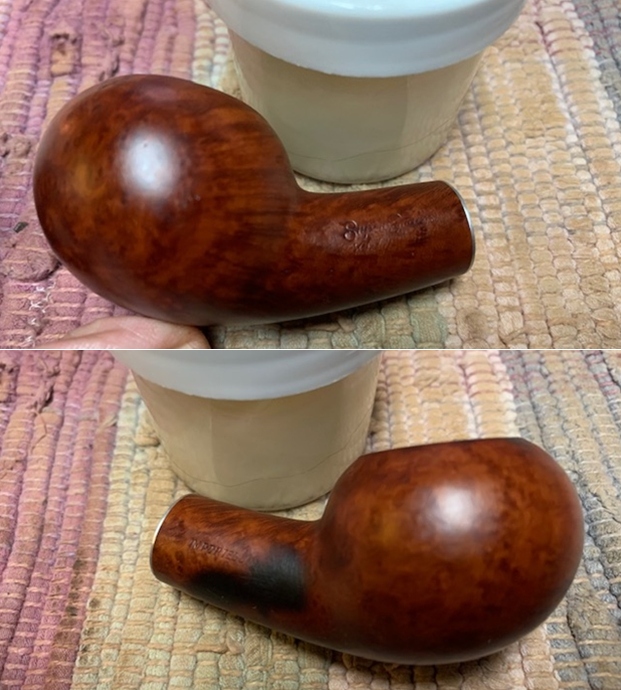
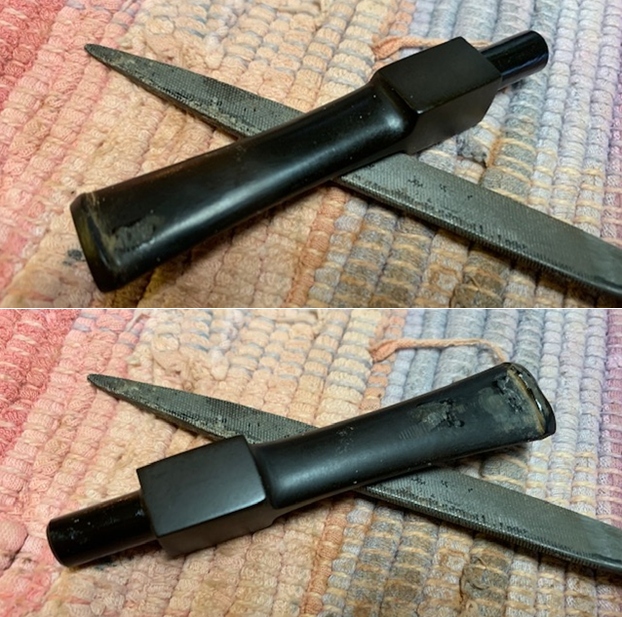
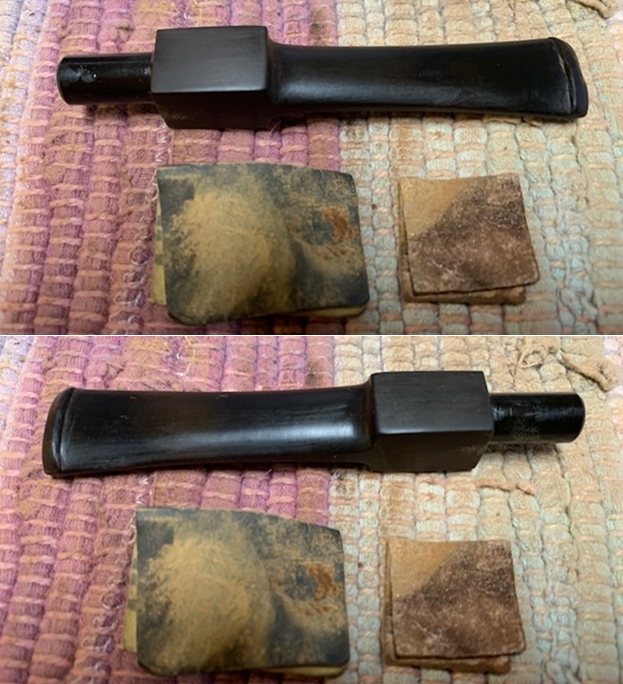
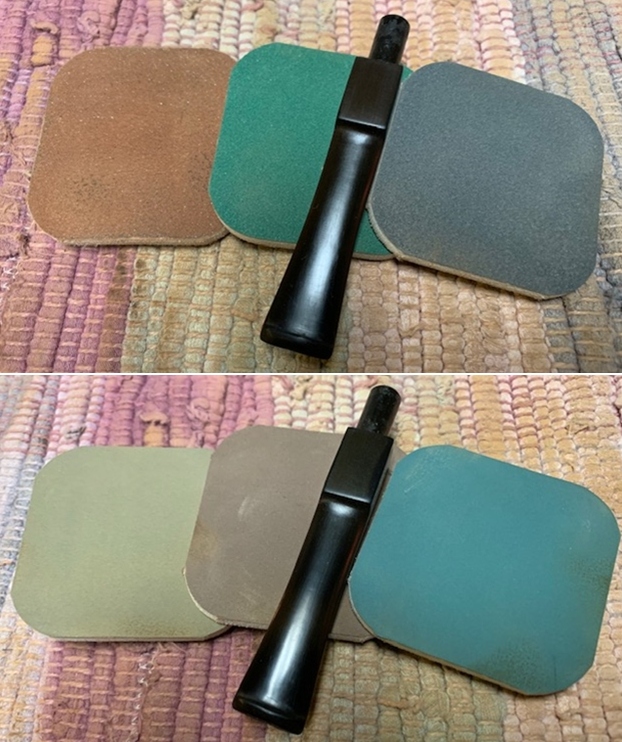
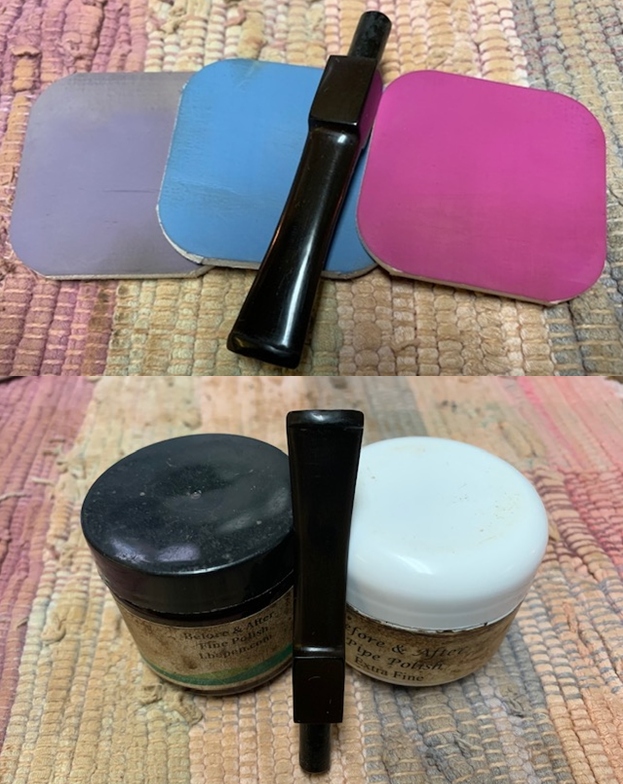
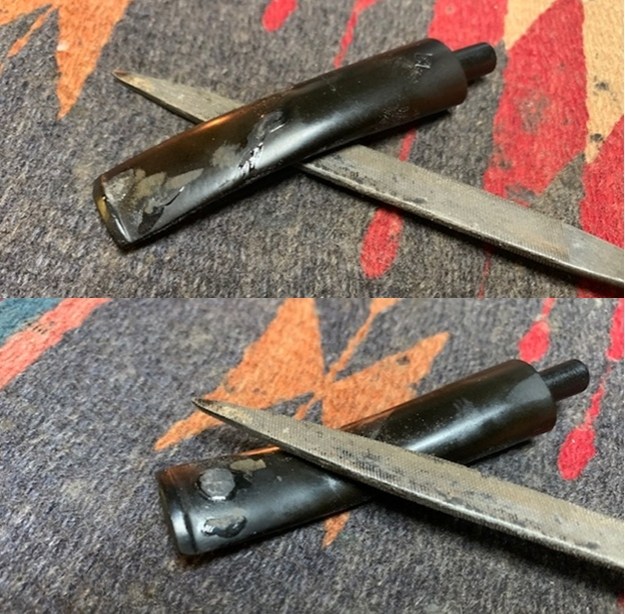
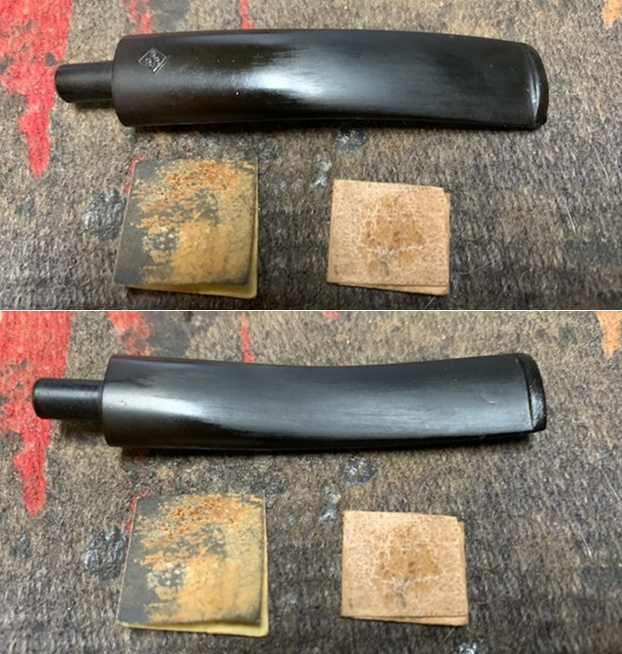
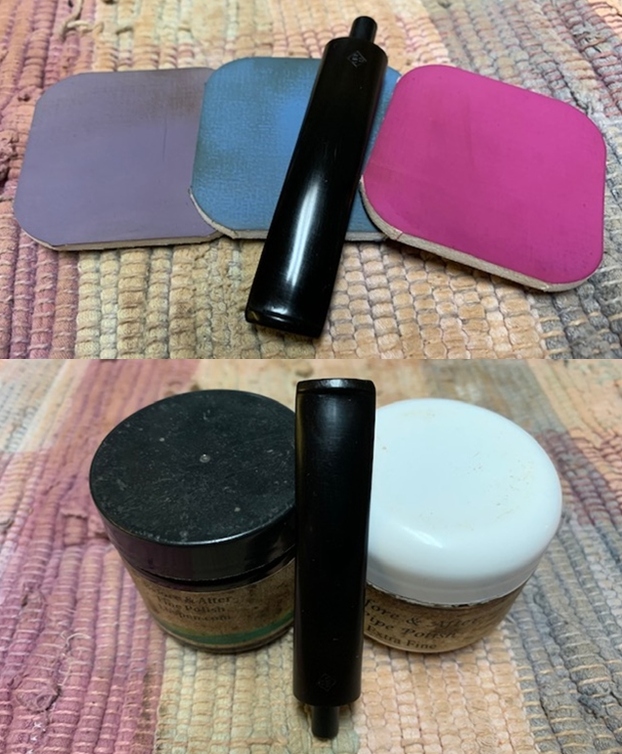
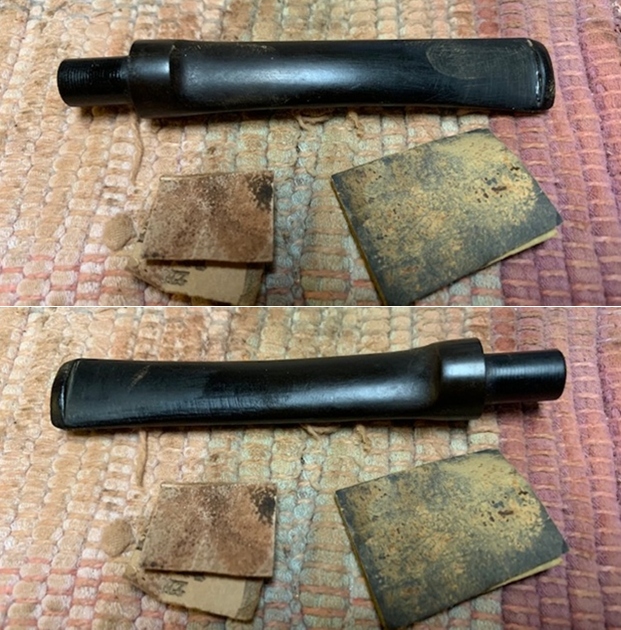
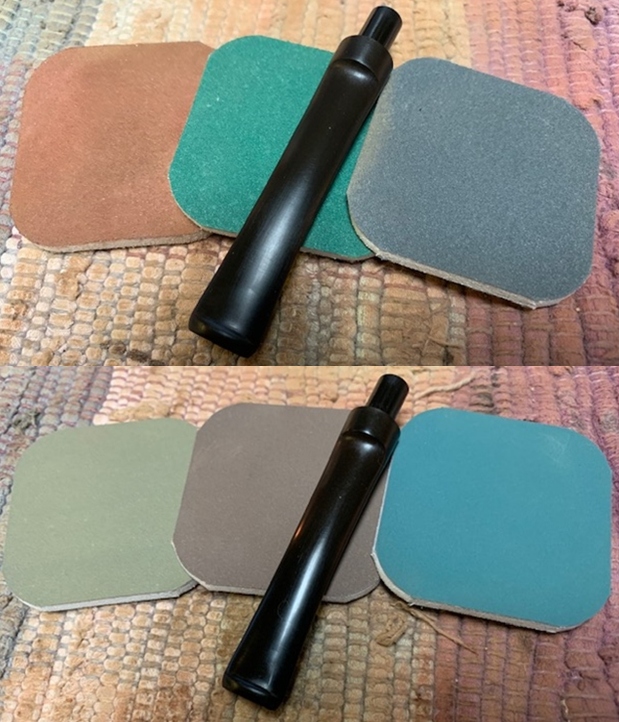
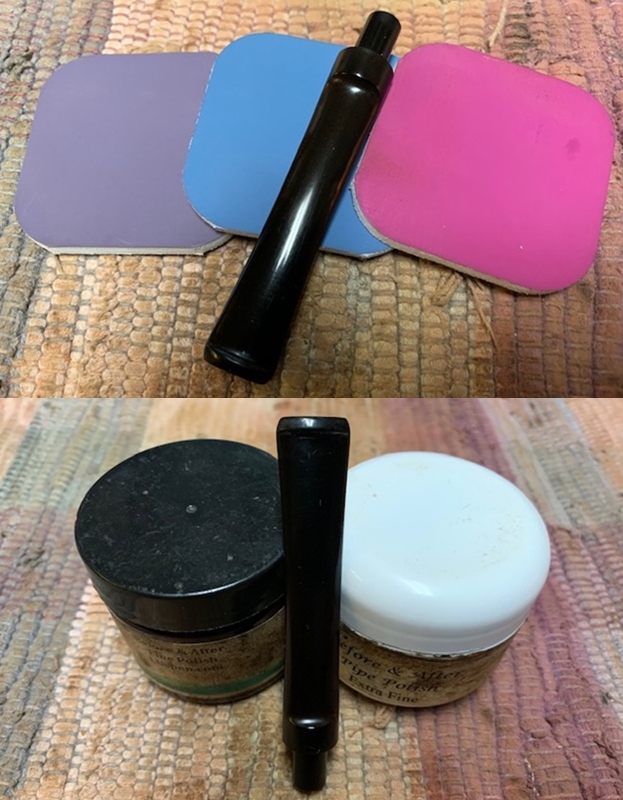
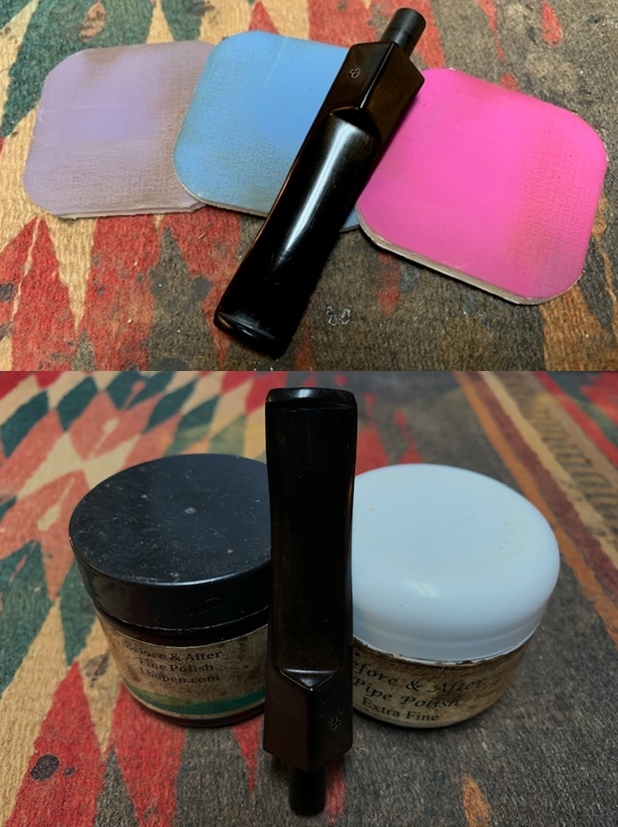
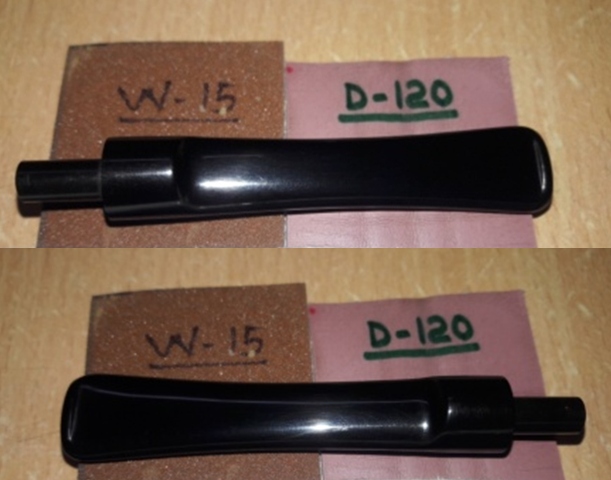
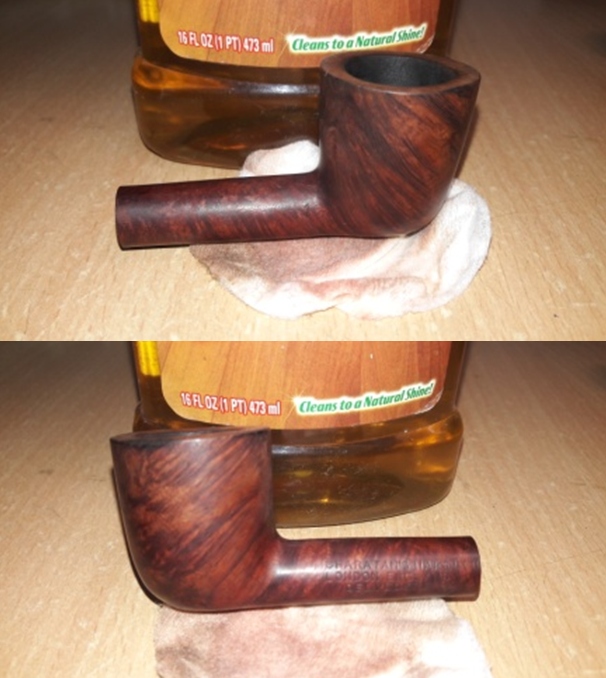
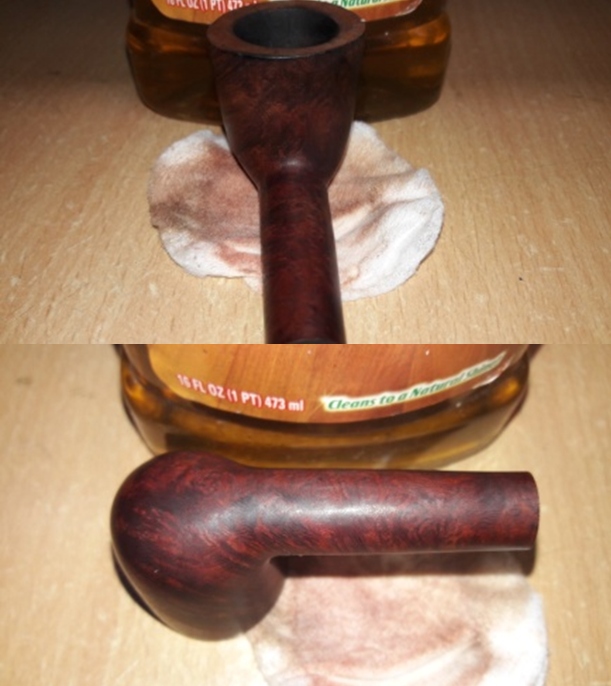
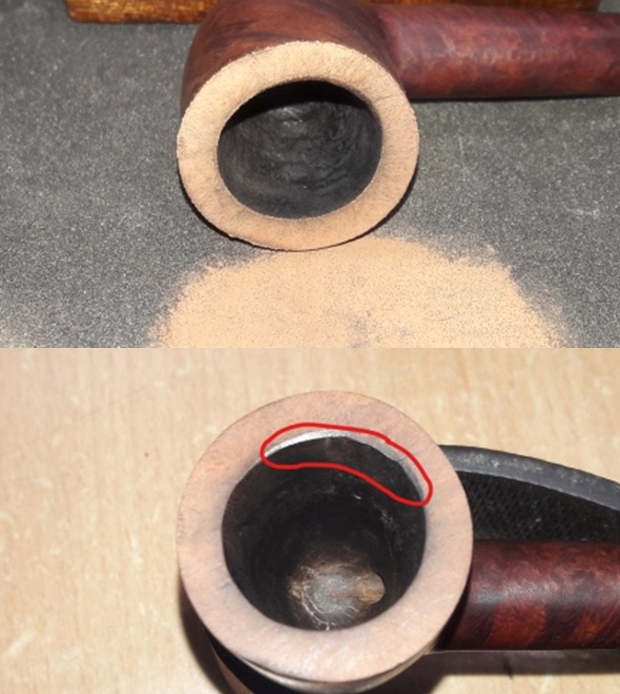
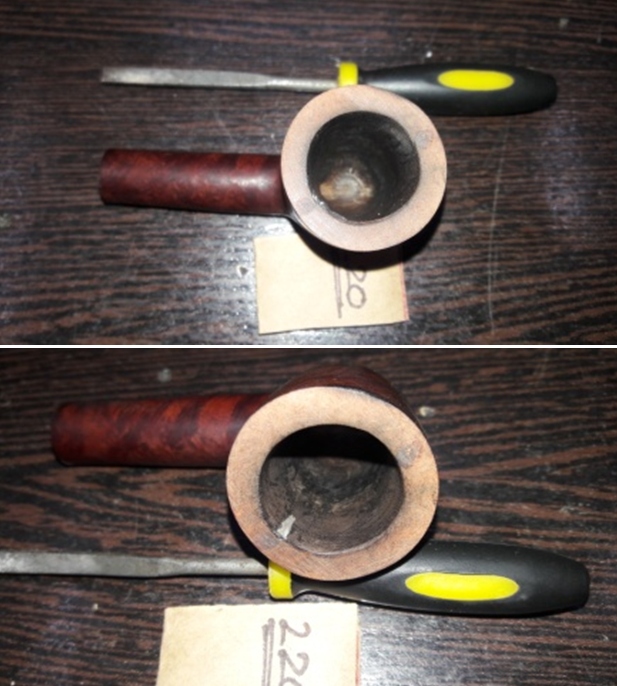
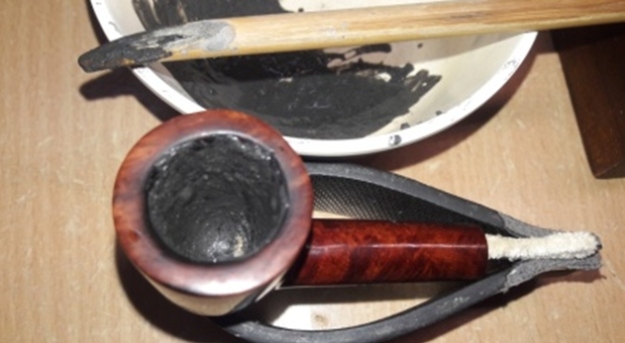
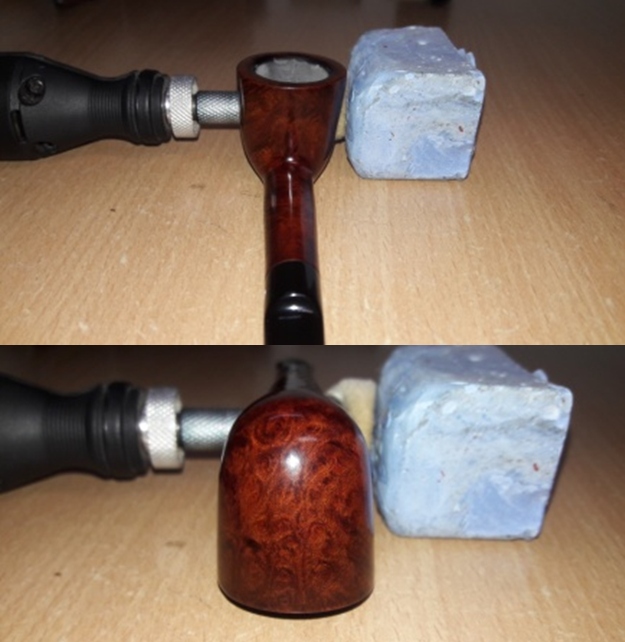
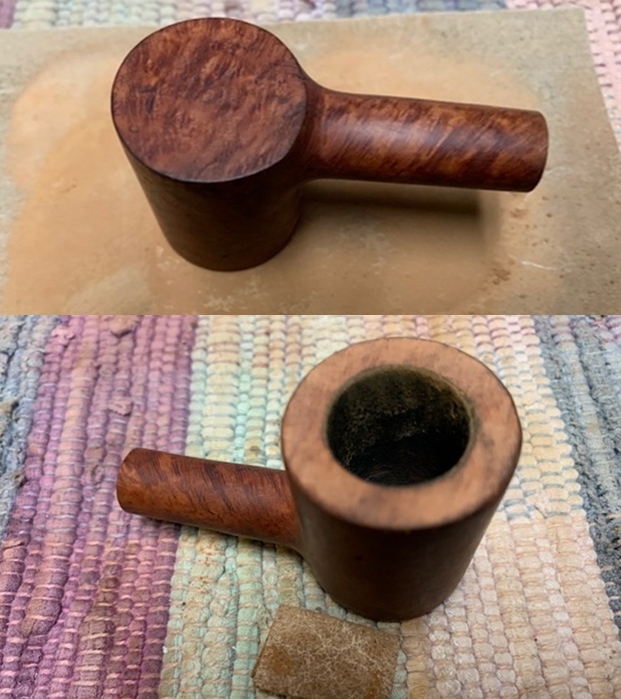
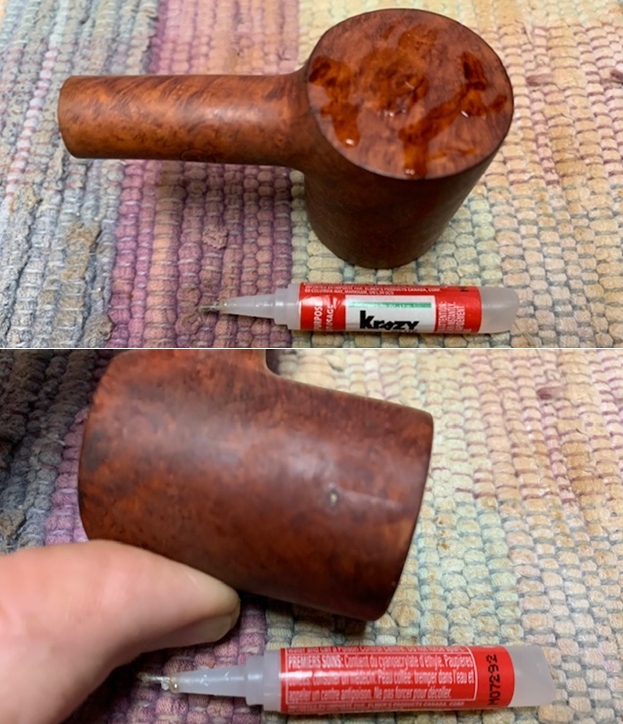
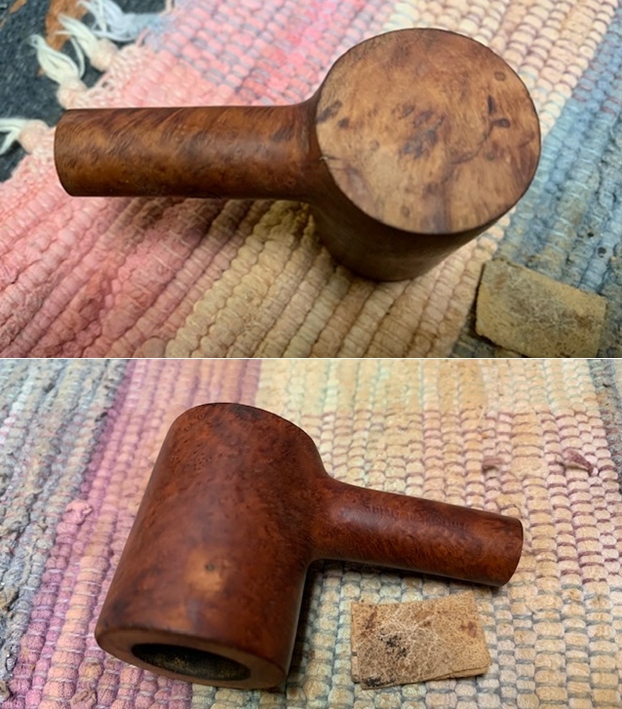
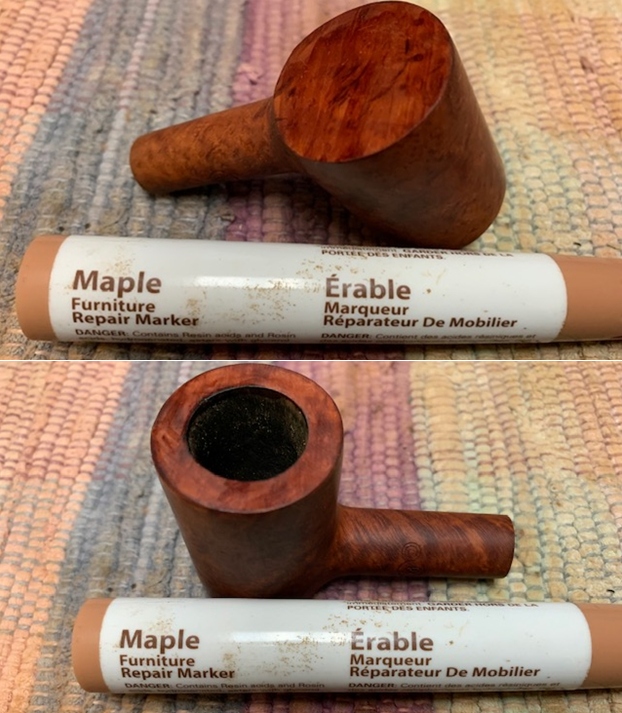
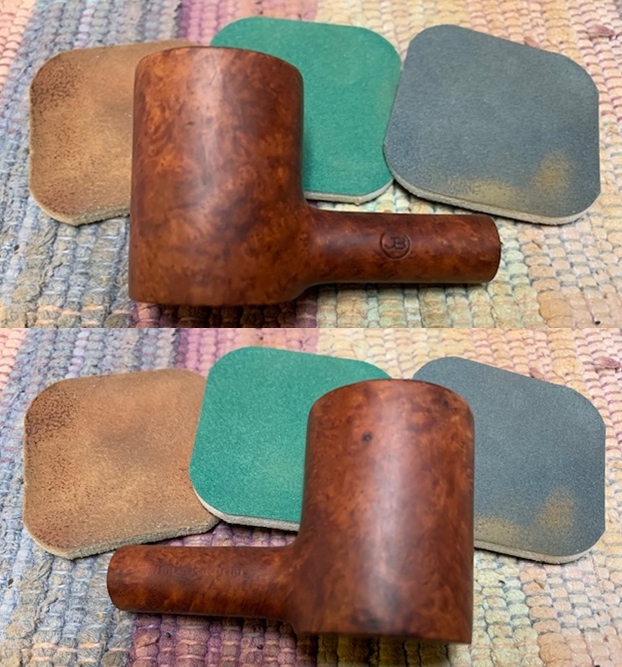
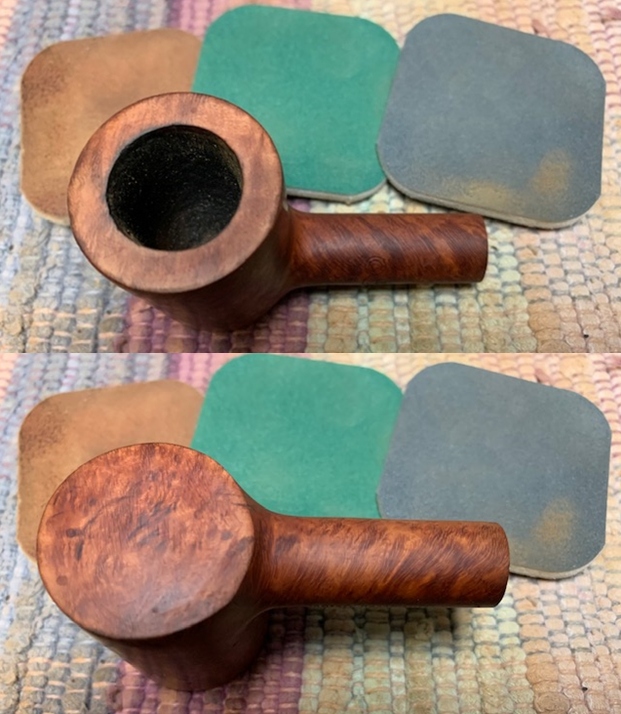
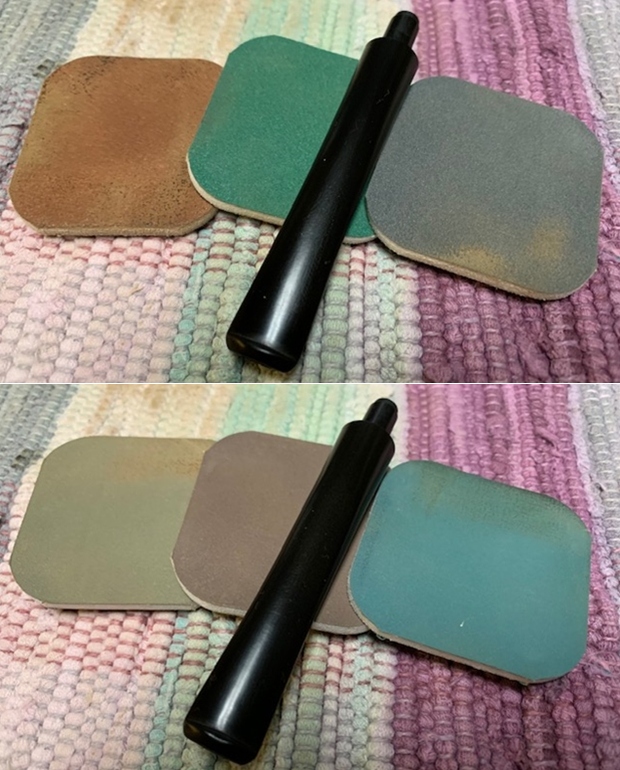
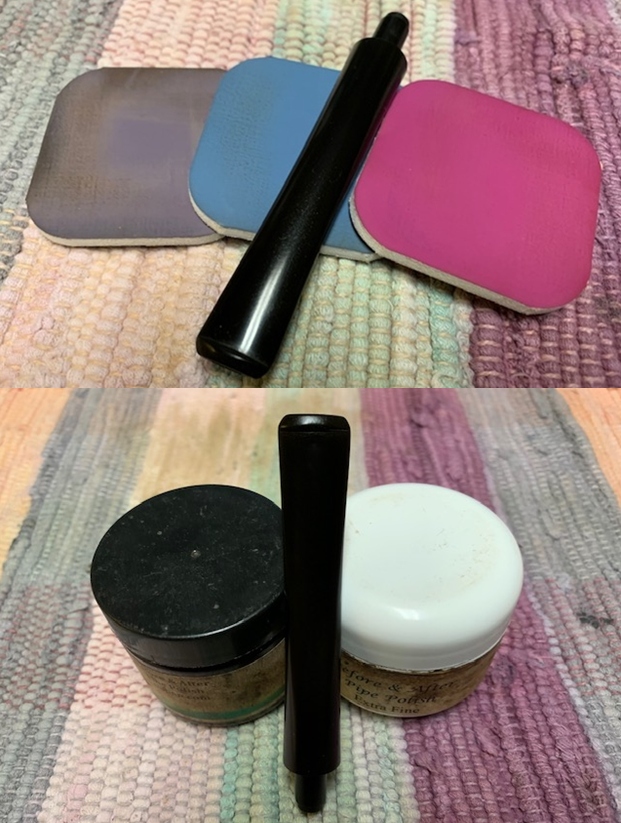
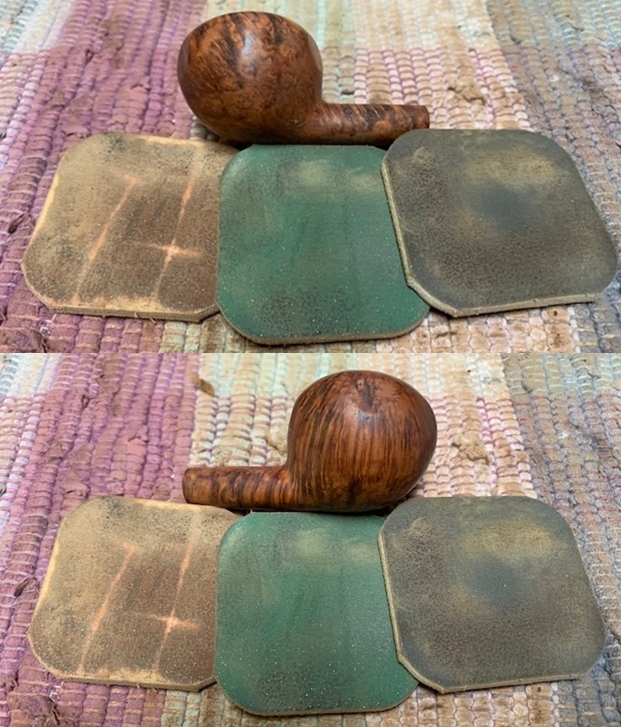
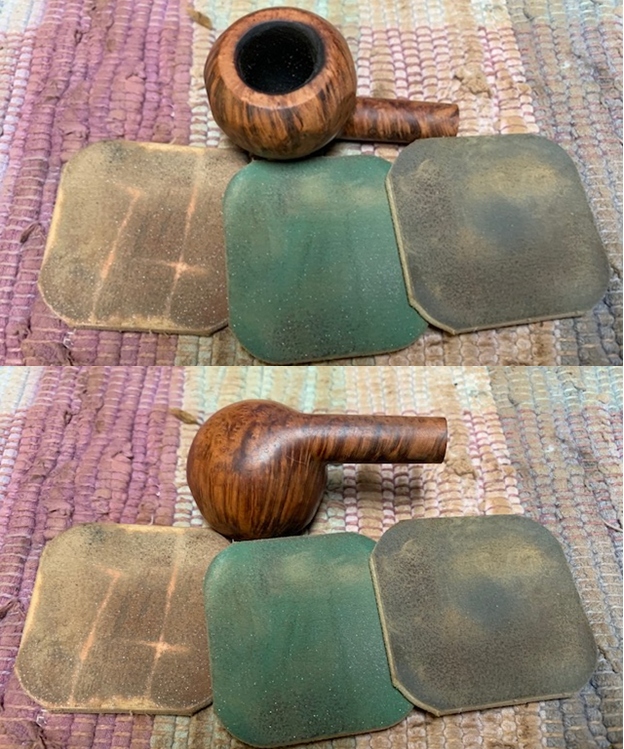
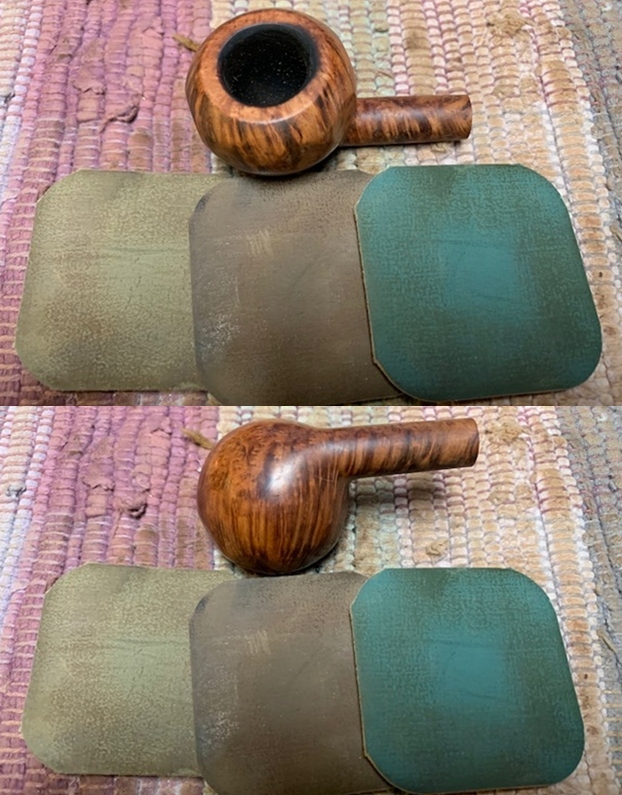
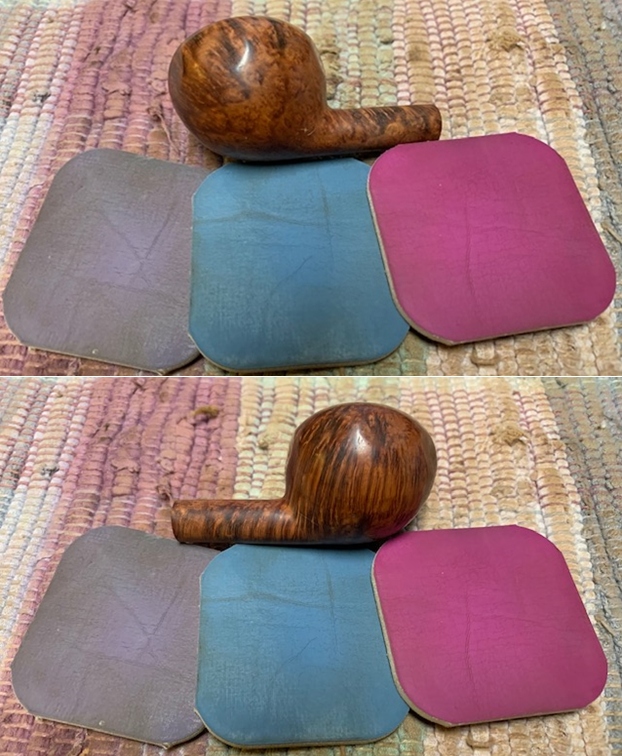
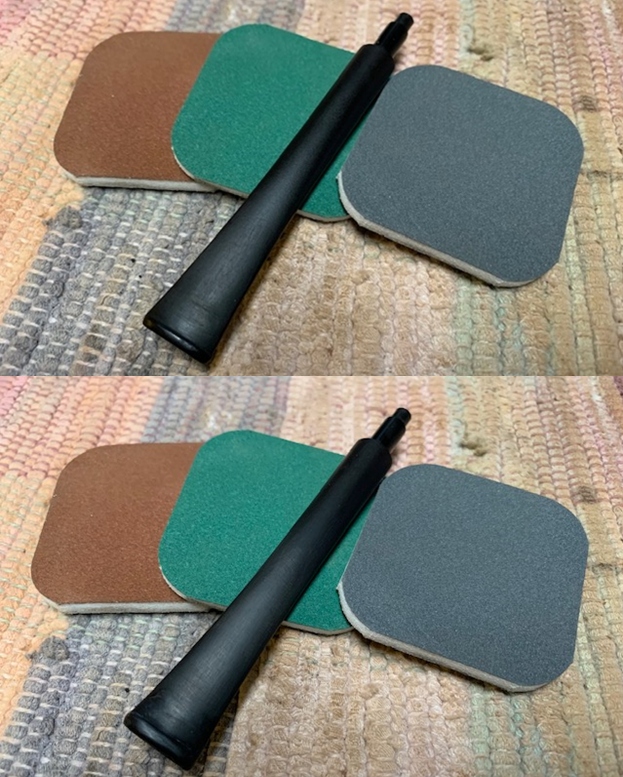
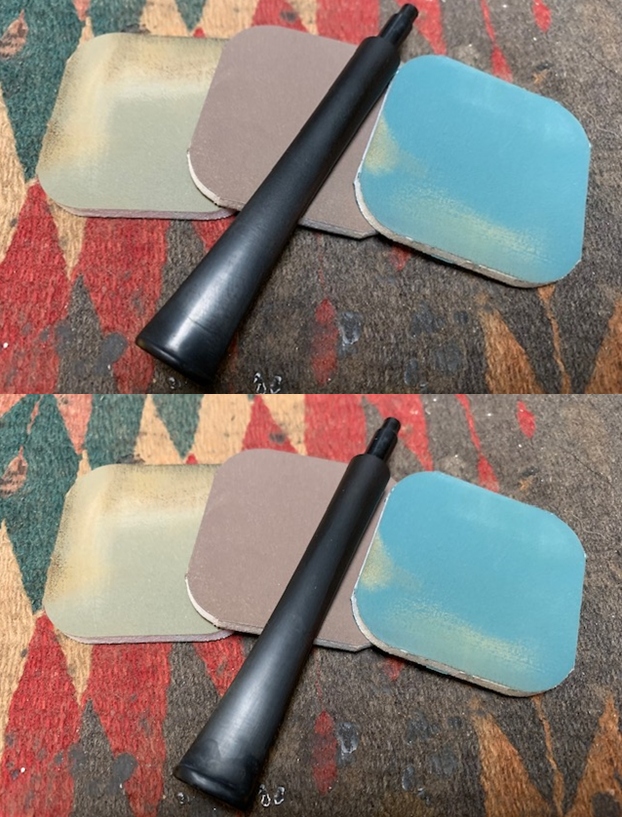
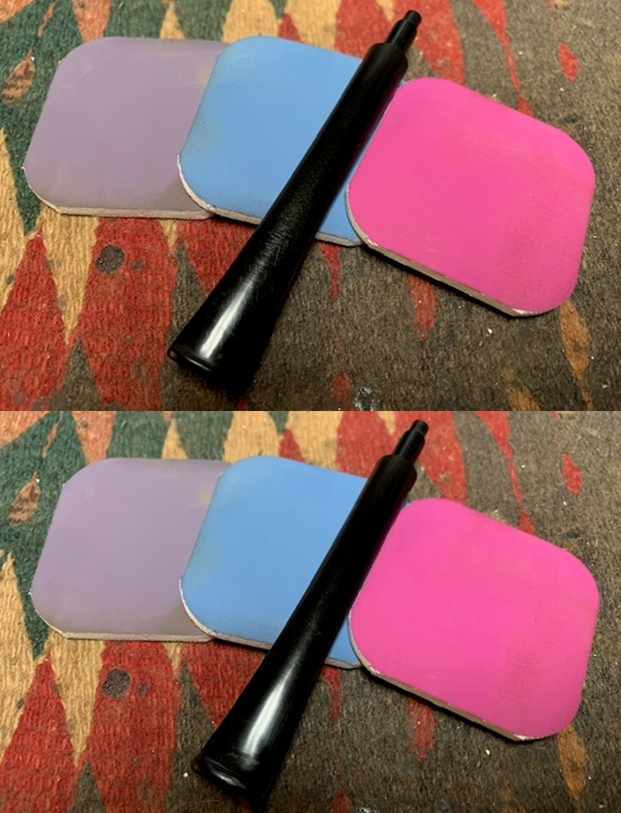
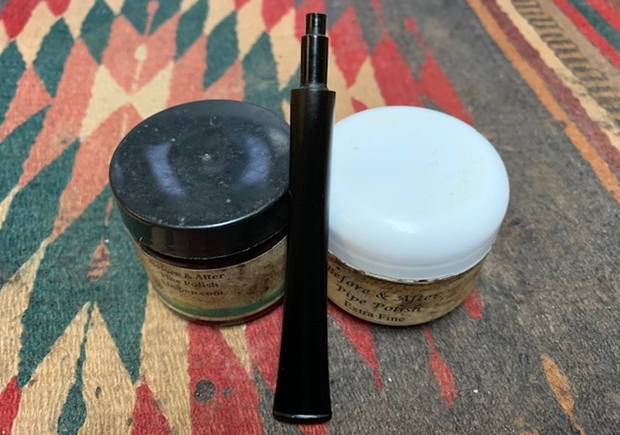
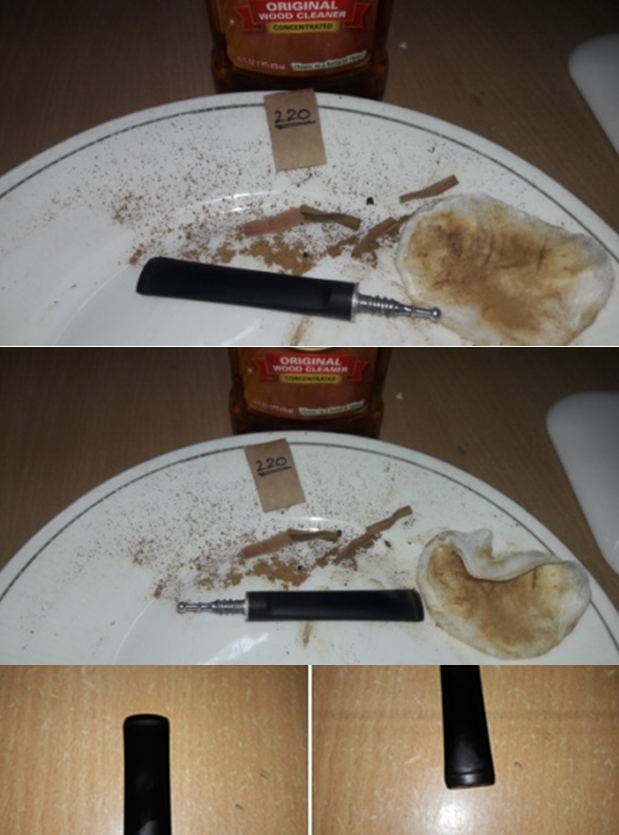
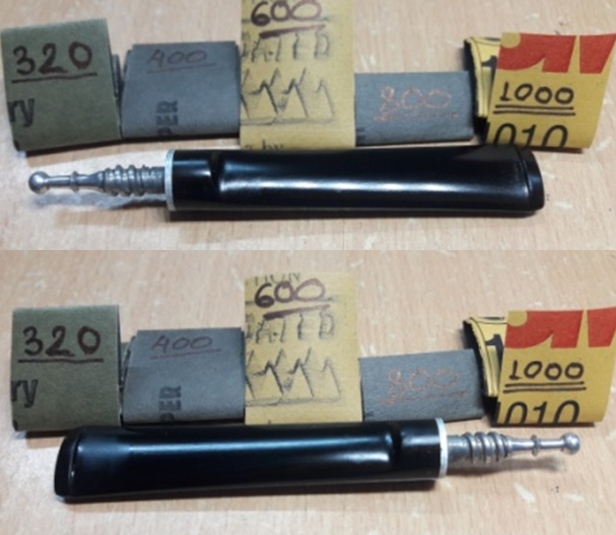
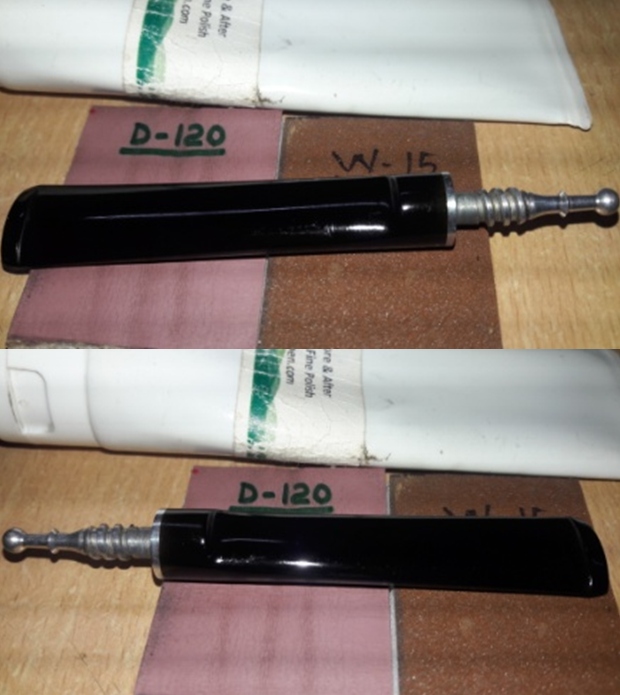
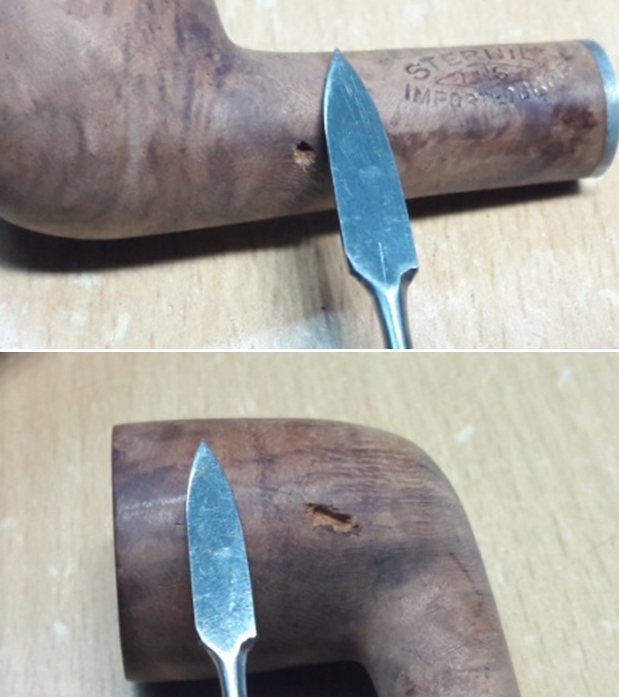
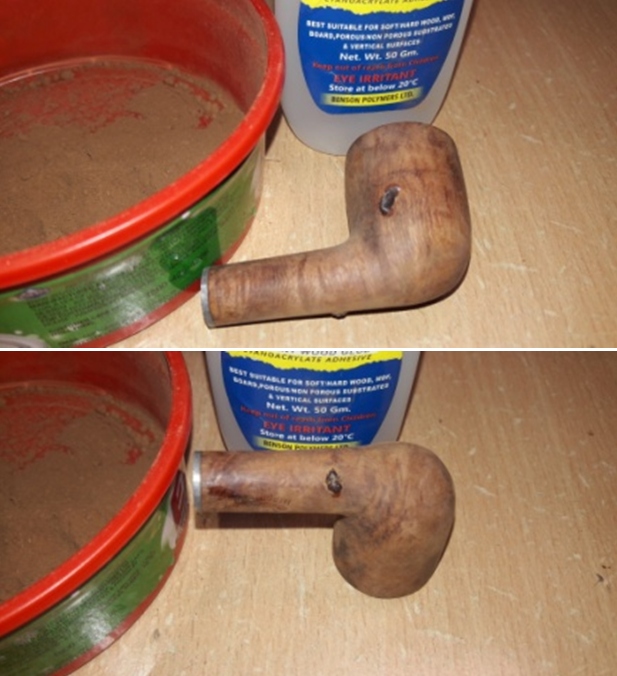
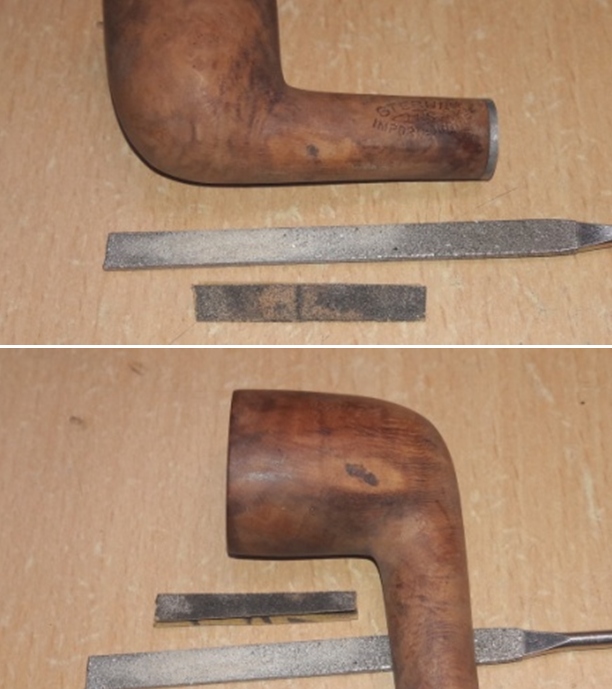
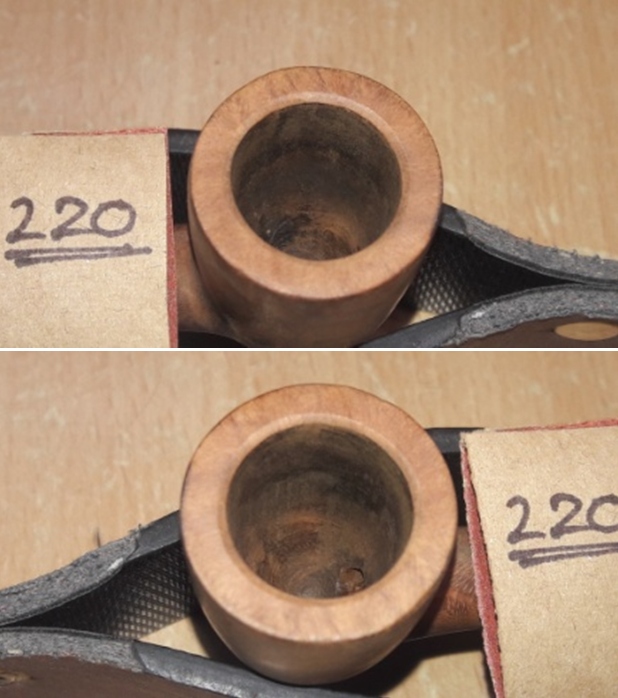
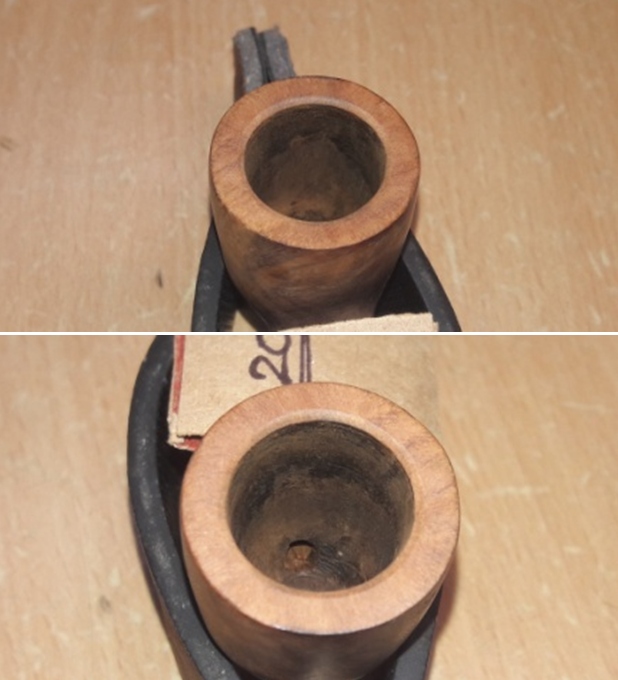
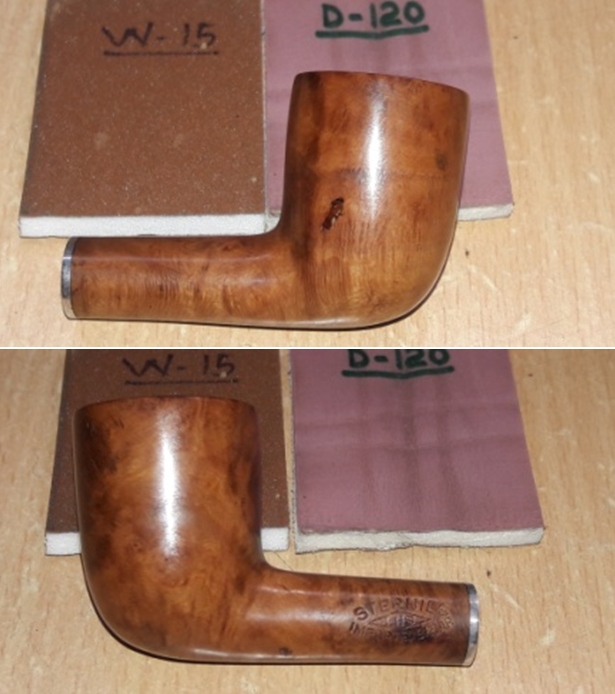
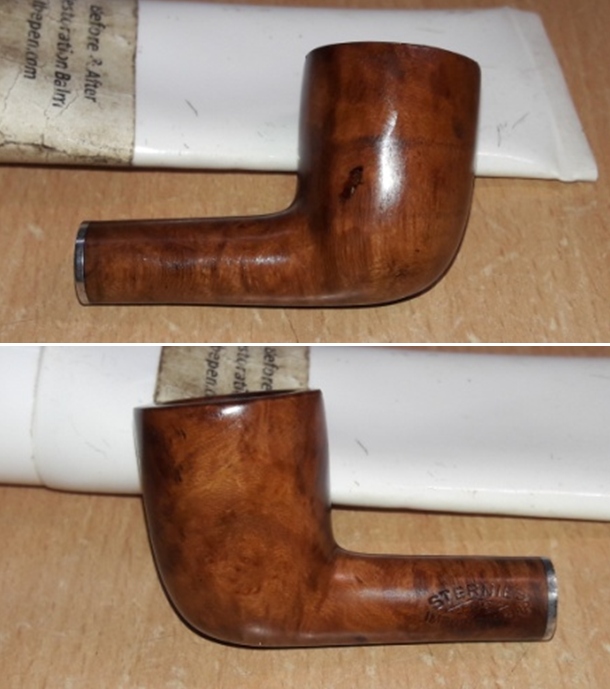
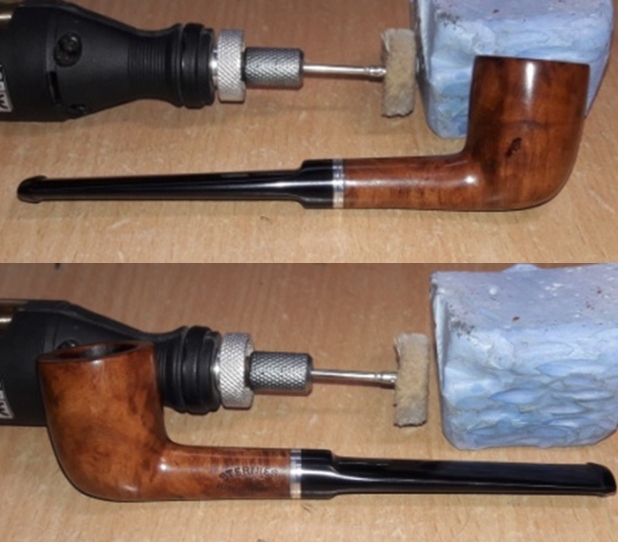
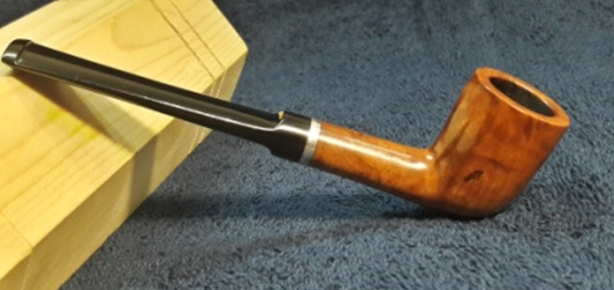
I embarked on the journey of restoring this pipe by addressing the stem first since it would take considerable time to repair and polish. Abha had done a fantastic job of cleaning the stem both internally and externally and this facilitated me to straight away sand the stem surface with a 220 grit sand paper to even out the raised tooth indentation and remove the oxidation from the surface. I follow it up by cleaning the surface with a cotton swab and alcohol. I wipe the stem with a cotton swab and Murphy’s oil soap to deep clean the surface. The tooth chatter has been addressed to a very great extent. The minor tooth marks that remain will further reduce after I had sanded the stem surface with 320 to 1000 grit sand papers followed by the micromesh pads. The button edges are a lot straighter and crispier than before.I further sand the stem surface with 320 followed by 400, 600 and 800 grit sandpapers. I finished the sandpaper cycle by wet sanding the entire stem surface with a piece of 1000 grit sandpaper. I wiped the stem with a moist cloth to remove the sanding dust and applied a small quantity of EVO to hydrate the stem.I completed the polishing cycle of the stem by wet sanding the surface with 1500 to 12000 girt pads. The stem looks great with the tooth chatter nicely matched with the rest of the surface. I also polished the aluminum stinger and the spacer ring with micromesh pads. I gave a final rub with “Before and After Extra Fine” stem polish compound to remove fine scratches from the stem surface. I rub a little quantity of Extra Virgin Olive oil in to the stem surface and set it aside to be absorbed by the vulcanite. The stem polished up nicely and I am happy with the appearance of the stem at this point in restoration.  With the stem refurbishing nearly completed, save for final polish using Blue Diamond and wax, I move to clean the exterior of the stummel. I used a hard bristled tooth brush, Scotch Brit pad and Murphy’s Oil soap to scrub the stummel and rim top. I shall be candid in confessing that I was extra aggressive using the Scotch Brit pad as I was keen to completely remove the peeling lacquer coating over the stummel surface. After the scrub with oil soap, I washed the stummel under running warm water with anti oil dish washing detergent till the stummel surface was clean and dried it using paper towels and soft cotton cloth. I once again cleaned the shank internals with the detergent and hard bristled shank brush and set the stummel aside to dry out naturally. The two fills have gone soft and would need to be refreshed. The stummel has cleaned up nicely with the old lacquer coat completely removed from the surface. The ghost smells are completely eliminated and the pipe now smells fresh, odorless and clean. The shank air way is nice and open. I shall refresh the fills over the stummel surface with a mix of briar dust and superglue. Next I addressed the issues of the two fills in the stummel surface. With a sharp dental tool, I gouged out the fill on the right side of the stummel and one on the left side of the shank. Using the layering method, I filled these gouges with a mix of briar dust and CA superglue till the mound of the mix was slightly above the rest of the stummel surface. This helps in a better blending of the fill with the rest of the stummel surface while sanding and reduces the scratches caused by the use of a needle file since you have a correct perspective of the sanding that is required. I set the stummel aside for the fills to cure. Using a flat needle file, I sand the fill till I had achieved a rough match with the surrounding stummel surface. I sand the entire stummel with a piece of 220 grit sand paper to further blend in the fills with the stummel surface.   I topped the rim top surface on a piece of 220 grit sand paper, checking frequently for the progress being made as I hate to loose briar estate any more than absolutely necessary. The issue of uneven rim top surface has now been completely addressed. At this stage, the slight darkening to the outer edge too has been completely addressed while the charring to the inner edge, though eliminated to a great extent, is still discernible. I shall create a bevel to the inner edge to blend and mask the damaged edge with the rest of the inner edge.  The inner rim edge appeared to be slightly uneven at the front and at the back end of the rim top due to charring and I decided to mask it by creating a bevel. With a folded piece of a 220 grit sand paper pinched between my thumb and forefinger, I create a nice and even bevel on the inner edge. I was careful so as not to alter the profile of the stummel by excessive topping or creation of the bevel. I am pretty pleased with the appearance of the rim top and edges at this stage. The following pictures show the progress being made and improvements to the inner and outer rim edges. I wet sand the entire stummel with 1500 to 12000 grit micromesh pads, wiping frequently with a moist cloth to check the progress.I also polished the shank end aluminum spacer ring with the micromesh pads to a nice shine. I really like the looks of the stummel at this point in restoration. The grains and the clean lines of this piece of briar is really appreciable. The few scratches and dings that were noticed over the stummel surface too have been addressed by this stage due to the sanding and micromesh pad polishing. The fills are quite evident and whether to mask it using a dark brown stain or let it be, is a decision that I shall take subsequently.    Next, I rub a small quantity of “Before and After Restoration Balm” in to the stummel surface with my finger tips and let it rest for a few minutes. I worked the restoration balm deep in to the briar wood. The balm almost immediately works its magic and the briar now has a nice vibrant appearance. The stummel looks very handsome with the contrasting dark and light brown hues. The fills have blended in quite nicely with the surrounding dark brown hues taken on by the stummel surface after the application of the balm. To complete the restoration, I mount a cotton cloth buffing wheel on to my hand held rotary tool and applied a coat of Blue Diamond to the stummel and the stem to polish out the minor scratches.    With a cotton buffing wheel that I use for carnauba wax, I apply a coat of carnauba wax and continue to work on it till the complete coat of wax had been polished out. I finished the restoration by giving the entire pipe a rigorous hand buffing using a microfiber cloth to raise the shine further. The completed pipe looks fresh, vibrant and ready for its next innings with a piper interested in adding it to his/ her collection. This piece of briar feels fantastic in hands with its ultra lightweight, classic shape and a size that is just right for a quick smoke in between breaks. Thank you to all esteemed readers for joining me and walking with me through this restoration. Cheers!! P.S. I had consulted with my wife, Abha, whether or not to stain this pipe with a dark brown stain to mask the fills since she has a better understanding and appreciation of colors than me (isn’t that true for all the men?). She suggested that the natural color of the briar looks smashing while any staining will hide the grain patterns and that the fills actually blend in nicely when seen in person. It’s actually a fact that pictures highlights flaws more than they actually appear in person.
Praying for the safety and well being of all readers and their loved ones…
Breathing Life into a Super Grain Kaywoodie 80B Apple


Blog by Steve Laug

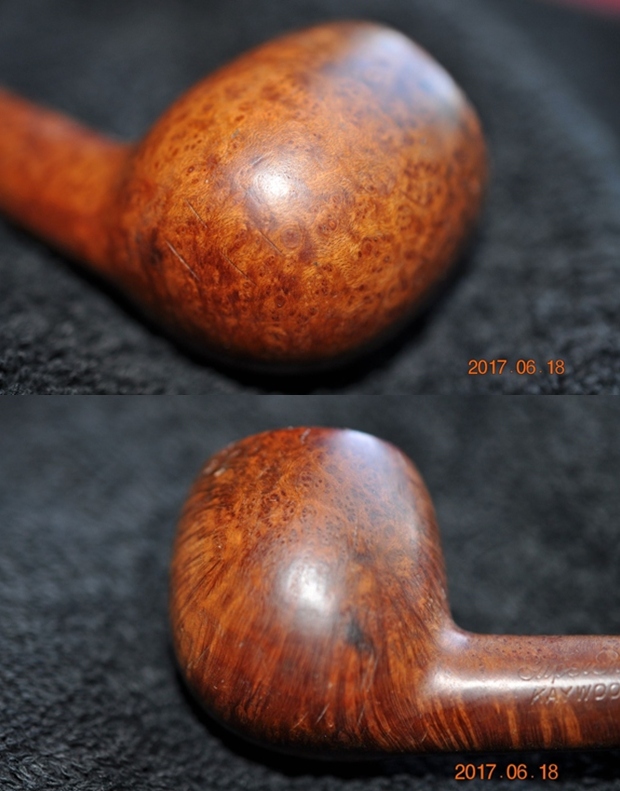
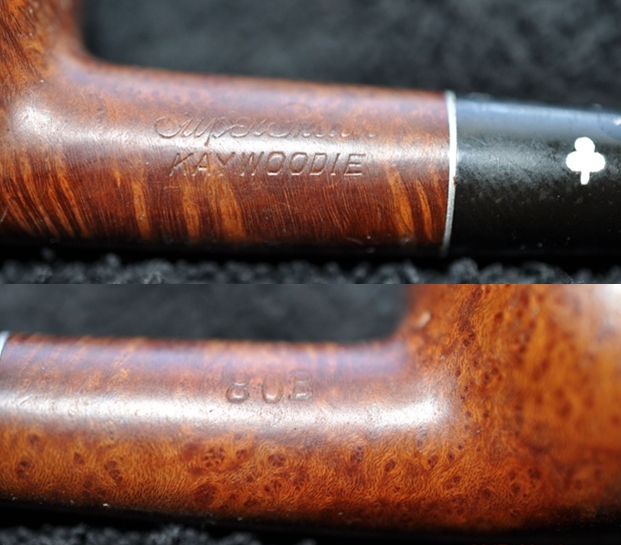
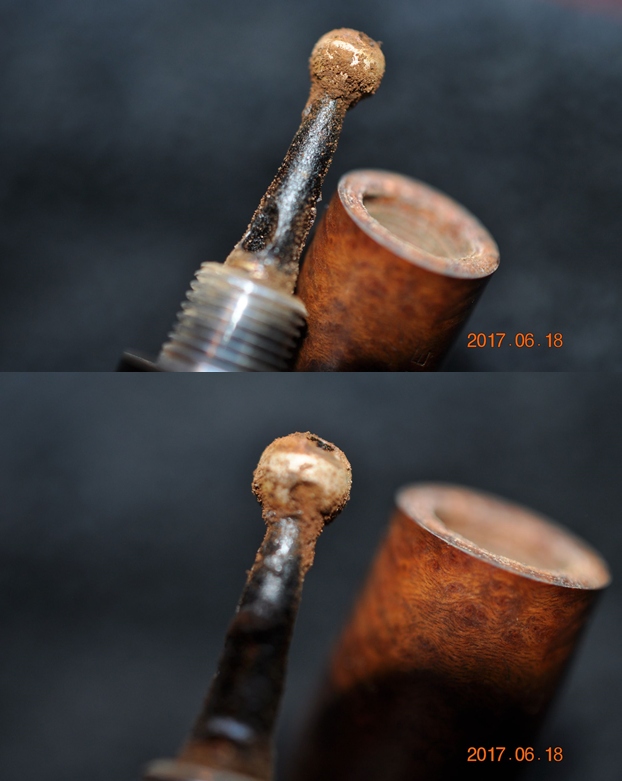
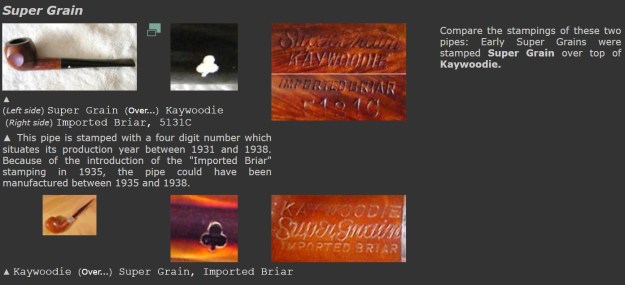
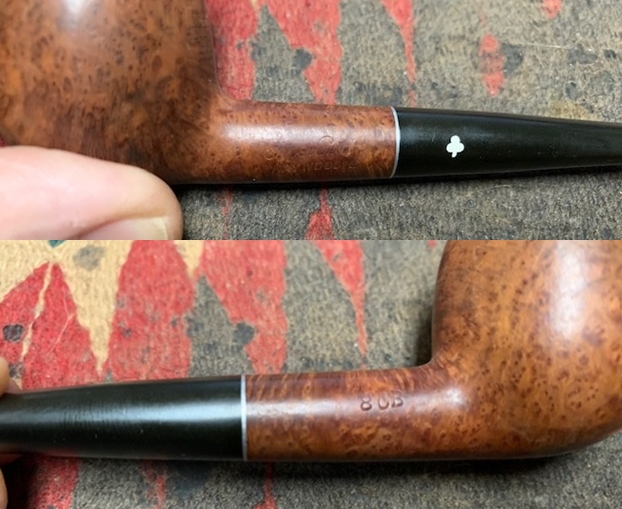
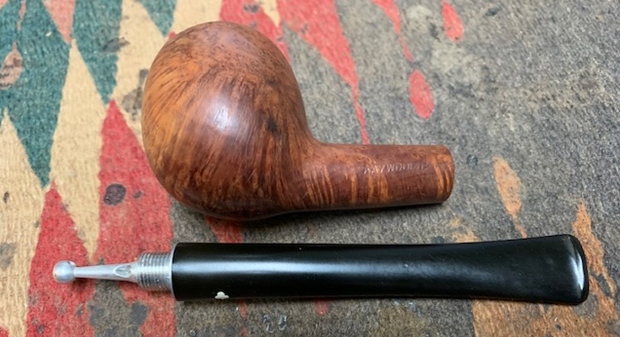
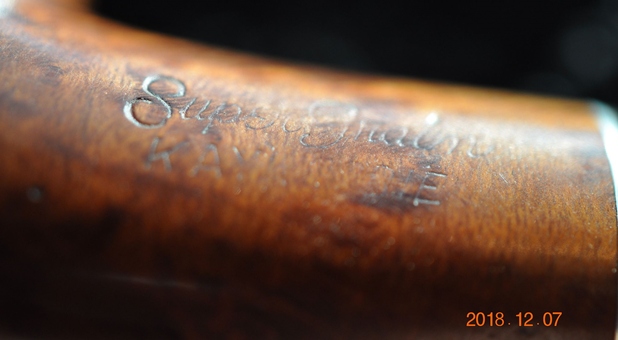
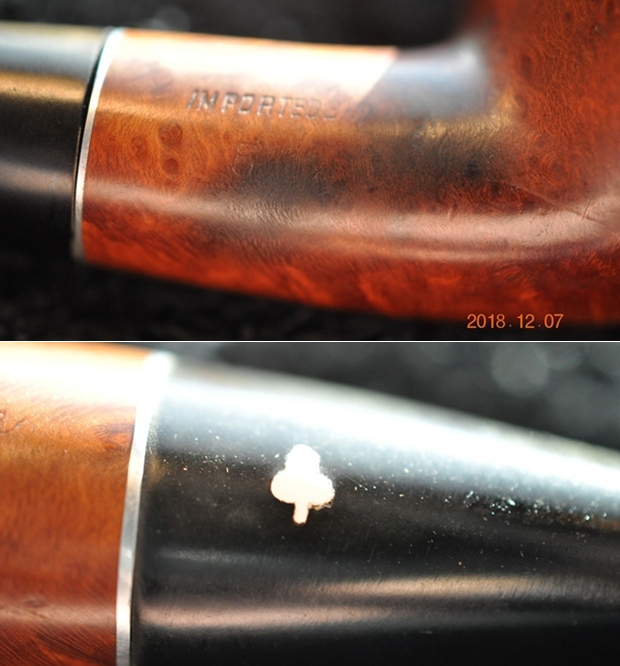
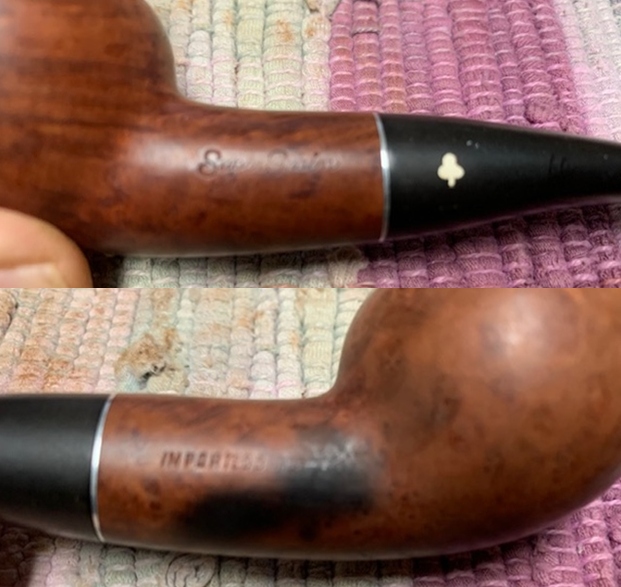
The next pipe on the table has been here a long time. It was found in a pipe hunt that Jeff and I did in 2017 at long since closed Antique Mall in Pocatello, Idaho, USA. It was a tired and worn Kaywoodie Super Grain straight apple with a threaded tenon. The smooth finish on the bowl was very dirty and worn. The pipe was filthy and there was significant rim top damage. The bowl had a thick cake that made me wonder how it could still be smoked. There was tobacco debris in the bottom of the bowl and a thick overflow of lava on the rim top. It is hard to know what the inner edge of the rim looked like under the lava coat. The outer edge of the rim had some darkening and chips around the edges. The pipe is stamped on the left side of the shank and reads Super Grain [over] Kaywoodie on the left side of the shank. On the right side it is stamped with the shape number 80B. The stamping is faint but readable on the pipe. The stem was dirty and lightly oxidized. There were light tooth marks and chatter on the stem near the button on both sides and some on the surface of the button as well. There was the Kaywoodie White Club/Clover logo on the left side of the taper stem. The stinger apparatus is a four-hole one that is threaded into the threaded tenon. It is a different kind of set up than previous Super Grain pipes that I have worked on it. The stamping and the stinger date it as an older one. Jeff took photos of the pipe before he worked on it. Jeff took a close up photo of the bowl and rim to capture the condition of the pipe before he started the cleanup work. The bowl had an incredibly thick cake and a thick overflow of lava on the rim top. It was hard to know what the inner edge looked like but the outer edge was a mess. The stem is lightly oxidized, calcified and dirty and there is tooth chatter and marks on both sides of the stem ahead of the button.   Jeff took a photo of the side and heel of the bowl to give a picture of what the briar looked like. There is some nice grain on the piece of briar. The stamping on the sides of the shank read as noted above. The photos show that they are very faint but readable. The Clover/Club on the left side of the stem is in good condition. Jeff took a photo of the interesting stinger and threaded tenon set up. The stinger was absolutely covered with grime and tars.  The two digit shape number and the threaded 4 hole stinger told me a lot about the age of the pipe but I wanted to know a bit more. I turned first to Pipephil’s site as it is always a quick sources of information (http://pipephil.eu/logos/en/logo-kaywoodie-2.html). I have included a screen capture of the section on the Super Grain Below.Up until the late 1940’s/early 50’s, the logo was on top of the stem. After that the logo was moved to the side of the stem (exceptions exist). The one I am working on has the white cloverleaf logo on the left side making the pipe an early 1950’s. The 4-hole stinger also fits this time period.

From that section I learned that indeed the pipe was older because of the stamping, Super Grain over Kaywoodie. I could narrow it down because it did not inlcude the Imported Briar stamp which was added in 1935 though that is not always the case. The cloverleaf logo on the left side of the stem also moved the date forward to the early 1950’s. I also knew that 4 hole stingers occurred on pipes in the 60’s. So it appears that the pipe came out between the early 50s to the 1960s.

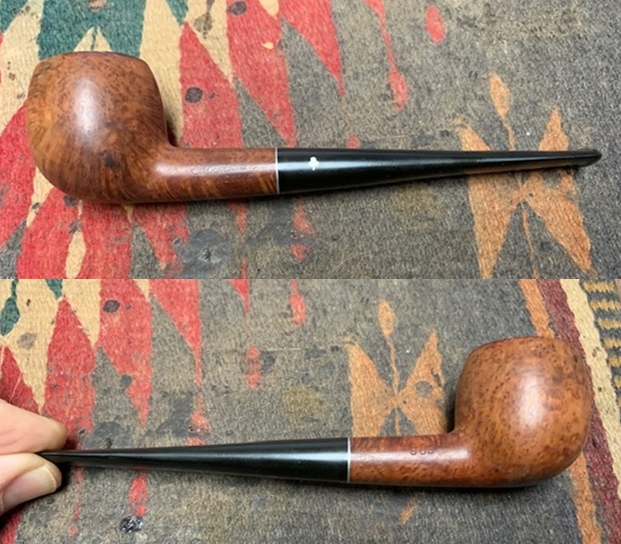
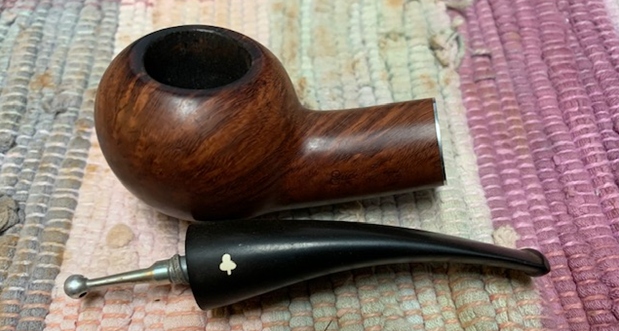
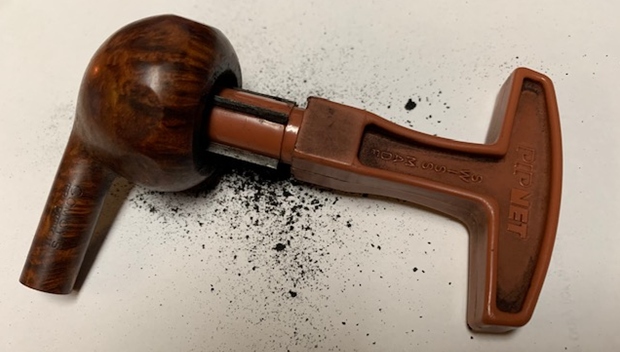
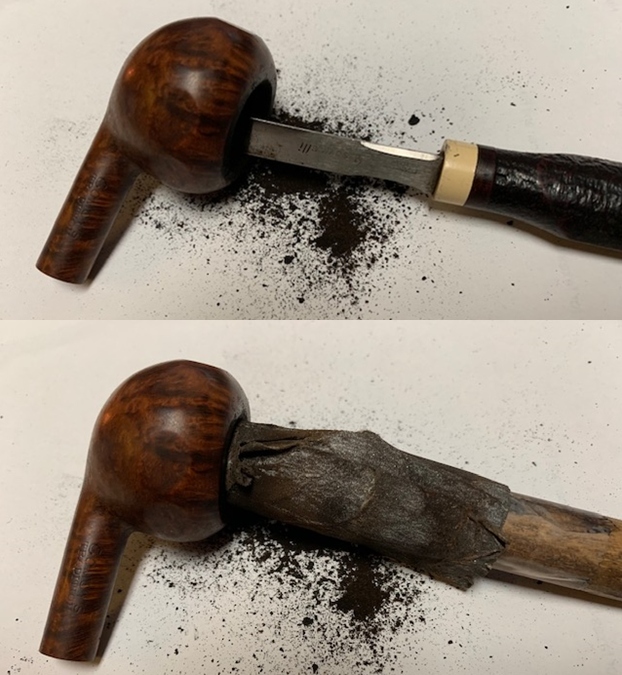
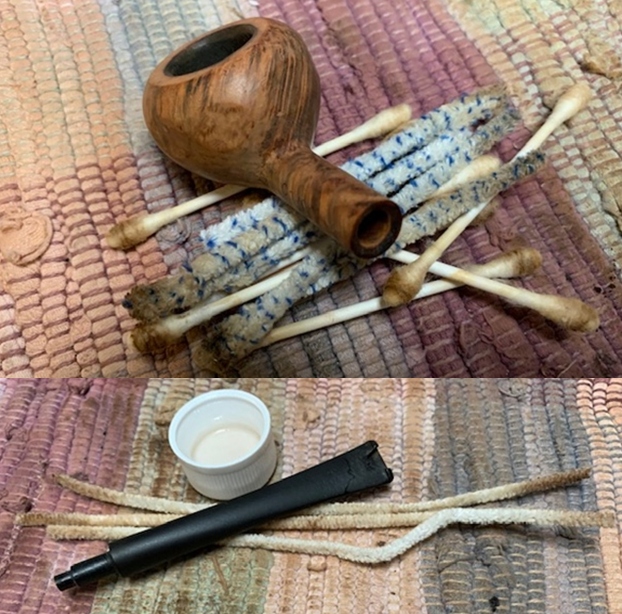
Jeff had cleaned up the pipe with his usual penchant for thoroughness. He reamed the pipe with a PipNet pipe reamer and removed the rest of it with a Savinelli Fitsall Pipe Knife.  He scrubbed the bowl with undiluted Murphy’s Oil Soap with a tooth brush. He rinsed it under running warm water to remove the soap and grime. He cleaned out the inside of the shank and the airway in the stem with alcohol, cotton swabs and pipe cleaners. He soaked the stem in Before & After Deoxidizer and rinsed it off with warm water. When the pipe arrived and I unpacked it the stem was broken off at the end. There was about a ¼ inch of the stem and the entire button was in the bottom of the bag that the pipe was packed in. I took photos of the pipe once I received it. The rim top cleaned up really well. The rim top and outer edge of the bowl show damage from being knocked against a hard surface. There is damage to the inner edge of the bowl and bowl is slightly out of round.  The stem surface looked very good with tooth marks and chatter on the top side and the underside near the button.     The stamping on the sides of the shank is faint but readable. It reads as noted above. I removed the stem and took a photo of the pipe to give a sense of the whole.  The four hole stinger is in excellent condition.   I started my work on the pipe by cleaning up the inner edge of the bowl with a folded piece of 220 grit sandpaper. I topped the bowl on a topping board to remove the damage to the rim top. It also helped to minimize some of the damage to the inner edge. Once I had it cleaned up the rim top damage was minimized. I sanded the outer edge of the bowl with the sandpaper to smooth out the damage there. I polished the briar with micromesh sanding pads – wet sanding with 1500-12000 grit pads and wiping the briar down with a damp cloth after each pad. The briar began to take on a rich glow. I rubbed the briar down with Before & After Restoration Balm. I worked it into the briar with my fingertips into the briar. The product works to clean, enliven and preserve the briar. I let it sit for 10-15 minutes while I worked on the stem. After the time passed I buffed it with a cotton cloth to deepen the shine. I set the bowl aside and turned my attention to the stem. The stem was in good condition and I would be able to polish out the tooth chatter. I polished the stem with micromesh sanding pads – 1500-12000 grit pads. I wiped it down with Obsidian Oil after each sanding pad. I used Before & After Pipe Polish – both Fine and Extra Fine to further polish the stem.    This Super Grain Kaywoodie 80B Straight Apple is a great looking pipe. The smooth finish and brown stain around the bowl sides and shank make the grain just pop. Even the burn mark on the right side of the shank while present does not detract from the beauty of the pipe. The finish on the pipe looks great and the brown stains work well to give some contrast to the polished black vulcanite taper stem. The pipe is really quite eye-catching. I put the stem back on the bowl and buffed the pipe with Blue Diamond on the buffing wheel, carefully avoiding the stamping on the shank. I gave the bowl and the stem multiple coats of carnauba wax on the buffing wheel and followed that by buffing it with a clean buffing pad. I hand buffed the pipe with a microfiber cloth to deepen the shine. There were two burn marks – one on the lower left side of the bowl and the other on the back toward the topside. The finished Straight Apple Super Grain is quite nice and feels great in the hand. Give the finished pipe a look in the photos below. I can only tell you that like the other pipes I am working that it is much prettier in person than the photos capture. The dimensions of the pipe are Length: 6 inches, Height: 1 ½ inches, Outside diameter of the bowl: 1 ¼ inches, Chamber diameter: ¾ of an inch. The weight of the pipe was 32g/1.13oz. Thanks for walking through the restoration with me as I worked over another interesting pipe. This Super Grain Kaywoodie will be added to the American Pipe Makers section of the rebornpipes store soon. If you want to add it to your collection send me an email or a message! Thanks for your time.

Breathing Life into a Kaywoodie Super Grain 50 Chubby Apple


Blog by Steve Laug

The next pipe on the table came to us from one of our pipe hunts or a trade I just cannot remember. It is a very nice Kaywoodie Super Grain Chubby Apple with a threaded tenon stem. The finish is quite nice with a classic Kaywoodie smooth finish. There are burn marks around the right side of the bowl at the rim as well as some serious damage on the right side of the shank that hides the shape number quite a bit. The pipe was pretty clean other than the burn damage on the bowl. The bowl had been reamed somewhere along the way and the bowl was pretty clean. There was darkening on the rim top and a bit of damage on the inner edge of the rim. The pipe is stamped on the sides of the shank and reads Super Grain [over] Kaywoodie on the left side of the shank. On the right side it reads Imported Briar [over] the shape number and what appears 50. The stamping is faint but readable on the pipe. The stem was dirty and lightly oxidized. There were light tooth marks and chatter on the stem near the button on both sides and some on the surface of the button as well. There was the Kaywoodie White Club/Clover logo on the left side of the taper stem. The stinger apparatus is a four hole one that dates it as an older one. Jeff took photos of the pipe before he worked on it. Jeff took a close up photo of the bowl and rim to capture the condition of the pipe before he started the cleanup work. The bowl has a light cake and the burn marks on the top and right side of the bowl. The inside edge of the rim was damaged on the right inner edge of the wall. The stem is deeply oxidized, calcified and dirty and there is tooth chatter and marks on both sides of the stem ahead of the button.   Jeff took a photo of the side and heel of the bowl to give a picture of what the briar looked like. There is some nice grain on the piece of briar.The stamping on the sides of the shank read as noted above. The photos show that they are very faint but readable. The burn mark on the right side of the shank is also very visible. The Clover/Club on the left side of the stem is in good condition. The two digit shape number and the threaded 4 hole stinger gave a hint about the age of the pipe but I wanted to know a bit more. I turned first to Pipephil’s site as it is always a quick sources of information (http://pipephil.eu/logos/en/logo-kaywoodie-2.html). I have included a screen capture of the section on the Super Grain Below.Up until the late 1940’s/early 50’s, the logo was on top of the stem. After that the logo was moved to the side of the stem (exceptions exist). The one I am working on has the white cloverleaf logo on the left side making the pipe a post early 1950’s. The 4 Hole stinger also fits this time period.

From that section I learned that indeed the pipe was older because of the stamping, Super Grain over Kaywoodie. I could narrow it down because it also included the Imported Briar stamp which was added in 1935. The cloverleaf logo on the left side of the stem also moved the date forward to the early 1950’s. I also knew that 4 hole stingers occurred on pipes in the 60’s. So it appears that the pipe came out between the early 50s to the 1960s.

Jeff had cleaned up the pipe with his usual penchant for thoroughness. He reamed the pipe with a PipNet pipe reamer and removed the rest of it with a Savinelli Fitsall Pipe Knife.  He scrubbed the bowl with undiluted Murphy’s Oil Soap with a tooth brush. He rinsed it under running warm water to remove the soap and grime. He cleaned out the inside of the shank and the airway in the stem with alcohol, cotton swabs and pipe cleaners. He soaked the stem in Before & After Deoxidizer and rinsed it off with warm water. When the pipe arrived and I unpacked it the stem was broken off at the end. There was about a ¼ inch of the stem and the entire button was in the bottom of the bag that the pipe was packed in. I took photos of the pipe once I received it. The rim top cleaned up really well. The rim top and outer edge of the bowl show the burn damage on the top an front of the bowl. There is damage to the inner edge of the bowl and bowl is slightly out of round.  The stem surface looked very good with tooth marks and chatter on the top side and the underside near the button.      The stamping on the sides of the shank is faint but readable. It reads as noted above. You can also see the burn mark in the briar on the  right side of the shank.      I removed the stem and took a photo of the pipe to give a sense of the whole.  The four hole stinger is in excellent condition.I started my work on the pipe by topping  the bowl on a topping board to remove the damage to the rim top. It also helped to minimize some of the damage to the inner edge. I cleaned the inner edge of the bowl with a folded piece of 220 grit sandpaper. Once I had it cleaned up the rim top damage was minimized. I also worked on the shank side burn damage and was able to remove some of the damage but the burn mark was quite deep. When working with burn marks you have to make a decision how far to go with the sanding. In this case too much sanding would have changed the profile of the pipe so I worked to minimize it rather than remove it. I polished the briar with micromesh sanding pads – wet sanding with 1500-12000 grit pads and wiping the briar down with a damp cloth after each pad. The briar began to take on a rich glow.  I rubbed the briar down with Before & After Restoration Balm. I worked it into the briar with my fingertips into the briar. The product works to clean, enliven and preserve the briar. I let it sit for 10-15 minutes while I worked on the stem. After the time passed I buffed it with a cotton cloth to deepen the shine. I set the bowl aside and turned my attention to the stem. The stem was in good condition and I would be able to polish out the tooth chatter. I polished the stem with micromesh sanding pads – 1500-12000 grit pads. I wiped it down with Obsidian Oil after each sanding pad. I used Before & After Pipe Polish – both Fine and Extra Fine to further polish the stem.    This Super Grain Kaywoodie 50 Chubby Apple is a great looking pipe. The smooth finish and brown stain around the bowl sides and shank make the grain just pop. Even the burn mark on the right side of the shank while present does not detract from the beauty of the pipe. The finish on the pipe looks great and the brown stains work well to give some contrast to the polished black vulcanite taper stem. The pipe is really quite eye-catching. I put the stem back on the bowl and buffed the pipe with Blue Diamond on the buffing wheel, carefully avoiding the stamping on the shank. I gave the bowl and the stem multiple coats of carnauba wax on the buffing wheel and followed that by buffing it with a clean buffing pad. I hand buffed the pipe with a microfiber cloth to deepen the shine. The finished Chubby Apple Super Grain is quite nice and feels great in the hand. Give the finished pipe a look in the photos below. I can only tell you that like the other pipes I am working that it is much prettier in person than the photos capture. The dimensions of the pipe are Length: 5 ½ inches, Height: 1 ¼ inches, Outside diameter of the bowl: 1 ½ inches, Chamber diameter: ¾ of an inch. The weight of the pipe was 43g/1.52oz. Thanks for walking through the restoration with me as I worked over another interesting pipe. This Super Grain Kaywoodie will be added to the American Pipe Makers section of the rebornpipes store soon. If you want to add it to your collection send me an email or a message! Thanks for your time.

Restoring a MALAGA Second  Octagonal Panel, Square Shank Billiard


Blog by Steve Laug

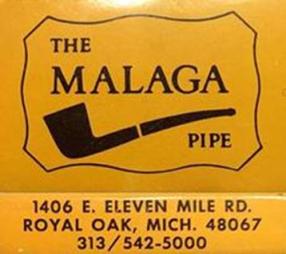
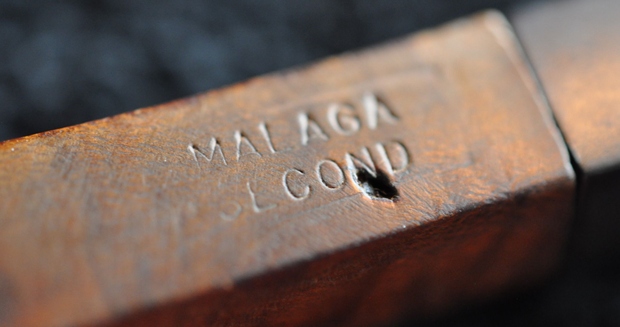
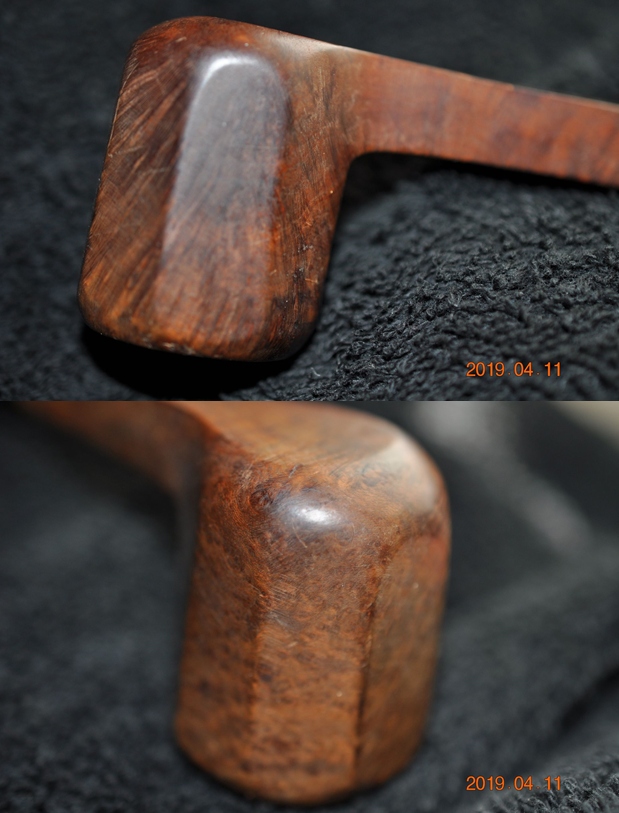
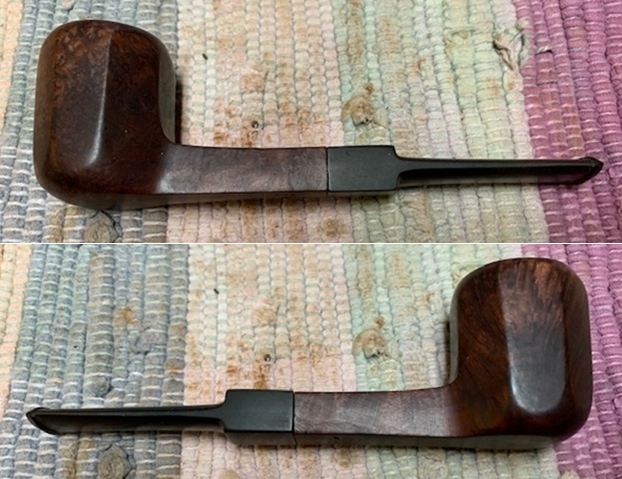
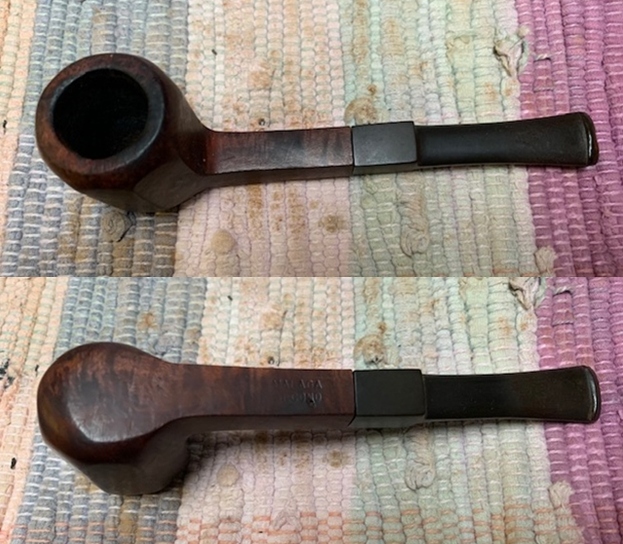
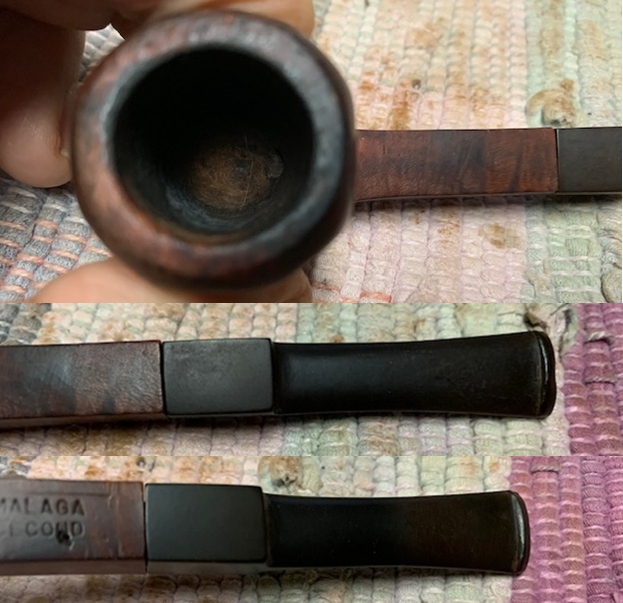
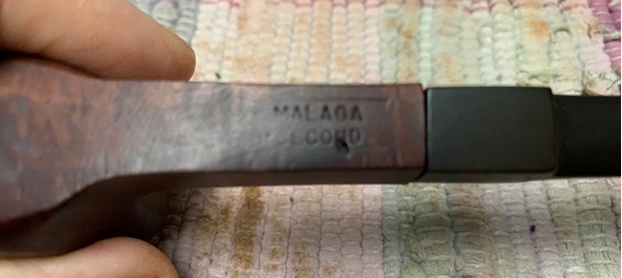
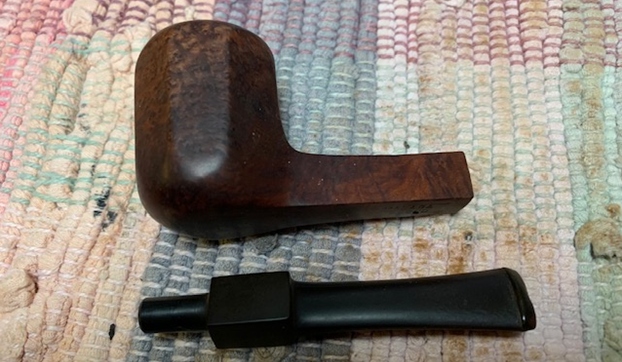
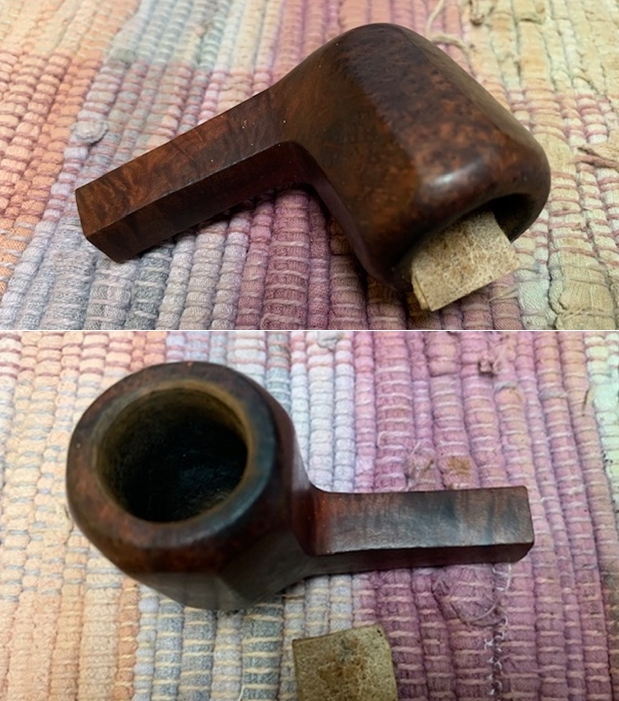
The next pipe on the table is a “Malaga” Second pipe that Jeff picked up from an online auction early in 2019 from Columbus, Michigan, USA. It is an interesting looking octagonal Panel Billiard with a square shank.  It has the classic Malaga oil cured finish and some great looking grain around the bowl and shank. The pipe is stamped on underside of the shank and reads MALAGA. Second. From what I can see the large flaw on the underside of the shank near the stamping is the only thing that made it a second. The carver did a great job of carving the pipe to capture the grain around the bowl and shank. The bowl had a heavy cake with an overflow of lava on the rim top with heavier overflow on the back side of the rim top. The sides of the bowl and shank are very dirty with grime and oils ground into the finish from prolonged use. The vulcanite stem was heavily oxidized and calcified. It had tooth dents and chatter on the top and the underside of the stem. Jeff took photos of the pipe before he started the cleanup work. With some work it will be a real beauty. I looked forward to seeing it in person.    Jeff took a close up photo of the bowl and rim to capture the condition of the pipe before he started the cleanup work. The bowl has a thick cake and the uneven overflow of lava on the rim top is quite thick all the way around but slightly heavier toward the back. The inside edge of the rim could be damaged but it quite hidden under the lava coat. The stem is deeply oxidized, calcified and dirty and there is tooth chatter and marks on both sides of the stem ahead of the button.  He took a photo of the stamping on the underside of the shank. It read as noted above. You can also see the large flaw in the shank under the stamp.Jeff took photos of the sides and heel of the bowl to give a picture of what the briar looked like. There is some nice grain around the sides. You can also see the damage to the rim edges and the heel of the bowl in the photos below.    I am including the link to a blog that I wrote that gives some of the history of the Malaga brand and the Malaga Pipe Shop in Royal Oak, Michigan in the USA. I have written an earlier blog to give a little history of the Malaga Brand and the pipemaker, George Khoubesser. Here is the link – https://rebornpipes.com/tag/malaga-pipes/.That blog also includes links to a catalogue and the history of the pipemaker George Khoubesser. Follow the link to get a feel for the brand and the pipemaker.

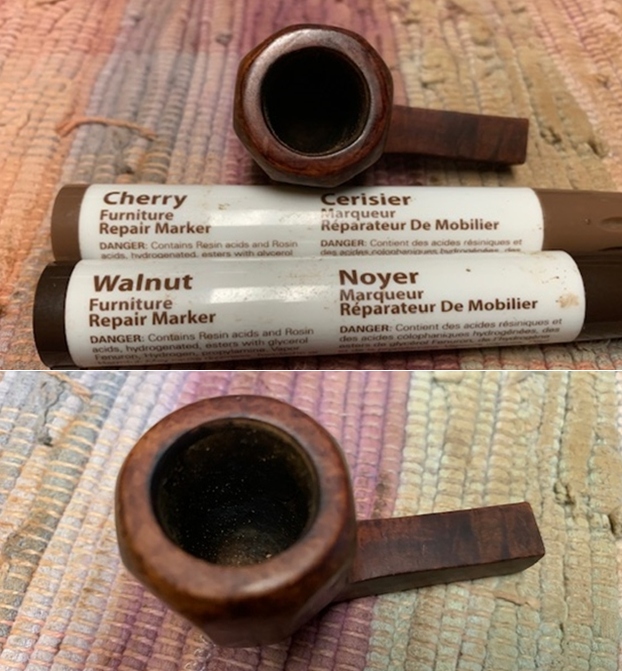
Jeff had cleaned up the pipe with his usual penchant for thoroughness. He reamed the pipe with a PipNet pipe reamer and removed the rest of it with a Savinelli Fitsall Pipe Knife.  He scrubbed the bowl with undiluted Murphy’s Oil Soap with a tooth brush. He rinsed it under running warm water to remove the soap and grime. He cleaned out the inside of the shank and the airway in the stem with alcohol, cotton swabs and pipe cleaners. He soaked the stem in Before & After Deoxidizer and rinsed it off with warm water. I took photos of the pipe once I received it.    The rim top cleaned up really well. The rim top and outer edge of the bowl show some darkening over most of the surface. There is damage to the inner edge of the bowl and bowl is out of round.  The stem surface looked very good with tooth marks and chatter on the top side and the underside near the button. The stamping on the underside of the shank is clear and readable. It reads as noted above. You can also see the flaw in the briar on the underside of the shank.  I removed the saddle stem and took a photo of the pipe to give a sense of the whole.  I started my work on the pipe by cleaning the inner edge of the bowl with a folded piece of 220 grit sandpaper. Once I had it cleaned up I topped the bowl on a topping board to remove the damage to the rim top. It also helped to minimize some of the damage to the inner edge.   I filled in the flaw on the underside of the shank with briar dust and clear super glue. Once the repair cured I carefully sanded it smooth with 220 grit sandpaper and blended it into the surrounding briar. I used a Walnut Stain Pen to touch up the sanded area of the repair on the underside of the shank.   I combined a Cherry and a Walnut stain pen to blend the topped rim to match the rest of the bowl and shank.  I took a photo of the shank end to show the relative thinness of the right side of the shank. I wonder if this was not also a reason the pipe was a second.I polished the briar with micromesh sanding pads – wet sanding with 1500-12000 grit pads and wiping it down after each pad with a damp cloth.     I rubbed the bowl and shank down with Before & After Restoration Balm. I worked it into the surface of the bowl sides and shank with my fingertips to clean, enliven and protect the briar. I let the balm sit for 10-15 minutes and then buffed with a cotton cloth to raise the shine. The grain came alive and the finish looked rich.   I set aside the bowl and turned my attention to the stem. I “painted” the surface of the stem with the flame of a Bic lighter to lift them as much as possible. I filled in the remaining tooth dents and marks with Clear Super Glue and set it aside for the repairs to cure. Once they cured I flattened them with a file. I cleaned up the repaired areas with 220 sandpaper to blend the repairs into the surface of the stem. I started polishing it with 400 grit wet dry sandpaper.  I polished the vulcanite stem with micromesh sanding pads – 1500-12000 grit pads. I wiped it down with Obsidian Oil after each sanding pad. I used Before & After Pipe Polish – both Fine and Extra Fine to further polish the stem.     This Malaga Second Octagonal Panel Square Shank Billiard with a vulcanite saddle stem turned out to be a real beauty. The carver really maximized the grain with the shape of the pipe. I polished stem and the bowl with Blue Diamond polish on the buffing wheel and the finish just popped and came alive. I gave the bowl and the stem multiple coats of carnauba wax. I buffed the pipe with a clean buffing pad to raise the shine. I hand buffed it with a microfiber cloth to deepen the shine. The pipe polished up pretty nicely. The pipe took on life with the buffing. The rich oil cured colour works well with the polished black vulcanite stem. The finished Malaga Second has a rich look that is quite catching. Have a look at it with the photos below. The shape, finish and flow of the pipe and stem are very well done. The dimensions are Length: 5 ¼ inches, Height: 1 ½ inches, Outside diameter of the bowl: 1 ¼ inches, Chamber diameter: ¾ of an inch. The weight of the pipe was 27g/.95oz. I will be putting it on the rebornpipes store shortly. Thanks for reading this blog and my reflections on the pipe while I worked on it. There are many more to come!    

Breathing Life into a BBB Natural Grain 01 Zulu


Blog by Steve Laug

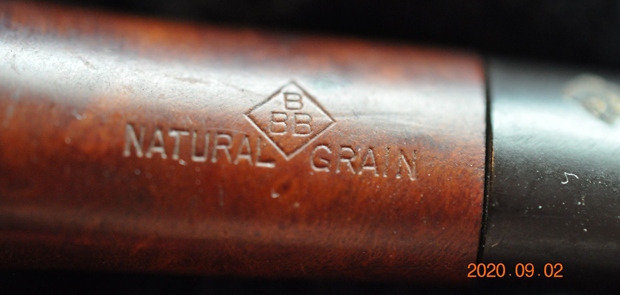
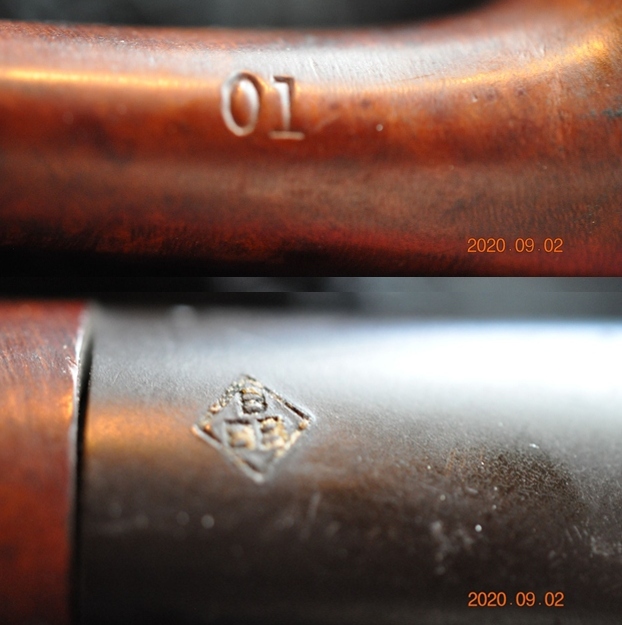
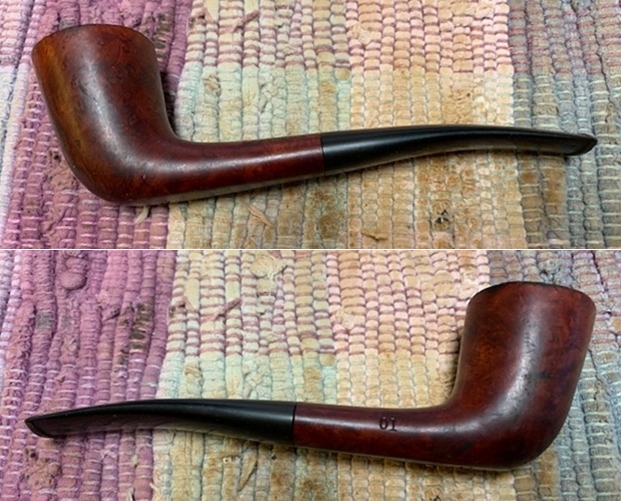
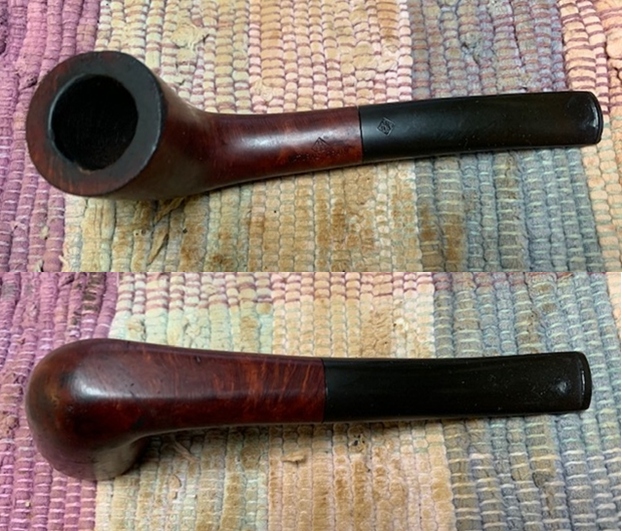
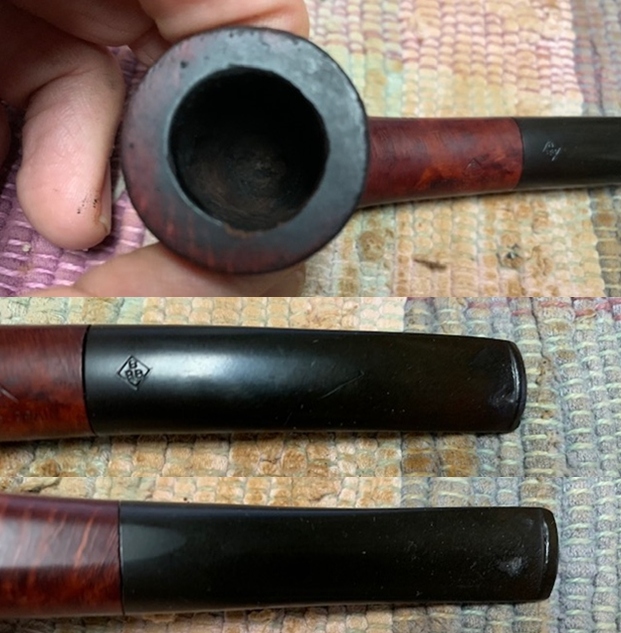
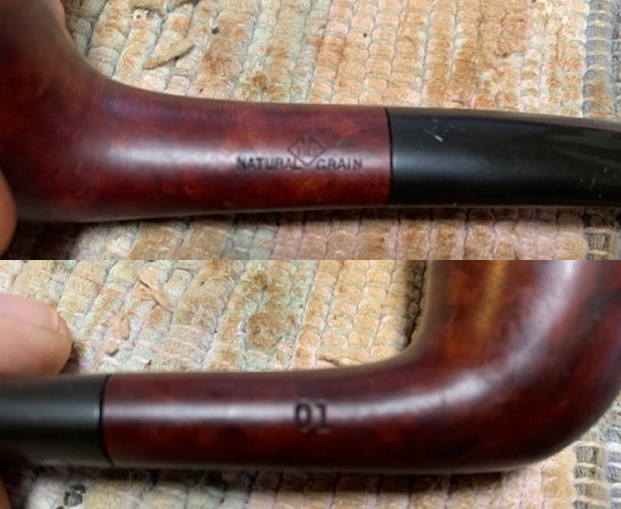
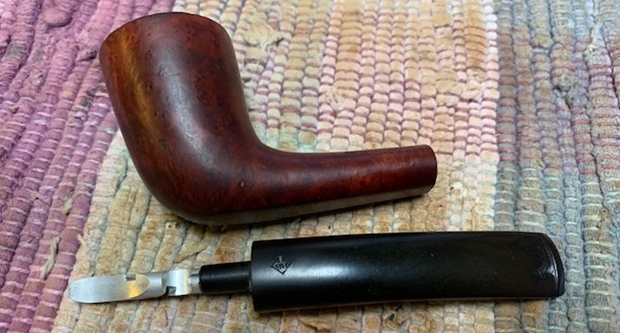
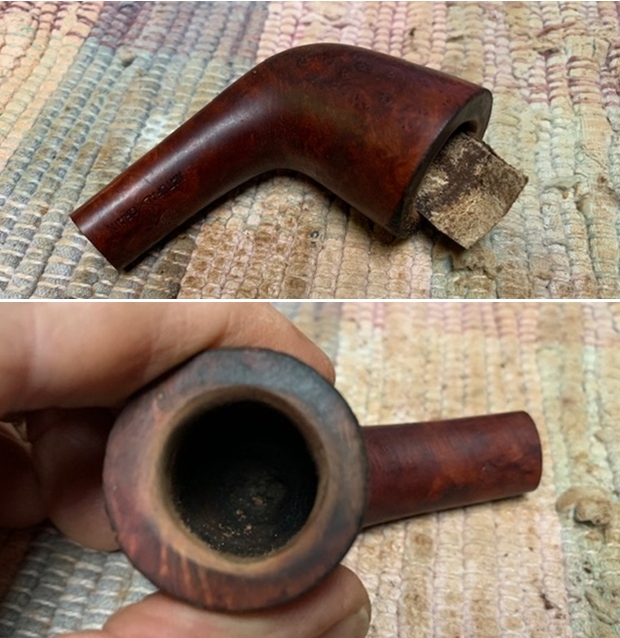
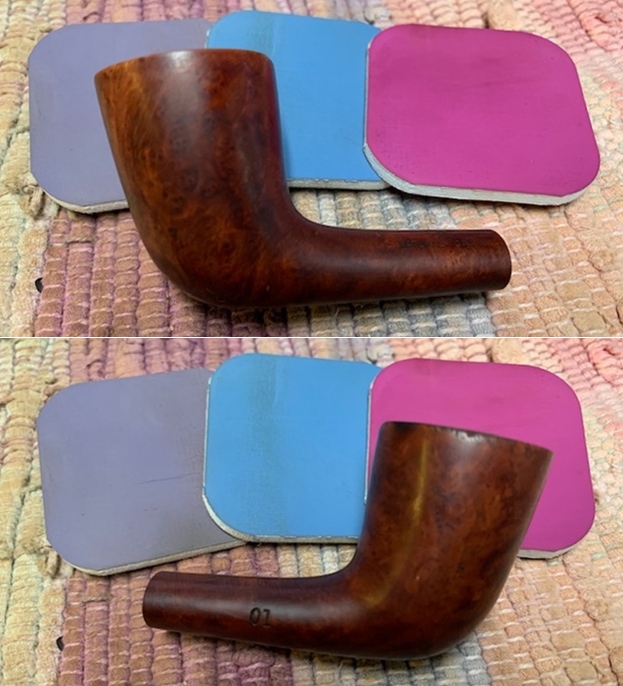
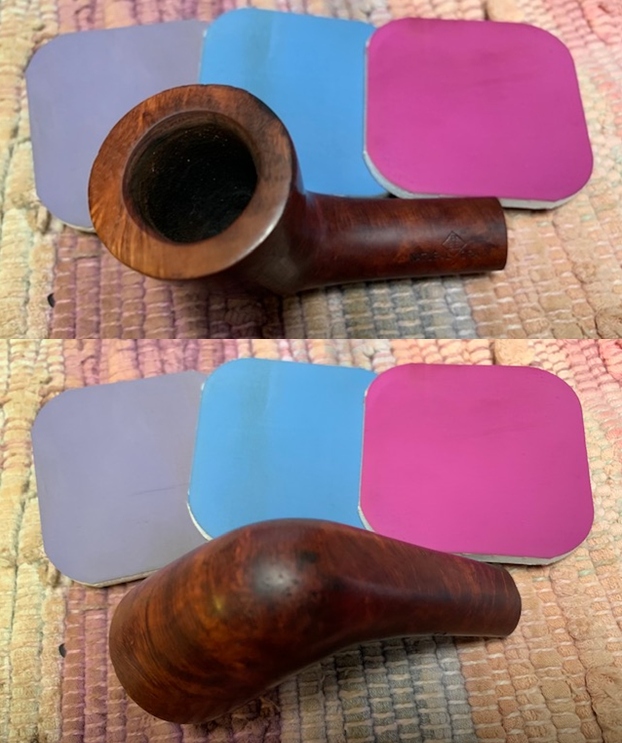
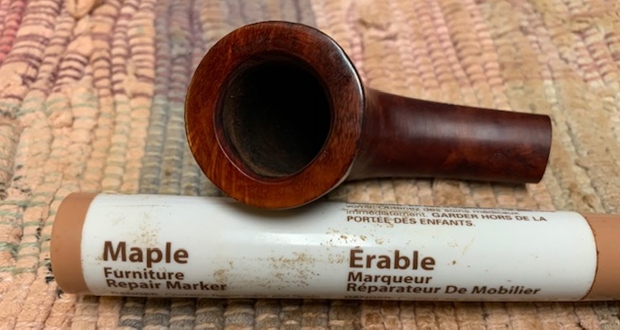
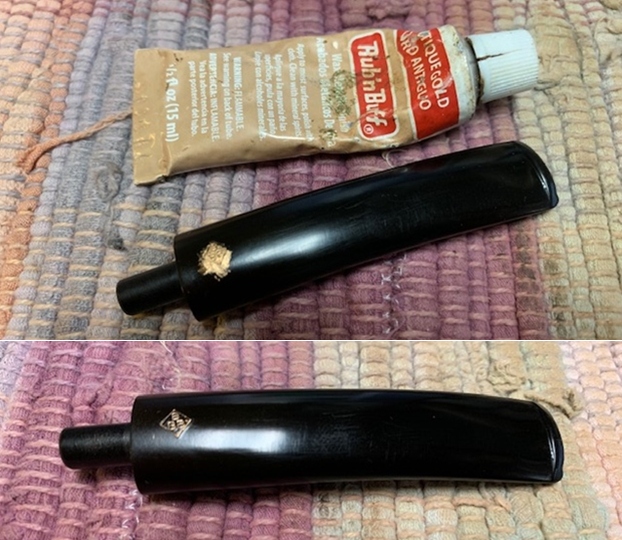
The next pipe on the work table came to us from a pipe hunt that Jeff and his wife recently did in Utah, USA.  The pipe is a classic Zulu shape pipe. The pipe was an absolute mess which probably accounted for how it ended up where it was at a fair price. On the top of the shank it is stamped with the BBB Diamond Logo [over] Silver Grain. On the right side of the shank it is stamped with the shape number 01. The stain is a mix of browns that makes me wonder about the Natural Grain stamping on the pipe. The finish was very dirty making it hard to see beyond that to the grain that pokes through underneath. There was a thick cake in the bowl and a thick overflow of lava onto the rim top and edges. It was hard to know at this point the condition of the rim edges. The stem was oxidized and there were deep tooth marks and chatter on both sides just ahead of the button and on the button surface itself. The stem had a stamped BBB Diamond logo on the topside of the taper. Jeff took photos of the pipe before he started working on it. I include those below.   Jeff took photos of the bowl and rim top to show the cake in the bowl and the condition of both. It was thick and hard cake with an unbelievably thick lava overflow on the rim top and edges. Hopefully it had protected the rim and edges from damage. He took photos of the top and underside of the stem showing the scratching, oxidation and tooth marks on the stem surface and button. The tooth marks are quite deep on both sides of the stem.     Jeff took a photo of the sides and heel of the bowl to show the condition of the finish – the grime and grit all over the sides and bottom of the bowl. The finish so dirty it is hard to see the grain but it is present nonetheless.  Jeff took photos of the stamping on the top and right side of the shank. It is very clear and readable as noted above.    This pipe was a real mess like many of the pipes we work on. I was curious to see what it would look like when I unpacked it. I was surprised at how good it looked. Jeff reamed it with a PipNet pipe reamer and cleaned up the reaming with a Savinelli Fitsall Pipe Knife. He scrubbed out the internals of the shank and stem with alcohol, pipe cleaners and cotton swabs until the pipe was clean. He scrubbed the exterior of the bowl with Murphy’s Oil Soap and a tooth brush to remove the grime and grit on the briar and the lava on the rim top. The finish on the bowl looked really good when I got it. The rim top looked much better but had some darkening that I would need to deal with. The inner edge showed some significant damage and outer edges looked good. He soaked the stem in Before & After Deoxidizer bath to remove the oxidation. The stem looked better other than some light oxidation and the tooth marks and chatter in the surface. When the pipe arrived here in Vancouver for the second stop of its restoration tour it looked much better than when he found it. I took photos of the pipe before I started my work on it.  I took photos of the condition of the rim top and stem before I started working. The rim top looks better than before and the damage is very obvious to the rim top and the inner edge. The bowl is spotless. The stem has some deep tooth marks on both sides and the button itself. I took photos of the stamping on the sides of the shank. It is clear and readable as noted above.  I took the bowl and stem apart and took a photo of the pipe to show the look of the pipe. I was surprised to see a rather large stinger. I would be removing that and not putting it back. If the new owner wants it I will include it in the package with the pipe.I started my work on the pipe by cleaning the inner edge of the bowl with a folded piece of 220 grit sandpaper. Once I had it cleaned up I topped the bowl on a topping board to remove the damage to the rim top. It also helped to minimize some of the damage to the inner edge. I polished the briar with micromesh sanding pads. I dry sanded the bowl and rim top with 1500-12000 grit pads and wiped the bowl down with a damp cloth after each pad. The briar really took on a shine by the final pads.   I touched up the rim top with a Maple stain pen to match the rest of the briar around the bowl. Buffing and polishing would blend it in further.I worked some Before & After Restoration Balm into the finish of the bowl, rim top and shank with my fingertips to clean, enliven and protect it. I find that the balm really makes the briar come alive again. The contrasts in the layers of stain and the separate finishes really made the grain stand out. I let the balm sit for 10-15 minutes and then buffed with a cotton cloth to raise the shine. The bowl really looks good at this point. I set it aside and worked on the stem. I set aside the bowl and turned my attention to the stem. I started by heating the stinger with a lighter and carefully turning it out of the tenon. It was pressure fit so the heat loosened the tars that held it fast and I was able to remove it. I “painted” the surface of the stem with the flame of a Bic lighter to lift them as much as possible. I filled in the remaining tooth dents and marks with Black Super Glue and set it aside for the repairs to cure. Once they cured I flattened them with a file. I cleaned up the repaired areas with 220 sandpaper to blend the repairs into the surface of the stem. I started polishing it with 400 grit wet dry sandpaper.  I polished the stem with micromesh sanding pads – wet sanding it with 1500-12000 grit pads. I polished it further with Before & After Pipe Stem Polish – both fine and extra fine.   I used some Rub’n Buff Antique Gold to touch up the brass/gold colour in the BBB Diamond logo on the topside of the stem. I rubbed it in and rubbed it off leaving the gold behind in the stamp.   Once again I am the part of the restoration that I always look forward to – the moment when all the pieces are put back together. I put the pipe back together and lightly buffed the bowl with Blue Diamond. I buffed the stem with a heavier touch with Blue Diamond on the buffing wheel. I gave the bowl and the stem multiple coats of carnauba wax. I buffed the pipe with a clean buffing pad to raise the shine. I hand buffed it with a microfiber cloth to deepen the shine. It is fun to see what the polished bowl looks like with the smooth finish and the black vulcanite stem. This richly stained BBB Natural Grain 01 Zulu must have been a fine smoking pipe judging from the condition it was when we received it. Have a look at it in the photos below. The dimensions are Length: 5 ½ inches, Height: 1 ½ inches, Outside diameter of the bowl: 1 ¼ inches, Chamber diameter: ¾ of an inch. The weight of the pipe is 25grams/.88oz. This is one that will go on the British Pipemakers section of the rebornpipes online store shortly. Thanks to each of you who are reading this blog. Remember we are not pipe owners; we are pipemen and women who hold our pipes in trust until they pass on into the trust of the next generation.


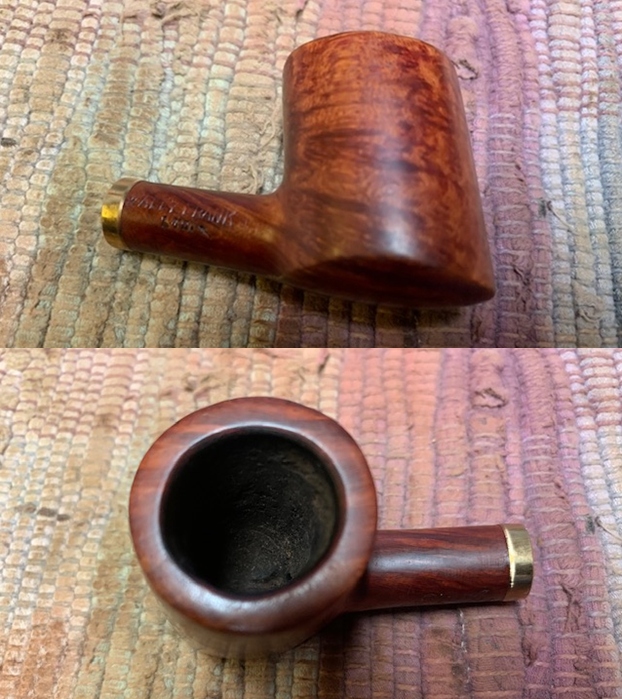
Restoring a Wally Frank Pipe of the Month Drunken Poker


Blog by Steve Laug

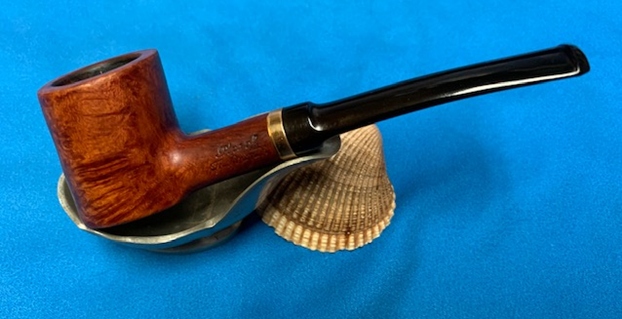
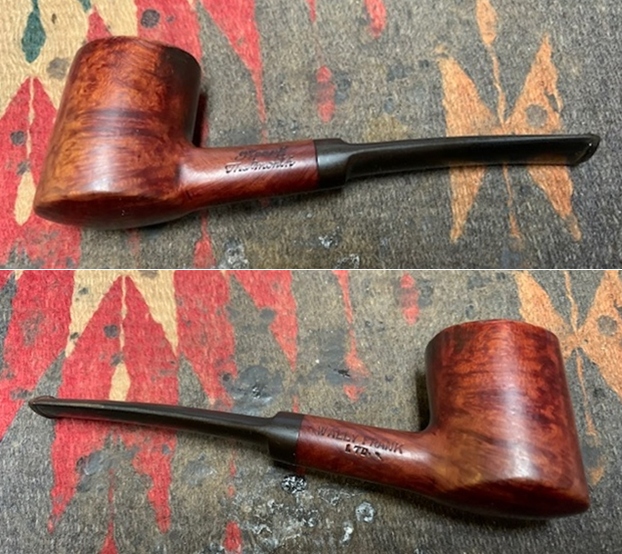
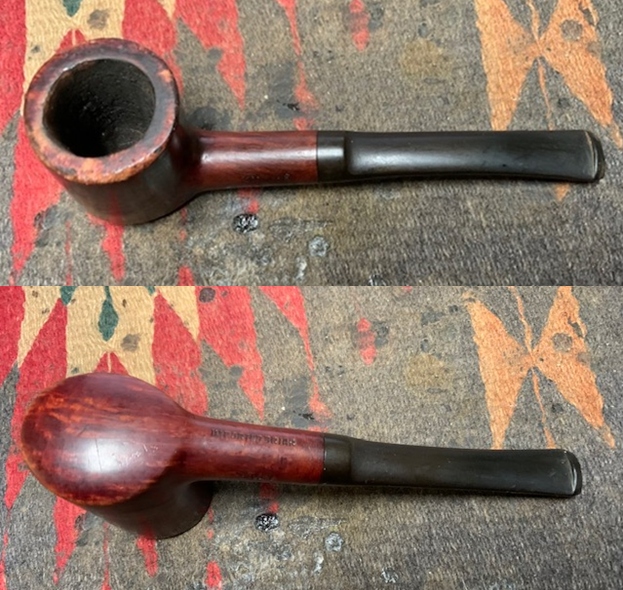
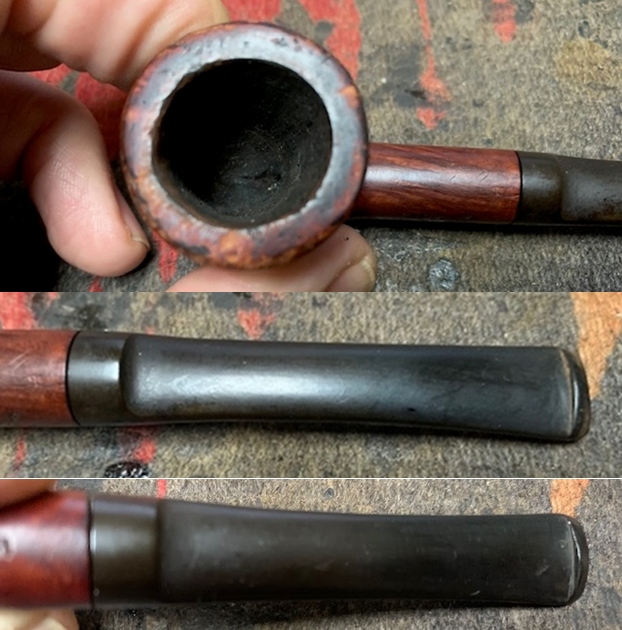
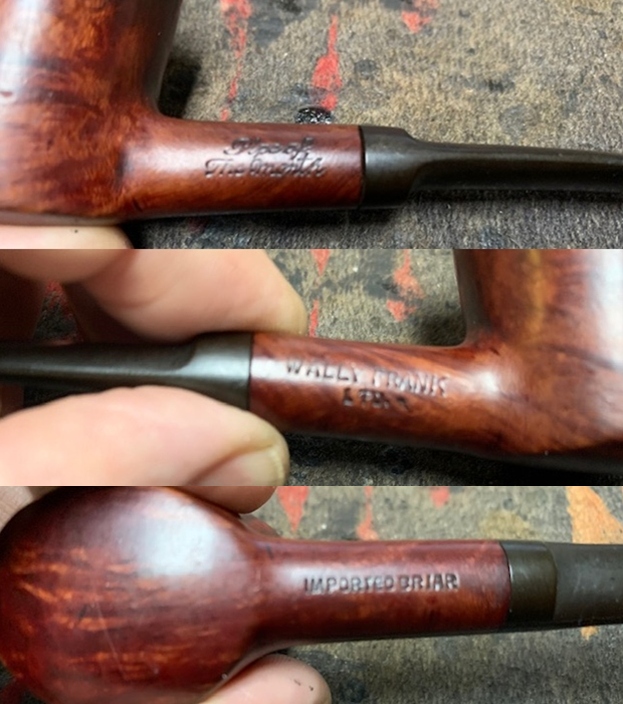
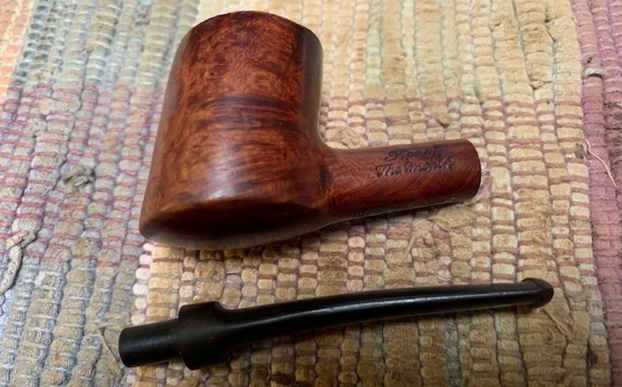
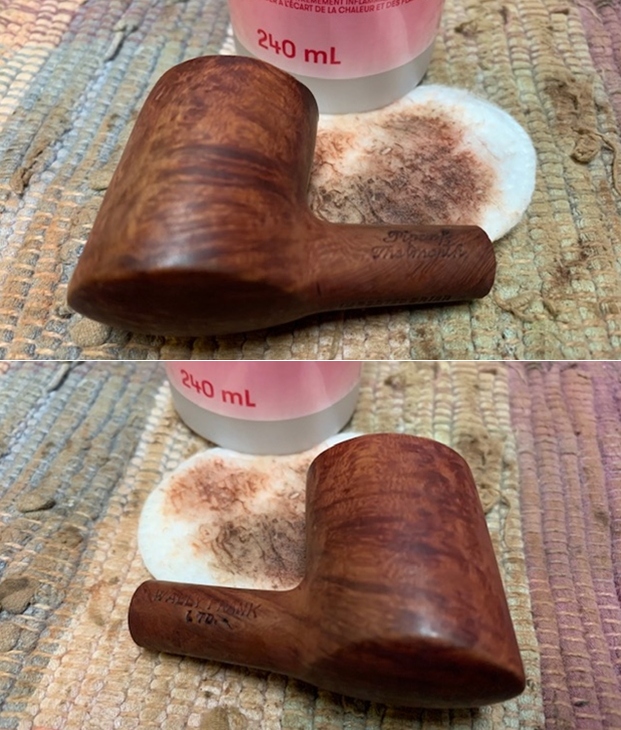
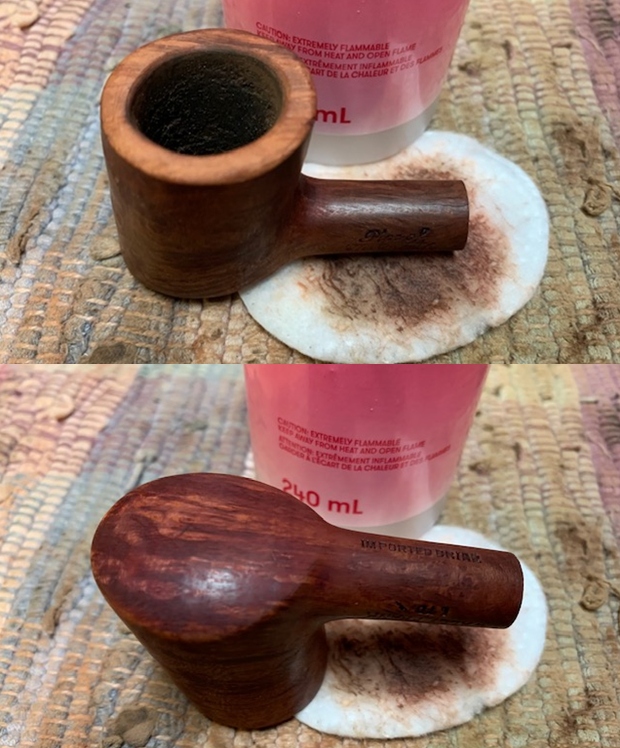
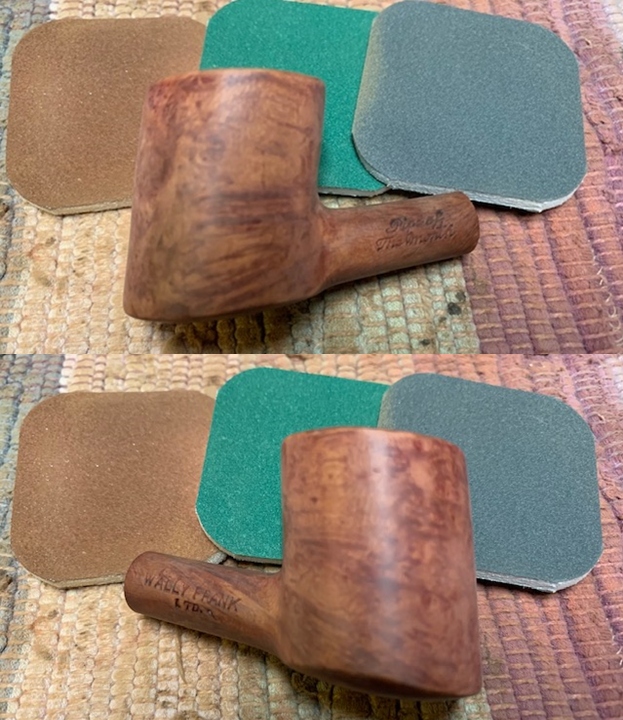
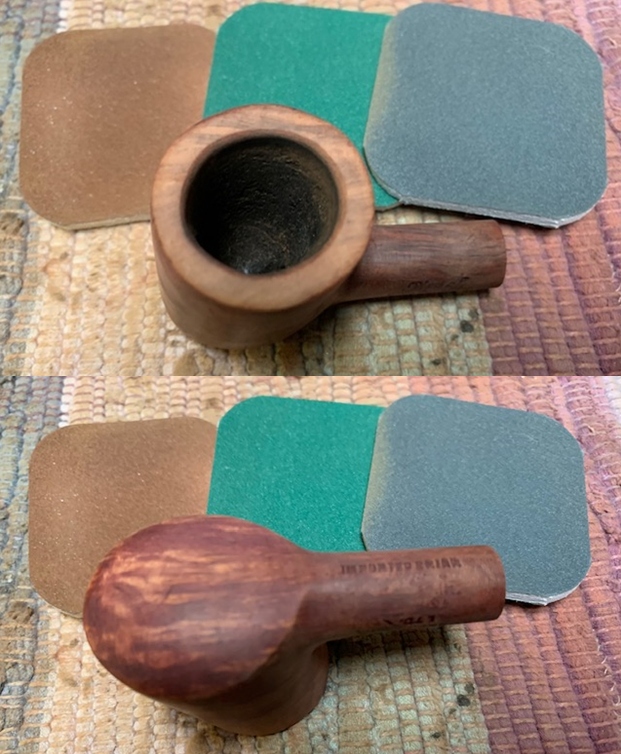
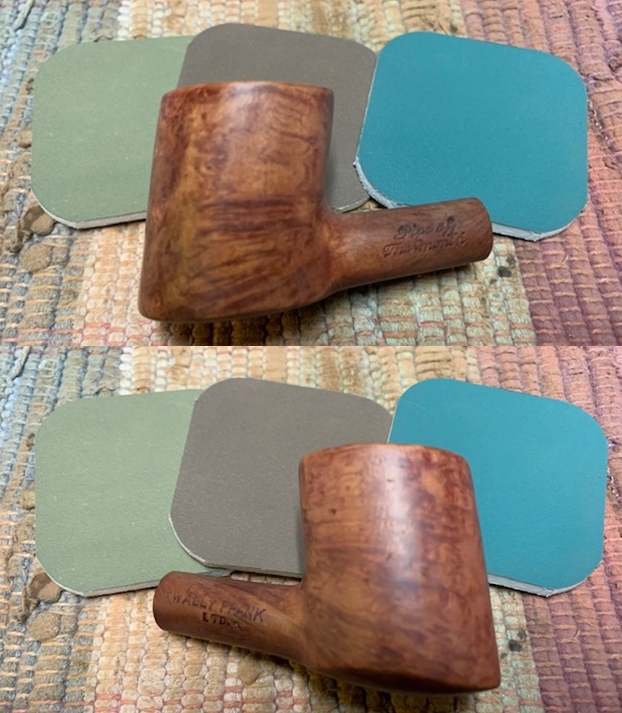
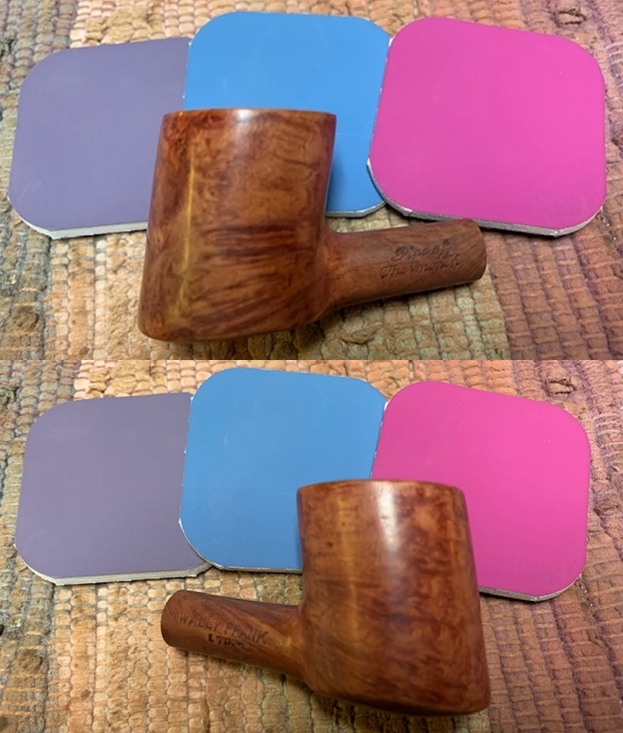
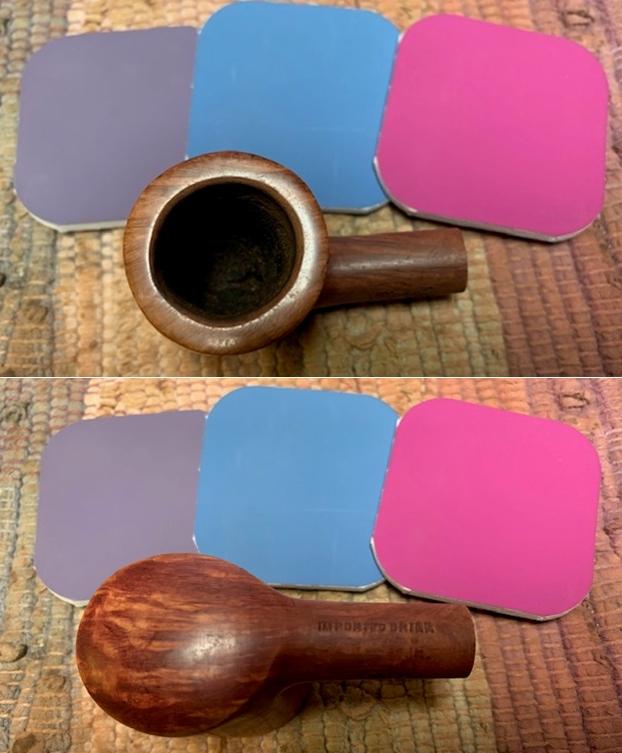
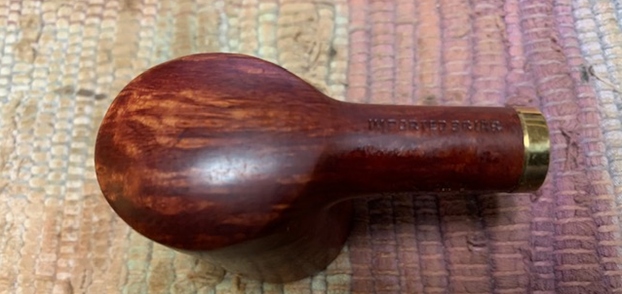
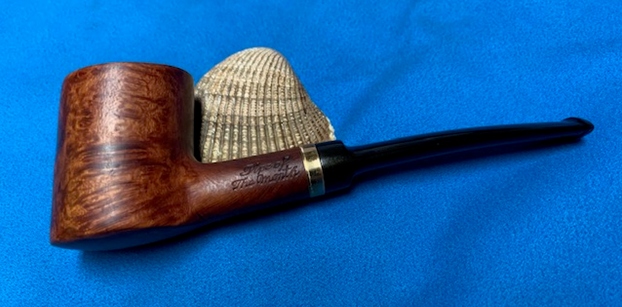
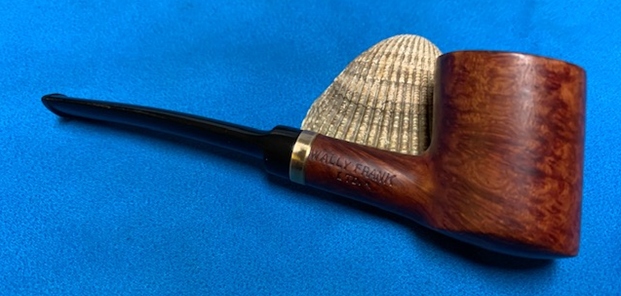
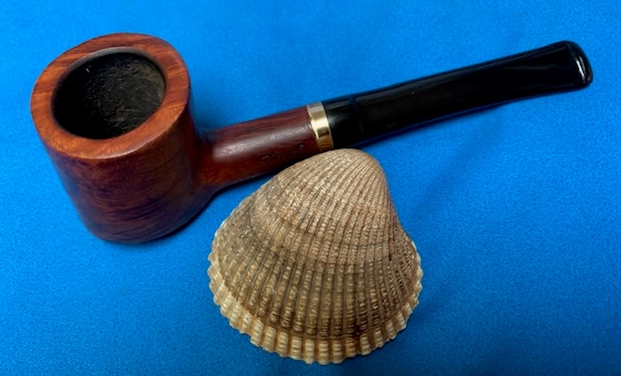
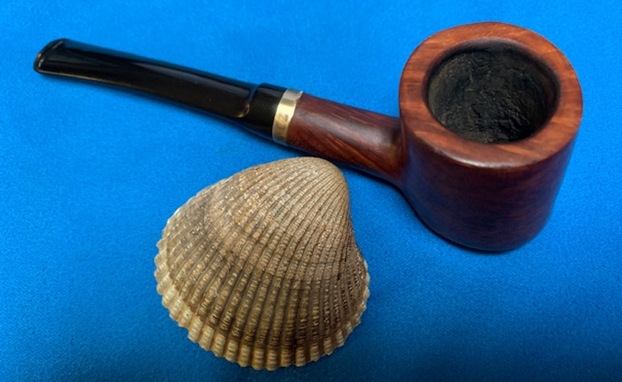
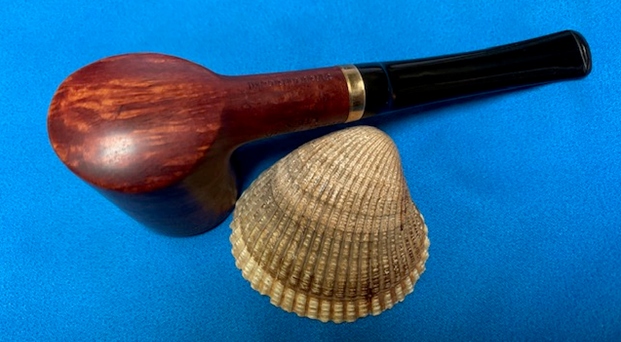
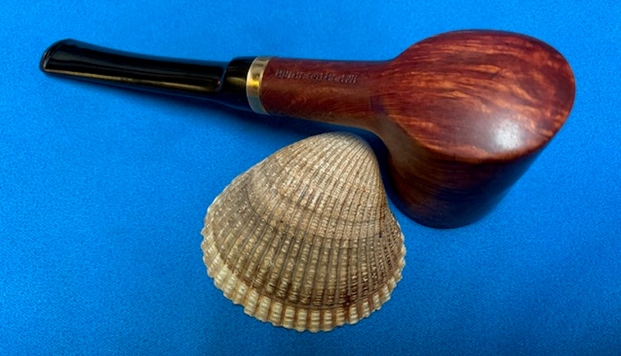
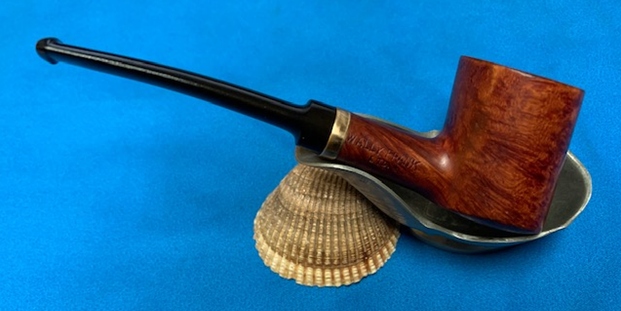
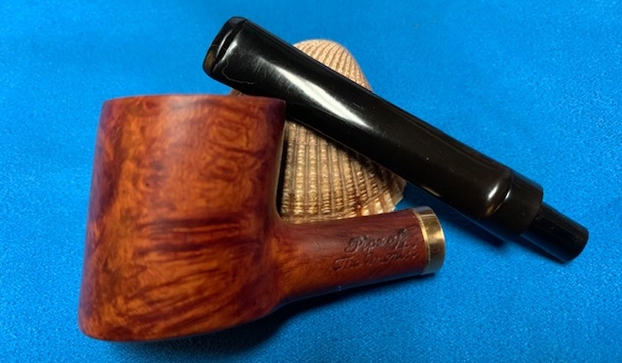
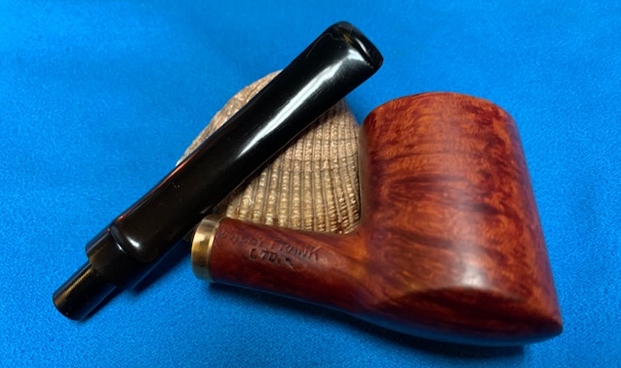
Jeff and I cannot remember where we picked up the next pipe and have no idea where we found it or what the condition was when we found it. I know that Jeff cleaned it before it ended up here but we cannot put a finger on the pre-cleanup photos or even where we got it. So I decided to just write about it as it looks today before I start the cleanup work and describe the work that I did on the pipe. It is stamped on the left side of the shank and reads Pipe of the Month in script. On the underside of the shank it reads Imported Briar while on the right it reads Wally Frank LTD. The pipe is uniquely shaped and I was tempted to call it a drunken poker (in fact I did in the title of the blog). It must have been a good smoking pipe from the condition of the cleaned bowl. The rim top and edges of the bowl are all damaged. It looked like the pipe had been knocked out on hard surfaces and reamed with a knife. The stem was in good condition once I received it with light tooth marks and chatter on both sides. The majority of my work would be done in reshaping and reworking the rim top.

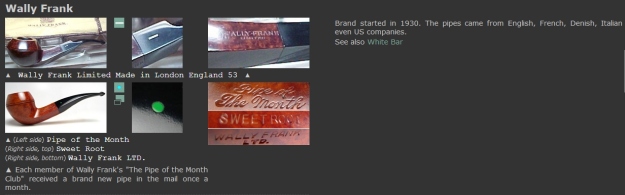
Jeff had cleaned up the pipe with his usual penchant for thoroughness. He reamed the pipe with a PipNet Pipe Reamer and cleaned up the remnants with a Savinelli Fitsall Pipe Knife.  He scrubbed the bowl with undiluted Murphy’s Oil Soap with a tooth brush. He rinsed it under running warm water to remove the soap and grime. He cleaned out the inside of the shank and the airway in the stem with alcohol, cotton swabs and pipe cleaners. He soaked the stem in Before & After Deoxidizer and rinsed it off with warm water. I took photos of the pipe before I started my work.  The rim top and edges of the rim looked rough with damage all around. The outer edge was rough and the inner edge was notched with what looked like knife marks. The rim top was also nicked and dented. The stem surface looked very good with some remaining oxidation and tooth marks and chatter on both sides near the button.  I took photos of the stamping on the sides of the shank. It is clear and readable as noted above. I removed the stem and took a photo of the pipe to give a sense of the whole. The bowl has a definitely tilt to it and the heel is rounded. The saddle stem is tapered with a slight bend that follows the flow of the pipe. I turned to Pipephil’s site (http://www.pipephil.eu/logos/en/logo-w1.html) and looked up the section on Wally Frank Pipes. I have included a screen capture of the section on The Pipe of the Month.Each member of Wally Frank’s “The Pipe of the Month Club” received a brand new pipe in the mail once a month.

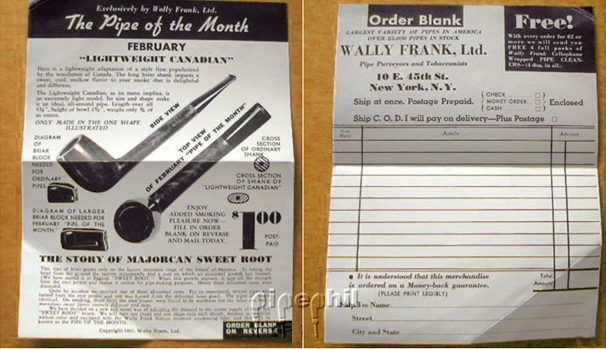
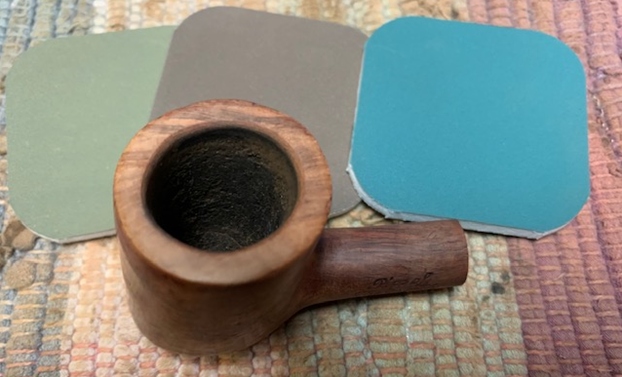
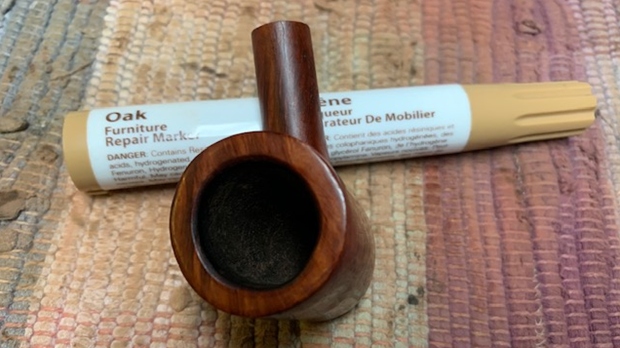
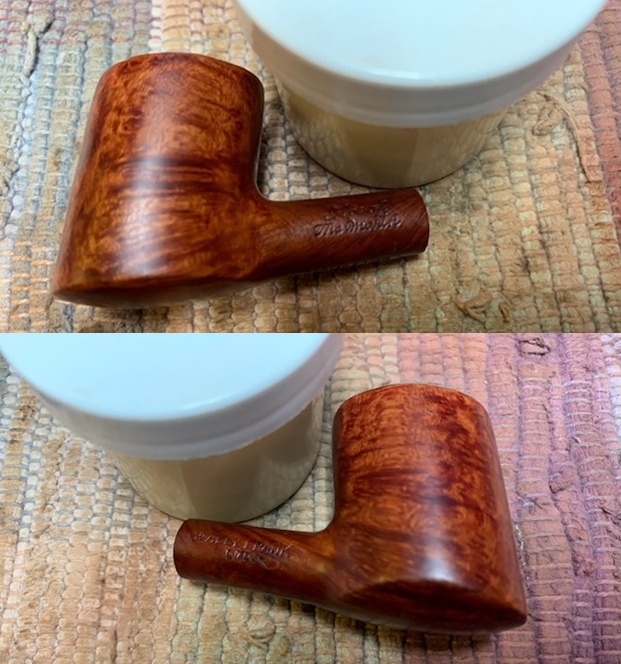
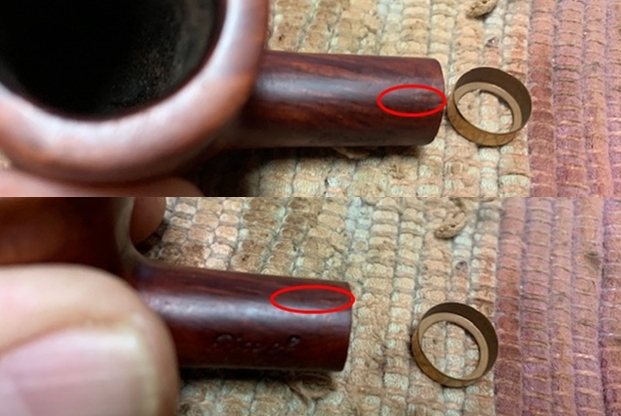
There was also a link to the Pipe of the Month Order form that was on the site. I have included that below for your viewing.Now it was time to work on the pipe. To take care of the significant damage to the rim top and edges I started my work by gently topping the bowl to minimize the damaged areas. I gave the inner edge of the bowl a bevel to reduce the burned areas. I also sanded the outer edge and smoothed out the damage. I wiped the bowl down with acetone to remove the spotty varnish coat and to get the bowl free of the shininess so I could blend in the rim top more carefully. There was some nice looking grain under the varnish. Removing varnish always gives me pause because it can often reveal things I would have rather left hidden. However in this case it was not true. I polished the briar with micromesh sanding pads – wet sanding with 1500-12000 grit pads. I wiped the bowl down after each pad with a damp cloth to remove the sanding dust. The bowl really began to take on a shine. The rim top was slightly lighter than the rest of the bowl so I touched it up with an Oak stain pen to match the rest of the pipe.With the rim cleaned up the bowl was in good condition. I rubbed it down with Before & After Restoration Balm. I worked it into the surface of the bowl sides and shank with my fingertips. The product works to clean, enliven and protect the briar. I let the balm sit for a little while and then buffed with a cotton cloth to raise the shine.  I set the bowl aside and turned to work on the stem. I “painted” the stem with the flame of a lighter to lift the tooth marks. The majority of them disappeared with the heat of the flame. Those that remained I filled in with clear super glue. Once the repairs had cured I sanded them smooth with 220 grit sandpaper. I started polishing the stem with 400 grit wet dry sandpaper.  I polished the vulcanite stem with micromesh sanding pads – 1500-12000 grit pads. I wiped it down with Obsidian Oil after each sanding pad. I used Before & After Pipe Polish – both Fine and Extra Fine to further polish the stem.  Before I put the stem back on the shank I checked out the shank end and the edges. I was surprised when I saw a small crack on the top of the shank toward the right that was obviously there before but only now after polishing could I see it. I circled the cracked area in red in the two photos below. I glued the crack with a dribble of super glue and then pressed a thin brass band on the shank end. I really like these thin bands as they do not cover the stamping on the shank – which in this case was on three sides. I like the finished look of the pipe with the band.This Wally Frank Pipe of the Month Drunken Poker with a vulcanite saddle stem is a great looking pipe now that it has been restored. The smooth finish and unique grain look and feel great in the hand and should only feel better as the pipe is smoked. I put the stem back on the bowl and carefully buffed the pipe with Blue Diamond on the buffing wheel to give a shine. I gave the bowl and the stem multiple coats of carnauba wax on the buffing wheel and followed that by buffing the entire pipe with a clean buffing pad. I hand buffed the pipe with a microfiber cloth to deepen the shine. The finished Drunken Poker fits nicely in the hand and feels great. Give the finished pipe a look in the photos below. The dimensions of the pipe are Length: 5 ¼ inches, Height: 1 ½ inches, Outside diameter of the bowl: 1 ¼ inches, Chamber diameter: ¾ of an inch. The weight of the pipe is 25gr/.88oz. If you are interested in adding this pipe to your collection send me a message or an email. Thanks for reading this blog and my reflections on the pipe while I worked on it. There are many more to come!

New Life for a Republic Era Peterson’s Jade 150 Bulldog


Blog by Steve Laug

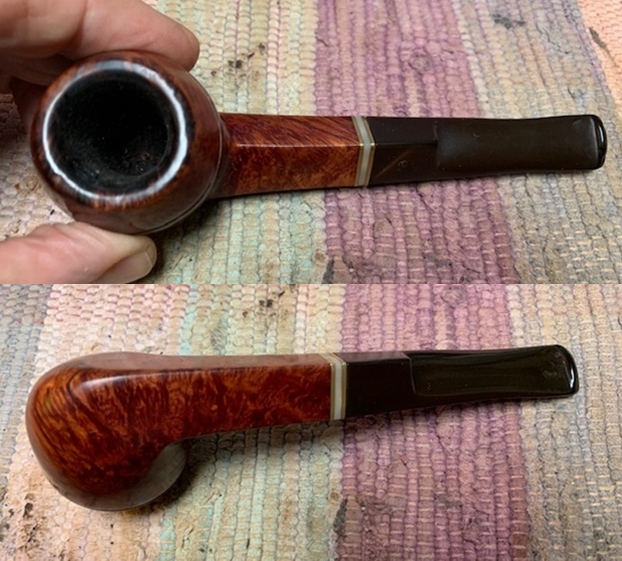
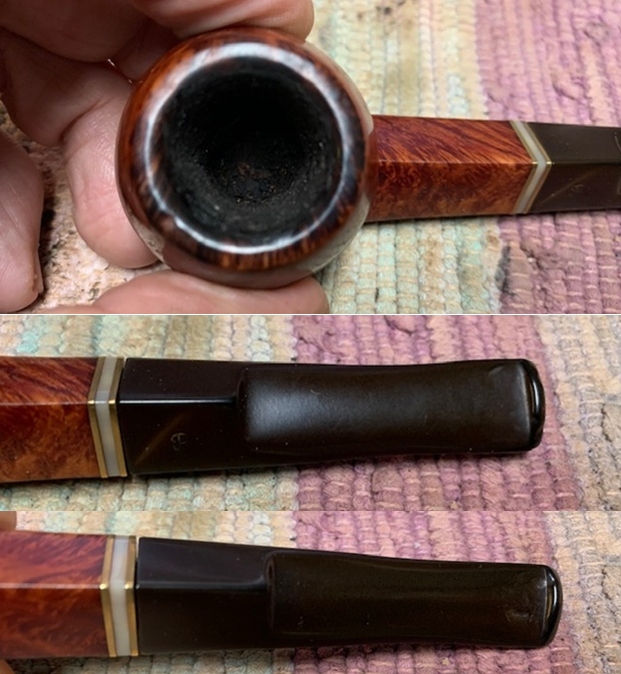
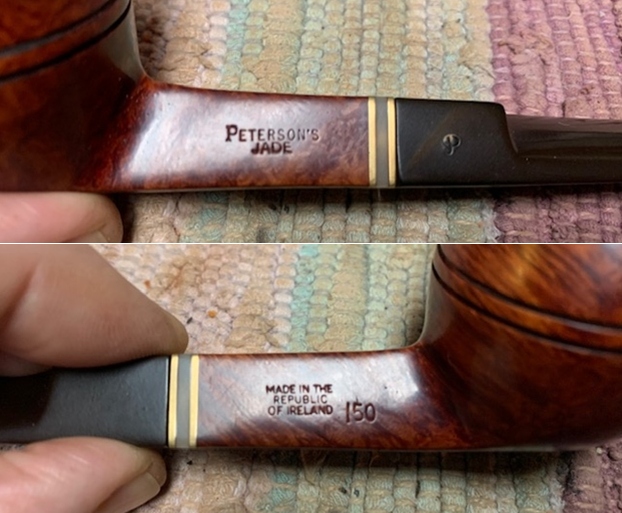
The next pipe I am working on came from a friend, Lee who lives in the US. It is a Peterson’s Straight Bulldog. It is stamped on the left side of the shank and reads Peterson’s [over] Jade. On the right side it is stamped Made in the [over] Republic [over] of Ireland followed by the shape number 150. He sent me an email detailing what he saw in the pipe and gave his assessment as well as several pictures of the pipe. He wrote:

The Peterson Bulldog is hardly in horrible shape, but would like you to go at this thing to bring to ‘showcase’ quality if possible. Of course, you’ll have to see the pipe first before expectations are set. He had picked it up on eBay. Would like you to take this to the best it could be – will leave it to you to assess, but will mention that the ‘jewel’ fastening between bowl and stem fascinates me as something for differentiate the pipe from the rest of my collection. Whatever you can do…

Here are the photos he included. The pipe arrived and I went over it to see what I thought of it before I started my work on it. Here is what I sent to Lee.

Peterson’s Republic Era Jade Bulldog.

  1. Bowl exterior is dirty with a few dings and dents in the ring and on the sharp diamond edges of the shank… particularly on the sides.
  2. Rim top is a bit of a mess. There are a lot of nicks and dings in the briar, some darkening and lava on the inner beveled edge of the bowl. The inner edge looks ok under the lava as far as I can see. Outer edge has some nicks and dings. Worn spots.
  3. Bowl internals show a heavy cake that greatly reduces the bowl capacity. Needs to be reamed and cleaned. Strong Latakia smell.
  4. Stem is scratched and lightly oxidized. There are deep tooth marks on both sides and a lot of tooth chatter marking the stem surface ahead of the button.

Overall in moderately good condition

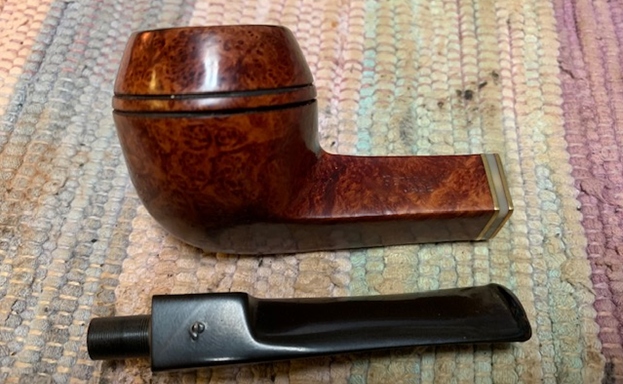
I took photos of the pipe before I started my cleanup work. They tell the story of what I have noted above in short form. They also give a glimpse of the promise that Lee saw in this pipe.  I took photos of the rim top and stem to show the condition of the bowl and stem. The interior the bowl had a heavy cake that overflowed like lava onto the rim top. There are dings and dents in the rim top and some darkening on the inner edge. The stem is oxidized, calcified and has deep tooth marks and chatter on the top and underside near the button.  The stylized P stamp on the top left side of the saddle is faded but present. I took photos of the sides of the shank to show the stamping. The stamping is readable in the photos below and is as noted above. The decorative band on the shank end is twin brass plates separated by a pearlized acrylic.       I took the stem off the shank and took a photo. It is a nice looking pipe and the shank end decorative piece looks very good.I am including the information from Pipedia’s article on Peterson pipes. It is a great read in terms of the history of the brand (https://pipedia.org/wiki/Peterson). I have included a bit of the pertinent history here.

1950 – 1989 The Republic Era – From 1950 to the present time, the stamp for this era is “Made in the Republic of Ireland” in a block format generally in three lines but two lines have been used with or without Republic being abbreviated.

During the 1950’s and 60’s the Kapp & Peterson Company was still in the ownership of the Kapp family. However 1964 saw the retiral of the company Managing Director Frederick Henry(Harry) Kapp.

I knew that I was dealing with a Republic Era pipe made between 1950-1989. It was a nice looking straight Bulldog with a unique shank end decoration. The finish was stained with a medium brown stain. Now it was time to work on the pipe.

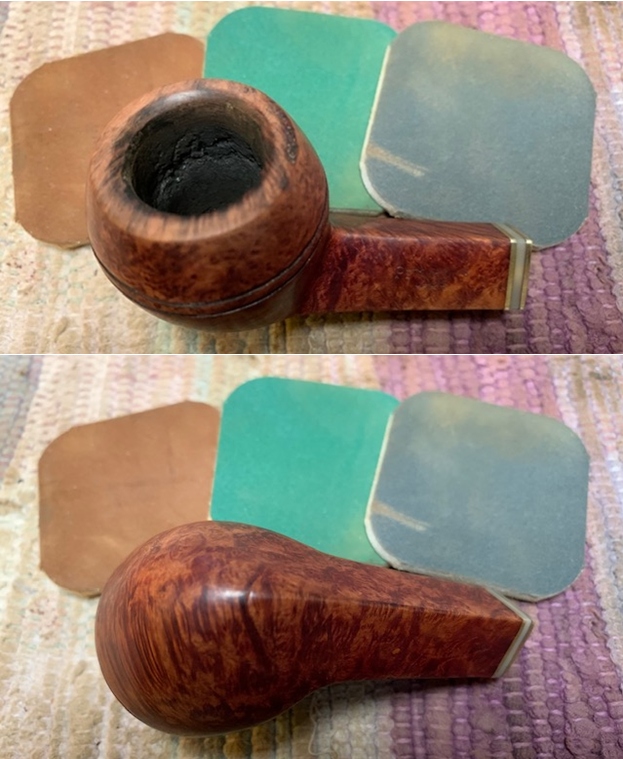
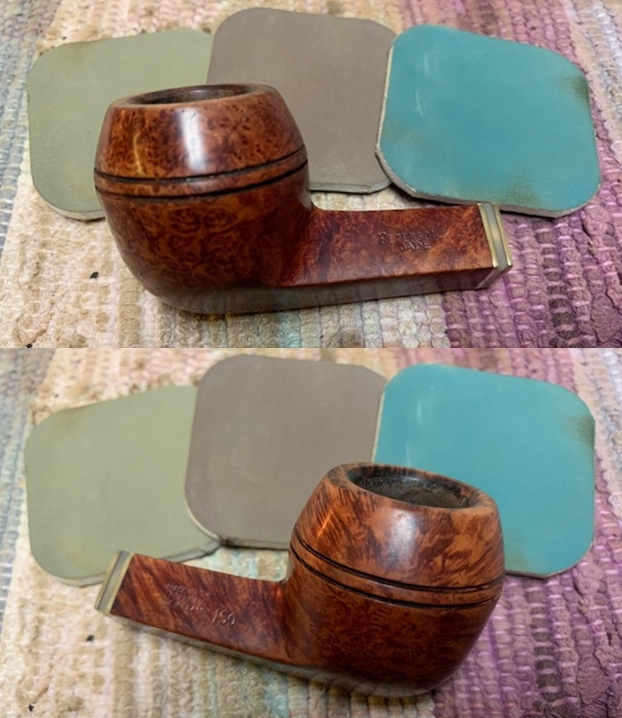
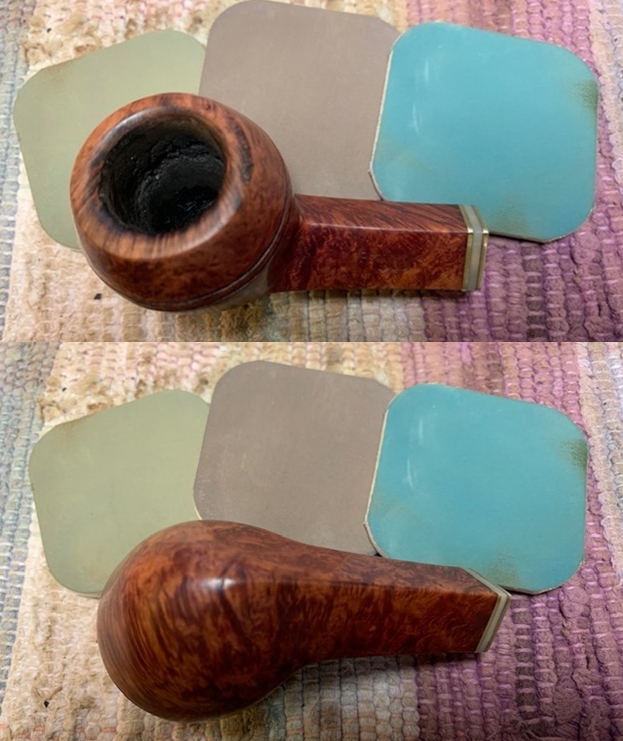
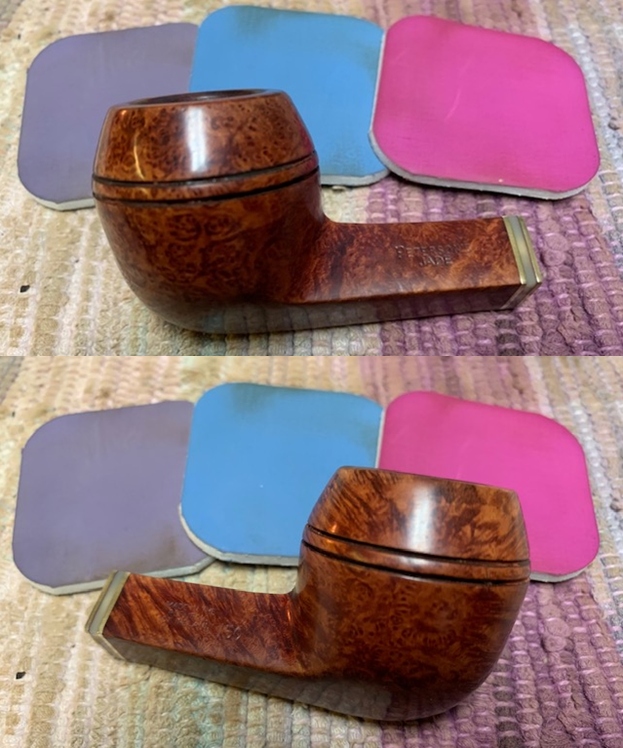
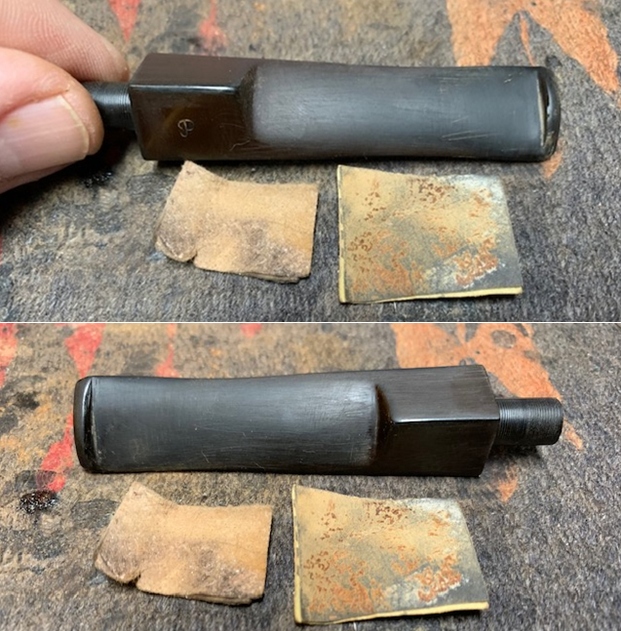
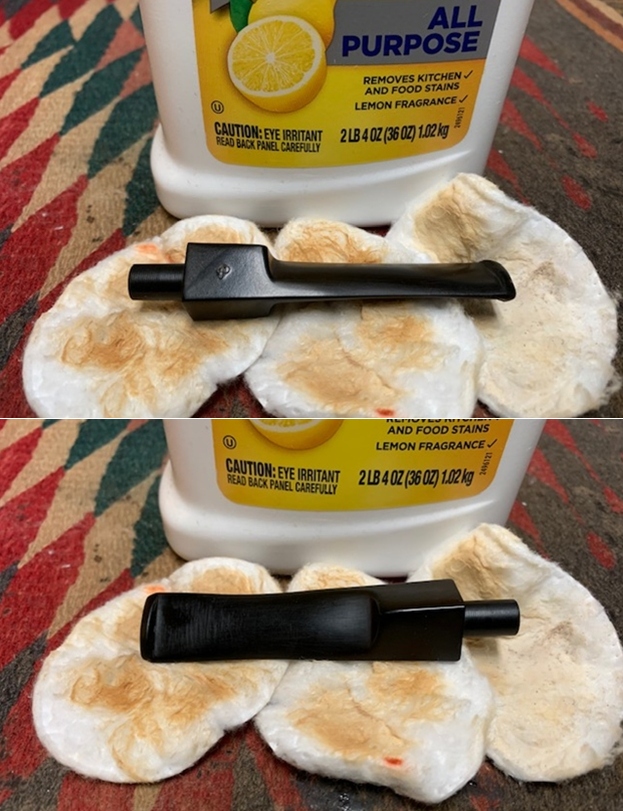
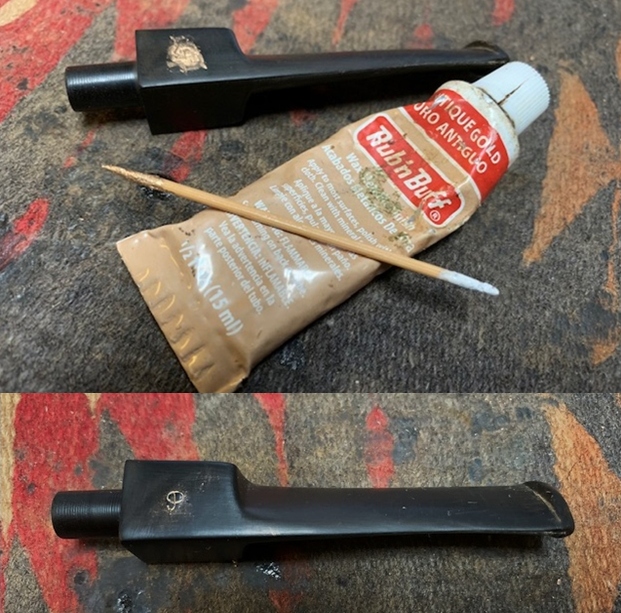
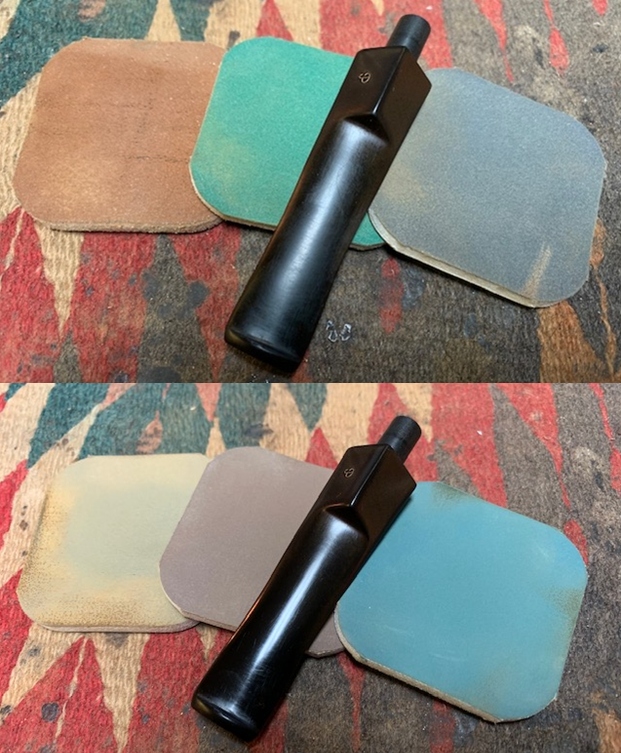
I decided to start my restoration work on this one by starting my cleanup of the bowl. I reamed the thick cake back with a PipNet pipe reamer using the smallest cutting head on this petite pipe. The cake was thick and crumbly and came out easily. I followed that by cleaning up the remnants of cake with a Savinelli Fitsall Pipe Knife and finish with a piece of dowel wrapped in 220 grit sandpaper. I decided to deal with the damaged rim top next. I lightly topped the bowl to remove the significant dents and damage to the top and outer edge. It did not take too much work to remove it. I used a folded piece of 220 grit sandpaper to smooth out the bevel on the inner edge of the bowl and remove the burn damage there. It came out looking much better. Once it is polished it will look very good and match the finish on the bowl quite well.I wiped off the exterior of the bowl with a damp cloth to remove the sanding dust and grime. Once it was clean it was time to deal with the interior. I scrubbed out the shank and the airway in the stem with pipe cleaners, cotton swabs and alcohol to remove the tars and oils. There was also some brown stain that came out of the inside of the shank  and the end of the stem.  I polished the rim top and bowl with micromesh sanding pads – wet sanding with 1500-12000 grit pads. I wiped the briar down after each pad with a damp cloth. The photos tell the story of the progress of the rim and bowl.   I worked some Before & After Restoration Balm into the surface of the briar with my fingertips and a horsehair shoe brush to clean, enliven and protect the briar. I let the balm sit for about 15-20 minutes and then buffed it with a cotton cloth to raise the shine. The photos show the bowl at this point in the restoration process. With that done the bowl was finished other than a final buffing.  I set it aside and turned my attention to the stem. I “painted” the surface of the stem to lift the tooth marks and dents I was able to lift many of them but several remained on the top and underside near the button. I filled them in with black superglue and set them aside to cure. Once they had cured I smoothed them out with a file to start to blend them into the surface of the stem. I sanded the repaired areas with 220 grit sandpaper to smooth out the repairs. I started the polishing with 400 grit wet dry sandpaper.   I scrubbed the surface of the stem to remove the remaining oxidation with Soft Scrub all Purpose cleanser. I rubbed it on and off with a cotton pad and was able to remove a lot of oxidation.    I touched up the P stamp on the left side of the saddle with Rub’n Buff Antique Gold. I applied it to the stamping with a tooth pick. I buffed it off with a paper towel and was pleased by the gold left behind in the stamp.  I polished the stem with micromesh sanding pads – wet sanding with 1500-12000 grit sanding pads. I wiped it down after each sanding pad with Obsidian Oil. I polished it with Before & After Pipe Stem Polish – both Fine and Extra Fine.     I am excited to finish this Republic Era Peterson’s Jade 150 Bulldog. I put the pipe back together and buffed it with Blue Diamond on the buffing wheel. I gave the bowl and the stem multiple coats of carnauba wax. I buffed it with a clean buffing pad to raise the shine and followed that with a quick hand buff with a microfibre cloth to deepen the shine. It is fun to see what the polished bowl looks like with the polished shank decoration on the end and the black vulcanite stem is a great contrast of colour. This Peterson’s Jade Bulldog is a great looking pipe and it feels great in my hand. It is light and well balanced. Have a look at it with the photos below. The dimensions are Length: 5 ¾ inches, Height: 1 ¾ inches, Outside diameter of the bowl: 1 ¼ inches, Chamber diameter: ¾ of an inch. It is a beautiful pipe. Thanks for walking through the restoration with me as I worked over this pipe. I am looking forward to seeing what my friend Lee thinks of the pipe after the restoration. One more of his to restore then I will mail them back to them. Thanks to each of you who are reading this blog. Remember we are not pipe owners; we are pipemen and women who hold our pipes in trust until they pass on into the trust of the next pipeman or woman.

Refurbishing The Second Charatan’s Make “Belvedere” # 1 From Mumbai Bonanza Lot


Blog by Paresh

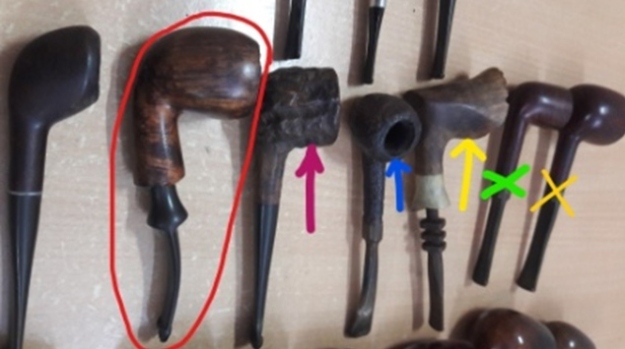
I was fortunate enough to have heeded the advice of my dear friend and mentor, Steve, and struck a deal with a junk collector from Mumbai for a pile of pipes that he had acquired. He did not know what he was selling and I did not know what quality and condition of pipes I was buying from him as we reside in different cities!! The argument that Mr. Steve presented was that if not anything, I shall at least have some spares and this was logical. I struck a deal and here are pictures of the pipes that I received in this lot.This lot contains some very nice collectible pipes, a few well known brands and some mediocre brands. Overall, with seven Dunhill pipes, a Preben Holm #1 FH, a couple of “Made in England” Pete System pipes, a couple of  Charatan’s Make “Belvedere”, Custom-Bilt, Stanwell and other assorted pipes, I would say that I had struck a decent haul!!! This is indeed my “Mumbai Bonanza”.

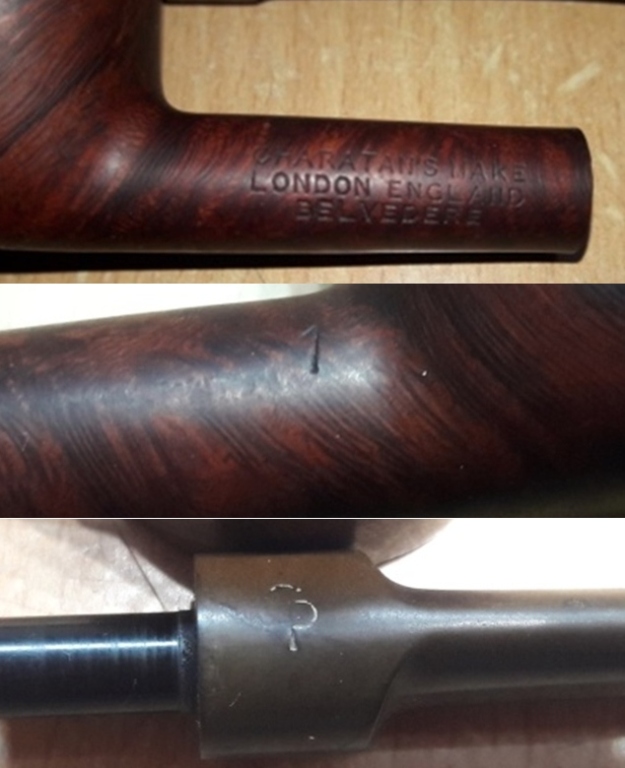
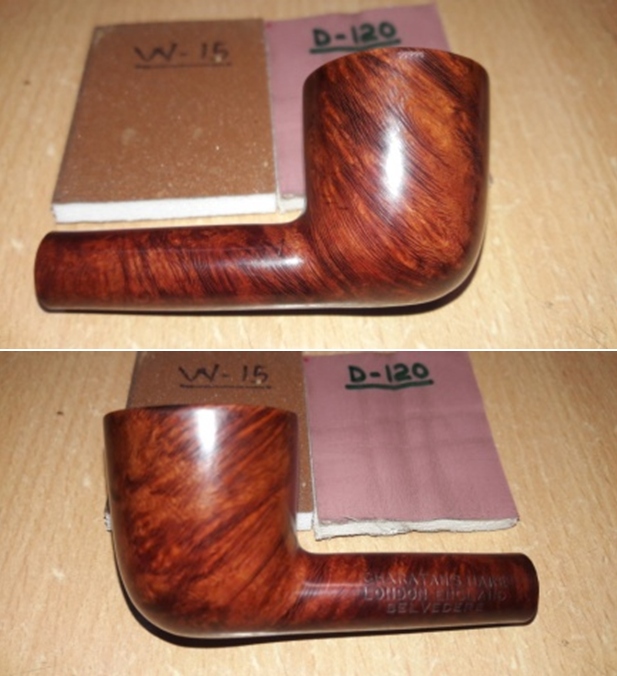
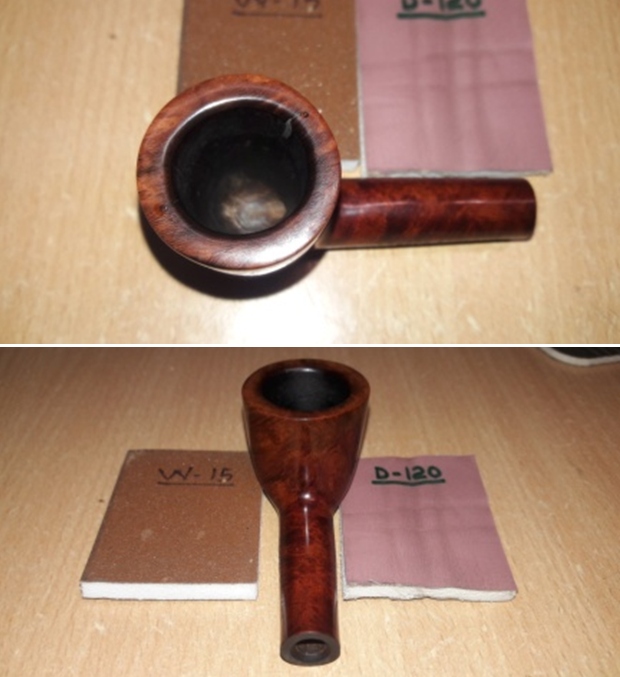
The 21th pipe that I decided to work on from this find is a beautiful small sized petite Dublin shaped CHARATAN’S MAKE “BELVEDERE” # 1 pipe and is indicated by a green cross.This pipe is stamped on the left of the shank towards the shank end as “CHARATAN’S MAKE” over “LONDON ENGLAND” over “BELVEDERE”, all in block capital letters. The right side of the shank surface bears the shape number “1”. The high quality vulcanite saddle stem bears the trademark logo “CP” with the lower part of the C penetrating the P. All the stampings are crisp and easily readable save for the stem logo which is faint and the worn out. In my earlier restorations of CHARATAN’S pipes, I had extensively researched the dating of these old pipes and I can say with certainty that this pipe is from the period post 1960s. However, to document and establish credibility to my understanding and also to refresh my memory of the brand, I visited pipedia.org. Here is the link for the readers interested in history of Charatan’s and also in viewing a 1951 catalog;

https://pipedia.org/wiki/Charatan

“In 1863 Frederick Charatan, a Russian / Jewish immigrant, opened a shop in Mansell Street, located in the borough of Tower Hamlets, London E1, where he began to carve Meerschaum pipes.

Charatan was the first brand to make entirely hand-made briars from the rough block to the finished pipe including the stems. The nomenclature “Charatan’s make” refers to this method of production and was meant to differ Charatan from other brands who “assembled” pipes from pre-drilled bowls and delivered mouthpieces.

Charatan used 4 basic grades prior to 1950: Supreme, Selected, Executive, and Belvedere. After 1950 Herman Lane’s influence began, and the grades started to expand. In 1955 Lane took over sole distributorship of Charatan in the US. In 1957 he introduced the Supreme S. Most of his other introductions were from the 60’s and early 70’s…

Here is another link from the same page which takes the readers to an absolutely well researched page on Dating of Charatan’s;

https://pipedia.org/wiki/Dating_of_Charatans

I have reproduced the relevant portions which had helped me in dating this pipe.

The first step on dating a Charatan is to carefully look to some details:

  1. a) Shape of the mouthpiece
  2. b) Marking on the mouthpiece
  3. c) Engraving on the shank
  4. d) Shape and position of shank engraving/writing

This is because you can make the following conclusions:

a) From 1863 to 1960 the mouthpieces have a normal shape, saddle or tapered. From 1961 they use the ‘Double Comfort’ style still used today. By the way there are some saddle bits (without the double comfort) used in pipes that date after 1960 but these models are always characterized by an X (in the place of the DC) engraved after the shape number on the shank. This means that if a pipe has a tapered mouthpiece instead of a double comfort one, it is definitely a pre-Lane pipe before 1960. While if a pipe has a normal saddle bit stem, it could belong to every era. Nevertheless the pipe is pre 1961 if the shape code does not include an X, and is a pipe from after 1960 if the X is engraved. Finally any pipe with the double comfort stem is definitely after 1960.

b) The CP logo on the stem is stamped in a different shape according the era it was used. Some differences are less obvious than others; however the glaring differences are detectable in 4 phases. The CP till the 1960 is very fine, the C penetrates the P.

Identification of a first era pipe (Frederick’s era, 1863-1910)

I immediately point out that pipes of this era are very rare and it is very unlikely to come across a pipe from this time.

Moreover these pipes are indiscernible from those of the second era, the only clue is that pipes of this era are, in 99% of the cases, are quite small in size.

1) Pipes are no larger than a Dunhill group 1 or max group 2

2) Saddle or tapered mouthpiece

3) No double comfort stems

4) The CP logo is engraved so that the C enters the P (not always present)

5) Absence of £ on the pipe shank

6) Absence of the letter X on the pipe shape code engraved on the shank (for ex. 2502 and not 2502X)

7) Absence of letters DC after the shape number (for ex. 2502 and not 2505DC)

8) Absence of the engraving “MADE BY HAND” on the shank

9) Presence of the writing “CHARATAN’S MAKE LONDON ENGLAND” on 2 lines

10) The CP logo is finer than in following eras

11) The stems are usually made by different material than ebonite (mostly amber, if they have not been replaced)

Identification of a second era pipe (Rueben’s era, 1910-1960)

Pipes belonging to this period are rare; however is it possible to come across one. They can be distinguished from a pipe of the first era mainly because their larger size.

Their characteristics are similar to the ones of the previous era.

1) Pipes can be larger, up to the dimension of a Dunhill group 5

2) The mouthpiece is tapered or saddle.

3) No double comfort

4) The CP logo is engraved so that the C enters the P

5) Absence of £ on the pipe shank (note that from 1955 all the pipe imported in the USA by Lane has it, however that stamping is not synonymous of the Lane era).

6) Absence of the letter X on the shape code engraved on the shank (for ex. 2502 and not 2502X)

7) Absence of letters DC after the shape number (for ex. 2502 and not 2505DC)

8) Absence of the engraving “MADE BY HAND” on the shank (introduced for the first time in 1958)

9) Presence of the writing “CHARATAN’S MAKE LONDON ENGLAND” on 2 lines

10) The CP logo is finer than in following eras

I visited rebornpipes for more information and there is a very informative article that Steve had re-blogged on Charatan’s Models & Shape Information for the Collector. Here is the link for this article;

https://rebornpipes.com/2018/08/22/charatan-models-shape-information-for-the-collector/

I earnestly urge all the readers to go through this article on Reborn pipes.

Thus I can say that the small petite Charatan’s Make “BELVEDERE” pipe on my work table is, in all probability, from the Rueben’s Era and dates from the period 1910- 1960. Here is a picture of the two Charatan’s Belvedere, # 2655 X that I had restored earlier and # 1 currently on my work table, for size comparison. This would give the readers an idea why my heart skipped a beat when I read that the “Frederick’s era, 1863-1910” pipes are no larger than a Dunhill group 1 or max group 2!! Initial Visual Inspection
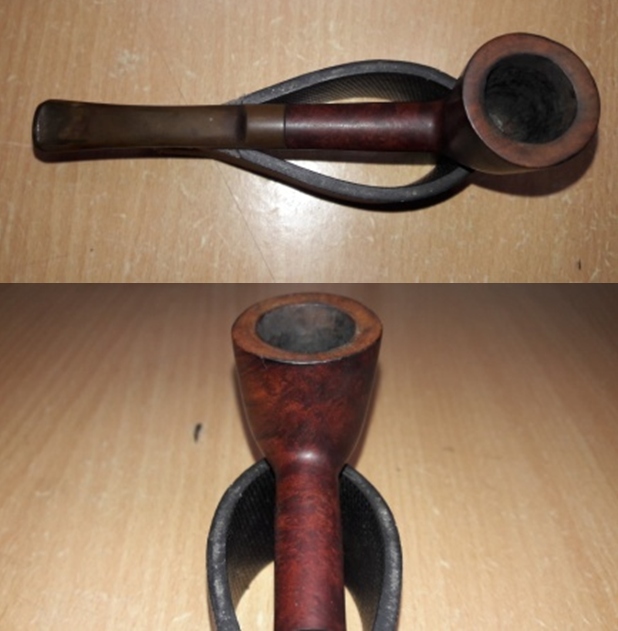
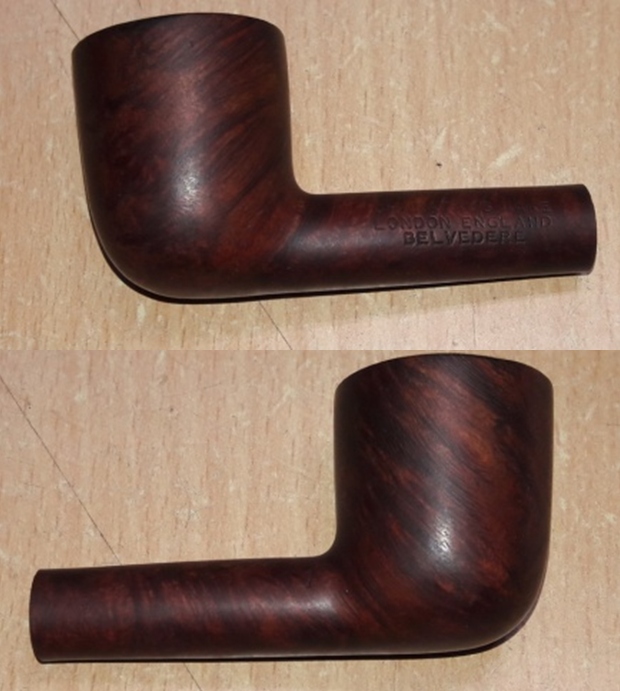
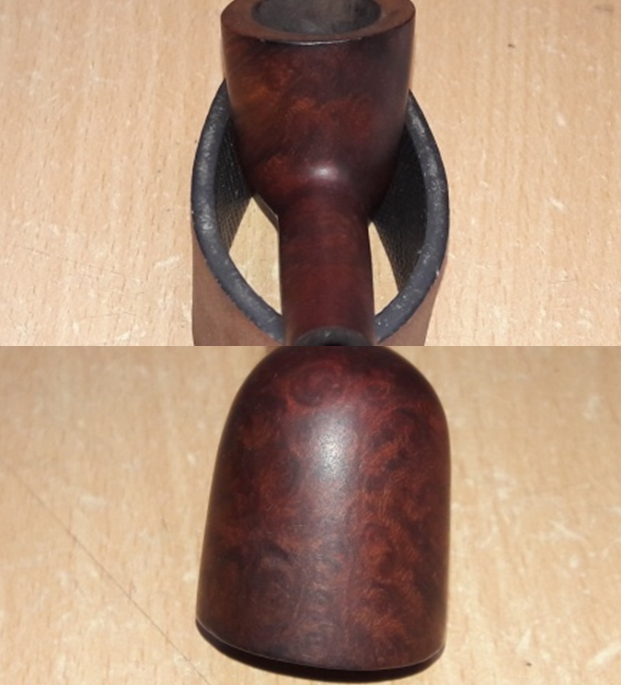
The Charatan’s pipe that is currently on my work table is a small petite pipe with a classic Dublin shape. It has a chamber depth of about 7/8 inch, bowl height of about 1 inch, chamber inner diameter of slightly less than 1 inch and overall pipe length of 5 inches. The stummel has rich dark and medium contrasting reddish brown stains and is covered in dirt and grime through which beautiful cross grains can be seen around the sides and over the shank surface while Bird’s eye adorns the front and back of the stummel. There is a very thin layer of cake in the chamber. The rim top is very clean and appears to have been scraped and is uneven. The inner rim edge has few dents and dings and the chamber is out of round due to the inner rim edge damage. The vulcanite saddle stem is heavily oxidized with no damage to the bite zone on either surface. The buttons on both surfaces are in pristine condition. The following pictures will give the Readers an idea of the overall condition of the pipe as it sits on my work table. The condition of the pipe gives me the impression that the pipe has been worked on earlier to address the damage to the rim top; however, the job is amateurish at the best. Overall, the thin layer of cake, clean rim top and excellent condition of the stem are pointers to the fact that the pipe seems to be well looked after. Detailed Visual Inspection
The pipe appears to have been smoked just two to three times after the chamber had been completely reamed and cleaned down to the bare briar sometime in the past. There is a just a sprinkling of carbon layer over the walls of the chamber. The inner walls of the chamber are in pristine condition with no signs of heat lines/ fissures. The rim top is clean and appears to have been unevenly scraped to remove the lava overflow resulting in an undulating rim top surface. Two prominent cracks are seen over the rim top surface; the larger crack in the 4 ‘O’ clock direction extends from the inner to the outer edge while the smaller crack in 11 ‘O’ clock direction extends about half way across the rim surface from the inner edge. These cracks are encircled in red. The inner rim edge appears to have been scraped with a pocket knife to remove any charring that would have been present in the past and is uneven with a couple of dents (indicated with green arrows) making the bowl appear out of round. The outer rim edge is scorched in three places; 10 ‘O’ clock, 3 ‘O’ clock and 7 ‘O’ clock directions (encircled in yellow). In spite of the thin cake, the chamber odor is strong and should be addressed to some extent once the cake has been taken down to the bare briar and the shank internals have been thoroughly cleaned. The undulating and cracks on the rim top surface, and the out of round chamber are the major issues that would need to be dealt with.  I was surprised to note that, in spite of being the lowest grade in Charatan’s line up, there is not a single fill in the stummel surface and the surface boasts of some beautiful cross grain around the sides and over the shank surface while Bird’s eye adorns the front and back of the stummel. The stummel surface is covered in dirt and grime giving the stummel a lifeless, dull and dirty appearance. The mortise shows accumulation of old oils and tars which would need to be cleaned. I absolutely love the old dark reddish brown color and the patina that has developed over time that I intend to preserve during the restoration. A nice polish with micromesh grit pads will bring a nice shine to the stummel and highlight the grains.   The vulcanite saddle stem is heavily oxidized, but otherwise in a decent condition. The bite zone and the button edge on either surface show some minor tooth indentations. The horizontal slot and tenon opening shows accumulation of dried oils and tars. All in all, the stem presents no major damage and should be an easy clean up. The Process
I started the restoration with cleaning of the stummel. With my sharp fabricated knife, I removed the little remaining cake from the chamber and thereafter, using a folded piece of 180 grit sand paper, I sand out the last traces of cake and expose the walls of the chamber. I wiped the chamber with a cotton swab dipped in isopropyl alcohol to remove the carbon dust left behind by all the reaming and sanding process. Once the chamber walls were cleaned out, I was could make out a couple of minor heat fissures (encircled in yellow). With the same sharp knife, I gently scraped off the minor charring from the inner rim edge. The ghosting is still prevalent and will, in all probability, be addressed/ reduced once the shank internals are cleaned. I took a closer look at the heat fissures and it was a big relief to note that the heat fissures are superficial save for the one in 4 o’clock direction (encircled in yellow) which would need to be addressed. I intend to remove the charred briar from the heat fissure and fill it with J B Weld and subsequently coat the bowl with activated charcoal and yogurt to protect it from coming in direct contact with the burning tobacco.   Next, I cleaned out the internals of the shank and mortise. Using my dental tool, I scraped out all the dried oils, tars and gunk that had accumulated in the draught hole and on the walls of the mortise. The amount of crud that was scrapped out and the condition of the pipe cleaners that were used points to how dirt the shank internals were. I continued further cleaning of the mortise and the shank with shank brushes and dish washing soap. I finished the cleaning by running a few pipe cleaners dipped in isopropyl alcohol through the mortise. The old smells are still strong and would require more invasive methods to completely eliminate the ghosting.   I continued the cleaning of the chamber and shank internals with a salt and alcohol bath. I usually use cotton balls which is an at par substitute to Kosher salt as I have realized over the years. I draw out a wick from the cotton and along with a folded regular pipe cleaner; insert it in to the mortise and through the draught hole in to the chamber. Thereafter, I packed the chamber with cotton balls to about quarter of an inch below the inner rim edge and filled it with isopropyl alcohol up to the brim. About half an hour later, the level of alcohol had gone down, having being absorbed by the cotton. I topped it up once again with isopropyl alcohol and set it aside overnight. By next afternoon, the cotton balls are dark colored and along with alcohol, had drawn out all the remaining oils and tars from the chamber and mortise, fulfilling its intended task. I removed the cotton balls from the chamber and the pipe cleaner with cotton balls from the shank and ran pipe cleaners through the mortise to clean out all the loosened tars and gunk and further cleaned it by scarping the walls with a dental tool to completely remove the gunk. I wiped the bowl clean and dried the shank and bowl with paper napkins and set it aside to dry for an entire day. By next day, the pipe was nice and dry and all the smells were history. With the stummel set aside for drying, I turned to address the stem issues. I addressed the deeper oxidation by sanding the entire stem with a folded piece of 220 grit sand paper. Once the oxidation was completely removed, I wiped the surface clean with Murphy’s oil soap on a cotton swab. I followed it up with cleaning the internals of the stem using hard and normal bristled pipe cleaners and isopropyl alcohol. The gunk that came out with the pipe cleaners tells the sordid tale of the stem condition. I further cleaned the stem internals using thin shank brushes with anti-oil dish washing soap and finally rinsing the stem with warm water to clean and freshen up the stem internals. With a pointed dental tool, I scraped out the entire dried gunk from the tenon end and the horizontal slot. I rubbed a little Extra Virgin Olive oil to hydrate the stem and kept it aside. I used a tightly folded piece of 180 grit sand paper to shape and re-define the button edge on either surface. The stem at this point in restoration is shown below. Continuing with the stem refurbishing, I followed it up by further dry sanding the stem with 320, 600, 800 and wet sanding with 1000 grit sand papers to completely rid the surface of the oxidation and bring out the shine in the vulcanite. The stem should polish up nicely.Using micromesh pads, I completed the polishing of the stem by wet sanding the stem surface with 1500 to 12000 girt pads. I gave a final rub with “Before and After Extra Fine” stem polish compound from Mark to remove fine scratches from the stem surface. I rub a little quantity of Extra Virgin Olive oil in to the stem surface and set it aside to be absorbed by the vulcanite. The stem polished up nicely and appears as good as when new.  Next, I cleaned the external surface of the stummel with Murphy’s Oil Soap on a cotton pad. As brought out earlier, in this project, I intended to preserve the patina and the original stain on the stummel and hence, the deviation from the usual process of scrubbing the surface with oil soap and dishing cleaning soap followed with rinsing under warm water. I shall polish the stummel by dry sanding with micromesh pads to bring a nice shine to the stummel and highlighting the grains. With the internal and external cleaning of the stummel completed, I turn to addressing the issues of rim damage. I topped the rim top over a piece of 220 grit sand paper till I had a smooth and even surface. The charred surface in the 2 o’clock direction has been greatly reduced but is still visible (encircled in red). I had anticipated that the crack would be addressed at this stage itself if it had been superficial. However, that was not to be. Both the cracks, larger one in 4 o’clock and the smaller one in 11 o’ clock direction are still visible and indicated with blue arrows. I shall drill counter holes to prevent the spread of these cracks.  I again checked the alignment of the crack on the rim surface with the heat fissures in the chamber walls. With a sharp dental tool, I probed the heat lines. The heat line that aligned with the smaller crack is just superficial and the surrounding briar was solid. However, the heat fissure that aligned with the larger crack did have soft charred briar in it and would need to be addressed. I also checked the stummel surface to see if the crack extended over the stummel and was mighty pleased to note that it did not. What a relief!!   I marked the end points of the two cracks with a sharp dental tool. These marks also help to guide the drill bit when drilling the counter hole. With my hand held rotary tool mounted with a 0.1 mm drill bit, I drill counter holes at the end points. These counter holes arrests the further spread of these cracks. I fill this crack and the counter holes with a mix of CA superglue and briar dust and set the stummel aside for the fills to harden.   Next, with a sharp dental tool, I completely removed the charred briar from the heat line that aligned with the larger crack in 4 o’clock direction. To protect the crack from coming in to direct contact with the burning tobacco and causing a burnout, I plan, firstly, to fill only the crack of the chamber with J B Weld followed by a second coat of activated charcoal and yogurt to the entire chamber which would assist in faster cake formation. J B Weld is a two-part epoxy Cold Weld that consists of two parts; hardener and steel which are mixed in equal parts in a ratio of 1:1 with hardening time of 5-6 minutes and complete curing time of 6-8 hours. I squeezed out the contents of the two tubes and mixed it well. With a flat bamboo frond, I applied this mix and filled the intended crack. I worked fast to ensure a complete and even filling of the crack and set the stummel aside for the J B Weld to harden.  By the next afternoon when I got back to working on this pipe, the counter hole fills over the rim top and the J B Weld coat to the wall of the chamber had completely cured and hardened considerably. I sand the rim top fills with a flat needle file to achieve a rough match with the rest of the rim surface. I fine tune the match with a piece of 220 grit sand paper. Next, using a folded piece of 150 grit sandpaper, I sand the J B Weld coating to a smooth surface till I had as thin a coat as was essential to protect and insulate the crack from the direct heat of the burning tobacco. The Weld coat has completely covered only the crack which can be seen as a thin line. I am very pleased with the repairs at this stage.With the repairs to the cracks and heat fissure completed, I addressed the out of round inner edge and the slight charring to the inner rim edge in 4 o’clock direction by creating a nice deep bevel to inner edge with a folded piece of 220 grit sand paper pinched between my thumb and index finger.  I subjected the stummel to a complete cycle of micromesh polish, dry sanding with 1500 to 12000 grit pads. I paid greater attention to polish the rim top surface and the bevel created on the inner rim edge. I wiped the stummel with a moist cloth after every grit pad to remove the sanding dust left behind by the pads. I am happy with the progress being made till now. The briar has taken on a nice deep shine with the original reddish brown of the stummel and the darker brown stains to the grains contrasting beautifully. I really like the dark reddish brown coloration and the patina that is seen over the stummel surface.     Next, I rub a small quantity of “Before and After Restoration Balm” into the briar with my finger tips and work it deep in to the surface and let it rest for a few minutes. The balm almost immediately works its magic and the briar now has a nice vibrant appearance with the beautiful straight and Bird’s eye grain patterns on full display. The contrast of the dark browns of the grain with the light reddish brown hues of the rest of the stummel adds an interesting dimension to the appearance of the stummel. I further buffed it with a horse hair brush to further deepen the shine. Now that the cosmetic aspects of this pipe have been dealt with, all that remained was the functional aspect that needed to be taken care of. The J B Weld coated crack needs to be protected from the direct heat of the burning tobacco and for this; I coat the complete chamber walls with a mix of activated charcoal and yogurt and set it aside to harden naturally. The mix has to be of the right consistency; neither too thick nor too runny. It should be of a consistency that is thick enough to spread easily, evenly and stick to the walls. Also the coating should not be very thick. A thin film is all that is required. Another important aspect to remember is that it is essential to insert a pipe cleaner in to the mortise and through the draught hole for two reasons; first is obviously to keep the draught hole from getting clogged and secondly, the pipe cleaner absorbs all the moisture from the mix and helps in faster and even drying of the coat.To refresh the stem logo, I coat the stem logo with white correction ink and let it dry out completely while I polished the pipe with Blue Diamond. Once the ink had dried out, with a toothpick, I gently removed the excess ink from the surrounding surface. Though the logo is not very crisp, this is the best that was possible given how worn out the stamping was to start with.  To put the finishing touches, I mount a cotton cloth buffing wheel on to my hand held rotary tool and polished the stummel and stem with Blue Diamond compound. This compound helps to remove the minor scratch marks that remain from the sanding.    Next, I mount another cotton buffing wheel that I have earmarked for carnauba wax and applied several coats of the wax. I mount a clean cotton cloth buffing wheel and give the entire pipe a once over buff. I finished the restoration by giving the entire pipe a rigorous hand buffing using a microfiber cloth to raise the shine further. The finished pipe with a deep reddish brown and aged patina to the briar looks amazingly beautiful and is now ready for its long second inning with me. I would like to express my gratitude to all the readers of rebornpipes who have made the effort to walk through this journey with me and shared their words of encouragement through their comments and suggestions. This does help me gain experience and grow in this hobby about which I am very passionate.

Praying for the health and safety of all the readers and their loved ones in these troubled times…
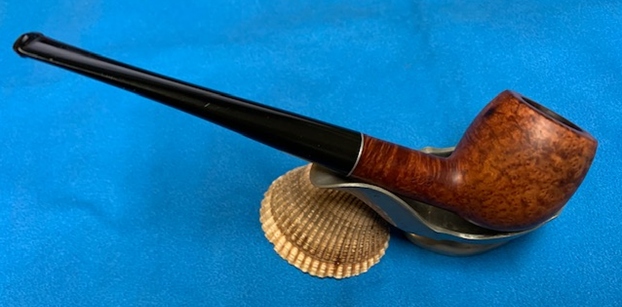
New Life for an Early John Bessai Poker


Blog by Steve Laug

The next pipe on the work table came to us from an online auction in Wilkes Barre, Pennsylvania, USA.  The pipe is an interesting looking piece – a smooth oil finished Poker shaped pipe with some nice grain around the bowl. The pipe is stamped on the left side of the shank and has a Bullseye target [over] JB in a circle and on the right side it is stamped Imported Briar. There was a lot of grime ground into the smooth finish on the briar. The bowl was heavily caked with a light lava coat on the top of the rim. The inside edges looked to be in good condition. There were some nicks in the briar on the top of the rim and the outer edges were beat up from being tapped against hard surfaces. The stem had tooth chatter and marks on the top and underside near the button. There were not markings or a logo on the taper stem. It had promise but it was very dirty. Jeff took some photos of the pipe before he started his cleanup work. He took photos of the rim top and bowl to give a clear picture of the thickness of the cake and tobacco debris as well as the damage on the rim top and outer edges. He also took photos of the top and underside of the stem to show the oxidation and the chatter and tooth marks. Jeff took photos of the sides and heel of the bowl to give a picture of what the briar looked like. There is some nice grain around the sides. You can also see the damage to the rim edges and the heel of the bowl in the photos below.  The stamping on the left and right sides of the shank are clear and readable and read as noted above. I have worked on quite a few Bessai pipes over the years and back in 2014 I restemmed a bowl. I wrote a blog on the pipe and did quite an extensive amount of research on the brand (https://rebornpipes.com/2014/07/14/restemming-and-restoring-a-john-bessai-special-diamond-shank-bent-brandy/). I am including that information here for ease of reference. If you have read it before feel free to skip ahead to the work on the pipe.

HISTORY & BACKGROUND

I started out with what I had found previously and written about on the blog. I quote the following paragraph from Pipedia http://pipedia.org/index.php?title=Bessai

John Bessai was a long time pipemaker, repairman and tobacco shop owner who operated his pipe shop at the “Old Arcade” in Cleveland, Ohio. The shop was opened in approximately 1898. It was a small 2-room shop where he hand-crafted his own pipes in the back room and could work when customers were not there. Like so many other shop made brand, John Bessai’s limited production was quickly acquired by regular customers and thus his craftsmanship remained little known outside of Ohio and the Midwest. While his name is known by pipe collectors in the Midwest, his work is seldom seen elsewhere! He died before 1969. Nevertheless, John Bessai left behind a small number of classic shaped pipes; all were made on-site. They are praised worthy of collecting and reflecting skills well beyond most American pipe makers. John Bessai’s logo “JB” appeared as one letter as the “back” of the “J” and the “back” of the “B” share a single line. The logo was stamped on the stem and on the left side of the shank. His son Herb Bessai took over the business and also continued making pipes. He closed the shop in about 1978.

I suspected that there would be more information three years later. I did some further research and came across the information found in the paragraph below on one of the pipe forums.

John Bessai was located in the Colonial Arcade at least into the late 1980s. After his death, his son Herb ran the shop. It was taken over after Herb’s retirement by a male and then name was changed to “Old Erie Pipes”. This was then located in the Erieview Plaza and when that mall closed, taken over by Cousin’s Cigars which has a store on Euclid Avenue near CSU, and a store on Chagrin Boulevard in Woodmere Village.

That small quotation gave me a bit more information of the state of the store after John’s death and Herb’s retirement. But I still wanted more information. I wanted to know about the history of the brand and if there was any information on the various grades in the brand and the stamping on the pipes. I wanted to know a bit of a timeline for the brands. Finally my digging paid off. ON one of the pipe forums I came across a link that led me to a gold mine of information gathered by a man after my own heart, Andrew Hross. He has a blog called Classic Pipe Shop on Blogspot. I have included the link below for those who want more information. Andrew has done an amazing job of gathering information on the Bessai Brand so rather than rewrite the history I am quoting portions of Andrew’s work on The John Bessai Pipe Clinic. (http://classicpipeshop.blogspot.ca/2014/04/the-john-bessai-pipe-clinic-information.html)

The John Bessai Pipe Clinic, 35 Colonial Arcade, Cleveland, OH 44115 – by Andrew HrossOwner(s): **John Bessai 1920s until his passing in 1969, **Herb Bessai ~1962-1983, **Daniel Gottschall 1984-~1993, **Purchased by Dad’s Smoke Shop / Cousin’s Smoke Shop and rolled into the Old Erie Smoke Shop about 1993. Cousin’s Cigars purchased the remaining stock of Bessai pipes near after Herb Bessai passed away in 2002.

Years of Operation: 1920s (unkown specific date at this time) – 1983. After 1983 the business was sold to Daniel Gottschall who later sold it to Cousin’s Cigar (Euclid Ave) around 1993. The name was changed to “Old Erie Tobacco Company”. They were forced to move to the Galleria when all the tenants of the Old Arcade were cleared out to make room for renovations. Their new address was The Galleria at Erieview, 1301 East 9th Street in Cleveland.

After this move the location wasn’t as busy as they had hoped and Cousin’s moved all the Old Erie Tobacco assets to their Euclid Avenue Store. The store has since moved to a St. Clair location after Cleveland State forced them out due to anti-smoking regulations on campus. Their St. Clair location offers many of John Bessai Pipe Clinic’s old tobacco blends.

Their new store opened in the Merriman Valley area in Akron, Ohio where the store manager John Coleman oversees the day to day operations. John was instrumental in helping me piece together a lot of loose ends during Bessai Pipe Clinic’s transition years.

My father visited their shop several times in the early 60s as he attended Fenn College (now Cleveland State University) as an undergrad before moving on to Ohio State University for his Masters. He’s way smarter than I am so I just go with the flow…

He mentioned meeting John at that time who quickly gave my father some pointers on smoking a pipe and how to take samples from the shop’s expansive sample jar collection. His pipes were on display in the shop although I don’t believe he had a lot of pipes on display at any given time due to production in-shop.

John’s son Herb took over the shop in the early 60s after he graduated from Cleveland State University / Fenn College (unclear) as he is listed as having played Basketball for CSU. Herb was also a helpful, informative and friendly individual. Articles exist from the Herald in 1962 where they interviewed Herb (with photograph) about the state of smoking in the new age of the early 60s. I visited the shop in the late 70s / early 80s with my father during a trip to Cleveland and couldn’t tell you much about the shop other than the guy working was very friendly. Back then it wasn’t unusual to be a kid and walk into a smoke shop with your father. Clearly I didn’t purchase anything but my father probably picked up some tobacco but I remember him looking at pipes displayed on a back wall. The shop was small but impressive.

If anyone has any pictures of the shop or old catalogs, I would love any additional information as it’s tough to come by 30+ years later!

Pipes offered by John Bessai Pipe Clinic: Most of the pipes that were offered by the John Bessai Pipe Clinic were fairly standard in shape… I would say most of the pipes Bessai offered were smooth pipes. My assessment would be 90% smooth and 10% rusticated / sandblasted…

…The story is that John crafted pipes in the back room or off site and finished them in house while the store wasn’t busy. Very little information is available on the accuracy of this statement. Some of his pipes from the late 1960s through the 1970s (John passed away in 1969) I feel were left over stock from previous turnings and sometimes showed fills or sand pits. Some of these pipes even carry Herb’s markings (see below). These pipes still smoke very well but are not as eye-appealing as other earlier pipes from the store’s career.

Stampings and rough dating of John Bessai Pipe Clinic Pipes: Which pipes did John make and which ones did Herb make/finish? All Bessai pipes carry his standard large JB stamp either on the stem or shank or both. Typically the JB on the stem is within a circle.

All pipes created by John Bessai’s hands reportedly contain the miniscule ‘jb’ stamp on the shank or body of the pipe. I have older pipes in my possession that do not contain this stamp (condenser, old stamps, etc) that were clearly shop made pipes. I feel he started using the tiny ‘jb’ stamp in the 50s to early 60s.

An interesting note about John Bessai’s stems – they always clean very nicely and aren’t prone to as much oxidation (that brownish / green color) as most dunhill and Charatan pipes tend to oxidize. His cuts to his stems were very impressive and often transitioned from diamond-shaped shanks almost architecturally. Very comfortable to smoke.

John Bessai Special Pipes:

… I have a couple Bessai Special pipes. These stand out either by large size, graining or possibly shape. Most Specials are unique pipes and are rare to find in comparison to his regular issue pipes.

John Bessai Special X pipes:

I only have one of these and it’s a beauty. This one is a larger bowl (around a group 4 dunhill) with deep colored grain and a hefty substantial shank. Special X pipes are probably the rarest of John Bessai pipes and should be sought out if possible. I’ve smoke mine roughly 4 or 5 times and it performs with the best of my pipes…
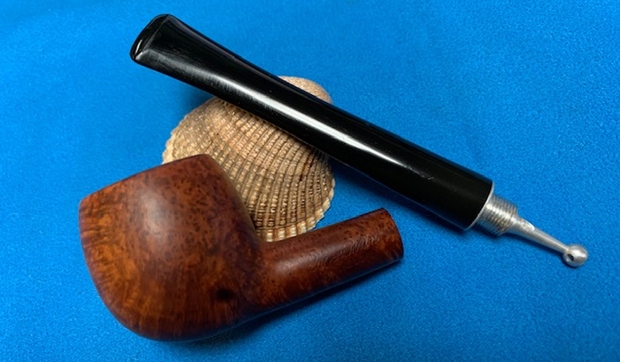
Herb Bessai Pipes:

Unfortunately none of these pipes that I’ve seen have astounded me with grain or general appearance. Having said this, these pipes smoke nicely and are a great value if you can find them. I have one that my father found at an Antique Show in the South. There’s another author shape on reborn pipe’s blog that someone refinished because of the amount of fills in the pipe. He also states it’s a wonderful smoker (Editor’s note: This is my pipe and the write up I did on the blog). These pipes are likely from the late 60s through the early 70s. I believe many pipes after this period were created en masse at a factory in the US. It is unclear what stamp was used on these later pipes…
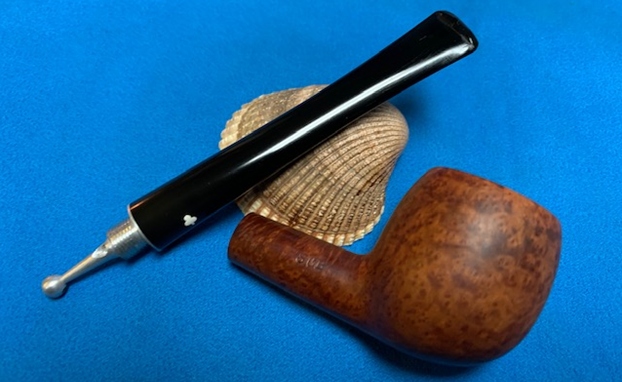
Dating / Circa era Bessai Pipes: If the pipe carries a stamp stating Cleveland, O U.S.A. it’s considered an older production pipe (pre1960s). I’ve not seen any newer pipes with that stamp.

Bullseye stamping usually indicates an earlier pipe as that stamp seems to have been abandoned pre1960 as well.

Most of the earlier Bessai pipes have an unusual ‘stinger’ or condenser at the end of the tenon which is unique to Bessai pipes. They are either a hard plastic or created out of wood. They are typically easy to remove and could have been easily lost if misplaced. These pipes I would consider pre-1960 and possibly 1940s-early 1950s production based on their stamps and patina of the pipes.

1970s 1980s and beyond: My feeling on these pipes after John’s passing is that they purchased finished pipes from a large manufacturer and stamped them with the John Bessai or Bessai stamp (on shank and/or stem). Most of these shapes are standard among many stores from that period and offer less than spectacular grain (and sometimes fills). Stamps on these pipes are probably fairly plain and don’t have the tiny ‘jb’ stamp on the shank indicating it was produced by John Bessai.

I know that is a lot of information and if you want to you can skip ahead to read about the restoration. I started my restoration with cleaning the internals and the externals of the pipe. I cleaned out the inside of the pipe with pipe cleaners, cotton swabs and alcohol. It was a filthy pipe on the inside.

The pipe in hand was a John Bessai Circle JB Imported Briar. As noted above the pipe is stamped with a Bullseye Stamp that seems to have been abandoned pre-1960. So I am dealing with an earlier Bessai pipe. Now on to working on the pipe.

Jeff had cleaned up the pipe with his usual penchant for thoroughness. He reamed the pipe with a PipNet pipe reamer and removed the rest of it with a Savinelli Fitsall Pipe Knife.  He scrubbed the bowl with undiluted Murphy’s Oil Soap with a tooth brush. He rinsed it under running warm water to remove the soap and grime. He cleaned out the inside of the shank and the airway in the stem with alcohol, cotton swabs and pipe cleaners. He soaked the stem in Before & After Deoxidizer and rinsed it off with warm water. I took photos of the pipe once I received it.   The rim top cleaned up really well. The rim top and outer edge of the bowl show some damage. The stem surface looked very good with a few small tooth marks and chatter on both sides near the button. The stamping on both sides of the shank is clear and readable. The left side is stamped with a Bullseye [over] JB in a Circle. On the right side of the shank it is stamped Imported Briar.    I removed the stem and took a photo of the pipe to give a sense of the whole. The stem is tapered and narrow.Now it was time to do my work on the pipe. I topped the bowl on a topping board with 220 grit sandpaper. I repaired the damaged areas on the heel of the bowl and the sandpit on the right side of the bowl with clear super glue. I sanded the repaired areas smooth with 220 grit sandpaper to blend them into the surrounding briar. Once I had smoothed out the repairs I used a Maple stain pen to touch up the sanded area on the bottom of the bowl and the rim top. I knew that once I polished it with micromesh, it would blend in very well. I polished the repaired areas and the rest of the briar with micromesh sanding pads – wet sanding with 1500-12000 grit pads and wiping it down after each pad with a damp cloth.  I rubbed the bowl and shank down with Before & After Restoration Balm. I worked it into the surface of the bowl sides and shank with my fingertips to clean, enliven and protect the briar. I let the balm sit for a little while and then buffed with a cotton cloth to raise the shine. The grain came alive and the fills while visible look better than when I began. I set the bowl aside and turned to work on the stem. It was in good condition and the tooth marks were light so I figured they would polish out fairly easily. I polished the vulcanite stem with micromesh sanding pads – 1500-12000 grit pads. I wiped it down with Obsidian Oil after each sanding pad. I used Before & After Pipe Polish – both Fine and Extra Fine to further polish the stem.       This JB (John Bessai) Bullseye stamped Poker is a great looking pipe now that it has been restored.The smooth oil cured finish around the bowl is quite beautiful and highlights the grain and works well with the polished vulcanite taper stem. The repaired gouges on the heel look much better and are now smooth to touch. I put the stem back on the bowl and carefully buffed the pipe with Blue Diamond on the buffing wheel using a light touch on the briar. I gave the bowl and the stem multiple coats of carnauba wax on the buffing wheel and followed that by buffing the entire pipe with a clean buffing pad. I hand buffed the pipe with a microfiber cloth to deepen the shine. The finished John Bessai Poker fits nicely in the hand and feels great. Give the finished pipe a look in the photos below. The dimensions of the pipe are Length: 6 inches, Height: 1 ¾ inches, Outside diameter of the bowl: 1 ¼ inches, Chamber diameter: ¾ of an inch. I will be putting it on the rebornpipes store shortly. If you are interested in adding this pipe to your collection send me a message or an email. Thanks for reading this blog and my reflections on the pipe while I worked on it. There are many more to come!

A Tale of the Rebirth of 3 Pipes – Pipe #2 – a Comoy’s Tradition 3591 Panel Prince


Blog by Steve Laug

By default this nice little Prince moved to the third slot while waiting for the stem repair to cure. It is now finished and it is a really nice looking pipe. Give the blog a read.

Last week I received an email from a fellow named Stanley who had gotten my info from the local Pipe and Cigar shop. He wrote that he had a trio of Comoy’s pipes that needed to be worked on. Two of them were Grand Slam Pipes and one was a Tradition. We connected via email and he said he would drop them off this week for me to work on. I am including part of his email so you have a sense of what I would be working on. I am also including the two photos that he attached to the email for me to see.

Hey Steve,

I had recently the chance to talk to a very kind and excellent gentleman over at City Cigar, I unfortunately was never able to get his name. However I mentioned I was looking for some replacement stems and he gave me your info…
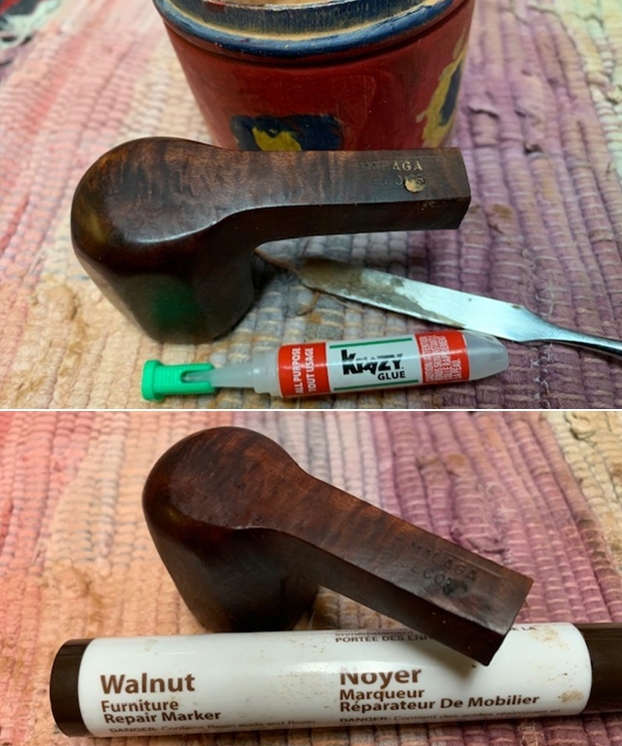
…The pipes in question are attached in photos, I’ve never done any sort of pipe restoration in my life but I have attempted to take the cake down with a pocket knife. If you’d do it, would you be able to do a ream/clean on the three, as well as deal with the stems?

If possible, I’d prefer to save the original stems by repairing them, but it seems to me that most people remedy this problem with a replacement stem. Whatever you think is best I will go with.

If you think that I’d be better off without the stinger insert in the shape 64, then would you be able to remove it? I’m afraid I’d break the stem if I tried haha.

The 484b also seems to have a crack starting near the “Comoy’s Grand Slam” part of the shank, where it meets the stem. Is it possible to deal with this?

That is all! Please let me know what you think!

Thanks!  Stanley Last night Stanley stopped by and dropped off the three pipes. I took photos of pipes as there were when I opened the bag they were in. All three pipes were very dirty but the reaming had been started as noted in his email. The stems all had bite throughs on the underside. The bottom pipe in the photo below is a Grand Slam Pipe shape 64 Billiard. The stem has a 3 part C on the left side. The middle pipe is a Tradition 3591 Prince with 8 flattened panels on the bowl near the top. The stem also has a bite through and a missing divot. It also has a 3 part C on the left side. The top pipe in the photo is also Grand Slam Pipe 484B with a replacement stem that also has a bite through. The shank is also cracked on the left side.The last pipe left to work on in this threesome is the Tradition 3591 Panel Prince. It is a beautifully grained Comoy’s Prince that really is a pipe of Pipe Smoking History. The pipe is stamped on the left side of the shank and reads COMOY’S [over] Tradition. On the right side it has the shape number 3591 (the stamp is faint) next to the bowl/shank junction and that is followed by a Comoy’s COM stamp is worn away. The finish had a lot of grime ground into the smooth finish on the bowl and some darkening around the sides of the bowl. The bowl had been scraped but there was still a moderately heavy cake. There was an overflow of thick lava on the top of the rim and on the inner bevel of the bowl. It was hard to know what the rim top and inner edge of the bowl looked like under the grime. The stem was lightly oxidized and there was a large bite through on the underside. There was a three part inlaid C on the left of the taper stem. The pipe had promise but it was very dirty. I took photos of the pipe before he started his cleanup work.   I took photos of the rim top and bowl to give a clear picture of the thickness of the cake and the overflow of lava on the rim top. It is hard to know if there is damage to the inner edge of the bowl because of the lava coat. I also took photos of the top and underside of the stem to show the condition of the stem surface and the bite through on the underside.   I took photos of the stamping on both sides and underside of the shank. They read as noted above. I also included a photo of the 3 part C logo on the left side of the taper stem. I removed the stem and took a photo of the pipe to give a sense of the whole. It is a well shaped billiard. Once the stem was off you can see the step down tenon that was on these older Comoy’s pipes.I looked on Pipephil’s site for information on the Comoy’s Tradition and found the following information I have included a screen capture (http://www.pipephil.eu/logos/en/logo-comoy.html). It has the three part C which dated it to 1946 and following. The stamping is the same as the one I am working on.I turned to the article on Pipedia about dating Comoy’s pipes but the style of the stamping (https://pipedia.org/index.php?title=Comoy%27s_Dating_Guide#1917_to_the_end_of_the_1930.27s_.28at_least_1938.29). I have include the section in the screen capture below that date this pipe to the 1950s.

Now the Comoy’s stamp can be found in three variants in the 1950s

  1. A simple block-letter style without serifs but with the C larger than the other letters and the apostrophe before the “S”.
  2. A return to the slightly more fancy block letters with serifs and the apostrophe. (It seems that some grades carried different stamps, or at least that the stamping changed in different years for some grades.)
  3. A simple block-letter style without serifs and without the apostrophe and with the “C” the same size as the rest of the letters. This stamp was probably not used very long.
  4. A simple block-letter style without serifs but with the apostrophe before the “S” and with the “C” the same size as the rest of the letters.

Inlaid “C”

C” was first inlaid in the side of the mouthpiece around 1919. This was a complex inlay needing three drillings. First, a round white inlay was inserted, then the centre of the white was drilled out, and a smaller round black inlay was inserted. Finally, another drilling was made to remove the open part of the “C,” and an even smaller black inlay was inserted. This inlaid “C,” known as the “three-piece C,” was continued until the Cadogan era in the 1980s. However, the “C” in the 1920s and early 30s is much thinner and more delicate than the one post-WW II.

That article gave me some helpful information regarding the pipe that I was working on. I knew that the stamping and logos identified the pipe as having been made in following WW2 and from what I can see from the above information it is a 1950s era pipe.

I reamed the bowl with a PipNet pipe reamer using the 2nd and 3rd cutting head to remove the remaining cake back to briar. I followed up with a Savinelli Fitsall pipe knife to remove the remnants of cake. I sanded the walls of the bowl with a piece of 220 grit sandpaper wrapped around a piece of dowel. I scrubbed out the mortise and the airway in the shank and the stem with alcohol, cotton swabs and pipe cleaners. I scrubbed the exterior of the bowl, rim, shank and stem with a tooth brush and Murphy’s Oil Soap to remove the oils and tars on the rim and the grime on the finish of the bowl. I rinsed it under running water and dried it off with a soft cloth.      I was able to remove some of the lava build up on the rim top and finished by scraping it with the Fitsall knife and then a piece of 220 grit sandpaper.  I cleaned up the bevel with the sandpaper at the same time. I polished the bowl and the rim top, sides and shank with micromesh sanding pads – wet sanding with 1500-12000 grit pads and wiping it down after each pad with a damp cloth. I carefully avoided the stamping on the shank so as not to damage the stamping.   I rubbed the bowl and shank down with Before & After Restoration Balm. I worked it into the surface of the bowl sides and shank with my fingertips to clean, enliven and protect the briar. I let the balm sit for a little while and then buffed with a cotton cloth to raise the shine.    I set aside the bowl and turned my attention to the stem repairs. I cut a piece of cardboard for a pallet, put aside two charcoal capsules, and set out the spatula and the Loctite 380 black CA glue. I greased a pipe cleaner with Vaseline and inserted it in the stem. I filled in the hole in the stem with a mixture of charcoal powder and Loctite. I used the spatula to fill in the bite throughs on all of the stems. I sprayed the repair with an accelerator to set the glue and removed the pipe cleaners from the stems.        I filled in the deep tooth marks on the top side of the stem with black super glue and set the stems aside to let the repairs cure. I took a photo of the three pipes at this point to give a feel for where things stood. I smoothed out the repairs with a needle file and started blending them into the surface of the stem. I sanded the remaining repairs with 220 grit sandpaper to further blend it into the stem surface. I started polishing it with 400 grit wet dry sandpaper.   I polished the vulcanite stem with micromesh sanding pads – 1500-12000 grit pads. I wiped it down with a damp cloth after each sanding pad. I used Before & After Pipe Polish – both Fine and Extra Fine to further polish the stem.     This 50s era Comoy’s Tradition 3591 Panel Prince with a vulcanite taper stem is a great looking pipe now that it has been restored. I did a lot of work on the bowl and repaired the bite through on the stem. The rich browns and blacks of the contrasting stains came alive with the polishing and waxing. I put the stem back on the bowl and carefully buffed the pipe with Blue Diamond on the buffing wheel using a light touch on the briar. I gave the bowl and the stem multiple coats of carnauba wax on the buffing wheel and followed that by buffing the entire pipe with a clean buffing pad. I hand buffed the pipe with a microfiber cloth to deepen the shine. The finished Comoy’s thin shank Panel Prince is a beauty and fits nicely in the hand and looks very good. Give the finished pipe a look in the photos below. The dimensions of the pipe are Length: 5 ¾ inches, Height: 1 1/8 inches, Outside diameter of the bowl: 1 ½ inches, Chamber diameter: ¾ of an inch. He will be stopping by to pick them up soon. I am looking forward to what Stanley thinks of his repaired pipe. He had said the threesome were his favourite pipes. This is the second of  the three but the last one I finished. Thanks for reading this blog and my reflections on the pipe while I worked on it. There are many more to come!