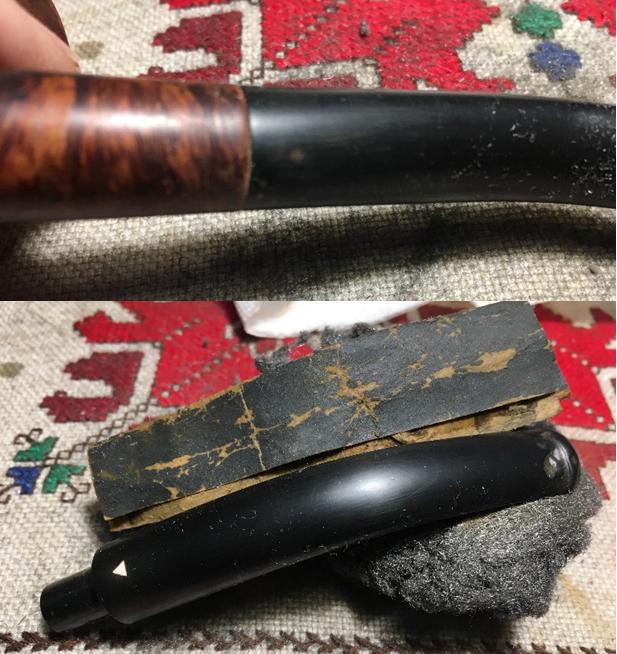
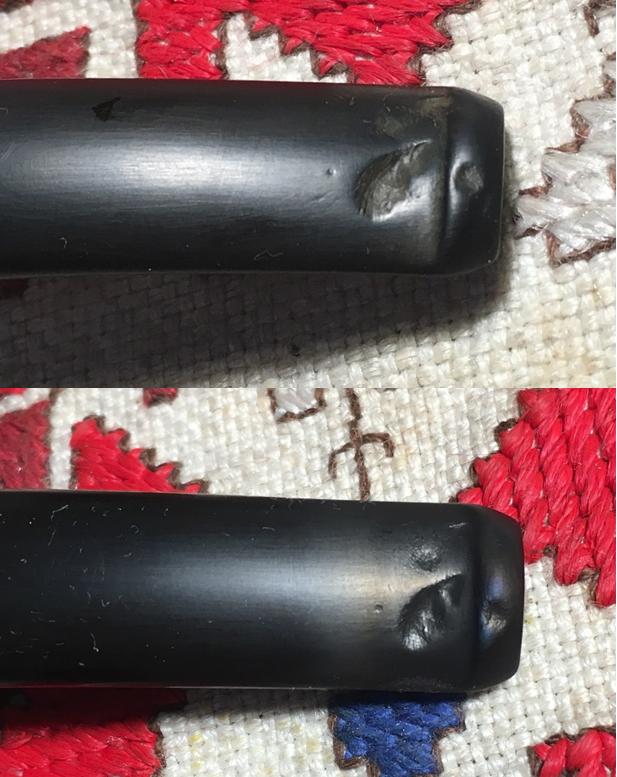
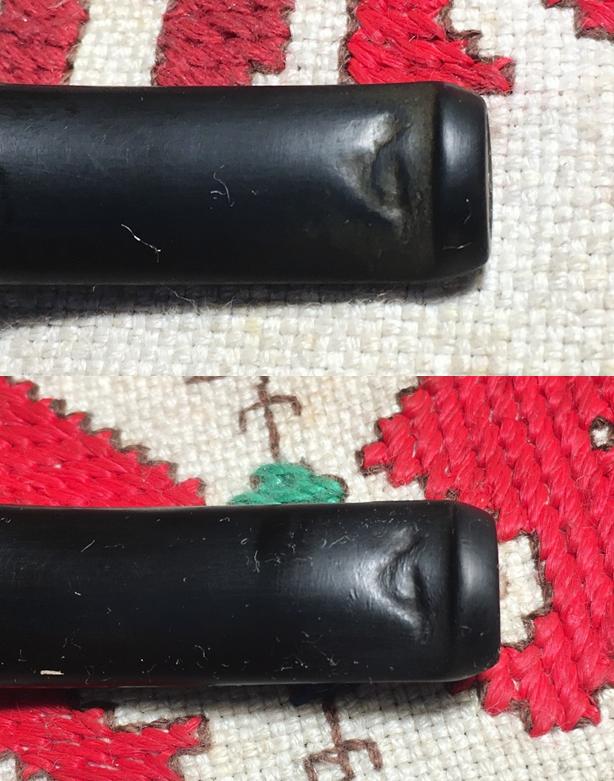
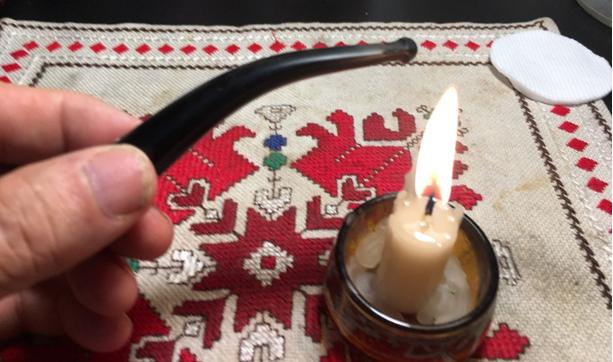
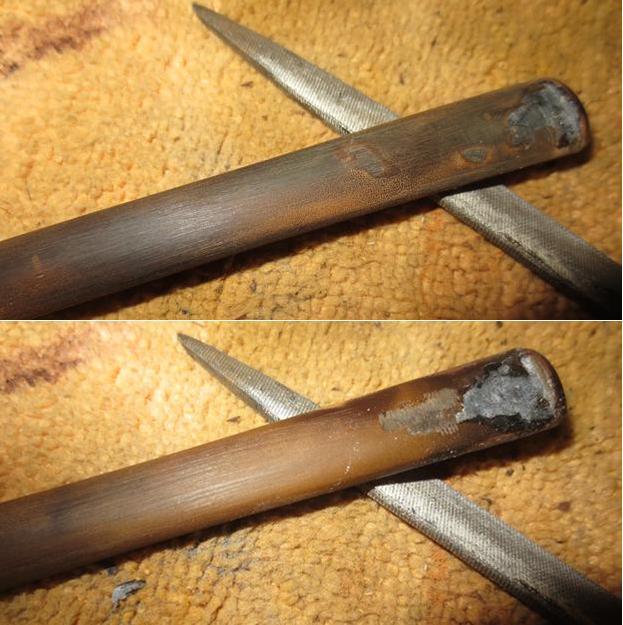
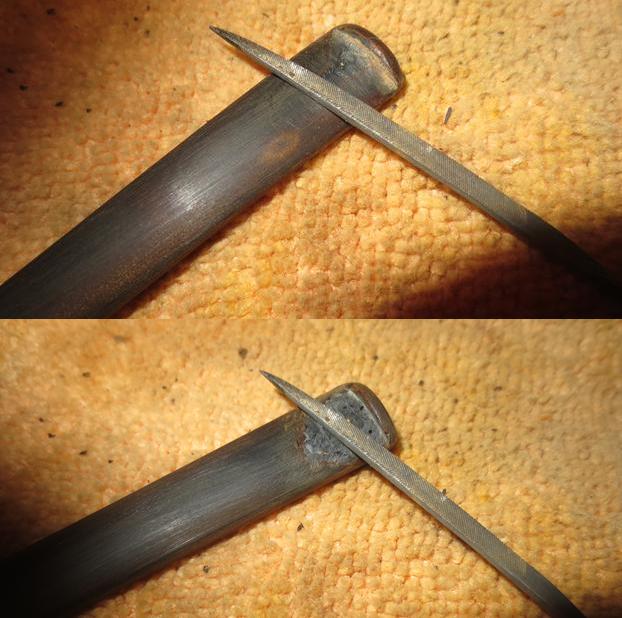
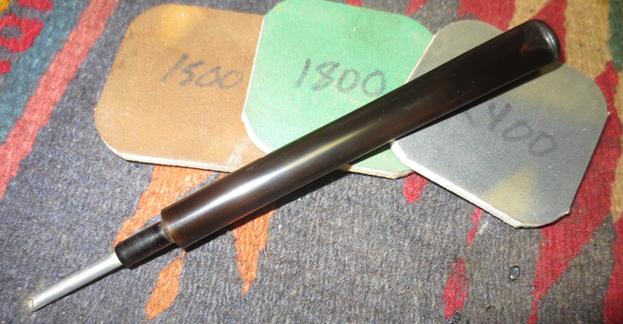
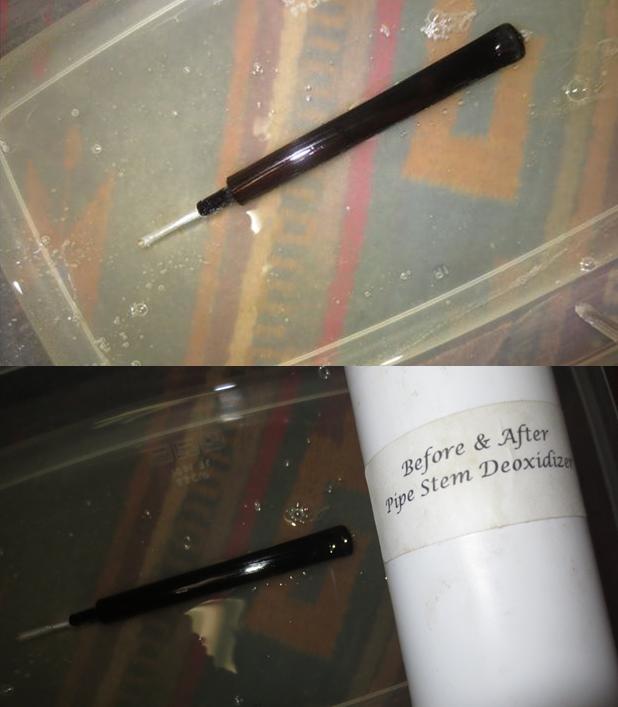
Tag Archives: bite marks

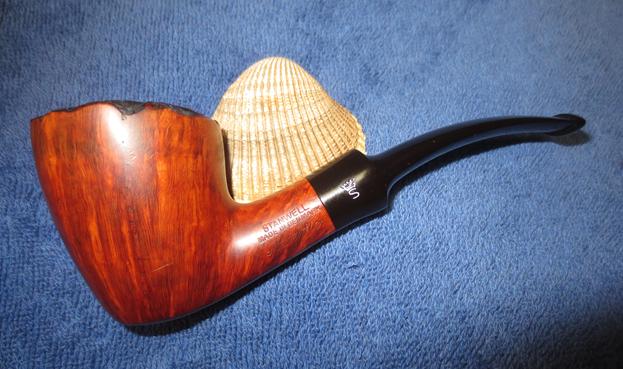
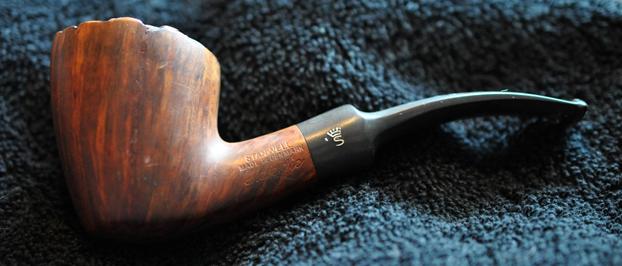
Refreshing a Beautiful, Danish Made Stanwell Majestic 64 Freehand


Blog by Steve Laug

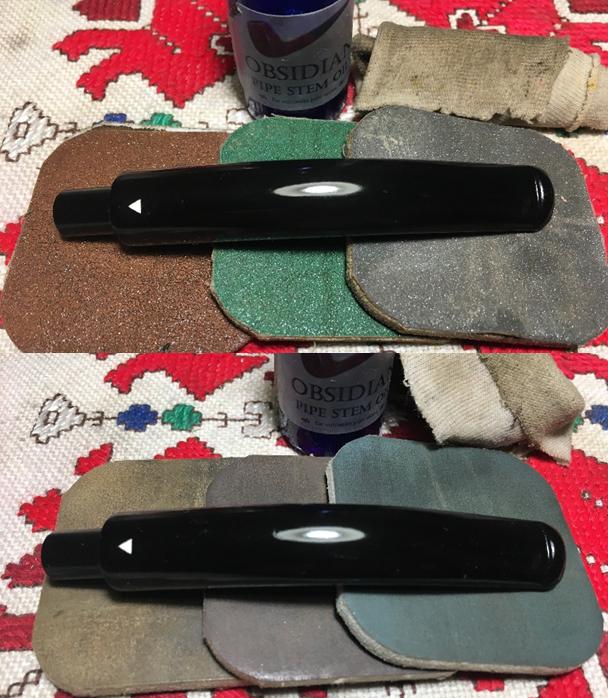
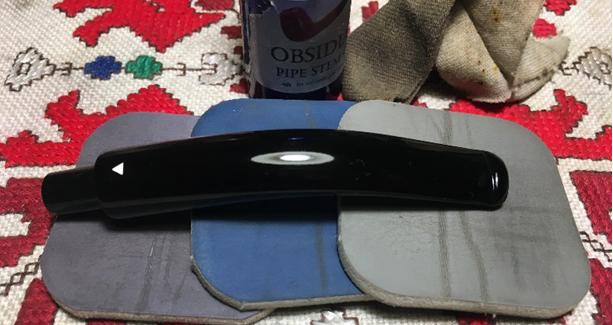
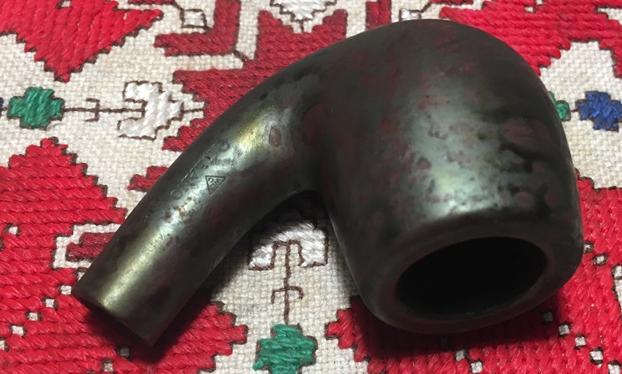
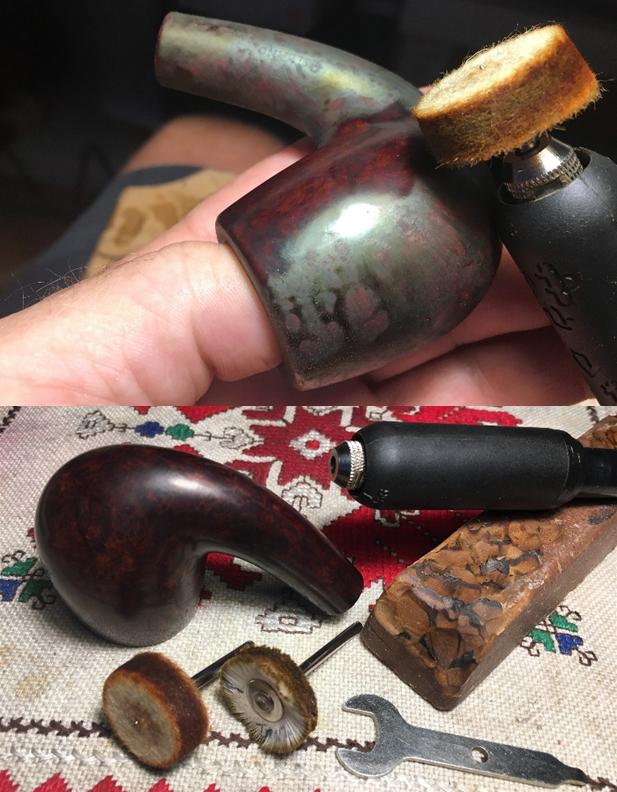
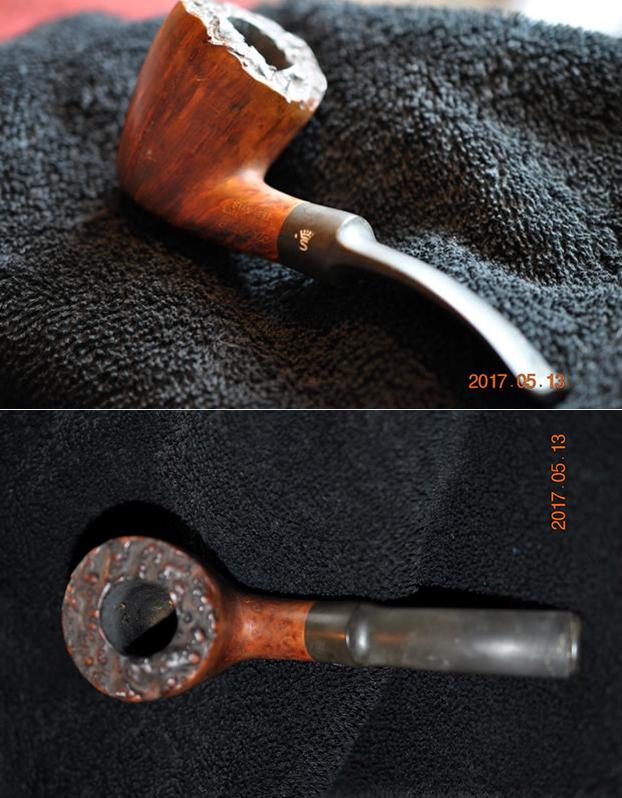
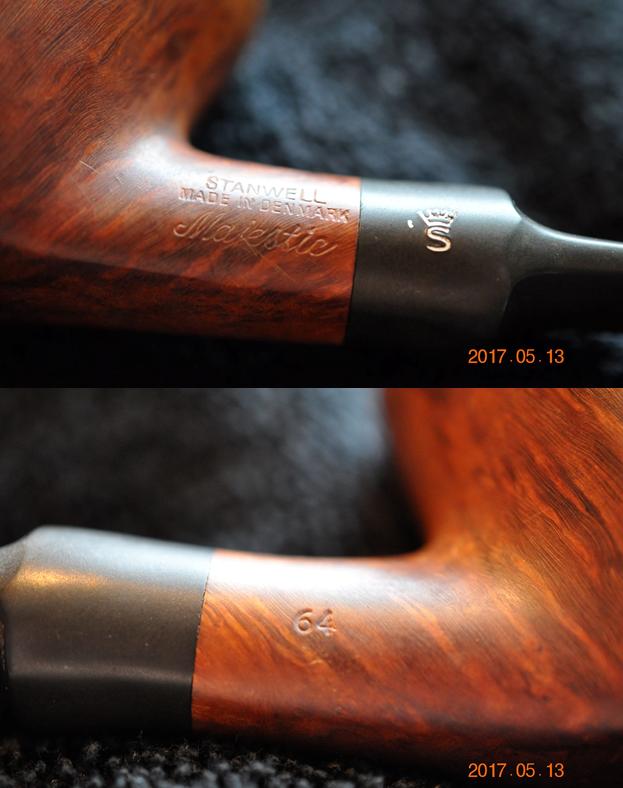
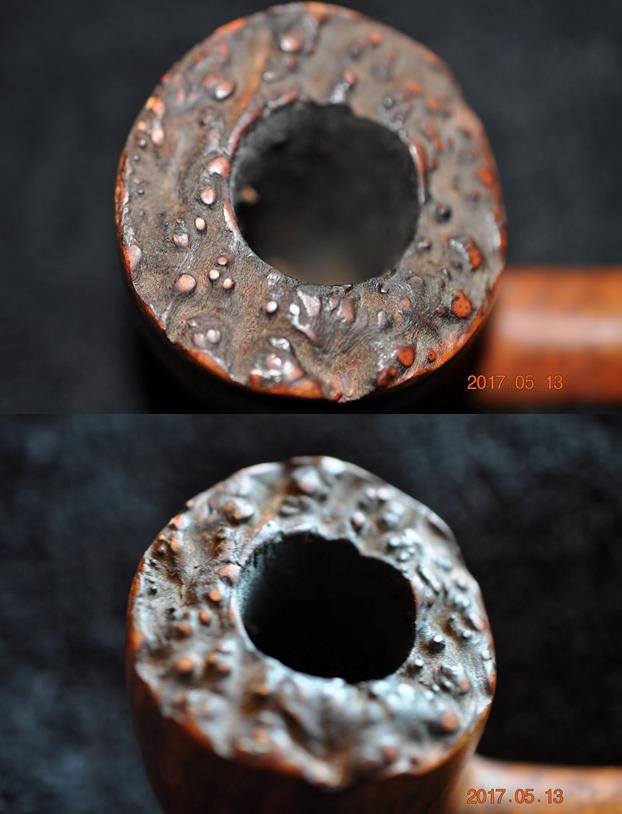
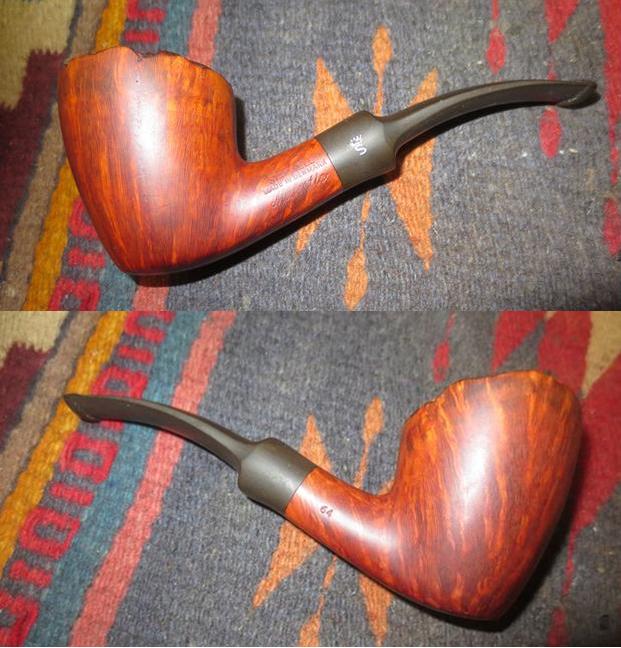
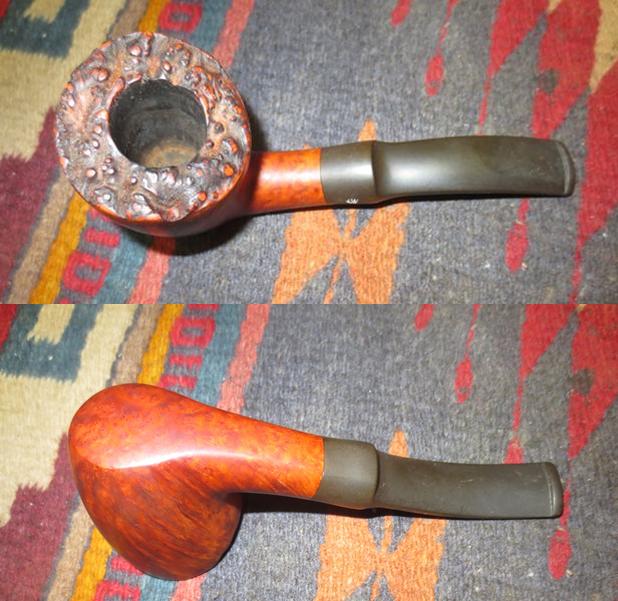
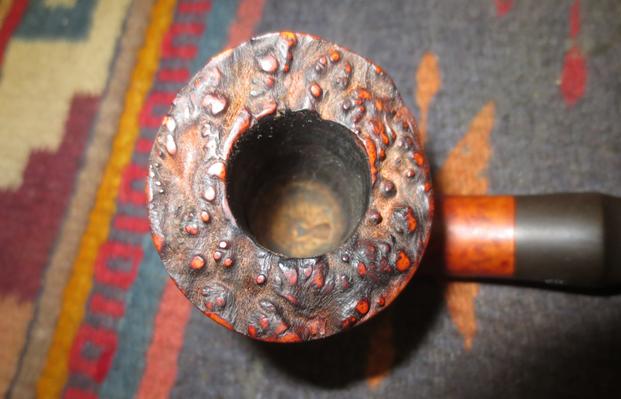
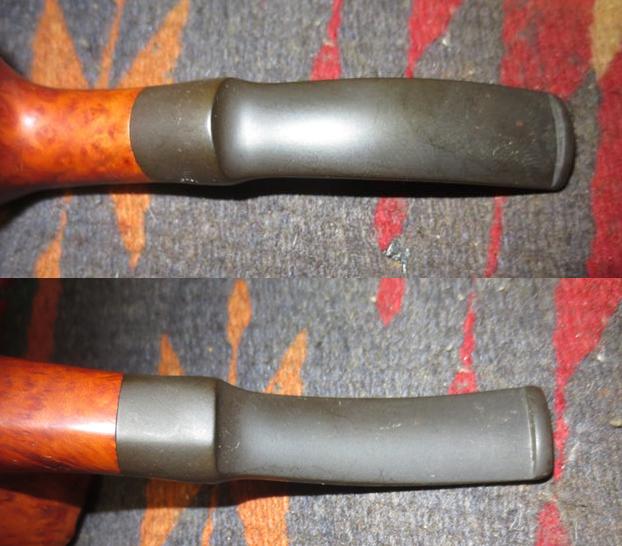
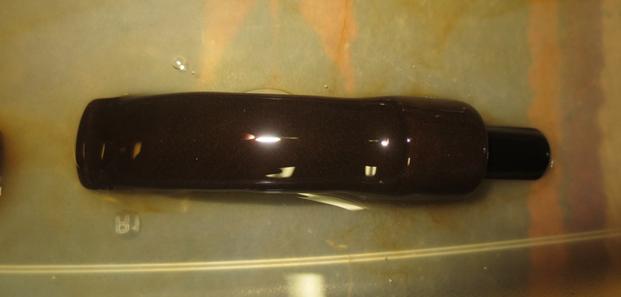
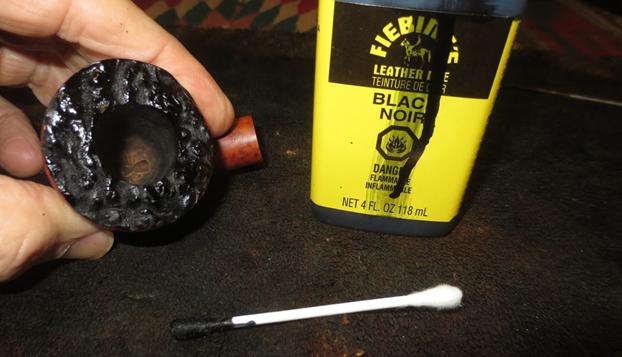
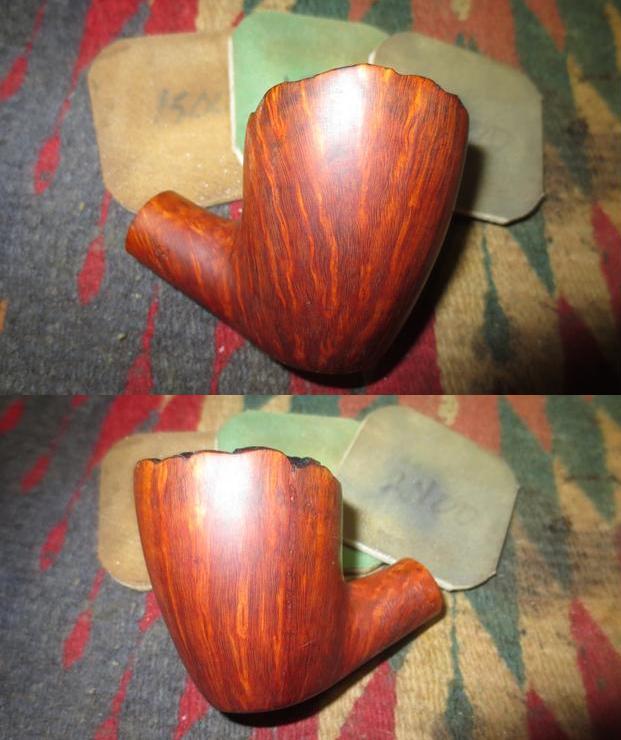
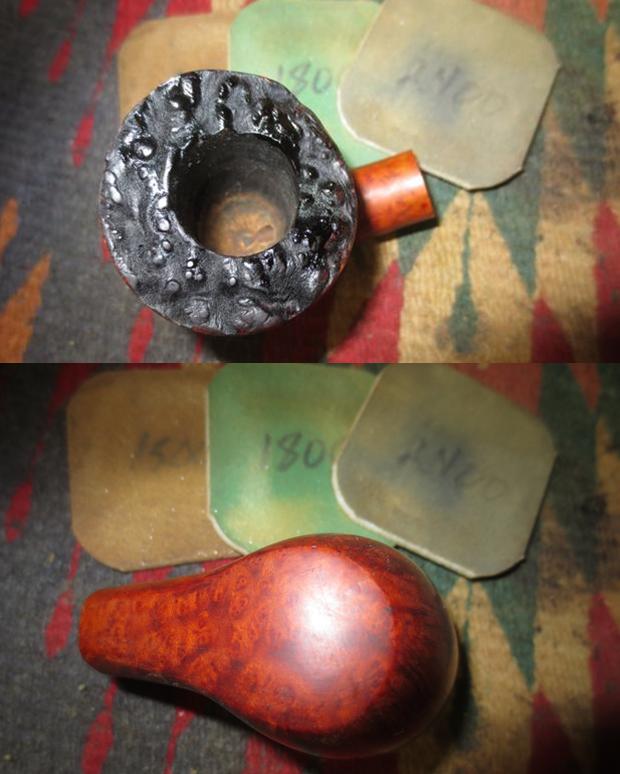
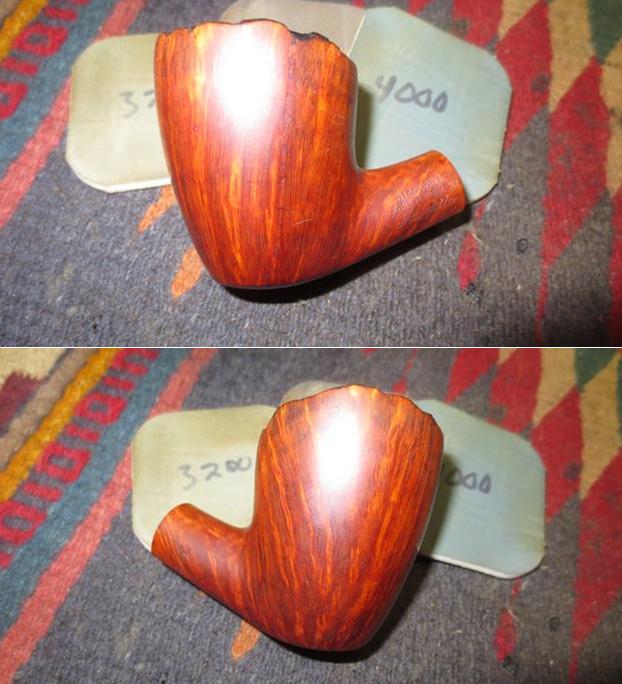
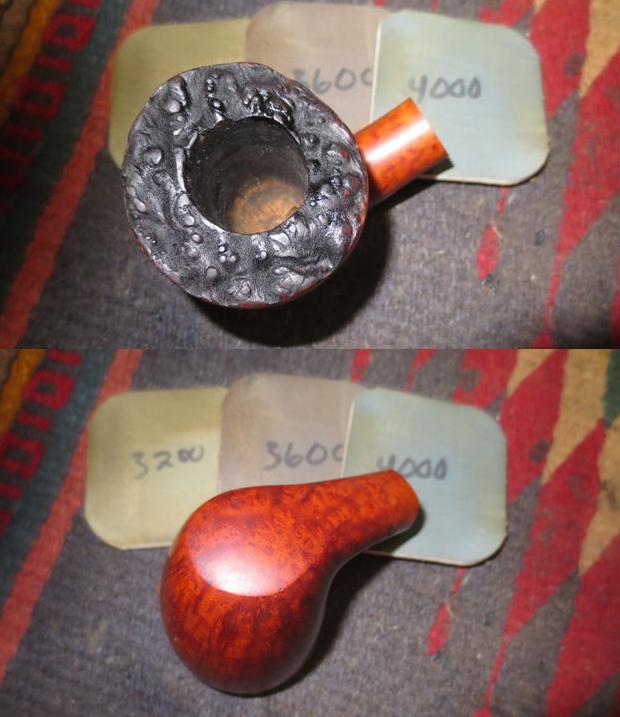
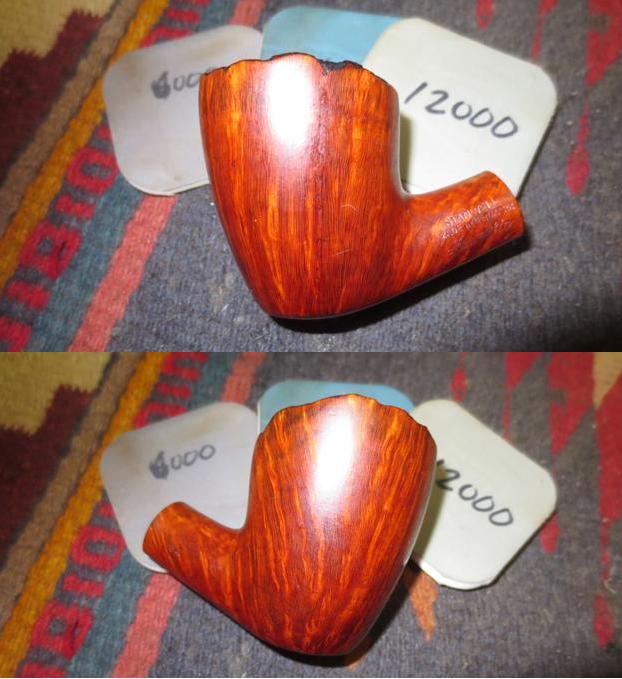
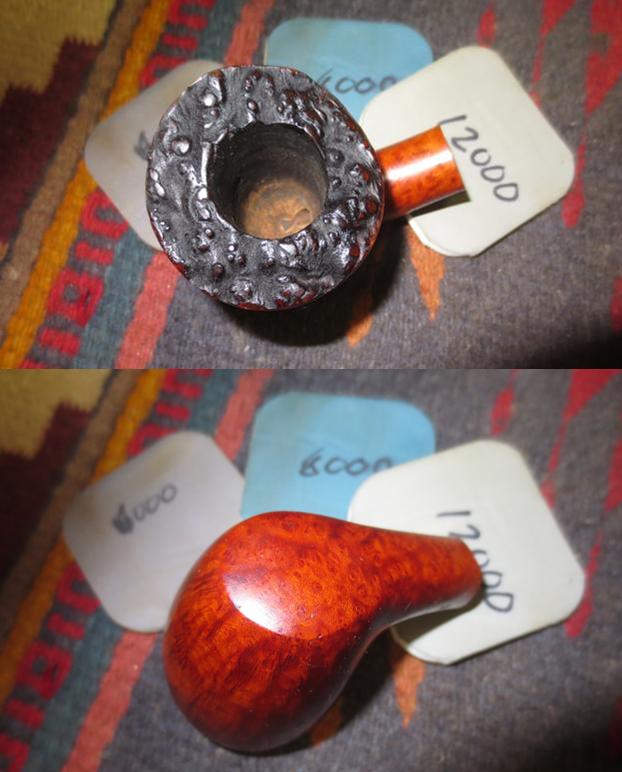
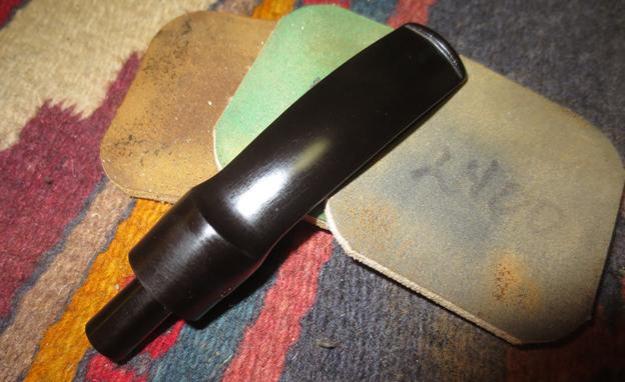
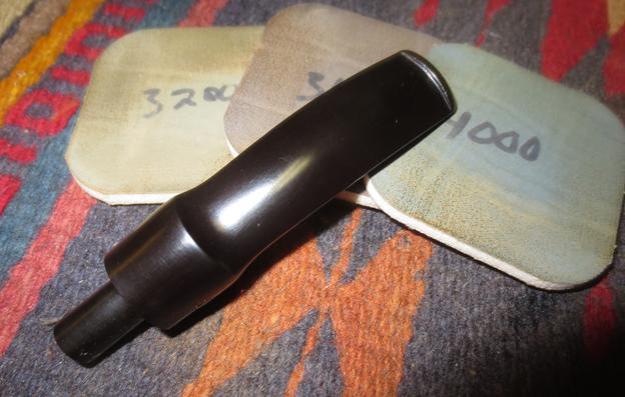
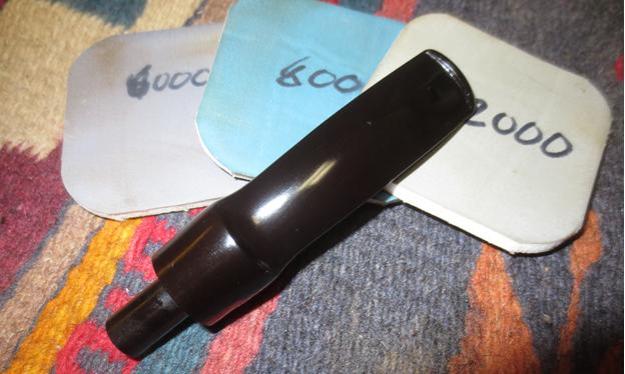
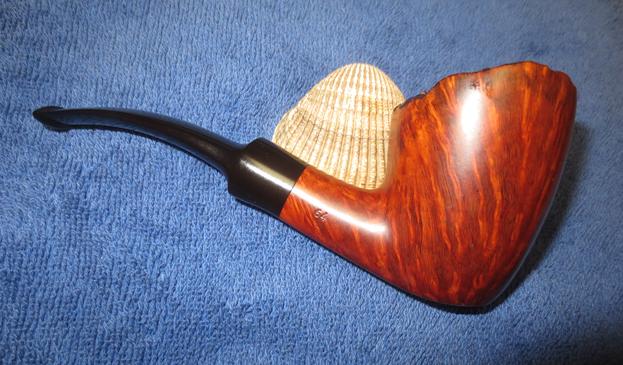
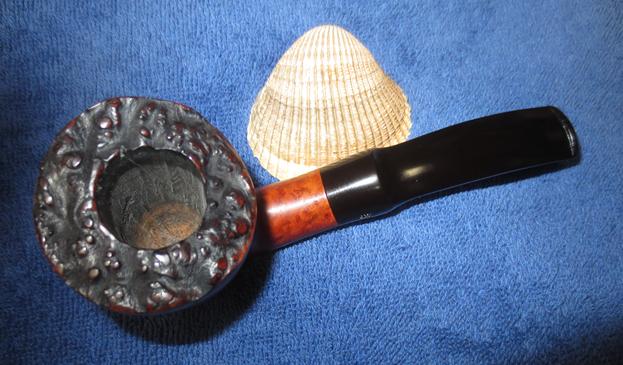
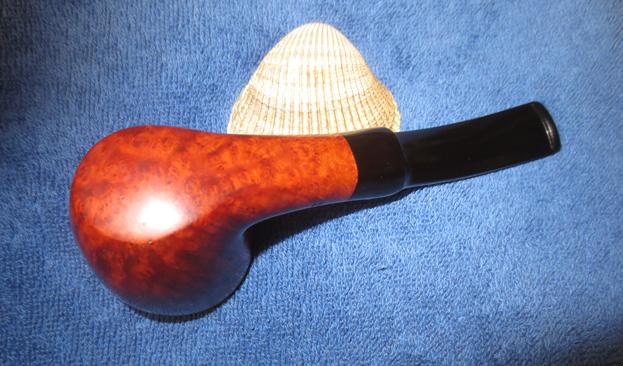
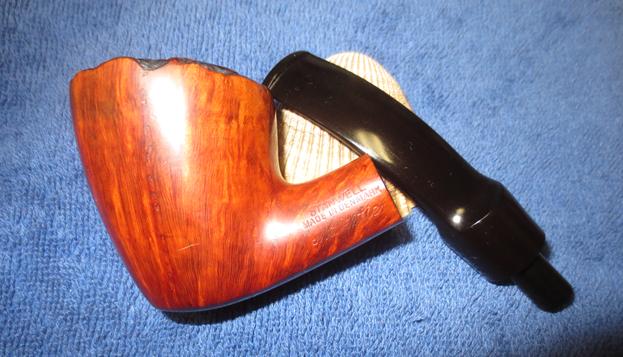
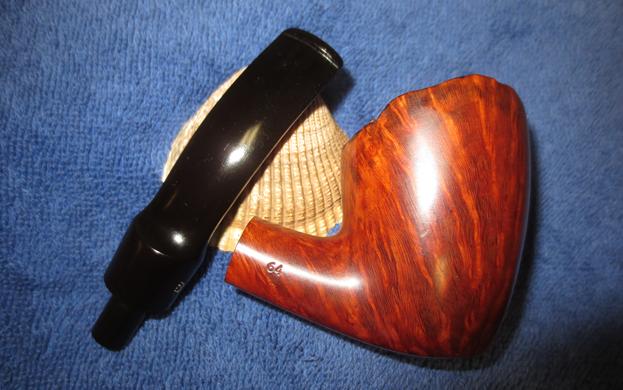
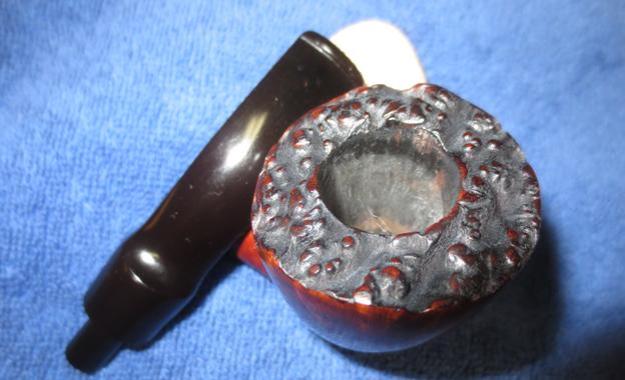
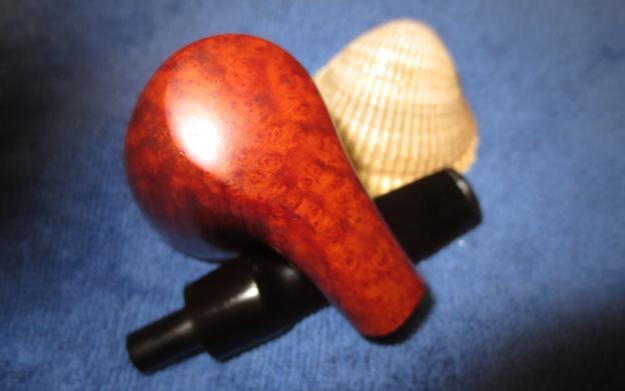
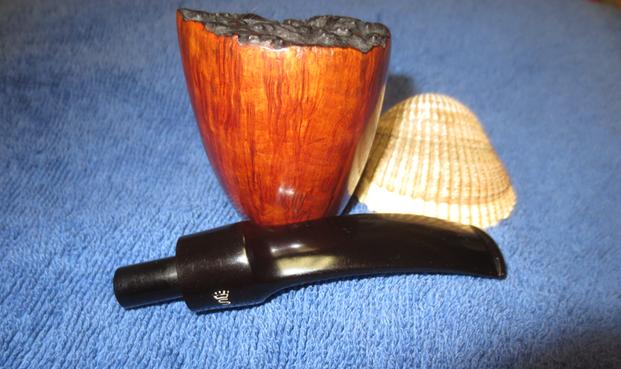
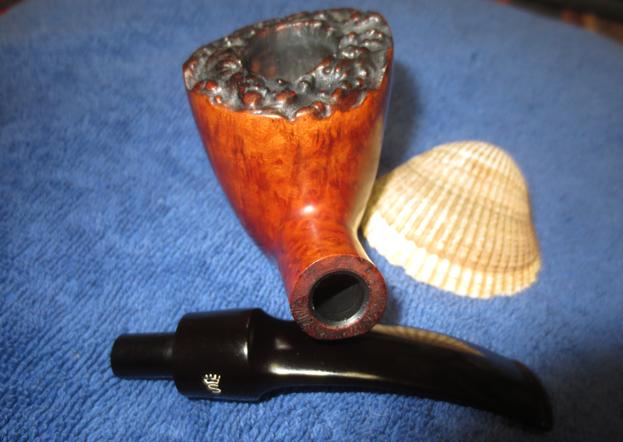
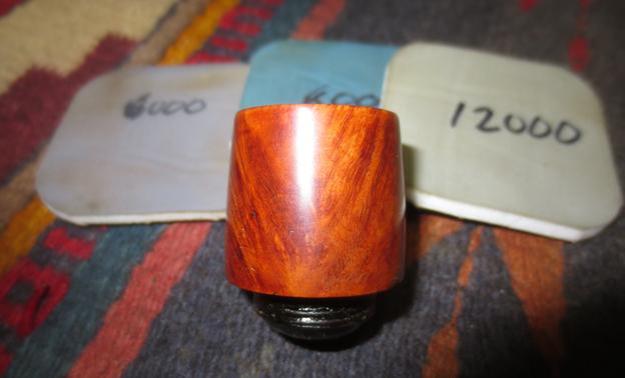
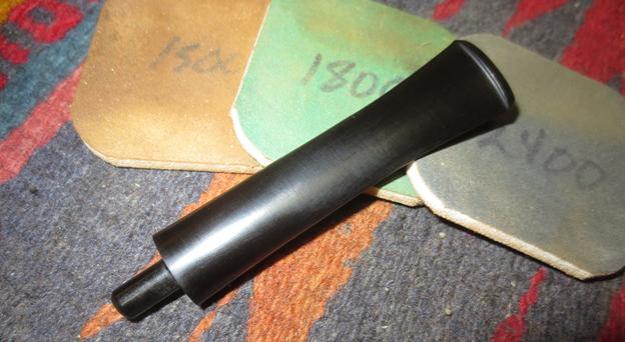
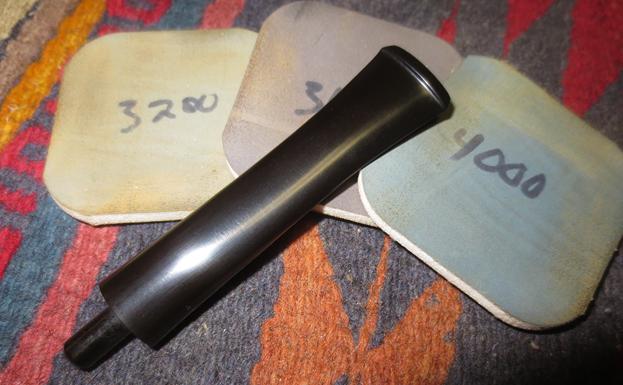
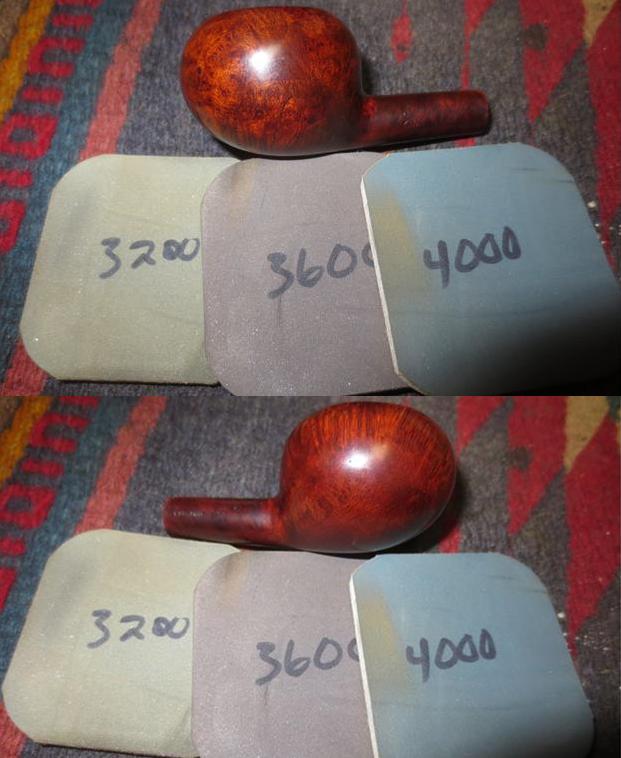
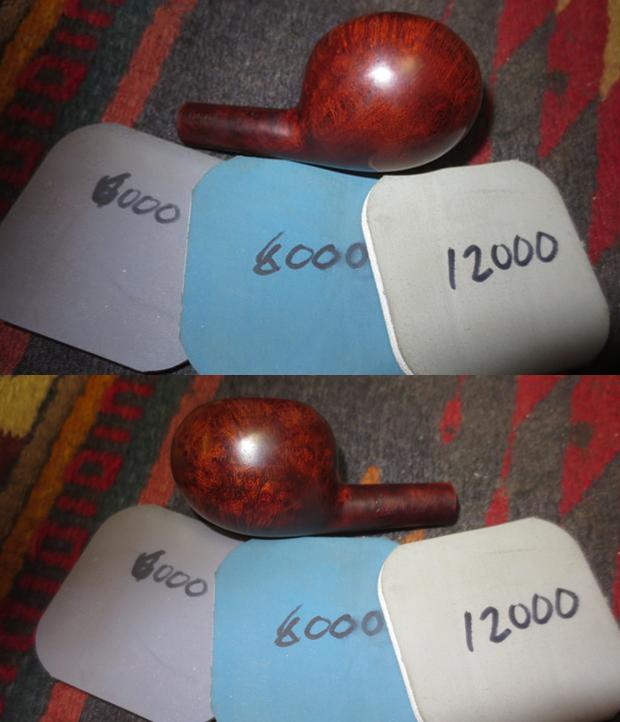
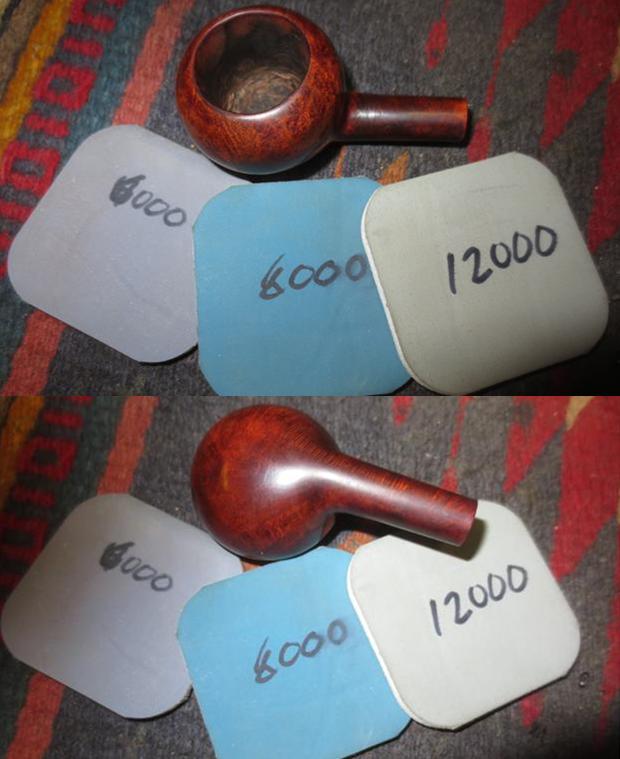
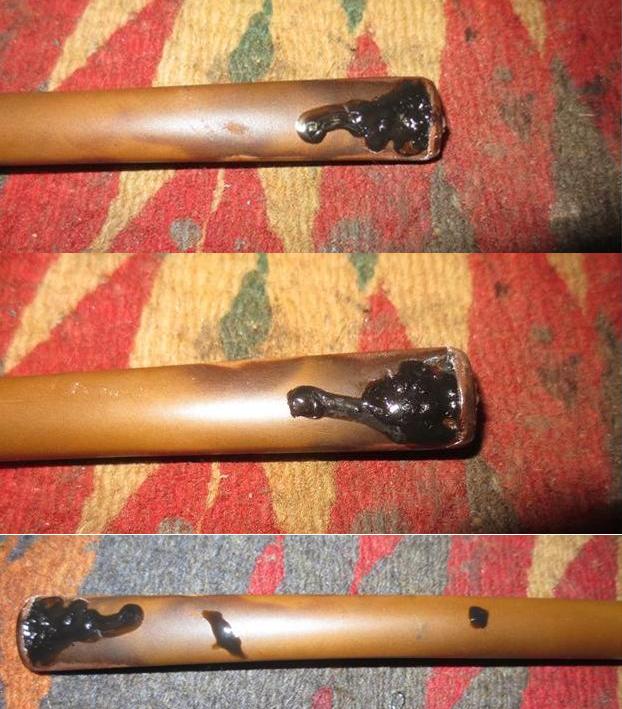
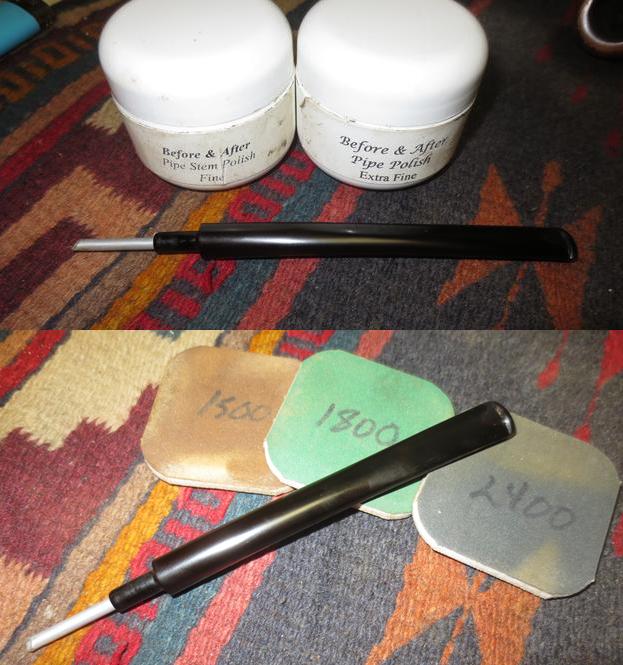
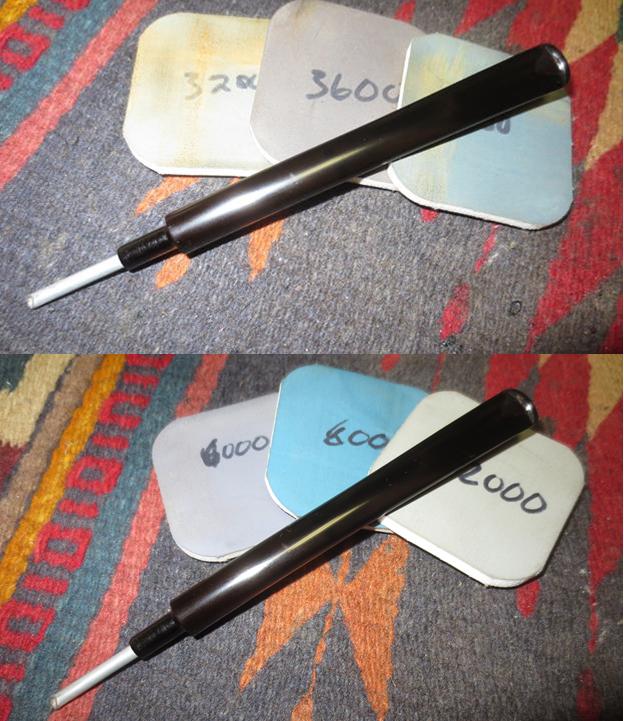
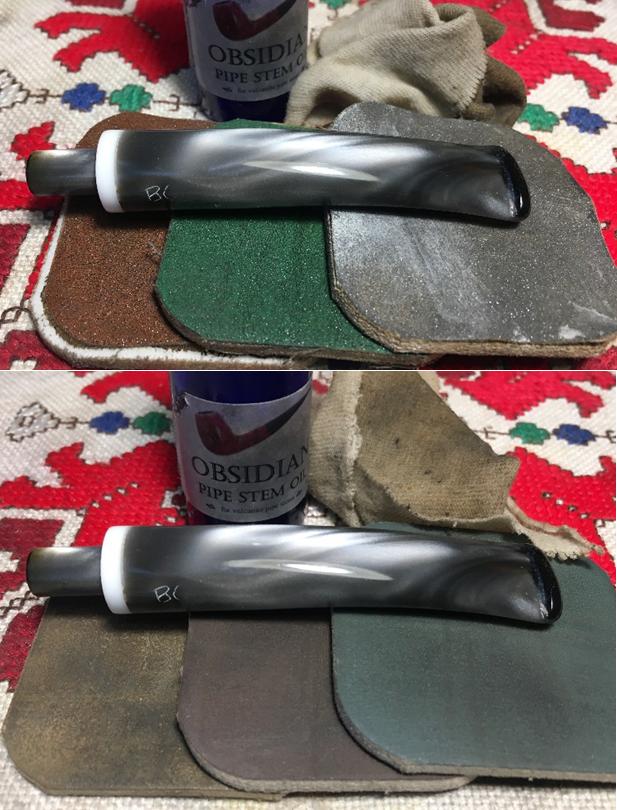
Today was a good day in the shop. I brought the third pipe to the work table today. It is a Stanwell Majestic shape 64 with a nice plateau top. The briar itself was in good shape. There were a lot of small nicks and dents in the sides of the briar. Other than being faded, the finish was in great shape. The plateau on the rim was faded and you could see remnants of tars and oils in the nooks and crannies of the rim top. The inner and outer edges of the bowl were undamaged. The pipe was stamped on the left side of the stem with the words Stanwell Made in Denmark over Majestic. On the right side it was stamped with the shape number 64. There was no other stamping on the pipe. The stem was oxidized and there was tooth chatter on the top and underside near the button. Jeff sent me these photos of the pipe before he started his cleanup process.The late Bas Stevens was the master at identifying Stanwell shapes tying the shape number to the designer. The shape 64 came in two variations – a Freehand with a saddle stem and a bent billiard with a full taper stem. This one is clearly the Freehand variation having a plateau top and a saddle mouthpiece. It was designed by Sixten Ivarsson (https://rebornpipes.com/tag/shape-numbers-and-designers-of-stanwell-pipes/).The stamping on the pipe is very readable. The left side of the shank is stamped Stanwell over Made in Denmark over Majestic. The Stanwell Crown S is stamped on the left side of the saddle stem. The right side of the shank bears the 64 shape number stamp.The rim top looked to be in good shape – dirty but sound.The lightly oxidized stem had tooth chatter on the top and underside. It did not appear to be deep in the vulcanite and should clean up easily.Jeff cleaned up this beautiful pipe with his usual methodical thoroughness. He reamed the bowl clean with a PipNet reamer and touched it up with a Savinelli Fitsall pipe knife. He scrubbed internals with alcohol, pipe cleaners and cotton swabs leaving the airways in the shank, mortise and stem very clean. He scrubbed the externals with Murphy’s Oil Soap to remove the grime and the old waxes on the bowl and rim. He soaked the stem in OxyClean to bring the oxidation to the surface of the vulcanite. When the pipe arrived in Vancouver I took the following photos. The rim was very clean and faded. They were generally black or at least dark with the high spots on the plateau showing through with the same brown as the rest of the stummel. The nooks and crannies were black and the high spots brown. The inner and outer edge of the bowl were in perfect condition.The stem was lightly oxidized and surface of the vulcanite on the topside was pitted with small holes and nicks. It was hard to capture that issue with the photos but it was there and would need to be addressed if I was to polish the stem to a rich shine. I put the stem in the Before & After Pipe Stem Deoxidizer and left it to soak overnight. I keep the mixture in a flat plastic tray with a cover. I dropped the stem into the mixture and made sure that it was completely covered with the mixture. I put the lid on the tray and set it aside to soak. I have referred to the latest use of this product in the past three blogs because I am putting it through its paces to see how the product delivers. I was skeptical when I first started using it but I have to admit that I am becoming less skeptical the more I use it. If you are interested in trying the product, I purchased the Deoxidizer from a guy on Facebook. His name is Mark Hoover and he is on the Gentlemen’s Pipe Smoking Society Group on Facebook. He has a pen making site where you can email and order the deoxidizer and the polishes (http://www.lbepen.com/). While the stem soaked I began my work on the bowl. I restained the plateau top on the bowl with a black aniline stain that I applied with a cotton swab making sure to get the stain deep in the grooves. I use a cotton swab because it enables me to keep the stain off of the sides of the bowl. I let the stain dry for a few moments and sipped a hot coffee.Once it had basically dried I polished the bowl with micromesh sanding pads – wet sanding with 1500-2400 grit pads and dry sanding with 3200-12000 grit pads. I wiped the bowl down with damp cotton pads after each sanding pad. When I finished with the 12000 grit pad I wiped the bowl down with olive oil on a paper towel to enliven the briar and highlight the colour. The next morning I removed the stem from the Deoxidizer and dried it off with a paper towel. I let the excess deoxidizer drip off into the tray before wiping it down. The oxidation came off and stained the paper a dark brown. The top surface of the stem was pitted near the button. I filled in the pits with clear super glue. Once it had dried I sanded it with 220 grit sandpaper to blend in the repair to the surface of the stem. Once I had smoothed out the repairs it was time to polish the stem. I polished it with micromesh sanding pads – wet sanding with 1500-2400 grit pads and dry sanding with 3200-12000 grit pads. I rubbed the stem down with Obsidian Oil after each sanding pad. After sanding with the 12000 grit pad I gave it a final coat of oil and set it aside to dry. I buffed the pipe with Blue Diamond polish on the buffing wheel. I worked over the bowl sides and the stem to polish out the last of the scratches in the surface of both. I gave the bowl and stem with multiple coats of carnauba wax to protect the briar and the vulcanite. I buffed it with a clean buffing pad to raise the shine on the pipe. I used a microfiber cloth to hand buff it and give it a deeper shine. The finished pipe is shown in the photos below. It is a beautiful example of the Stanwell Freehand shape 64. The dimensions of the pipe are Length: 5 ½ inches, Height: 2 inches, Outer diameter: 1 ¾ inches, Chamber diameter: ¾ inches. I will be posting this on the rebornpipes store so if you would like to add it to your collection you can wait until I add it or you can email me at slaug@uniserve.com or message me on Facebook. Thanks for walking with me through this restoration.

Repairing, Renewing and Rejuvenating a Removable Bowl C.P.F. Pullman Bent Billiard


Blog by Steve Laug

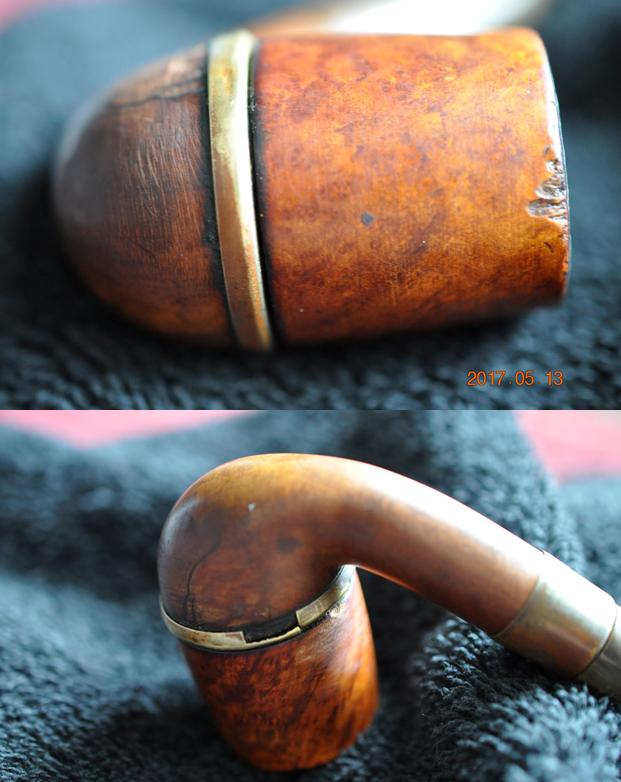
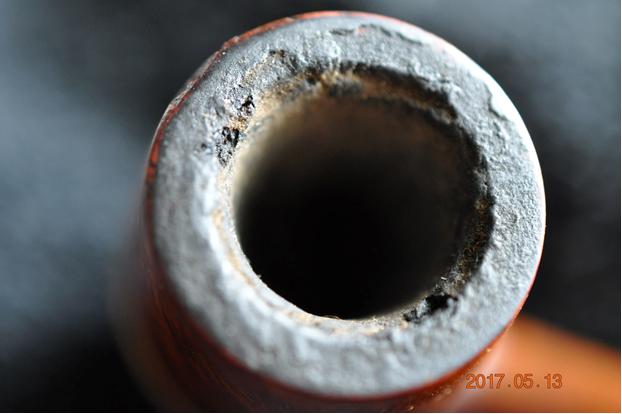
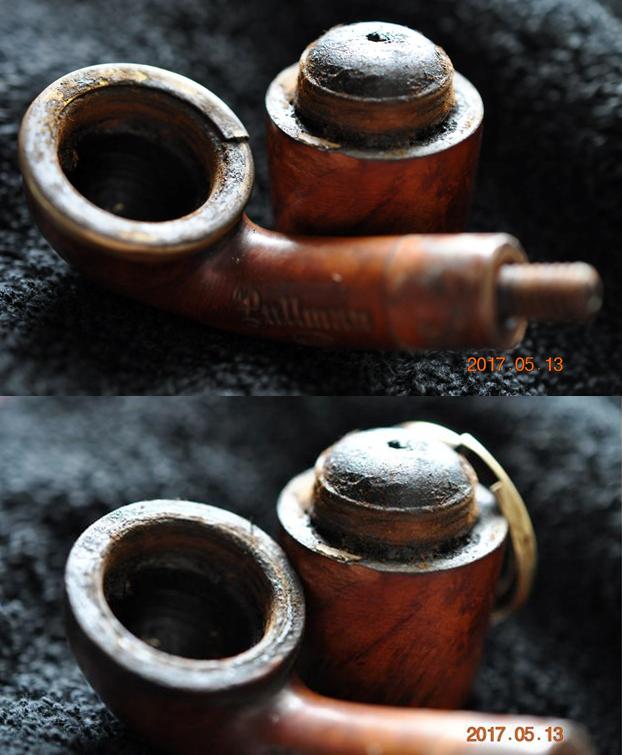
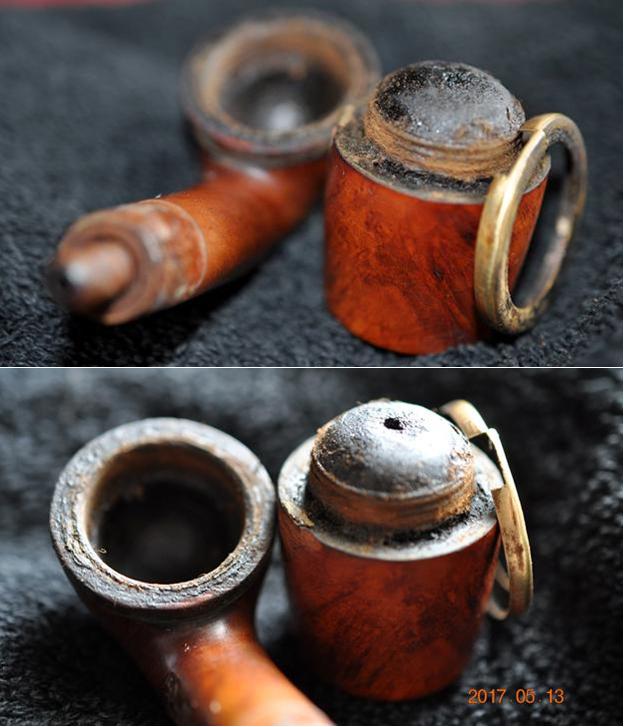
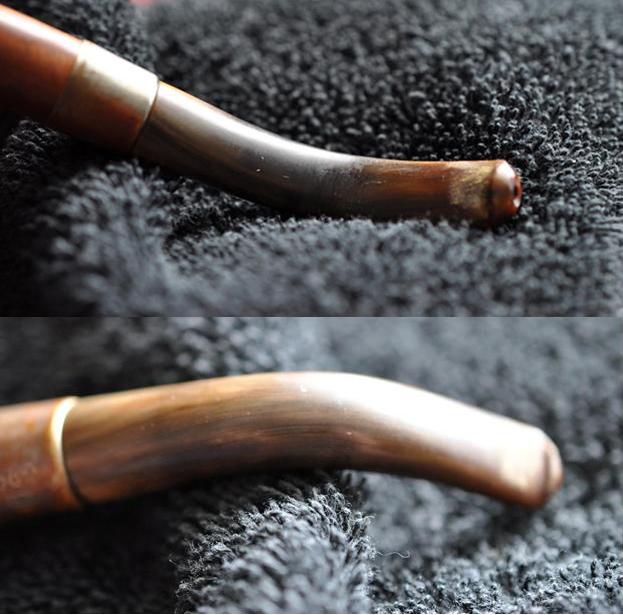
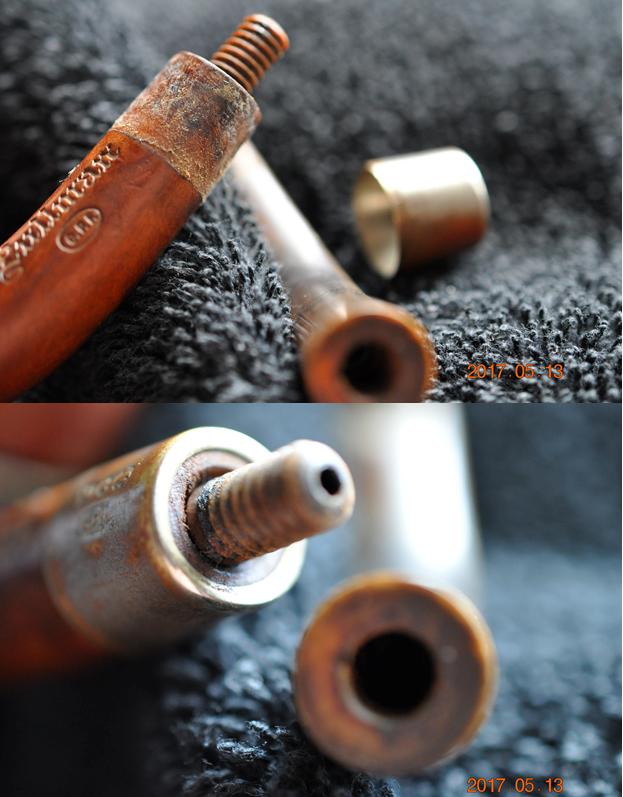
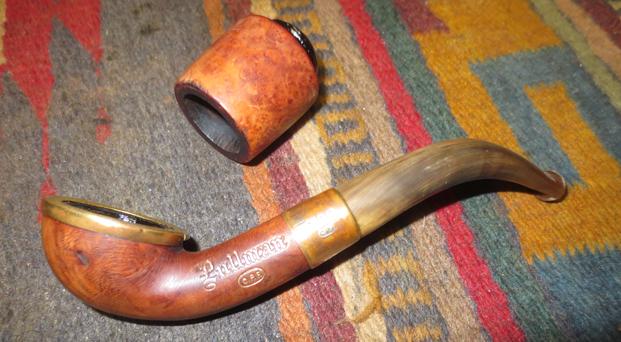
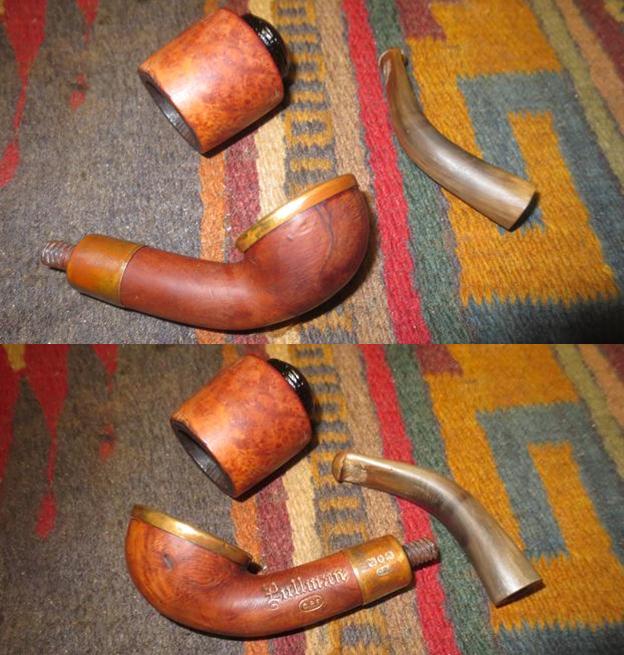
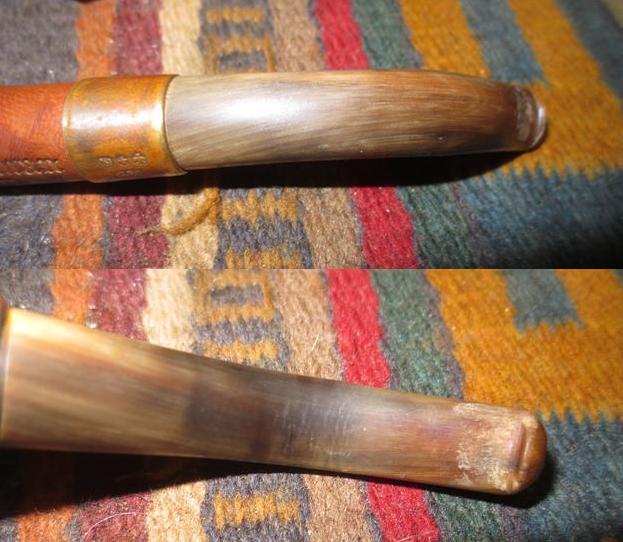
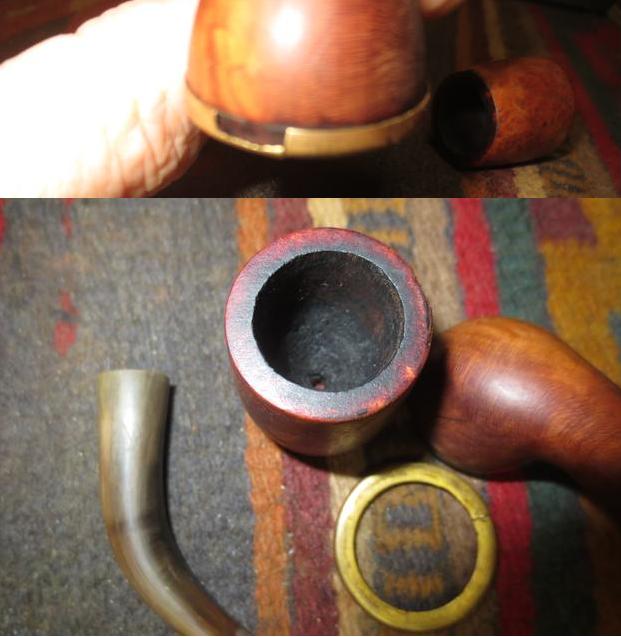
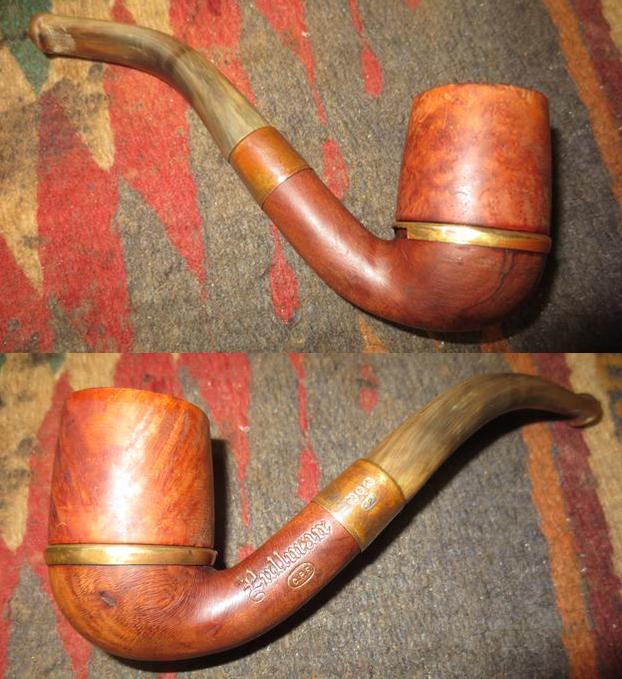
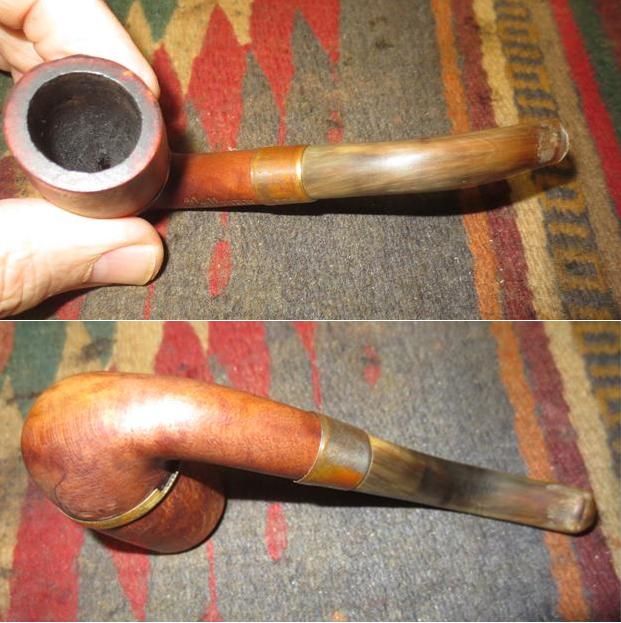
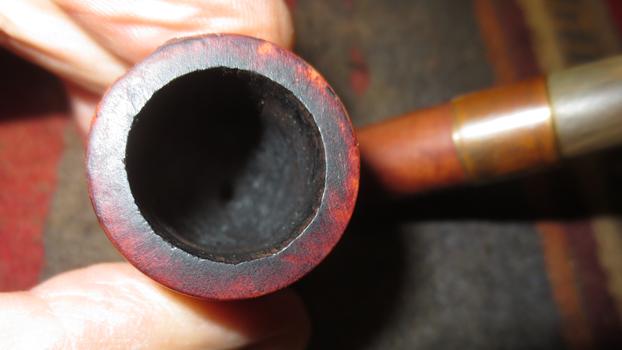
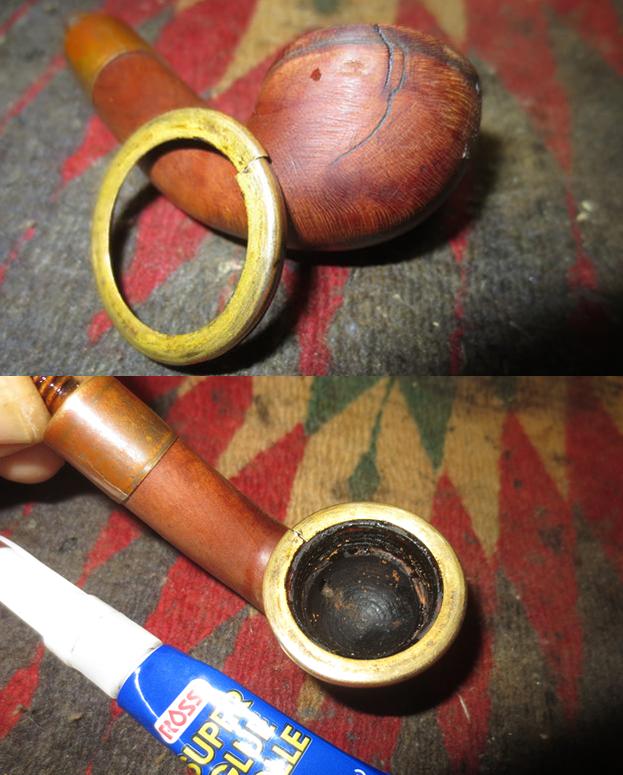
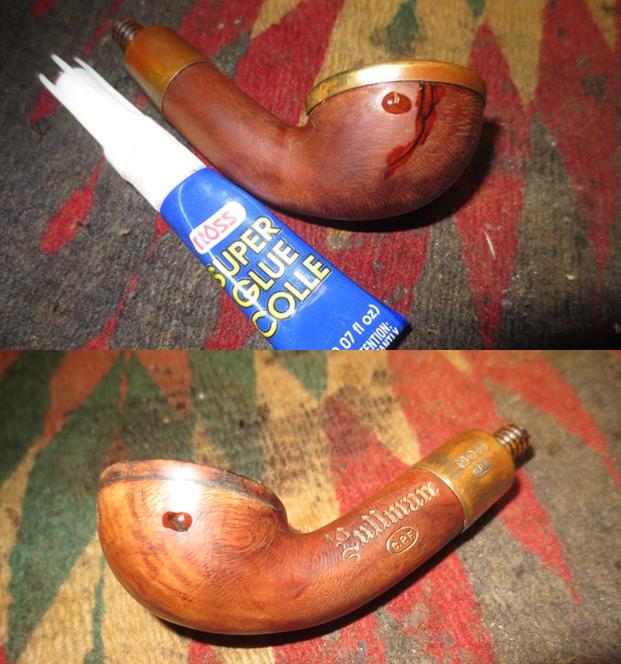
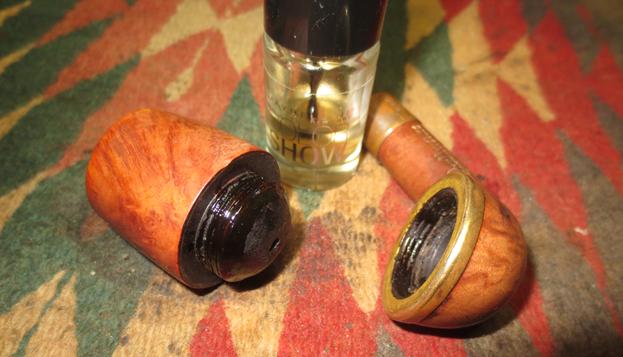
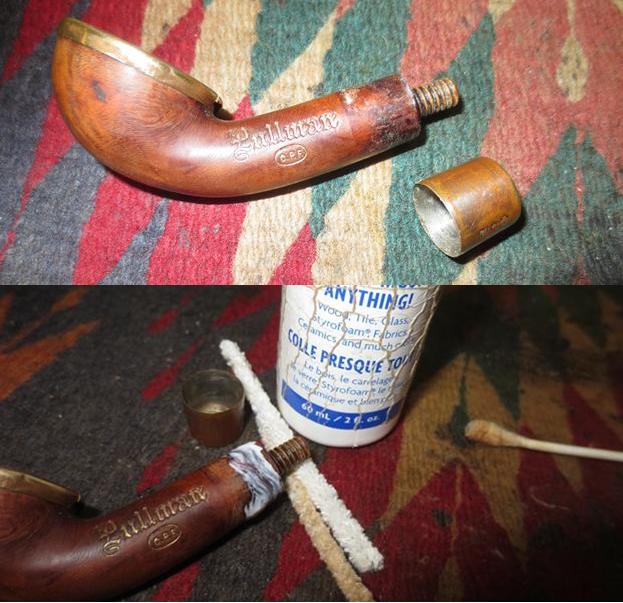
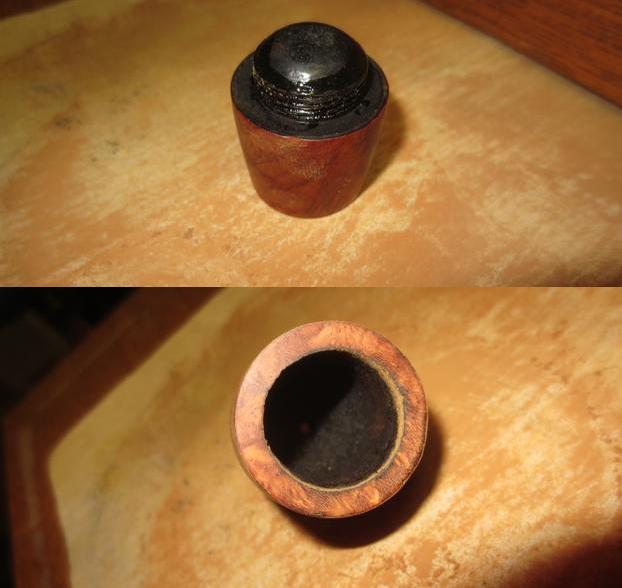
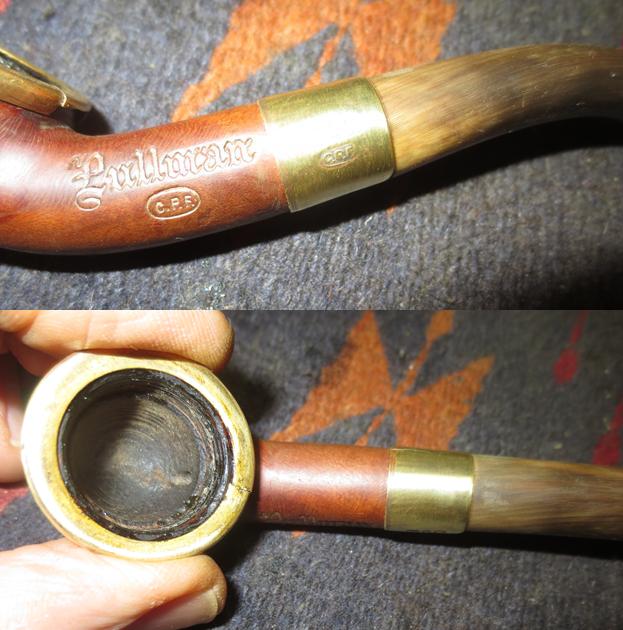
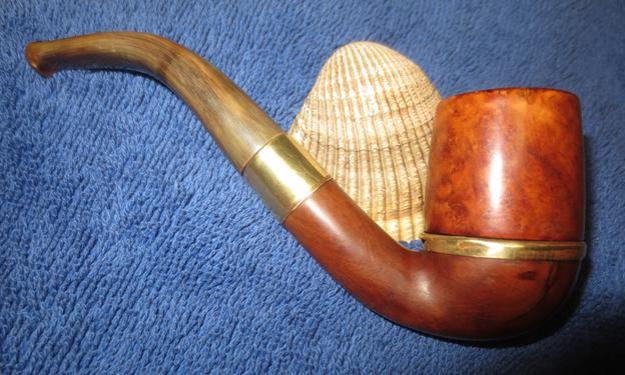
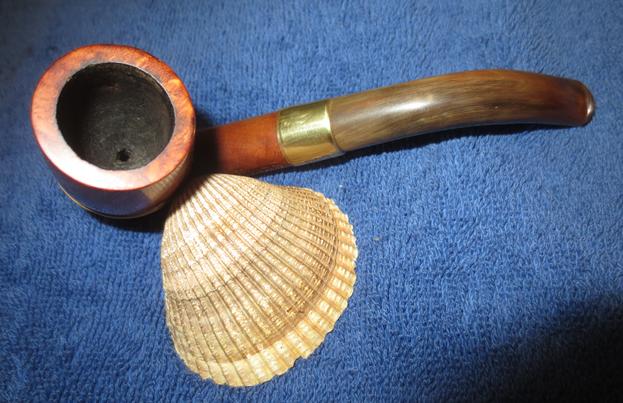
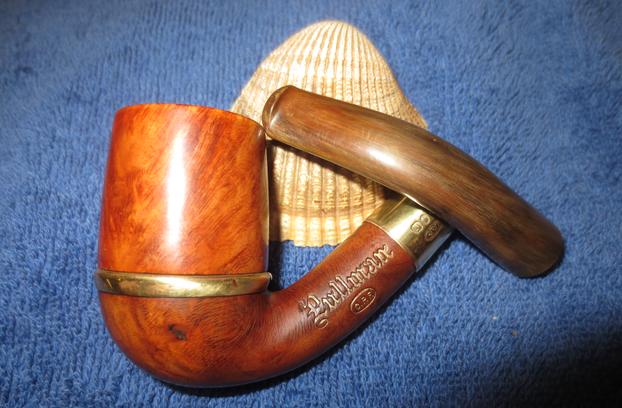
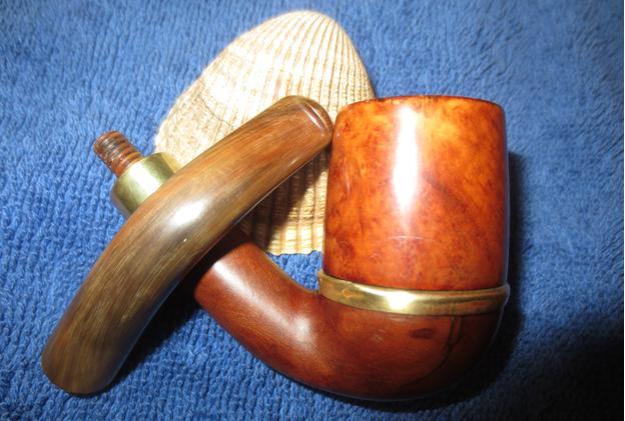
I decided to go back to the older pipes that my brother and I picked up on our virtual pipe hunt in Montana. This old timer was a briar base with a removable bowl pipe. It had a brass separator between the bowl and the base. It had a brass band on the shank and horn stem. It is stamped Pullman in a Germanic Script over C.P.F. in an oval on the left side of the shank. This one is a classic bent billiard shaped pipe but the removable bowl on the briar base is unique. I have had other C.P.F. pipes that had a Bakelite base with a briar bowl but never one with a briar base. It is delicate in terms of size (5 inches long and 1 7/8 inches tall) and feels light weight in hand. Like the other banded pipes in this lot the band on the shank is loose and the same faux hall marks over the C.P.F. oval logo. The finish is very dirty and the rim is damaged around the inner and outer edges of the bowl. The threads on the bowl bottom and the base were worn and the bowl no longer stayed in place. The horn stem is worn and there is tooth chatter on the top and underside of the stem near the button. The stem is underturned in the shank. The photos below show what it looked like before my brother did his clean up on it. If you would like to read about some of the other C.P.F. pipes I have restored I have written about them in individual blogs. They include a C.P.F. French Briar Horn, C.P.F. horn stem bulldog, a C.P.F. French Briar bent billiard, a C.P.F. Remington French Briar military mount billiard and a C.P.F. French Briar Rhodesian. Just a reminder – C.P.F. stands for Colossus Pipe Factory. The pipe was made during the same time period as the other pipes of this brand that I have been working on – the late 1880s and 1890s.Jeff took some close up photos base and the bowl sides and bottom. It shows the crack in the base and the cracked and damaged brass separator plate between the bowl and base. The bowl has a lot of deep nicks and scratches in the outer rim edge and the base has some deep nicks around the crack. The bowl had a thick cake that had run over the top of the rim and formed a thick cake on the rim top. It was rock hard and very thick.The next photos show the faux hallmarks on the ferrule and the C.P.F. oval on the left side of the metal. It was oxidized and worn. The stamping on the shank read Pullman over the C.P.F. oval and both were filled in with gold leaf.Once the bowl was removed from the base you can see the cord that is wrapped around the threads on the bottom of the bowl. The brass separator plate was split and was missing a piece of the folded over portion of the plate. There was a thick cake of tars and oils on the bottom of the bowl and in the base. The threads were worn in the base as well. The ferrule was loose and came off when the stem was removed. The bone tenon was threaded into the shank and was not removable. The stem was underturned and with the grime and build up in the shank as well as the stem it would not align. I had a hunch that the loose ferrule also contributed to that. The dried glue did not allow the ferrule to sit snug and against the end of the shank. The horn stem was in good shape other than the tooth chatter and marks on both the top and underside at the button. When we looked at this pipe during our pipe hunt I wondered if it would even hold together once Jeff had cleaned the briar. The cracked spacer looked delicate as well. I was really curious what it would look like when it arrived in Vancouver. Jeff did his usual regimen of cleaning but proceeded carefully through each step. He reamed bowl with a PipNet Reamer and took the cake back to bare briar. He cleaned up the little remnants of cake with a Savinelli Fitsall Pipe Knife. He scrubbed out the inside of the base and the threads on the bottom of the bowl. He removed all of the cord that had been used to attach the bowl to the base. He cleaned out the internals of the pipe – the airways in the shank, mortise and stem using alcohol, pipe cleaners and cotton swabs. He scrubbed the exterior of the bowl and base with Murphy’s Oil Soap and a tooth brush to remove all of the thick grime. He scrubbed the overflow of lava on the rim top and edges with the soap and tooth brush. He rinsed the pieces under tap water and dried them off with a towel. He scrubbed the exterior of the horn stem with the oil soap and tooth brush as well as it works well with horn.

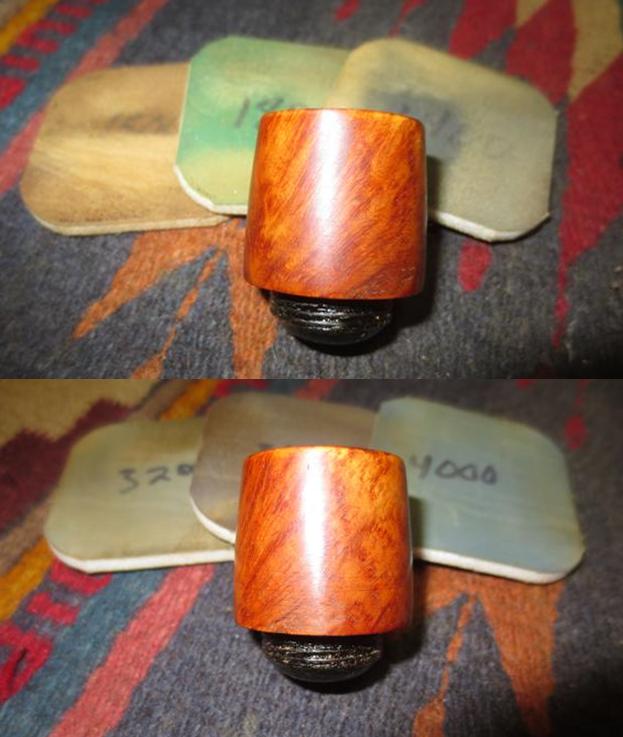
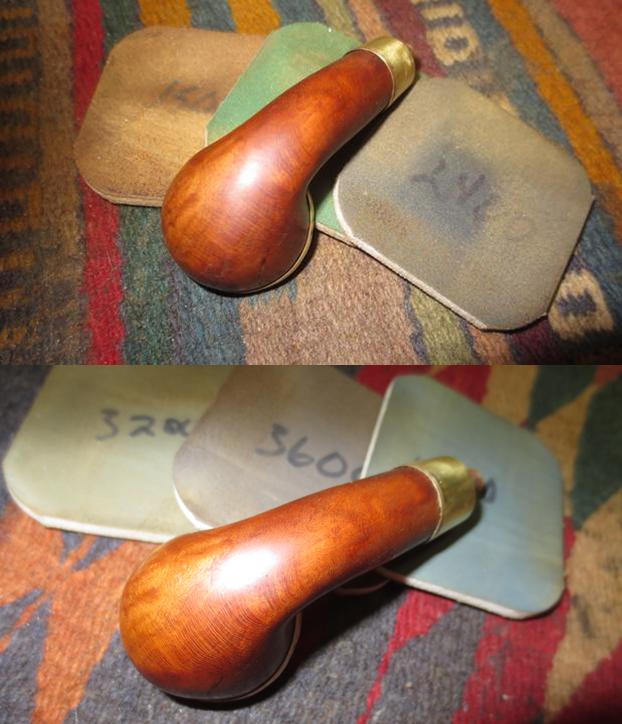
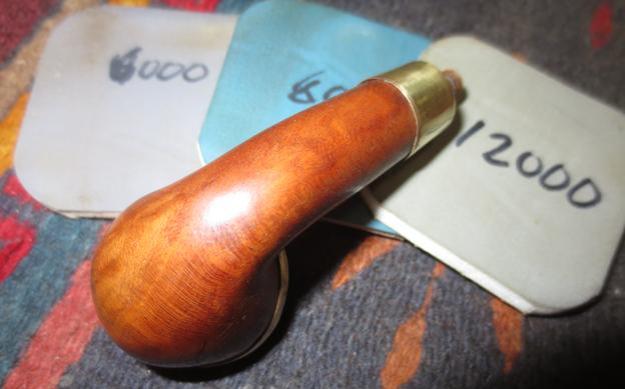
When the pipe arrived I was excited to have a look at it. Here is what I saw once it arrived. It was clean and everything was loose – the separator plate, the bowl and the ferrule all moved freely. The cracks and the sandpits in the base were visible and the nicks and damage to the outer edge of the bowl were also very visible. I took photos of the pieces before I began to work on the pipe. The horn stem looked really good and the striations that run the length of the stem will polish up well giving the stem a unique appearance. The variations in horn stems are part of the allure to me and keep me looking for them.The next photo shows the missing piece of the separator plate and the damage to the rim top and the outer edge of the bowl.I put the pieces together enough to take a picture of what the pipe would look like as a whole. Nothing was permanent in these photos as just picking the pipe up would cause a jumble of parts on the work table. I took a close up photo of the rim top to show the condition of the edge of the bowl. Interestingly the photo does not show the damage to the outer edge. It does show the nicks and scratches on the inner edge of the bowl and some of the nicks in the rim top.The next series of photos show the process of the repairs of the sandpits and the nicks on the base. I also scratched out the crack with a dental pick and filled it in with super glue while I did the same with the sandpits. Once I had sanded the repaired areas on both sides of the base I reglued the brass plate on the top with the cracked and damaged portion facing the back side toward the bend in the shank. It would not show as much once the bowl was in place. Once the repairs had been done on the base I used clear fingernail polish to build up the threads in both the base and on the bottom of the bowl. It took several coats to build it up enough to give them enough material to connect.I removed the ferrule from the shank and cleaned the dried glue on the shank and inside the ferrule with acetone on a cotton swab. I sanded the area under the band with 220 grit sandpaper to smooth out the surface so that the ferrule would seat correctly on the shank. I painted the shank end with a folded pipe cleaner and all-purpose glue. I aligned the faux hallmarks and the C.P.F. oval with the stamping on the side of the shank and pressed the ferrule in place on the shank. I screwed the stem on the shank to check if things aligned now and everything was perfect. The repair to the ferrule had taken care of the underturned stem.I set the base aside to let the glue harden. I turned my attention to the bowl itself. I cleaned off the damaged outer edge of the rim with acetone on a cotton pad. I circled the damaged area in the photo below for ease of reference. I filled the damaged area in with clear super glue and let it dry. Once the glue had cured I sanded it with 220 grit sandpaper to blend it into the surrounding briar.I topped the bowl with 220 grit sandpaper on a hard board to remove the damage to the rim top, inner and outer edge from the top view. It did not take too much to get things smooth again. I polished the bowl sides and top with micromesh sanding pads – wet sanding with 1500-2400 grit pads and dry sanding with 3200-12000 grit pads. The bowl began to show some very nice grain patterns as the polishing made them stand out. I wiped the bowl down with a damp cotton pad after each micromesh sanding pad and hand buffed it with a microfiber cloth before moving on to the next step of the refurb. I polished the brass separator plate between the bowl and base and the ferrule with micromesh sanding pads and wiped them down with a jeweler’s cloth to bring out a smooth shine.I polished the briar base with micromesh sanding pads – wet sanding with 1500-2400 grit pads and dry sanding with 3200-12000 grit pads. I wiped the base down with a damp cotton pad after each micromesh pad. With the work on the bowl and base finished I set them aside and turned my attention to the stem. I sanded out the tooth marks on the surface of the stem on both sides at the button with 220 grit sandpaper. I polished the horn with micromesh sanding pads – we wet sanding with 1500-2400 grit pads and dry sanding with 3200-12000 grit pads. I rubbed the stem with Obsidian Oil after each micromesh pad and after the final rubdown I set it aside to dry. I polished each part of the pipe separately with Blue Diamond polish on the buffing wheel. I gave each part multiple coats of carnauba wax to protect the briar and the horn and help the brass from oxidizing. With all the parts cleaned and polished it was time to put the pipe back together again. I thread the bowl onto the base and screwed the stem onto the shank. I aligned everything and carefully hand buffed the pipe with a microfiber cloth to deepen the shine. The finished pipe is shown in the photos below. For a pipe over 125 years old it looks pretty good. It is cleaned and ready for its first smoke post restoration. It should work well and should last a lot longer than this old refurbisher will. It will pass on into the hands of another pipeman who enjoys the unique qualities of old briar and horn stems. Thanks for looking.


Restoring an Unusual Malaga Carved Bulldog


Blog by Steve Laug

In the late spring I received and email from Josh (misterzippo), a reader of the blog that he had some pipes that he thought I might be interested in. He sent me photos of the pipes so I could have a look at them. One of the pipes that interested me was a Malaga Bulldog with a twist in the carving and a scoop in the top of the bowl. The first picture he sent shows the overall condition and appearance of the pipe. The shape intrigued me – the diamond shank and stem with twists carved in the bowl, shank and down the stem as well. The pipe was dirty with the finish having thick sticky build up around the bowl and shank in all of the carved areas. The groove around the cap of the bowl was very dirty. The stem had oxidation and some heavy calcification. All of that was visible in the first picture. The tape measure in the photo shows that the pipe is about 5 ½ inches long with a saddle stem.That first picture set the hook for me, but it did not prepare me for what the next photos would reveal. The briar had white paint flecks all over the bowl sides. Under the dirt and sticky grime there appeared to be some nice grain on the pipe. There was a large burn mark on rear left side of the cap where it looked like the pipe had been set in an ashtray and a cigarette had burned a spot. There were also some burn marks along the outer edge of the bowl on the front and the rear.The cake in the bowl was incredibly thick and it was hard as a rock. The cake had overflowed the bowl onto the rim leaving behind a thick hard lava coat. Looking at the bowl I have no idea how the previous owner had ever been able to smoke it in this condition – maybe he smoked it until it hit this spot and then laid it aside. Looking to the bowl is like looking down into a dirty chimney that needed the attention of a chimney sweep.The stamping on the left side of the shank read “MALAGA” and looked like it had either a burn mark on the MAL or possibly just a lot of tarry build up. Only having in hand would I be able to really know what I was dealing with.

We struck a deal and I picked up a few of Josh’s pipes to work on. I was really intrigued with the shape of that little Malaga as I have worked on a few of them over the years but never one with this kind of shape. Here is a link to a blog I wrote on a beautiful little Malaga Lovat (https://rebornpipes.com/2016/02/27/a-beautiful-malaga-lovat-came-my-way/).

George Khoubesser (picture to the left) started Malaga Briar Pipe Company and located it in Royal Oak, Michigan in the USA in 1939. It closed its doors for the last time in 1999 after 60 years in business. I have an old Malaga Catalogue that I scanned and put on the blog (https://rebornpipes.com/2013/02/09/george-khoubesser-and-malaga-pipes/). The catalogue describes the manufacture of the pipes as follows:

Painstaking caution is exercised in selecting flawless, perfect briar wood for the purpose of making and Curing of the “Malaga.” You can be certain of this fact, because none other than the choicest and finest select briarwood will withstand the “Malaga” Curing process. Other than the choicest quality and grain, will split wide open in the Curing vats… The Curing method renders all “Malaga” pipes, light in weight… Most all “Malaga” Senior pipes are left in their natural state; except for a skillful waxing which brings out the rich beauty of the virgin grain. No artificial polishing stain, shellac or varnishes are added.

Malaga closed in 1999 after 60 years in business.

I had Josh ship it to my brother Jeff. I figured he would have a good time cleaning it up. I could not wait to hear what he thought of it. When it came he showed it to me over Facetime. The condition was dirty for sure – exactly like the photos Josh sent me. But it was in decent shape so it would be a fun one to bring it back to life. The finish was dirty and had some stickiness to the sides of the bowl and shank. The stem fit far better than the photos showed. The bowl indeed was as thickly caked as the photos Josh sent had shown but it was softer than I expected. The lava on the rim was thick but it was flaky so it would come off easier than I thought. The stamping on it read “MALAGA” on the left side of the shank as noted above but it also was stamped Imported Briar on the right side of the shank. Jeff took the follow photos of the pipe before he worked his magic doing the cleanup.The close up photos Jeff took of the rim top and bowl show just how thick and dirty this pipe was when he received it in Idaho. Looking at it I am glad that he did the cleanup work because it looked like a bear to work on.The next photos show the grain poking through the grimy finish on the sides of the bowl. It really was hard to see what was grime and what might be burn marks on the briar of the bowl and shank.The next photos show the stamping on the top left and right angle of the carved diamond shank of the pipe. You can still read the stamping. You can see the marks on the first letters of Malaga on the shank and it is not clear if it is damage or grime. The stem appeared to be in rough shape. Not only was it heavily oxidized and had thick clacification around the first inch of the stem from the button forward, but the button was worn and had tooth marks in the top and underside. The calcification and the tooth marks on the button made me wonder if the pipe had sported a Softee Bit before coming to me. I was looking forward to what the pipe would look like when Jeff had finished putting it through his cleaning process. He reamed it with a PipNet Reamer and took the cake back to bare briar. He cleaned up the little remnants of cake with a Savinelli Fitsall Pipe Knife. He scrubbed out the internals of the pipe – the airways in the shank, mortise and stem using alcohol, pipe cleaners and cotton swabs. He scrubbed the exterior of the briar and stem with Murphy’s Oil Soap and a tooth brush to remove all of the thick grime. He rinsed it under tap water and dried it off with a towel. He soaked the stem in OxiClean to bring the oxidation to the surface and soften it. The burn marks on the front outer edge of the bowl and the back left inner and outer edge – both moving onto the rim top. There was a burn spot on the left side on the cap where the bowl had been set in an ashtray and burned. I was not sure that I would be able to remove that. When the pipe arrived I was excited to have a look at it. Here is what I saw once it arrived. I took a close up photo of the rim top to show the burn damage to that part of the bowl and also of the left side of the bowl. I would need to see what I could do to minimize these marks without changing the profile of the bowl. Jeff had gotten the thick cake cleaned out and the inner edge of the bowl look to be in good shape.The oxidation on the stem was pretty heavy but it was on the surface. The calcification was gone. Underneath where it had been there were tooth marks and chatter that had been hidden.I decided to use the Before & After Pipe Deoxidizer again. I keep it in a flat plastic tray with a cover. I put the stem in the mixture and made sure that the stem was completely covered with the mixture. I put the lid on the tray and set it aside to soak for the day. I purchased the Deoxidizer from a guy on Facebook. His name is Mark Hoover and he is on the Gentlemen’s Pipe Smoking Society Group on Facebook. He has a pen making site where you can email and order the deoxidizer and the polishes (http://www.lbepen.com/). I have to admit I becoming less skeptical than I was at the beginning.I set the tray aside to let it soak for the day and turned my attention to the bowl. I took some photos of the bowl to capture the grain and the interesting shape of the carving. The photos also clearly show the damage to the side of the bowl and the rim top. I sanded the burned areas on the left side of the bowl and the rim top with 220 grit sandpaper. I was careful to sand all the way around the cap and the rim to keep things smooth. I wanted to remove the damaged areas on the edges of the bowl and rim as well as some of the nicks on the rim top. I wiped down the bowl with acetone on cotton pads to remove the grime from the sanding and the debris from around the damaged areas. I was able to remove much of the damage on the rim top and edges. The burn mark on the left side of the cap looked better but I would not be able to remove it much more than I already had. I laid the pipe aside and my daughter Sarah and I decided to go out for lunch. We caught the bus and headed down town to try a new place. We were gone for three hours including lunch and transit. When I returned I took the stem out of the Deoxidizer and wiped off the excess mixture. I dried off the stem with a clean rag. I took the following photos to show how well the soak had worked to remove the oxidation.I took some photos of the tooth marks on the top and underside of the stem near the button.I sanded the surface of both sides of the stem with 220 grit sandpaper to remove the tooth marks and reshape the button.The stem was loose in the mortise so I heated and awl with a Bic lighter and inserted it in the airway in the tenon. This caused the tenon to expand and correct the looseness in the shank.I polished the stem with micromesh sanding pads – wet sanding it with 1500-2400 grit pads and wiping the stem down after each pad with Obsidian Oil. I dry sanded the stem with 3200-12000 grit pads and repeated the rub down with oil. After the final coat of oil following the 12000 grit pad I set the stem aside to dry. I then polished the briar with micromesh sanding pads – wet sanding it with 1500-2400 grit pads and wiping it down after each pad with a damp cotton pad. I dry sanded the briar with 3200-12000 grit pads and wiped it down after each pad with a damp cotton pad. The dark spot of the burn mark really bugged me. I have been hunting for ways to minimize it without doing damage to the integrity of the briar. I googled and found a recipe that was supposed to remove burn marks or heat marks. I thought I would try it and see what happened. Here is the recipe.

Mix a generic baking soda and a non-gel variety of toothpaste in a small bowl until it is a sticky paste. Put the paste over the heat mark and give it a few minutes to set. After about five minutes, the heat mark should wipe away with a clean rag. Be sure to wipe away any remaining residue from the paste as well.

I took photos of bowl with the mixture on the burn marks. I applied the paste with my finger and rubbed it into the burned areas. I repeated the treatment twice this morning. It worked to some degree as shown in the photos below. It definitely removed the lighter burn marks on the rim top and took out a small spot on the front of the cap. It also lightened the burn mark on the front outer edge of the rim and the large mark on the left side. On advice from Mark Domingues I also tried to spot dab the darkest part of the burn with bleach, being careful to not get it on the rest of the surrounding area. It lightened it a little more but did not completely remove it. I think that probably the burn was too deep to actually remove all of it.I wiped the bowl down with a little olive oil on a paper towel and hand buffed it so that the oil would be absorbed. I buffed the pipe with Blue Diamond on the buffing wheel and then gave it multiple coats of carnauba wax. I buffed it with a clean buffing pad (many people do not do this step but it is critical to get a good shine). I hand buffed it with a microfiber cloth to deepen the shine. The finished pipe is shown in the photos below. Even though the burn mark bugs me it does give the pipe character and reflects on its previous history. I have to always remember that we hold our pipes in trust – we are stewards as Dal Stanton calls it. Our task is to take good care of the pipe while it is in our hands and to leave it in good condition to pass on to the next steward. Thanks for looking.

A Simple Refresh on a Belgian Made Hilson Bolero Oval Shank Billiard


Blog by Steve Laug

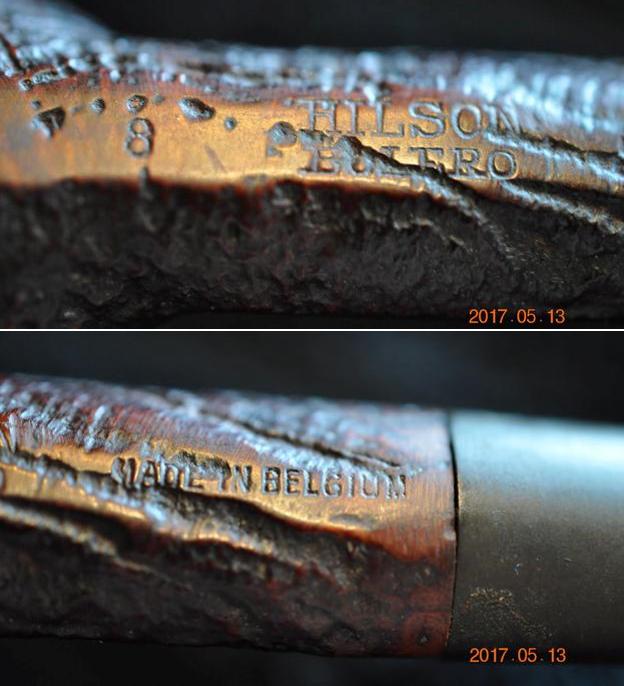
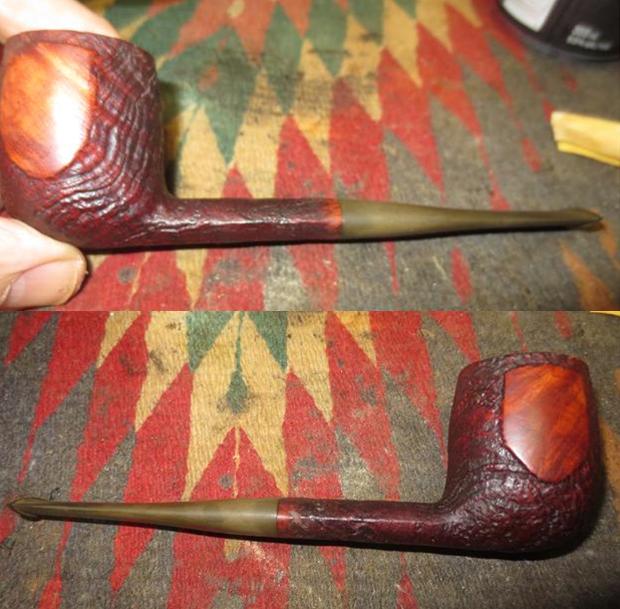
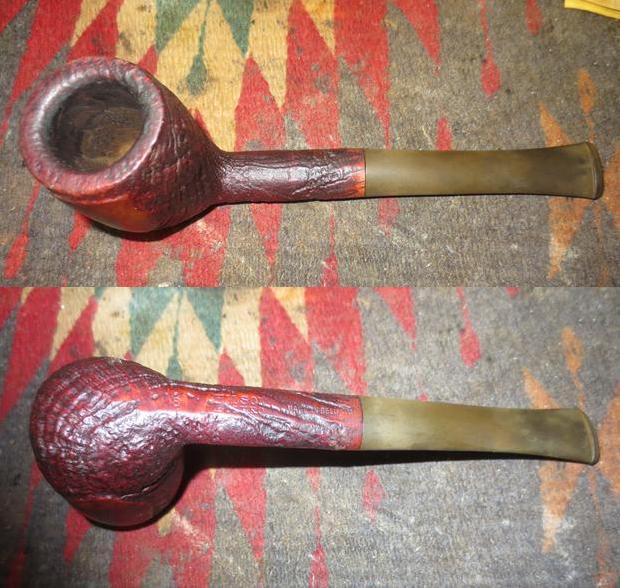
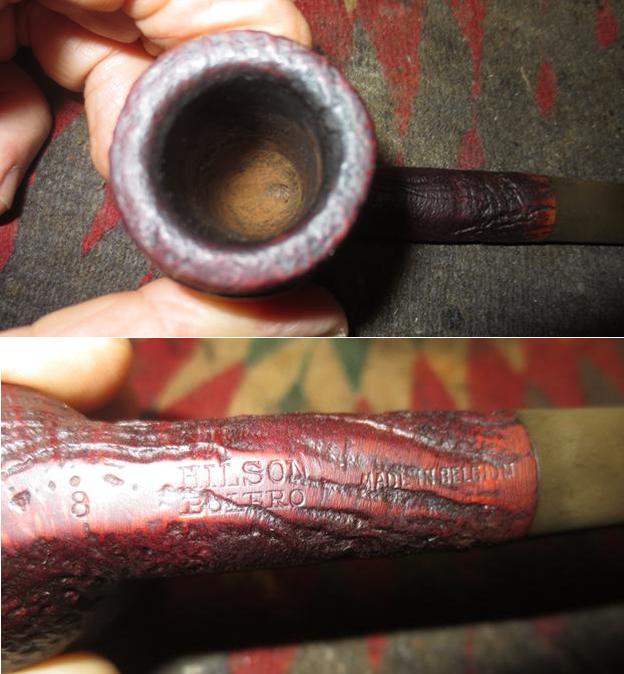
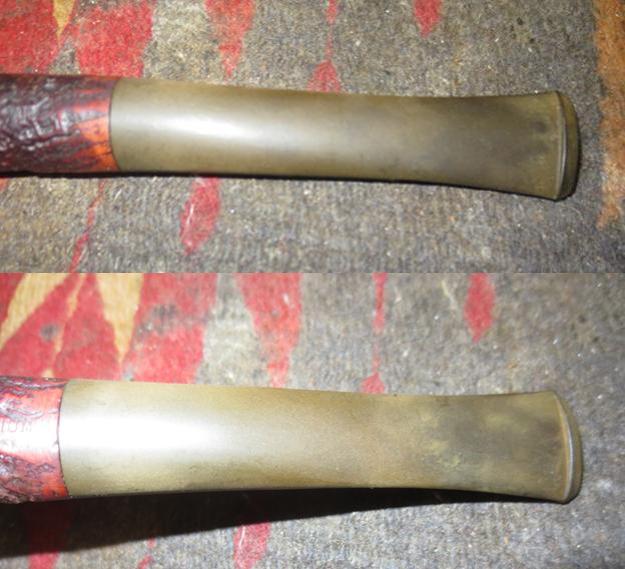
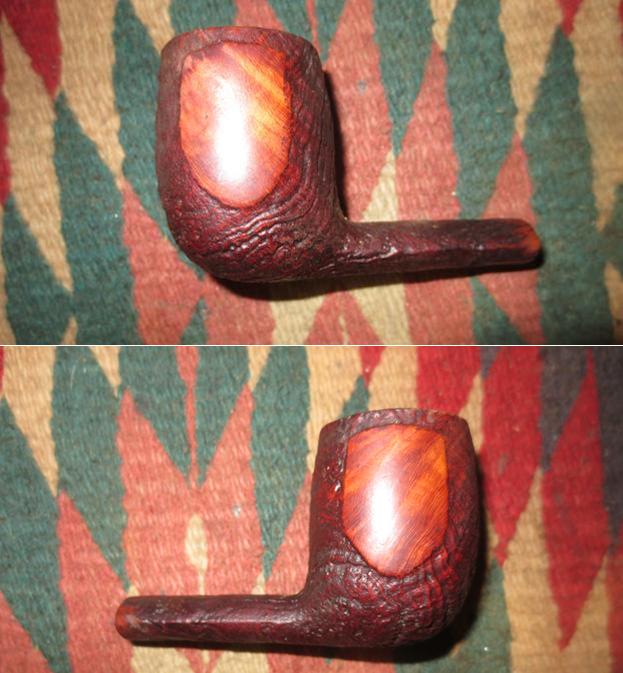
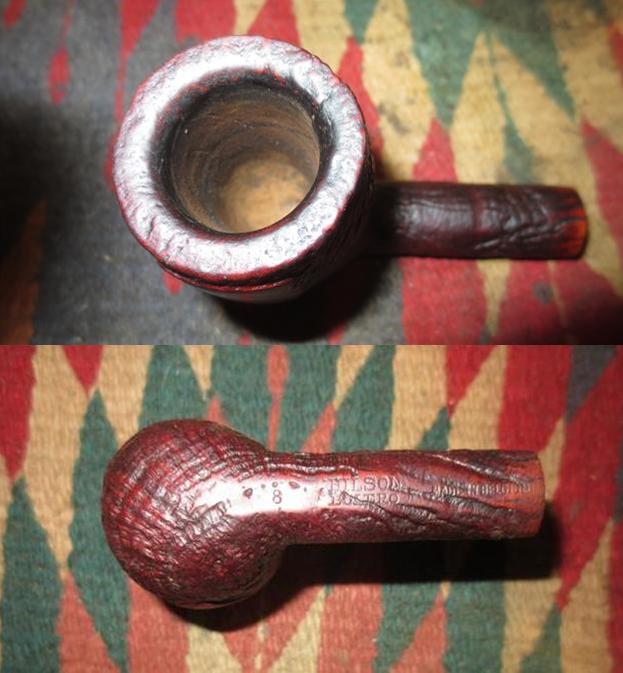
Sometimes it seems like I get lucky and get a pipe from my brother that needs very little work. After Jeff has reamed and cleaned it, I receive it and a simple refresh brings it back to a new looking pipe. It does not happen very often and when I look at them in the pre-clean photos it is somewhat unpredictable what lies beneath the sheer filth and ugliness. You can guess a little bit from the condition of the edges of the bowl and the stem. You can get a feel from the thickness and composition of the cake what kind of tobacco had been smoked in the bowl and the smell of the pipe usually confirms the feeling. In this case the pipe that surprised me was a Hilson Bolero oval shank Billiard. In the photos it appeared to be in far worse condition that it was once Jeff cleaned it up. The photos below show what the pipe looked like when Jeff brought it home from our virtual pipe hunt in Montana.It was definitely newer than many of the pipes we found that day. The photos tell the story of its condition but I will summarize it here. The bowl had a fairly thick cake with lava overflowing onto the rim. It had a nice sandblast finish that makes me think of Stanwell pipes that must be from the same time period. The finish appeared to be in good shape other than the dirt and grime of the years in the grooves and grain of the blast. The stem was slightly oxidized and there was tooth chatter on both the top and underside of the stem near the button. The next two close up photos of the bowl show the cake and the lava buildup on the rim top. It appeared that the inner and outer edges of the bowl were in good condition. No glaring damage to those spots showed in the pictures. The pipe has some nice grain that is highlighted by the sandblast. There are two smooth panels – one on each side of the bowl providing a nice contrast. The difference adds a visual and tactile variation on the pipe.The pipe is stamped in a smooth section on the underside of the oval shank. On the left end it reads 8 which is the shape number. That is followed by the brand name Hilson over the line name Bolero. To the right end of the shank near the shank/stem junction it reads made in Belgium. The photos below show that the stamping is very clean and readable. The sandblast cuts through portions of the stamping but does not ruin it.The stem was rough to the touch but the issue was mainly oxidation on the surfaces. There was some visible tooth chatter on the stem, but it is quite easy to address. I was very glad that it was in good condition.Before I started the refresh of the pipe, I did a quick review of the history of the brand because I like having that information in mind when I work on a pipe. I remembered at some point Hilson had been sold to Gubbels who made the Big Ben pipe. At that time, it moved from being a Belgian made pipe to being made in the Netherlands. I turned to Pipedia and read the entry on Hilson there (https://pipedia.org/wiki/Hilson) and to Pipephil’s site to read what he had for information (http://www.pipephil.eu/logos/en/logo-h3.html). I have combined and summarized the pertinent information from the two sites.

In 1846 a German named Jean Knödgen started to produce clay pipe in Belgium. In the late 19th century Jean Hillen who married into the Knödgen family took over the company and changed the firm in order to manufacture briar pipes. Jean Hillen had 2 sons: Jos Hillen was responsible for sales and Albert Hillen was responsible for the production. After WWII Albert founded the HILSON brand (Hillen and Son) and exported his pipes all over the world.

…In the 1960’s and still throughout the 1970’s the brand Hilson of Broers Hillen B.V. (Hillen Bros. Co.) was quite successful in many European countries. They produced large numbers of machine made pipes covering the whole range of shapes and finishes. The pipes were well respected for good quality and craftsmenship at very moderate prices.

…in 1980 Hillen faced major financial problems. After having gone bankrupt, the Belgian brand from Bree (Limburg) was taken over by the Royal Dutch Pipe Factory. The owner, Elbert Gubbels used the favour of the hour and bought the company…The Hillen plant in Bree was closed down shortly after and ever since then Hilson pipes are manufactured in Roermond, NL.

Given that the plant in Bree, Belgium closed around 1980 after Gubbels had purchased the company, I knew that the pipe I was working on had been made prior to that time. The Made in Belgium stamp on the underside of the shank gave that information. I am not sure that I can get any closer in terms of a date for the pipe.

On this pipe, my brother’s cleanup work was the lion’s share of what needed to be done to revitalize it. He reamed the bowl with a PipNet reamer to remove the cake and cleaned up after the reaming with a Savinelli Fitsall pipe knife. He scrubbed the finish with a tooth brush and Murphy’s Oil Soap to remove the grit and grime. He scrubbed the rim top and was able to loosen the debris that had built up there. He rinsed the bowl under running water and dried it off. He soaked the stem in OxiClean to raise the oxidation to the surface. He scrubbed out the airway in the bowl, shank and stem with pipe cleaners, cotton swabs and alcohol. When I received the pipe I was amazed at how good it looked. The stem would need some attention but that was about it. The bowl could be waxed and buffed with little other work. Jeff had done a great job. I took photos of what the pipe looked like when it arrived in Vancouver. I took a close up photo of the rim to show the condition. There was a spot on the inner edge of the back portion of the rim that looked damaged. I would need to work that spot over to ensure that it was cleaned up. I also took a photo of the underside of the shank to show the stamping on that portion of the pipe. You can see how the stamping that I mentioned above was laid out on the shank bottom.I took photos of the stem to show its general condition as well. The stem was oxidized but there were no tooth marks on either side. It was clean other than the oxidation.I put the stem in the Before & After Pipe Stem Deoxidizer solution that I spoke of in the previous blog on the Borlum pipe. I purchased the Deoxidizer from a guy on Facebook. His name is Mark Hoover and he is on the Gentlemen’s Pipe Smoking Society Group on Facebook. He has a pen making site where you can email and order the deoxidizer and the polishes (http://www.lbepen.com/). This is the second time that I have used like Mark suggested. I immersed the stem in the Deoxidizer to soak. The Deoxidizer will do its work and leave the stem oxidation free. I have to admit I was a little less skeptical than I was before set the stem in the container of solution to soak overnight.I turned my attention to the bowl. I used a small piece of sandpaper and a brass bristle brush to clean off the charred build up on the back inner edge of the rim. I then rubbed the bowl down with some olive oil on a paper towel and set it aside to soak in overnight. I called it an evening and went to bed. In the morning I took the stem out of the Before & After Pipe Stem Deoxidizer soak and wiped off the excess fluid. It is quite sticky so it is a bit of work to wipe it free and dry off the stem. Once I got it dried off I rubbed it down with Obsidian Oil and let it dry for a few moments.Once it had dried I began the polishing of the stem with micromesh sanding pads. I wet sanded it with 1500-2400 grit pads and rubbed it down with Obsidian Oil. I dry sanded it with 3200-12000 grit pads and wiped it down after each micromesh sanding pad. I buffed the pipe with Blue Diamond on the buffing wheel to polish out the scratches in the vulcanite and give a shine to the sandblast finish. I worked on the inner edge with the buffer and the Blue Diamond and cleaned up the damaged area to blend it in more with the rest of the rim edge. I gave the bowl and stem multiple coats of carnauba wax and buffed it with a clean buffing pad to raise the shine. I hand buffed it with a microfiber cloth to deepen the shine. The finished pipe is shown in the photos below. The dimensions of the pipe are length: 6 inches, height: 2 inches, bowl diameter: 1 3/8 inches, chamber diameter: ¾ inches. I will be posting it on the rebornpipes store if you are interested in adding this beauty to your rack. You can email me at slaug@uniserve.com or send me a message on Facebook. Thanks for looking.


Giving New Life to a KBB Yello Bole Imperial 3068C


Blog by Mike Rochford

In the last two weeks, I have been corresponding with Mike about a pipe he had. He wrote and sent photos of it and asked if I thought it was repairable. Those of you who have been reading the blog for a while know that I rarely put a pipe in the bin to burn. We wrote back and forth as he did the work and he sent photos along the way. I asked if he would mind doing a blog on the refurb job he did. He sent me the following. Without further introduction, I will let Mike tell you about himself and then share his work with us. Welcome Mike.

First a bit about me. I am a retired FBI Special Agent of 30 years. My grandfather had a wood pattern shop in downtown Chicago. I always enjoyed woodworking projects, but never had much time for complicated projects. This project was pretty easy as long as I did not hurry each step. Patience and your guidance helped me a lot. I am now pretty confident that I can handle another project if one comes along. – Mike

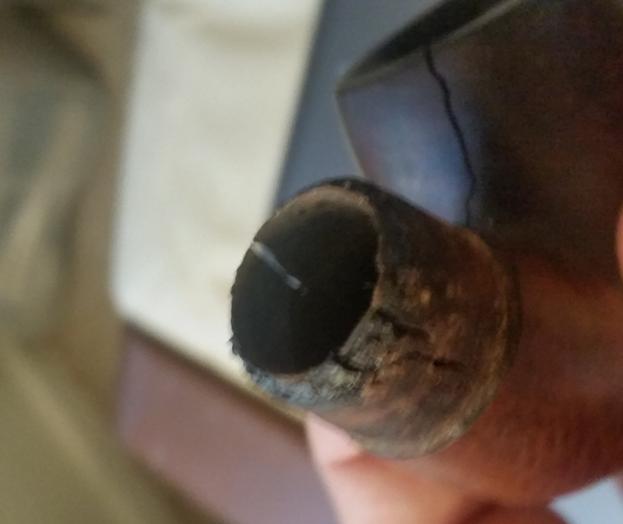
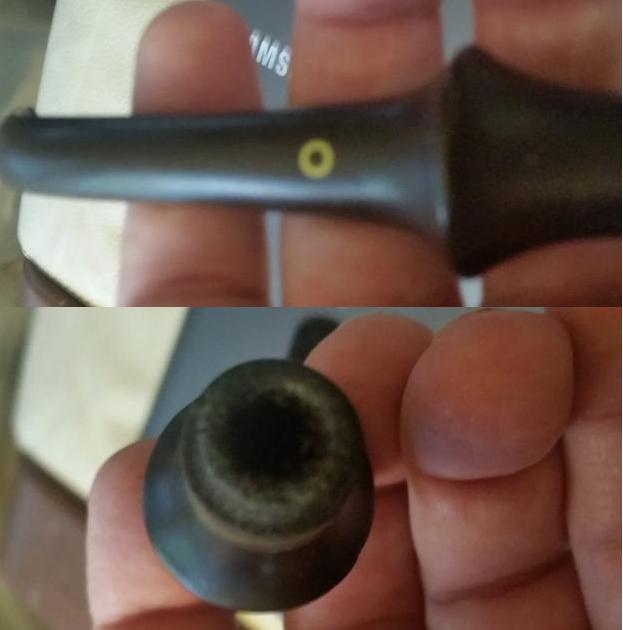
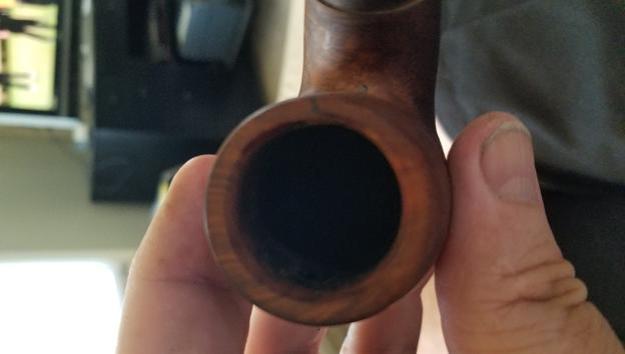
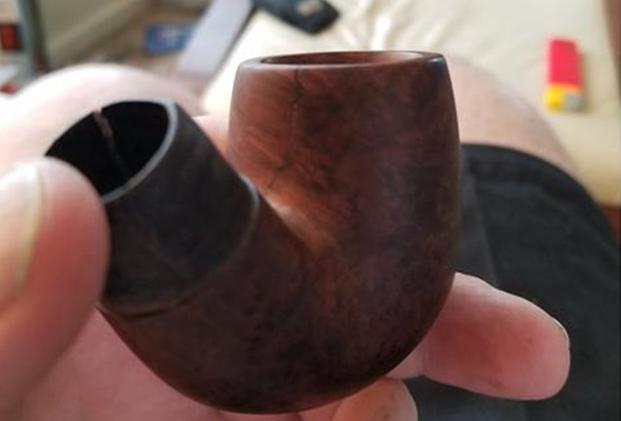
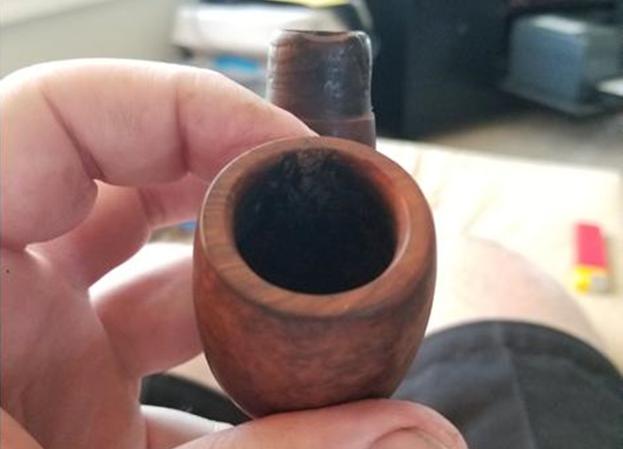
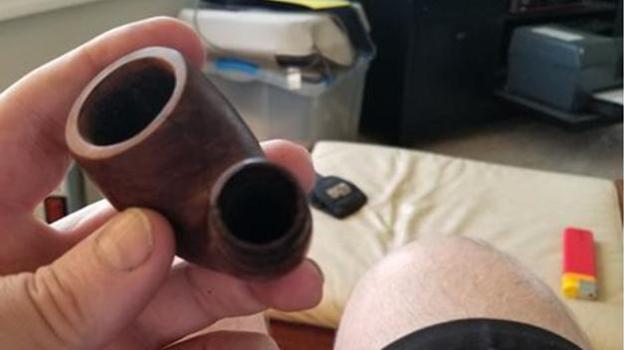
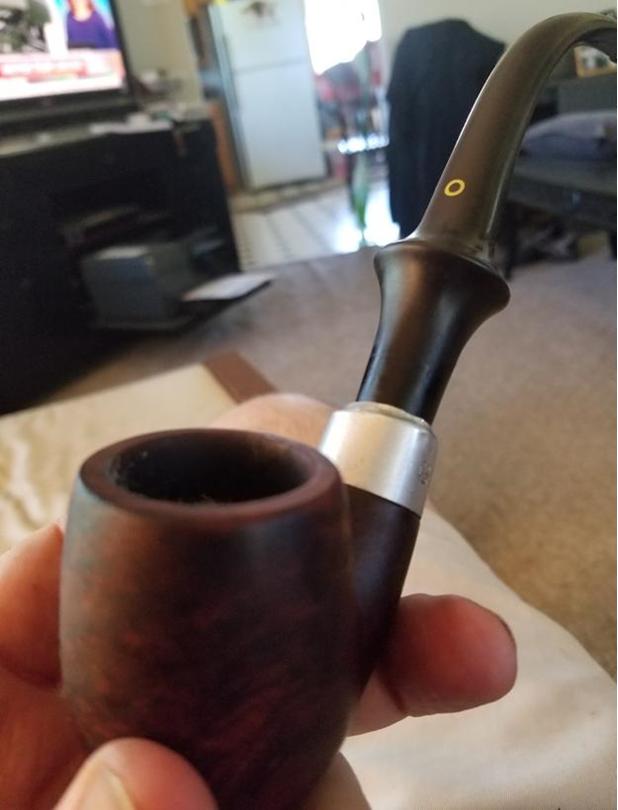
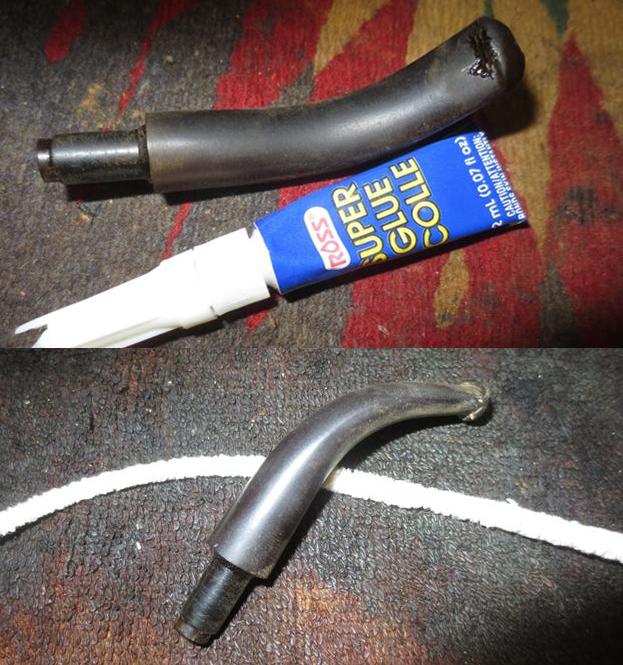
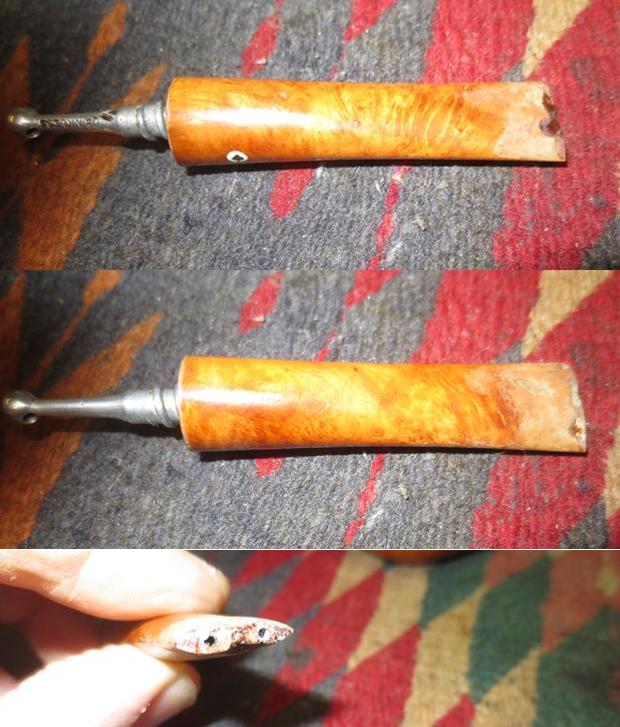
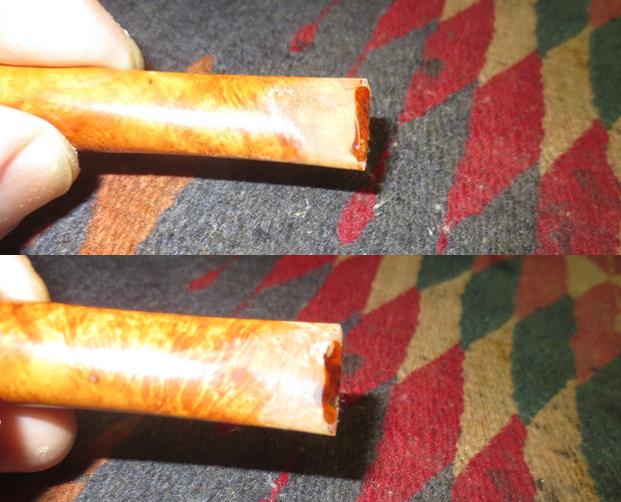
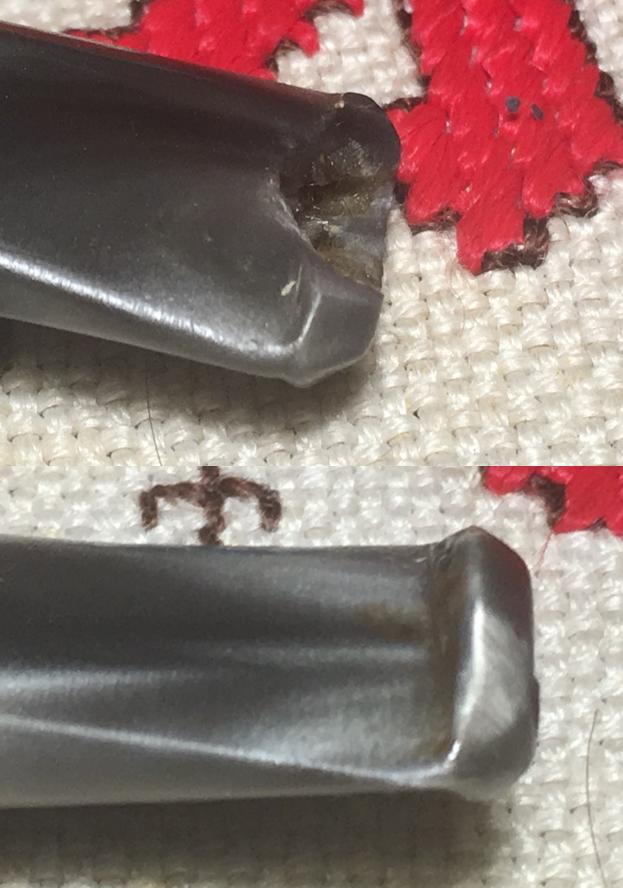
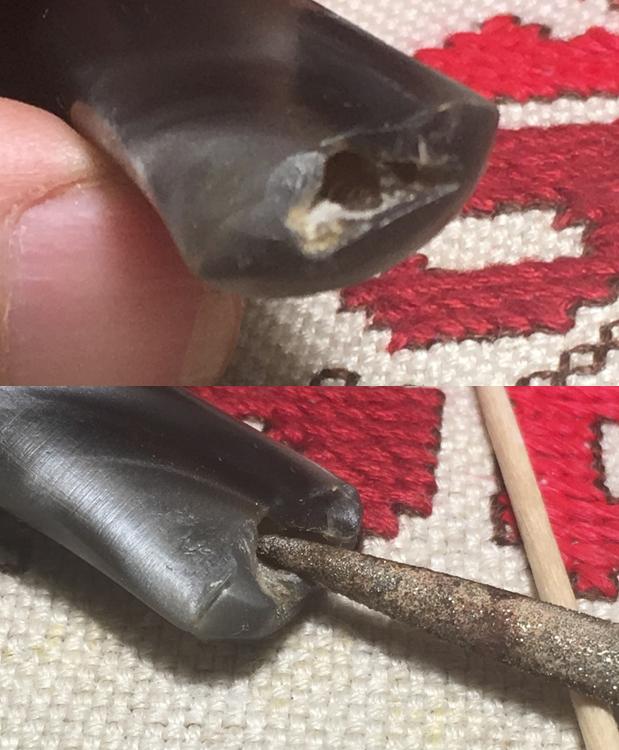
My brother Tim bought me a very worn out KBB YELLO Bole Imperial 3068C pipe. He knew I loved its look. But its issues were many: gaping hole in bowl, rotting wood on ferrule, bite marks on stem, and a slight tool mark on the crowned our area of the stem below the Yellow circle.

I was prepared to throw the pipe out or just relegate it to a shelf. But I found Steve Laug on rebornpipes. He advised me step by step how to restore and make my pipe smokeable again.

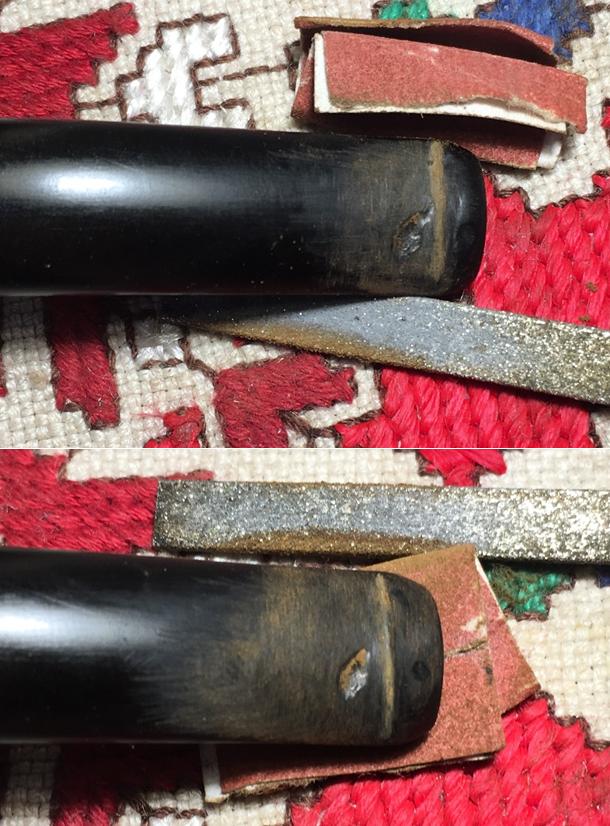
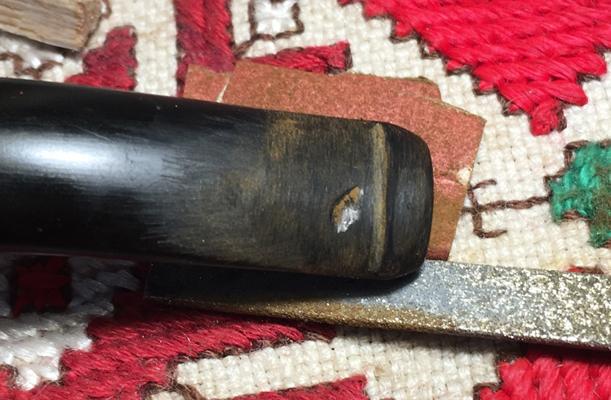
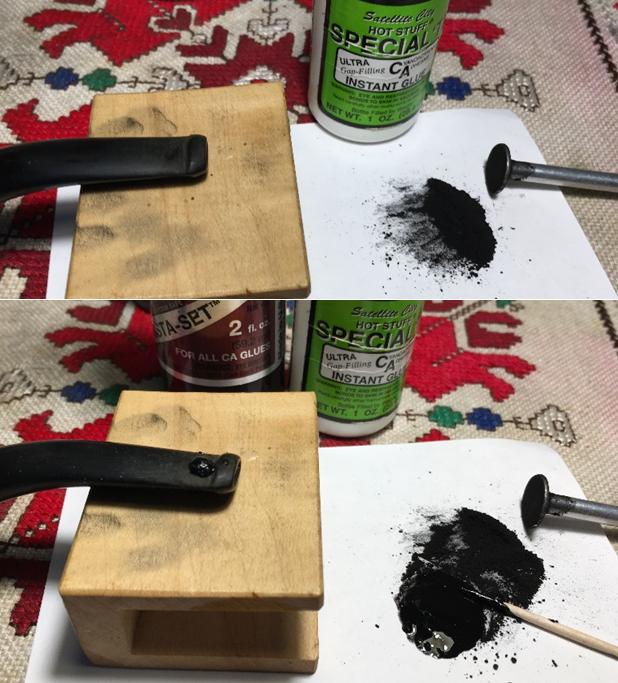
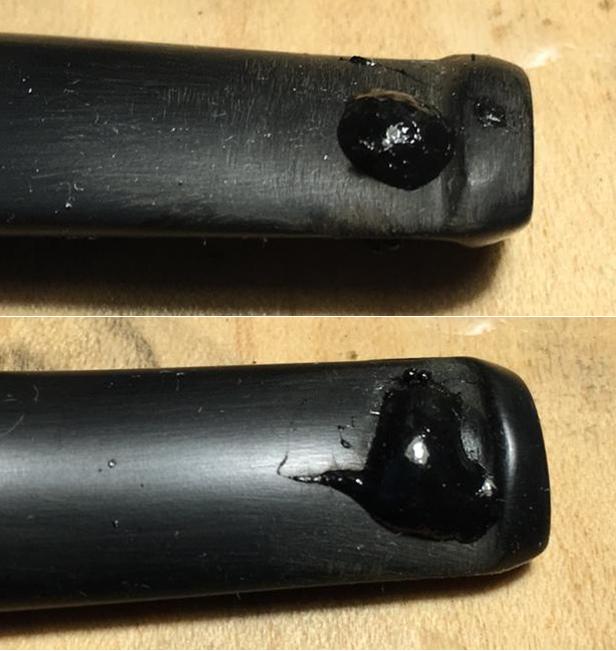
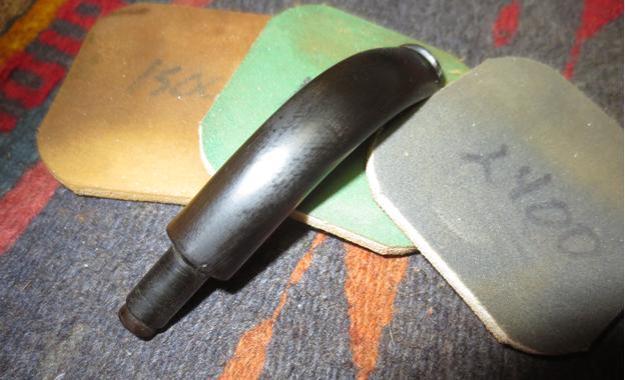
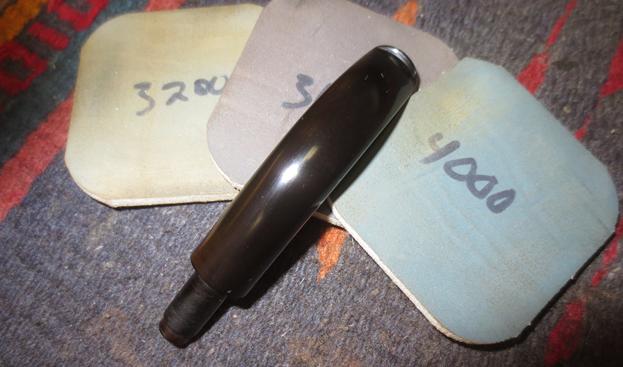
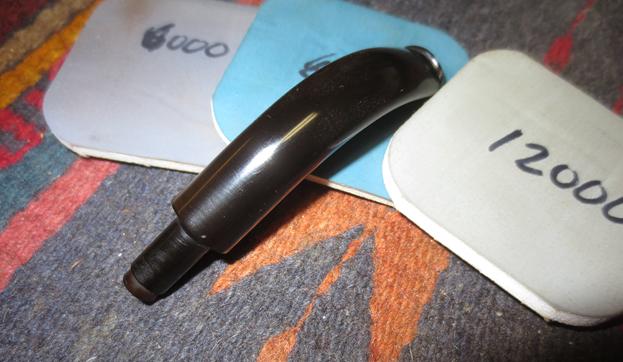
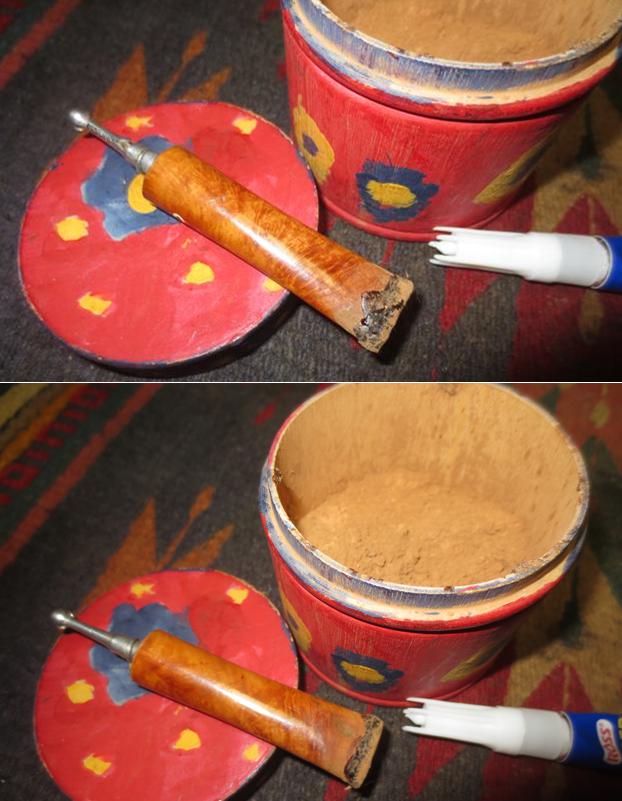
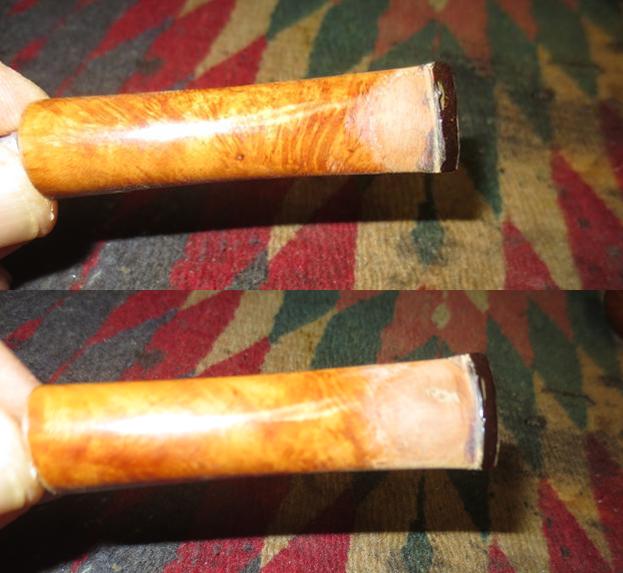
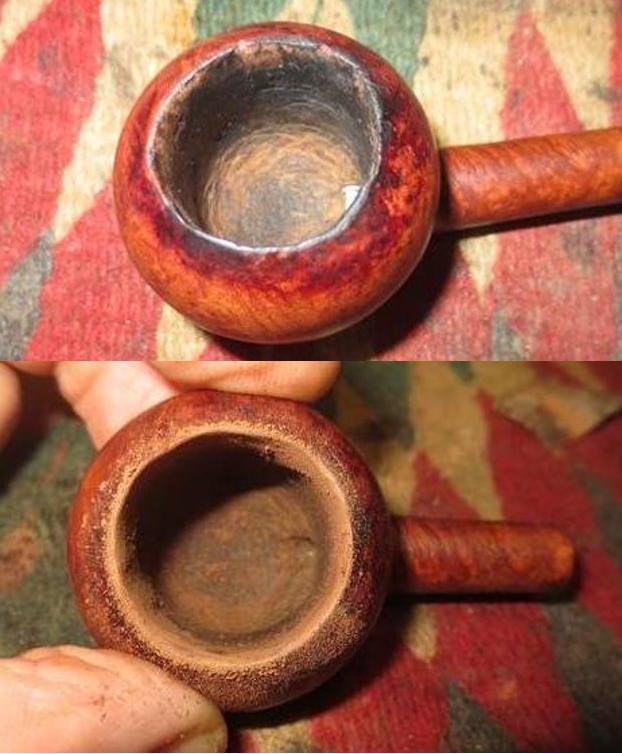
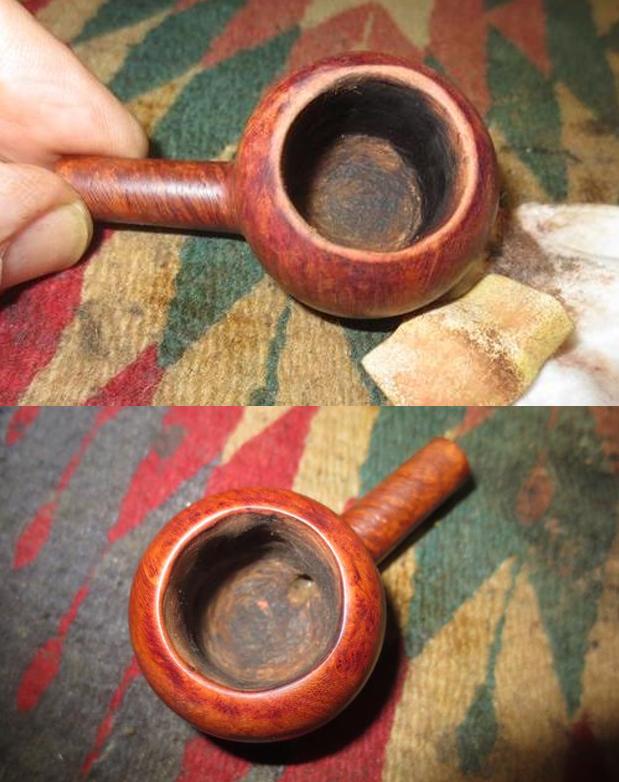
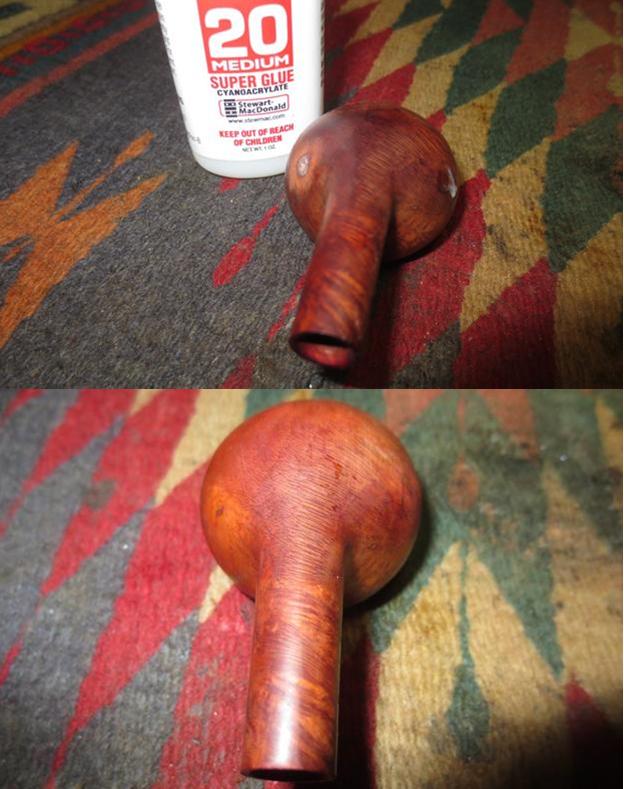
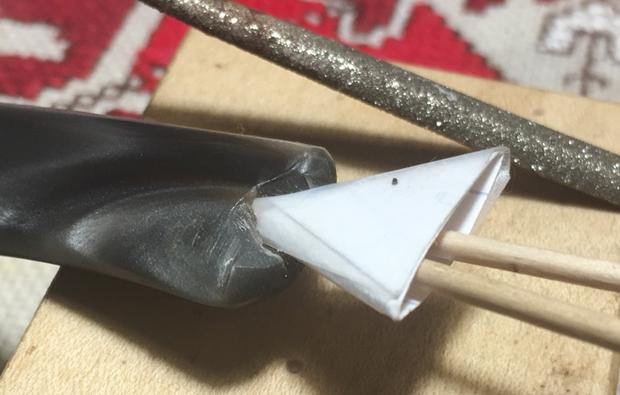
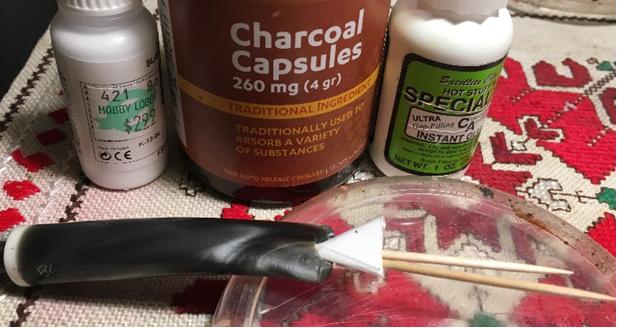
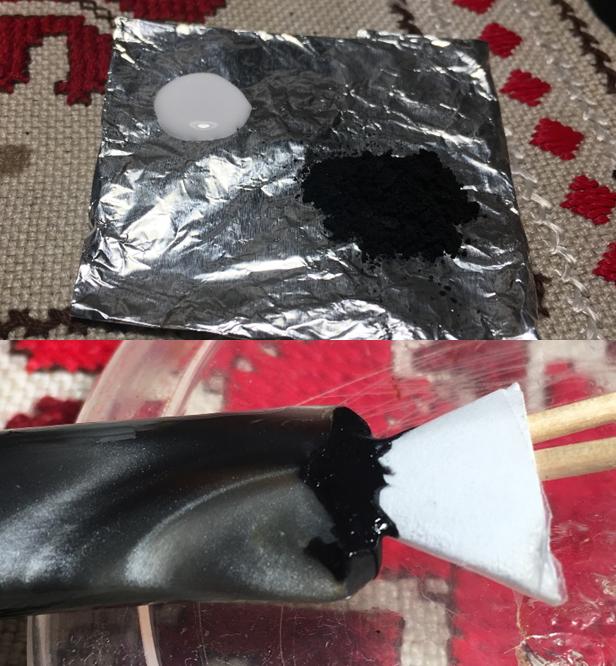
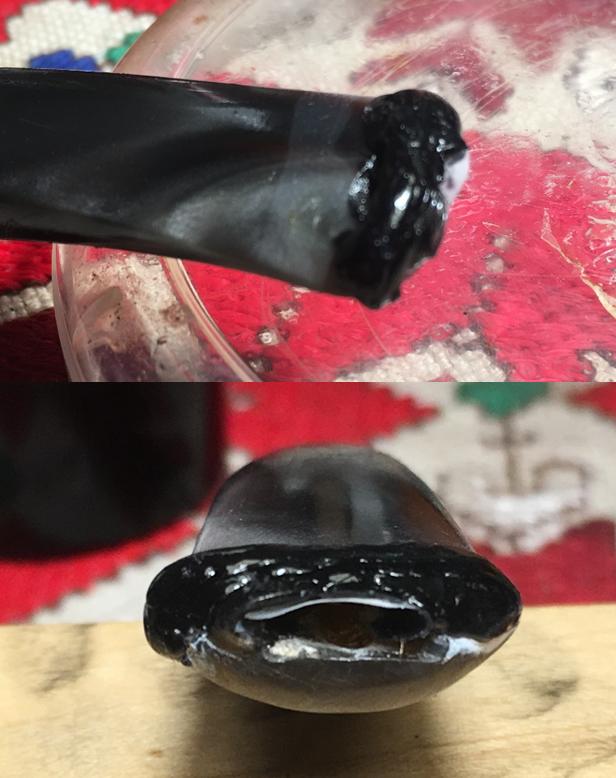
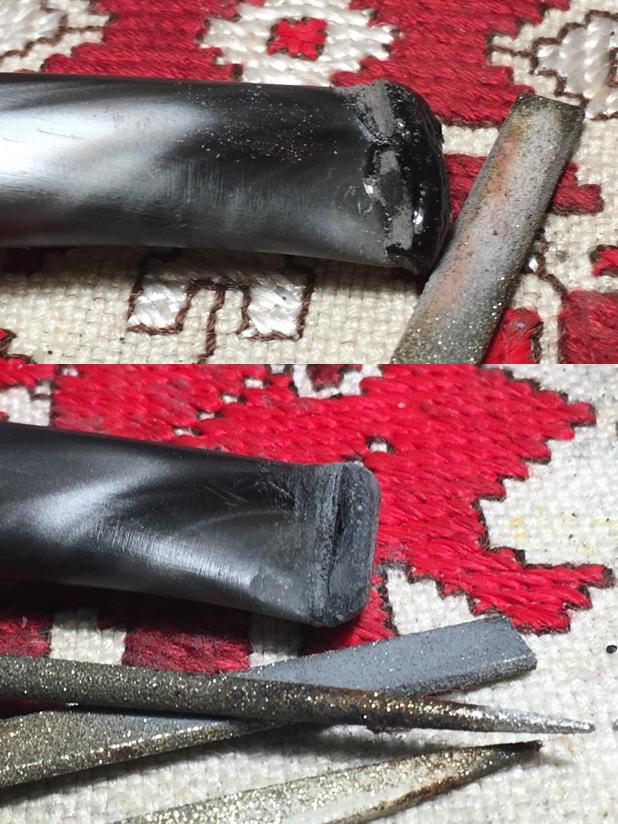
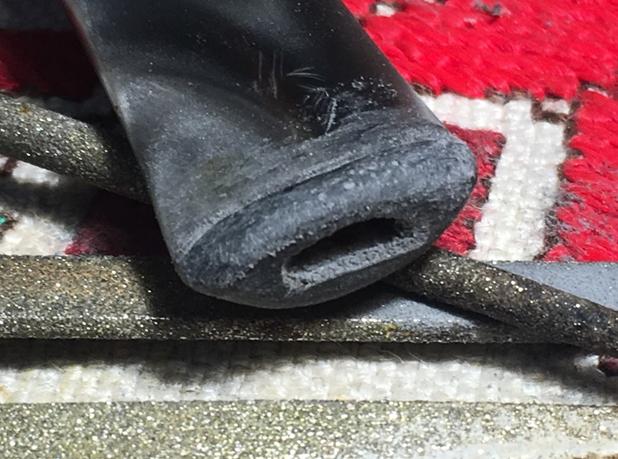
First, I completely cleaned out the inside of bowl down to the briar in order to relieve pressure on the crack in the bowl. Then I used a 1/32 drill bit to drill out the bottom of the crack.  I stripped and cleaned the outside of the pipe and combined briar dust with super glue and filled in the crack on the outside of the bowl. I was surprised that the chemical reaction caused a flash fire on my first try. But I worked through that. The paste dries very fast so I had to apply it to the crack quickly, using a Popsicle stick.  I then let it set. Then I applied JBWeld for wood to the cracked area inside of the bowl. I put a pipe cleaner inside the opening to ensure no weld found its way into the airway blocking up my smoking end of the bowl. I let that dry and set it aside for the evening. Then I used 500 grit sand paper on the outside and inside of my bowl. Once I was satisfied, I applied Aniline dye stain to the outside of the bowl and painted the inside of my bowl with a charcoal powder/ sour cream paste.Next, I worked on the cracked and damaged shank end using the 1/32nd inch bit on the end of the cracks in wood and my super glue briar dust paste to fix the damaged areas. Sanding it after it set.I then used the charcoal powder and super glue paste to patch up the bite marks on my stem, using a pipe cleaner with Vaseline on it to ensure it did not super glue my stem closed. I used some 800 grit sand paper to buff the entire stem clean of oxidation and to clean off excess super glue charcoal powder once it dried. I also used the 800 grit sand paper to clean up the tool marks on my stem below the Yellow circle. I did not have any obsidian oil, so I used some sesame seed oil on my stem to slick it up. I also super glued the silver metal ferrule on the end of the shank as it was much too loose. I then resanded and repasted the inside of my pipe bowl.

I sent before and after pictures to Steve. I am very pleased and thankful to Steve Laug for guiding me through this process. My pipe is truly “Reborn!” Thanks!

Reclaiming a Hard Smoked KB&B Borlum Unbreakable Stem Billiard


Blog by Steve Laug

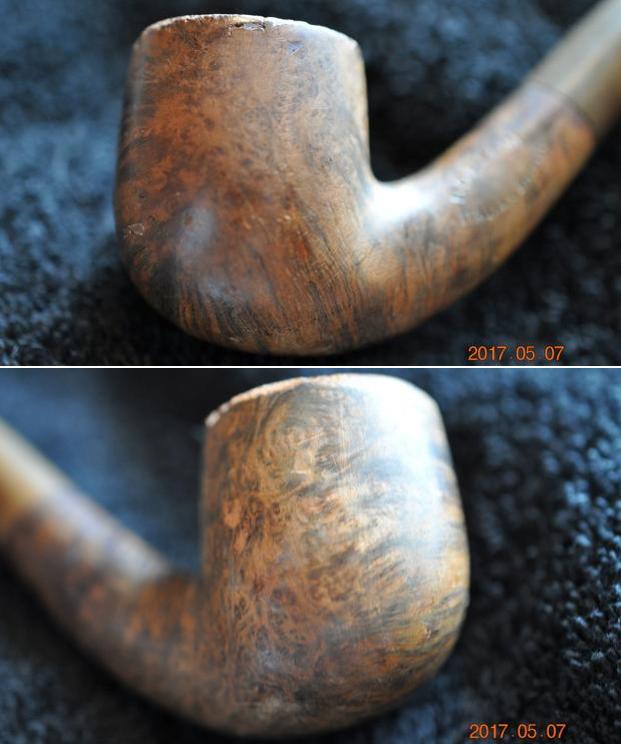
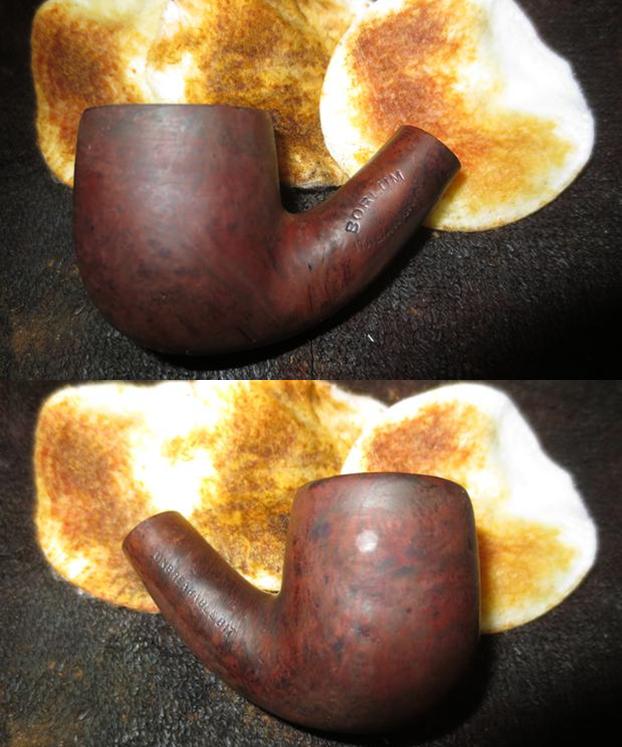
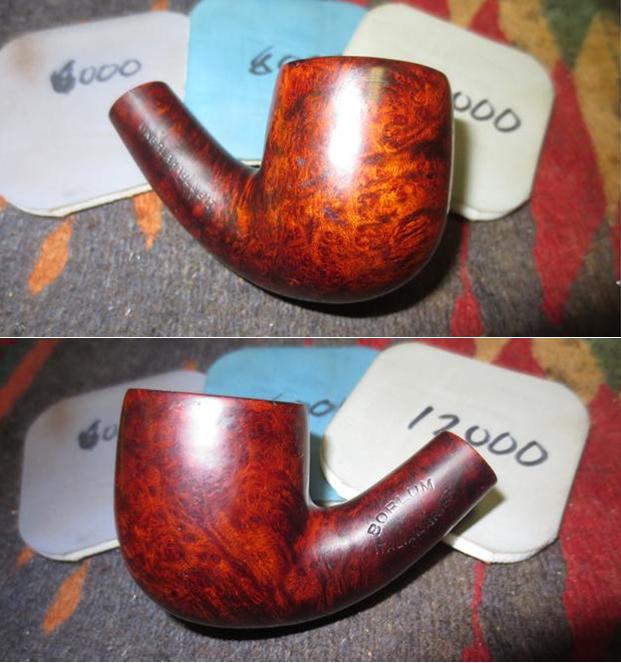
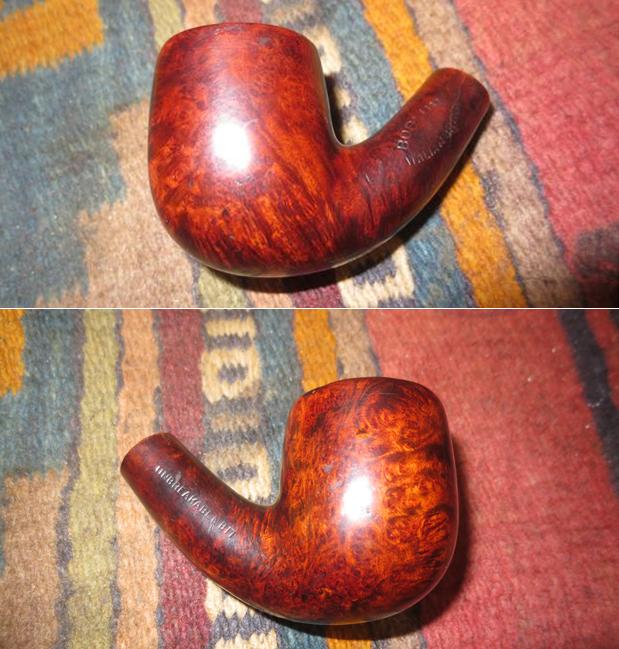
The next restoration on my worktable was a Borlum Bent Billiard. It came to me in the lot of older pipes that my brother brought home from our virtual pipe hunt in Montana. It was in rough condition with the finish very worn and almost non-existent. The bowl had a thick cake that had overflowed the bowl onto the rim top. The previous owner had obviously loved this pipe and the condition was testimony to it being a great smoker. He also seemed to have a very utilitarian view of his pipes. This one appeared to have never been cleaned – a veritable stranger to the aid of a pipe cleaner. The outer edge of the bowl had been knocked about a lot and there was lots of damage to the edge – it was broken down and rounded all the way around. He had obviously knocked the pipe out on a fence, a rock or his boot heel when finishing a bowl. There were dings and nicks in the sides and bottom of the bowl. The stem was oxidized and had some tooth marks on the top and underside near the button. Jeff took the next photos of the pipe before he started to work on cleaning it.From an earlier Borlum pipe that I had refurbished back in 2014, I had learned a lot about the background of the manufacturer of the brand. I quote from that blog to summarize the historical background of the pipe (https://rebornpipes.com/tag/kbb-borlum-pipes/). The italicized portions of the text come from the blog with minor edits.

I already knew that Kaufmann Brothers and Bondy was the oldest pipe company in the USA, established in 1851. The Club Logo predated Kaywoodie with the “KB&B” lettering stamped within the Club, and a multitude of KB&B lines were in production long before “Kaywoodie” first appeared in 1919. Therefore, I knew that the pipe I had was a pre-1919, pre-Kaywoodie KB&B Made BORLUM.

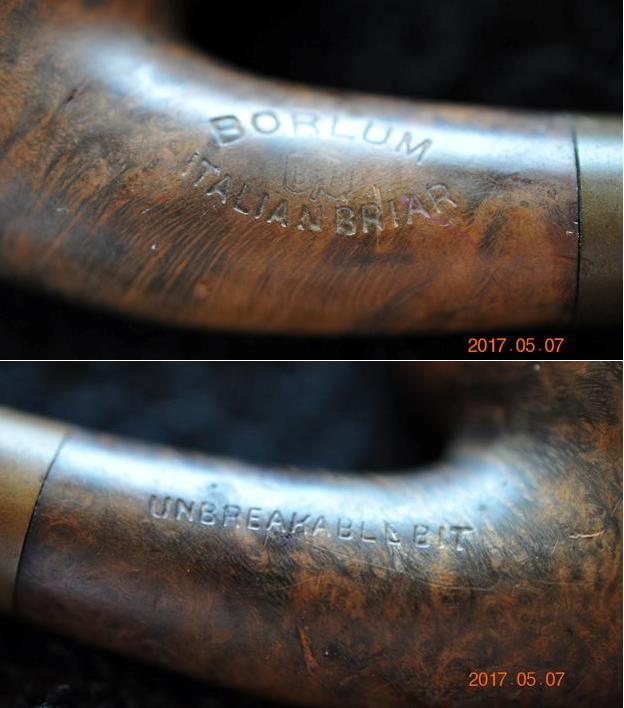
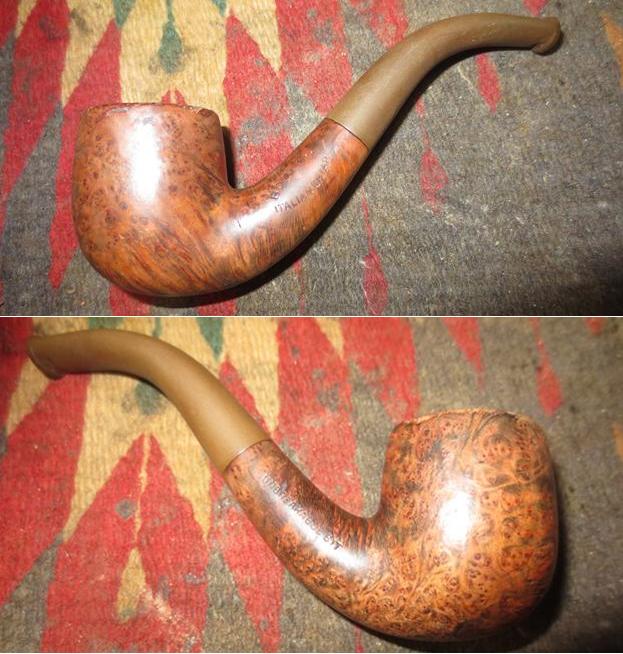
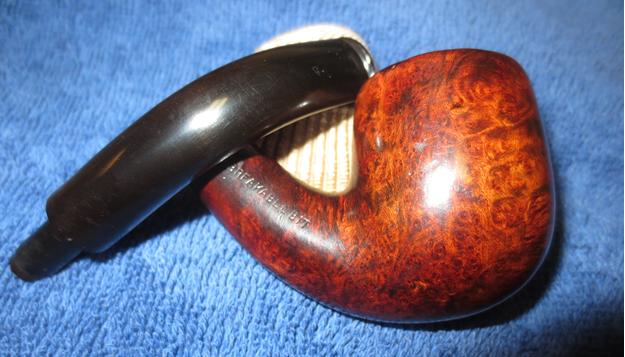
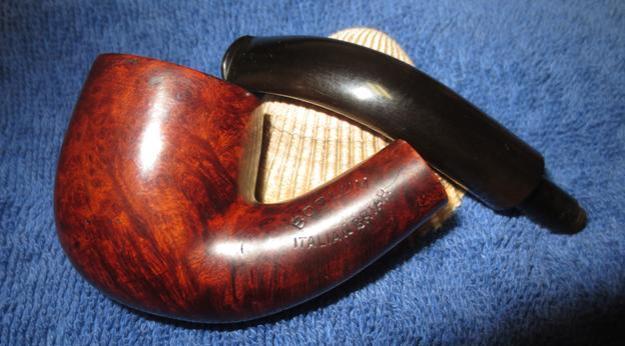
This particular pipe is stamped on the left side of the shank with the words BORLUM in an arc over KB&B in a cloverleaf. The cloverleaf is faintly stamped but still readable with a bright light and lens. Underneath that it is stamped ITALIAN BRIAR in a reverse arc. On the right side of the shank it is stamped UNBREAKABLE BIT. As stated above it was made before Kaywoodie became the flagship name for pipes from Kaufman Brothers & Bondy (KB&B). It was made before the Kaywoodie invention of the “Stinger” was added, and even before shank logos, model stamps and other features invented by Kaywoodie came to be standards of the pipe making industry. It comes from a time when names like Ambassador, Heatherby, Melrose, Suez, Rivoli, Cadillac and Kamello dominated the pre-Kaywoodie scene. Borlum is one of those names.

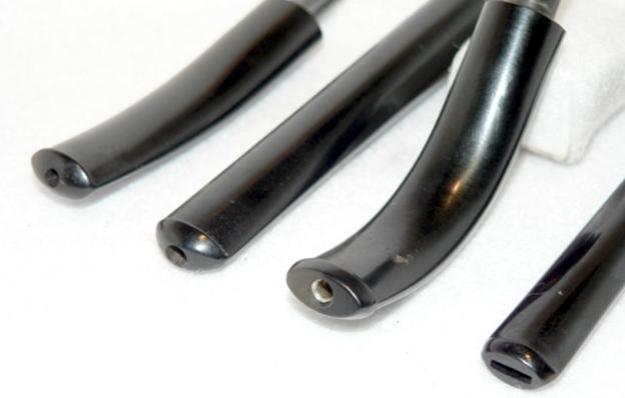
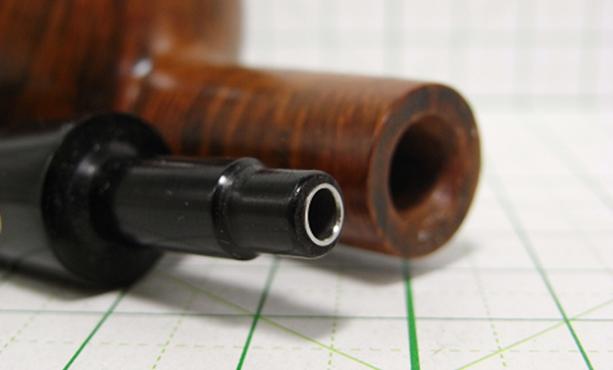
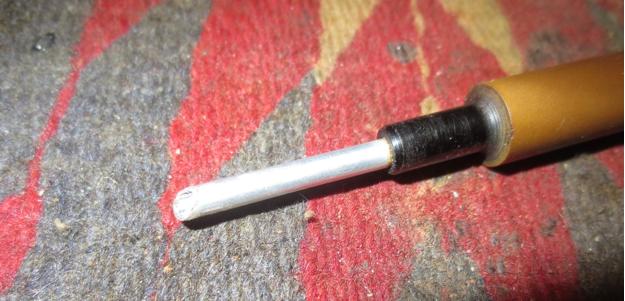
I learned while researching for that blog and rediscovered while working on this one that the Borlum pipe featured some innovations that were new for the time but commonplace to us. These included (1) a solid rubber bit (vulcanite, ebonite), (2) an aluminum inner-tube construction in the stem that stabilized and strengthened the stem explaining the stamping of “Unbreakable Bit” on the right side of the shank, (3) a standard nickel-plated band (marked KB&B) to strengthen the shank connection for the stem. (This particular pipe does not have the nickel-plated band and does not appear to have had one).The stem features the older style more rounded bit tip/orific button, and you can see the aluminum inner-tube fitting just inside the tip.

I have included several pictures that I found on the internet that show the unique stem tube in the Borlum that gives rise to the claim that it has an Unbreakable Bit. The first photo shows the bent stem, third from the left with the same metal tube showing at the button. The second photo shows the other end of the tube in the tenon in the Borlum stem. That told me that the pipe I had was made after 1851 and before 1919. I am guessing that because of the other pipes in this lot dating in the late 1890s to about 1905 this one is probably from that same era. Not too bad for a 100+ year old pipe. During the hunt for information, I also found the next photo of a Borlum display and sales card. What is particularly interesting to me is the diagram at the top of the card showing the interior of the stem in place in the shank. It also includes the claim, “Guaranteed against Breakage”. I love the advertisements and sales brochures of these old pipes. The descriptive language that promises so much and the prices the pipes sold for are a nostalgic journey to the past. Note the $1 and up price tag on the sales card.

The pipe that I am working on presently is identical to the bottom pipe on the right side of the photo. I have circled it in red. It has the identical shape, curved shank and lack of a nickel-plated band as mine. It has the hard rubber stem with an orific button. It is more rounded than the modern flat stem but it is still a comfortable feeling stem in the mouth.

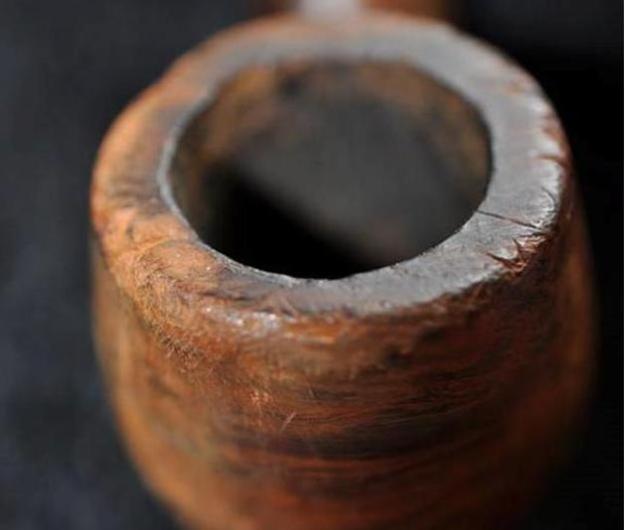
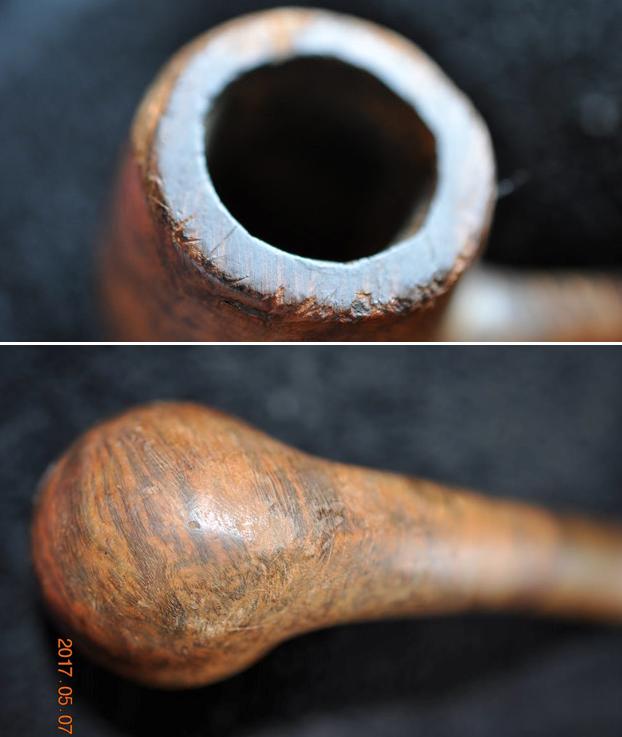
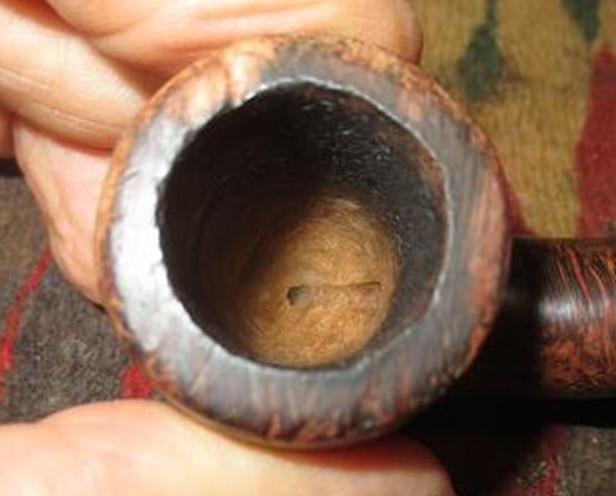
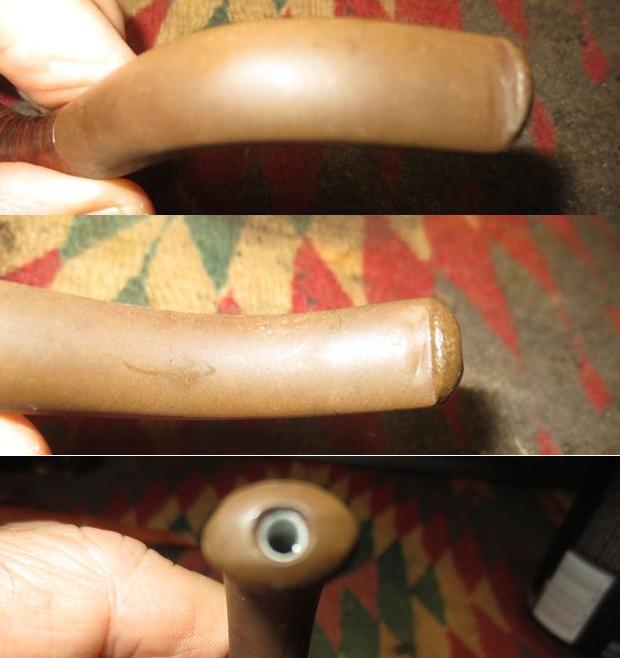
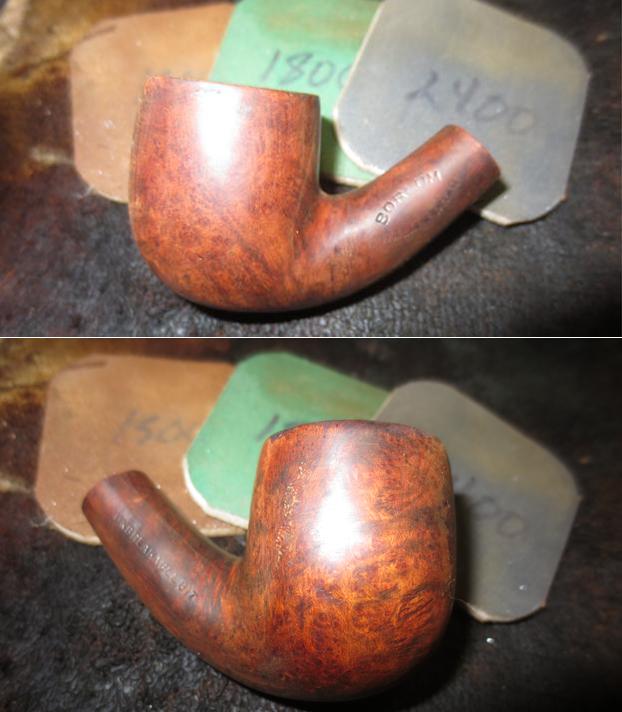
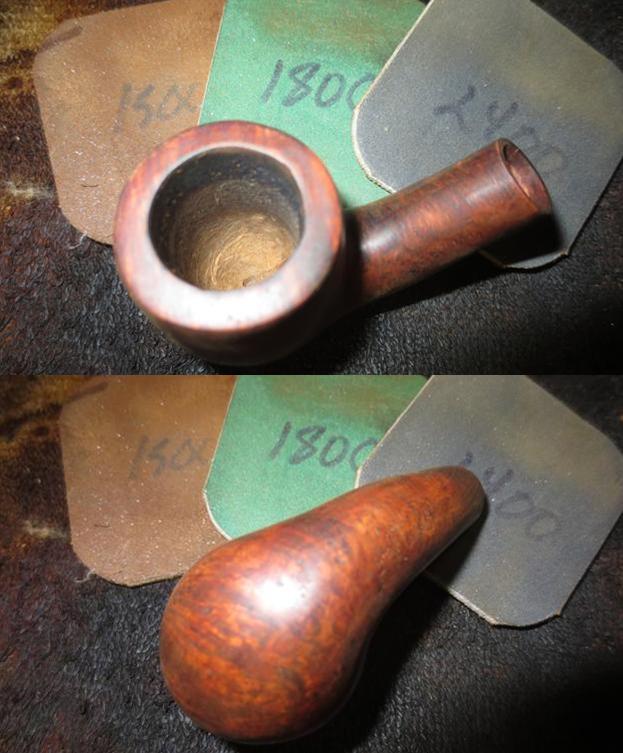
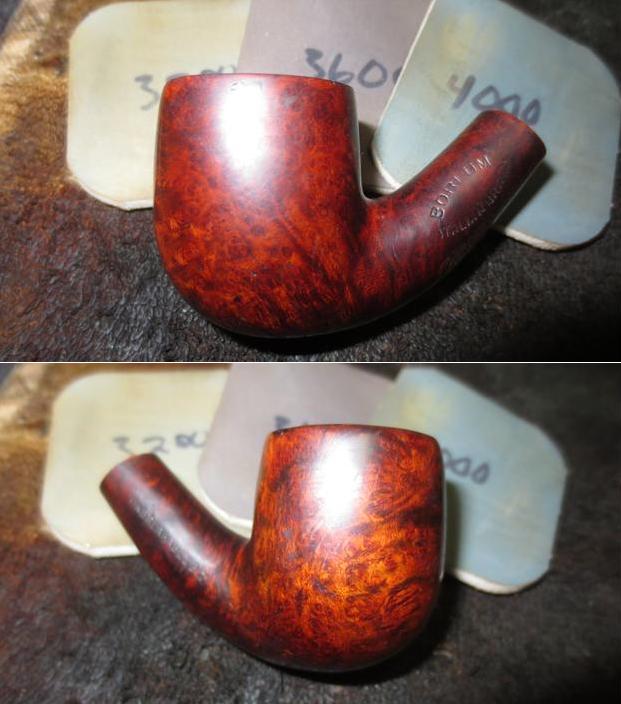
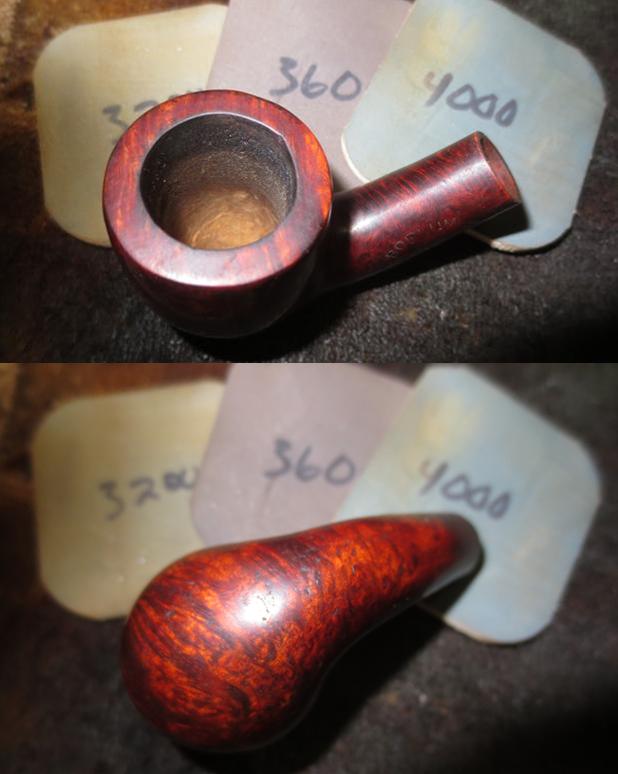
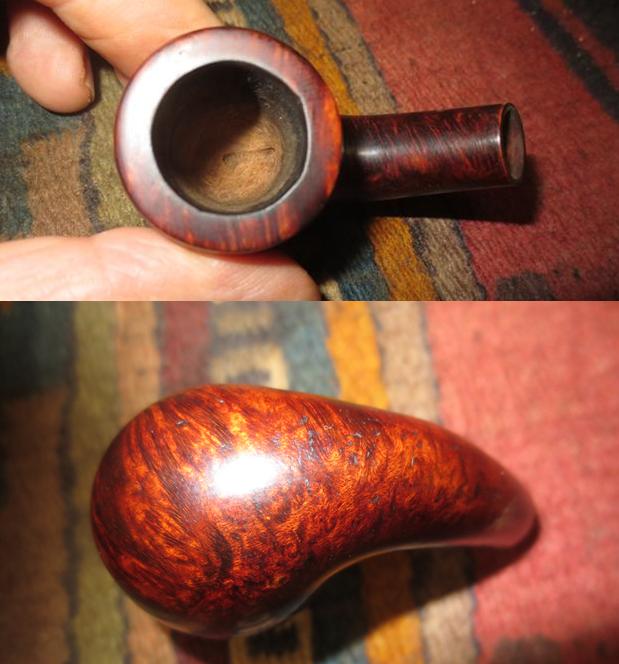
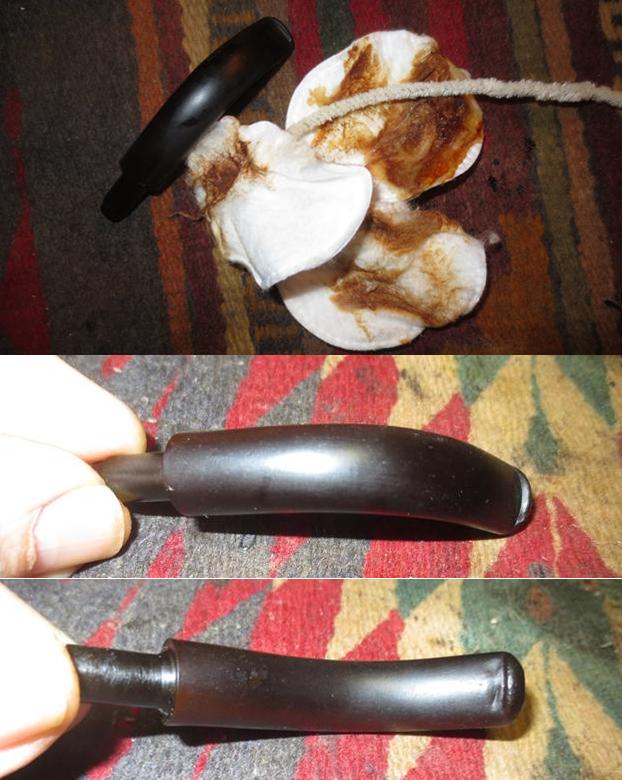
Jeff took some close up photos of the pipe bowl to give an idea of the condition of the pipe before we started to work on it. The first two photos show the sides of the bowl. You can see from those photos that the bowl is in rough shape. The outer rim has a lot of damage to it and the finish is worn and tired.The next two photos show the rim top and the clean bowl. Note how beat up the edge of the rim is in both photos. The third photo below shows the heel of the bowl and all of nicks and dents in the surface of the briar. The stamping on the left side of the shank and the right side of the shank is readable in the next two photos.The next photos show the condition of the stem. It is oxidized and there is a dark line across the top of the stem that looks like a crack. Under a bright light there is no crack visible, it is merely a mark on the vulcanite.Jeff rarely varies his established process for thoroughly cleaning the pipes he sends to me. He reamed the bowl with a PipNet reamer and touched it up with a Savinelli Fitsall Pipe Knife. He scrubbed out the mortise and the airway in the shank and the stem with pipe cleaners, cotton swabs and alcohol. He scrubbed the exterior of the pipe with Murphy’s Oil Soap to remove the grime and grit on the bowl. He worked over the rim and removed the lava overflow. He scrubbed it with a tooth brush and the oil soap until he removed the buildup and clean up the damaged edges of the rim. The grain on this pipe is quite stunning. He soaked the stem in an Oxiclean bath to bring out the oxidation and scrubbed the debris from the exterior of the stem. I took photos of the pipe to show the condition it was in when it arrived in Vancouver. I took a close up of the rim to show the damaged condition of the edges. It really is a mess and will be an interesting restoration. The idea is to get it back to a smooth condition without changing the profile of the pipe.A lot of the grime and grit on the stem disappeared in the OxiClean soak. The dark line on the top left of the stem disappeared and showed that there were no cracks in the “Unbreakable Bit”. There were some tooth marks on both sides of the stem near the button. The ones on the underside were definitely deeper. The last photo below shows the inner tube from the button end view.I decided to try something a little different this time around on the removal of the oxidation. Months ago I had purchased some Before & After Pipe Stem Deoxidizer from a guy on Facebook. His name is Mark Hoover and he is on the Gentlemen’s Pipe Smoking Society Group on Facebook. He has a pen making site where you can email and order the deoxidizer and the polishes (http://www.lbepen.com/). I have actually never used it according to the directions. I have sponged it on and scrubbed it off. In talking with Mark the concept was simple – put the stem in the Deoxidizer to soak. The Deoxidizer will do its work and leave the stem oxidation free. With a bit of skepticism I poured the mixture into a tray and set the stem in it to soak overnight.I worked on the bowl for a while that evening before calling it a day. I lightly topped the bowl to remove some of the damage on the top surface of the rim and leave a flat, smooth surface. I wiped down the bowl with alcohol on a cotton pad to remove the dust. I carefully filled in the outer rim edge with clear super glue to build up the chipped and damaged areas. I think that this is the first time that I have worked on a pipe with this much damage and chipping all the way around the outer rim. It did not take too long for the glue to dry and when it did I sanded the outer edge of the rim smooth blending the fills into the surface of the briar and ‘sharpening’ the edge itself. The photos that follow tell the story. When I finished smoothing out the fills I wiped the bowl down with alcohol on a cotton pad to remove the sanding dust and check to make sure I had sanded the rim edge enough. If any spots are still too large and not blended they will show up glaringly when the bowl is stained. I stained the bowl with a dark brown aniline stain mixed 50/50 with isopropyl alcohol. I flamed the stain on the bowl and repeated the process until the coverage was even. I set the bowl aside for the evening. In the morning I “unwrapped” the bowl (borrowing one of Dal Stanton’s terms) to see what the stain had done. I wiped it down with alcohol on cotton pads to make it more transparent. Once I finished it was still too dark to my liking and obscured the grain too much. I sanded the bowl with micromesh sanding pads to remove more of the stain. After sanding with 1500-2400 grit pads I wiped it down with a bit of alcohol on a cotton pad and I was pleased with what I was seeing. I polished it some more with 3200-12000 grit pads and finished by giving it a light buff with a microfiber cloth. Now the colour was what I was aiming for – a reddish brown that highlighted the grain and muted the repairs and some of the imperfections.  I buffed the bowl on the buffing wheel using Blue Diamond polish and hand buffed it with a cloth. The following photos show what the finish looked like after the buffing. I still needed to wax it but I really liked what I saw. I took the stem out of the deoxidizer bath and wiped it down with cotton pads. The bath definitely had removed much of the oxidation and wiping it down afterward it was clear to see how much had come off the brown looking stem. I ran a pipe cleaner through the airway to remove the deoxidizer from the inside of the pipe. The stem clearly looked better than when I had started. The surface was dull and there was still some stubborn oxidation on the curve. The tooth marks in the surface are very visible in the photo of the underside of the stem.I painted the tooth marks with the flame of a lighter to lift them as much as possible and filled in the remaining tooth marks with clear superglue. I chose to use the clear super glue rather than black as I have found it blends better with the hard rubber stems on these older pipes. When the repair had dried I sanded the stem with 220 grit sandpaper to smooth out the area on the underside and used a needle file to sharpen the edge of the button on the top and underside.I polished the stem with micromesh sanding pads – wet sanding with 1500-2400 grit pads and dry sanding with 3200-12000 grit pads. I wiped the stem down after each pad with Obsidian Oil and after the final pad gave it a last coat and set it aside to dry. I buffed the stem with Blue Diamond and then gave the pipe mulitple coats of carnauba wax. I buffed it with a clean buffing pad to raise the shine and hand buffed it with a microfibre cloth to deepen the shine. The finished pipe is shown in the photos below. I am not a 100% happy with the stem – the flash seems to reveal some more oxidation in it but to my eye it looks fine. I will do some more polishing and buffing to get it do the rich black that my eye sees but the camera does not at this point. Ah well, the refurbisher’s work is never finished. Thanks for looking.


Salvaging a Kaywoodie All Briar Rhodesian 50B with a Serious Issue


Blog by Steve Laug

I have reworked a lot of stems over the years – from cutting them back in my early days and reshaping a button on the gnawed and damaged end to rebuilding a chewed button with charcoal and super glue. I have fit stem blanks on shanks to replace damaged and what were at that time in my assessment, irreparable stems. Today I am more conservative and lean towards rebuilding the stem as best as I can. That being said there are even challenges to that work. The pipe on my worktable now is a challenge to my current bent. It is an All Briar Rhodesian. I have only refurbished one other All Briar pipe in the past – a beautiful LHS Purex Bullmoose. It was in excellent condition other than being dirty and worn. I had heard nightmare tales of gnawed and chewed all briar stems and what a pain they are to work on. However, until this pipe came to my attention in a recent pipe hunt with Jeff I had never seen such a badly gnawed briar stem up close. Jeff took photos of the pipe’s condition before he cleaned it up. I have included those photos in the first part of this blog.I have read a lot of information in the past on other Kaywoodie pipes I have worked on and spent time on the Kaywoodie Collectors Forum to help educated myself on the various lines and historical periods of Kaywoodie production. On Pipedia.org there is a helpful summary of the history of the brand that has been condensed in one place. It is called the Collectors Guide to Kaywoodie Pipes (https://pipedia.org/wiki/Collector%27s_Guide_to_Kaywoodie_Pipes). I found the All Briar line of pipes included in the section of the Guide for 1955. I quote here the pertinent sections with the references to the All Briar pipe underlined and highlighted in bold.

The line-up of pipes in the 1955 catalog (Table 3 below) was more extensive than in previous years. The catalog presented an expanded line of meerschaum pipes and introduced a 4-pipe set of Matched Grain Pipes, as well as several pipes with “special features”. The number of shapes available… was not substantially different from the number offered in the 1947 catalog…

The Twin-Bowl Kaywoodies were available in an all-meerschaum model (two removable inner bowls of meerschaum) and a meerschaum and Flame Grain model (outer bowl of flame grain briar and removable inner bowl of meerschaum). Other meerschaum pipes presented in the 1955 catalog included the Gourd Calabash; the Coral (“dimpled”) Meerschaum; the All Briar (briar bit) and Flame Grain pipes with inlaid meerschaum bowls; and the “Doctor’s” pipe…Included in the guide was a helpful list of pipe grades and prices. I have included the list below and noted the pipe I am working on by highlighting it in bold print and underlining the reference. It is in this list that I found confirmation that Kaywoodie made an All Briar with a meerschaum bowl insert and an All Briar without the meerschaum insert. The All Briar I am working on is not meerschaum lined. It is fascinating for me to see that the addition of a meerschaum bowl was only $2.50 in 1955.

Table 3. 1955 Kaywoodie Pipe Grades and Prices

    Meerschaum Character Pipes: $100.00

    Block: 15.00-50 (According to size)

    Meerschaum Twin Bowl: $35.00

    Meerschaum/Flame Grain Twin Bowl: $25.00

    Sandblasted “Doctor’s” Pipe: $25.00

    Centennial: $25.00

    Coral Meerschaum: $20.00-25 (According to size)

    Gourd Calabash: $15.00-25 (According to size)

    Ninety-Fiver: $20.00

    Oversize: $10.00-25(According to style and finish)

    Connoisseur: $15.00

    All Briar w/Meerschaum Inlaid Bowl: $12.50

    Flame Grain (Meerschaum Inlaid) $12.50

    Export Pipes: $5.00-15 (According to grade)

    All Briar (Briar Bit): $10.00

    Flame Grain: $10.00

    Fit Rite: $10.00

    Silhouette: $10.00

    Carburetor: $7.50

    Relief Grain: $7.50

    Chesterfield: $5.00-15 (According to grade)

    Chinrester: $5.00-10 (According to grade)

    Stembiter: $5.00-10 (According to grade)

    Streamliner: $4.00-10 (According to grade)

    Super Grain: $5.00

    Carved Super Grain: $5.00

    White Briar: $5.00

    Standard: $4.00

    Filter Plus: $4.00

    Drinkless pup: $3.50

    Drinkless Tuckaway: $3.50

    Drinkless In-Between: $3.50

    Two-Pipe Companion Setsb: $10.00-25 (According to grade)

    Matched Grain Set (4-Pipes): $50.00

    Matched Grain Set (7-Pipes): $125.00

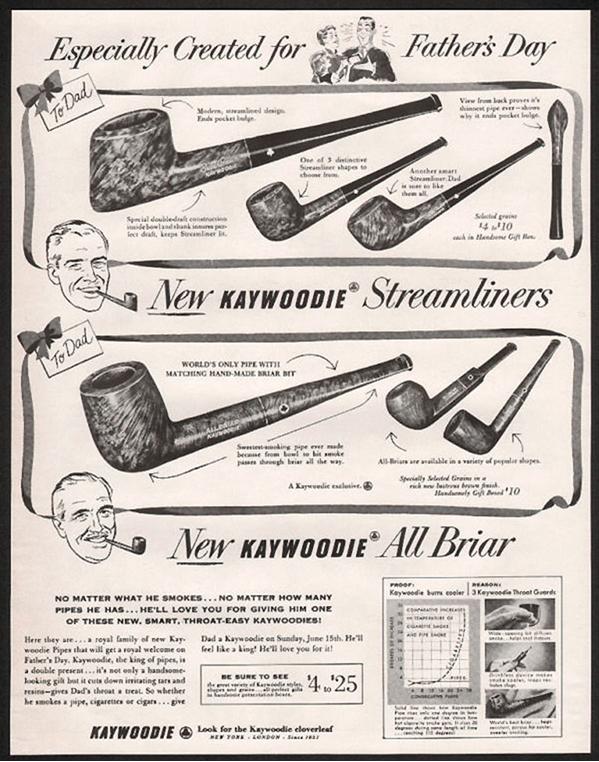
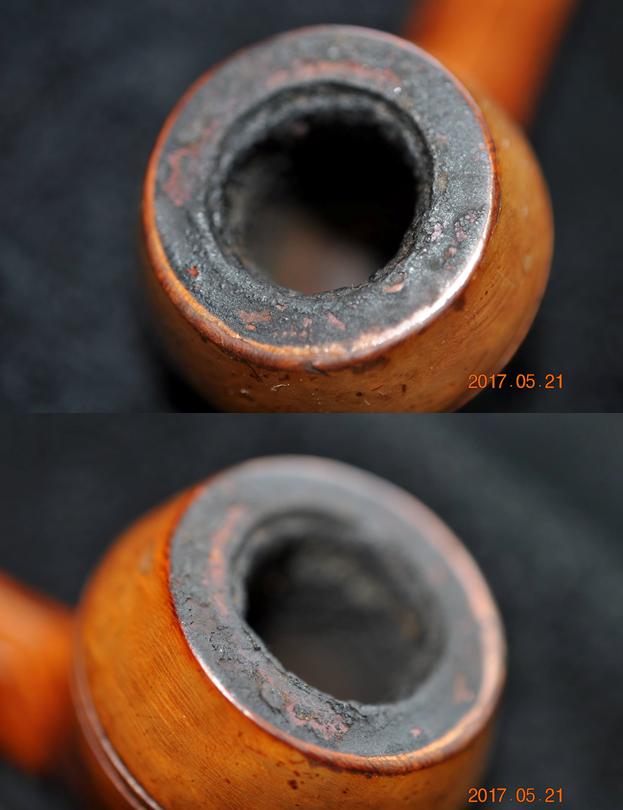
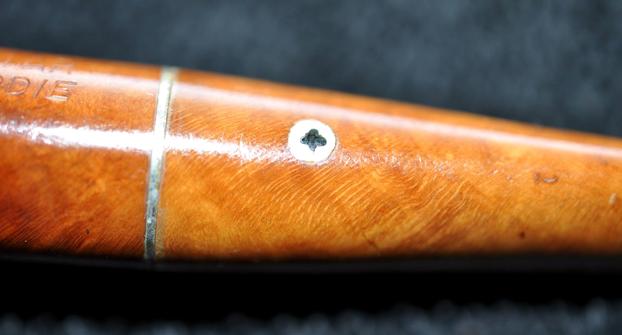
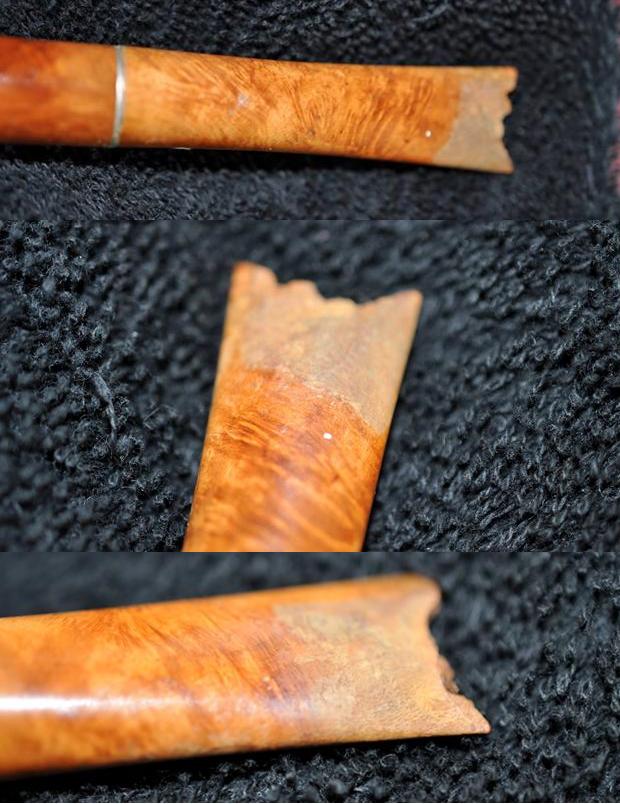
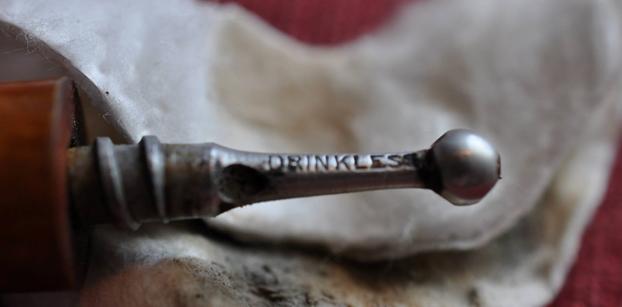
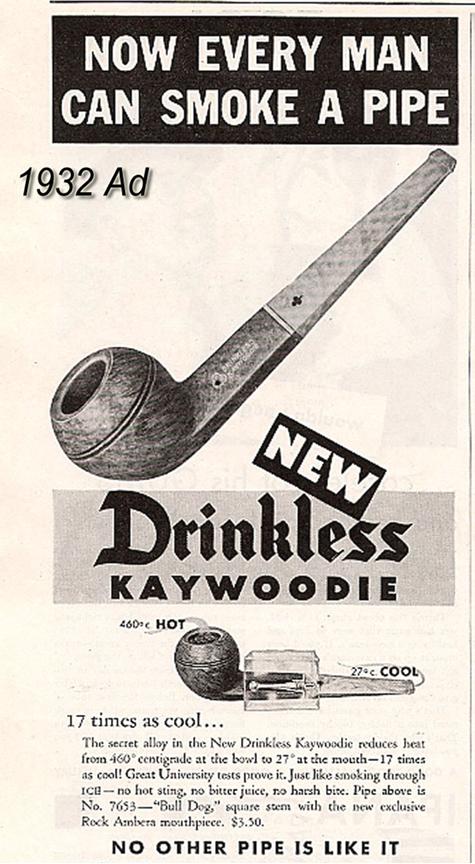
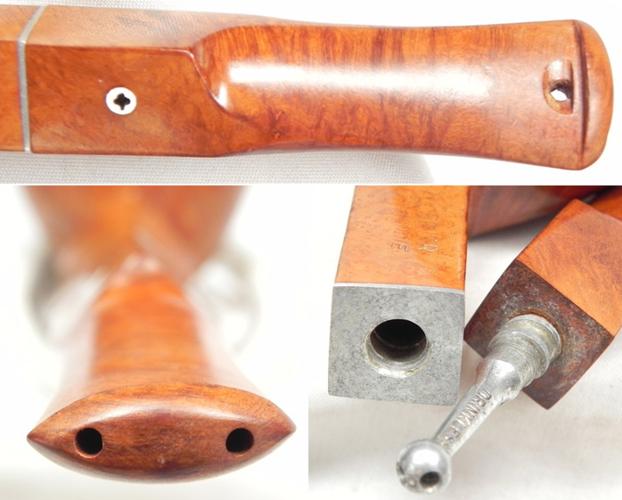
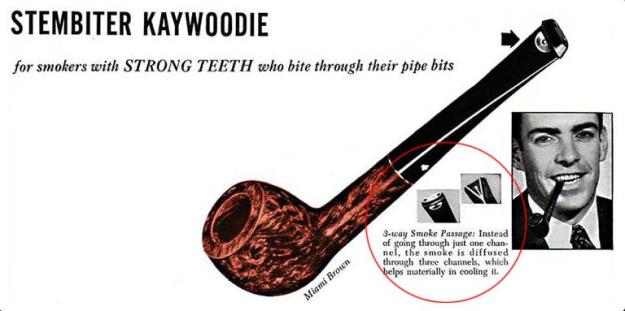
Further reading on Pipedia under the general listing for Kaywoodie Pipes provided me with a magazine advertisement that included the All Briar pipes. It is a great Father’s Day Ad and the bottom items in the ad show the All Briar line. I have included both the link and a copy of the ad for your reading pleasure (https://pipedia.org/wiki/Kaywoodie).Jeff sent me some close up photos of the pipe so I could see what it looked like when he started his clean up. The bowl had a thick cake that had overflowed onto the rim top with a thick coat of lava. The two photos below give two different views to show the condition of the both. You can see the flaking lava on the rim and the hard cake in the bowl. This pipe had been smoked hard and was obviously someone’s favourite.The finish on the bowl and shank was worn. There was a thick varnish coat that was peeling on the bowl sides and bottom that would take some work to remove.The stamping on both sides of the shake is faint but readable in the next photos. The pipe is stamped ALL BRIAR over Kaywoodie on the left side of the shank. On the right side it is stamped All Imported Briar over 50B (the shape number) and underneath that the letter C.The all briar stem has an inlaid black cloverleaf in a white circle on the left side. It is in decent shape and should polish out nicely.When it comes to the stem it is a serious issue. Making a new vulcanite stem for the pipe would certainly be an option but to me that would cause the pipe to lose its charm and detract from it being an All Briar pipe. I would need to do something different to bring it back to life or salvage it. It appeared to me that I had only one serious option on this pipe but I would make the final decision once it arrived.The stem had a screw in/threaded tenon with a four hole stinger. The stinger was stamped Drinkless as shown in the photo below. On Pipedia in the Kaywoodie article, there was a great advertisement for the Drinkless style of stinger so I have included that here as well. I decided to look on my other go to site – PipePhil (http://www.pipephil.eu/logos/en/logo-kaywoodie-1.html) to see what added information I might garner from his site. Under the Kaywoodie All Briar listing it said that the pipe had a twin-bore stem, meaning that instead of a slot in the button there were twin holes that formed a Y with the airway in the stem itself. The pipes were made between 1952 – 1955. It included a series of pictures of a typical briar Kaywoodie stem that showed a vertical hole near the button that was an innovation that they called Stembiter to prevent a stem biter from gnawing through the stem. Evidently, the pipe I am working on had that kind of set up on the mouthpiece as nothing is left of that portion of the stem. The Stembiter innovation came out in the early 1950s as well so now I had confirmation of the period when the pipe was made. I have included an advertisement for the Stembiter innovation following the photo below. I know that at present I will not be able to reproduce this feature on the stem when I rework it. Jeff continued using his established process of thoroughly cleaning the pipes he sends to me. He did not vary in his procedure just because of the briar stem on this one. He reamed the bowl with a PipNet reamer and touched it up with a Savinelli Fitsall Pipe Knife. He scrubbed out the mortise and the airway in the shank and the stem with pipe cleaners, cotton swabs and alcohol and cleaned the exterior of the threaded tenon and four hole stinger with cotton swabs and alcohol. He scrubbed the exterior of the pipe with Murphy’s Oil Soap to remove the grime and grit on the bowl. Sadly it did not even touch the thick varnish coat on the bowl. He worked over the rim and removed the heavy lava overflow. He scrubbed it with a tooth brush and the oil soap until he removed the buildup. His cleaning of the top cut through the varnish coat on that part of the bowl. He cleaned up the gnawed end of the stem so that at least it would be clean when I began my work on it. I took photos of the pipe to show the condition it was in when it arrived in Vancouver. Jeff cleaned up the rim really well – the tars and buildup were gone and fortunately so was much of the varnish coat. There were just a few shiny spots on the rim that would need to go. The bowl had been reamed back to bare briar.The stem while clean was an absolute disaster. It had been gnawed back through the stembite protection and the entire end of the stem was missing. I am guess that there was probably about 3/8 to ½ inch of the stem missing and the button was totally missing.I started the restructuring work on the stem with a Dremel and a sanding drum. I took the damaged areas back until I had some solid briar to work with. I did not want to remove too much of the stem material. The twin airways in the stem were very close to the surface in the stem at this point so I would need to do something a little different from the standard recutting a new button on the existing material.I started the rebuilding the end of the stem with clear super glue. I wanted to fill in the small divots in the surface of the stem on both sides and make the stem smooth and the end crisp. I built up the area where the new button would be with clear super glue first to stabilize the gnawed stem and begin with a solid edge. I put briar dust on top of the super glue and layered the dust and the glue until I had a workable portion on the stem surface. I needed enough of the new material to be able to reshape a button. In the second set of photos you can see the button area beginning to take shape. I used a needle file to recut the edge of the button and square it off with the surface of the stem. I wanted a sharp delineation from the button surface to the stem surface. I also reshaped the button surface as well with the files. The new button is beginning to be visible at this point.I filled in the air bubbles on top and underside surface of the button with clear super glue to make it smooth. I sanded the areas in front of the button on both sides of the stem with 220 grit super glue to blend it into the rest of the stem surface.I used a needle file to open the twin bore airways and smooth them out. I began to polish the stem and button with micromesh sanding pads – wet sanding the button and stem area with 1500-2400 grit sanding pads. I wiped the stem down with a damp cotton pad to see what the progress looked like. I dry sanded with 3200-4000 grit pads and then stained the stem with a Medium Brown Stain pen. I finished polishing the stem with 6000-12000 grit pads and wiped it down after each grit pad to keep the work surface clean. While the button is definitely darker than the stem body at this point it is still looking pretty good in my opinion and it feels good in the mouth. I sanded the bowl with 220 grit sandpaper to remove the varnish finish. It was spotty and peeling in places so it had to go. Once I had the finish removed I wiped the bowl down with acetone to remove any of the finish that remained. Then I used the same regimen to polish the bowl as I had used on the briar stem. I wet sanded it with 1500-2400 grit micromesh sanding pads and wiped it down with a damp cloth. I dry sanded it with 3200-12000 grit micromesh and wiped it down after each pad. Each grit pad brought more of the grain to light. There is a great mix of birdseye and cross grain on the bowl and shank. It is a beauty. I decided to not stain the bowl. The medium brown I put on the stem made the stem and bowl match so I was pleased with that. I put the stem in place on the bowl and buffed it with Blue Diamond to polish out any remaining scratches from my sanding and polishing. I gave the bowl and stem multiple coats of carnauba wax to protect it from damage and to preserve the briar. I buffed it with a clean buffing pad to polish the briar. I hand buffed it with a microfiber cloth to deepen the shine. The finished pipe is shown in the photos below. The repair and rebuilt button, though darker than the briar, works well and the pipe is fully functional again. The small amount of length I had to remove does not visibly change the overall look of the pipe. Thanks for walking with me through this restoration. It was one with challenges but it was a fun one to work on.


Restoring a Long Stem Mini Churchwarden Imperial 15 Prince


Blog by Steve Laug

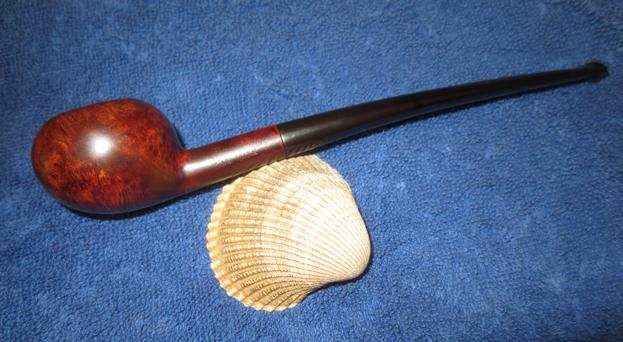
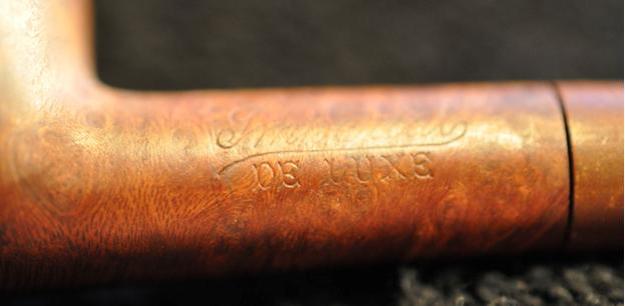
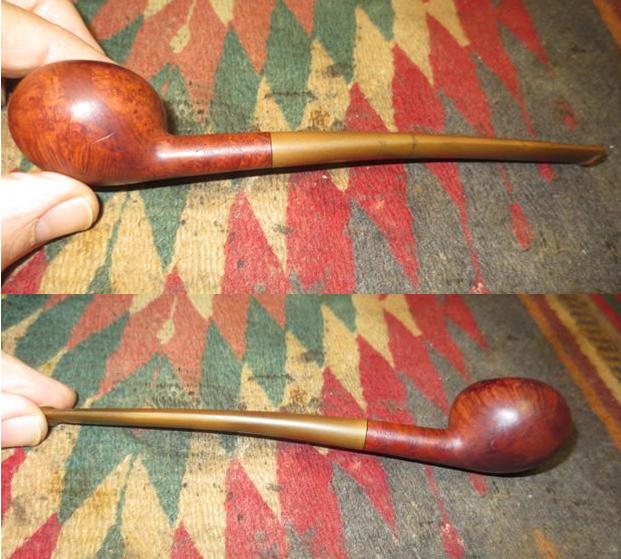
The next pipe on the worktable is a mini churchwarden prince shaped pipe. It has a delicate look to it and is very lightweight. It is petite with a length of 6 ¾ inches, height of 1 1/8 inches, bowl diameter of 1 ½ inches and a chamber diameter of 7/8 inches. The pipe is stamped on the left side of the shank Imperial in script with a flourish underneath. Below the flourish it reads De Luxe. On the right side of the shank it is stamped Made in London over England with a shape number 15. The next photos of the pipe show what it looked like before my brother did his clean up work.The pipe was in rough shape. The finish was worn and crumbling. There were some small sandpits on the bottom left and right sides. The underside of the bowl had a spot of glue and the remnants of something that the pipe had been glued to. I wonder if it had not been in a display box of some sort before being liberated and sold. The bowl had a thick cake but the rim had an overflow of lava on the top and the inner edge was damaged to the point that the bowl was no longer in round. There was an inner tube extending into the bottom of the bowl. The original slant on the tube was ruined and the end of the tube was chewed and damaged. The stem was oxidized and there were deep tooth marks on the top and underside near the button. The underside tooth marks had a small hole that broke through into the airway in the stem. Jeff took some photos of the bowl and rim to show the condition of both. You can see the cake in the bowl and the lava overflow down the sides of the bowl from the surface of the rim. The fact that the bowl did not have a flat rip to but a rather rounded/thin rim top allowed the flow downward on the bowl.The next photo shows the bottom of the stummel and the thick glue/paper coat that is stuck to that part of the bowl. It appears to me that someone had the pipe stuck to some fibre board in a display case of pipe shapes. Possibly, it was a shadow box of “dad’s” or “grandpa’s” and this one was a centerpiece. Following that photo are three different pictures of the inner tube that sat in the bottom of the bowl. The end on these is usually slanted with the longer edge sitting on the bottom of the bowl and the shorter edge ending at the entrance of the airway into the bowl.The bowl has some amazing grain running up the sides of the bowl and I am sure that underneath the debris that is glued to the bottom there will be some nice bird’s eye grain. The finish was worn but the grain popping through the grime.The stamping was readable but it was faint. Care would need to be taken in the clean up so as not to damage it further.The stem had some issues – there were deep tooth marks on both sides from the button forward. On the topside there were nicks mid stem and near the shank/stem junction. The button also seemed worn and there was a possible crack on the underside mid button.I have read different bits of history on the Imperial pipes and trying to put them together is an interesting puzzle. From Pipes, Artisans and Trademarks, by Jose Manuel Lopés’ I found that t he Imperial Tobacco Co. (Imperial Tobacco Ltd.) was founded in 1901 through the merger of several British tobacco companies. In 1902 it went into partnership with the American Tobacco Company to found the British American Tobacco Company. This information was also cited on https://pipedia.org/wiki/Imperial_Tobacco_Co.

I looked further on Pipedia under The Civic Company https://pipedia.org/wiki/Civic. This lead came from a price list/catalogue that I had found in researching information on an earlier Imperial pipe I was working on. Here is the link https://rebornpipes.com/2014/05/11/civic-company-1921-trade-list/. The Pipedia article says Civic was formed in 1921out of the Imperial Tobacco Co. (Fancy Goods Department) Ltd which was located in Fulham Palace Road Hammersmith. The article went on to give a bit more information on the The Imperial Company itself. It repeat that it was formed in 1901 but that it was formed in response to an aggressive take over raid in Britain by American Tobacco and involved the pooling of tobacco retail outlets including closely related items such as briar pipes. Here is the additional information that was not included in Lopés’ – in 1902 Imperial purchased the Salmon & Gluckstein retail empire, which included a section that finished briar pipes, originally made in France, for sale in Britain. It was this unit that became the fancy goods department within Imperial and, ultimately in 1921, the Civic Company. In 1928 Civic was a key element in the merger with other producers and retailers that formed Cadogan Investments, which still trades today.

I did some further searching on Google to try to pin down more information on the brand. I found lots of repetitive information in bits and pieces but nothing that added to what I already knew. I did find confirmation of the above information in a discussion on the pipesmagazine online pipe forum. It contained no new information but it gave the same data I had quoted above.  http://pipesmagazine.com/forums/topic/need-help-to-identify-this-pipe-1.

Jeff has established his own process of thoroughly cleaning pipes for me and he did not vary in his procedure here. He reamed the bowl with a PipNet reamer and tidied it up with a Savinelli Fitsall Pipe Knife. He scrubbed out the mortise and the airway in the shank and the stem with pipe cleaners, cotton swabs and alcohol and cleaned the exterior of the threaded bone tenon with a cotton swab and alcohol. He scrubbed the exterior of the pipe with Murphy’s Oil Soap to remove the grime and grit on the bowl. The top took some special work because of the heavy lava overflow. He scrubbed it with a tooth brush and the oil soap until he removed the majority of the build up. There was still some minor buildup that would need to be dealt with when I worked on the out of round bowl. I took photos of the pipe to show the condition it was in when it arrived in Vancouver. The grain really was quite stunning. I took a close up photo of the rim top and bowl, to show how well he was able to remove the buildup around those areas and down the bowl sides.He had soaked the stem in OxyClean so when it arrived it was clean and the oxidation sat on the surface of the stem. The tooth marks were very evident.The damage to the inner tube was visible and it was ragged and torn. I would need to rework it to smooth things out and restore the angle.I used a Dremel and sanding drum on low speed to sand and shape the angled end of the inner tube and remove the damaged areas. I put a slot on the tube end to match other inner tubes I have on hand and fit the bottom of the bowl once the stem was in place.The next series of photos show the process of repairing the out of round bowl. I used a folded piece of 180 and 220 grit sandpaper to smooth out the inner edges of the bowl and repair the top edge. Once I sanded it smooth I wiped it down with a cotton pad and alcohol to clean off the sanding debris and darkening on the surface. There was still polishing to do but the major portion of the repair was finished. I repaired the two small sandpits on the bottom sides of the bowl with super glue and sanded them smooth with 220 grit sandpaper once the repairs had cured.With all the repairs and reshaping on the rim and bowl finished it was time to stain the pipe. I decided to use a dark brown aniline stain that I mixed 50/50 with isopropyl alcohol to make it more transparent. It will still have the dark stain in the grains but once I wipe it down and sand it with micromesh it will be a rich brown tranparent overcoat with dark highlights. I applied the stain with a dauber and flamed it with a lighter to set it in the briar. I repeated the process until I was pleased with the coverage on the bowl and shank.Once the stain dried I wiped the pipe down with alcohol on cotton pads to remove the thick topcoat and make the stain more transparent. It significantly lightens the colour at this point but the grain won’t stand out until I polish it with micromesh pads. I polished the briar, being careful around the stamping on the shank, with micromesh sanding pads – wet sanding with 1500-2400 grit pads and dry sanding with 3200-12000 grit pads. I wiped the bowl down after each girt with alcohol and cotton pads. With the bowl finished I directed my attention to the stem. I cleaned out the damaged areas with a dental pick and sandpaper and filled them in with black super glue. The photos below show the repairs on both sides of the stem. The third photo shows the repairs further up the topside of the stem.When the glue had cured I used a file to bring the thickness of the repairs down to the surface of the stem. I used to do all this with sandpaper but figured out that the file actually sped things up a bit. I sanded the stem surface and repairs with 180 grit sandpaper after the file to smooth out the surface and remove more of the oxidation. I would need to sand it with higher grits to remove the scratching but it was at least getting better. I used a needle file to reshape the edge of the button and the top and underside surfaces of the button. I sanded the repairs smooth with 220 grit sandpaper and then polished them with 1500-2400 grit micromesh sanding pads. I took a photo of the stem at that point in the process and the oxidation showed up clearly in the bright light of the flash. I poured the Before & After Stem Deoxidizer into a flat container and put the stem in to soak while I worked on other pipes. I removed it from the soak after about 2 hours and polished it with Before & After Pipe Polish. It looked much better than it did when I put it in the bath. I decided to continue polishing it with micromesh sanding pads. I wet sanded it with 1500-2400 grit pads and rubbed it down with Obsidian Oil. I dry sanded it with 3200-12000 grit pads and rubbed it down again with the oil after each pad. I gave it a final rub down with the oil and set it aside to dry. I polished the bowl and stem on the buffing wheel with Blue Diamond to take out the last minute scratches in the briar and vulcanite. I gave the bowl and stem multiple coats of carnauba wax and buffed it with a clean buffing pad to raise a shine. I hand buffed it with a microfibre cloth to deepen the shine. The finished pipe is shown in the photos below. The pipe looks far better than it did when I started. The bowl looks round, the finish looks far better and the repairs on the stem though visible up close blend in well with the black of the vulcanite stem. The aluminum inner tube is shine and smooth with the reshaped angle of the tube looks like it must have when it left the factory. Thanks for walking with me through this refurbishing it was a fun one to work on. Cheers.


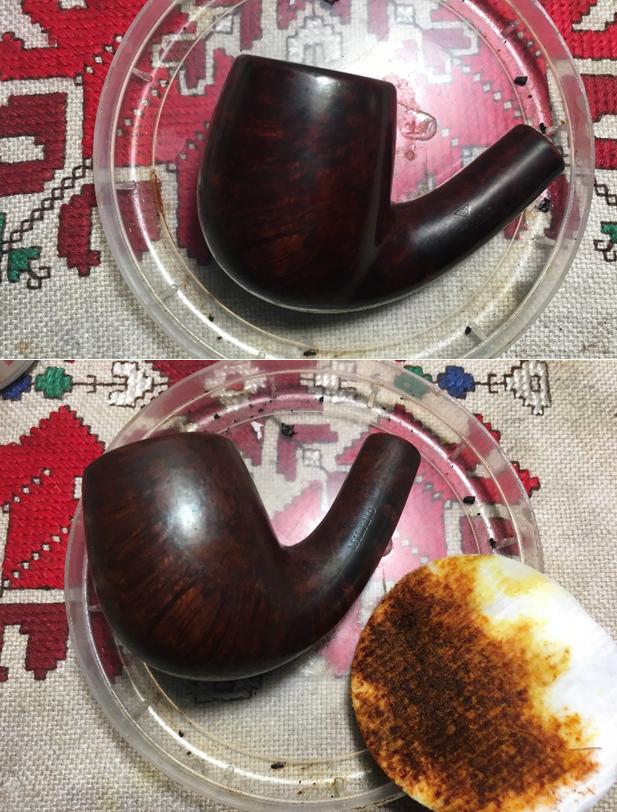
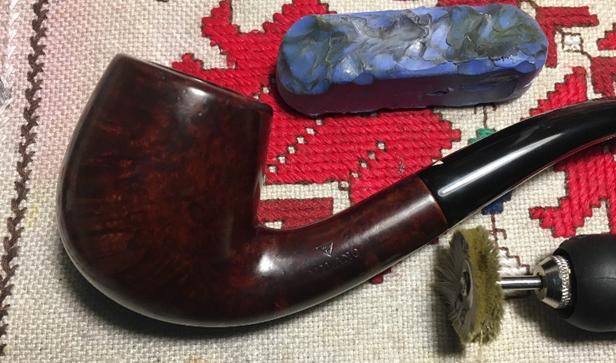
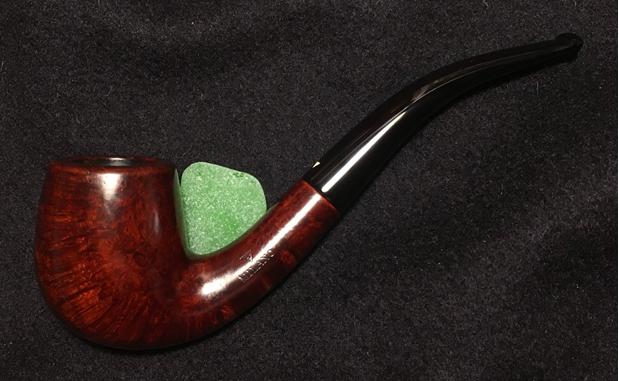
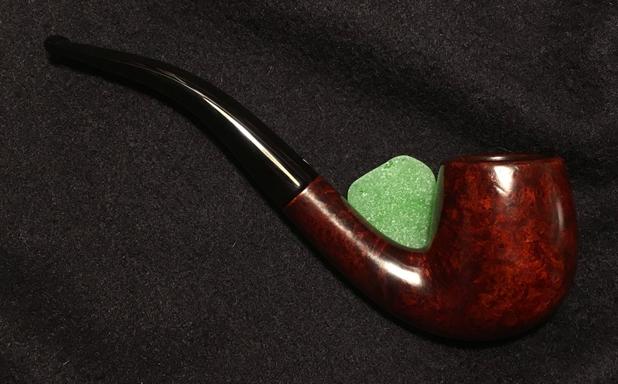
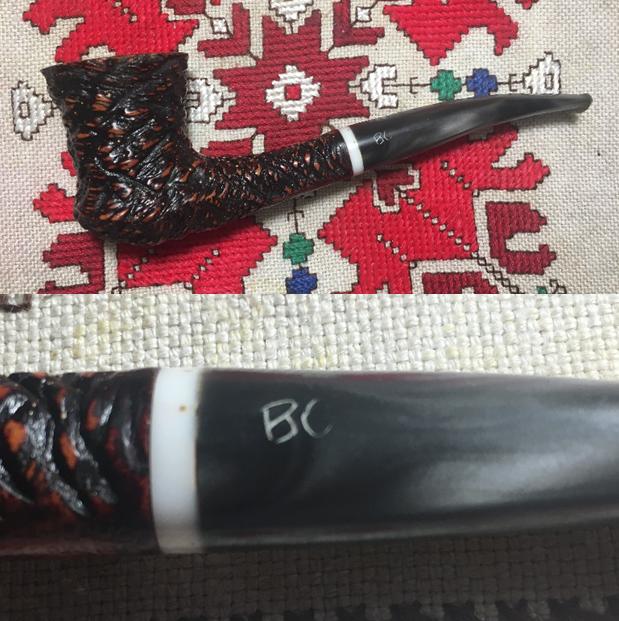
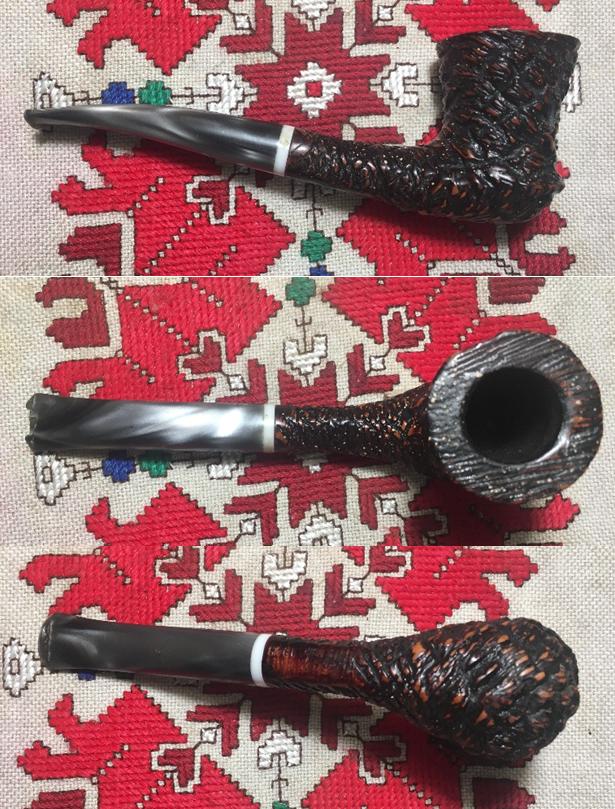
A Lady’s Choice – WDC Milano Swan Neck Billiard


Blog by Dal Stanton

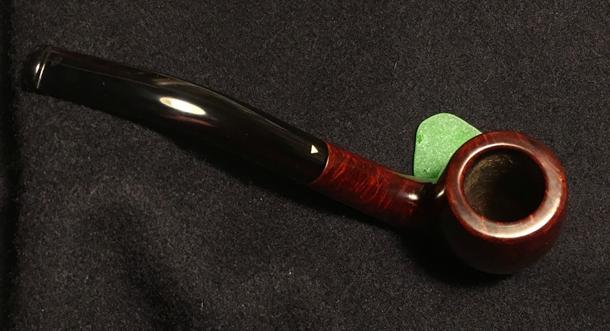
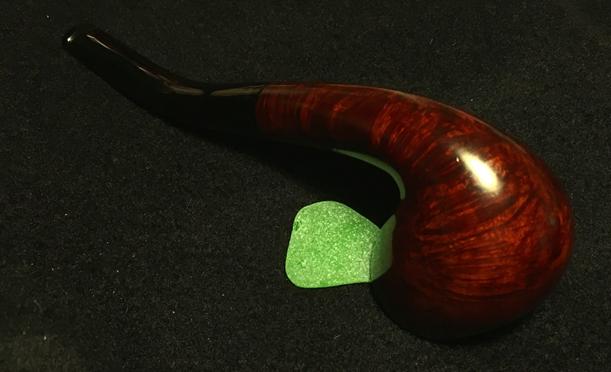
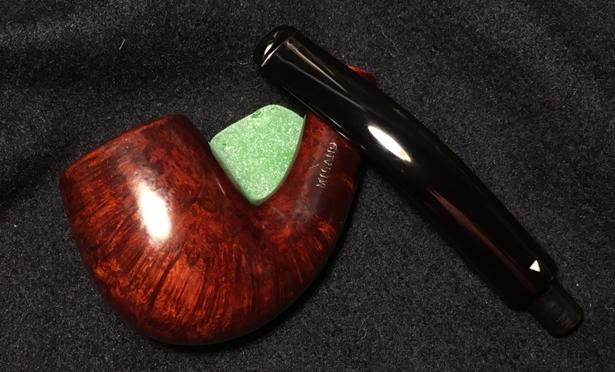
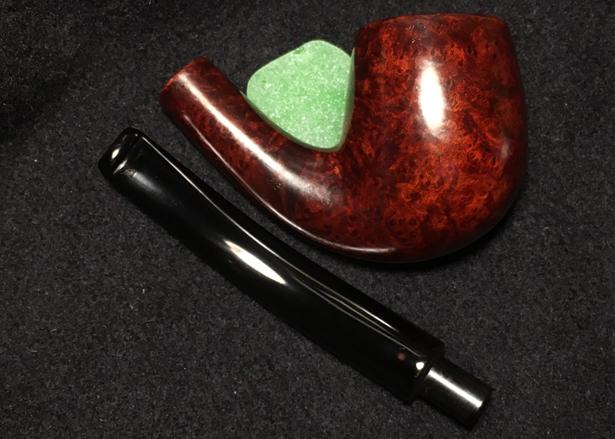
Is there a psychology in the choosing one makes when befriending a pipe?  A young Bulgarian lady, who also is a budding pipe lady, chose a pipe out of my ‘Help Me!’ baskets and boxes.  After looking at scores of hopeful candidates, there was only one – only one – that she held in her hands, looking at it and smiling. A beautiful, graceful, WDC Milano Swan Neck Billiard caught her attention, and it would seem, her affections.  Is there a psychology unfolding in the process, the evaluation, and the weighing of one pipe against another?  Or, is the process more like the lore of Harry Potter’s choice of one’s wand?  The young wizard does not choose the wand – the wand chooses his wizard.  Does the pipe do the choosing?

And is there any credence to the oft unspoken observation – do pipe stewards resemble their pipes like canine lovers sometimes uncannily resemble their 4-legged friends?  These observations come to my mind because intriguingly, the young lady who was claimed by the WDC Milano Swan Neck, shares, in some very remarkable ways, pleasing characteristics of this graceful pipe.

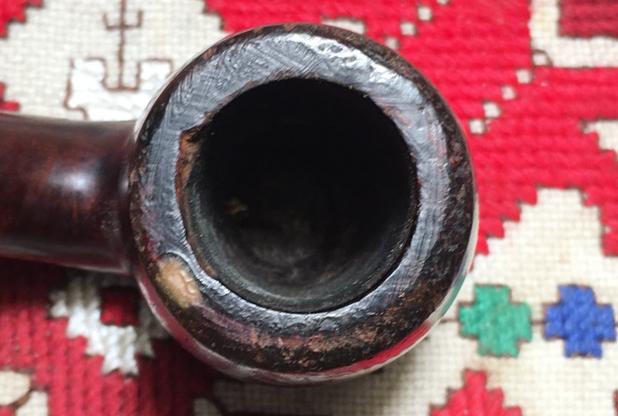
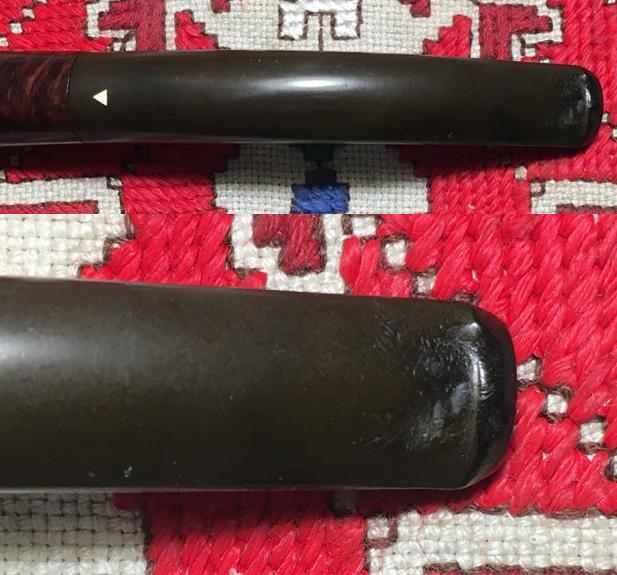
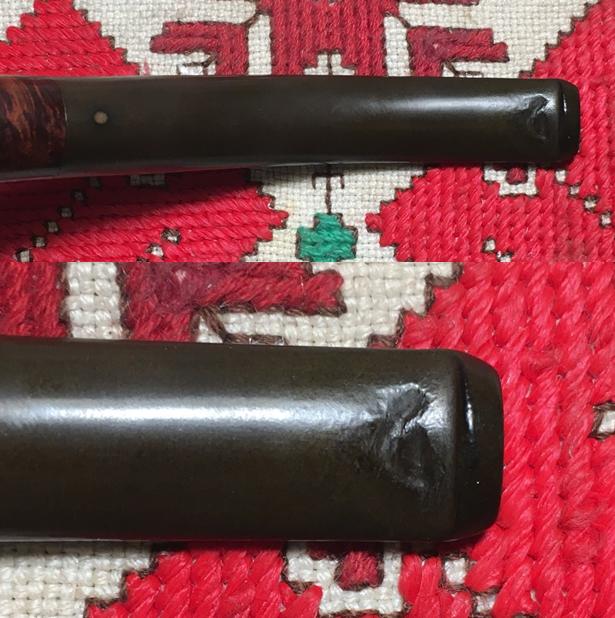
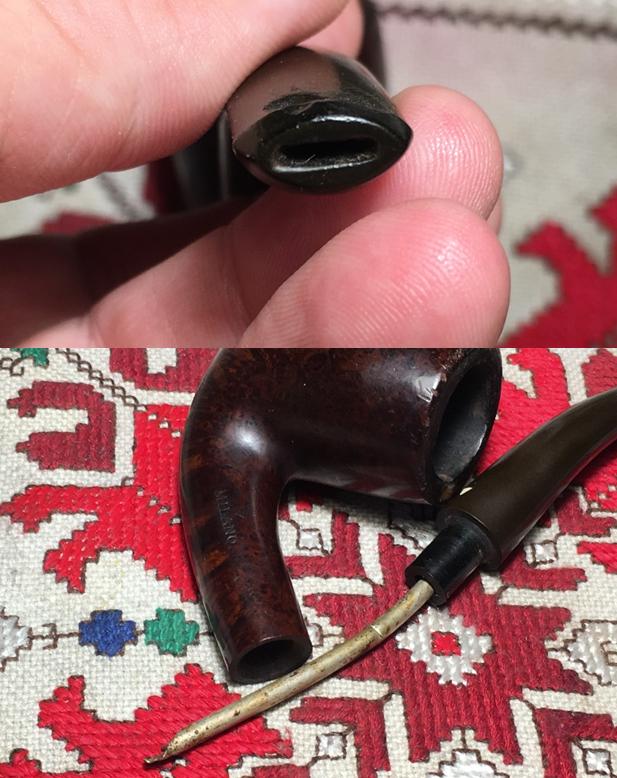
And then there is the ‘question’ of the ‘Pipe Lady’ more so than the ‘Pipe Man’.  A Pipe Lady lives closer to the social and cultural ‘edge’ when she takes her pipe in hand and enjoys a bowl of her favorite blend.  This picture I found somewhere on the internet (sorry, can’t cite!), I suspect would never be ascribed to Pipe Men.  Yet, a Pipe Lady looks at the three with a smile of agreement and a wink, while she is thinking, ‘You’ve got that one right!’This graceful, Milano Swan Neck stem comes from the William Demuth Company, established in 1862 – one of the oldest pipe manufacturing houses in the United States (Pipedia article).  The WDC Milano patent goes back to the 1920s with an example of the familiar WDC rhombus from the same WDC article in Pipedia (courtesy of Doug Valitchka).The eBay seller from Akron, Ohio, described the long dimensions of the Lady’s Choice WDC Milano:  Very graceful bent billiard! About 6″ long, bowl is 2″ tall, 1 3/8″ wide. ID 3/4″, depth 1 13/16″. From Pipedia’s WDC article, courtesy Doug Valitchka, a very nice example of what appears to be the same Swan Neck Billiard of the Milano line.From my worktable on the 10th floor of our flat here in Sofia, Bulgaria, I take these pictures to fill in the gaps. On the left side of the shank is stamped the traditional WDC rhombus [over] MILANO.  The right side is stamped the single shape number, ‘63’.  The chamber appears to have been cleaned to some degree and the carbon cake is very light.  The rim is sad.  It appears someone took a divot out of the internal lip trying to clean it or something.  The rim’s outer edge is beat up and I can see the vestiges of a bevel.  There is lava crusting as well on the rim surface and some hardened light stuff – the rim needs cleaning.  The stummel has few if any fills that I see – the grain of the tall bowl is impressive.  The stem has the WDC inlaid white triangle on the top.  Oxidation is present and the former steward was a clencher and chewer.  Both top and bottom of the bit shows deep bite dents.  The top button lip is dented.

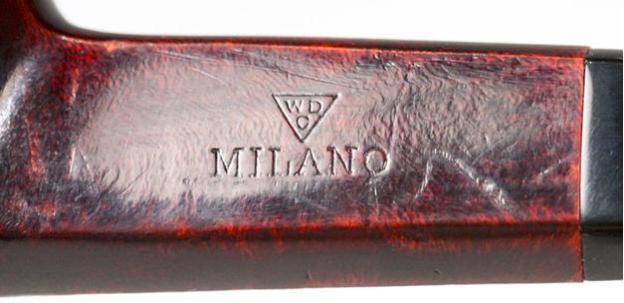
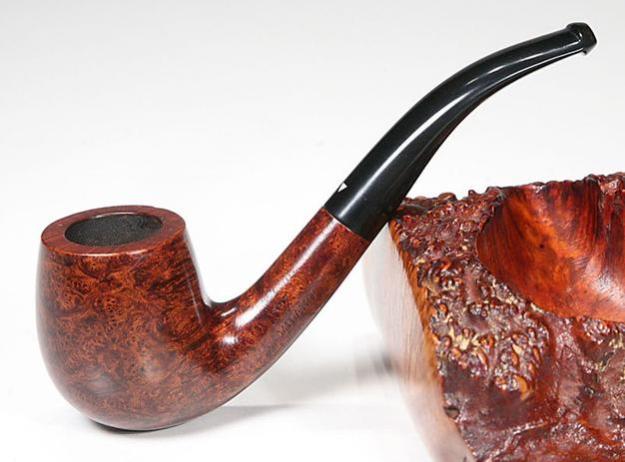
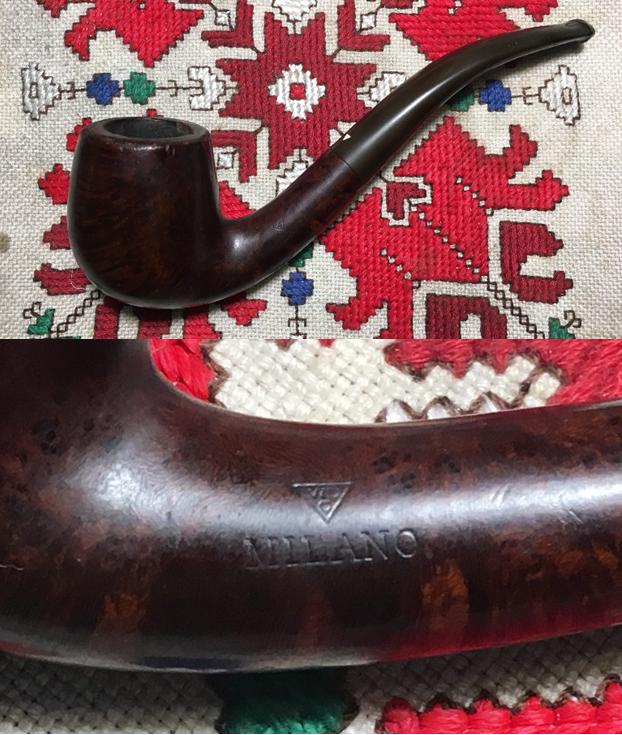
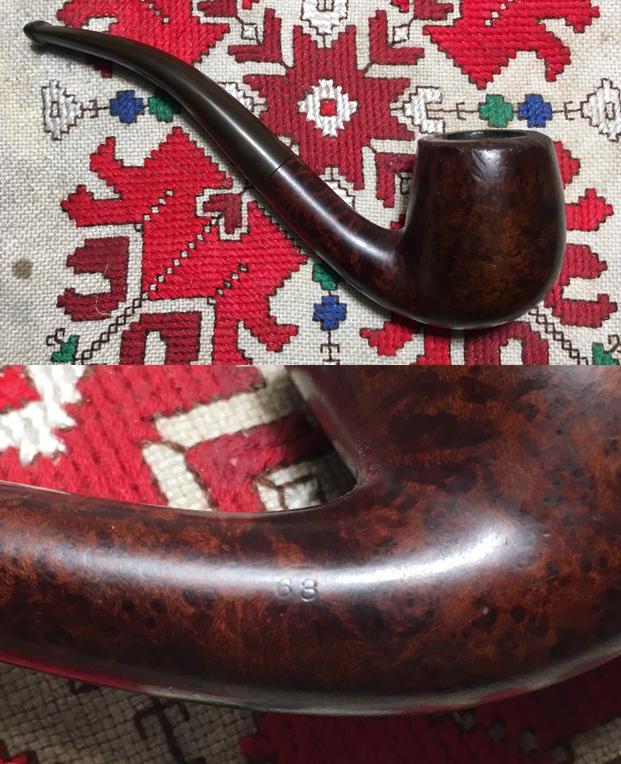
The recommissioning of this Lady’s Choice WDC Milano Swan Neck Billiard, begins by putting the stem into the OxiClean bath to work on the oxidation.  The second thing I do is toss the tubing that was hanging in the tenon.  If it belonged to this pipe originally, something is missing as the airway diameter of the tenon is much larger than the tubing.  On an interesting note, there is a patent number stamped on the tubular stinger.  I looked it up in Google patent search but found nothing that had bearing on pipes (PAT. NO. 5861 / IX – I think).Next, after spreading paper towel to catch the carbon dust, I use the Savinelli Pipe Knife to remove the little carbon left.  I follow with sanding the chamber walls with a 240 piece of sanding paper wrapped around a Sharpie Pen. I then turn to cleaning the internals of the stummel using cotton swabs and pipe cleaners wetted with isopropyl 95%.  There’s a good bit of tar and oils in the mortise.  After some time, I decide to switch to a Kosher Salt and alcohol soak to finish off the internal cleaning and to freshen the stummel.Next, using undiluted Murphy’s Oil Soap I work on the external surface of the stummel and the rim with cotton pads.  I also use a brass bristled brush on the rim.  After the scrub, I rinse the stummel in cool tap water.  The condition of the rim becomes more evident.  I think I will be able to remove the large divot at 4 o’clock in the second picture below by creating an internal bevel on the rim after I lightly top it. I start with by topping the stummel using 240 grit paper.  I follow by creating an internal and external bevel around the rim.  After a few rounds of working on the bevels, I realize that the internal rim divot is too much for the bevel to erase.  I switch gears and mix some briar dust with thick CA glue and create a putty and fill the divot on the rim.  I spray it with an accelerator to shorten the curing time.  With a needle file, I file down the briar dust patch material until it’s almost flush with the briar.  I then use 240 and 600 grit sanding paper to blend the patch and finish the bevel on the internal and external edges of the rim.I then sand the stummel using a medium grade sanding sponge followed by a light grade sanding sponge.  I remove the minor nicks and scratches on the bowl surface.I then proceed to sand the bowl using micromesh pads 1500 to 2400, then 3200 to 4000, then finally, 6000 to 12000.  The process brings out the beautiful horizontal grain flows from the front of the bowl downward to encompass the heel.  Bird’s eye grain is sprinkled nicely on the stummel sides. With the day ending, I continue the cleaning and refreshing of the stummel internals using a Kosher Salt and alcohol soak.  I create a wick to insert into the shank/mortise by twisting and stretching a cotton ball.  I take a straight stiff wire to help stuff it deeply into the mortise.  With the stummel secured in the egg carton I fill the bowl with Kosher Salt (which leaves no iodine after taste) and give it a shank to displace the salt.  I then, using a large eye-dropper, put isopropyl 95% into the bowl until it surfaces over the salt.  I put it aside for the night.  The next morning, the salt and alcohol soak did the job well.  The salt had turned dark and pulling the wick out – the same was true of it.  I toss the expended salt and wick in the waste and wipe the bowl out removing leftover salt.  Then returning to the use of cotton swabs and alcohol, in only a few plunges down the mortise, the internals are clean.  Pictures show the cleaning process. The stem was soaking in an OxiClean bath to raise the oxidation from the vulcanite.  I take stem out of the bath and the oxidation was raised showing the normal olive-green color.  I then take 600 grit sanding paper and wet sand the stem to remove the oxidation and to work on the serious teeth clenching damage. After the 600 grit sanding, I give the stem a stiff buffing from 0000 grade steel wool.  Interestingly, I noticed it earlier but thought that it would go away with the OxiClean and sanding.  I see a small lighter (reddish?) dot on the underside of the stem (second picture below), almost below the WDC triangle mark but just off center.  I’m not expecting a ‘manmade’ mark there so I assume it’s a discoloration in the vulcanite.  I take a little 240 grit paper and go after it, but it remains for now.  Pictures show oxidation and post-oxidation sanding. The button area is in bad shape.  The former steward was a clencher par excellence.  Neither upper nor lower bit areas were spared.  The upper has deep bites and a ‘wedgy’ dent on the button lip.  The lower button lip is spared, but there is a ‘go to’ clench handle which is distinct.  I take pictures to mark the start. Focusing first on the topside, I use the heating method to see if I might hopefully tease out the concave dents.  Then the bottom-side.  Vulcanite, a form of rubber, amazingly will seek out its original disposition when heated as the rubber expands with the heat.  I light a candle and pass the bit-end of the stem over the flame in back and forth style.  I try not to cook the vulcanite, but simply heat it strategically.  After some time, using heat on upper and then lower, I take pictures to compare.  You can see the closing of the dents in the picture comparisons below.  I think there is a beneficial change, but there are still dents to repair.  Pictures 1 and 2 are before heating and after for the upper side.  Pictures 3 and 4 of the lower side – before heating and after.  I first use 240 grit paper on the upper bit.  I sand out as much as possible all the smaller dents. Through the years of clenching, the button lip has lost its distinction so using a flat needle file, I reintroduce the lip edge and then follow by sanding with 240 to erase file tracks and shape more.  I’m wondering if I can avoid having to rebuild the button lip.  I gently sand the upper button lip as well.  The tooth grip has turned into only a small dimple – good movement.  I sand gently to remove the dimple because I don’t want to lose too much button real estate.  The top looks great.  The only patch needed is the remaining large dent.  The topside filing, sanding and shaping progression is pictured below. Turning to the lower bit, again I use 240 grit sanding paper to sand out what can be removed and blended by sanding. The dent/clench configuration was minimized by sanding but I need to patch what remains of the surface damage.To prep the vulcanite for the patch work, I wipe down the upper and lower bit with a cotton pad wetted with alcohol.  I mix activated charcoal powder with Hot Stuff Special ‘T’ CA Instant Glue (extra thick) to form a putty which is like molasses in viscosity to apply to the damaged areas.  I use a tooth pick as my trowel and tamper and I apply more putty than needed – the patch mound allows me to file down gently to the surface of the stem to achieve a better blended patch.  I apply putty to the upper bit, and a dab on the small, remaining dimple on the button lip.  I spray it with accelerator to cure the putty.  I then do the same for the needed area on the lower bit.  The pictures show the patch progress. Using a flat needle file, I begin filing the patch mound on the upper bit until I’m very close to the vulcanite surface.  With the patch expanding closely to the button lip, I also utilize the flat needle file to separate and define the button lip.  When close to the surface, I switch to 240 grit paper to bring the patch flush with the vulcanite surface.  After I’ve blended as far as 240 paper will take me, I switch to 600 grit paper and then finally, 0000 steel wool which fine tunes the blending and each in turn erases the former’s scratch marks.  I take pictures along the way to document progress. At this point, not surprised, I see very small air pockets exposed on the patch area (see picture above).  Taking Hot Stuff CA Glue, thinner than the ‘T’ I used for the patch, I dip a toothpick into the glue opening to give a coat of CA glue on the toothpick.  With this wet glue, I paint the patch with a thin glaze of glue which fills the air pockets.  I give the glaze of glue a quick spray of accelerator to cure it.  I then take 600 grit paper followed by 0000 steel wool to blend and complete the upper bit patch work.  The micromesh sanding later will further blend the patches.Now, to the lower bit patch.  As before, I use the flat needle file initially, then 240, 600 and then 0000 grade steel wool working toward the vulcanite surface then blending.  Again, a few miniscule air pockets are revealed in the patch, and I repeat the same procedure as on the upper patch. Having been so focused on the button repairs, I almost forget (again) to clean the stem internal airway.  With pipe cleaners dipped in alcohol, I do that and it does not take long to clean.Putting the stem aside, I pick up the stummel.  I will use Fiebing’s Light Brown Leather Dye to add some unifying hues on this very attractive WDC Milano’s grain.  I like the lighter motif which is what the Milano’s picture included above courtesy of Doug Valitchka.  I wipe the stummel with a cotton pad wetted with isopropyl 95% to make sure it’s clean.  I then warm the stummel with the heat gun after inserting a whittled cork into the shank to serve as a handle.  After the bowl is warmed, helping the briar more effectively to absorb the dye, I apply the dye liberally using a folded over pipe cleaner.  After the stummel is covered, I fire the dye with a lit candle which ignites the alcohol in the dye and sets the pigment in the grain.  After a few minutes, I repeat the procedure concluding with firing.  I then put the stummel aside to rest. While the stummel rests, the stem is ready for the micromesh pad cycle.  I wet sand with pads 1500 to 2400, then dry sand with pads 3200 to 4000 then 6000 to 12000.  After each cycle, I apply Obsidian Oil to rejuvenate the vulcanite, and my how it likes it!  The pop of a newly restored stem is wonderful to behold! The next day, I’m home from work, and it’s time to ‘unwrap’ the stained and fired bowl.  I mount the felt buffing wheel on the Dremel, which provides more abrasion to the surface, helping to remove the crust.  I used Tripoli compound with the Dremel set at 20% speed – slow because I don’t want to generate too much friction. Using the Dremel’s adjustment wrench, I purge the old compound off the felt wheel to clean and soften it.  I work the felt buffing wheel applying the abrasive Tripoli compound over the stummel.  I am not able to reach the bend curve between the shank and the bowl with the felt wheel.  I change to a cotton cloth buffing wheel again, only dedicated to Tripoli compound.  Each compound has its own dedicated Dremel buffing wheels.  With the cotton cloth wheel, I’m able to reach into the harder to get places.  I run the wheel over the entire surface.  I take a picture showing the completion of the ‘unwrapping’.  One of the helpful aspects of aniline, or alcohol-based dyes, is the ability to wipe it with alcohol to lighten the application as well as blend the dye.  I want to lighten this WDC Milano so I wipe it down with cotton pad wetted with alcohol.  I take a picture before and after.  Immediately after wiping down the surface, the surface clouds with the alcohol.  Then I remove the alcohol wipe clouding effect with Blue Diamond compound, with a cotton cloth wheel mounted on the Dremel at 40% speed.  Following the Blue Diamond application, the true ‘after’ picture is taken.  I also reunite the stem with the stummel for the Blue Diamond buffing.  Well, the third picture below represents the lighter ‘after’ picture, but I don’t believe the picture does justice to what my eyes are seeing.  The lightening and blending of the surface hue is showing off the grains quite nicely.  I’m liking it!  I think this, “Lady’s Choice” is going to like her choice too! I give the pipe a hand buffing with a felt cloth, not so much to buff up the shine at this point but to remove the compound dust from the surface.  The compounds are abrasives and the dust is the residue left over.  After this, I mount the Dremel with a dedicated cotton cloth buffing wheel, leaving the speed at 40%, I apply the carnauba wax evenly over the stummel and stem.  I finish with a hefty hand buffing of the pipe with a microfiber cloth to raise the shine more.
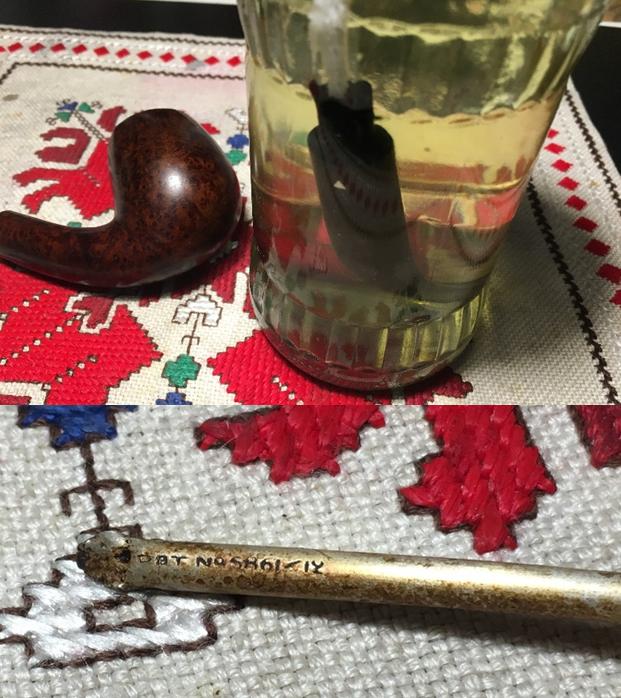
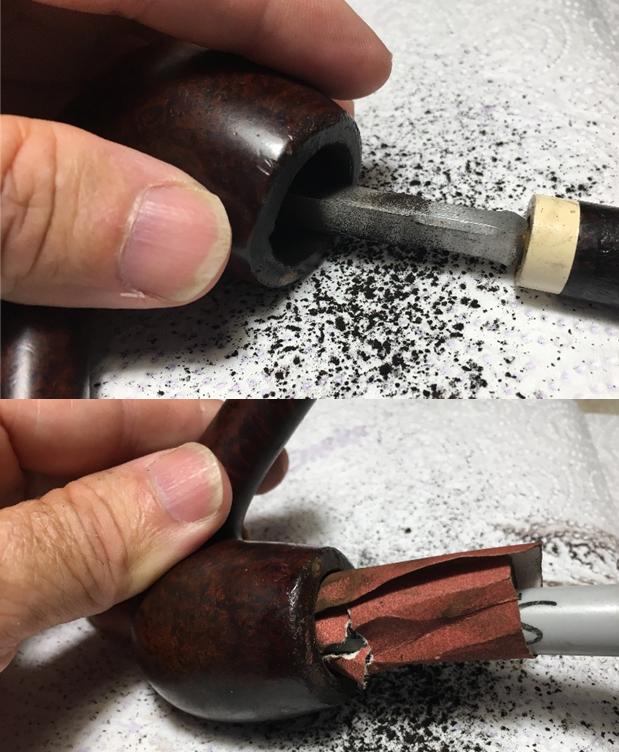
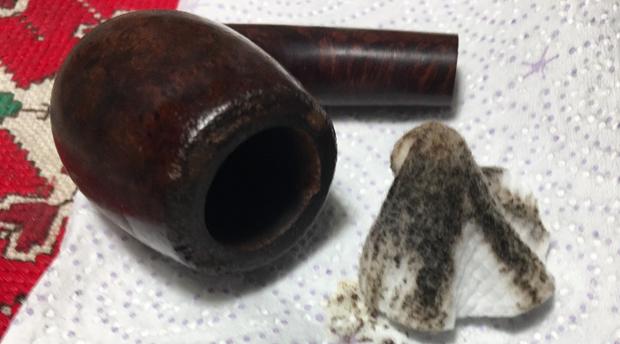
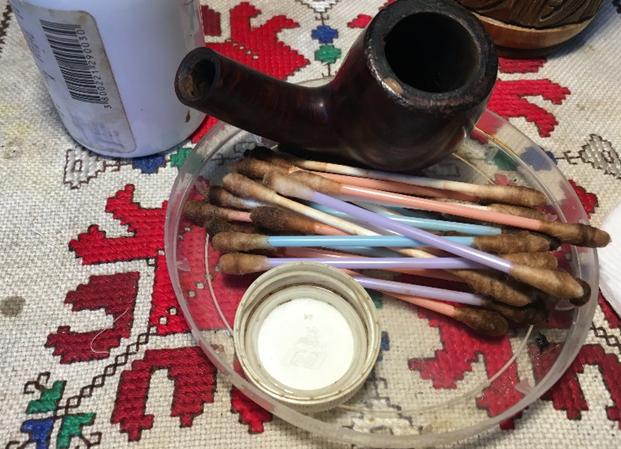
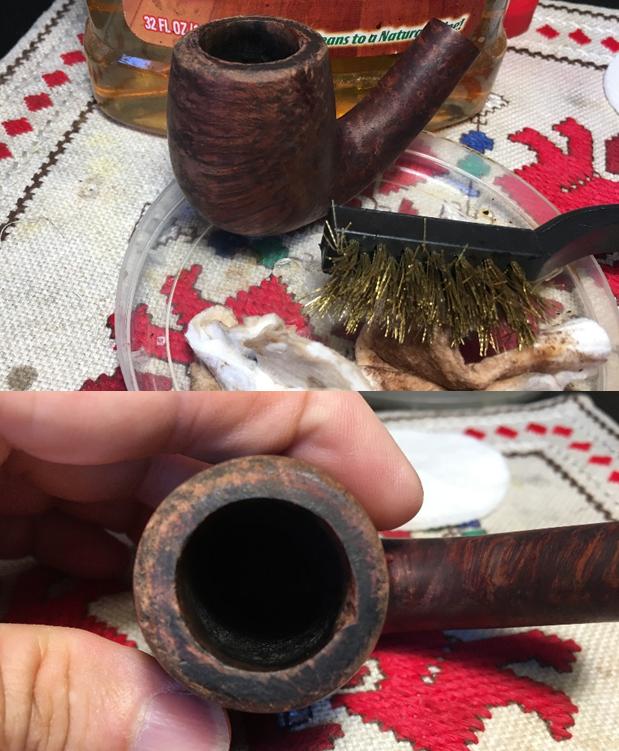
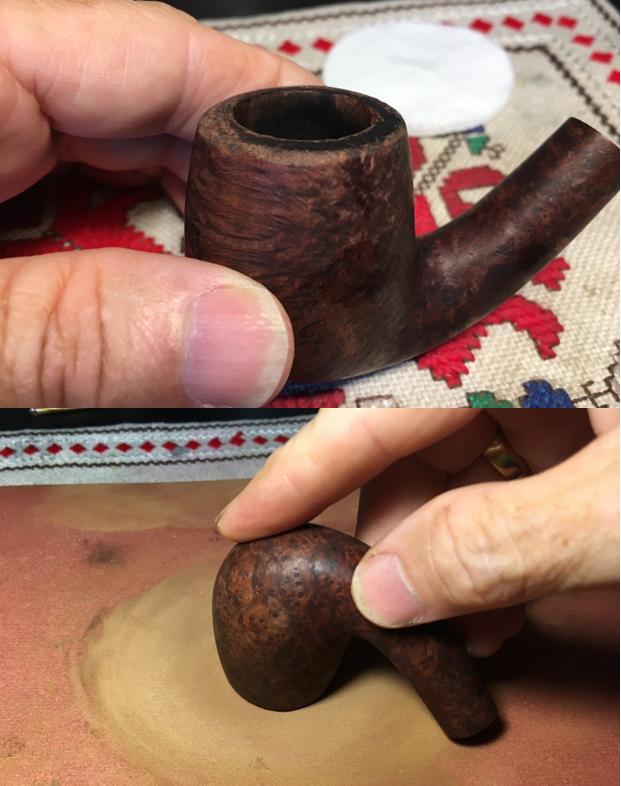
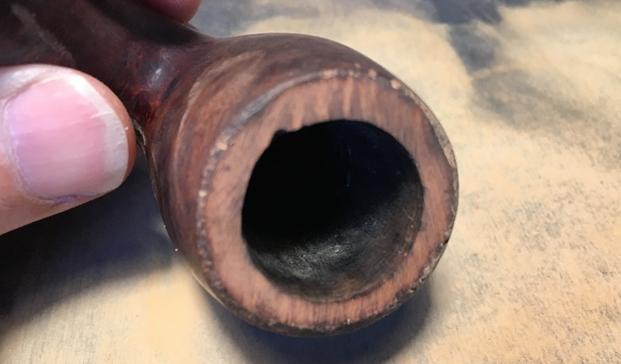
This WDC Milano Swan Neck Billiard is a lady’s choice.  I hope she likes it.  It is an elegant pipe and showcases beautiful flowing grain.  I’m pleased with the button repair that blended very well – without knowing it’s there, most people would not see it.  The repaired rim also looks good – forming the beginning of the long elegant lines carried through to the swan neck stem.  Nice.  Each pipe I restore benefits the work we do with the Daughters of Bulgaria – helping women and girls who have been sexually exploited and trafficked.  For more information about this and pipes I have available, check out the store at The Pipe Steward.  Thanks for joining me! 

Acrylic Stem Repair – A Butz-Choquin Cadre Noir 1845 St. Claude France


Blog by Dal Stanton

The next pipe on my work table is at 2 o’clock in this Lot of 13 I acquired from an eBay seller in Nevada.  There were several other pipes that attracted me in this lot as well, especially the Cherry Wood Ropp at the 4 o’clock position.  The LHS Purex at 9 o’clock is also an interesting shape – most of these are still waiting in my ‘Help Me!’ basket.  The Butz Choquin Cadre Noir got the attention of a couple who are in Bulgaria working with us for the summer.  Joy saw the pipe and wanted it as a gift for her brother.  I think it was the combination of the rustified Leprechaun shape and the gray marble acrylic stem that got her attention.When I bring the BC to my worktable, I take additional pictures to fill in the gaps.  The nomenclature is stamped on the lower side of the shank with the left side of the stamping reading in a fancy script, ‘Choquin’ [over] ‘Cadre Noir’ which means in French according to Google Translate, ‘Black Framework’ or ‘Black Setting’.  On the right side of the stamping is an arched ST CLAUDE [over] FRANCE [over] 1845 – which I’m assuming is a shape number. Pipephil was helpful in identifying the 1845 as a shape number.  The C’est bon below is the same BC pipe shape in a smooth version, which I described above as a Leprechaun – perhaps a mix between freehand and Dublin? The bowl moves from a wide rim, a narrower mid-section and then flares out again at the heel with ridges tapering toward the shank.  Very nice looking.Searching for the BC Cadre Noir online, one finds several examples of what TobaccoPipes.com describes as a BC line depicting a “modern pipe”.

BC’s Cadre Noir pipes are a unique rusticated pipe with an ostentatious clear acrylic stem. Unlike most rusticated tobacco pipes, this one is thoroughly modern.

Another listing of a 1772 Brandy shape sheds light on the actual understanding of Cadre Noir.

The Cadre Noir is a world-famous French riding school for jockeys and horses. This Butz-Choquin pipe, in order to pay some form of tribute to the country’s prized institute, has a rustic finish consisting of parallel trenches running across the bowl. With a black and clear acrylic stem, this 1772 brandy shaped pipe is a dapper addition to both a pipe collection and an equestrian’s repertoire.

The BC before me does not have a clear acrylic stem, yet it could be described as opaque in places.  The only thing that is a significant obstacle to recommissioning this BC Cadre Noir is the damage to the gray swirl acrylic stem.  The pipe generally needs only a clean-up.  The upper button has chipped off and needs to be rebuilt.  The challenge in this rebuild is getting anywhere close to matching the colors of the patch material and the acrylic stem grays.  Before I begin any repairs, I clean the pipe.  Starting with the fire chamber, using the Savinelli Pipe Knife, I scrape out the minor carbon build up on the chamber walls.  Following this, using 240 grit sanding paper wrapped around a Sharpie Pen I clean the chamber out further.  I finish by wiping the chamber with a cotton pad wetted with alcohol to remove the carbon dust.  Now looking to the external rustified surface, I use Murphy’s Oil Soap undiluted with a cotton pad and a bristled tooth brush to get into the nooks and crannies of the surface.  The pictures show the cleaning. Switching to the internals, I use pipe cleaners and cotton swabs to do the job.  When I realize my time is waning, I decide to complete the internal cleaning and refreshing with the use of a salt – alcohol bath.  Using kosher salt, I fill the bowl, and stretch and twist a cotton ball to create a wick to stuff down the mortise.  I fill the bowl with alcohol until it surfaces over the salt and I put it aside to let it soak for several hours. The soak did the job when I return home later that day.  The salt and wick had absorbed the oils and tars from the briar.  I toss the old salt, wipe the chamber with paper towel and use a bristle brush to remove all the salt residue.  I return to using cotton swabs and as billed, the soak had done the job.  The pictures show the cleaning process.Now to the acrylic stem.  I first clean the internals which were in great shape.The major challenge I face with this BC Cadre Noir 1845, is the acrylic stem button repair.  I did a repair on a Meerschaum’s Bakelite stem which was a clinic in trial and error, but finally realizing success.  That Meerschaum is now a good friend in my rotation and you can see the Bakelite stem repair at The Pipe Steward blog site here: LINK.  I take some additional close-ups of the chipped button.  This acrylic stem has a gray marble color.  The good news is that the lower button (pictured above) is intact and acts as a template for the upper button rebuild.  The challenge is matching the patch material color with the multi-colored hues of gray.  My idea of how to approach this is to use clear thick CA glue as a base.  I will mix some white acrylic paint with it to create the light base.  Then, I will very gradually add activated charcoal to the mixture to create the movement toward the grays.  I have no idea how the white acrylic paint and the CA glue will react together.  I begin this repair using a needle file to work on the button while its exposed – filing down the lower surface of the slot which is rough from the break.  I then cut an index card forming a triangle, cover it with scotch tape which prevents the patch material from adhering to it, and insert it into the slot acting as a mold.  The mold will shape the slot area as well as guard the airway from the patch material seeping into it and clogging it. Well, mixing white acrylic paint with CA glue doesn’t work, so don’t try that path!  The paint immediately gummed up as it was mixed and did not provide a lightening effect.  To build the button, I end up simply applying thick CA glue and charcoal powder mixture to the button and spraying it with an accelerator to shorten the curing time.  It doesn’t have the gray hue I was wanting to blend better, but it should look ok after sanding and shaping.  I pull out the index mold and the slot looks rough now, but good.  Using a flat needle file, I start shaping the button lip.  Without a doubt – in my opinion, button rebuilding is the most time consuming and meticulous aspect of restoring estate pipes.  Patiently, I file the button and slot to a shape that is consistent with the original button curvature.  Using the lower lip as the template, I shape, file, shape, file….  It’s looking good.  Pictures show the progress. With the main file sculpting done, I use 240 grit sanding paper and sand the button, bit, and slot to blend the patch and the native acrylic.  Then, using 600 grit paper I fine tune, then a hearty buffing with 0000 steel wool.  Often when rebuilding a button, the patch material reveals air pockets as the sanding and buffing move toward the final stages.  This button was no different.  To cover these air pockets, I paint a fine layer of thick CA glue over the lip with a tooth pick.  The air pocket pits are filled with the CA glue.  I again run over the lip surface with a light 240 grit, then 600 grit papers, then the final 0000 grade steel wool buff to blend. With the button repair completed, I move on with the micromesh pad sanding of the acrylic stem.  I wet sand using pads 1500 to 2400.  I follow this with pads 3200 to 4000 then finish with pads 6000 to 12000.  I’m careful to avoid the ‘BC’ stem stamping as I sand. During the sanding, I also sand the white acrylic divider between stem and shank to spruce it up as well.  Even though I don’t believe the application of Obsidian Oil helps an acrylic stem, I do it anyway because it looks good and seems to bring out the marbling.  I have to admit, the button’s rebuild came out better than expected.  Even though I couldn’t create the gray hue in the patch material, the black seems to blend perfectly with the stem.  The dubbing of this Butz-Choquin Cadre Noir as being a ‘modern’ pipe, I think fits well with the results – looks great.  The pictures show the stem’s progress. Next, I look at the BC’s rustified stummel.  The dark deep contours of the bubbled rustication make the peaks of the bubbles stand out.  I like the Leprechaun look of the pipe.  To polish and protect the surface, I use Museum Wax wetted with a bit of spittle, applying it with a cotton cloth.  I work the wax into the crooks and crannies of the rustification.  After working the Museum Wax into the rustified surface, I do an initial hand buff with a bristled shoe brush.  Following this, to deepen the buff and heighten the shine, I mount the Dremel with a cotton cloth buffing wheel set at 40% speed and buff the surface further.  Pictures show the progress. Again, picking up the stem, after mounting the Dremel with a cotton cloth wheel for Blue Diamond, I buff the acrylic stem with a high gloss using the compound.  Before applying carnauba wax to the stem, I want to freshen the ‘BC’ stamping on the side of the stem.  The ‘C’ has grown less distinct.  Using white acrylic paint, I apply it over the stamping hoping that there’s enough edge left in the ‘C’ to hold the paint.  After it dries, I gently rub off the excess paint using the middle flat edge of a tooth pick.  The ‘BC’ is a bit more distinct now.  Pictures show the progress. The cotton cloth is mounted on the Dremel and I apply carnauba wax to the acrylic stem at 40% speed.  After applying the carnauba over the stem, I reunite the gray marbled acrylic stem with the Leprechaun stummel and give it a good hand buff using a micromesh cloth.
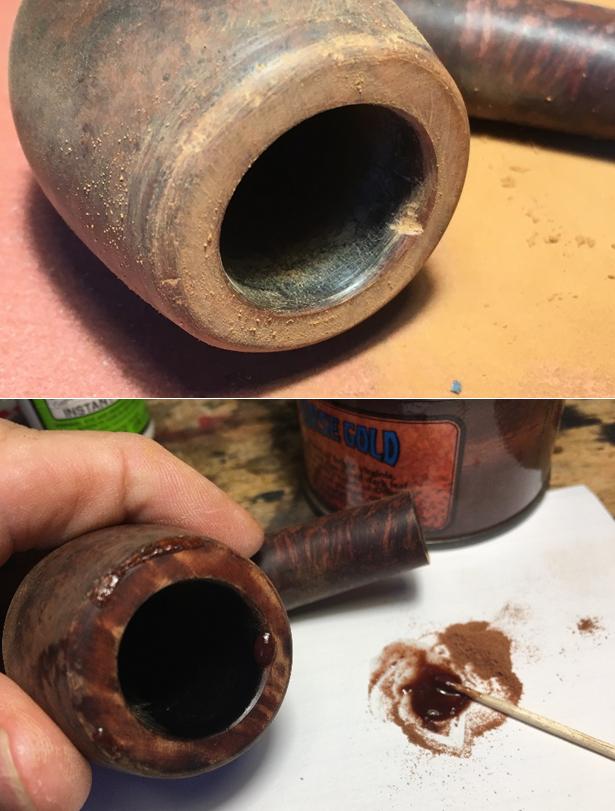
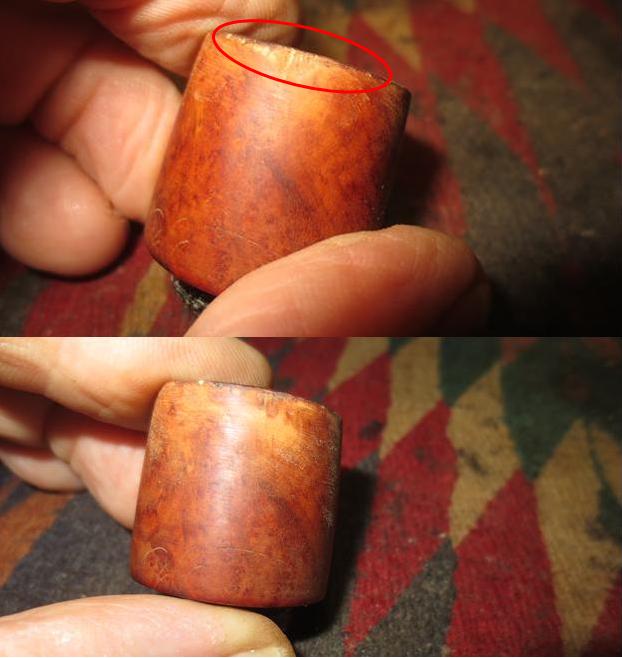
I’m very pleased with the outcome of the button rebuild and how well the patch material blends with the gray marble acrylic stem.  This French made Butz-Choquin Cadre Noir 1845, is a unique shape and will draw attention.  I’m happy to recommission this BC for Joy’s brother who will be his new steward.  Joy’s gift benefits the Daughters of Bulgaria, our work here in Bulgaria with women and girls who have been trafficked and sexually exploited.  Thanks Joy!  To learn more about how my restorations help, check out my blog, The Pipe Steward.  Thanks for joining me!