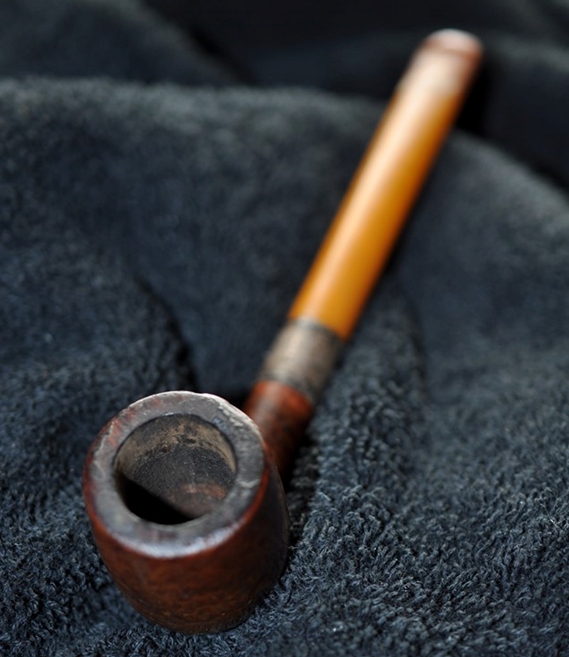
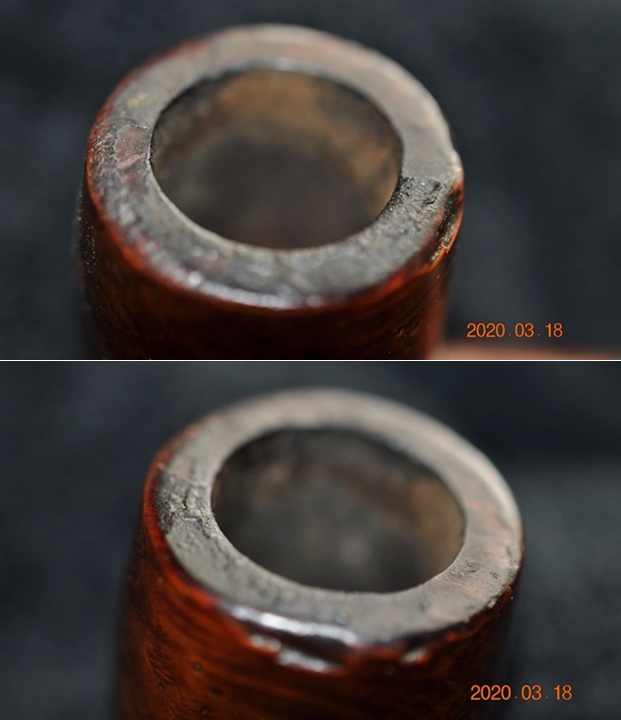
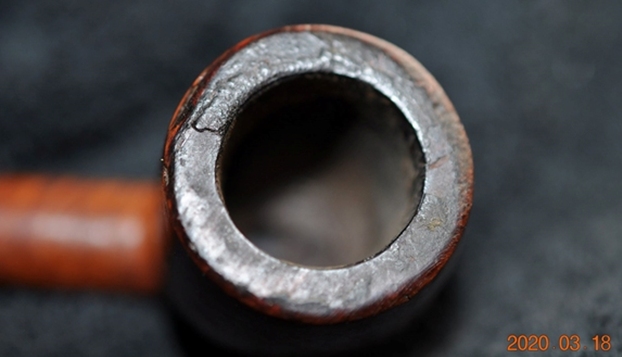
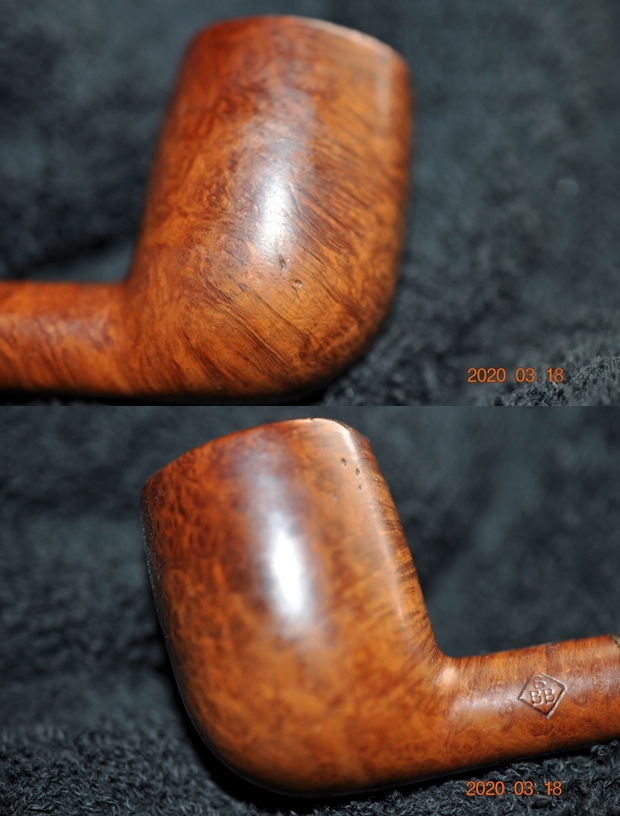
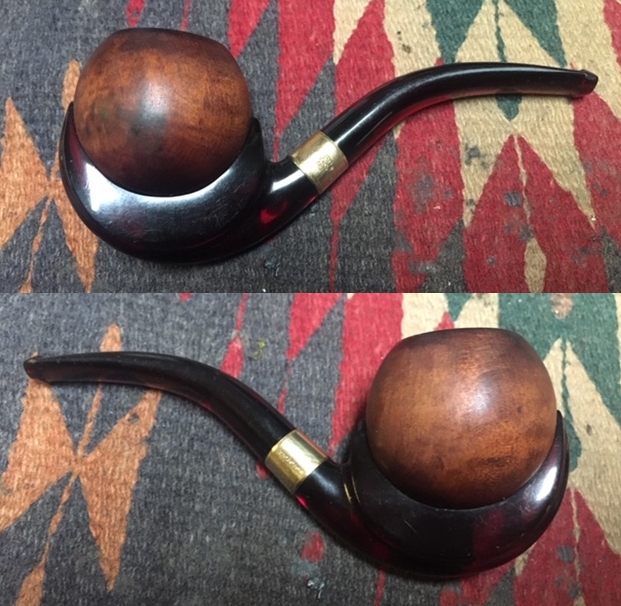
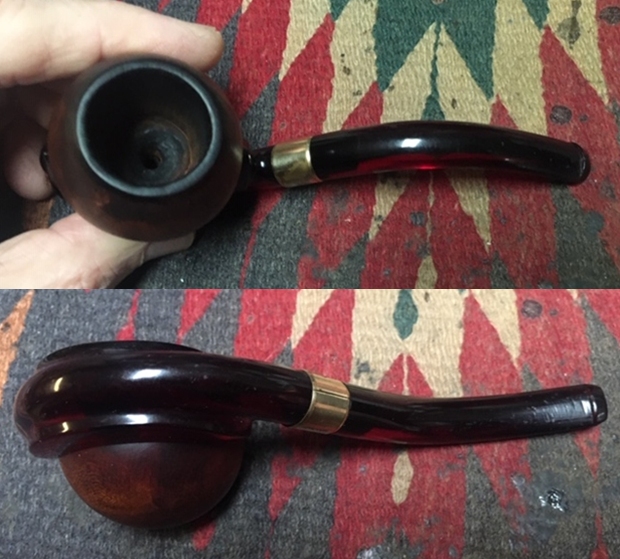
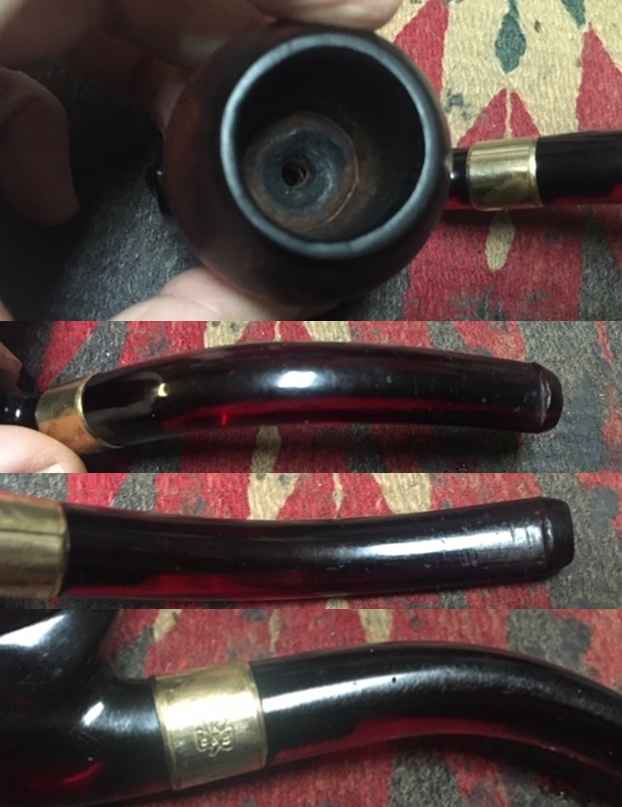
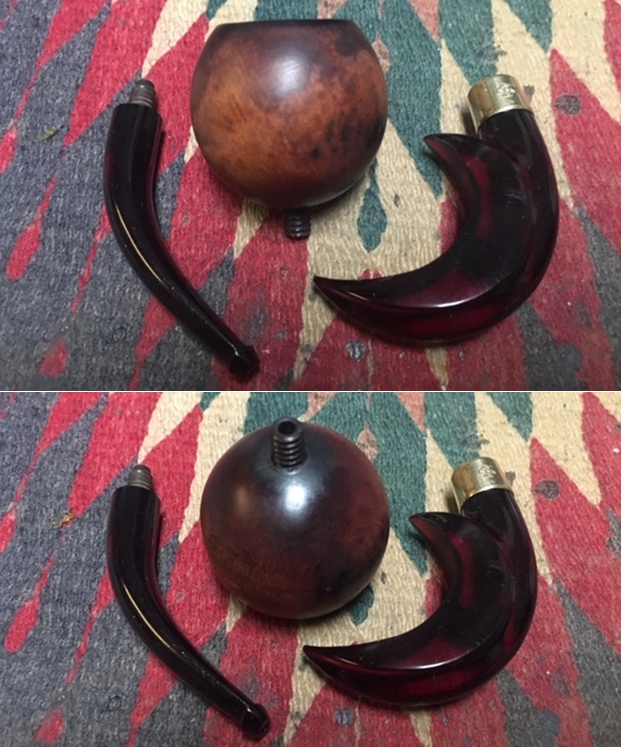
Blog by Dal Stanton
It gave me a great sense of satisfaction when I received Joe’s response to reading and seeing the results of restoring the first of Paw’s pipes entrusted to me. Joe and his wife, Hannah, who live in Athens, Greece, and are colleagues working in our organization, last year sent me a Kaywoodie “500” that I restored (See Link: Reclaiming Paw’s Kaywoodie “500” 04 Long Stem Billiard – A Great-Grandfather’s Legacy) as a gift for Hannah’s father, Ben, ‘Paw’s’ grandson. The Kaywoodie was a special gift for Ben’s birthday. Later, Joe wrote this letter:
Hello Dal,
My in-laws came to Athens to visit Hannah and I last month. I gave Ben the pipe. I showed him everything you wrote and documented about it. He absolutely LOVED how the pipe looked, and he was also deeply touched by the love, care, and respect you showed not just the pipe but his family.
So many things you said in your blog triggered sentimental images for Ben about his grandfather, Sam Ellison. You called Sam (AKA Paw) a “knocker” and explained that based on some of the inner rim damage, that was from when Sam would knock out residual tobacco from the bowl, and Ben immediately could remember and visualize Sam doing that.
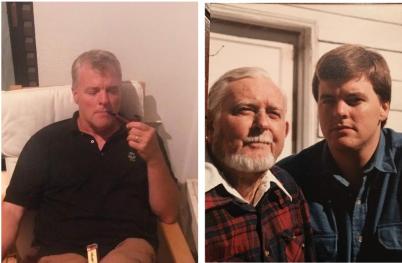 During Ben’s last few days in Athens, he lived in blissful nostalgia, thinking of Paw and sweet memories along with him. When Ben went back to Georgia, he went through the storage unit and found stacks of old pictures and articles. Unfortunately, he couldn’t find a picture of him smoking the pipe, but there are some pictures (that I will attach below) of Paw with some of his tobacco co-workers at Brown & Williamson Tobacco Corp, along with an article in the Brown & Williamson newsletter, “The Pipeline” about him called ‘Two page Sam’.
Two pictures Joe included were of Ben, his father-in-law fellowshipping with Paw’s newly restored Kaywoodie “500” and reminiscing about his grandfather. What I understood from Joe, was that Paw essentially was the one who raised Ben. The other picture was Paw and Ben 45 years earlier…. This is why I love what I call my work, The Pipe Steward – pipes are passed on, but also the special memories those pipes uniquely bring with them are also passed on to the following generations.
What was also of great interest to me in Joe’s letter, not only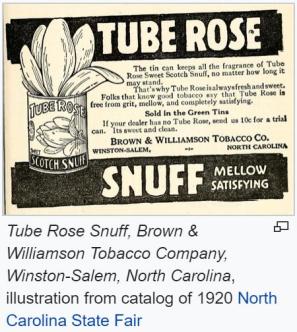 was Paw a pipe man, but he was also a tobacco man – not just a tobacco man, but a tobacco SALES man for the Brown & Williamson Tobacco, Corp. and sent clips of an article of this tobacco company’s magazine about Paw, or as the rest of the world new him, ‘Two-Page Sam’! When doing a restoration (and I will get to that!) it doesn’t get better than this regarding the story a pipe tells. Doing a little research, I find out that B&W would be considered a ‘Big Tobacco’ company and Wikipedia described the beginnings in the latter 1800s:
B&W was founded in Winston (today’s Winston-Salem), North Carolina, as a partnership of George T. Brown and his brother-in-law Robert Lynn Williamson, whose father was already operating two chewing tobacco manufacturing facilities.[3] Initially, the new partnership took over one of the elder Williamson’s factories.[4] In February 1894, the new company, calling itself Brown & Williamson, hired 30 workers and began manufacturing in a leased facility.
In 1927, the Brown and Williamson families sold the business to London-based British American Tobacco. The business was reorganized as the Brown & Williamson Tobacco Corporation. Manufacturing and distribution were expanded, and work on a new B&W factory in Louisville was begun.
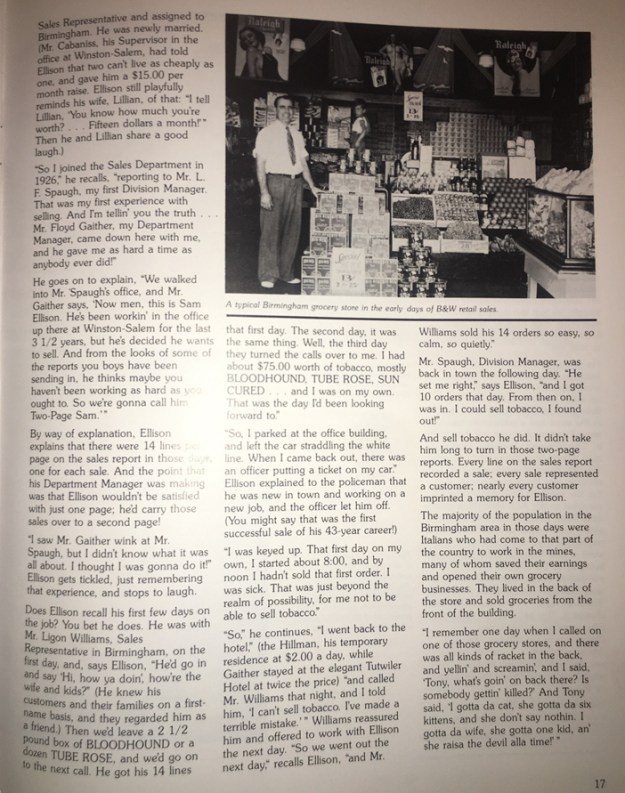
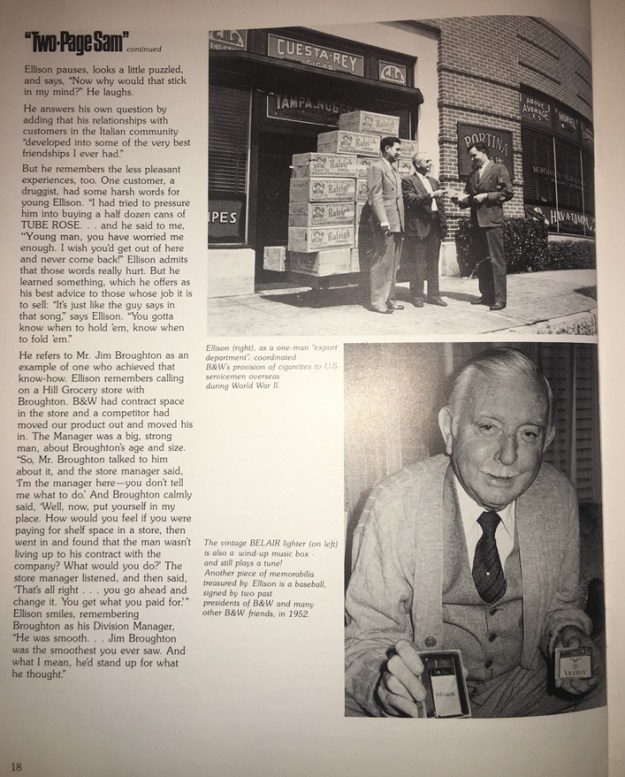
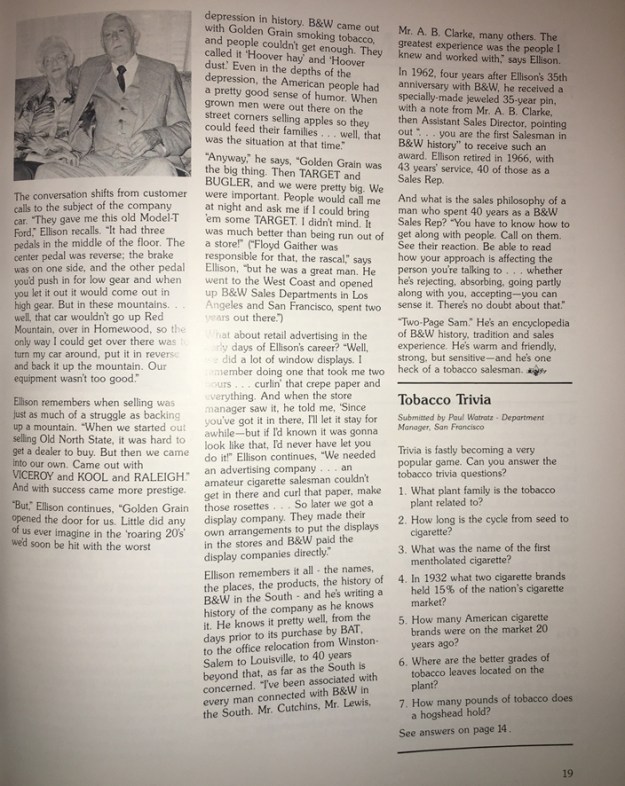
The Wiki article jumps a century from this earlier history to the 1990s which was a time rife with controversy regarding infamous ‘Big Tobacco’, congressional hearings, cover-ups and 60-Minutes TV pop-journalistic investigations – all low-hanging ripe story lines for a John Grisham novel and movie contracts! As tantalizing as this later storyline was, I was drawn more to the story of ‘Two-Page Sam’, the article written about Paw’s life and relationships through the years that the Wiki article jumped over. I include this story from the December 1984 article that Joe sent from B&W’s company magazine, ‘PIPELINE’. The piece was subbed: “’Two-Page Sam’ – An 81-year old retiree, with a memory like a steel trap, about his 43-year career with B&W”. I enjoyed the read immensely as it not only tells of the life of Paw – aka, Two-Page Sam, but its portrayal of period perspectives revealing much about life and relationships when Sam started work for B&W in 1923 and later. Enjoy!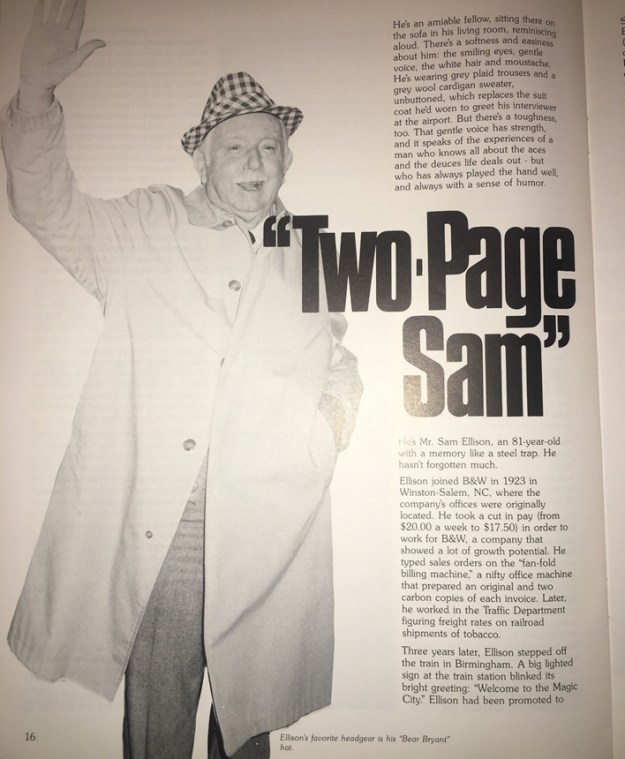
 After the test run with Paw’s first pipe, Joe entrusted me with three more pipes to restore – two more Kaywoodies and a Medico. Paw’s choice of pipes tells much about him! One of the Kaywoodies is another of the “500” series, but this time, in addition to the long-shank Billiard from last time, a “500” Rhodesian is added. Paw liked the “500”s – they are smaller pipes easier for hands-free fellowship (and chewed bits!) and work, as Sam went from vendor to vendor in his job selling tobaccos. The other Kaywoodie is a Kaywoodie Natural Burl 33 – the finish is great! Here is the lineup of Sam’s pipes that Joe sent:
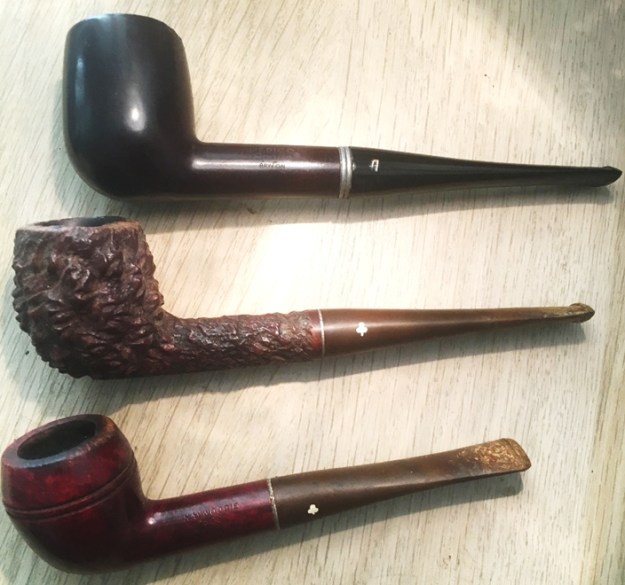 Along with the other Kaywoodie “500” its obvious that Sam stayed with American made pipes – pipes that would be considered ‘working men’s pipes’. They are not high shelf purchases but would be found on many of the shelves of the tobacconists and ‘mom & pop’ stores he served through the years. Affordable pipes that would be the kind a person who had known life through the Great Depression and Great Wars – as a child then as an adult – often called, the Great Generation. With a deepening understanding of the man who was a steward of these pipes, I’m appreciative of the trust that Joe (and Hannah!) has placed in me to restore them as treasured family heirlooms. What’s even better is that these restorations benefit the Daughters of Bulgaria – women and girls who have been trafficked and sexually exploited.
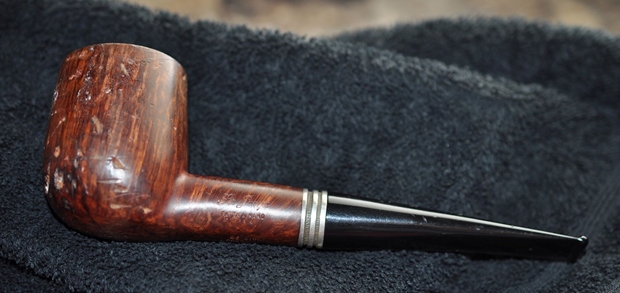
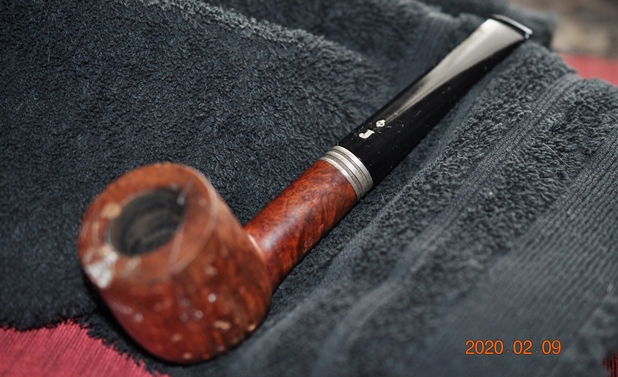
After looking over the pipes, I decided to start with the Medico Apollo Brylon – the most challenging. With the Medico now on the worktable I take some pictures to get a closer look.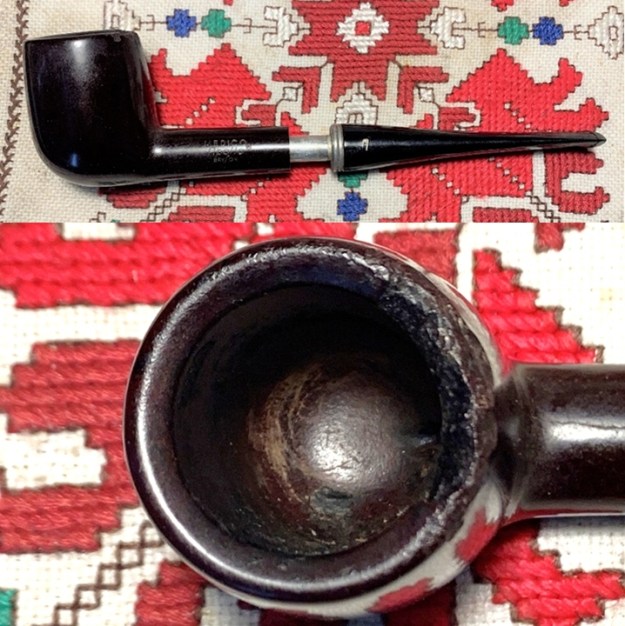
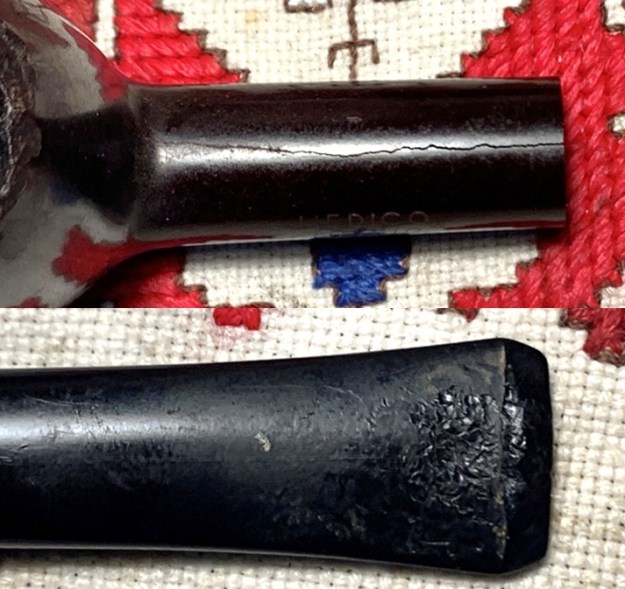
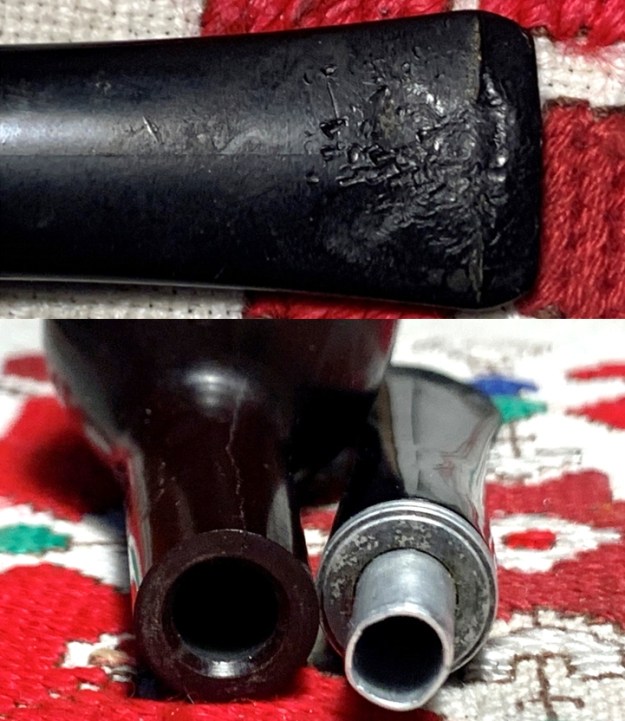 The nomenclature found on left shank flank reads MEDICO [over] Apollo [over] Brylon (with circled ‘R’ for registered trademark). The stem has a fancy, lopsided (or worn away) ‘A’ for Apollo pressed into the right side.
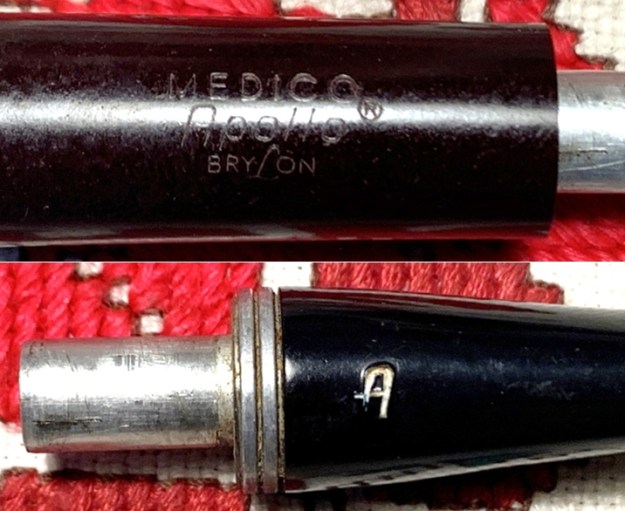 During my communications with Joe about the conditions of the pipes he intended to send to me, I was assuming that this Medico was a briar that had dulled. It wasn’t until I received the pipe and started to research the Apollo ‘Brylon’ line of Medico that I discovered the stummel was not made of briar but ‘Brylon’. Pipephil.eu confirmed another Medico Apollo Brylon and the stem stamping but with no further information about the ‘line’ Brylon.
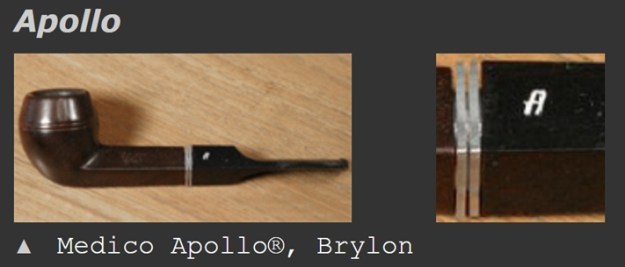 Pipedia’s short introduction to the article about Medico provides this:
Medico was created in 1933, and is still produced by S.M. Frank. The brand is famous for its pipe filters, which were launched in the same year. Since 1966, some models have been made in Brylon, a synthetic material, and others in briar. The brand was also sold by the English company Cadogan and Oppenheimer Pipe.
I discovered very quickly that Brylon was not a line and that the Medico Apollo on the worktable was not briar! In 1966, an innovation was introduced by S.M. Frank of fashioning bowls from a synthetic material. At this point I’m thinking about Paw’s Apollo, whether I could repair it with the same procedures as with briars? Rim? Cracked shank? Blending repairs? The same Pipedia article continued later with this additional interesting information about Brylon:
The company ended up buying some of their main competition in 1955. That year the Kaywoodie brands came under the S.M. Frank Company. The Medico brand continued production through this transition without many changes. The next big change for the brand came in the late 1960s. In 1966, the company developed a synthetic material that combined the traditional briar wood with resins. It is known as Brylon. At that time, all Medico pipes were made from imported briar wood. In order to keep production costs down, the company began offering some lines with Brylon. Today, that is still true…. In the Brylon, the line includes the Lancer, Apollo, Standard, Varsity, Conqueror, Medalist, Cavalier, and V.F.Q. As far as price, the briar wood pipes tend to be higher in cost than the Brylon ones. Courtesy TobaccoPipes.com
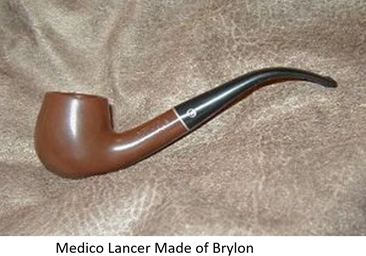 In another Pipedia discussion of various material and construction methods used in pipe production lines generally, Brylon is identified as a “High Temperature Resin with Wood Flour”:
In 1966, S.M. Frank developed a material called “Brylon” made of a high temperature resin combined with “wood flour”, which is pulverized wood of varying consistency. The pipes were cheaper and more durable, but heavier in the mouth and had a tendency to smoke hot and wet. They are still made today and favored by some for their inability to be burnt out or otherwise damaged without significant effort and the ease of cleaning the pipe. For more information see S.M. Frank.
Well, the unique characteristics of Brylon are becoming more evident. They are less expensive, have differing smoking behaviors compared to their briar brethren and purportedly to be less susceptible to burning and damage compared to their briar brethren, BUT, (I love the qualifier!) “without significant effort”. I guess Paw’s proclivities were with significant efforts by the looks of his Apollo! Wow! I wonder if Sam took the durability billing of S.M. Frank as a challenge 😊?
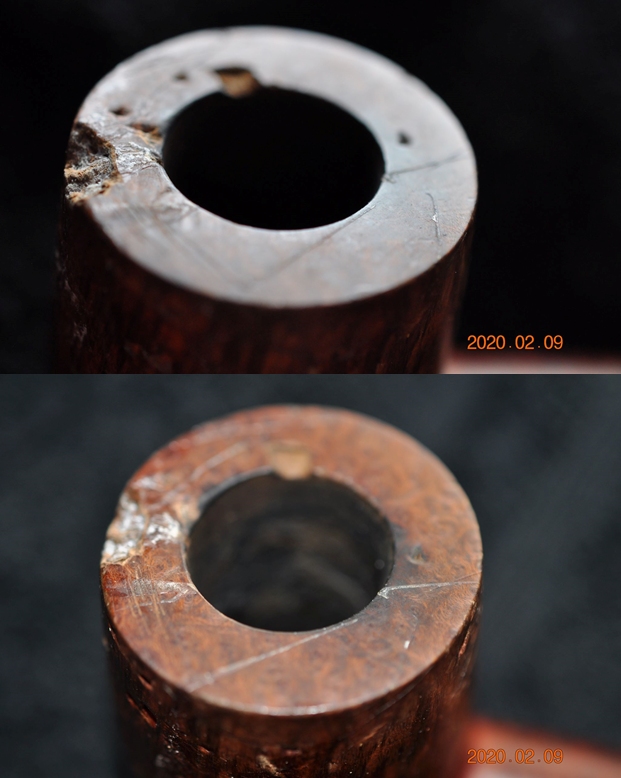
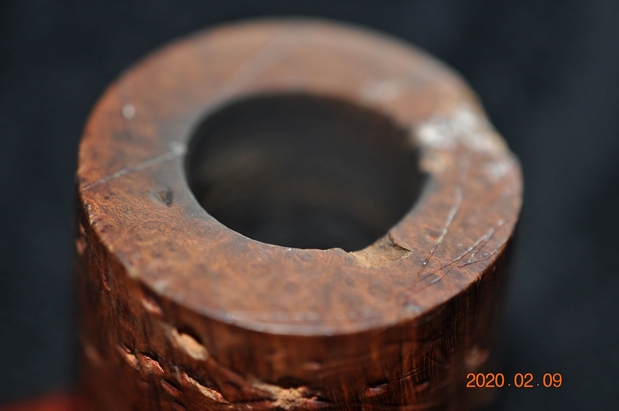
The question now is whether the issues of this Medico Apollo are addressed differently than my normal briar restoration protocols? The significant issues start with the rim damage. With the restoration of the first of Paw’s Kaywoodies, he seems to have been a habitual bowl ‘knocker’ with consistent damage to the aft quadrant of the rim. Using the stem as a handle, Paw seems to have inverted the pipe and thumped the bowl on something hard enough to dislodge the ash and dottle – probably on his way hurriedly to the car after visiting a client, having secured his sale of B&W product line working toward ‘2-Page’ success, and speedily transitioning his mind and body to the next visit! I take a few pictures to show the aft rim damage.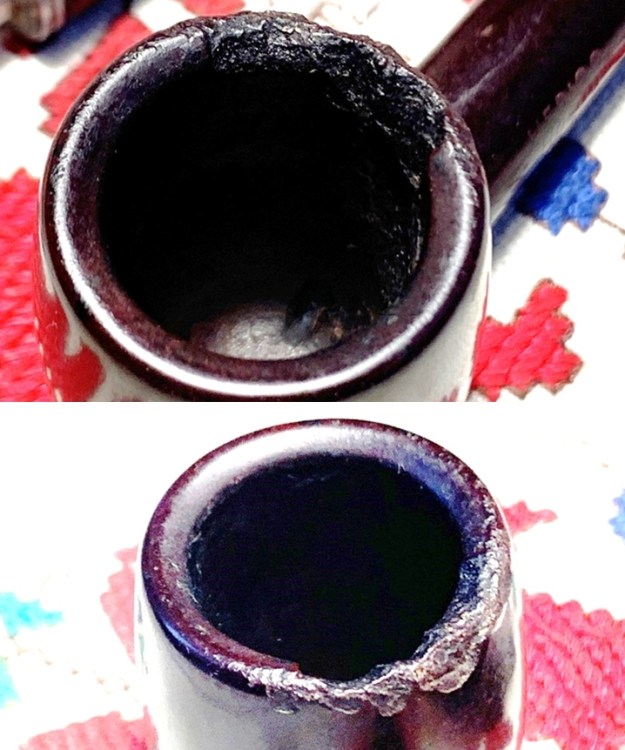 The shank also has a huge crack starting on the top of the shank running to the bowl crook. When I communicated with Joe before receiving the pipe, he commented about the stem’s metal filter housing being out of round. When I received the pipe, the stem and stummel were joined. When I gingerly extracted the stem from the mortise, I could see how the nickel had been bent. When I tried to rejoin the stem and stummel, the fit was so tight that I decided to leave things like they were. I began to question whether the stem was the original for this stummel and forcing it had caused the cracked shank? Yet, the stem does have the Apollo ‘A’ stamping – probably, just bent so much that the mortise no longer can accommodate it.
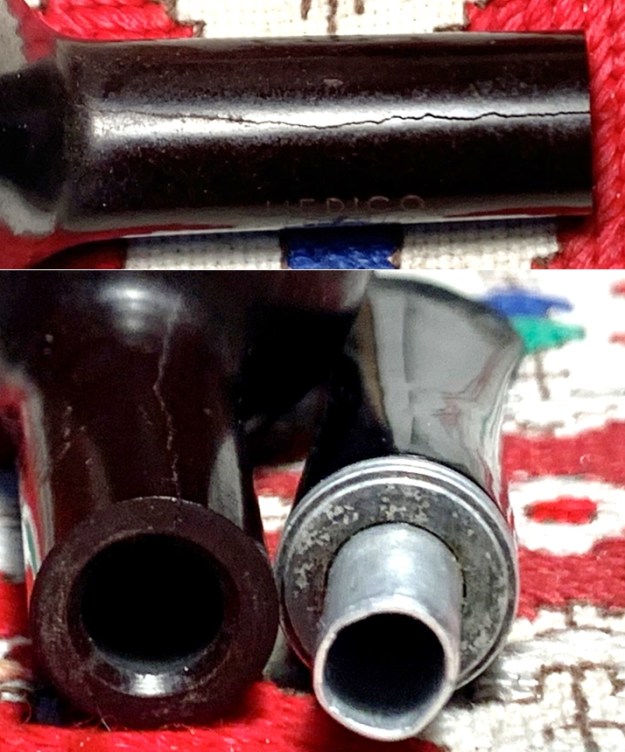 The stem’s condition I believe is confirmation that ‘2-Page Sam’ often had the Apollo in a hands-free mode with it clenched between his teeth while he filled out his orders! The chewing of the bit is evident with severe chatter and bite compression. The oxidation appears to be minor.
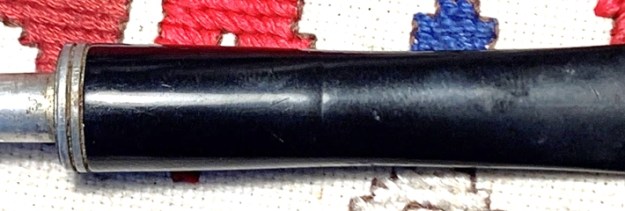
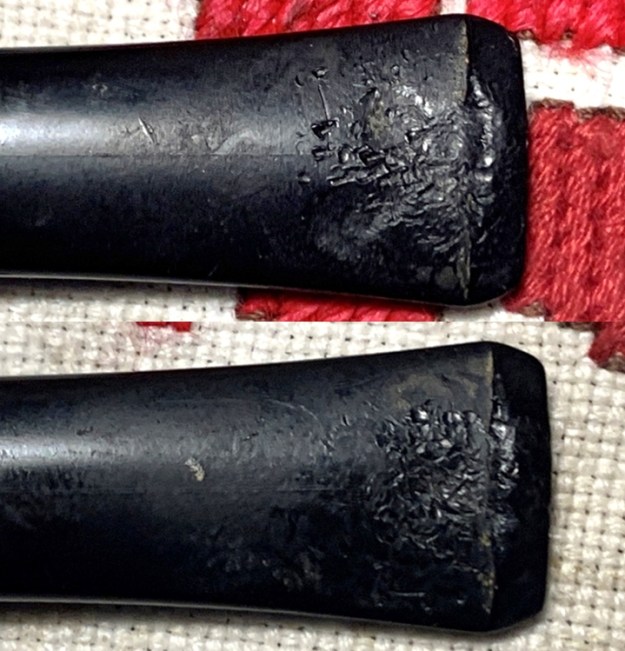 There also is a pit and dent mid-way on the stem’s underside which will need addressing.
 To begin the restoration of Paw’s Medico Apollo, I work on cleaning the internal airway with pipe cleaners wetted with isopropyl 95%. While cleaning, I discover that the pipe cleaners are obstructed at the bit-end of the stem. I also use a shank brush to push through. The shank brush does push through but what becomes evident is that the chewing of the bit appears have closed the airway to such a point, the pipe cleaners are hindered from functioning. This is a problem for keeping the airway fully cleaned. I’ll need to address this issue as well.
 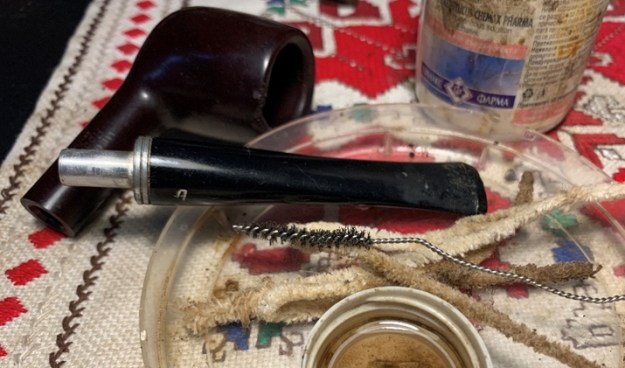 When the airway is as clean as I’m able to get it, the stem is added to a soak of Before & After Deoxidizer along with other pipes in The Pipe Steward queue, along with Paw’s other 2 Kaywoodies.
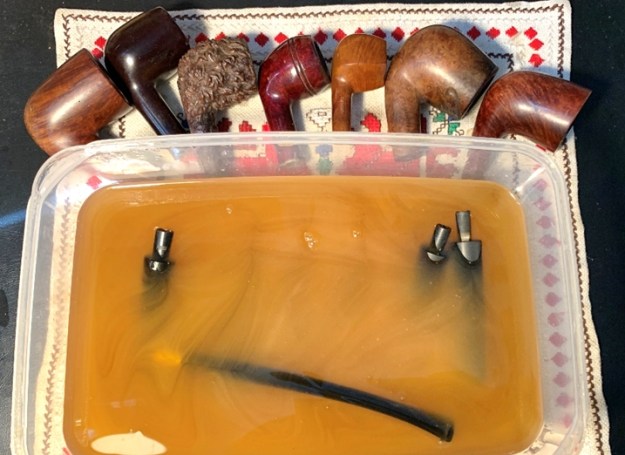 After a few hours, the Apollo stem is removed from the Deoxidizer and I squeegee the liquid off with my fingers then wipe the stem with cotton pads wetted with alcohol to remove the resulting raised oxidation.
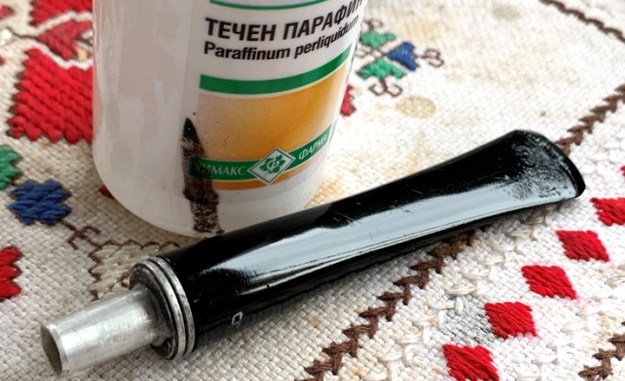
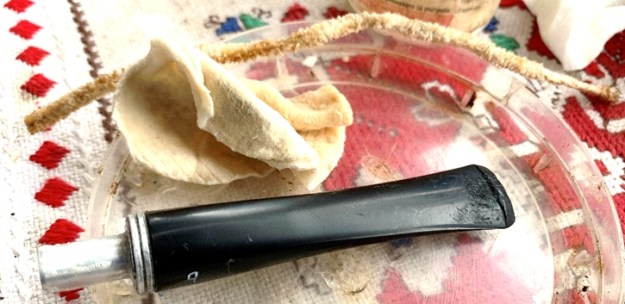 Following this, paraffin oil is applied to the stem to condition the vulcanite and I put the stem aside for the oil to be absorbed.
 Turning my attention now to the Brylon stummel, the questions I asked earlier about how to proceed with the repairs have been clarified in my mind. It was helpful to find a blog on Dad’sPipes, What the Heck is Brylon?? – A Yello Bole Standard Panel Billiard, where Charles Lemon had previously had the same questions regarding working on Brylon! Charles’ blog mainly was focused on cleaning and polishing issues and not with actual repairs to the Brylon – the rim and shank in this case. My note to Charles describes my proposed working approach with Brylon:
Charles, hope you and your family are well and staying clear of harm’s way during these difficult times. I read one of your blogs where you worked on Brylon. I’m working on a Medico Apollo Brylon that needs extensive rim work. I’ve attached a picture to give you an idea of the dark brown color. Of course, I’m thinking of briar dust and CA glue to do the patchwork. However, it will probably be lighter than the hue of this brown. Do you think adding a wee bit of dark brown aniline dye would work? Do you have any best practices, beyond the blog I read 😊. The default if patching doesn’t work is to top the stummel but that reduces the height.
Charles’ email reply came quickly: Hi Dal. Good to hear from you! I hope all is well with you and yours. I have not attempted to fill Brylon. To be honest I have avoided the stuff as there is limited resale value in it. I think you are right – briar dust will show paler against the brylon. Mixing in some dye may do the trick. If not, you can always top the bowl afterwards. Good luck with it. I’ll be interested to see the results!
Charles
Charles’ response was what I was hoping to hear regarding using a mixture of CA glue and briar dust, which is the main component of Brylon though briar is not specified as the wood component. The issue is the coloring. Fiebing’s Dark Brown Leather Dye, which is an aniline dye, I think might be a very close match, but I’ve never introduced dye to a CA glue before – what will it do? The worst-case scenario is that the patch doesn’t work and I top the bowl, turning it into a Pot shape. I’m thinking to first introduce just a small amount of the dark brown dye – a drop, to a puddle of CA glue and mix it thoroughly and see how the CA/dye mixture behaves. Then, as with briar repairs, if the glue/dye mixture looks good, I’ll introduce briar dust and see what happens! With this next day of quarantine in Bulgaria being beautiful, I work outside on my 10th floor Man Cave balcony.
The first two pictures are marking the start – looking at the inside of the rim and then the outside.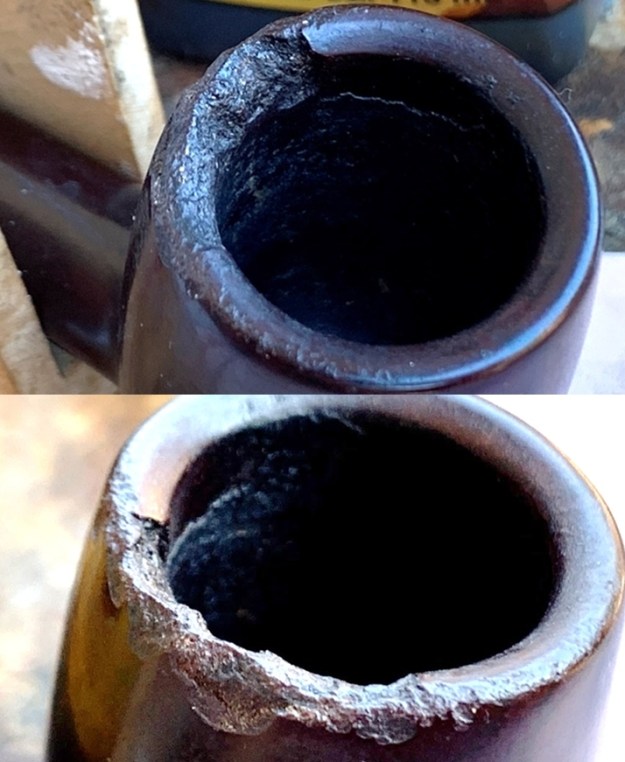 After preparing my plastic mixing palette by covering it with some scotch tape to help in the cleaning later, I place a small mound of briar dust on the palette and next to it, a small puddle of BSI Extra Thick CA glue.
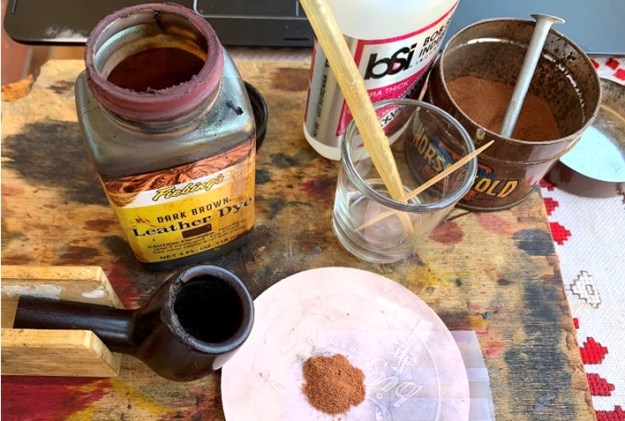 Using an eye dropper, I place one drop of Fiebing’s Dark Brown Leather Dye in the middle of the CA puddle and it immediately expands through the puddle.
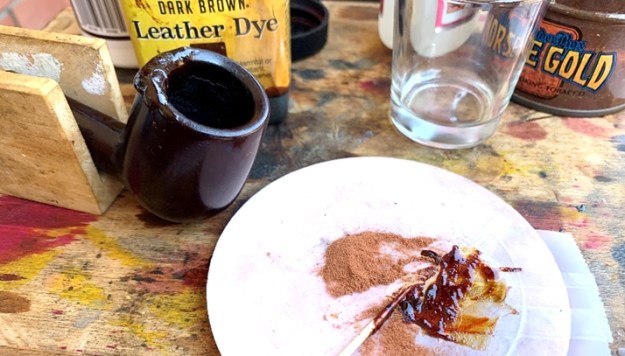
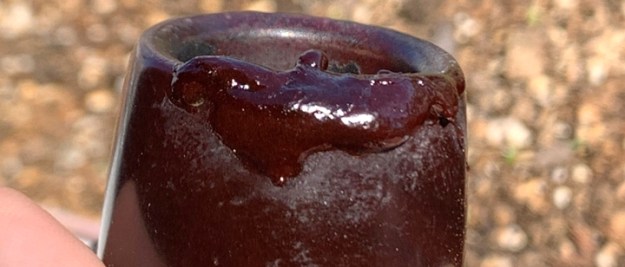
 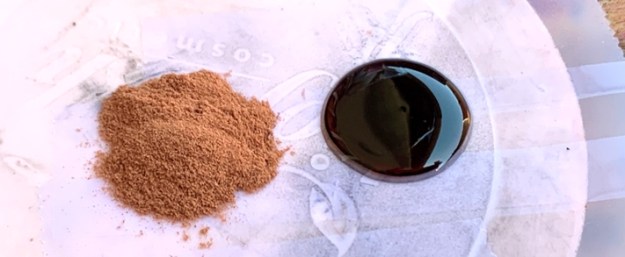 Not able to take any additional intermediate pictures to chronicle the mixing – the clock starts ticking when the briar dust is introduced to the CA glue. I used a toothpick to gradually pull briar dust into the CA/dye, mixing as I go. I noticed that the CA mixture thickened more rapidly than normal with the dye alone, but it didn’t solidify which was what I was concerned about. When the mixing came to a point where the resulting putty was about the consistency of molasses, I troweled the putty to the rim to fully cover the damaged area. This picture shows the progress at this point and a bit of wind-blown briar dust on the Man Cave!
 I use an accelerator to hold the patch material to the rim – it did want to move a bit. Examining the patch in the sunlight, I’m VERY pleased with the color. It appears to be very, very close to the Brylon at this point in the process.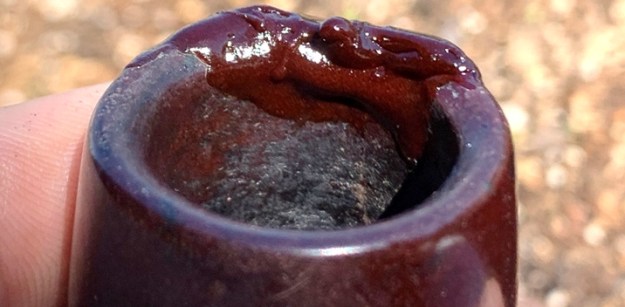
 With the same approach now as with briars, I start with the outer rim and file the patch mound down to near-flush with the Brylon surface.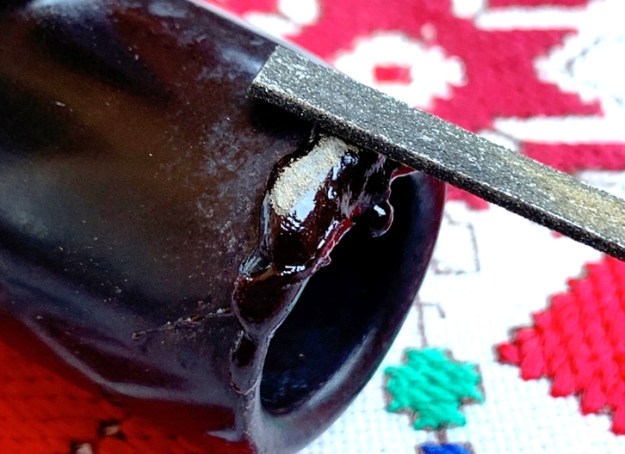
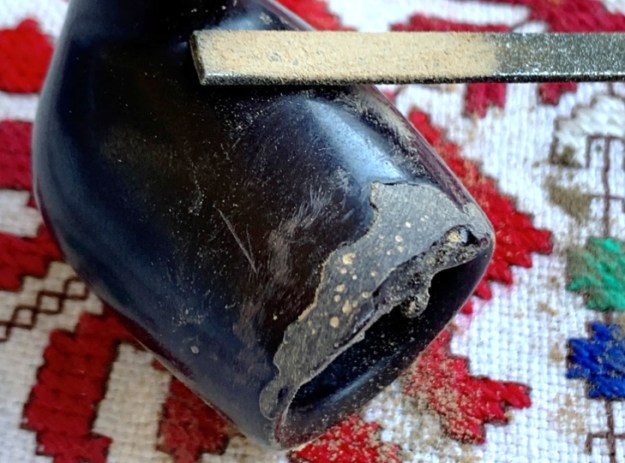 Before moving to the inside and top of the patch, I use 240 grade sanding paper on the external rim patch. I’m anxious to see what it does. As I sand, pockets do appear in the patch area in this rough state.
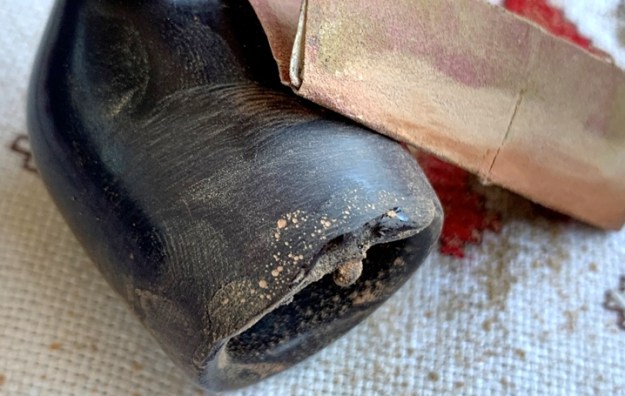 Switching to the internal rim patch area, I mount a sanding drum to the Dremel and bring the patch down to flush.
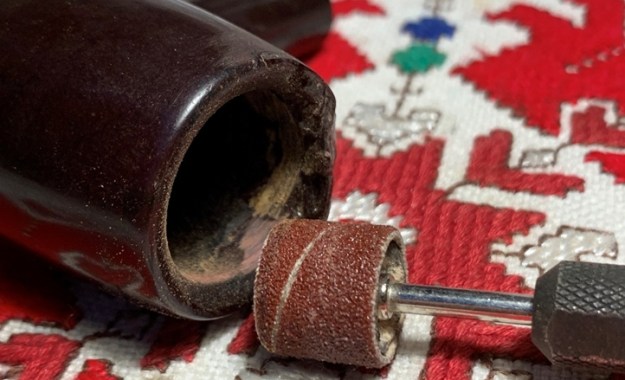 Carefully, I use the drum on the top as well. I do not want to be too aggressive by sanding below the plane of the rim with the more powerful mode of sanding.
 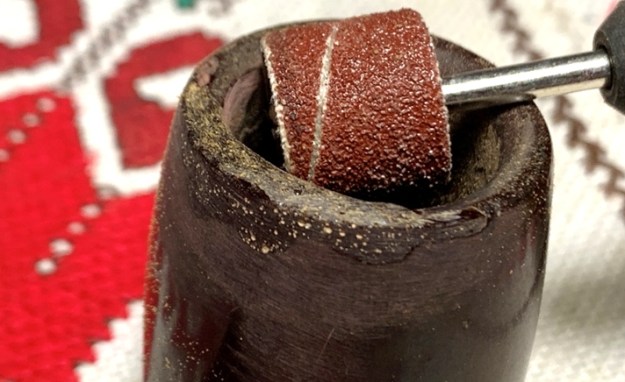 Following the sanding drum, continuing with 240 paper wrapped around a Sharpie Pen, the chamber is sanded to help blend the patch area and to clean the chamber. Then 240 sanding paper is redeployed to fine tune the rim contours and to smooth the patch. The color match is looking good but at this rough state, the patch area on the rim reveals the air pockets which I’ll work on masking in the later stages.
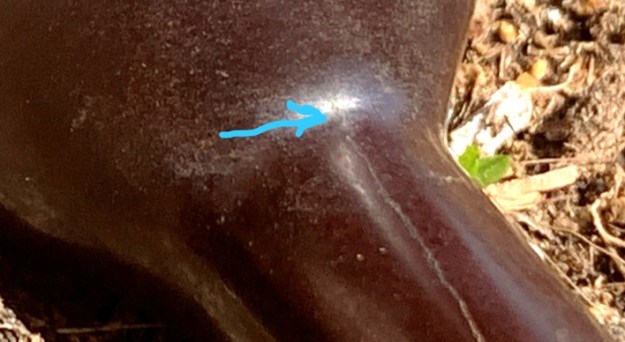
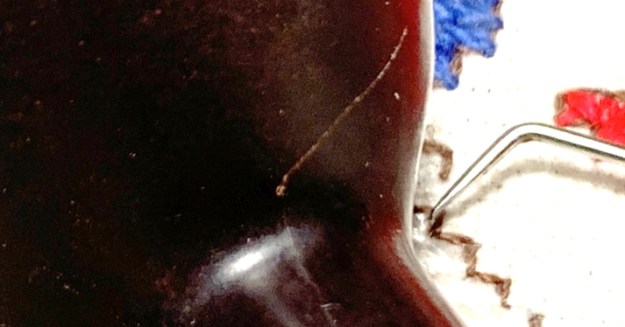
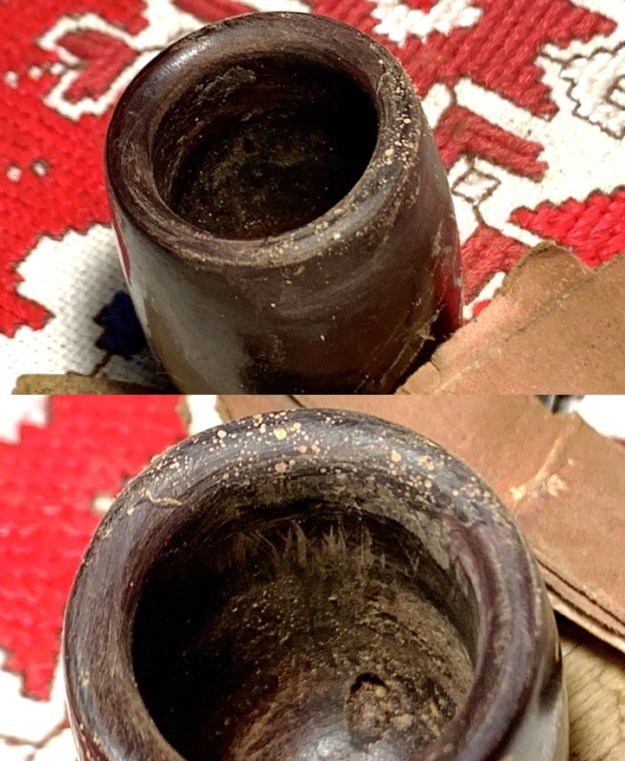 Having reached this point in the repair on the rim, before doing more sanding to improve the rough patch area, I address the shank crack. The question rolling around in my mind regarding Brylon is whether I should drill a counter-crack creep hole at the end of the crack? The crack ends at the shank/bowl merger. The two pictures show the crack and a closeup of the end of the crack. Working on the Man Cave balcony, the best angle of sunlight to see the crack was in the flower box hanging over the edge of the balcony with signs of early spring sprouting in Bulgaria!
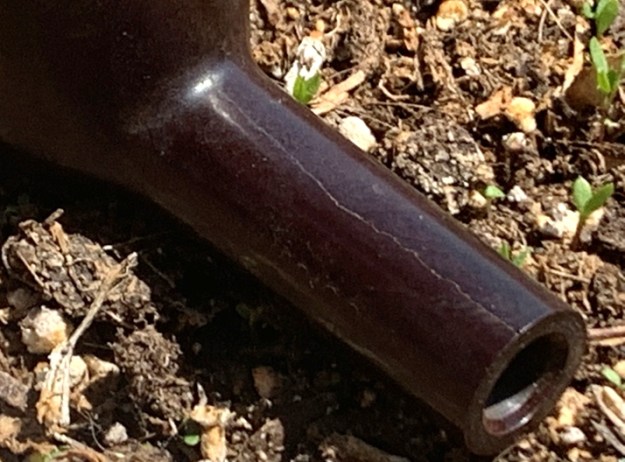 Marking the end of the crack with an arrow, the crack has turned the vertical corner and is on the bowl side – just slightly. Since this is the first time working on Brylon and I haven’t found others who have complied a list of ‘best practices’ working with Brylon, I decide to drill the hole to be on the safe side. Earlier, I had decided not to reinsert the stem because it seemed that it was too tight and may have caused the crack. I’m thinking that the best way to address the crack is first, to drill the counter-creep hole. Following this, carefully reinsert the tight stem and allow the nickel filter housing to expand the crack allowing thinner, regular CA glue to seep into the cavity assuring a stronger bond. I’ll then remove the stem, closing the crack and hopefully removing the threat of the crack advancing. I’ll be thinking about whether to use a band to protect the shank for future use.
 To prepare to drill, I use a sharp dental probe to create a guide hole for the drilling. It took the use of a magnifying glass to identify the end of the crack. Unfortunately, there was a bit of collateral damage, but nothing serious. When I applied pressure to the dental probe to imprint the indentation for a guide, I discover the Brylon to be much harder than briar and with the additional pressure that was needed, the probe skidded off to scratch the stummel. Ugh! – it will sand out later.
 Next, after mounting a 1mm drill bit onto the Dremel, I carefully drill a hole using the guide hole – a great help in keeping the hand-held drill bit from dancing around! I’ve gotten better at drilling these holes freehand with the handheld Dremel extension – my main work tool.
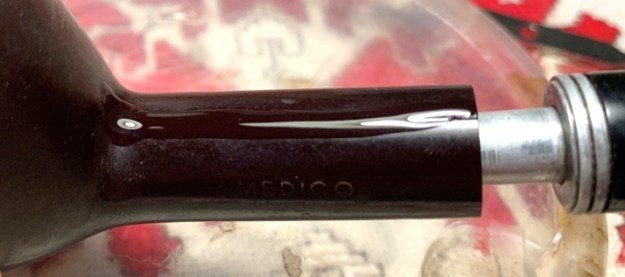
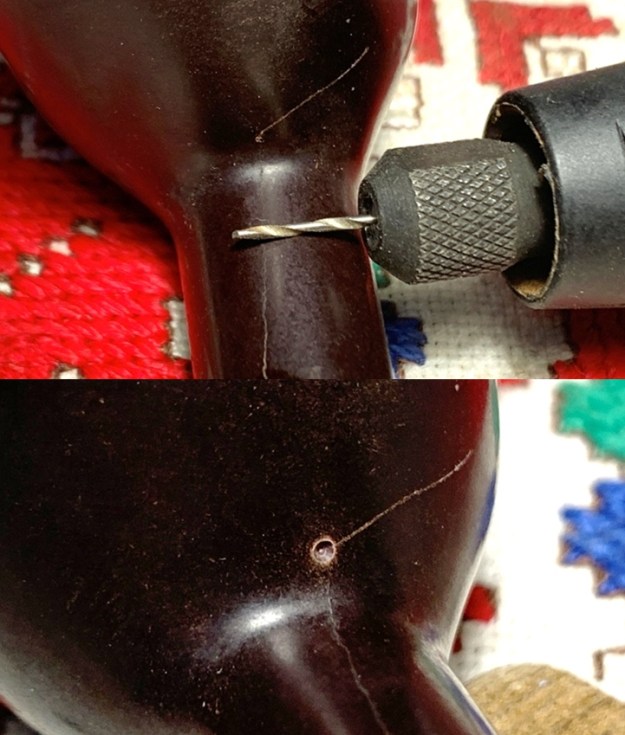 With the hole drilled, with fear and trembling I coax the filter housing into the mortise and as expected, the terribly tight fit helps expand the crack for a more effective application of CA glue. I must be honest; I was bracing myself for the stummel to split, but thankfully it didn’t! I will address the fit later after the shank is repaired and stabilized.
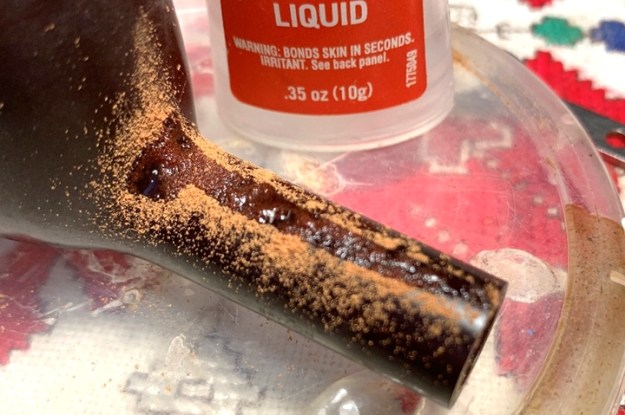
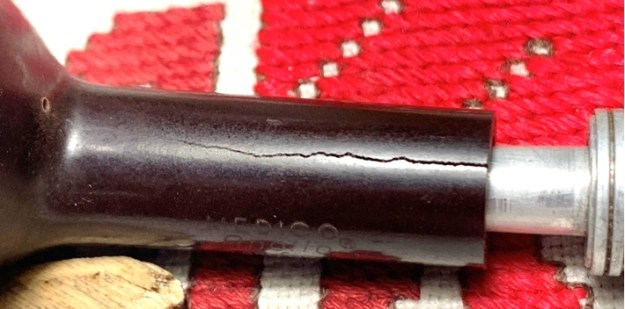 With the crack expanded, a line of regular CA glue is run starting from the hole down the shank to the shank facing. After laying down the glue, the stem is extracted, and the crack again compresses with CA glue in the cavity.
 For some cosmetic help and to keep the glue in place, I sprinkled the glue line with briar dust. I put the stummel aside to allow the glue to cure.
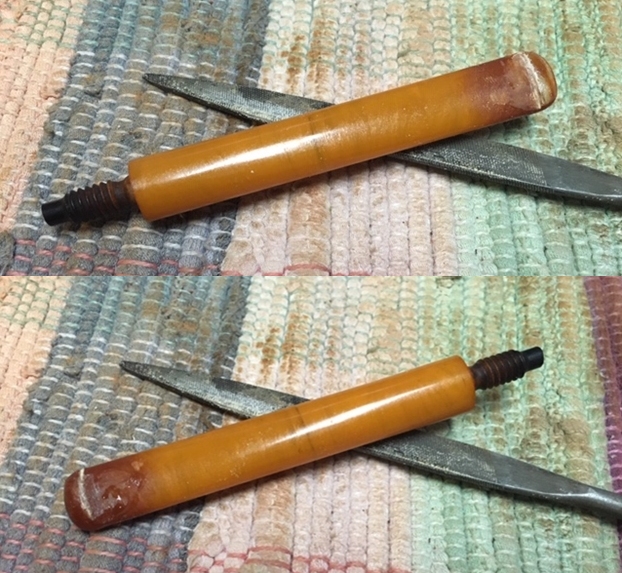
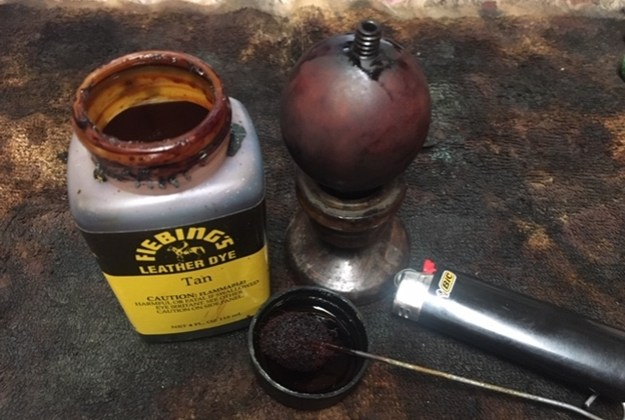
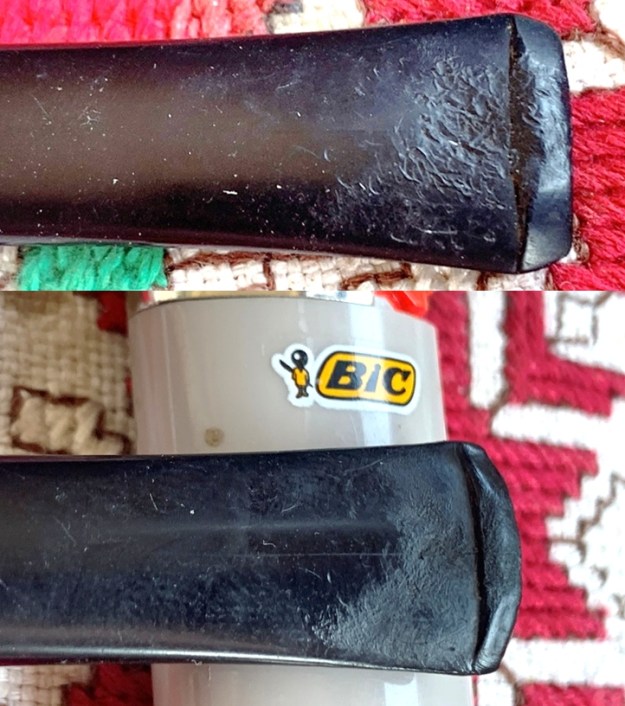
 With the Brylon bowl on the sidelines, I turn my attention to the stem. The first step will be to repair the chewed bit – Two-Page Sam’s trademark! I take fresh starting pictures of the upper and lower bit to show the carnage. After each of these, is the comparison picture after using the heating method to minimize the damage. Using a Bic lighter the bit is painted with the flame heating the rubber and helping it to expand to regain some of its original disposition. I think the heating definitely improved the minor chatter so that for the upper bit, sanding should be all that is needed with some filing to freshen the button.
  For the lower bit, again, chatter was minimized but patching will still be required for the compressions.
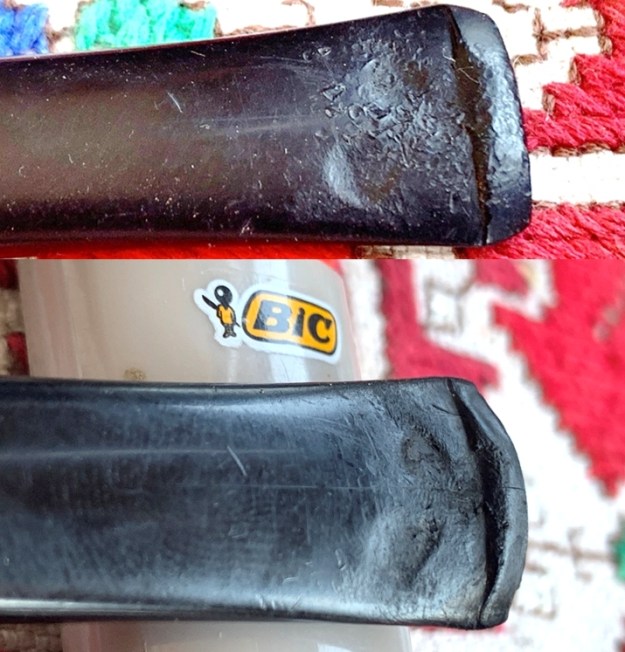 Medium-Thick Black CA glue is used to do the fills. After filling the deep compressions, I set the stem aside to allow the CA glue to cure.
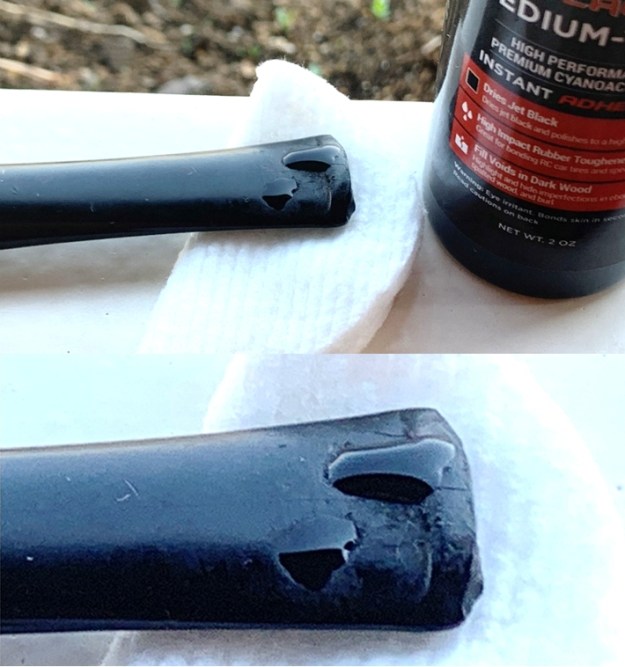 After the fills have cured, a flat needle file is used to file down the patch mounds and to shape and refresh the button.
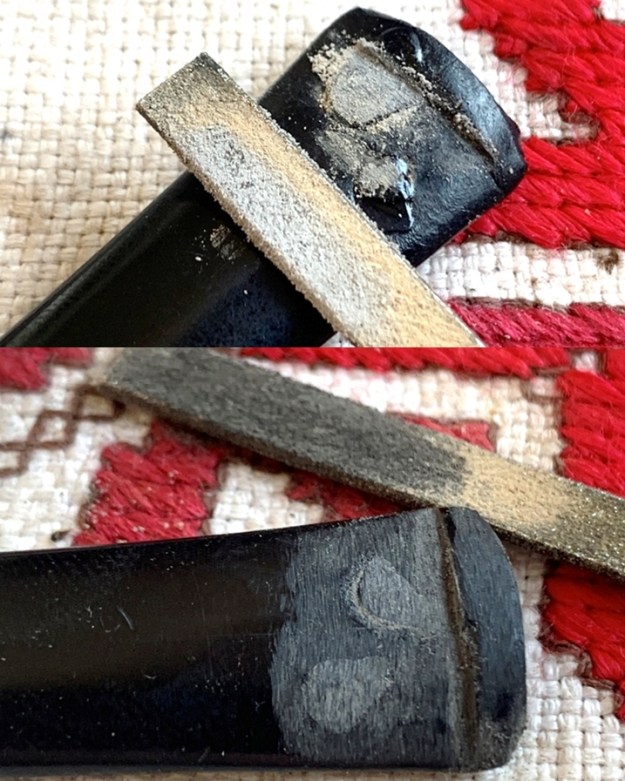 The upper bit also is the recipient of the filing to file out the more severe chatter and shape the button.
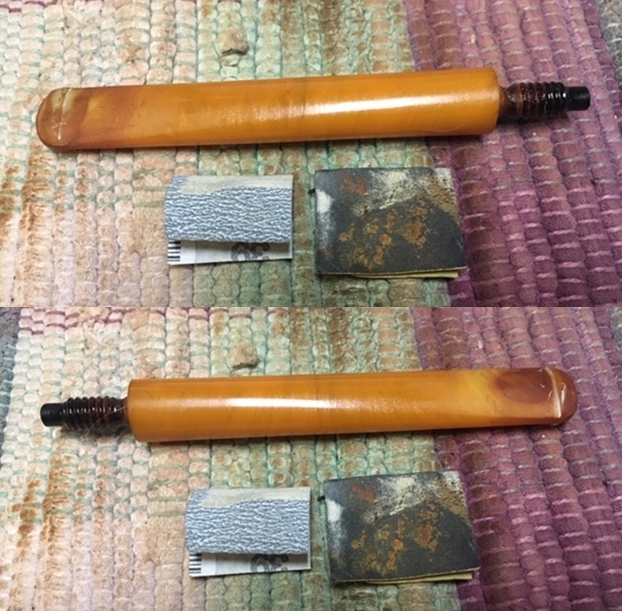
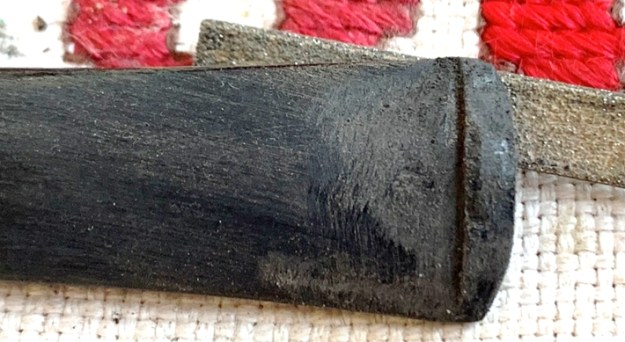 After the filing, 240 grade paper is used to further smooth the upper and lower bit. The repairs on the lower side are looking good.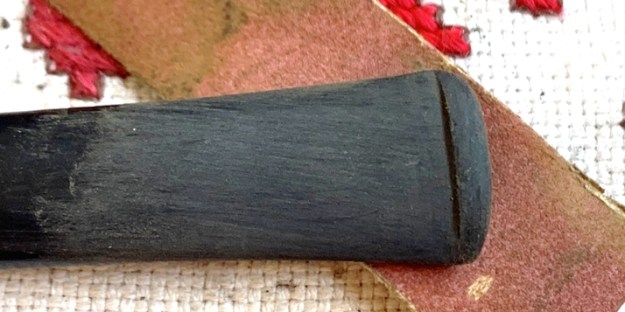
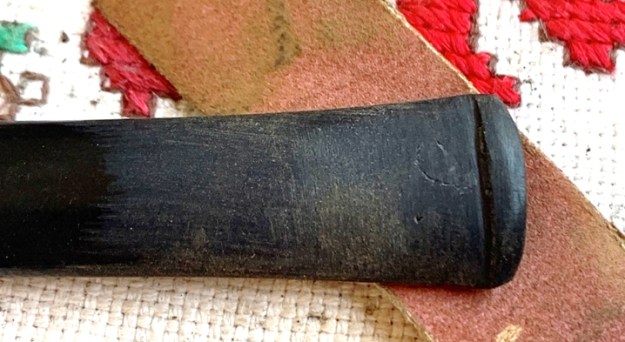 About mid-way on the lower side of the stem there is a dent and a divot. I expand the 240 paper sanding to the entire stem to address these issues and to remove any oxidation hanging on. I’m careful to guard the Apollo ‘A’ stamping from the sanding.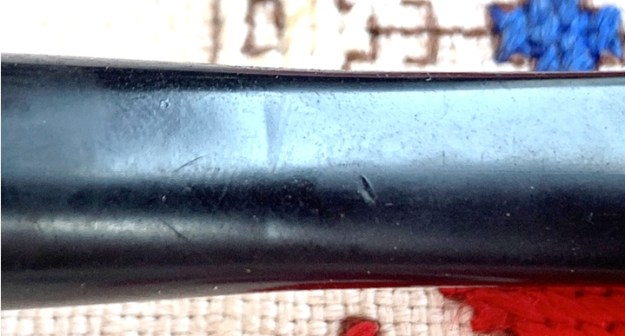
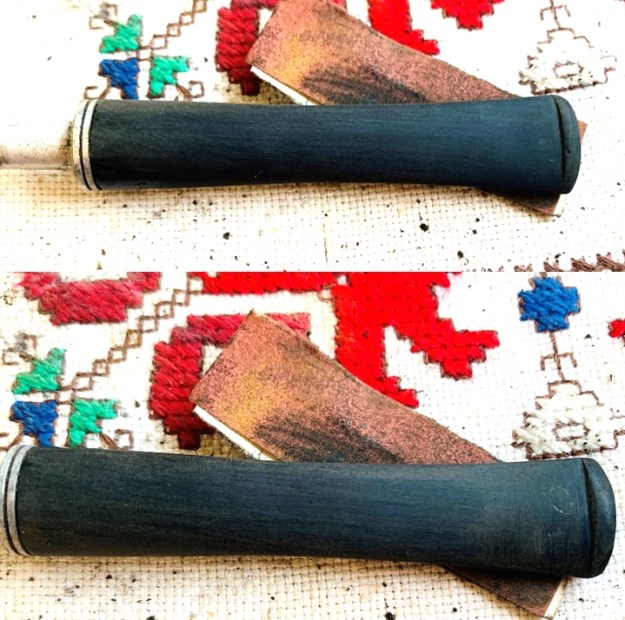 Before going further with the fine sanding, I remembered that earlier that it was very difficult to clean the stem’s airway because the bit area was too compressed from Paw’s chewing the bit. To address this, I start a new pipe cleaner down the airway while warming the bit with the hot air gun. I warm it on the upper bit avoiding the fills that are on the lower bit. I do this to avoid dislodging the fills which will not expand the same as the rubber.
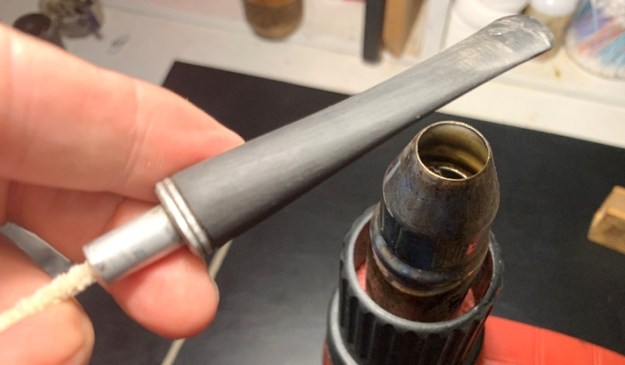 It works like a charm. As the vulcanite warmed it becomes supple and I move the pipe cleaner gradually through the airway as the compressed area relaxes. When the pipe cleaner is moving freely and normally, with the pipe cleaner remaining in the airway, I run the stem under cool tap water setting the expansion in the vulcanite airway.
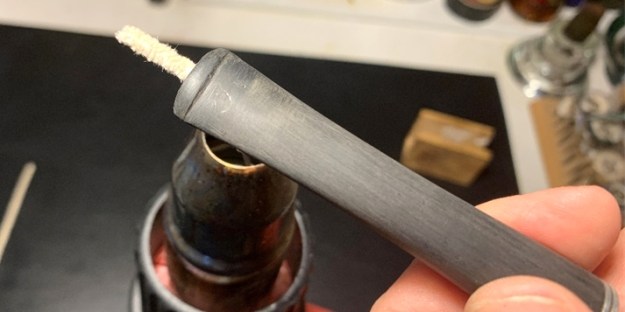 Next, the entire stem is wet sanded using 600 grade sanding paper followed by applying 000 grade steel wool as I normally do with briars. The nickel stem facing and filter housing also receive attention from the steel wool and clean up very nicely.
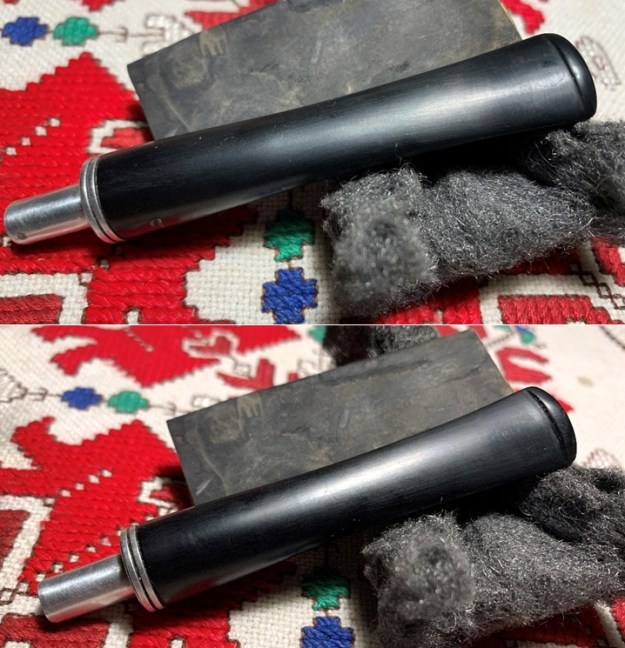 Putting the stem aside, I focus on the shank repair. The glue has cured, and I use 240 grade paper to clean away the excess patch material from the surface of the shank. The half-rounded needle file helps to remove the thicker patch buildup at the crook of the shank and bowl.
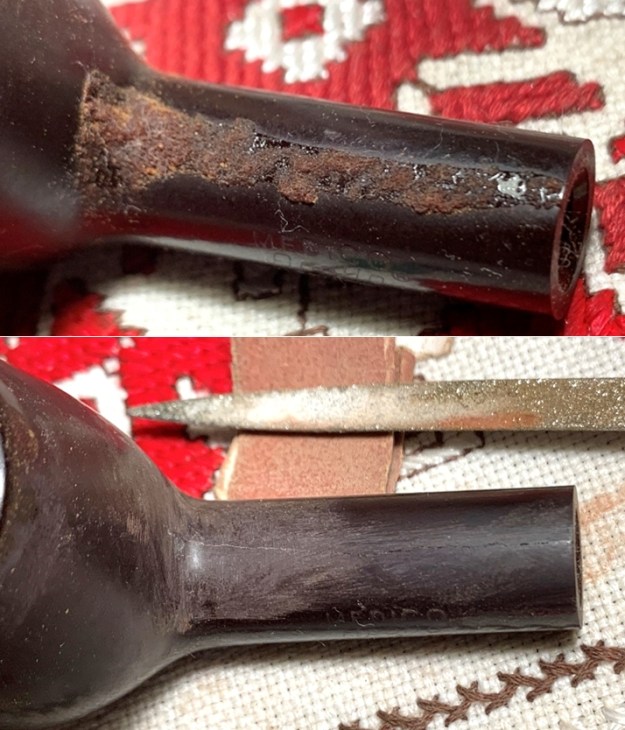 Charles Lemon’s blog on ‘Dad’s Pipes’ was helpful to know what to expect working on the sanding and polishing of Brylon – or, what NOT to expect. He found that Brylon does not polish up like briar but remains somewhat speckled and a dulled finish. With my repairs on the Brylon being more intrusive than Charles’ experience, my concern is for the overall blending of the surface. Will the area of Brylon that has received more focused 240 sanding appear differently from the other areas in the end? To avoid this, I decide to encourage overall blending beginning with wet sanding the entire bowl, including the patch, with 600 grade paper. This is followed with applying 000 steel wool. The following pictures show the result – a darkening of the Brylon finish and with the uniform blending that was my hope. This result encourages me to continue the fine sanding on the Brylon surface but also to continue blending the patches.
 Before moving forward with sanding and polishing of either the stem or stummel, one more technical challenge has yet to be remedied: the fit of the stem into the mortise. With the shank crack glued, the last thing I want to do is to crack it again! The picture shows the irregular shaping of the nickel housing.
 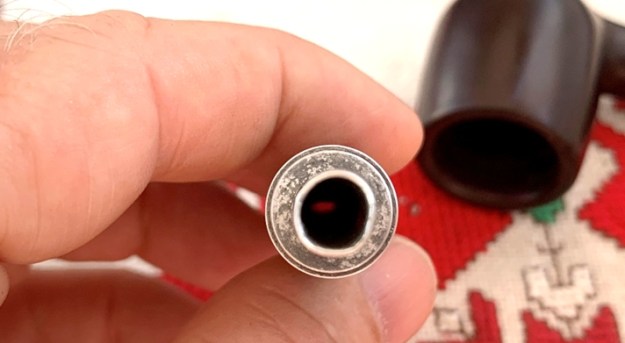 The starting place is to ‘re-round’ the housing. I use needle-nose pliers to do this. First, I heat the nickel with the hot air gun to encourage movement in the metal without splitting it.
 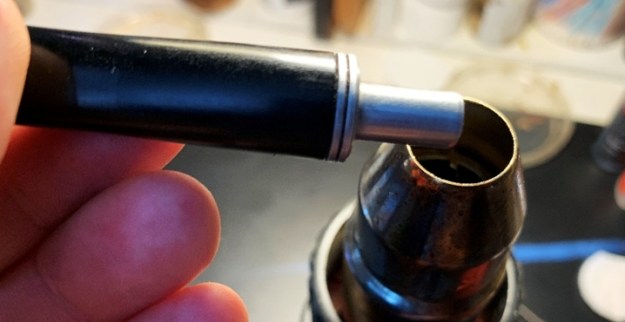 After heated, with the closed needle-nose pliers inserted into the nickel housing, I slowly turn the stem and apply gentle pressure to coax the nickel into a more rounded orientation. Patience is key!
 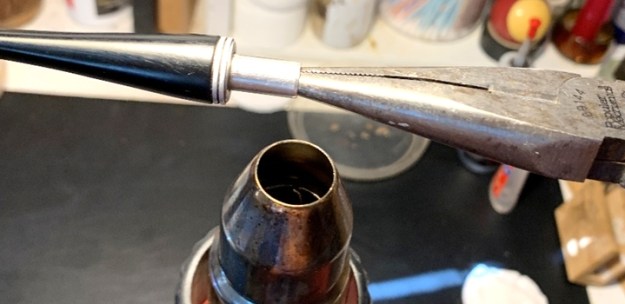 Not perfect, but much better. I don’t want to put too much stress on the nickel, so I decide to stop.
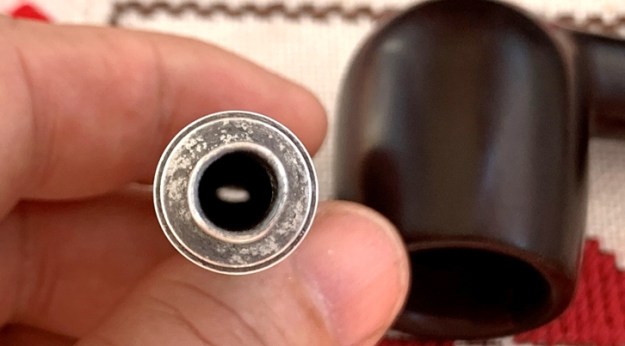 No surprise – I try a half-hearted attempt to engage the stem and stummel but fit remains too tight. The next step is to relieve the internal mortise pressure.
 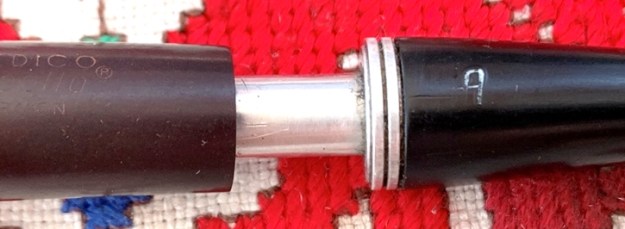 I find a drill bit small enough to accommodate being wrapped with 240 grade paper and able to navigate the mortise. Once, I get the best fit, I sand the mortise and attempting to fit the stem as I go.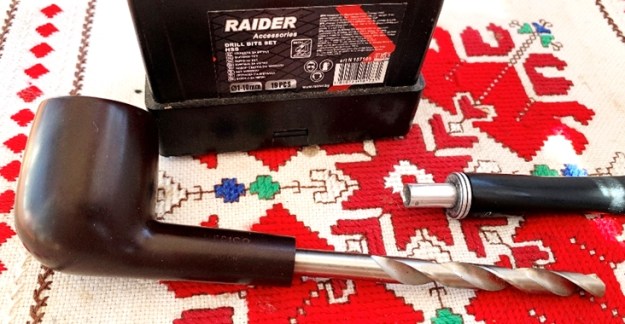
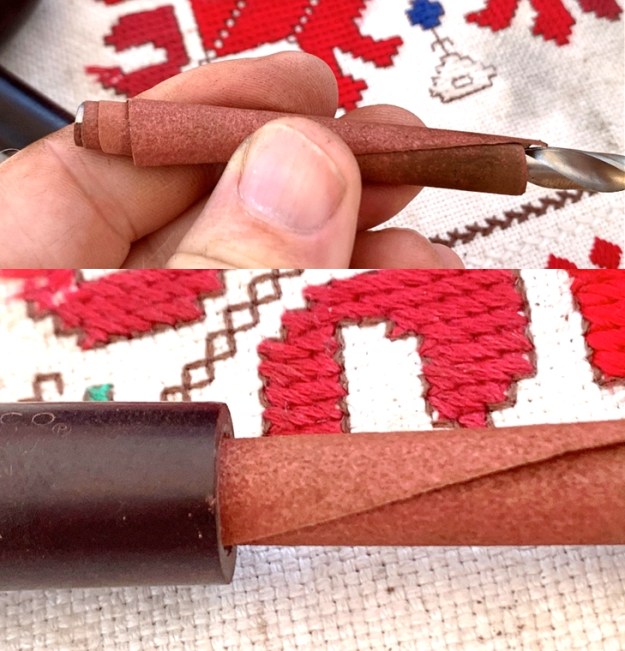 It becomes clear that the roundness, or lack therein, of the filter housing was continuing to cause problems with ‘high spots’ as I attempted to rejoin the stem. After returning to the hot air gun and making further adjustments to the nickel housing, I achieved a round housing that fit BUT the adjustment now left the housing lose in the mortise…ugh. The restoration nightmare – repairing a repair.
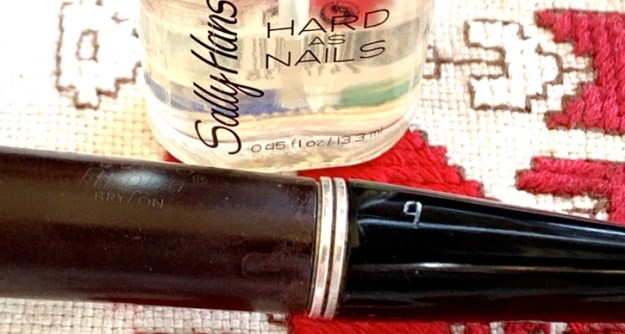
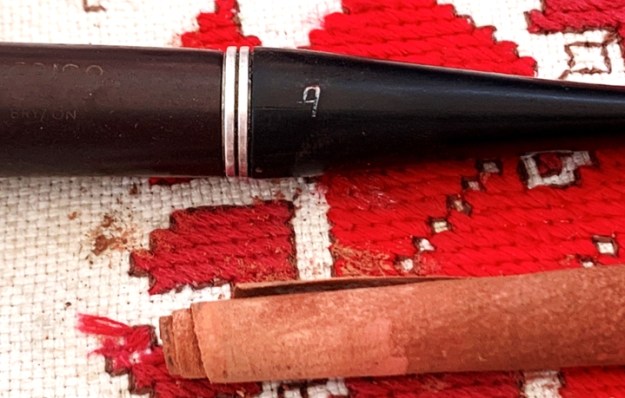 The solution I decided on was to rebuild the internal mortise grip by painting the mortise with acrylic nail polish. I paint the mortise walls with the small brush provided, wait for it to dry and then paint it again, adding an additional layer. This was not part of the plan…
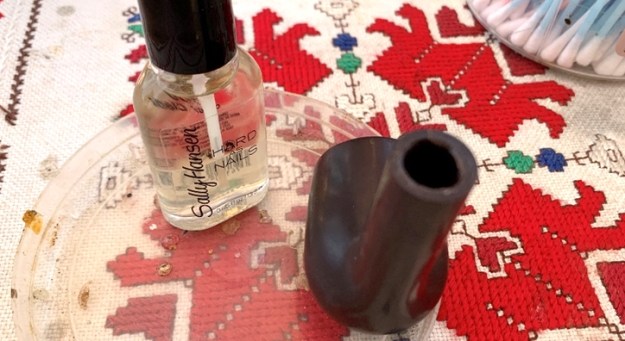 After several revolutions of adding layers of acrylic polish, the grip in the mortise was restored. A detour but moving forward!
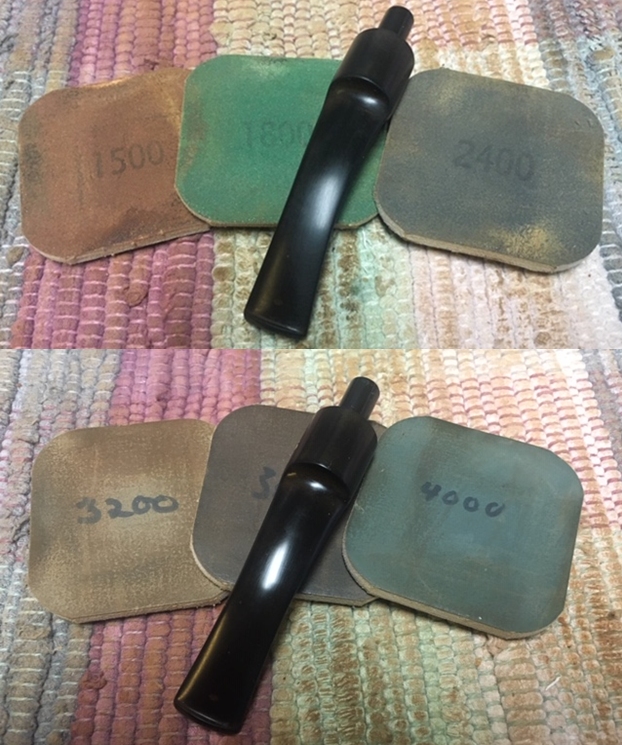
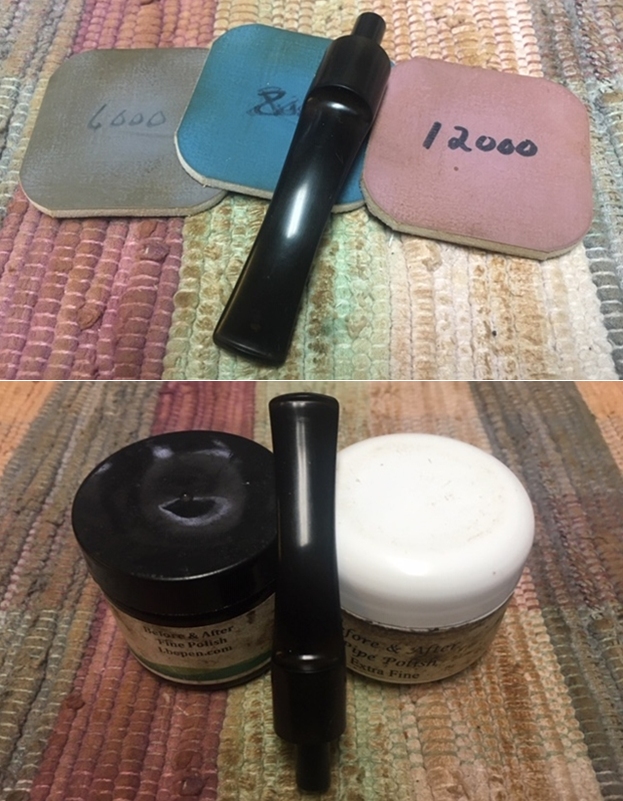
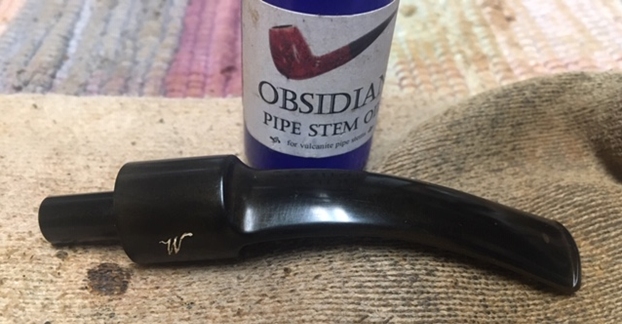
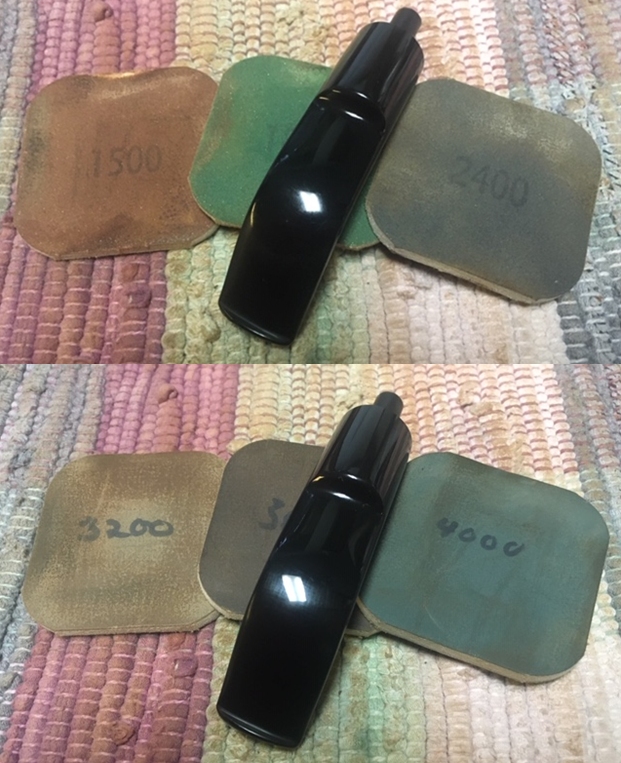
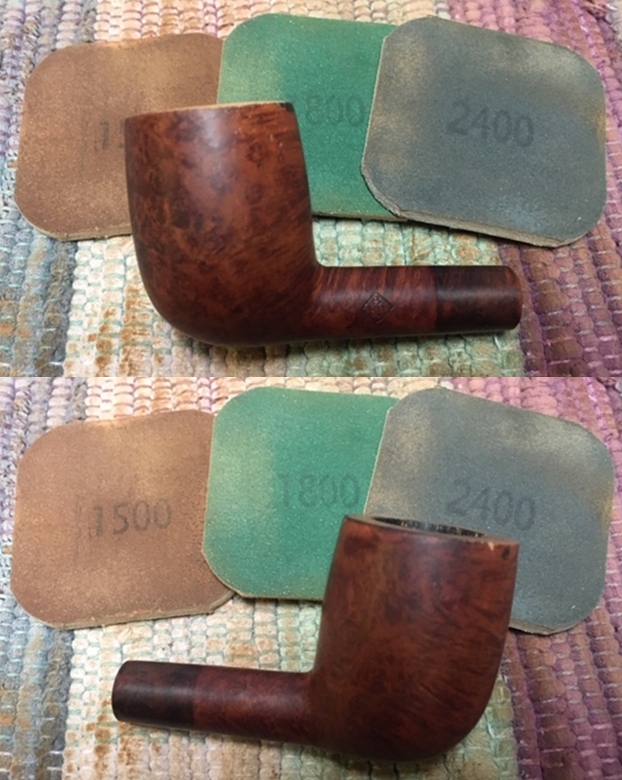
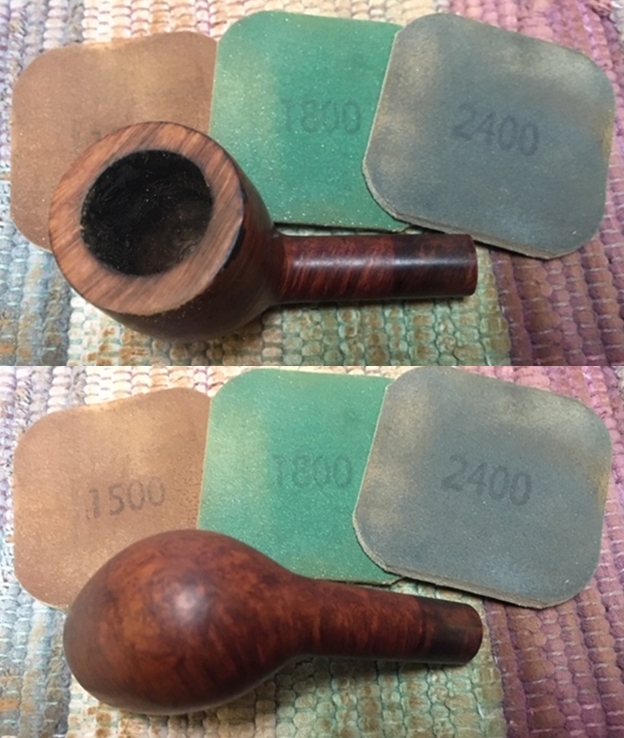
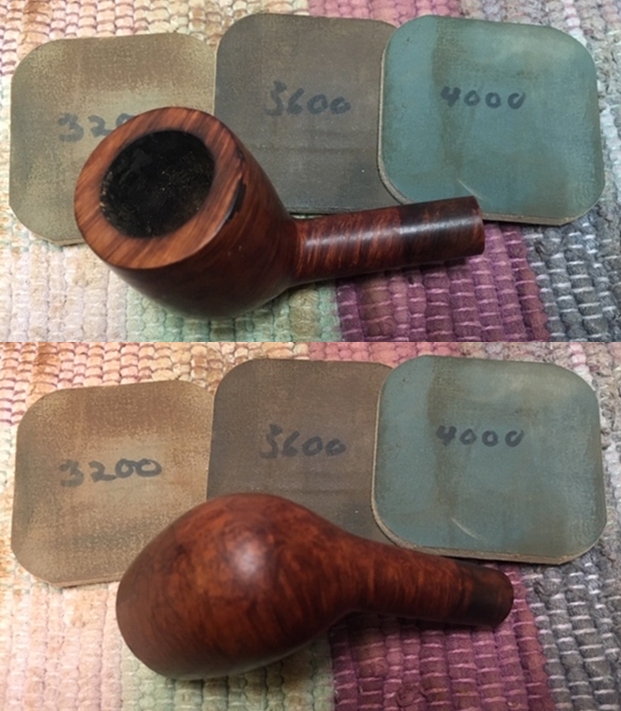
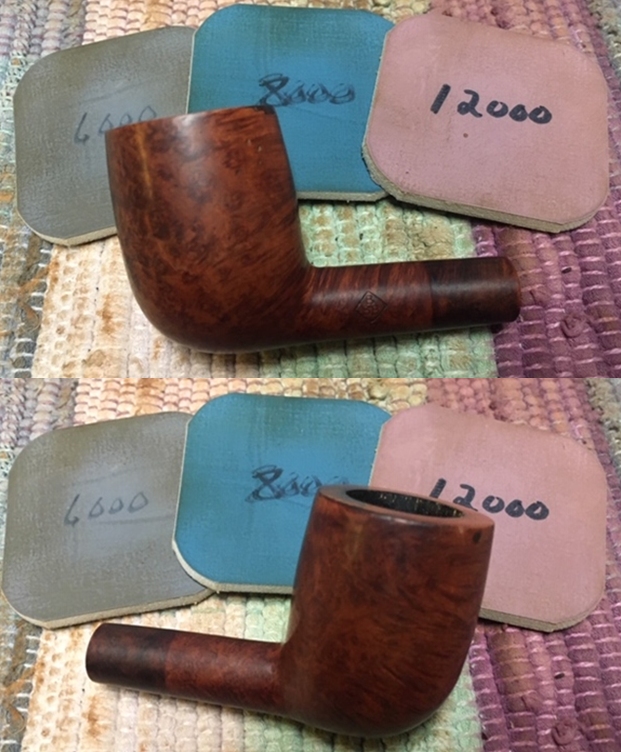
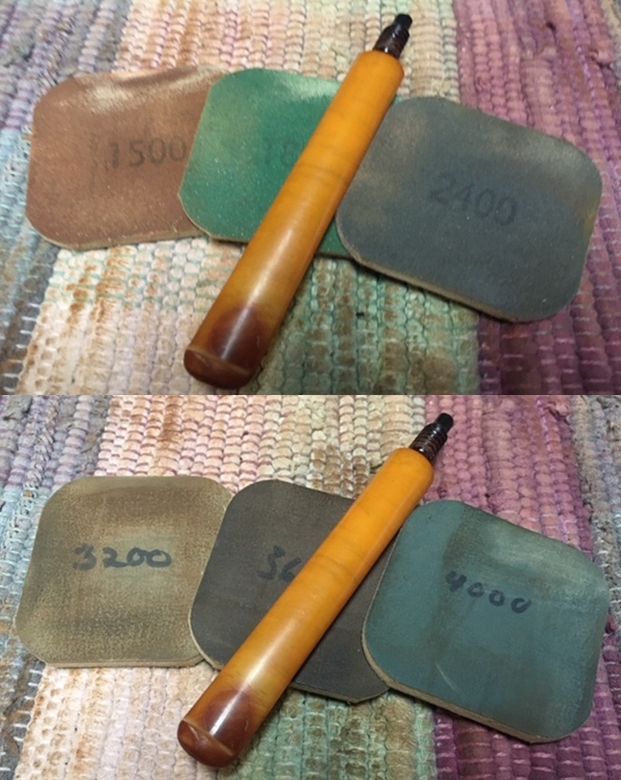
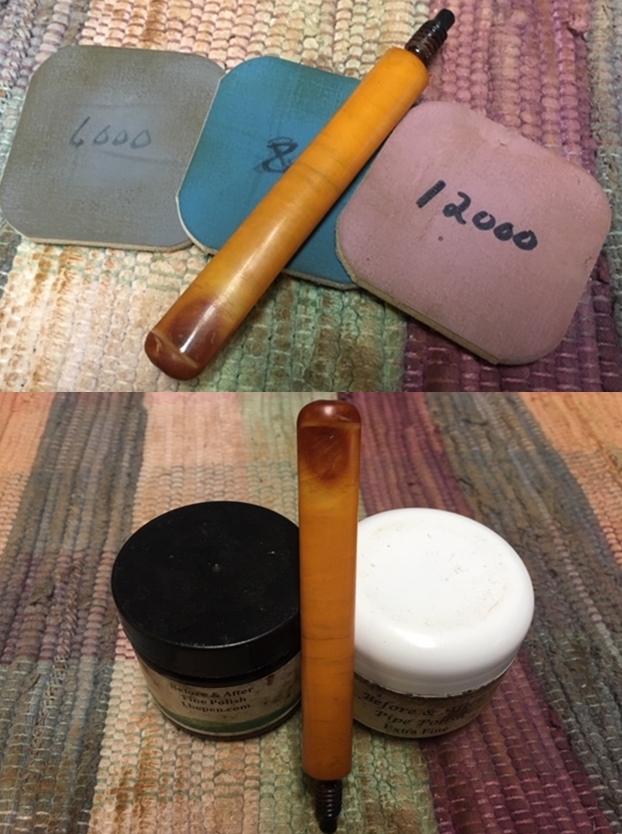
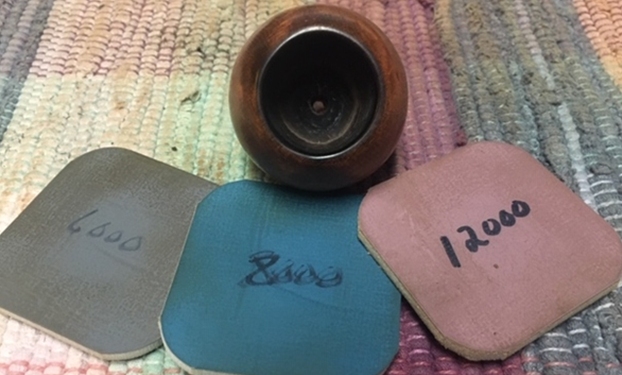
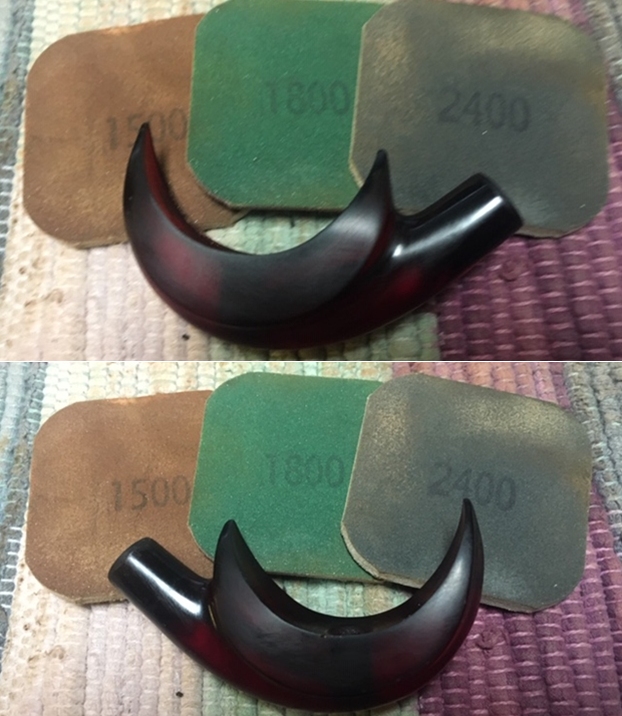
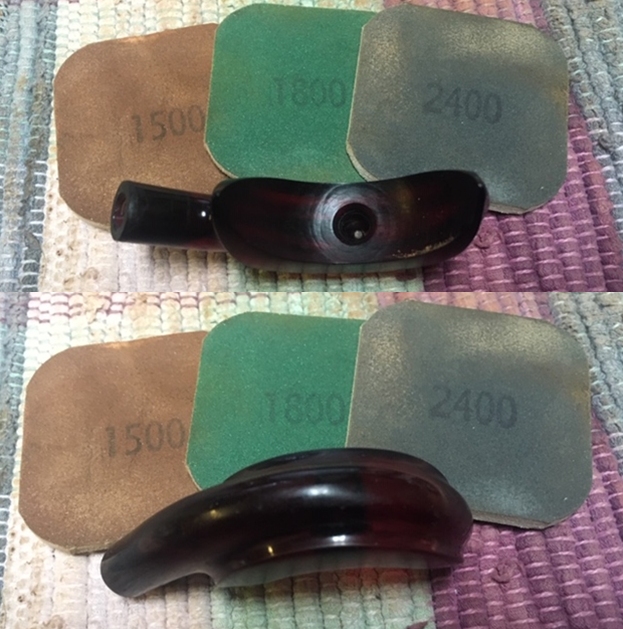
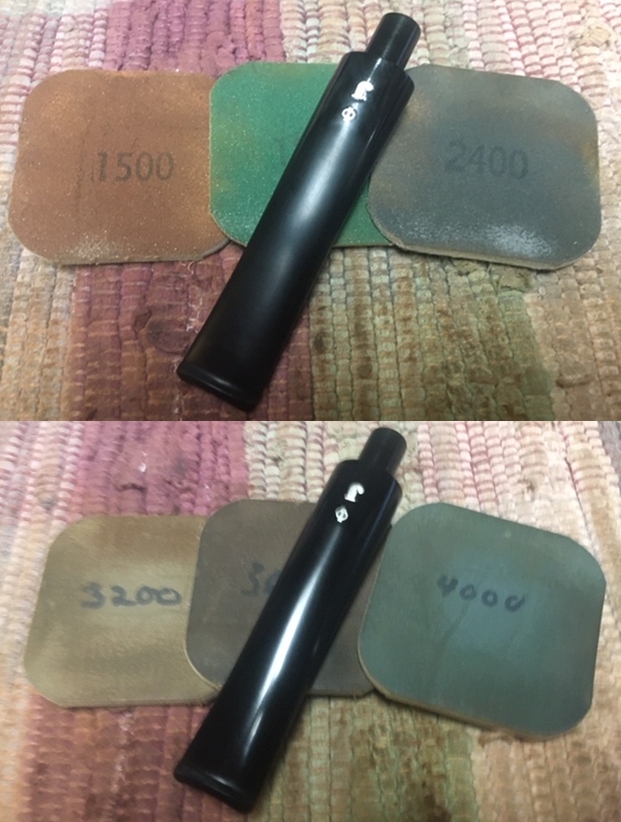
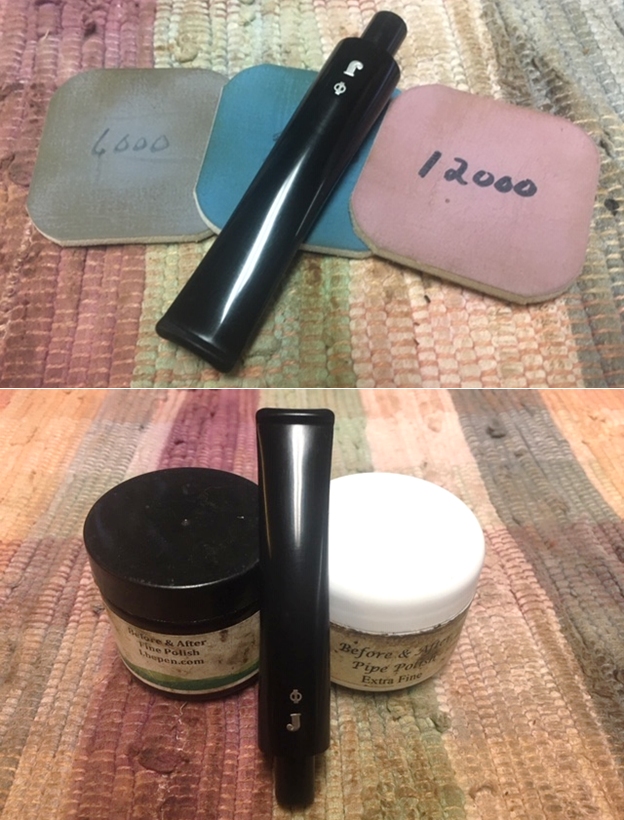
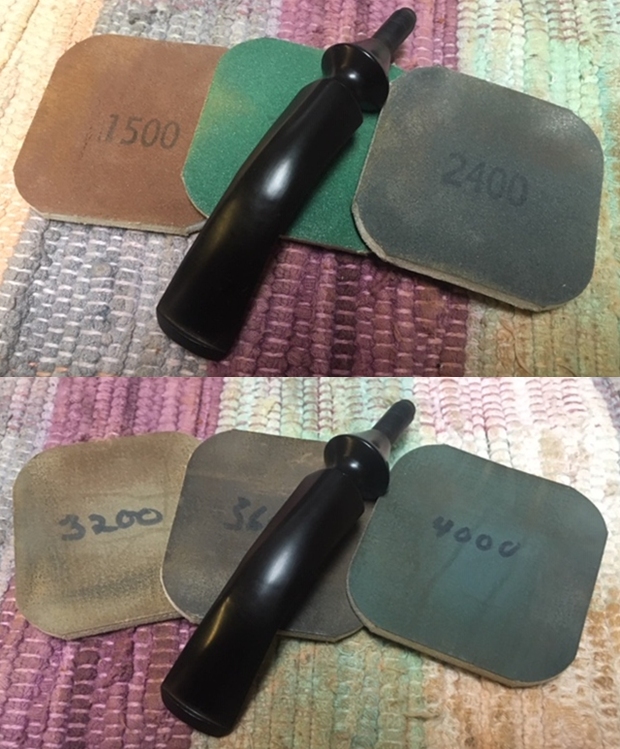
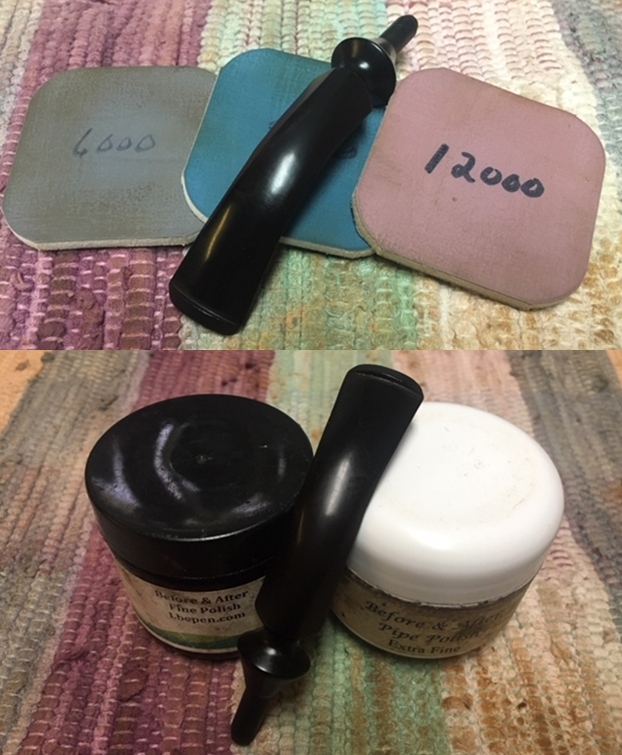
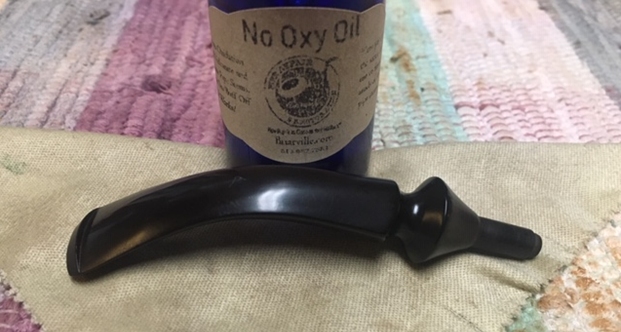
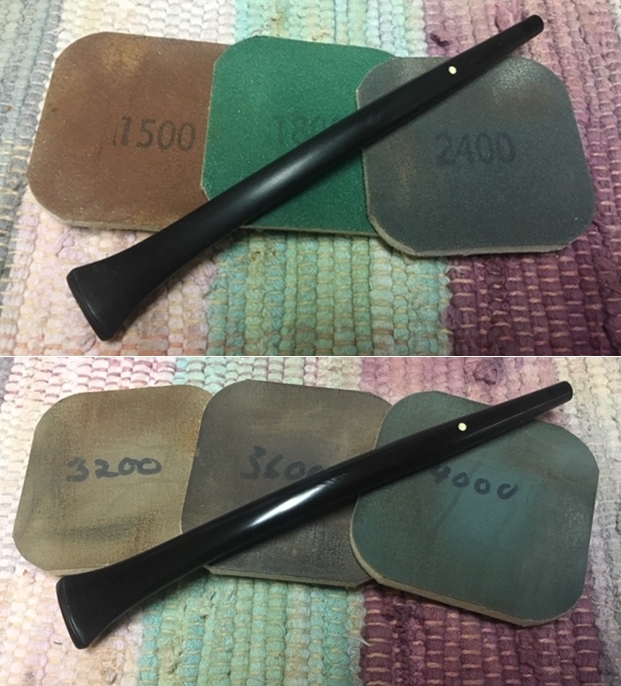
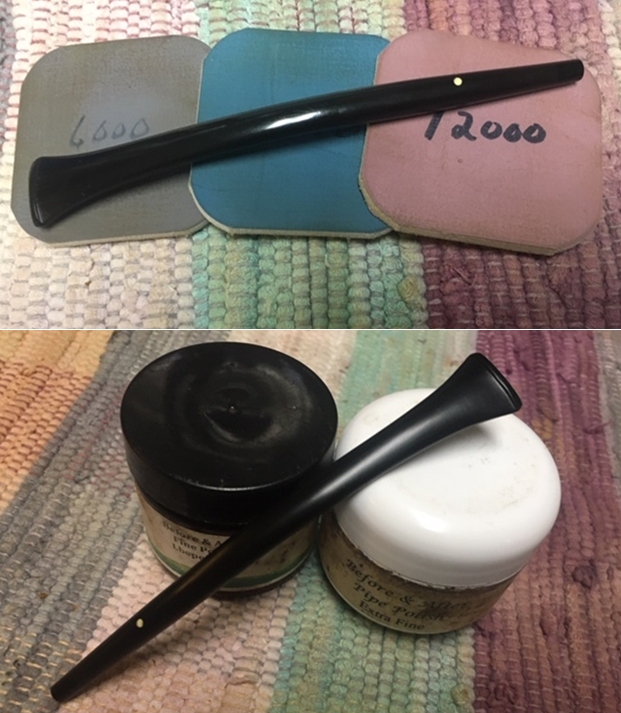
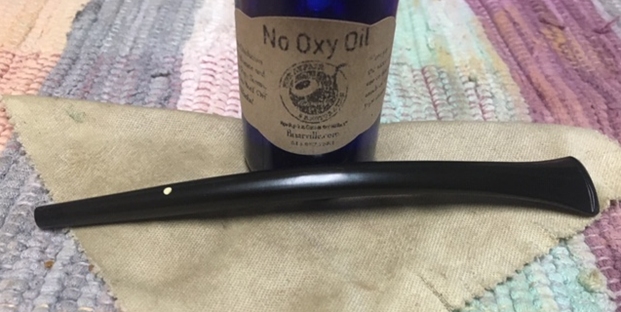
 The full regimen of micromesh pads is applied to the stem starting by wet sanding with pads 1500 to 2400 followed by dry sanding with pads 3200 to 4000 and 6000 to 12000. Between each set, Obsidian Oil is applied to condition the stem and protects it from developing oxidation. The stem is looking good!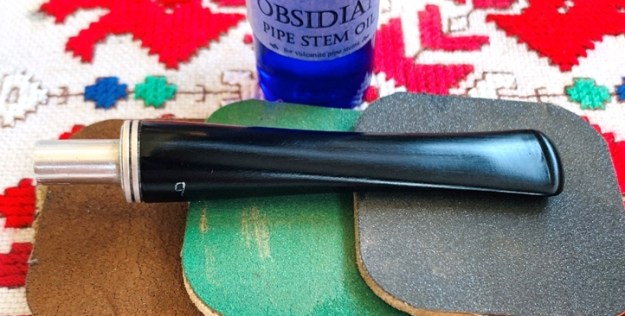
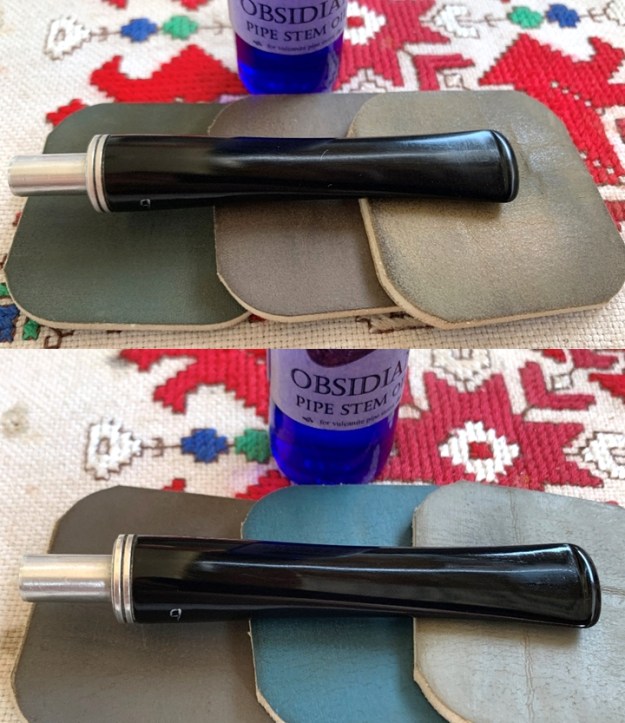 I decide to run the Brylon stummel through the full micromesh battery as well. I’m not sure it will enhance the shine much, but I want to continue the process of blending the entire stummel surface, including the rim patch. Wet sanding begins with pads 1500 to 2400 and is followed by dry sanding with pads 3200 to 4000 and 6000 to 12000. The results are good. The surface did shine up and the color deepens.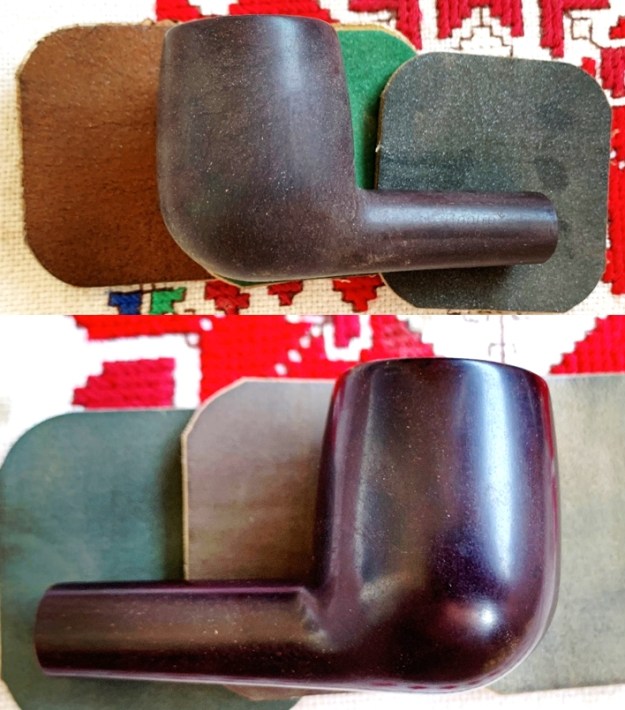
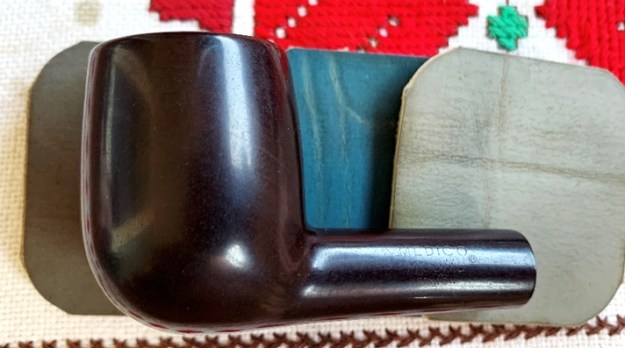 Before applying Blue Diamond compound, I want to apply some cosmetic touches. The crack in the shank is visible as a lighter line. The large rim patch is speckled as well. Using a walnut colored dye stick, I apply it to the shank and to the rim with very nice results. The dye helps the blending.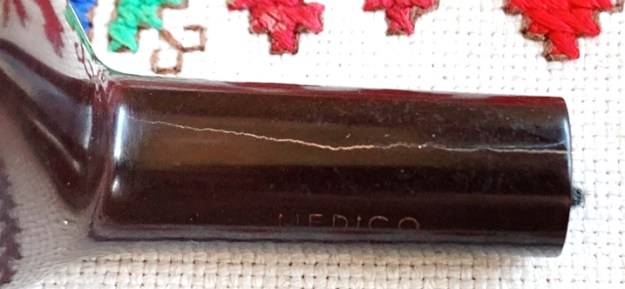
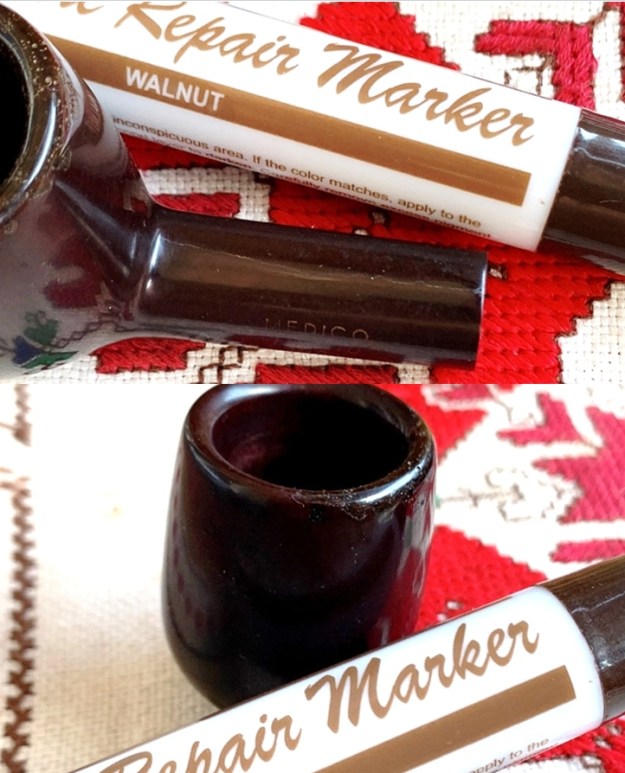 Next, to continue with polishing, I apply Blue Diamond compound to the stem and stummel after mounting a cotton cloth buffing wheel to the Dremel with the speed set at about 40% full power.
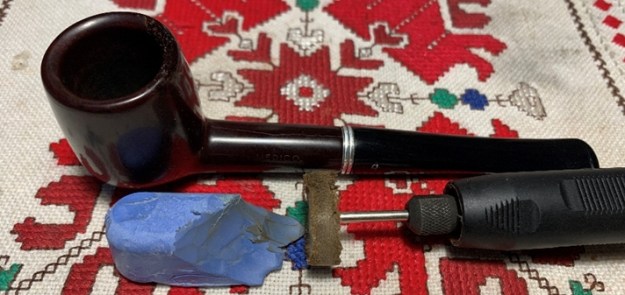 After completing the application of Blue Diamond, one more cosmetic project awaits attention before applying wax. The Apollo ‘A’ stamping needs refreshing.
 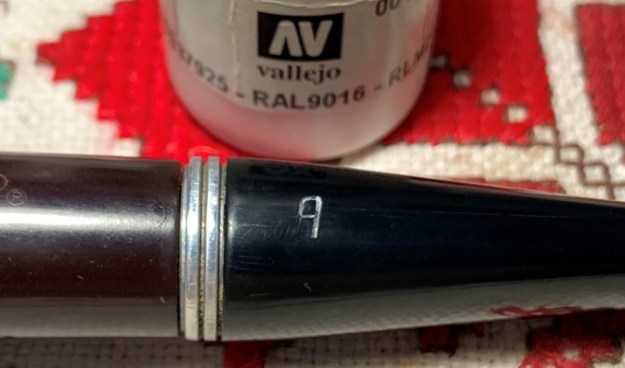 I apply a small dab of white acrylic paint over the stamping.
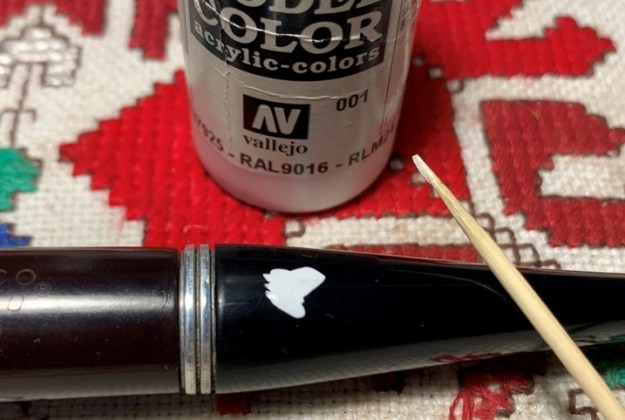 Then, with a cotton pad, I tamp the paint drawing off the excess paint leaving a thin layer of paint over the stamping which dries very quickly.
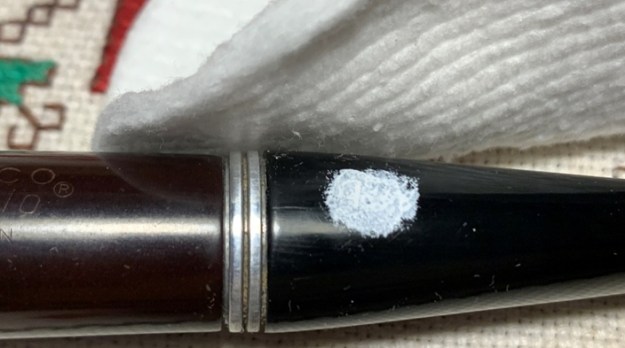 Then, using a toothpick’s flat side, I lightly scrape over the stamping to remove the excess paint leaving behind the paint in the imprint. The ‘A’ appears to be partially worn and the paint only hold where the imprint is deep enough. It looks good!
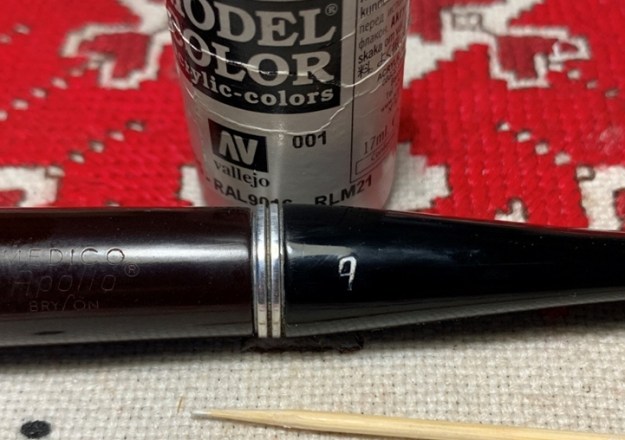 Finally, another cotton cloth buffing wheel is mounted onto the Dremel, set at the same speed, carnauba wax is applied to the entire pipe. The Brylon doesn’t absorb like briar so the wax seems to only make a very superficial shining on the surface. Because of this, very little wax was needed on the surface.
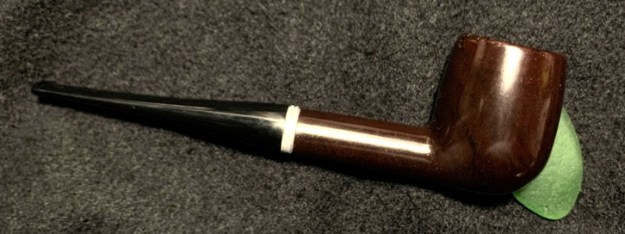
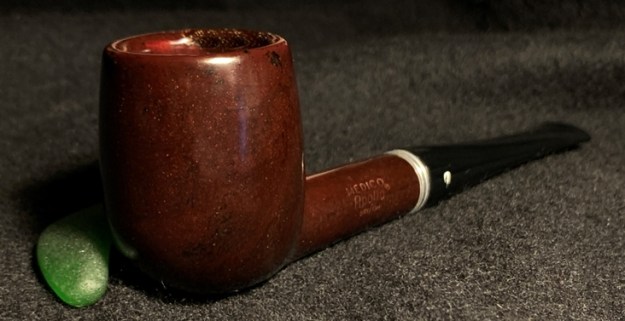
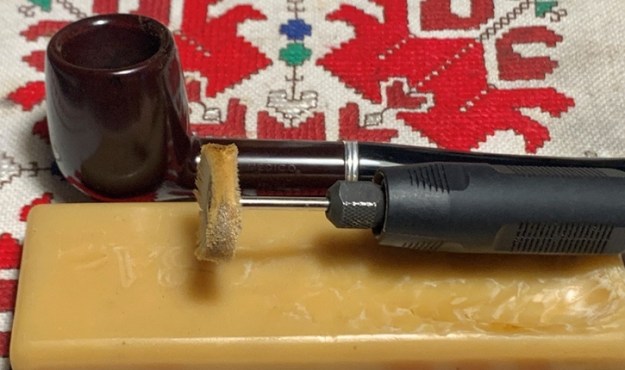 After completing the wax application, the final step in the restoration of Paw’s Medico Apollo Brylon was to give it a rigorous hand buffing with a microfiber cloth to raise the shine.
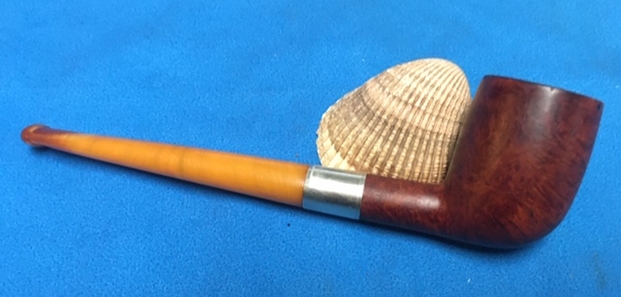
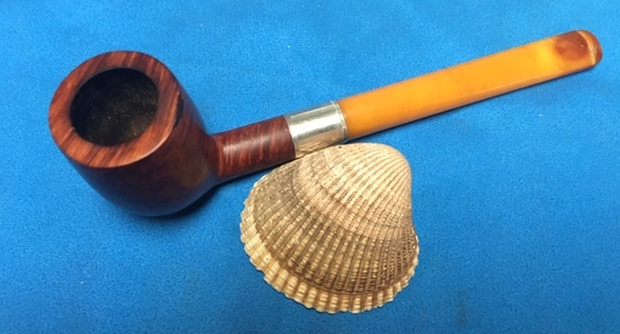
This restoration was a challenge but worth it! Working with Brylon has unique challenges but it was good to learn more about how it behaves in case I have another S.M. Frank innovation come across my worktable! The rim patch worked well but speckling remains as a reminder of Paw’s knocking activities! In the end, this pipe of Paw’s legacy is ready to go again bringing with it the memories of the man called, ‘Two-Page Sam’ to be remembered and treasured by his family. Thanks for joining me!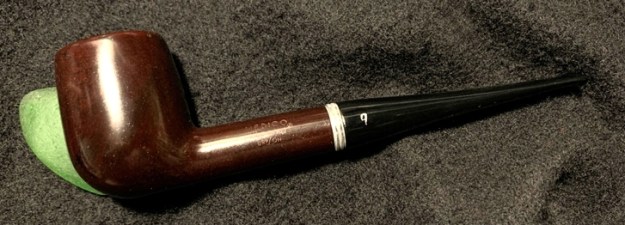
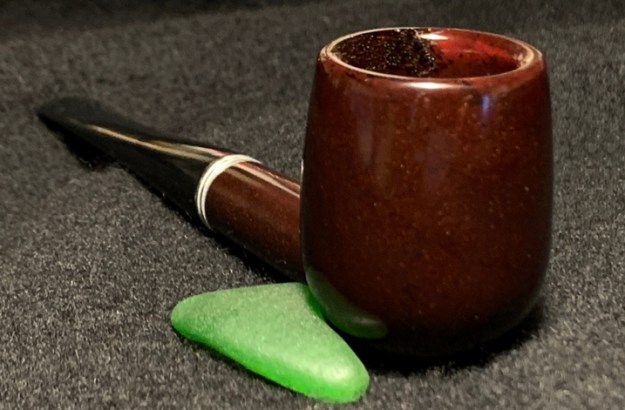

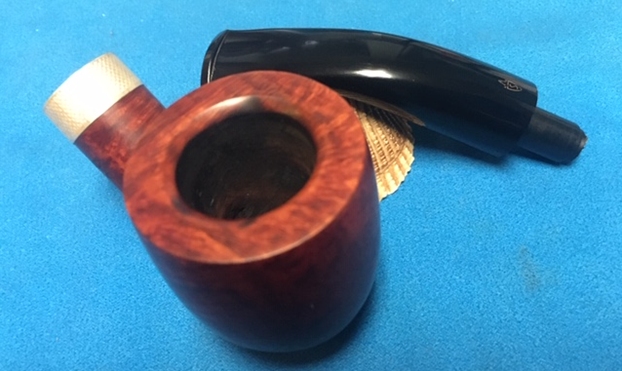
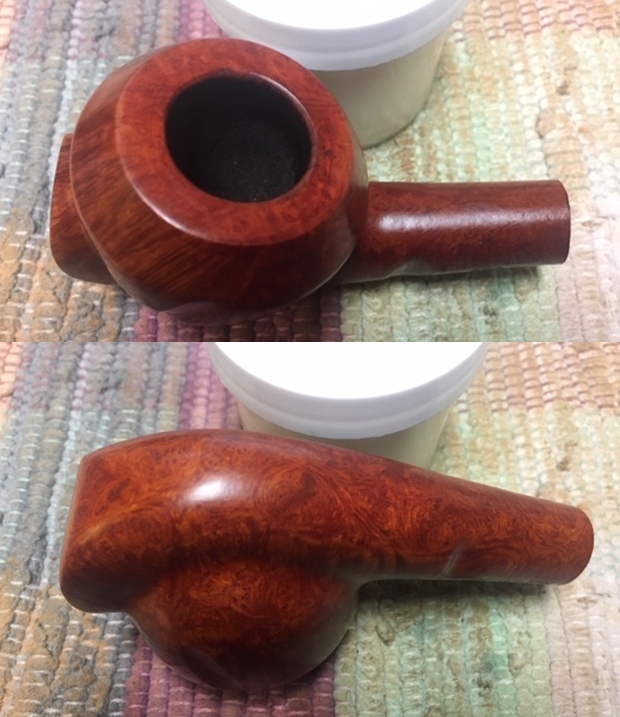
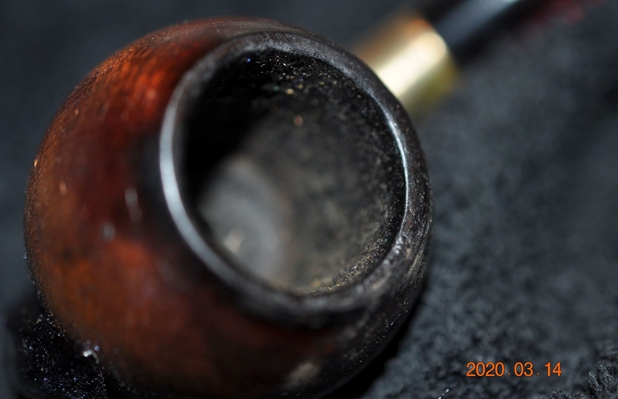
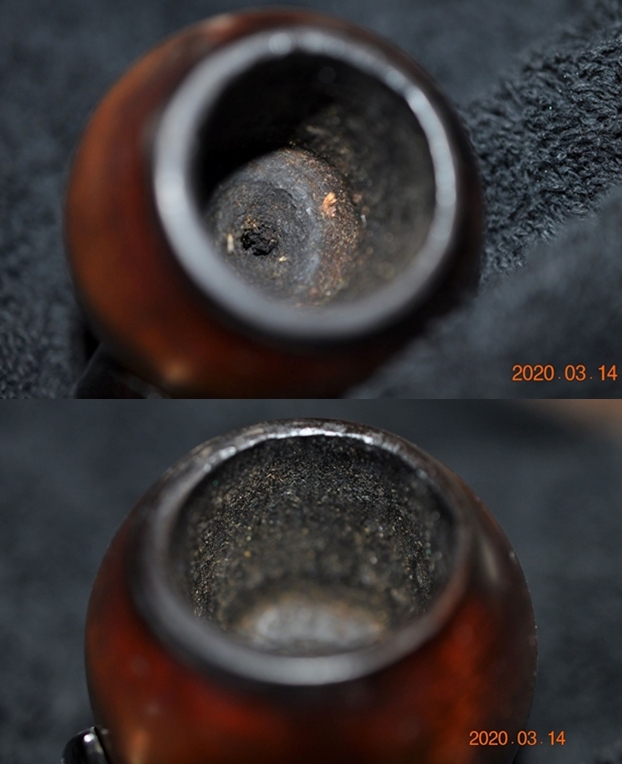
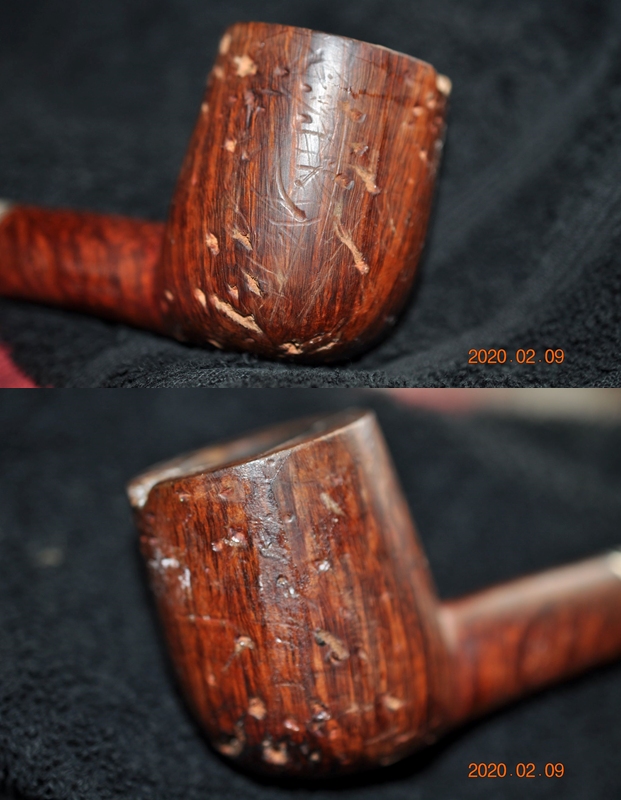
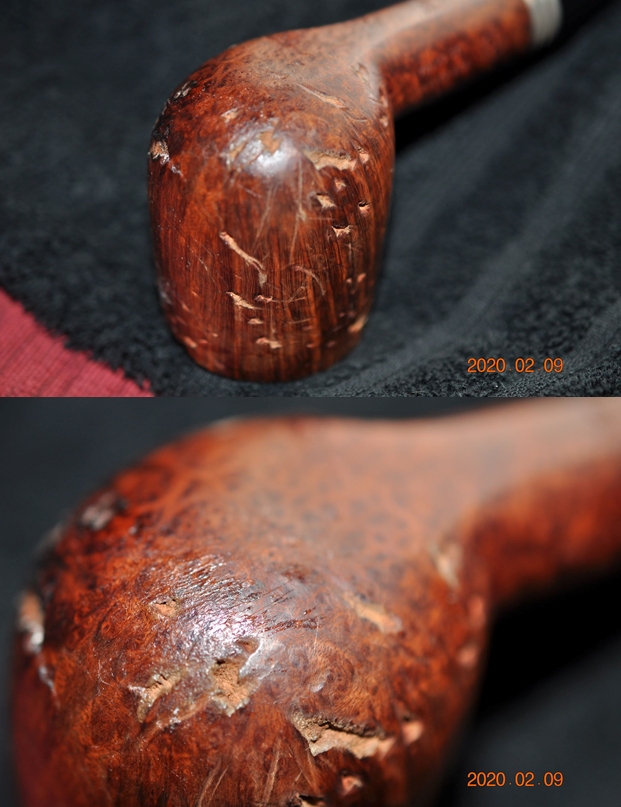
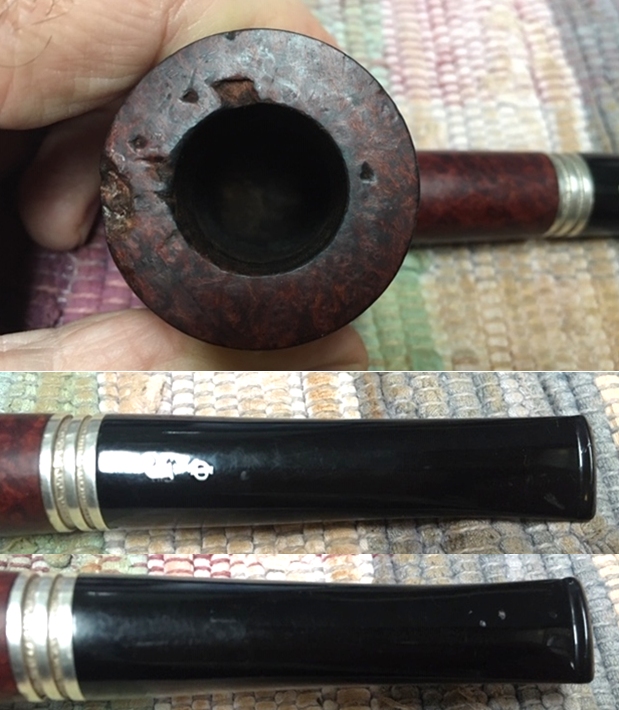
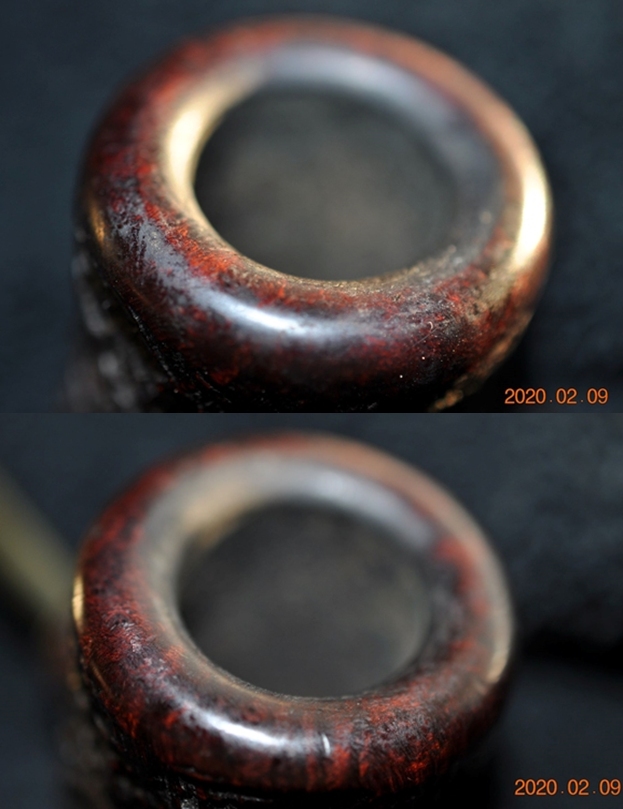
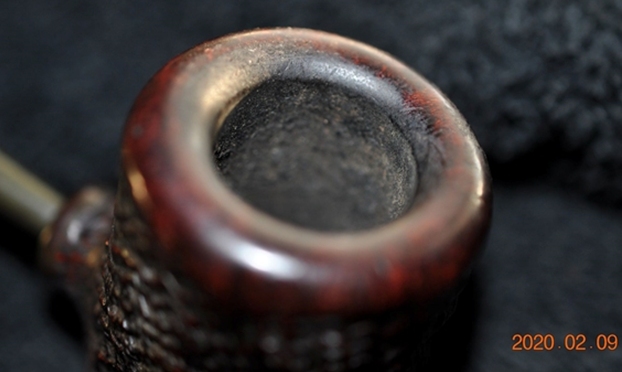
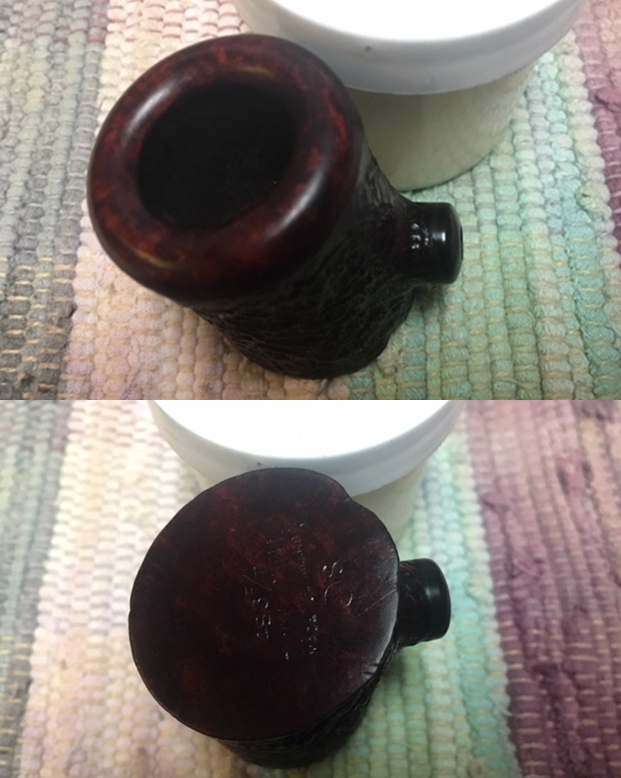
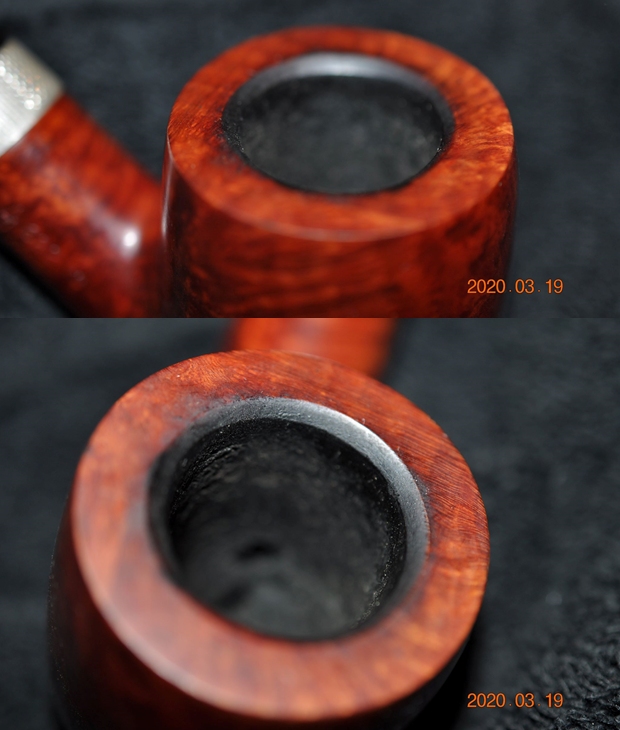
 The photos of the rim top and bowl show the thick cake, tobacco debris and thick lava overflow on the rim top. The pipe was a mess. You can also see some chipped areas on the outer edge of the bowl and nicks in the sides of the bowl.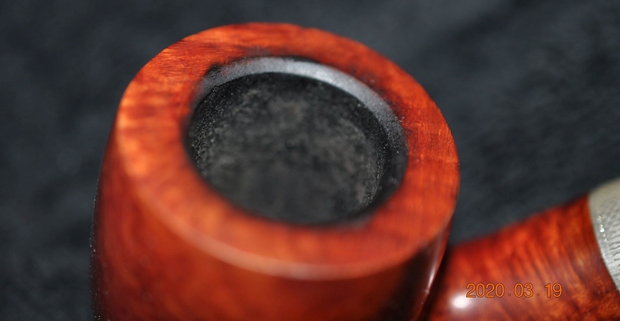
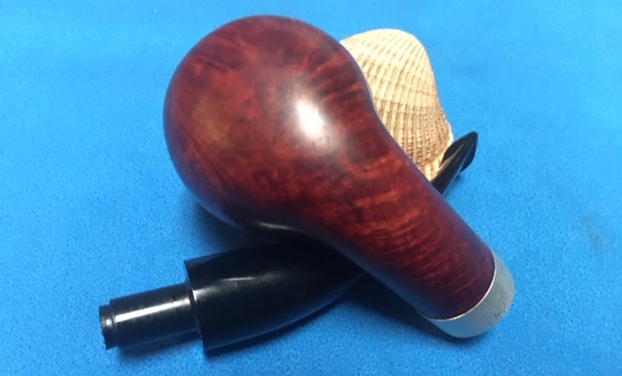
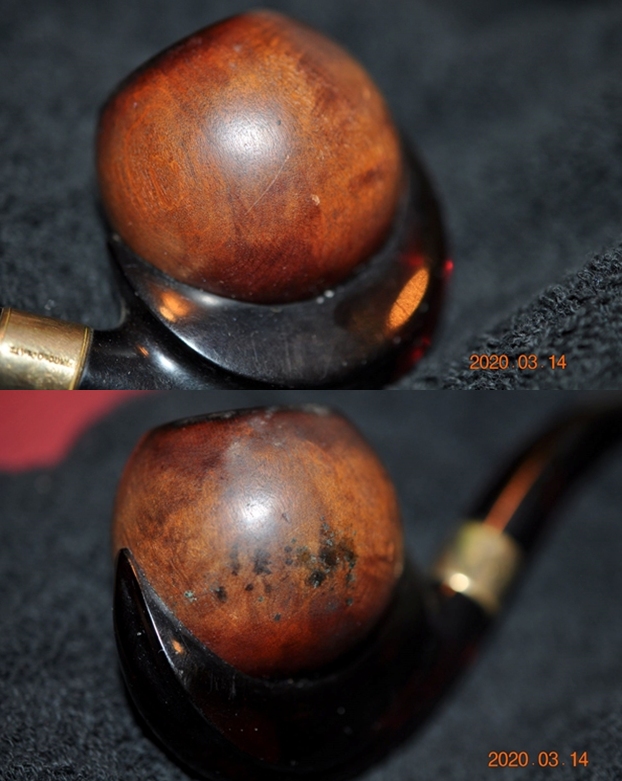
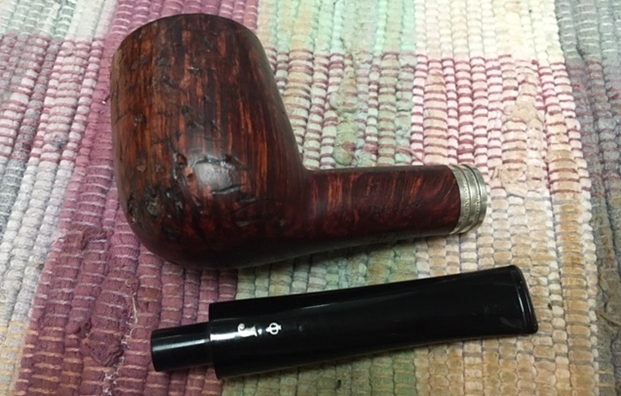
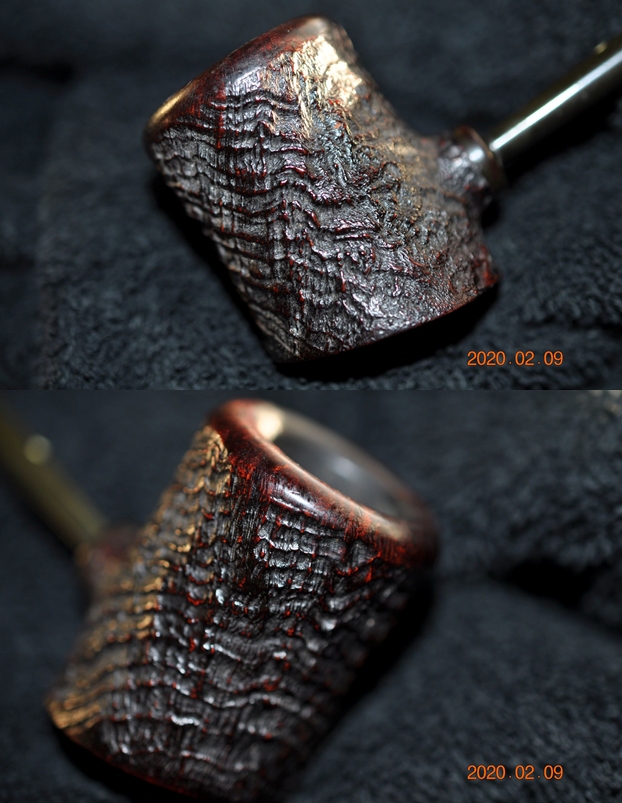
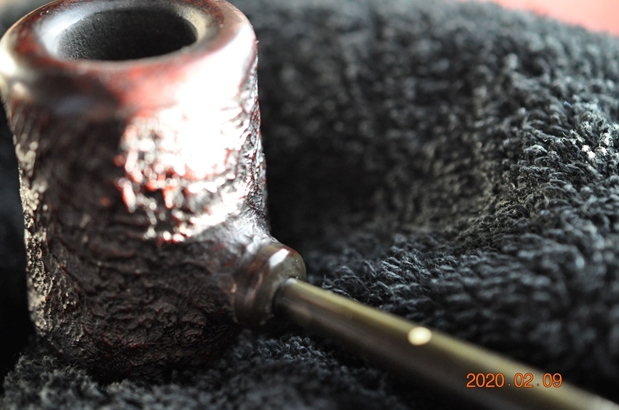
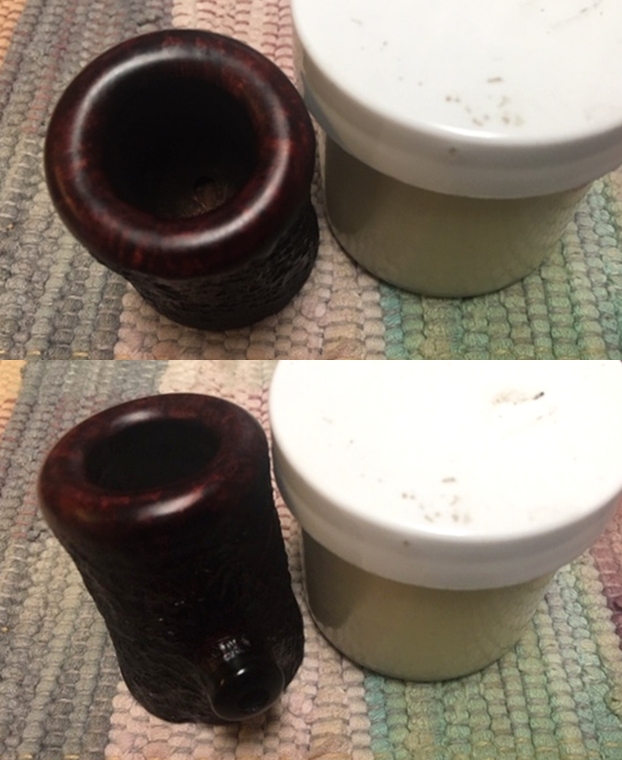
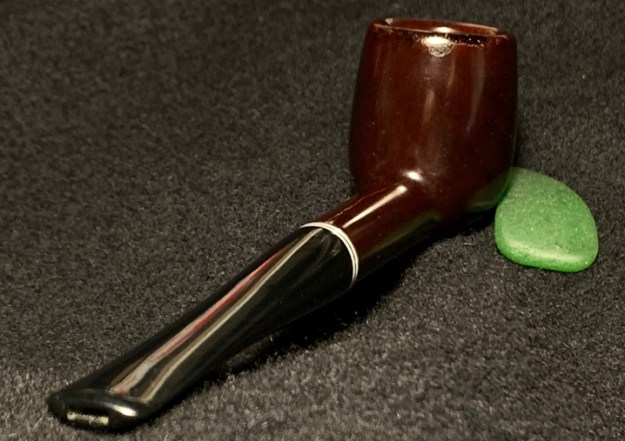
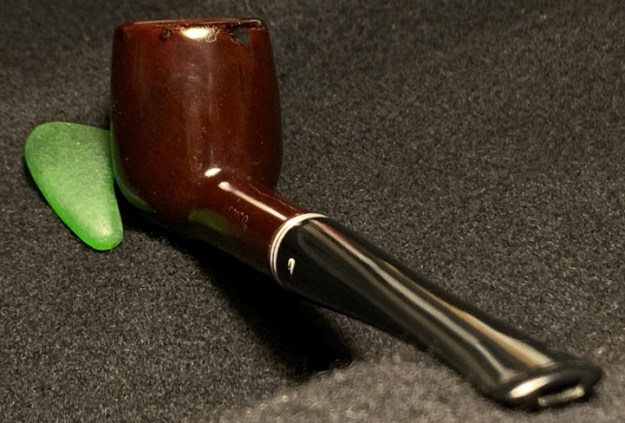
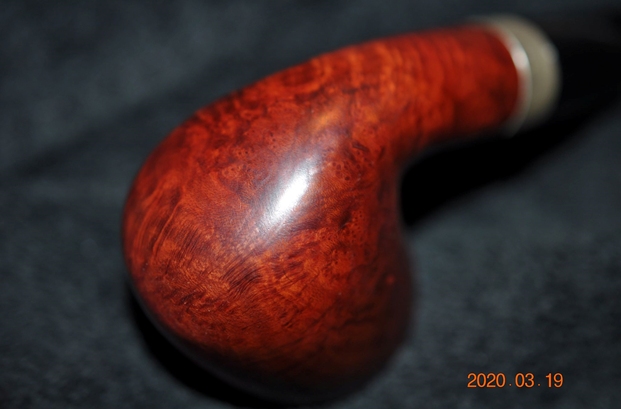
 He captured the grain around sides of the bowl in the next photos. You can also see the nicks and chips out of the briar but it is still quite pretty beneath the wear and tear and grime!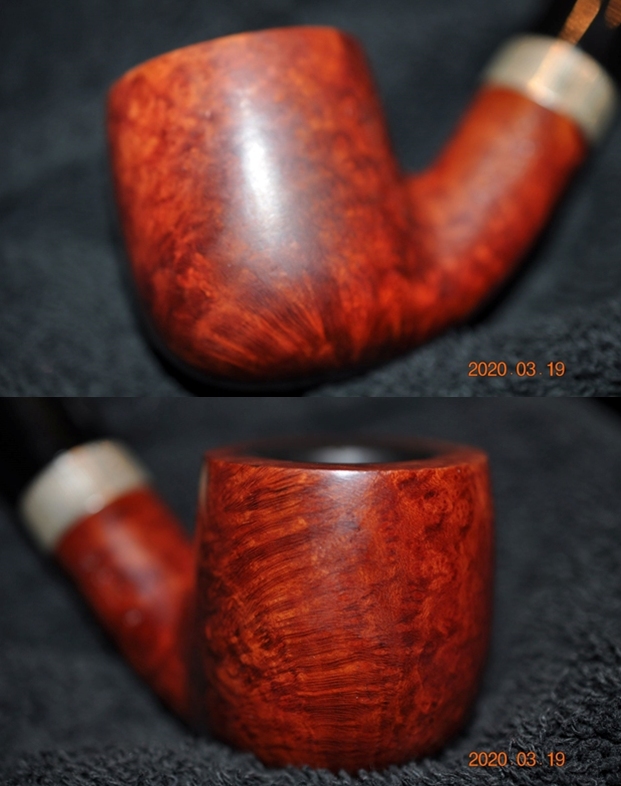
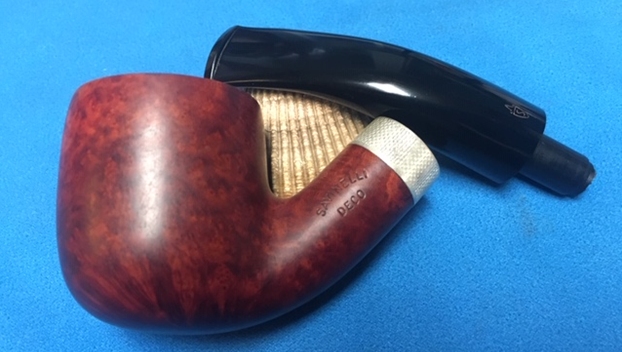
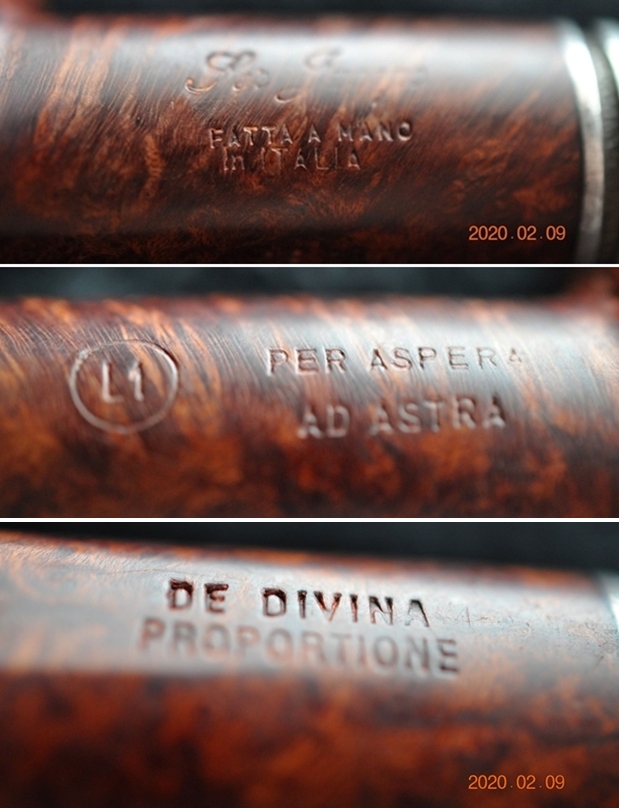
 He took photos of the stamping on the shank sides. They are clear and readable and read as noted above.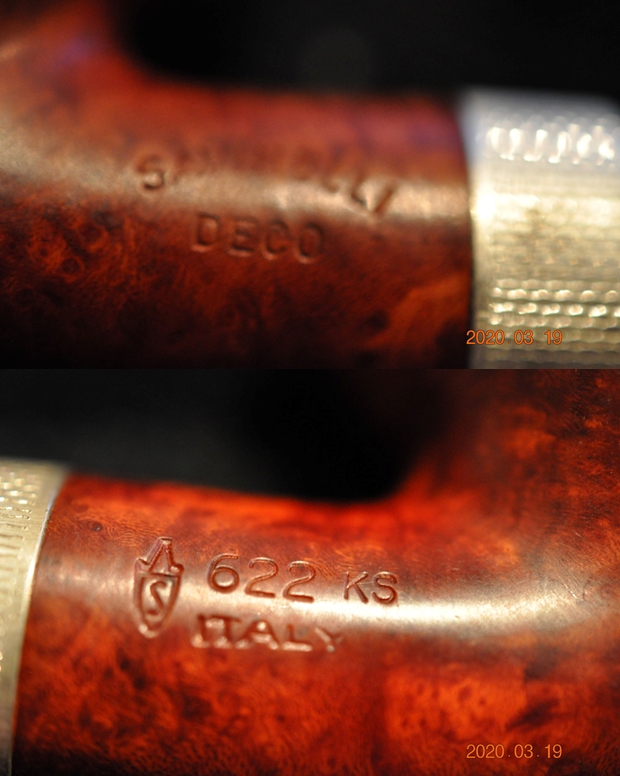
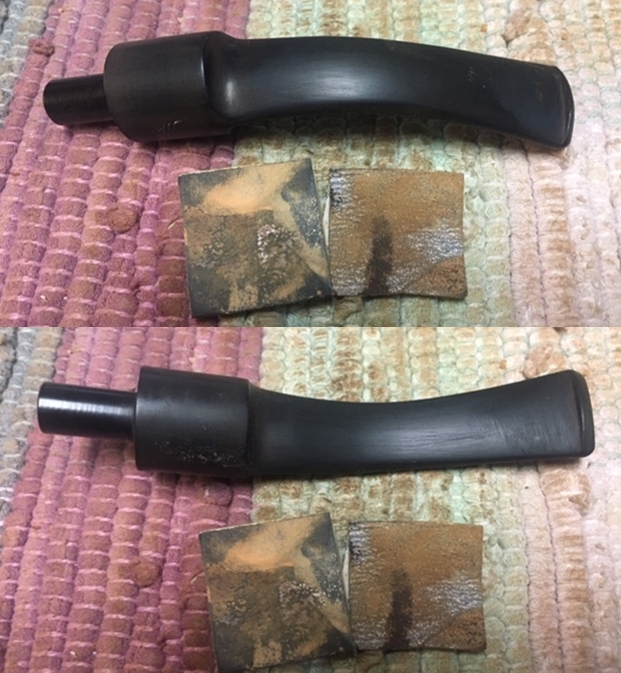
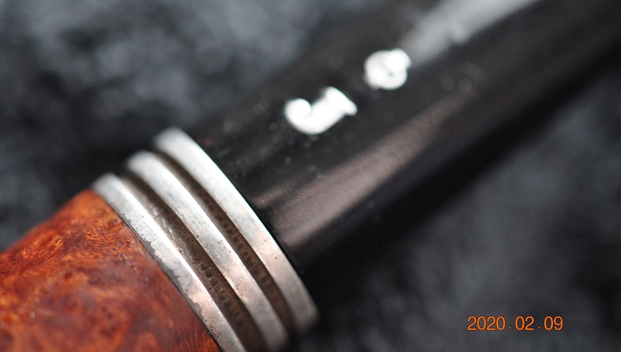
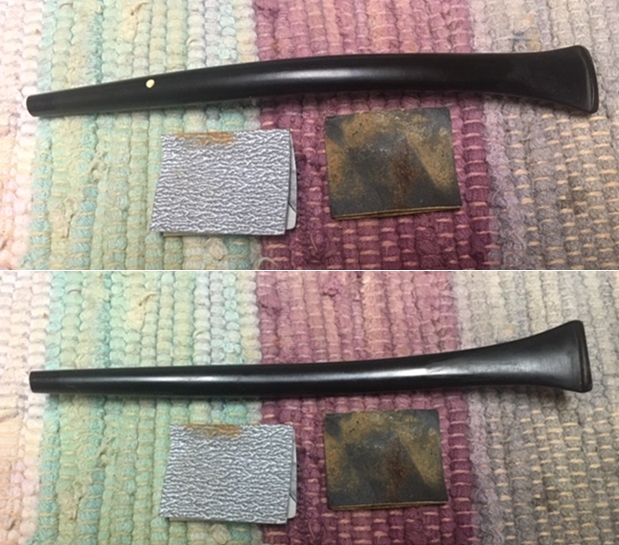
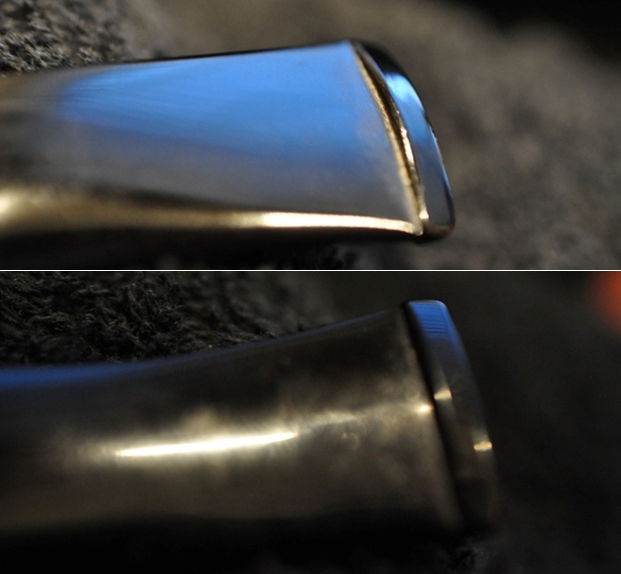
 The acrylic stem was in good condition other than the tooth marks on the surface of both sides ahead of the button and some wear on the button as well.
 Jeff out did himself on the cleanup of this pipe and when I received it I was not disappointed as it showed what I saw on the briar in the photos above. The grain was quite nice and the colour was very good. Jeff had reamed the bowl with a PipNet pipe reamer and cleaned up the debris left behind with a Savinelli Fitsall Pipe Knife. He scrubbed the internals in the shank and the stem with alcohol, cotton swabs and pipe cleaners. He scrubbed the externals of the bowl with undiluted Murphy’s Oil Soap and a tooth brush and rinsed it off with running water. He scrubbed the stem with Soft Scrub to remove the debris on the stem. The pipe looked quite amazing. I took photos of it before I started my part of the restoration.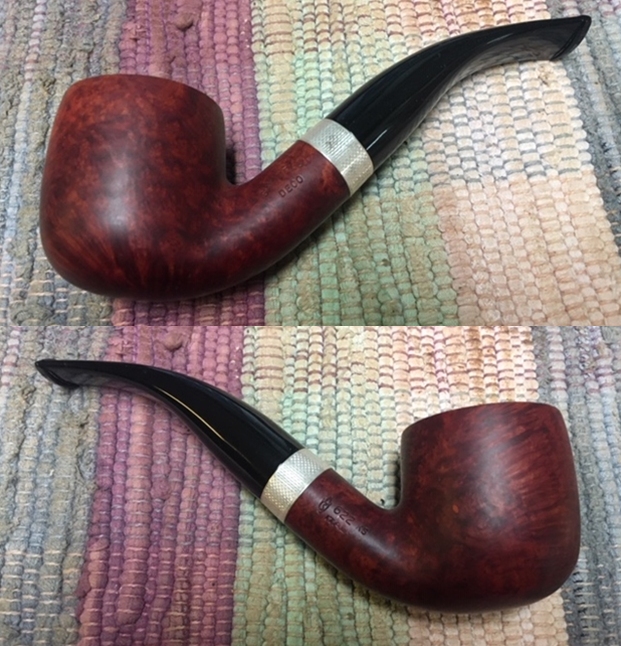
 I took a close up photo of the rim top to show the damaged areas and how clean it was. You can see damage on the right front inner edge and back left edge of the rim. There appeared to be some burn damage and darkening. The stem looked good other than the tooth marks and the light chatter on the surface ahead of the button.
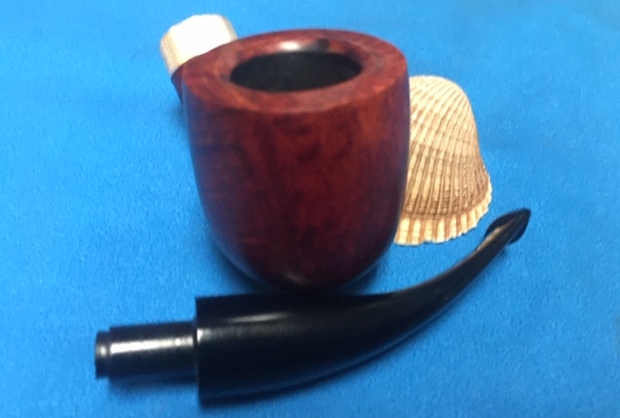
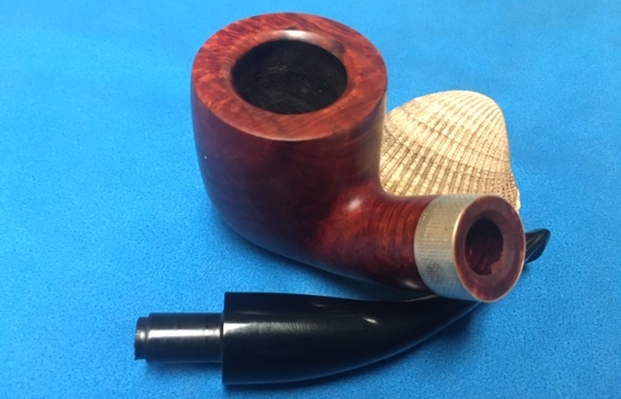
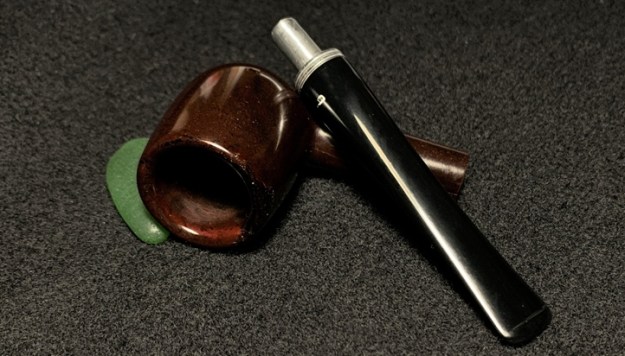
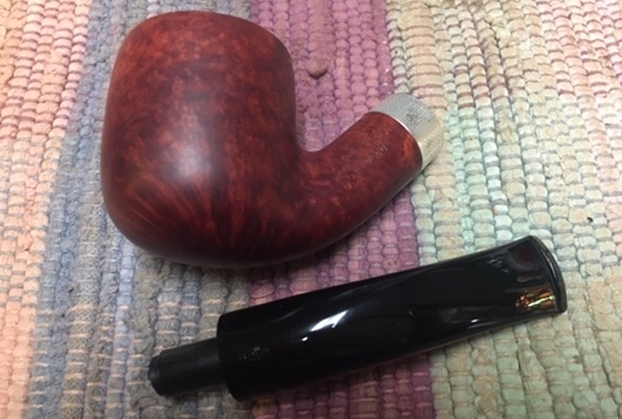
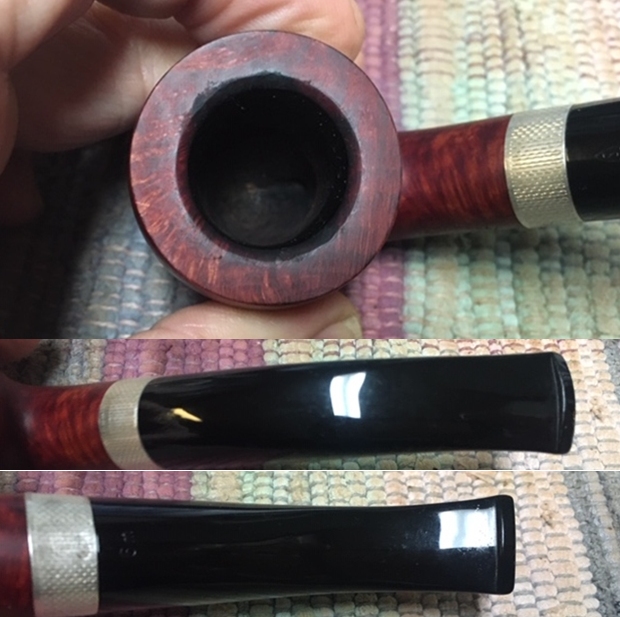 I took the stem off the shank and took a photo of the parts. It is a great looking pipe.
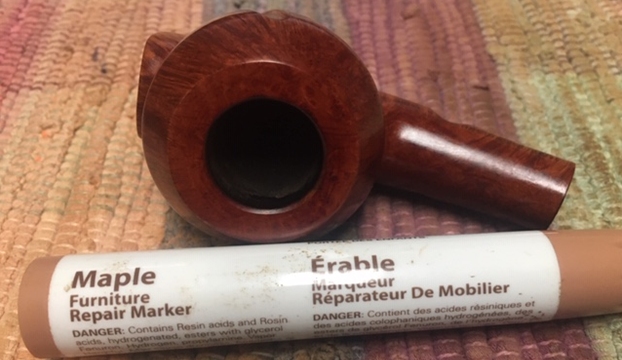
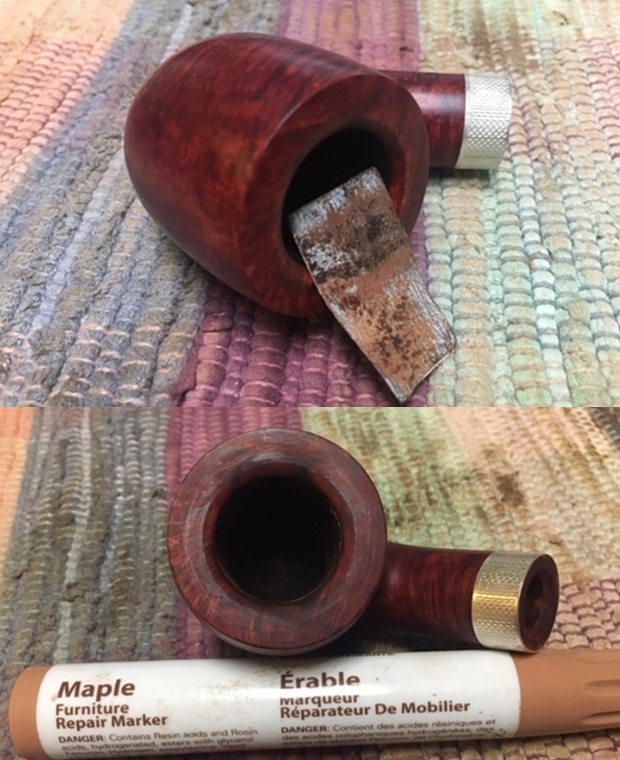
 I decided to start on the inner rim edges and the rim top. I sanded the beveled edge with a piece of folded 220 grit sandpaper to smooth out the damaged edges and removing the darkening. I stained the edge with a Maple Stain Pen. The rim top also looks much better and will improve with polishing.
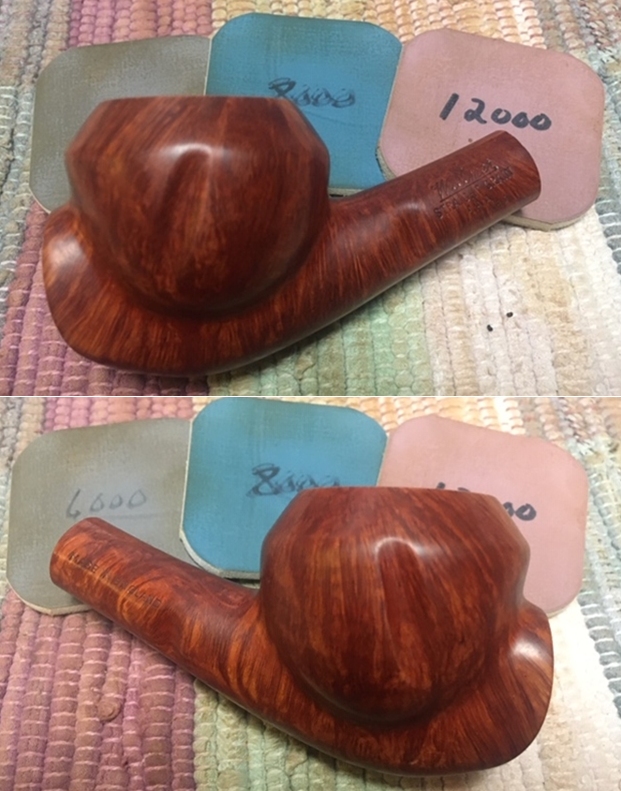
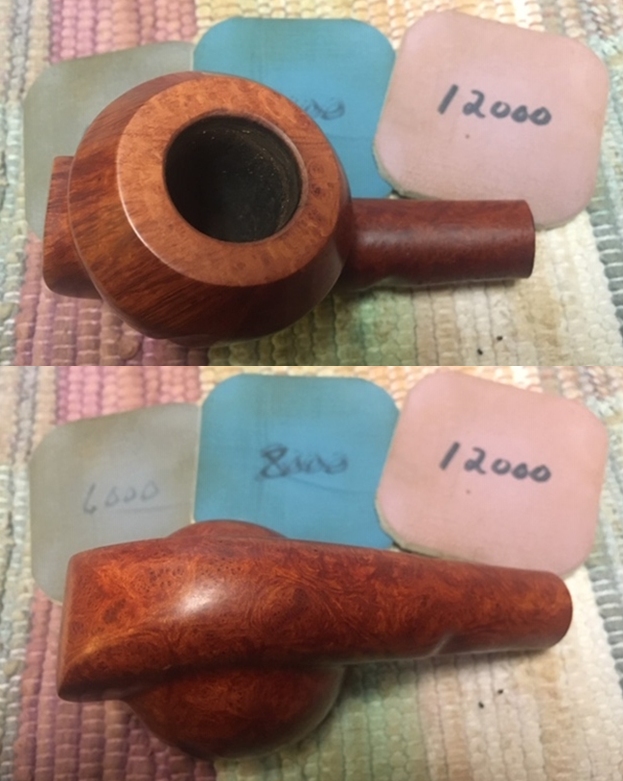
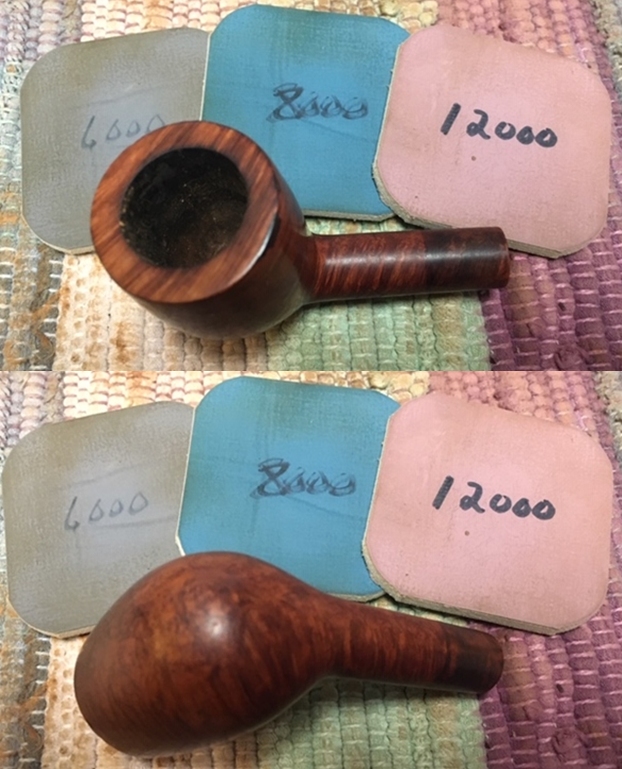
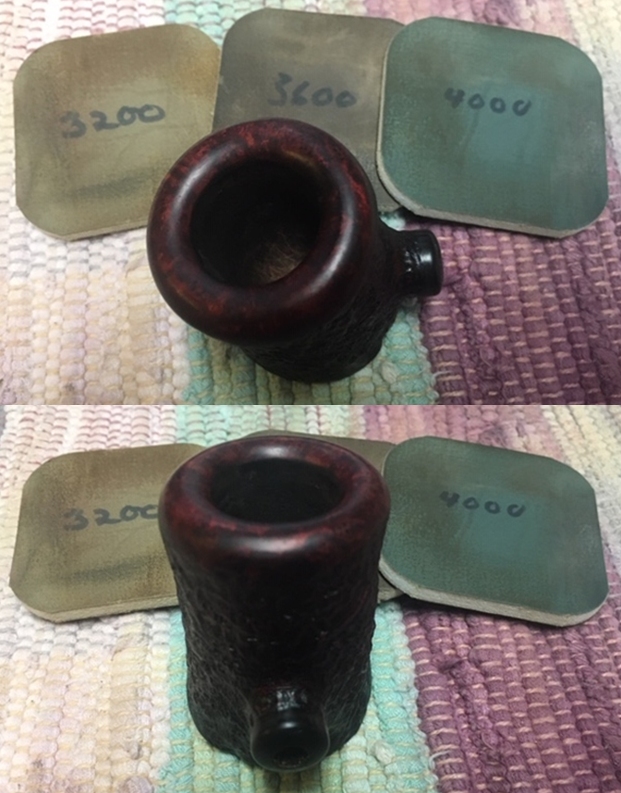
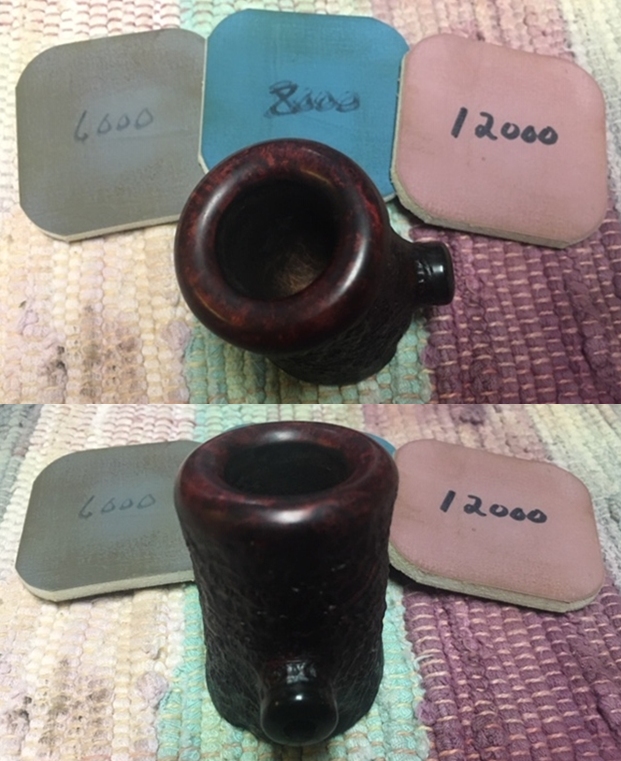
 I polished the bowl and rim with micromesh sanding pads – dry sanding it with 1500-12000 grit sanding pads. I wiped it down with a damp cloth to remove the dust left behind from sanding.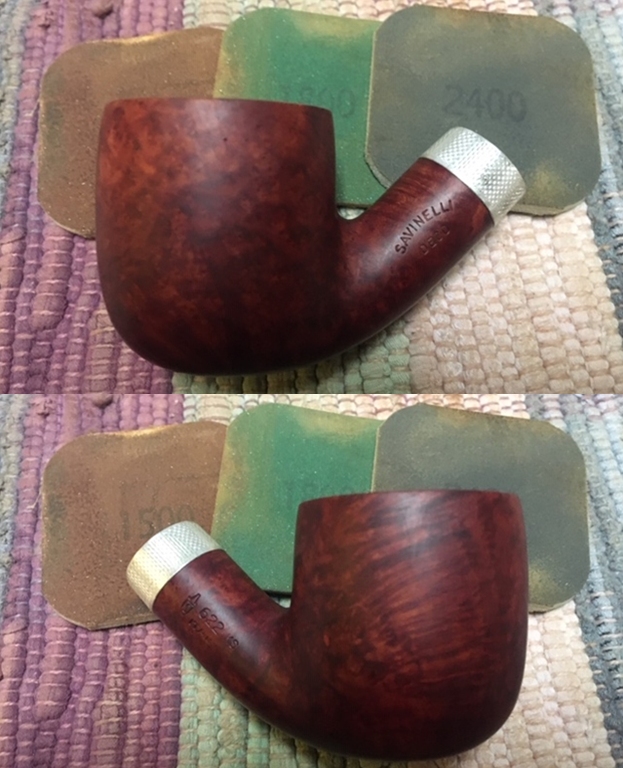
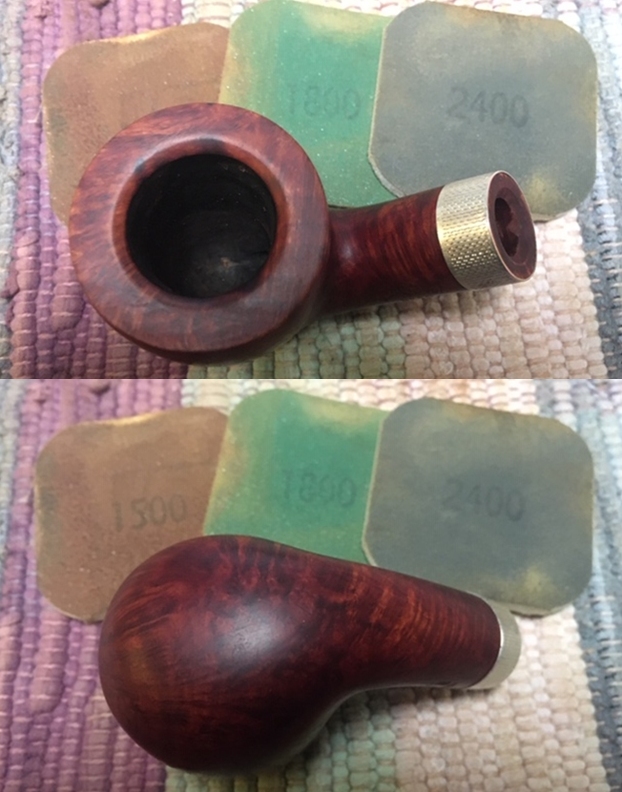
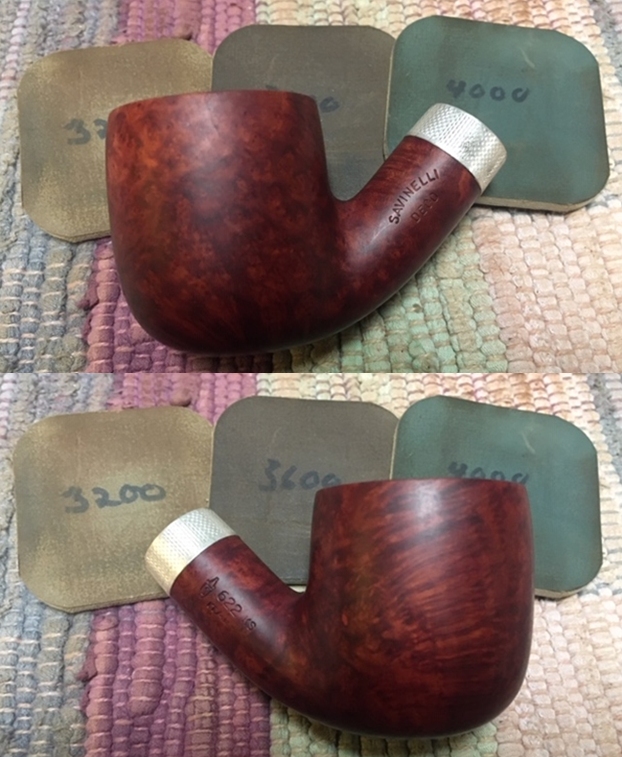
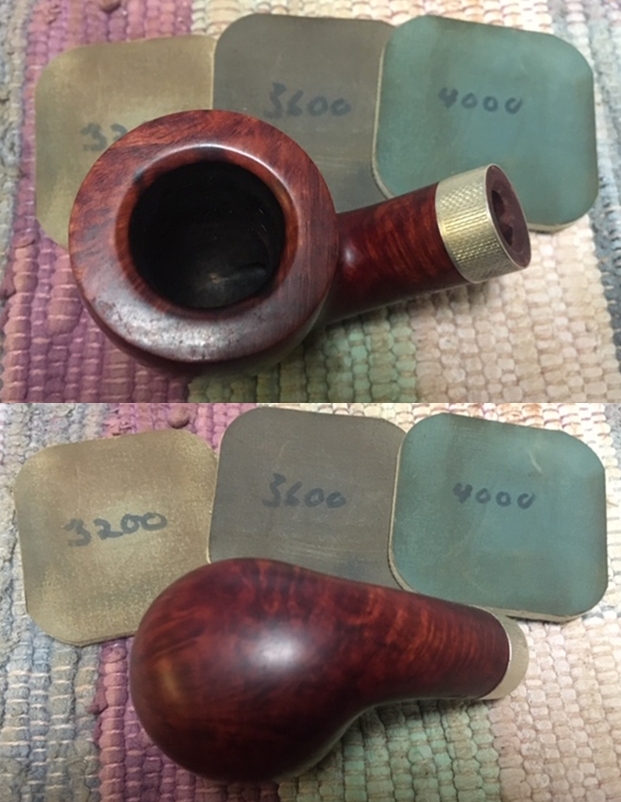
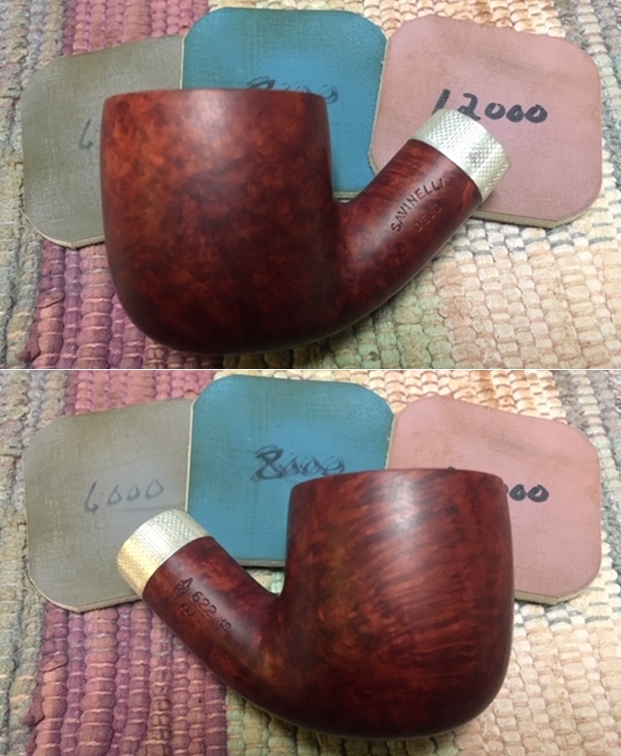
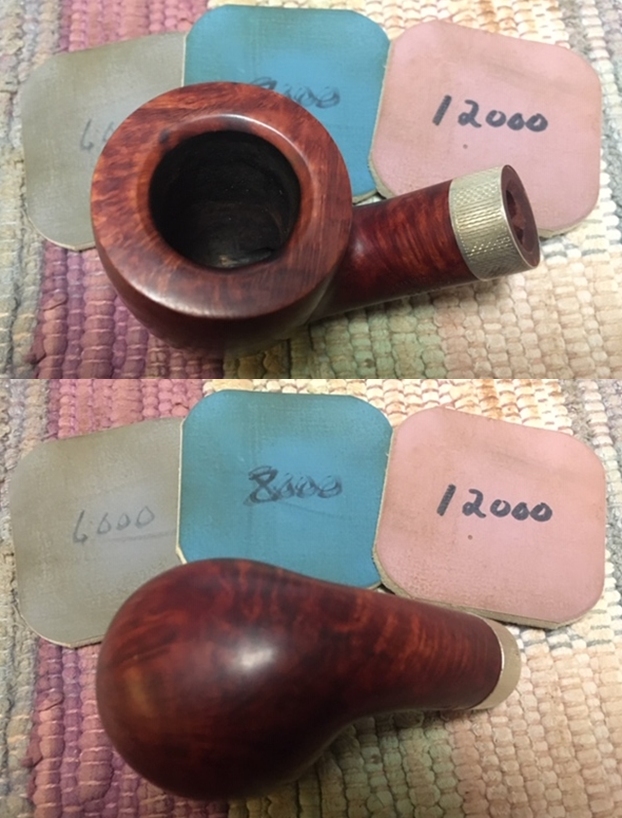 I buffed bowl on the wheel with Blue Diamond to polish the briar and bring the grain out. I rubbed it down with Before & After Refurbishing Balm. I worked it into the briar with my fingertips and let it sit for 20 minutes. The Balm works to preserve, protect and enliven the briar. The pipe is starting to look very good at this point.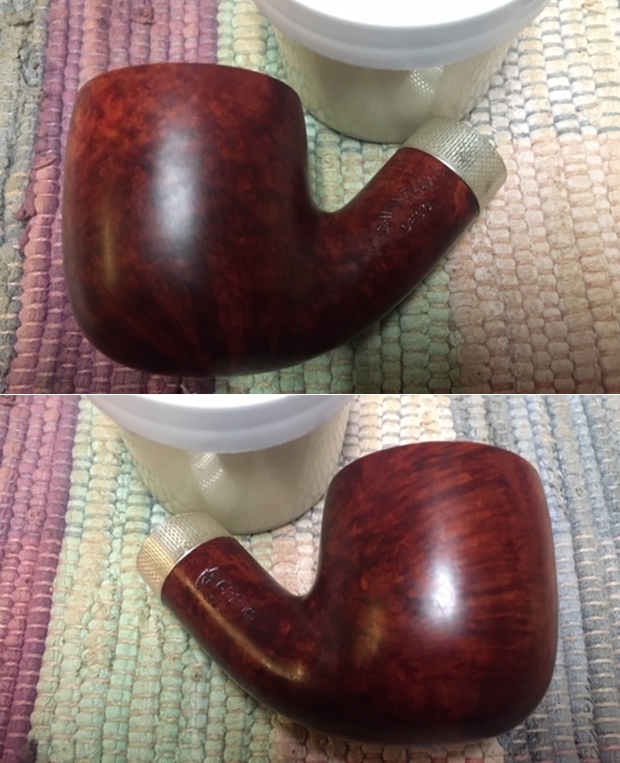
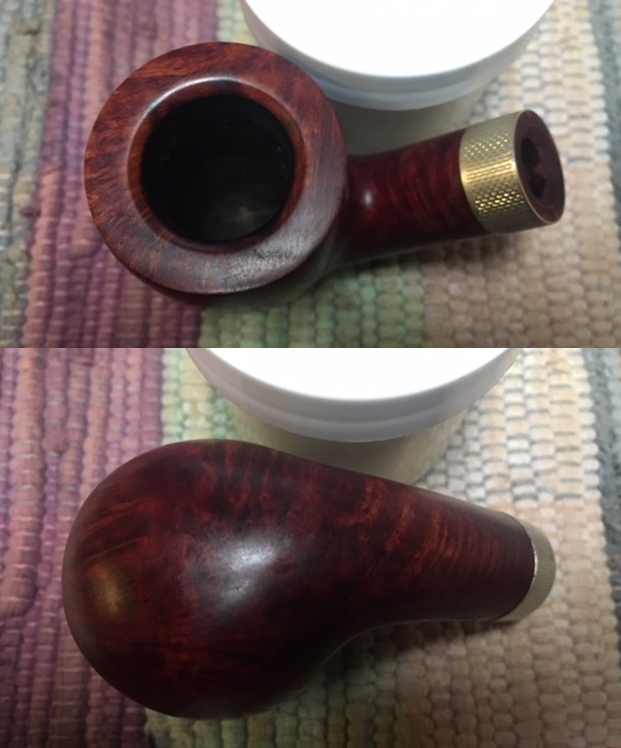
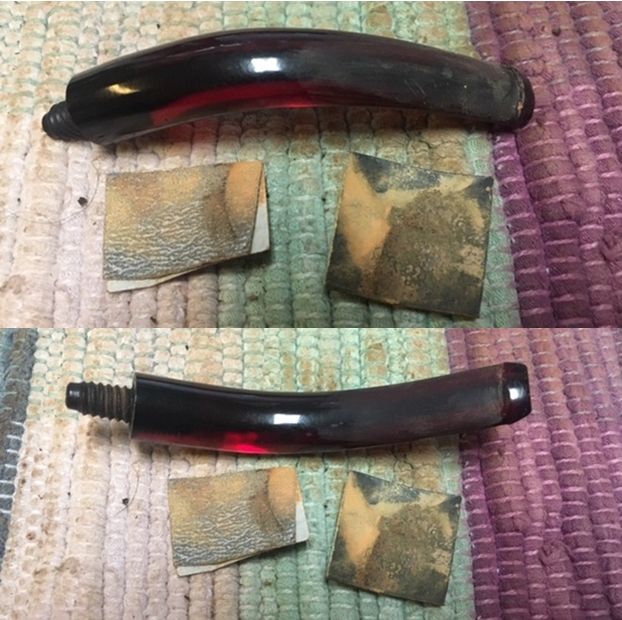
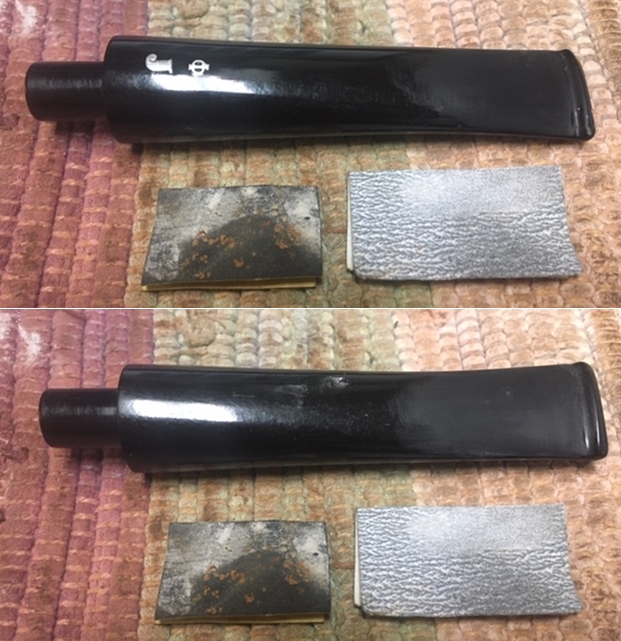
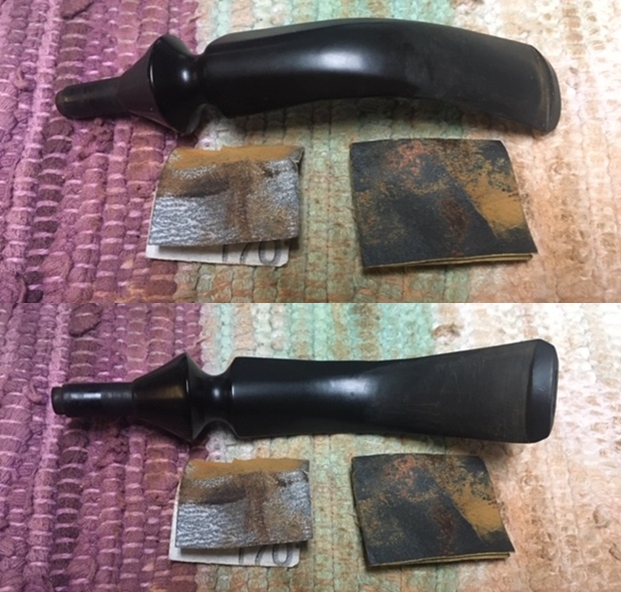
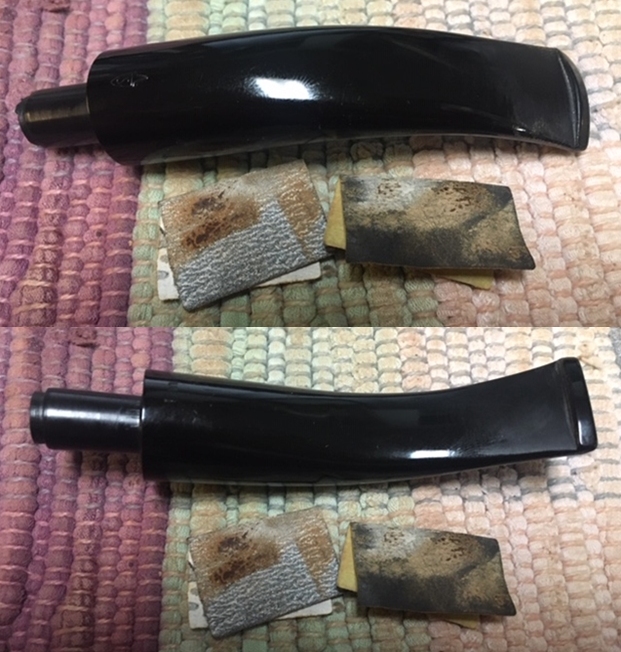
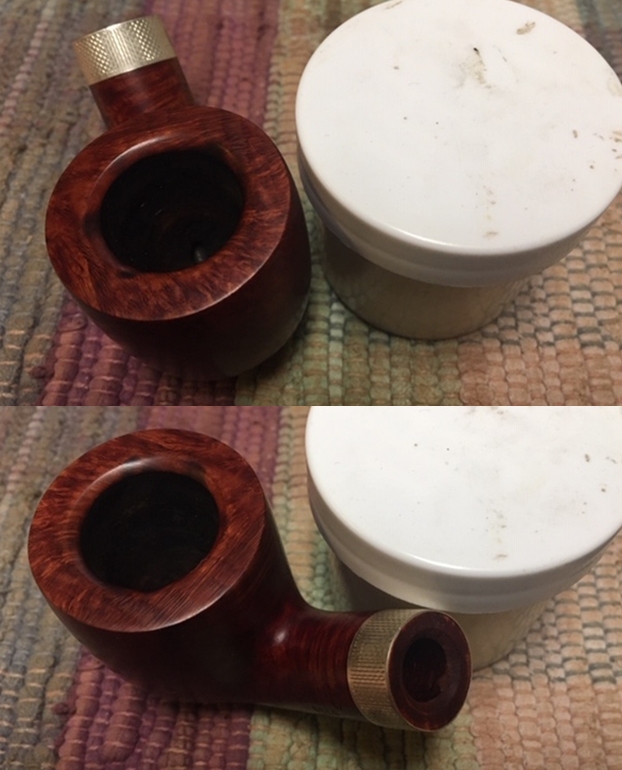 I set the bowl aside and turned my attention to the stem. I sanded out the tooth marks and chatter remaining on the stem with 220 grit sandpaper and followed that by starting the polishing with 400 grit wet dry sandpaper.
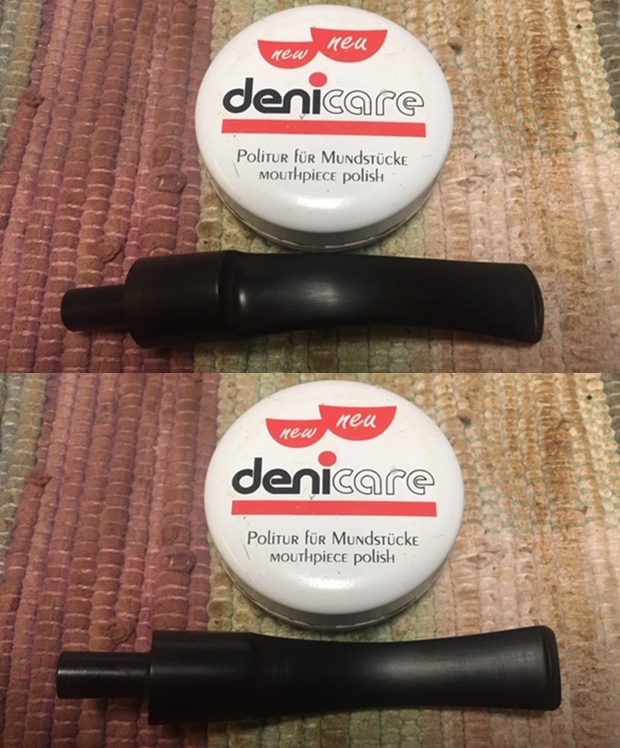
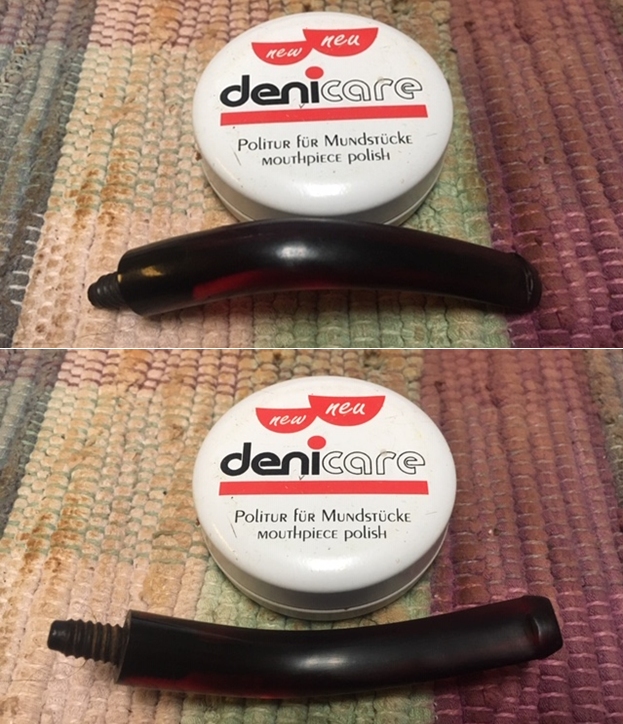
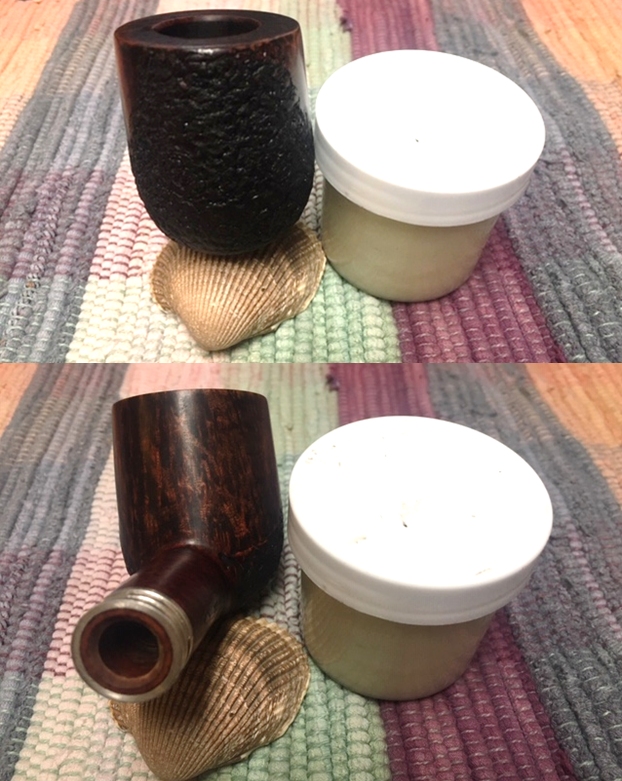
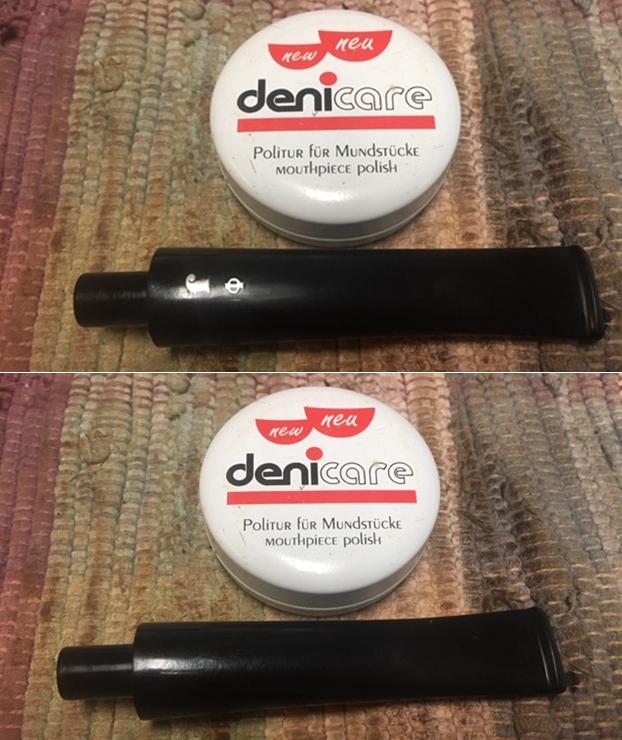
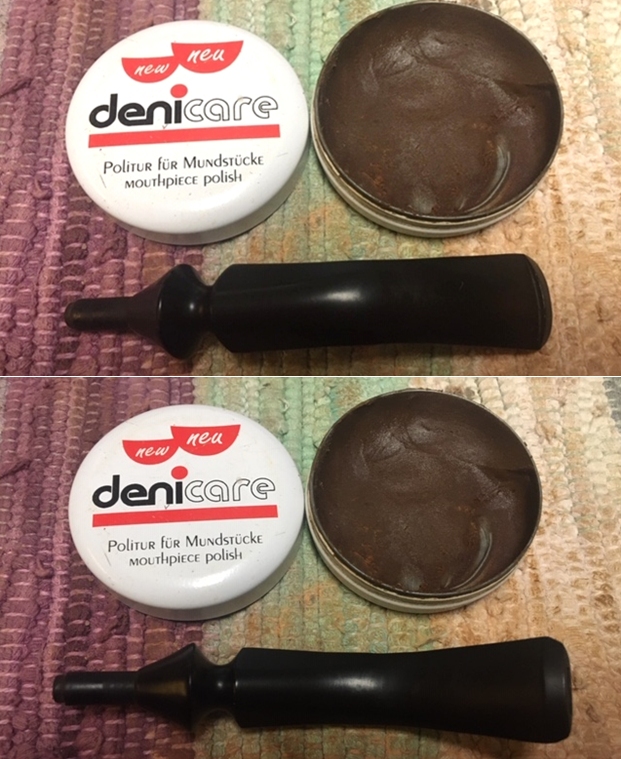
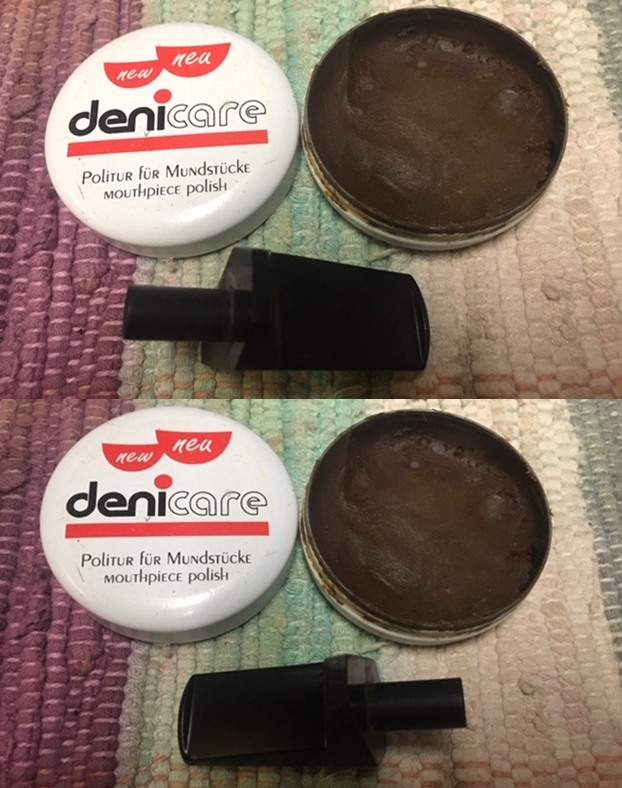
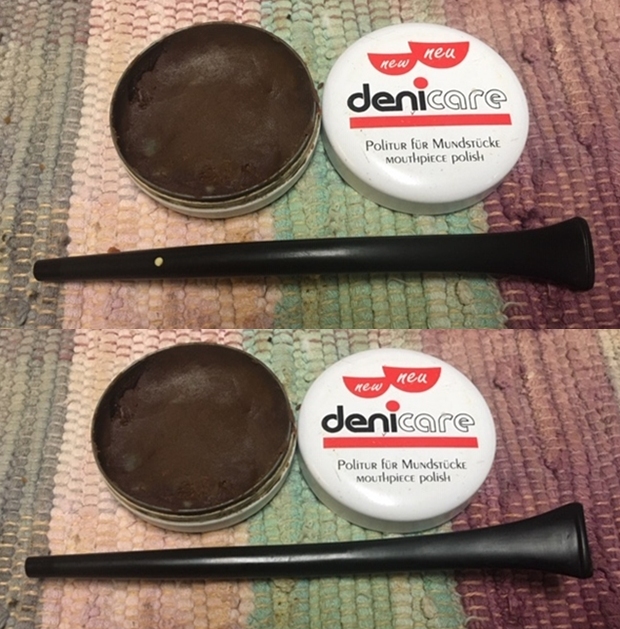
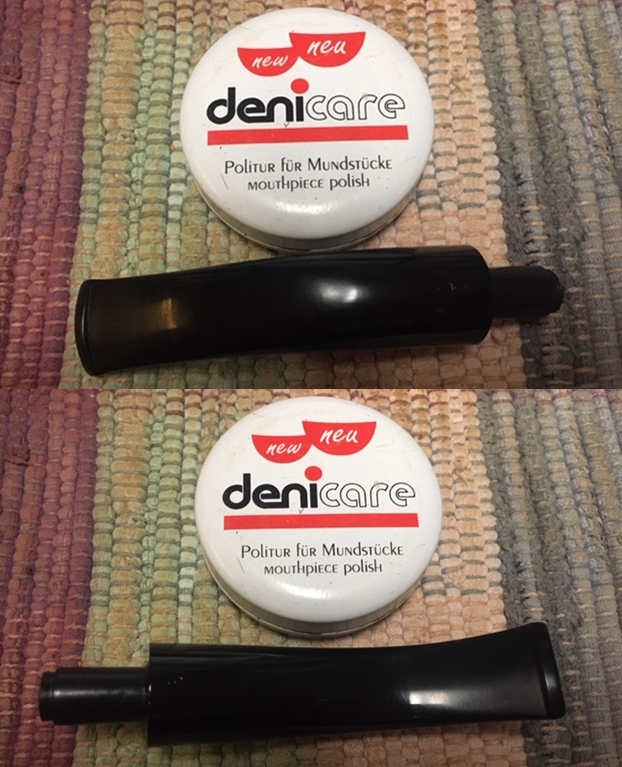
 I continued polishing the stem with Denicare Mouthpiece Polish – a red gritty paste that feels a lot like Tripoli. I find that it works well to polish out some of the more surface scratches in the vulcanite left behind by the 400 grit wet dry sandpaper. I rub it into the stem surface with my fingertips and buff it off with a cotton pad.
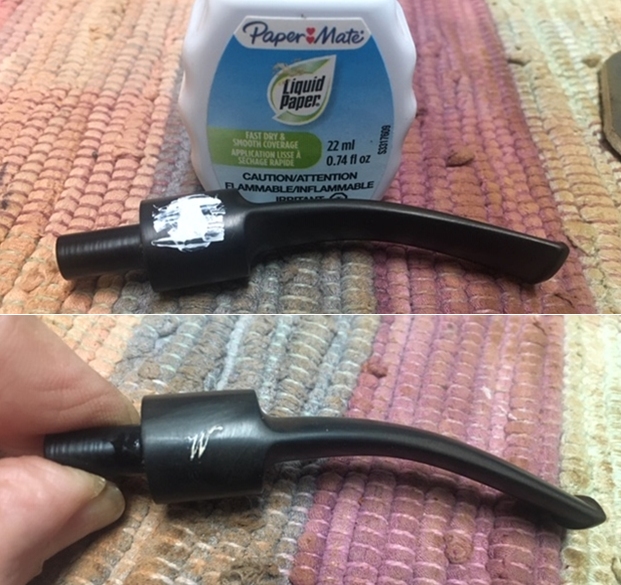
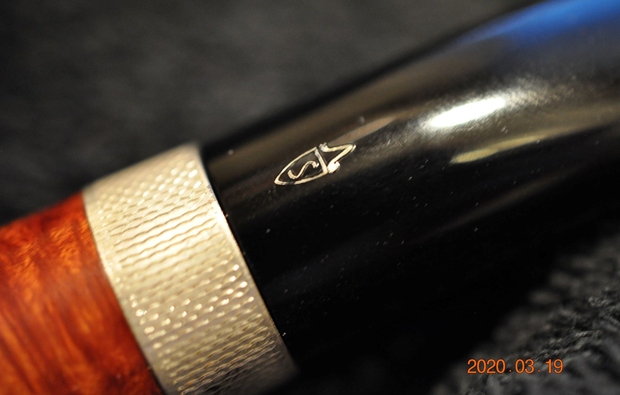
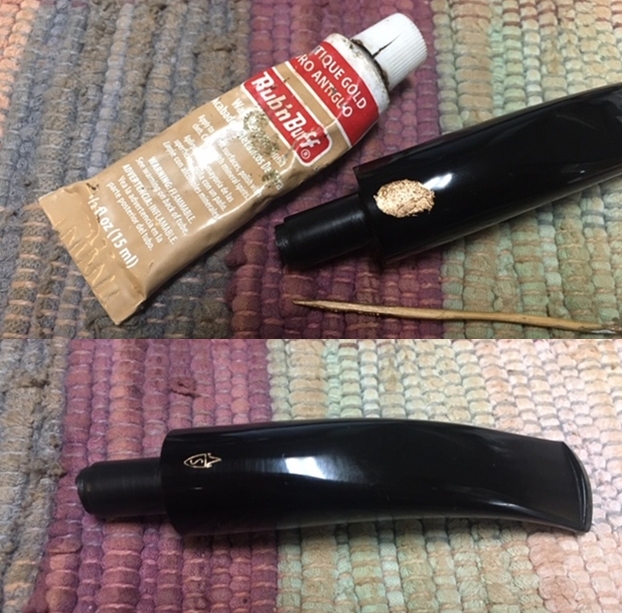
 I used Antique Gold Rub’n Buff to touch up the stamping on the stem. I applied a spot of the product on the surface and worked it into the stamping with a tooth pick. I rubbed it off and buffed it with a soft cloth. The finished look was very good.
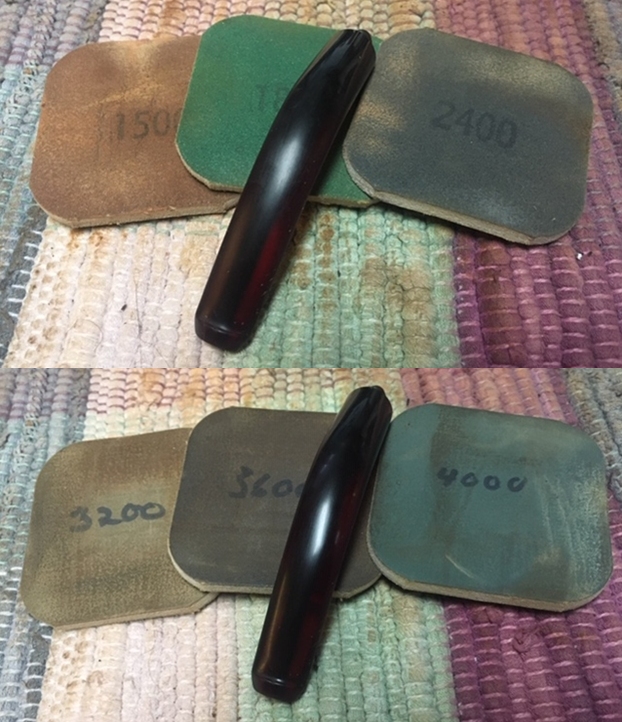
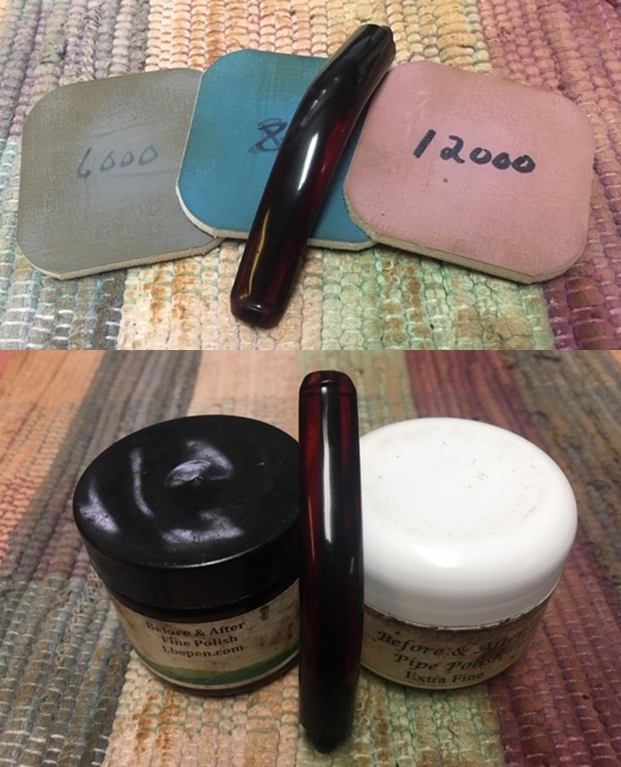
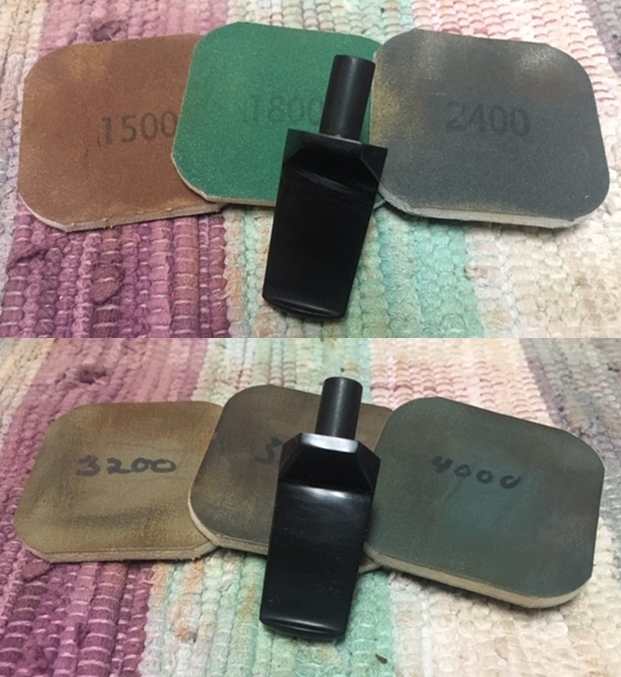
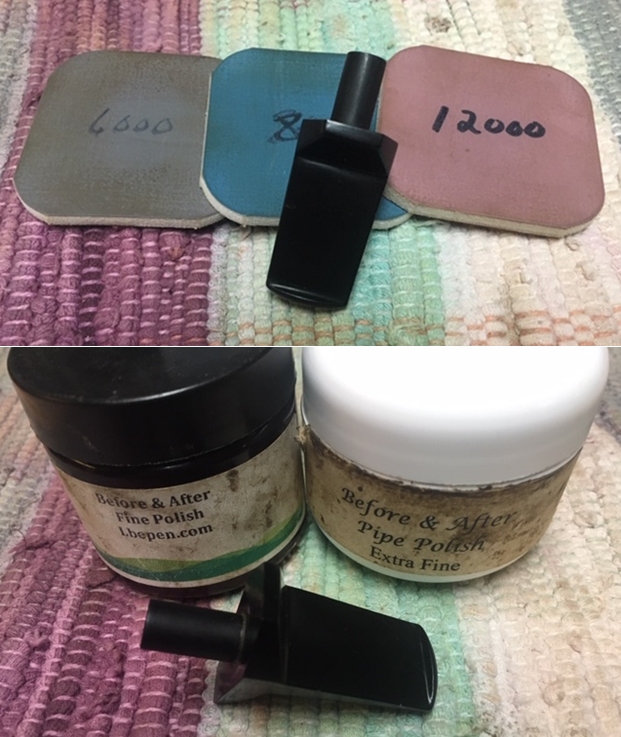
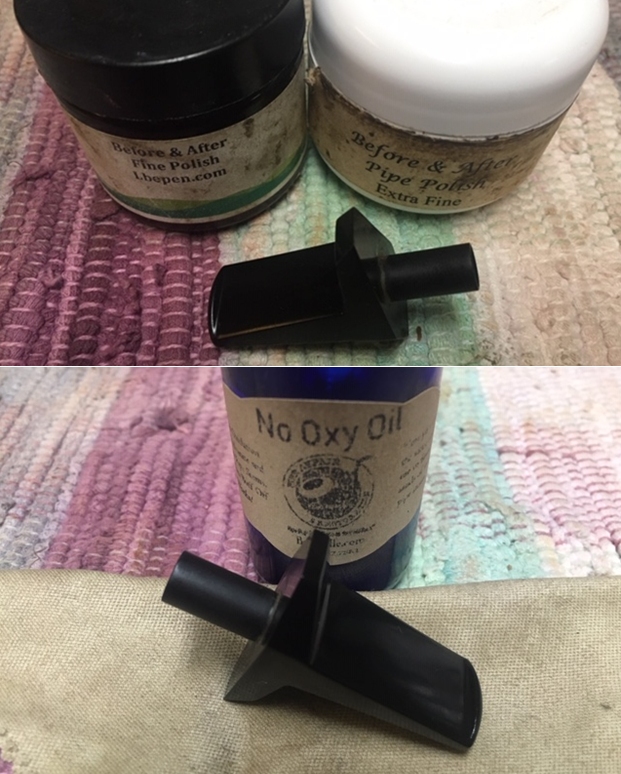
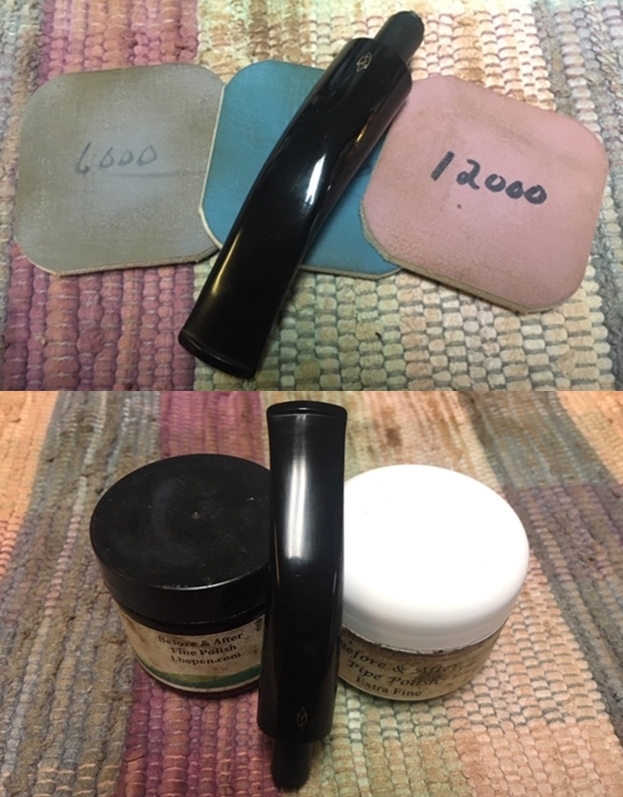
 I polished the stem with micromesh sanding pads – dry sanding with 1500-12000 grit sanding pads. I wiped the stem down after each sanding pad with a cloth containing some Obsidian Oil. I finished polishing it with Before & After Pipe Stem Polish – both Fine and Extra Fine and buffed it off with a cotton cloth.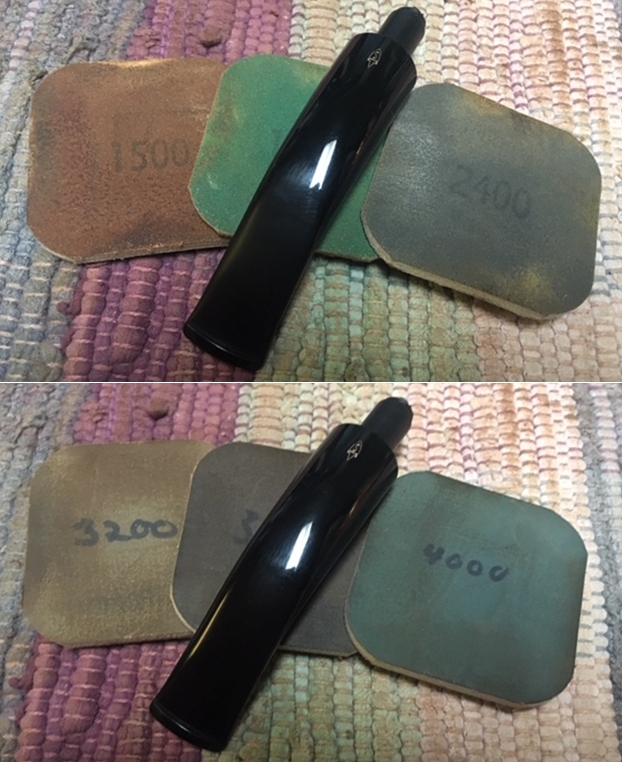
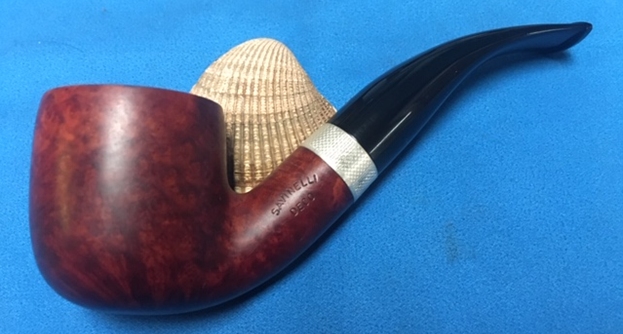
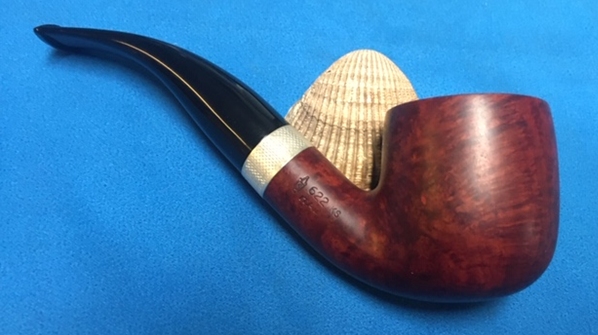
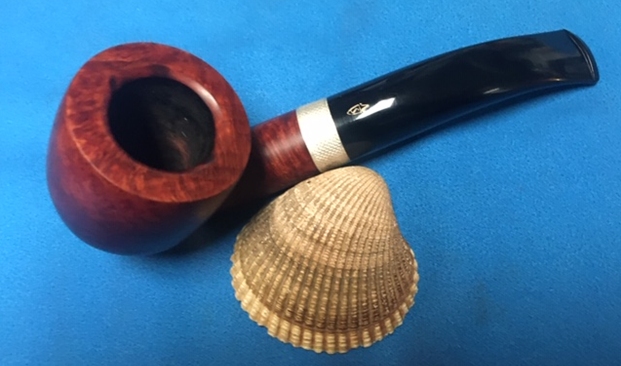
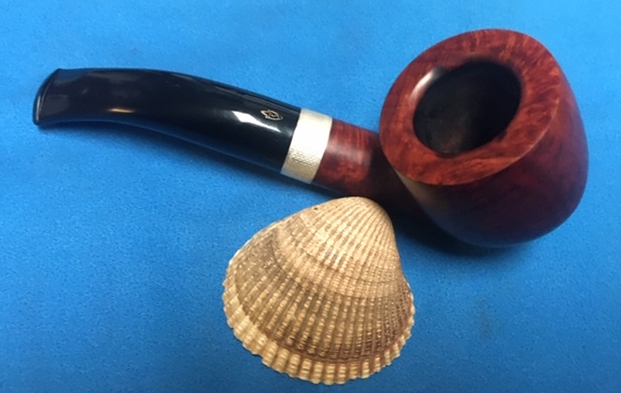
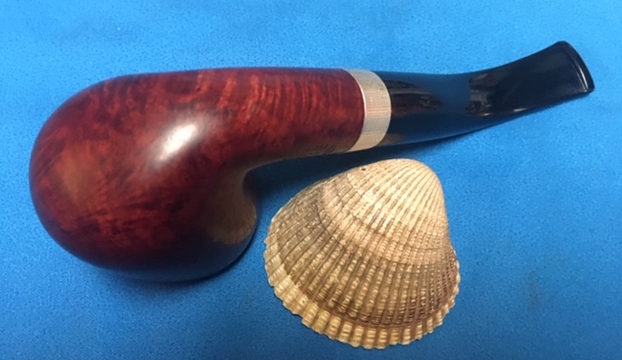
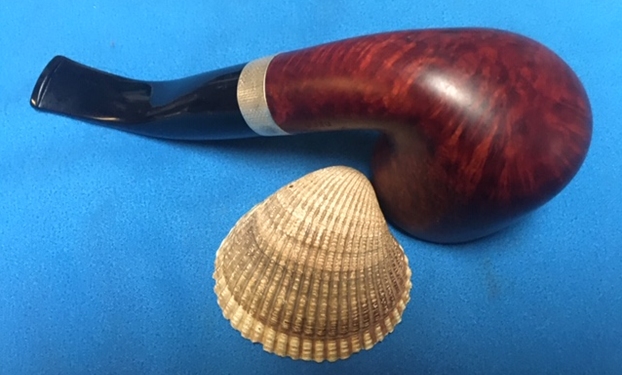
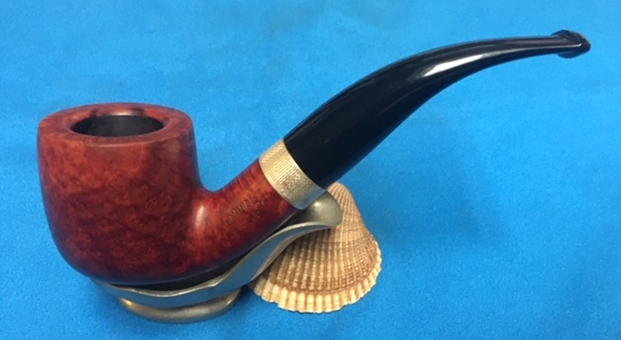
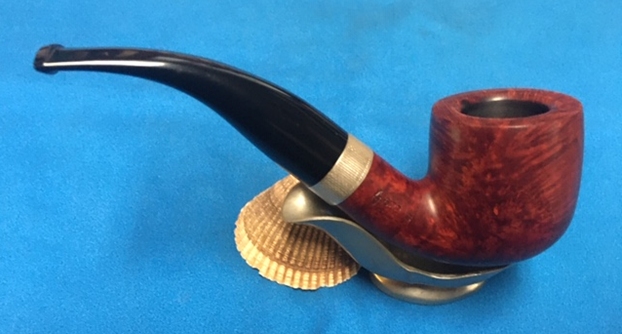
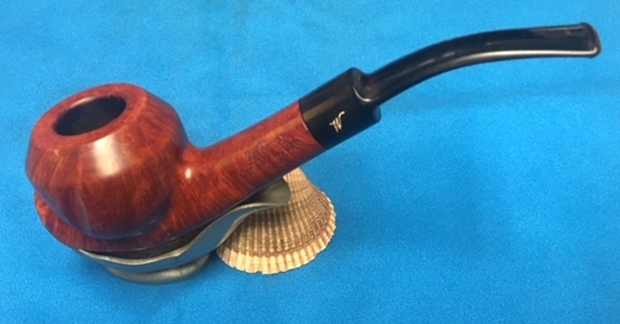
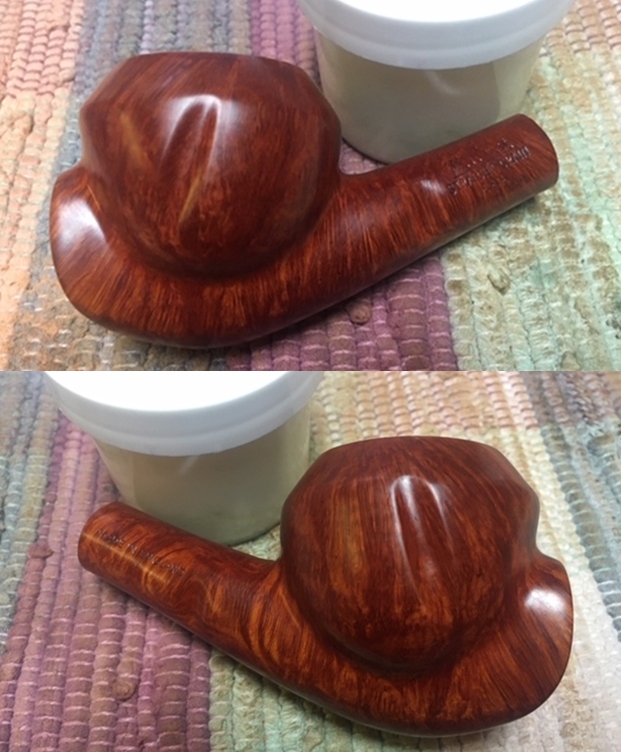
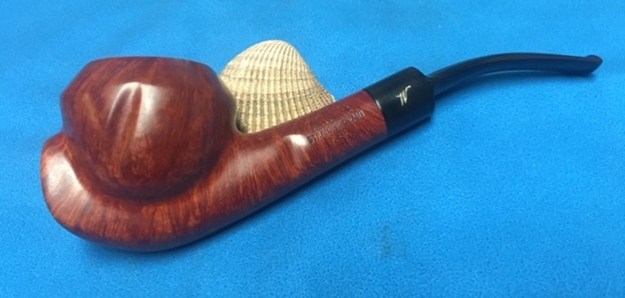
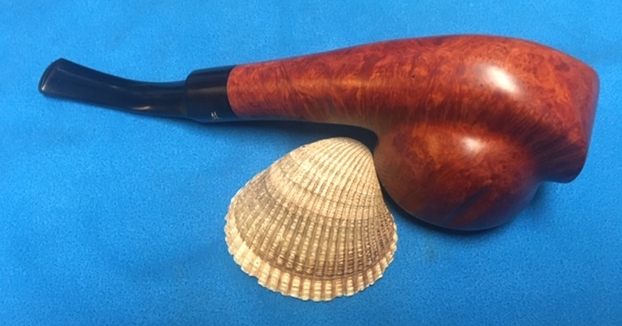
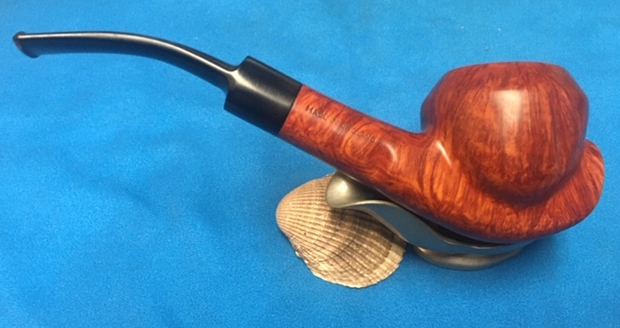
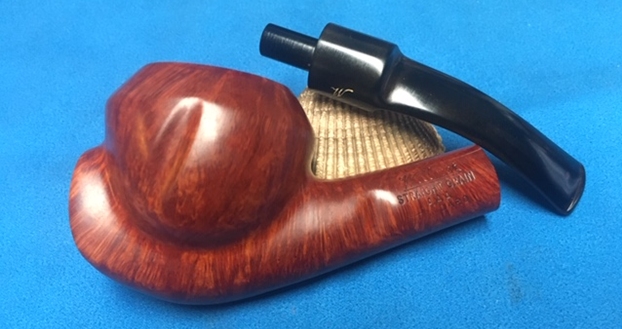
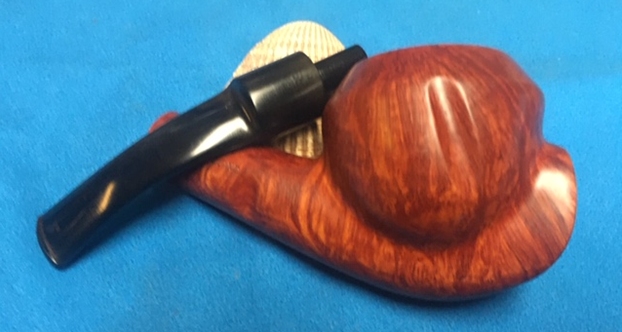
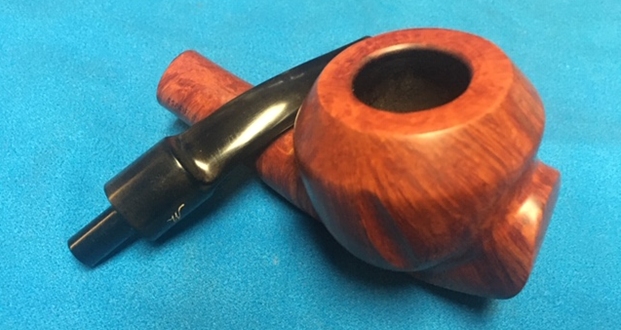
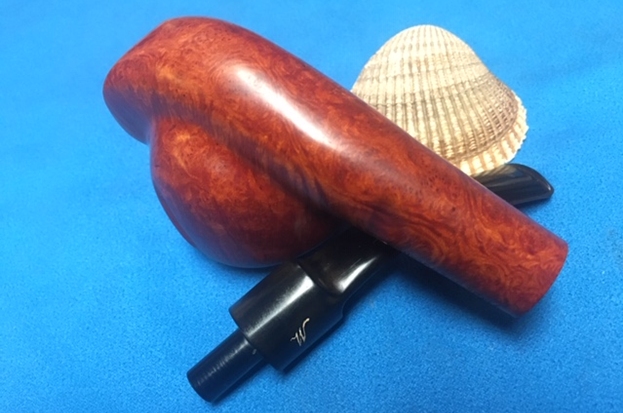
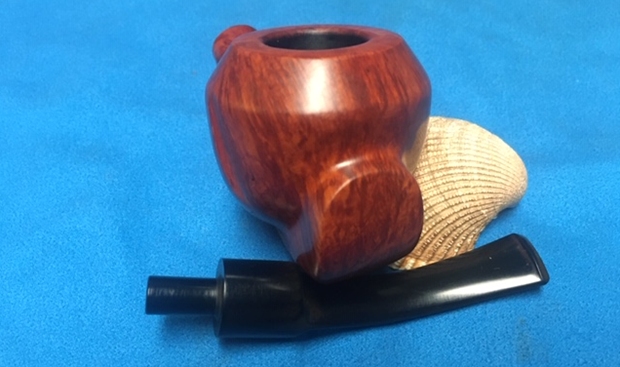
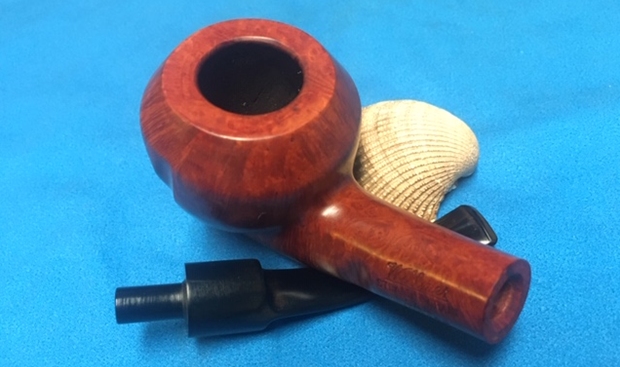
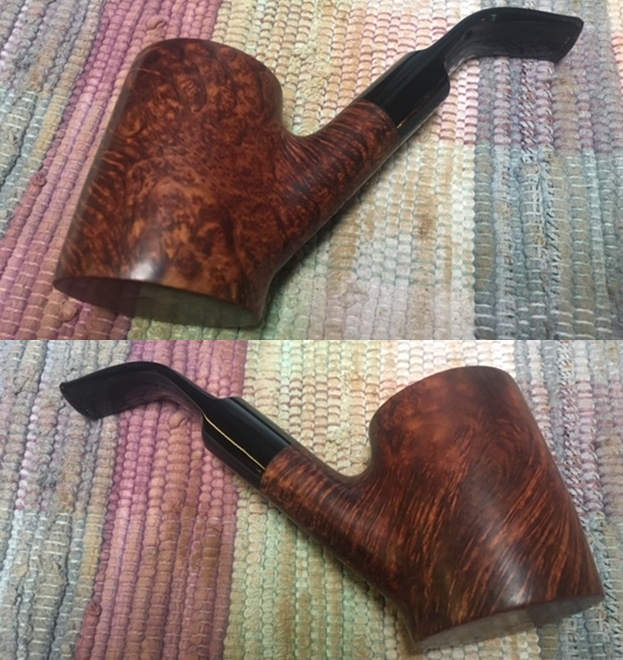
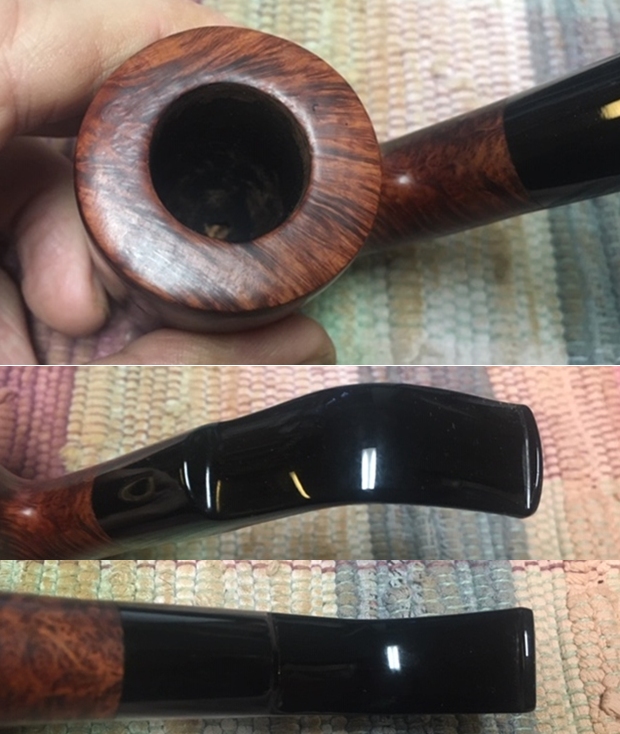
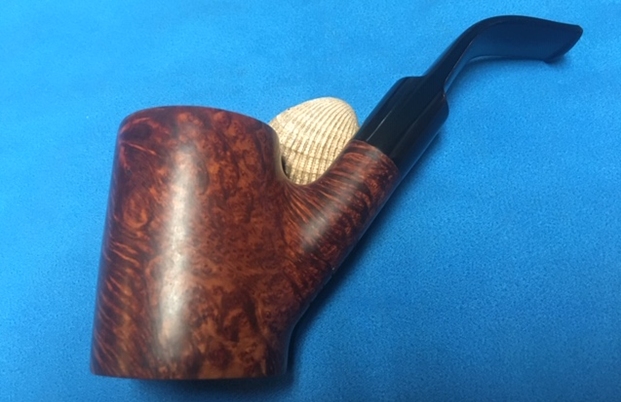
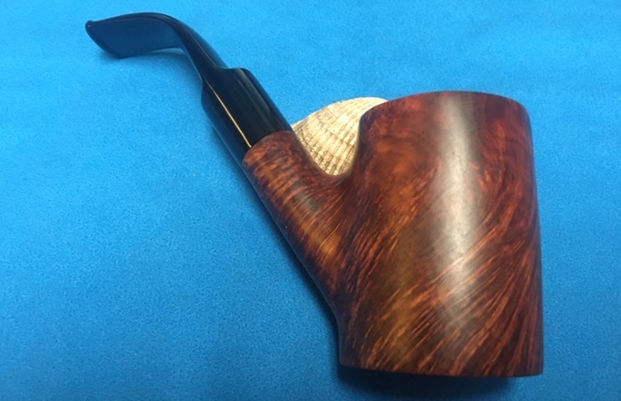
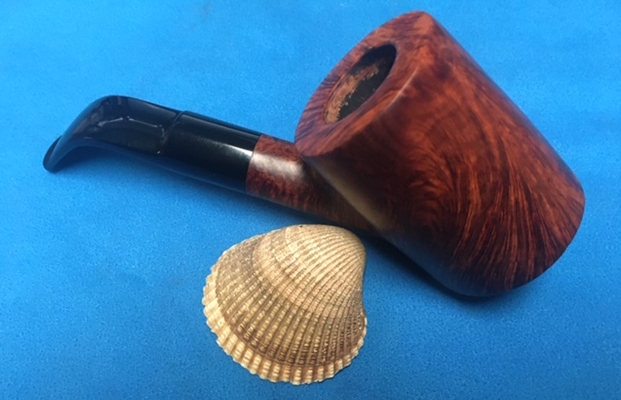
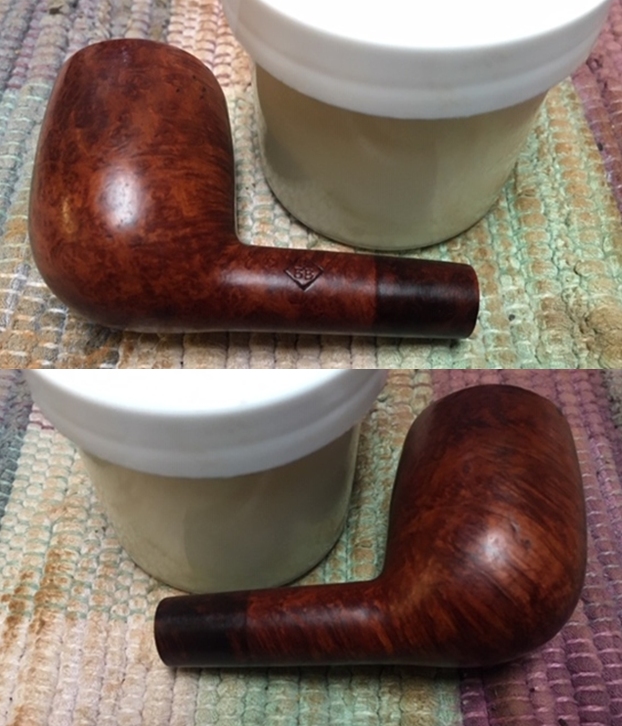
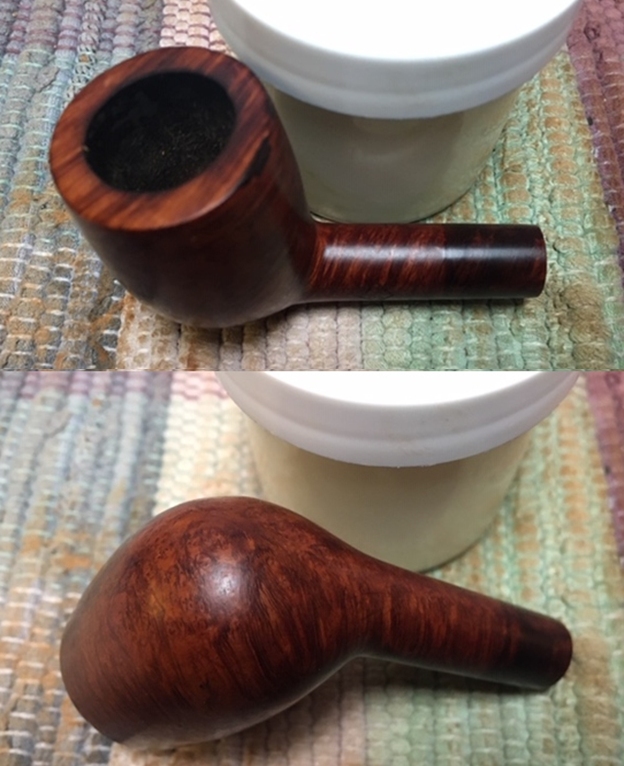
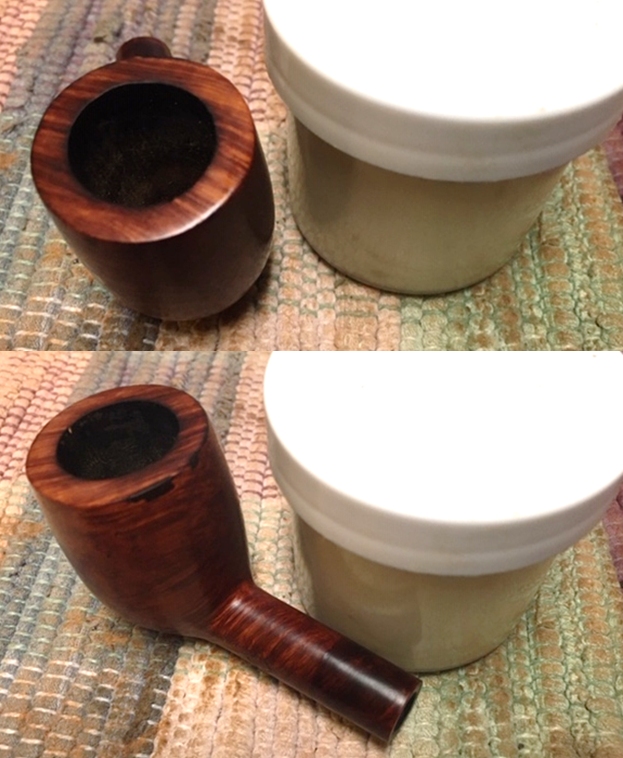
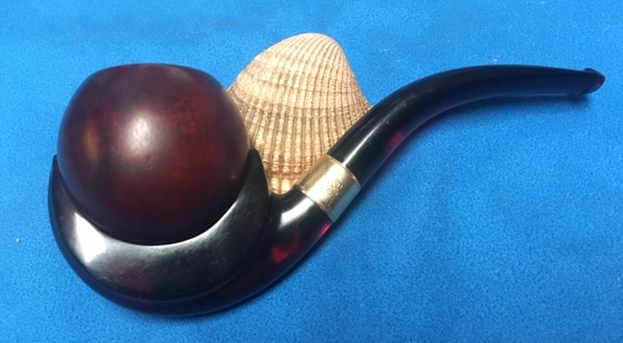
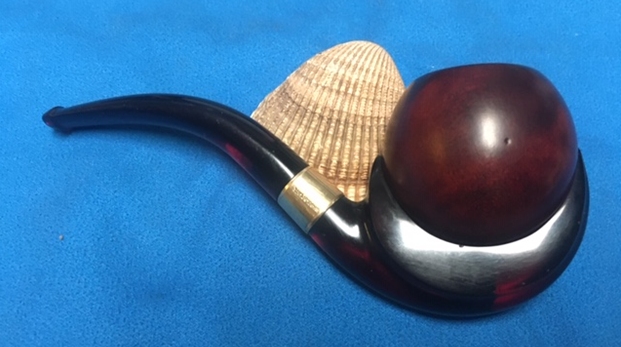
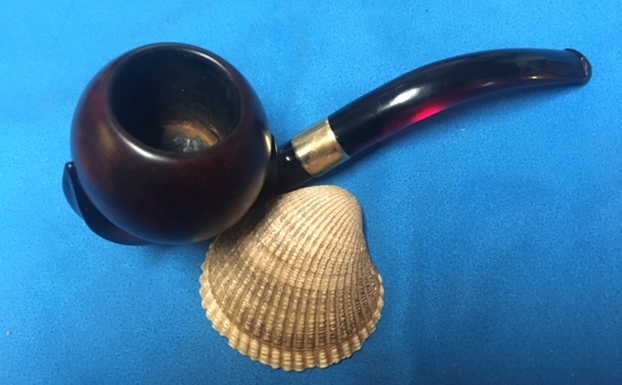
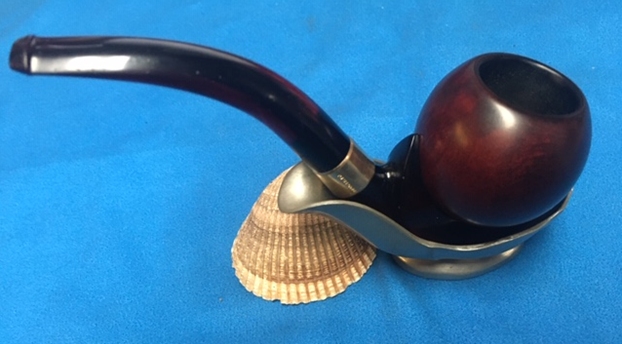
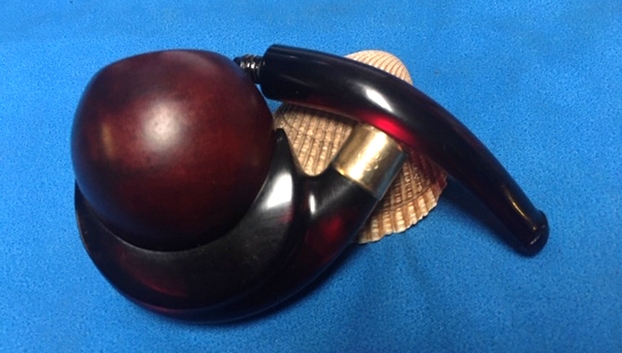
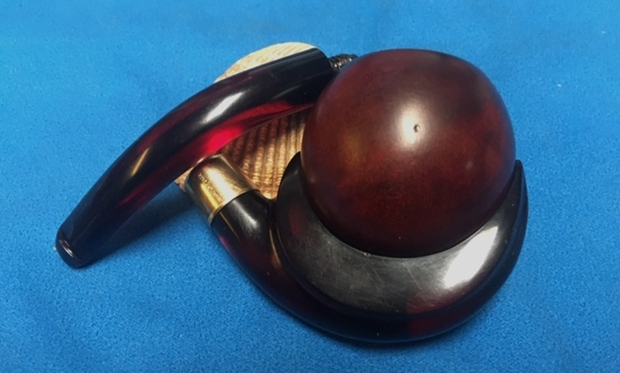
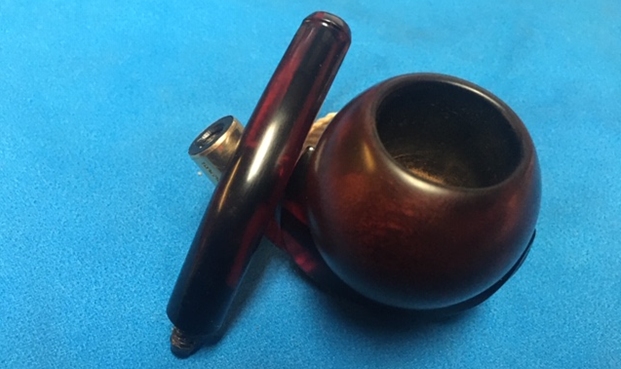
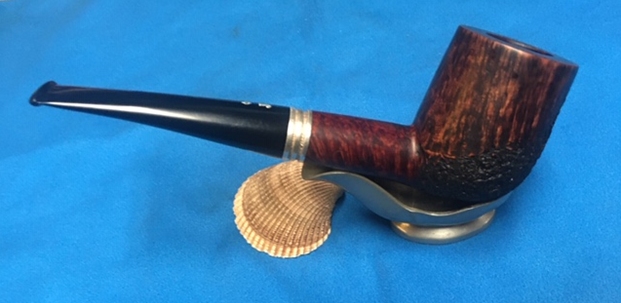
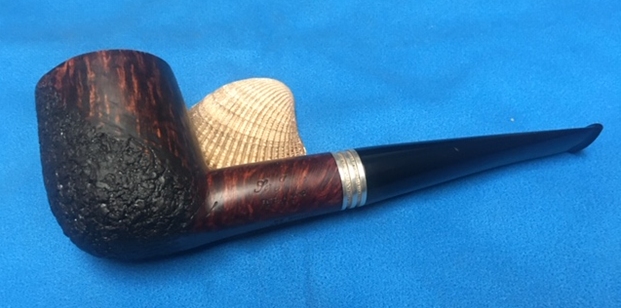
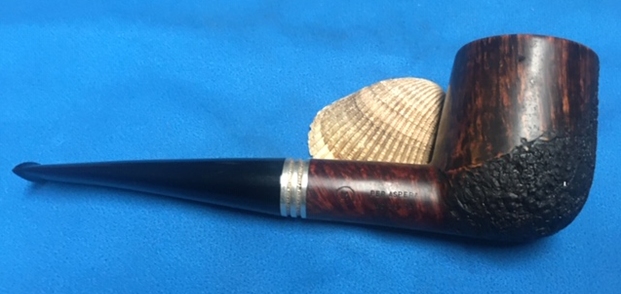
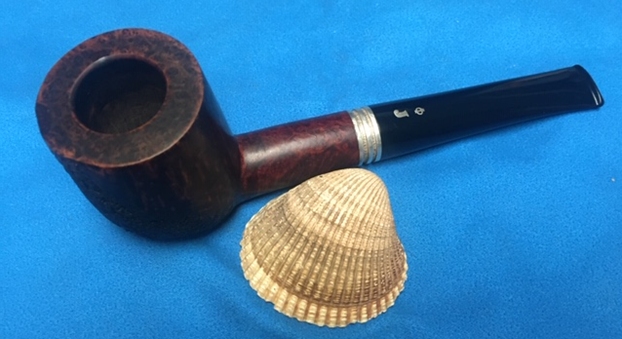
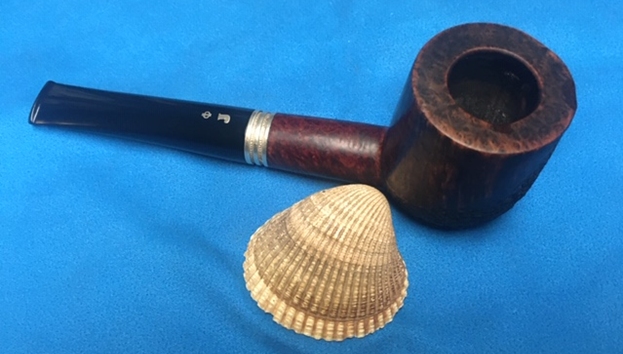
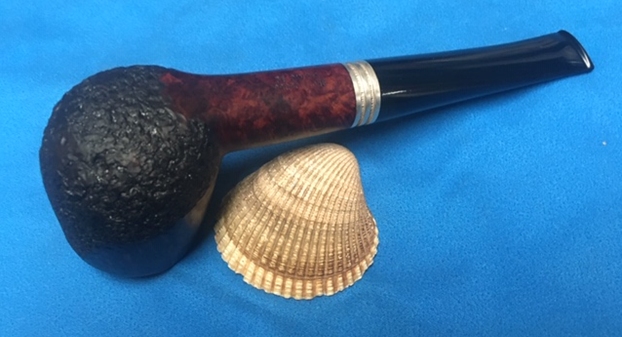
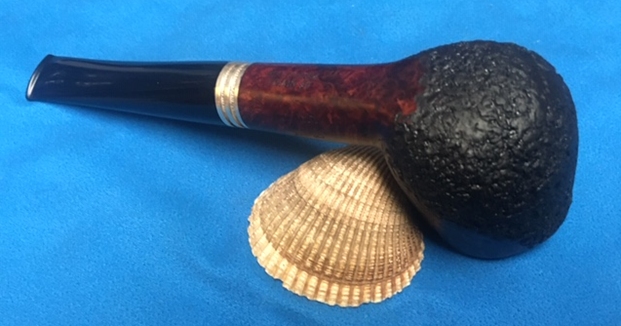
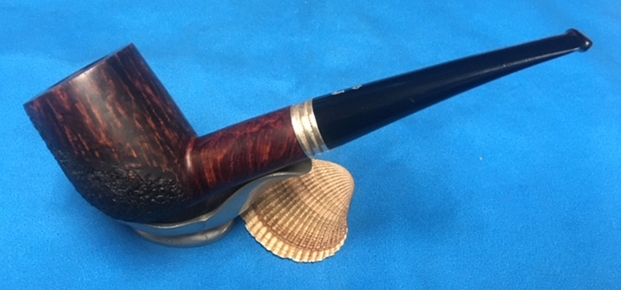
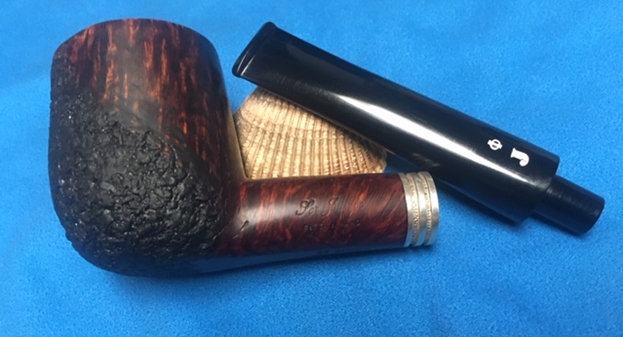
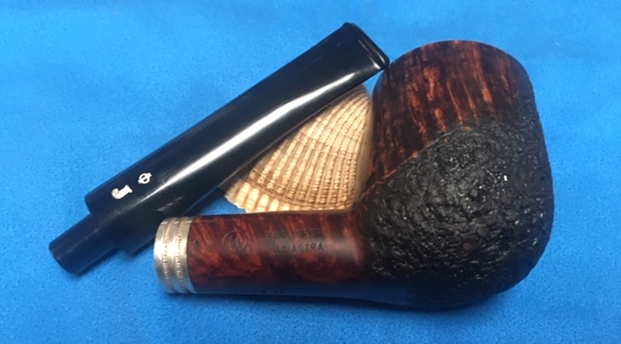
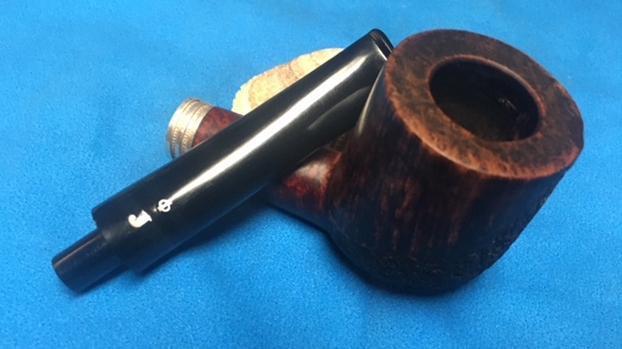
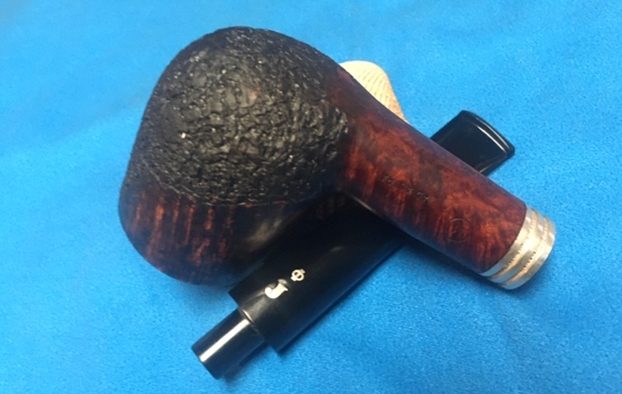
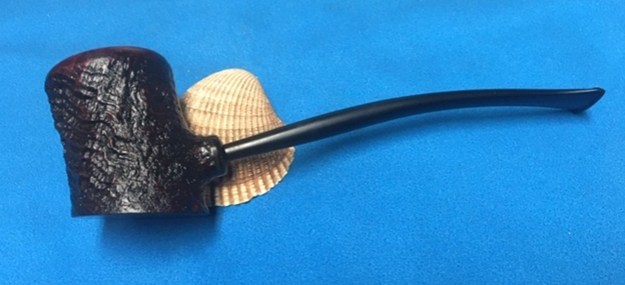
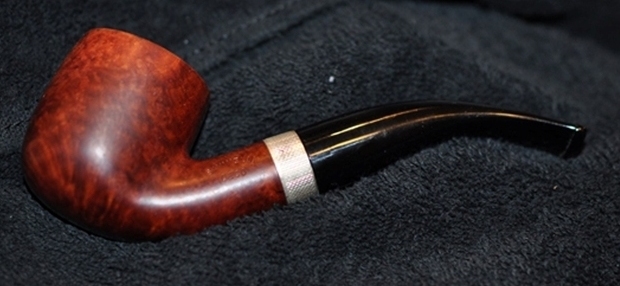
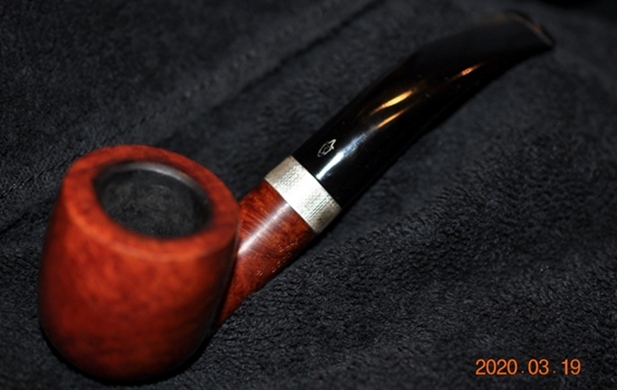
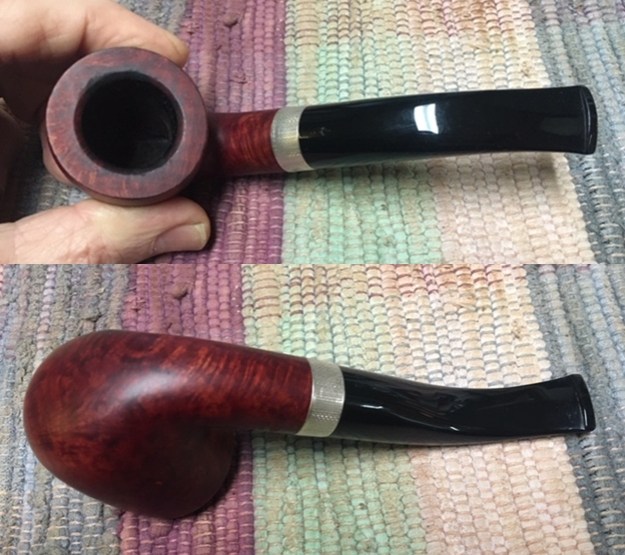
 This Savinelli Deco 622KS Bent Pot is a nice looking pipe. I put the bowl and stem back together again and buffed the bowl and the stem with Blue Diamond on the buffing wheel. I polished the metal band with a jeweler’s cloth. I gave the bowl and the stem several coats of carnauba wax. I carefully buffed the entire pipe with a clean buffing pad to raise the shine. I finished buffing with a microfiber cloth to deepen the shine. The finished pipe looks very good. The grain is quite beautiful a mix of cross grain and birdseye grain around the bowl sides and the rim top and heel. The pipe feels great in the hand. It has an interesting shape that fits well in either the right or left hand. The finished Bent Pot is shown in the photos below. The 6mm filter stem is in great condition. What i like about the 6mm filter pipe is that it can be smoked without a filter and still has a great draw. The dimensions of the pipe are Length: 6 inches, Height: 2 inches, Outside diameter of the bowl: 1 5/8 inches, Chamber diameter: 7/8 of an inch. This great looking Savinelli pipe turned out very well. It should be a great pipe. It will be going on the rebornpipes store shortly if you are interested in adding it to your collection. Thanks for reading this blog and my reflections on the pipe while I worked on it.