Peterson Mark Twain shank repair using a copper band


Blog by Bryan

Bryan, SenatorXMG, on Smokers Forums posted this photo essay on a repair he did on a cracked shank on a Peterson Mark Twain that he purchased. I asked for permission to post it here for information and passing on a great trick to others who would choose to use his method. He gladly granted that permission and I include it below for your use.

Well…today was the day to fix my Peterson Mark Twain with the cracked shank. I had previously posted on Smokers Forums regarding the problem and looking for advice on repairing it. I include the text and picture that I posted below.

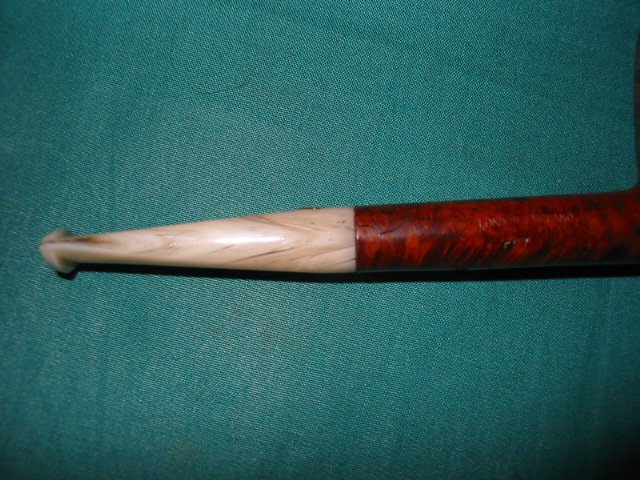
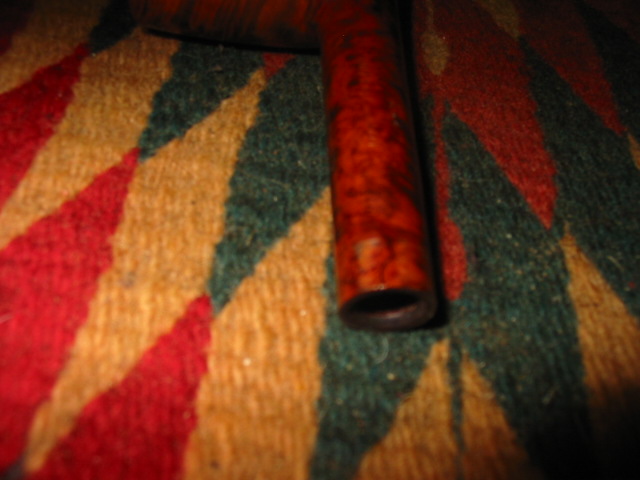
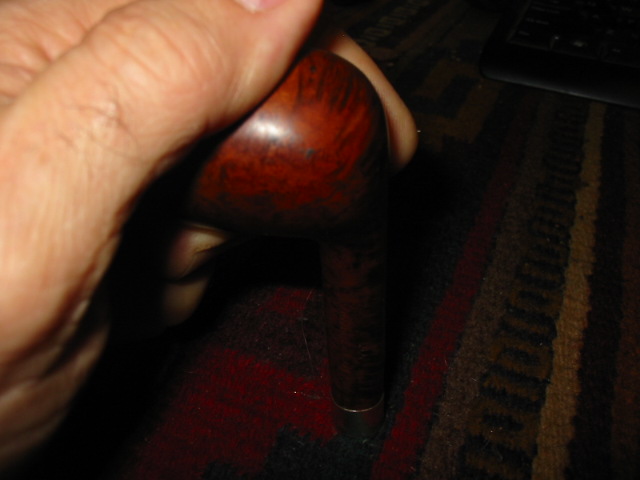
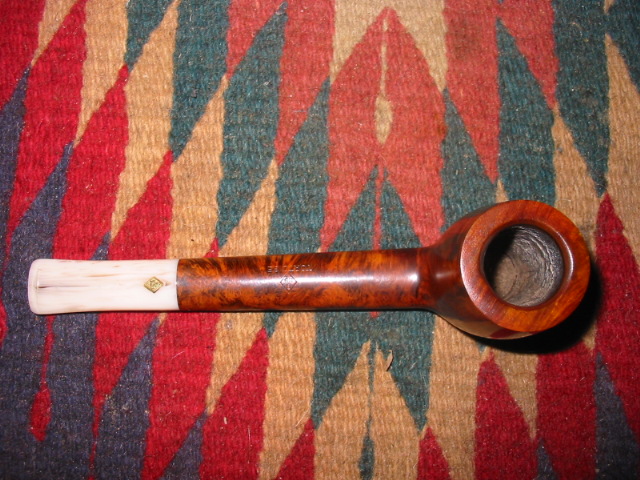
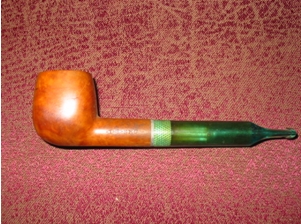
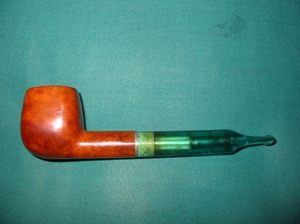
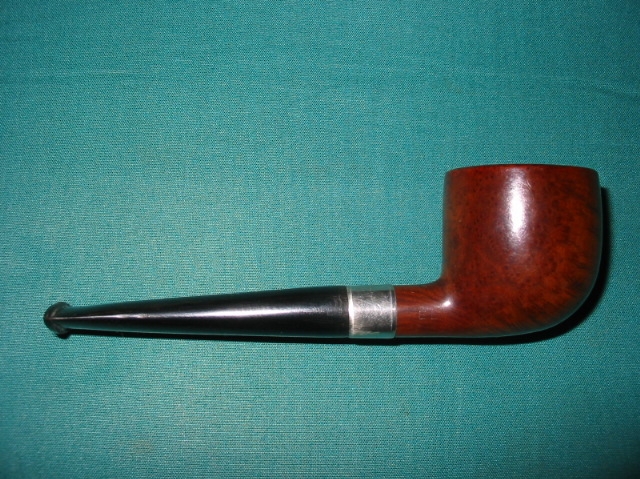
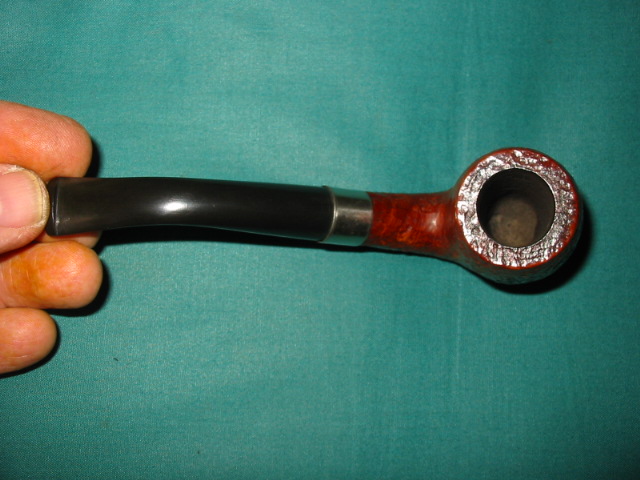
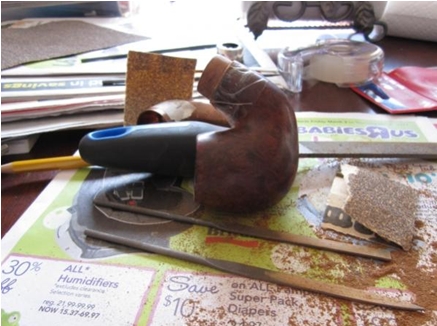
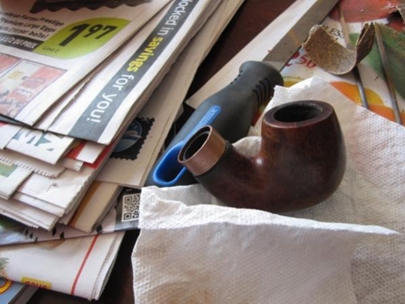
I bought a Peterson Mark Twain off of eBay and when it arrived I discovered there was a crack in the shank. With the silver cap on the shank it was not easy to see and I believe the seller that he was unaware. You can only see the crack from inside the shank…with stem in place, it’s evident that it expands a little as the stem sits more deeply in the shank and is not quite so secure. Other than this crack, the pipe is in pretty good condition. The seller offered either a full refund or a partial one of $55 (he increased from the original $40 he offered). If I could have this adequately fixed, I’d be interested in that.

I’ve included a picture of where in the shank the crack is. It actually runs from the top of the shank down to the air hole.

I’m wondering if this is something I could repair myself. Any repairmen out there who could give me a basic step by step idea of how I would approach this fix? I was considering the following:
– remove cap (this is fairly straight forward. I’ve done this before)
– add appropriately-sized shank ring. Might have to sand down an area so that the ring is flush with the remaining shank? (I have no idea how this part is done and how I’d get a tight fit of the shank ring).
– re-install cap (easy to do)

While I’m pretty handy, this seems like it could be a job for someone with skills greater than mine. Would the $55 the seller has offered me back cover this type of repair from someone with experience?

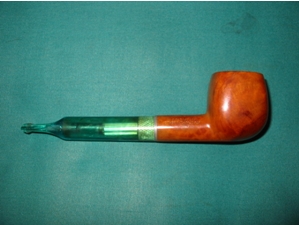
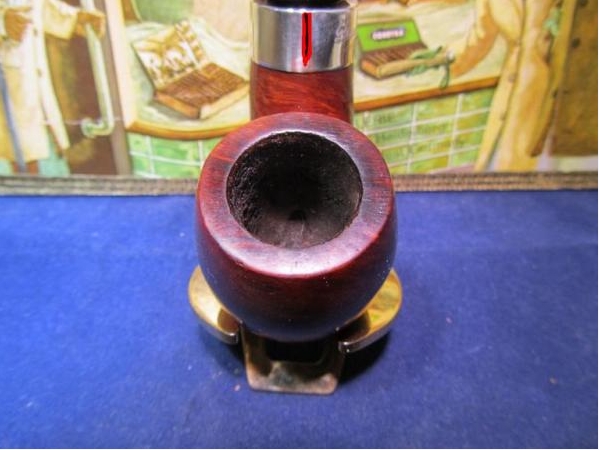
Crack location marked in red/black indicated on silver cap (actual location is seen on the inside)

Image

I decided to repair the pipe myself and created a small photo essay on the work done in repairing the pipe. Here it is:

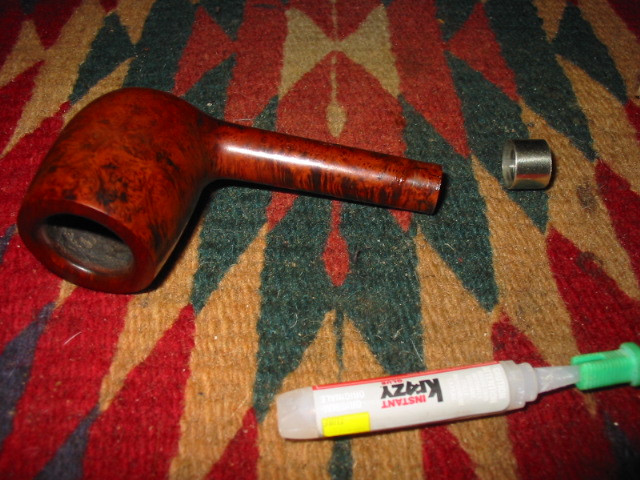
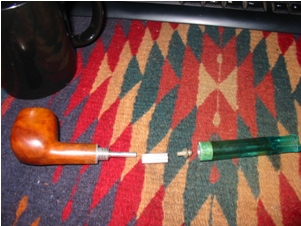
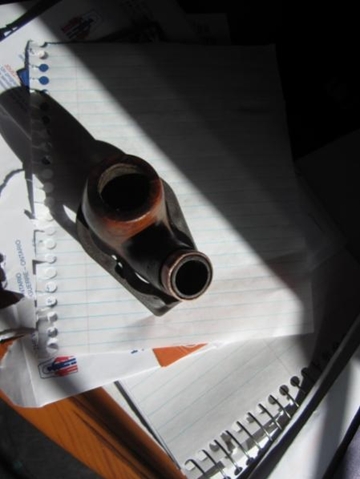
The silver cap was removed with use of heat. Once it is removed the crack is very visible. Copper piping will act as source of repair band.

Image

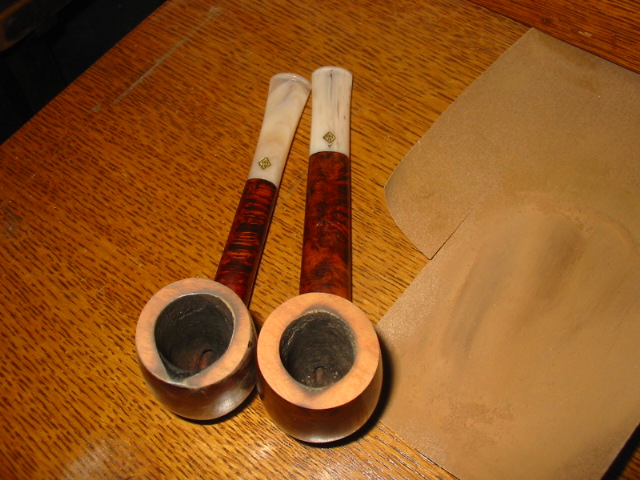
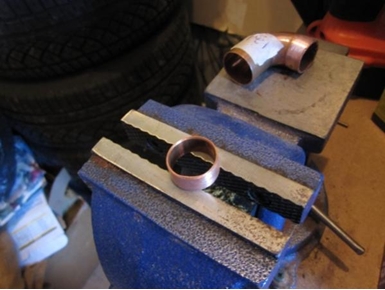
I sanded down repair area where copper band will be installed.

Image

The copper piping is marked and ready to be cut.

Image

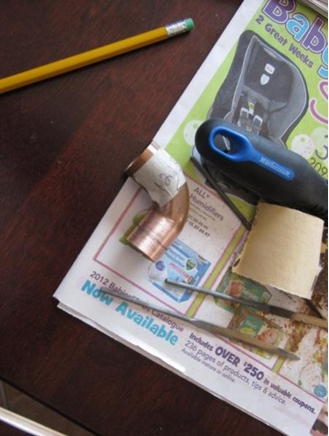
Copper band cut and filed smooth:

Image

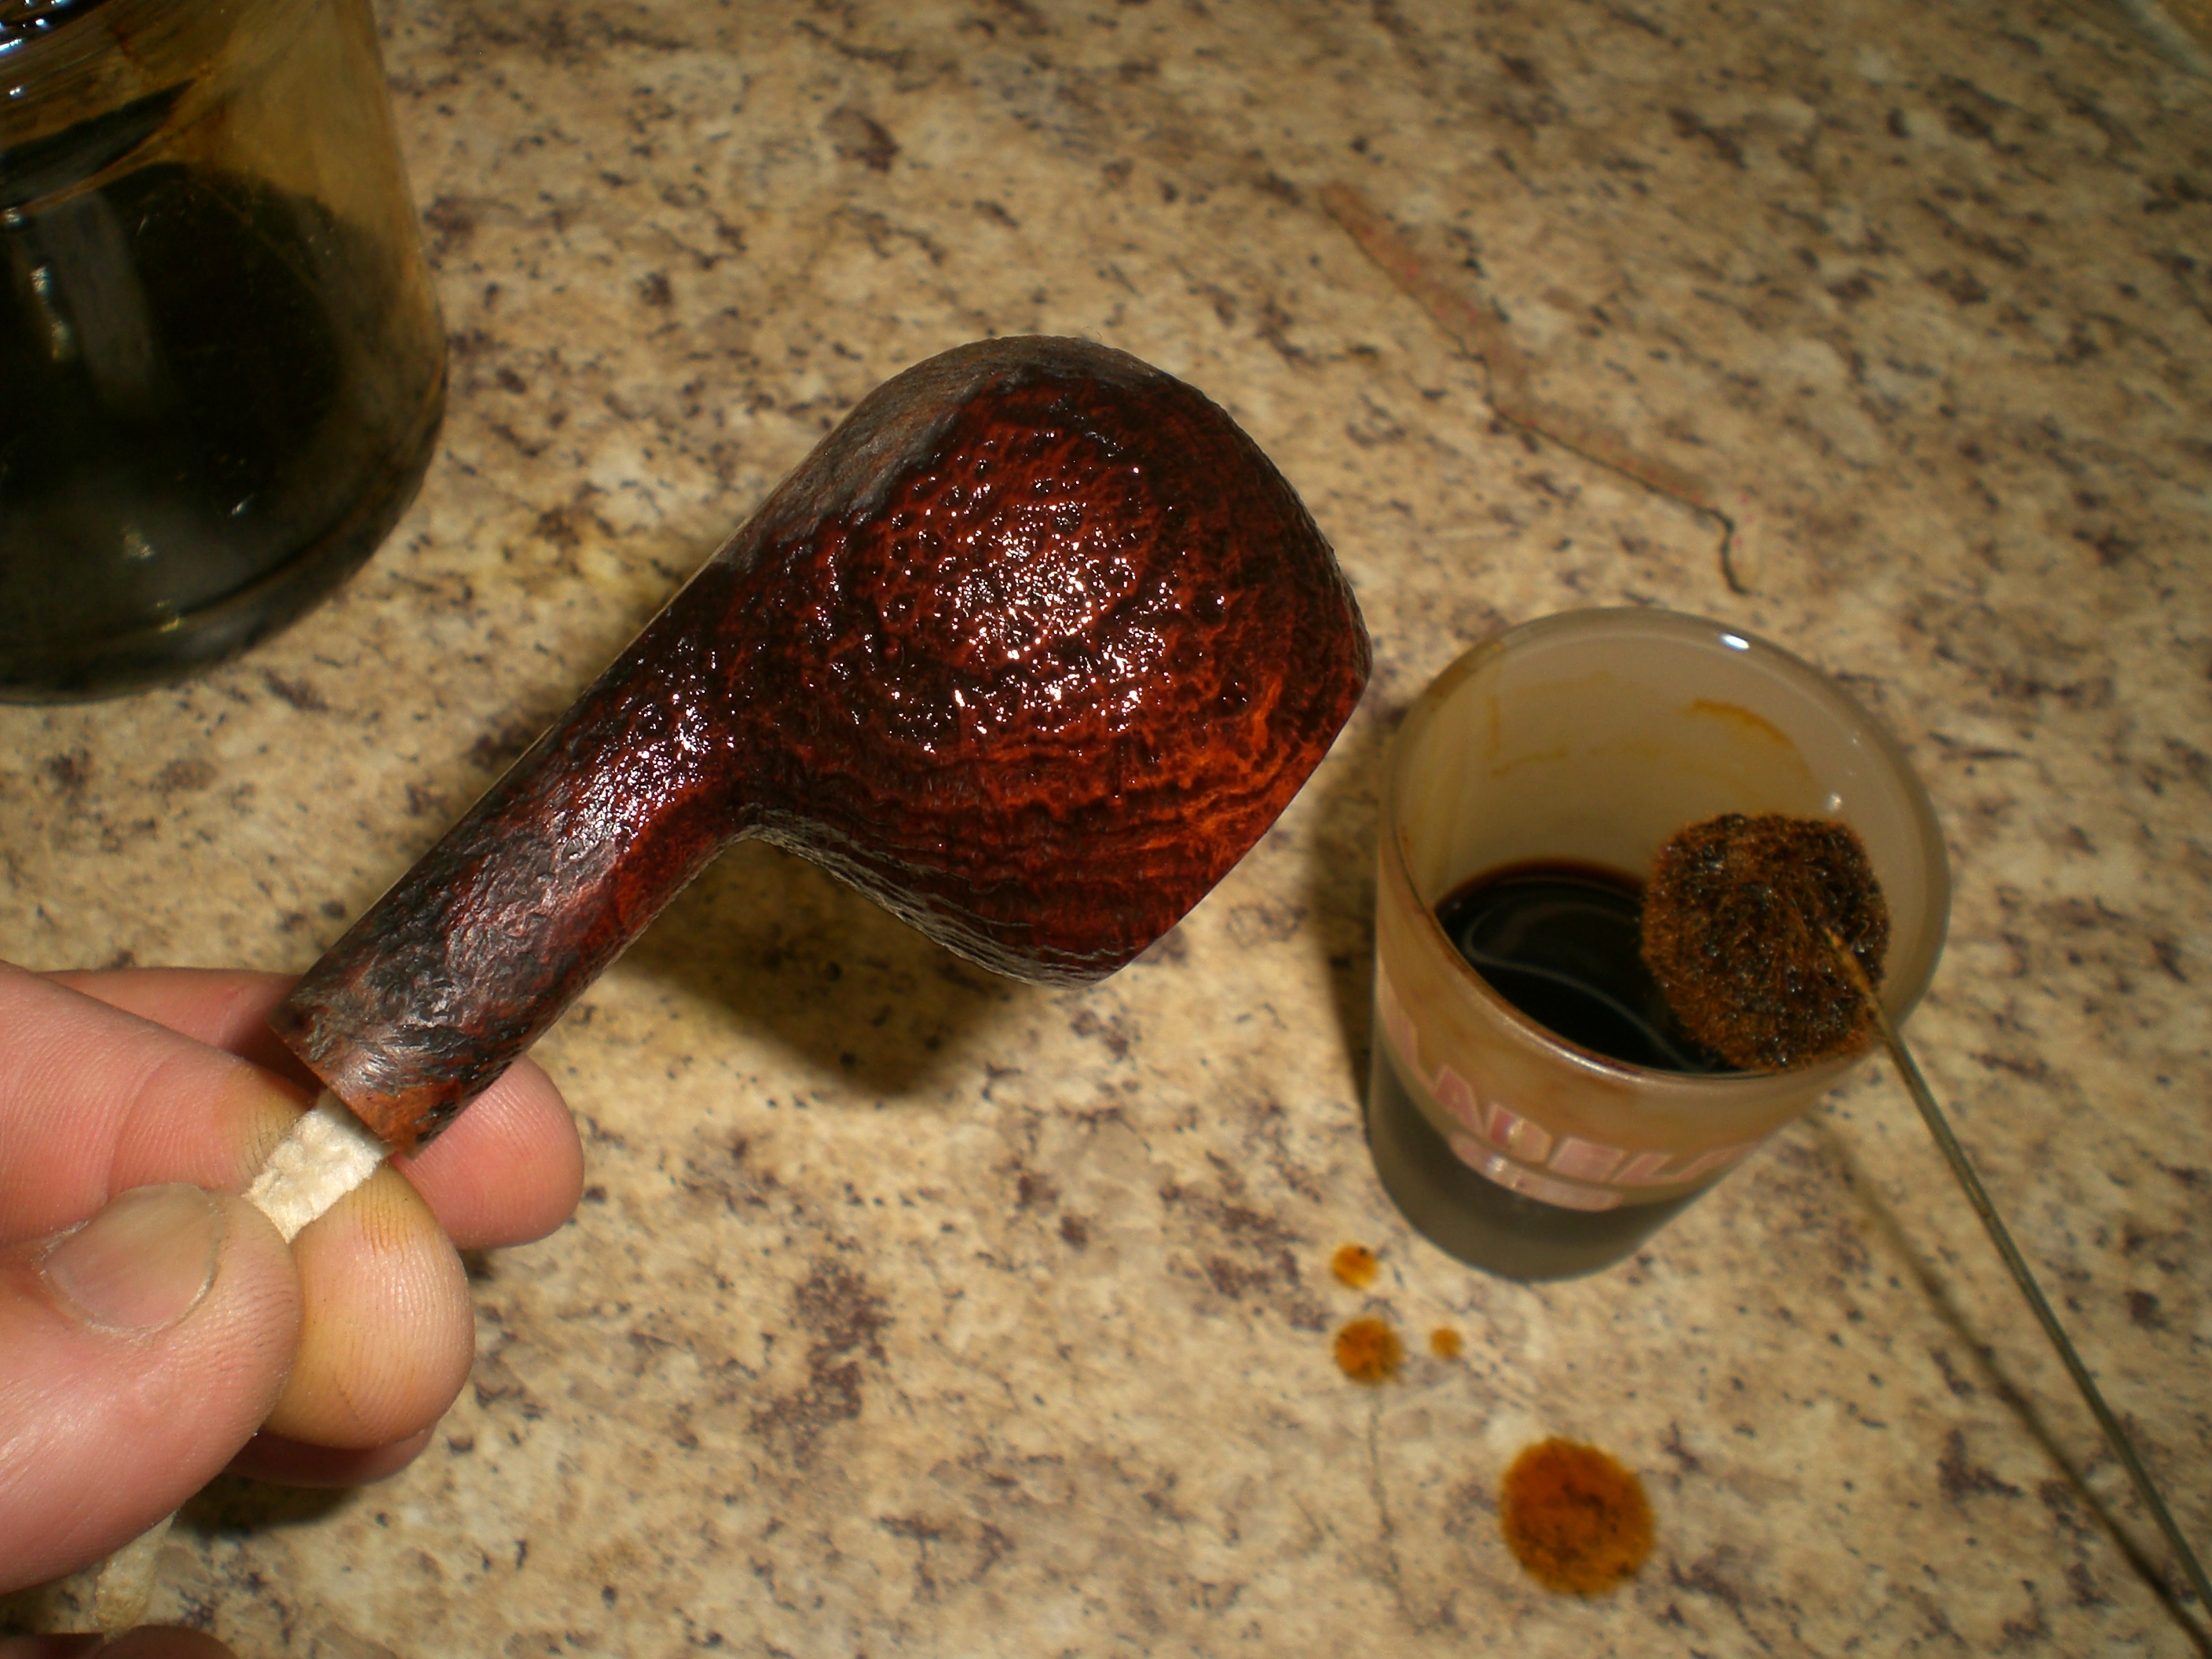
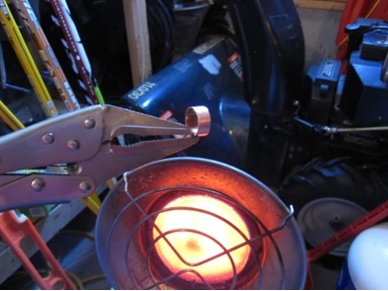
Heat for installation. No blow-torch to heat…had to use my propane space heater (it worked!):

Image

Cooper band installed…with a little bit of gentle force:

Image

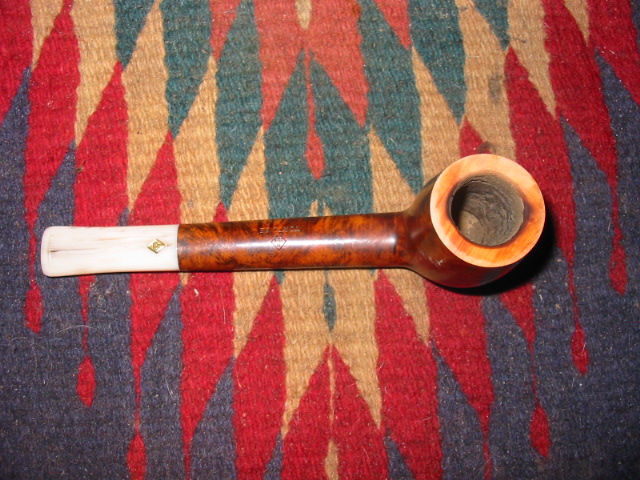
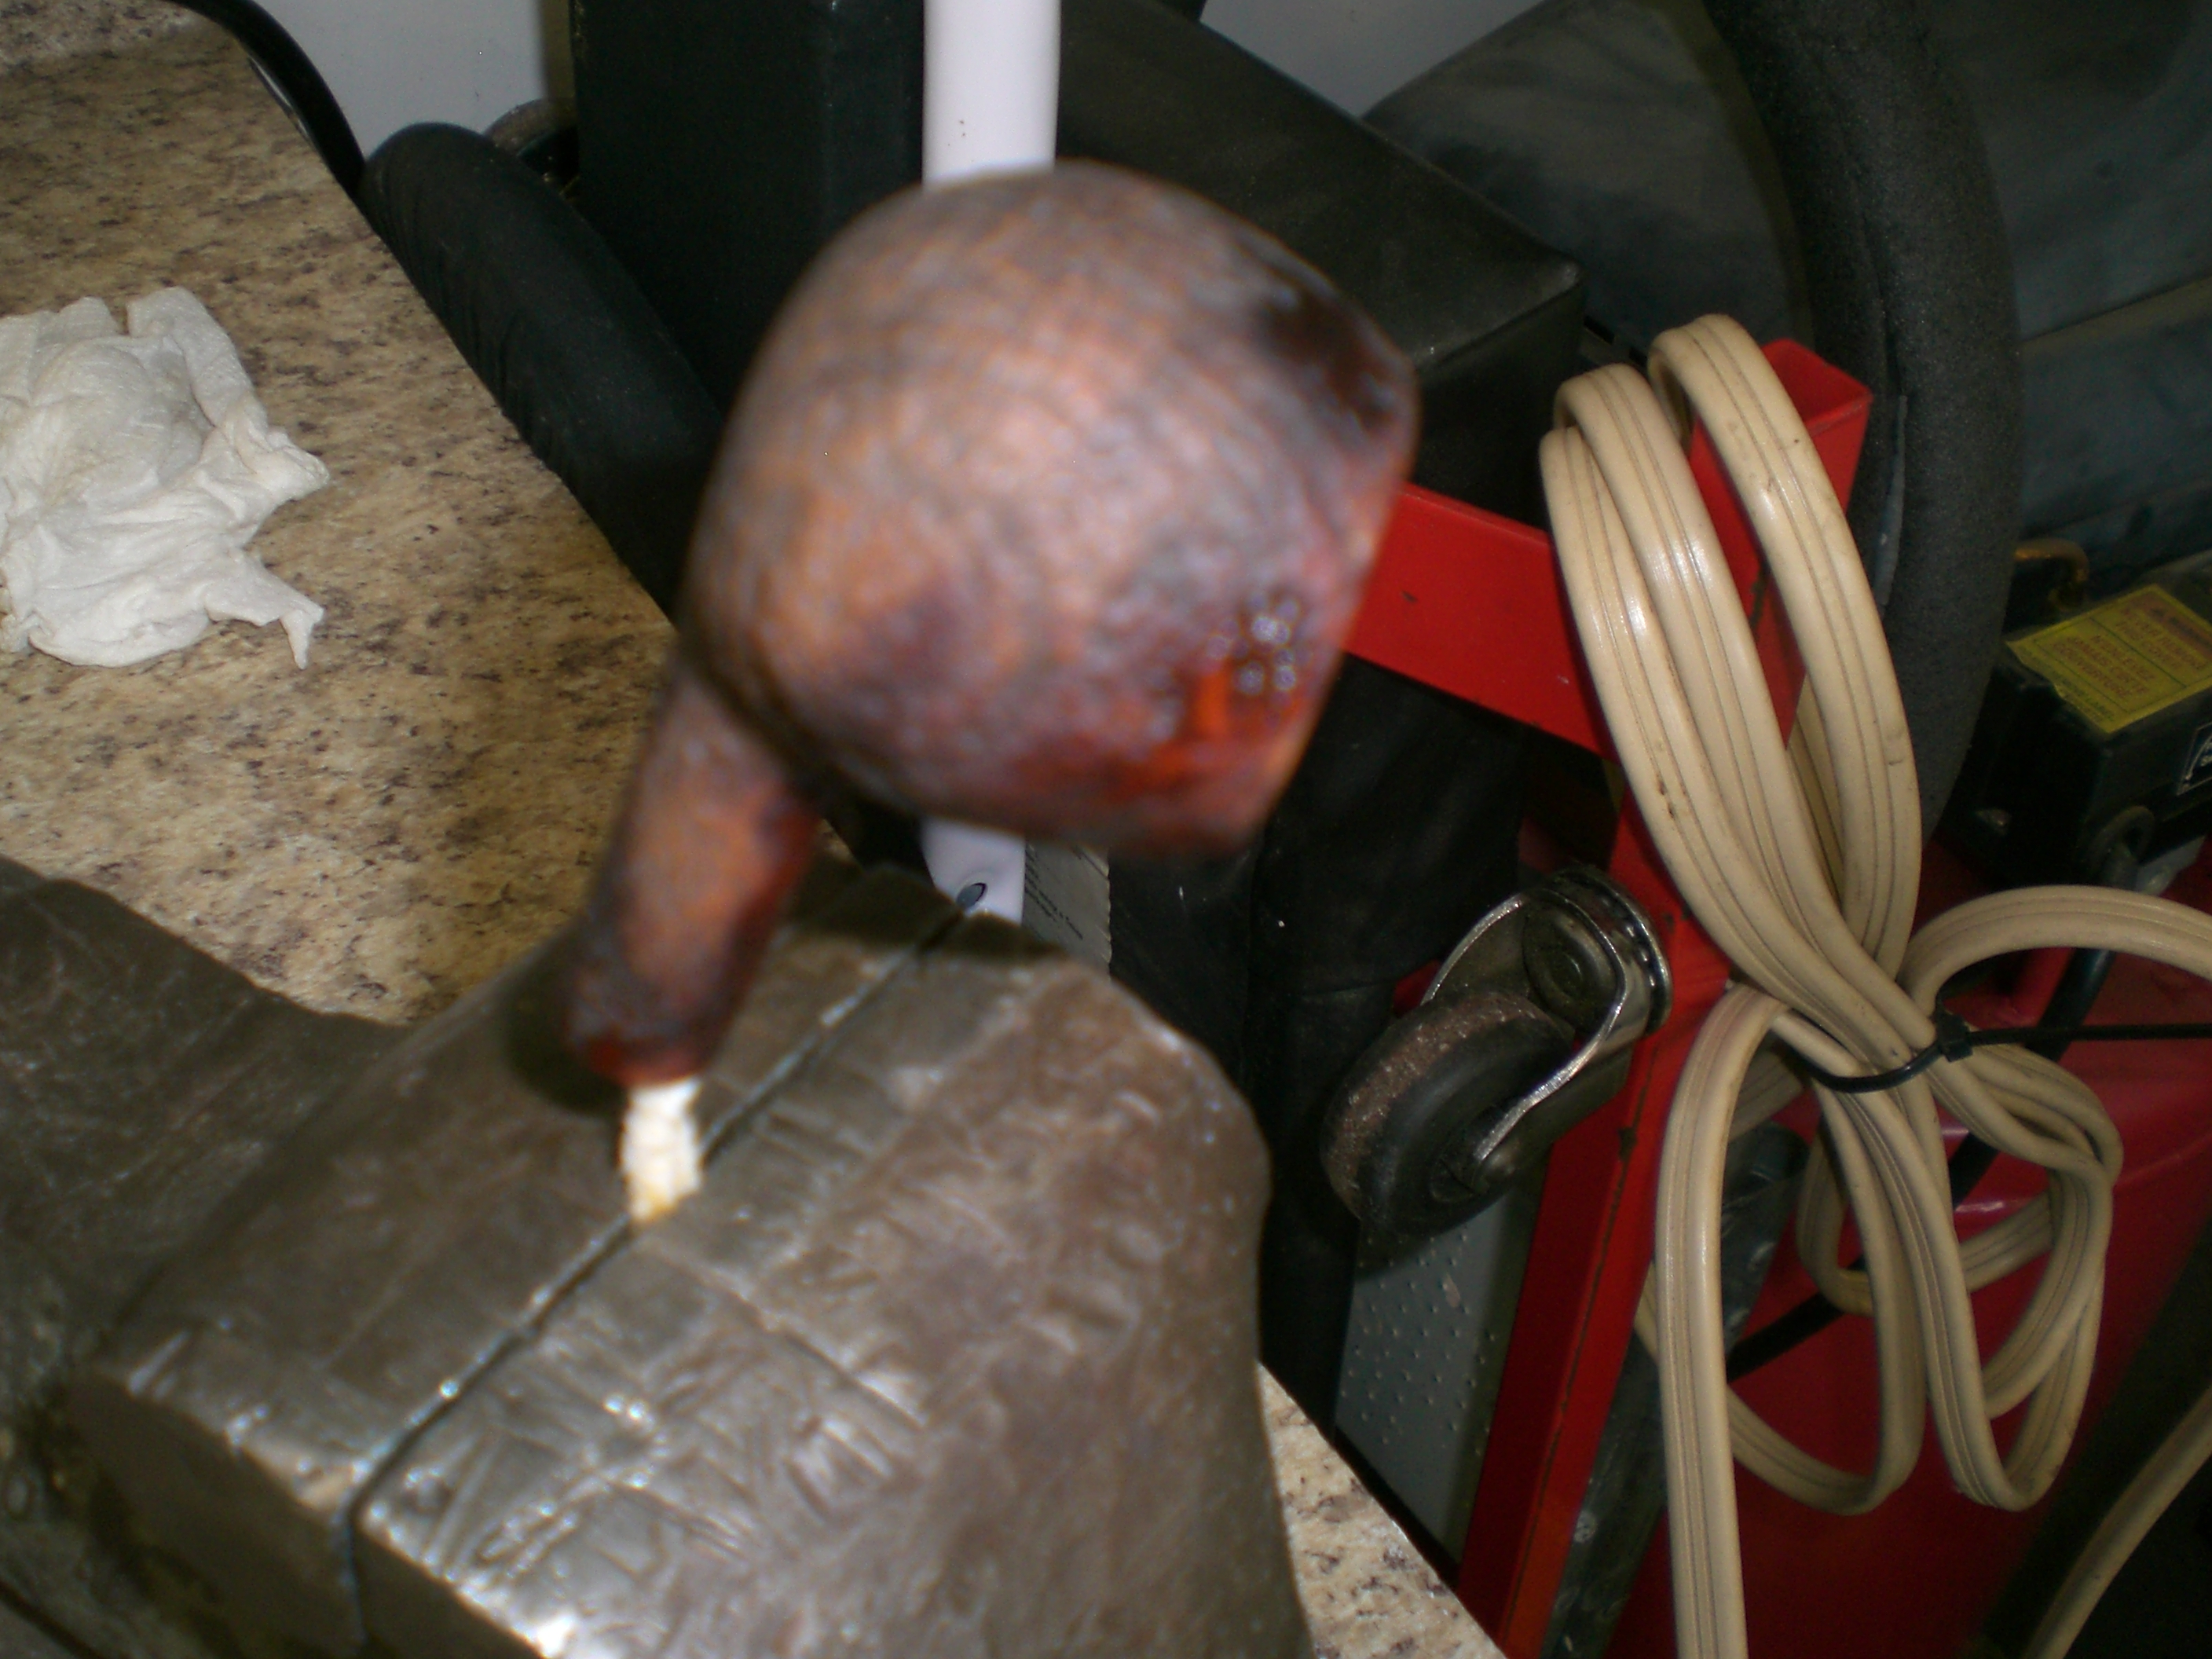
To the grinder to clean it up a little:

Image

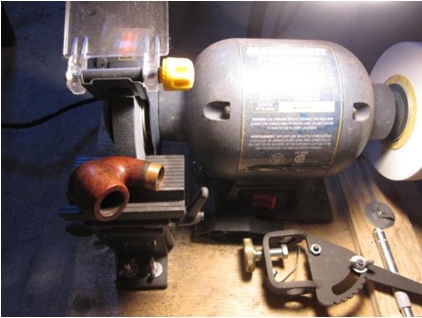
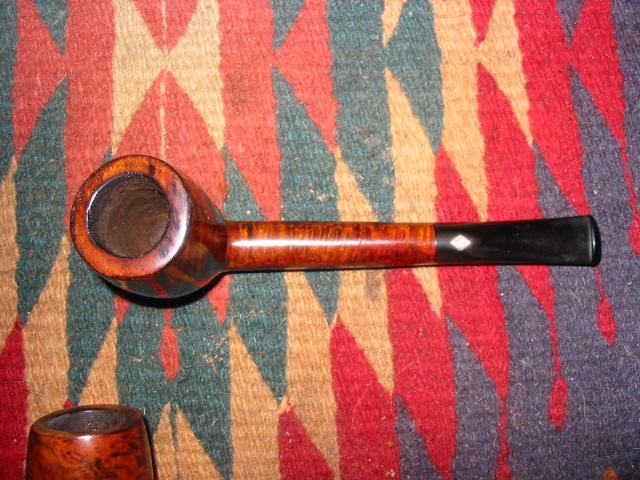
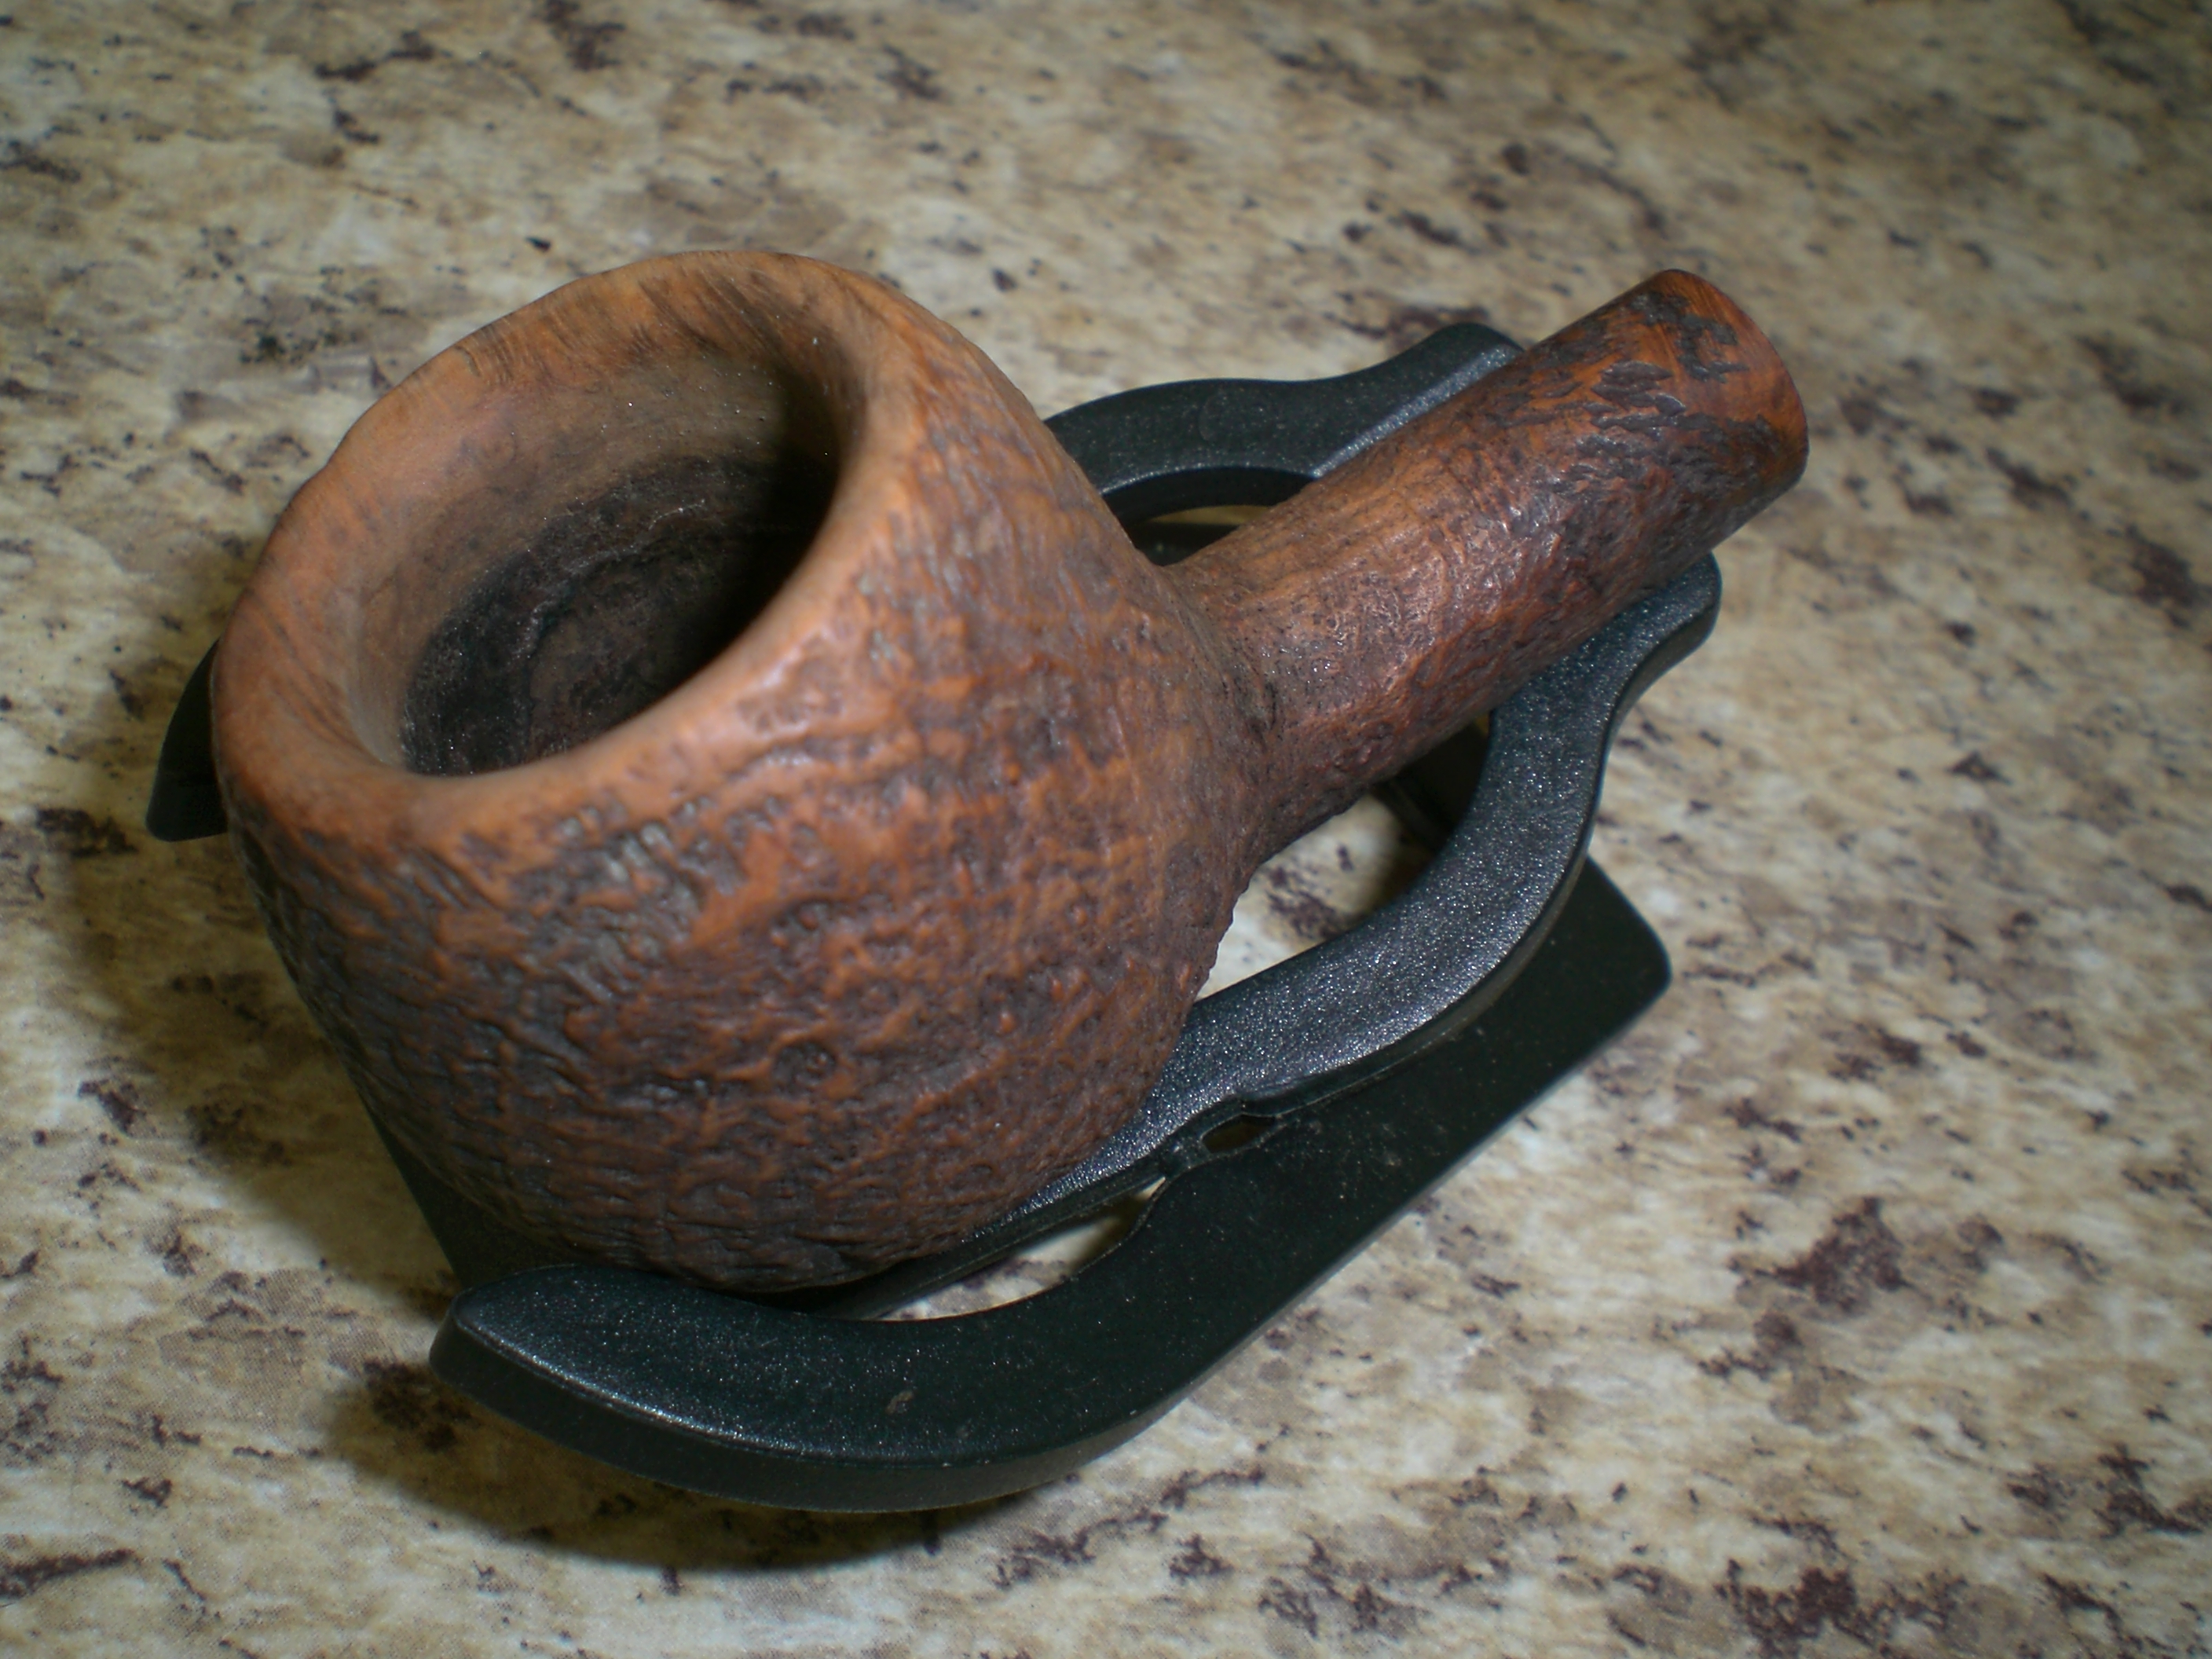
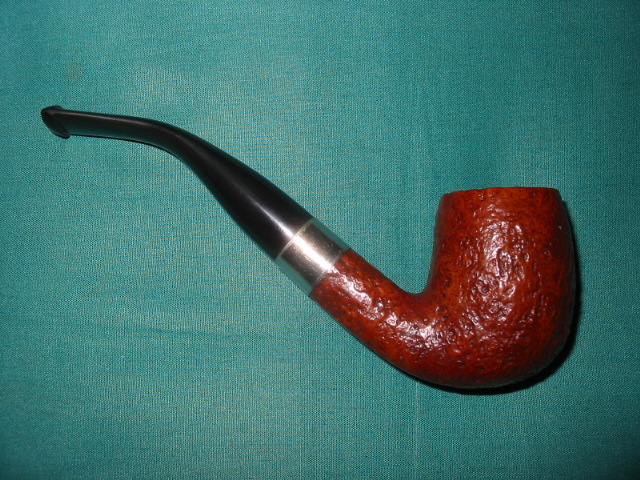
Ahhhh…that’s a little better:

Image

Image

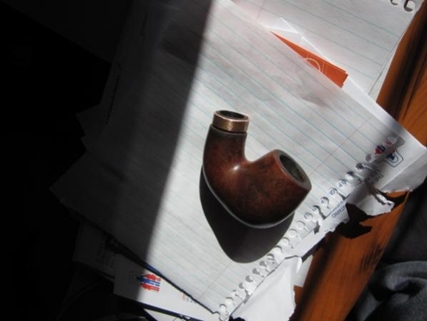
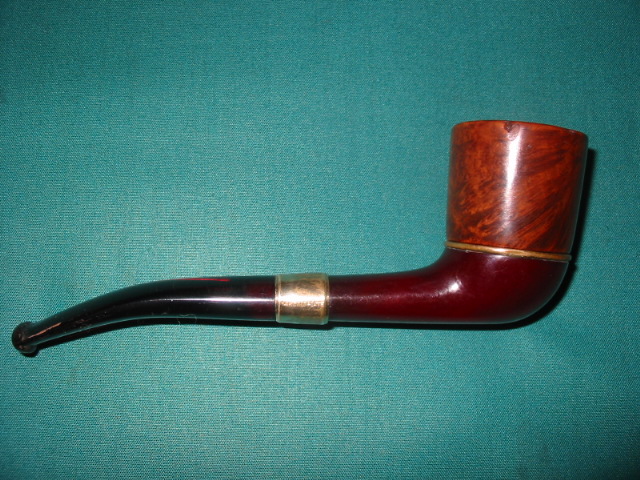
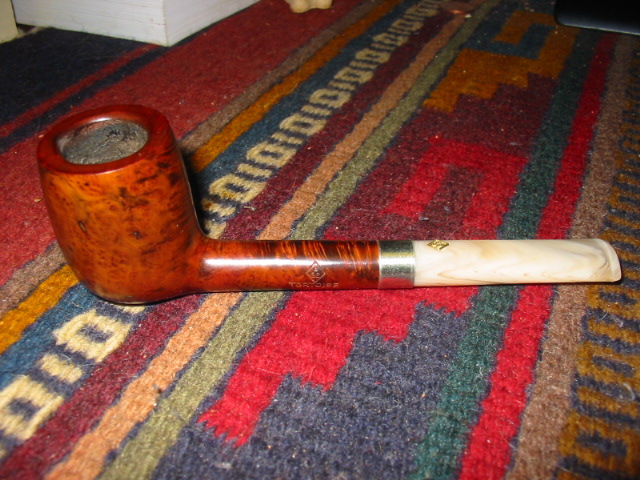
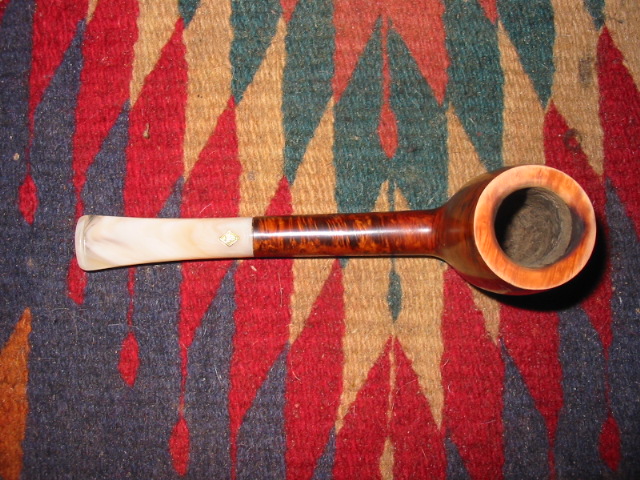
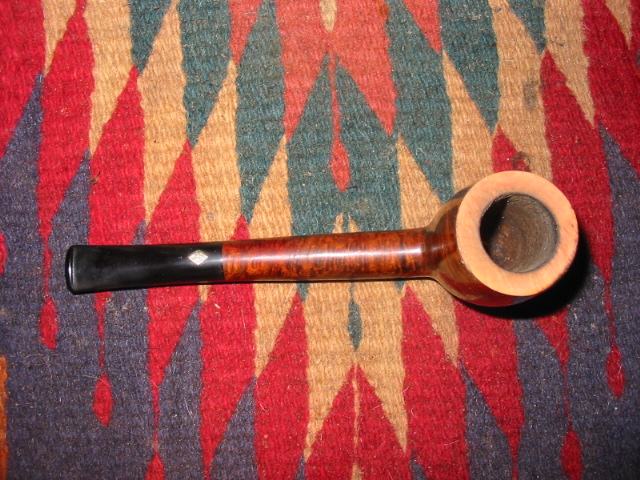
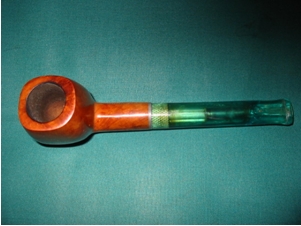
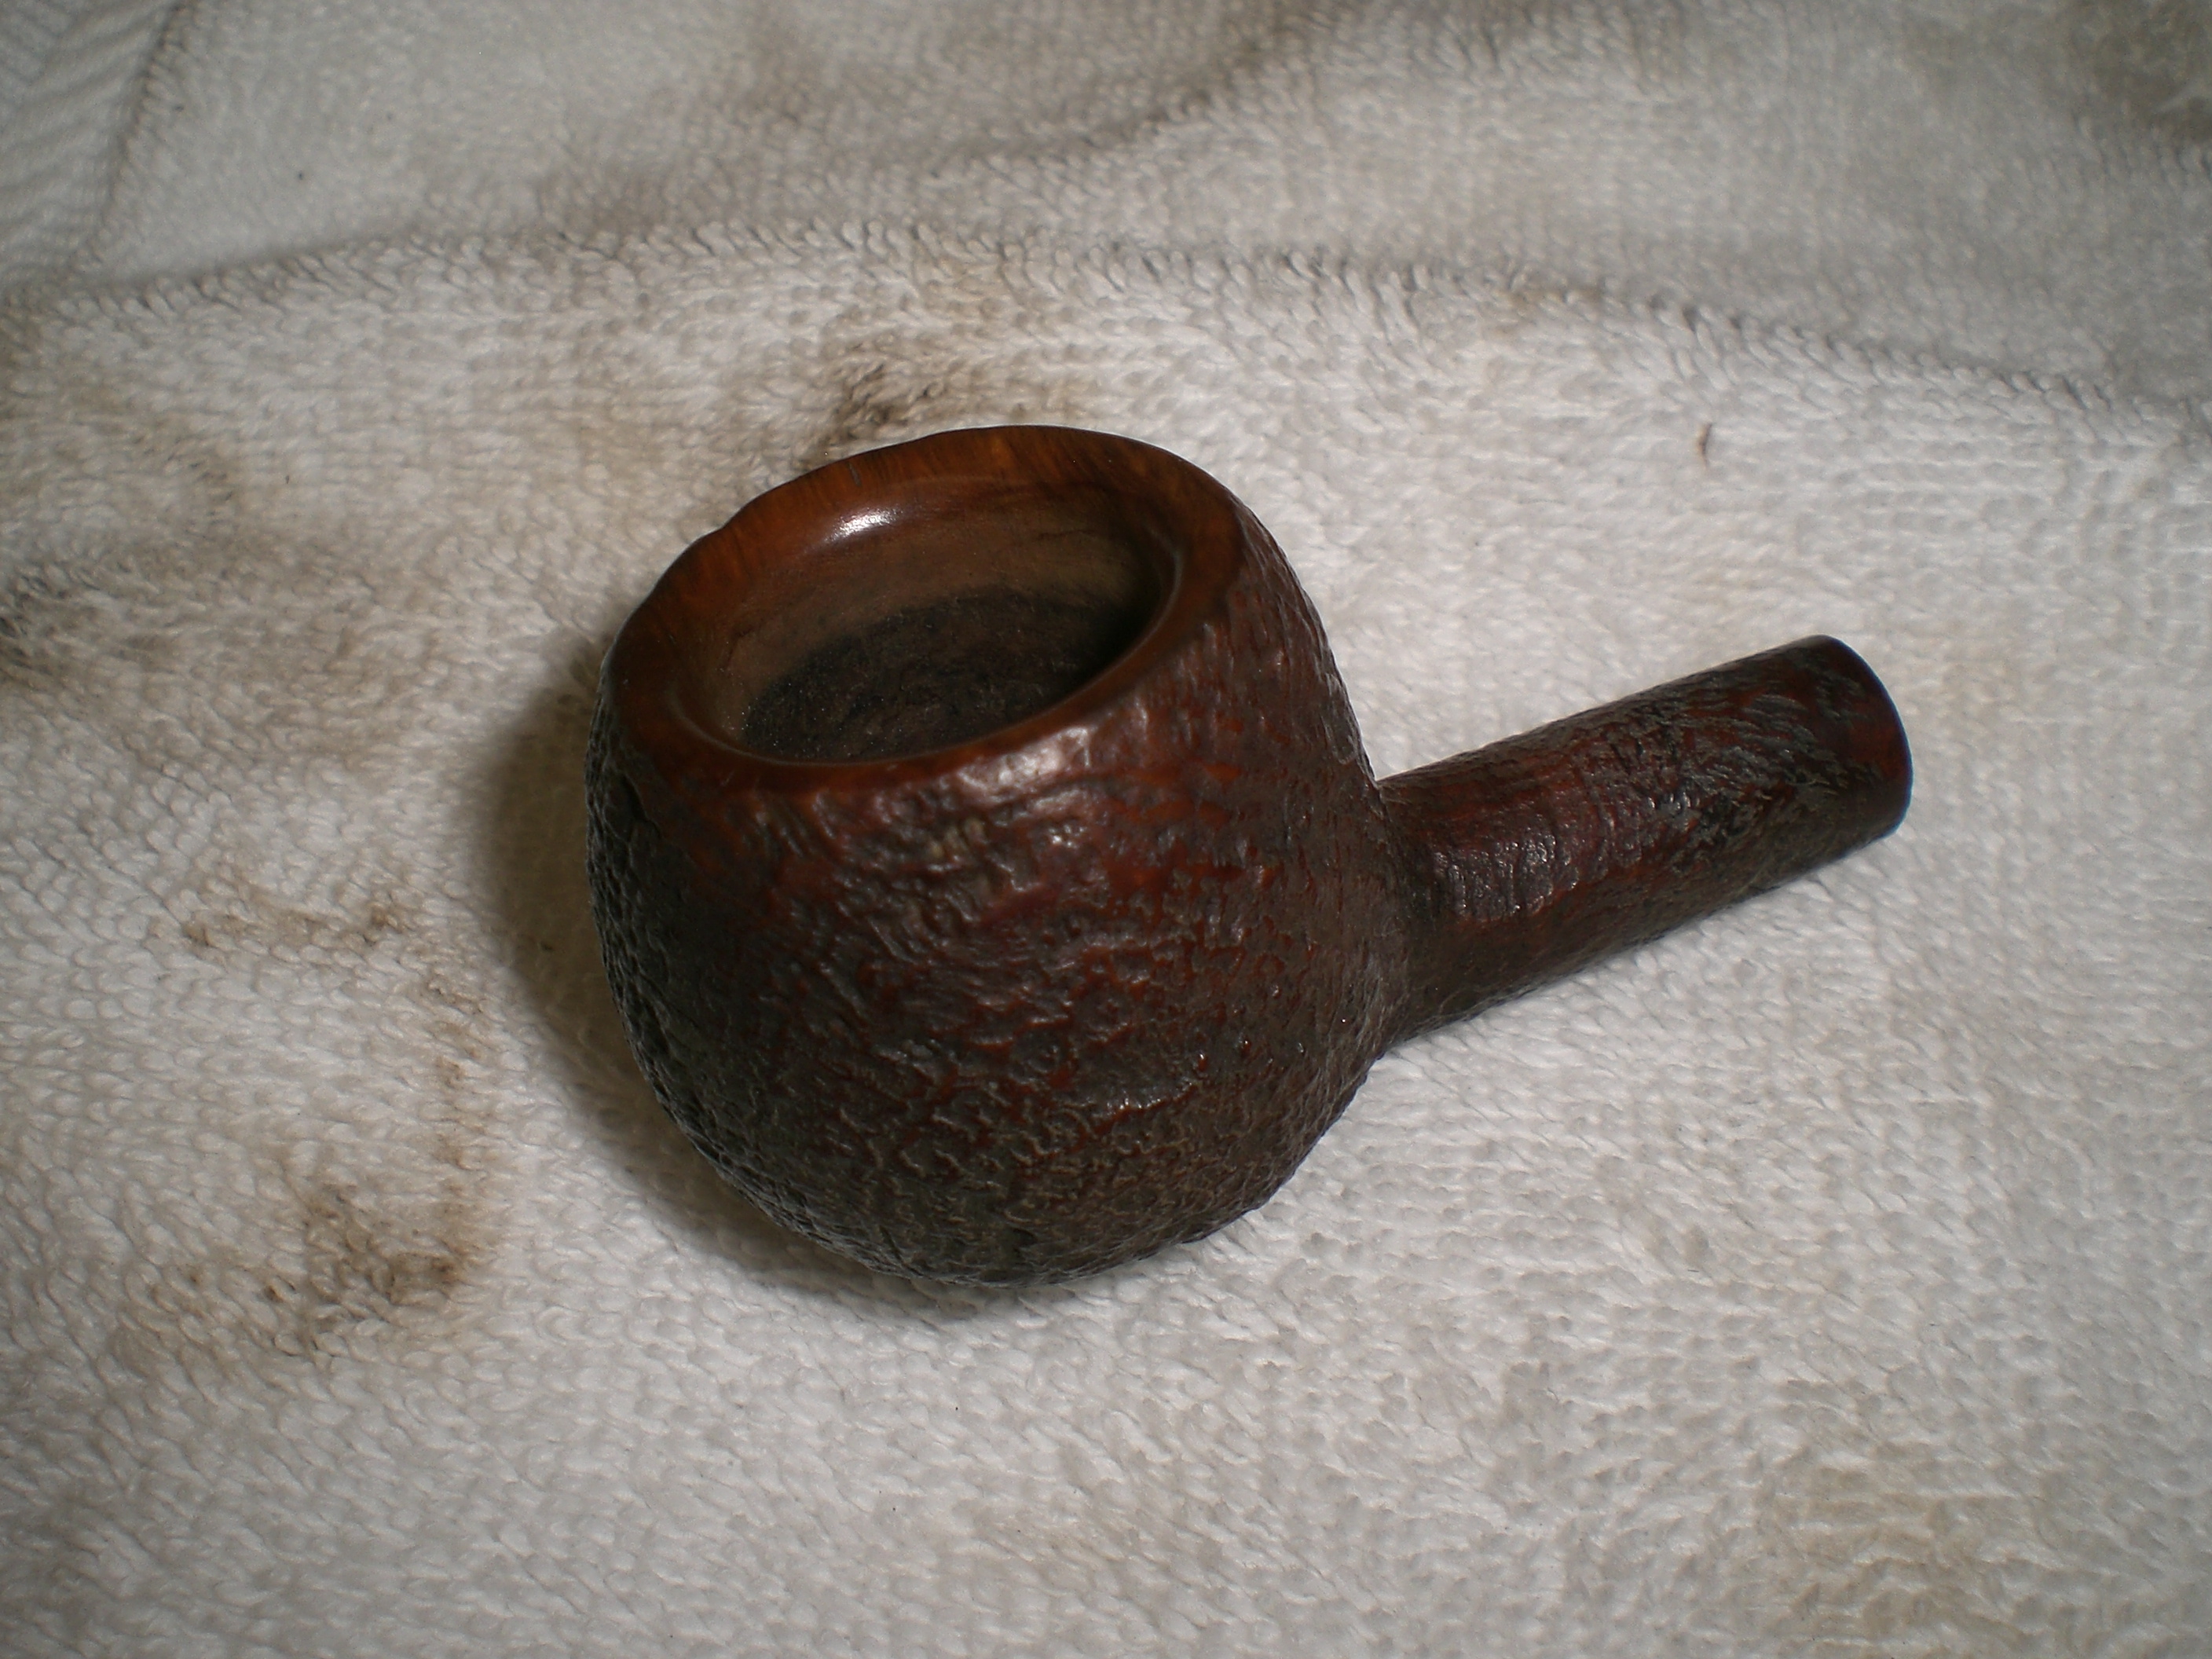
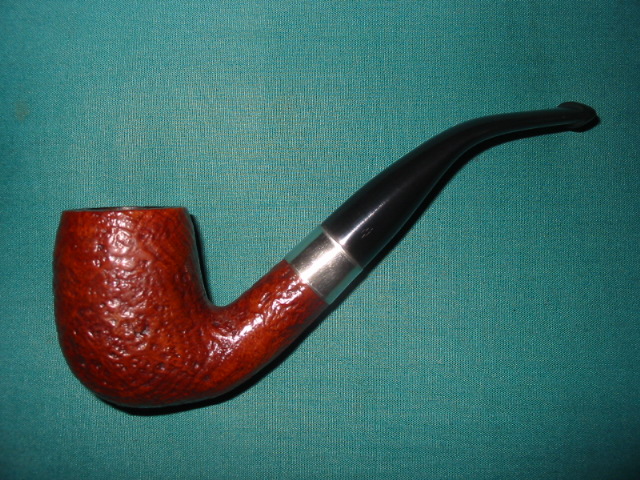
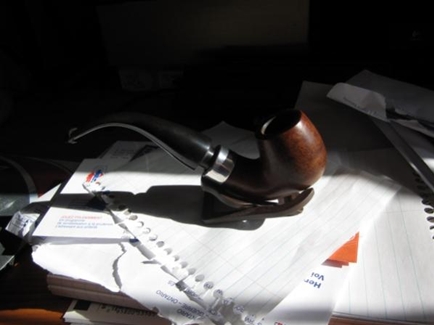
All finished!! Silver cap re-installed. With the installation of the repair band, the crack is much tighter and the stem now sits much more nicely!!

Image

All in all…wasn’t a terribly difficult repair. The hardest part was determining how much to sand down the area where the band would go. But, it all worked out fine!

Bryan

Refurb on an old WDC “Falcon” style pipe


Blog by Steve Laug

I refurbished this old WDC pipe a while ago now and thought I would post it for its historical value. I have called it a Falcon style pipe in that the bowl is removable and thus interchangeable with other WDC bowls. The stem and bowl bottom are Bakelite and the bowl itself is threaded briar bowl with an airway on the bottom. This one needed a bit of work as can be seen from the first two pictures below. The bowl was badly caked so I reamed it, sanded it and cleaned it. Then I had to top it as the rim seemed to have been used as a “hammer” and was seriously dented and chewed along the out edges of the bowl. Once the bowl was topped I decided to strip the finish from the bowl and restain and polish the bowl as a whole. I wanted to keep with the older style reddish brown stains that I had seen on other WDC pipes that I have so I used an oxblood understain and the overstained it with Medium Brown aniline. I buffed the finished bowl with Tripoli and White Diamond while holding it with a finger inserted in the bowl and holding on to the bowl with the other hand. I did not want the buffer to snatch it out of my hand while I was buffing it. I finished by giving the bowl a polish with carnauba wax and a soft cotton flannel buff.

The bowl seats in the Bakelite bottom on top of a brass ring that seems to act as both decoration and gasket to the bowl connection. It needed some cleaning and polishing as it too had dents and scratches in the surface.

The Bakelite receptacle bottom that the briar bowl screwed into was very dirty and I cleaned it out with cotton swabs and alcohol and then polished the inside with a soft cloth. The stem was rough with deep scratches and gouges in it. I sanded it with 400 and 600 wet dry sandpaper and a bit of water to give the grit a bite. Then I finished with micromesh pads in 1500, 1800, 2400, 3200, 4000 and 6000 grits. Upon completion of the sanding I buffed the stem with Tripoli and White Diamond.

Here are pictures of the pipe after I reamed it with a Pipnet Reamer (T-handle with interchangeable heads).

ImageImage

Here are pictures of the pipe after it has been finished:

ImageImageImage

I also thought some of you might be interested in seeing a picture of the pipe taken apart. I have included a picture of the cleaned version for you to get an idea of what the pipe looks like when taken apart.

Image

Correcting an overturn on a stem with a bone tenon


Blog by Steve Laug

I started this process of correction with tried and true information and experience gained from working on older stems with metal tenons. I had developed a process and perfected it for my use in correcting an overturned stem by heating the tenon in the stem to loosen the glue. Once the glue is softened with the heat then the stem can be screwed on to the shank and turned to the proper position and left to cool. Care should be taken in aligning the stem and shank to the correct position. If it cools before it is straight, it can be reheated to align it correctly. I have used this procedure for a long time and it works perfectly each time I have used it. I am sure I will refine it but it works!

With that background and a couple of older stems on meerschaum and briar pipes with bone screw tenons that were overturned I put the following question out on the various online pipe forums that I am a part of.

“Does anyone know how to correct over turned bone tenons? I have a couple old timers that are over turned I am looking for a corrective…Help!”

I did not receive any response to my query so I decided to try the method I had used with metal tenons and see what happened. I chose a pipe to experiment with that would no be a loss if it did not work. The stem was made of Bakelite and the tenon was a bone screw. I put a cup of water in the microwave and stood the stem in it tenon down and set the timer for two minutes (time to boil a cup of water in my microwave). I took it out at a minute and gave it a try and it was better. I put it back in the water and let the two minutes finish. I then dried it off with a towel and turned it into the shank and was able to turn it until it was aligned. There was no damage done to the tenon or the stem in the process. The alignment on the stem was perfect and once the pipe cooled it remained aligned.

My two concerns with the use of the boiling water were first, would there be any integral damage to the bone tenon from the heat moving from the inside out and second, would the heat cause any damage to the Bakelite. I did not want it to become brittle from the boiling water process. I have learned on the metal screw tenons that I could put the entirety (stem and tenon) into the microwave with the water and leave it there through the heating cycle on the microwave. I had done the same with a Bakelite stem and metal tenon and it worked well to insert the stem and tenon while the water heated in the microwave. I decided to do that as well with the screw bone tenon and Bakelite stem. There does not seem to be any increased brittleness or crackling of the stem or bone – all is well.

Repairing a cracked shank


Blog by Steve Laug

I received this older BBB Tortoise that was in pretty good shape. I did a topping on it and a restain that is posted in a separate blog posting. But in the cleaning process I also found that the shank had a crack in it. In the picture below you can see that the crack is quite long and is open. I know that others repair these with a shank insert and glue the crack together, but I have not ventured into that avenue as yet. On this kind of crack in the shank my normal process is to glue the crack with super glue and then band the pipe. In this essay I want to describe that process for you.

Image 

I removed the stem from the shank and cleaned out the shank with pipe cleaners and alcohol. I want the surface to be grime free. I also wiped down the crack with an alcohol wipe to make sure the outer surface was also grime free. I then pried the crack open by inserting my dental pick in the mortise and giving it a small bit of pressure to open the crack. The key at this point is not to apply to much pressure as it will continue to crack. Being gentle and taking your time is critical at this point or you will make the problem a bigger one. Once the crack is open I drip super glue into the crack and then hold it together with the stem removed in order for the glue to bind the crack. Once that is done I wipe off the outside of any excess glue that will extend beyond the width of the band and set it aside.

ImageImage

I heat the band with my heat gun and pressure fit it onto the shank of the pipe by pressing the band and shank into the piece of carpet pictured in the photos. It is important to keep the pipe absolutely vertical and straight as you press the band into place. You will want to press the band on the shank until the lower edge is flush with the end of the shank so that the stem fits properly. With the band heated this is not difficult to do. The band will pretty easily slide up the shank with the pressure you apply. Check for a good fit and then let it cool for a few moments.

Image 

Once it is cooled the stem can be fit to the shank. I find that with the band the tenon will need a slight bit of sanding to fit correctly. I use some 220 grit sandpaper to remove a little of the material. I make one pass with the paper and then try it for a fit. It should slide in snugly so you must be careful not to remove too much material. Often just one pass is enough and the stem should go in perfectly.

Image 

With the stem refit the pipe is ready for a buffing and polishing. Avoid buffing around the band on the buffer as it will cause the pad to go dark and leave a black/grey haze on the briar around the shank and band area. I buff the shank avoiding the band and then polish the entirety with a light touch on the carnauba wheel. Below is the banded and repaired pipe.

Image 

A Trio of BBB’s in need of topping!


Blog by Steve Laug

Tonight I went to work on a trio of BBB’s I just purchased. Two of them, those stamped BBB Tortoise (with the ivory stem) looked to have come from the same pipe smoker wielding the same torch lighter. He had in essence cut a trough across the top of the rim from front right to back middle. In the three photos below you can see the damages to the rims. The top photo shows the oval shank Canadian and the second shows the round shank Liverpool. The third one is a BBB Silver Grain and it looked to have been used as a hammer. The outer edges of the rim were rough and beaten and the rim itself was marred with dents. Besides the damage to the rim the Tortoise Liverpool had a cracked shank that I needed to repair. That repair will be the subject of another blog post.  

ImageImageImage

I have a board on my desk that I attach a piece of 220 grit sandpaper to and use that to top the bowls. In the picture below it is to the right of the two Tortoise pipes. I hold the bowl flat against the sandpaper and rotate it to remove the damaged portions of the briar. It is important to keep the bowl perfectly flat against the board and paper so that the top remains flat. It is very easy to sand an angle to the bowl if you are not careful with this process. In the picture the two bowls have been sanded to remove the finish and the top layers of the darkening. Both bowls have a slight trench burned into the surface that moves from the front right to the rear centre. The topping will need to be deep enough to remove the damage yet not too deep to change the profile of the two pipes.

Image

In the next series of two pictures you can begin to see that the rims are returning to a normal and the troughs are disappearing under the sanding. The top photo is of the Canadian and it is pretty close to being finished in this photo. The second photo shows that the trough in the Liverpool is also disappearing though it will take a bit more sanding.

ImageImage

The Silver Grain Liverpool also was topped using the same process to remove the damage to the outer rim and the top of the rim. The nicks and dents on the tops and the damage to the edges made it necessary to top this bowl as well. It was a much simpler process as the rim did not have a deep trough across it but rather rough edges on the outer edge of the rim. The picture below shows the final result of the topping on that pipe. Once it was topped with the 220 grit sandpaper I moved to a fine grit sanding block – 400 grit and then on to the micromesh pads to polish the sanding marks out of the rim. I finished the sanding by buffing it with Tripoli and White Diamond to remove any remnant of the sanding marks.

Image

I then used a small one inch square piece of sandpaper folded in half and held at an angle to sand a slight bevel into the inner rim of the two Tortoise pipes. This took care of the inner damage that remained after topping the bowl. I then sanded the two pipes in the same manner as described for the Silver Grain above. Finishing with 6000 grit micromesh and then buffing with Tripoli and White diamond. I stained the trio with a medium brown aniline stain applied to the surface with a dauber. It took two coats to cover the fresh briar of the repairs. The stain was wiped off and the pipes were taken to the buffer when dry.

Image

The three pictures below of the three pipes show the buffed rims before waxing. The stain matched exceptionally well. The inner bevel took care of the inner rim damage and the topping took care of the trough that went across the bowl. In both of the Tortoise pipes below the damage is virtually removed and the rim surface and edges look new. The rim on the Silver Grain also came out very well and is smooth and looks as good as new. The outer rim damage and the nicks on the top of the rim are gone and a smooth shiny surface is what remains.

Image

ImageImage

The final three pictures show the rims after they have been given several coats of carnauba wax and buffed to a sheen. The pipes are ready to smoke and look renewed and reborn. You can see from the process that is spelled out above that it is not difficult to do and the results are worth the effort. Take your time and proceed with caution, checking to make sure that enough of the damage surface has been removed but not too much. Once that is done it is a simple matter of sanding, staining and polishing.

ImageImageImage

Refurb LHS SEC system pipe – strange one


Blog by Steve Laug

In my ongoing quest to collect pipes that are unique and give a picture of the history of interesting inventions and modifications to the simple smoking pipe I wanted to post this refurb that I finished. It is a LH Stern (LHS) SEC pipe. It is a system pipe as can be seen from the blown out pictures and the diagrams from the patent office. It is an interesting piece of history. The apparatus inside is quite elaborate. The stem is green perspex that serves as a collection chamber for sediments before the smoke goes to your mouth. I cleaned and reamed the bowl and polished it with carnauba wax. The stem had some tooth marks and cuts. I lifted the majority of them with my heat gun and finished by sanding them  and buffing them smooth.

Here are pictures of the pipe when it arrived:

ImageImage

Here are pictures of the pipe after I cleaned it and polished it:

ImageImageImage

Here is the pipe taken apart – it has an amazing assortment of parts. I have also included a copy of the patent information for those interested in the background of this pipe.

ImageImageImage

GBD Prehistoric Prince 357 Refurb


Blog by Al Jones

These old GBD’s just seem to follow me home. This one, a Model 357 in Prehistoric finish, wasn’t getting much action on Ebay and I bit. The Ebay pictures showed the briar was in pretty good shape and Perspex stems are generally pretty easy to restore. I didn’t have a Prince style pipe in my collection and this one looked like a suitable candidate. I weighed the pipe at 35 grams. That was also appealing and it should be comfortable in the mouth.

The pipe as I received it from the seller:

GBD_357_Prehistoric_Prince_Ebay ad (2)

GBD_357_Prehistoric_Prince_Ebay ad

GBD_357_Prehistoric_Prince_Ebay ad (3)

Using my Castleford tool, I reamed the light cake in the bowl and let it soak with some Sea Salt and Everclear. The Everclear took some of the finish off the bowl top and revealed some scrapes as well. I decided the blast was too nice to leave it in that condition and I knew the nicks on the bowl top would polish smooth. A smooth, beveled GBD bowl top looks great in my opinion and that feature is an attractive aspect of these pipes.

While the bowl was soaking, I worked on the Perspex stem. It had a few tooth marks that I was able to sand out starting with some 1500 than 2000 grit wet paper. I than buffed it with the 8,000 and 12,000 grade micromesh pads. I ran some bristle pipe cleaners with Everclear thru the stem. I’d been advised previously to run a dry cleaner thru following the Everclear as to not cloud the stem draft hold of Perspex material.

Then, as with the stem, I used some 1500 than 2000 grit wet paper on the polished bowl top, than the last two grades of micromesh. Next up, re-staining, which is still a little nerve-wracking to me.

I reviewed Steve’s past blog entries on re-staining a bowl. I had previously completed that step only two other times. I soaked the bowl in a small container of isopropyl alcohol for several hours. I used an old brass bristle brush to help remove the stain and any wax. Than, I let it soak for another few hours. Once the finish was removed, I prepared to re-stain it. I really liked the light brown factory finish and used some Fieberlings Medium Brown stain, but thinned it considerably. On my first two re-stain jobs, my finish came out too dark. This time, I nailed it and the color is just what I desired. I used the dauber supplied by Fieberlings to apply the stain, held by a bent pipe cleaner. After the first coat dried, I applied a second coat. This time I set the stain with a flamer from a lighter. Be sure to not have the pipe sopping with stain, as that burns too long and could leave a burn mark on the briar.

Applying the stain:

GBD_357_Prehistoric_Prince_Restain (1)

GBD_357_Prehistoric_Prince_Restain (2)

GBD_357_Prehistoric_Prince_Restain

The next step was on the buffing wheel with some White Diamond rouge. A light touch is used as to not damage the bowl or add any unnecessary wear. Carnuba wax was then applied using a dedicated loose cotton buff. The bowl following the White Diamond and Carnuba wax applications:

GBD_357_Prehistoric_Prince_Finished (8)

The final step was a hand polish with Halycon wax and she was ready to smoke. I’m dedicating this one to Orlik’s “Golden Sliced” blend, which is a good smoke in the hot summer months of Maryland.

The finished pipe:

GBD_357_Prehistoric_Prince_Gallery

GBD_357_Prehistoric_Prince_Finished (3) Cropped

GBD_357_Prehistoric_Prince_Finished (1) Cropped

A Barling’s Frustration


I had this old bowl in my box that just looked like a Barlings. I took it out and studied under bright light and a loop. It had the arched Barlings over Make. The other side was stamped EL and Made in England (I believe). It had a serious crack in the shank so I superglued it and banded it. This little pipe became the definition of frustration for me. It was a beautiful and I was incredibly hopeful when I cleaned it up and prepared it for the new stem I had cut for it. The grain was very nice and to find that it was an older Pre-transition Barling’s pipe was exciting. The bowl cleaned up very well. The shank and new band looked great. All that remained was to finish working over the stem for it.

About that time my wife came down to the basement where I was working on it and we decided to go for our Saturday morning walk about. We had planned to take the bus down to an area we like to visit and check out the antique shops. This is something that we both enjoy so I put the little Barling’s my pocket and brought along some sand paper to work on it while sitting and waiting for the bus. We had a good morning, went to the Vancouver Flea Market and even found a couple of older Peterson pipes that I picked up. We decided to have some lunch before going home so we walked over to a nearby Korean BBQ and ordered a nice lunch.

While we were waiting for our lunch I guess the pipe fell out of my pocket. I did not notice until the waiter stepped on something and I heard a crack. Well the long and short of it is when we sat down to lunch it had fallen out of my pocket and when the waiter stepped on it the shank cracked off just ahead of the band. I had a sick feeling as I picked up the pieces of the broken old timer. My visions of a nice older Barling’s Pot shape were pretty much crunched. I put the pieces on the table and looked them over as we continue to wait for the meal and I grumbled about my stupidity in not zipping the coat pocket and also about bringing it with me in the first place.

Once we had finished eating and headed home I had calmed down enough to think about what I would do with the pipe. I took the pieces to the basement work table and turned on a bright overhead light so that I could examine the damages. As I looked at the broken shank I could see that the wood was darkened, almost burned around the crack. It was almost as if the heat in the shank had found a flaw in the briar and followed it outward to the surface. It had not gotten all the way to the surface but was just under the outer layer of the finish. So it appeared that the crack was worse than I had imagined.

That helped me to get over being incredibly frustrated and disappointed in the broken shank. So I spent some time looking it over and decided I could work with it. I decided to turn it into a nose warmer. The saddle stem I had made was too small in diameter to fit so I had to cut another stem. I cut off the ragged edges of the break and used a piece of sandpaper on a solid board to face the shank again. I also drilled out the shank and opened it up enough to accept the new tenon. The tenon is a bit shorter than normal 5/8″ to allow a little difference between the opening in the bowl wall and the mortise. I re-banded the shank for a second time to strengthen the shank after the previous break. I fit the stem to the pipe and sanded and polished it to a shine. Then I buffed and waxed the “new” little pipe. I made it such that I can one day put a church warden stem on the bowl should I desire to do so. For now though it is a nose warmer with a short taper stem. Total length is 4 3/4 inches.

Here are some pictures of the finished pipe. I had pictures of the pipe before and after the break but somehow they were erased so this is all I have left to show. I hope you can imagine what it looked like with the new saddle stem before it broke. But if not, you can see the new version. I am also ordering a churchwarden stem for it so I can fit one of those to it as well. Should look great that way as well.

ImageImageImage

BBB Diamond shank billiard


Blog by Steve Laug

This older BBB Diamond Shank billiard was a pleasure to bring back to life. I love the older BBBs and this one has a place in my collection. It is only stamped BBB in the diamond on both the shank and the stem. There are no shape numbers of other features. I have no idea on what its age is but love the shape. The diamond shank and the way it flows into the bowl make it a unique among my BBB billiards. It is stained in a rich oxblood colour and it is a clean little pipe. When I picked it up off EBay it appeared to be pretty clean other than a bit of oxidation on the stem. Sure enough, when it arrived it was very clean. The bowl only needed a slight ream to be ready to smoke. I wiped down the outside of the bowl with a damp soft cloth dipped in Murphy’s Oil soap lightly so as not to disturb the finish but remove the grime. The top had some darkening and tar that came off easily with the Murphy’s Soap. I coated the bowl with several coats of carnauba wax and set it aside.

To deal with the oxidation on the stem I sanded it with 400 and 600 grit wet dry sandpaper dipped in water to give it a bite. I finished that with micromesh pads – 1500, 1800, 2400, 4000 and then I took it to the buffer for Tripoli and a bit of White Diamond before giving it several coats of carnauba wax. It has a wide open bowl and draw.

ImageImageImage

Replacing a screw mount stem


I have always wondered how to replace screw mount tenons without drilling out the mortise. I have done that before and it works well but I wanted to try to create a new screw mount stem using the existing tenon. I have learned from repairing overturned stems that you can heat the tenon and adjust its fit so I figured heating it and removing it would work much the same. So for the subject of the experiment I decided to tackle refurbishing an old Whitehall pipe I had here.

The Whitehall had a screw mount stem with a stinger attachment. The stinger was removable leaving about a half inch of tenon that I could work with. The stem had a huge hole on the underside of the stem near the button and was not a candidate for a stem patch. It would work perfect for the plan.

I heated the metal tenon with my heat gun until I could loosen it from the stem. I used a pair of needle nose pliers after wrapping the tenon with a cotton cloth to protect the threads. With a minimal effort of wiggling the tenon it came out very easily. Once it was removed I cleaned it thoroughly with pipe cleaners, alcohol and steel wool.

I then matched the length of the existing tenonless stem with my stem blanks until I had one that was roughly the same length and thickness. I used my Dremel to cut off the precast tenon until it was close to the flat surface of the stem. I then used the flat board with sandpaper attached (like I do when topping a bowl) to sand the surface flush. Care must be exercised to keep the stem vertical or the surface will quickly get an angle. I smooth that surface with wet dry sandpaper 40 and 600 grit and finished it with the micromesh pads.

Once completed smoothing the end of the stem I used a series of drill bits to work my way up to 1/4 inch diameter hole that the tenon insert required. I have learned the hard way that to start with the size I want can often cause the stem to break in my hands. So because of that I progress through the series of bits until it is the correct size. Before gluing the insert in place I screwed it into the shank and put the stem on so that it was correctly aligned. I did not want to have an overturned or under-turned stem when I was finished. I marked the insert with a black marker so that I would know which side was the top and then unscrewed it from the shank. I coated the insert end with some epoxy (like I do when inserting Delrin tenons in to the stem) and pressure fit it into the stem with the mark on the top side of the fitting. It was a perfect fit. The superglue dries quickly so I checked the fit on the stem again to make sure it still aligned. It did!!

I used my Dremel to shape the diameter of the stem until it was a close fit and then finished the fit with sand papers and micromesh. When I had it smooth and shiny I buffed it with Tripoli, White Diamond and finally several coats of carnauba wax. I then used my heat gun to bend the stem to the right angle for this bent pipe. I cooled it under cold water and then polished and buffed it again.

The bowl had been cleaned and scrubbed to remove the grime and build-up of the years with Murphy’s Oil Soap and a soft bristle tooth brush. Once it was clean I gave a light coat of medium brown stain and then waxed it with Halcyon II wax.

Here is the finished pipe:

ImageImageImage