Tag Archives: William Demuth Company Pipes

A Unique Piece of Pipe History – A Beautiful WDC Calabash with Bling


Blog by Steve Laug

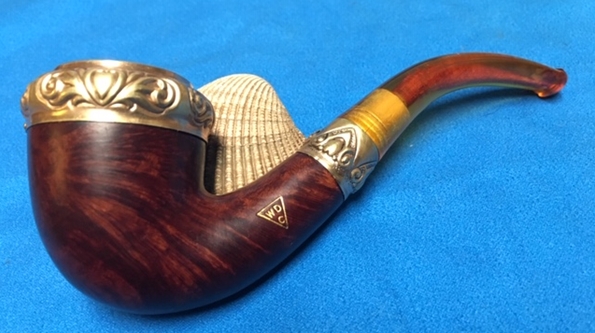
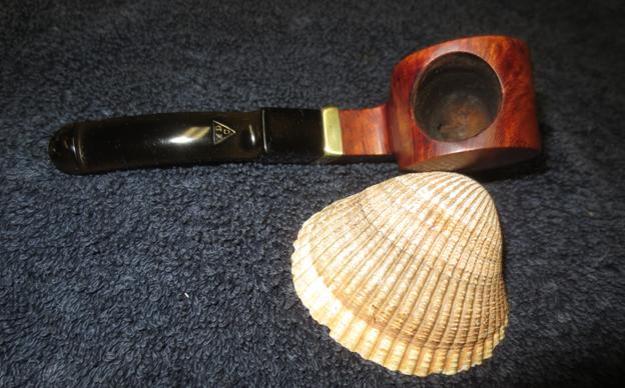
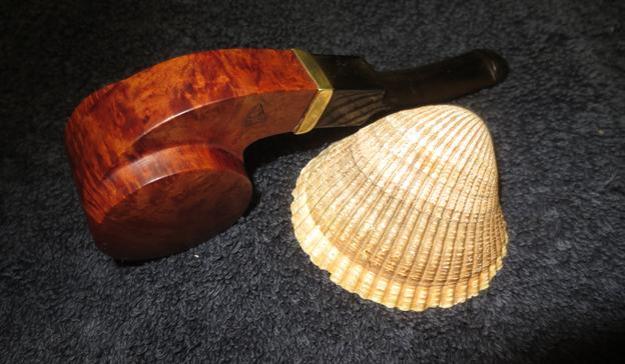
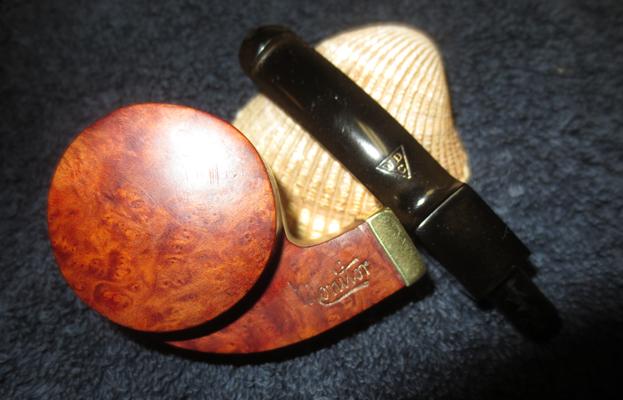
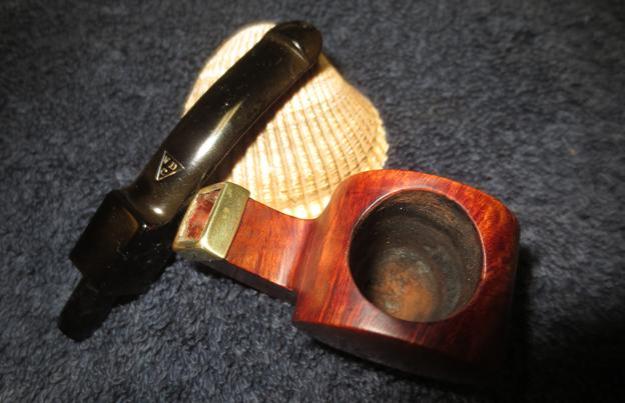
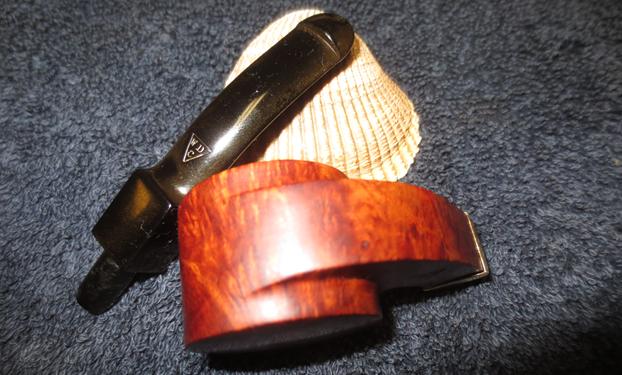
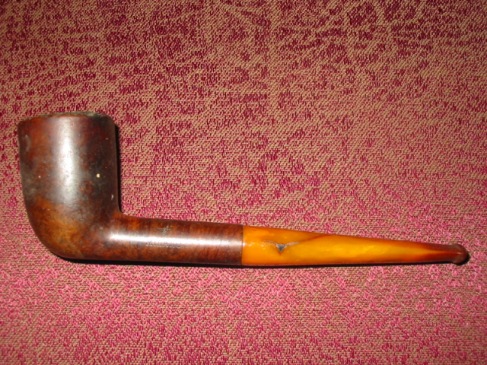
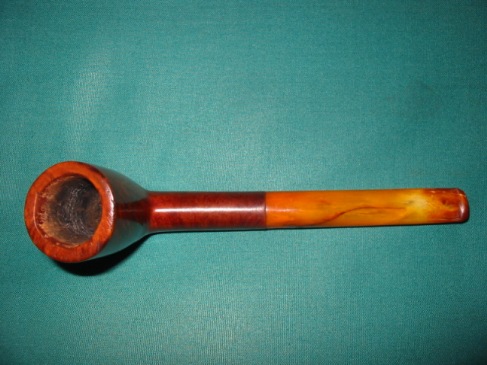
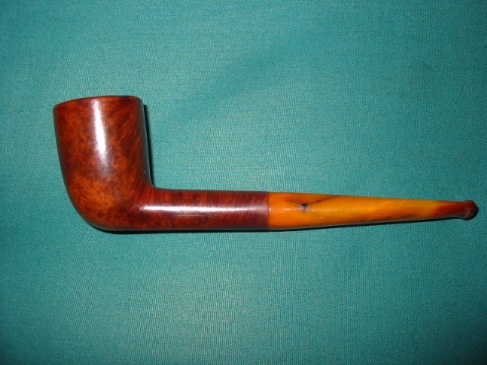
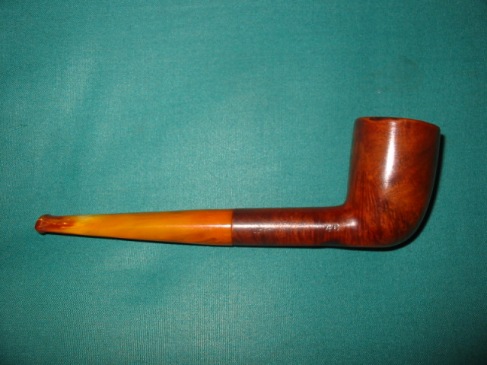
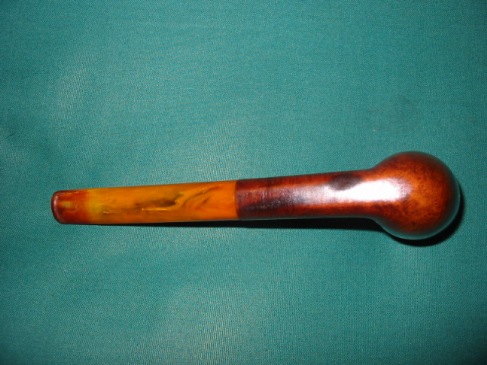
The next pipe in the queue is an old timer that Jeff picked up somewhere in his journeys whether online in his pipe hunting is antique shops. This one an interesting older WDC Calabash with a brass shank cap and a rim top cap. The stem is Bakelite with an amber colour. It is stamped on the left side of the shank WDC in a triangle (William DeMuth & Company). It is a Calabash shaped pipe decorated with a brass rim top and cap as well as a brass ferrule. Both have a pattern of filigree and hearts. These older WDC and CPF Calabashes were decorative and had a real flourish that makes them readily identifiable. The finish is smooth and is in good condition despite the years. The brass rim top has some dings in it and there was some lava buildup on various spots. The inner edge of the brass cap was turned down into the inner edge of the bowl. It was dirty with lava and there was a thick cake in the bowl. The brass was tarnished but looked easy to clean up. The pipe was dusty but the finish looked like it was rich and would clean up well. The stem is an amber coloured Bakelite with a threaded tenon in the shank and the stem. The stem has tooth marks and chatter on both sides at the button edge. The photos below tell the story and give a glimpse of the pipe before clean up. Jeff took a photo of the bowl and rim to show the condition of the pipe before he started his cleanup work. The spots of lava overflowing on the rim top made me thick that some of the lava had been scraped off by the seller.  There was a thick cake in the bowl that would need to be reamed out. There was dust and debris in the curls and curves of the brass cap.He also took a photo of the right side and underside of the bowl and shank to show the amazing birdseye and swirling grain around the bowl. The classic WDC stain looked pretty good under the grime.Jeff took photos of the stamping on the left side of the shank and the setting between the brass ferrule and the bowl. The WDC triangle logo stamping is legible and very readable.The next photos show the rim cap and ferrule and highlight the heart and filigree patterns in the brass. You can also see the oxidation on the brass in the photos.The next two photos show the stem surface. They show the tooth marks and chatter on both sides near the button. They also show the deep oxidation on the stem. The third photo below shows the threaded bone tenon. Jeff did a thorough clean up job on the pipe so that  when it arrived here in Vancouver it looked amazingly good for a pipe that is at least a hundred years old. Jeff carefully reamed the bowl with a PipNet pipe reamer and followed up with a Savinelli Fitsall pipe knife to remove the cake. He scrubbed out the mortise and the airway in the shank and the stem with alcohol, cotton swabs and pipe cleaners. He scrubbed the exterior of the bowl, rim, shank and stem with a tooth brush and Murphy’s Oil Soap to remove the oils and tars on the rim and the grime on the finish of the bowl of the pipe. He rinsed it off under running water. He dried it off with a soft cloth. He was able to remove all of the lava build up on the beveled rim top of the pipe. The brass rim top and ferrule looked very good. The birdseye and cross grain was beautiful and the pipe looked very good. There were tooth marks and chatter visible on both sides of the stem at the button. I took photos of the pipe to show its condition before I started my work. I took close up photos of the bowl, rim and stem surfaces to capture the condition of the pipe after Jeff had done his cleanup. The rim top was clean and the brass inner edge was in excellent condition. The stem was quite clean with some tooth marks and chatter on the top and underside near the button.I took a photo of the stamping on the left side of the shank and the flow of the grain on the shank and bowl side. It is a beautiful piece of briar.The bowl and rim top looked really good after Jeff’s clean up work. I decided to go straight to polishing the bowl. I worked some Before & After Restoration Balm into the surface of the briar with my fingertips to clean, enliven and protect it. I let the balm sit for a little while and then buffed the bowl with a cotton cloth to raise the shine. The following photos show the bowl at this point in the restoration process. The bowl and the rim top look really good and the grain really stood out on the smooth rim. The finish looks very good with the grain popping through the brown stain on the bowl and the brass on the rim top and shank end. I set the bowl aside and turned my attention to the stem. I filled in the deep tooth marks on both sides with clear super glue. It takes a while  to cure so I set it aside and worked on another pipe while it hardened.Once the repairs had cured I used a needle file to sharpen the edge of the button and smooth out the repairs on the surface of the stem. I sanded it with 220 and 400 grit sand paper to smooth out the repairs and blend them into the surface of the stem. I polished the stem with micromesh sanding pads – wet sanding with 1500-2400 grit pads and dry sanding it with 3200-12000 grit pads. I wiped the stem down with Obsidian Oil after each pad. I further polished it with Before & After Pipe Polish – both Fine and Extra Fine. I finished by giving it a final coat of Obsidian Oil and setting it aside to dry. Since I had finished both the bowl and stem I put them back together and carefully polished the bowl and stem with Blue Diamond polish on the buffing wheel. The combination of metal, Bakelite and briar makes this a very touch process. I gave the bowl and the stem multiple coats of Conservator’s Wax. I carefully buffed the pipe with a clean buffing pad to raise the shine. I hand buffed it with a microfiber cloth to deepen the shine. The pipe polished up pretty nicely. The brass rim cap and shank end and the beautiful grain of the briar on the bowl came alive on the buffing wheel. The rich brown stain works well with polished amber coloured Bakelite stem. The finish looks amazing and it is smooth and light weight in the hand. Judging from the condition when we got it, I am sure that this will be another amazing smoker. Have a look at it with the photos below. The dimensions are Length: 5 1/4 inches, Height: 2 inches, Outside diameter of the bowl: 1 7/8 inches, Chamber diameter: 3/4 of an inch. This beauty will be going into my collection of old WDC and CPF. Thanks for walking through the restoration with me on this beautiful old time WDC Calabash pipe.

An Unbelievable Find – An Unsmoked Tiny Horn Stem WDC Bent Billiard


Blog by Steve Laug

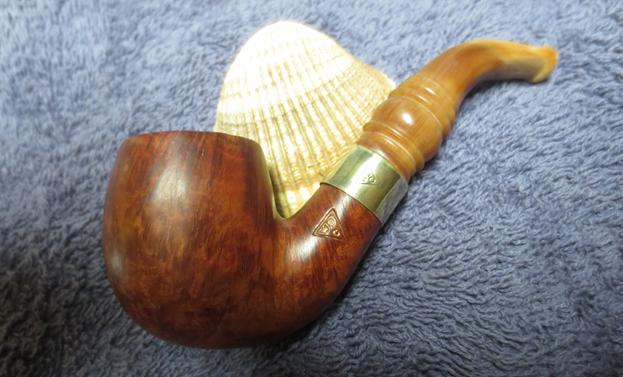
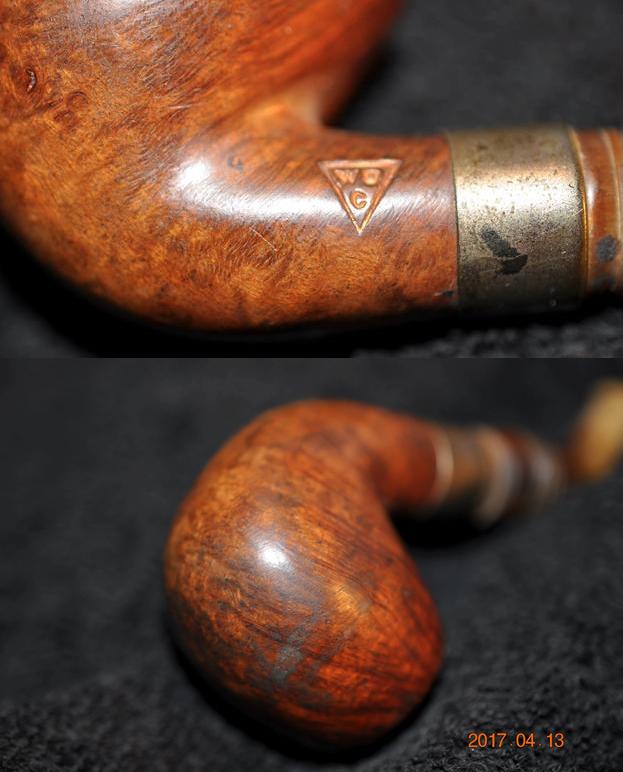
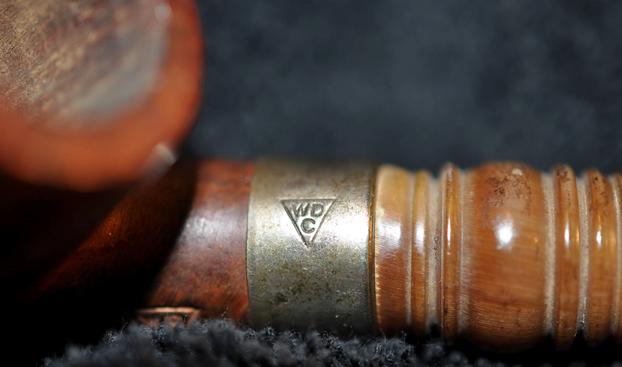
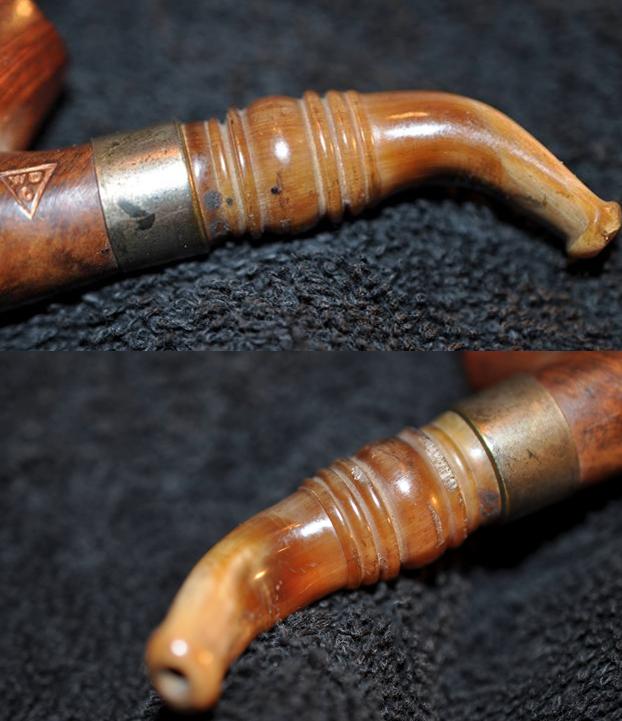
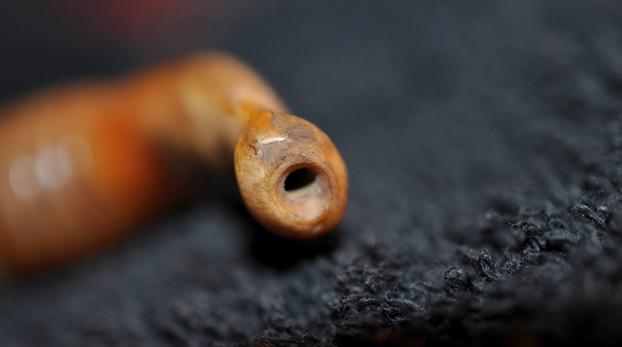
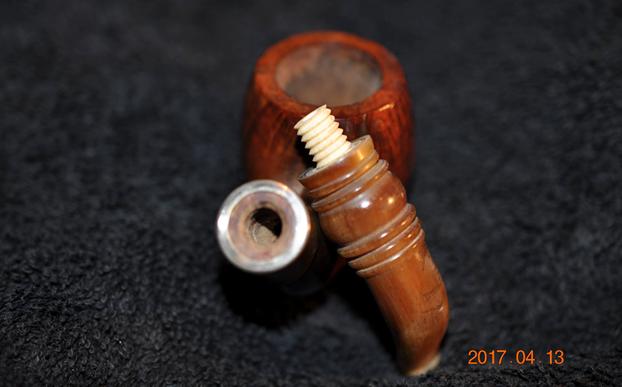
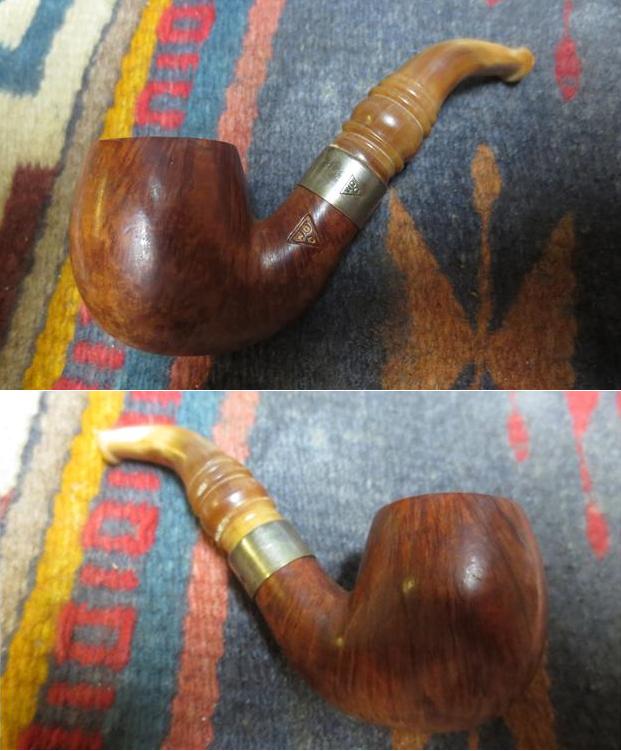
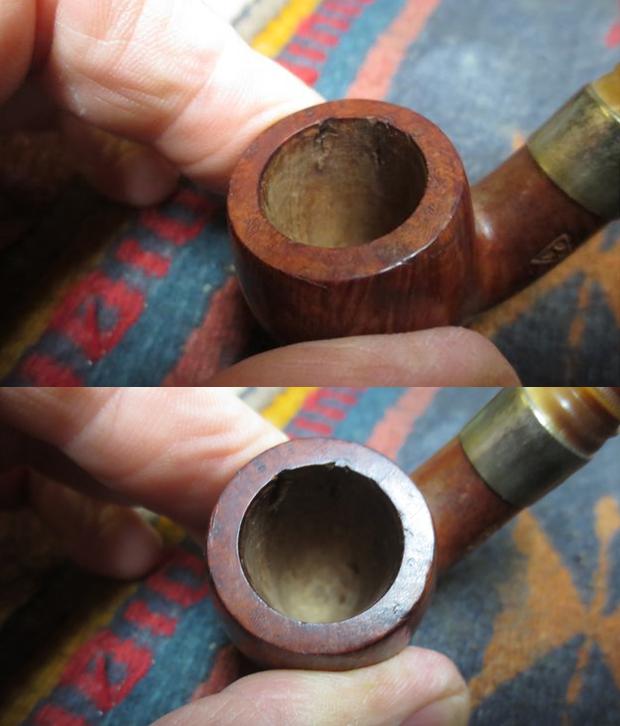
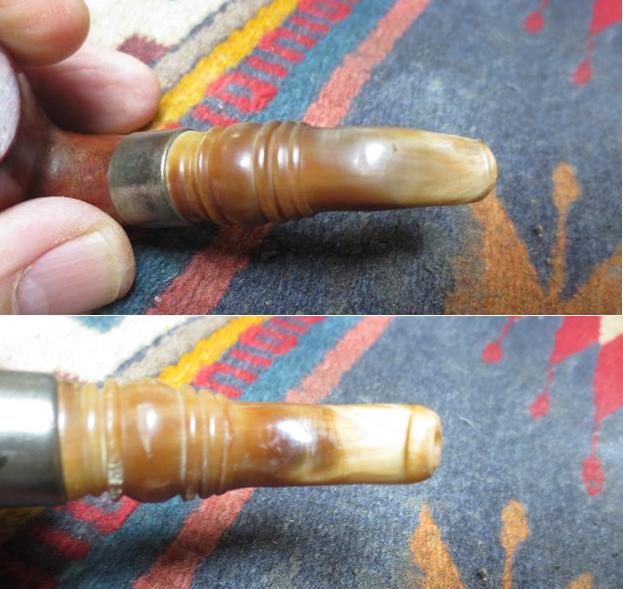
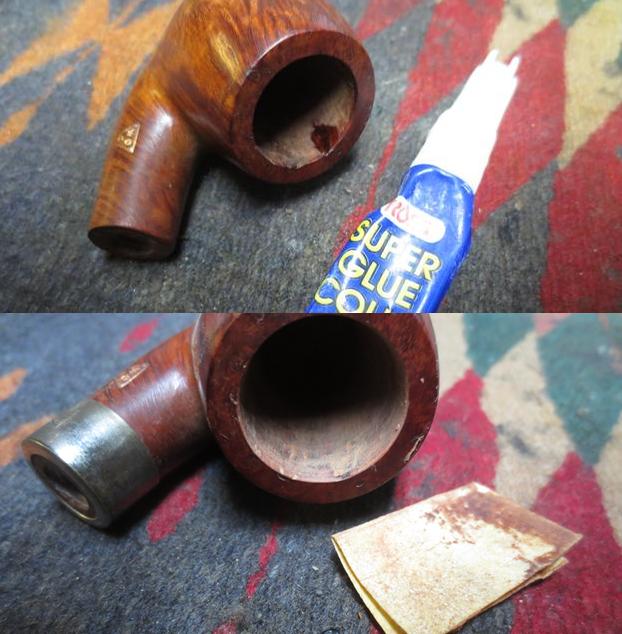
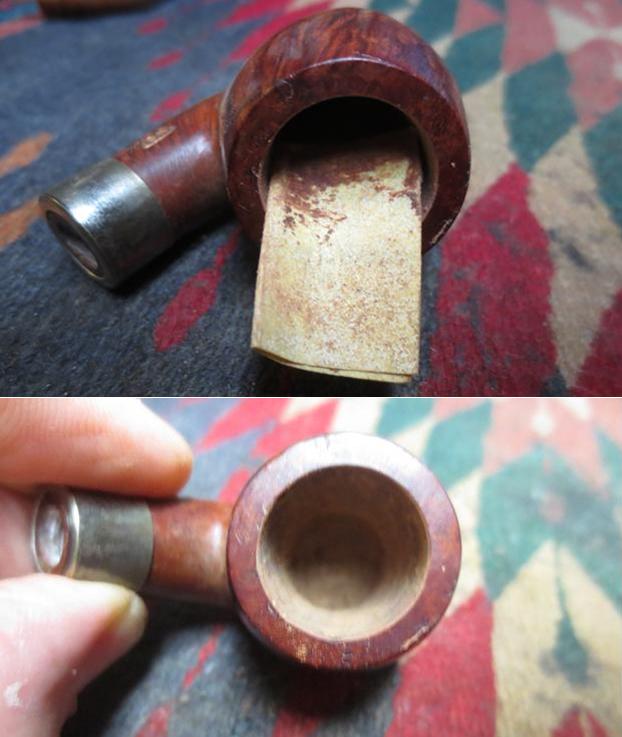
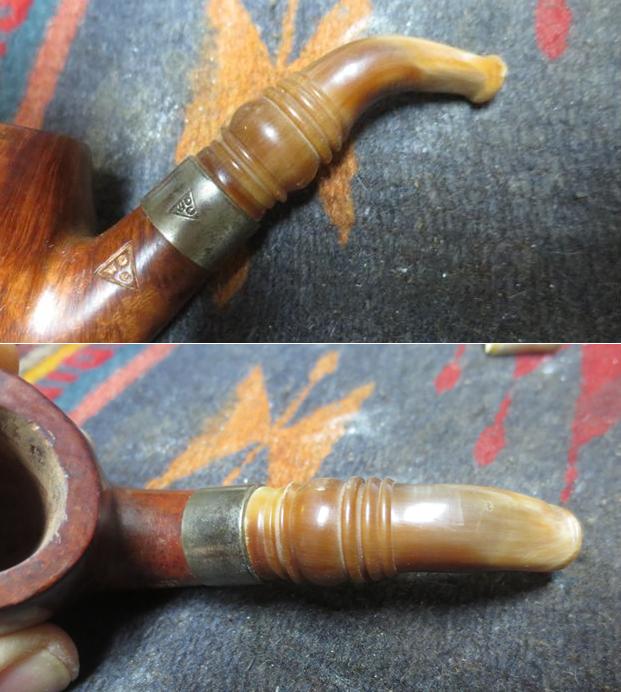
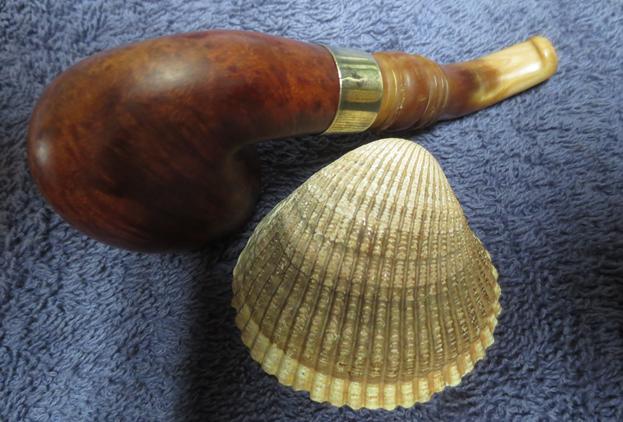
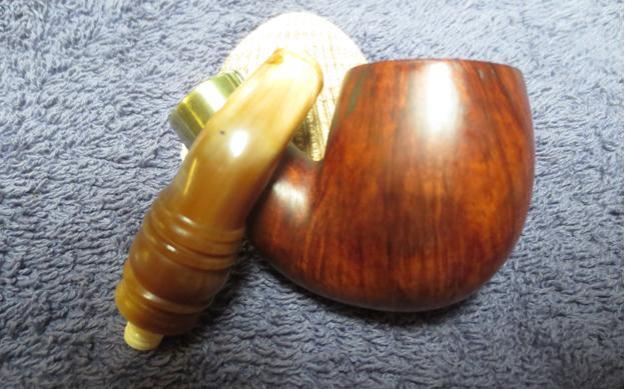
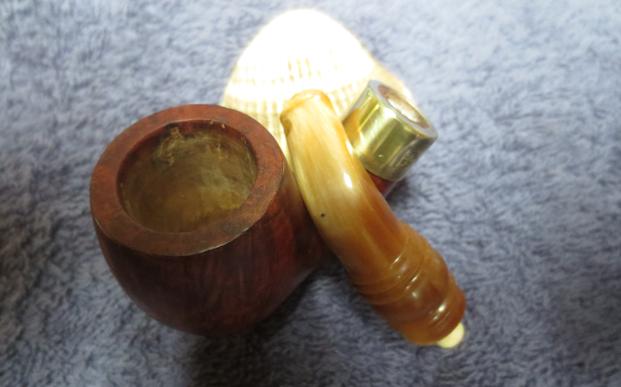
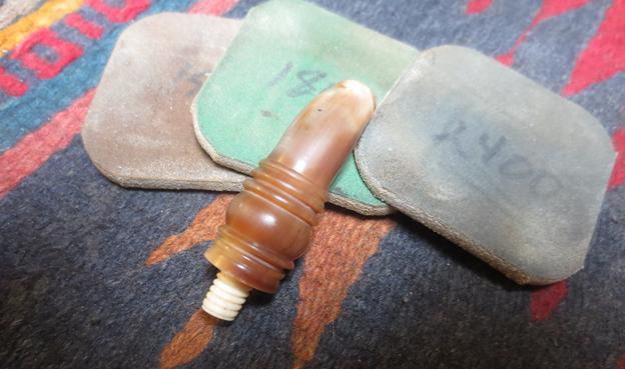
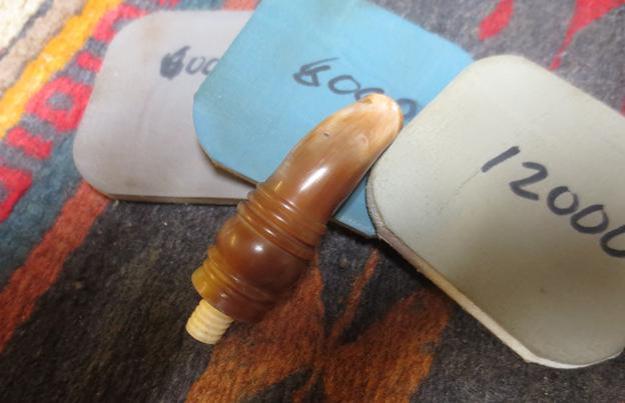
Jeff picked this one up in an antique shop somewhere along his travels. He is getting as bad as me in not being able to drive by an antique mall or shop without pulling over and having a quick look. We both have very patient wives that humour us with our obsession. He found this little beauty on one of those stops. It is a small pipe – 4 inches long and 2 inches tall. The bowl diameter is 1 1/8 inches and the chamber diameter is ¾ inches. For such a petite pipe the bowl is almost standard size and would hold a full bowl of tobacco. This pipe came from the age of putting the pipe in the pocket when you went to the opera or a show. It would hardly show whatever the pocket you slipped it into.What makes this pipe remarkable to me is that it is unsmoked. There has never been a bowl of tobacco lit and smoked in this old timer. I believe it is an early 1900’s era pipe or possibly earlier. It has a horn stem that is turned which is also unusual. I typically see straight or bent tapered horn stems. I don’t remember the last fancy turned horn stem I have seen. The pipe bears the WCD triangle logo on the left shank and a matching logo on the ferrule. There are a few small fills in the bowl and some issues on the inside that I will speak about when I get to the photos of the bowl and rim. Nonetheless this is a rare find – a pipe that is probably at least 100 years old that has not been smoked. It is new old stock with an emphasis on the old. Jeff took the above photo and the ones that follow when he brought it home from the trip. The finish was a little shop dirty from years of sitting on display. The rim was clean but had some grime in the finish. The issue I referred to above can be seen in the first photo below. There was a large fissure in the right side of the bowl from the rim downward into the bowl for about ¼ inch. It was clean and there was no burn thanks to the unsmoked condition. If the pipe is going to be used for its intended purpose then this will need to be repaired. The inner edge of the bowl is also nicked around the area above the flaw. It makes the inner edge out of round. Though the pipe is new and unsmoked it is dirty with the kind of dust and grime that comes from sitting for a long time on display. The next photos show the grain with the grime and also show the tarnished ferrule and the clear stamping on the shank. The ferrule has been turned as there is a WDC triangle logo on it as well. The next four photos give a closeup picture of the shank/stem fit and the WDC triangle on the ferrule. The turned horn stem really is beautiful under the dust and debris of time. The stem has the old style button with the orific opening on the end. The button is more rounded that new buttons and the round opening at the end is very different from the newer slot opening. Jeff took a photo of the pipe with the stem removed. The threaded bone tenon looks clean and new. This is yet more proof of an unsmoked pipe.The horn stem showed damage from the shuffling around. There were small scratches and nicks in the top side and underside on the flat portion of the stem. There were also small nicks on the some of the edges of the turned area of the stem. These were normal marks of wear and tear and really nothing too big to deal with. Jeff cleaned the exterior of the pipe with some Murphy’s Oil Soap and a tooth brush and rinsed it off under running water. He dried it off with a soft cloth and the grime on the finish was gone. He ran pipe cleaners and alcohol through the mortise and the airway in the shank and stem to remove dust and debris that had collected there and he packed it up and sent it my way for the touch up work. I took photos of the pipe when I unwrapped on my worktable. It is an intriguing little pipe that draws attention, that is for certain. He also turned the loose band so that it lined up properly with the stamping on the shank side. You can see from the photos that the stem is slightly underclocked and will need to be aligned. The next two photos show the damage to the bowl wall and rim edge.The stem had some small nicks that a bit of amber super glue would easily take care of.The ferrule was loose and it took nothing to have it drop off in my hands when I turned the stem out of the shank. The briar underneath looked as if it had never had glue on it. It made me wonder if the band had just been held in place originally by pressure fit and over time the wood shrunk as it dried and the band came free of the shank.To address the flaw in the briar on the right inside of the bowl I mixed some briar dust and clear super glue and filled in the flaw. As the patch dried it shrunk and I refilled it until it was even with the rest of the surround bowl walls. While the glue dried on the repair I put some white glue around the shank, aligned the ferrule and put it in place. Thus while the repair dried the band could also dry. Once the repair in the bowl dried I sanded it smooth with 220 grit sandpaper. I reshaped the inner edge of the bowl with the sandpaper as well and cleaned up the nicks in the edge. I chose not to bevel the rim as it had not been beveled previously. The bone tenons can swell over the years making the fit and alignment less than perfect. I have learned a few tricks over time with over and under turned stems with bone tenons. If the stem is over turned I generally build up the threads on the bone tenon with super glue until thing align properly. If it is under turned like this stem I remove material from the tenon. I carefully sanded the threaded area to reduce the diameter slightly. I checked the fit often and once I had it finish I cleaned up the tenon and put the stem aside. I filled in the nicks on the surface of the stem and near the button with clear super glue. The amber would have dried dark on this light horn. When the repair dried I sanded it smooth with 220 grit sandpaper. I sanded the nicks on the turned areas with 220 grit sandpaper to smooth them out and make them less obvious. I polished the horn stem with micromesh sanding pads – wet sanding it with 1500-2400 grit pads and dry sanding it with 3200-12000 grit pads. I rubbed the stem down with Obsidian Oil after sanding with each micromesh pad. After the final pad I set the stem aside to let it dry. I polished the metal ferrule with micromesh sanding pads to remove the tarnish on the metal. There was a small crack in the underside of the ferrule that I repaired when I glued it onto the shank. I finished with the 12000 grit pad and then rubbed the stem down with a jeweler’s cloth to polish the metal. The silver is a nice contrast between the brown of the bowl and the translucence of the horn.I buffed the pipe and stem with Blue Diamond on the buffing wheel and worked carefully around the band. I gave the bowl and stem multiple coats of carnauba wax. I buffed it with a clean buffing pad to polish the wax and give the pipe a shine. I hand buffed it with a microfiber cloth to deepen the shine. The wax made the grain stand out clearly and the two fills along the front and the back right edge of the bowl running with the grain. They are visible but they do not detract from the beauty of this old unsmoked William Demuth & Company pipe. It is an interesting piece of pipe history and I can only wish it could tell the story of its journey across the United States and now into Canada. Thanks for looking.
 

Cleaning up an Unusual Petite WDC Monitor Disk Pipe


Blog by Steve Laug

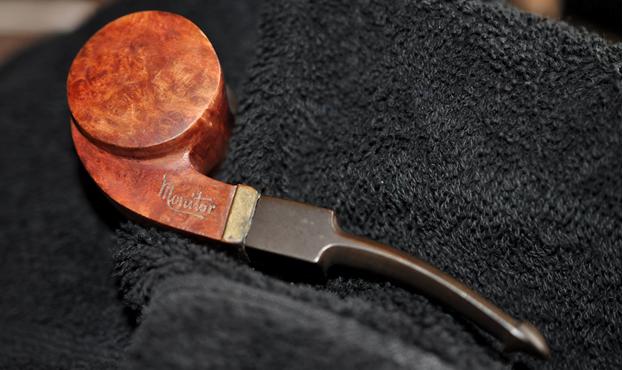
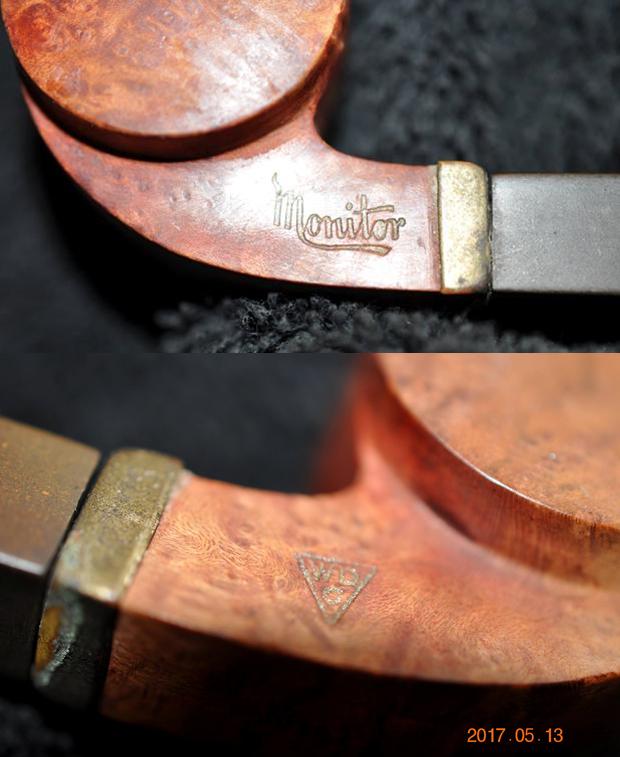
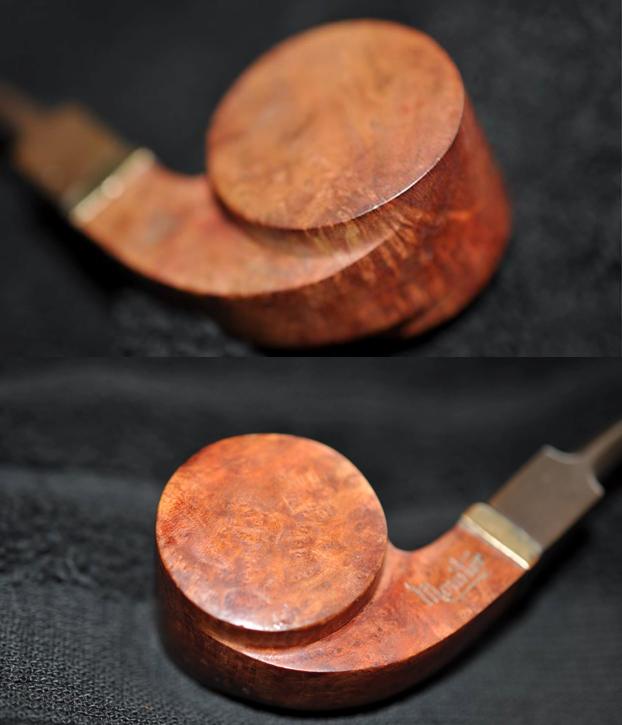
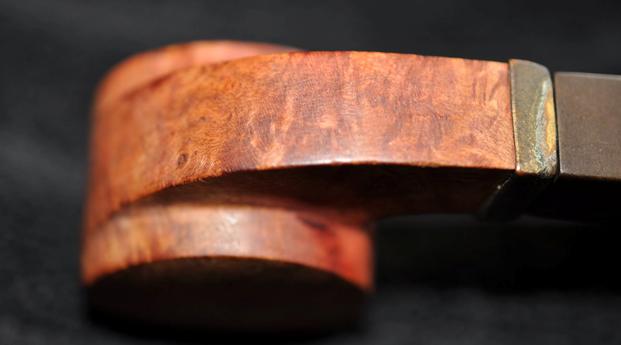
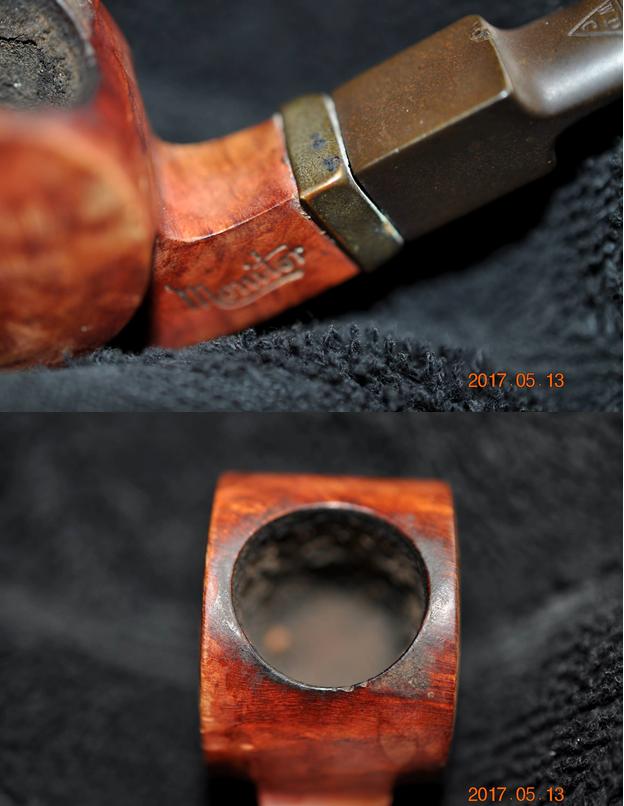
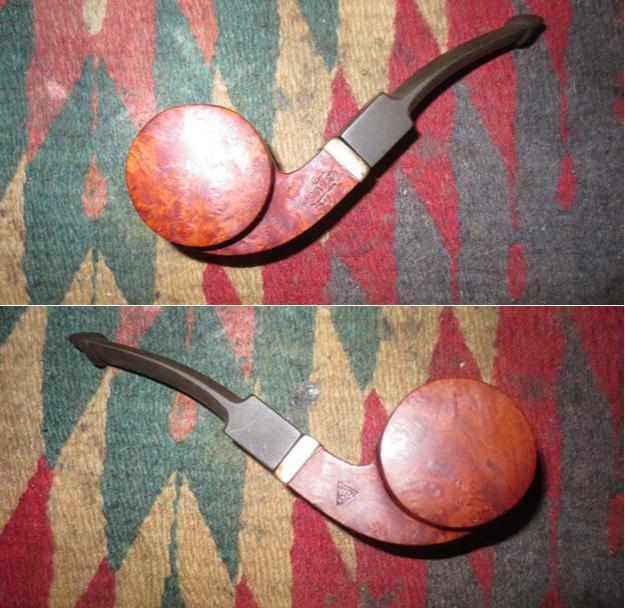
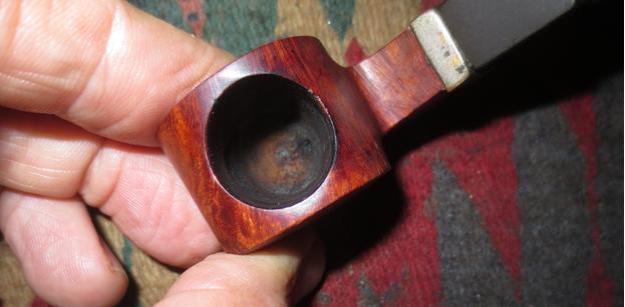
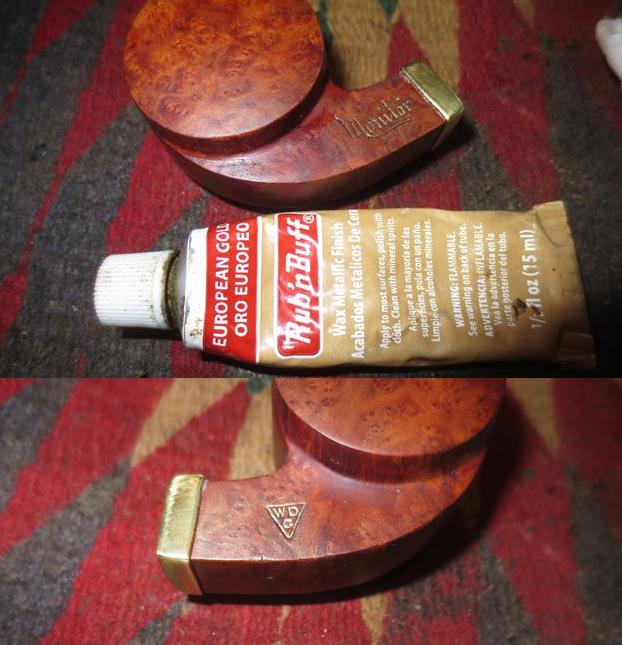
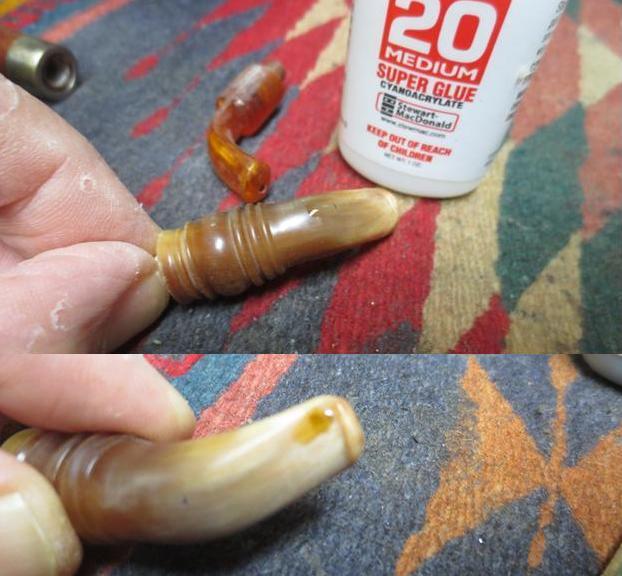
This petite and unusual disk shaped pipe came to me in the lot my brother and I found on our virtual pipe hunt in Montana (https://rebornpipes.com/2017/04/26/a-virtual-pipe-hunt-a-new-way-to-experience-the-joy-of-a-pipe-hunt/). It was in the same lot as the older C.P.F. and WDC pipes that I have been working on. I am guessing it is from the same era as the rest – late 1880s through early 1890s – but I am not positive. I can find nothing on the WDC Monitor in my pamphlets, books or online. The dimensions give you a picture of the size – length 4 ½ inches, height 1 3/8 inches, diameter of the bowl 1 inch, diameter of the chamber ½ inch. I have also included a photo of the pipe next to a Canadian Toonie ($2 coin, same size as the American $2 coin) for you to get an idea of the size of the bowl (the second photo was taken after I had begun the cleanup on the stem and band).The pipe was in decent condition. The finish was worn and dirty. There was a cake in the bowl and the inner edge of the rim was damage slightly on the back edge. There was lava on the top of the rim but it looked like it was not too heavy and it did not appear that there was burn damage. There was one fill/sandpit on the front side of the bowl near the top. The stem was like the WDC Wellington faux P-lip with the airway coming out at the end rather than on top. It was oxidized and dirty. There were some light scratches and chatter on the stem but it was in decent shape. The brass band was oxidized and dirty with some heavy buildup on the edges where it met the briar. It was also loose on the shank. My brother took quite a few photos to show the look of the pipe. It really is an interesting shape and one that I have not seen in this aged pipe before.The stamping on the shank of the pipe had some faded gold leaf and read Monitor in script and underlined on the left side and WDC in a triangle on the right side. The stamping was very sharp with a little shallowness on the capital M of Monitor.The grain on the bowl was very nice and the carver had placed the shape on the grain to highlight the variety of grain – birdseye, cross grain and flame. It is a good looking piece of briar and I could only find the one fill. The next two photos show the bowl. Notice not only the cake and the lava overflow on the rim but also the small nicks on the back, inner edge of the rim in both photos.The stem was oxidized as noted above and had scratching but did not have any tooth marks or chatter. The airway in the button was still round and did not show signs of damage. The WDC triangle logo was stamped on the top side of the stem behind the saddle and on the underside of the stem it was stamped SOLID RUBBER. The Solid Rubber stamping was fainter than the WDC logo on the top side of the stem with the word Rubber fading toward the end.Jeff thoroughly cleaned the pipe before he sent it to me. He reamed the bowl and scrubbed out the mortise and the airway in the shank and stem with alcohol, cotton swabs and pipe cleaners. He scrubbed the externals of the briar with Murphy’s Oil Soap and put the stem in a bath of Oxyclean to bring the oxidation to the surface and soften it. The next photos show what it looked like when it arrived in Vancouver. He did a great job cleaning up the rim and other than the small nicks on the back side of the inner edge it looked flawless.The oxidation on the stem came to the surface after the Oxyclean soak and it had that “wonderful” brown tint that would need to be removed.I wiped the bowl down with a soft cotton pad and a little alcohol to remove any dust or debris left behind by the packing material and dried it off. I used some Rub’n Buff European Gold to touch up the stamping on both sides of the shank. I reglued the band with a white all purpose glue and polished it with micromesh sanding pads.I used a folded piece of 220 grit sandpaper to work over the damage to the rim edge and it did not take too much work to remove it without damaging the shape of the rim or the bowl.I polished the rim top and rim edge with micromesh sanding pads to smooth out the remaining scratch marks from the sandpaper. I hand buffed the bowl a microfiber cloth and took the next four photos to show where I was at with the pipe at this point. I rubbed the stem down with Brebbia Stem Polish to remove as much of the oxidation as I could. I worked on it with 1500-2400 grit micromesh sanding pads. I took the next photo to show the stem at this point. There was still oxidation that shows up under the bright flash.I worked on the stem some more with 400 grit wet dry sandpaper to further remove the oxidation and when I was happy with the result I used some Rub ‘n Buff European Gold to fill in the WDC Triangle logo on the top of the stem behind the saddle. Like its name you put the gold on the place you want it to be and rub it off. The next two photos show the process. The excess gold turned the area around the stamping gold as well. I  would need to buff it off and finish the polishing with micromesh pads.I buffed the stem with red Tripoli to polish it further and remove some of the excess gold on the stem and saddle. I polished it with 3200-4000 grit micromesh pads and rubbed it down with Obsidian Oil.I buffed the pipe and stem with Blue Diamond on the buffing wheel to polish it more. I gave the bowl and stem multiple coats of carnauba wax. I buffed it with a clean buffing pad to raise the shine and hand buffed it with a microfiber cloth to deepen the shine. The finished pipe is shown in the photos below. It is a nice piece of briar and a unique old timer that is over a hundred and twenty years old. In the photos the flash revealed yet more oxidation :(. This would have to be polished out later. Off to work now. Thanks for walking through the process with me.

Rebirth of a WDC Milano Dublin


This old WDC Milano was a challenge that I wanted to take on and see how it would turn out. In the pictures below you can see the state of the pipe when I received it. The stem was deeply darkened in the button area as well as scratched and marked with tooth chatter on the first inch of the stem. The bowl was badly caked – much of the cake had broken away in chunks and what remained was soft and crumbling. It also appeared to have been reamed with a pocket knife and had nicks and cuts around the inner edge of the rim and the resulting effect left the bowl way out of round. The finish was damaged and parts of the stain had rubbed away and what was left was underneath layers of black grime. The sides of the bowl and the bottom side of the shank both showed signs of having been laid in an ashtray and burned with a cigarette. The burn on the bowl side was not deep and would be easily addressed but the one on the shank was pretty deep. I would have to take out as much as possible without changing the integrity of the shape. That gives you a pretty clear assessment of the damages facing me as I decided to work on this old pipe.
ImageImage

I reamed and cleaned the bowl back to the bare wood in order to remove the crumbling and cracked soft cake in the bowl. My thinking was that a good clean surface would encourage the build-up of a proper cake. With a sharp knife I worked on the inner rim. I worked to get it evened out with the knife and then turned to a folded 1 inch piece of 240 grit sandpaper to smooth out the roughness of the inner rim and to bring it back as close as possible to being round. The roughness of the rim required topping to even it out as well. I used my normal procedure of sandpaper anchored on a solid flat hard surface and turning the bowl clockwise or counter clockwise into the sandpaper – exercising caution to keep the bowl flat on the surface and vertical in order to keep the rim flat and not slanted. To remove the burn mark on the bowl and on the shank took a little time. On the bowl side it was not deep so it only needed to be sanded to remove the damage. But on the shank I scraped until I got to hard wood and then sanded. Once I had solid briar under the burn I put the bowl in an alcohol bath to remove the grime and the remaining finish. I left it overnight to soak and turned my attention to the stem.

The stem has a steel tenon and insert that is the system in these old Milano pipes. It seems to be some sort of condensing chamber to collect the moisture generated in a smoke. In any case this one was filled with tars inside and coated with them on the outside. I cleaned it out with a shank brush, bristle pipe cleaners and then fluffy ones until they came out clean. The outside of the condenser I scrubbed with 0000 steel wool to polish and remove the grime and tars. The aluminum polished up nicely and the tenon looks like new. The Bakelite stem took a bit more work and creativity. I cleaned the inside of the stem scrubbing it with soft scrub and bristle cleaners. I was able to remove much of the interior stains. I sanded the exterior of the stem to remove the tooth chatter and external discolouration. I sanded it with 400 and 600 grit wet dry sandpaper and then the usual course of micromesh pads from 1500-6000 grit. I finished by buffing the stem with Tripoli, White Diamond and carnauba wax.

I put the stem aside and removed the bowl from the alcohol bath and dried it off. I sanded the bowl with 1500 and 1800 grit micromesh to remove any remaining finish. I also sanded it with 3200 and 4000 grit micromesh to polish the bowl. I restained it with an oxblood stain. I flamed the stain and then took the pipe to the buffer and buffed the pipe and stem with White Diamond and carnauba wax. Below are the pictures of the finished pipe.

ImageImageImageImage

Refurb on an old WDC “Falcon” style pipe


Blog by Steve Laug

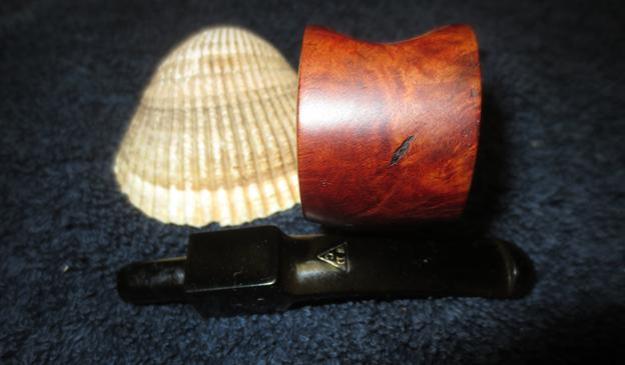
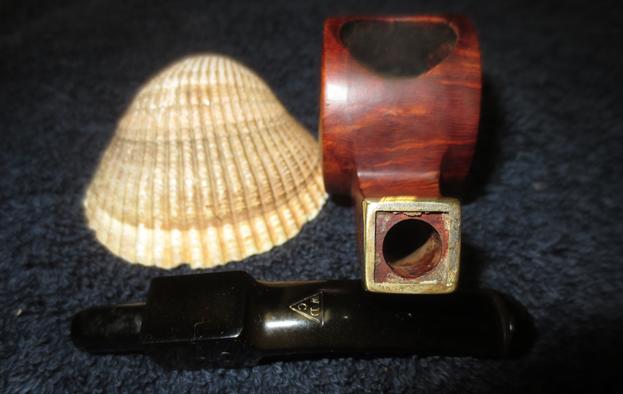
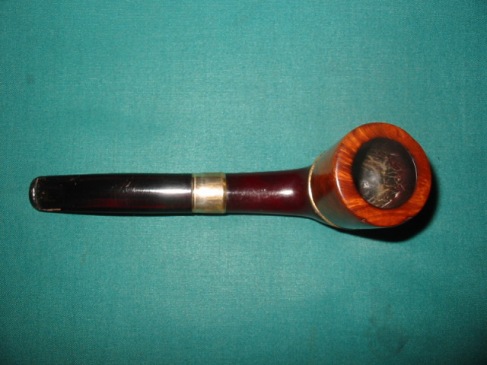
I refurbished this old WDC pipe a while ago now and thought I would post it for its historical value. I have called it a Falcon style pipe in that the bowl is removable and thus interchangeable with other WDC bowls. The stem and bowl bottom are Bakelite and the bowl itself is threaded briar bowl with an airway on the bottom. This one needed a bit of work as can be seen from the first two pictures below. The bowl was badly caked so I reamed it, sanded it and cleaned it. Then I had to top it as the rim seemed to have been used as a “hammer” and was seriously dented and chewed along the out edges of the bowl. Once the bowl was topped I decided to strip the finish from the bowl and restain and polish the bowl as a whole. I wanted to keep with the older style reddish brown stains that I had seen on other WDC pipes that I have so I used an oxblood understain and the overstained it with Medium Brown aniline. I buffed the finished bowl with Tripoli and White Diamond while holding it with a finger inserted in the bowl and holding on to the bowl with the other hand. I did not want the buffer to snatch it out of my hand while I was buffing it. I finished by giving the bowl a polish with carnauba wax and a soft cotton flannel buff.
The bowl seats in the Bakelite bottom on top of a brass ring that seems to act as both decoration and gasket to the bowl connection. It needed some cleaning and polishing as it too had dents and scratches in the surface.

The Bakelite receptacle bottom that the briar bowl screwed into was very dirty and I cleaned it out with cotton swabs and alcohol and then polished the inside with a soft cloth. The stem was rough with deep scratches and gouges in it. I sanded it with 400 and 600 wet dry sandpaper and a bit of water to give the grit a bite. Then I finished with micromesh pads in 1500, 1800, 2400, 3200, 4000 and 6000 grits. Upon completion of the sanding I buffed the stem with Tripoli and White Diamond.

Here are pictures of the pipe after I reamed it with a Pipnet Reamer (T-handle with interchangeable heads).

ImageImage

Here are pictures of the pipe after it has been finished:

ImageImageImage

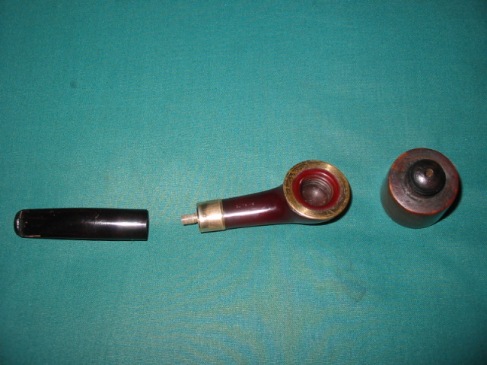
I also thought some of you might be interested in seeing a picture of the pipe taken apart. I have included a picture of the cleaned version for you to get an idea of what the pipe looks like when taken apart.

Image

Refurbed and old timer – WDC Bakelite


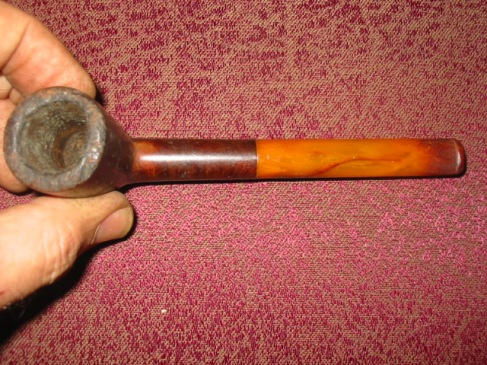
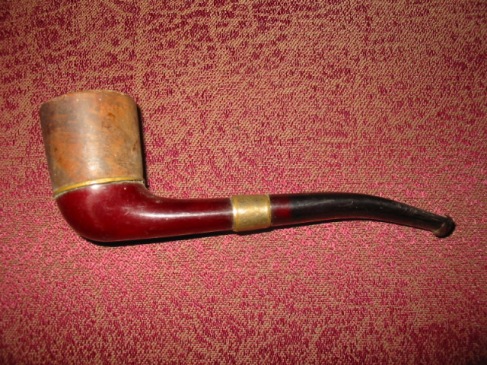
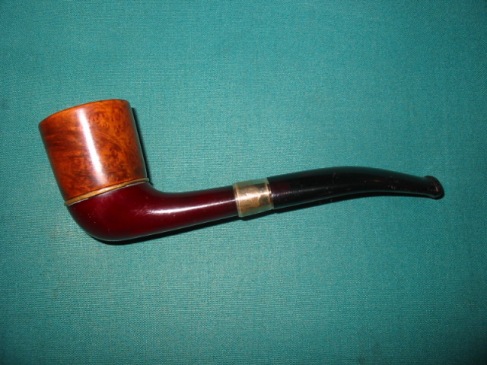
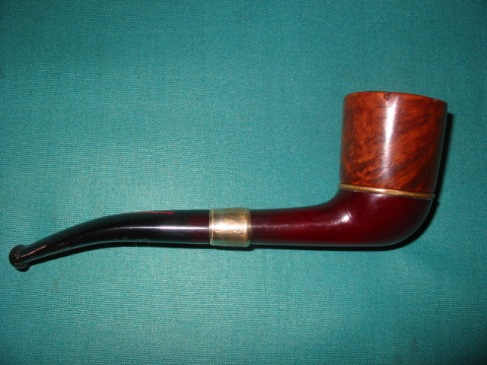
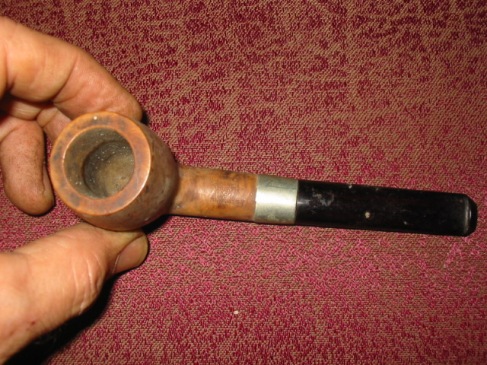
I finished up a pipe that is stamped WDC in a triangle and Bakelite on the shank. The bowl is briar and by the way the stem is put together it is clear that it is an old timer. It has a screw mount stem with a bone tenon and the red Bakelite stem has an orific button.

The bowl was caked and had cob webs! (no kidding). The bowl and shank were cleaned and reamed as usual. The stem had bite marks and needed to be sanded and then finished with micro-mesh pads and finally a trip to the buffer and Tripoli and White Diamond. The bowl was re-stained with cherry and then buffed and polished. The stem was over turned a bit so heated the tenon water and it seemed to expand (?) a bit and loosen so I was able to straighten it out on the shank and it fit perfectly. I wonder if on these old bone tenons that the hot water may actually expand them a bit – not sure how that works but it certainly worked with both of the ones I did today.

Thanks for looking and all of your comments. It made for a great day and it is good to look back and see the work completed today!

Before:

ImageImage

After:

ImageImageImage