Blog by Steve Laug
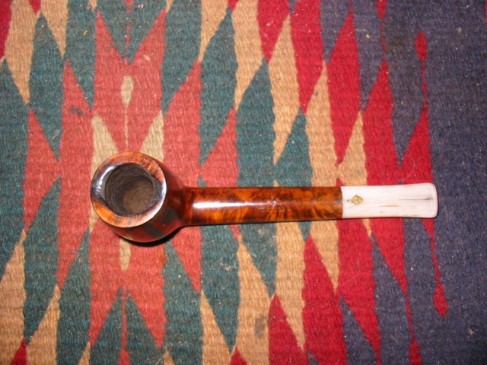
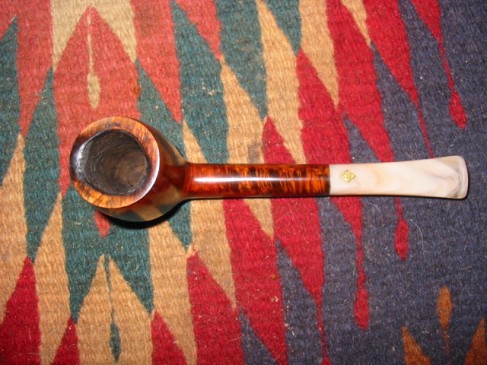
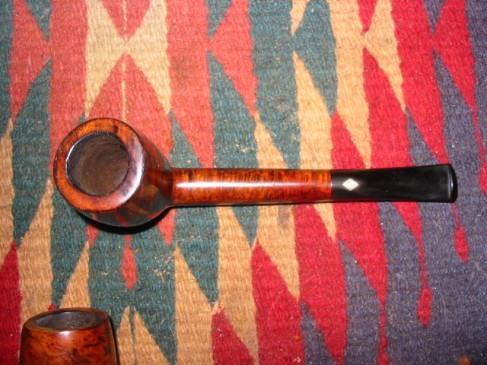
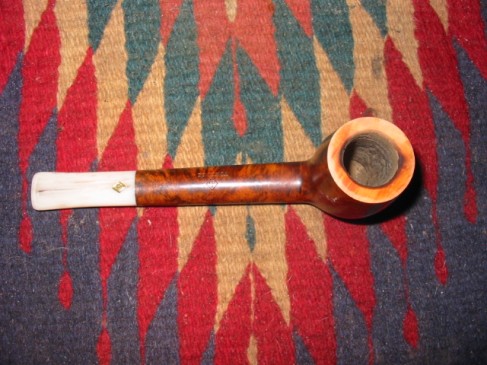
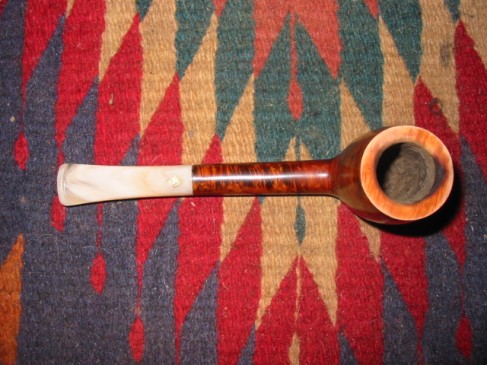
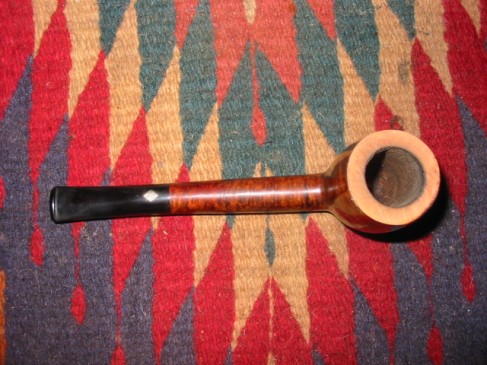
Tonight I went to work on a trio of BBB’s I just purchased. Two of them, those stamped BBB Tortoise (with the ivory stem) looked to have come from the same pipe smoker wielding the same torch lighter. He had in essence cut a trough across the top of the rim from front right to back middle. In the three photos below you can see the damages to the rims. The top photo shows the oval shank Canadian and the second shows the round shank Liverpool. The third one is a BBB Silver Grain and it looked to have been used as a hammer. The outer edges of the rim were rough and beaten and the rim itself was marred with dents. Besides the damage to the rim the Tortoise Liverpool had a cracked shank that I needed to repair. That repair will be the subject of another blog post.
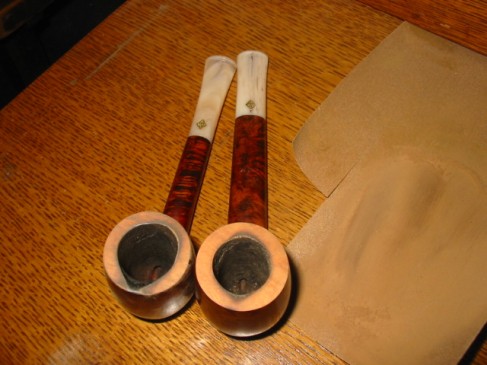
I have a board on my desk that I attach a piece of 220 grit sandpaper to and use that to top the bowls. In the picture below it is to the right of the two Tortoise pipes. I hold the bowl flat against the sandpaper and rotate it to remove the damaged portions of the briar. It is important to keep the bowl perfectly flat against the board and paper so that the top remains flat. It is very easy to sand an angle to the bowl if you are not careful with this process. In the picture the two bowls have been sanded to remove the finish and the top layers of the darkening. Both bowls have a slight trench burned into the surface that moves from the front right to the rear centre. The topping will need to be deep enough to remove the damage yet not too deep to change the profile of the two pipes.
In the next series of two pictures you can begin to see that the rims are returning to a normal and the troughs are disappearing under the sanding. The top photo is of the Canadian and it is pretty close to being finished in this photo. The second photo shows that the trough in the Liverpool is also disappearing though it will take a bit more sanding.
The Silver Grain Liverpool also was topped using the same process to remove the damage to the outer rim and the top of the rim. The nicks and dents on the tops and the damage to the edges made it necessary to top this bowl as well. It was a much simpler process as the rim did not have a deep trough across it but rather rough edges on the outer edge of the rim. The picture below shows the final result of the topping on that pipe. Once it was topped with the 220 grit sandpaper I moved to a fine grit sanding block – 400 grit and then on to the micromesh pads to polish the sanding marks out of the rim. I finished the sanding by buffing it with Tripoli and White Diamond to remove any remnant of the sanding marks.
I then used a small one inch square piece of sandpaper folded in half and held at an angle to sand a slight bevel into the inner rim of the two Tortoise pipes. This took care of the inner damage that remained after topping the bowl. I then sanded the two pipes in the same manner as described for the Silver Grain above. Finishing with 6000 grit micromesh and then buffing with Tripoli and White diamond. I stained the trio with a medium brown aniline stain applied to the surface with a dauber. It took two coats to cover the fresh briar of the repairs. The stain was wiped off and the pipes were taken to the buffer when dry.
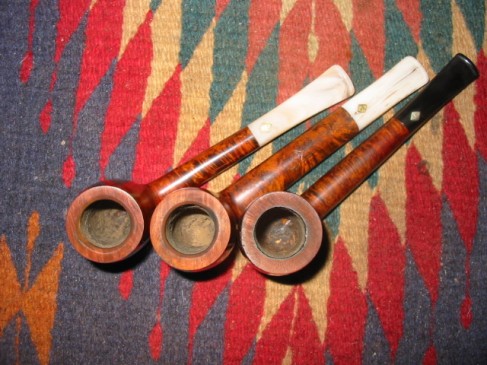
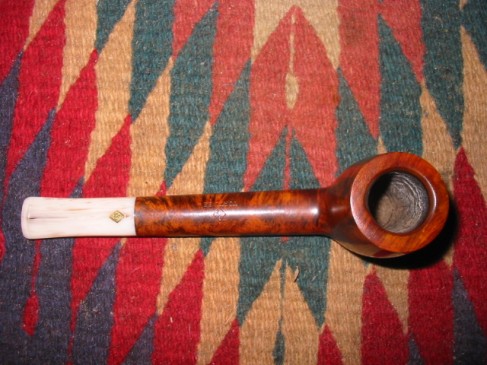
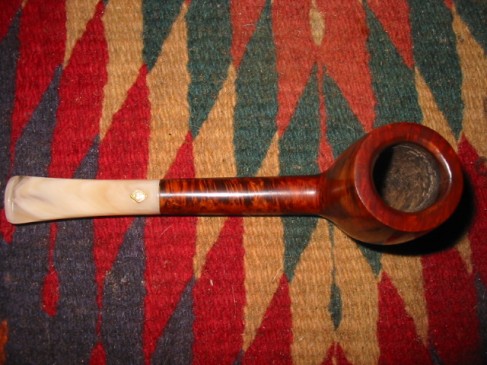
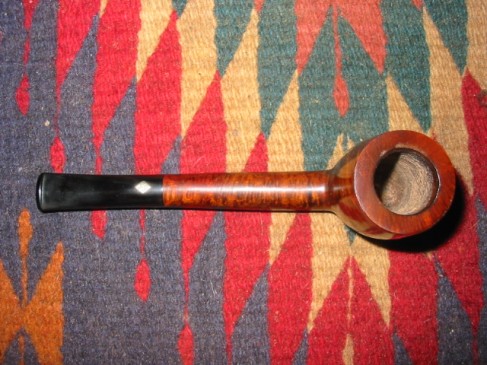
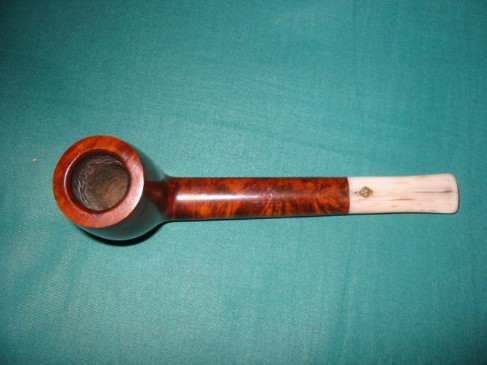
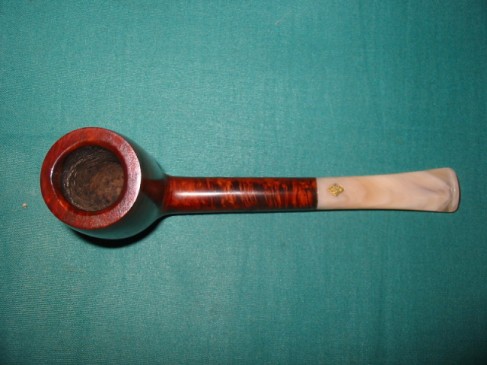
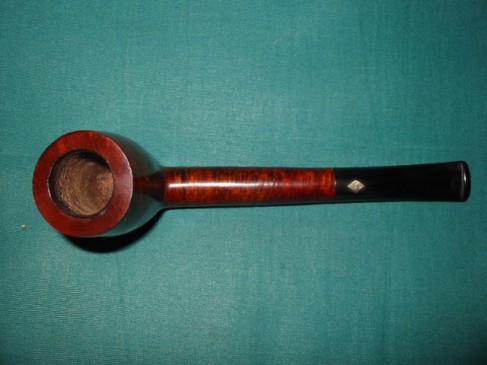
The three pictures below of the three pipes show the buffed rims before waxing. The stain matched exceptionally well. The inner bevel took care of the inner rim damage and the topping took care of the trough that went across the bowl. In both of the Tortoise pipes below the damage is virtually removed and the rim surface and edges look new. The rim on the Silver Grain also came out very well and is smooth and looks as good as new. The outer rim damage and the nicks on the top of the rim are gone and a smooth shiny surface is what remains.
The final three pictures show the rims after they have been given several coats of carnauba wax and buffed to a sheen. The pipes are ready to smoke and look renewed and reborn. You can see from the process that is spelled out above that it is not difficult to do and the results are worth the effort. Take your time and proceed with caution, checking to make sure that enough of the damage surface has been removed but not too much. Once that is done it is a simple matter of sanding, staining and polishing.

