Blog by Steve Laug
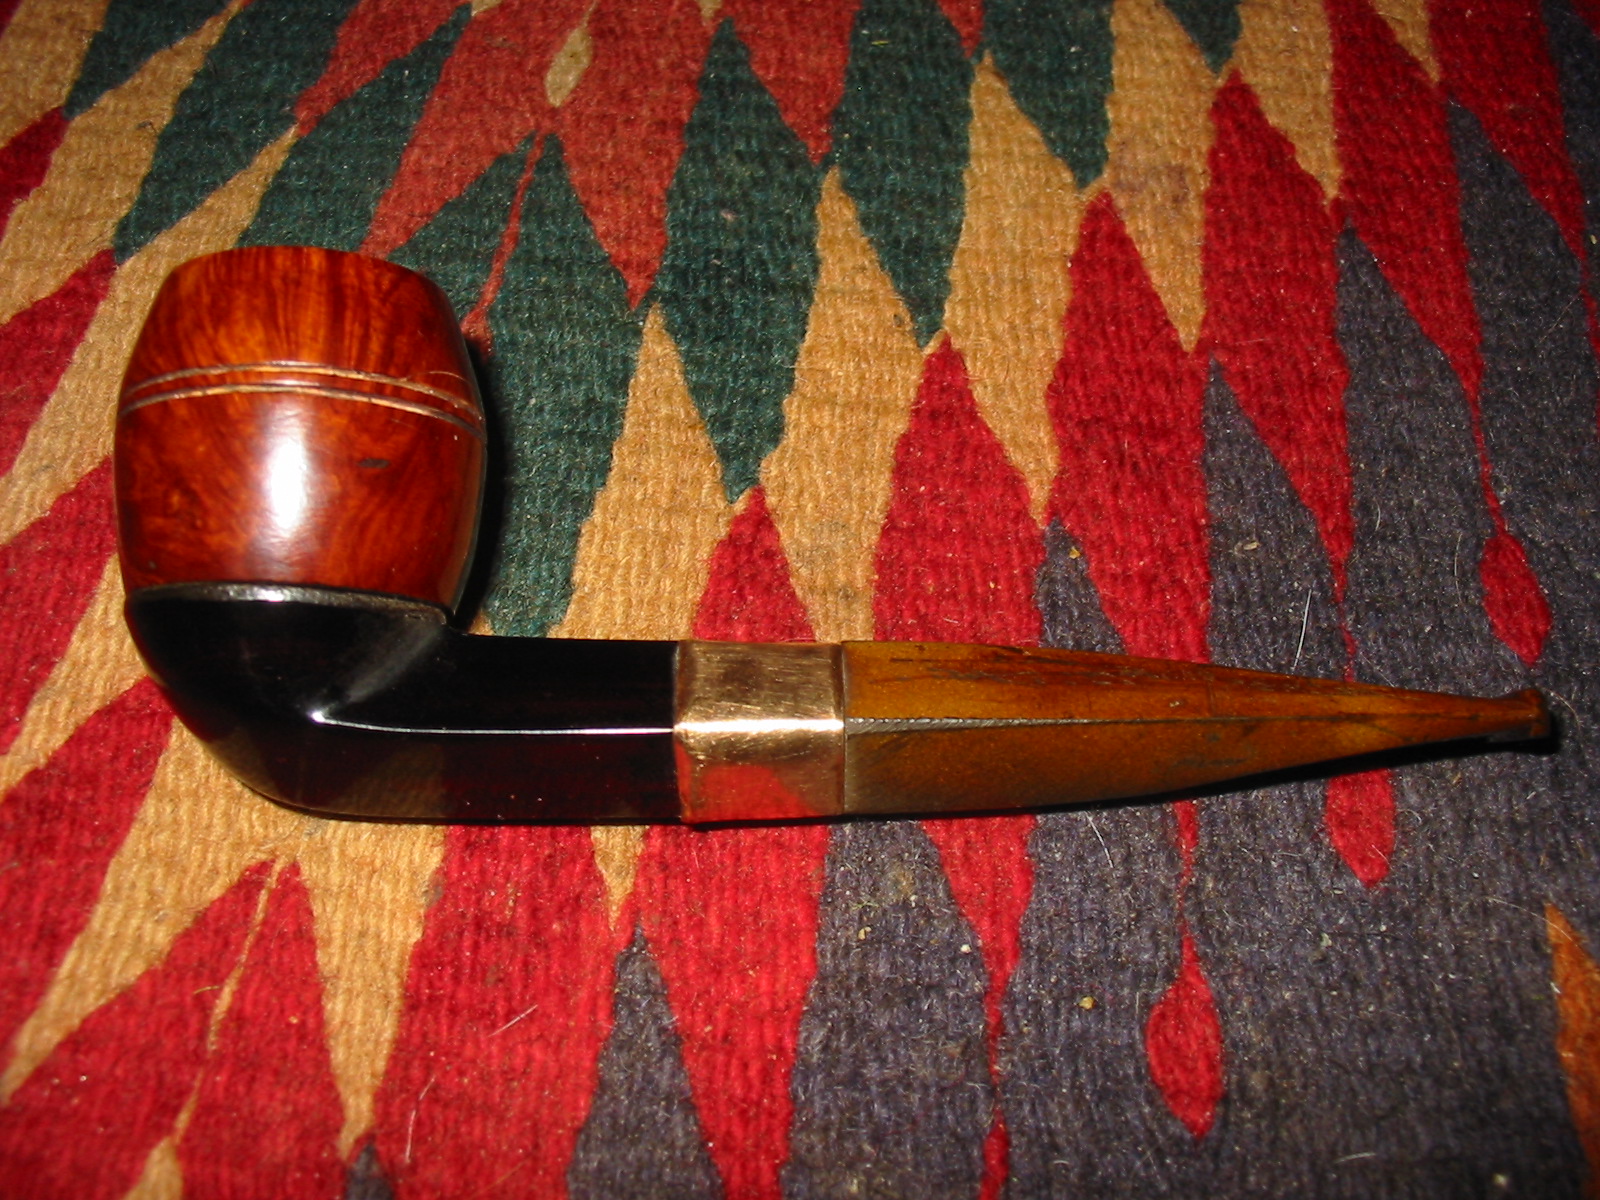
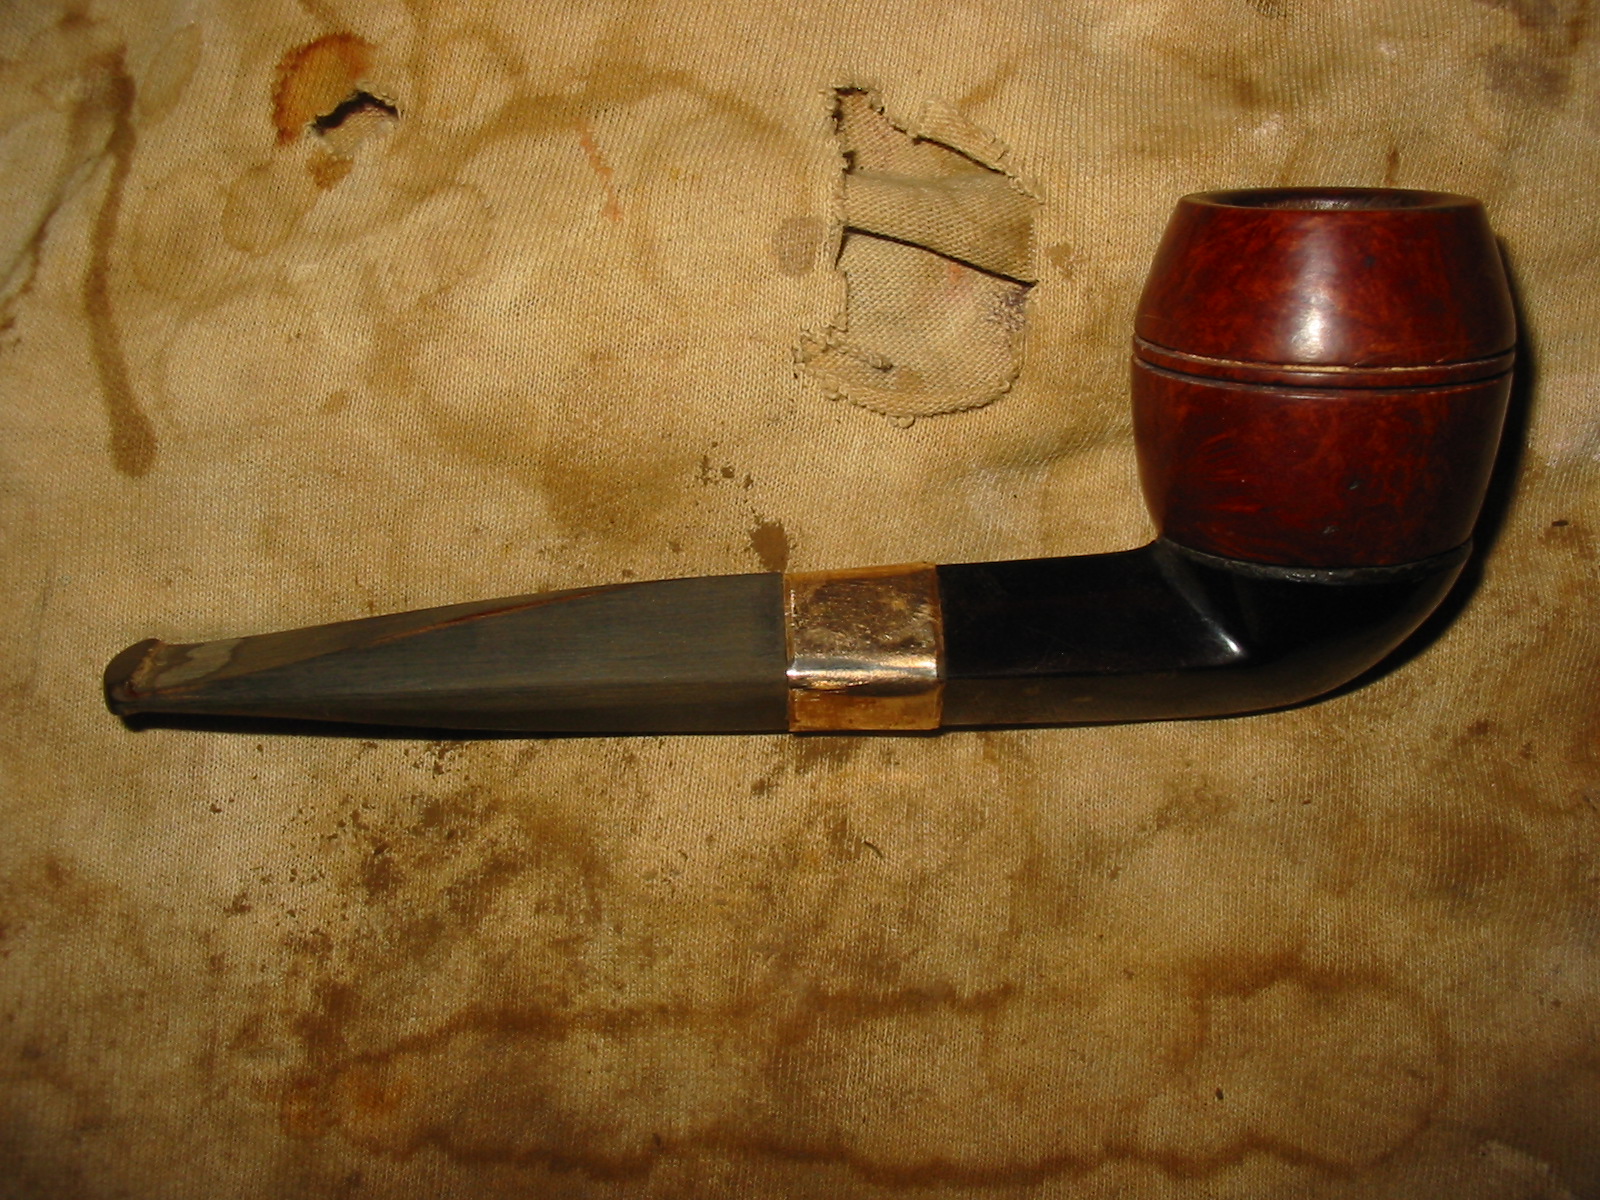
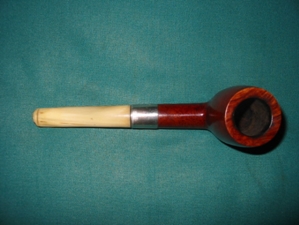
When I found this old bulldog on EBay I was drawn to it and immediately put in a bid. I won it as no one else saw the charm in this one. It was a hard to see the stamping in the photos and many of the photos the seller included were out of focus which even made it harder to figure out the state of the pipe. The seller identified the pipe as a GC Bulldog. The seller’s photos that I have chosen below show the condition of the pipe. The finish is dirty and there are definitely dings and nicks in the briar. The bead around the cap of the bowl is a nice touch and it too is worn. The stem is oversized and is larger in diameter than the bowl so it makes one wonder if it is original. The threaded bone tenon in the stem fits perfectly in the shank with the alignment matching. The angles of the shank and the stem match. The vulcanite stem is just slightly larger than the shank on the left side of the pipe but works on the right side. The button is rounded and has an orific opening that shows that it is the proper age for this pipe. All that I saw was enough for me.

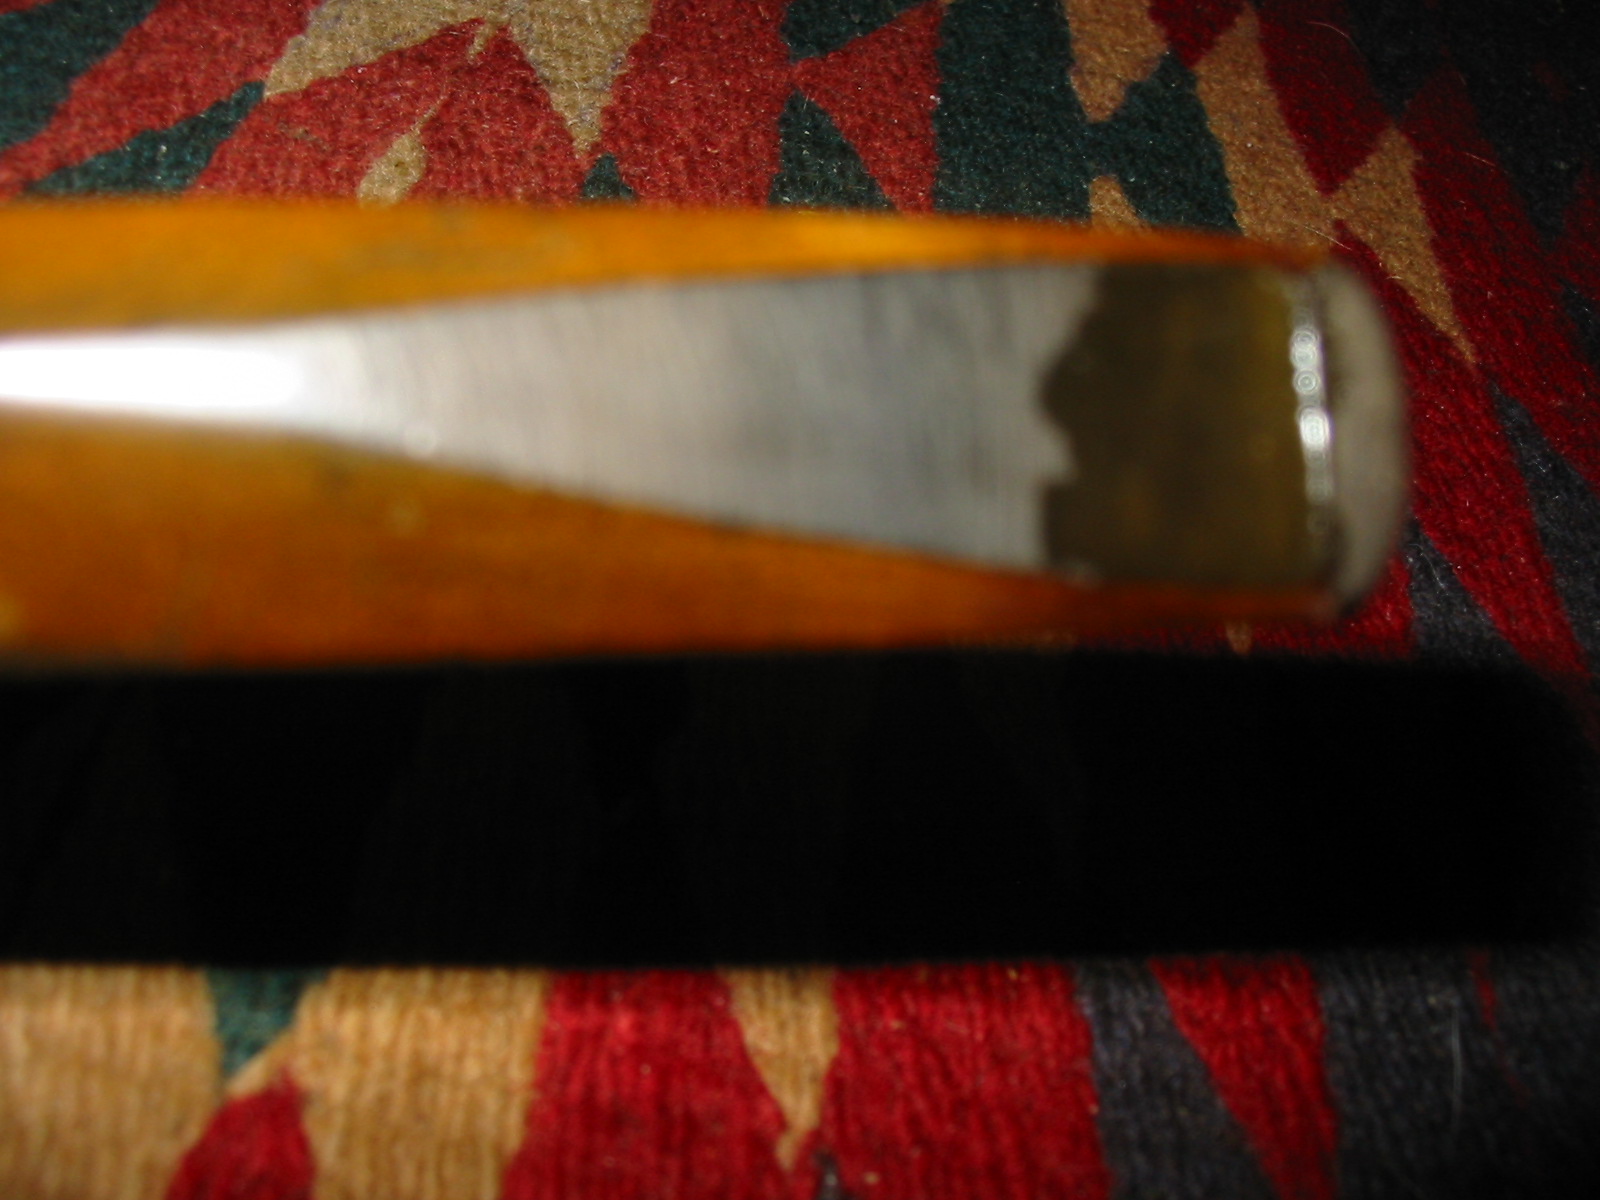
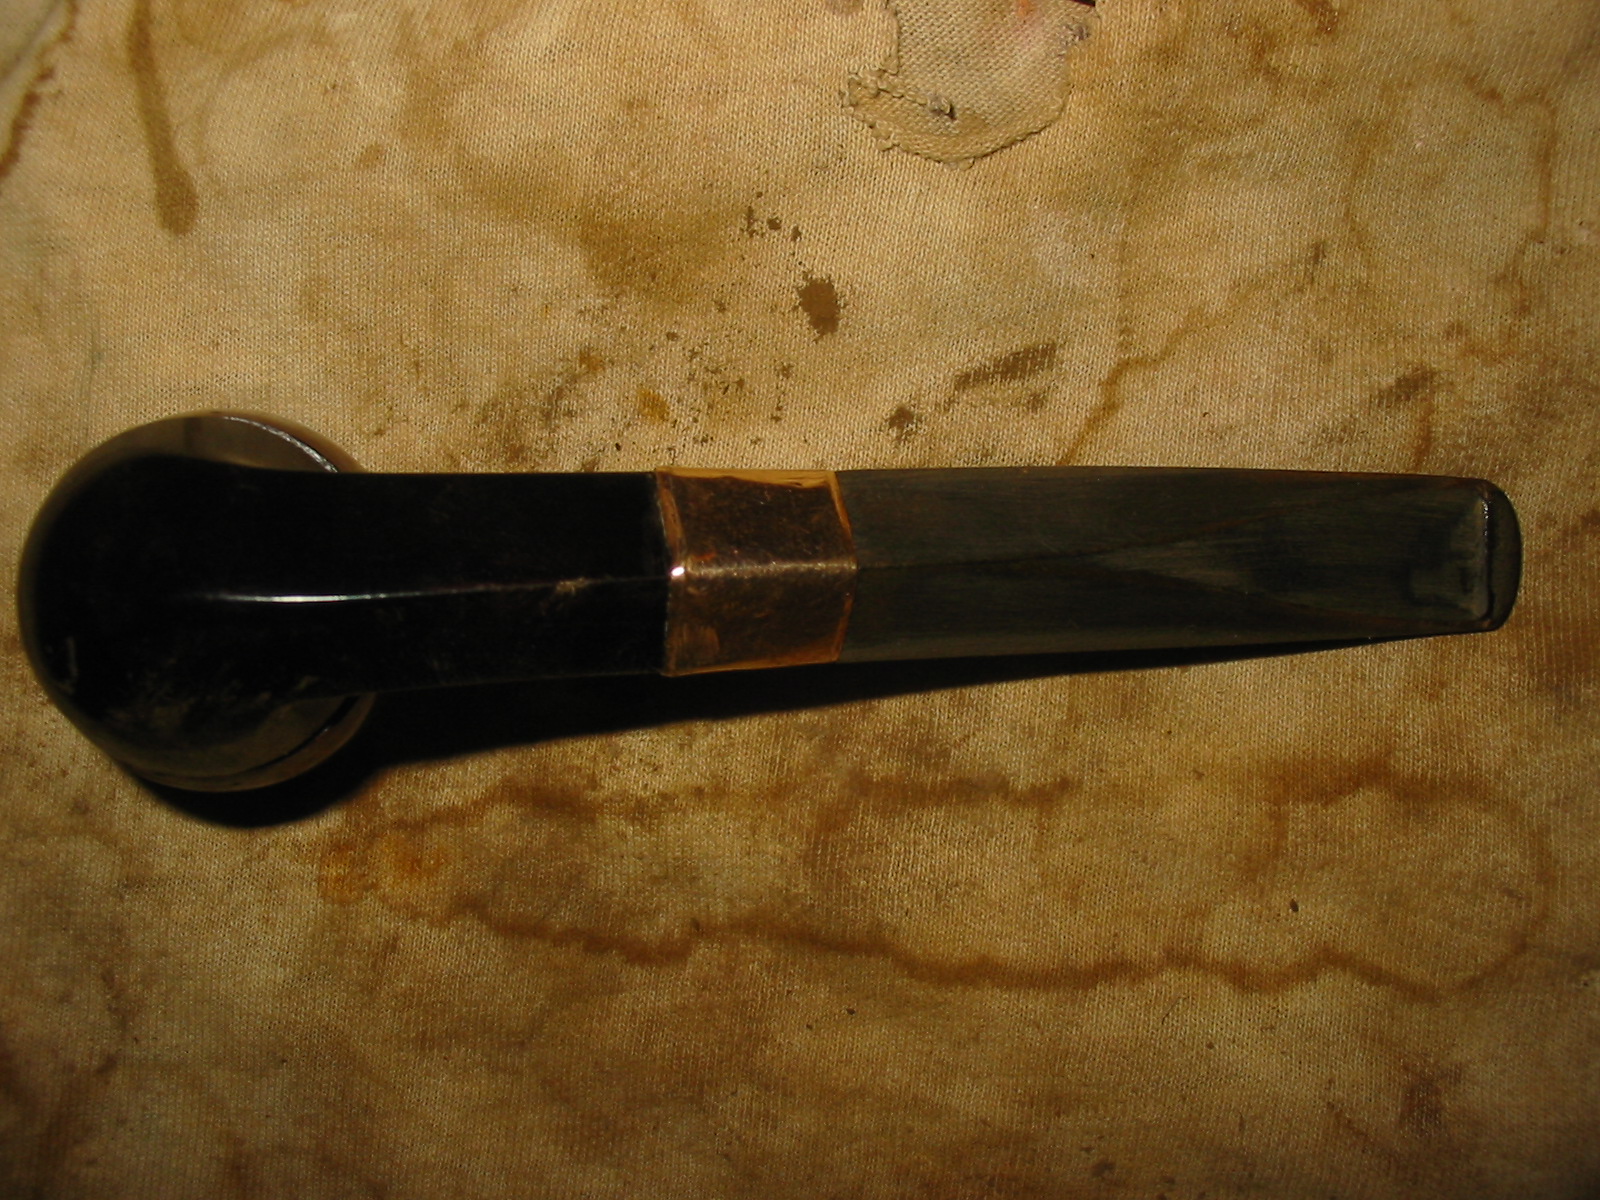
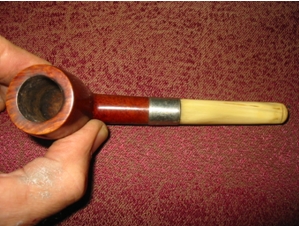
 When the pipe arrived my assessment from the photos was correct. The stem was a good fit but it was larger than the shank on the left side. The bone tenon was in excellent shape with no wear and tear on it. It was stained with the tobacco juices of the long smoking. The shank was dirty and the airway in the stem was dirty. The airway in the bowl was clogged so no air would go through it no matter how hard I blew on the shank. The rim had serious damage on the right side front. There was a chunk of briar missing from the inner edge of the bowl and there was a scar running part way down below that. The rim had a divot at that point and also on the front itself that looked to have been caused by overzealous lighting from the exact same point every time the pipe was smoked. The bowl had been reamed and looked clean and smooth other than the damage on the right top side. The finish was dark and dirty. The stem had tooth marks on the underside near the button and tooth chatter on the top side. The next four photos show the pipe when I brought it to the work table.

 The next photo is a close-up of the rim to show the damage. I decided to top the bowl so I used the topping board and 220 grit sandpaper to remove the top surface damage to the rim edge. When I had topped as much as I could without changing the profile of the bowl it was time to decide how to address the damage. I set that aside for a bit and worked on the fit of the stem.
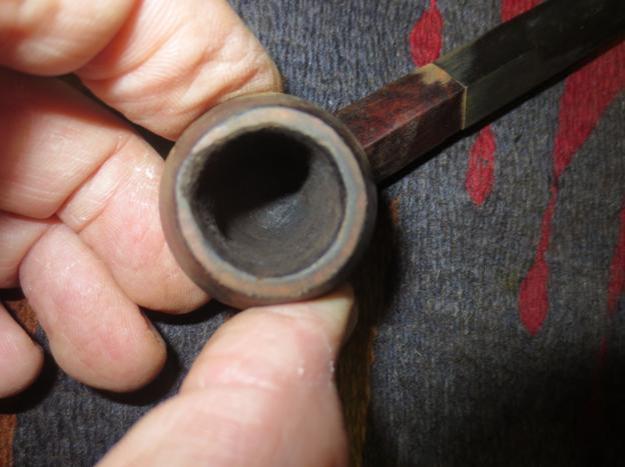

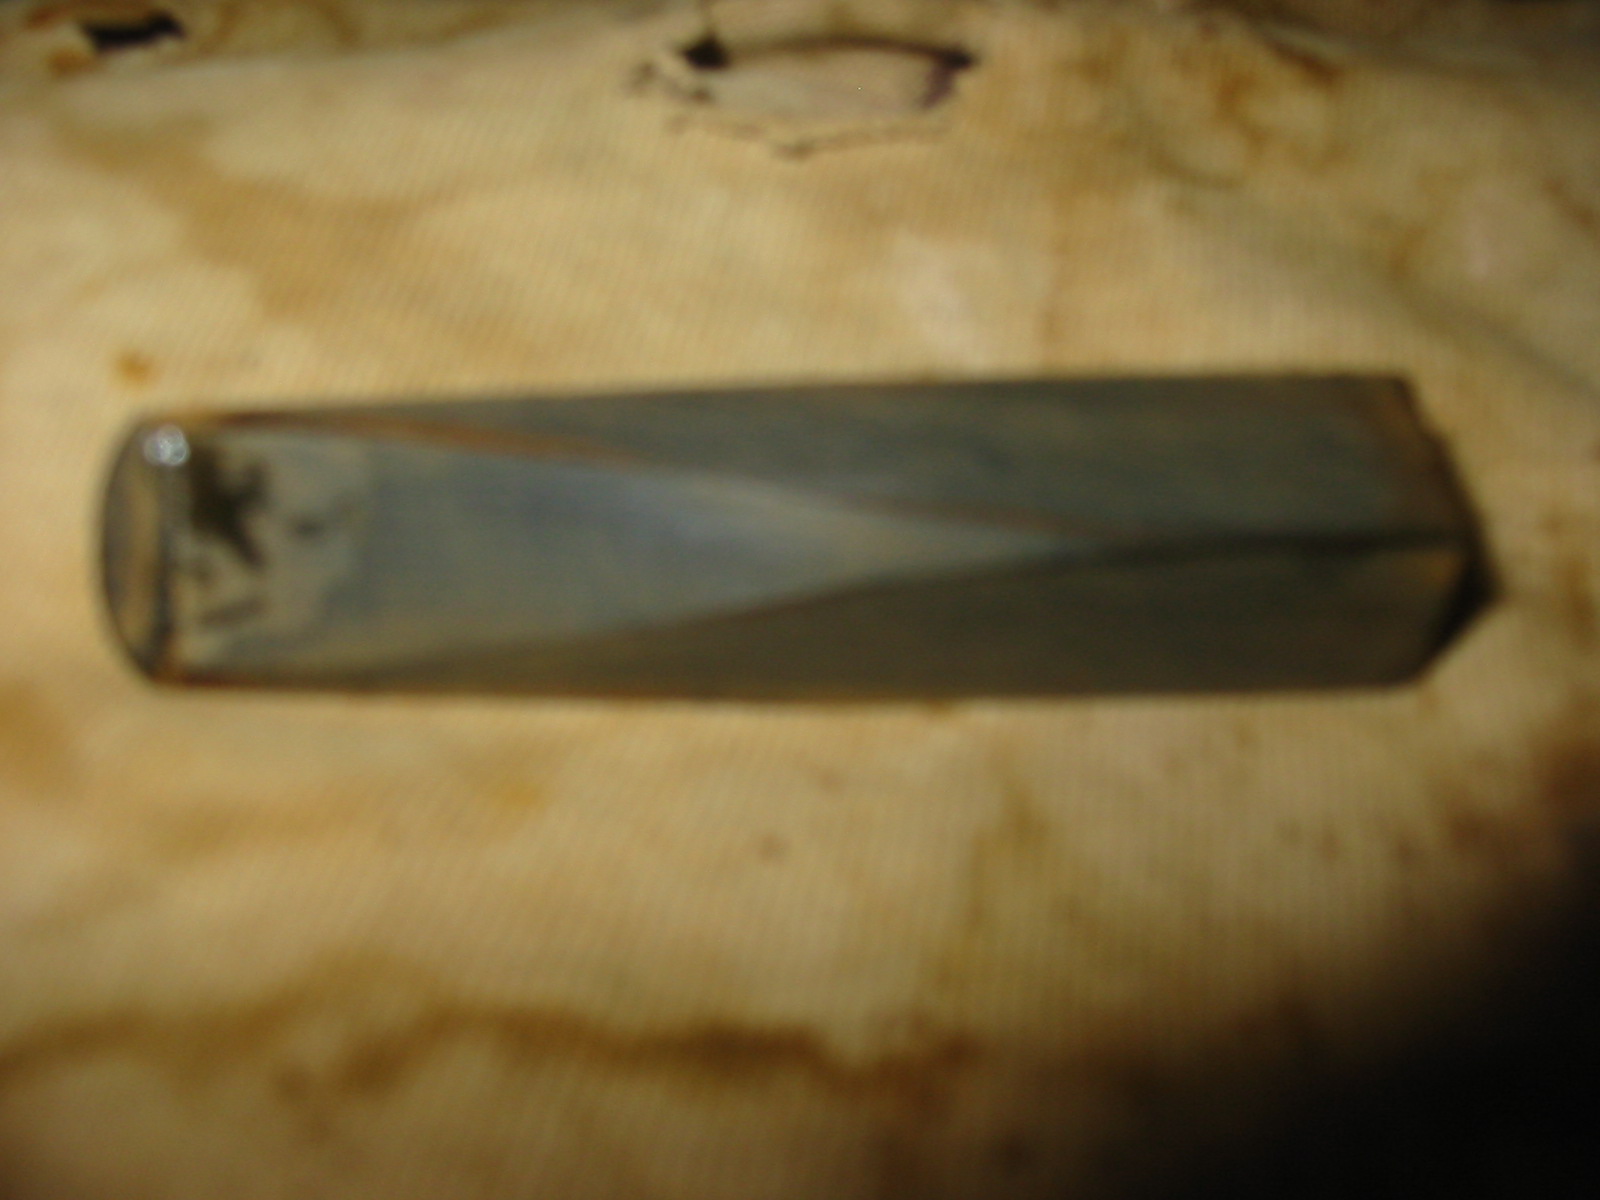
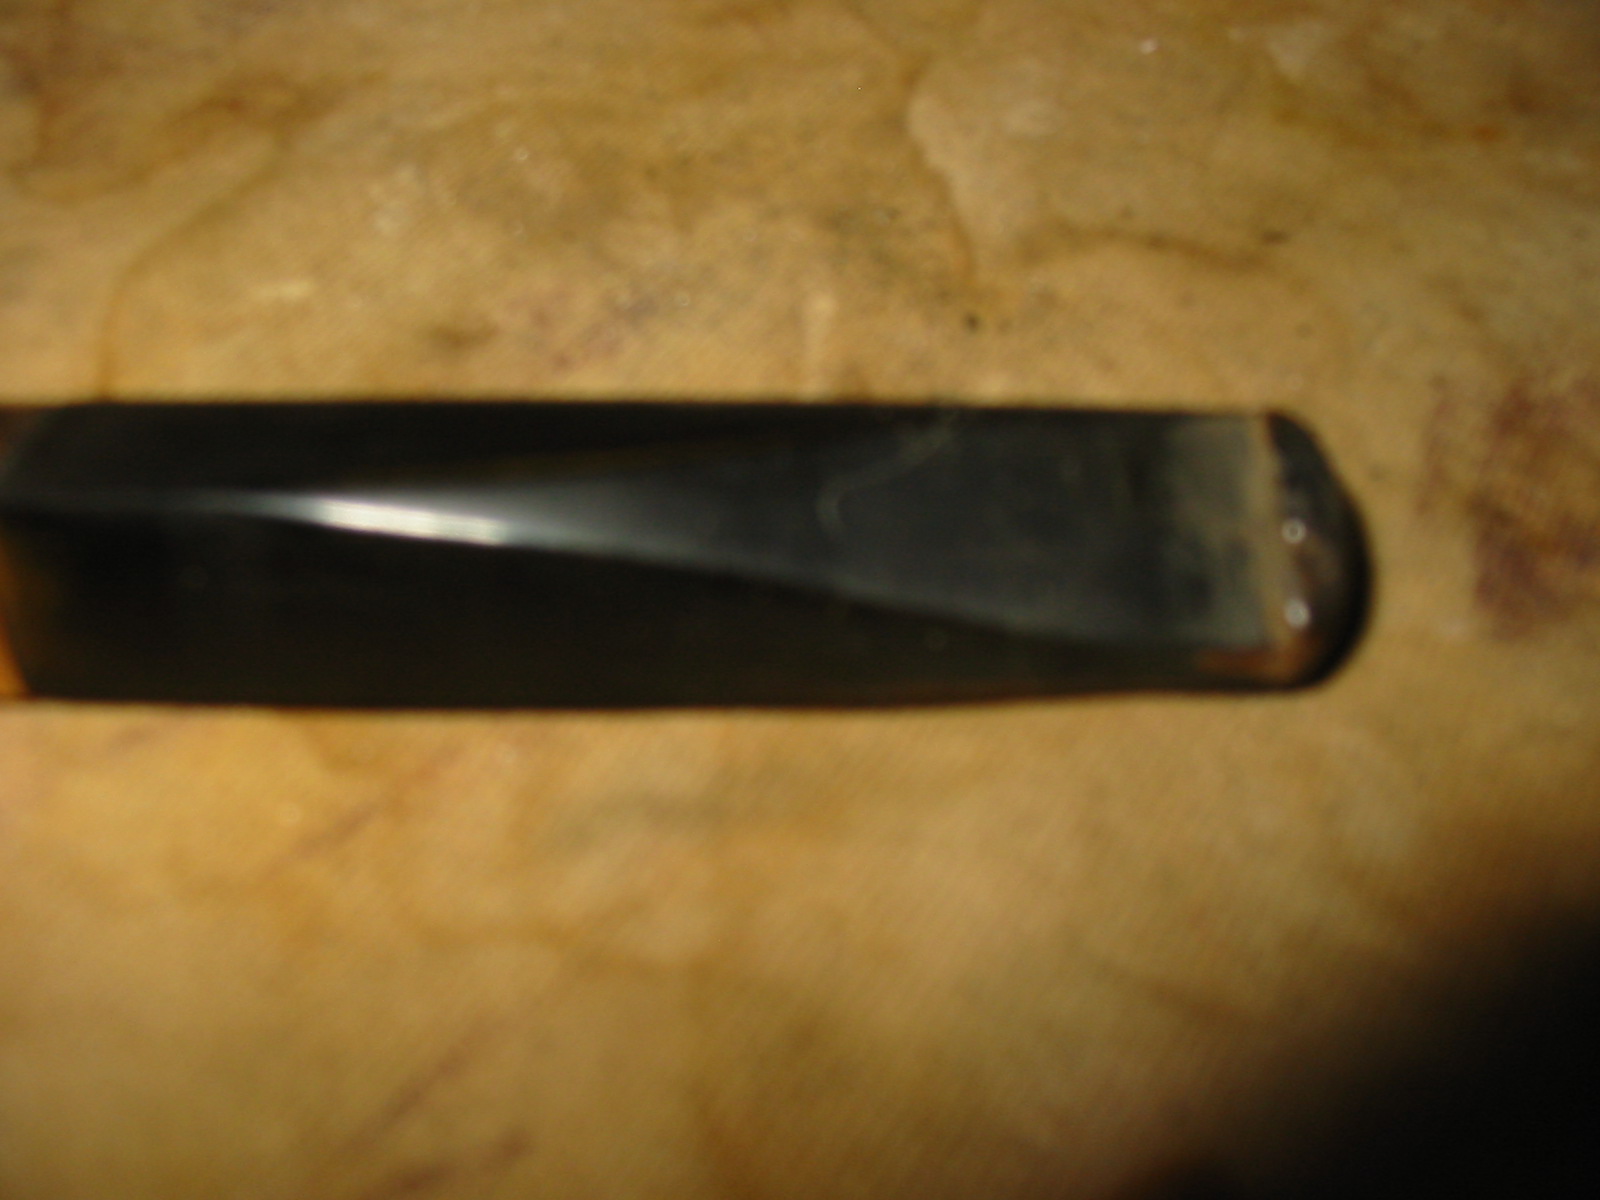
 I sanded the stem sides with 220 grit sandpaper to bring it to the same height and dimensions as the shank. It took work on the left sides and some adjustments to the right side. I also needed to work over the points of the diamond to make the alignment straight and flowing. I sanded the tooth marks and tooth chatter at the same time and was able to remove it.


 I wiped the bowl down with acetone on cotton pads to remove the damaged and dirty finish that remained on the bowl. With these old finishes the grime and some of the clouded top coat disappears and the grain begins to poke through as the bowl is scrubbed.
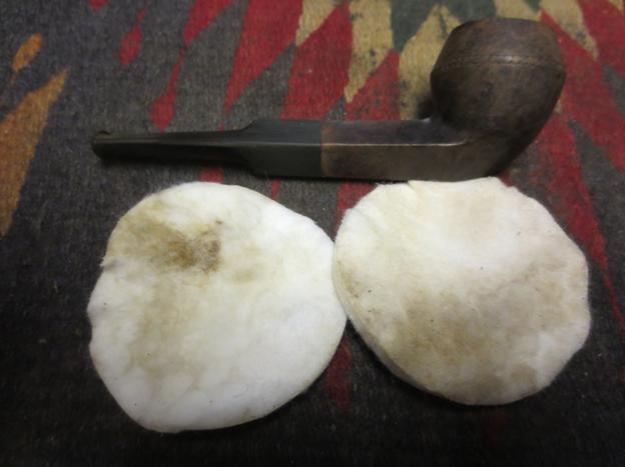
 I worked on the internals of the mortise, airway and the airway in the stem. Since the airway in the mortise was plugged I used a round dental pick to push through the grime that plugged the airway. I reamed out the airway with the pick and then scrubbed it with pipe cleaners and a shank brush until it was clean. I scrubbed out the mortise with pipe cleaners, cotton swabs and alcohol until it was clean and smelled fresh. I swabbed out the inside of the bowl with cotton swabs and alcohol. I used pipe cleaners and alcohol in the stem airway and cleaned the threads on the bone tenon with cotton swabs.
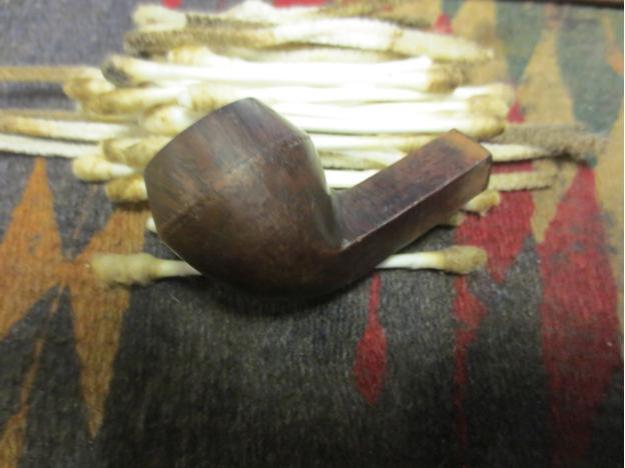

 With the interior of the bowl clean I lightly sanded the inner edge of the bowl in the damaged area. I put some small drops of super glue on the rim and inner edge and used a dental spatula to press briar dust into the glue.
 I retopped the bowl to smooth out the repair and sanded the inside with a folded piece of 220 grit sandpaper to smooth out the curve of the inner edge.
 I sanded the top and rim edge with 400 grit wet dry sandpaper and then with 1500 grit micromesh in preparation for staining. I stained the areas where I had sanded the shank to match the stem and the rim with a dark brown stain pen.

 I hand buffed the stained areas and the rim and took the following photos.


 I wet sanded the stem with 1500-2400 grit micromesh sanding pads and then rubbed the stem down with Obsidian Oil. I dry sanded the stem with 3200-4000 grit pads and gave it another coat of oil. I finished sanding with 6000-12000 grit pads and gave it a final coat of oil. I set the stem aside until the oil dried.

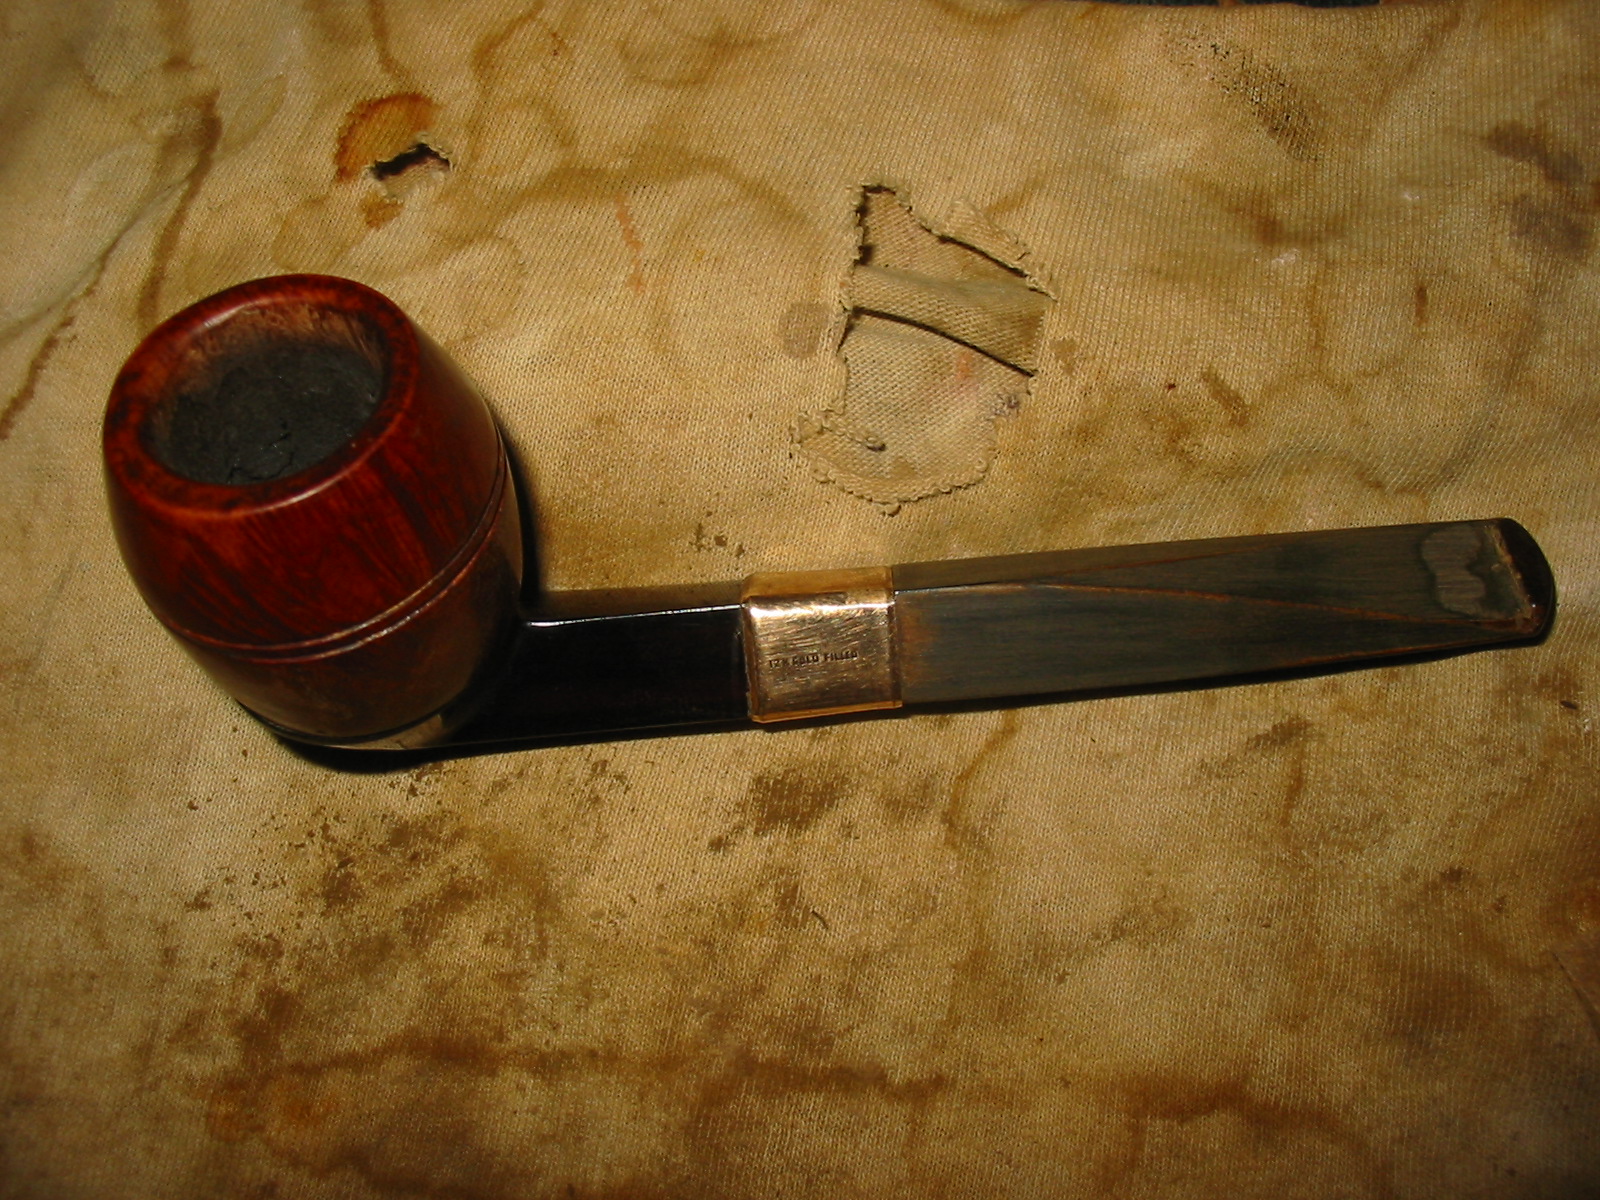
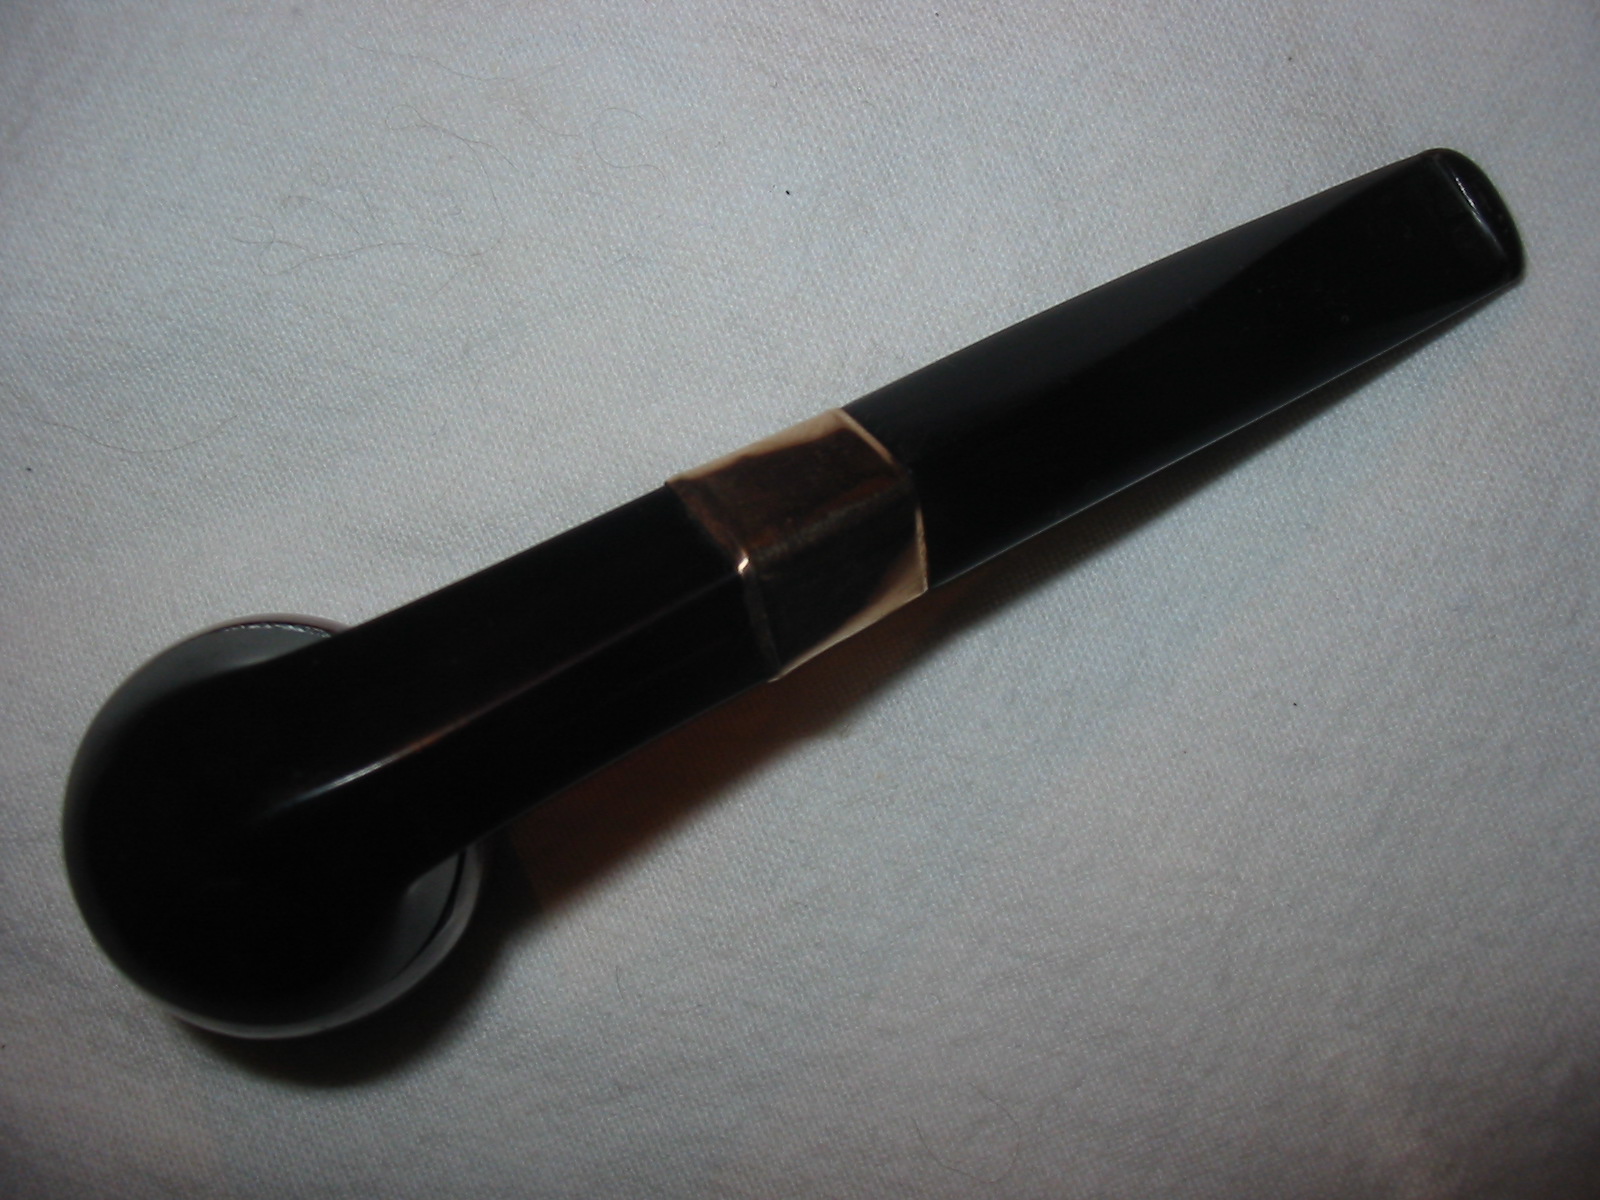
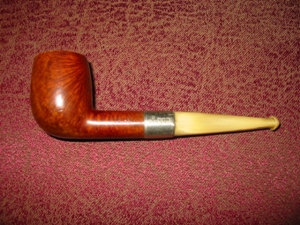
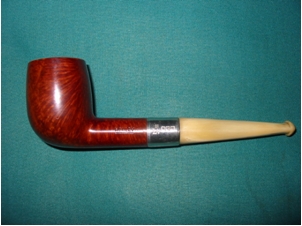
 I gave the bowl and stem several coats of Conservator’s Wax and hand buffed the pipe and stem with a shoe brush and a microfibre cloth to raise the shine. The finished pipe is shown in the photos below. There are still some dents and dings on the sides of the shank and bowl that I chose to leave there. Some of them are the very faint stampings that remain on the right and left topside of the diamond shank. Some of them are beauty marks that came with the long life and hard travel of this little pipe. I chose to leave them as they were and imagine the stories that go along with them. Thanks for looking.