by Steve Laug
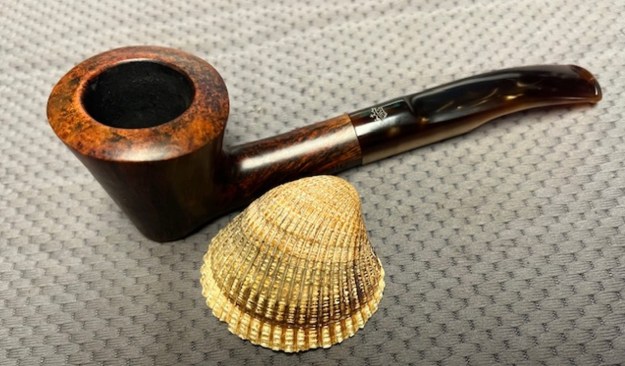
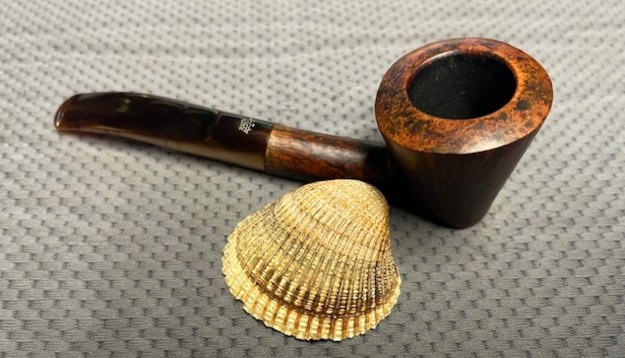
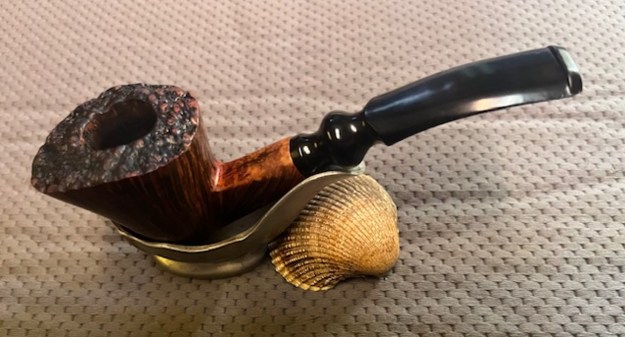
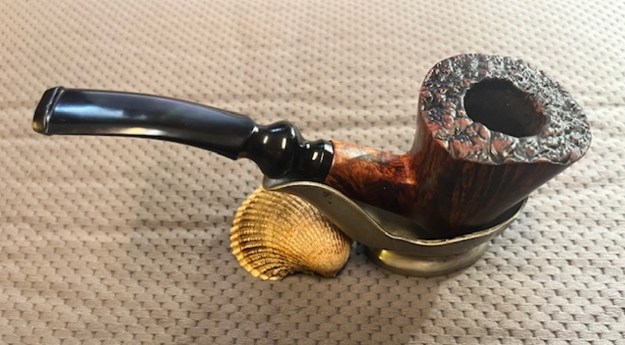
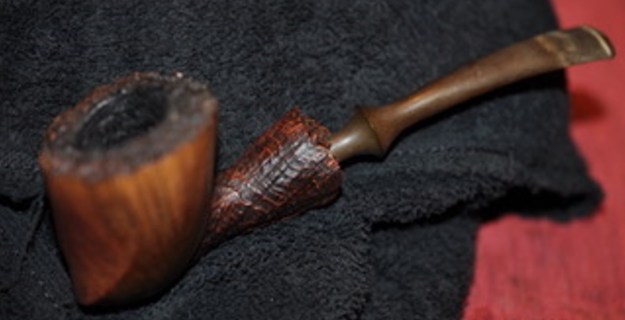
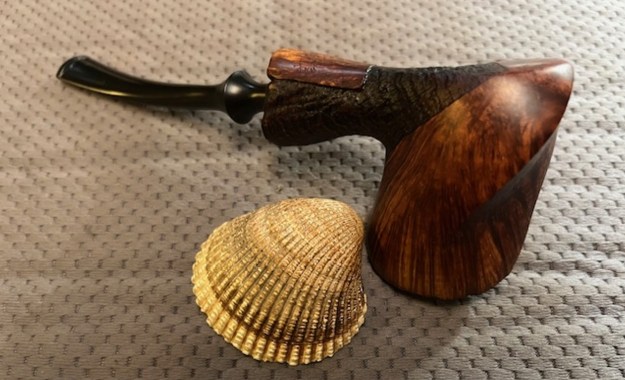
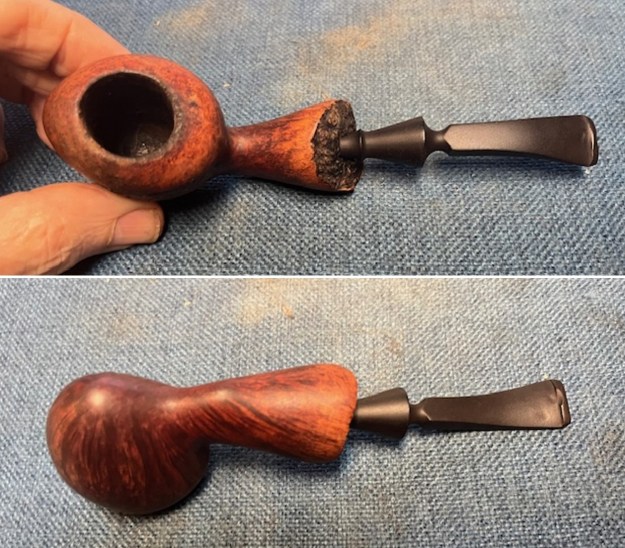
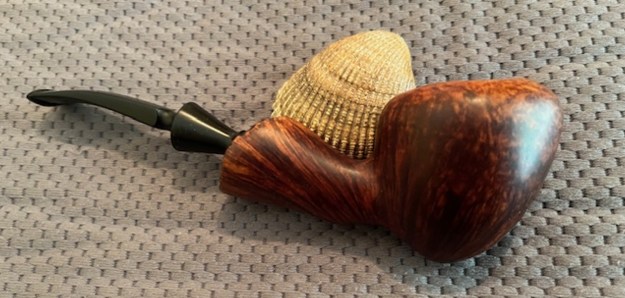
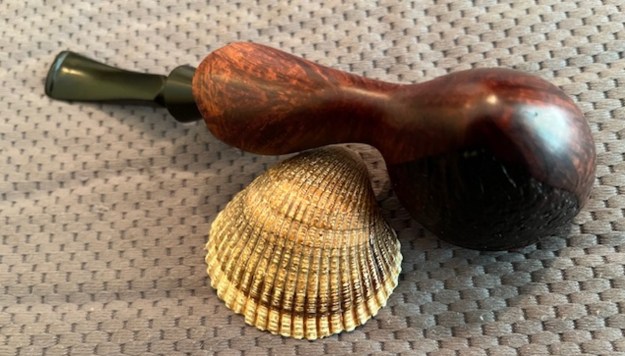
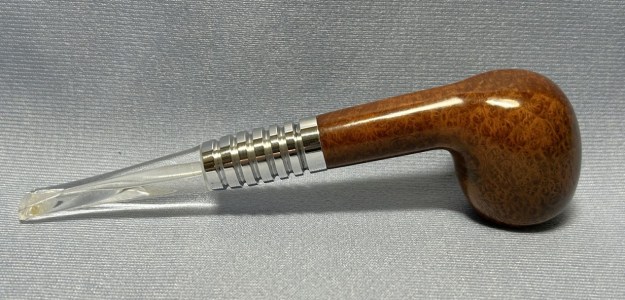
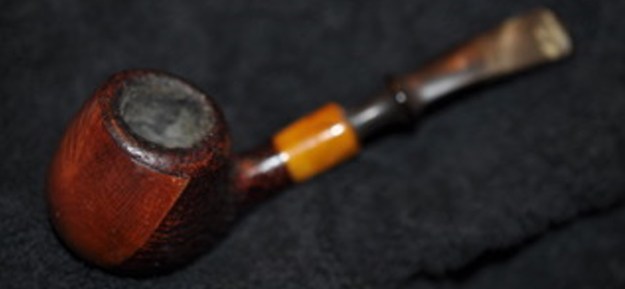
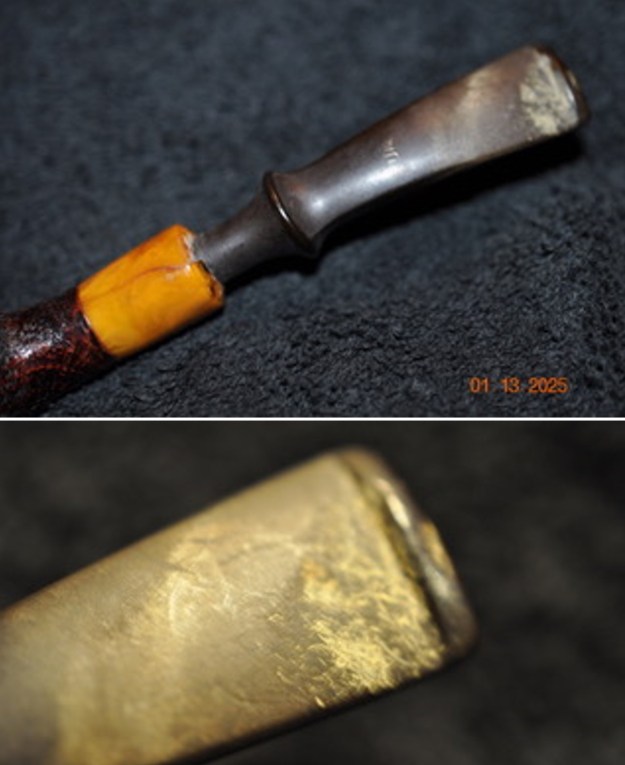
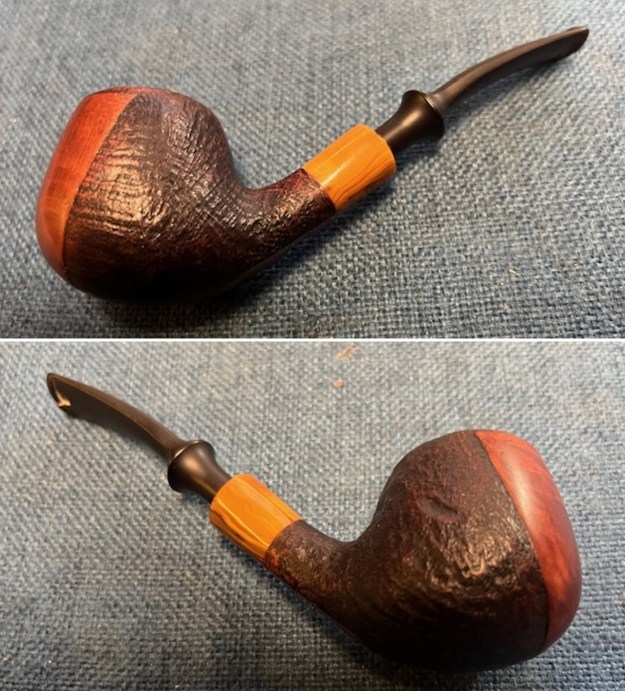
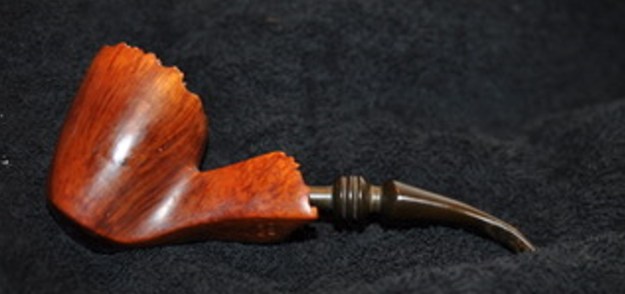
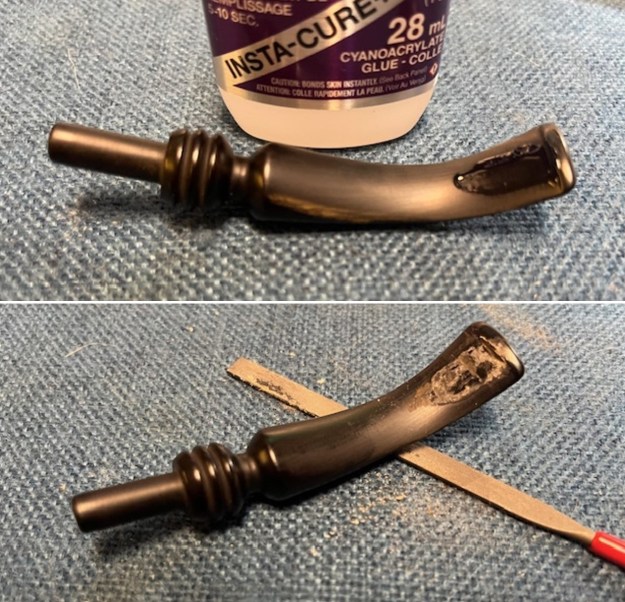
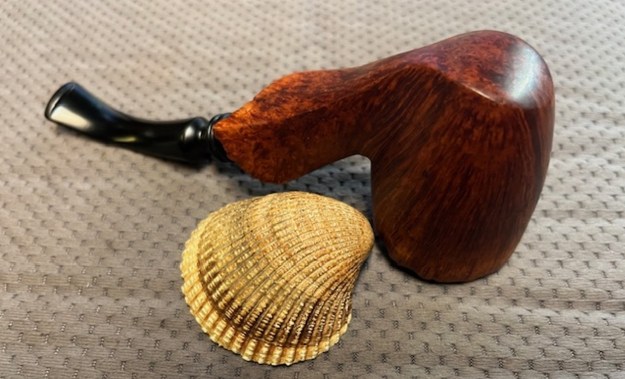
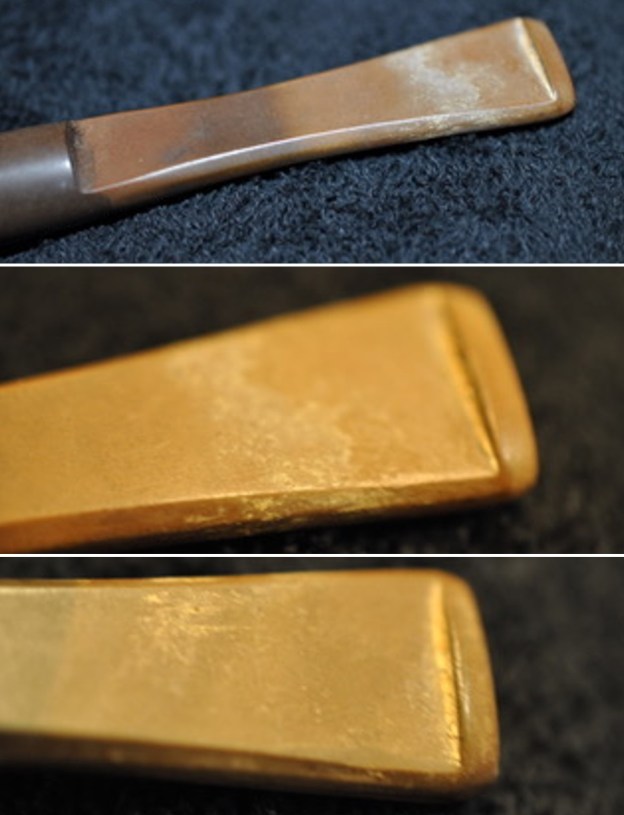
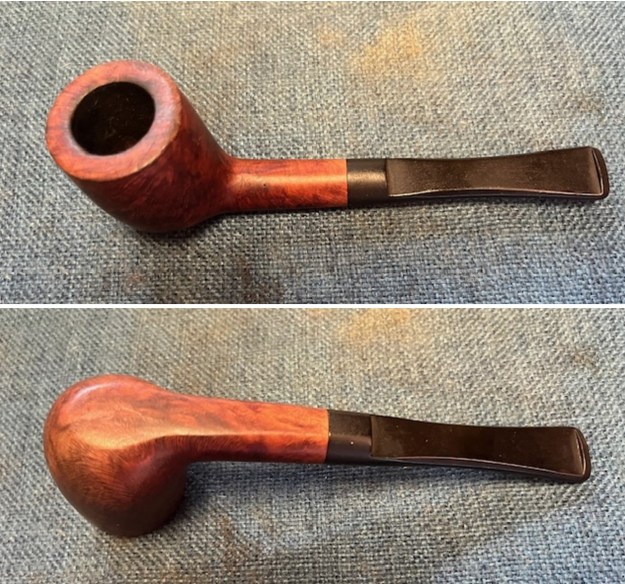
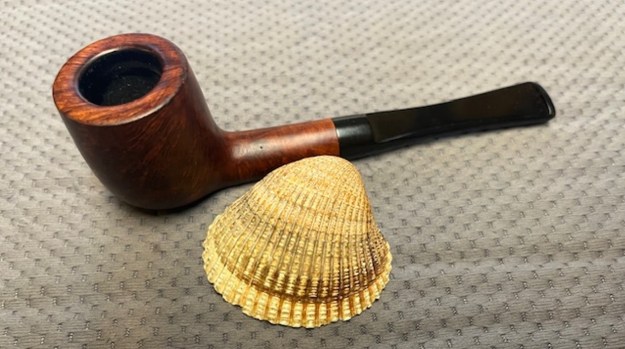
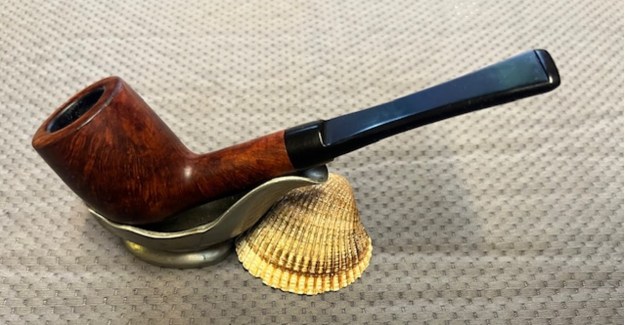
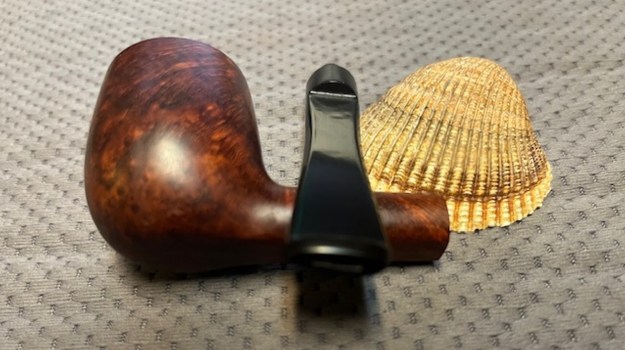
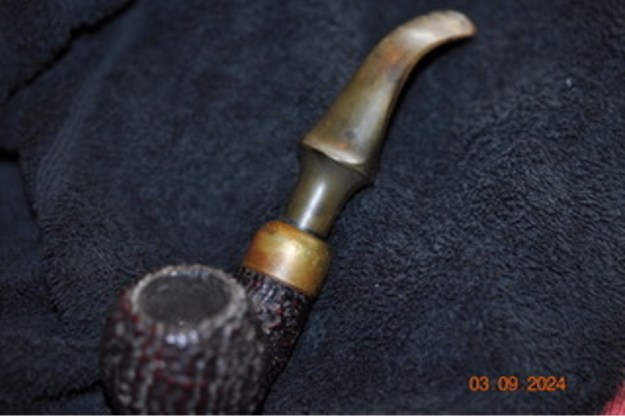
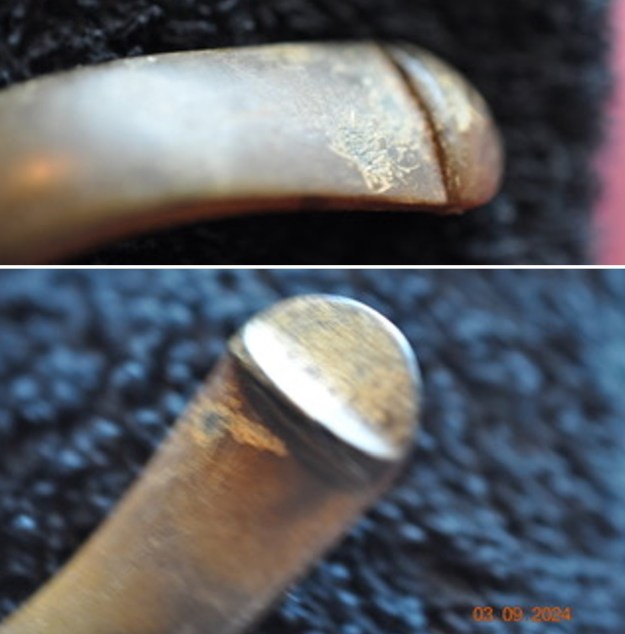
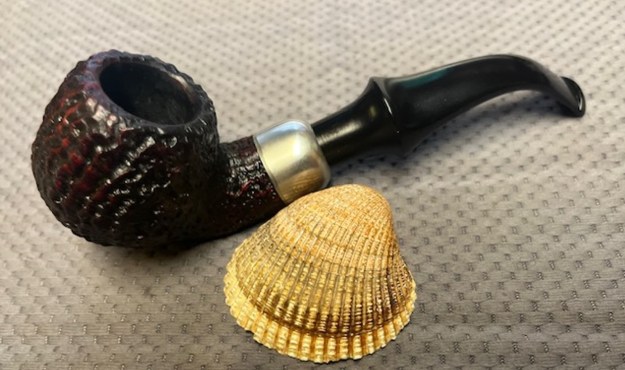
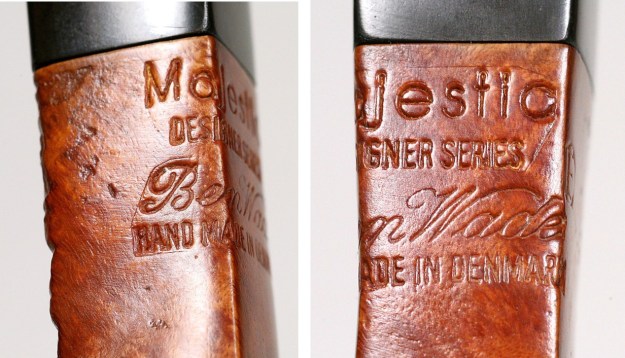
The next pipe on the work table is a pipe that came to us from a seller in Santa Cruz, California, USA on 05/28/2024. It is stamped on the left side of the shank and read Majestic [over] Designer Series B. On the right side it read Ben Wade [over] Hand Made In Denmark. The finish on the pipe was a smooth Ben Wade style finish with brown stains highlighting the grain around the sides and shank. The bottom of the bowl was flat from the heel to the shank end so that it acts as a sitter. The rim top was also smooth and crowned and was dirty with grime and also lava overflowing from the thick cake in the bowl. The fancy saddle stem was brown/gold variegated acrylic and had light tooth marks and chatter on both sides ahead of the button. It has a gold Ben Wade crown with a BW underneath stamped on the top of the saddle. It was a pretty stem but was dull and dirty. Jeff took some photos of the pipe to show the general condition of the pipe before he started his clean up. It should clean up very well. 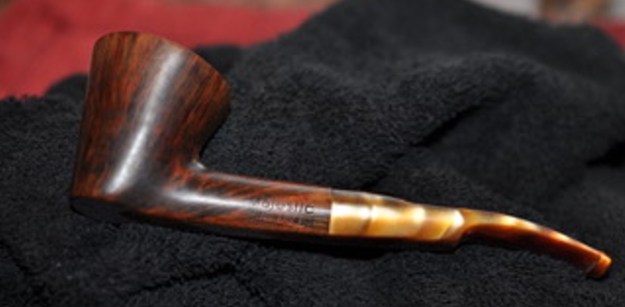
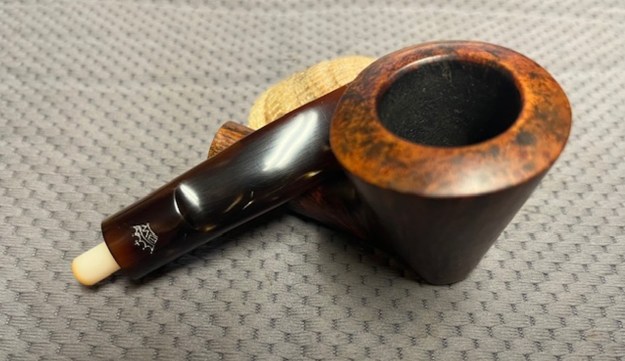
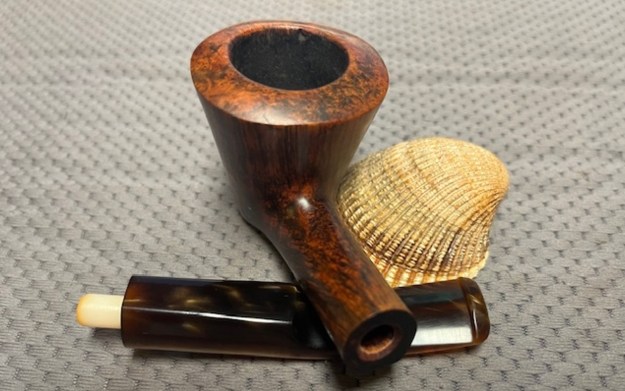
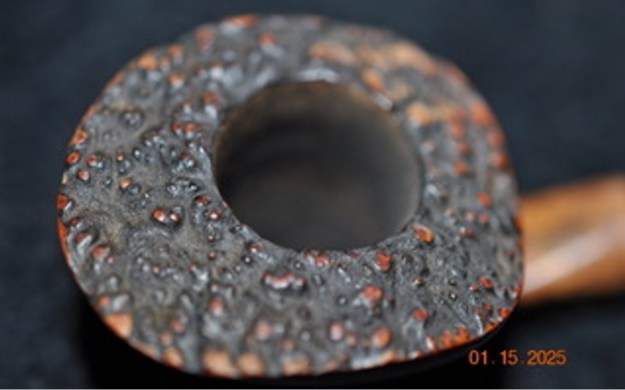
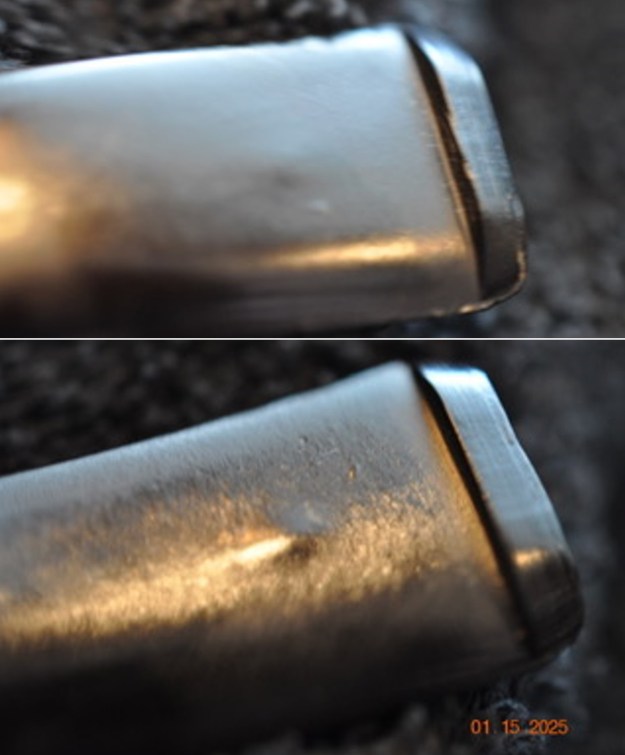
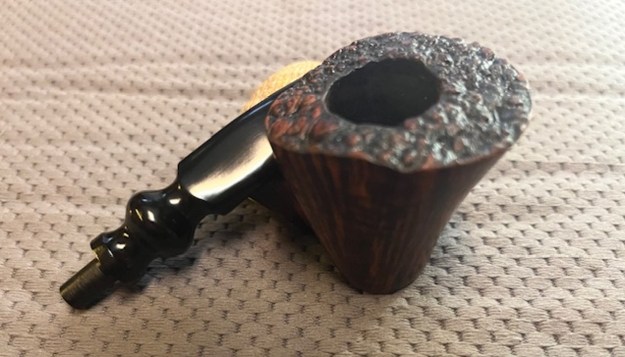
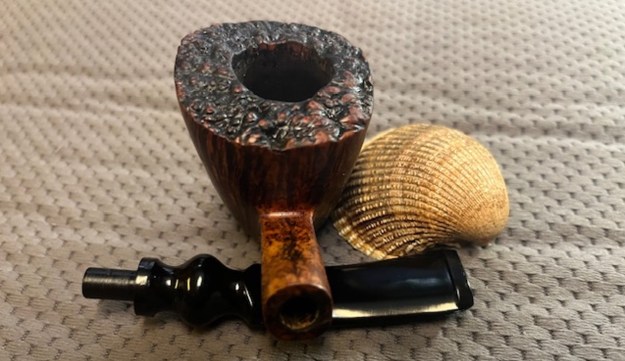
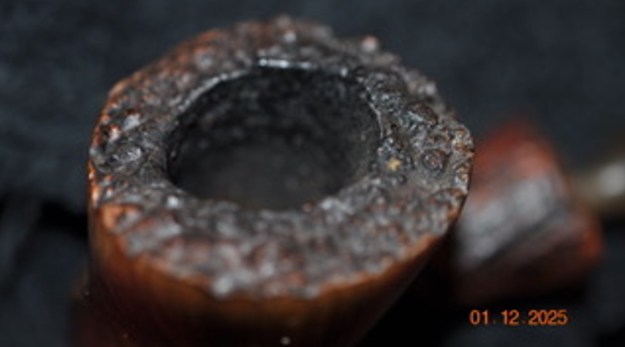
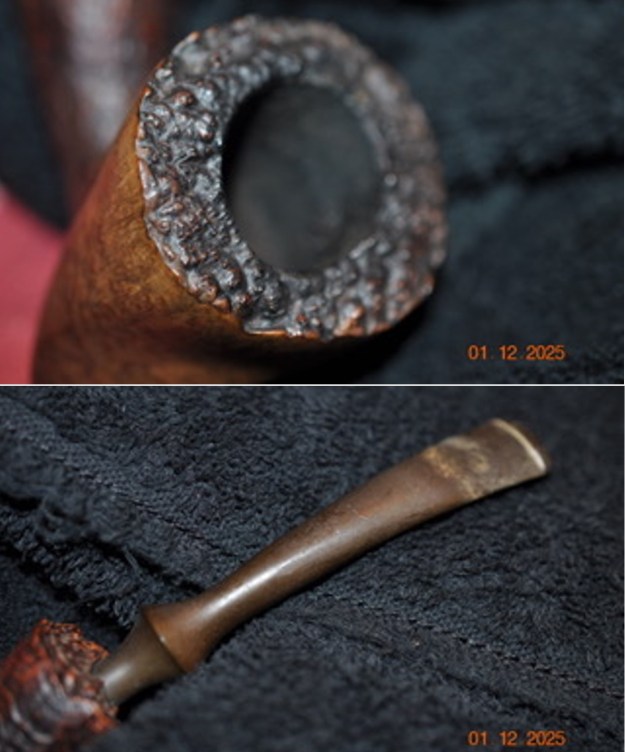
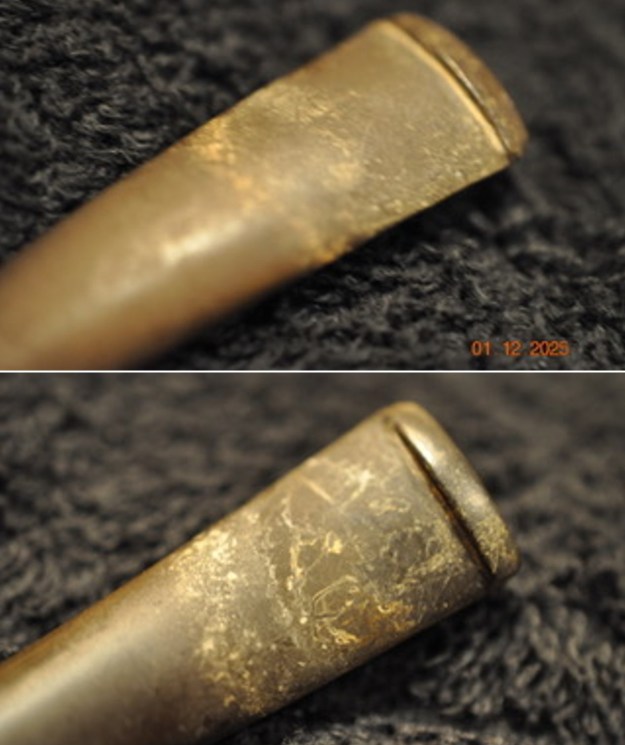
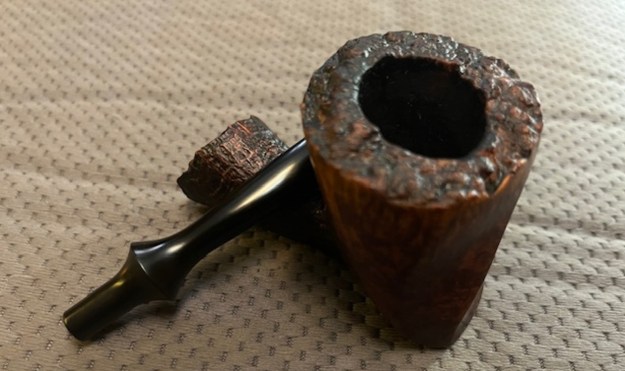
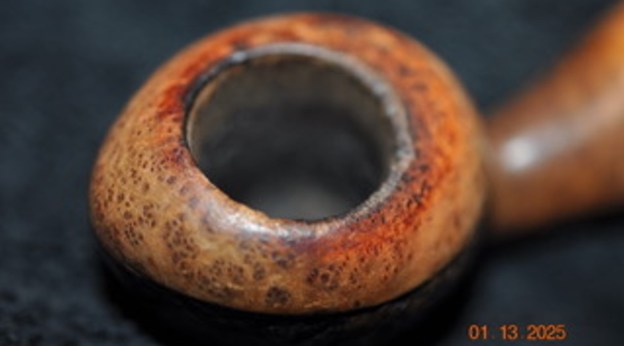
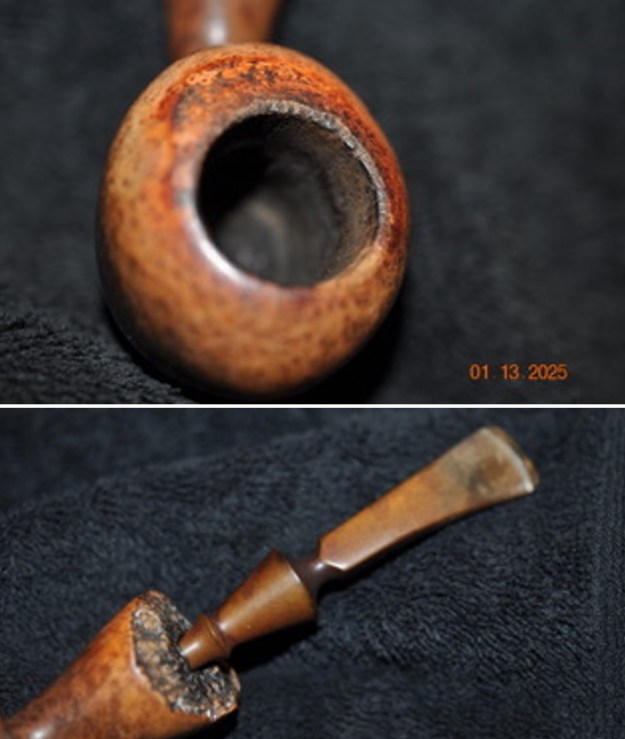
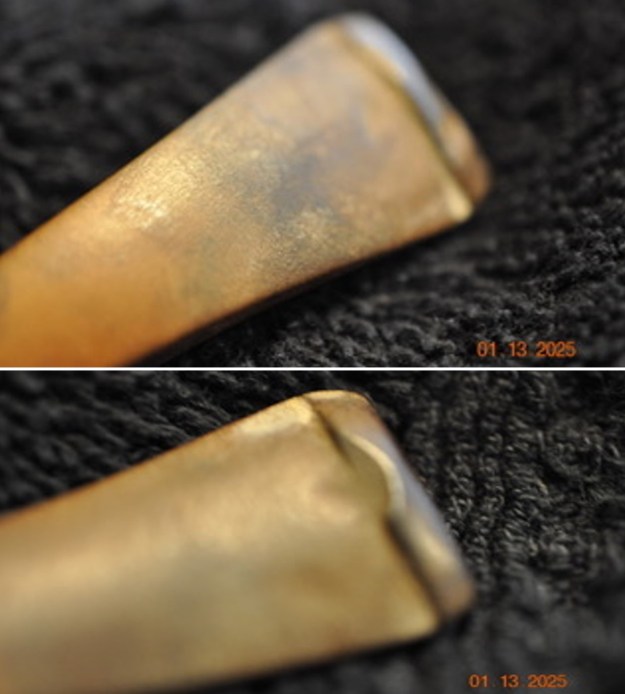
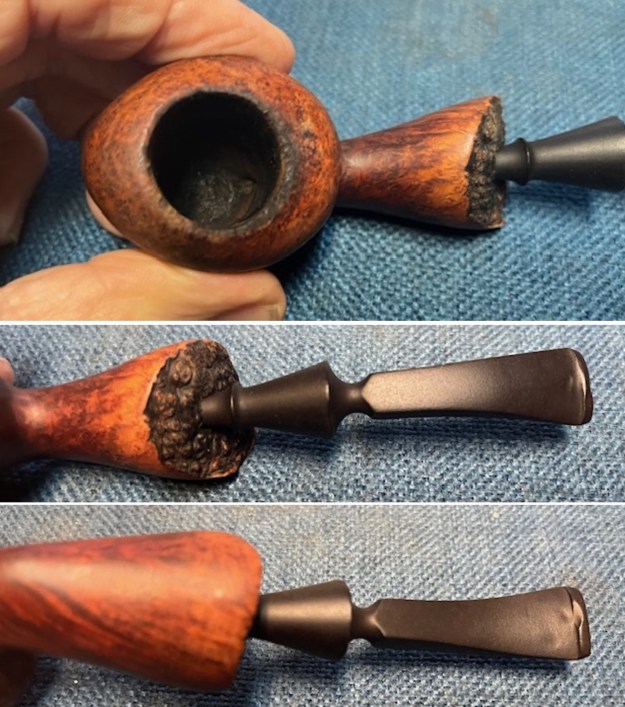
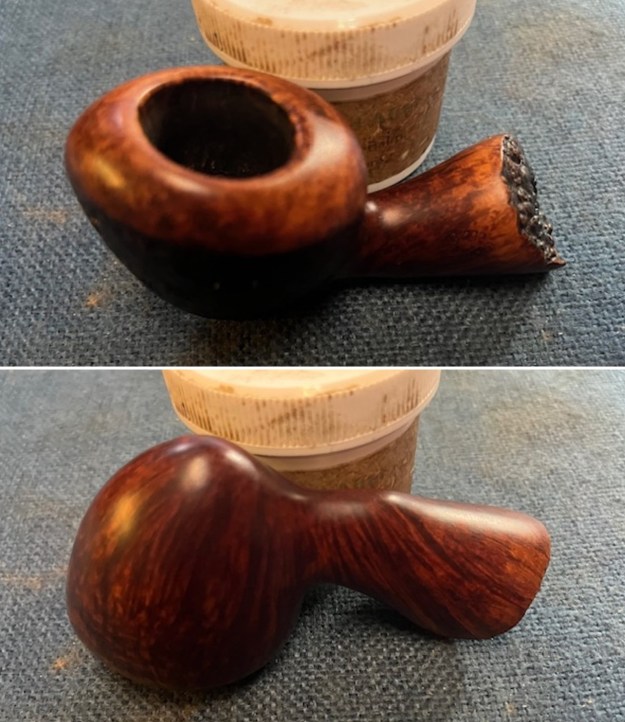
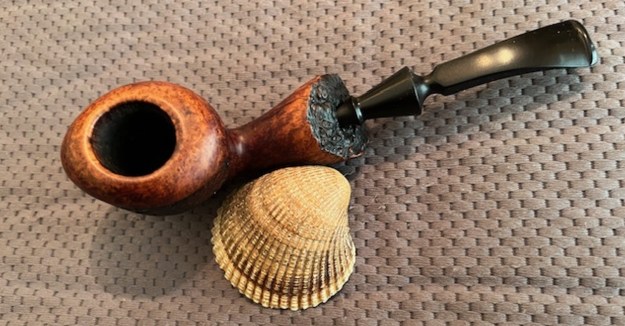
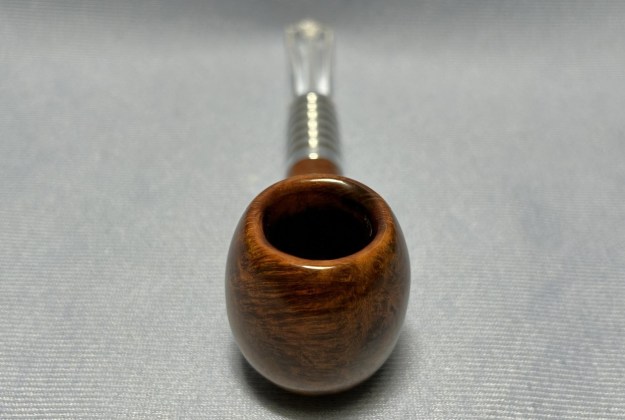
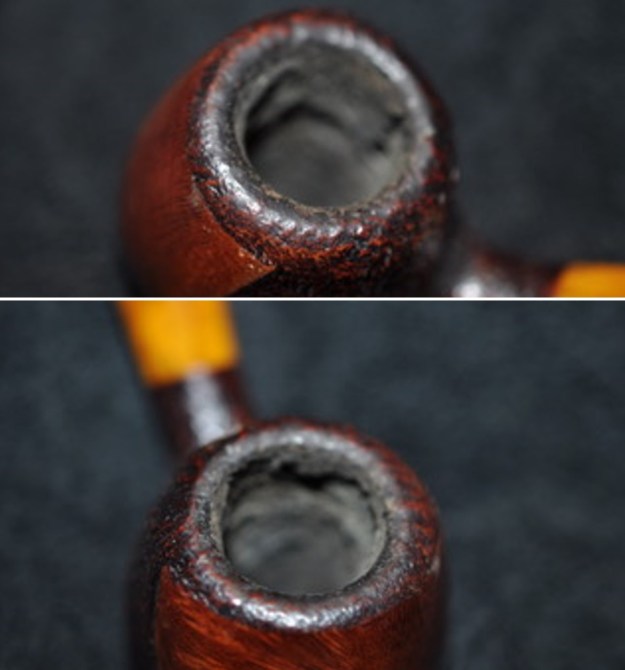
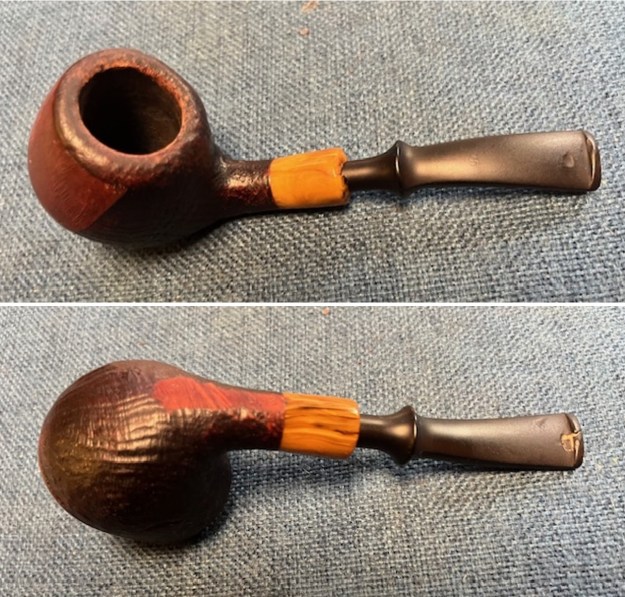
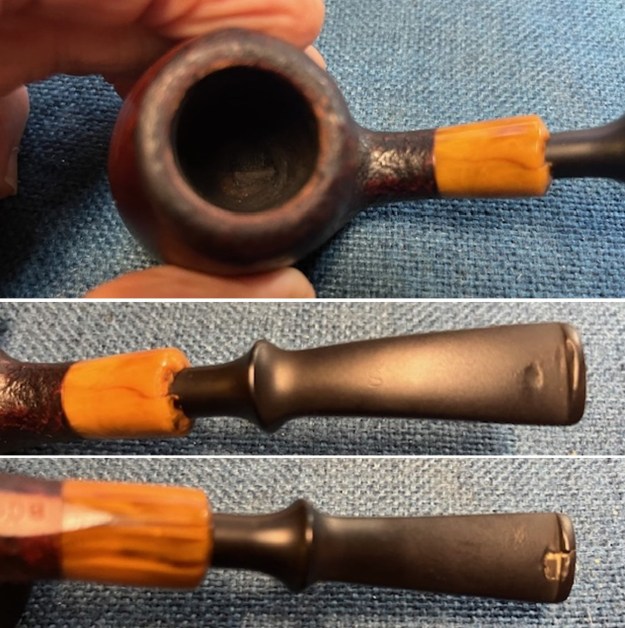
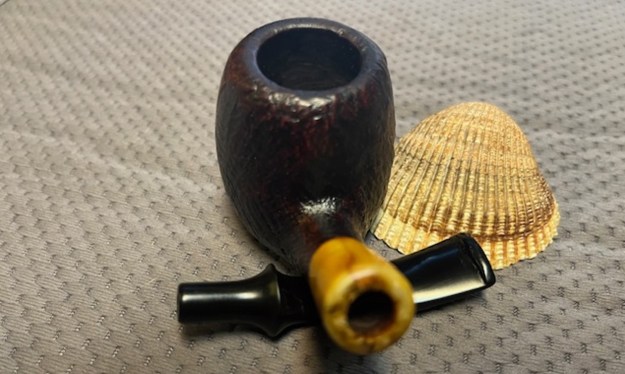
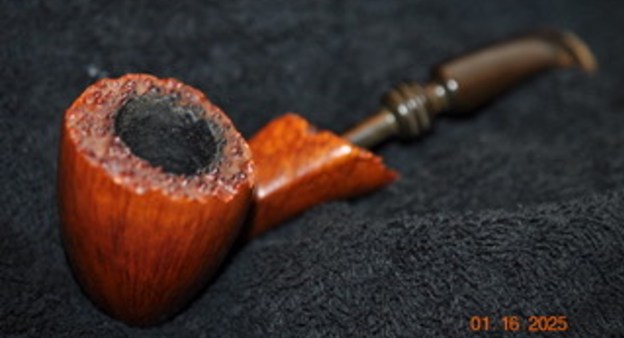
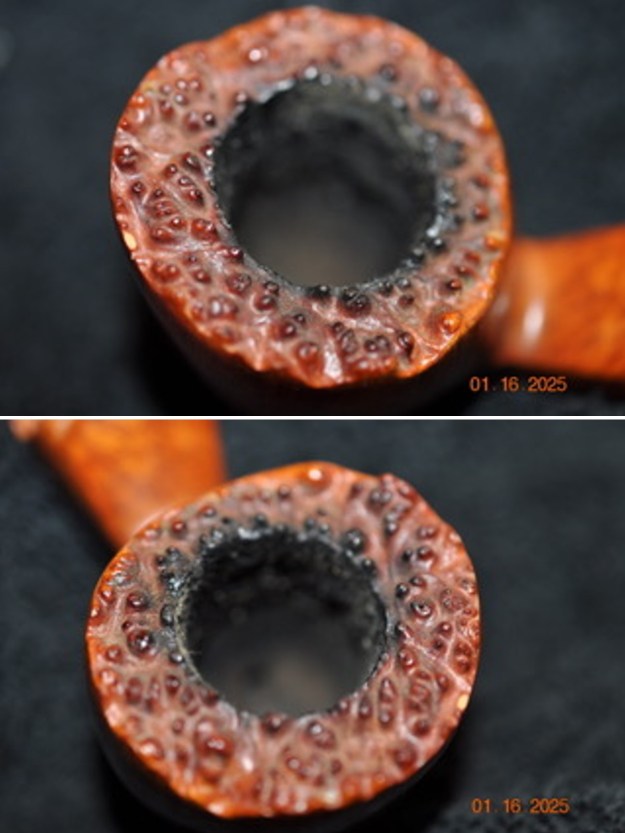
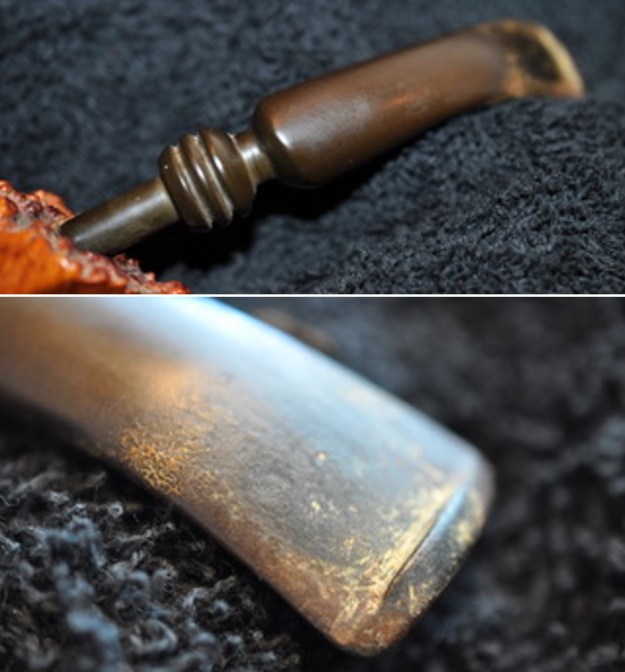
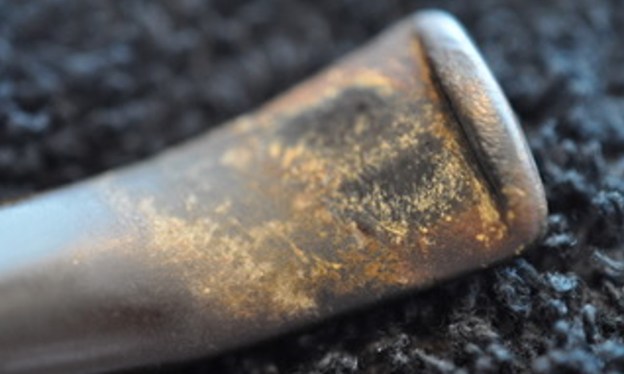
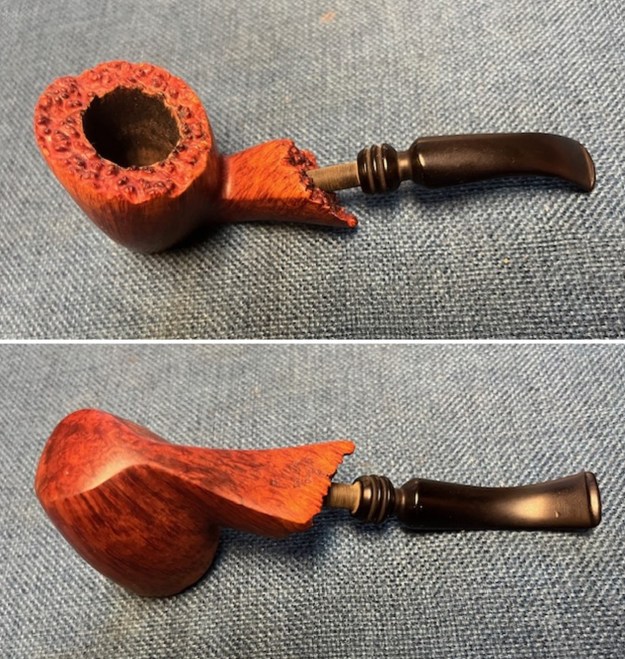
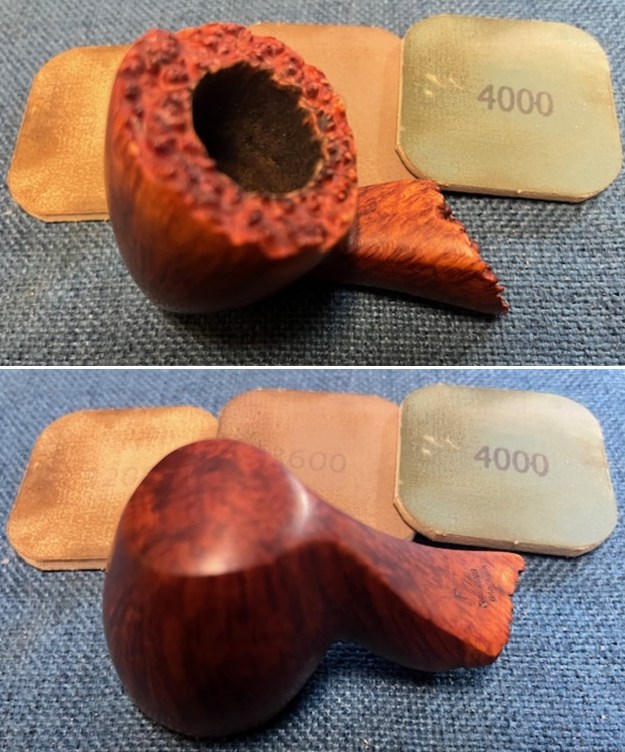
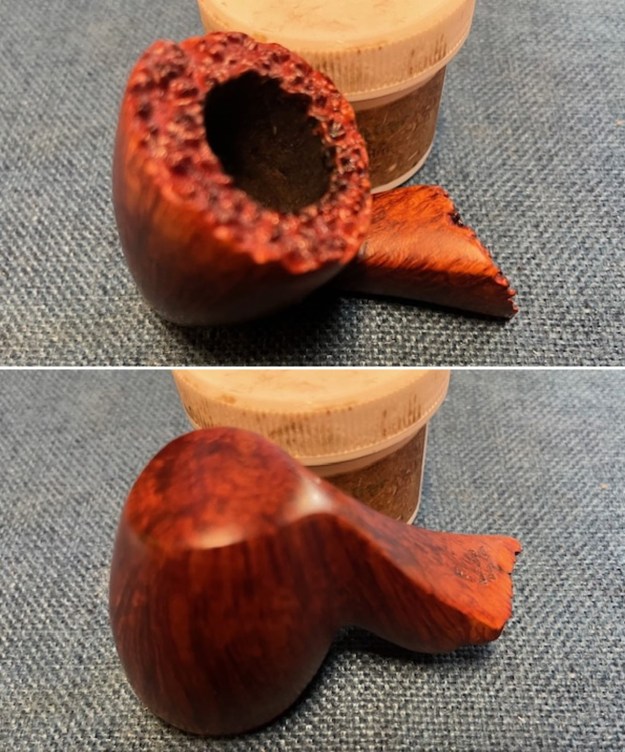
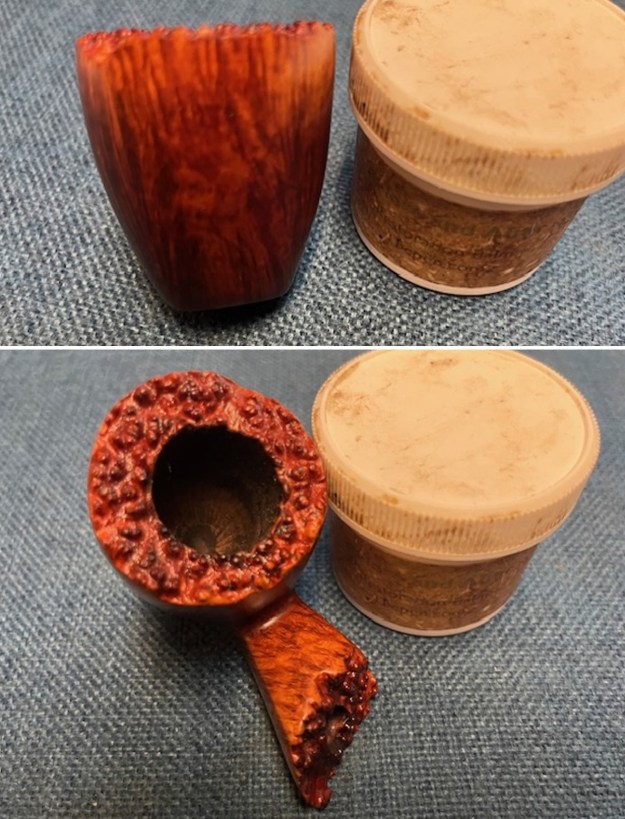
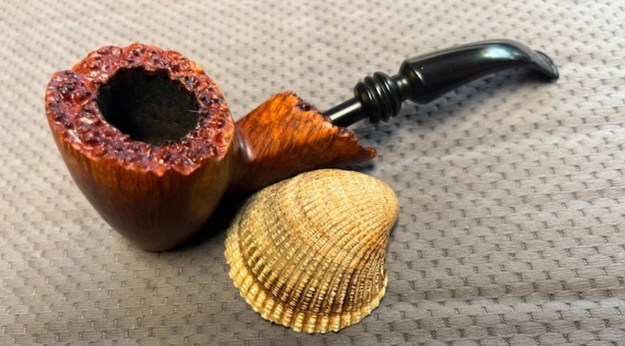
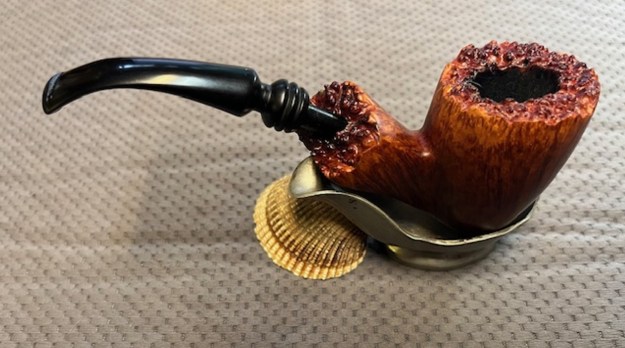
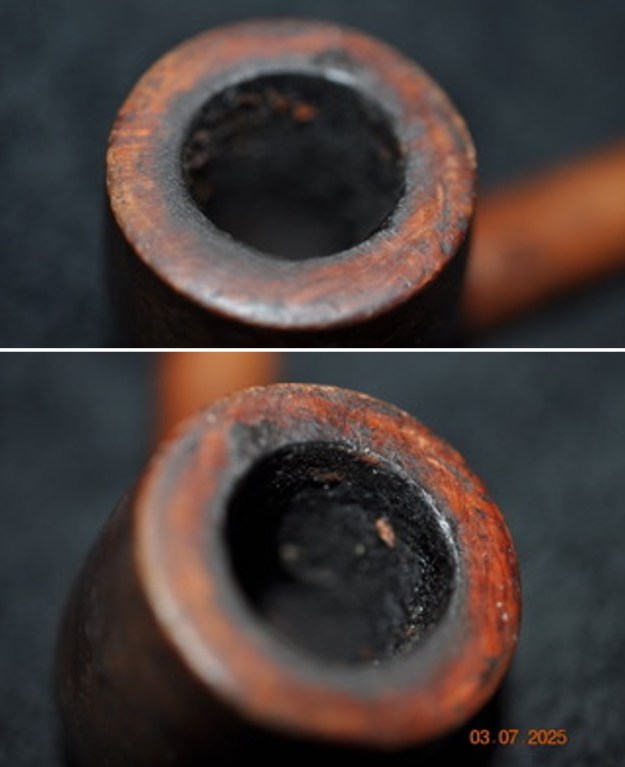
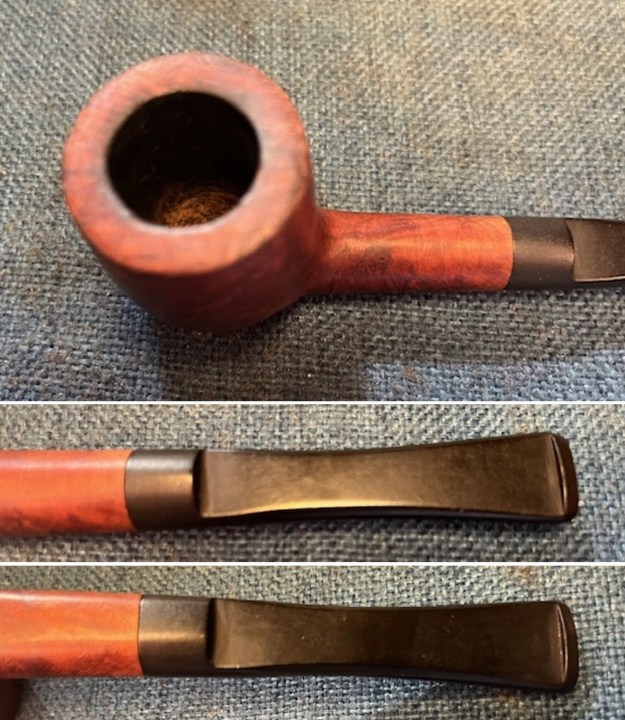
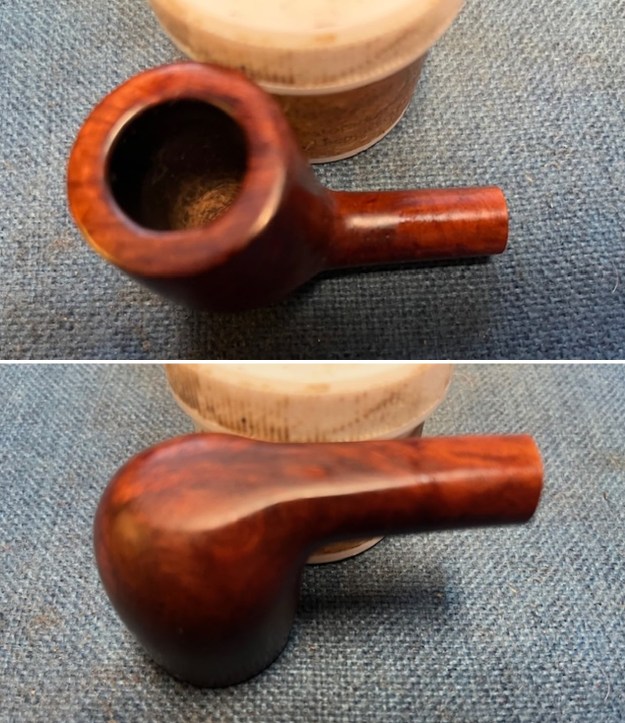
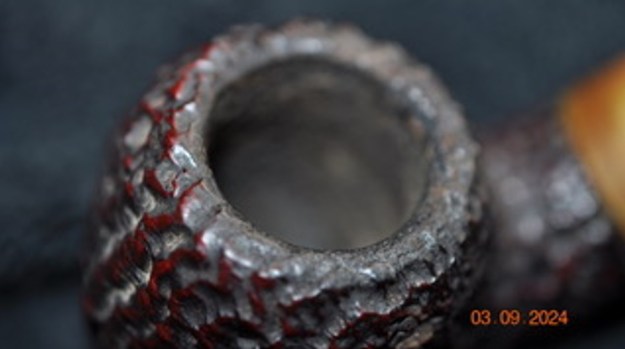
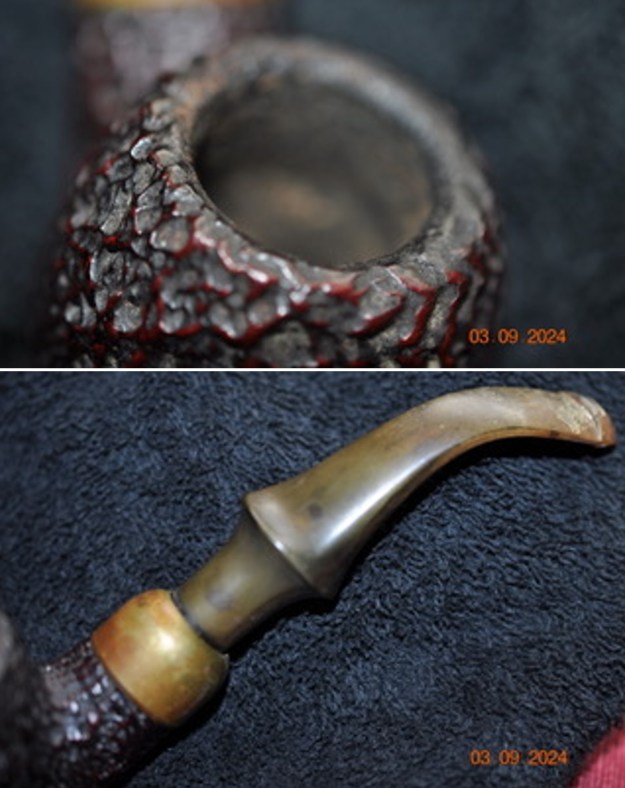
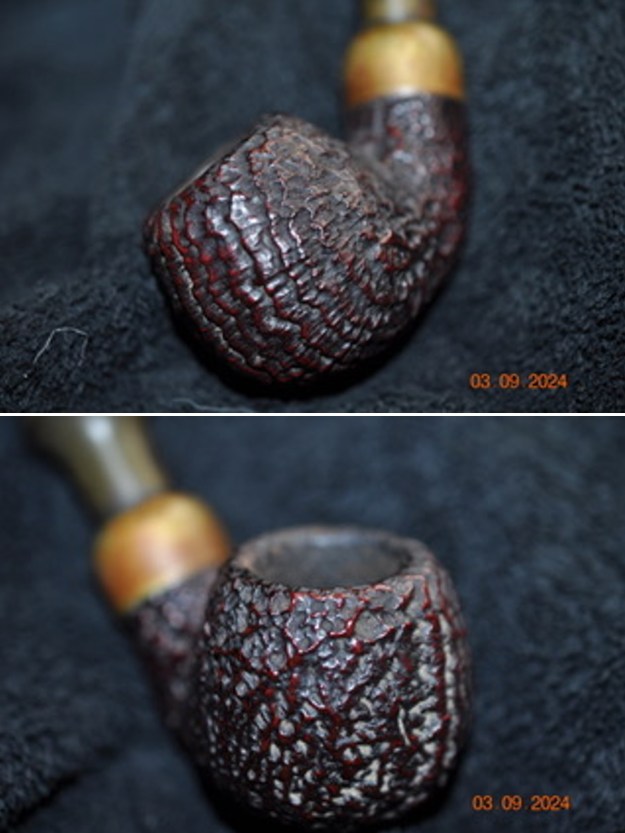
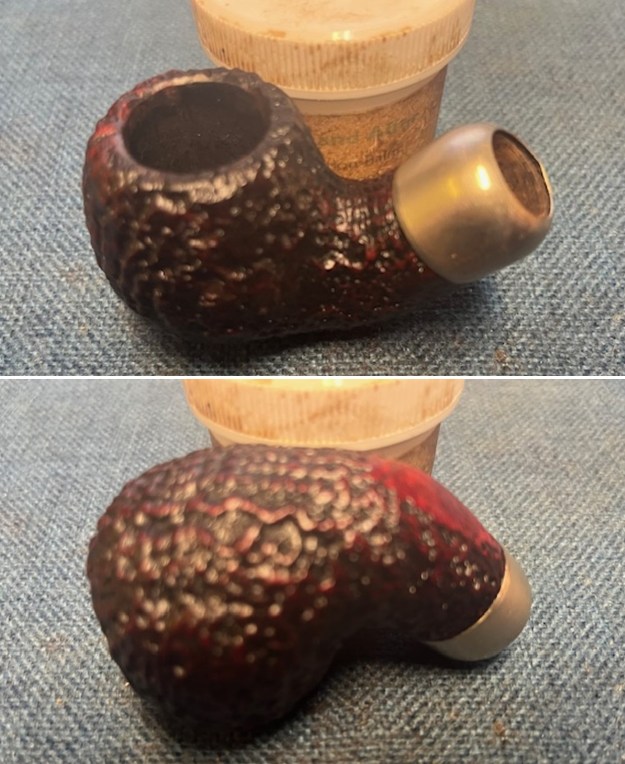
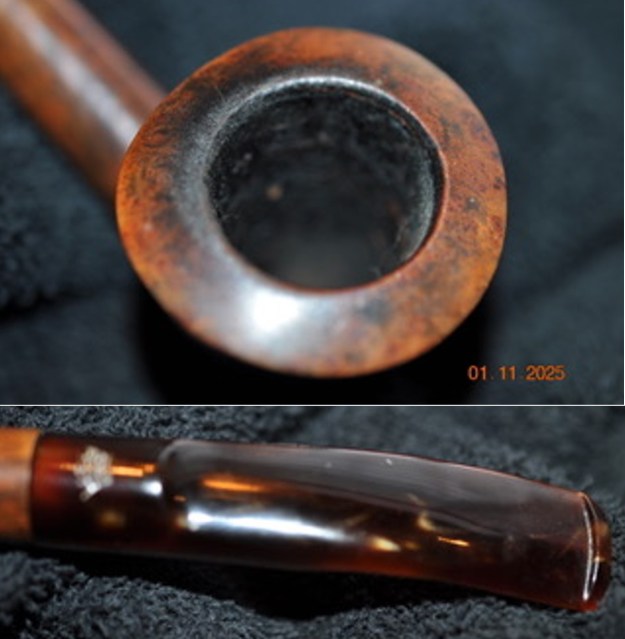
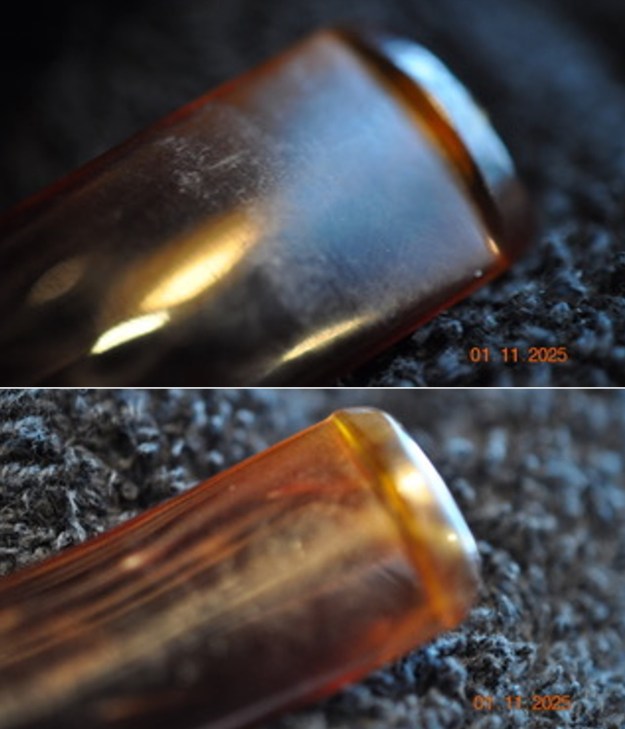
 Jeff took some close-up photos of the rim top and bowl to show the overall condition. There is dust and lava on the crowned top. The edges have a lava overflow but underneath it appears to be in good condition. The acrylic saddle stem is dirty and has some light tooth chatter and some tooth marks.
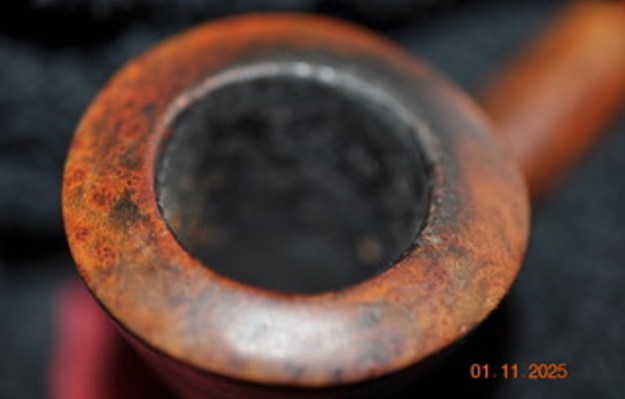
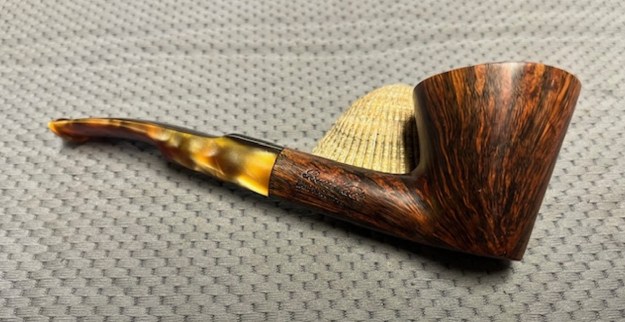
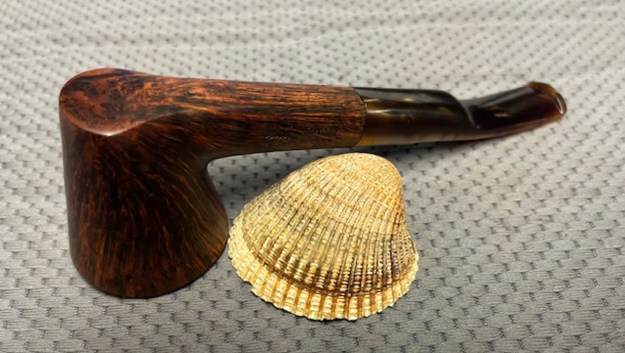
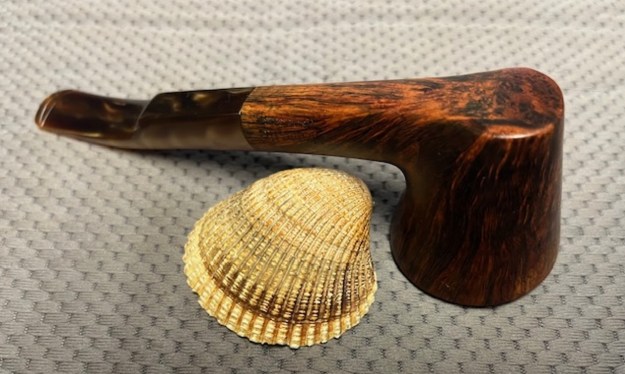
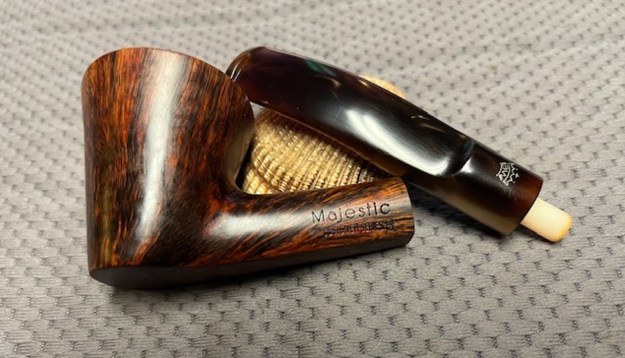
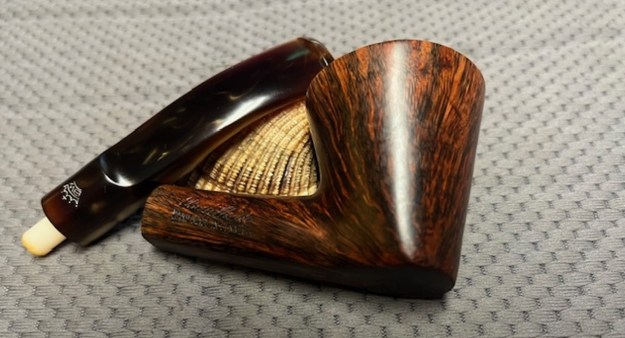
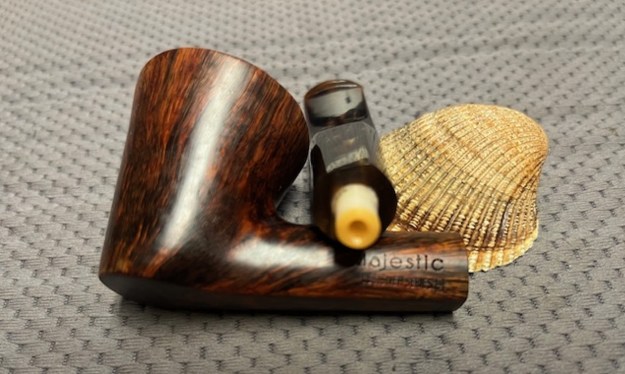
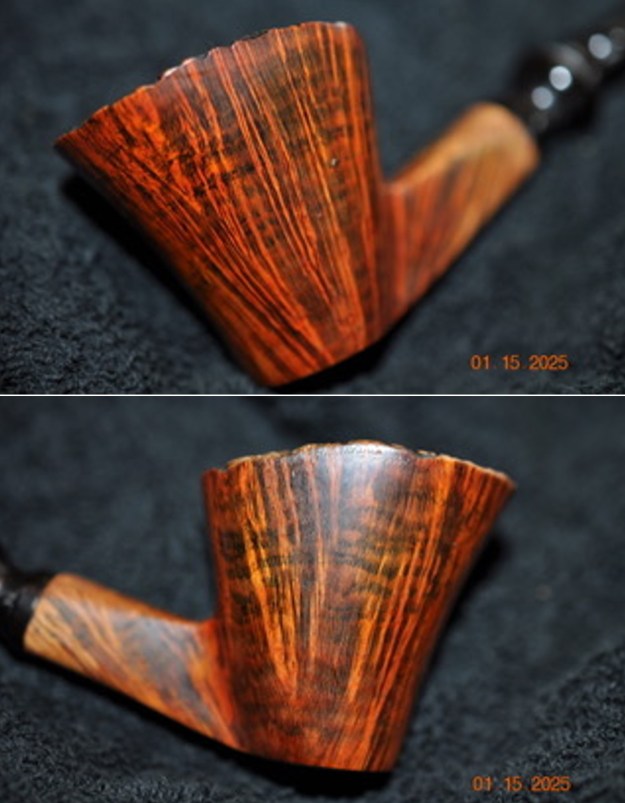
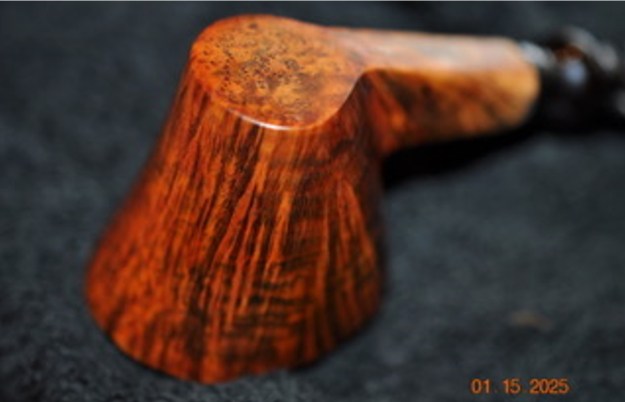
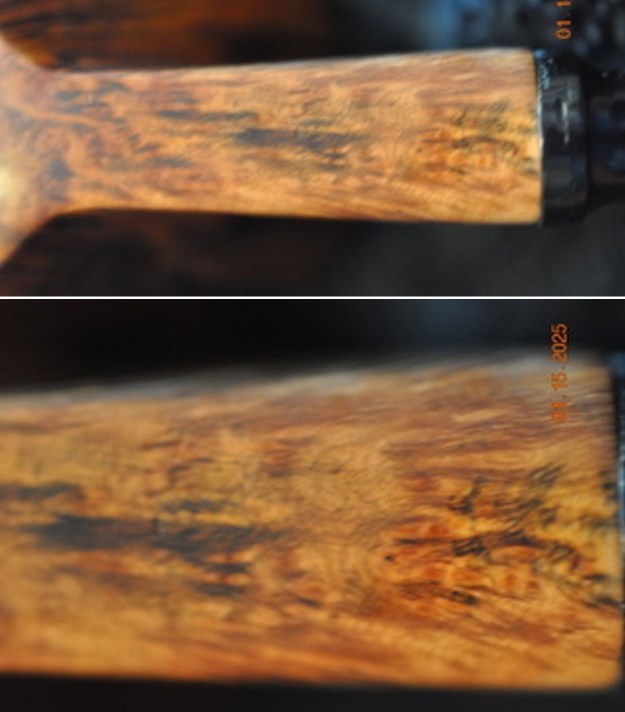
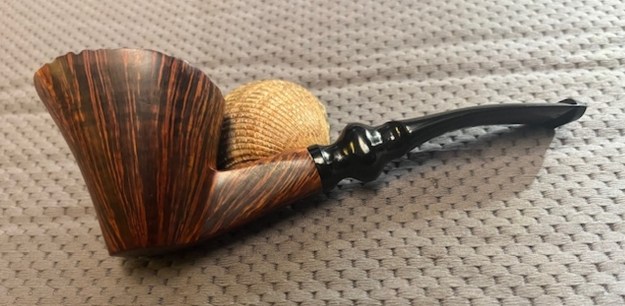
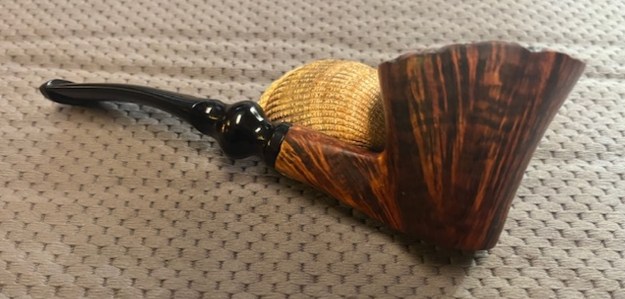
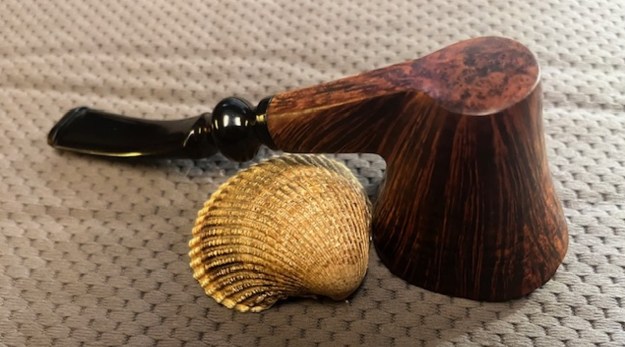
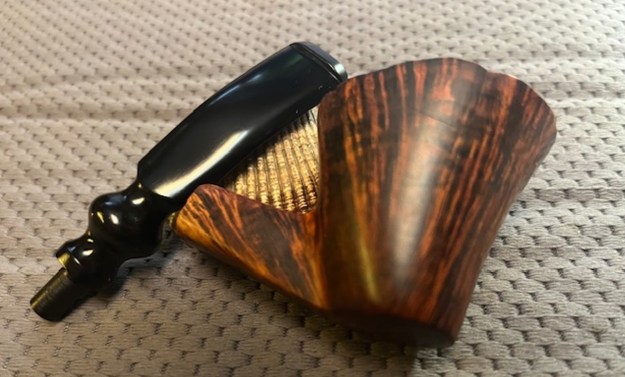
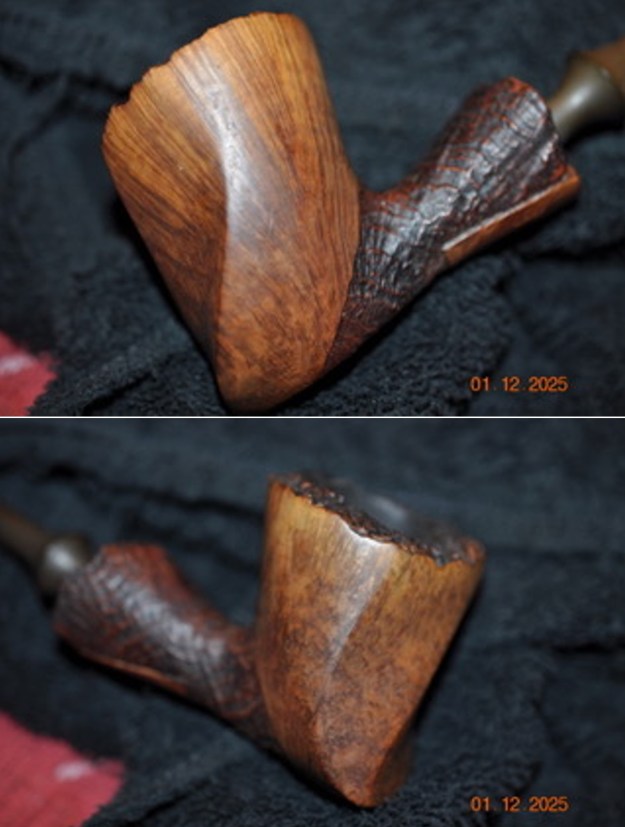
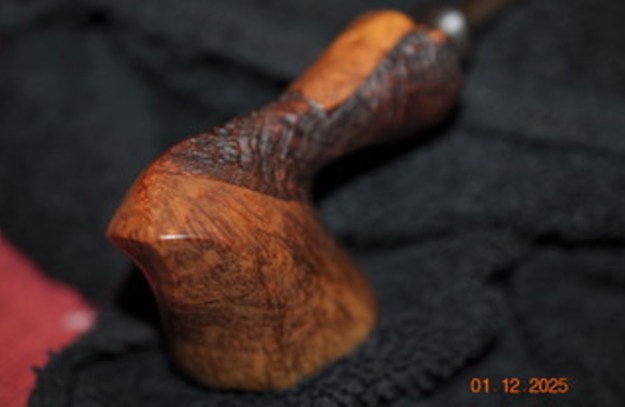
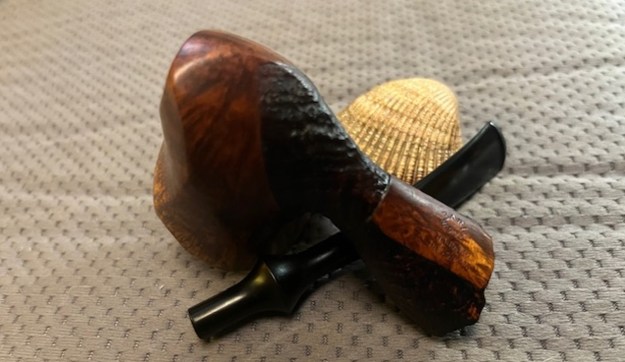
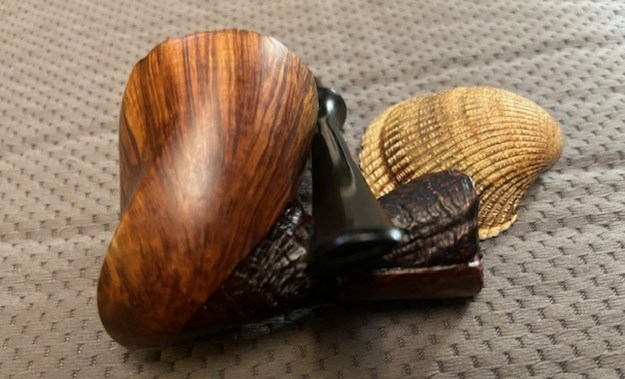
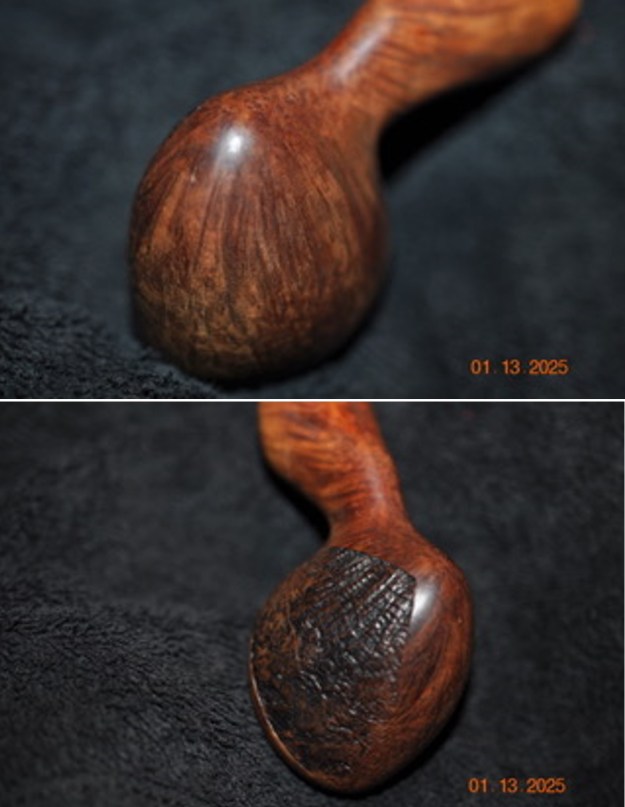
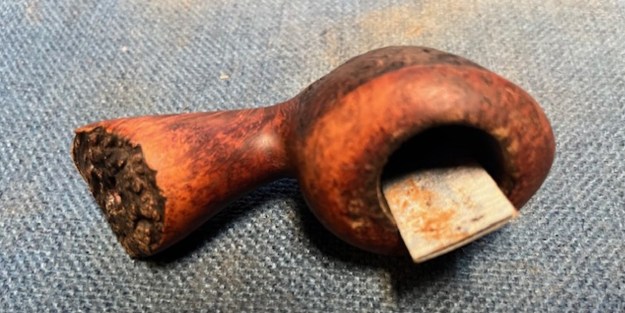
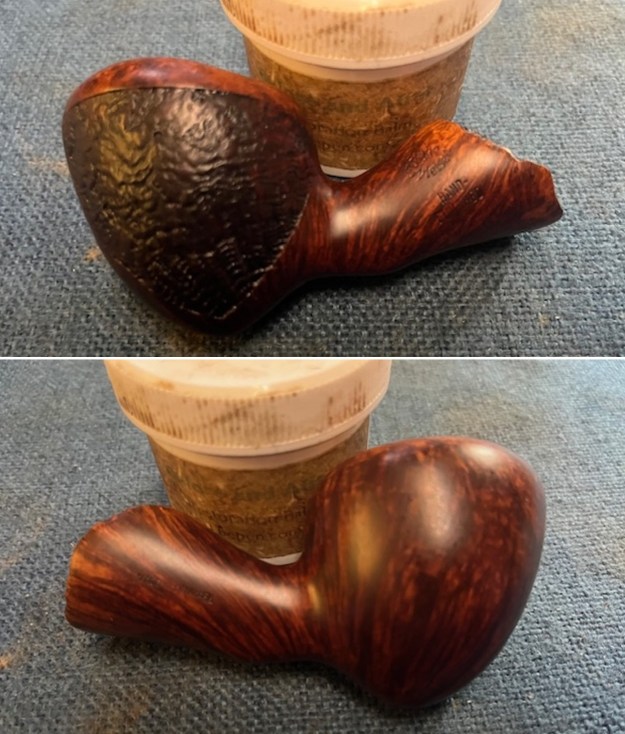
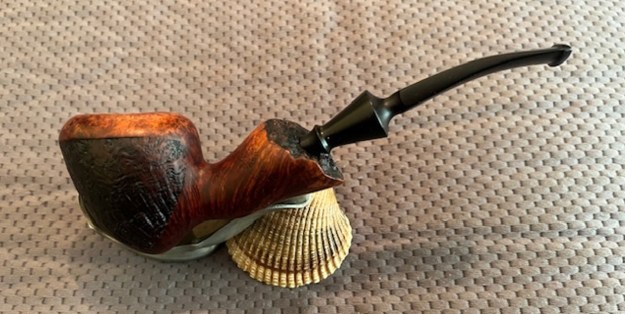
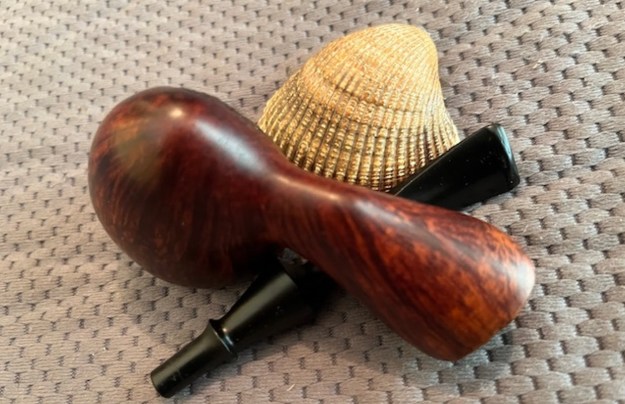
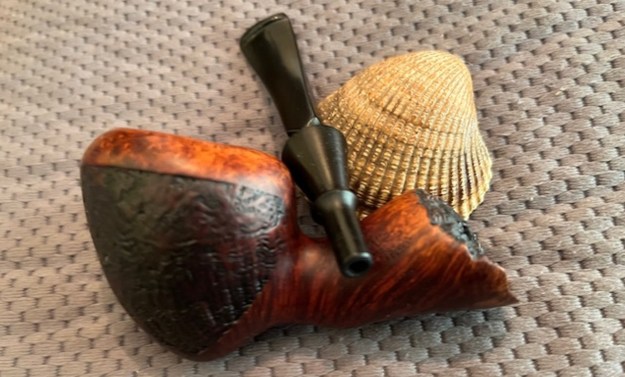
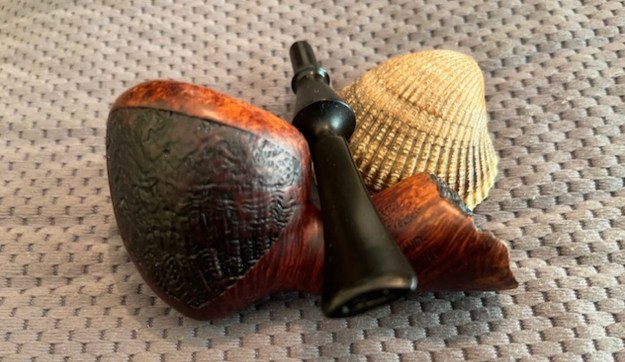
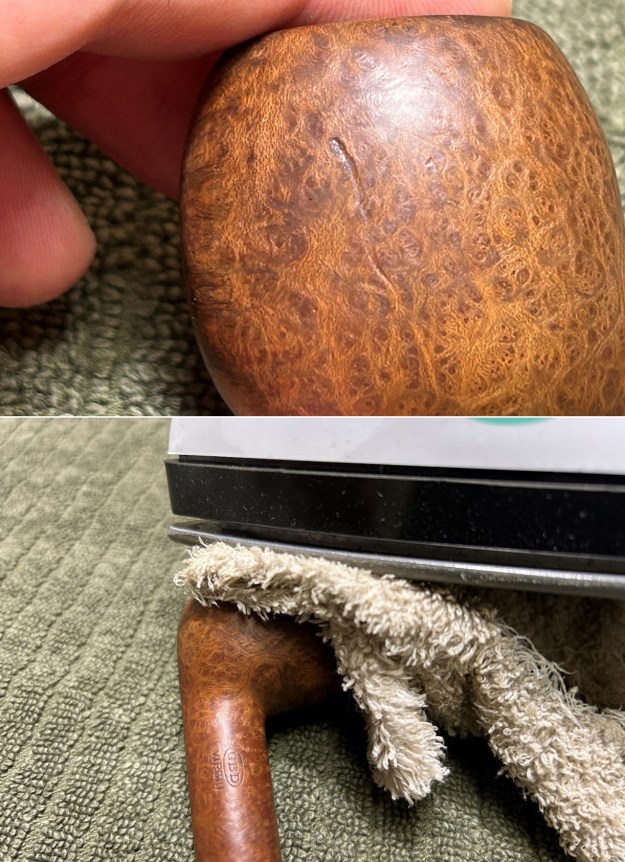
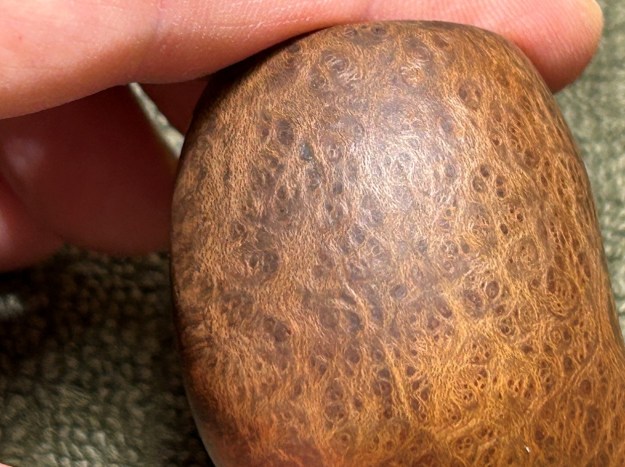
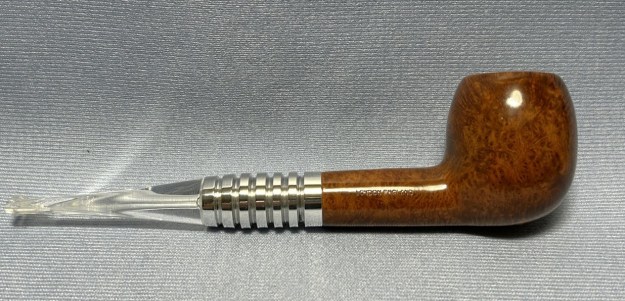
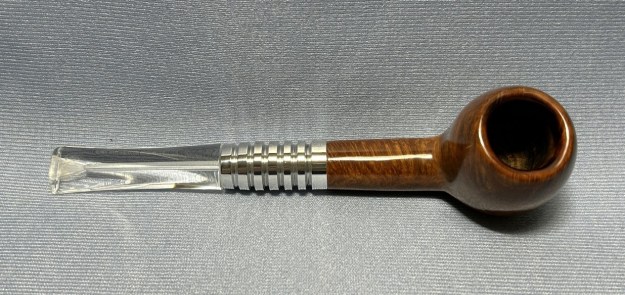
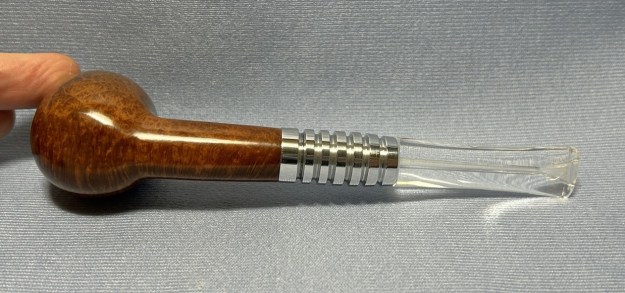
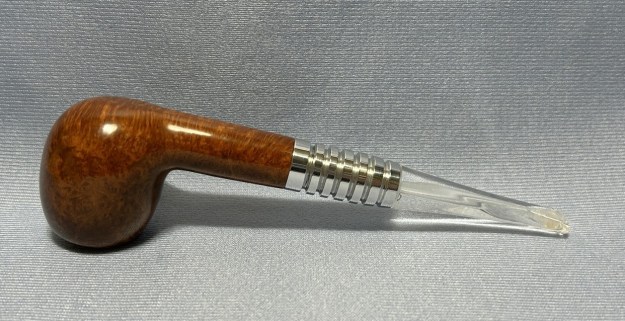
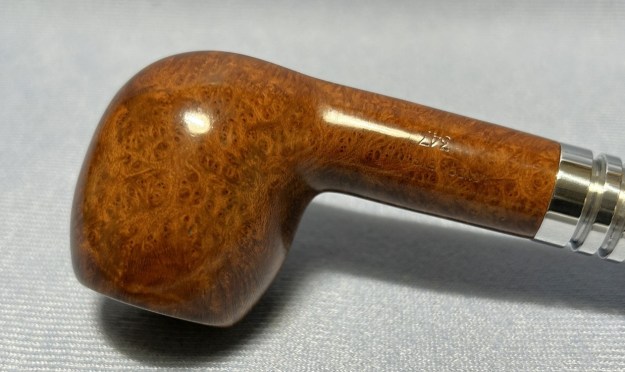
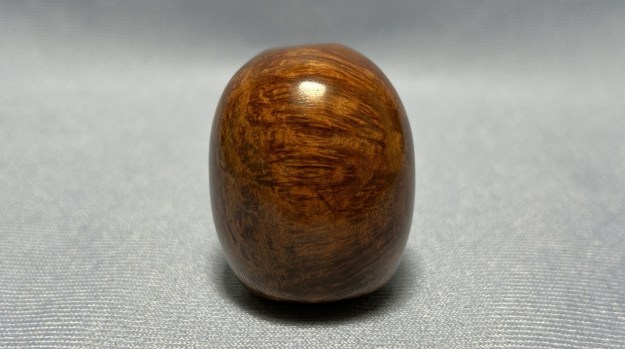
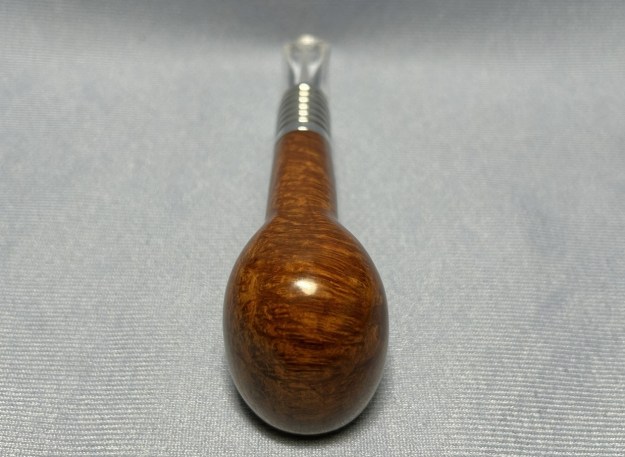
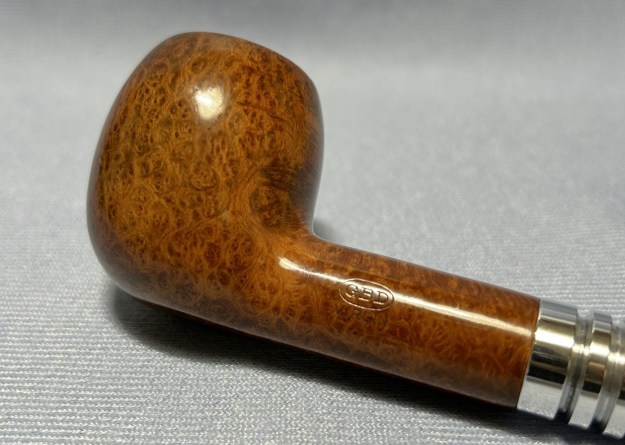
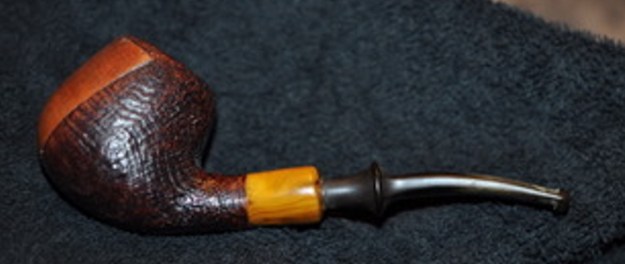
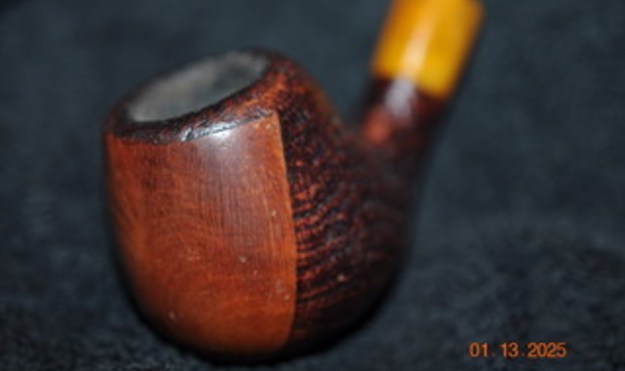
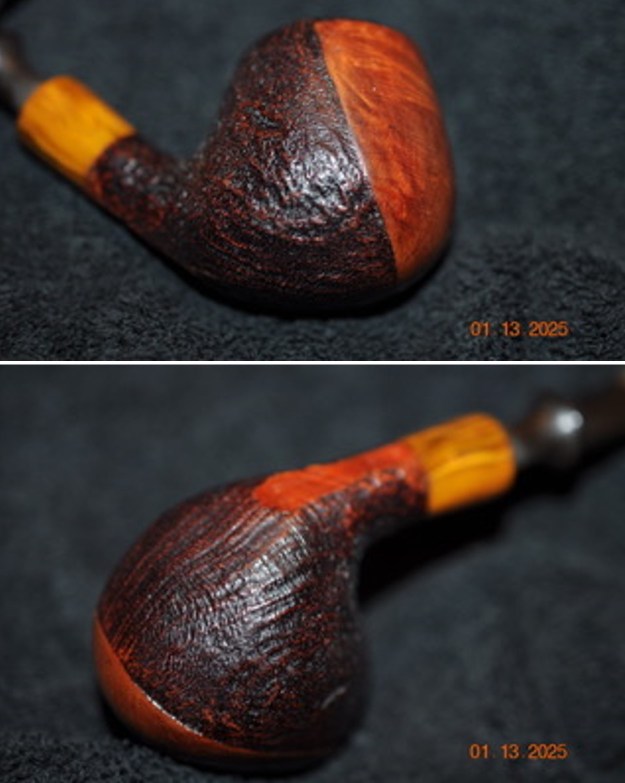
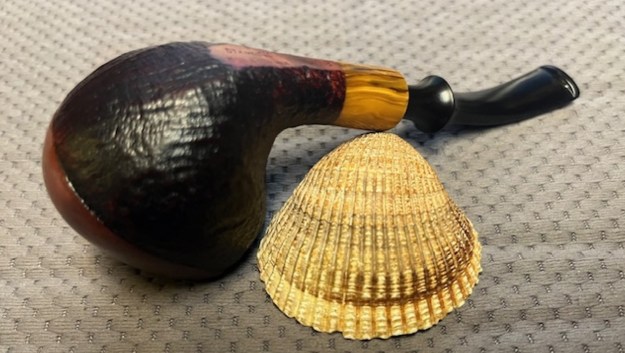
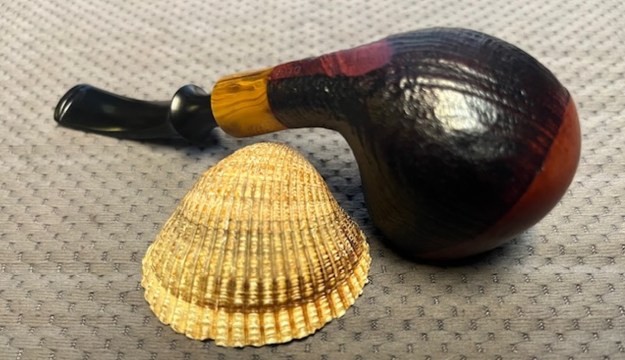
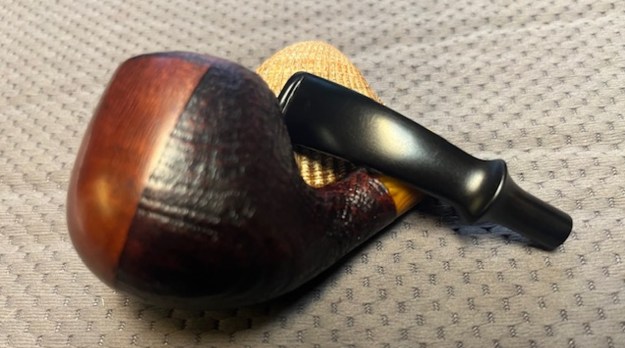
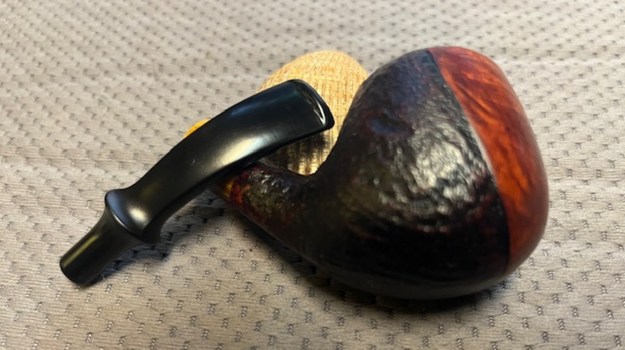
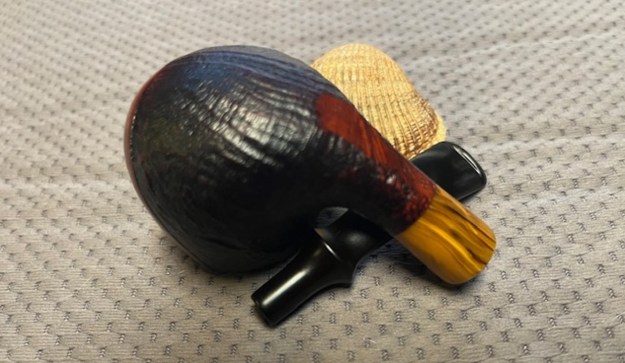
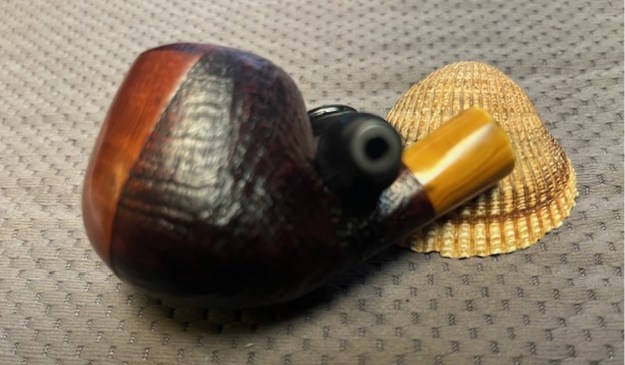
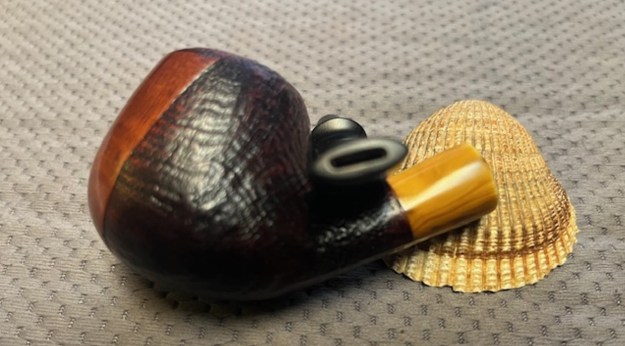
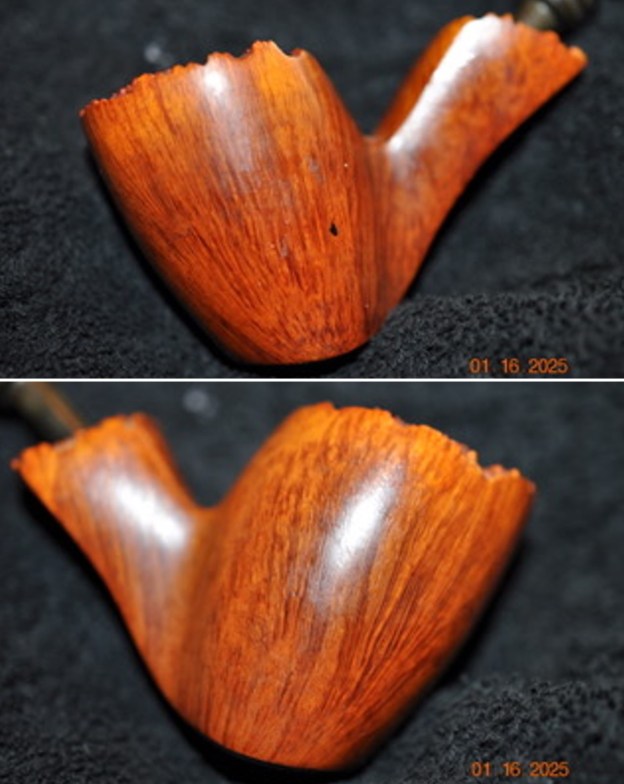
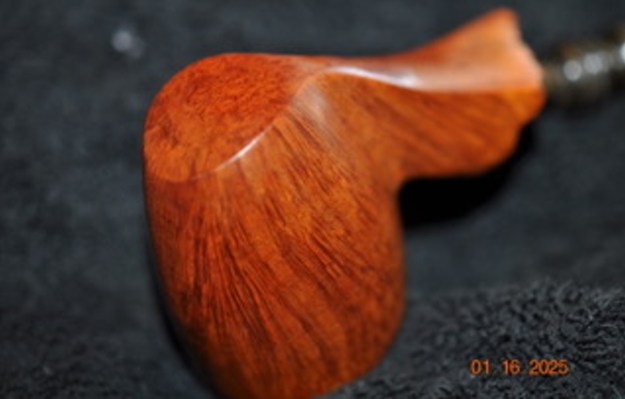
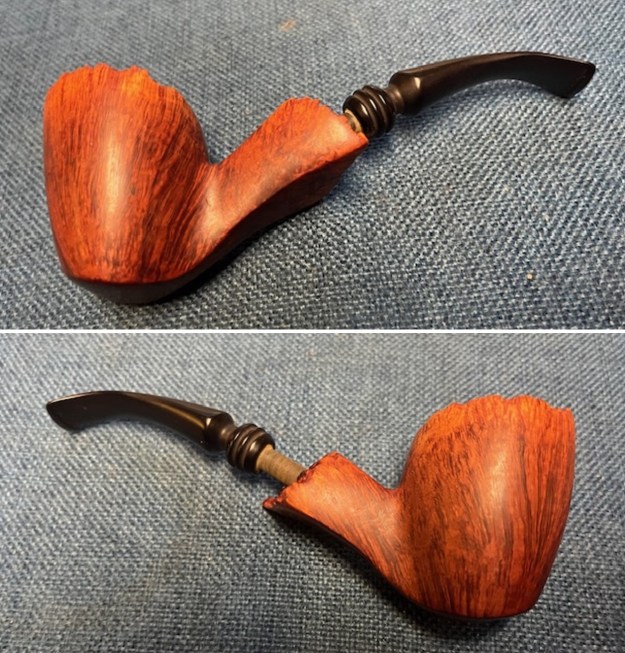
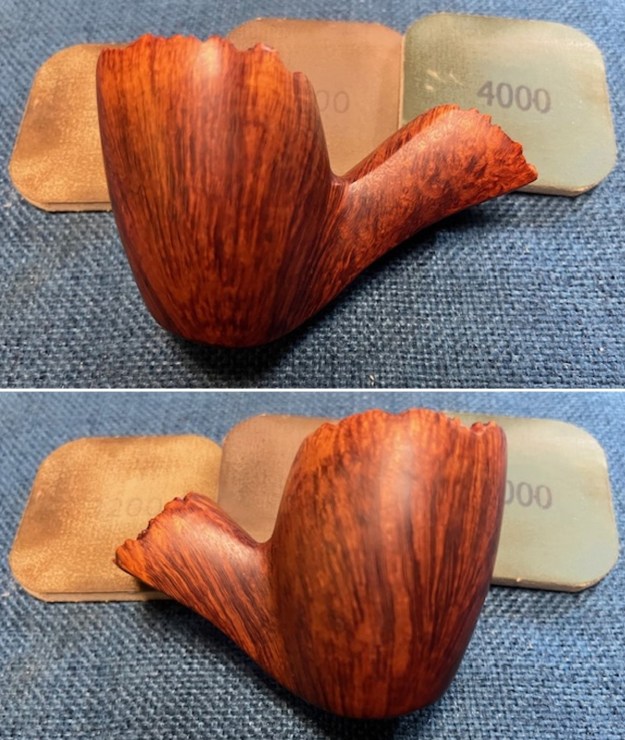
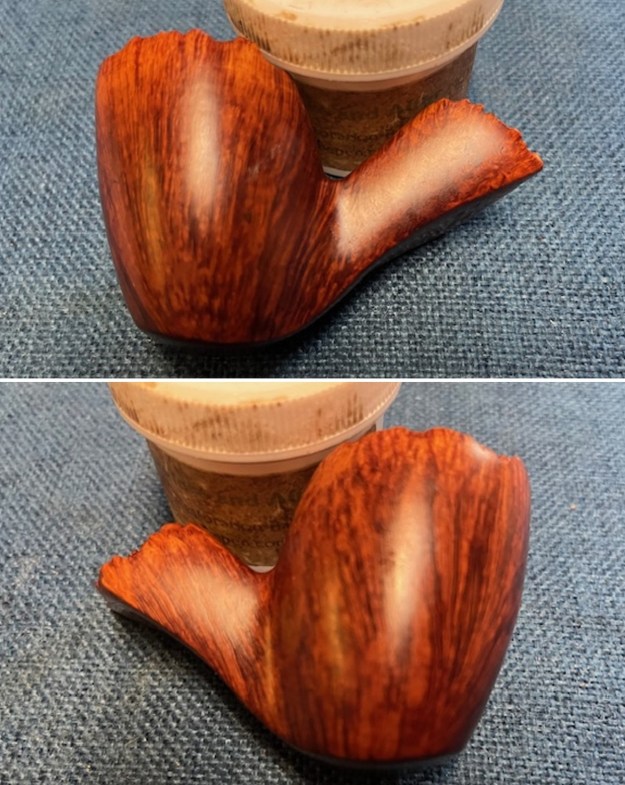
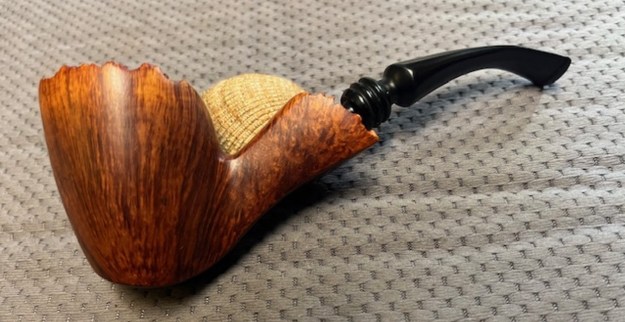
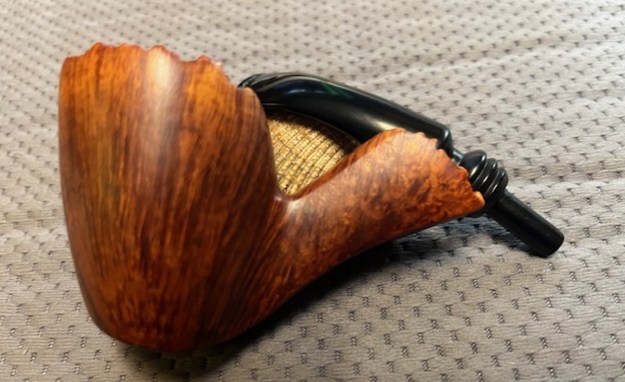
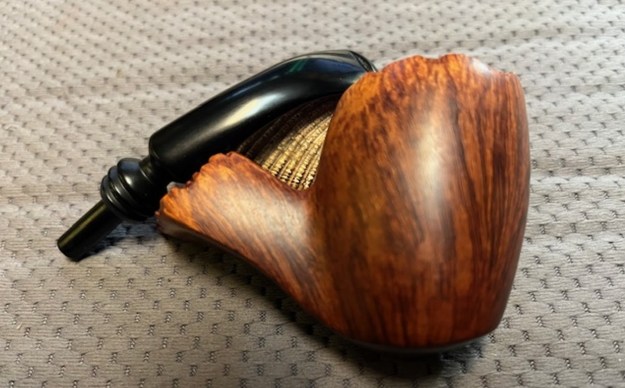
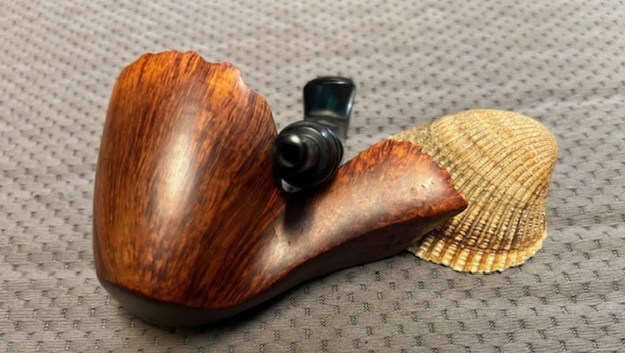
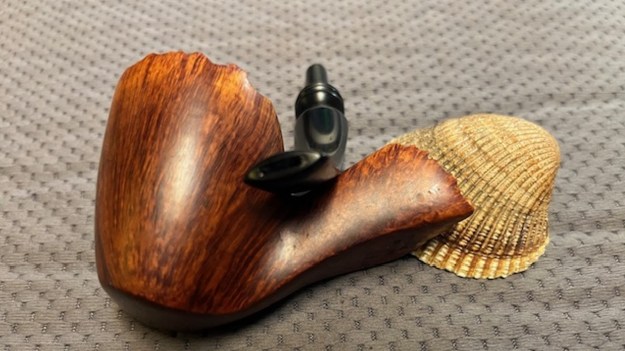
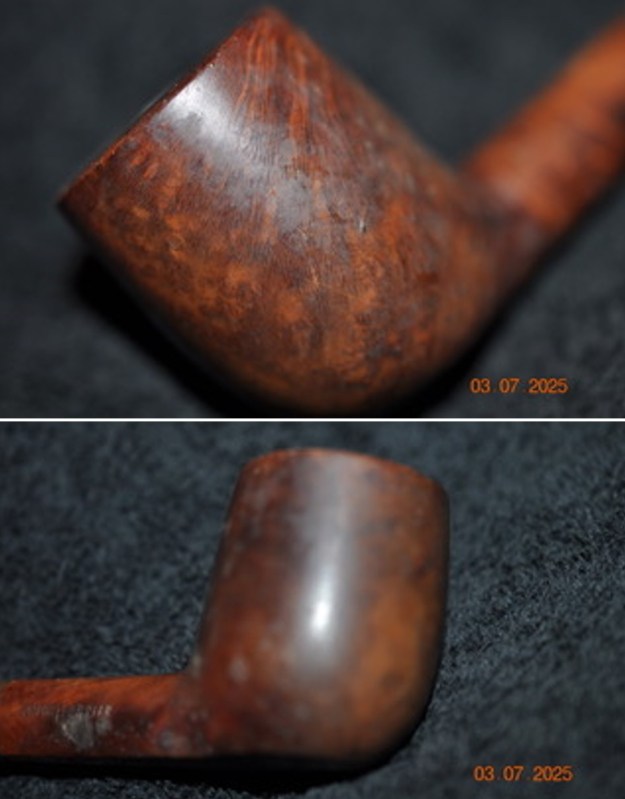
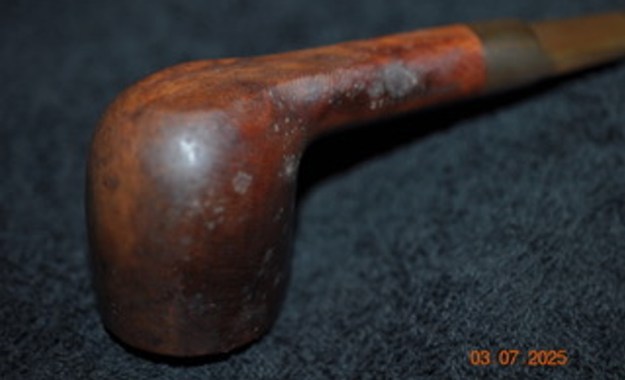
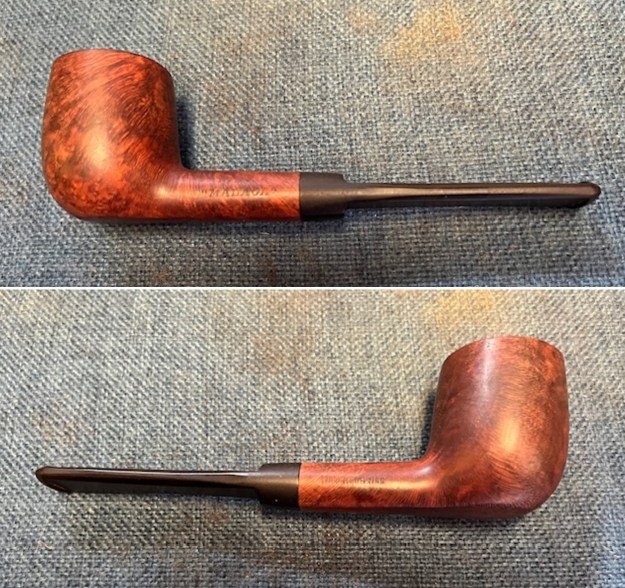
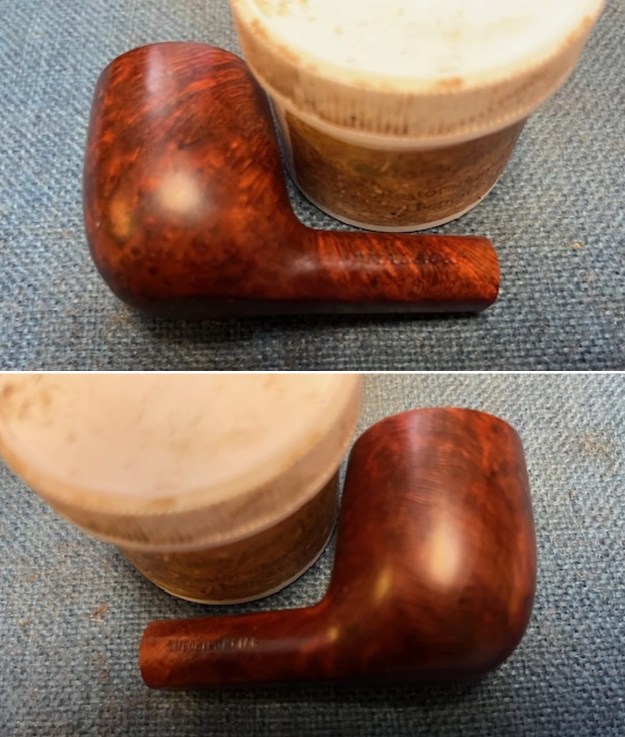
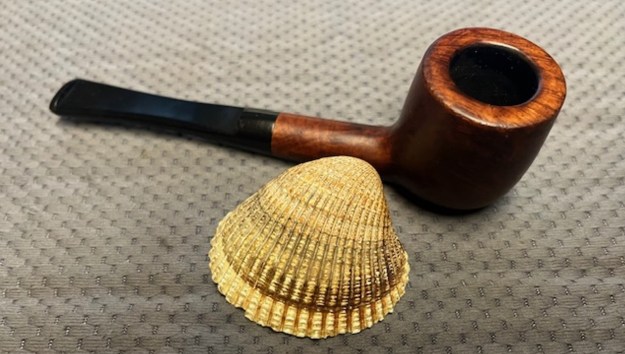
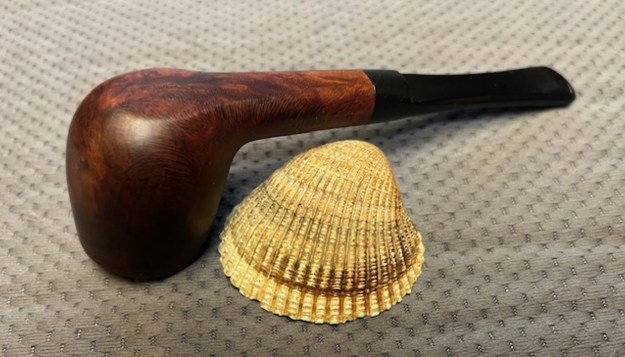
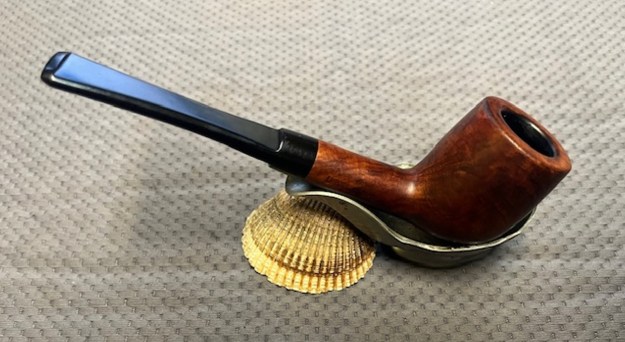
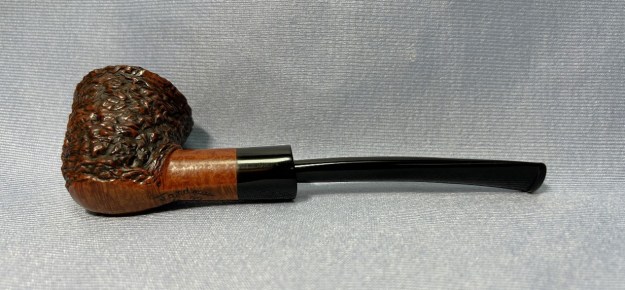
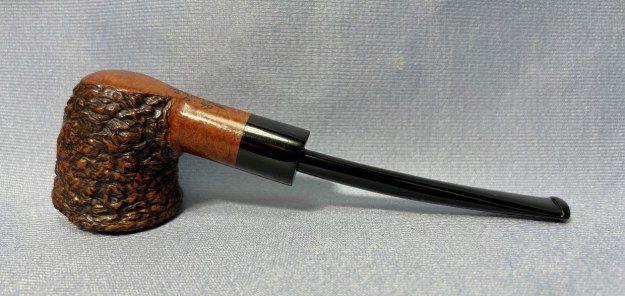
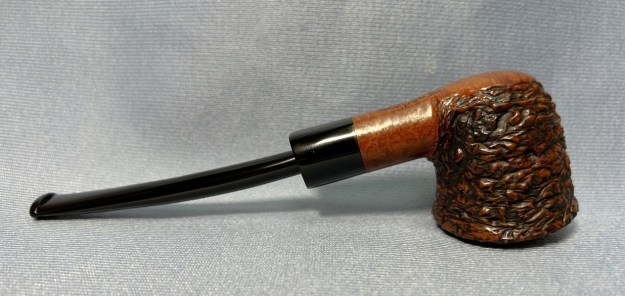
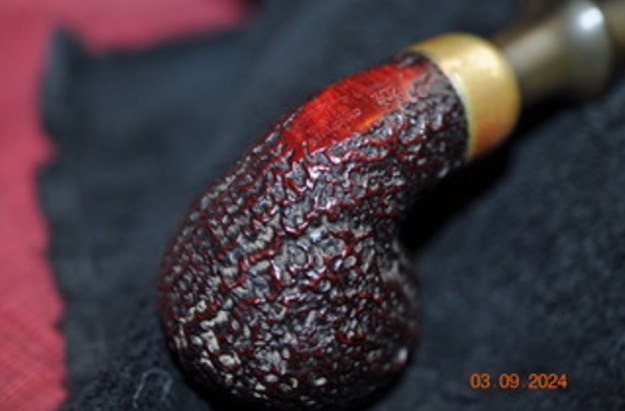
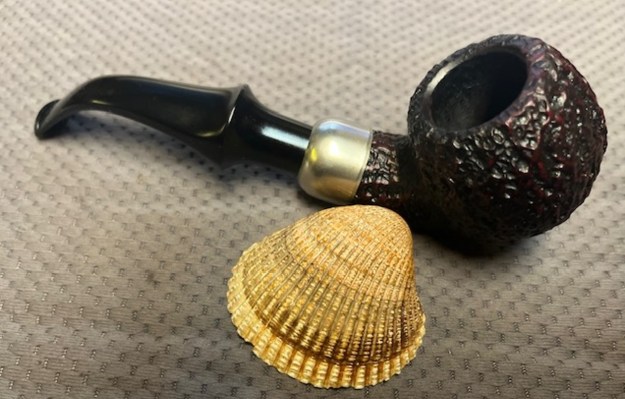
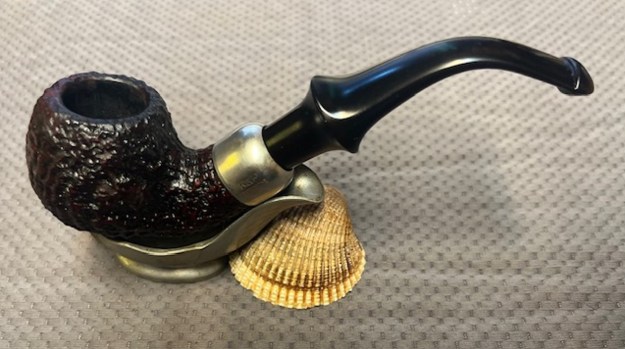
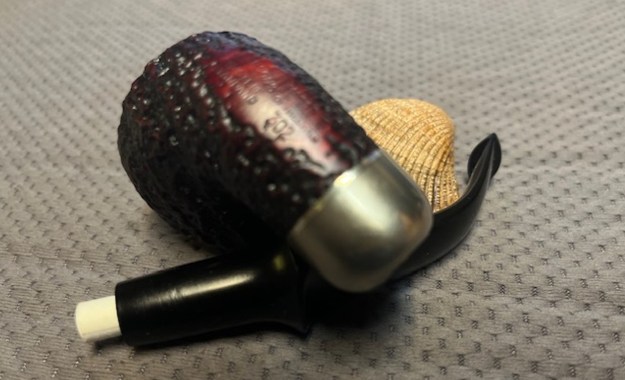
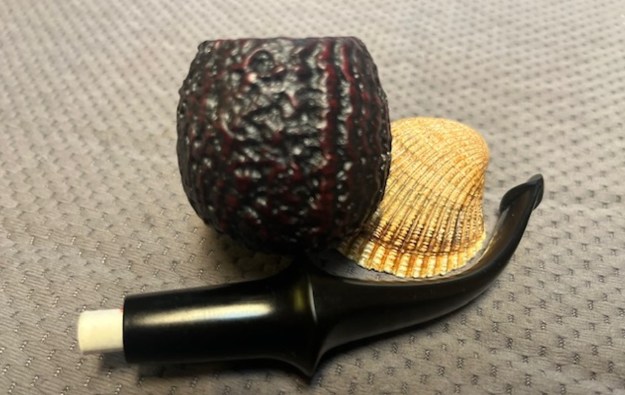
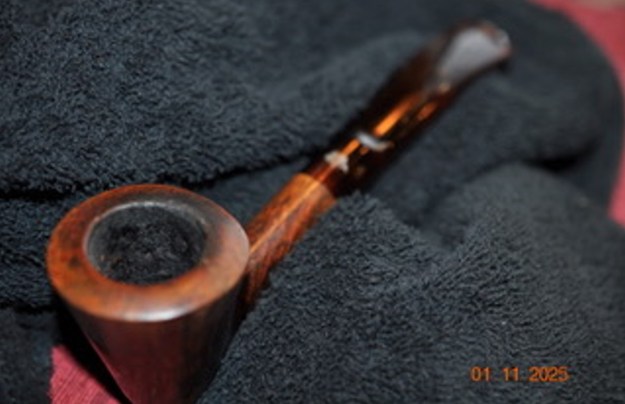
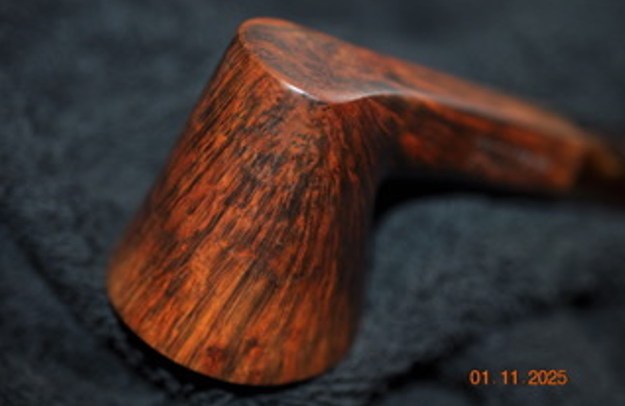
 Jeff took some photos of the sides and heel of the bowl to show the condition of the finish on the pipe. The photos show the beautiful grain around the bowl. Under the dust and grime, it was a nice looking bowl. I think it will be a beautiful Freehand pipe once it is restored.
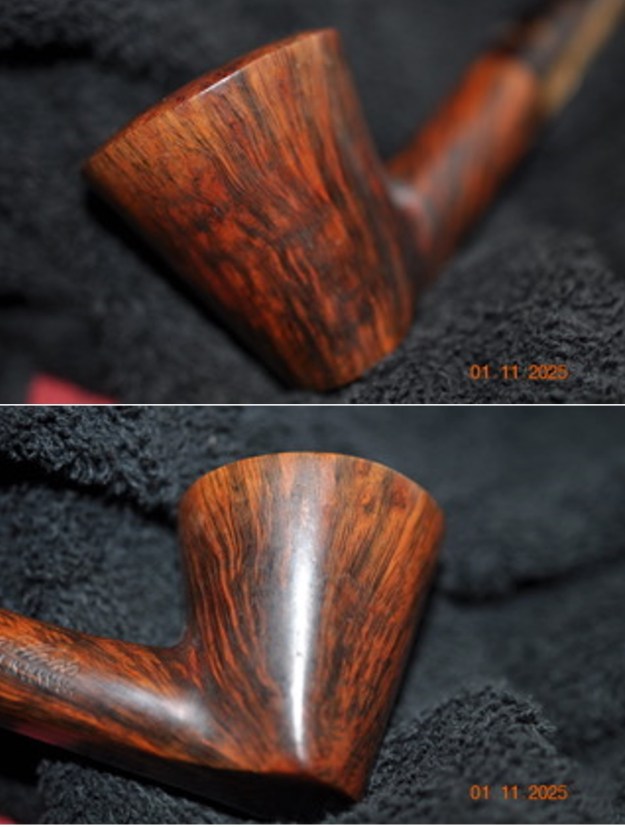
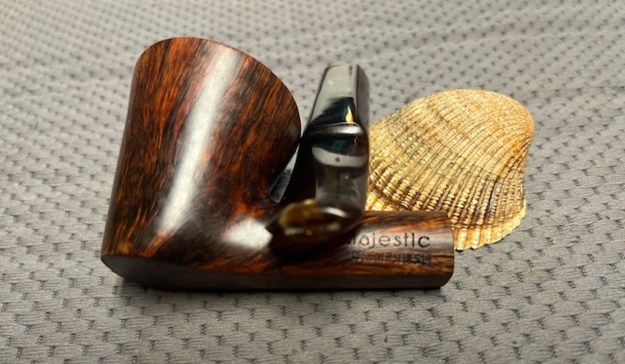
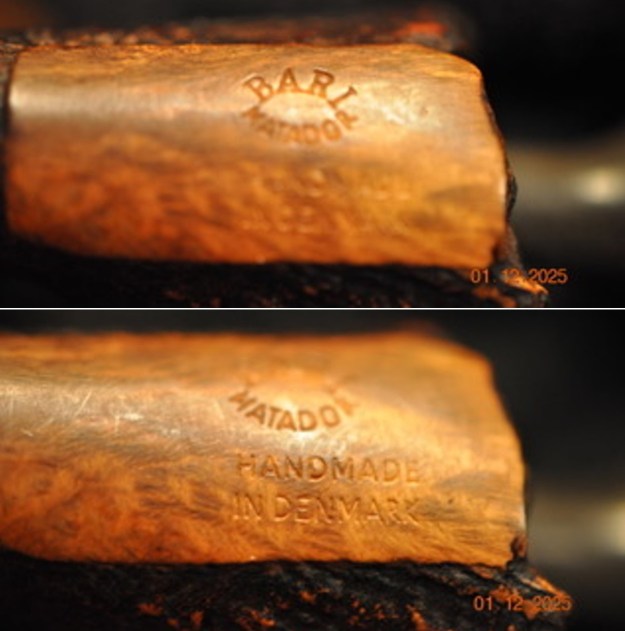
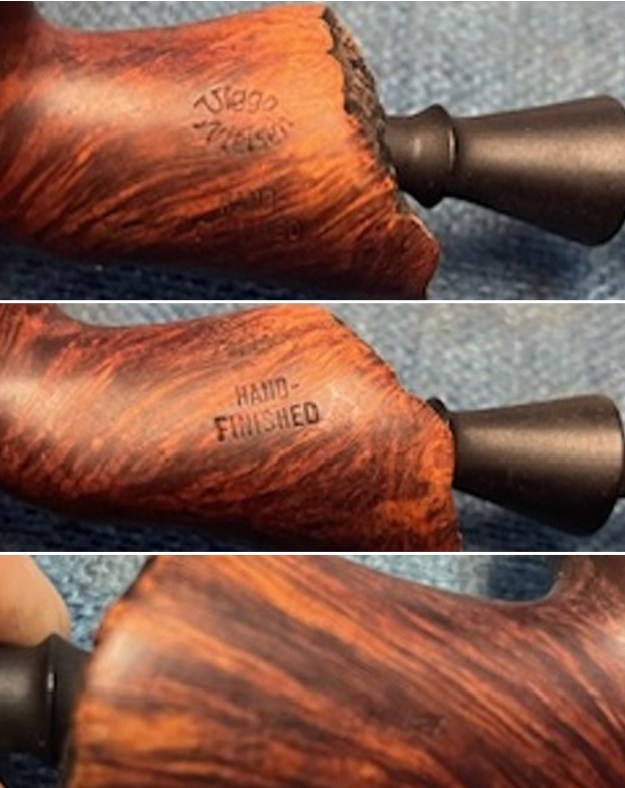
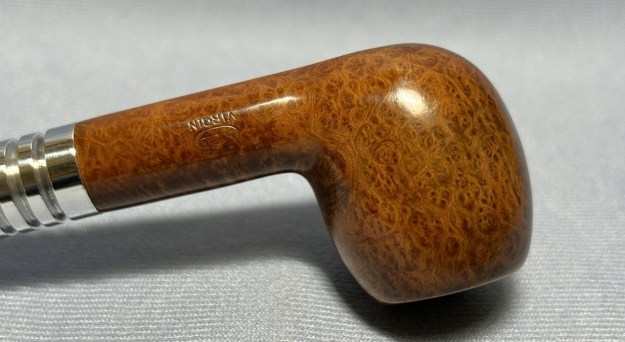
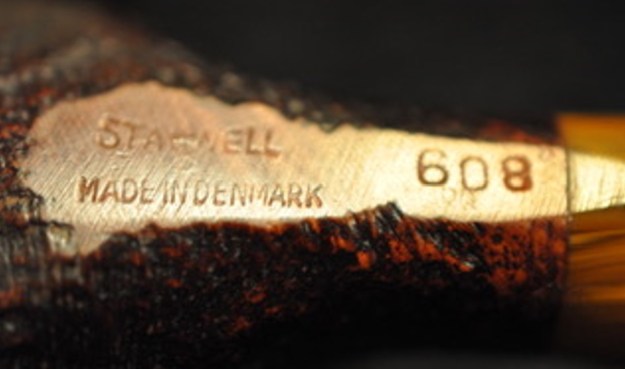
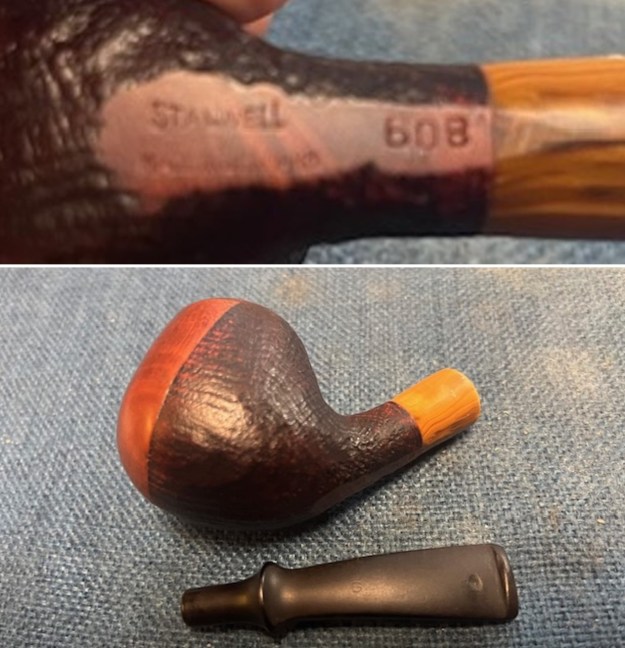
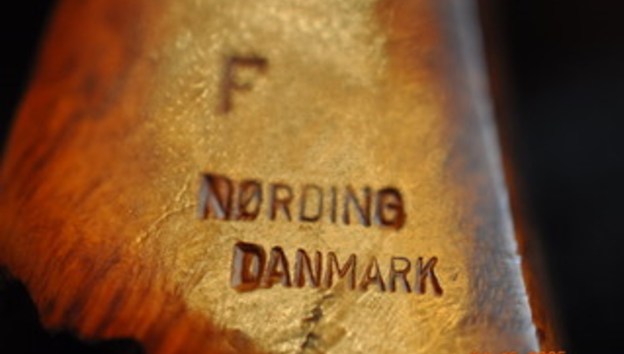
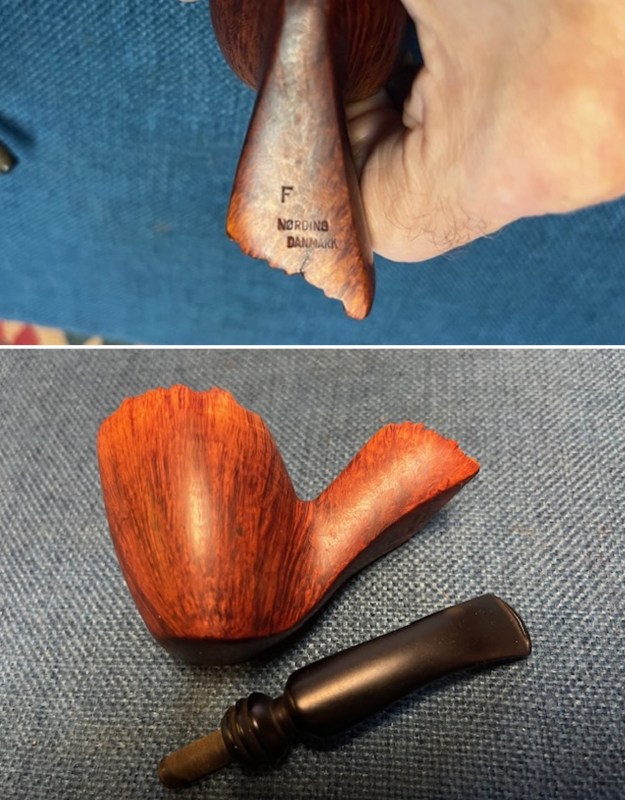
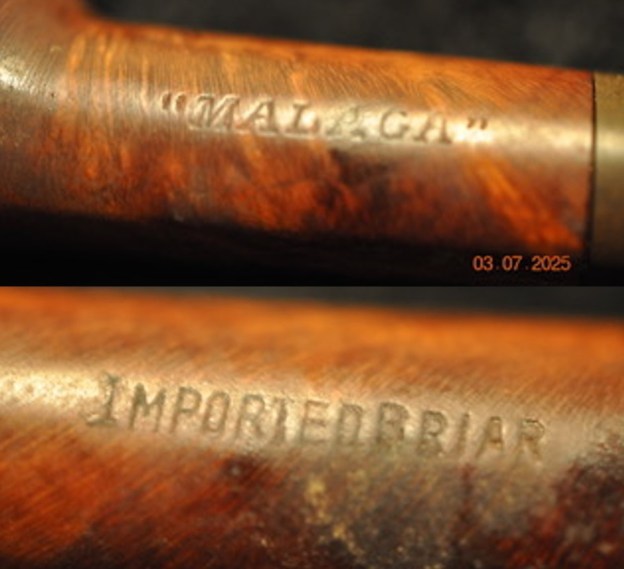
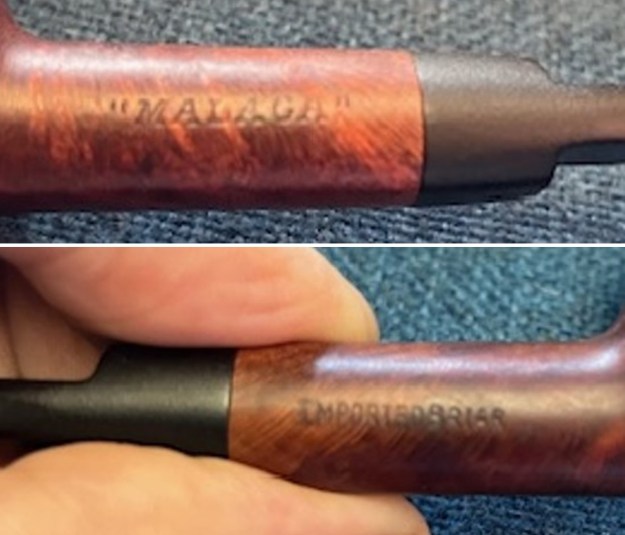
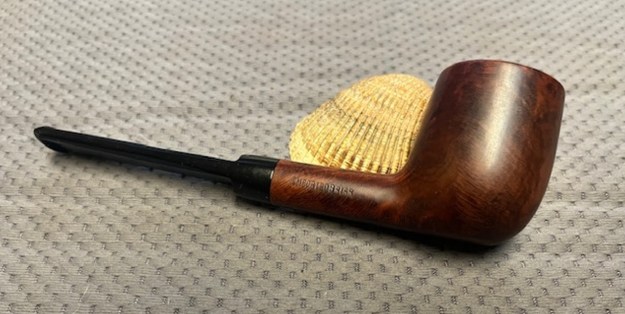
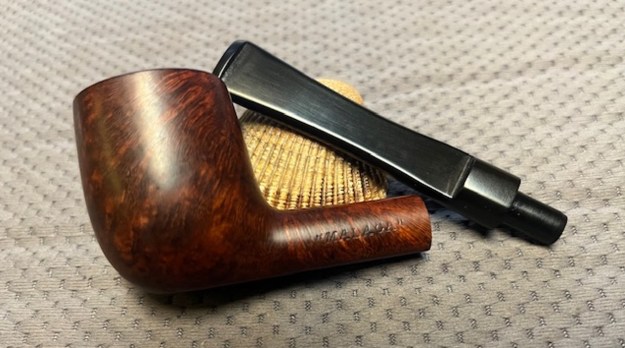
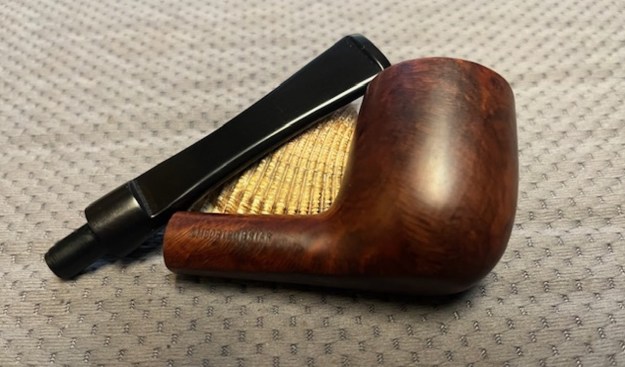
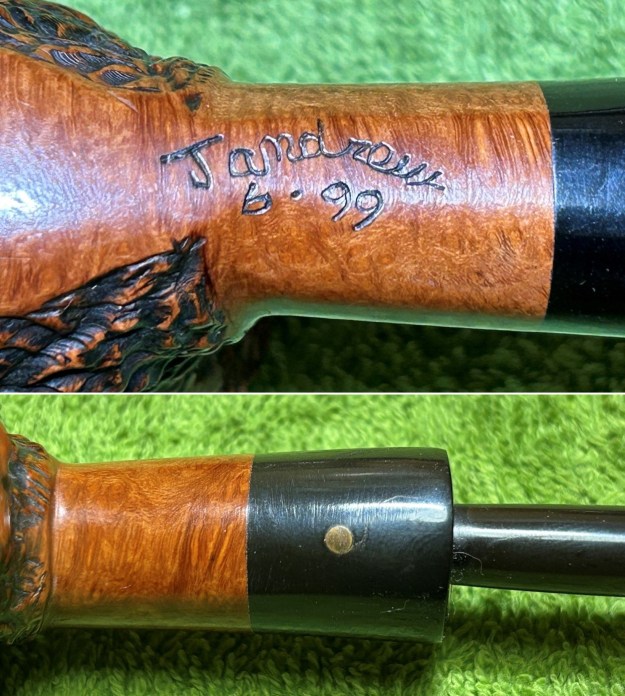
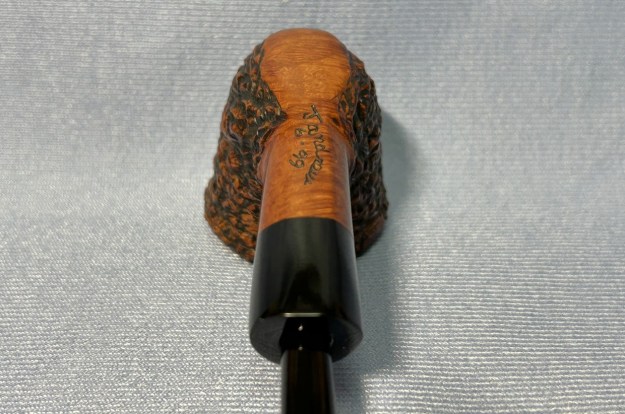
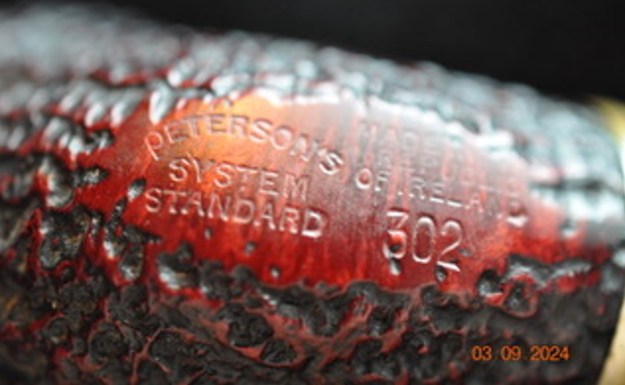
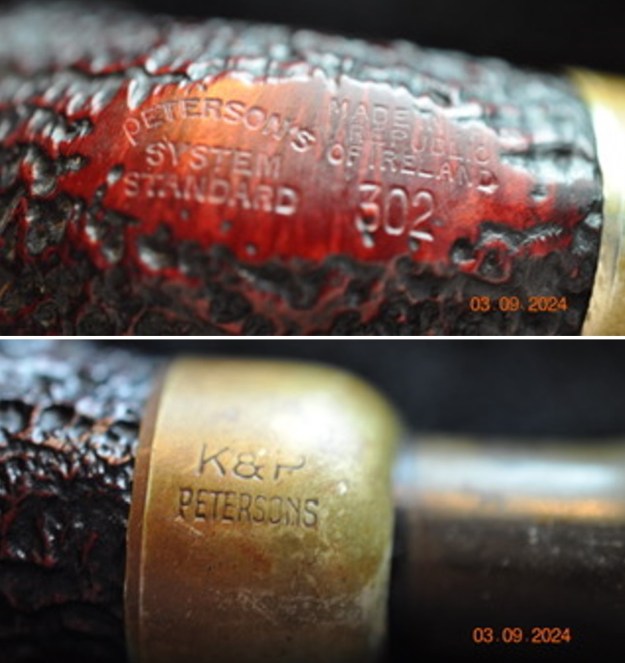
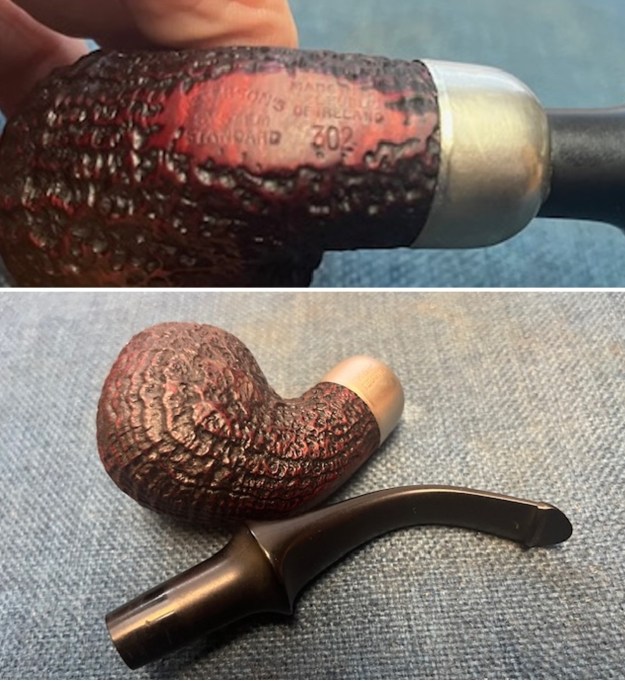
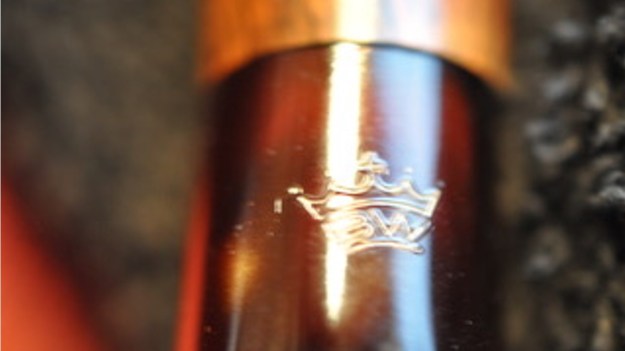
 He took a photo of the stamping on the sides of the shank. The stamping is clear and readable as noted above. There was also a Crown with a BW stamped below it on the topside of the saddle portion of the stem.
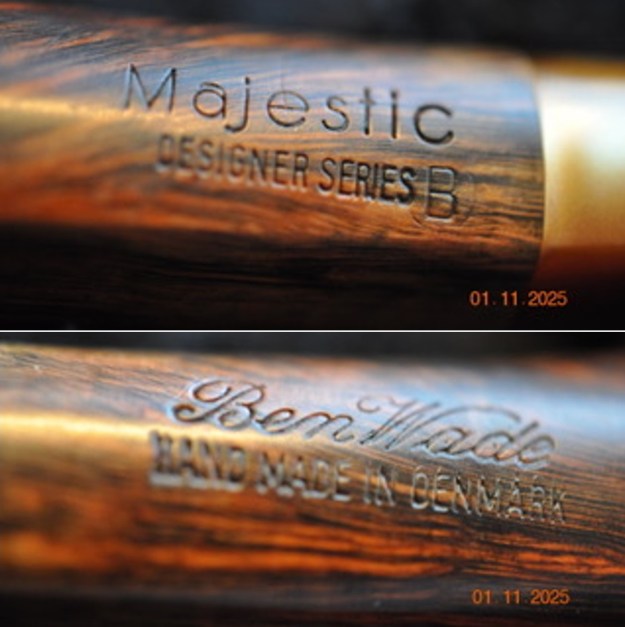
 I have worked on quite a few Ben Wade pipes over the years and one Majestic Designer Series that had the stamping on the shank side XXX’d out but was still very readable without looking to hard (https://rebornpipes.com/2016/02/21/restoring-an-interesting-older-xxxxd-out-sitter/).
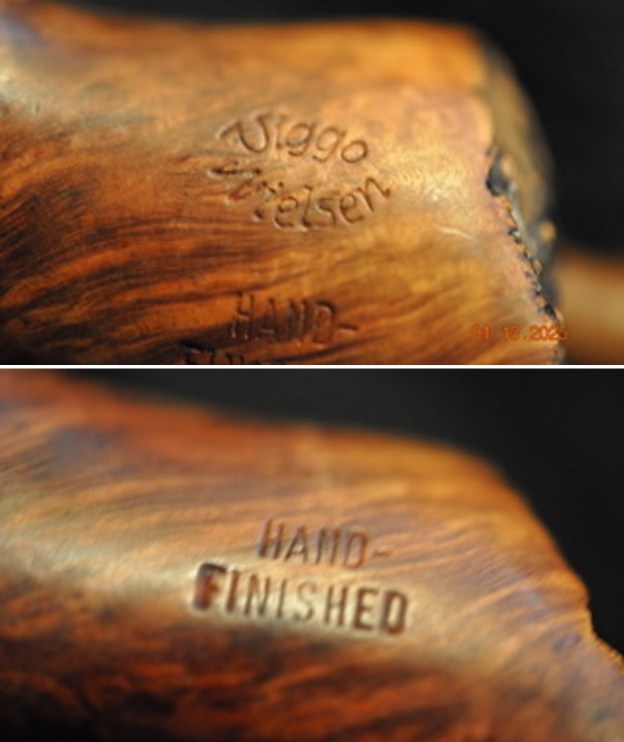
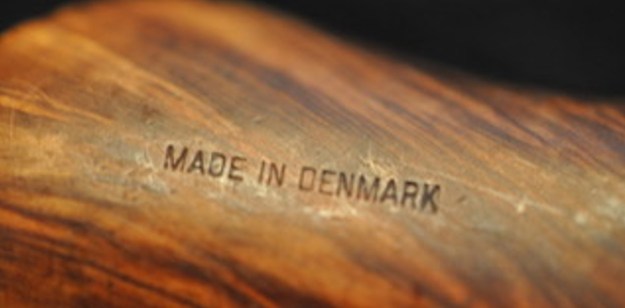
I knew from the previous work that I should take time and check out my common sites for information. I turned first to Pipephil’s site in the Ben Wade Section and found an entry there on the brand (http://www.pipephil.eu/logos/en/logo-benwade.html#majestic). There was a section in the list stamped Danish Made Majestic. I did a screen capture of the section and have included it below.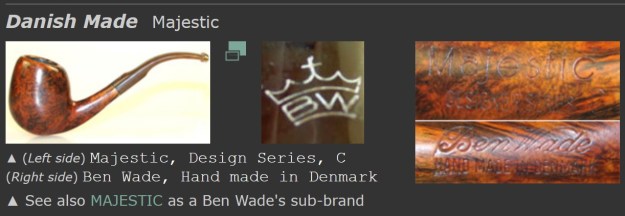 From there I turned to the section the reference above directed me to under the heading Majestic with a link to the Ben Wade stamp. I have also included that link and the screen captures of the site below (http://www.pipephil.eu/logos/en/logo-m1.html#majestic).
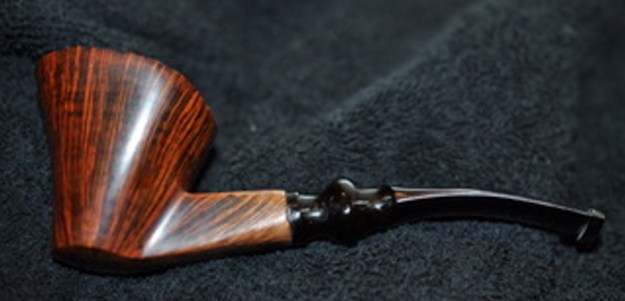
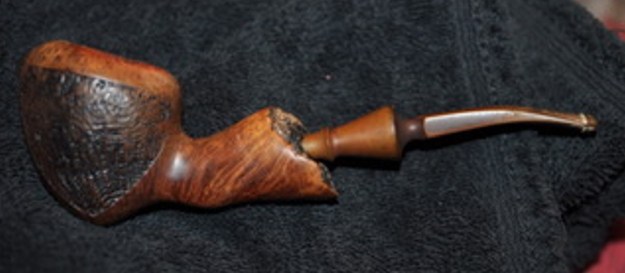
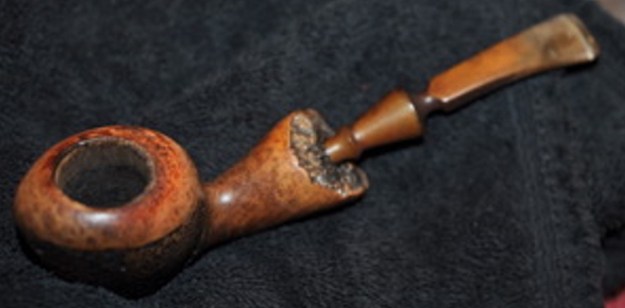
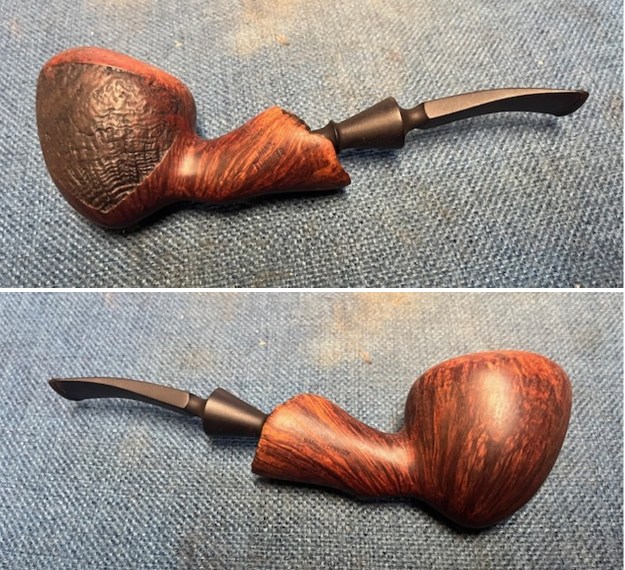
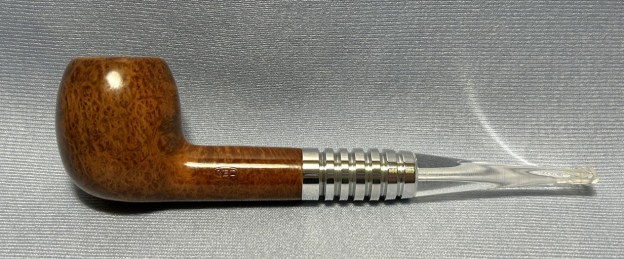
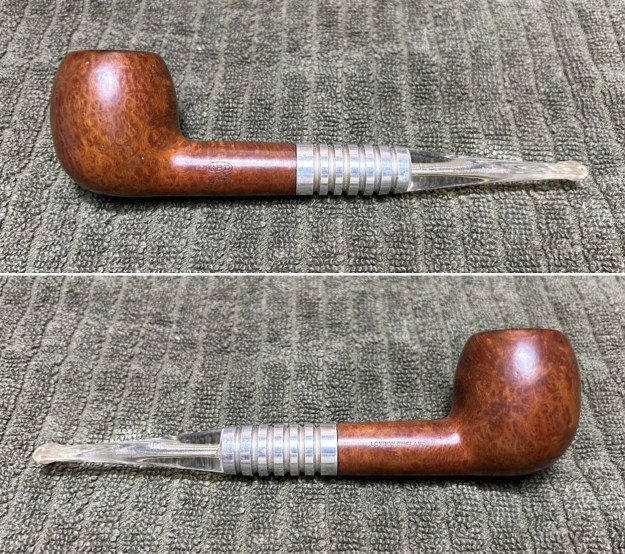
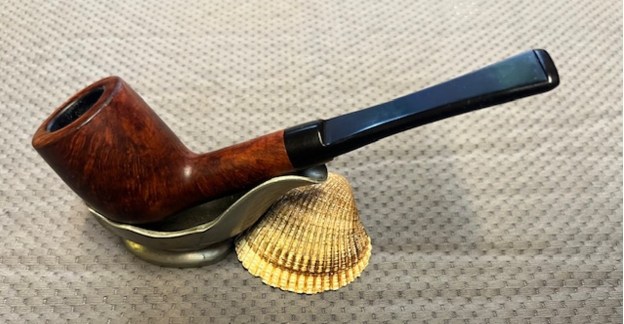
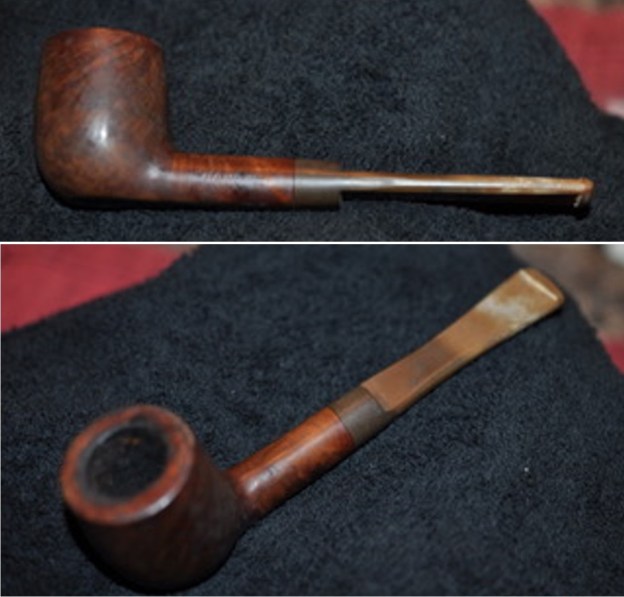
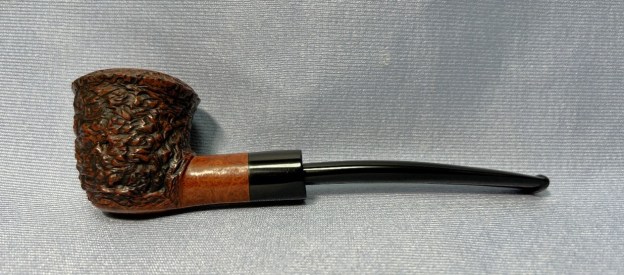
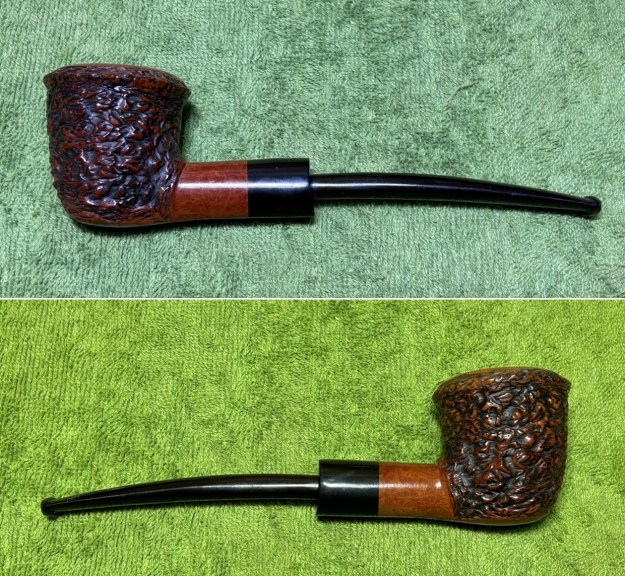
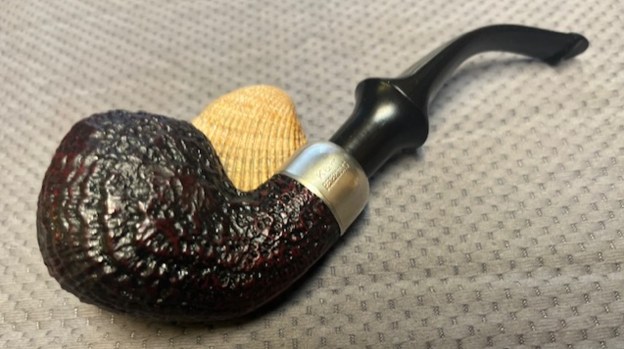
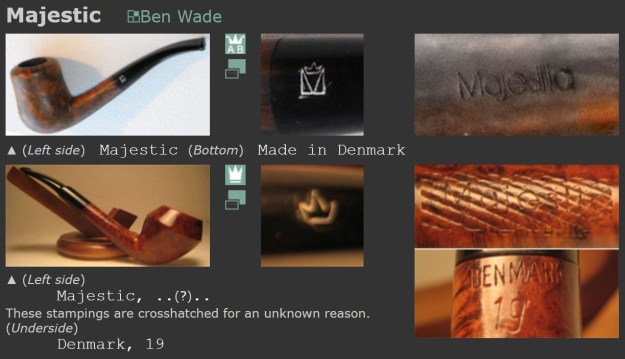 From there I turned to Pipedia to see what I could find (https://pipedia.org/wiki/Ben_Wade). I found some photos of a pipe that is stamped the same as the one that I have. I have included them below showing the shape of the pipe and the stamping on the pipe.
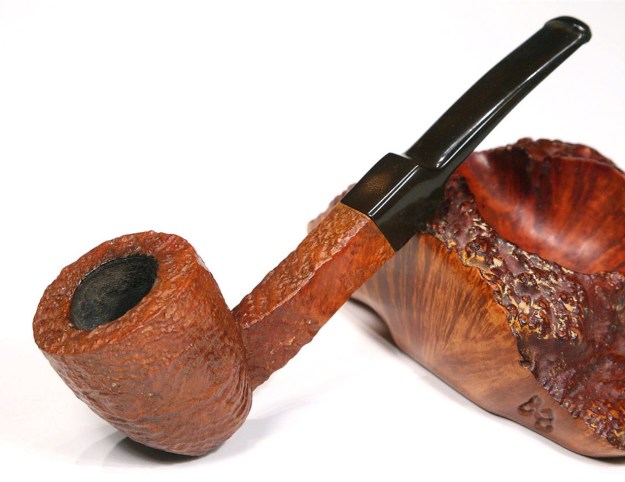
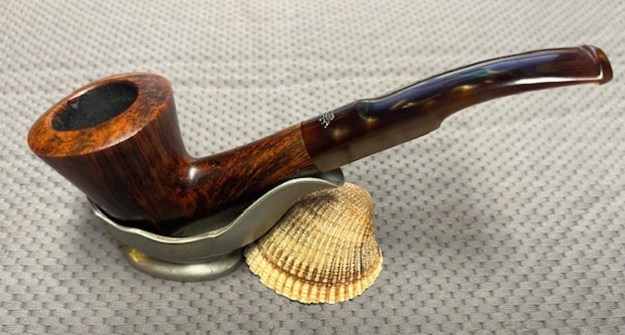
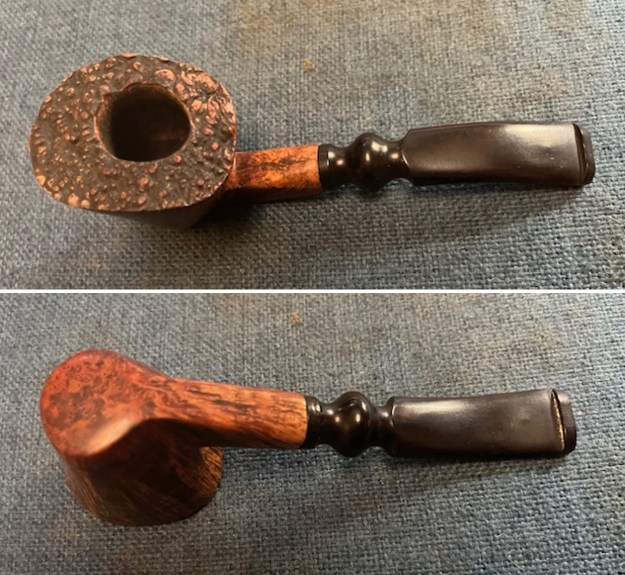
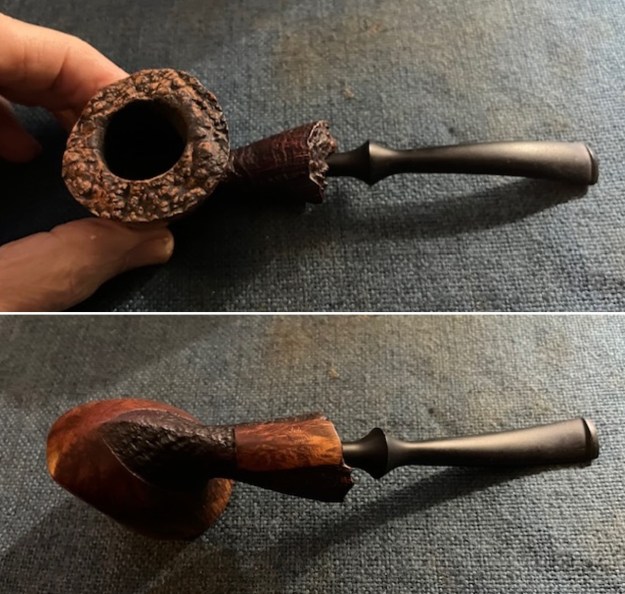
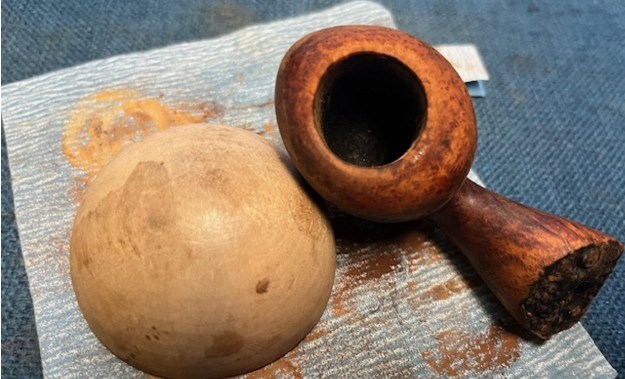
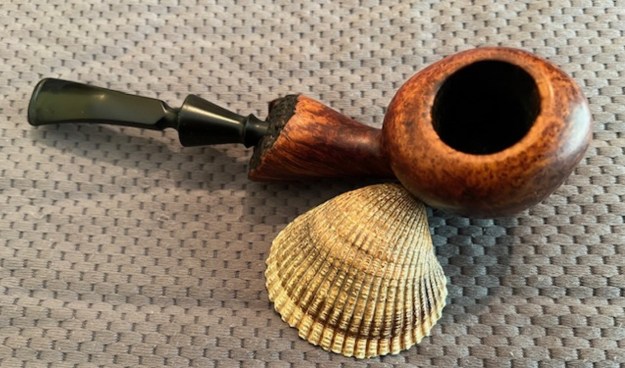
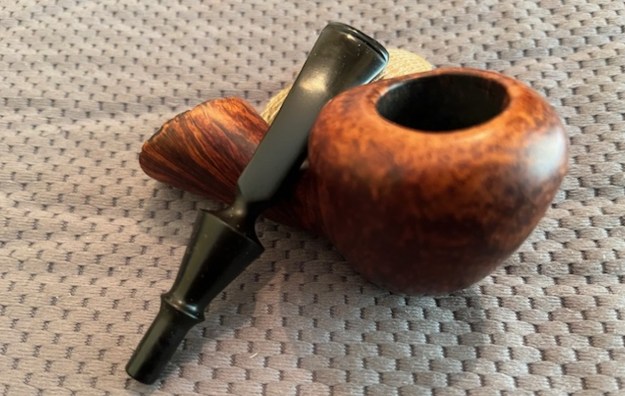
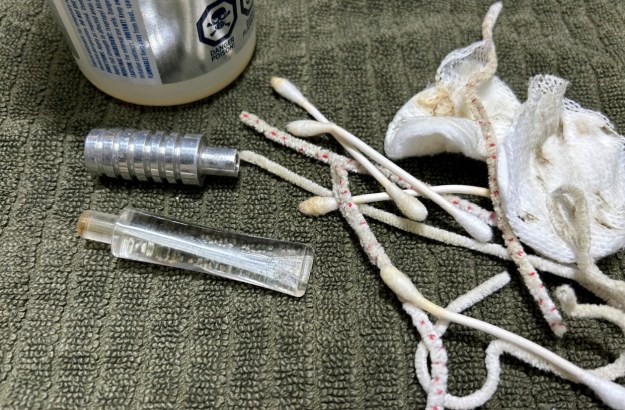
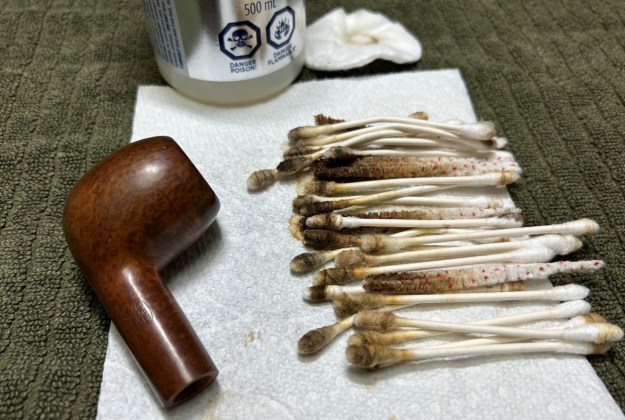
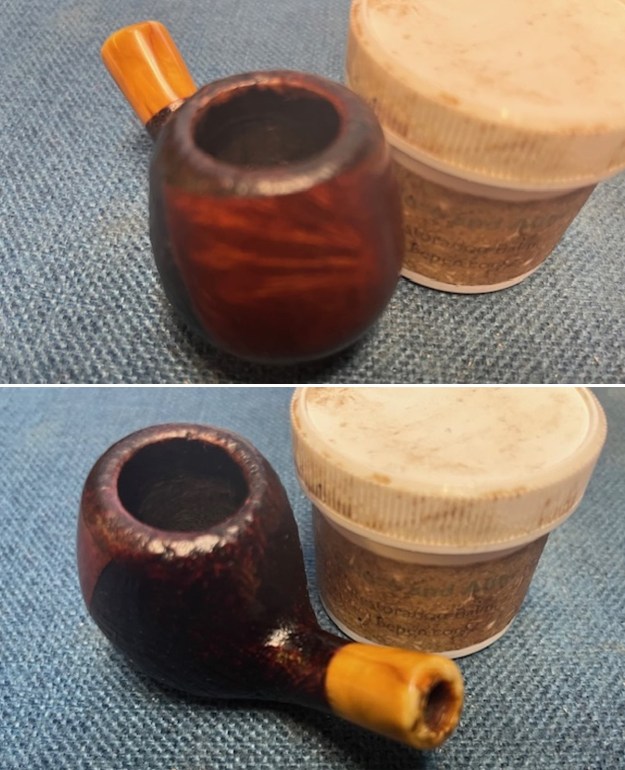
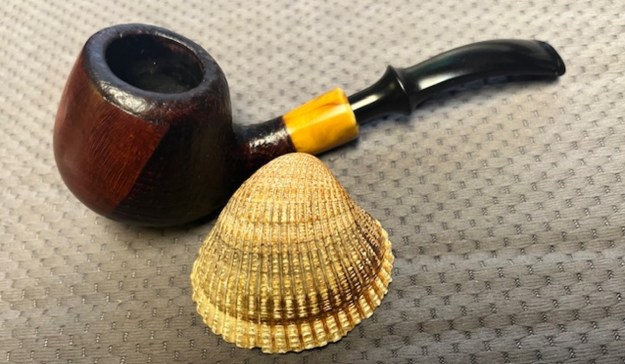
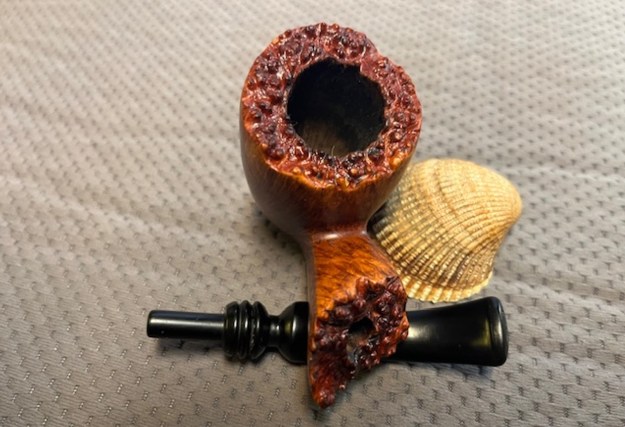
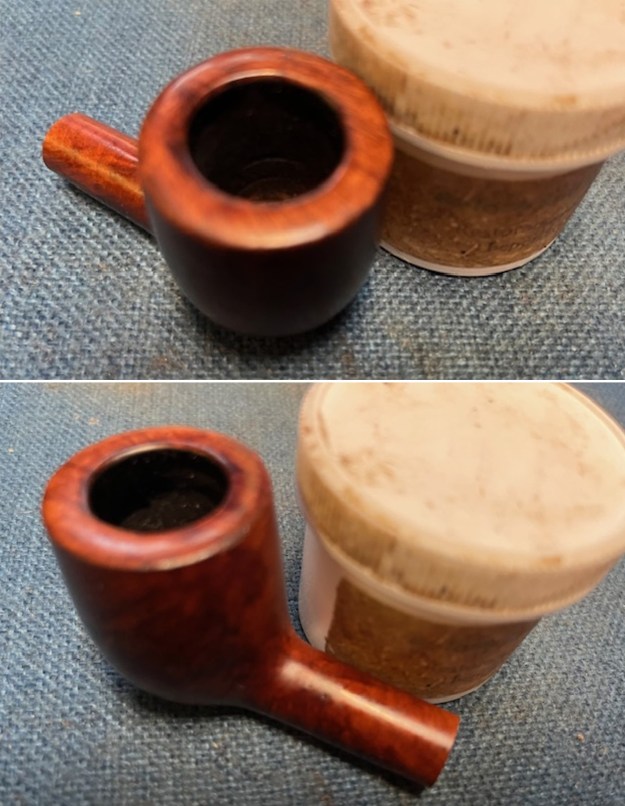
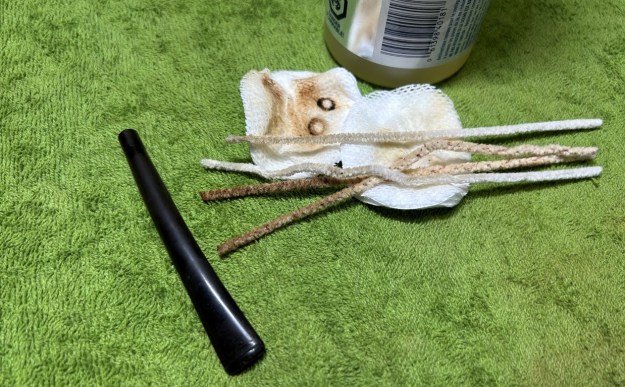
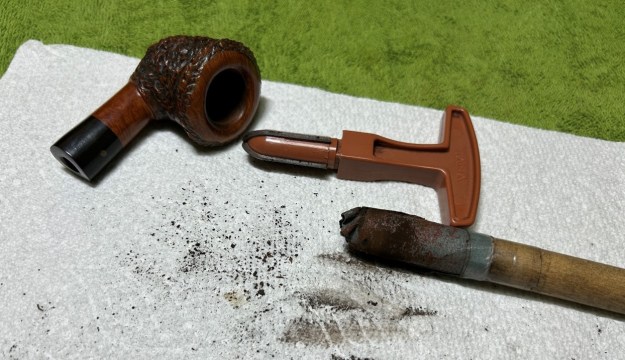
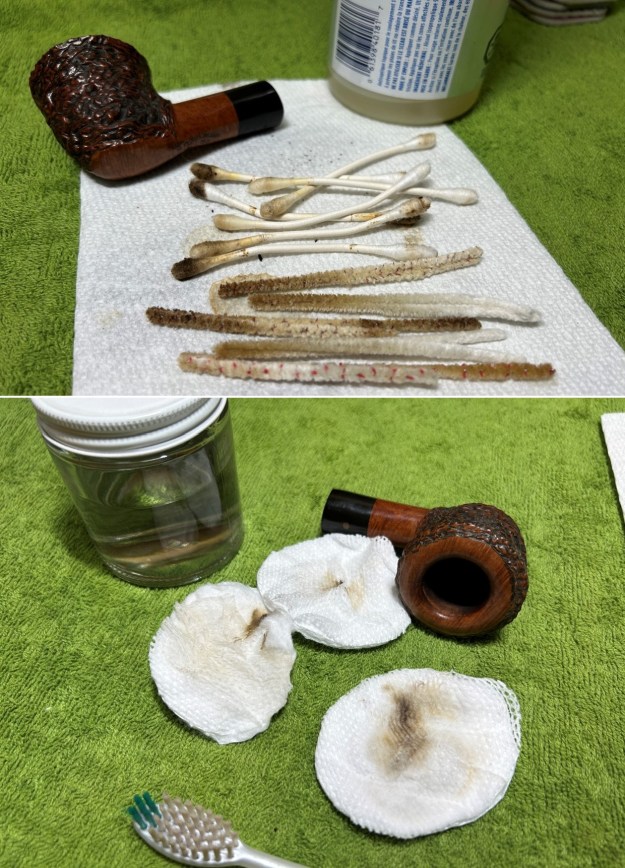
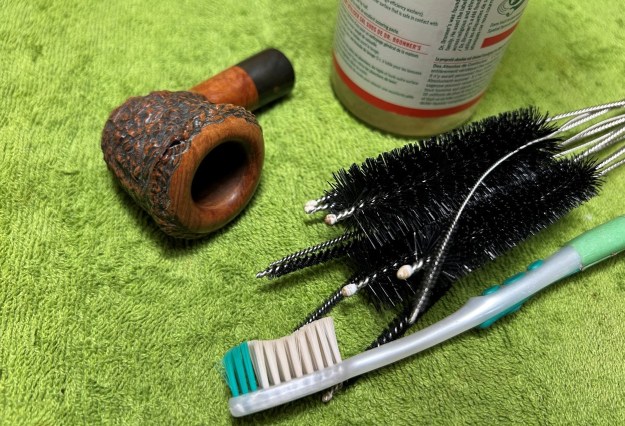
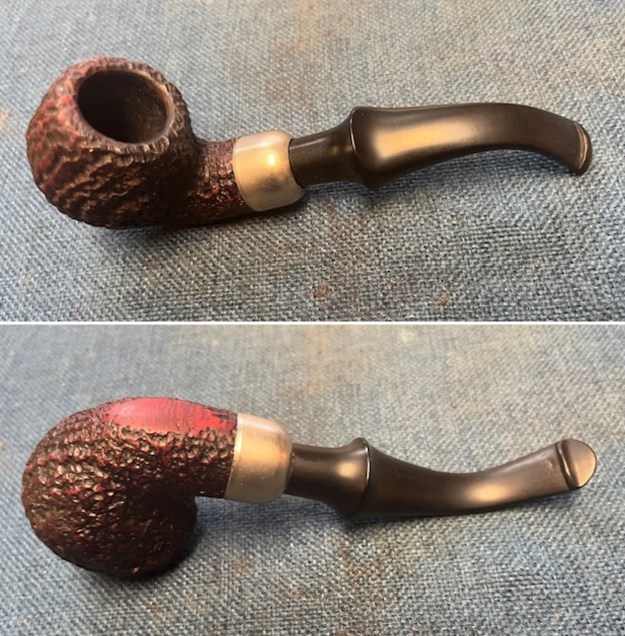
 Now that I was reminded about the Ben Wade Majestic Line it was time to work on the pipe on my end. When I received it, Jeff had once again done an amazing job cleaning the pipe. He reamed it with a PipNet pipe reamer and got rid of the cake. He cleaned up the reaming with a Savinelli Fitsall Pipe Knife so that we could see the walls of the bowl and assess for damage. He cleaned the internals of the shank and stem with alcohol, pipe cleaners, cotton swabs, shank brushes and alcohol. He scrubbed the exterior with undiluted Murphy’s Oil Soap and a tooth brush. He rinsed the pipe under warm water. He dried it off with a cloth and then let it air dry. The stem was scrubbed with Soft Scrub and soaked in Before & After Deoxidizer. It came out looking very good. The finish on the bowl and the rim top cleaned up nicely. I took pictures of the pipe to show how it looked when I unpacked it.
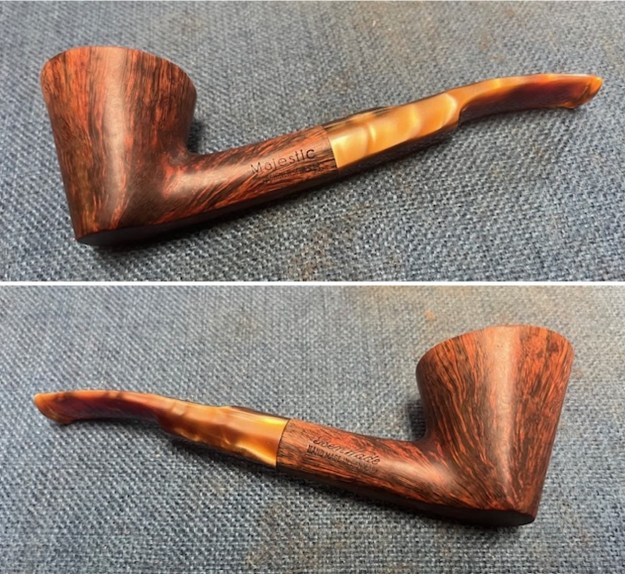
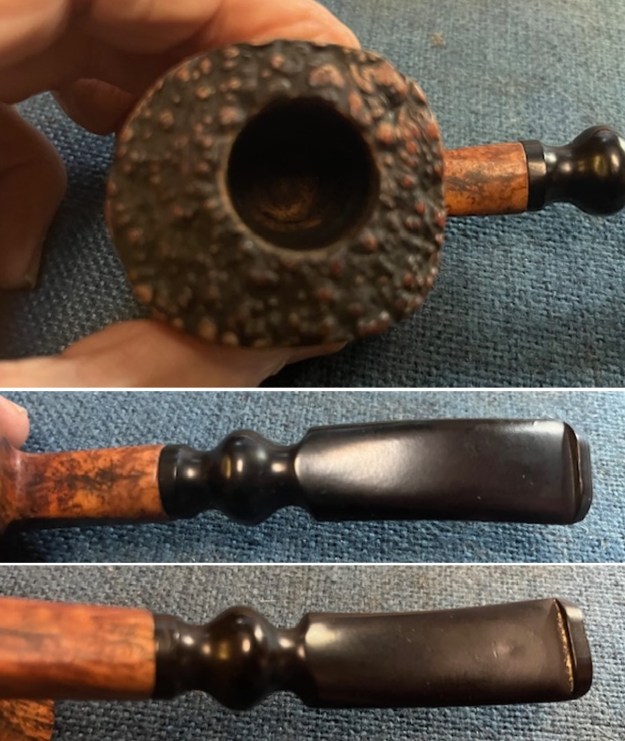
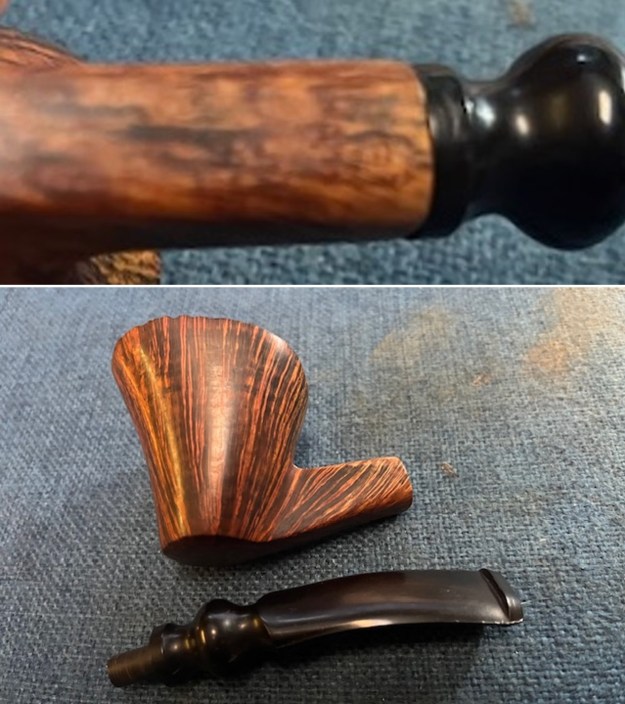
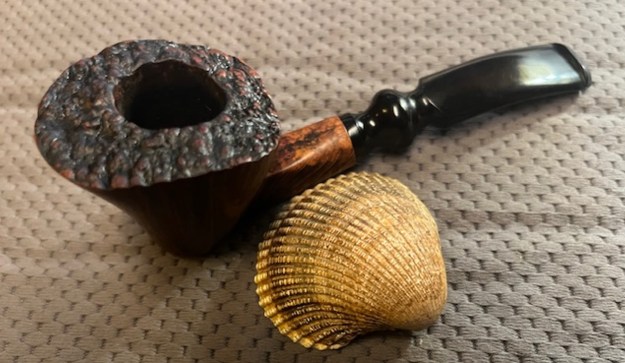
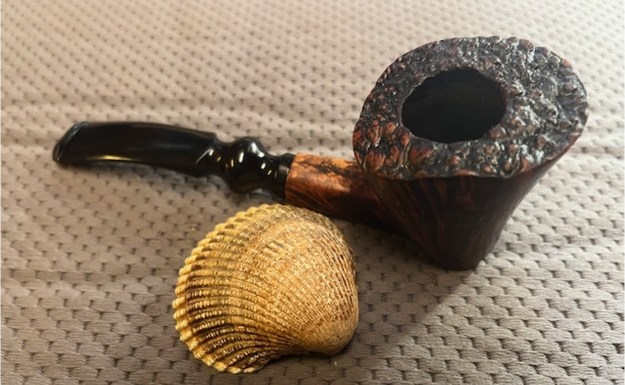
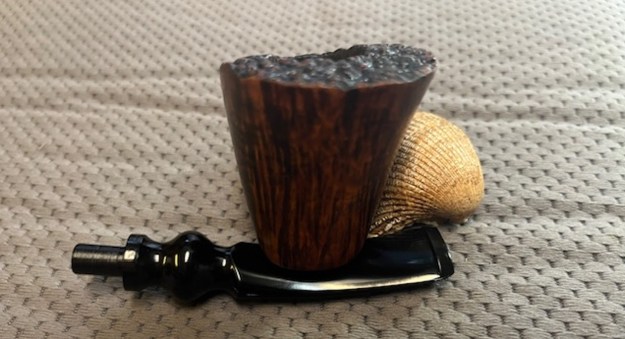
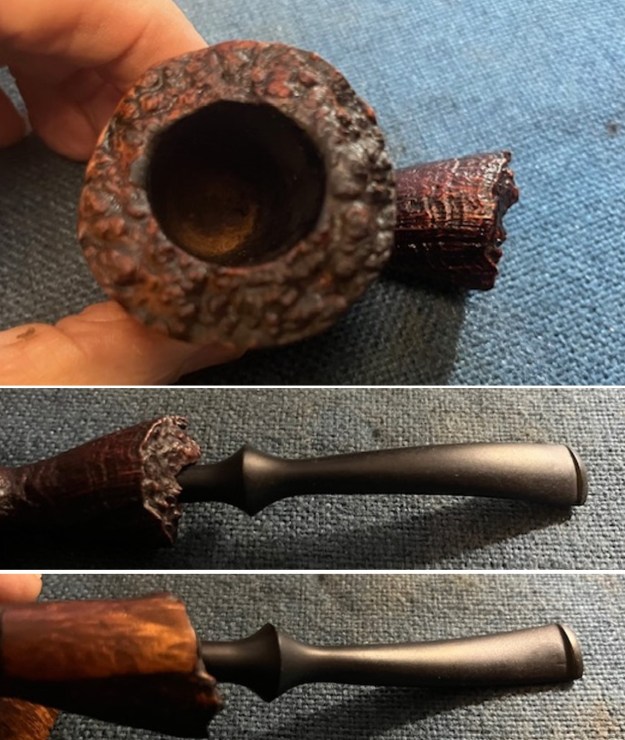
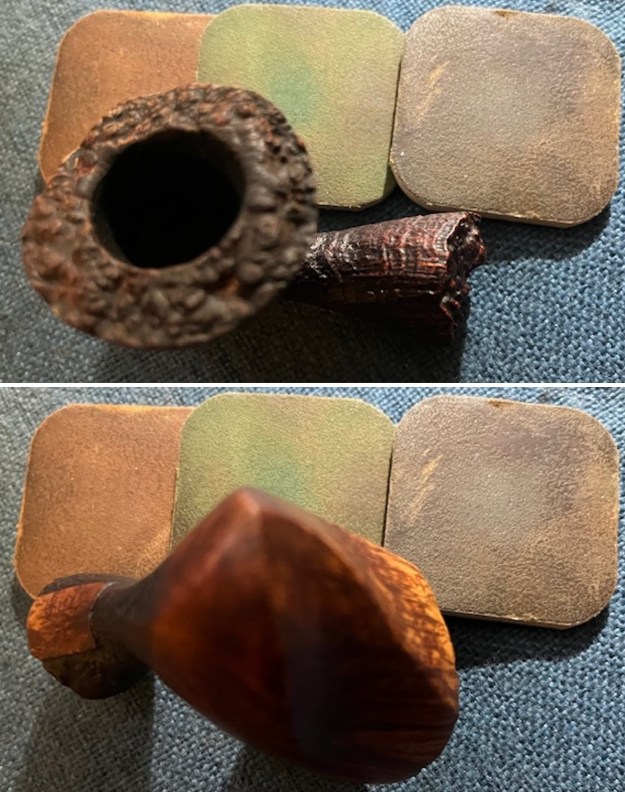
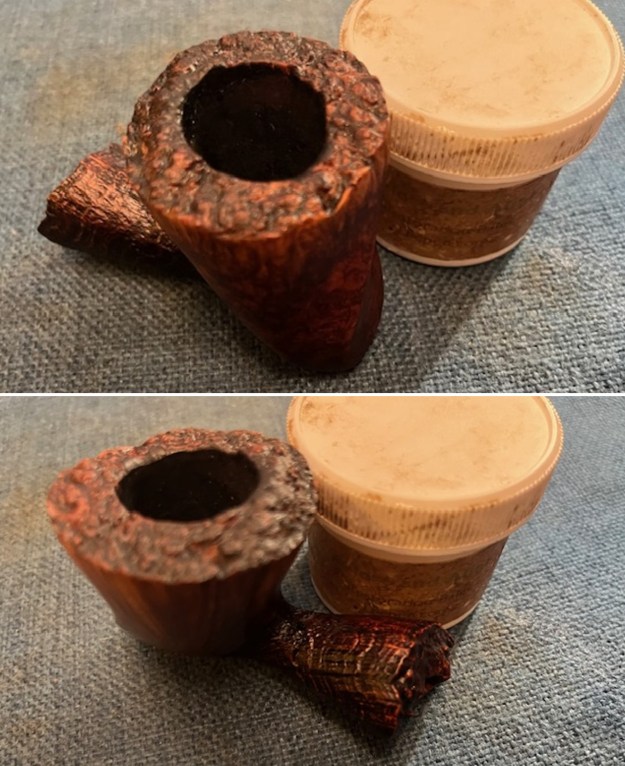
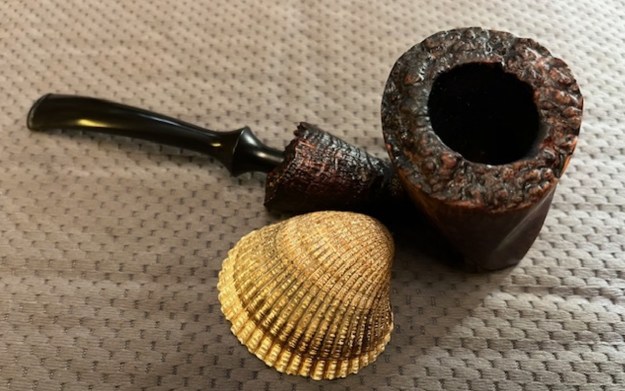
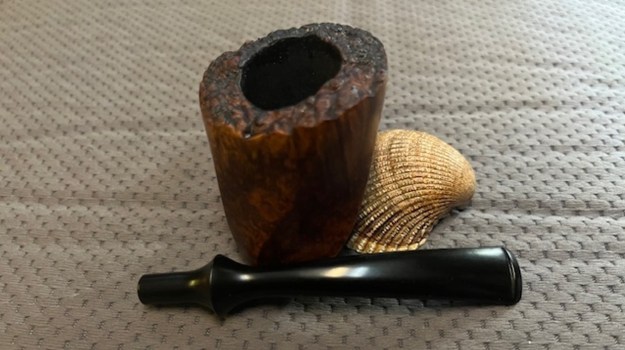
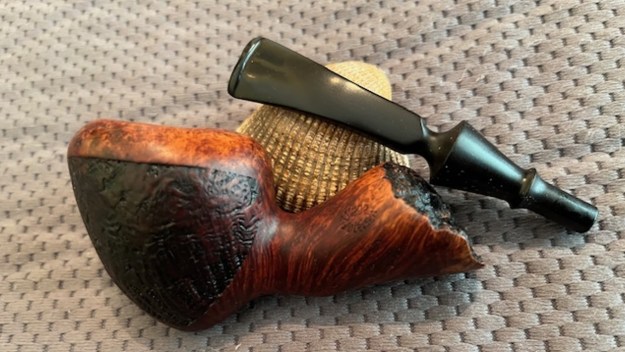
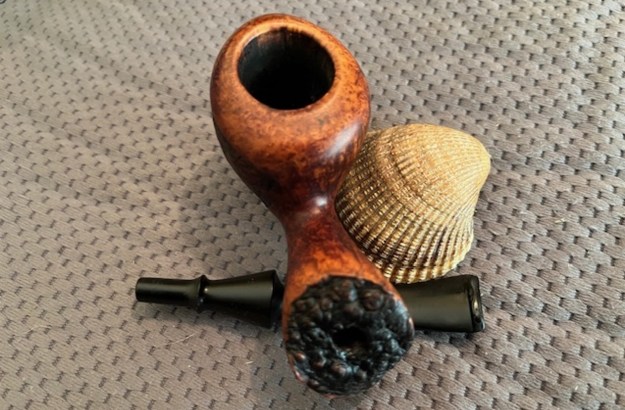
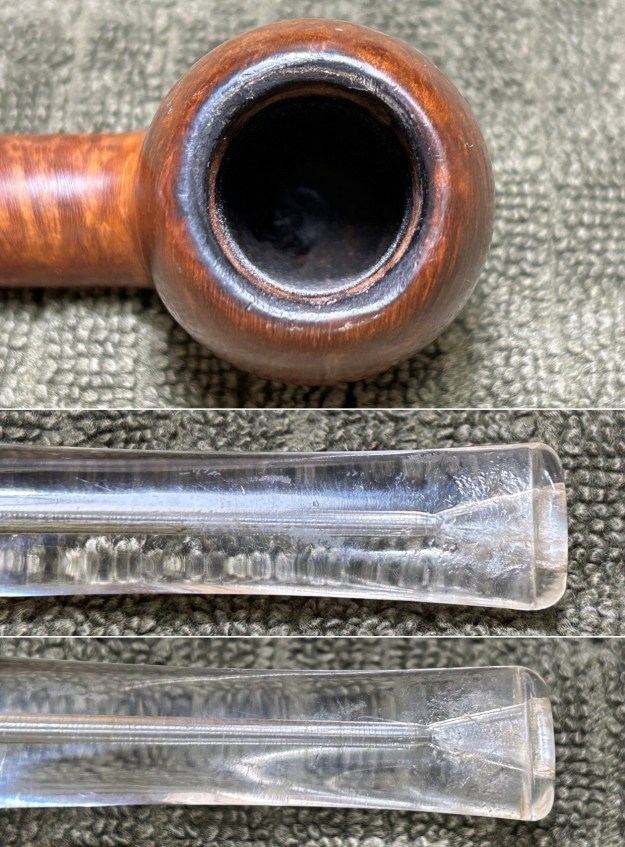
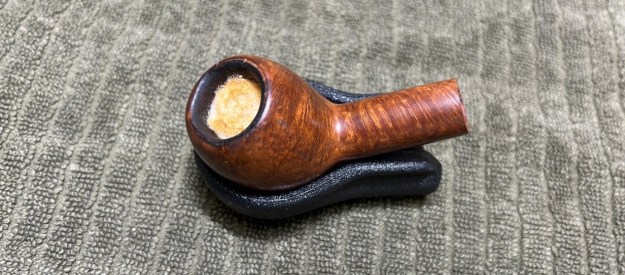
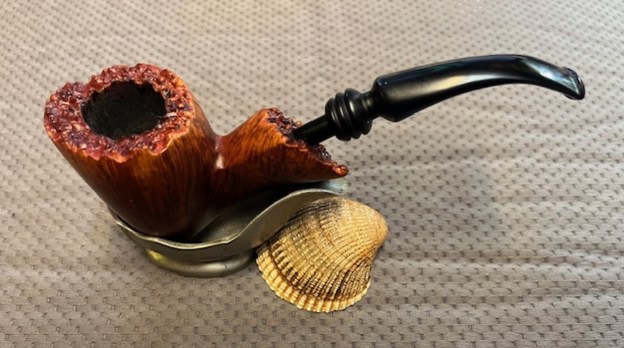
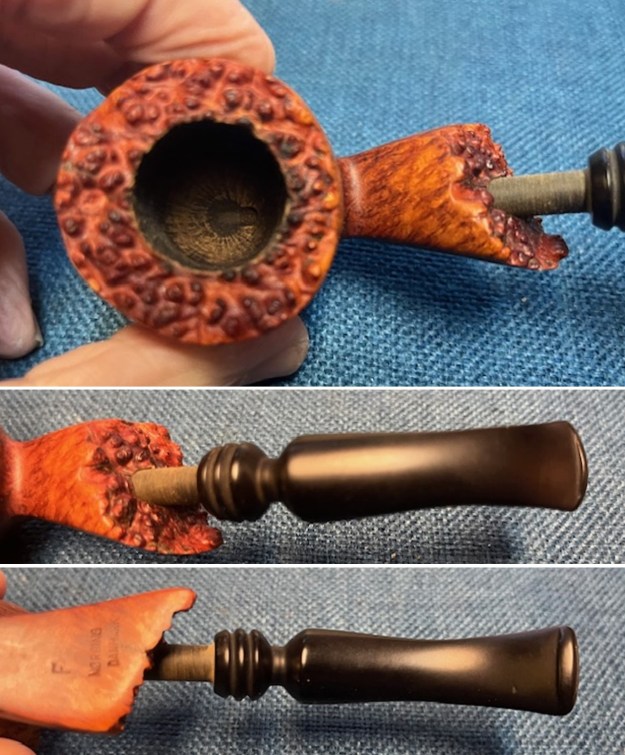
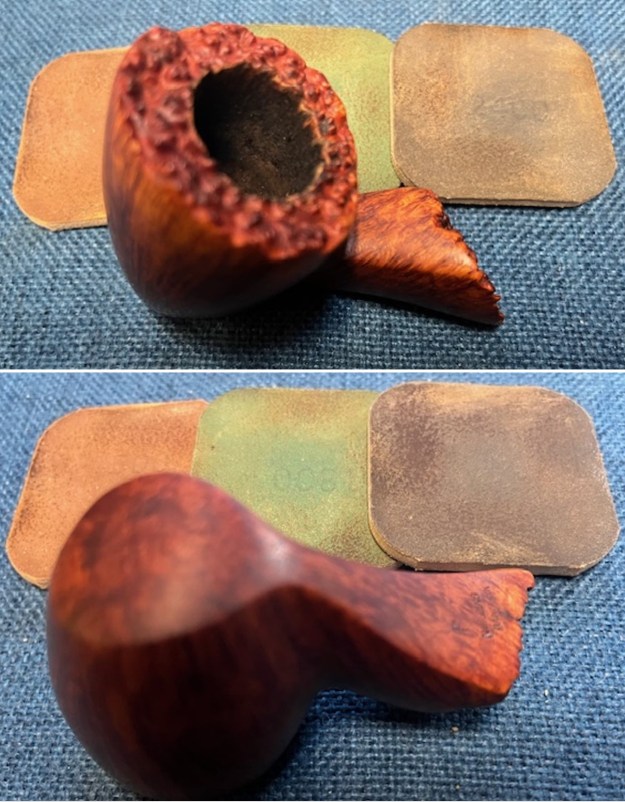
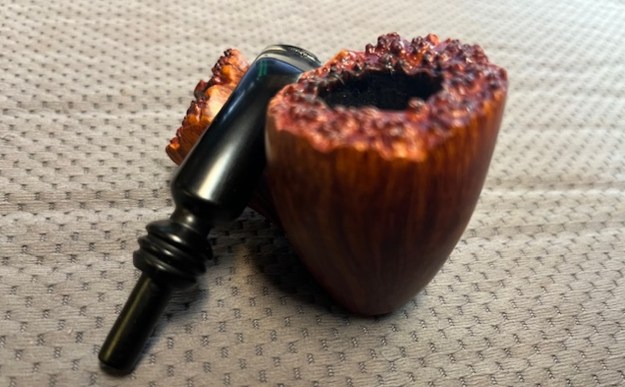
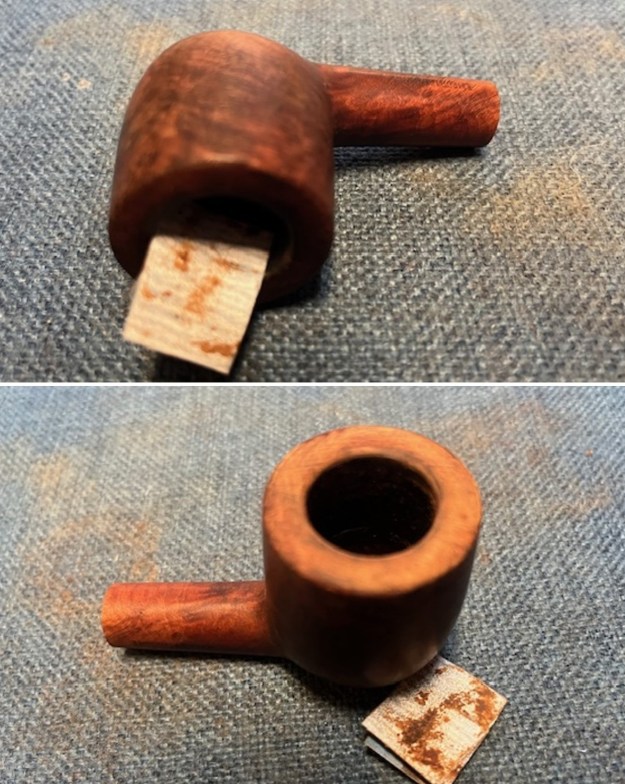
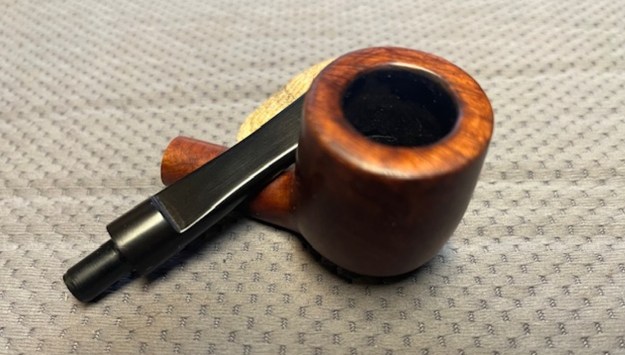
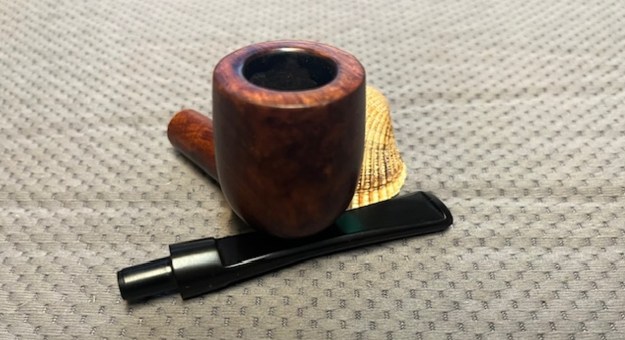
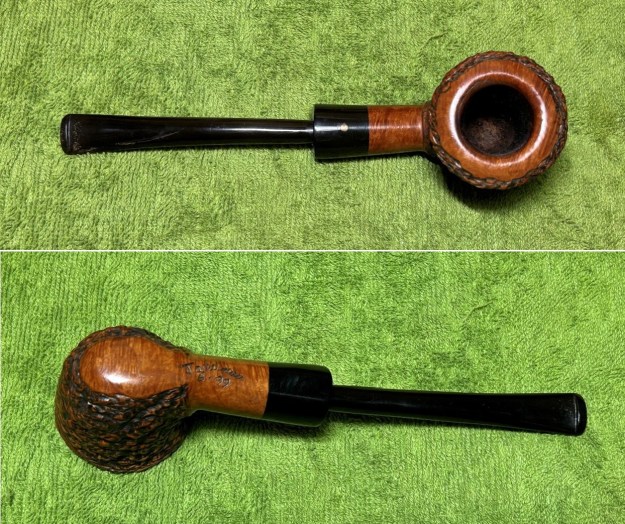
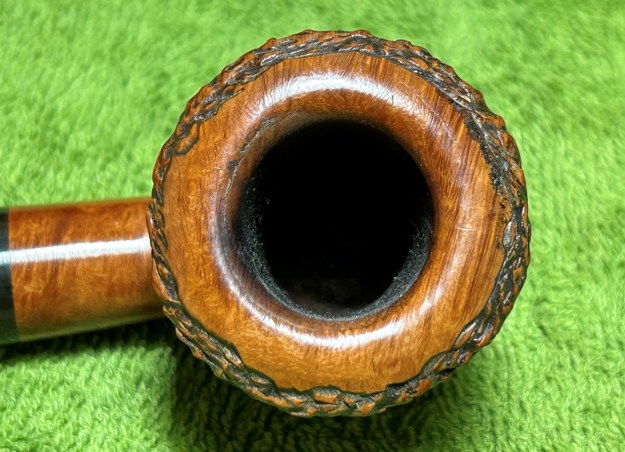
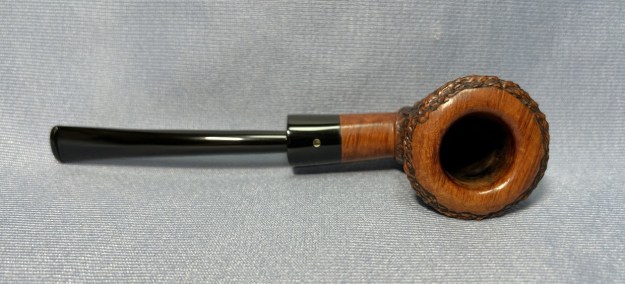
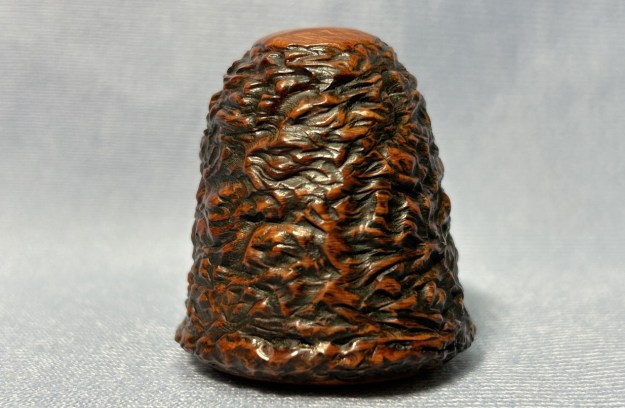
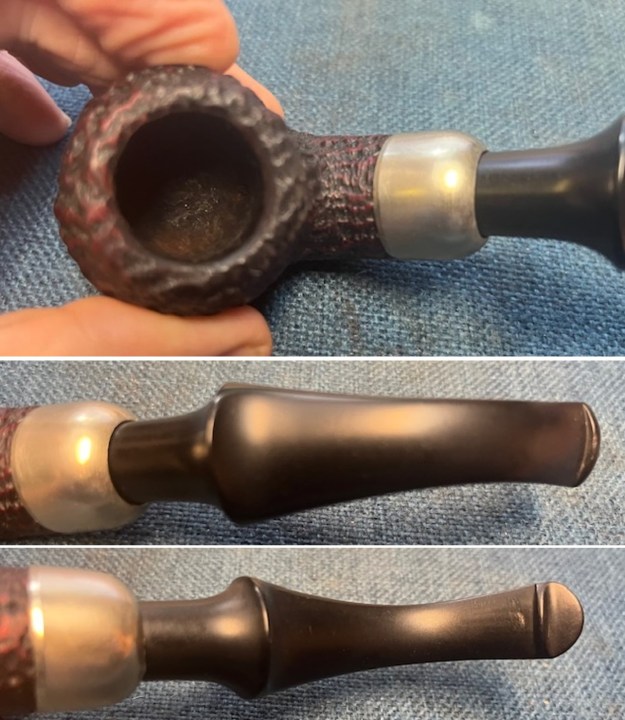
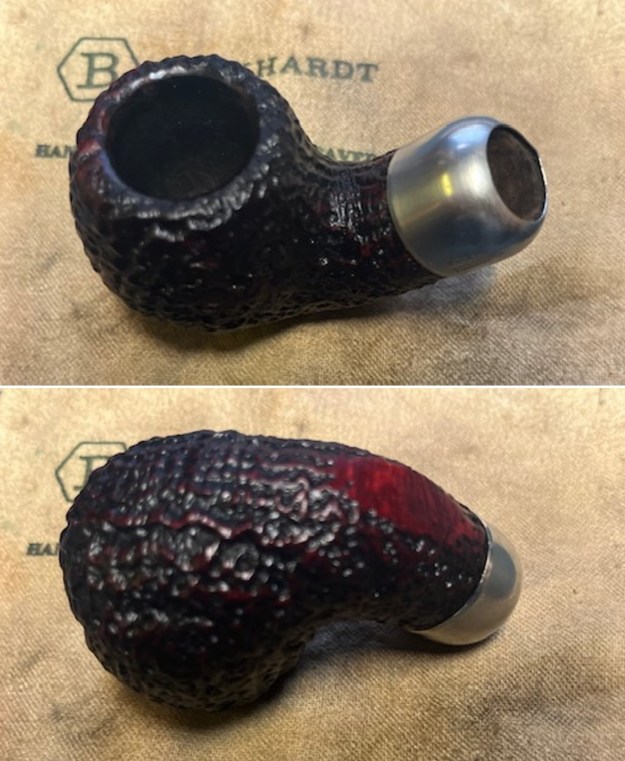
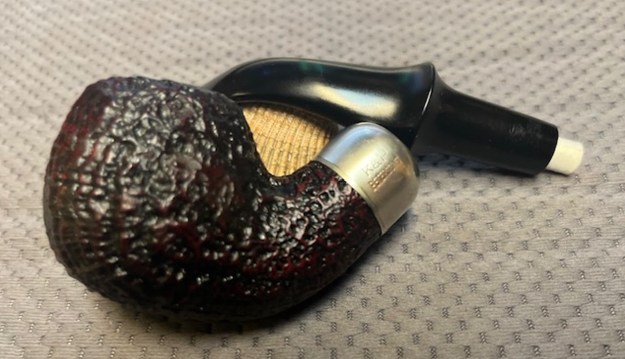
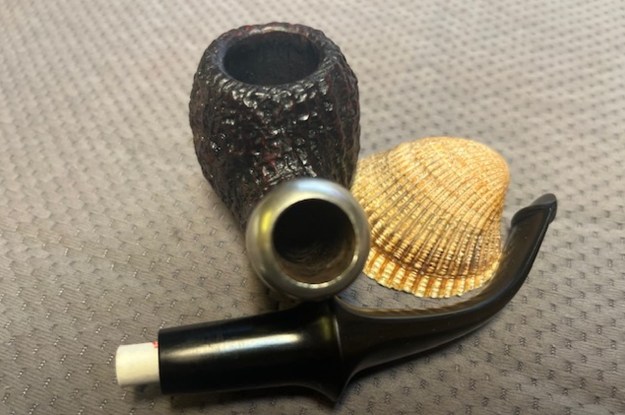
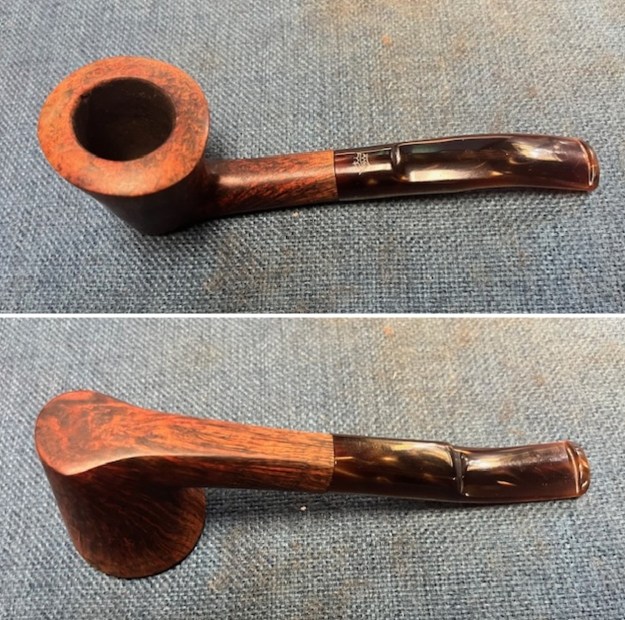 I took a close up photo of the plateau rim top to show how clean it was. The inner edge of the rim and the ridges and valleys of the plateau looked good. The stem looked good just some light tooth chatter and tooth marks ahead of the button.
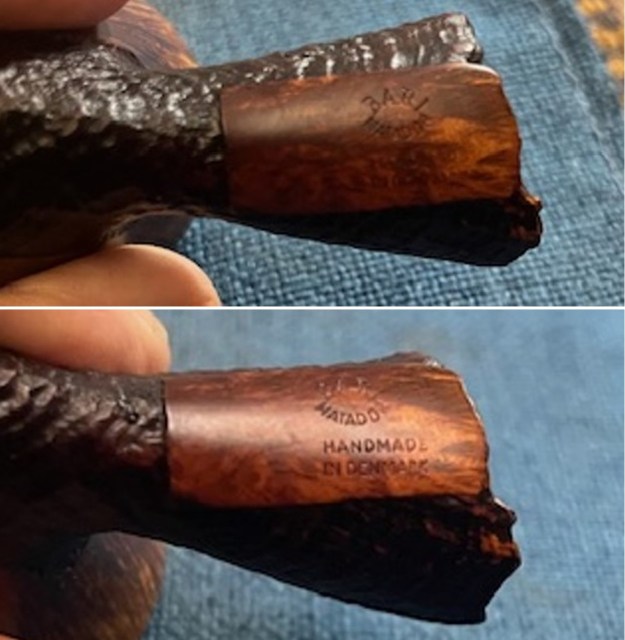
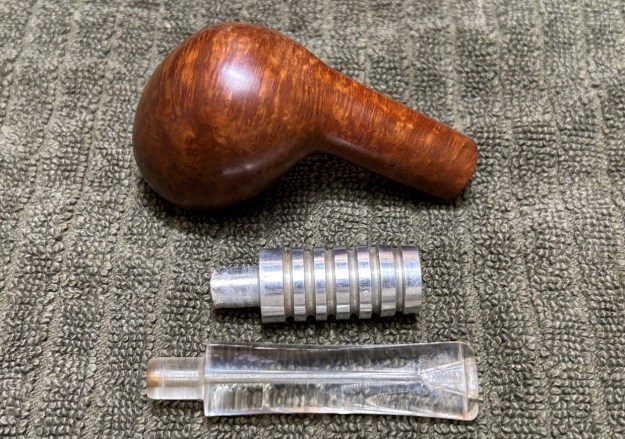
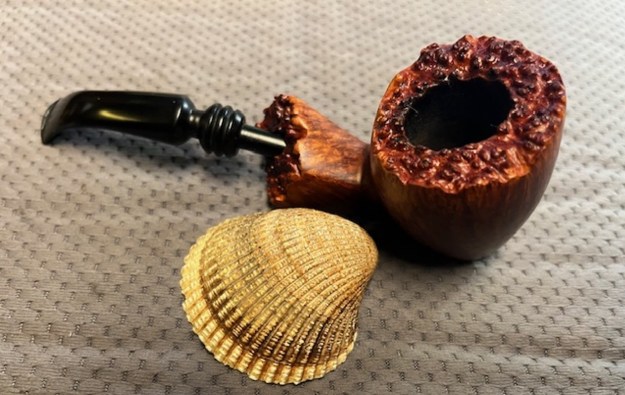
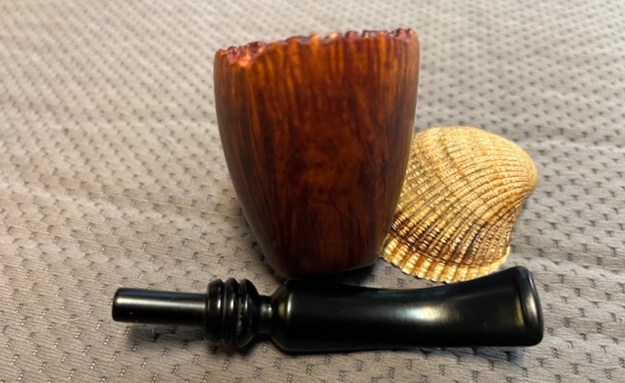
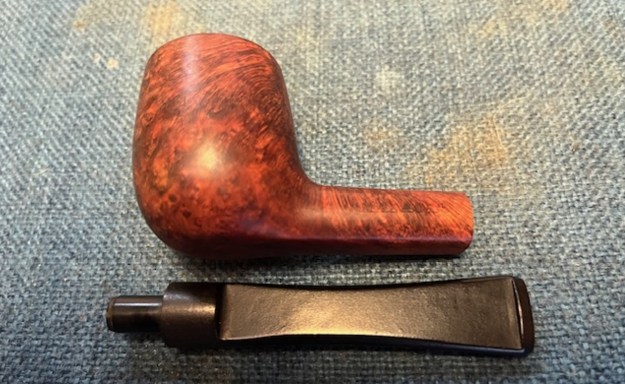
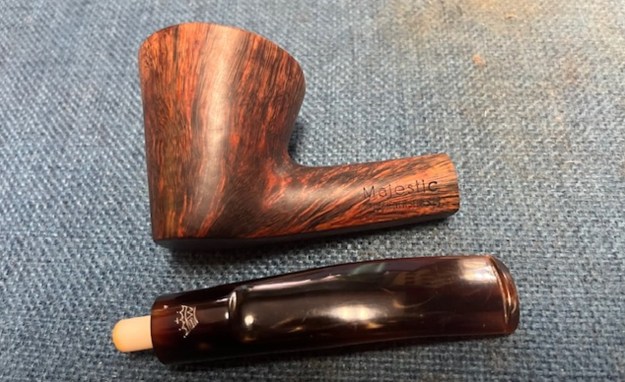
  One of the things I appreciate about Jeff’s cleanup is that he works to protect and preserve the nomenclature on the shank of the pipes that he works on. He was able to preserve and maintain its condition in the process. I took some photos to show the clarity of the stamping. I have noticed that many restorers are not careful to protect the stamping in their cleaning process and often by the end of the restoration the nomenclature is almost destroyed. Be careful in your work to preserve this critical part of restoration! I took the stem off and took a photo of the pipe.
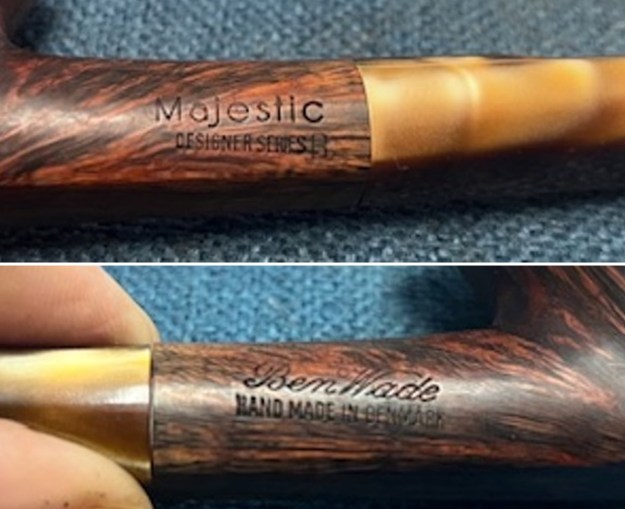
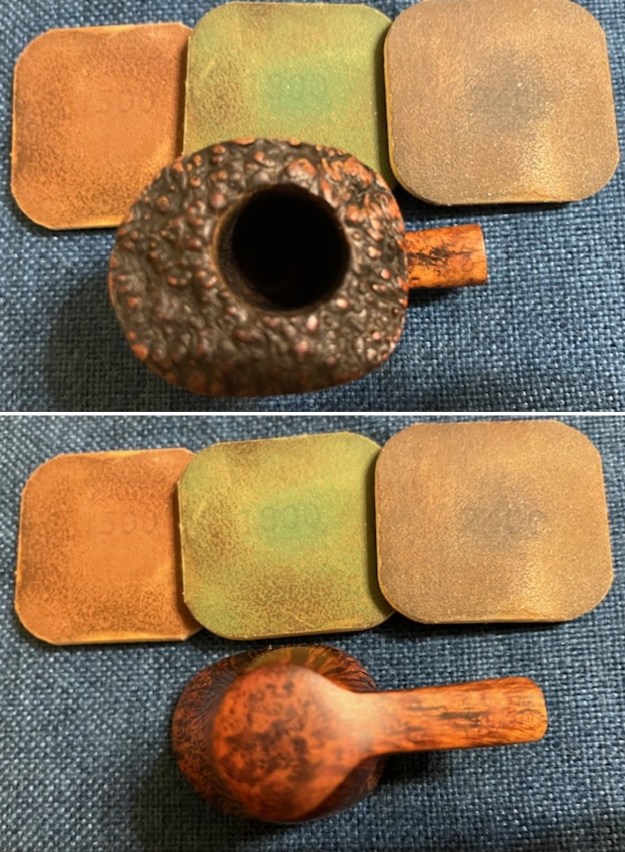
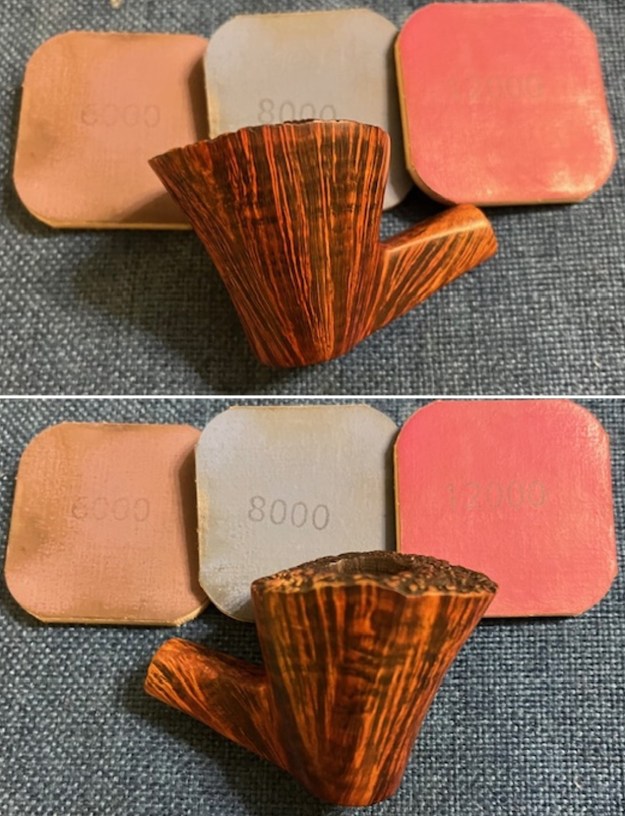
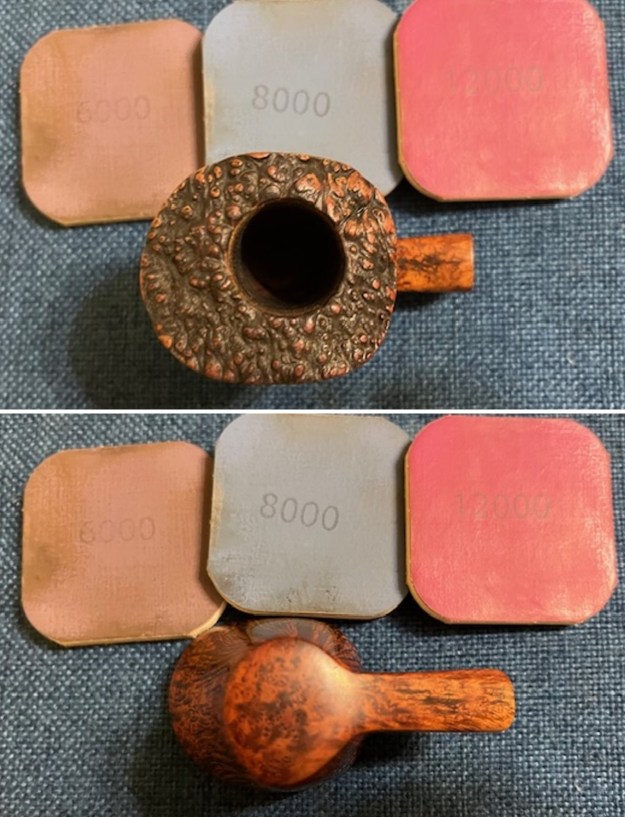
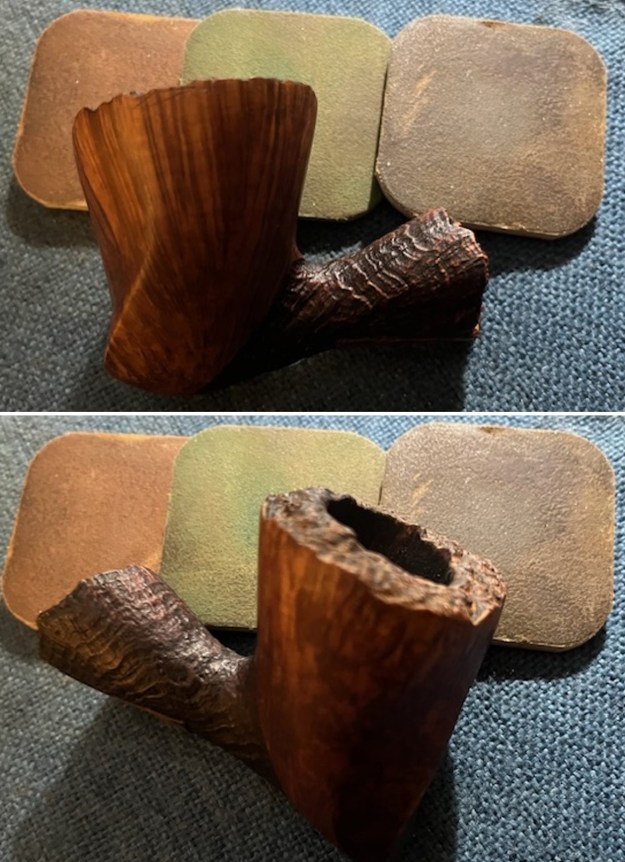
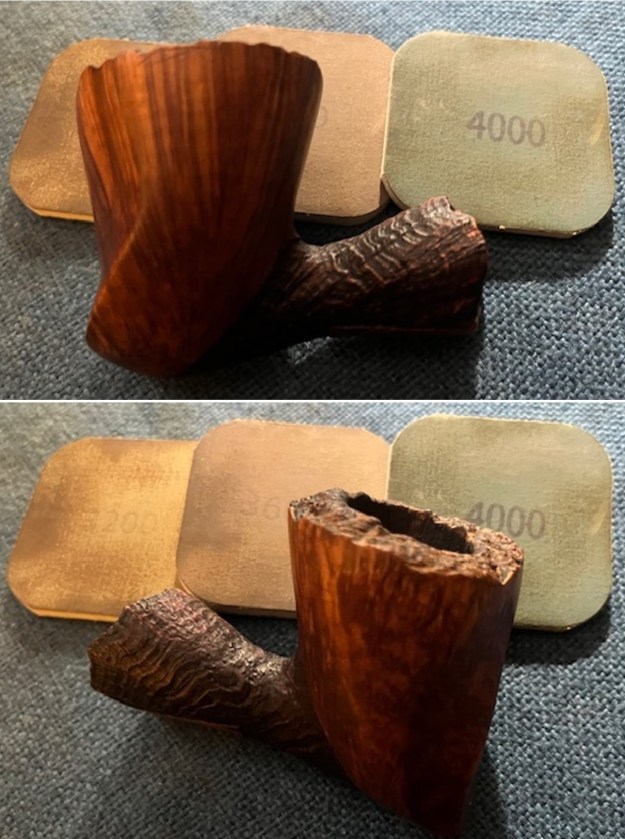
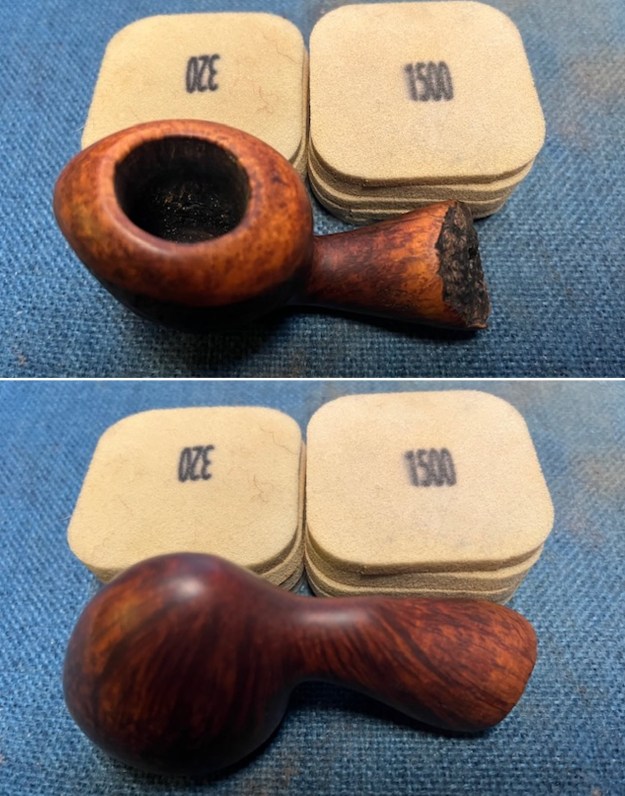
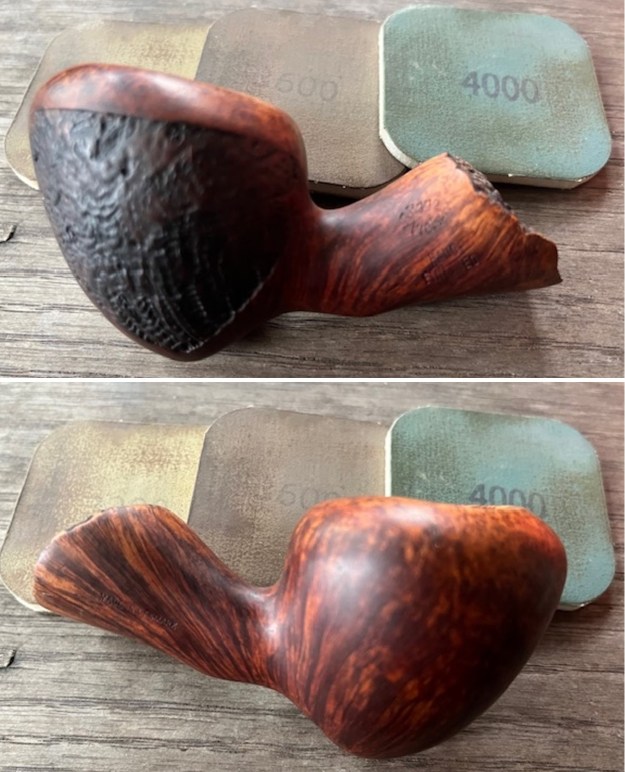
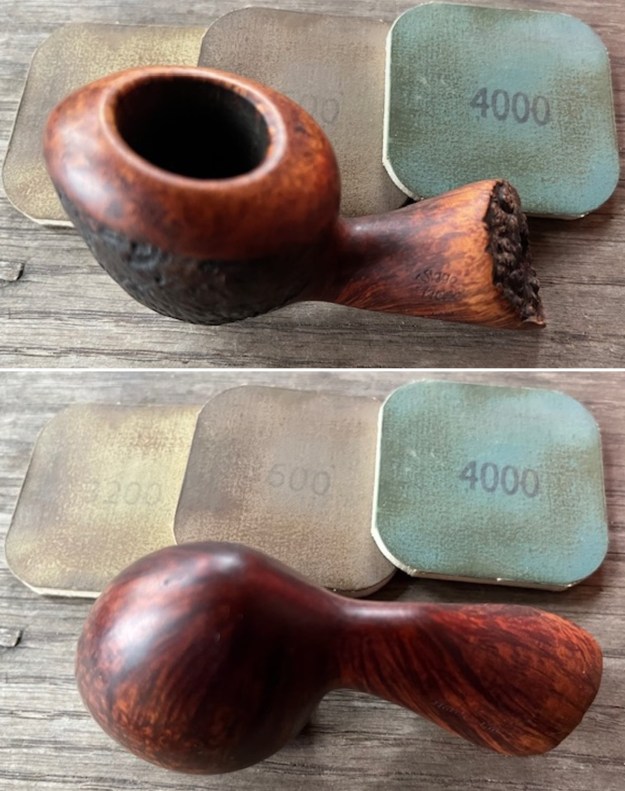
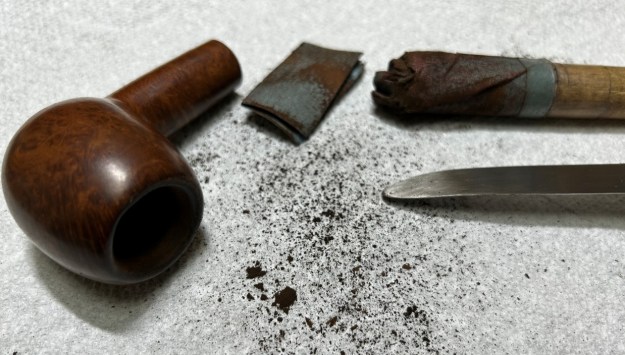
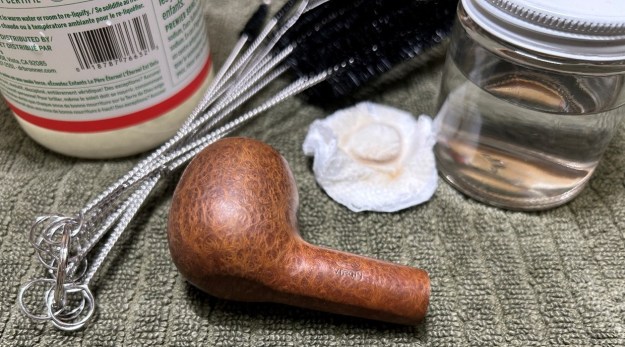
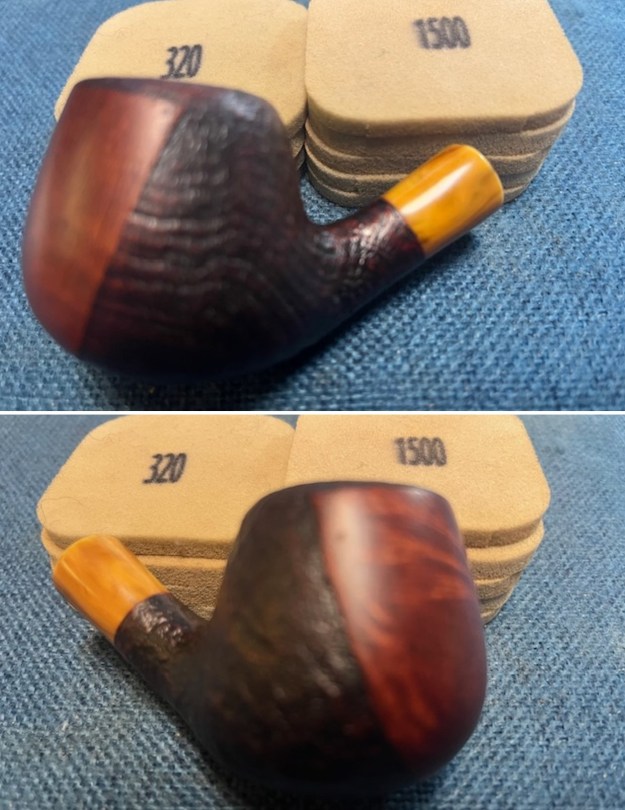
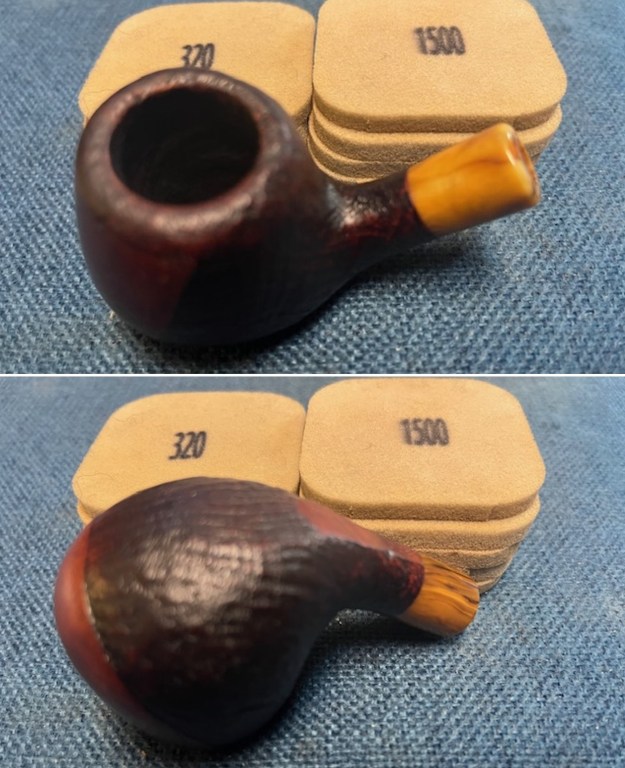
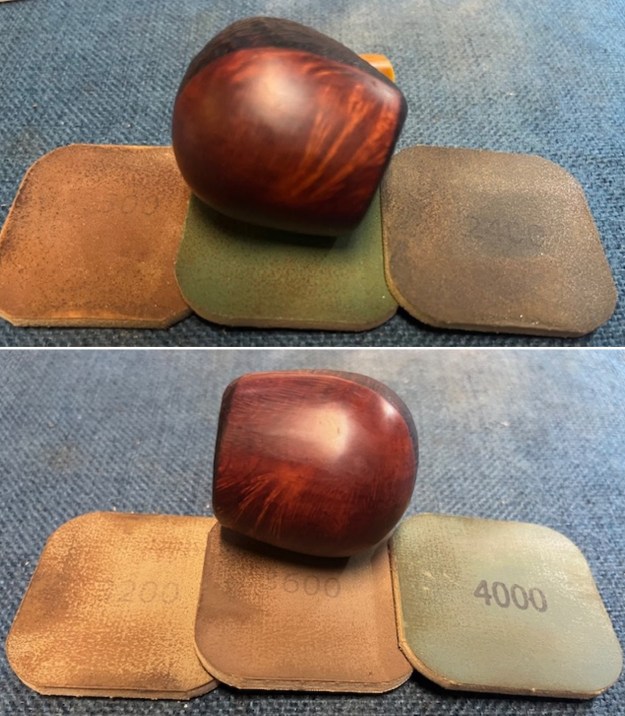
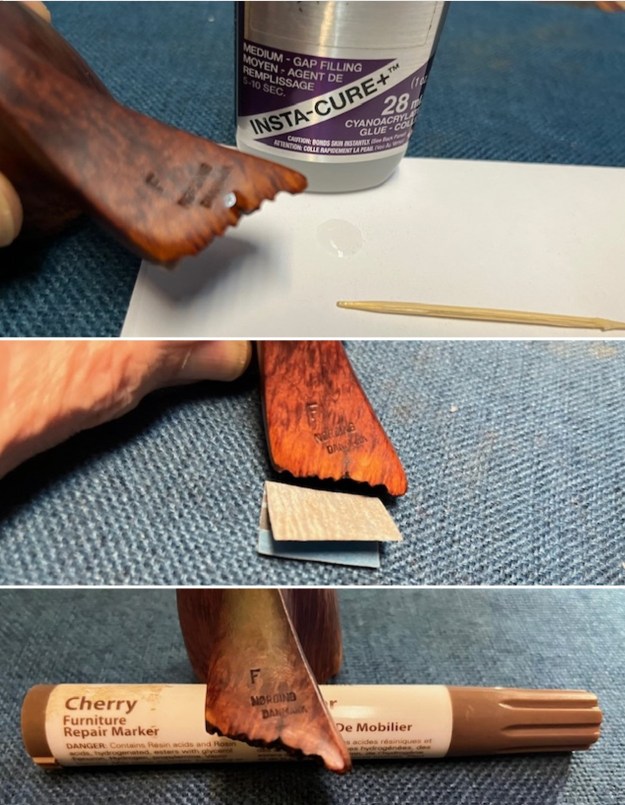
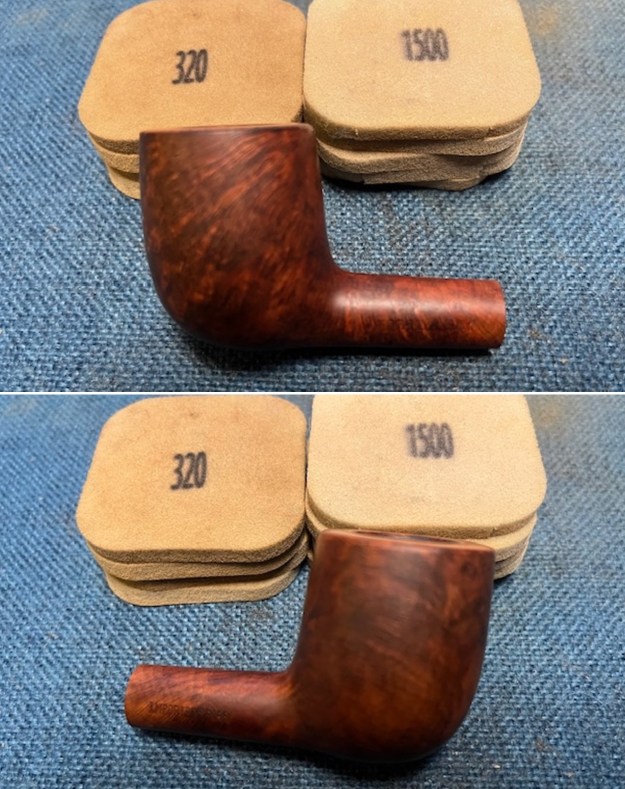
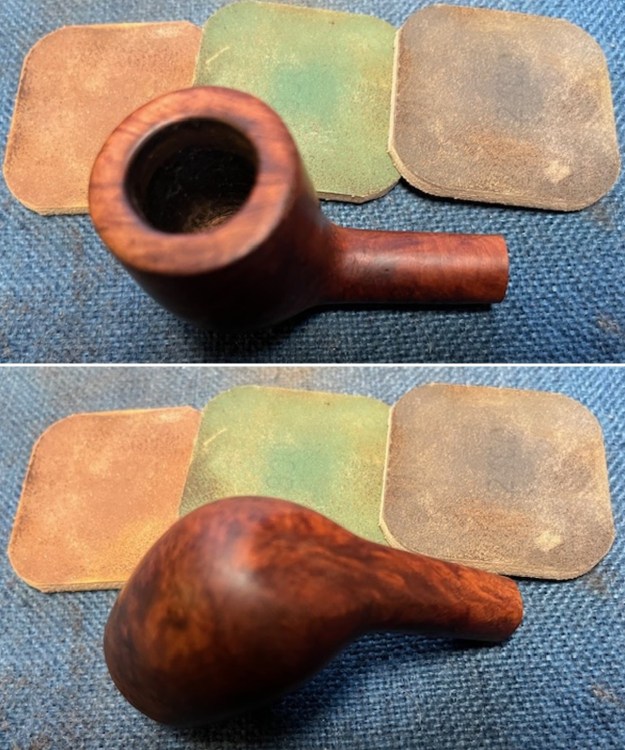
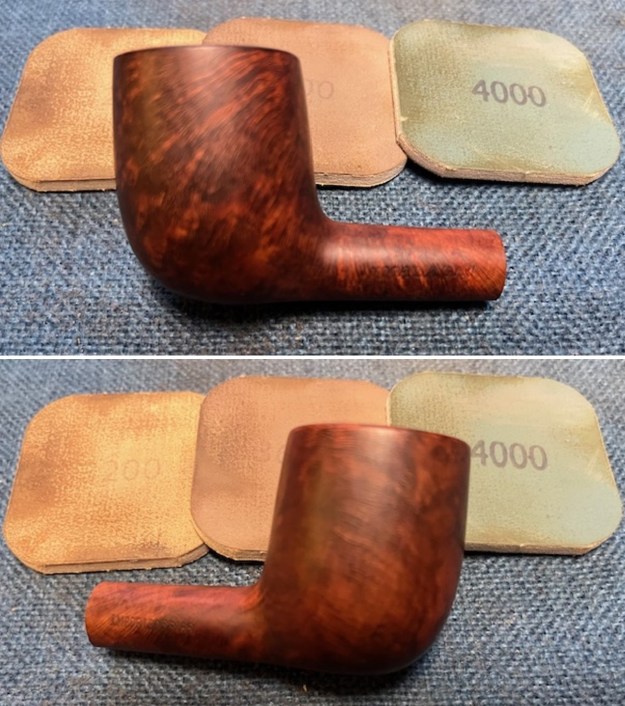
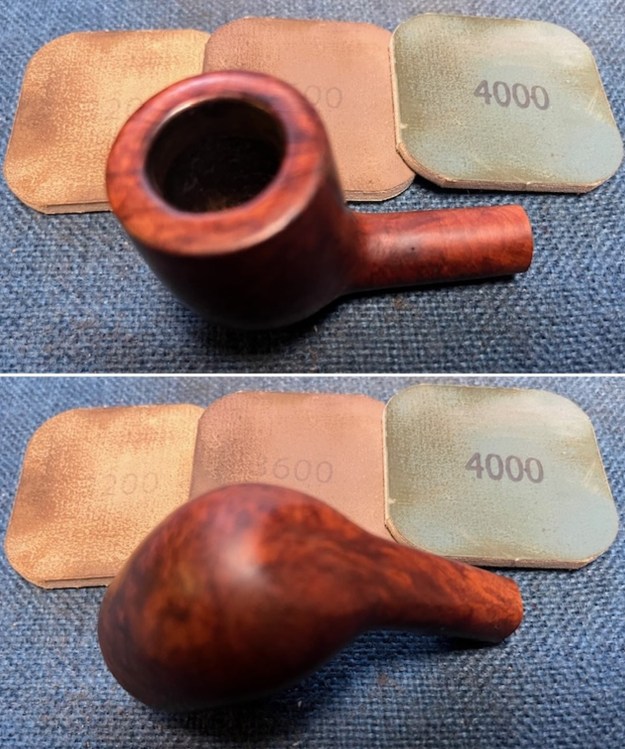
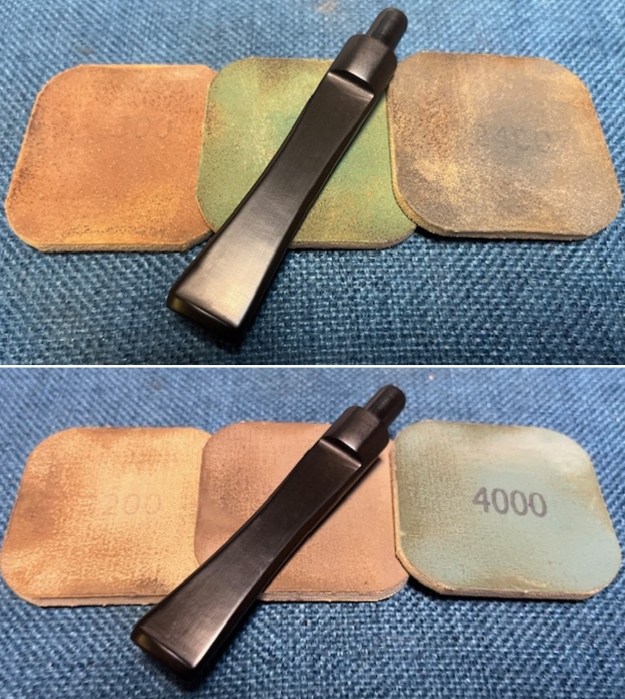
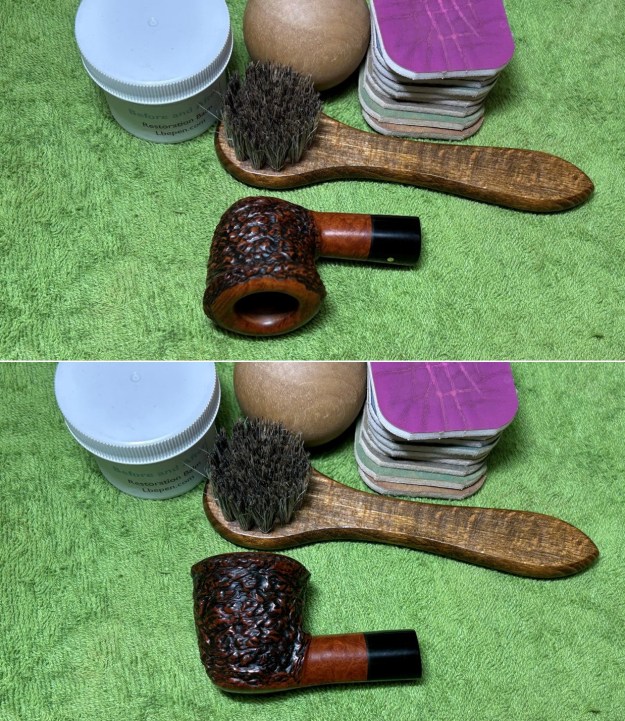
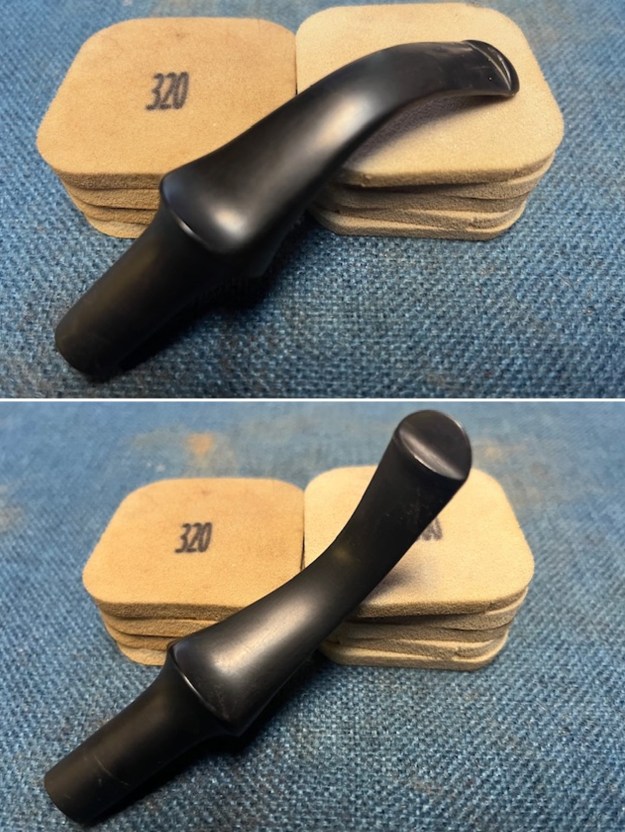
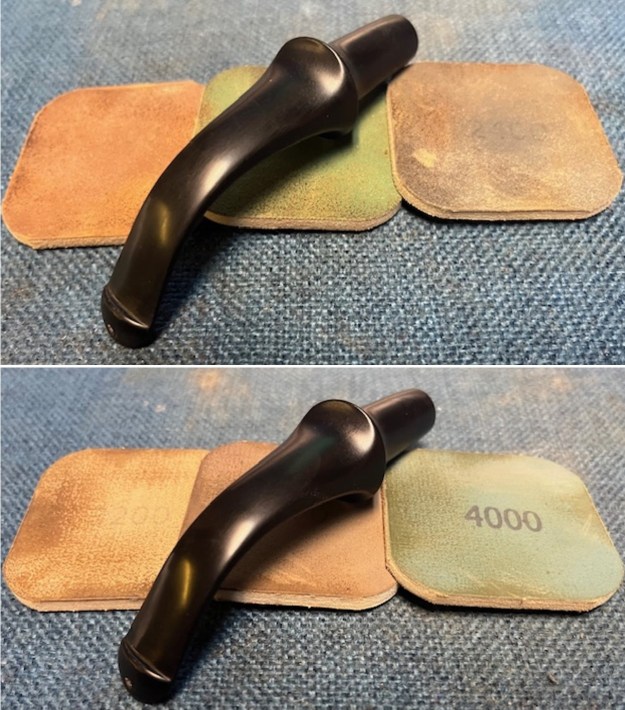
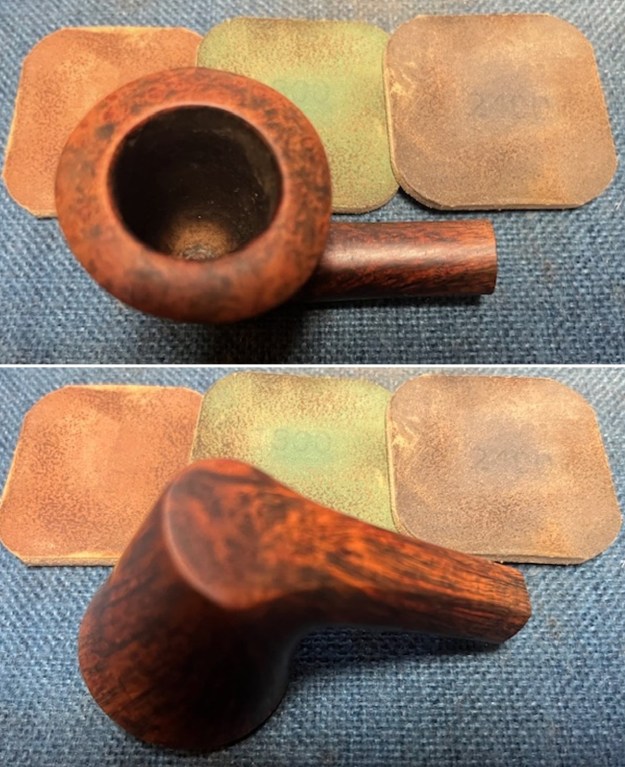
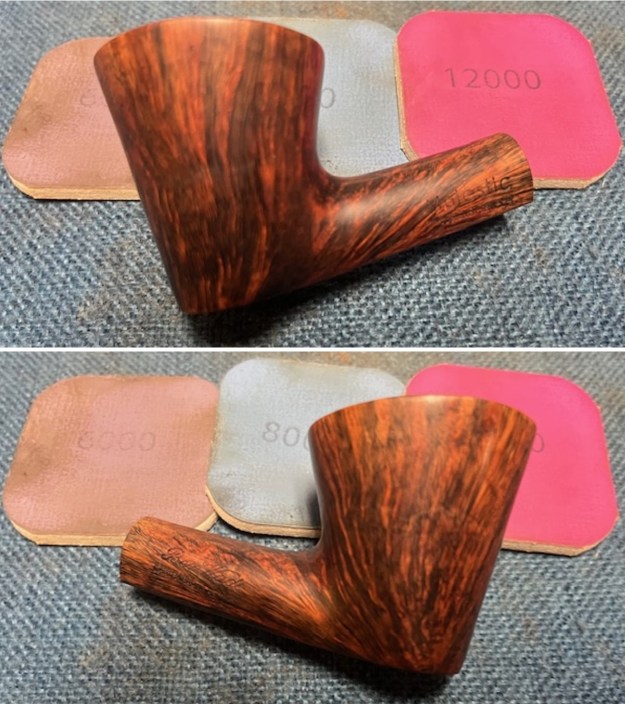
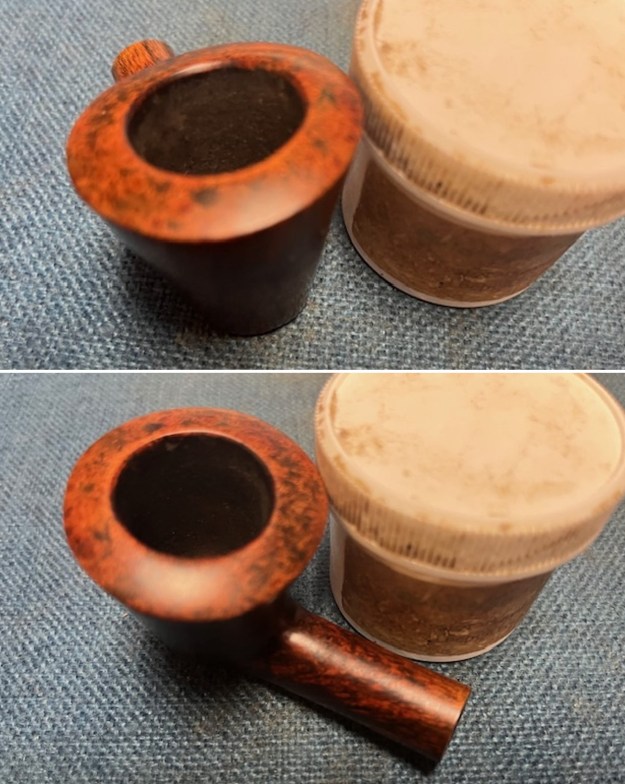
 The pipe was in decent condition so I started with the bowl. I sanded the bowl sides with 320-3500 grit sanding pads. I wiped it down after each sanding pad with a damp cloth to remove the debris left behind by the sanding process.
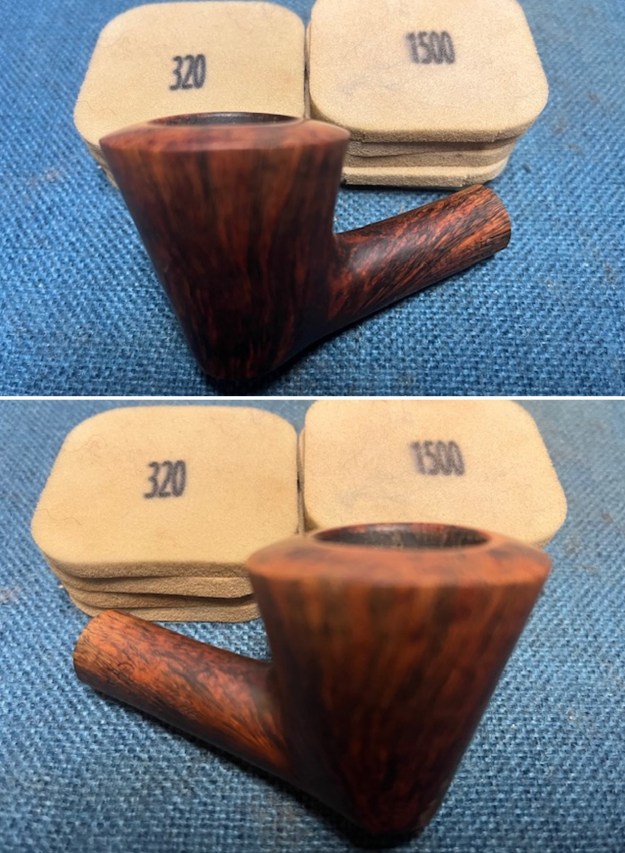
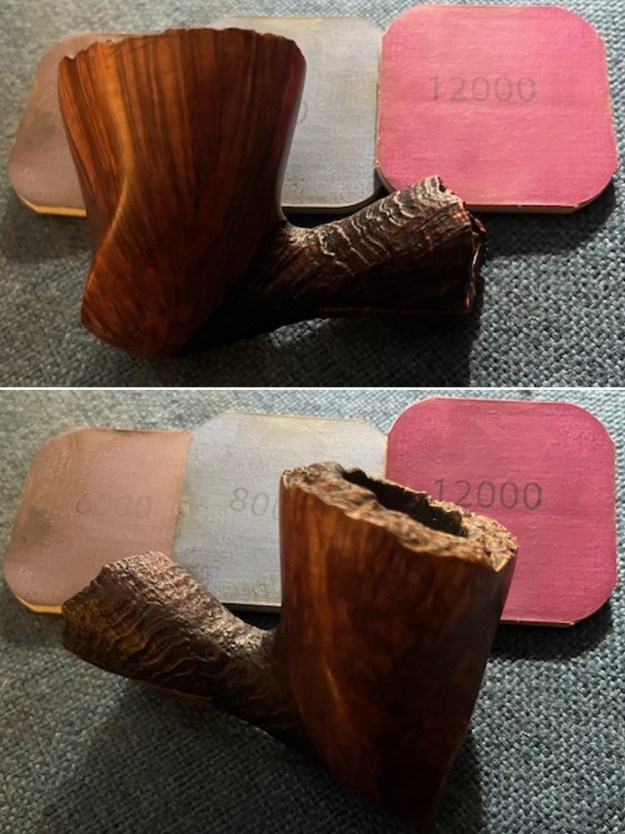
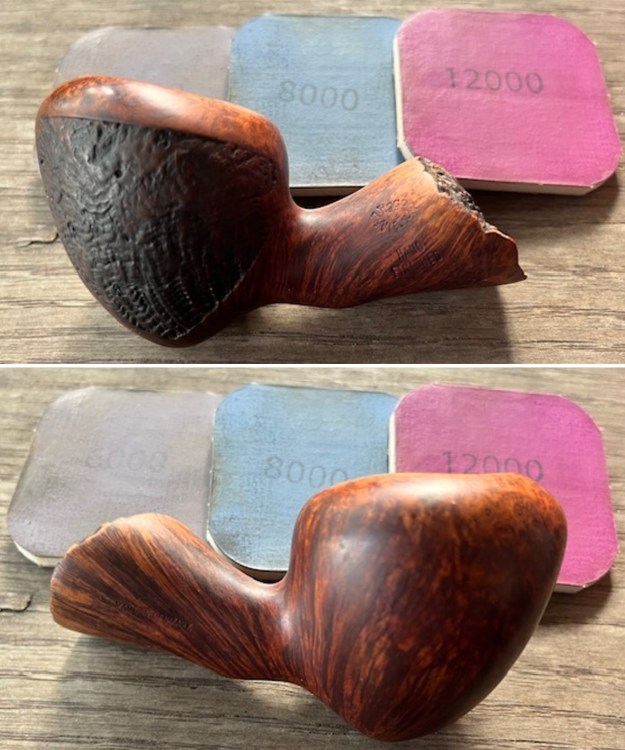
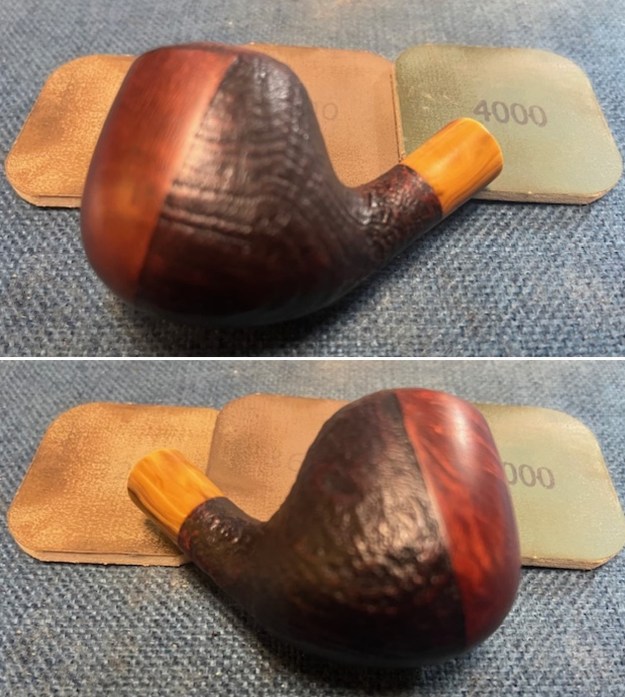
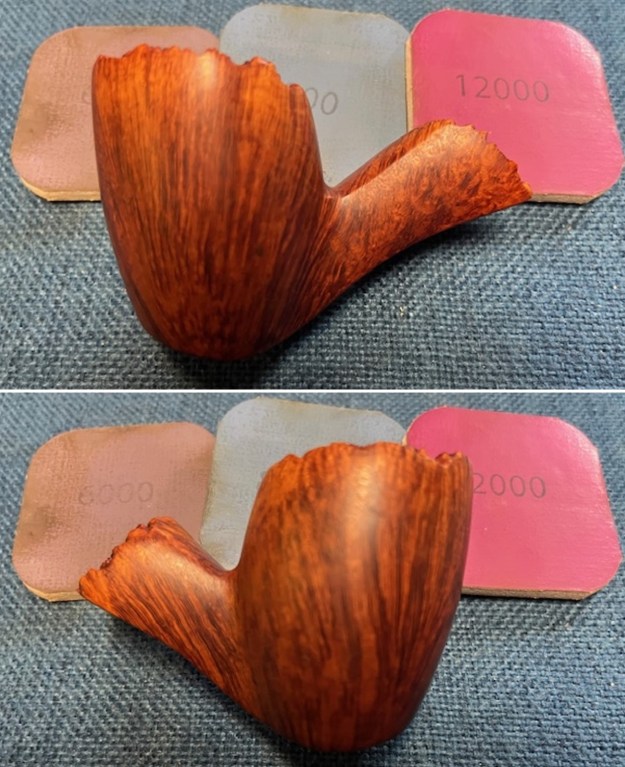
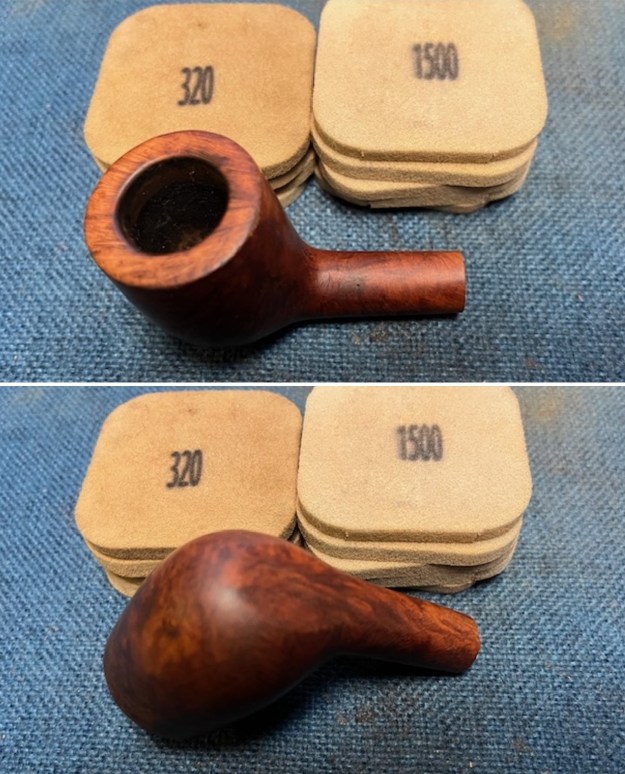
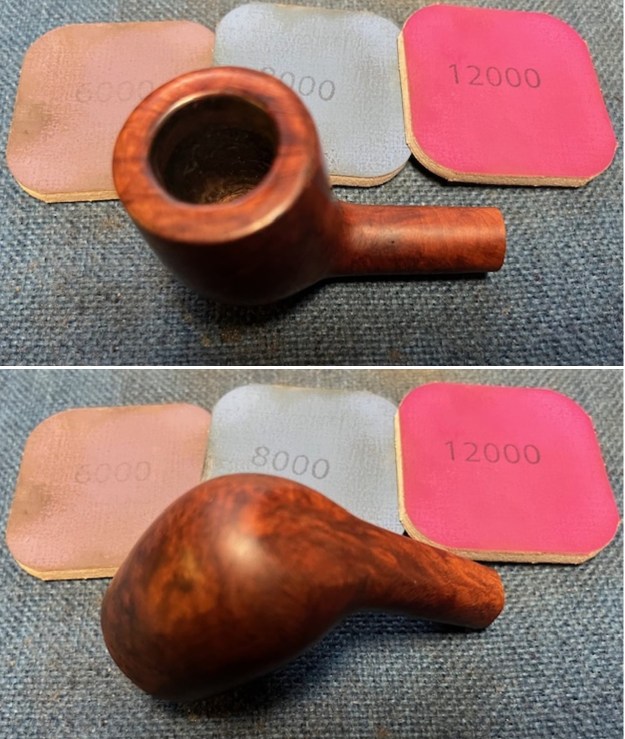
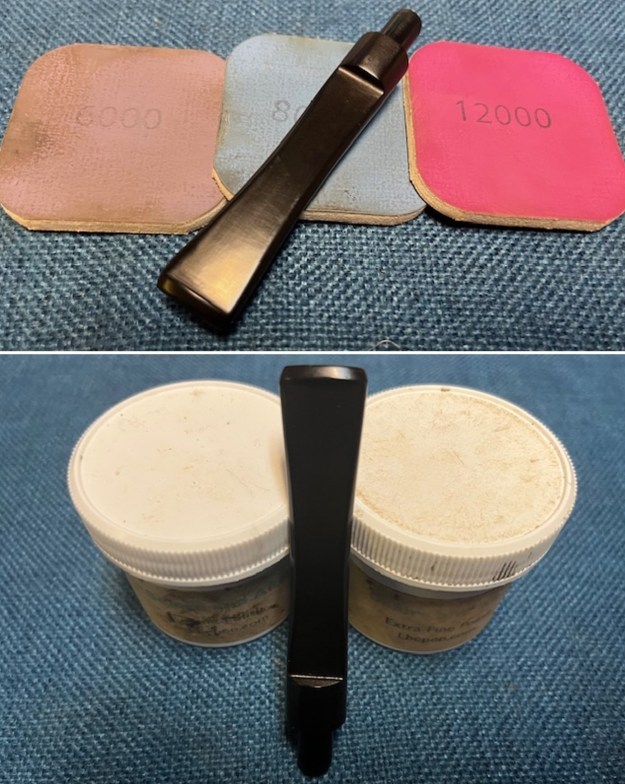
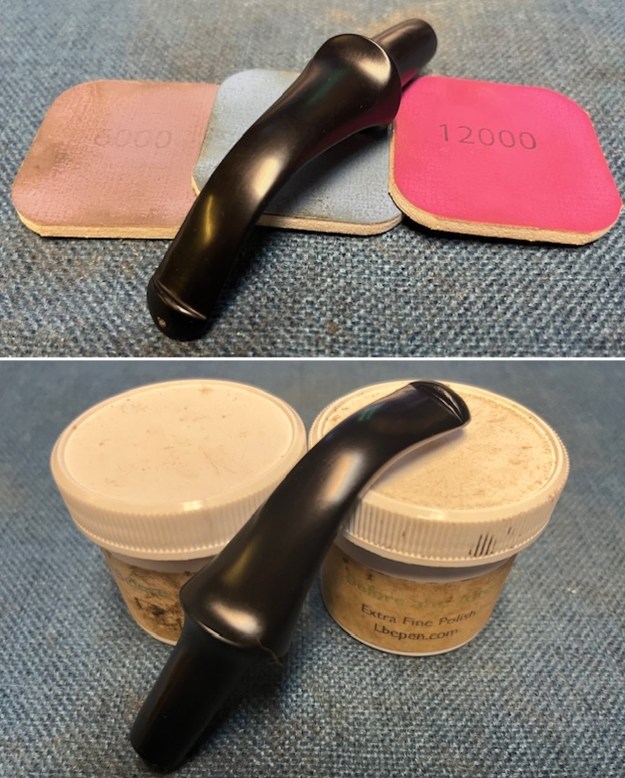
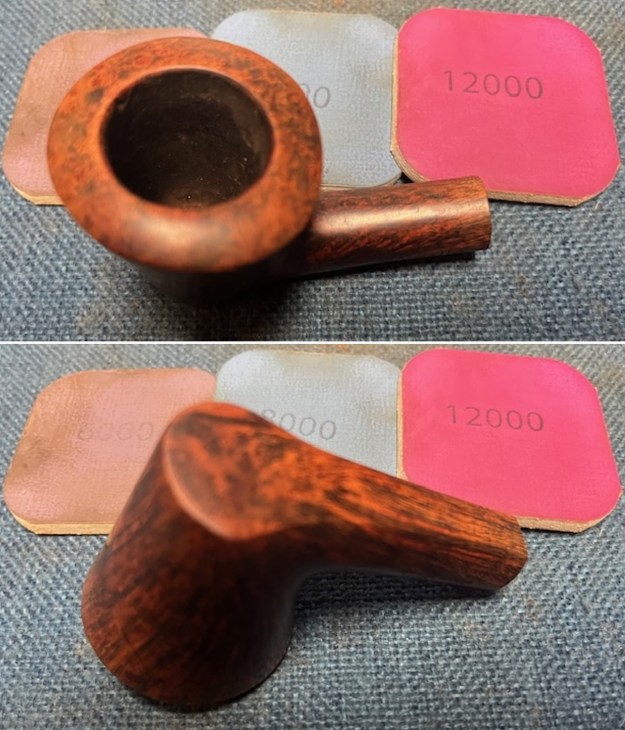
 I polished the smooth portions of the briar with micromesh sanding pads – wet sanding with 1500-12000 grit pads and wiping down the briar after each sanding pad with a damp cloth. The briar began to shine.
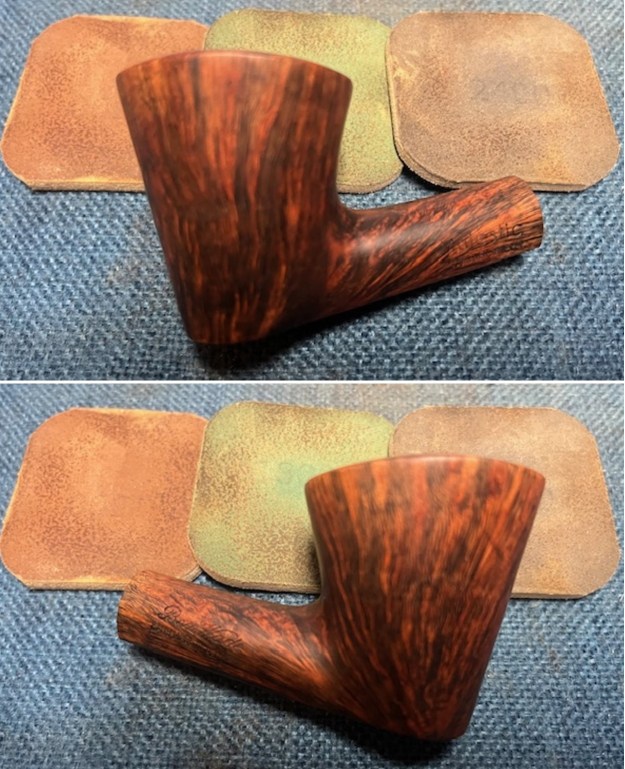
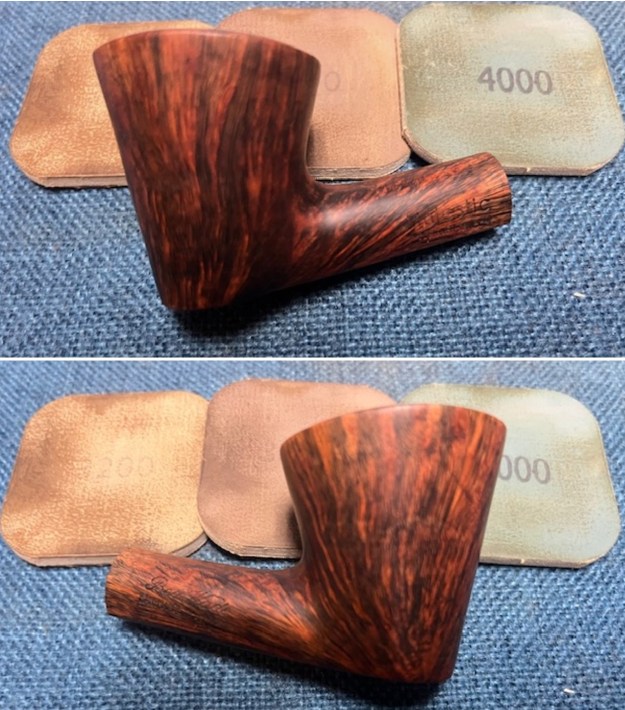
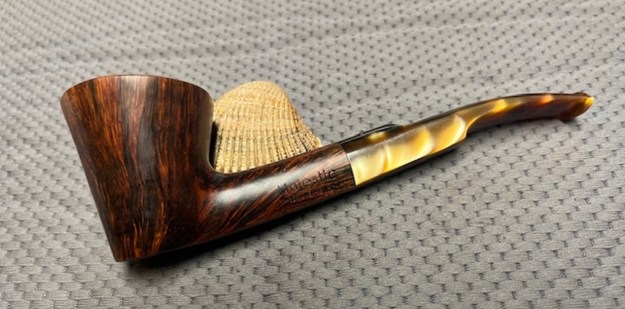
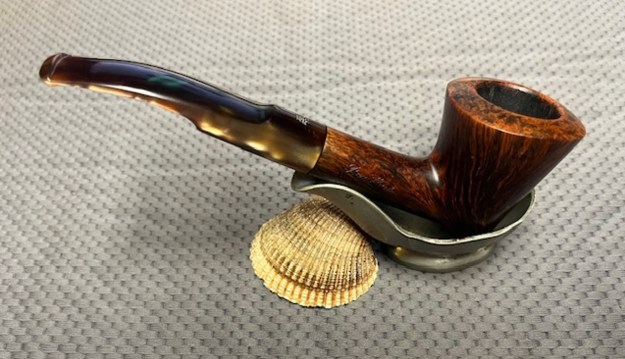
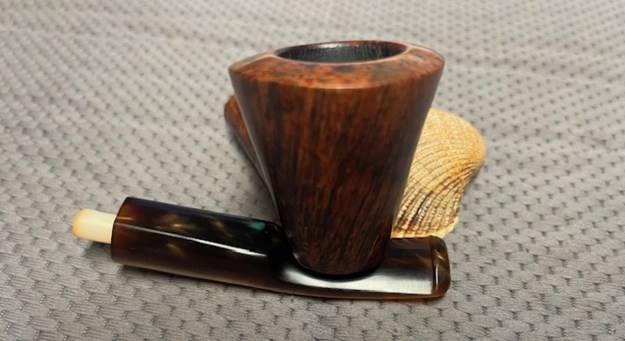
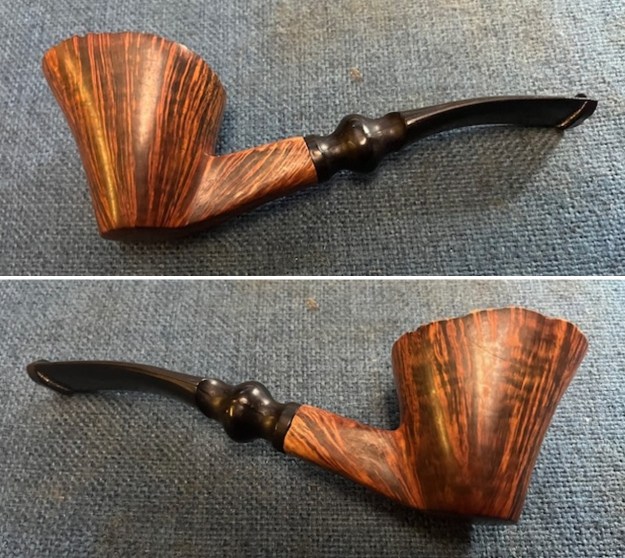
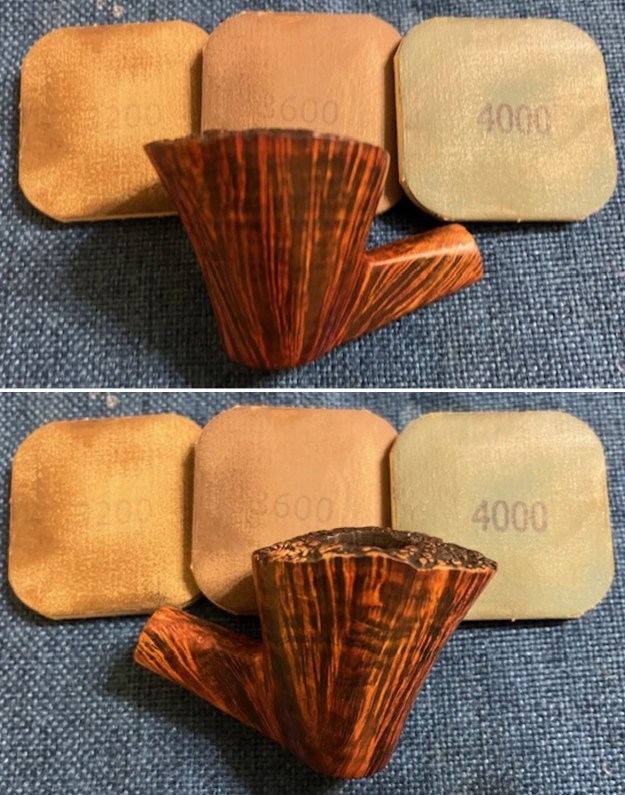
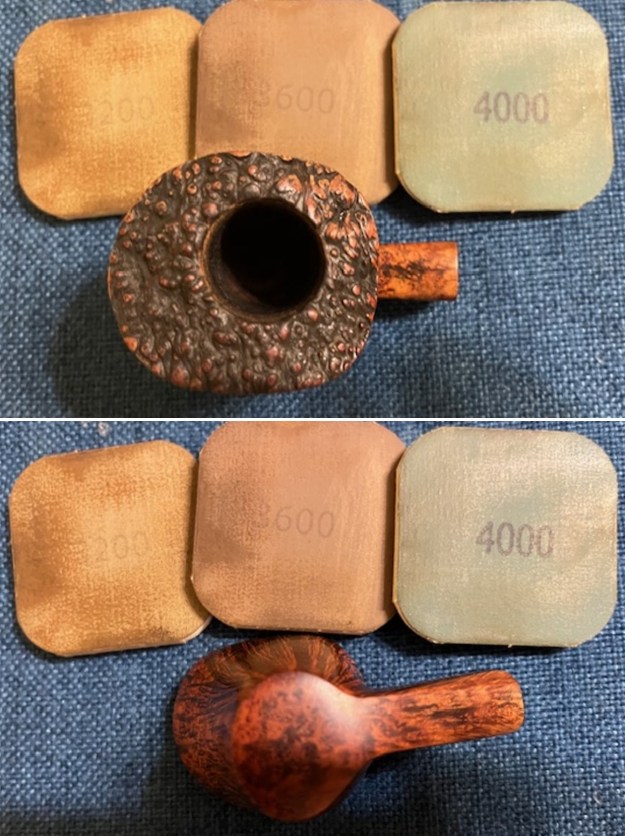
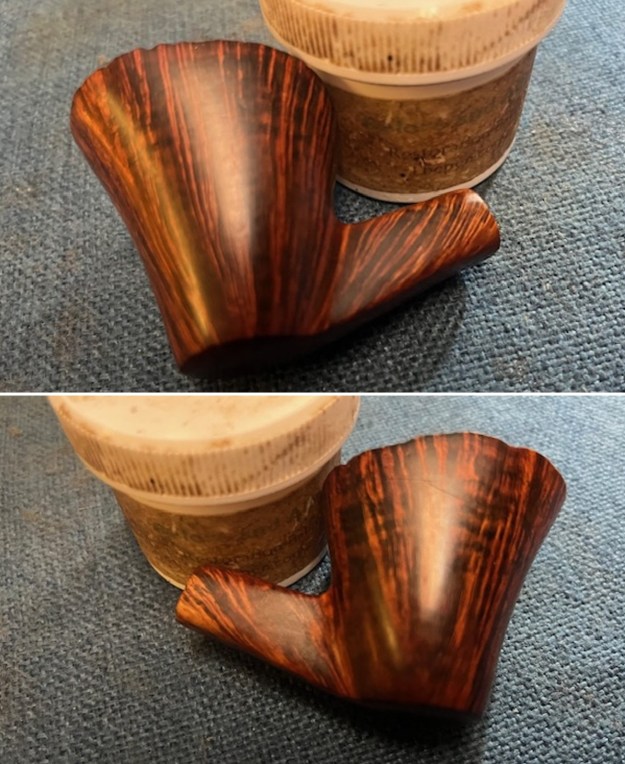
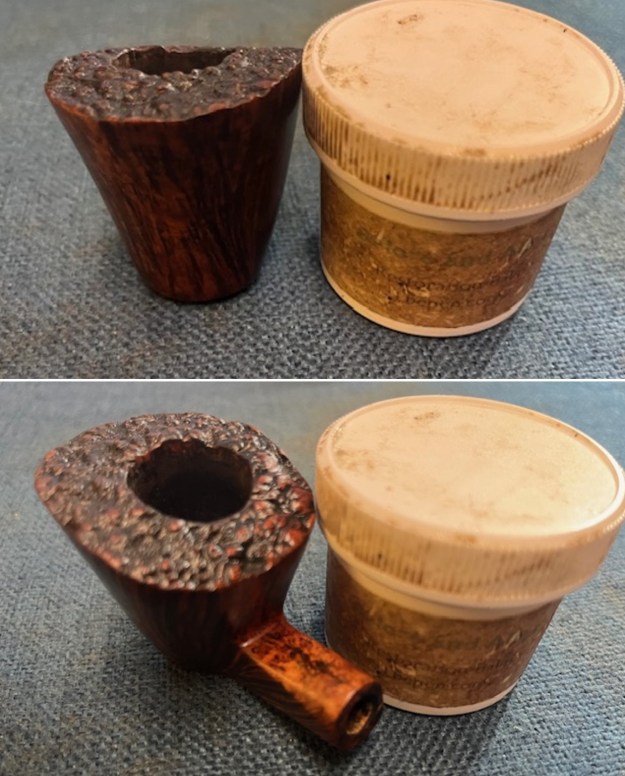
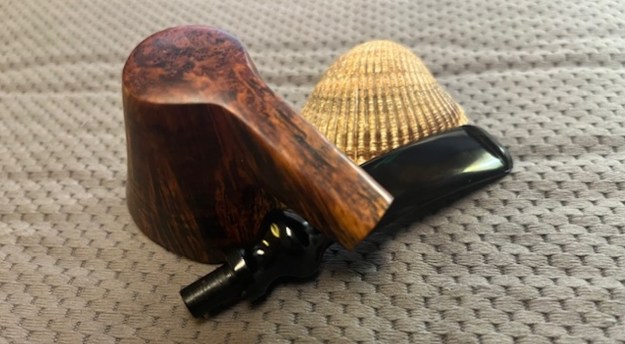
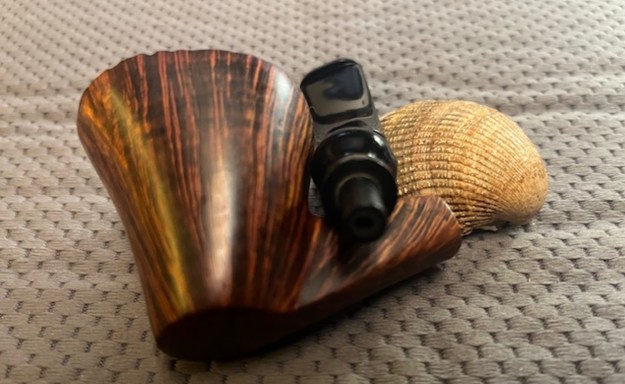
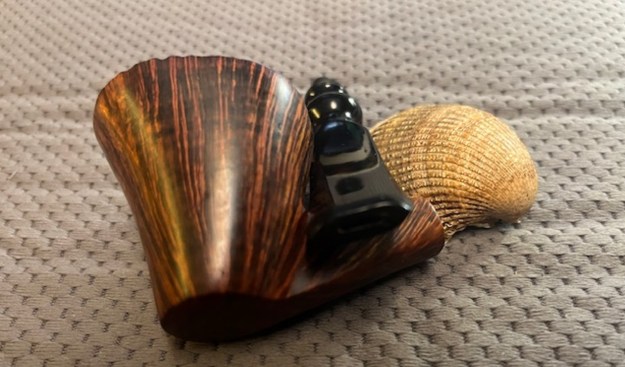
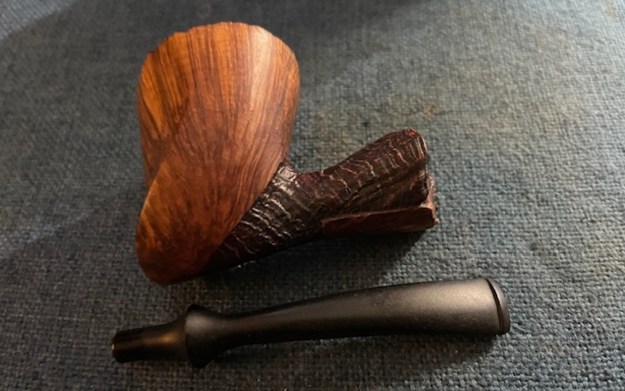
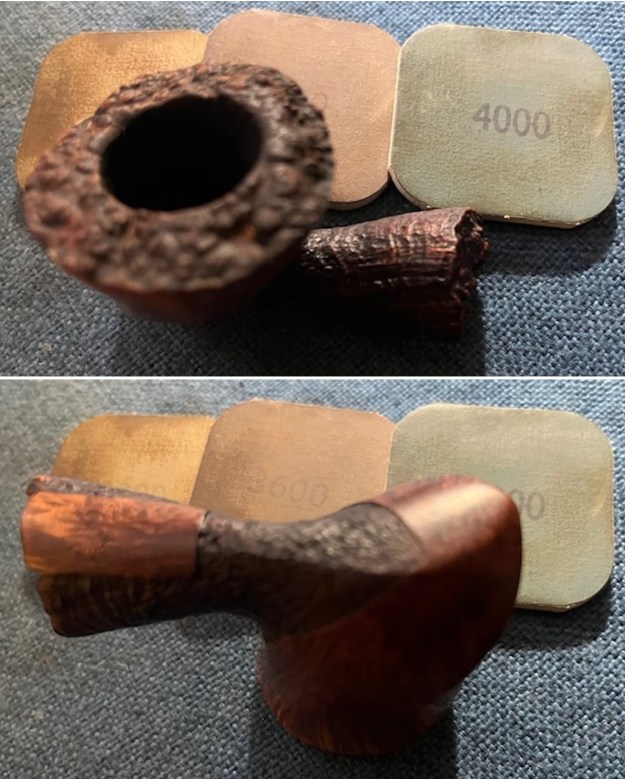
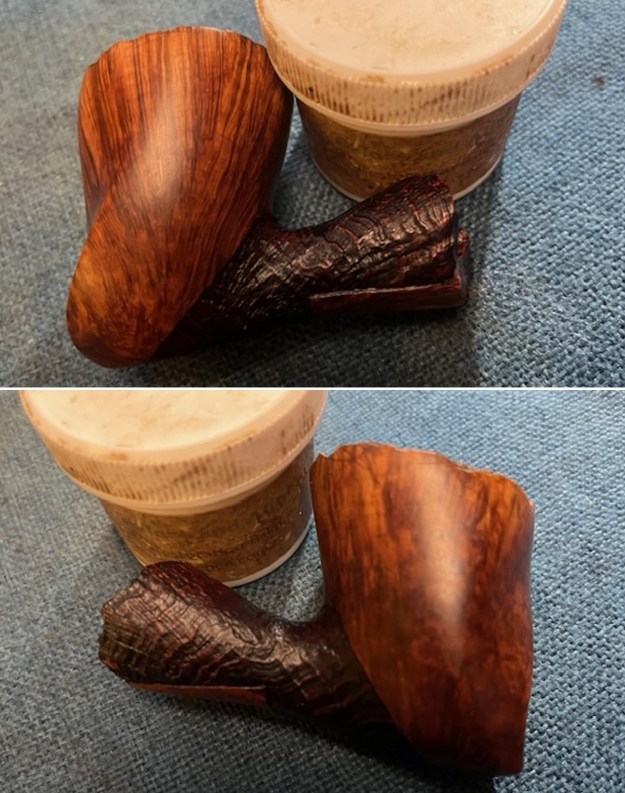
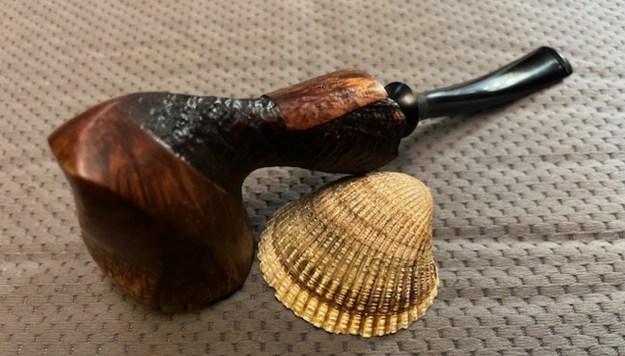
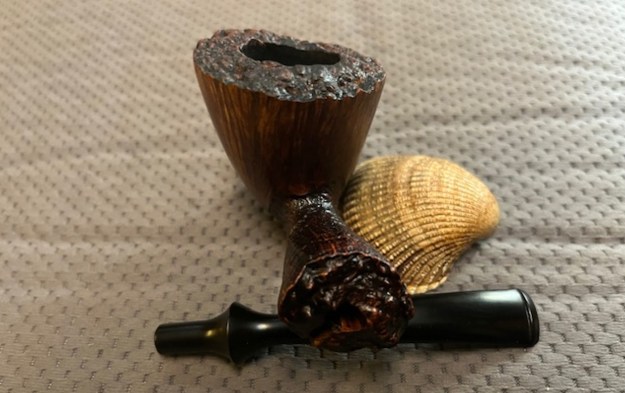
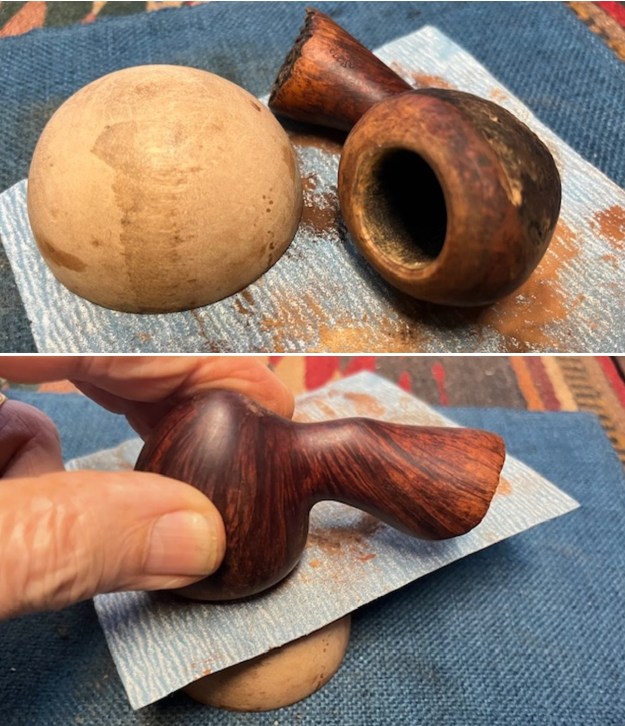
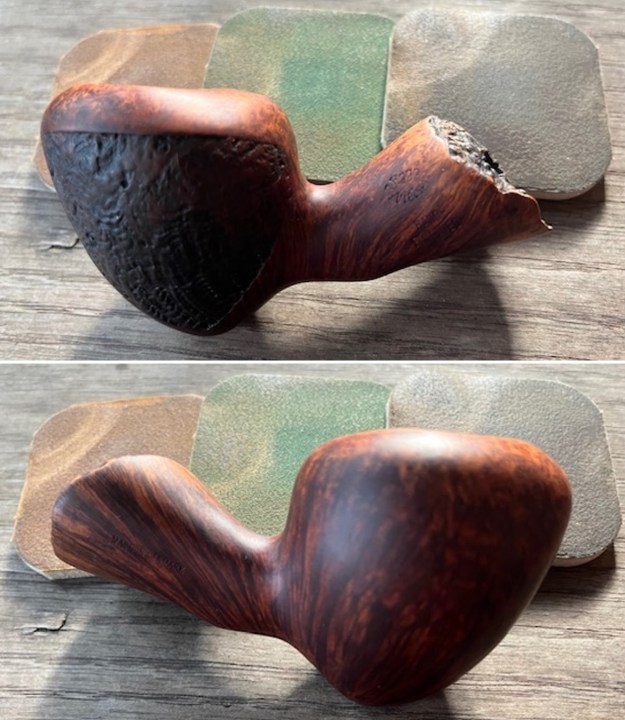
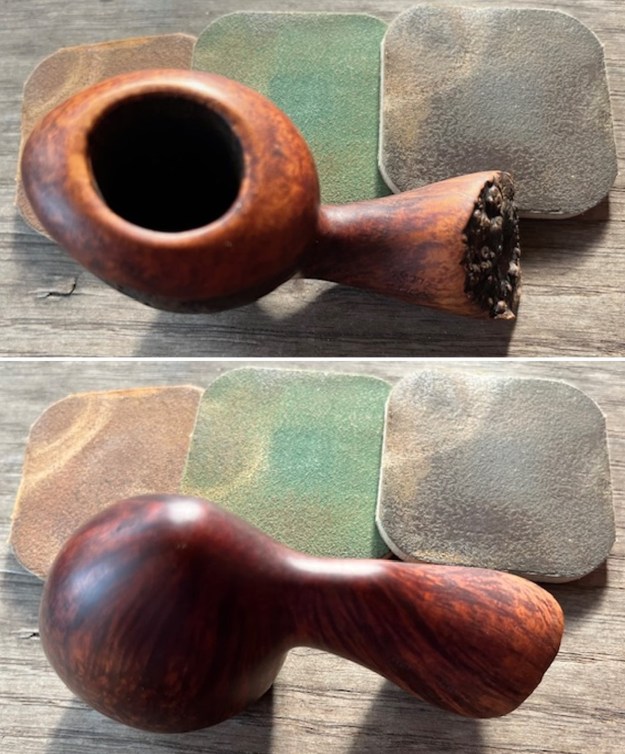
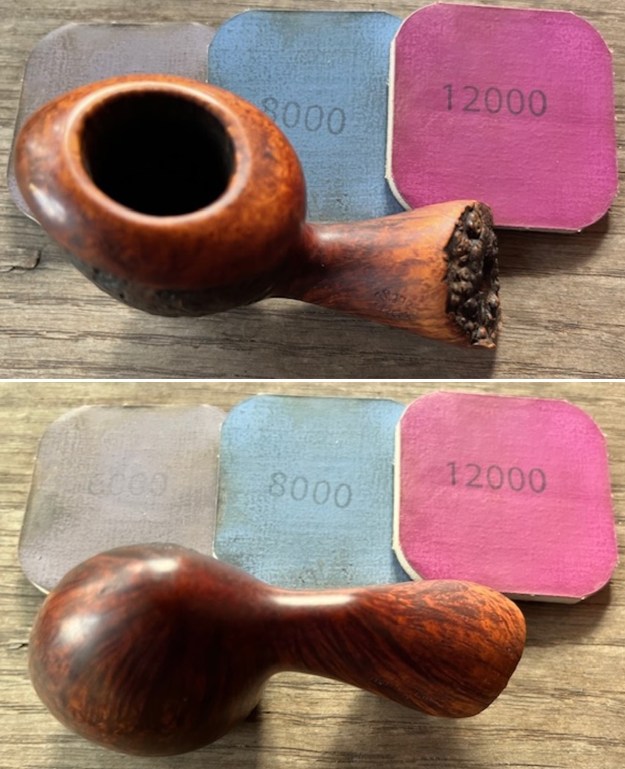
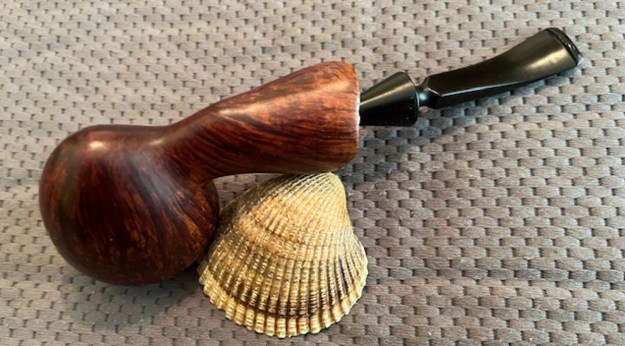
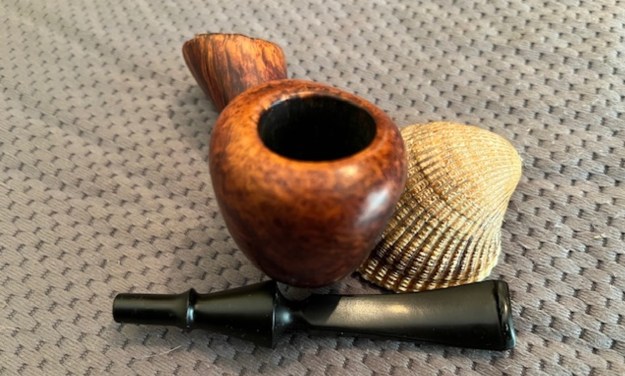
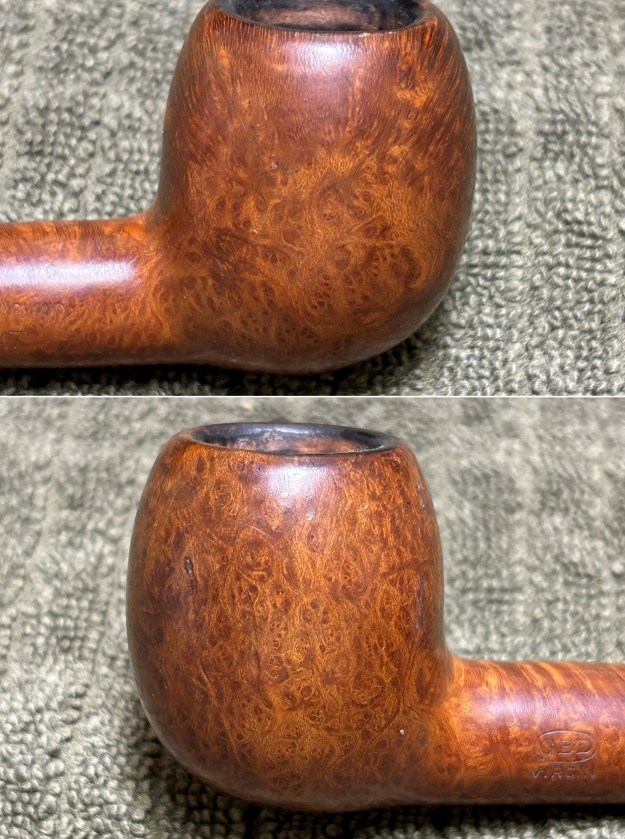
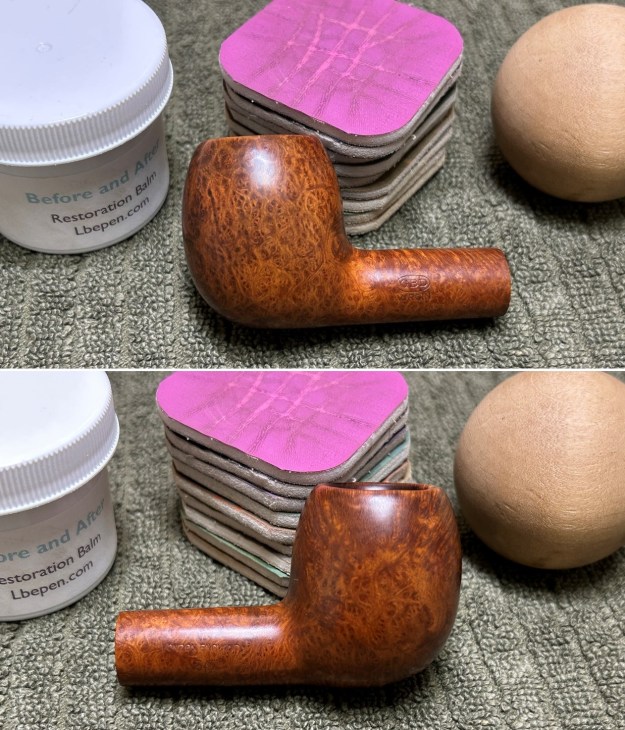
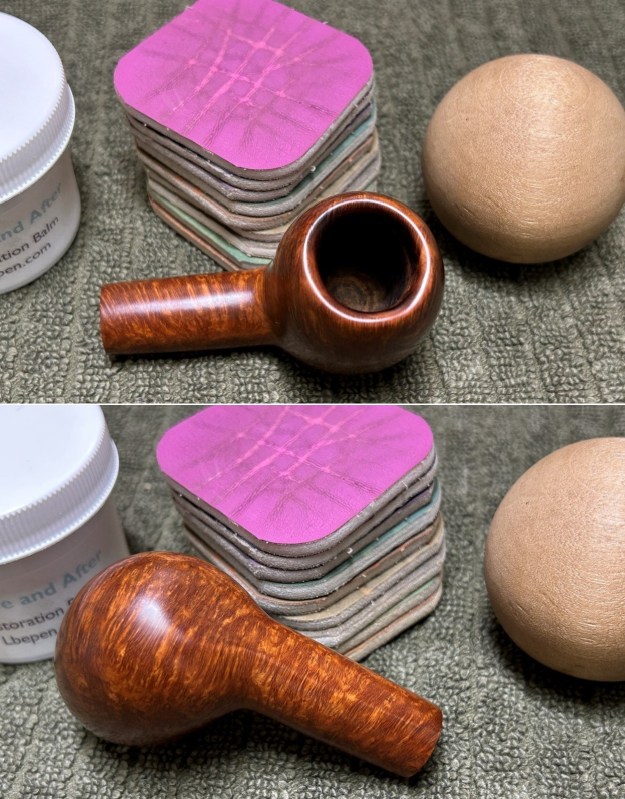
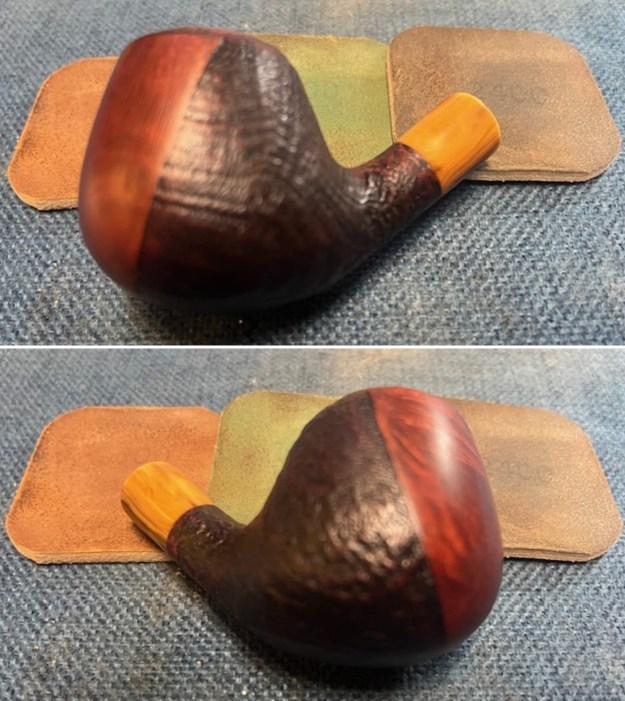
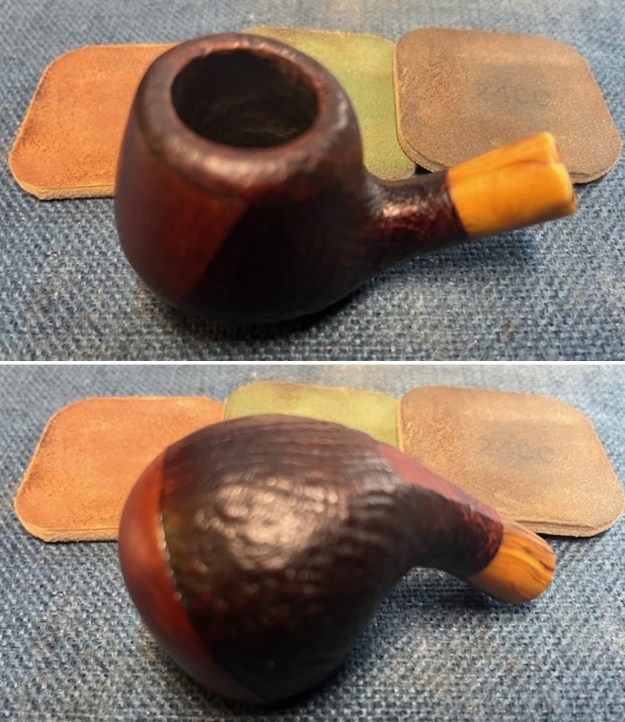
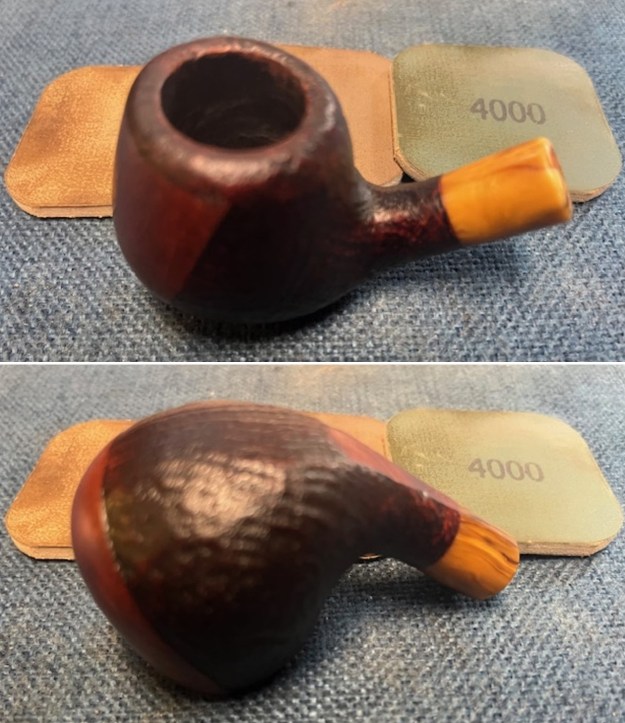
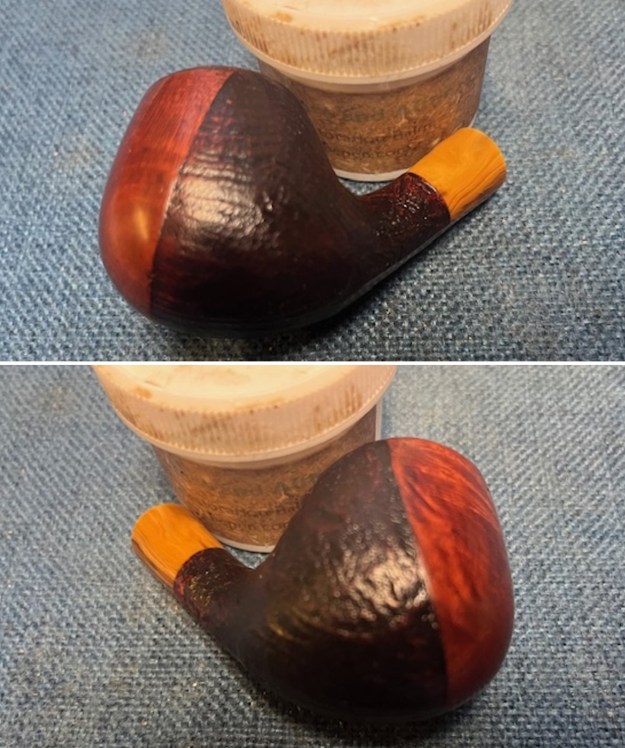
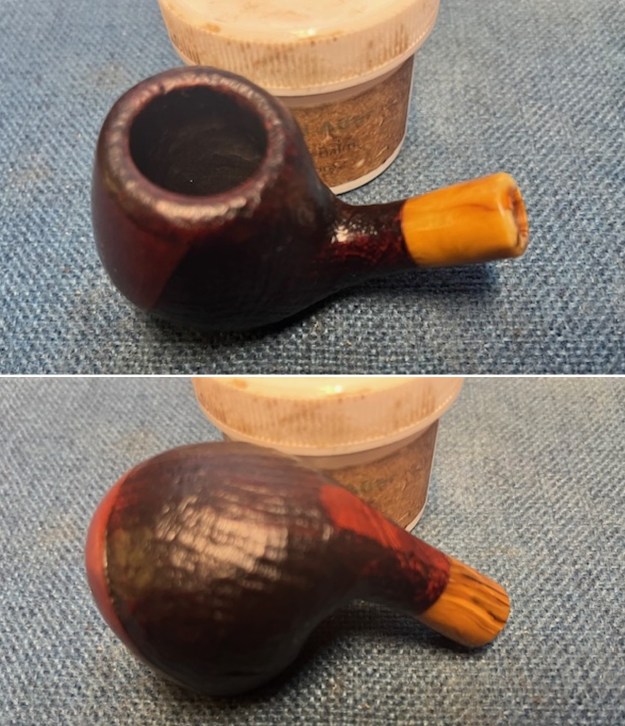
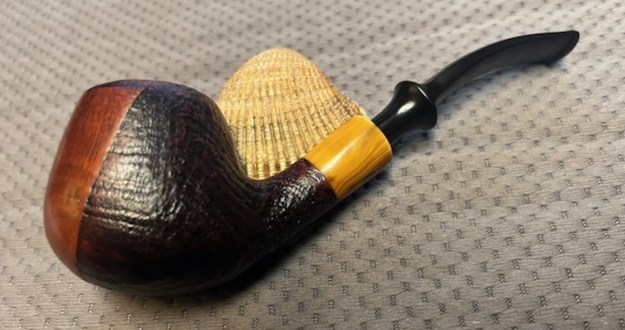
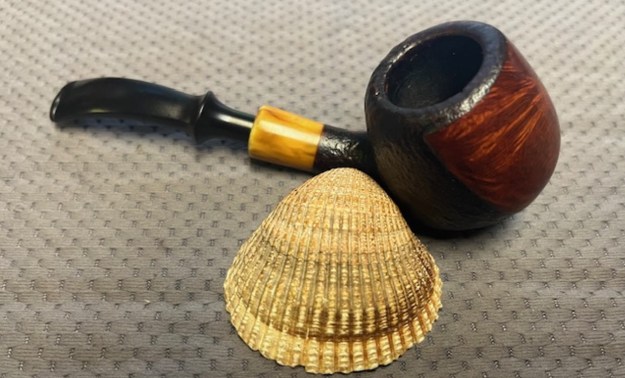
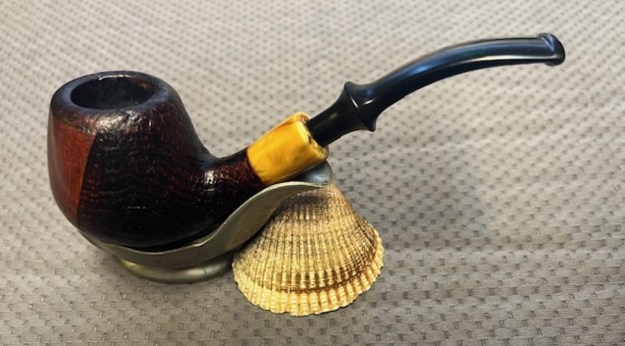
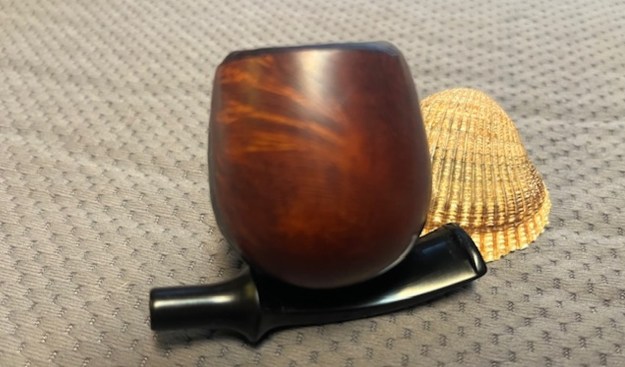
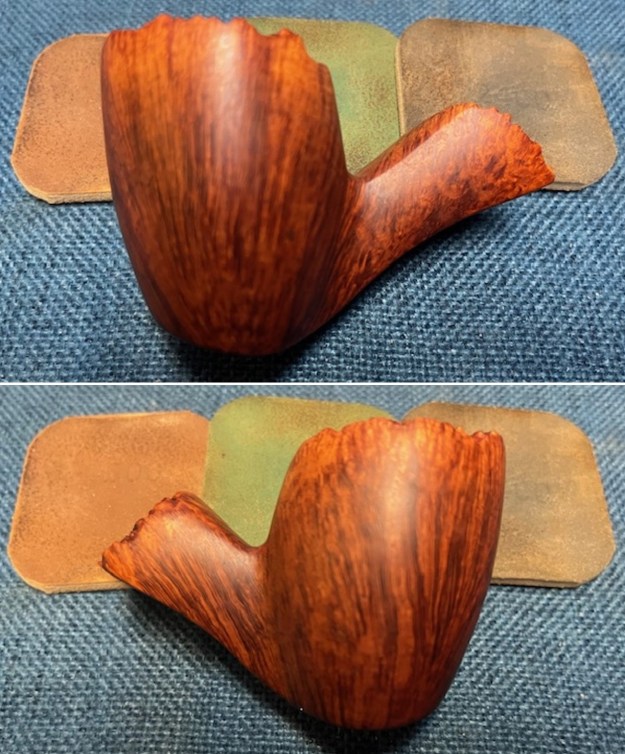
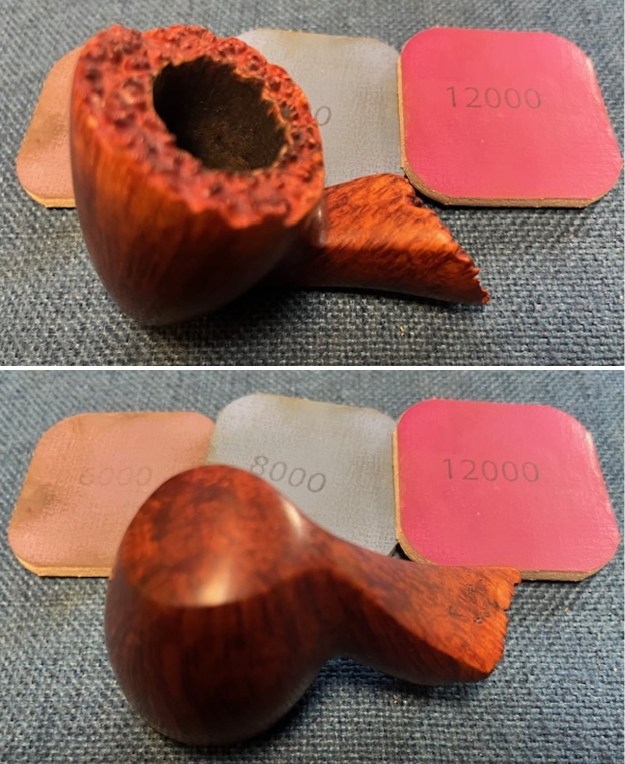
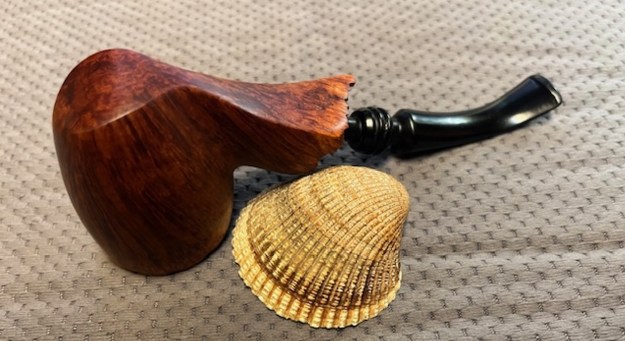
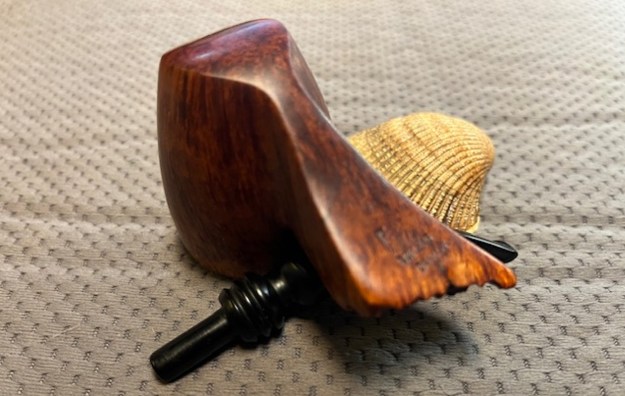
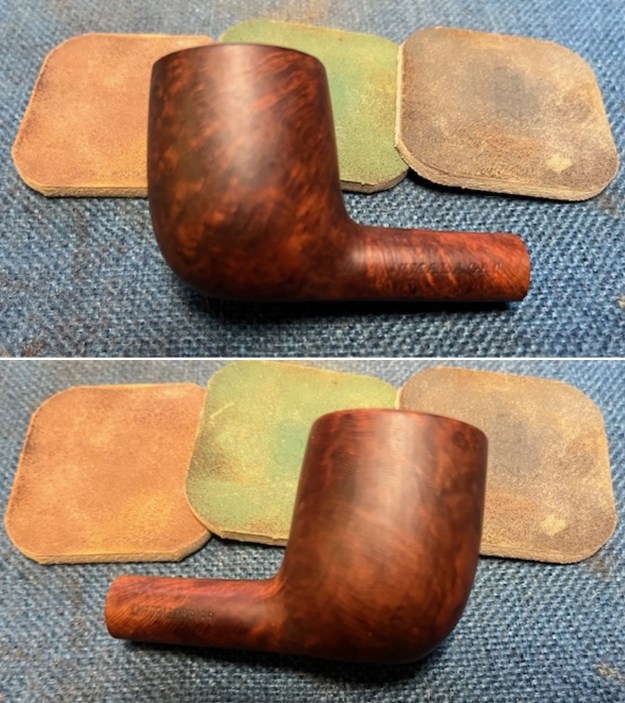
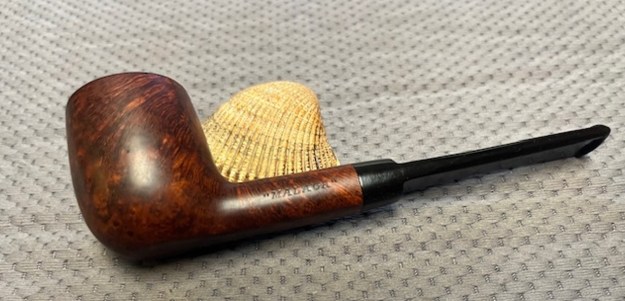
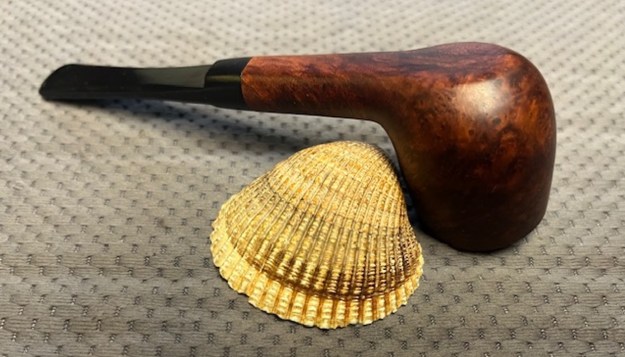
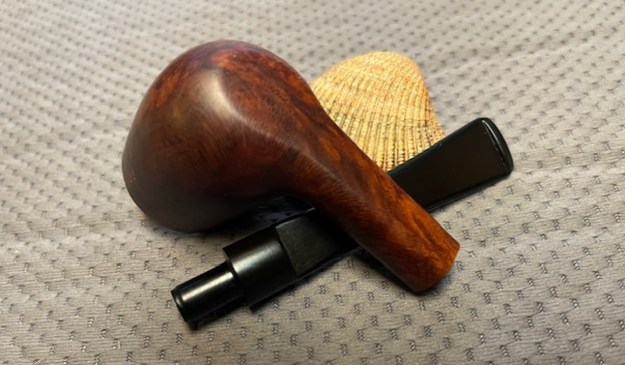
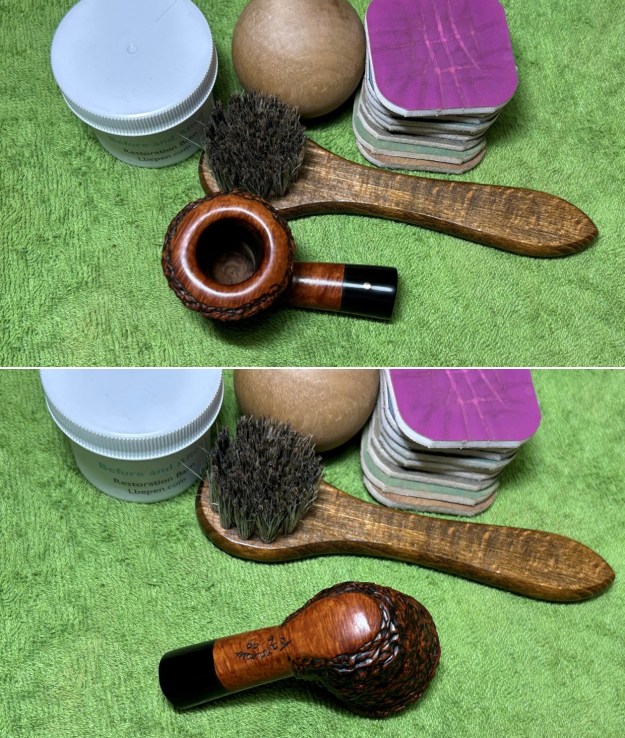
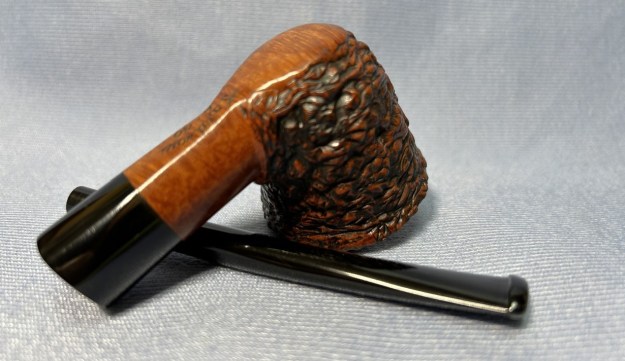
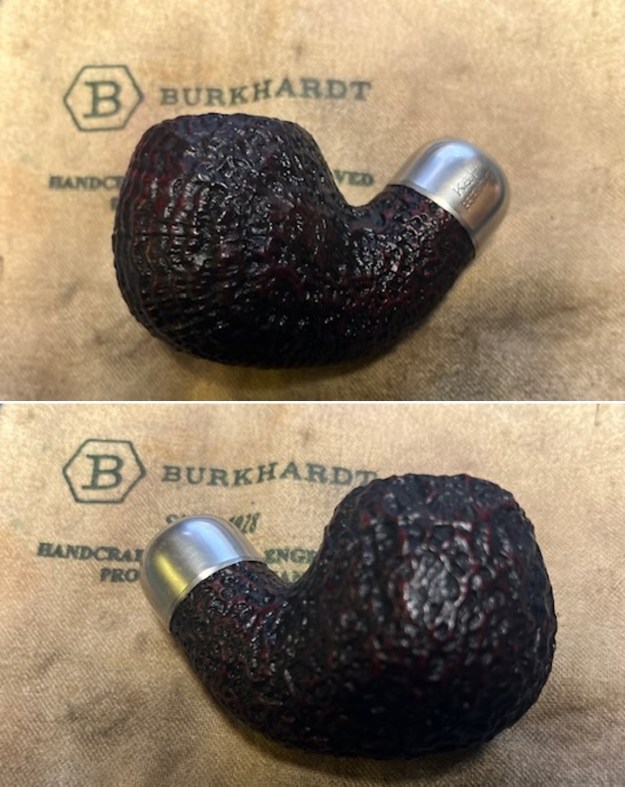
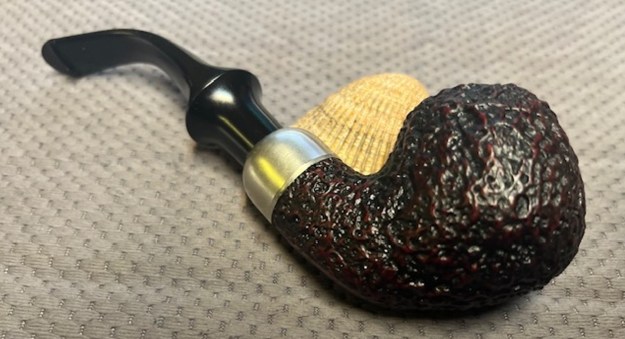
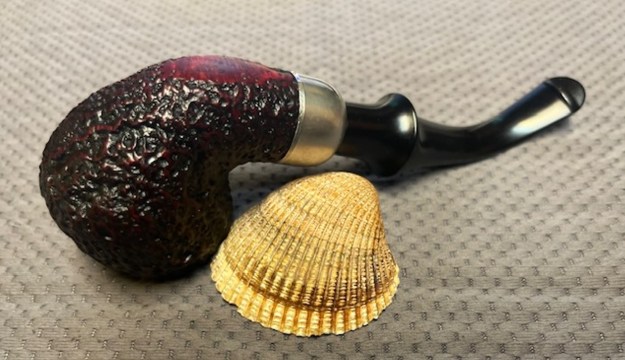
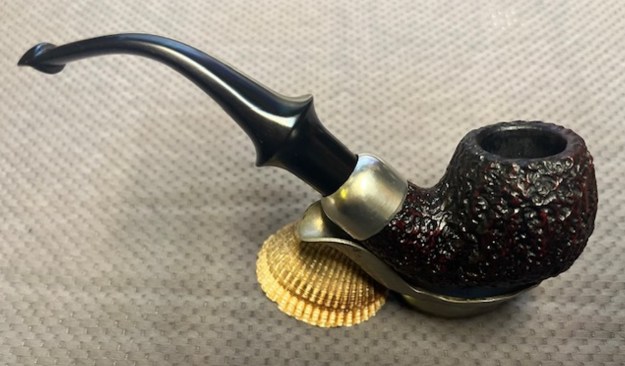
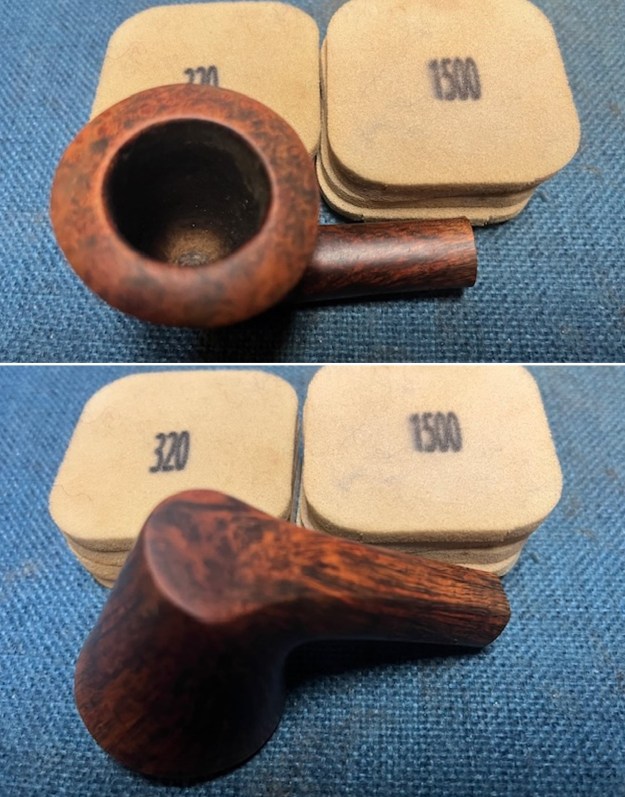
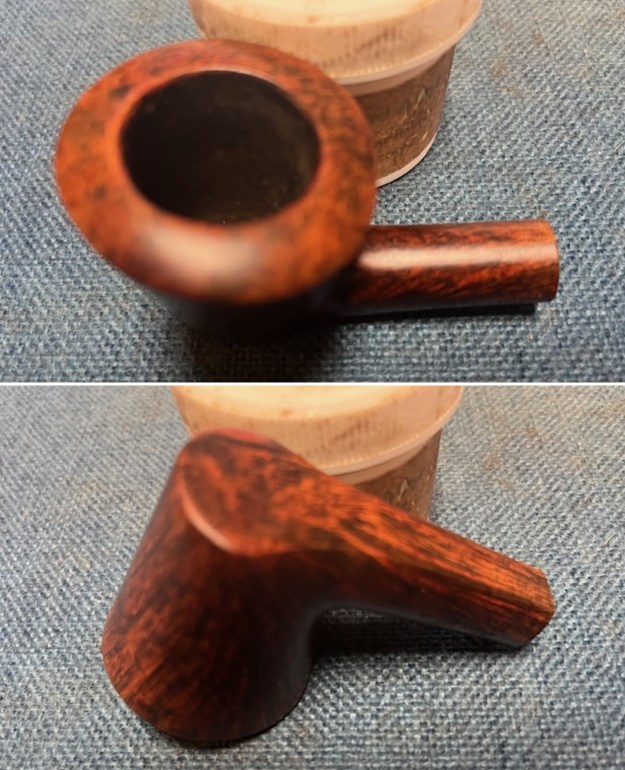
 I worked some Before & After Restoration Balm into the smooth briar with my fingertips. It enlivens, enriches and protects the briar while giving it a deep glow. I appreciate Mark Hoover’s work in developing this product. I buffed the pipe with a micro fiber cloth to raise the shine and took photos of it at this point it the process. It is a beautiful looking pipe.
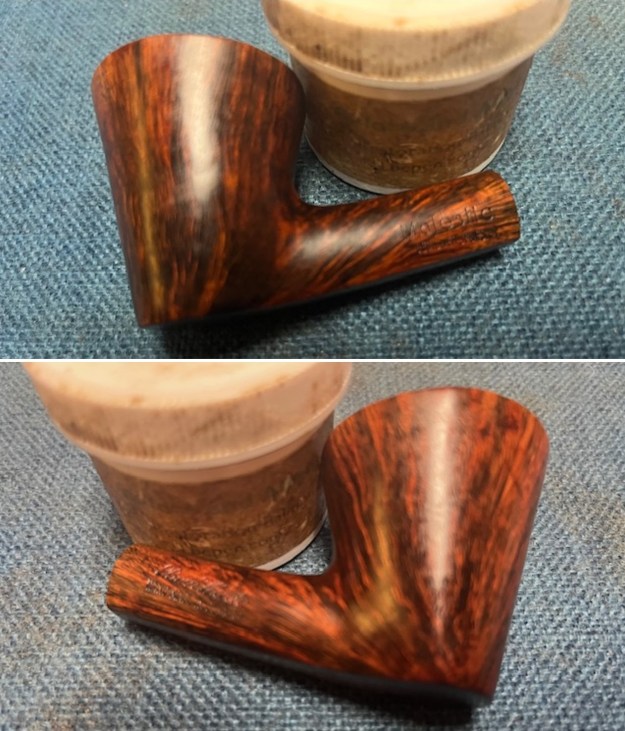
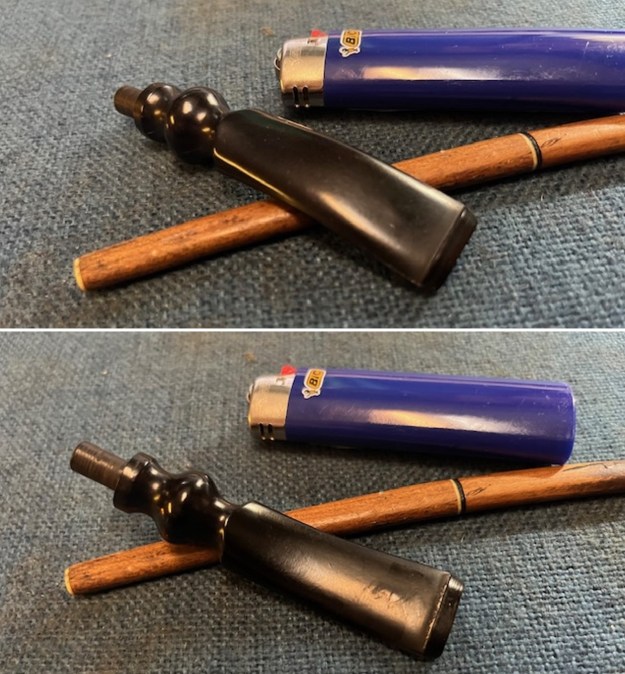
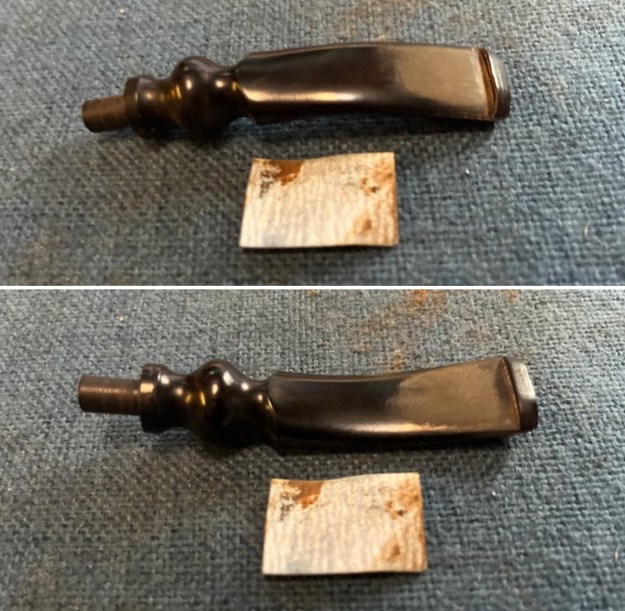
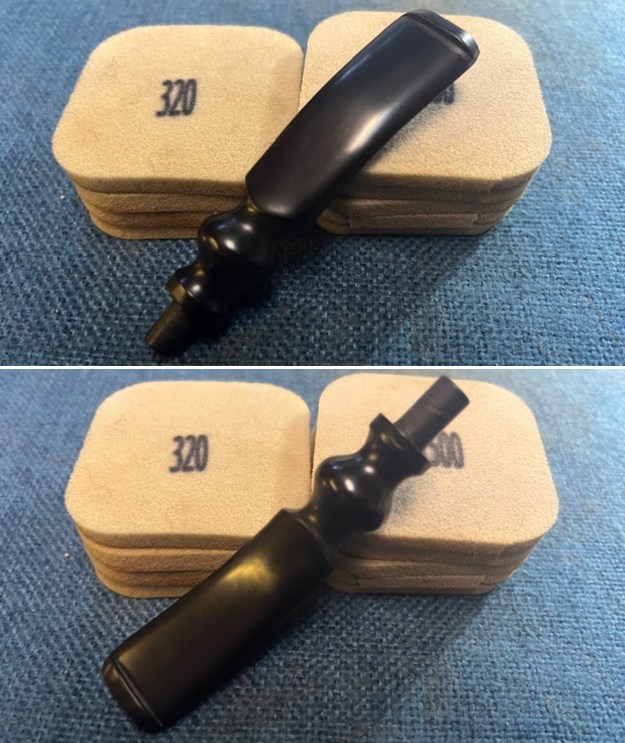
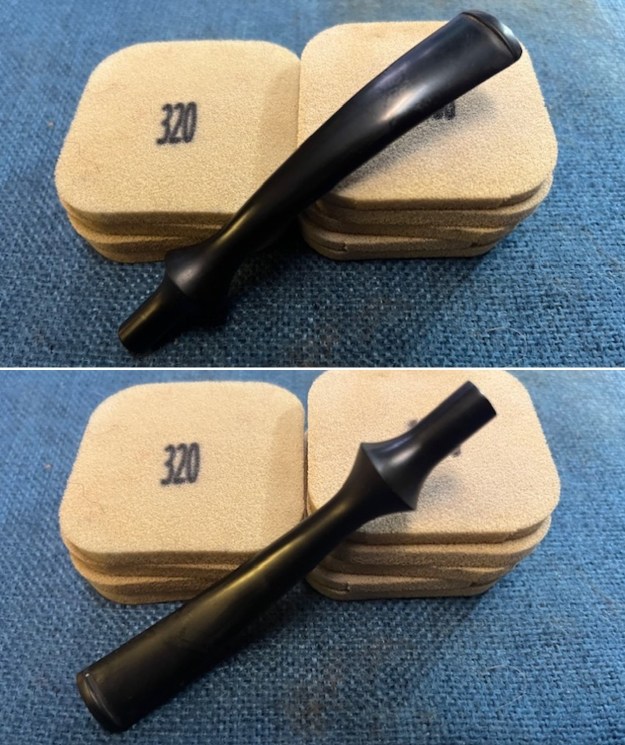
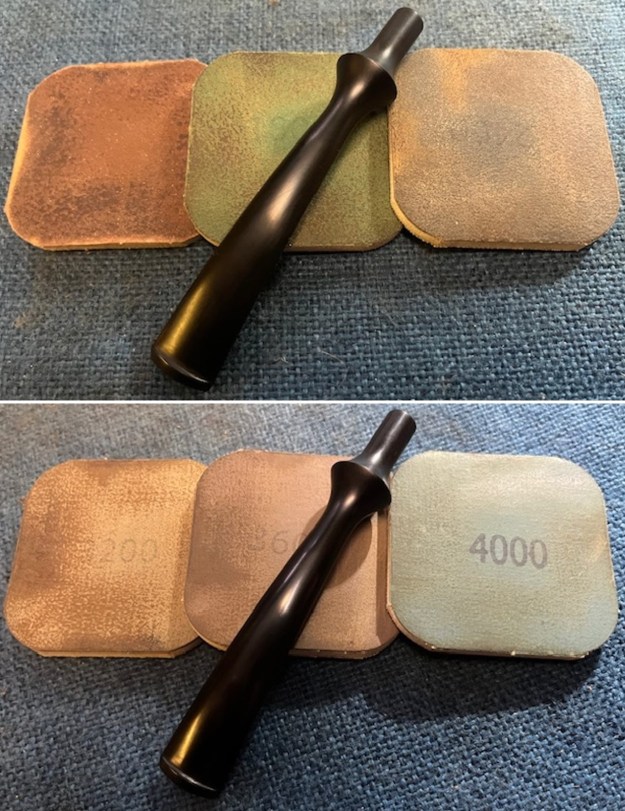
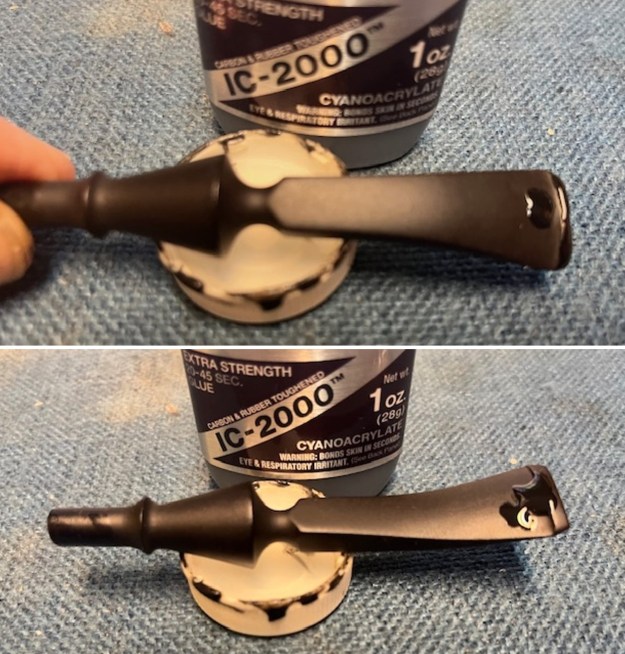
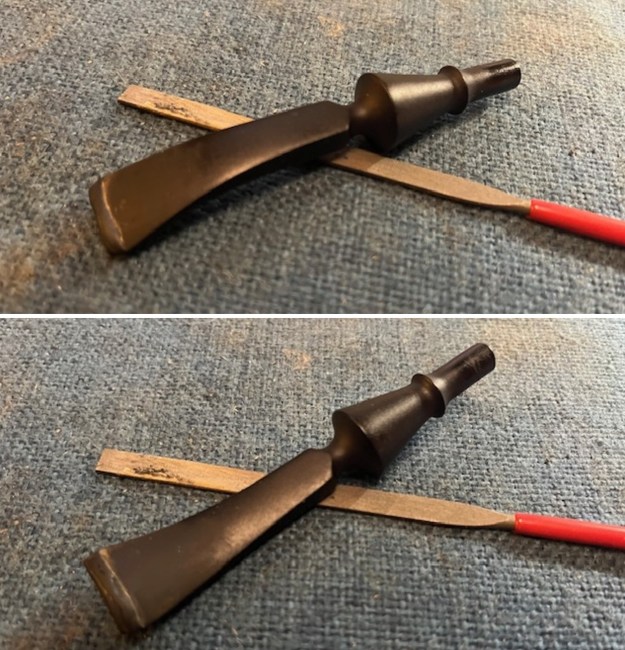
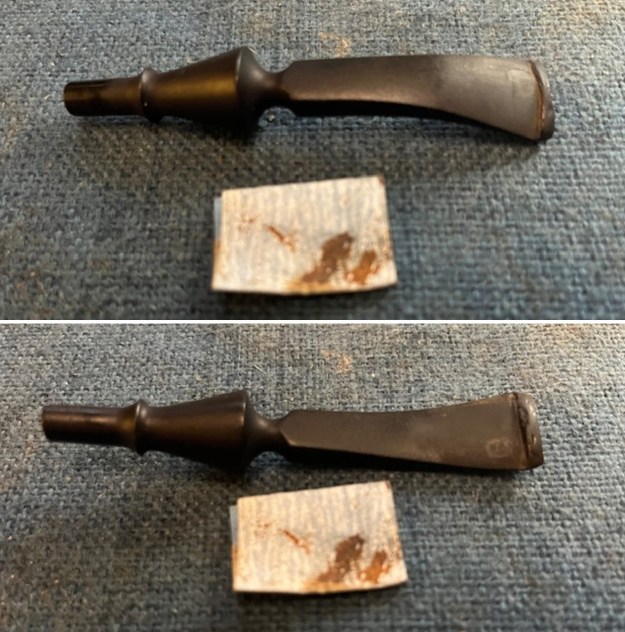
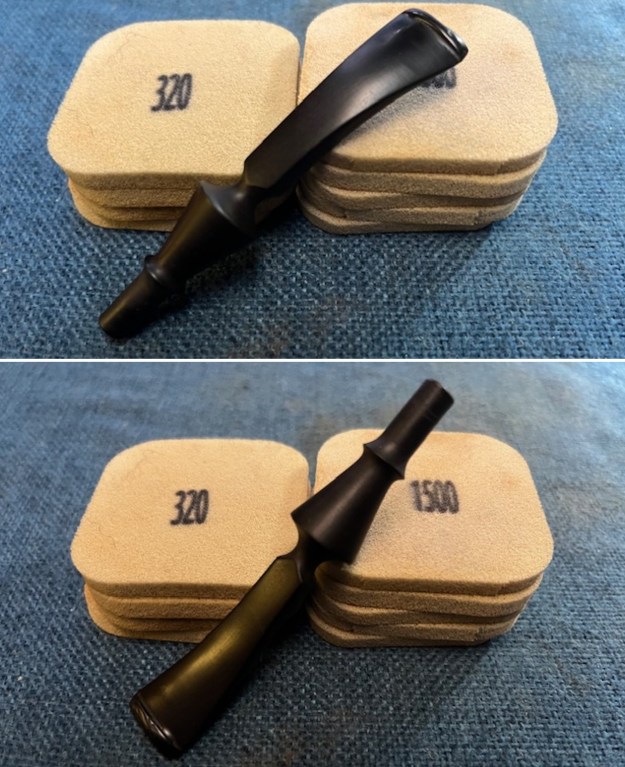
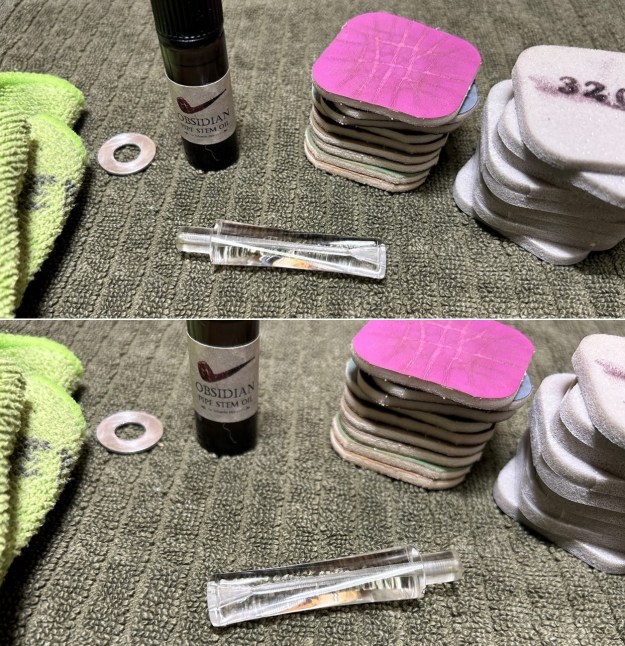
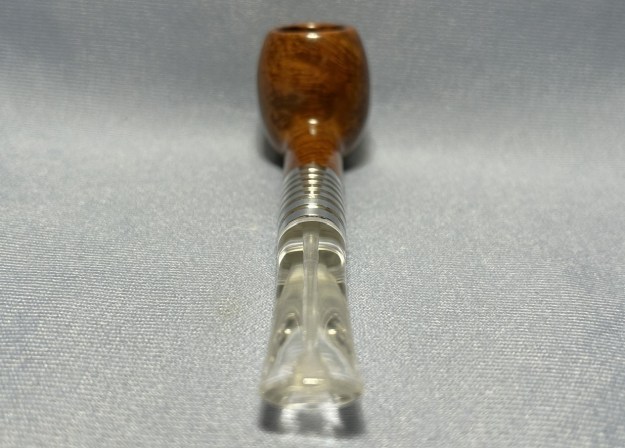
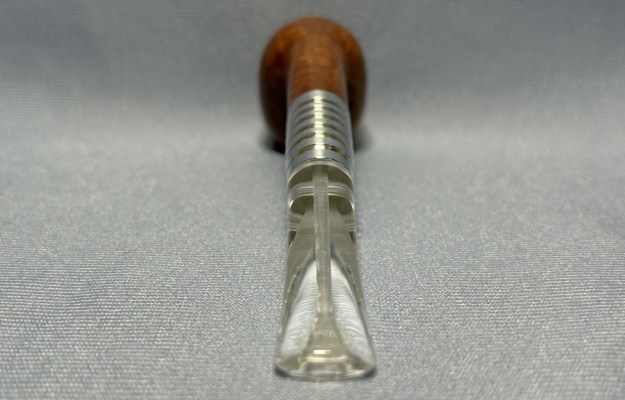
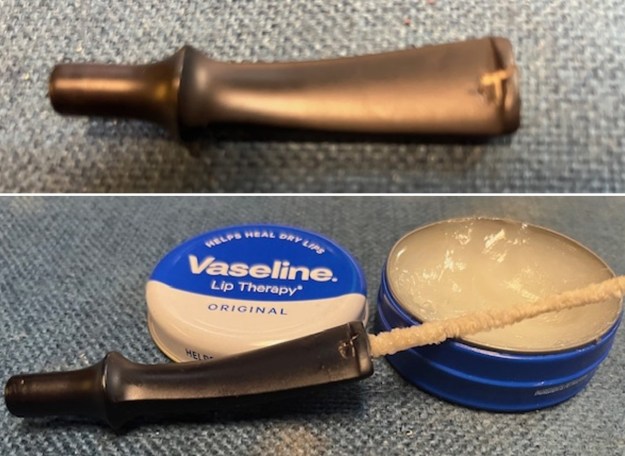
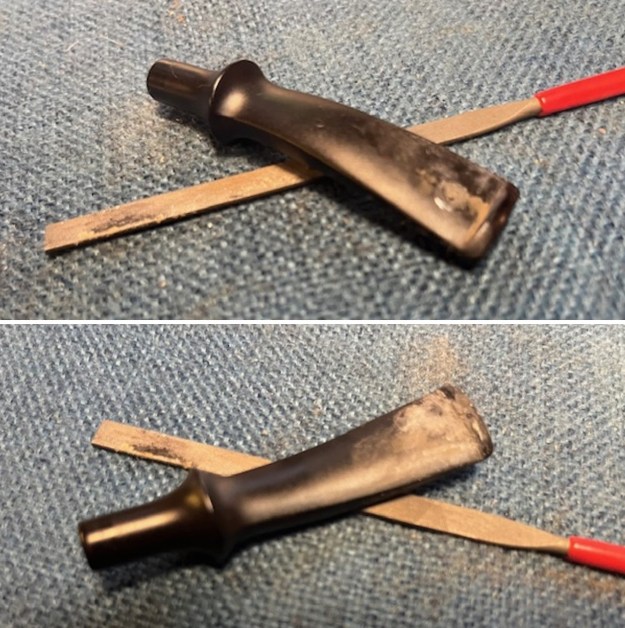
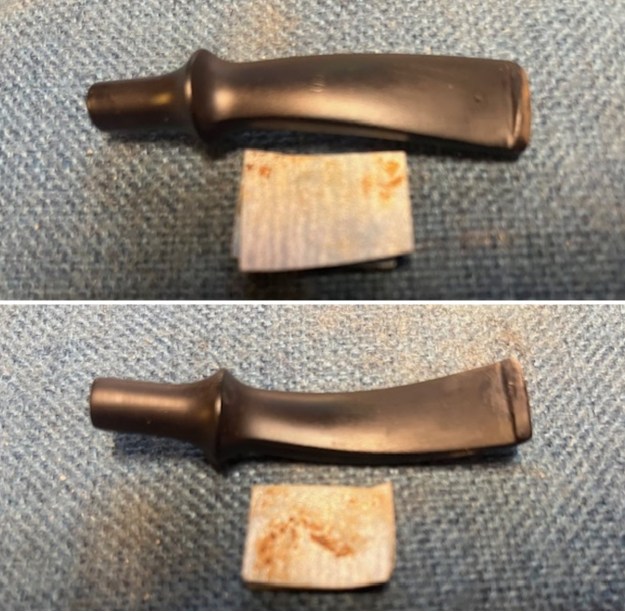
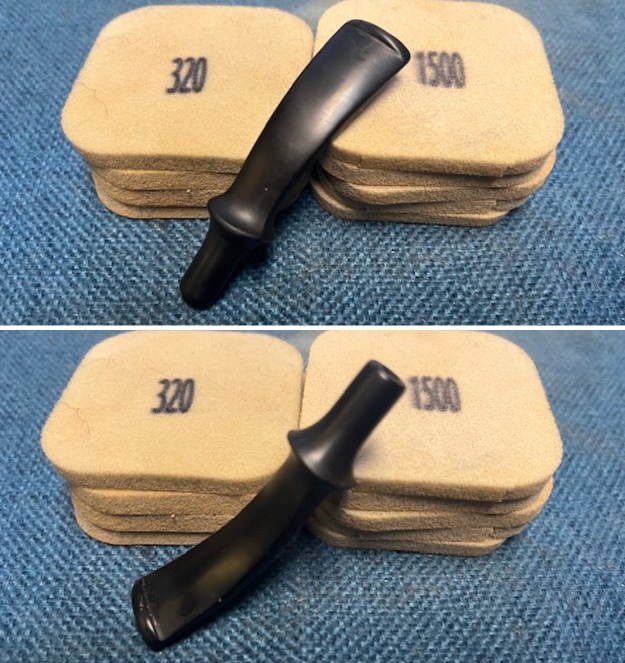
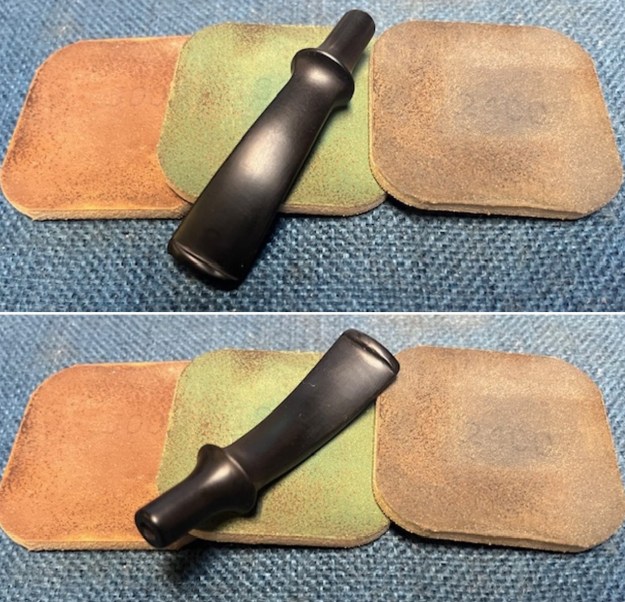
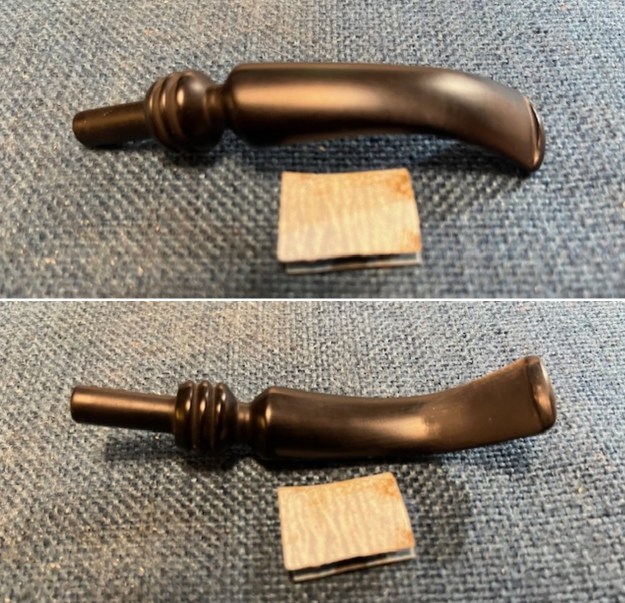
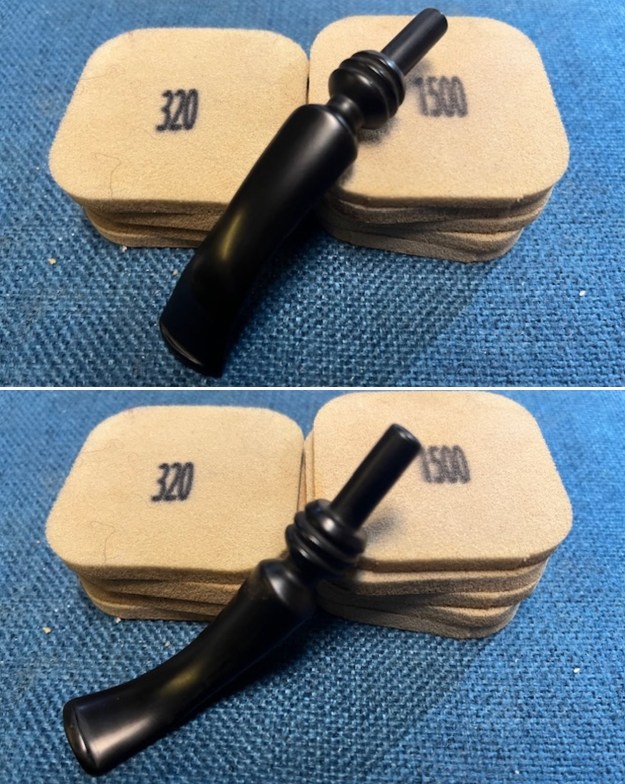
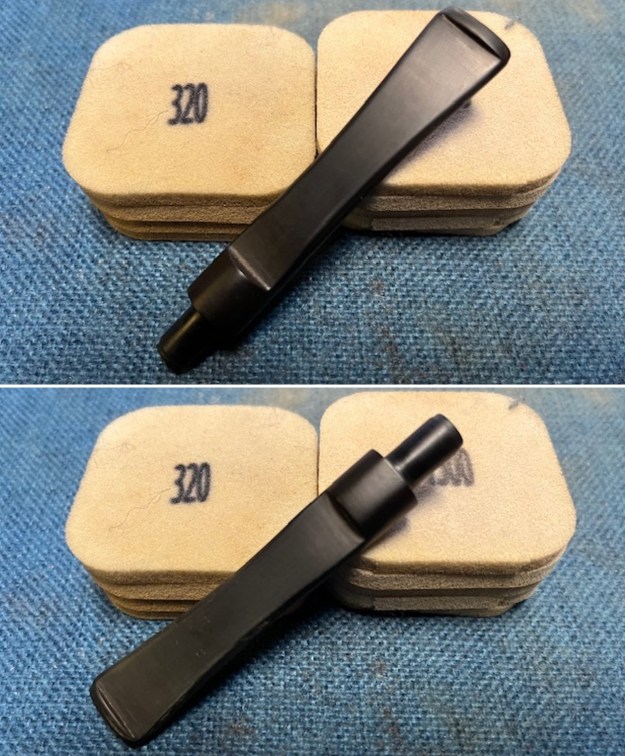
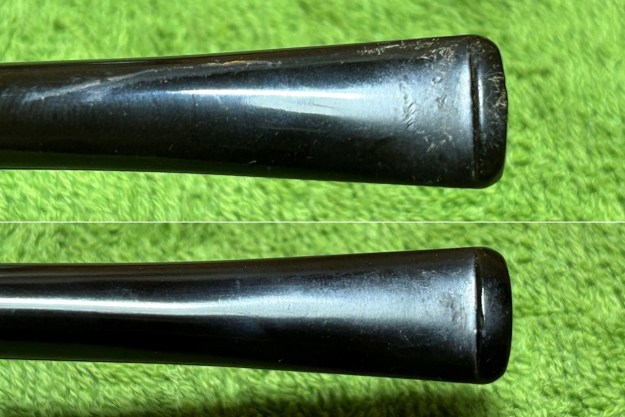
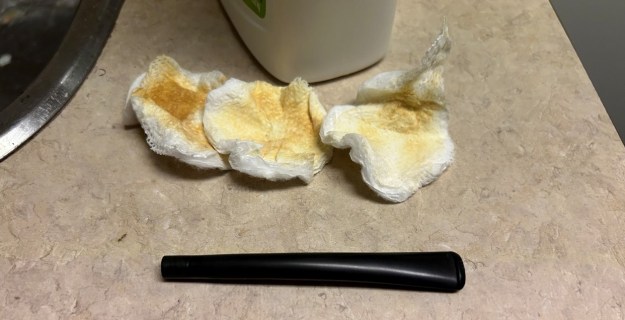
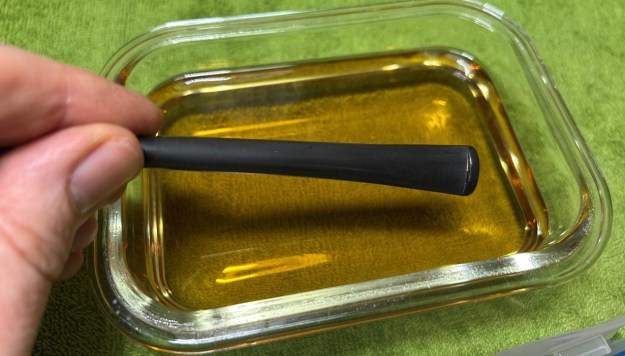
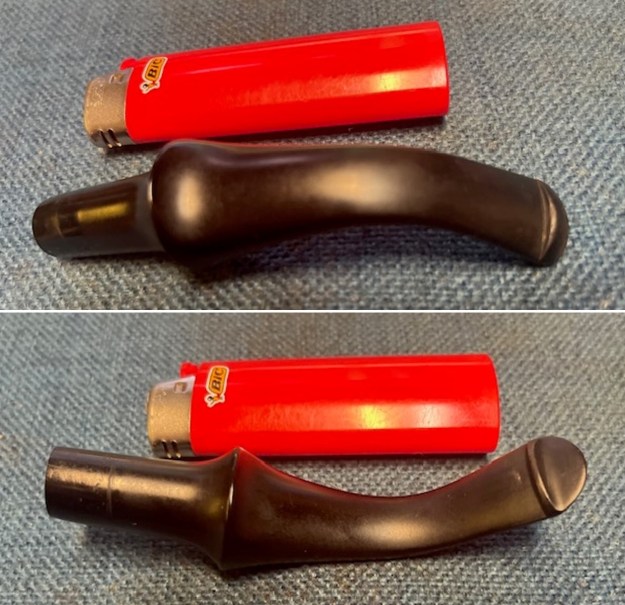
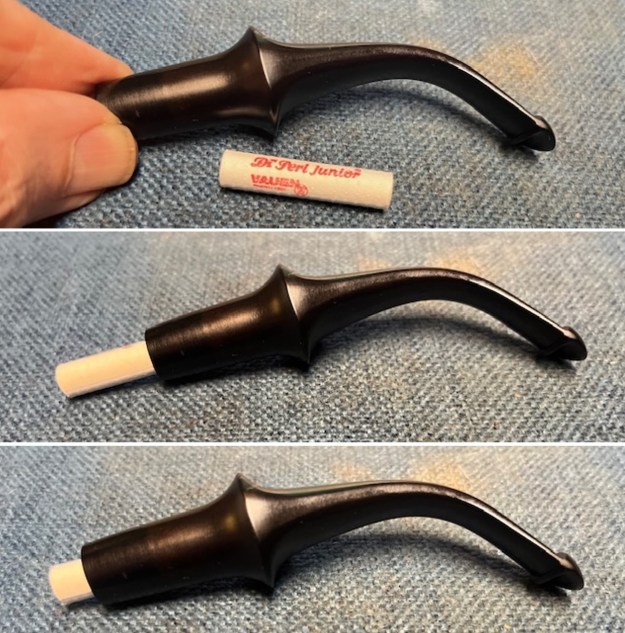
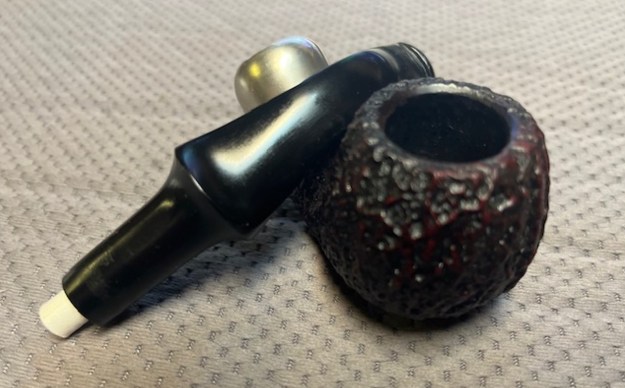
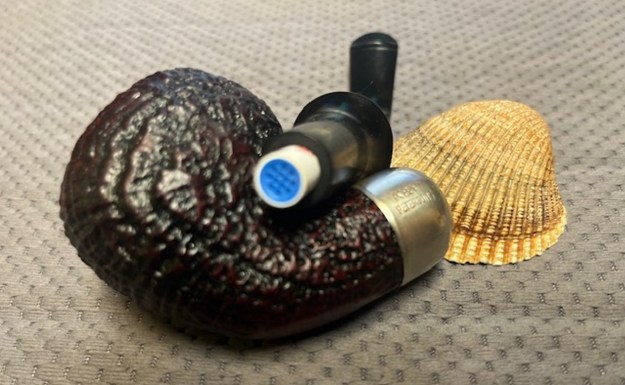
 I set the bowl aside and turned my attention to the stem. It was interesting to note that the stem had a white Delrin tenon. I sanded the stem with the 2 inch square 320-3500 grit sanding pads. I wiped down the stem after each sanding pad with Obsidian Oil. The stem looked very good.
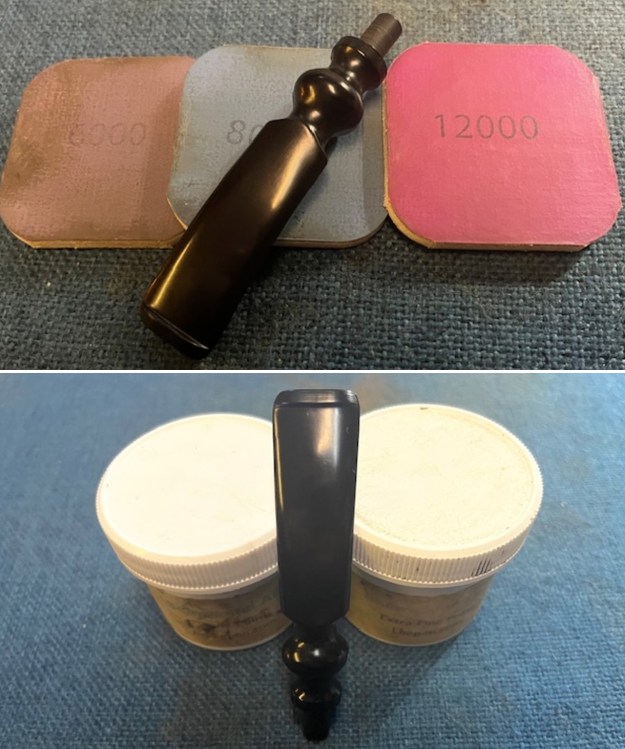
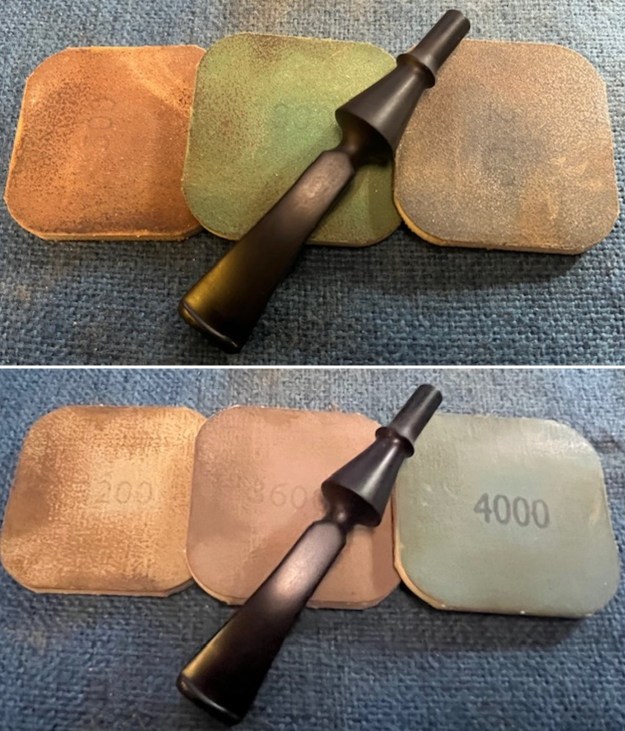
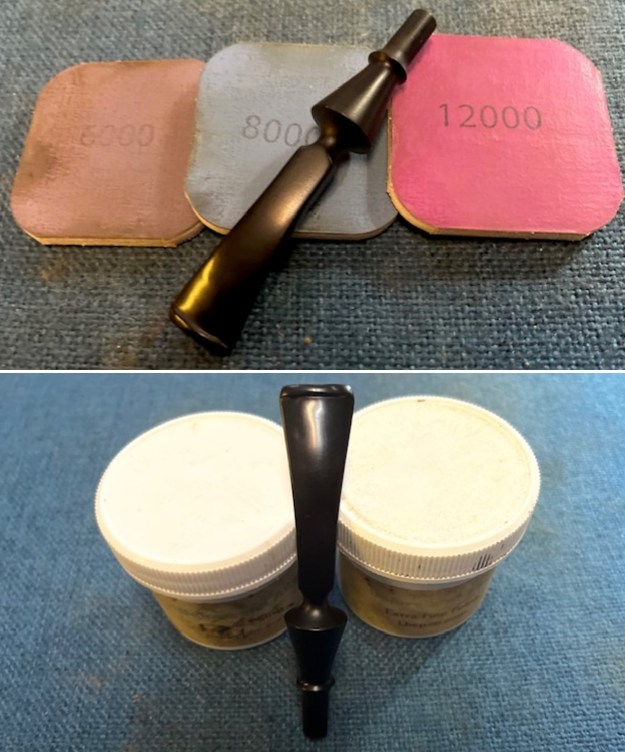
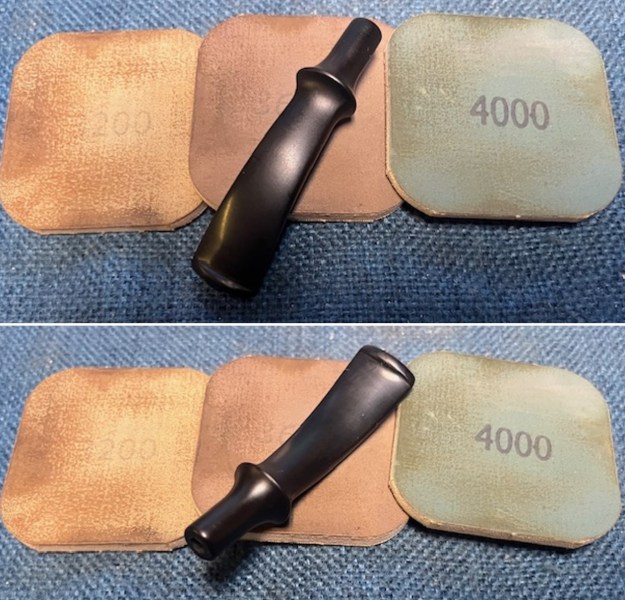
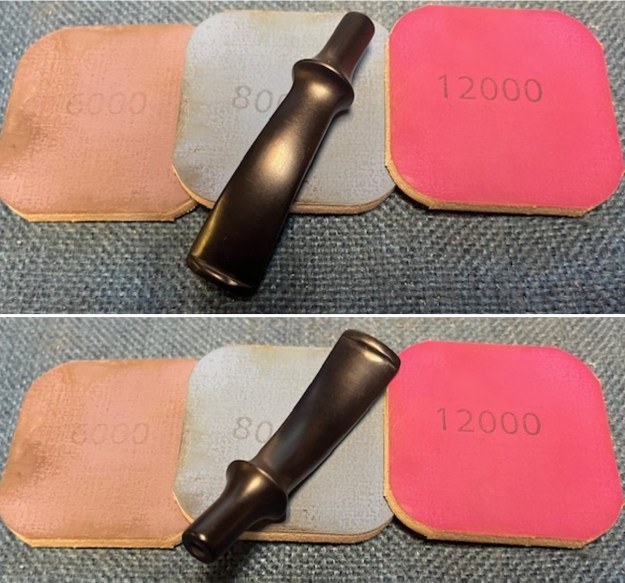
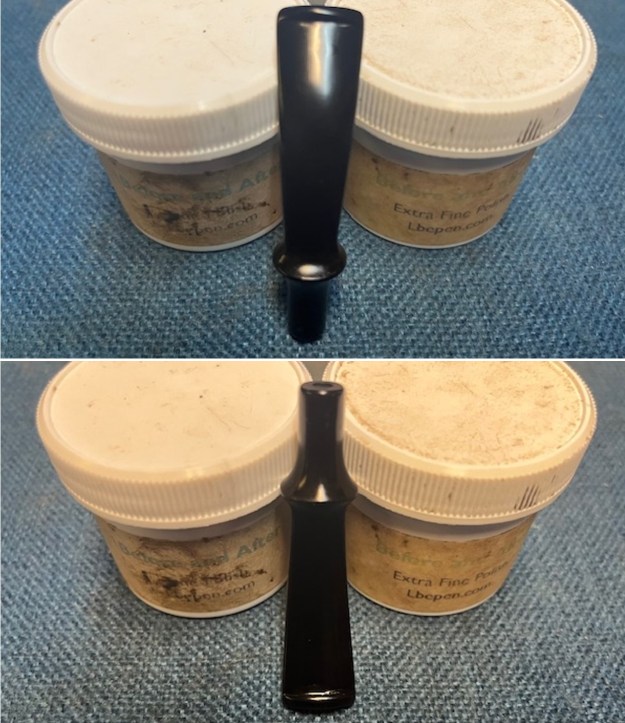
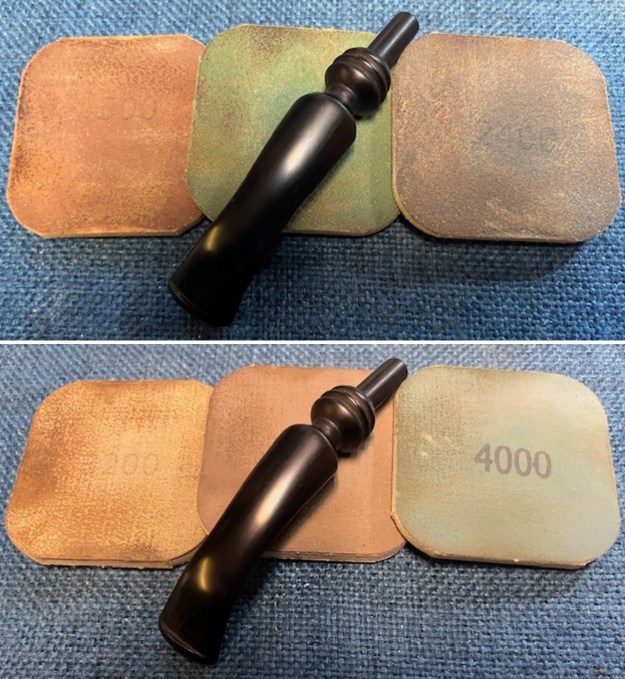
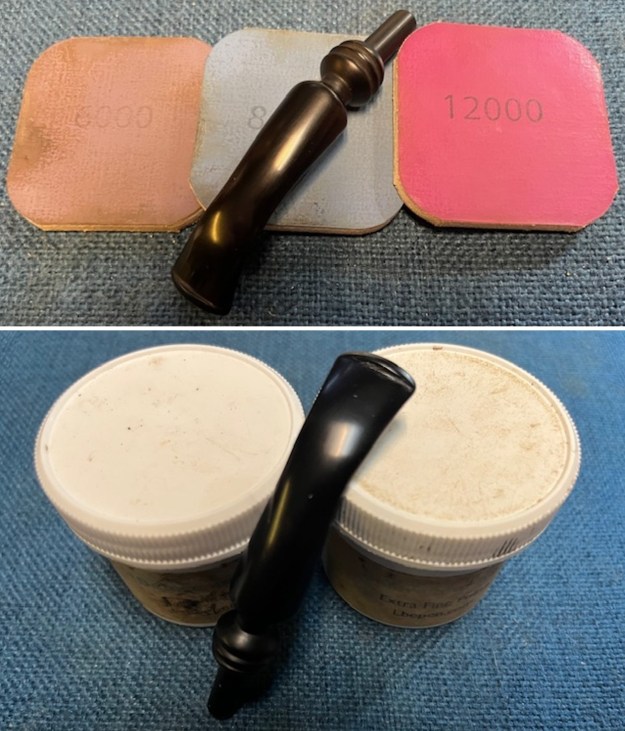
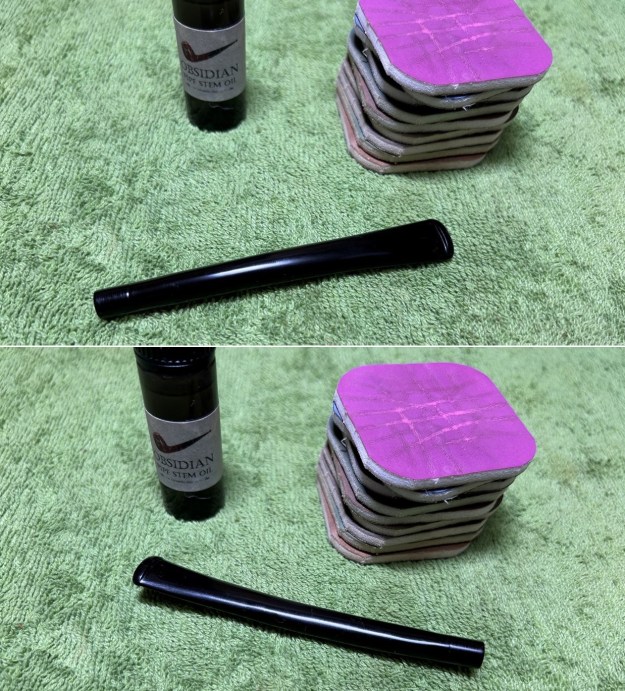
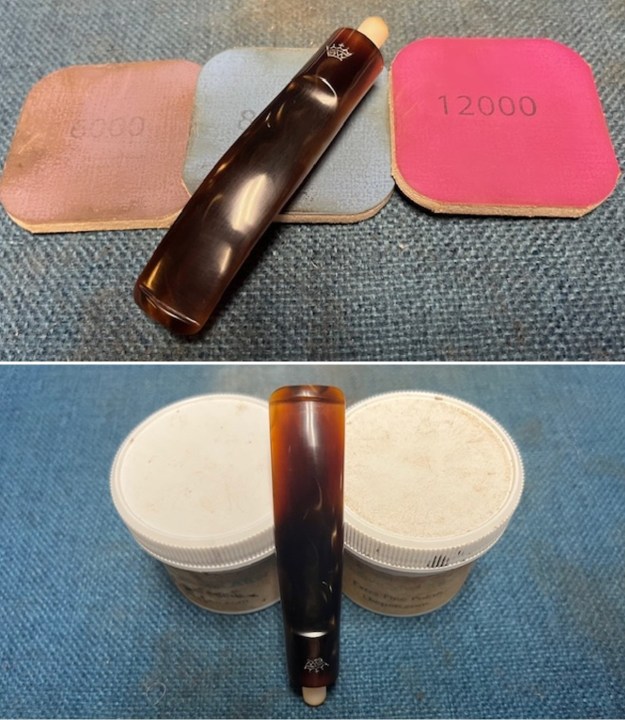
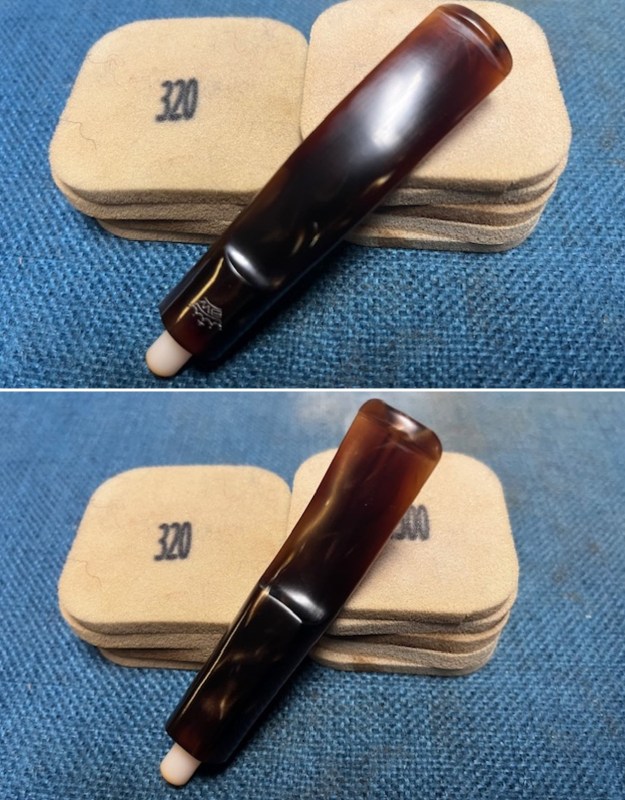 I polished the stem with micromesh sanding pads – dry sanding with 1500-12000 grit sanding pads. I wiped it down after each sanding pad with Obsidian Oil. I polished it with Before & After Pipe Stem Polish – both Fine and Extra Fine. I buffed the stem with a soft cloth to raise the shine. I wiped the stem down with Obsidian Oil to preserve and protect the stem surface.
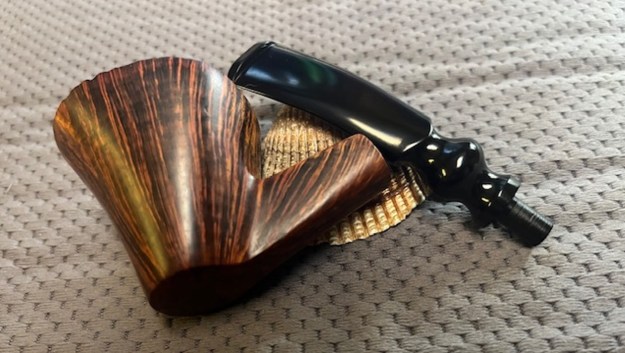
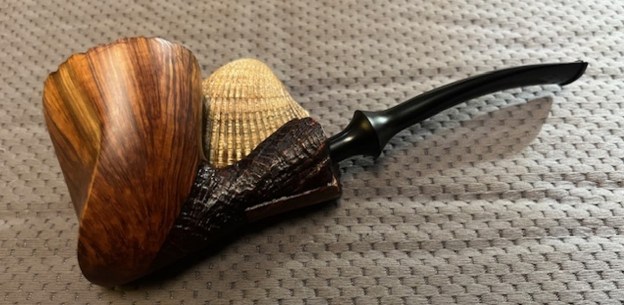
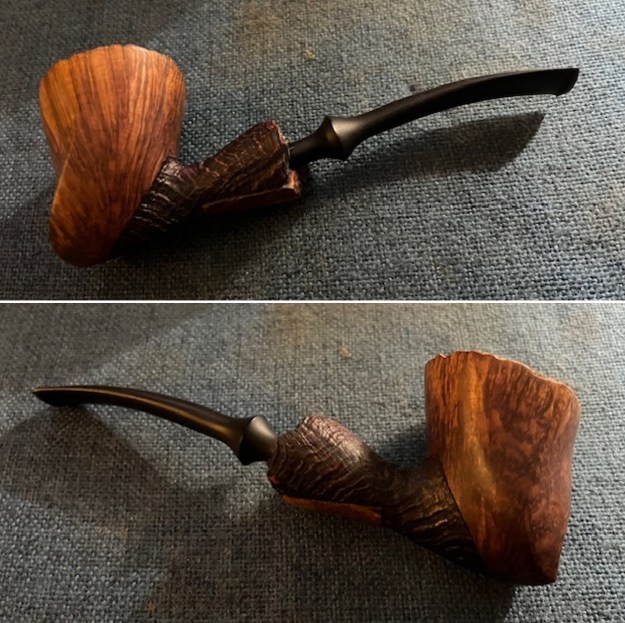
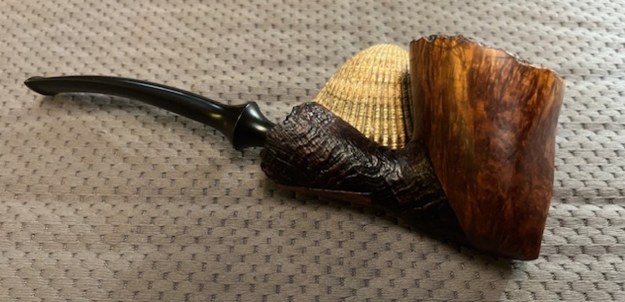
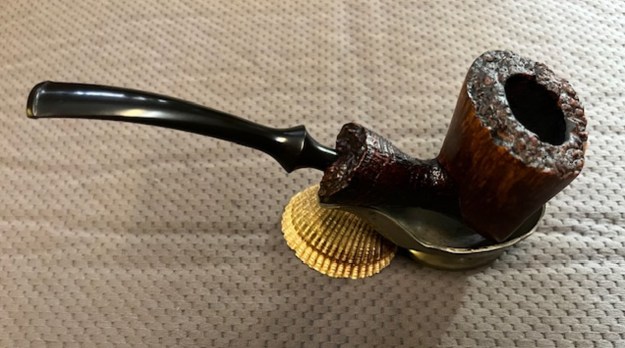
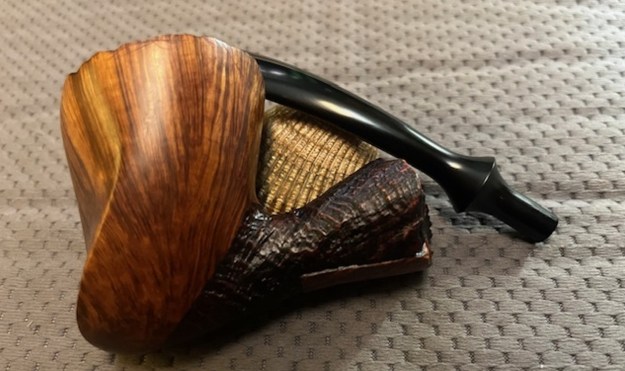
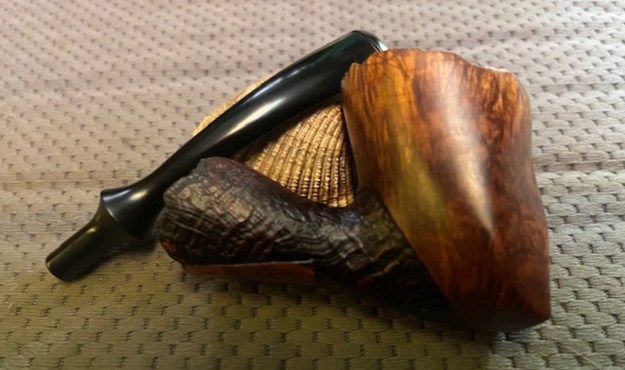
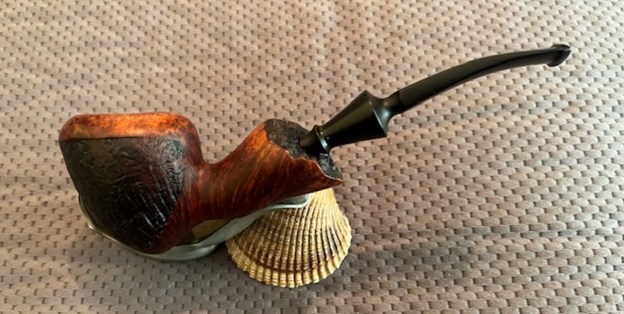
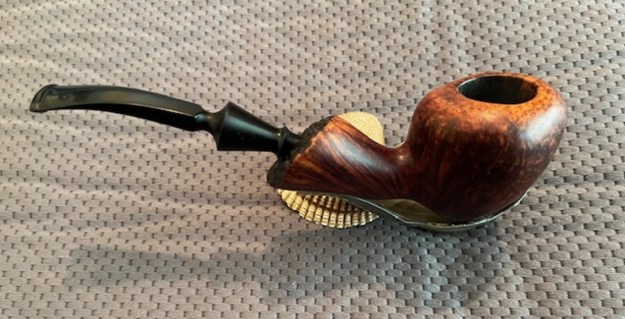
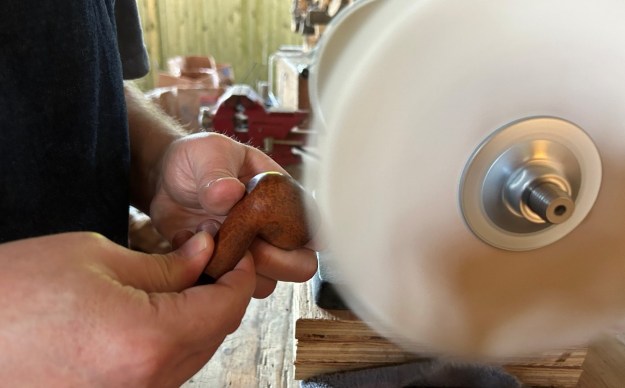
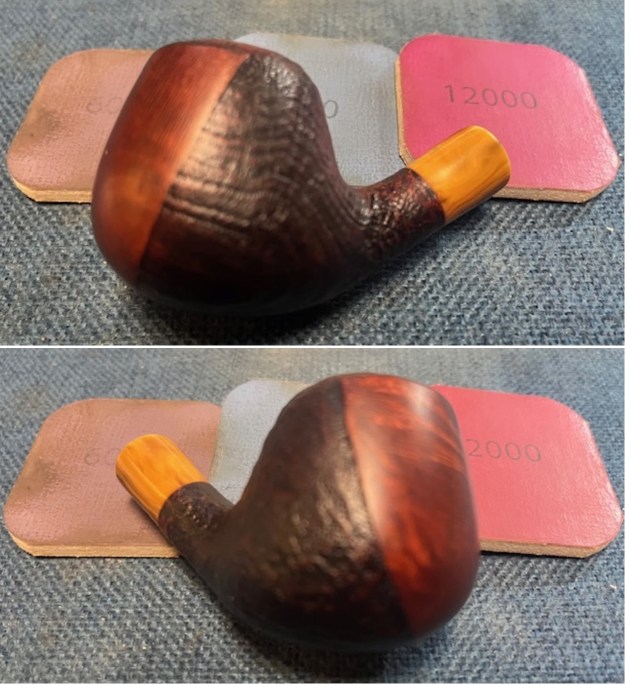
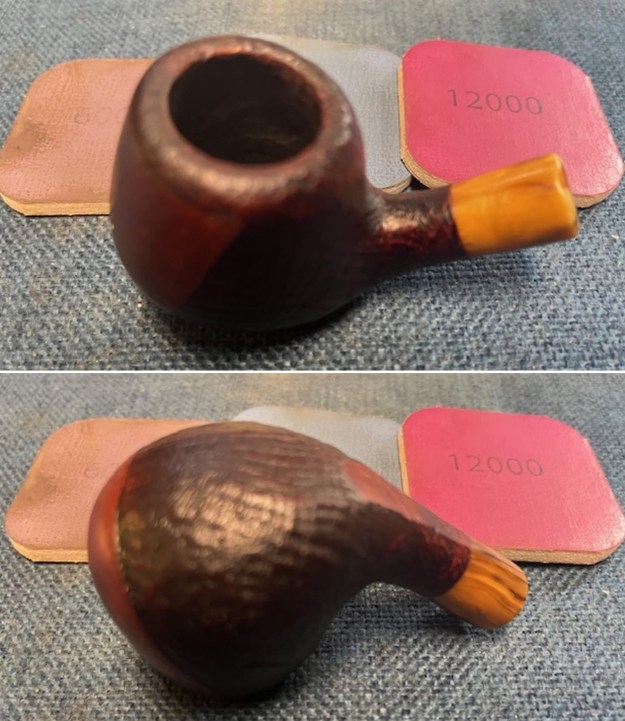
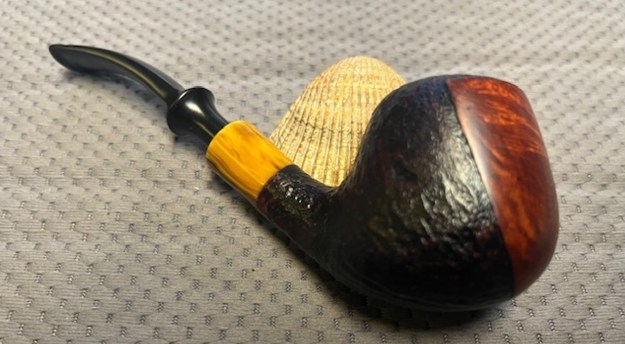
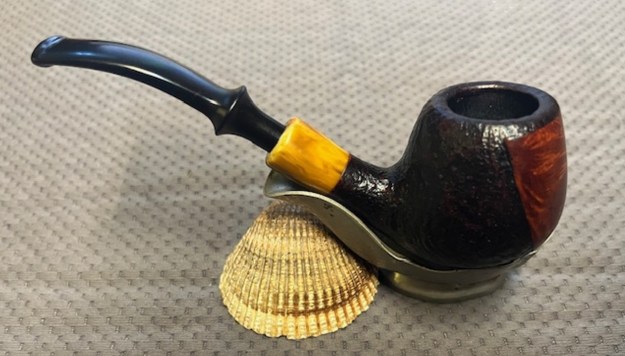
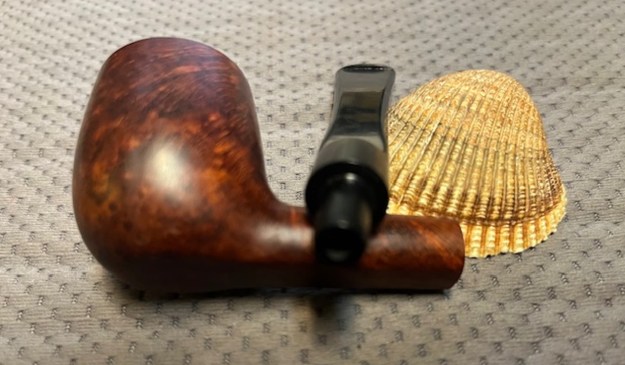
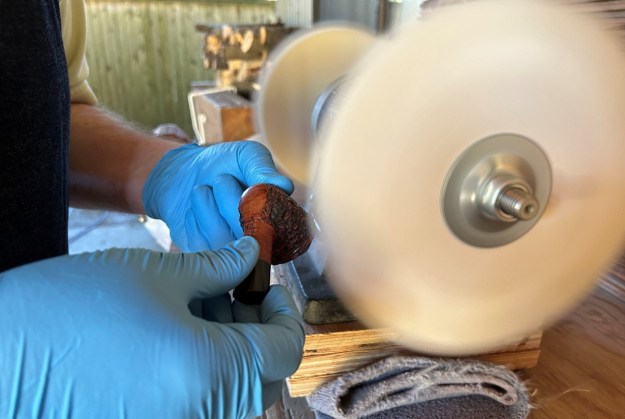
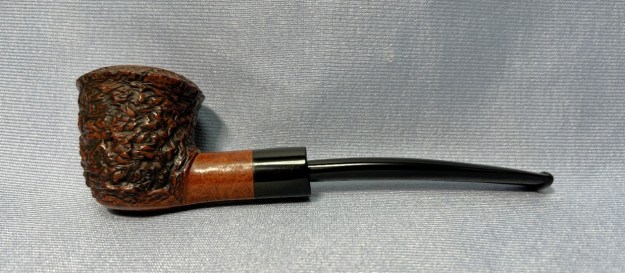
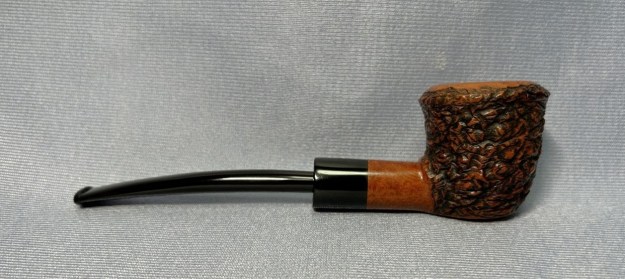
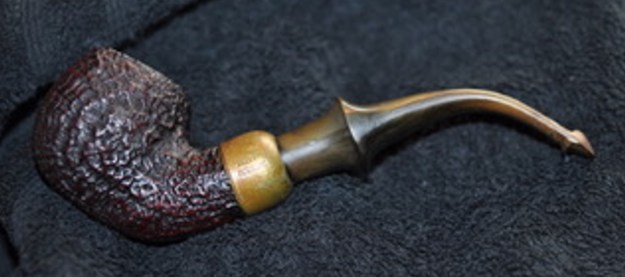
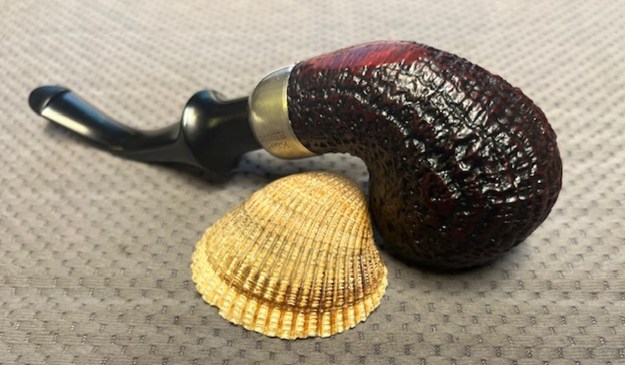
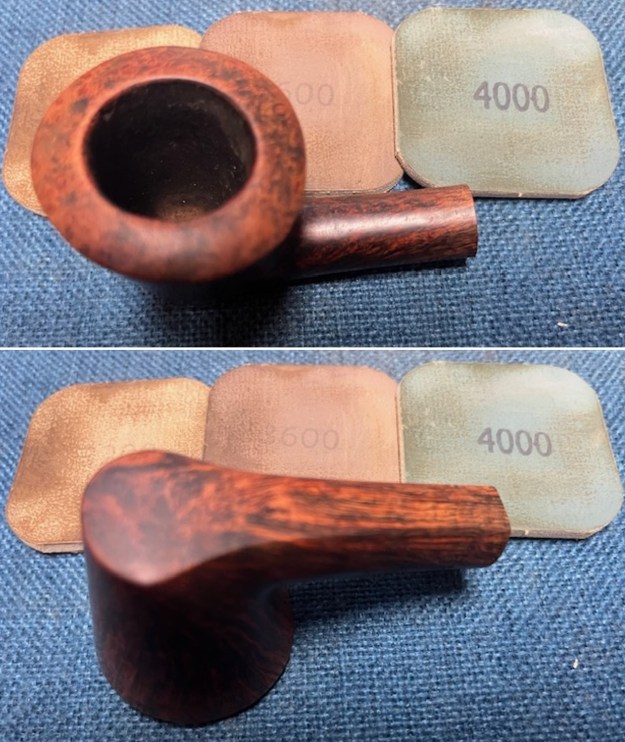
 I am on the homestretch with this Ben Wade Majestic Design Series B Made in Denmark Freehand. As always, I am excited to finish a pipe that I am working on. I put the pipe back together and buffed it with Blue Diamond on the buffing wheel. I used a gentle touch on the sandblast portion of the bowl. I gave the bowl and the stem multiple coats of carnauba wax. I buffed the pipe with a clean buffing pad and hand buffed it to raise the shine. It is fun to see what the polished bowl looks like along with the polished bronze acrylic stem. This Ben Made Majestic Design Series Freehand is a nice looking pipe. It is quite comfortable in hand and should be so when smoking. It is quite light and well balanced. Have a look at it with the photos below. The dimensions are Length: 6 inches, Height: 2 inches, Outside diameter of the bowl: 1 ¾ inches, Chamber diameter: 1 inch. The weight of the pipe is 1.52 ounces/43 grams. It is another beautiful pipe and one that will be on the rebornpipes store soon. You can find it in the section of Pipes by Danish Pipe Makers. If you are interested in adding it to your collection let me know.
As always, I encourage your questions and comments as you read the blog. Thanks to each of you who are reading this blog. Remember we are not pipe owners; we are pipe men and women who hold our pipes in trust until they pass on into the trust of those who follow us.