Blog by Steve Laug
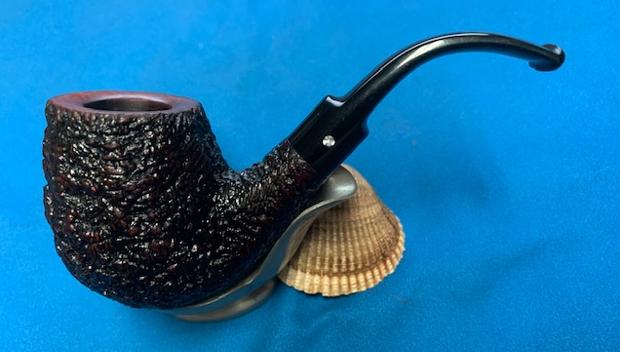
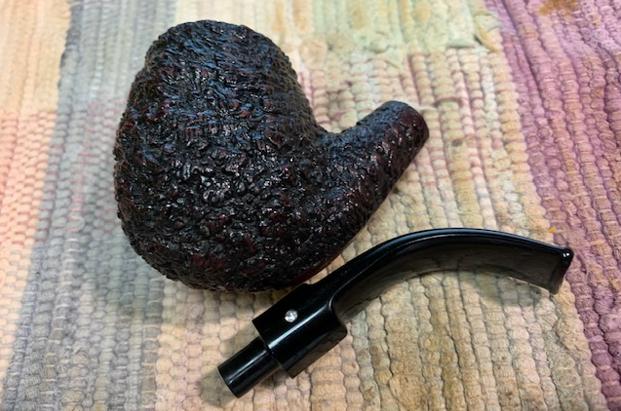
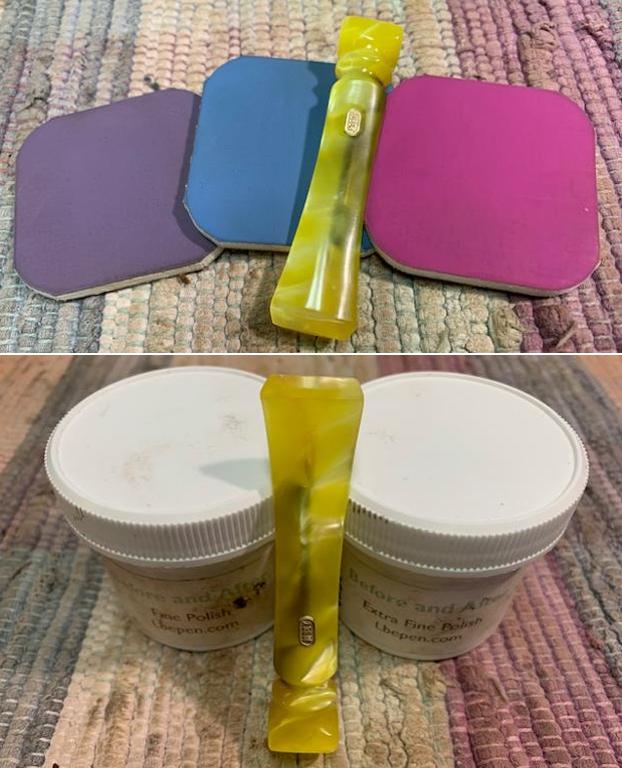
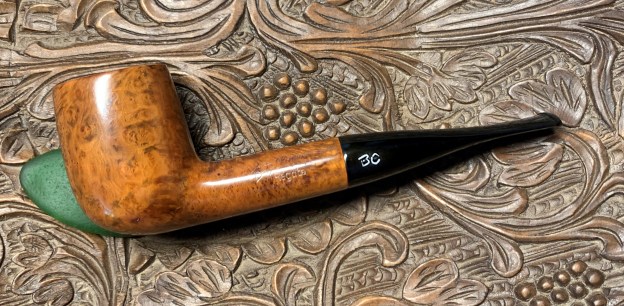
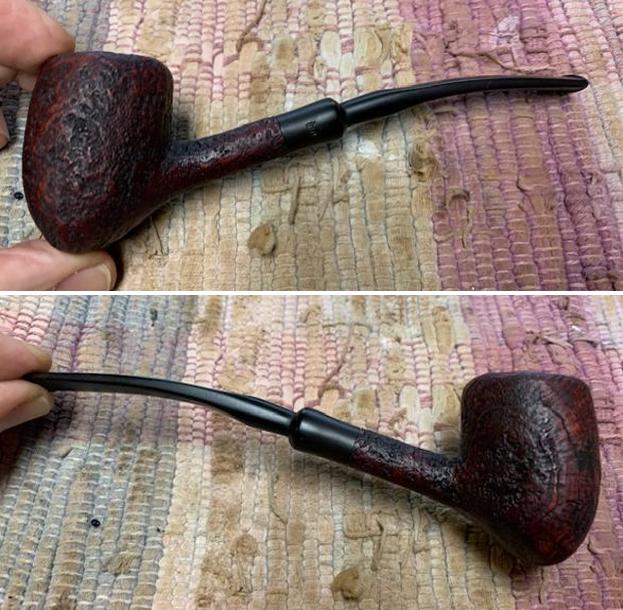
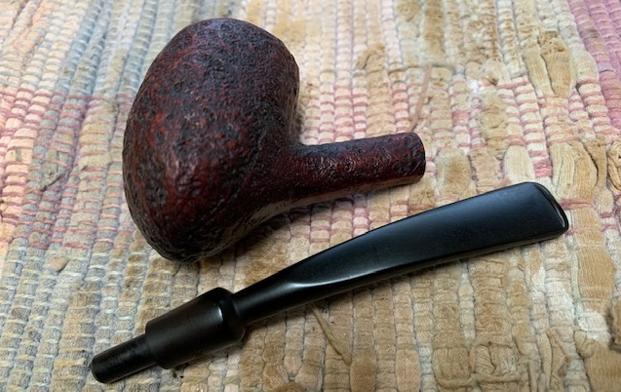
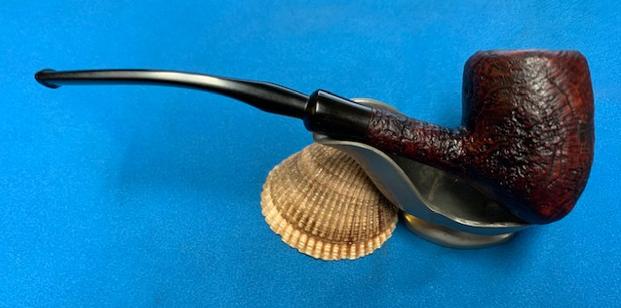
The next pipe on the table – a Butz-Choquin Apple with a smooth finish purchased from Mandy Valsinger about a year ago when she was closing her husband’s estate. It came to us from Australia. The shape of the bowl is an apple with an acrylic stem. The pipe was in overall good condition but was very tired and dirty. It is stamped on the left side of the shank and reads Butz-Choquin at an angle [over] C’est bon. On the right side of the shank it is stamped St. Claude France [over] the number 1689. The finish was dull and lifeless and a little dirty from sitting around. There was a thick cake in the bowl and an overflow of lava on the rim top toward the back. There were scratches around the sides of the bowl where it appeared that the pipe had been dropped. The amber acrylic stem had a deep tooth marks on both sides with a bit through on the underside ahead of the button. The BC logo inset in black acrylic and set on the left side of the taper stem. Jeff took the following photos before he started his cleanup work on the pipe. 
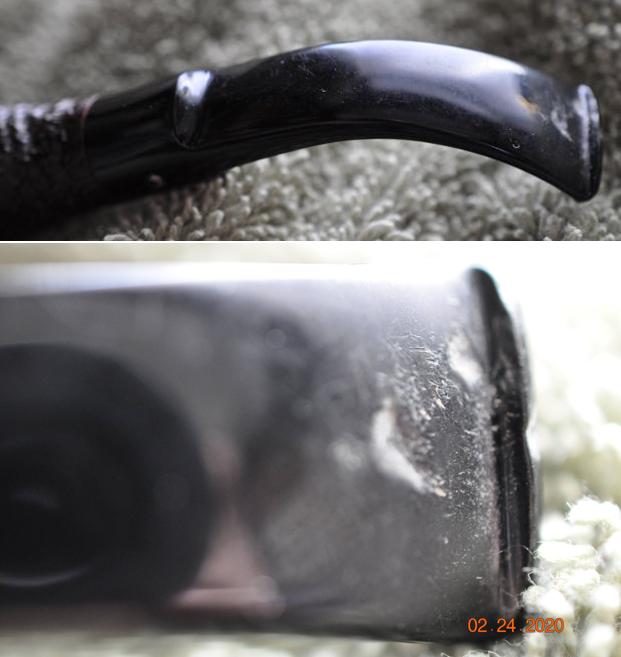
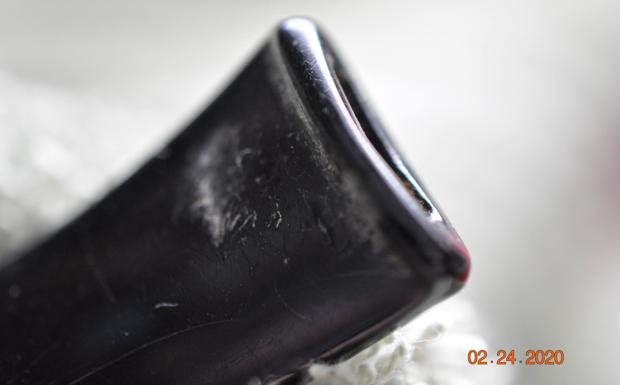
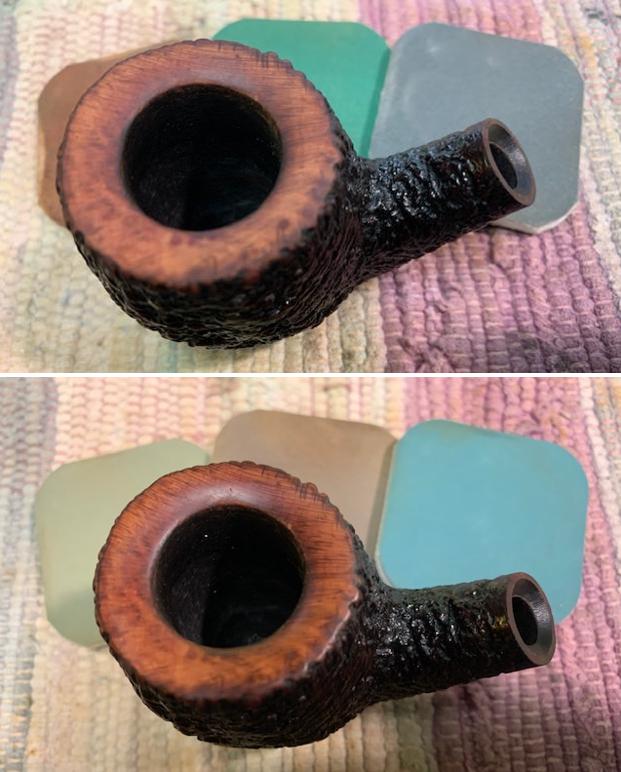
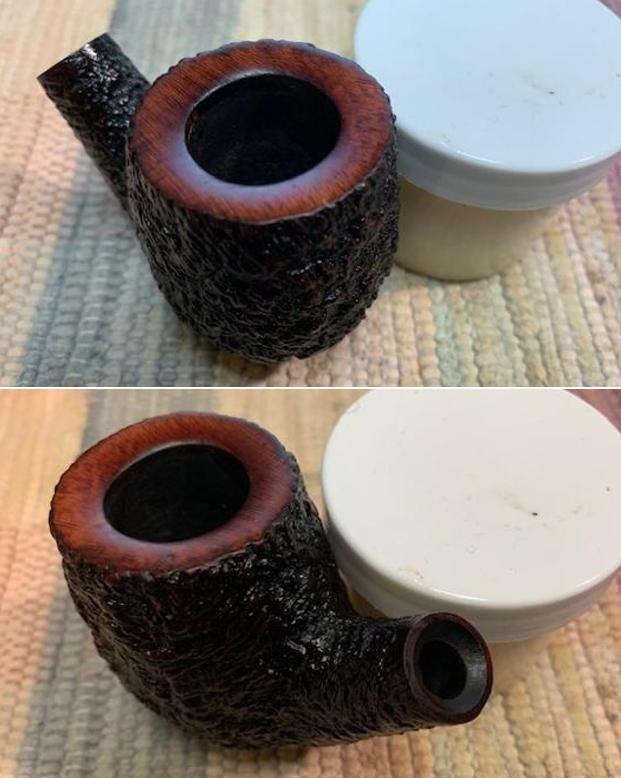
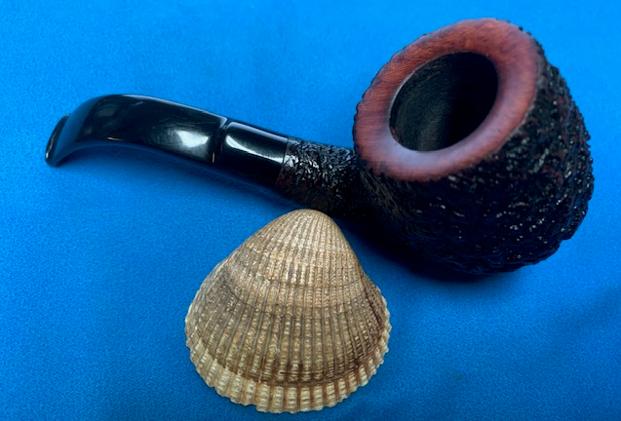
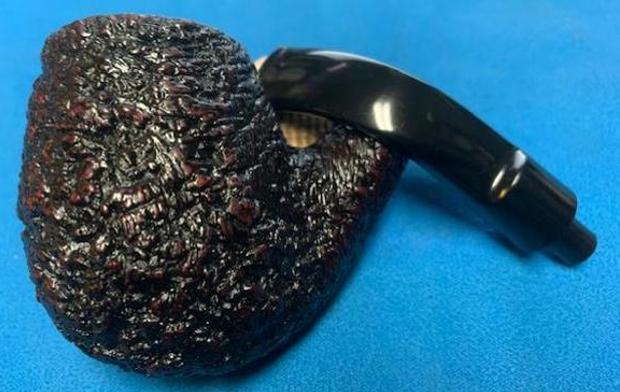
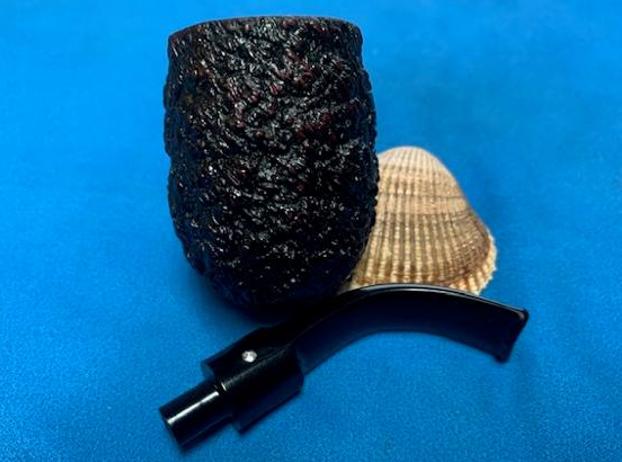
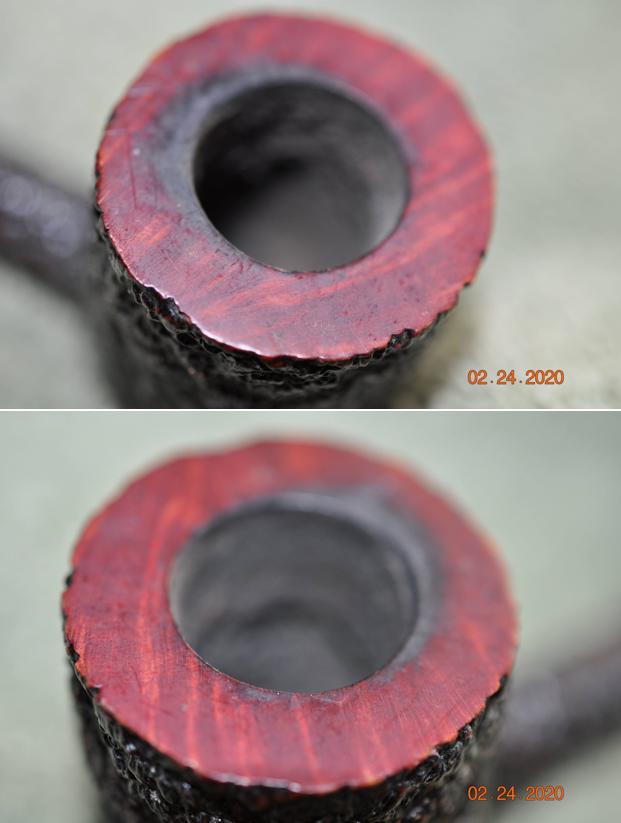
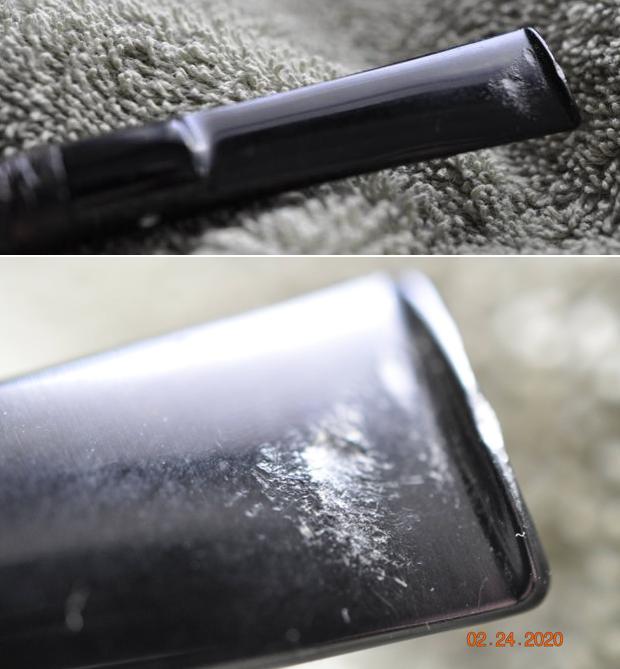
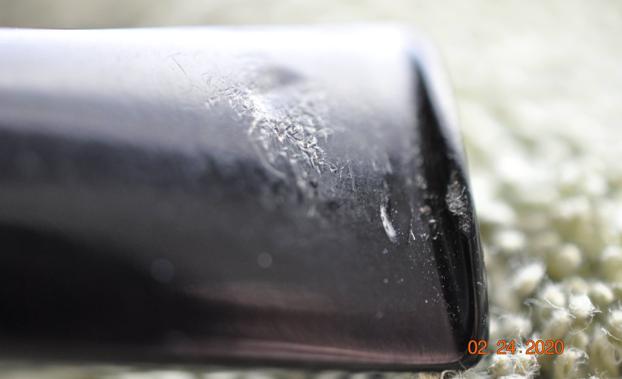
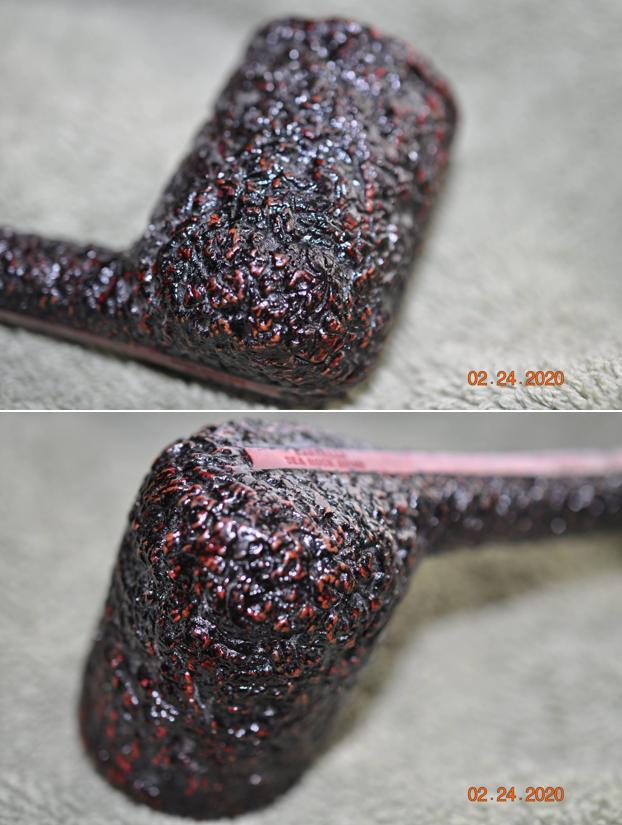
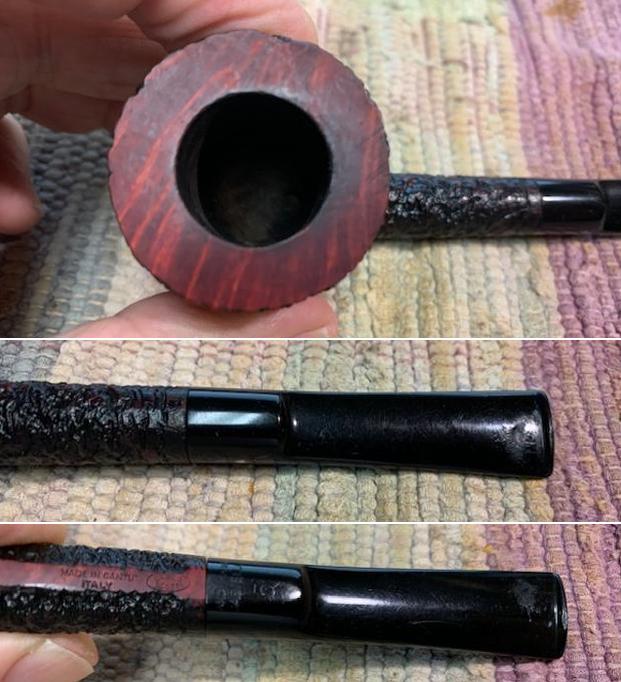
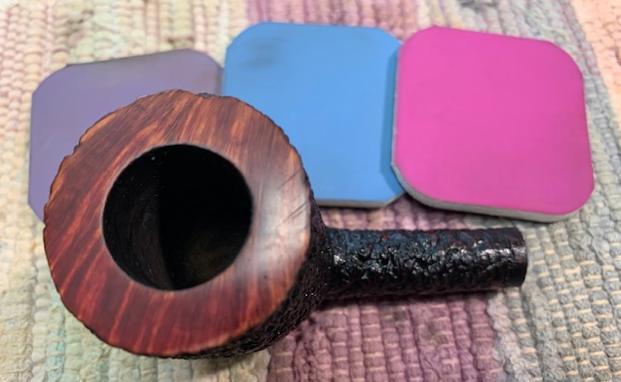
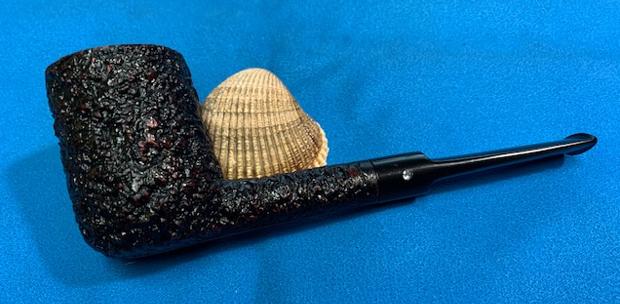
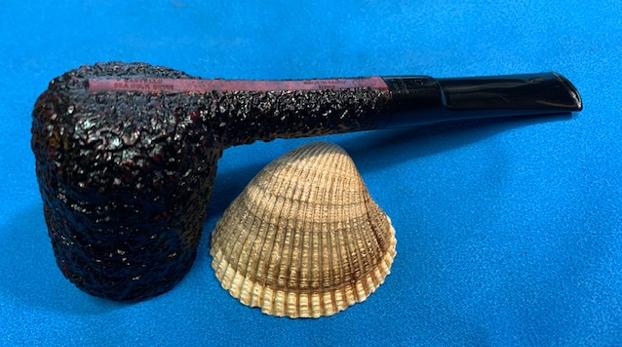
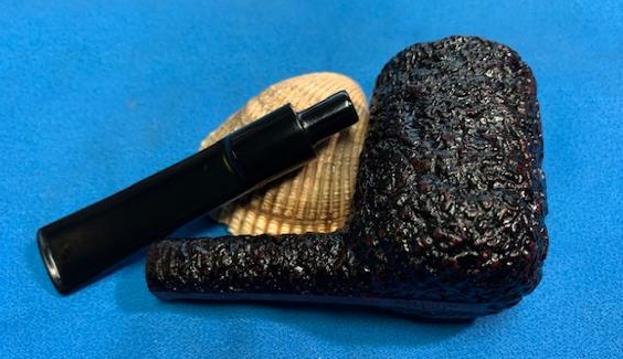
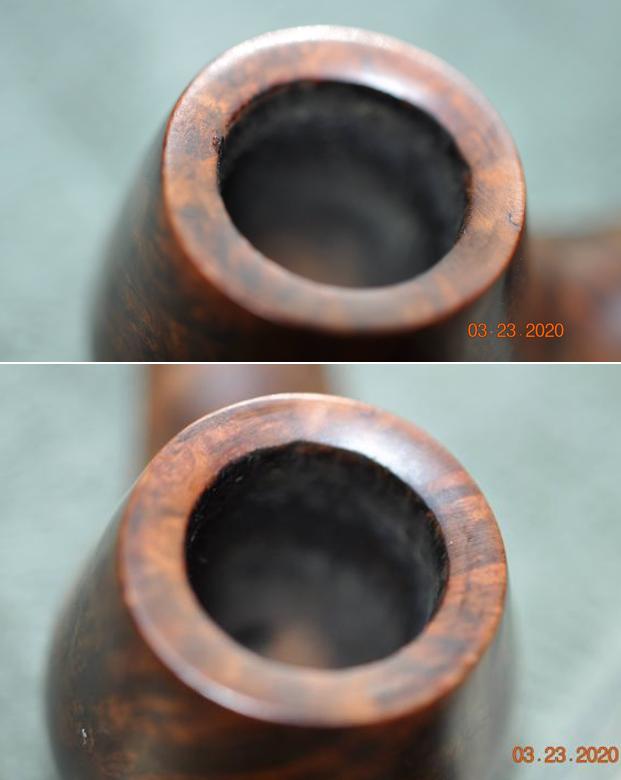
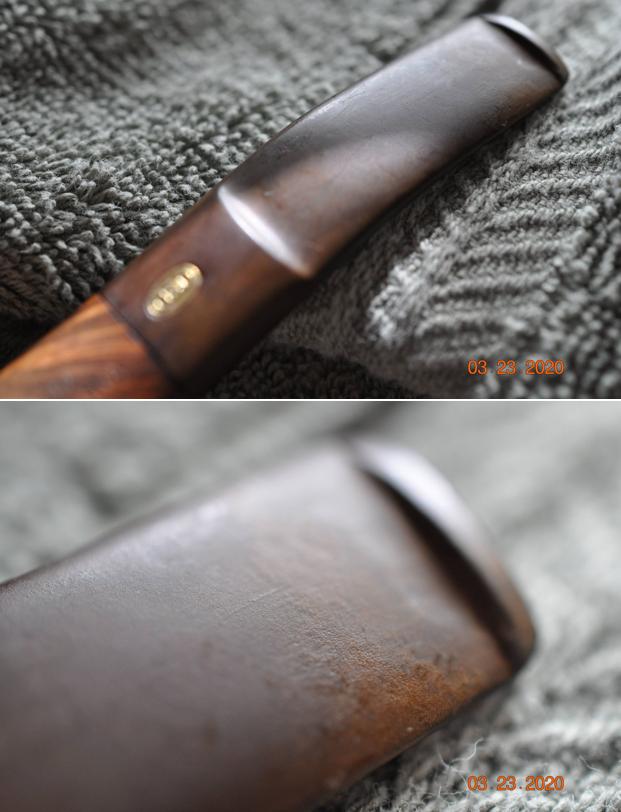
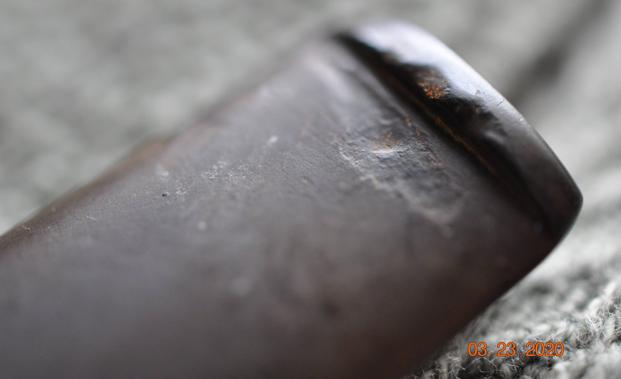
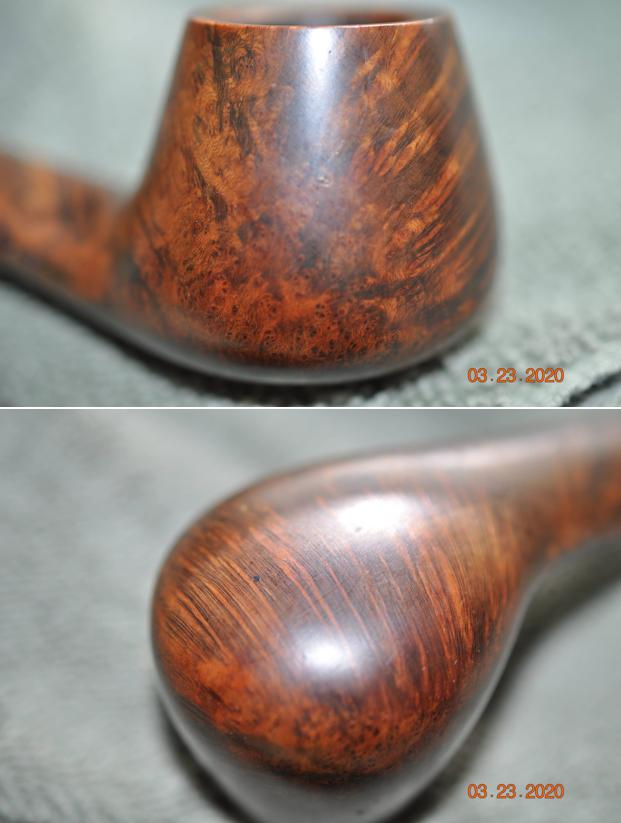
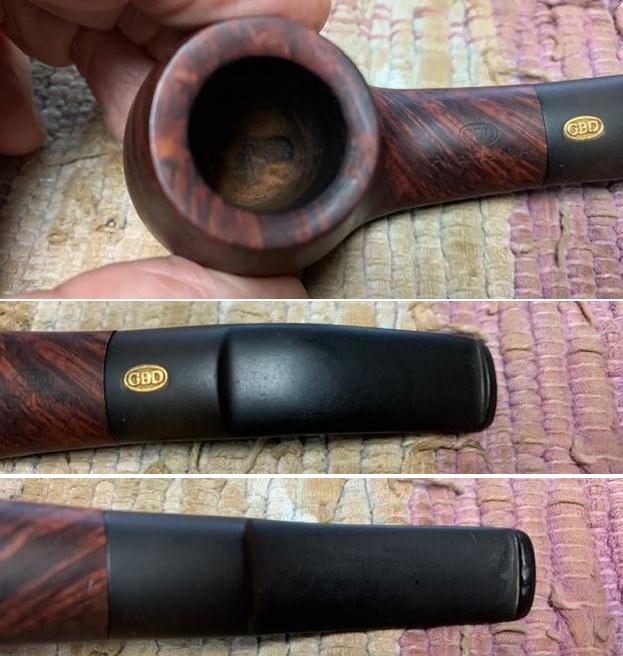
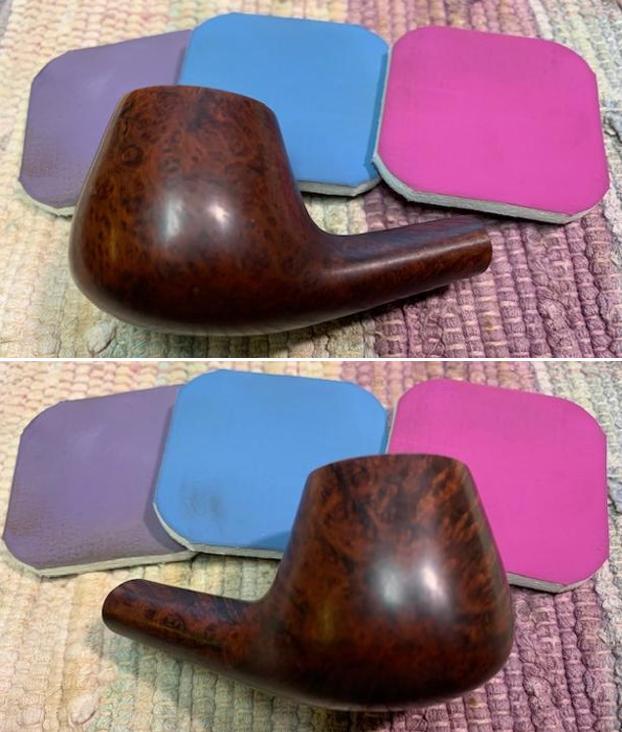
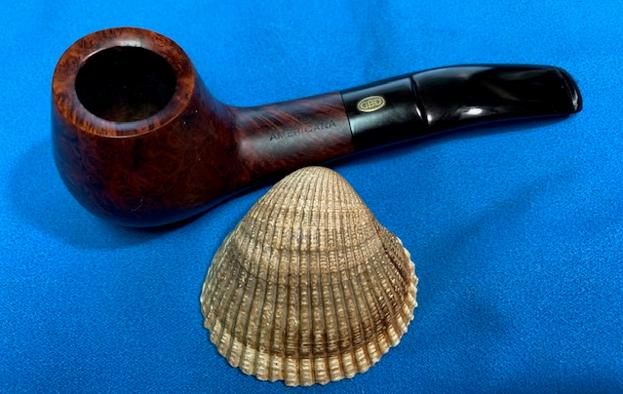
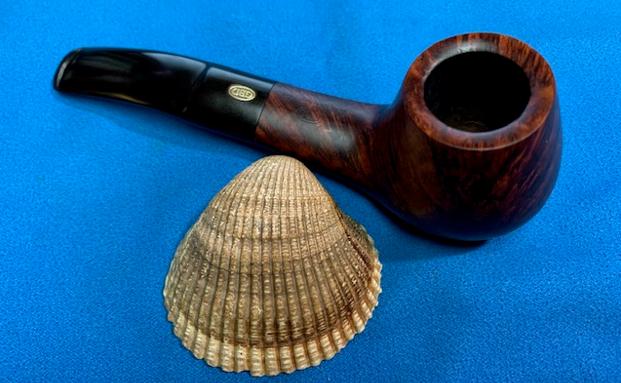
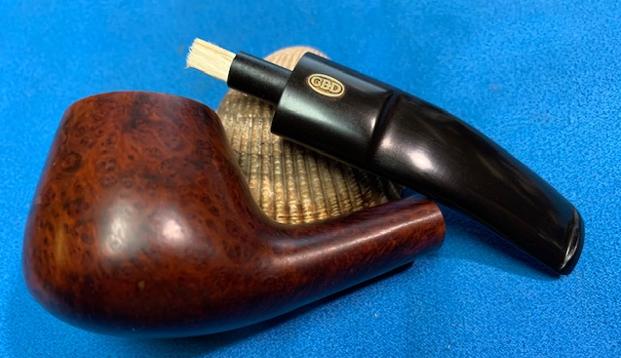
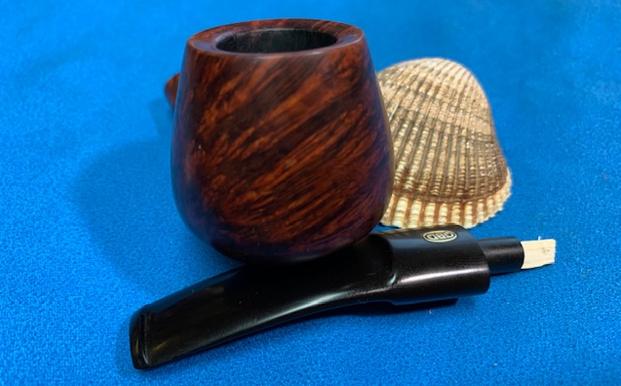
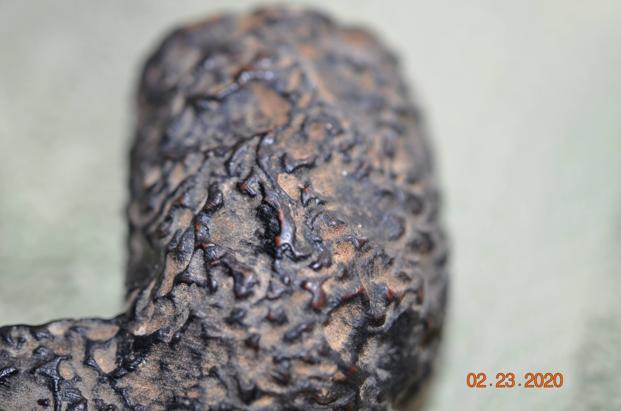
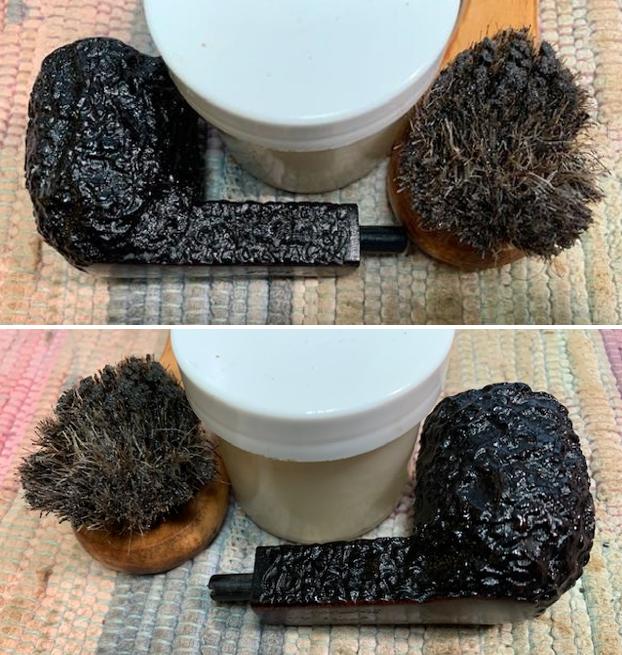
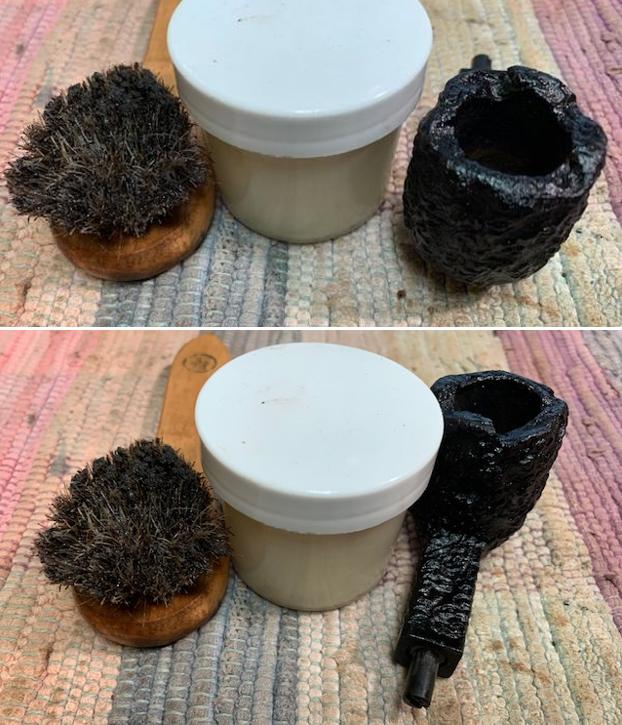
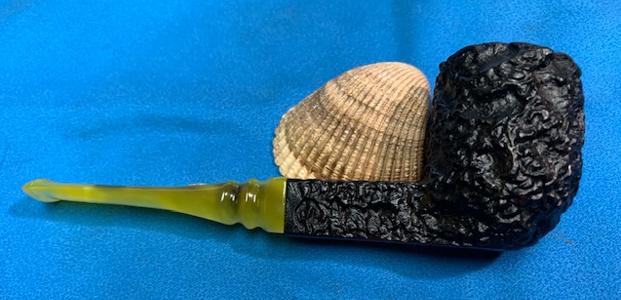
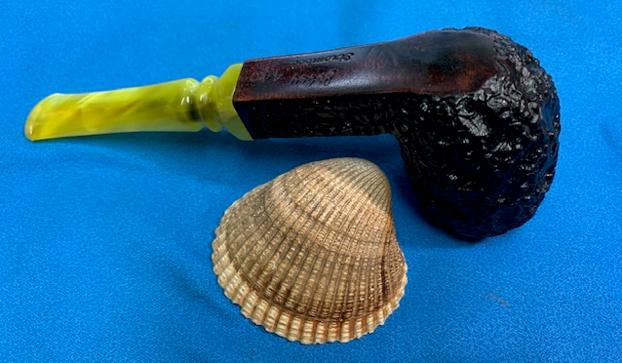
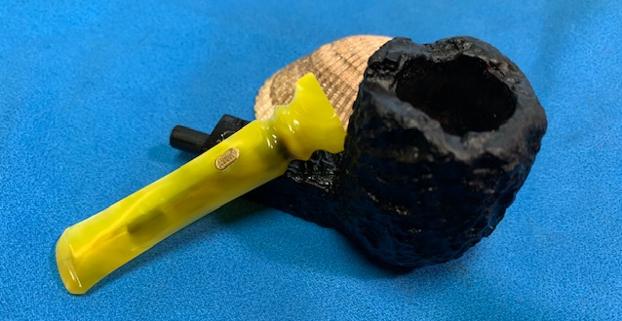
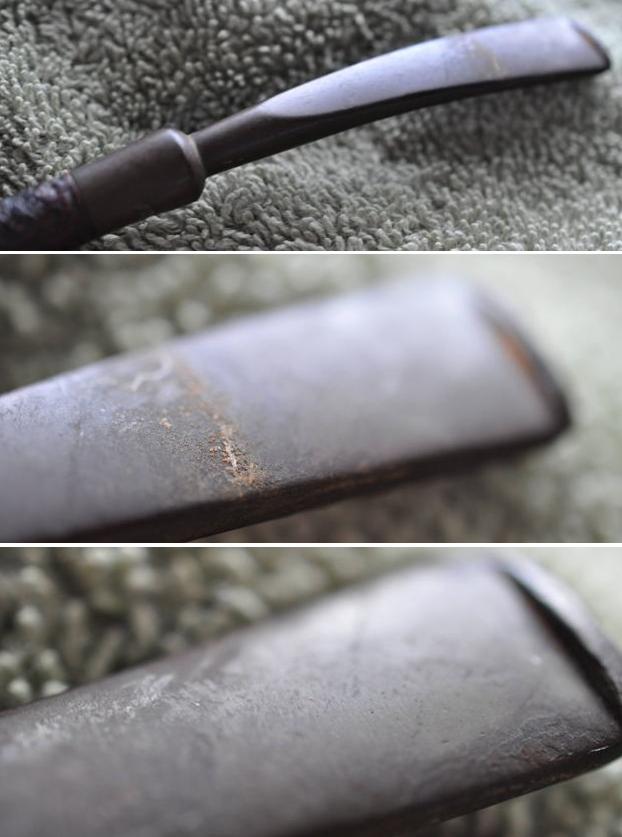
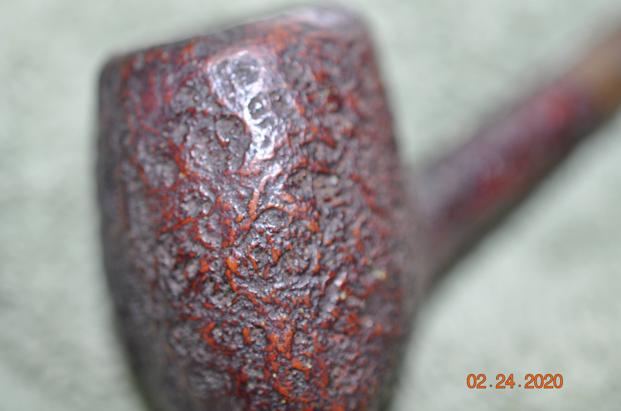
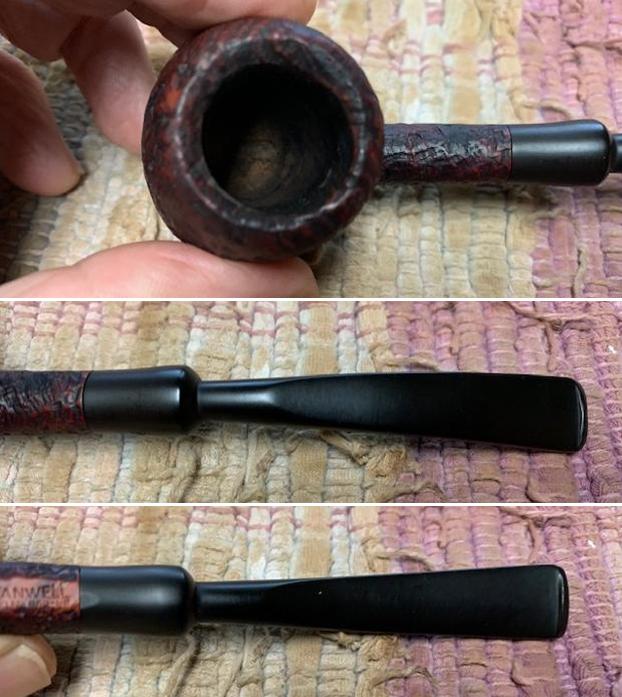
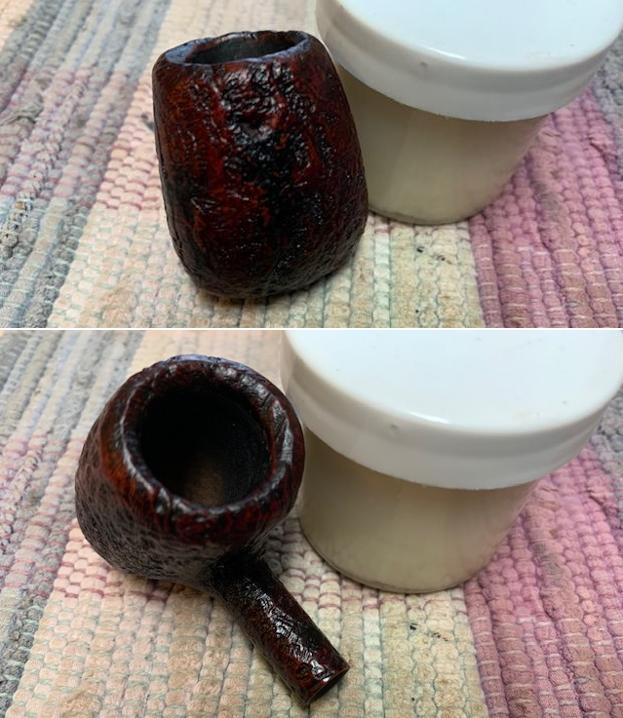
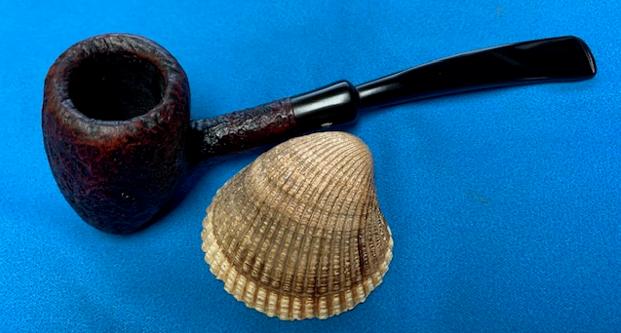
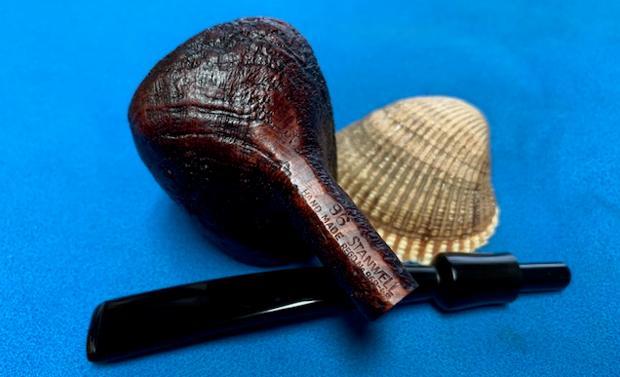
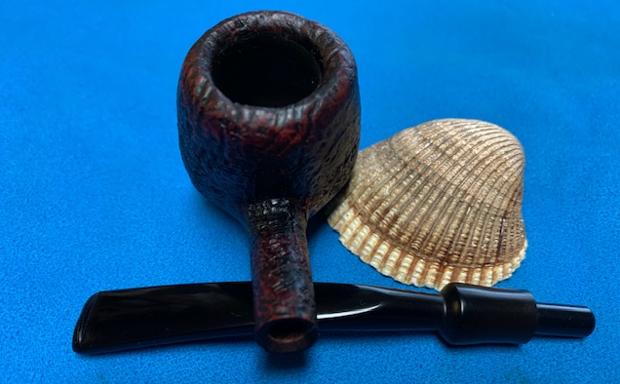
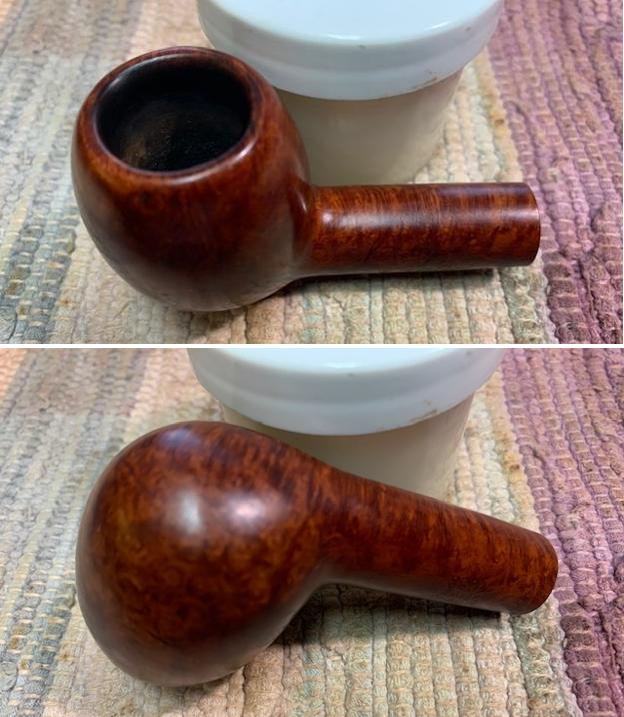
 Jeff took close-up photos of the bowl and rim top from various angles to capture the condition of the bowl and rim top edges. You can see the cake in the bowl and the lava on the inner of the rim and the top at the back of the bowl. The photos of the stem show the general condition of the stem.


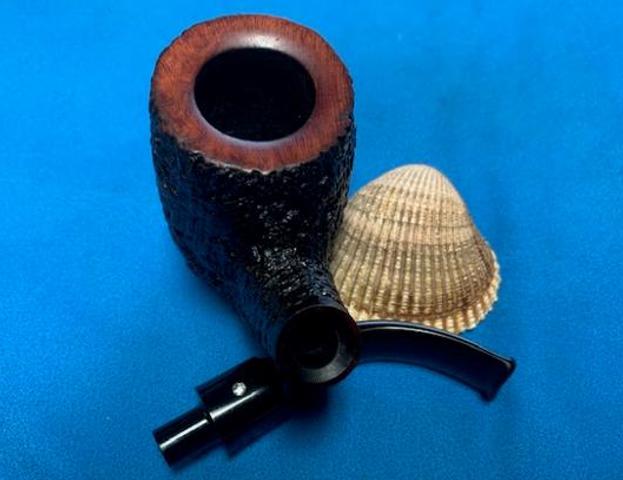
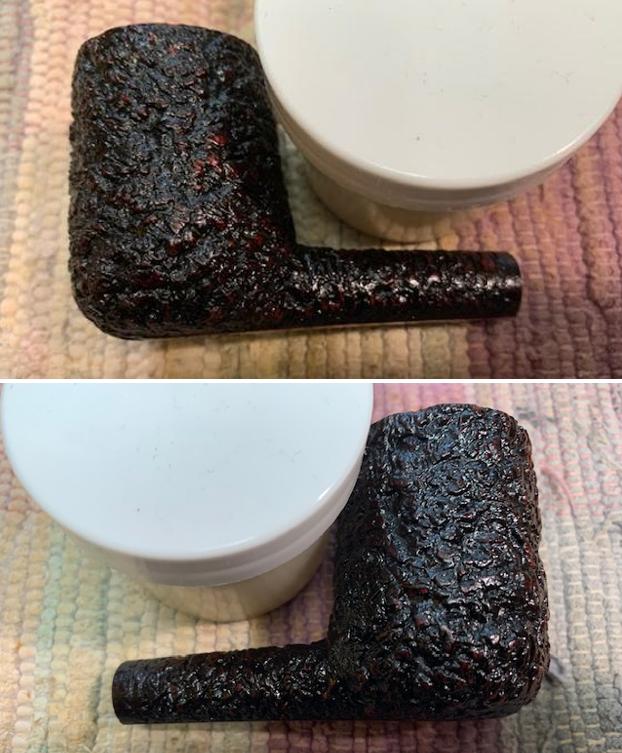
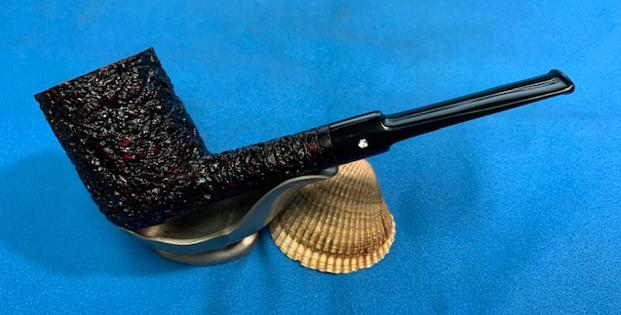
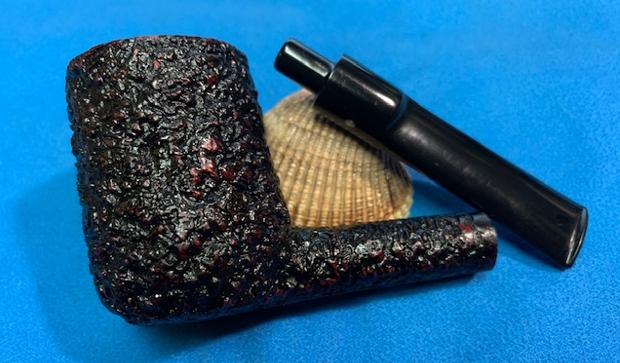
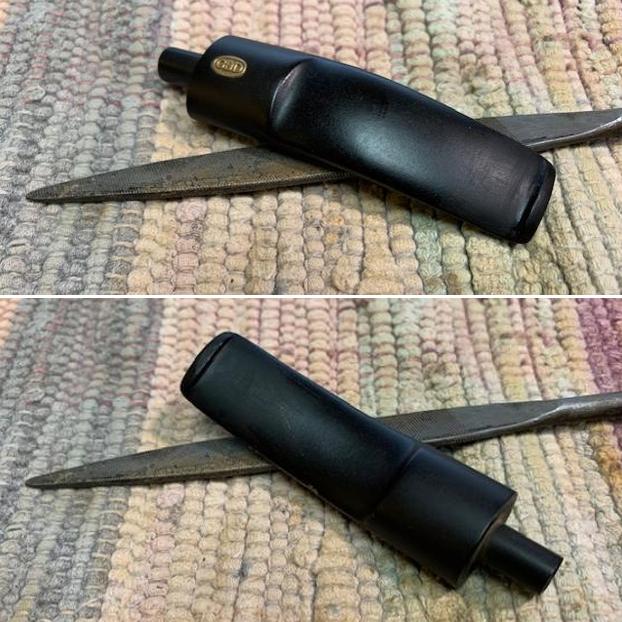
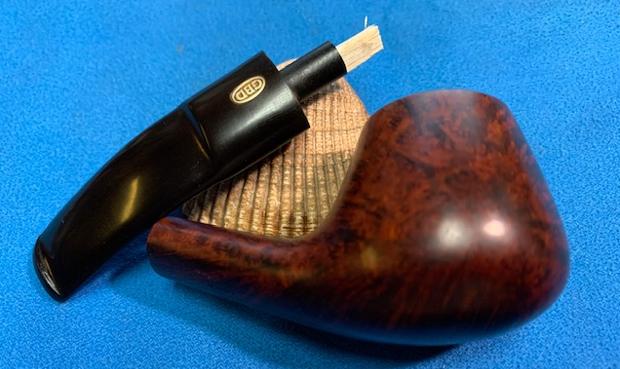
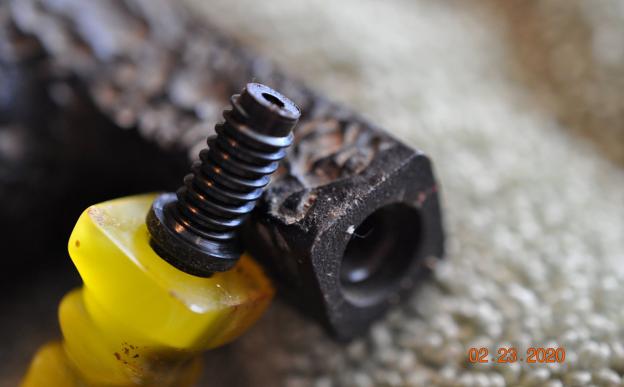
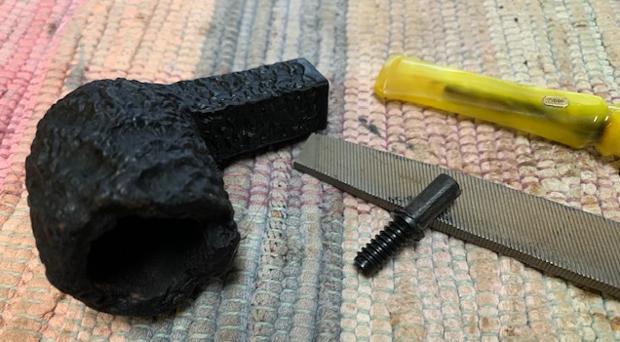
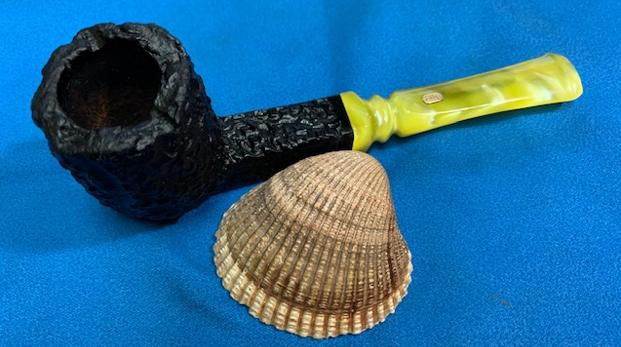
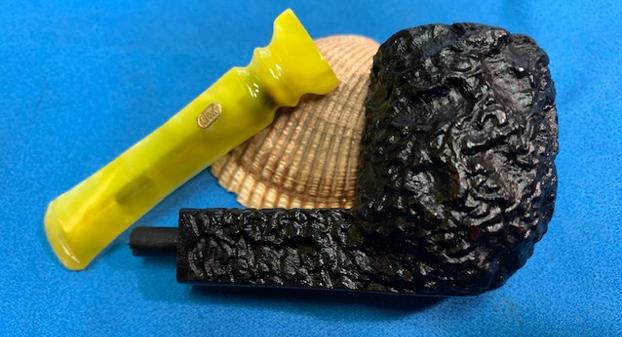
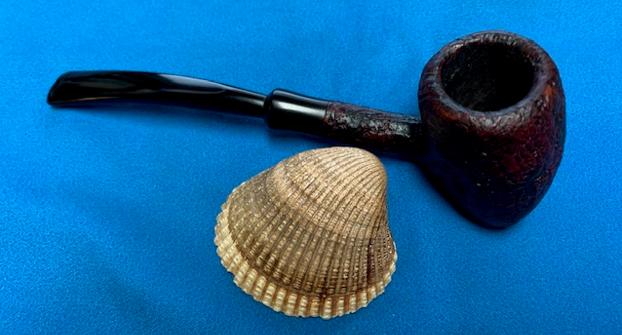
 He took the stem out of the shank and revealed a Delrin tenon with a lot of tars and oils on on the end of the tenon.
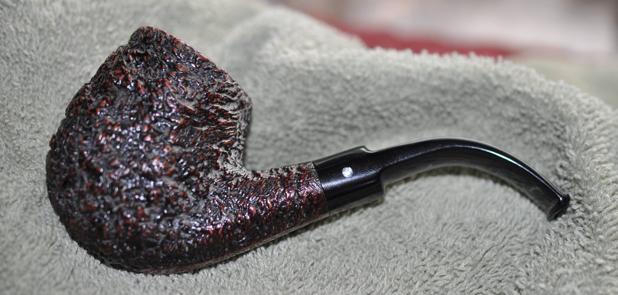
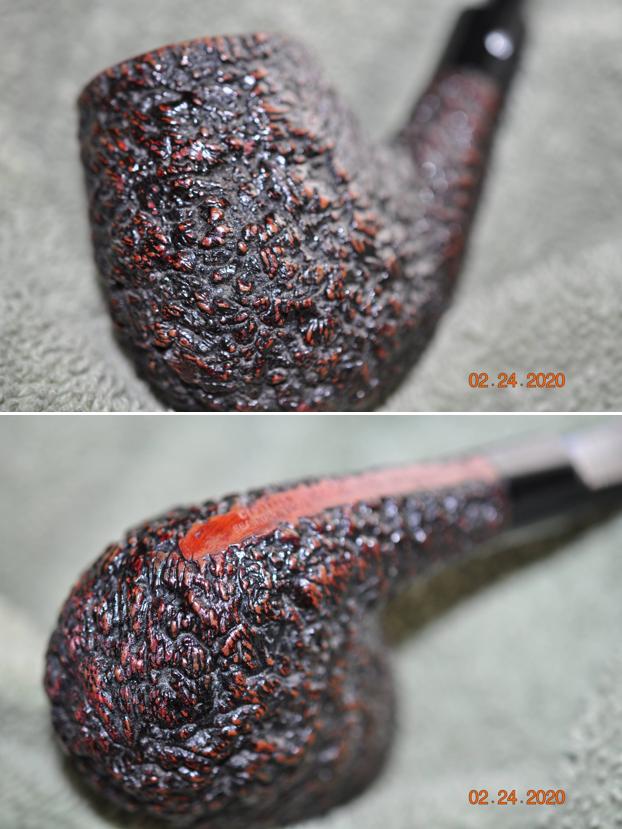
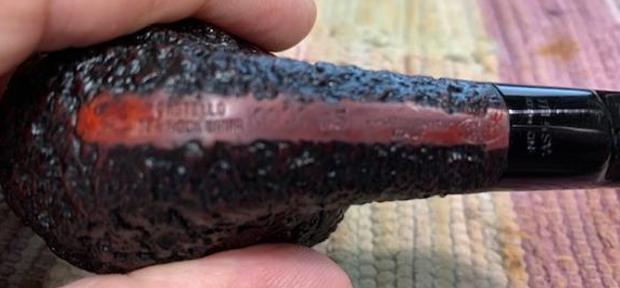
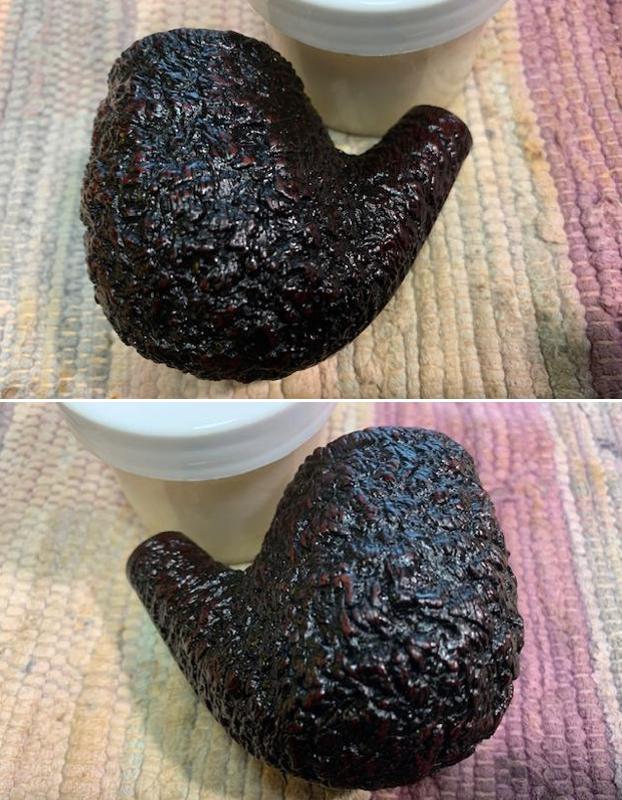
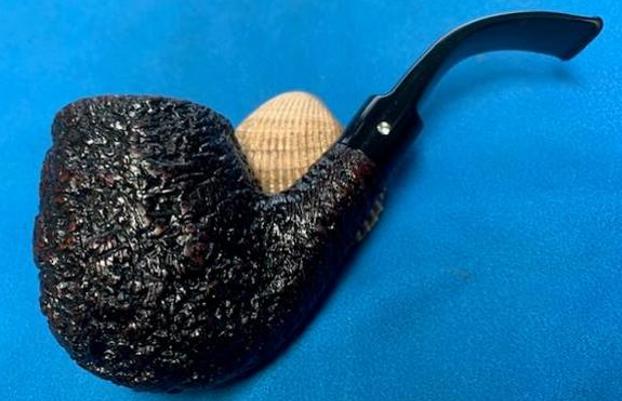
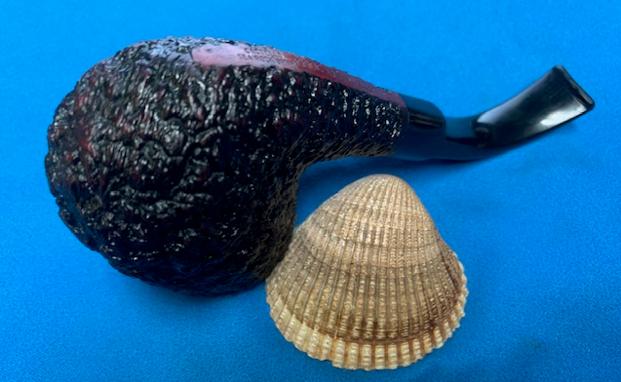
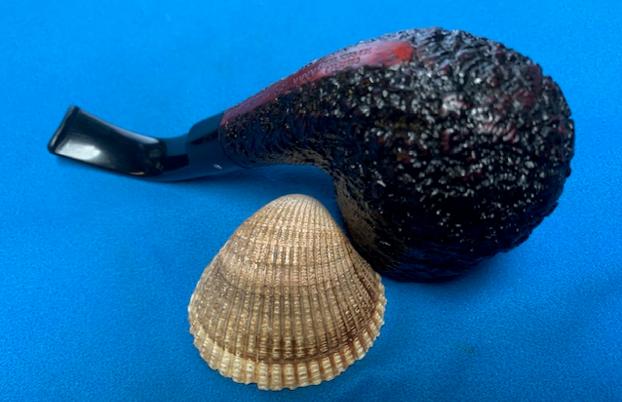
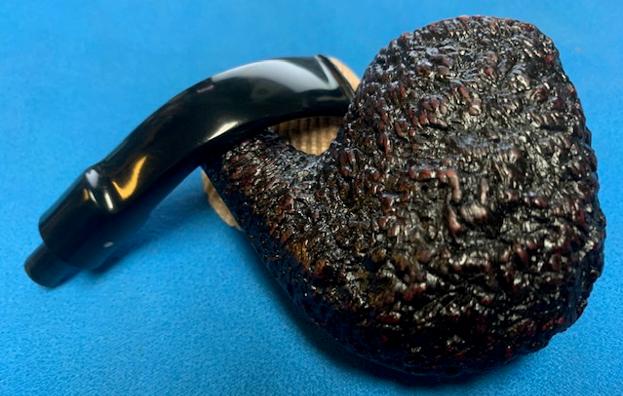
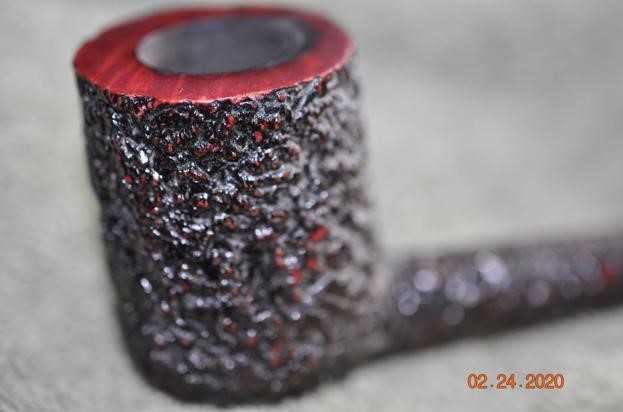
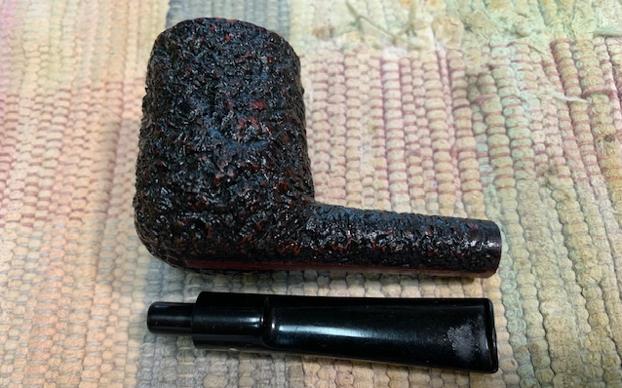
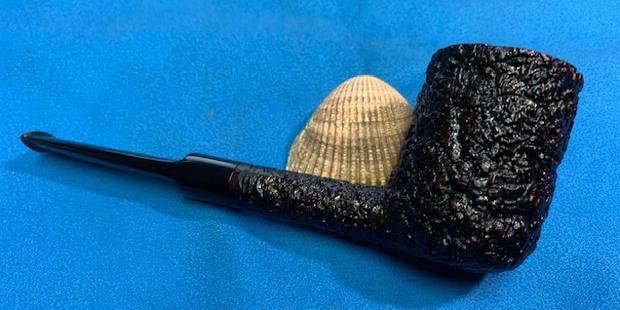
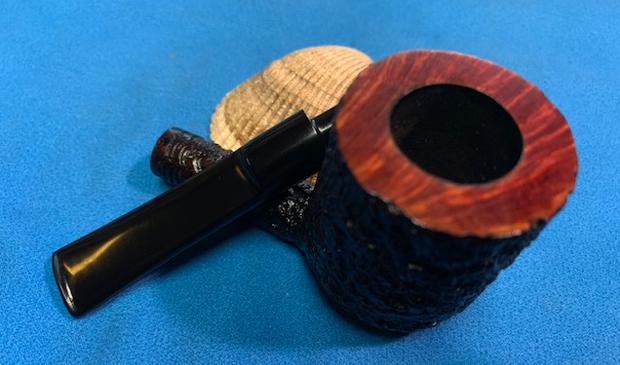
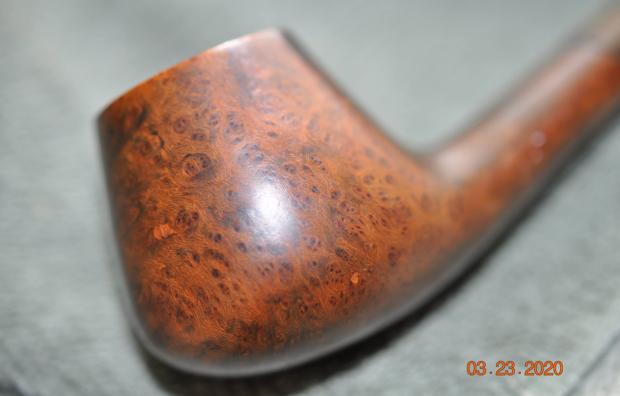
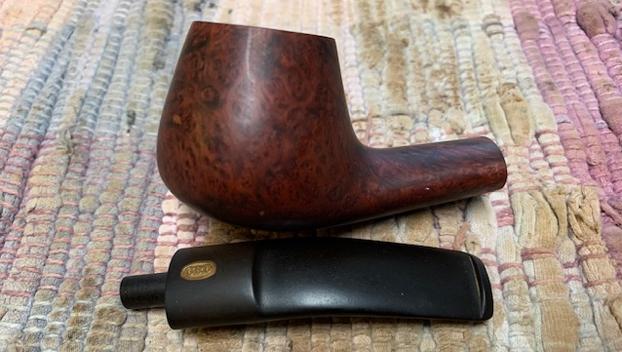
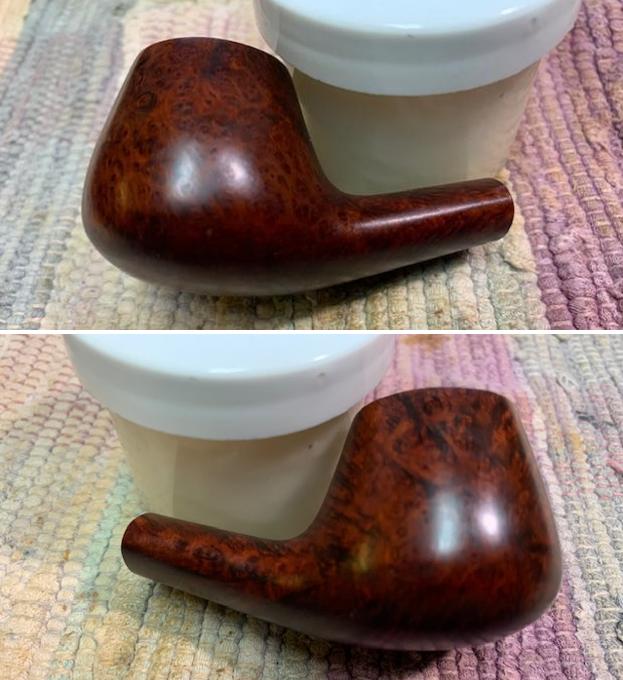
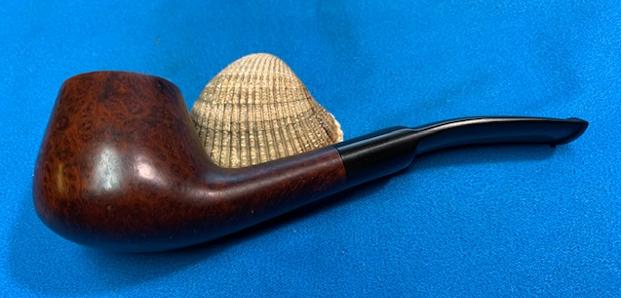
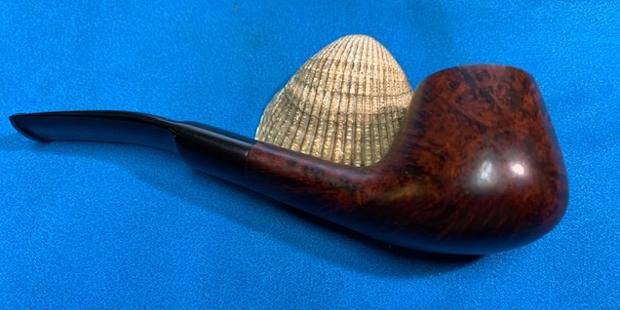
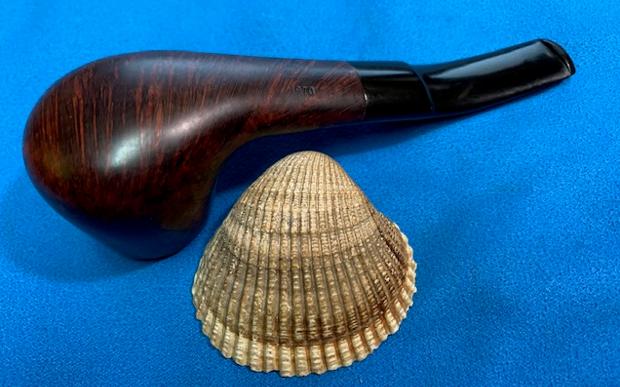
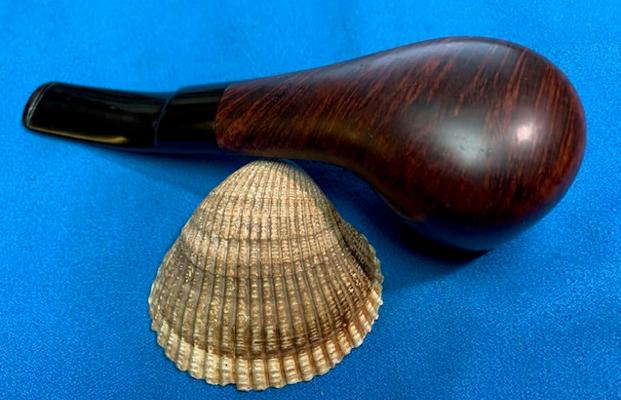
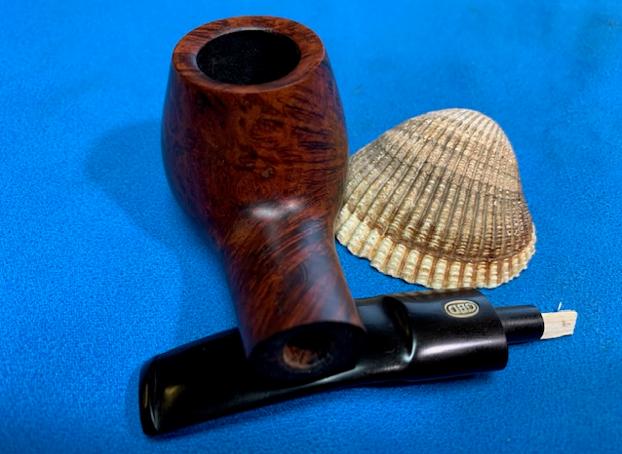
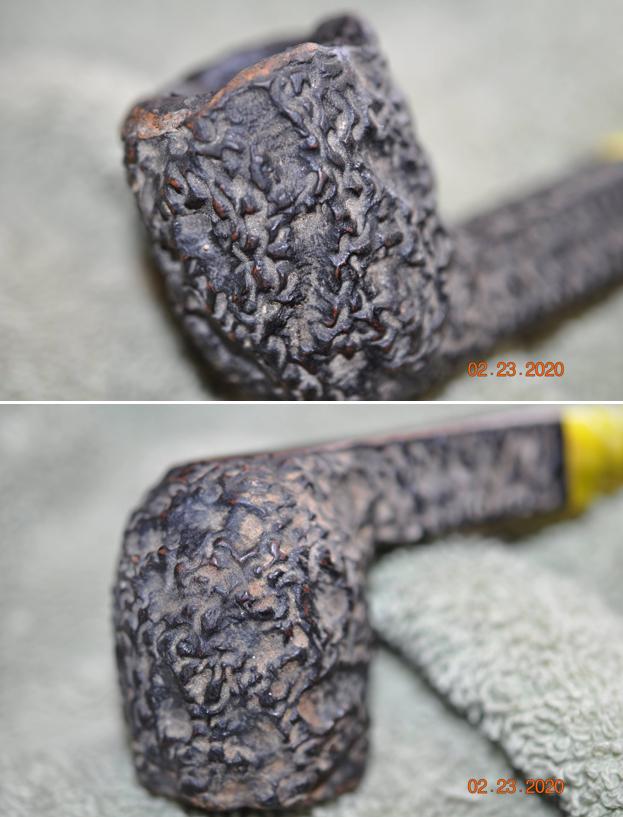
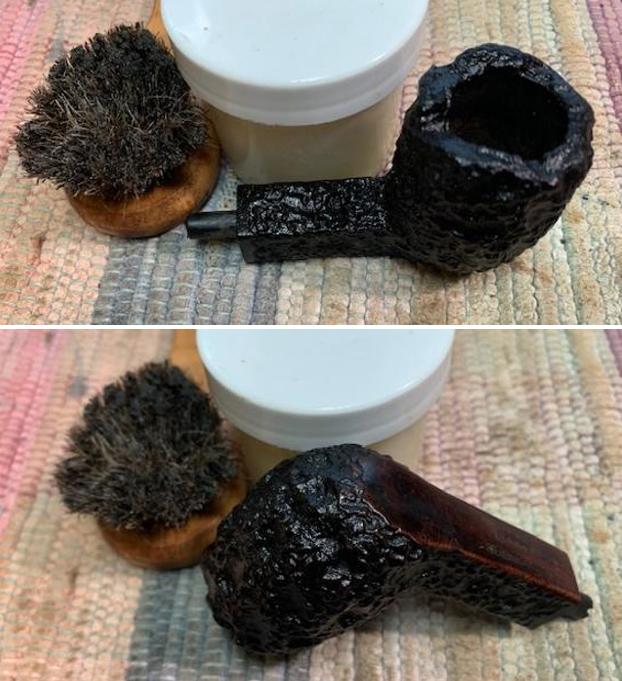
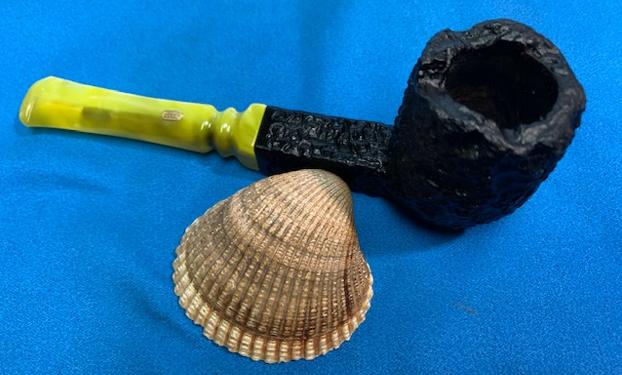
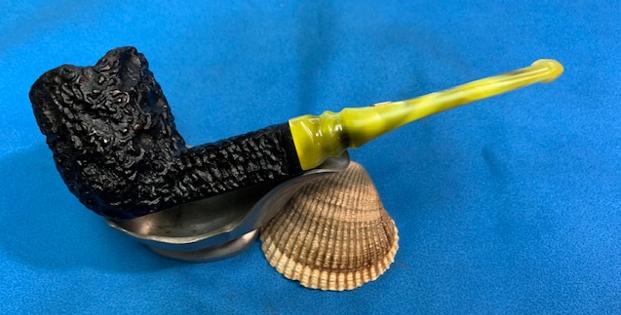
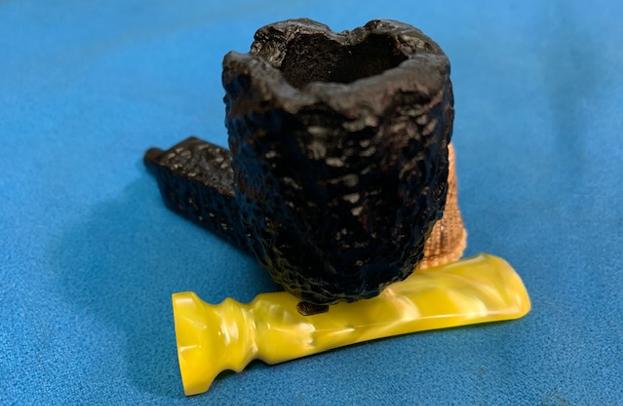
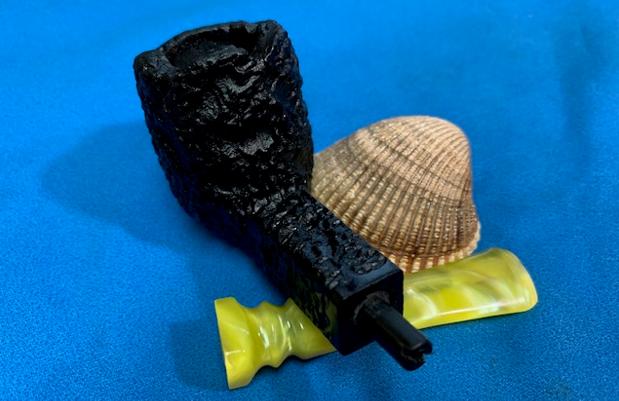
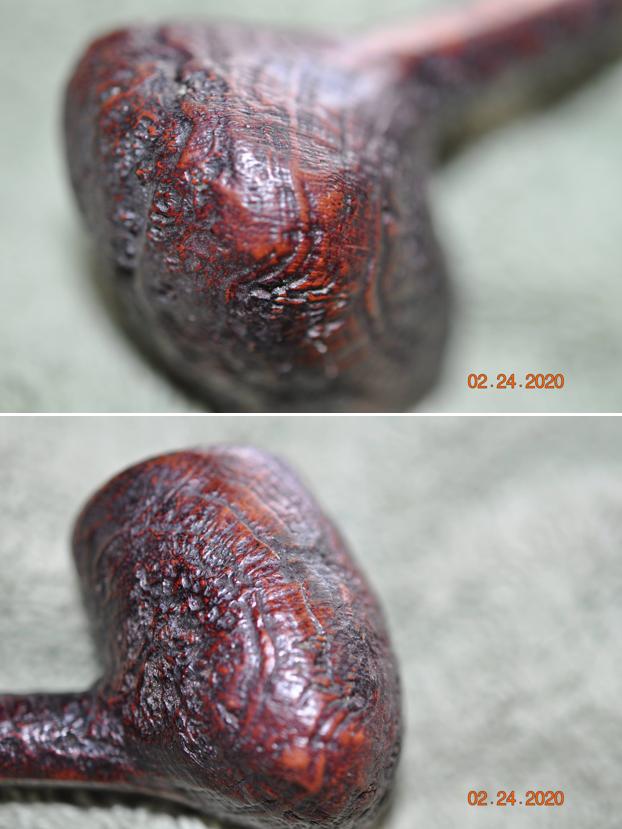
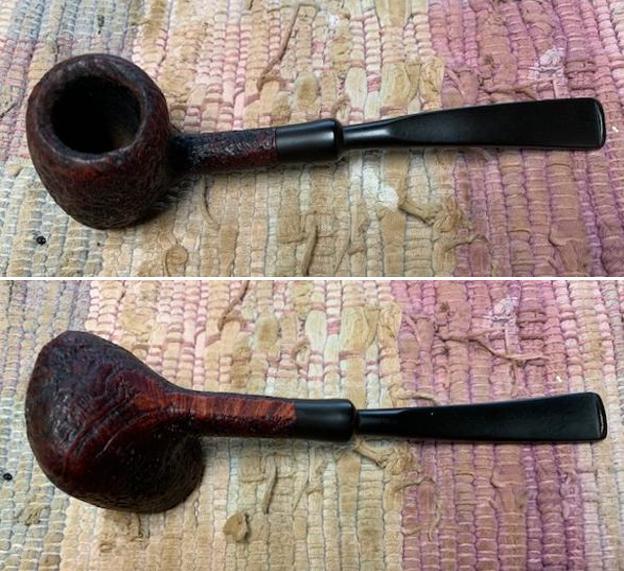
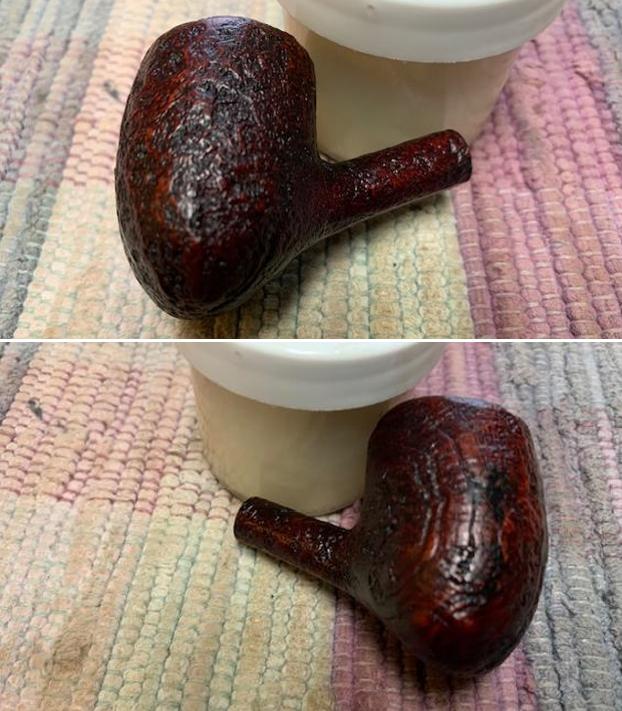
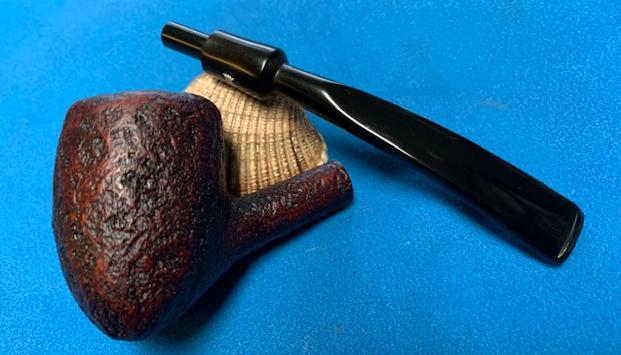
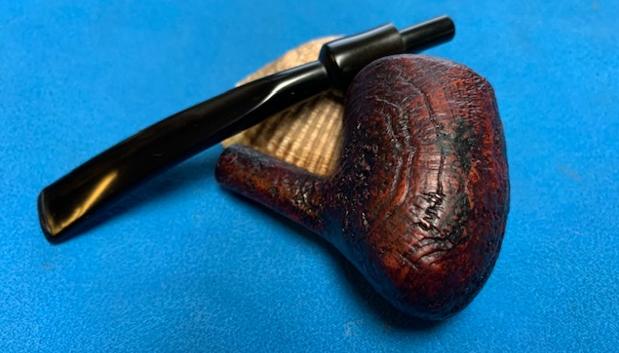
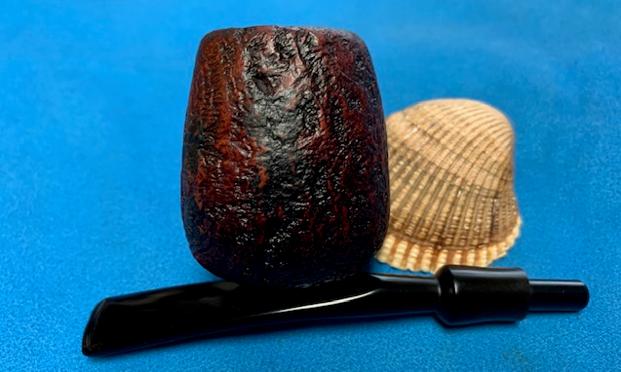
 He took photos of the sides and heel of the bowl to show condition of the briar. You can see the swirls of grain in the smooth bowl – both birdseye and cross grain around the sides and shank. There are scratches on the right side of the bowl.
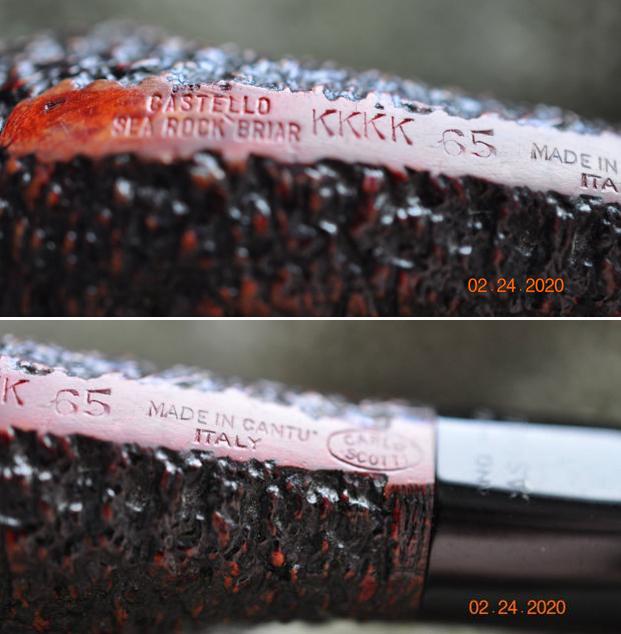
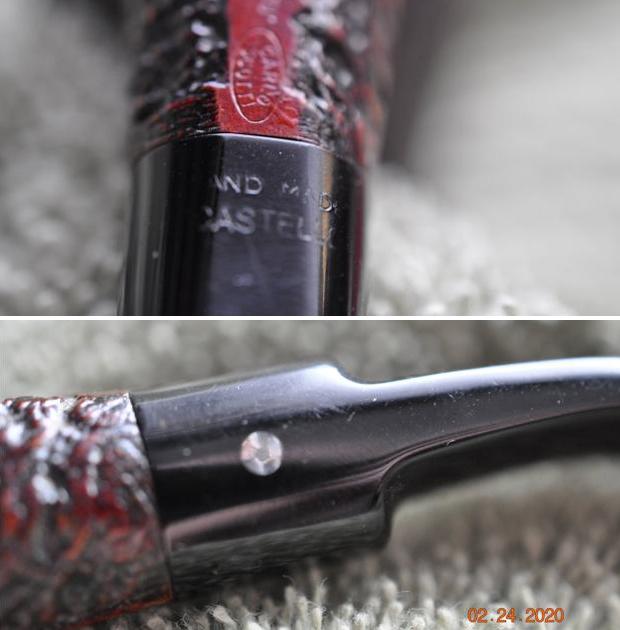
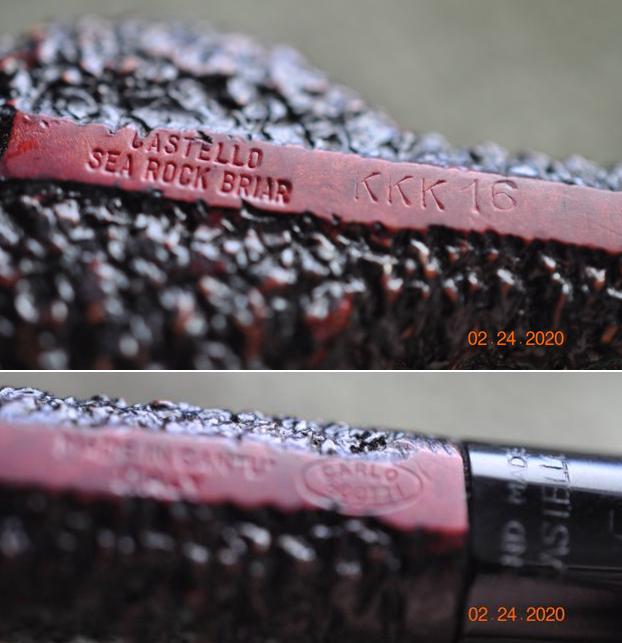
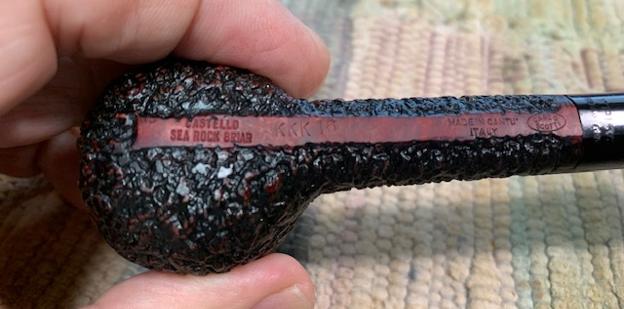
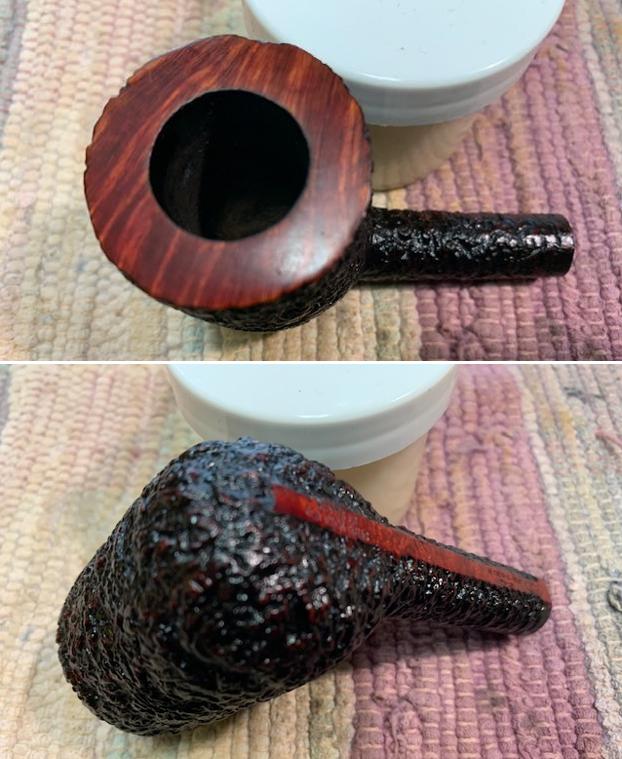
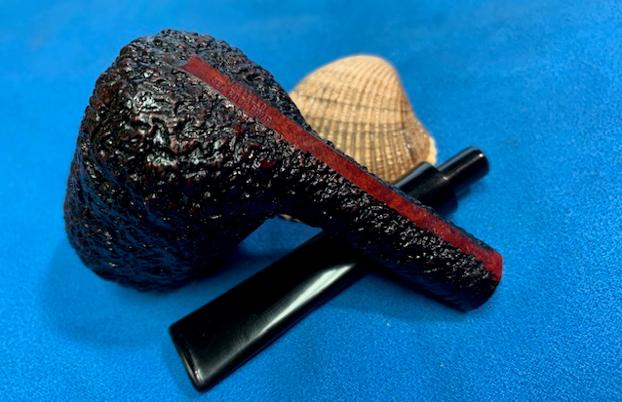
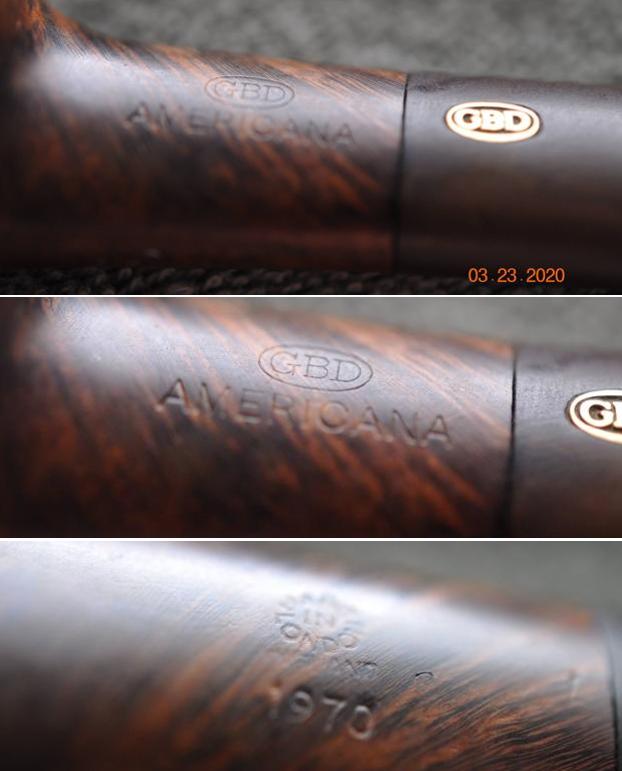
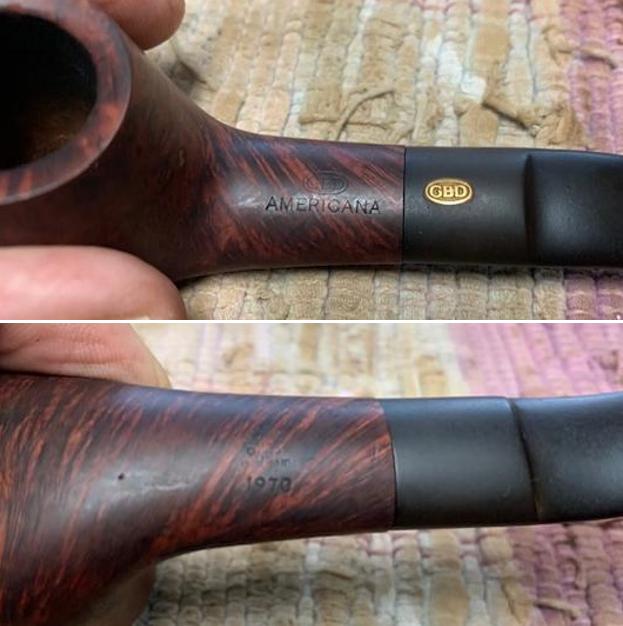
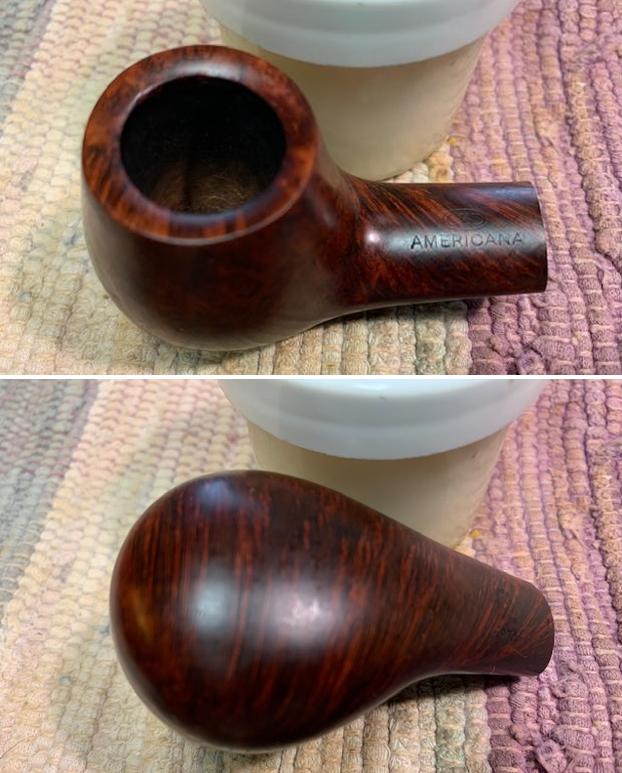
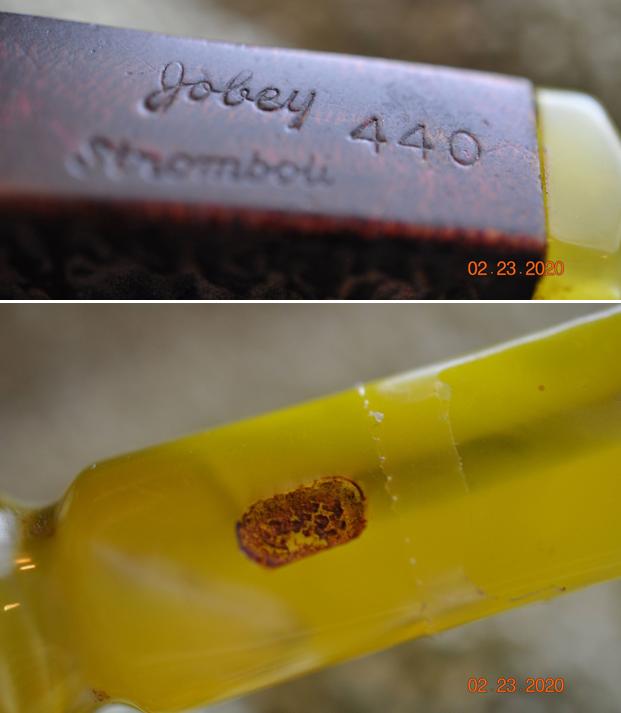
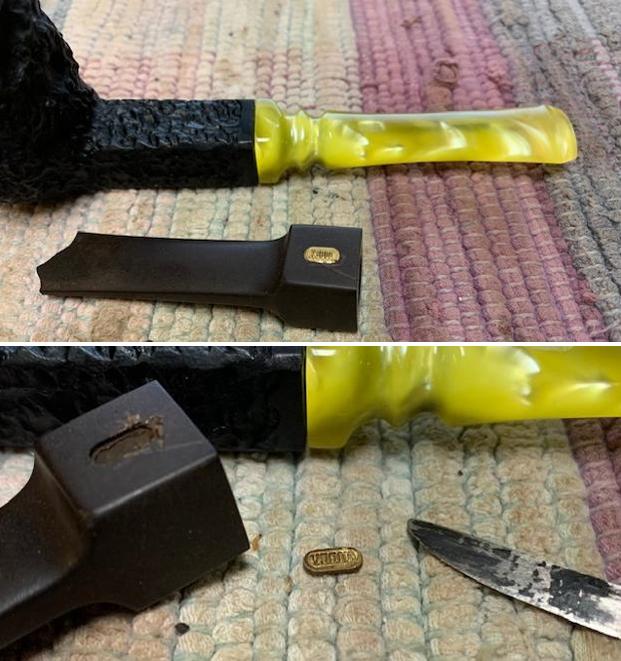
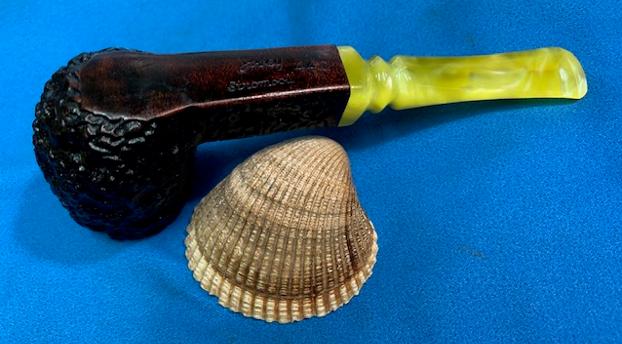
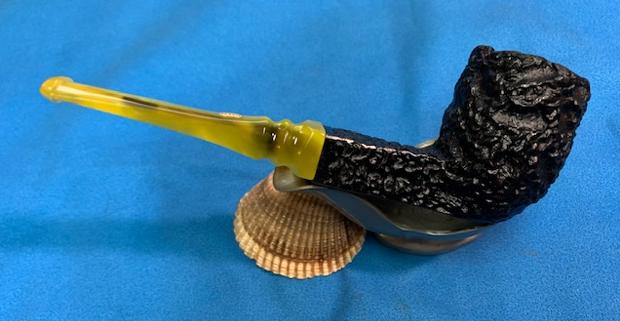
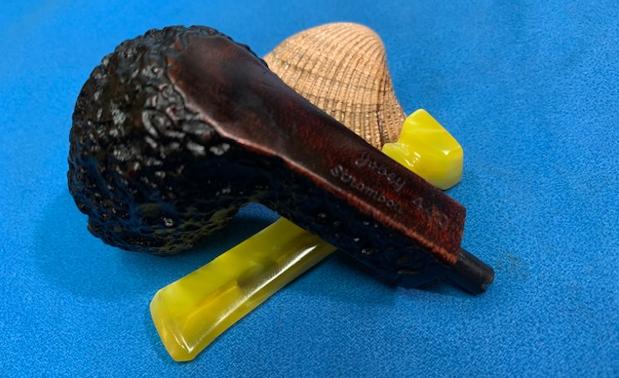
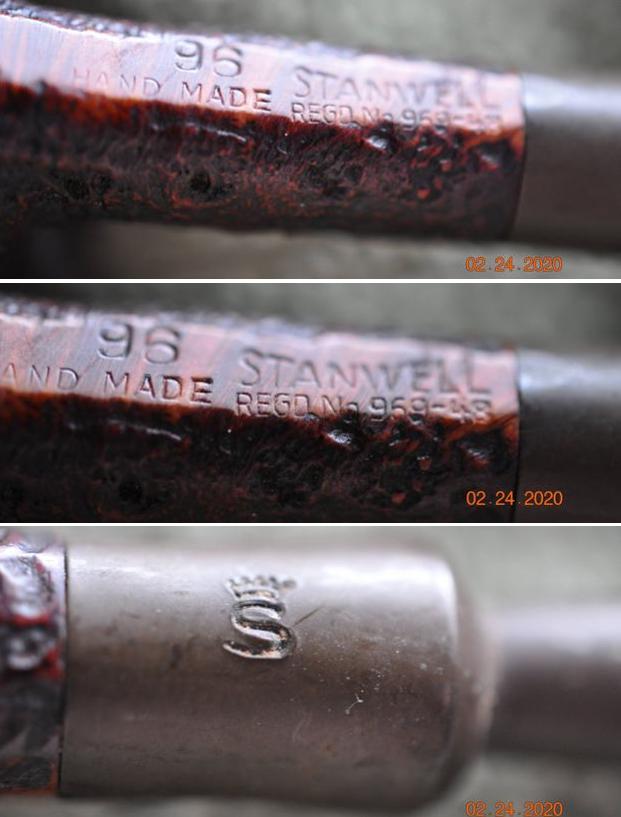
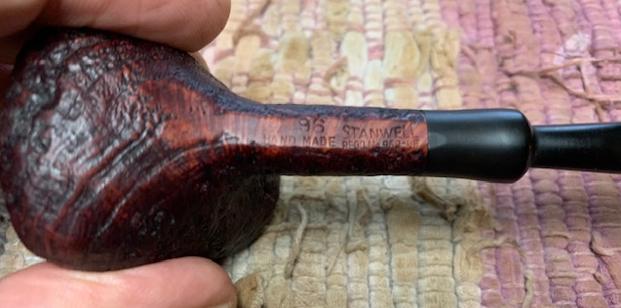
 The stamping is very clear on both sides of the pipe. The third photo shows the BC inlay on the left side of the taper stem.
 I turned to Pipedia (https://pipedia.org/wiki/Butz-Choquin) and found a great read of the history of the brand. I did find a shape chart however, that had the 1689 shape. I have included that below.
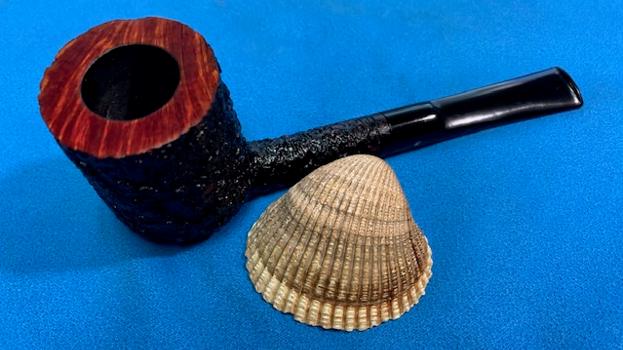
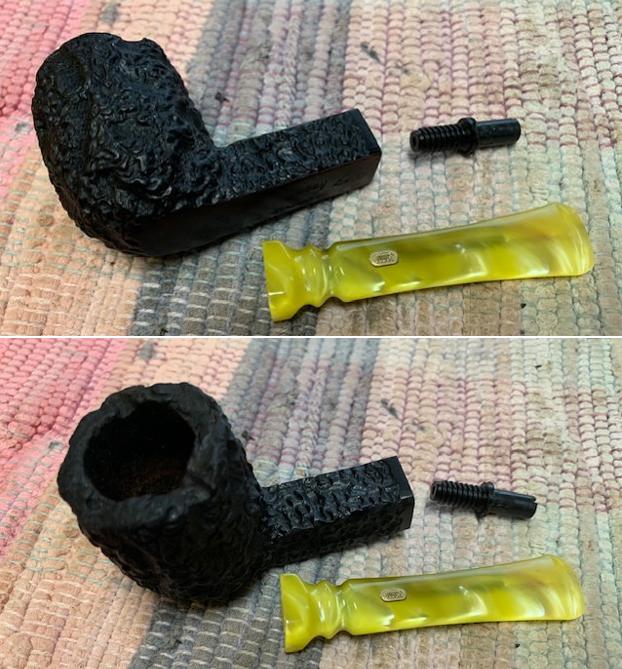
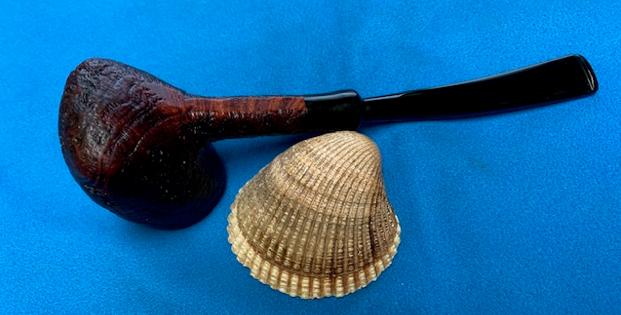
 Now it was time to look at it up close and personal. Jeff had great job in cleaning up this BC C’est bon Apple. He had reamed the bowl with a PipNet Pipe Reamer and cleaned up the remnants with a Savinelli Fitsall Pipe Knife. He took the cake back to bare briar so we could check the walls for damage and also see the condition of the inner edge of the rim. He scrubbed the exterior of the bowl with Murphy’s Oil Soap and a tooth brush to remove the grime on the bowl and rim and was able to remove much of the grime and dirt. He cleaned out the interior of the bowl and shank with pipe cleaners, cotton swabs and alcohol until they came out clean. The rim top looked much better. The bowl looked very good. He cleaned the stem with Soft Scrub to remove the grime on the interior and the exterior and rinsed it off with warm water to remove the product. He cleaned out the airway with alcohol, cotton swabs and pipe cleaners. I took some photos of the pipe as I saw it.
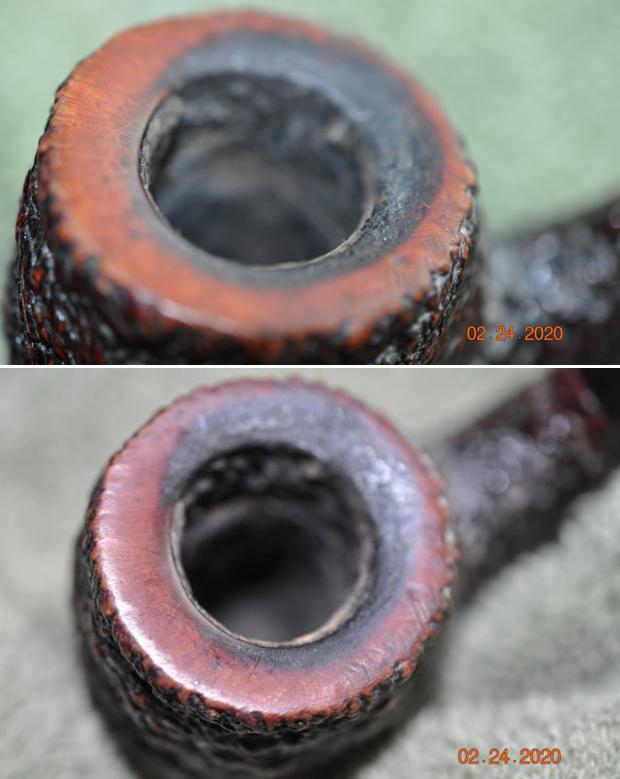
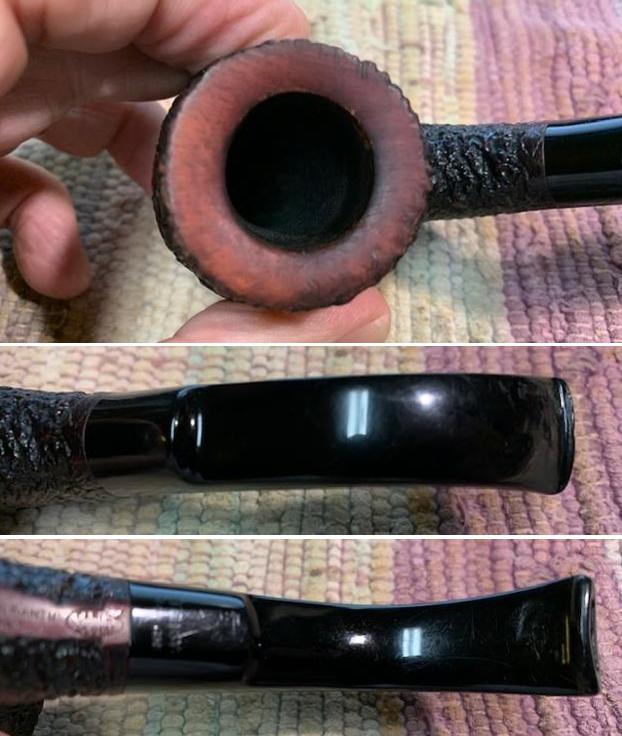
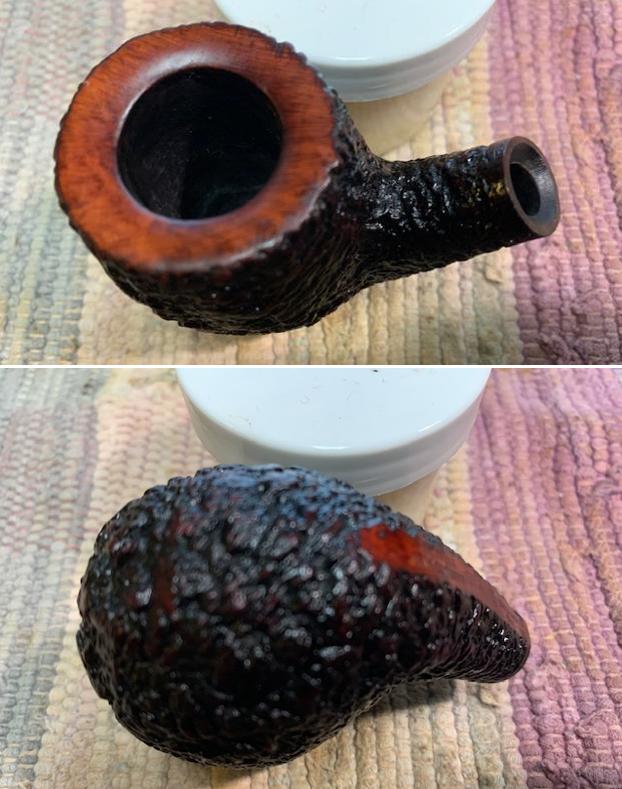
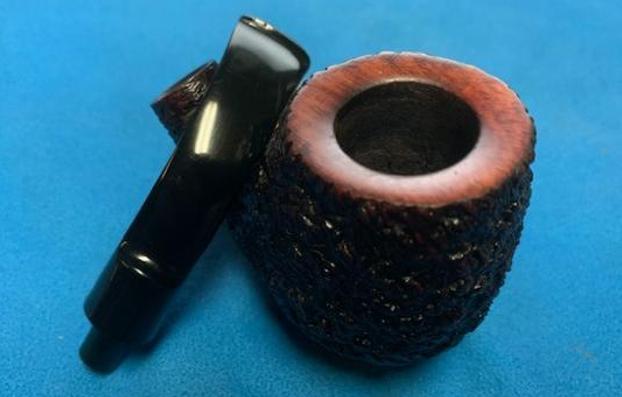
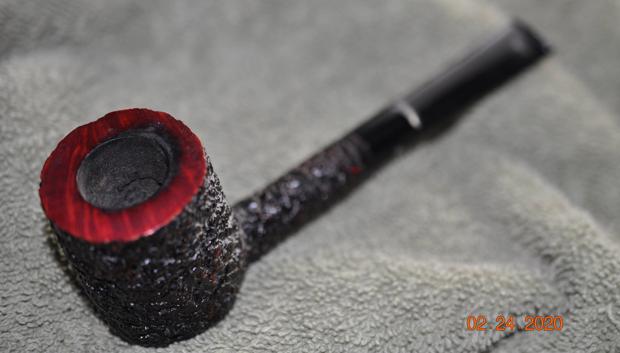
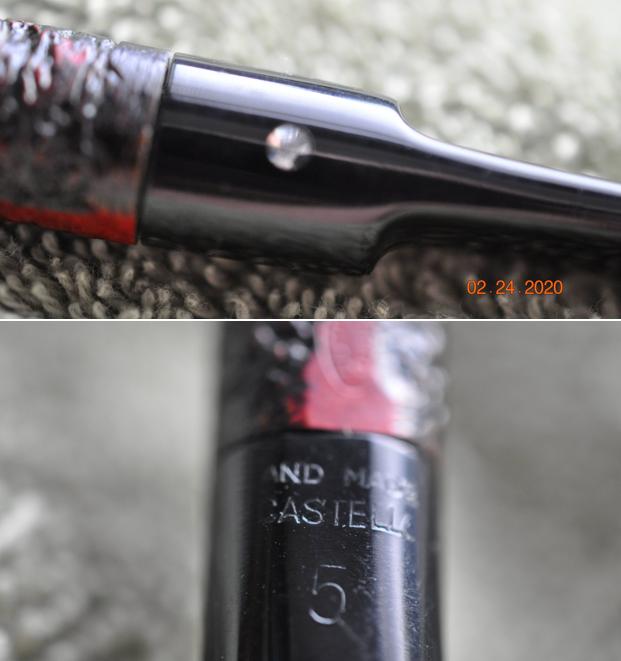
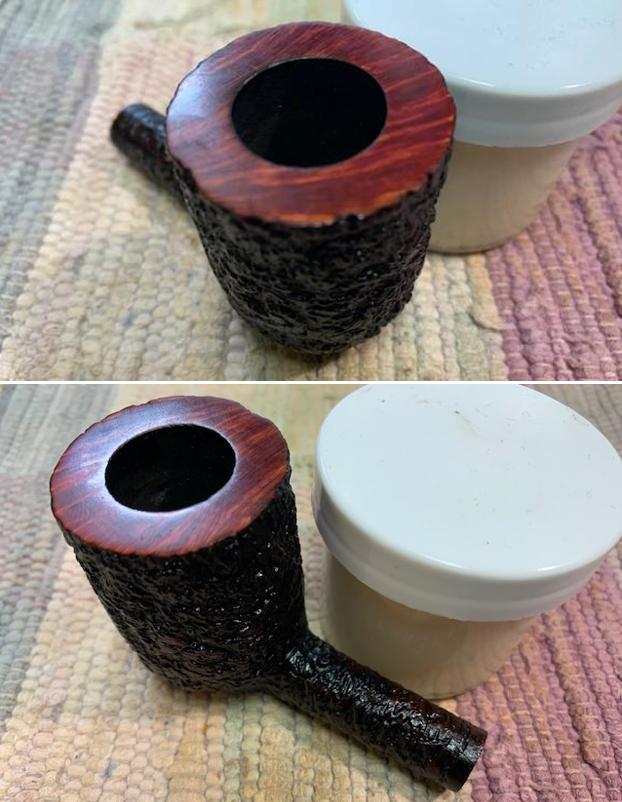
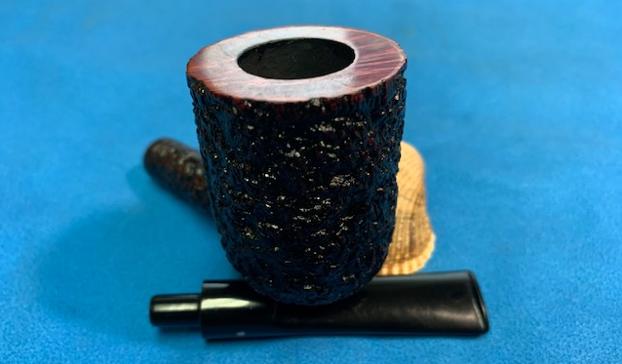
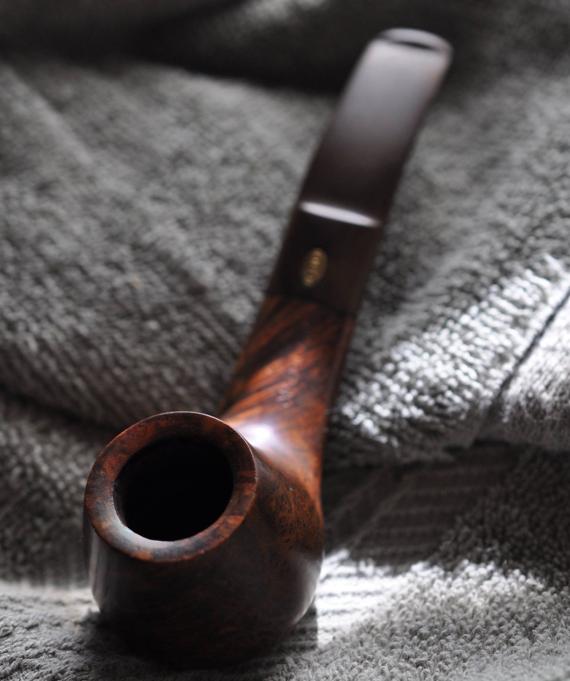
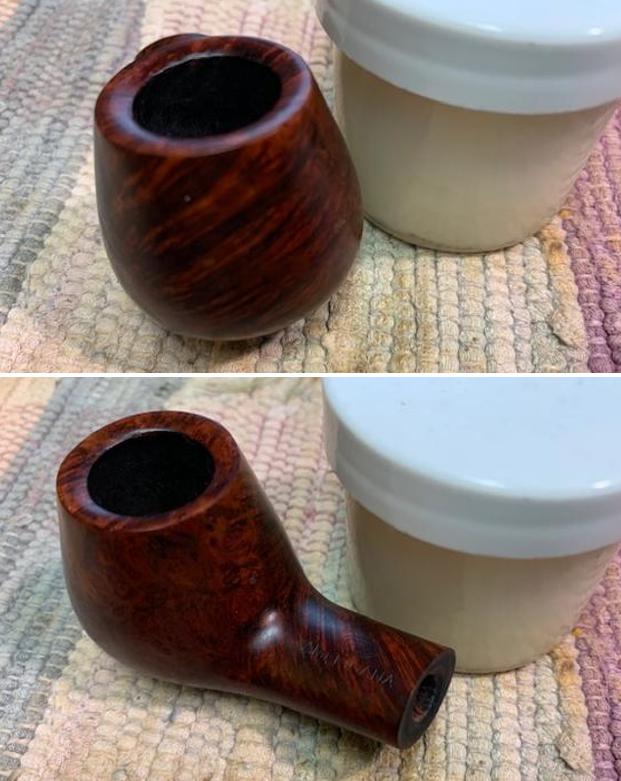
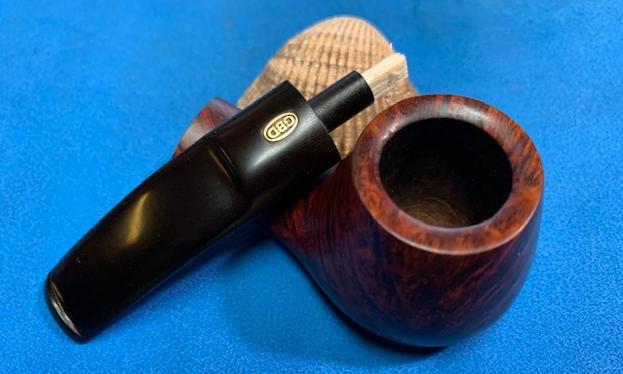
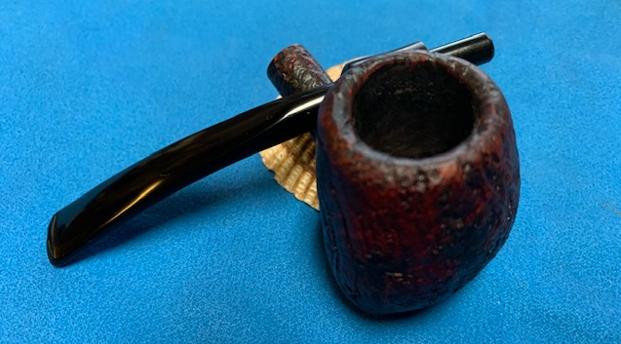
 To show how clean the rim top and stem really was I took a close-up photo of the rim and stem. The bowl was clean and cake free. The rim top is quite clean the inner and outer edges were darkened. The surface and the button edge of the stem had tooth marks and chatter on the top near the button on both sides. What I thought was a hole all the way through the stem on the underside turned out not to be that deep.
 I took some photos of the stamping on the sides of the shank. It is clear and readable as noted above.
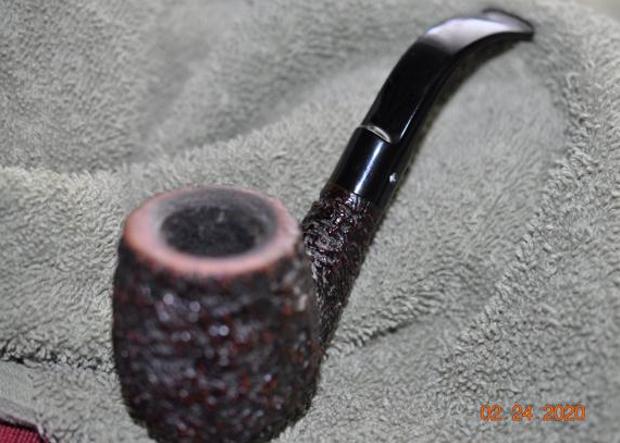
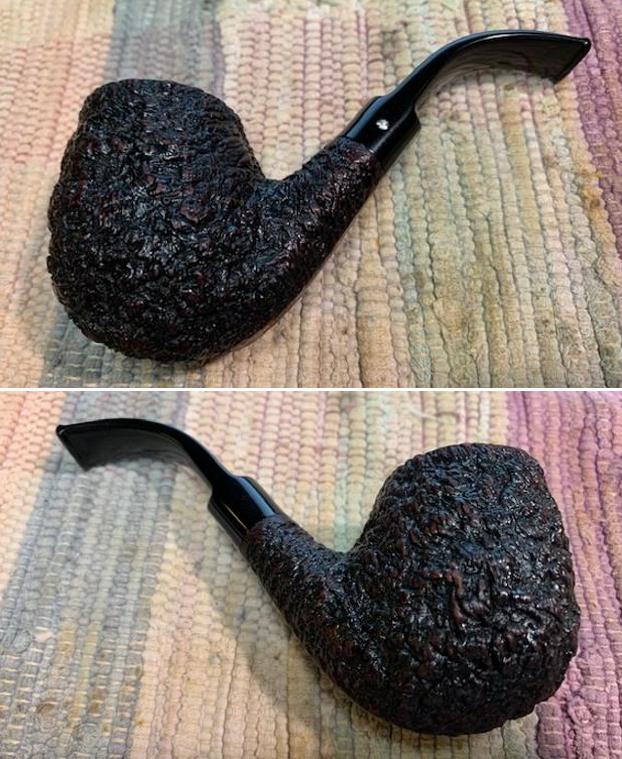
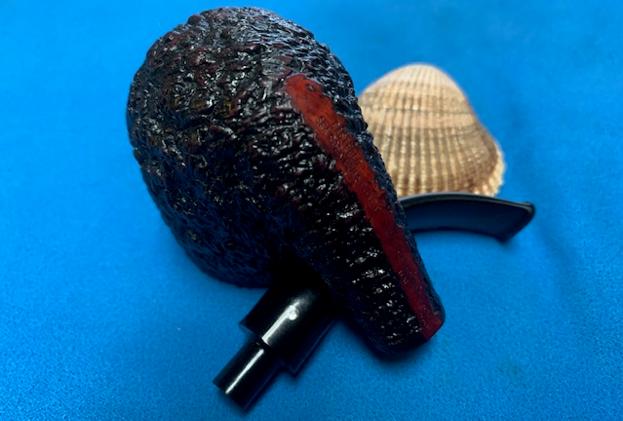
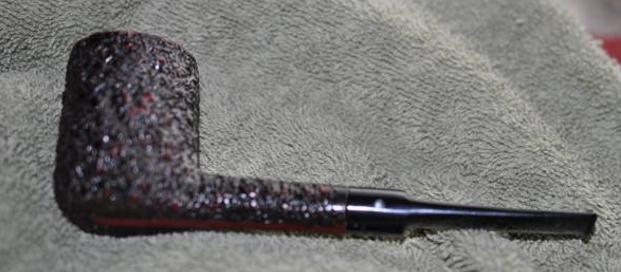
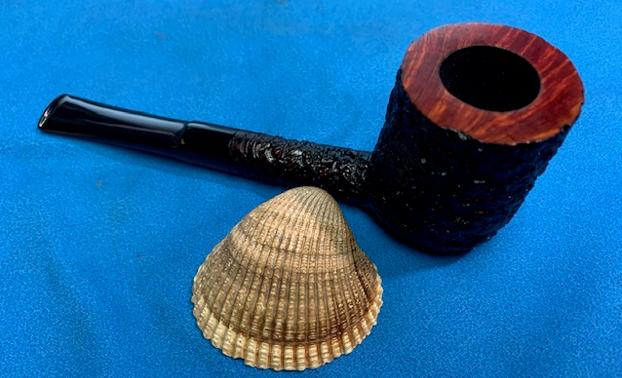
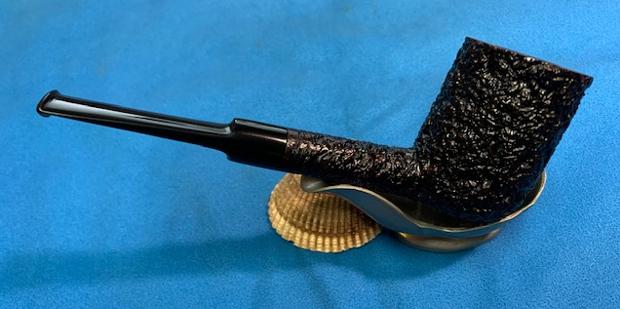
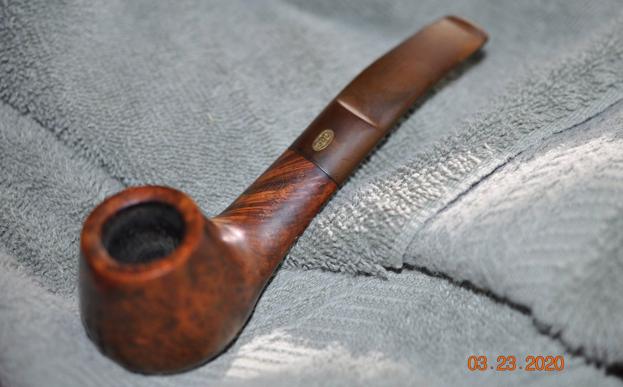
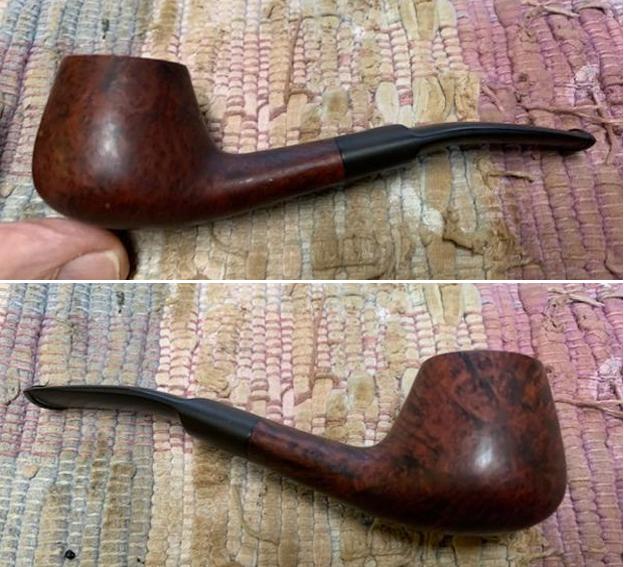
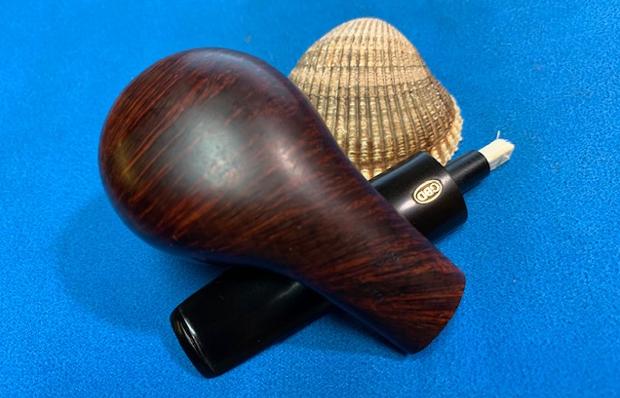
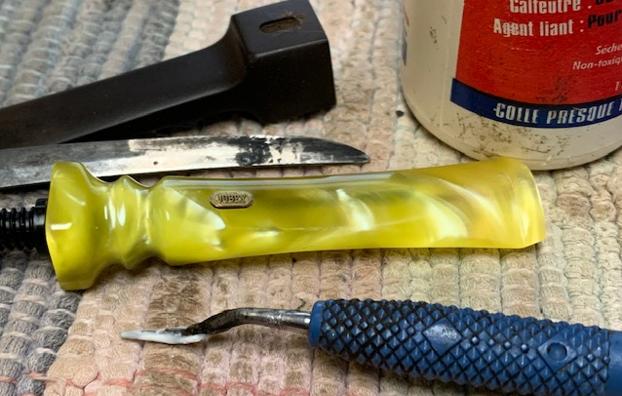
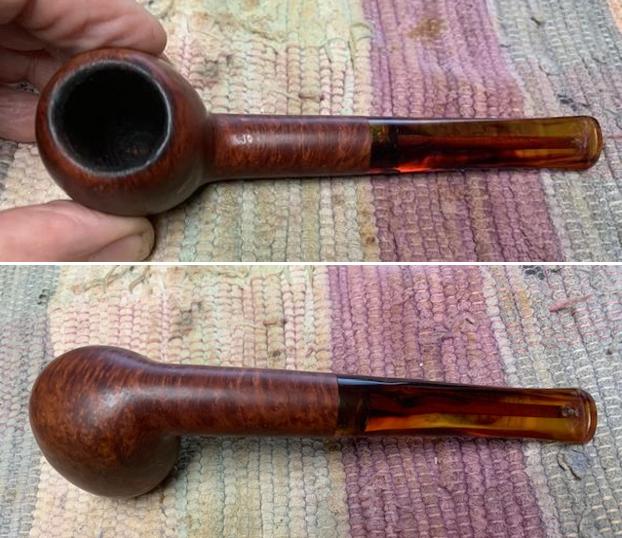
 I removed the stem from the shank and took a photo of the pipe from the left side to give a clear picture of the beauty of this particular pipe.
 I turned to Pipephil (http://pipephil.eu/logos/en/logo-butzchoquin.html) and found the C’est bon pipe shown below. I did a screen capture of the of the listing and have included it below.
 I started working on the pipe by dealing with the damage and darkening to the rim top and inner edge of the bowl. I sanded it with 220 grit sandpaper to remove the damage.
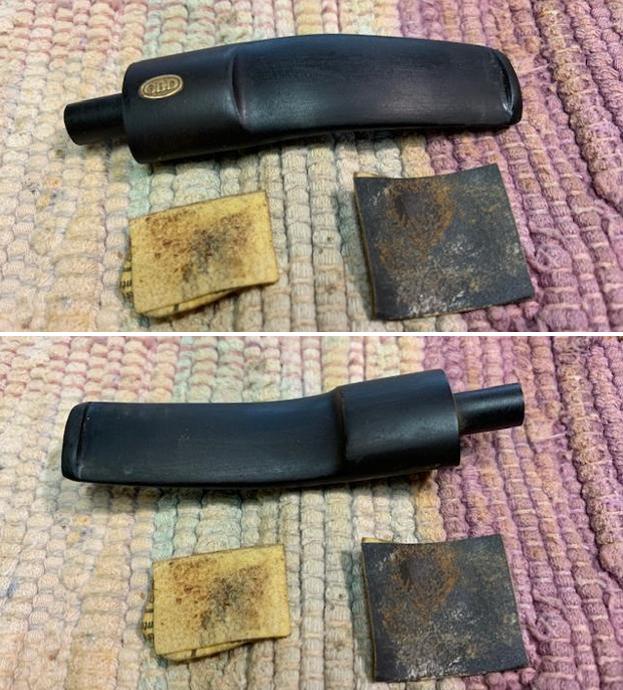
 I used to some clear CA glue to fill in the deep scratches on the right side of the bowl. Once the repairs cured I sanded them smooth with a folded piece of 220 grit sandpaper. I started polishing the areas of the repair with 400 grit wet dry sandpaper. I stained the sanded area with a Maple Stain pen.
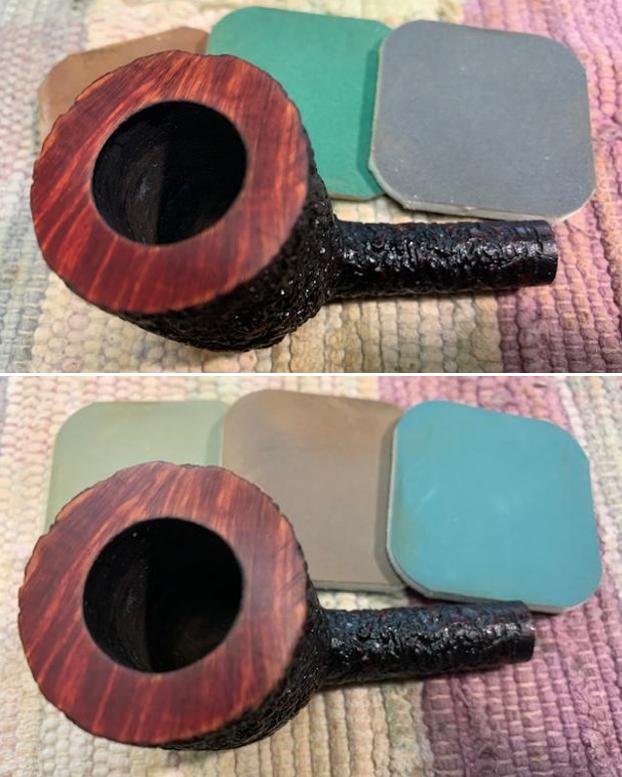
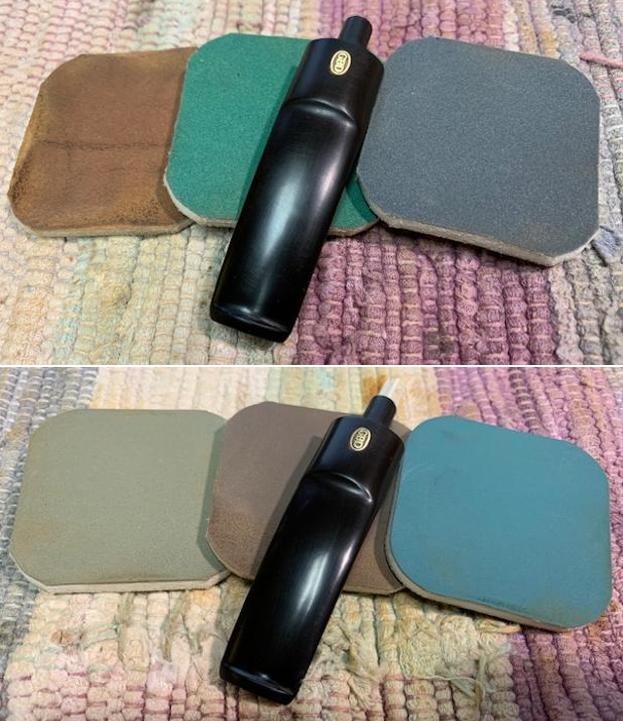
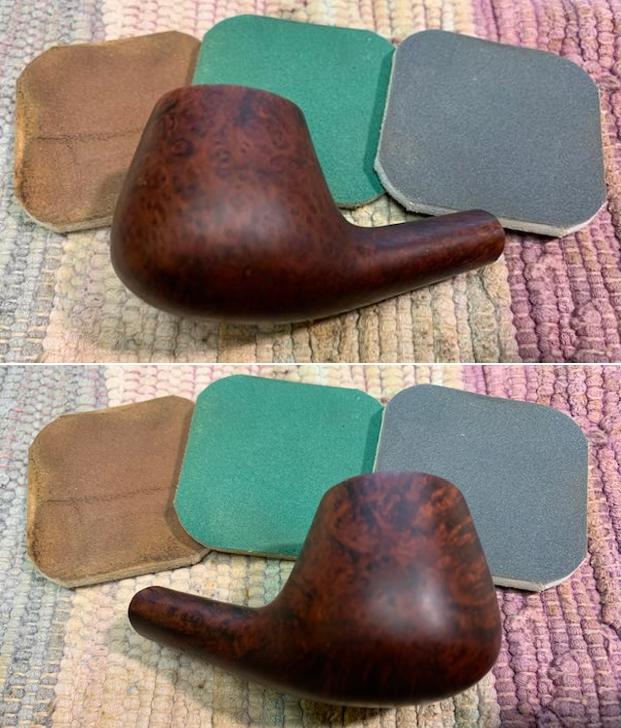
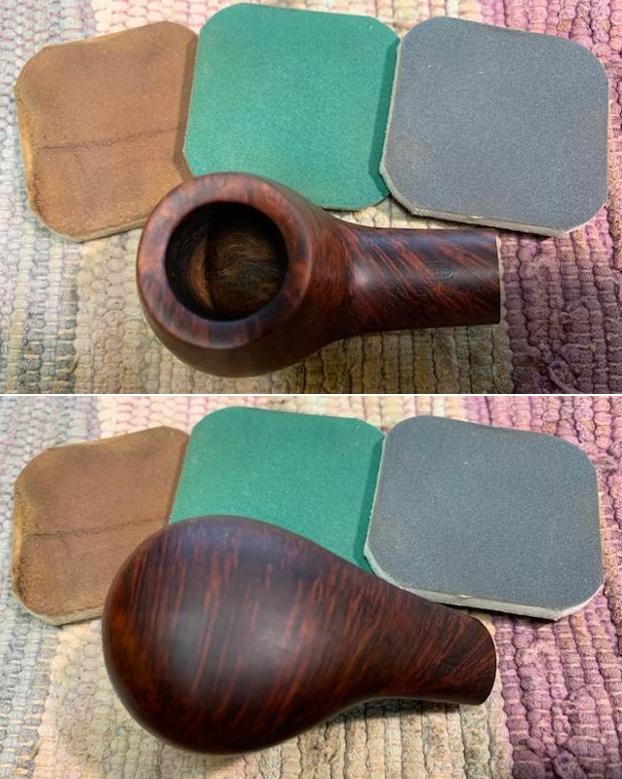
 I polished the briar with micromesh sanding pads – dry sanding with 1500-12000 grit pads. I wiped the bowl down after each sanding pad with a damp cloth to remove the dust and debris. The began to take on a deep shine.


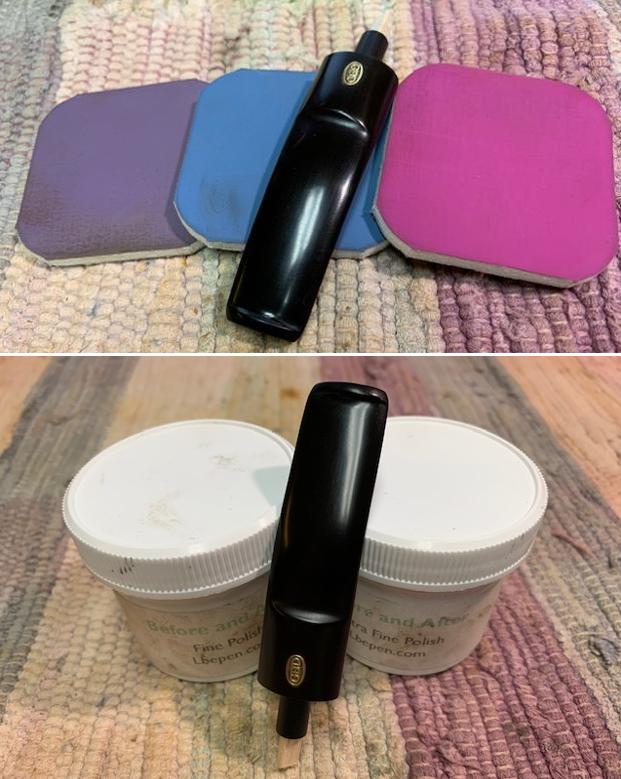
 I worked some Before & After Restoration Balm into the surface of the bowl with my finger tips. The product is incredible and the way it brings the grain to the fore is unique. It works to clean, protect and invigorate the wood.
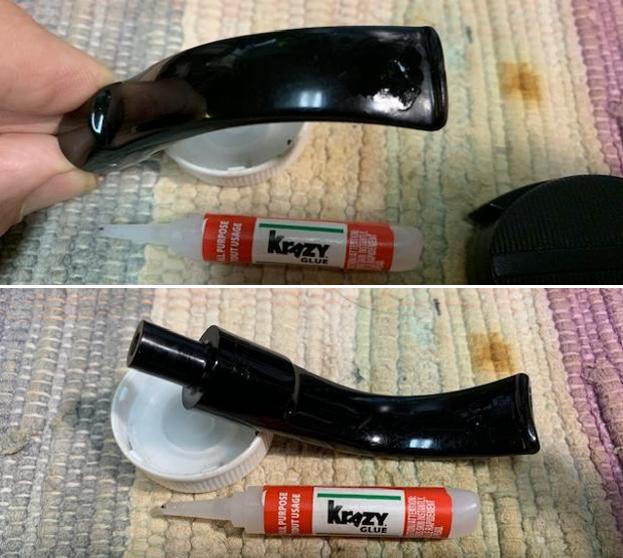
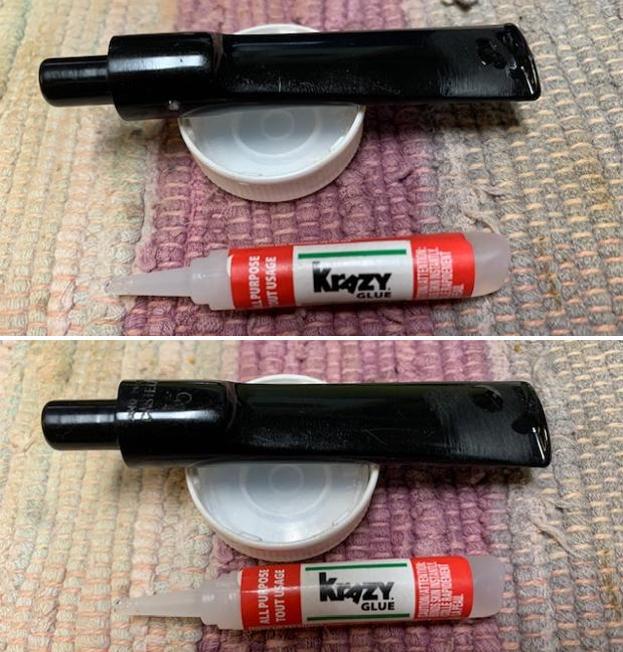
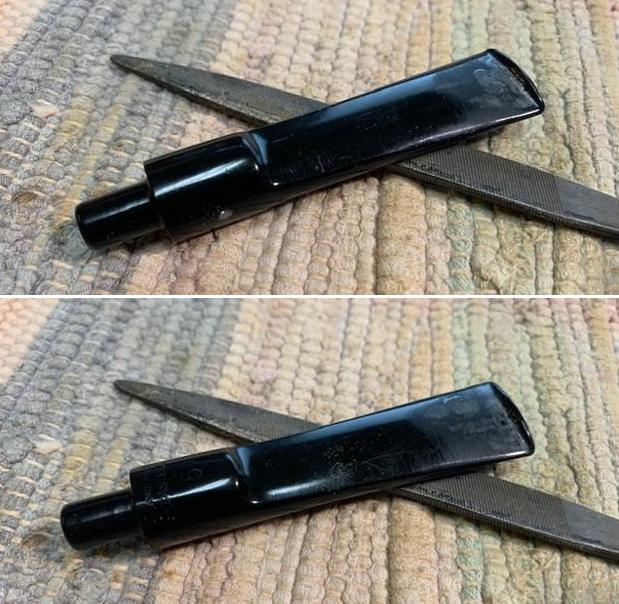
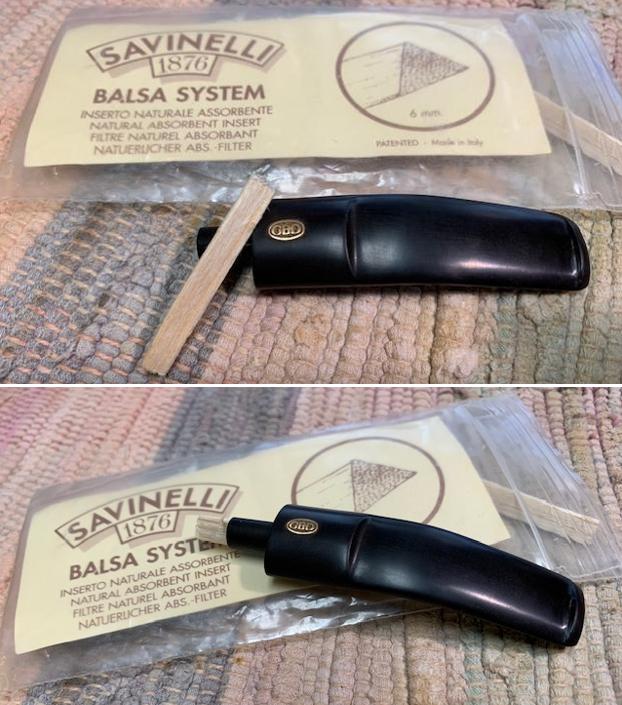
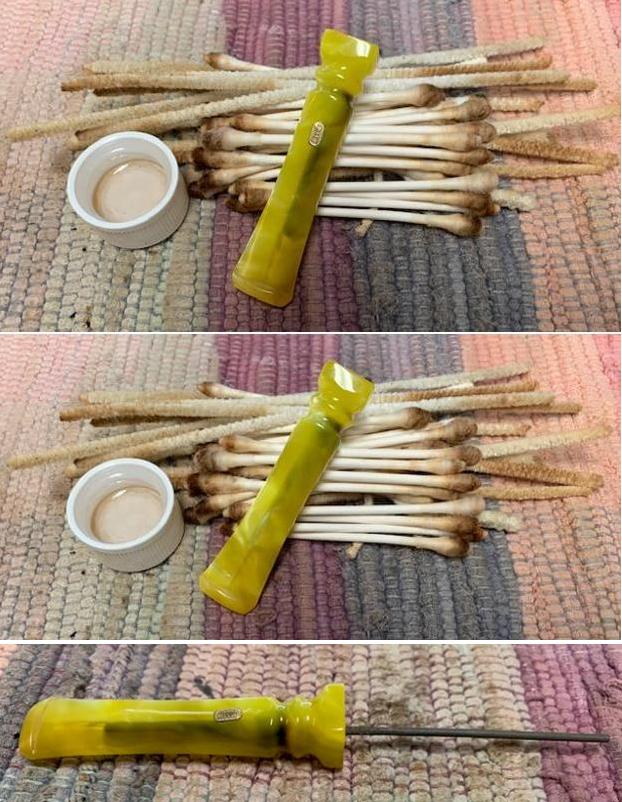
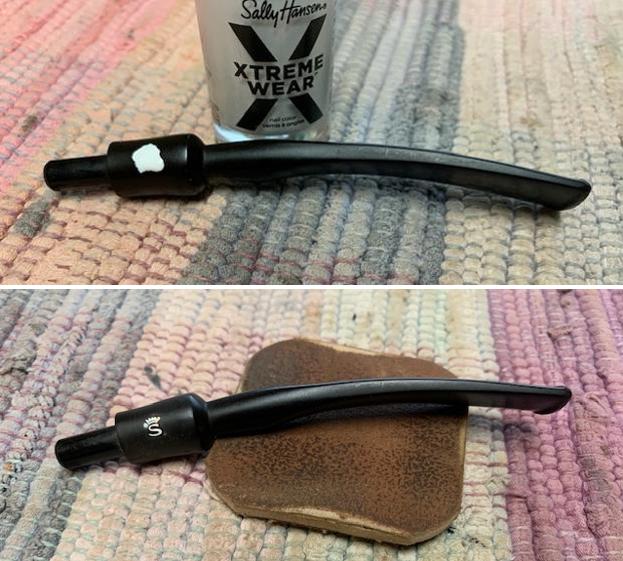
 I greased a pipe cleaner with Vaseline and inserted it in the button. I did not see the hole going through the stem but I put a pipe cleaner in just in case there was. I then built up the tooth marks and chatter on both sides with clear CA glue.
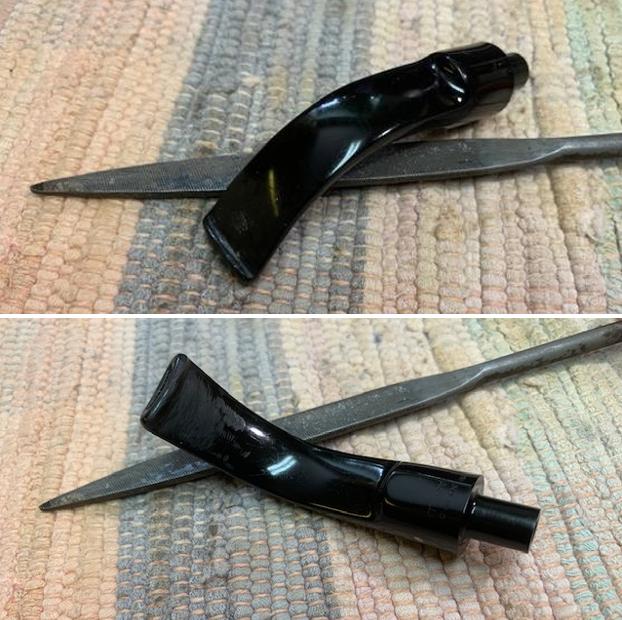
 I used a small file to reshape the button edge on both side and smooth out the repairs. I then sanded the repaired areas with 220 grit sandpaper until they were smooth and blended it into the surrounding acrylic. I started the polishing with a 400 grit wet dry sandpaper.
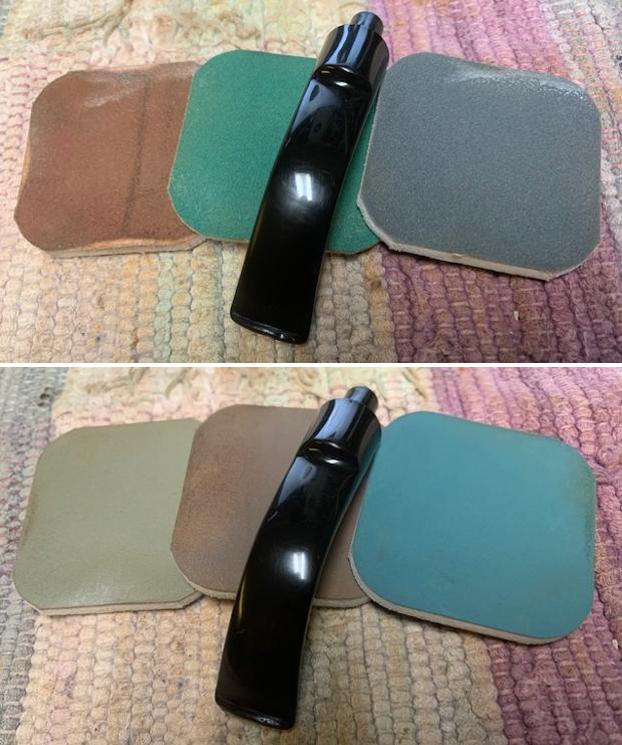
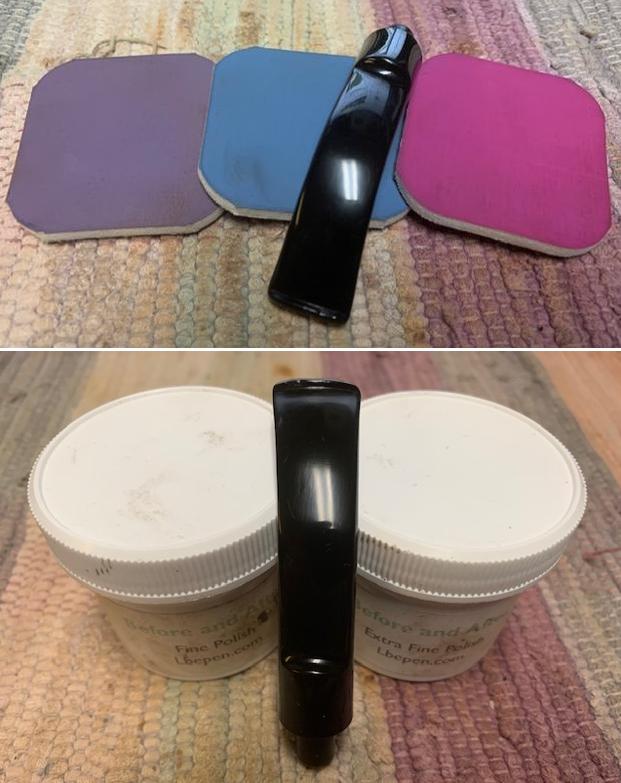
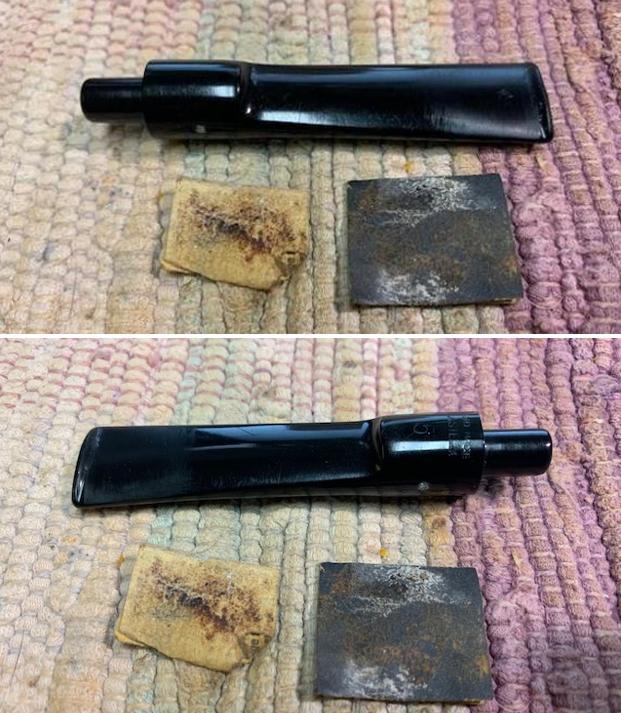
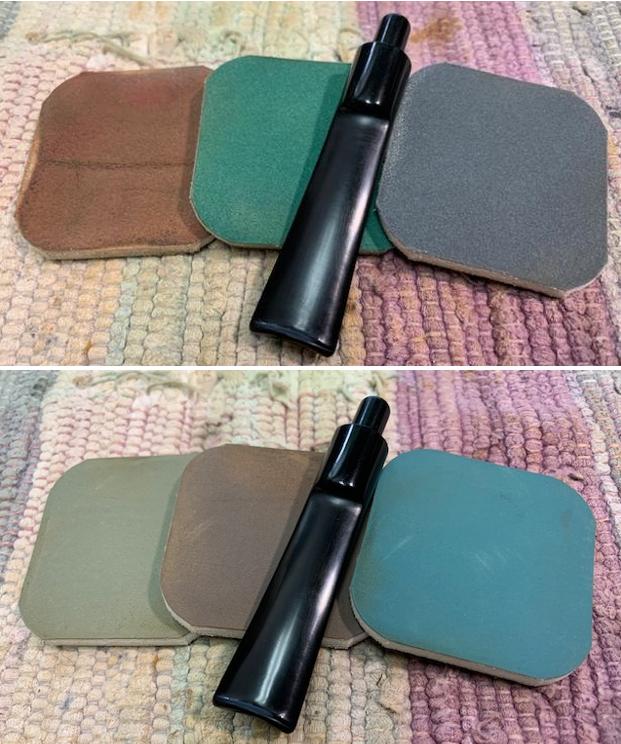
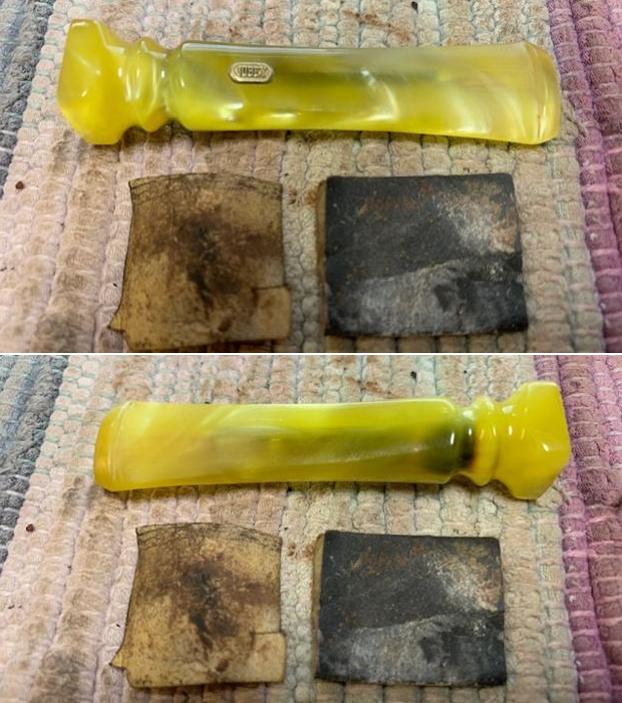
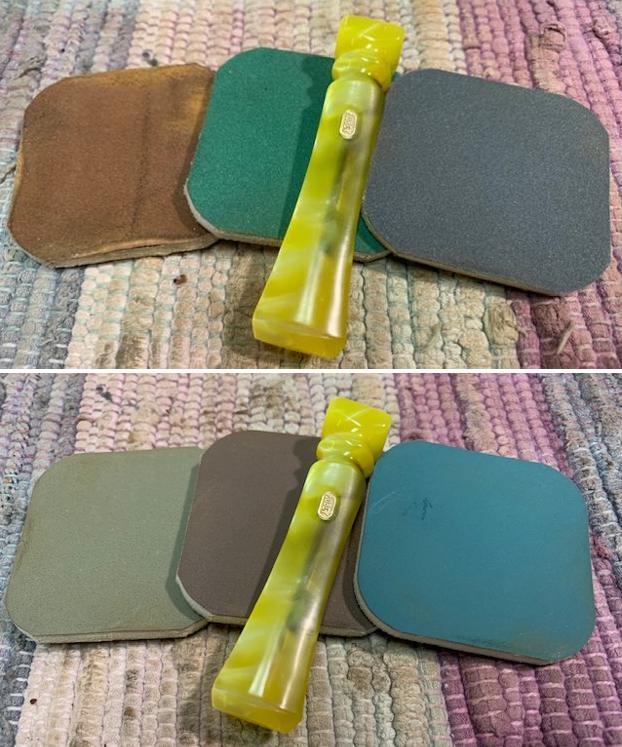
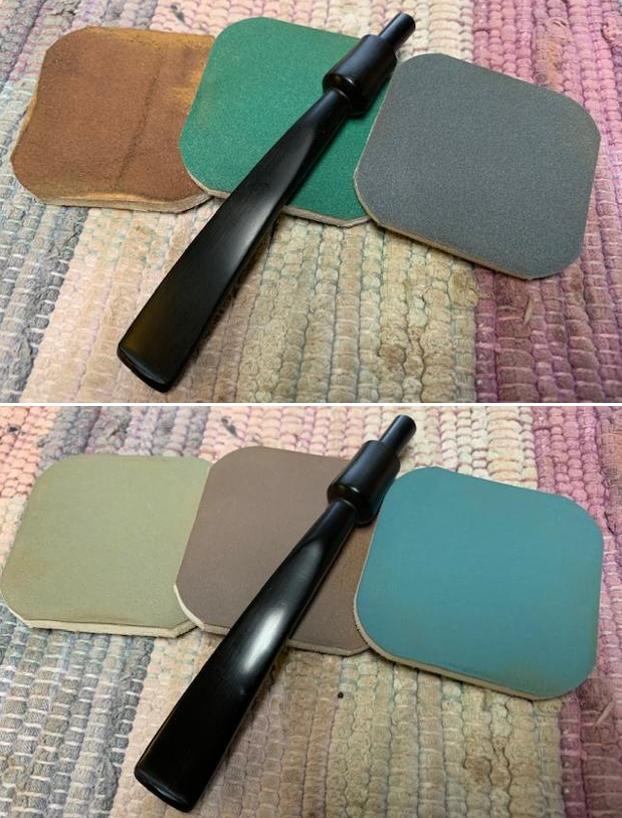
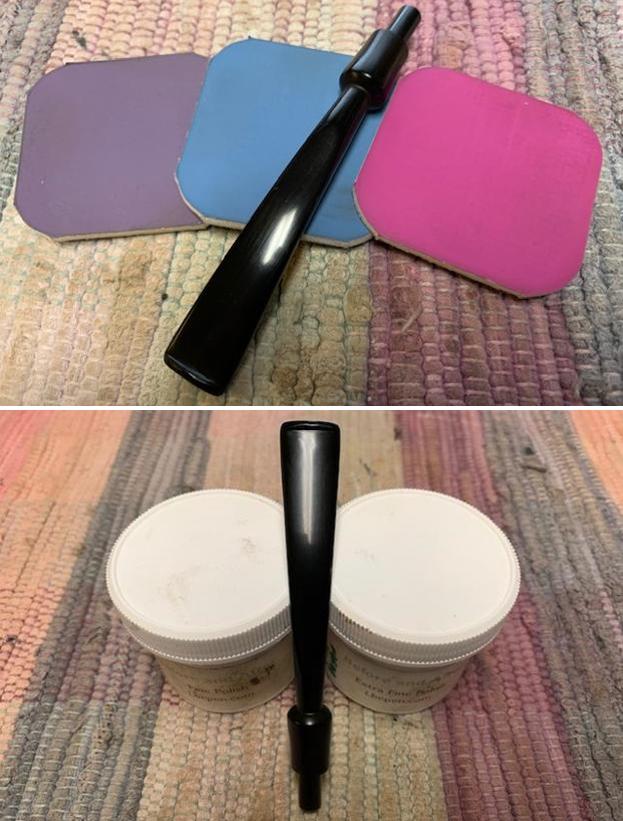
 I polished the stem with micromesh sanding pads – wet sanding it 1500-12000 pads. I wiped it down with a damp cloth to remove the dust and polishing debris. I polished it with Before After Pipe Polish – both Fine and Extra Fine. I gave it a final coat of Obsidian Oil and set it aside to dry.
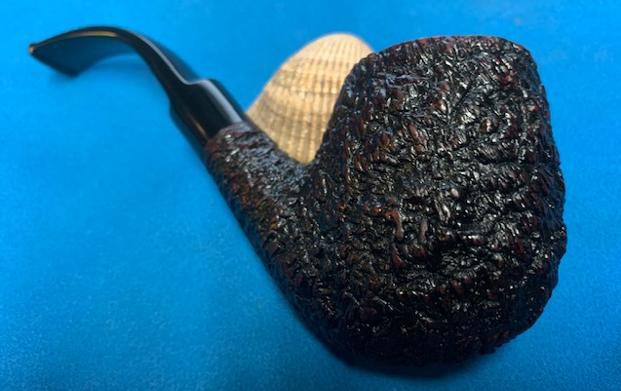
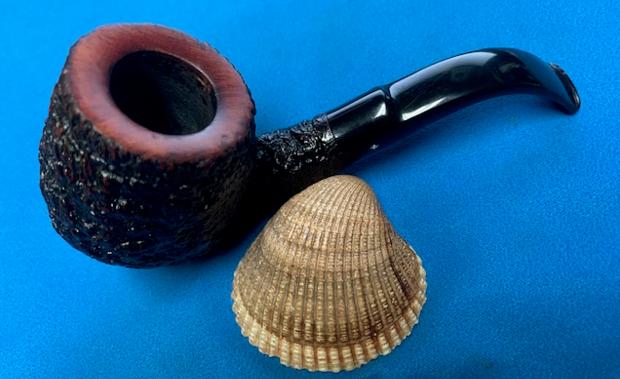
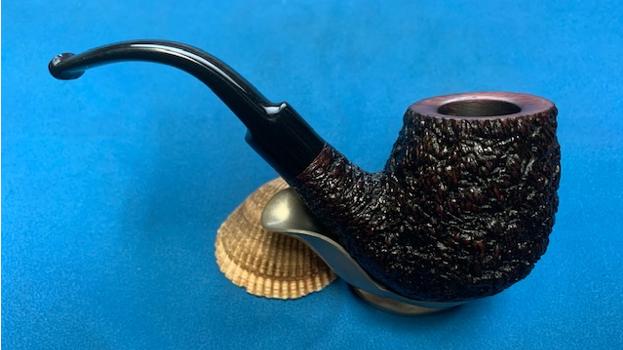
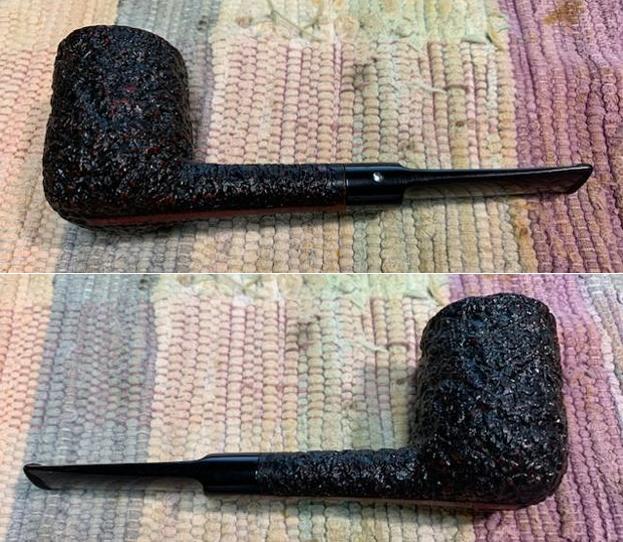
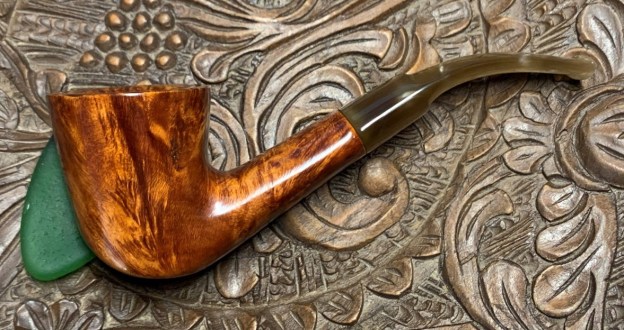
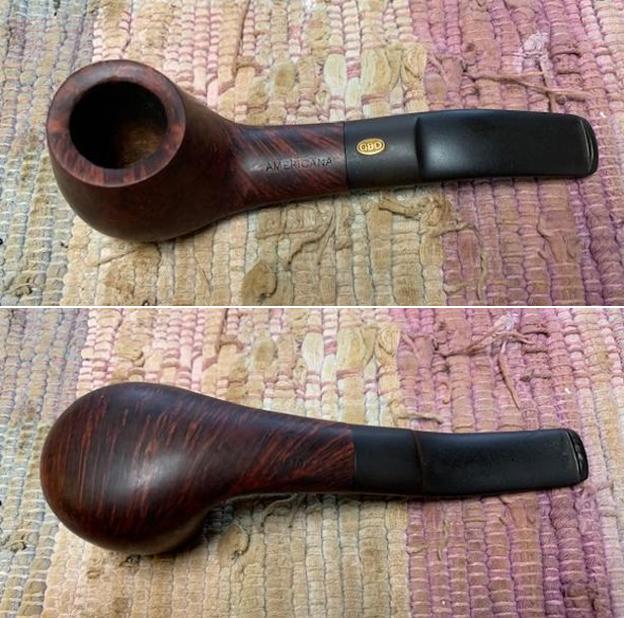
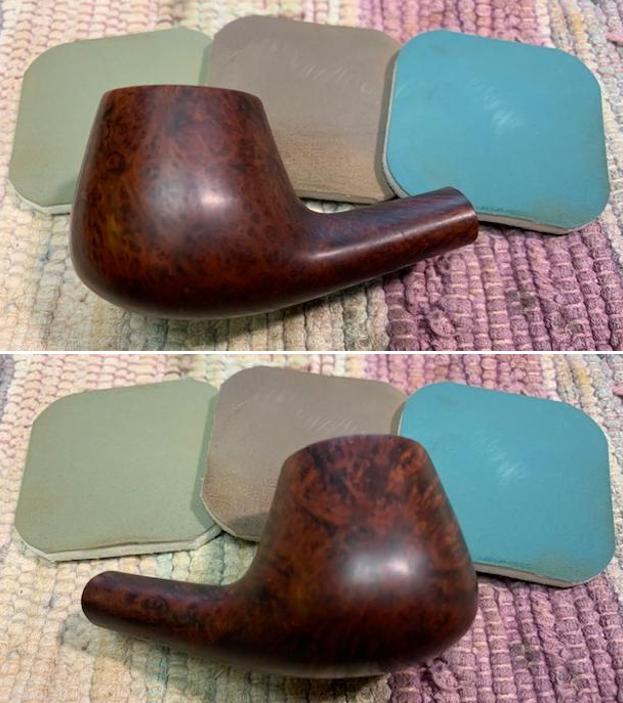
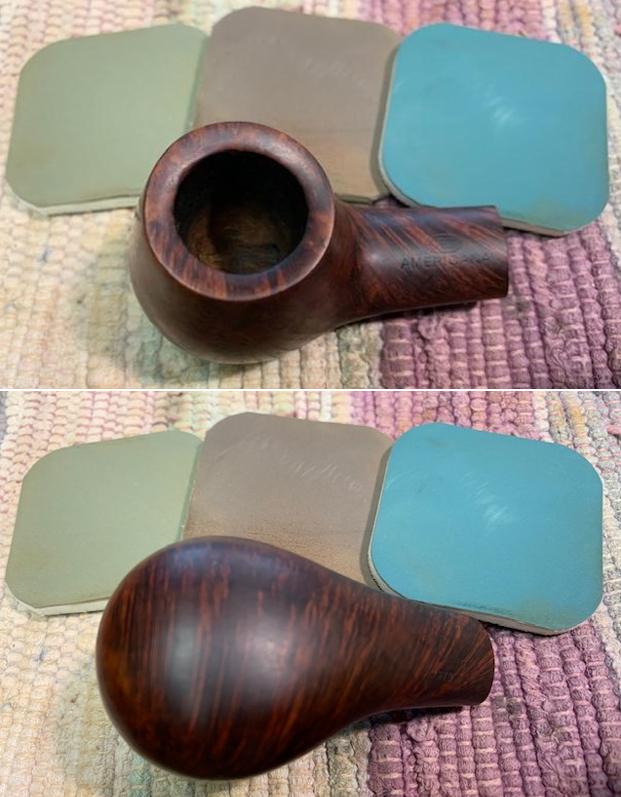
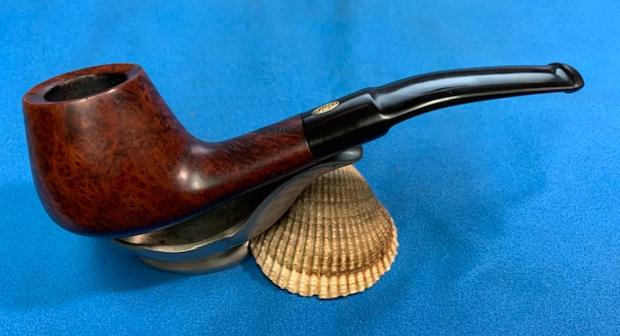
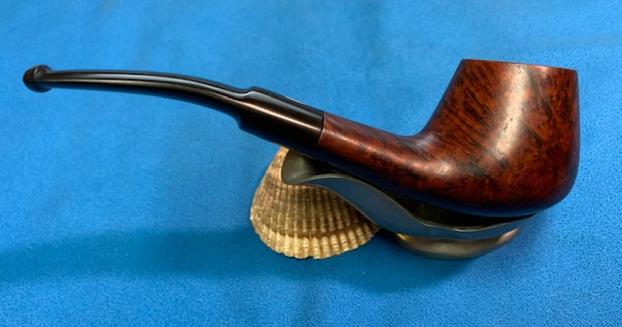
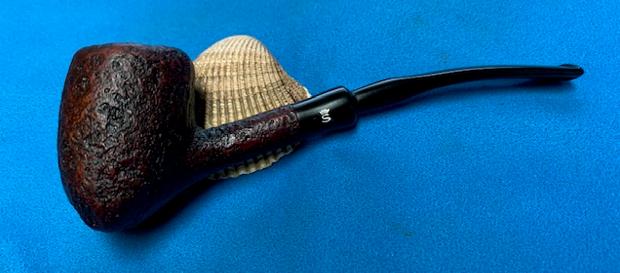
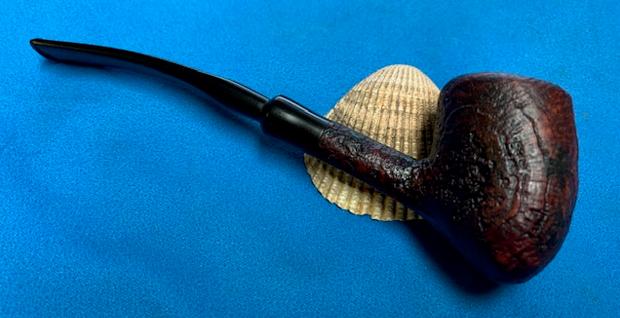
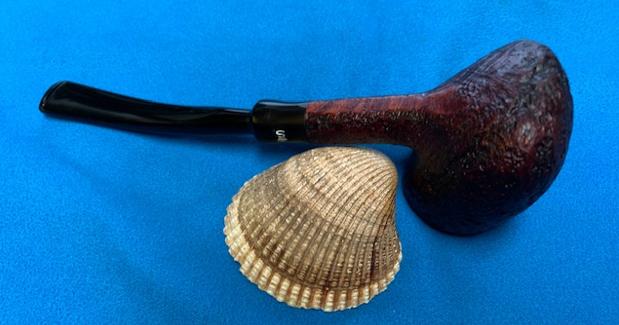
 I am really happy with the way that this Butz-Choquin C’est bon Apple with an Amber Acrylic Stem turned out. It really is a great looking pipe with character. The rich brown stains gave the grain a sense of depth with the polishing and waxing. The grain really popped. I put the stem back on the bowl and carefully buffed the pipe with Blue Diamond on the buffing wheel using a light touch. I gave the bowl and the acrylic stem multiple coats of carnauba wax on the buffing wheel. I buffed the pipe with a clean buffing pad to raise the shine. I hand buffed the pipe with a microfiber cloth to deepen the shine. The finished Butz-Choquin C’est bon Apple really is a beauty and feels great in the hand and looks very good. Give the finished pipe a look in the photos below. The dimensions of the pipe are Length: 5 ¾ inches, Height: 1 ¾ inches, Outside diameter of the bowl: 1 inches, Chamber diameter: ¾ of an inch. The weight of the pipe is 44 grams/1.55 oz. The pipe will be going on the rebornpipes store soon. It will be in the section on French Pipe Makers if you would like to add it to your collection.Thanks for reading this blog and my reflections on the pipe while I worked on it. It was a fun one to work on!