by Steve Laug
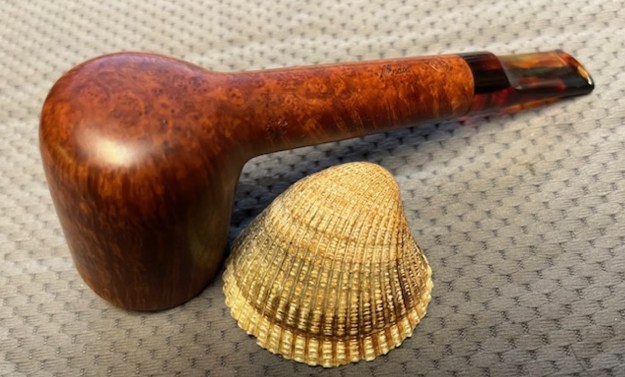
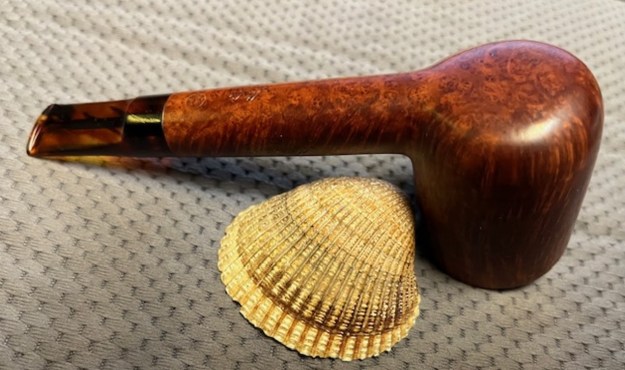
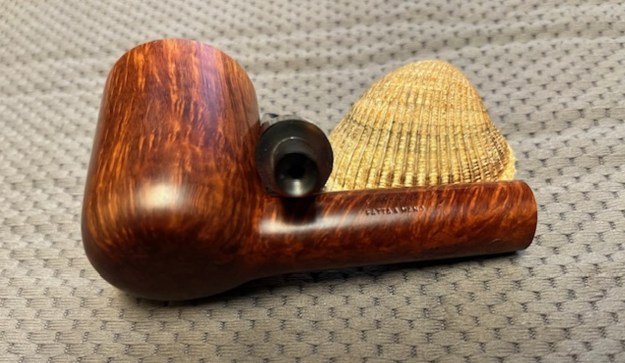
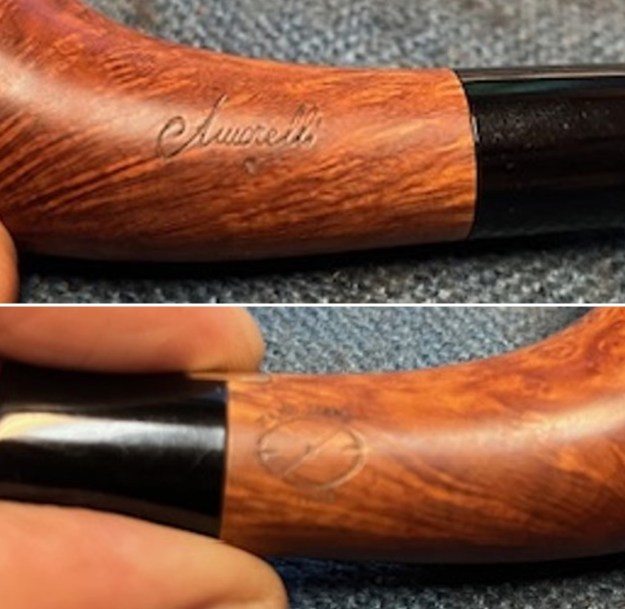
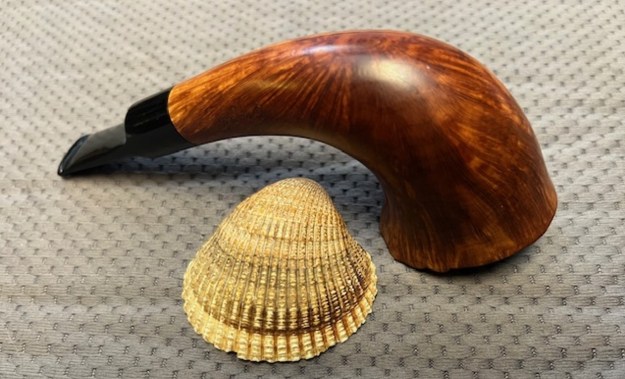
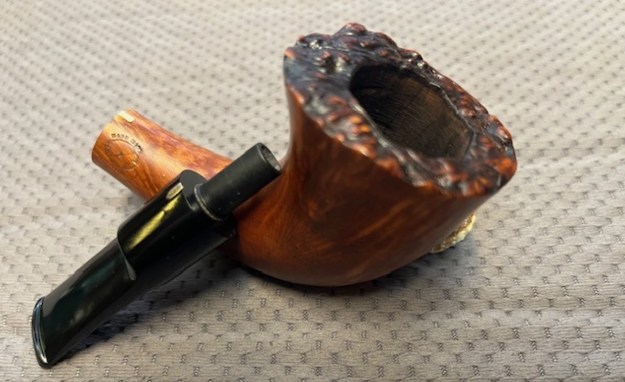
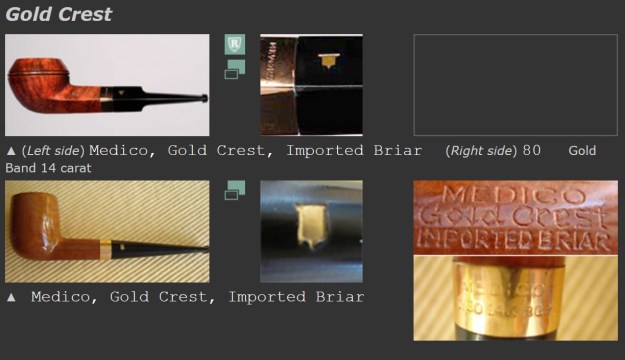
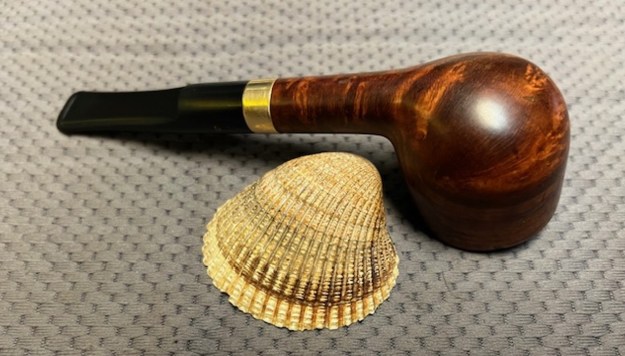
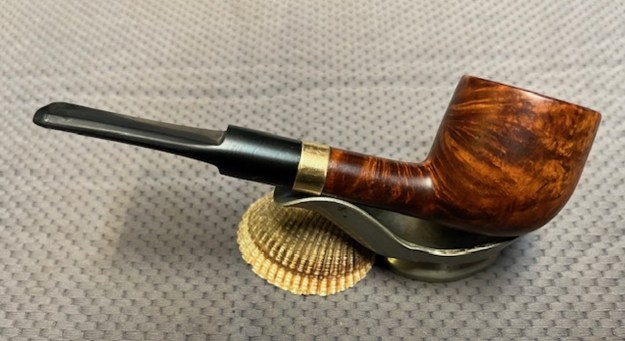
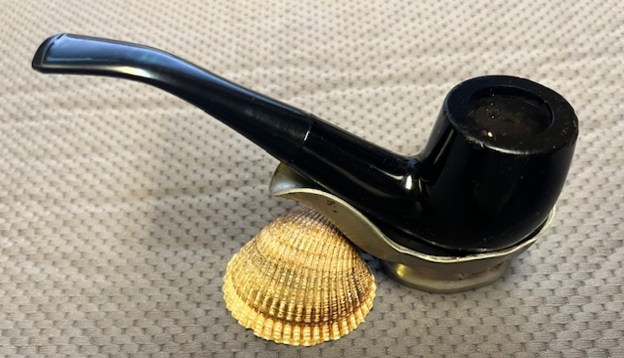
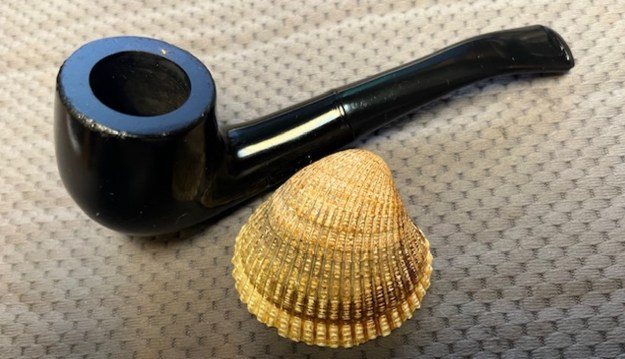
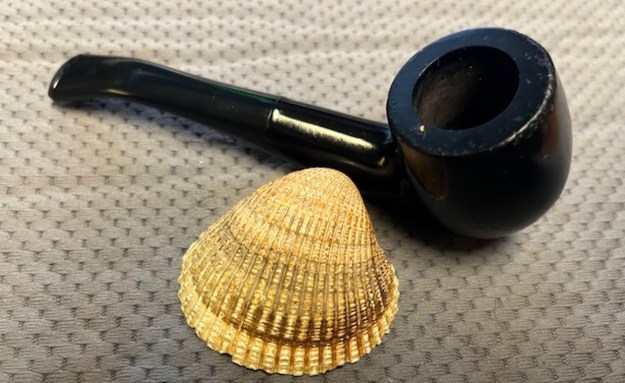
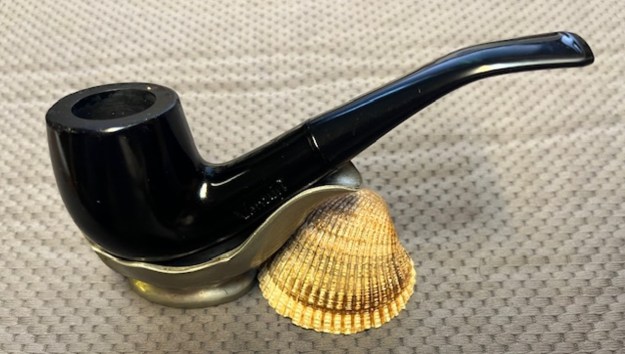
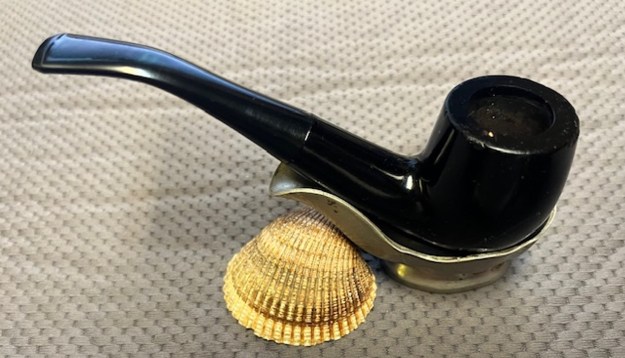
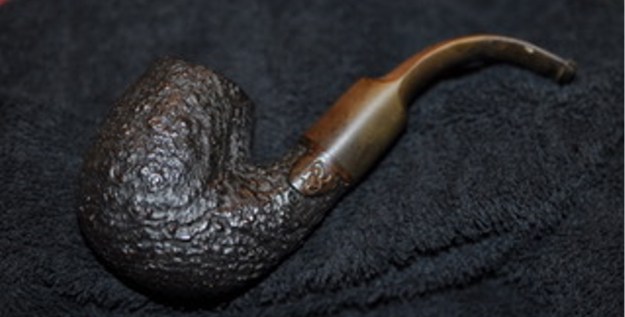
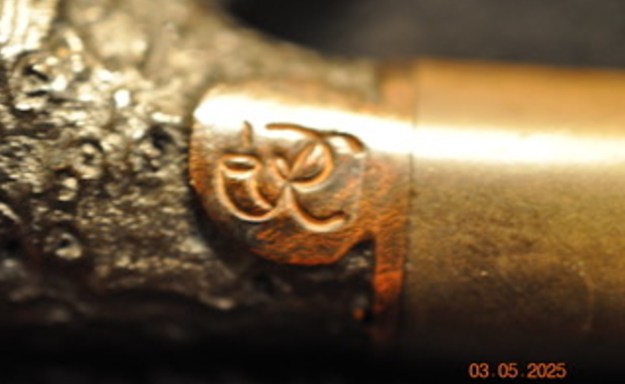
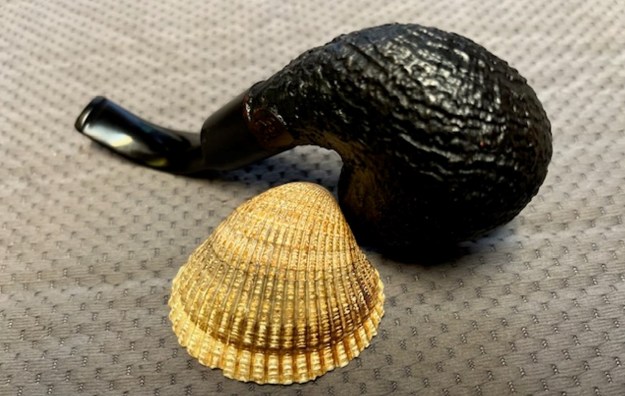
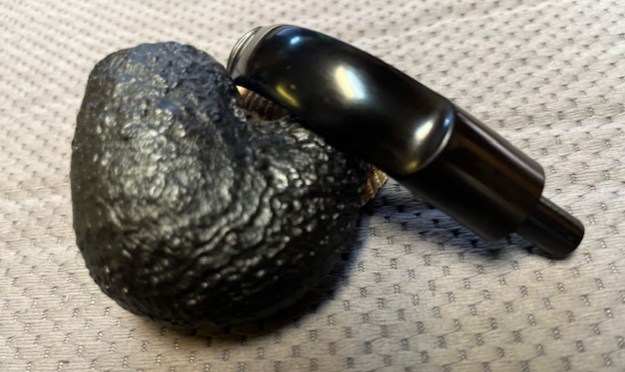
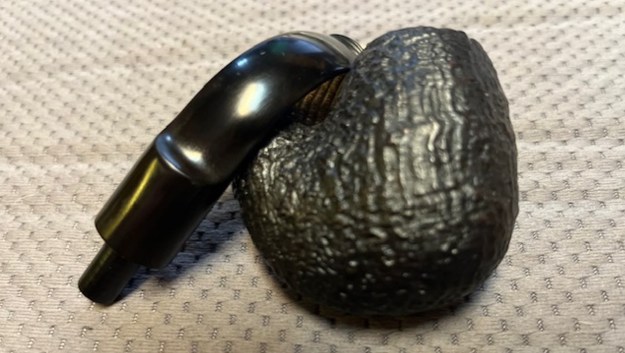
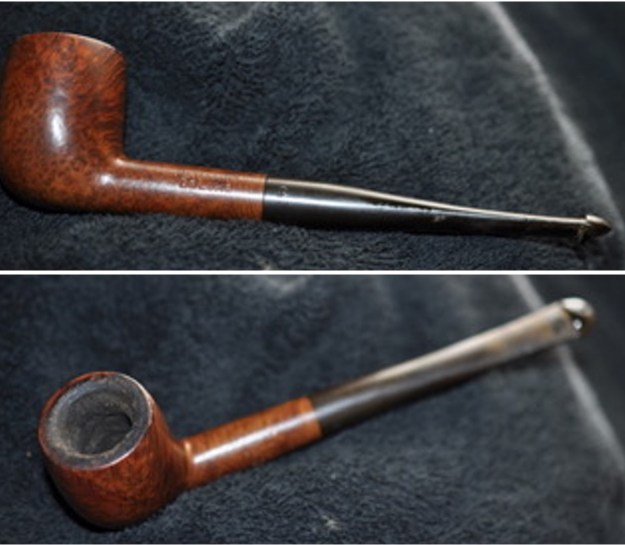
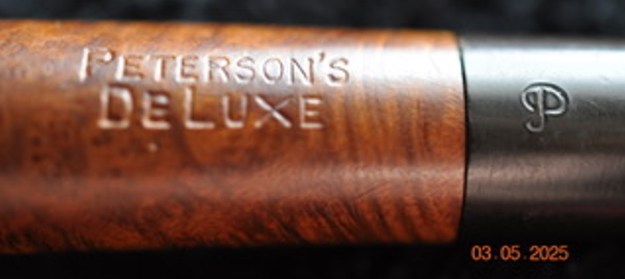
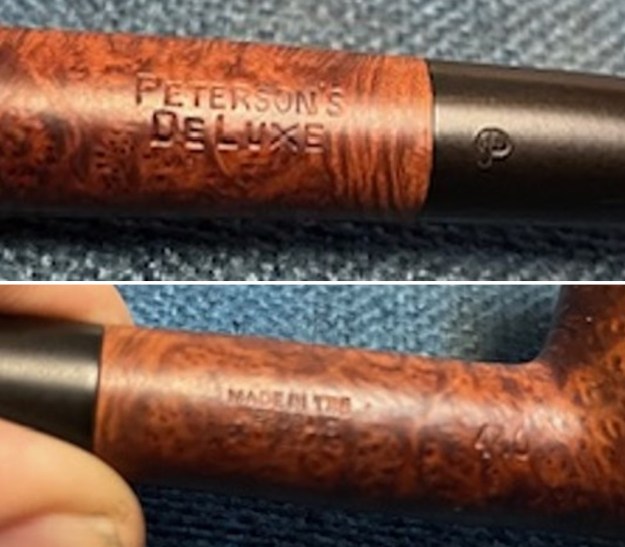
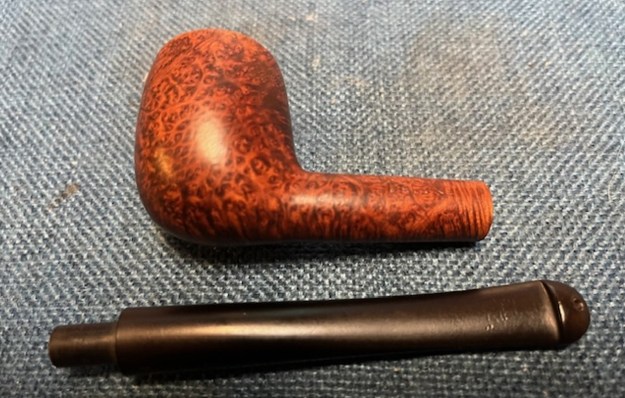
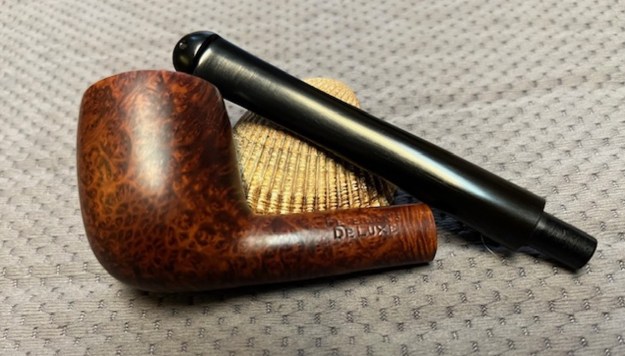
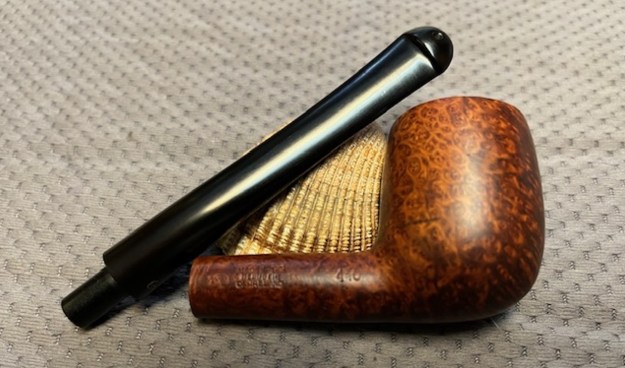
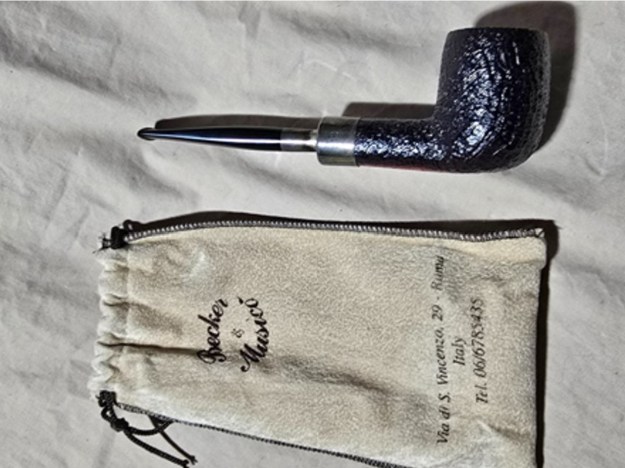
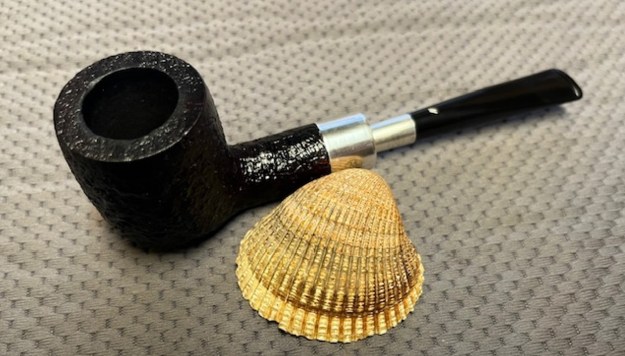
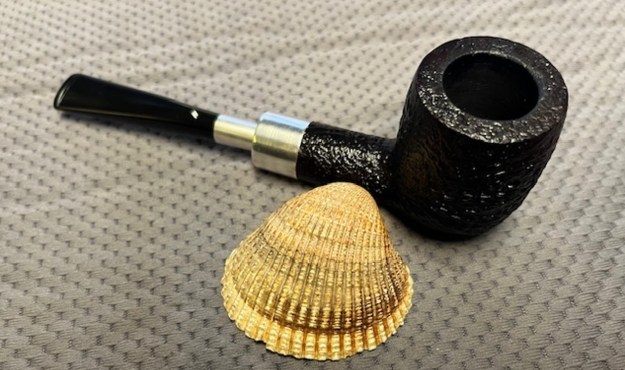
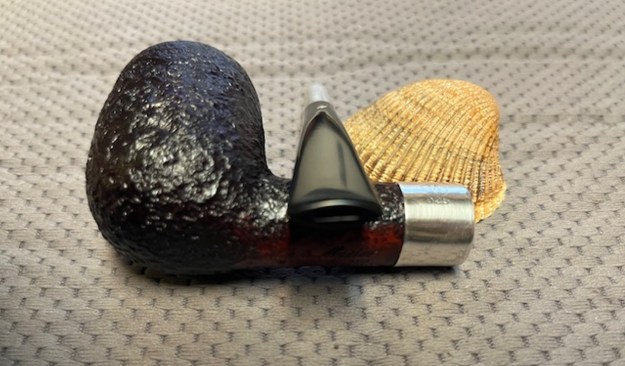
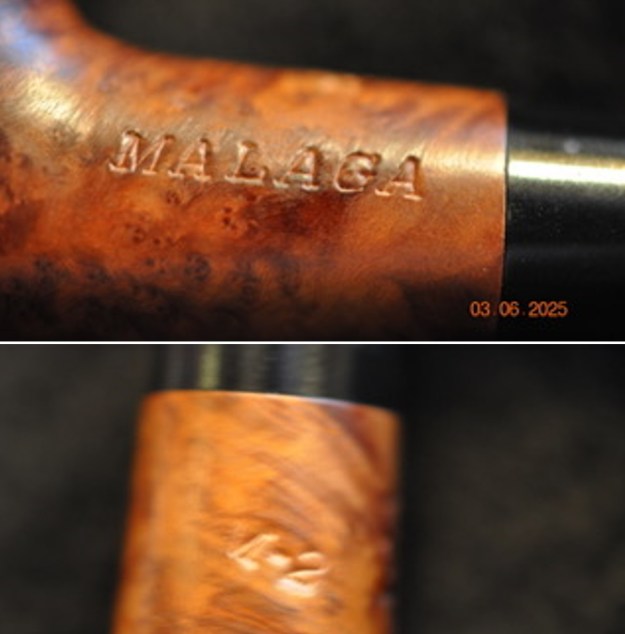
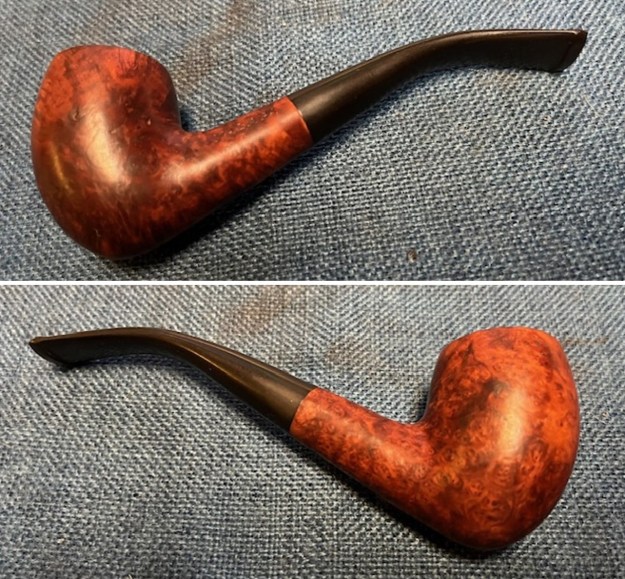
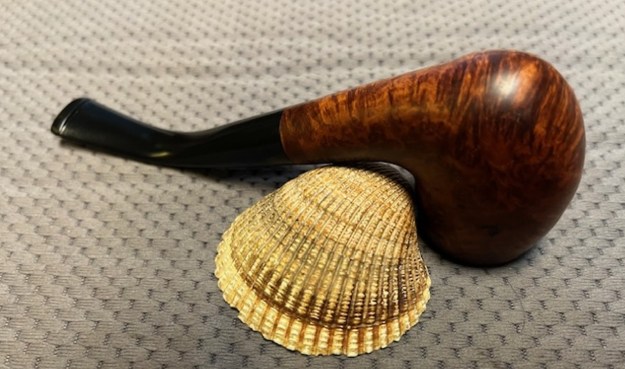
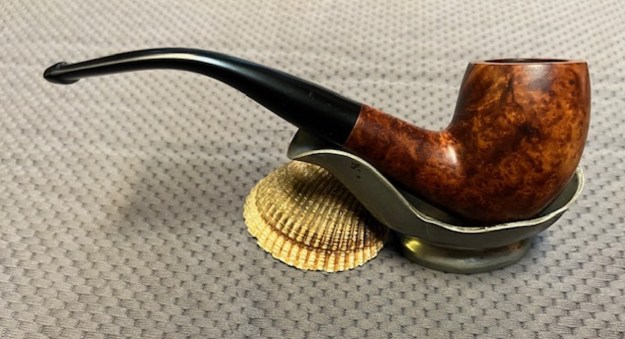
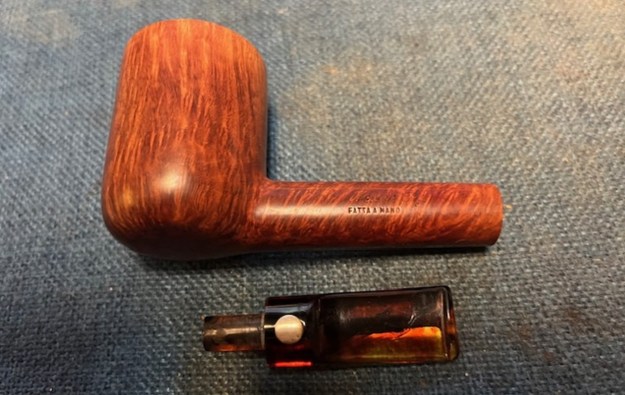
This afternoon I decided to work on the pipe that Jeff picked up on Facebook Marketplace from a seller in Wellsville, Kansas, USA on 12/09/2024. It is a beautifully grained Lovat with an amber coloured acrylic saddle stem. It is a beautiful grained piece of briar that I can appreciate why he chose it. The pipe is stamped on the left side of the and reads Mastro de Paja [over] Fatta a Mano. On the right side of the shank it is stamped Pesaro [followed by] what looks like the Sun. On the underside of the shank it is stamped Media [followed by) 3A in a circle. The briar is dirty from use with a moderate cake in the bowl and a light overflow of lava on the rim top. The stem fit well against the shank end. The amber coloured acrylic saddle stem had some light tooth chatter and scratches on the top and underside of the stem ahead of the button. There was an inset gold circle logo in the top of the stem. Jeff took photos of the pipe before he started his clean up work on it. I have included them below. 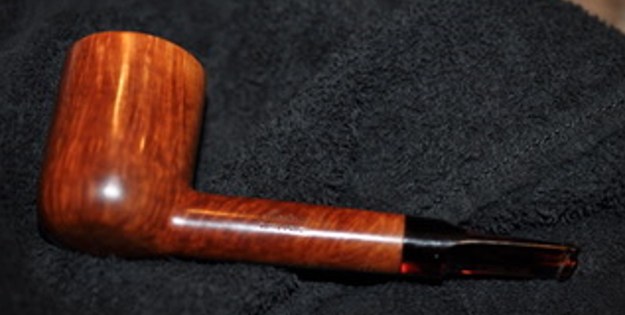
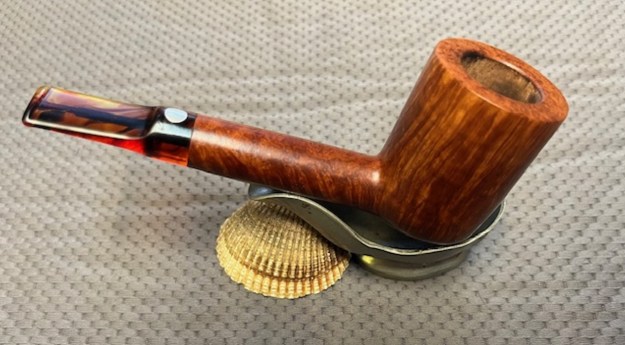
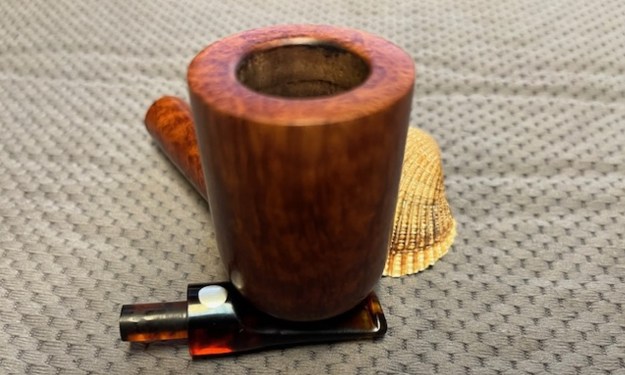
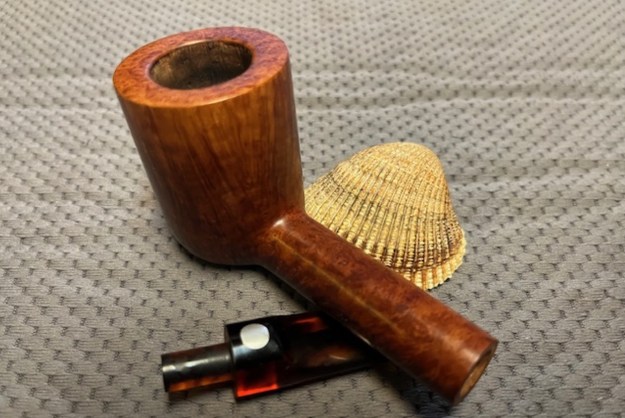
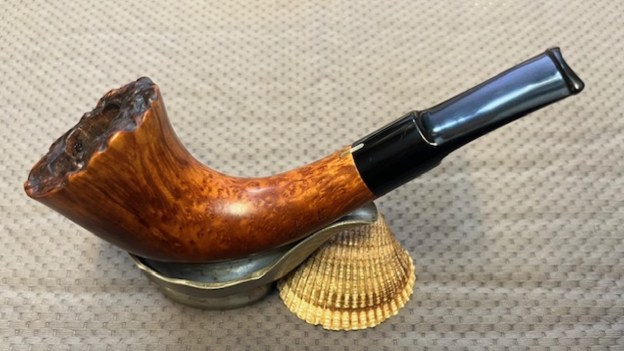
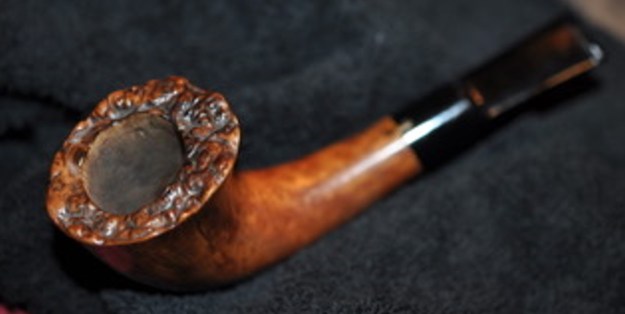
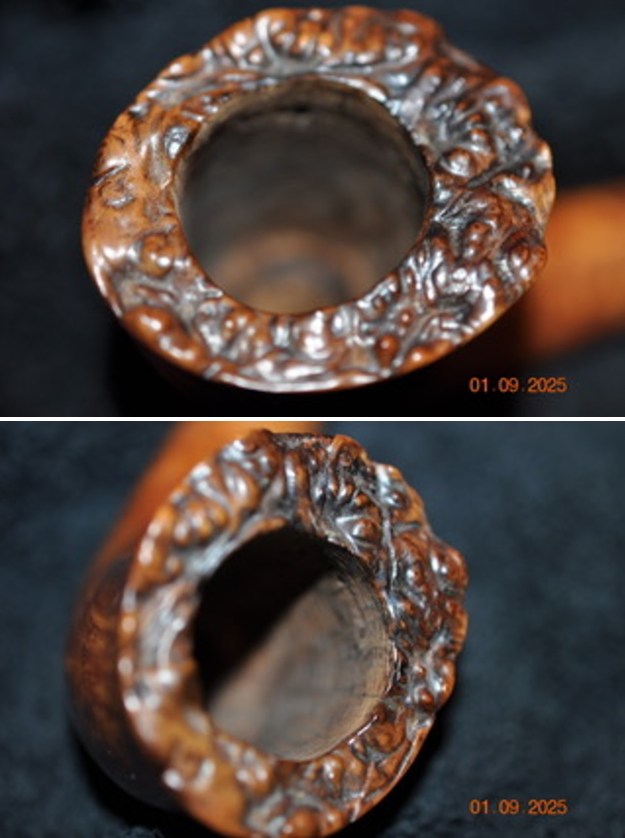
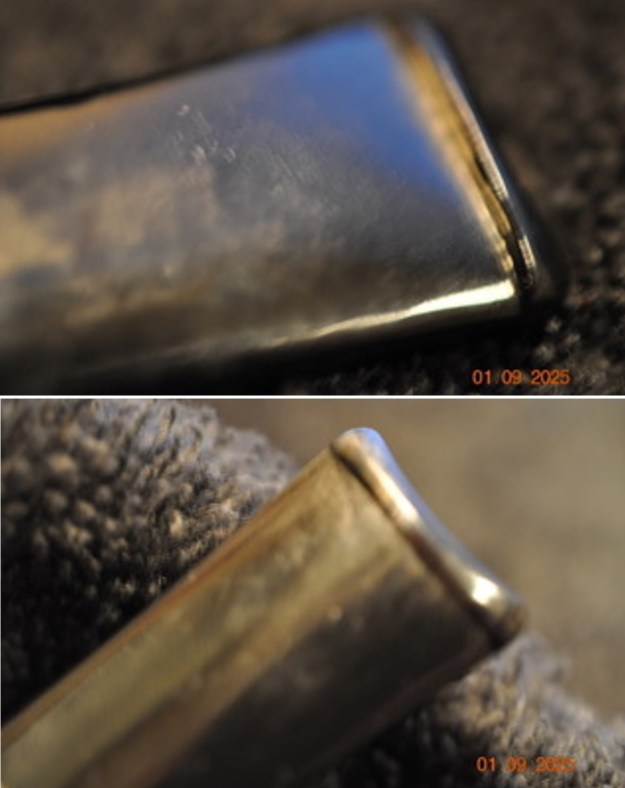
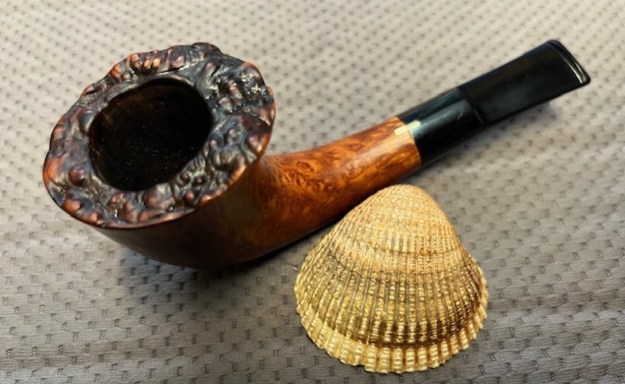
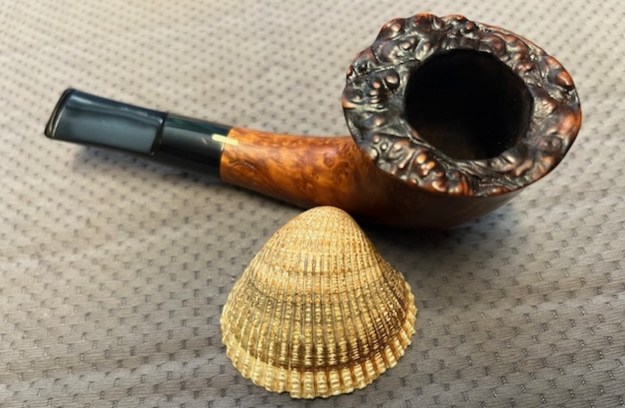
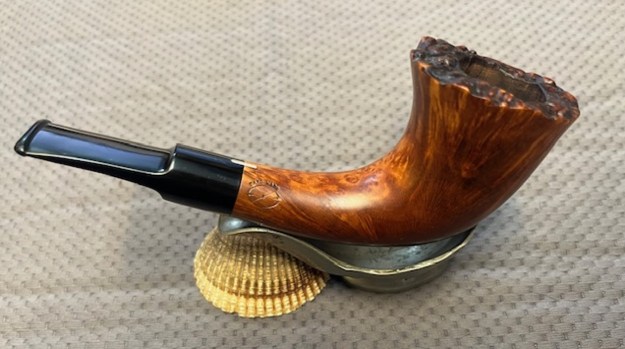
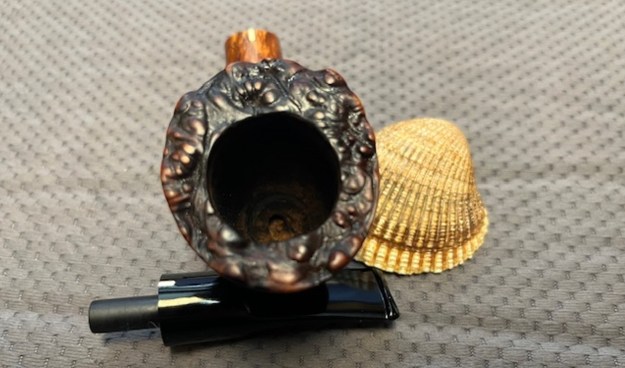
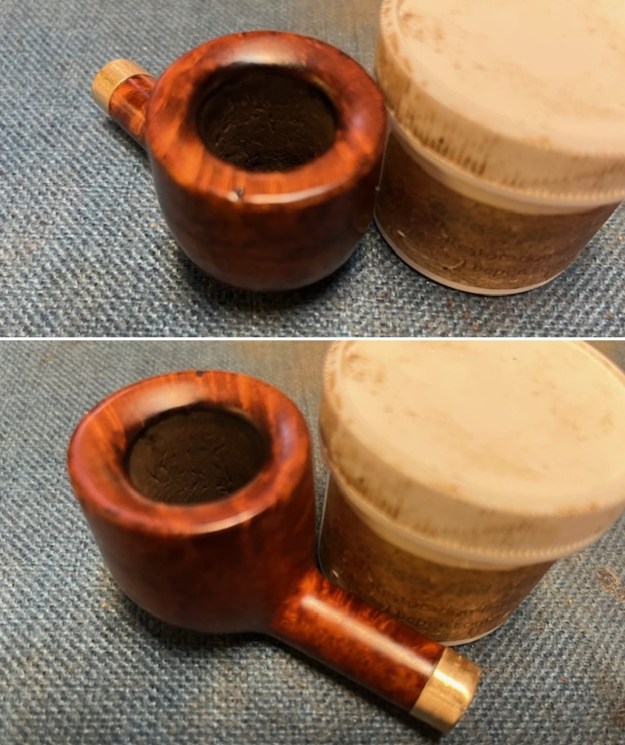
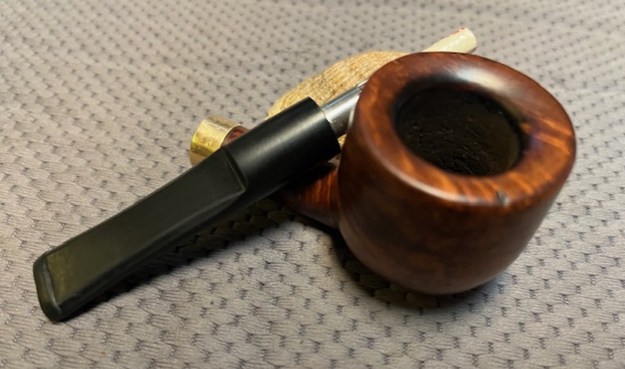
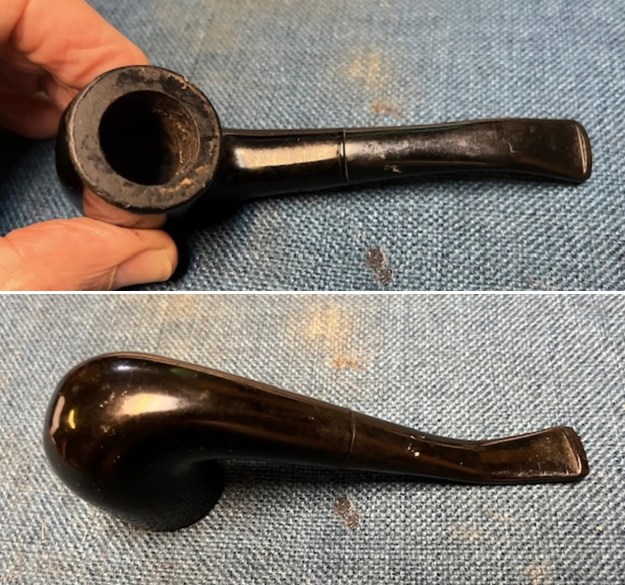
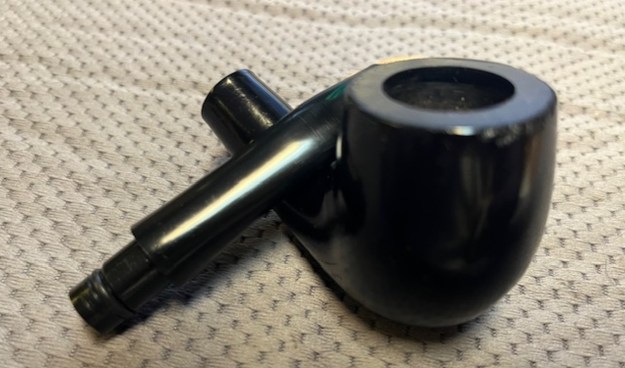
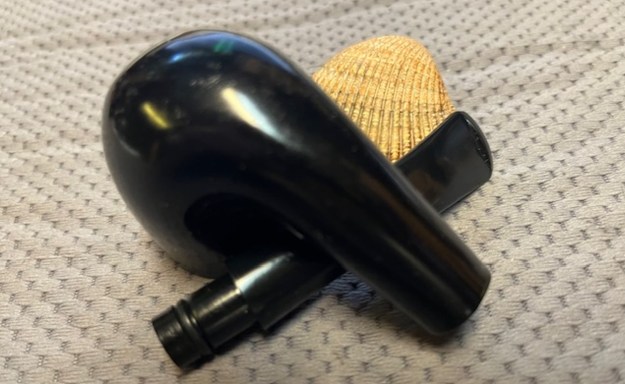
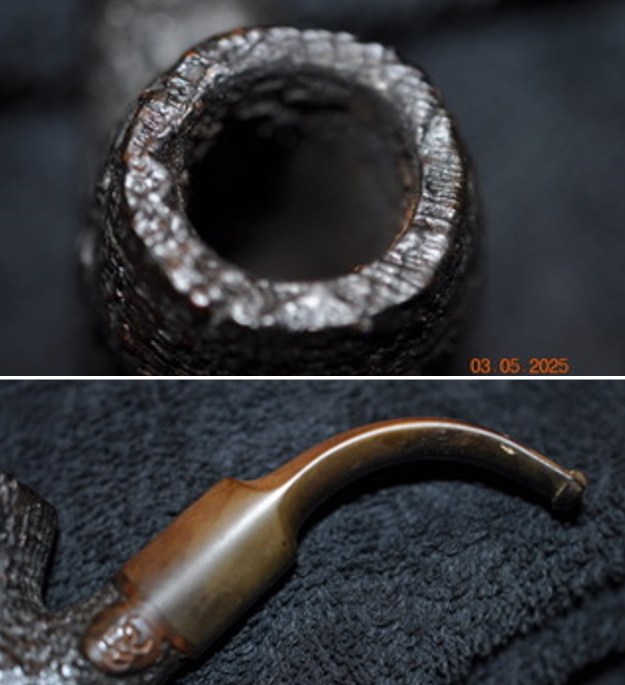
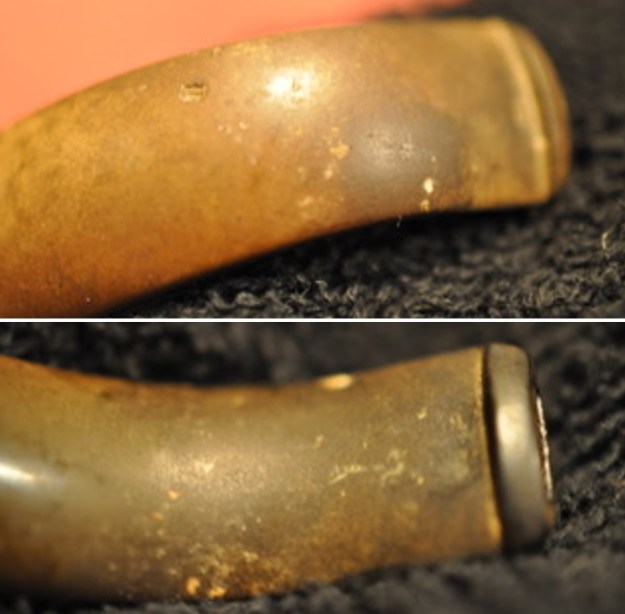
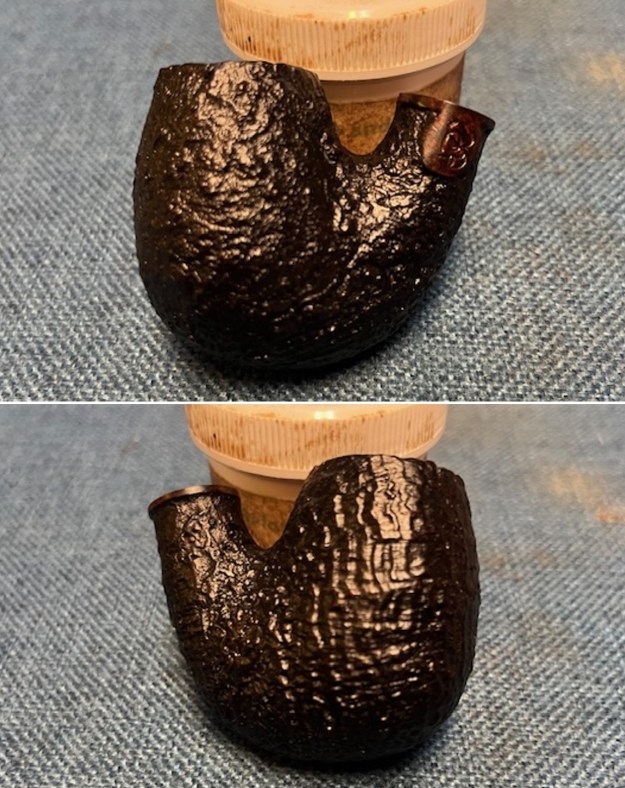
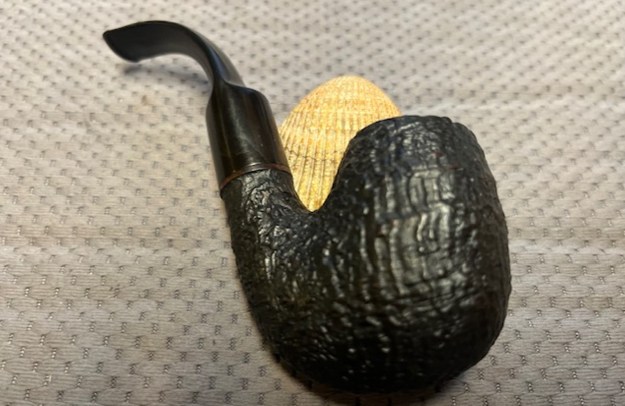
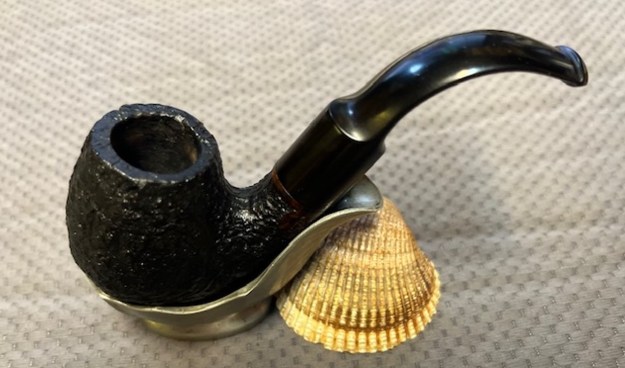
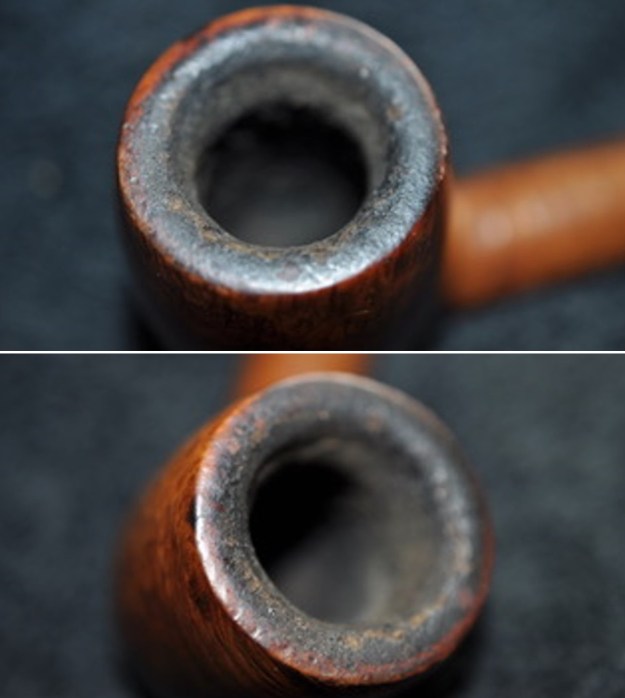
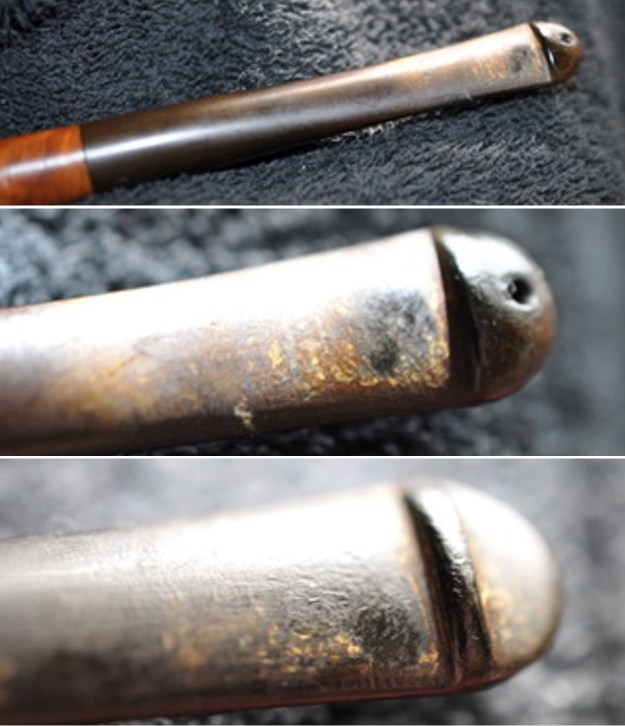
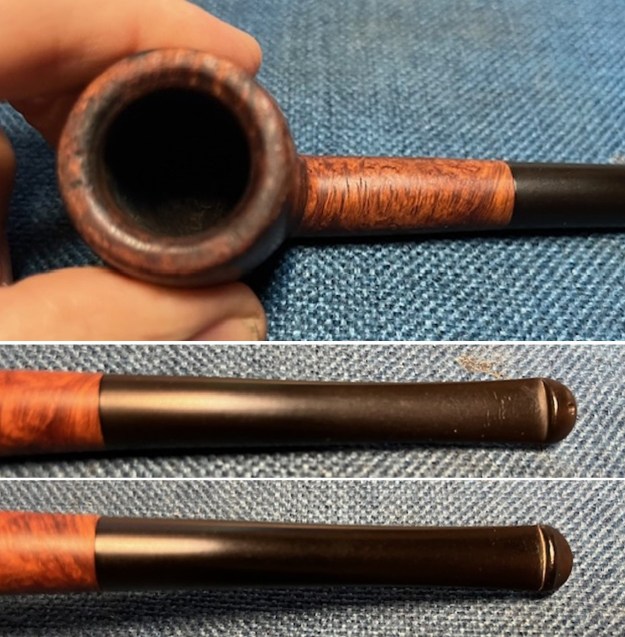
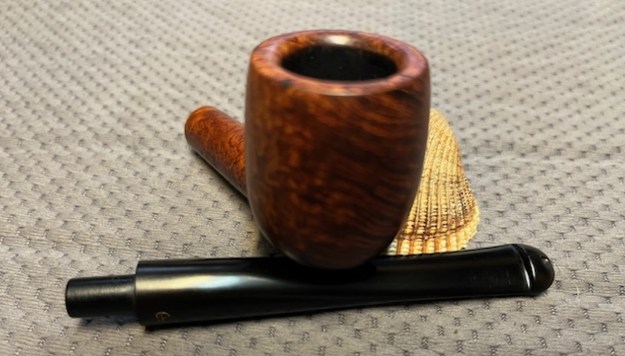
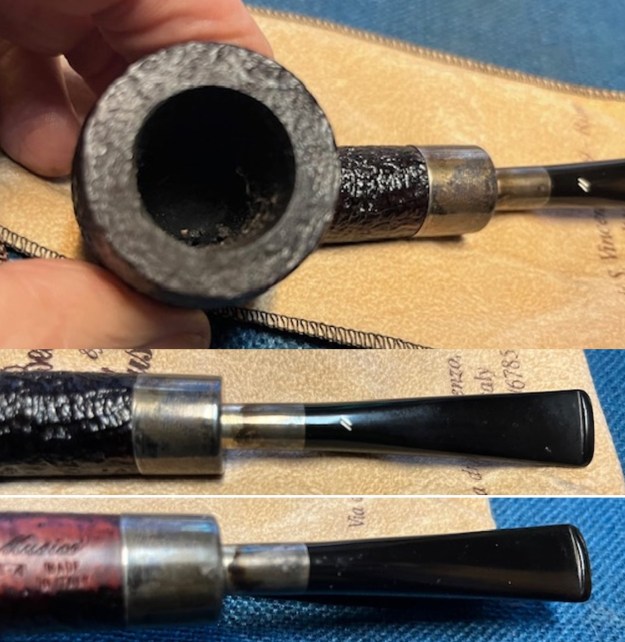
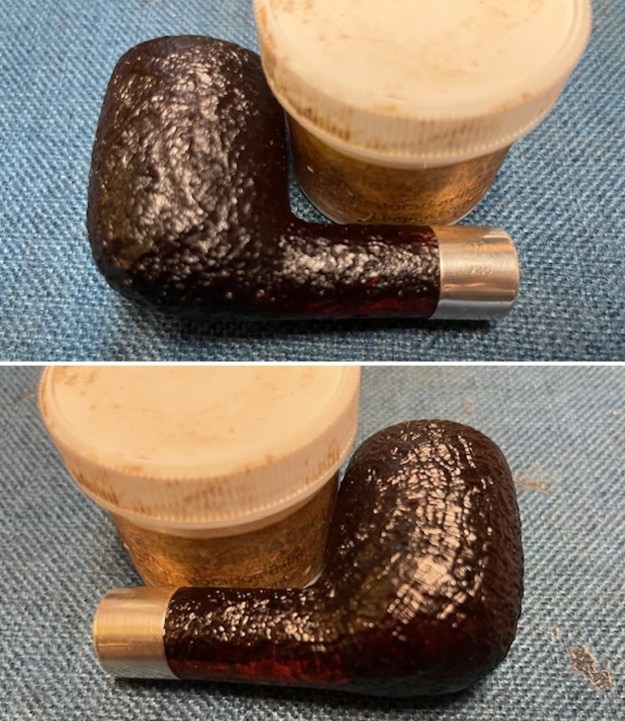
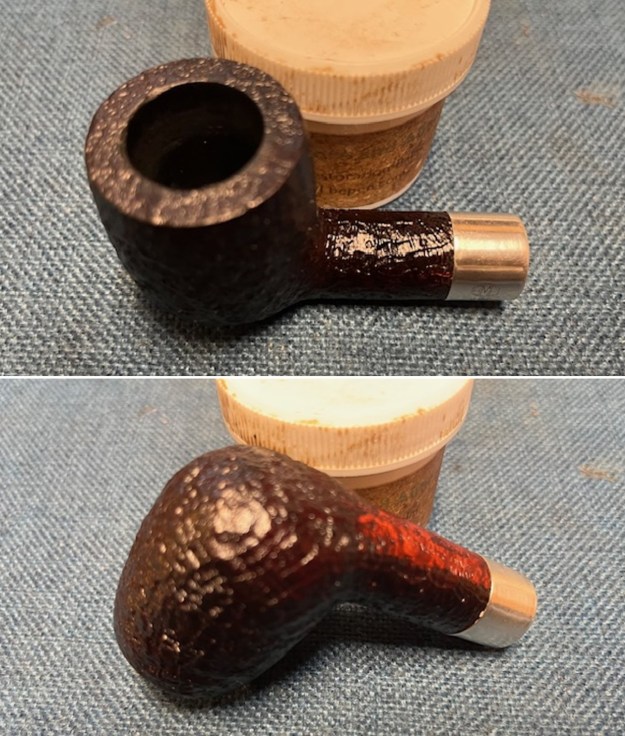
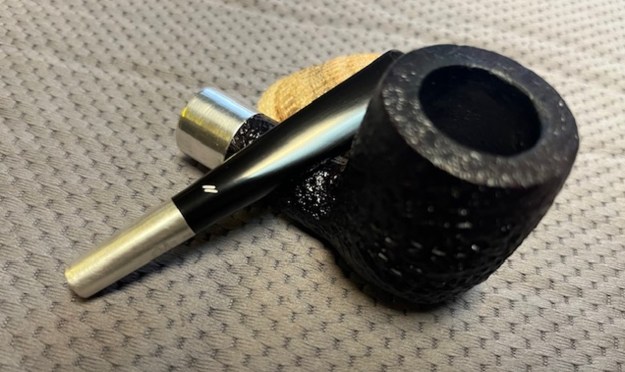
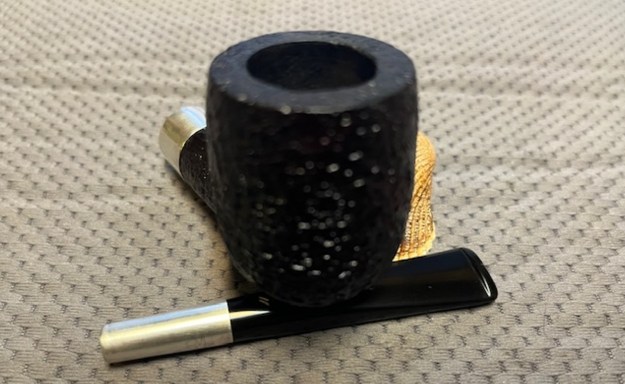
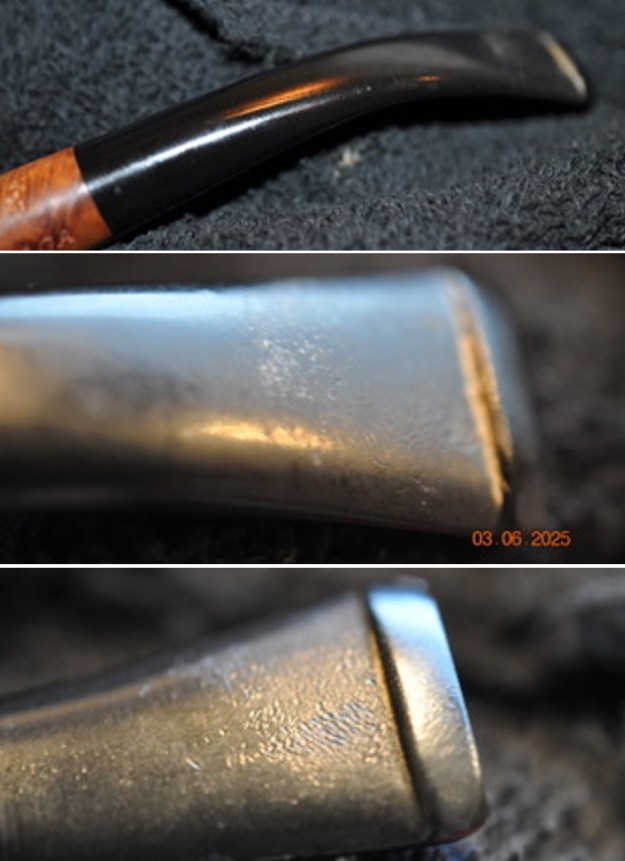
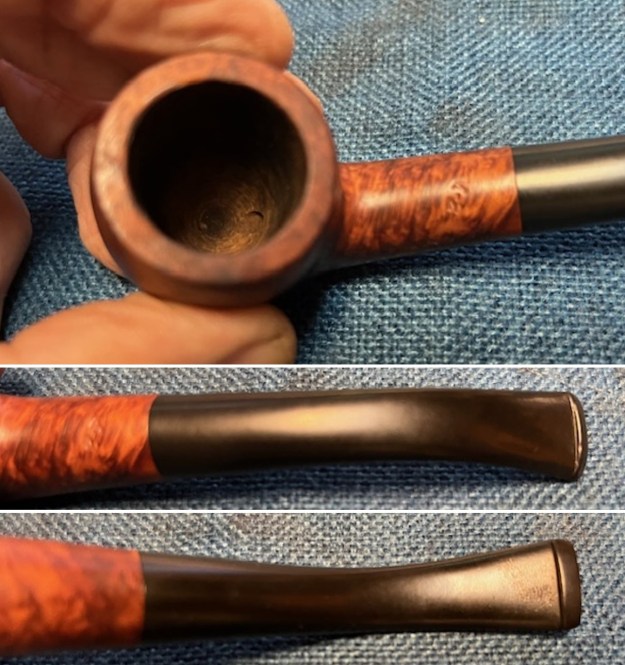
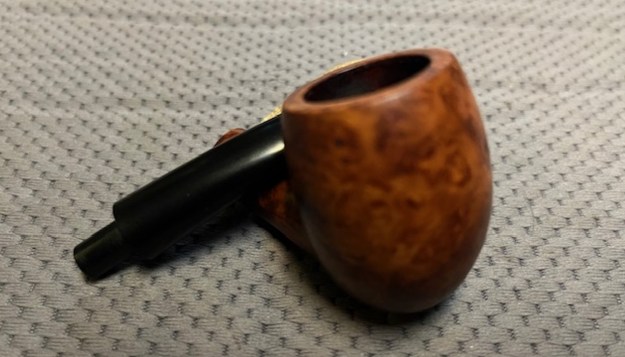
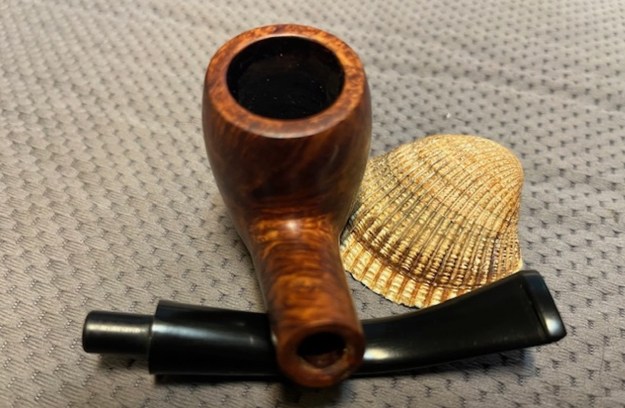
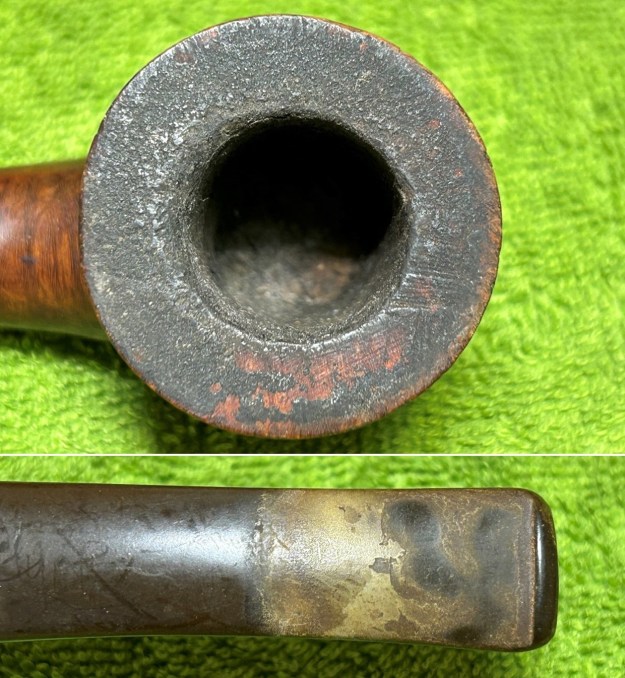
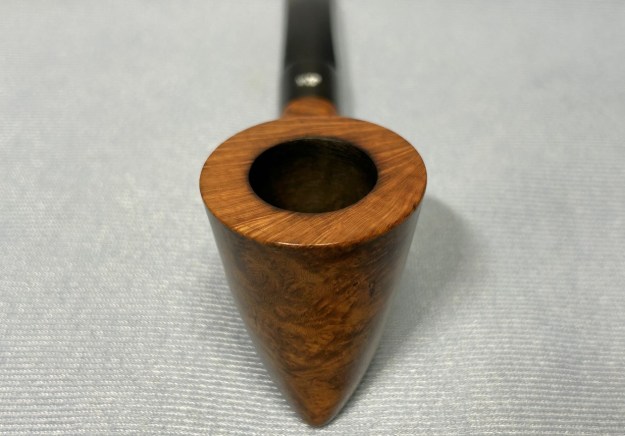
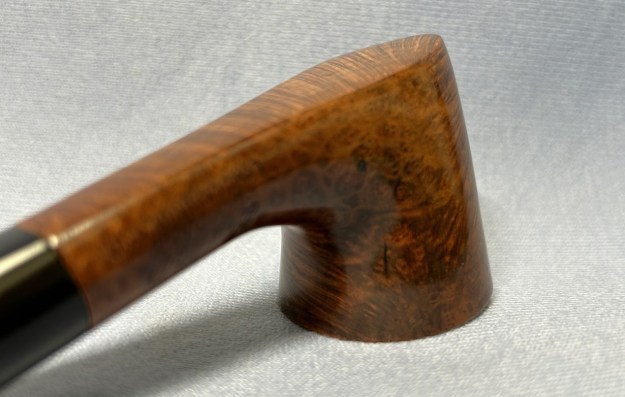
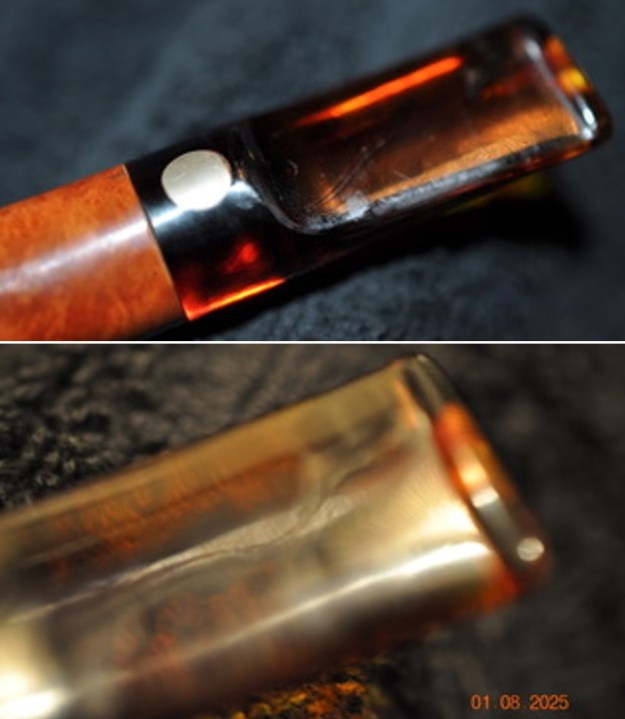
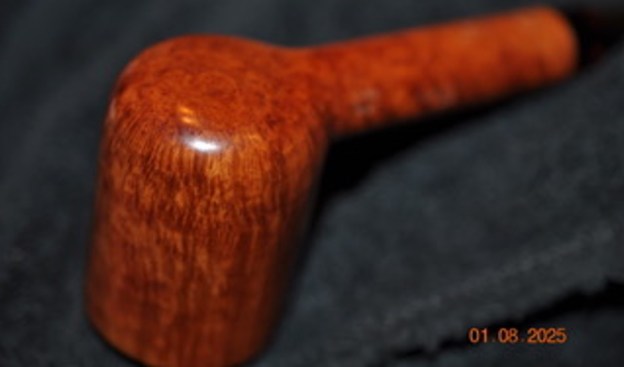
 Jeff took some close up photos of the bowl and rim top. You can see the light lava coat in the plateau top. The inner edge of the rim looks good with a spot of darkening and damage on the left back side. There is a light cake in the bowl that seems to have been recently reamed. The photos of the stem show the scratching and tooth marks in the stem at the button.
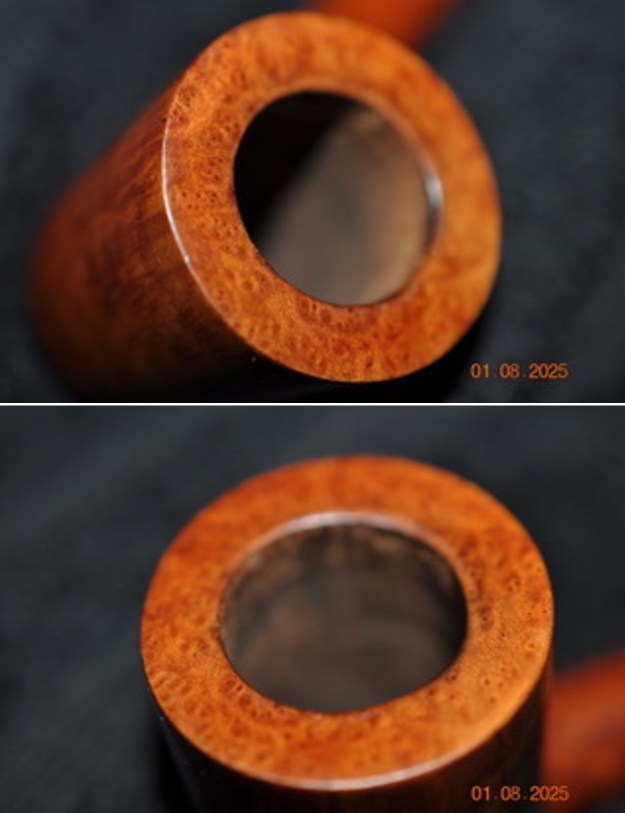
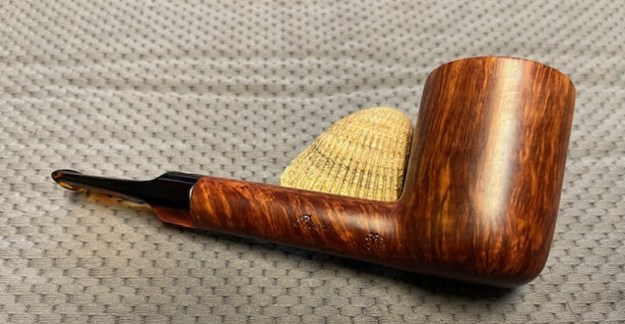
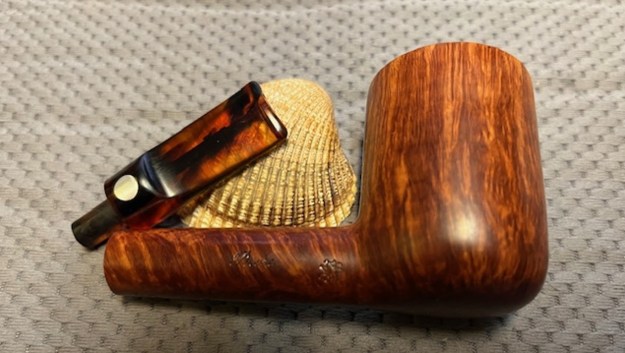
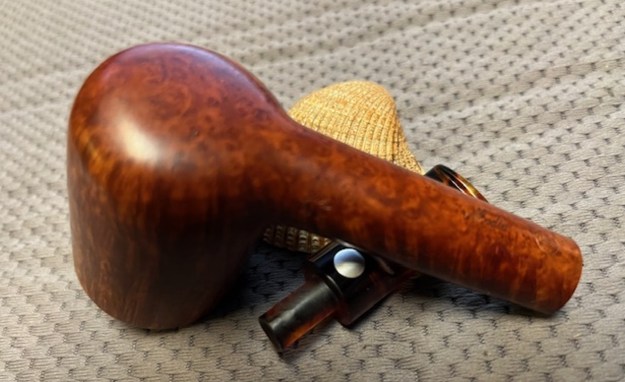
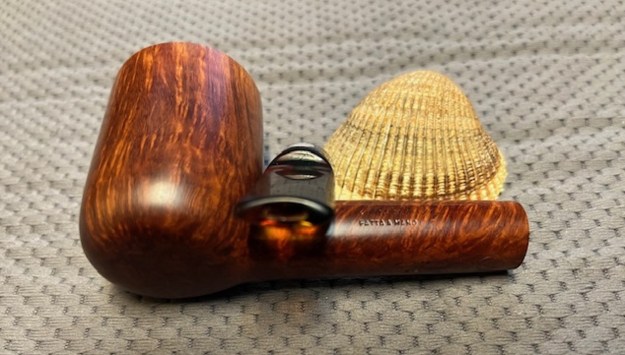
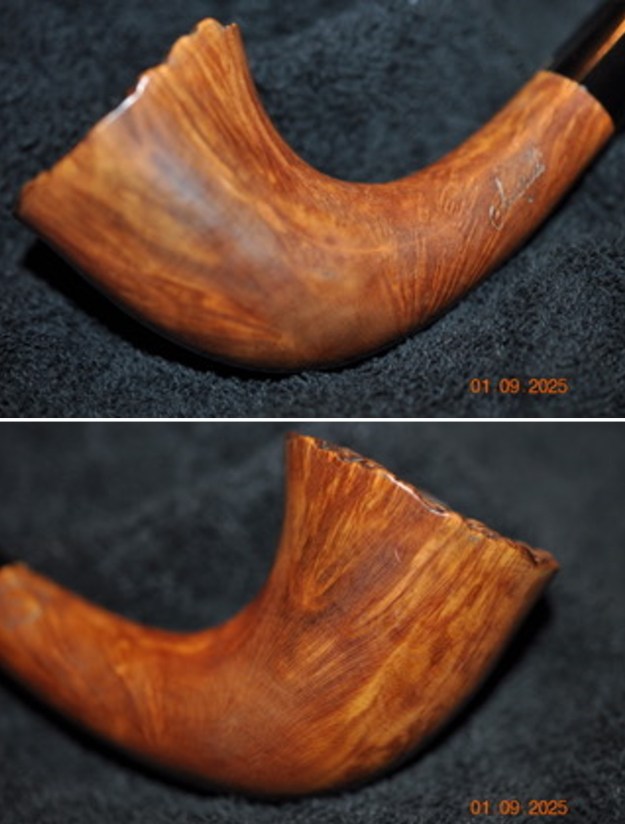
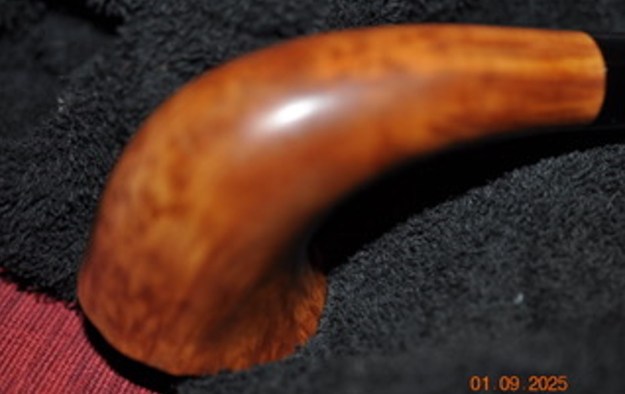
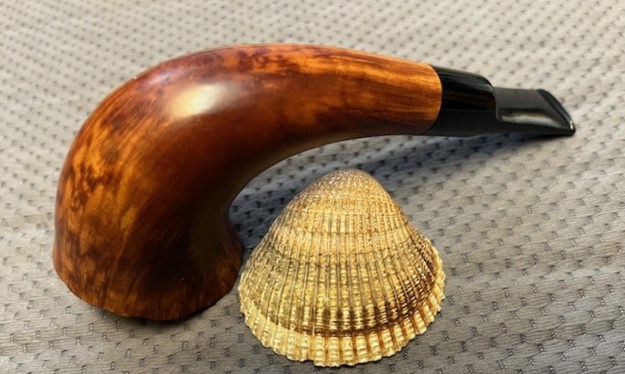
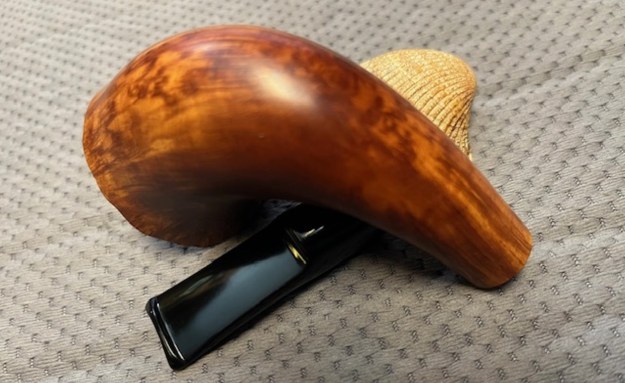
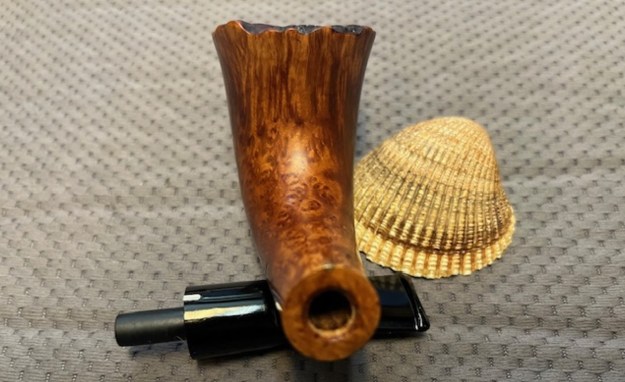
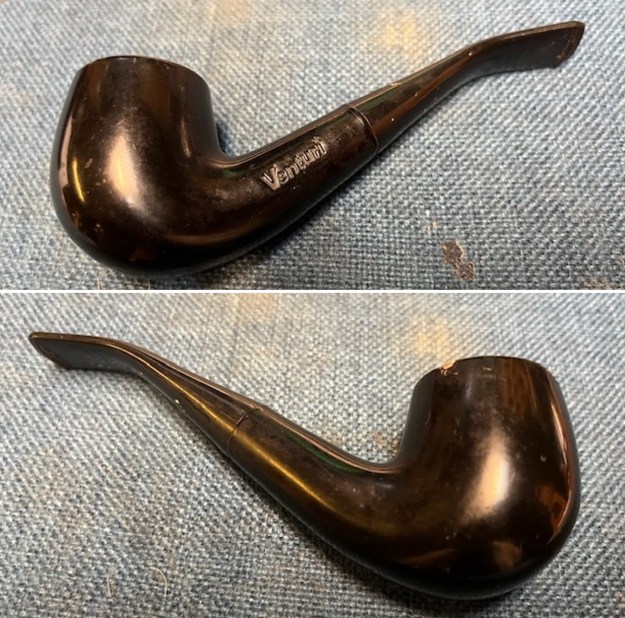
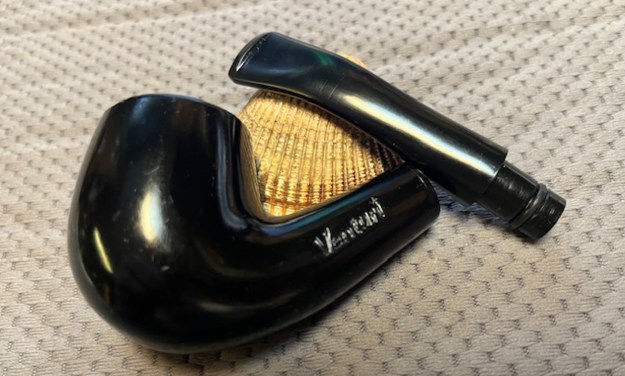
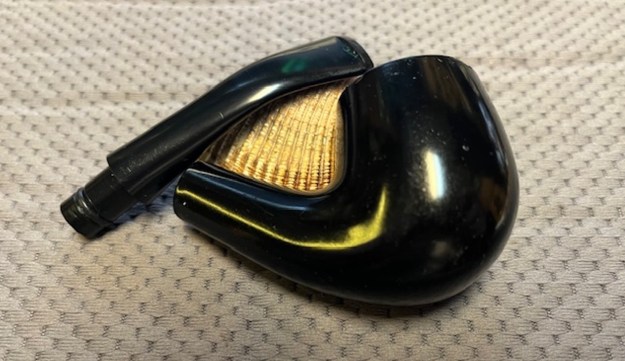
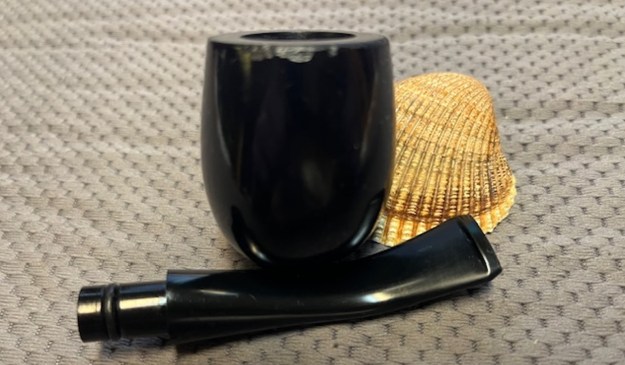
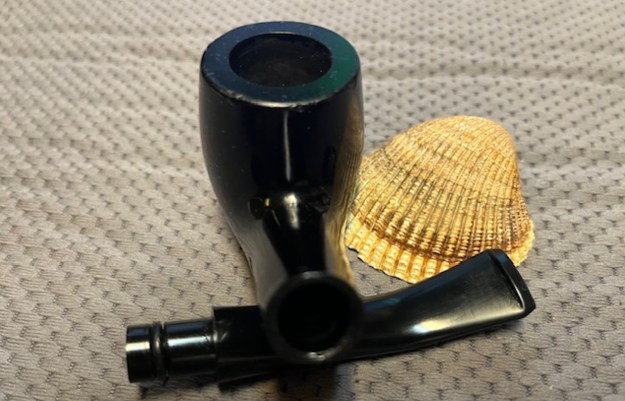
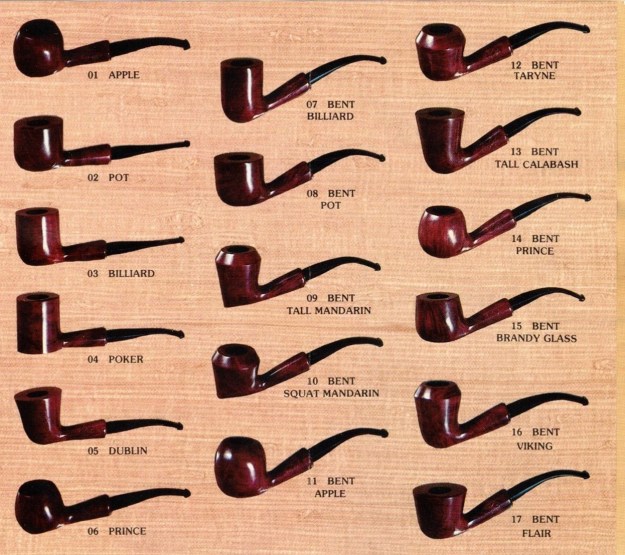
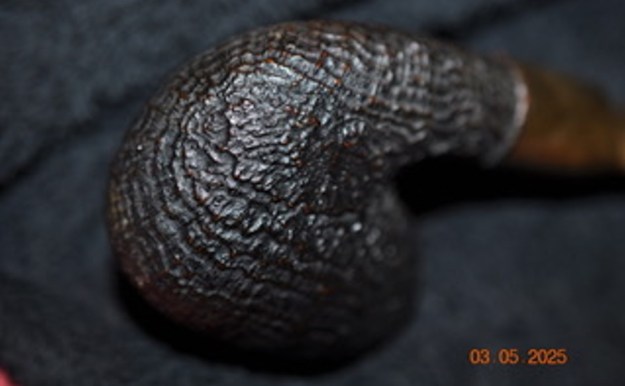
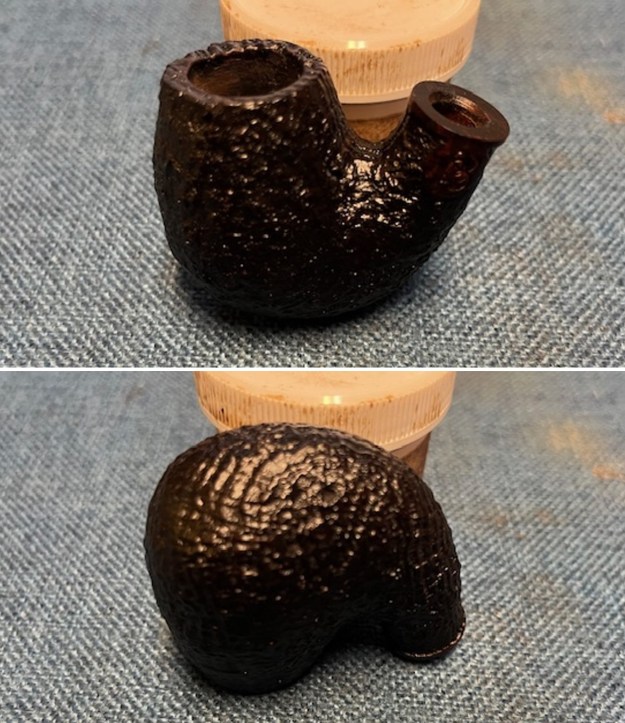
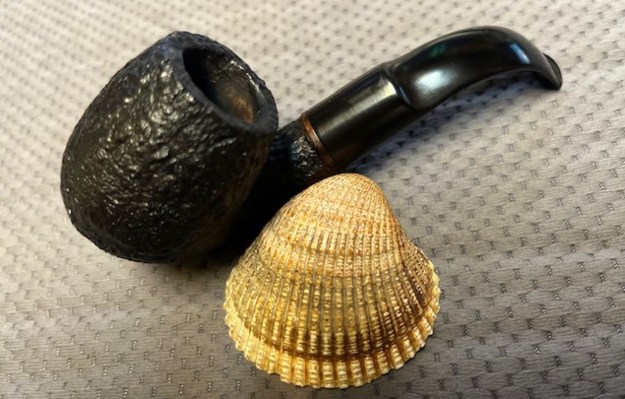
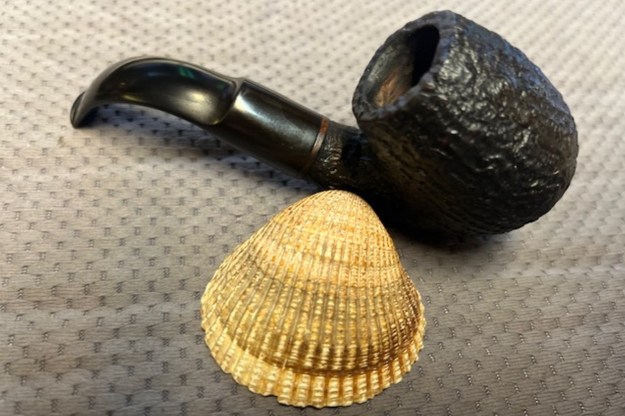
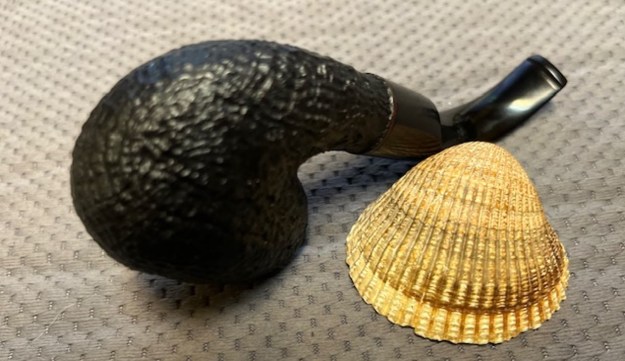
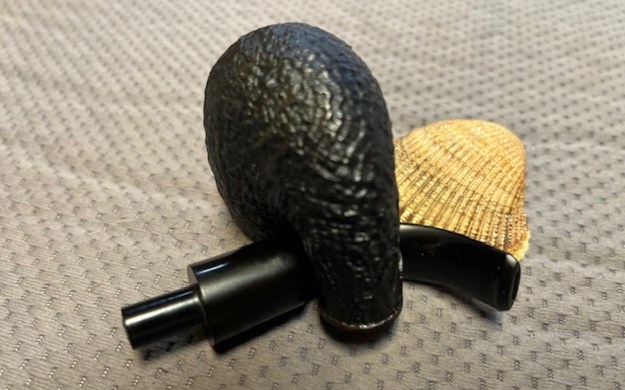
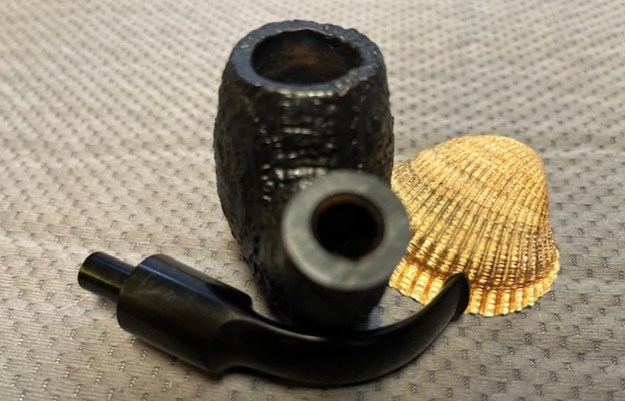
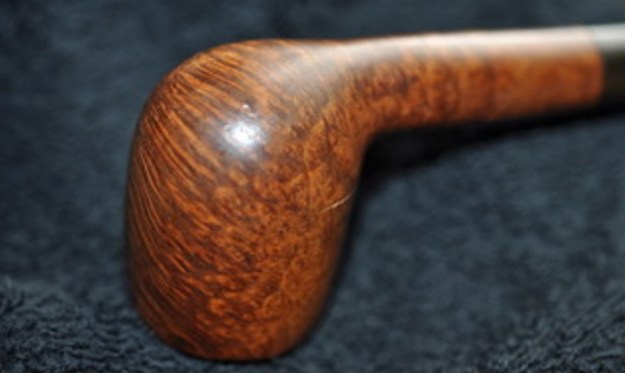
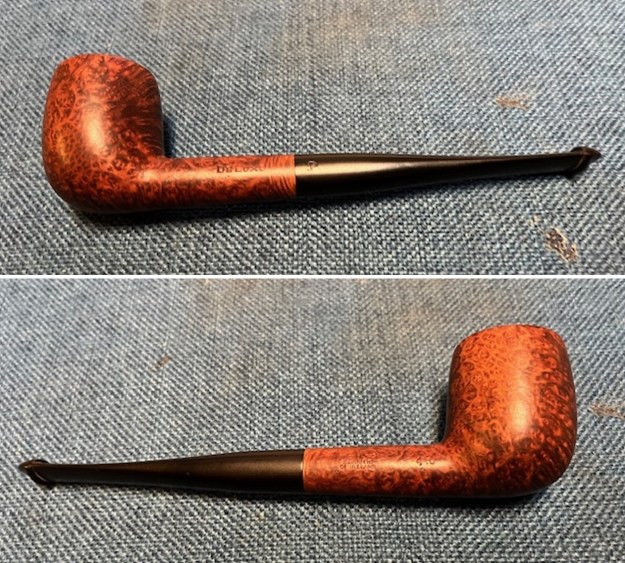
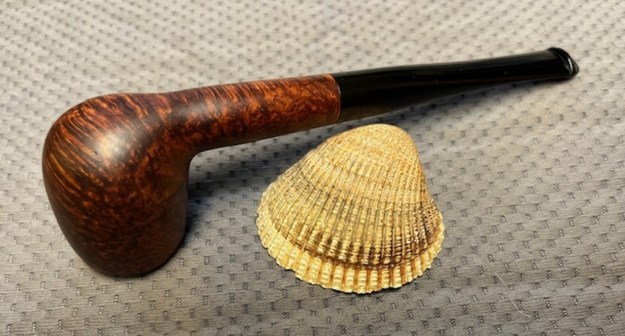
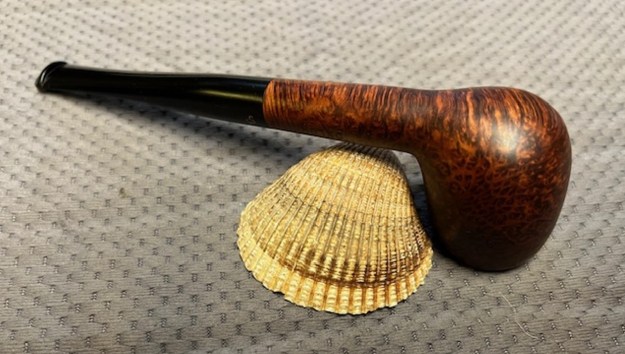
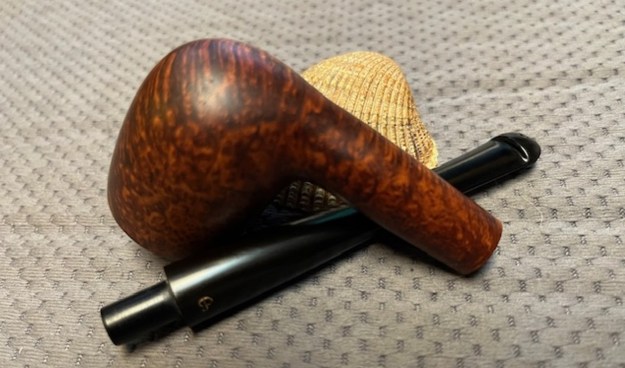
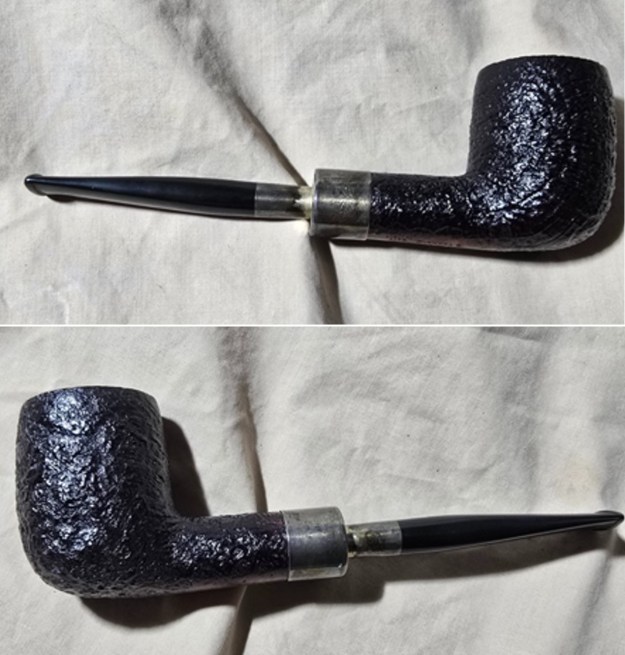
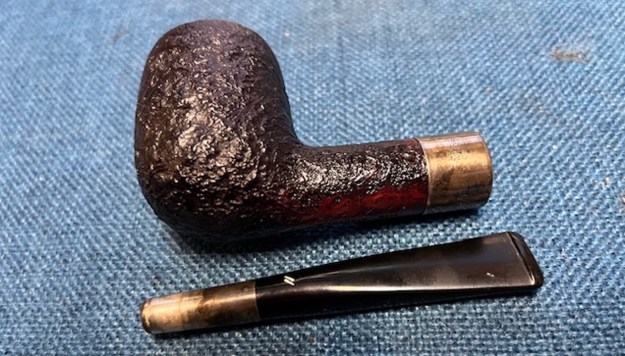
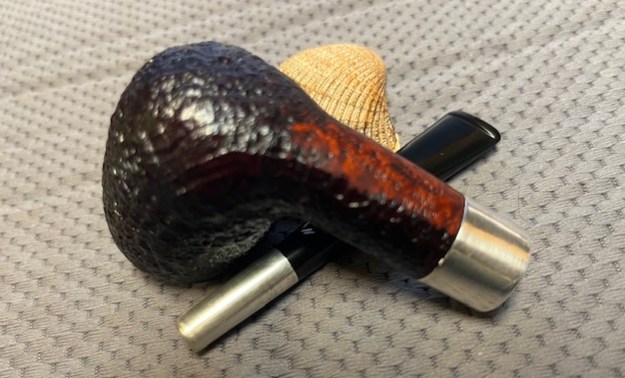
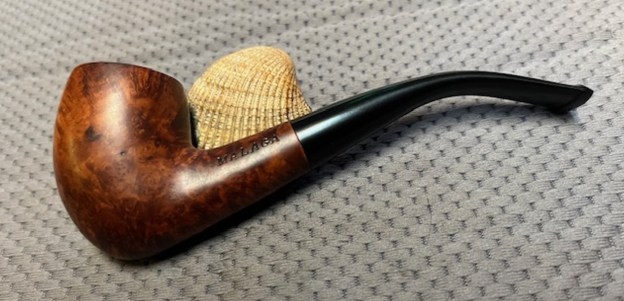
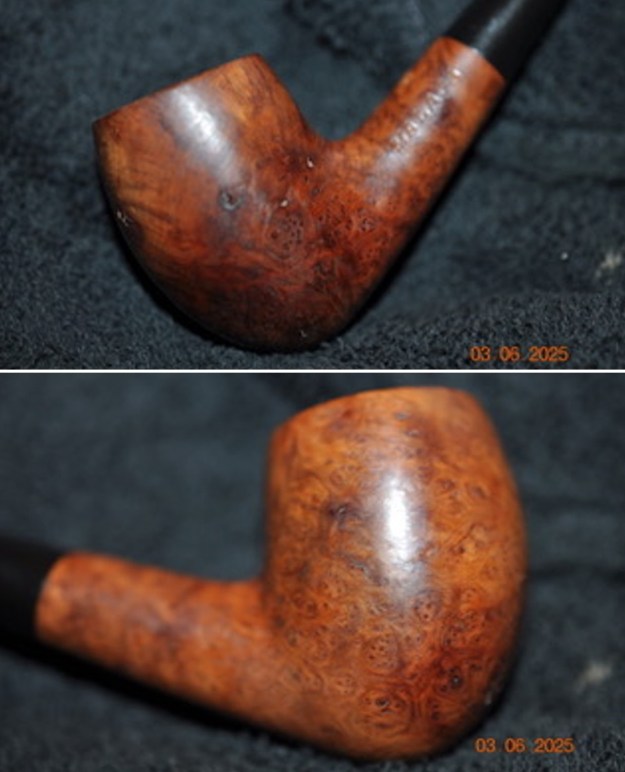
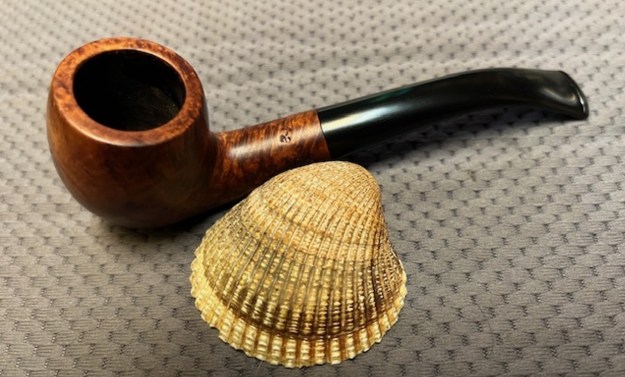
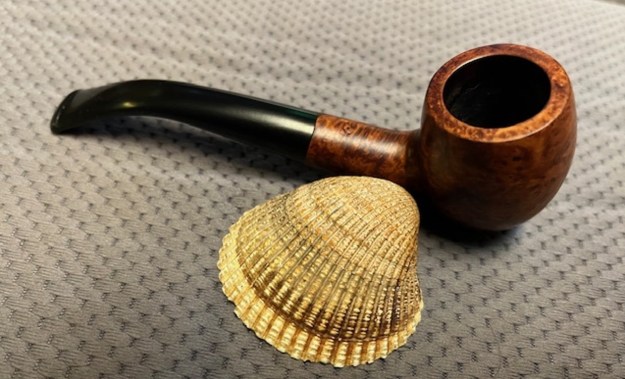
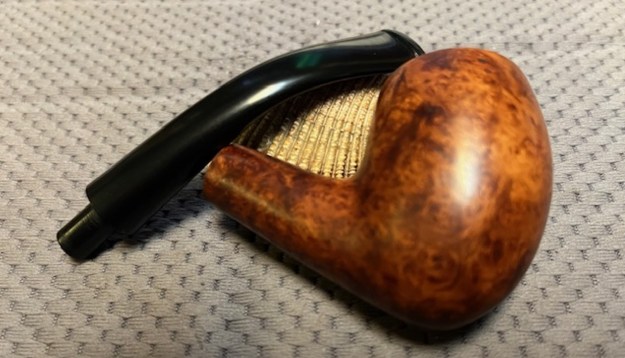
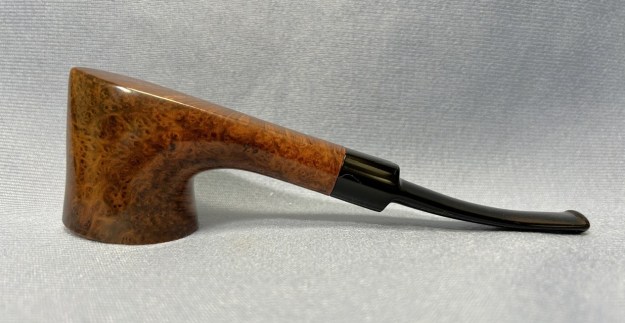
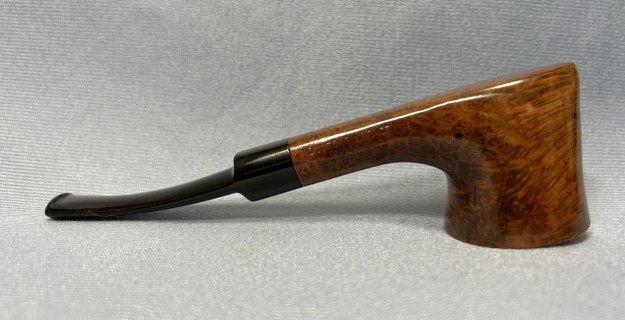
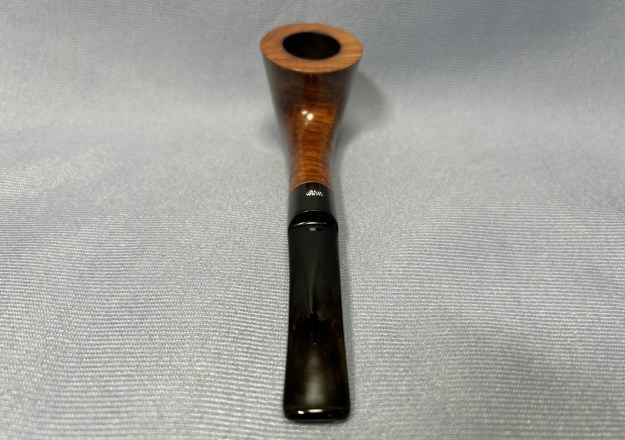
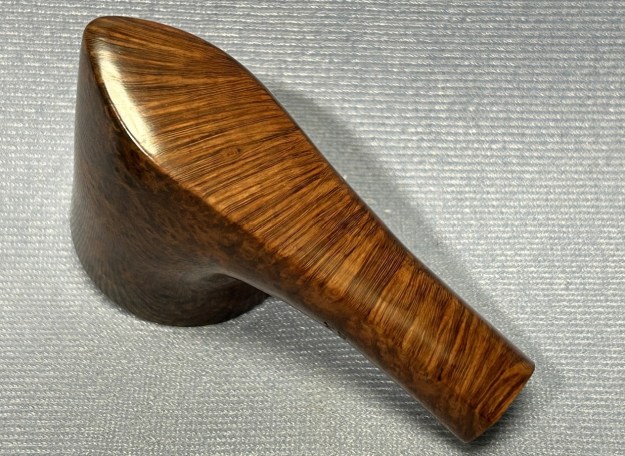
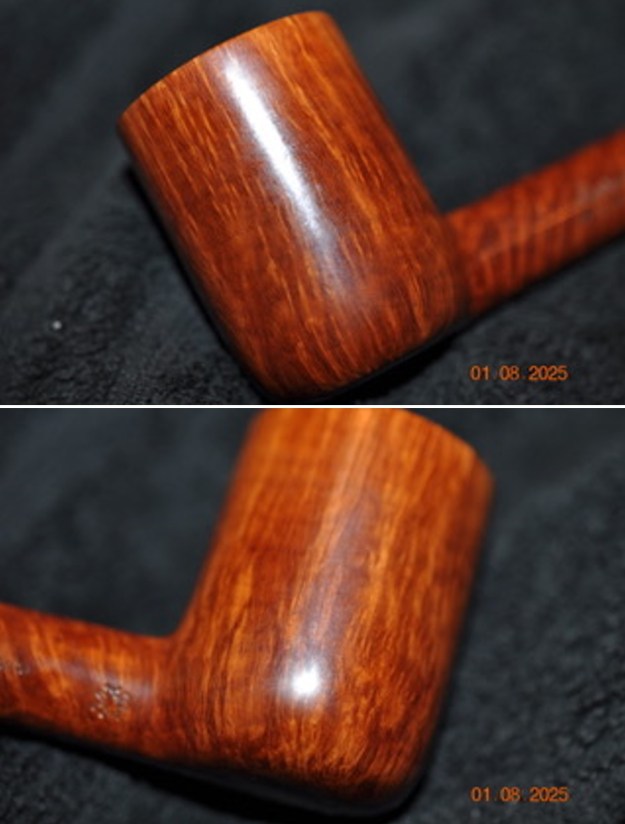
 Jeff took photos of the sides of the bowl to show the interesting grain on the Lovat bowl and shank and how the shape chases it.
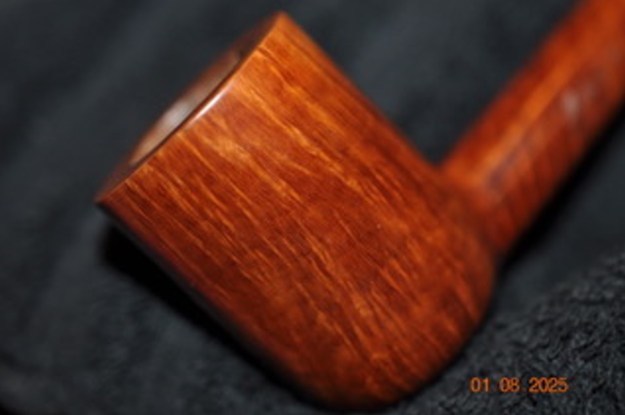
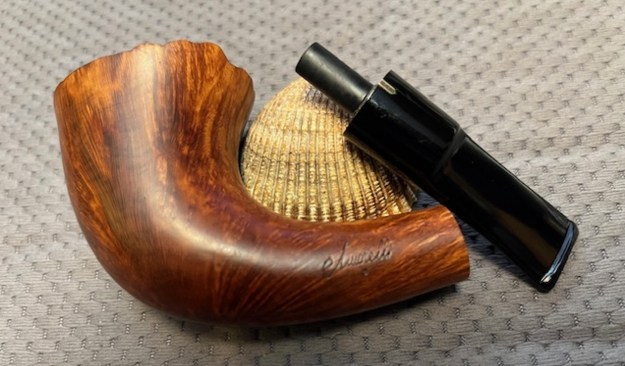
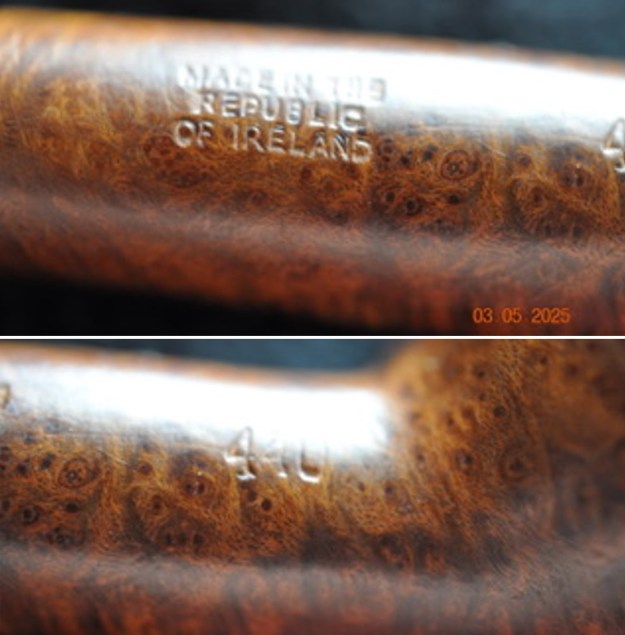
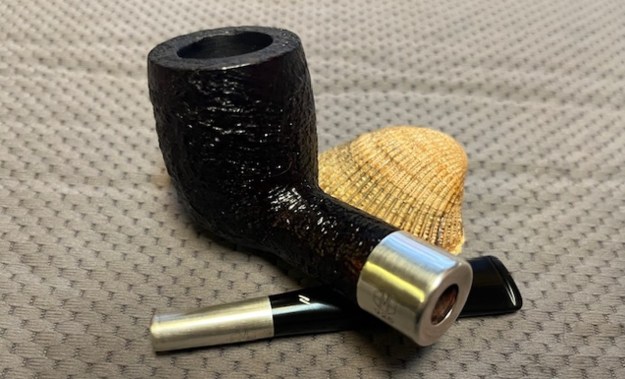
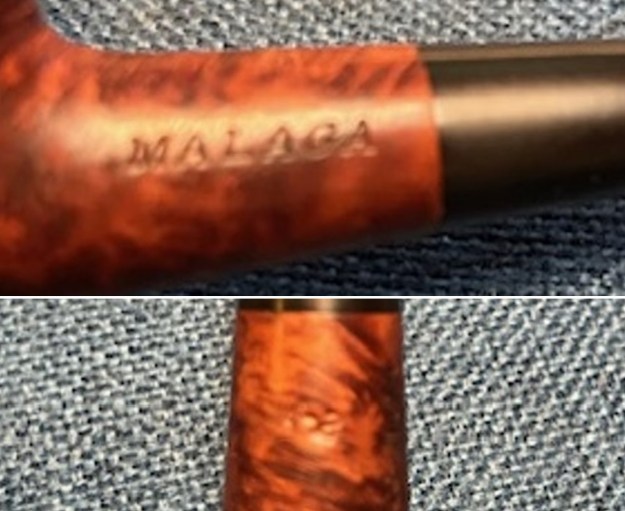
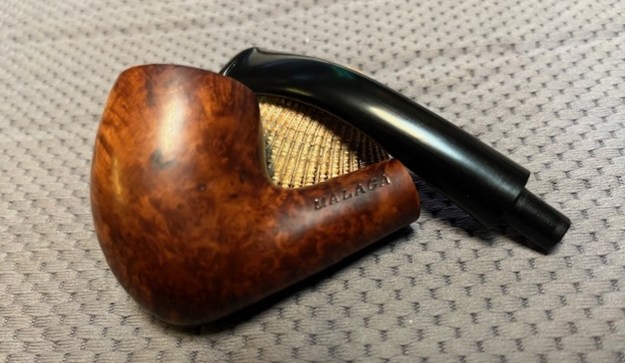
 He took photos of the stamping on the sides of the shank. It is clear and readable as noted above.
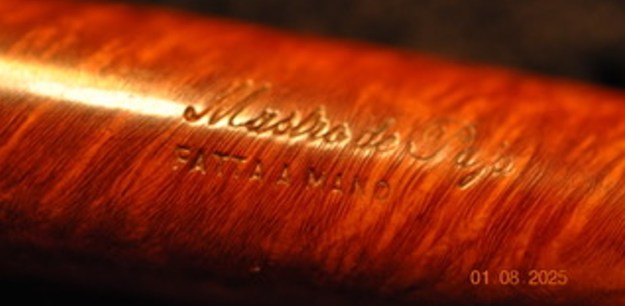
 Before I began to work on the pipe I wanted a refresher course on the maker and the stamping. I have not worked on too many Mastro de Paja pipes before so I figured to do a bit of education before I started my restoration.
I turned first to Pipedia to get a feel for the pipe (https://pipedia.org/wiki/Mastro_de_Paja). I quote in part from the article on that site.
In 1972 Giancarlo Guidi, after having spent some time as a hobbyist in producing pipes, decided to officially found a production workshop called “Mastro de Paja”. Mastro: obviously as a master craftsman, De Paja: it derives from the name with which he was affectionately called by friends “Pajetta” because of his curly hair and translated into a dialectal expression “de Paja”.
Spadoni Giannino joins him shortly after that, at the time he was a salesman and among the products he sold there were also pipes. A professional wedding that turned out to be perfect immediately, in no time the new company “MASTRO DE PAJA di Guidi e Spadoni” immediately became one of the most respected manufacturers of pipes in Italy for the quality of production and lines that for those times were innovative, fascinating and even if coarse they immediately met the consent of enthusiasts and collectors.
Unfortunately, the professional marriage between Guidi and Spadoni, due to disagreements and different views on strategies, stopped in 1981. Guidi left the company to found a personal one. In Mastro de Paja which in the meantime became a real company with a production staff remained with Spadoni. Unfortunately, after a very short time, due to economic and financial problems that put the possibility of continuing the business at risk, Spadoni is forced to ask for help and finds it with the intervention of the Pesaro-based entrepreneur Terenzio Cecchini who, despite being burdened by his multiple industrial activities, sees in Mastro de Paja a valid expression of high craftsmanship and takes over as majority shareholder and acquires the position of director.
Soon after even Spadoni decides to leave (and create his own new company), Cecchini then puts his eyes on a very smart young man which he considered capable of giving new glaze to the Mastro de Paja which, meanwhile, inevitably presented some productive and commercial problems. That young man is called Alberto Montini and he started in his thirties his beautiful adventure in the pipes world… He was contacted by the surveyor Terenzio Cecchini at the time the only owner of the Mastro, to take care of it in every aspect, first as an employee, then as an administrator and later as a partner of Mastro de Paja and afterwards with the passing of Mr. Cecchini he became the sole owner.
…Currently the Mastro produces about 2 thousand pipes a year with strictly artisan procedure, at the Mastro currently reigns a warm harmony, is a group of friends who strives to get the best. This also stems from the fact that pipes for Mastro de Paja are not to be considered as any other object to be produced and sold following cold strategies common to everyone in the business world, it’s completely different, it is necessary to love it, it is a style of being, a philosophy of life that can only be appreciated by a noble soul and not noble by title but by principles.
I read further in the article and found the following information on the stamping and the circle 3A stamp. I quote:
Mastro de Paja “ELITE COLLECTION” It is the production of pipes made entirely by hand, even they are unique but of regular production. On all “Mastro de Paja” pipes you can see fire stamped all the information for tracing the value of each creation.
0B: Rusticated
1B: Sandblasted
CA: Castanea
2D: Half rusticated
3A: Brown and orange stain
3B: Natural
3C: Perfect grain
It looks like the 3A is pretty high in the hierarchy of the Mastro pipes, with just the 3B Natural and the 3C Perfect Grain ahead of it. It is described as Brown and Orange Stain. That would describe what I hold in my hands today.
I turned to the Pipephil website (http://www.pipephil.eu/logos/en/logo-m3.html) and added the following screen capture and summary of information on the brand.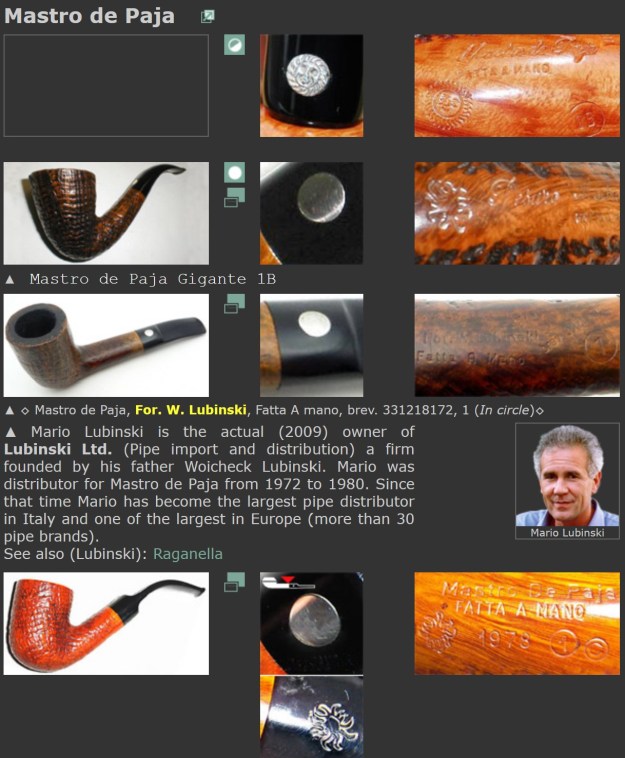 Brand founded in 1972 by Giancarlo Guidi. He left it for Ser Jacopo in 1982. Alberto Montini became the owner of the brand in 1995. Production (2010): ~ 5000 pipes / year. Seconds: Calibano, Montini
Armed with that information and renewing my knowledge of the brand it was time to work on the pipe.
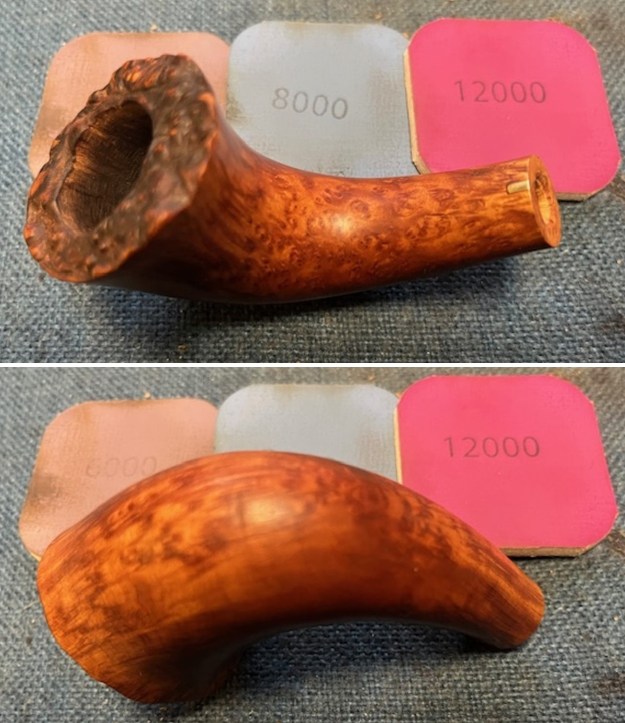
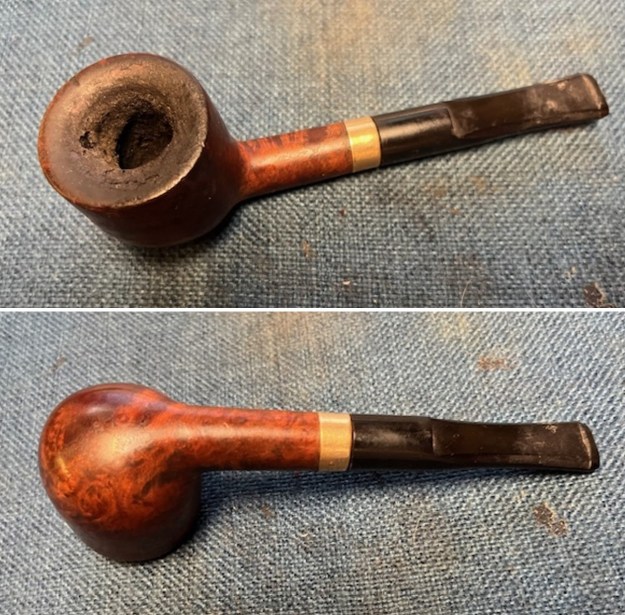
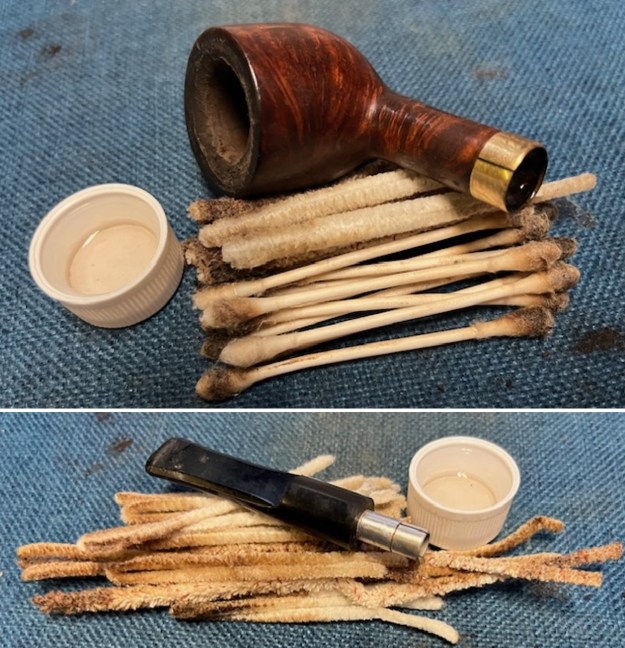
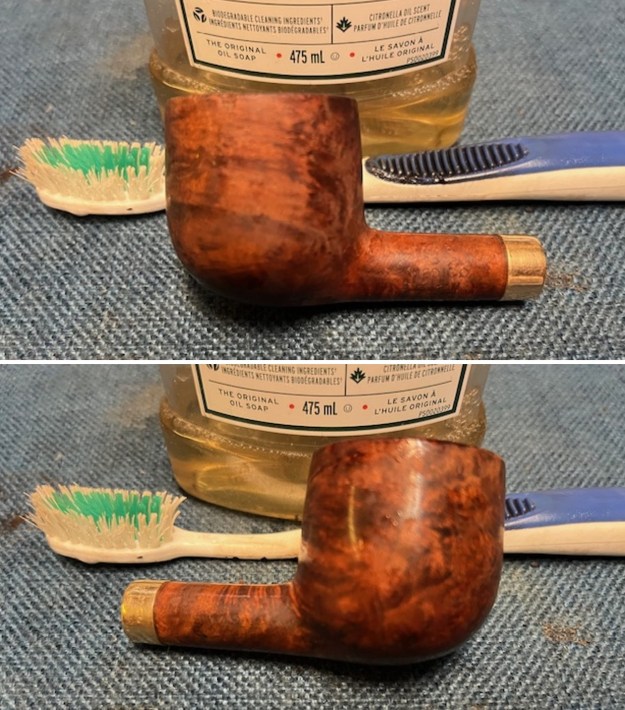
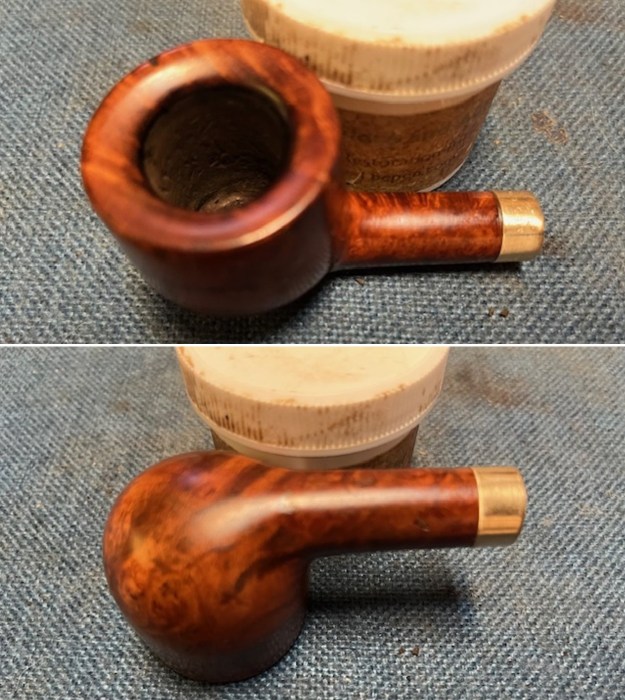
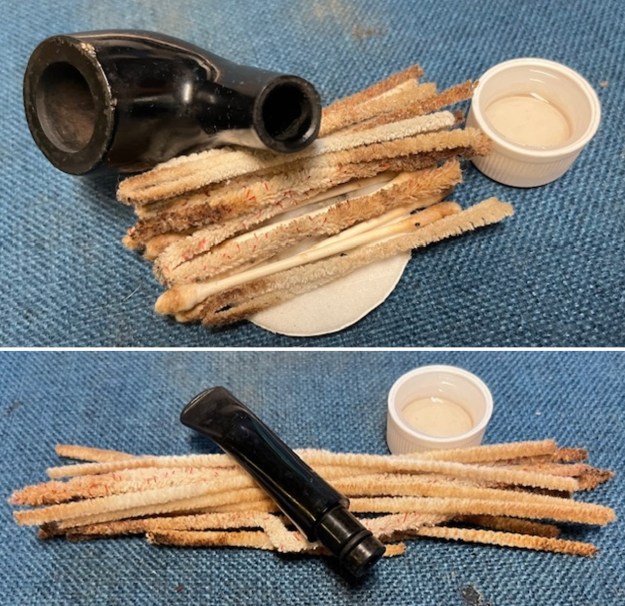
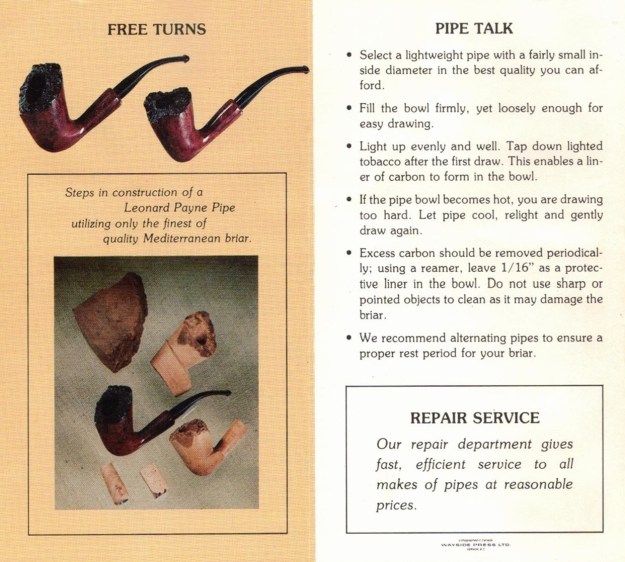
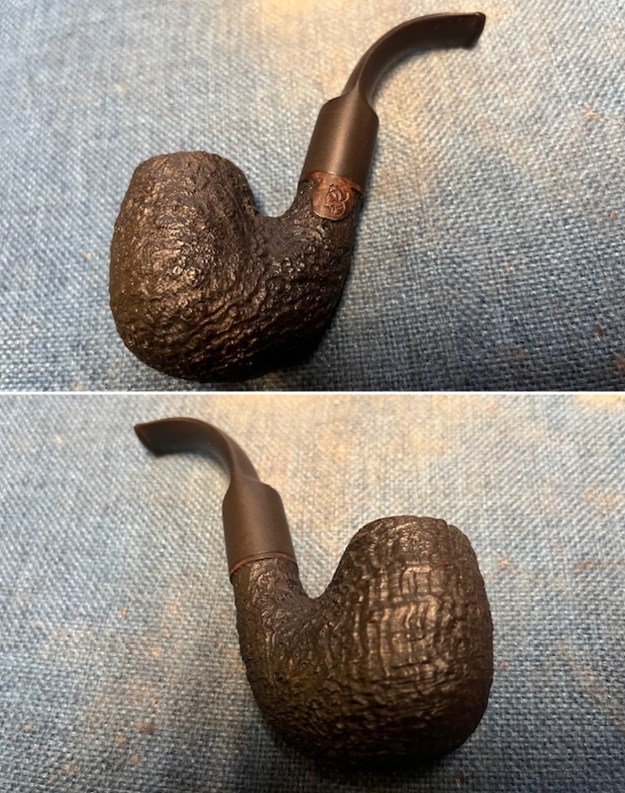
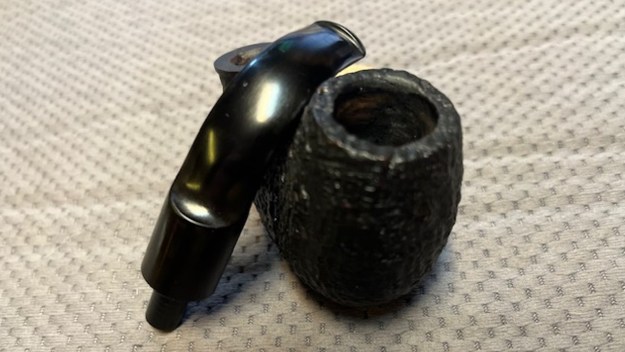
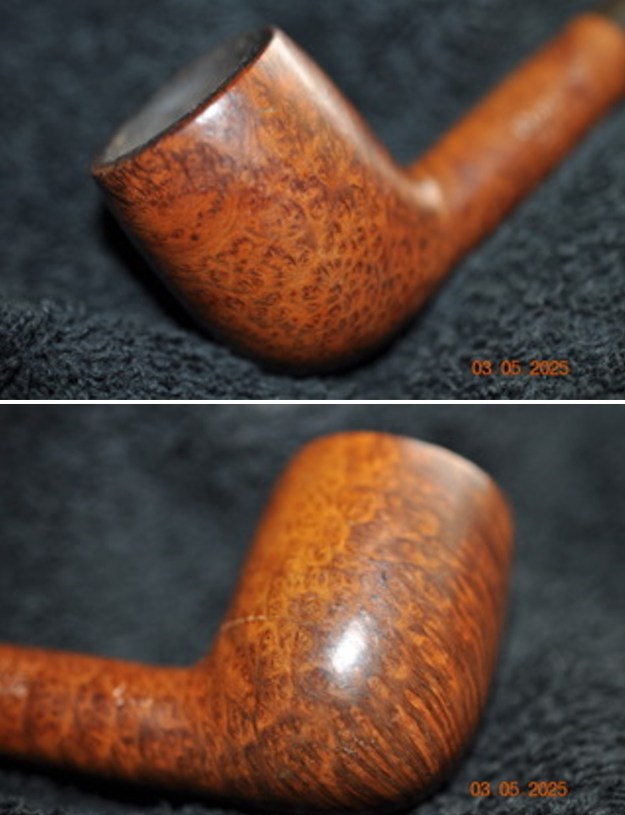
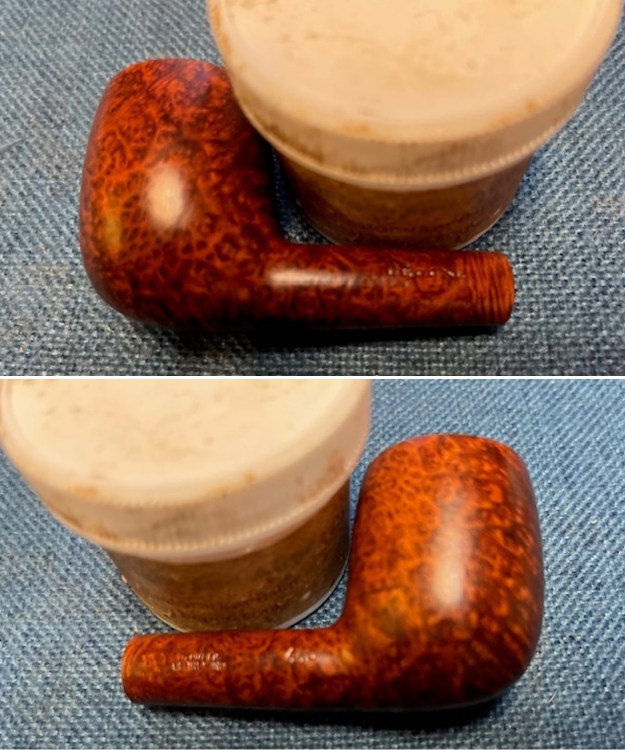
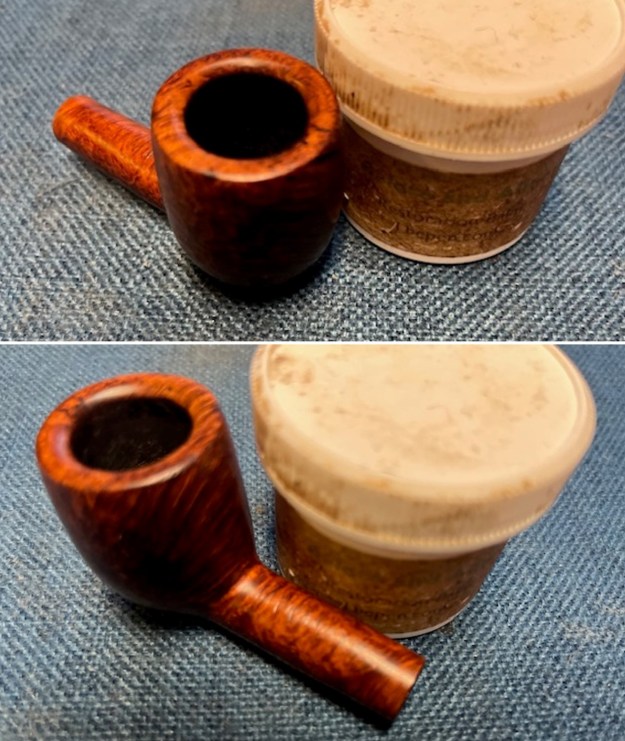
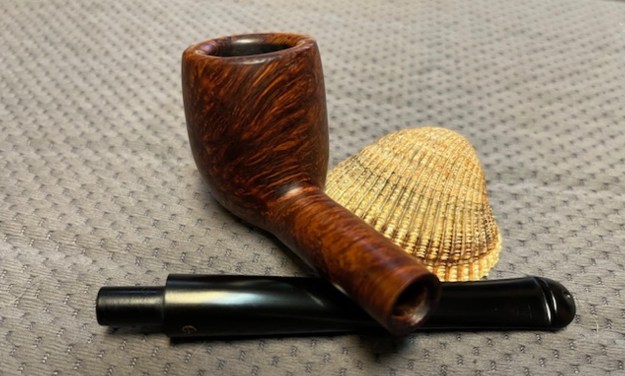
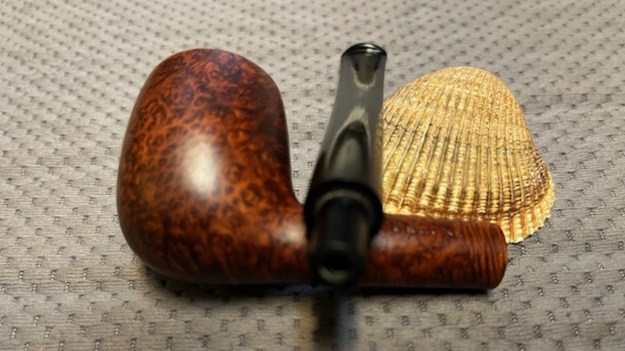
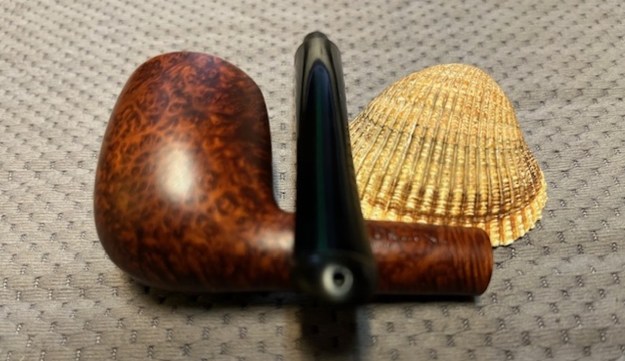
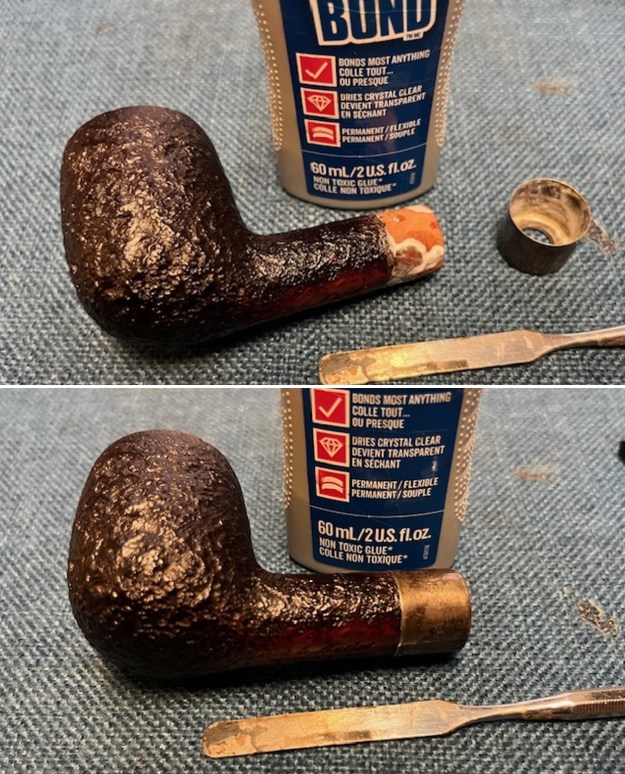
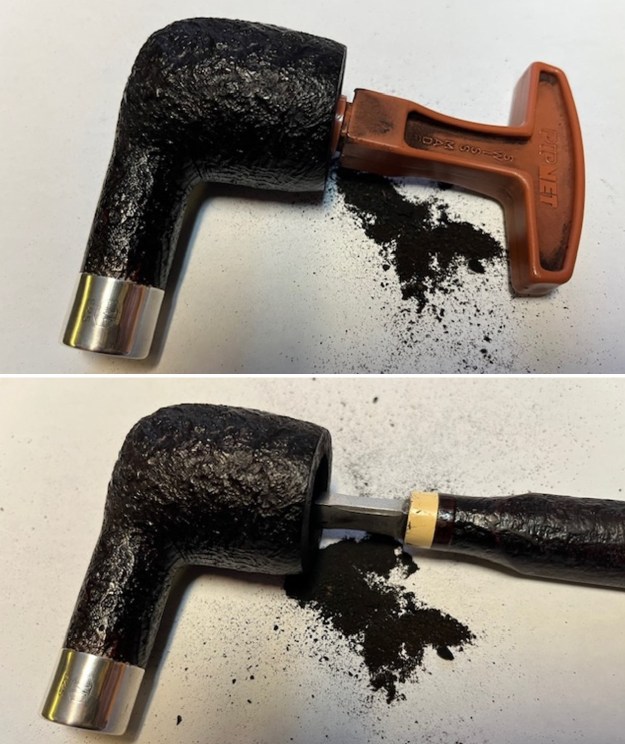
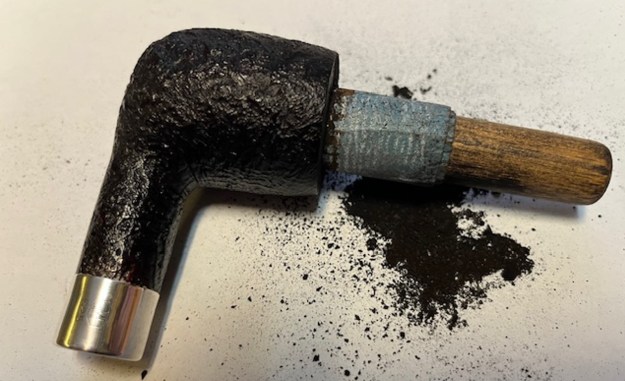
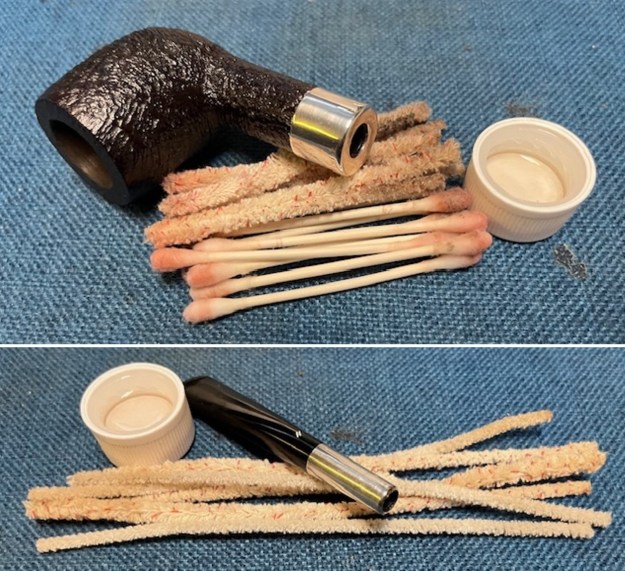
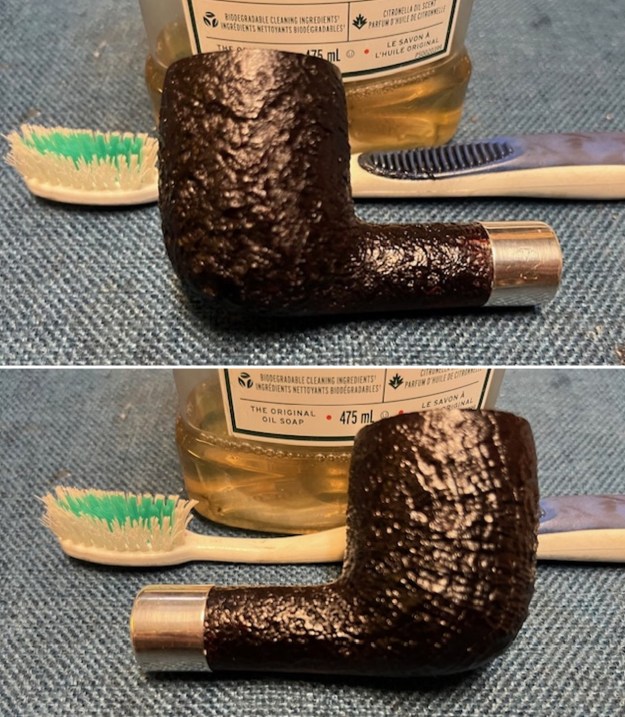
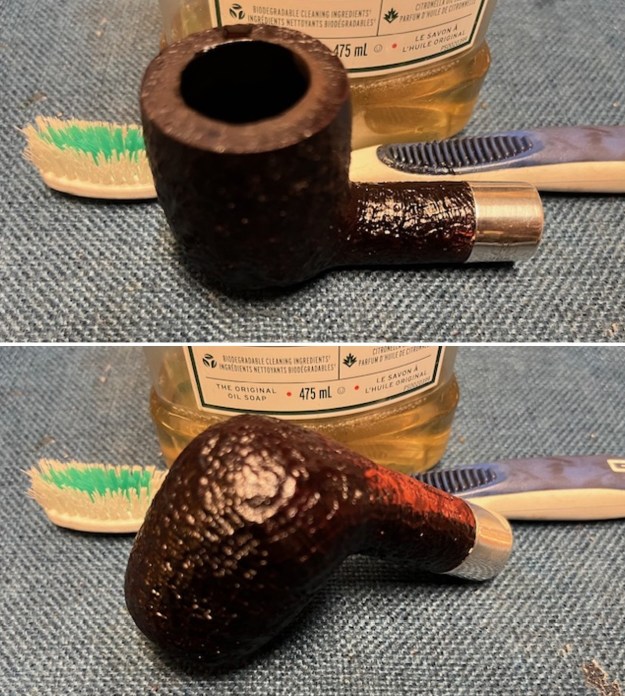
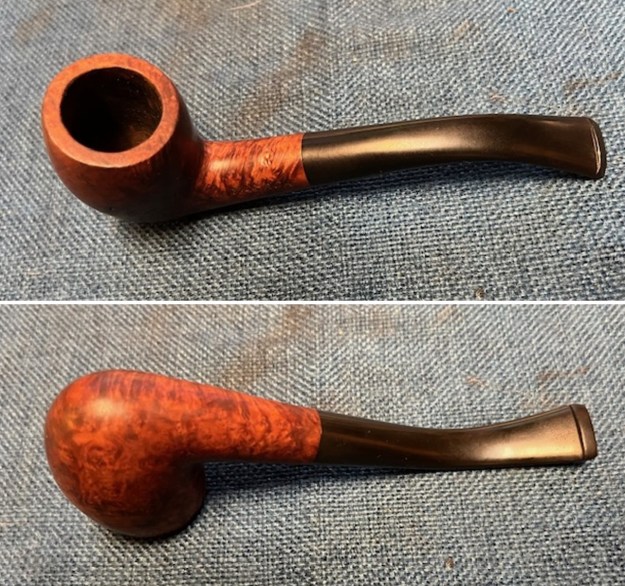
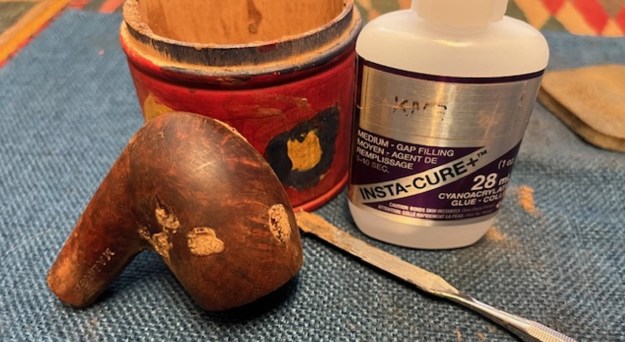
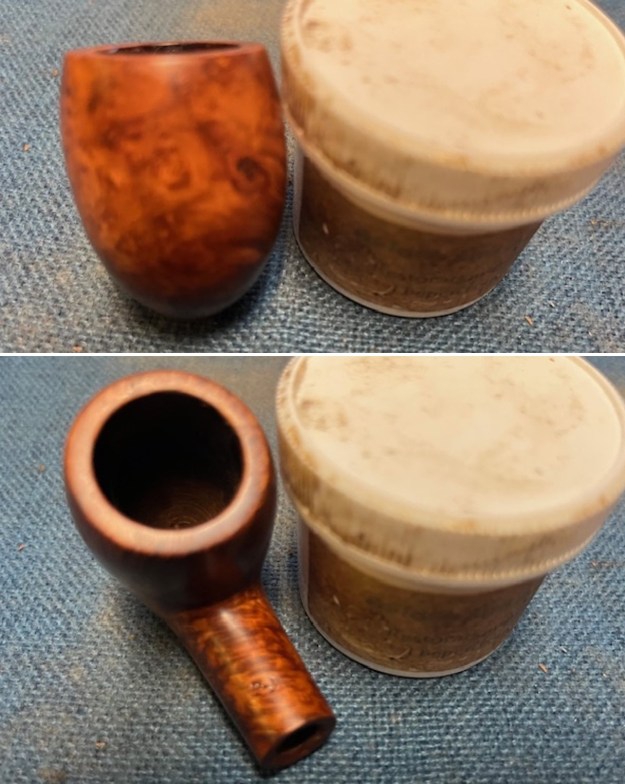
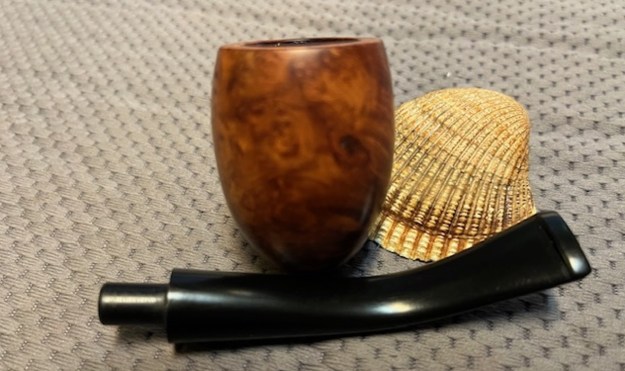
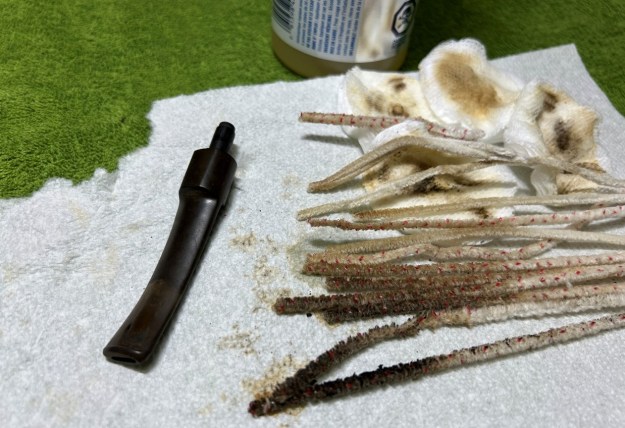
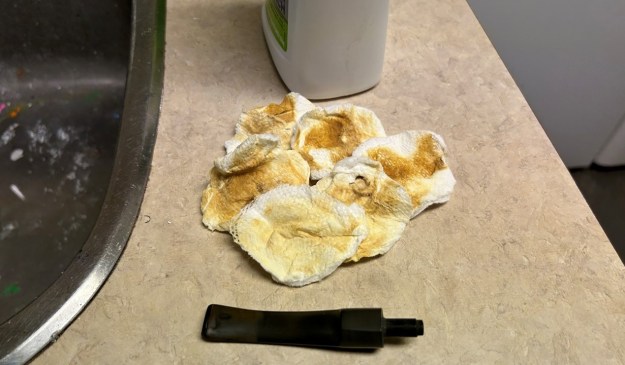
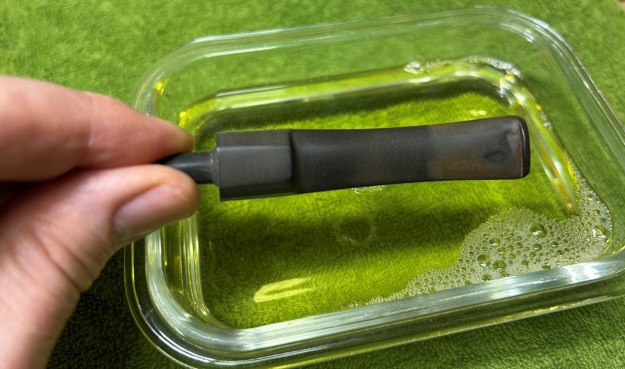
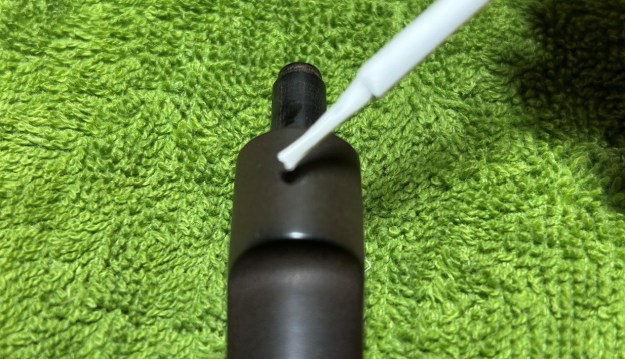
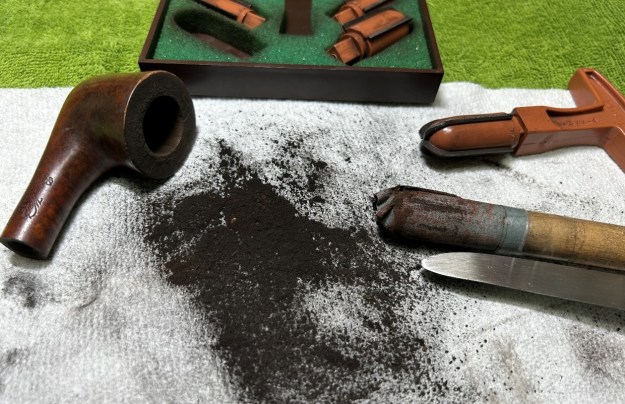
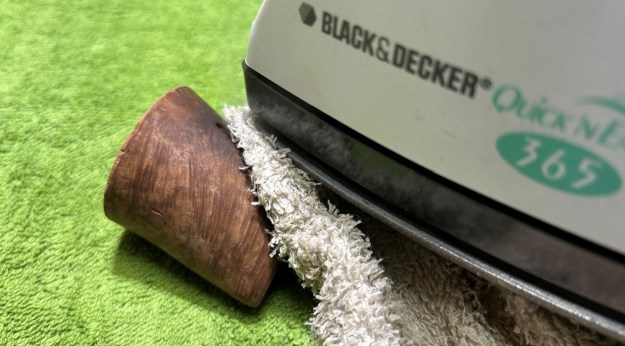
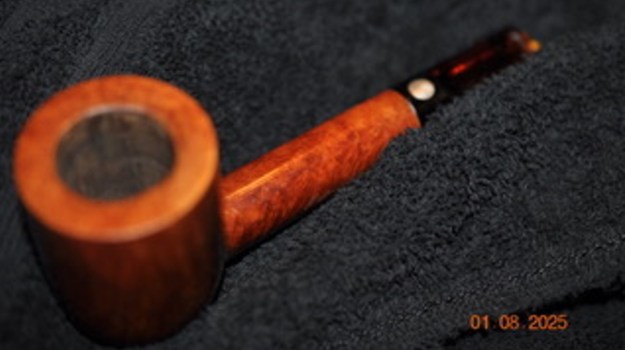
Jeff had reamed the bowl with a PipNet pipe reamer and followed up with a Savinelli Fitsall pipe knife to remove the remnants of cake. He scrubbed out the mortise and the airway in the shank and the stem with alcohol, cotton swabs, shank brushes and pipe cleaners. He scrubbed the exterior of the bowl, rim, shank and stem with a tooth brush and undiluted Murphy’s Oil Soap to remove the oils and tars on the rim and the grime on the finish of the bowl of the pipe. He rinsed it with running water. He dried it with a soft cloth. He was able to remove all of the debris in the briar leaving only the area with slight damage on the inner edge of the bowl on the left rear. I took photos of the pipe to show its condition before I started my work. 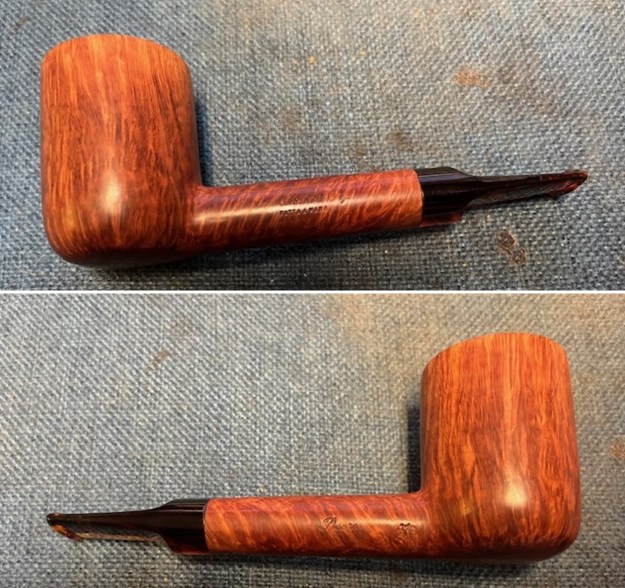
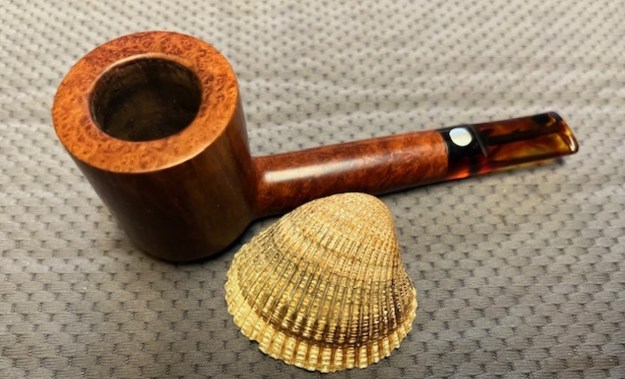
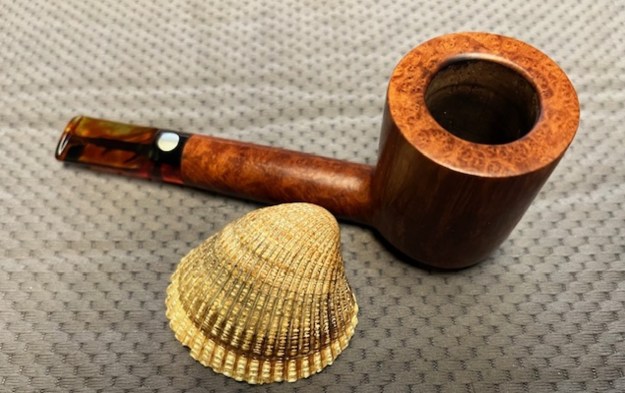
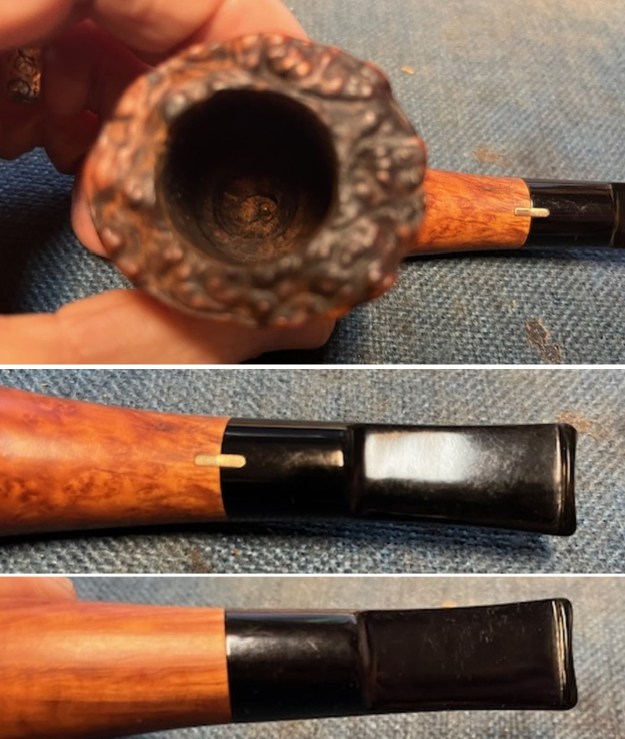
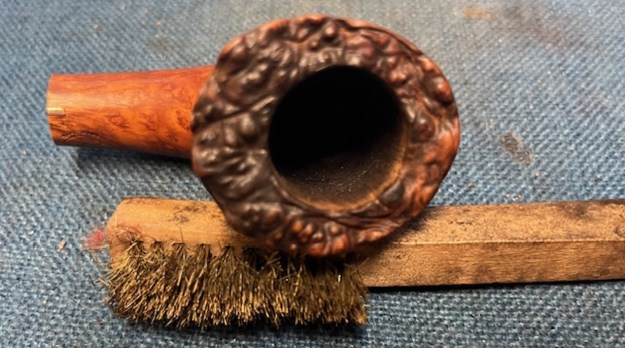
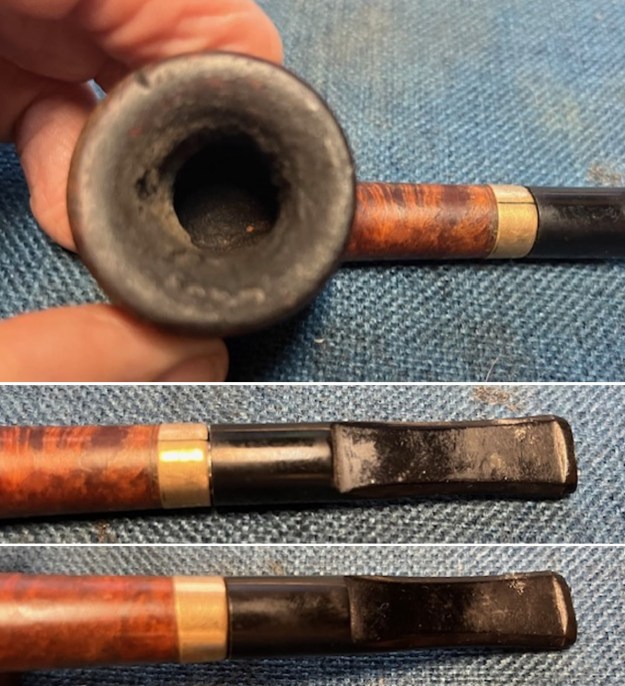
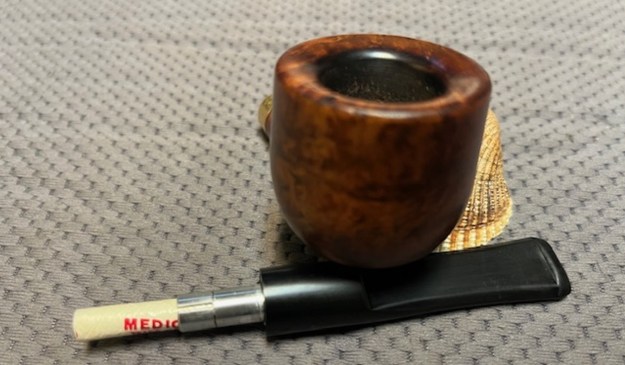
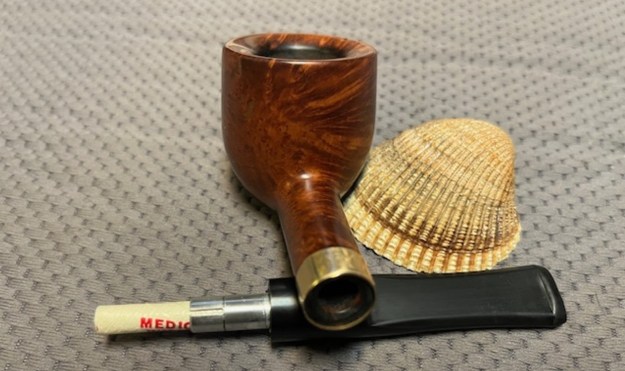
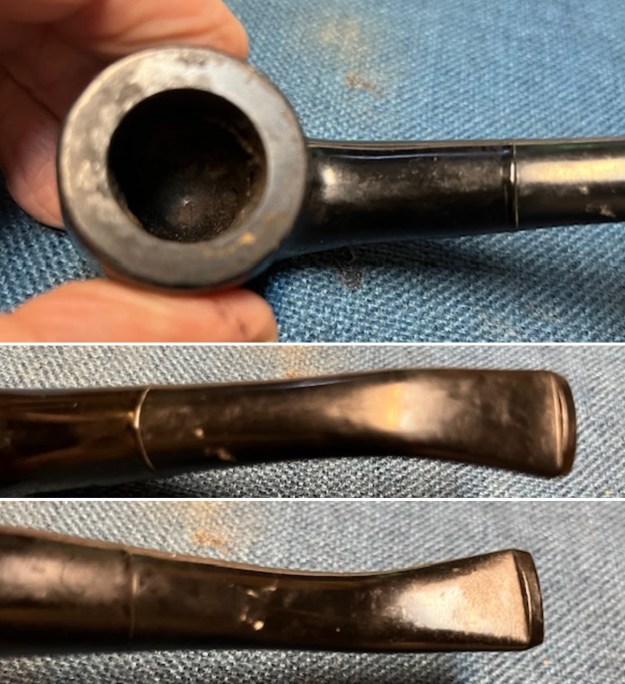
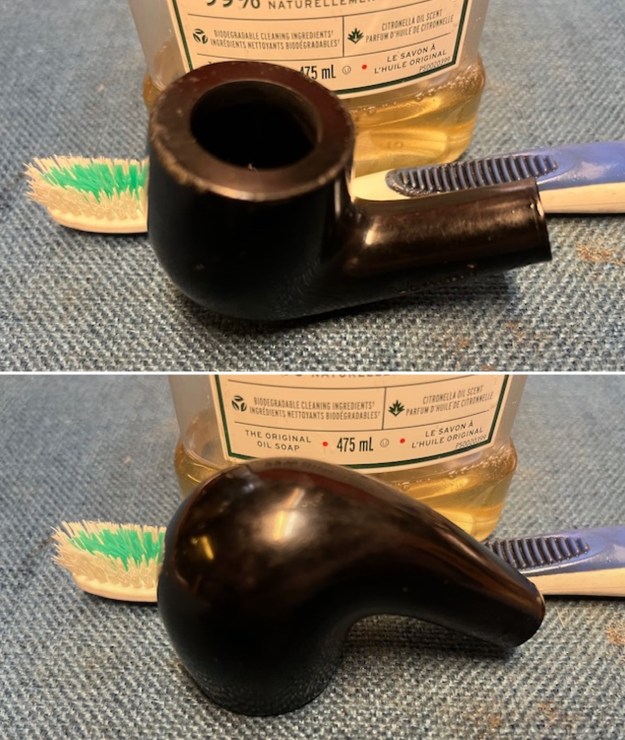
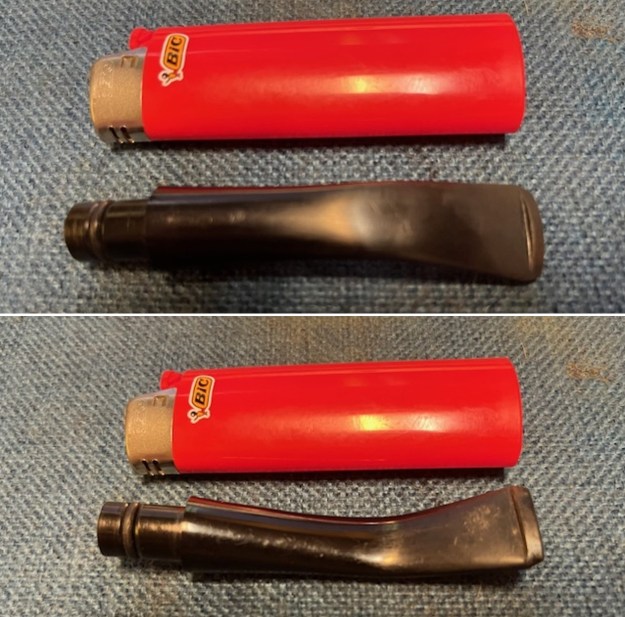
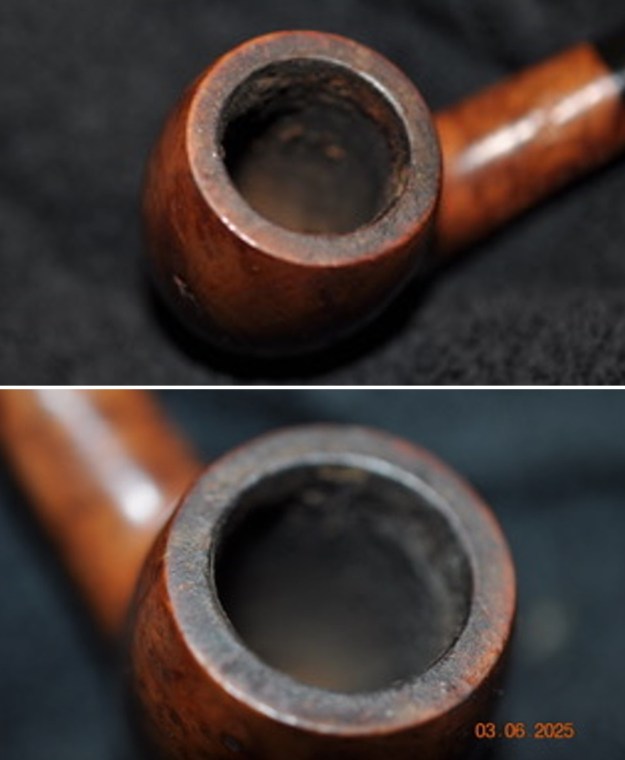
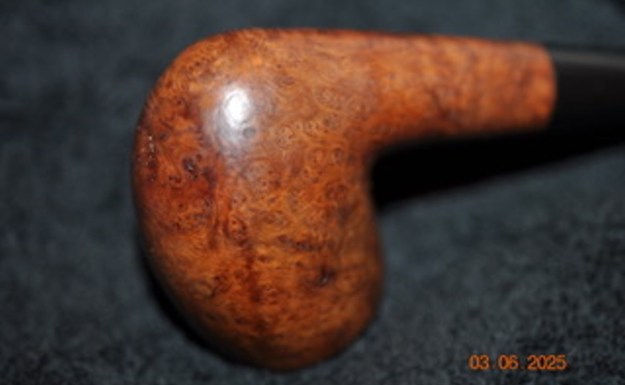
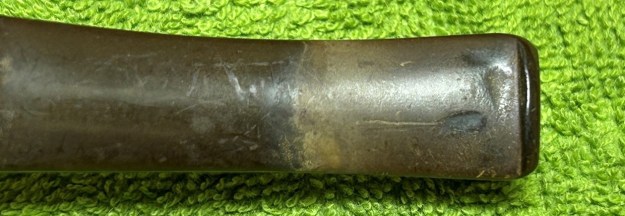
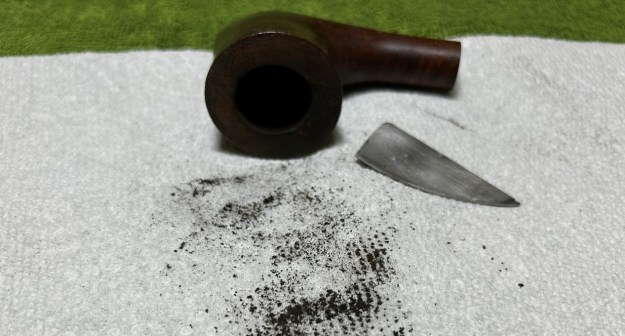
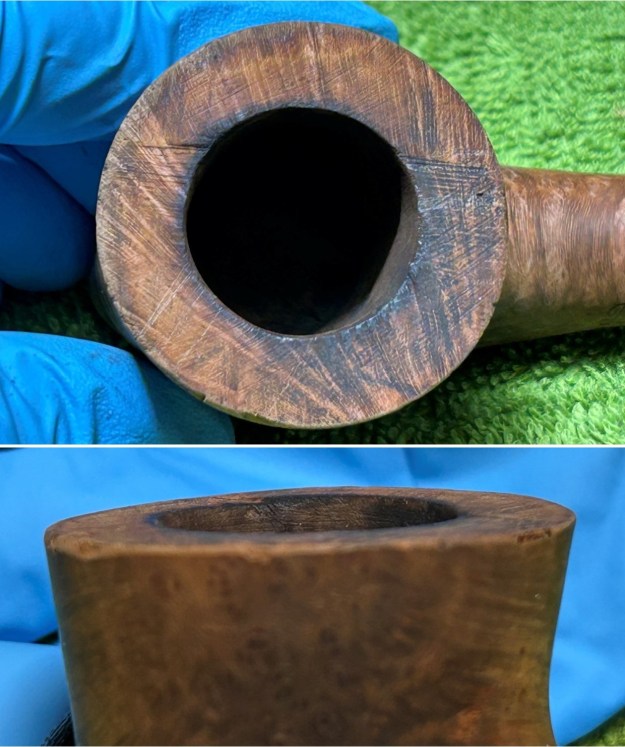
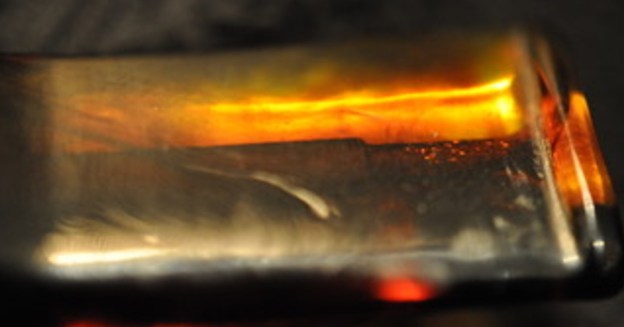
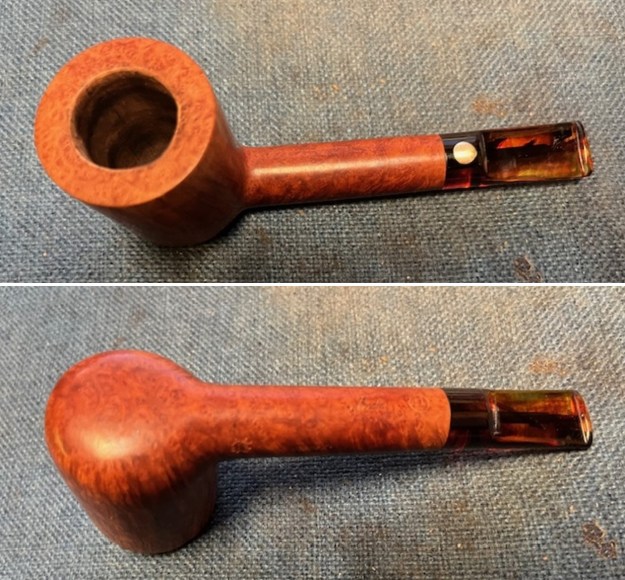 I took a close up photo of the rim top to show the condition of the top and edges of the rim. The inner shows some burn damage on the left read of the bowl. The stem photos show the light tooth marks and scratching on the surface of the amber acrylic.
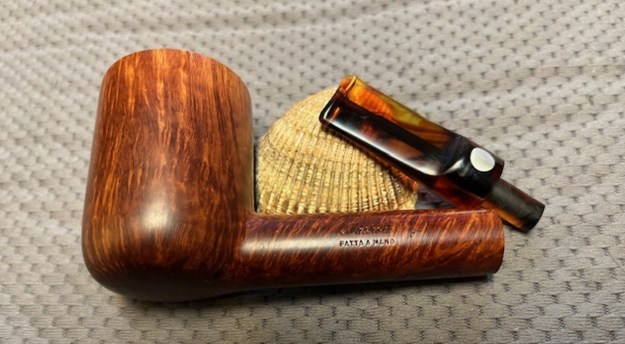
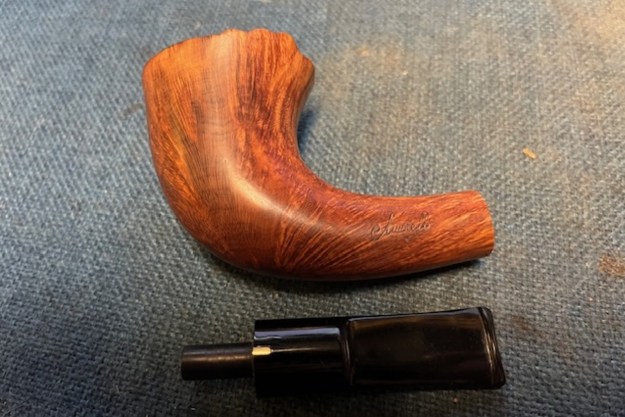
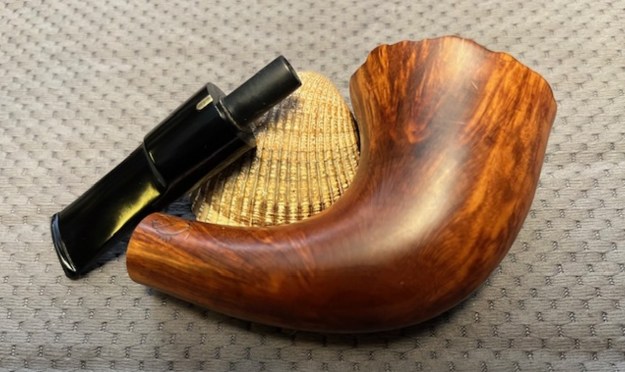
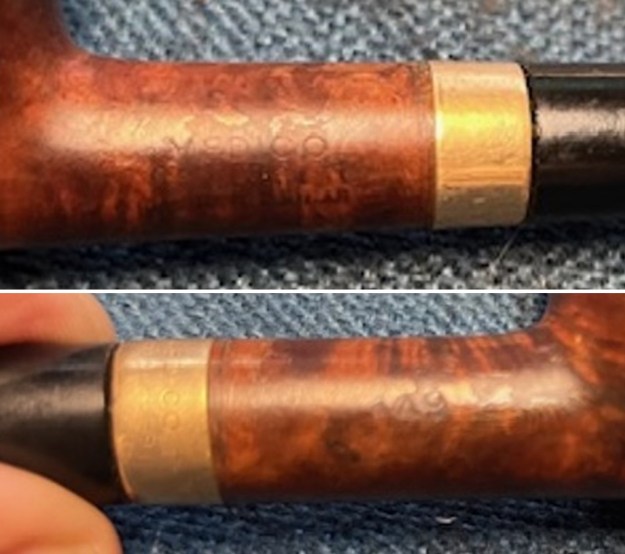
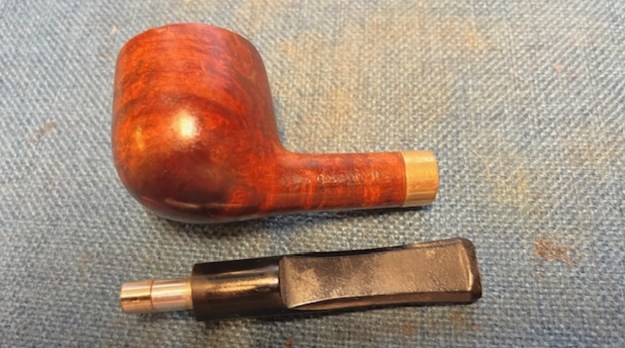
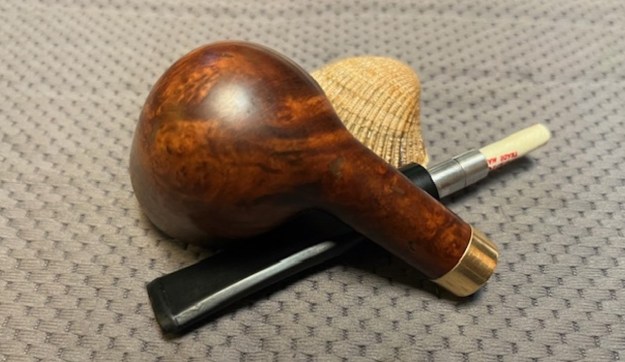
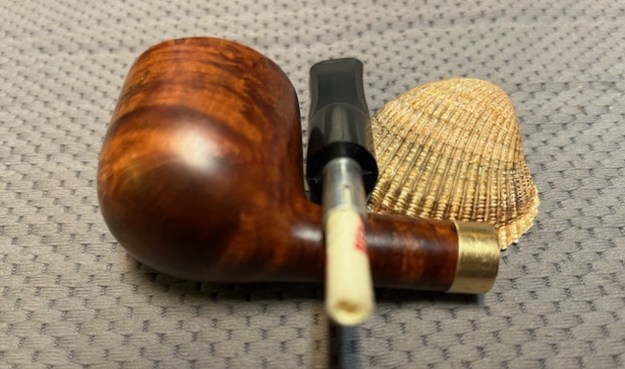
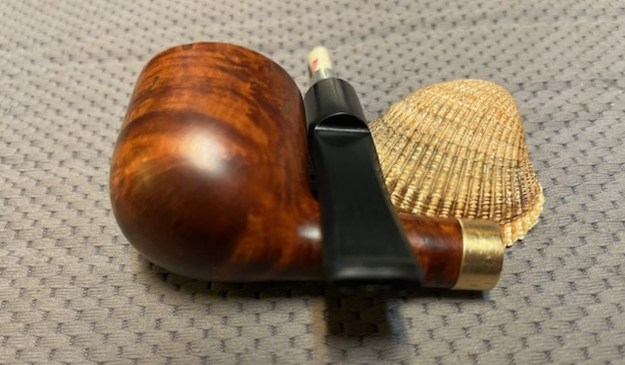
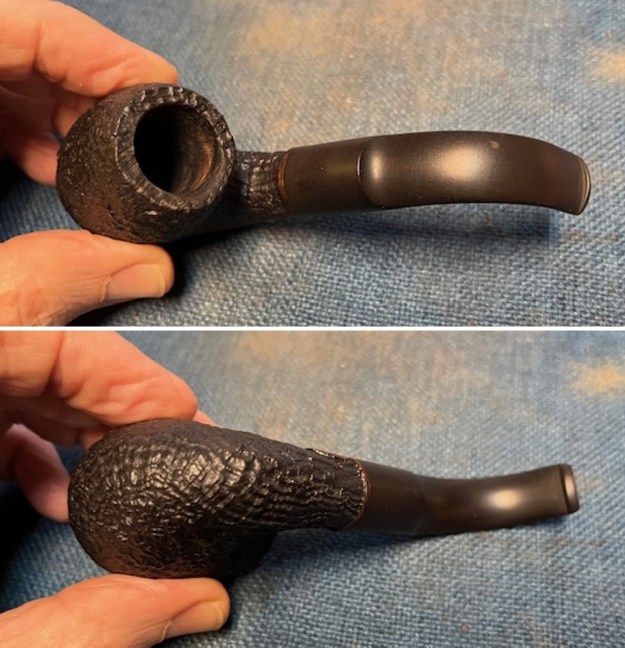
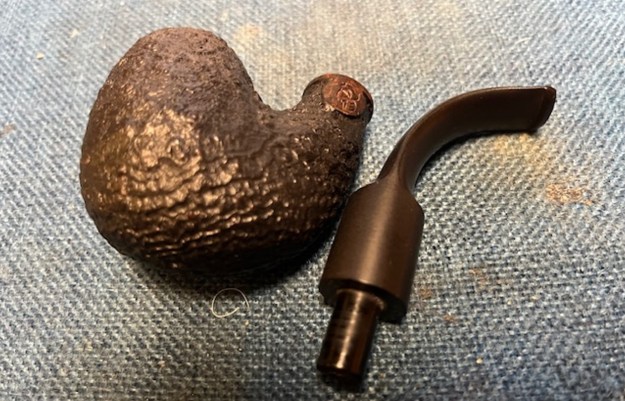
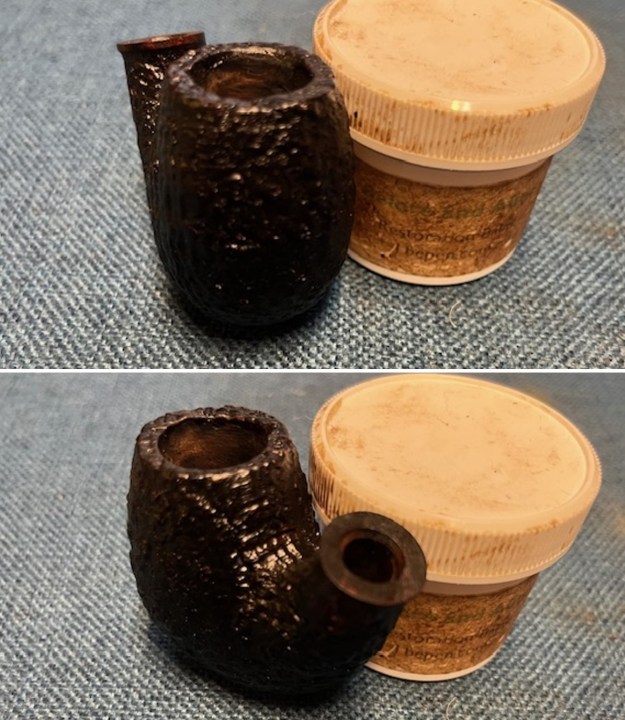
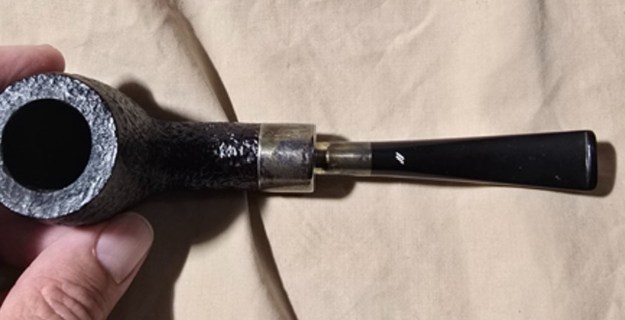
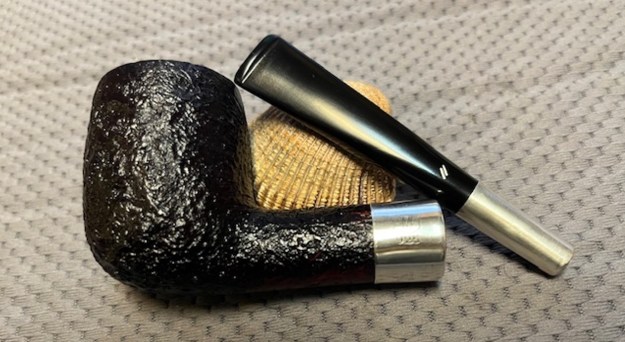
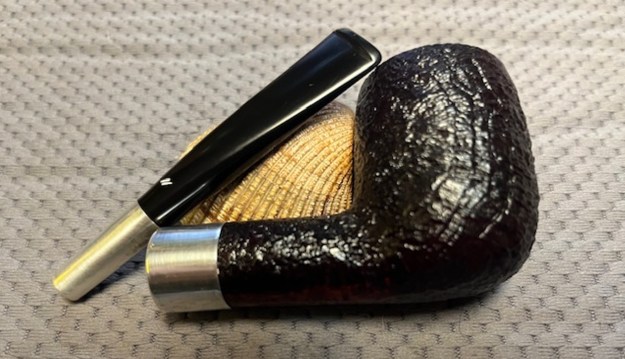
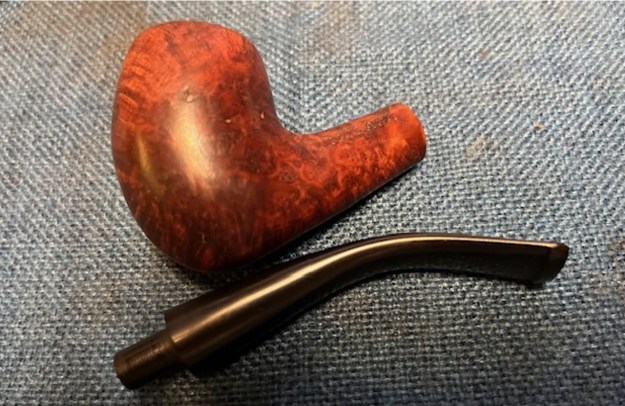
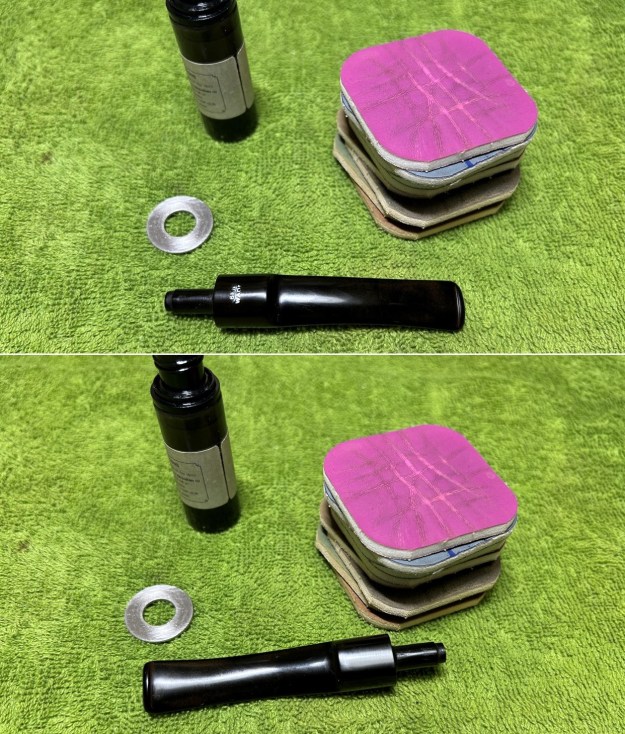
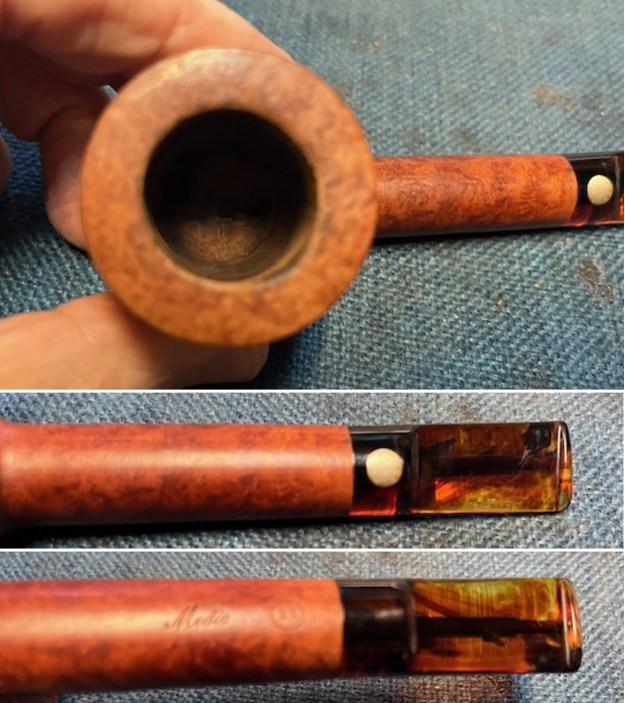 I took photos of the stamping on the sides of the shank to capture the words if possible. It was clear and read as noted above. I removed the stem and took a photo of the parts of the pipe to give a sense of the proportion of the parts to the whole. It is a well designed and made pipe.
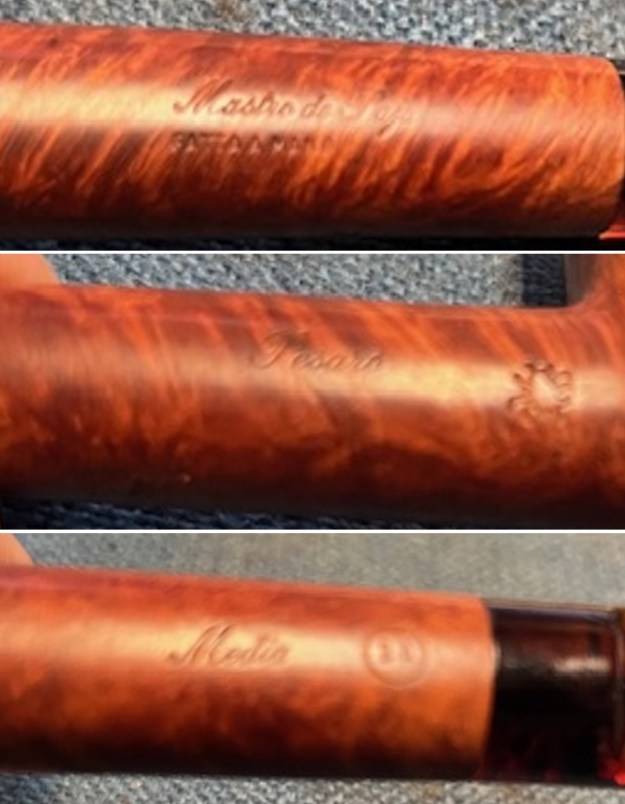
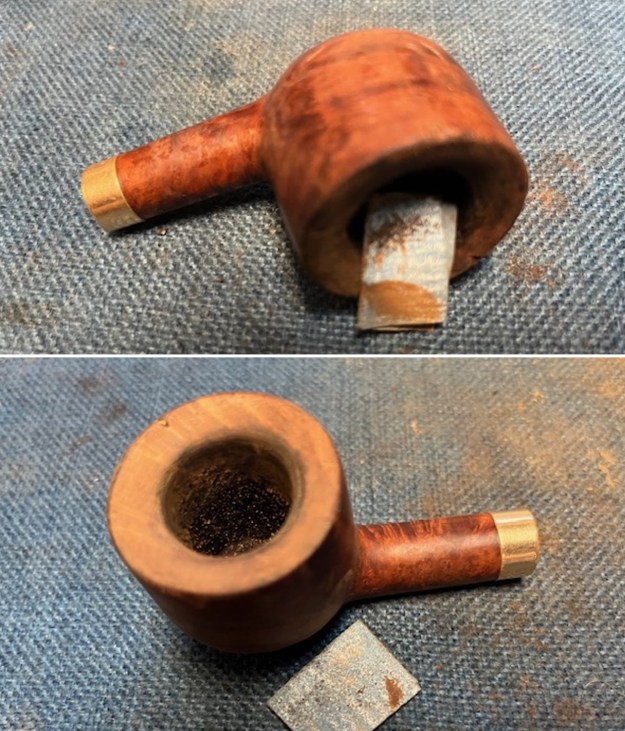
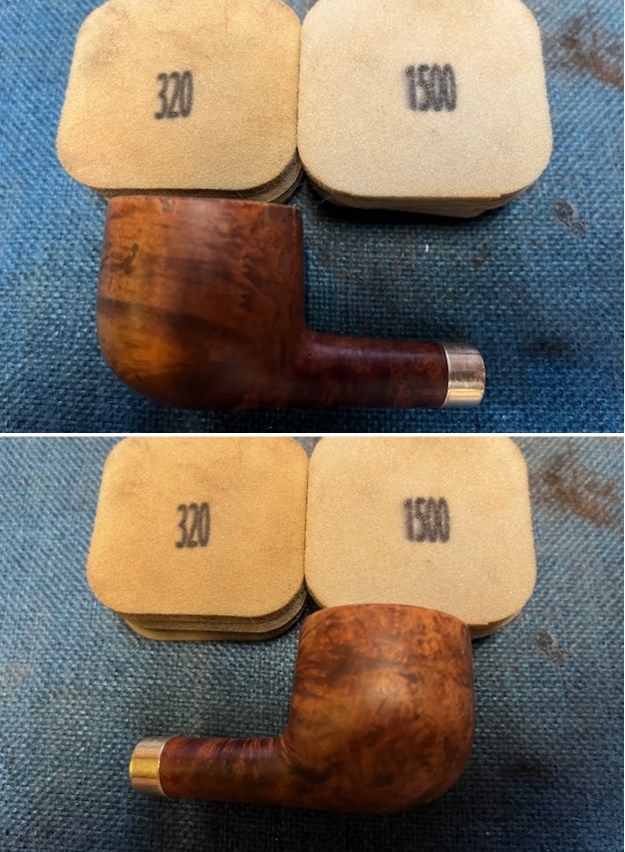
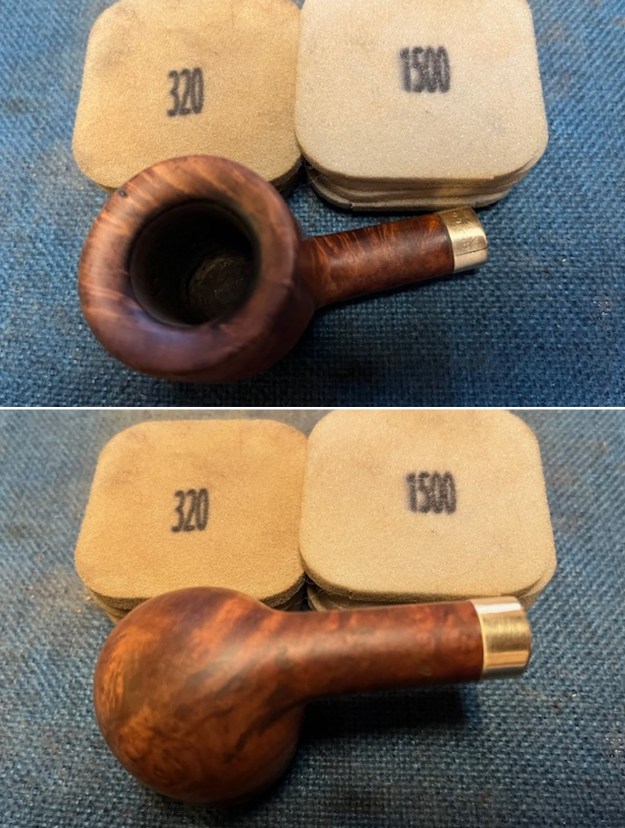
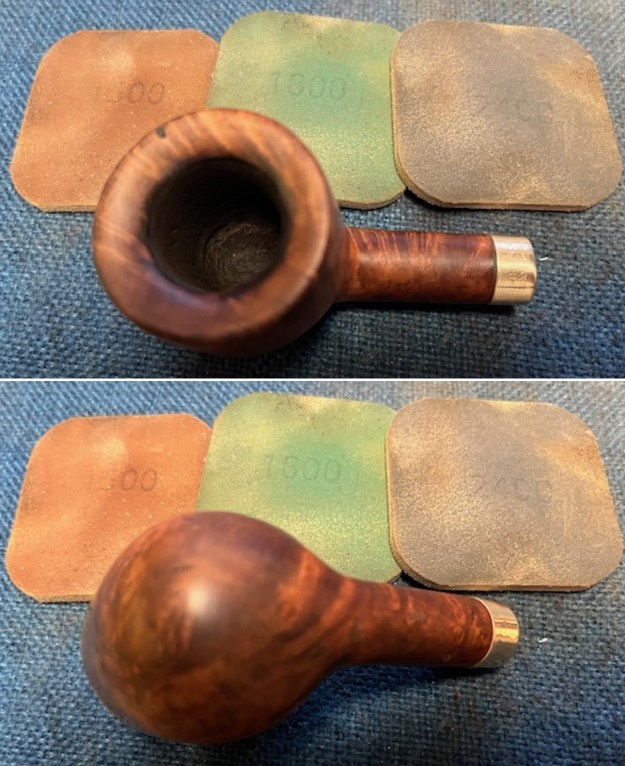
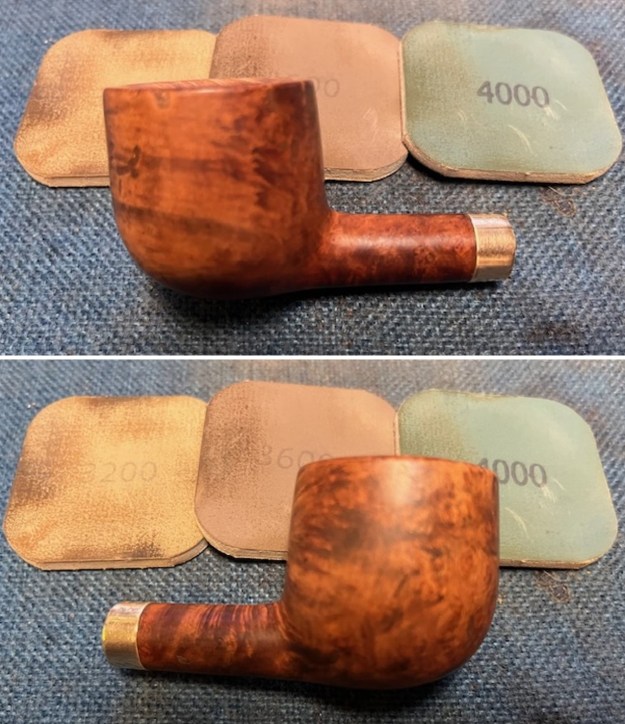
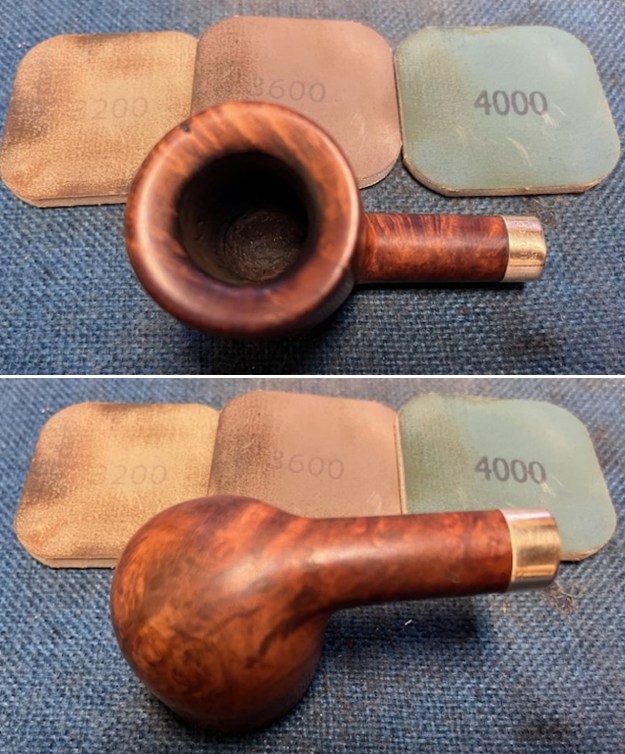
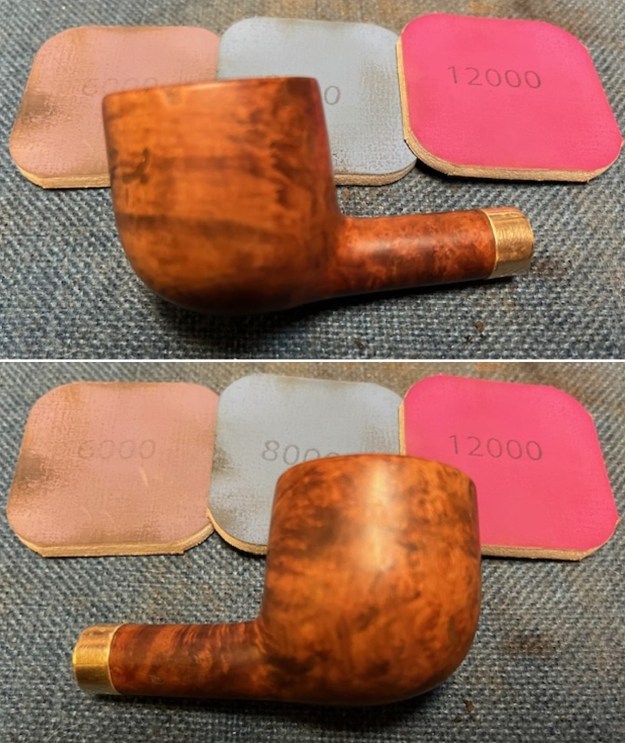
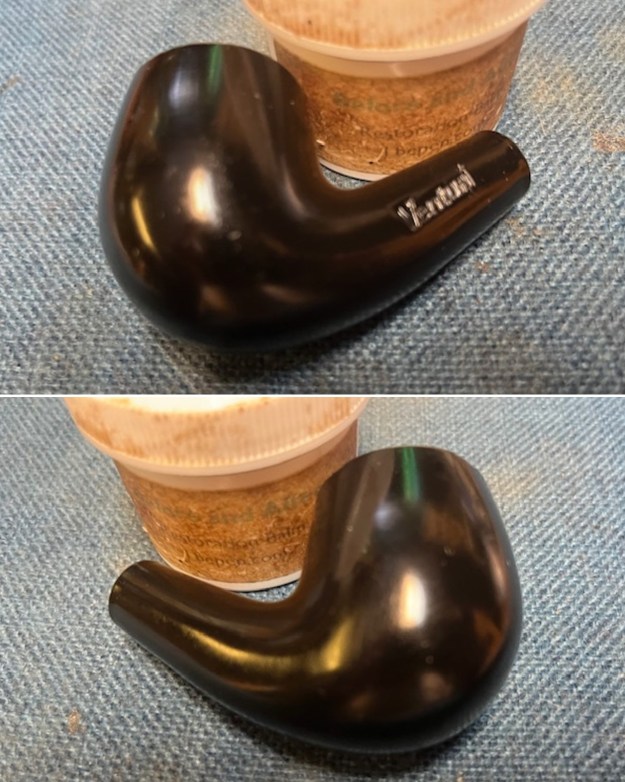
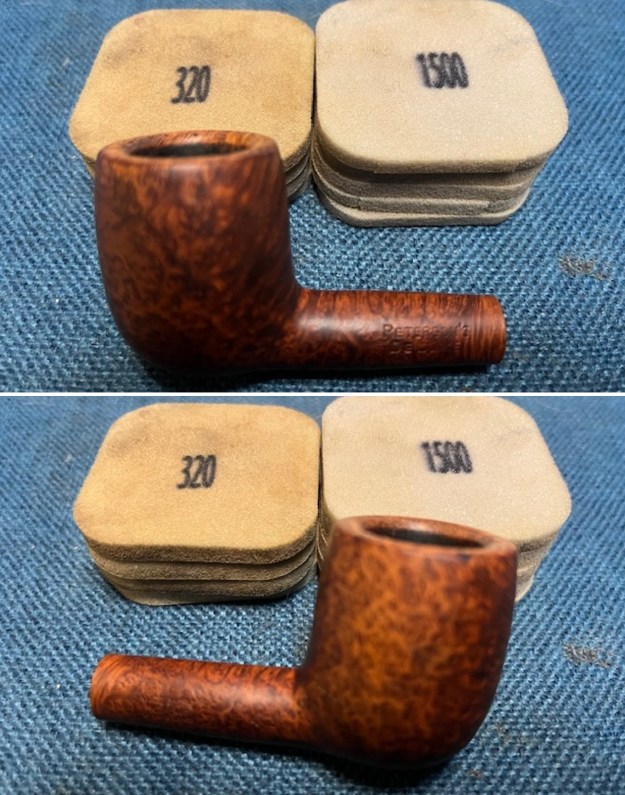
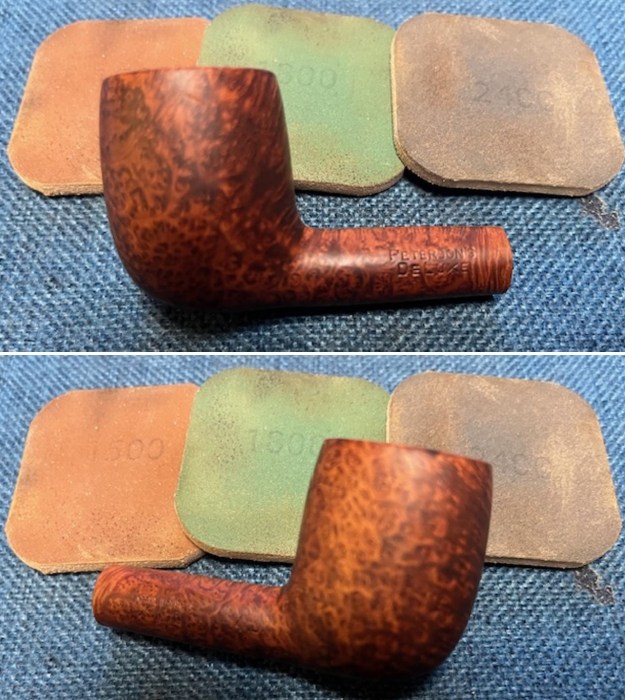
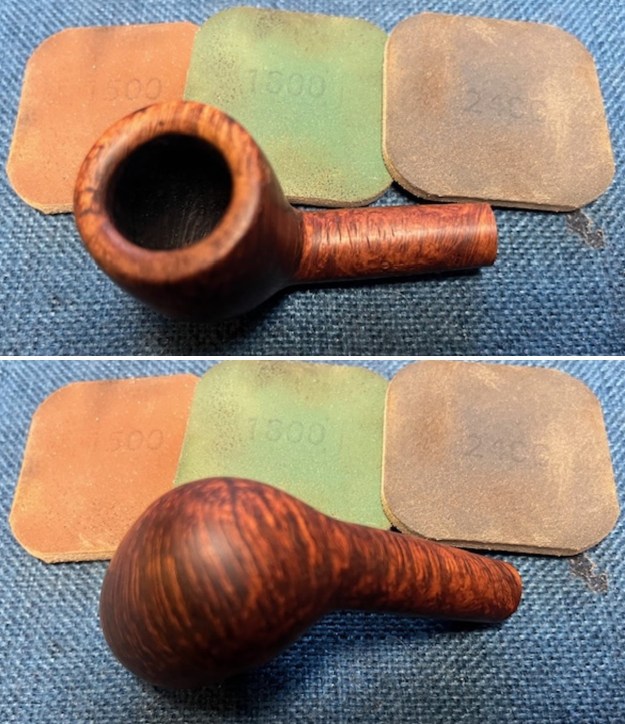
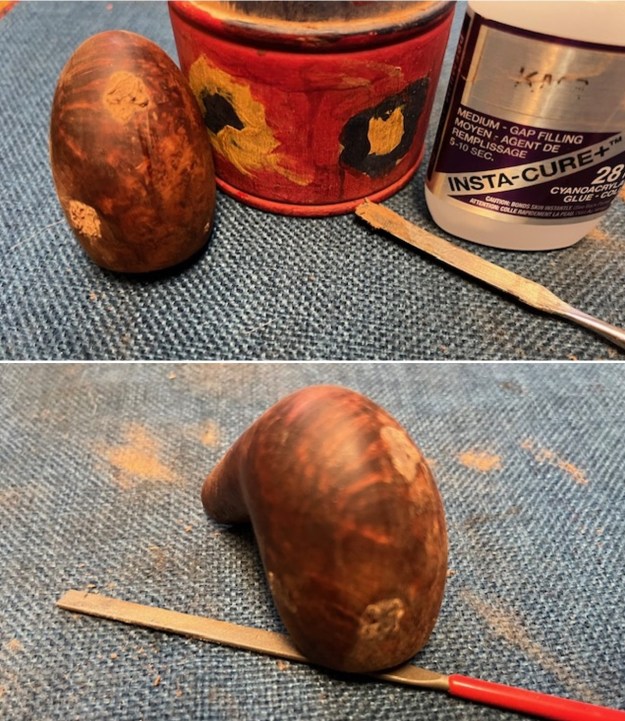
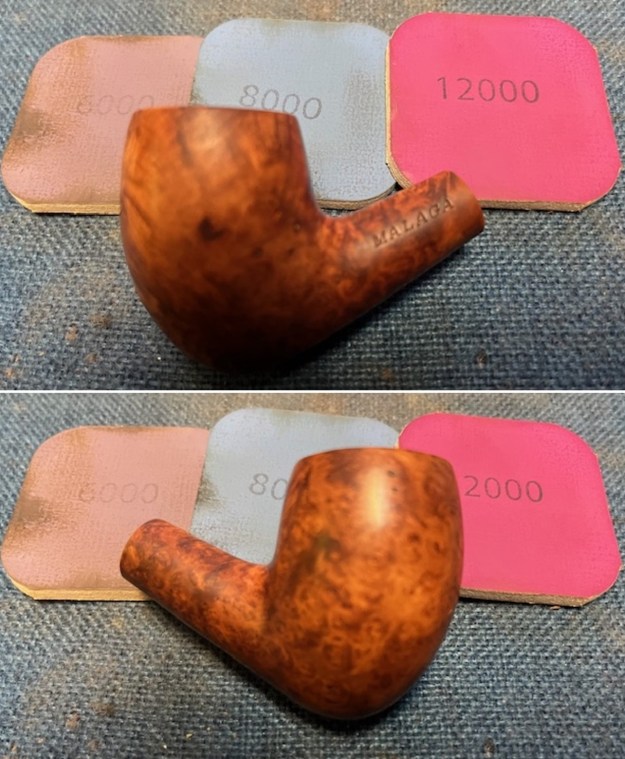
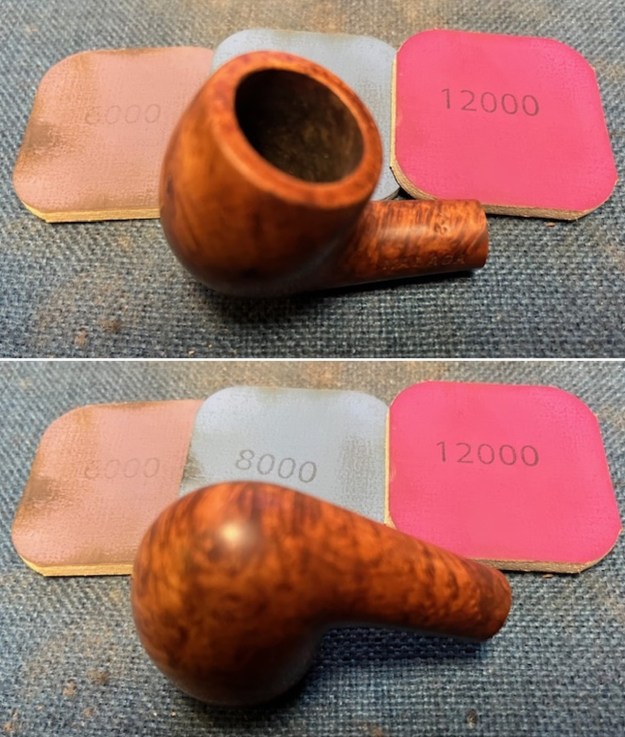
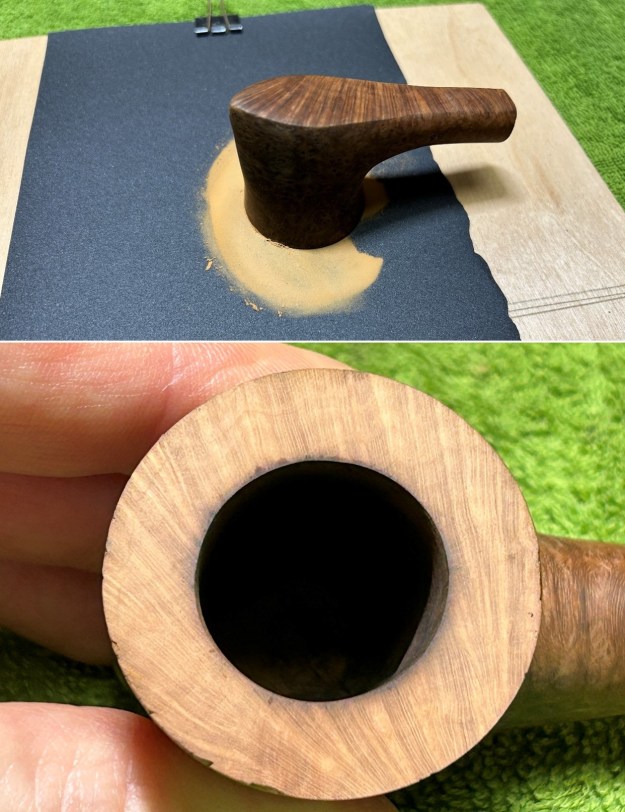
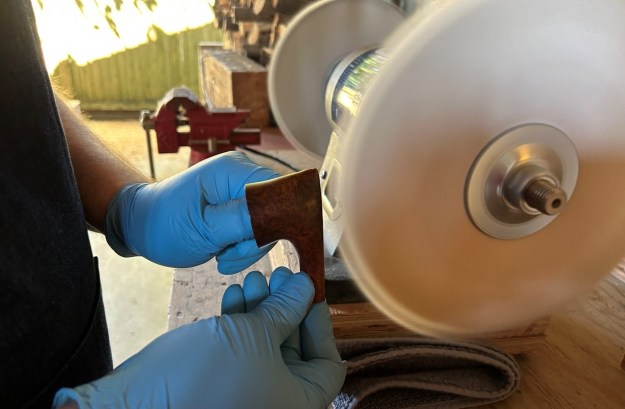
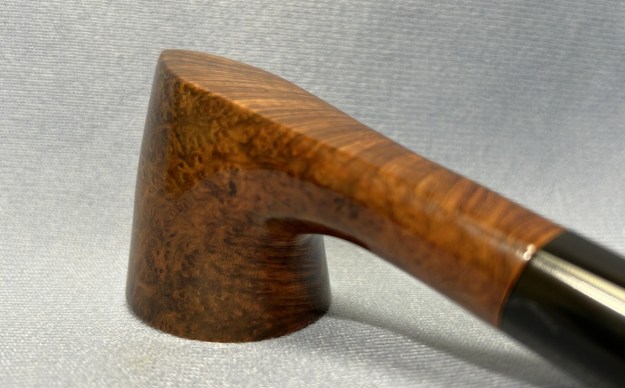
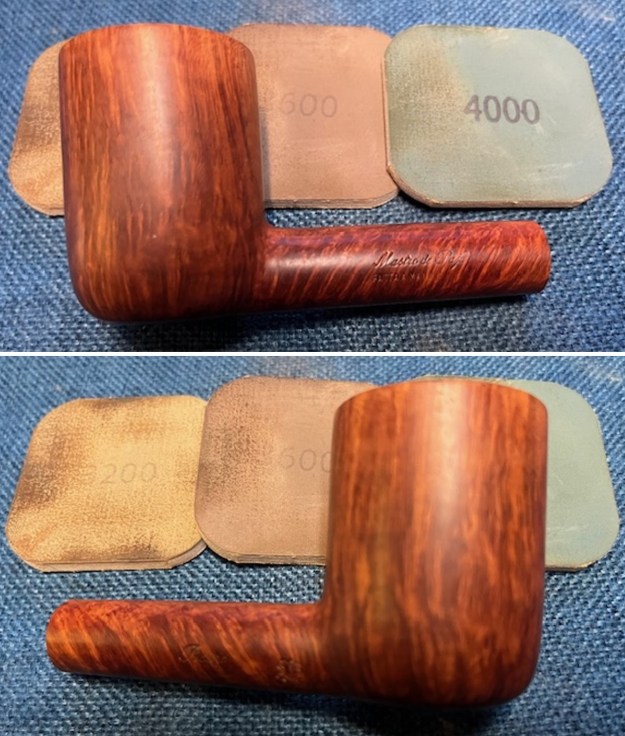
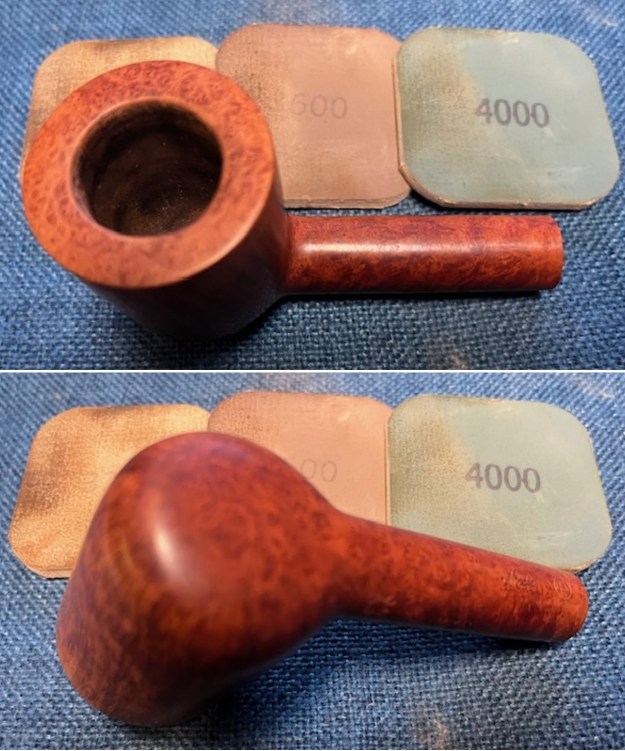
 I decided to begin by addressing the damage on the left rear of the inner edge. I carefully sanded the edge with a folded piece of worn 220 grit sandpaper to smooth out the damaged area and bring it back to round as much as possible.
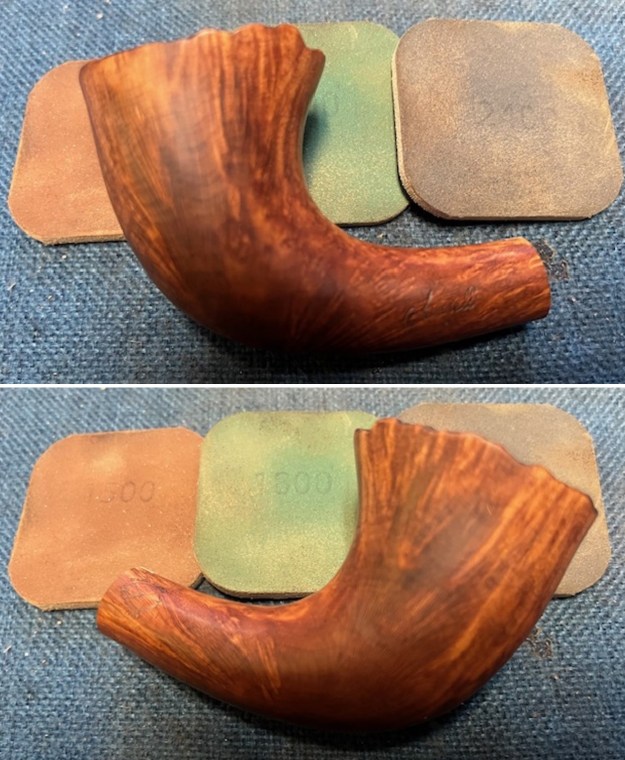
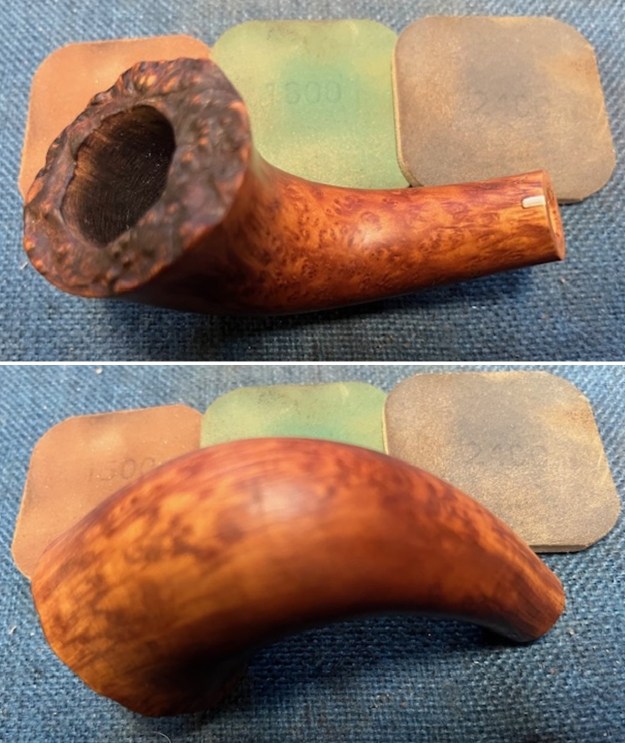
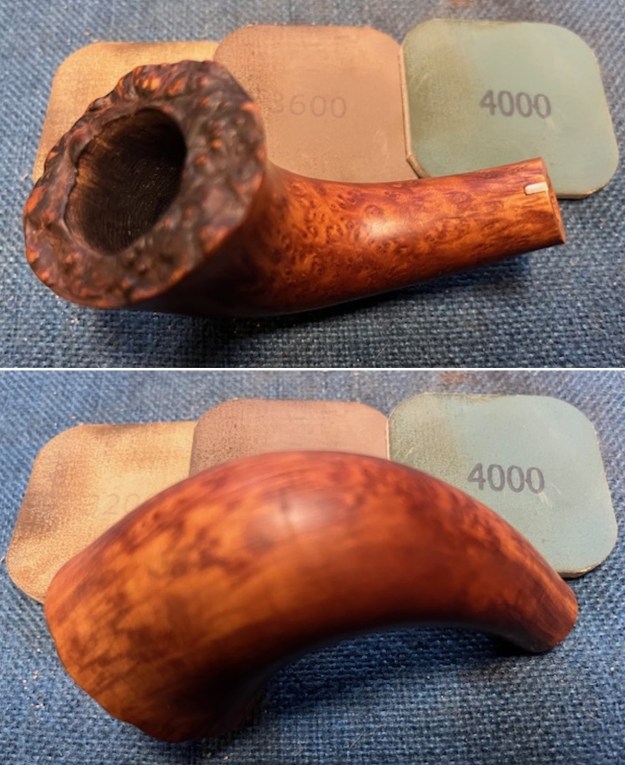
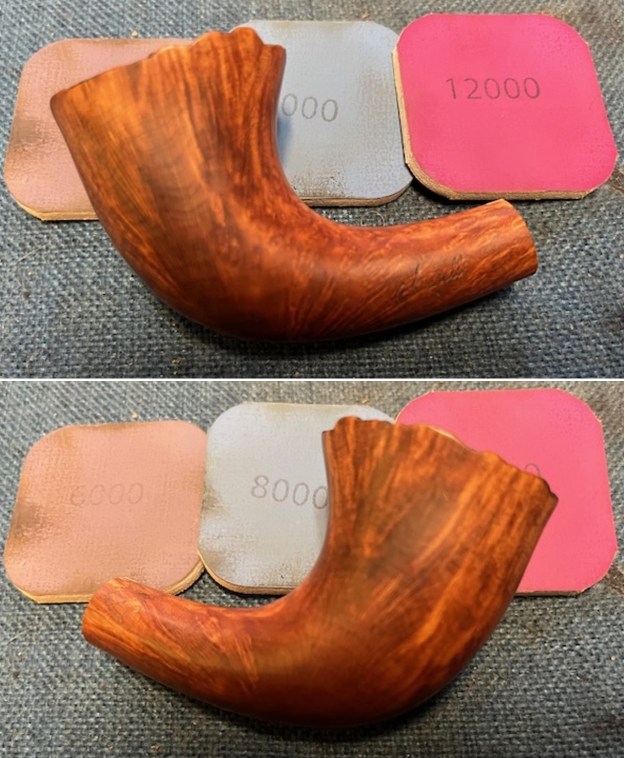
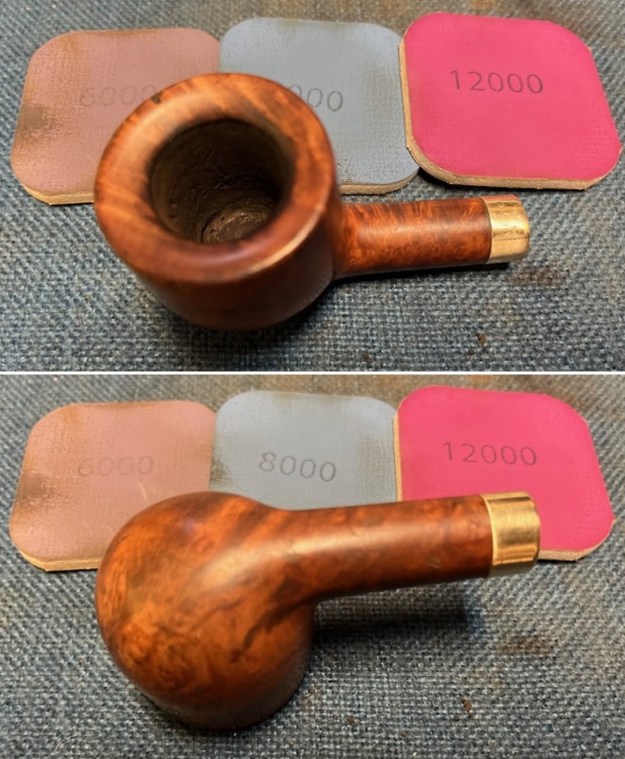
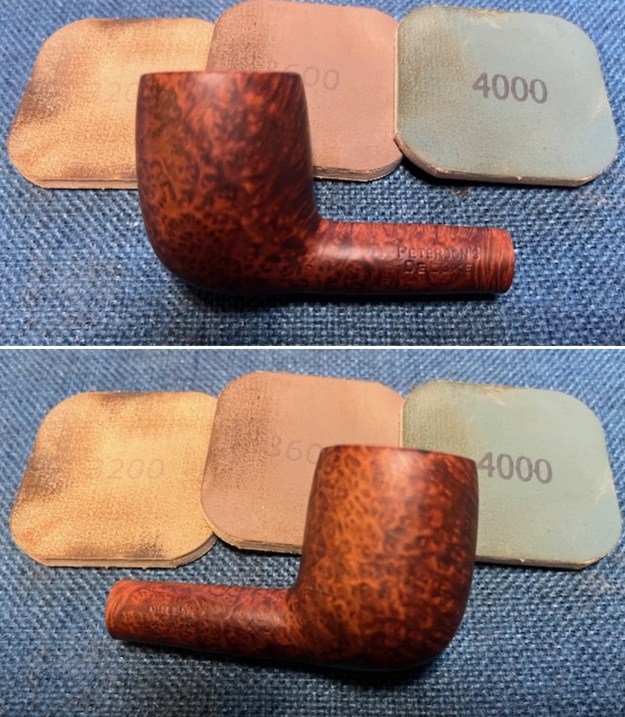
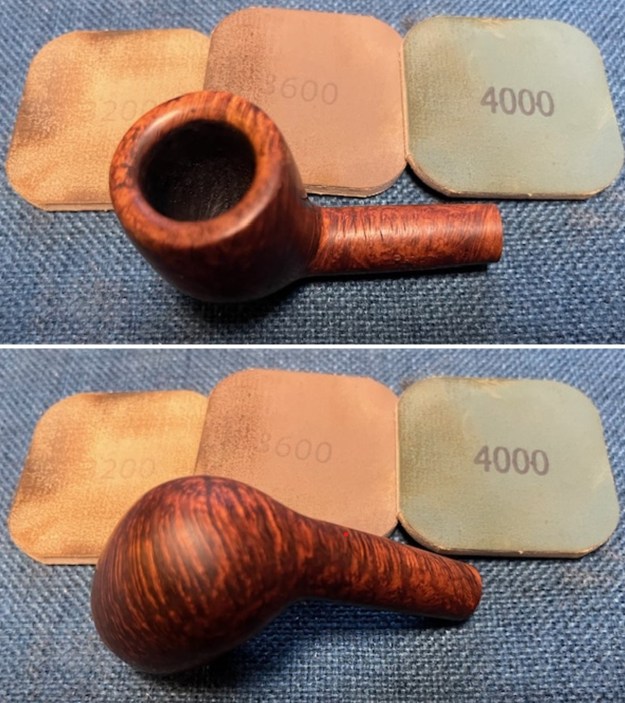
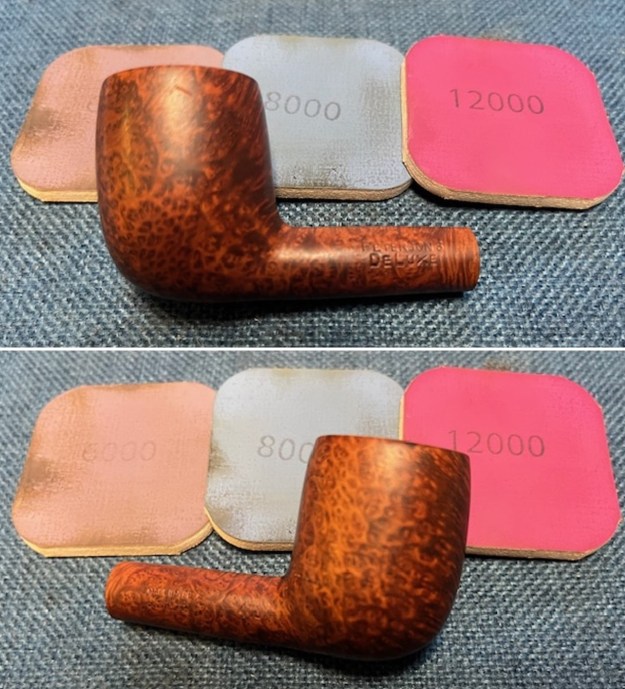
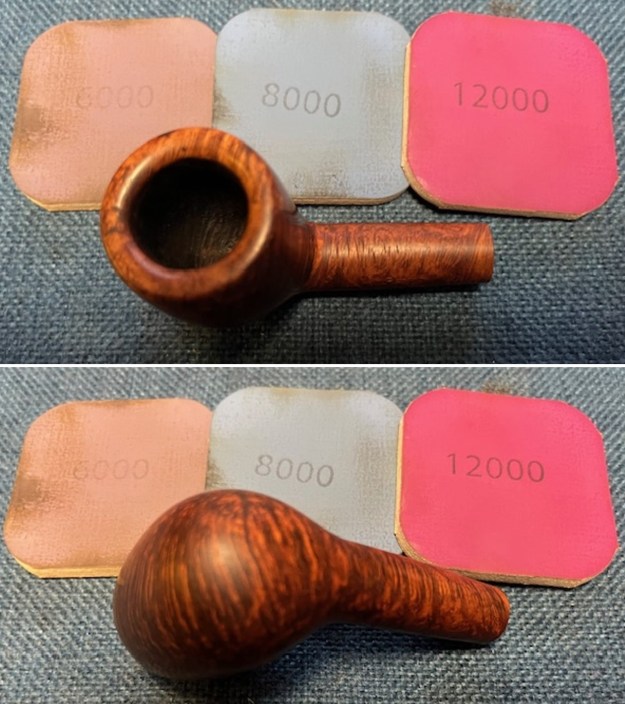
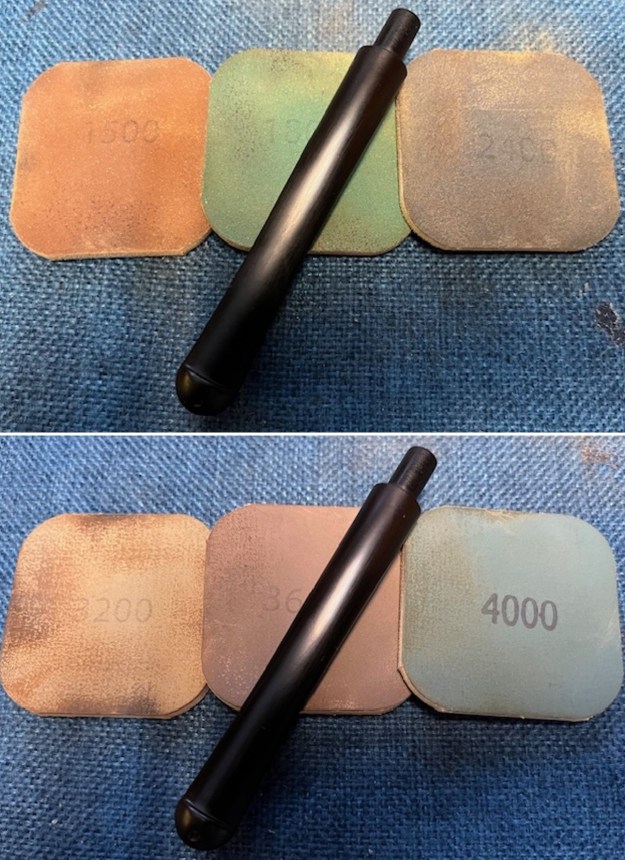
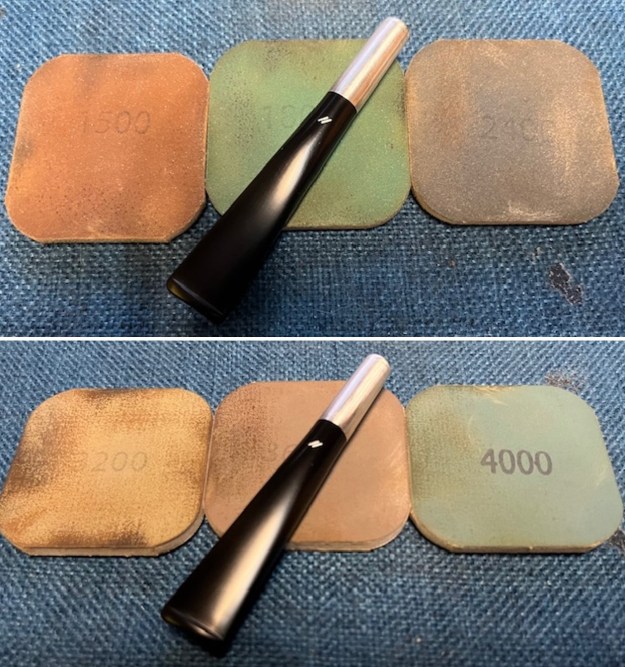
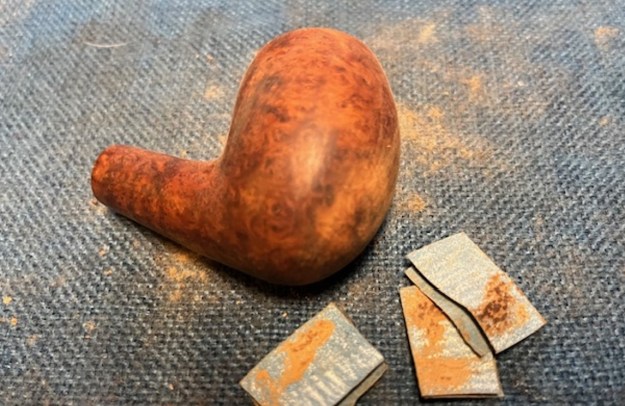
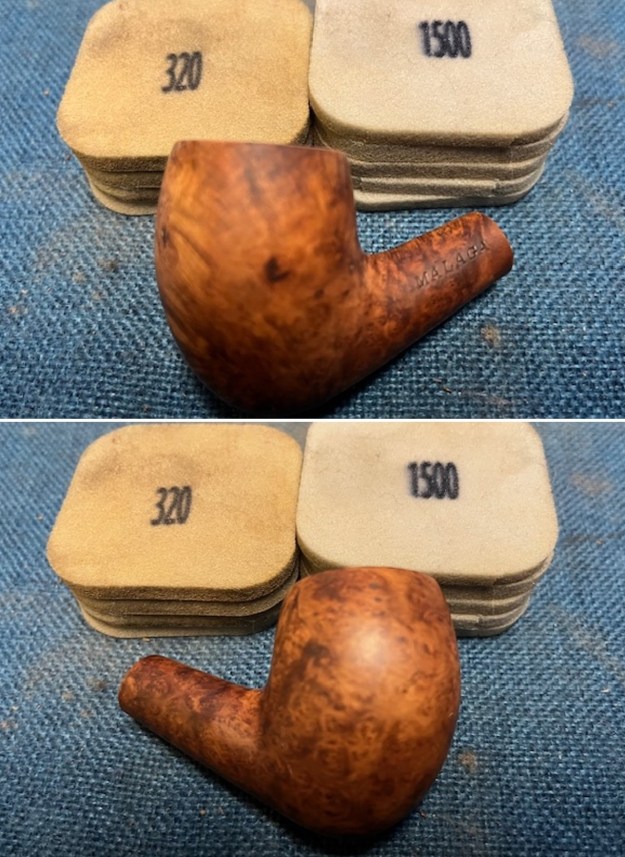
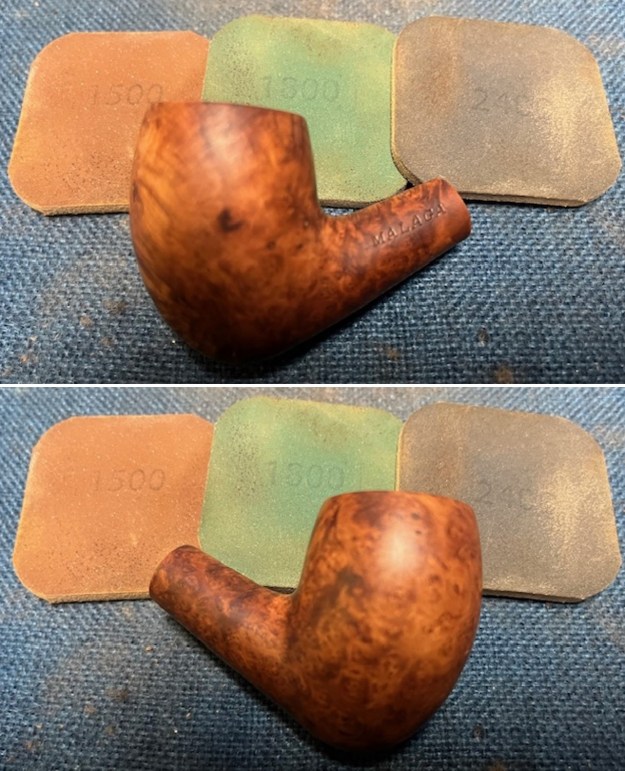
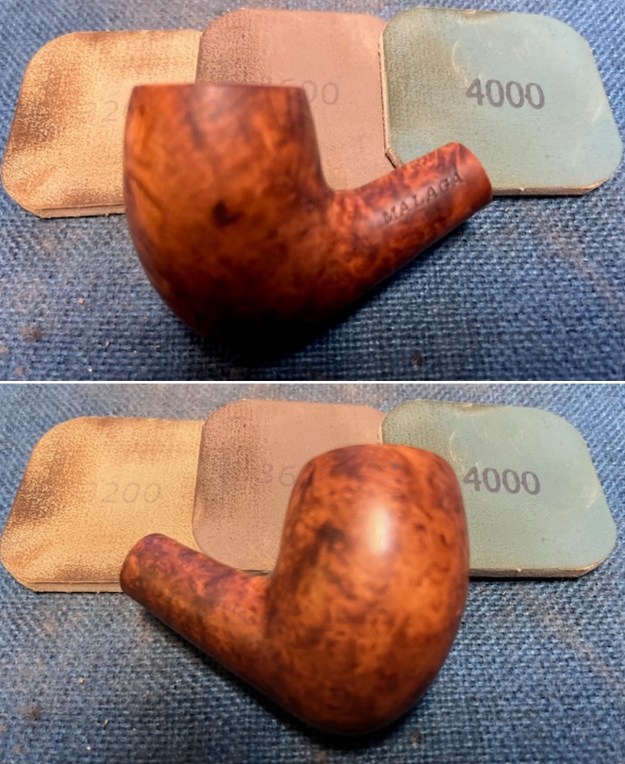
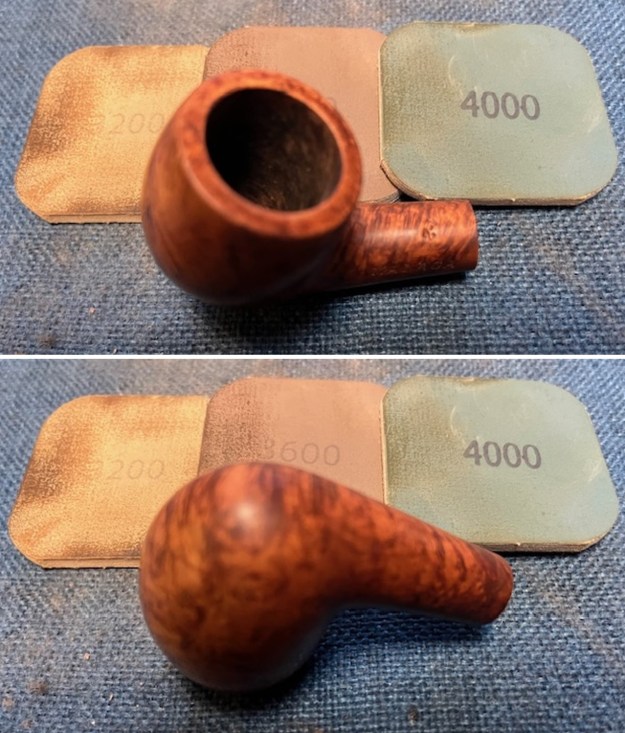
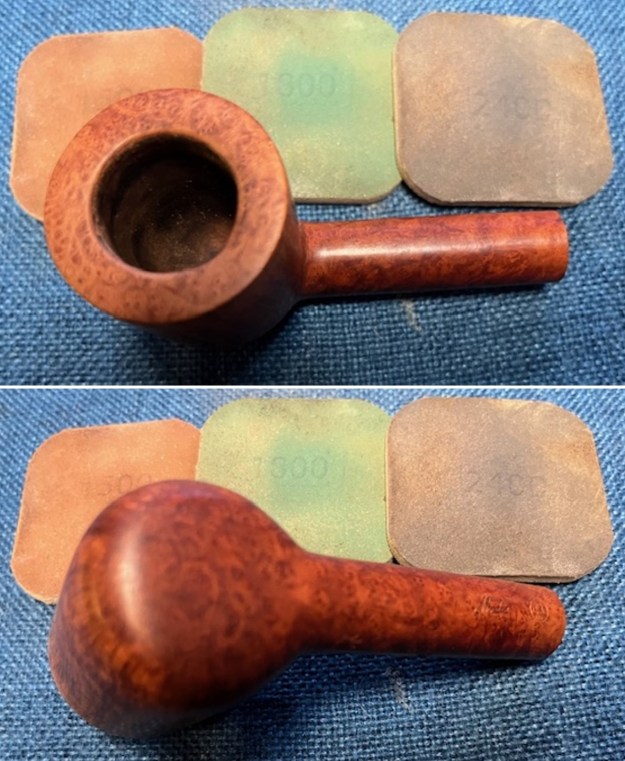
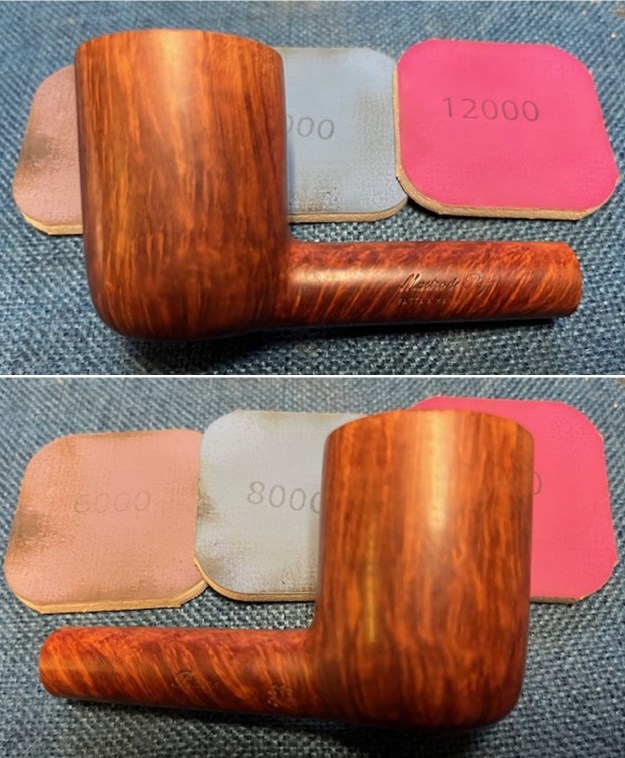
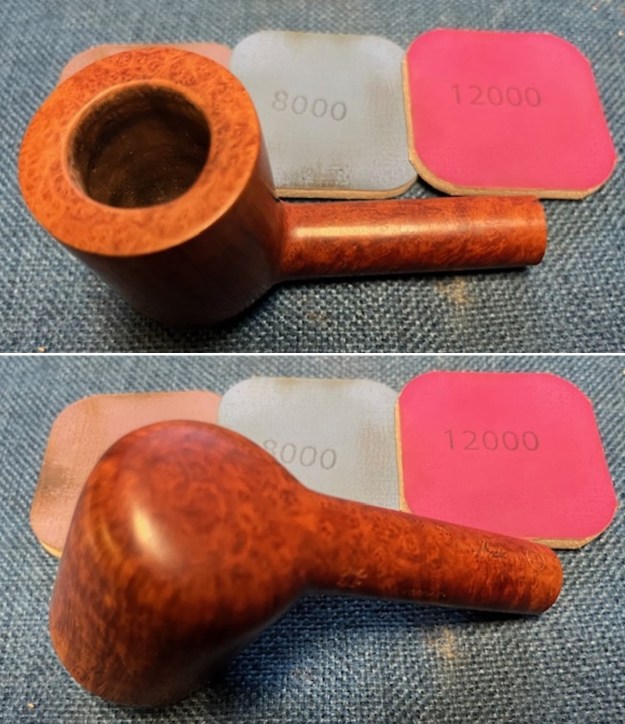
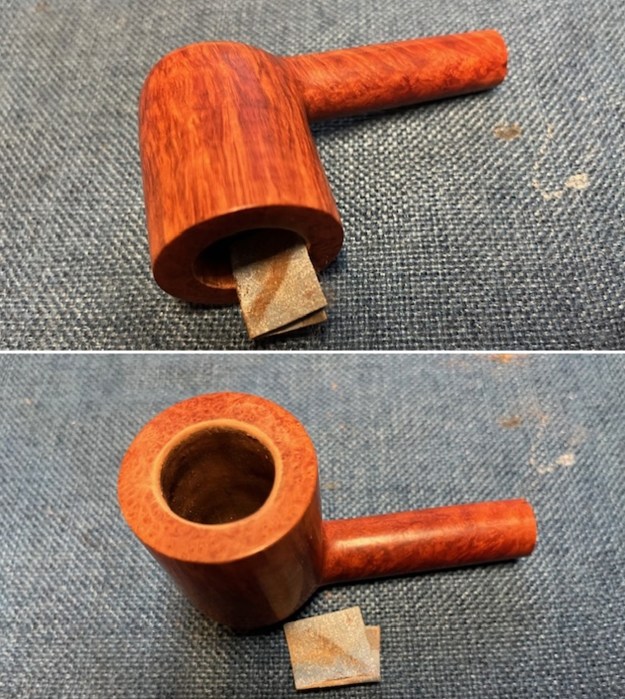 I polished the briar with micromesh sanding pads – dry sanding with 1500-12000 grit pads. I wiped the bowl down after each sanding pad to remove the sanding debris from the surface. It looked very good by the time I finished.
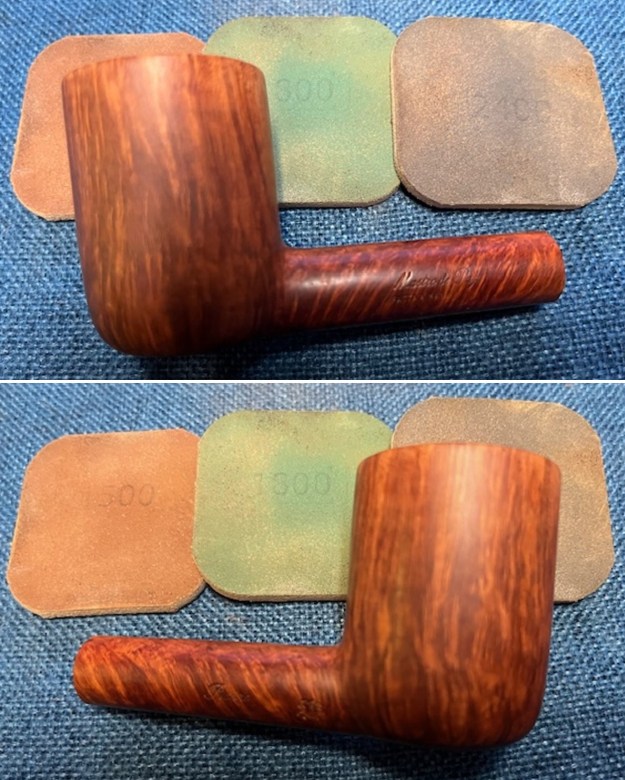
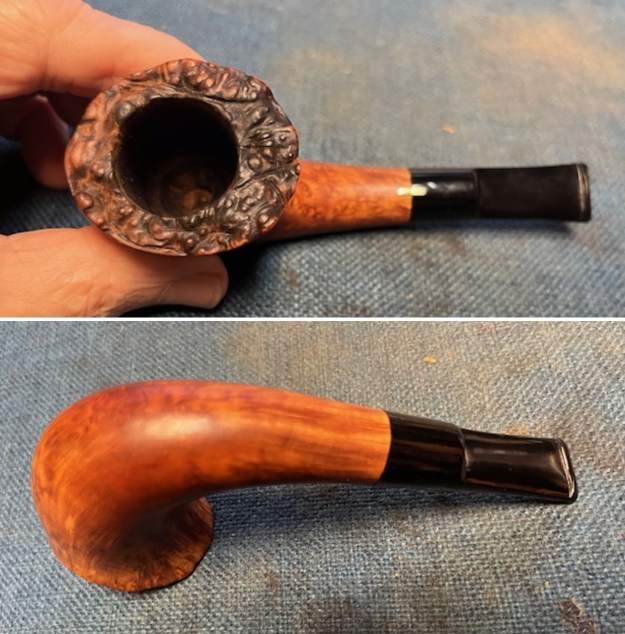
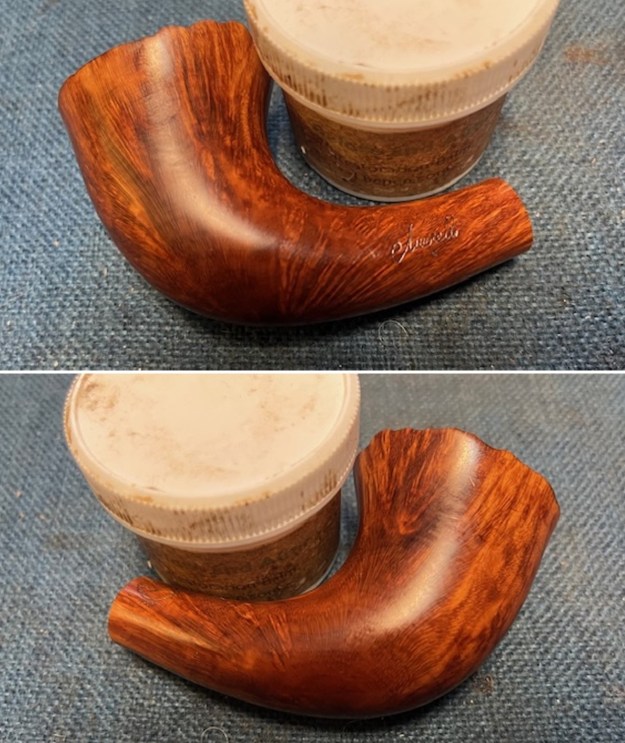
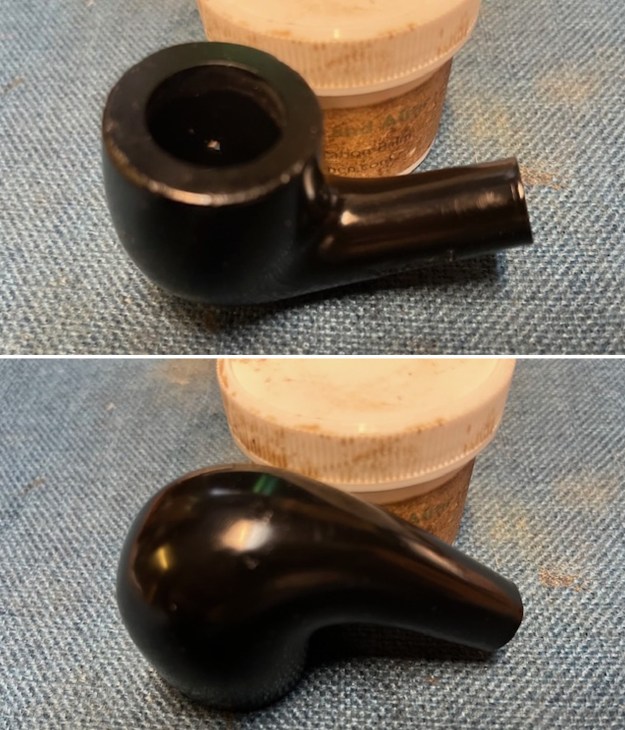
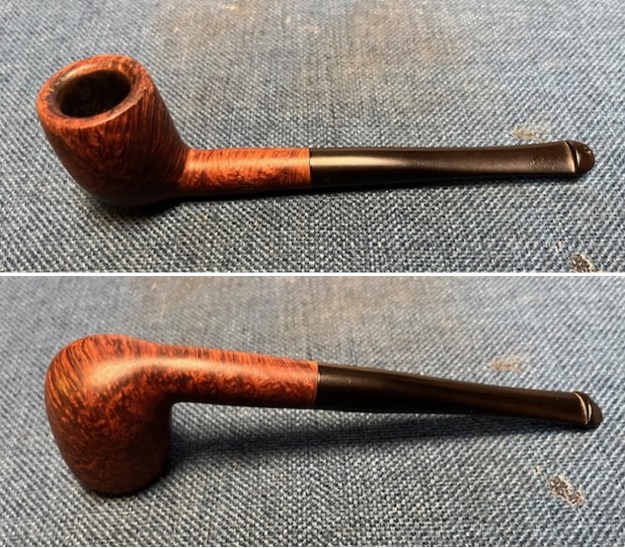
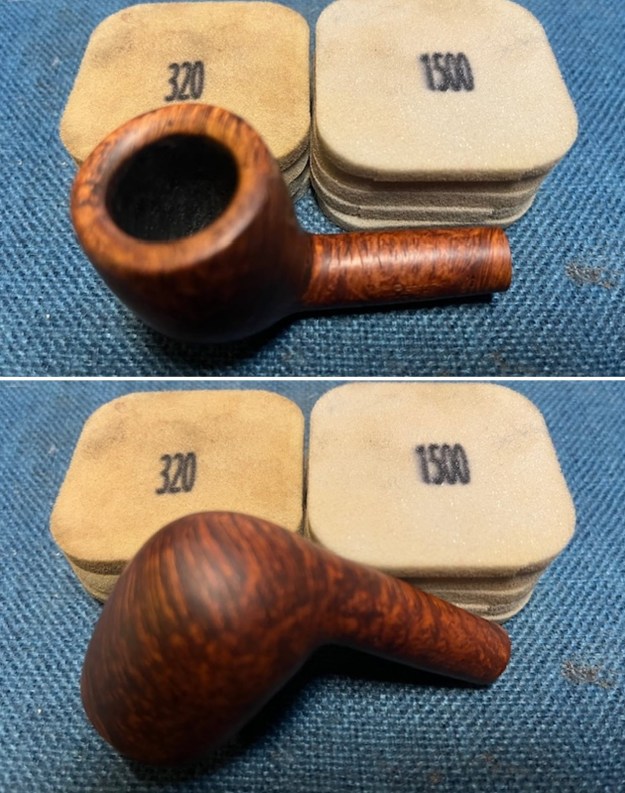
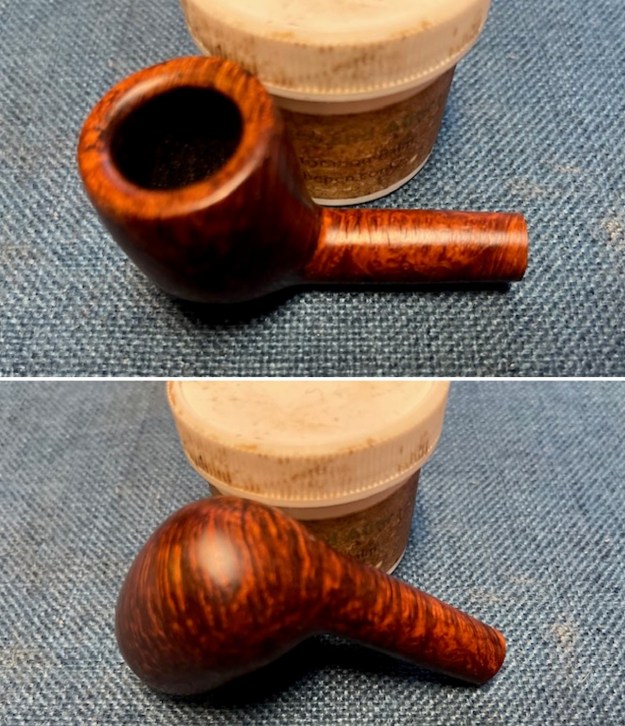
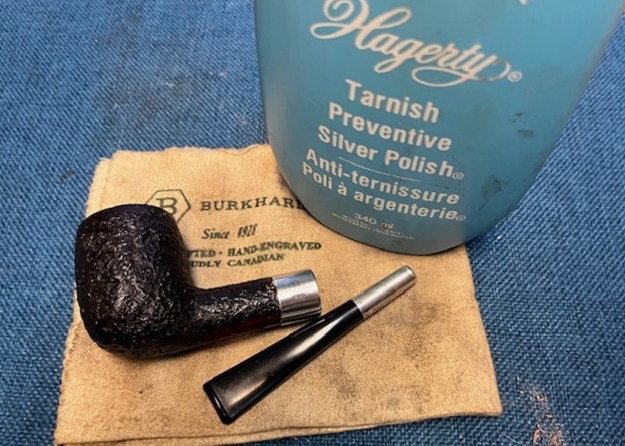
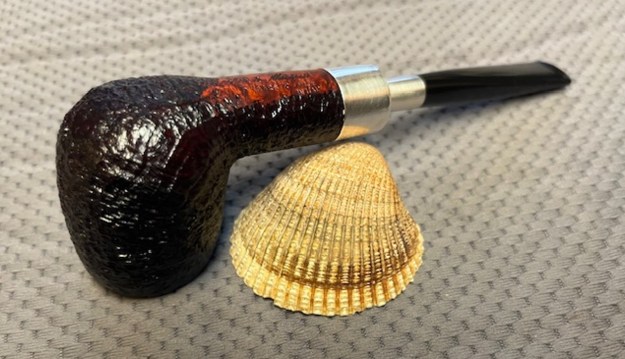
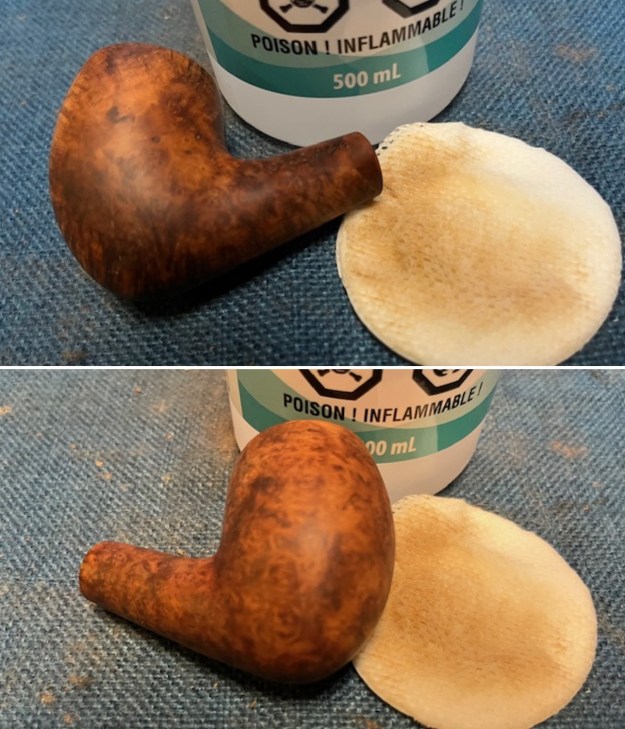
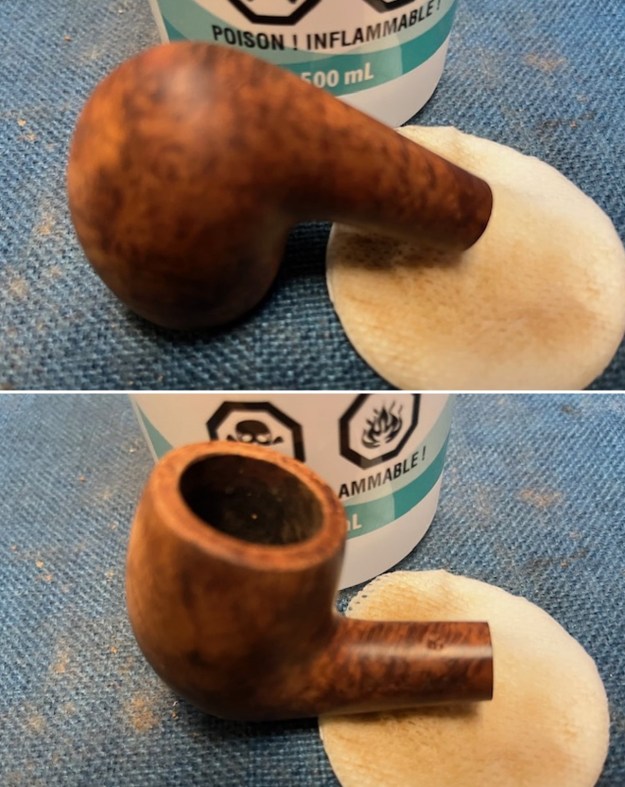
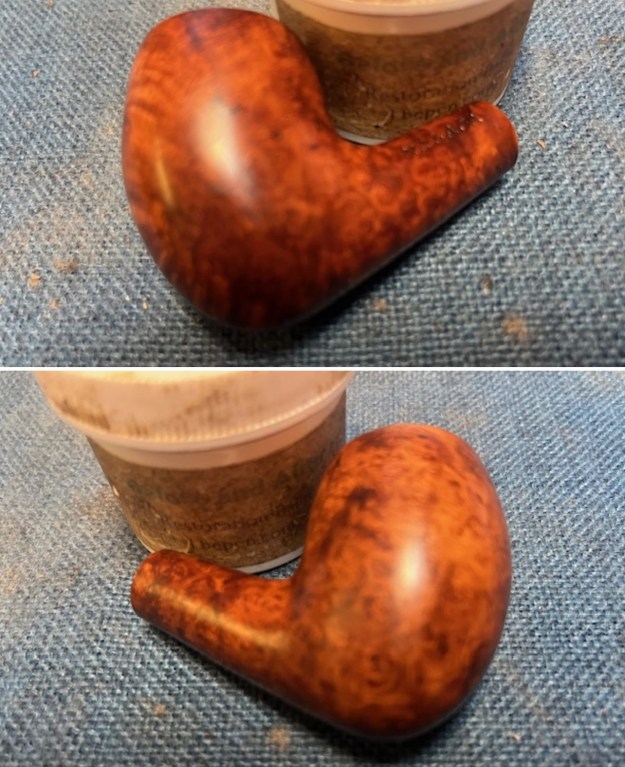
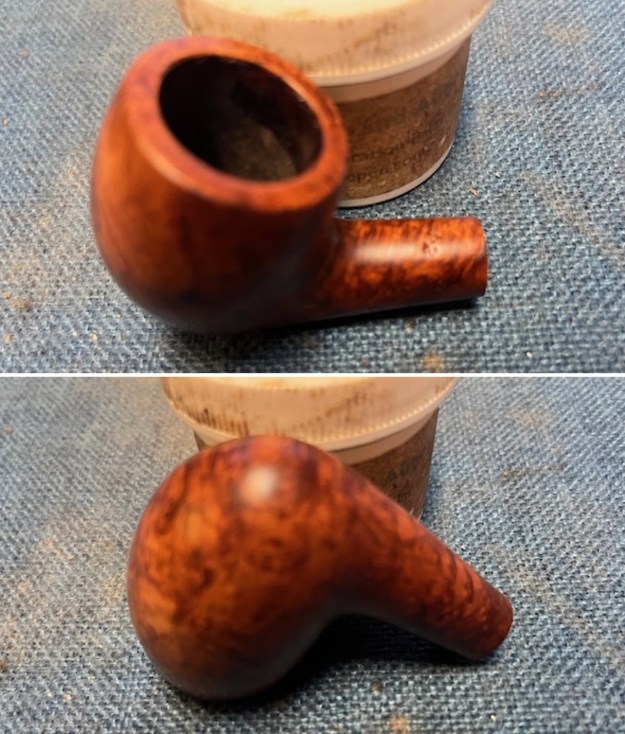
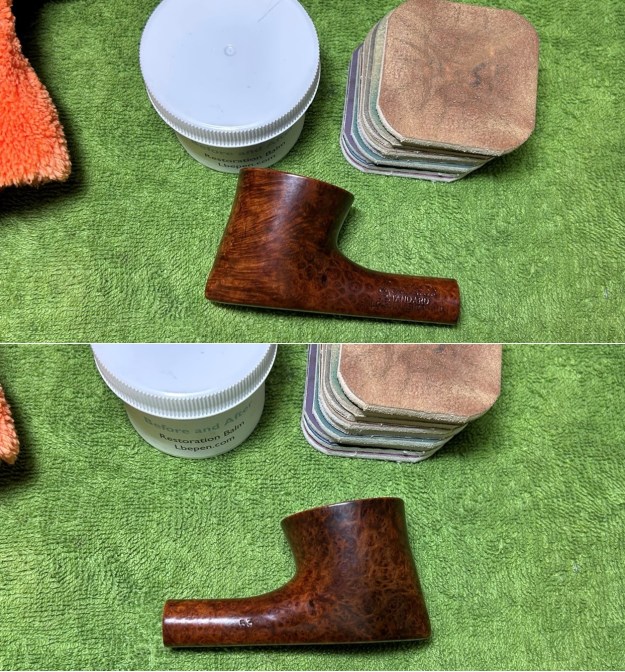
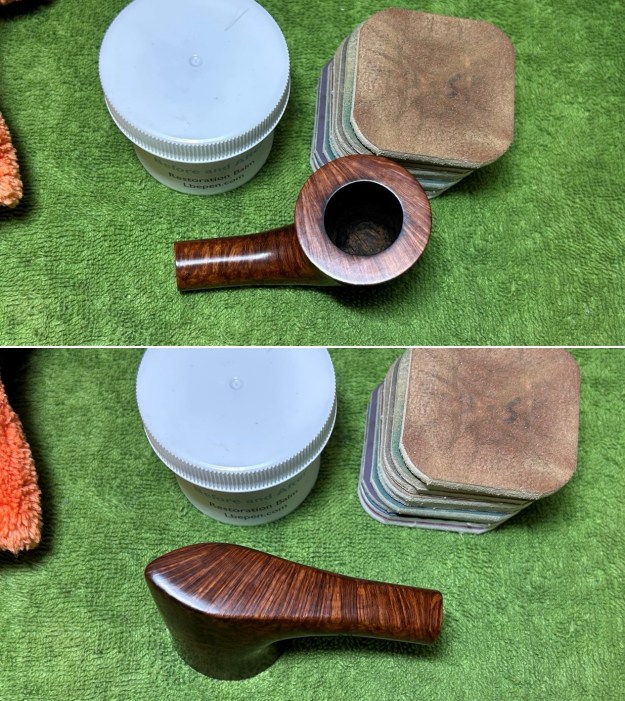
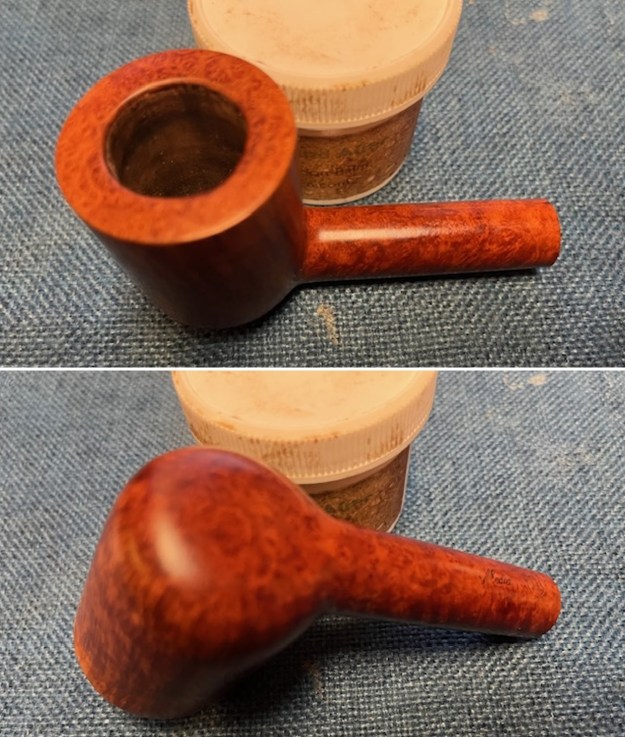
 I worked some Before & After Restoration Balm into the surface of the briar with my fingertips to clean, enliven and protect it. I let the balm sit for a little while and then buffed with a cotton cloth to raise the shine. The photos show the bowl at this point in the restoration process.
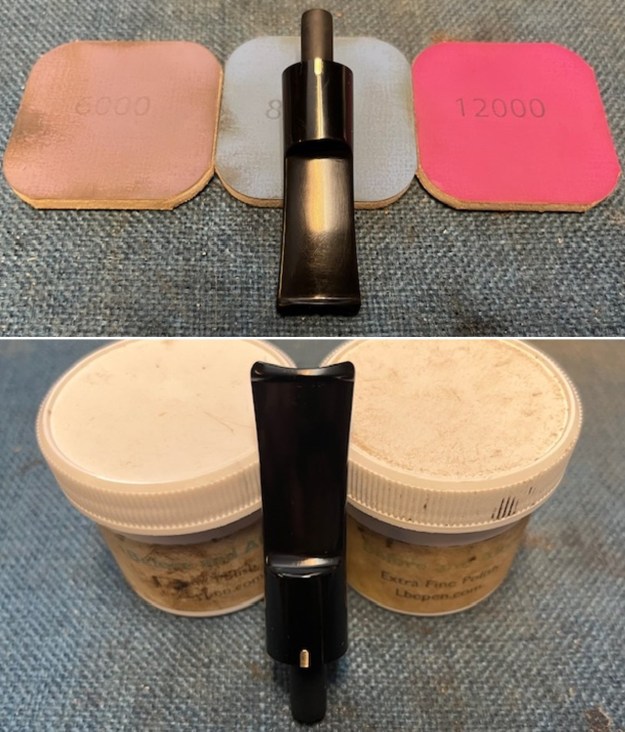
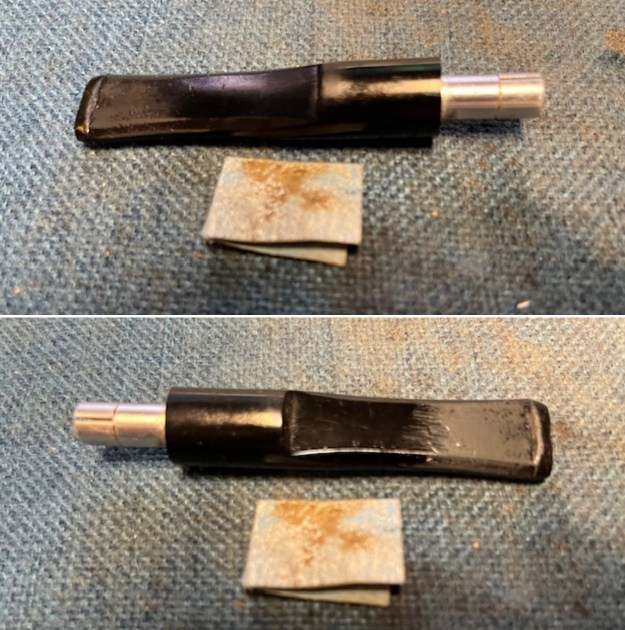
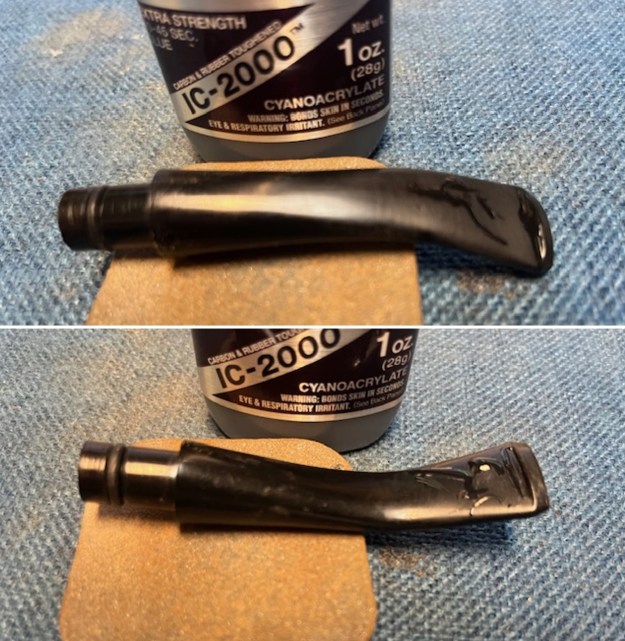
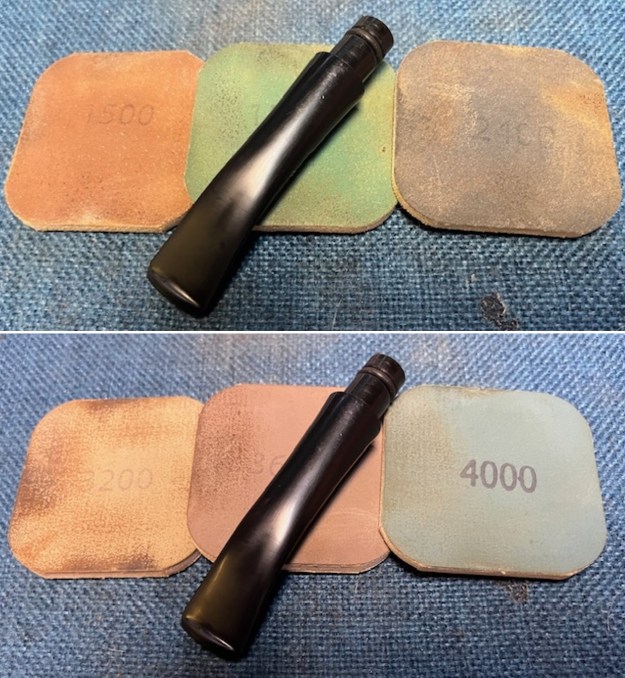
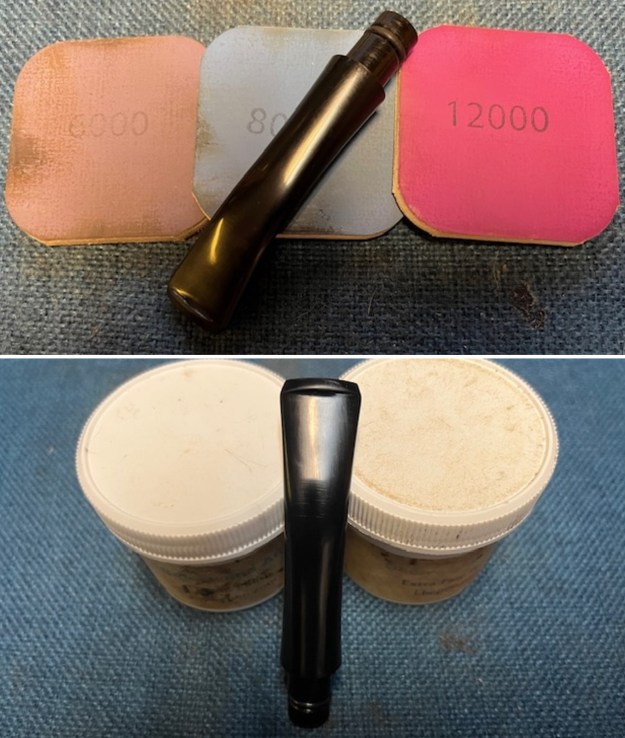
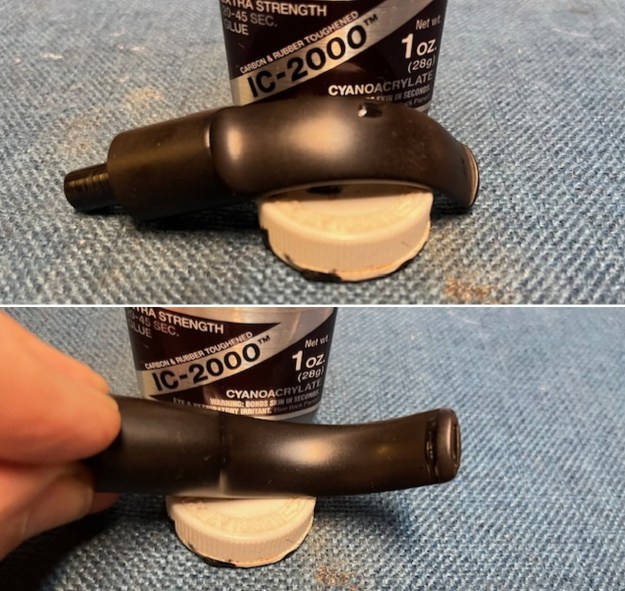
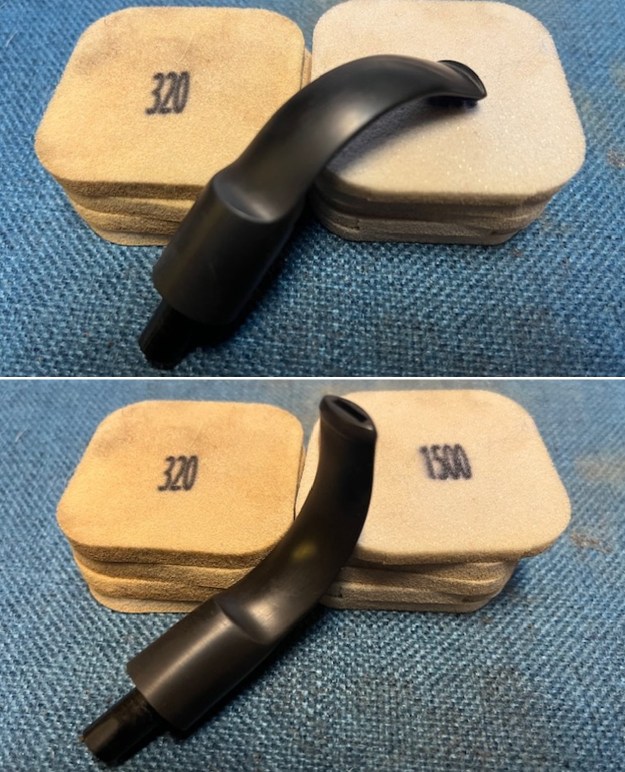
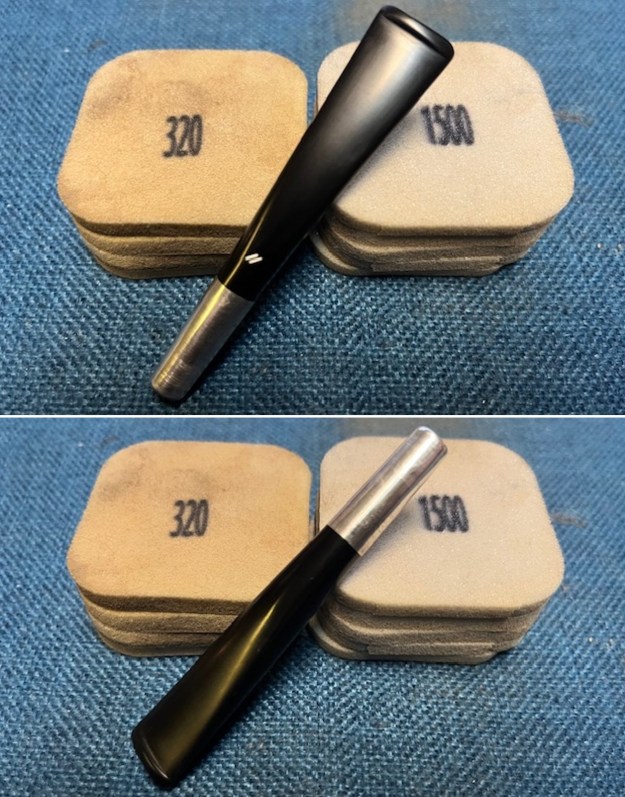
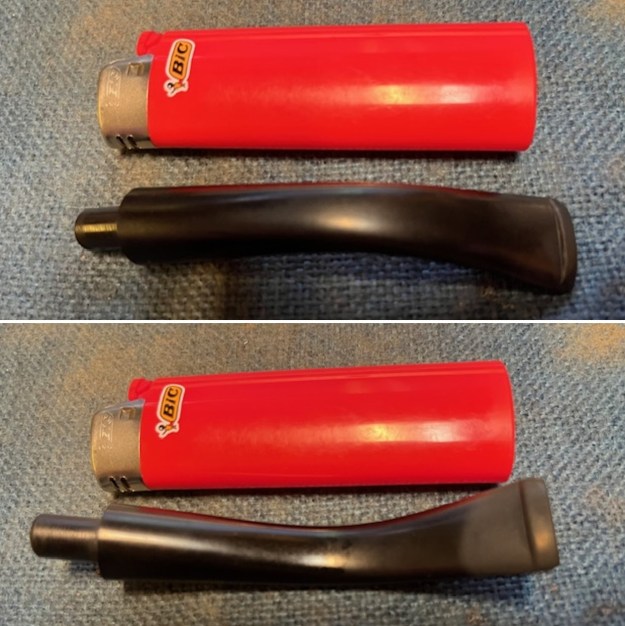
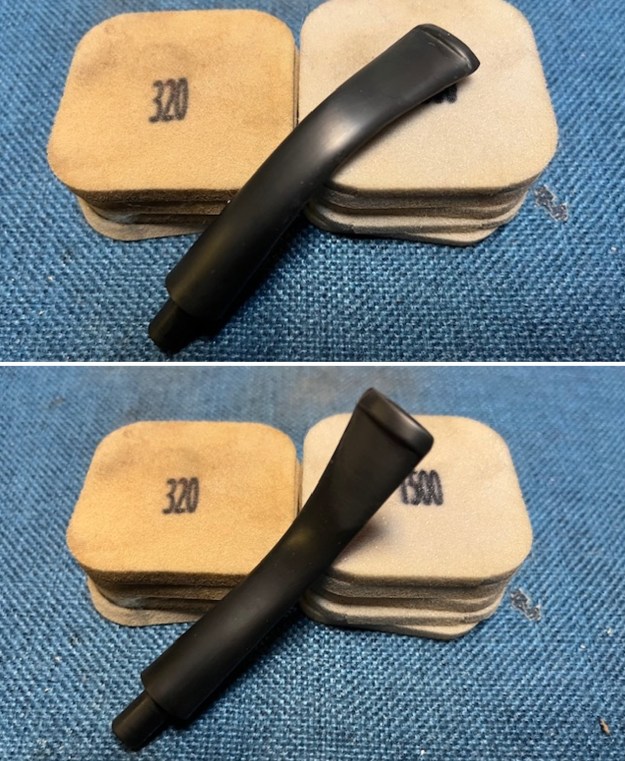
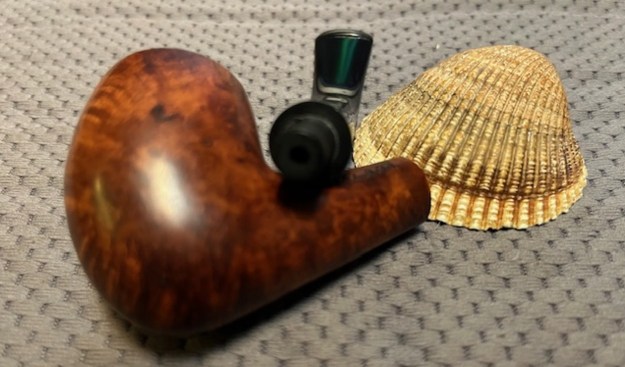
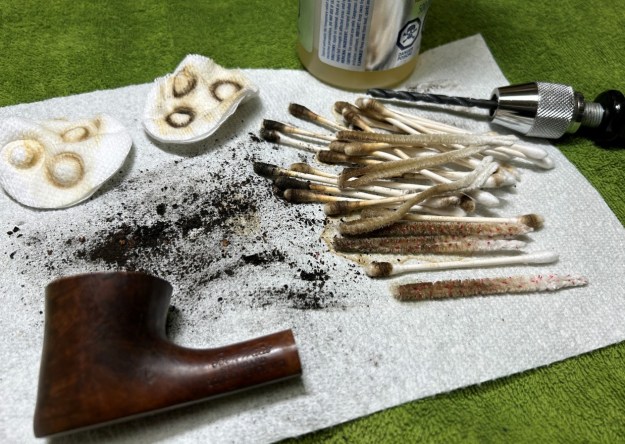
 With the bowl finished I set it aside and turned my attention to the stem. I sanded out the swirled scratches in the surface of the acrylic and the light tooth marks with 220 grit sandpaper. It did no take to long to remove them all. It looked better.
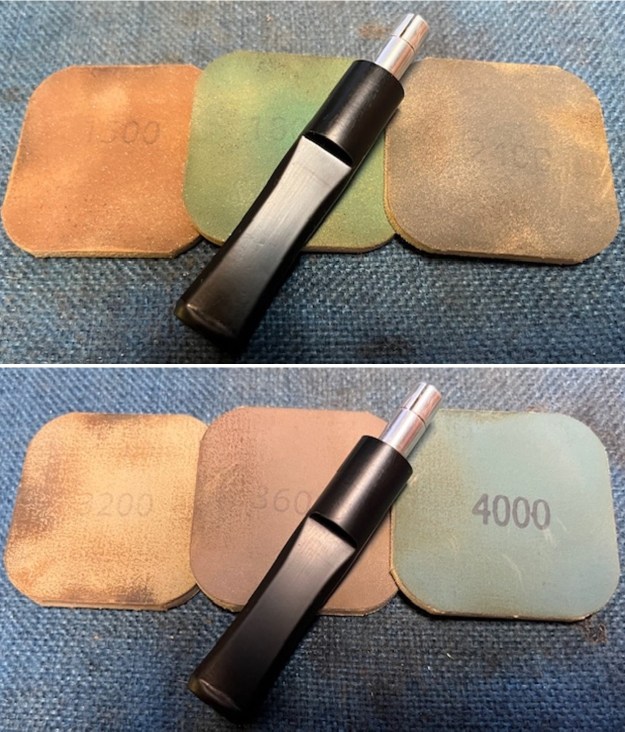
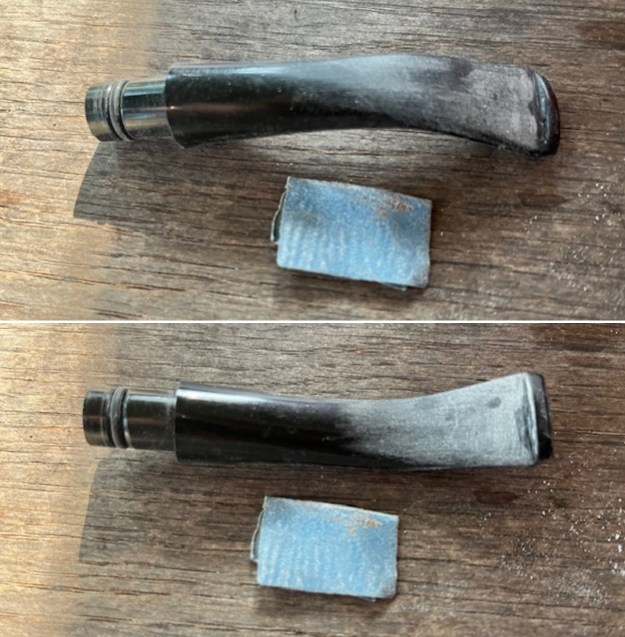
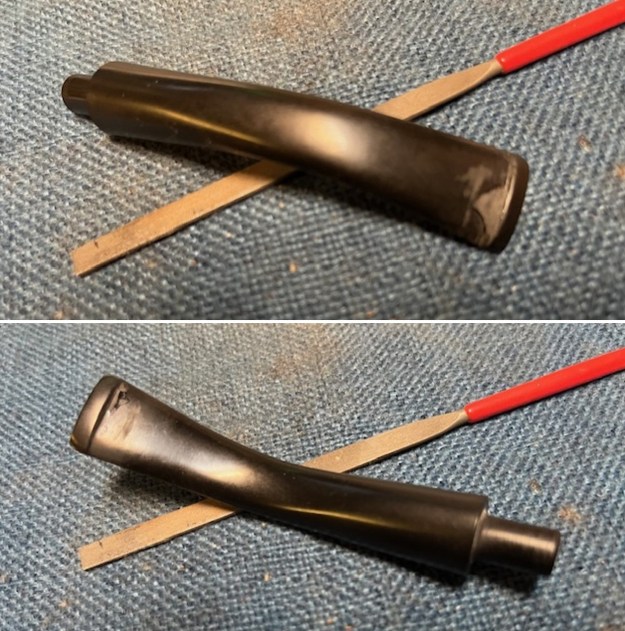
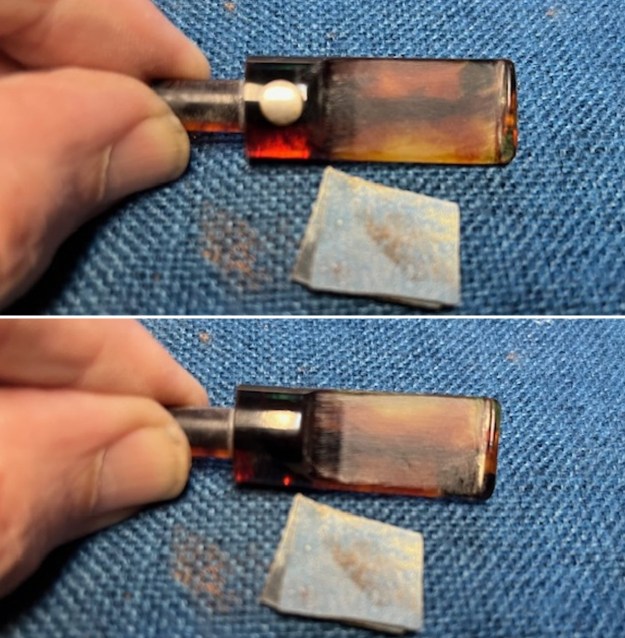 I further sanded it with 320-3500 grit 2×2 inch sanding pads and smoothed out the sanding marks further. I wiped it down after each sanding pad with an Obsidian Oil cloth to remove the sanding debris. It was looking very good by the last pad.
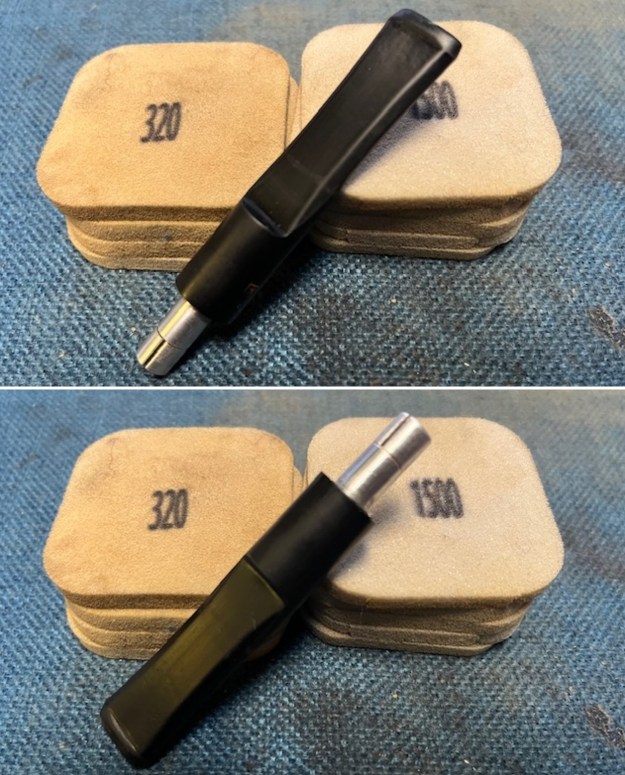
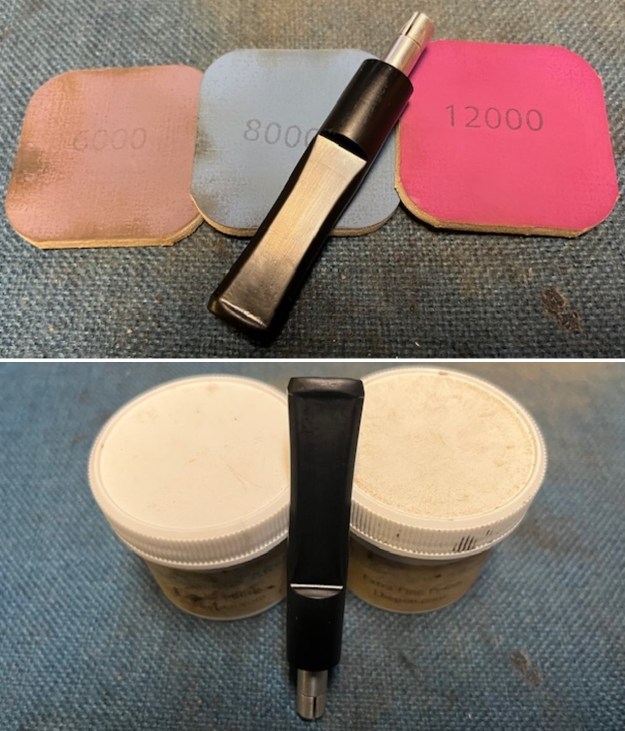
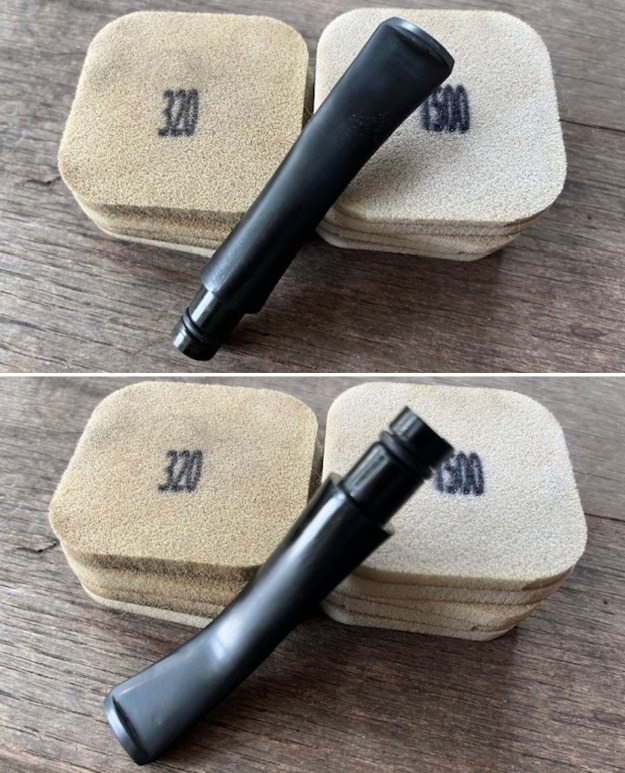
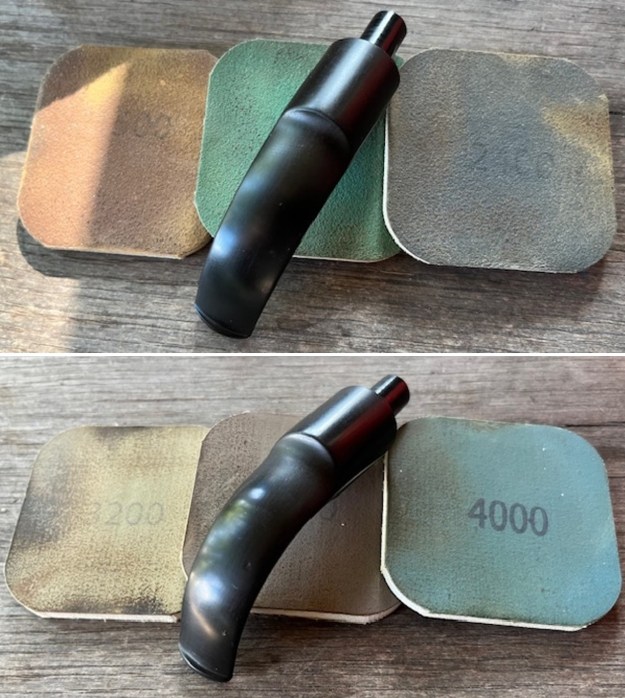
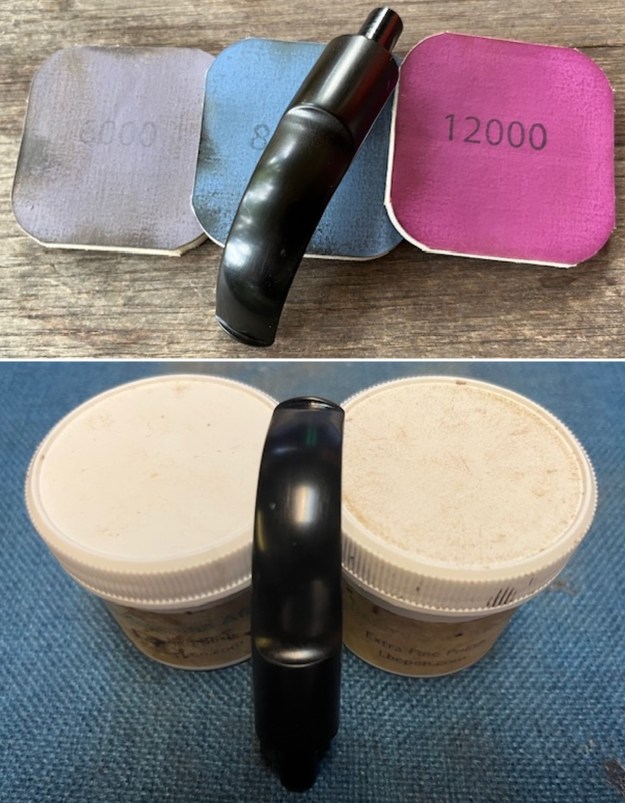
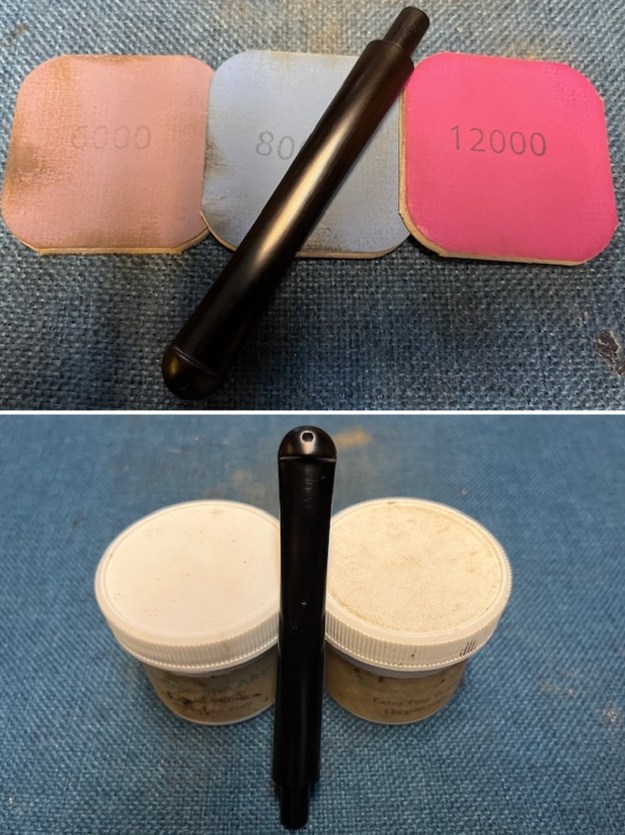
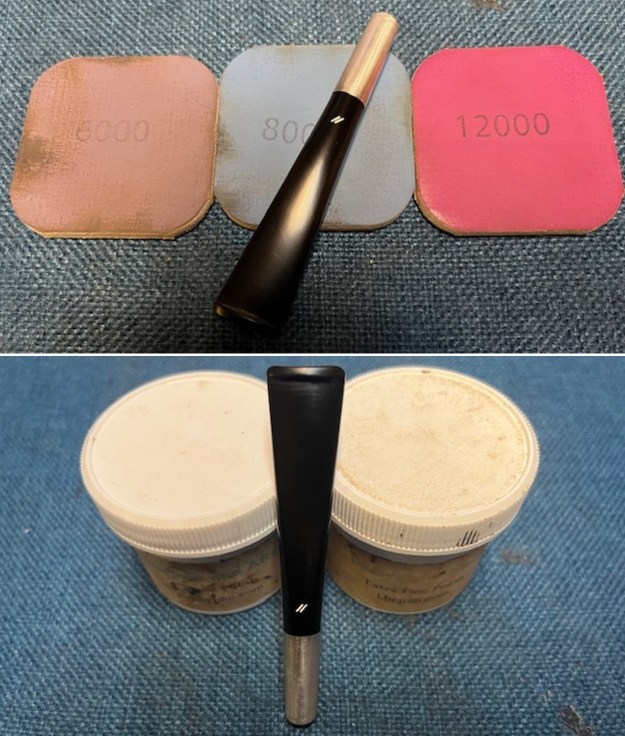
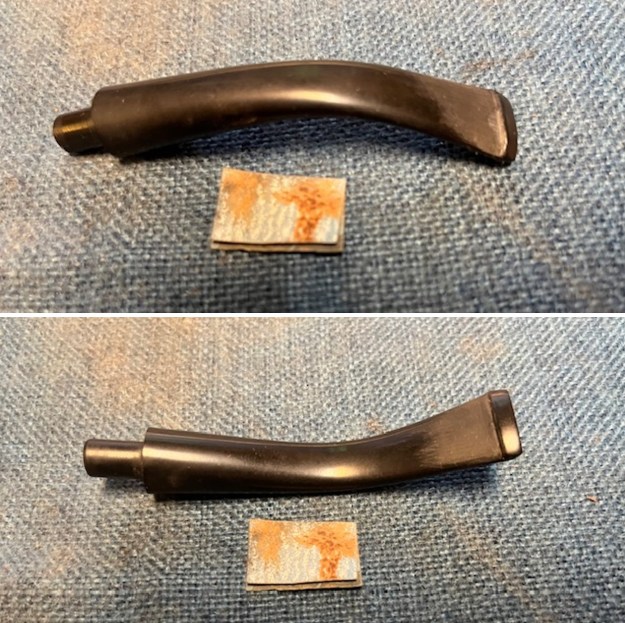
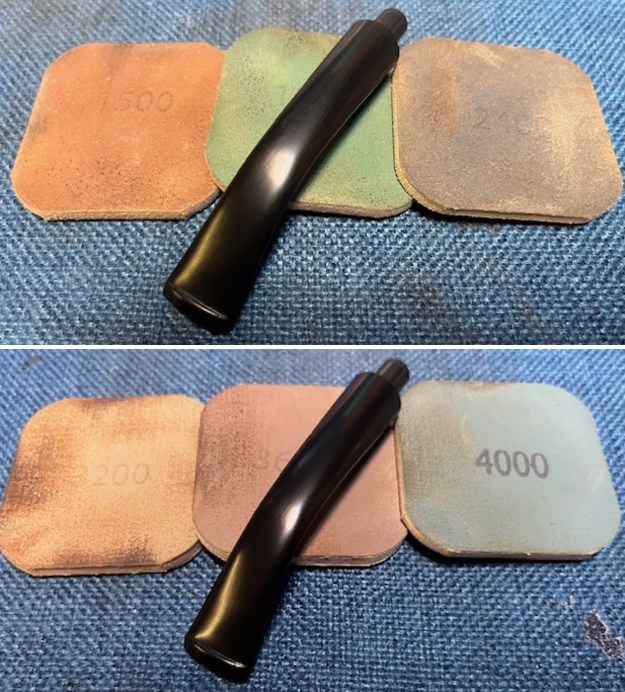
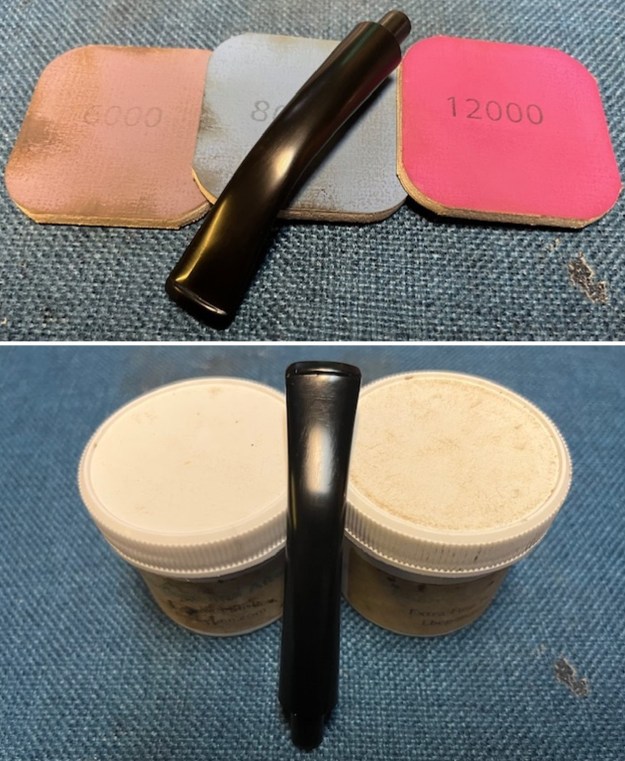
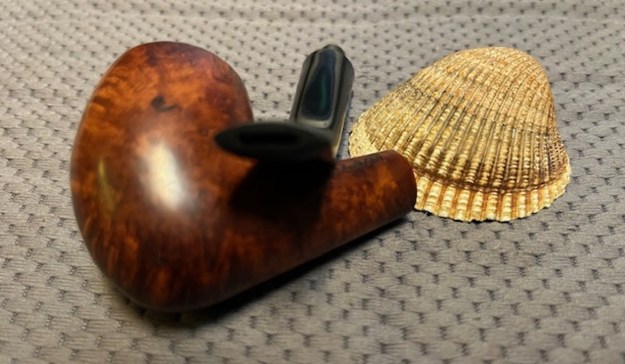
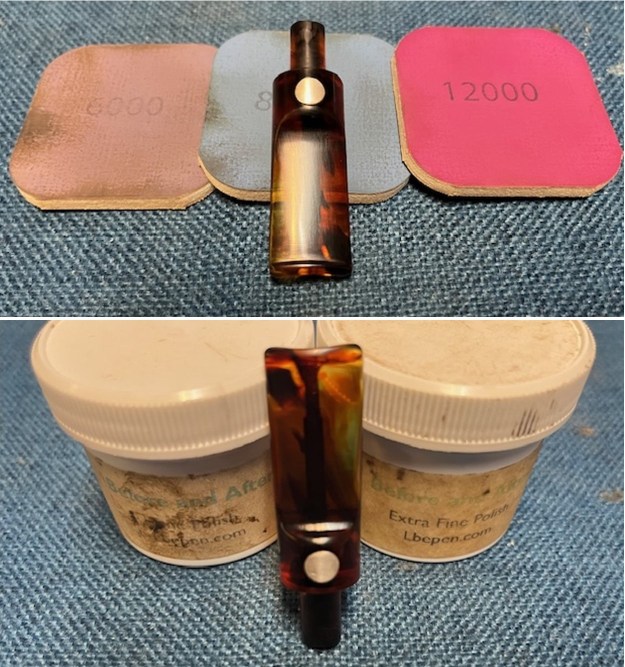
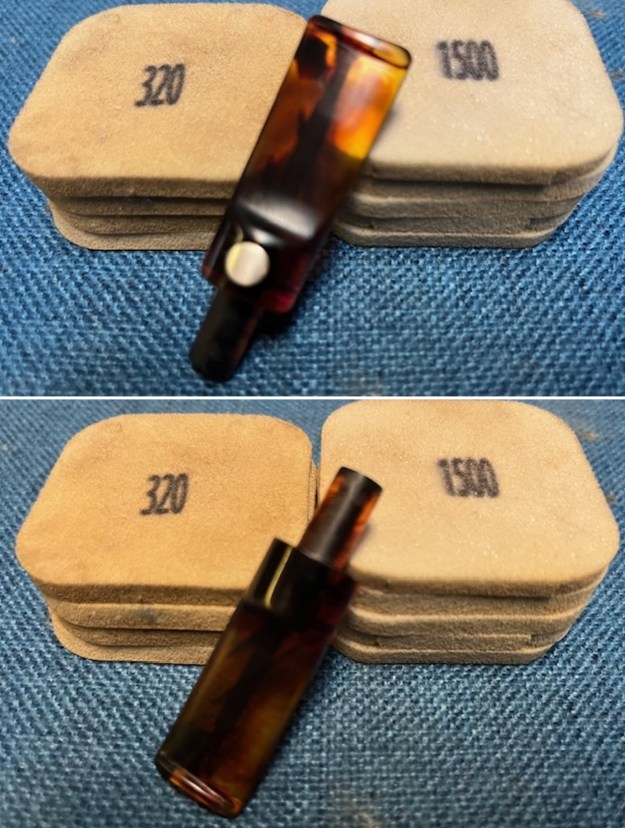 I polished the stem with micromesh sanding pads – dry sanding it with 1500-12000 grit pads. I wiped the stem down with Obsidian Oil after each pad. I polished it with some Before & After Pipe Polish – both Fine and Extra to deepen the shine. I wiped it down with a final coat of Obsidian Oil and set it aside to dry.
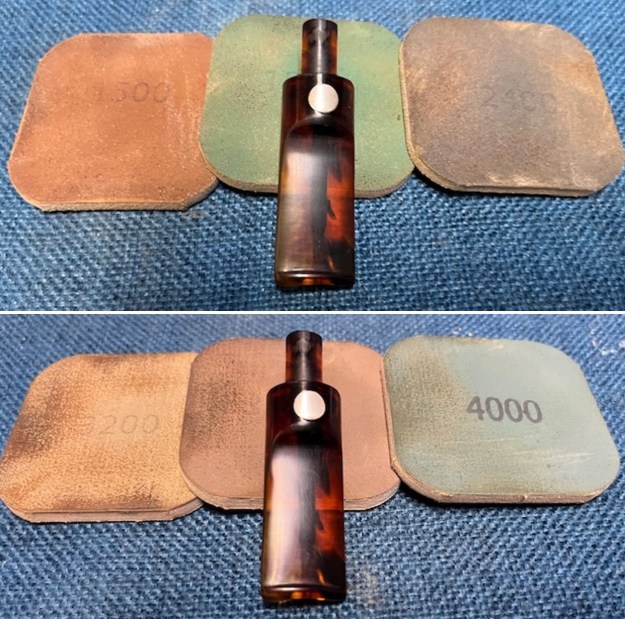
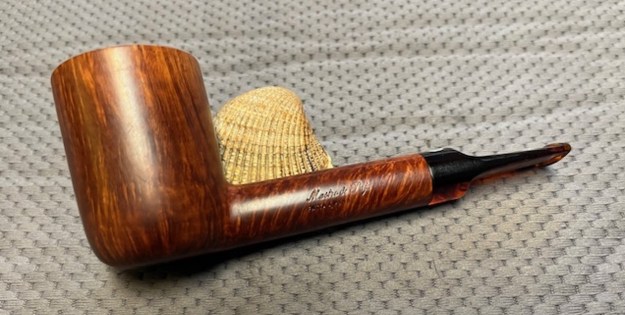
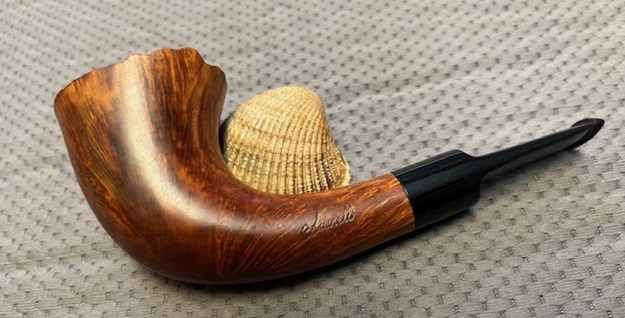
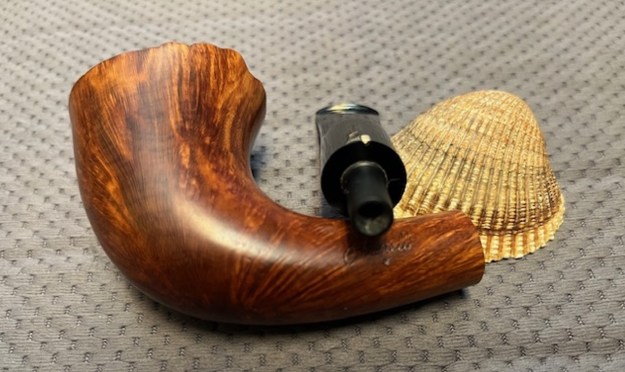
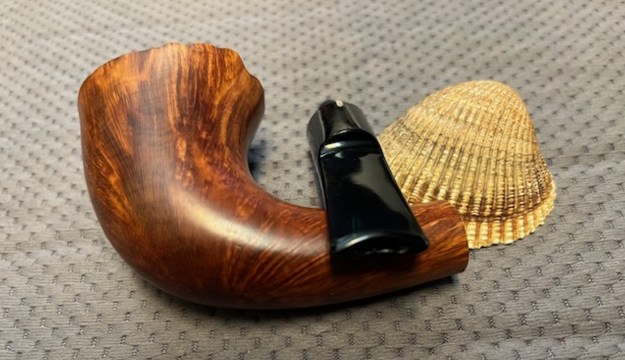
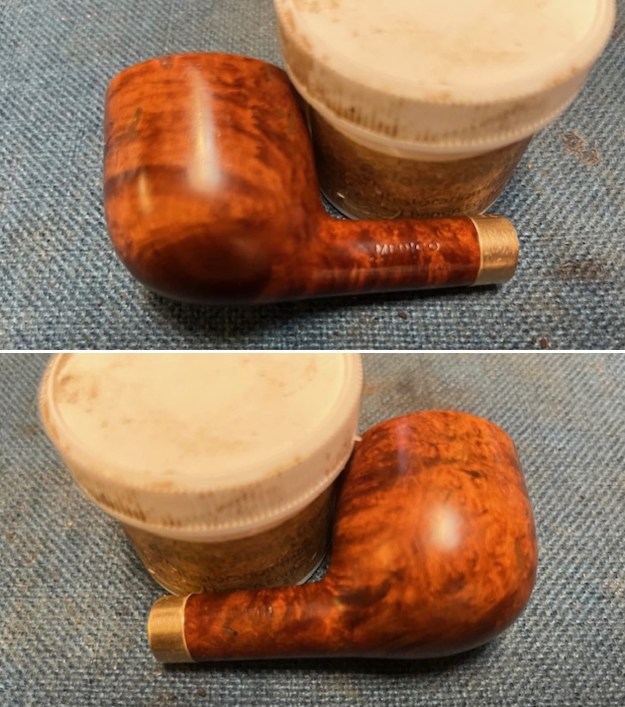
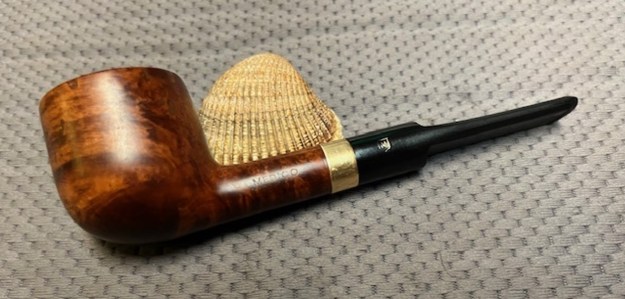
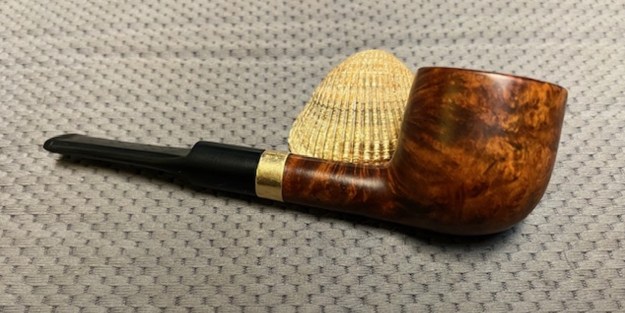
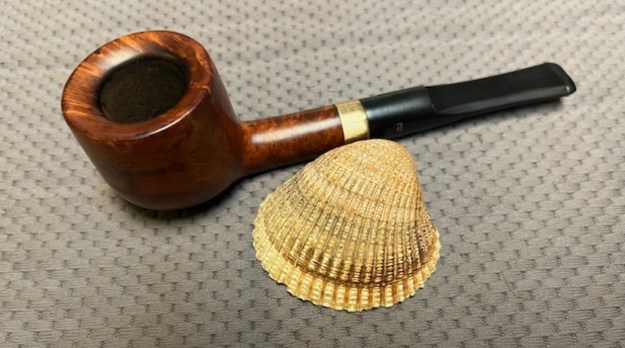
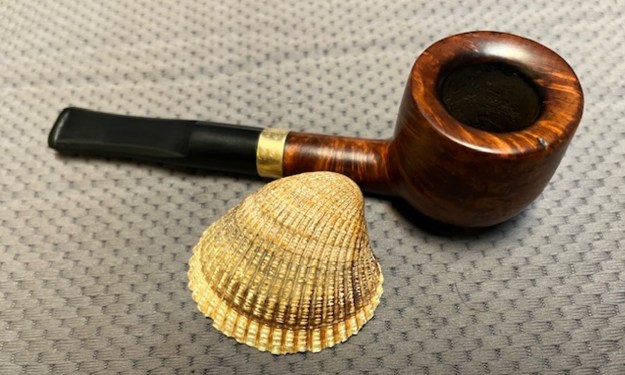
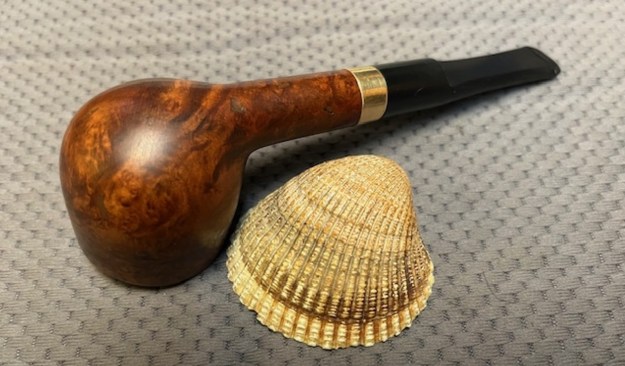
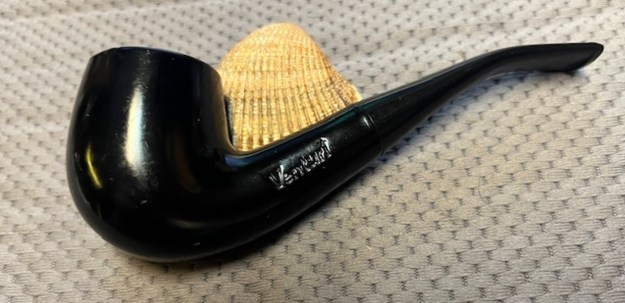
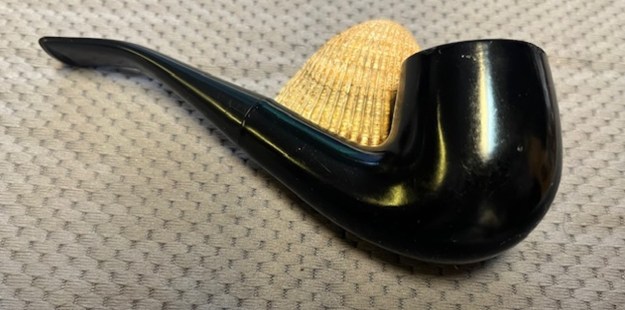
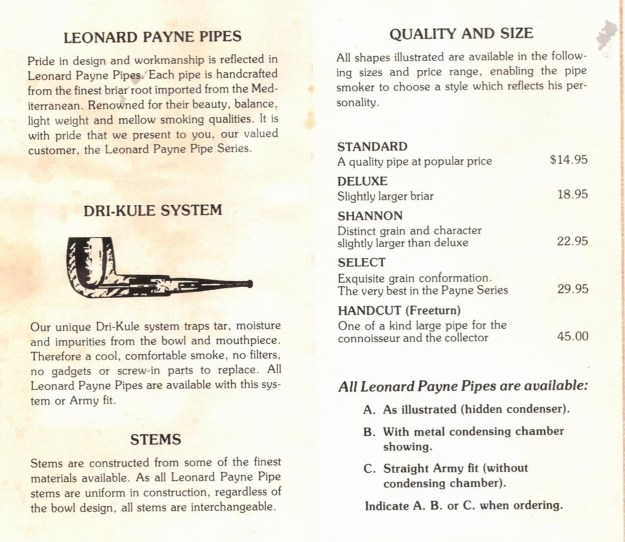
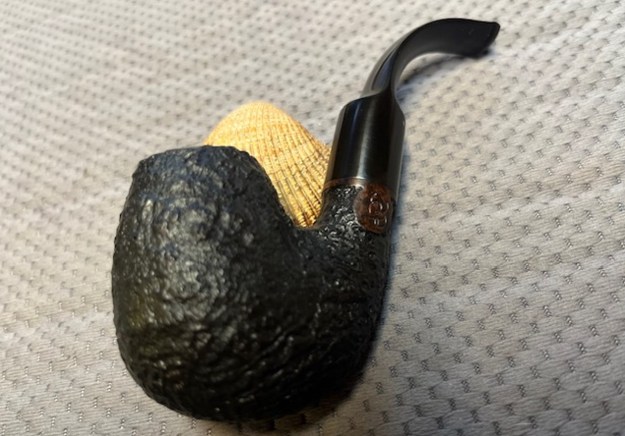
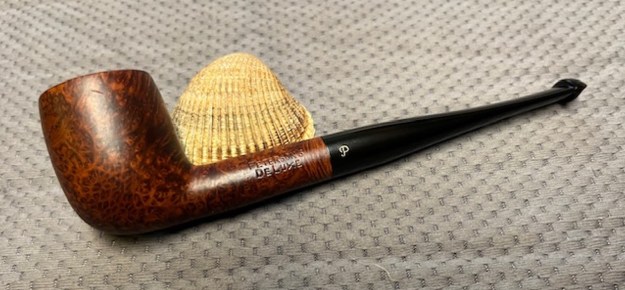
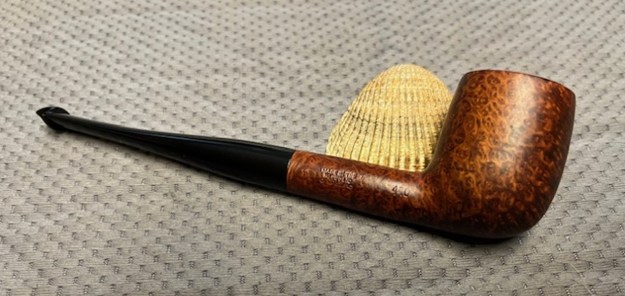
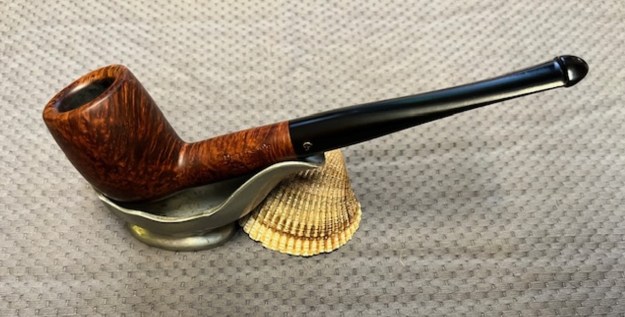
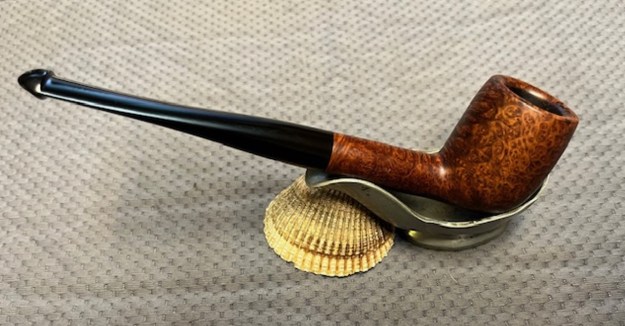
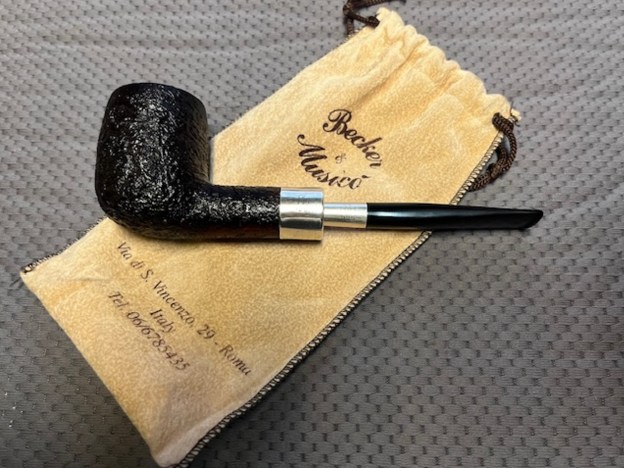
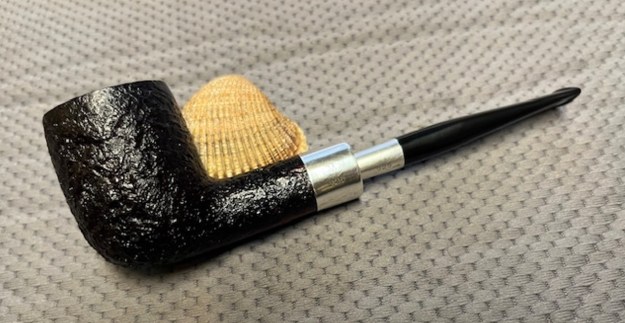
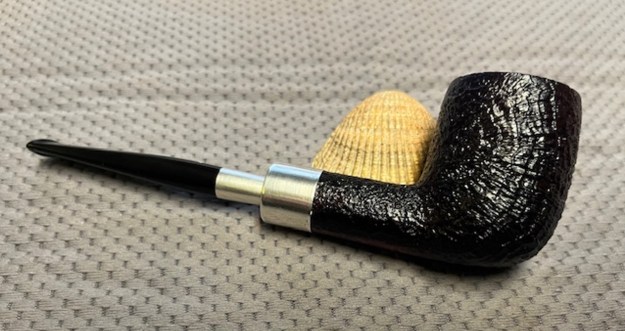
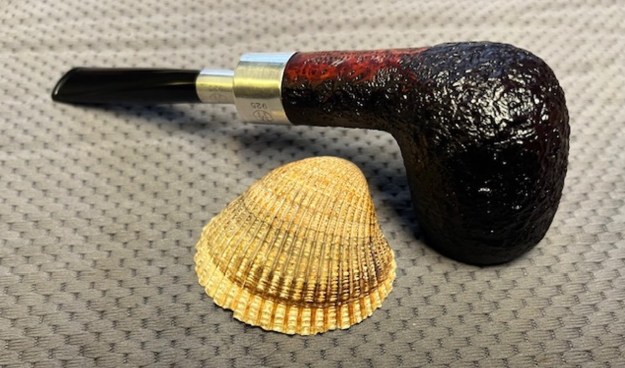
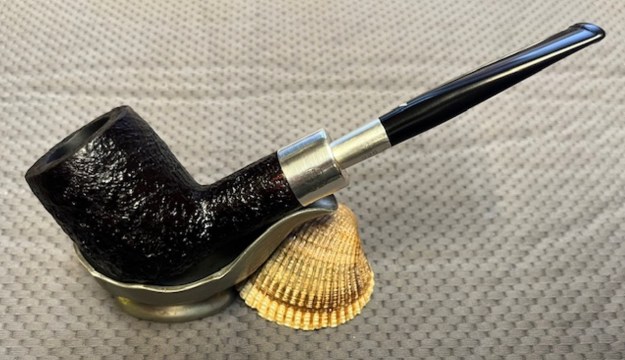
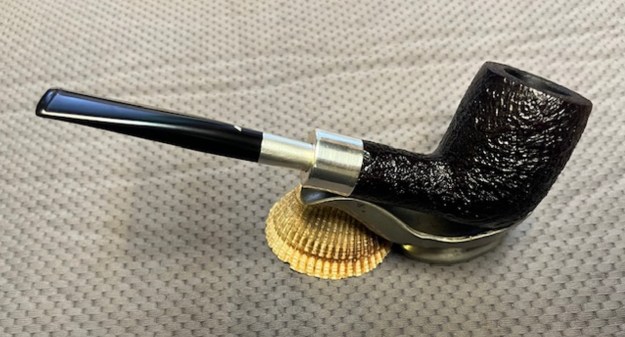
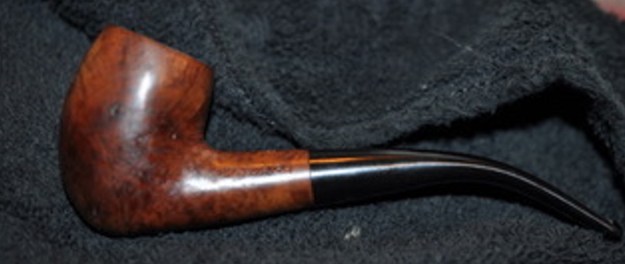
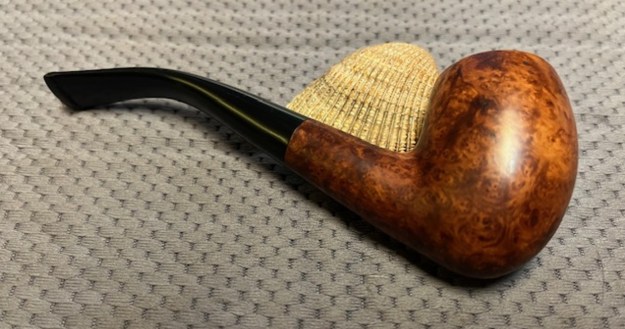
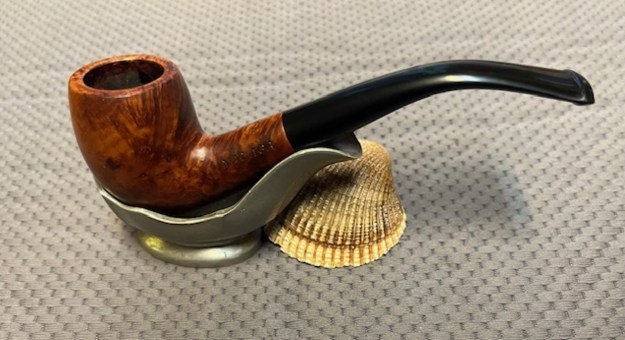
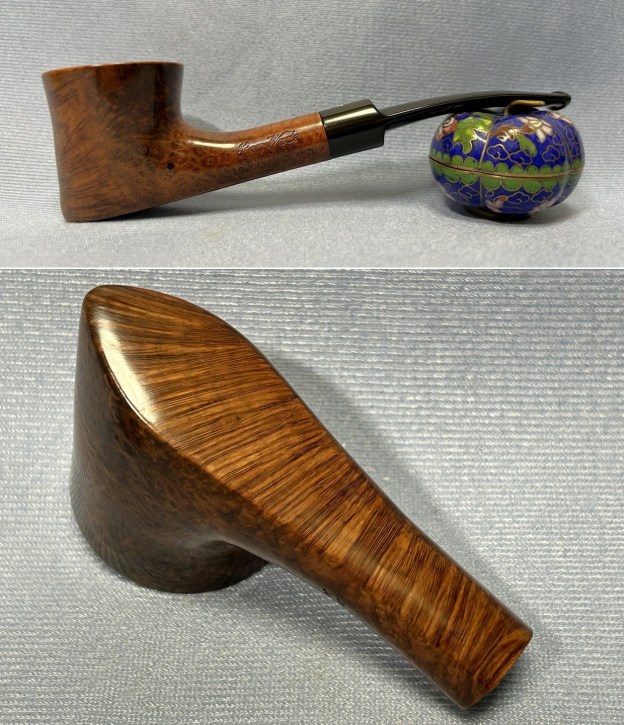
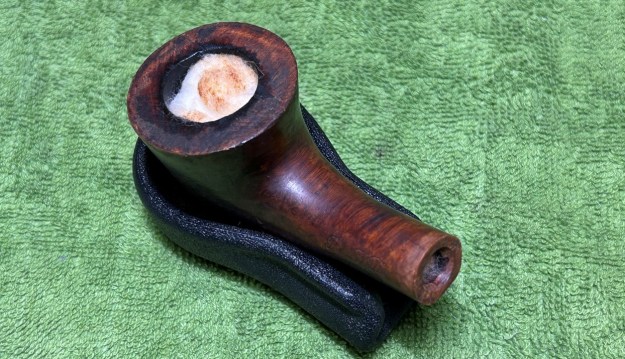
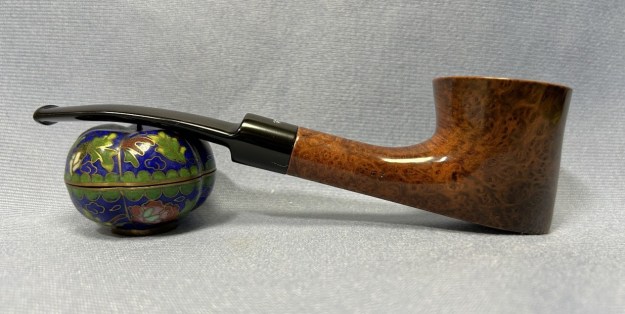
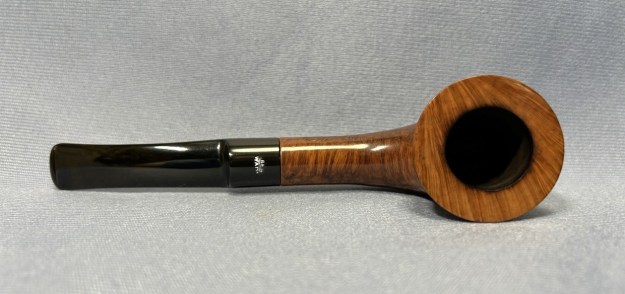
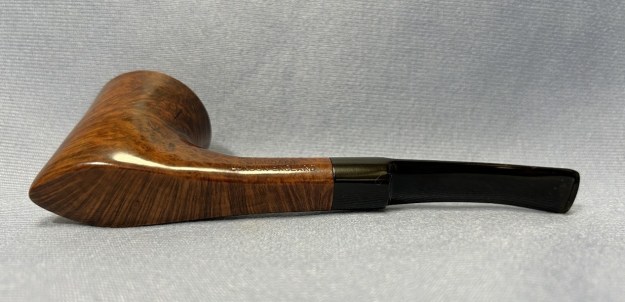
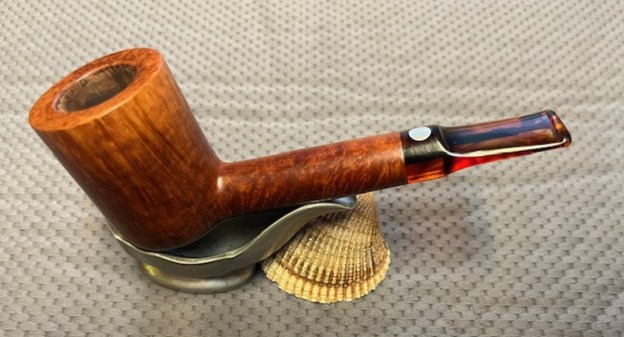
 This Mastro de Paja Fatta a Mano Lovat is a great looking pipe now that it has been restored. The brown stains really highlight the grain and the polished finish is stunning. I put the amber acrylic saddle stem back on the bowl and carefully buffed the pipe with Blue Diamond on the buffing wheel. I gave the bowl and the stem multiple coats of carnauba wax on the buffing wheel and followed that by buffing the entire pipe with a clean buffing pad. I hand buffed the pipe with a microfiber cloth to deepen the shine. The finished Mastro de Paja Lovat fits nicely in the hand and feels great. Give the finished pipe a look in the photos below. The dimensions of the pipe are Length: 5 ½ inches, Height: 2 inches, Outside diameter of the bowl: 1 ½ inches, Chamber diameter: ¾ of an inch. The weight of the pipe is 49 grams /1.73 ounces. It is a beautiful pipe. If you are interested in adding it to your rack let me know. It will be on the rebornpipes store in the Italian Pipe Makers Section. Thanks for reading this blog and my reflections on the pipe while I worked on it.
As always, I encourage your questions and comments as you read the blog. Thanks to each of you who are reading this blog. Remember we are not pipe owners; we are pipe men and women who hold our pipes in trust until they pass on into the trust of those who follow us.