Blog by Steve Laug
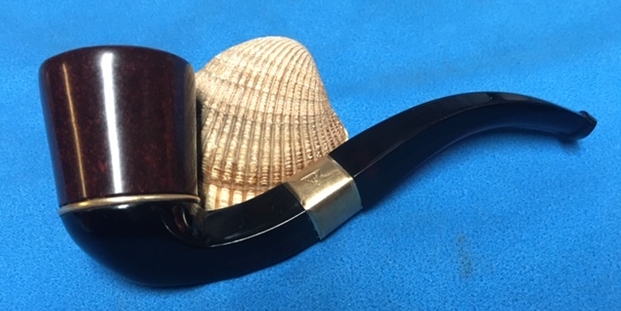
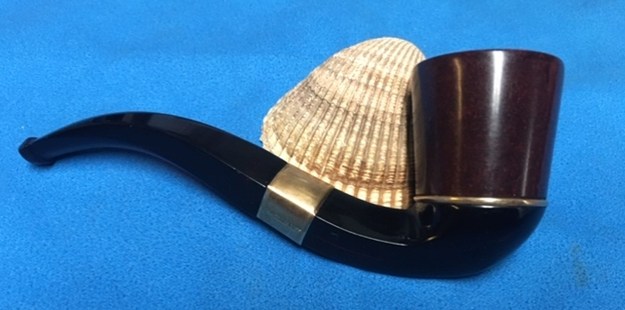
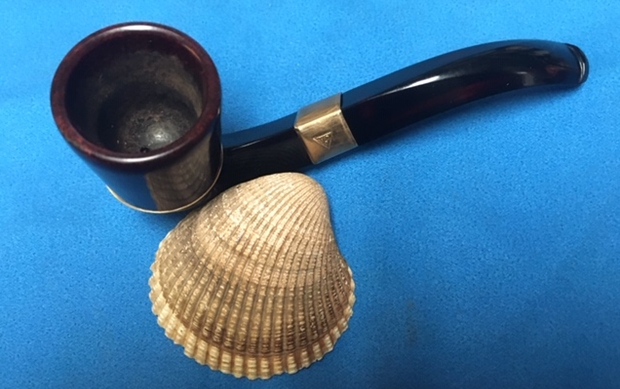
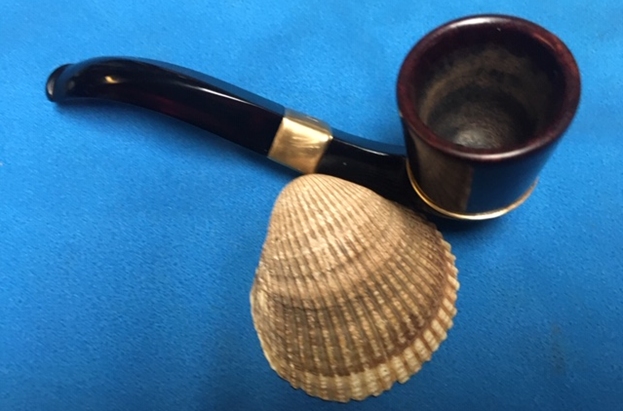
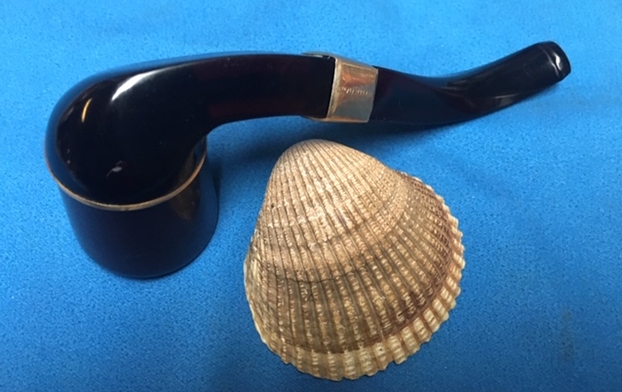
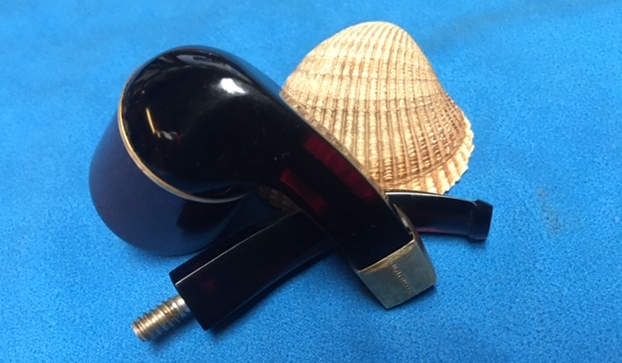
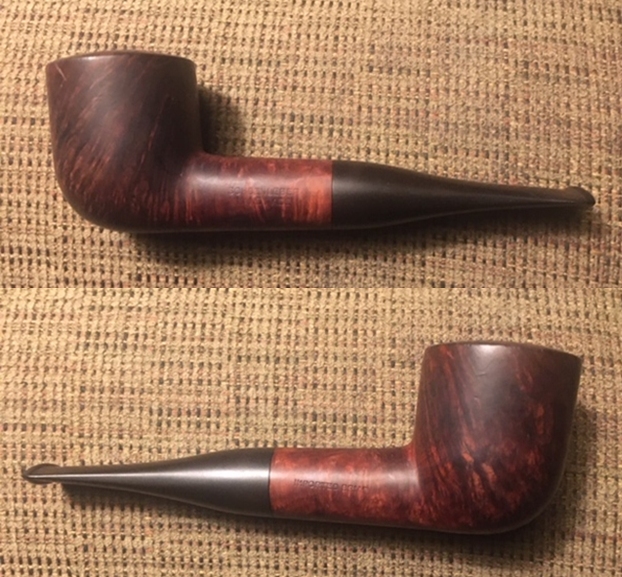
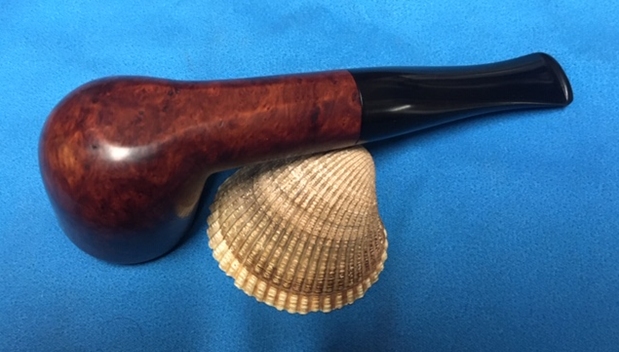
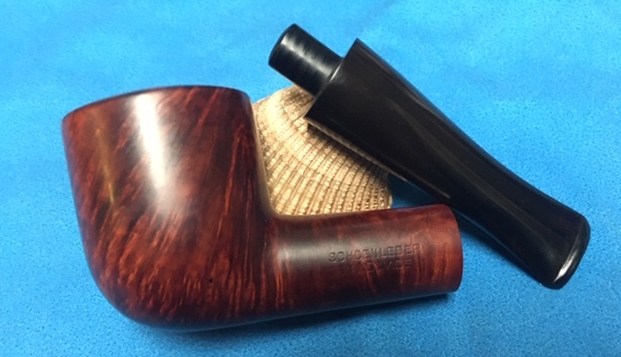
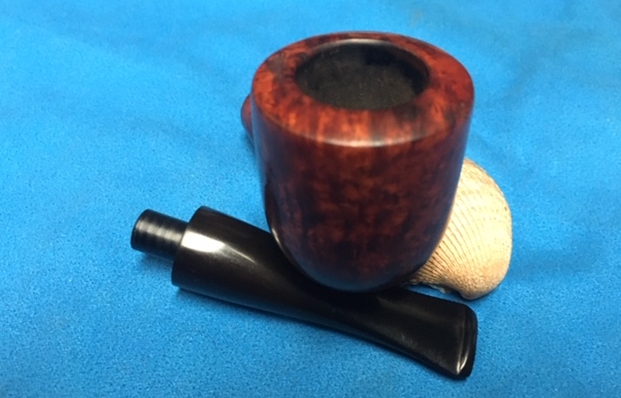
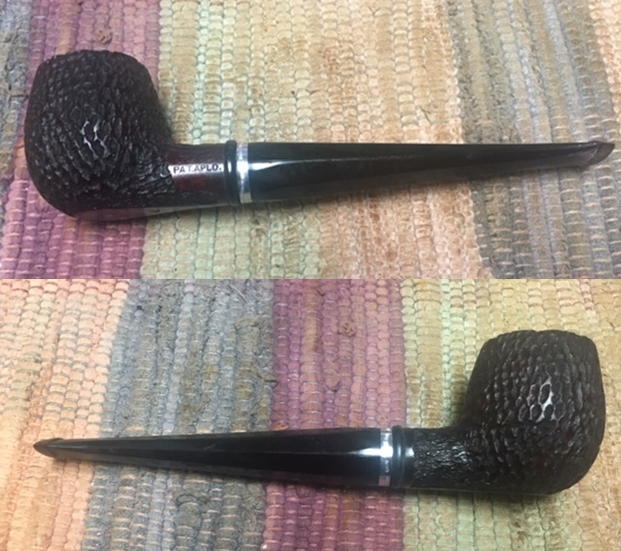
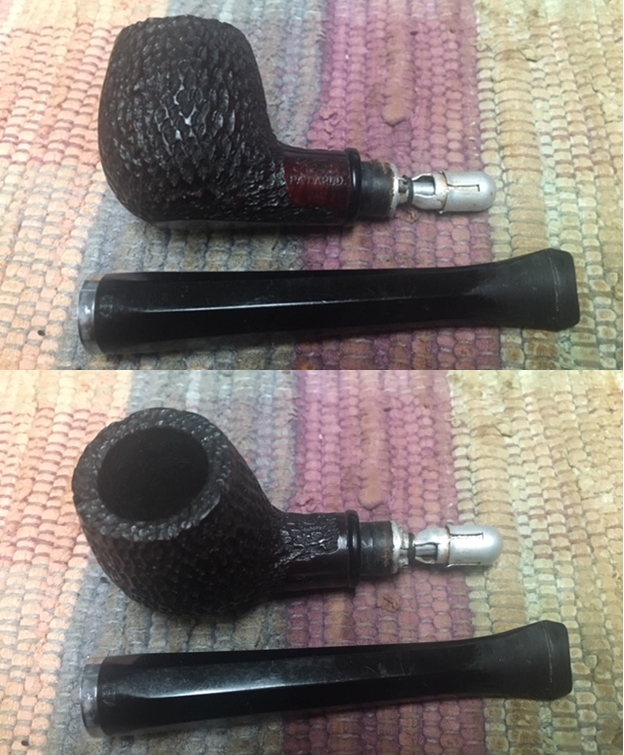
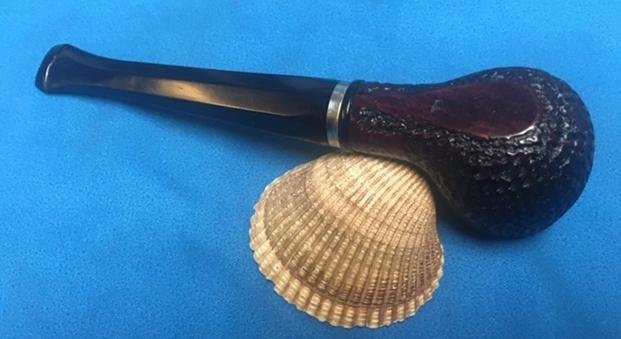
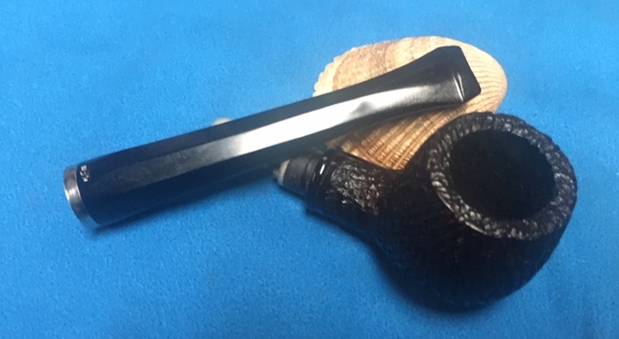
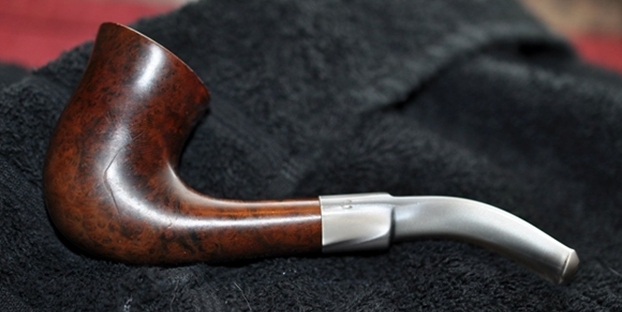
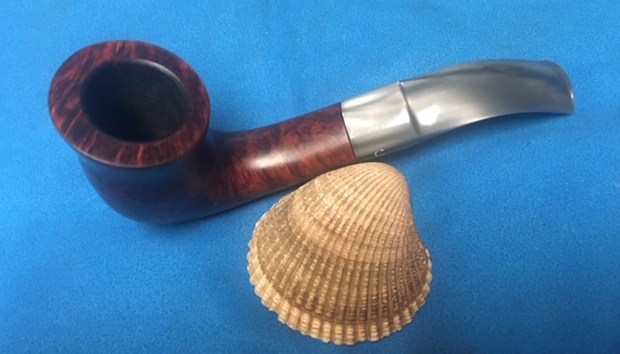
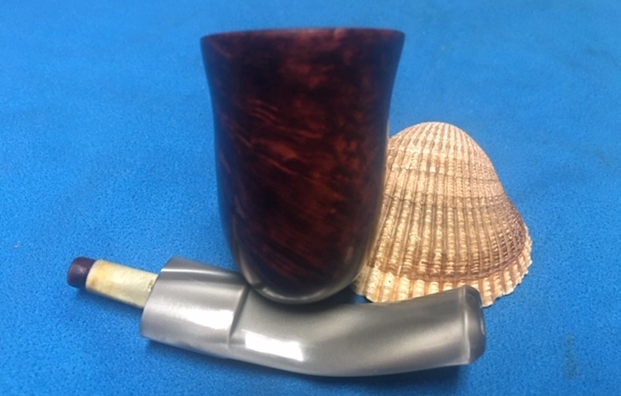
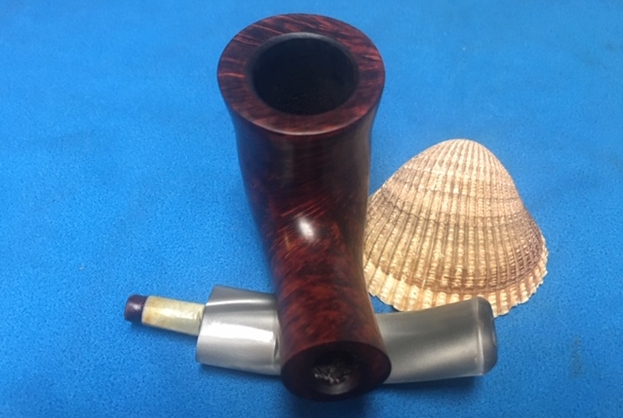
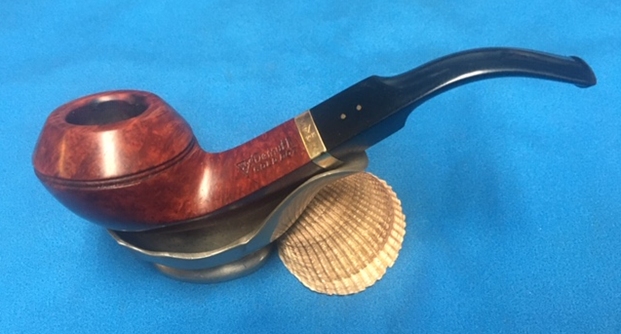
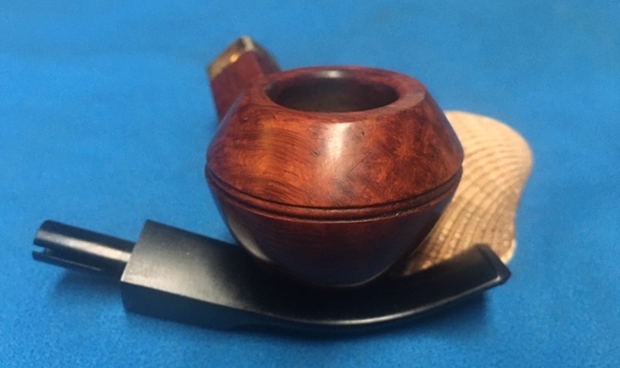
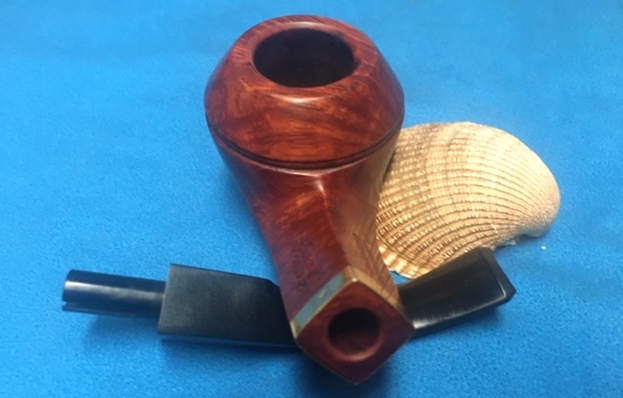
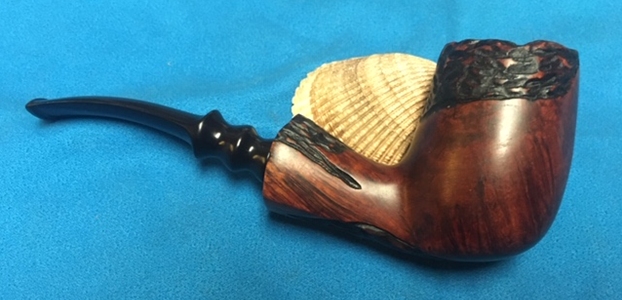
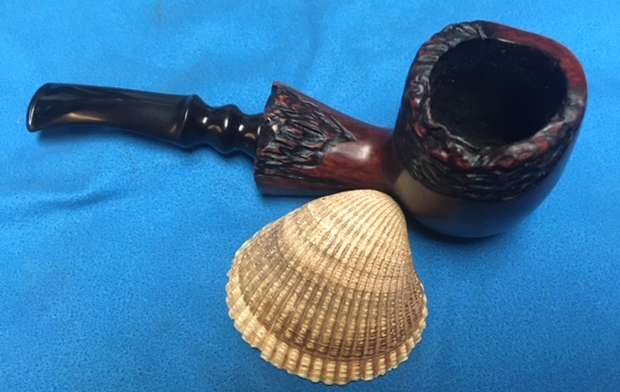
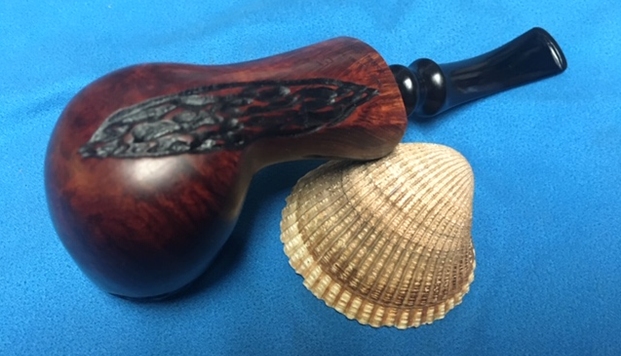
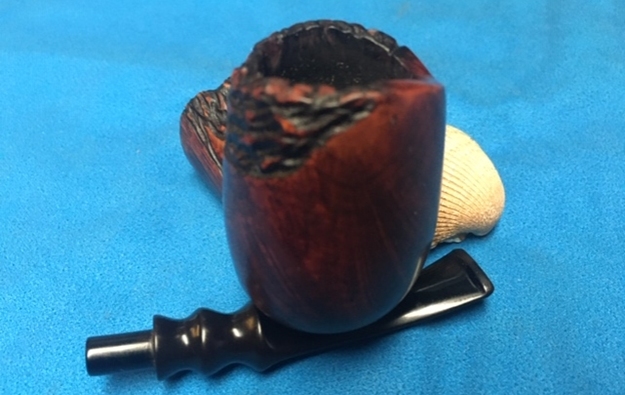
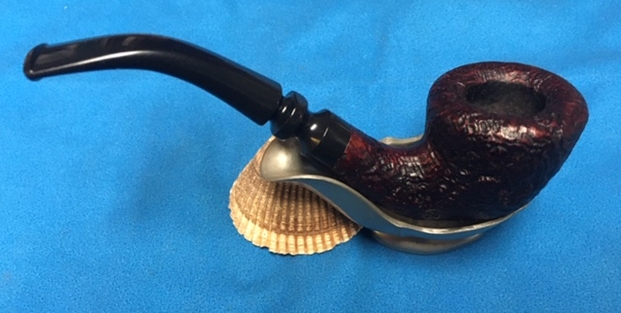
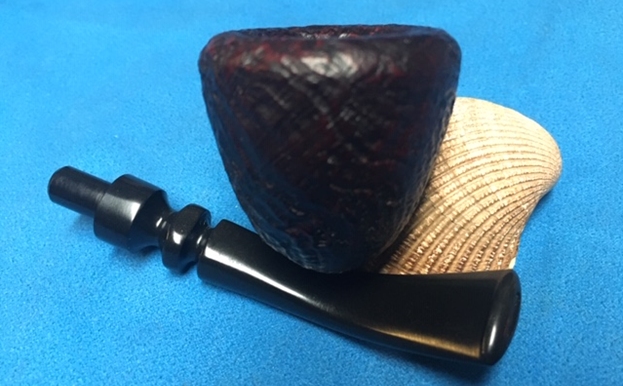
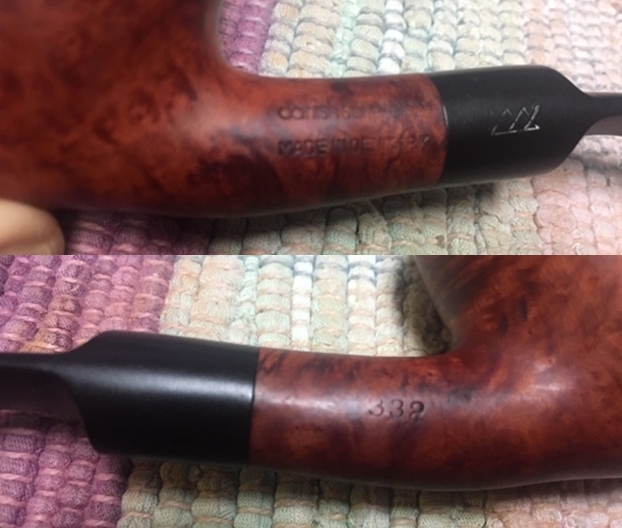
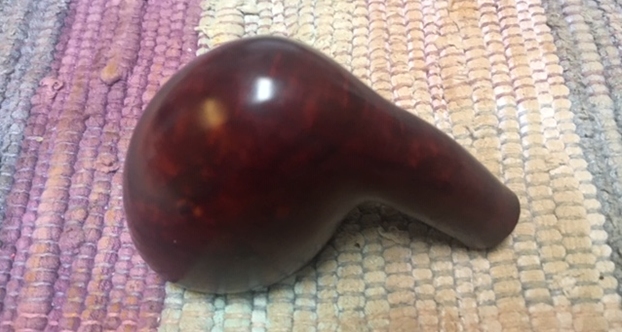
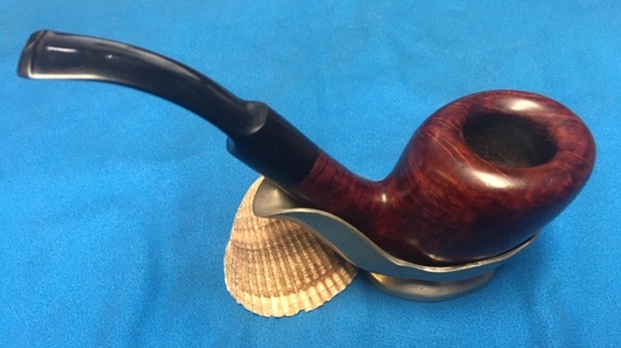
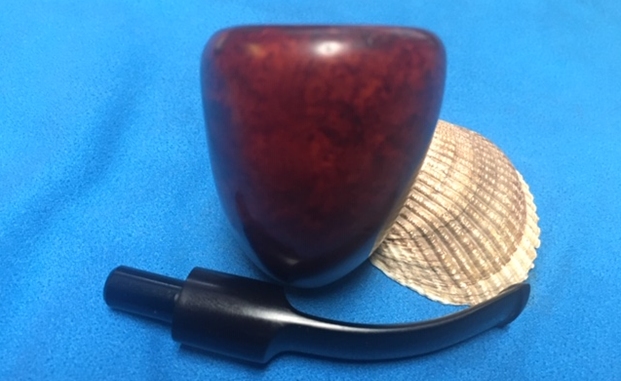
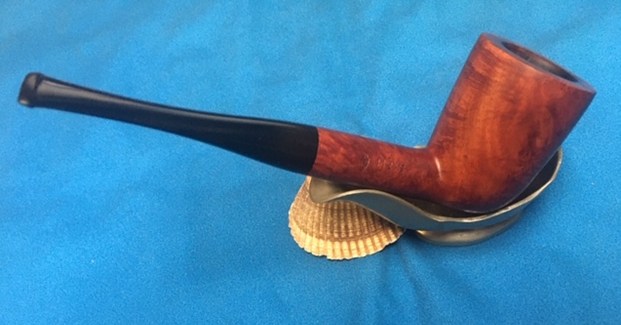
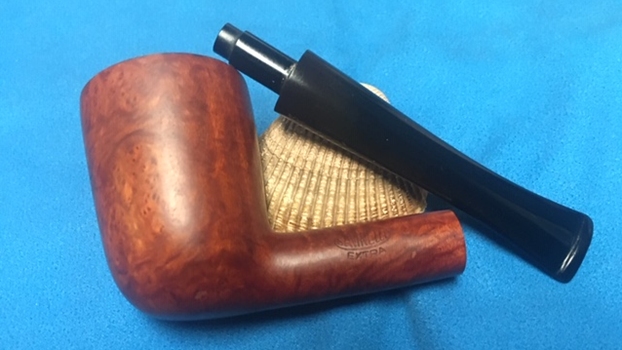
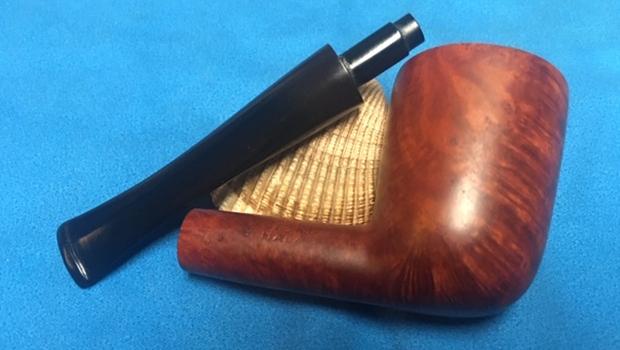
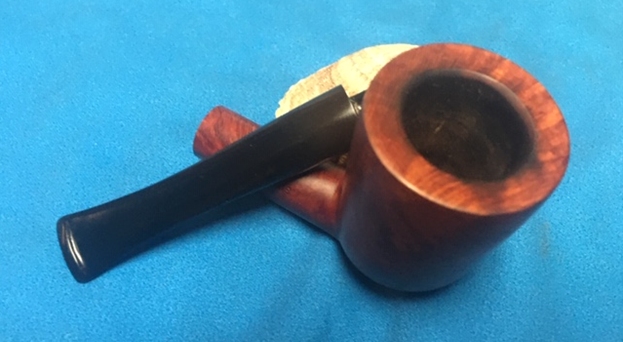
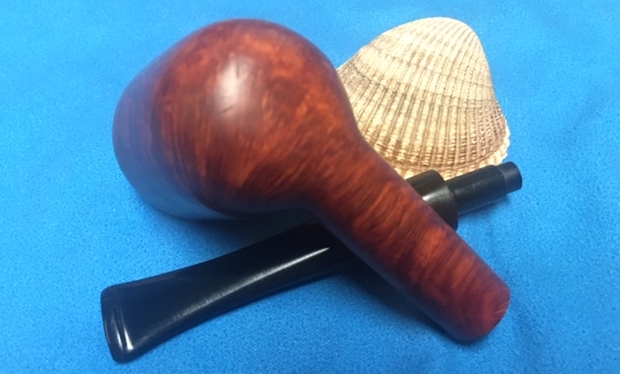
The next pipe on the table is a WDC Redmanol Dublin with a Redmanol Bowl. It is a pretty pipe with a great shape. It is an interesting piece to me in that the bowl is not briar. It is almost like the Medico Brylon but way before that time. It is a man-made product that has been cast to function as a bowl for a pipe. What is fascinating is that the pipe in its entirety is Redmanol – bowl, base and stem. The pipe is very dirty with a medium cake in the bowl and some darkening and lava around the beveled inner edge of the rim. The bowl was stuck on the base when we received it. The shank is diamond shaped as is the stem. The band on the shank was loose. The band was stamped on the top left with the WDC triangle and on the opposite side it reads 14K Gold Plated. The stem is in good shape with no tooth marks or chatter. The ½ bent saddle stem has two gold dots on the left side of the saddle stem. 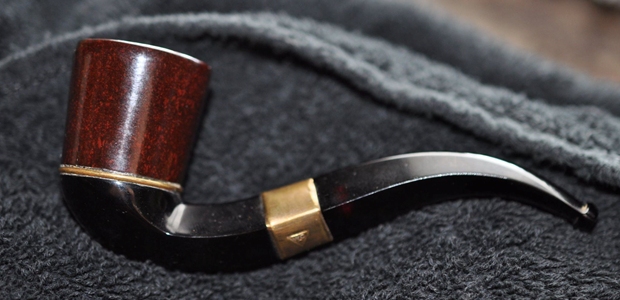
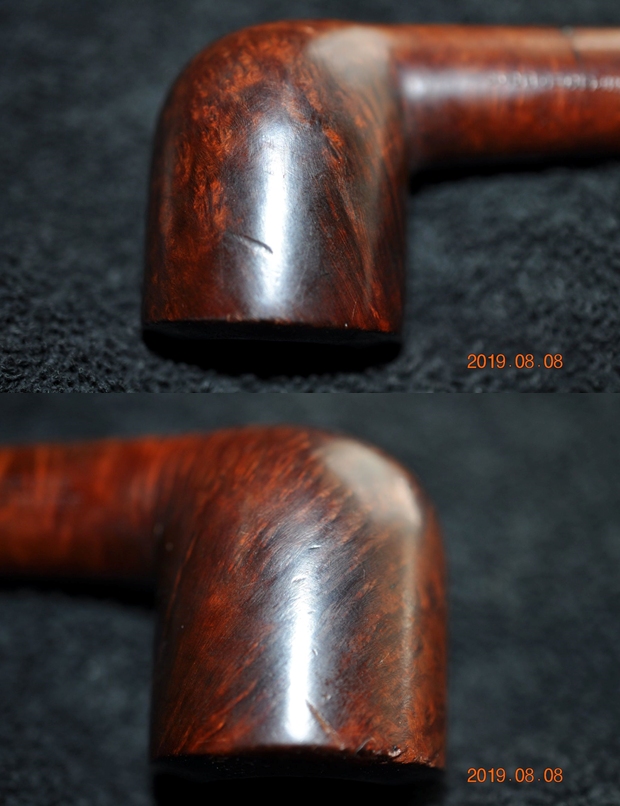
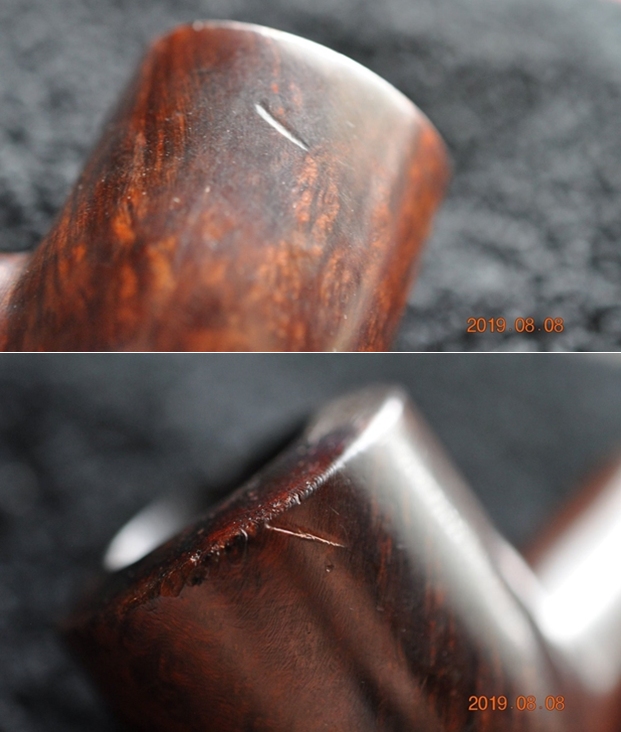
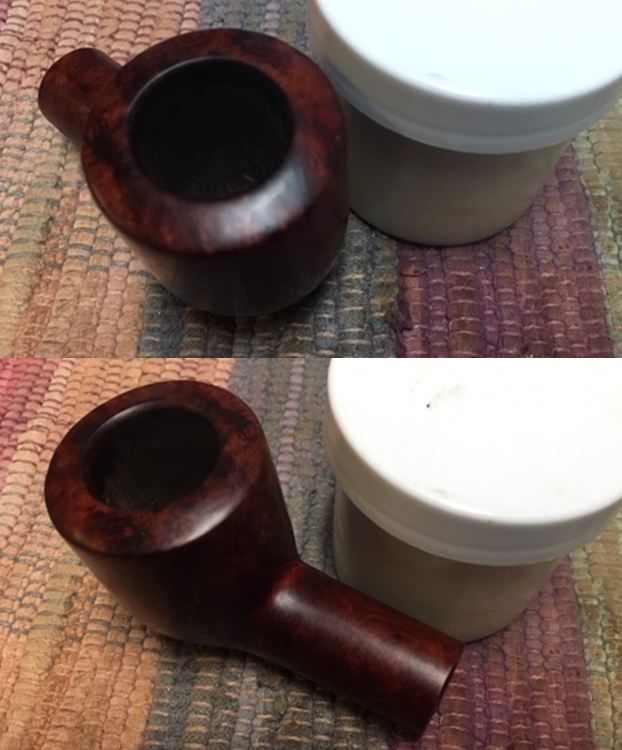
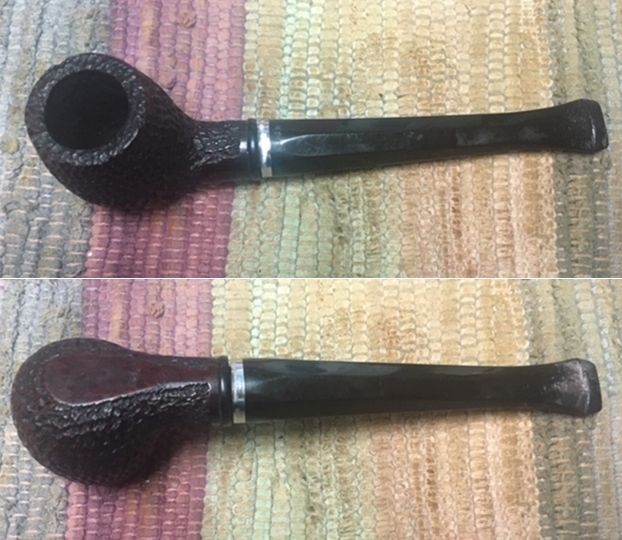
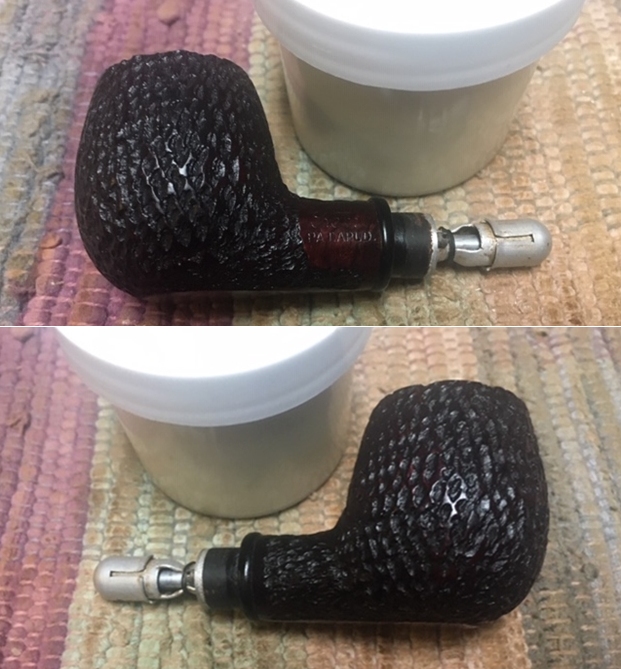
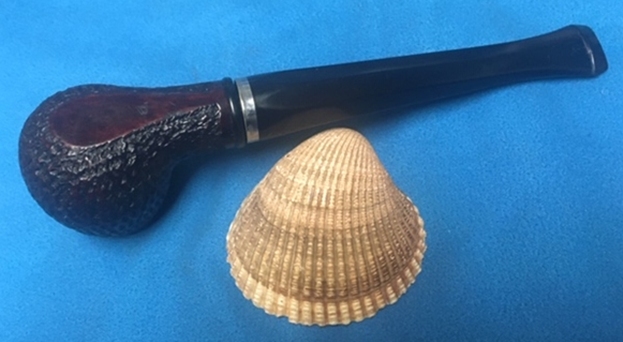
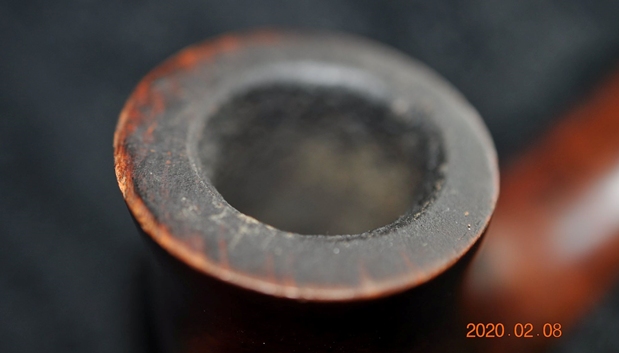
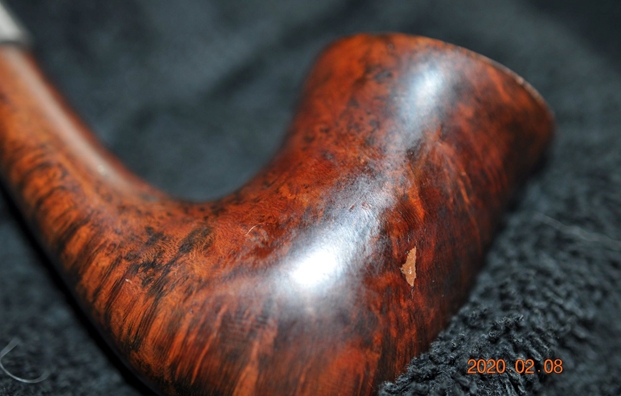
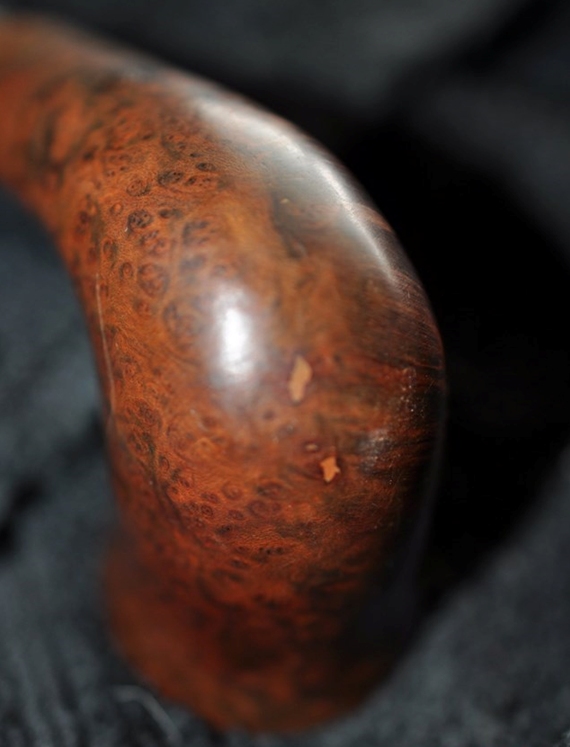
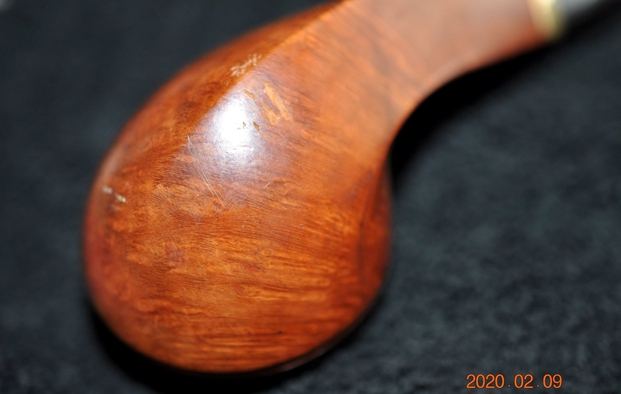
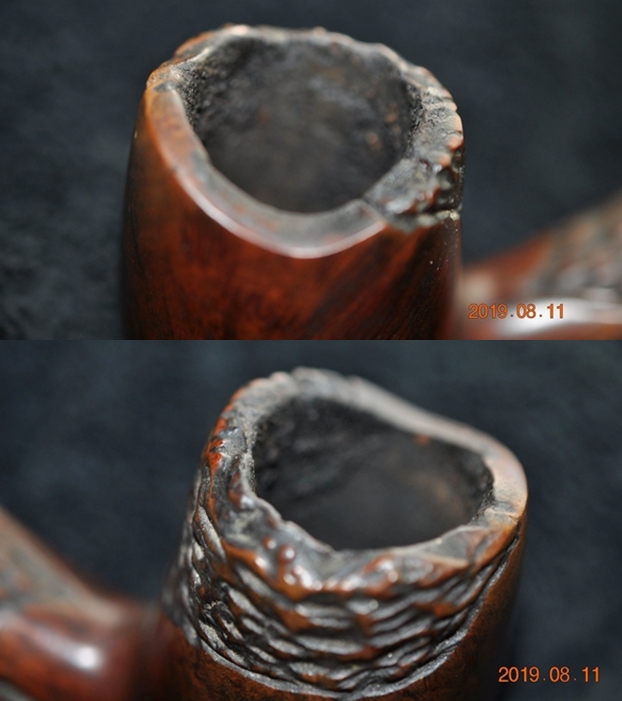
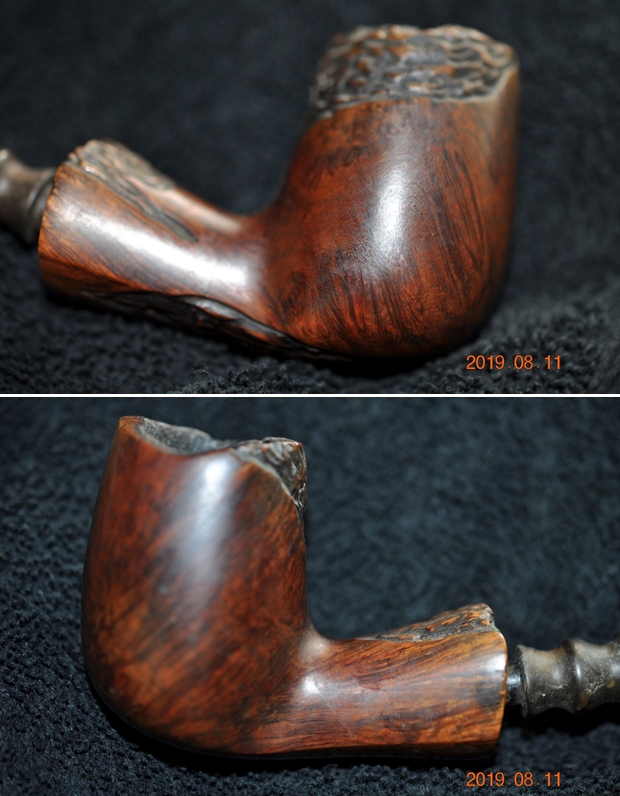
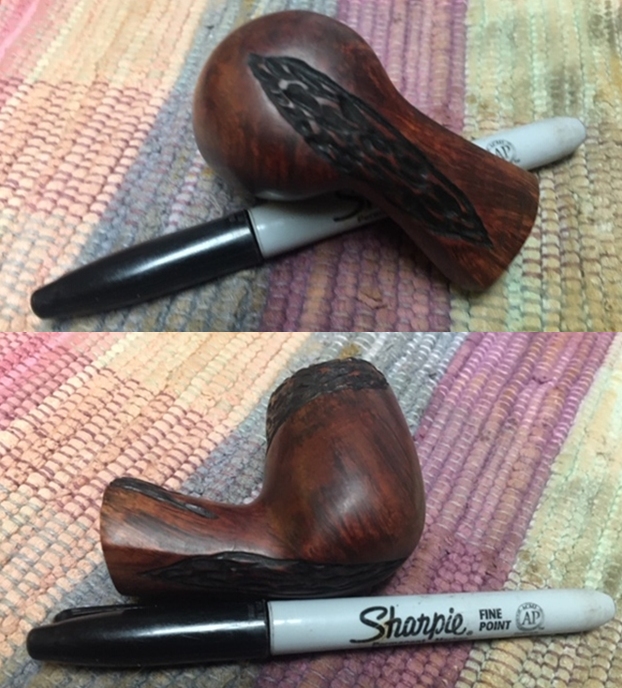
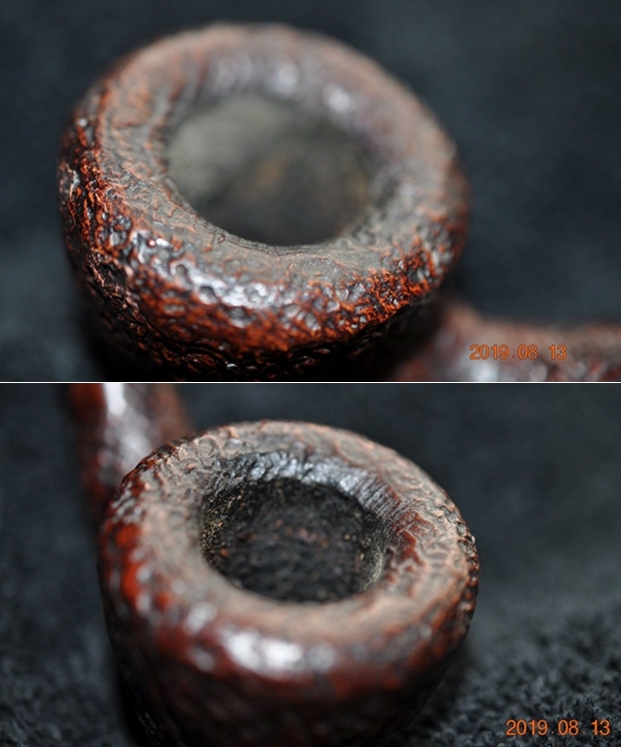
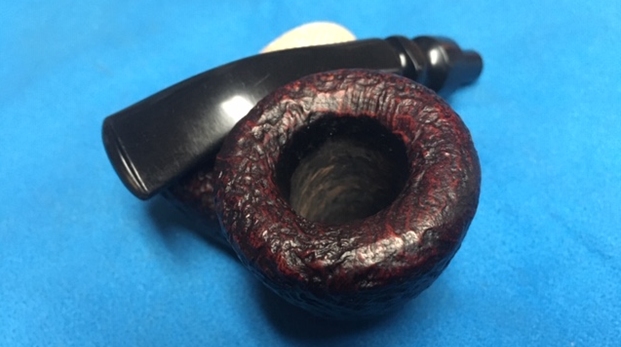
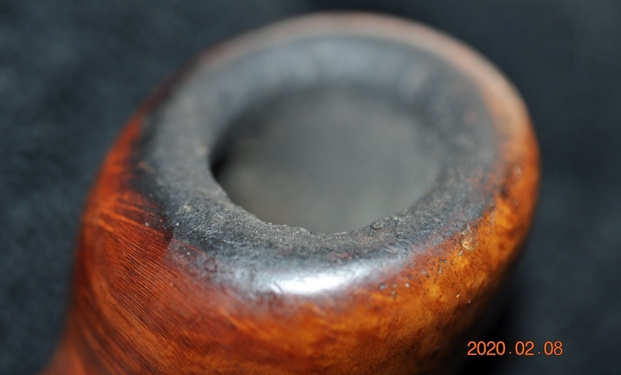
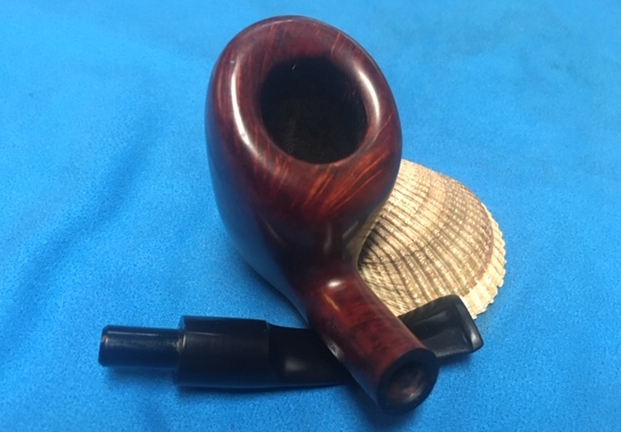
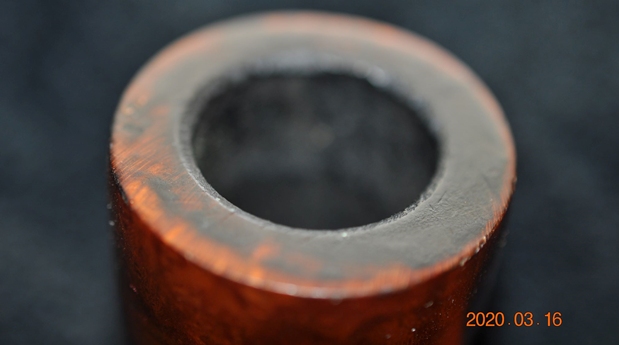
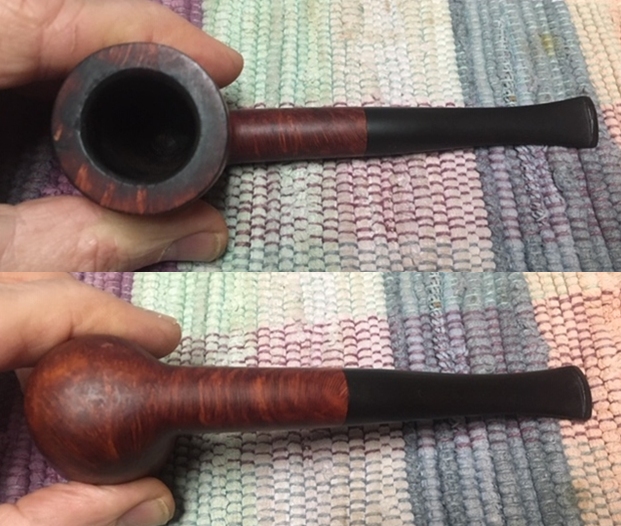
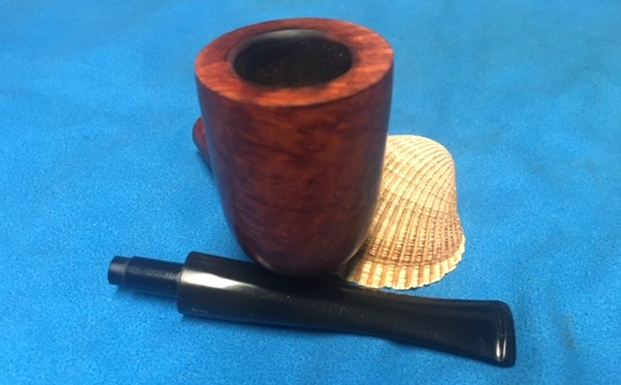
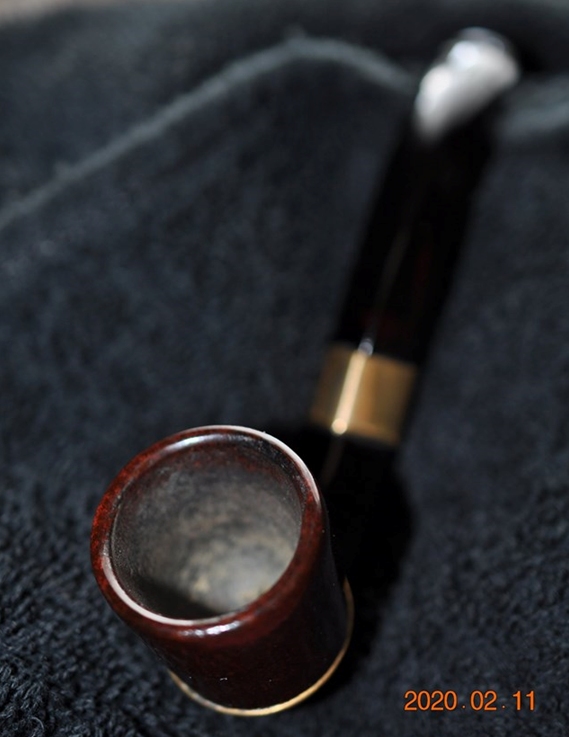 Jeff took photos of the rim top to show the condition of the bowl, rim top and edges. The cake is quite thick and there are a few spots of grime on the edges and around the cap on the bowl.
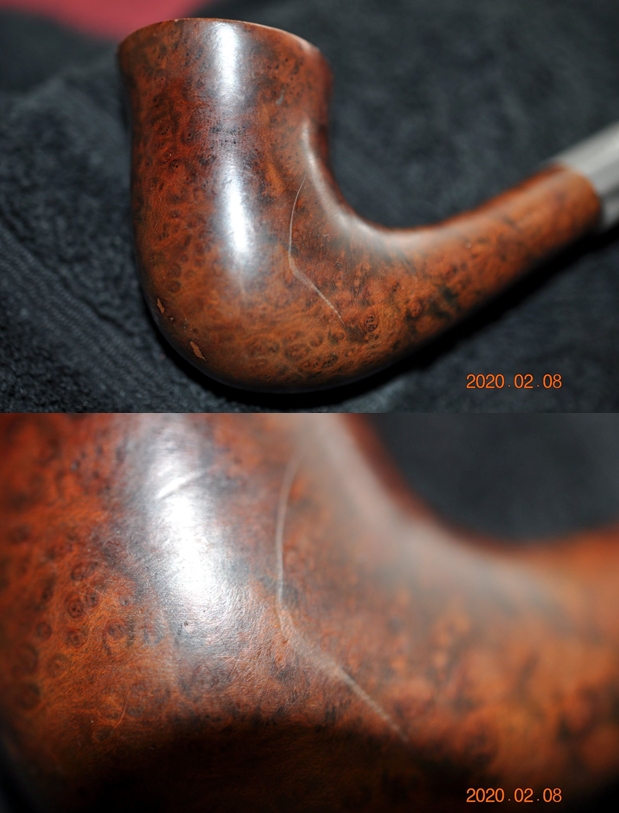
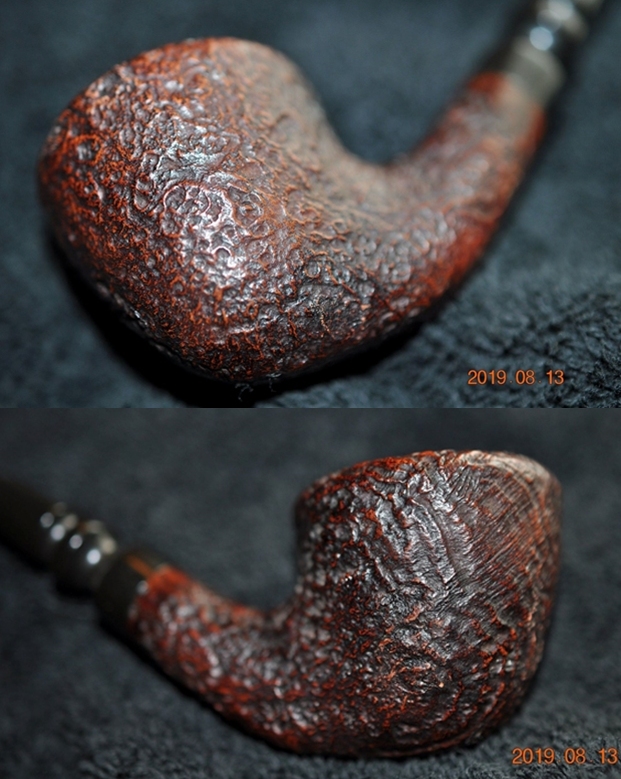
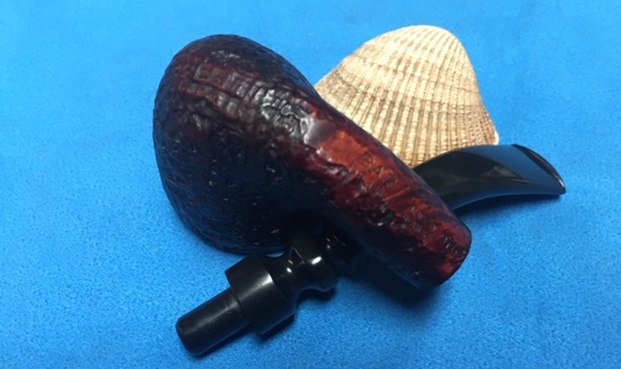
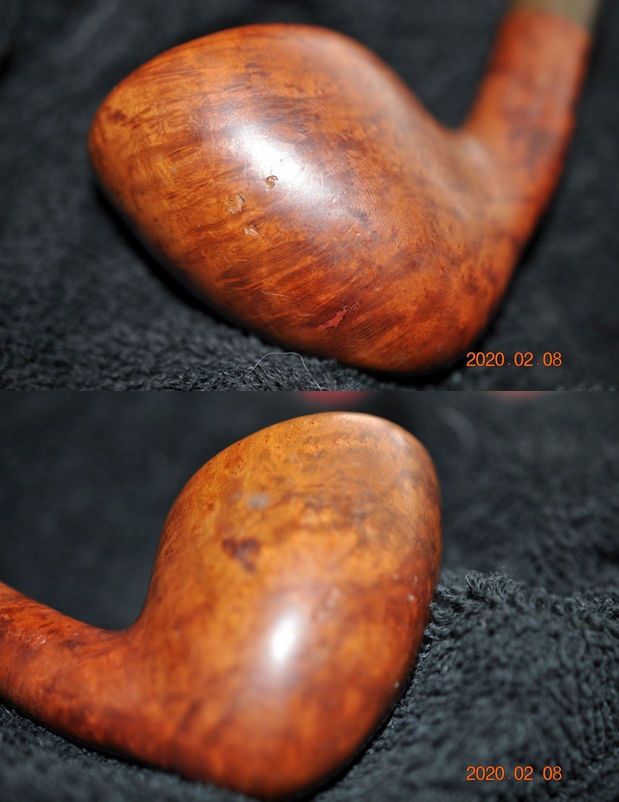
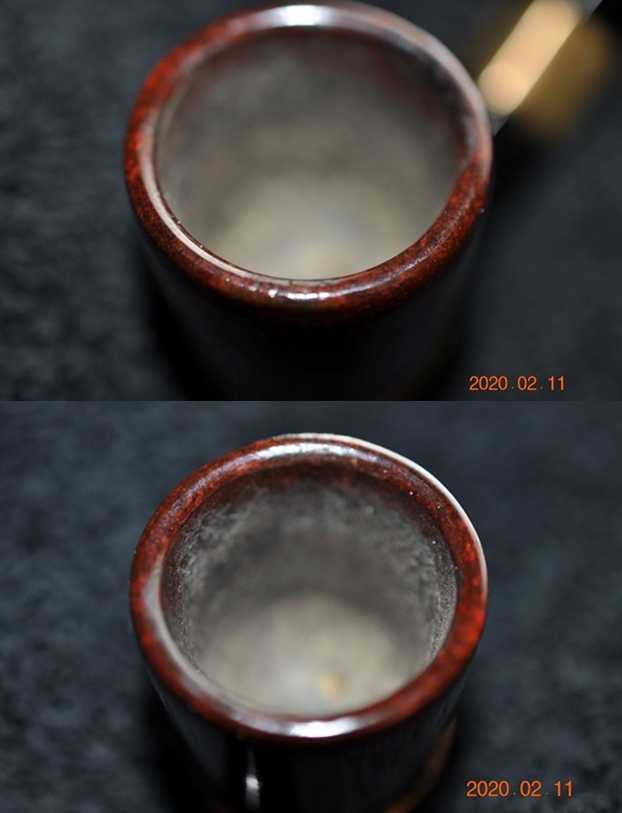 He took photos around the sides and heel of the bowl to show the condition. You can see the grime in the finish and the damage on the heel. It is primarily on the right side but goes across the ridge.
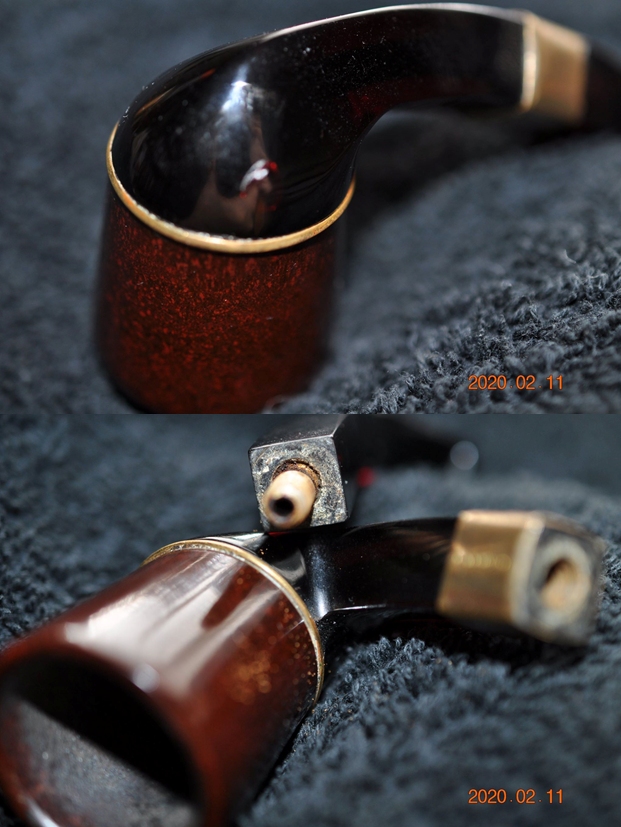
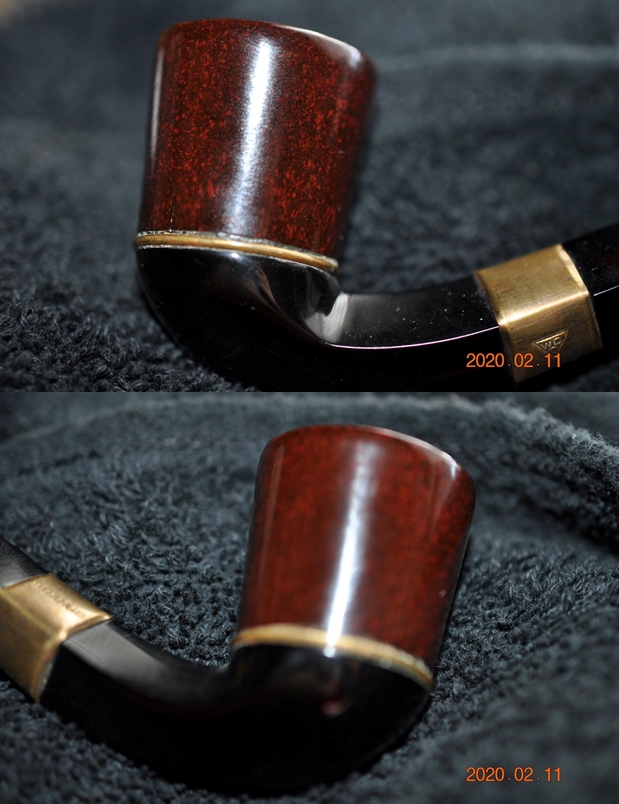
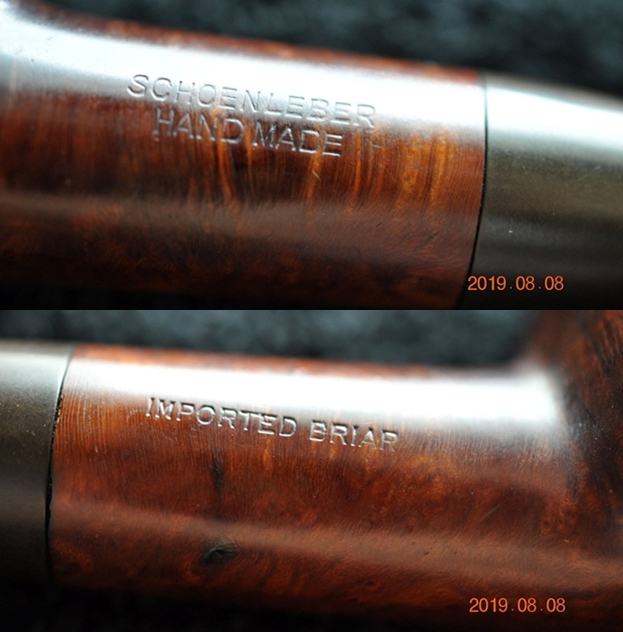
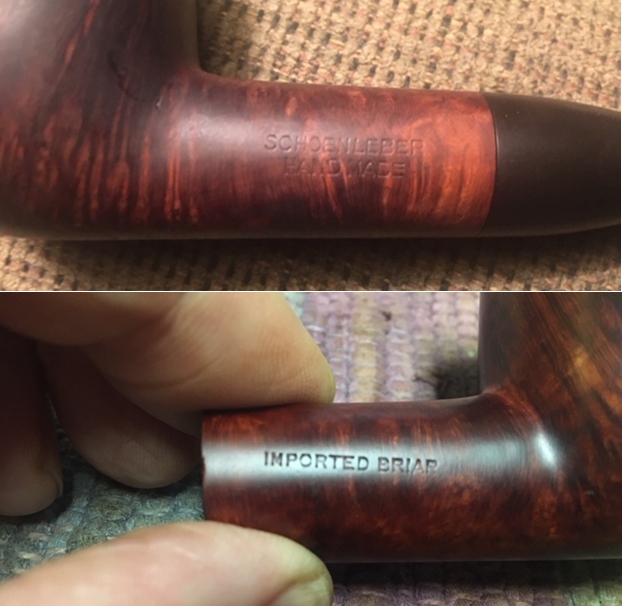
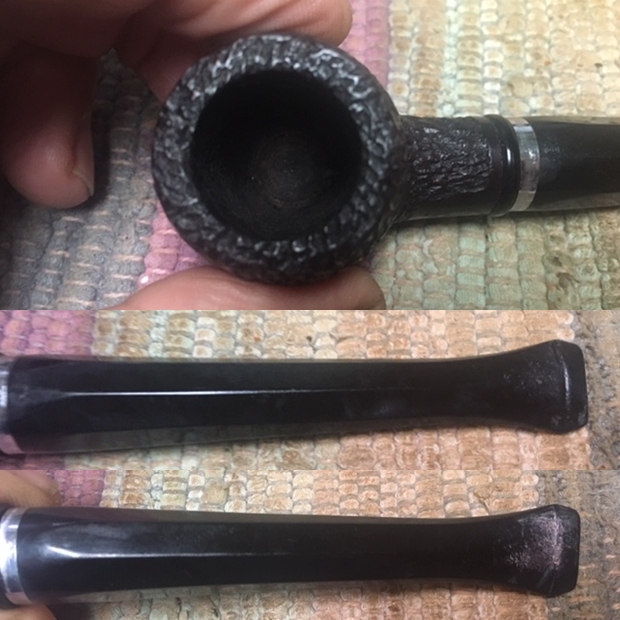
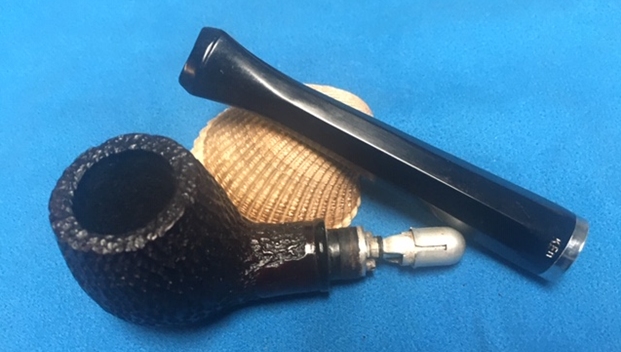
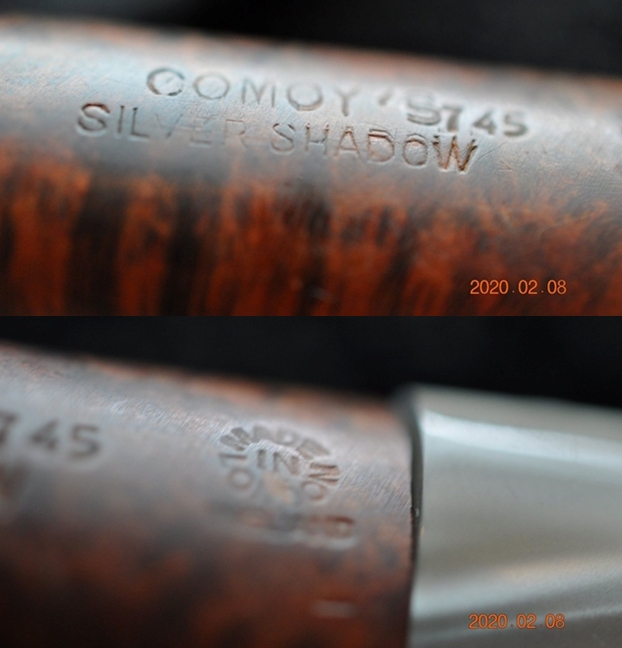
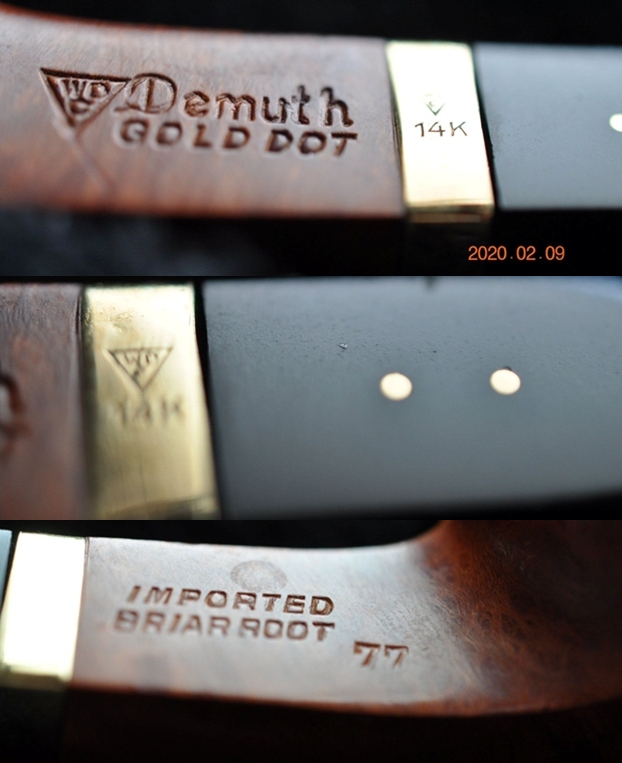
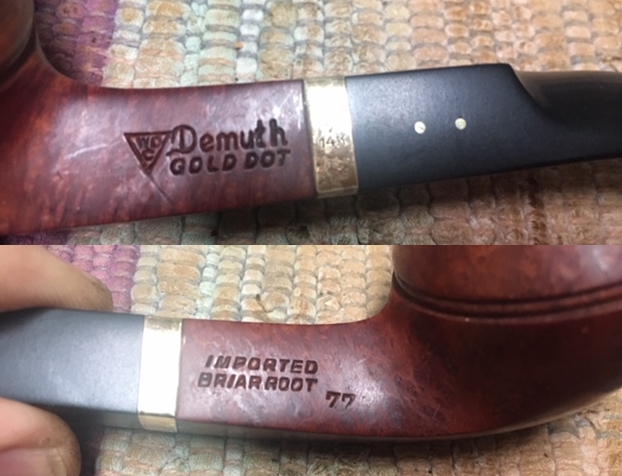
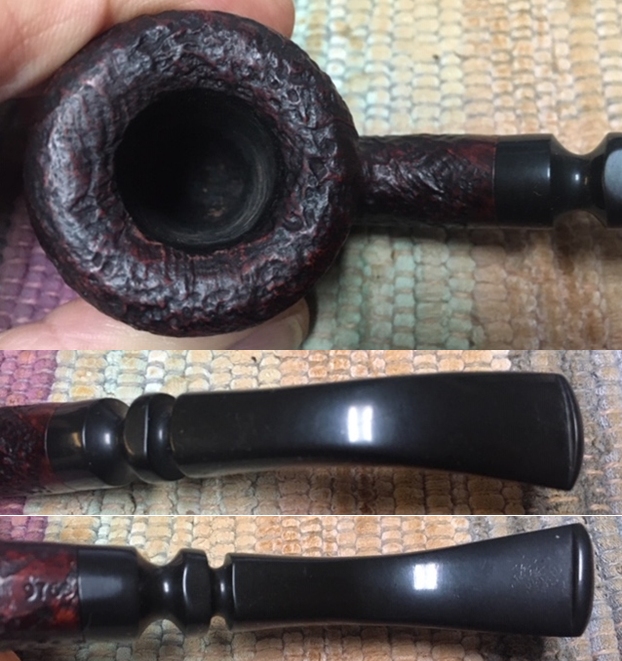
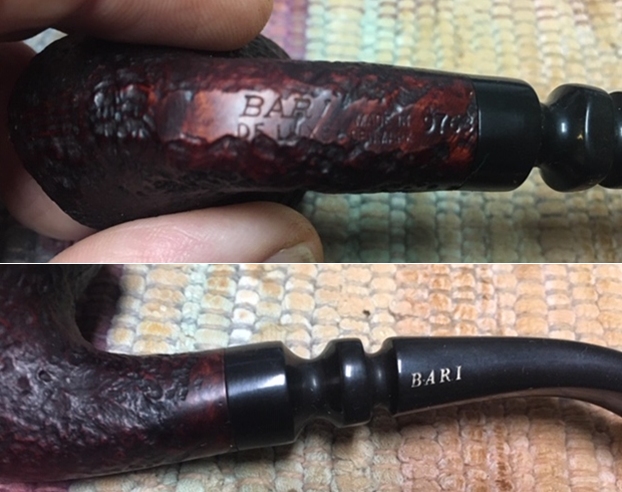
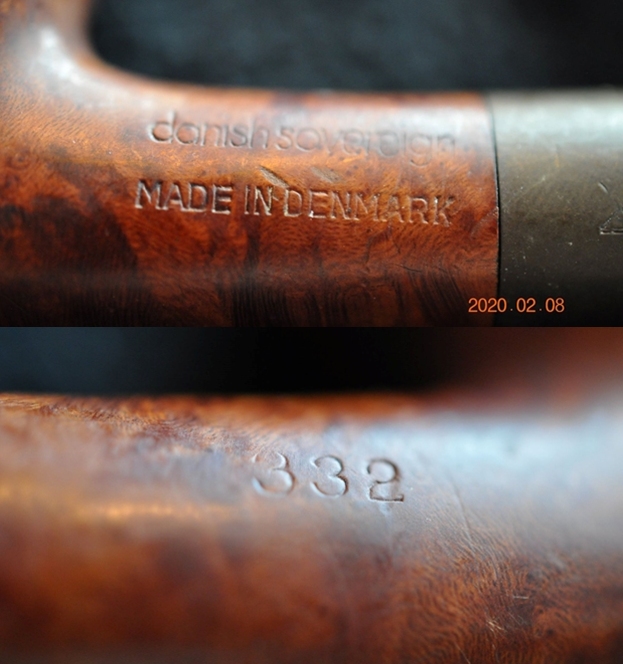
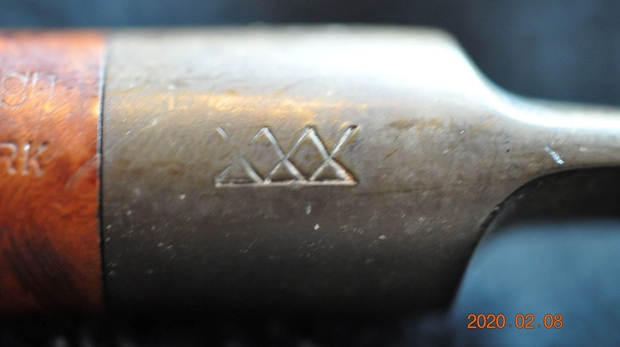
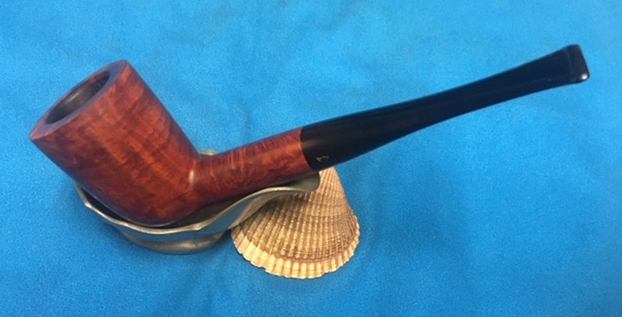
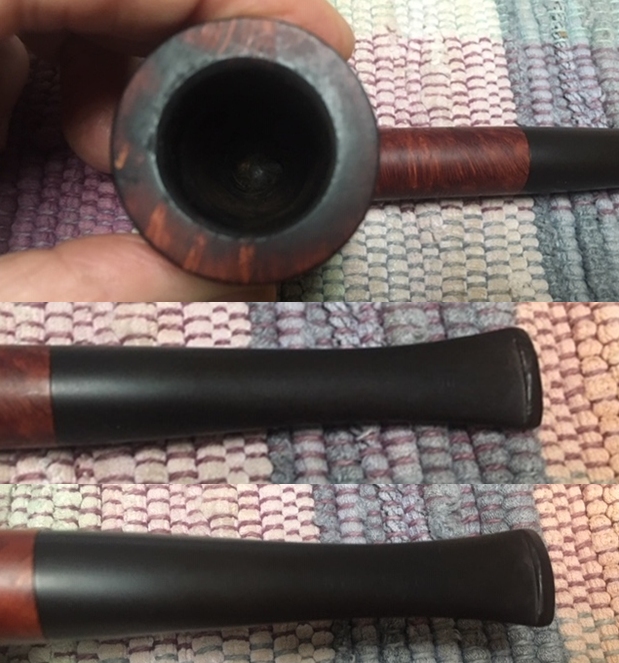
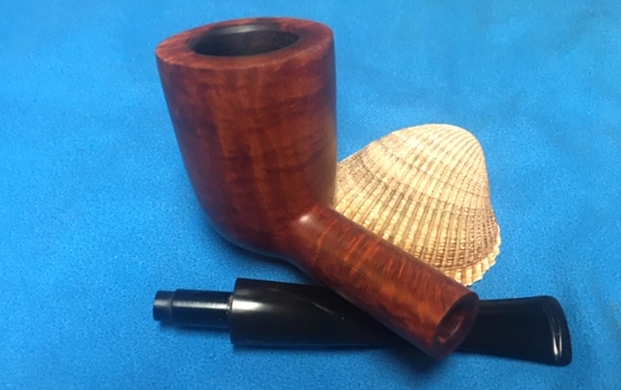
 He took photos of the stamping on the sides of the shank and the band. You can see that it is clear and readable. You can see the 14K stamp on the band and the two dots on the stem side.
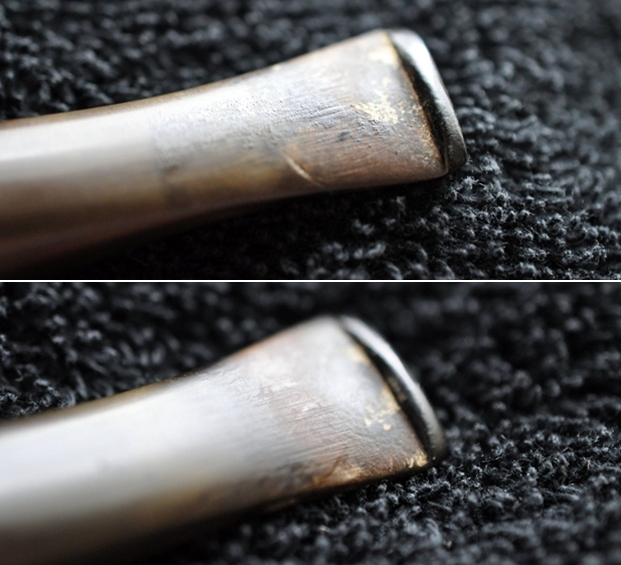
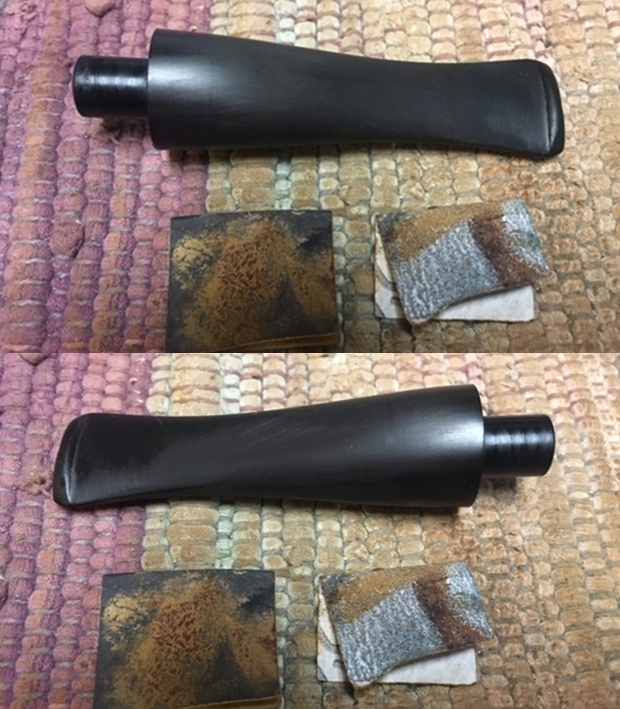
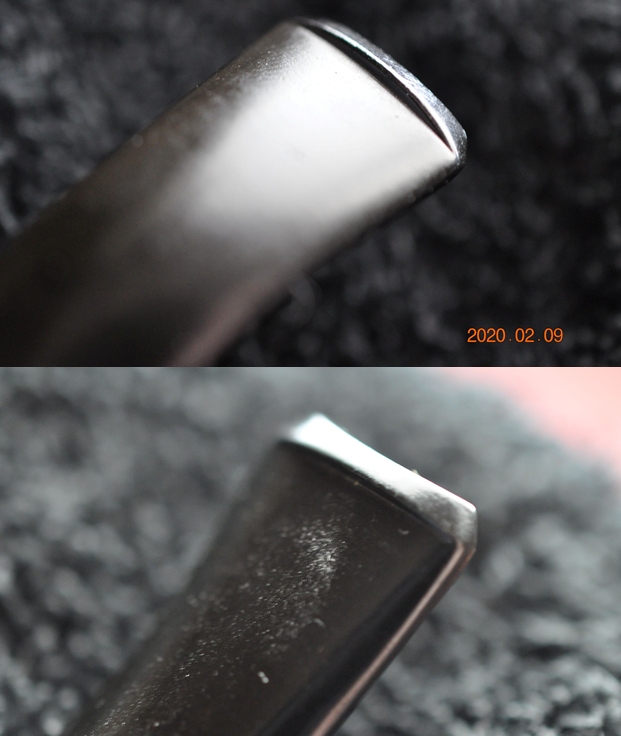
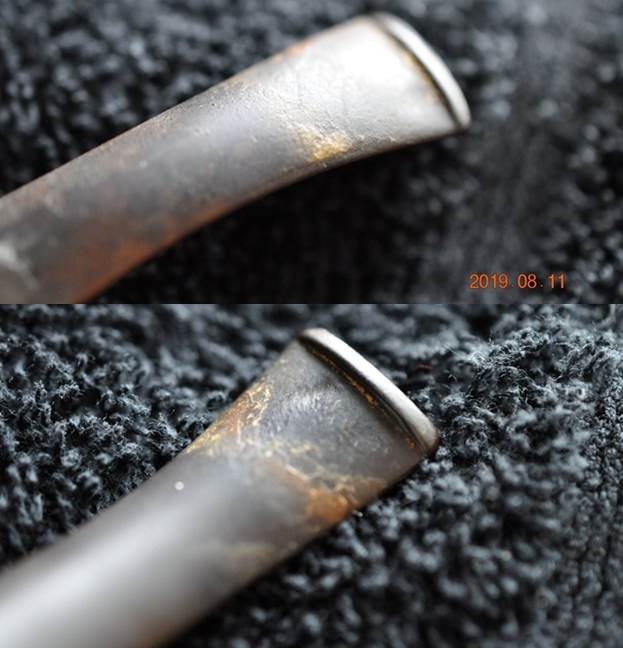
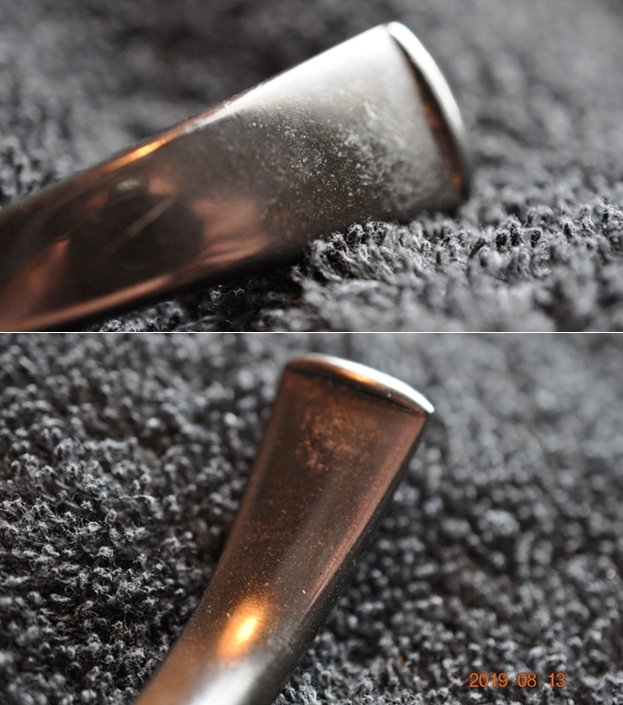
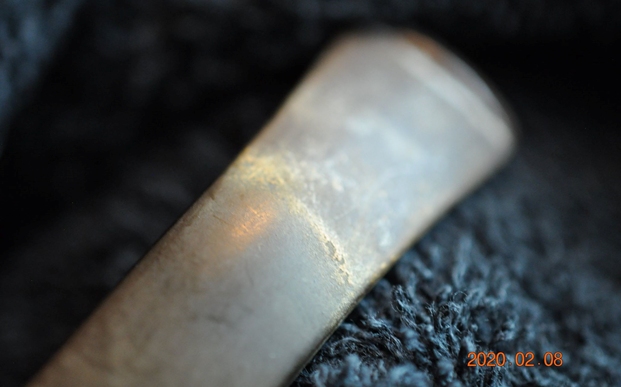
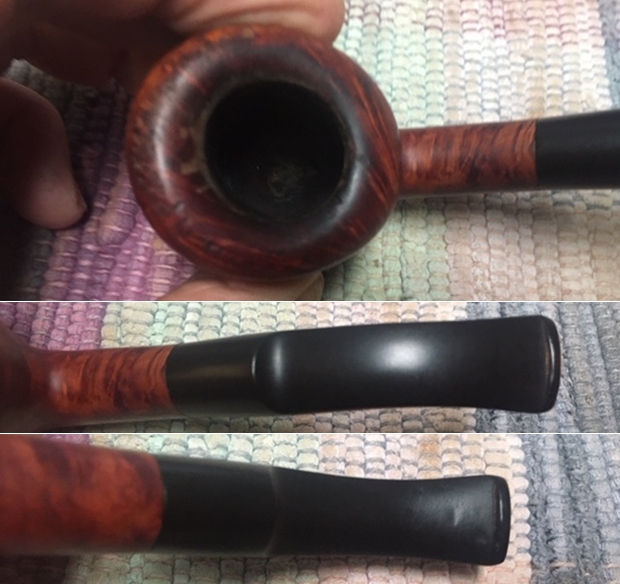
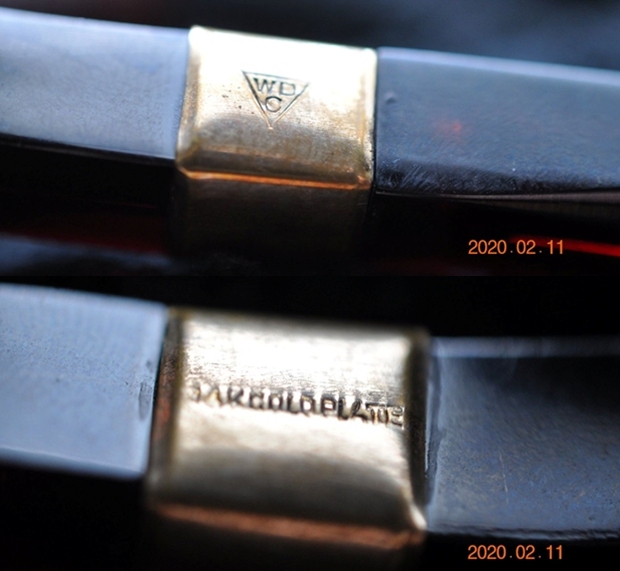 The next two photos show the condition of the stem. You can see that it is lightly oxidized and has some tooth chatter on the underside. Otherwise the stem is in very good condition.
 I turned to the article on Pipedia to see if I could find out any information on their Redmanol pipes (https://pipedia.org/wiki/William_Demuth_Company). Unfortunately while it gave a great summary of the history it did not give any information on the Redmanol line.
I turned to Pipephil.eu to see if there was any information about that line and there was nothing on that line there (http://www.pipephil.eu/logos/en/logo-w1.html).
I turned to Wikipedia for an article on Bakelite and Redmanol to remind myself of the connection between the companies (https://en.wikipedia.org/wiki/Bakelite).
As the sales figures also show, the Bakelite Company produced “transparent” cast resin (which did not include filler) for a small ongoing market during the 1910s and 1920s.[11]:172–174 Blocks or rods of cast resin, also known as “artificial amber”, were machined and carved to create items such as pipe stems, cigarette holders and jewelry.[11][12] However, the demand for molded plastics led the Bakelite company to concentrate on molding, rather than concentrating on cast solid resins.[11]:172–174…
…The Bakelite Corporation was formed in 1922 after patent litigation favorable to Baekeland, from a merger of three companies: Baekeland’s General Bakelite Company; the Condensite Company, founded by J.W. Aylesworth; and the Redmanol Chemical Products Company, founded by Lawrence V. Redman.[13] Under director of advertising and public relations Allan Brown, who came to Bakelite from Condensite, Bakelite was aggressively marketed as “the material of a thousand uses”.[7]:58–59[14] A filing for a trademark featuring the letter B above the mathematical symbol for infinity was made August 25, 1925, and claimed the mark was in use as of December 1, 1924. A wide variety of uses were listed in their trademark applications.[15]
I also read a brief article on Redmanol on Wikipedia and the link was clear as the companies joined in 1922 (https://en.wikipedia.org/wiki/Redmanol_Chemical_Products_Company).
Redmanol Chemical Products Company was an early plastics manufacturer formed in 1913. Lawrence V. Redman was its president. In 1922, the Redmanol Company, the Condensite Company of America, and General Bakelite were consolidated into the Bakelite Corporation.[1]
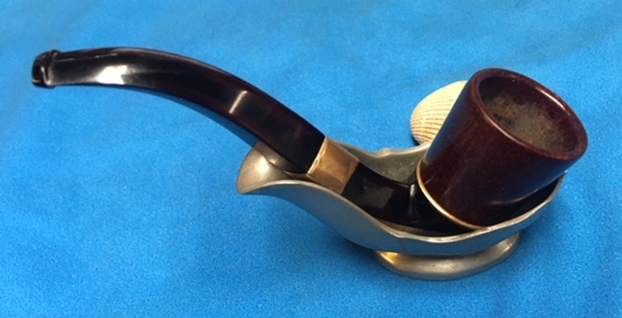
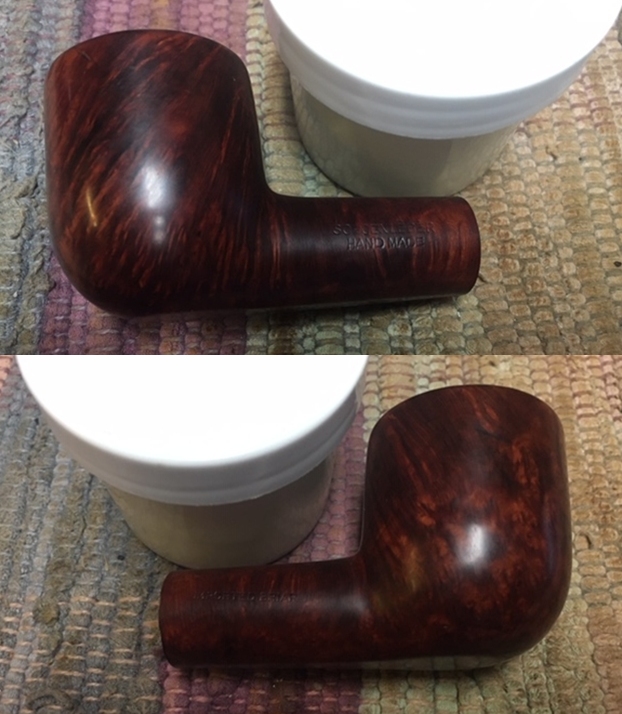
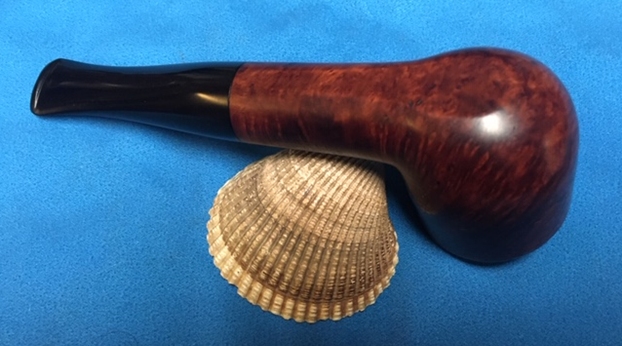
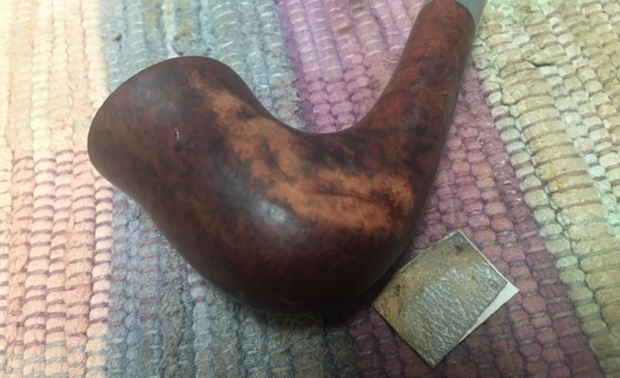
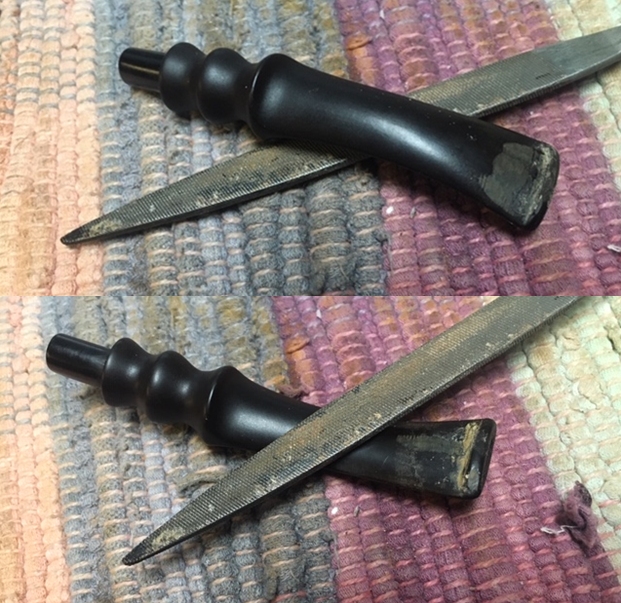
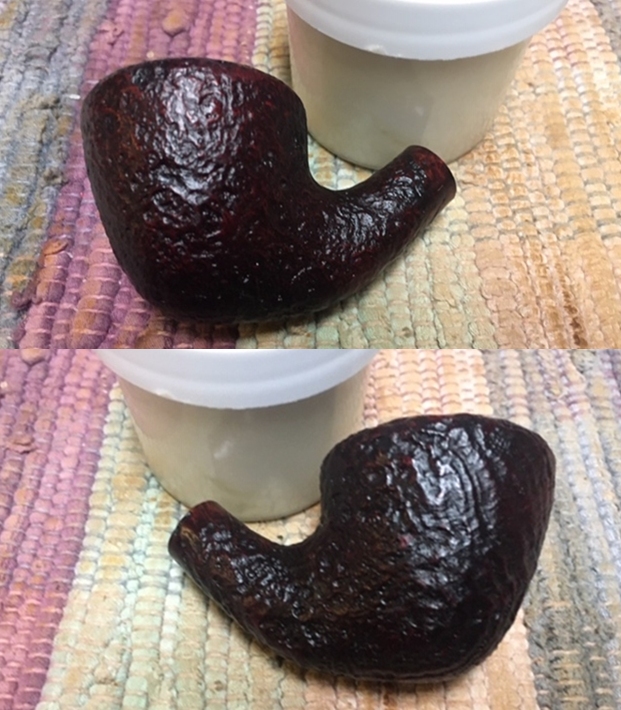
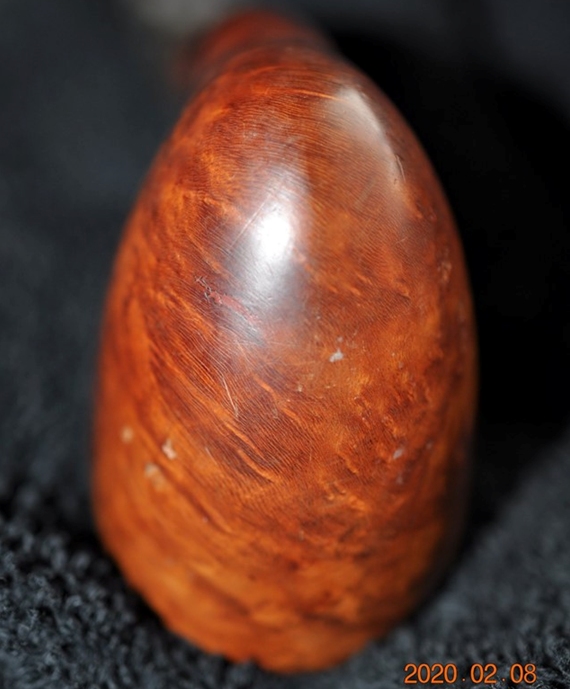
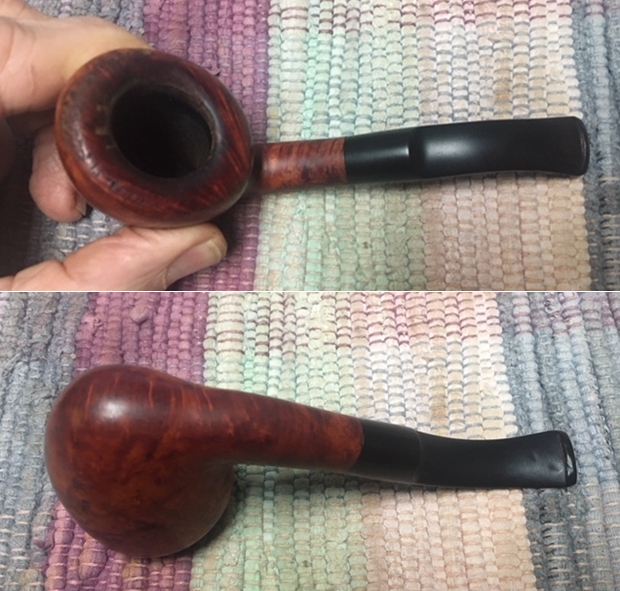
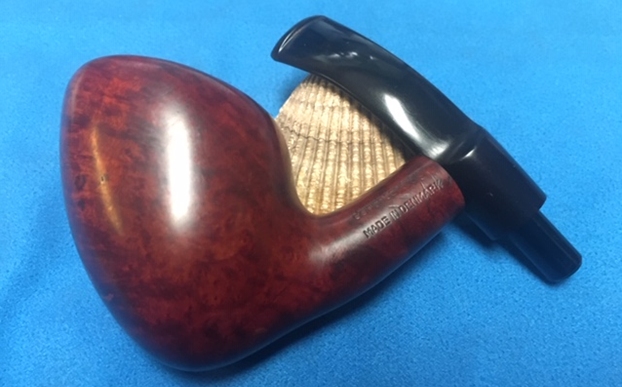
It is definitely a interesting piece of pipe history. Armed with that information and a clearer picture of the original pipe and what it was made out of I turned to work on it. Jeff had done a great job cleaning up the pipe as usual. He reamed the pipe with a PipNet reamer and cake from the walls of the bowl. He cleaned up any remnants of cake with a Savinelli Fitsall Pipe Knife. He scrubbed the interior of the bowl and shank with pipe cleaners, cotton swabs and alcohol to remove the tars and oils. He scrubbed the exterior of the pipe with Murphy’s Oil Soap and a tooth brush to remove the grime from the finish. He was not able to remove the bowl from the base so a thorough cleaning of the base was not possible. He worked on the rim edge lava and darkening with the soap and tooth brush. He scrubbed the inside of the stem with alcohol and pipe cleaners. He scrubbed the exterior with Soft Scrub and washed it off with warm water to remove the cleanser. The pipe looked far better. I took photos of the pipe when I received it before I started working on it.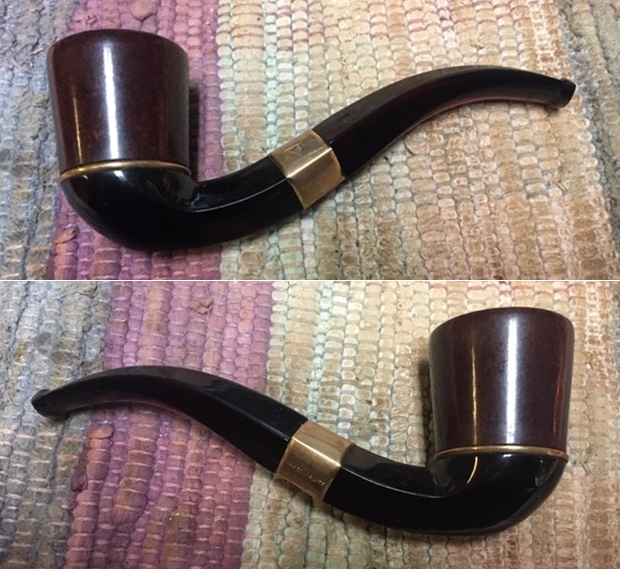
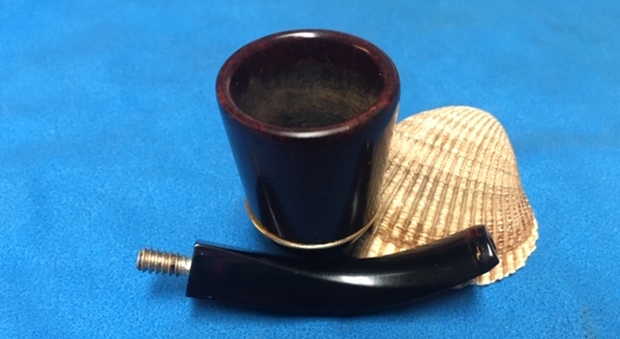
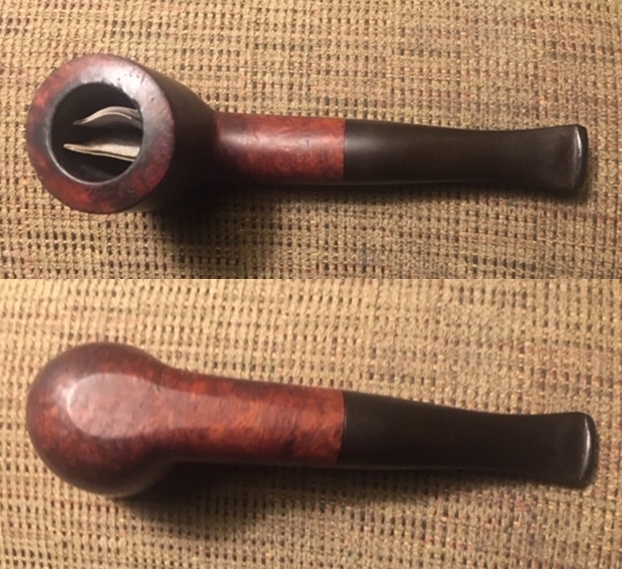
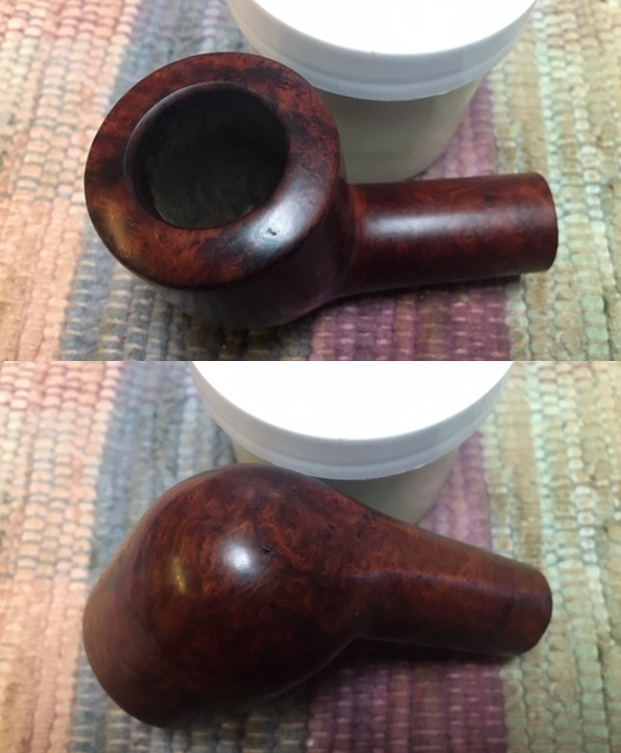
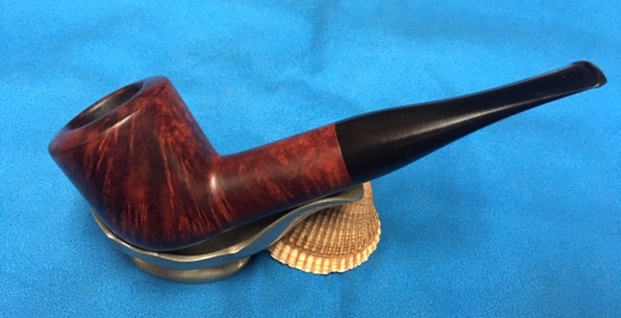
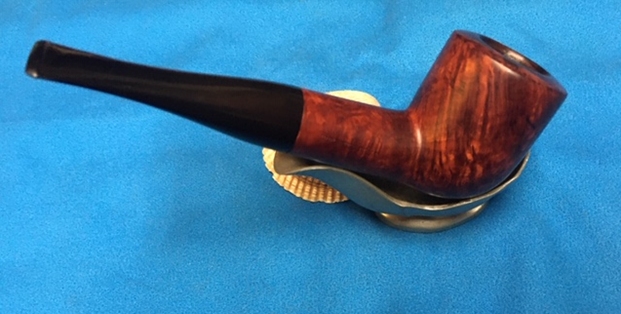
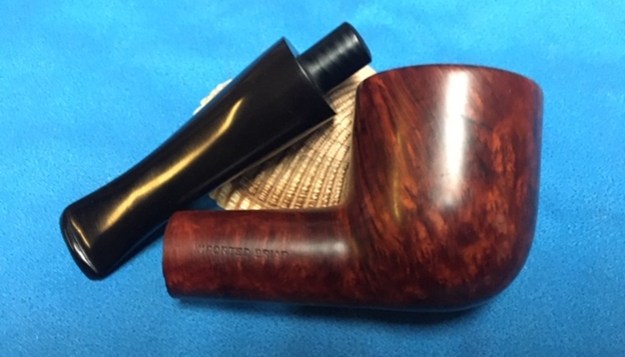
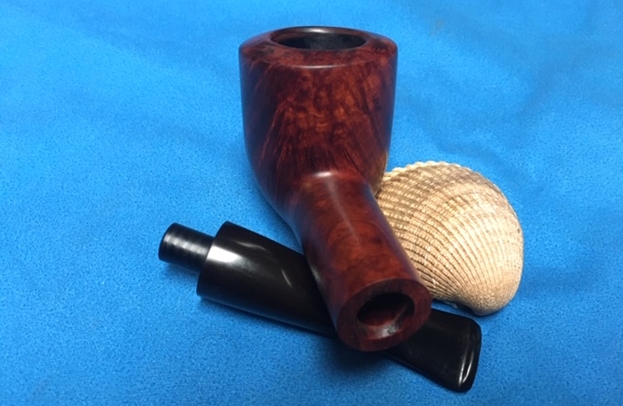
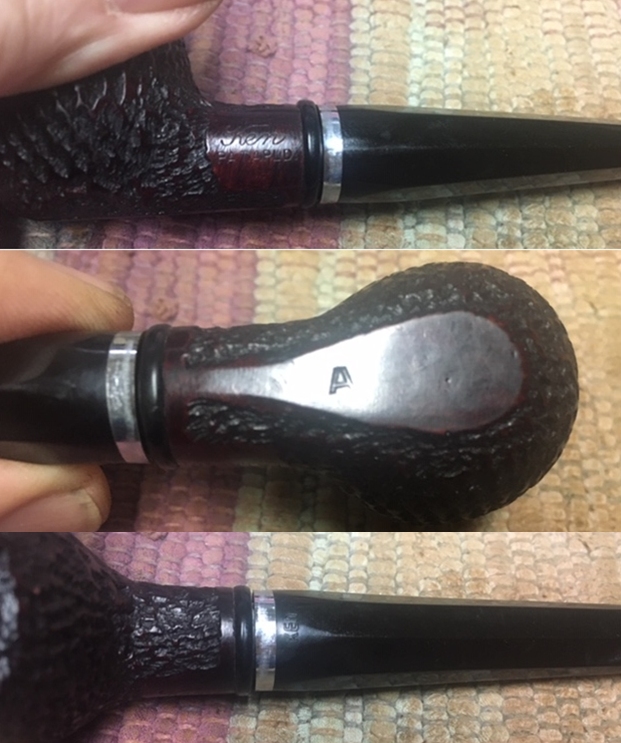
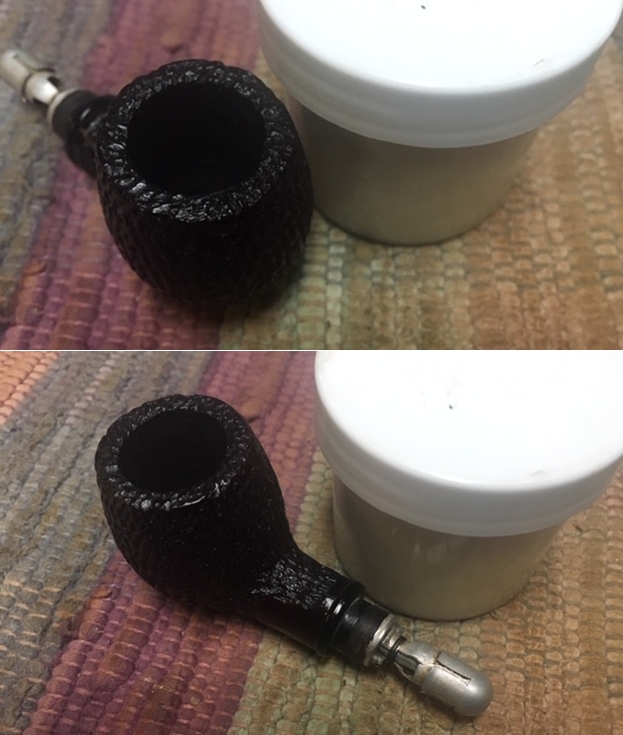
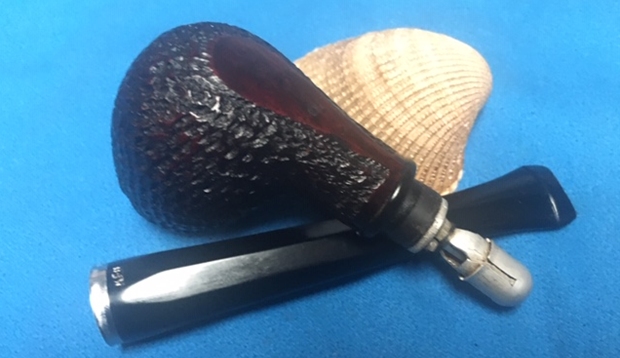
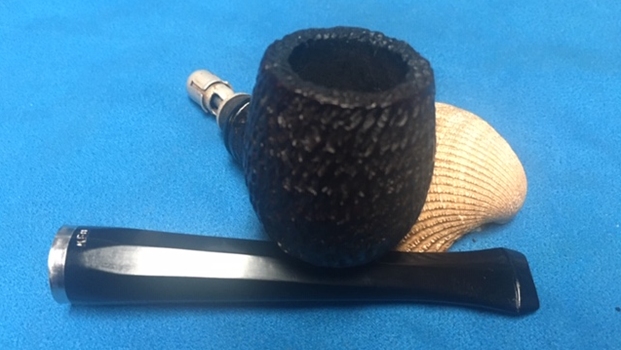
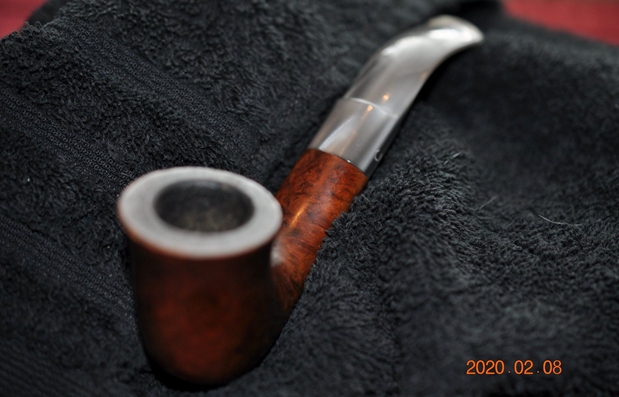
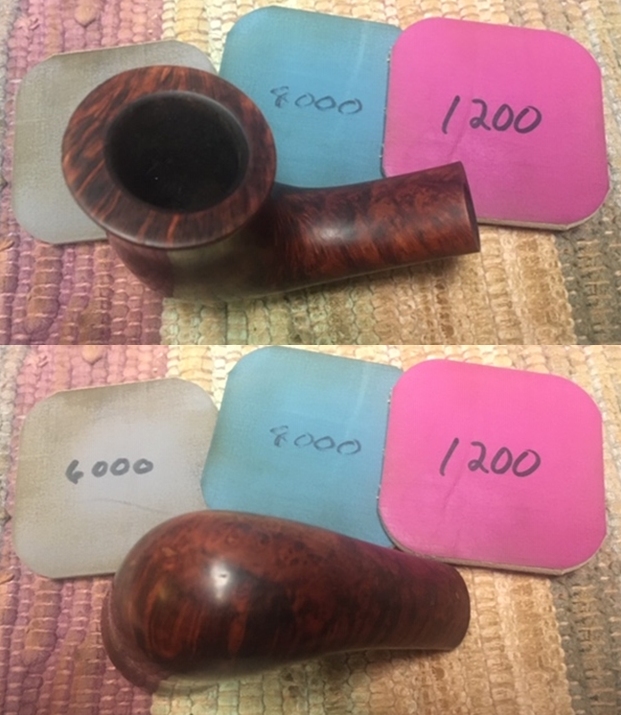
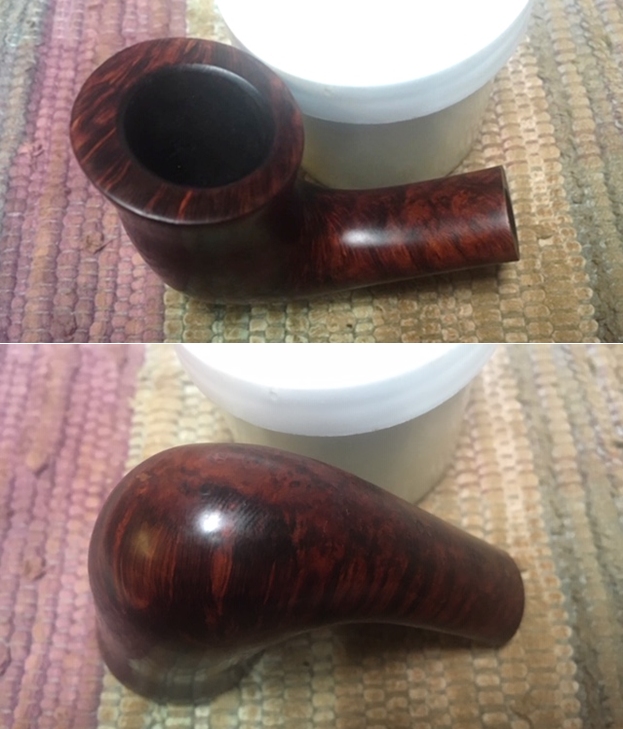
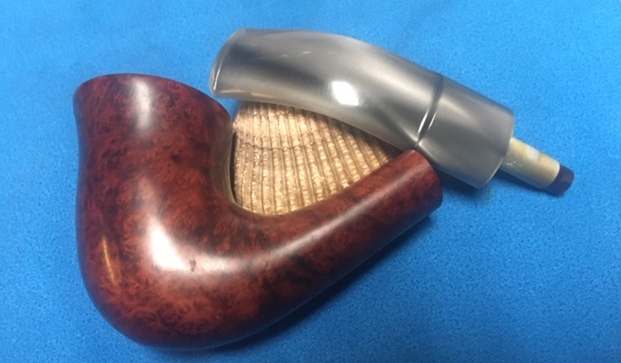
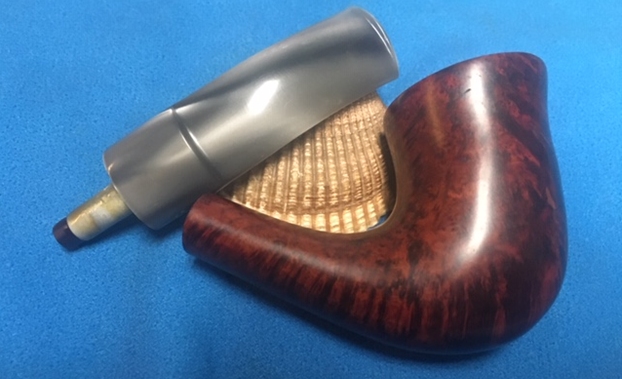
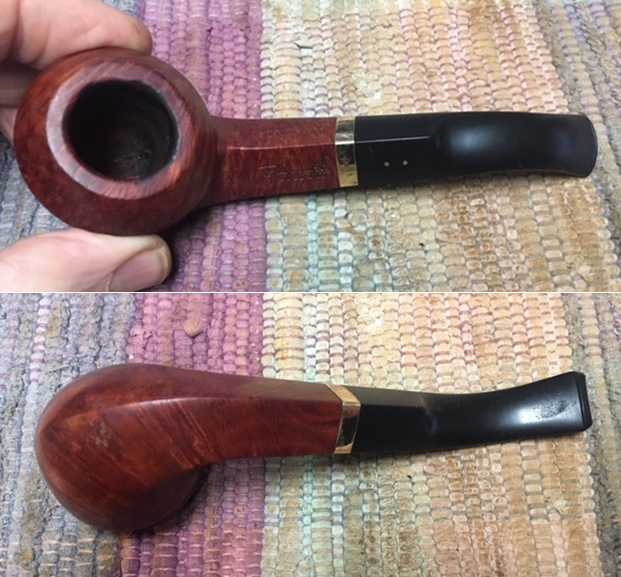
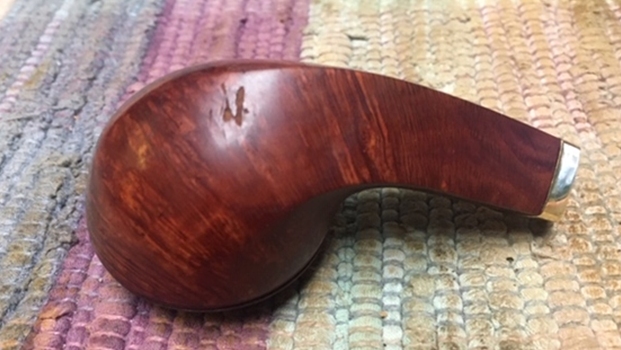
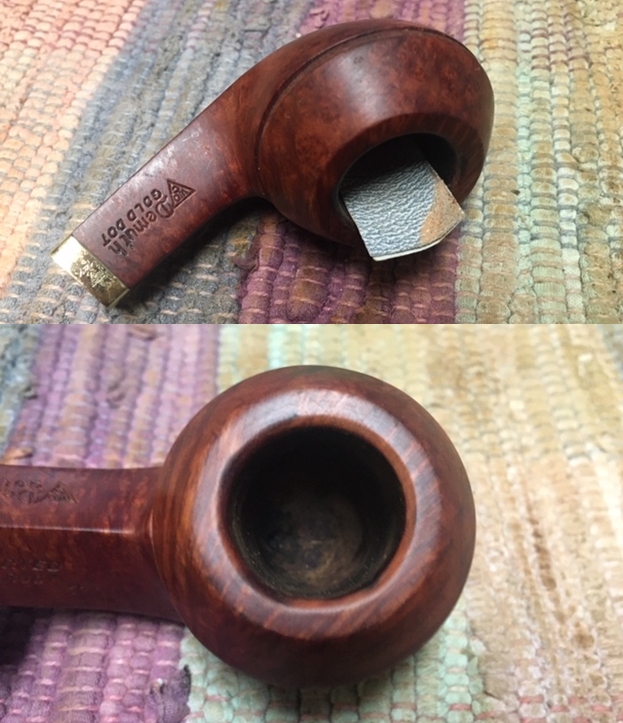
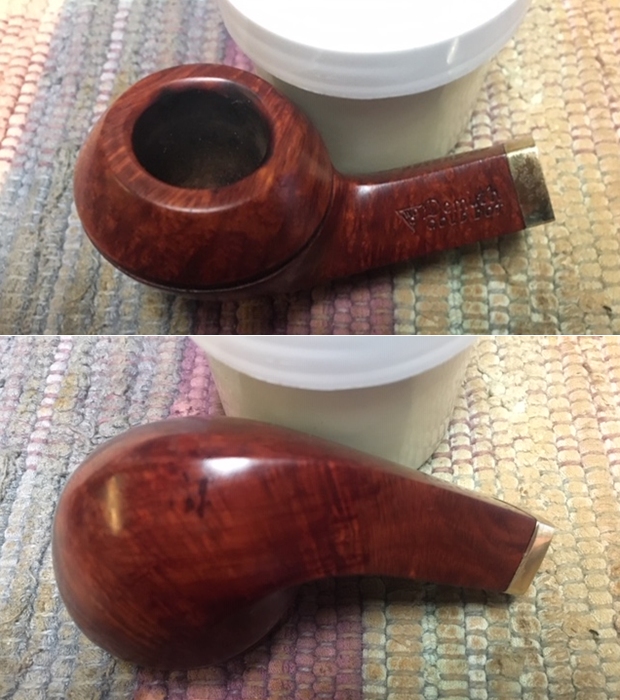
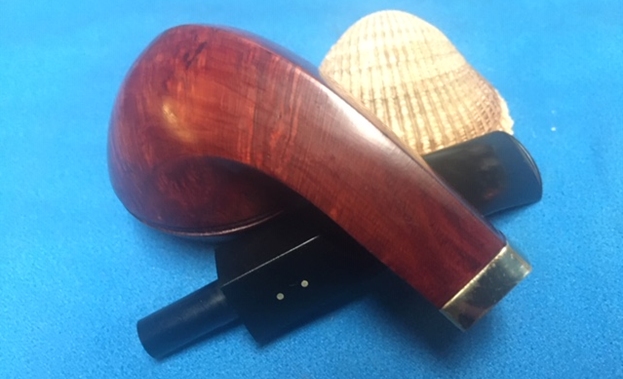
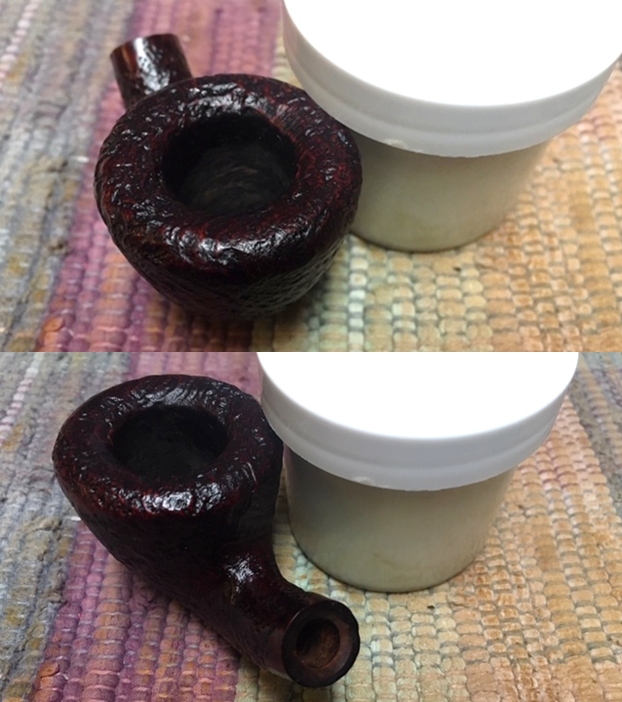
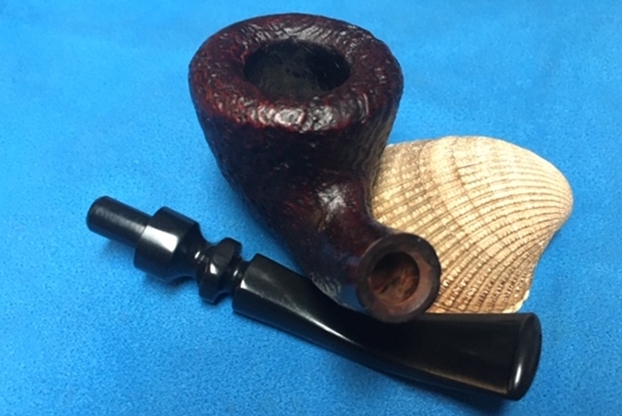
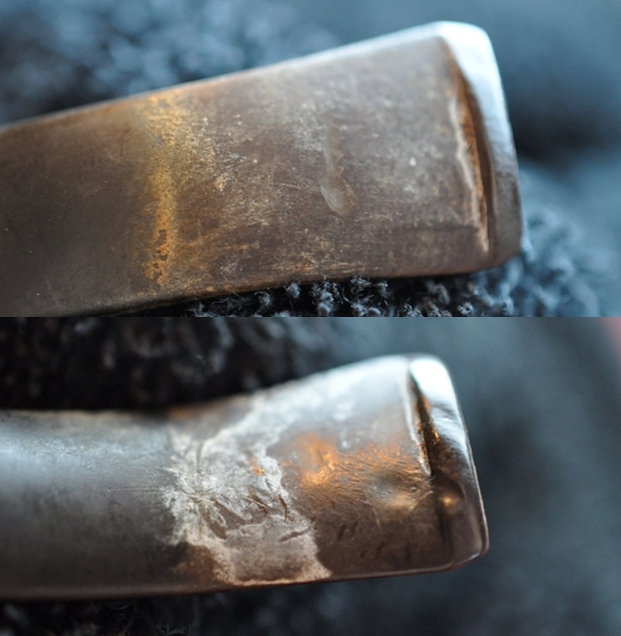
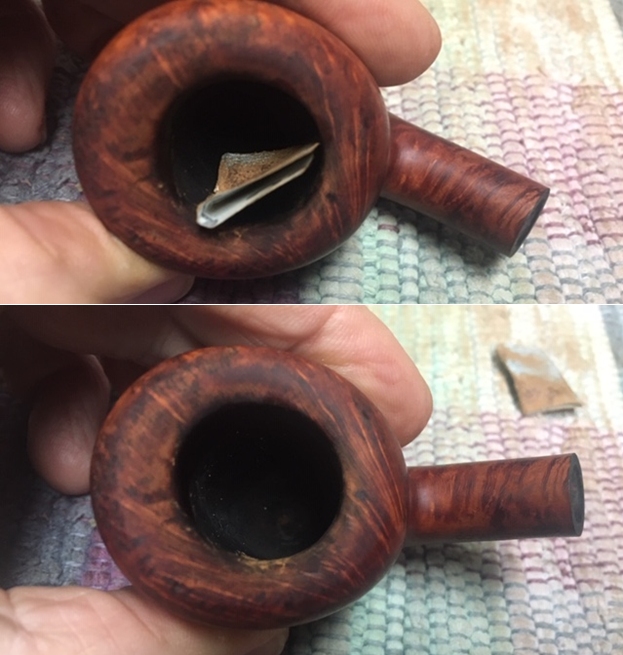
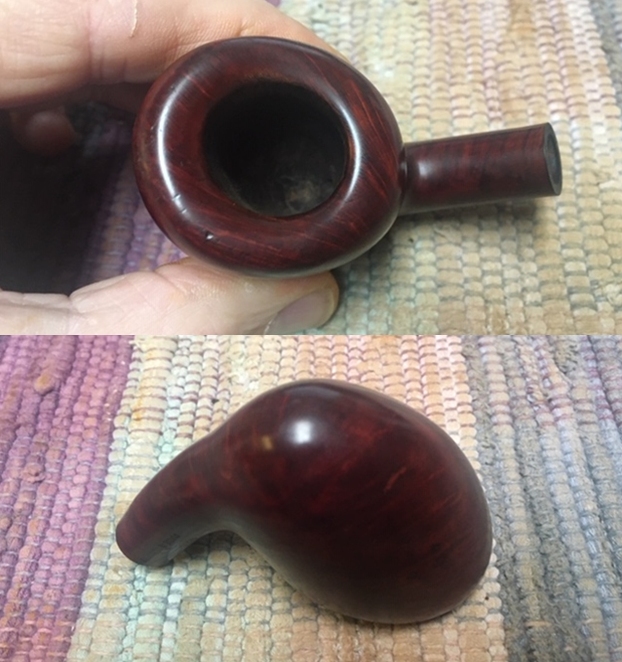
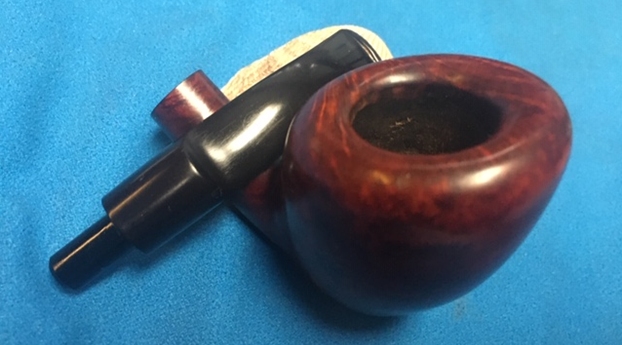
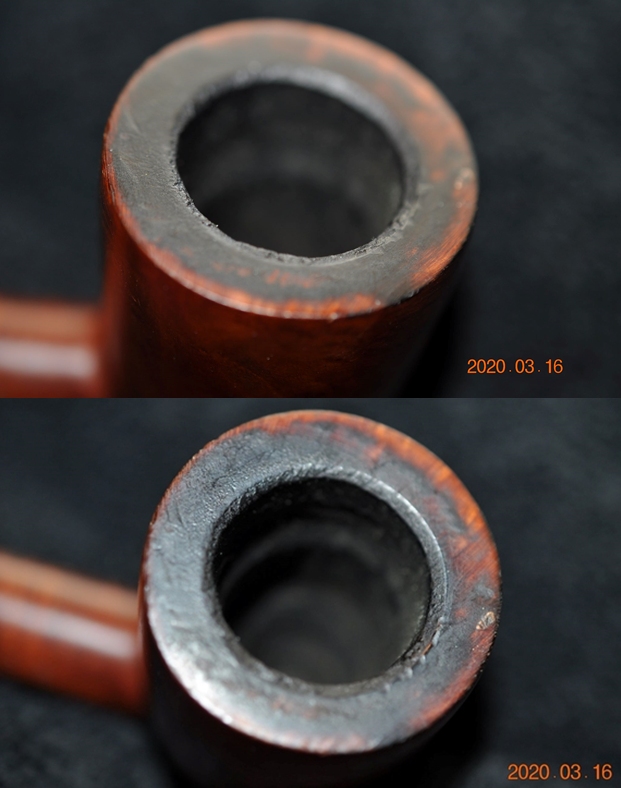
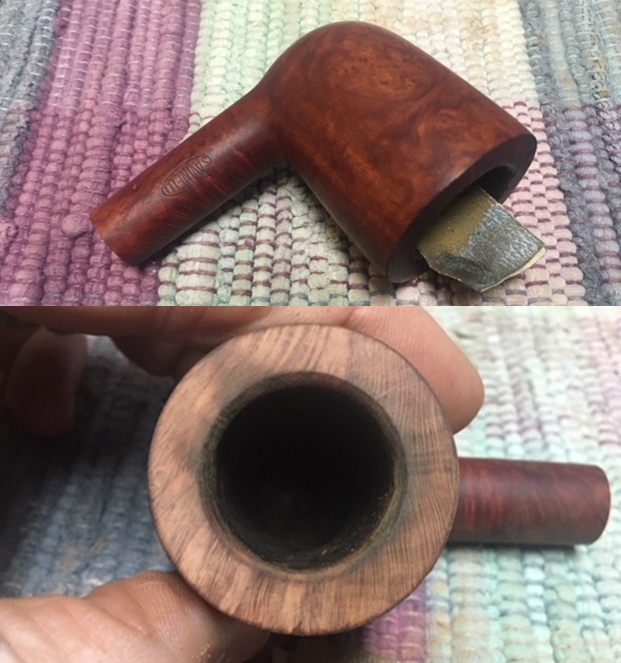
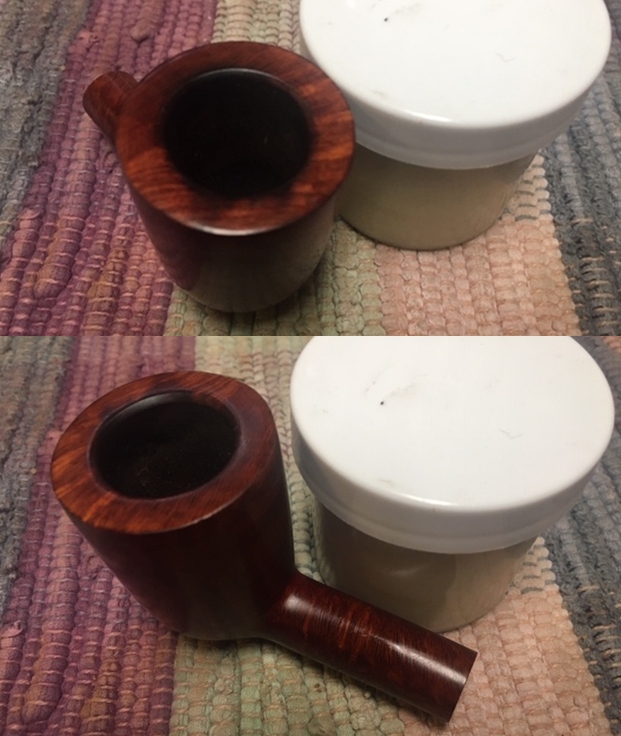
 I took photos of the bowl and rim top as well as the stem to show how clean they were. You can the roughness on the top edges of the rim. You can also see the twin holes in the bottom of the bowl and see that they are clogged. I was not able to blow air through the shank and bowl. The stem looks clean and the tooth chatter is fairly light.
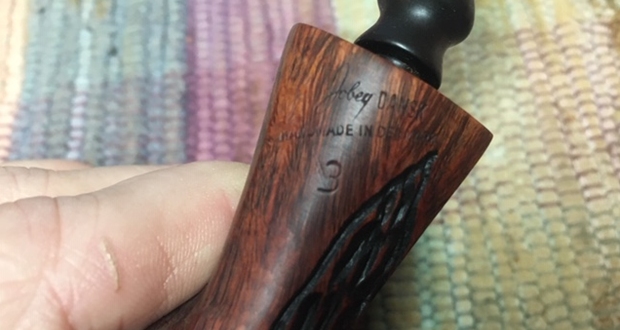
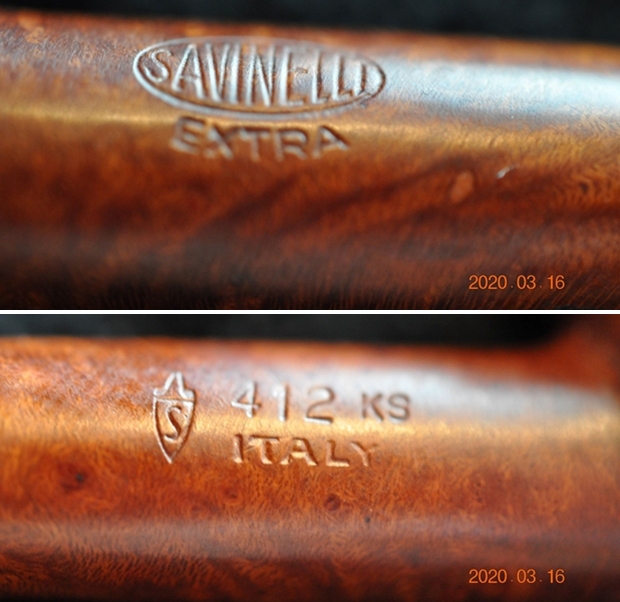
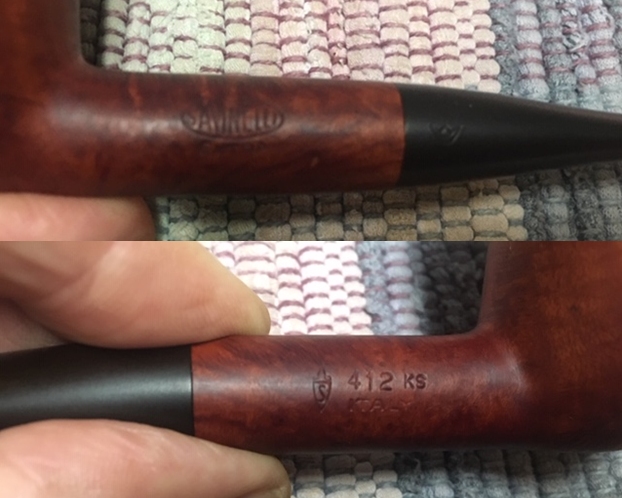
 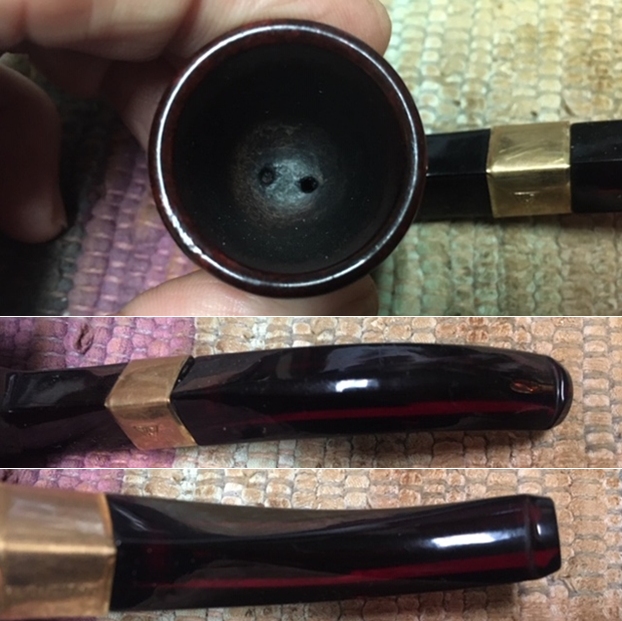 I took photos of the stamping on the shank band. It reads as noted above.
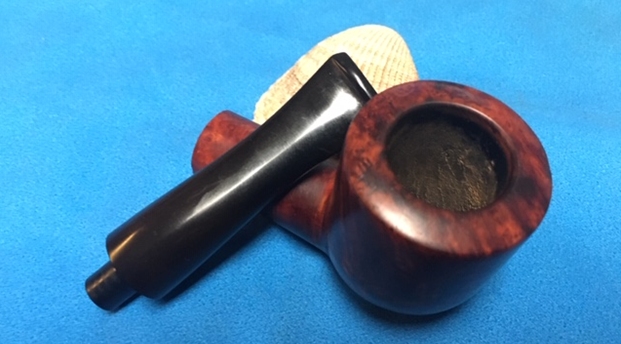
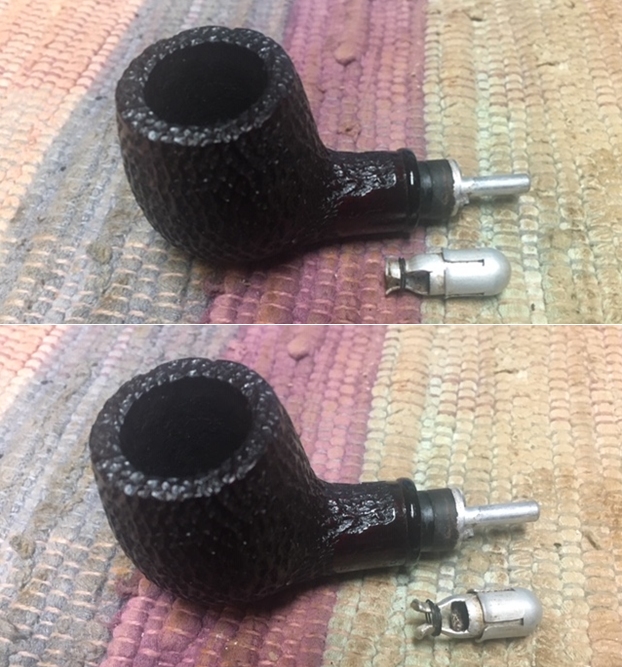
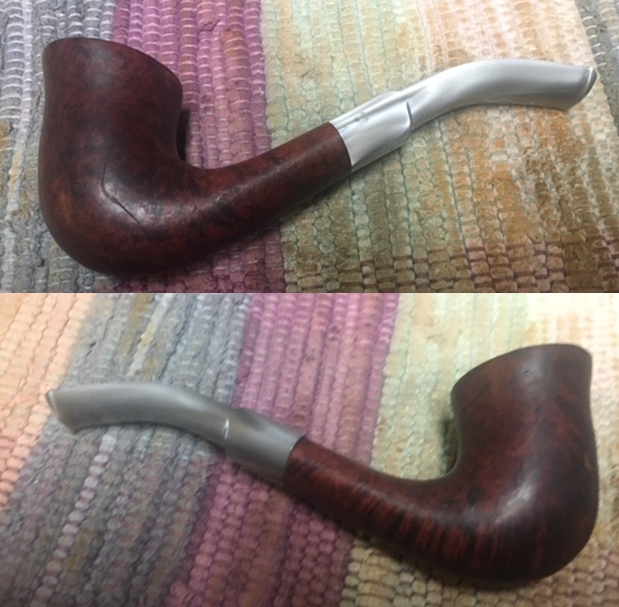
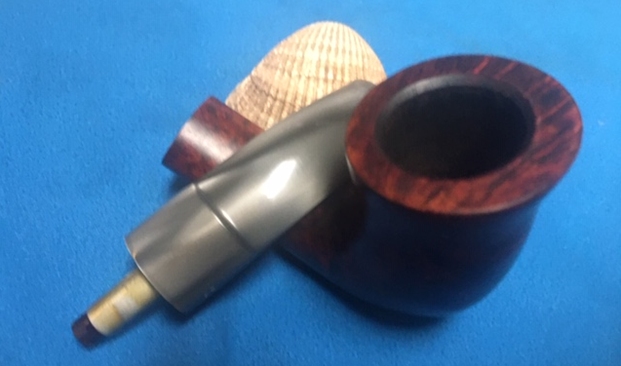
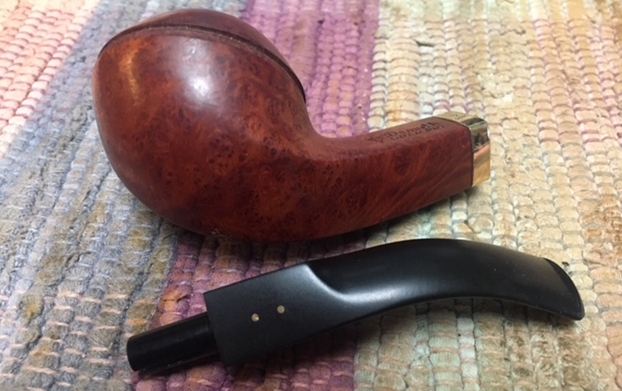
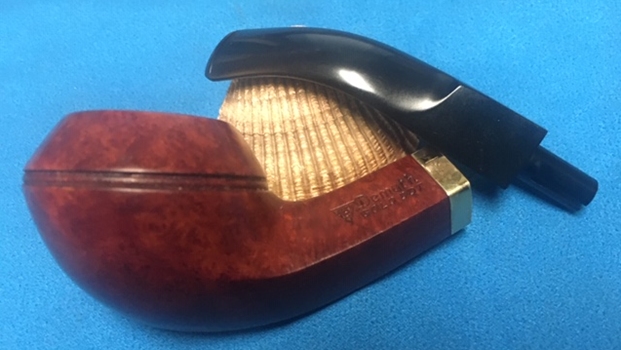
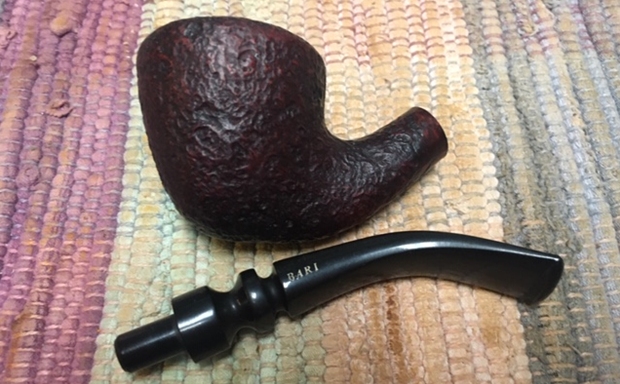
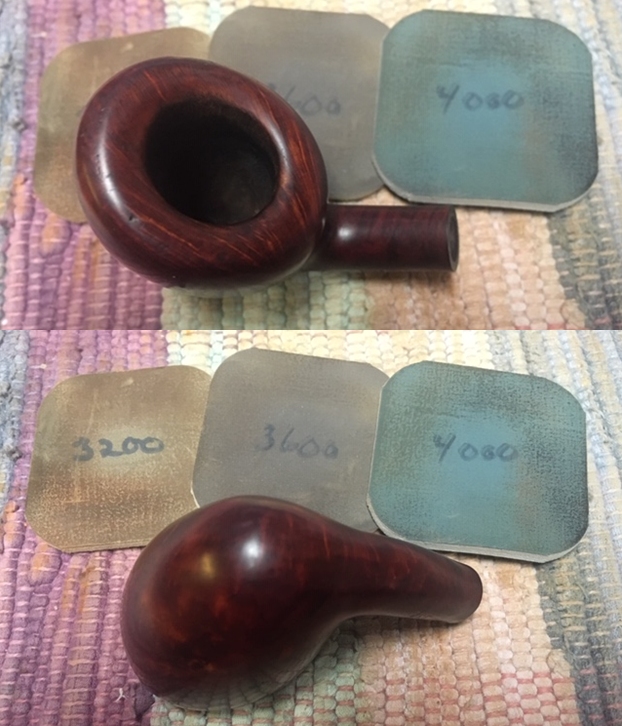
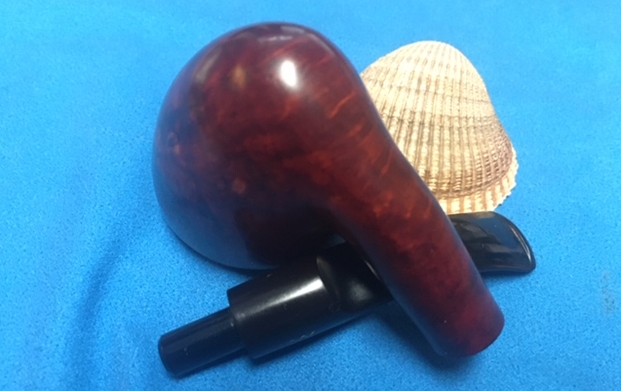
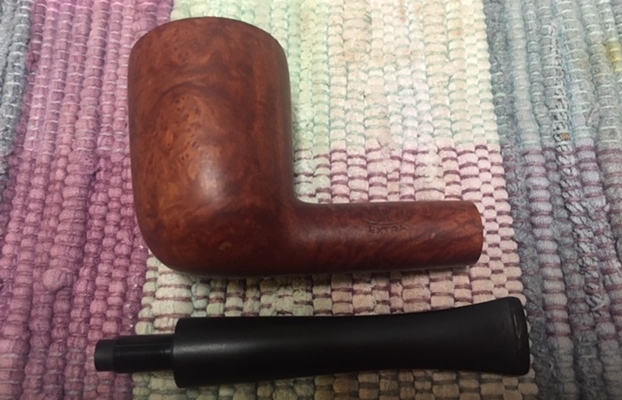
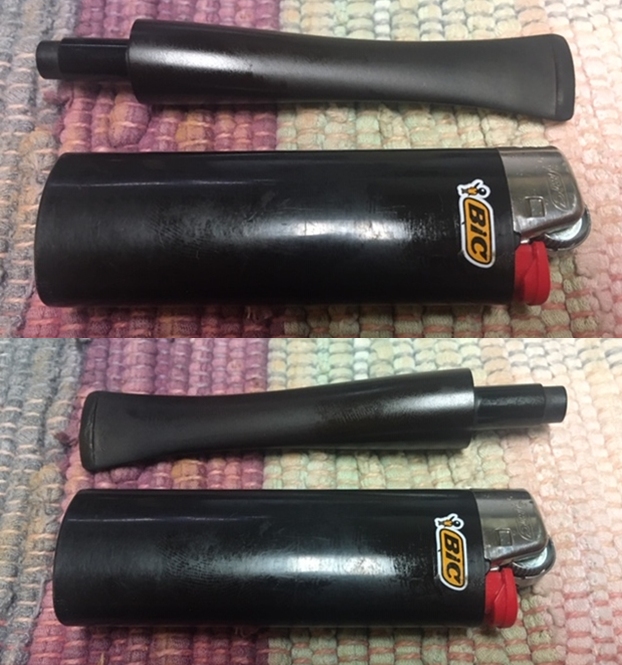
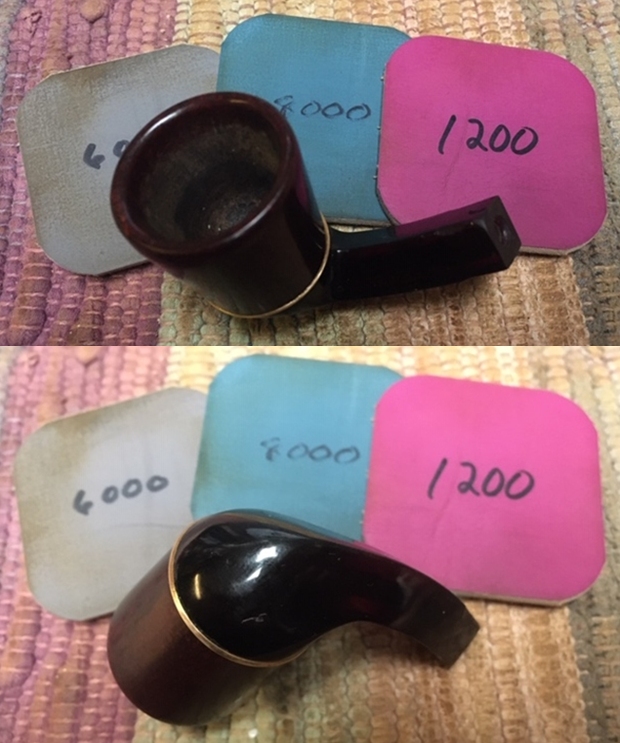
  I took a photo of the pipe with the stem removed to show the overall look of stem, tenon and profile of the pipe. I noted that the tenon is metal and is threaded to match the threads in the mortise of the shank. At this point I could not remove the bowl from the base.
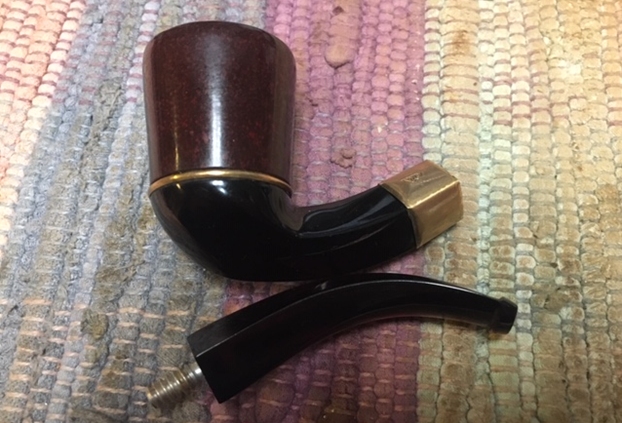 I decided to start my work on the pipe by dealing with the bowl. I cleaned out the base as best as possible by running alcohol through the holes in the bottom of the bowl and shaking the pipe to try to flush out the grim in the base. You can see from the pipe cleaners that I removed a lot of grime that way. I put a cotton swab in the shank and filled the bowl with alcohol and let it soak for several hours. The bowl is still stuck solid. I think that it was probably glued in place by someone along the course of its life. I decided to finish cleaning out the base as much as possible and leave the bowl and base as is.
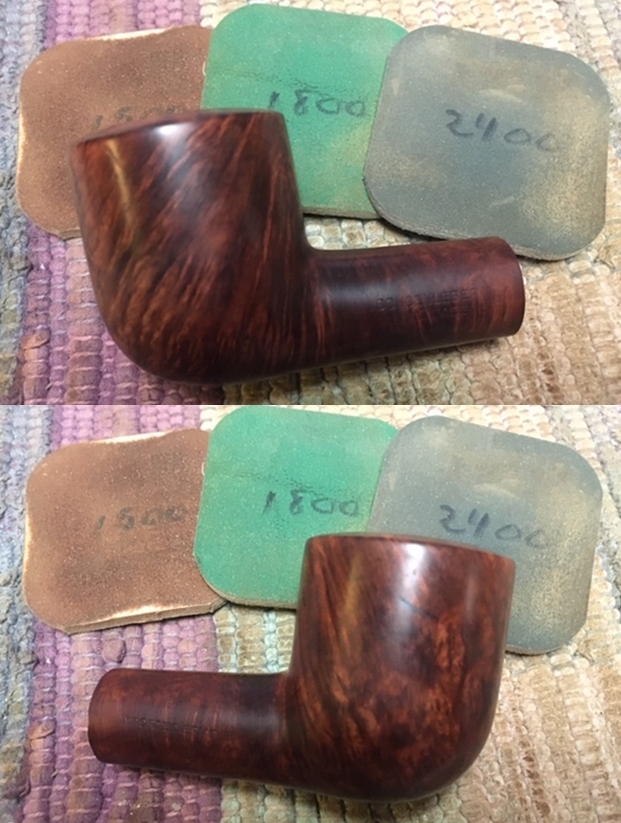
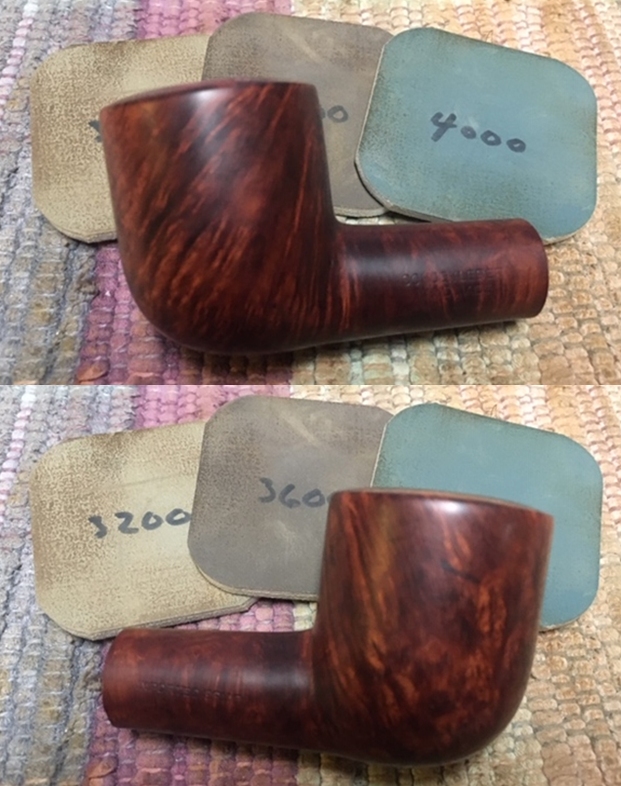
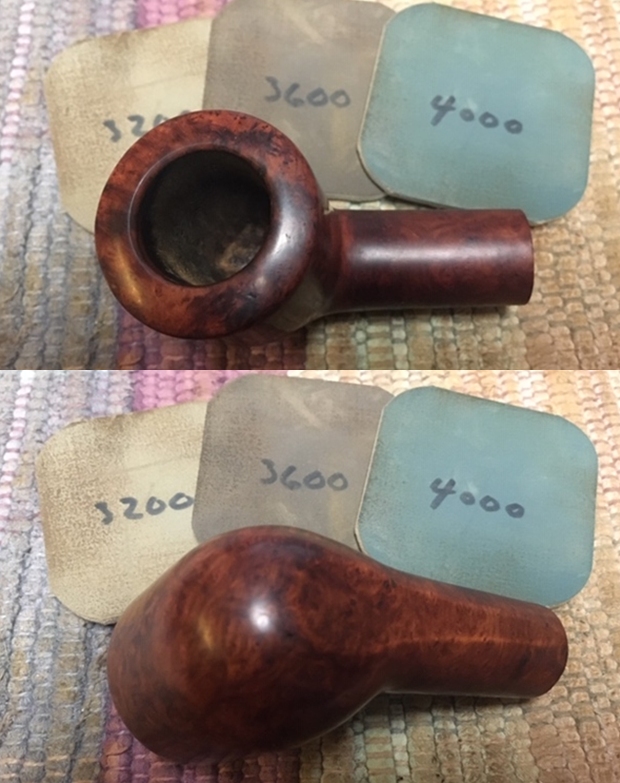
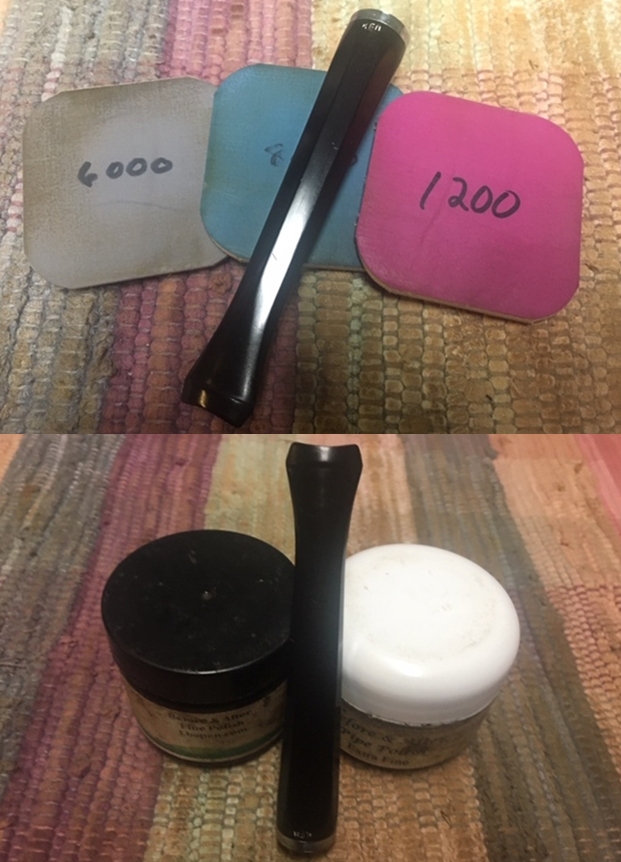
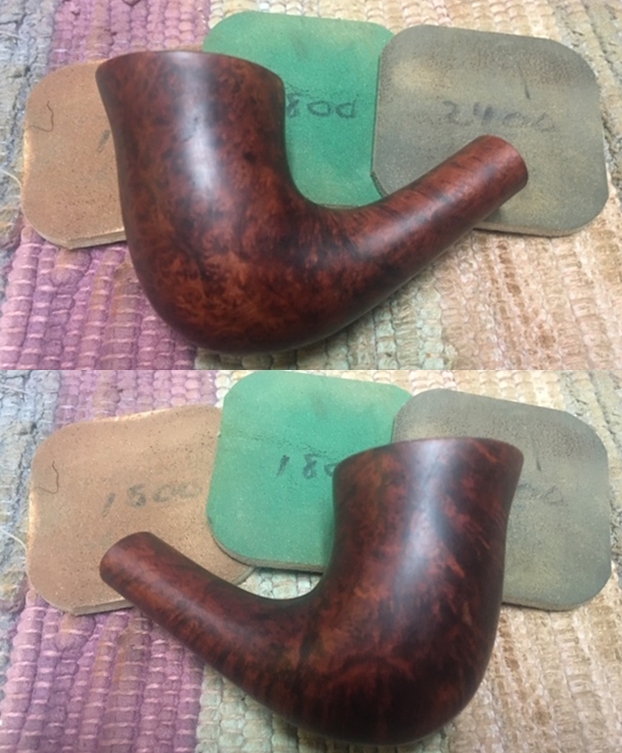
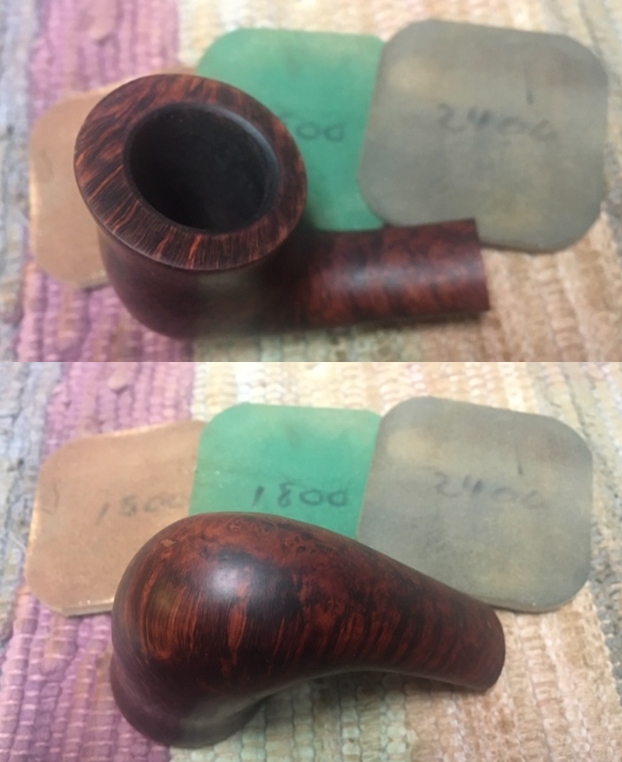
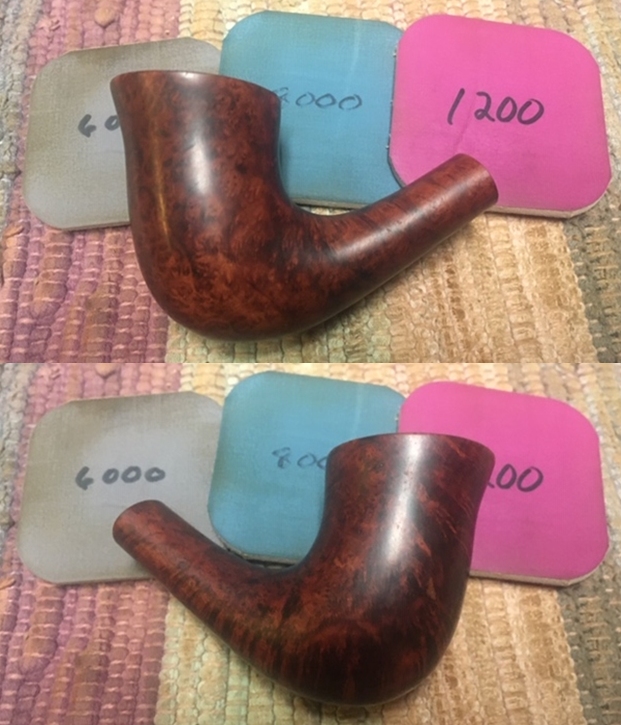
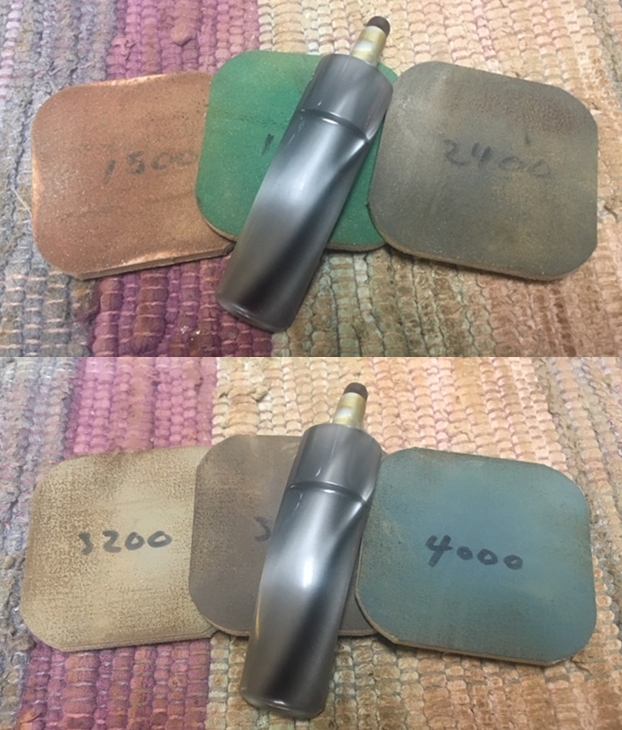
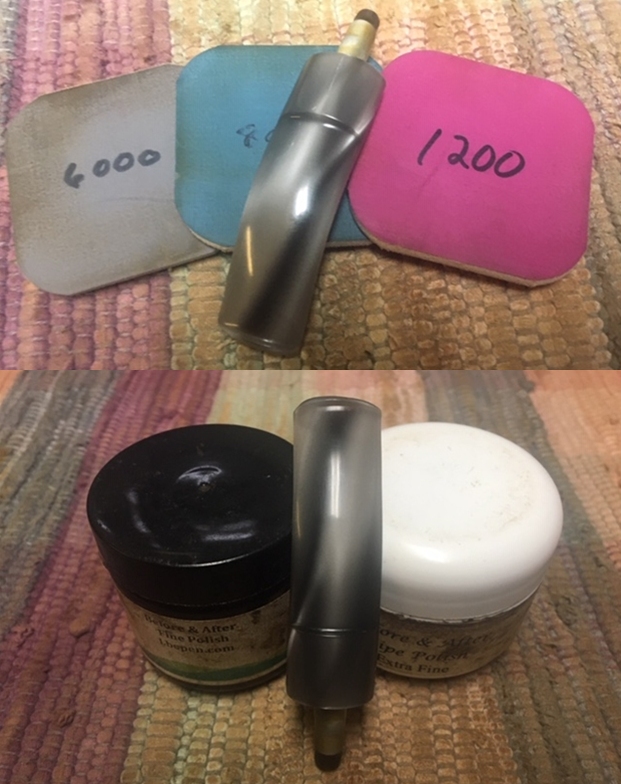
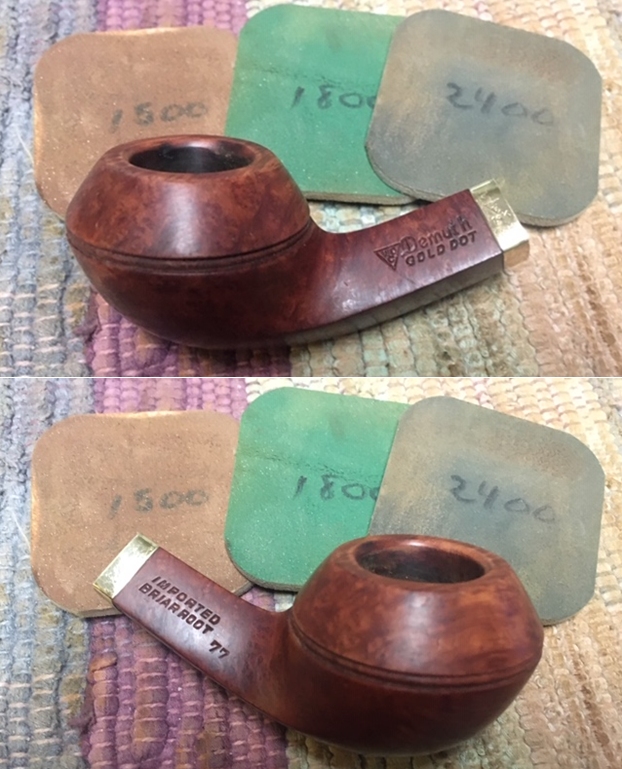
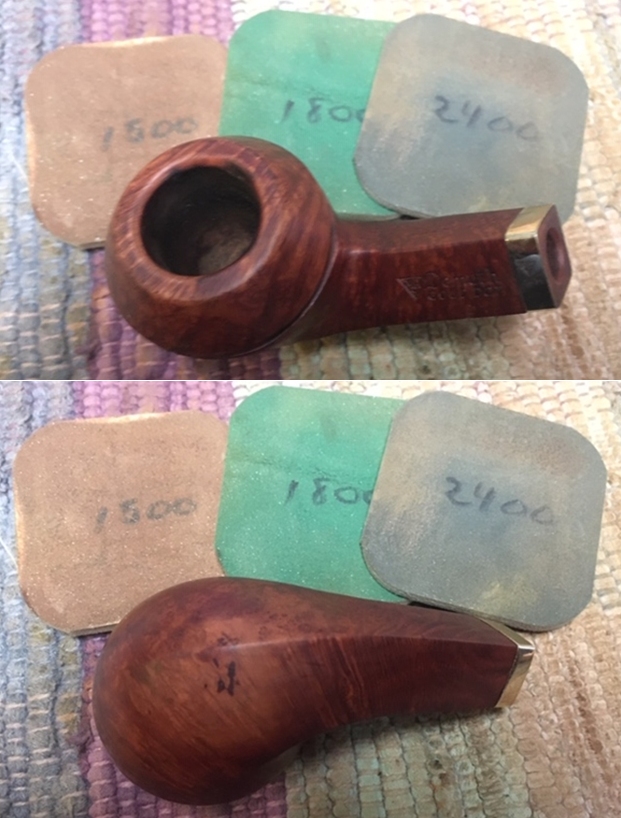
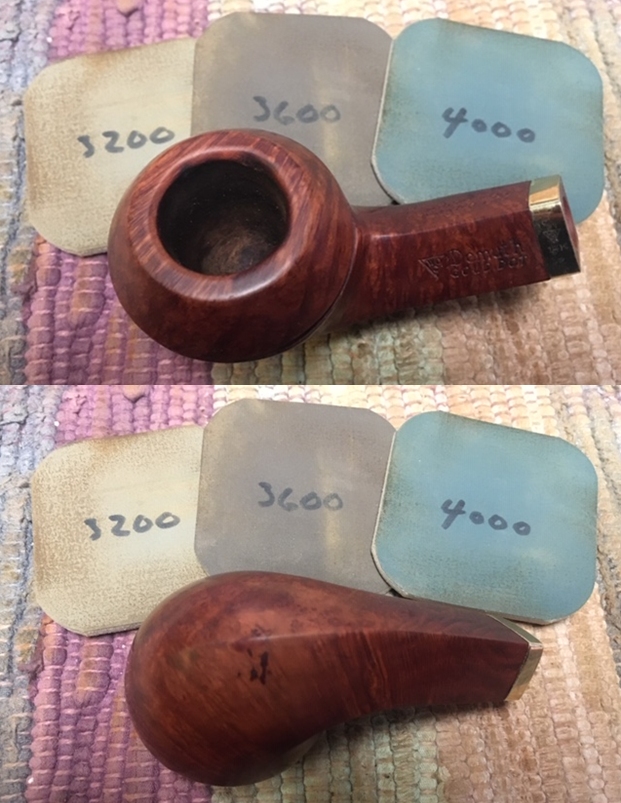
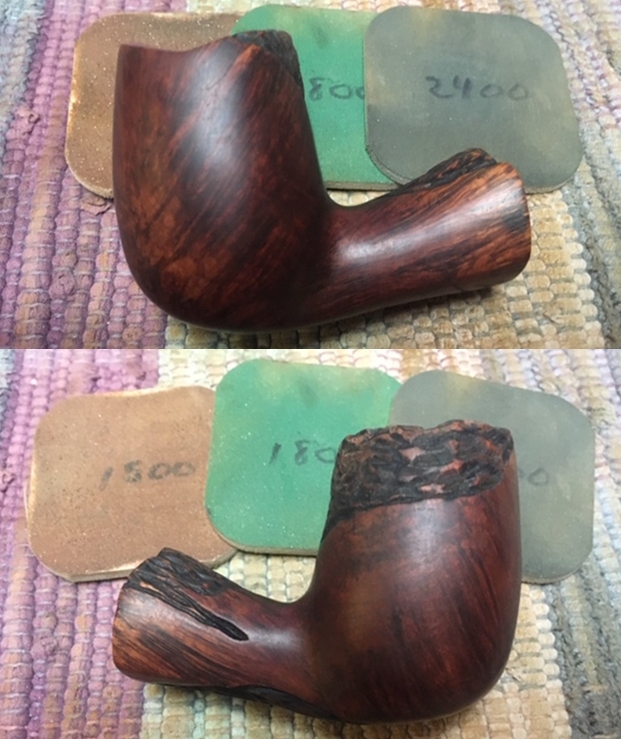
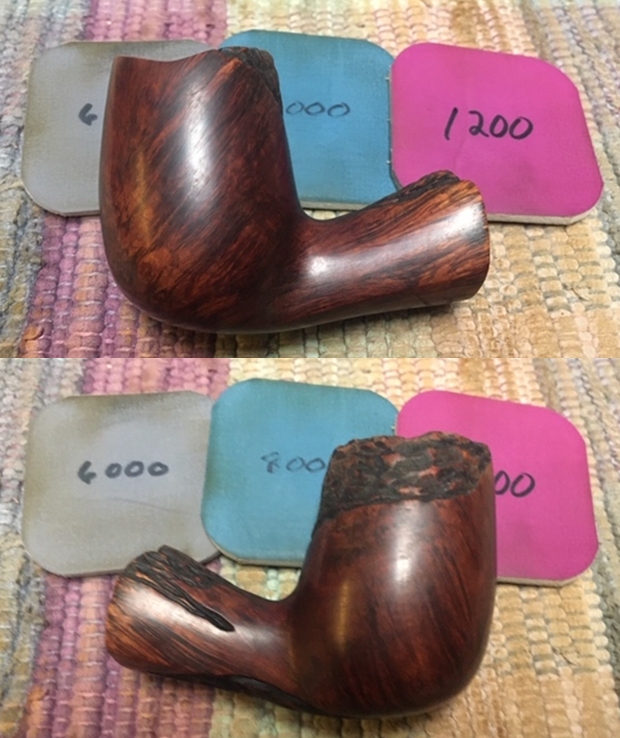
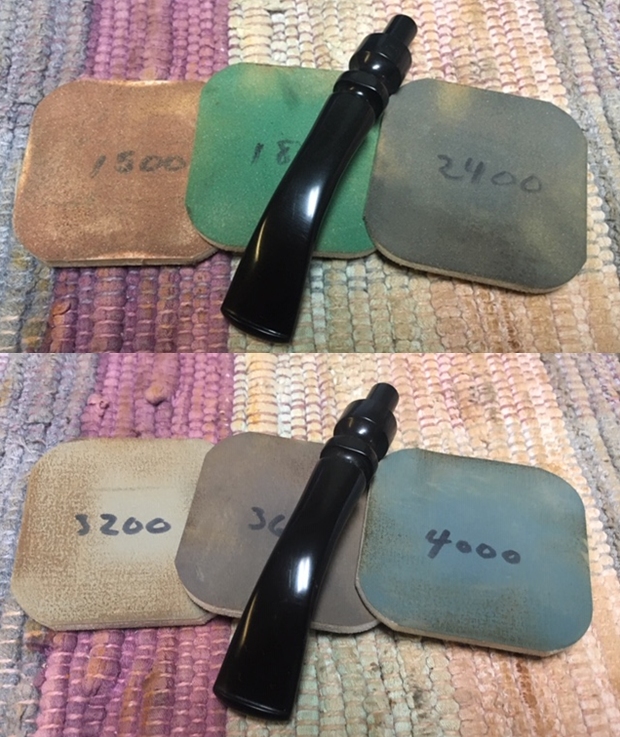
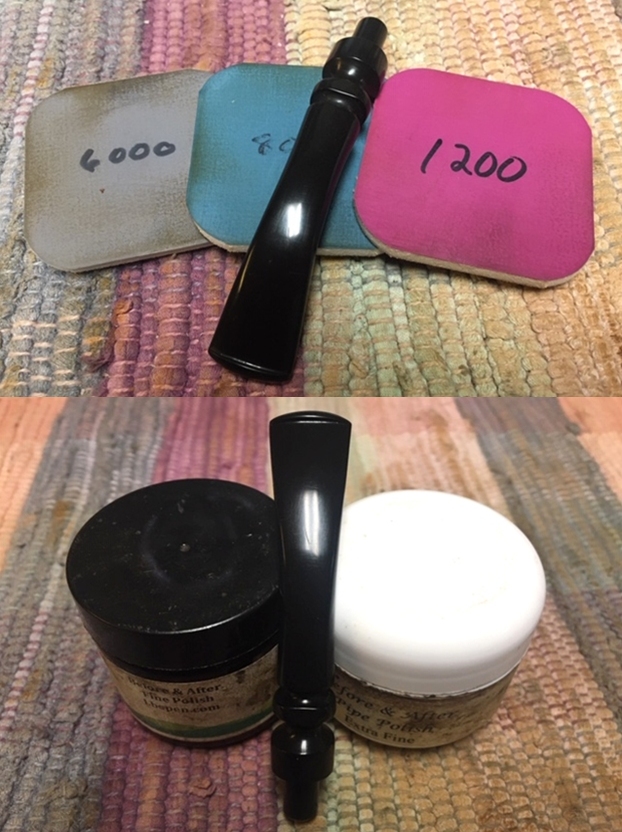
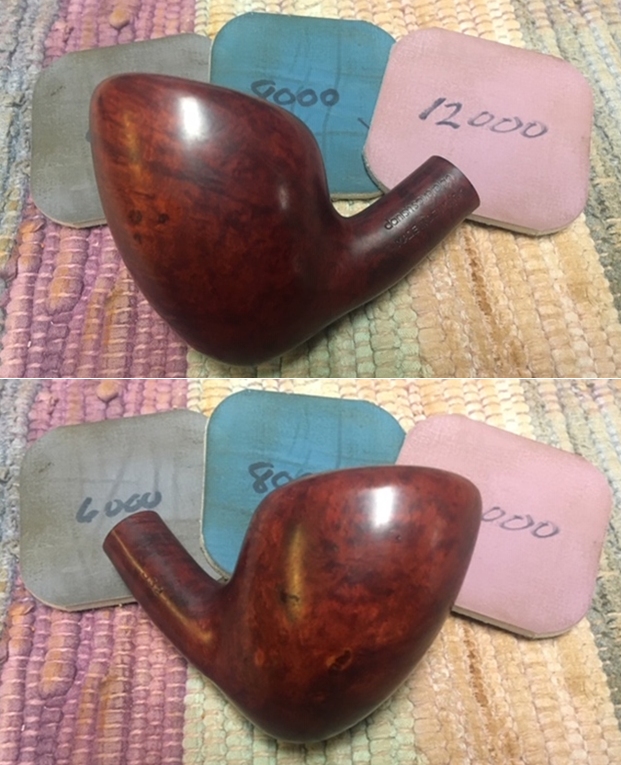
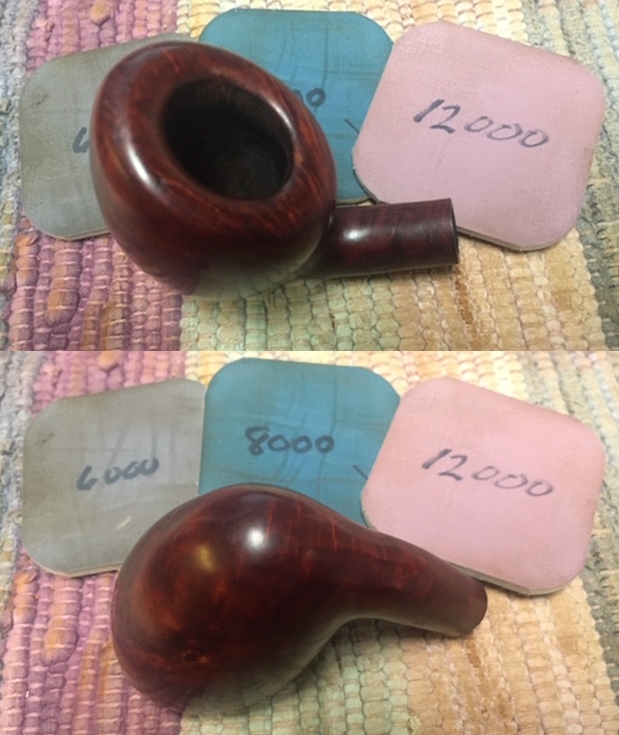
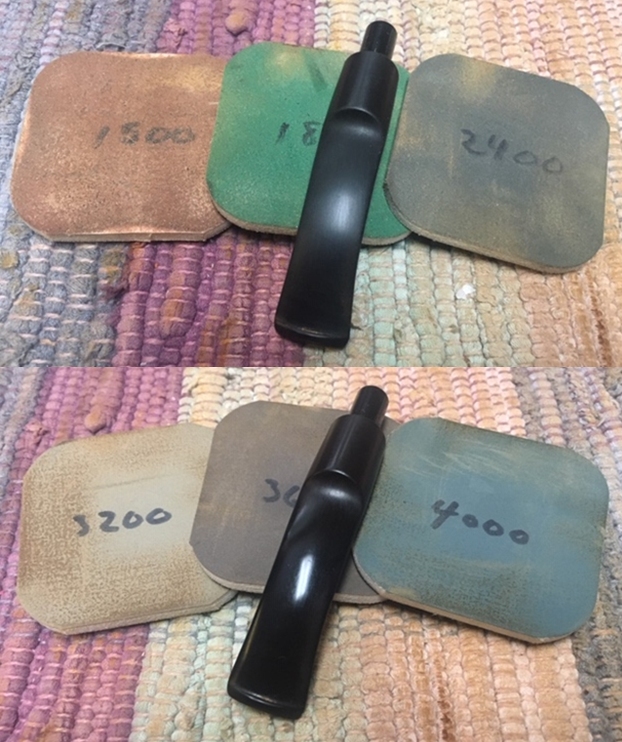
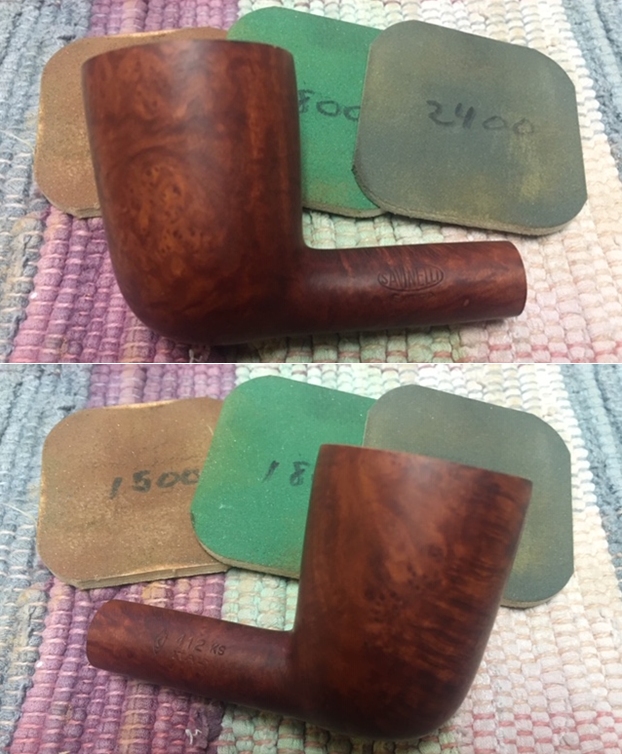
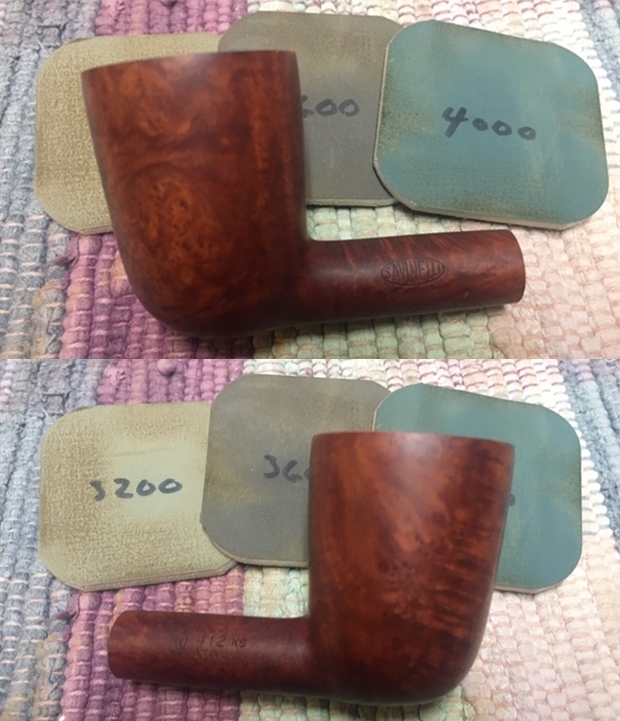
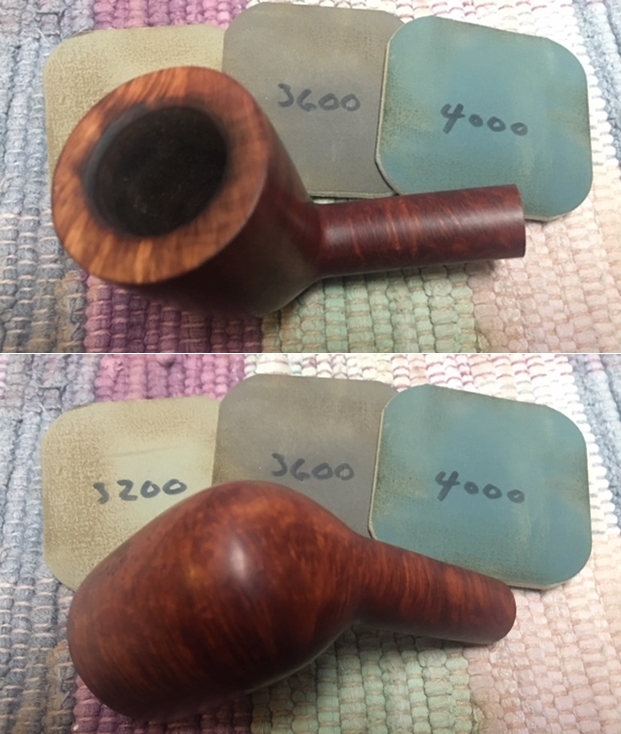
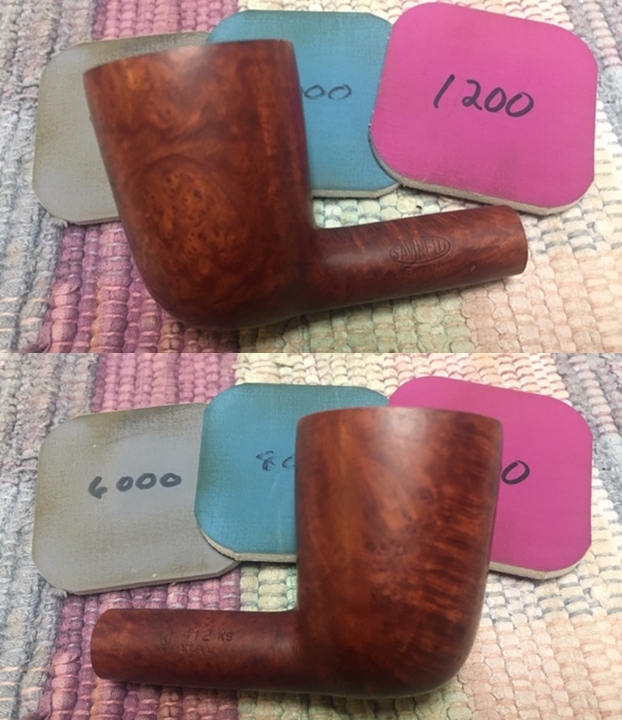
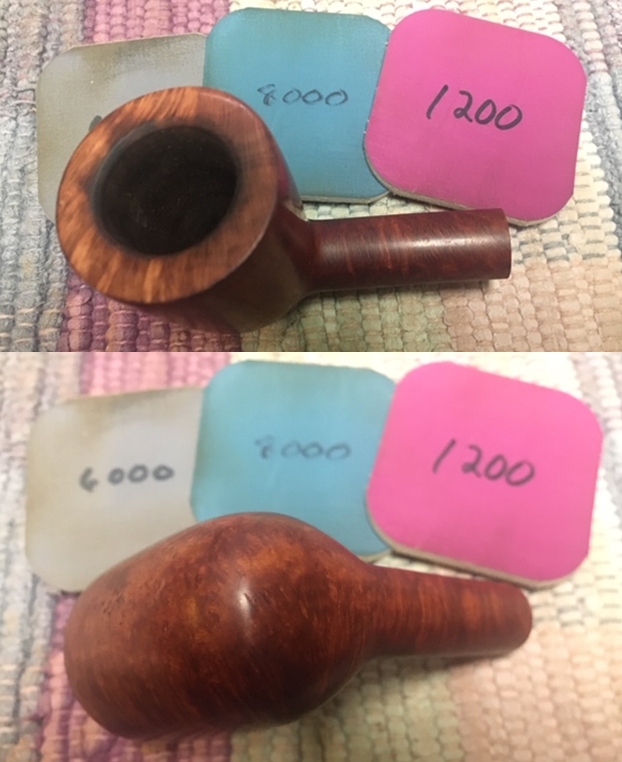
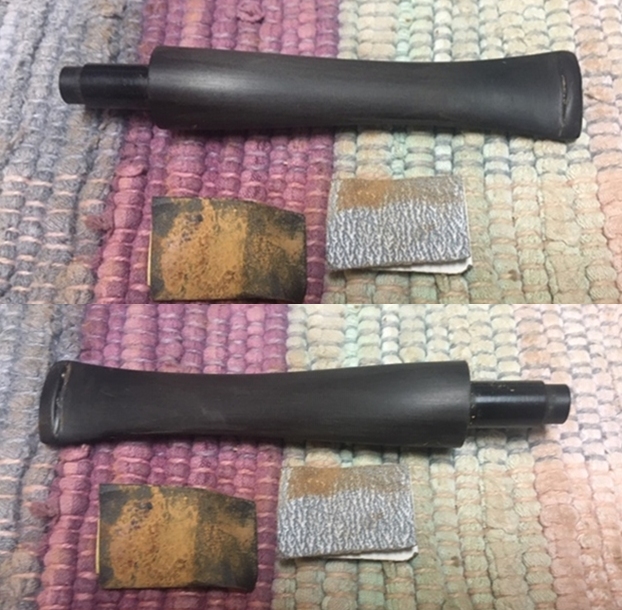
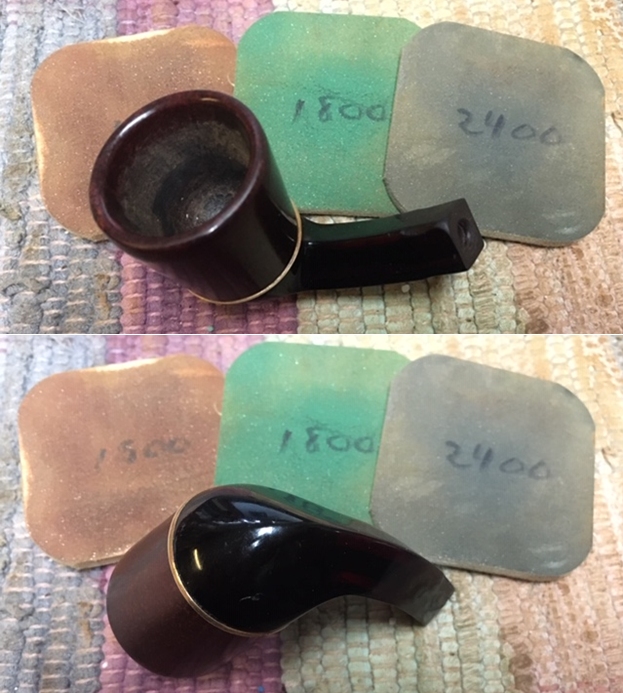
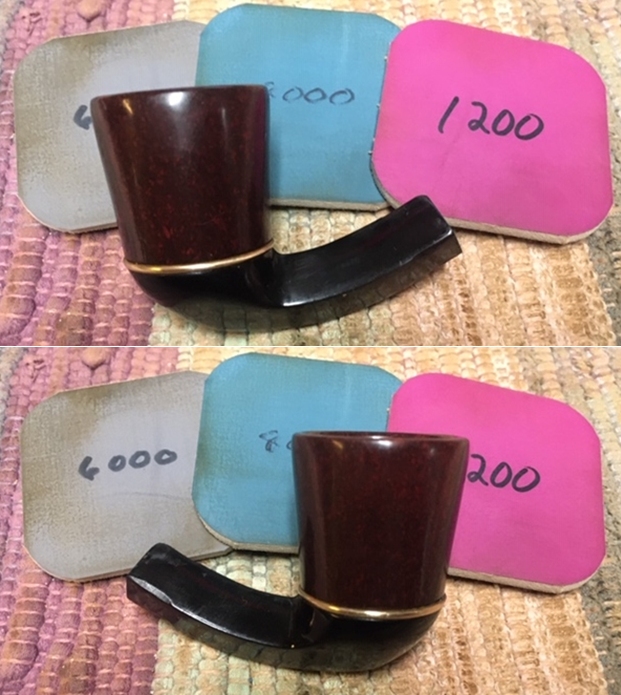
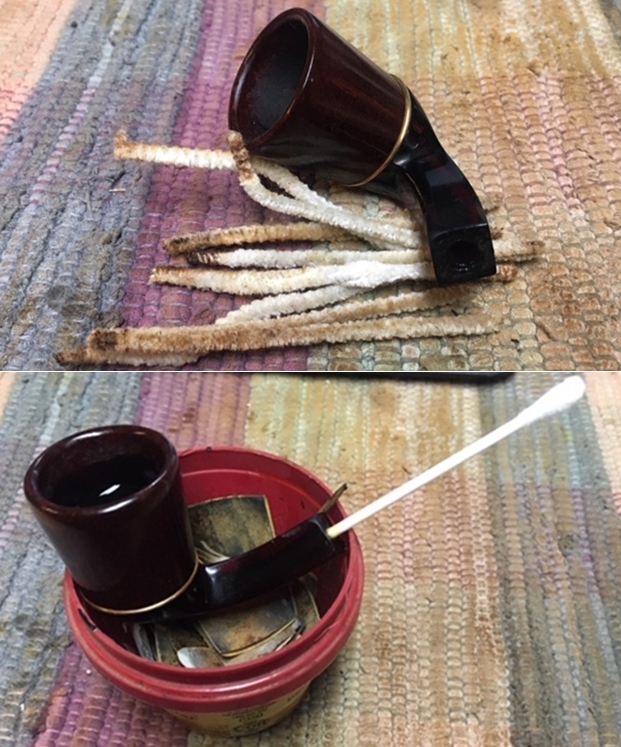 I polished the bowl and base unit with micromesh sanding pads – wet sanding with 1500-12000 grit pads. I worked over the rim top and edge of the bowl with the pads. I wiped the bowl down with a damp cloth after each pad to remove the sanding debris.
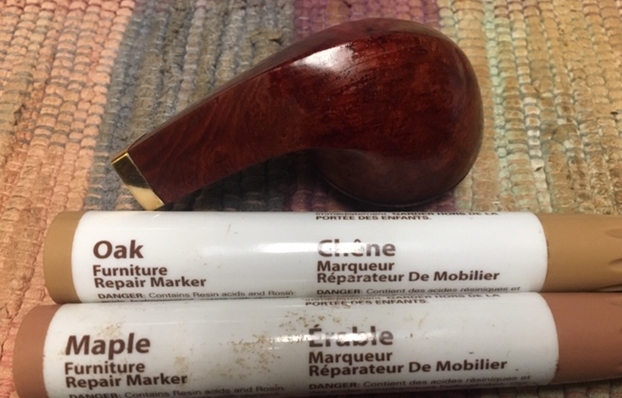
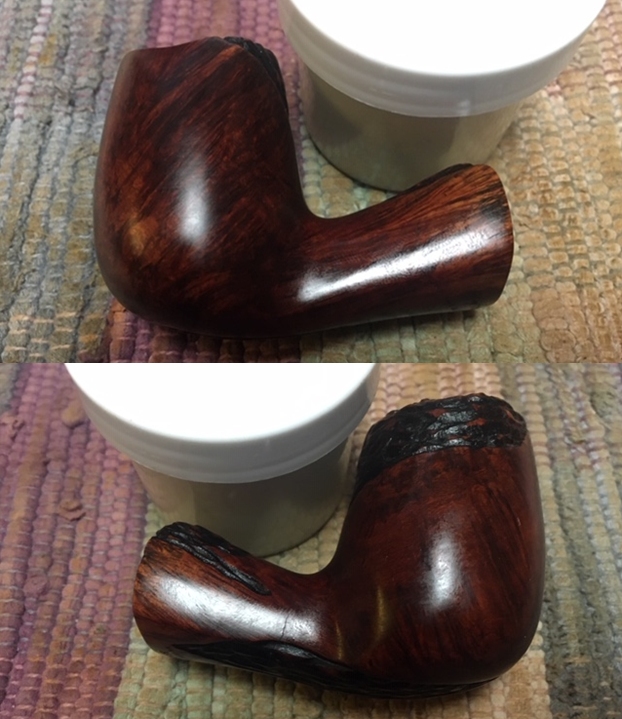
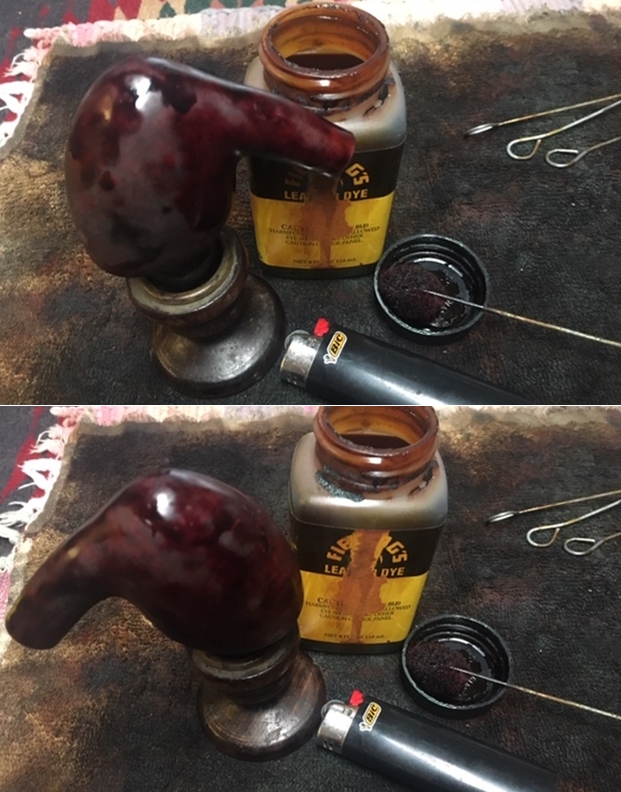
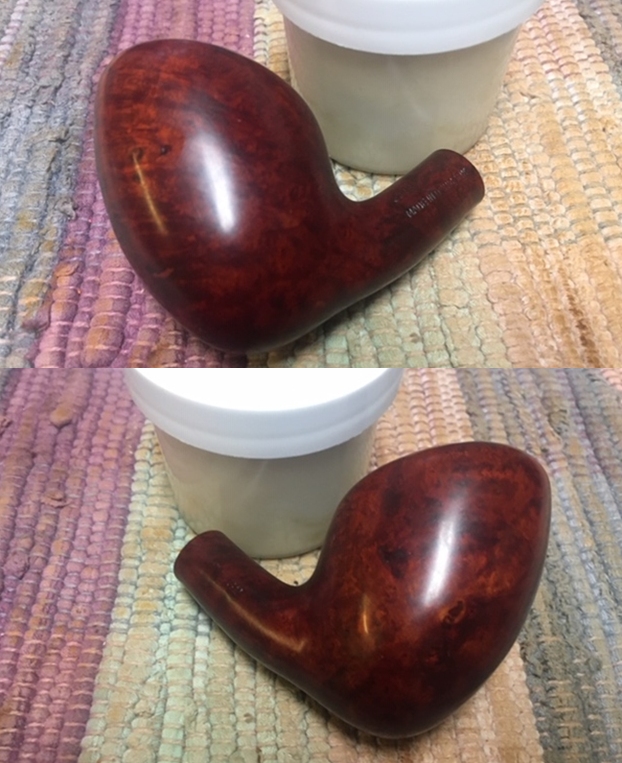
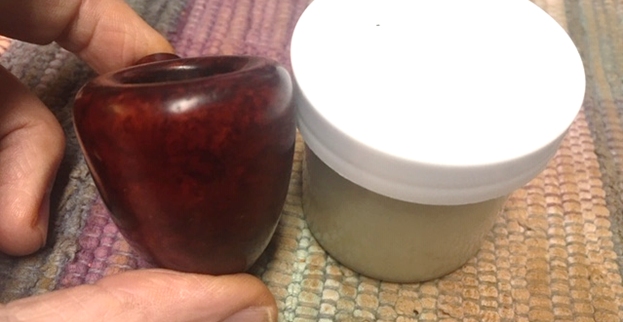
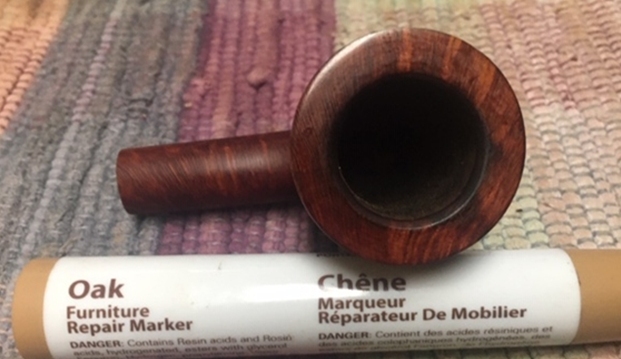
 I rubbed the briar down with Before & After Restoration Balm. I worked it into the surface of the Redmanol/Bakelite with my fingertips. The product works to clean, enliven and preserve the even that material. It is not absorbed by the material but seems to provide a good top coat that preserves the product. I buffed it with a cotton cloth to deepen the shine. The pipe really comes alive with the balm.
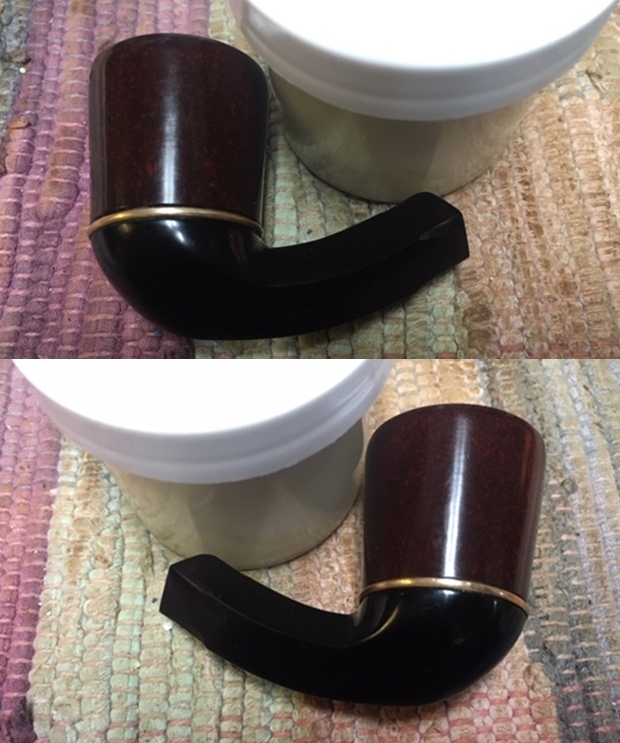

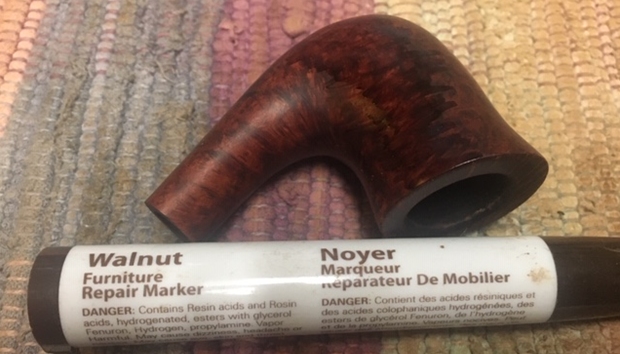
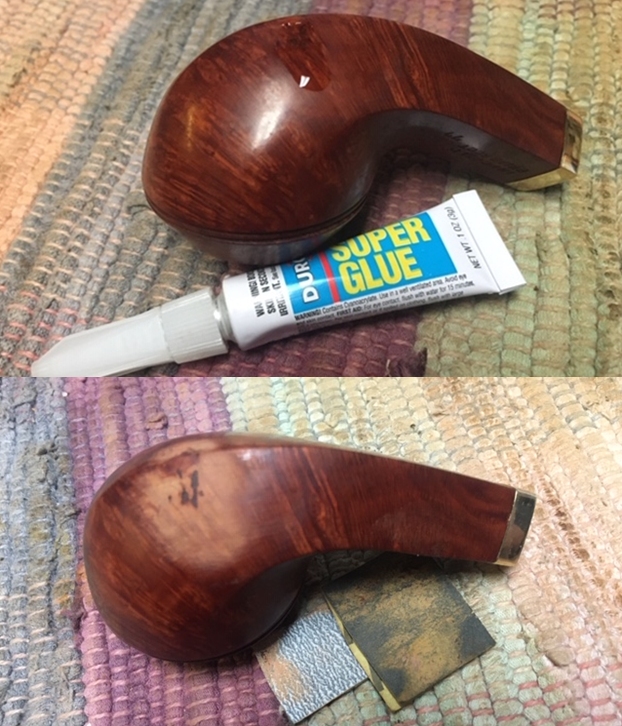
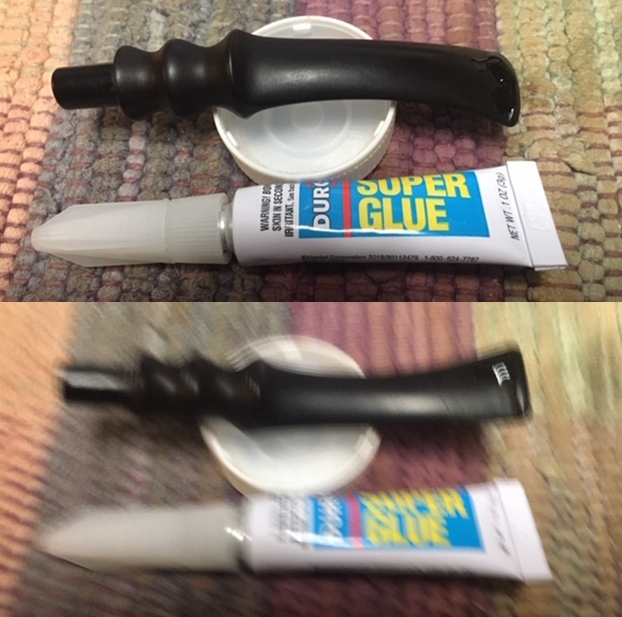
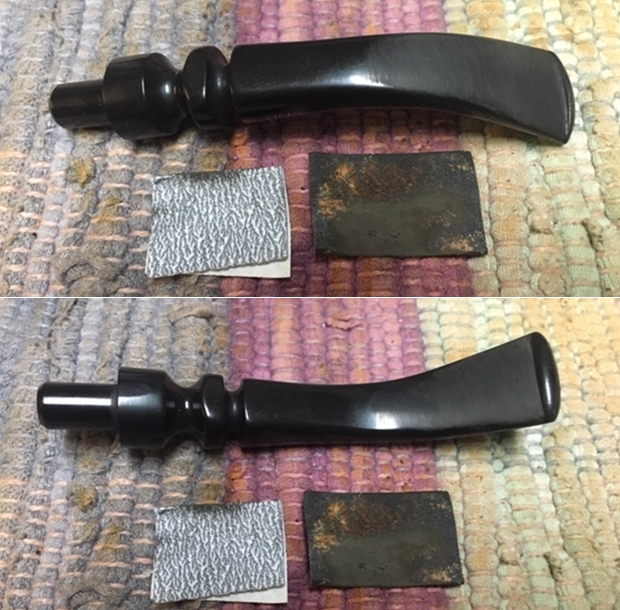
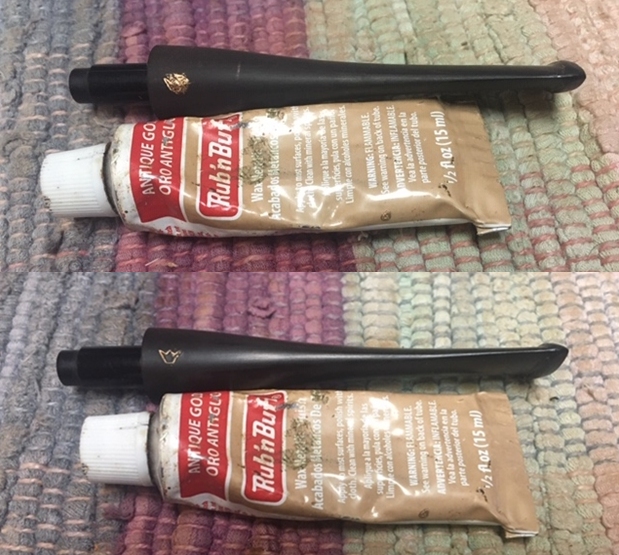
 I spread some all-purpose glue on the shank end and pressed the gold plated band in place on the shank.
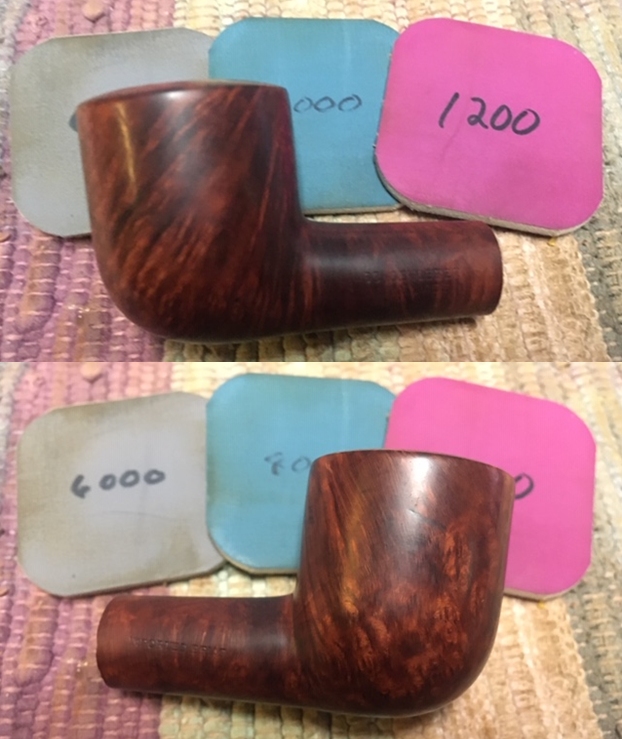
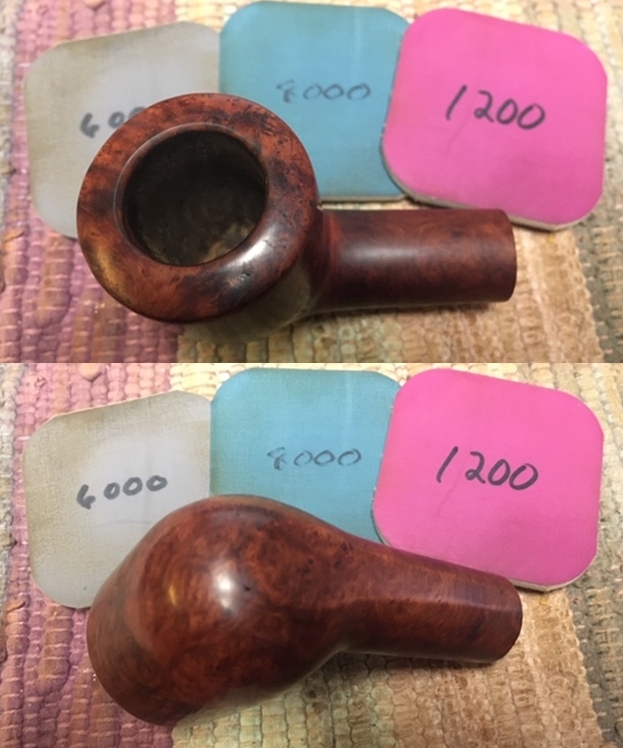
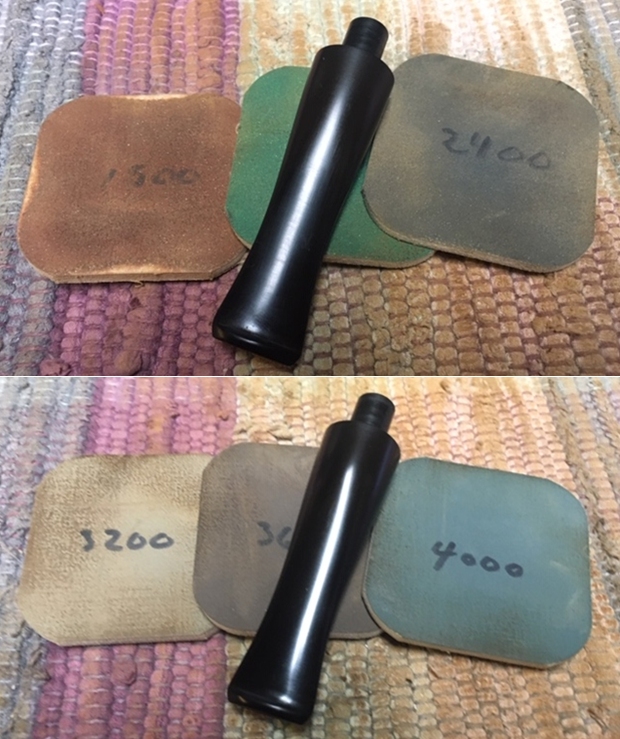
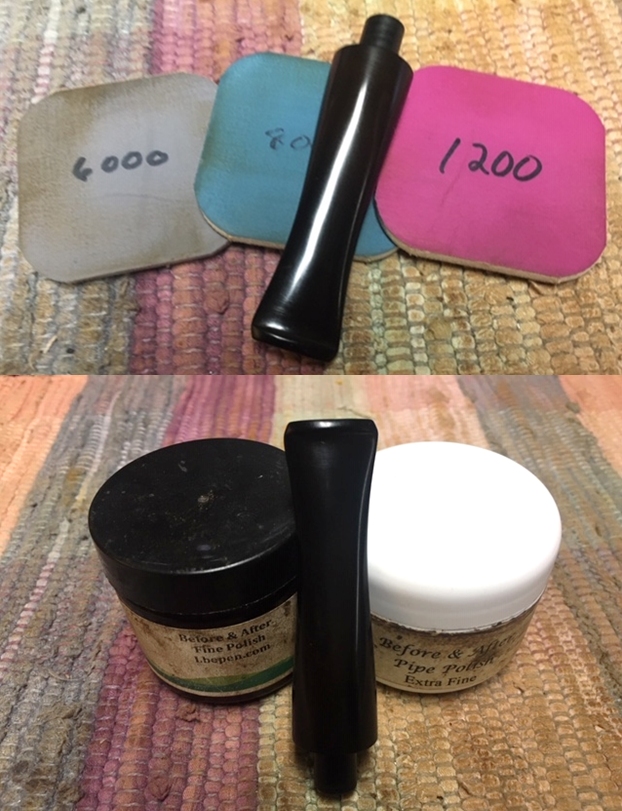
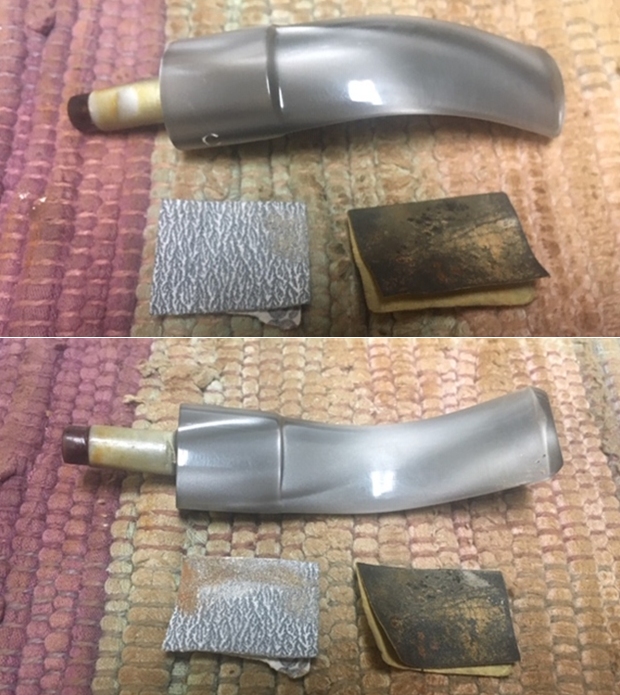
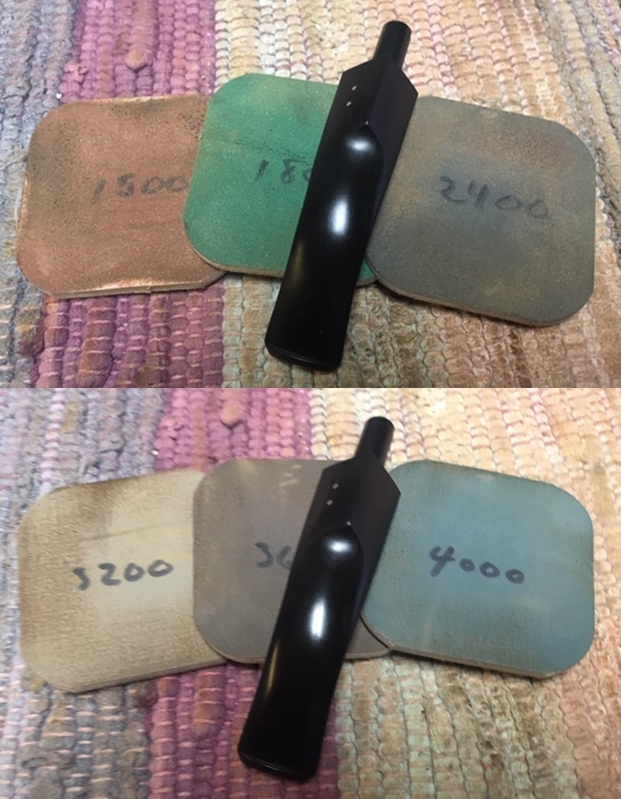
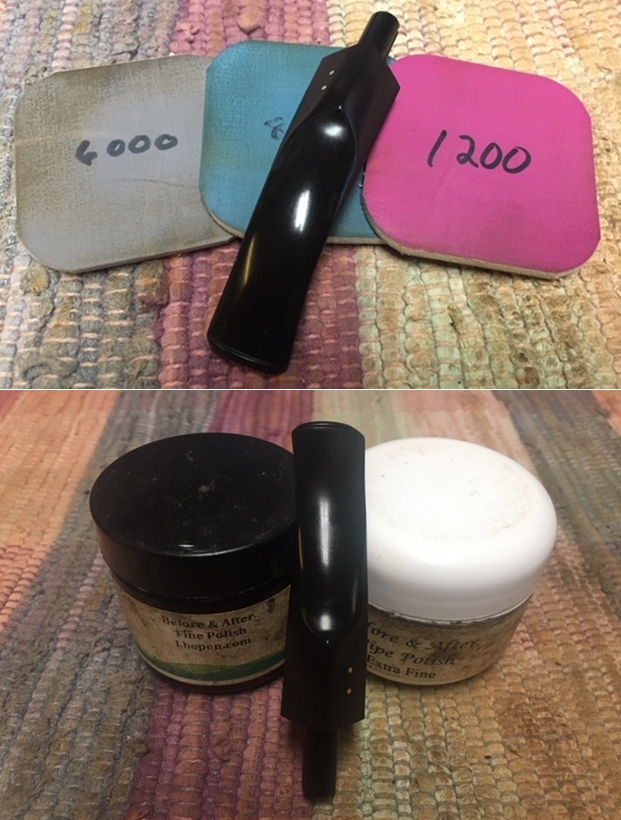
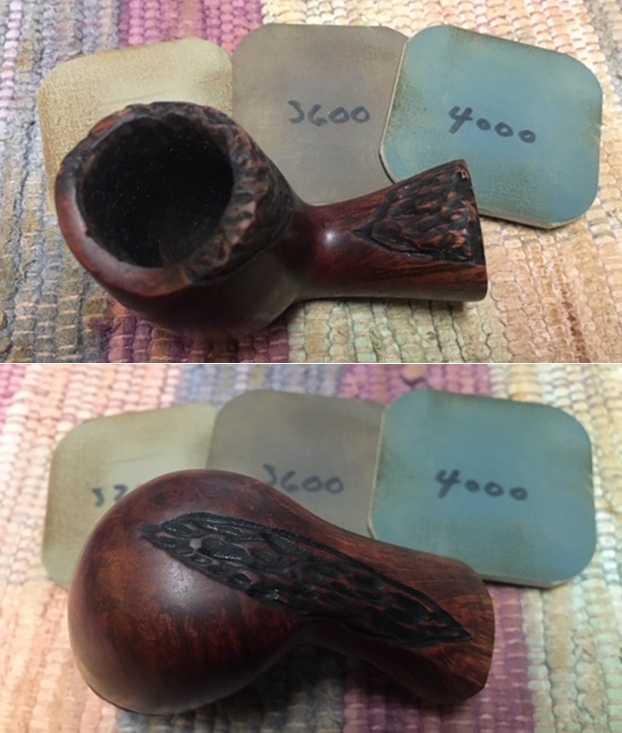
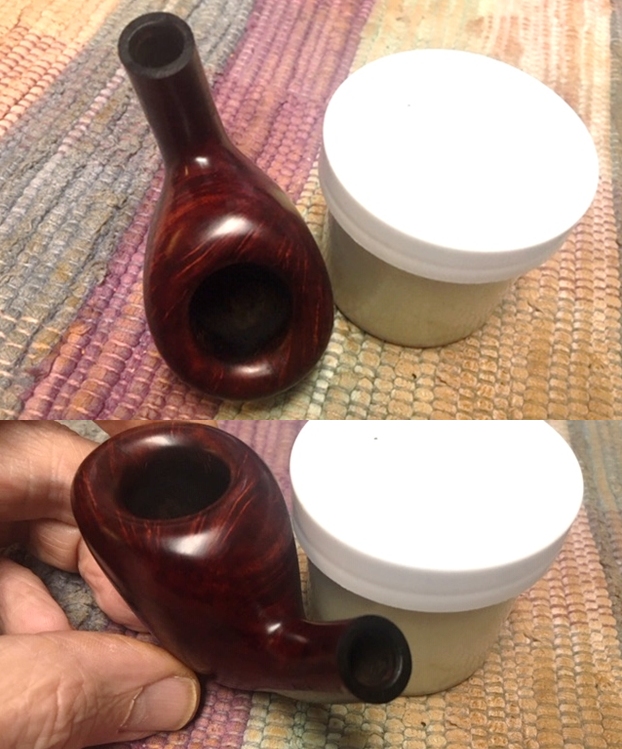
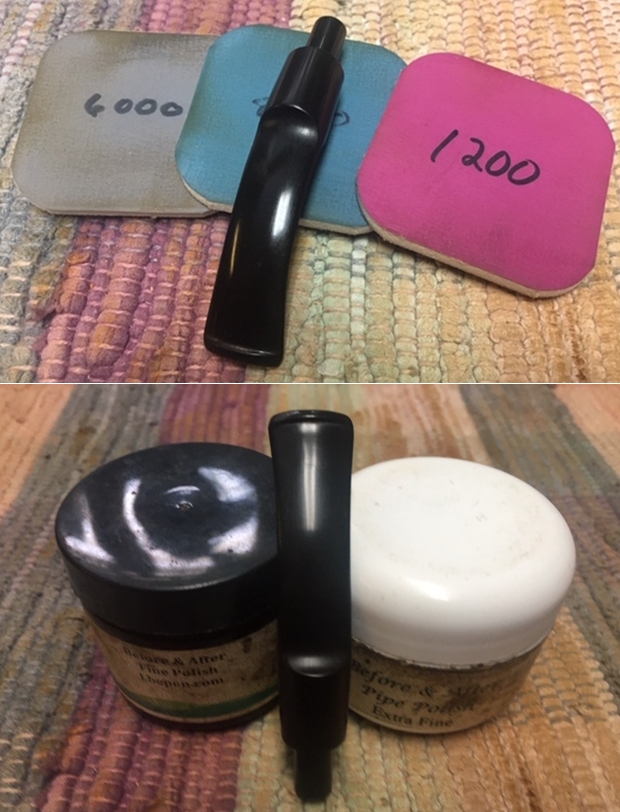
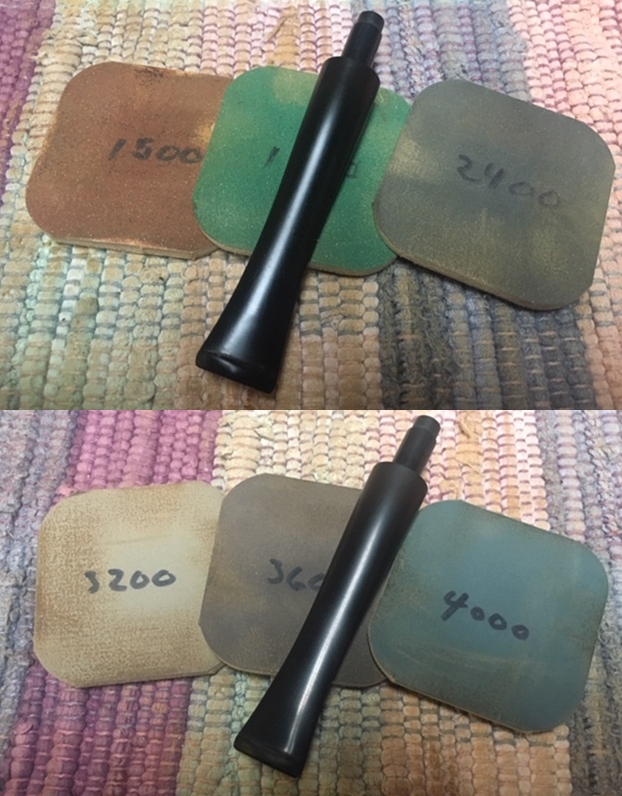
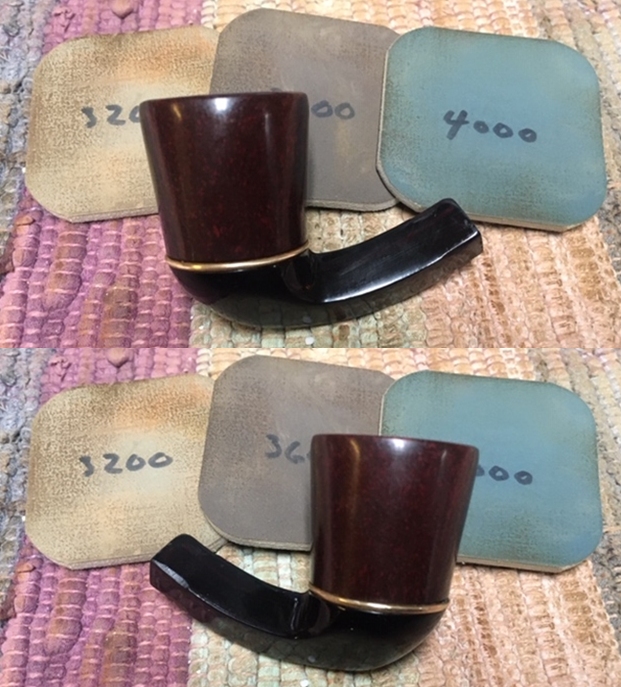
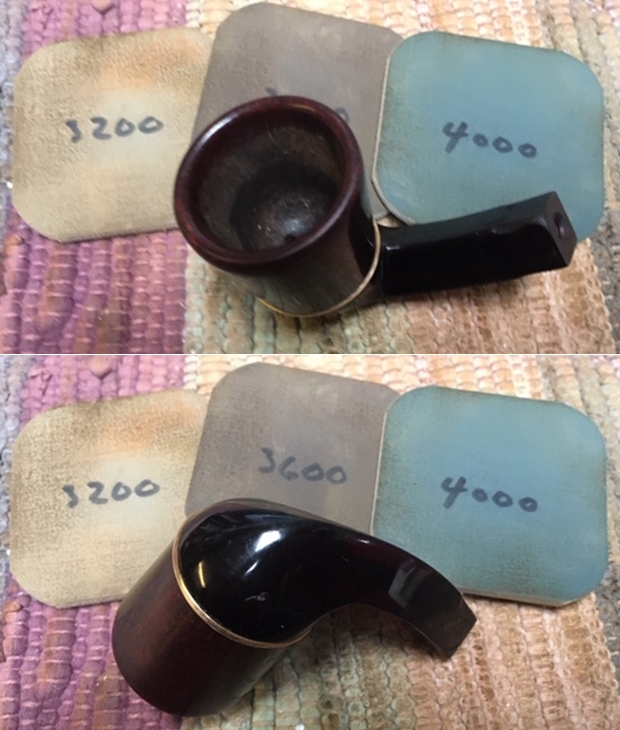
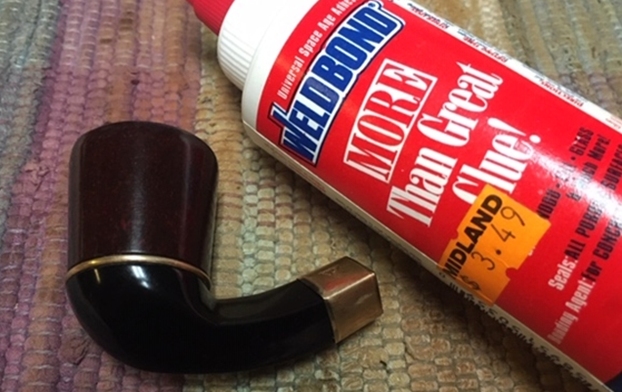 I polished the Redmanol/Bakelite stem with micromesh sanding pads – 1500-12000 grit pads. I wiped it down with Obsidian Oil after each sanding pad.
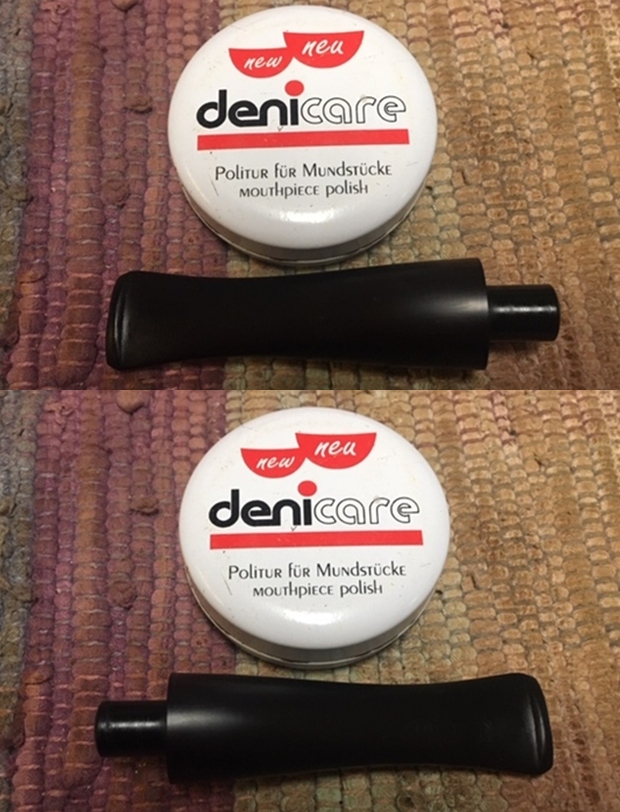
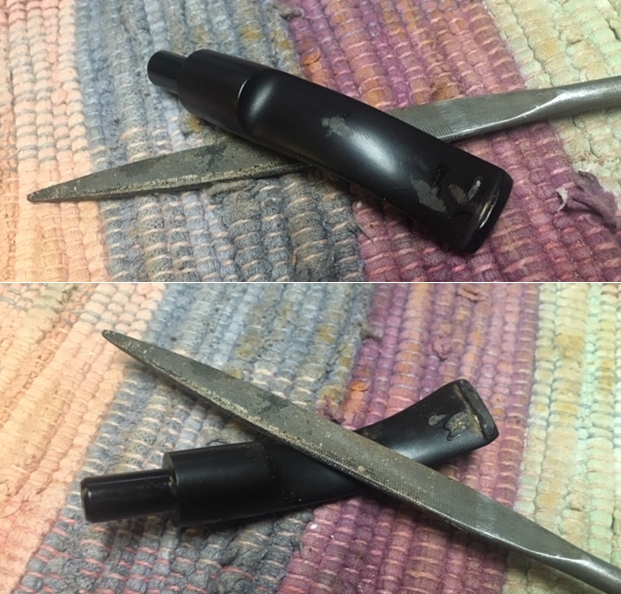
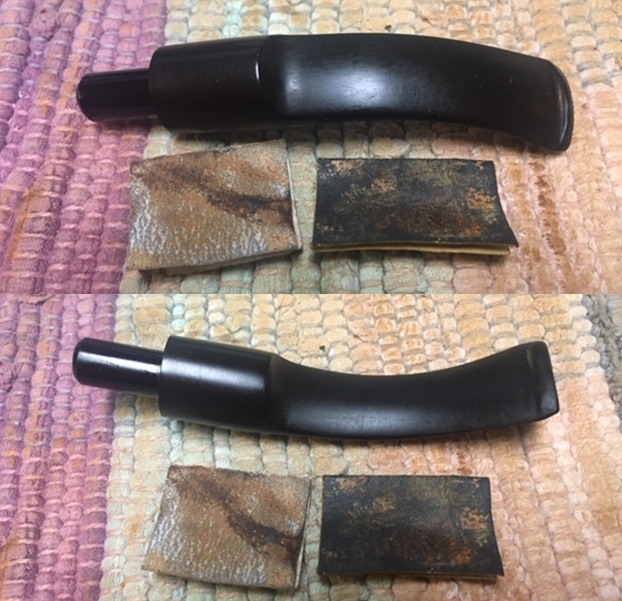
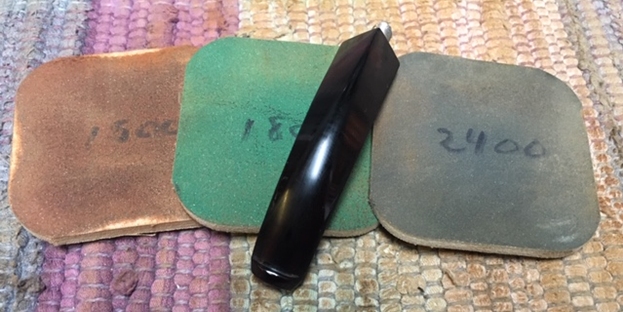
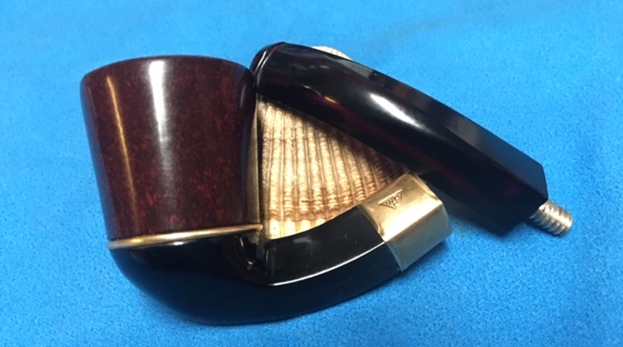
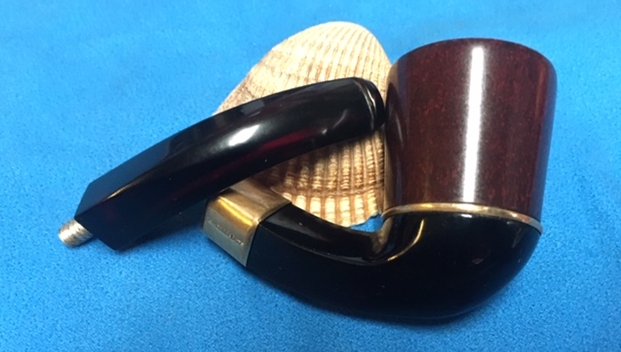
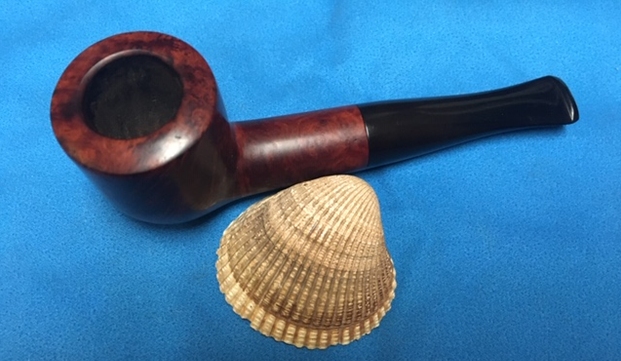
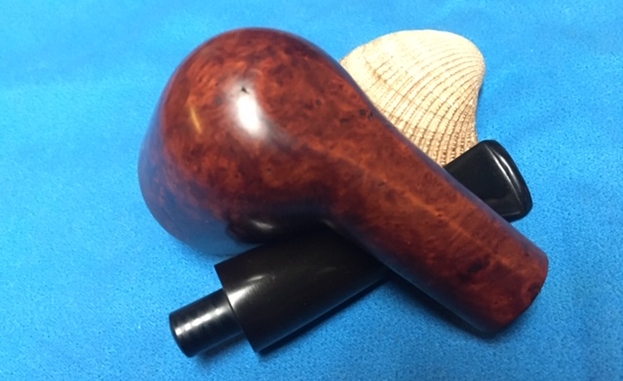
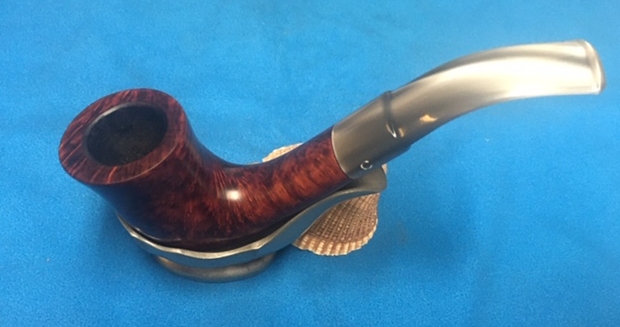
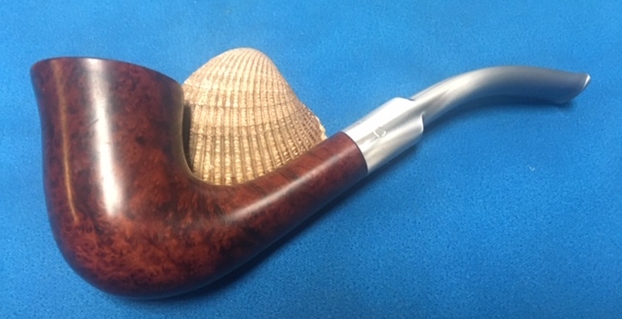
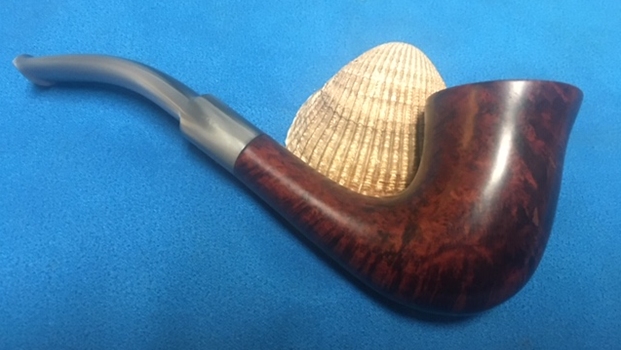
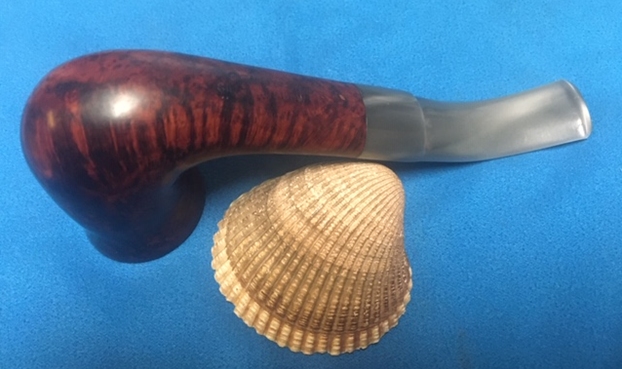
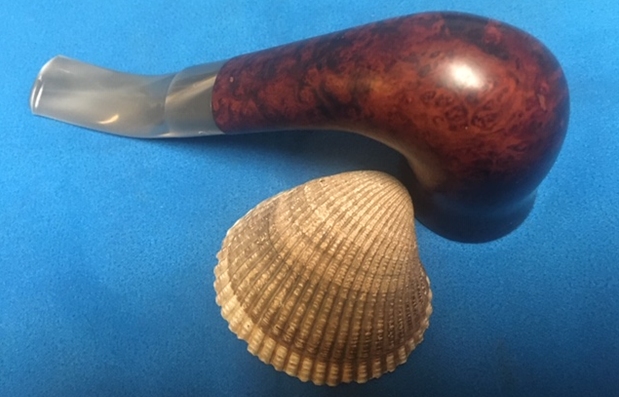
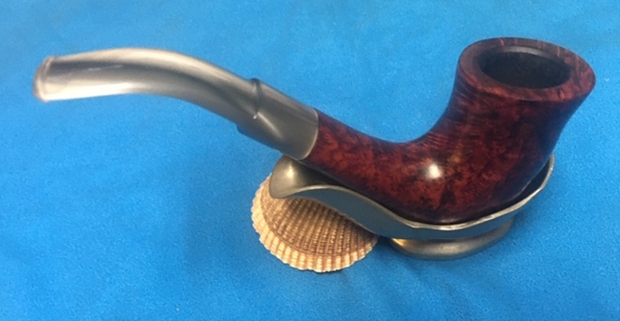
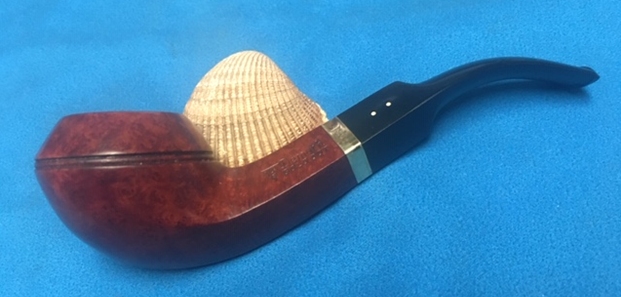
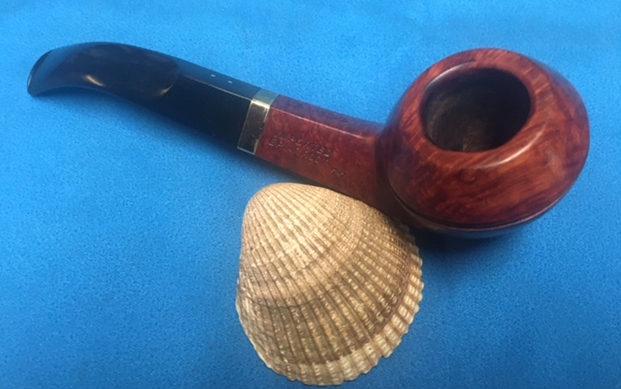
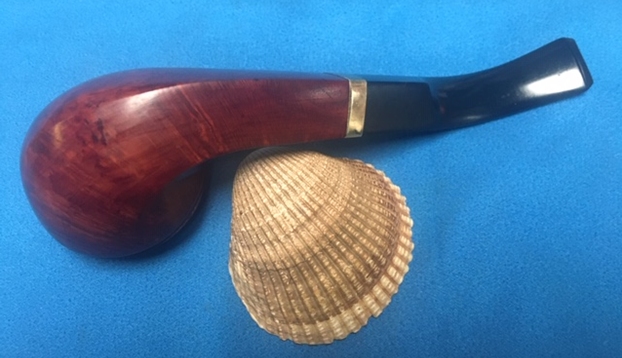
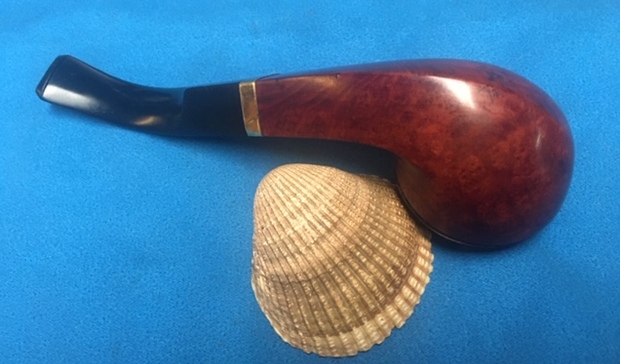
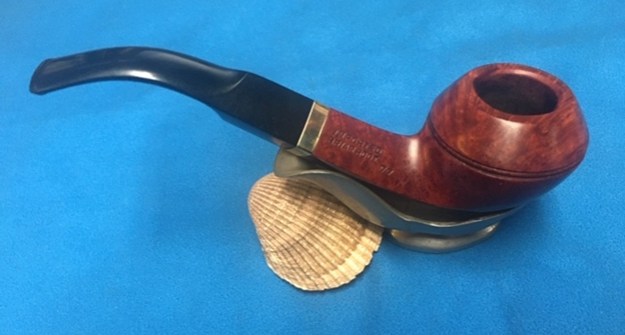
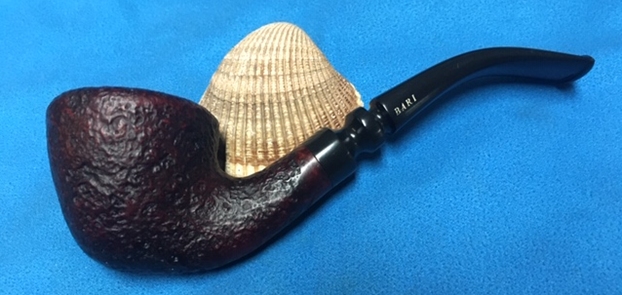
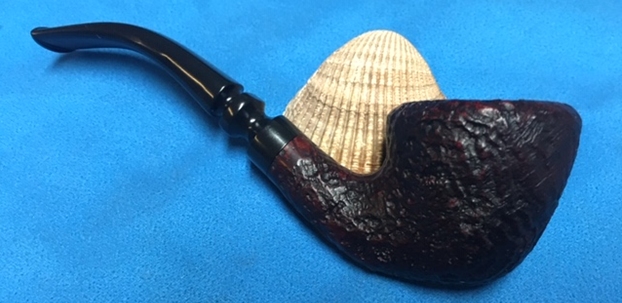
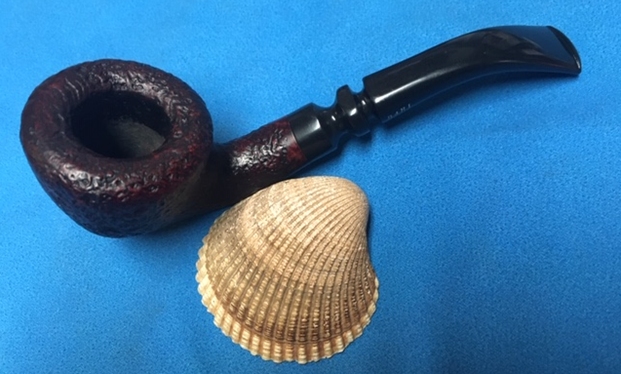
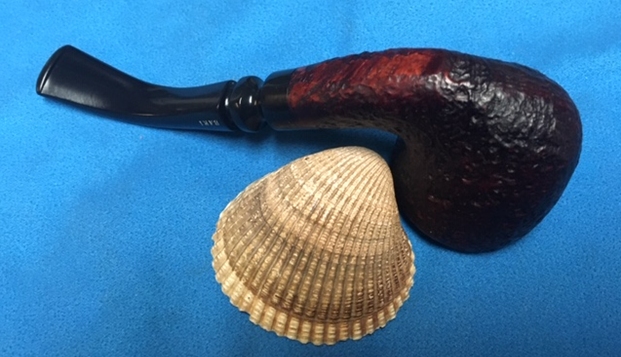
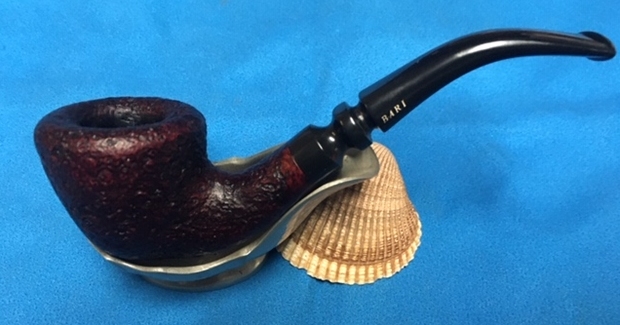
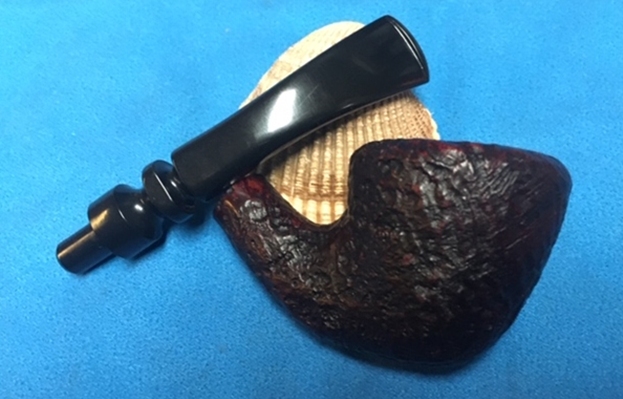
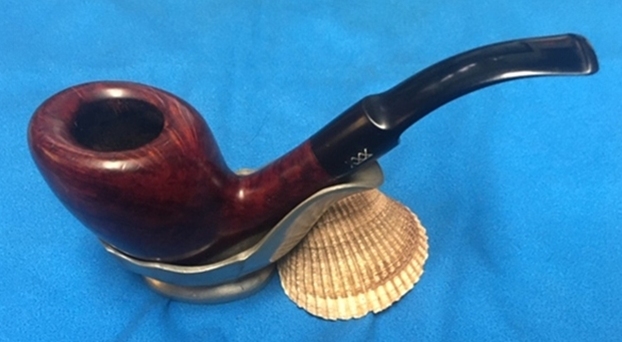
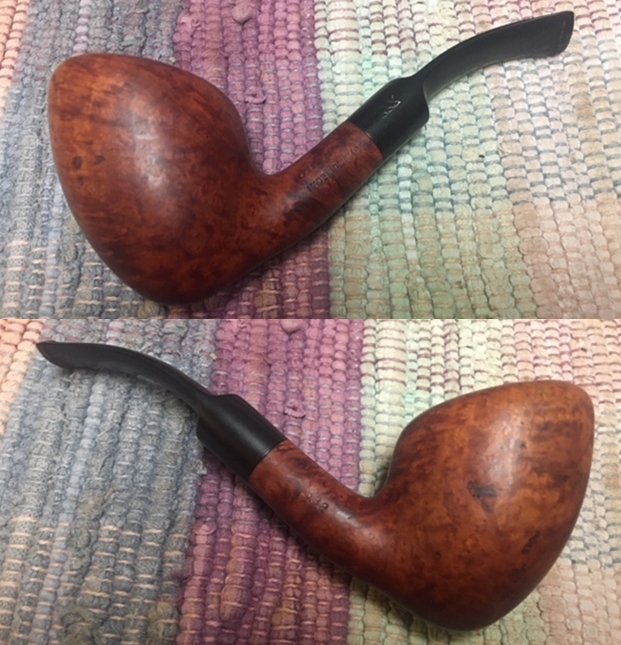
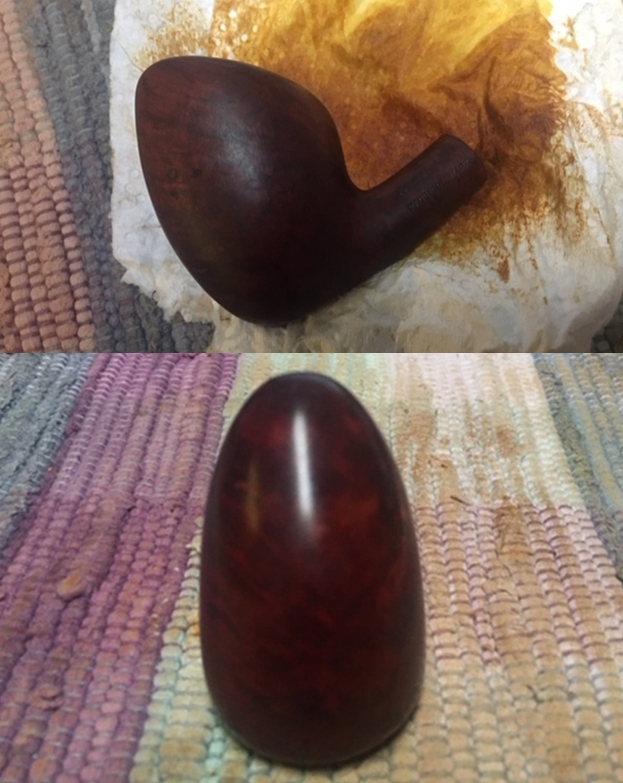
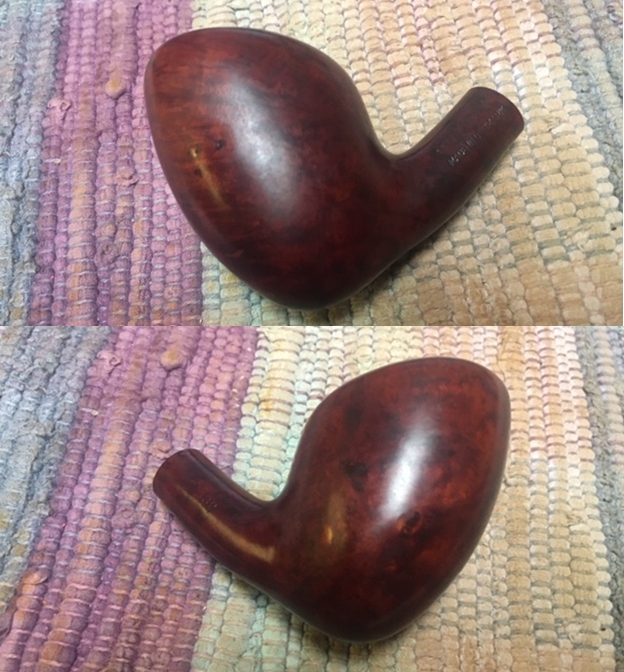
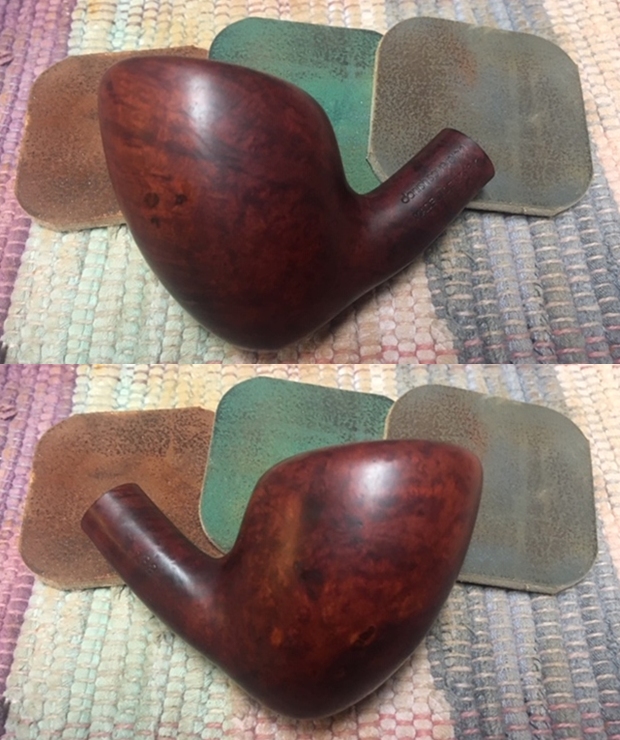
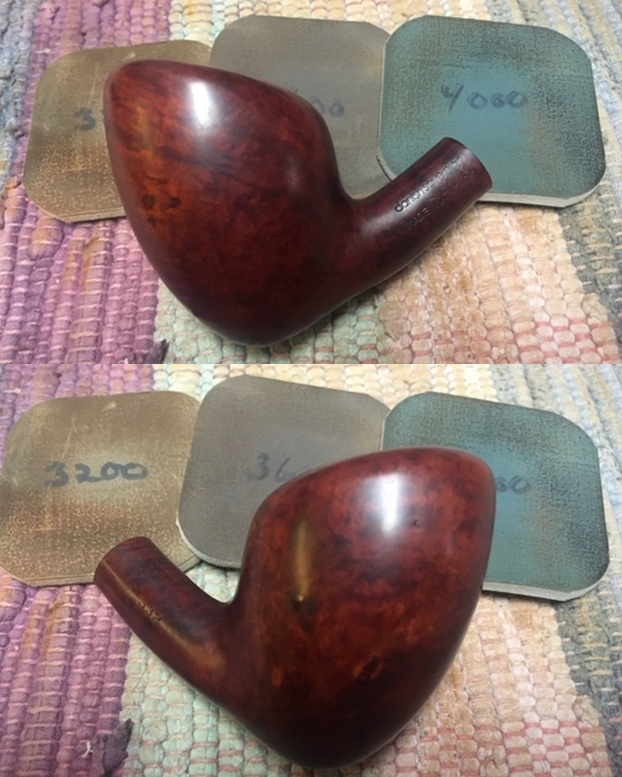
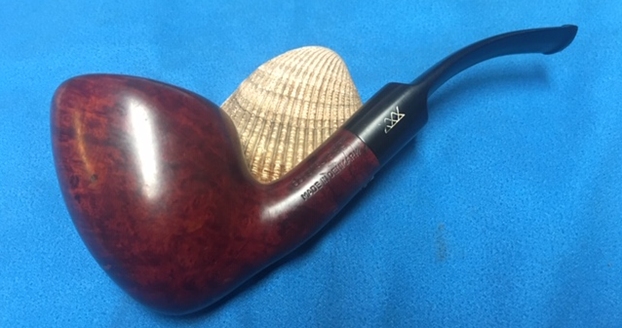
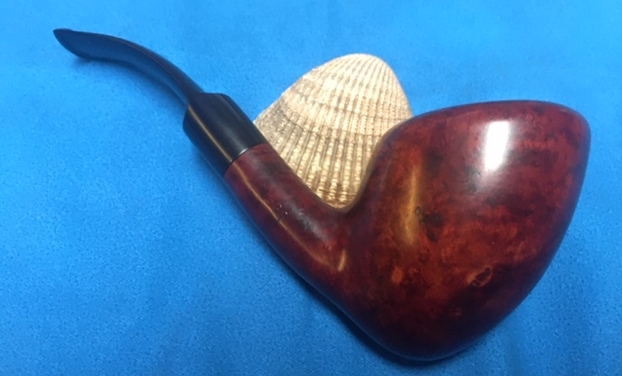
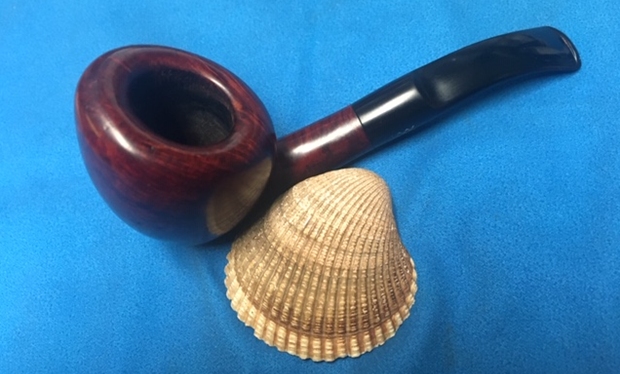
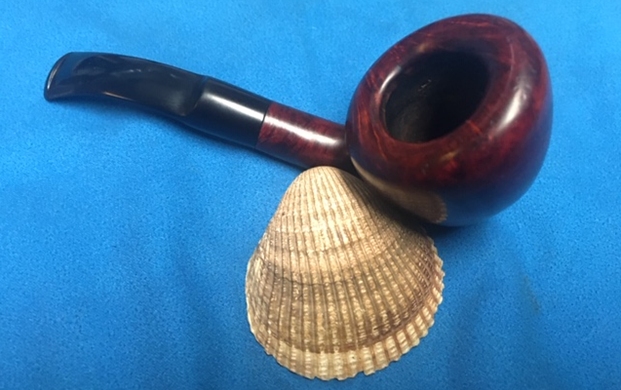
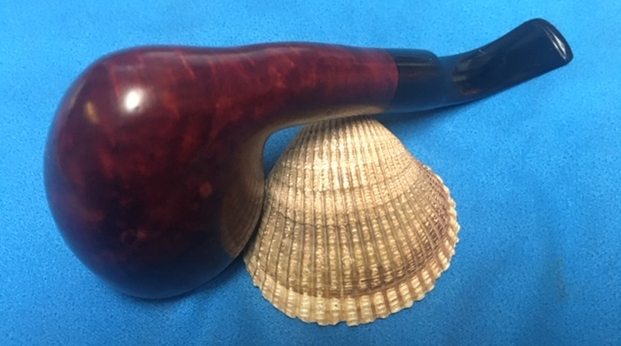
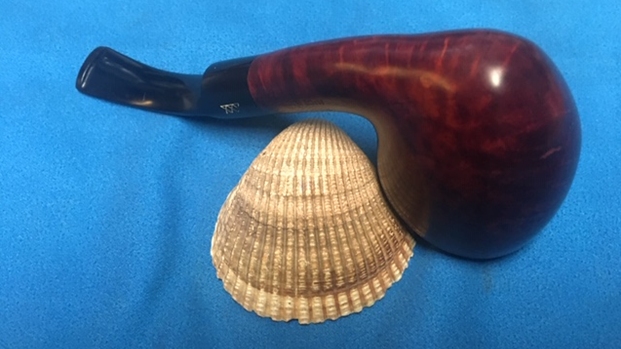
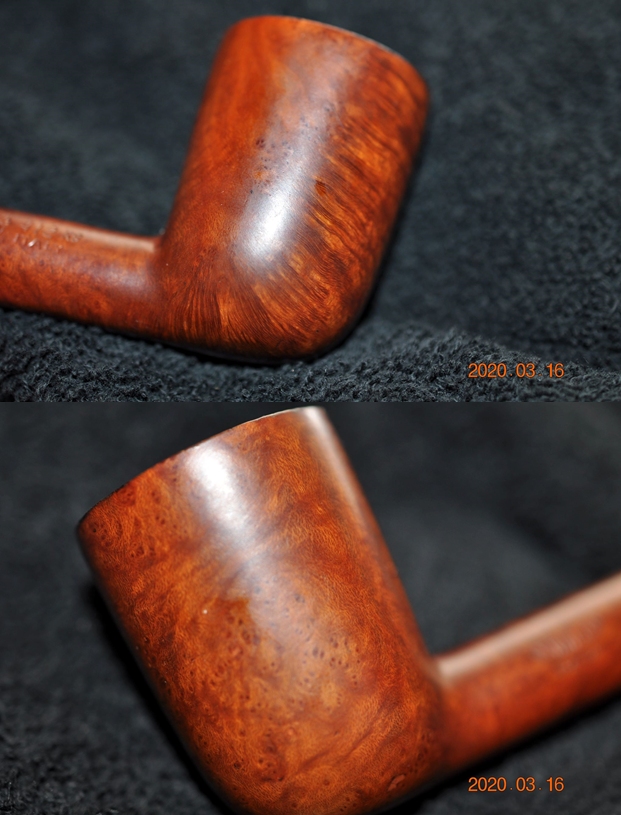
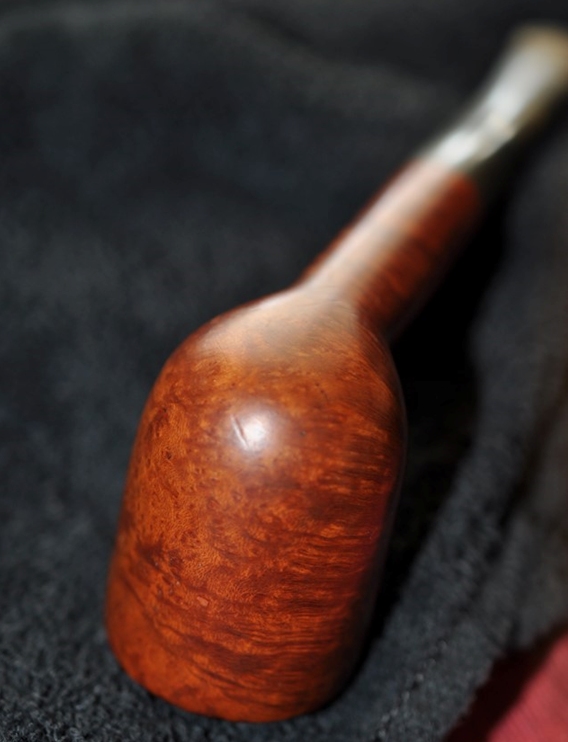
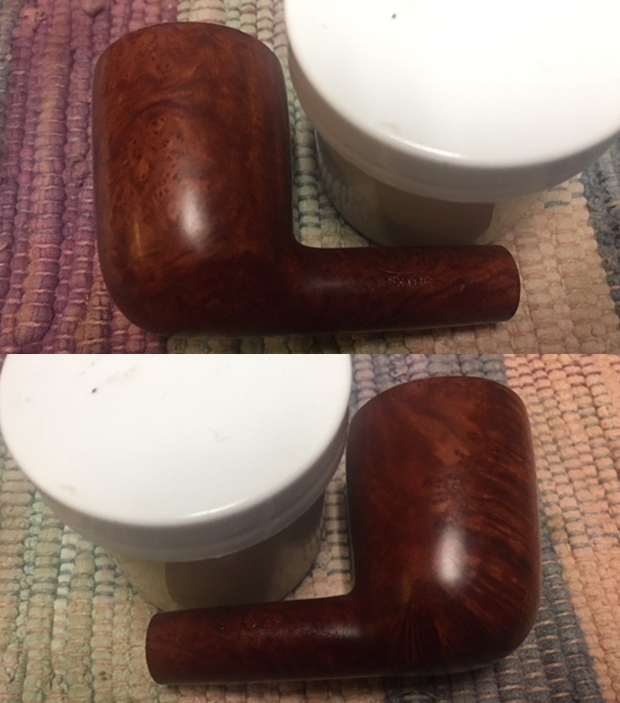
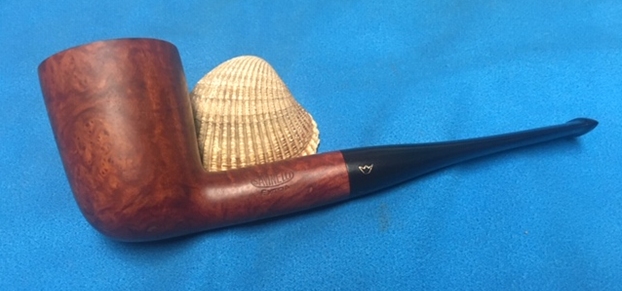
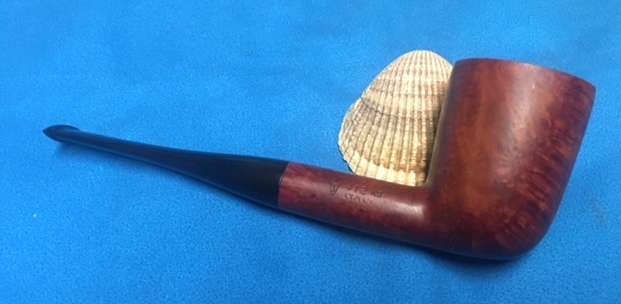
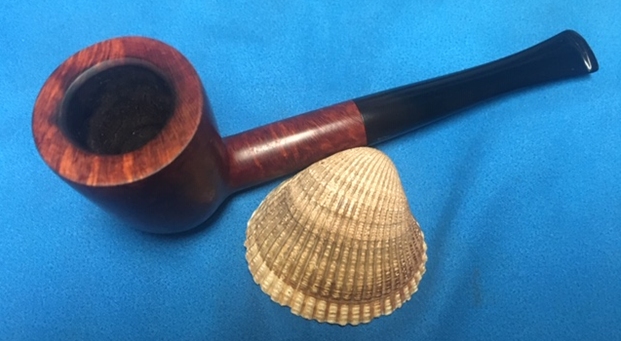
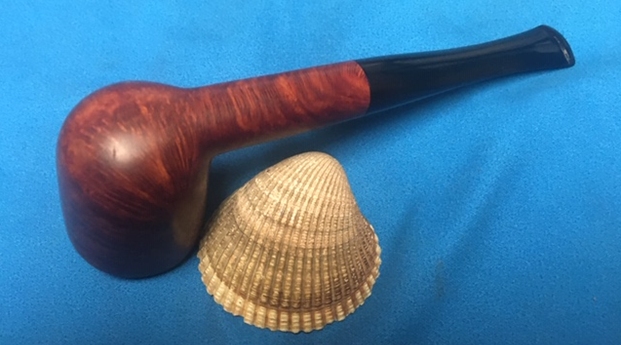
 This beautiful WDC Redmanol Pipe turned out to be great looking pipe. The mix of reds of the Redmanol and the browns of the Redmanol bowl looks very good. The finish on the pipe is in excellent condition and the contrasting colours work well together. I put the stem back on the bowl and carefully buffed the pipe with Blue Diamond on the buffing wheel using a light touch on the briar. I gave the bowl and stem multiple coats of carnauba wax on the buffing wheel and followed that by buffing the entire pipe with a clean buffing pad. I hand buffed the pipe with a microfiber cloth to deepen the shine. The finished WDC Redmanol Dublin is quite nice and feels great in the hand. Give the finished pipe a look in the photos below. The dimensions of the pipe are Length: 4 ½ inches, Height: 1 ¾ inches, Outside diameter of the bowl: 1 ¼ inches, Chamber diameter: 7/8 of an inch. Thanks for walking through the restoration with me as I worked over another beautiful pipe. This pipe will be joining other WDC Bakelite and Redmanol pipes in collection. Thanks for your time.