Blog by Paresh Deshpande
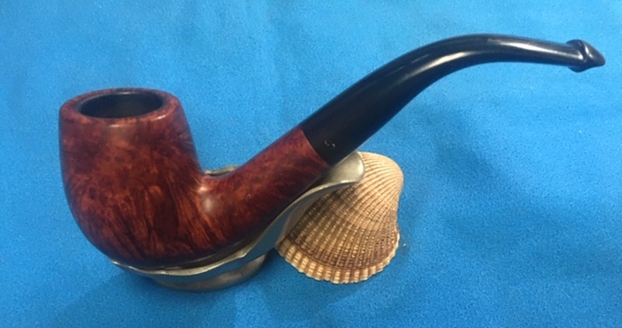
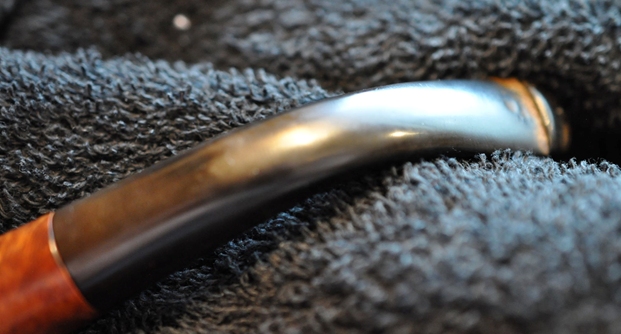
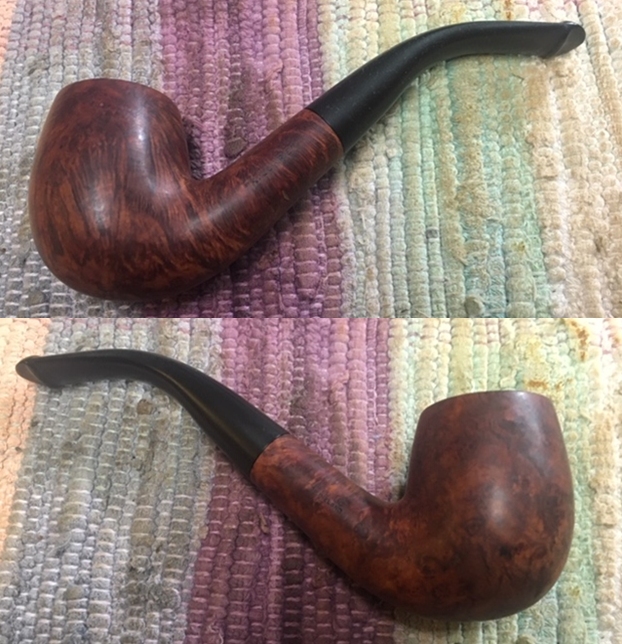
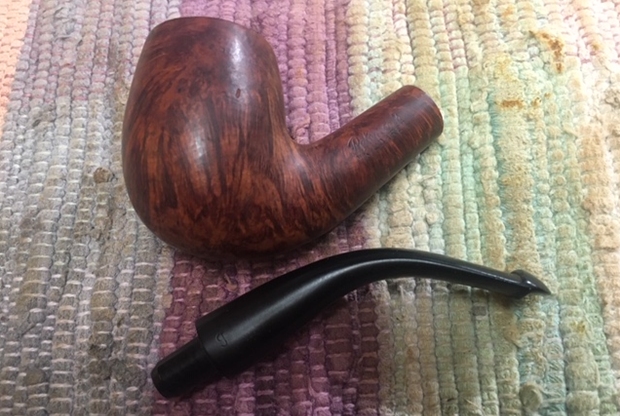
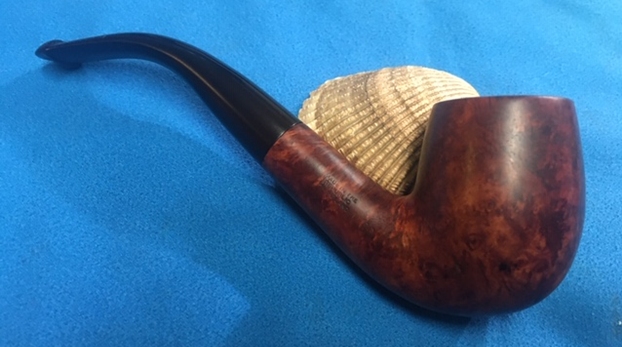
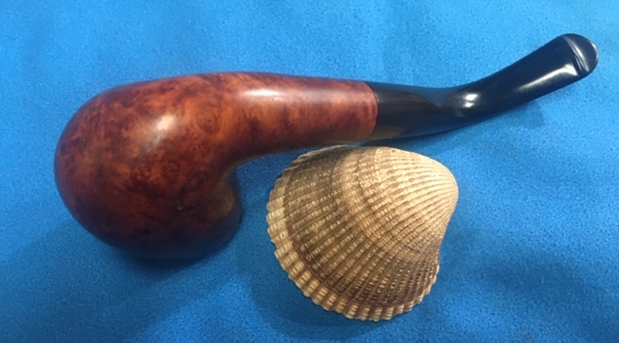
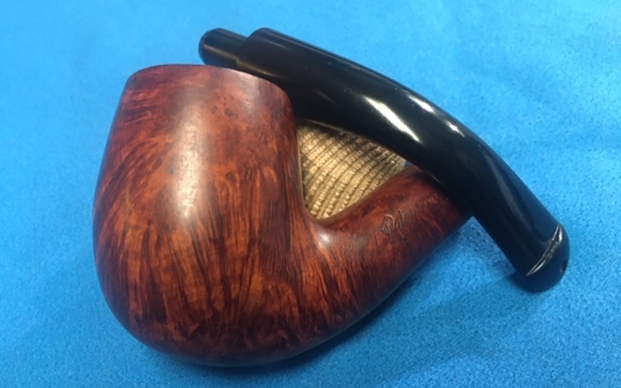
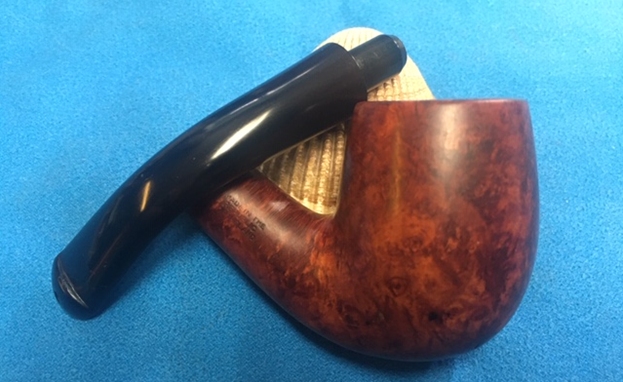
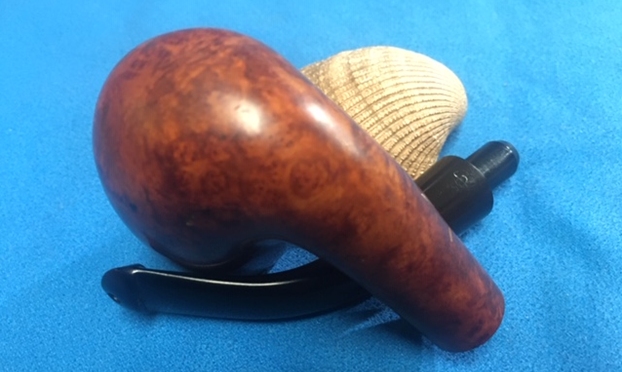
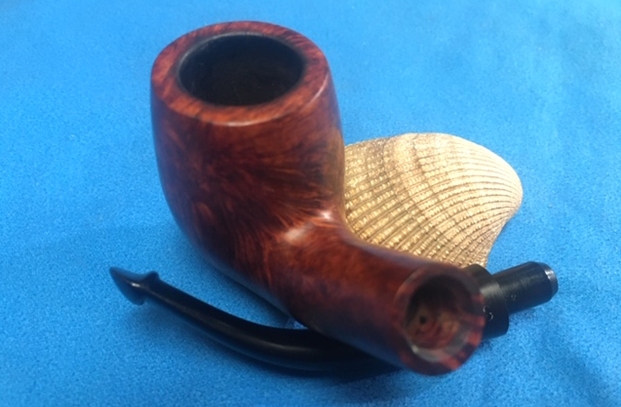
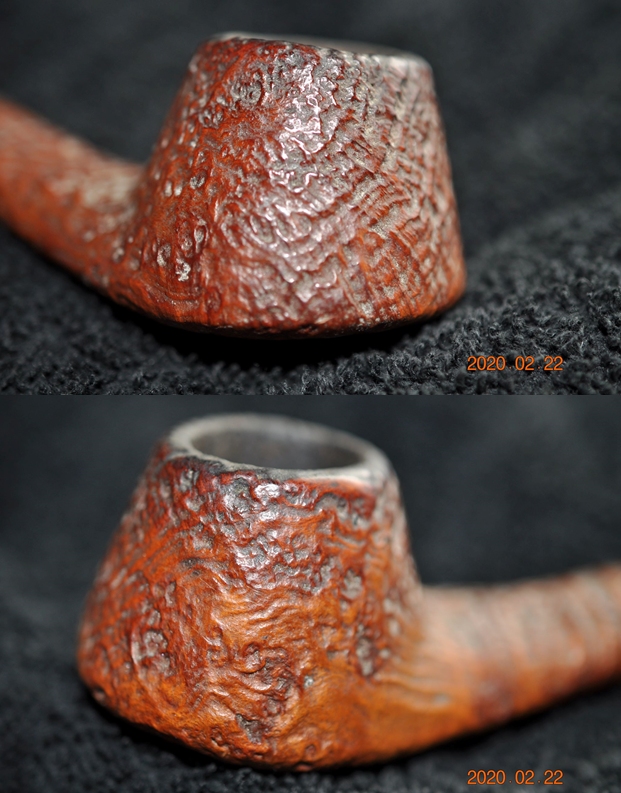
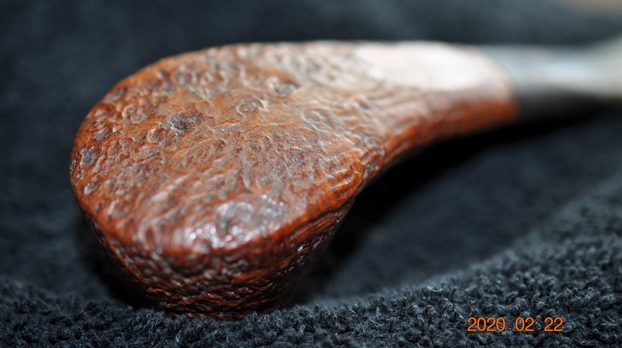
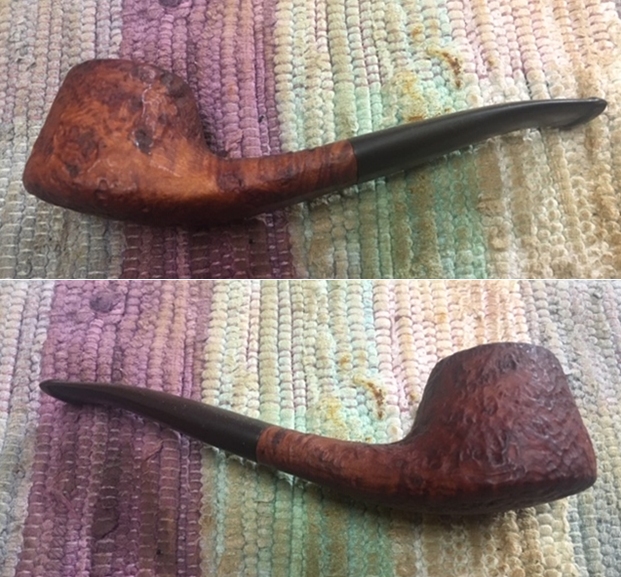
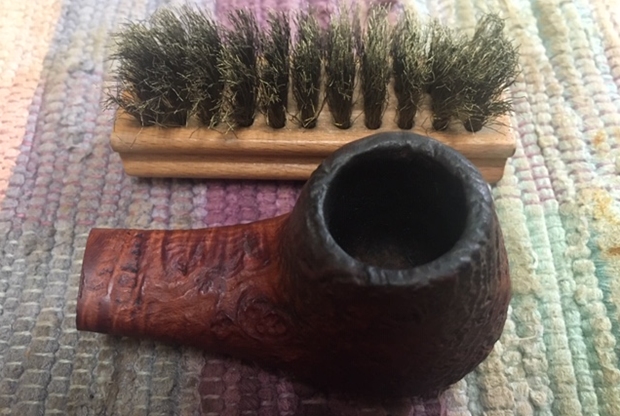
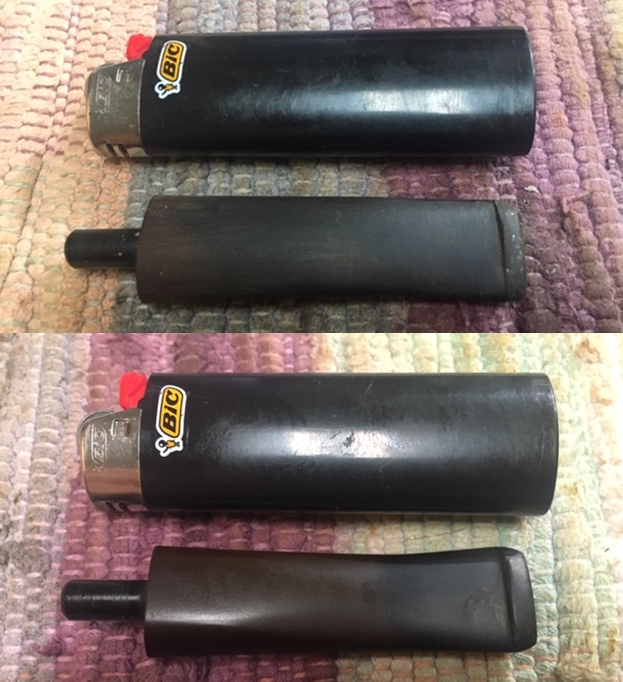
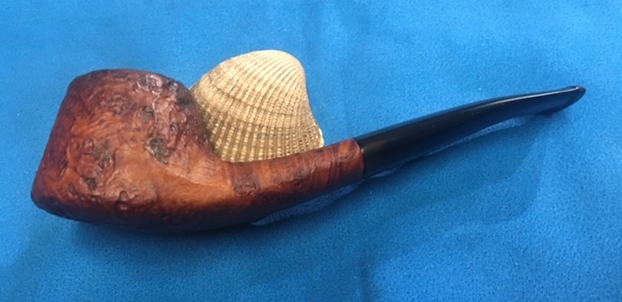
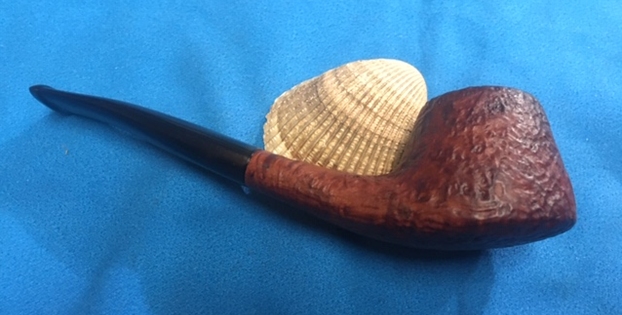
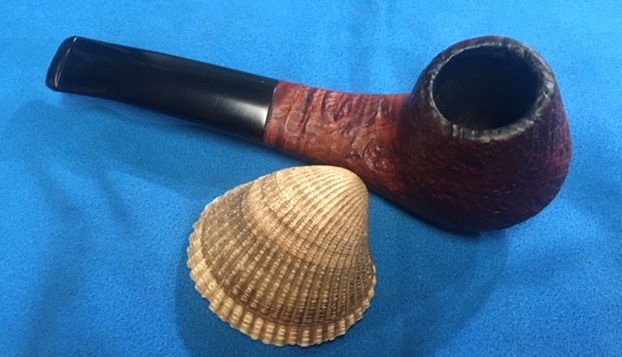
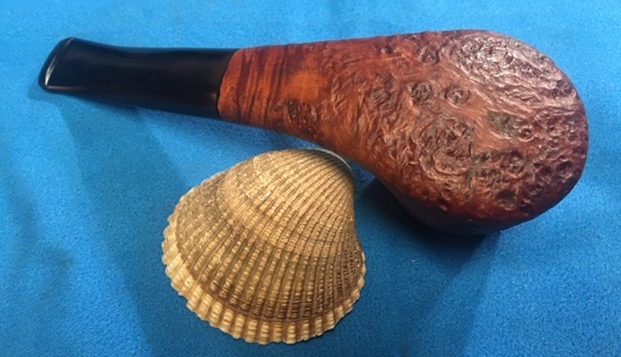
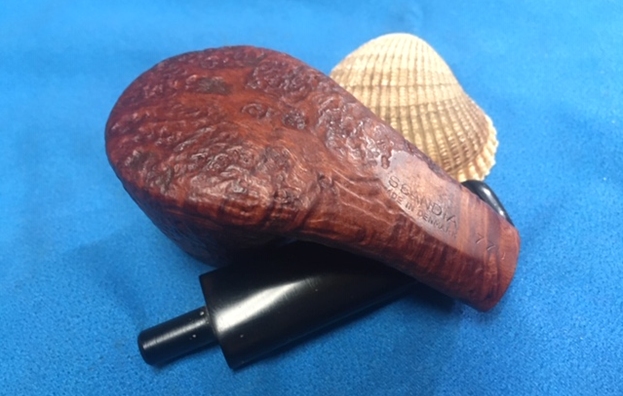
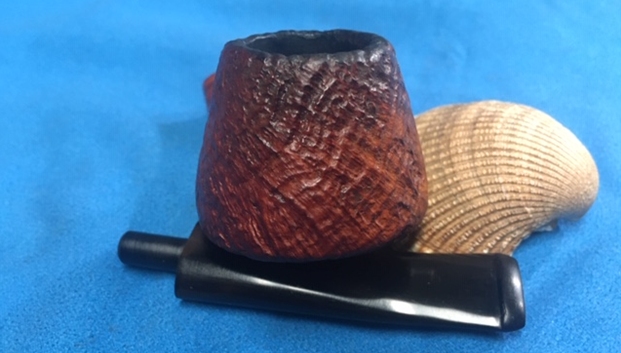
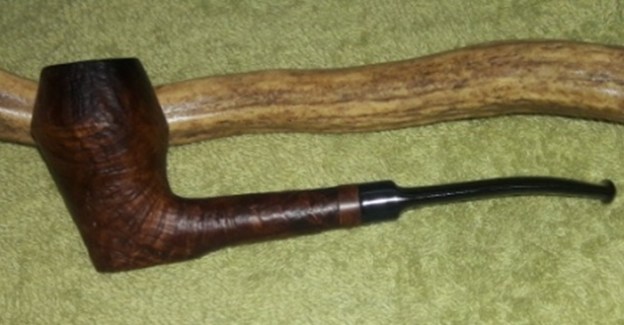
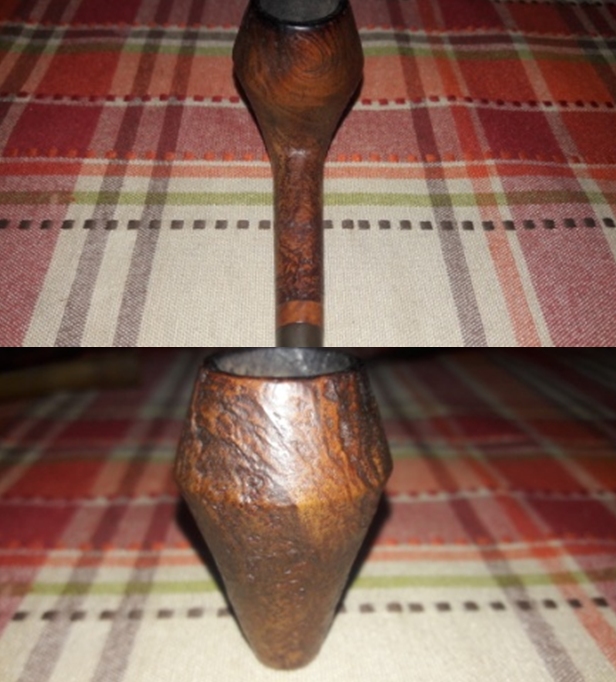
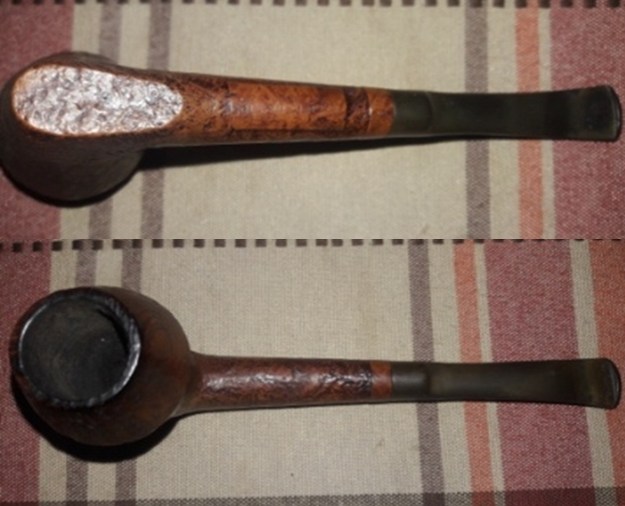
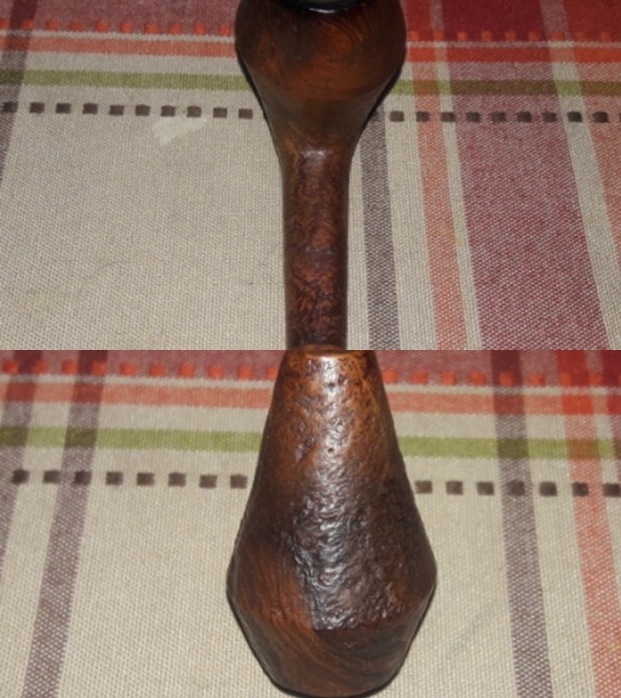
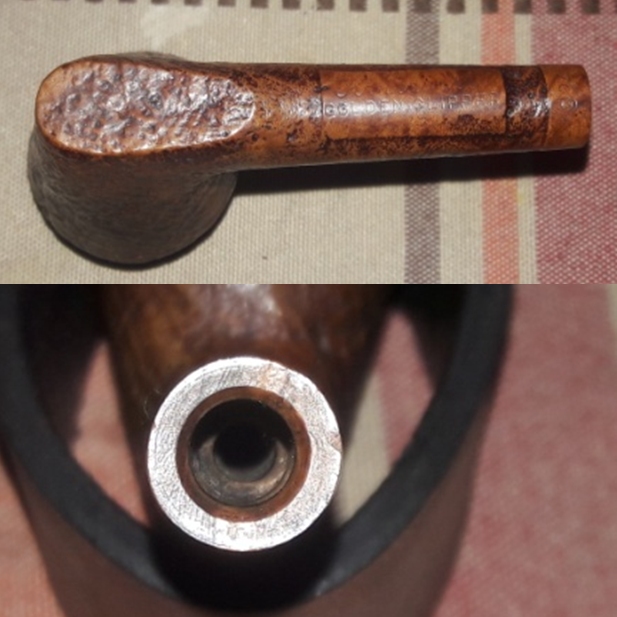
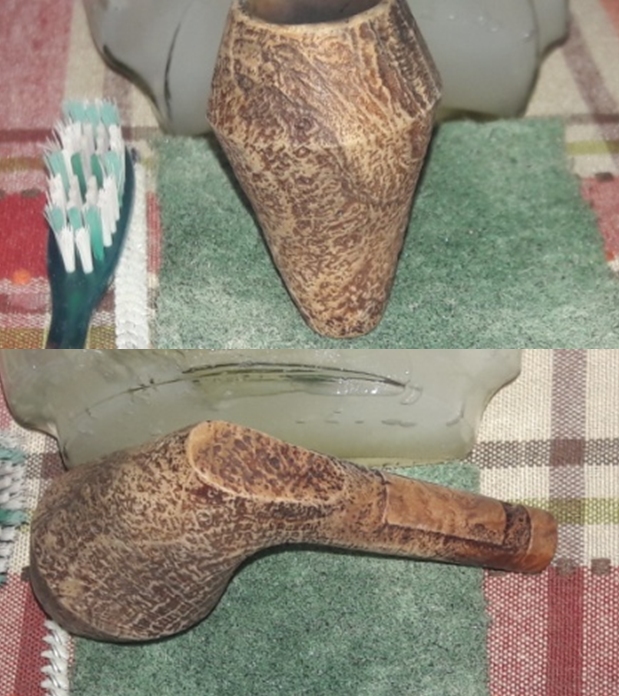
The next pipe selected for refurbishing is a uniquely shaped Danish pipe. I say unique because it has a tall chamber, rounded shank with a rim cap, a slight bent to the stem and is a sitter! It’s a shape that I had never come across and was unable to classify its shape. I shared pictures of the pipe with my Guru, Steve and he opined that it could be called a Rhodesian, stack, sitter or Bulldog as it has characteristics of all these shapes but looks like neither. Thus, we concurred that it’s most appropriate to call this pipe a freehand!!!! The bowl shape reminds me of the chimney of early steam locomotive engines with their bellowing huge plumes of smoke as they rush forward.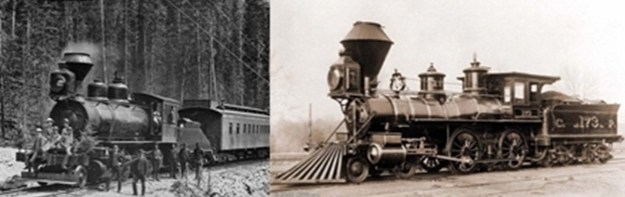 This pipe has shallow sandblast and a natural finish (I guess) that has darkened over a period of time. For a pipe with a length of 5 ½ inches and bowl height of 2 inches and chamber depth of 1 ¾ inches, it’s pretty much ultra light weight, making it a perfect smoker to clench. The vulcanite saddle stem is thin and delicate. The shallow sandblast form the asymmetric patterns look interesting. The foot of the stummel is flat and elongated, making it a perfect sitter. A smooth briar band at the shank end breaks the monotony of the blasted surface and also provides a surface for stamping the model number.
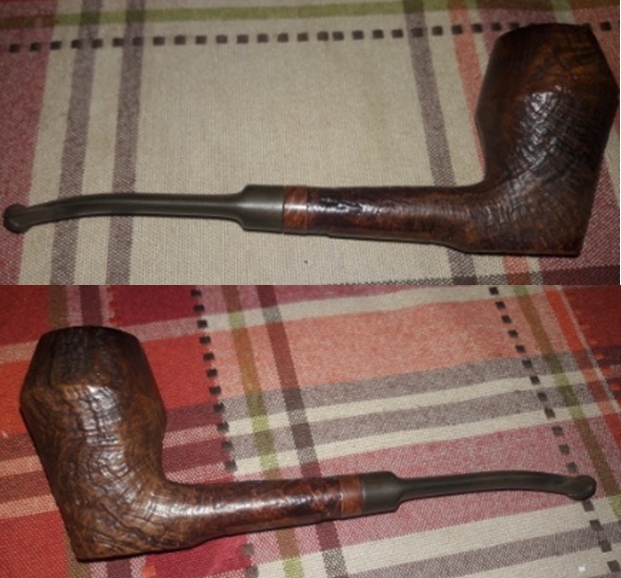
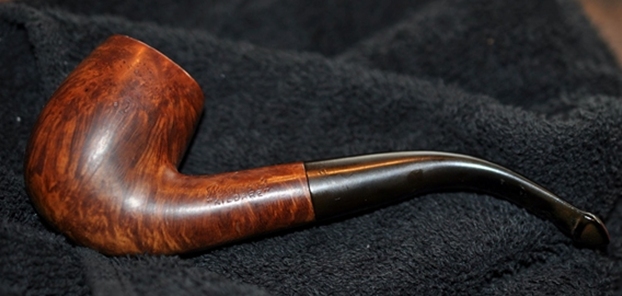
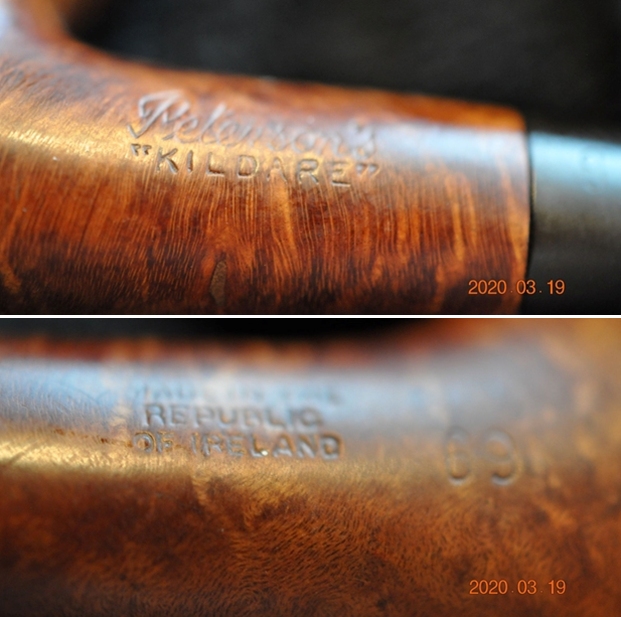
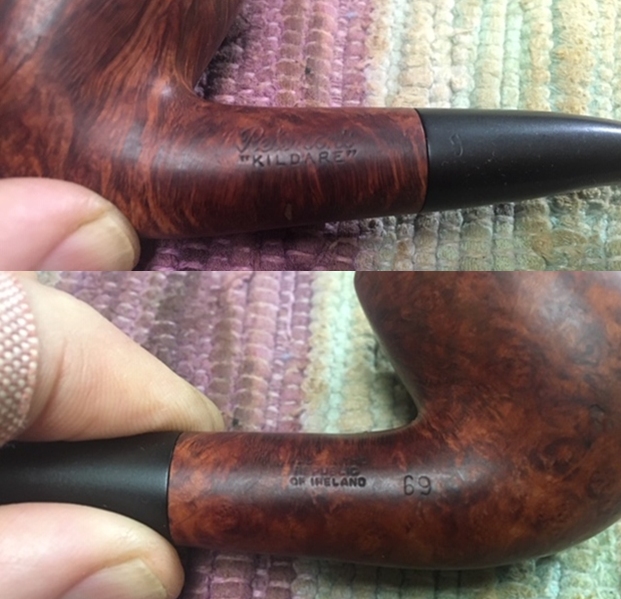
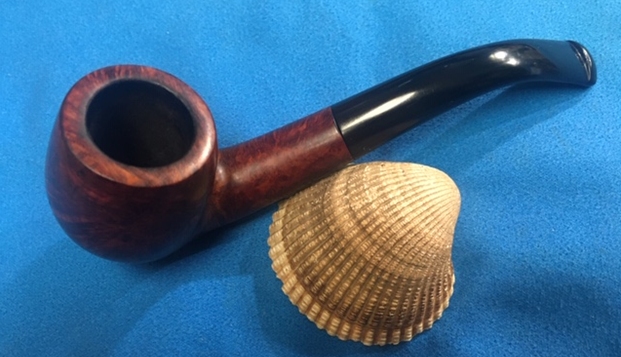
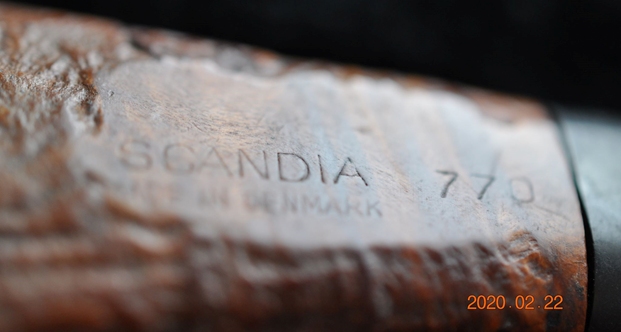
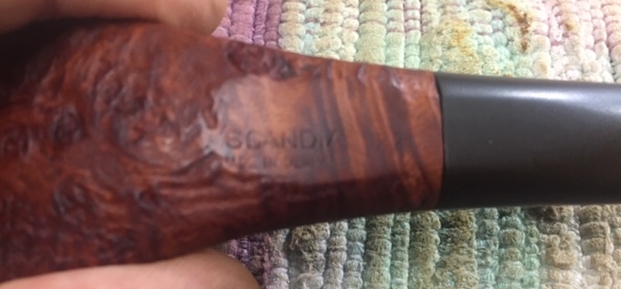
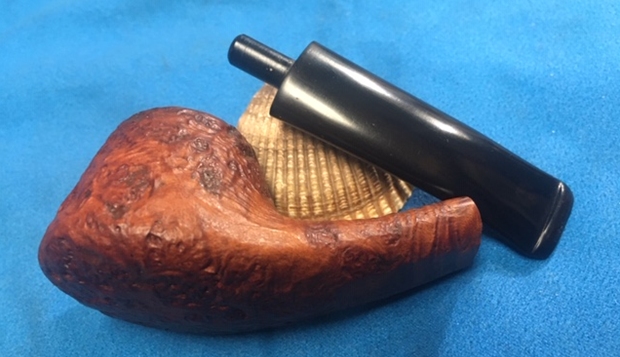
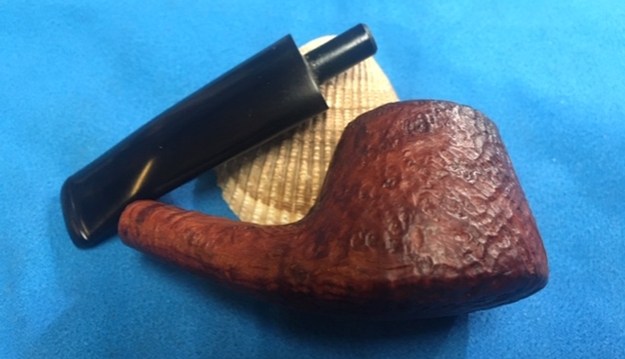
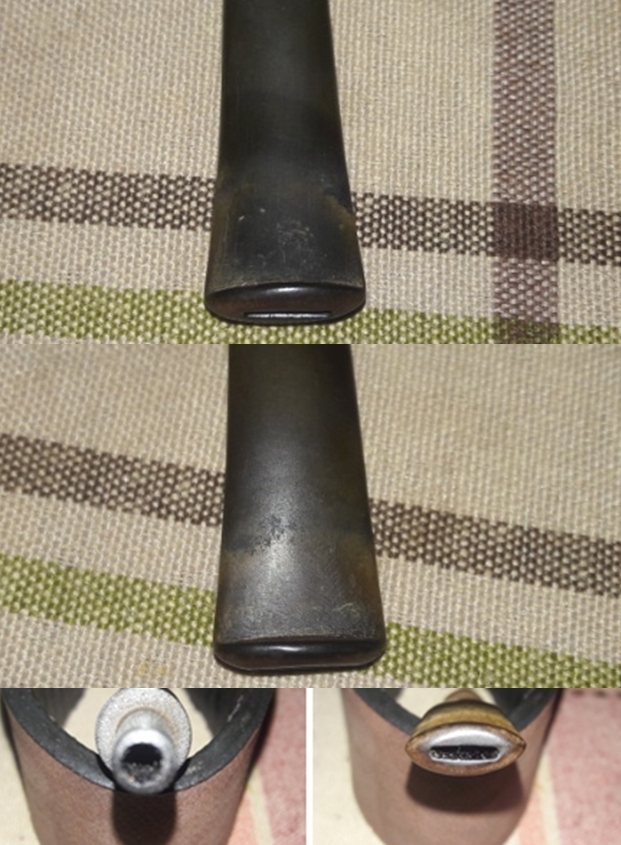
 The pipe is stamped on the bottom smooth surface of the shank as “Kriswill” in script hand over “GOLDEN CLIPPER”. Further to the right towards the shank end on the smooth briar band is stamped the shape (?) code “1894”. Truth be told, the shape code stamping of the numeral 8 appears smudged. Having worked earlier on Kriswill pipes, I realized that the stamp “HAND MADE IN DENMARK” is conspicuous by its absence. The thin delicate vulcanite saddle stem is devoid of any stampings.
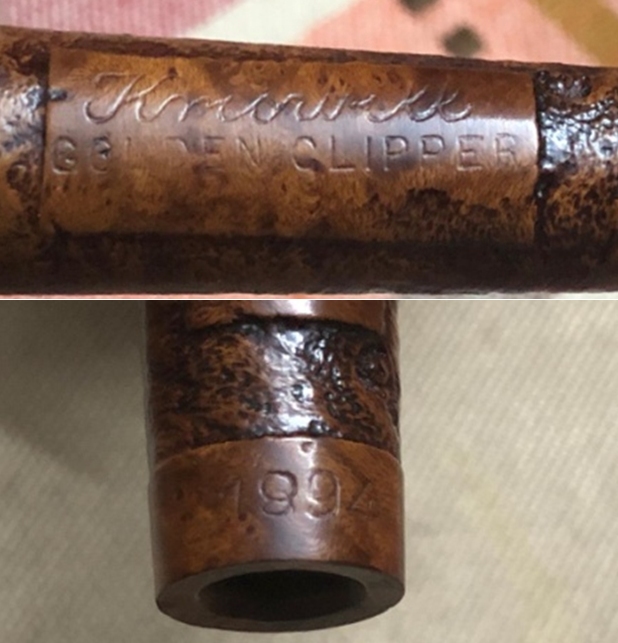 A couple of years back I had worked on a Kriswill Golden Clipper and on a Chief. Here is the link for the Kriswill Chief write up…
https://rebornpipes.com/2018/08/04/breathing-new-life-into-a-kriswill-chief-20/. I am sure you will find it an interesting read.
I had researched the brand at that time and all that was now needed was to refresh the memory. I went through the above write up and also through the material that was available on pipedia.org and pipephil.eu. There are two facts which I wish to highlight, firstly, “Prior to 1970 the stampings are in script letters on the shank and on the mouthpiece. The star on the stem and block letters on the shank were introduced from that date on”
Second, is deciphering the four digit model coding system adopted by Kriswill. The last two numerals are the model numbers for smooth finish and all sandblasted have numeral 18 preceding the model number. Thus the pipe currently on my table is a model #94 and since it is a sandblast variant, the number is 1894.
Thus from the above, the pipe that I am now working on dates to pre 1970s since the stamping is in script and the stem is sans the star.
With the provenance of the pipe satisfactorily established, I proceeded to carry out a visual inspection of the condition of the pipe in my hand. This helps me map the road to restoring the pipe by identifying the issues involved and identify methods/ options to address the same beforehand.
Initial Visual Inspection
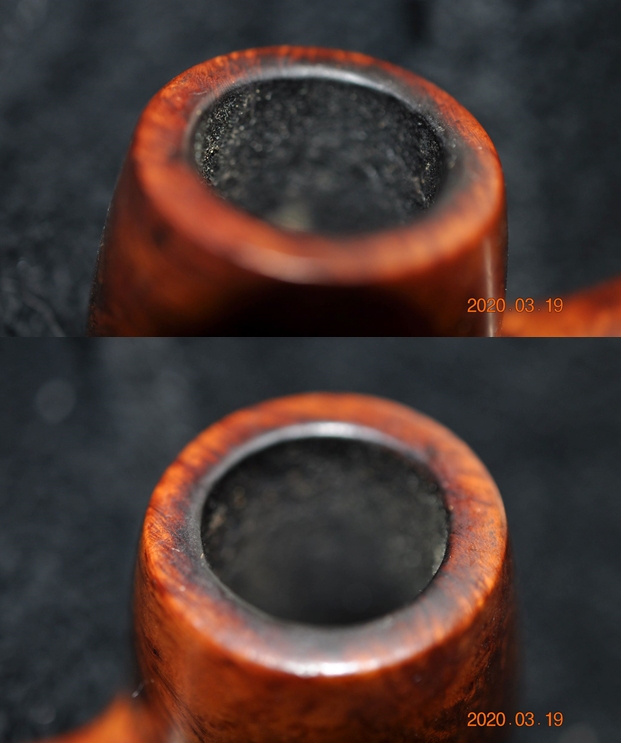
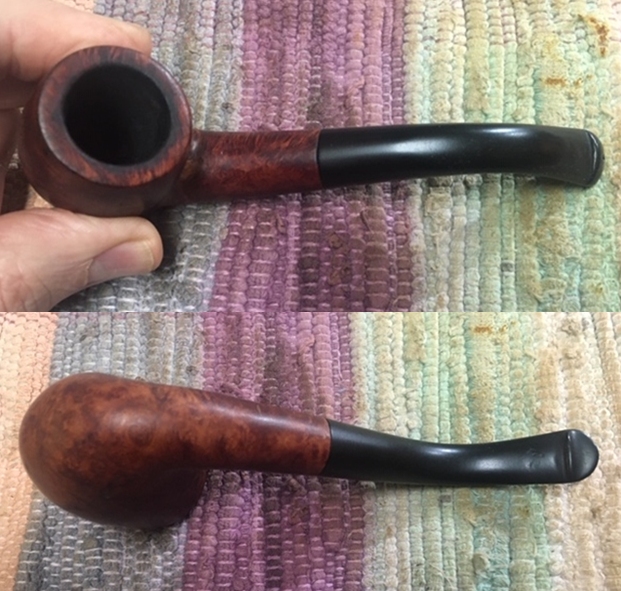
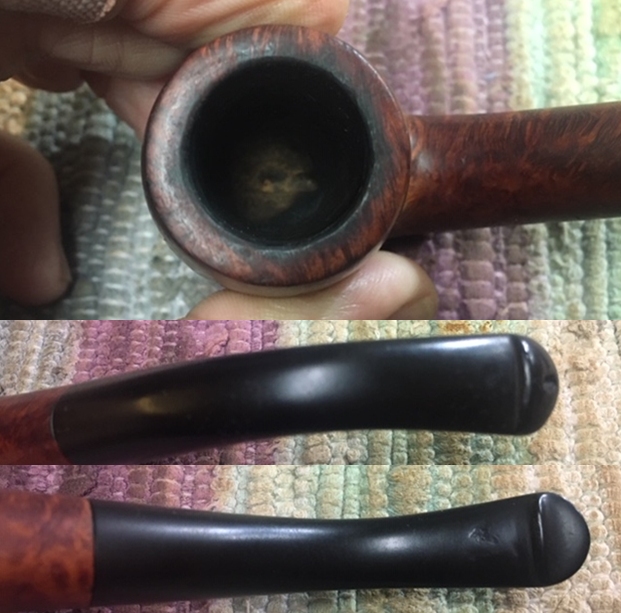
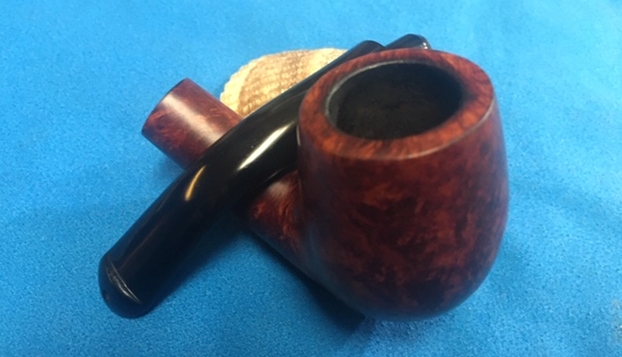
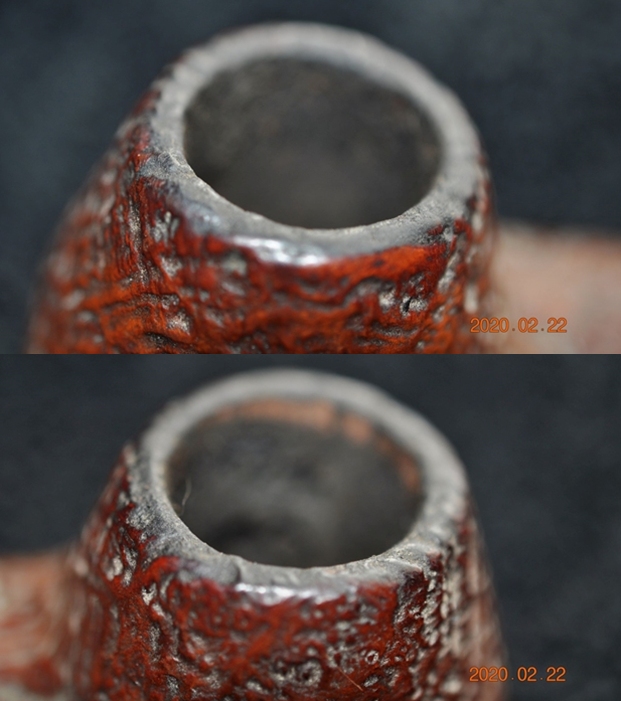
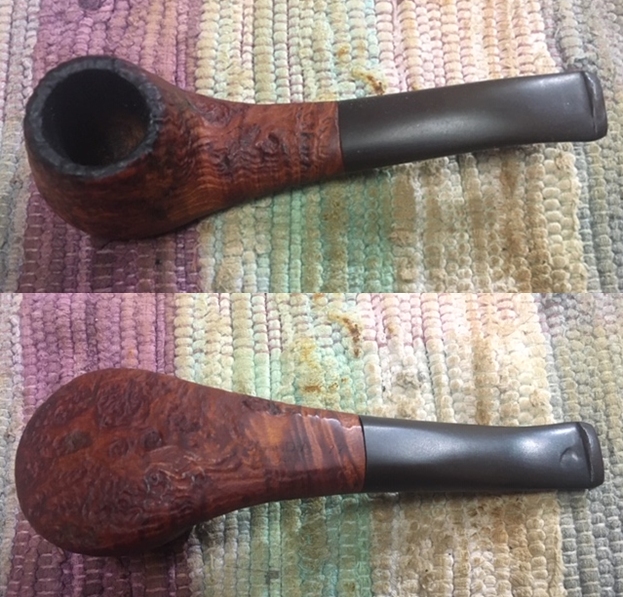
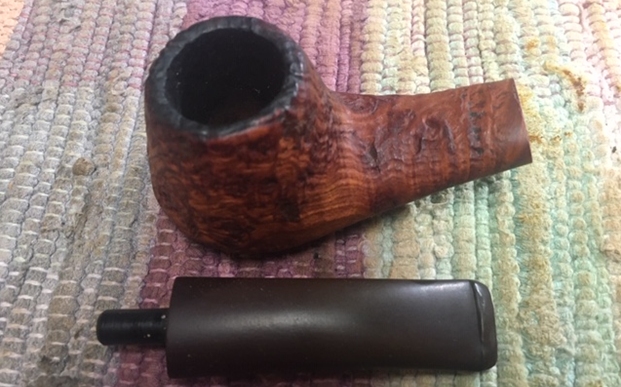
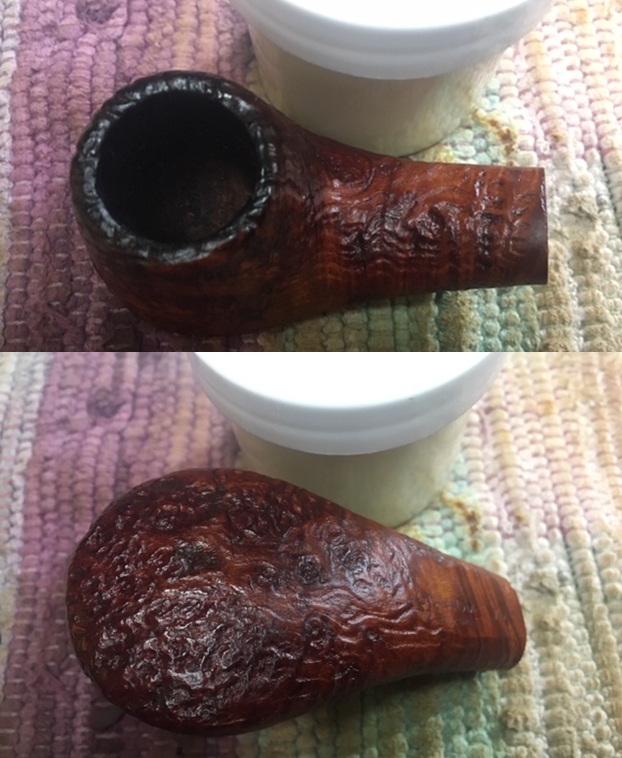
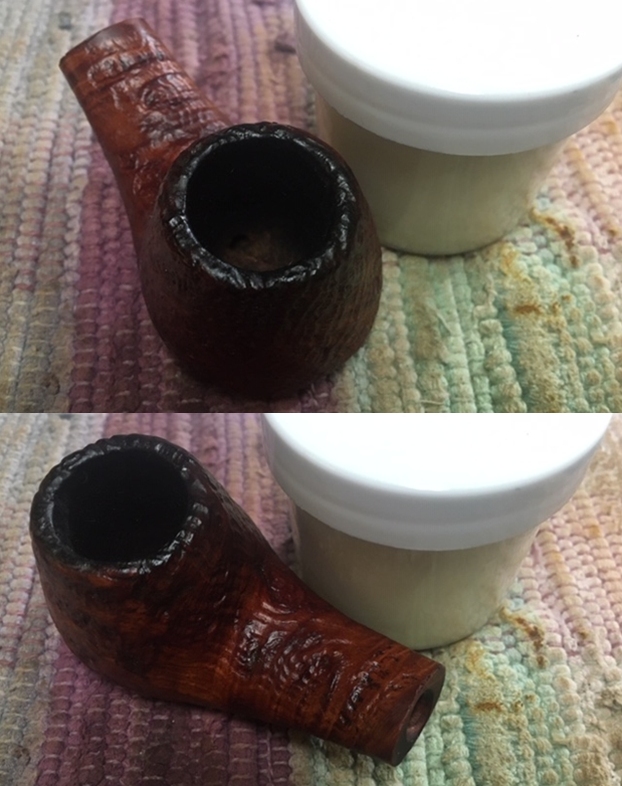
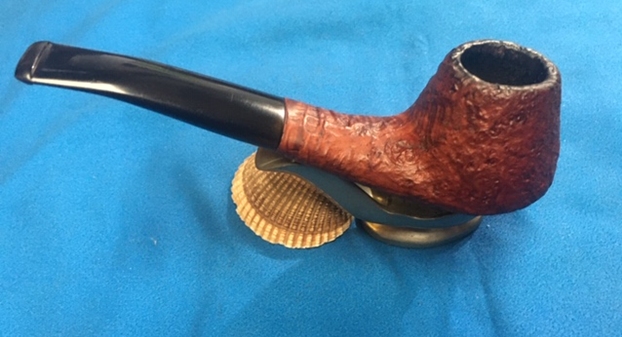
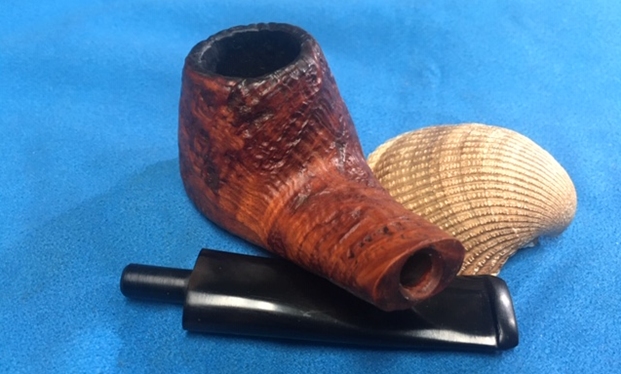
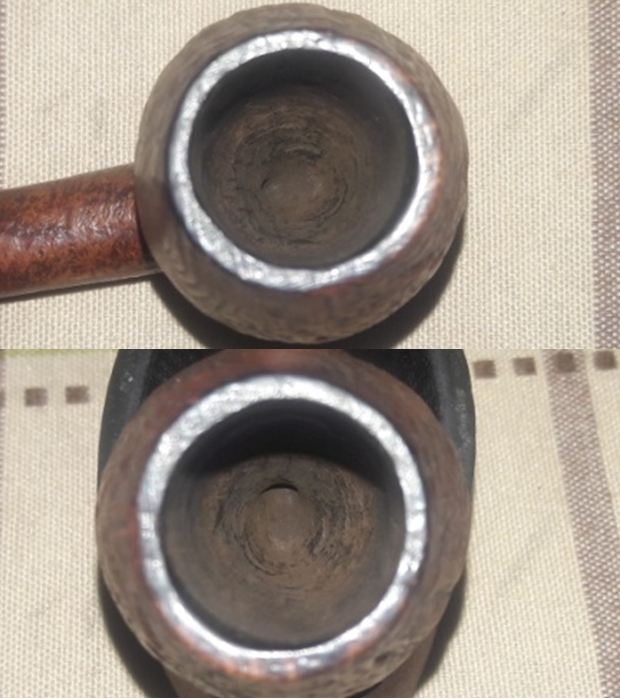
The chamber is so filled with cake that I am unable to reach the bottom of the bowl with my little finger. The build-up of the cake is heavier on the bottom half of the bowl, but overall well maintained. The condition of the inner walls of the chamber can be commented upon after the cake has been taken down to the bare briar. The rim top is thin and has the same shallow sandblast surface as the rest of the stummel, has darkened and is covered with dust, lava and grime. I don’t think that there is any charring to either of the rim edges and they appear to be in pristine condition. The chamber odors are not very strong and should be completely eliminated once the cake has been removed and the shank has been thoroughly cleaned. The stummel surface appears dull and lackluster due to the accumulated dirt, dust and grime of years of usage and subsequent uncared for storage. There are no fills or chips or nicks over the stummel surface. There are no other stummel issues that I have to deal with on this pipe. The mortise is relatively clean with small amount of oils and tars accumulated on the walls of the mortise. This should be an easy clean up job.
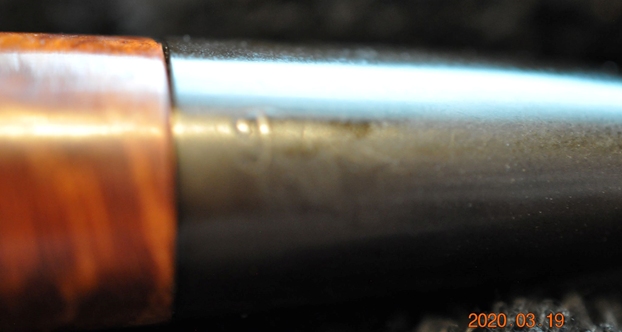
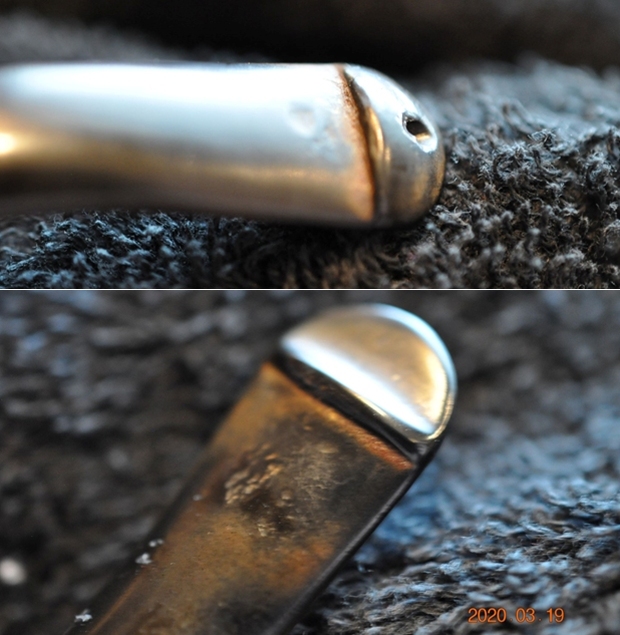
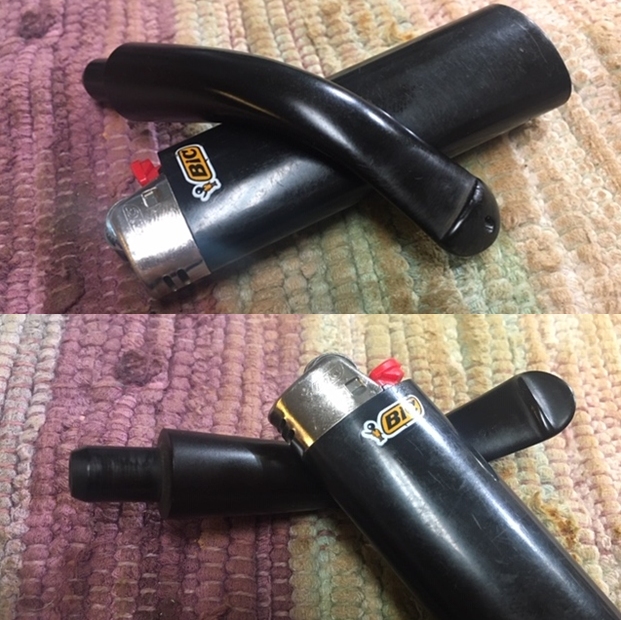
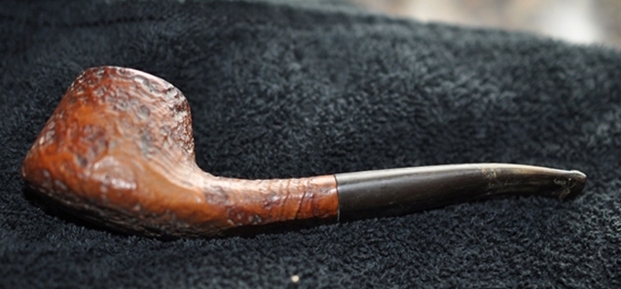
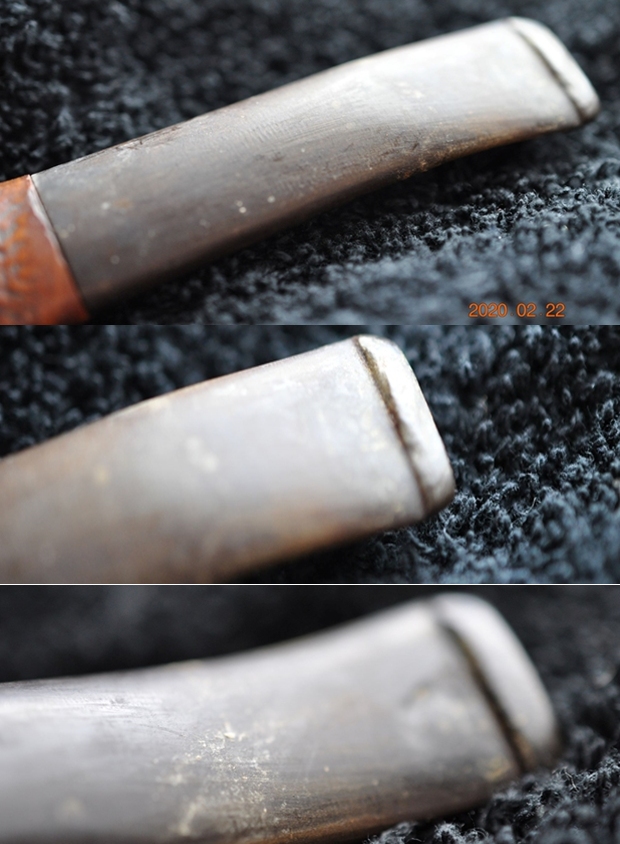
 The delicate vulcanite saddle stem is heavily oxidized. The lip has some minor bite marks on both surfaces and will need to be rebuilt and reshaped. There is some calcification seen around the lip on both the surfaces. The airway in the stem is blocked and the draw is restricted. I will need to clean it to ensure a full and open draw. The tenon and the horizontal slot show accumulation of dried oils, tars and gunk on the inside as well as on the outside, this will have to be cleaned.
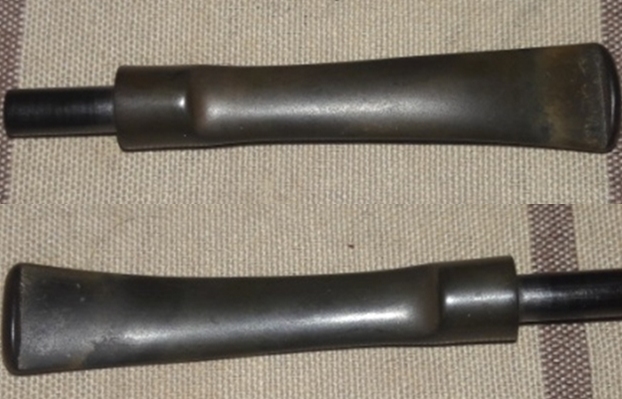
 The Process
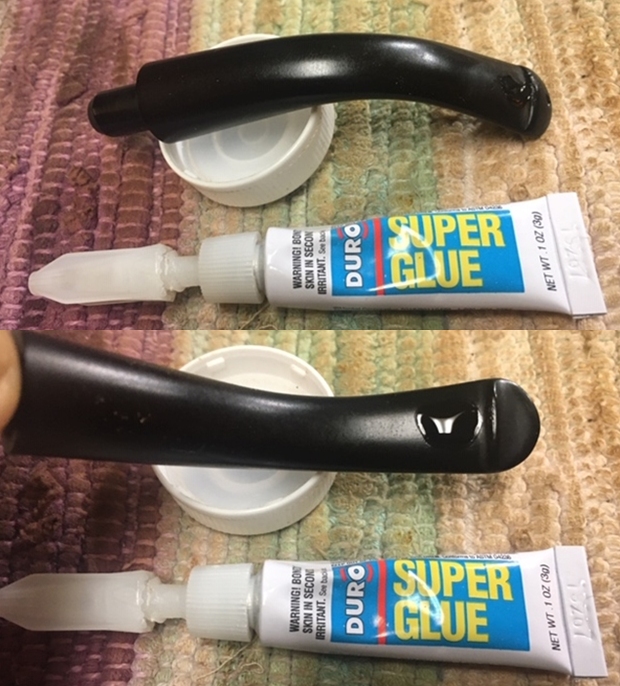
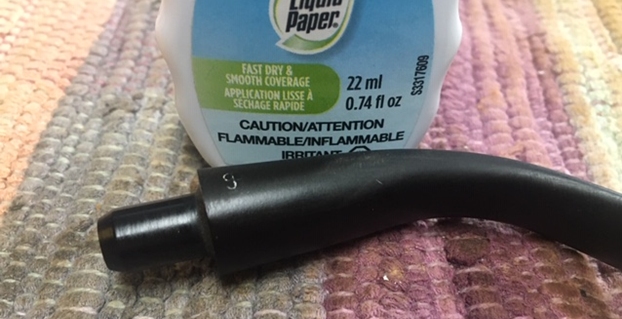
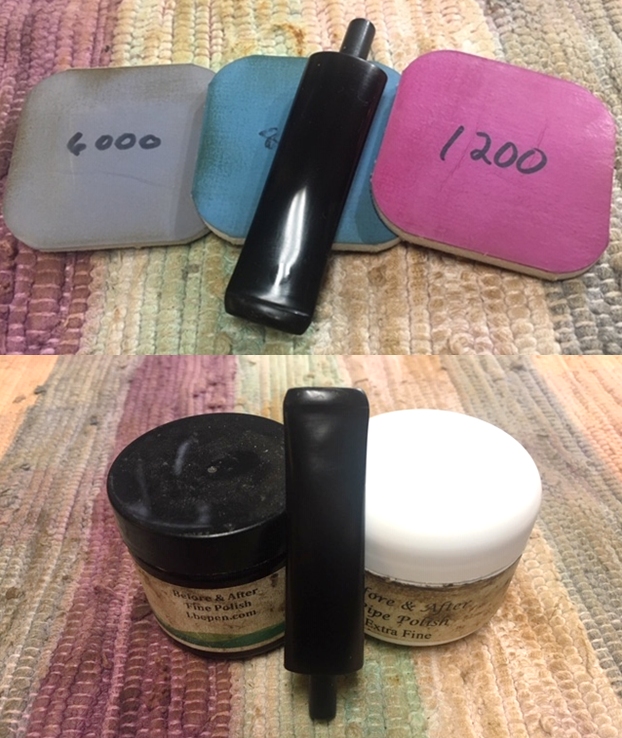
The process of refurbishing this pipe started with the cleaning of the stem. Abha, my wife, cleaned the stem air way with regular and bristled pipe cleaners dipped in 99.9% pure isopropyl alcohol. She further cleaned the stem internals with thin shank brushes and dish soap to remove the stubborn and thick gunk from within the airway. The heap of pipe cleaners and their appearance tells a sordid story. With a sharp fabricated knife, she scraped off all the dried tars and gunk from the tenon end. The stem surface was sanded down with a worn out piece of 180 grit sand paper. I have realized that following this step prior to immersion into the “Before and After Stem Deoxidizer” solution has two advantages, firstly, the stem surface oxidation gets loosened and the solution works deeper and more efficiently in pulling the deep seated oxidation from the stem surface. Secondly, the minor tooth chatter and calcium depositions are taken care of prior to the immersion. I immersed it in “Before and After Deoxidizer” solution along with the stem of other pipes in line for restoration. This solution has been developed by Mark Hoover and works to draw out all the deep seated oxidation from the surface making its subsequent cleaning and polishing a breeze. I would definitely recommend this product as it saves on to time and efforts. The pipe has been marked with a red arrow for easy identification.
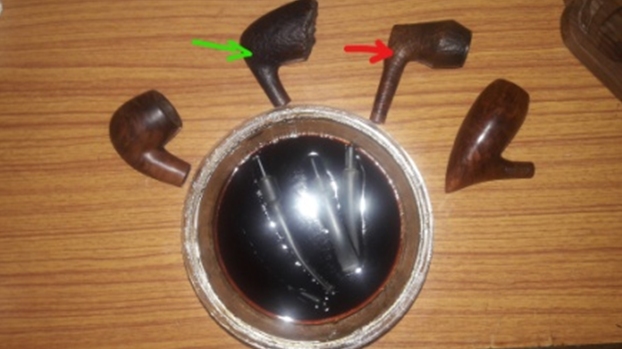 Abha, my wife, dealt with the cake by reaming the chamber with a Castleford pipe tool using size 1 followed by size 2 head of the reamer. Using the fabricated knife, she further scraped the cake from the bottom of the bowl and also the walls of the chamber. She was especially very careful while reaming with the knife so as not to damage the inner edge of the rim. Once the solid briar was exposed, she further smoothed the walls and removed remaining cake by sanding with a 180 followed by 220 grit sand paper. Another advantage of this process is the elimination of traces of ghosting to a great extent. She wiped the chamber with a cotton swab wetted with 99.9% isopropyl alcohol. The chamber walls are pristine and solid with no heat fissures or pits.
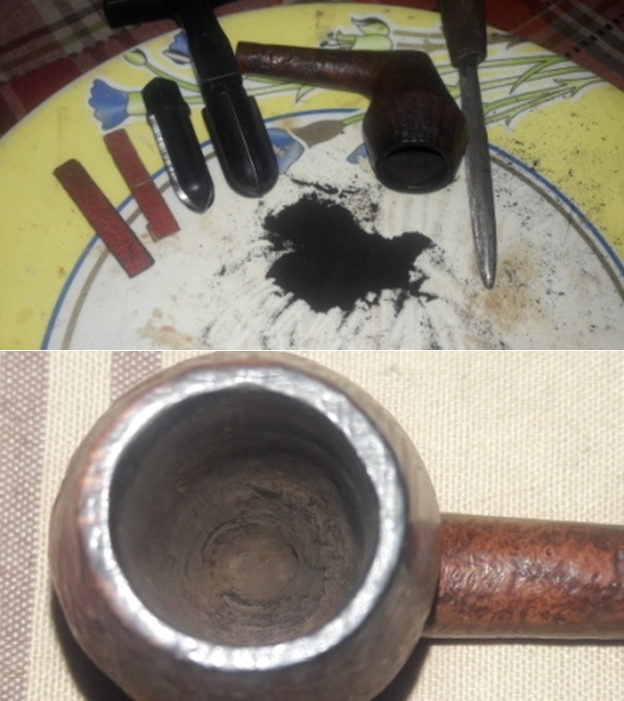
 Simultaneously I cleaned out the internals of the shank/ mortise and airway using q- tips, pipe cleaners and isopropyl alcohol. I scraped the walls of the mortise with my fabricated knife till the accumulated gunk was removed. Further cleaning of the shank internals will ensue during the external cleaning of the stummel.
 Thereafter, I generously rubbed “Briar Cleaner”, a product that has been developed by my friend Mark Hoover, into the external surface of the bowl and the rim top surface. It works similar to Murphy’s oil soap and needs to be applied to the stummel surface and set aside for 5- 10 minutes. The product pulls out all the dirt and grime to the surface making further cleaning easy. I am quite happy with this product. I used a hard bristled tooth brush to scrub the stummel and rim top with the solution. After the scrub with Briar cleaner solution, I washed the stummel under running warm water with anti oil dish washing detergent till clean and dried it using paper towels and soft cotton cloth. I simultaneously cleaned the shank internals with the detergent and hard bristled shank brush. The stummel surface has cleaned up nicely with the intricate sandblast patterns on full display. The stummel now looks and smells fresh and the old smells are all gone. I set the stummel aside to dry out naturally.

 The next morning, Abha removed the stems that had been soaking in the deoxidizer solution overnight. She cleaned the stem and the stem airway under running warm water and scrubbed the raised oxidation from the stem surface using a Scotch Brite pad and the airway with thin shank brush. She further removed the oxidation by scrubbing the stem with 0000 grade steel wool and applied a little olive oil to rehydrate the stem.
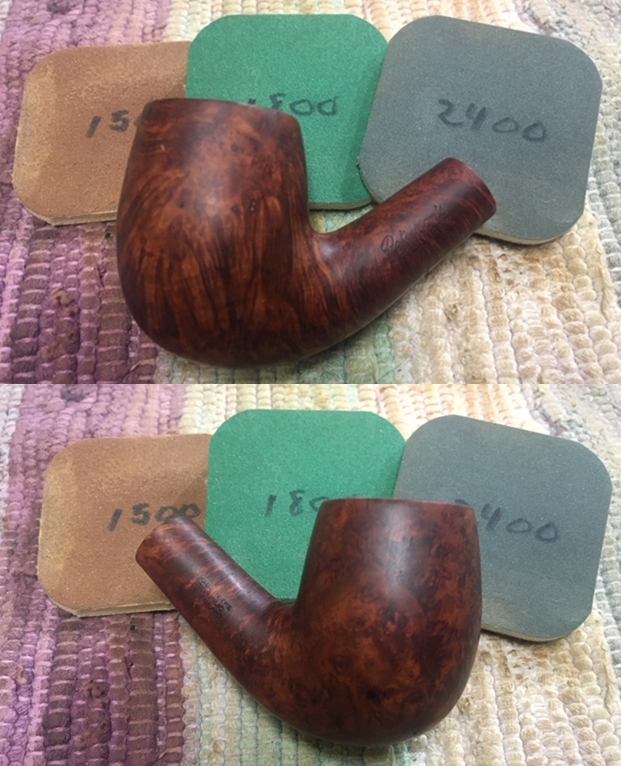
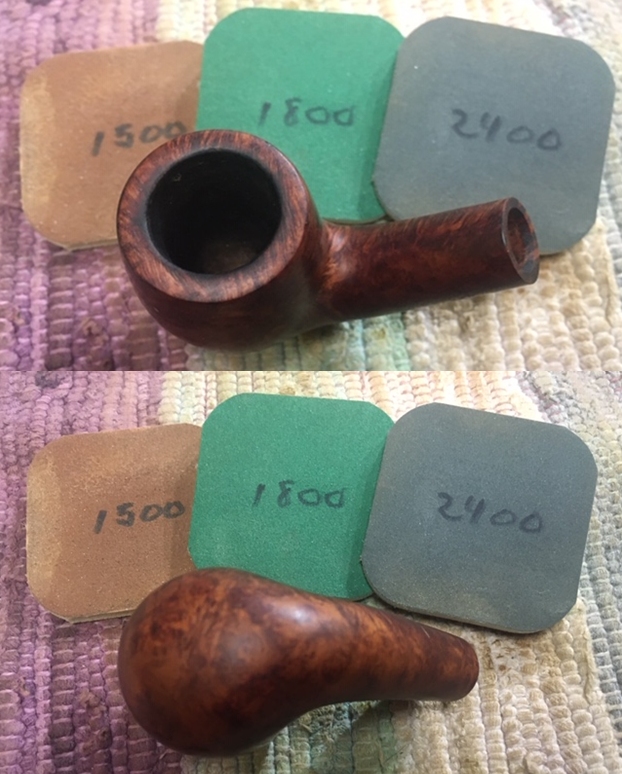
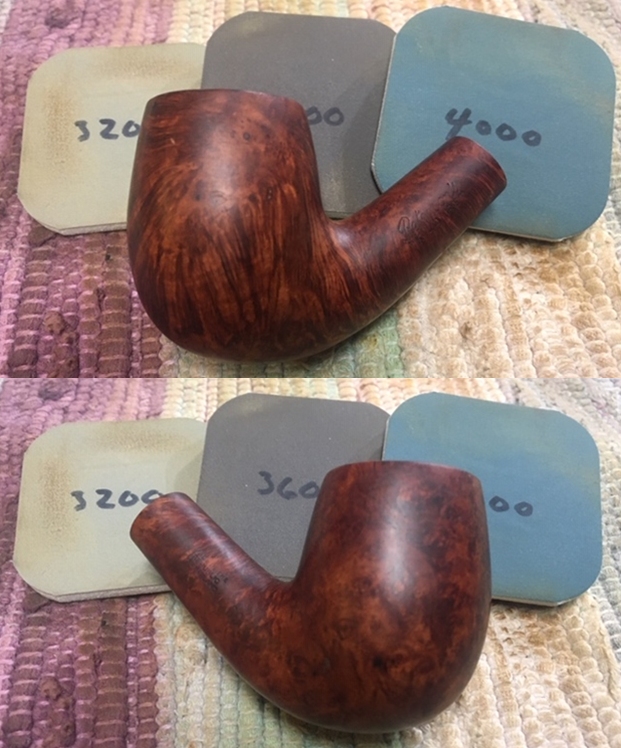
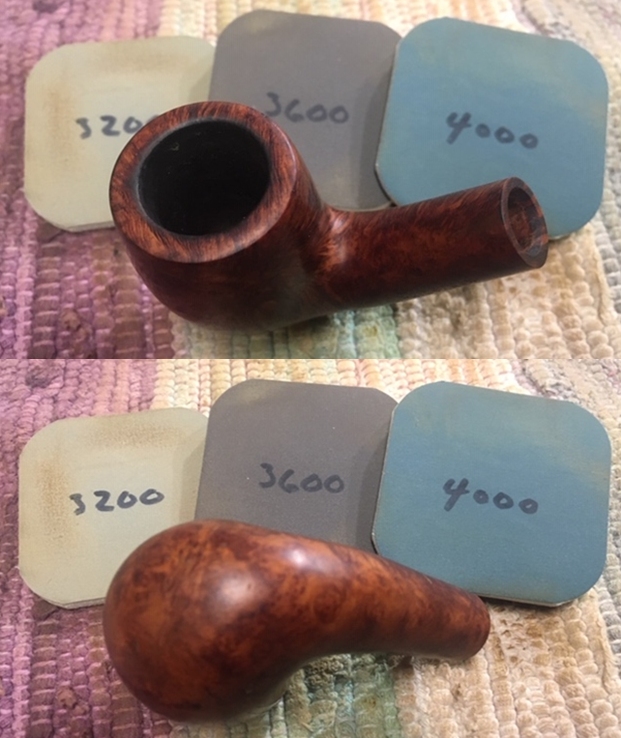
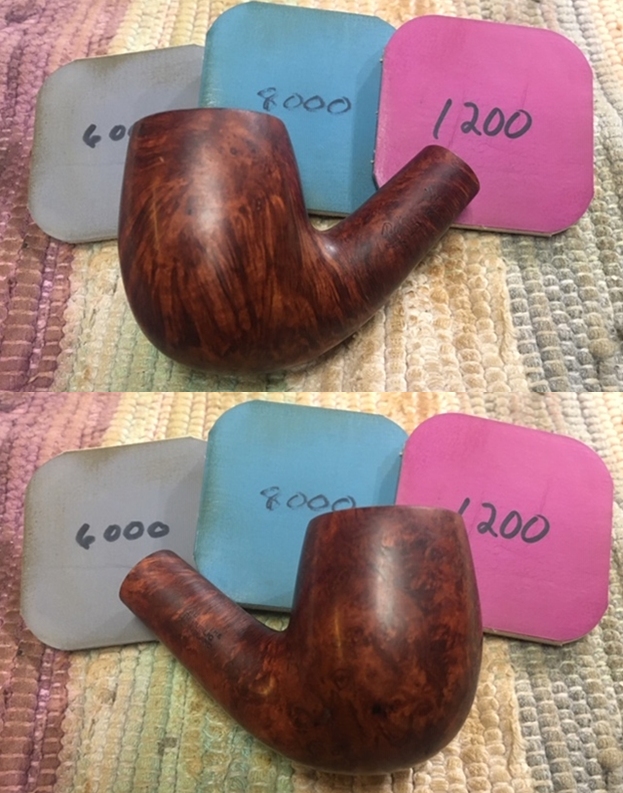
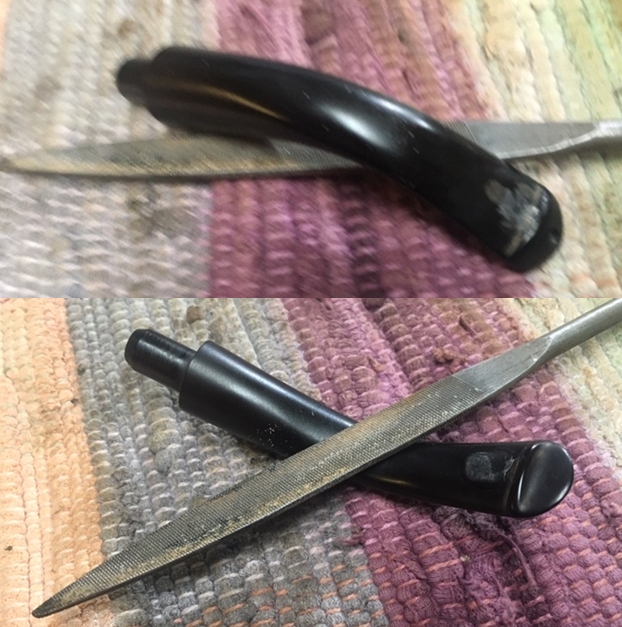
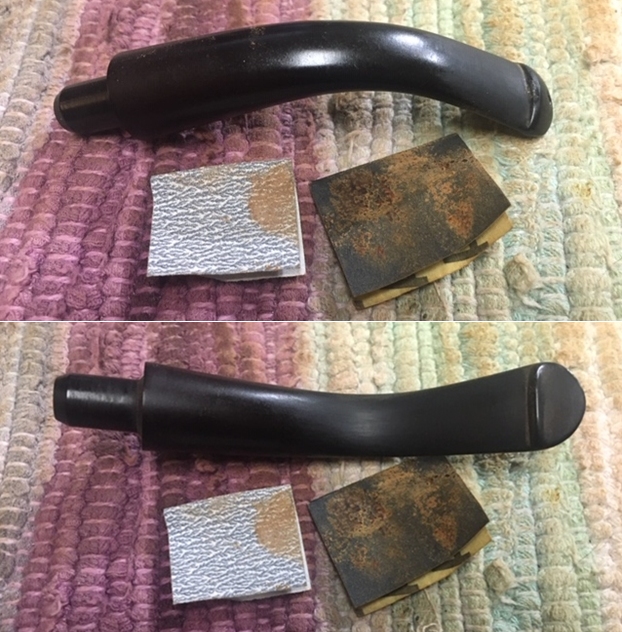
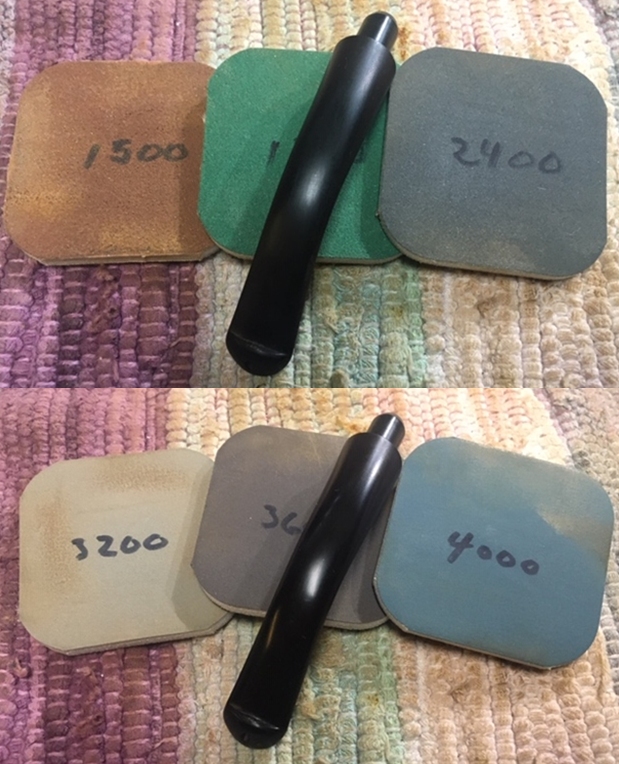
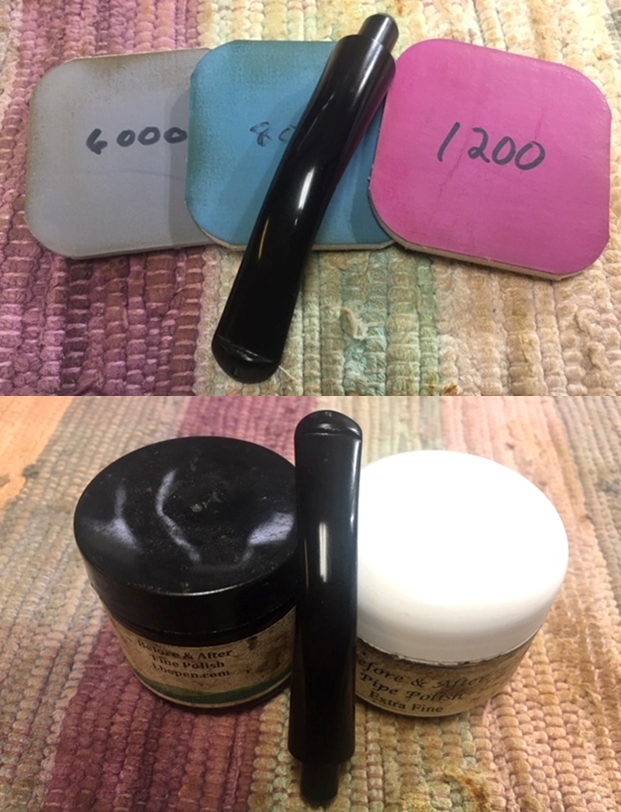
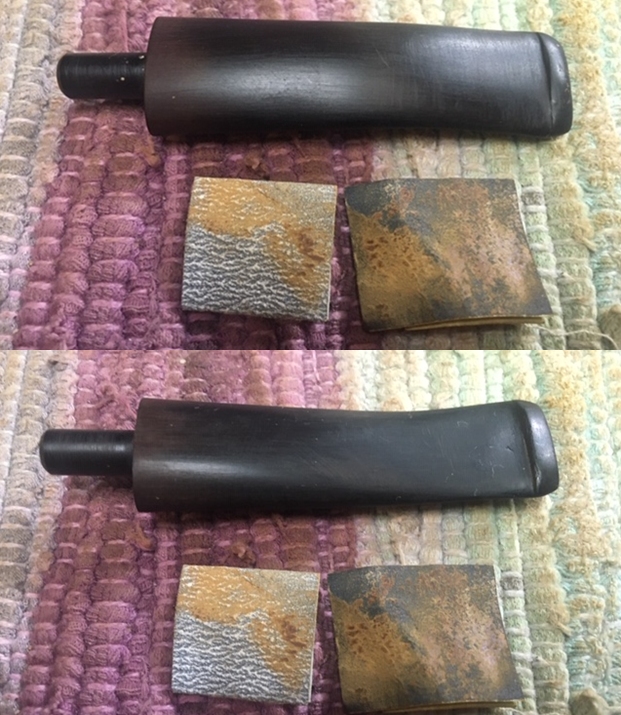
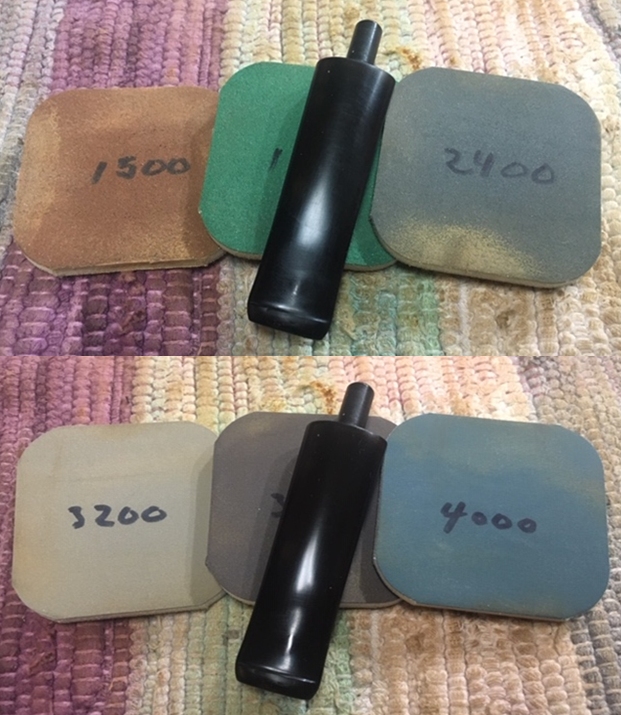
 I further sanded the stem surface with a folded piece of 220 and 320 grit sand papers to further remove the traces of oxidation and reduce the sanding marks and followed it with wet sanding the entire stem with 1500 to 12000 grade micromesh pads (1500 to 2400 grit micromesh pads have completely worn out and unable to order a set due to lock down and so had used 1500 and 2000 grit wet or dry sand paper). I wiped the stem with a moist cloth to remove the dust and monitored the progress being made after every three grit pads. The stem polished up nicely and had a rich deep black shine to it. I applied a little Extra Virgin Olive oil to rehydrate the vulcanite and set the stem aside.
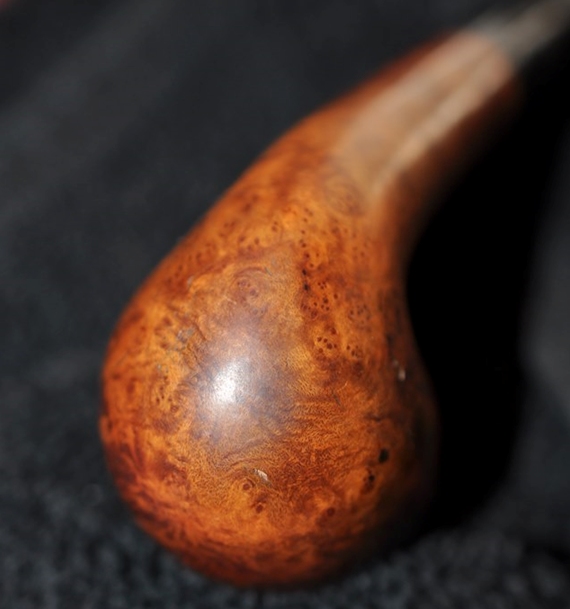
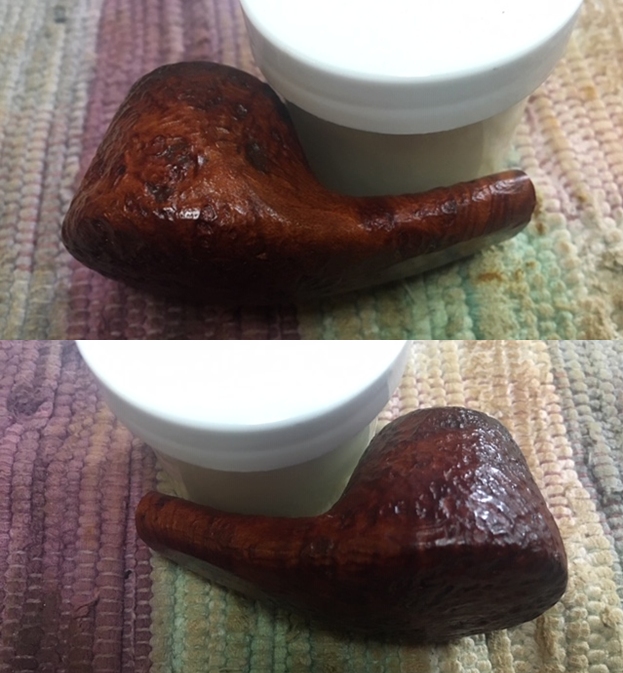
 Next, I rubbed a small quantity of “Before and After Restoration Balm” in to the briar with my finger tips, working it deep in to the sandblasts and let it rest for a few minutes. The balm almost immediately works its magic and the briar now has a nice vibrant appearance with the beautiful sandblast patterns displayed in their complete splendor. The contrast of the light brown of the raised sandblast portion with the dark brown of the rest of the stummel adds an interesting dimension to the appearance of the stummel. I further buffed it with a horse hair brush.

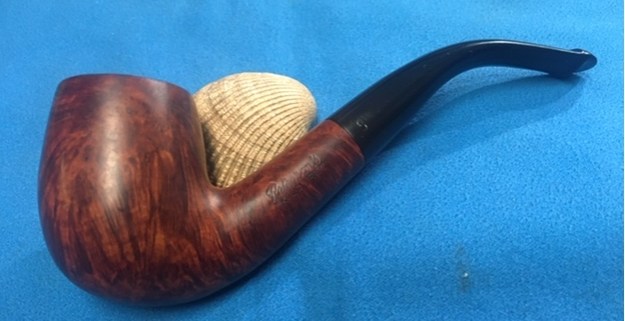
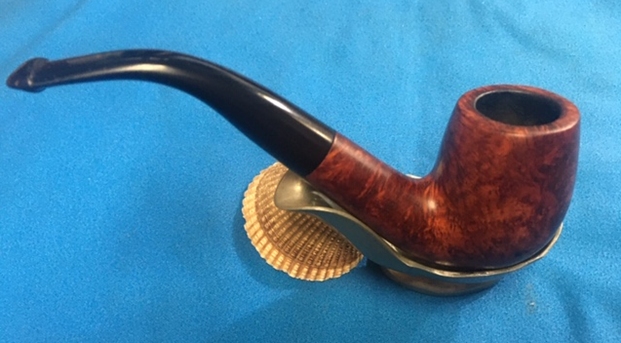
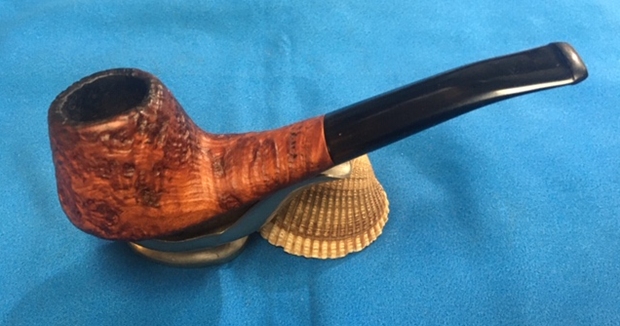
 On to the home stretch!! I mounted a cotton cloth buffing wheel on to my hand held rotary tool and applied several coats of carnauba wax. I finished the restoration by giving the entire pipe a rigorous hand buffing using a microfiber cloth to raise the shine further and remove any residual wax from in between the sandblasts. The finished pipe looks amazingly beautiful and is now ready for its long second innings with me.


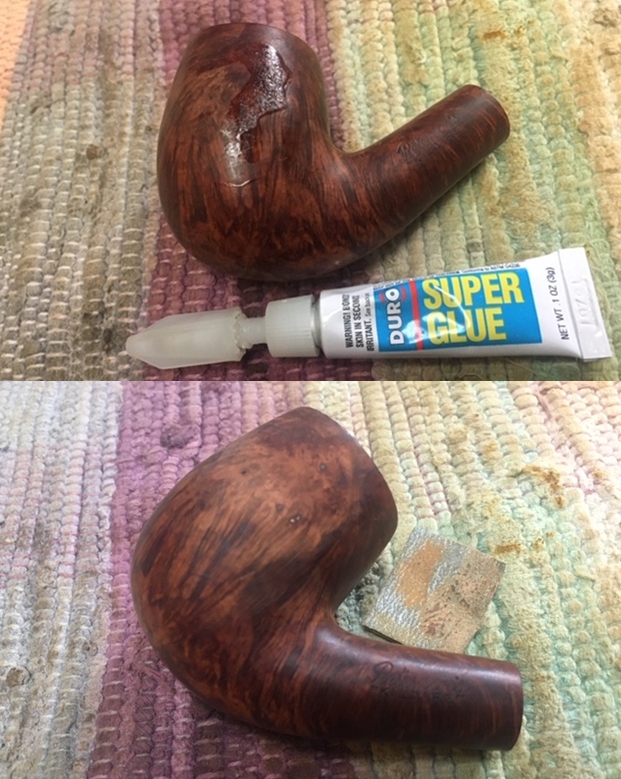
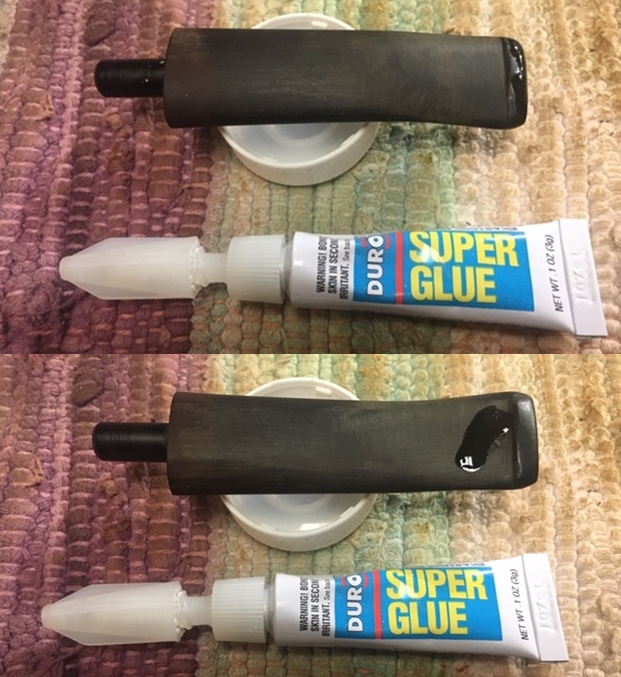
 P.S. I am not really pleased with the restoration projects that I can choose due to paucity of equipment and materials that are required. Today I realized that I have run out of the medium superglue I use and that the spare one has mysteriously hardened within the tube. With my country under lock down to arrest the spread of the COVID- 19 virus, no delivery can take place. So I am being forced to improvise and that I shall continue to do!!
The next project that I have earmarked is interesting in that it is the very first time that I shall be undertaking repairs of this nature. Be sure to read that write up and help me improve my skill sets.
I wish to thank each one for sparing their valuable time to read through this write up and praying for the health and safety of entire mankind. Stay home…stay safe!!