Blog by Dal Stanton
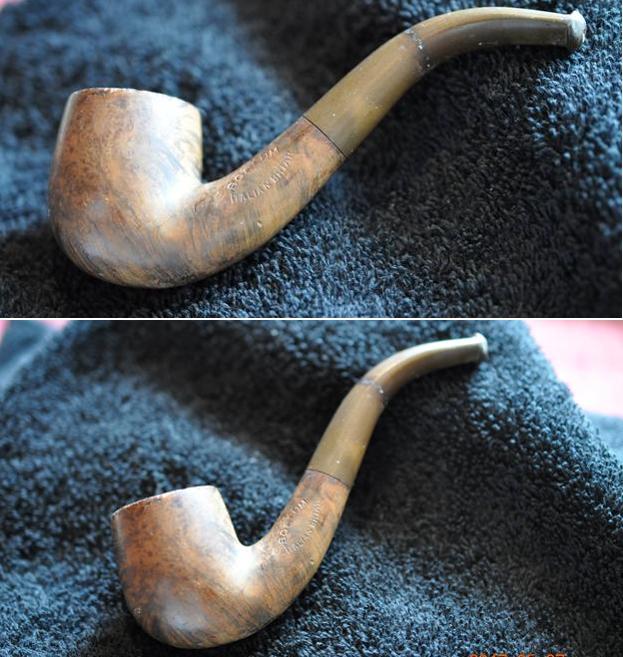
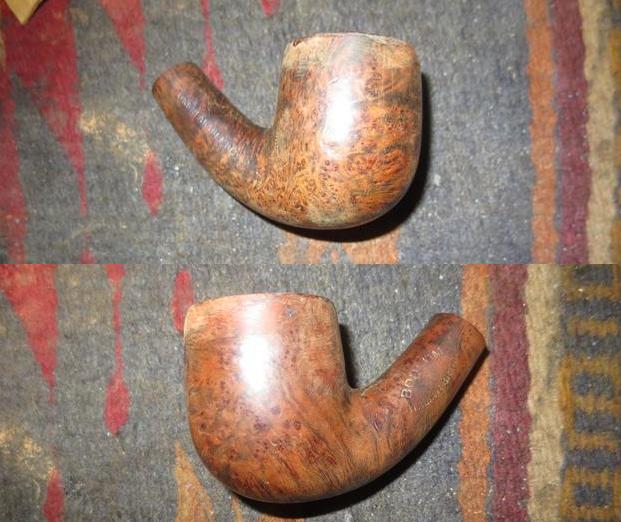
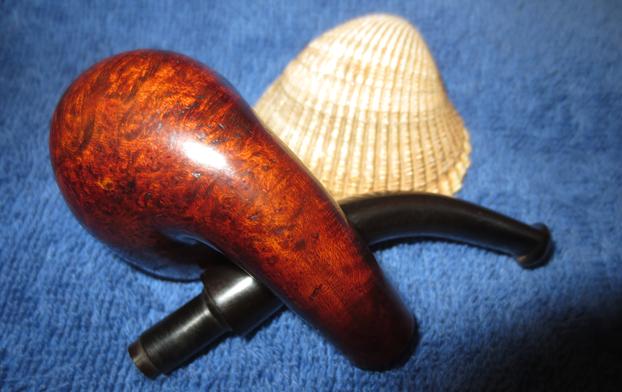
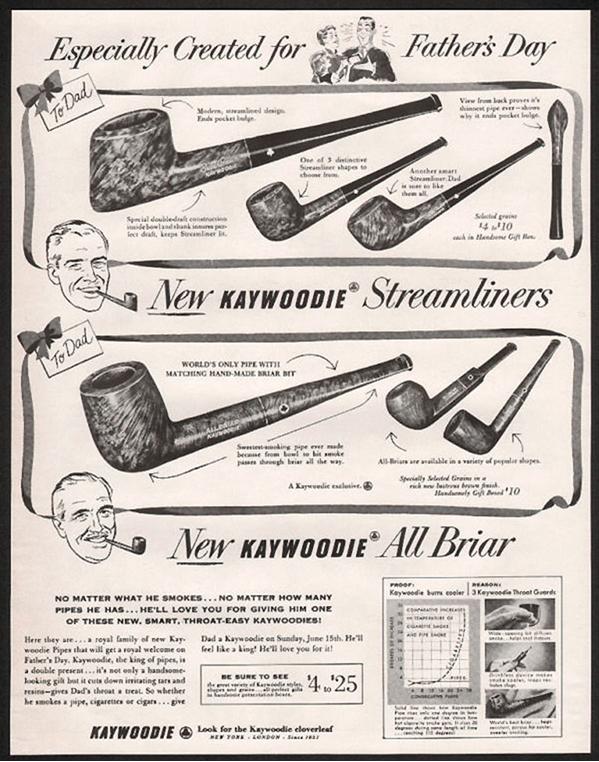
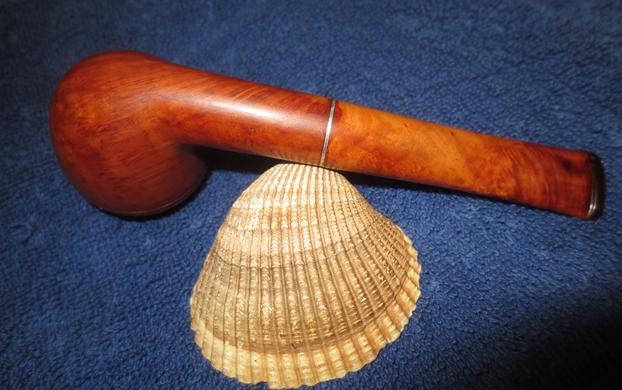
The first time I saw the Jeantet D’Orsay was looking at a picture of it on my iPhone 6s. My fellow colleague, Gary, who also lives and works here in Bulgaria, was with his wife on the Black Sea coast strolling down the main walking street of Burgas. Gary has previously culled pipes for me during his travels as he keeps his eyes open and sends pictures of possibilities. Gary also is my main supplier of ‘quality’ cigar ash which is the main ingredient in making ‘Pipe Mud’ to coat the inside of bowls. The picture he sent was of two pipes, the Jeantet (top in picture below) and a nice hefty bent Billiard marked only with Bruyere [over] Garantie. My primary interest was the product of Saint Claude, France, the Jeantet, but I encouraged him to do a bundle deal which landed both in my ‘Help Me!’ basket. Thank you, Gary! I’ve not been restoring pipes long, but among my earliest restorations were French made and I enjoyed those initial forages of discovery of a pipe’s heritage and the geopolitical significance of the name. My first restoration of a Jeantet was a Fleuron and it was discovered at my favorite antique shop, dubbed, The Hole in the Wall, here in Sofia. It was then I discovered the historical importance of Saint Claude, the pipe production center in Europe for much of the 1800 and in the 1900s until pipe production peaked in the 1960s, causing many corporate closings and consolidations (See Pipedia’s article on Jeantet). Saint Claude became the a center for pipe production and the place many prominent pipe houses called home, not because of the accessibility of briar, but it was where industrious monks and artisans turned their abilities from making toys and religious paraphernalia to pipe making after briar pipes first started being mass produced (See: fumerchic.com) when briar was discovered to have heat resistant qualities. The Jeantet D’Orsay now on my worktable enjoys a part of this heritage, though most likely produced toward the closing chapters of Jeantet’s history. On my worktable, I take more pictures of the Jeantet D’Orsay to fill in the gaps.
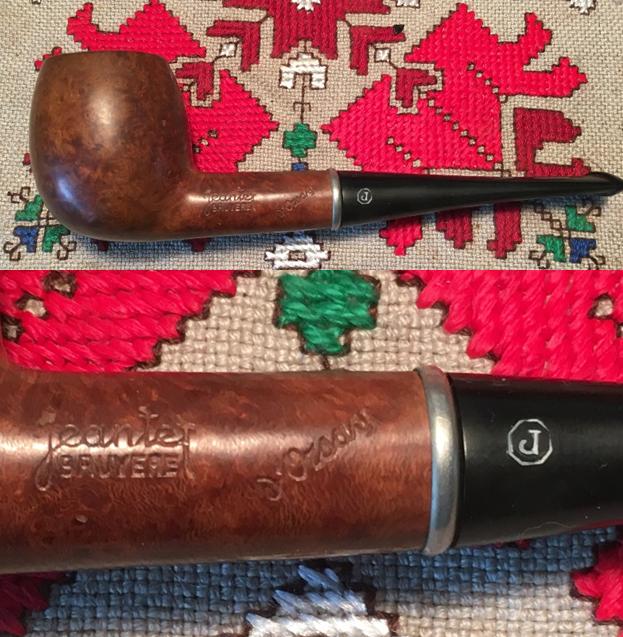

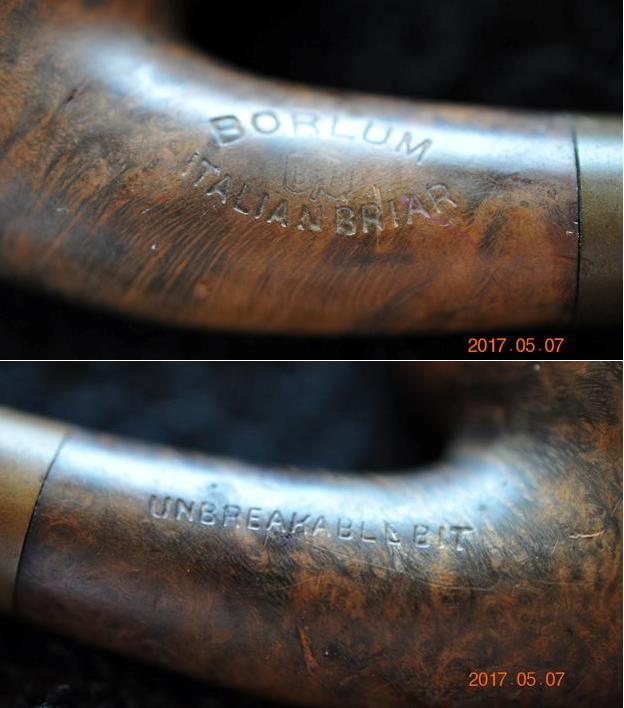
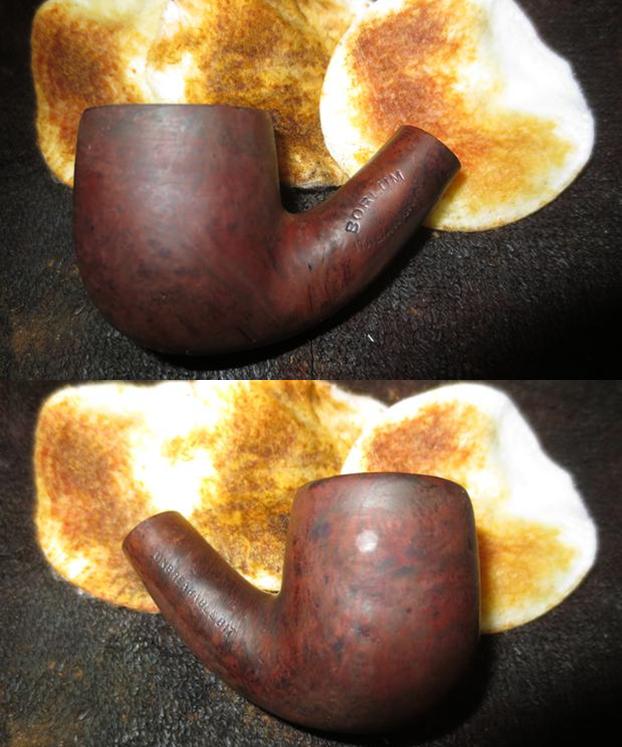
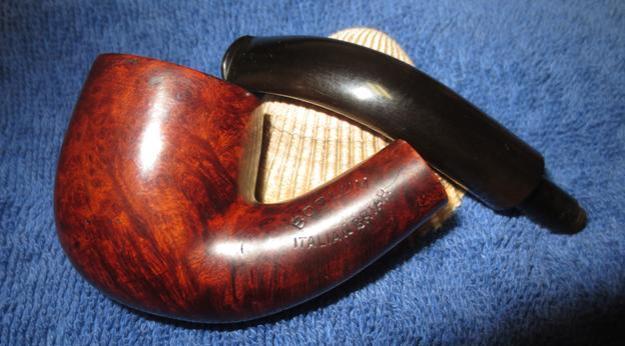
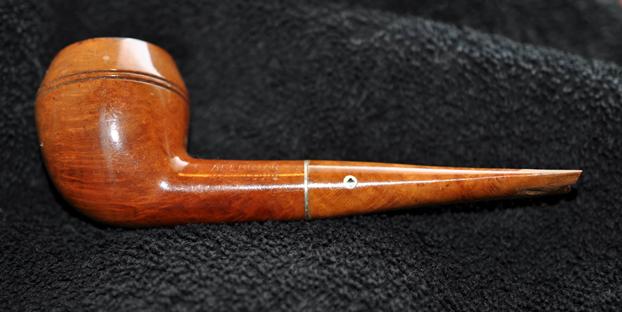
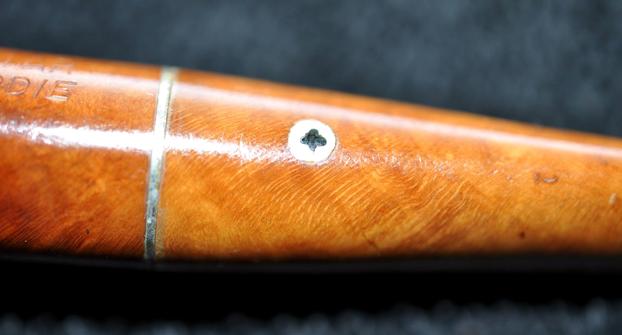
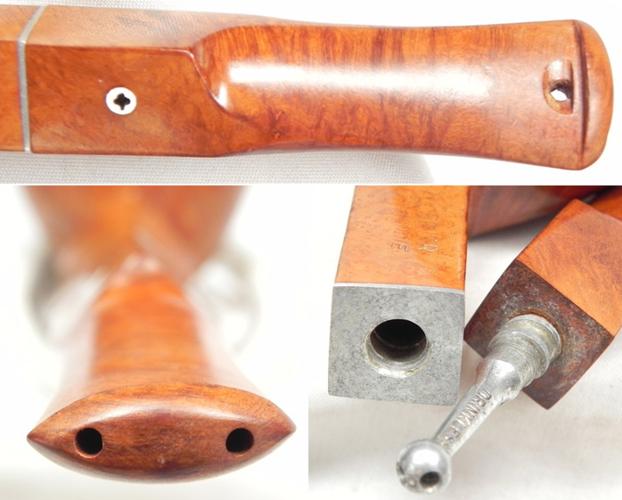
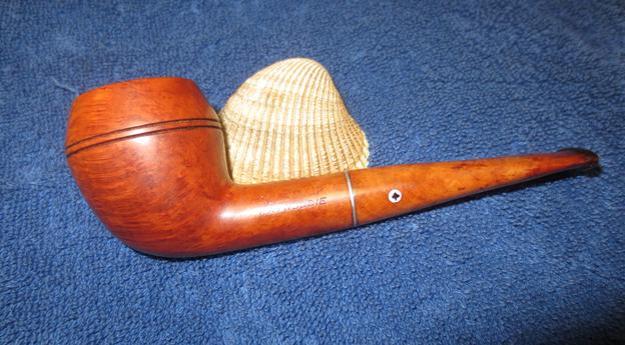
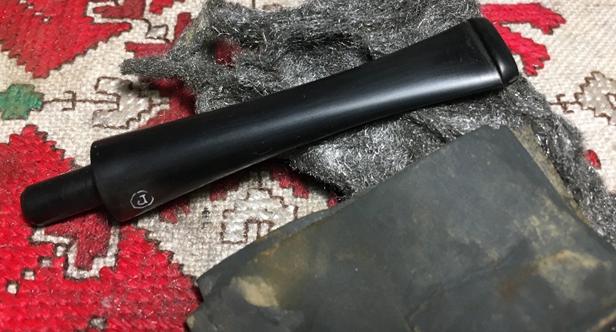
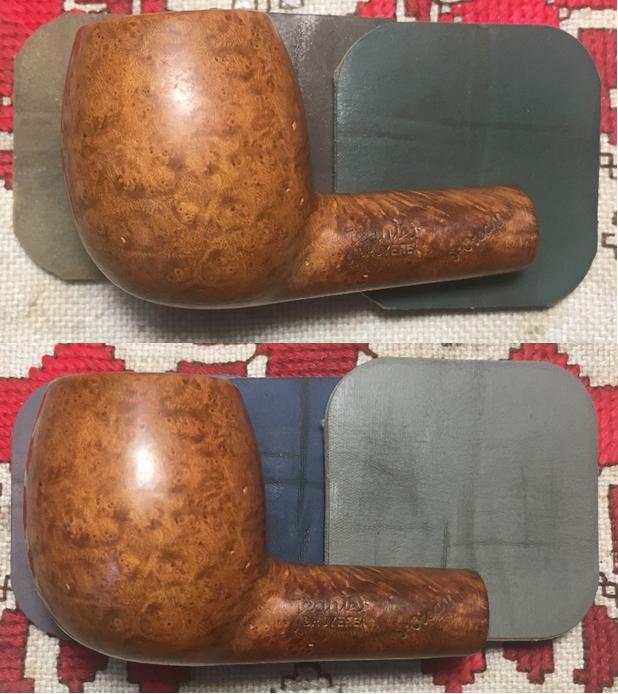
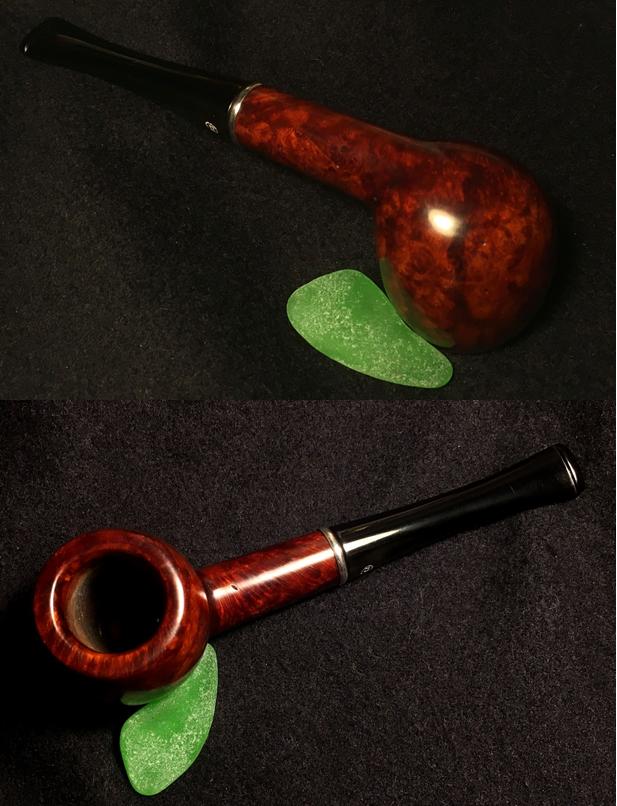
 The nomenclature is stamped on the left side of the shank, with ‘Jeantet’ (in fancy script) [over] ‘BRUYERE’, and to the right of this is ‘D’Orsay’ (in diagonal fancy script). The stem bears the ‘J’ ensconced in a heptagon. As I research the D’Orsay line, I have found a dearth of information as I’ve looked for and through catalogues trying not only to ID the D’Orsay, but even finding any systematic information on Jeantet pipes in general is a challenge. If there is any clue in the name ‘D’Orsay’, I’m not sure what it is. Today, Orsay is a smaller suburb of Paris, primarily known as a center in the development of technology with different educational institutions based there. Historically, this Wiki article is informative:
There has been a village called Orsay on this site since 999, and the first church there was consecrated in 1157. From the sixteenth century, the town and surrounding area were owned by the Boucher family, and it was in honour of this family that Louis XIV gave the quai d’Orsay its name. This is the reason that the Musée d’Orsay is not in Orsay. In the eighteenth century, the family of Grimod du Fort bought the land and received the title of comte d’Orsay. In 1870, during the Franco-Prussian war, Orsay was occupied by the Prussian army. 88 young “Orcéens” were killed in the First World War.
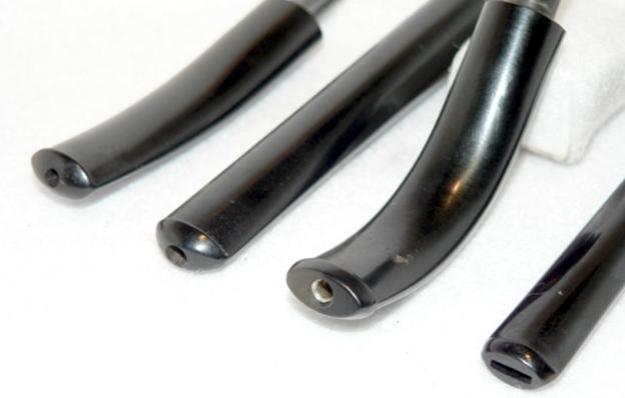
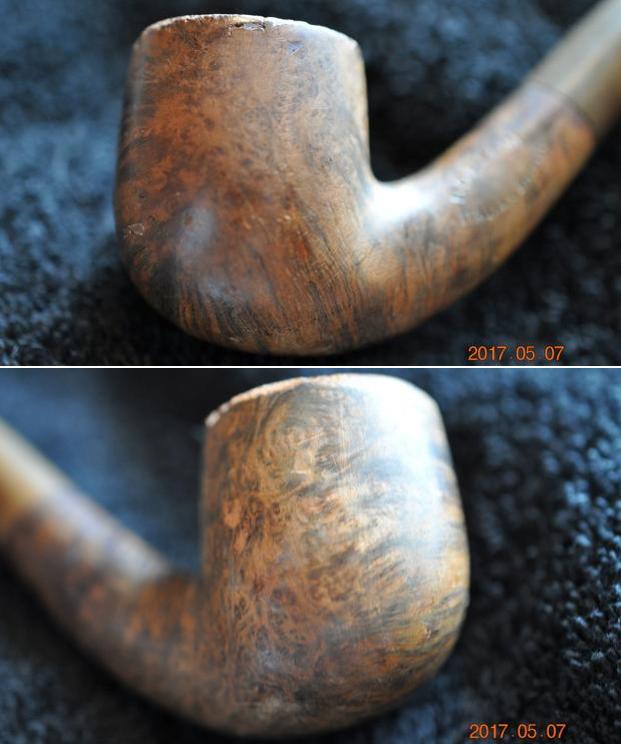
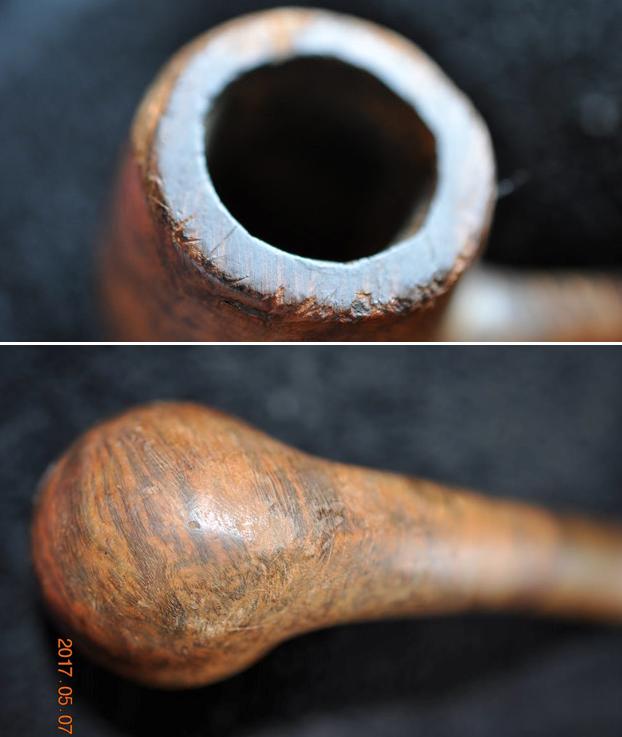
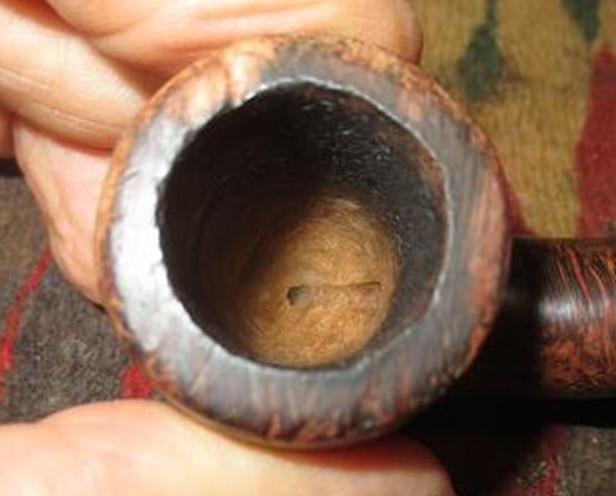
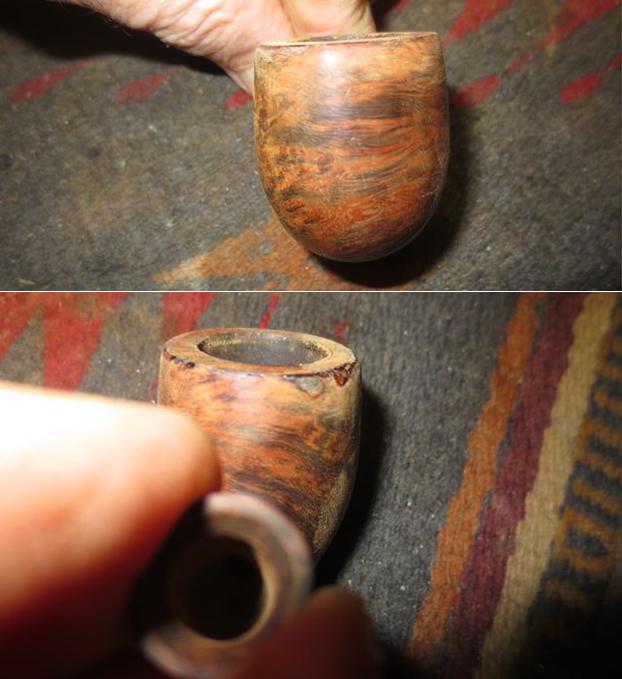
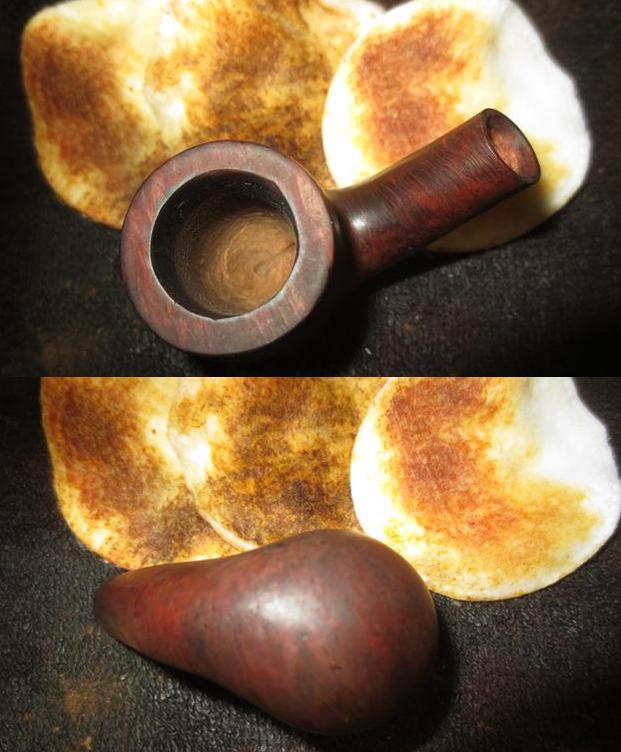
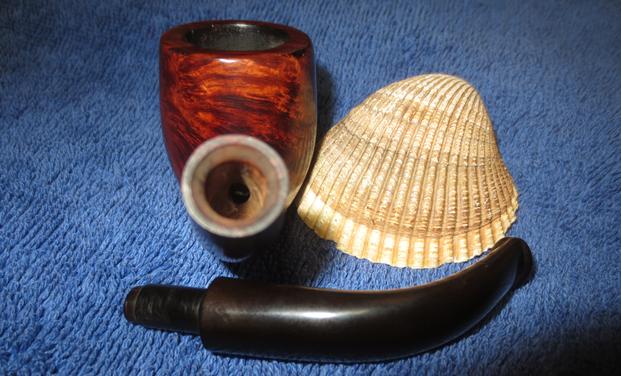
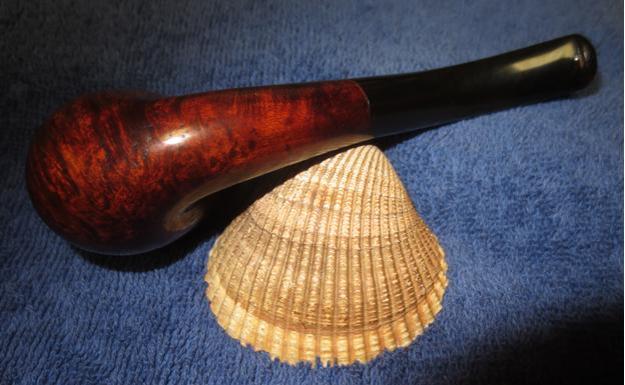
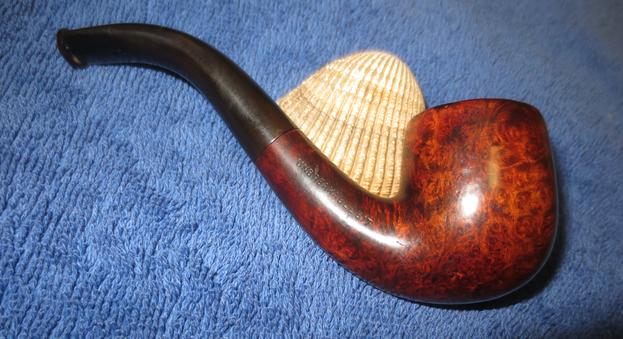
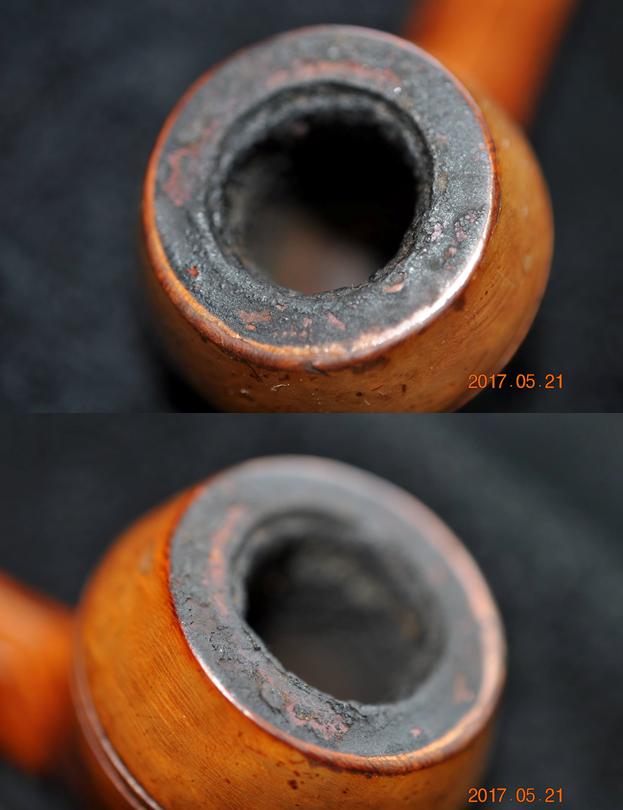
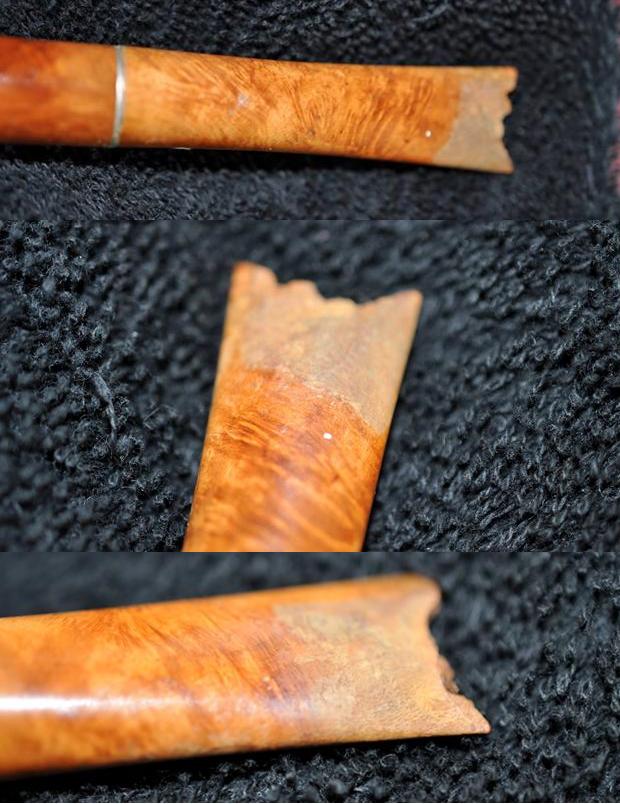
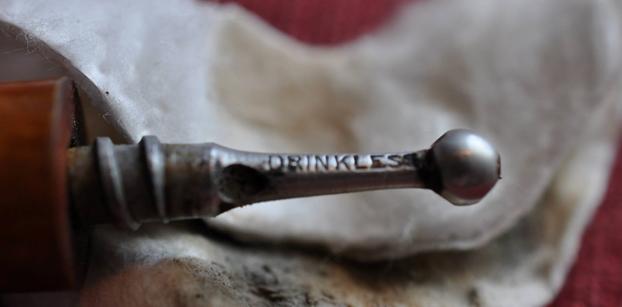
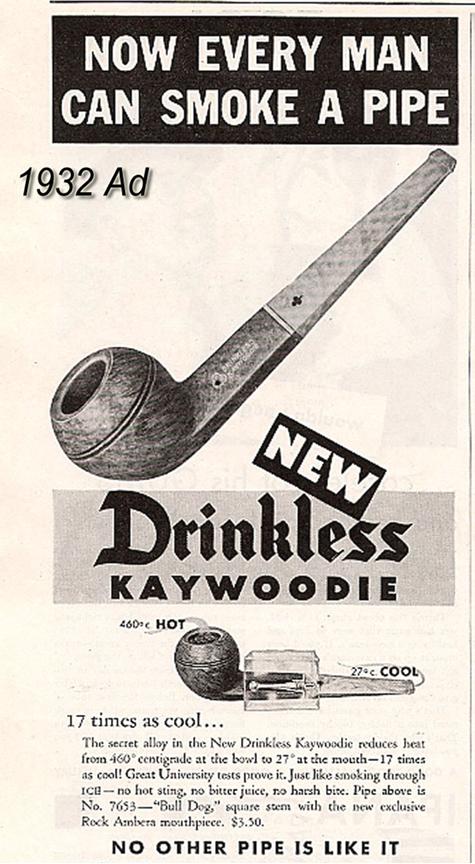
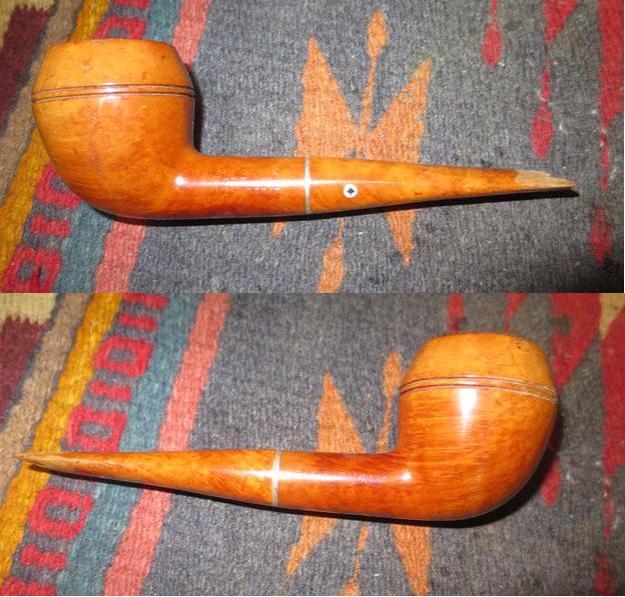
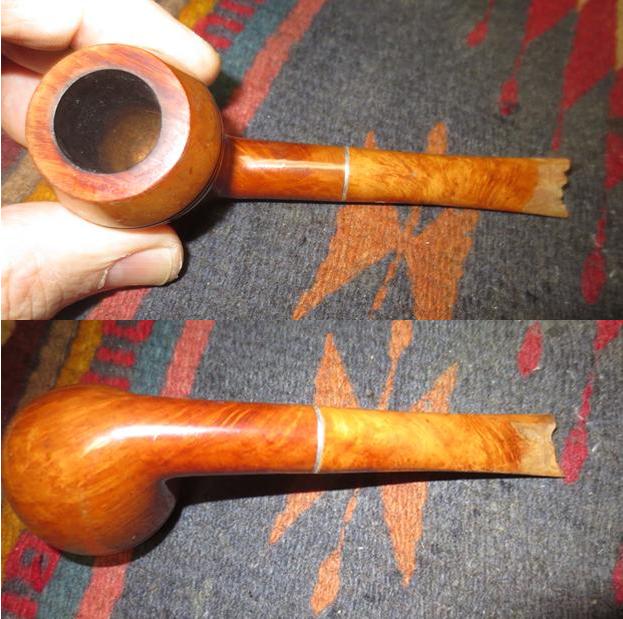
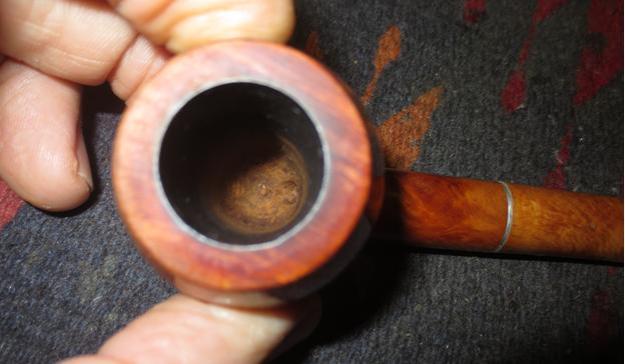
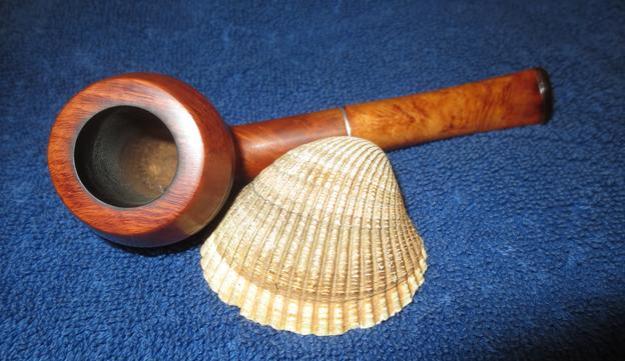
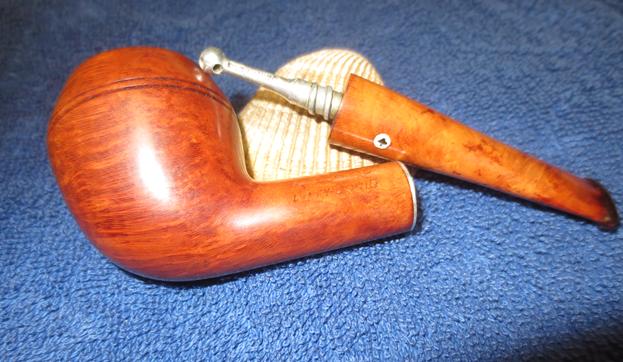
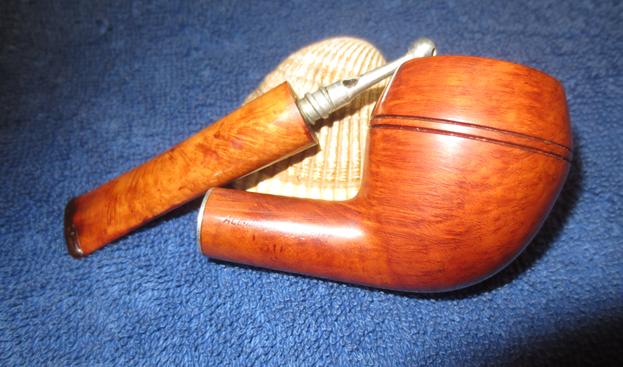
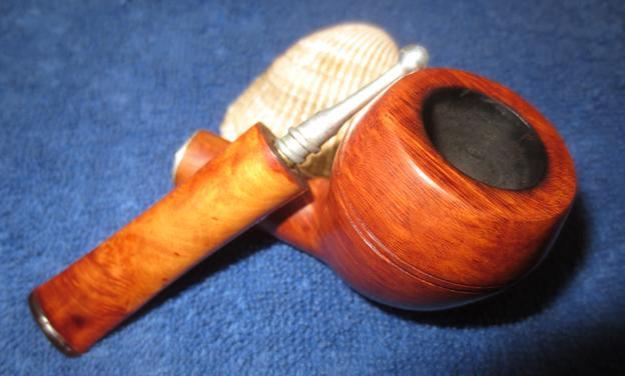
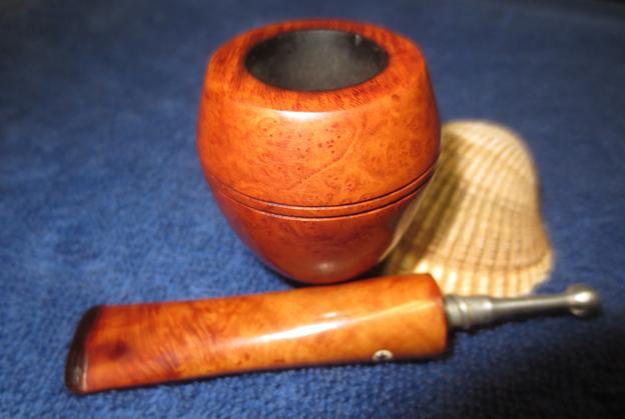
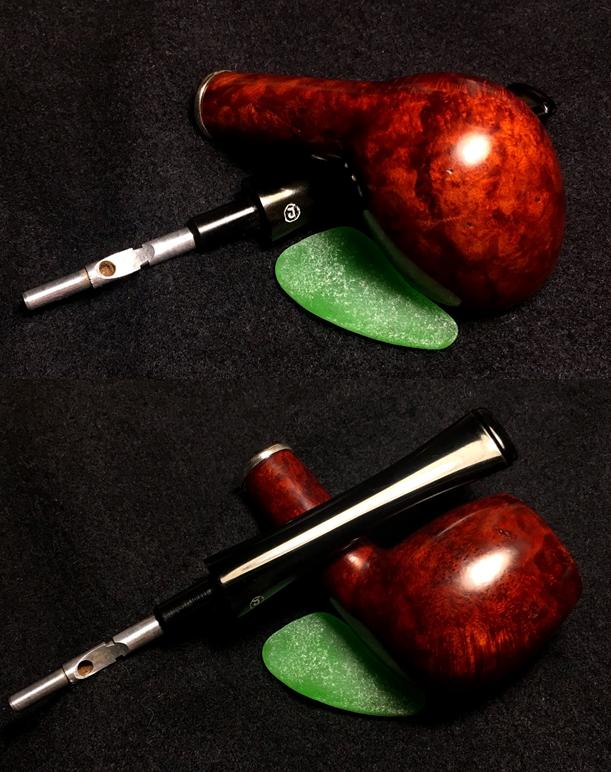
Interesting, but not too helpful regarding the heritage of this French made pipe. Generally, the pipe is in great condition. The chamber has moderate cake. The rim has trace amounts of lava and grime – not too much to clean. The stummel has nice grain, but many very small fills to be examined. Not much in the way of oxidation or tooth chatter on the stem. Of interest to me is the long stinger system which reaches all the way to the draft hole – visible looking down the chamber. I will keep the stinger since it’s such a goliath. Perhaps it does help deliver the dryer, cooler smoke which has been the holy grail in pipe technological innovations. The cleanup and recommissioning of this Jeantet begins with placing the stem in the OxiClean bath after covering the ‘J’ stamp with petroleum jelly to protect it. Even though it has little oxidation, I’ll let it soak. I also easily remove the stinger as I discover that it is threaded and unscrews with a little help. The nickel divider band also comes off.
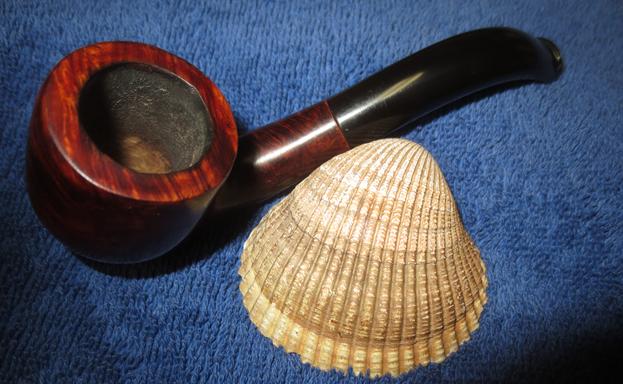
 I use the Pipnet Reaming Kit to address the moderate cake. Starting with the smallest blade, I remove the cake, bringing the fire chamber to fresh briar. I use two of the four blades available. To fine tune the reaming, I switch to the Savinelli Pipe Knife and scrape the chamber wall further. Then, wrapping a piece of 240 grit paper around a Sharpie Pen, I sand the bowl removing the vestiges of carbon. Finally, I wipe the chamber with a cotton pad wetted with alcohol. The chamber looks good – no problems that I see.
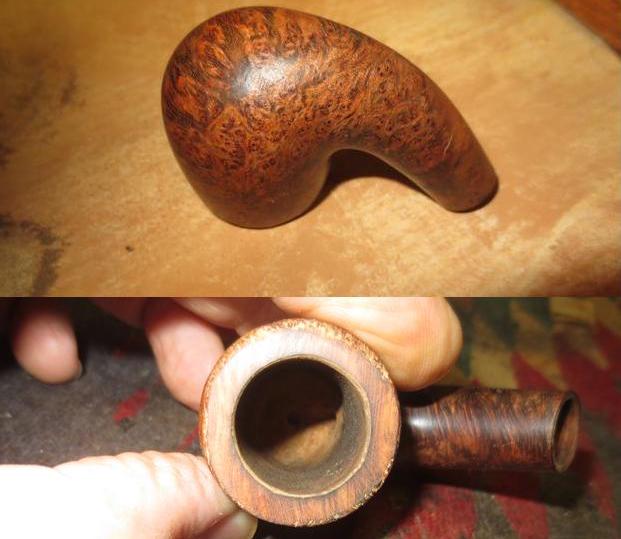
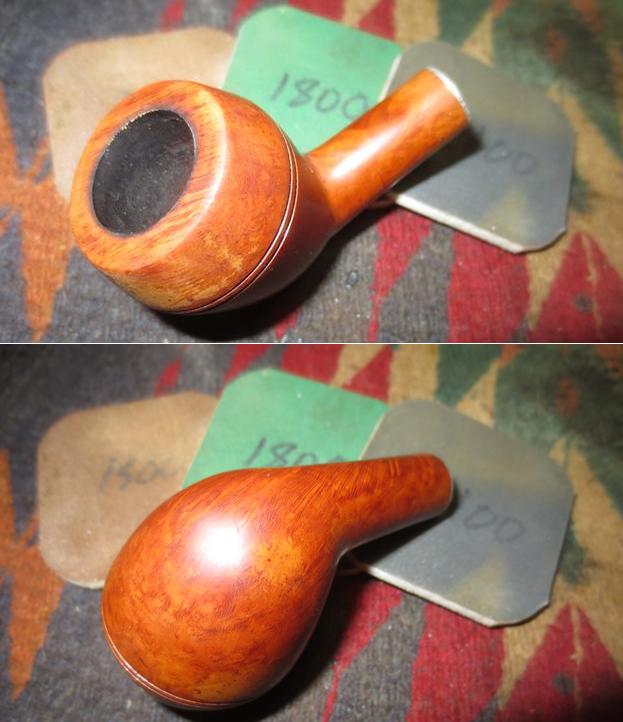
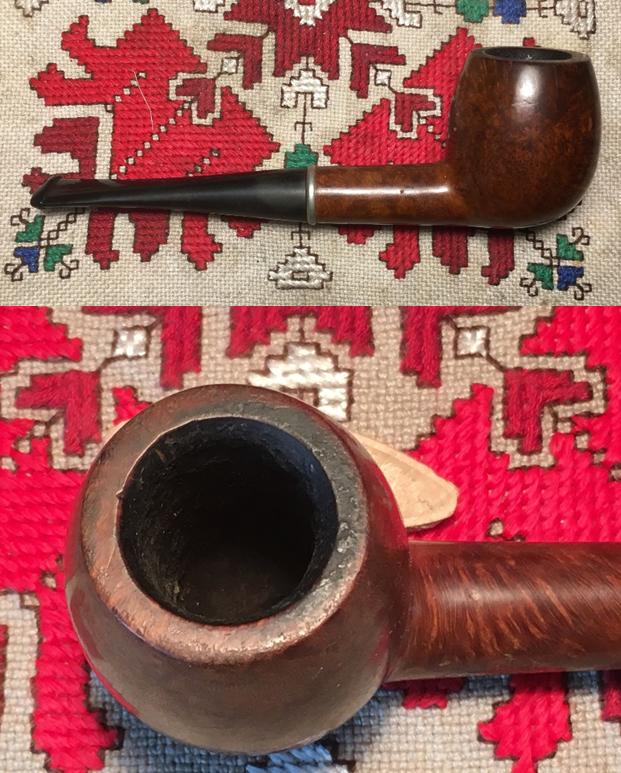
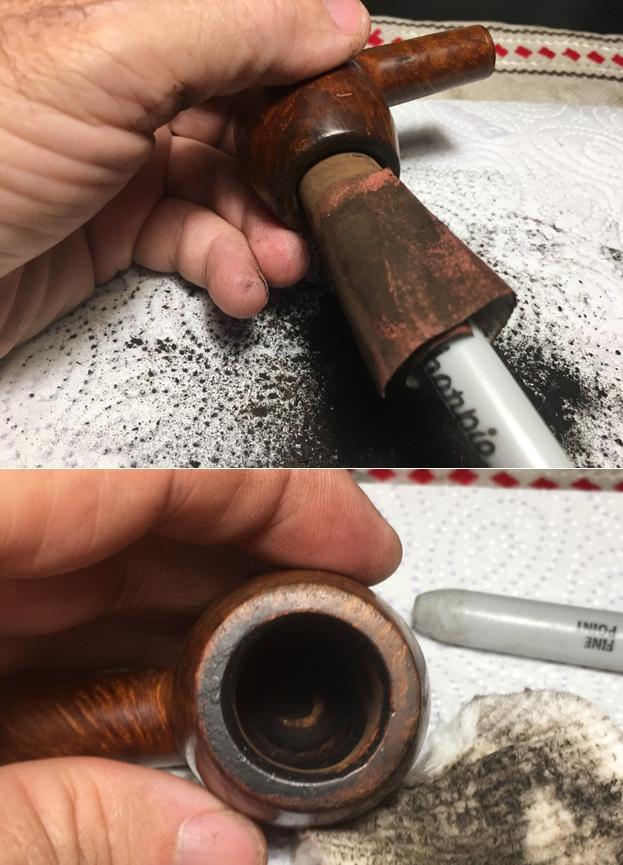 Next, using undiluted Murphy’s Oil Soap and a cotton pad, I scrub the external briar surface and rim. I also use my pin knife to scrape the crusting on the rim. I do this by dragging the blade over the surface rather than pushing the blade to not cut into the briar. Afterwards, I rinse the stummel in tap water. Examining the stummel more closely, the cleaning reveals a gouge on the internal rim lip. I also picture several of the small fills in the surface.
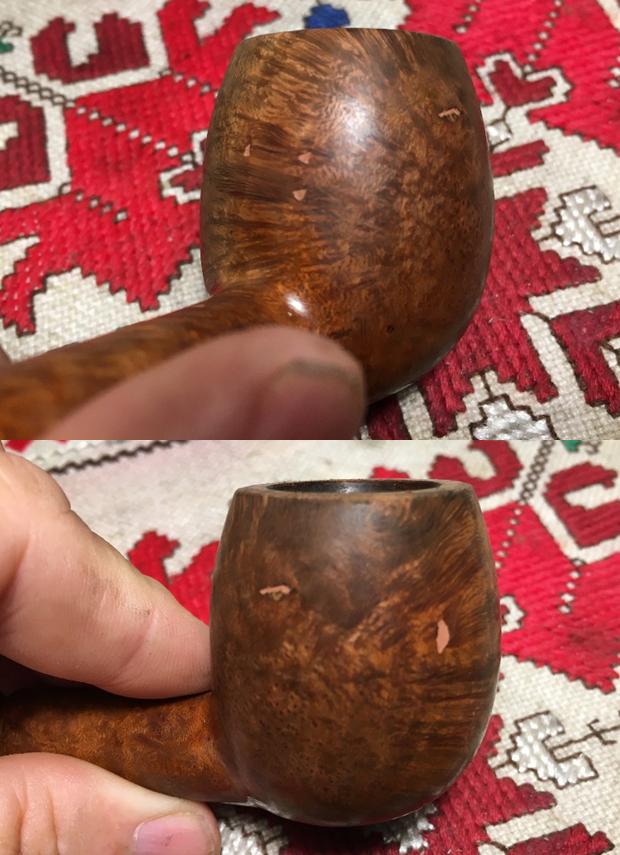 I use a sharp dental probe to test the strength of the fills to see if they need replacing. What I discover is mixed news – some need more attention than others. I dig out the weaker fills and will need to refill them. I will simply use clear CA glue to fill them, but first I will darken the pits with a dye pen to improve blending. I use Special ‘T’ CA glue and spot drop on each pitted fill using a toothpick. I place a bit of glue on the toothpick and gravity pulls it to the tip and I apply it to the pit. I spray them with an accelerator to quicken the curing time. In all, 6 fills were patched. The pictures show the progress.
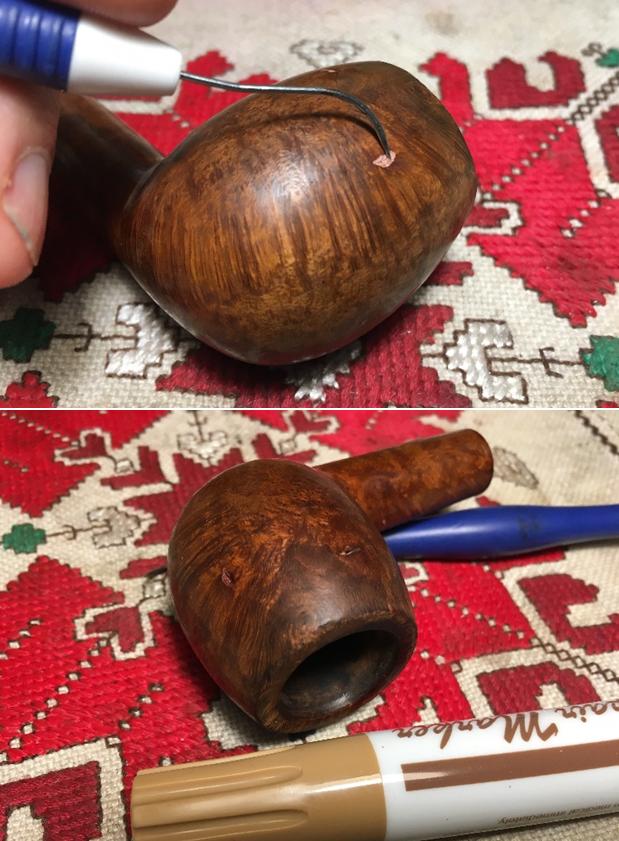
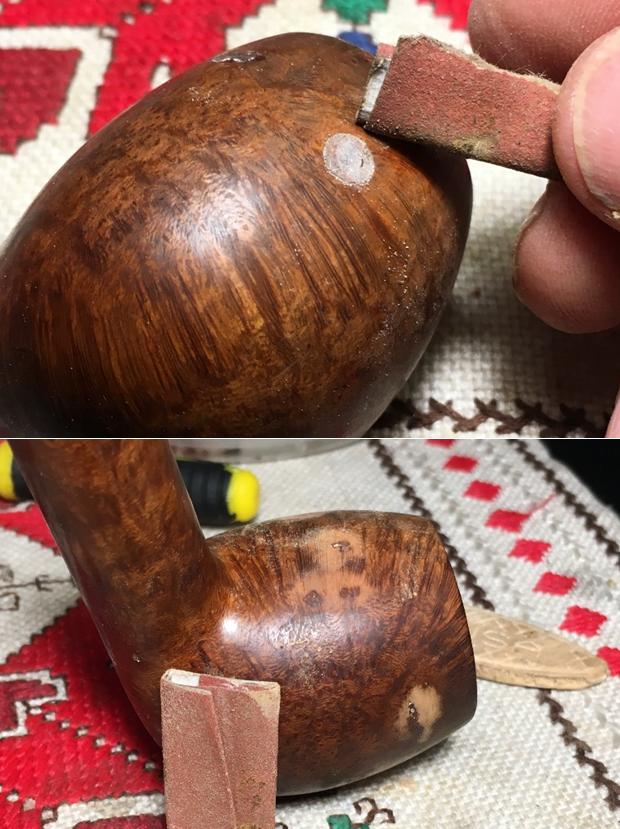
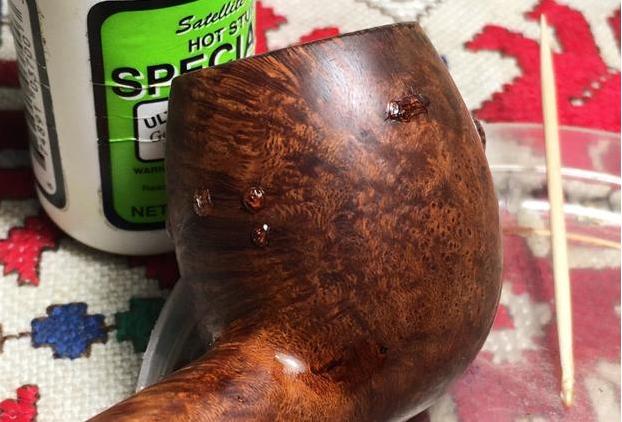 Using a flat needle file, I bring each of the CA glue patches down near to the briar surface. Then I use 240 grit sanding paper to bring the patch flush with the briar surface. I try as much as possible with both the file and sand paper to file/sand only on the patch footprint. The second picture below shows a ‘slip’ off the footprint by the lower patch – ugh. The pictures show the progress.
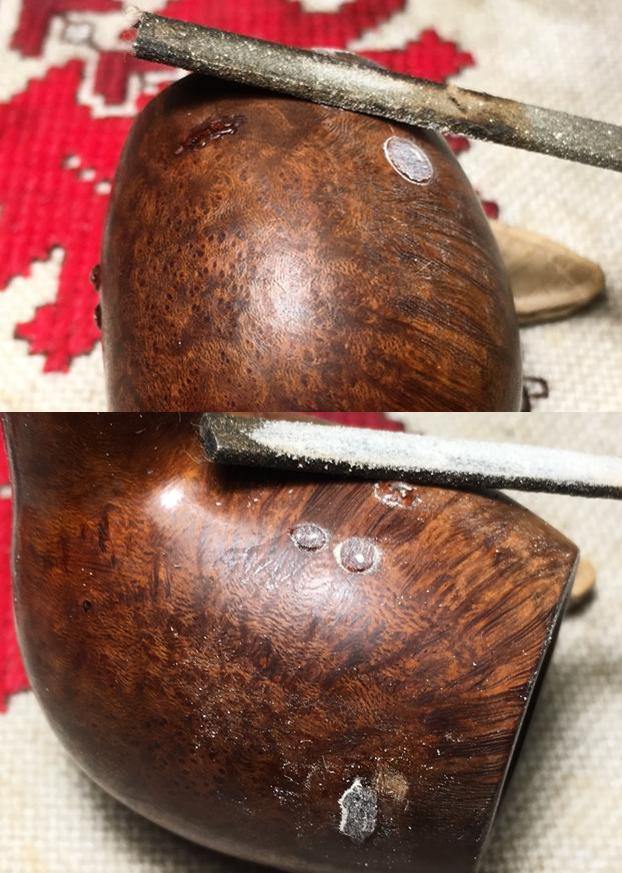
 Turning now to the rim gouge mentioned earlier. There was already an internal bevel on the rim. To erase the damage, using 240 grit paper then 600 grit paper, I recut the bevel. That does the job.
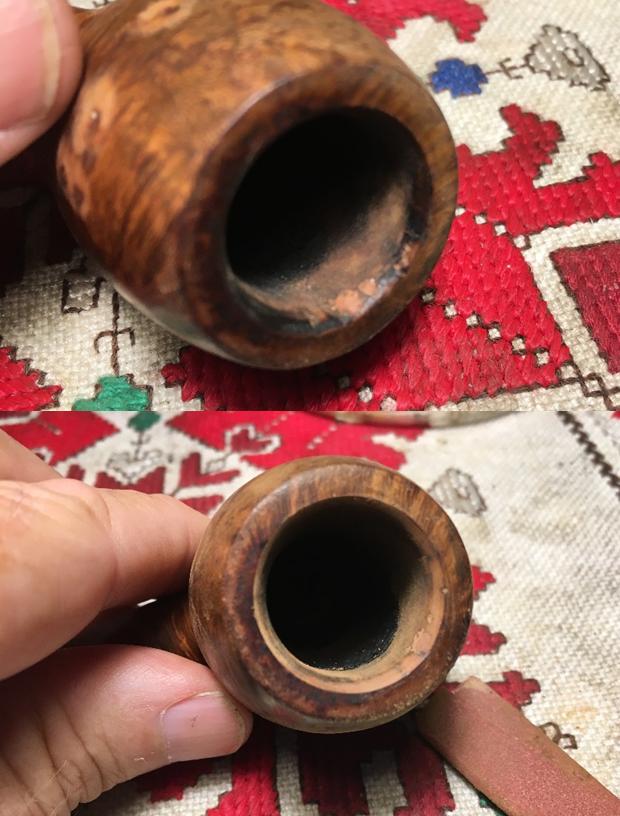
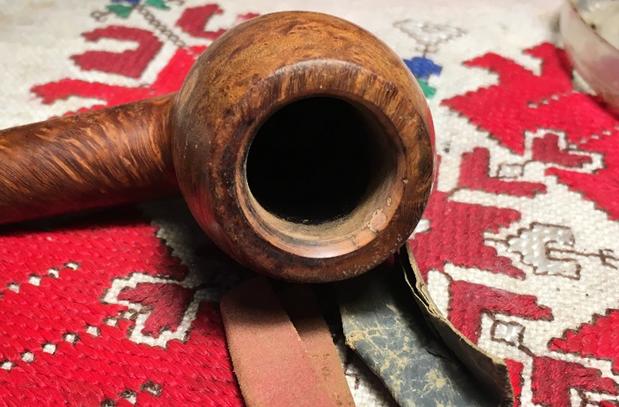 With the stummel repairs completed, I take a medium grade sanding sponge and apply it to the surface to remove surface nicks and to start blending the fill patches. I follow with a light grade sponge.
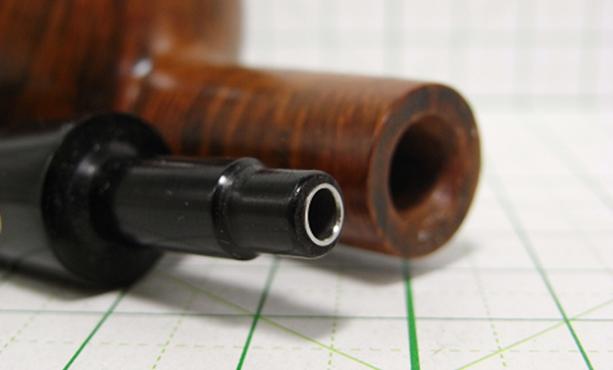
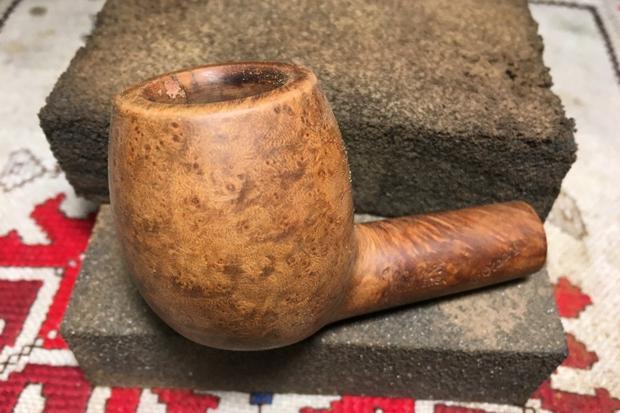 Before I proceed further on the external surface, I need to address the internal unpleasantness. I’m curious what collects in the mortise with the tenon extending right to the draft hole? Unless, its design is to bypass all the sludge. Well, it didn’t take long to discern the latter to be the case! With cotton swabs, alcohol and a bit of scraping the edge with a needle file the mortise started cleaning up. Later, I will still utilize a Salt/Alcohol soak to clean and freshen further for the new steward of this classic Billiard.
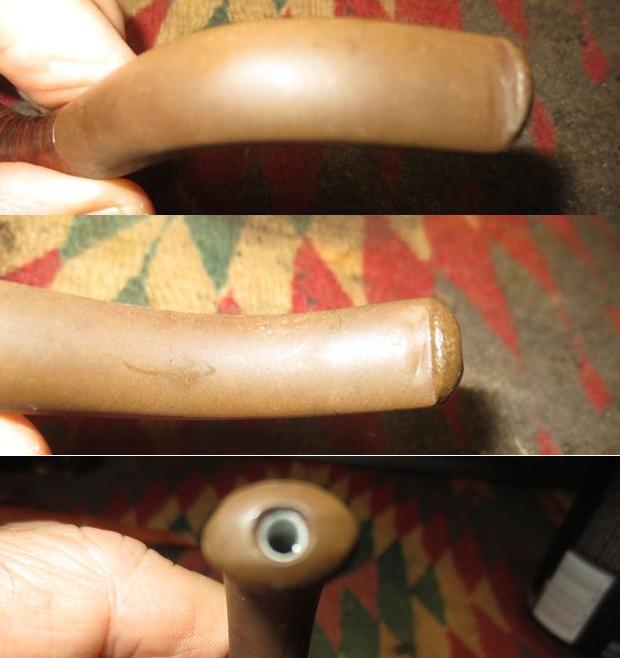
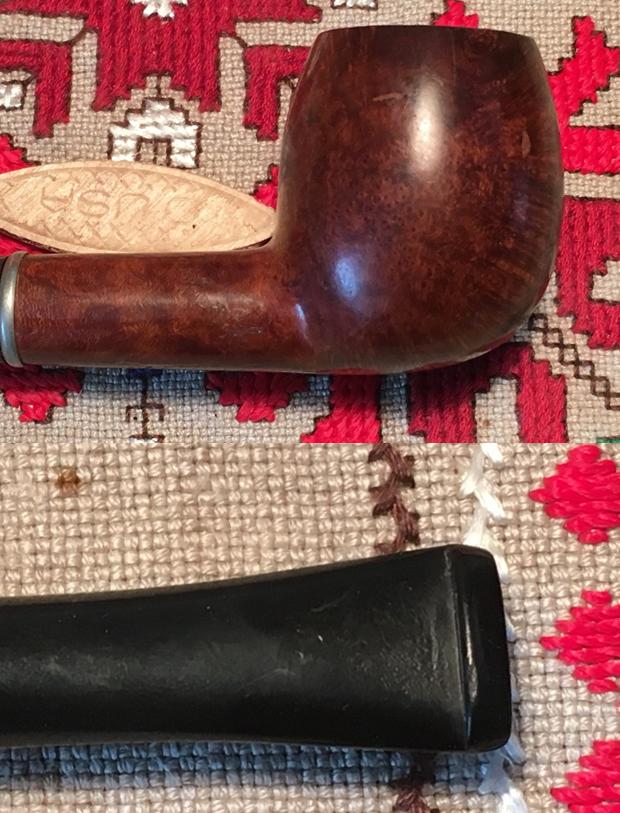
 The stem has been soaking in the OxiClean bath and I take it out to start removing the light oxidation on the vulcanite. After reattaching the stem with the stummel, divided by my separation disk, I wet sand using 600 grit paper followed by 0000 grade steel wool. I’m not sure how I did it but it looks like I nicked the Jeantet ‘J’ circle during the sanding – that is a grand bummer. I’ll try to fix it later. The tooth chatter was removed by the 600 grit and steel wool. The pictures tell the story.
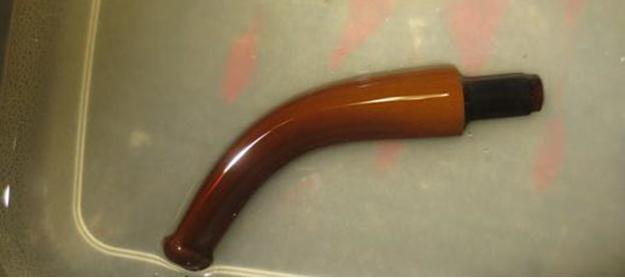
 Before moving further on the external sanding, I need to clean the internals. Using bristled and smooth pipe cleaners and isopropyl 95%, I do the job – the internals take more effort than I was expecting. I also use a long, wired, bristled brush to work on the stinger. In the end, I soak it in alcohol to make sure it’s clean.
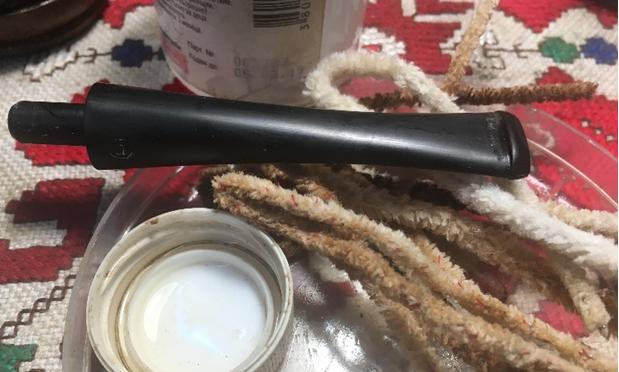
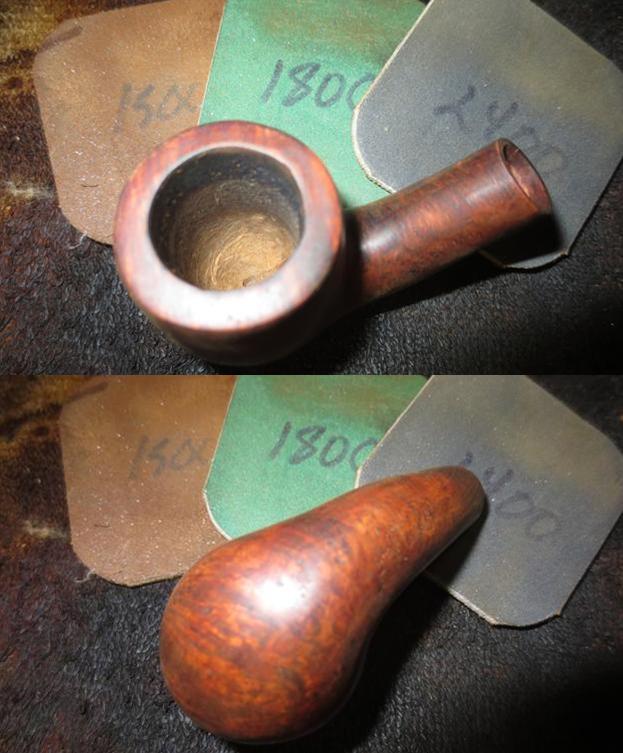
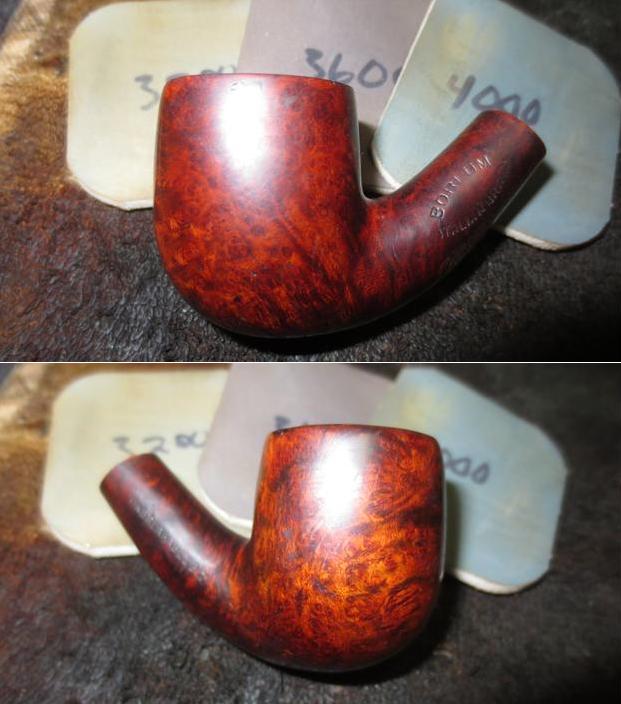
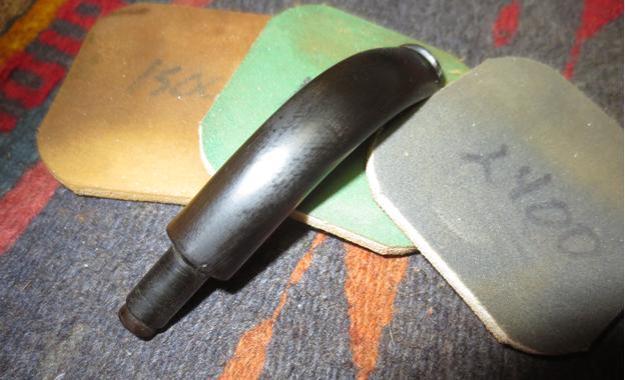
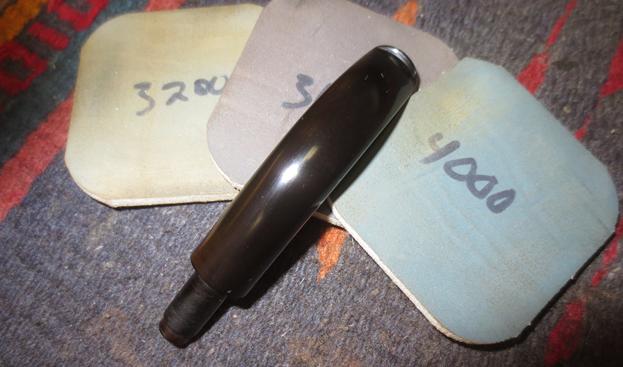
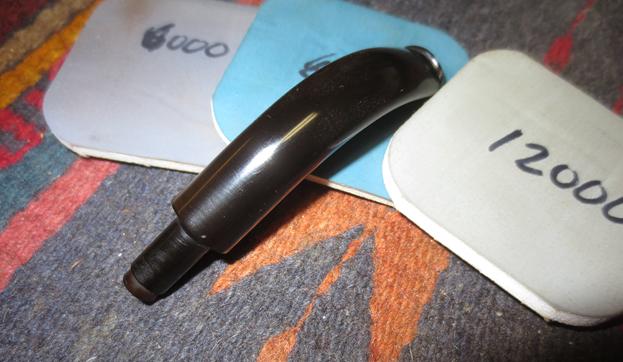
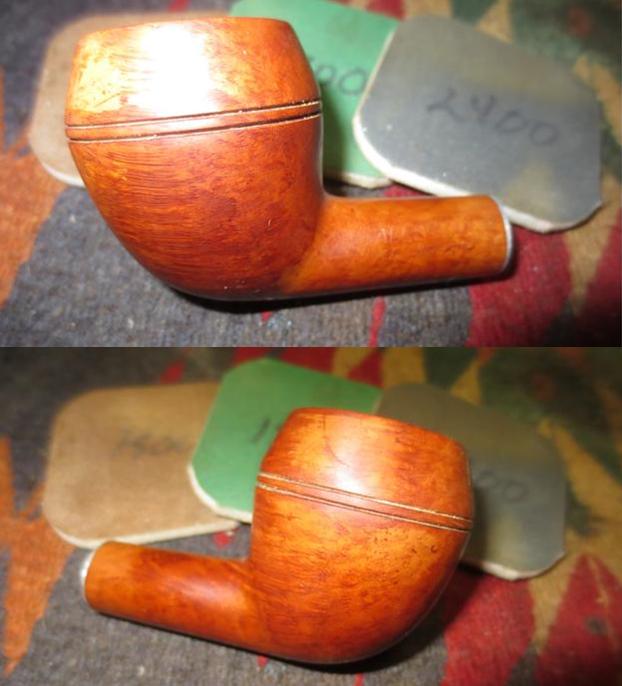
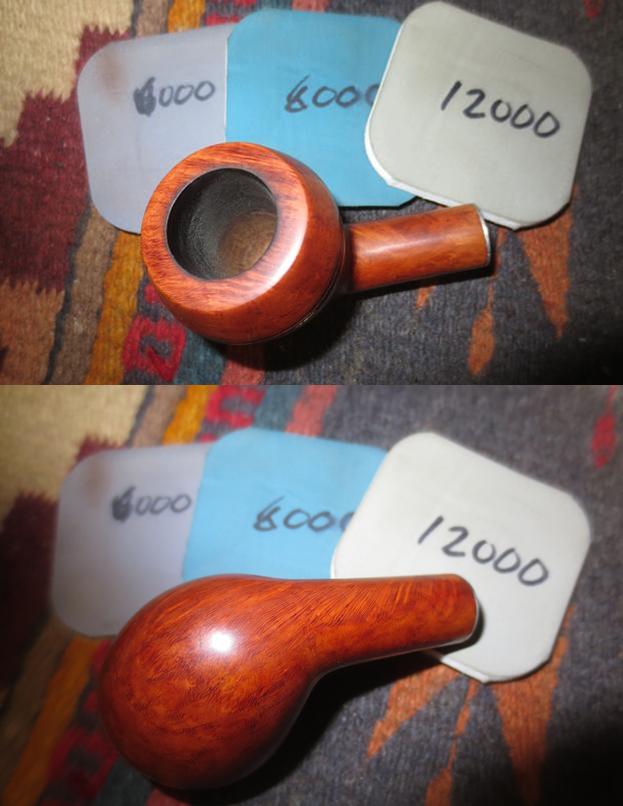
 Turning back to the stummel, I plunge into the micromesh sanding by wet sanding with pads 1500 to 2400, then dry sanding with 3200 to 4000, finishing with 6000 to 12000.
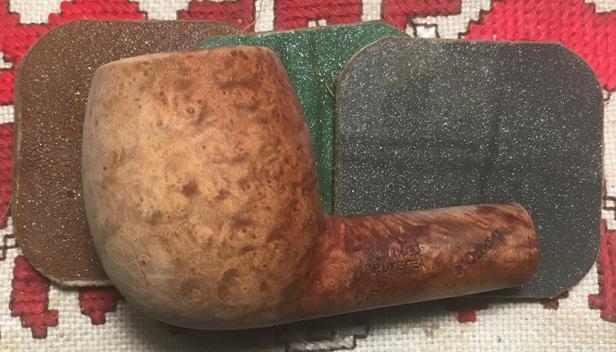
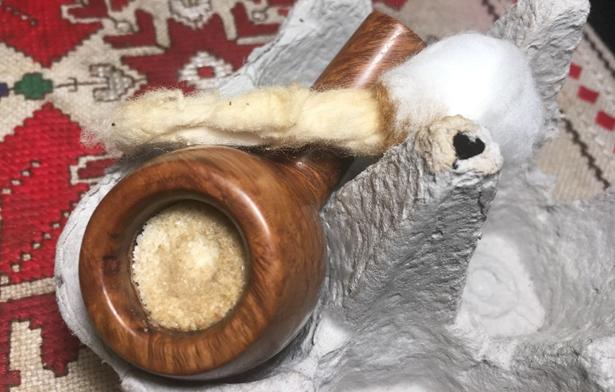
 With the completion of the micromesh process on the stummel, my work-day here in Bulgaria will soon demand my full attention. Before heading out the door, I want to give the bowl a Salt/Alcohol soak through the day. I pour kosher salt, leaving no aftertaste, into the bowl until almost full. Then I twist and stretch a cotton ball to act as a wick in the mortise – drawing out the remaining tars and oils. I palm the top of the bowl and shake it causing the salt to settle into the internals and set the stummel in the egg carton. Then, with a large eye dropper I fill the bowl with isopropyl 95% until it surfaces over the kosher salt. I wait a few minutes as alcohol is absorbed, and then I top the bowl off again. I set the egg carton aside and let the alcohol and salt do their thing – off to work! Back from work! The salt has darkened a bit, but not much. This means that the job of cleaning was well along the way. After cleaning away the expended salt with paper towel and a bristled bush in the mortise, I put a cotton swab into the mortise to make sure and it came out clean. Clean as a whistle – nice!
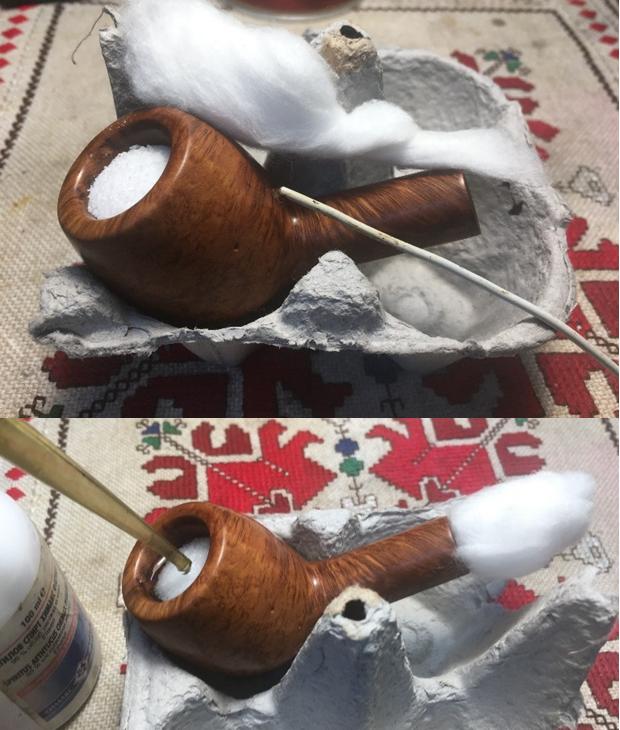
 After the salt/alcohol soak, I see a fill on the inner rim lip that I did not see earlier. After digging it a bit with a dental probe, I drop fill it with ‘T’ CA glue, let it cure, file it down with a half-circle needle file, sand it with 240, 600 and then the full spectrum of micromesh pads – all these focused on bringing this patch up to the speed with the rest of the stummel!
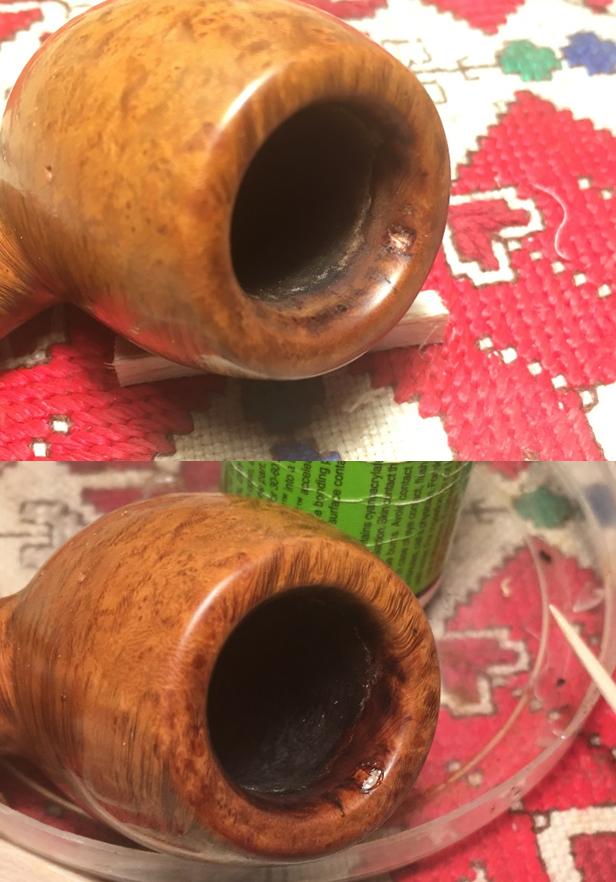
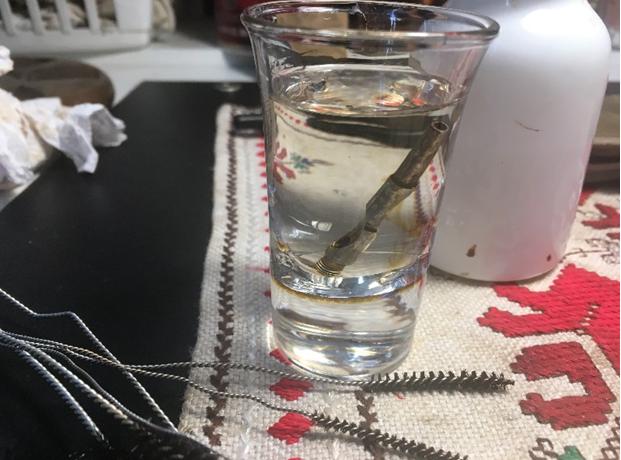
 The Jeantet D’Orsay Billiard’s stinger was soaking in alcohol. I take it out and the alcohol had cleaned it up. I buff it with 0000 grade steel wool. While I was at it with the steel wool, I also buffed up the nickel band divider to clean and shine it.
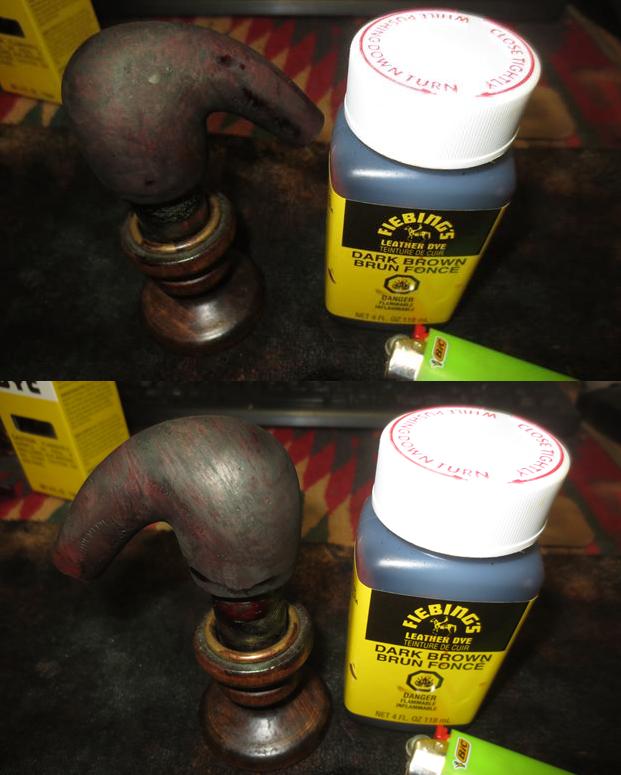
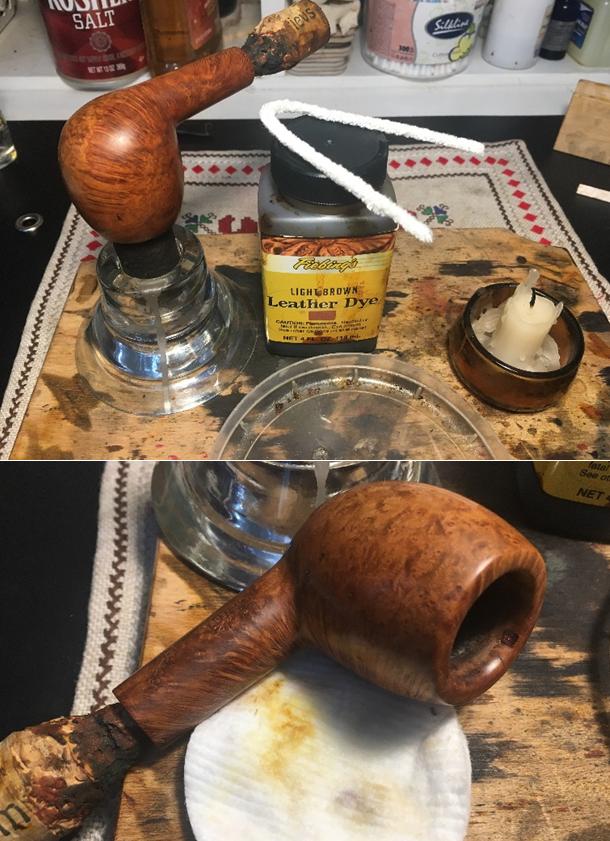
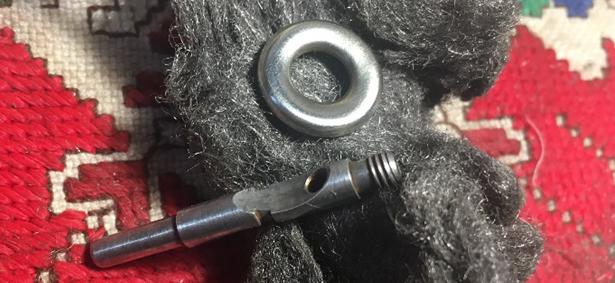 I love the classic leather brown look on work-horse Billiards. To blend the fills overall, I use Fiebing’s Light Brown Leather Dye to do the job. I set up my staining workstation and take a picture of it. I wipe the stummel down with a cotton pad wetted with alcohol to clean dust off the surface. I use a whittled cork in the stummel as a handle and I warm the stummel using a hot air gun to expand the grain helping it to be more receptive to the dye. When warm, I use a folded-over pipe cleaner to apply liberally the dye to the stummel – I want full coverage. Then, with a lit candle, I fire the stummel – burning off the alcohol in the dye which sets the pigment in the grain. I repeat this process after a few minutes, then I put the fired stummel aside to rest for several hours.
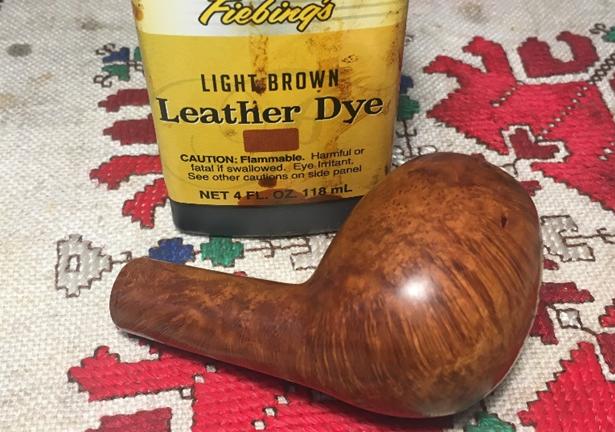
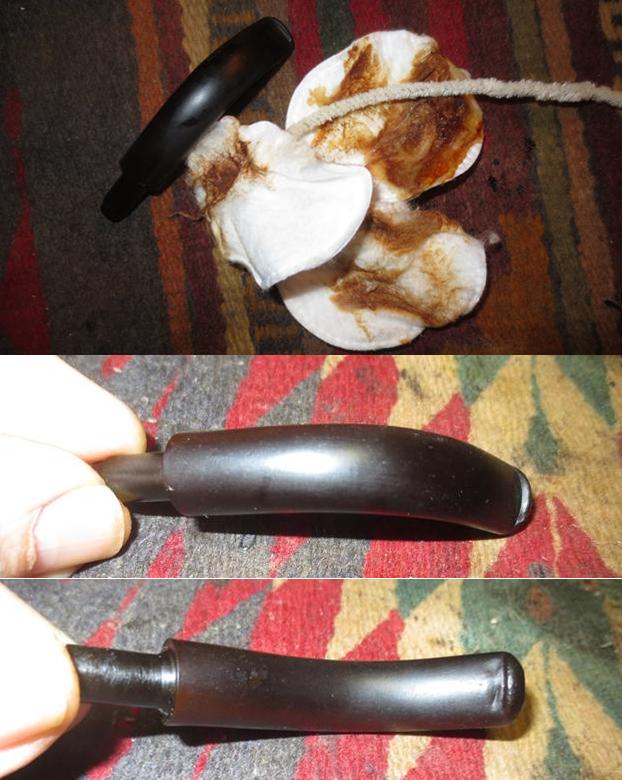
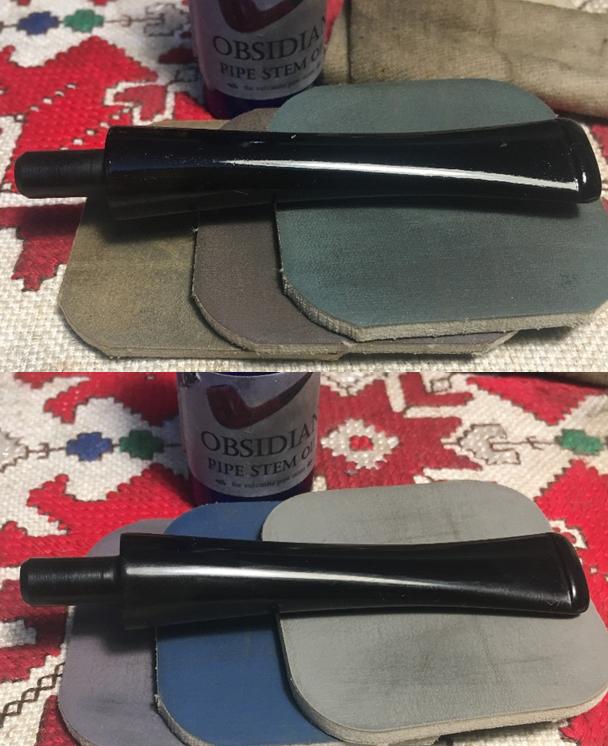
 With the dyed stummel resting, I turn to the stem. Earlier, I was using MagicEraser on the Jeantet’s ‘J’ stem stamp and I noted then that the paint was readily coming off because of it. I decide to go ahead and remove the paint and clean the stamp with the MagicEraser with the view to refreshing the ‘J’ stamp later. I then wet sand the stem – mindful of the ‘J’ stem stamp, with micromesh pads 1500 to 2400. Then I follow successively with pads 3200 to 4000 and 6000 to 12000, and applying Obsidian Oil after each set to revitalize the vulcanite stem.
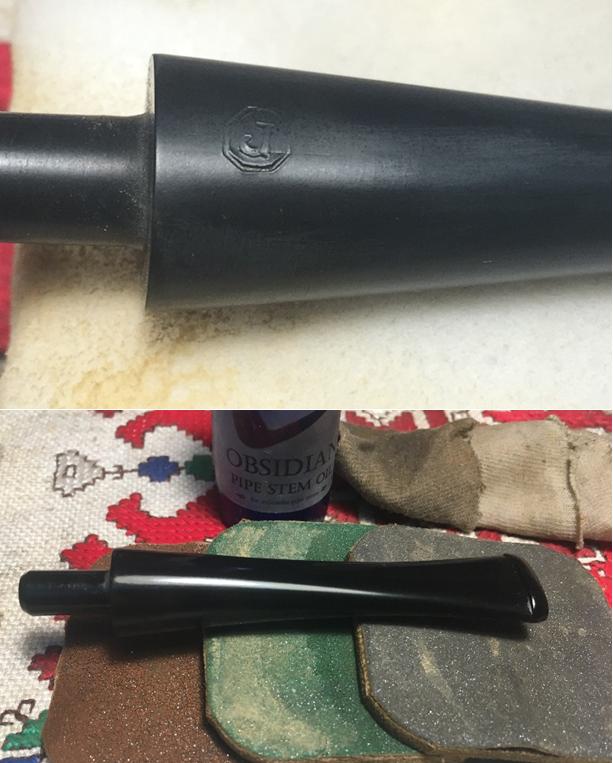
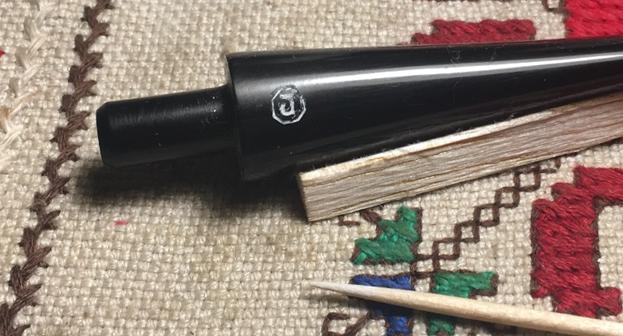
 I’m hoping that there is enough tread left in the Jeantet ‘J’ stem stamp to hold new paint. Using white acrylic paint, I dab paint onto the area of the stamp. Instead of waiting for it to dry, I gently wipe the excess off while wet. Then I dab a little more wet where it is thin, and gently wipe off the excess.
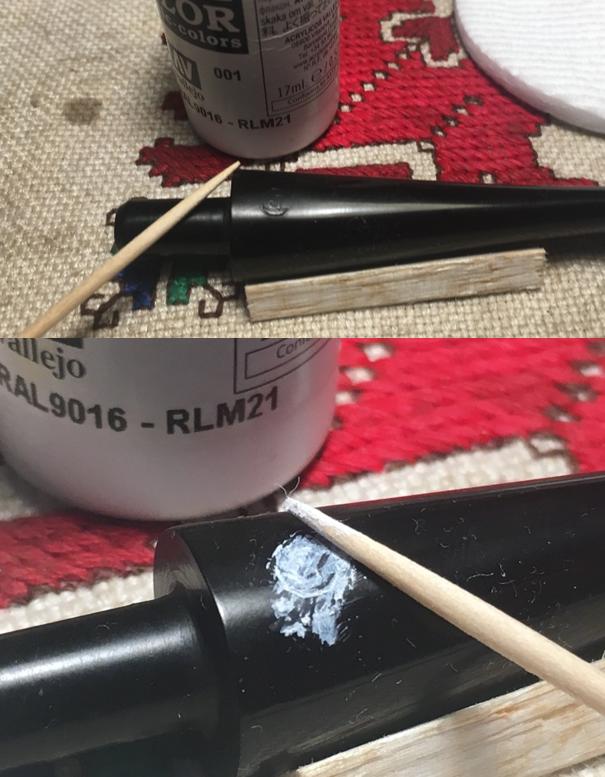
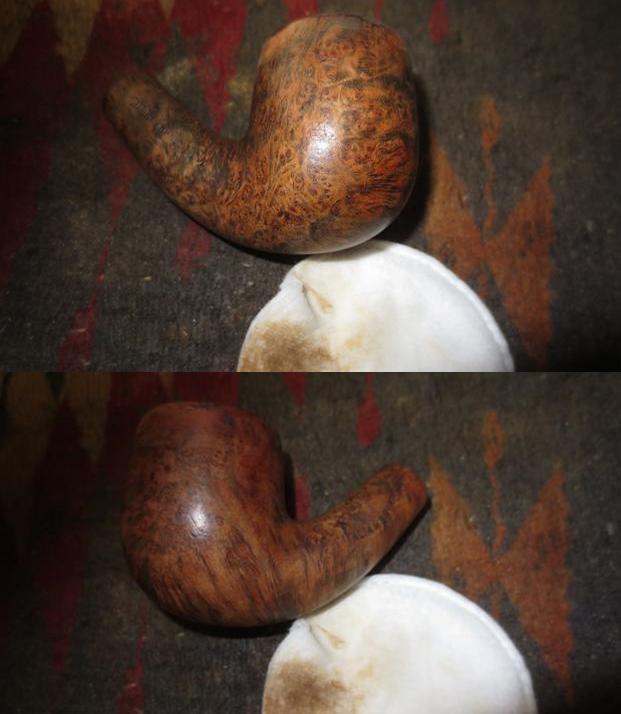
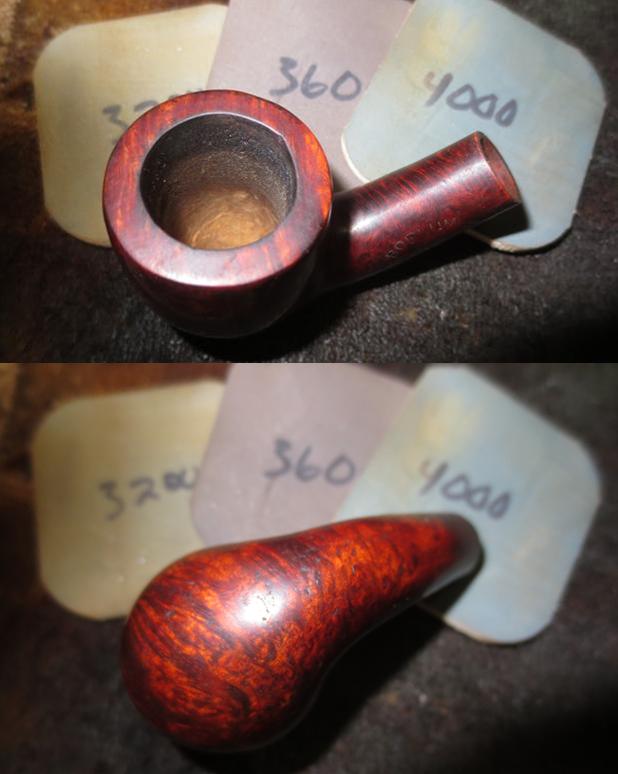
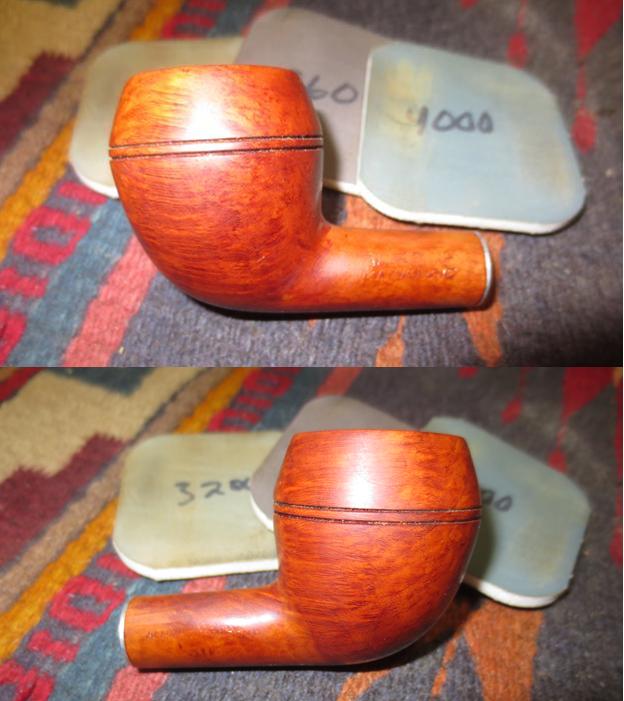
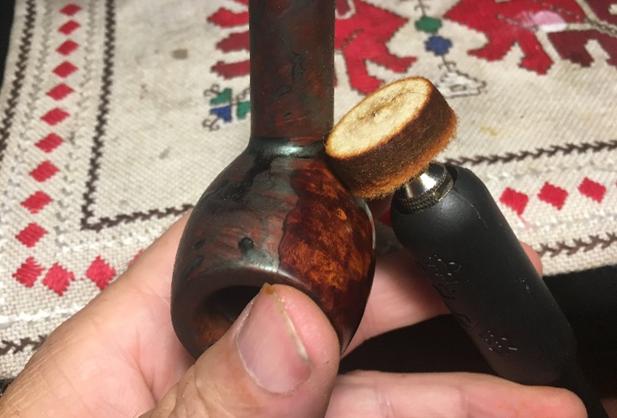
 After some time has elapsed, it’s time to ‘unwrap’ the fired, dyed stummel. After mounting the felt buffing wheel on the Dremel, setting the speed to slow – 20%, I buff off the crust by applying Tripoli compound. The second picture below shows the contrast and progress.
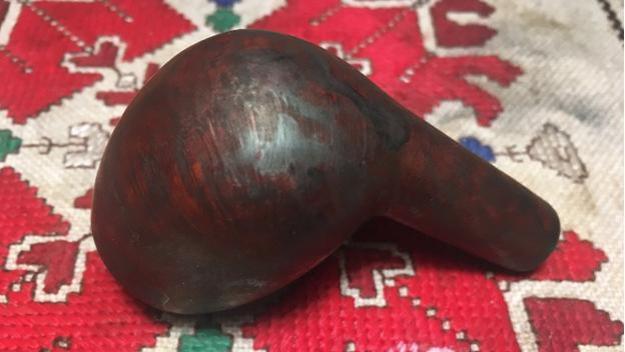
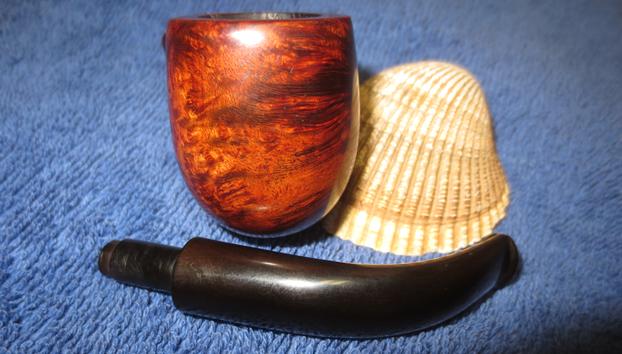
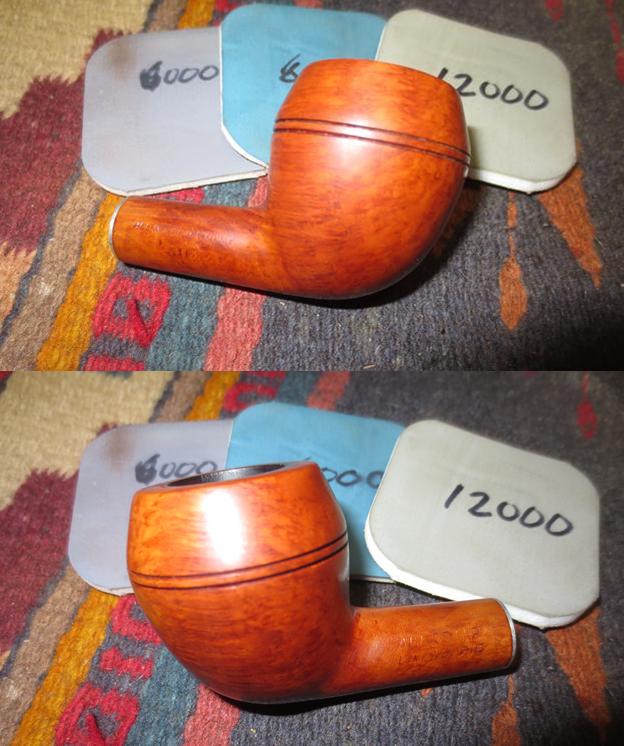
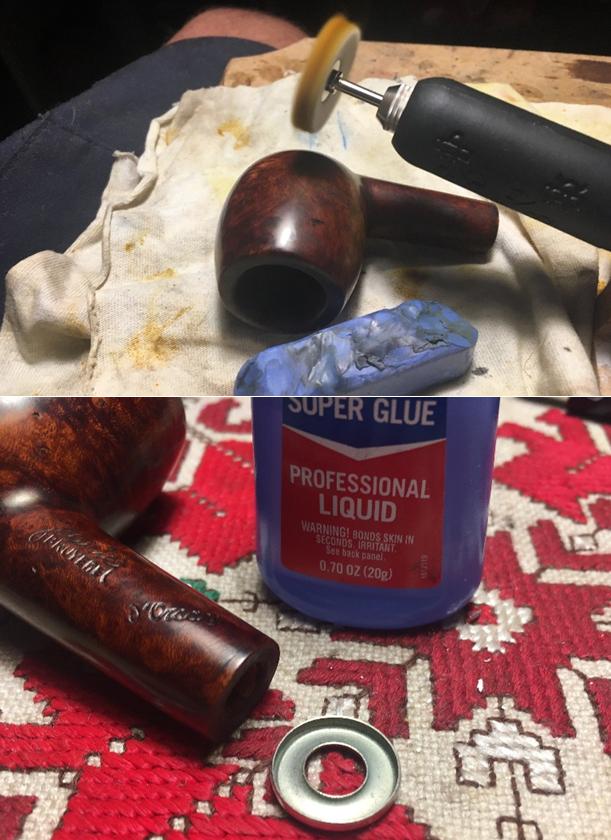
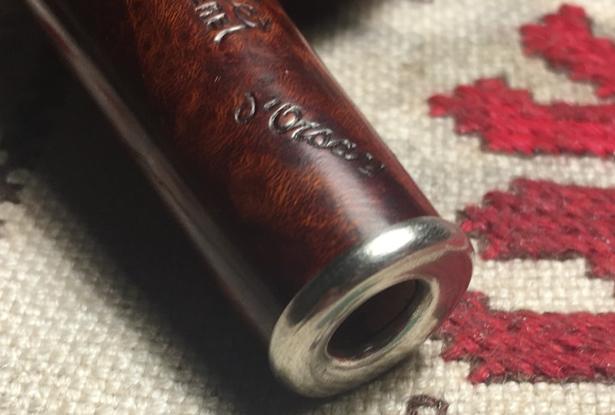
 After the application of the more abrasive, Tripoli compound is completed (1st picture), I wipe down the stummel using a cotton pad and isopropyl 95% to both lighten the stain and blend it. The alcohol wipe leaves a cloudy film on the stummel. I remove this by going to the next compound, Blue Diamond. I mount a cotton cloth buffing wheel on the Dremel and increase the speed to 40% and buff the briar surface. During this buffing, the grain starts to come out more distinctly and I like the deep rivers of grain that divide the stummel like a watermelon rind. I use a little CA glue and reattach the nickel band divider to the shank. I then use the Blue Diamond compound on the stem and band as well. The pictures show the progress.
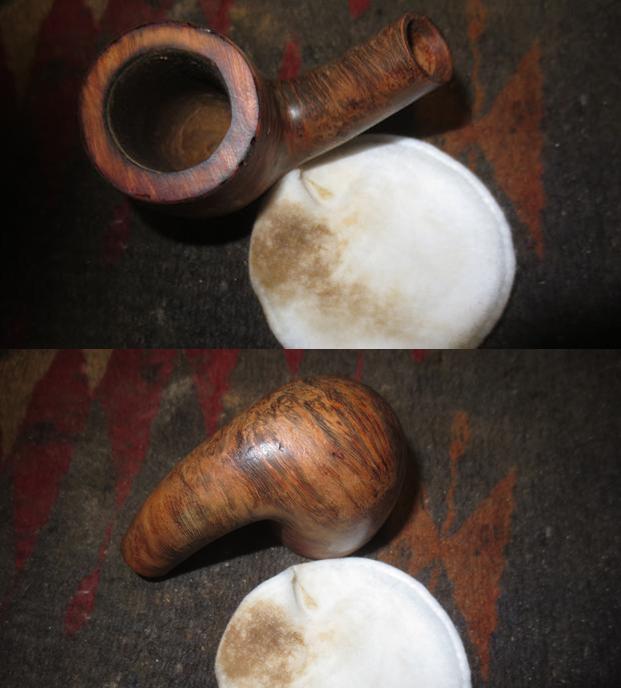
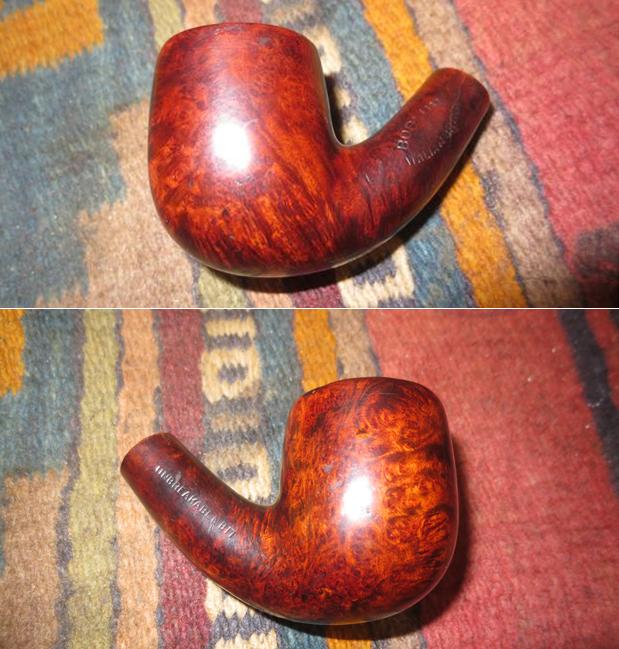
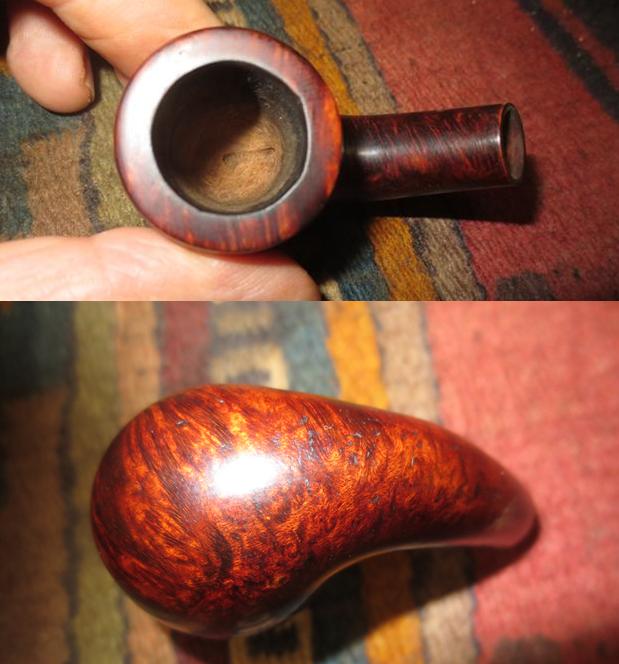
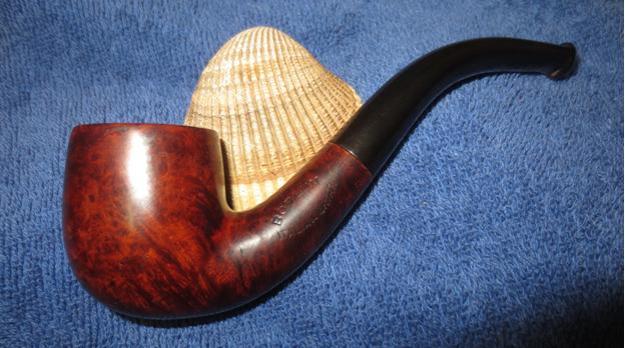
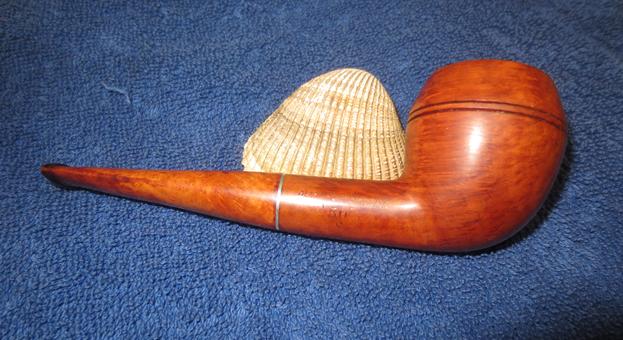
 After completing the Blue Diamond buffing, I hand buff the stummel and stem with a felt cloth to remove the compound dust before waxing. I mount a cotton cloth buffing wheel on the Dremel, also at 40% speed, and apply a few coats of carnauba wax to both the bowl and stem. Completing the restoration, I give the pipe a rigorous hand buffing with a microfiber cloth to heighten the shine and distinctiveness of the briar grain.
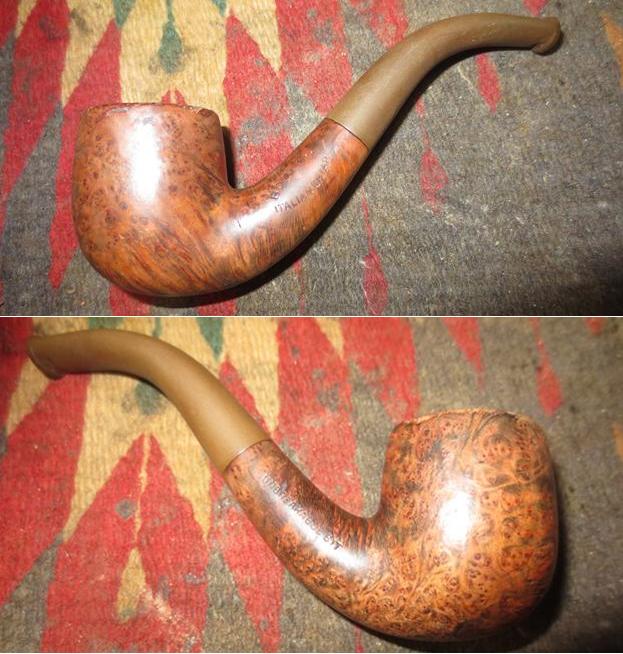
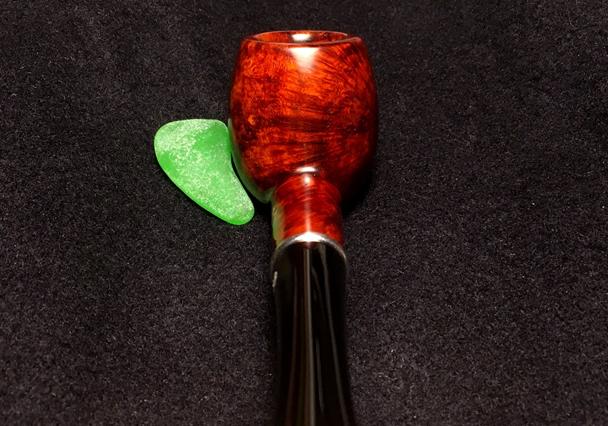
When I started this restoration, I saw a classic straight Billiard that had potential. The Jeantet D’Orsay that Gary found for me in the antique store in Burgas, on the Black Sea, has proven to be a very attractive pipe with the light brown leather-look finish. The grain pops. I like the band divider – it’s not a precious metal but it provides a nice accent. This Jeantet D’Orsay is ready for a new steward! If you are interested in adding this pipe to your collection you can check it out in The Pipe Steward ‘Store Front’. All the pipes I restore benefit the Daughters of Bulgaria – women and girls we work with here in Bulgaria who have been trafficked and sexually exploited. Thanks for joining me!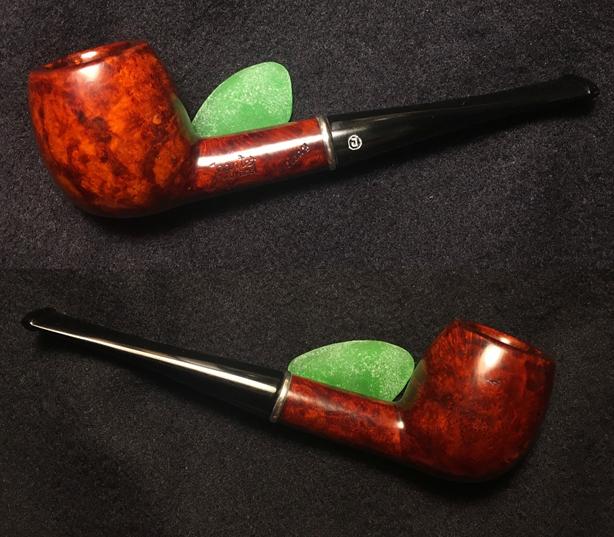


 But I found Steve Laug on rebornpipes. He advised me step by step how to restore and make my pipe smokeable again.
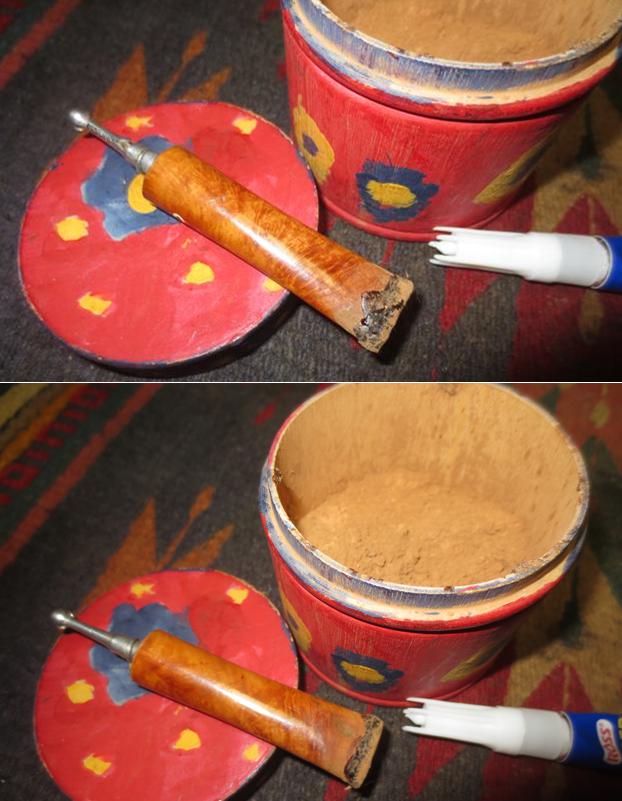
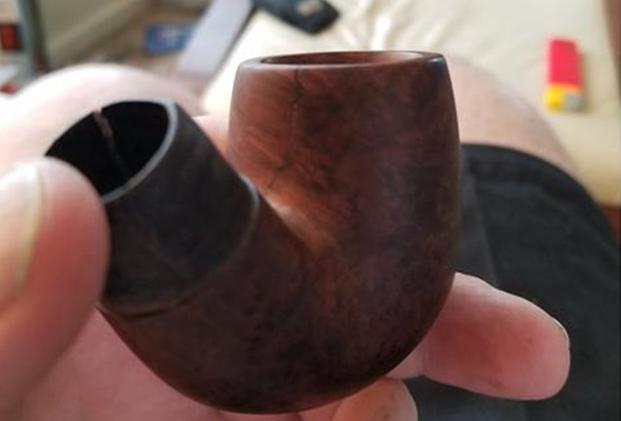 Then I used 500 grit sand paper on the outside and inside of my bowl. Once I was satisfied, I applied Aniline dye stain to the outside of the bowl and painted the inside of my bowl with a charcoal powder/ sour cream paste.
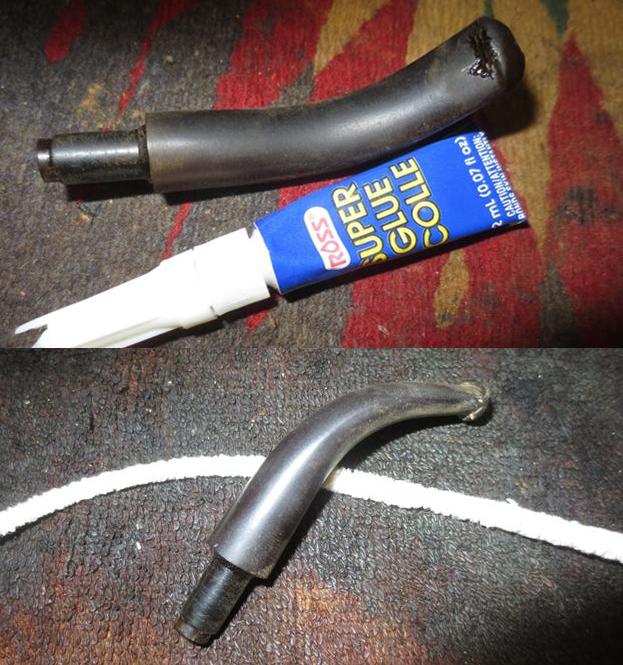
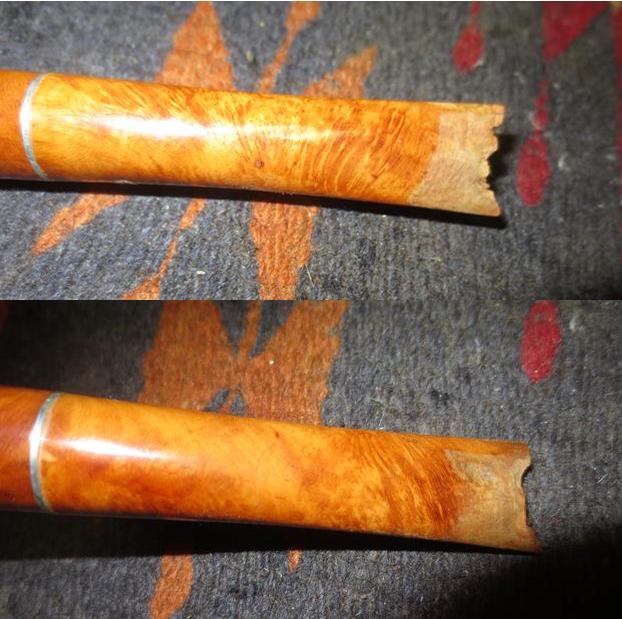
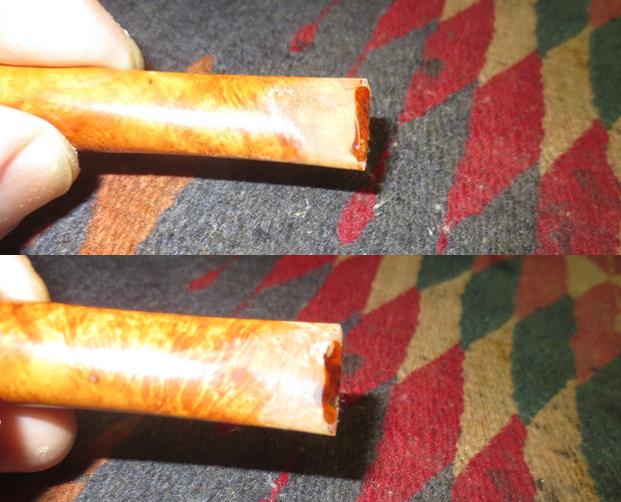
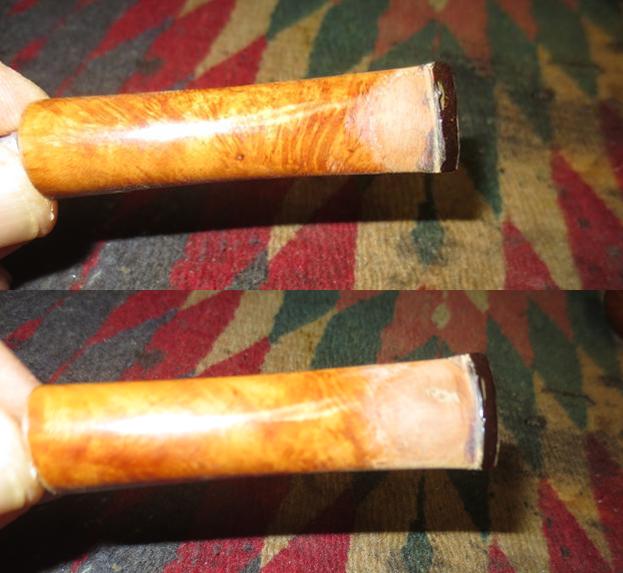
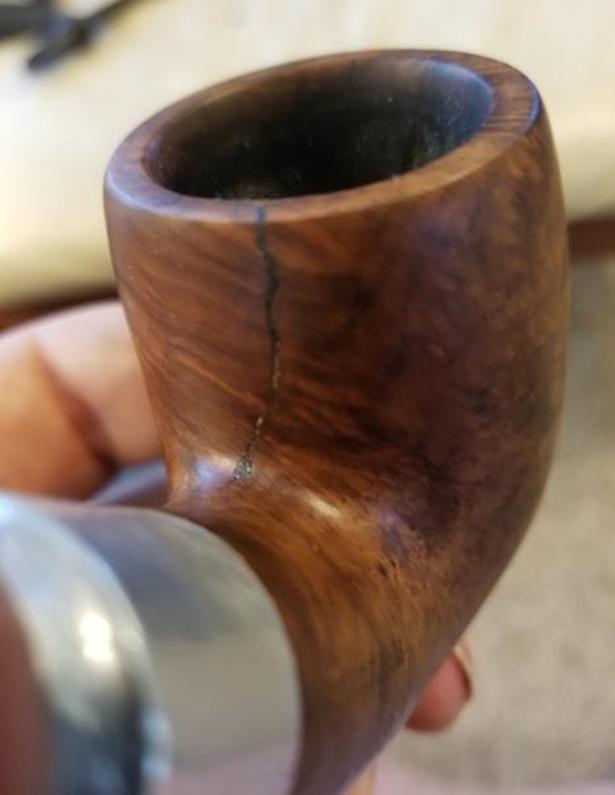
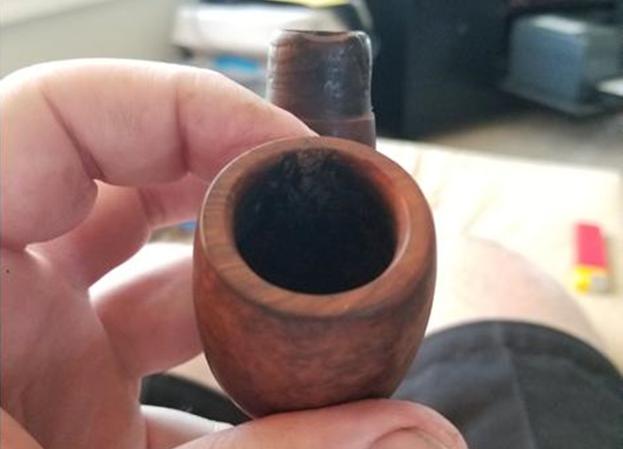 Next, I worked on the cracked and damaged shank end using the 1/32nd inch bit on the end of the cracks in wood and my super glue briar dust paste to fix the damaged areas. Sanding it after it set.
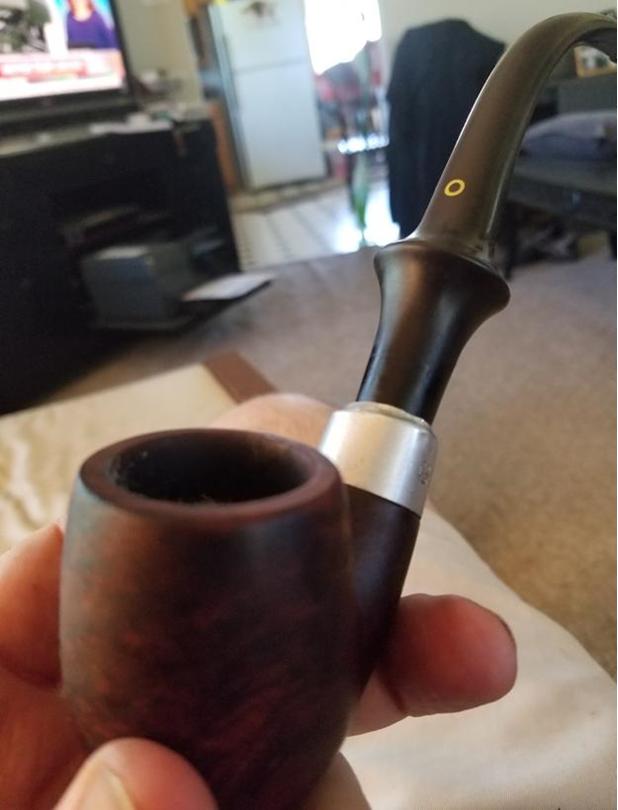
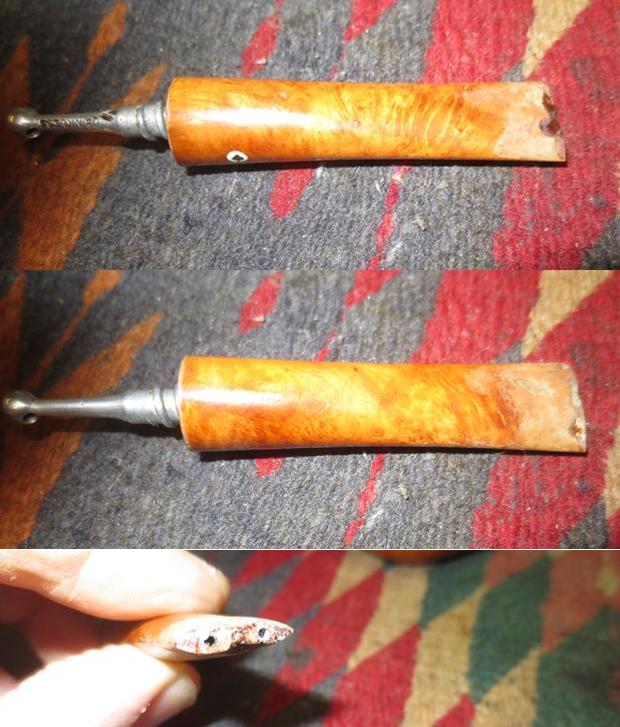
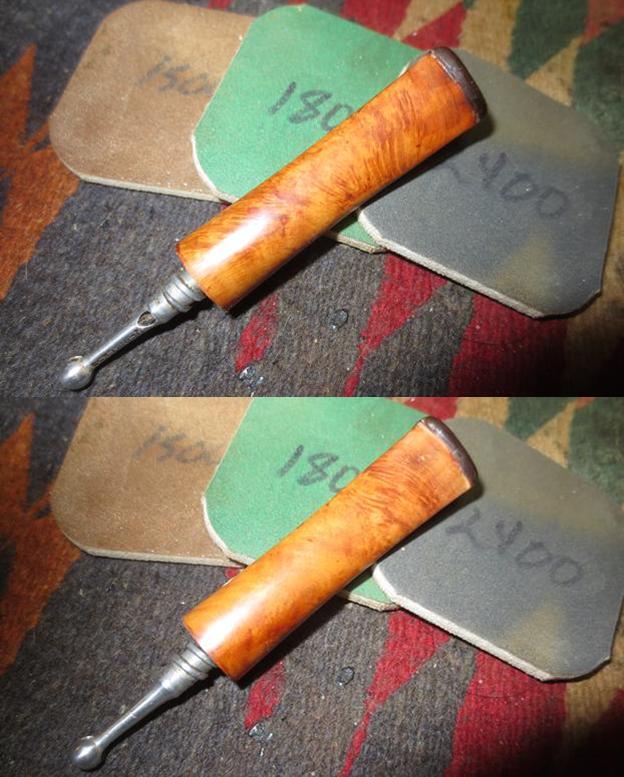
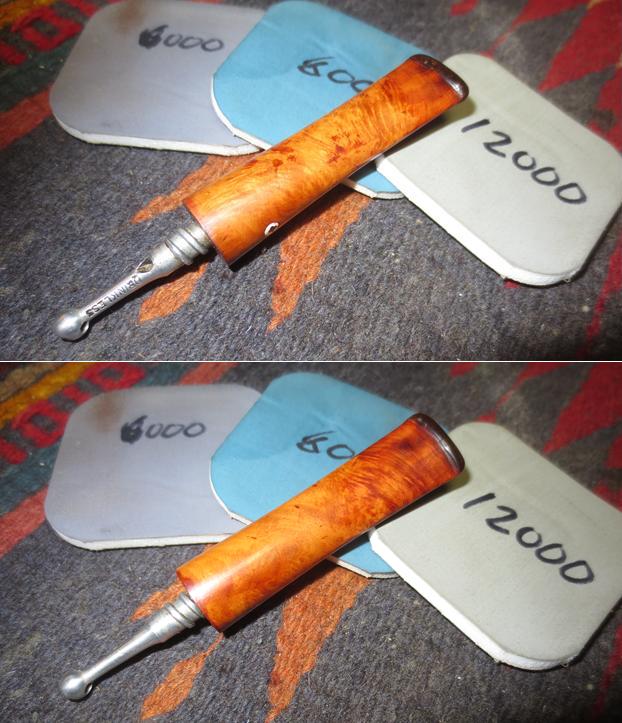
 I then used the charcoal powder and super glue paste to patch up the bite marks on my stem, using a pipe cleaner with Vaseline on it to ensure it did not super glue my stem closed. I used some 800 grit sand paper to buff the entire stem clean of oxidation and to clean off excess super glue charcoal powder once it dried. I also used the 800 grit sand paper to clean up the tool marks on my stem below the Yellow circle. I did not have any obsidian oil, so I used some sesame seed oil on my stem to slick it up. I also super glued the silver metal ferrule on the end of the shank as it was much too loose. I then resanded and repasted the inside of my pipe bowl.