Blog by Steve Laug
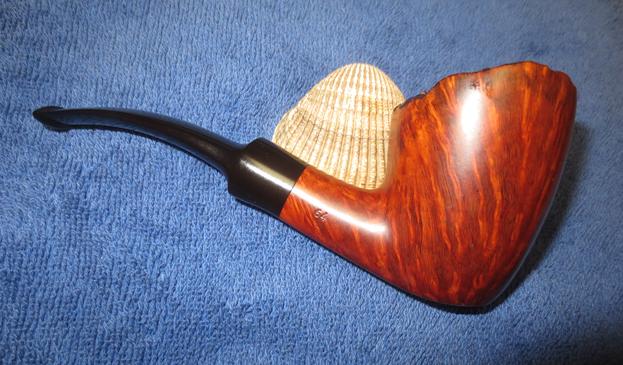
Today was a good day in the shop. I brought the third pipe to the work table today. It is a Stanwell Majestic shape 64 with a nice plateau top. The briar itself was in good shape. There were a lot of small nicks and dents in the sides of the briar. Other than being faded, the finish was in great shape. The plateau on the rim was faded and you could see remnants of tars and oils in the nooks and crannies of the rim top. The inner and outer edges of the bowl were undamaged. The pipe was stamped on the left side of the stem with the words Stanwell Made in Denmark over Majestic. On the right side it was stamped with the shape number 64. There was no other stamping on the pipe. The stem was oxidized and there was tooth chatter on the top and underside near the button. Jeff sent me these photos of the pipe before he started his cleanup process. The late Bas Stevens was the master at identifying Stanwell shapes tying the shape number to the designer. The shape 64 came in two variations – a Freehand with a saddle stem and a bent billiard with a full taper stem. This one is clearly the Freehand variation having a plateau top and a saddle mouthpiece. It was designed by Sixten Ivarsson (https://rebornpipes.com/tag/shape-numbers-and-designers-of-stanwell-pipes/).
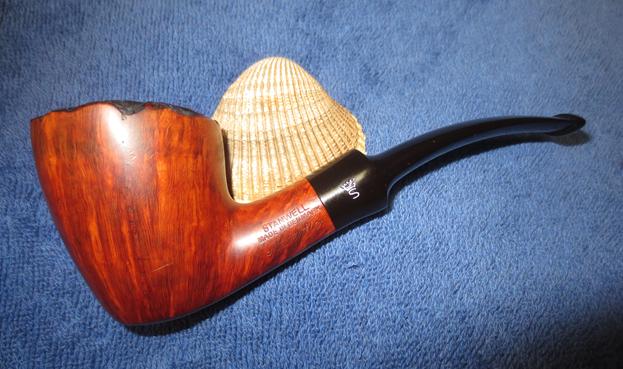
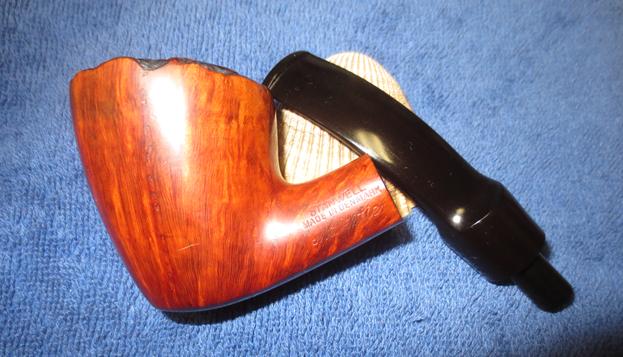
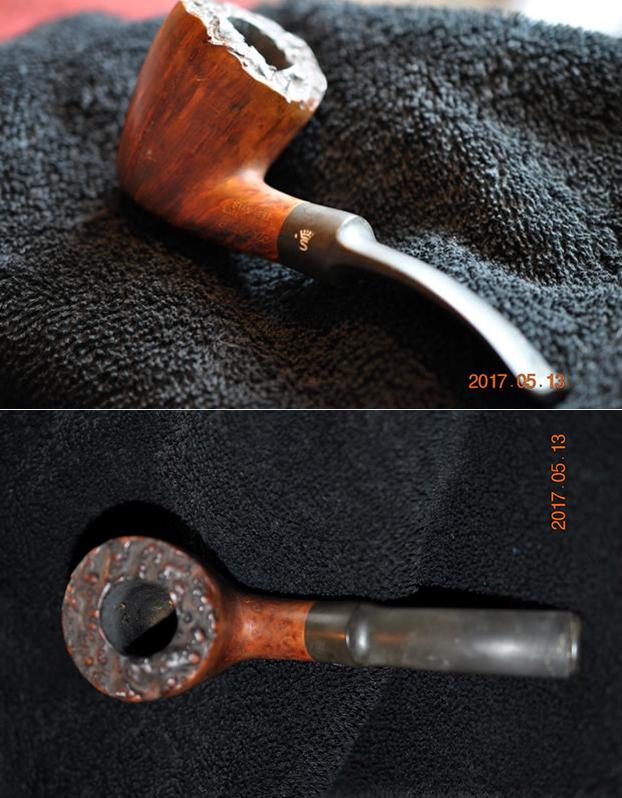 The stamping on the pipe is very readable. The left side of the shank is stamped Stanwell over Made in Denmark over Majestic. The Stanwell Crown S is stamped on the left side of the saddle stem. The right side of the shank bears the 64 shape number stamp.
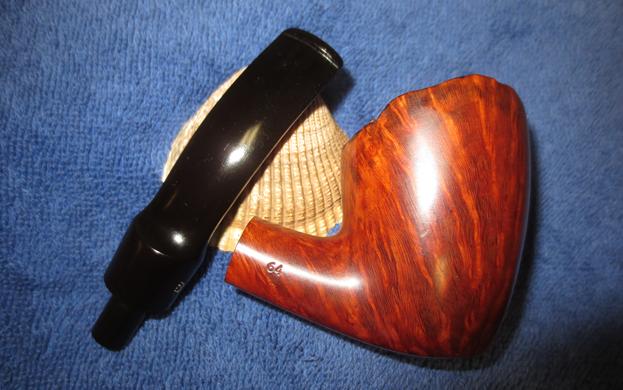
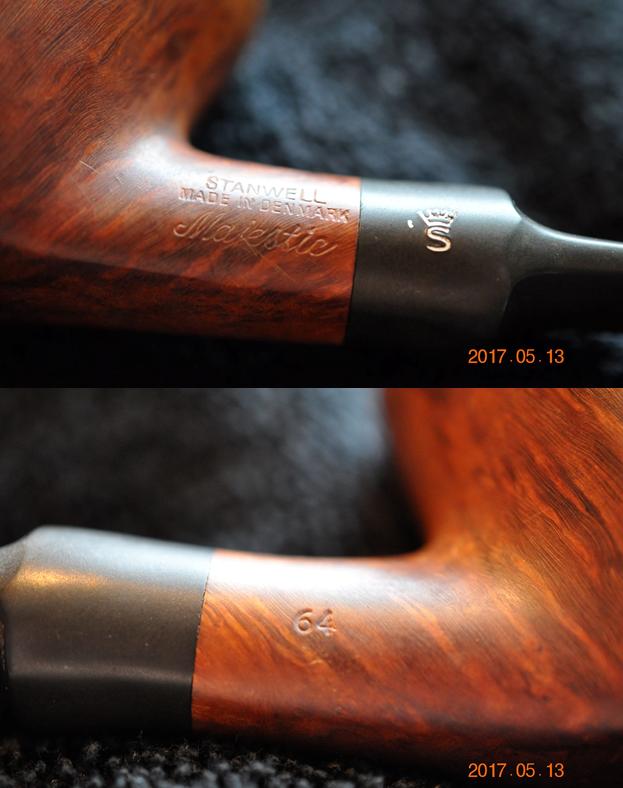 The rim top looked to be in good shape – dirty but sound.
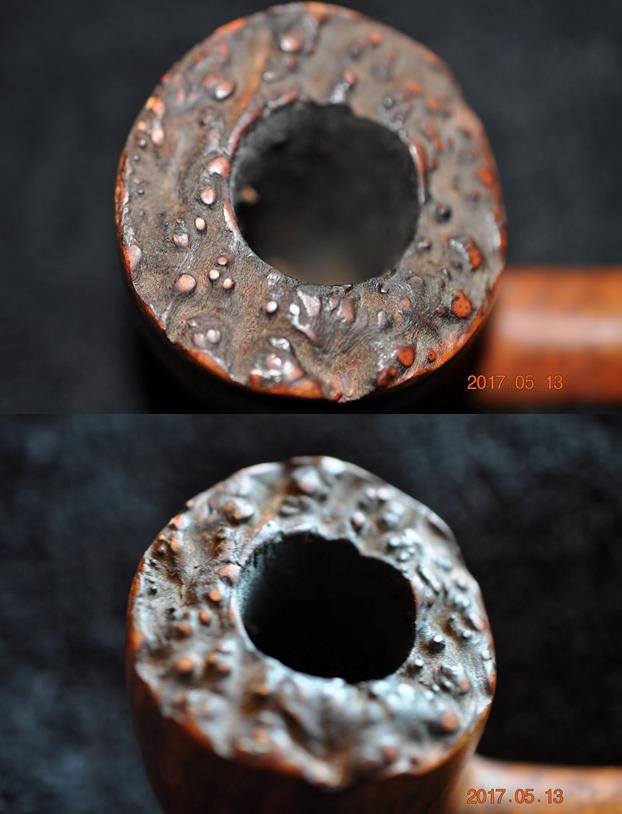 The lightly oxidized stem had tooth chatter on the top and underside. It did not appear to be deep in the vulcanite and should clean up easily.
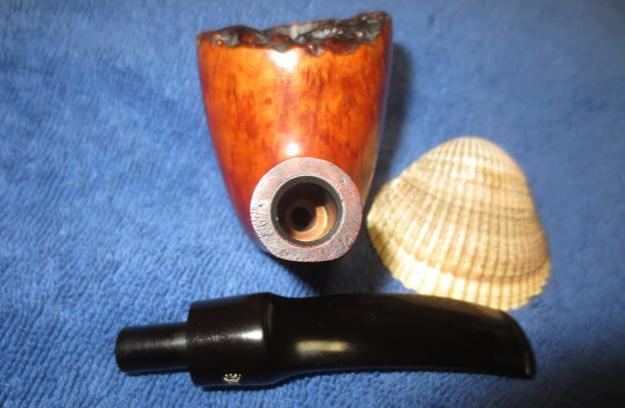
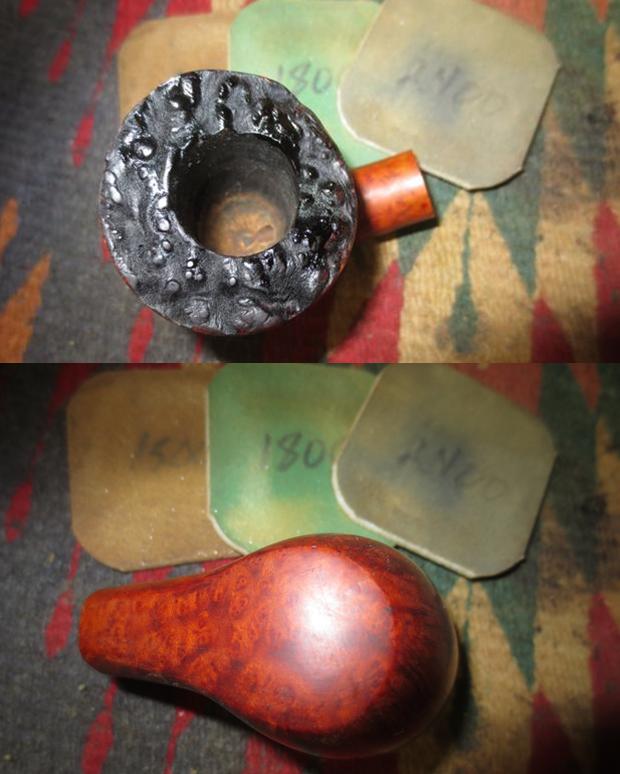
 Jeff cleaned up this beautiful pipe with his usual methodical thoroughness. He reamed the bowl clean with a PipNet reamer and touched it up with a Savinelli Fitsall pipe knife. He scrubbed internals with alcohol, pipe cleaners and cotton swabs leaving the airways in the shank, mortise and stem very clean. He scrubbed the externals with Murphy’s Oil Soap to remove the grime and the old waxes on the bowl and rim. He soaked the stem in OxyClean to bring the oxidation to the surface of the vulcanite. When the pipe arrived in Vancouver I took the following photos.
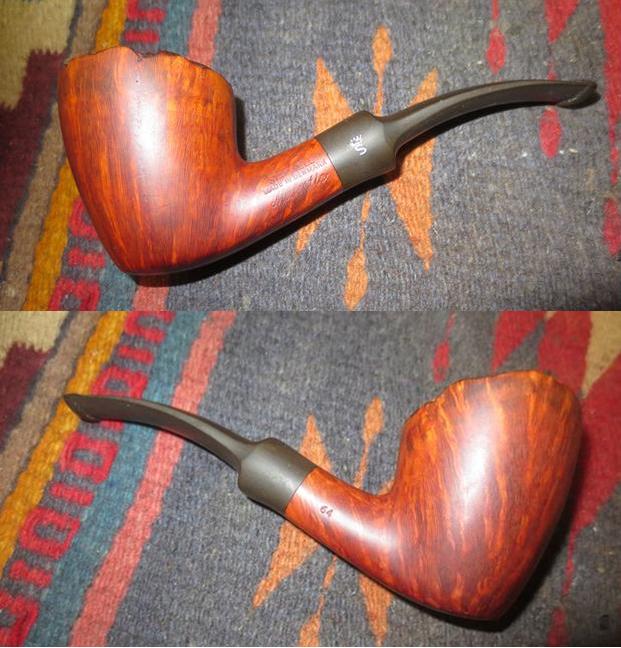
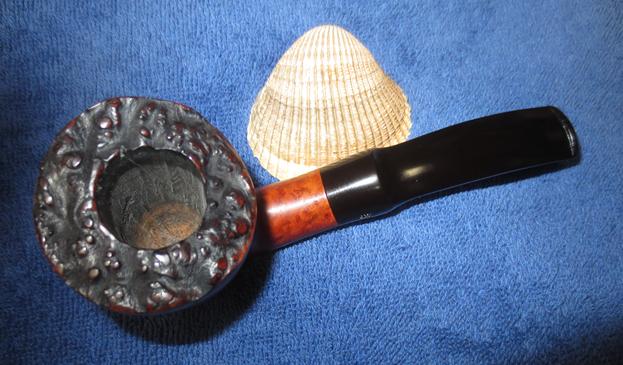
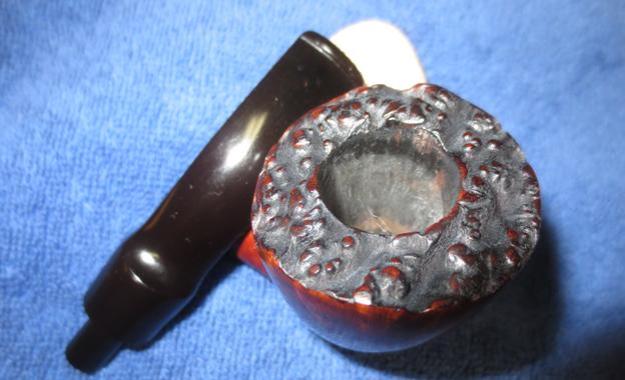
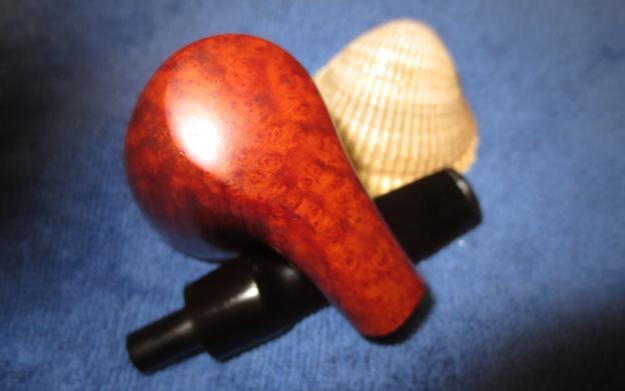
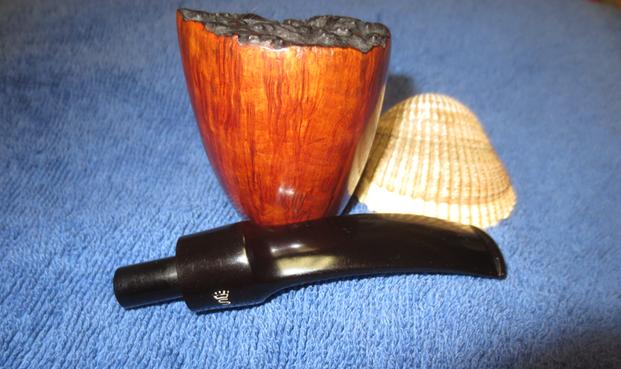
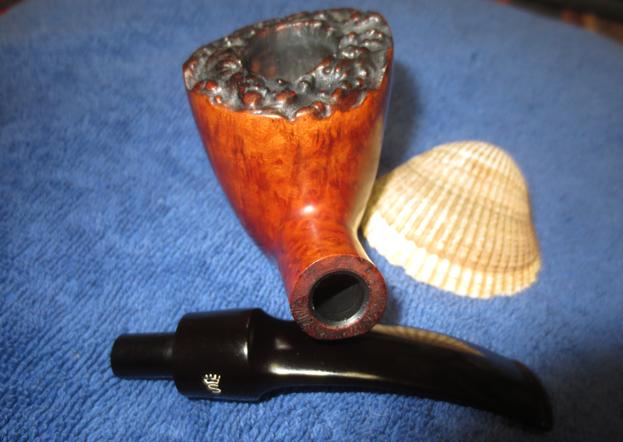
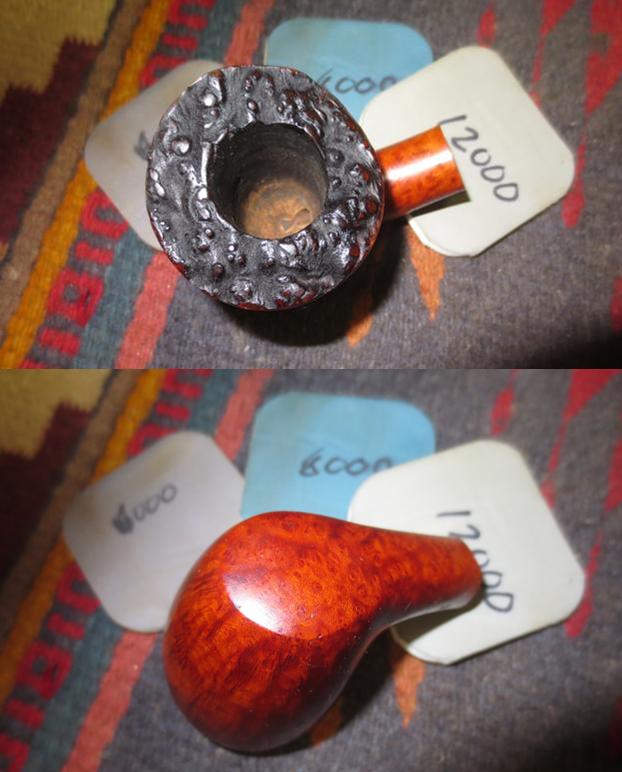
 The rim was very clean and faded. They were generally black or at least dark with the high spots on the plateau showing through with the same brown as the rest of the stummel. The nooks and crannies were black and the high spots brown. The inner and outer edge of the bowl were in perfect condition.
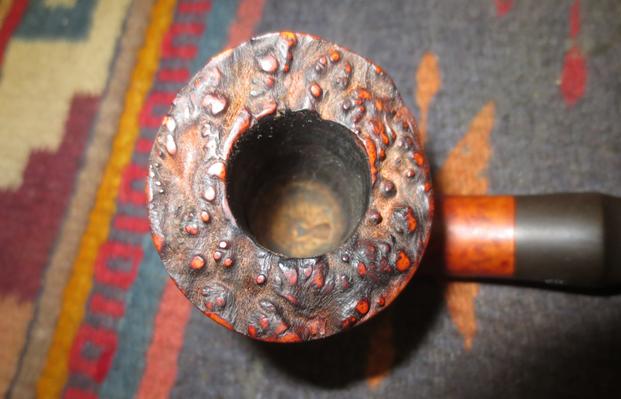 The stem was lightly oxidized and surface of the vulcanite on the topside was pitted with small holes and nicks. It was hard to capture that issue with the photos but it was there and would need to be addressed if I was to polish the stem to a rich shine. I put the stem in the Before & After Pipe Stem Deoxidizer and left it to soak overnight. I keep the mixture in a flat plastic tray with a cover. I dropped the stem into the mixture and made sure that it was completely covered with the mixture. I put the lid on the tray and set it aside to soak. I have referred to the latest use of this product in the past three blogs because I am putting it through its paces to see how the product delivers. I was skeptical when I first started using it but I have to admit that I am becoming less skeptical the more I use it. If you are interested in trying the product, I purchased the Deoxidizer from a guy on Facebook. His name is Mark Hoover and he is on the Gentlemen’s Pipe Smoking Society Group on Facebook. He has a pen making site where you can email and order the deoxidizer and the polishes (http://www.lbepen.com/).
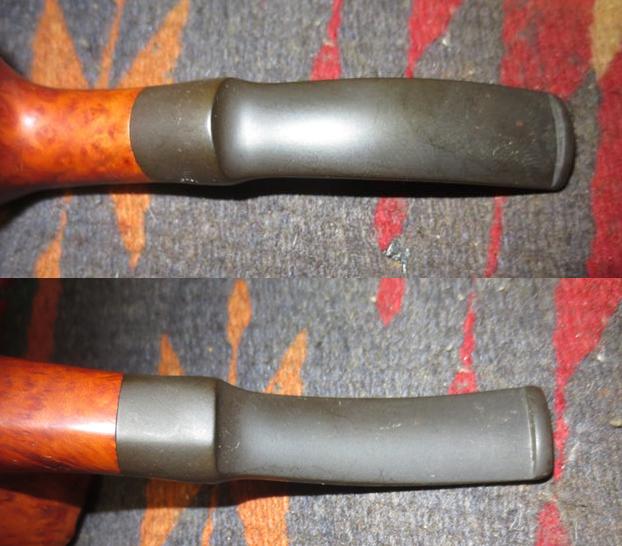
 While the stem soaked I began my work on the bowl. I restained the plateau top on the bowl with a black aniline stain that I applied with a cotton swab making sure to get the stain deep in the grooves. I use a cotton swab because it enables me to keep the stain off of the sides of the bowl. I let the stain dry for a few moments and sipped a hot coffee.
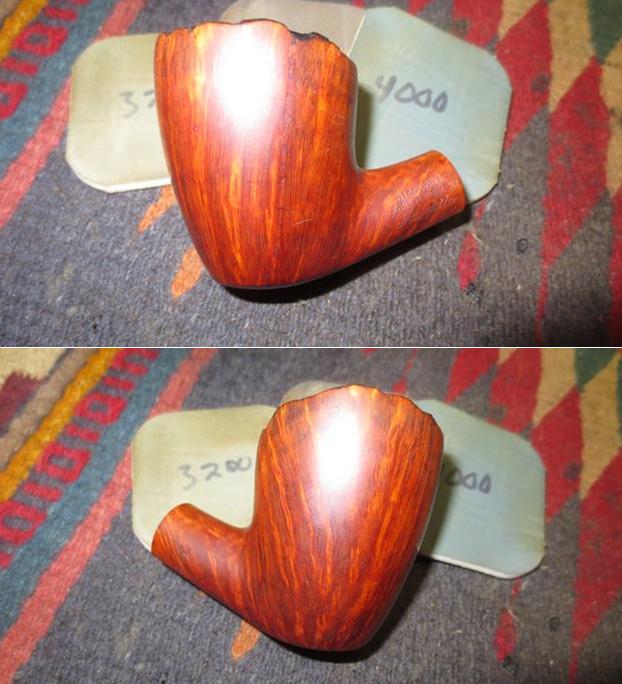
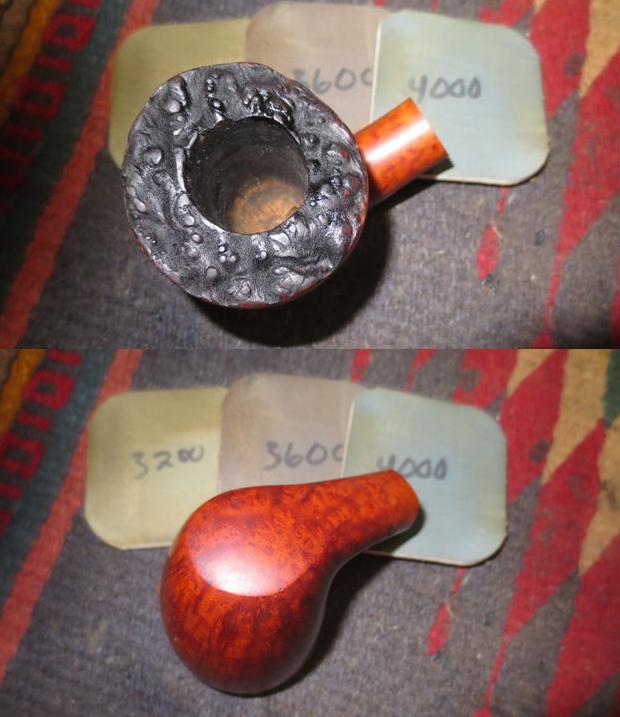
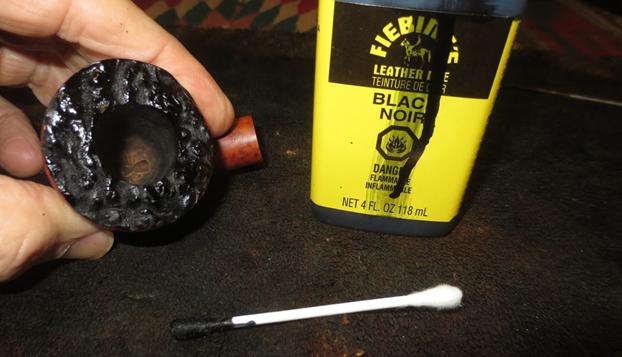 Once it had basically dried I polished the bowl with micromesh sanding pads – wet sanding with 1500-2400 grit pads and dry sanding with 3200-12000 grit pads. I wiped the bowl down with damp cotton pads after each sanding pad. When I finished with the 12000 grit pad I wiped the bowl down with olive oil on a paper towel to enliven the briar and highlight the colour.
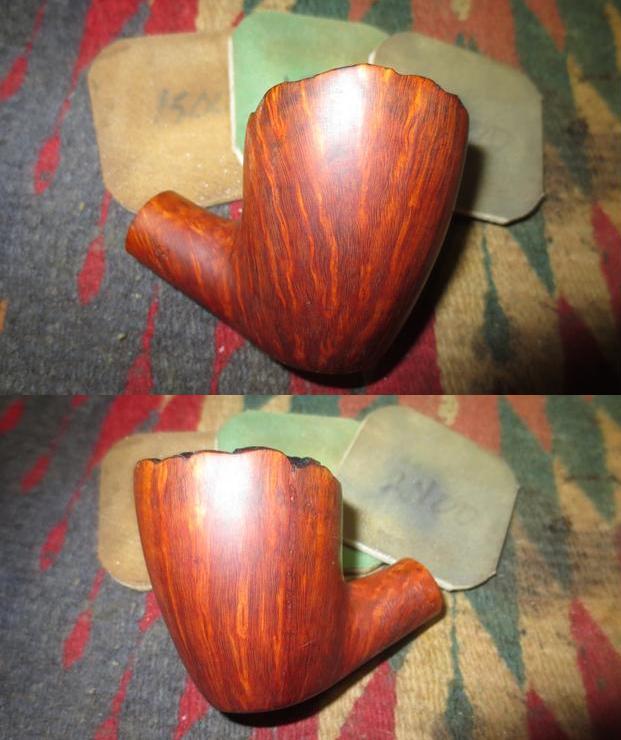
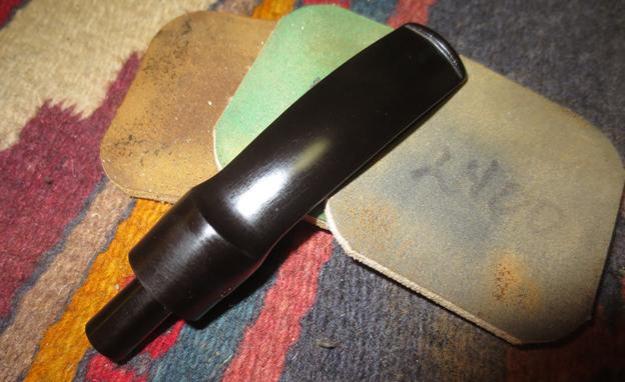
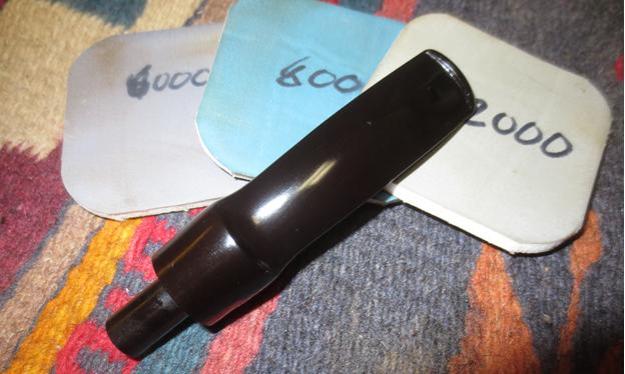
 The next morning I removed the stem from the Deoxidizer and dried it off with a paper towel. I let the excess deoxidizer drip off into the tray before wiping it down. The oxidation came off and stained the paper a dark brown. The top surface of the stem was pitted near the button. I filled in the pits with clear super glue. Once it had dried I sanded it with 220 grit sandpaper to blend in the repair to the surface of the stem. Once I had smoothed out the repairs it was time to polish the stem. I polished it with micromesh sanding pads – wet sanding with 1500-2400 grit pads and dry sanding with 3200-12000 grit pads. I rubbed the stem down with Obsidian Oil after each sanding pad. After sanding with the 12000 grit pad I gave it a final coat of oil and set it aside to dry.

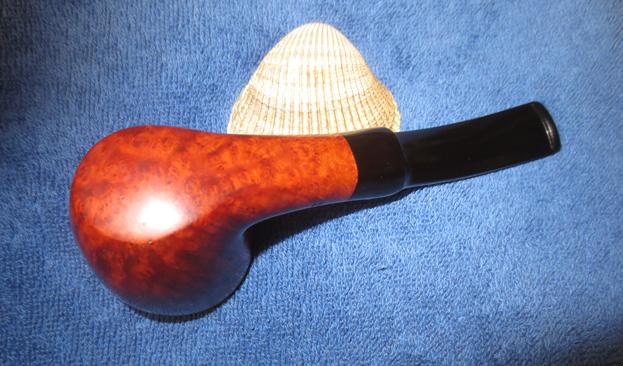
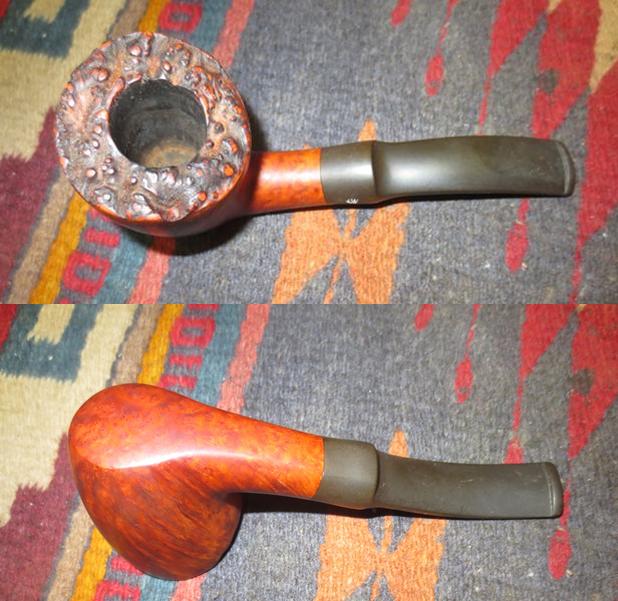
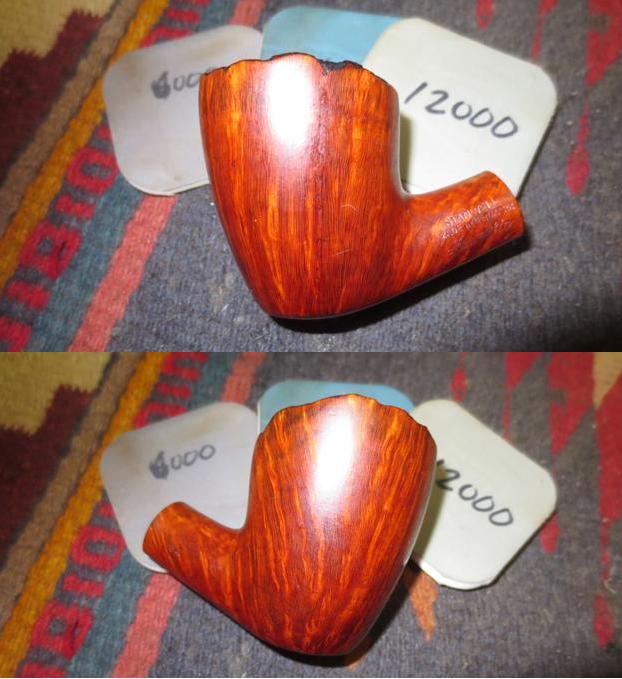
 I buffed the pipe with Blue Diamond polish on the buffing wheel. I worked over the bowl sides and the stem to polish out the last of the scratches in the surface of both. I gave the bowl and stem with multiple coats of carnauba wax to protect the briar and the vulcanite. I buffed it with a clean buffing pad to raise the shine on the pipe. I used a microfiber cloth to hand buff it and give it a deeper shine. The finished pipe is shown in the photos below. It is a beautiful example of the Stanwell Freehand shape 64. The dimensions of the pipe are Length: 5 ½ inches, Height: 2 inches, Outer diameter: 1 ¾ inches, Chamber diameter: ¾ inches. I will be posting this on the rebornpipes store so if you would like to add it to your collection you can wait until I add it or you can email me at slaug@uniserve.com or message me on Facebook. Thanks for walking with me through this restoration.