Blog by Steve Laug
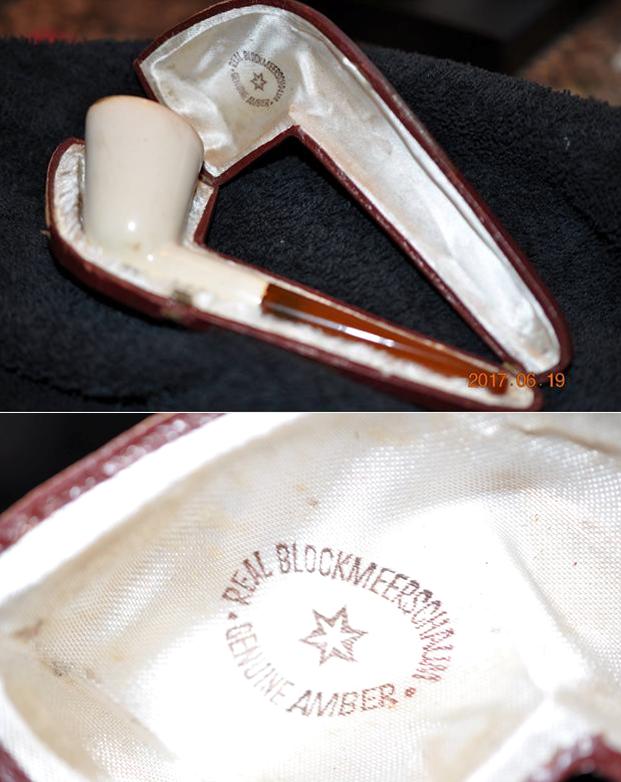
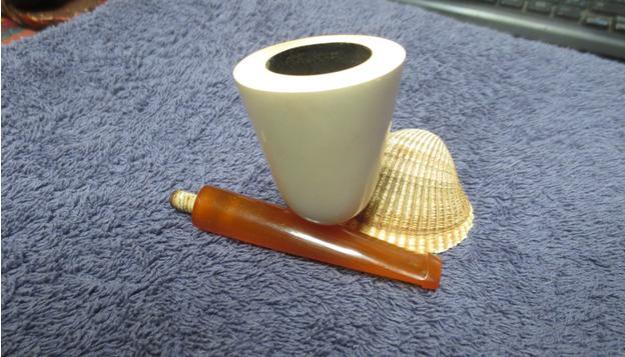
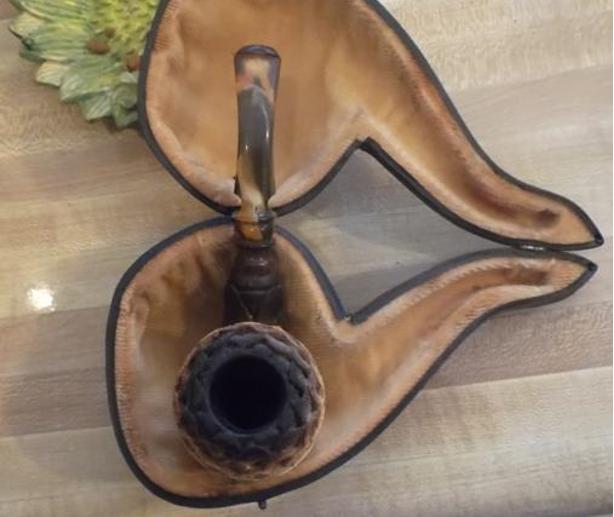
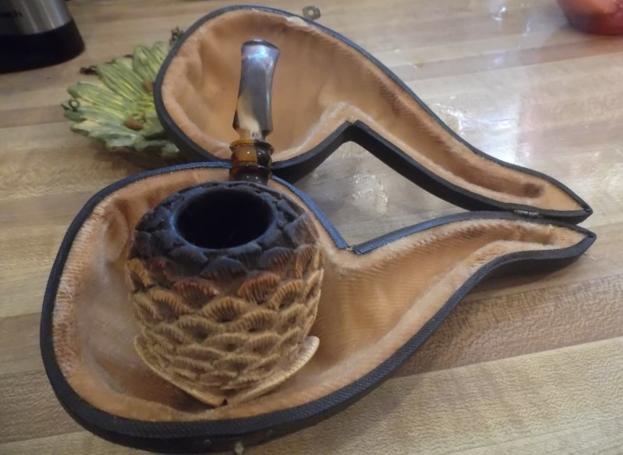
I think Jeff was drawn to this one because of the interesting carving on the bowl and shank, the developing colour on the meerschaum, and the colour and patterns of the acrylic stem. I think he knew I would be interested in it as well. It came in a case that was a bit large for the pipe so I think it may not have been the original case for this meerschaum. Even though it is too large, it does protect it and holds it firmly in place. The shank and the bottom of the bowl have darkened nicely. The rest of the pipe is also darkening with the colour moving from the dark bowl bottom and lightening as you move up the bowl. The rim was dirty with tars and oils and there was a cake in the bowl. The stem has tooth marks and chatter on the top and the underside near the button. The first five photos were the ones that the EBay seller posted with the description of the pipe.

 To me the pipe showed a lot of potential and I was looking forward to hearing from Jeff if he thought it was a nice as it looked once it arrived in Idaho. We talked and he was pleased with the overall look of the pipe. There was one of the ends of a pinecone “leaf” that was cracked and poorly repaired but otherwise it just needed a cleanup.
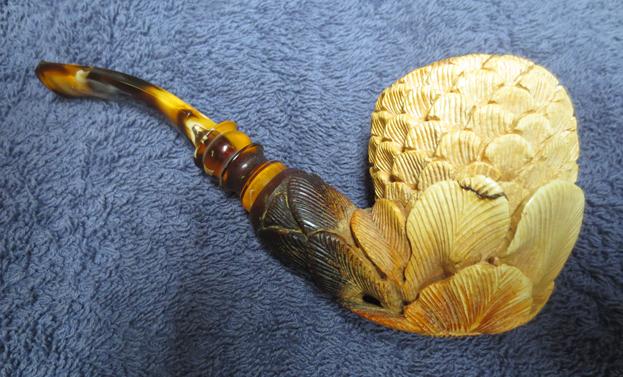
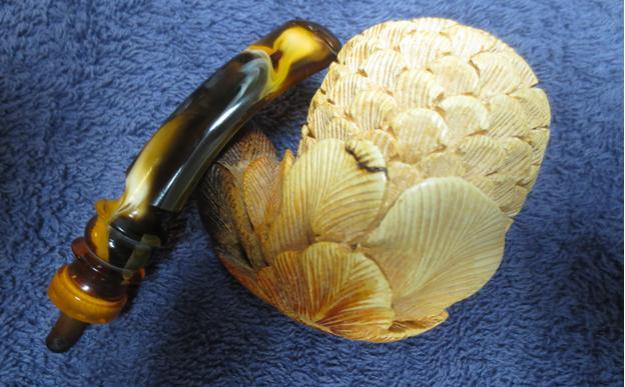
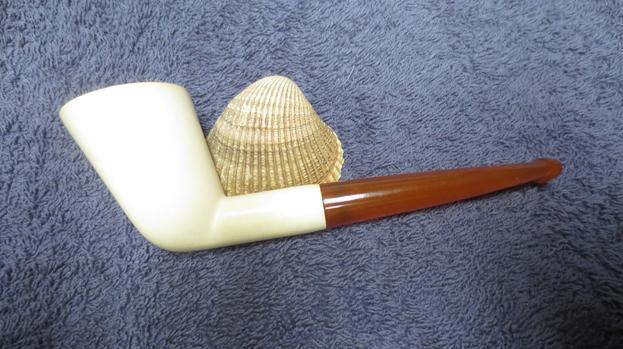
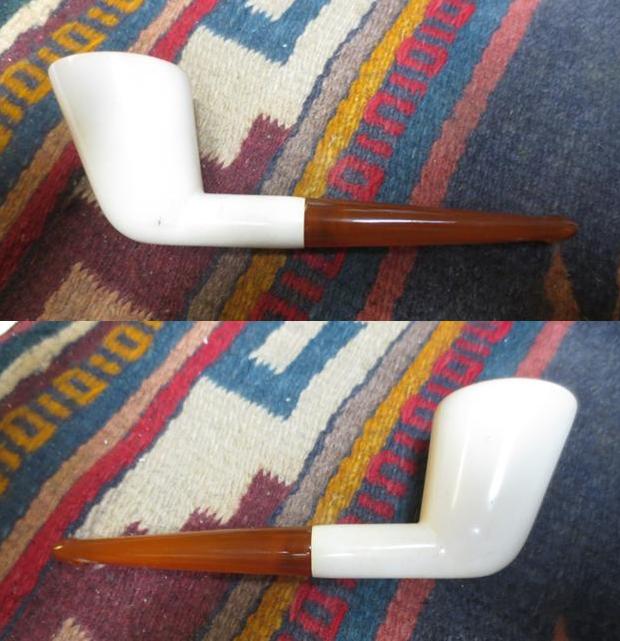
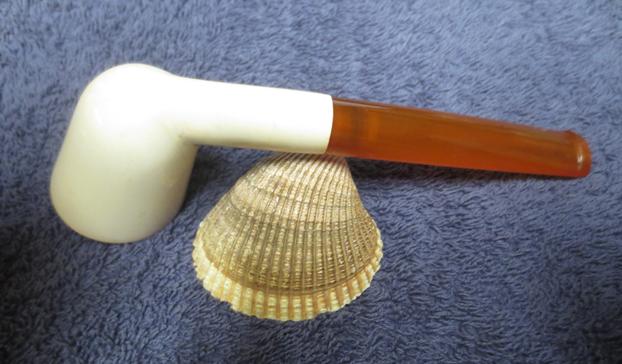
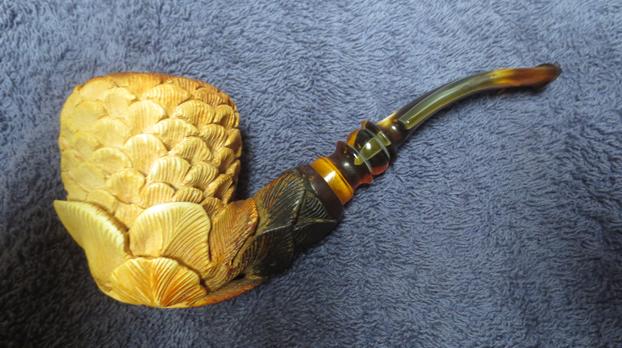
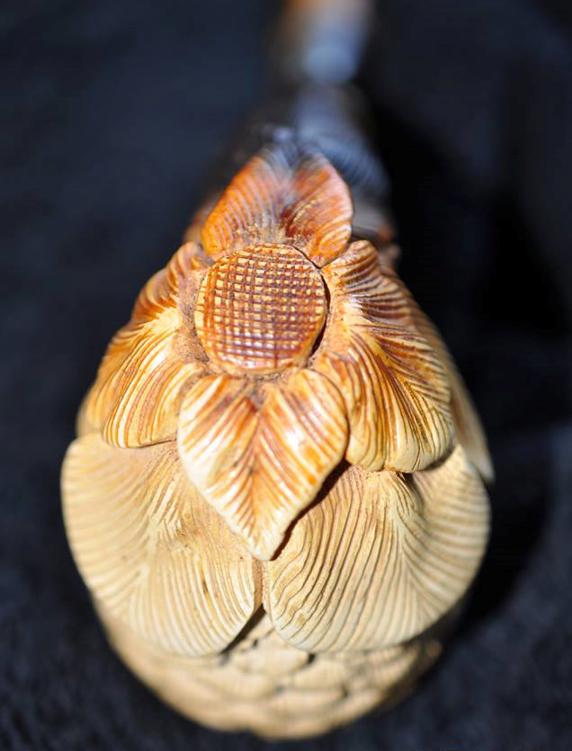
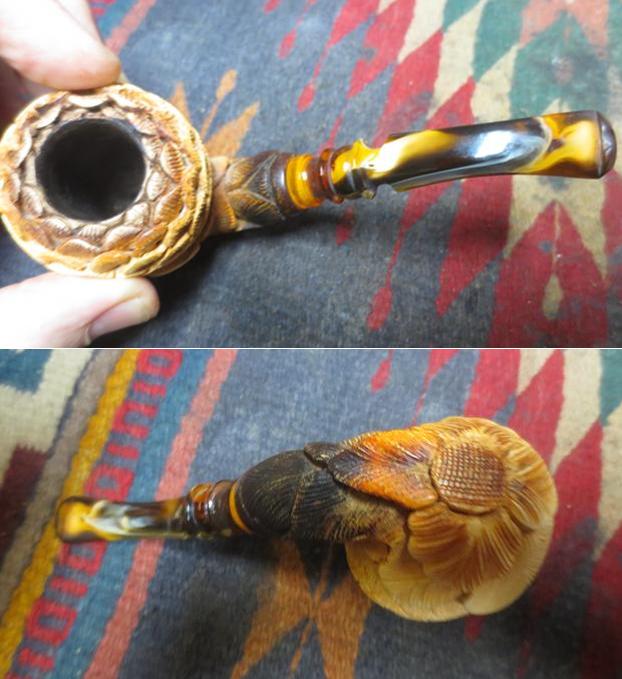
Jeff took photos of the pipe when it arrived in Idaho before he started his cleanup work. It looked pretty good – the seller’s photos and description matched what he saw when he had it in hand. When he opened the case the left side of the pipe looked really good. There were no chips of cracks, not damaged areas on the bowl side. The fit of the stem to the shank was perfect.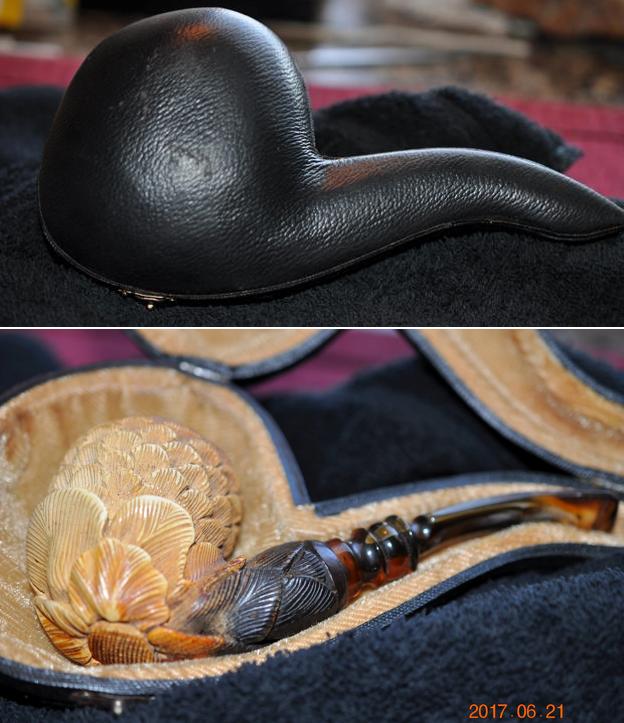 He took this photo of the pipe when he took it out of the case and I was hooked. I really liked the sense of how the pipe captured the pine cone. The shank and base are the stalk and branch that the pine cone hangs on. The sides of the bowl curving over the rim gave the clear picture of a pine cone. It is well carved.
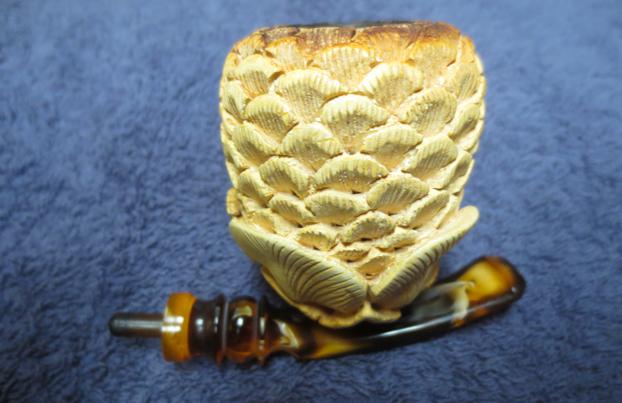
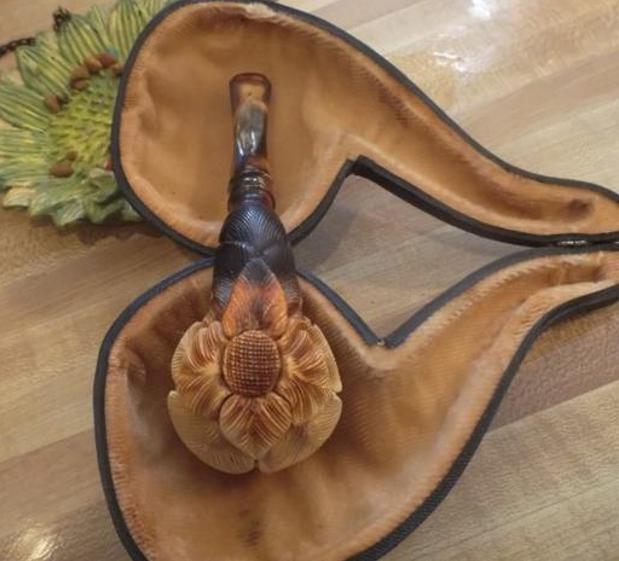
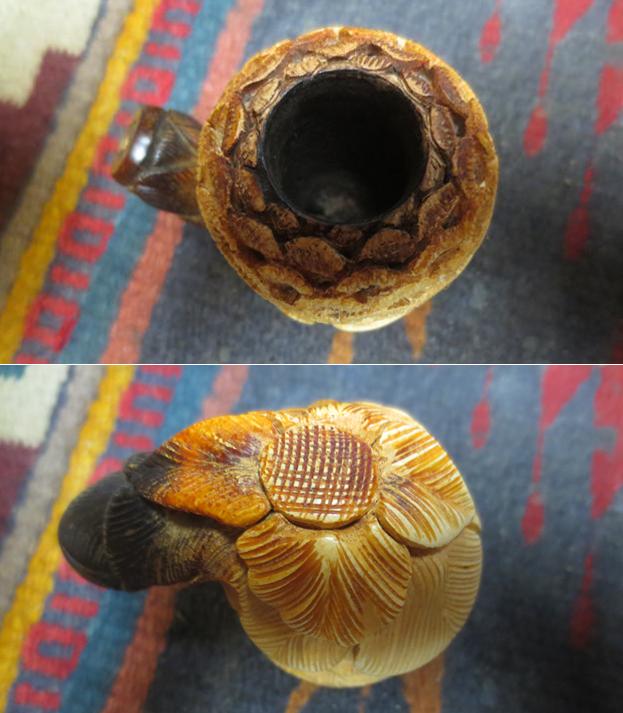
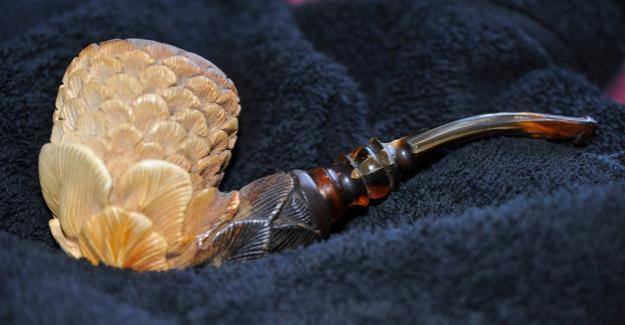 The grooves and small crevices on the rim top were filled in with tars and oils. The deep open areas of the rim were not visible under the grime. There was also a lot of dust deep in the grooves of the carving. The underside of the shank and the bottom of the bowl also formed the cluster that held the cone. The bottom of the bowl had darkened significantly to a rich brown patina. The shank had darkened to a dark brown with shades of the rich brown peeking through the grooves. The swirls of colour in the Lucite stem match those in the patterns of the bowl.
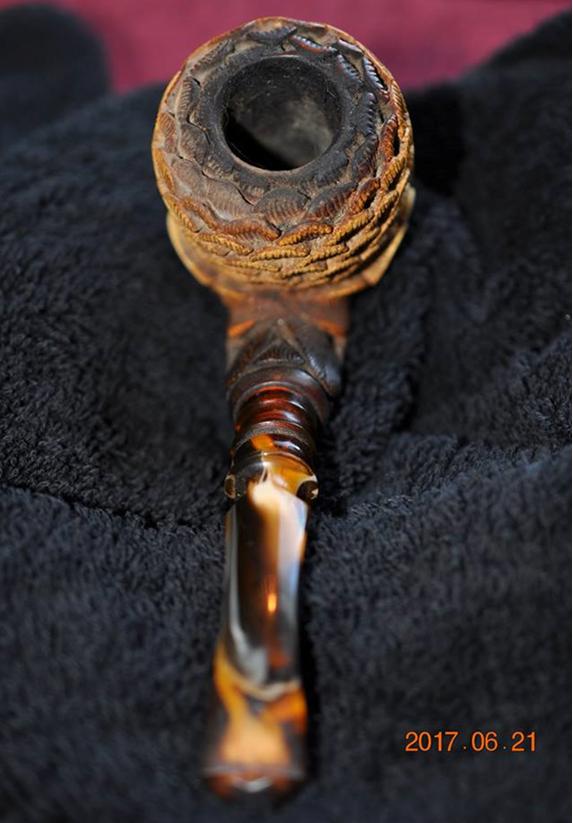
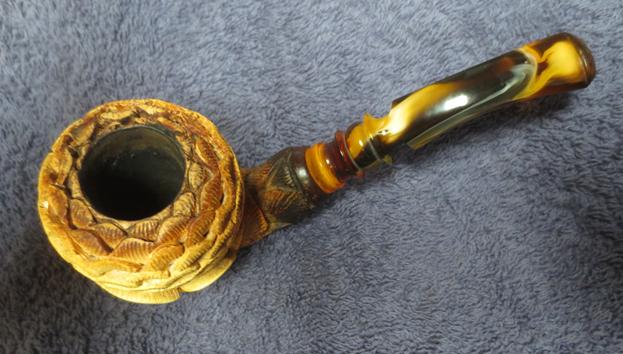
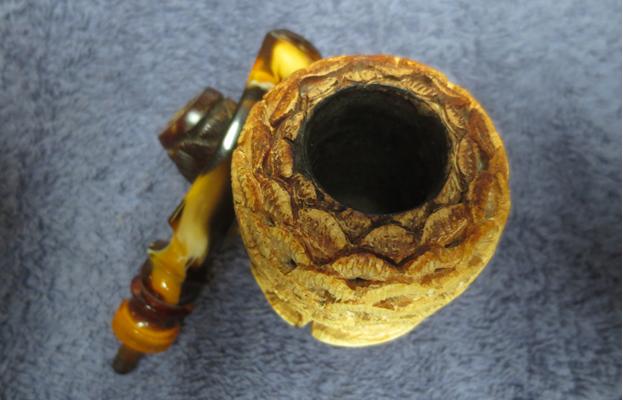
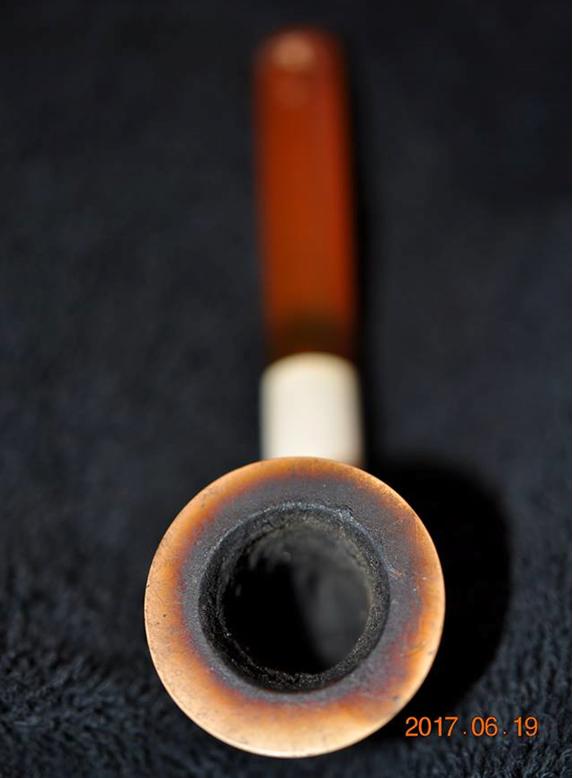
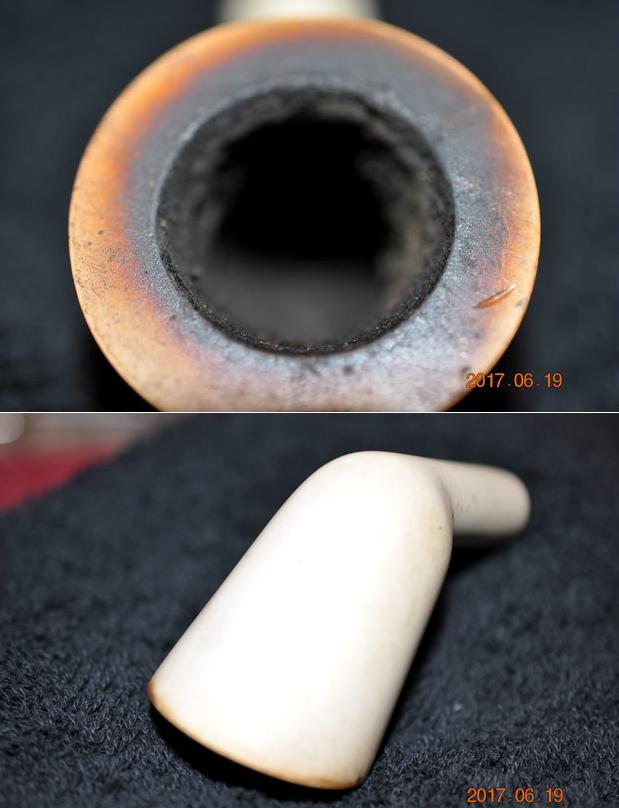
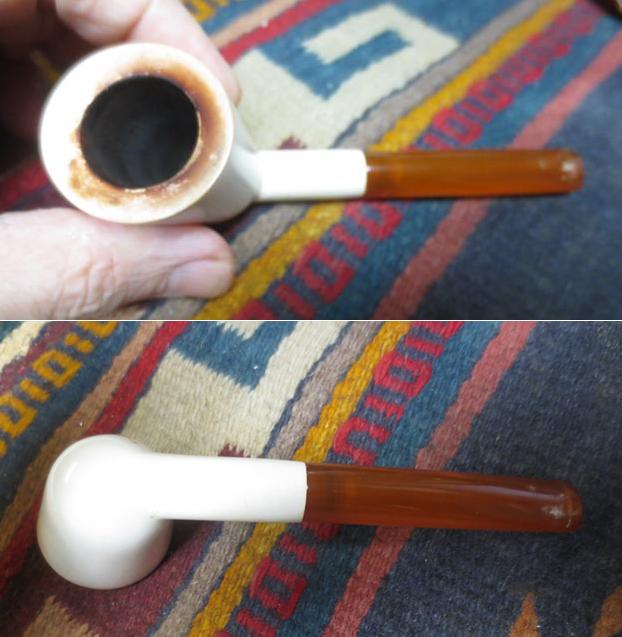
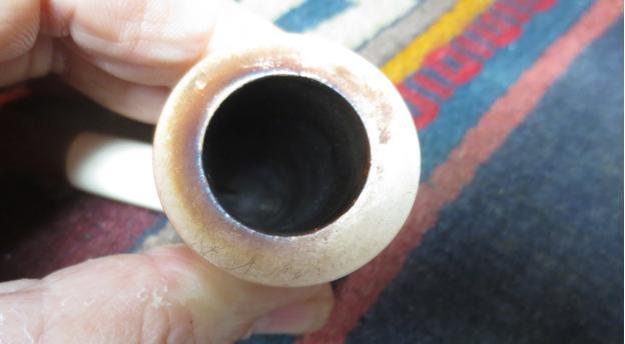
 The close up photo of the rim top shows the cake that had formed in the bowl and the thick lava that was filling in the grooves of the carved rim top. The rich browns of the underside of the bowl are really beautiful and give the pipe character.
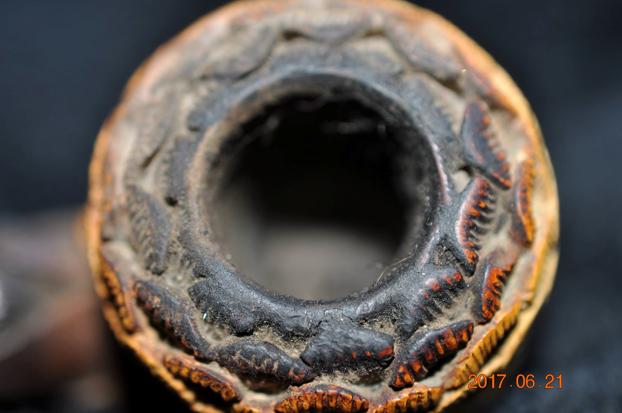
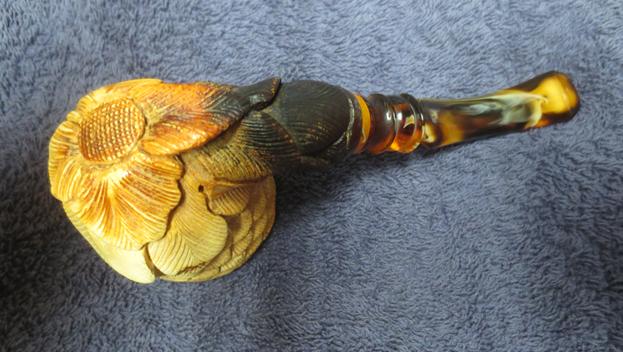
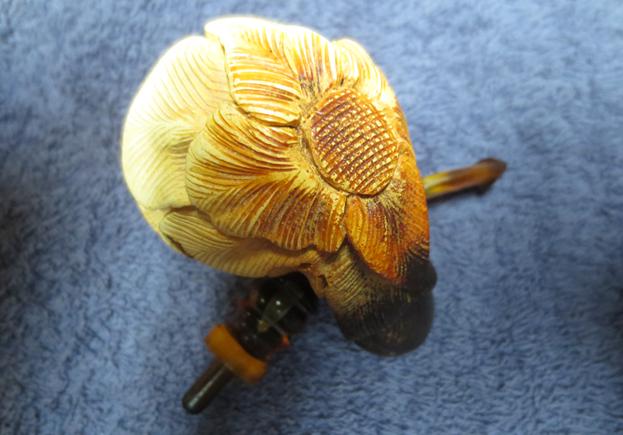
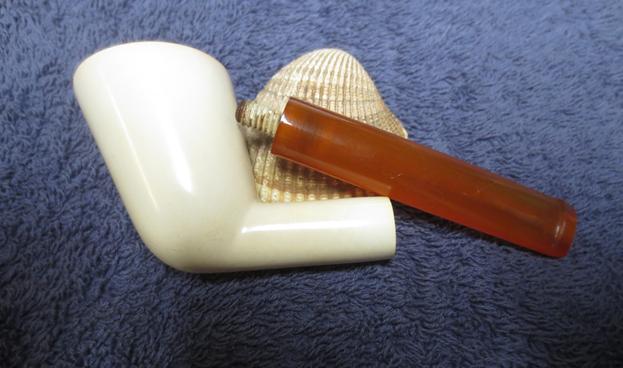
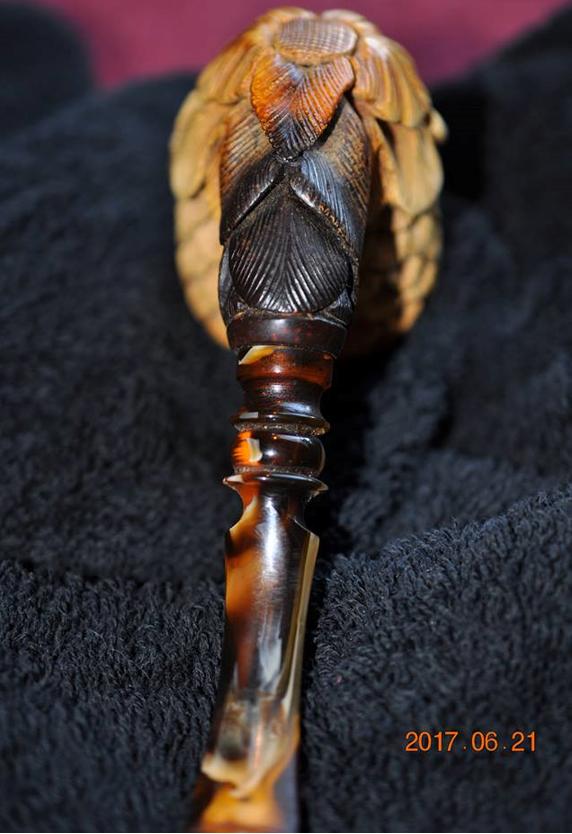
 The transition from the bowl to shank shows the various shades of colour that were developing in the meerschaum.
 The only flaw if you will, or damage that I could find in the carving was one of the “leafs” of the cone was cracked on the bottom third of the bowl on the right side. It had been repaired with a black rubber cement like substance but there was a lot of seepage from the glue below the repair and the crack had never fully sealed. At least the broken portion was not lost as is often the case in pipes that we purchase as estates.
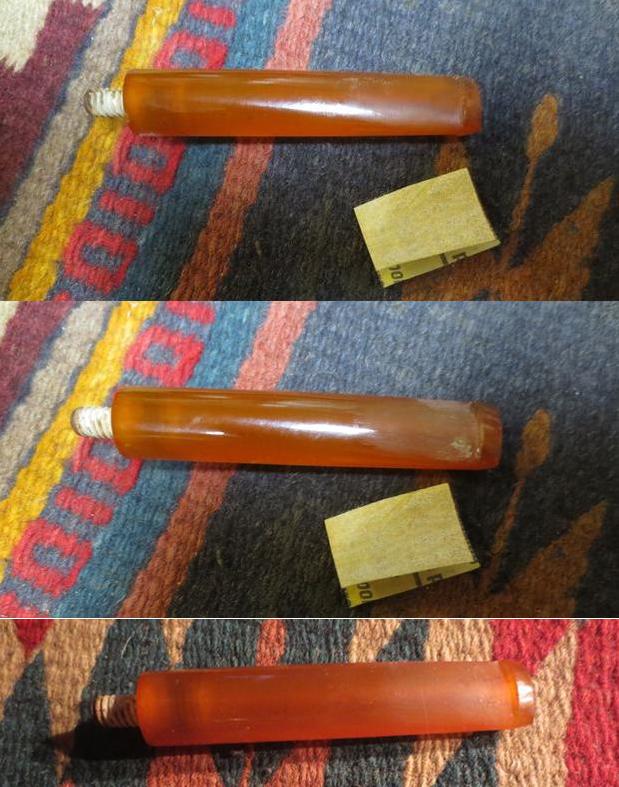
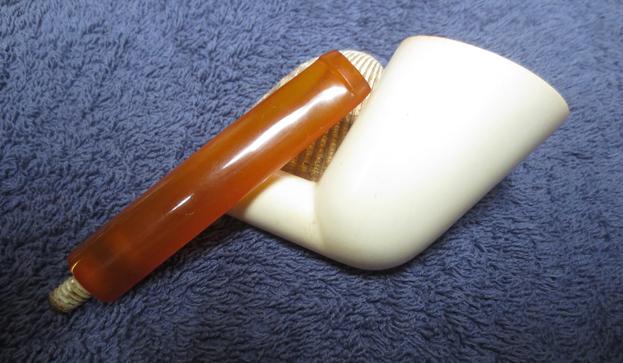
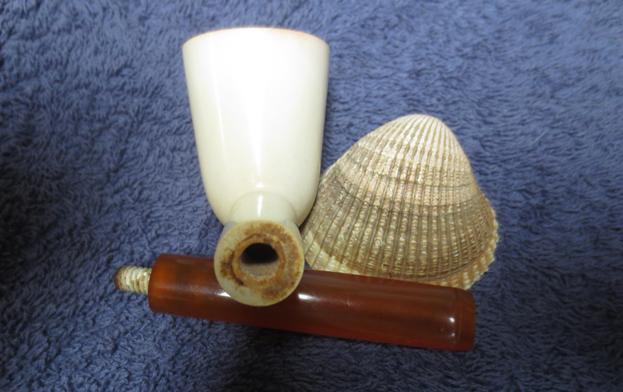
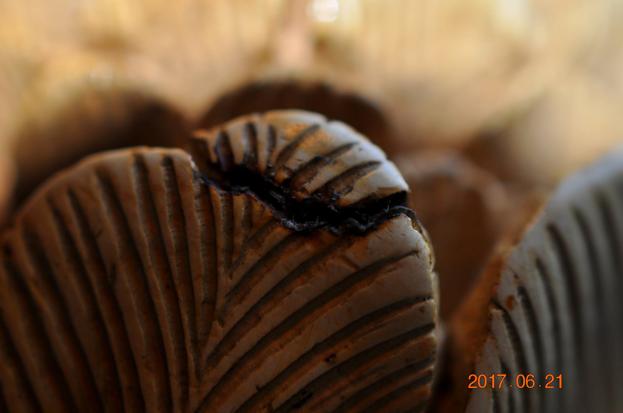 Jeff removed the stem from the shank and exposed the Delrin push tenon on the end of the stem and the fitting that was in the shank itself. The amber portions of the stem were very translucent.
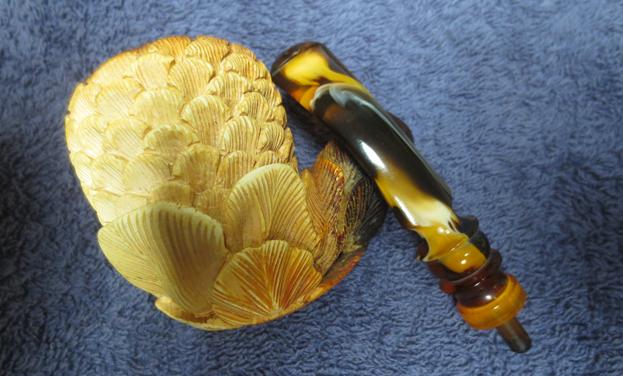
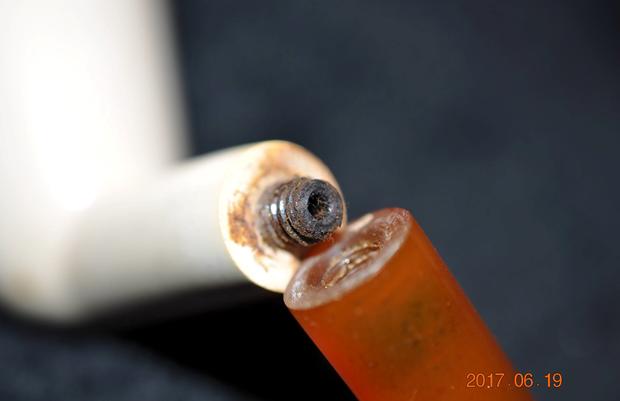
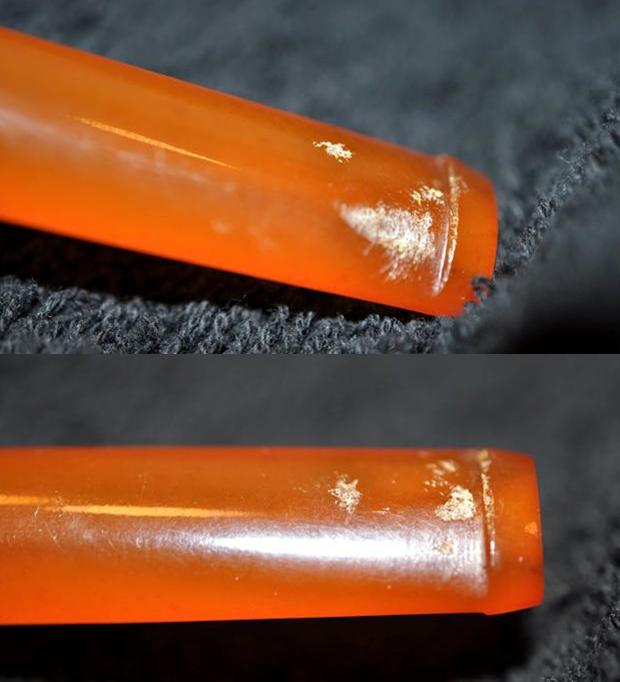
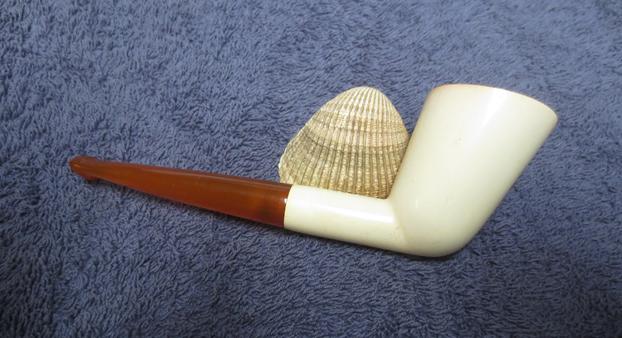
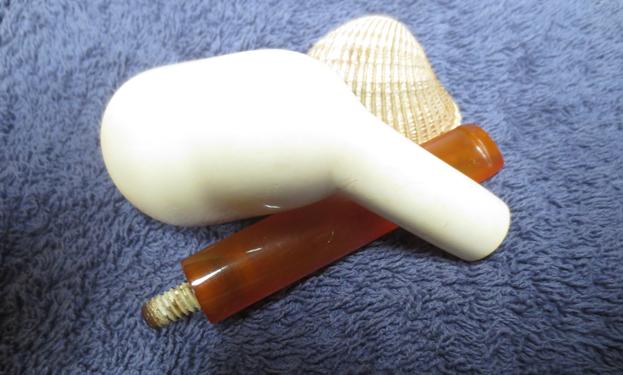
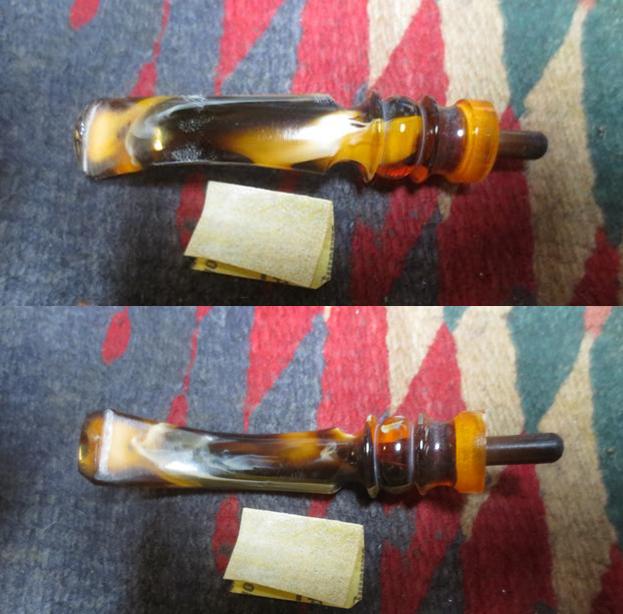
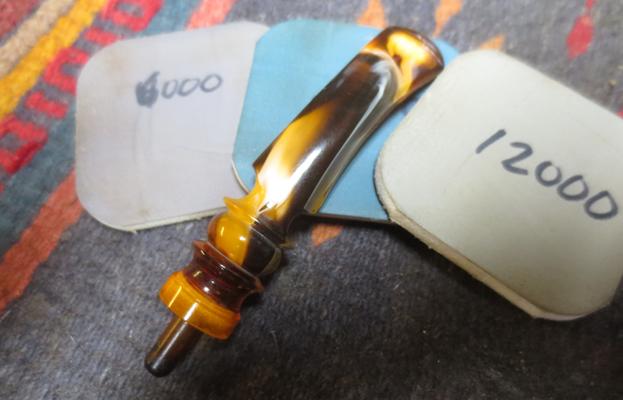
 The turned stem looked good with the pipe bowl and with a little imagination you can envision a tree branch holding the pine cone in place. The third and fourth photo below are close up photos of the stem surface and show the damage to the button surface and the tooth chatter on both sides of the stem. I love the swirling patterns in the stem material as they remind me of the colours of pine sap that I used to get all over my hands when I was a kid cleaning up our yard.
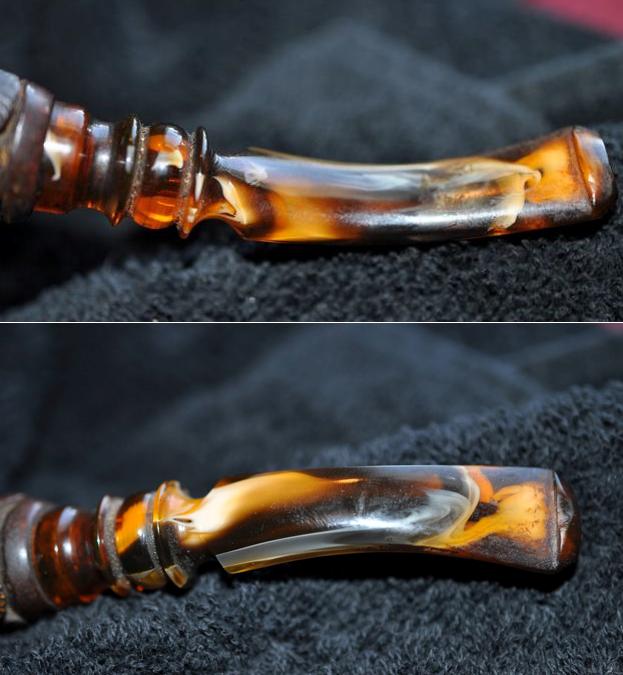
 I feel like there is a certain redundancy to this section of the blogs that I do on my restoration projects. But I write it each time to keep the cleaning process focused for those of you who read the blogs to learn our methods. So here it is again. Jeff cleaned the pipe with his usual thoroughness – he reamed the bowl and cleaned out the internals with alcohol, cotton swabs and pipe cleaners. He scrubbed the exterior with Murphy’s Oil Soap and a tooth brush and rinsed it under running water to remove the soap. He focused his work on the rim top to remove the cake and lava on the grooves and crevices of carving there. He cleaned up the stem surface and the internals in the stem to remove the tars and oils in the airway. When the pipe arrived in Vancouver it was in clean shape and ready to be restored. I took some photos of the before I started to work on it to show its condition.
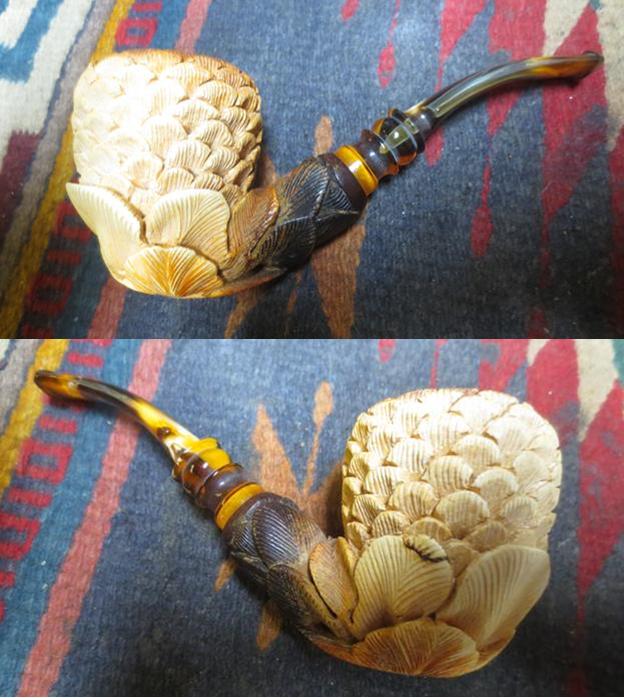
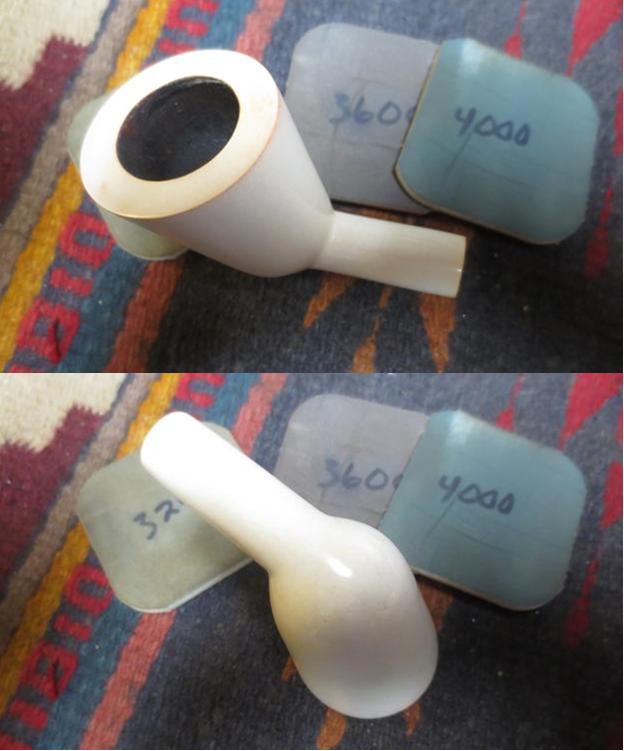
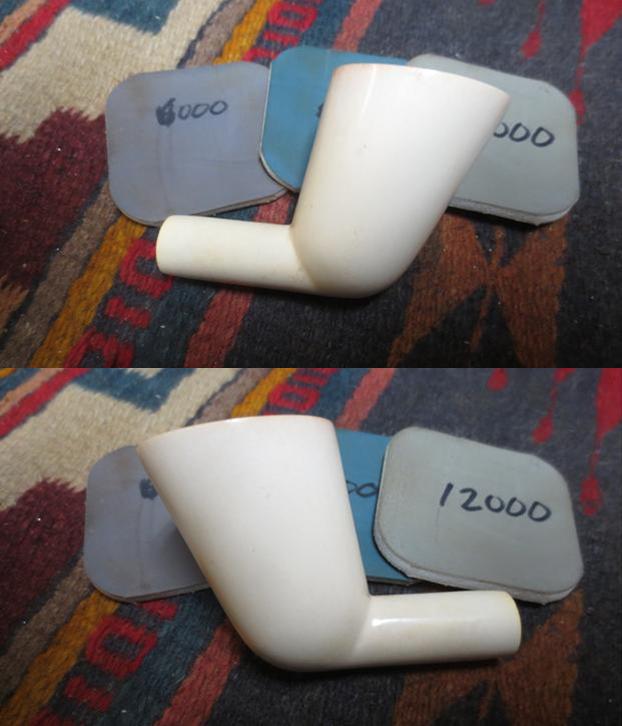
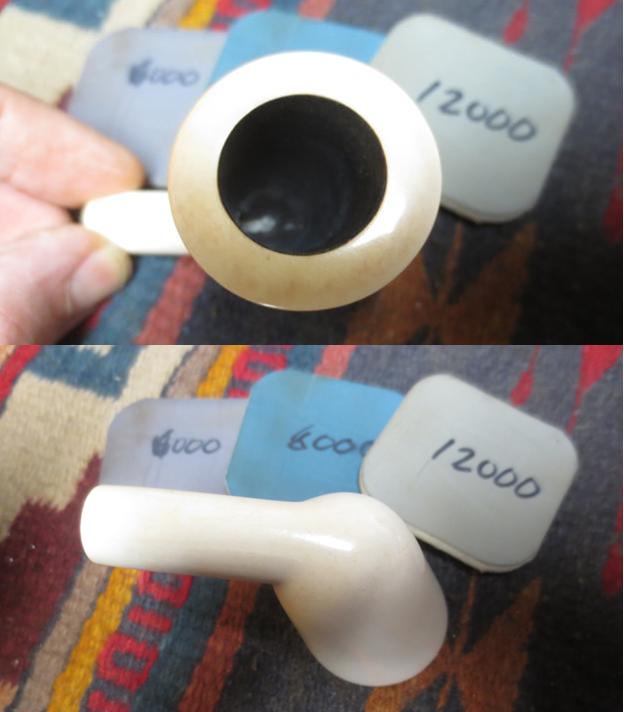
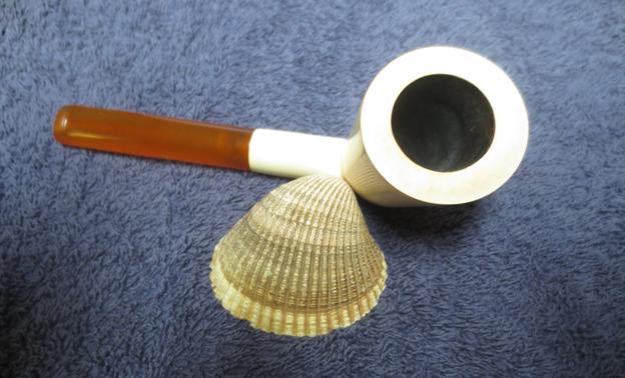
 Jeff was able to remove the grime and build up from the grooves of the rim top. When I received it the lava was gone from the rim and it was clean. His cleaning had still left behind the patina on the meerschaum so it still showed some colour. The bowl was spotless and the cake was gone leaving behind bare meerschaum walls.
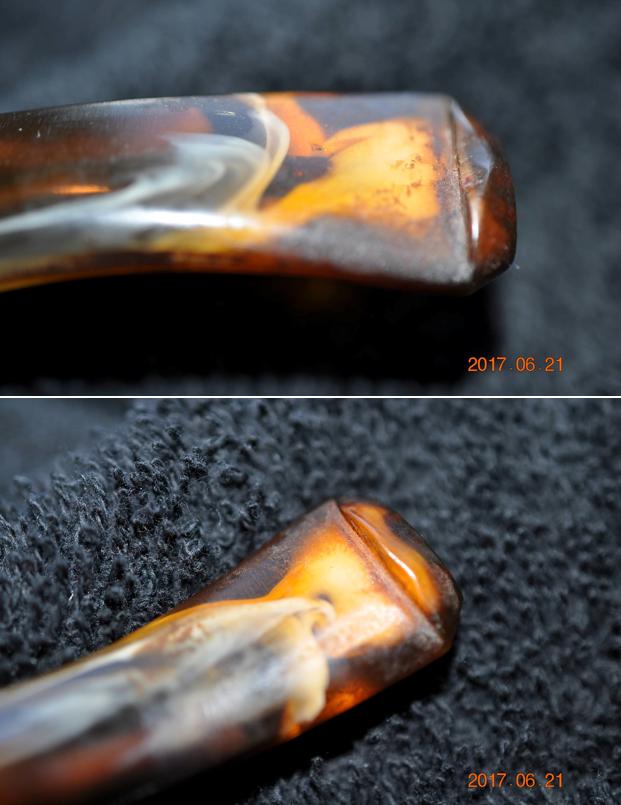
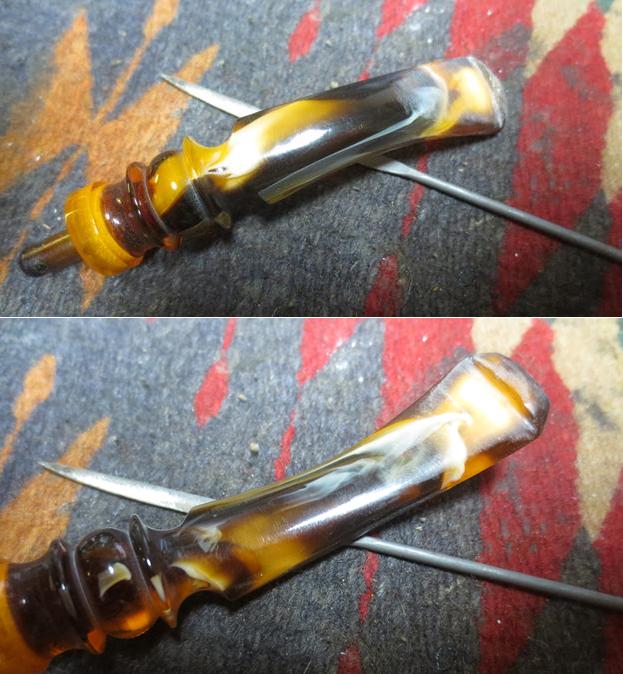
 The close up photos of the stem show the tooth marks on the top and underside of the button. They are the only deep marks on the stem. I have circled them in red in the photos below. The rest of the stem has tooth chatter but no deep tooth marks.
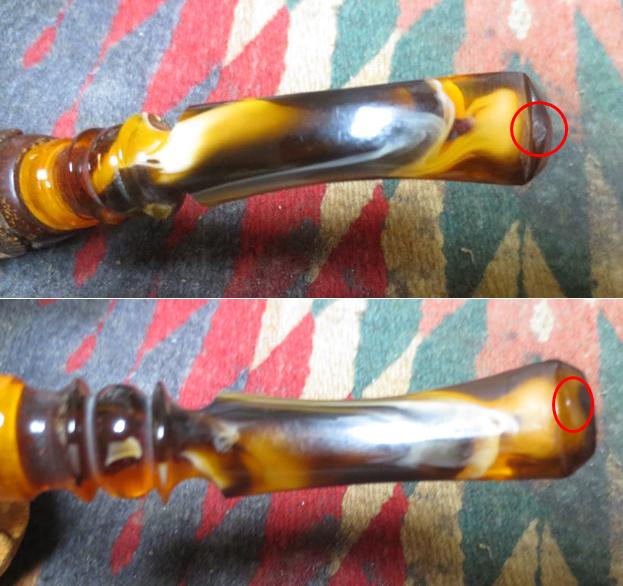 I decided to repair the broken/chipped piece of meerschaum on the right side of the bowl. It was loose so I removed it and cleaned off the black epoxy that held the piece to the bowl. I scraped off the glue and cleaned the piece with a cotton swab and alcohol. I was able to remove much of the brown/black glue overflow between the pieces. Some still remained but it was not nearly as thick as before. I put drops of clear super glue on the chip itself and on the area where it fit and slid it in place with the point of a dental pick. I aligned the two parts and set the bowl aside to dry. The fit looks far better, though there is still a thin black line between the two parts. It is shown in the photo below.
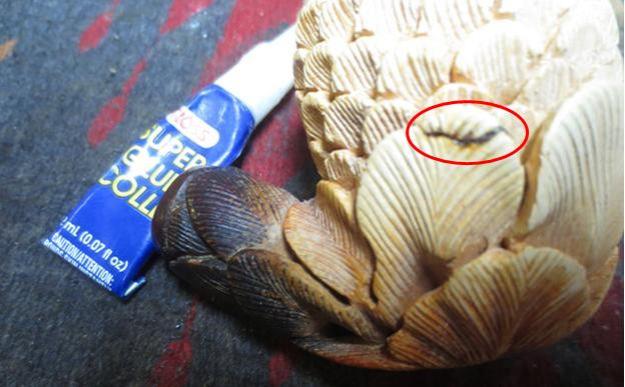 I filled in the tooth marks on the top and underside of the button with amber super glue. Once the glue had dried I sanded the stem surface with 220 grit sandpaper to blend the repairs in to the button surface. I sanded out the tooth chatter on the stem surface until it was smooth. I used a needle file to recut, shape and clean up the sharp edge of the button.
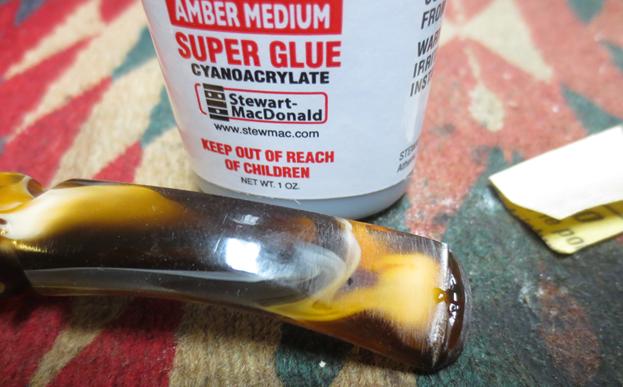
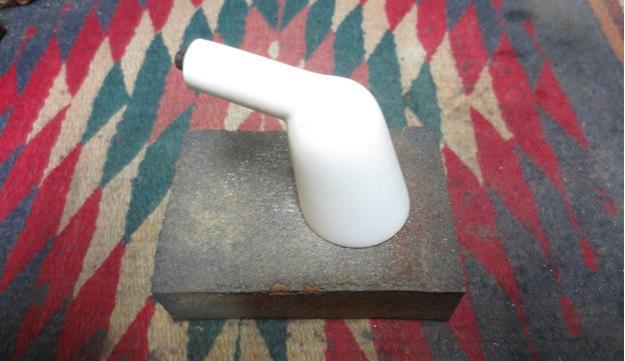
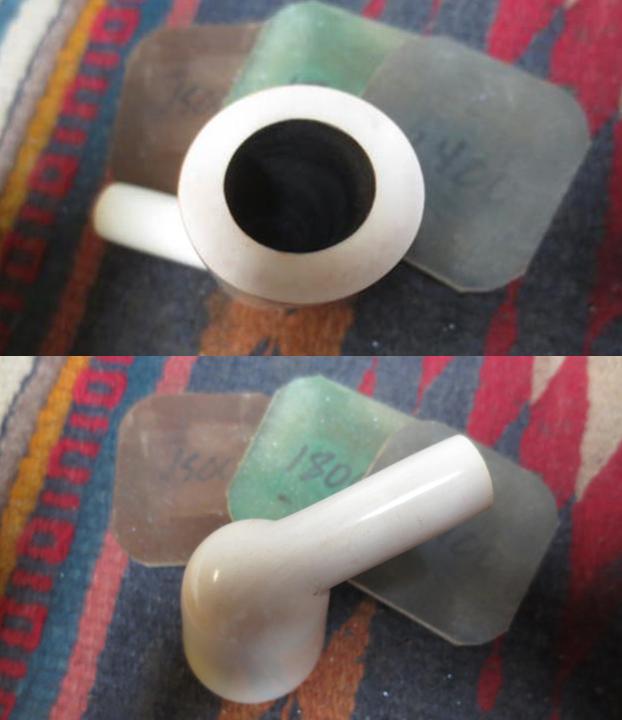
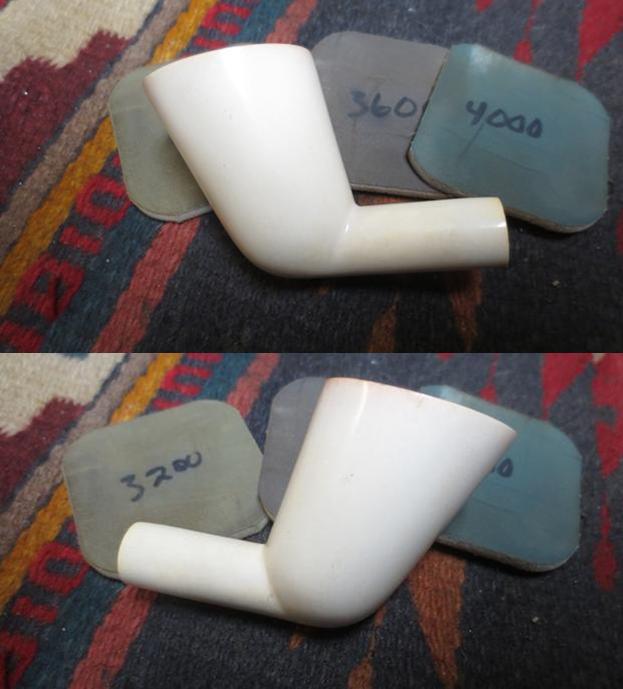
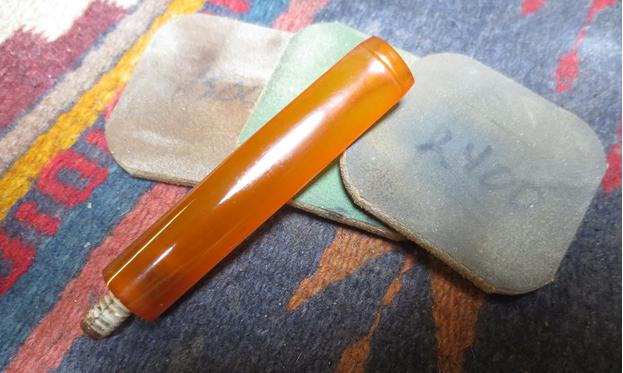
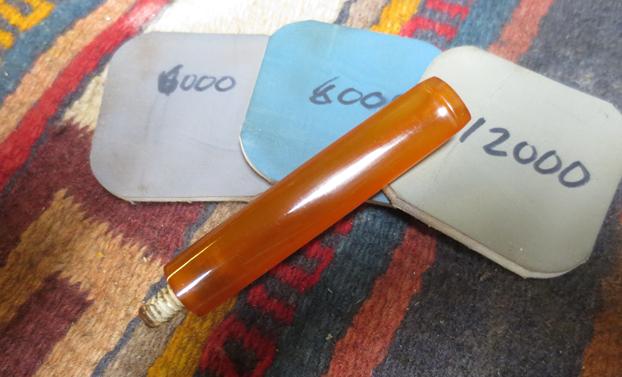
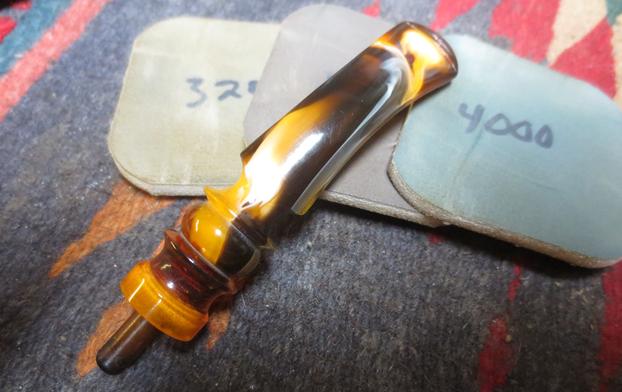
 I polished the stem with micromesh sanding pads – wet sanding with 1500-2400 grit pads and wiping the stem down with damp cotton pads to remove the sanding dust. I dry sanded it with 3200-12000 grit pads to polish it further and wiped it down after each pad. I buffed the stem with Blue Diamond on the buffing wheel. A soft touch is critical when polishing acrylic – a heavy hand and you overheat the acrylic and it melts and makes a mess. Melt it and it makes more work for you. I buff gently to keep from making more work.
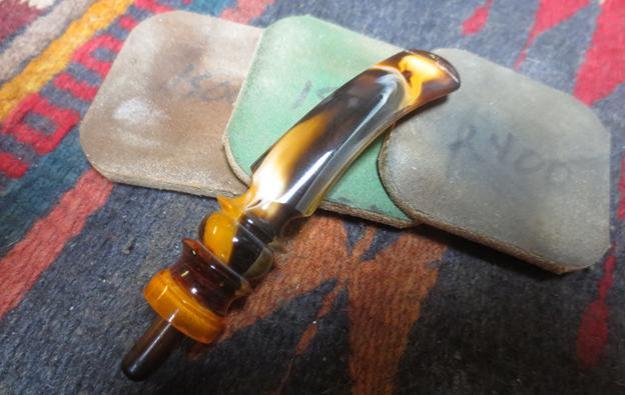
 I gave the bowl a light coat of Clapham’s Beeswax Polish. The polish needs to be heated and put on lightly to ensure that it does not fill in the grooves in the meer. I hand buffed it with a shoe brush and a microfiber cloth to deepen the shine.
 I put the stem back on the bowl and hand buffed the pipe a final time to give it a deeper shine. The colouration that is beginning to work up the shank toward the bowl is beautiful. The colours on the bowl are progressively darker as you work your way up the bowl. The rim colour once it was cleaned is getting darker as well but is no longer coloured with tars and oils. The acrylic stem goes really well with the colouring meer bringing out some of the same colours in both as the stem darkens. The dimensions of the pipe are Length: 6 inches, Height: 2 ½ inches, Bowl diameter: 2 inches, Chamber diameter: ¾ inches. I think this is a pipe that will join my collection. I really like the stem and bowl and how they work together – the pine cone shape and the variegated stem work together like a branch and a pine cone. Thanks for looking.