Blog by Steve Laug
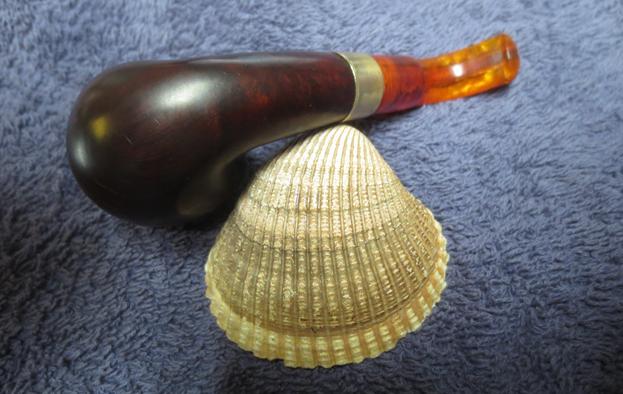
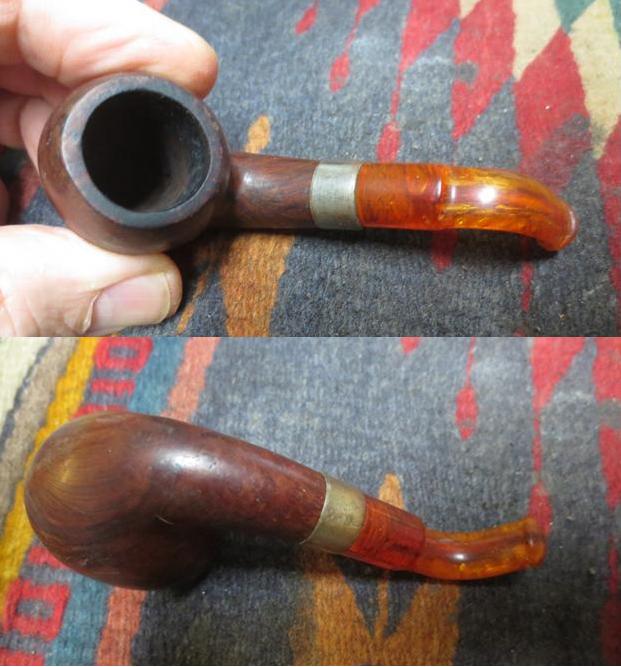
This older MLC bent billiard is a turn of the 20th century pipe. The initials stand for Mary Linkman Company. The company was named for the mother of the same Linkman who eventually branded pipes under that same name and then eventually became the Dr. Grabow pipe manufacturer with which we are familiar. If you have followed this blog for a while you have come to know that I love really old pipes and this one fits the bill. It is stamped MLC in an oval with no other stamping on the shank. The ferrule is brass and has faux hallmarks on the left side. They are worn but still readable with a bright light and a lens. It is another small pipe, slightly under 4 inches long and 1 ½ inches tall. The stem is Bakelite or Redmanol and has a lot of small spidering cracks in the flat portions of the stem on both sides. Both sides of the saddle are split the entire length of the saddle. There is very little tooth chatter or and minor tooth marks on both sides near the button. Jeff took the photos that follow before started the cleanup. (http://www.pipephil.eu/logos/en/logo-m6.html) The pipe was in really rough shape. The finish was worn and spotted with paint specks, grime and nicks in the briar. The stem was split and worn. The bone tenon looked good but the band on the shank was loose and spun around the shank. The wear and tear on the brass band and the tarnish left is a mottled mess. The bowl had been reamed somewhere in the process so the cake was not thick. The lava on the rim was light. The inner and outer edge of the bowl was undamaged.
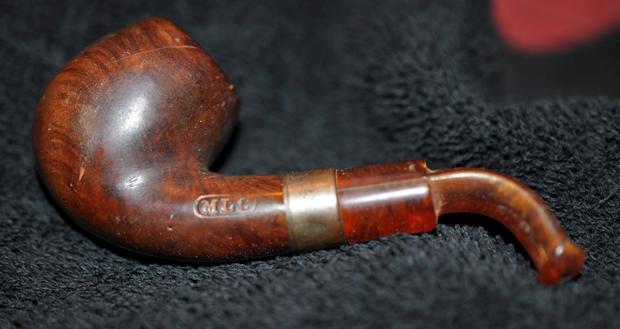
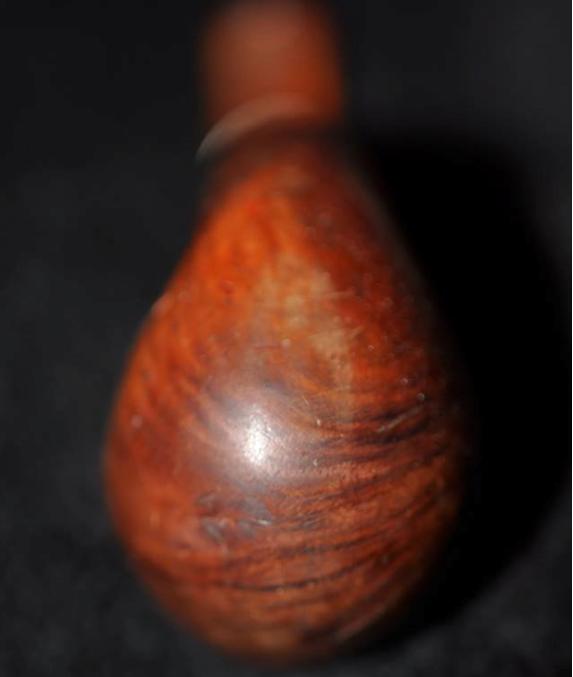
 The rim close up shows the cake and the peeling lava on the surface of the bowl.
 Jeff took photos of the sides of the bowl and the bottom side to show the wear and tear on the finish. There were some deep gouges in the briar and a lot of paint speckles on the briar.
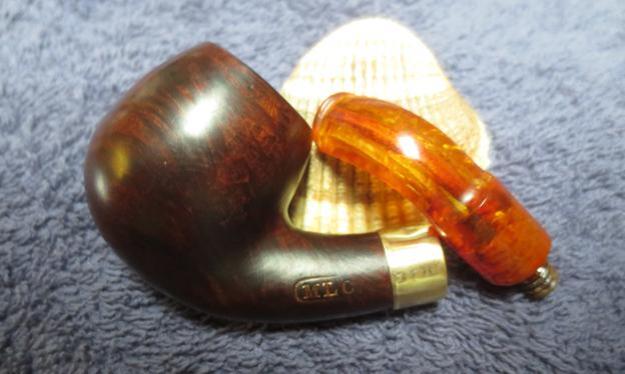
 The stamping on the left side of the shank is quite clear – MLC in an oval. It had originally been gold leaf but it was worn. The stamping on right side of the oval was lighter than the rest of the stamping.
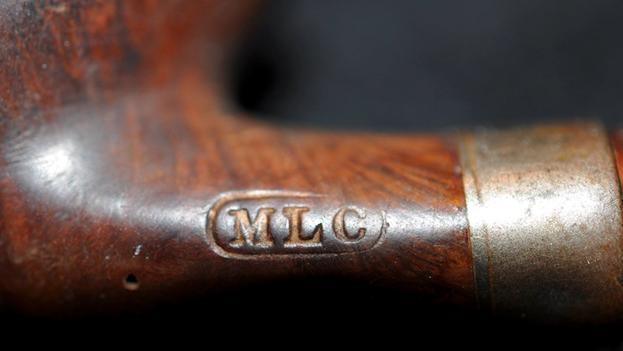 I did some digging on the net to see what I could find out about the MLC brand. I knew that it was a Linkman pipe but could not remember much about it. I turned to my go to site for quick information – Pipedia (https://pipedia.org/wiki/M._Linkman_%26_Co). The information did not add much to my understanding other than pin down the date to the late 1890s or early 1900s. Included in the article was a photo of Mary Linkman, her son Louis and August Fisher at their Chicago Office. The photo is from Mary’s obituary and is a fascinating piece of history. The scan of the photo and obituary are courtesy of August Fisher’s granddaughter.
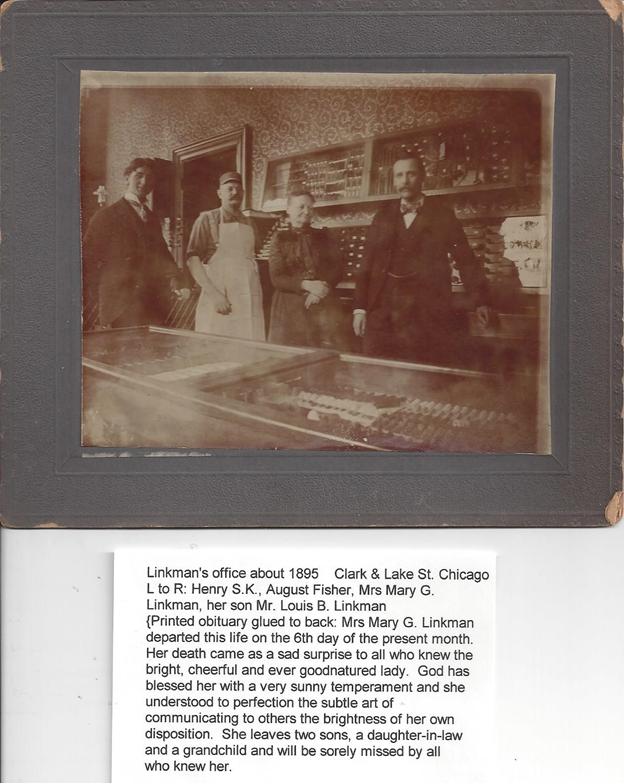 Jeff took some photos of the stem. The right side of the saddle stem was split from the end up to the transition to the blade of the stem. The right side also had a crack. It looked to me that someone had turned the bone tenon too deep into the stem and split the saddle. The flat surfaces of the top and bottom of the stem were filled with a series of small spidering cracks. The stem, like the bowl was covered with paint flecks or spray. You can see from the first photo that the band has been turned all the way around so that the worn faux hallmarks are upside down and on the wrong side.

 Jeff cleaned the exterior of the pipe with some Murphy’s Oil Soap and a tooth brush and rinsed it off under running water. He dried it off with a soft cloth and the soap had removed the paint flecks and the deeply ground in grime on the finish. He ran pipe cleaners and alcohol through the mortise and the airway in the shank and stem to remove dust and debris that had collected there. He carefully scrubbed out the cracks and splits in the sides of the saddle stem using a tooth brush and rinsing it in water. Once the pipe was clean, he packed it up and sent it my way for the repair and restoration work. I took photos of the pipe when I unwrapped it on my worktable. It is an intriguing little pipe that caught my attention.
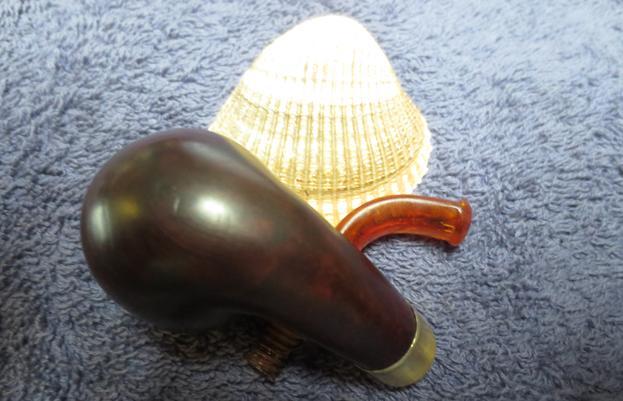
 When I unscrewed the stem the ferrule fell off in my hand. I laid out the parts of the pipe and took the following photo. It shows the nicks, dents, sandpits and flaws in the briar. The band looked as if it was never glued to the shank. The briar is clean and the inside of the ferrule had no remnants of glue. It was clean.
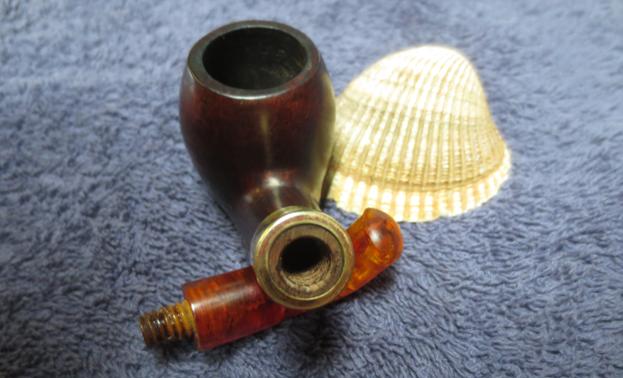
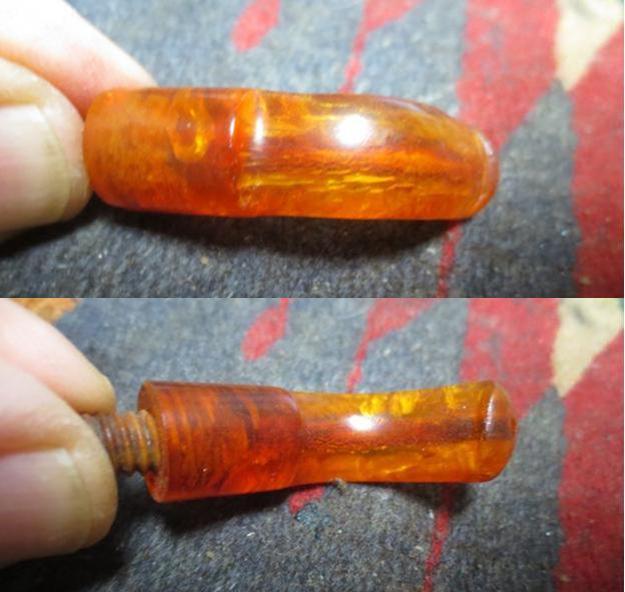
 I took some close up photos of the stem to show the cracks and splits in the saddle portion. The stem was worn and battered. The bone tenon was darkened from tobacco smoke and tars. The edges on the tenon were worn down and when the stem was on the pipe it was over turned or over clocked.
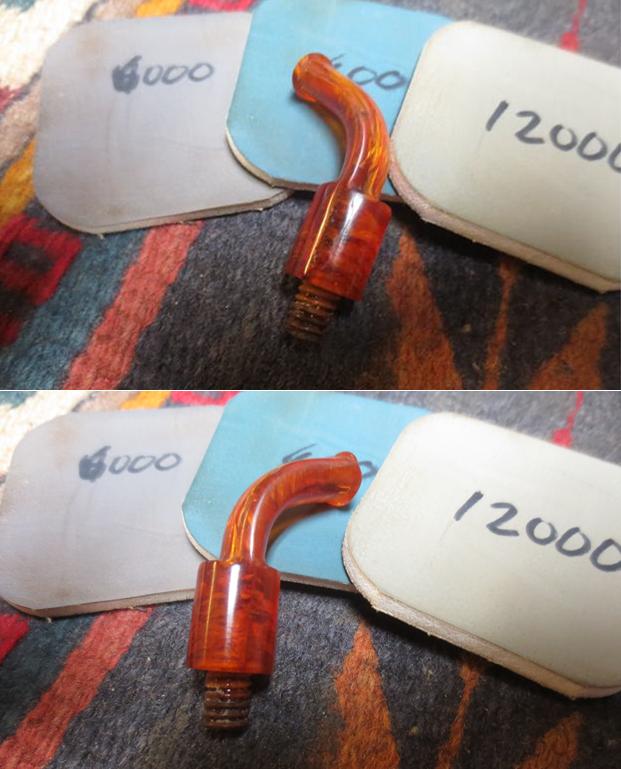
 I cleaned out the cracks in the side of the saddle stem with a dental pick and a damp cotton swab until the inside of the crack was clear of debris that would cause the stem repair to be very visible. I dried the stem off with a cotton pad. I filled in the cracks on both sides of the stem with amber super glue and set the stem aside to dry.
 When the repair had cured I sanded it smooth to blend it into the rest of the stem with 220 grit sandpaper. I sanded all of tooth chatter and marks out of the surface of the stem as well to smooth out all of the damage. I wanted it to disappear into the amber Bakelite. After I had smoothed out the repair I polished it with micromesh sanding pads – wet sanding with 1500-2400 grit pads and dry sanding with 3200-12000 grit pads. I wiped the stem down after each pad with Obsidian Oil and set the stem aside to dry.
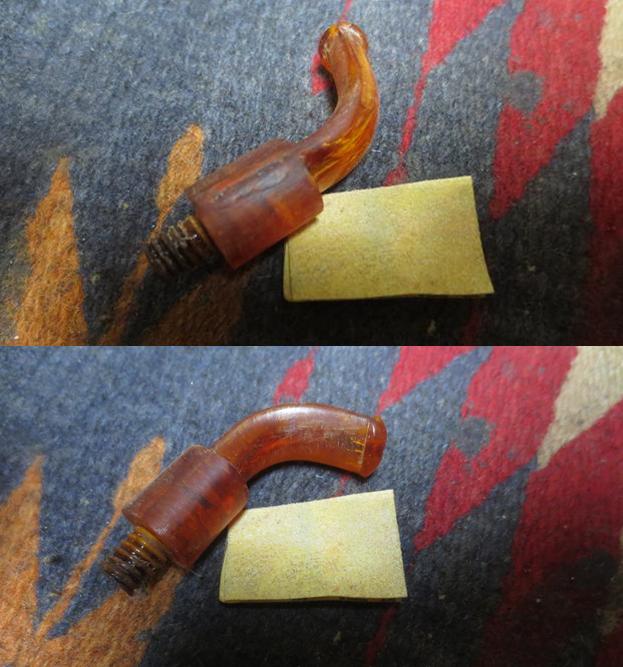
 (I almost forgot to add this piece of information. Just before I polished the stem I painted the threads on the tenon with clear fingernail polish to build them up so the stem would align properly when I put it in place.)
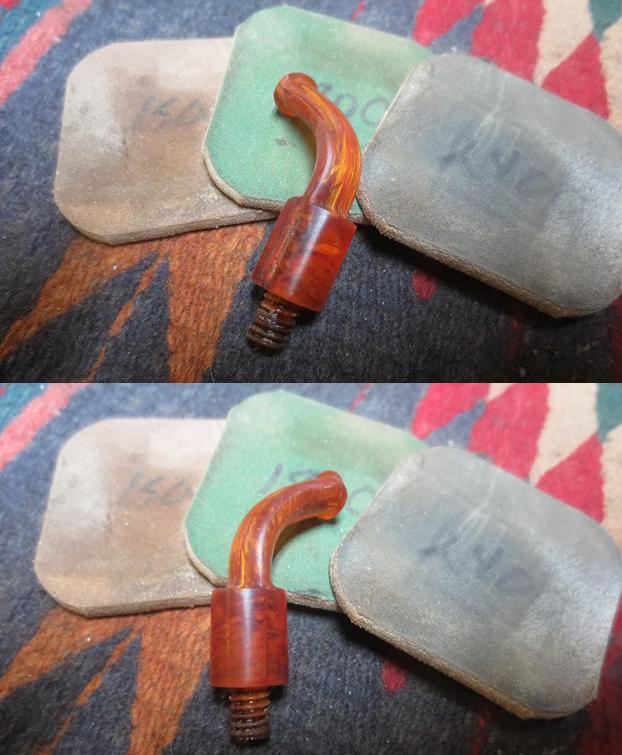

 The bowl needed a lot of work. I wiped the bowl down with acetone and filled in the nicks, dents, flaws and sandpits in the briar with clear super glue. I sanded the fills smooth with 220 grit sandpaper until they blended into the surface of the briar. I wiped the bowl down again with alcohol on a cotton pad to remove the sanding debris. I gave the shank end a coat of white all-purpose glue and put the ferrule in place with the faux hallmarks aligned with the stamping on the shank side. I left it to dry and worked on another pipe for a while. Once the glue had set I sanded the bowl and the ferrule with a medium and a fine grit sanding sponge to smooth out the scratches left behind from sanding with the 220 grit paper. The photos below show the bowl at this point in the process of the restoration.
 I stained the bowl with a dark brown aniline stain and flamed it to set it in the grain. I figured that the dark brown stain would hide the repairs and give the bowl the original rich colour. I set it aside to cure while I went to work for the day.
 I buffed the bowl with red Tripoli on the buffing wheel to remove some of the heavy coat of stain. I sanded the bowl with 2400-6000 grit micromesh sanding pads to make the finish more translucent so the grain would stand out when it was polished. I gave the bowl multiple coats of Conservator’s Wax and set it aside to dry.
 I touched up the gold filled MLC Oval with Rub’n Buff European Gold. I applied it with a cotton swab and hand buffed the excess off with a cotton pad.
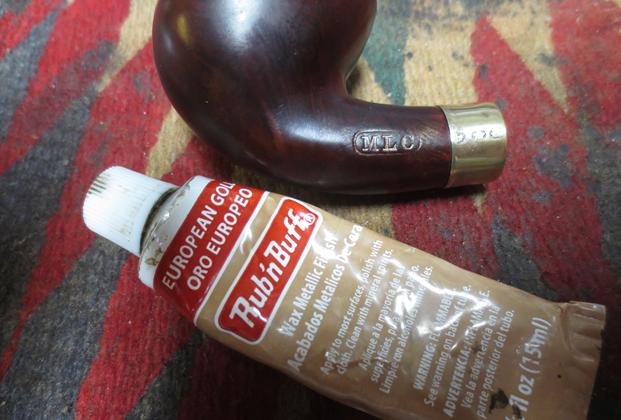 I carefully buffed the bowl and stem with Blue Diamond on the buffing wheel. I gave the bowl and stem multiple coats of carnauba wax and buffed the pipe with a clean buffing pad to raise the shine. I hand buffed it with a microfiber cloth to deepen the shine. The photos of the finished pipe are shown below. It has come a long way from what it looked like when I started. It turned out to be a beautiful pipe that has served pipe men well for well over 100 years. Thanks for looking.