Blog by Steve Laug
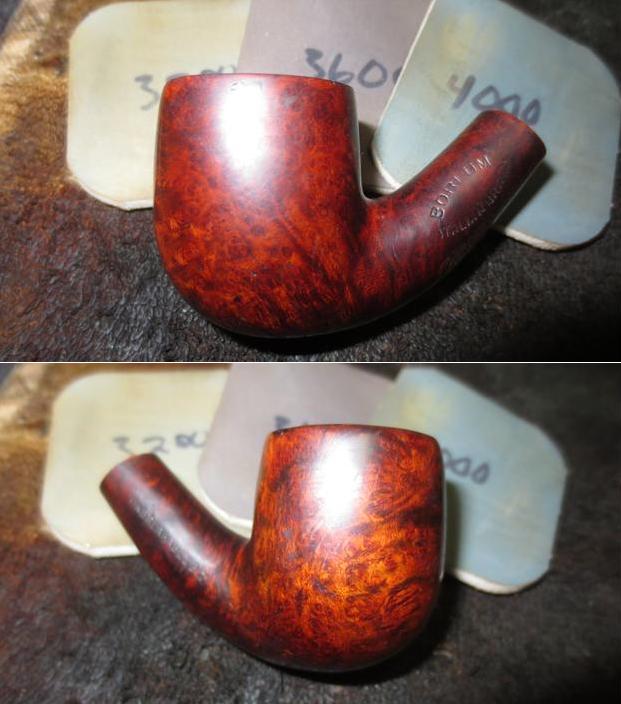
 Sometimes it seems like I get lucky and get a pipe from my brother that needs very little work. After Jeff has reamed and cleaned it, I receive it and a simple refresh brings it back to a new looking pipe. It does not happen very often and when I look at them in the pre-clean photos it is somewhat unpredictable what lies beneath the sheer filth and ugliness. You can guess a little bit from the condition of the edges of the bowl and the stem. You can get a feel from the thickness and composition of the cake what kind of tobacco had been smoked in the bowl and the smell of the pipe usually confirms the feeling. In this case the pipe that surprised me was a Hilson Bolero oval shank Billiard. In the photos it appeared to be in far worse condition that it was once Jeff cleaned it up. The photos below show what the pipe looked like when Jeff brought it home from our virtual pipe hunt in Montana.
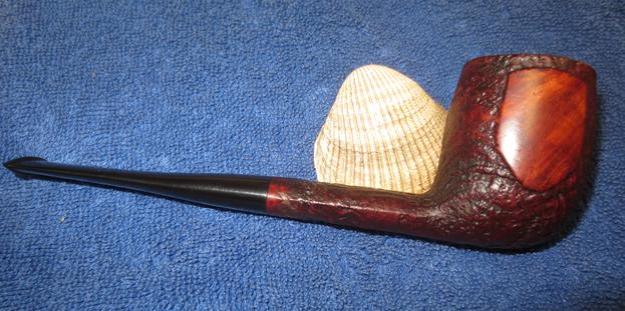
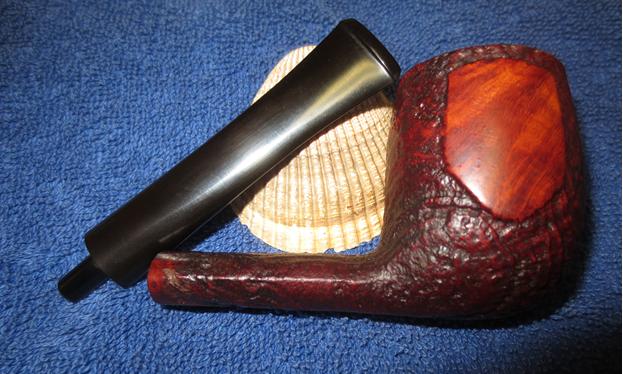
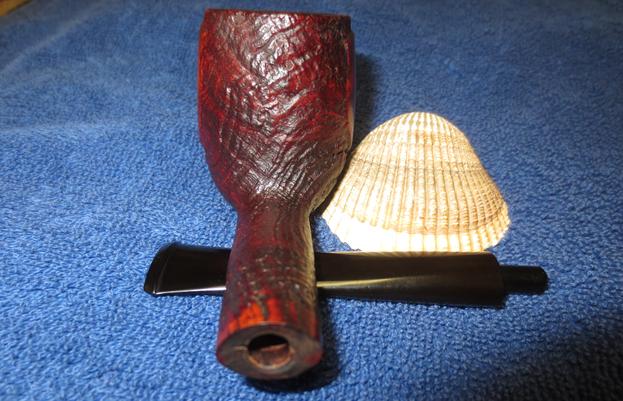
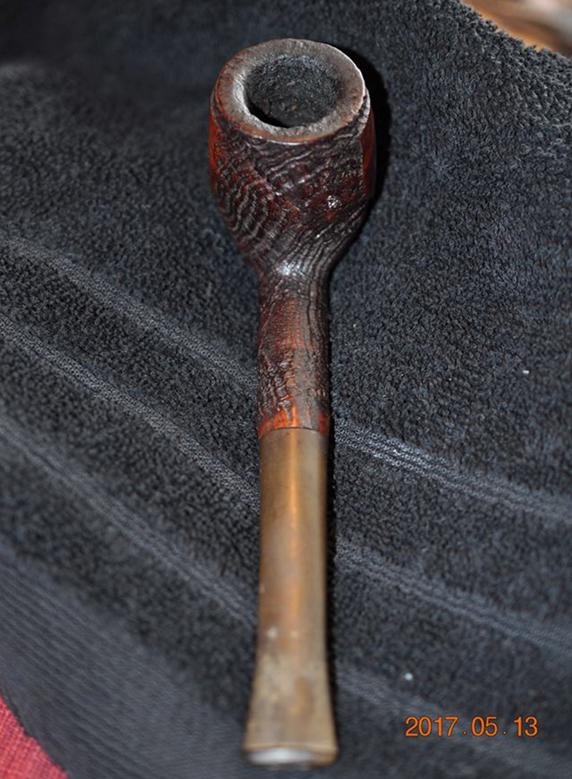
 It was definitely newer than many of the pipes we found that day. The photos tell the story of its condition but I will summarize it here. The bowl had a fairly thick cake with lava overflowing onto the rim. It had a nice sandblast finish that makes me think of Stanwell pipes that must be from the same time period. The finish appeared to be in good shape other than the dirt and grime of the years in the grooves and grain of the blast. The stem was slightly oxidized and there was tooth chatter on both the top and underside of the stem near the button.
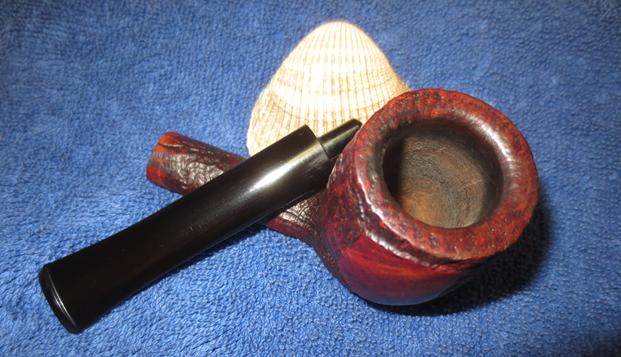
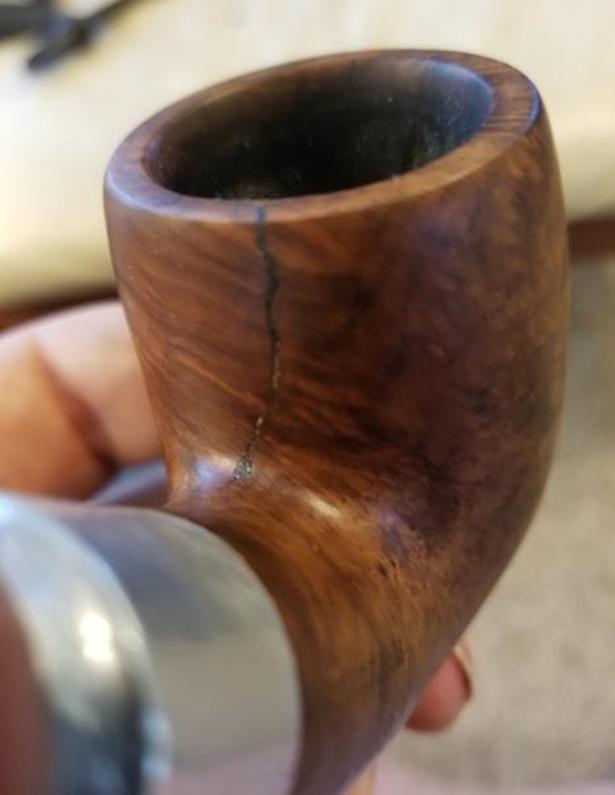
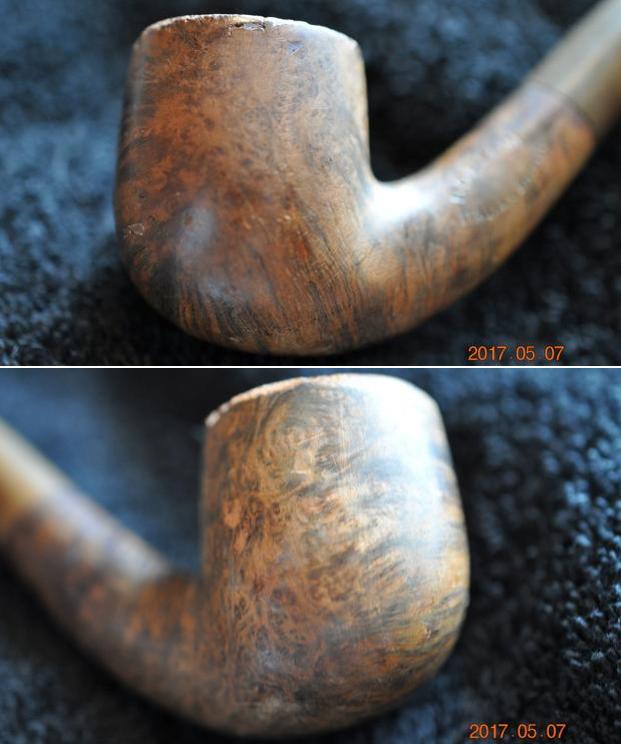
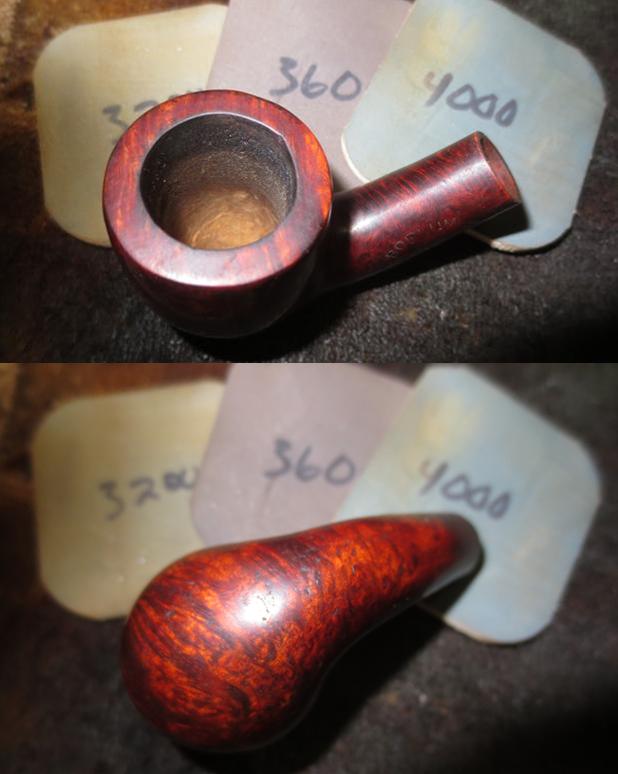
 The next two close up photos of the bowl show the cake and the lava buildup on the rim top. It appeared that the inner and outer edges of the bowl were in good condition. No glaring damage to those spots showed in the pictures.
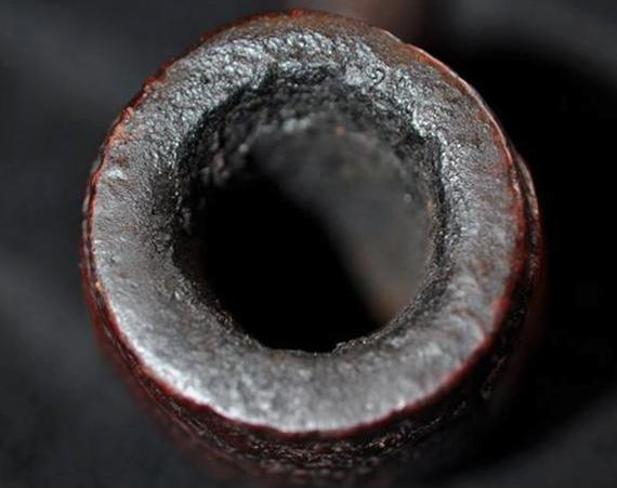
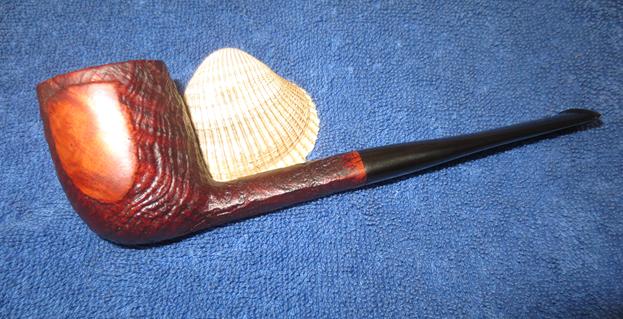
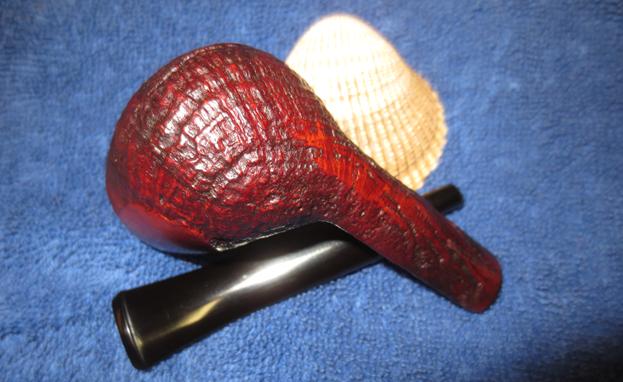
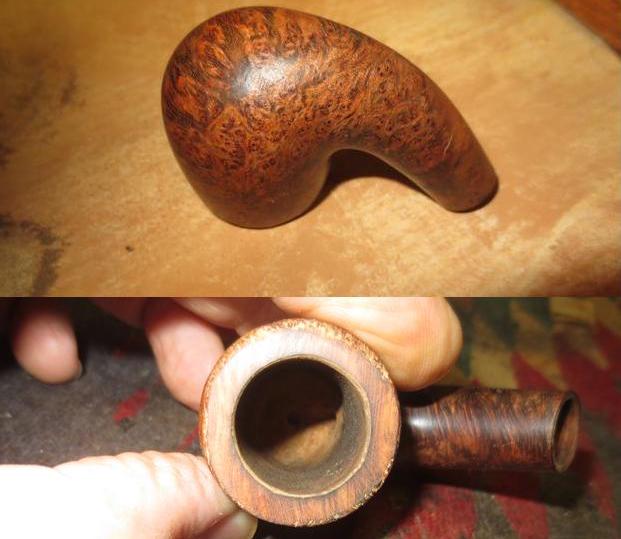
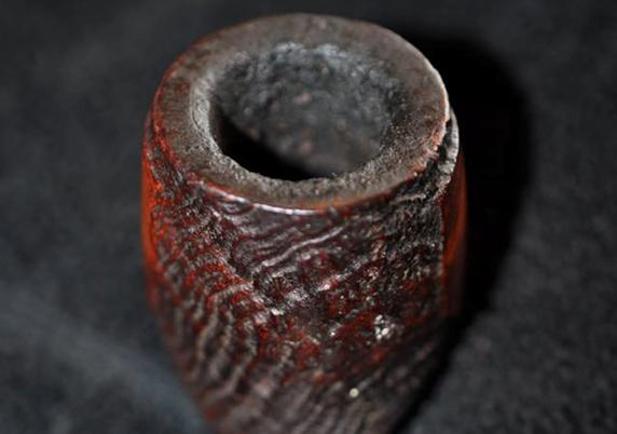 The pipe has some nice grain that is highlighted by the sandblast. There are two smooth panels – one on each side of the bowl providing a nice contrast. The difference adds a visual and tactile variation on the pipe.
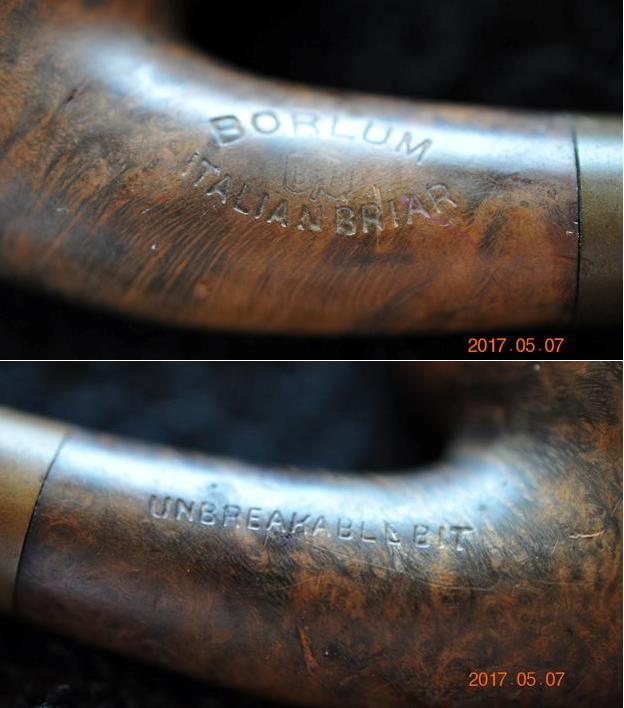
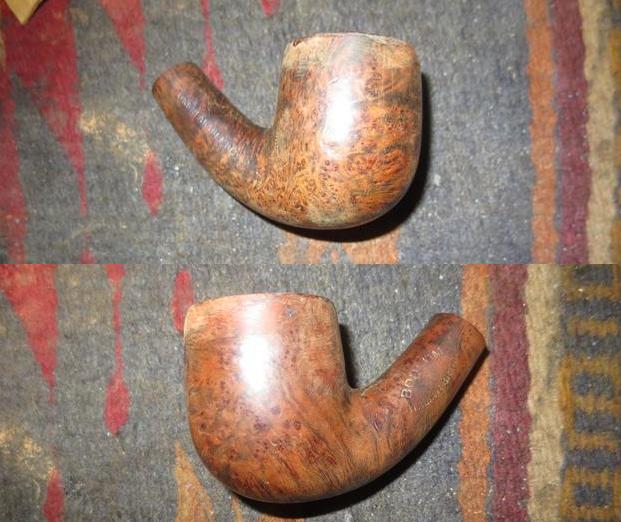
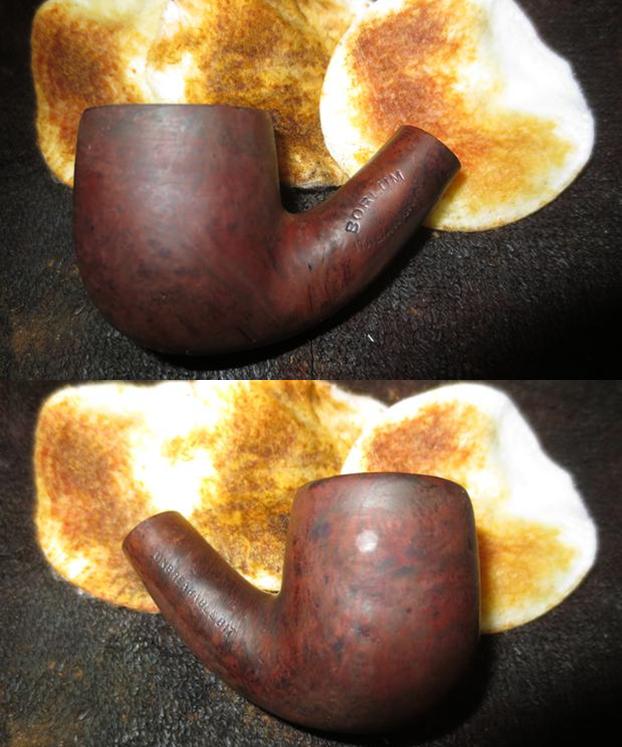
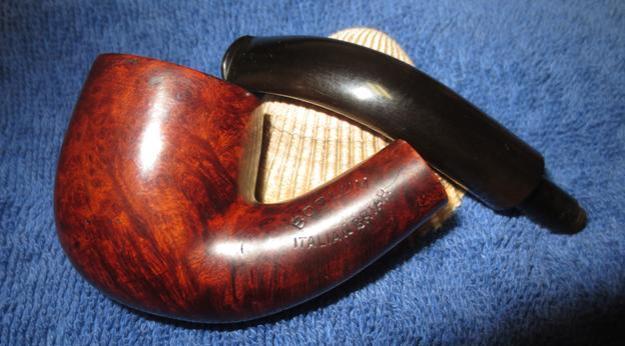
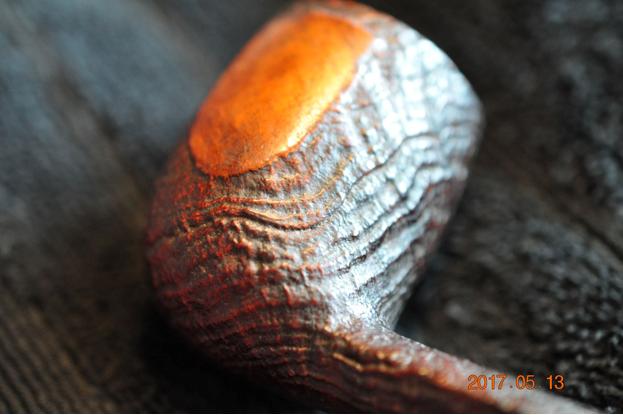 The pipe is stamped in a smooth section on the underside of the oval shank. On the left end it reads 8 which is the shape number. That is followed by the brand name Hilson over the line name Bolero. To the right end of the shank near the shank/stem junction it reads made in Belgium. The photos below show that the stamping is very clean and readable. The sandblast cuts through portions of the stamping but does not ruin it.
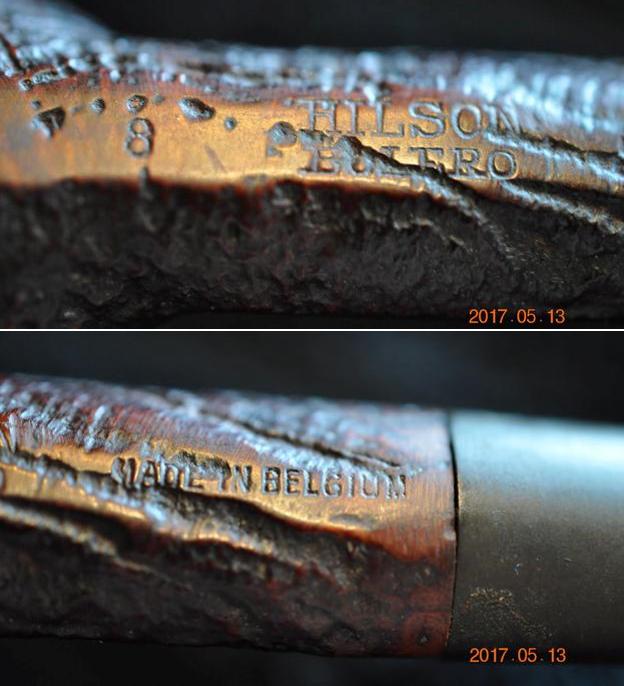 The stem was rough to the touch but the issue was mainly oxidation on the surfaces. There was some visible tooth chatter on the stem, but it is quite easy to address. I was very glad that it was in good condition.
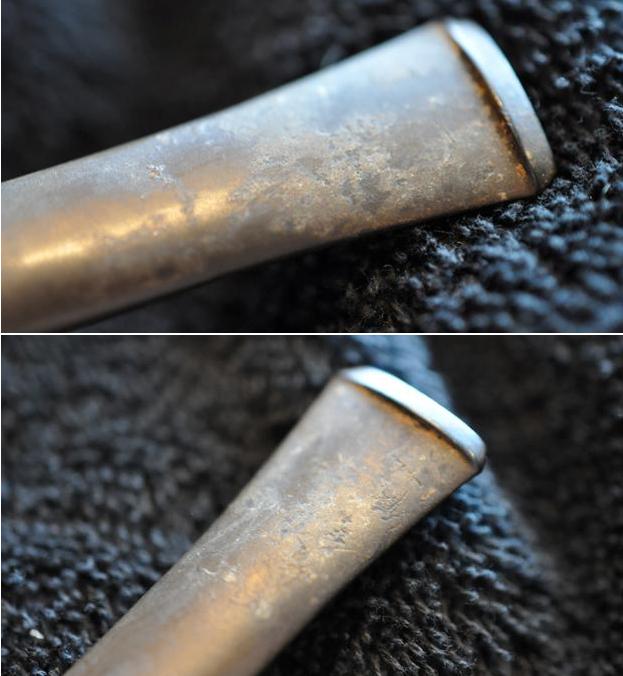 Before I started the refresh of the pipe, I did a quick review of the history of the brand because I like having that information in mind when I work on a pipe. I remembered at some point Hilson had been sold to Gubbels who made the Big Ben pipe. At that time, it moved from being a Belgian made pipe to being made in the Netherlands. I turned to Pipedia and read the entry on Hilson there (https://pipedia.org/wiki/Hilson) and to Pipephil’s site to read what he had for information (http://www.pipephil.eu/logos/en/logo-h3.html). I have combined and summarized the pertinent information from the two sites.
In 1846 a German named Jean Knödgen started to produce clay pipe in Belgium. In the late 19th century Jean Hillen who married into the Knödgen family took over the company and changed the firm in order to manufacture briar pipes. Jean Hillen had 2 sons: Jos Hillen was responsible for sales and Albert Hillen was responsible for the production. After WWII Albert founded the HILSON brand (Hillen and Son) and exported his pipes all over the world.
…In the 1960’s and still throughout the 1970’s the brand Hilson of Broers Hillen B.V. (Hillen Bros. Co.) was quite successful in many European countries. They produced large numbers of machine made pipes covering the whole range of shapes and finishes. The pipes were well respected for good quality and craftsmenship at very moderate prices.
…in 1980 Hillen faced major financial problems. After having gone bankrupt, the Belgian brand from Bree (Limburg) was taken over by the Royal Dutch Pipe Factory. The owner, Elbert Gubbels used the favour of the hour and bought the company…The Hillen plant in Bree was closed down shortly after and ever since then Hilson pipes are manufactured in Roermond, NL.
Given that the plant in Bree, Belgium closed around 1980 after Gubbels had purchased the company, I knew that the pipe I was working on had been made prior to that time. The Made in Belgium stamp on the underside of the shank gave that information. I am not sure that I can get any closer in terms of a date for the pipe.
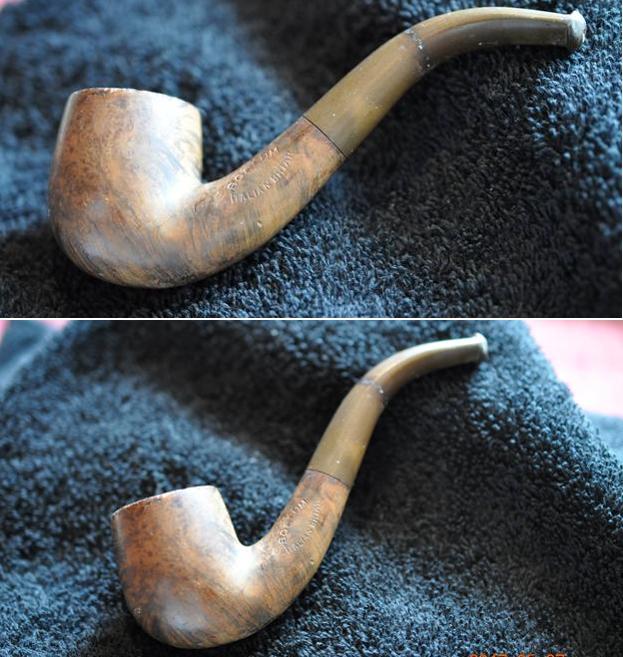
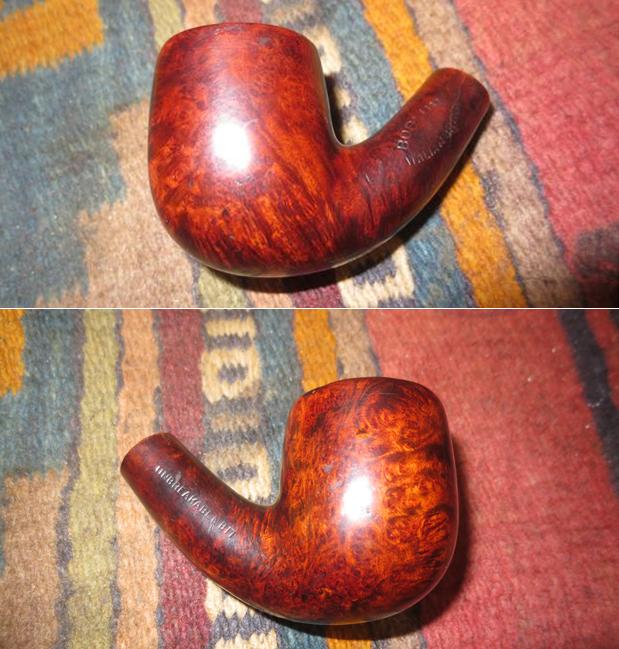
On this pipe, my brother’s cleanup work was the lion’s share of what needed to be done to revitalize it. He reamed the bowl with a PipNet reamer to remove the cake and cleaned up after the reaming with a Savinelli Fitsall pipe knife. He scrubbed the finish with a tooth brush and Murphy’s Oil Soap to remove the grit and grime. He scrubbed the rim top and was able to loosen the debris that had built up there. He rinsed the bowl under running water and dried it off. He soaked the stem in OxiClean to raise the oxidation to the surface. He scrubbed out the airway in the bowl, shank and stem with pipe cleaners, cotton swabs and alcohol. When I received the pipe I was amazed at how good it looked. The stem would need some attention but that was about it. The bowl could be waxed and buffed with little other work. Jeff had done a great job. I took photos of what the pipe looked like when it arrived in Vancouver.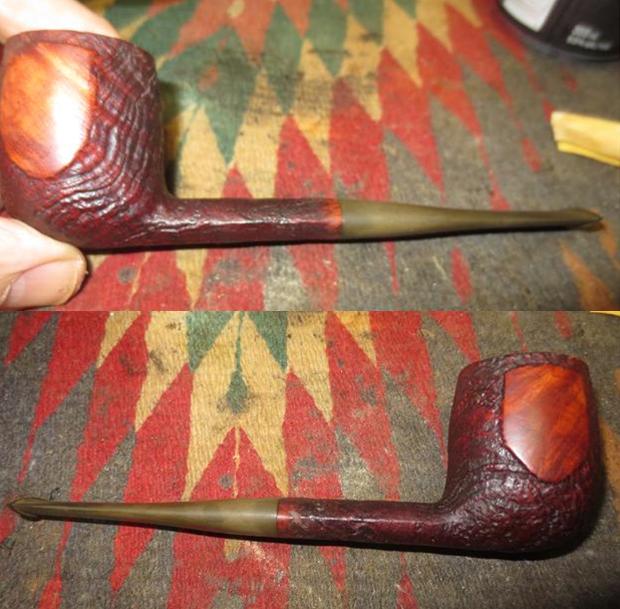
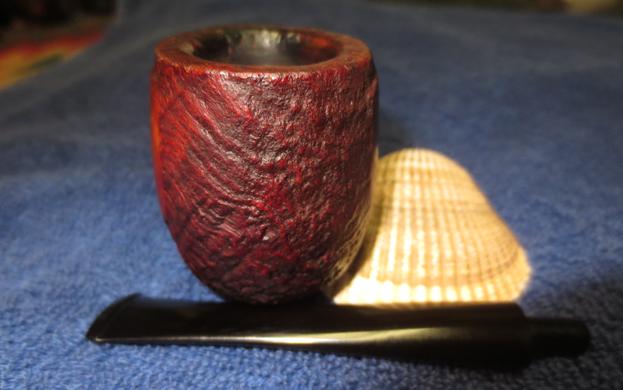
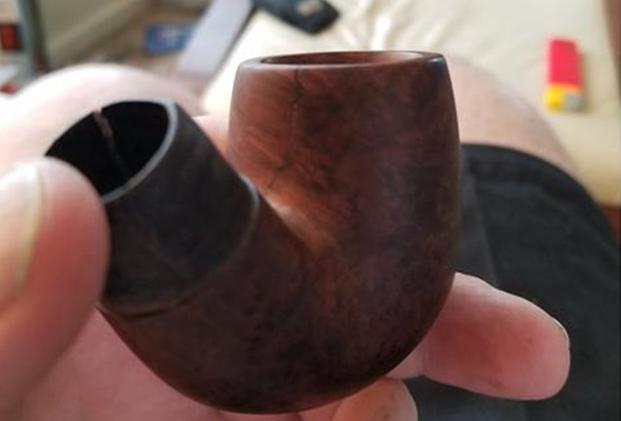
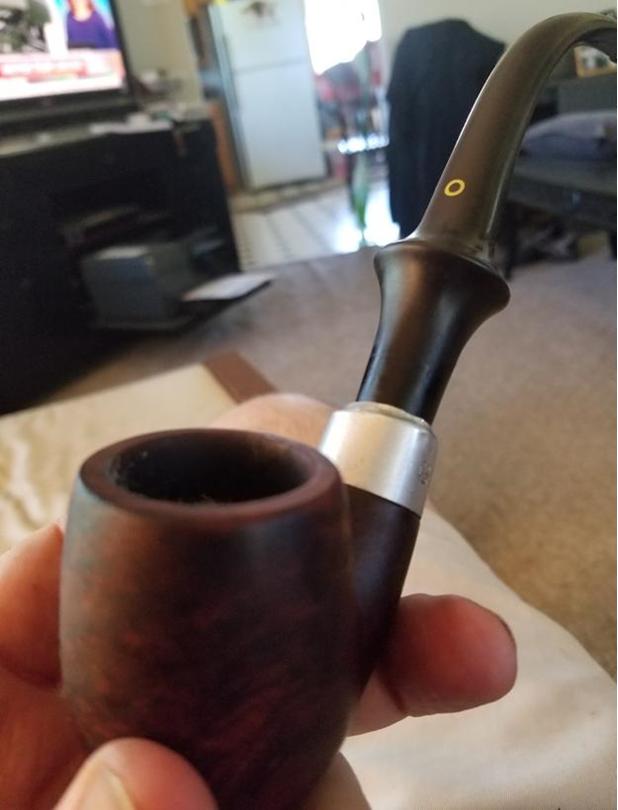
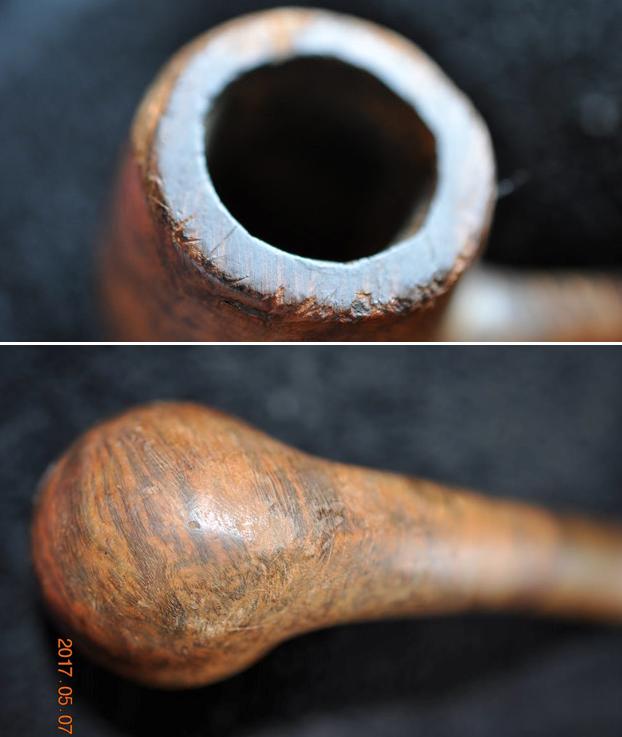
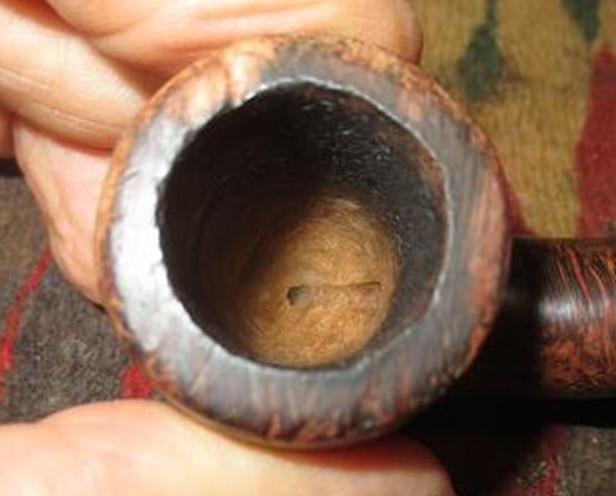
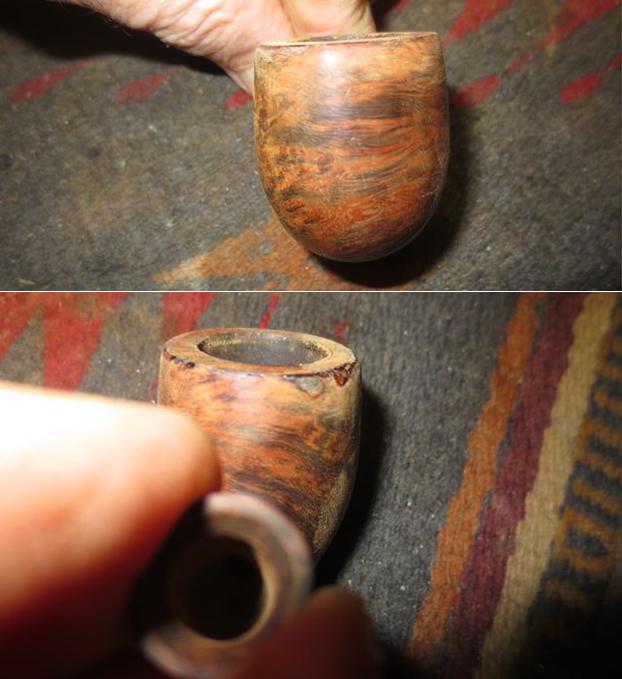
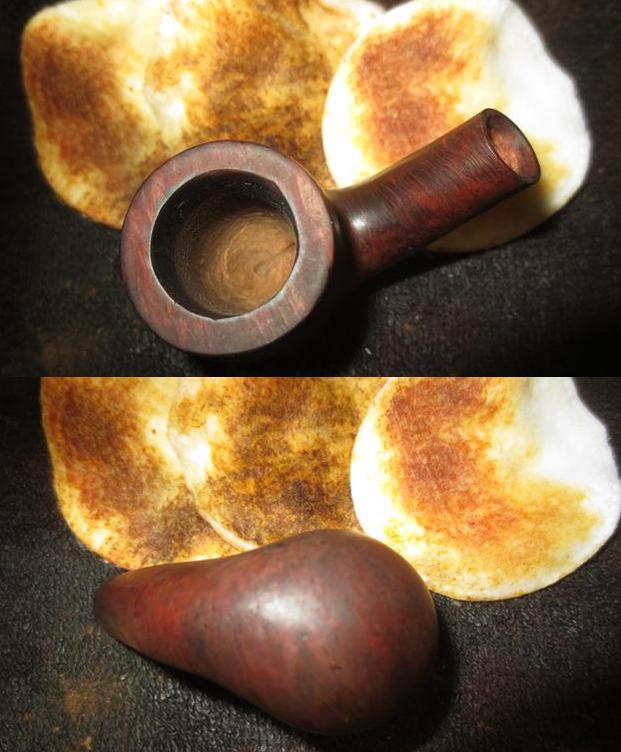
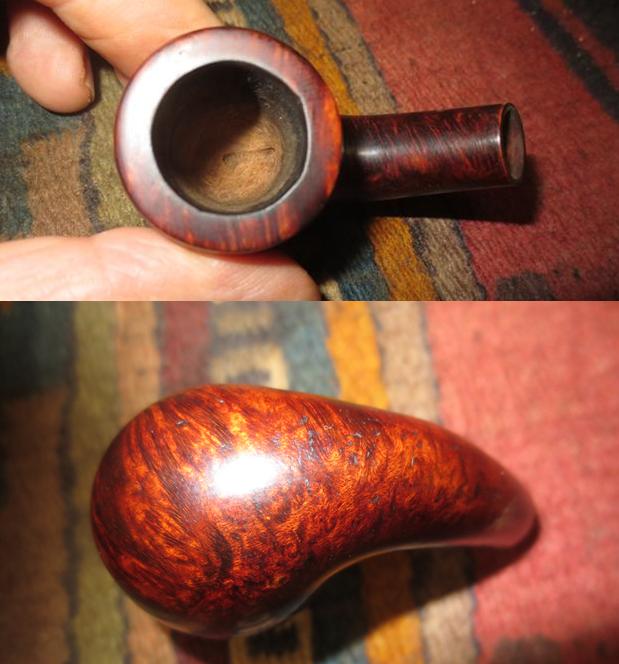
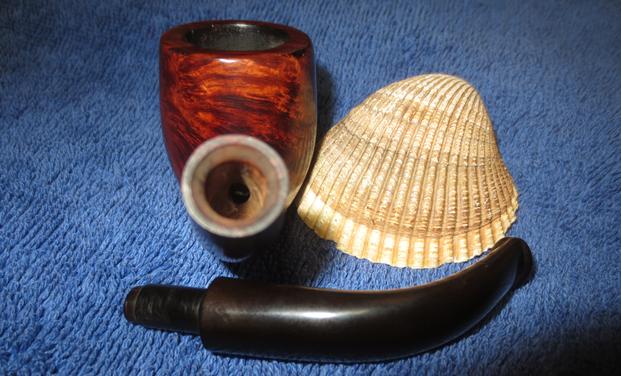
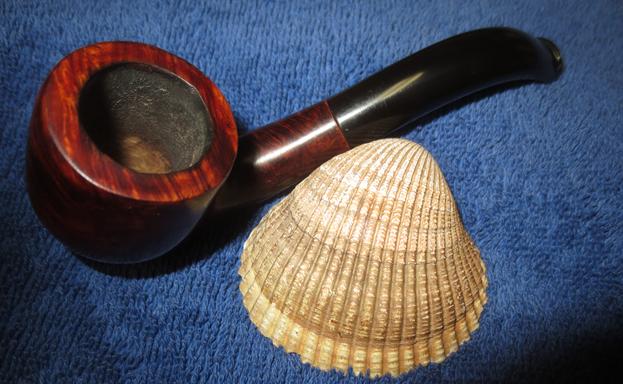
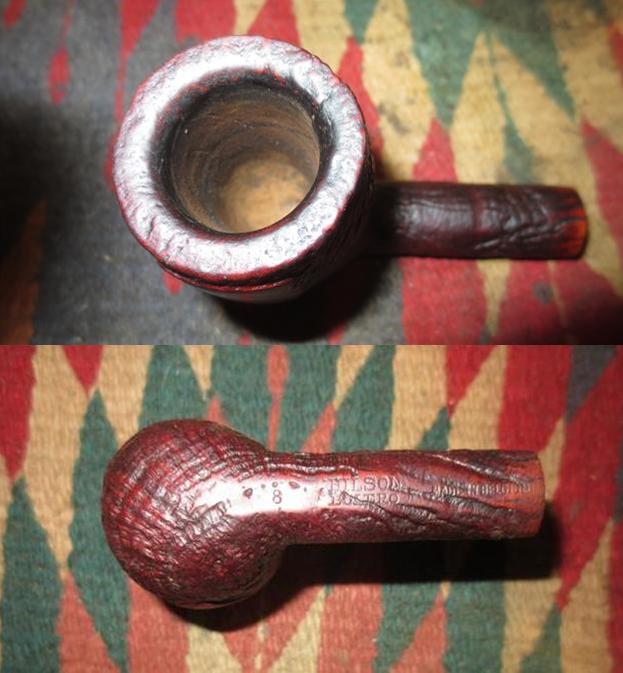
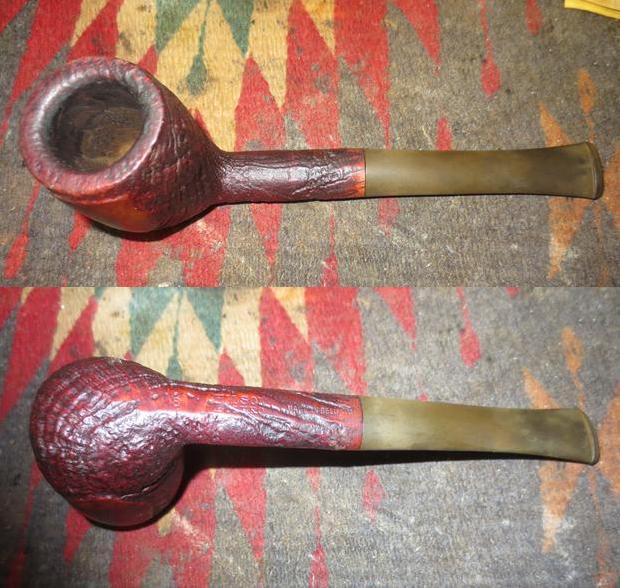 I took a close up photo of the rim to show the condition. There was a spot on the inner edge of the back portion of the rim that looked damaged. I would need to work that spot over to ensure that it was cleaned up. I also took a photo of the underside of the shank to show the stamping on that portion of the pipe. You can see how the stamping that I mentioned above was laid out on the shank bottom.
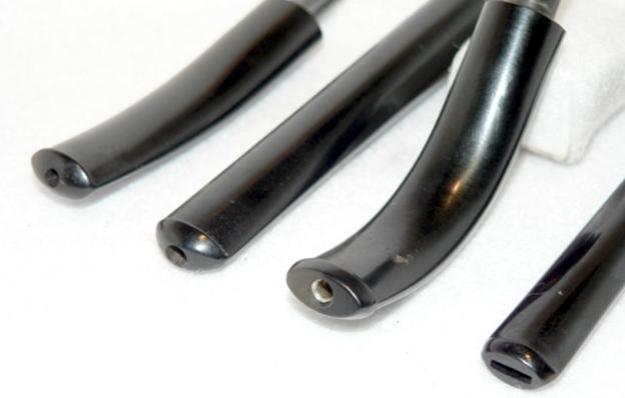
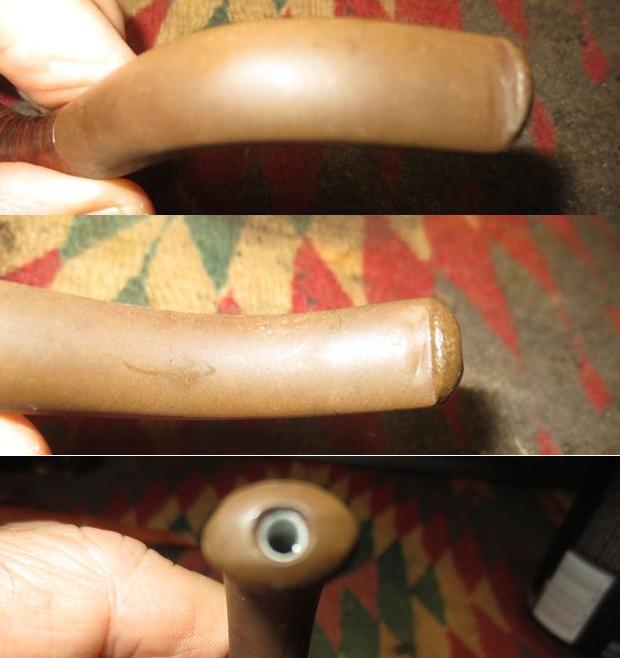
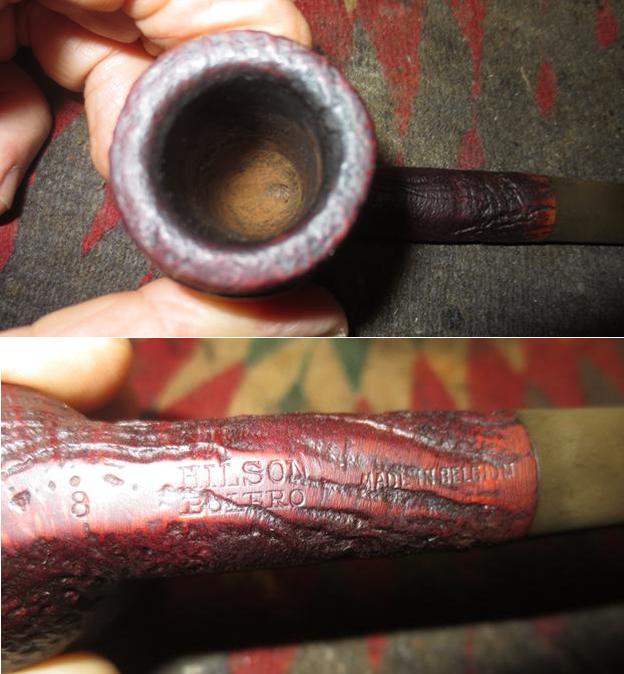 I took photos of the stem to show its general condition as well. The stem was oxidized but there were no tooth marks on either side. It was clean other than the oxidation.
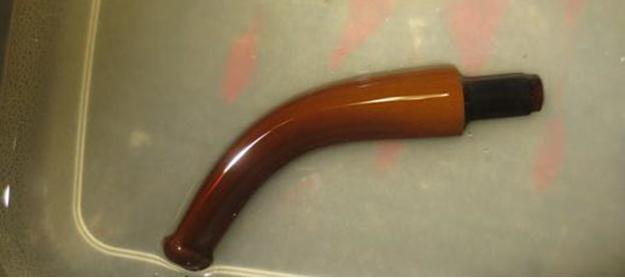
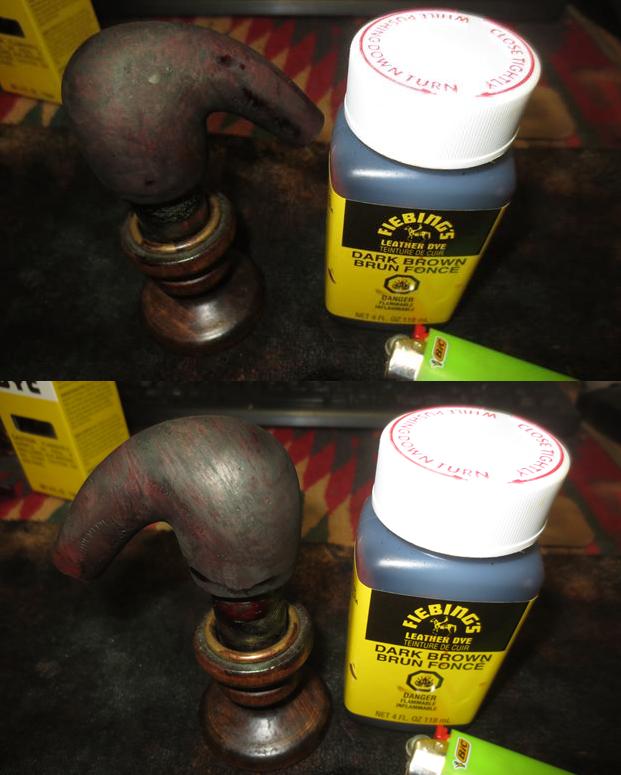
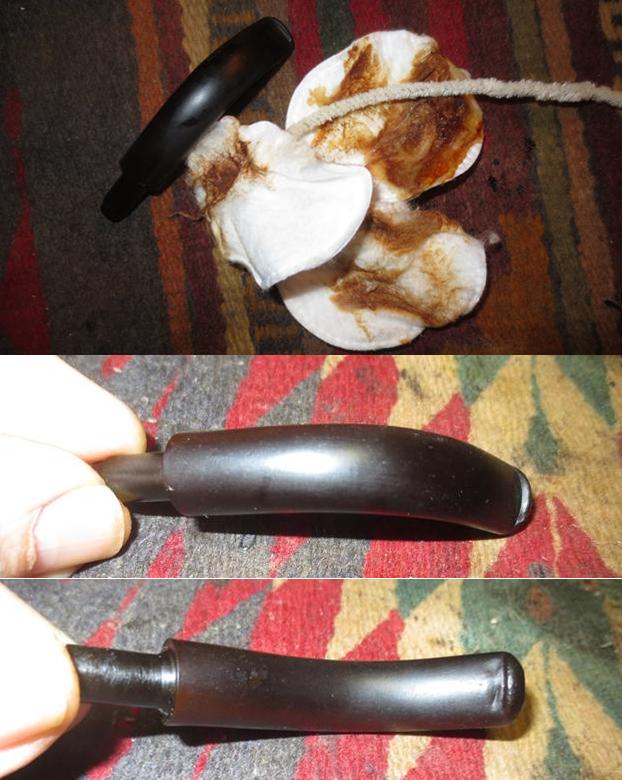
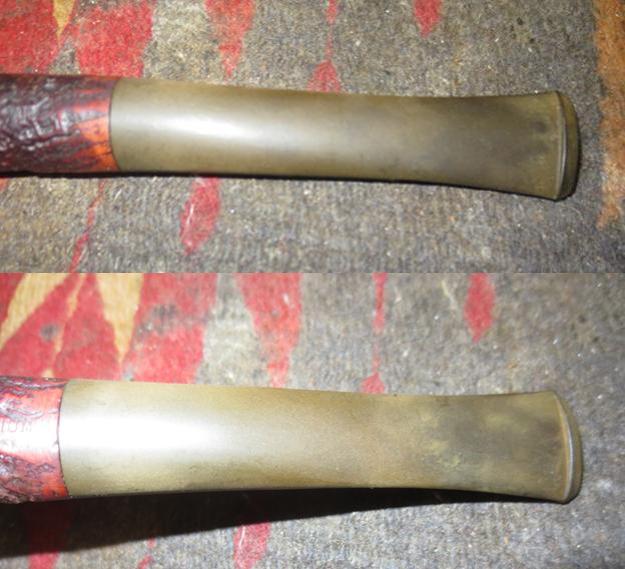 I put the stem in the Before & After Pipe Stem Deoxidizer solution that I spoke of in the previous blog on the Borlum pipe. I purchased the Deoxidizer from a guy on Facebook. His name is Mark Hoover and he is on the Gentlemen’s Pipe Smoking Society Group on Facebook. He has a pen making site where you can email and order the deoxidizer and the polishes (http://www.lbepen.com/). This is the second time that I have used like Mark suggested. I immersed the stem in the Deoxidizer to soak. The Deoxidizer will do its work and leave the stem oxidation free. I have to admit I was a little less skeptical than I was before set the stem in the container of solution to soak overnight.
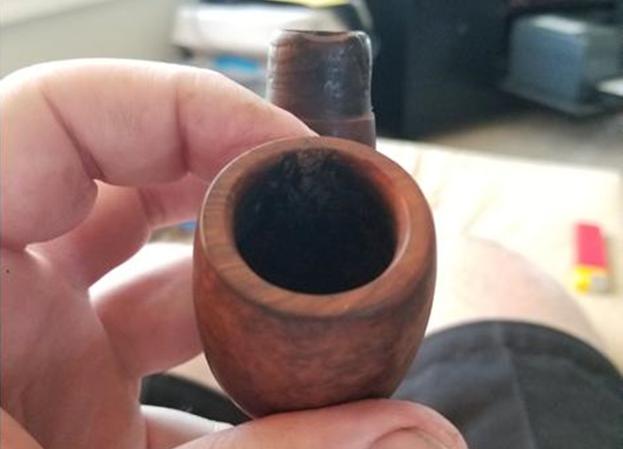
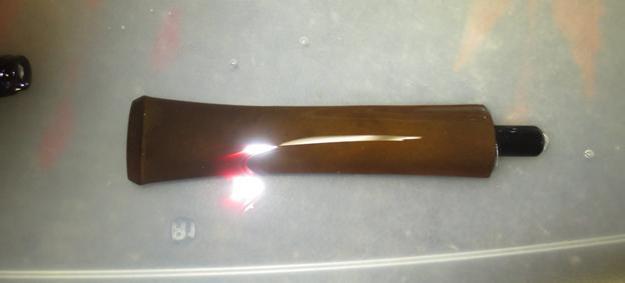 I turned my attention to the bowl. I used a small piece of sandpaper and a brass bristle brush to clean off the charred build up on the back inner edge of the rim. I then rubbed the bowl down with some olive oil on a paper towel and set it aside to soak in overnight. I called it an evening and went to bed.
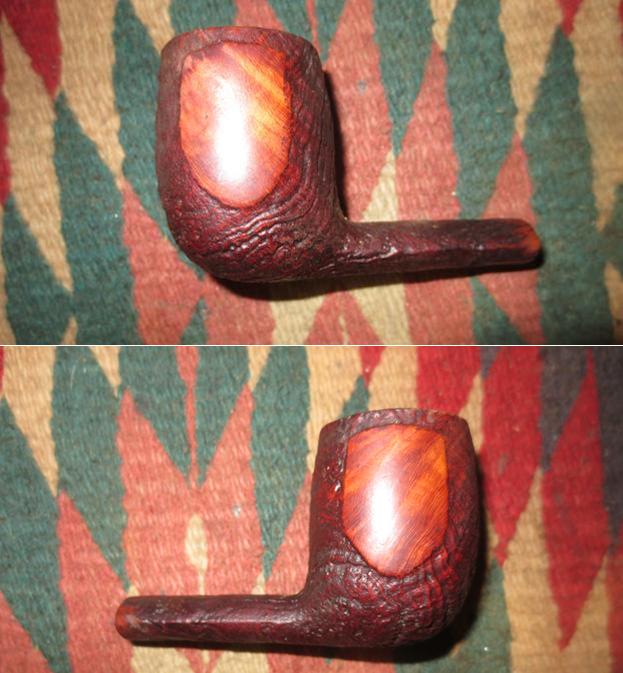
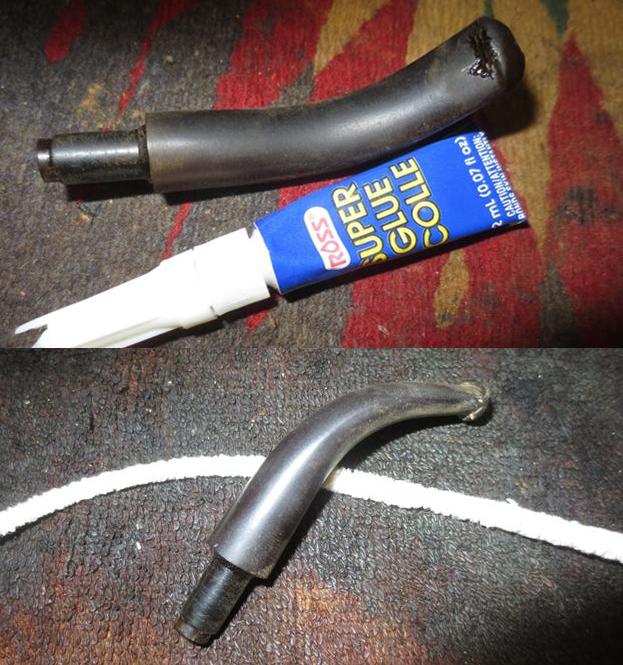
 In the morning I took the stem out of the Before & After Pipe Stem Deoxidizer soak and wiped off the excess fluid. It is quite sticky so it is a bit of work to wipe it free and dry off the stem. Once I got it dried off I rubbed it down with Obsidian Oil and let it dry for a few moments.
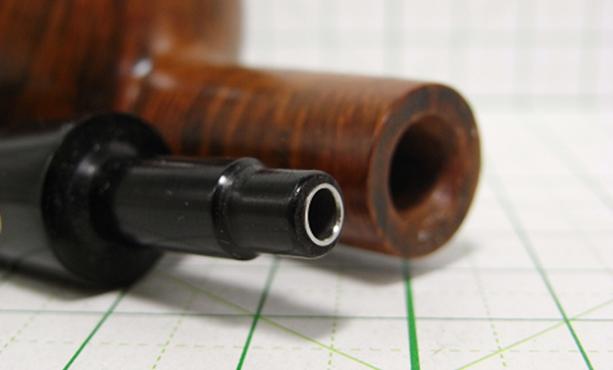
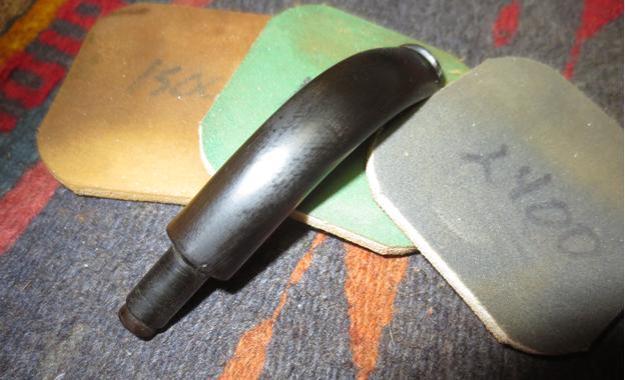
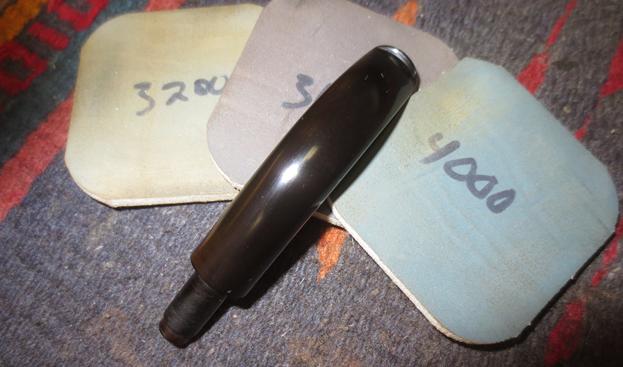
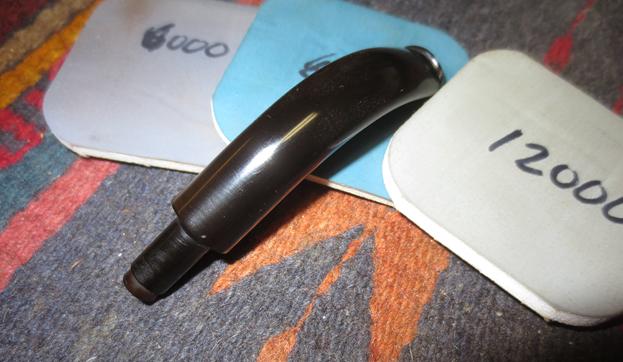
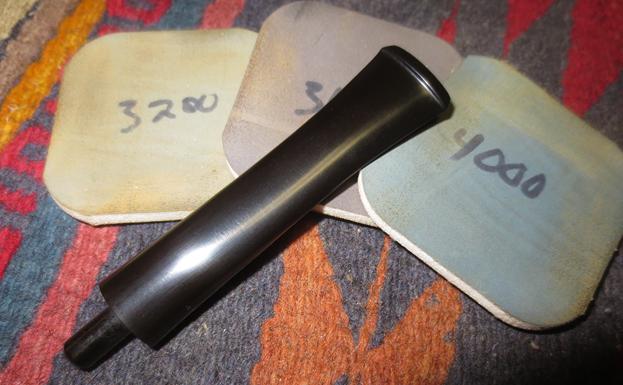
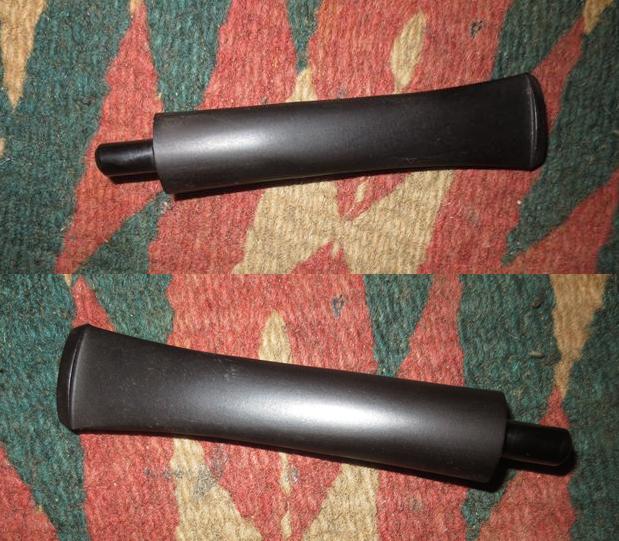 Once it had dried I began the polishing of the stem with micromesh sanding pads. I wet sanded it with 1500-2400 grit pads and rubbed it down with Obsidian Oil. I dry sanded it with 3200-12000 grit pads and wiped it down after each micromesh sanding pad.
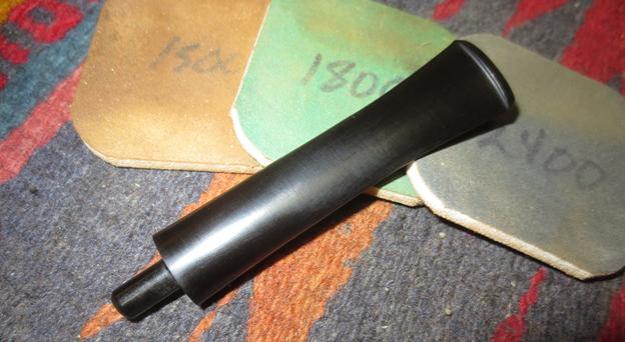
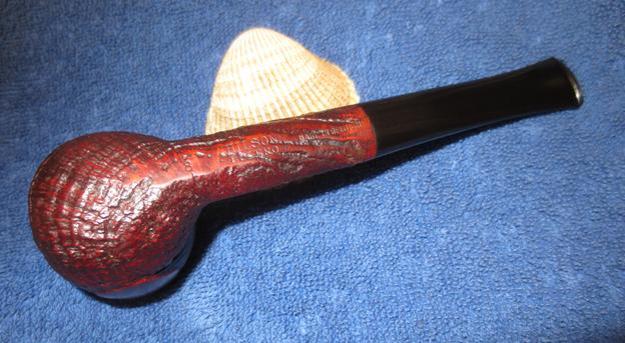
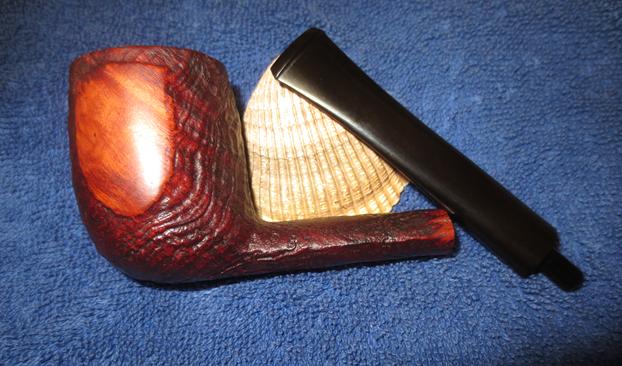
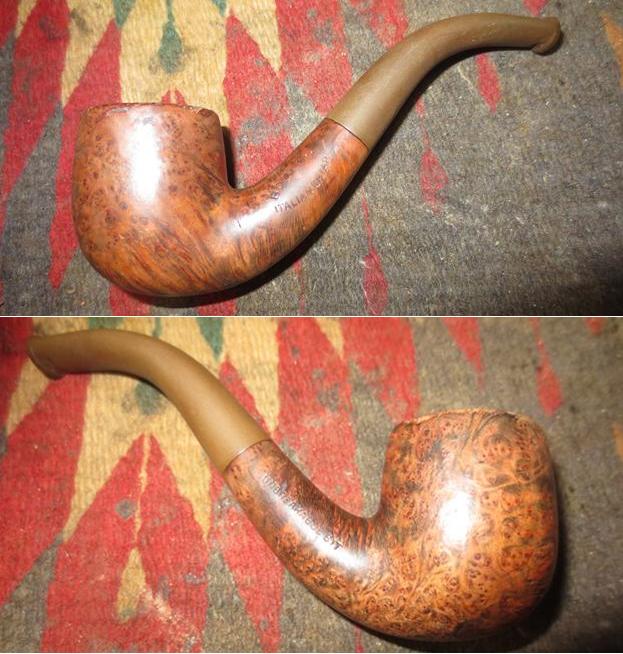
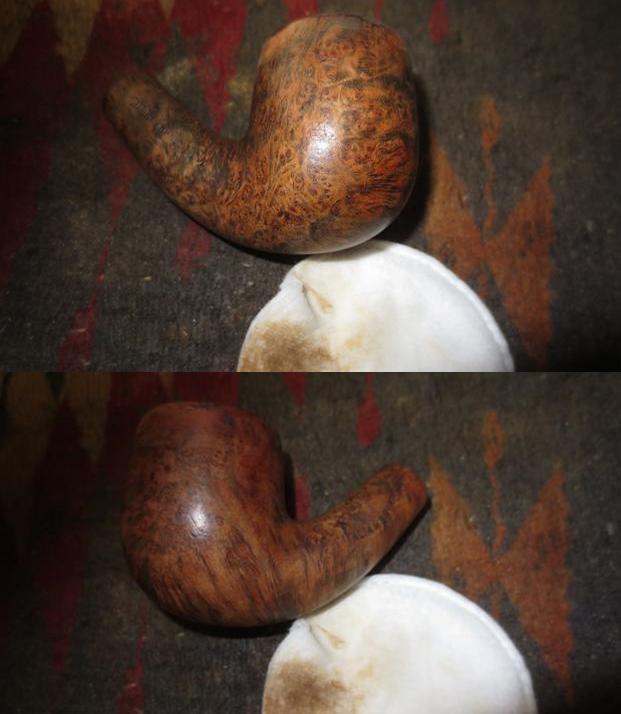
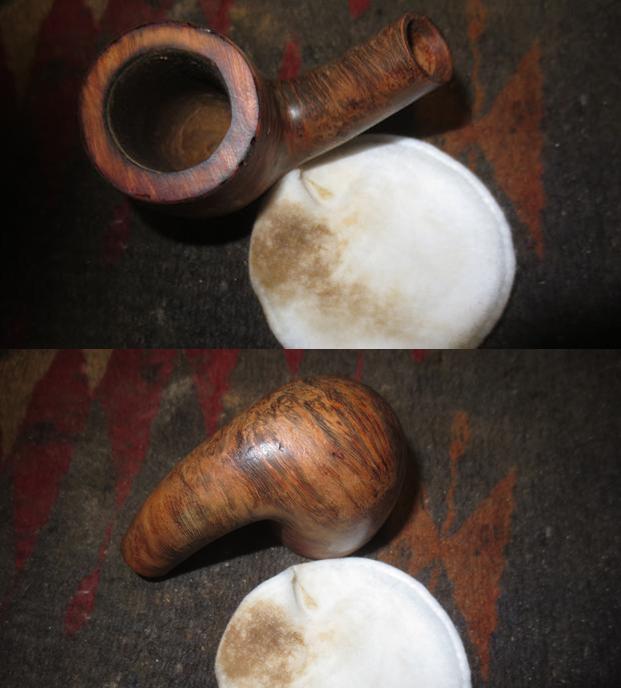
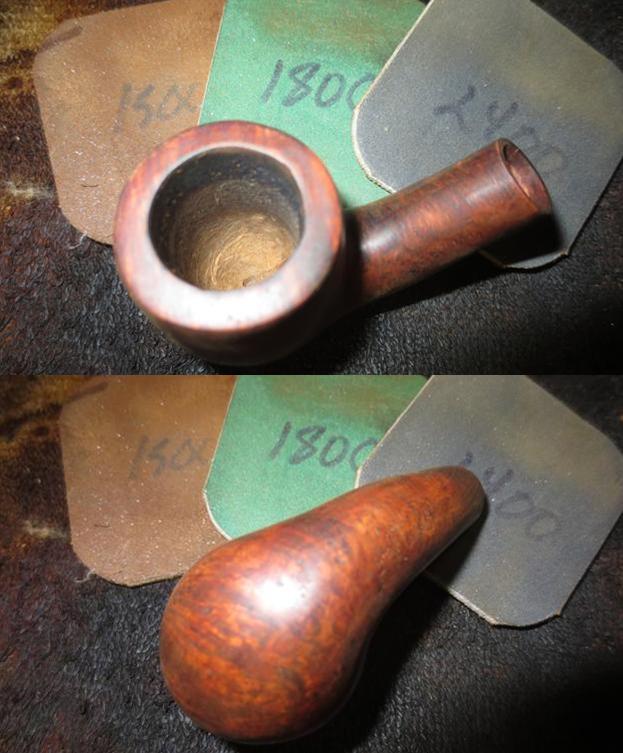
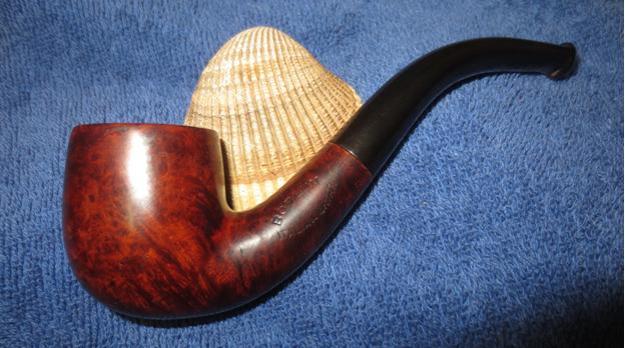
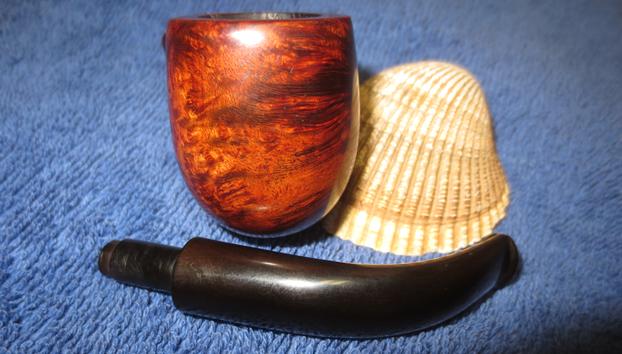
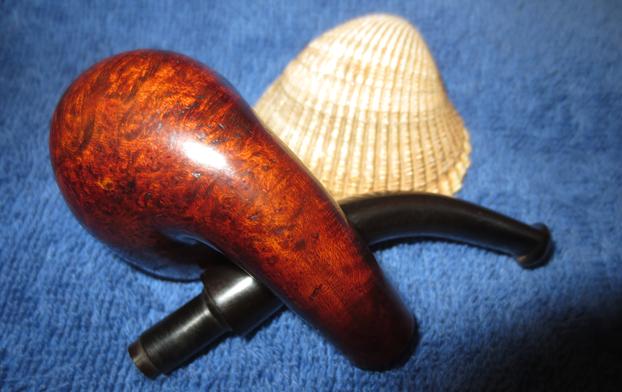
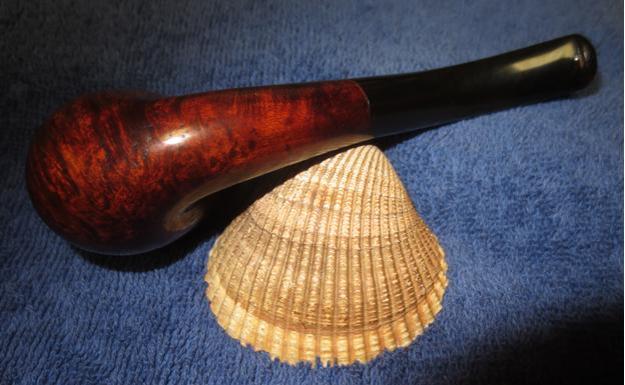
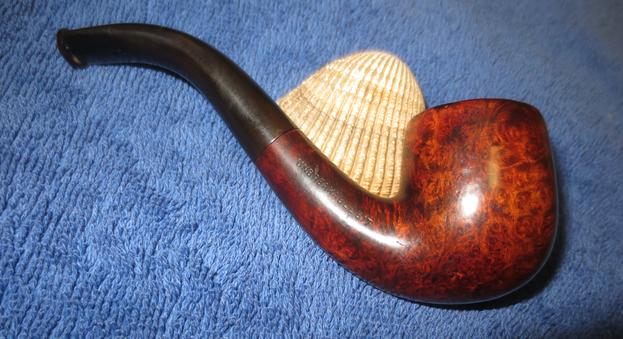
 I buffed the pipe with Blue Diamond on the buffing wheel to polish out the scratches in the vulcanite and give a shine to the sandblast finish. I worked on the inner edge with the buffer and the Blue Diamond and cleaned up the damaged area to blend it in more with the rest of the rim edge. I gave the bowl and stem multiple coats of carnauba wax and buffed it with a clean buffing pad to raise the shine. I hand buffed it with a microfiber cloth to deepen the shine. The finished pipe is shown in the photos below. The dimensions of the pipe are length: 6 inches, height: 2 inches, bowl diameter: 1 3/8 inches, chamber diameter: ¾ inches. I will be posting it on the rebornpipes store if you are interested in adding this beauty to your rack. You can email me at slaug@uniserve.com or send me a message on Facebook. Thanks for looking.