Daily Archives: June 7, 2017

In Memory of Edward James AKA Ozark Southpaw


Troy has written a great memorial piece on good friend, pipe mentor and stellar repairman – Ed James. I could not have said it any better. Thanks Troy.

Baccy Pipes

The recent passing of Edward James AKA Ozark Southpaw was some sorrowful news not only to me but all the members of the Dr.Grabow Collectors Forum where is was a long time member, moderator and mentor to many of us . He was also a member of other pipe forums around the internet.7843312_orig.jpg

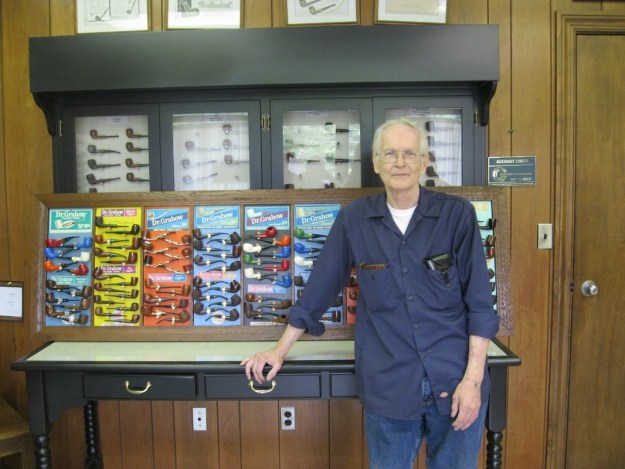
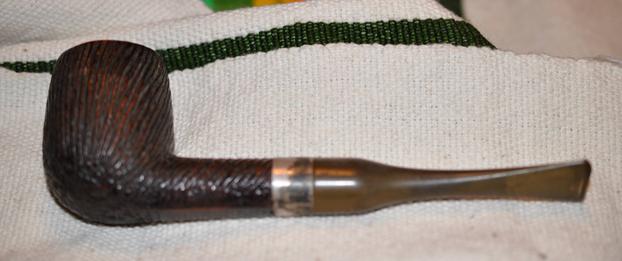
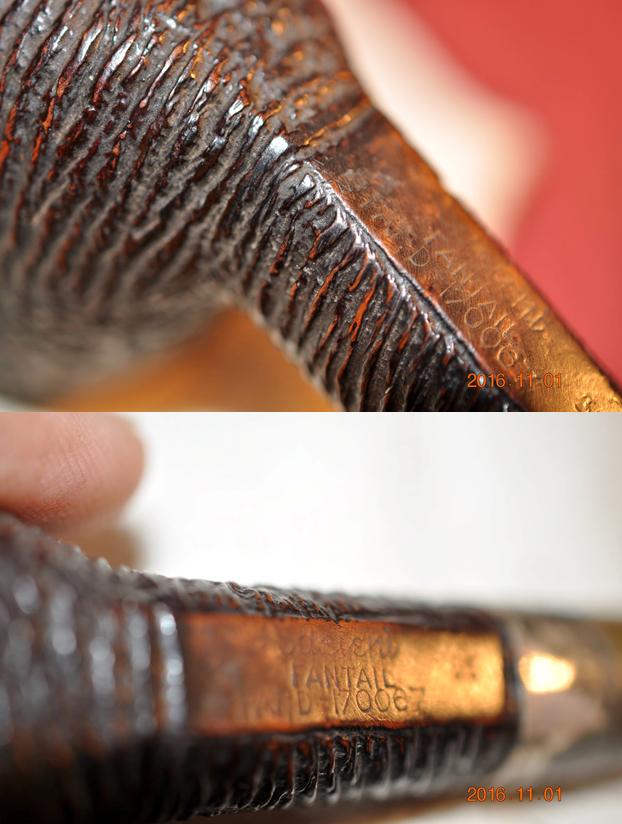
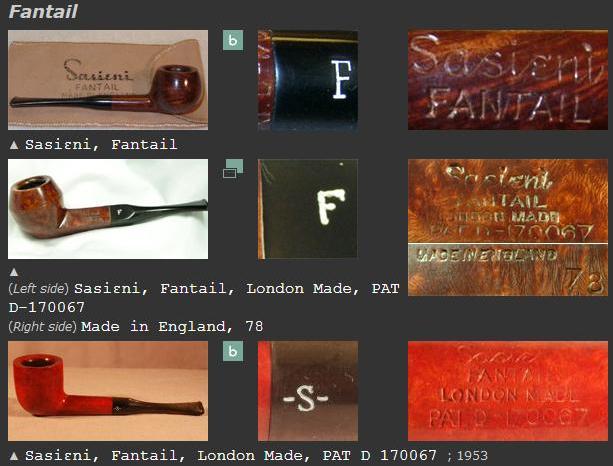
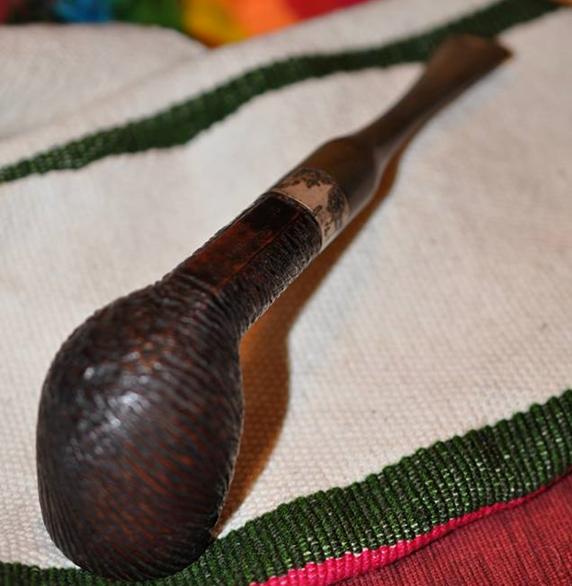
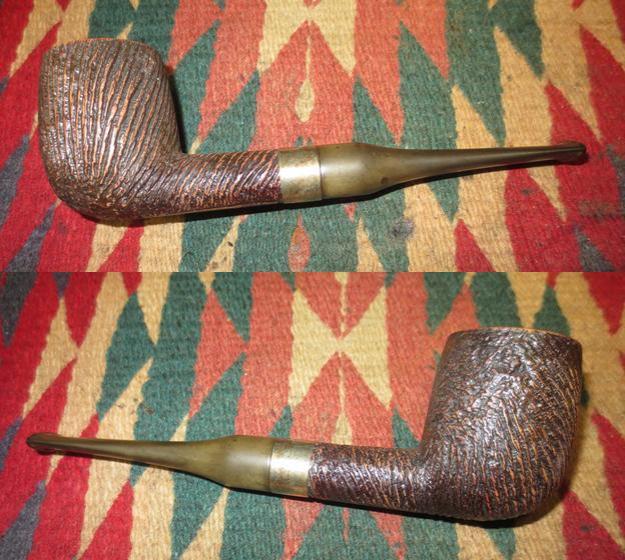
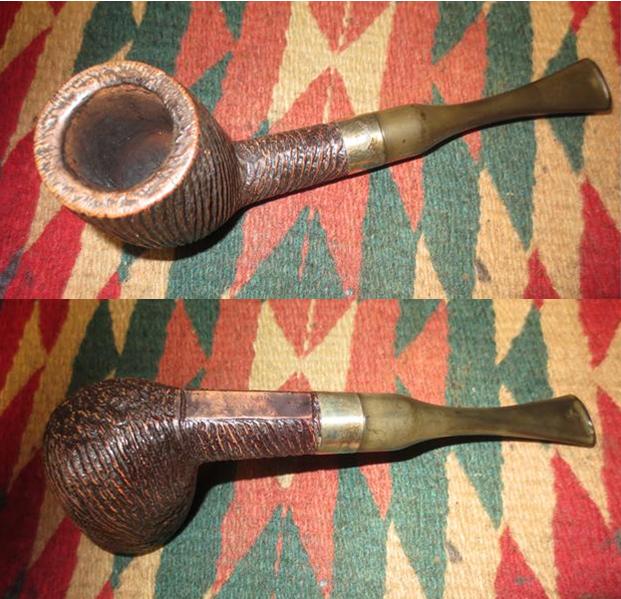
Ed had the best Dr.Grabow collection in the world as far as i know , even building a Skyliner (behind him in the picture shown) with all the correct pipes. He also had a multitude of Linkman’s and other various makes and rare pipes.

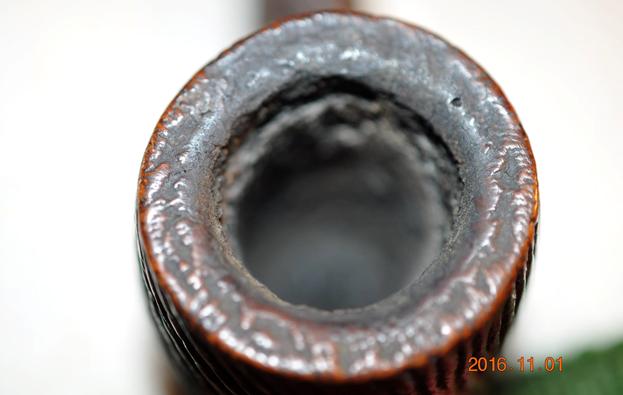
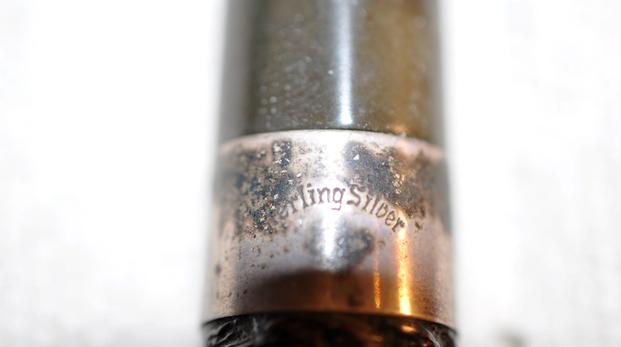
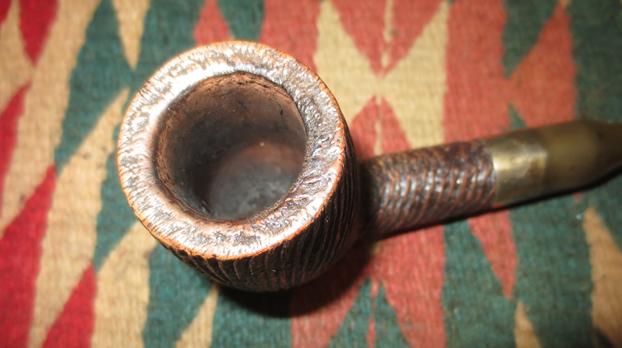
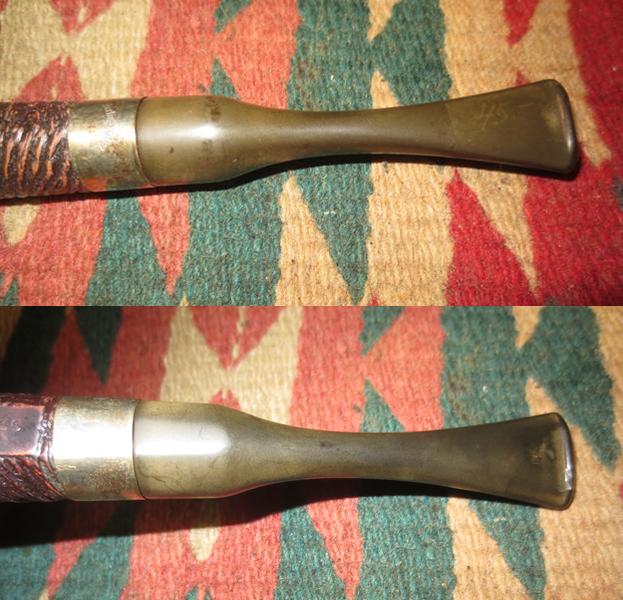
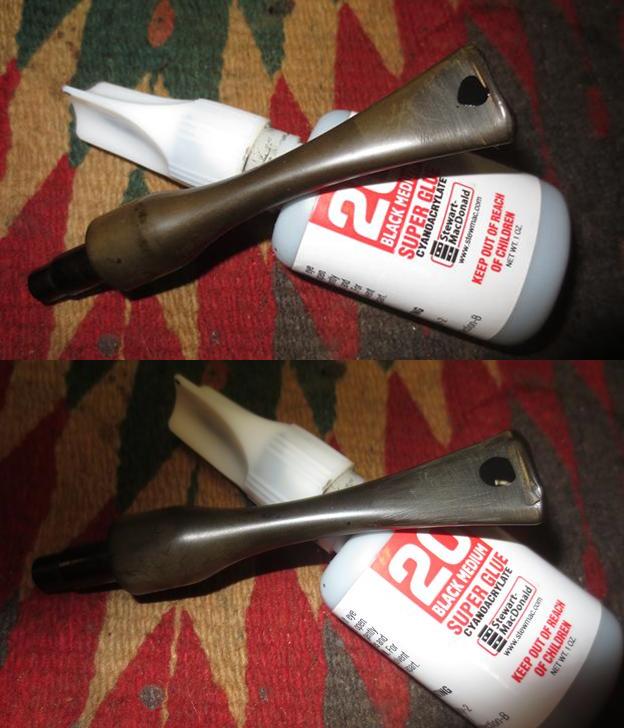
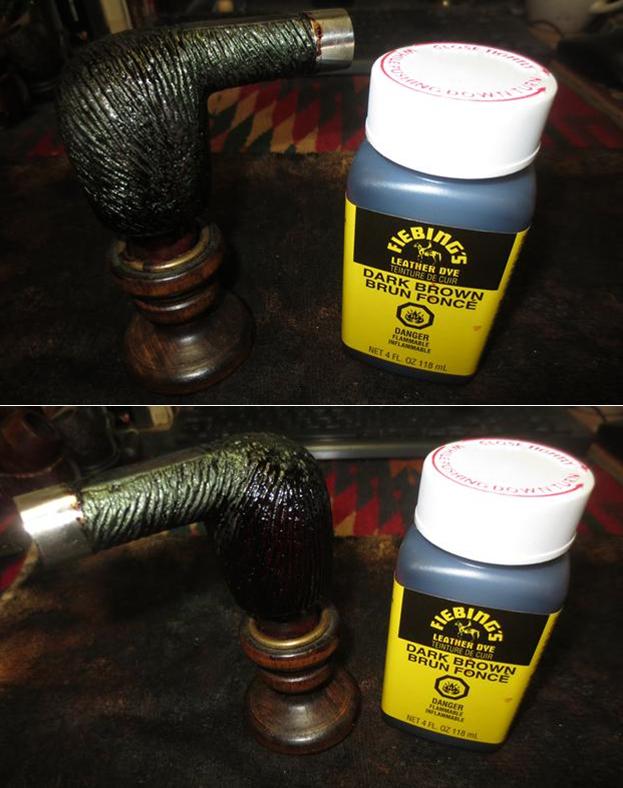
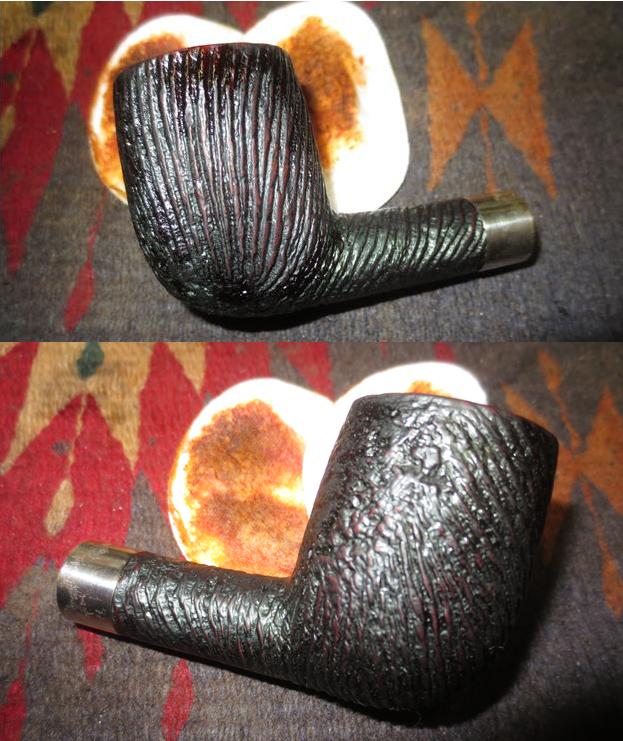
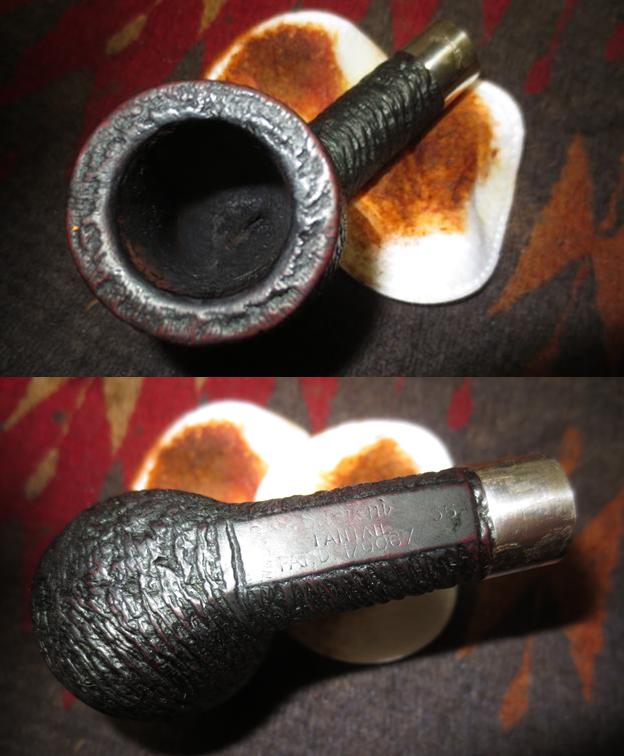
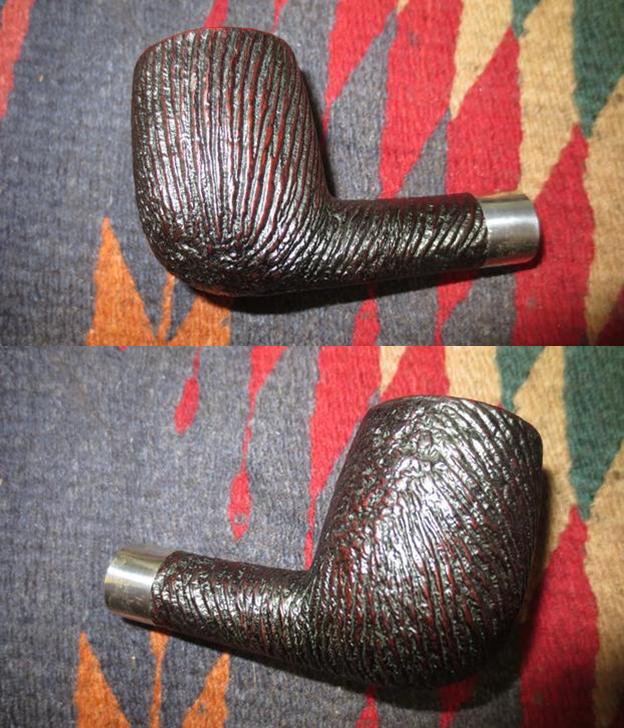
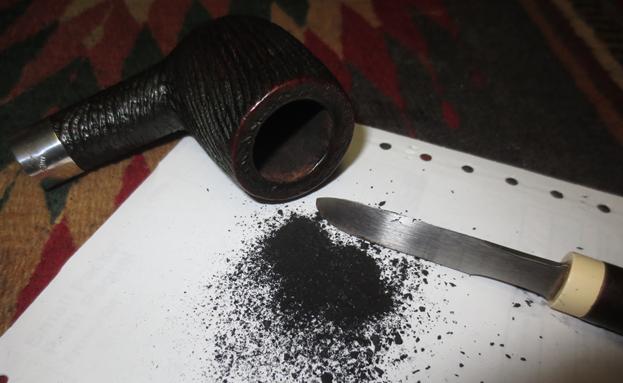
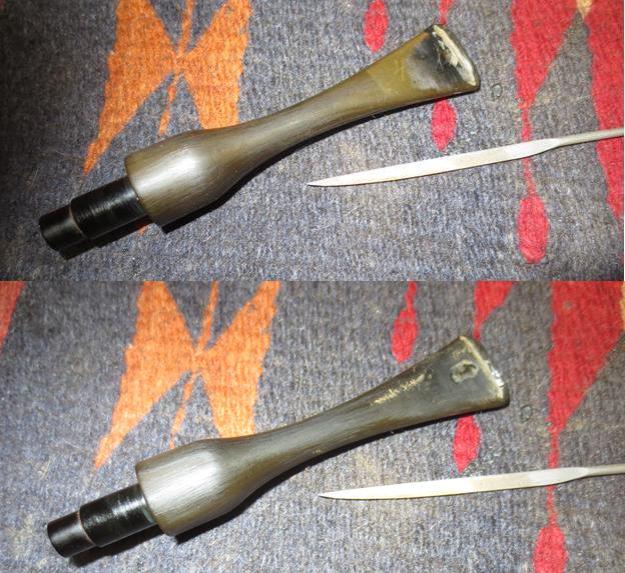
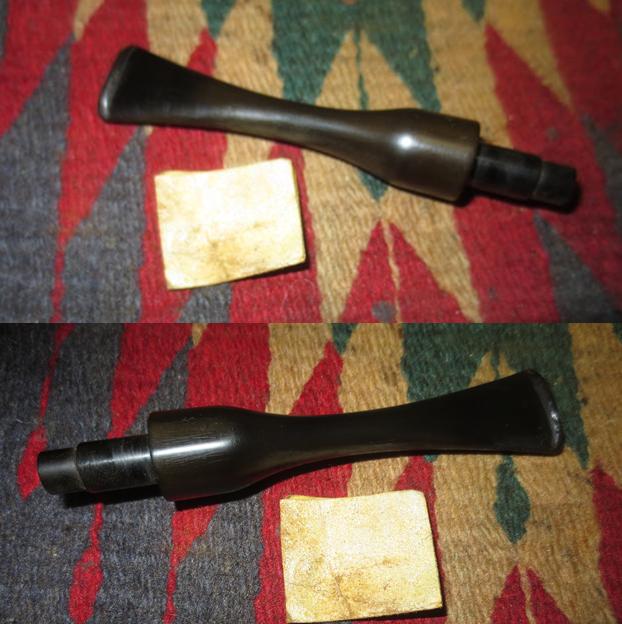
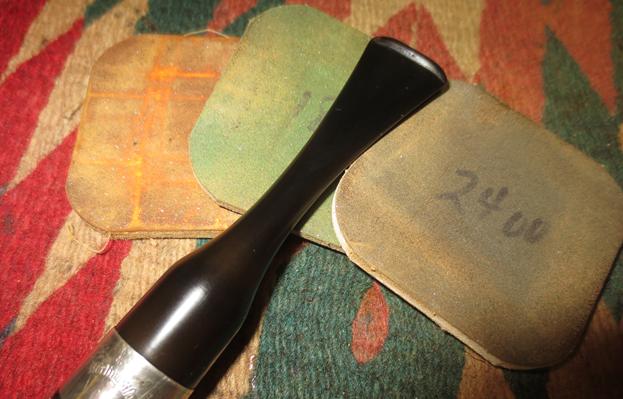
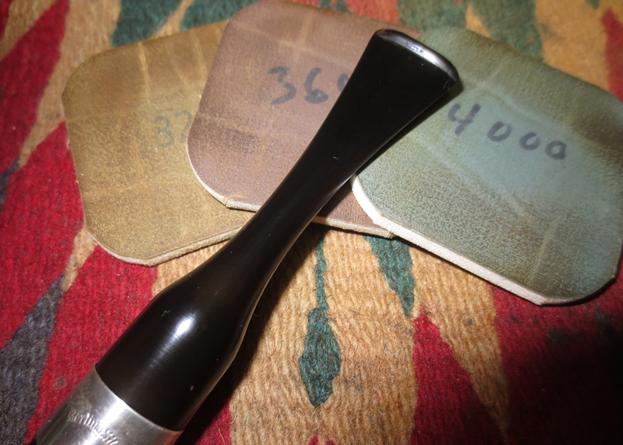
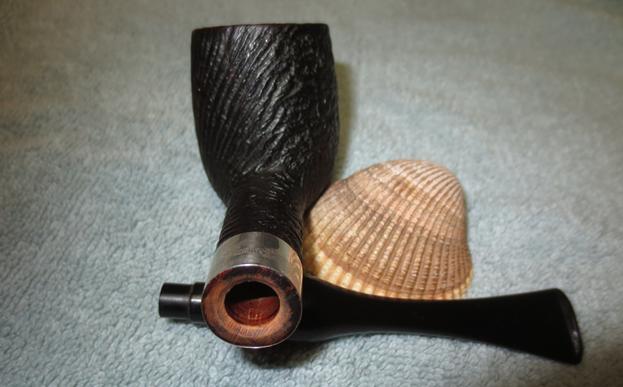
Not only was he a master collector , pipe restorer, pipe and tamper maker but he was a wonderful human being as well. He always was wiling to answer questions , help solve problems and give wonderful tips to people having pipe issues or guidance in restoring a pipe.

I never did get…

View original post 309 more words

Sasieni Fantail Wire Rusticated Patent Billiard


Blog by Steve Laug

My brother Jeff found this old Sasieni on one of his gallivants to the Oregon Coast. He stopped by an antique shop and picked up a few nice ones. This wire rusticated Sasieni billiard with a Sterling Silver band is unique to my eyes. I have not cleaned one up before or repaired one for someone else. It has a Fantail or Fish Tail stem that is unique. It is stamped on the underside of the shank and the stamping is faint but readable. In bright light I can read that at the bowl end it is stamped England in an arch. Flowing from the arched England it reads Sasieni in the newer script over FANTAIL over Pat. D-170067. The last stamping is the shape number 55. I am pretty certain that this is a Family Era pipe made somewhere between 1946 – 1979. The change of “Sasieni” script without the fish-tail initiated by Alfred Sasieni occurred after second world war. This puts the date of the pipe between 1946 and 1979 – a large spread.The Sterling Silver band looks like it could have been original with the pipe when it left the factory but I am not certain. Sasieni is a brand that I am not as familiar with so I do not know all of the ins and outs of the shapes and finishes.

I remembered that Al Jones had worked on a Sasieni pipe with a similar finish and stamping. His was a Moorgate Pot. Here is the link: https://rebornpipes.com/2015/02/28/sasieni-moorgate-rustic-restored/ I quote a section of Al’s blog regarding this pipe, “This Sasieni “Moorgate” shape in Rustic finish is the second pipe from the shop in Albany and part of the General Electric executives estate. The nomenclature shows that the pipe is from the “Family Era” and made between 1946 and 1979. The “Rustic” finish is a hand carved, rusticated finish done completely by hand. This work must have been painstakingly slow with the carving following the briar grain lines.”

I have included a photo of the stamping on the underside of the Moorgate shank from Al’s blog post as it is very close to the stamping on the one I am working on. Mine is not stamped Four Dot Rustic over “Moorgate” but rather FANTAIL where the Rustic stamp is and where Moorgate is mine has a Patent number. The finish on Al’s was more horizontal than the one I am working on. The striations run vertically on the bowl sides but the shank is the same style. I have included the photos of the bottom of the shank on the one I am working on below. I also included a screen capture of the pertinent section of PipePhil’s Logos and Stamping website and included the link should you want to look at on the site. http://www.pipephil.eu/logos/en/logo-sasieni2.html From what I can see through the oxidation on the stem there may well be a letter “F” on the left side of the stem. Jeff included photos of the pipe from a variety of angles to show the condition of the bowl, rim and finish on the pipe. It was worn and tired. Fortunately there were no chips or cracks in the briar and other than just being dirty and worn it was in good shape. Jeff sent along a photo of the cake in the bowl and the lava that had flowed over the top of the rim. The outer edges of the rim looked pretty decent with no wear or tear from tapping it out against hard objects. The cake in the bowl was hard and quite this. The lava on the top filled in most of the grooves in the rustication on the back half of the bowl.The Sterling Silver band was heavily tarnished but it appeared to be sound underneath the tarnish. It had an arched Sterling Silver stamped into the topside of the band.The stem had deep tooth marks and the button was worn away from use. There were no bite throughs or cracks in the stem. The middle portion on both sides of the stem near the button was in the worst condition with the edges being quite clean. The stem was oxidized. The photos below show the tooth marks and chatter on the stem surfaces.Jeff reamed the bowl with the PipNet reamer and took out all of the cake. It was then clear that the inner edge was also undamaged. He scrubbed out the inside of the mortise and the airway in the shank and the stem with alcohol, pipe cleaners and cotton swabs until it was spotless. He scrubbed the exterior of the bowl and the lava on the rim with a tooth brush and Murphy’s Oil Soap and was able to remove all of the grim and build up in the grooves of the finish. The stain lightened considerably with the cleaning but it would not be hard to restain it to match the colour of the original. I took the next photos to show the condition of the pipe when it arrived in Vancouver. The cleanup on the rim was stellar in my opinion. The grime and lava are gone and the grooves of the rustication are clean and visible.I took photos of both sides of the stem to document the oxidation and the tooth marks located on the top and underside.I sanded the tooth chatter out of the vulcanite and cleaned up the area with a cotton swab and alcohol. I used black super glue to fill in the tooth dents that were too large to raise by applying heat to the stem. I set the stem aside while the glue dried. After the photo I used a little more glue to build up the area around the sharp edge of the button. Once it is dried I will recut that area with a needle file.I cleaned and polished the tarnished Sterling Silver band with a jeweler’s cloth. The tarnish came off quite easily and I buffed it with the cloth to make it shine.I restained the bowl with a dark brown aniline stain cut by 50% with isopropyl alcohol. I applied it and flamed it with a lighter. I repeated the process until the coverage was good on the briar. Once it was dry I wiped down the bowl with cotton pads and alcohol to lighten it even more and bring it closer to the finish that had originally been on the bowl. I buffed the pipe with Blue Diamond on the buffing wheel carefully avoiding the stamping on the underside of the shank. It was light enough already and I did not want to damage it further. I hand buffed the area with a microfibre cloth. The bowl was looking very good at this point. I took the following photos to show where what the pipe looked like at this point. I decided to clean up a bit of extra cake that clung to the bowl walls toward the bottom of the bowl with the Savinelli Fitsall Reamer. It did not take too much to knock off the small remnants of cake toward the bottom of the bowl.Once the repair had cured I used a needle file to recut the sharp edge of the button. I also used the file on the flat surface of the repairs to blend them into the rest of the stem. I sanded the stem with 220 grit sandpaper to remove the oxidation and blend in the repairs with the surface of the stem. I sanded it so as to remove the oxidation but not change the profile of the stem. I examined the left side of the stem for the “F” stamp and all that was present was a very faint mark. If you did not know it was supposed to be there you would not see it. I polished the stem with micromesh sanding pads – wet sanding it with 1500-2400 grit pads and rubbing it down with Obsidian Oil. I dry sanded it with 3200-4000 grit pads. I buffed it with red Tripoli and gave it another coat of oil. I dry sanded it with 6000-12000 grit pads and rubbed it down between each pad with a coat of oil. I set aside the stem to let the oil dry. I put the stem back in place in the shank and buffed the bowl and stem lightly with Blue Diamond on the buffing wheel. I gave the stem multiple coats of carnauba wax and the bowl several coats of Conservator’s Wax. I buffed the pipe and stem with a clean buffing pad to raise the shine. I hand buffed the bowl with a shoe brush and then with a microfibre cloth to deepen the shine. The finished pipe is shown in the photos below. The dimensions of the pipe are Length: 6 inches, Height: 2 inches, Outer diameter of the bowl: 1 3/8 inches, Chamber diameter: 7/8 inches. The contrast of the dark brown and a medium brown that shines through give the finish a rich patina. The bowl has been cleaned and the entire pipe is ready to smoke. The stem is in great shape. The tooth marks have been removed though there is slight scratching on the vulcanite. It is a beautiful pipe, just a little big for my liking or I would hang on to it. I will be putting it on the rebornpipes store soon. If you are interested in adding it to your collection email me at slaug@uniserve.com or send me a message on Facebook. Thanks for looking.