Blog by Dal Stanton
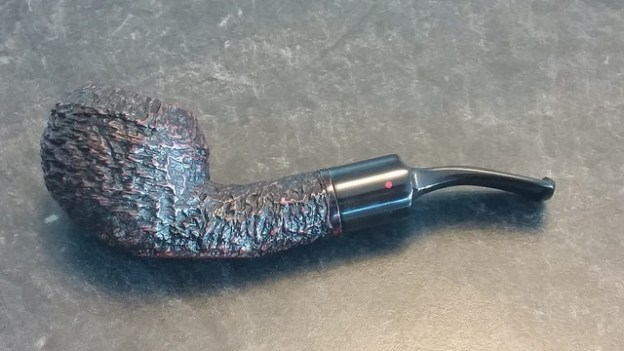
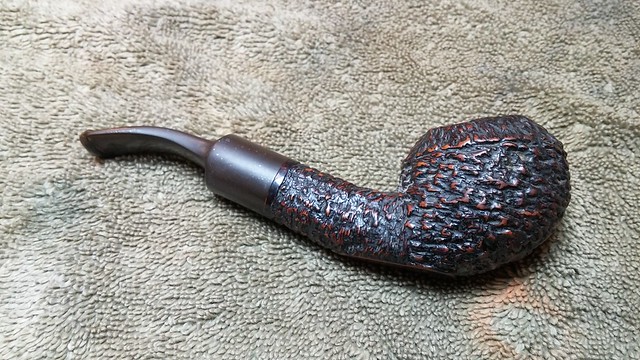
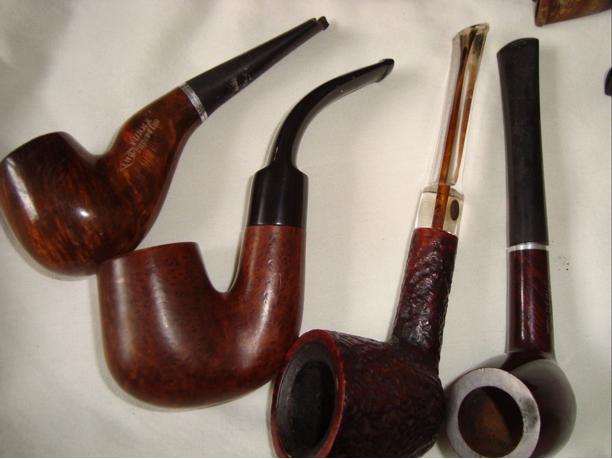
I don’t usually begin a blog with an addendum, but just before I sent this to Steve to publish on Reborn Pipes, I sent a picture of this pipe along with a few other pipes with the question, “Oom Paul or Full Bent Billiards?” Here are the two pictures I sent – the first, Jen’s #2, and two others: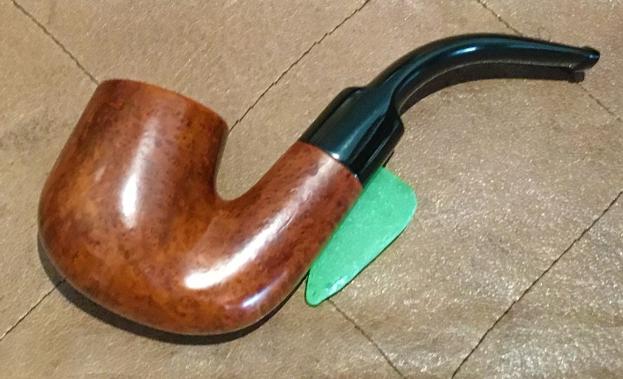
 This is the fun part of learning the fine art of pipe shape identification! I was identifying the third pipe, (far right) as definitely an Oom Paul – mainly by the way the shank and bowl merge vertically and then the shank/stem breaks away but stays real tight in a full bend. The other two, have more of a ¾ bend, but they also have more of a merge between shank and bowl creeping upwardly. I called the 2 on the left, full-bent Billiards for that reason. I loved Steve’s response:
Dal
To me they are all variations on an Oom Paul Shape which is actually a full bent billiard. LOL! The joys of identifying shapes.
Steve
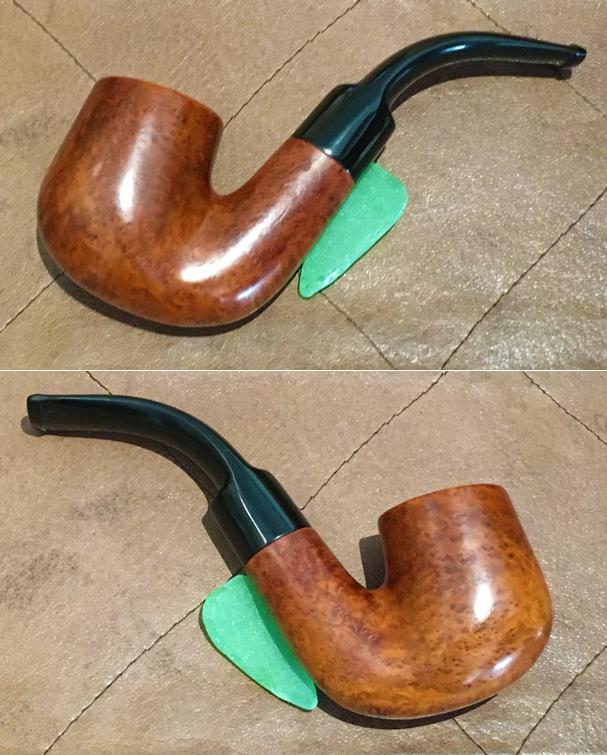
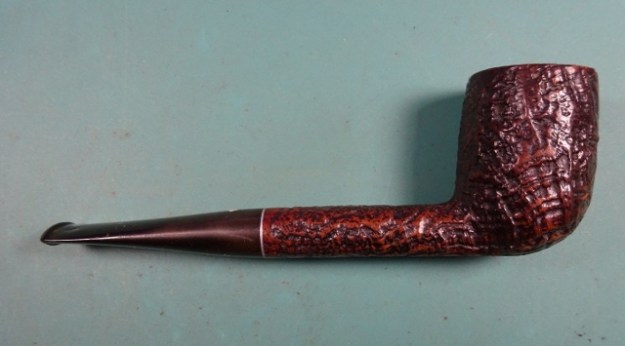
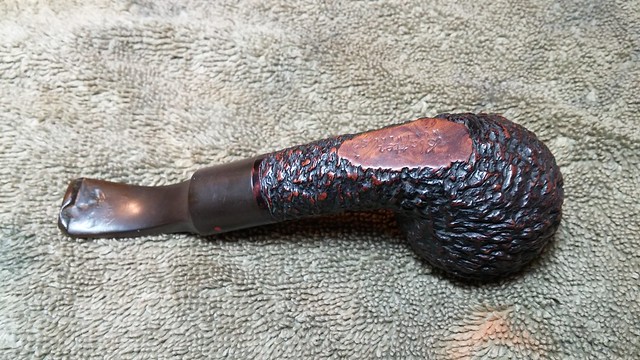
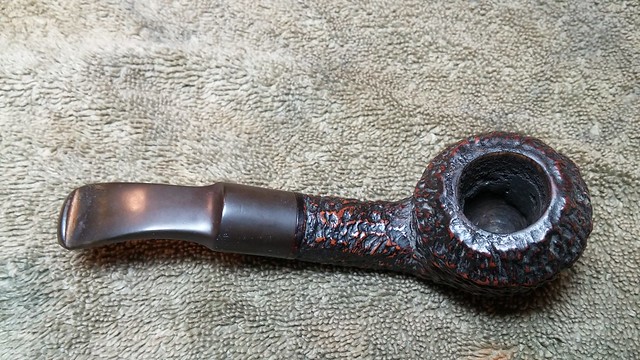
So, with addendum completed, Jen pulled this very nice Full Bent Billiard, (Oom Paul!) out of the ‘Help Me!’ basket and added it to the trove she has asked me to restore for her. She will be transitioning back to the US at the end of the summer and she will be packing several of The Pipe Steward’s restorations to give as gifts to the special men in her family. I’m happy to oblige! Jen’s purchases will benefit the Daughters of Bulgaria, and bring much joy to her family! I found this pipe on eBay as one in a lot of 13 pipes – I acquired some interesting pipes that await restoration in the basket! The pictures I saw from the seller in Nevada included Jen’s Oom Paul – at 8 o’clock below and then a closer view following.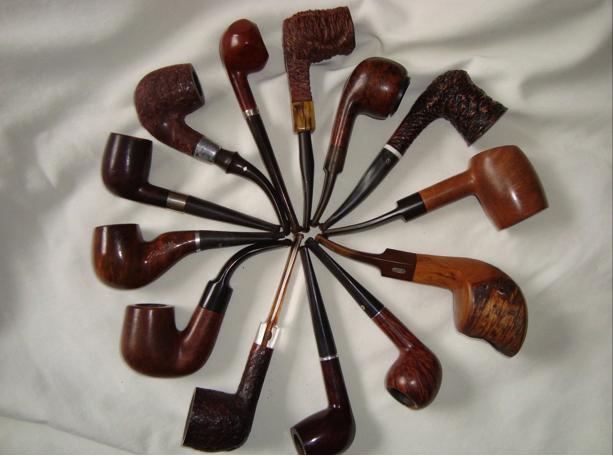
 The seller’s attempt to identify the Oom Paul were helpful and set me on the path:
Unknown – Markings appear to be rubbed out from handling. I think I see the word “London” followed by some indiscernible word.
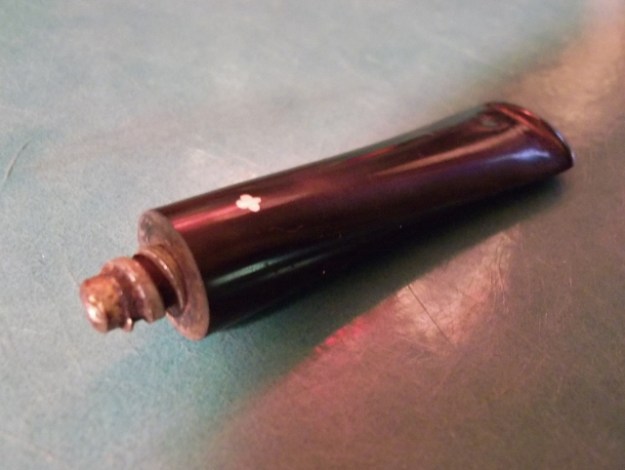
On my work desk in Sofia, Bulgaria, I take some additional pictures to fill in the gaps.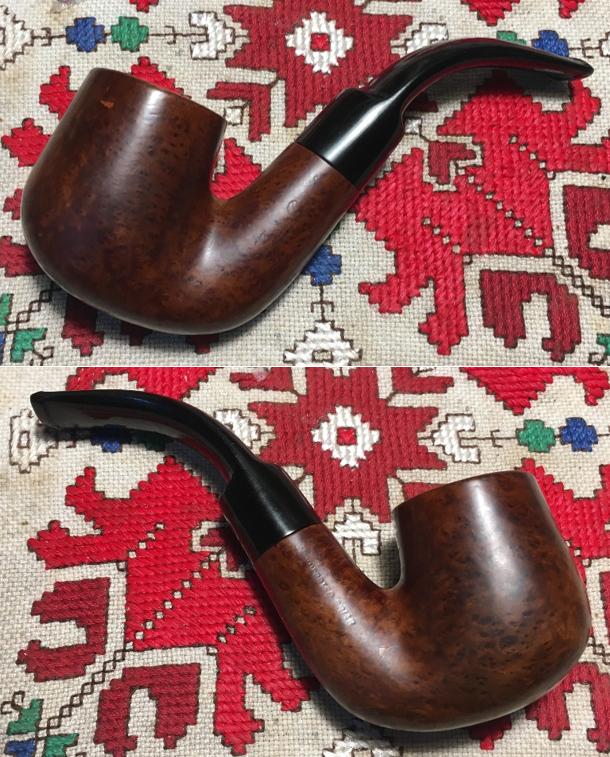

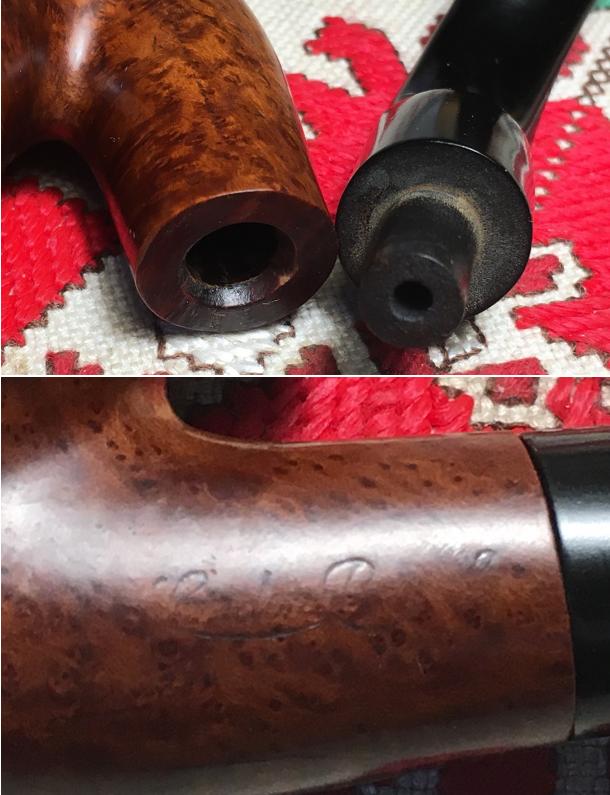
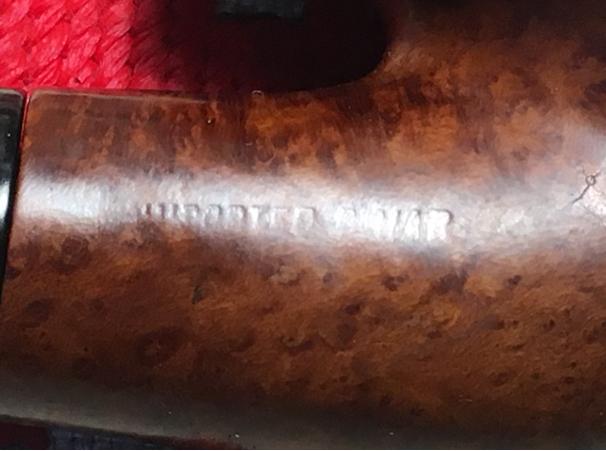 Looking at two pictures above and the nomenclature on the left side of the shank, I tend to agree with the seller that the first word appears to be London in a cursive-type script with a flared line underneath. The second word appears to start with a “P” also in a script with a flare line underneath. To see if I can make a possible identification with a pipe name starting with “London P…” I go to Wilczak & Colwell’s “Who Made That Pipe?” and I find some Comoy contenders – “London Pipe” and “London Pride”. Neither of these candidates seem likely because the corresponding Comoy stem mark, “C” was absent. Yet, the pipe could have a replacement stem, but not likely. I then go to Pipephil.eu and simply search anything starting with “London”. What I found was very interesting and possibly a match. The clipping from Pipephil below shows the ‘London Royal’ nomenclature – looking at my specimen, what I thought was a “P” very likely is an “R”. The flare lines underneath is a convincing indicator as well. Also matching was the right side “Imported Briar”. Again, missing is any stem marking – a hat in the specimen below.
 While I cannot be 100% sure in the identification, “London Royal” may indeed be on target. Pipedia gives a short description of the LHS company:
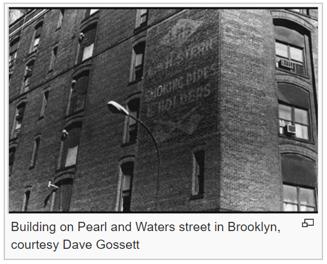
Ludwig Stern, a successful pipe manufacturer since 1893 and closing around 1960, reorganized his company along with his brother Hugo Stern, opening a factory in 1911. They named the company L&H Stern Smoking Pipes & Holders. The newly formed company was moved into a six-story building on the corner of Pearl and Waters street Brooklyn, NY.
The American company produced such pipe names as Sterncrest, Purex, Silvercrest, Barrister, Marwyn, Park Lane, Radmanol and Warwick.
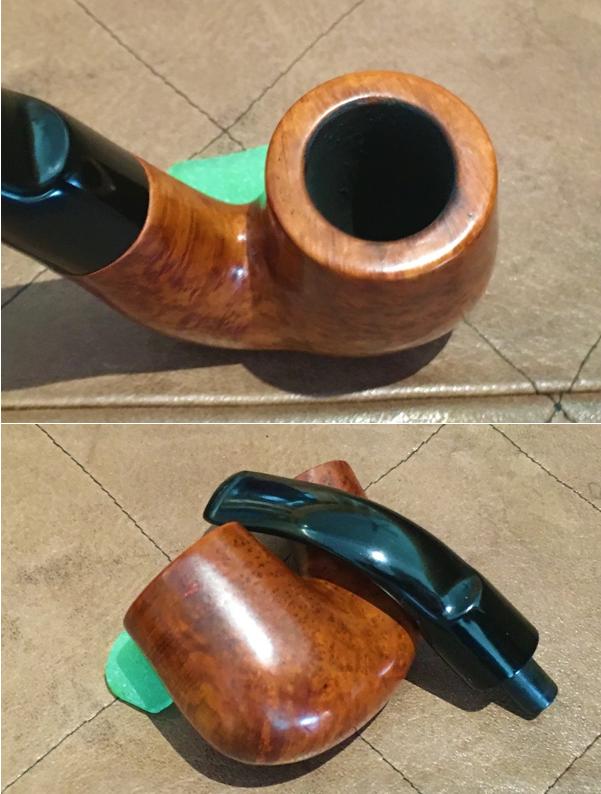
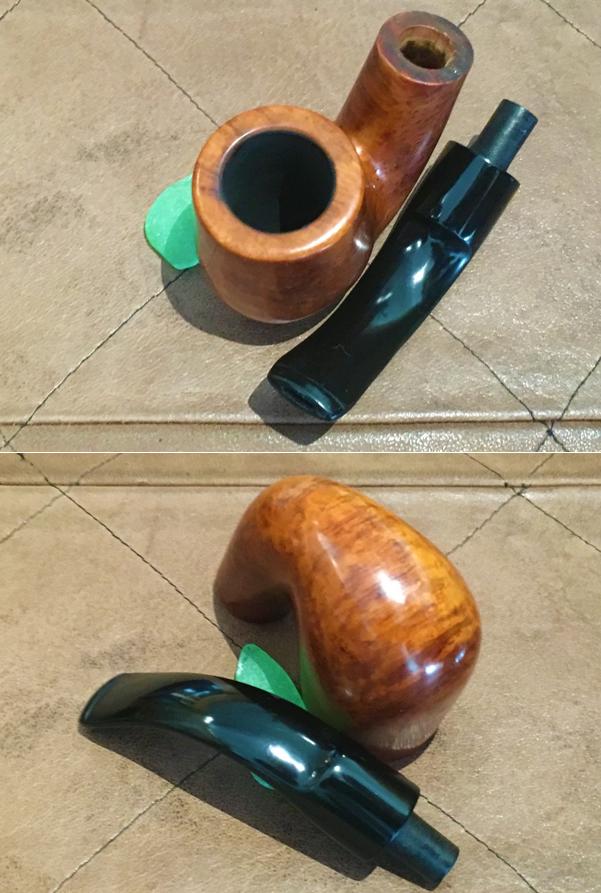
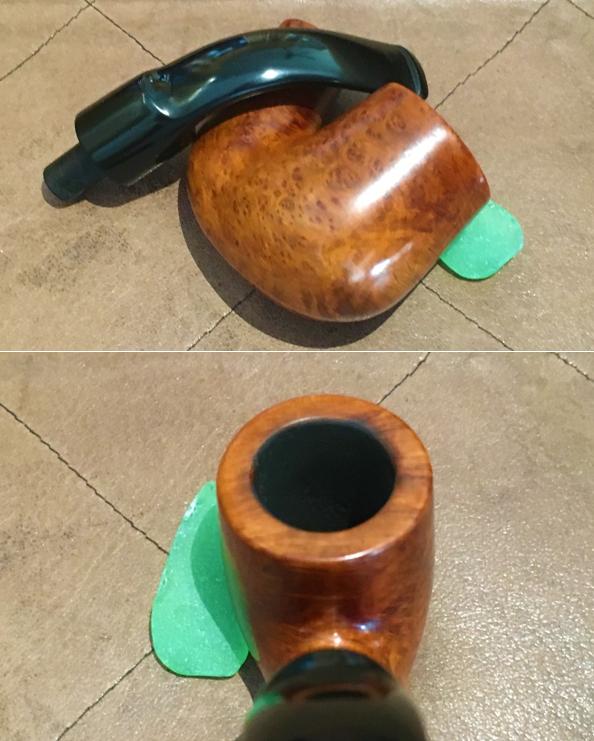
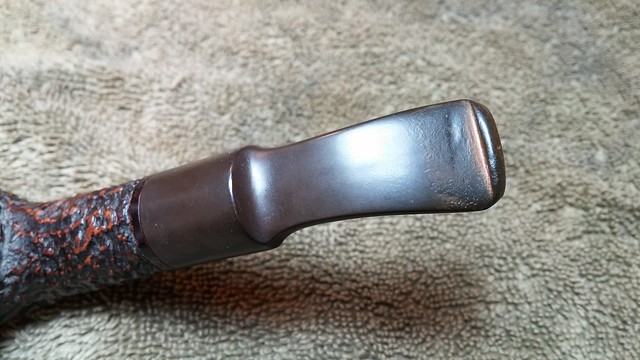
Whether (or not) the Oom Paul (Billiard) before me is a LHS London Royal, it is a very attractive pipe with quality grain movement. Overall, it is in good shape and I’m hoping an easier than normal clean-up and recommissioning. There are a few nicks on the rim and some fills that need attention. The chamber has very mild cake. The stem bit shows some tooth chatter and no oxidation that I can see. I begin the restoration of this possible, LHS London Royal by reaming the chamber bringing it to the briar for a fresh start. I also plop the stem into the Oxi-Clean bath even though there is no visible oxidation. Starting with the smallest, I use 2 of the 4 blades available in the Pipnet Reaming Kit. I follow with the Savinelli Pipe Knife to fine tune the ream then sand the chamber using 240 grit paper. I then wipe the bowl with a cotton pad wetted with isopropyl 95% to remove carbon dust. The pictures show the progress.
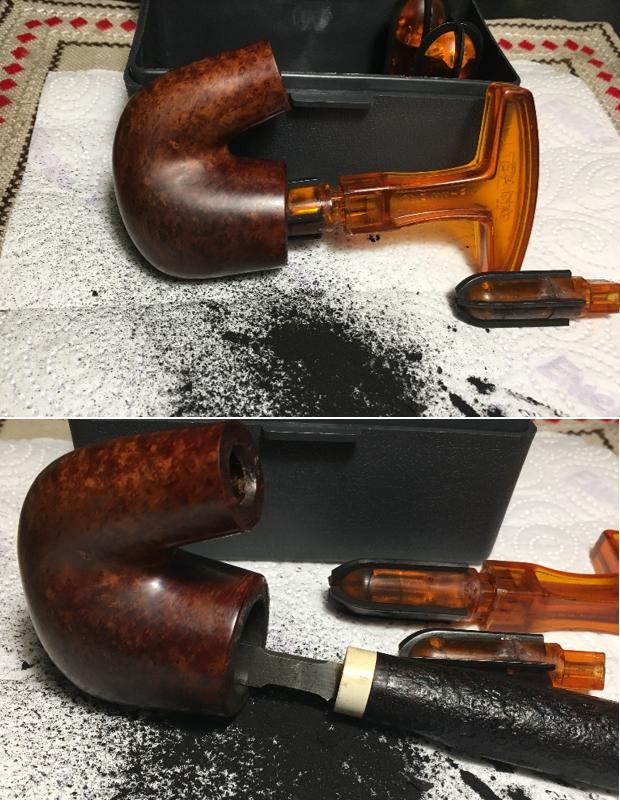
 Turning now to the internals, I use cotton swabs and pipe cleaners wetted with isopropyl 95% to clean. I discover the internals are pretty gummed up. With the hour becoming late I decide to use the stealth method of cleaning. I use kosher salt and alcohol to soak in the chamber overnight. I first twist a cotton ball to form a wick to stuff down the mortise to draw out the oils and tars from the briar. I then fill the bowl with salt and after placing my palm over the top give it a shake to displace the salt. Then I carefully fill the chamber with the alcohol until it surfaces over the kosher salt. I put it aside and turn the lights off. The pictures show the cleaning process.
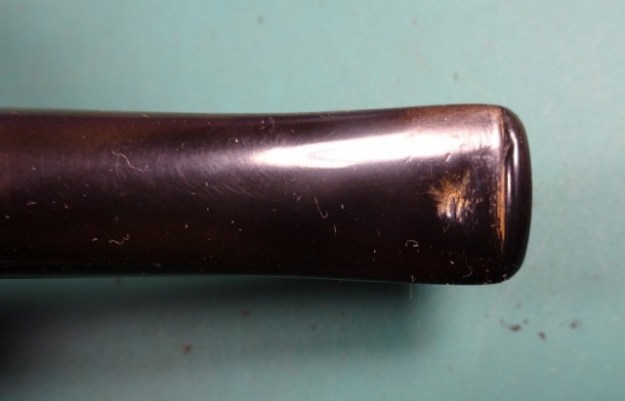
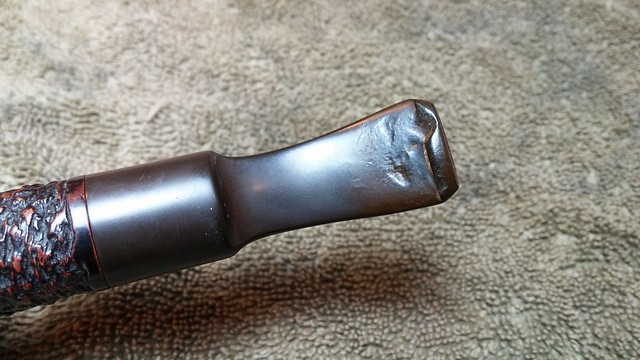
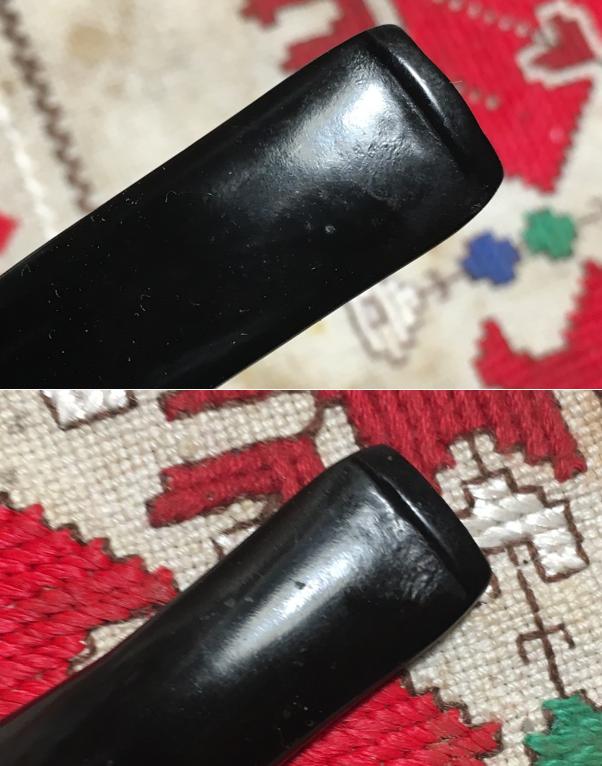
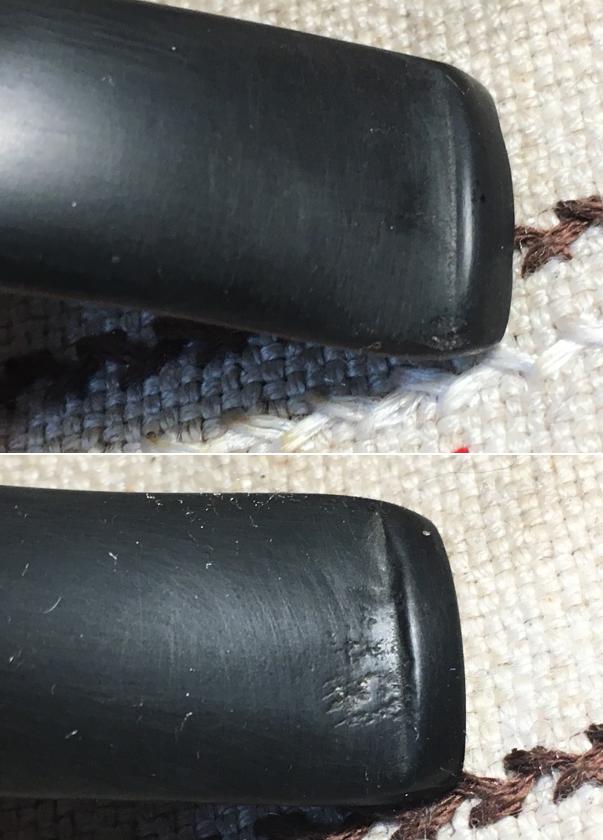
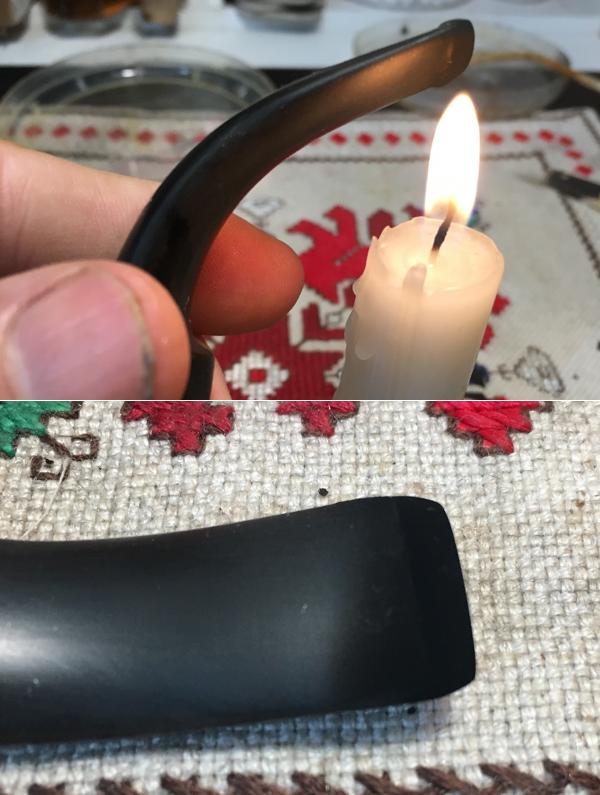
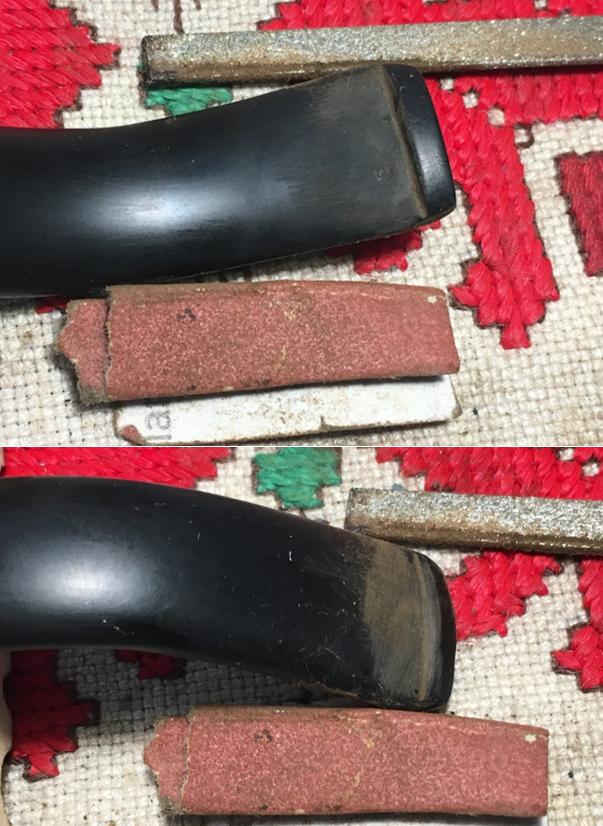
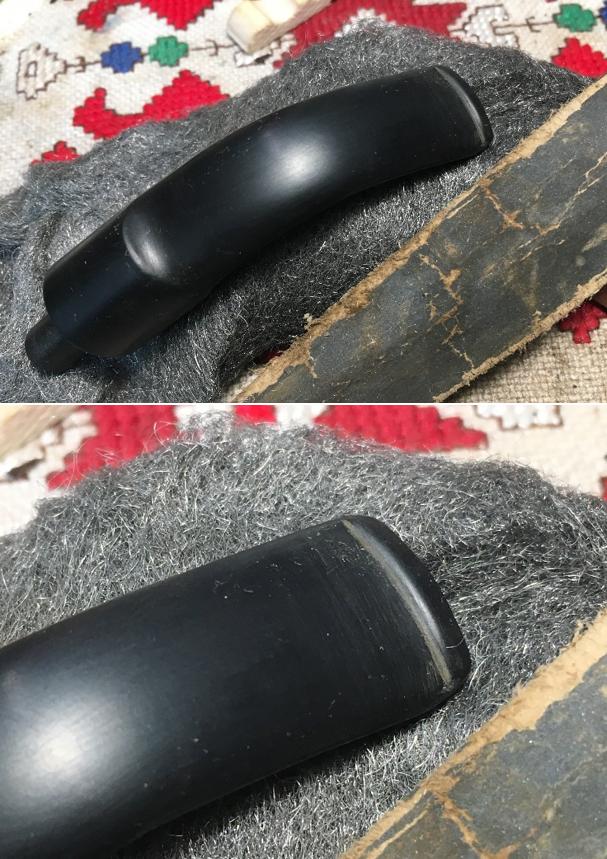
 Turning to the stem the next day, I remove it from the Oxi-Clean bath and even though it is minimal, the bath has successfully ‘raised’ oxidation to the surface. Using 600 grit paper, I wet sand the stem. Following this, I utilize 0000 steel wool to remove more and begin the polishing of the stem. I still detect some tooth chatter especially on the lower bit and a small compression dent on the upper. I use the heating method to raise the chatter by passing the end of the stem carefully over a lit candle. The vulcanite when heated like this will naturally expand and seek its original place. The heating helps, but I still need to do some sanding in the upper and lower button area using 240 grit paper. Using a flat needle file, I use the opportunity to sharpen the upper and lower button lips. Following the 240 grit paper, I use 600 grit to further smooth and polish then conclude with 0000 steel wool. The pictures show the progress.
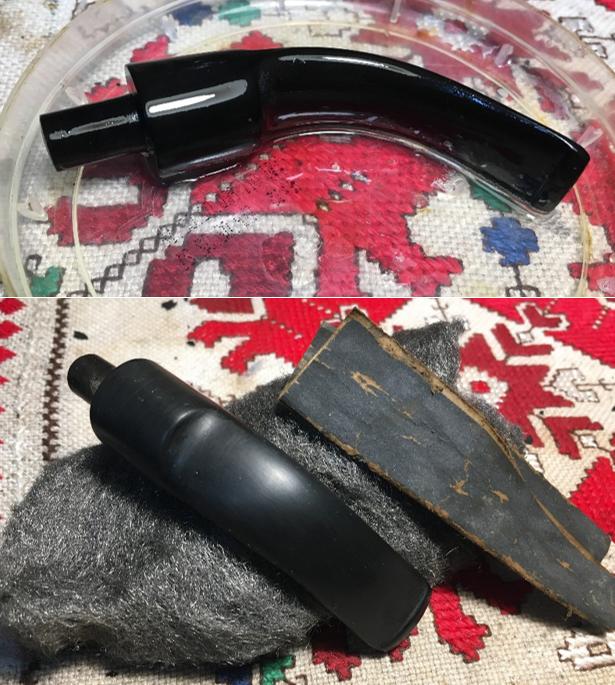
 The stummel has been in a kosher salt/alcohol soak through the night. Kosher salt is used because, unlike iodized salt, it does not leave an after-taste. I remove the wick from the shank and it has done its job of pulling oils and tars out of the stummel. I toss the used salt in the waste and clean the bowl with paper towel and a long-bristled brush. I also use a brush reaching into the mortise to remove residue salt. I follow by continuing use of cotton swabs dipped in alcohol and pipe cleaners to finish up the internal clean-up. The pictures show the progress.
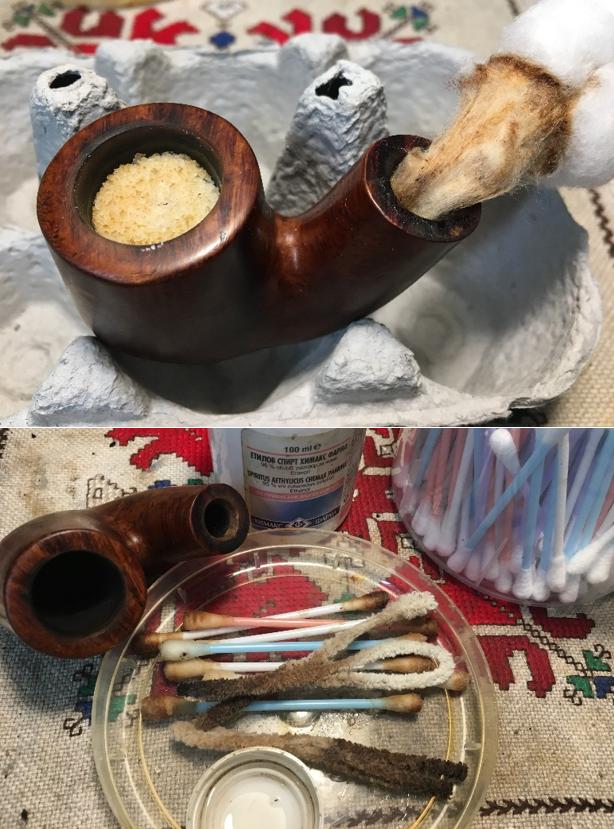 With the stummel internals cleaned, I turn to the internals of the stem. Using pipe cleaners dipped in isopropyl 95% I attack. It did not take long because the pipe cleaners emerged clean.
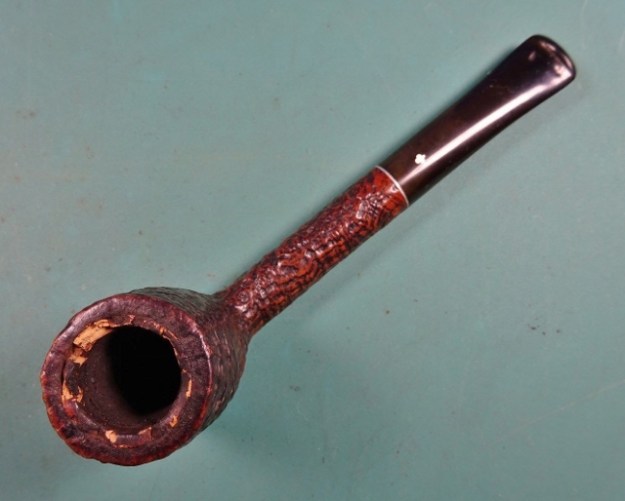
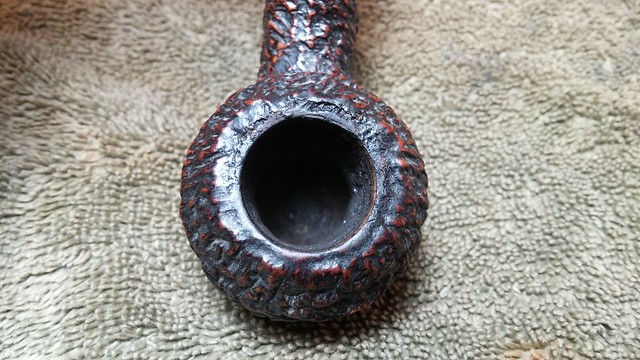
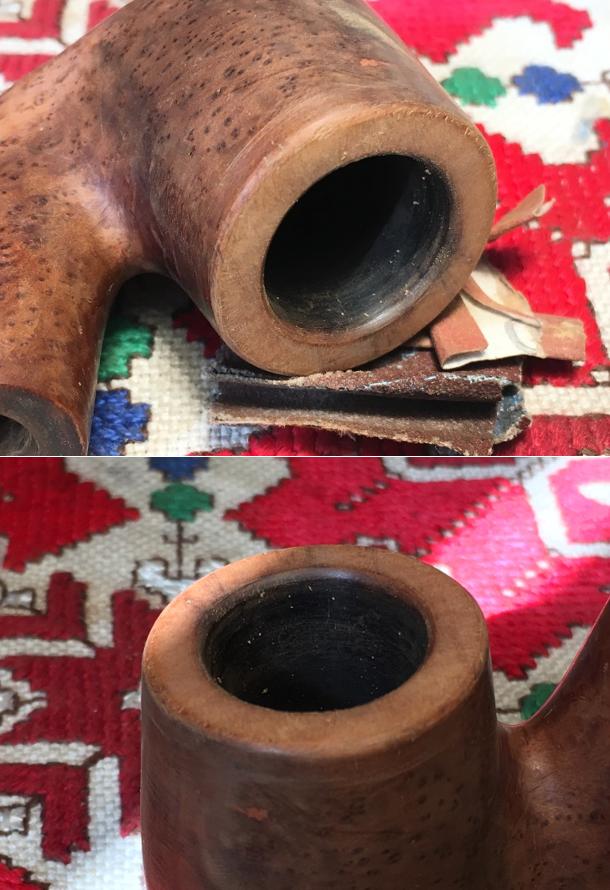
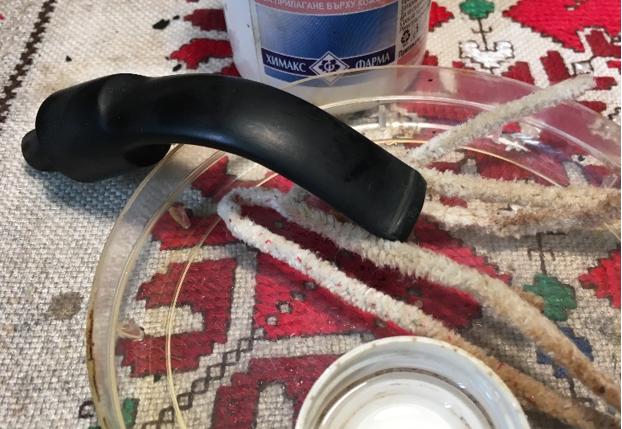 With the internals clean, I now turn to the stummel surface. I use Murphy’s Soap and cotton pads to clean the stummel surface. As advertised, Murphy’s does a great job cleaning the oils and grime that build up on the surface. After scrubbing, I rinse the excess off using tap water careful to keep water out of the internals. The cleaning reveals two fills on the surface which appear to be solid after I probe them with a sharp dental tool. The rim has a scorch mark over the 10 o’clock area in the picture below. There are also scuff marks at the 6 and 8 o’clock areas. The pictures show what I see.
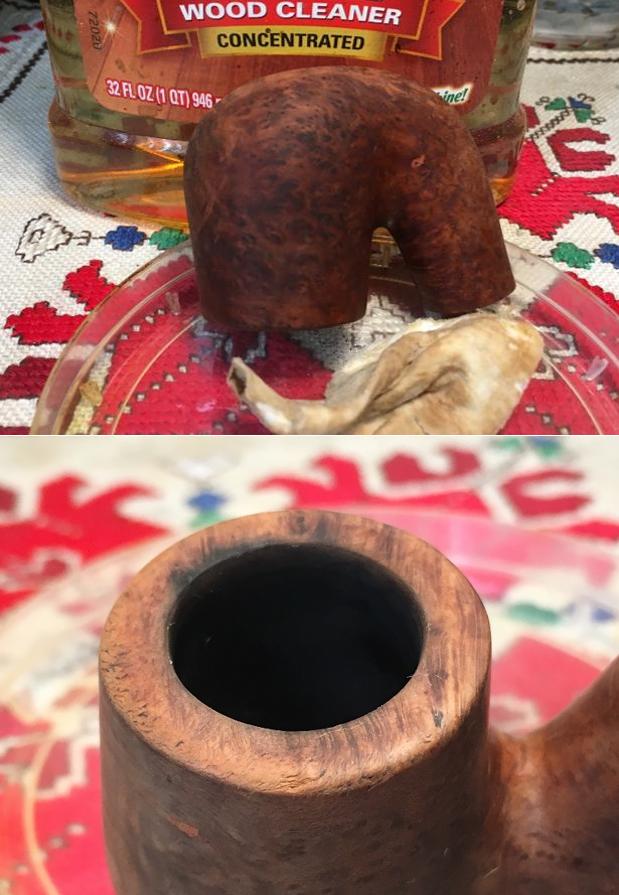 I decide to do a light topping using 240 grit paper on a chopping board. I don’t need to take off much – only enough to remove the scuffing and surface part of the scorching. I will make an internal rim bevel which will remove damage along the inner rim edge. It is a little tricky, because the shank extends beyond the height of the stummel top. I do the topping on the edge of the board as a result. After rotating the stummel on the topping board, periodically checking to make sure I’m staying true, I switch to 600 grade paper to smooth the top further. Using a coarse 120 grit paper, I cut an internal rim bevel to remove damage as well as soften the rim lines. I follow with 240 grit paper. On the outside rim edge, I give it a light bevel with 240 followed by 600 paper – again, removing the left-over nicks as well as softening the lines of the rim. I think bevels add a touch of class to a rim. The pictures show the rim progress.
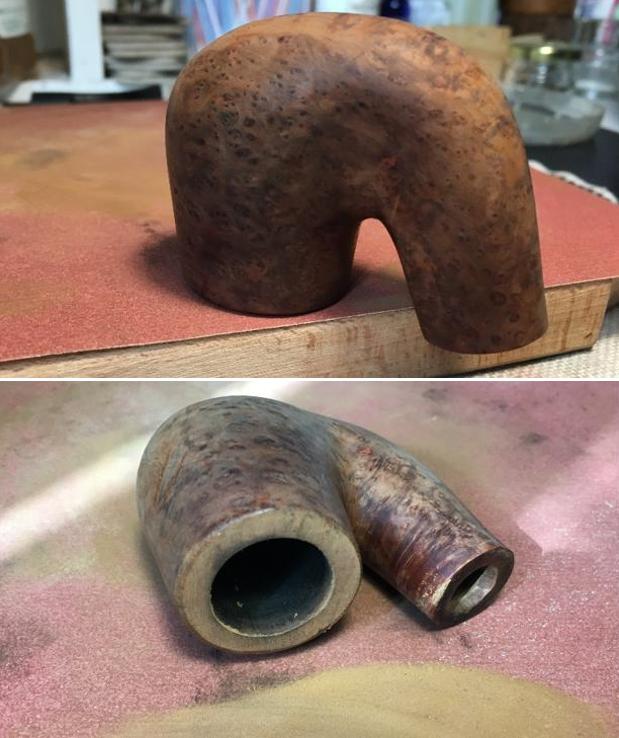
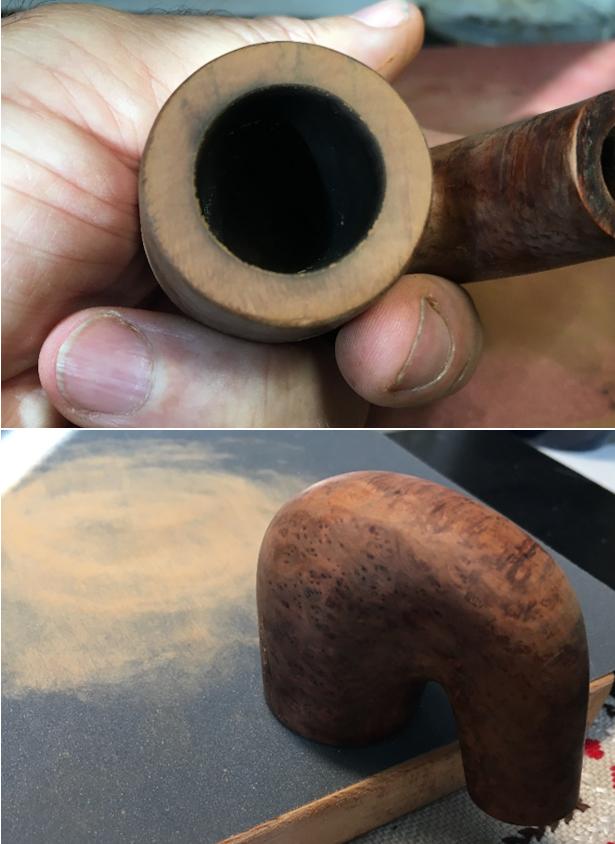
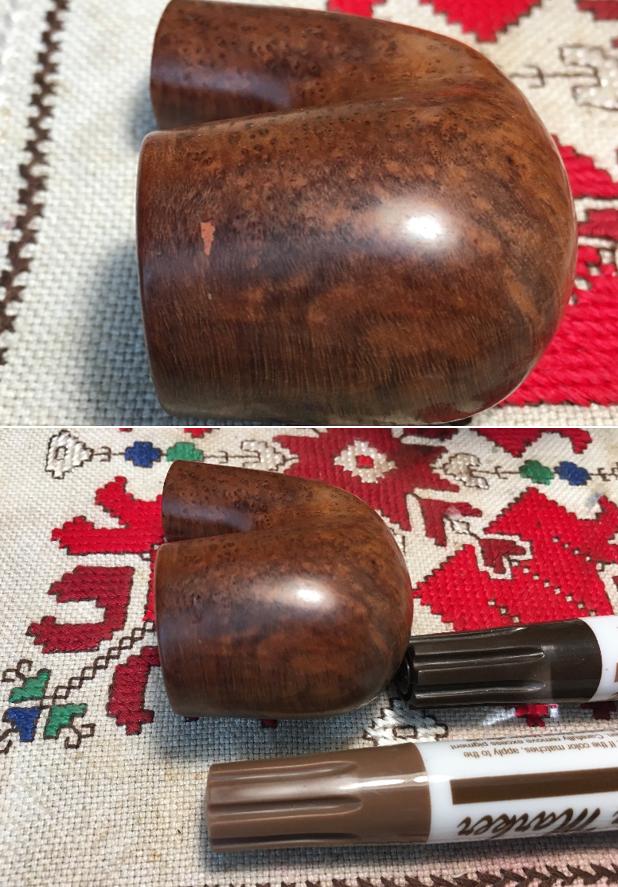
 With the rim repair complete, I move straightaway to the stummel surface. I’m anxious to see how the briar grain emerges during the micromesh pad process. I’m careful to stay away from the almost non-existent ‘London Royal’ nomenclature on the sides of the stummel. I want to preserve what I can. Using micromesh pads 1500 to 2400 I wet sand. I follow wet sanding by dry sanding with micromesh pads 3200 to 4000 and then finishing with 6000 to 12000. As hoped and expected, the pictures show the grain emerge. As I look at the grain, I’m beginning to think that this stummel is a candidate to remain as the natural grain color and not to stain. There are a few fills that I darken and blend with stain sticks. It looks good! I think Jen will like how this Full Bent Billiard (aka Oom Paul) is coming along. I’ll finish the stem before making the final decision about whether to apply a stain.

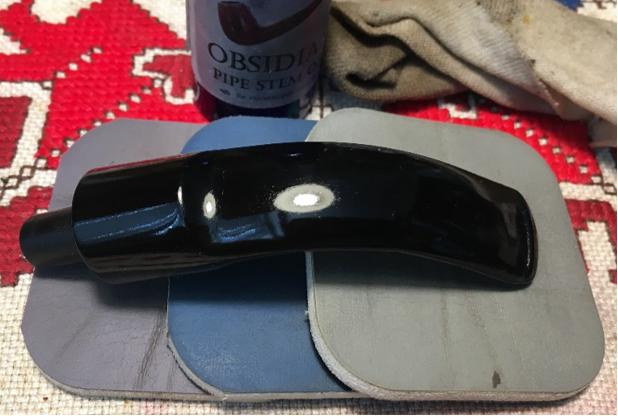
 Turning now to the stem, I wet sand using micromesh pads 1500 to 2400 then dry sanding using pads 3200 to 4000 then 6000 to 12000. After each set of 3 micromesh pads, I apply a coat of Obsidian Oil to the thirsty vulcanite stem. This oil revitalizes the vulcanite. I love the vulcanite ‘pop’ as the pads do their magic!
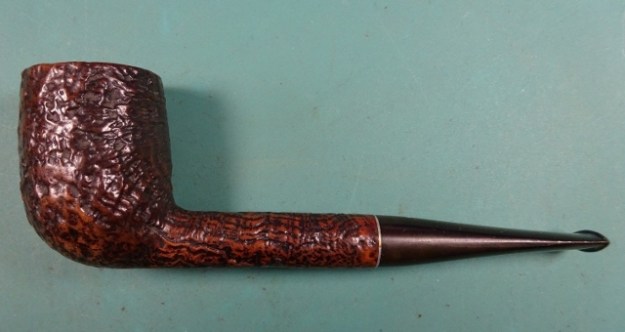
 Moment of decision. I reassemble stummel and stem to get a look at the big picture. The possible LHS London Royal Oom Paul is without doubt a handful of pipe. The grain presents bird’s eye on both sides of the stummel with lateral straight grain in the front and on the shank top and bottom. A very nice feel to it as well, as I hold it and balance it in my palm. The rim looks great too with soft beveled lines. Decision point – do I leave the stummel the natural grain color or do I stain it? If I stain it, I will use a light brown hue simply to tie together what is already there. The original appeared to have been leveraged toward the lighter hue as well. With some input from my wife, who has more color coordination DNA in her gene pool, I decide to stay with the original, natural, saddle, leathery color – leaving it just as it is.
 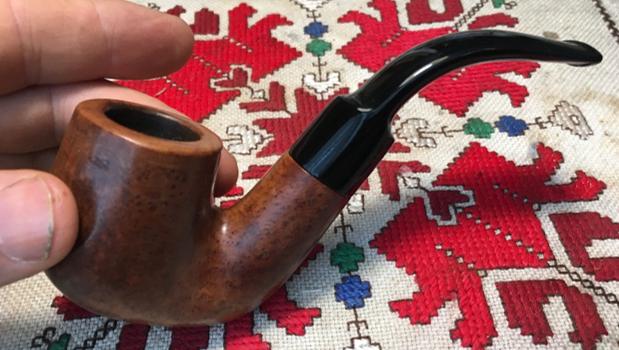 With that decision made, I fine tune and bring out the natural finish by using Tripoli compound which applies a fine abrasion, then Blue Diamond compound – more abrasion but finer than Tripoli. I use a cotton cloth wheel with the Tripoli compound (not my usual felt wheel) because I’m not cutting through the fired crust of a stained stummel. After mounting the buffing wheel on the Dremel, I set the speed at 2 of 5 (fastest) and purge the wheel to clean it from old compound. I apply the compound over the stummel, rotating the wheel over the surface, not apply a great deal of downward pressure. I let the compound and the RPMs do the work. After completing the Tripoli cycle, I attach the Blue Diamond compound cotton cloth buffing wheel, reattach the stem and stummel, and give both the Blue Diamond buffing using the same approach as with Tripoli. When completed, I hand buff the pipe with a felt cloth to remove the compound dust preparing for the wax. Then, switching to the carnauba wax cotton cloth wheel, also with Dremel set at speed 2, I apply several coats of carnauba wax to stem and stummel. During the carnauba wax application, I notice that the stem has loosened during the process. I use a technique of expanding the tenon a bit so that it gains more purchase in the shank from Charles Lemon’s blog site, Dad’s Pipes. The procedure usually uses a drill bit, where, after gently heating the tenon, a next larger drill bit is inserted into the supple tenon expanding it microscopically. Instead of a drill bit, I find that a Dremel shaping tool sized up a little better than the drill bit. After heating the tenon, the shaping tool eased into the tenon. It did the trick giving the tenon a better fit in the mortise. The pictures show this procedure.
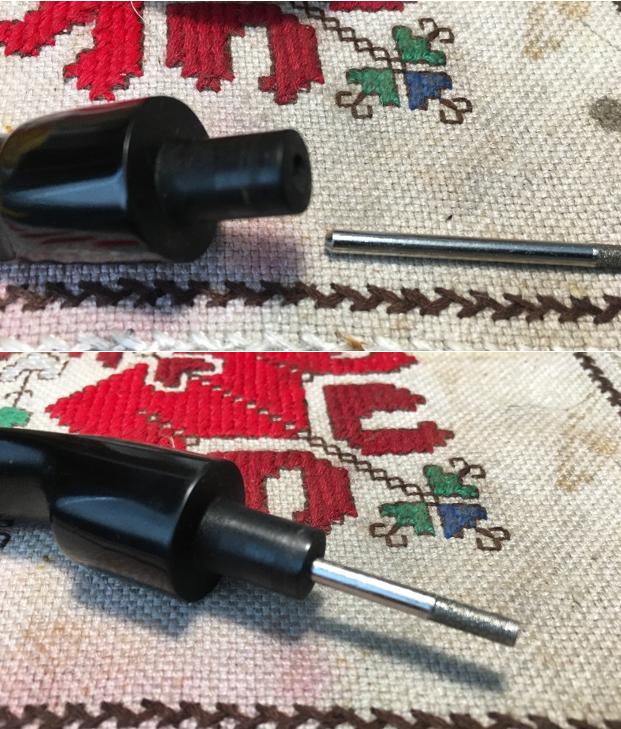 With the tenon now a bit snugger, I complete the application of the carnauba wax. After the carnauba cycles, I mount a clean cotton buffing wheel on the Dremel and do a ‘clean’ buff over the entire pipe. I do this to assure that no pockets of wax are left on the surface and to raise the shine. After this, I hand buff the pipe using a micromesh cloth to deepen and raise the shine of the briar grain more.
This possible LHS London Royal Full Bent Billiard, Oom Paul has turned out very well. I think that whichever of Jen’s family of men receives this pipe, he will enjoy it for many years to come as its new steward. As I said earlier, the profits of this pipe benefit the work we do here in Bulgaria with women who have been sexually exploited and trafficked, the Daughters of Bulgaria. Check out my blog, The Pipe Steward, for more information about this. Thanks for joining me!