Blog by Steve Laug
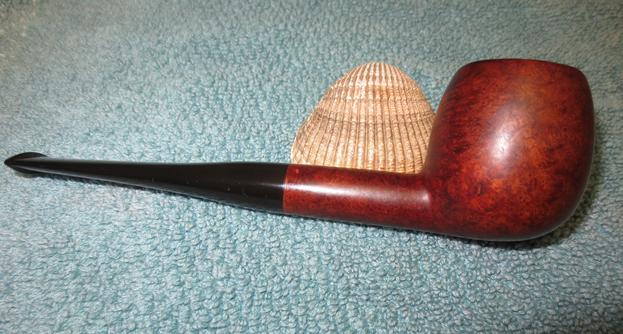
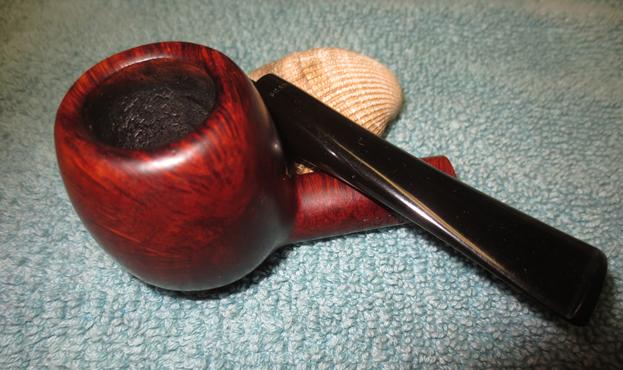
Finally the final pipe from the estate lot is on the work bench. When I get to the bottom of a box of pipes that I am working on it is a bit of a celebratory day. I have quite a few boxes of pipes here that I am working on so when one moves out it is a good day. It is a small apple shaped pipe with some nice grain on the front and sides – cross grain and birdseye. It is stamped IRC Dijon on the left side of the shank with three stars stamped on the stem side. On the underside of the shank is the shape number 169 on the briar and France on the vulcanite at the stem/shank junction. The stamping on the shank and stem was clear and readable. From what I can find on-line Iwan Ries has a variety of companies make their pipes – Savinelli, Benton, Big Ben and an unknown French maker. This one is stamped France on the stem so at least the vulcanite stem is French Made. The Dijon name also is the name of a French city.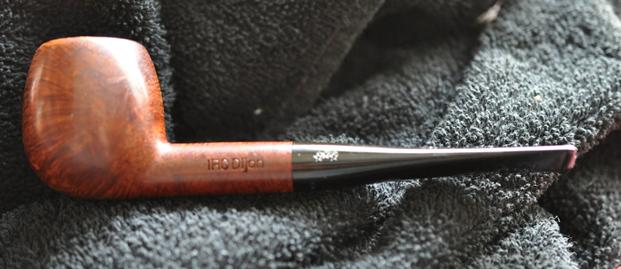 The pipe had a fairly thick cake and the lava had flowed over the top of the bowl. I was hoping the tars on the rim top had protected it from damage. It was thick enough that it was hard to see if the inner or outer edge was damaged.
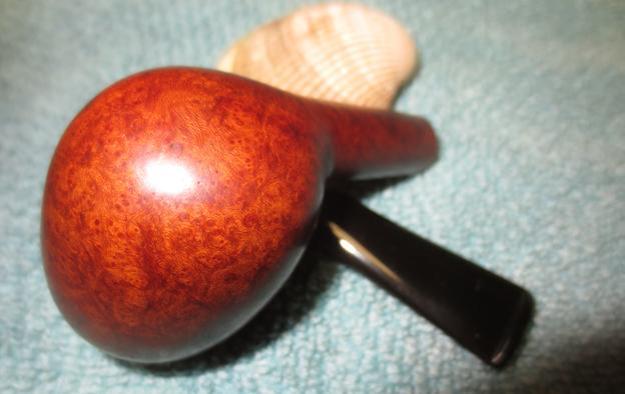
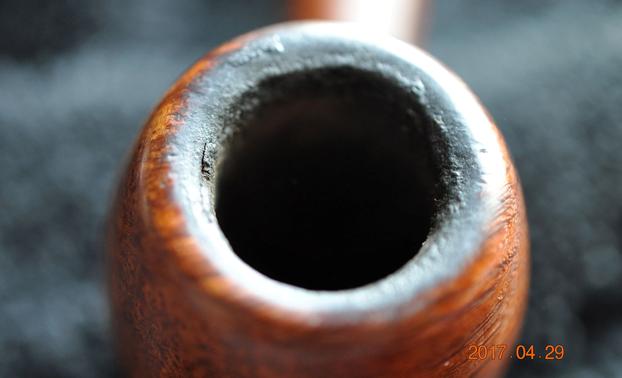 The next photos show the condition of the bowl and the quality of grain around the bowl sides and bottom. There were two major fills on the bowl – both sides toward the bottom and a small one on the top left of the shank near the stem/shank junction. The two larger fills were shrunken leaving the surface feeling dented and in need of repair.
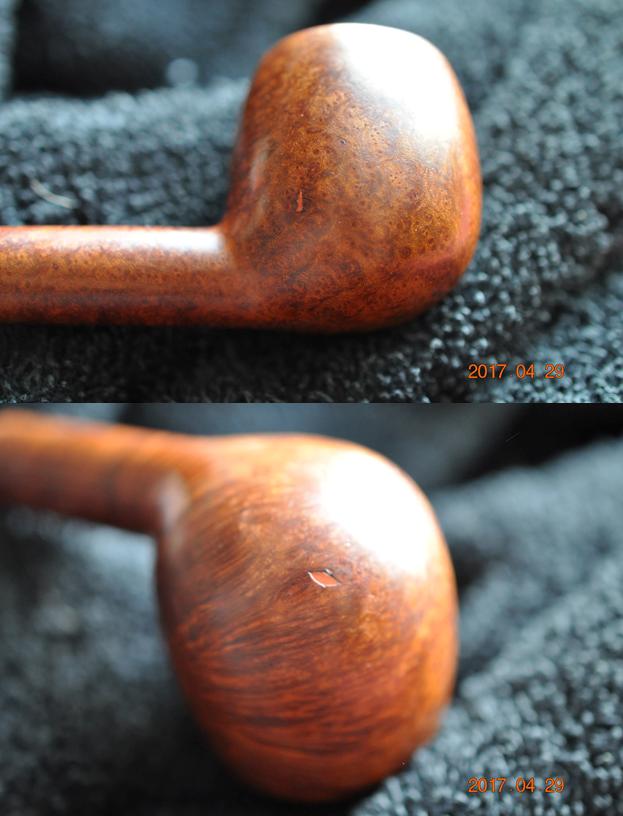
 My brother took some photos of the stamping on the shank – left side and underside of the shank and the stem. The stamping is very clear and legible. I took a photo of the three stars stamped on the left side of the stem and added it to the pre-clean photos.
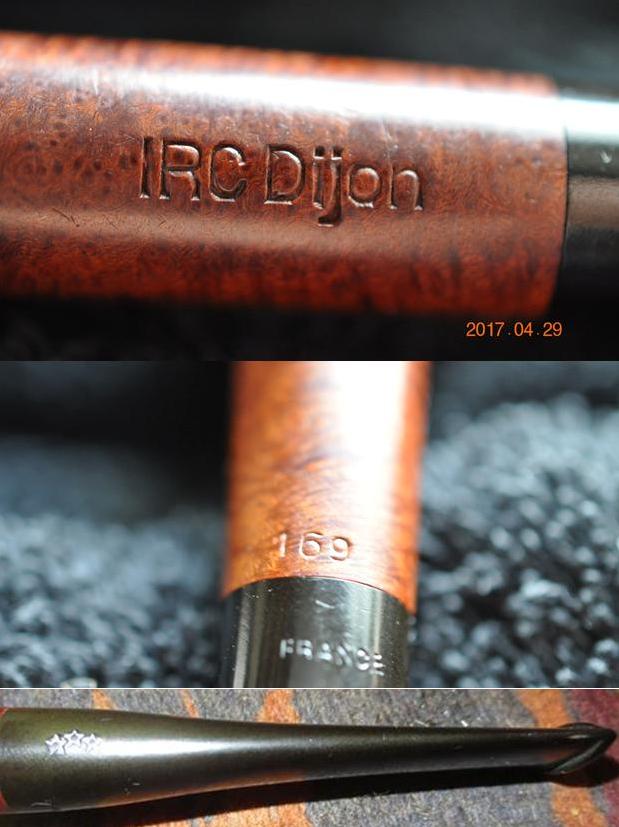 The stem showed the now familiar tooth marks and chatter on both sides near the button. I am going to miss the familiar tooth marks on the pipes now that I have finished them all. These were not too deep or damaging to the surface and took very little to remove.
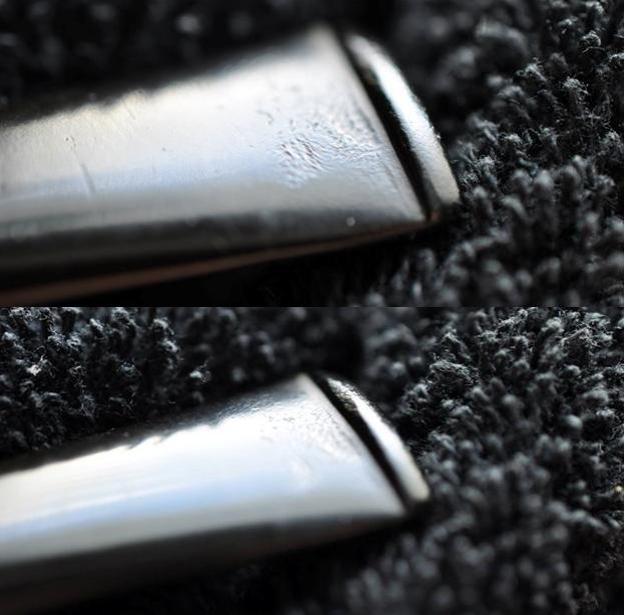 As usual and now to be expected my brother did his usual superb job on the cleanup of the pipe. It is really nice to be able to work on clean pipes. I don’t think too much about it until I get a repair that is in really dirty condition. I then wish that he was nearby so I could hand off the clean up to him. He does a thorough and meticulous job. He reamed the bowl with a PipNet reamer and took the cake back to briar. He scrubbed the rim and bowl with Murphy’s Oil Soap and removed the grime and the lava build up on the rim top. He cleaned out the mortise and the airways in the stem and shank with alcohol, cotton swabs and pipe cleaners. He soaked the stem in Oxyclean to raise the oxidation to the surface. I took photos of the pipe when it arrived in Vancouver to give a clear idea of the condition of the pipe when I received it. Thanks Jeff for the work you do!
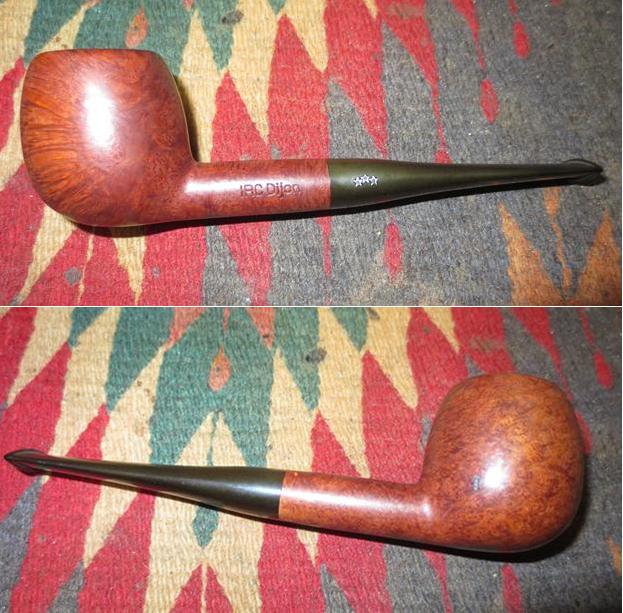
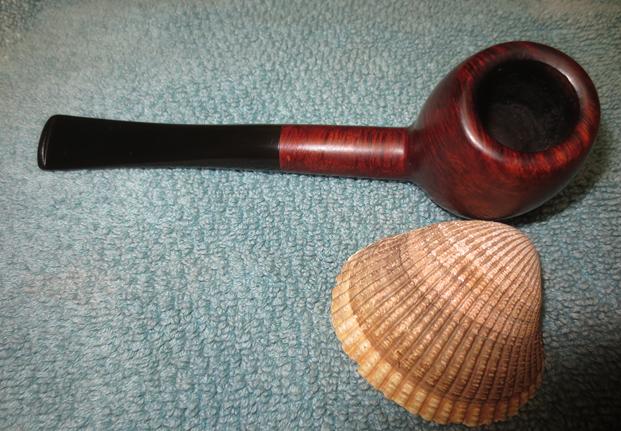
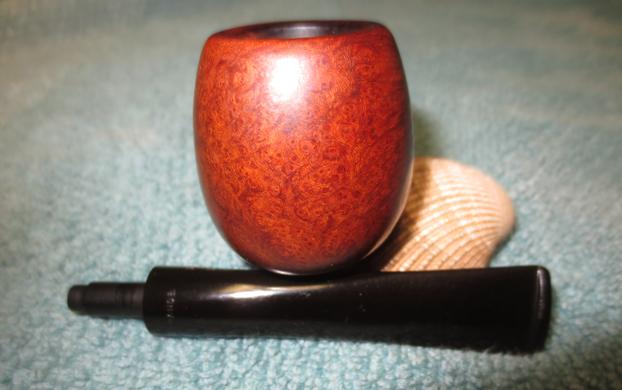
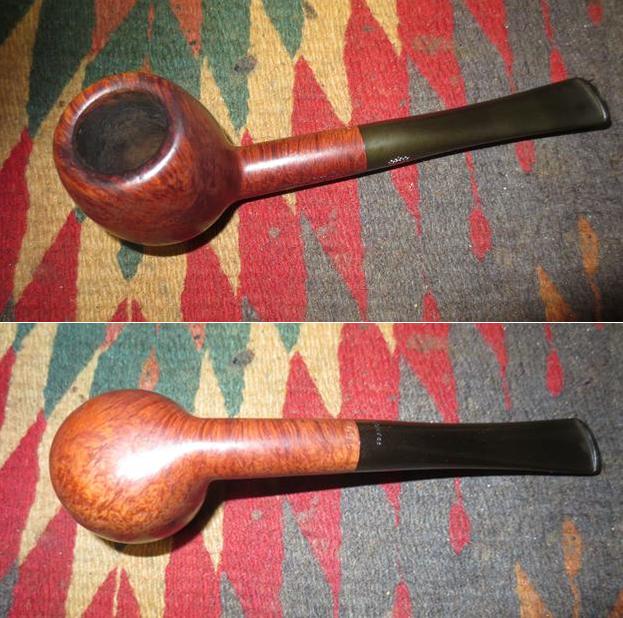 I took a close up photo of the bowl and the rim to show the condition. The bowl is clean and not as darkened in the bottom quarter of the bowl. The rim top is clean and the out and inner edge of the bowl is in undamaged condition.
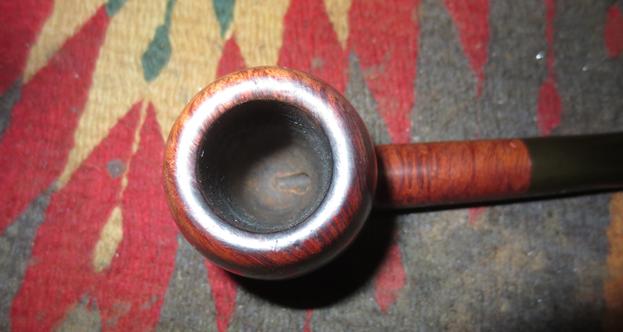 I took photos of the stem to show the tooth marks and the oxidation on the surface. This stem was in the best condition of the lot. There were a few small tooth marks and chatter on the stem surface in front of the button and on the surface of the button itself.
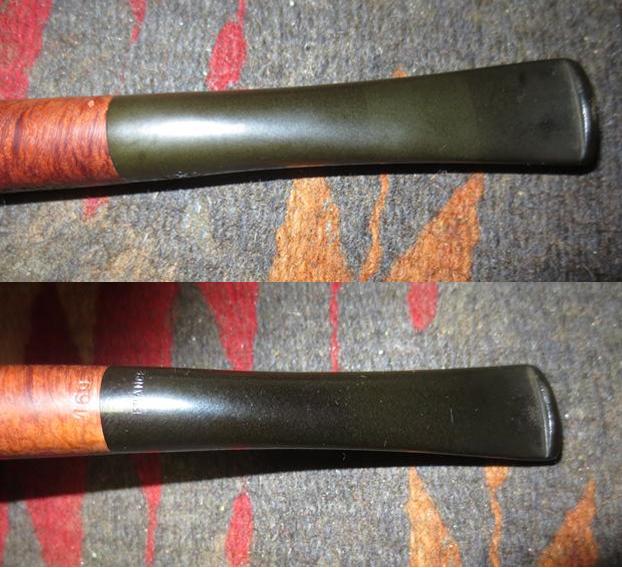 I used a black Sharpie pen to darken the shrunken fills and filled them in with clear super glue. I overfilled the divots so that when they dried even. Once the glue dried I sanded the repaired areas with 220 grit sandpaper to blend them into the surface of the briar.
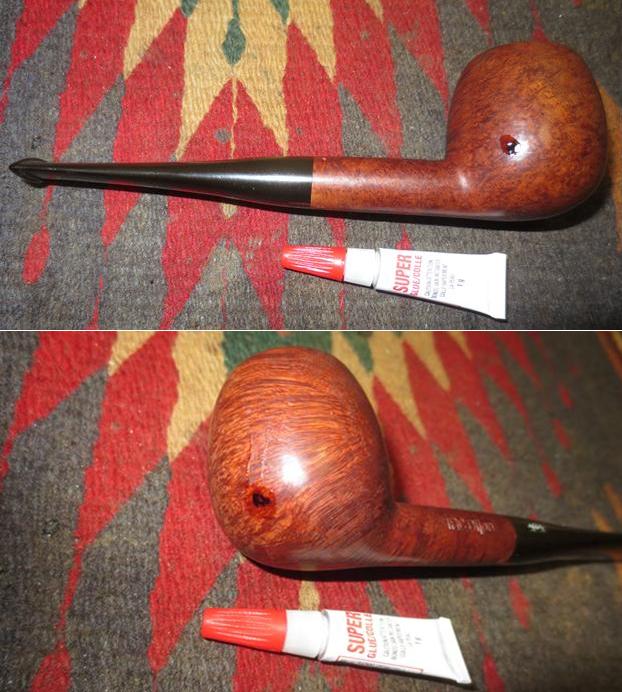
 I polished the sanded areas with micromesh sanding pads – wet sanding the entire briar with 1500-2400 grit micromesh sanding pads. I dry sanded it with 3200-12000 grit pads. I touched up the light areas with a medium brown stain pen and waxed the bowl with Conservator’s Wax. I buffed the bowl with a microfibre cloth to raise the shine.
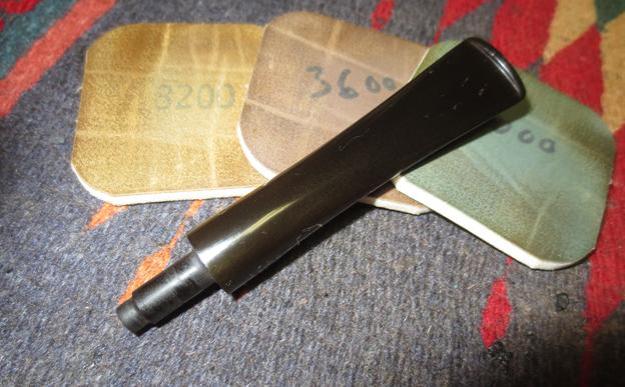
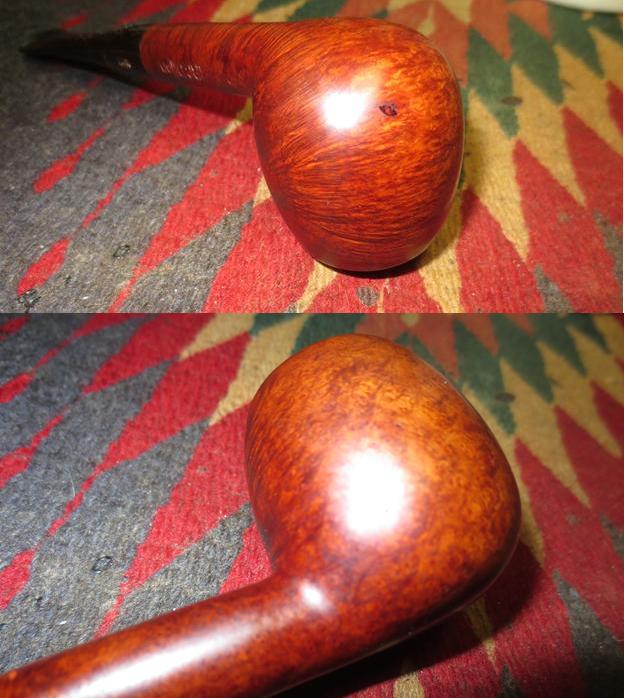 I sanded out the tooth chatter and marks with 220 grit sandpaper. I sanded the oxidation with the sandpaper as well and wiped the stem down with a damp cloth to remove the sanding dust.
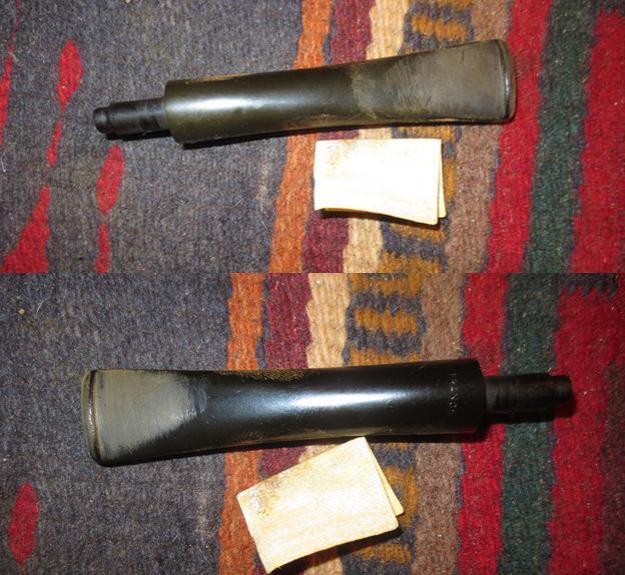 I polished the vulcanite stem with micromesh sanding pads – wet sanding with 1500-2400 grit pads and dry sanding with 3200-12000 grit pads. I wiped the stem down with Obsidian Oil after each sanding pad. I buffed the stem with red Tripoli after the 4000 grit pad and before the 6000 grit pad. I gave the stem a final coat of oil after the 12000 grit pad and set it aside to dry.
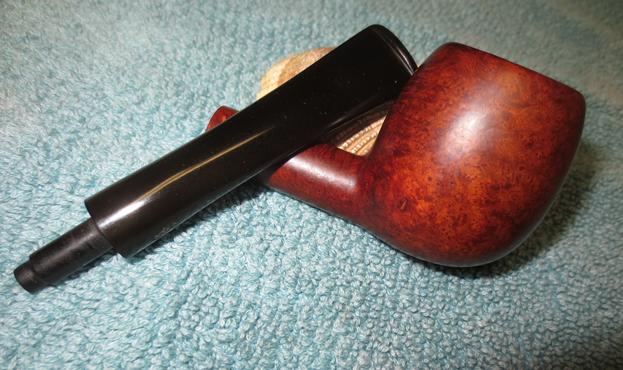
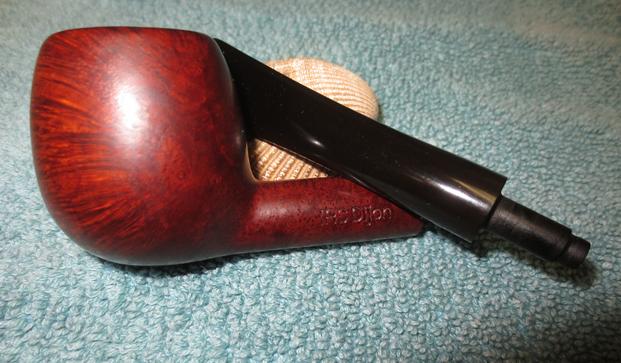
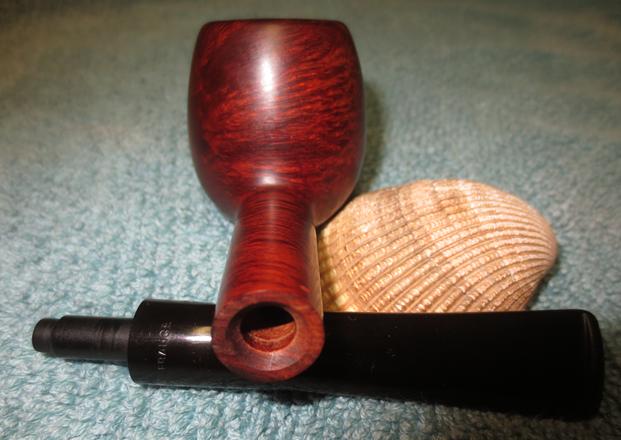
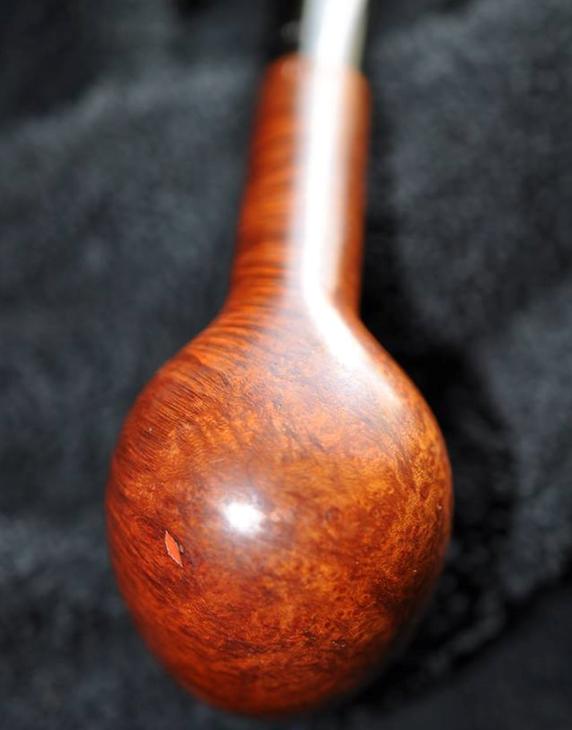
 I put the stem back in place in the shank and buffed the bowl and stem with Blue Diamond on the buffing wheel. I gave them both multiple coats of carnauba wax, buffing between each coat of wax with a clean pad. After the last coat of wax I buffed it with a clean buffing pad a final time to raise the shine. I hand buffed the bowl with a microfibre cloth to deepen the shine. The finished pipe is shown in the photos below. The dimensions of the pipe are Length: 5 3/4 inches, Height: 1 ½ inches, Outer diameter of the bowl: 1 1/8 inches, Chamber diameter: 3/4 inches. This contrast between the smooth, polished, well grained briar with the black of the vulcanite give the pipe rich look. The bowl has been cleaned and the entire pipe is ready to smoke. I will be putting it on the rebornpipes store soon. If you are interested in adding it to your collection email me at slaug@uniserve.com or send me a message on Facebook. Thanks for looking.