Blog by Steve Laug
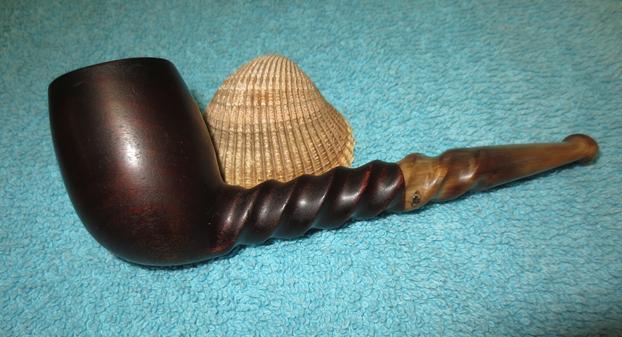
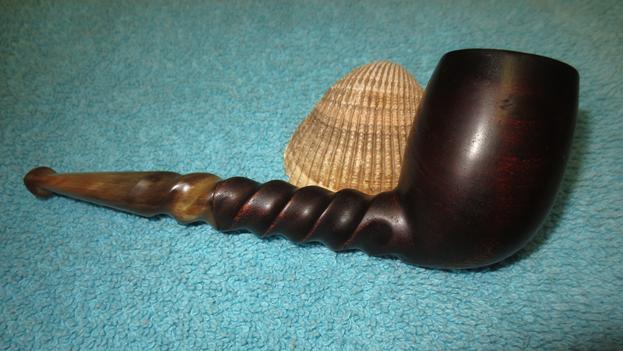
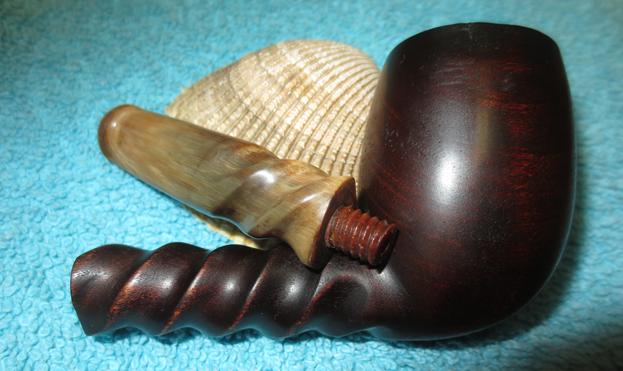
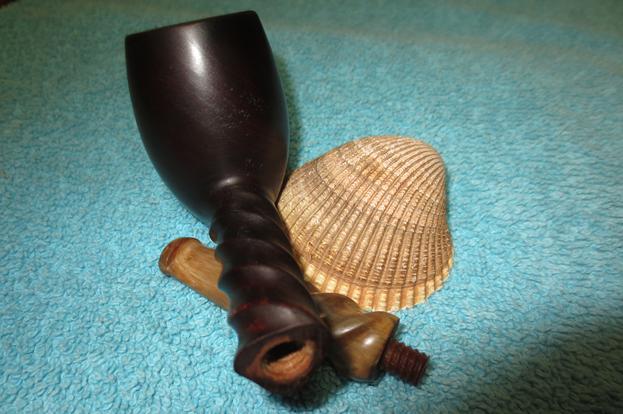
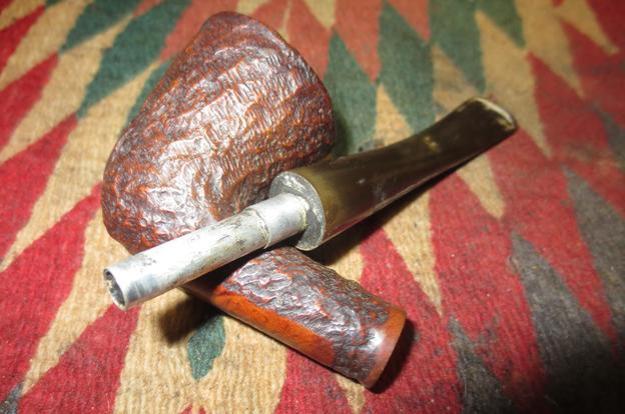
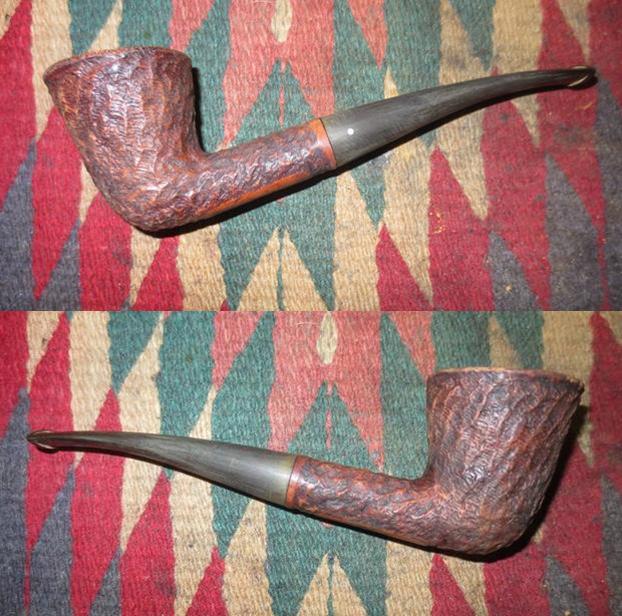
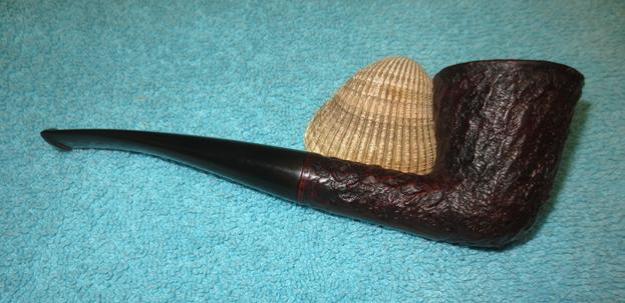
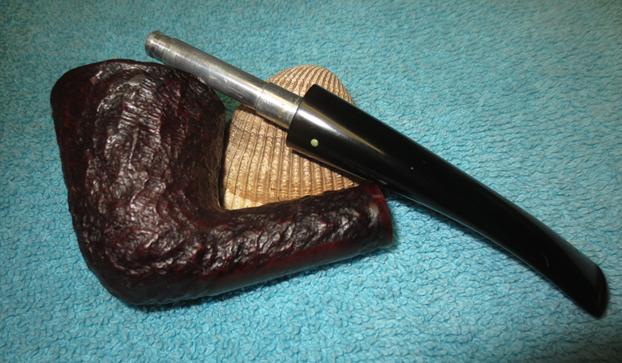
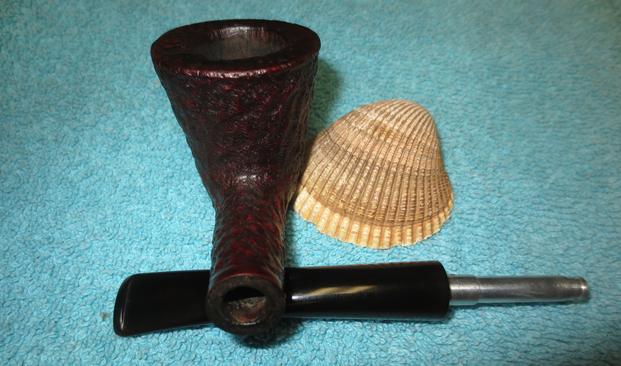
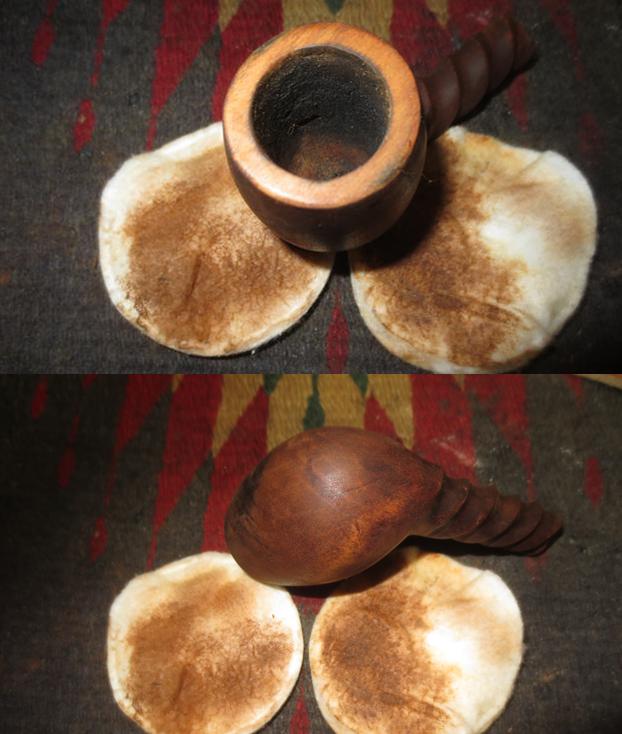
My brother Jeff visited an antique mall in Montana on one of his recent trips and found a lot of older pipes from the 1890s era. There were CPF, WDC and other older brand pipes with amber and horn stems. I wrote about how we used Apple Facetime so that I could be present on the hunt. It was an amazing time “in the shop” for me. The link to the blog on this hunt follows: https://rebornpipes.com/2017/04/26/a-virtual-pipe-hunt-a-new-way-to-experience-the-joy-of-a-pipe-hunt/. The first pipe that I chose to work on from the hunt was the one picture below. My brother took the following pictures of the pipe before he cleaned it up to send to me for finishing. It is a unique and interesting old pipe. The spiral shank continues through the horn stem. The finish on the bowl was worn and tired but the spiral shank and stem were undamaged. There was one deep “worm hole” in the left side of the stem in the bottom of a spiral that would need to be repaired but otherwise it was in pretty decent shape.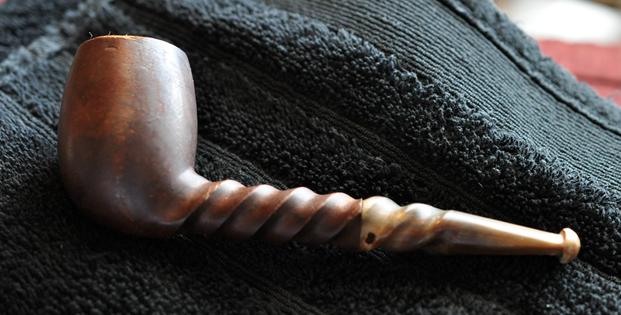 The photos show the overall condition and look of the pipe. Whoever carved it remains a mystery as there is no stamping on the shank or bottom of the bowl. It is unmarked so it is one of those unknown pipes. The difference is that this is not a homemade pipe it has the marks of a good pipemaker and the drilling is perfect from the stem forward.
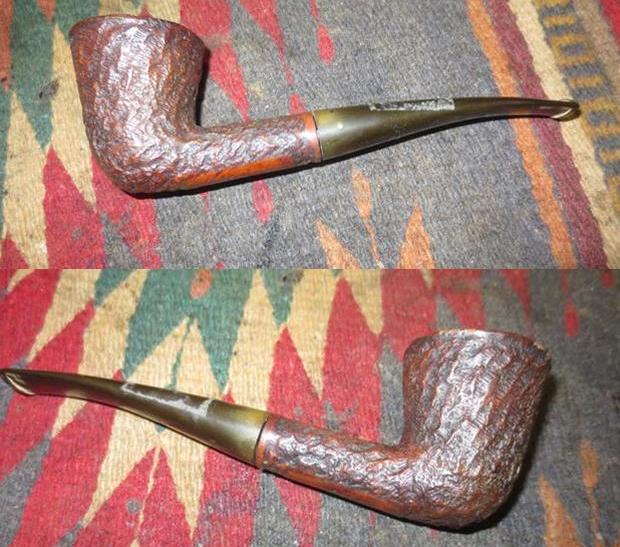
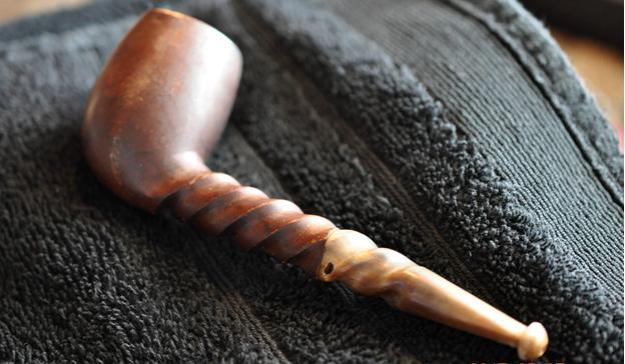
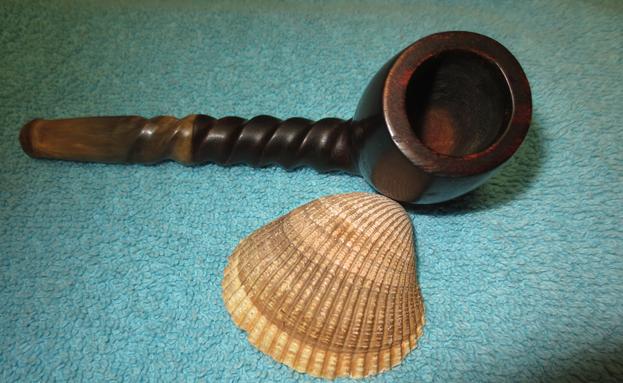
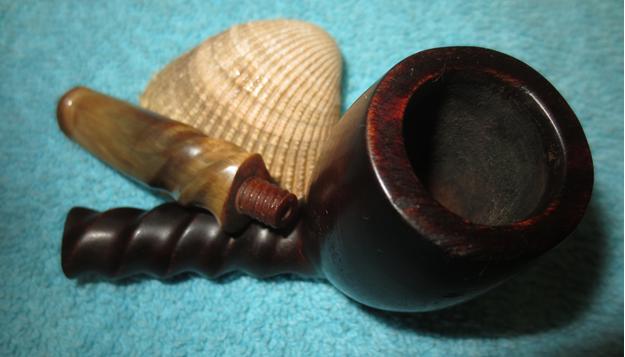
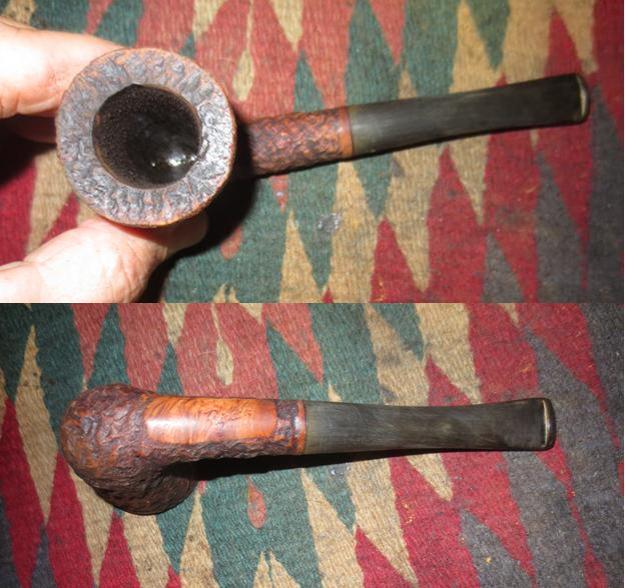
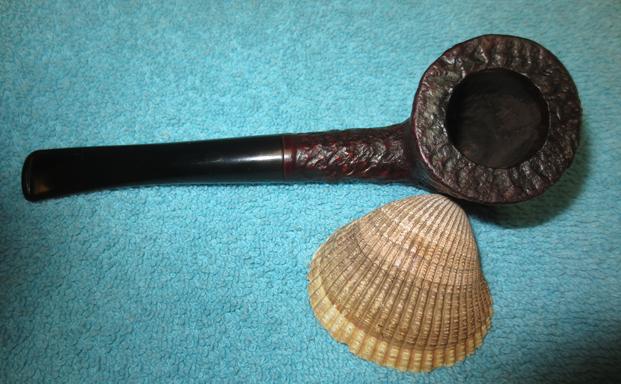
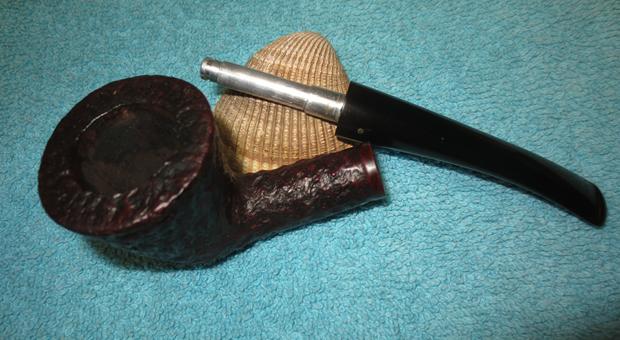
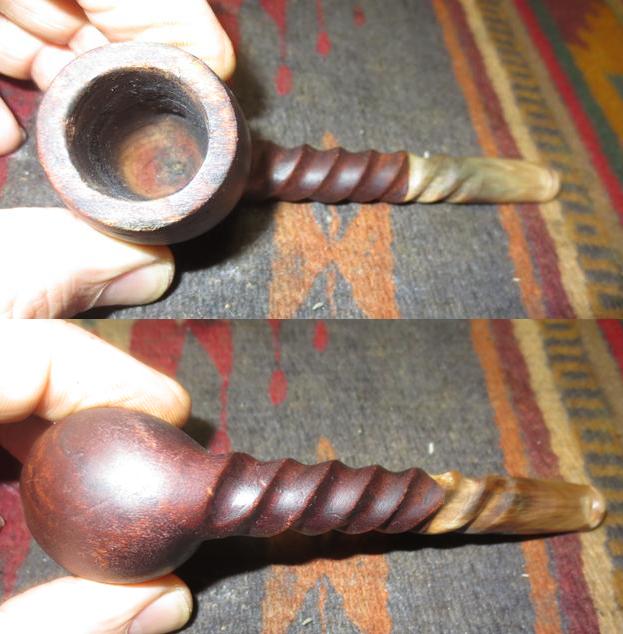
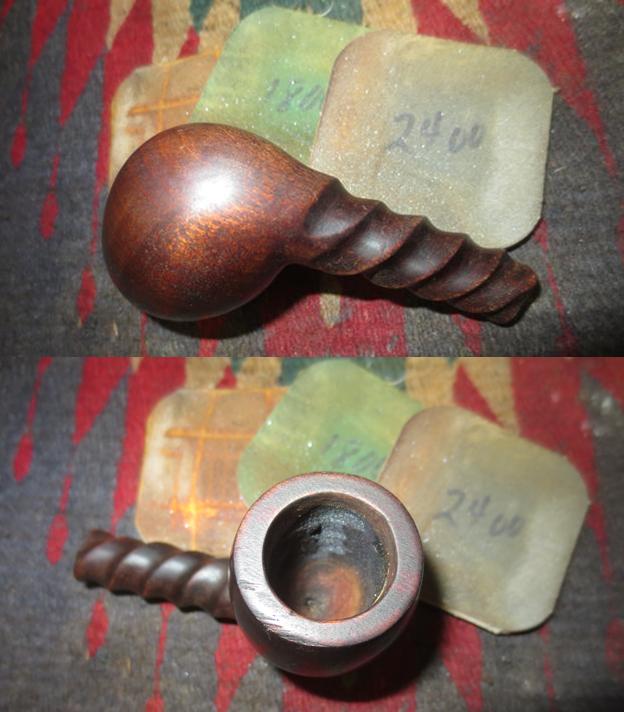
 The bowl was lightly caked and the rim had a tarry overflow on the top. The inside edge of the bowl was in great shape as far as I could see from the photos. The outer edge of the top had been knocked about enough that there was some damage and wear to it. The next two photos show the rim top and bowl.
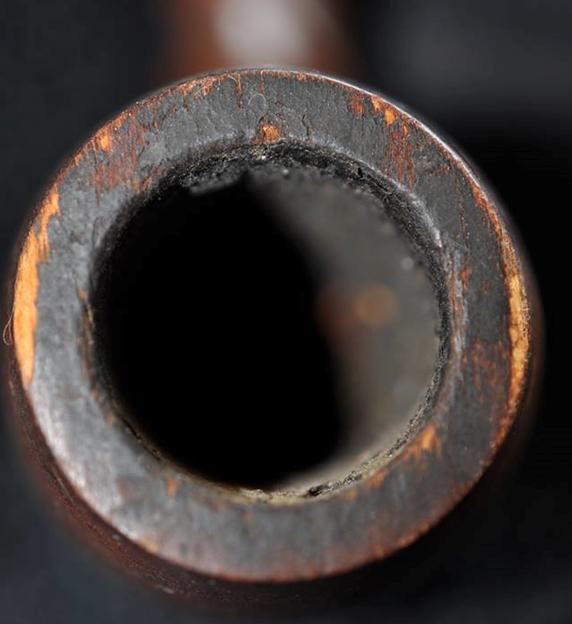
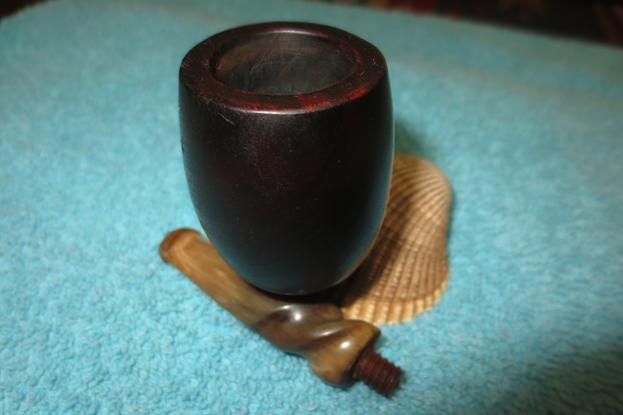
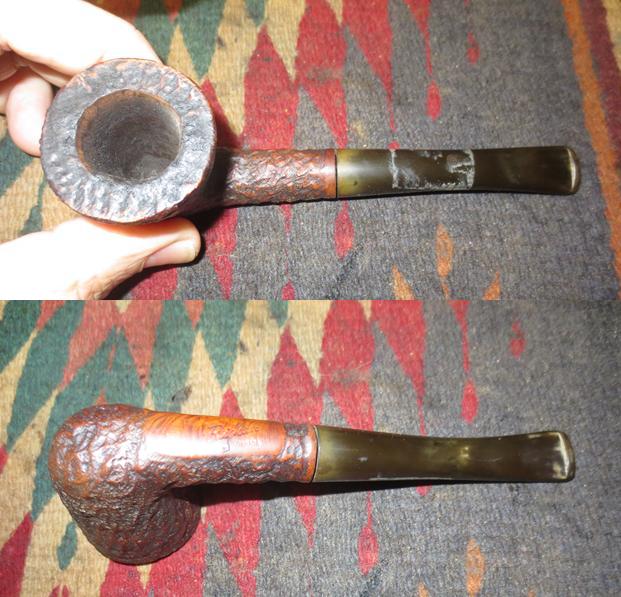
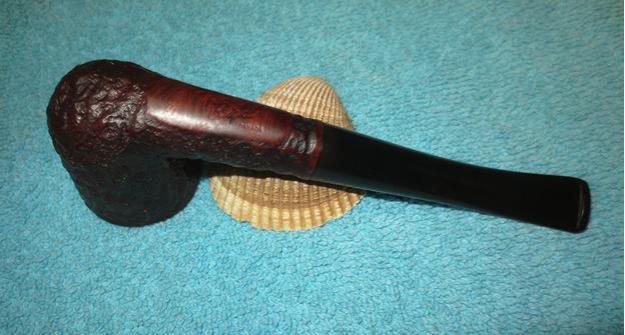
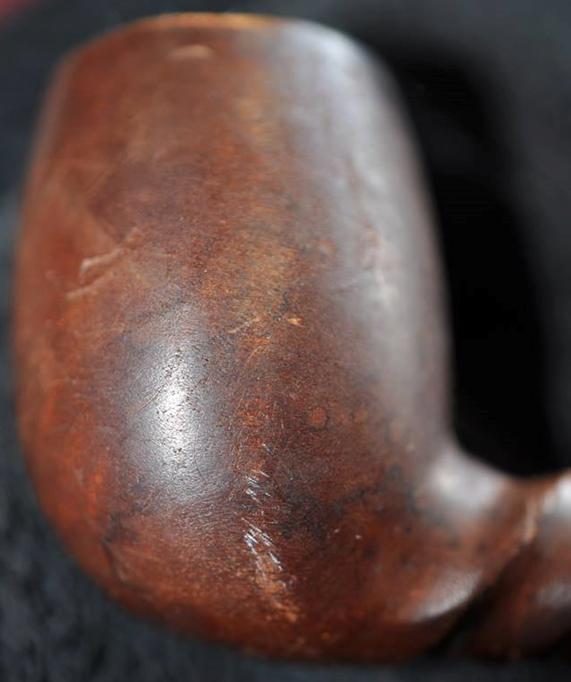
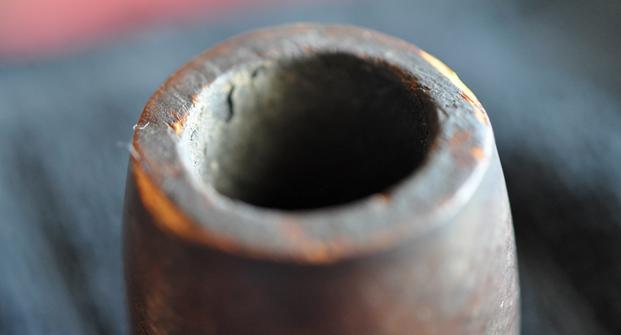 The finish on the outside of the bowl is worn and there are a lot of dents and dings in the surface of the wood. The photos lead me to wonder what kind of wood the pipe is made of because of the way the damaged rim looks.
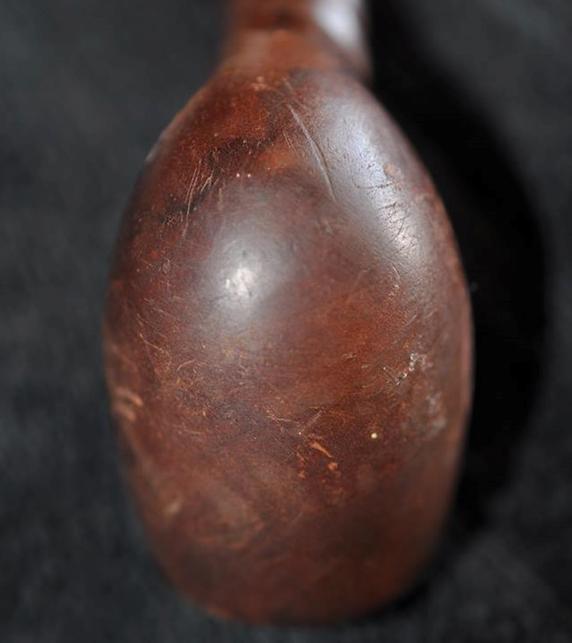
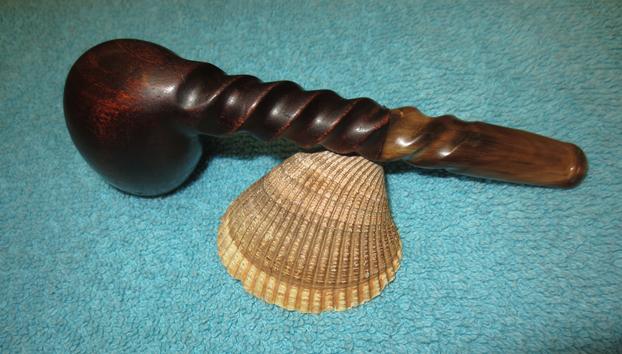
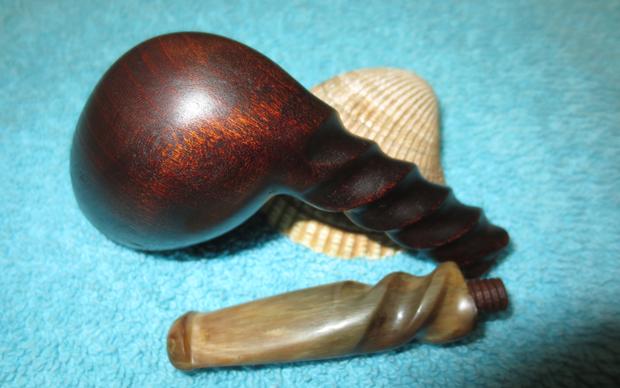
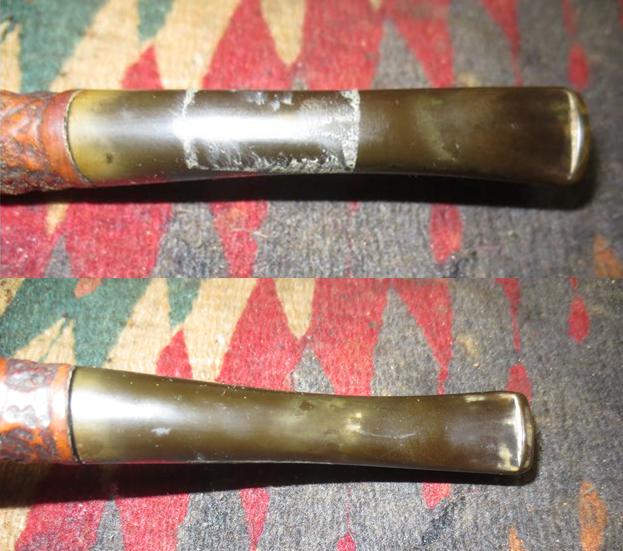
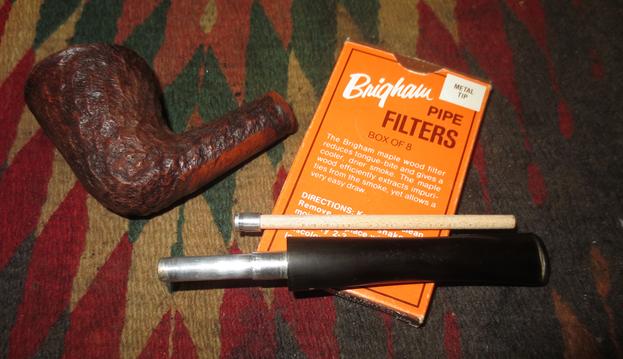
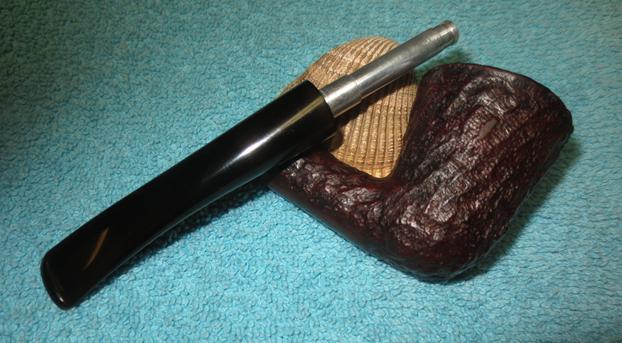
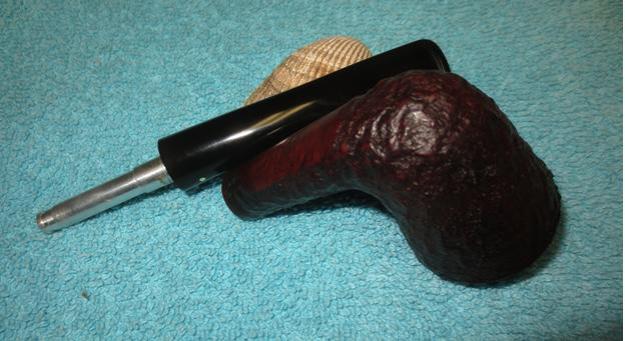
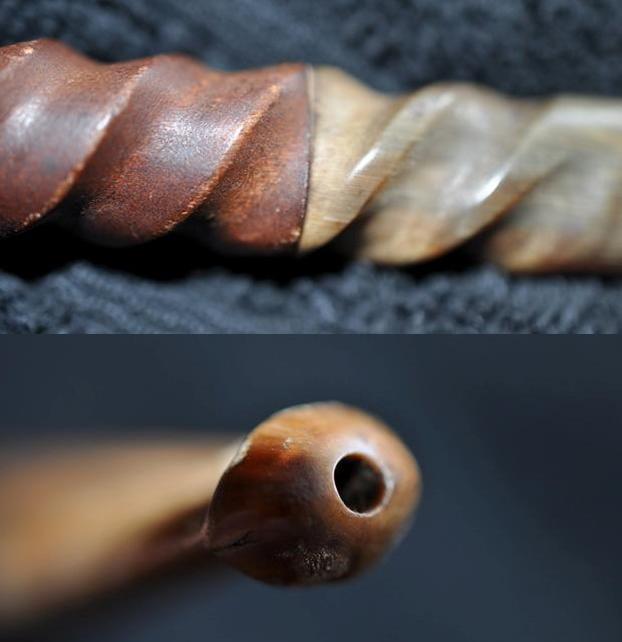
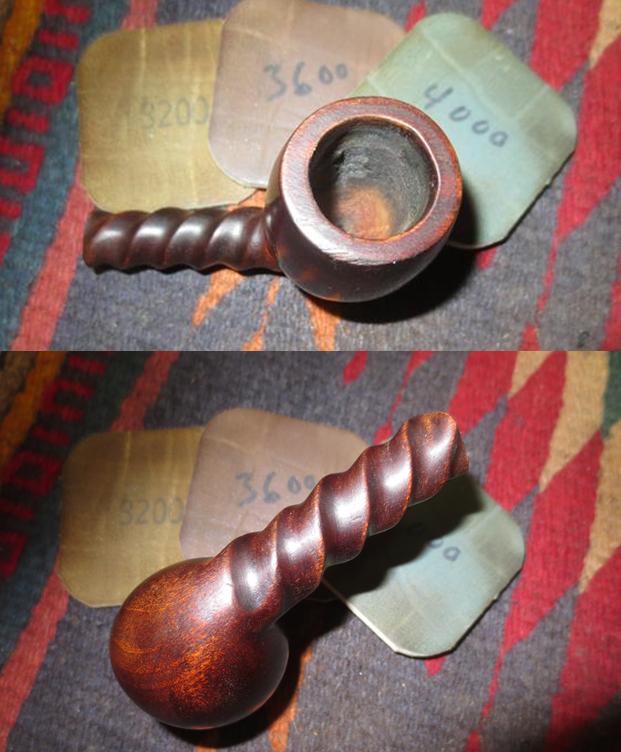
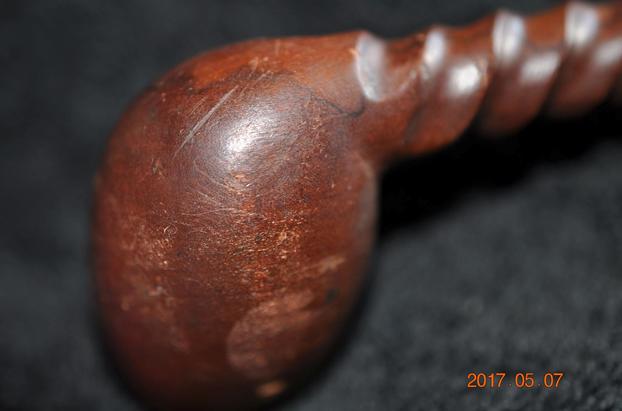 The next photos show the condition of the stem and the drilling in the button. The spiral continues from the shank through the stem seamlessly. The second photo shows the worm hole in the horn stem. It is deep but clean and the areas around it are undamaged. The junction of the stem and the shank is very tight and clean. The transition from wood to horn is smooth to the touch. The last photo shows the orific button on the end of the stem. It is clean, round and centered in the end of the crowned button. This older style button helps me date this pipe as early as I do above.
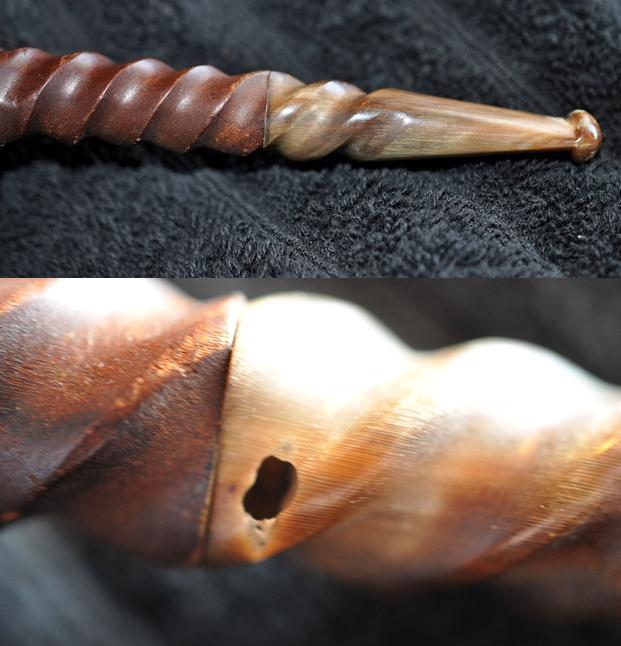
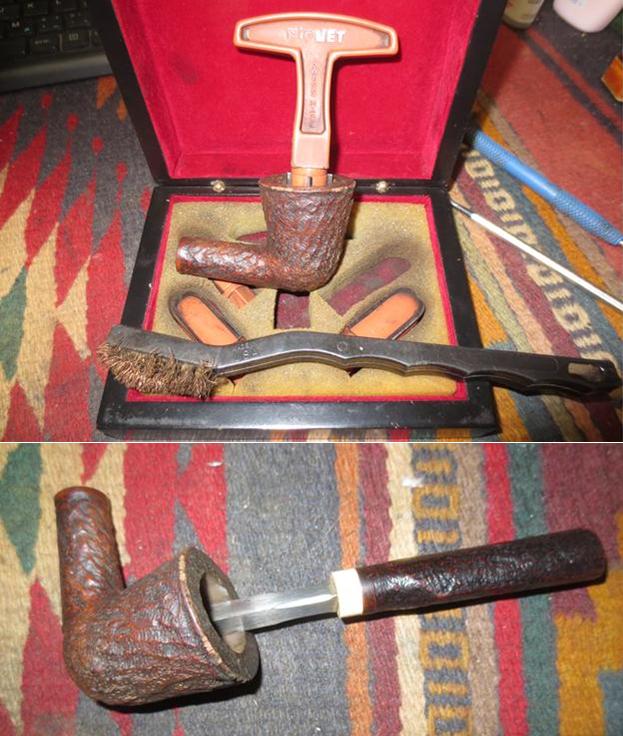
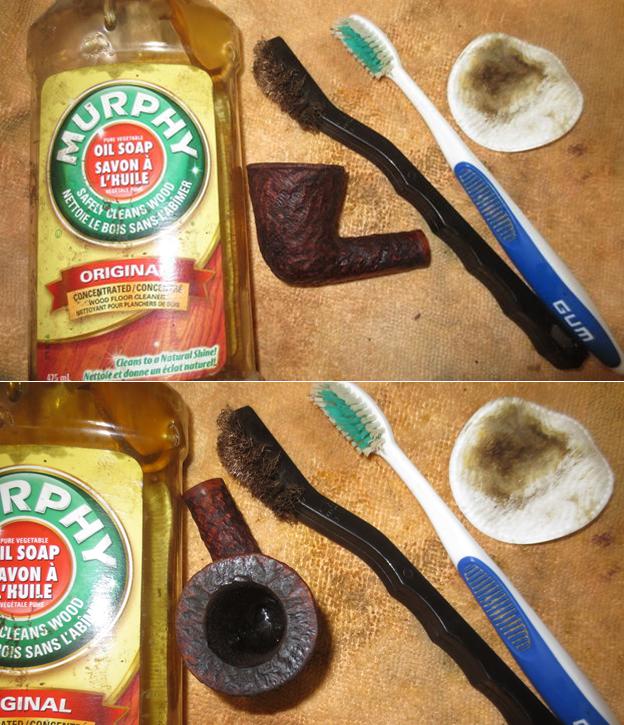
 My brother did his usual job reaming and cleaning the pipe. He reamed the bowl with a PipNet reamer and cleaned it with a Savinell Fitsall Pipe Knife. He scrubbed the internals with alcohol, cotton swabs and pipe cleaners to remove the grime in the mortise, shank and airway in the stem and shank. He scrubbed the exterior with Murphy’s Oil Soap and was able to remove all of the grime on the bowl sides and rim. The pipe came to me in great condition.
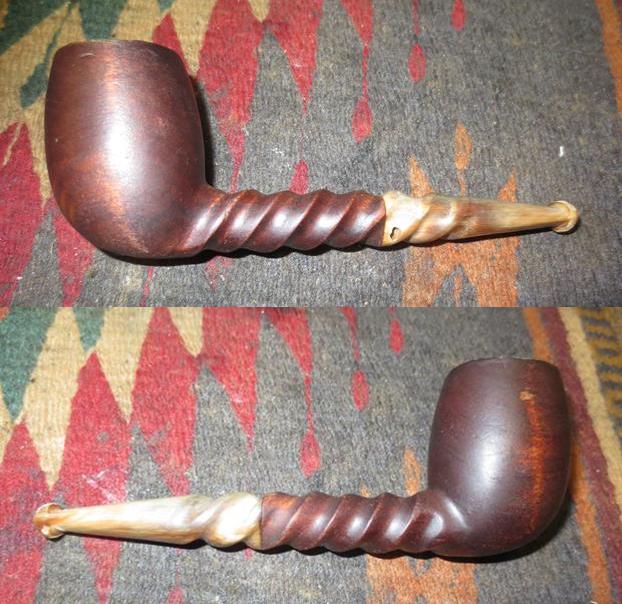
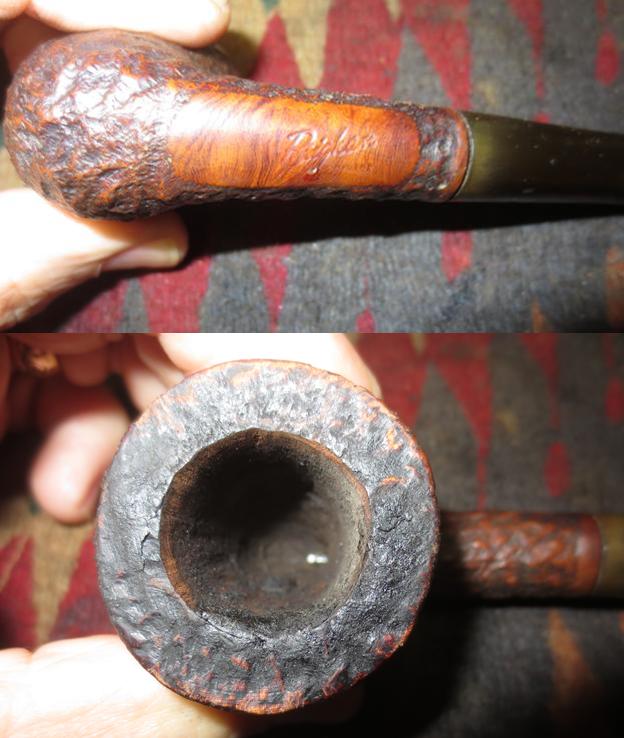
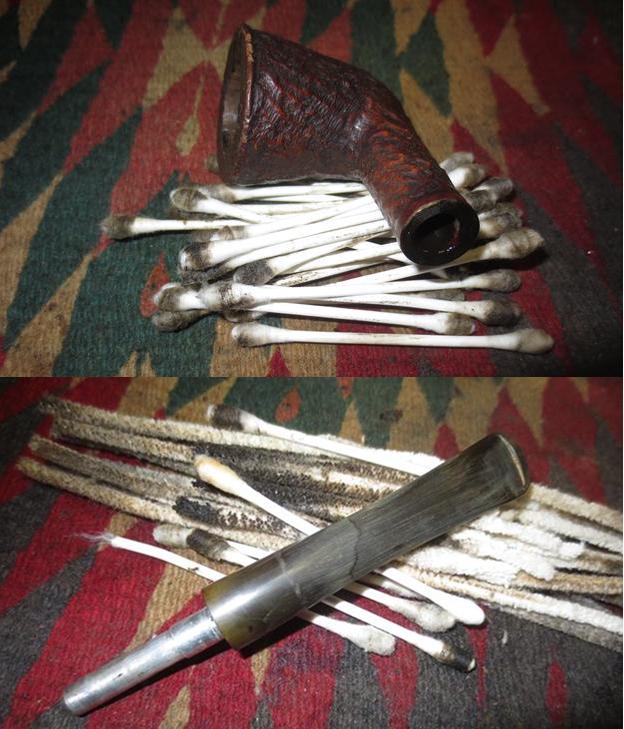
 I took a close up photo of the rim top and stem to show their condition more closely. The rim top was worn and there were some spots on the edges that had slivered. The rim would need to be topped to smooth things out and remove the damage.
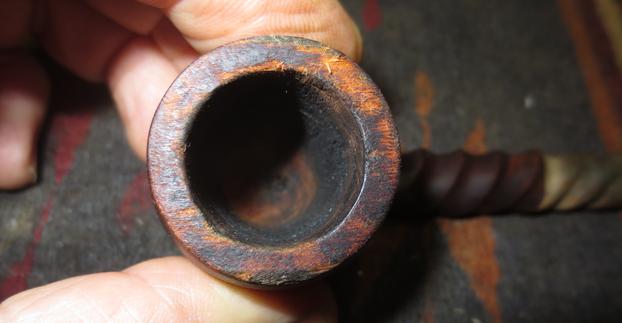 The stem photos show the tooth damage on the top and underside at the button and the “worm hole” in the left side near the shank.
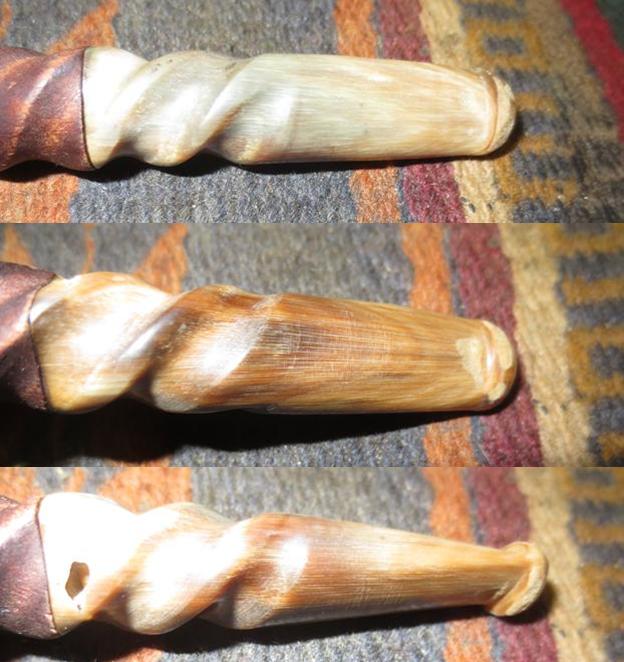 I wiped down the area around the hole in the left side of the stem with a cotton swab and alcohol and dried it off. I layered in several fills of clear super glue into the hole. As each layer dried I added more glue to the top of the hole repair. I continued until the file was slightly overfilled then sanded the areas smooth.
 While waiting for each layer of glue to dry I worked on the rim top. I topped it lightly with 220 grit sandpaper on a topping board to smooth out the damage to the rim. I took enough of the damage off to leave the rim top smooth to the touch.
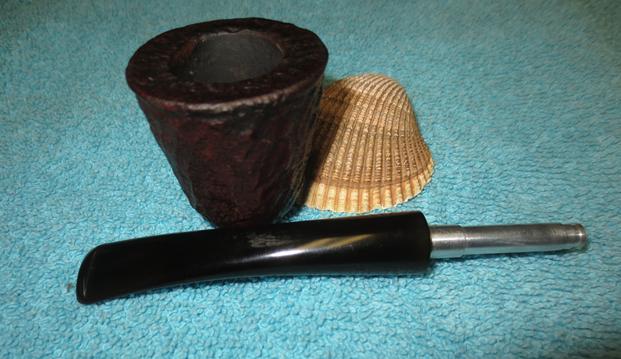
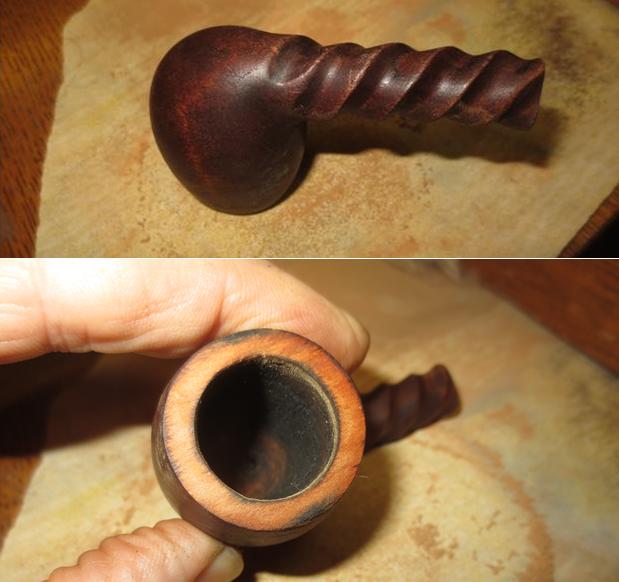 I wiped down the bowl with acetone on a cotton pad to remove all of the finish that remained on the bowl. I kept wiping it down until no more stain would come off and the bowl was clean. I could see once it was clean of the stain that the wood was not briar. I was dealing with what appeared to be walnut. It was extremely light weight and the grain was very different from what I expected once the stain was gone.
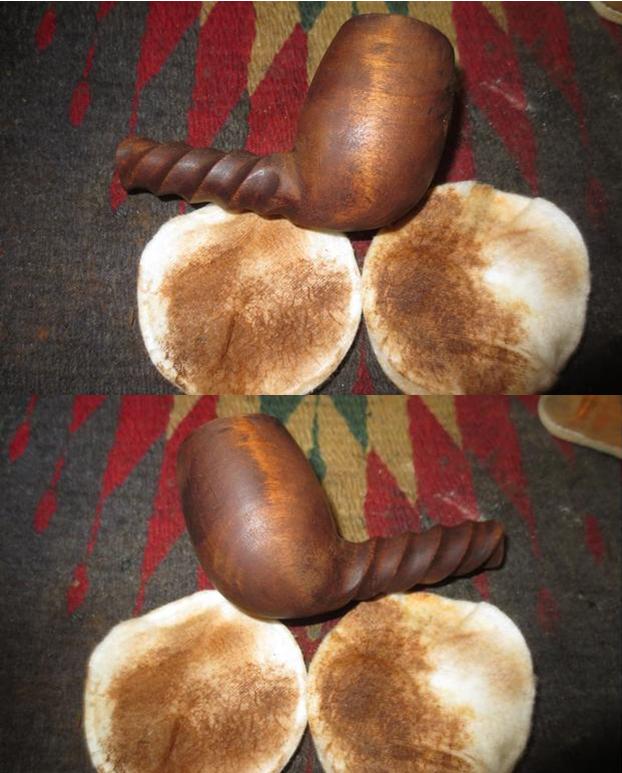
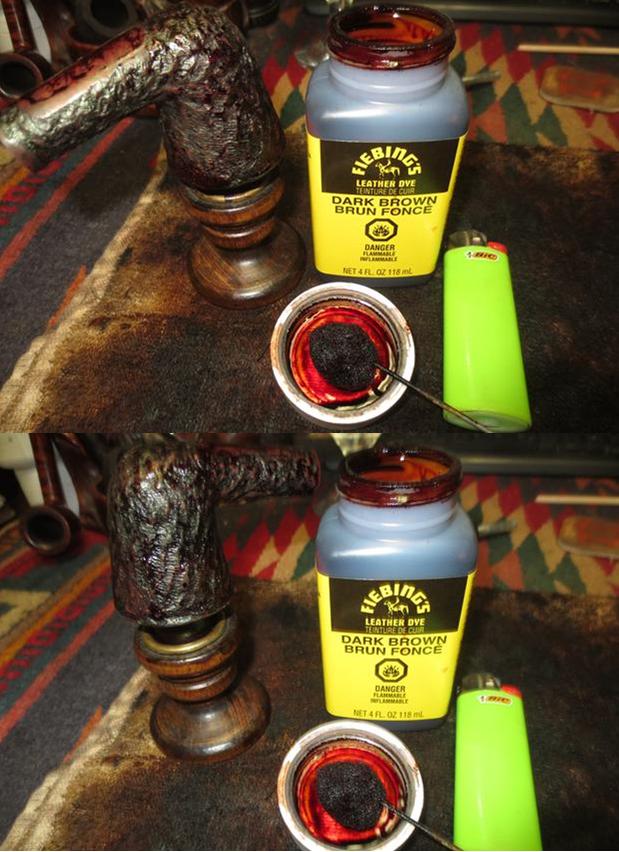
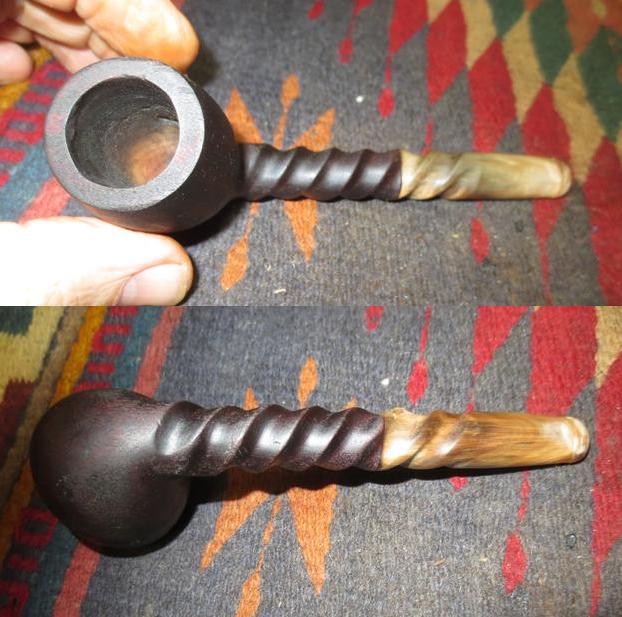
 I restained the pipe with dark brown aniline stain and flamed it to set the stain deep in the grain of the wood. I repeated the process until the coverage is acceptable.
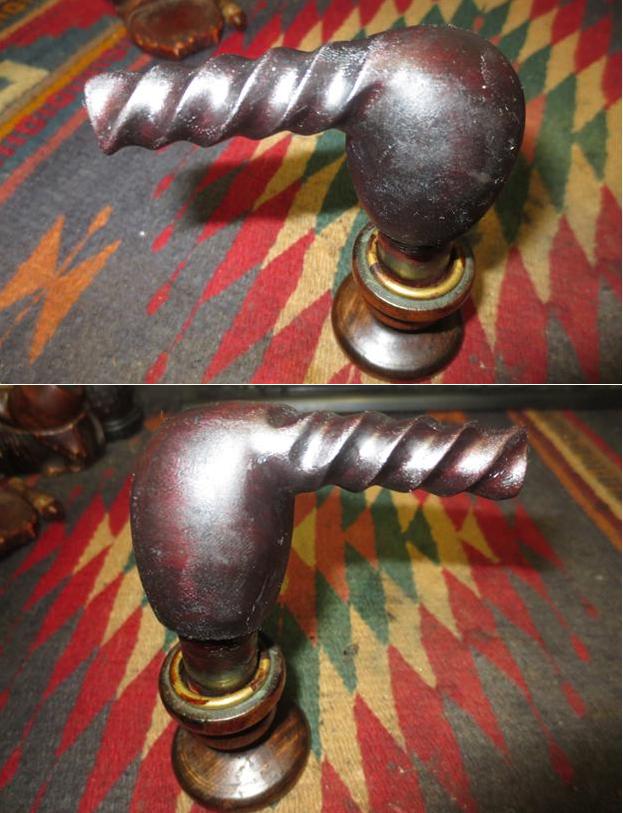 I put the stem back on the shank and hand buffed the stain with a soft cloth to show what the pipe looked like at this point in the process. The first photo and the last show the repair to the hole in the stem. It is smooth once again.
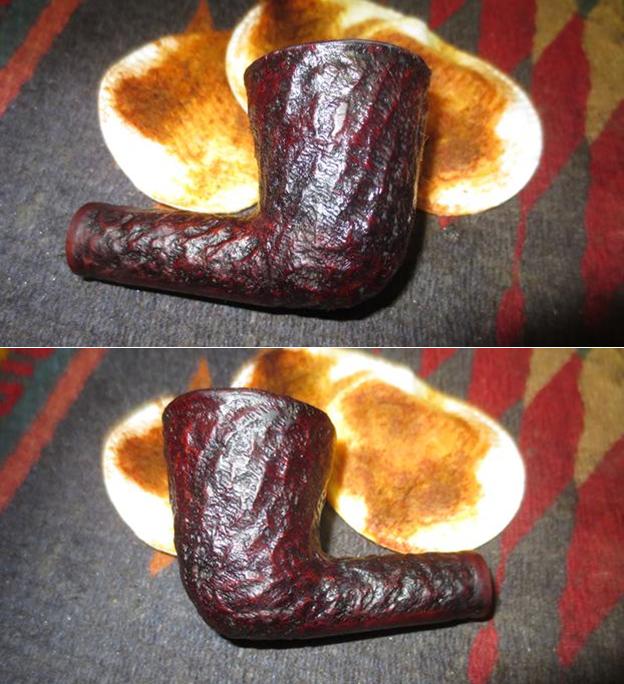
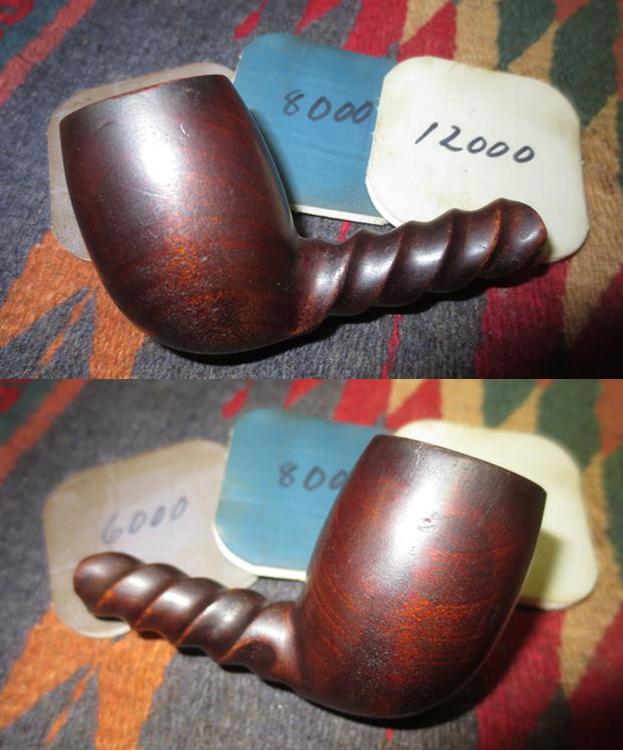
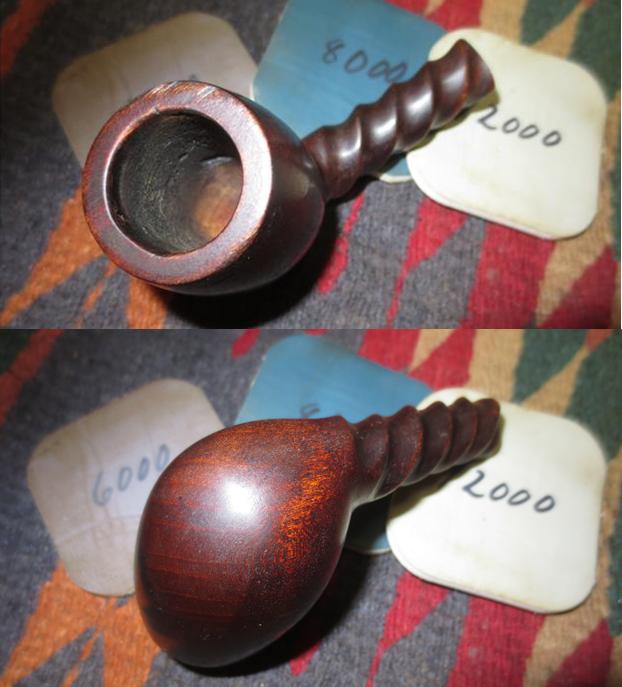
 I polished the bowl with 1500-12000 grit micromesh sanding pads. Each successive grit made the walnut bowl shine more and made the stain more and more transparent.
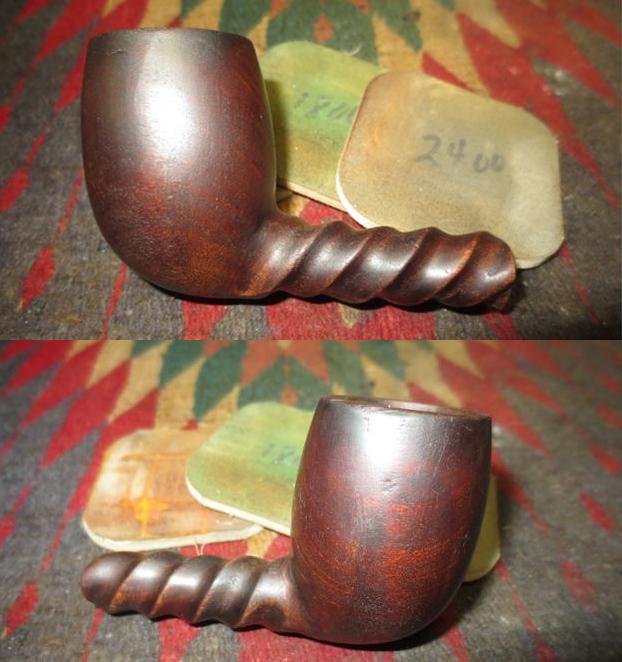
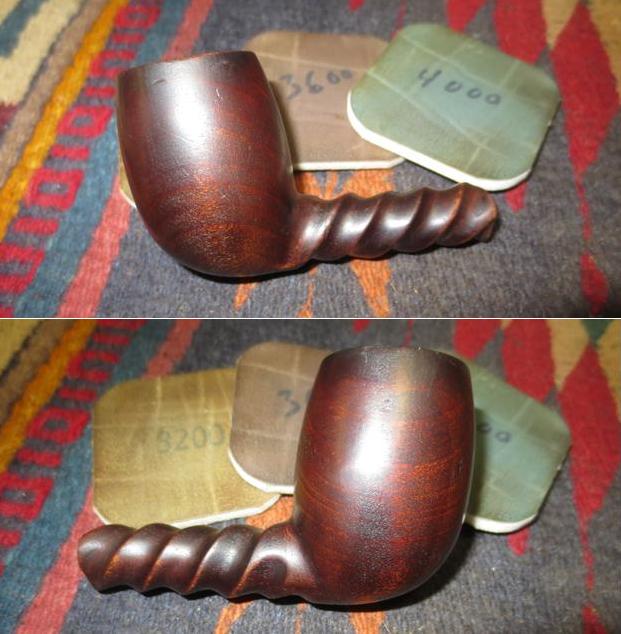
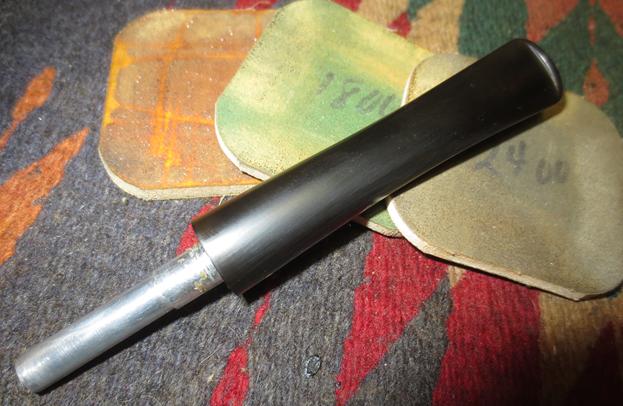
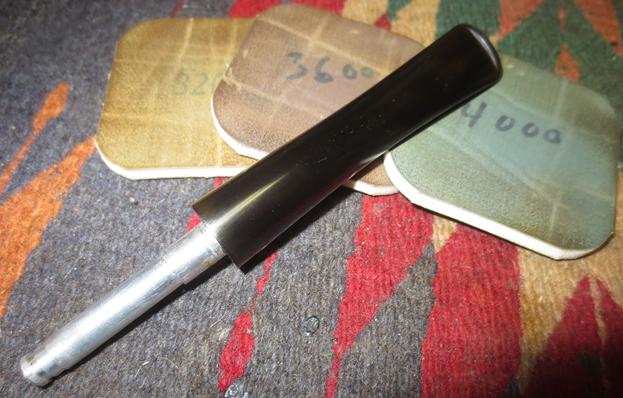
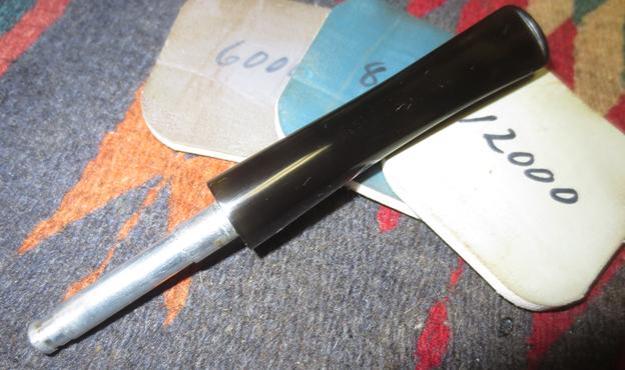
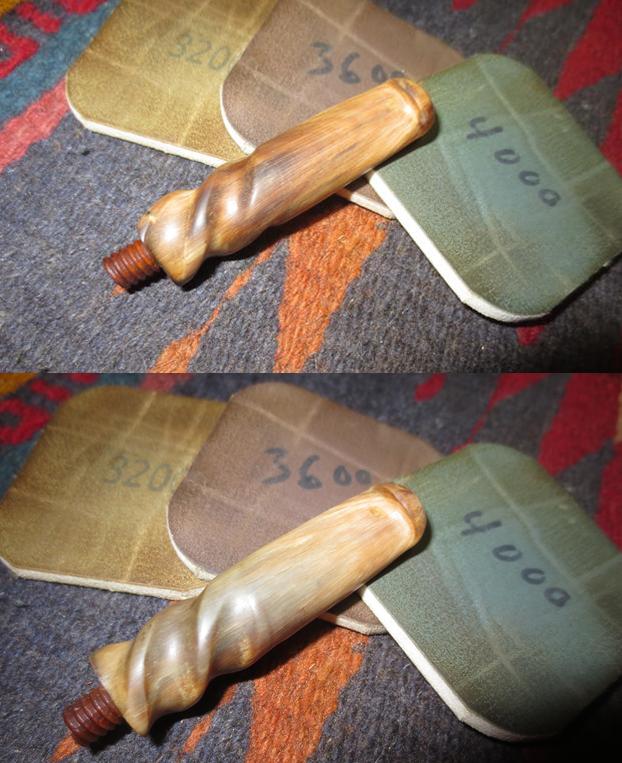
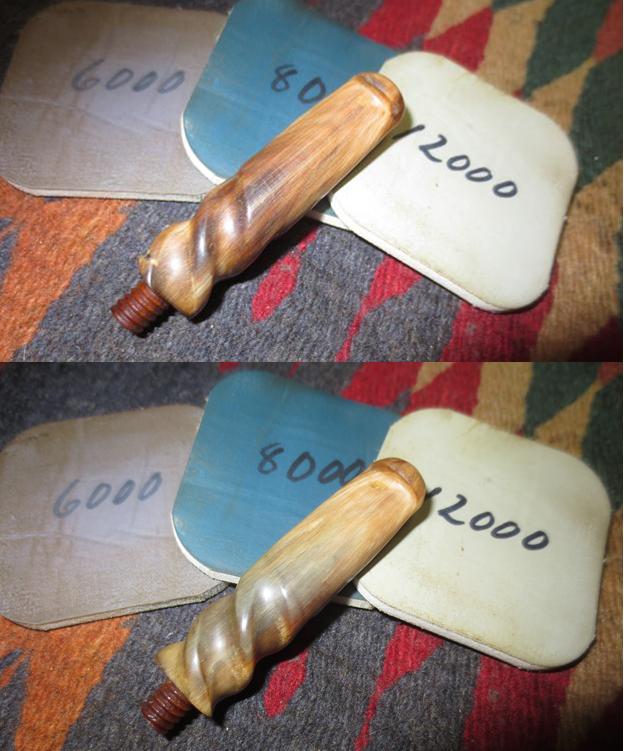
 I polished the horn stem with micromesh sanding pads – wet sanding with 1500-2400 grit pads and dry sanding with 3200-12000 grit pads. I rubbed the stem down with Obsidian Oil after each pad and when I finished the last pad I gave it a final coat of oil and let it sit and dry.
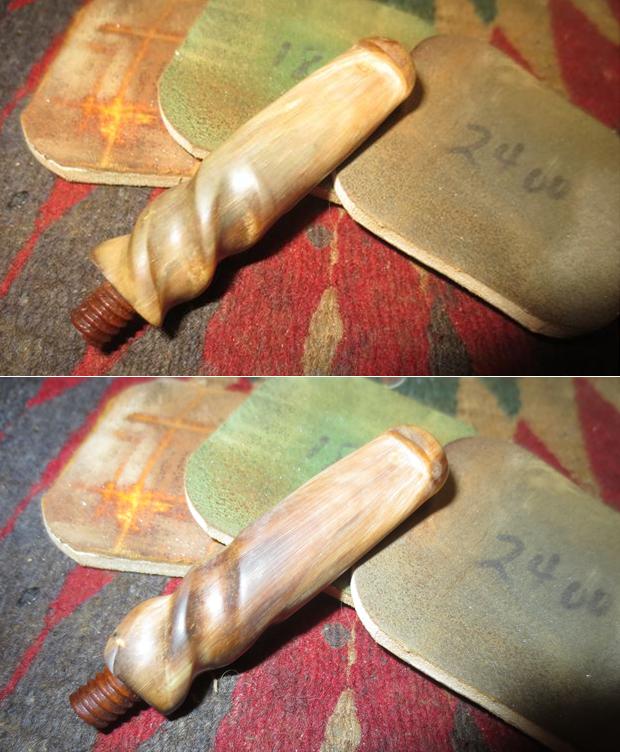
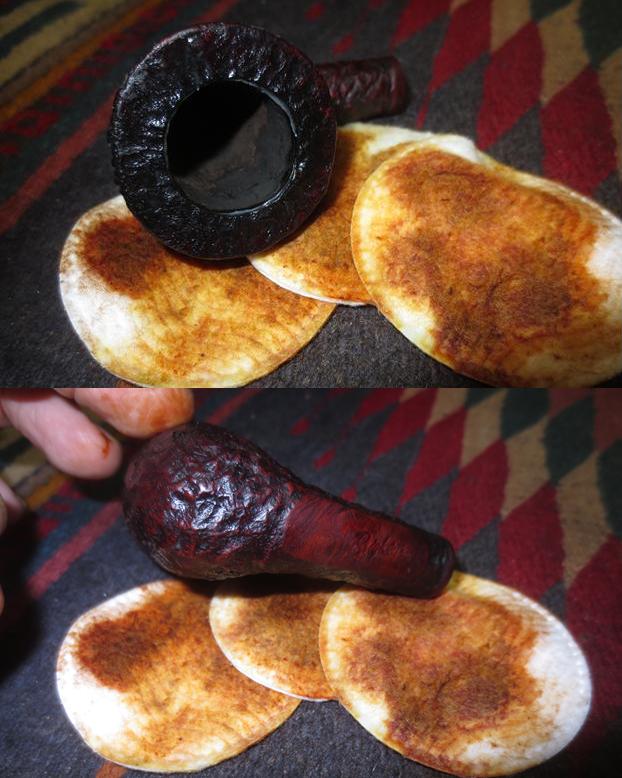
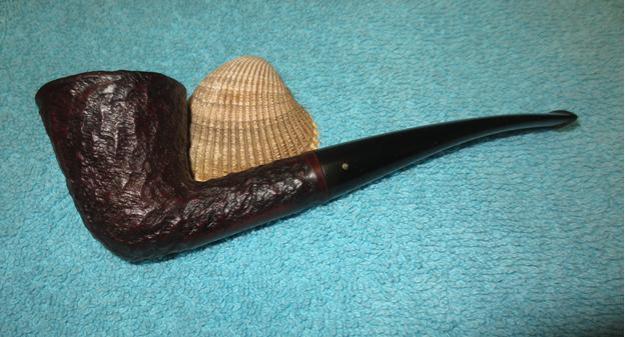
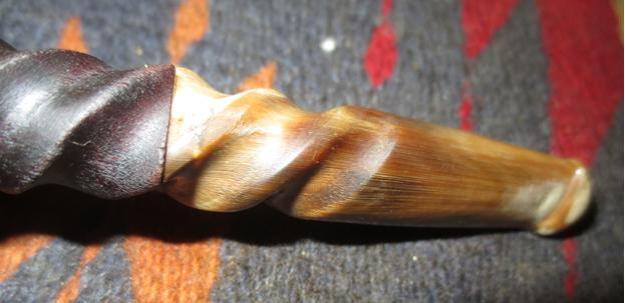
 I turned the bone tenon on the stem into the threaded mortise on the shank. I buffed the pipe with Blue Diamond on the buffing wheel to raise a shine. I gave the bowl and stem multiple coats of carnauba wax and buffed it with a clean buffing pad to raise the shine. I hand buffed the pipe with a microfibre cloth to deepen the shine. In the first photo you can see the repair on the lower portion of the horn stem. It is a slightly darkened spot but it is smooth to the touch. Do any of you recognize the style or work on this old pipe? Can you tell me any information regarding the maker or the era? Do you think I am in the ball park with a late 1890s date? What do you think? Thanks for the help ahead of time and thanks for walking with me through this restoration.